Oldmopars
-
Posts
2,058 -
Joined
-
Last visited
Content Type
Profiles
Forums
Events
Gallery
Everything posted by Oldmopars
-
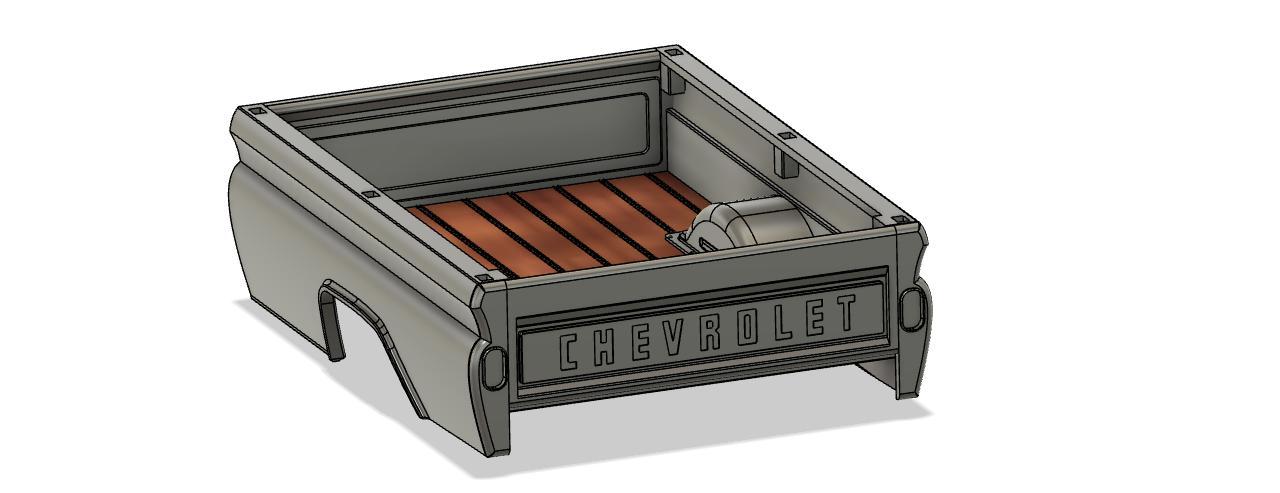
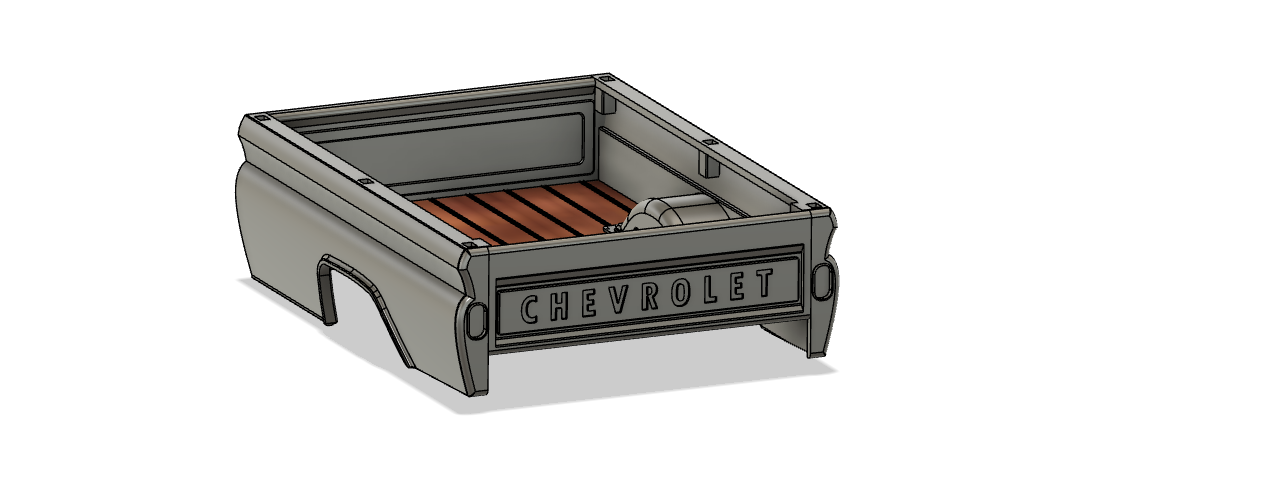
Well, after a bit of research I discovered that there is no font that matches it. So, I downloaded a picture and loaded it into Fusion and copied it. It is as close as I can get.

-
Well, I have both the Revell kit and the AMT kit. I also have a real 1:1 1965 Chevy C10. So, examples are not the issue. Thank you however. The reason I wanted to include the tail gate is that the Revell and the AMT tailgates are different sizes. One is wider that the other. So, I would need to make an AMT .STL and a Revell .STL depending on what kit you use. By including the tailgate in the file, it won't matter. Surprisingly the beds are slightly different lengths, but their side profile and overall shape is almost a perfect match. It is so close that you could swap beds from one kit to the other and I don't think anyone could tell.
-
So I have decided to make a more accurate and longer bed for the AMT/Revell 60's Chevy/GMC trucks. I have recreated the inner bed more accurately and I have the length correct, but the font for the tailgate is not quite right. It needs to be more square. Fusion 360 doe not have the right font. If I can find it I can load it and use it. Anyone know what it is?
-
Get me good pictures, including specs, dimensions and I will give it a go.
-
Do you want just the file or do you want me to print and send you the tailgate?
-
I was going to do the 2wd Suspension for the Jimmy/Blazer. However, in the real world it is very common to swap 73-87 front suspension into 63-71 Chevy/GMC trucks. It is almost a straight bolt on swap that give disk brakes and a 5 on 4.75 bolt pattern. So, in the 1/25 world, swapping the Revell 1965/6 Chevy front suspension would be very accurate. The only differences are things that do not show up in 1/25 scale. See this article to start: http://67-72chevytrucks.com/vboard/showthread.php?t=5221 As you can see from the pictures below, the Revell 66 Chevy frame is a great fit for the AMT Jimmy/Blazer. Graft the back of the Jimmy on the front of the 66 Revell frame and you are in the money. Now, if you need a crazy lowered set-up for running 26in wheels, that is going to be all custom.
-
OK, so far I have added the files I have created here: https://cults3d.com/en/users/ScottSolomon/creations If you asked me for something and it is posted there, let me know and I will send it to you for free.
-
Has Anyone Ever Offered a Hi-Rail Kit?
Oldmopars replied to DANGERUS's topic in Model Building Questions and Answers
DO IT! I have been playing with Fusion 360 now for about a month. I love it. Huge shift in thinking is required, but once you get over that anything is possible. This High Rail kit would be no problem with Fusion and a 3D printer. I'm having so much fun, I am creating stuff I don't even need. -
They needed some tires.
-
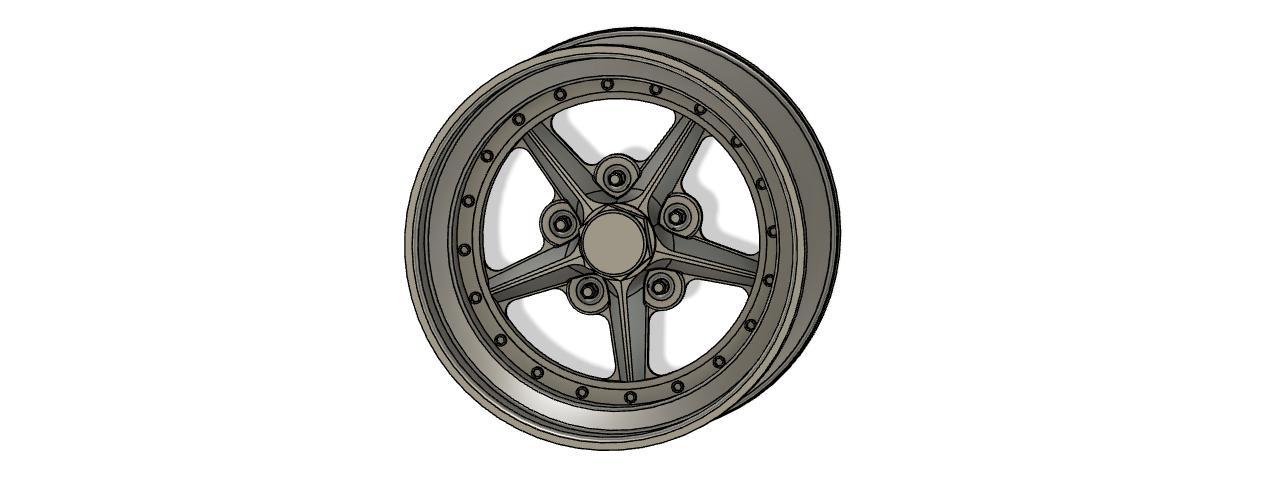
OK, so I designed a wheel to go with the hub cap. It is made to resemble a 16.5 from a 3/4 ton. What do you think? I would need to know what tires these would go with s I can get an exact outer diameter of the rim. Thoughts?
-
A bit more playing around and I designed a tire to go with my wheel. I also added some color to set it off. I like this one for my 1965 C10 project.
-
Not from me as I know nothing about it. What are you looking for and who makes the kit? Is it another Revell Bronco or is this the old AMT 80's bronco?
-
Early Bronco Wheelcovers?
Oldmopars replied to Mike Chernecki's topic in Truck Aftermarket / Resin / 3D Printed
Let me know if you are still looking for these hub caps. I am sure I can draw and print these easily. -
Is this current version of the "Jimmy" the same or different than the "Crew Chief" version?
-
I am aware of the tire fit issue. I drew it to look good for pictures, if I print it, it is a quick fix to change in Fusion. Some tires are hollow and need the lips, others are solid and don't. When I find the tires I will correct it.
-
A little more playing around. This is a 20in by 10in wide wheels in a "Works" kind of style. If I can find a tire to fit, or make one I may use these on a 1960 Chevy truck.
-
Here is a Classic wheel design I have been playing with. Not a copy of anything exact, but more of a vintage looking wheel styled after several wheels from the 60-70's.
-
I have been looking for any kind of dimensions for one of these and have had no luck. If I could even get some basic wide, tall, deep dimensions I could fake the rest, but I have no idea. If I assume it is 24in tall, 12in wide and the main box about 8in deep, does that sound close? Can anyone get any closer dimensions?
-
You are one that caused me to buy the printer I got. I did not want to have to cut bodies in half to print them. I went as big as I could get. Send me some pictures of the engine and I will start thinking about how to go about it. Withou the actual engine, I am not sure I could make it fit right, but I can at least be thinking through the design options.
-
Isopropyl may be had to get. Many use it to clean resin off of 3D prints and it has been hard to find due to the "pandemic". For a while it was just not available at all. I love MEK, but the sell is every bit as bad as the other stinky options.
-
Oh, ya, this would be interesting to do. I am a big VW fan and had around 36 Aircooled VWs at different times. The top one looks like a pre-67. I had a 67 with the really bad EFI and I changed it out to this set-up with the dual stock carbs. Not impossible, but I would need to know what kit is supplying the base engine. All the Beetle kits have different designs and some would just not be open to a conversion like this.
-
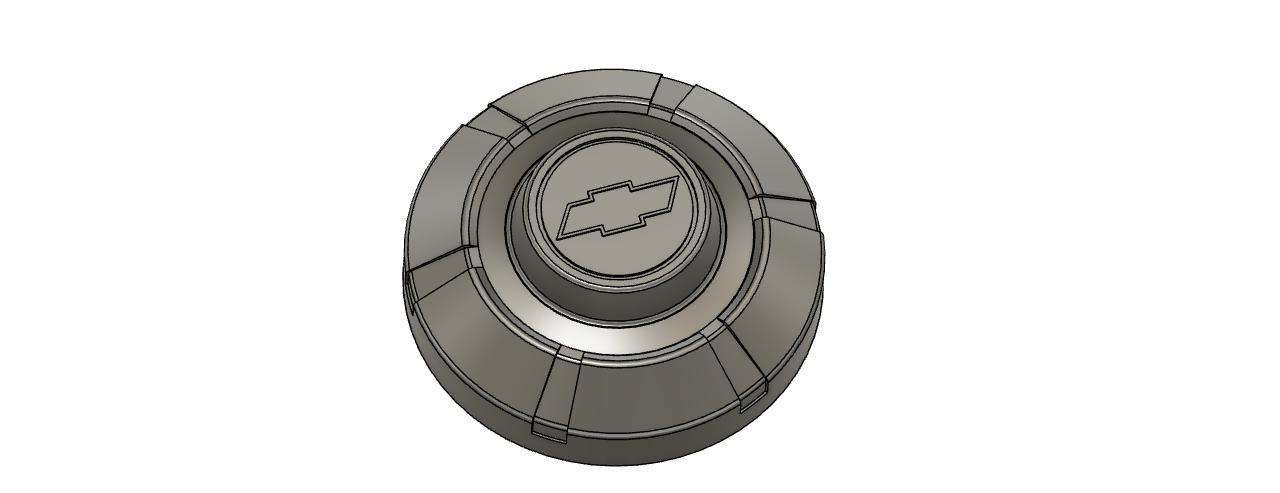
I have a few tweeks I can do to it, but at this point I think it is real close. The big issue is that I can add more details, but due to the resolution of even a 4K printer, they just wont show up or will muddle the details that are there. Once printed this hub cap is just under 1/2in. In some cases the paint will be thicker than the details.
-
I think I may need to go back and try again on this one. I scrolled down to find the other dimensions after I had guessed at a few. However, I added a rim to it just for kicks and I think I like it for a project or two of mine. Also keep in mind that at 1:25 scale, a lot of details are just not possible. Look at what comes in the kit. Like the Socket cap screws, they are .4mm and the hex in about .2. That may or may not print as anything other than a divot in the center of a nub. Let me know what you think.
-
How is this? 12in 3/4ton hub cap. Not perfect but once painted and in this small scale I think it should be close. The hub cap has a few more details, but in this scale I am not sure they would show up. BTW, this was a fun one to figure out.
-
I missed this one. I think I could do this. I have the Revell Chevy kits and will start there. Thank you all for the input. I enjoy a challenge and this will give me a few things to work on. I make no promises, but if I can make something useful and help others, it would be nice.