absmiami
-
Posts
4,782 -
Joined
-
Last visited
Content Type
Profiles
Forums
Events
Gallery
Everything posted by absmiami
-
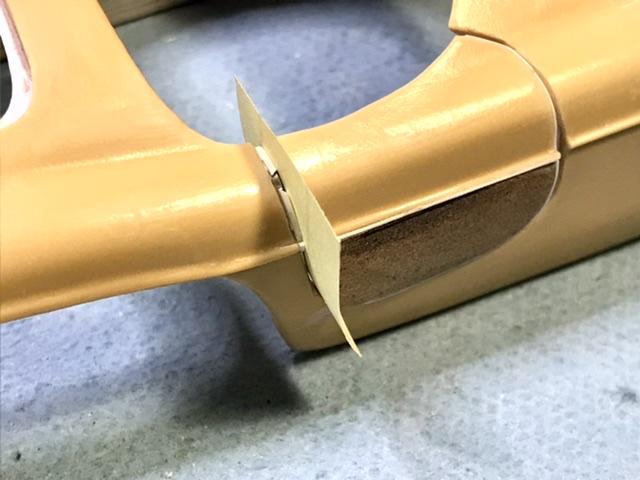
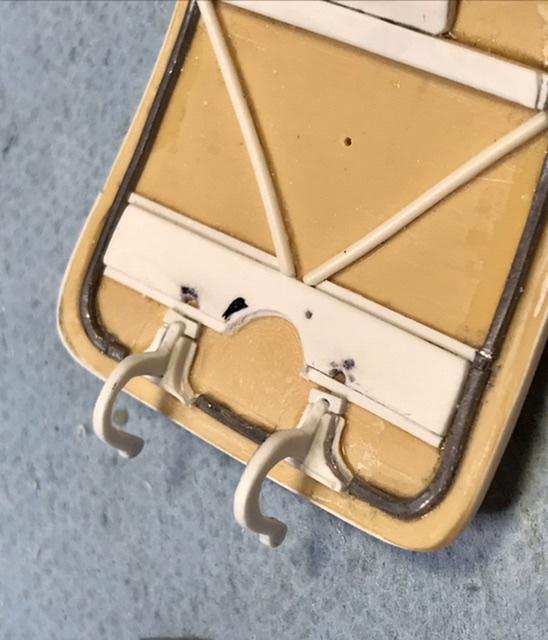
 I drilled corresponding holes in the door and the body and epoxied two magnets ? - sorry couldn’t resist this emoji - my phone made me do it - the paper is in the door jam while the magnets set …
-
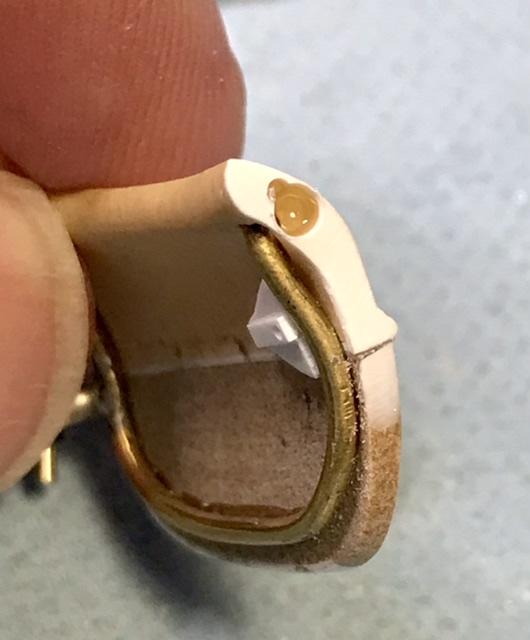
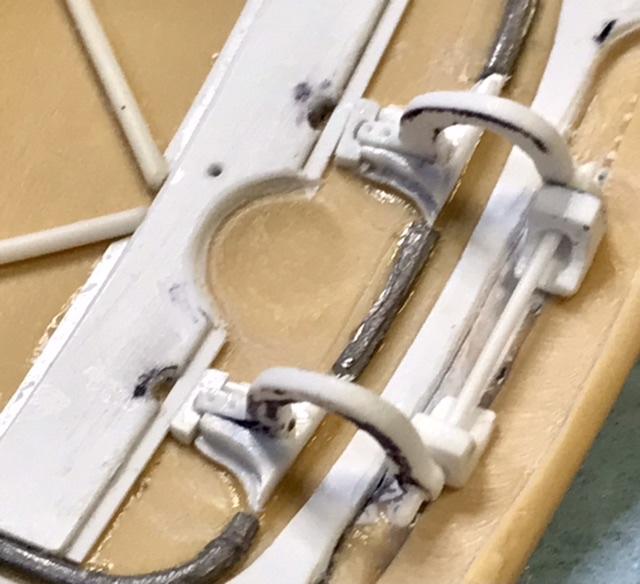
My brass hinge is strong and flexible - but this is how the door closes -
-
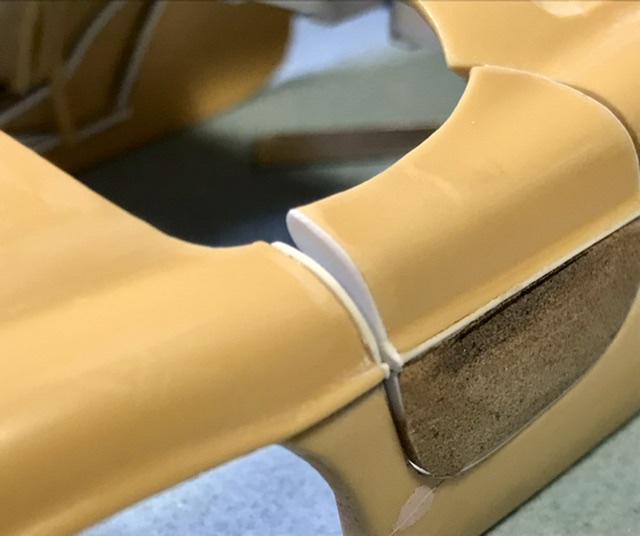
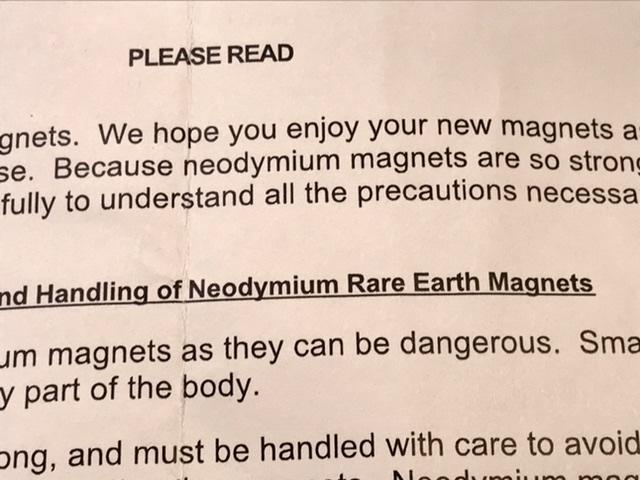
Scale Master has shown us how to use these weeny magnets - i realized that i needed them for the driver’s side door - so i hit up amazon and ordered the smallest size - which is 1 x 2 mm. First time that i had ordered something on my phone - and it actually showed up 5 days later - that can’t end well either ….
-
McLaren MP4/6
absmiami replied to Scale-Master's topic in WIP: Other Racing: Road Racing, Land Speed Racers
Really? i need to get out more often … -
McLaren MP4/6
absmiami replied to Scale-Master's topic in WIP: Other Racing: Road Racing, Land Speed Racers
2009 ? You were just a pup - those look like Tamiya headers - was this shelved when you started dis-membering Super Sevens ?? -
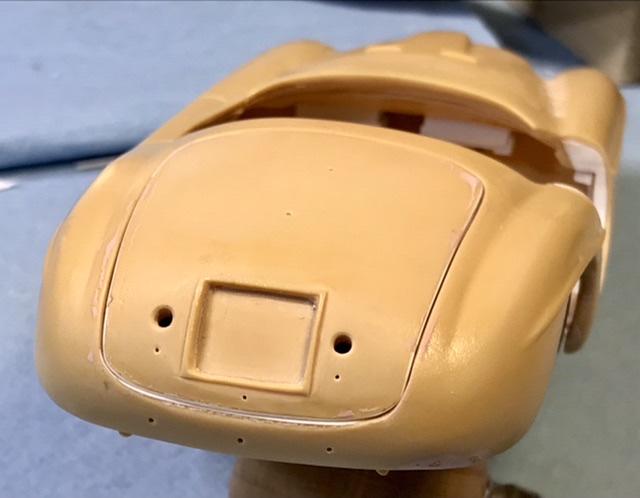
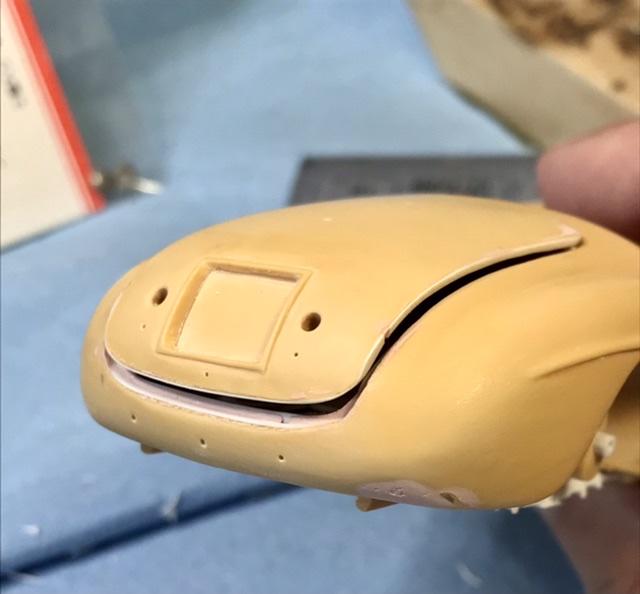
It works - the trunk closes - and im learning how to d/load videos fr my Iphone - dragged kicking and screaming into the nu world … this can’t possibly end well ..
-
Ok - lets try to load this vid again … FullSizeRender.MOV
-
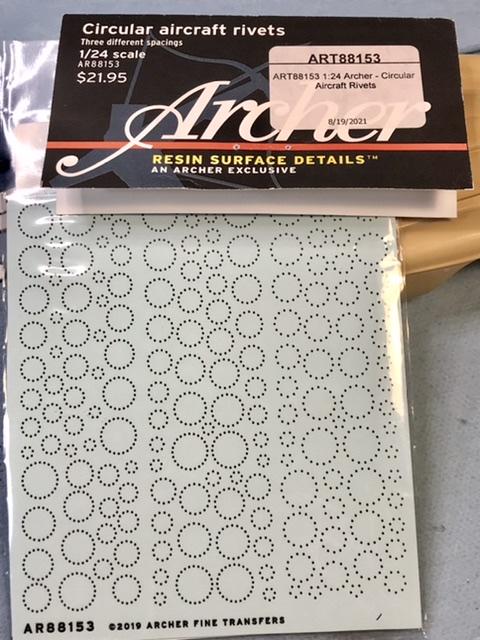
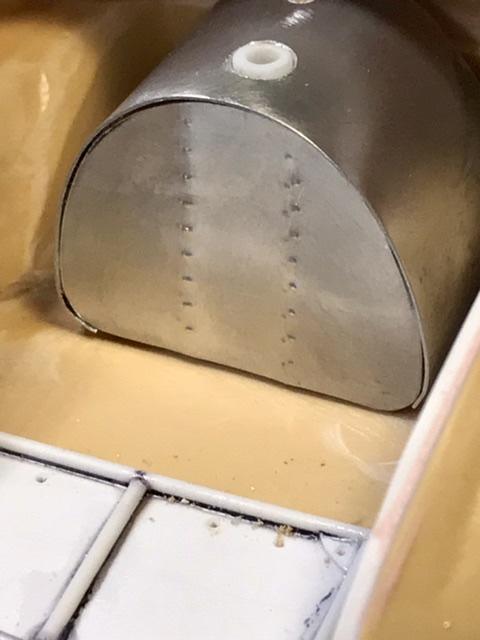
- the archer rivets are decals - he produced rivets as dry tranfers years ago but found that they were too difficult to produce - ive still got some - they are tricky - these are fr his decal sheets - brush painted lightly with some acrylic lacquer silver …
-
Ok. - ive got closure … IMG_2293.MOV
-
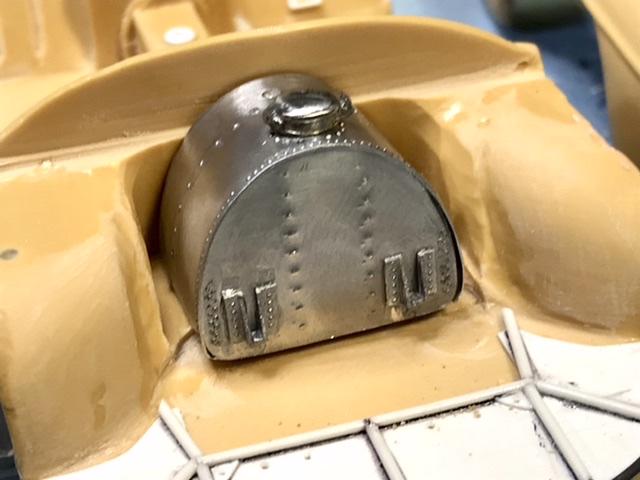
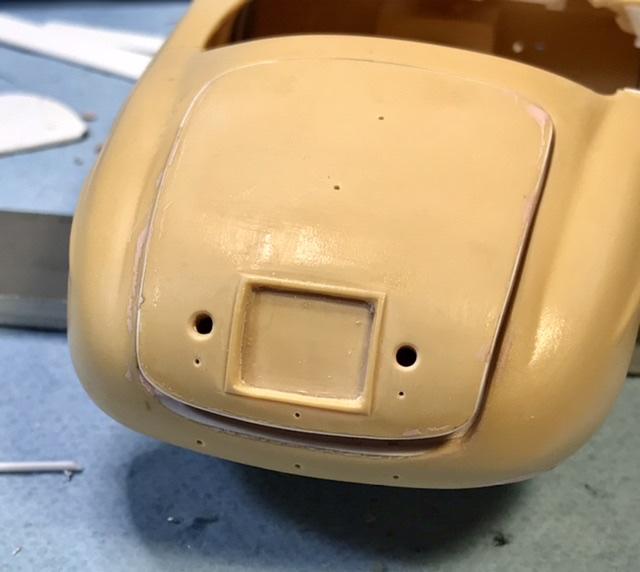
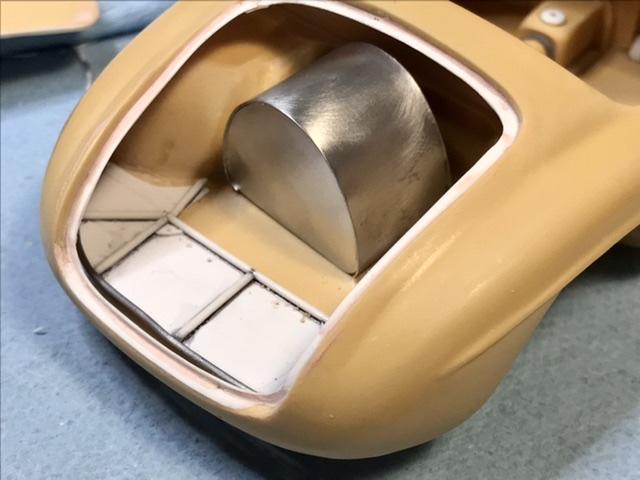
Took a little off the bottom of the fuel cap - a little off the bottom of the tank - and then ground a shallow depression in the trunk for the cap …
- 565 replies
-
- 3
-

-
- quarterman
- fisher
- (and 1 more)
-
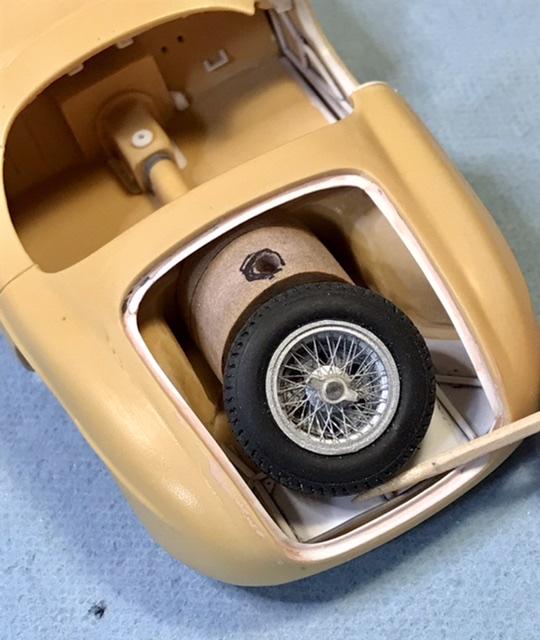
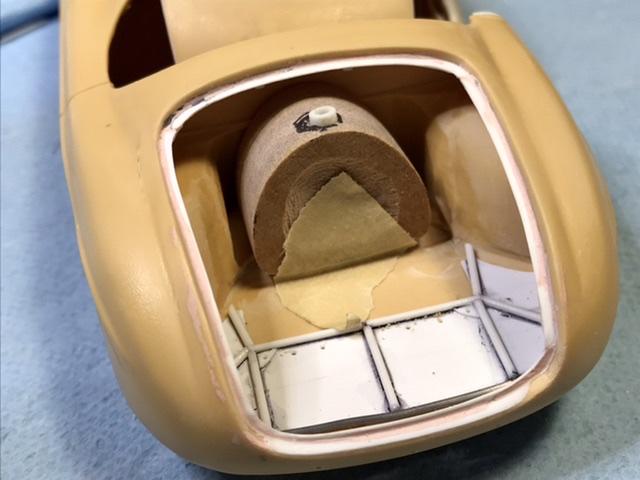
This is the culprit …
-
Still too much junk in the trunk …
-
Dont assume that the 251 isn’t still available - contact Pinto thru hos facebook page and inquire …
-
Thats what Pinto’s kits are known for …. thing 1 - clean away the visible flash on each part and then prime all the parts - that will then reveal a bunch of flaws and unseen flash - just rinse and repeat …
-
You will be introducing other forum members to the superb detail in this kit - hope im not spoiling the thread by stating that this is one of the greatest 24th sc kits ever made - running laps around Tamiya’s best …
-
or https://www.bonhams.com/auction/28011/lot/33/1961-porsche-356b-roadster-chassis-no-89024-engine-no-604575/ ...
-
https://www.bonhams.com/auction/28011/lot/42/1965-porsche-356c-cabriolet-chassis-no-161416-engine-no-716135/ in case you don't have one in your driveway ...
-
that was a set up ...
-
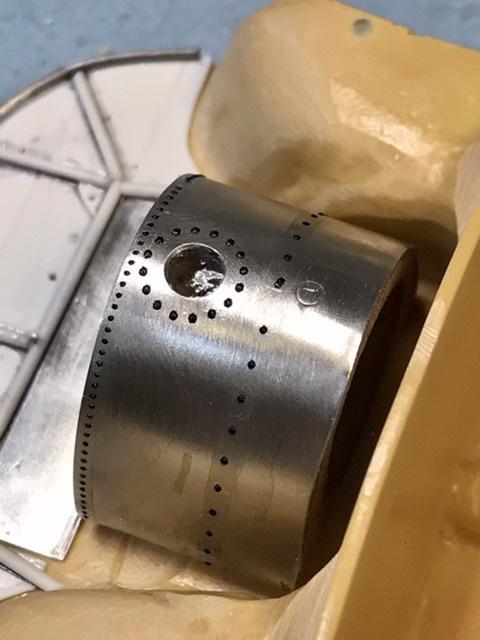
Thats because its …. Aluminum … Archer has taken down its on line store - thats a bummer - micro Mark sells similar rivet sheets - but I’m a big fan of Woody’s stuff …
- 565 replies
-
- 1
-
-
- quarterman
- fisher
- (and 1 more)
-
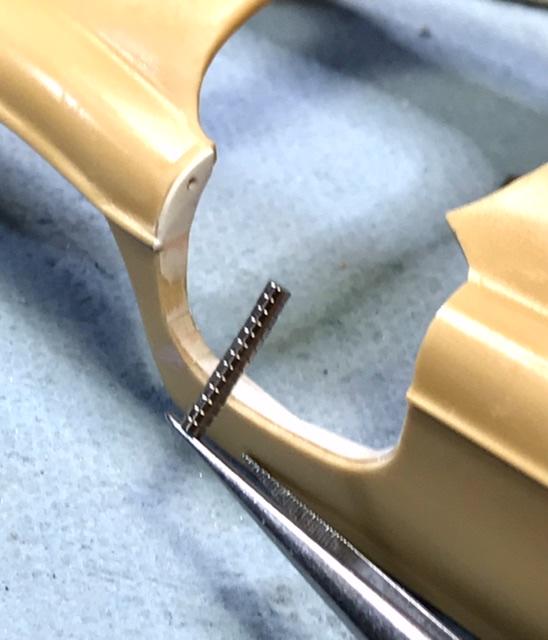
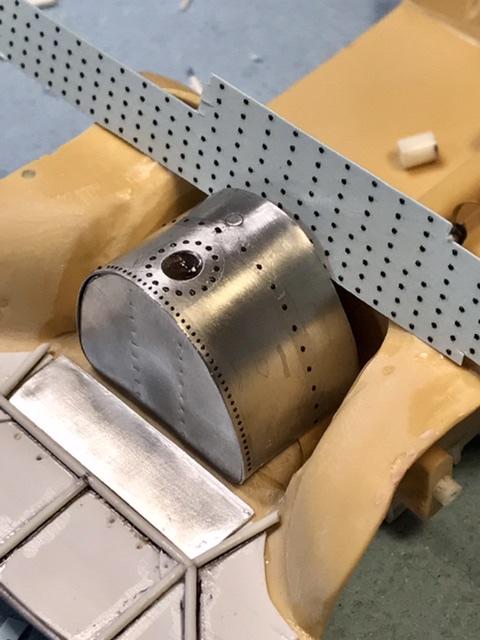
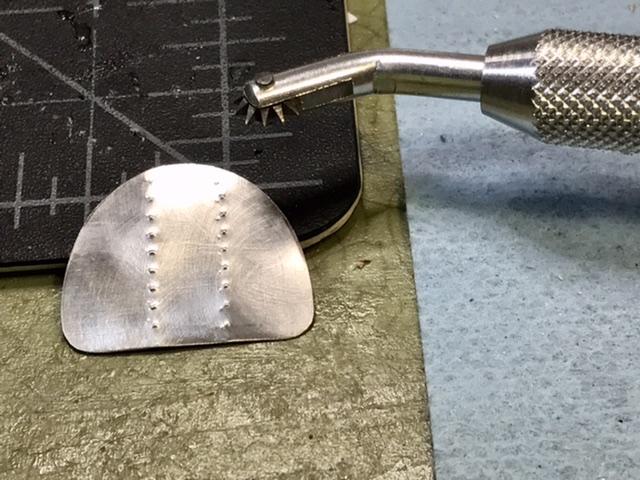
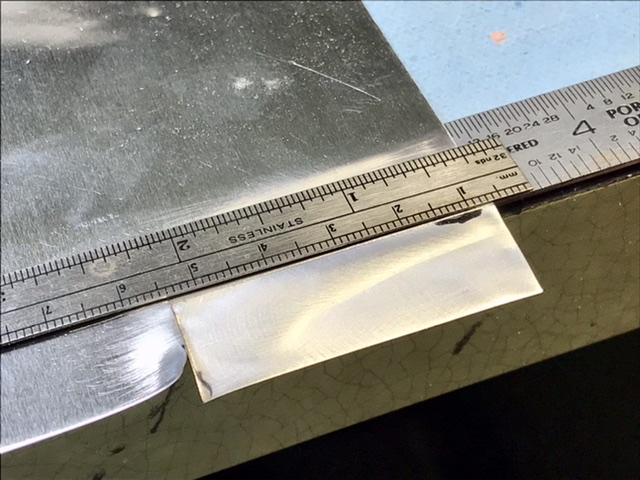
the .080 alu sheet is thin enough to mark a rivet pattern from the back side - using this rivet tool - which is something you never need - until you do …
- 565 replies
-
- 2
-
-
- quarterman
- fisher
- (and 1 more)
-
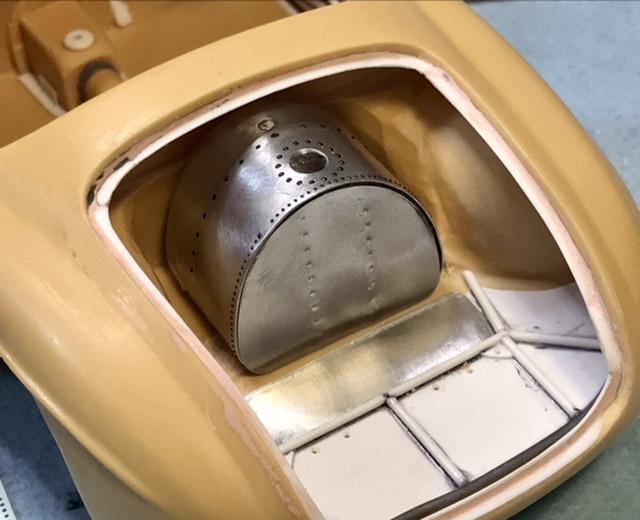
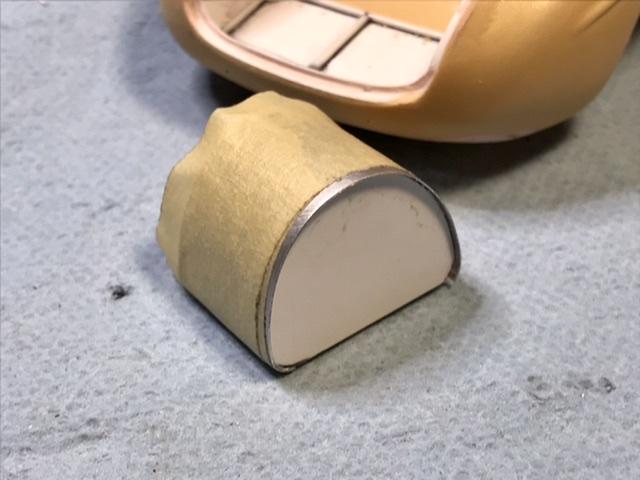
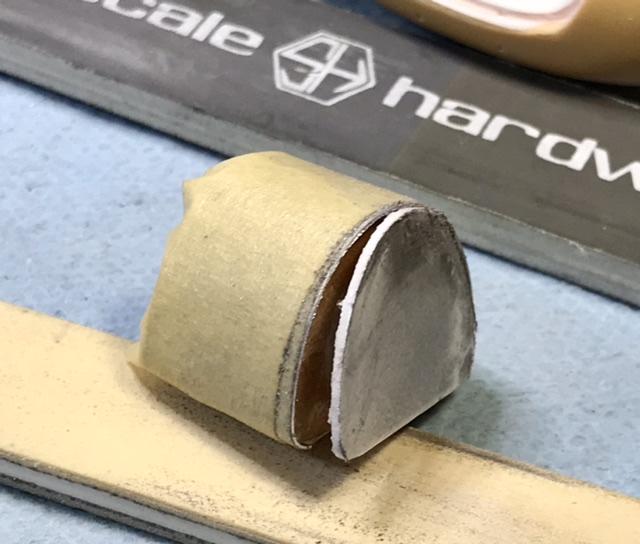
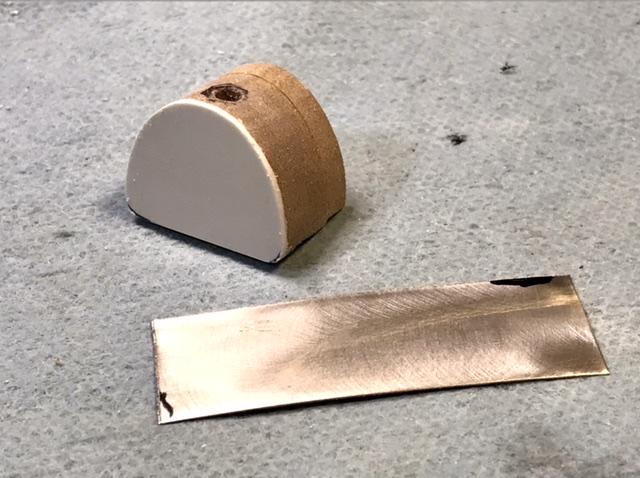
Skinning the tank in .080 aluminum - glued to the Renshape w a thin layer of gorilla glue - and ive made a false tank front fr .030 Evergreen - so the tank will have a lip with a rivet pattern..
-
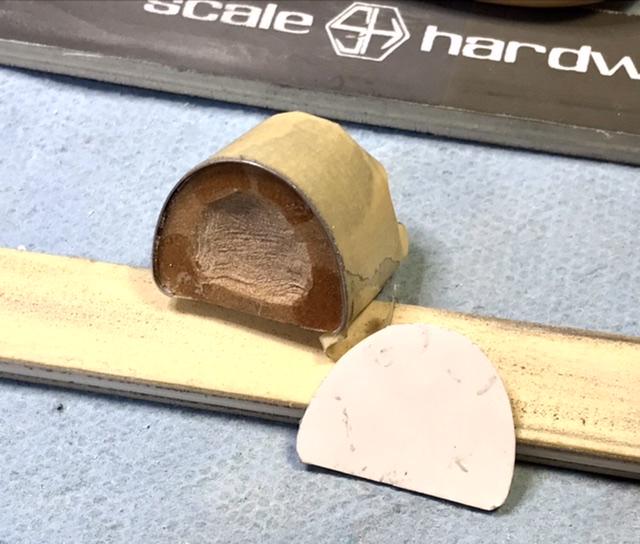
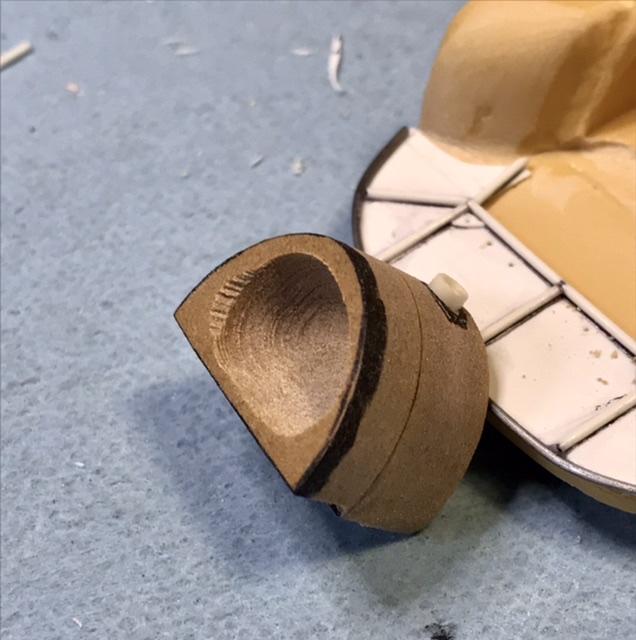
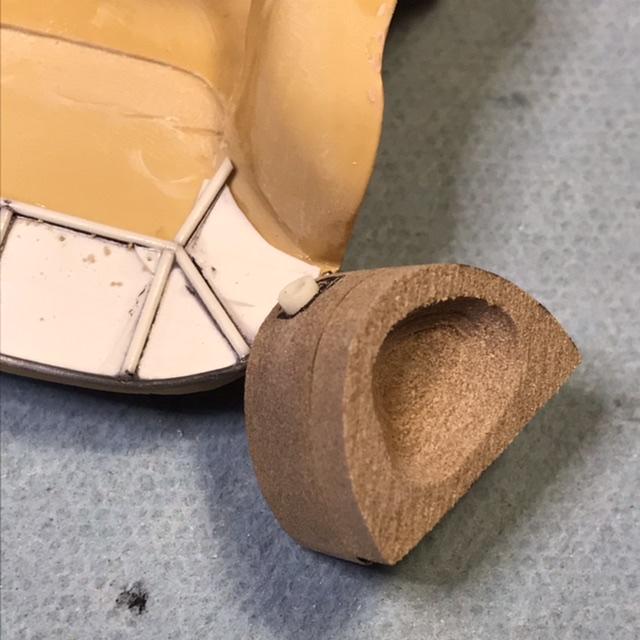
So i’m trimming the tank again - in two dimensions -
-
Yup …