absmiami
-
Posts
4,781 -
Joined
-
Last visited
Content Type
Profiles
Forums
Events
Gallery
Everything posted by absmiami
-

Garage 56 Le Mans 2023 Camaro
absmiami replied to Phildaupho's topic in WIP: Other Racing: Road Racing, Land Speed Racers
This is getting serious … -
This is the Aurora kit ??
-
Nostalgia Fuel Dragster--Blower Manifold (01/28/23)
absmiami replied to Straightliner59's topic in WIP: Drag Racing Models
You’re welcome … -
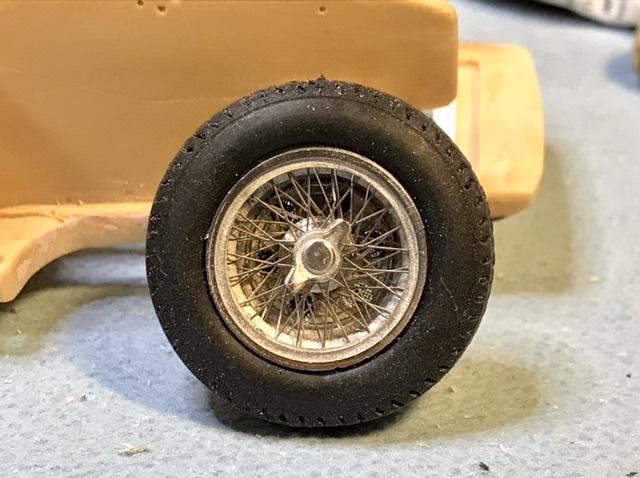
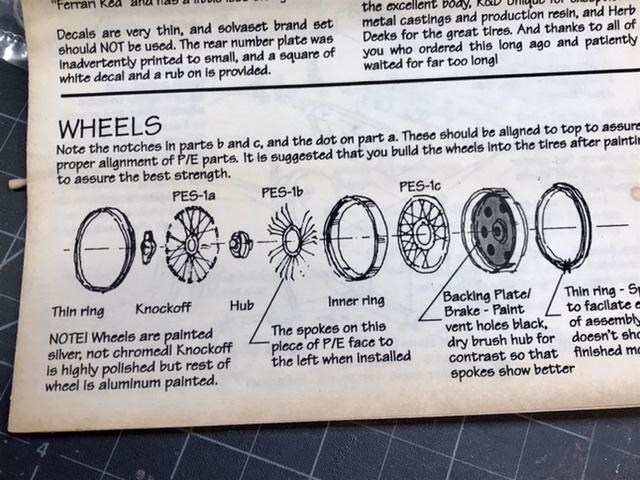
The first wheel assembly was predictably mediocre - but now that i’ve actually READ the instructions- and figured out how to cut the spoke rings off the sheet without mangling the spokes - i think the second wheel will look better … we’ll see - after vacation…

-
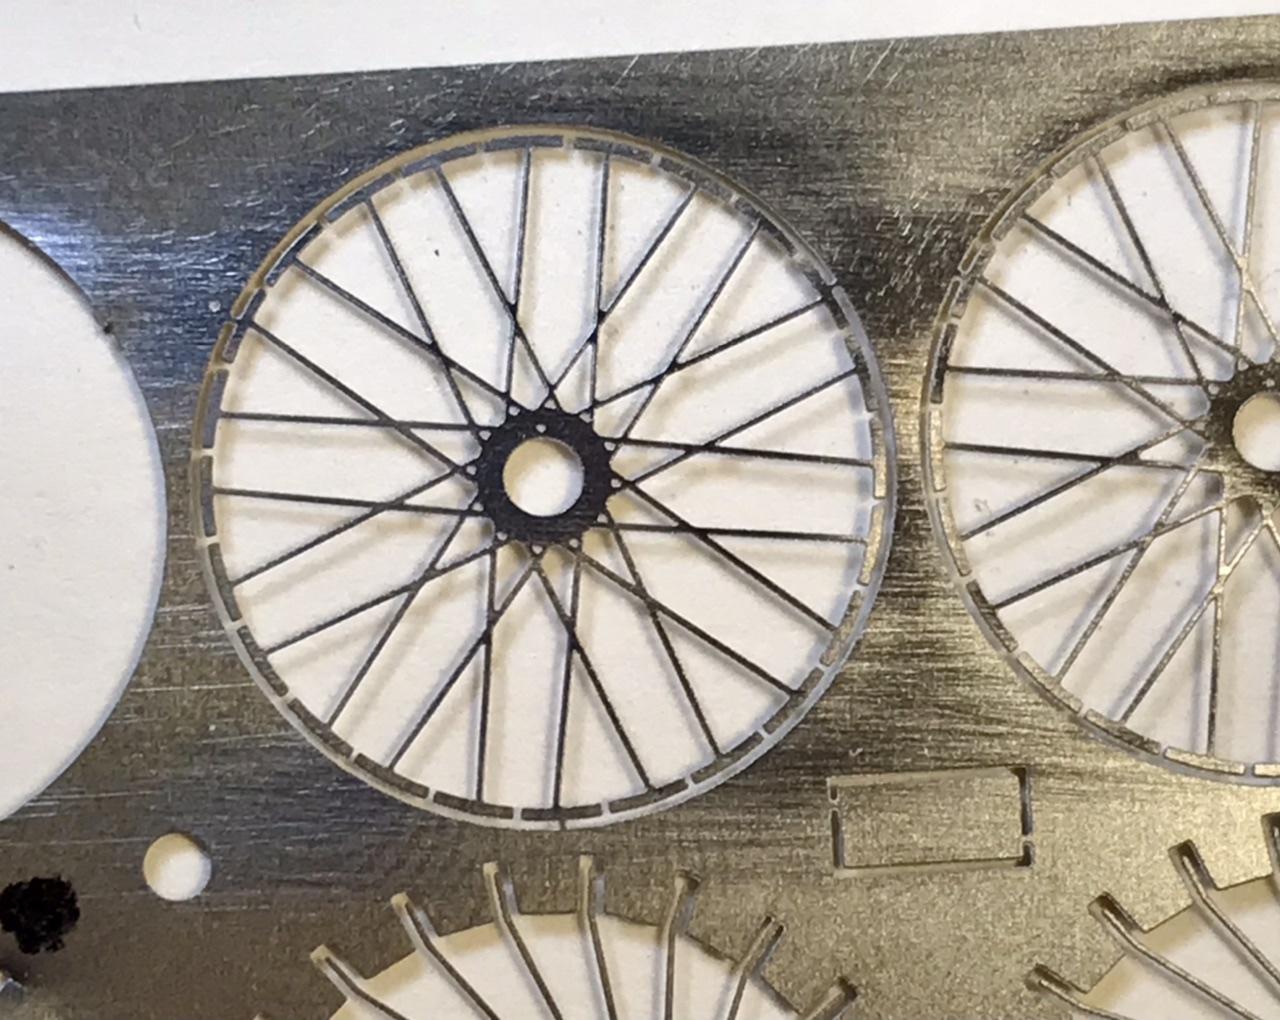
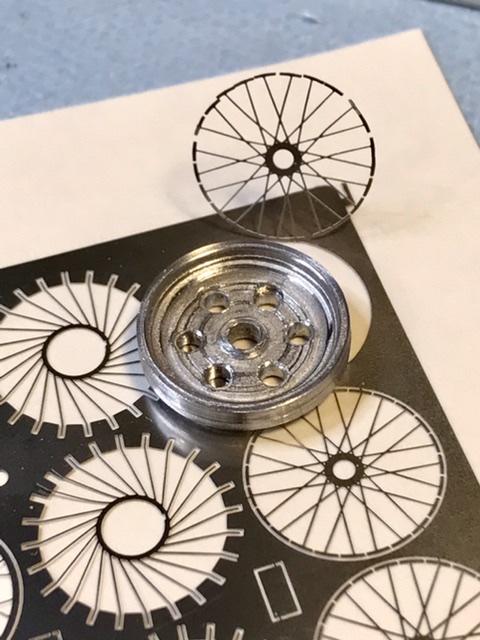
Oh THERE’S the hole !! …
-
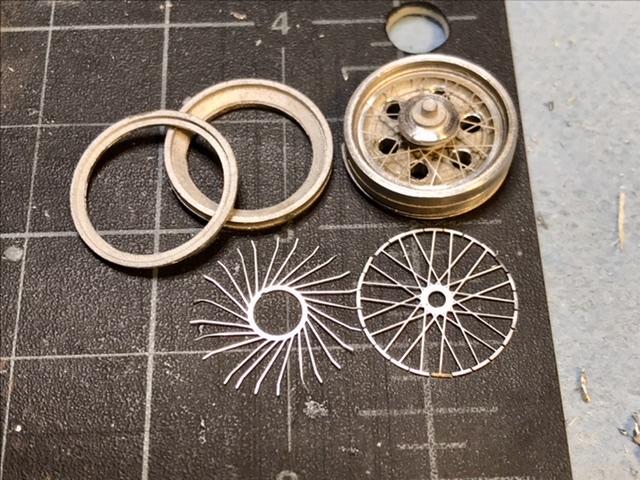
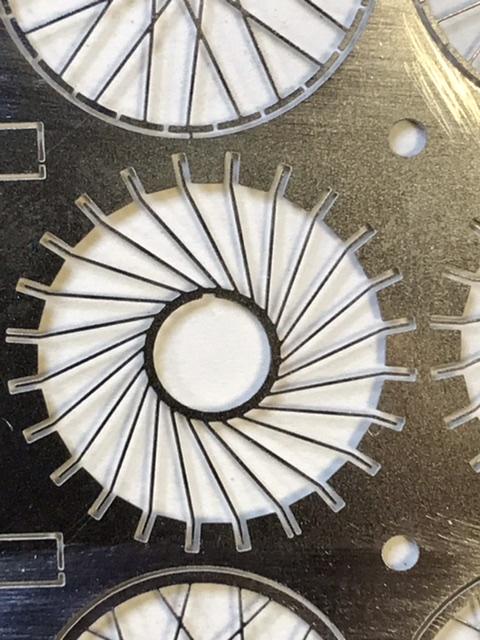
The wheels are made from 5 white metal castings and 3 rings of spokes - its a bear - the instructions state that you can align the spoke rings using the notches on rings A and B - and the hole in ring C - what hole ??
-
Before i complete the trunk - its off to the wheels …. This kit had 3 sheets of photo-etch - to make a terrific grill - the photo-etch for the dials and the windscreens - and a large sheet of etched steel spokes - now ive been making model cars for - er - a long time - and i stopped reading the instructions back in the seventies - which I occasionally regret …
-
1969 Porsche 917 PA spyder
absmiami replied to Rich Chernosky's topic in Other Racing: Road Racing, Salt Flat Racers
Yup -
Gracias - guess i could put a pair of bass speakers in , right ? ? but then there’s no room for the spare …
-
1:16 Scale 1962 Ford Consul Cortina by FROG kits
absmiami replied to Anglia105E's topic in WIP: Model Cars
Never seen a 16th scale Froggie …. ive got a couple of 24th scale Frogs - an Alfa and … something else - all mastered at least 50? Years ago - nice to see that this is scale accurate - their 24th scale kits were kinda vague … you’ll like T’s paints … -
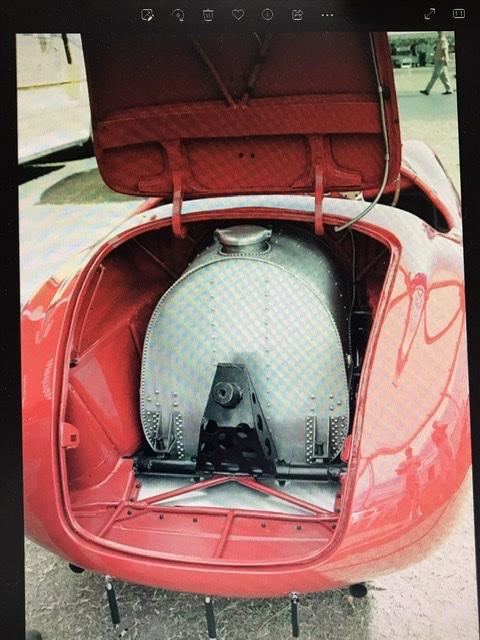
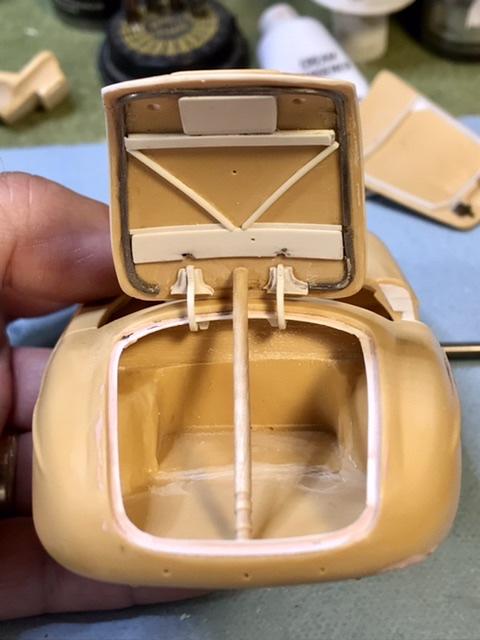
The trunk has some neat stuff in it …
-
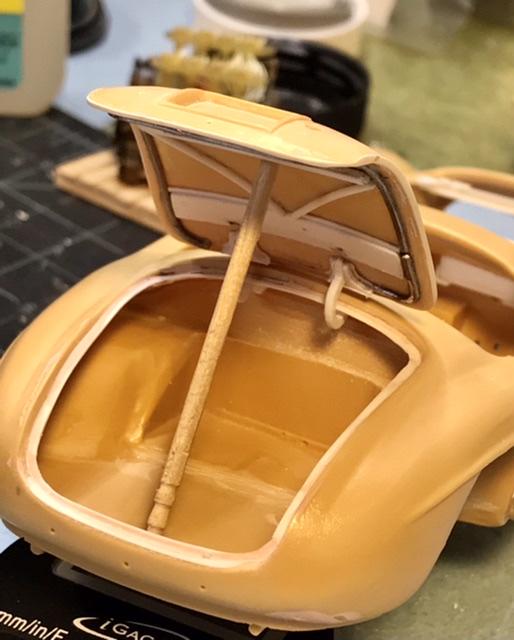
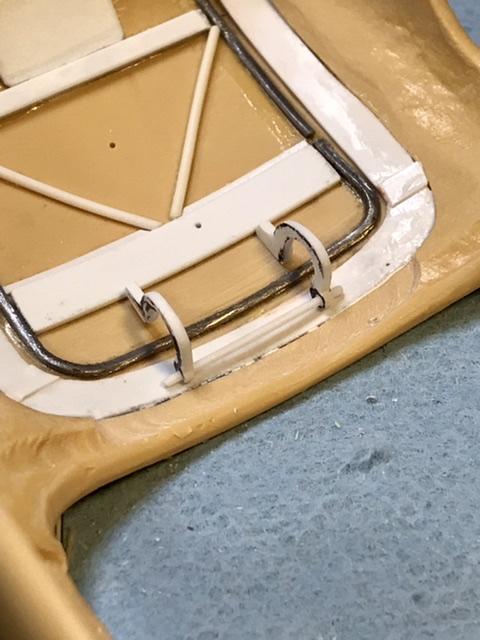
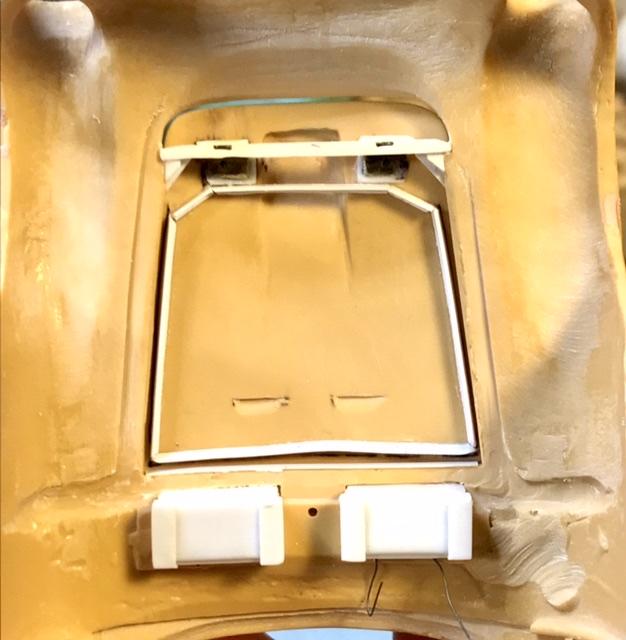
Alrighty - now the trunk opens for business ….
-
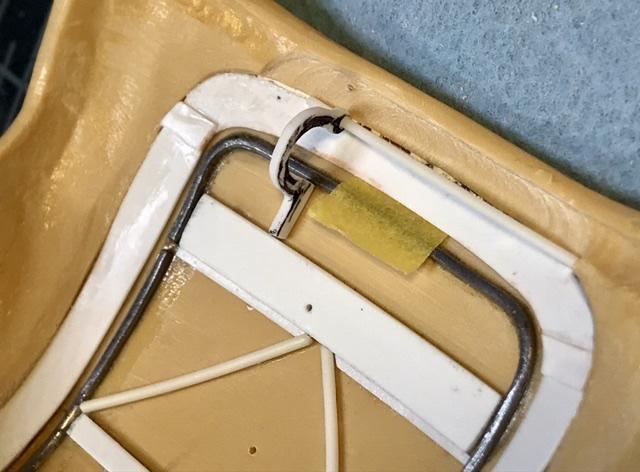
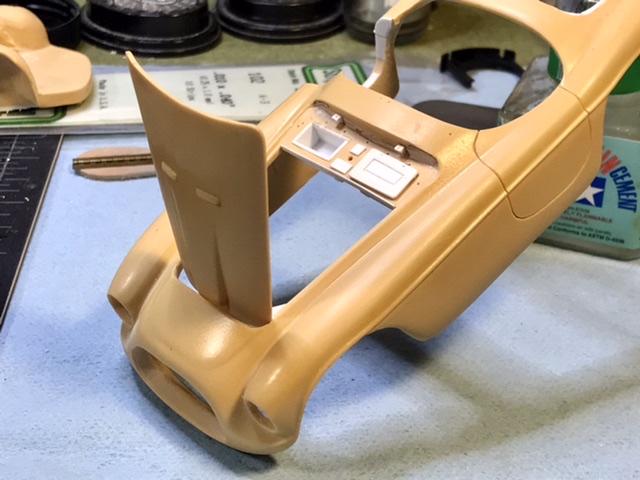
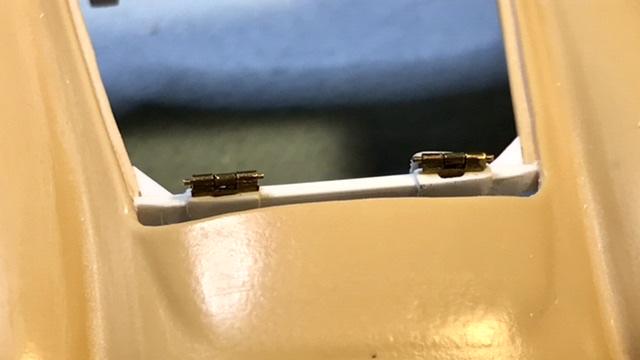
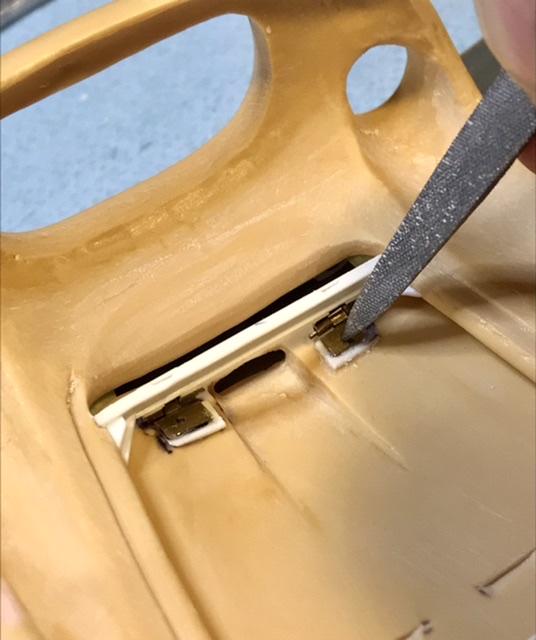
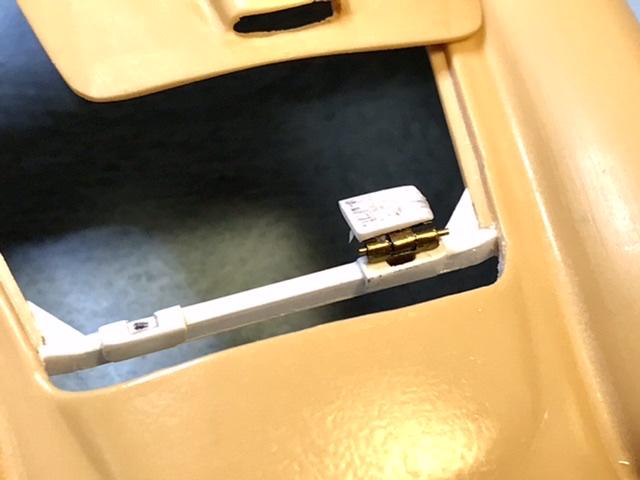
By attaching the assembly closer to the leading edge of the trunk - i should be able to open/close said trunk w/out interference …
-
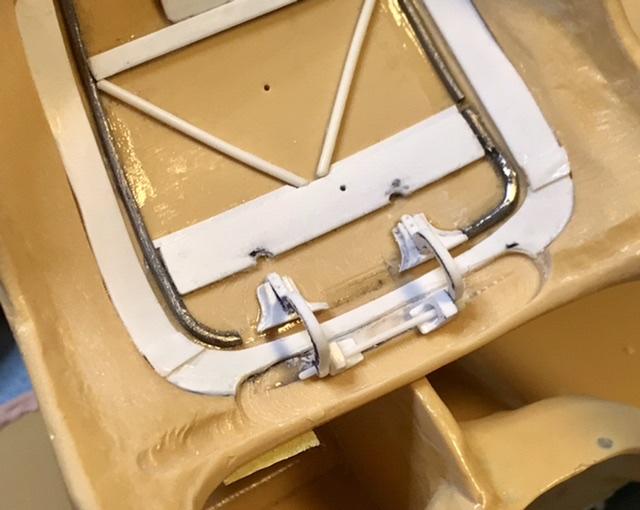
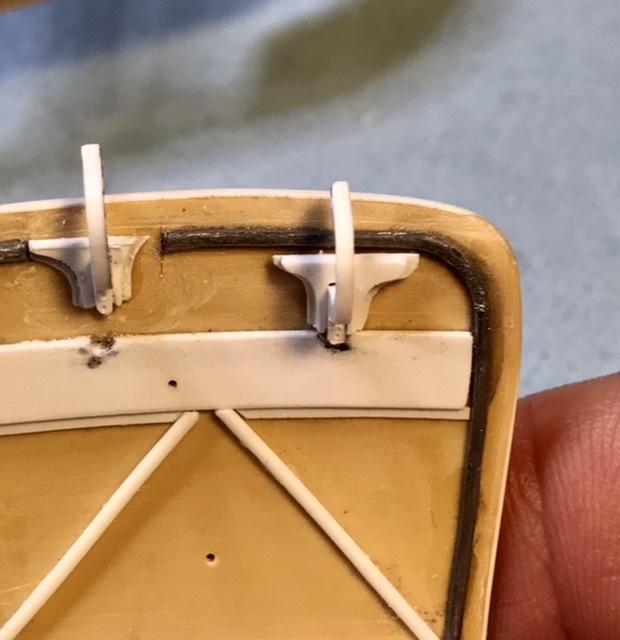
This hinge assembly was a fail - had to remove the hinges and move the assembly ….
-
Dustbunny ! welcome aboard …
-
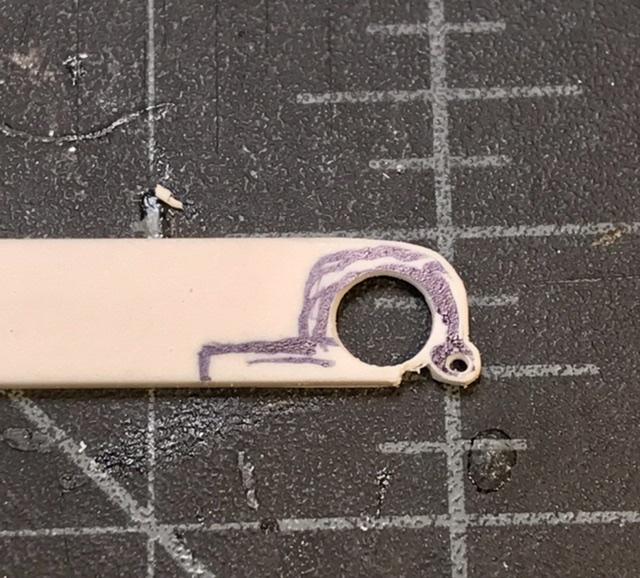
The hinges are fastened to the trunk lid in odd shaped brackets - the parts are reasonably large - i don’t think I will need to make these parts fr brass - the plastic should have adequate strength …
- 565 replies
-
- 1
-

-
- quarterman
- fisher
- (and 1 more)
-
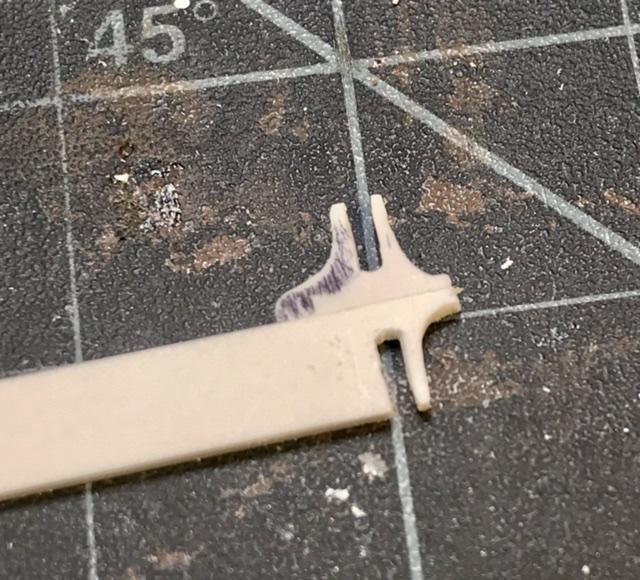
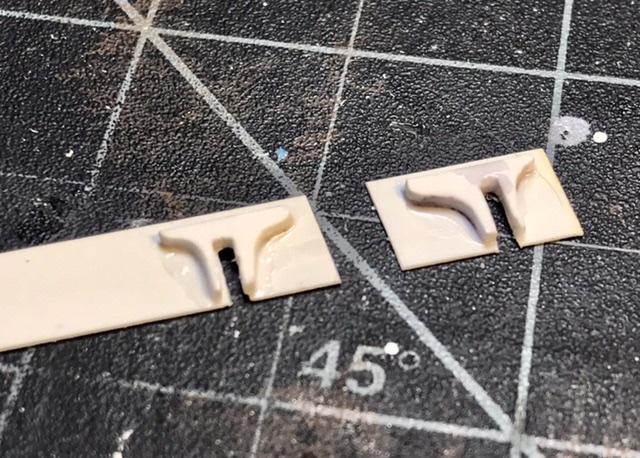
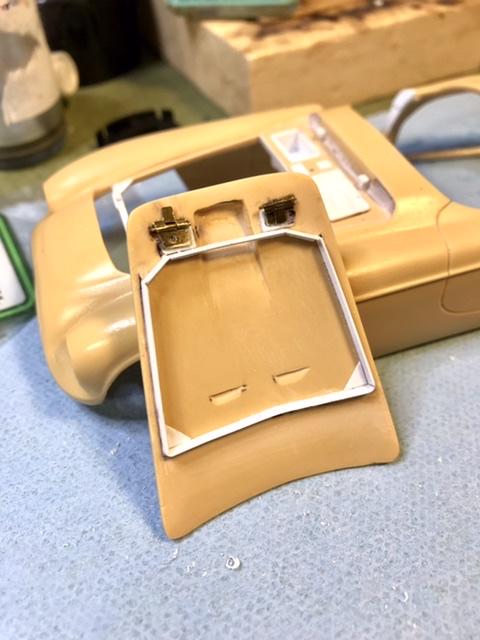
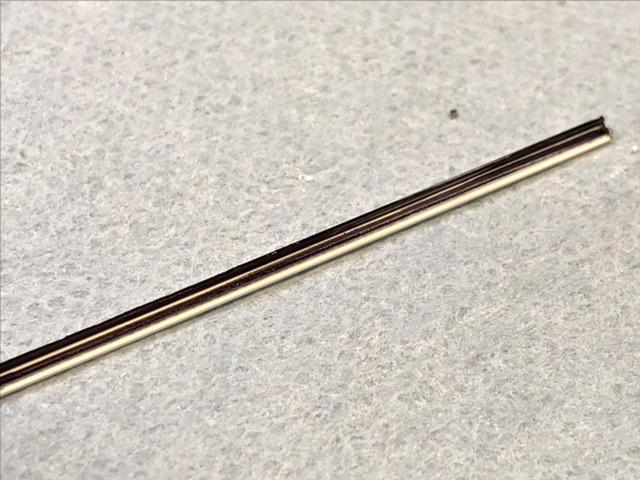
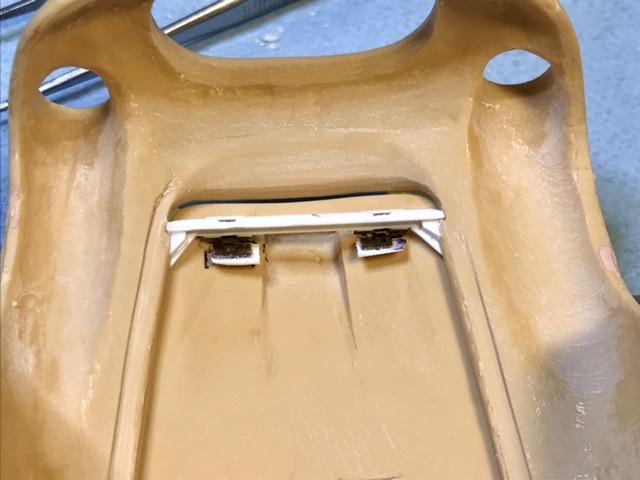
Now to the trunk hinges …. Made from .040 x .205 strip …
-
The strip should run back to the trailing edge of the bonnett - but the engine bulkhead doesn’t have scale depth - so the shape of my supports are a compromise - a scale casualty …
-
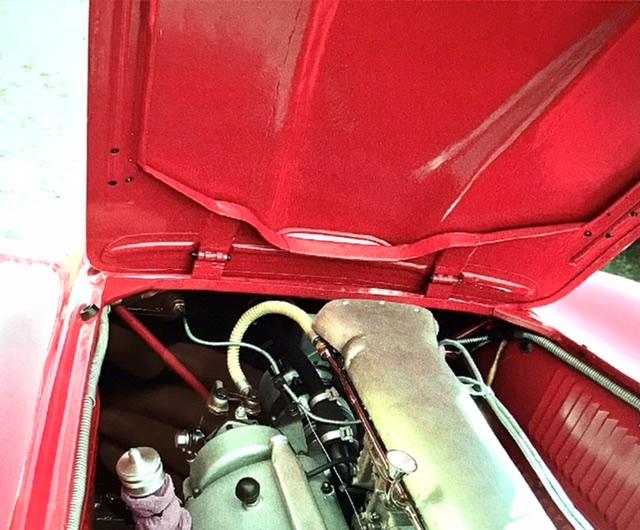
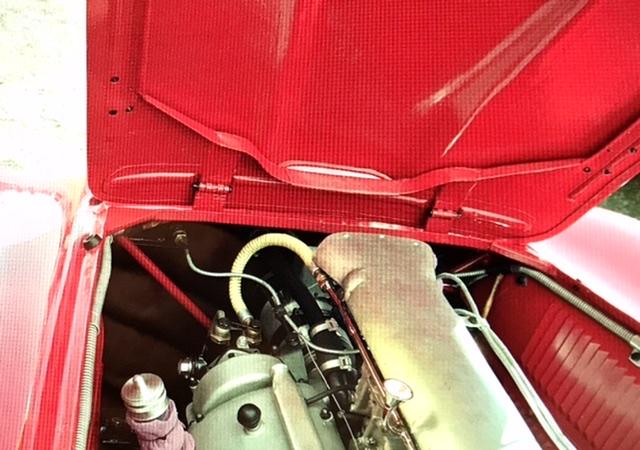
The underside of the bonnett has some support ribs - these w were made fr L shaped Evergreen strip - modified by reducing the dimension of one surface - hard to see on the photo - i temp glued some .015 strip into the “L” - and used that as a guide to scrape material fr one surface - clear as mud? - so one surface is .060 and the facing surface is about .040 …
-
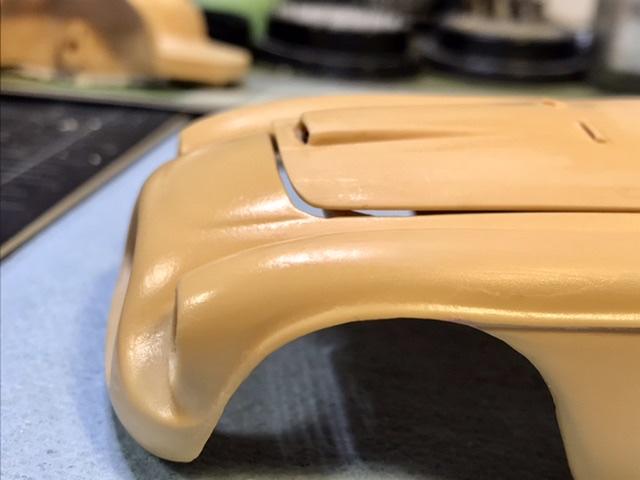
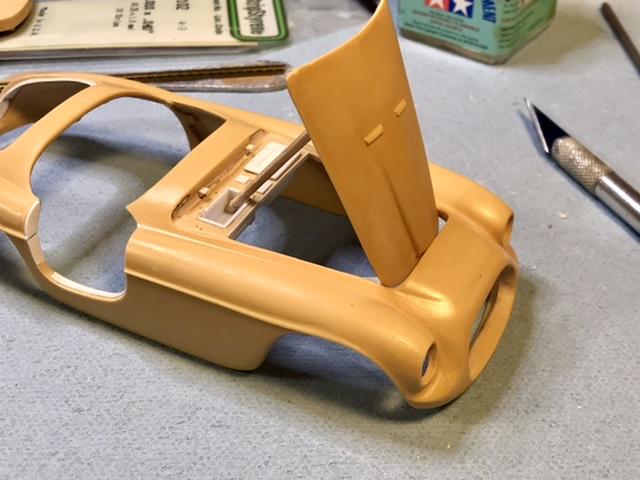
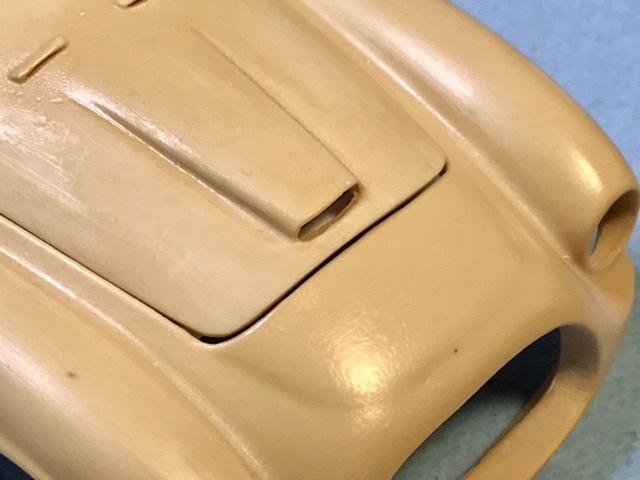
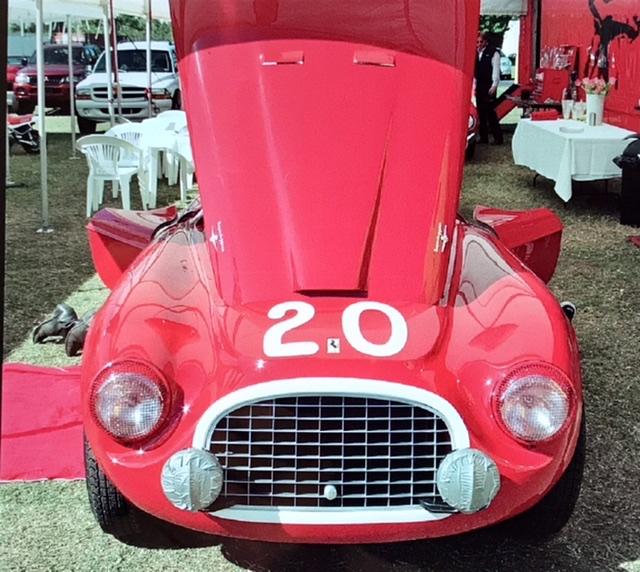
In the closed position the leading edge of the bonnett sits about .030 above the trailing edge of the nose cowl - i think there is a fix for this - would anyone like to hazard a guess ???
-
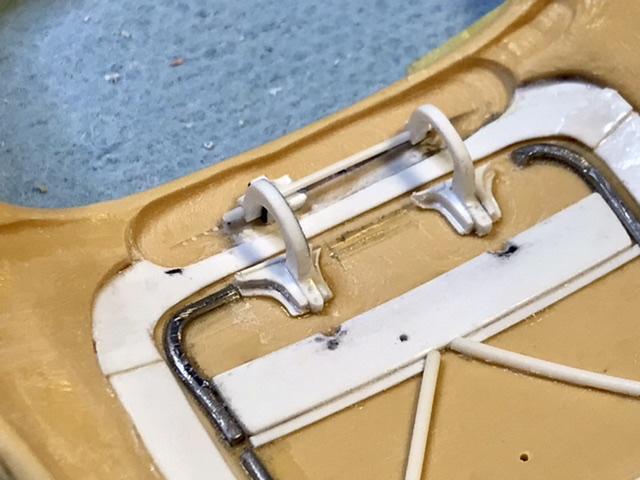
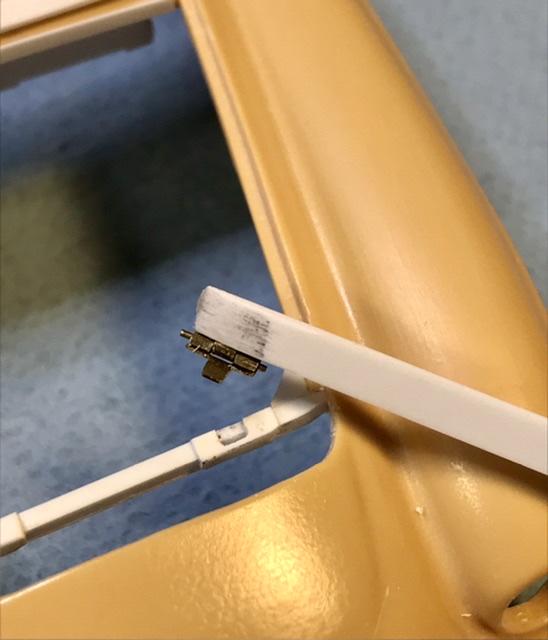
The arrangement worked well enough for me to open and close the bonnett without drama - but …
-
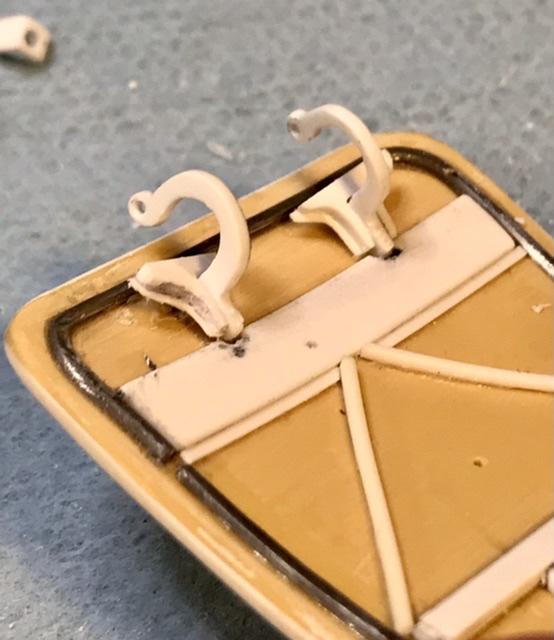
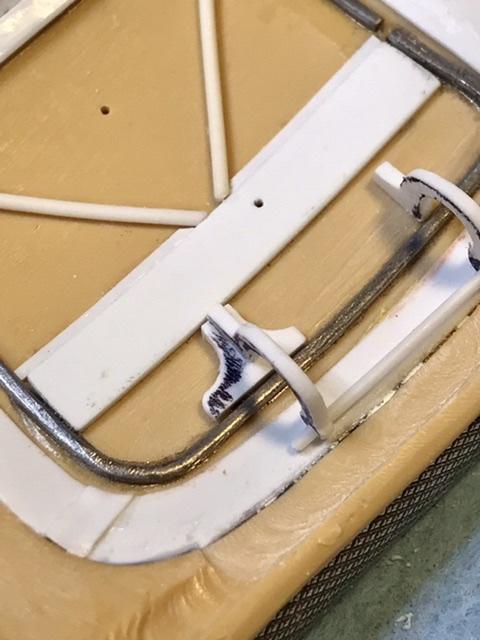
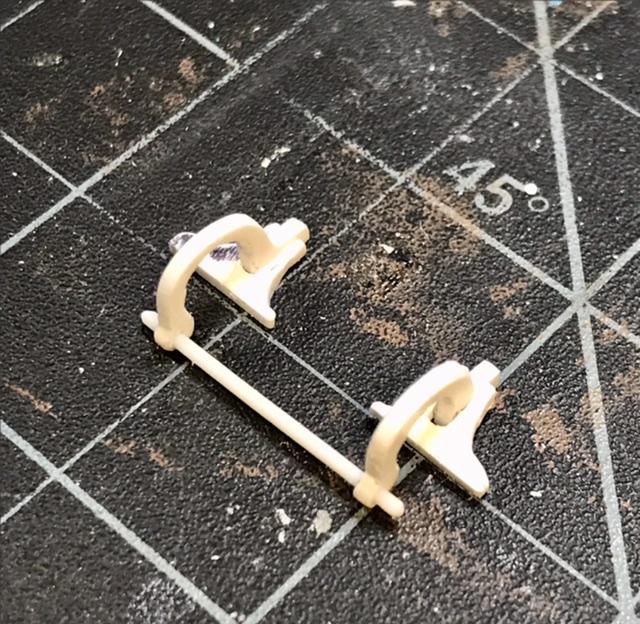
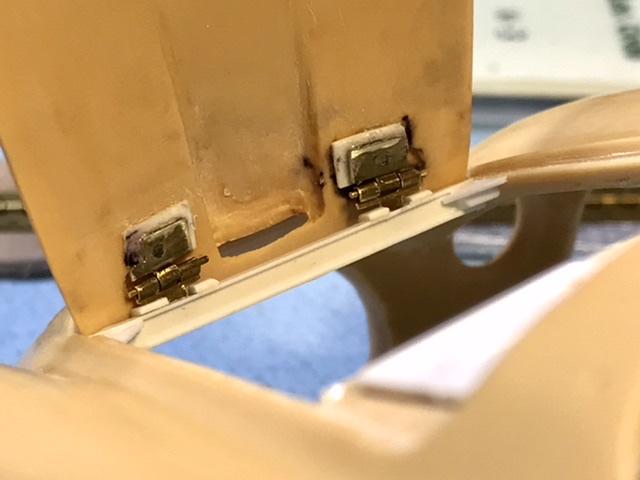
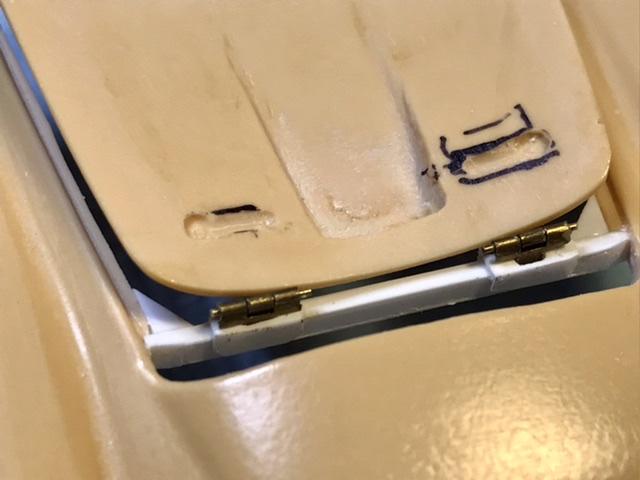
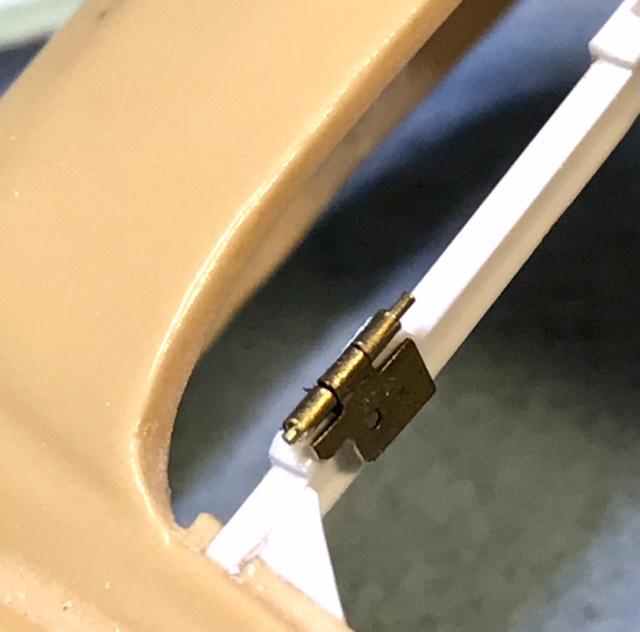
The tabs on the hinges allow me to slip the hinges in and out of the brace as i fiddled around with the fit - and eventually got a reasonable alignment that allows me to CA glue the hinges to the bonnett …
-
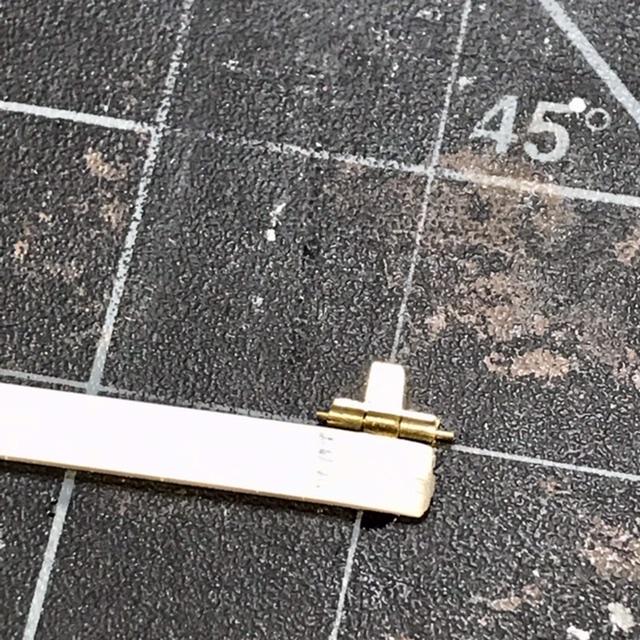
So i removed two short lengths of the piano style hinge - and glued on a strip of Evergreen and shaped the hinge to slip into the openings in the cross brace that i made two months ago …
-
So 0010’s bonnett uses two door style hinges that are attached to a cross brace in the forward eng compartment - the Shirley family went to great lengths in their restoration of 0010 - so this is probably accurate …
-
Gracias 0010 has a bonnett that opens with the leading edge ducking down below the trailing edge of the nose cowling - This actually is a different arrangement than the bonnett on the more famous chass 0008 - the Lemans winner …