Tommy124
-
Posts
1,648 -
Joined
-
Last visited
Content Type
Profiles
Forums
Events
Gallery
Everything posted by Tommy124
-
Happy new year, and many thanks! In fact, this is the old Otaki kit re-released by Arii later on. Built it strictly curbside style, even though it come with the parts to built the engine. Doors can be built open, too. But everything below the body should stay hidden as much as possible with this kit. I really like the body and the wheels though.
-
A great save and another beautiful Caddy from your capable hands!
-
A very productive year resulting into a nice range of beautiful models. Well done!
-
This is looking very nice, well done!
-
I completely agree!
-
Great, this is a top build of probably the best kit for this gen Nissan „Z“ type! Great paint job and detail work! I made my own attempt on the Fujimi kit some years ago, if I am allowed to show:
-
Many thanks once again, I appreciate it!
-
Thank you, Stephen!
-
Many thanks, appreciate it!
-
Many thanks guys!
-
Thanks a lot Anders, appreciate it!
-
Thanks Carl and Sonny!
-
Many thanks again guys, much appreciated!
-
Nice build and a nice color. It does seem to have a touch of "lilac" in it. What Tamiya color is that?
-
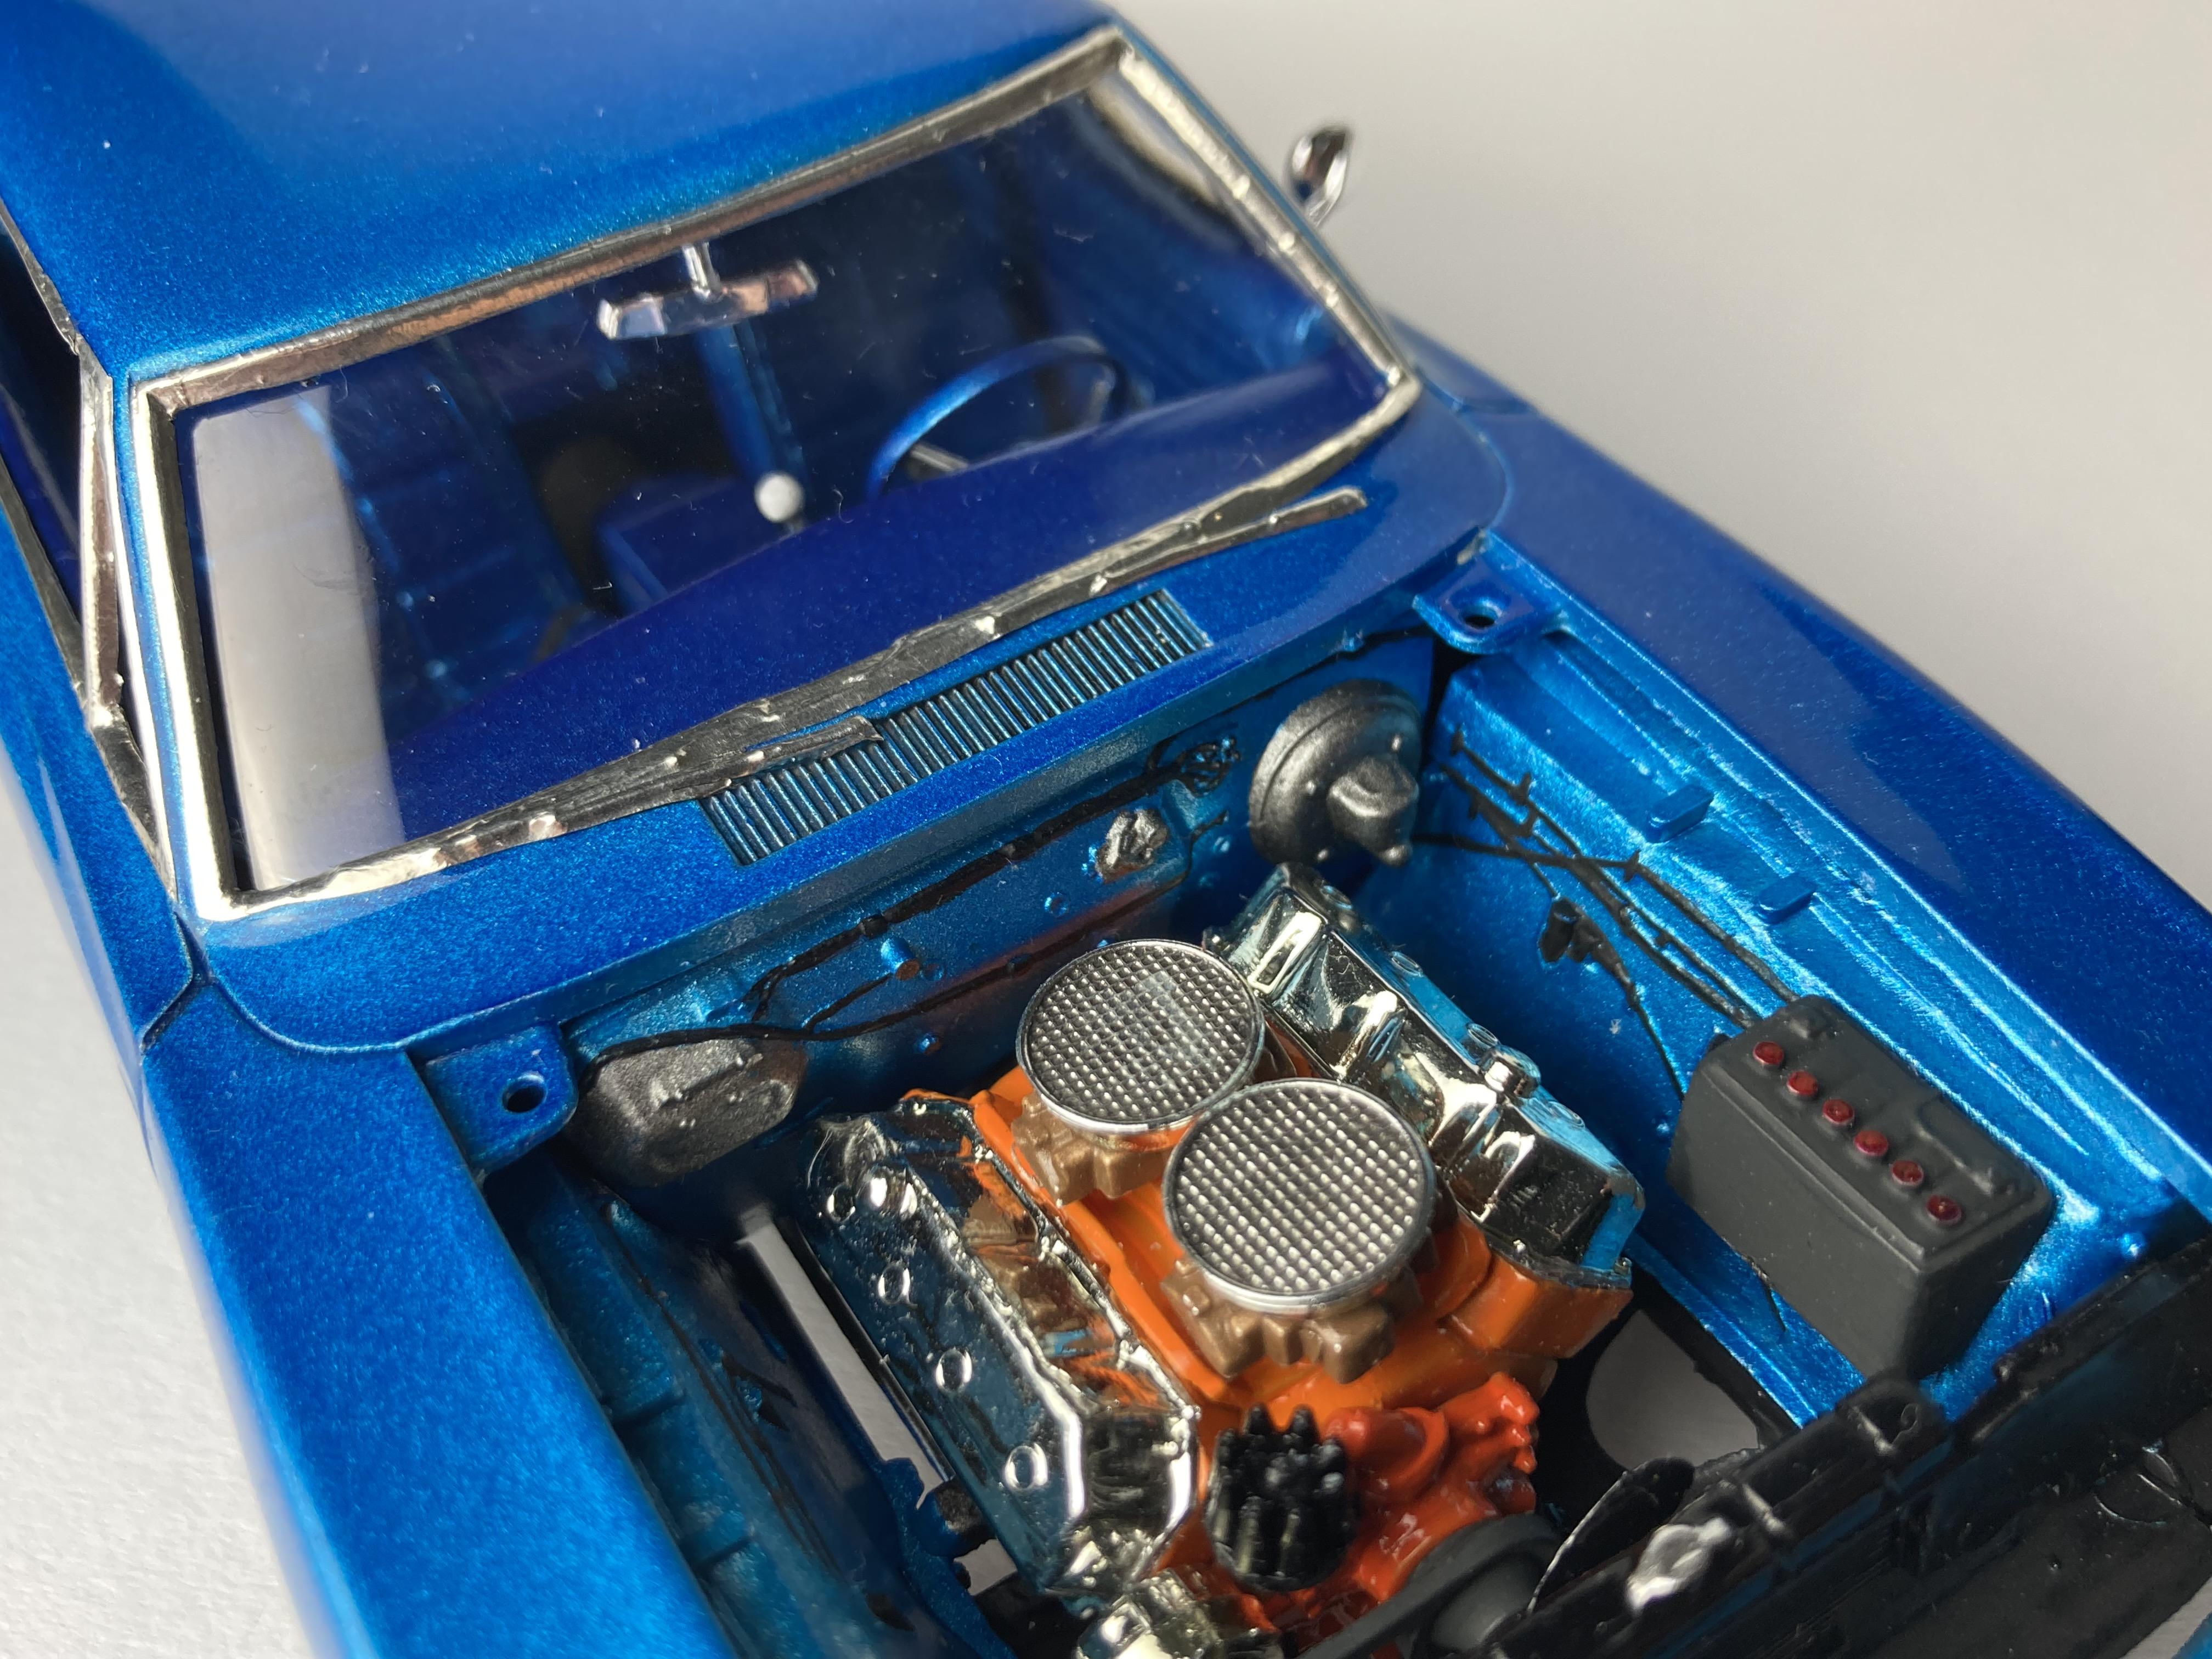
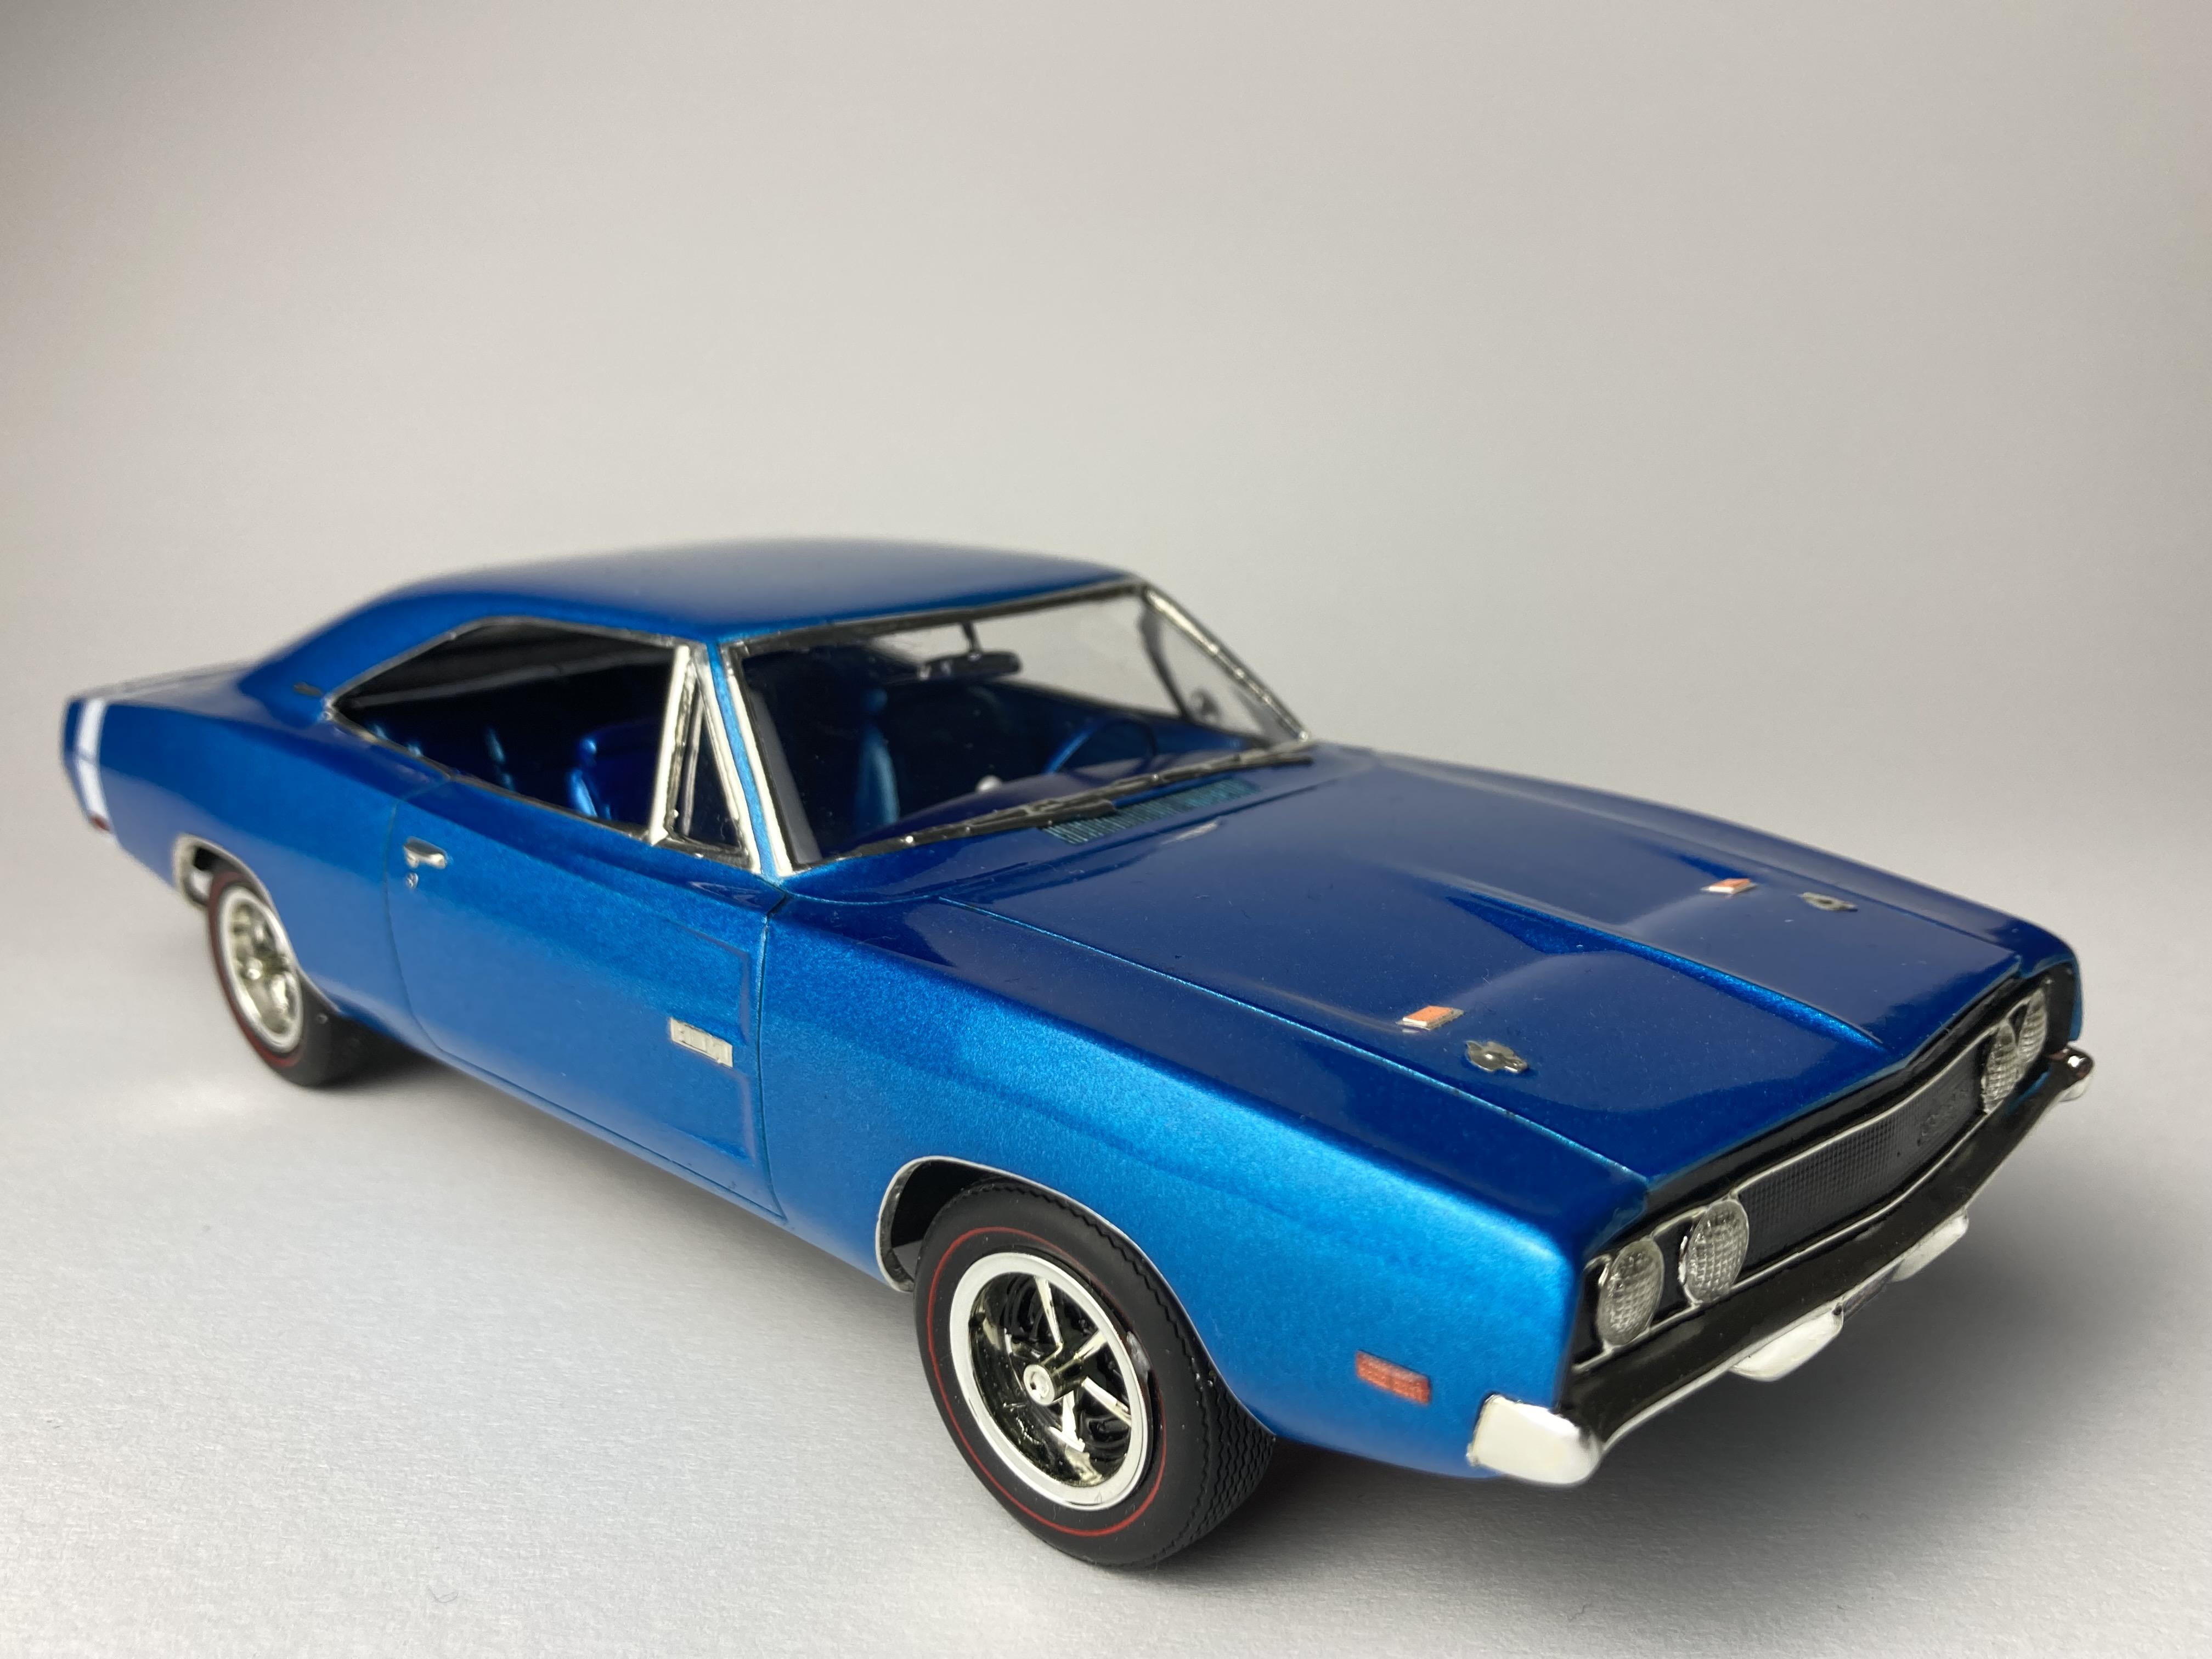
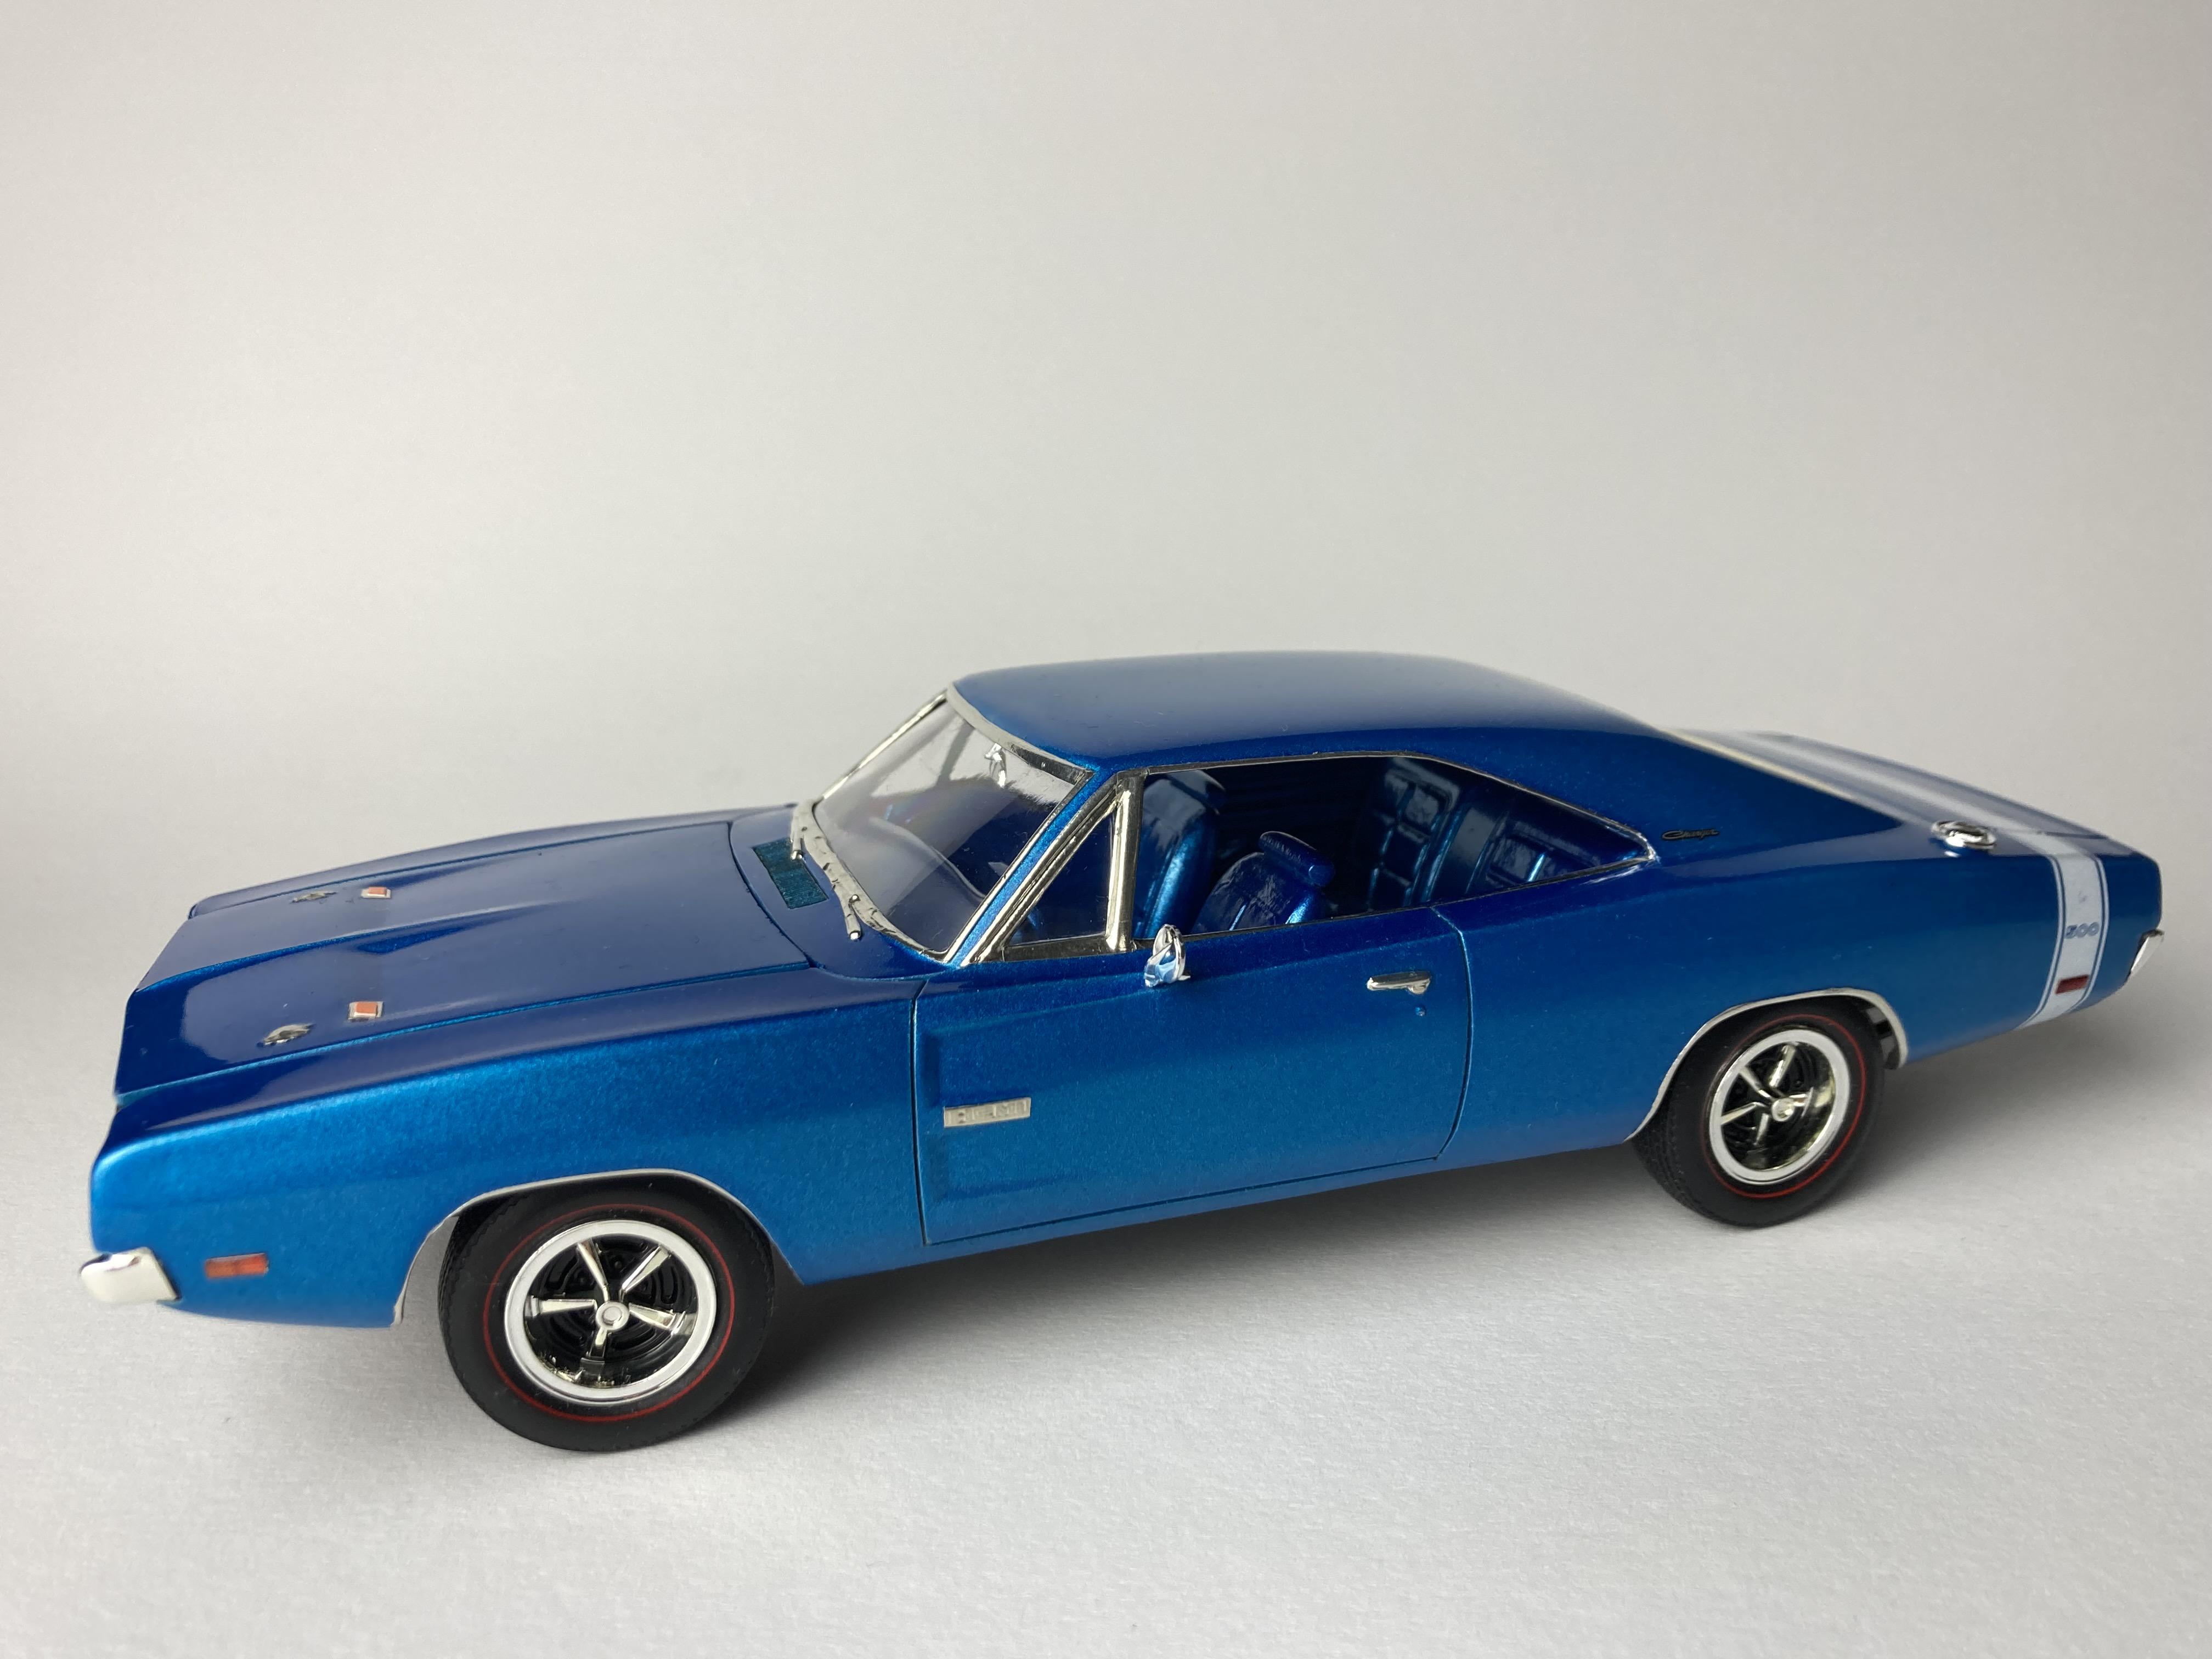
Thanks for your kind words! Your positive feedback makes up for the trouble I have been through with this kit! Thanks Claude! I'm not too big a custom fan myself, but in this case I am happy with the result and the look. To make this work, I actually had to remove some parts from the drivetrain. So this is not at all an accurate model, from a technical viewpoint. ? Thanks Peter. I used regular BMF "chrome" although I find its quality a bit inconsistant these days. Thanks a lot Bill! Too bad about the taillight, but I am sure you can cast the missing part with the aid of the existing one. It's a pretty simple part after all!
-
Great pair! I like the before-version of the Firebird better than the one of the Camaro. But after your treatment, the FB got even nicer and the Camaro is a real stunner now!
-

Fujimi 1/24 Abarth 695 x 2 + Fiat 500 Abarth Esseesse
Tommy124 replied to ATHU's topic in Model Cars
Hi Anders, really not my type of car, BUT... excellent work on ALL of them! And a great variety of different looks, too. I guess it takes quite some enthusiasm to build the same type of car three times... well done! -
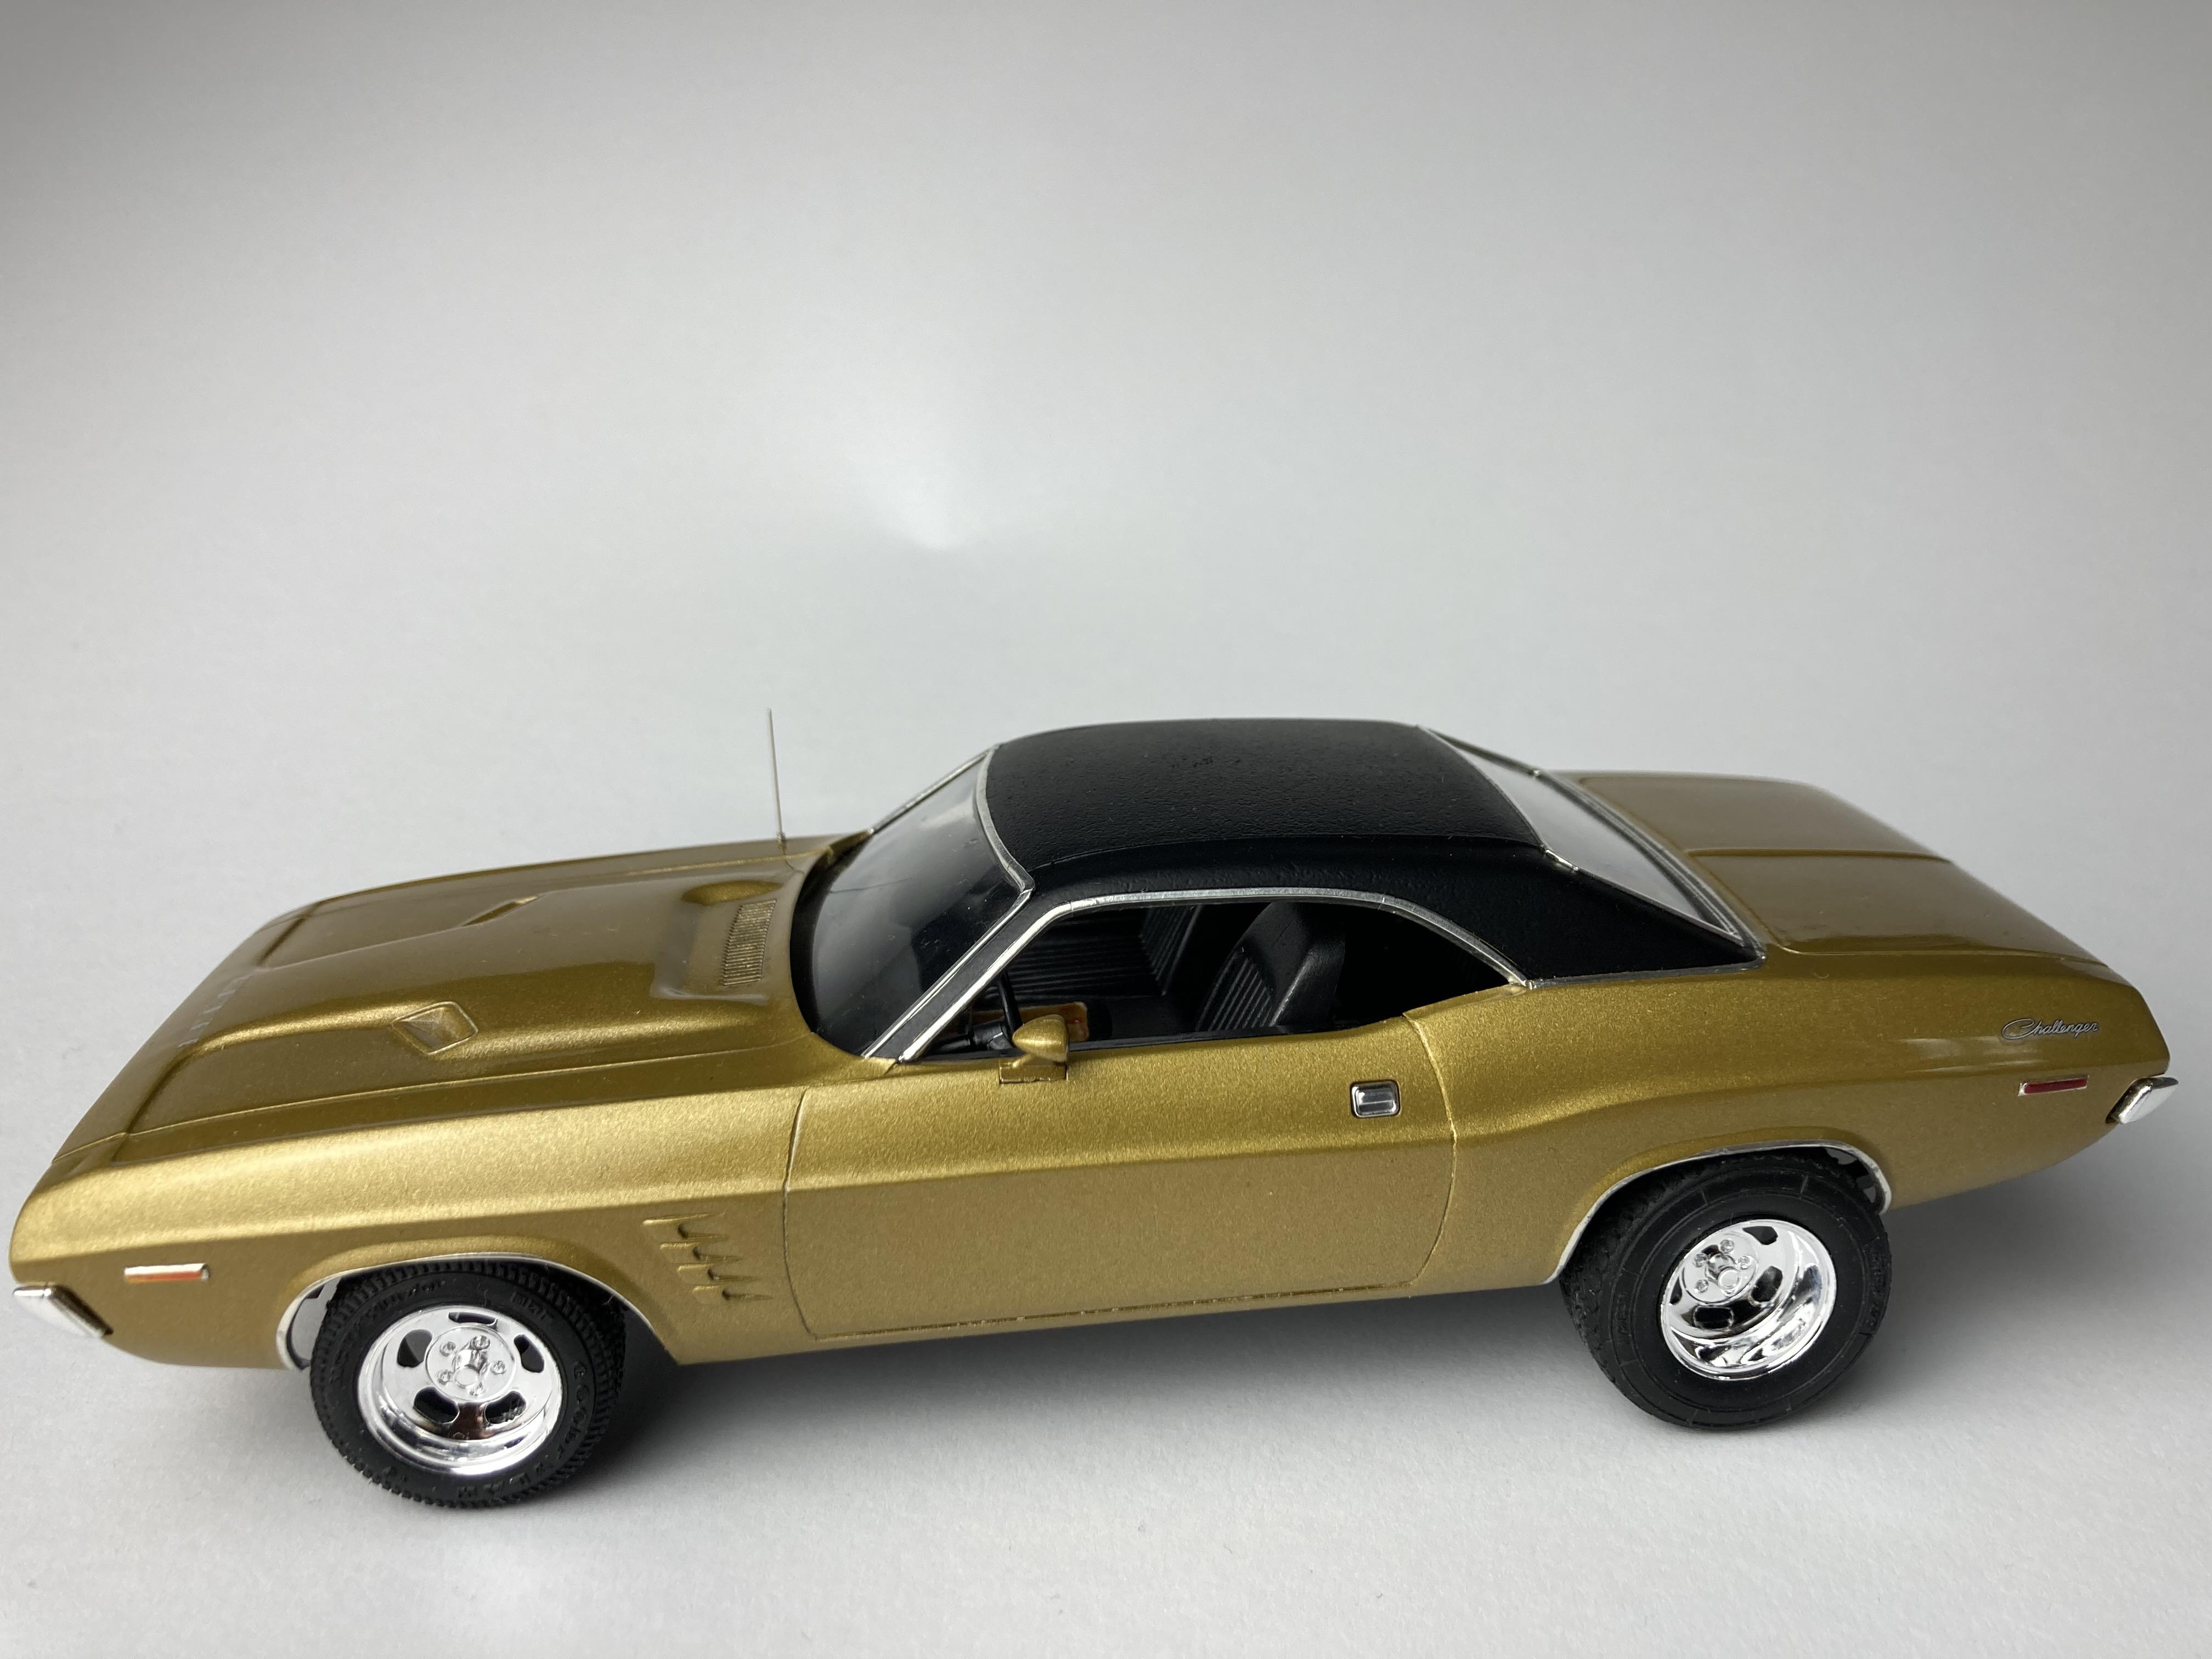
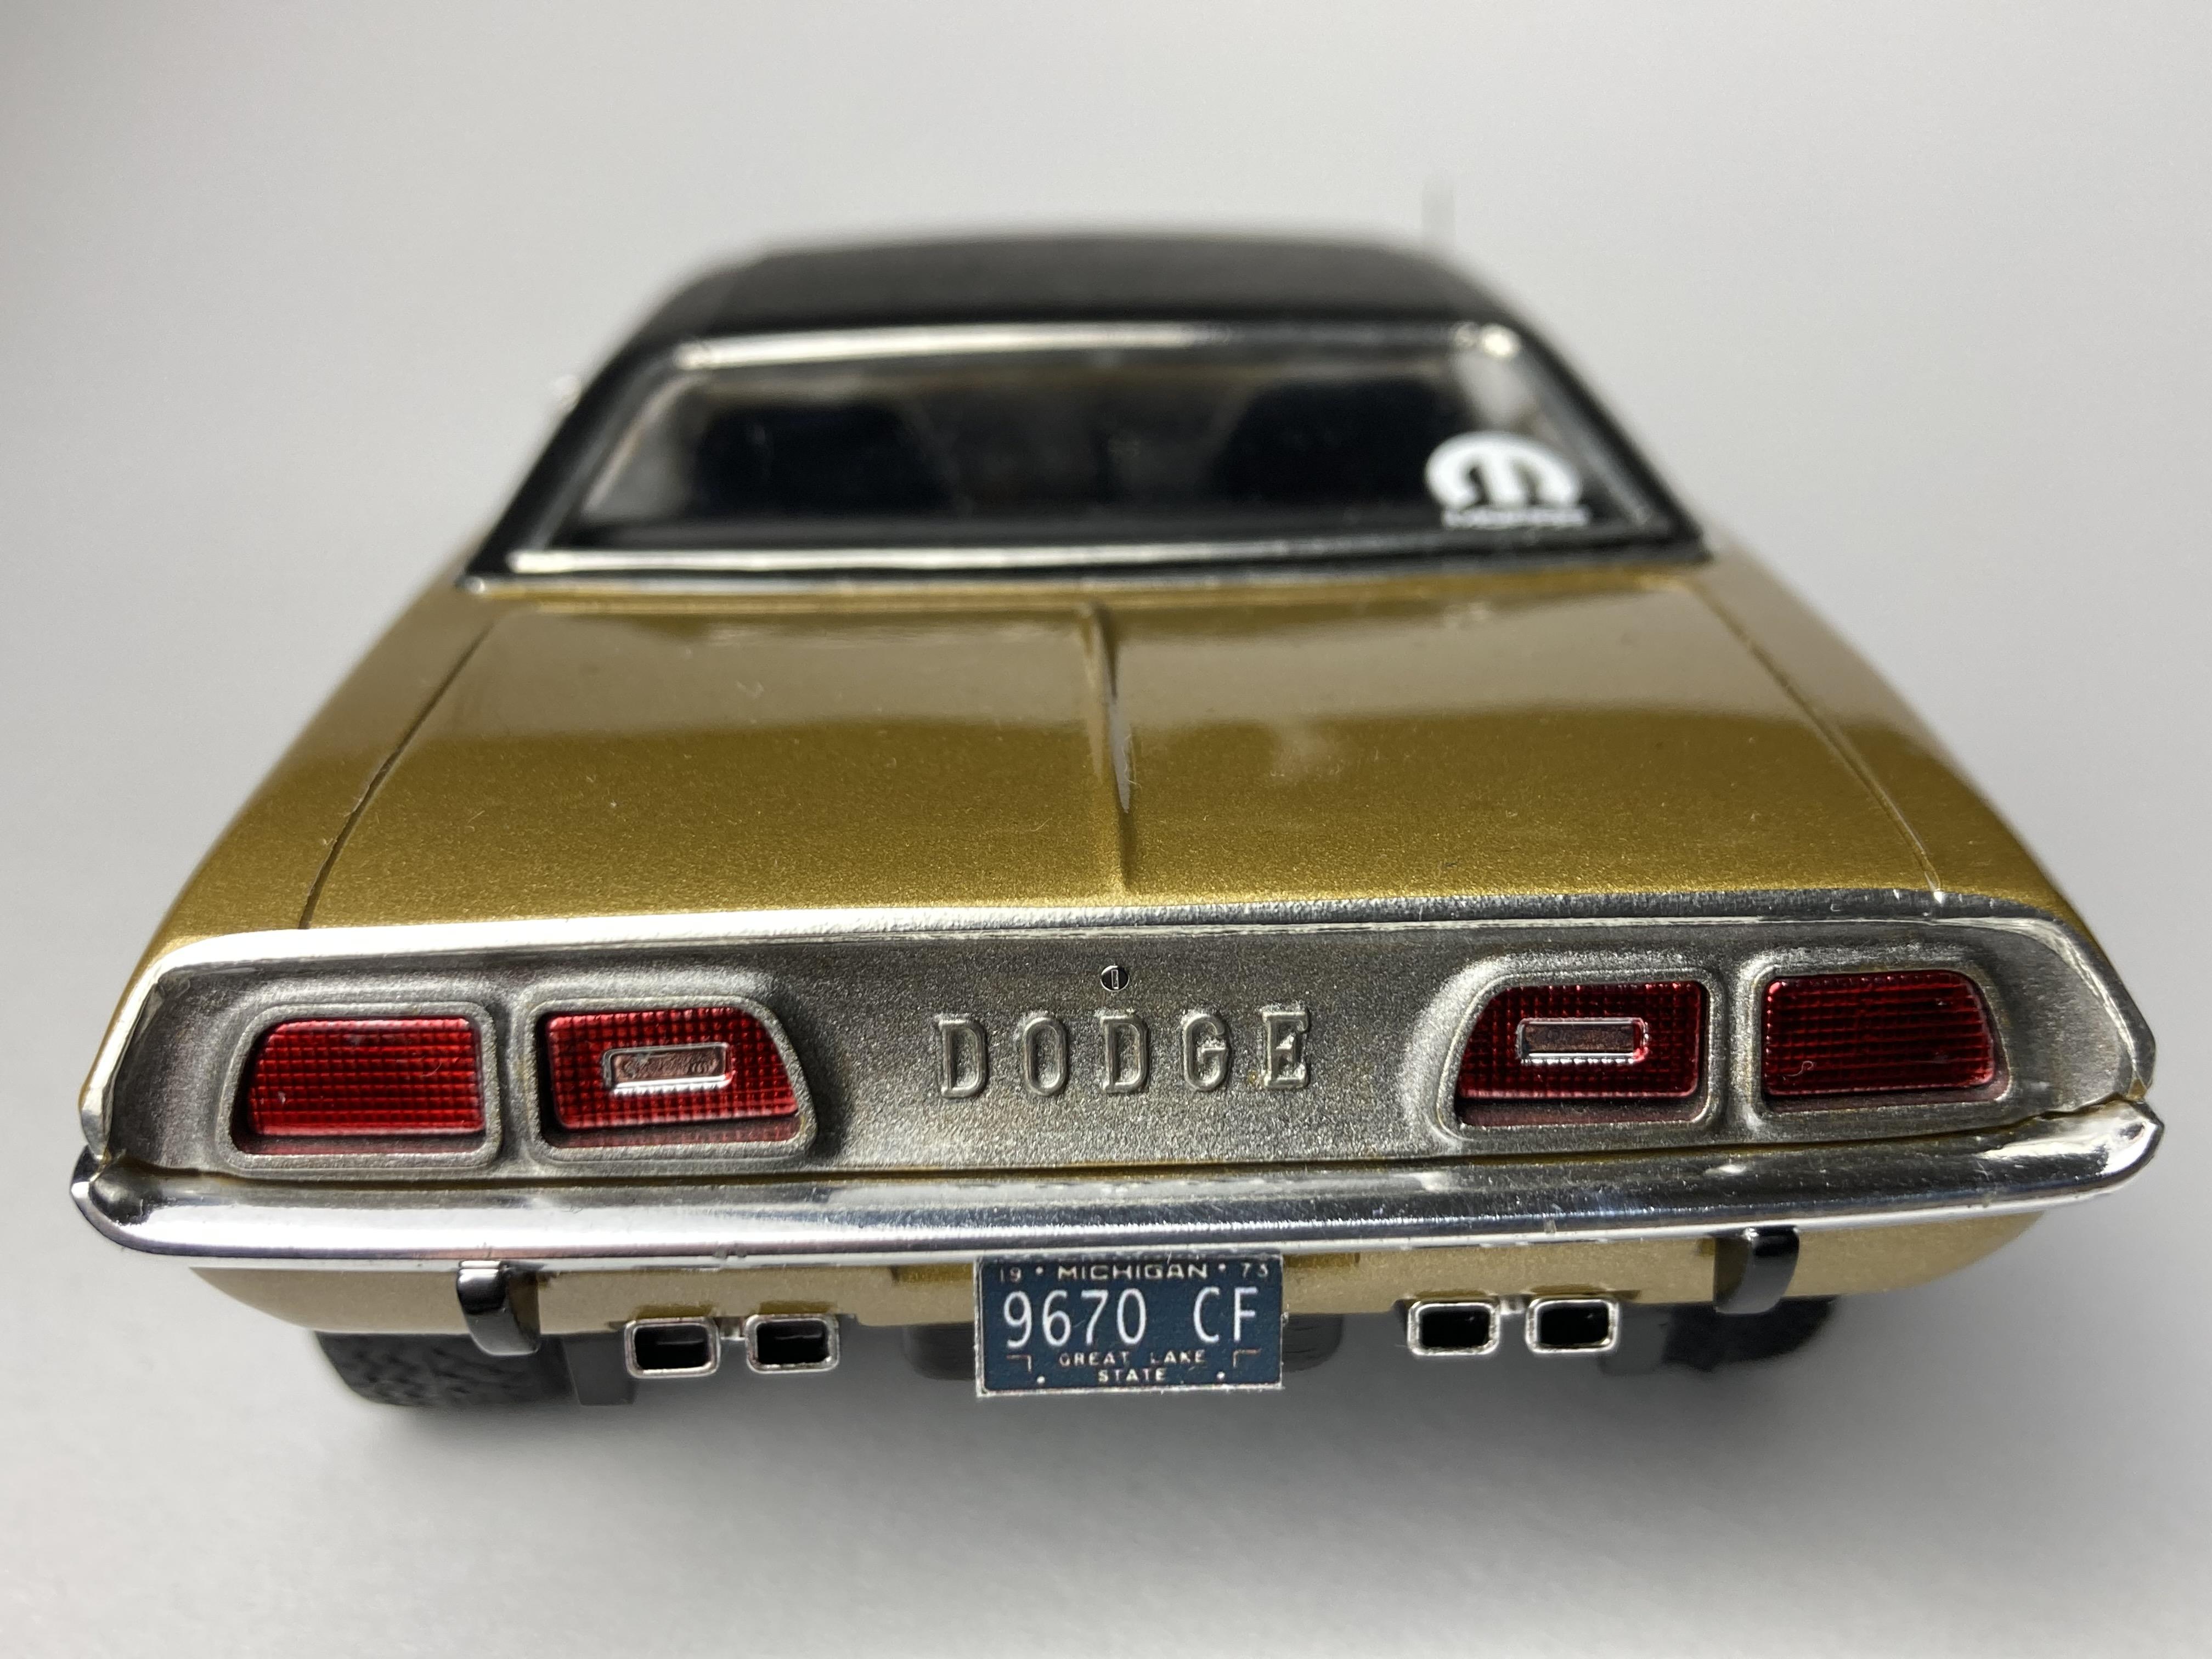
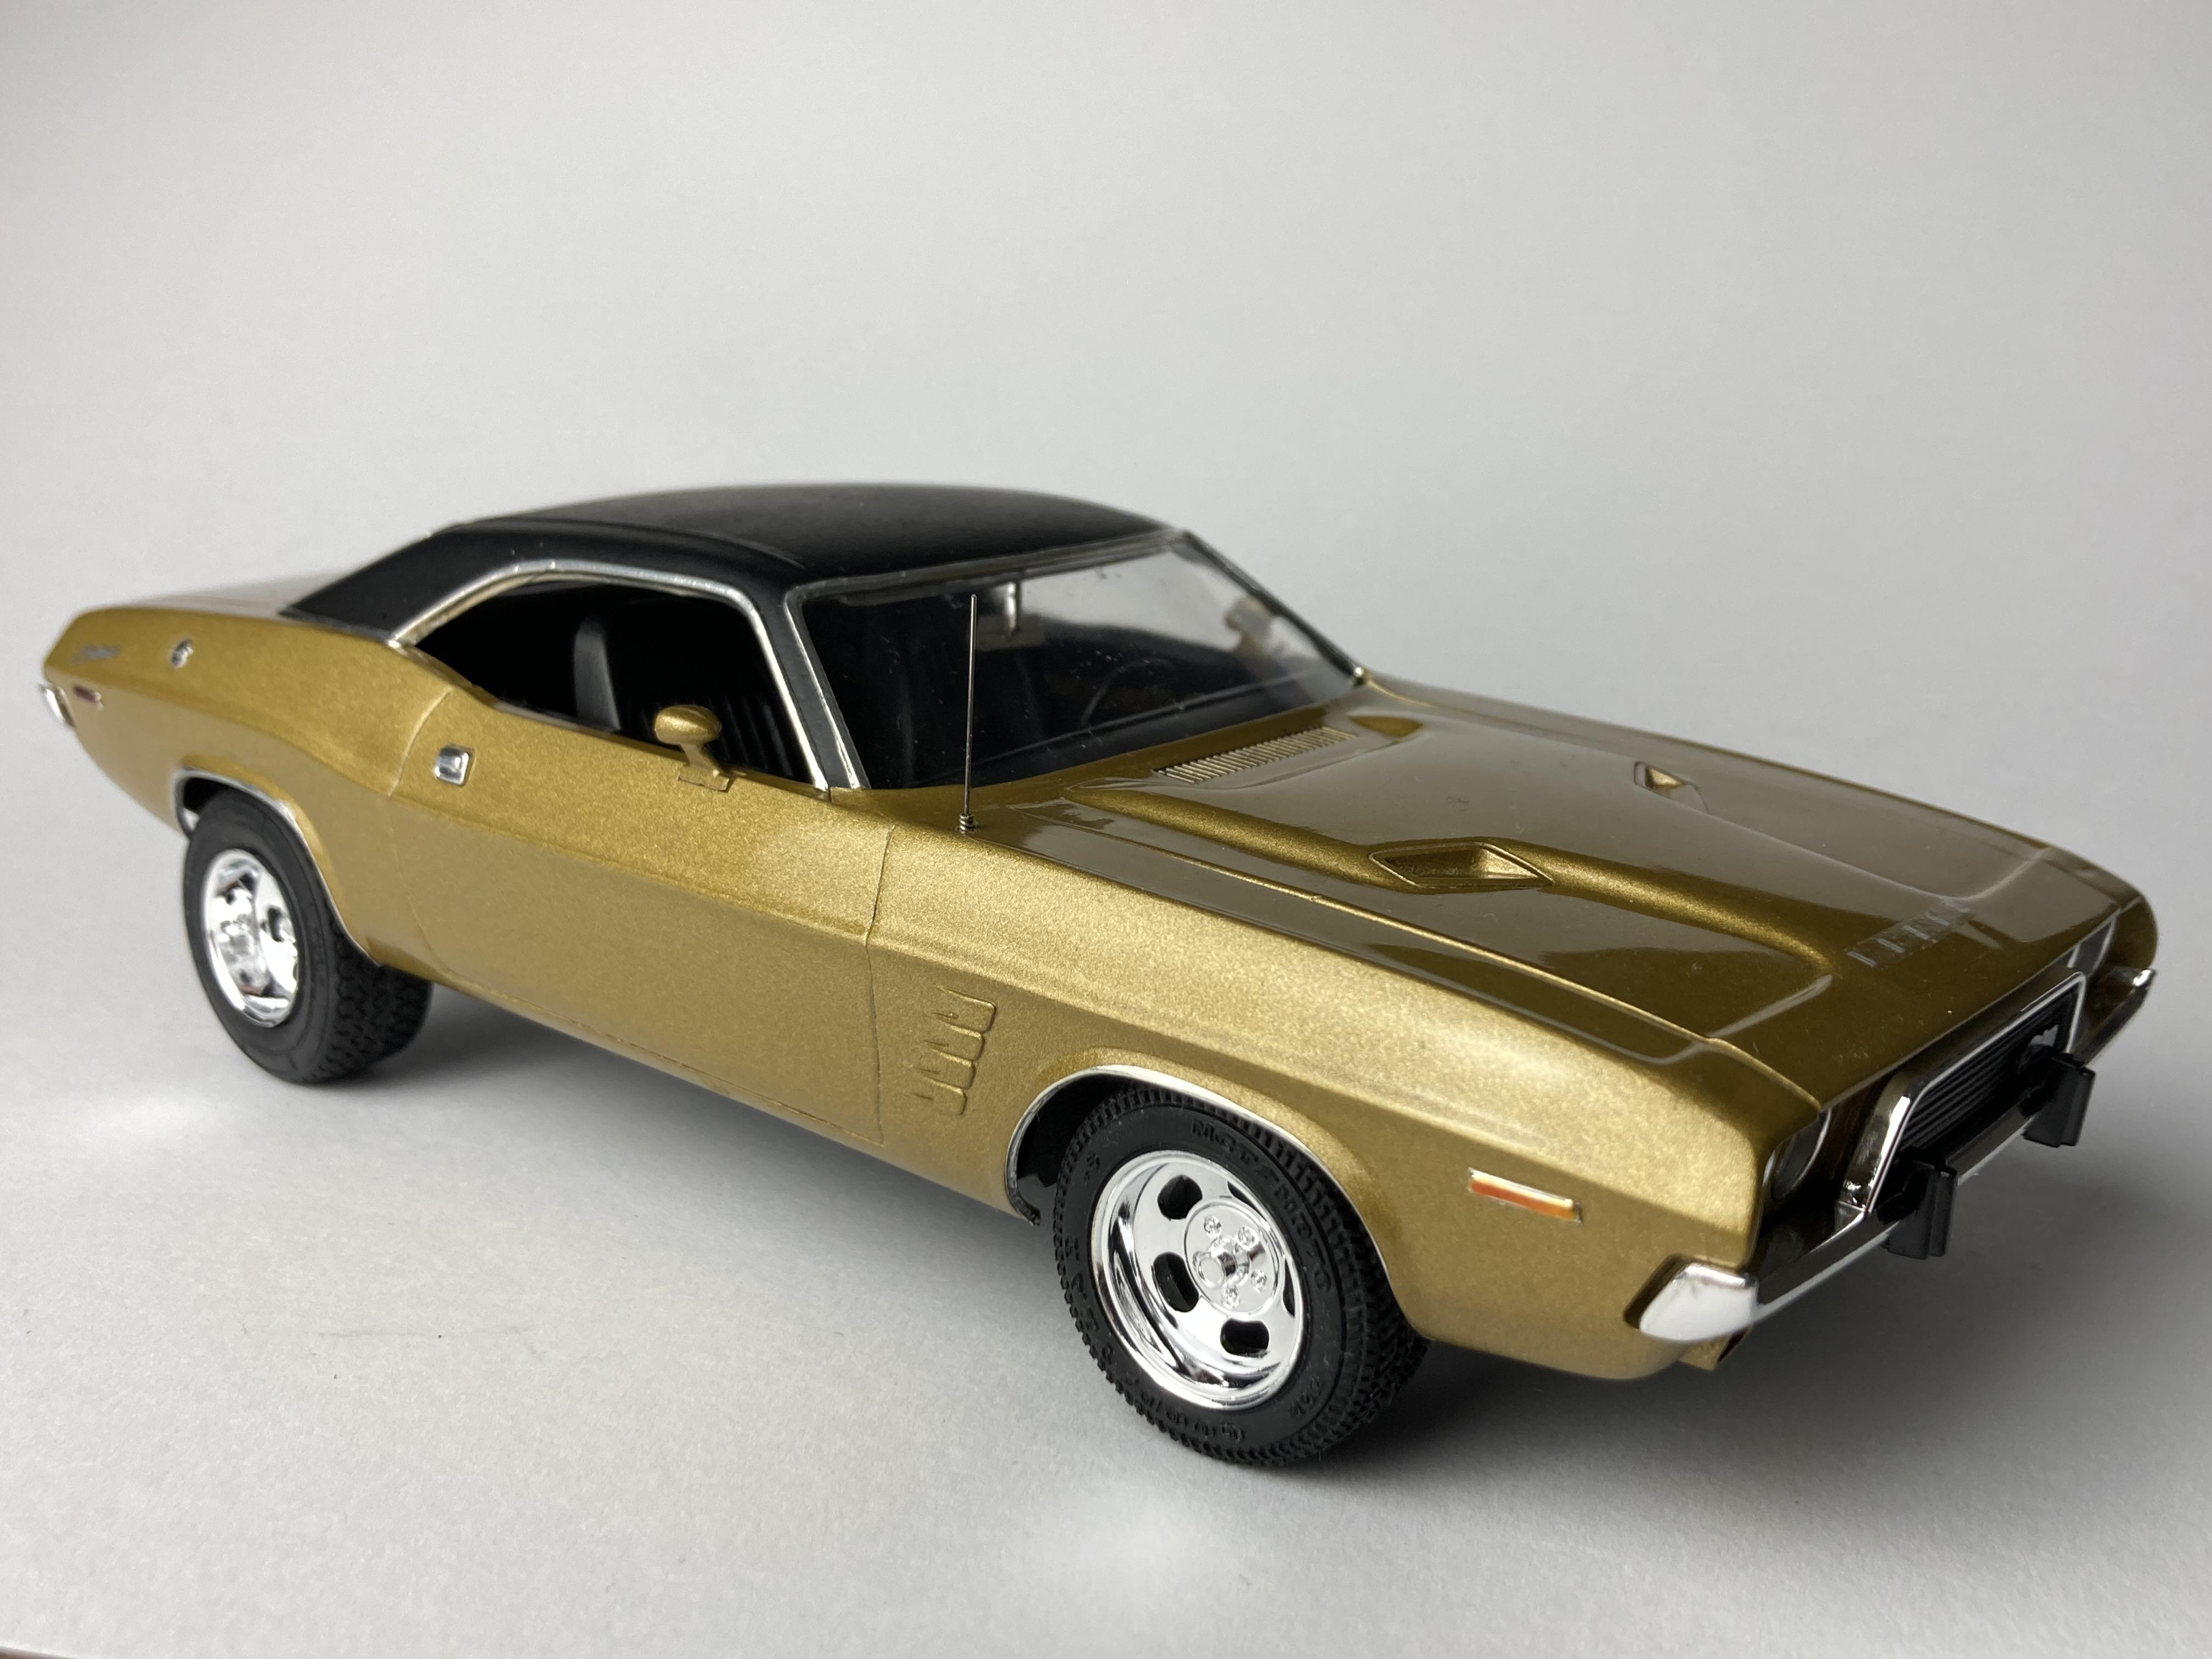
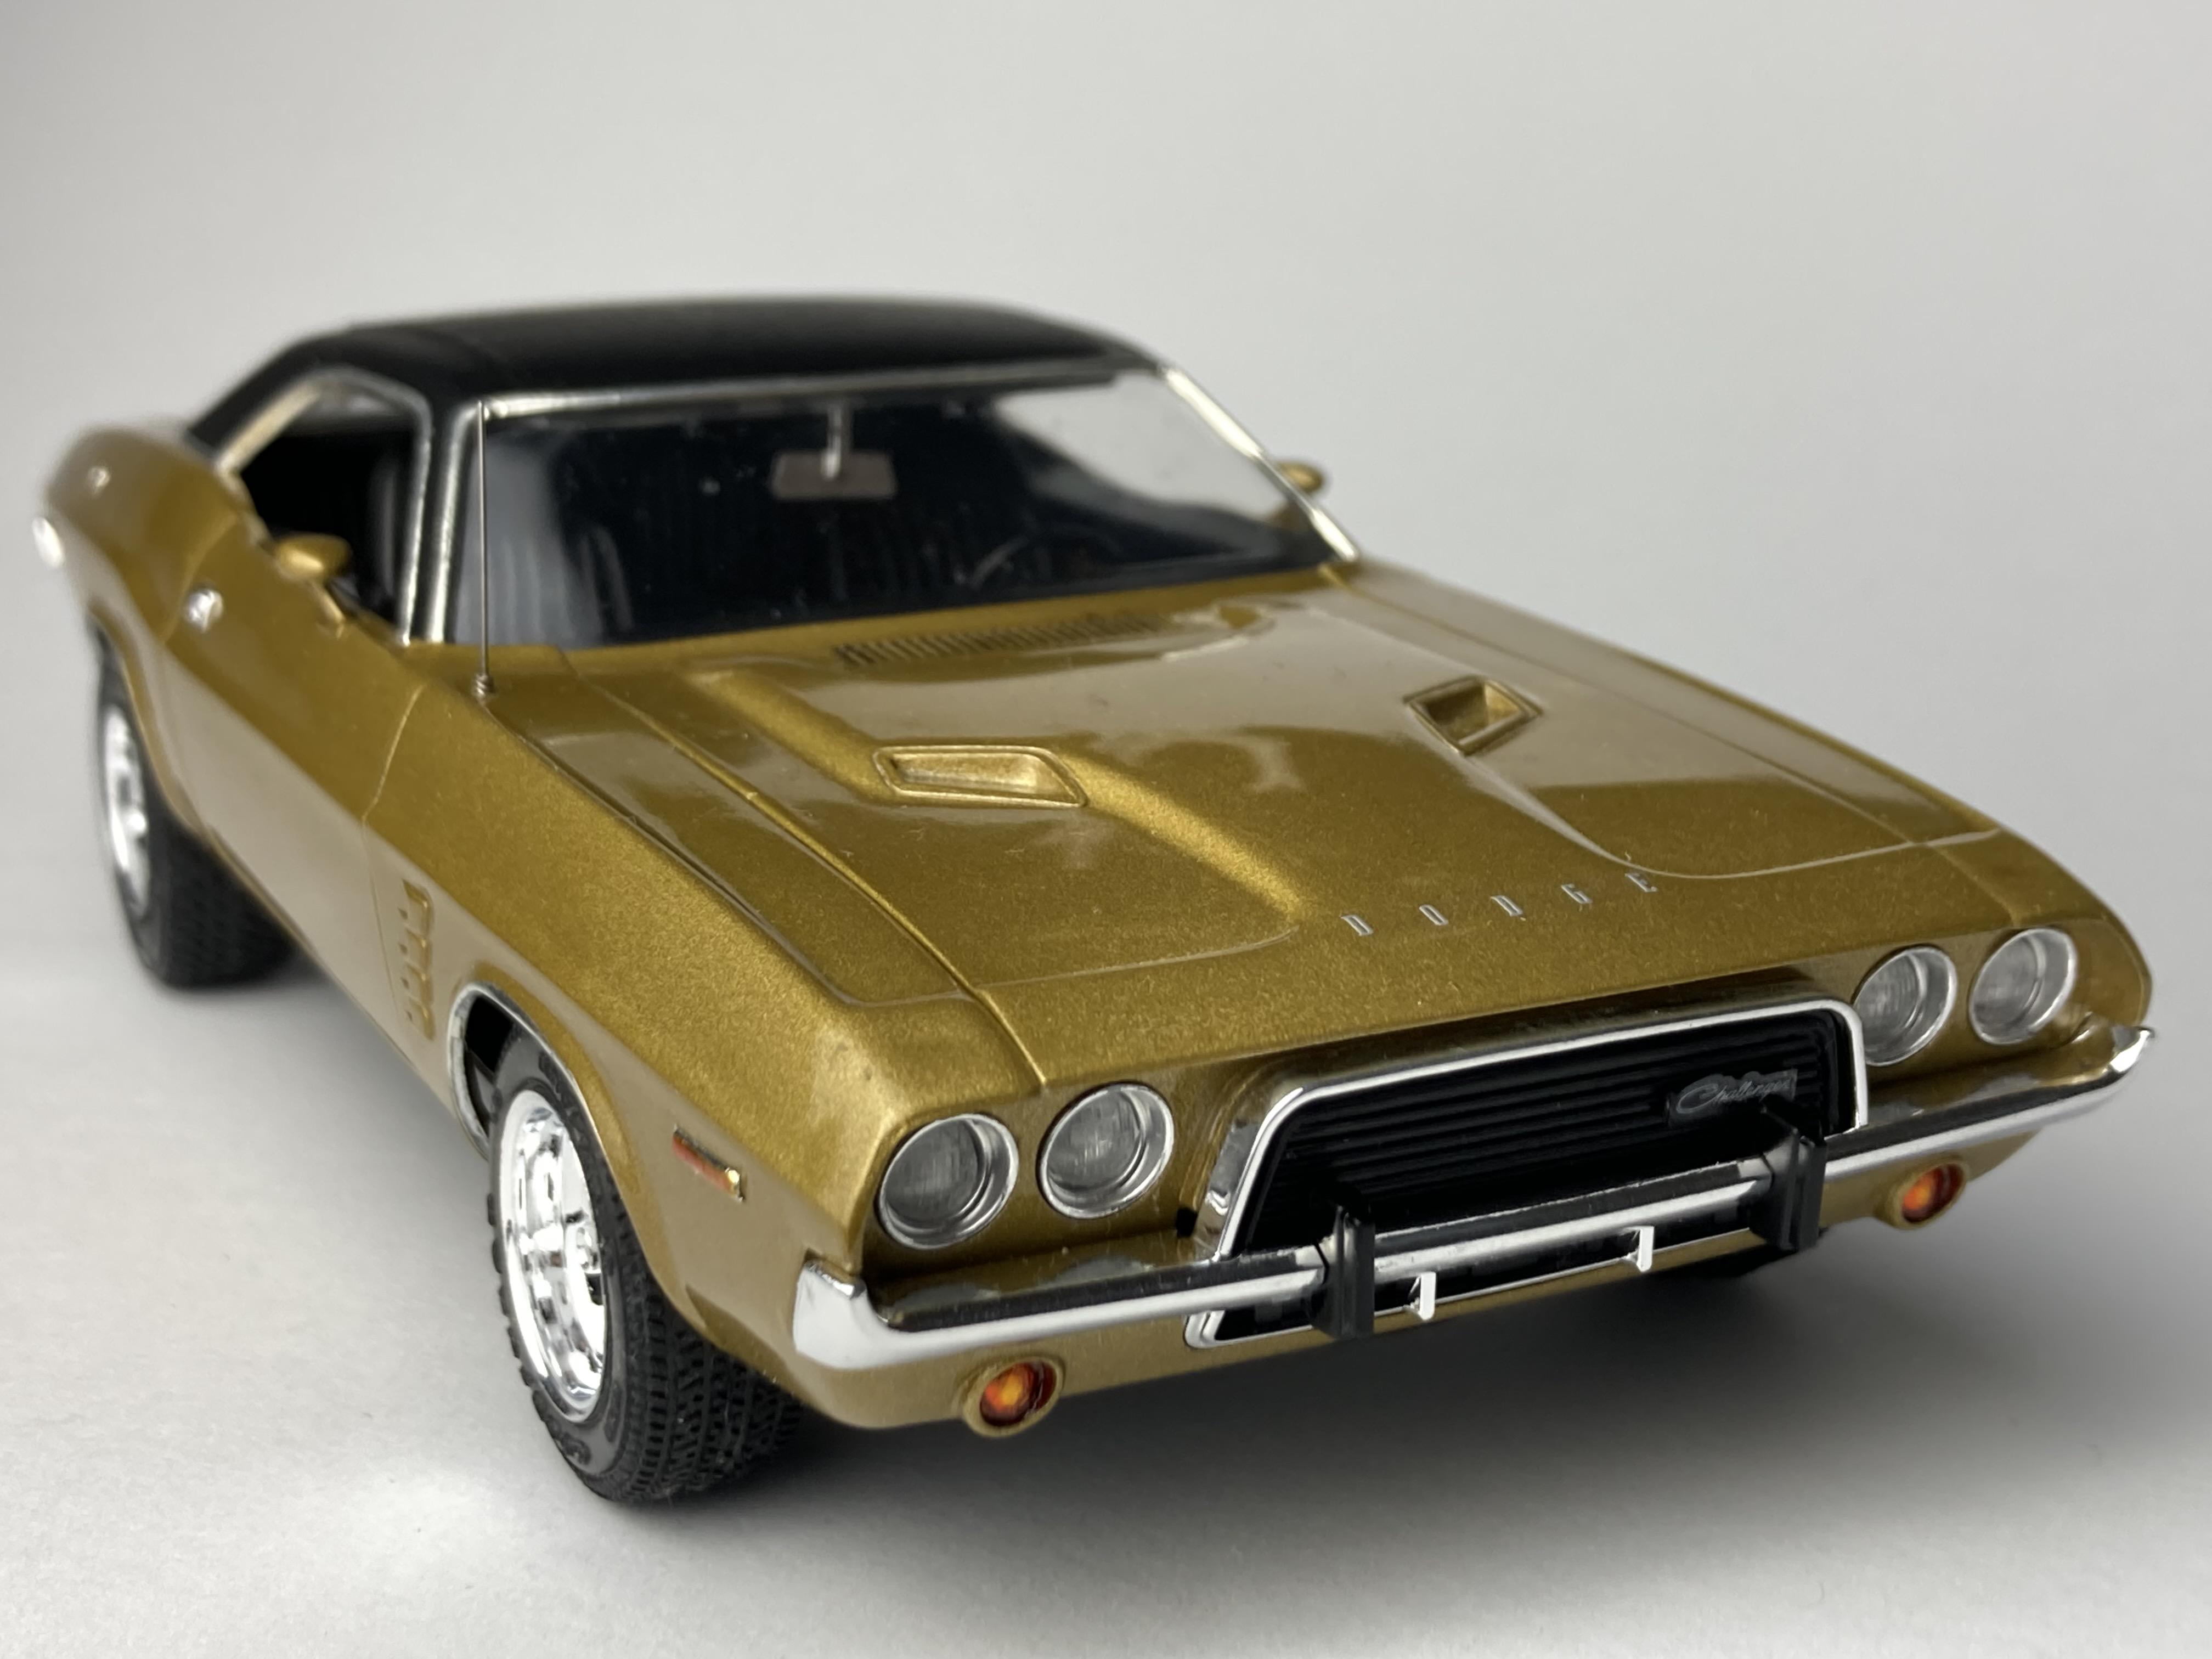
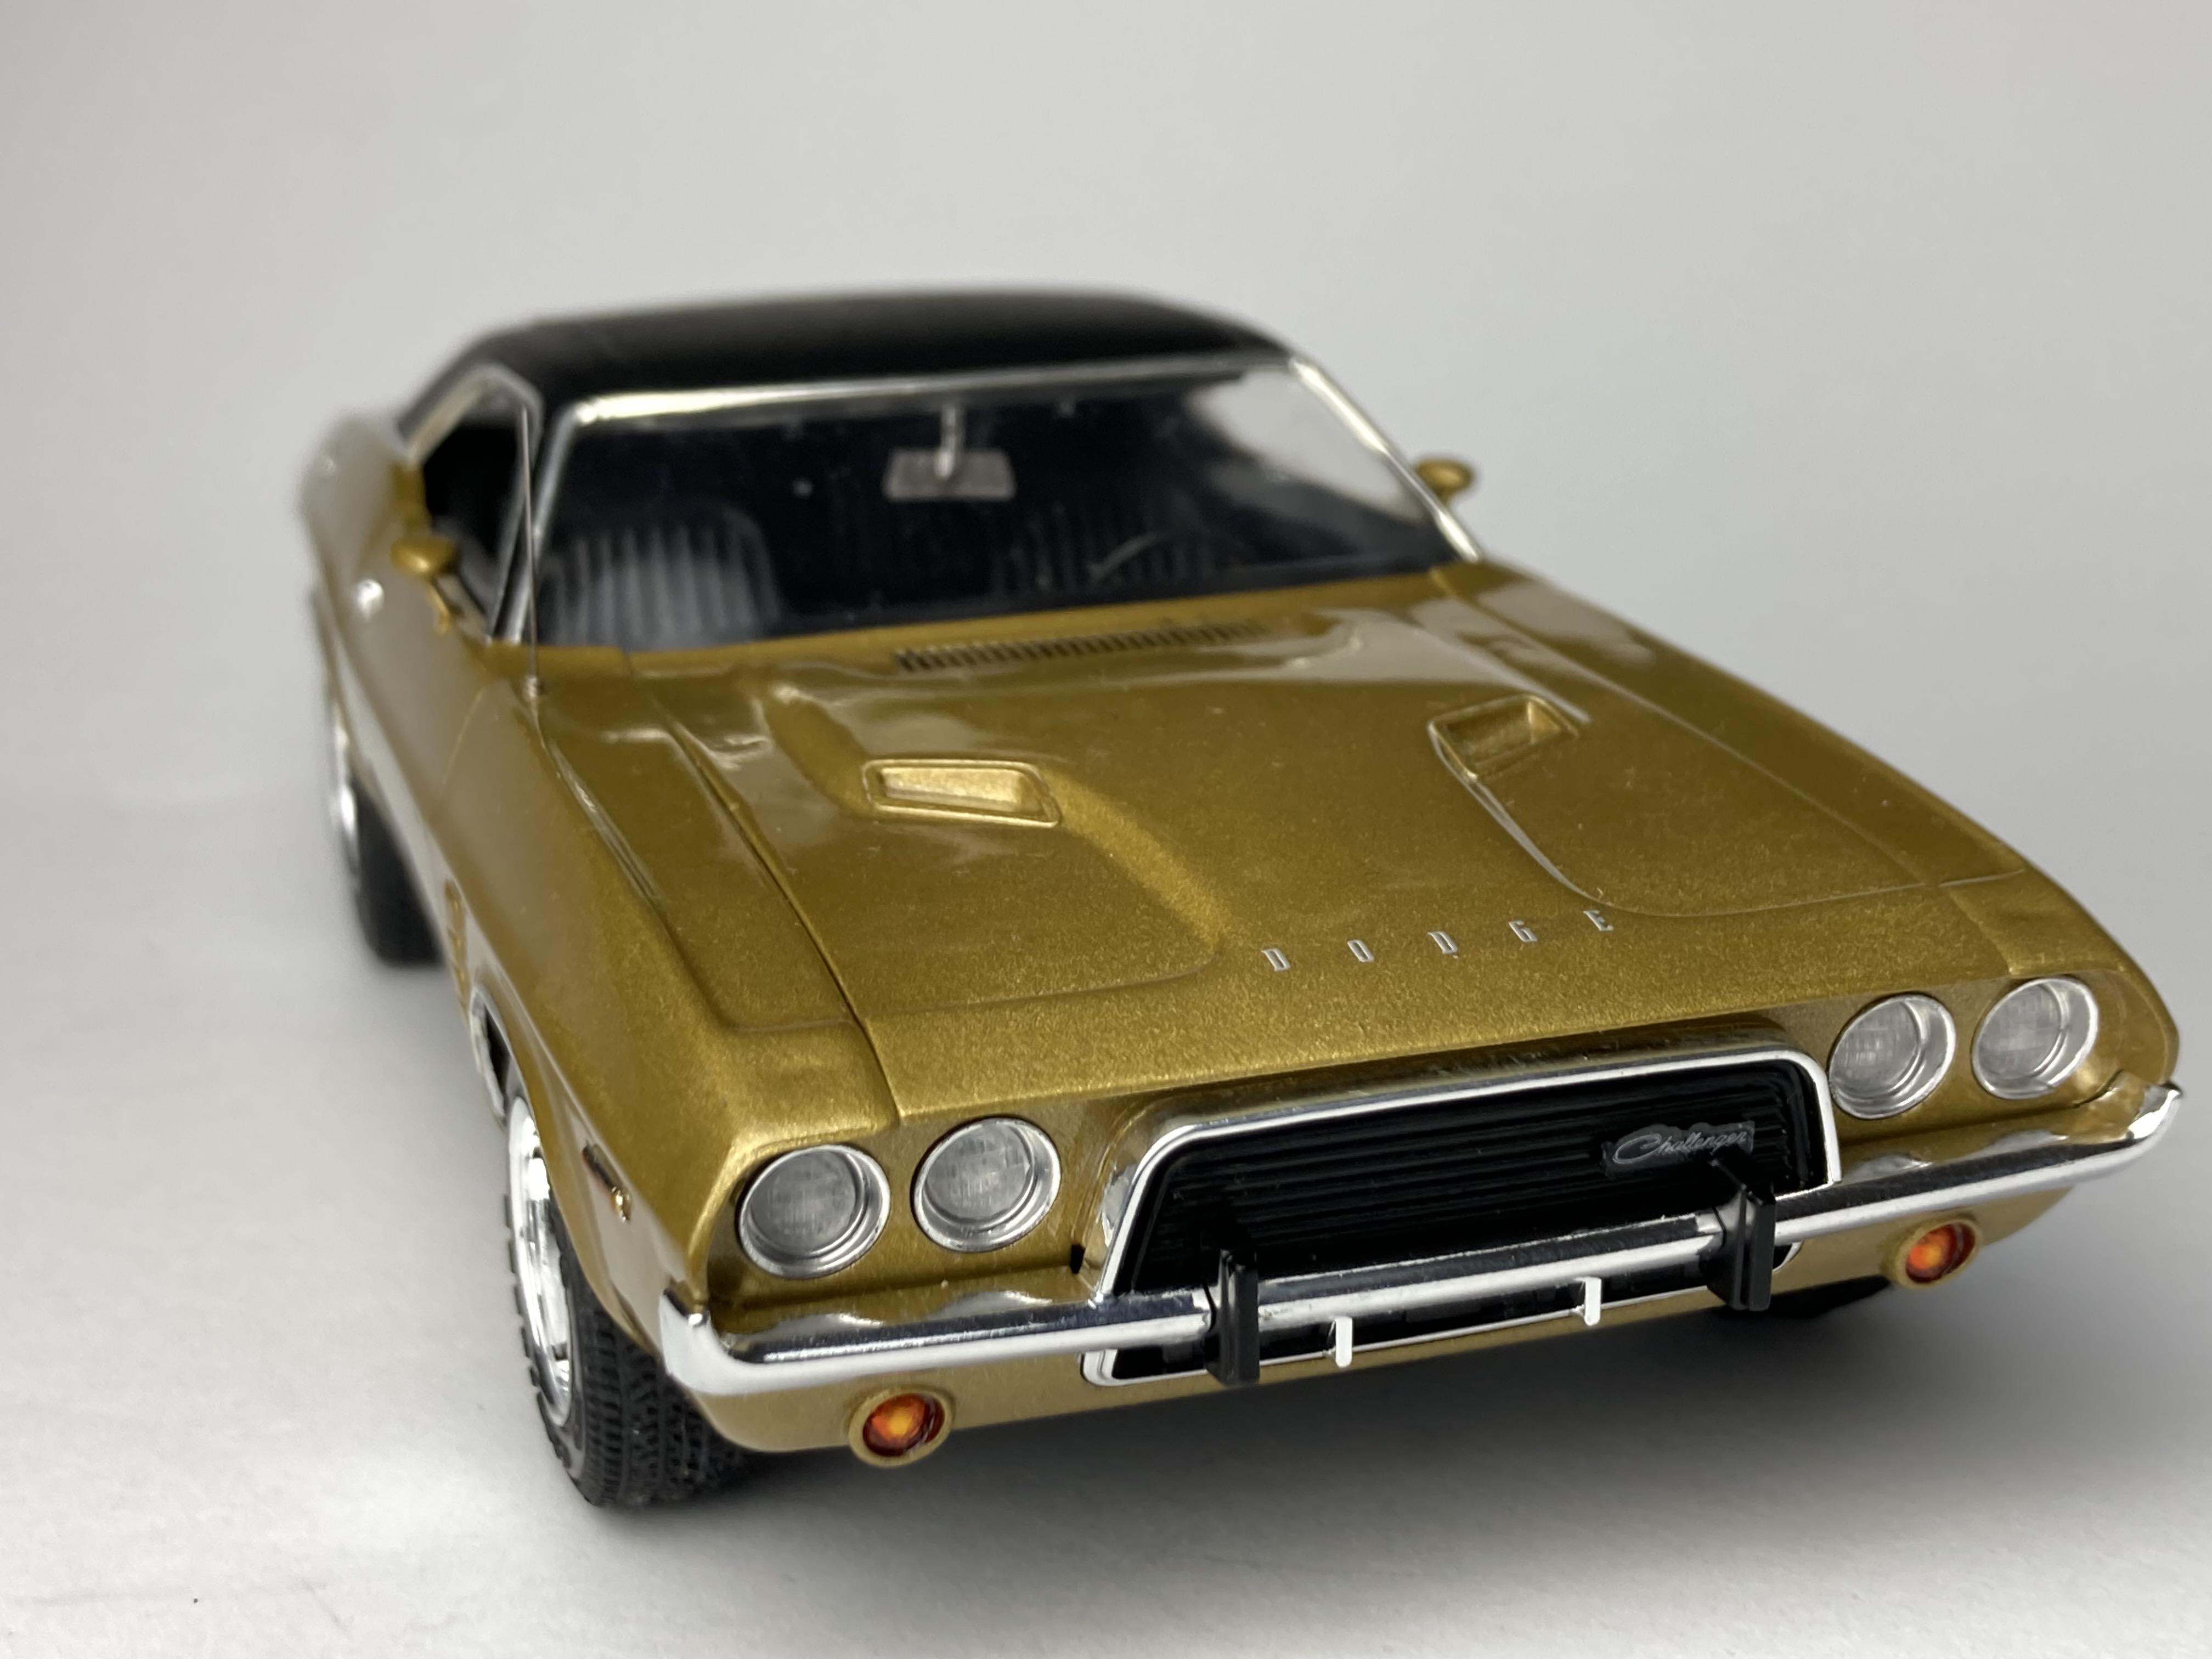
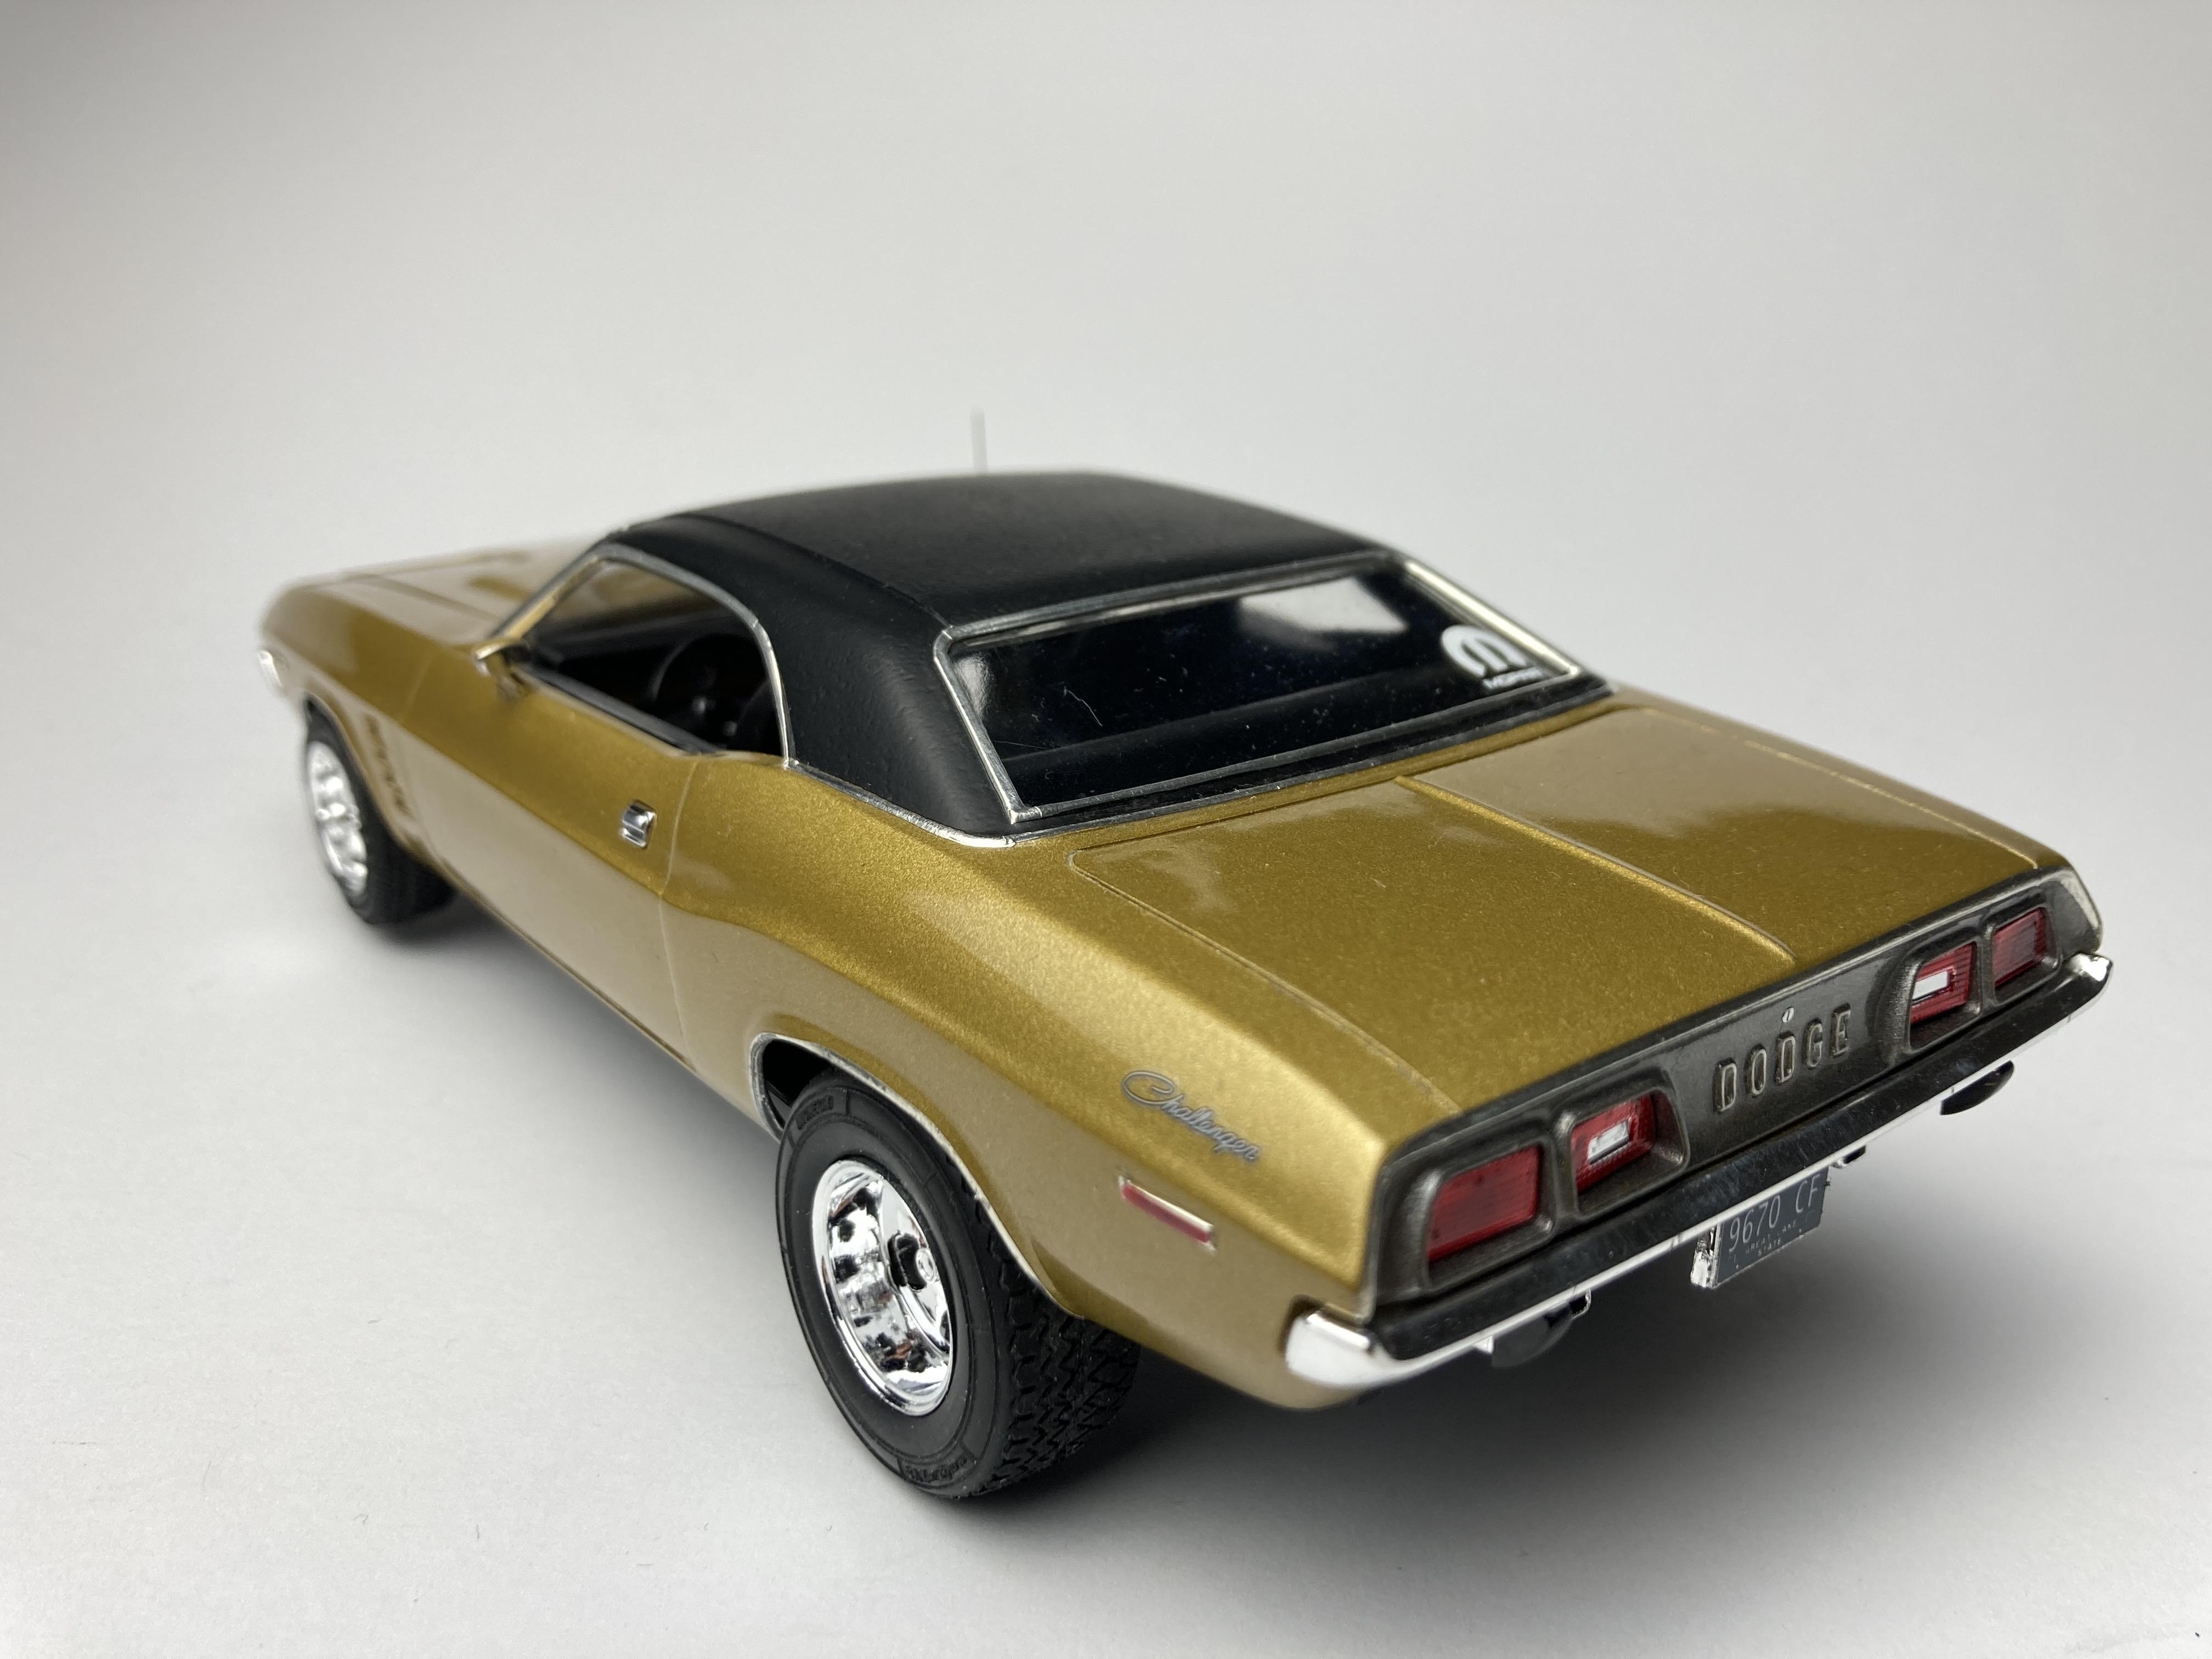
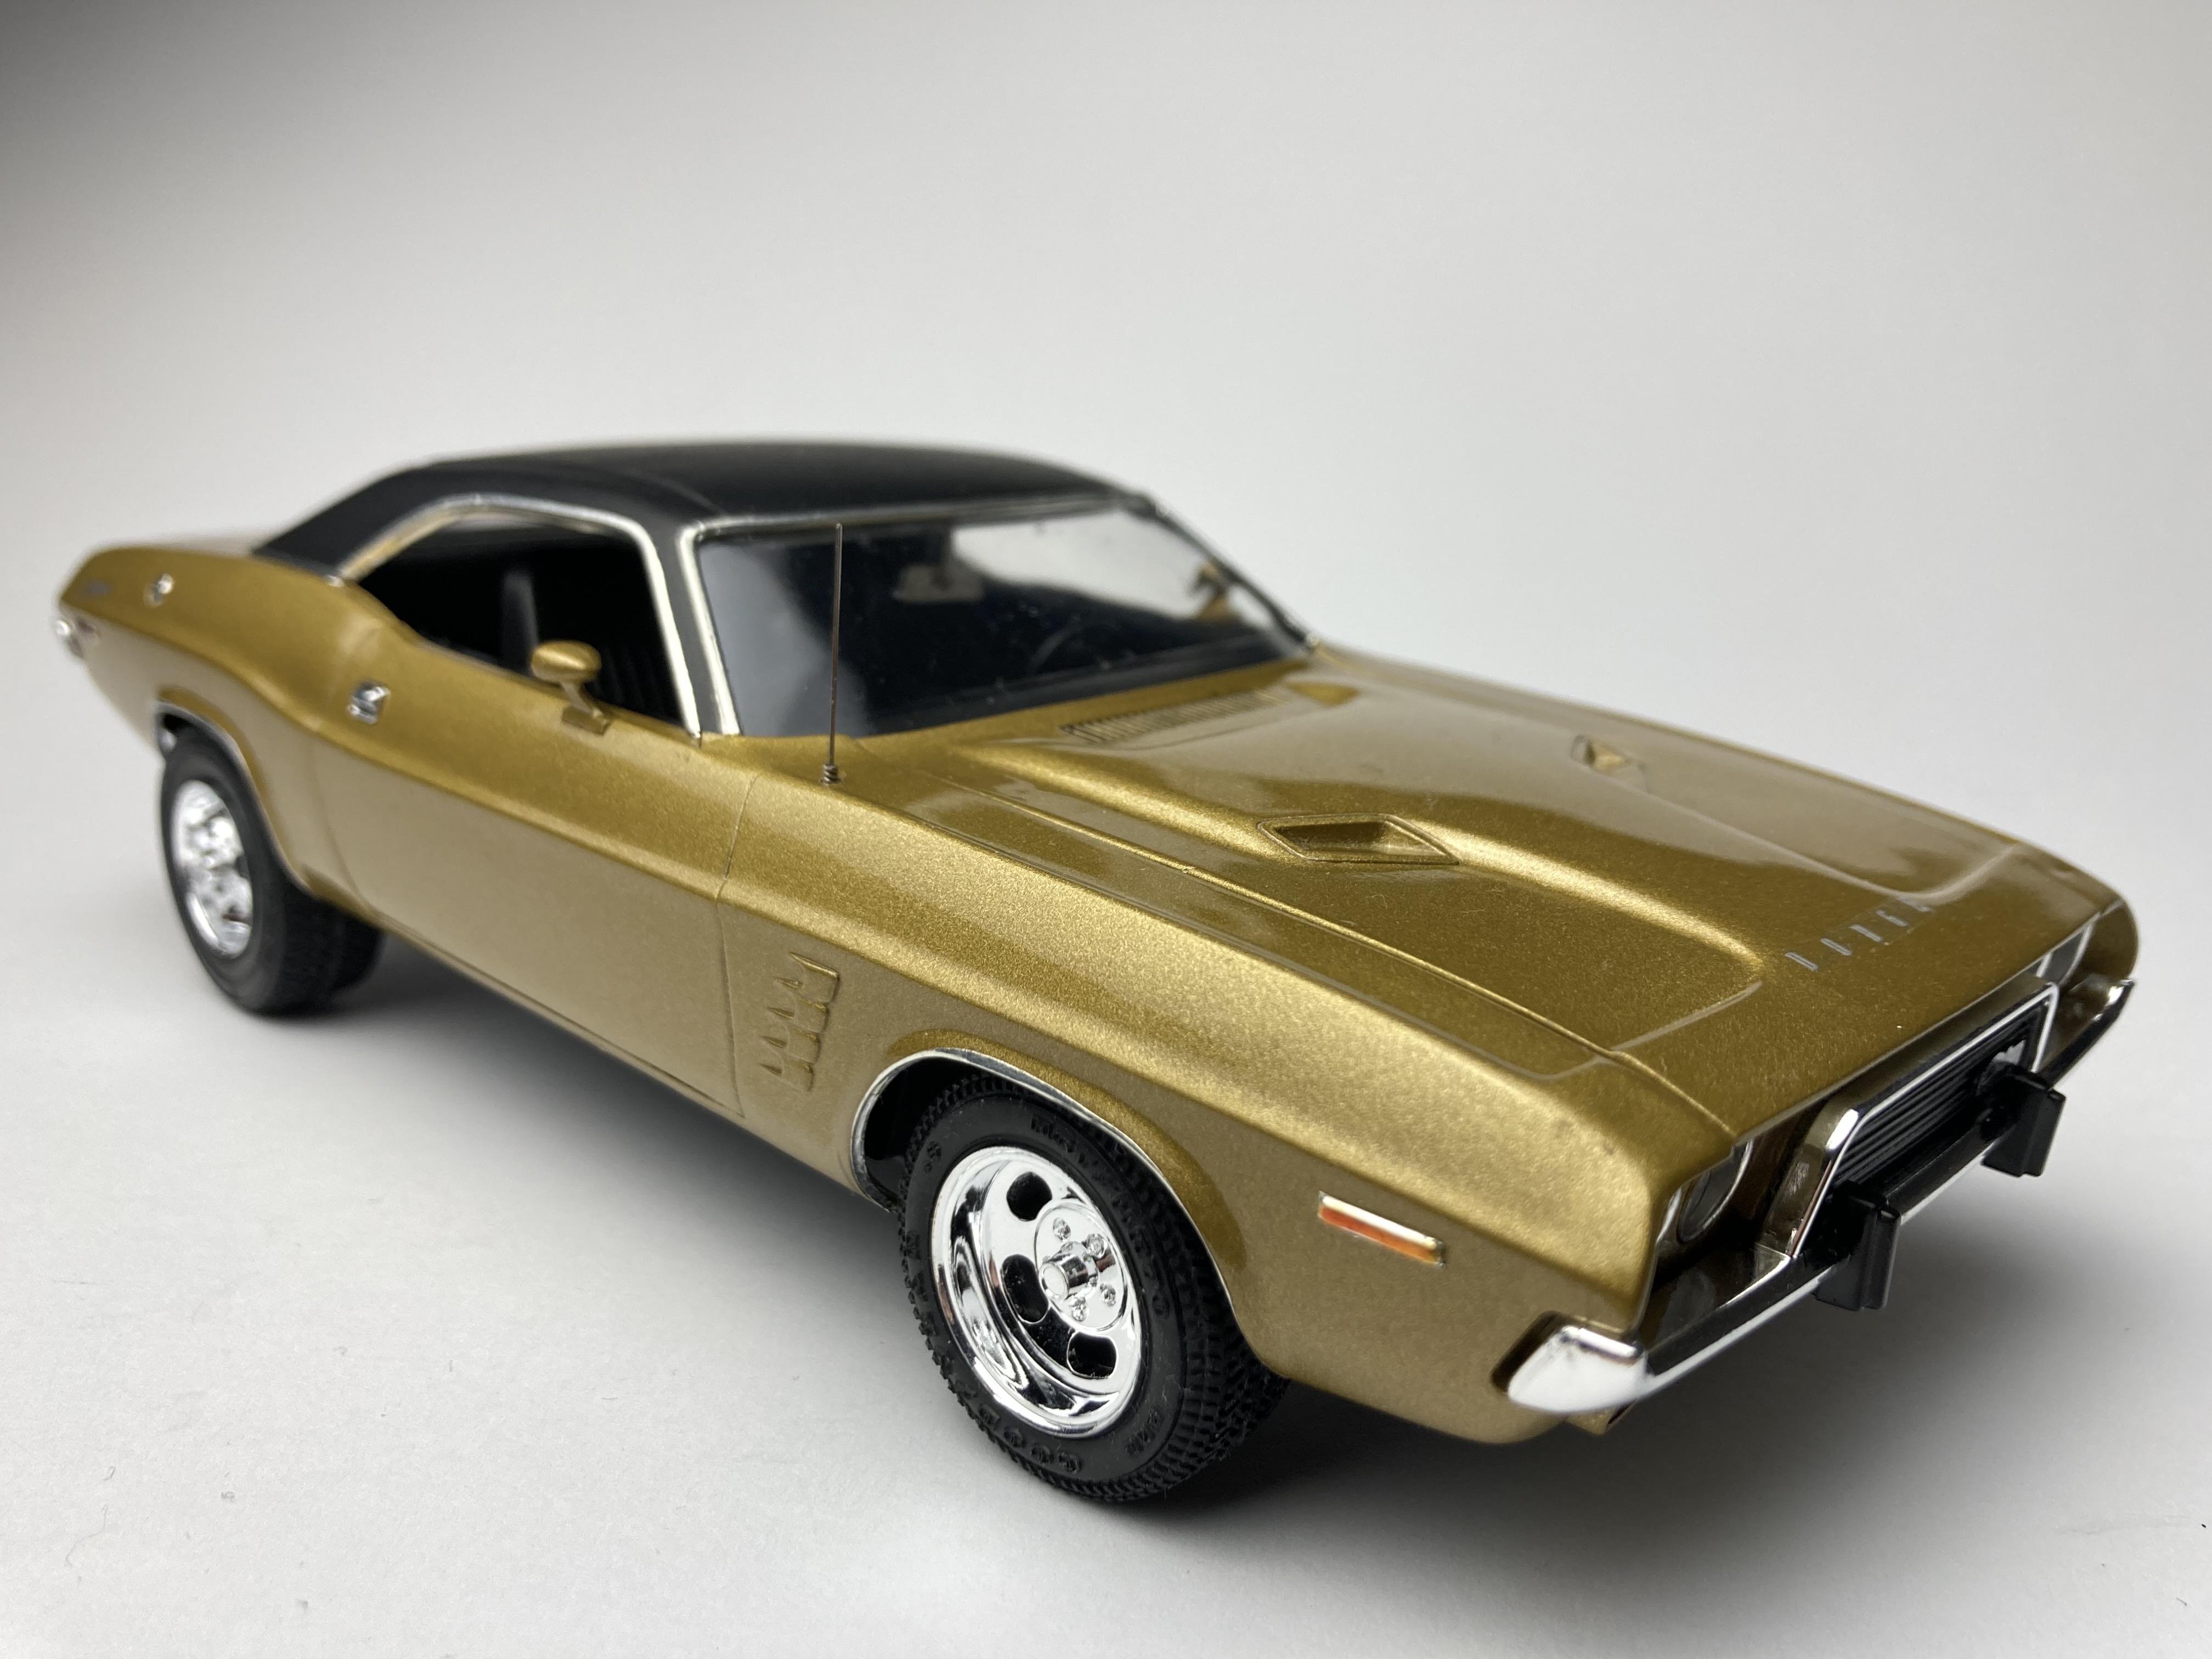
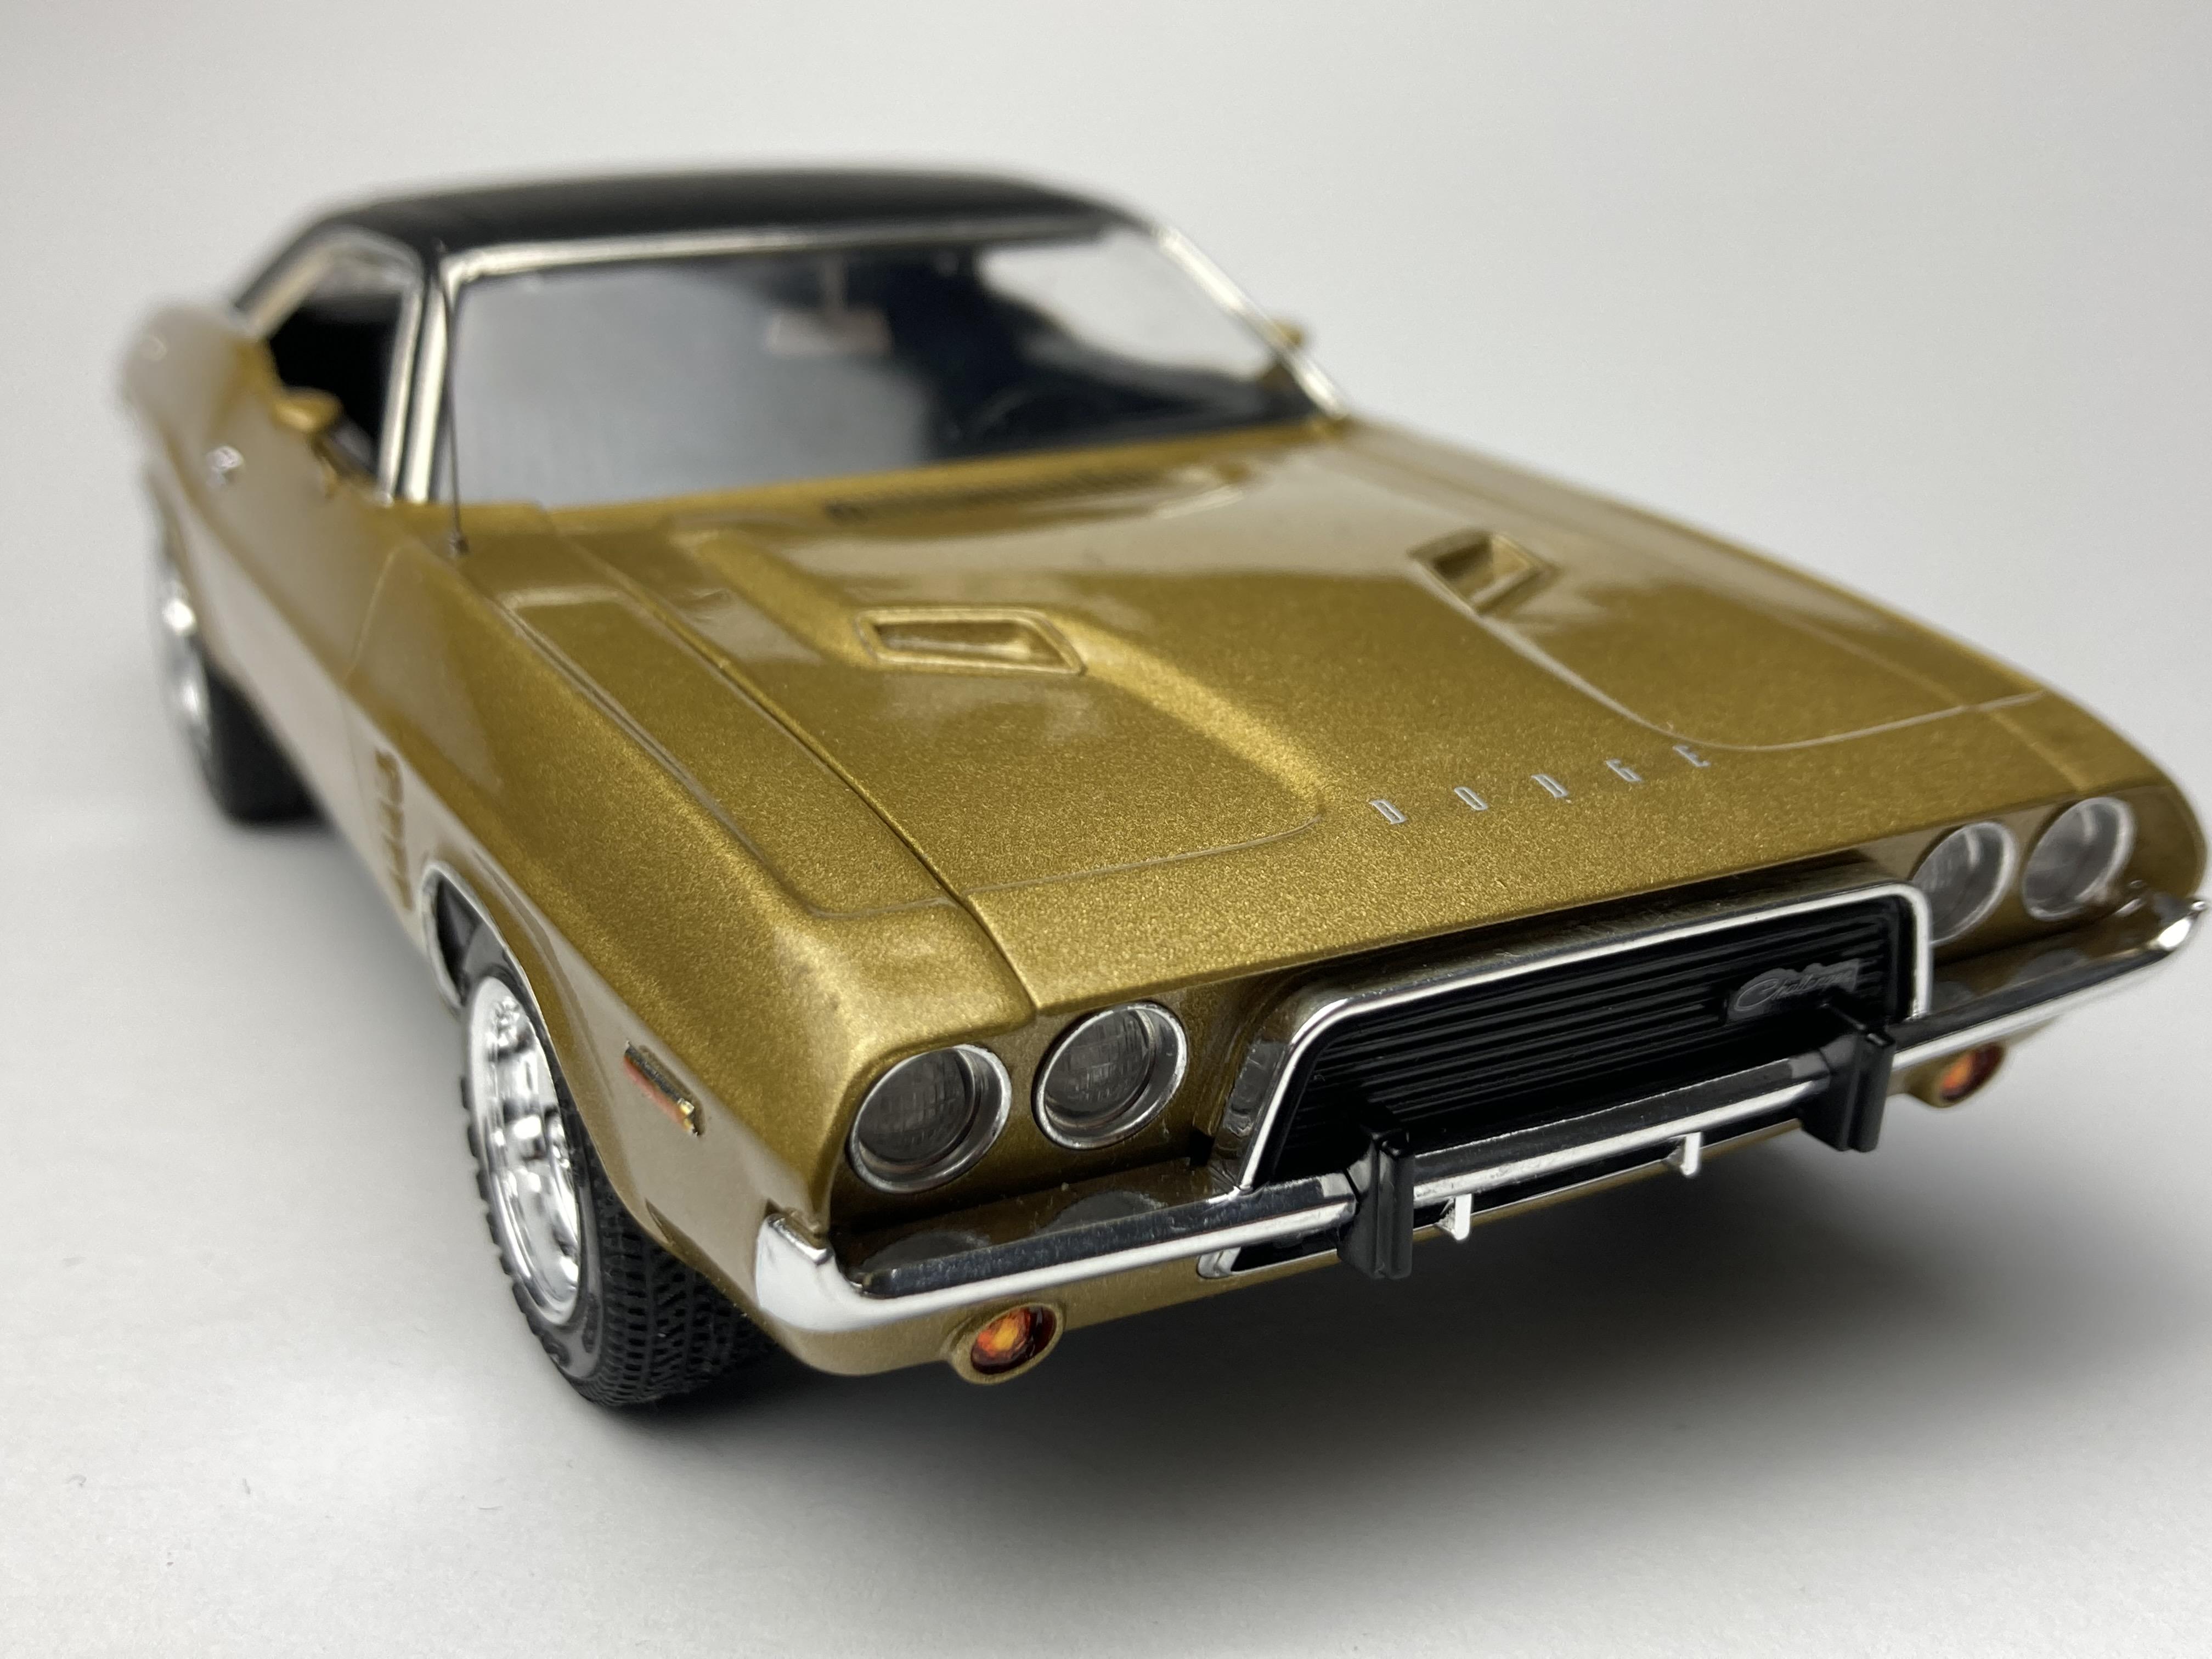
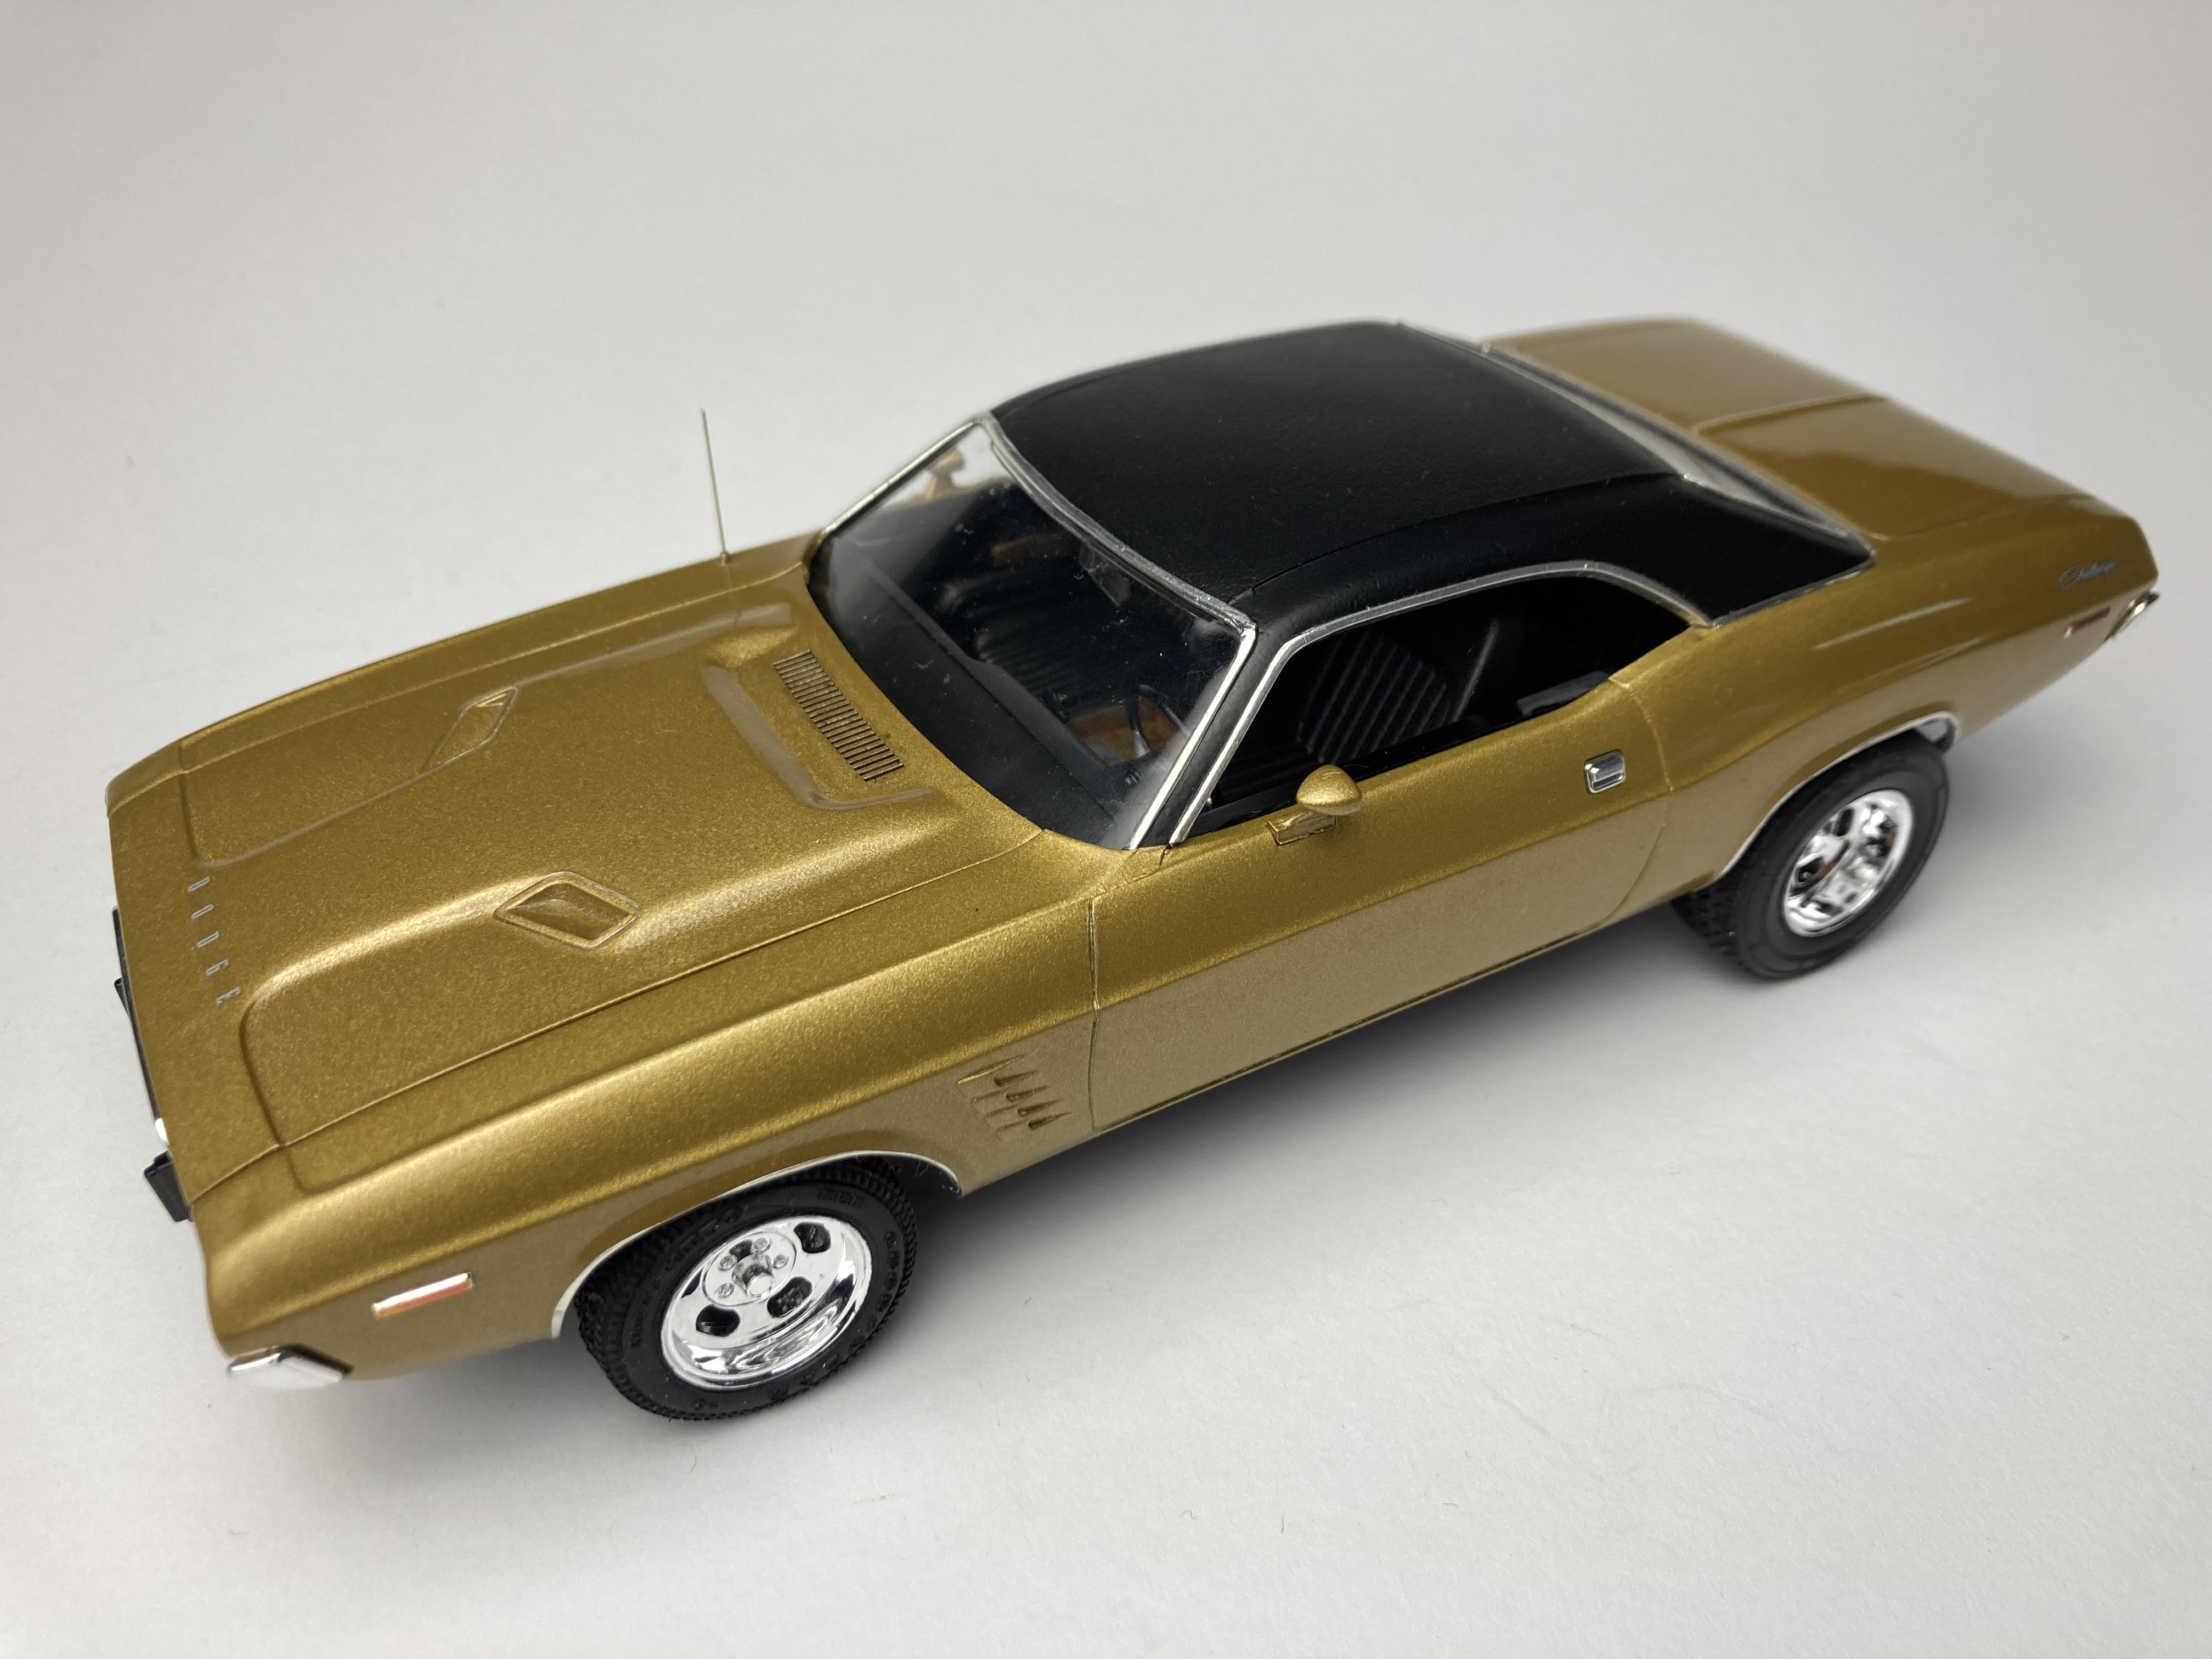
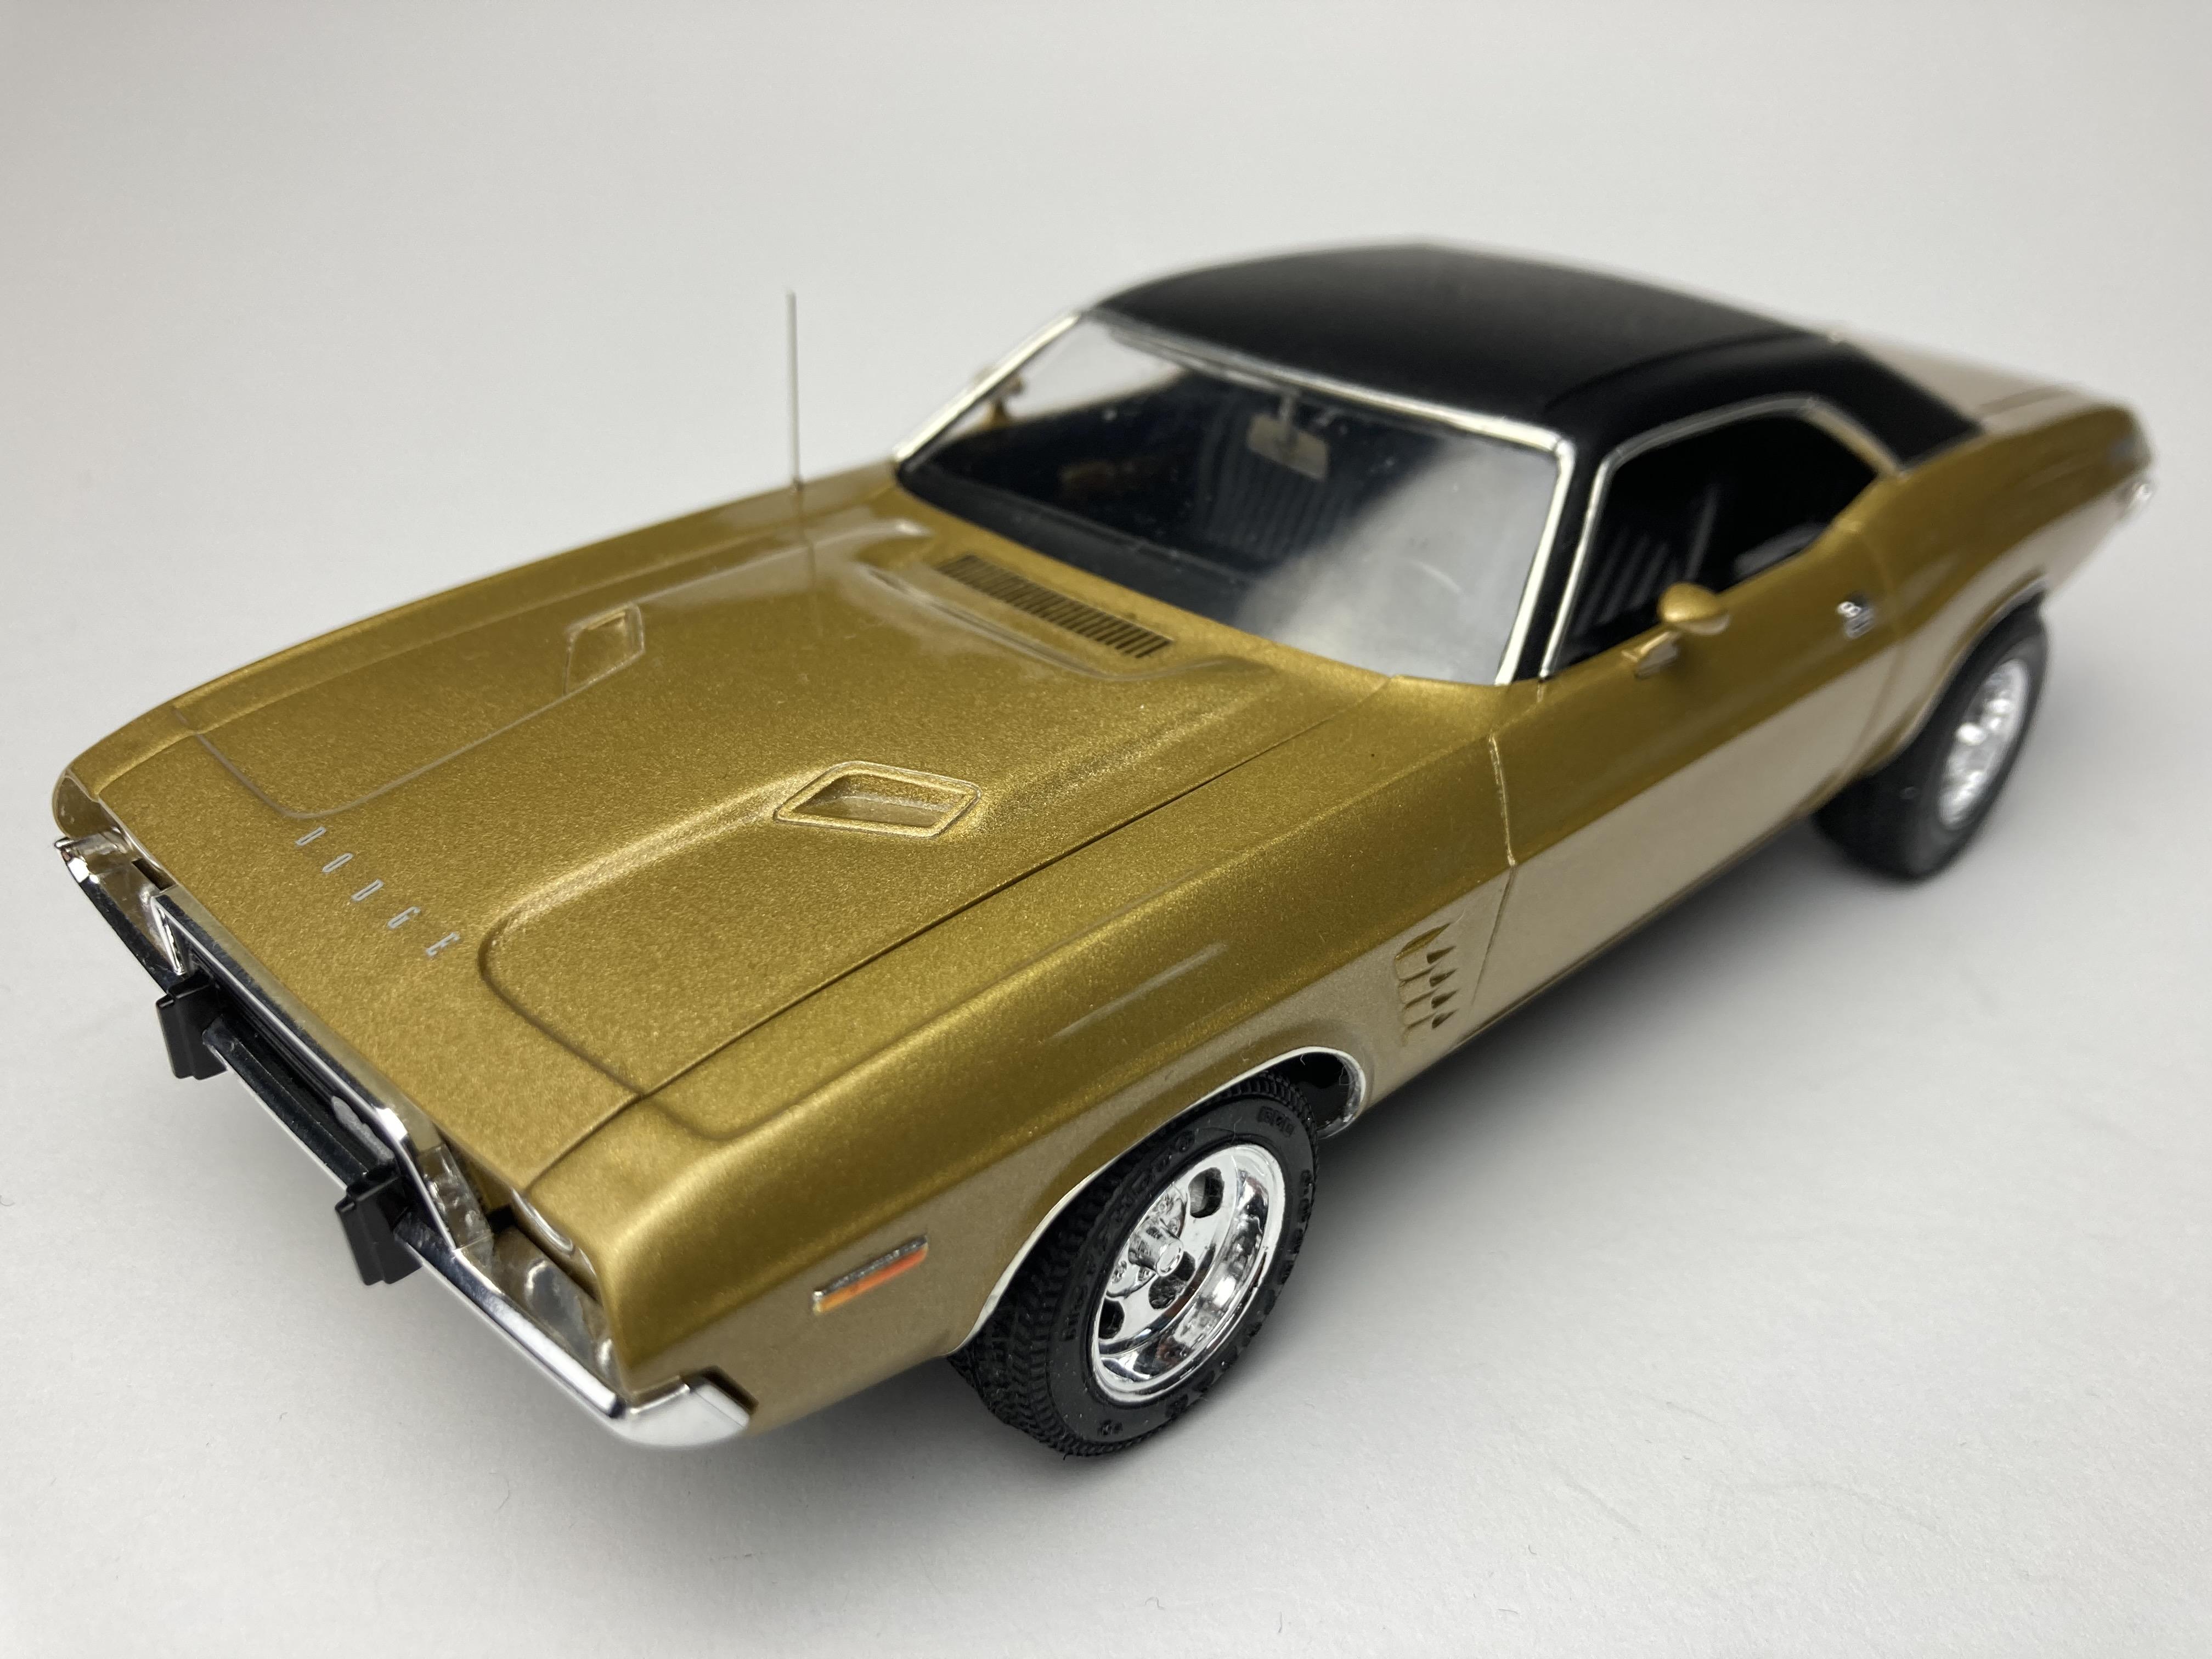
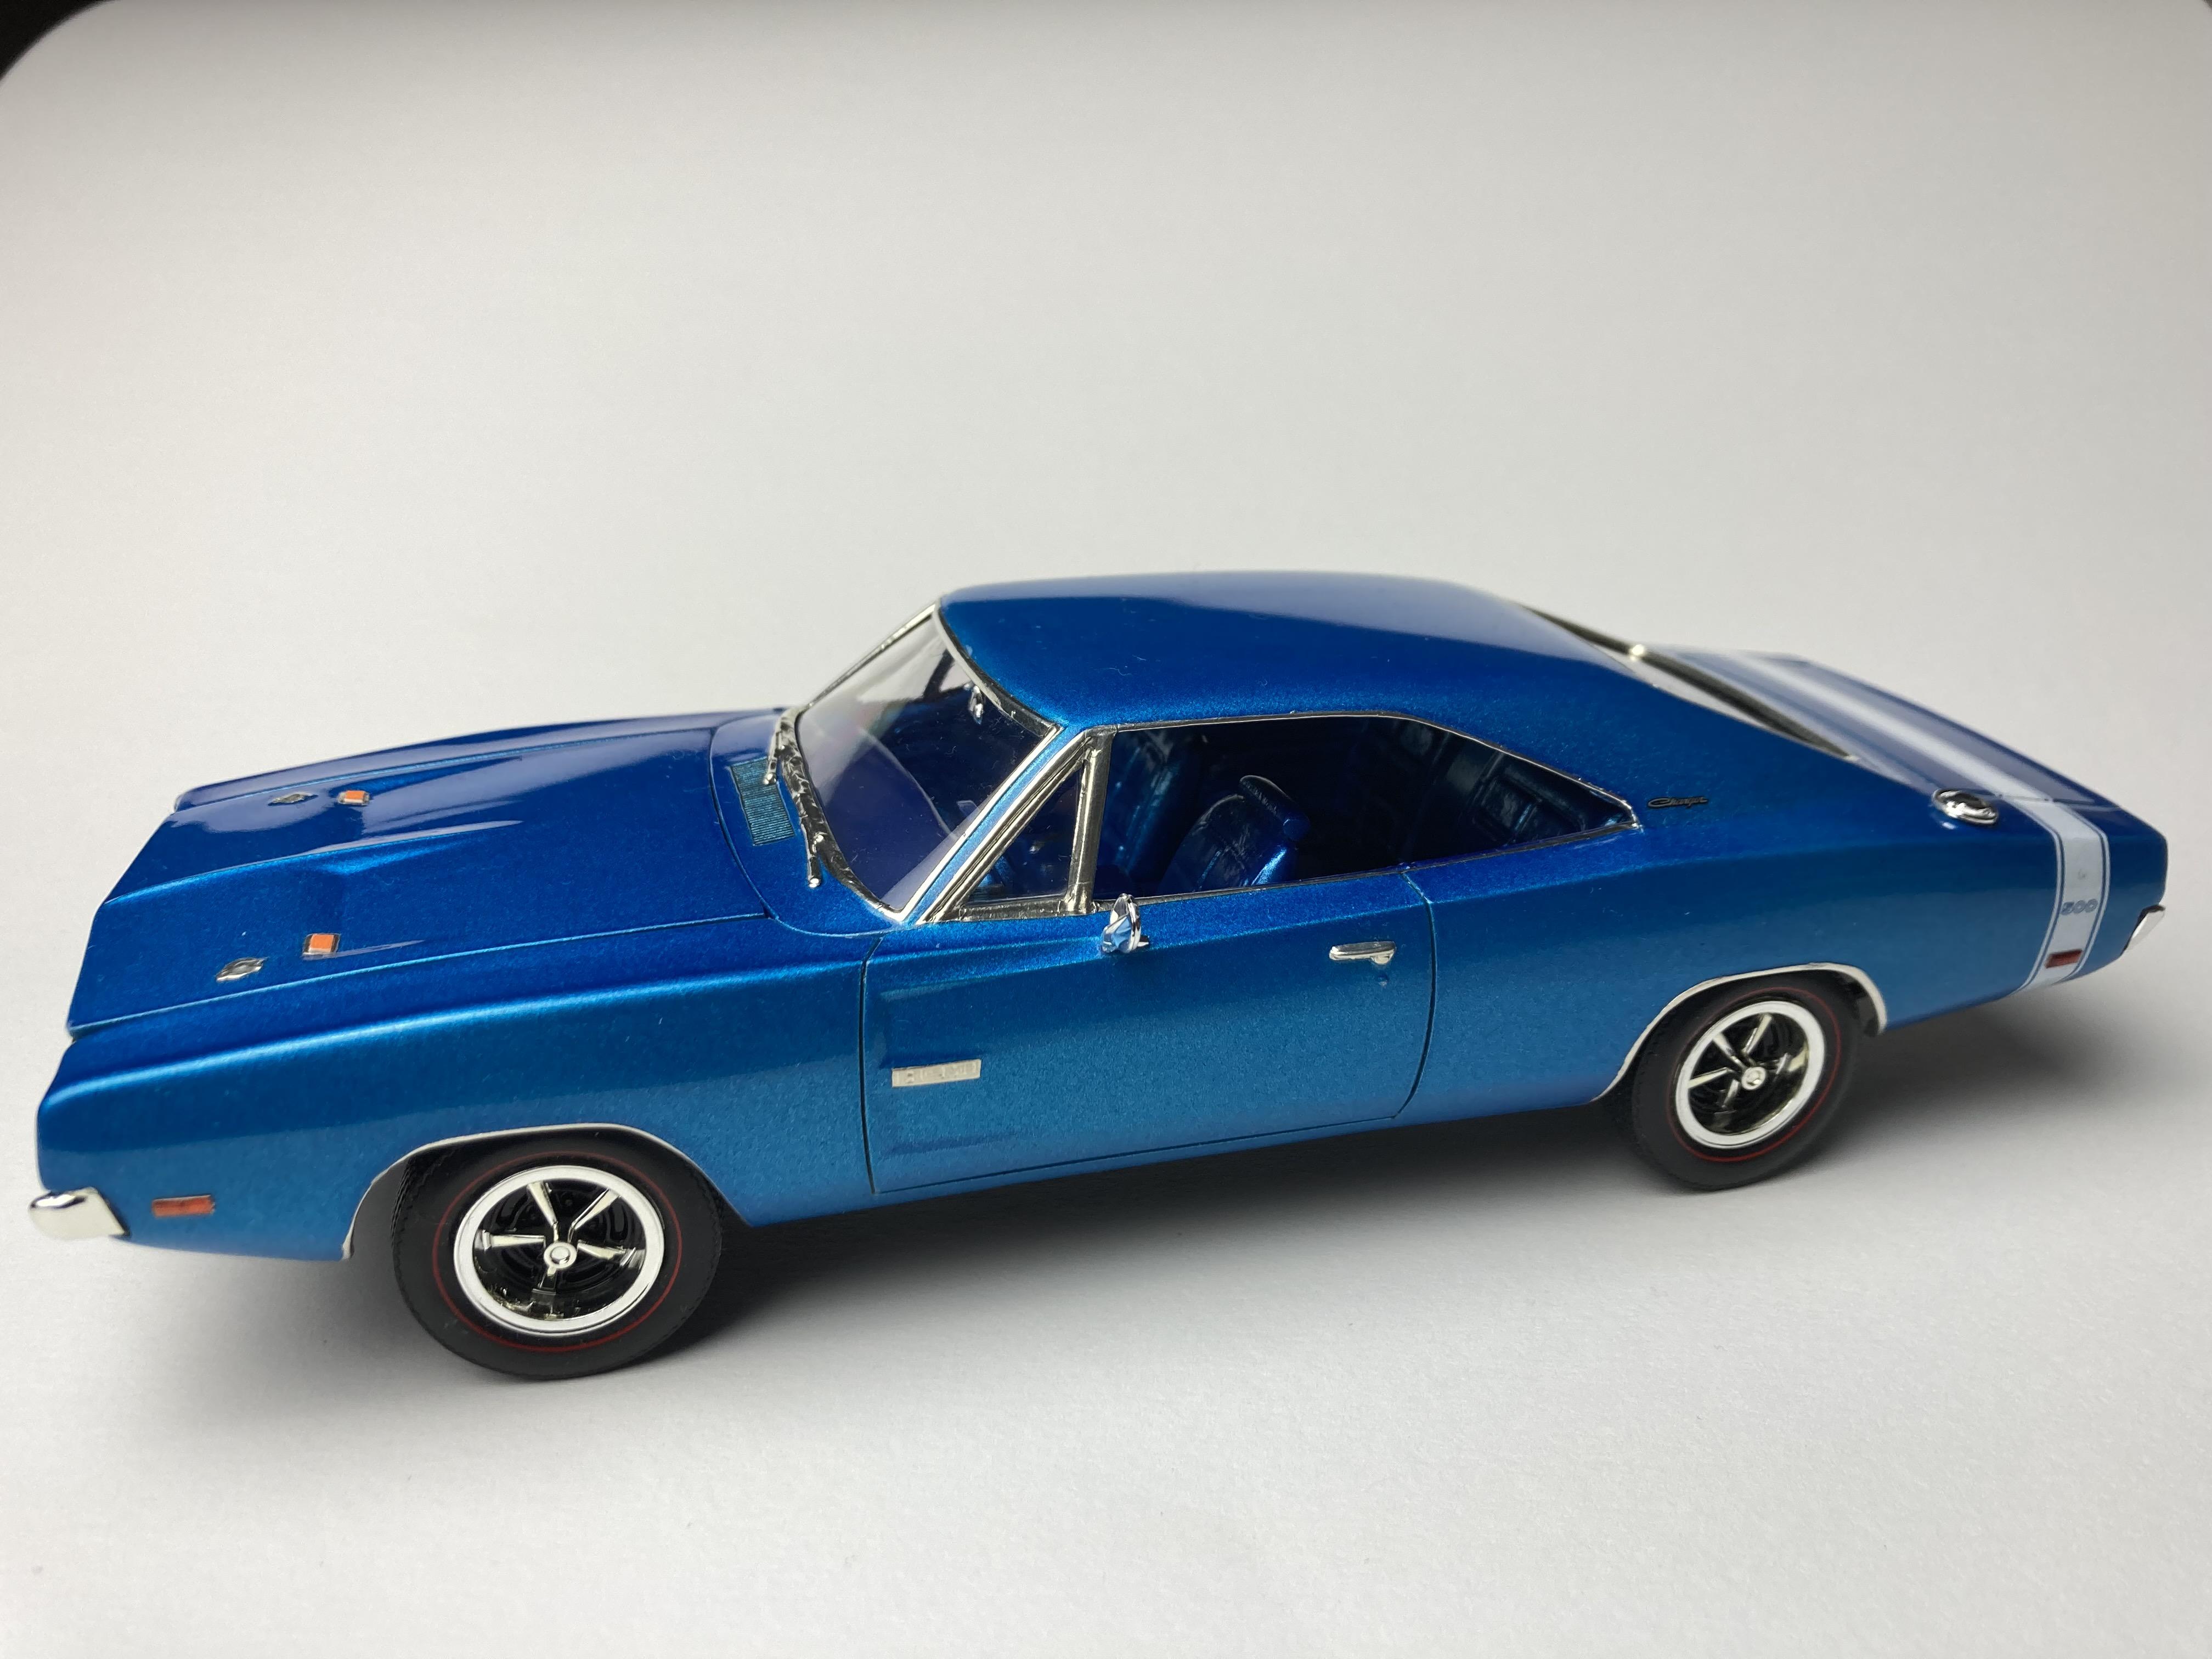
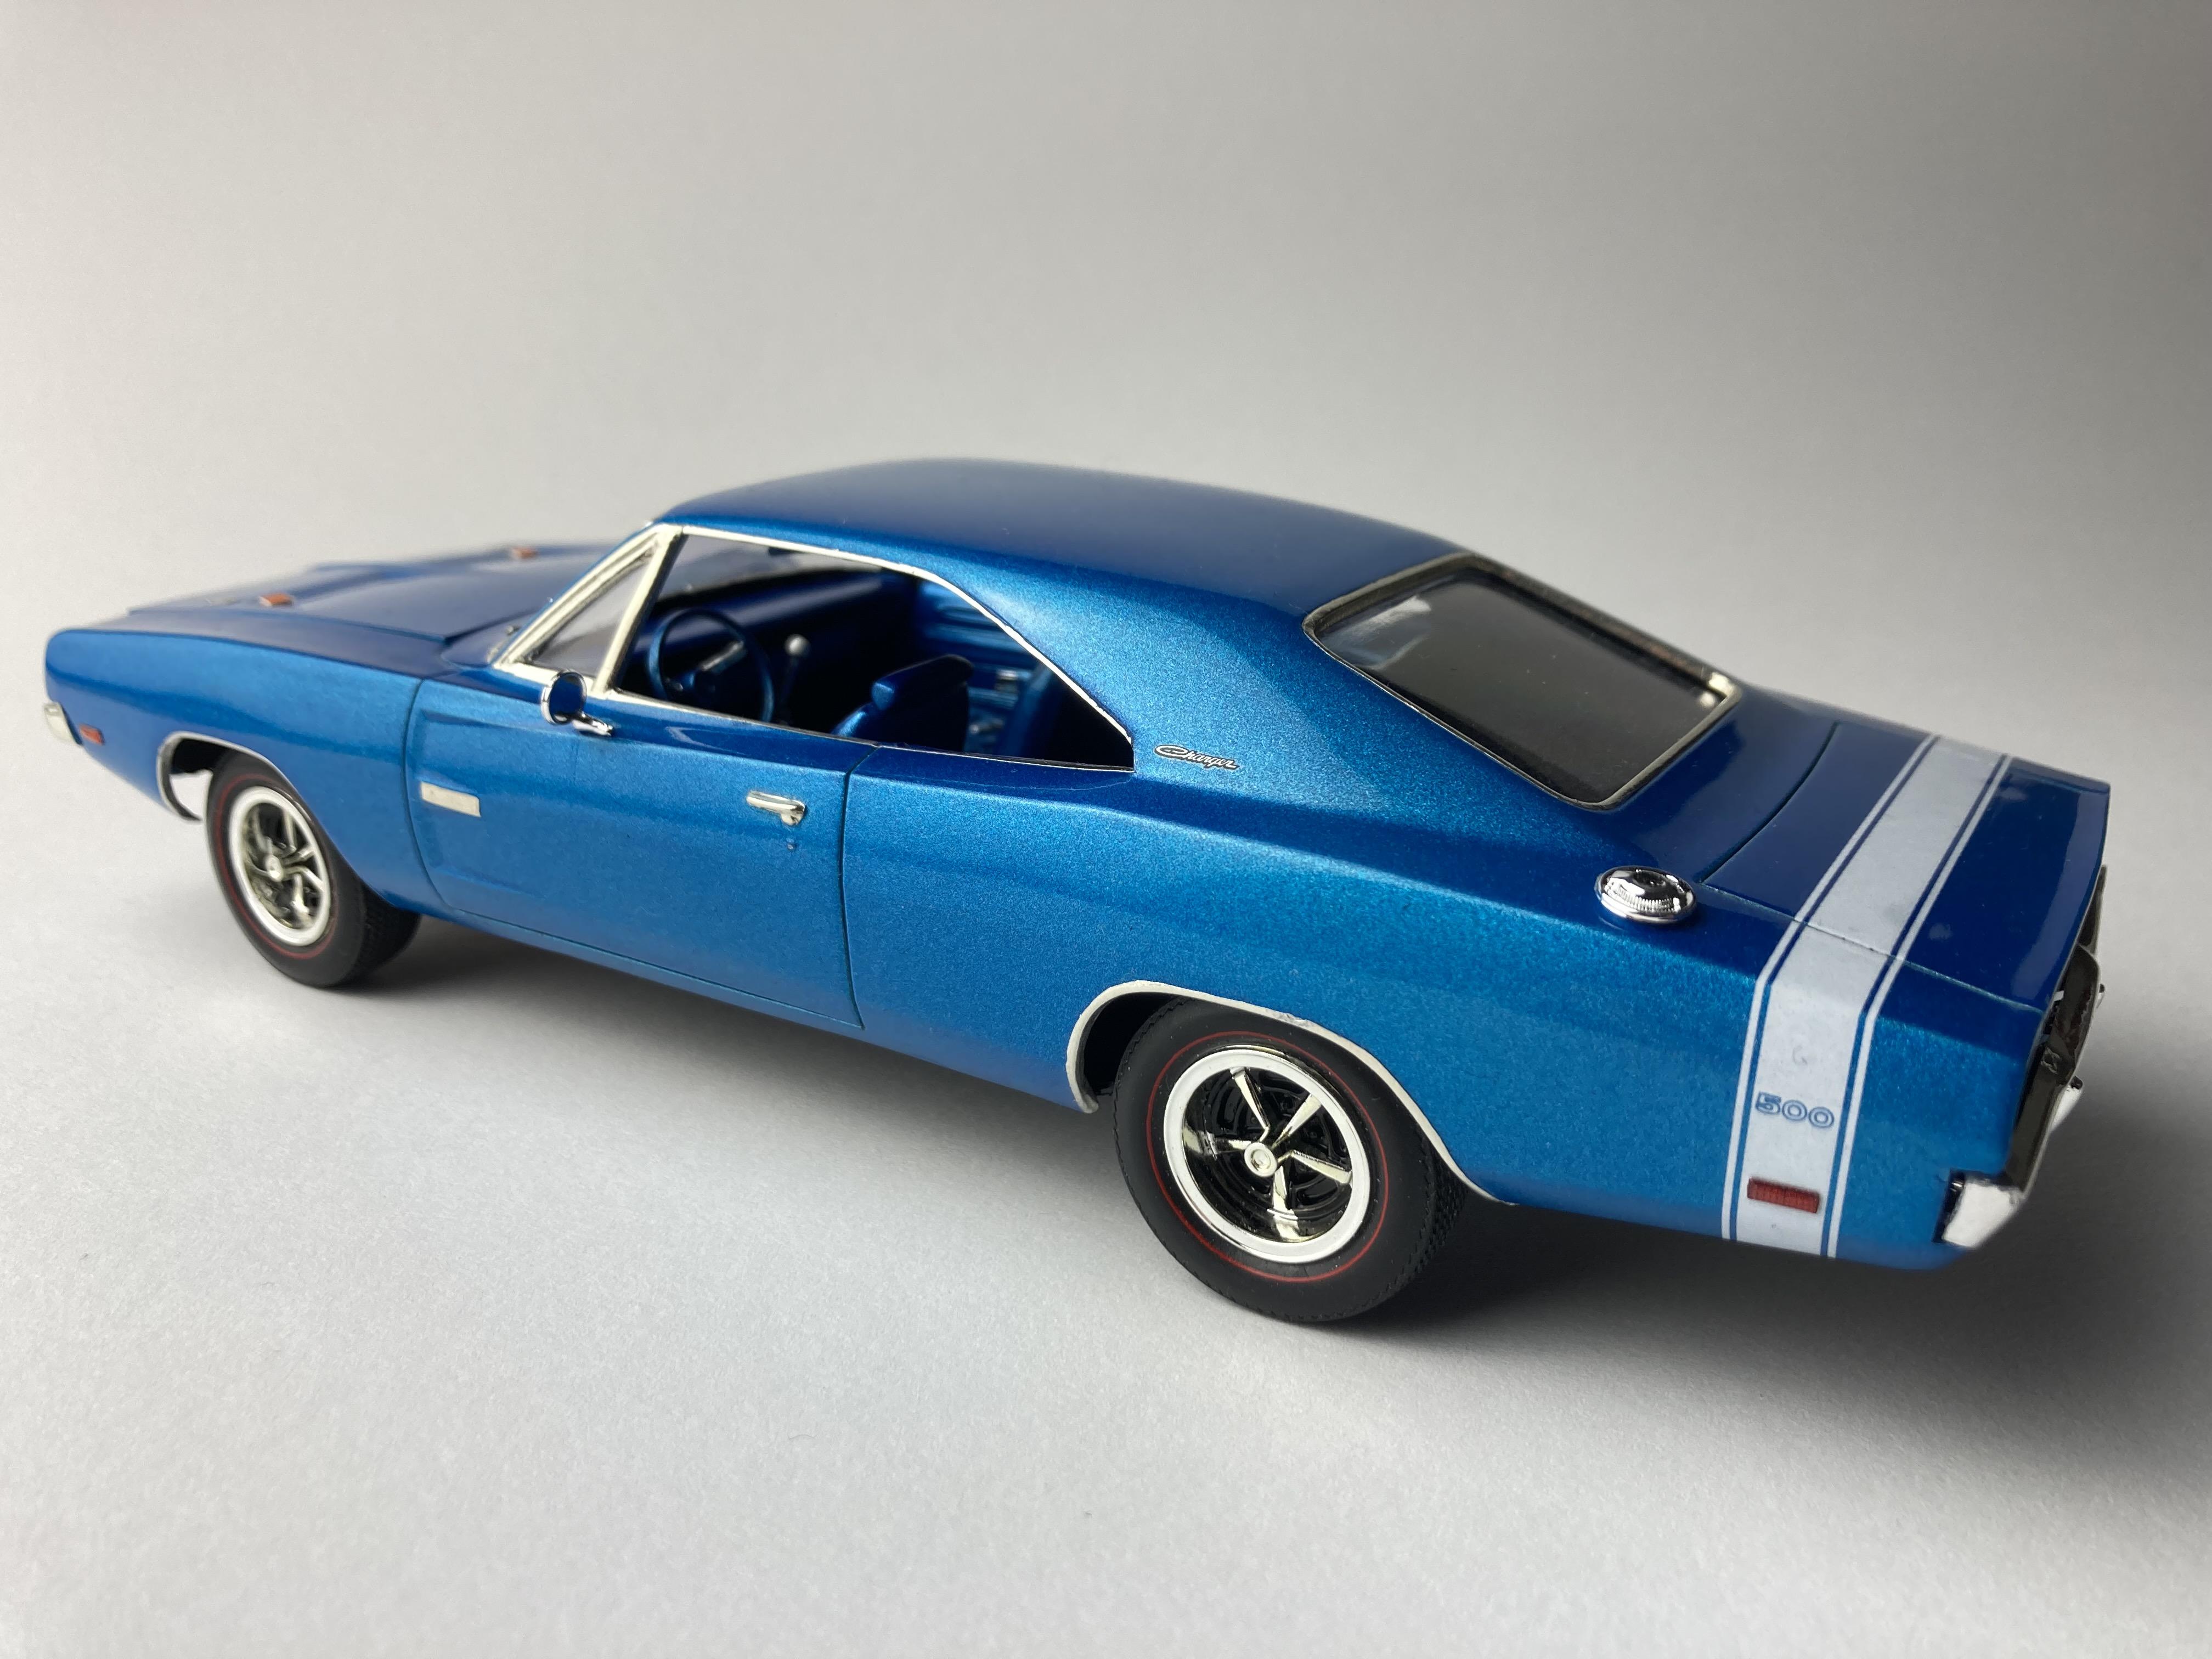
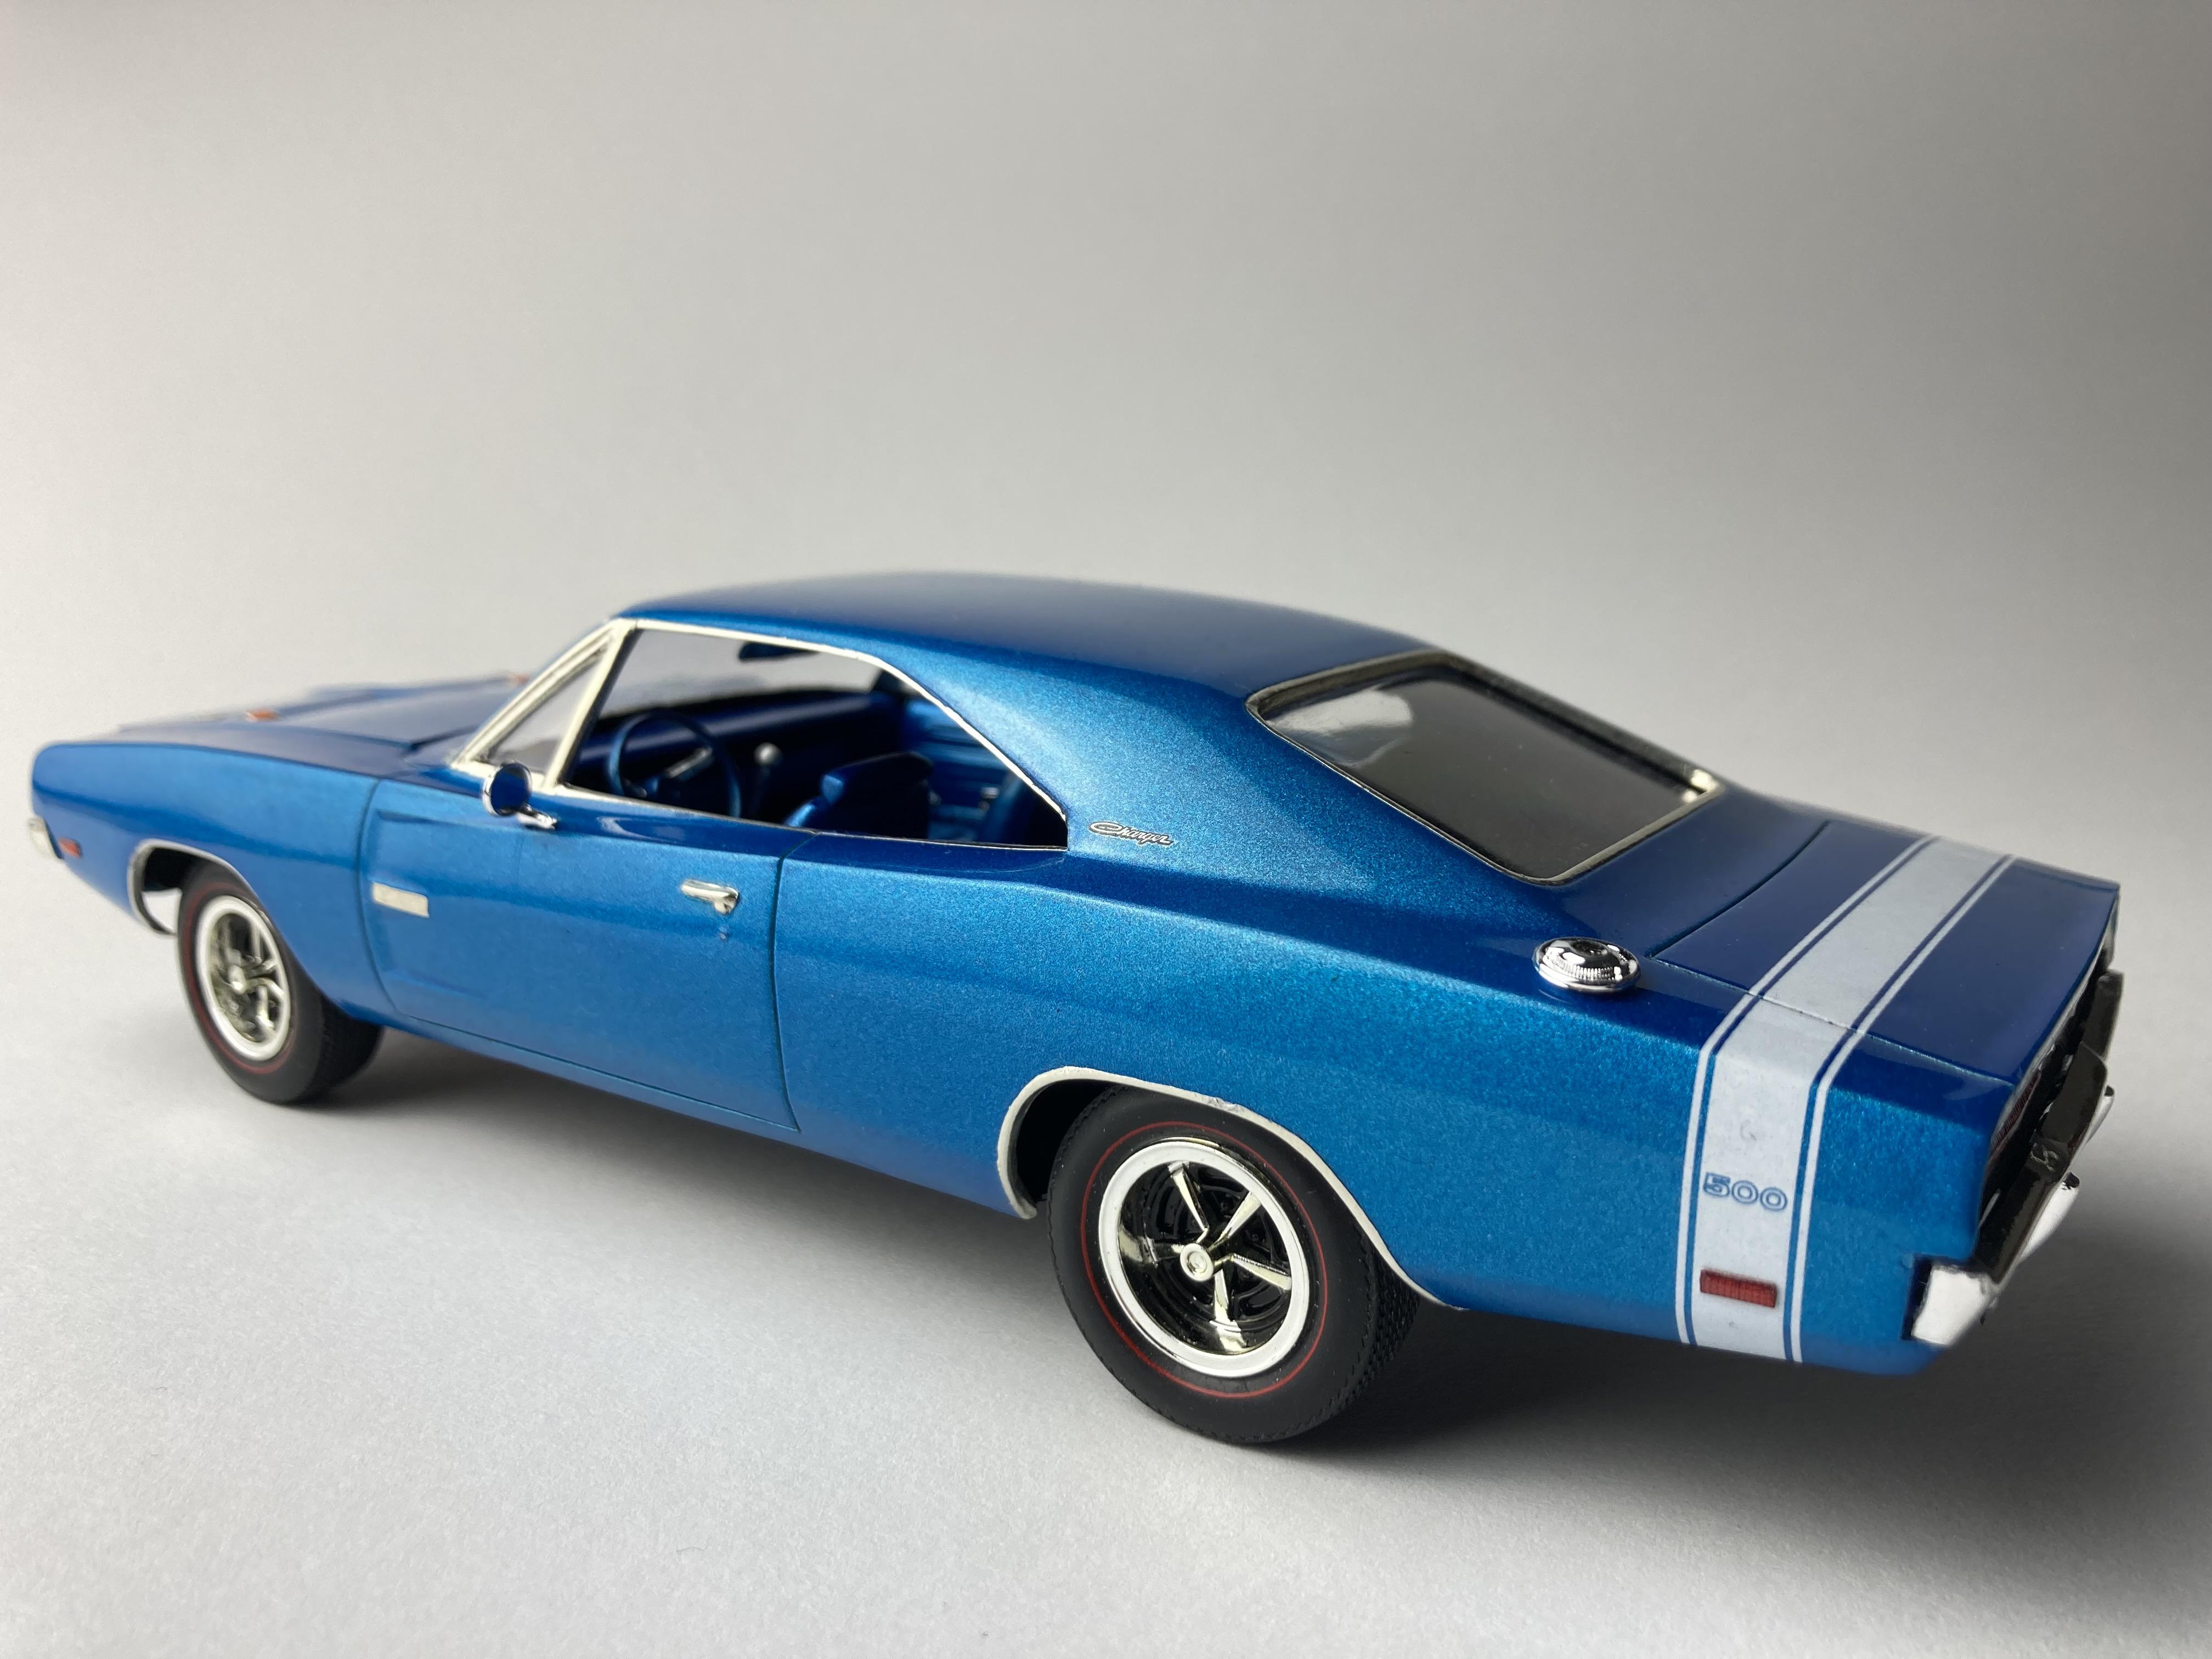
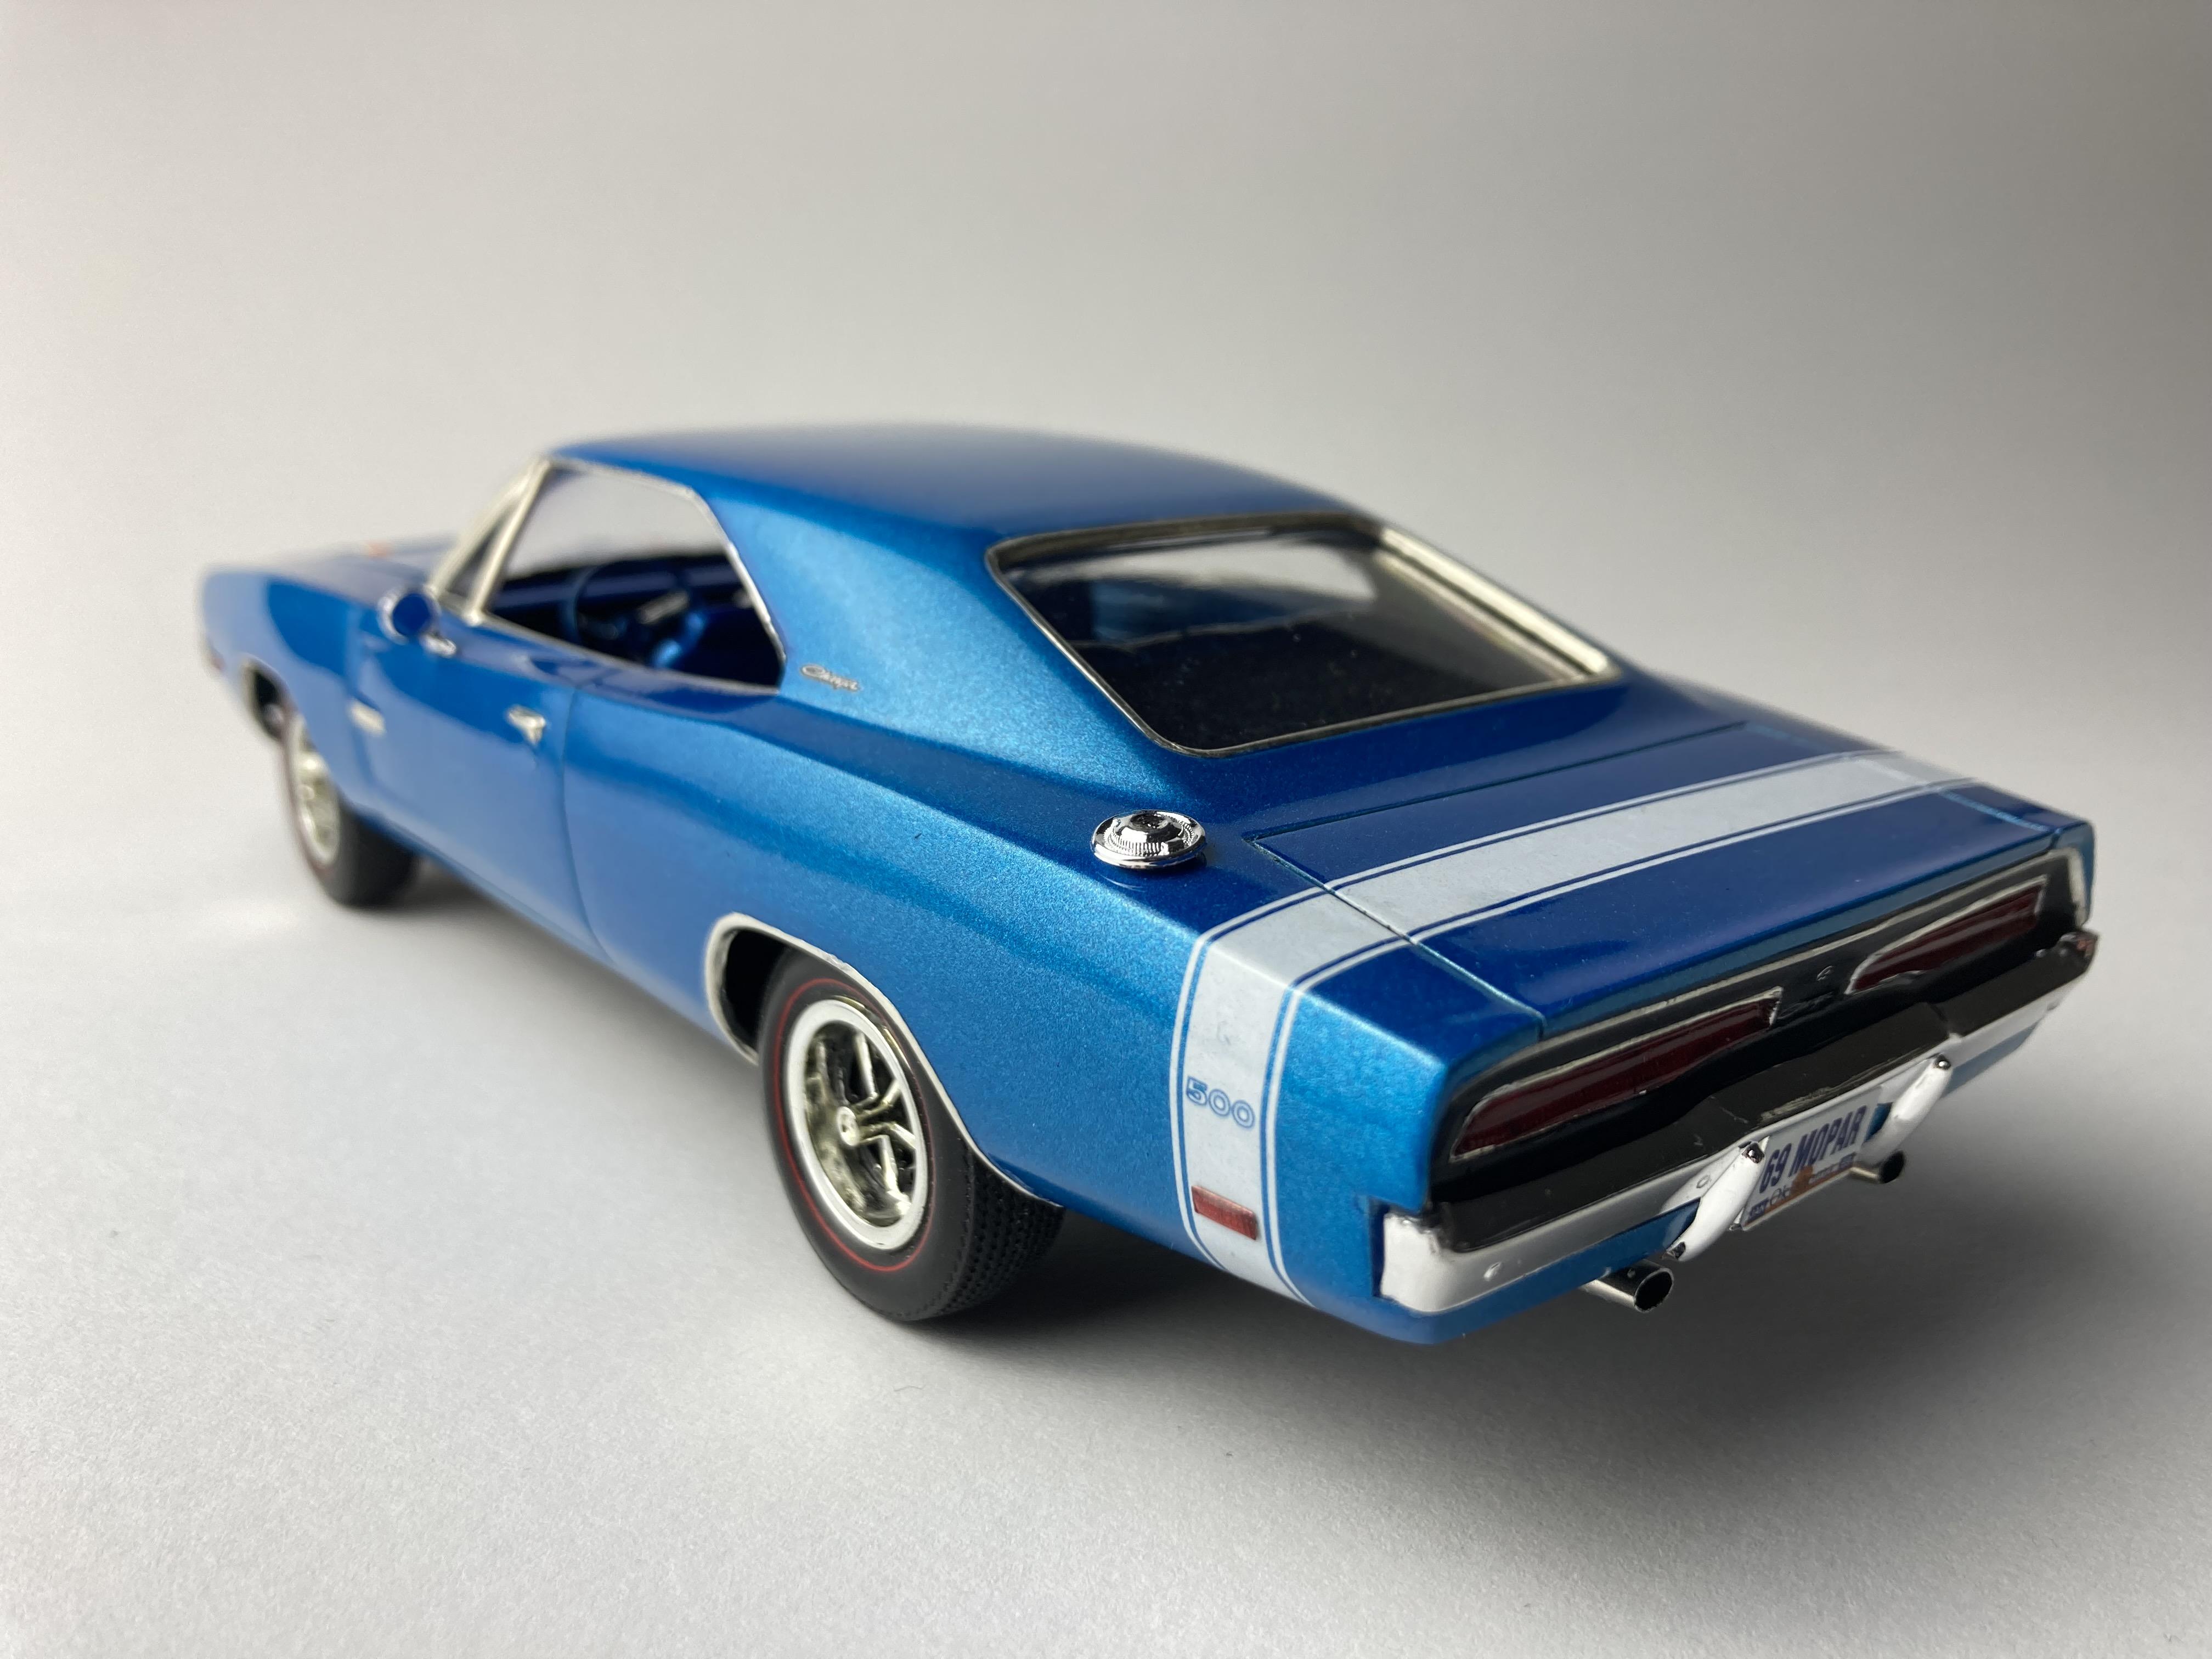
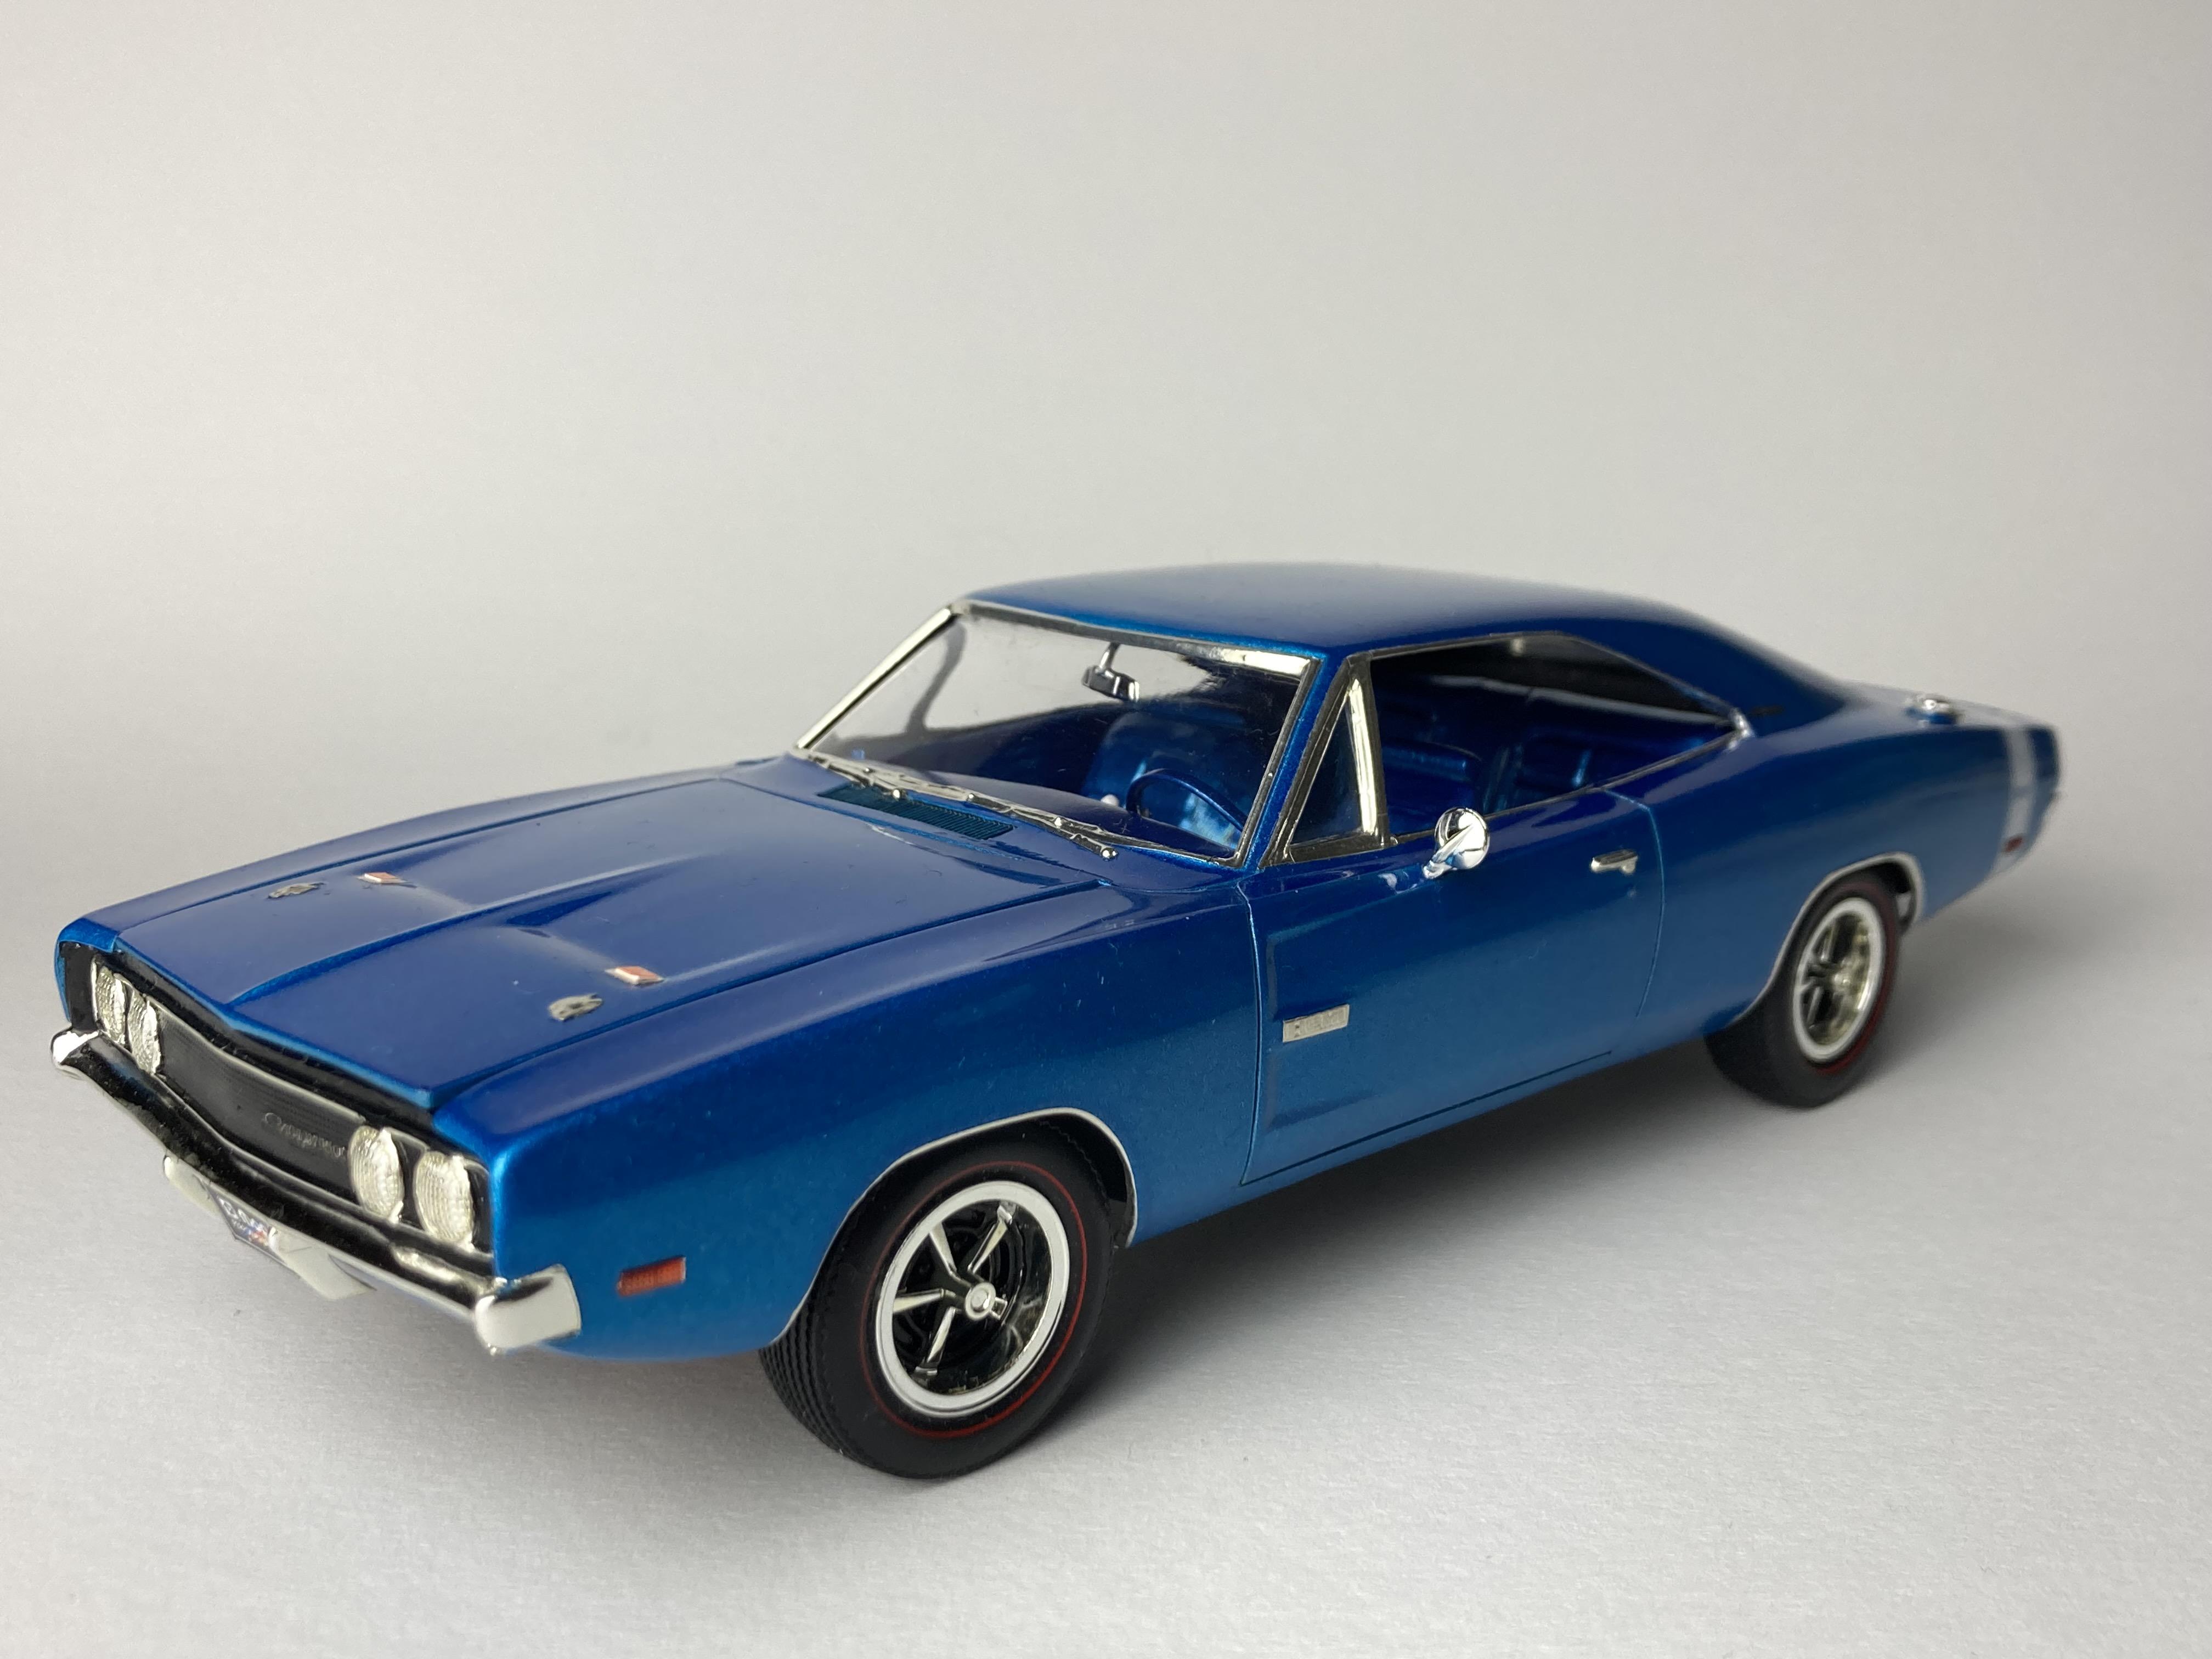
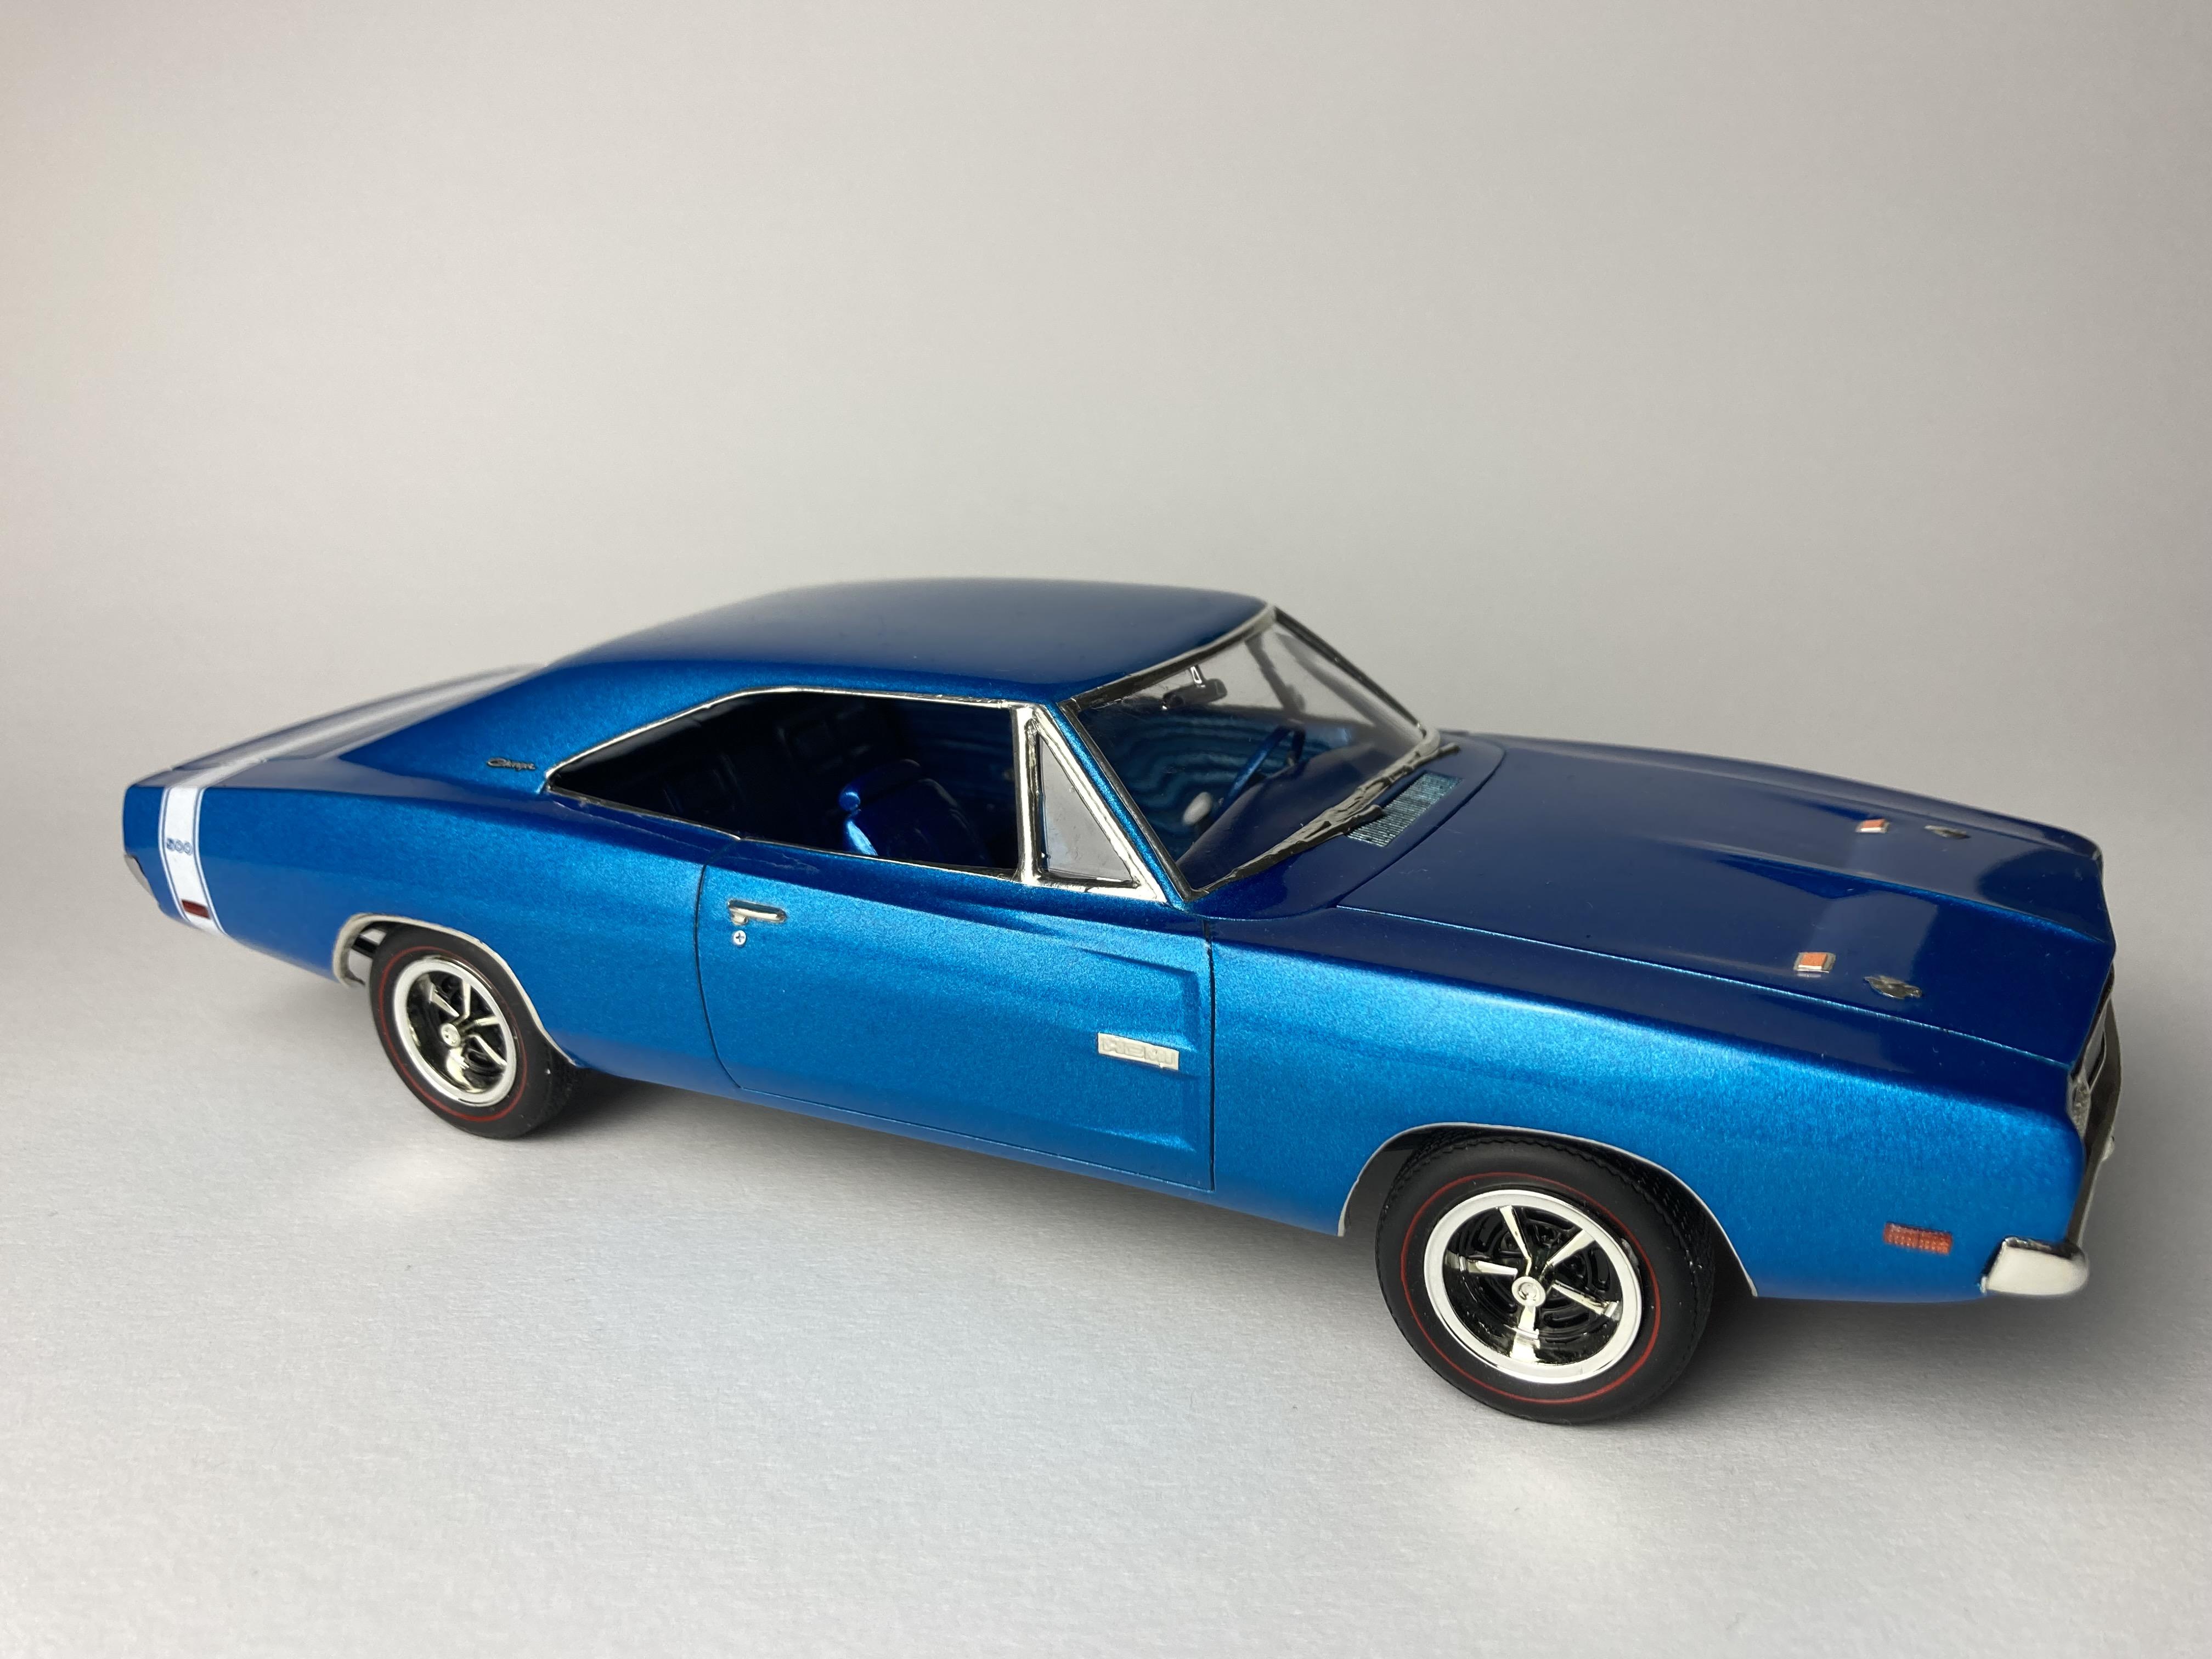
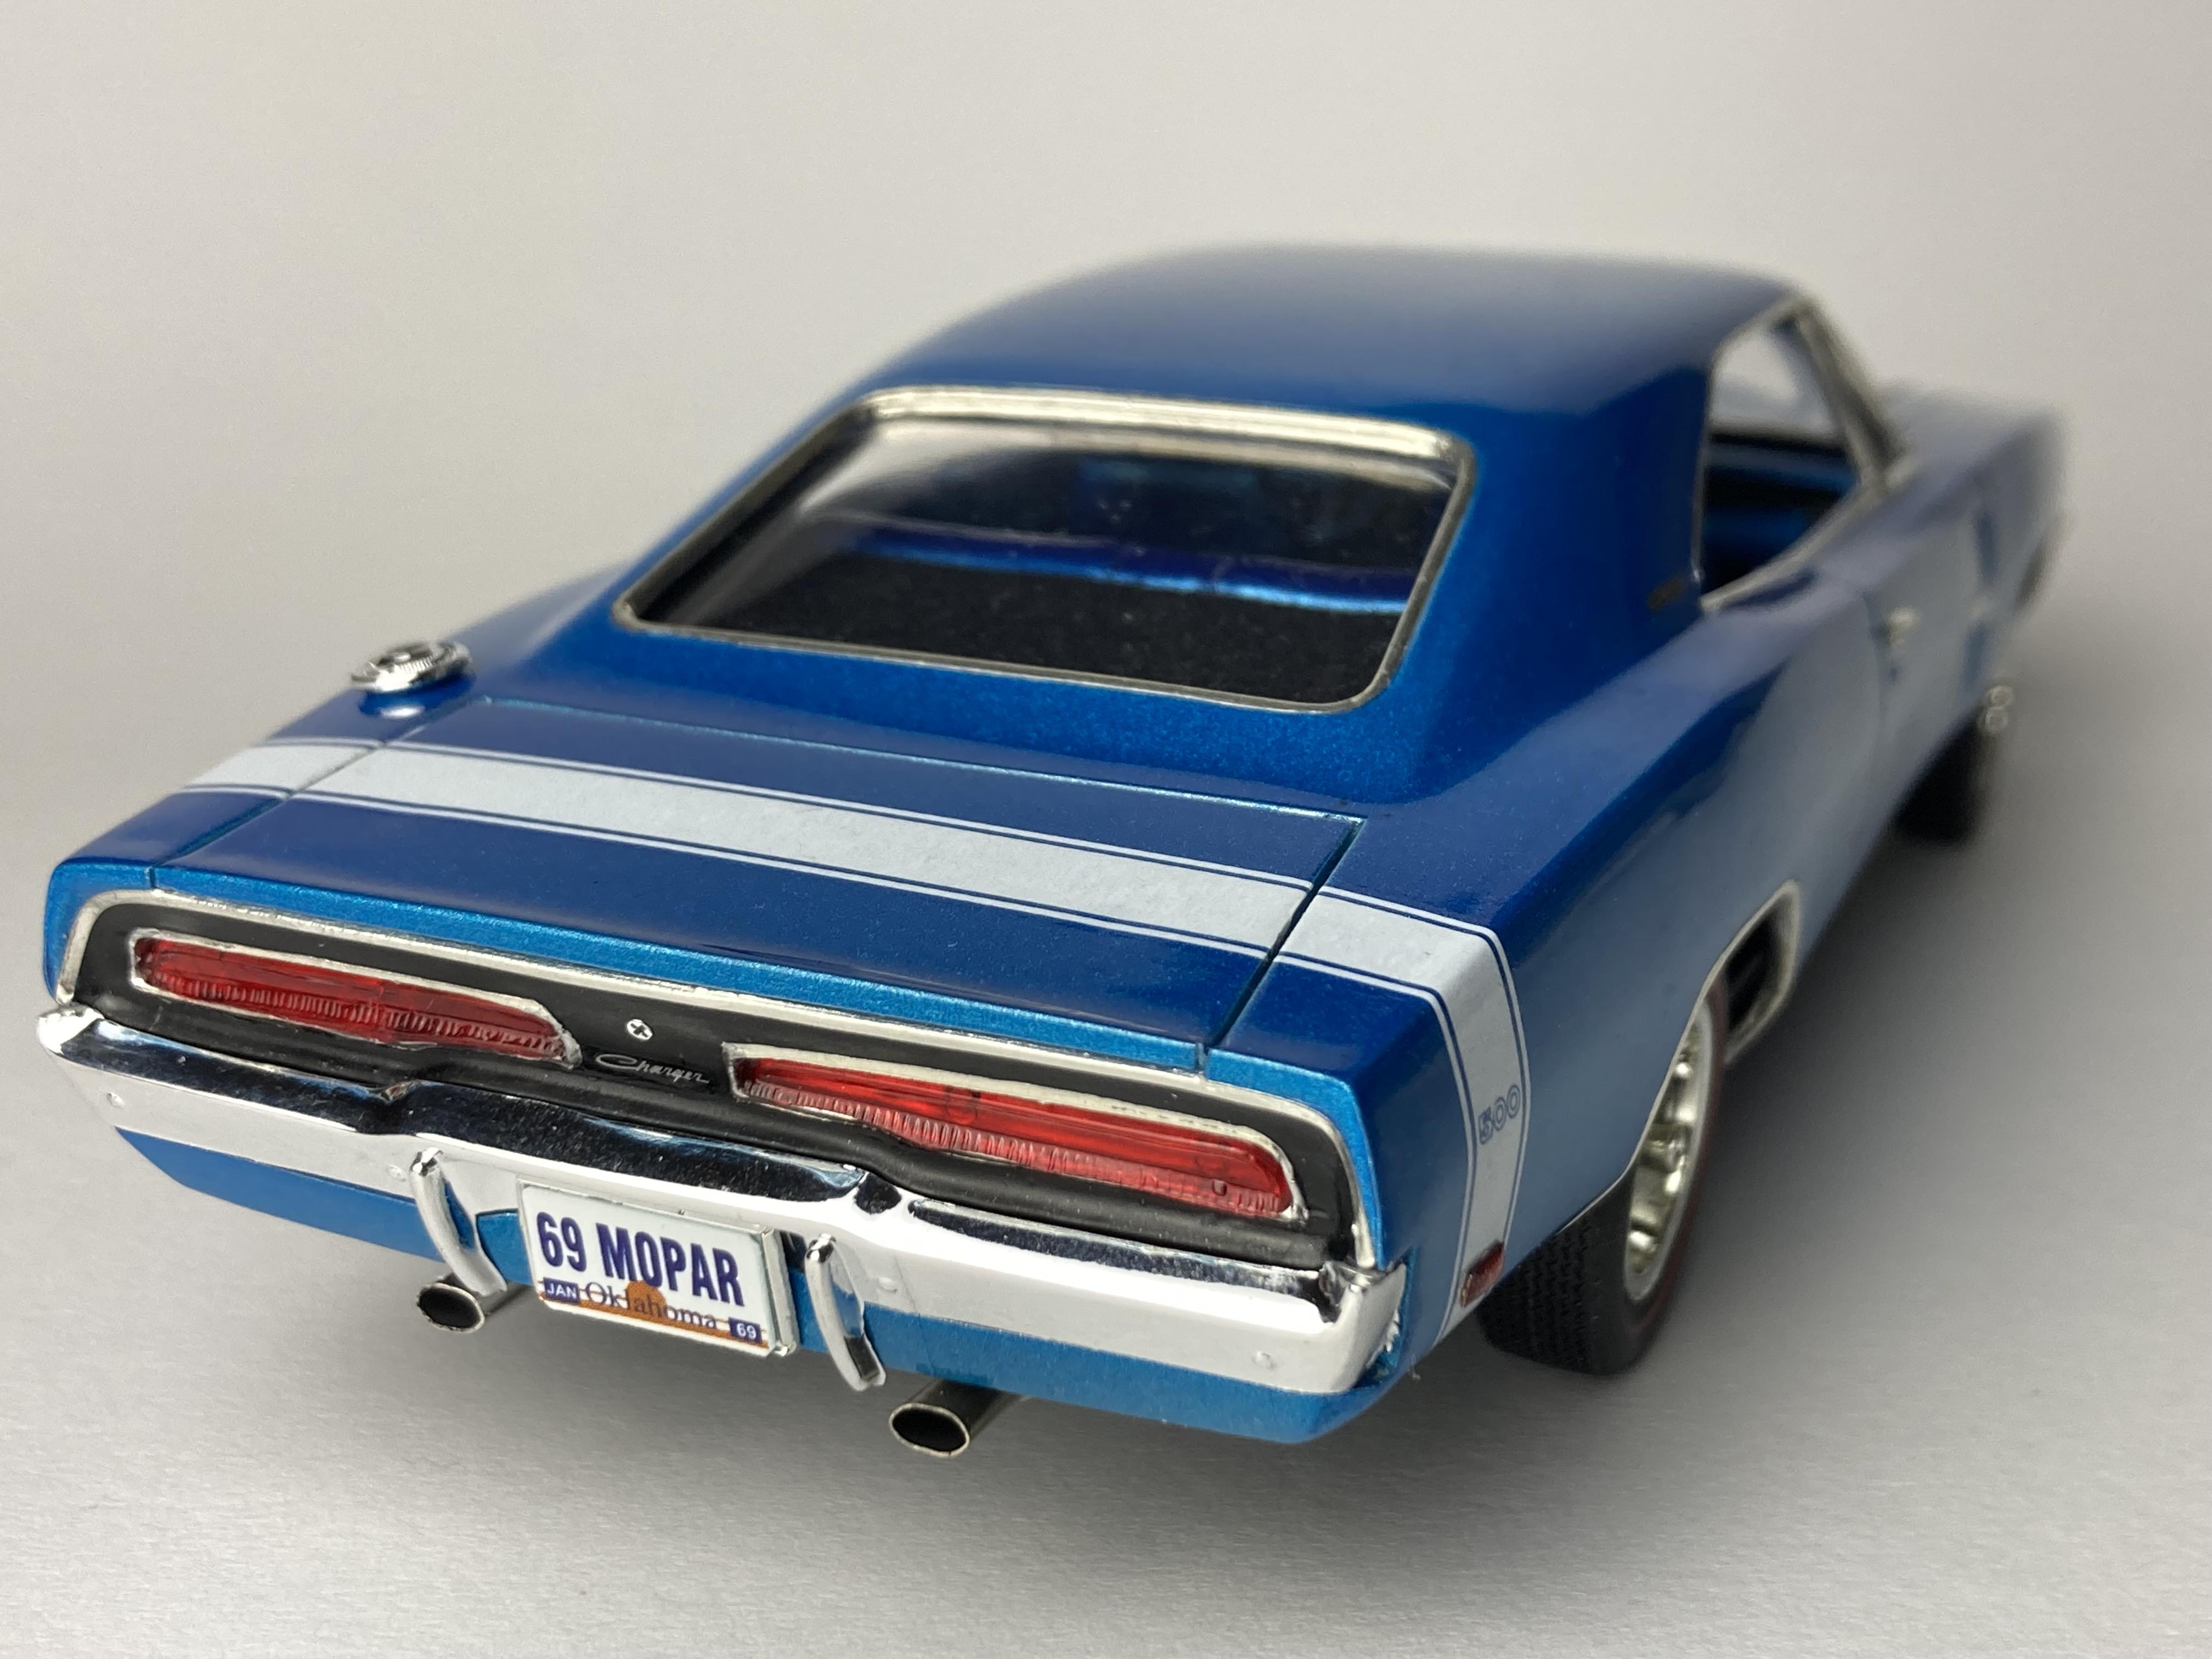
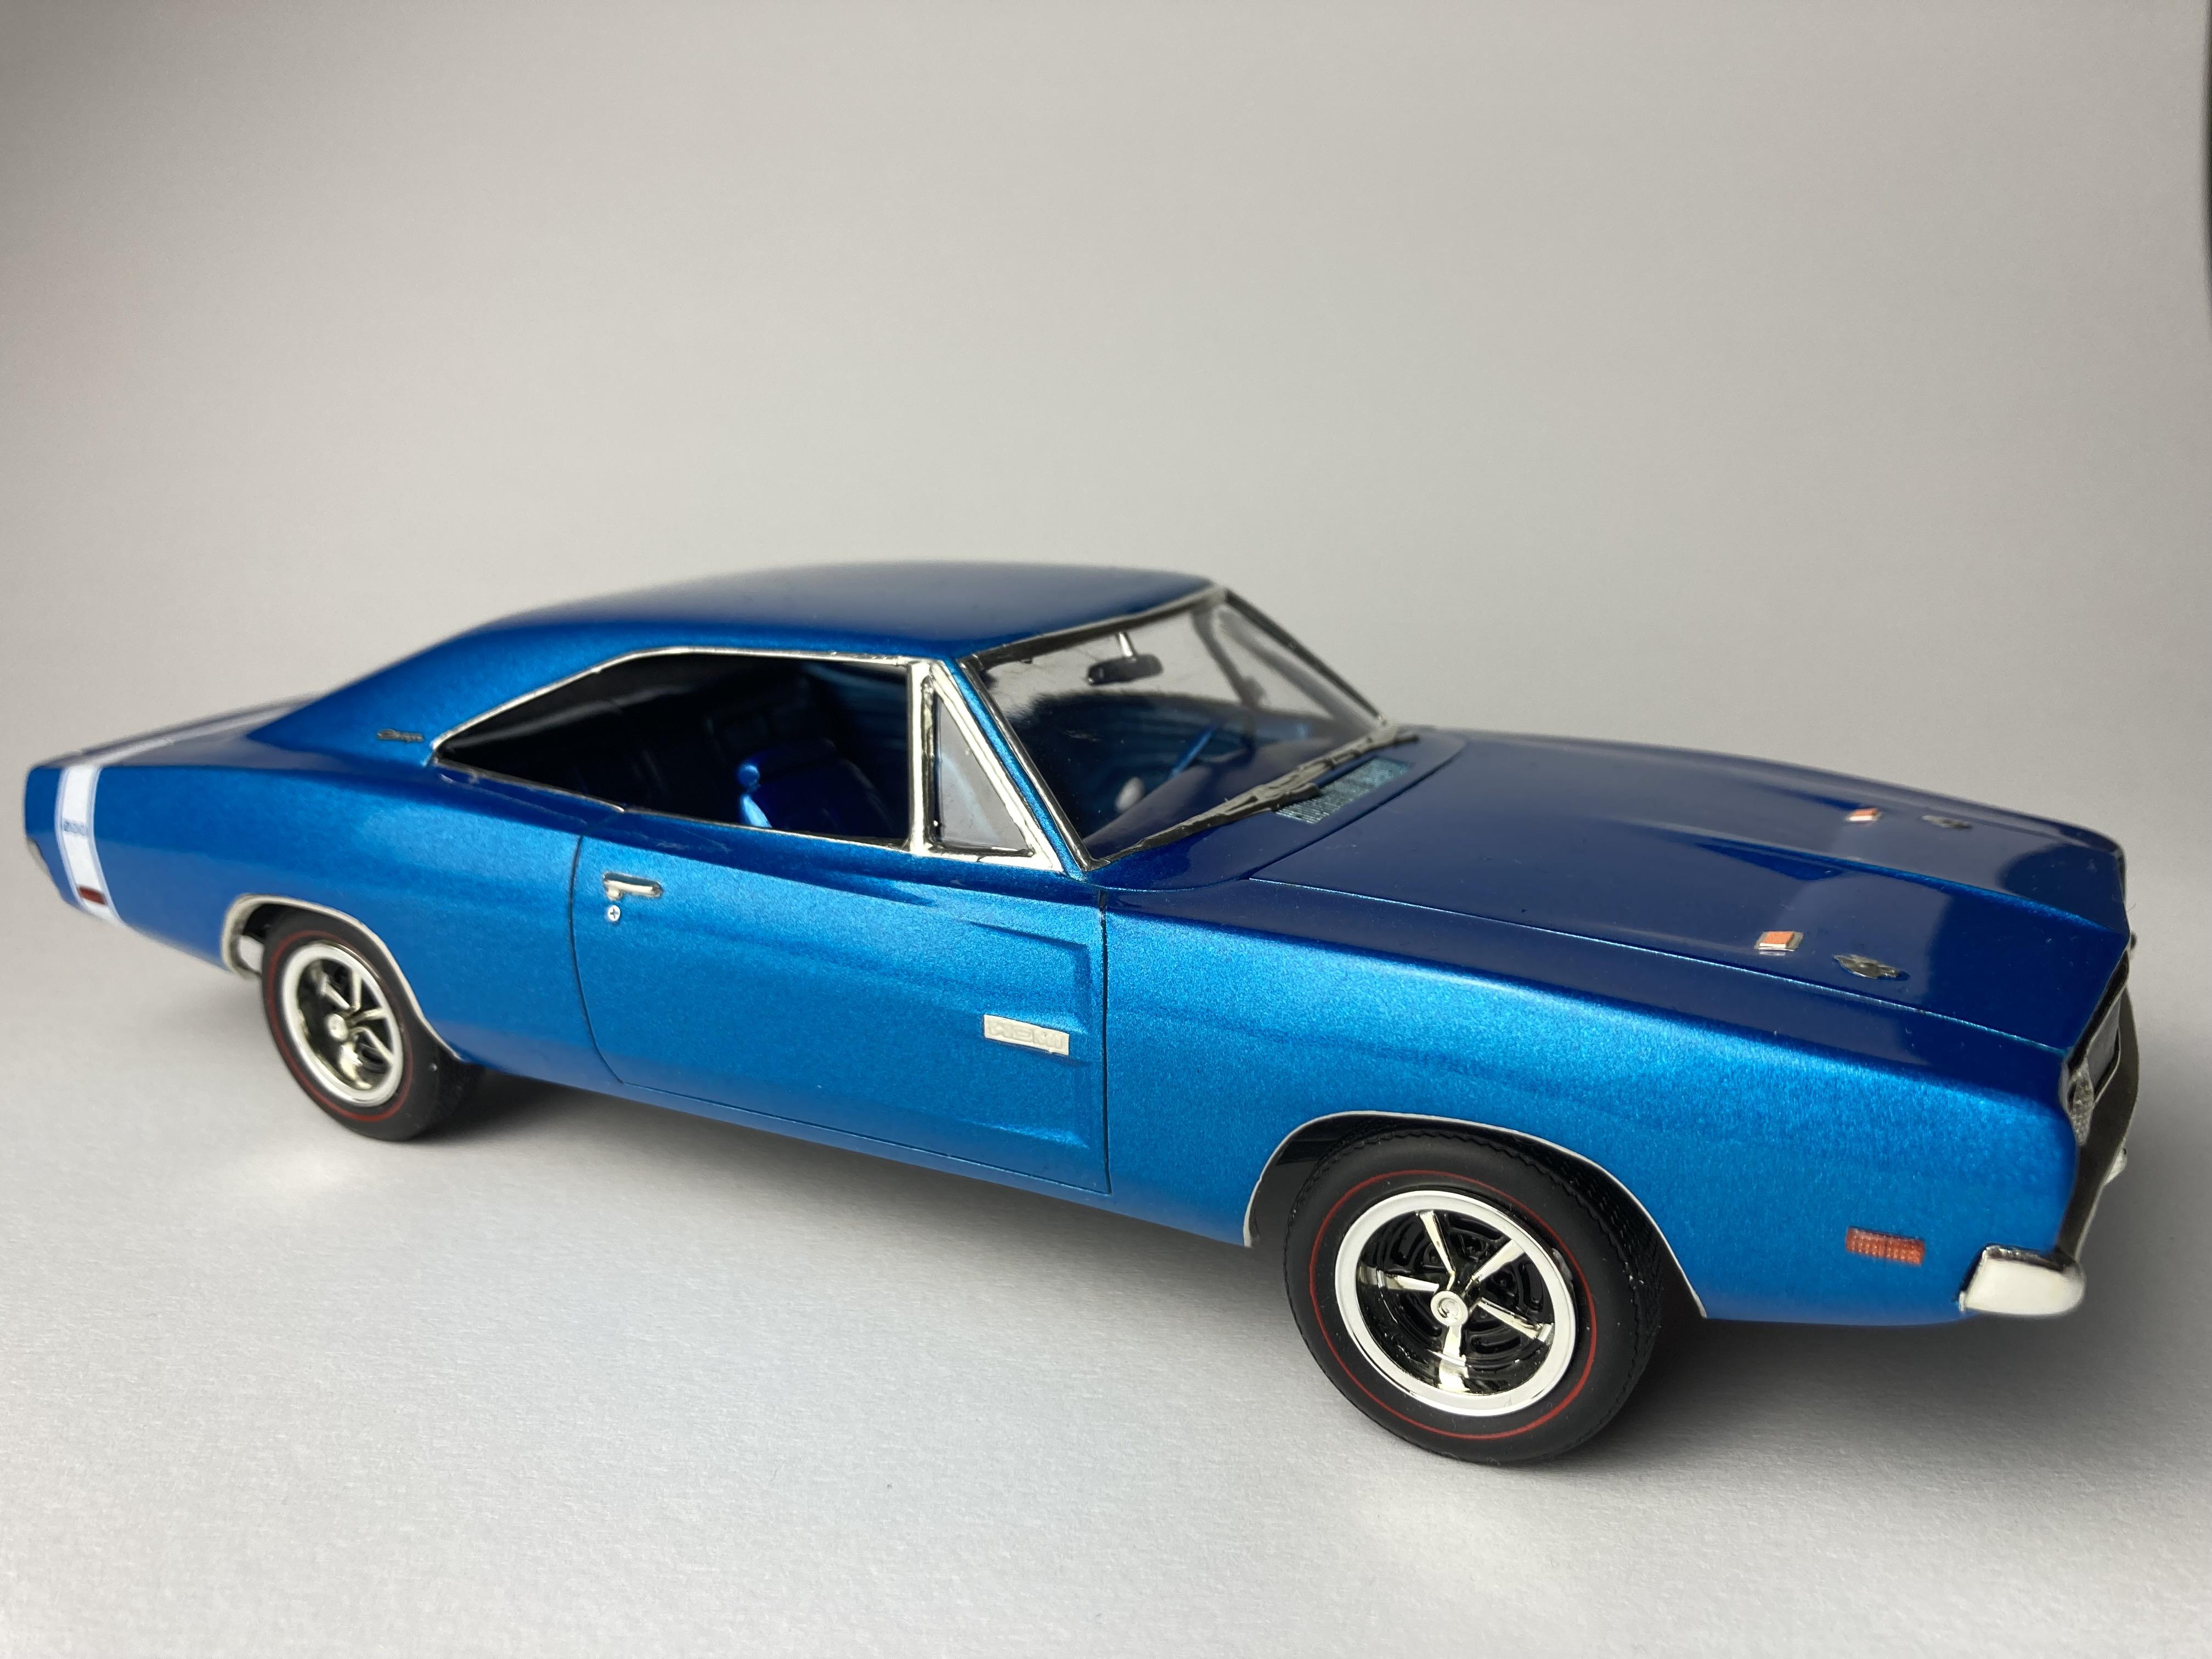
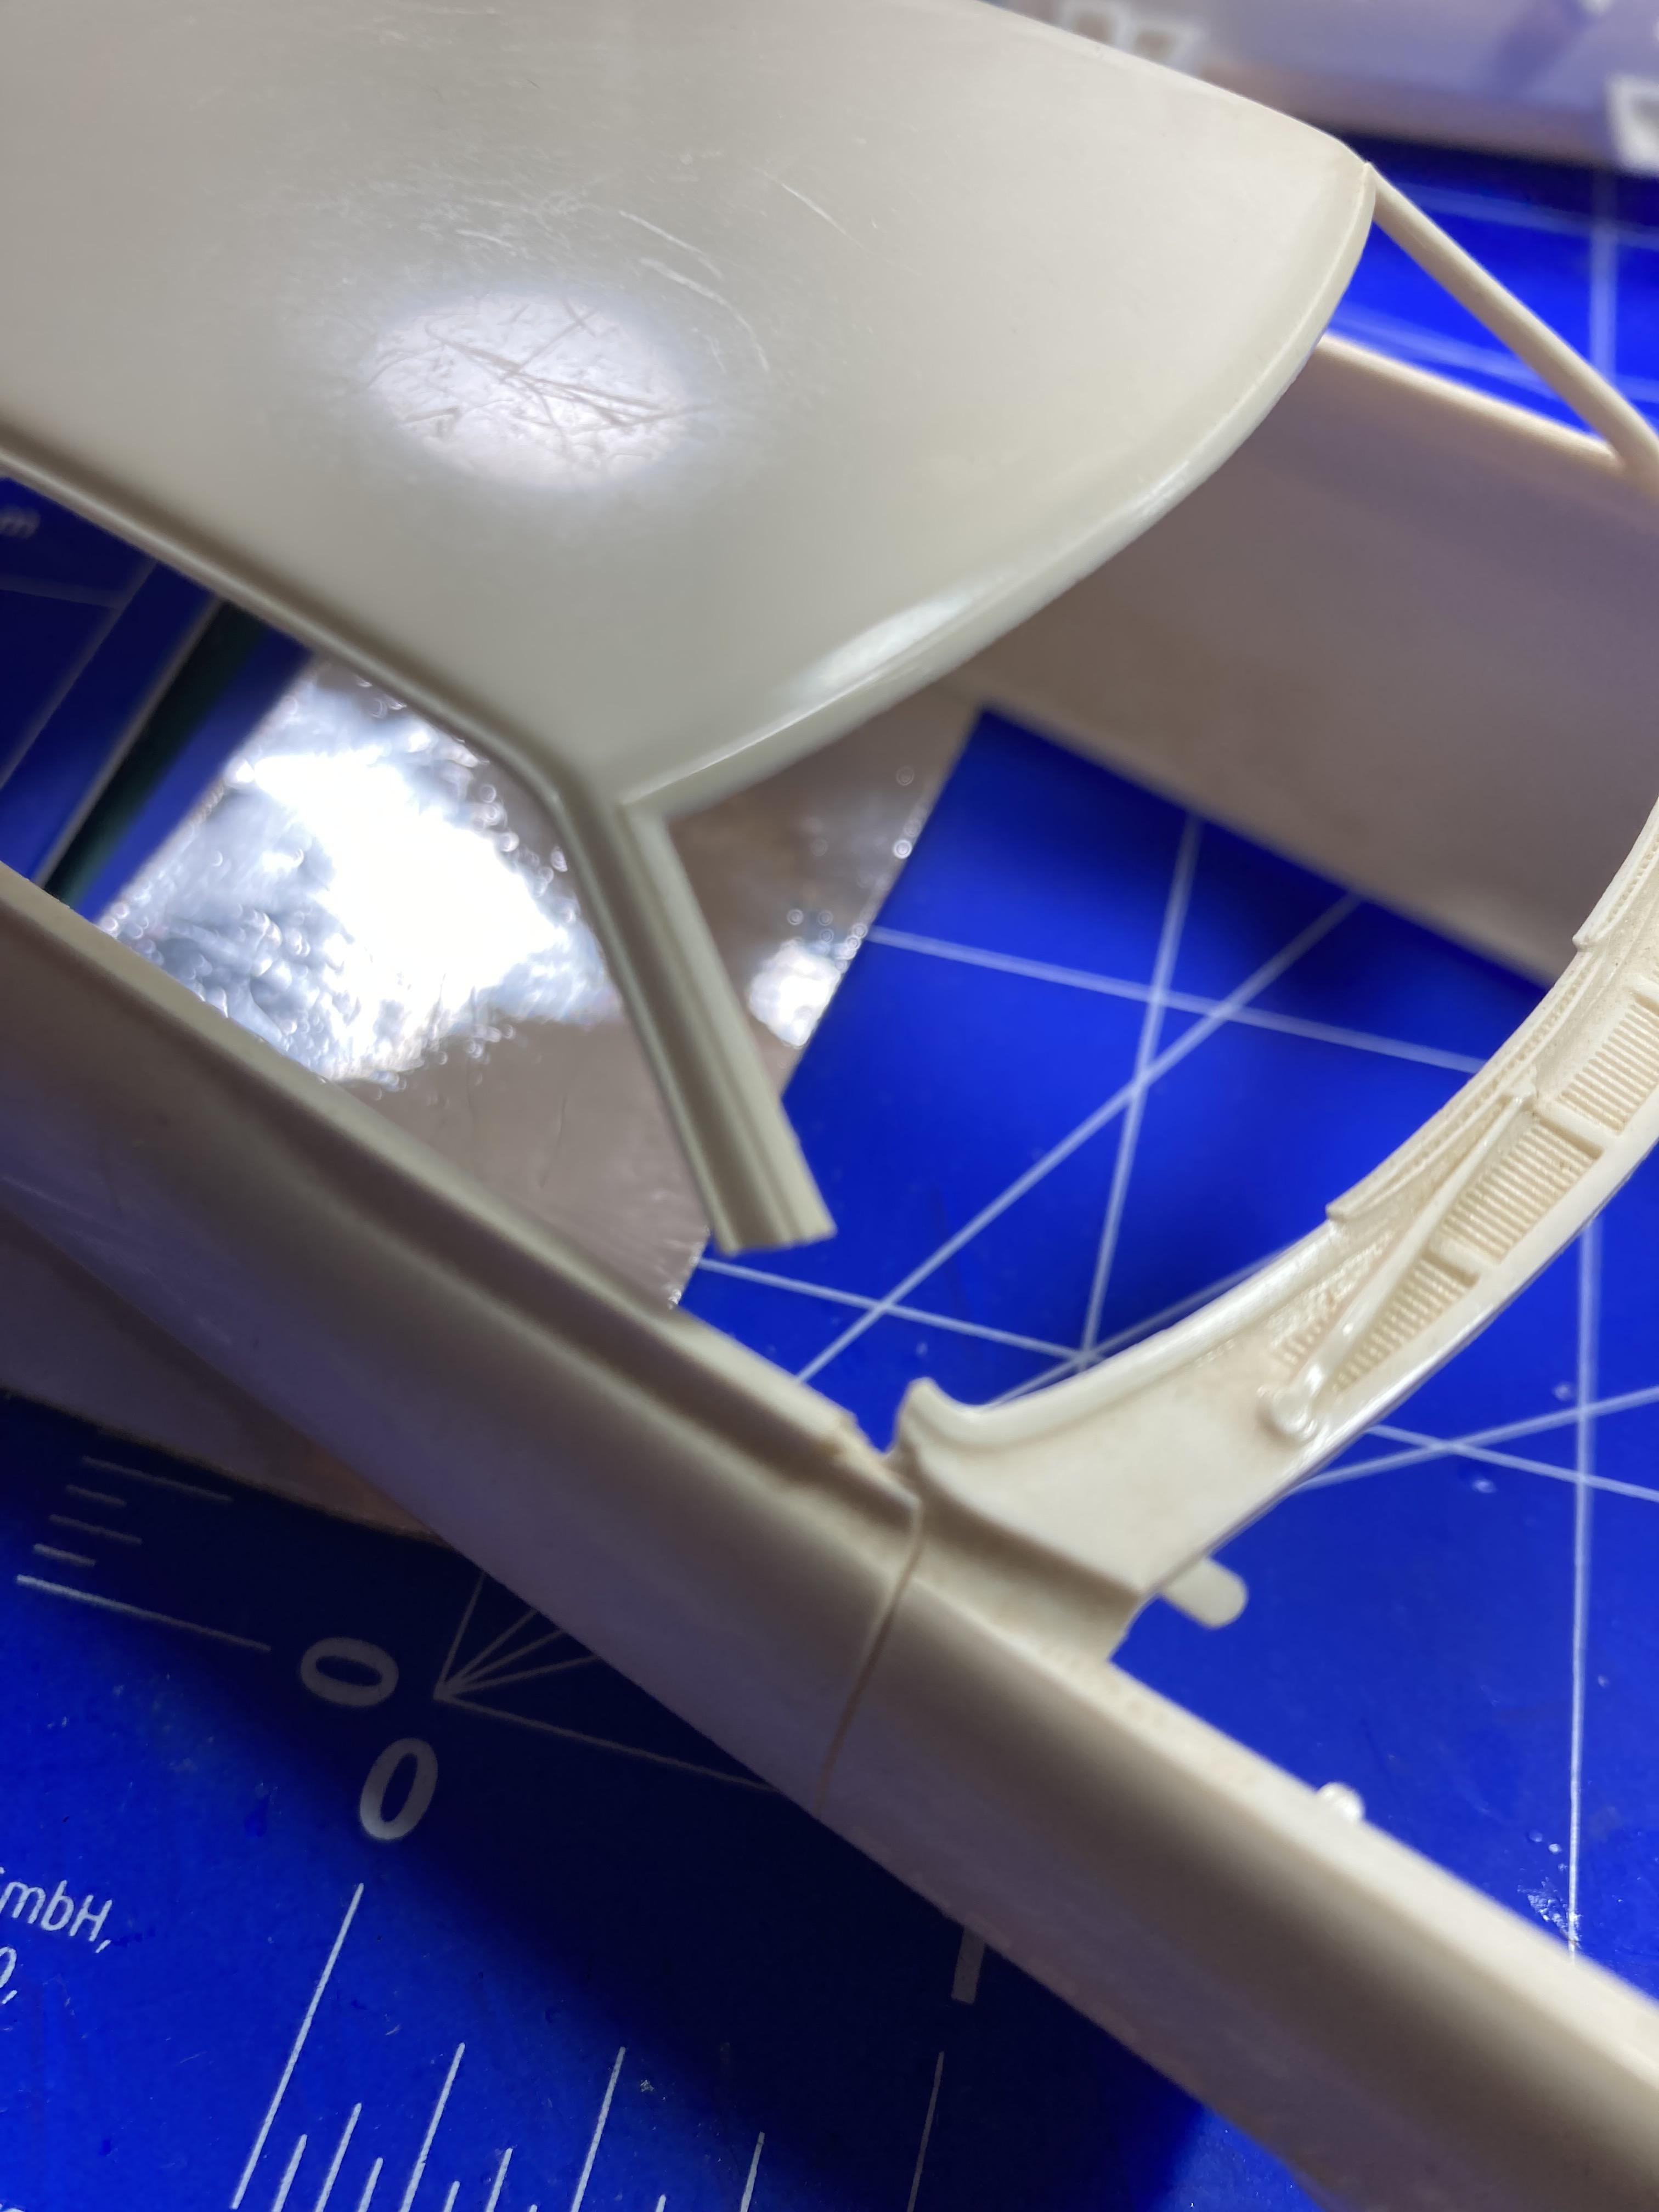
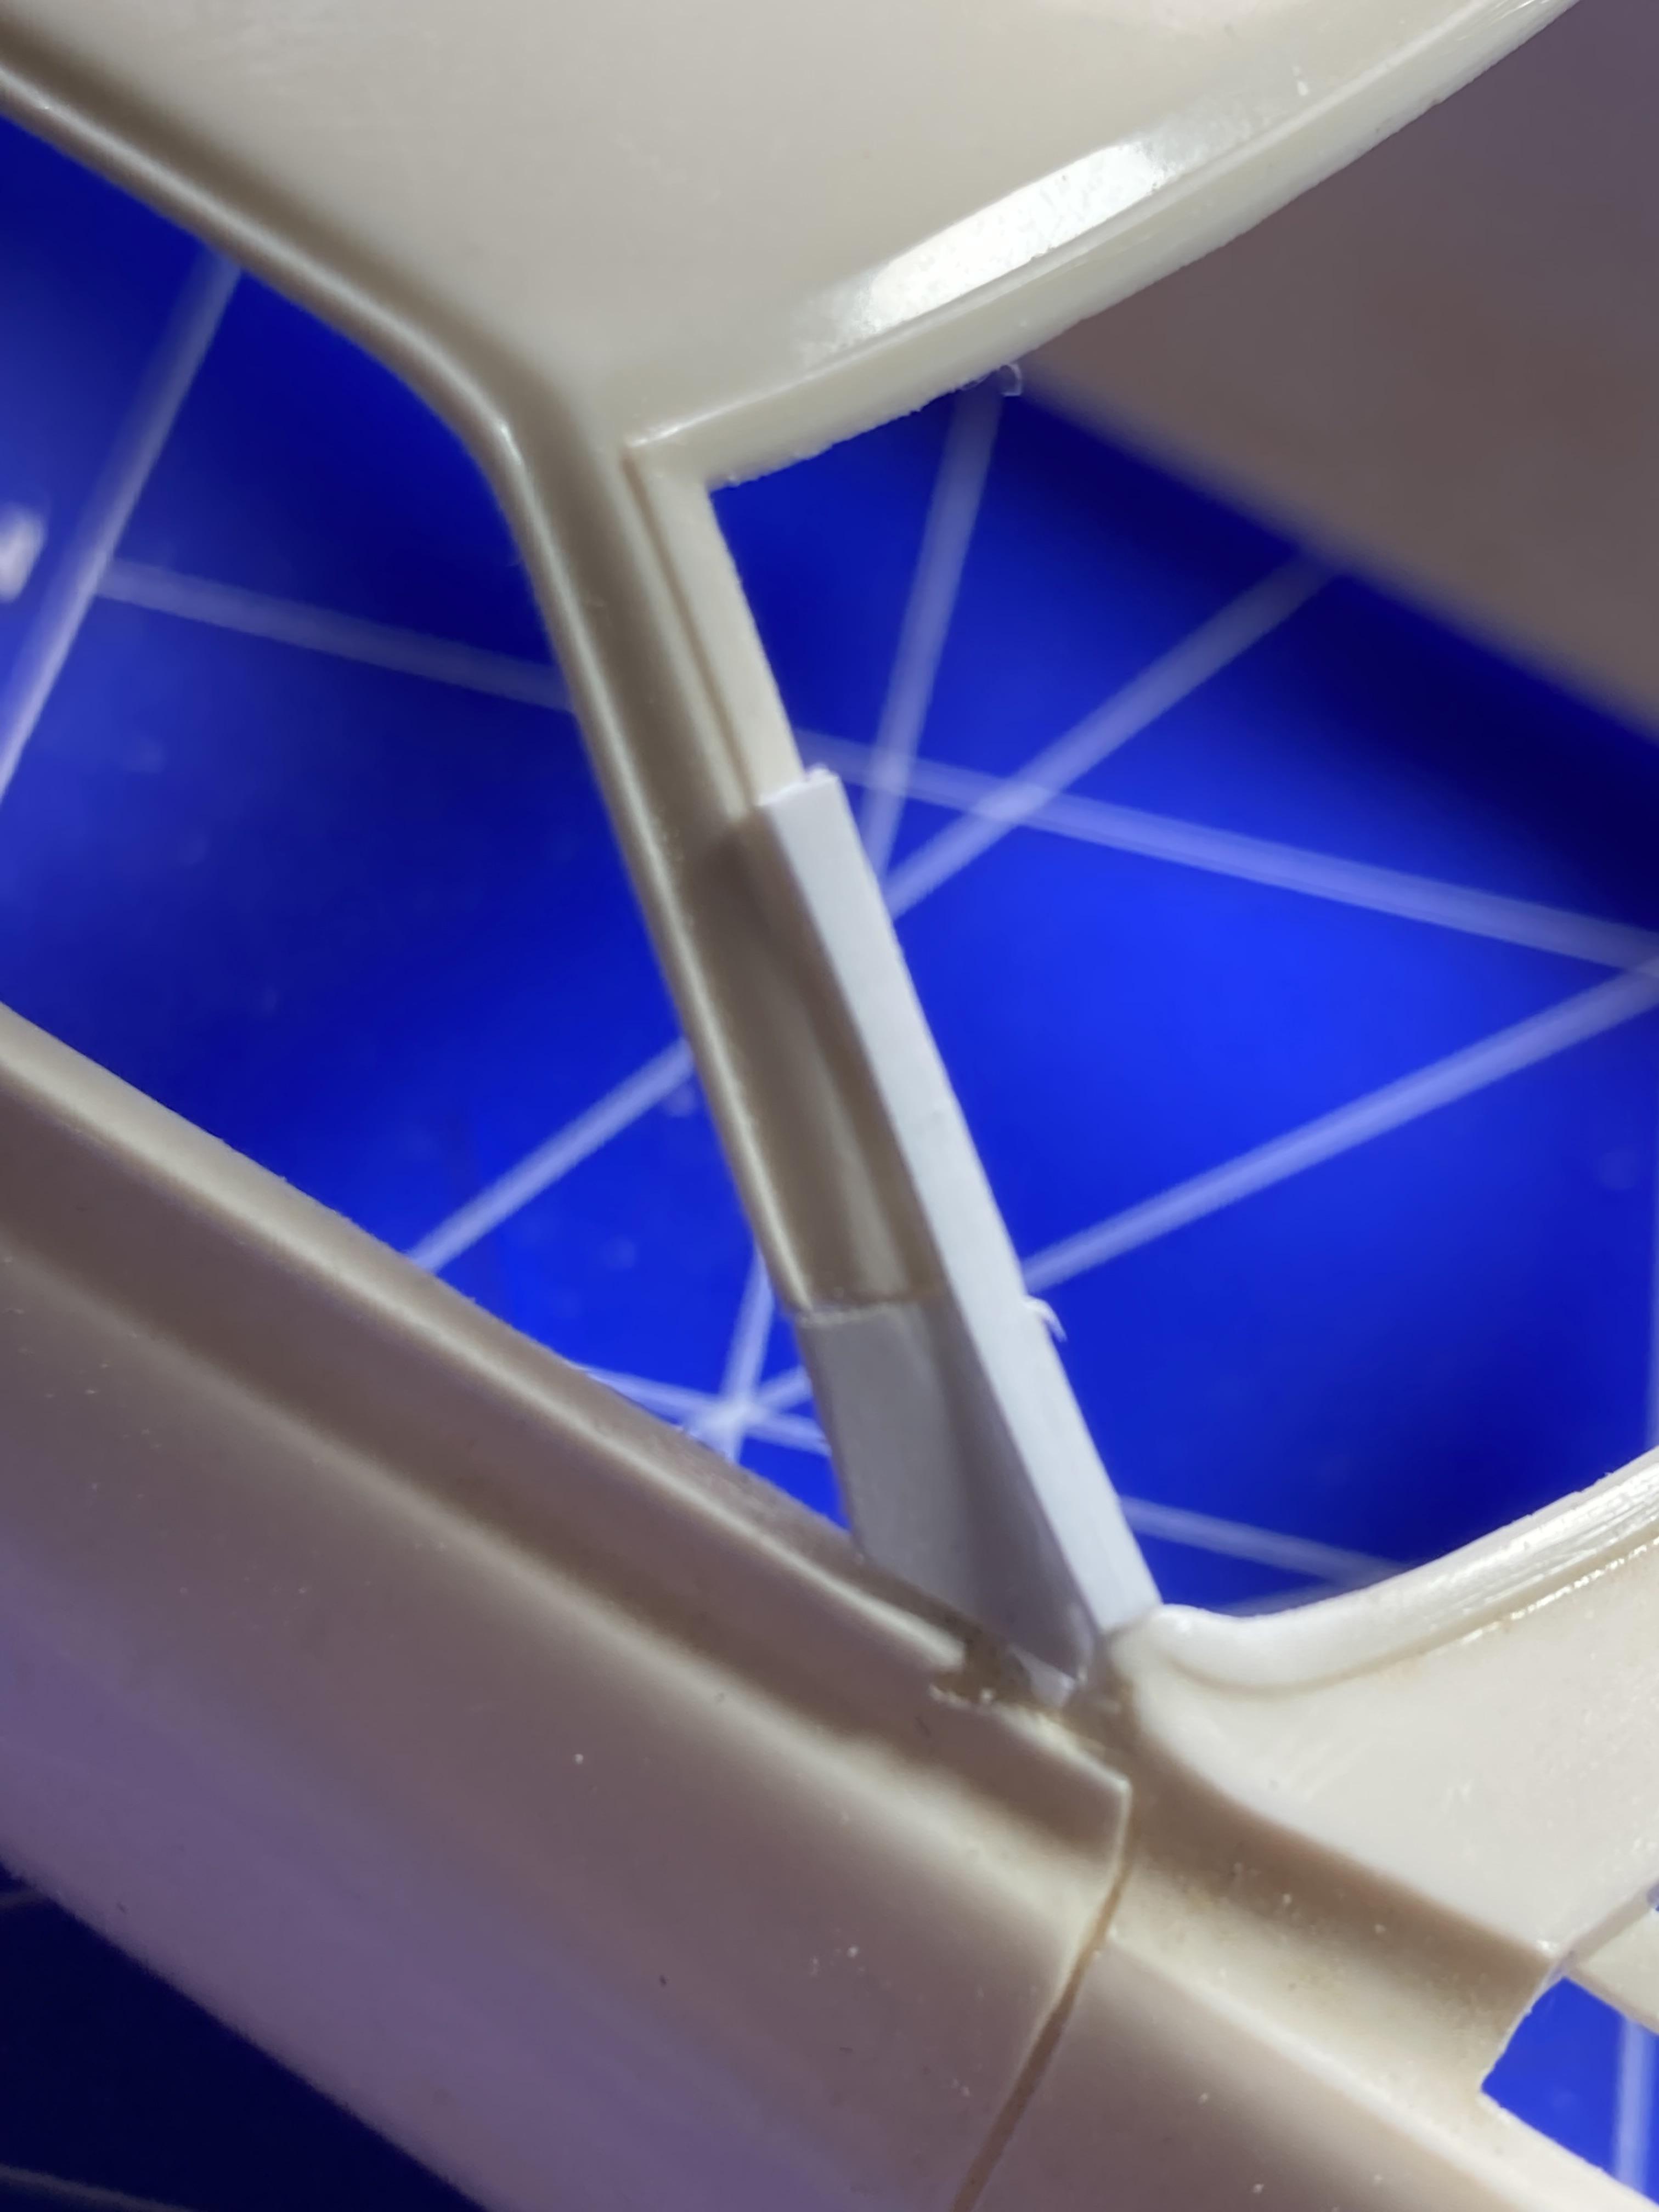
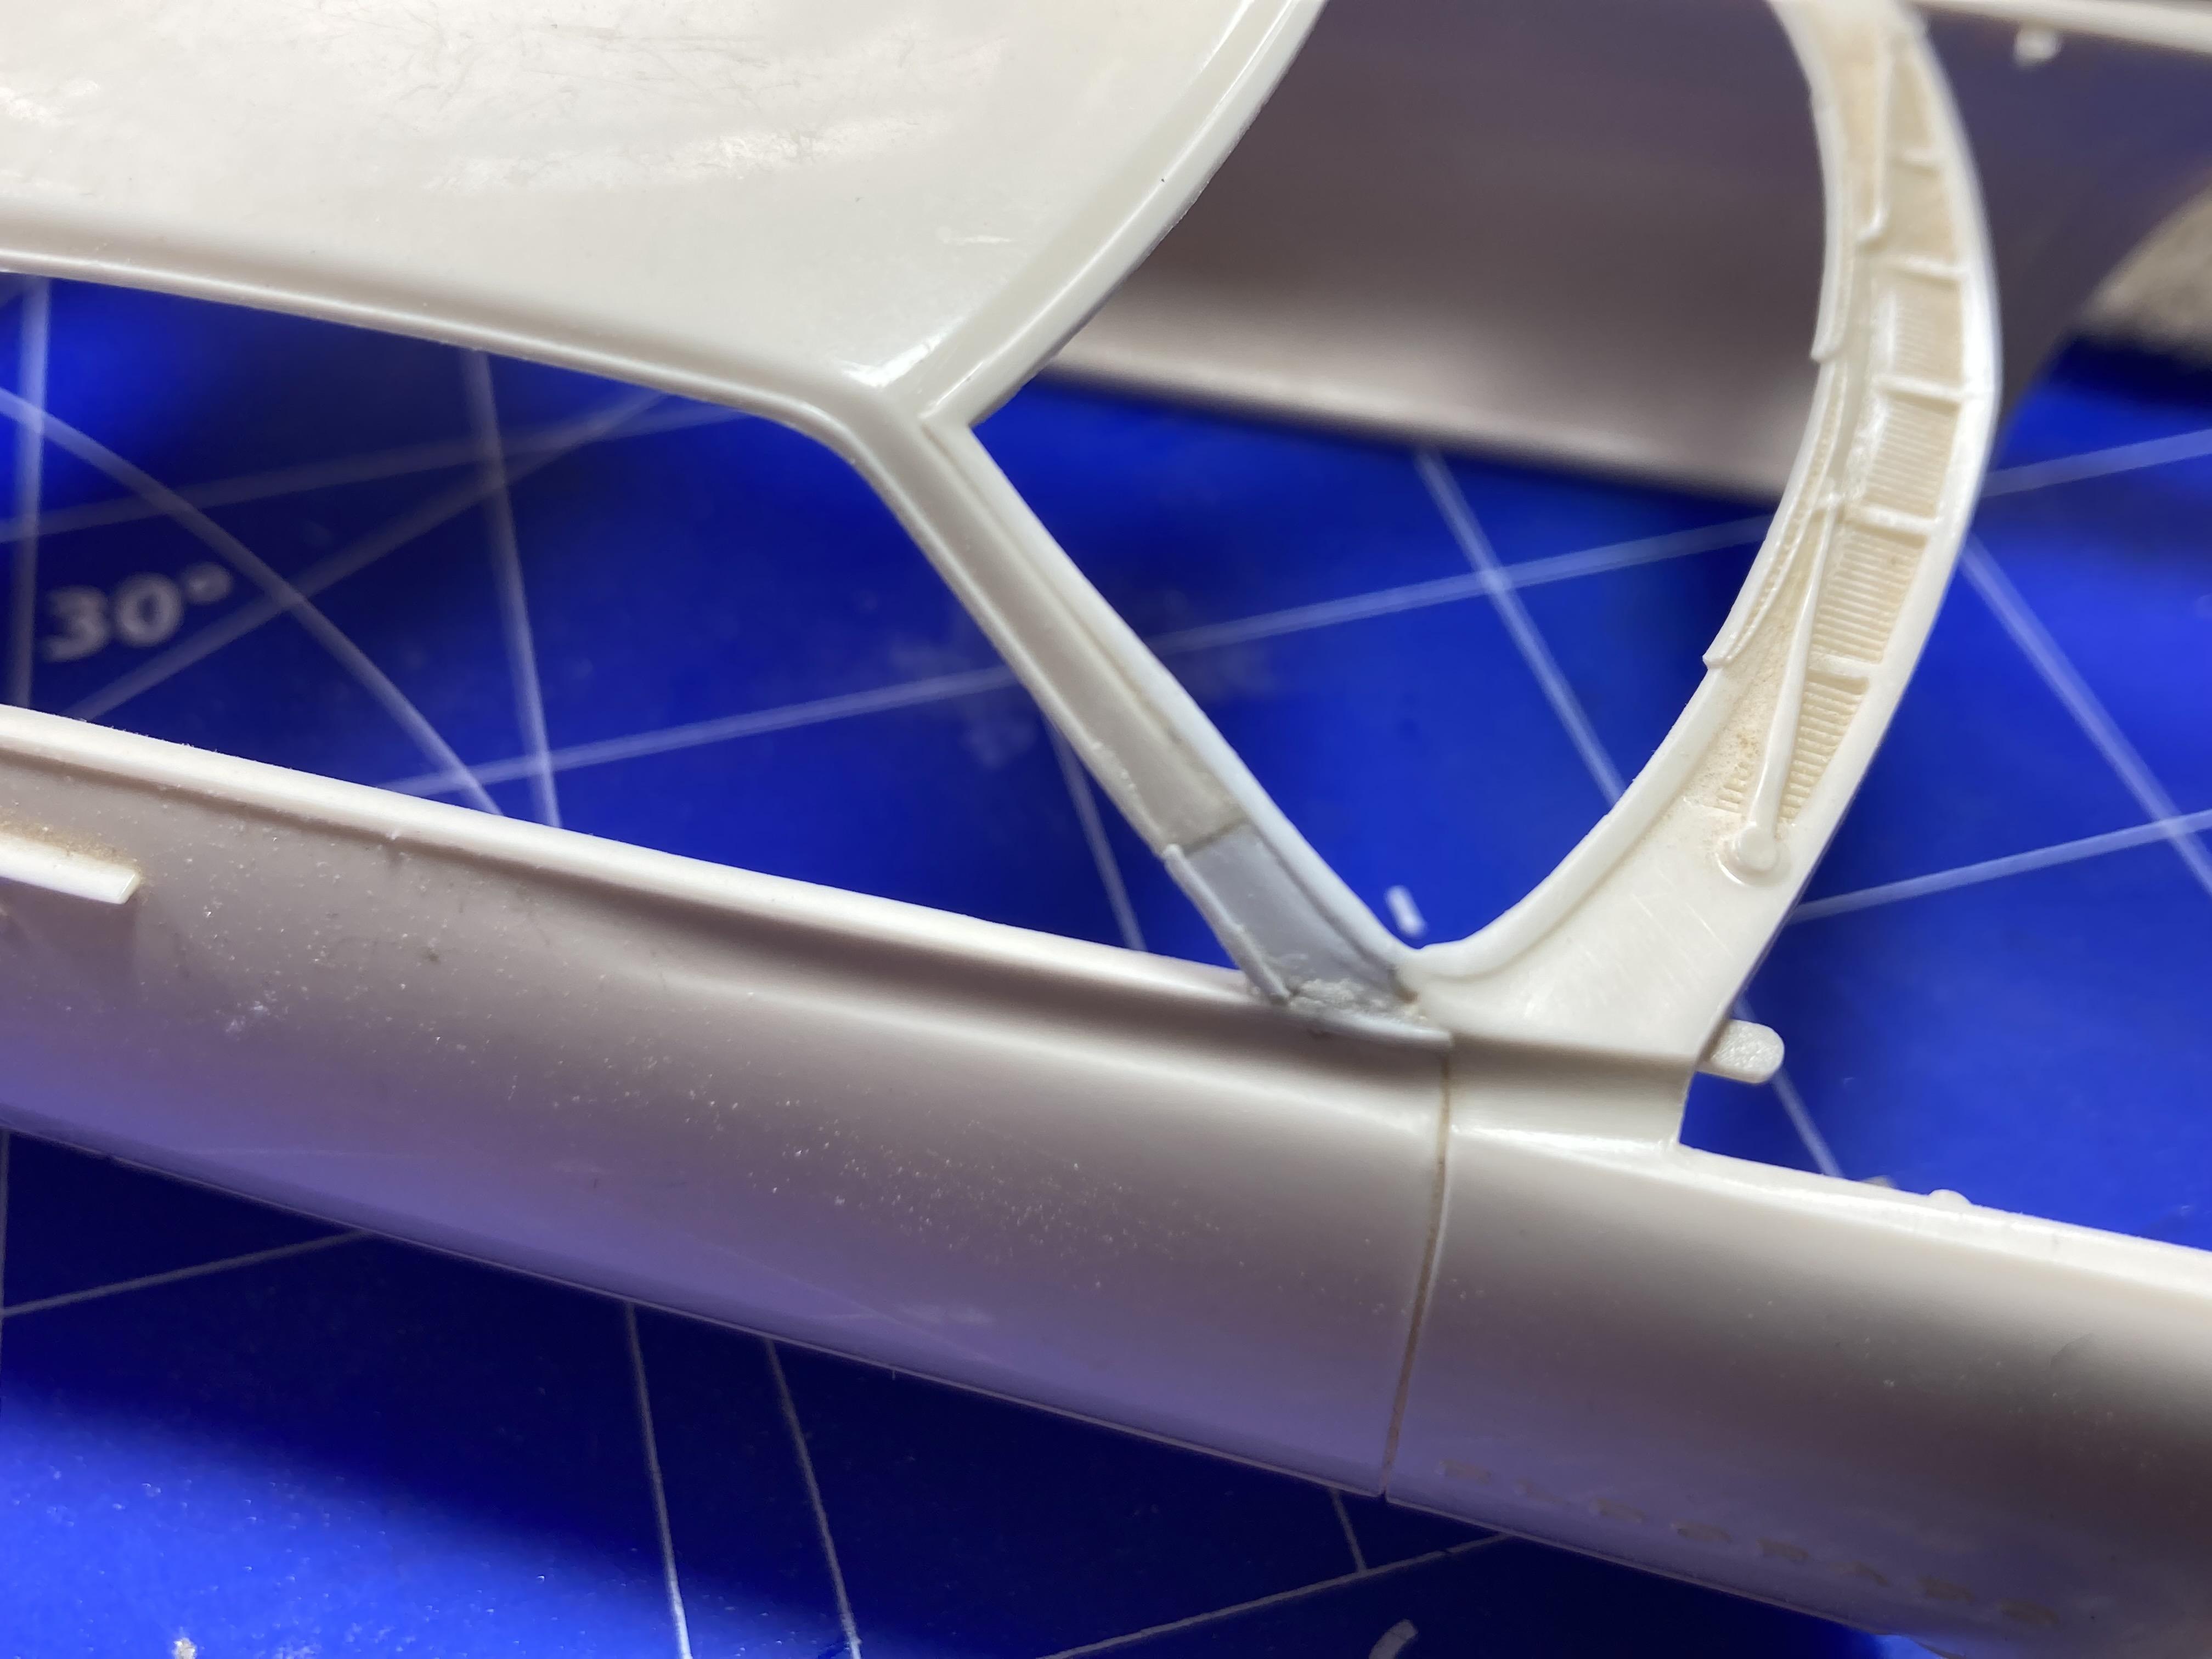
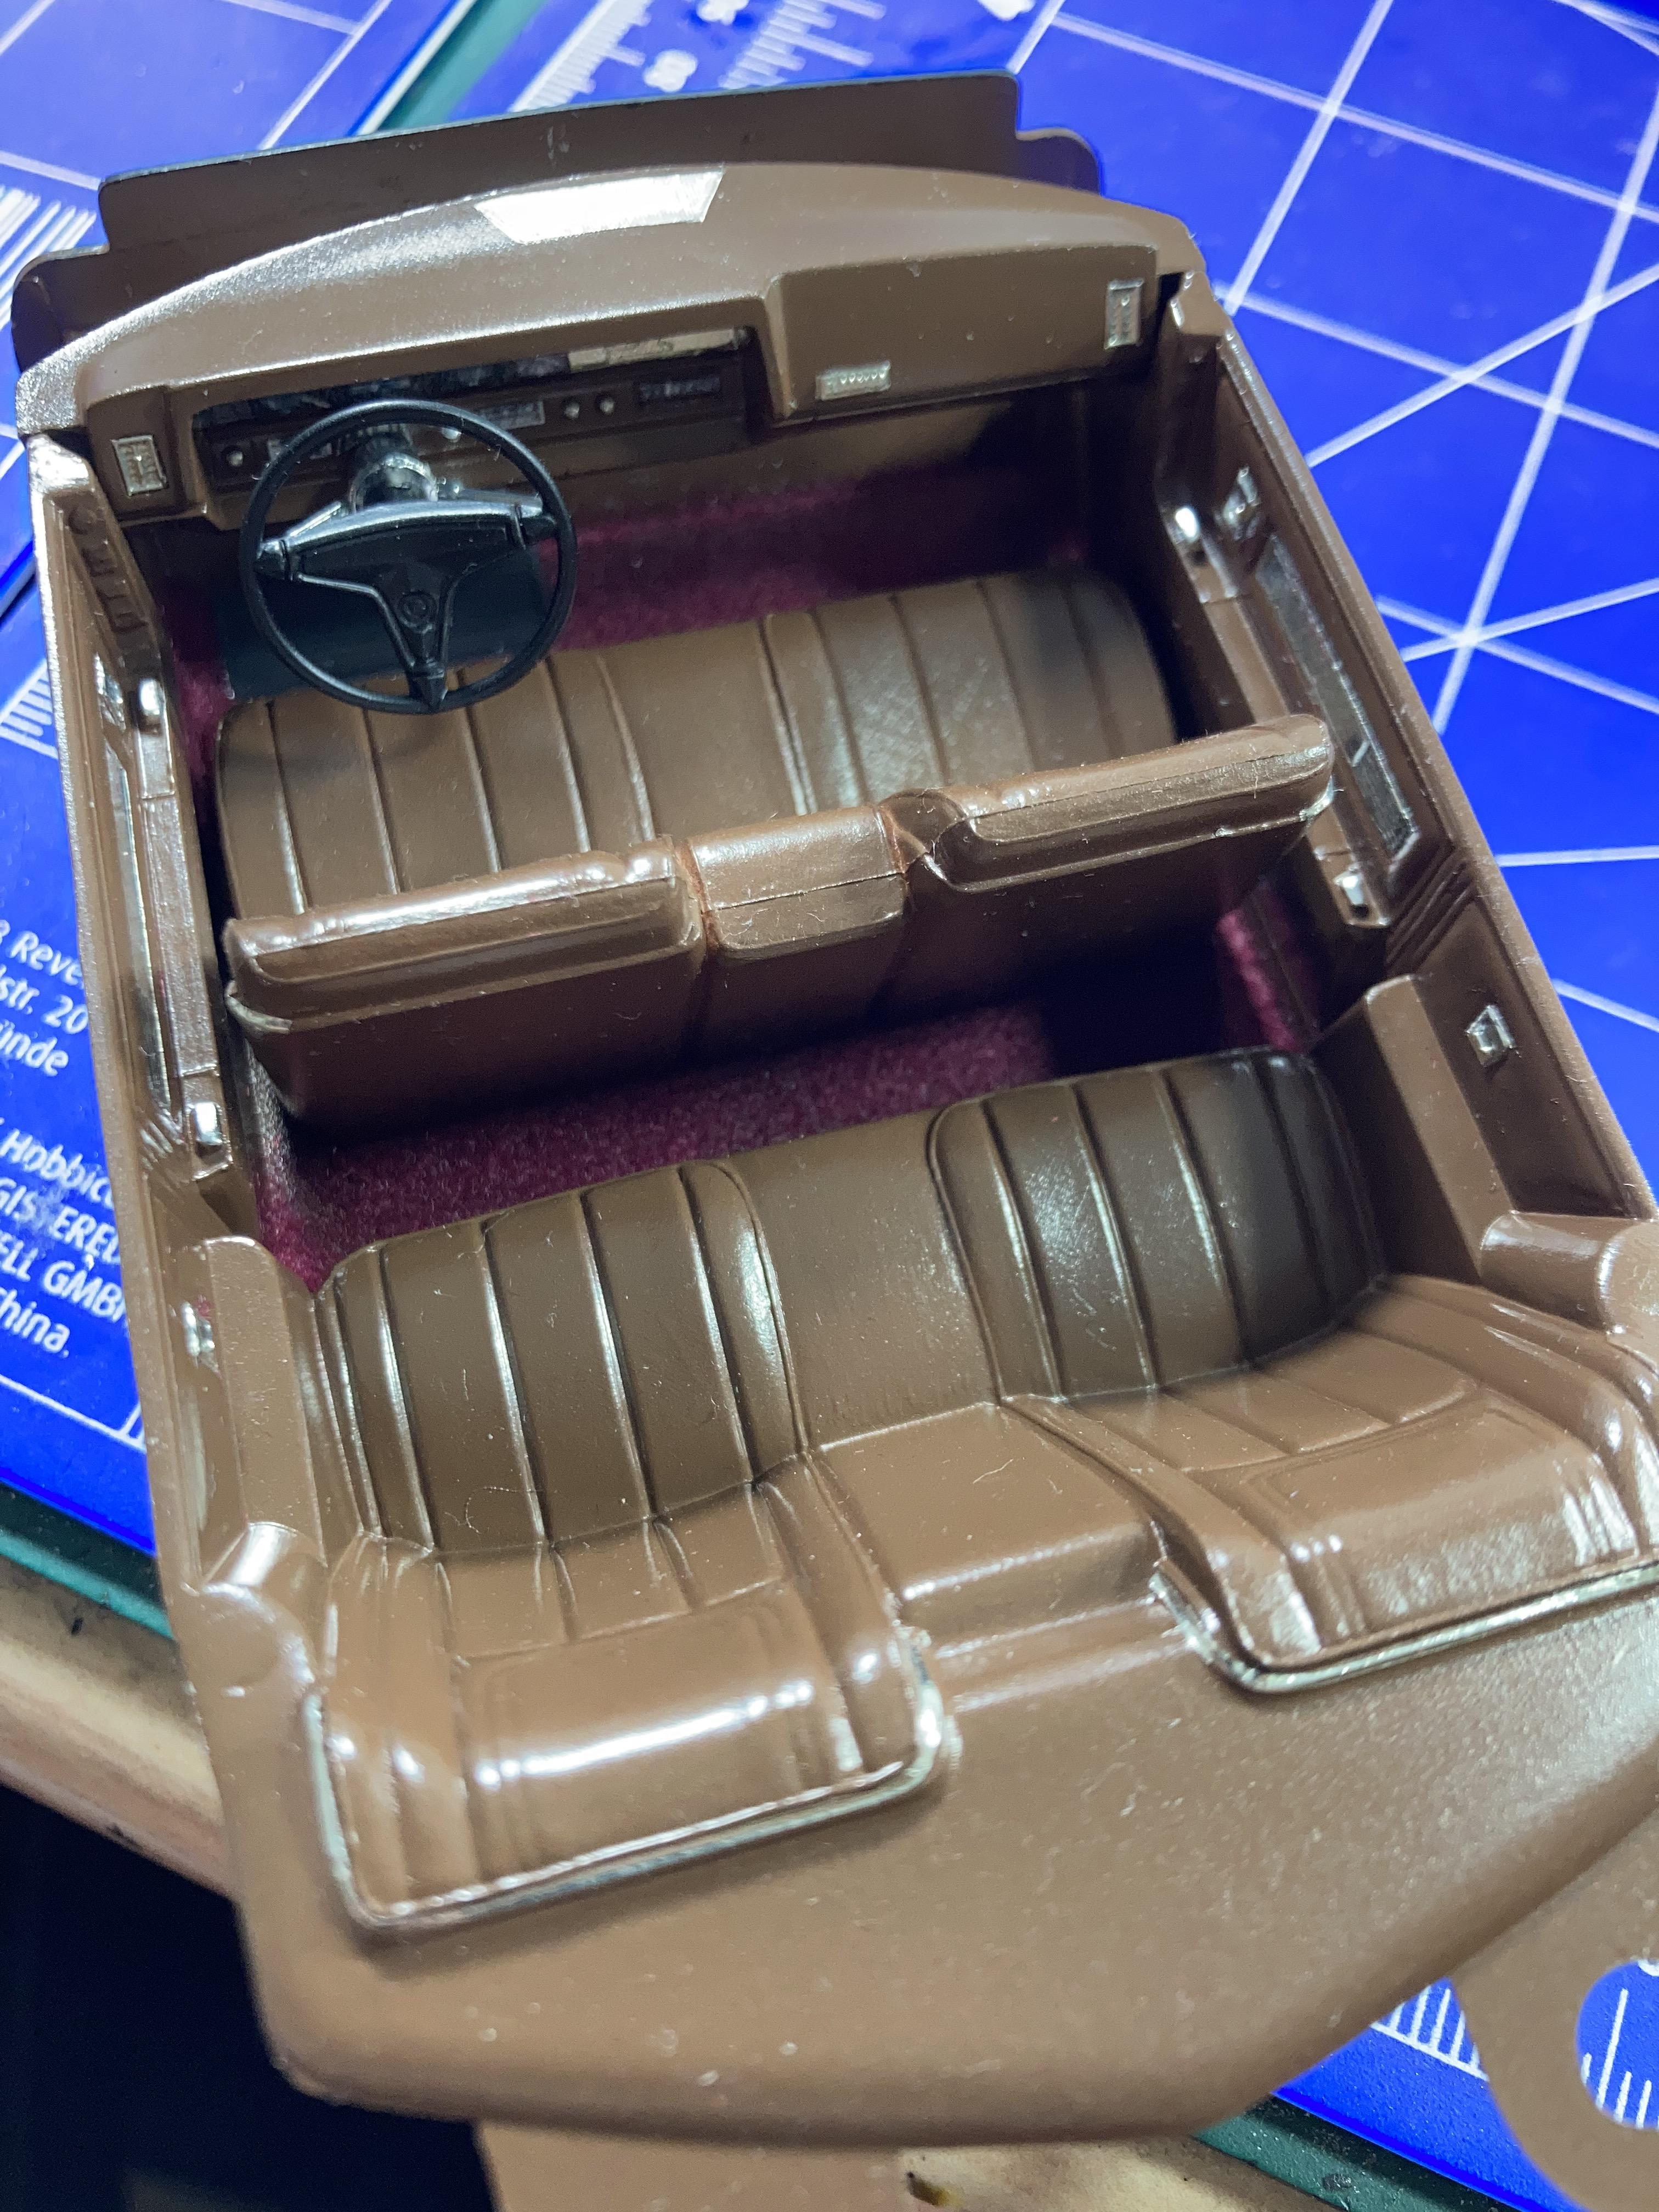
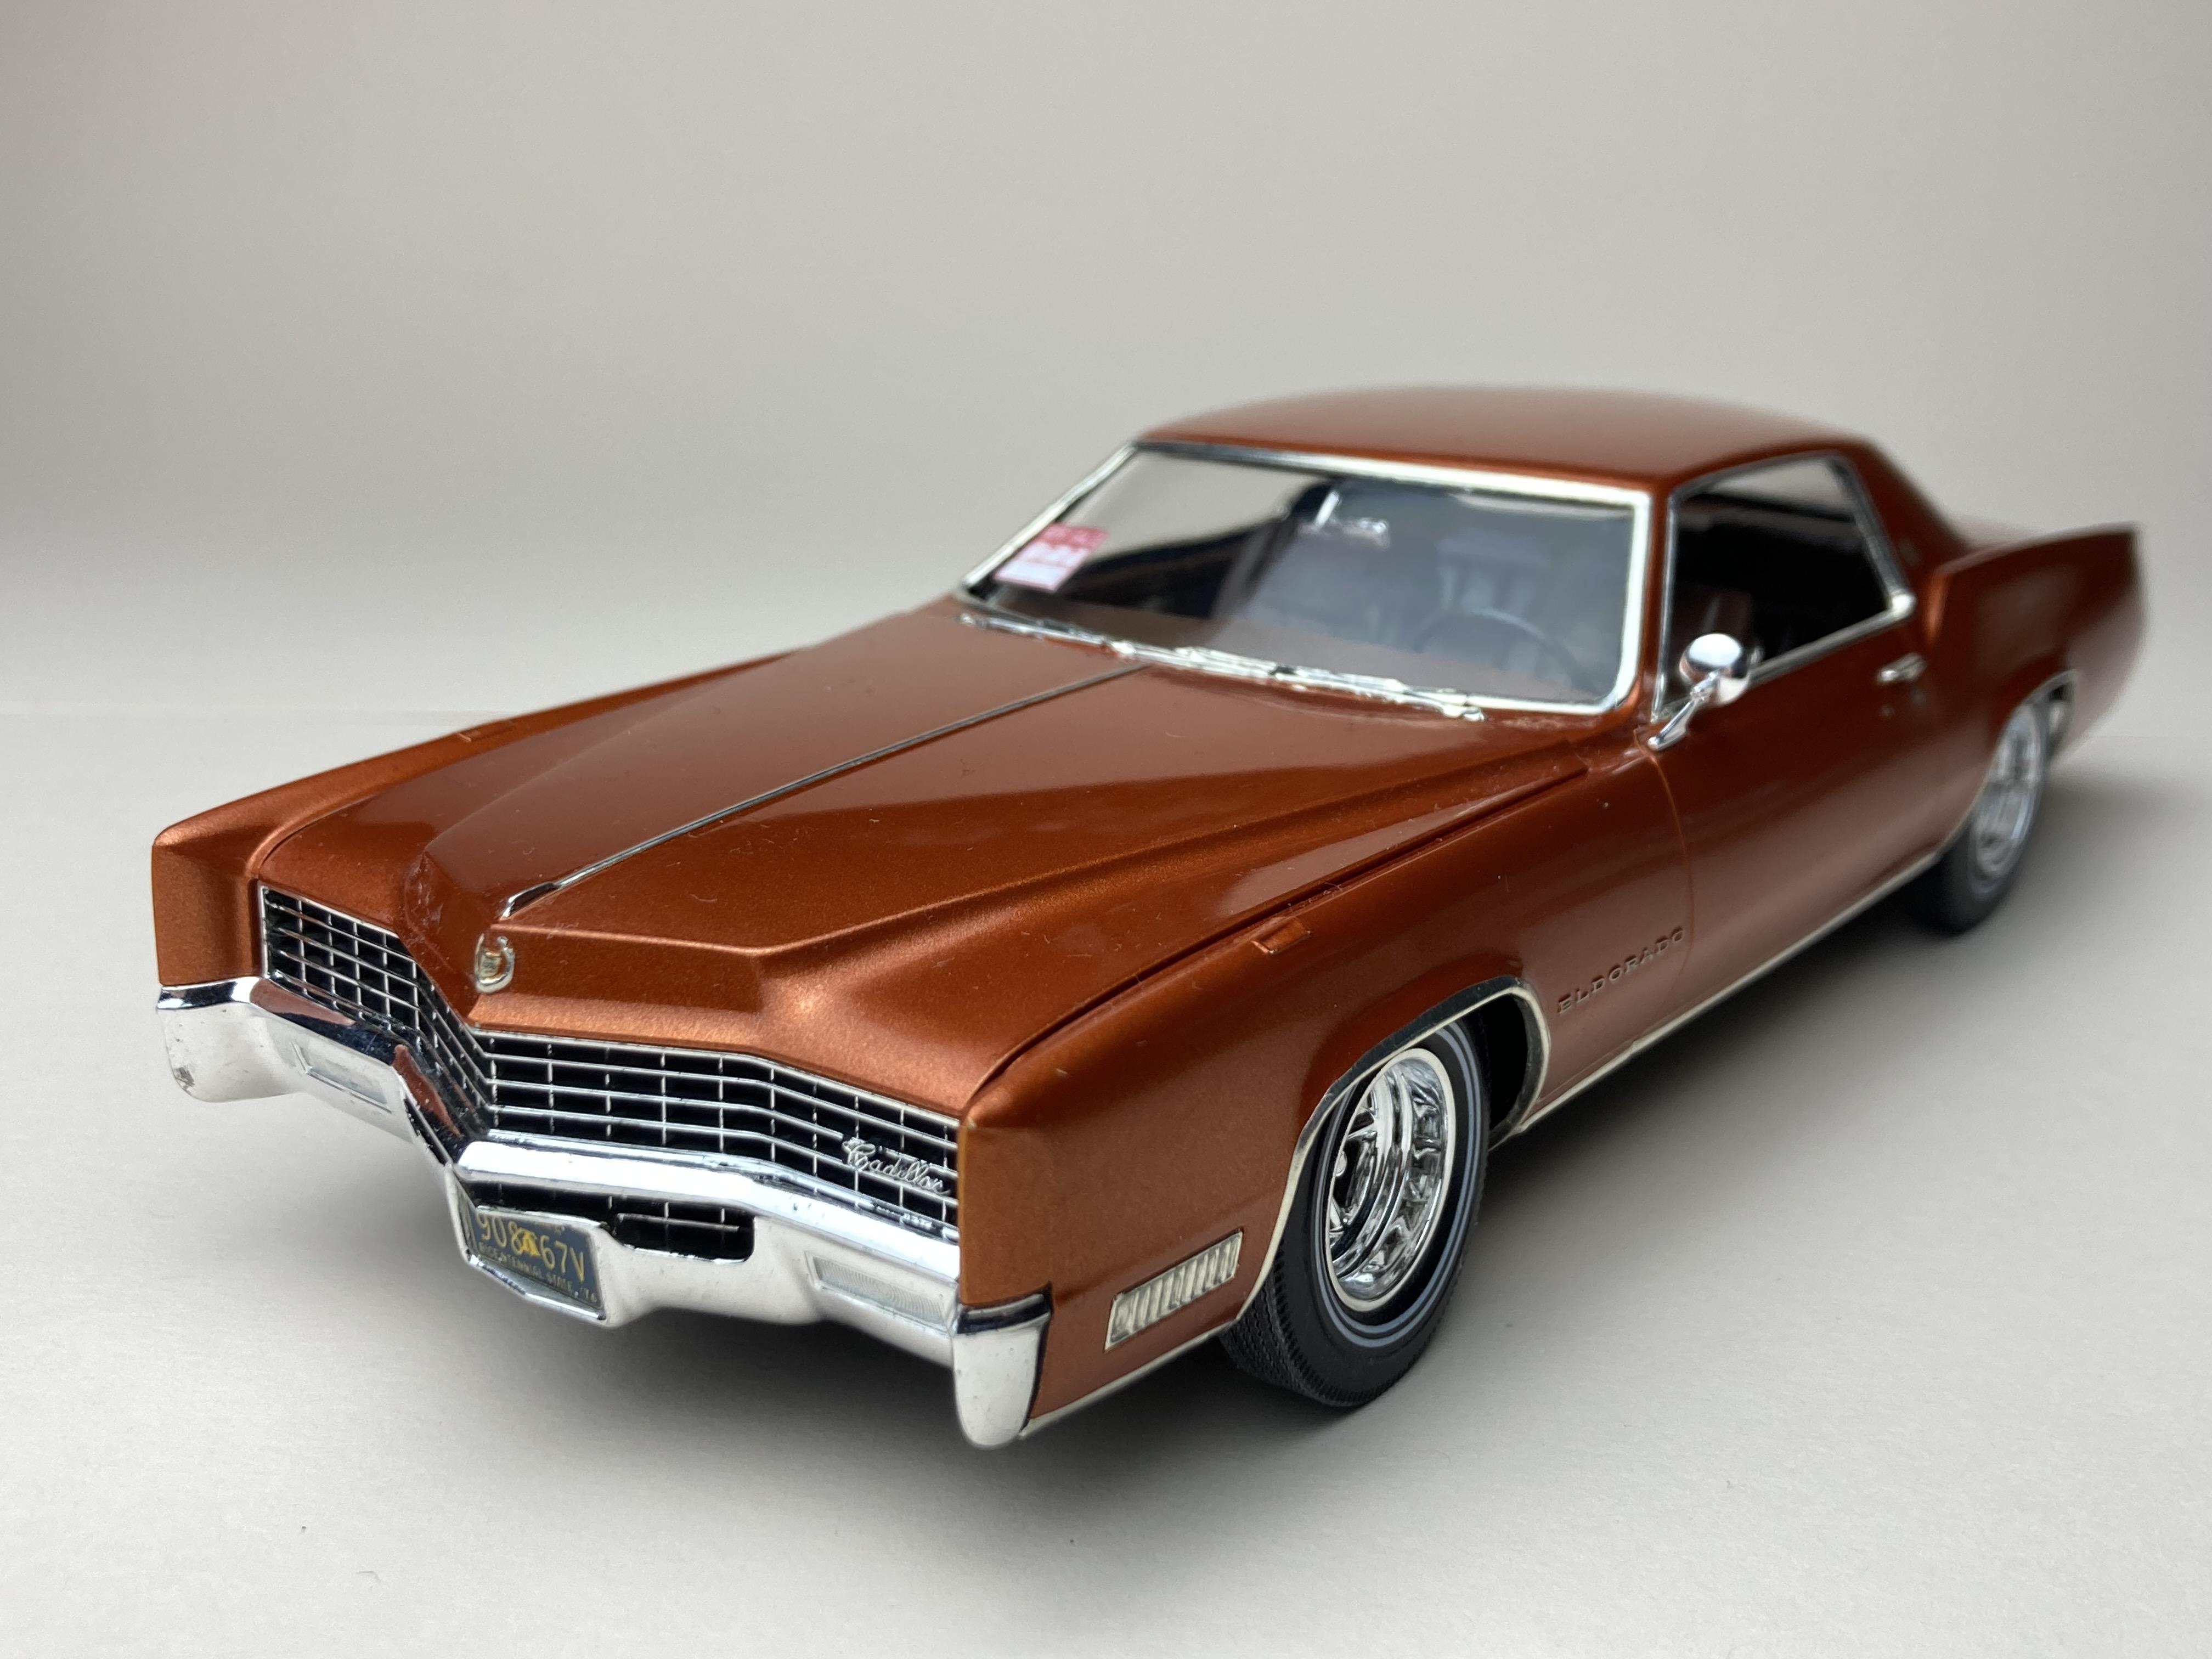
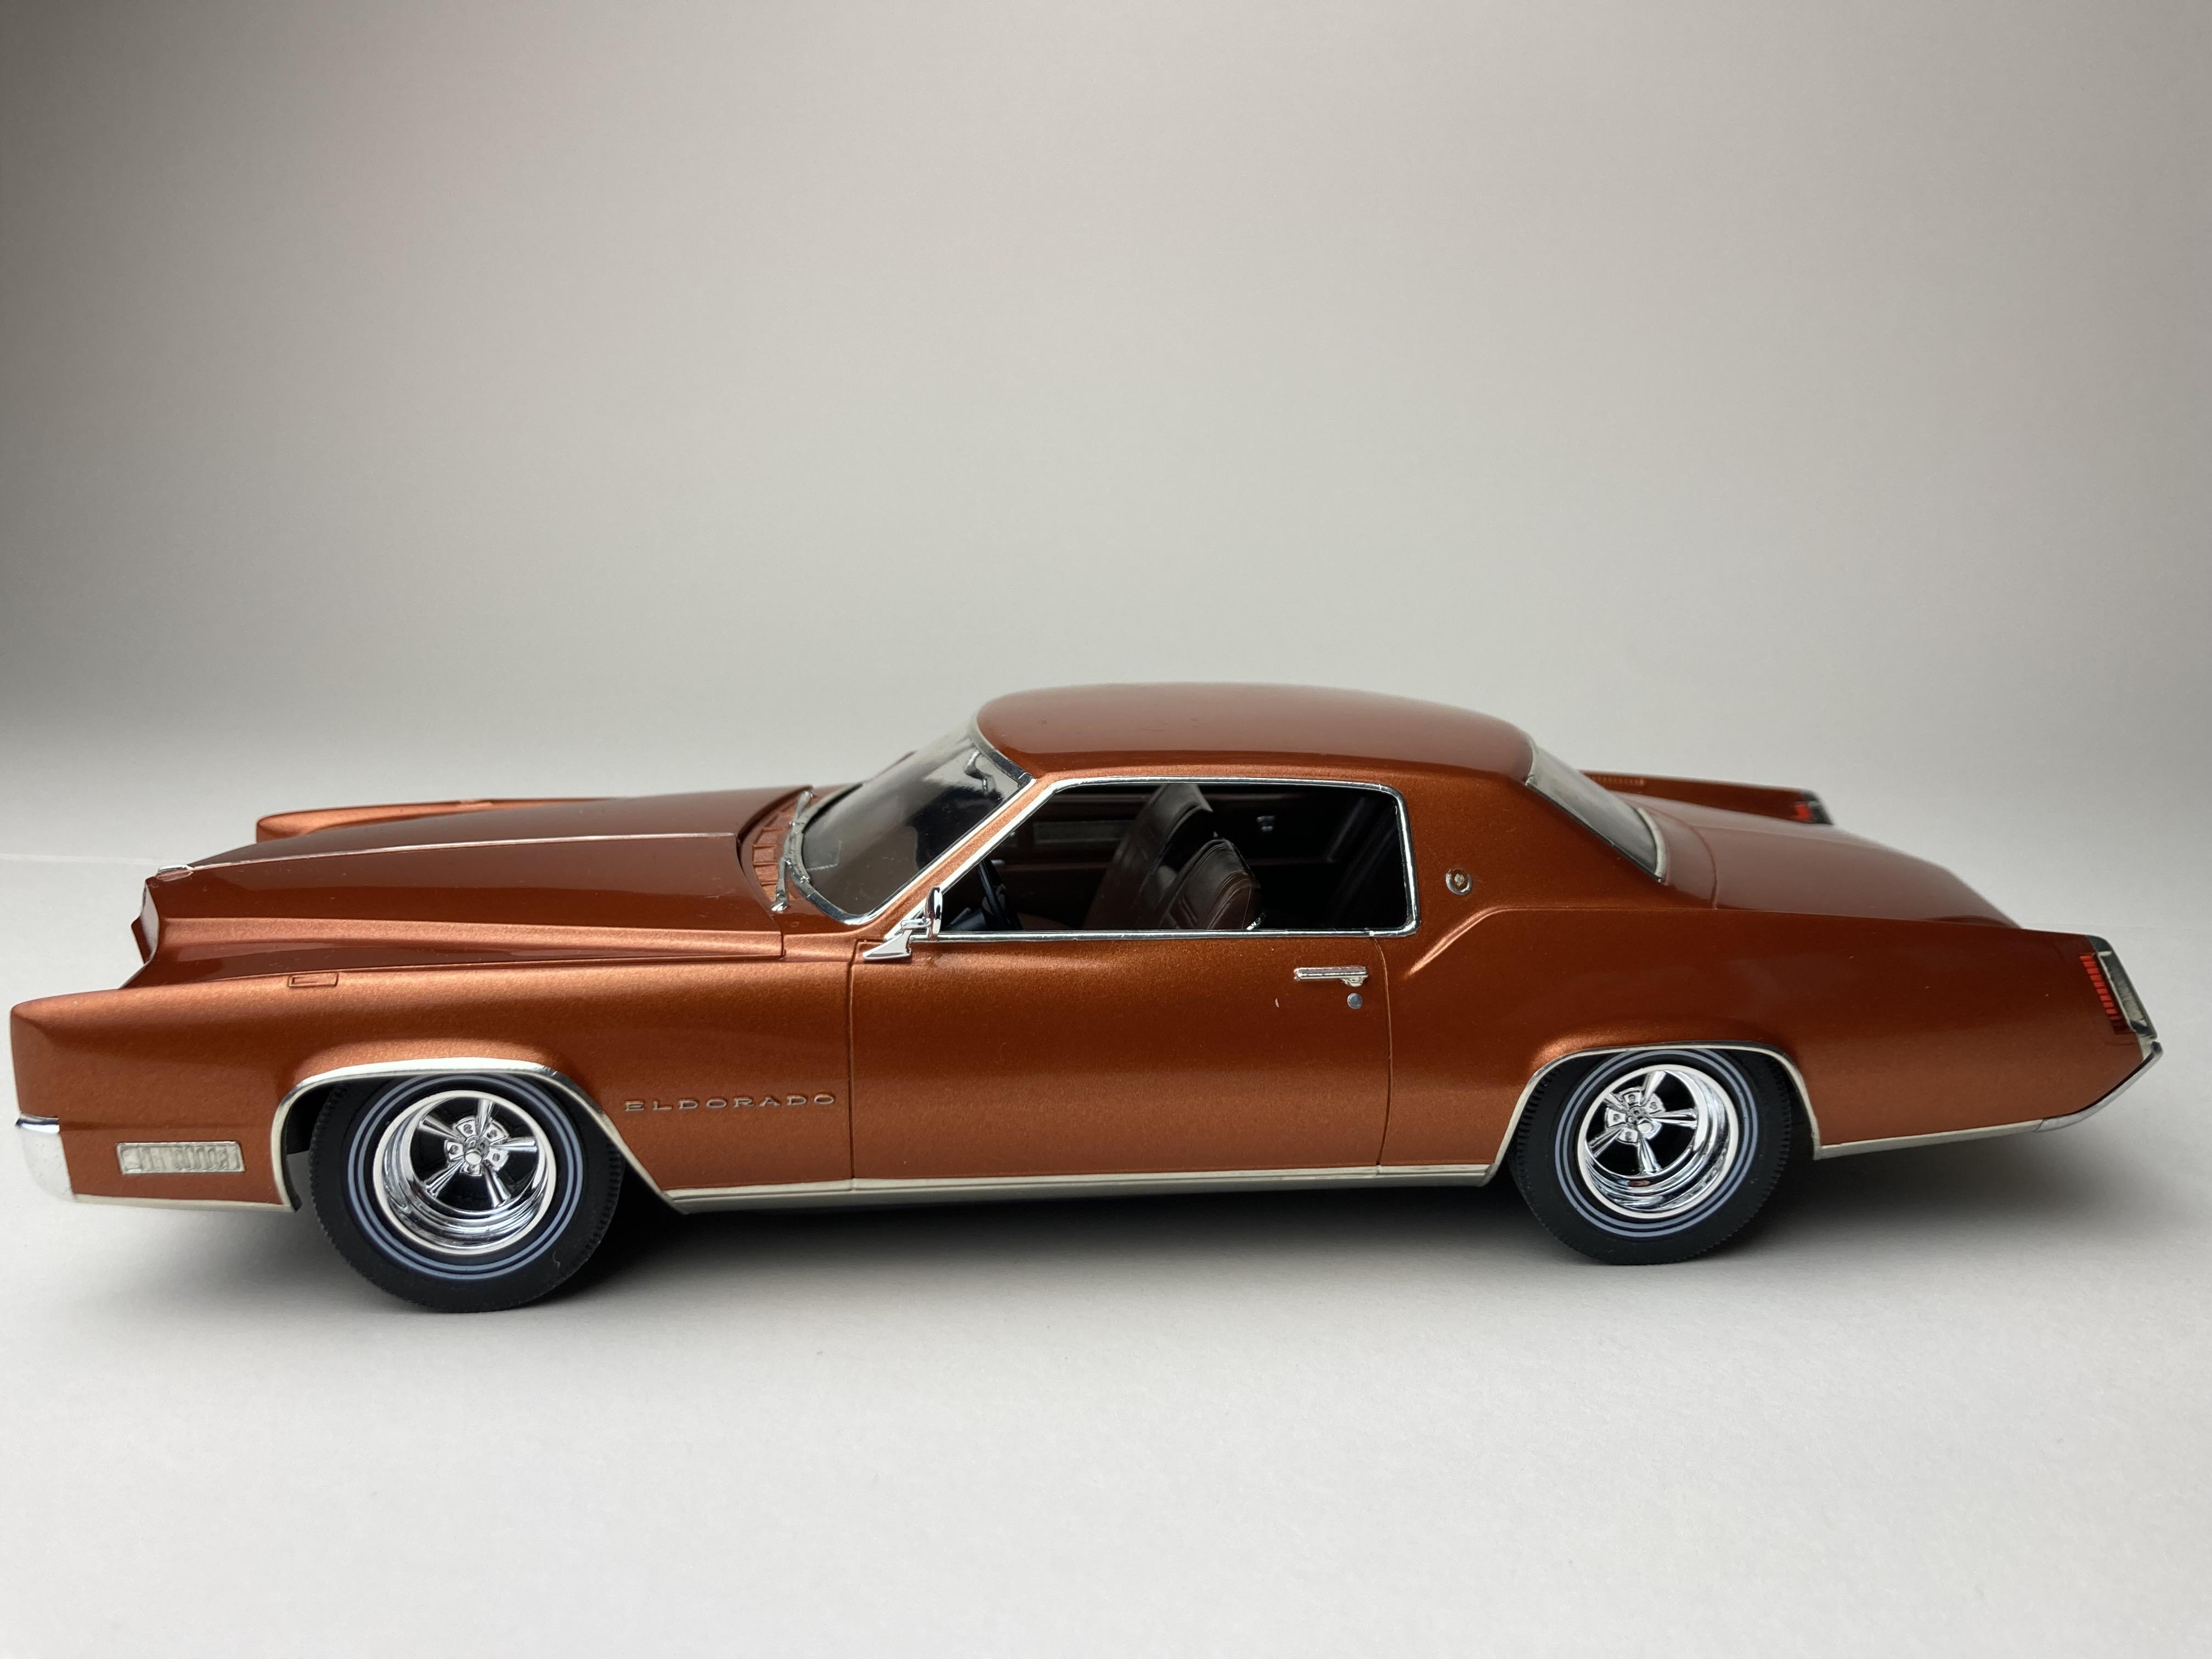
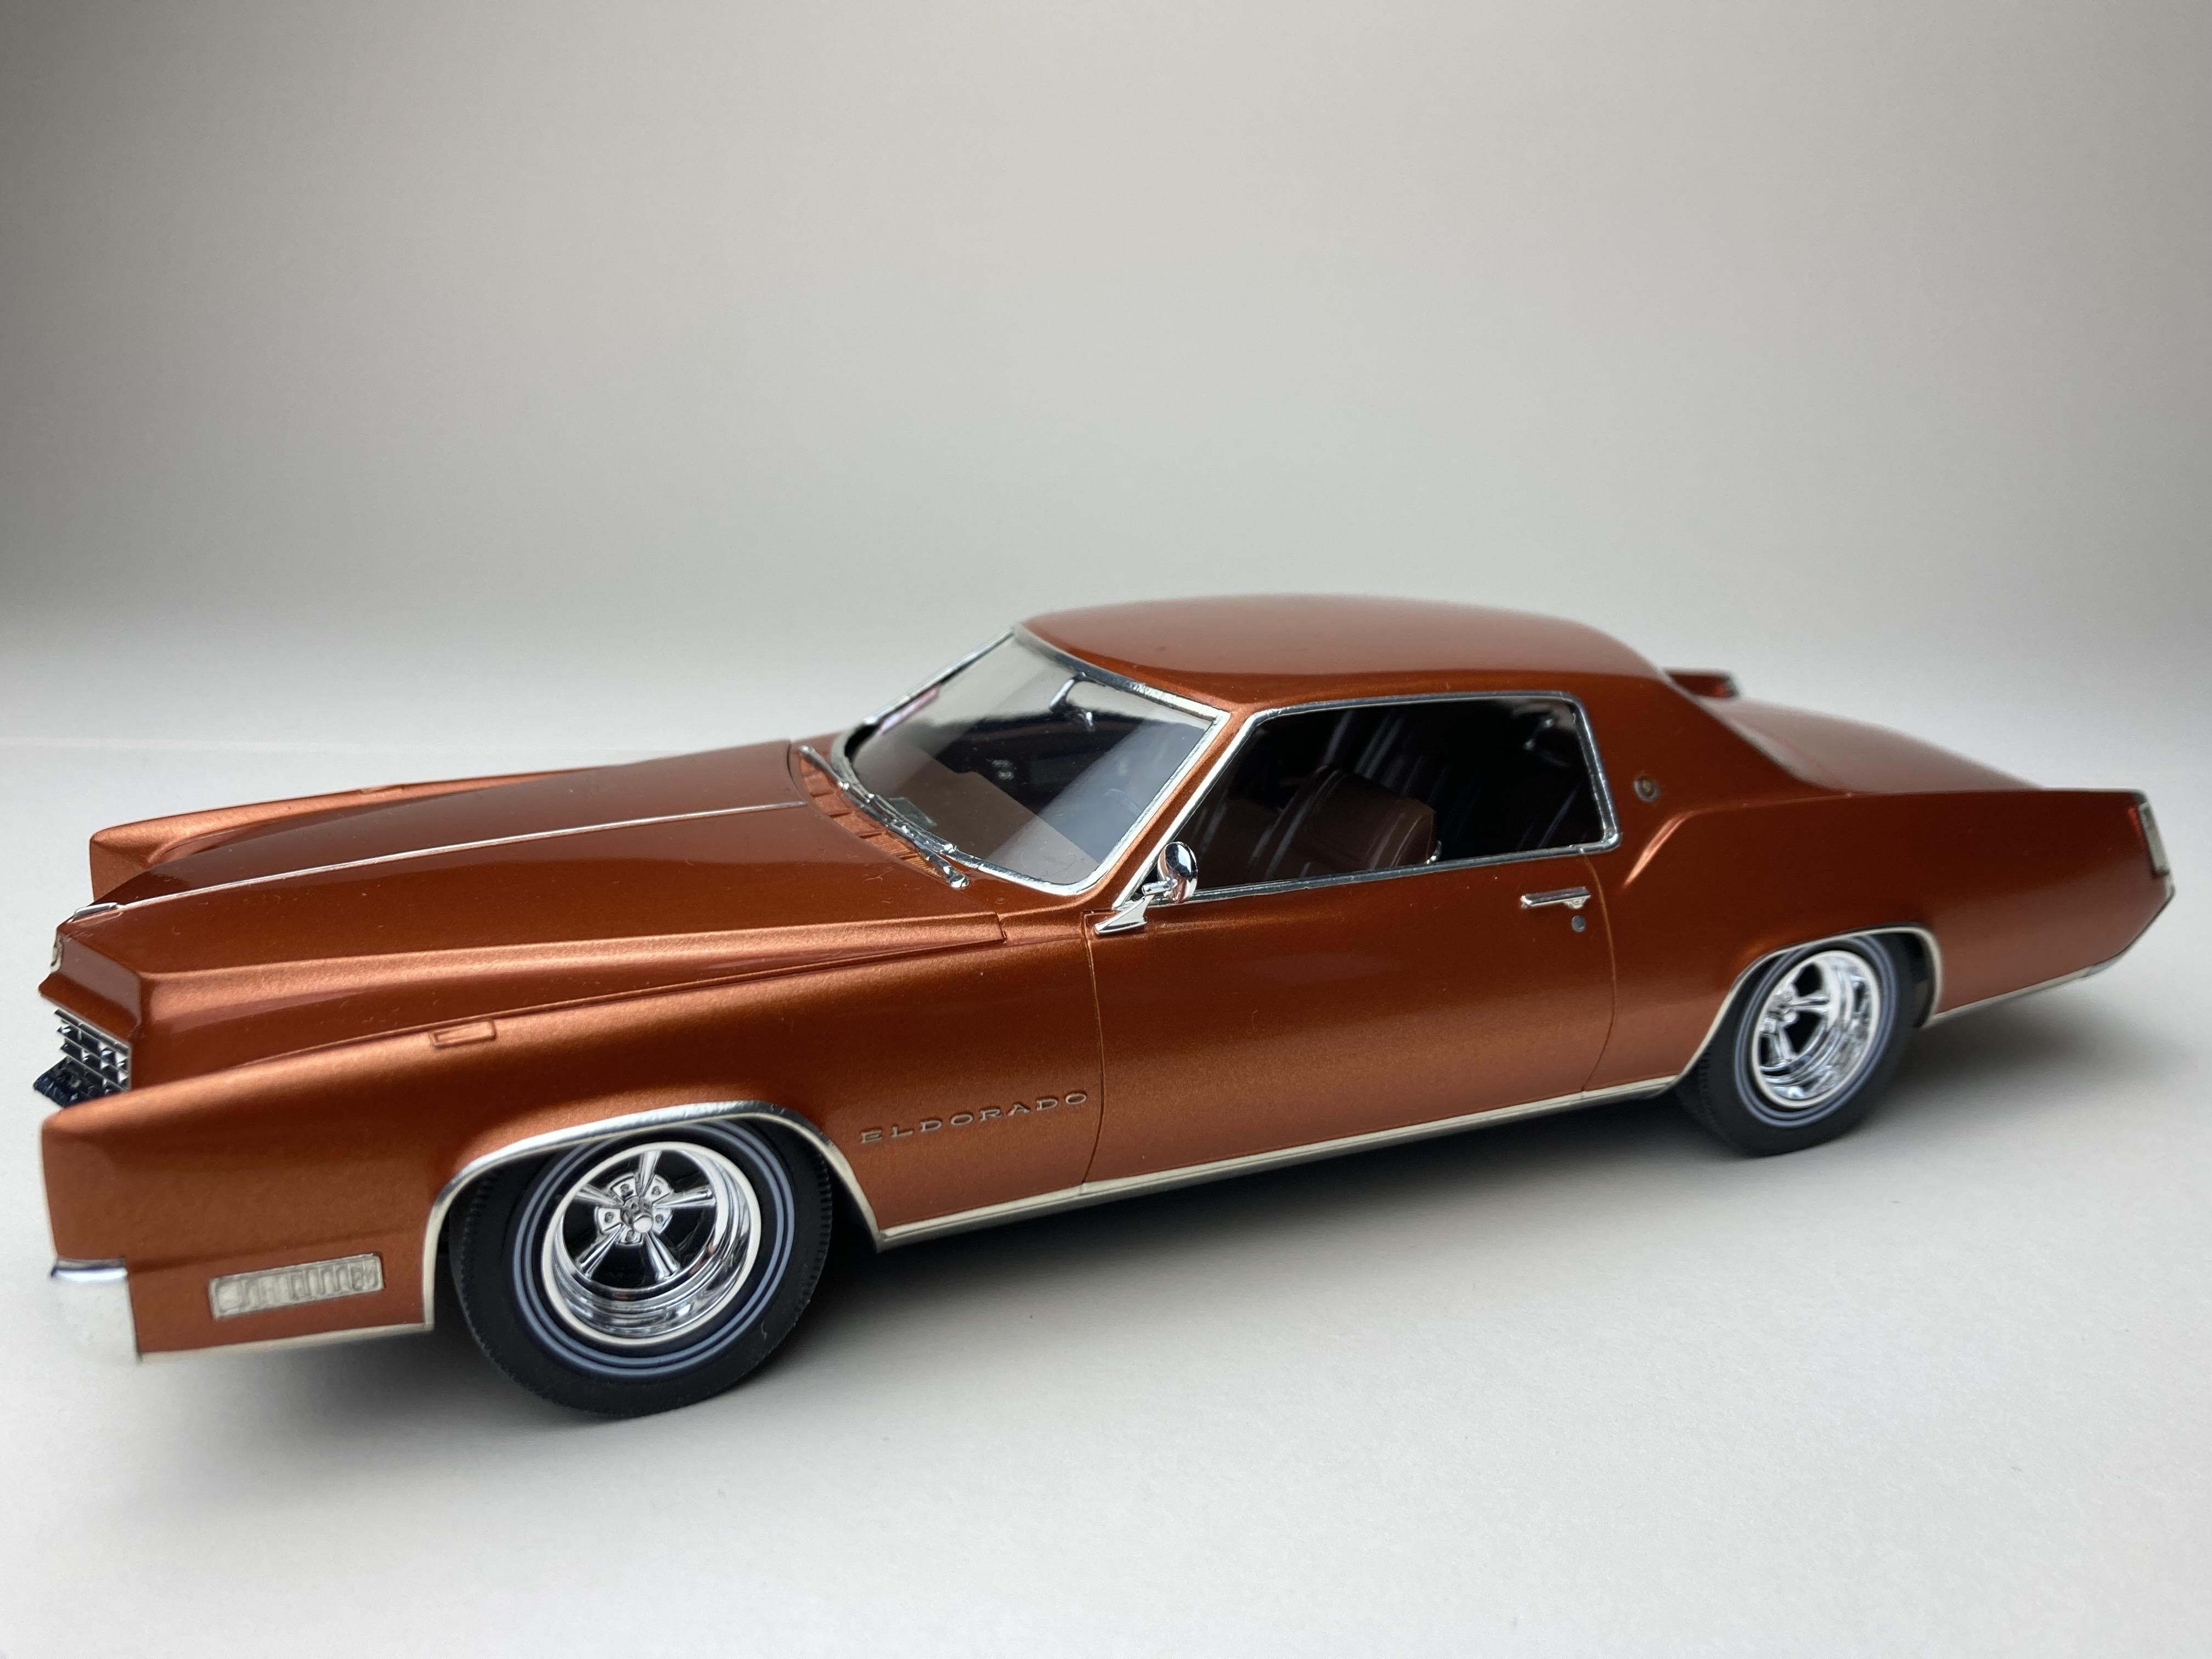
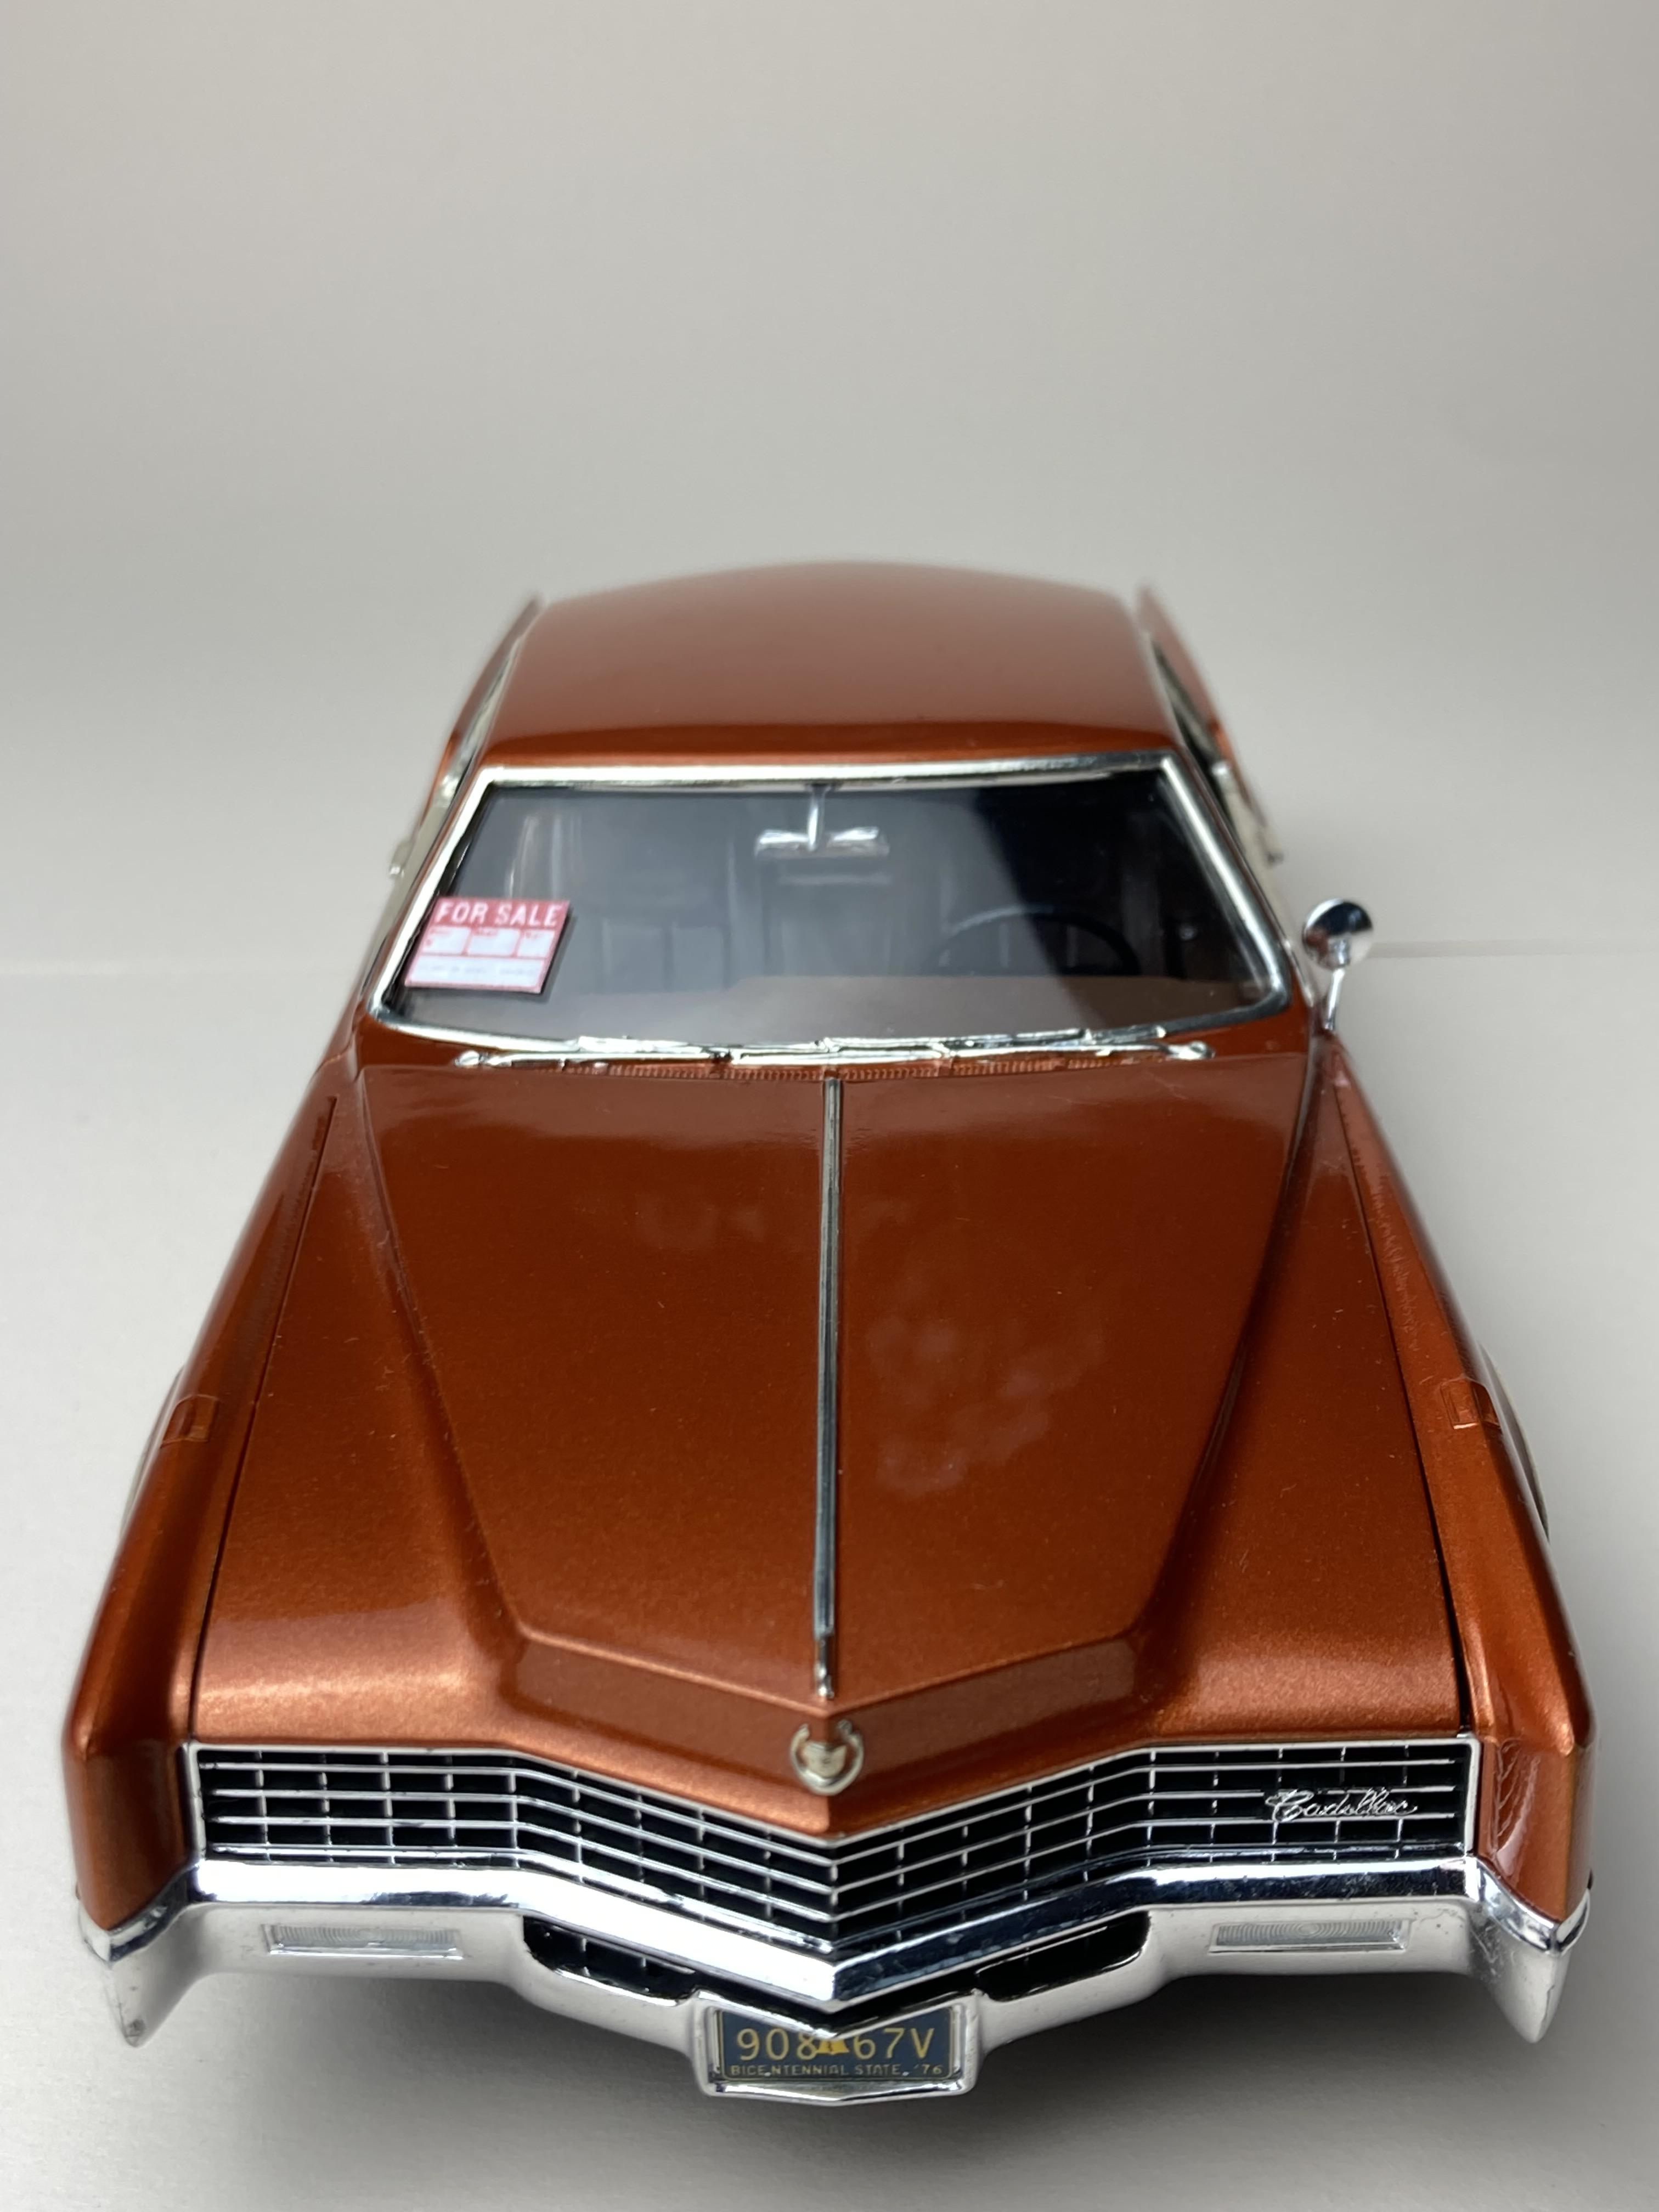
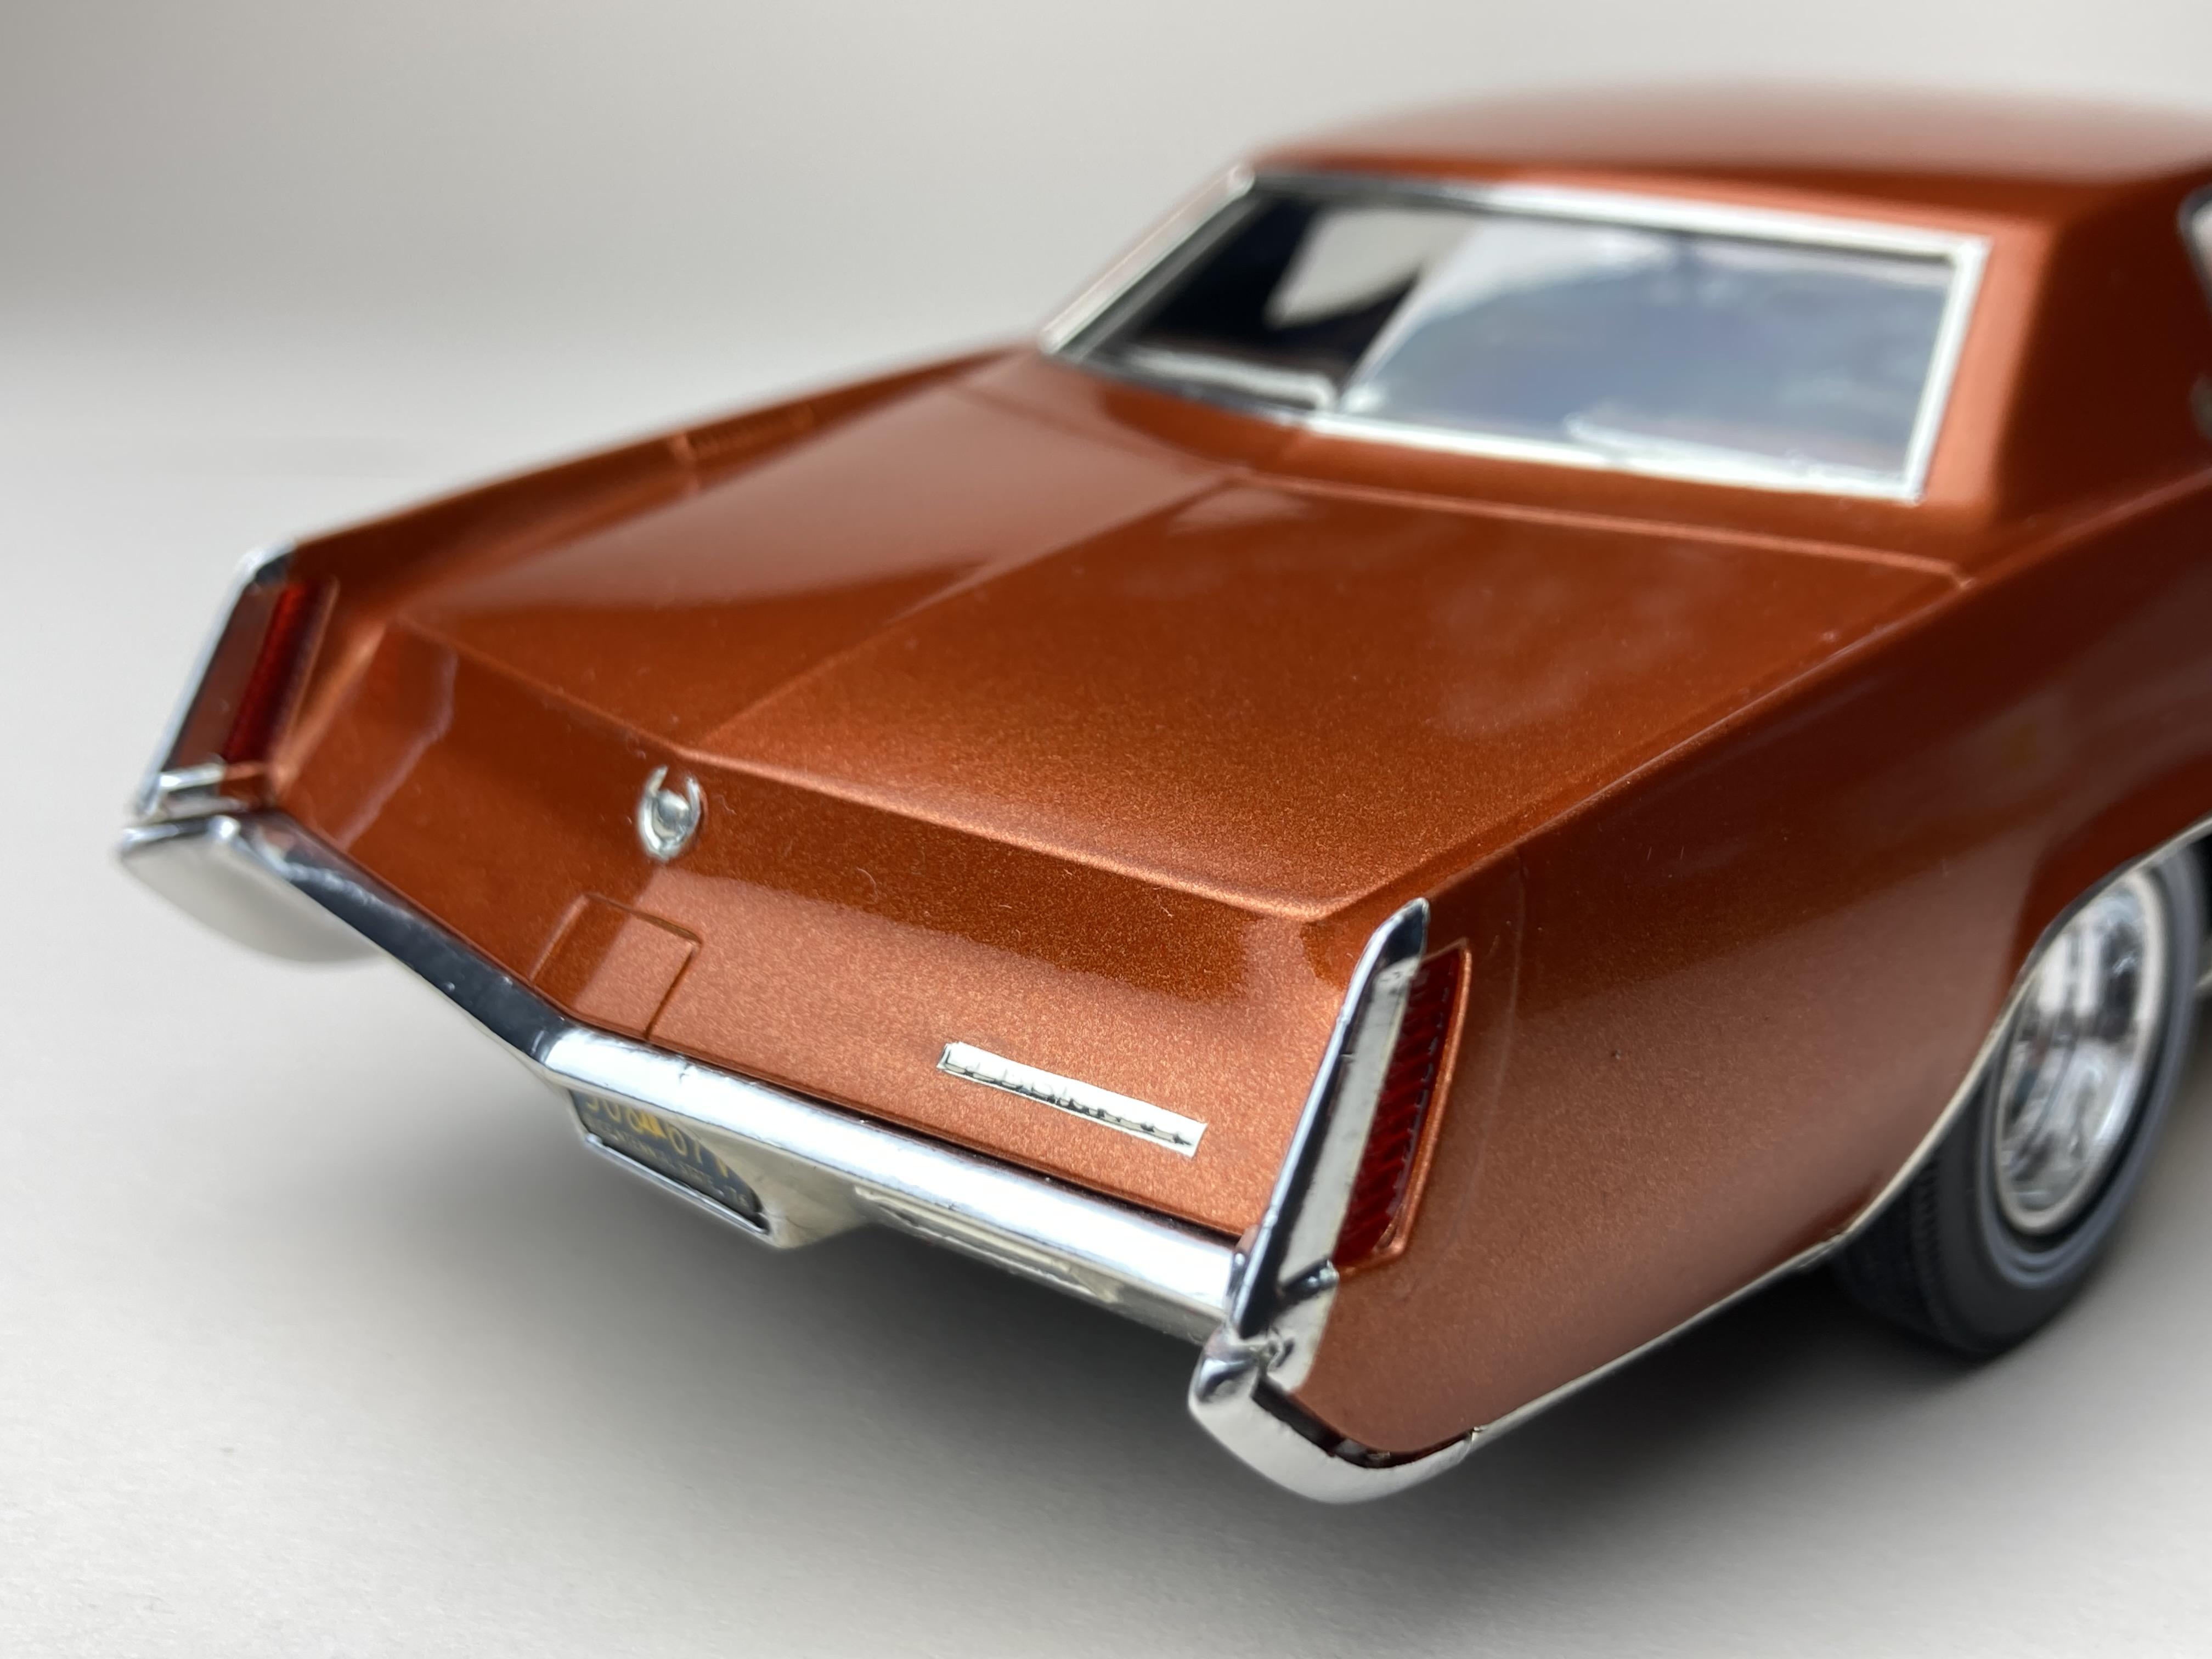
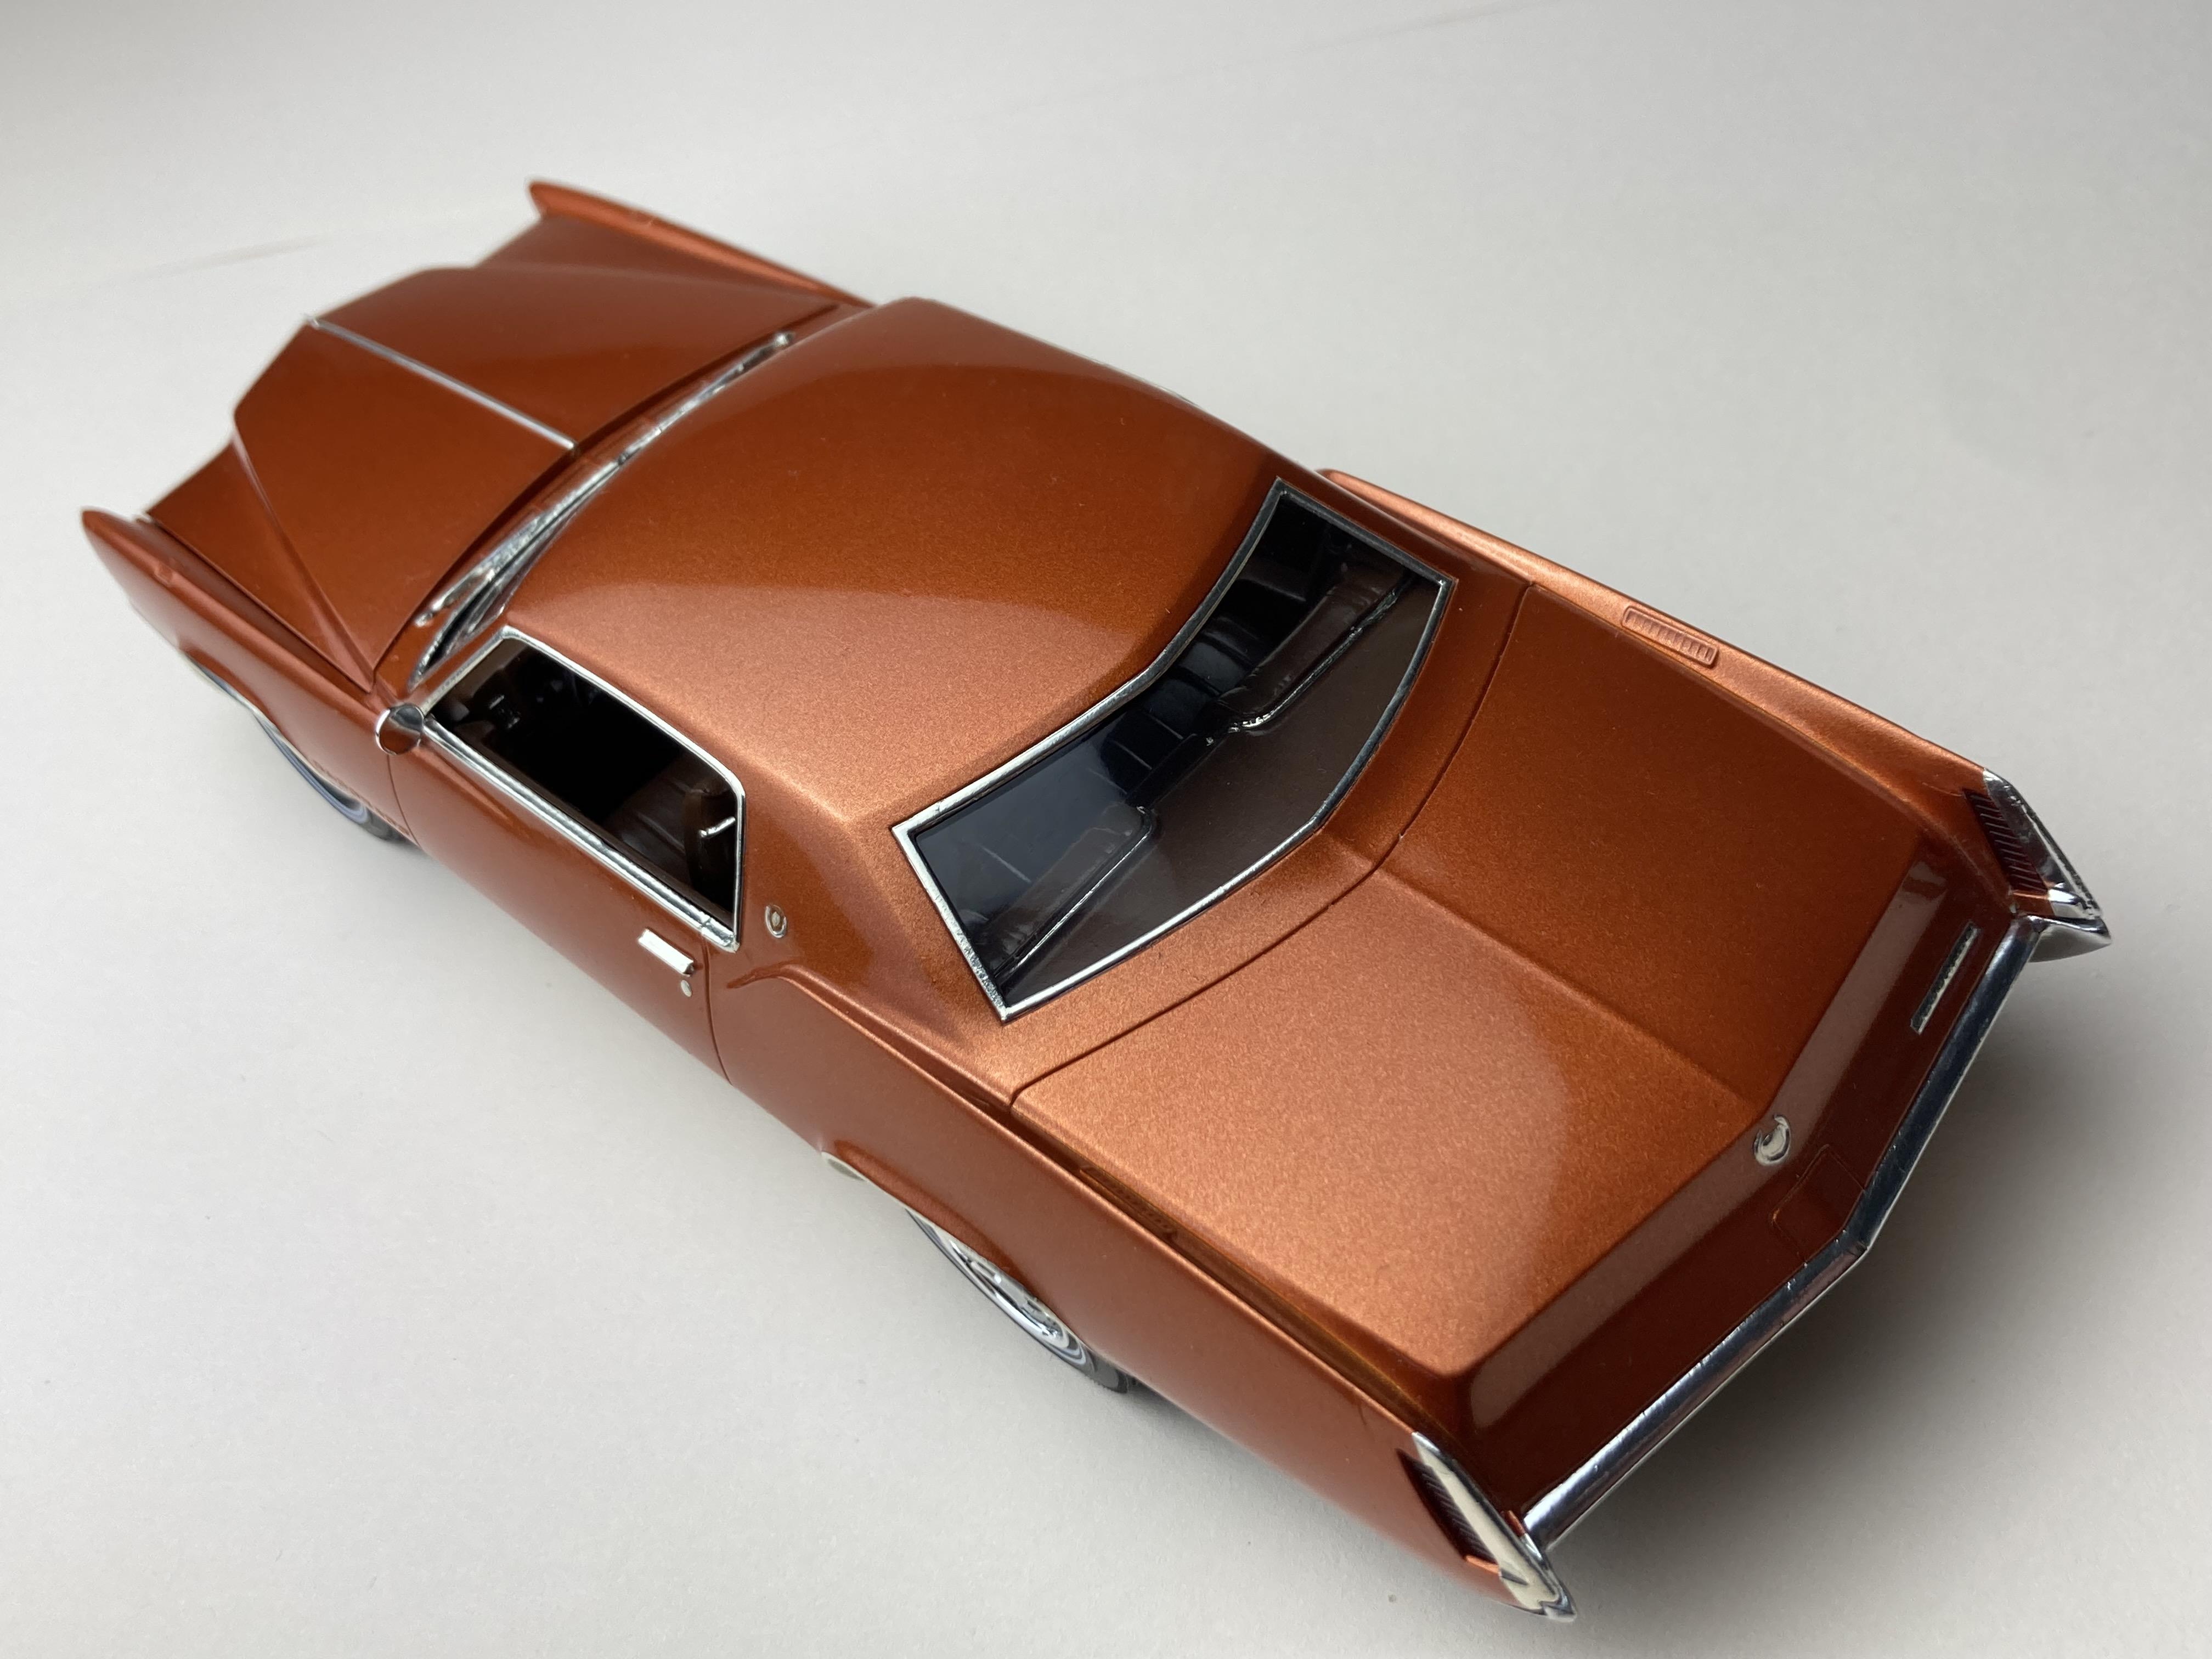
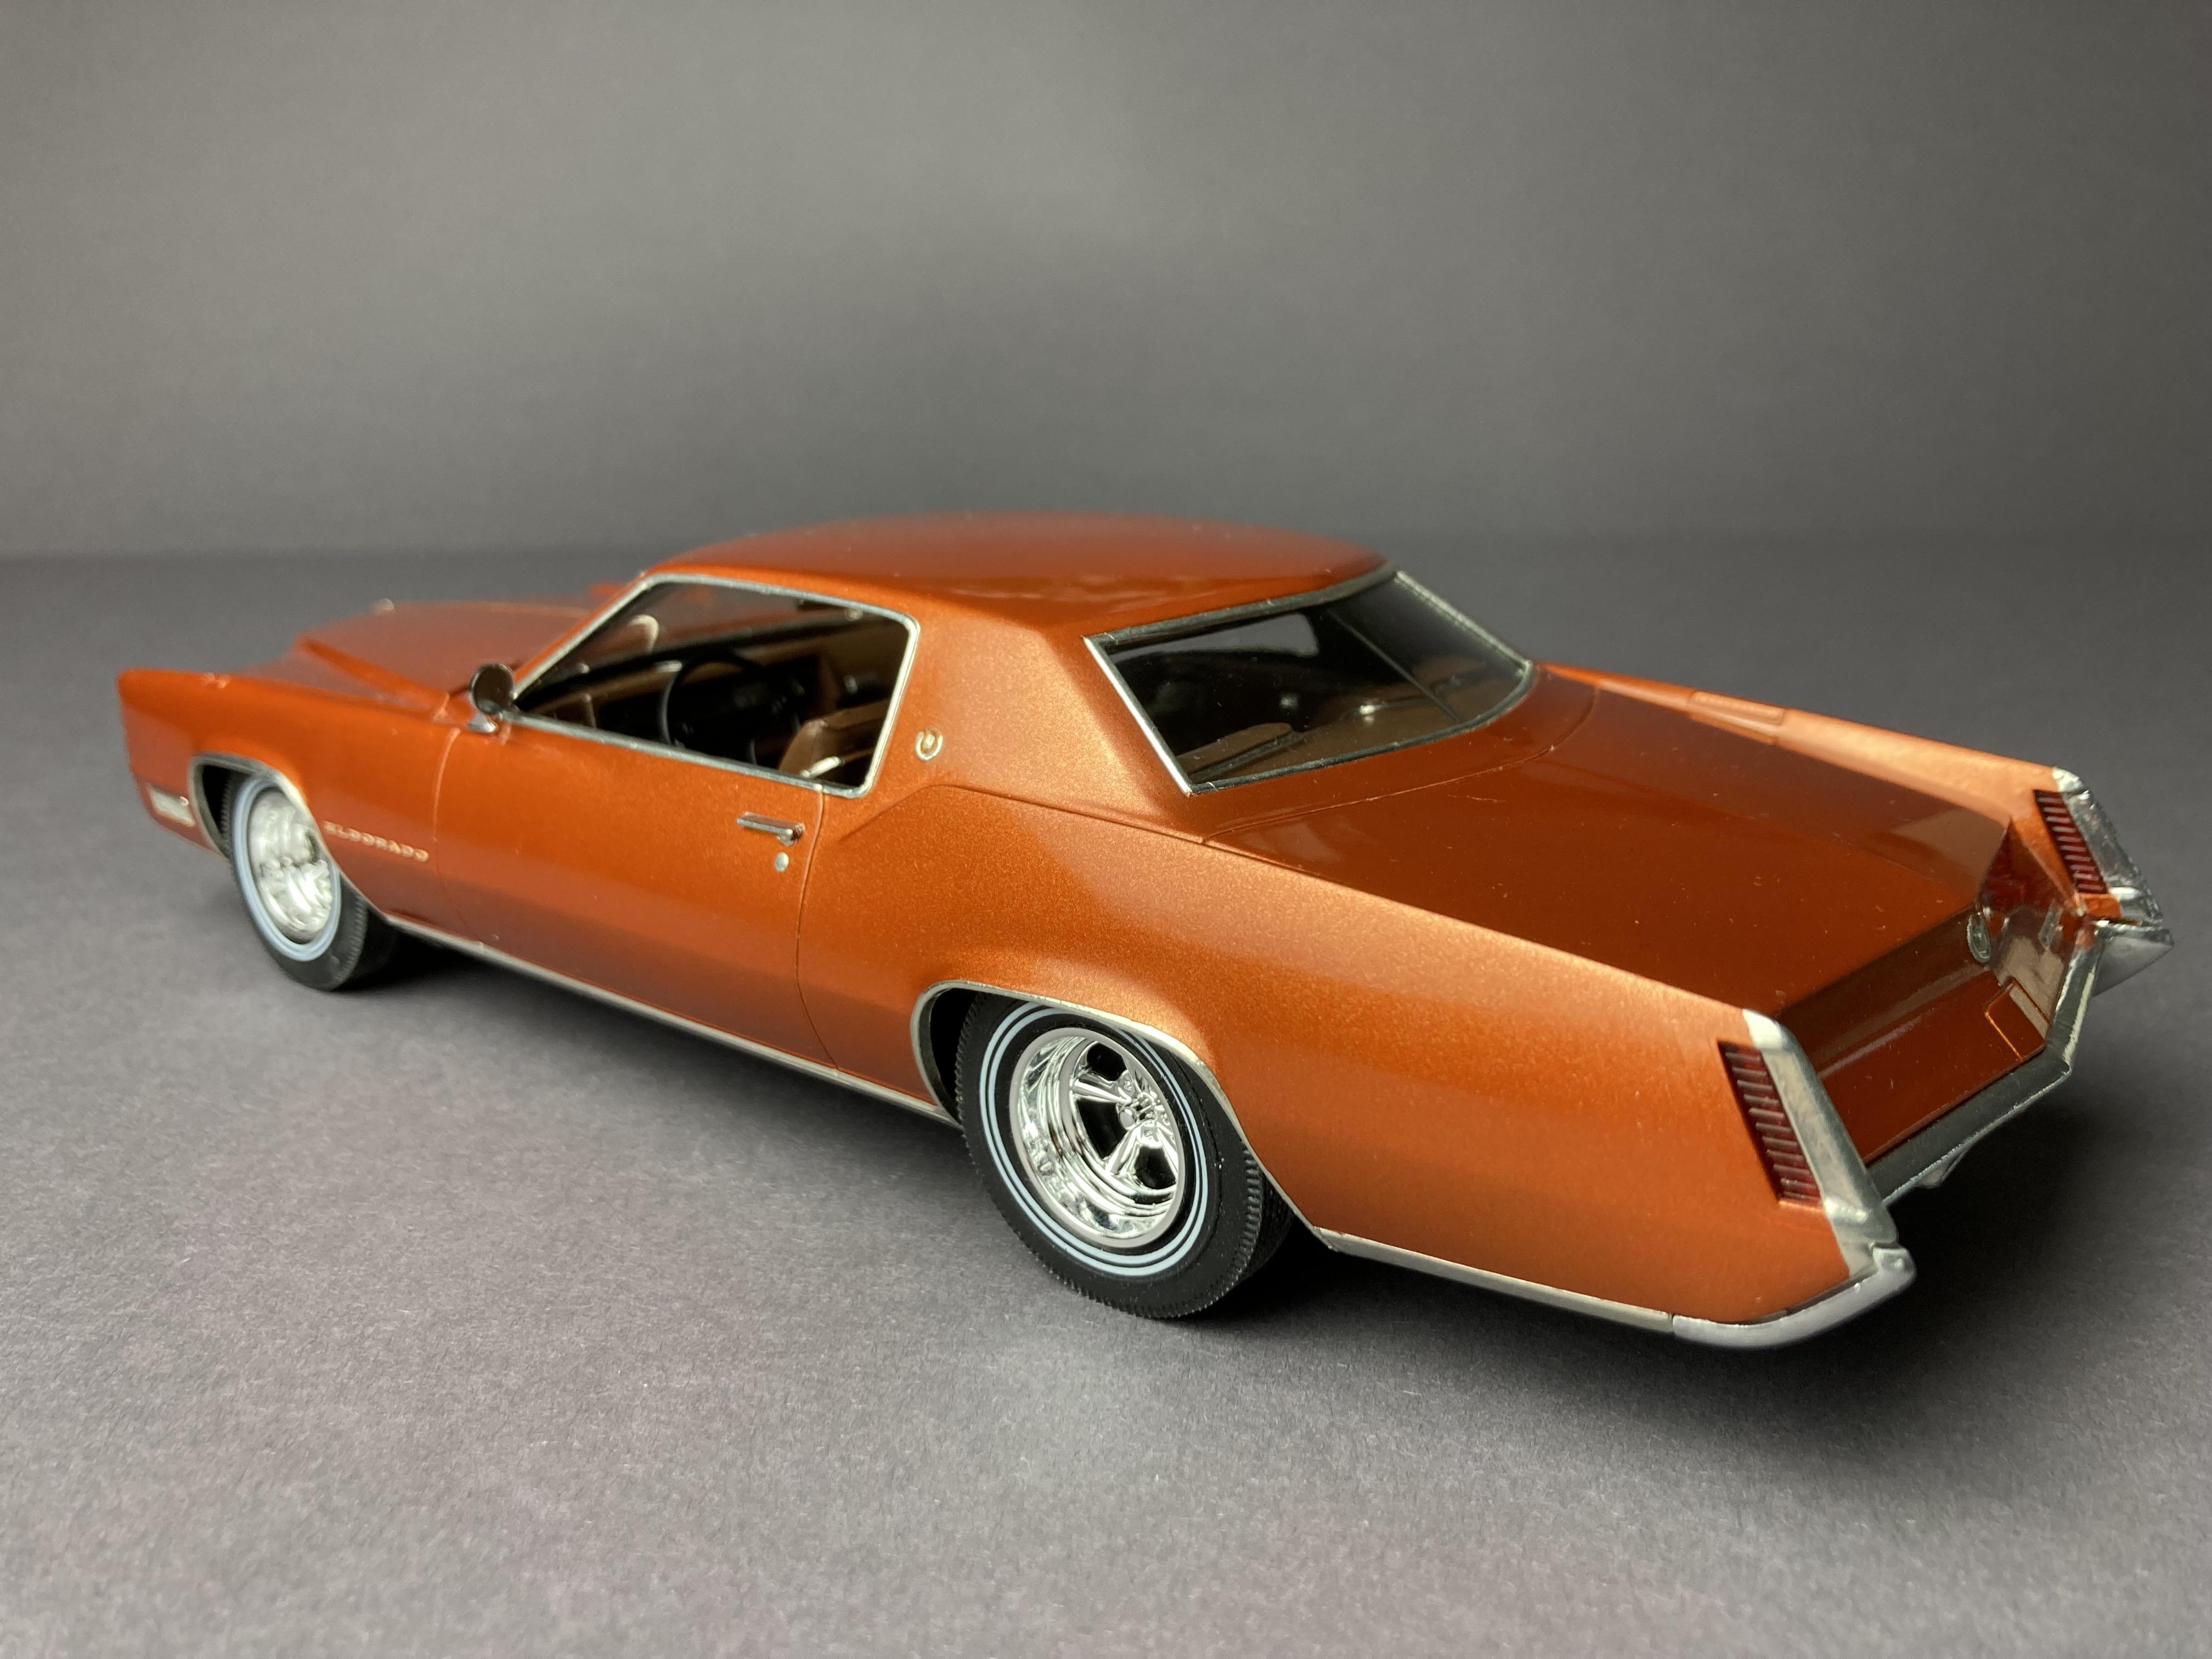
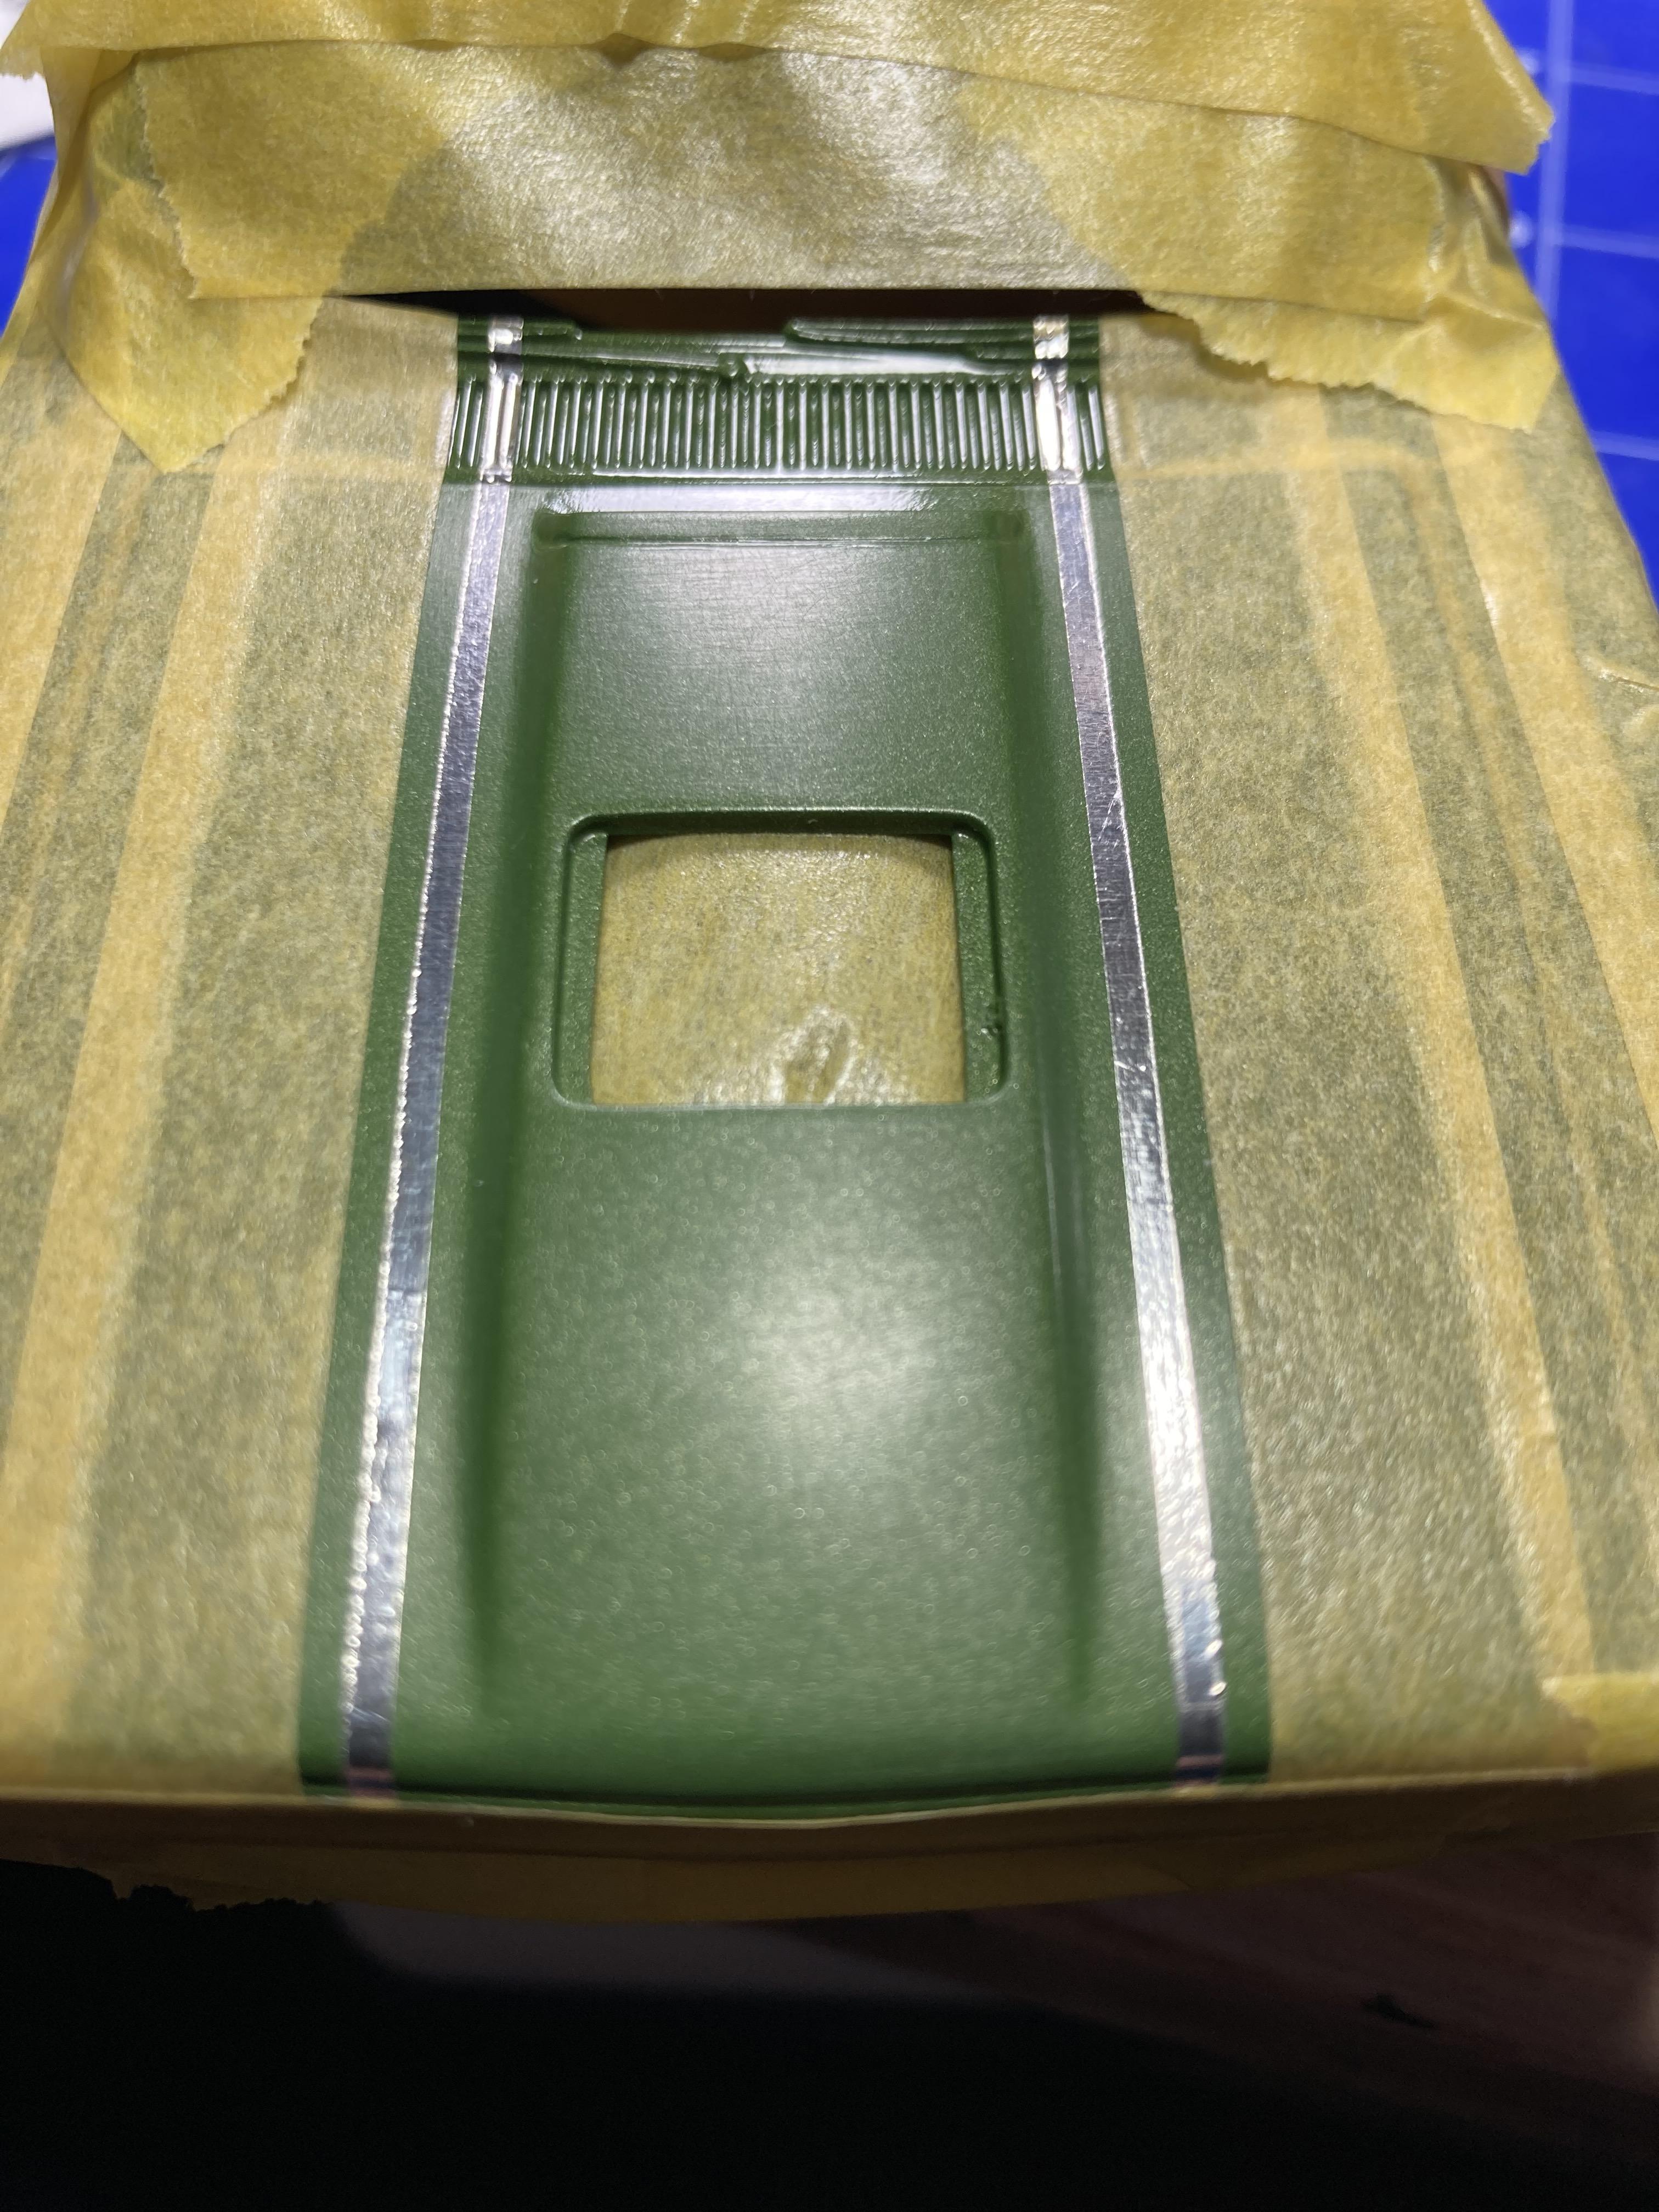
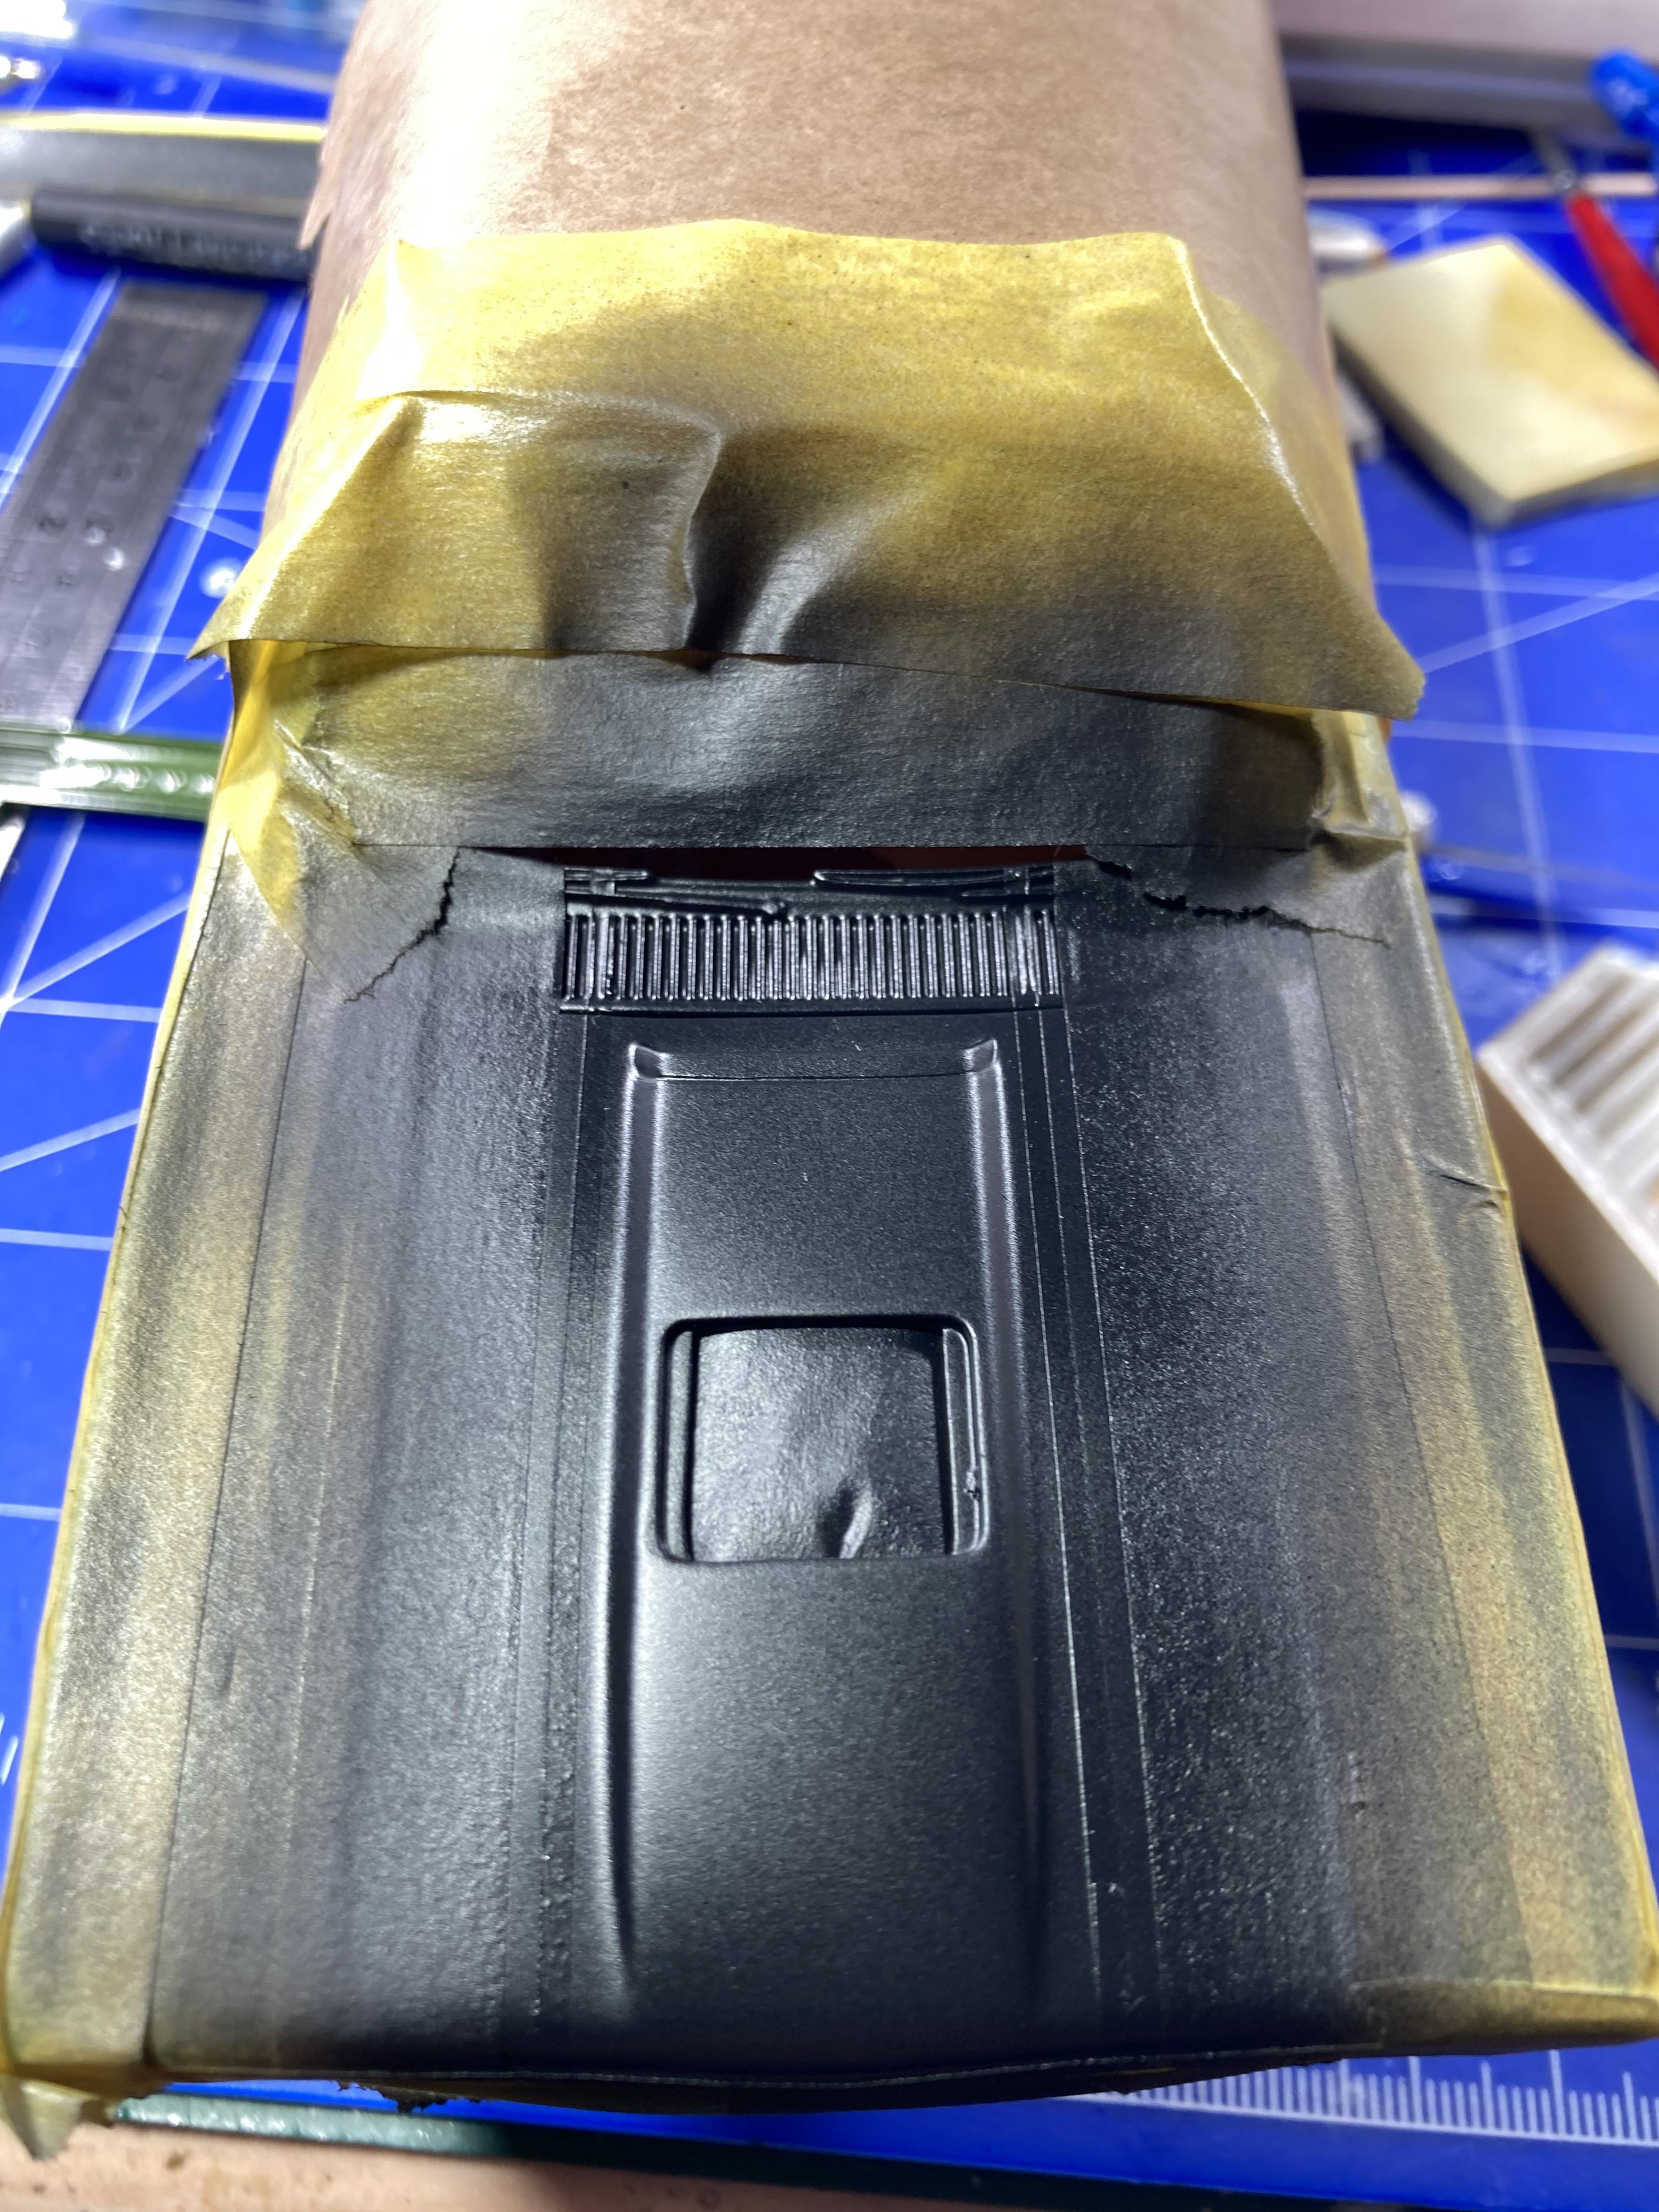
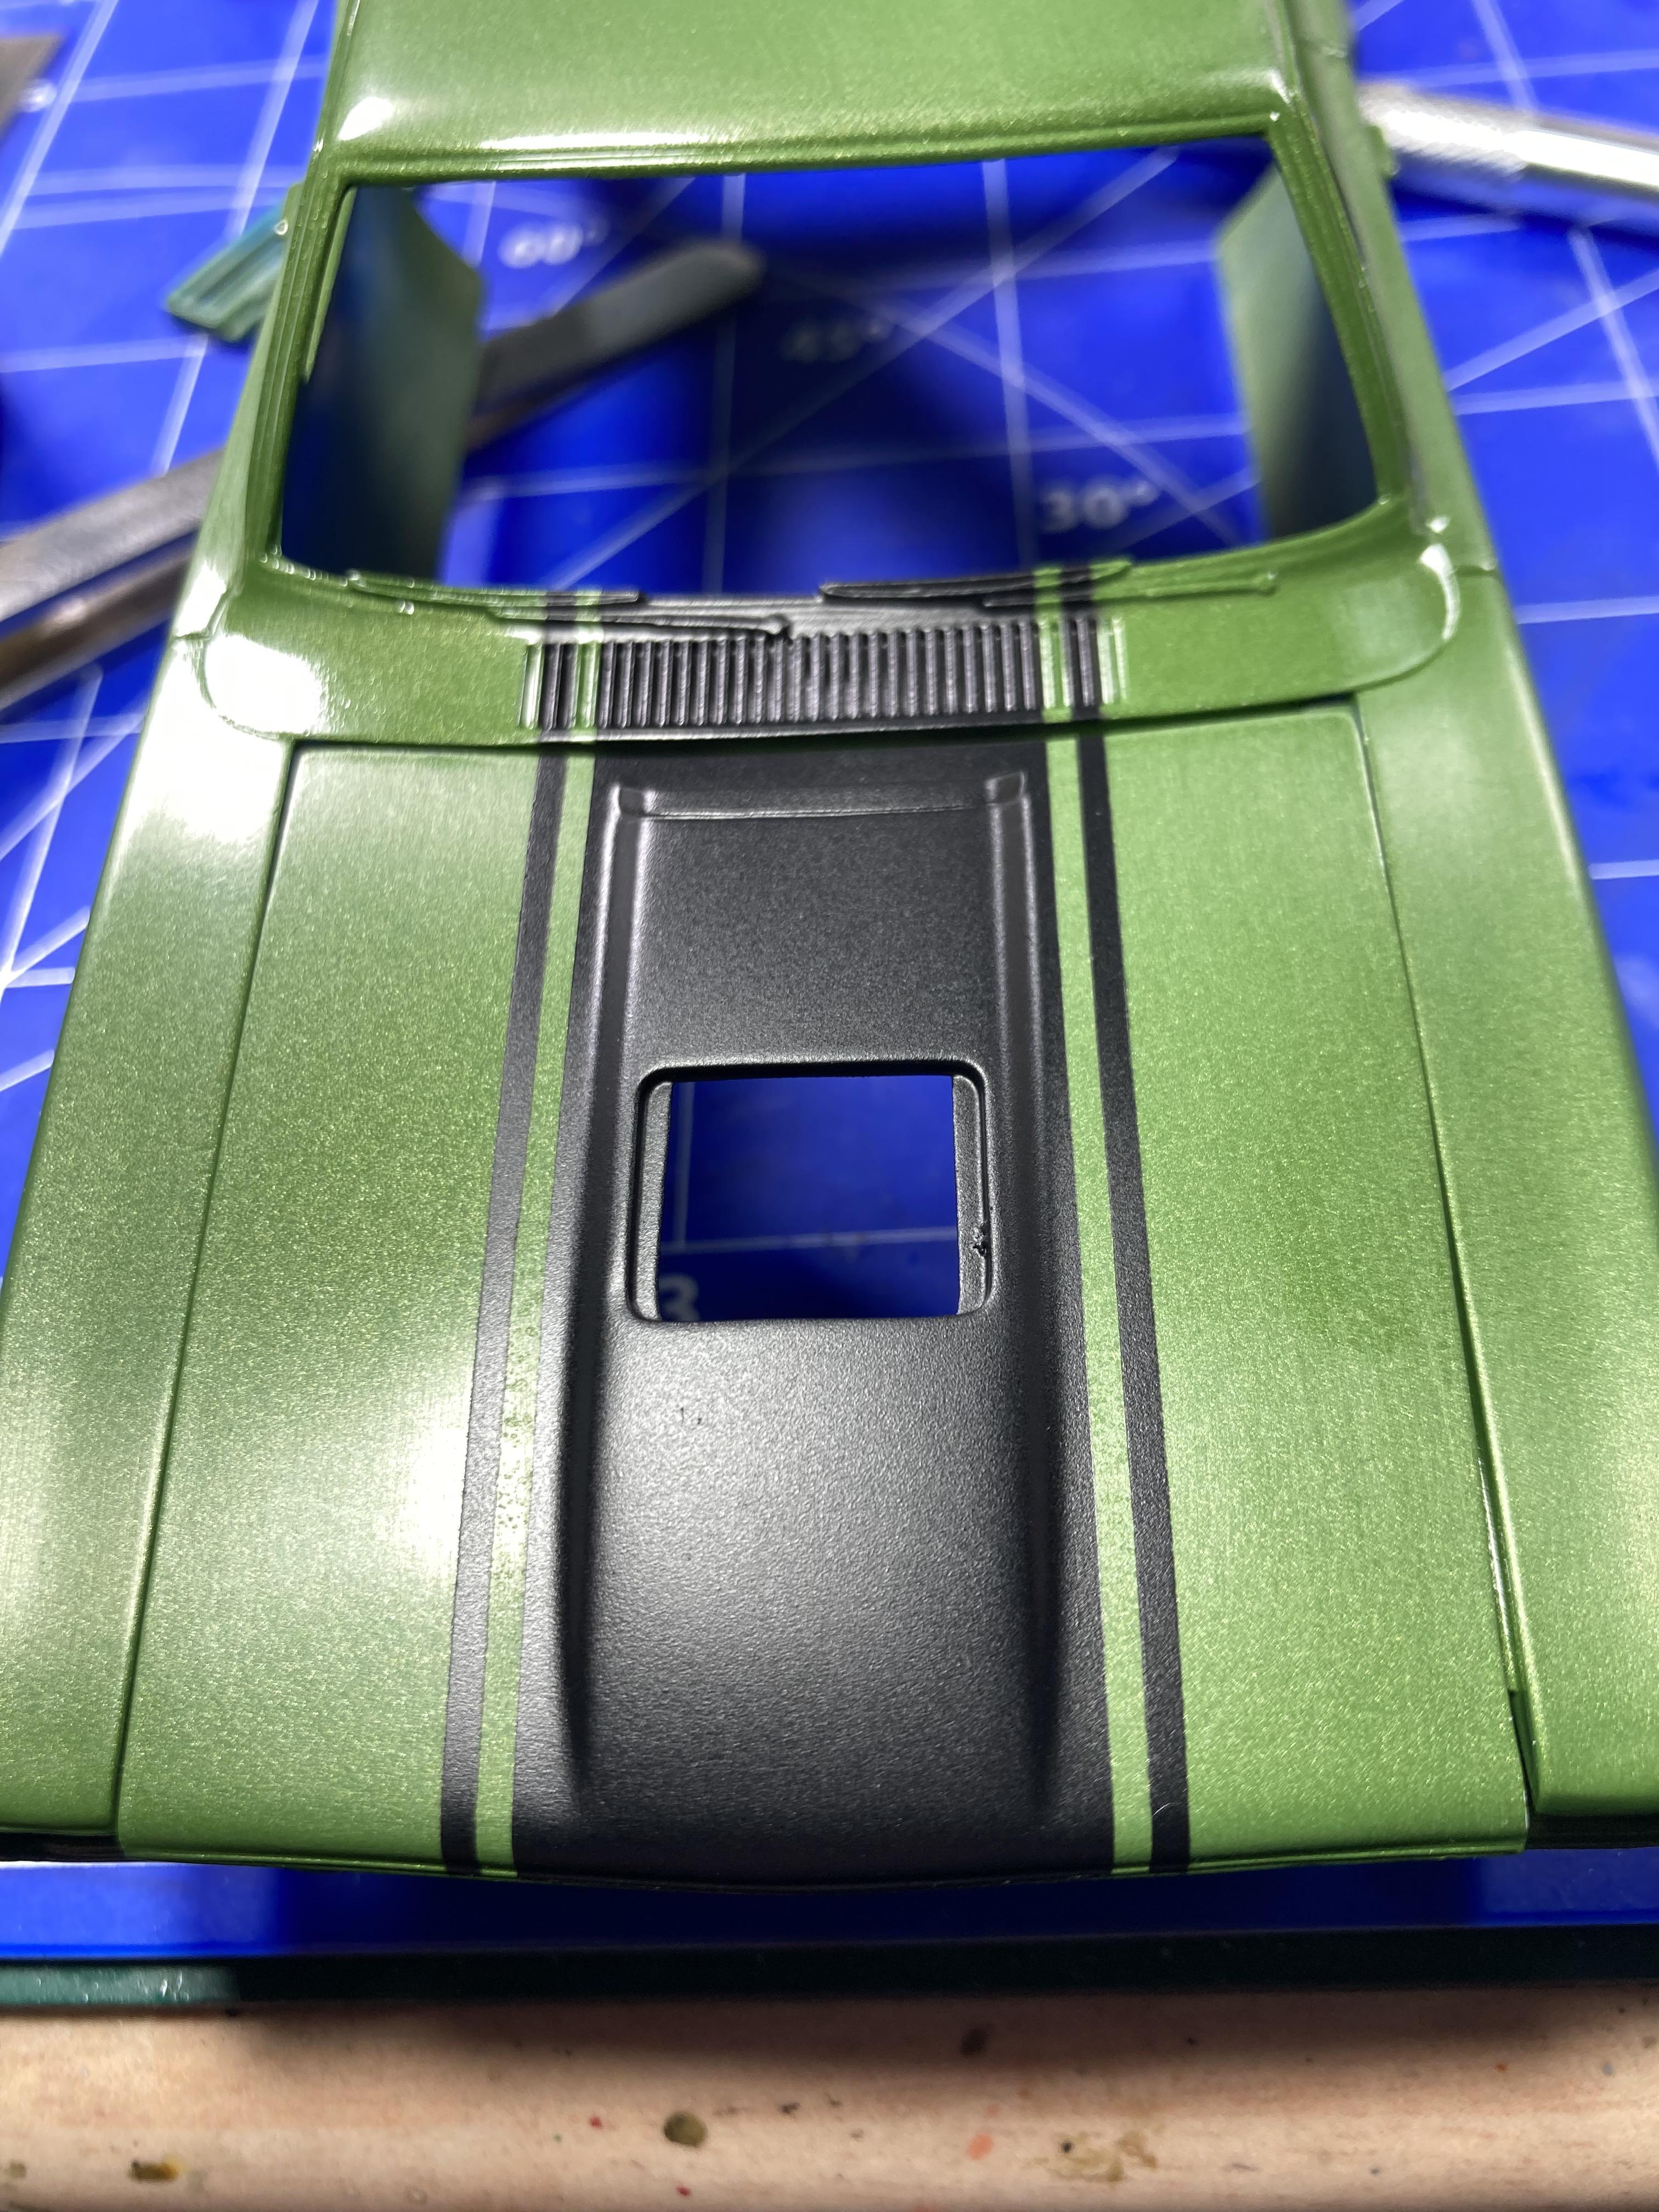
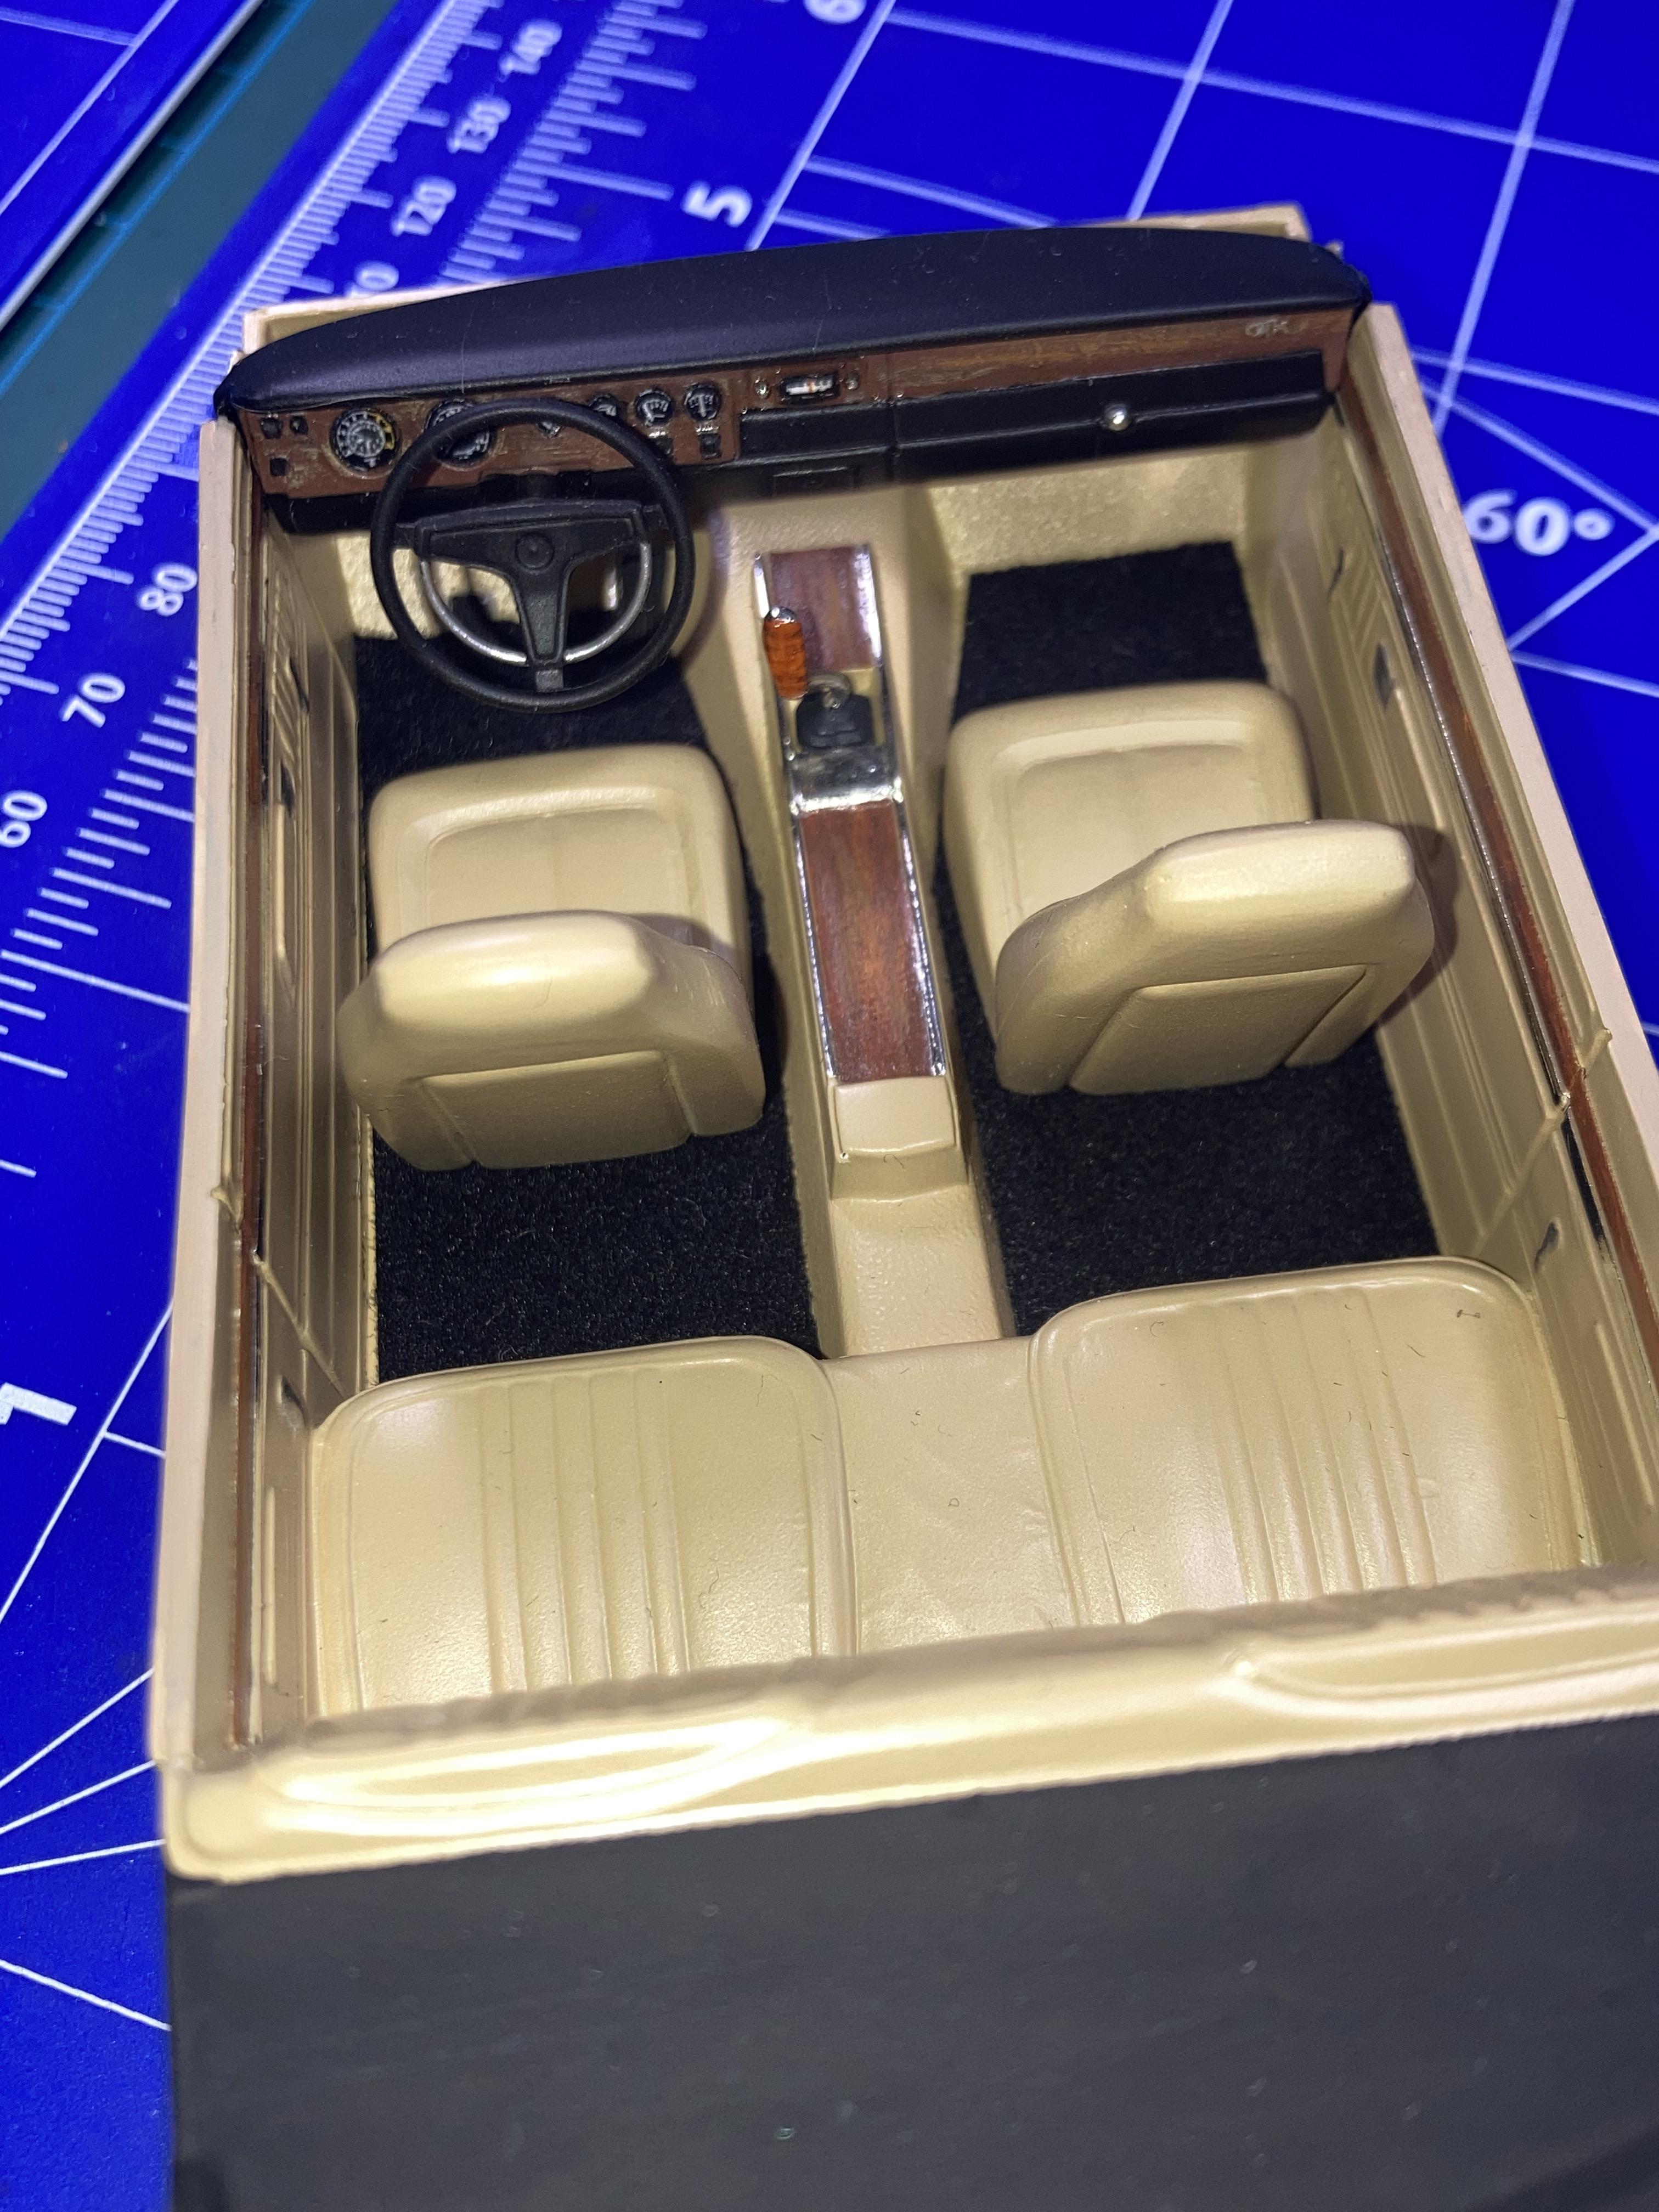
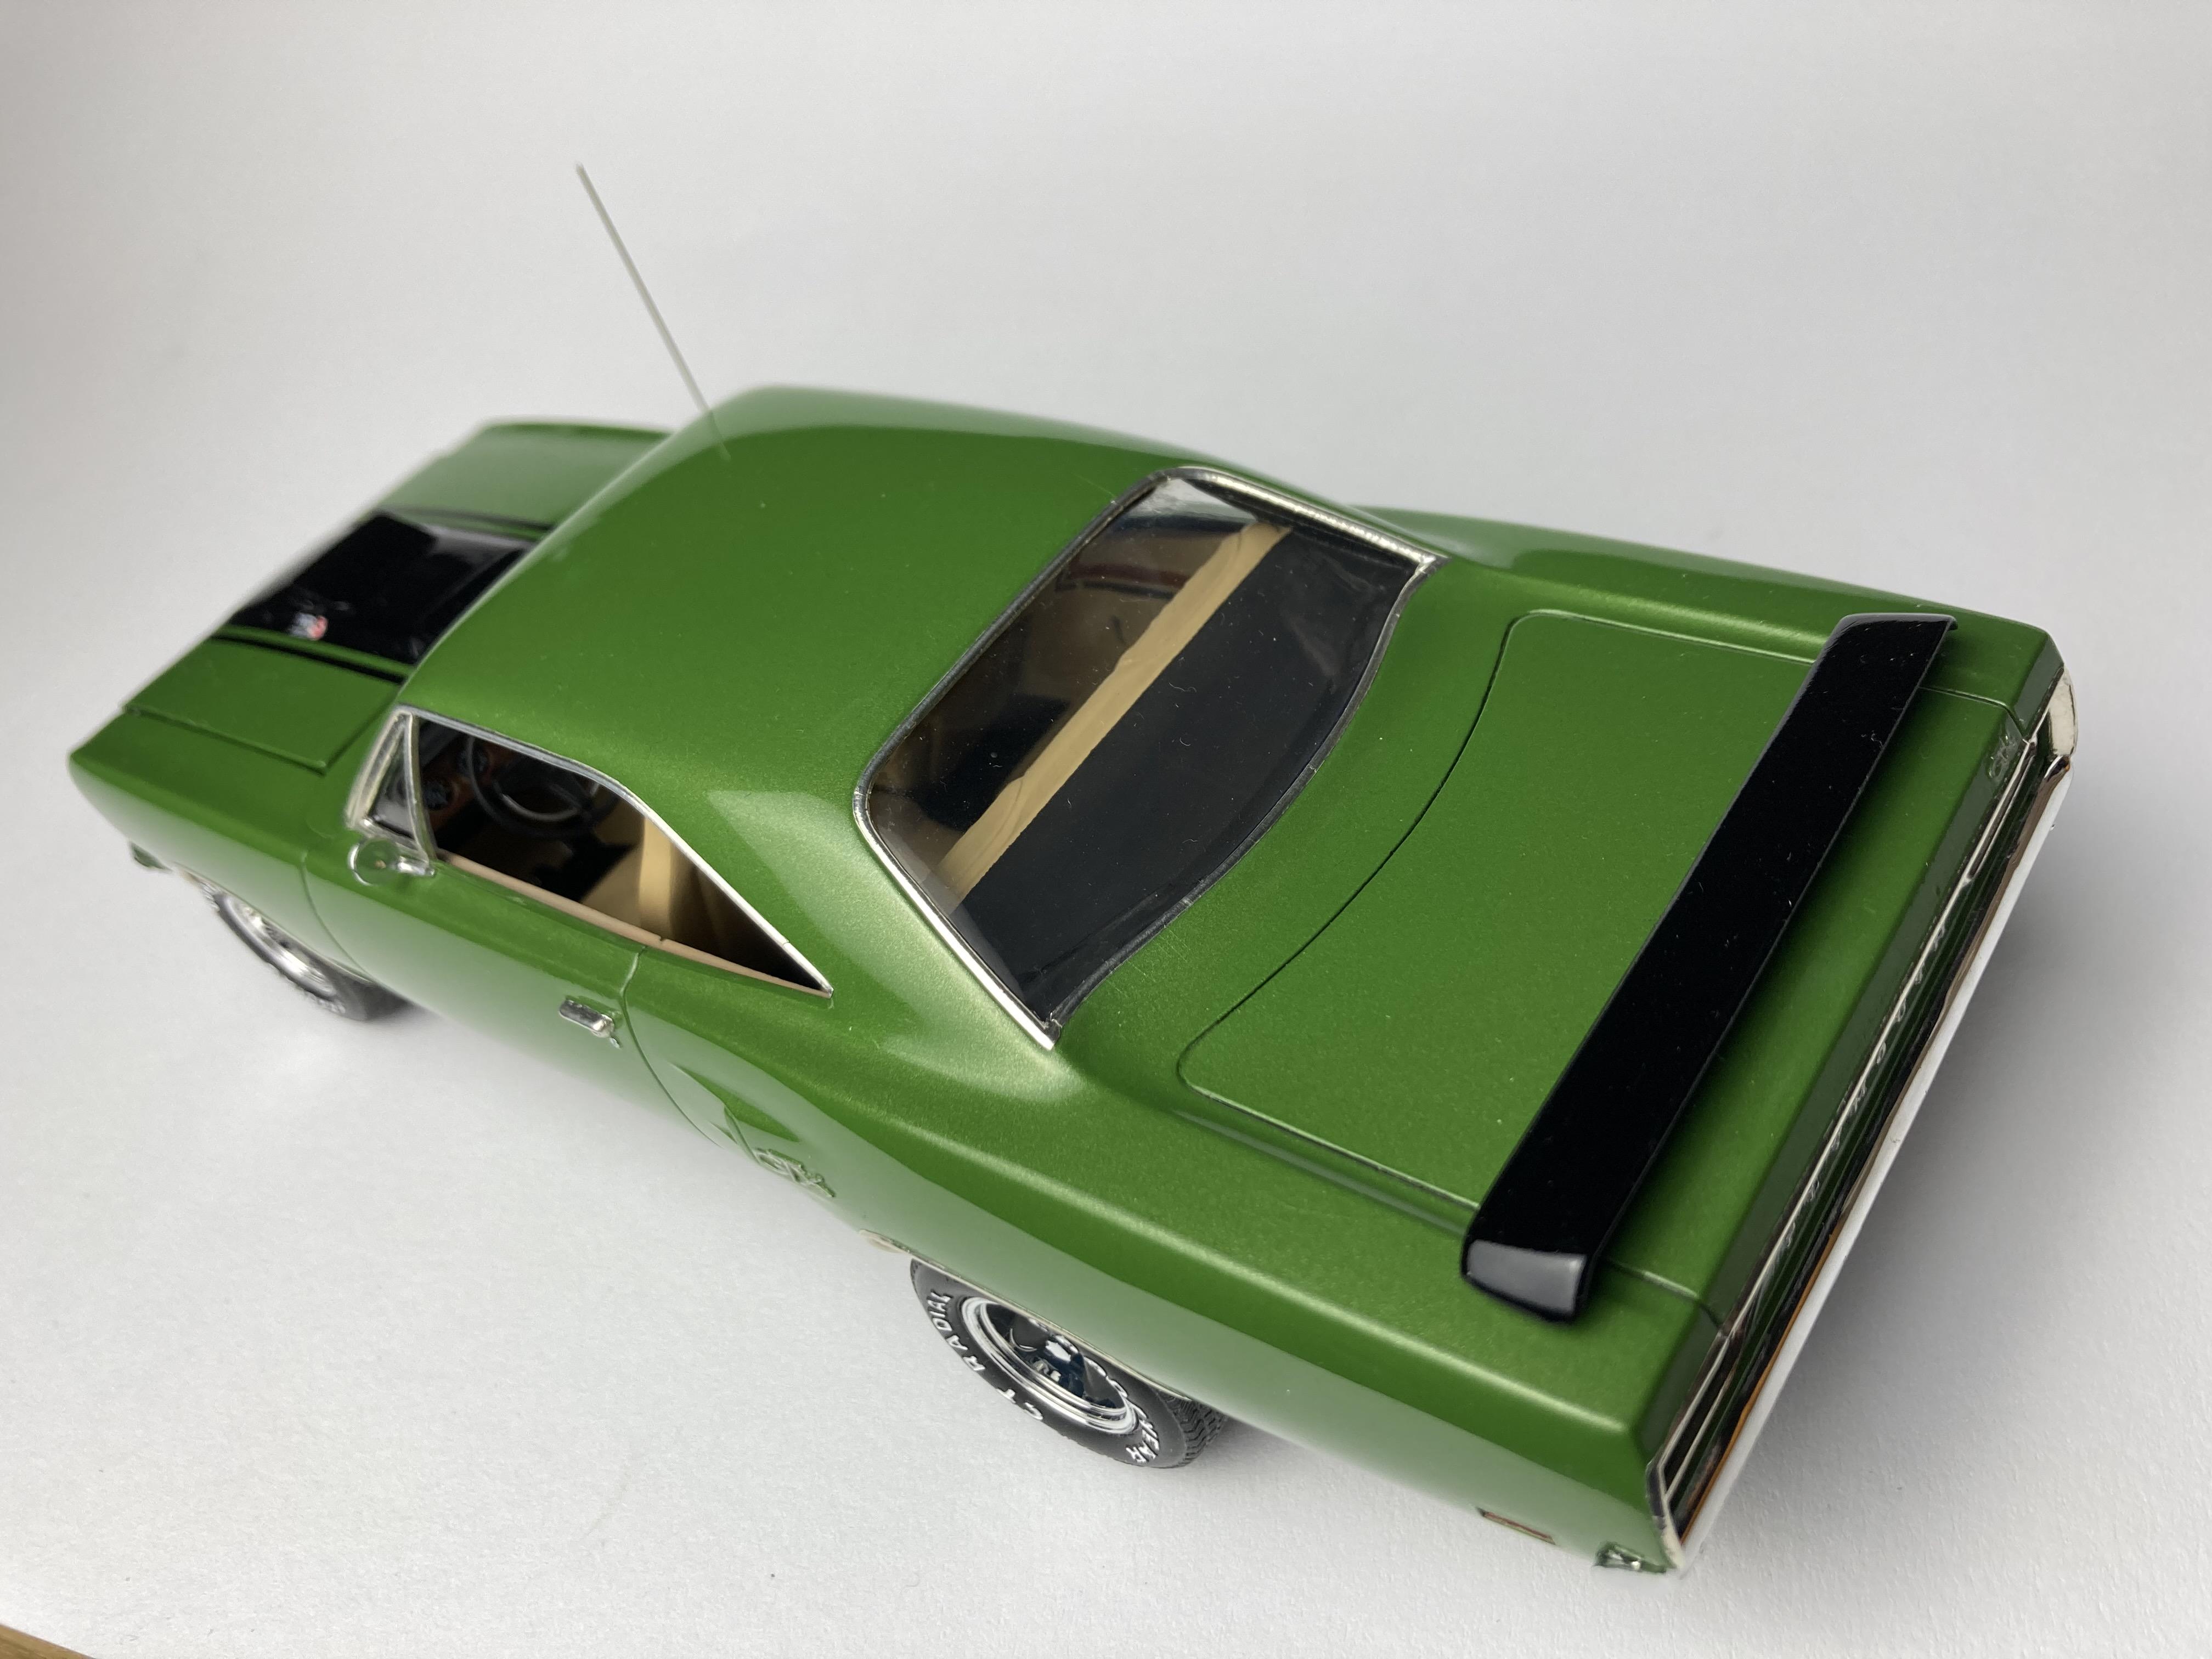
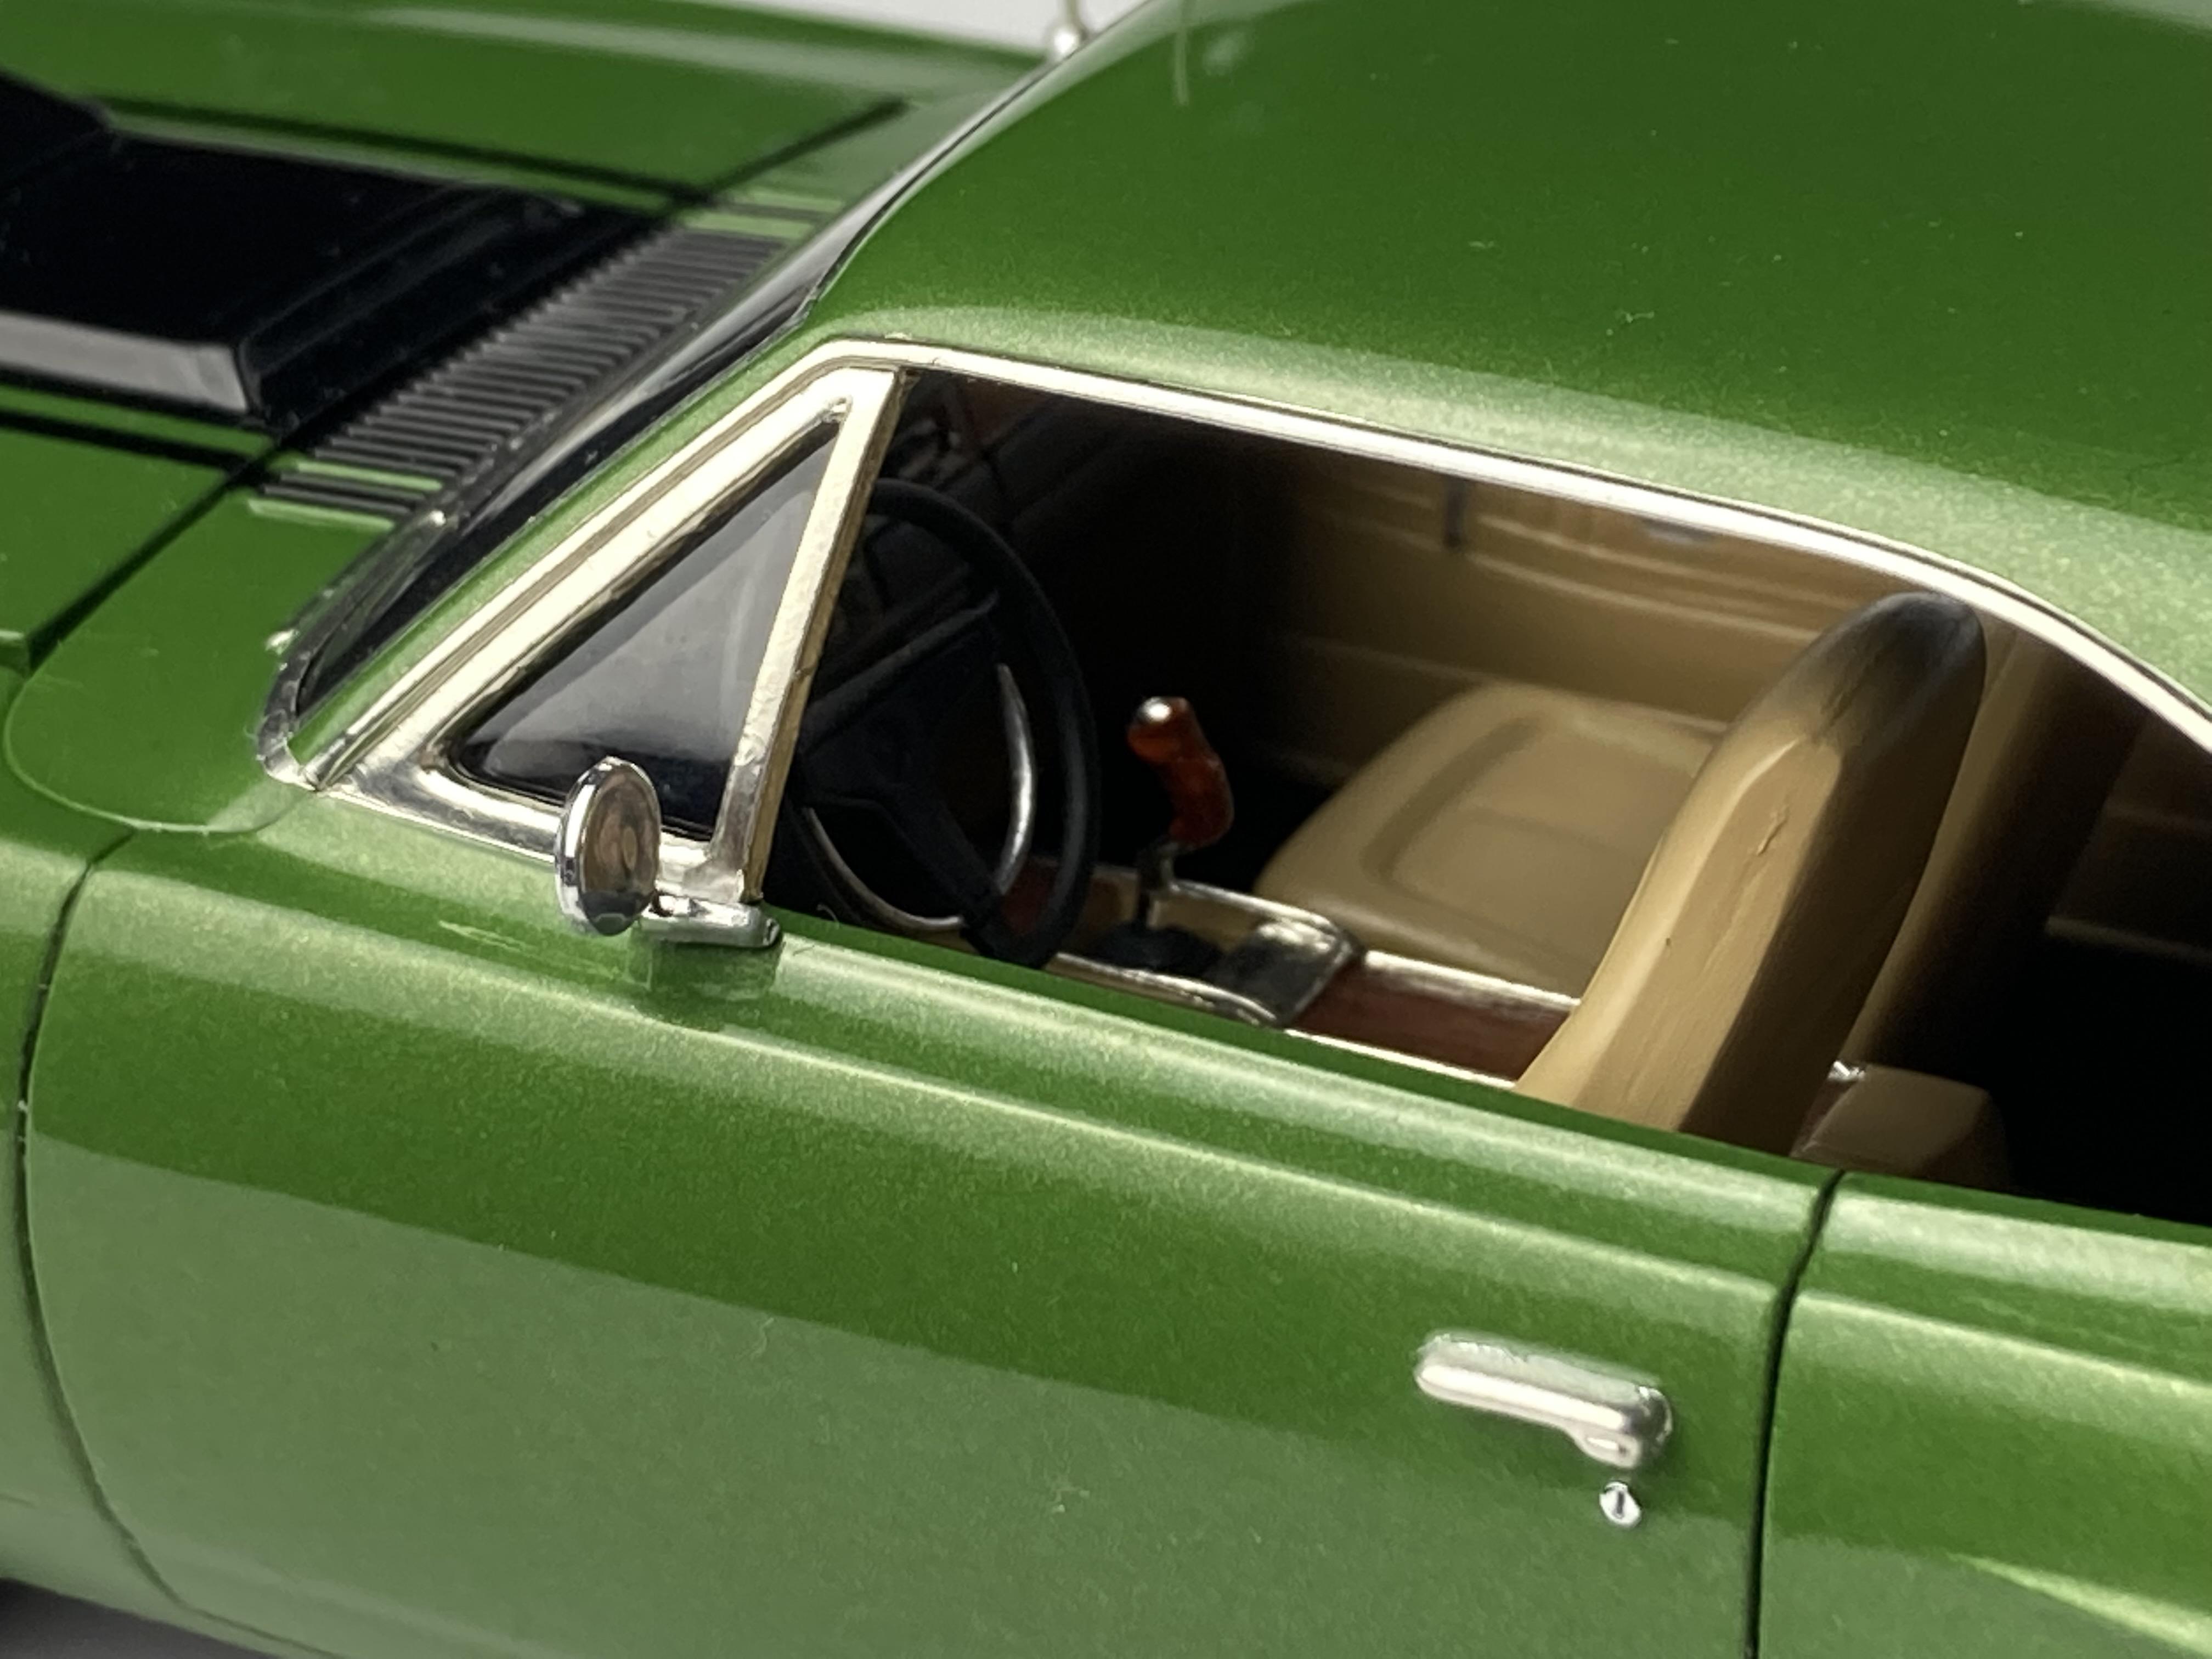
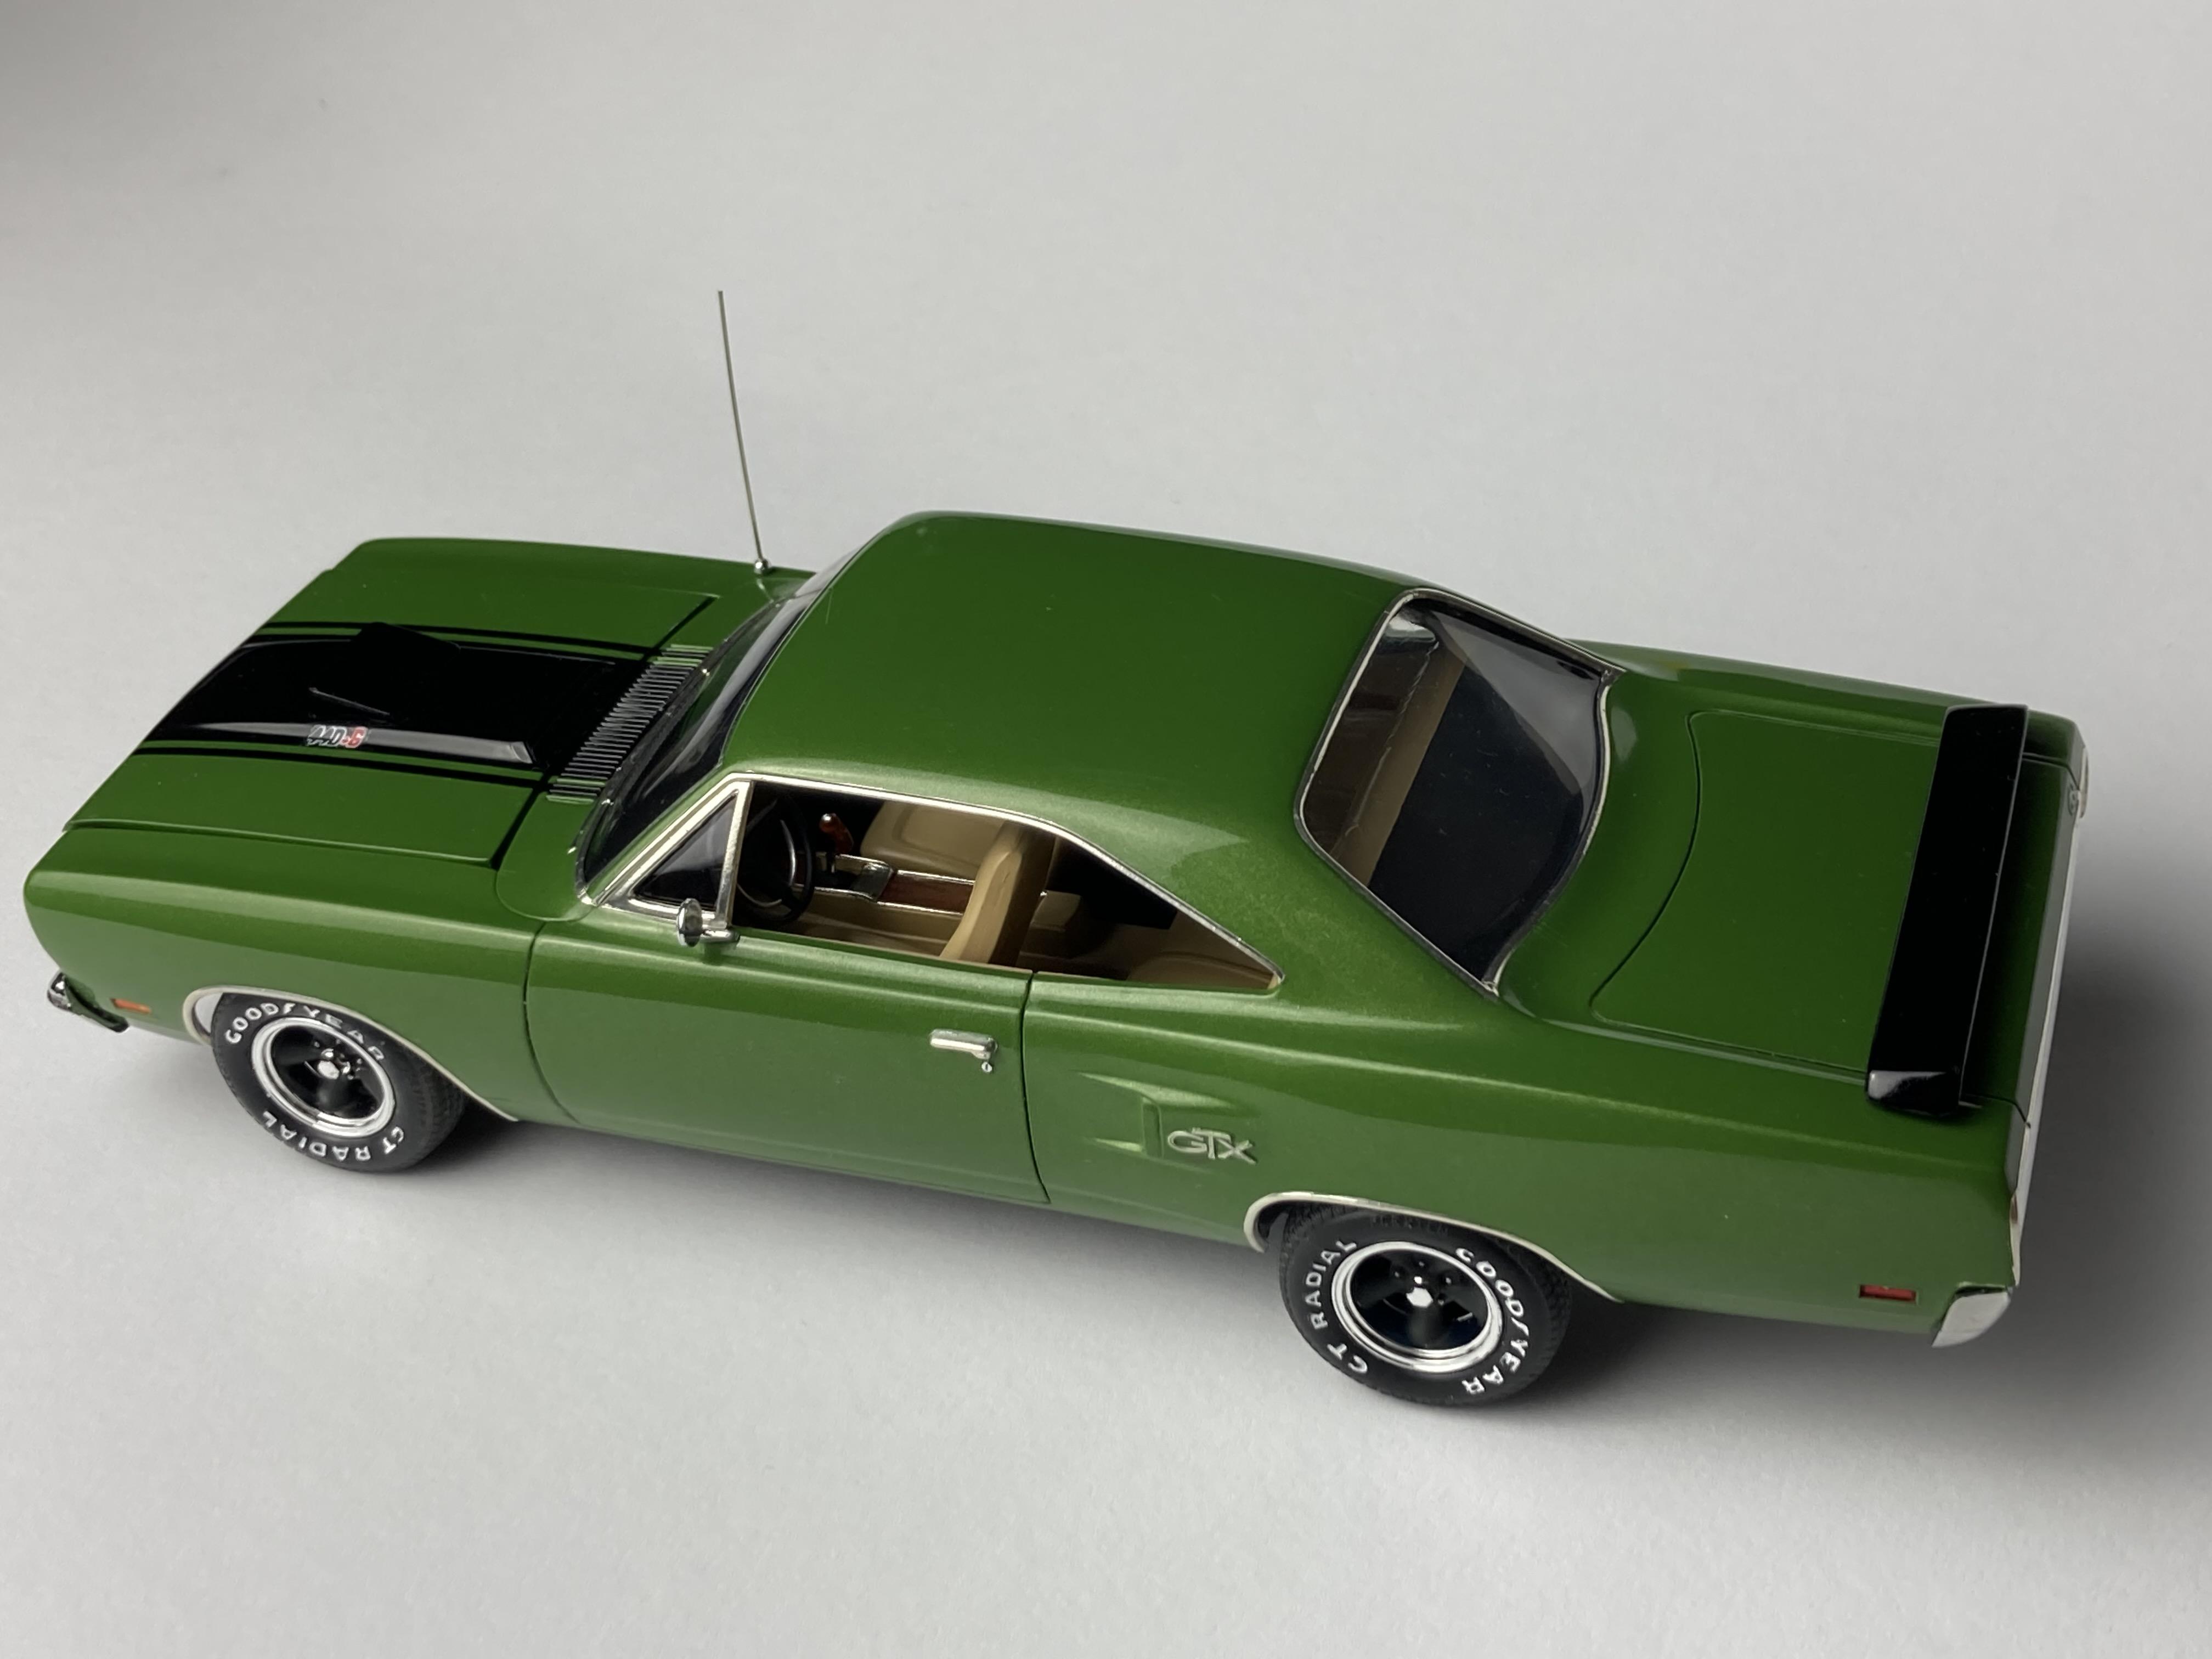
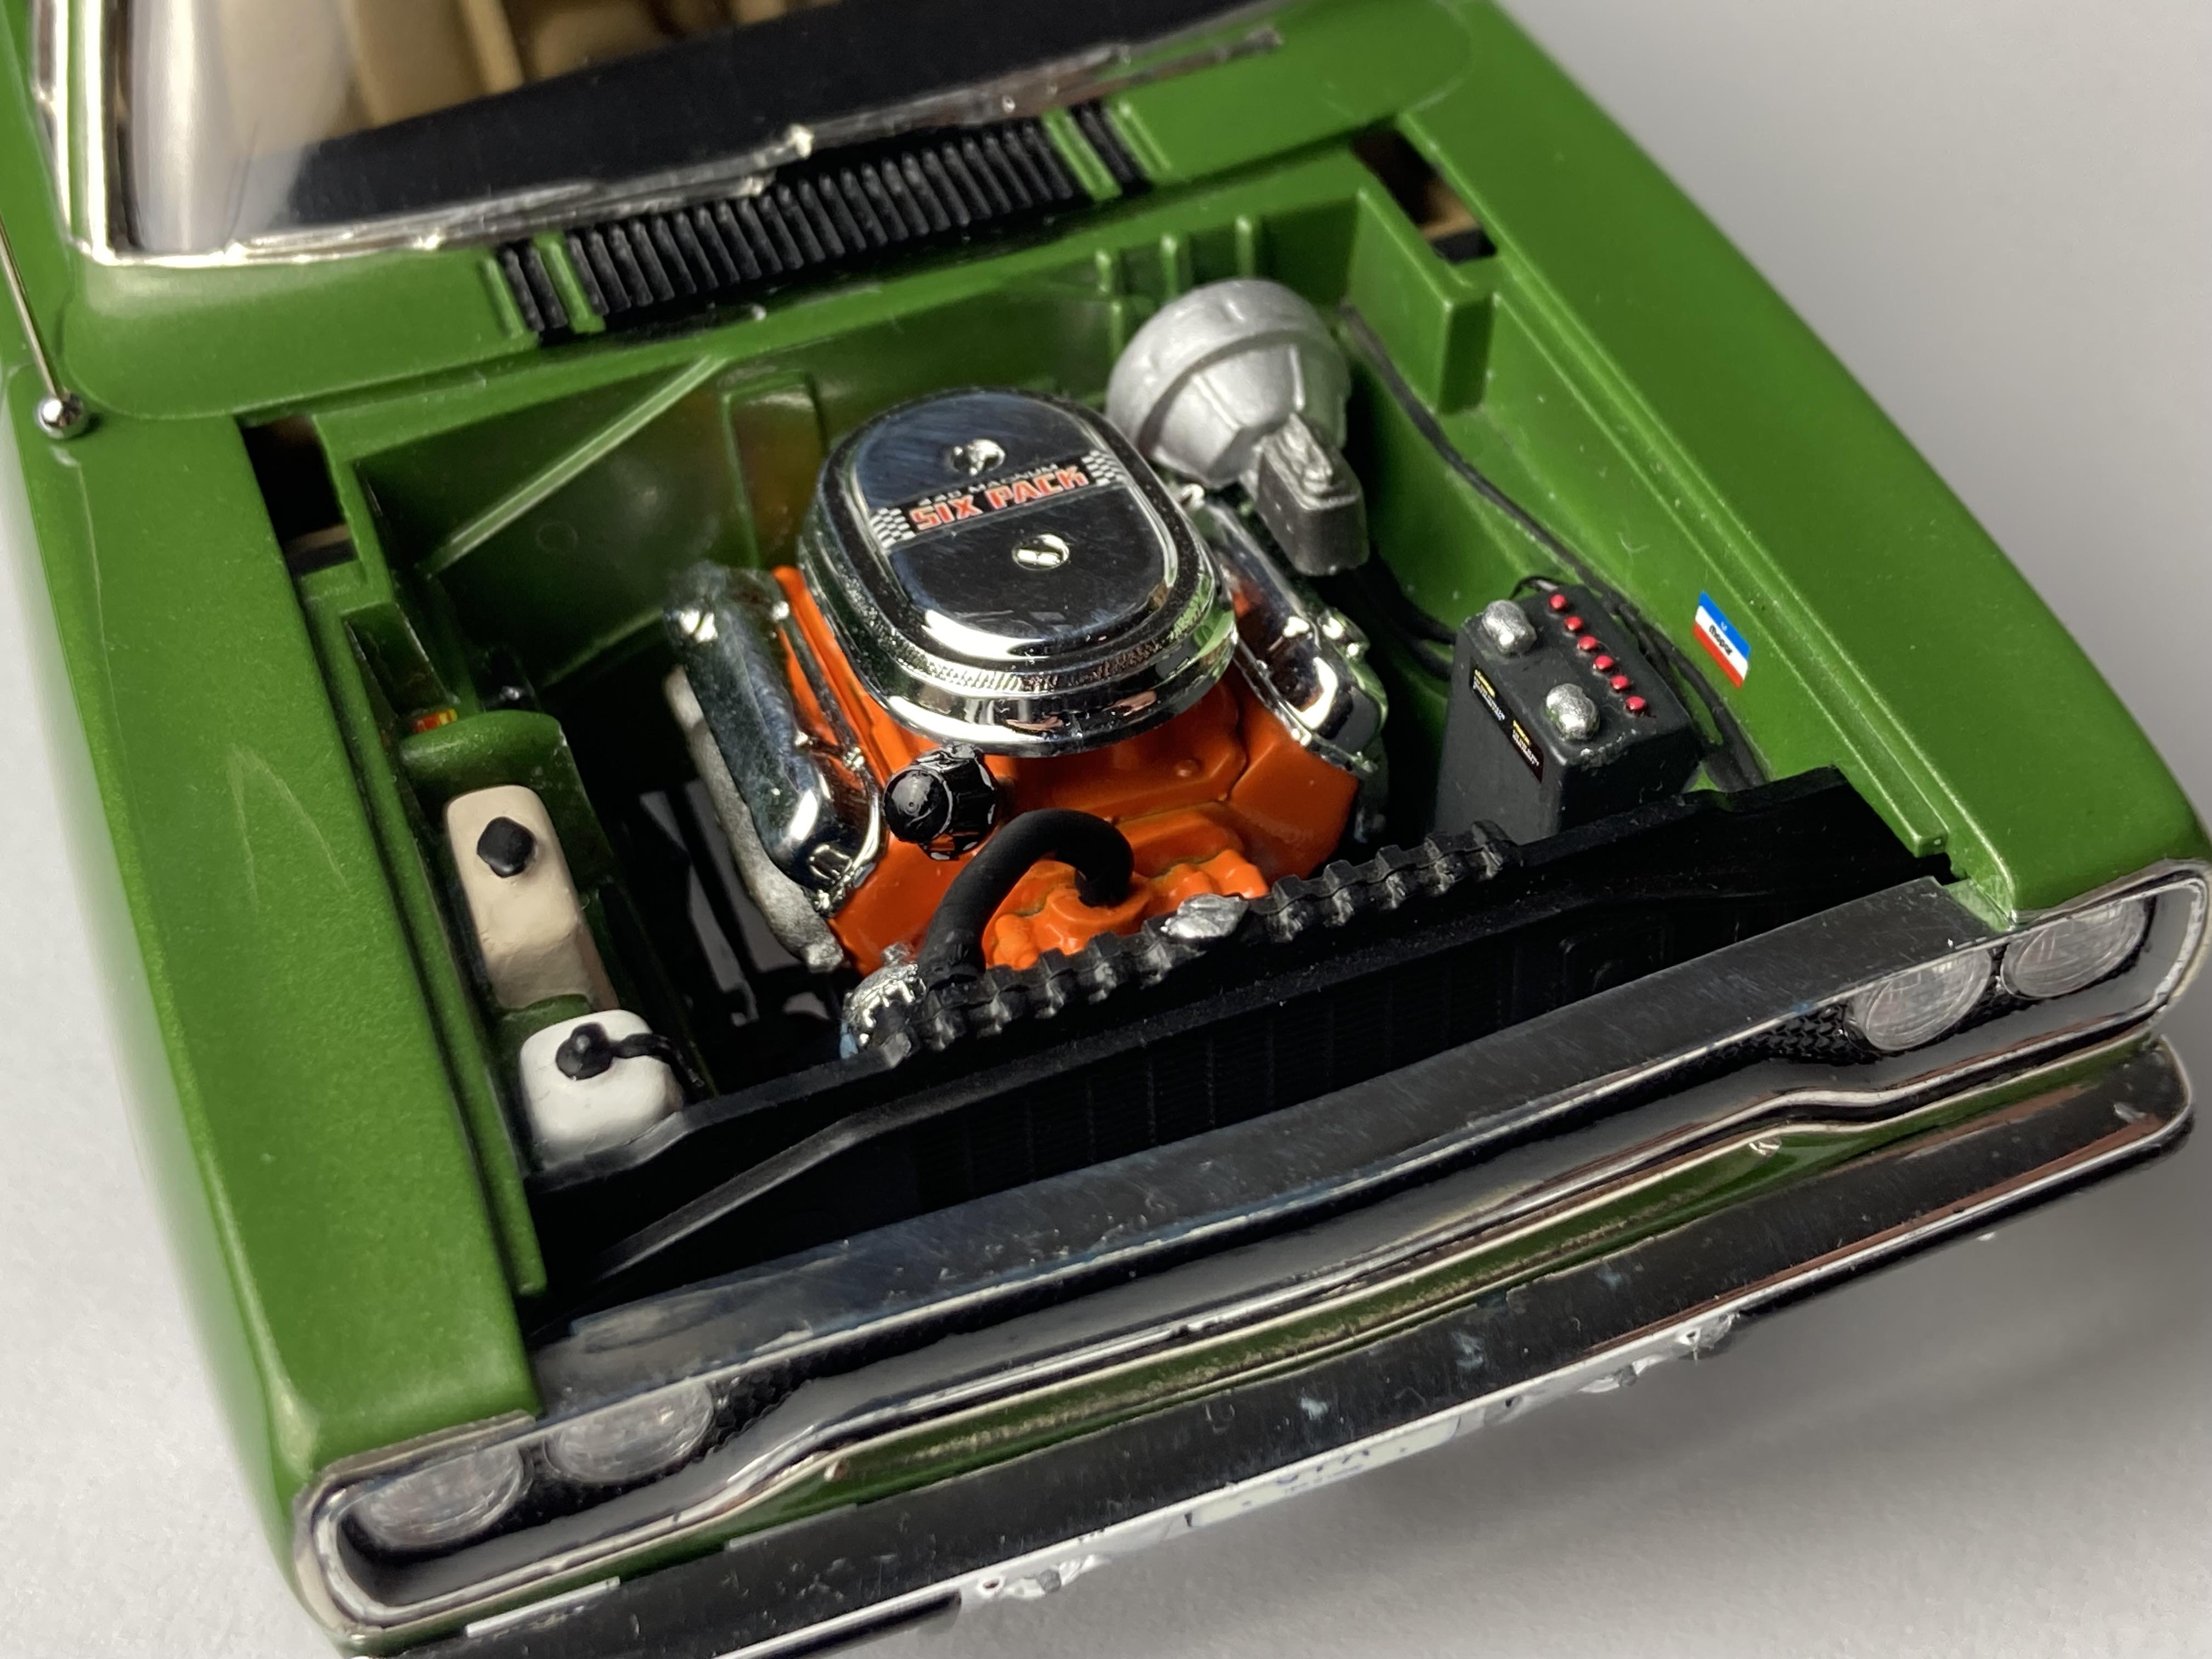
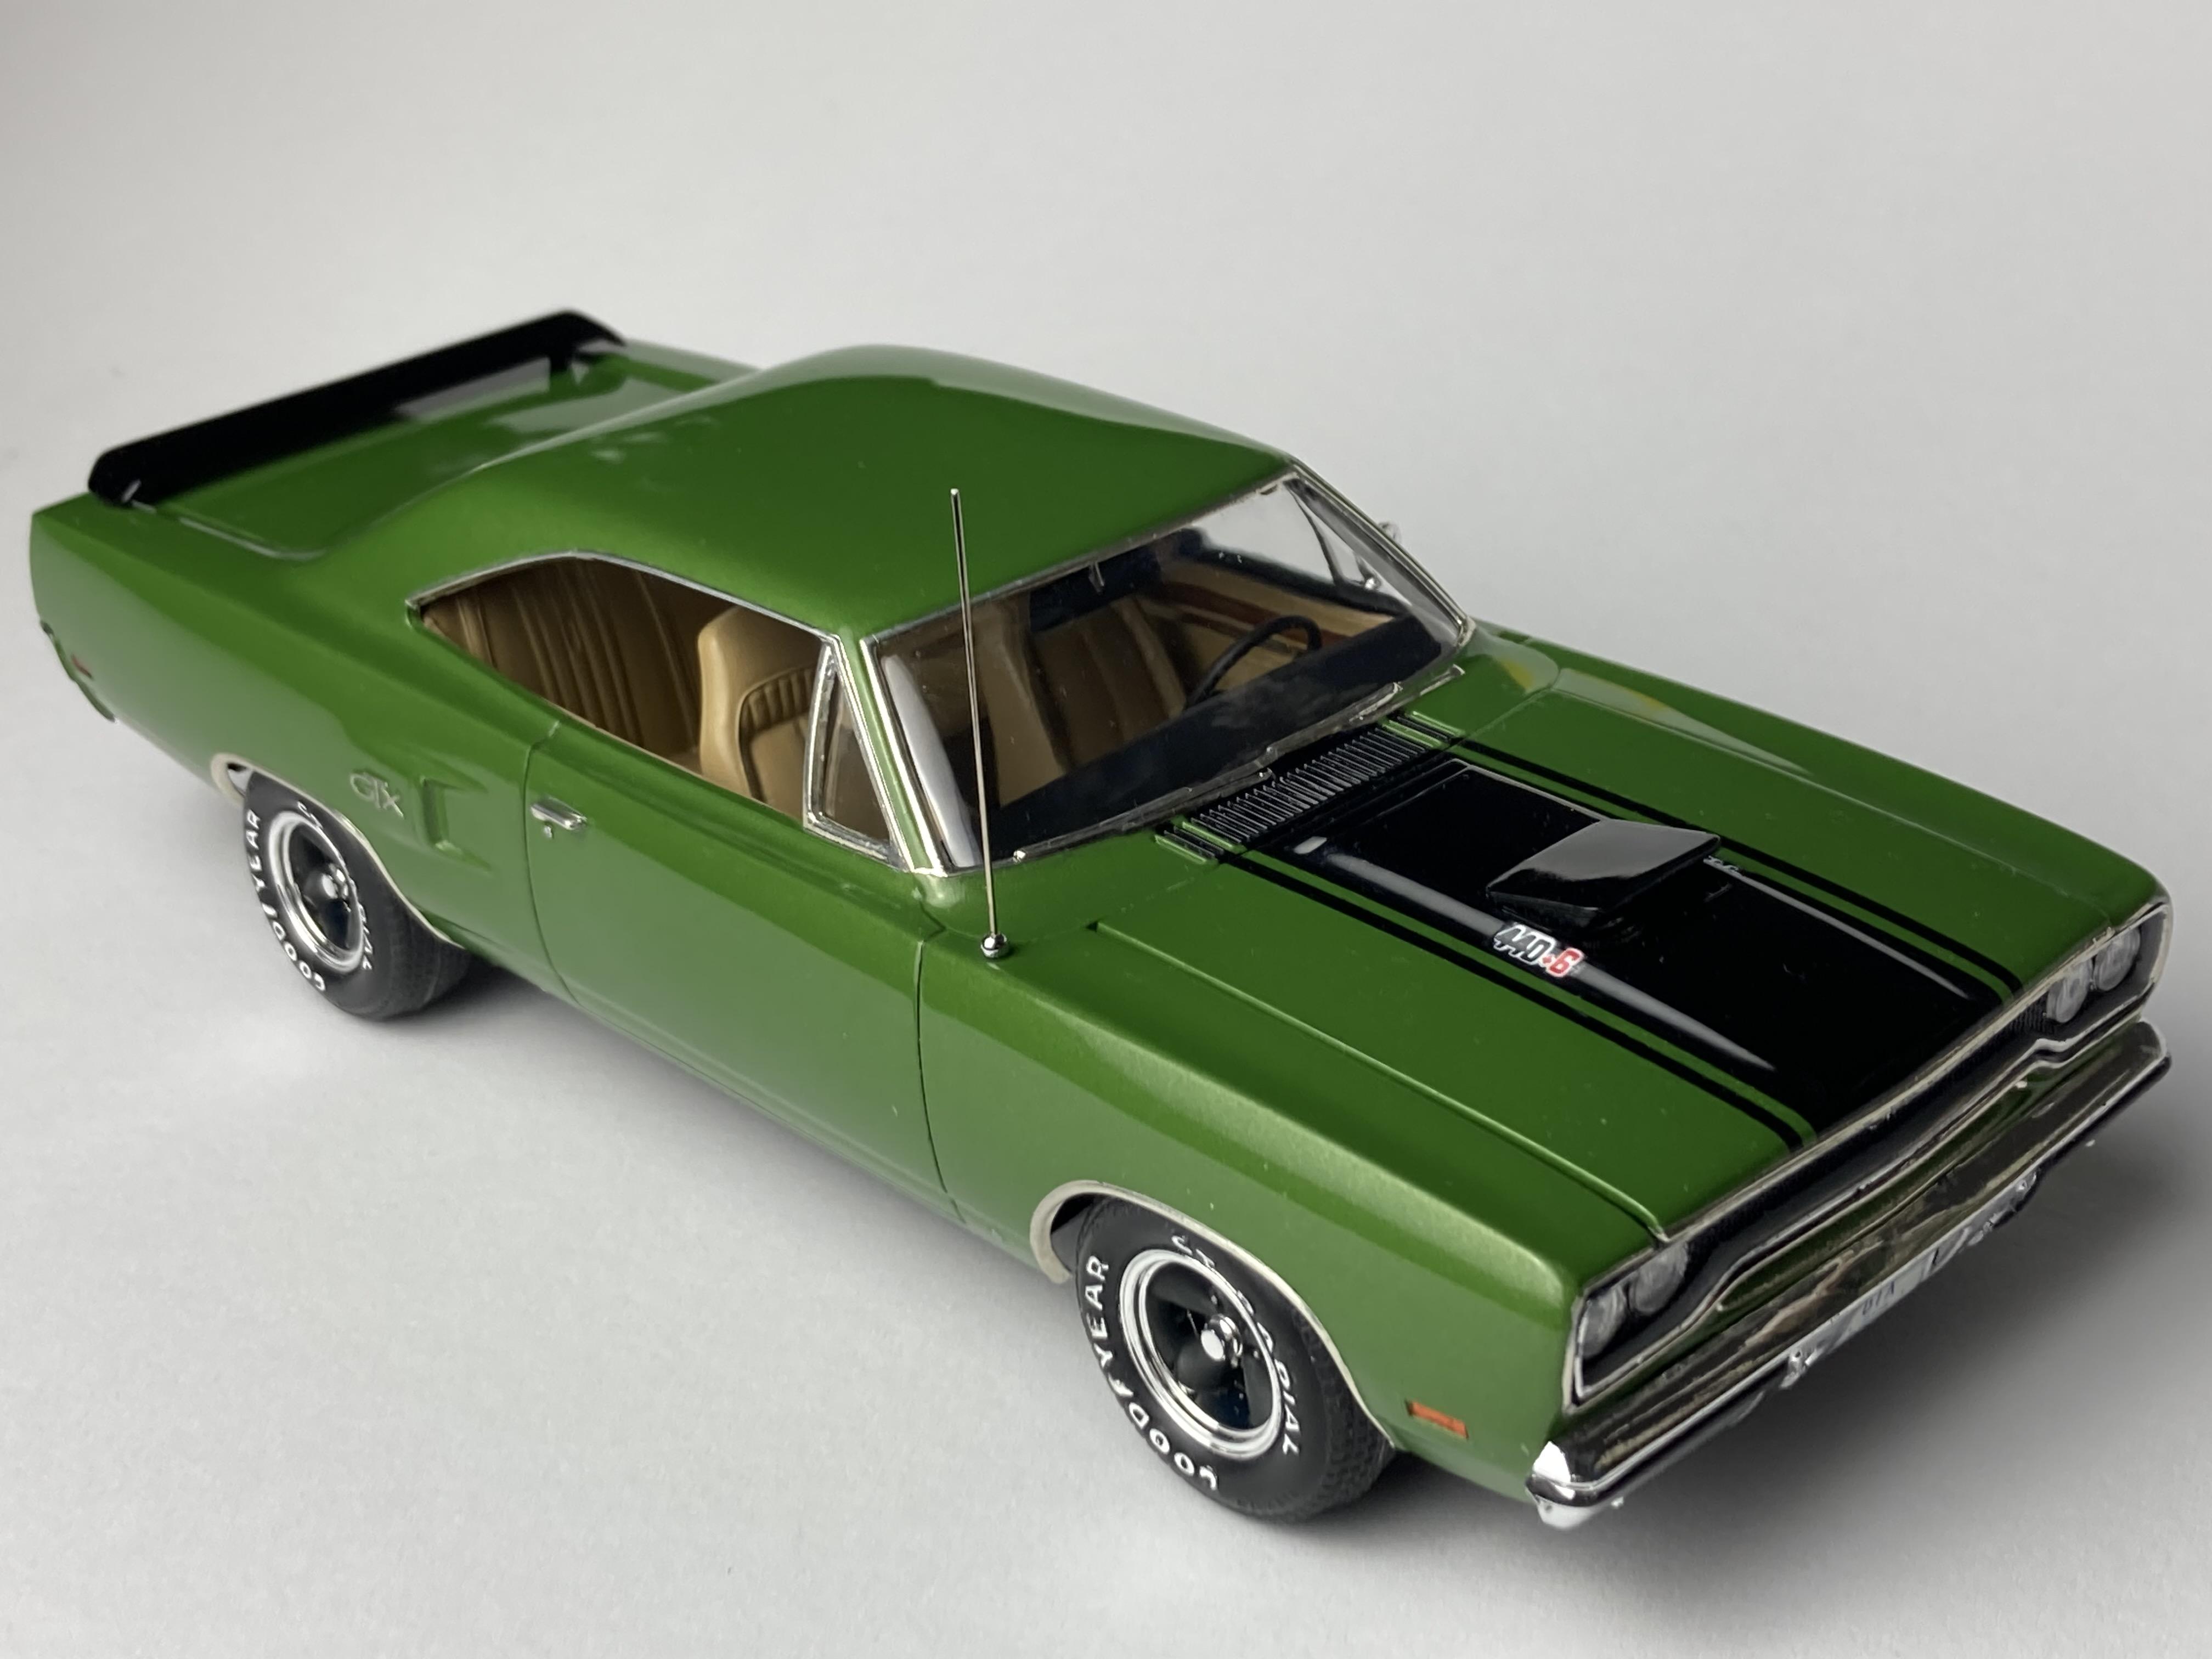
Hi there, I got this rare old Jo-Han kit on Ebay UK some months ago. The seller stated "sold as seen", unfortunately his images did not show this: So I had to take care of the repair job first because if I had failed, I wouldn't have needed to even "start" with the kit. This is how I did it: Quite satisfied with the result, given the initial situation: As regards the rest of the kit, it was complete and also contained the stock wheels and tyres. Despite some work on them, I couldn't get them to look good or "right". That's why I decided to use Pegasus five-spokes along with tyres from an AMT "Customs & Competion" set. I was quite please with the result, a nice, low custom look. The paint, by the way, is the result of around 20 layers on top of each other. Starting with Tamiya white primer, then using Mica Silver, Clear Orange on top of that and clear coat to seal it. Anyway, this is what it looks like:

-
Thanks again guys, I really appreciate it!
-
Many thanks guys!
-
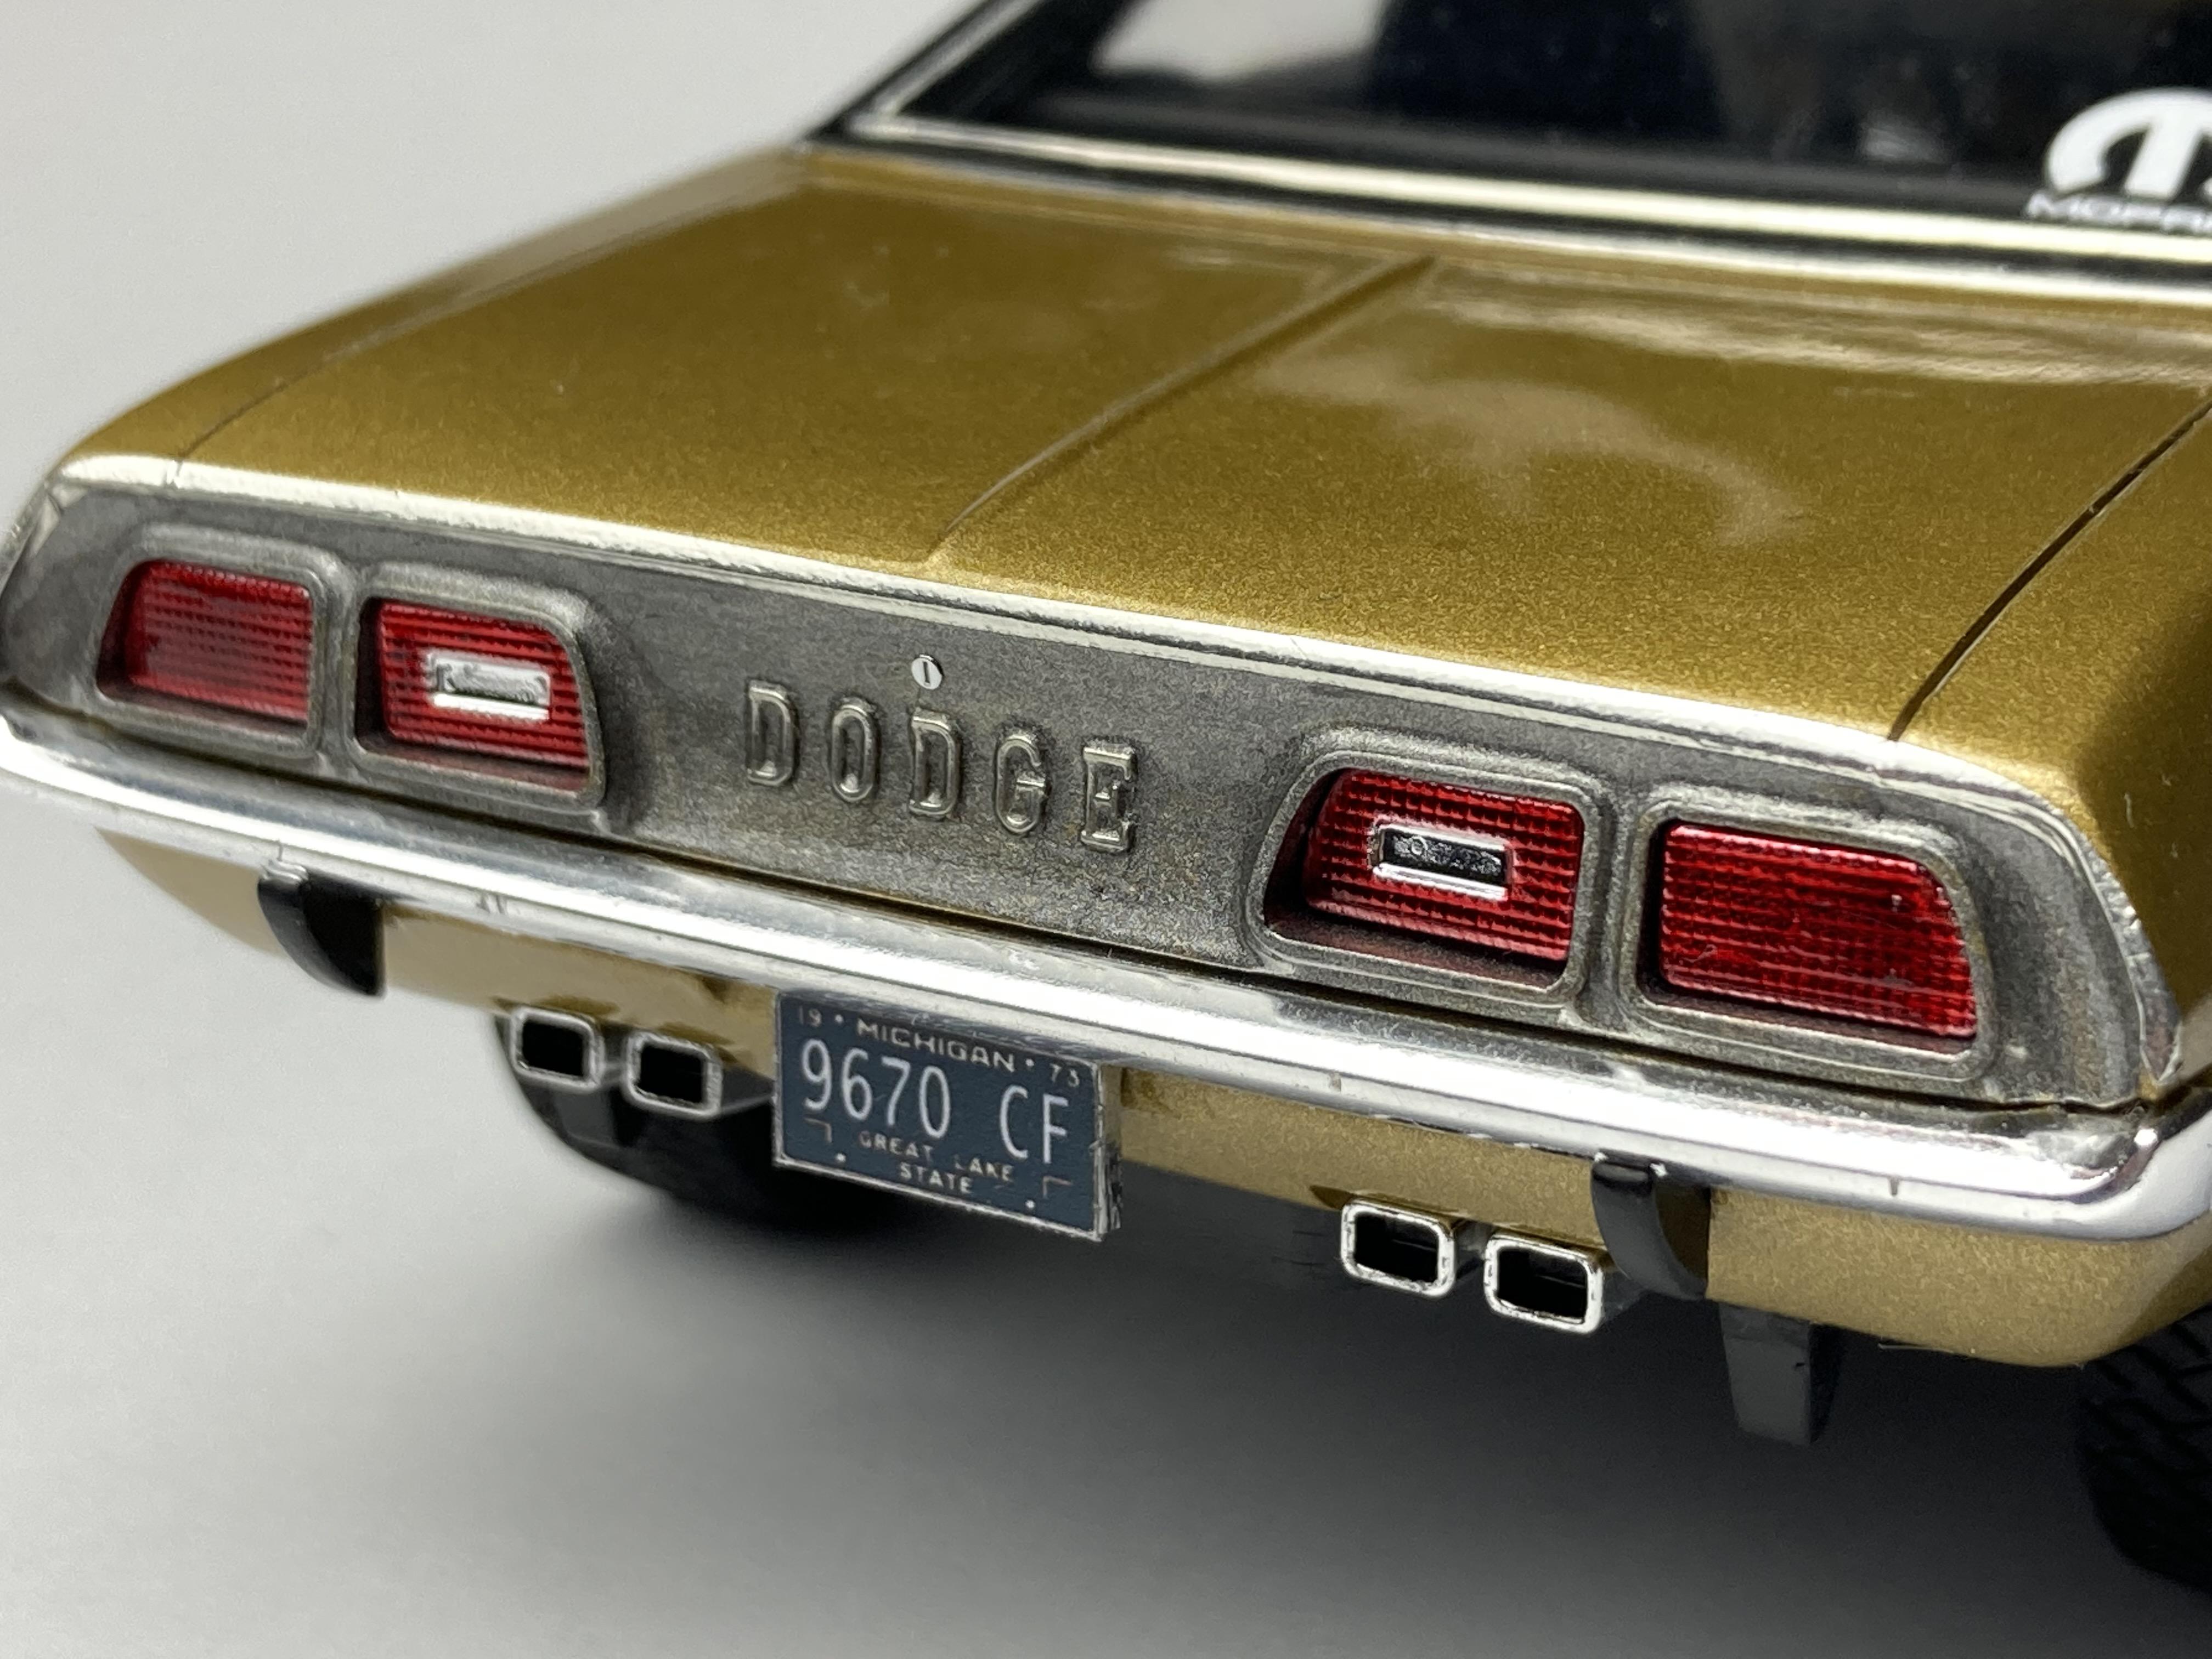
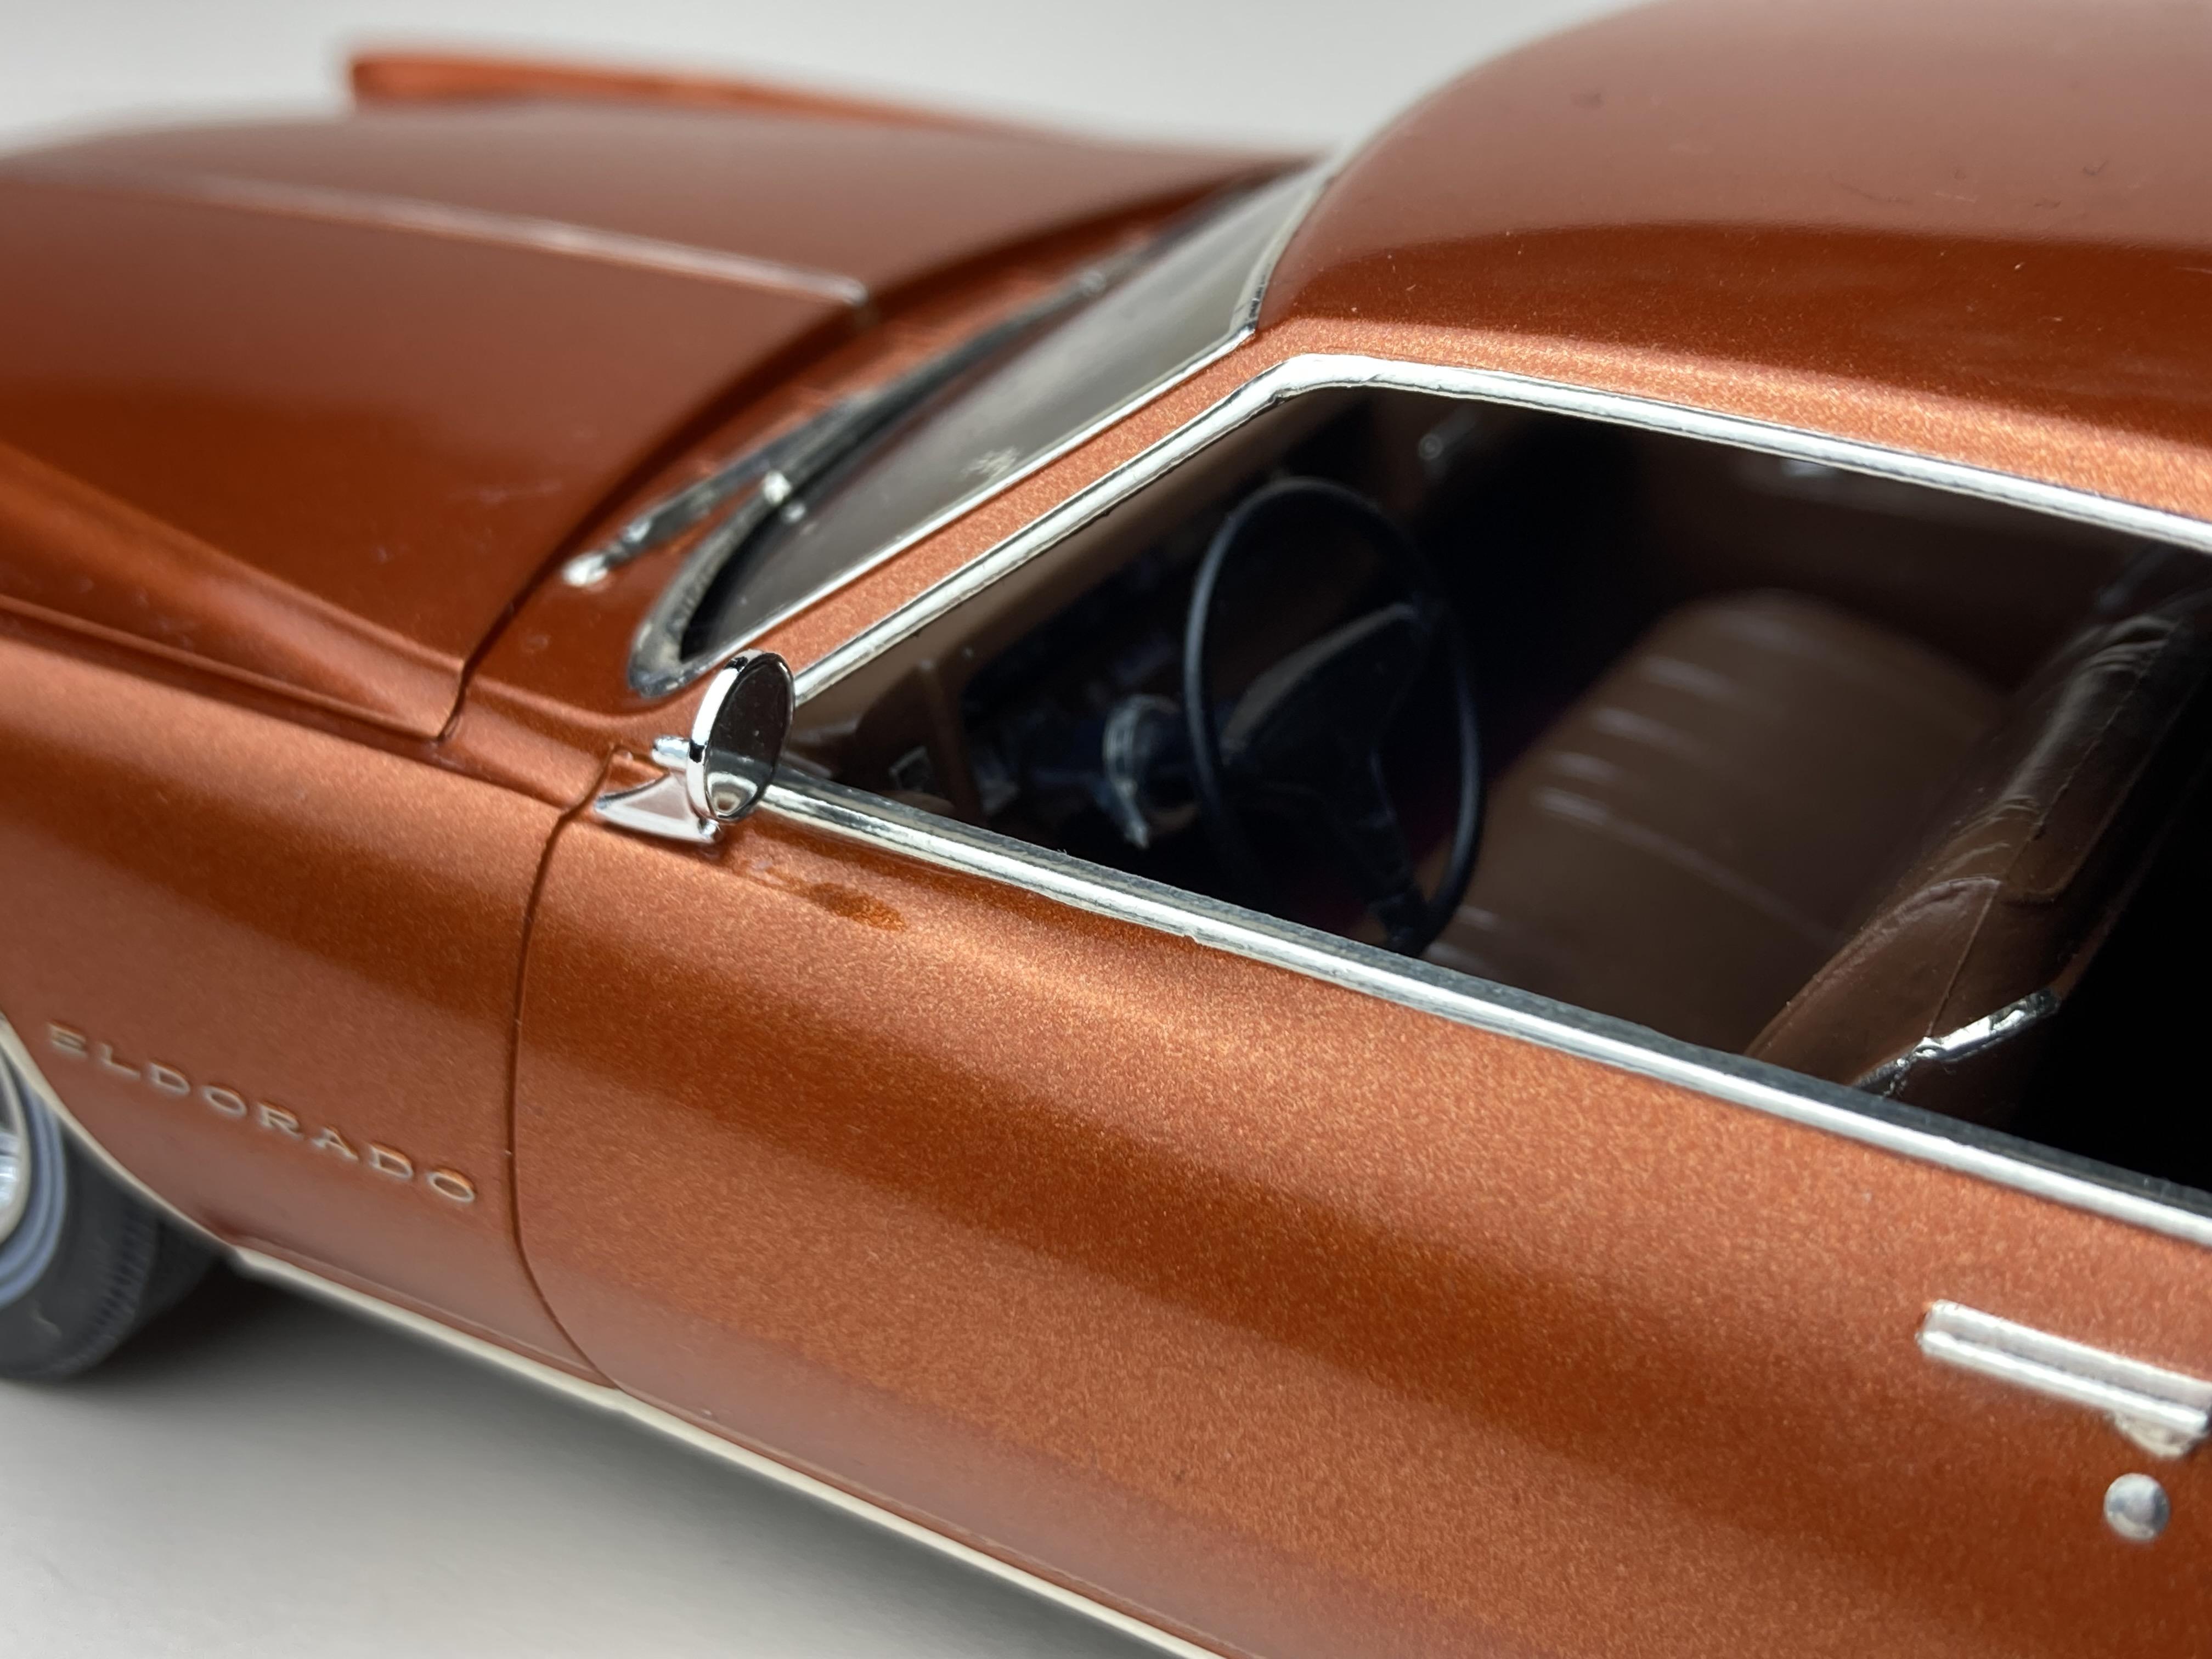
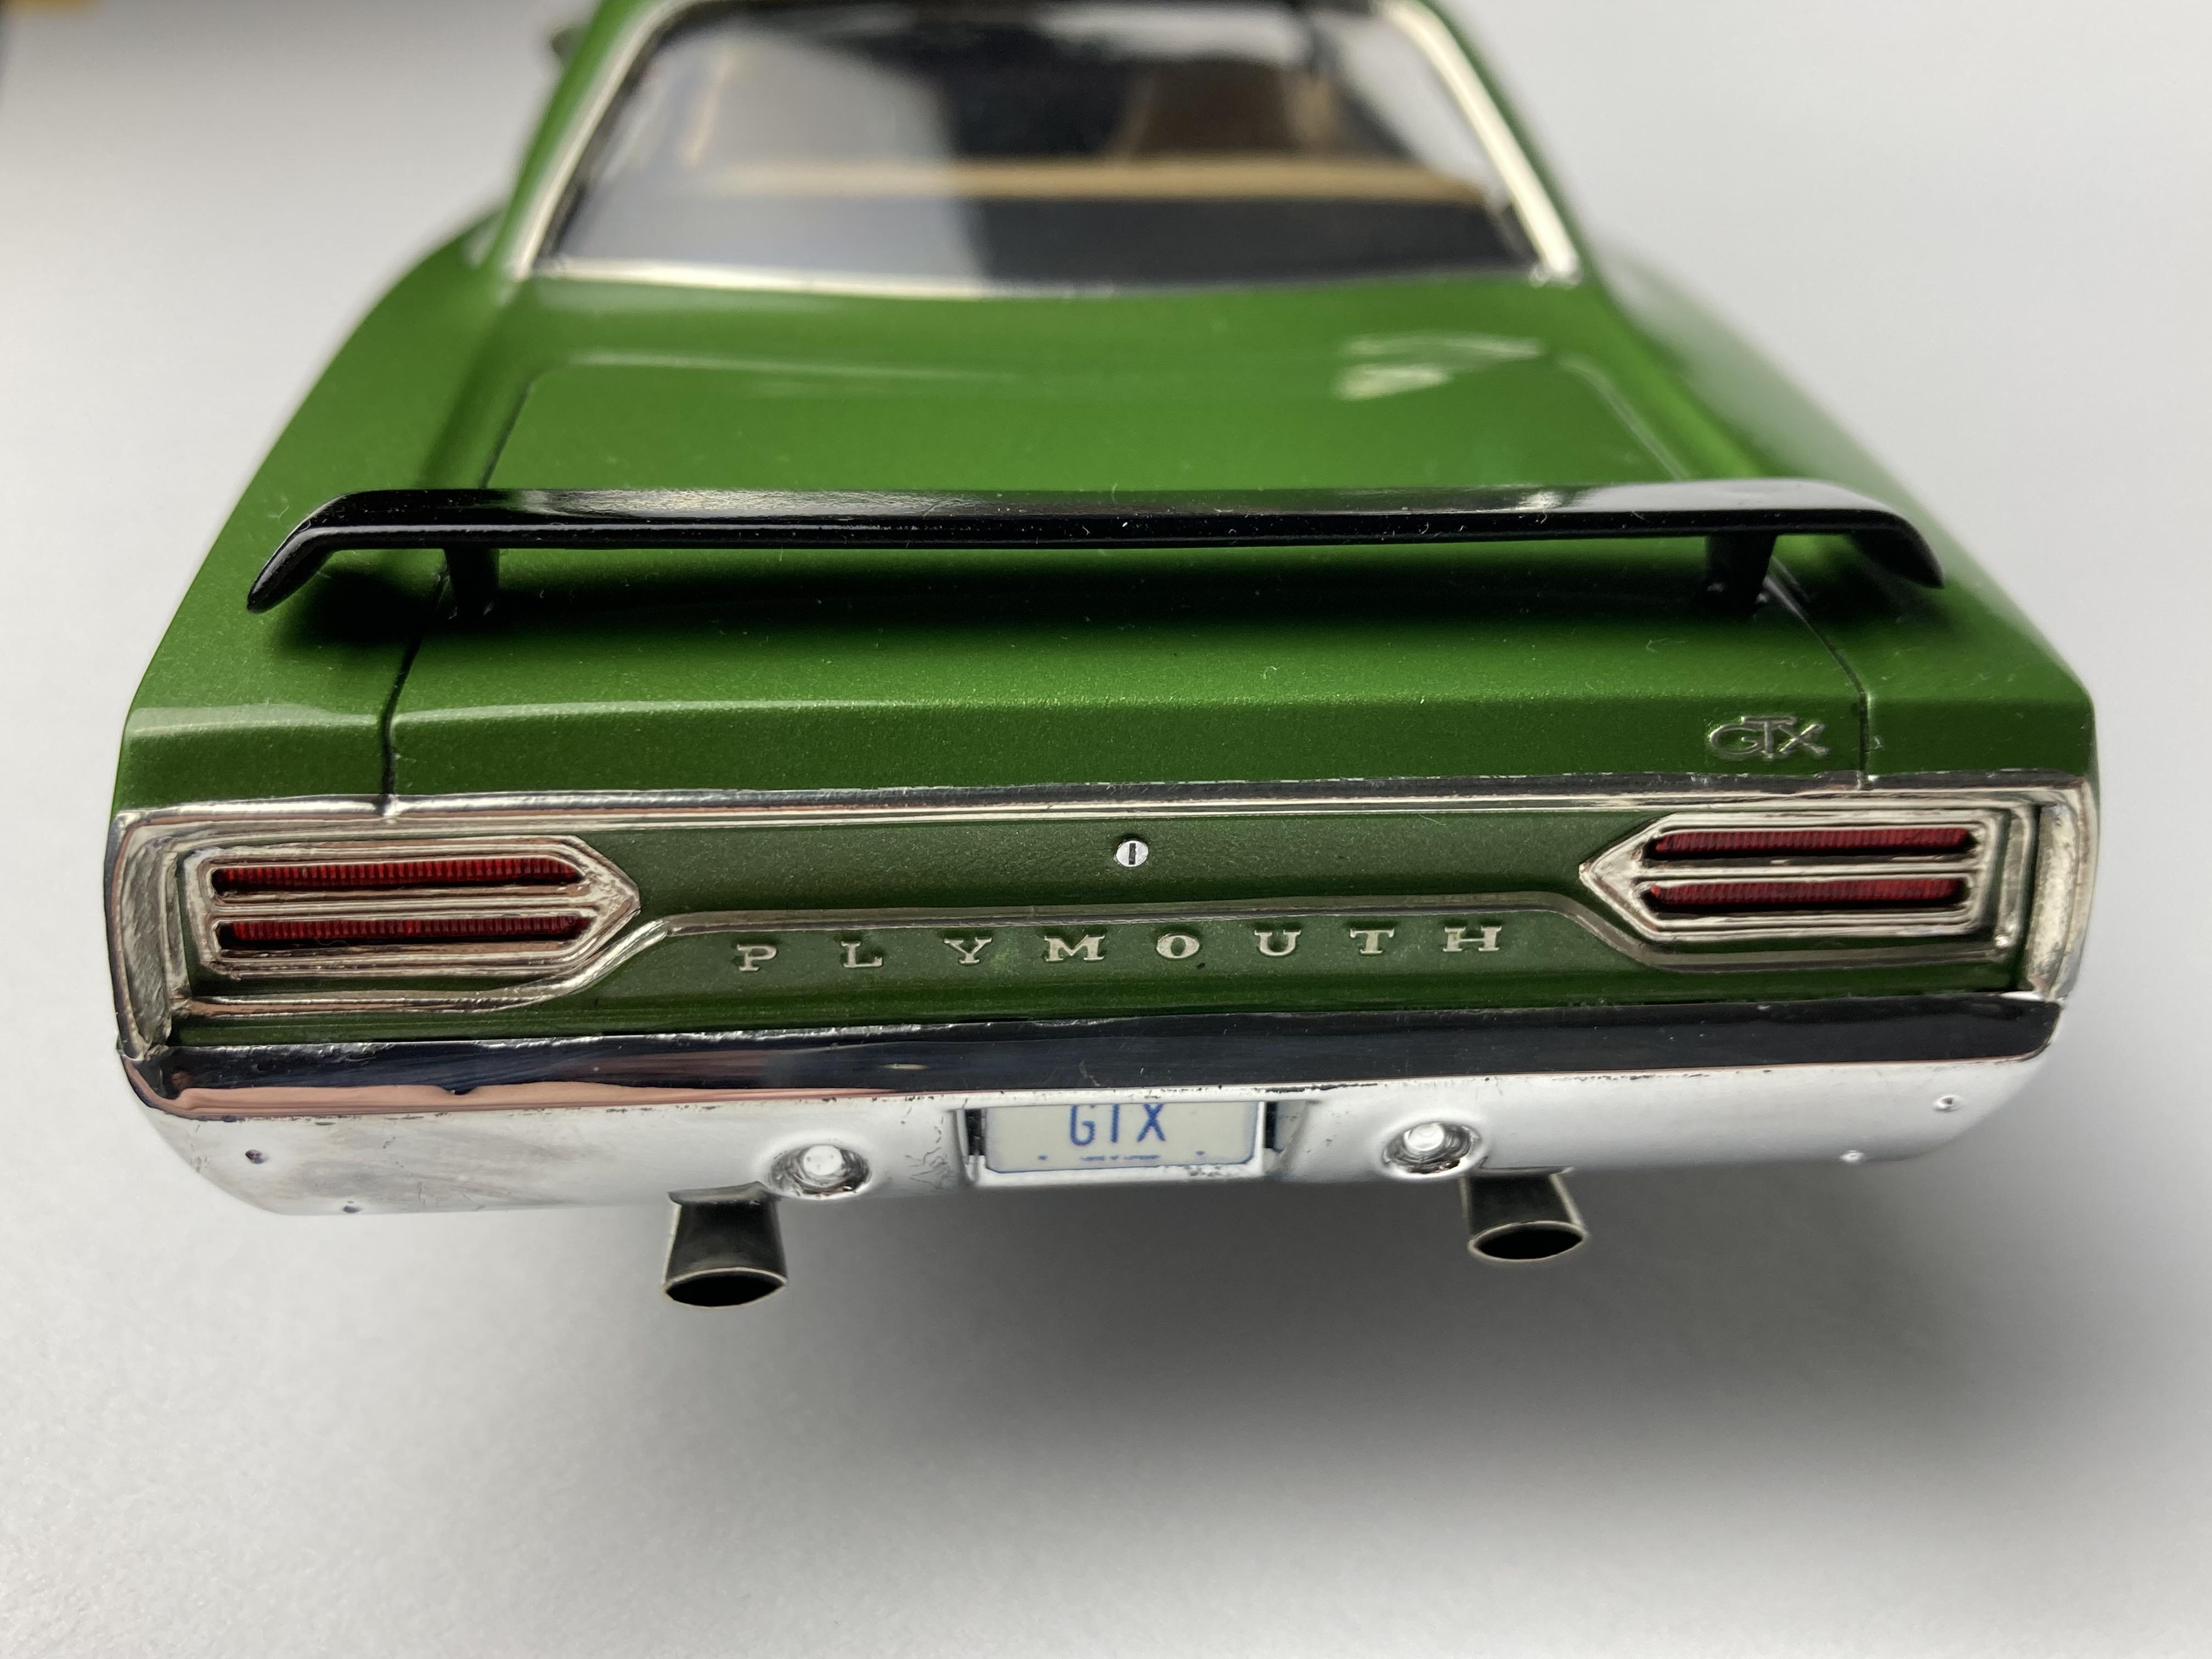
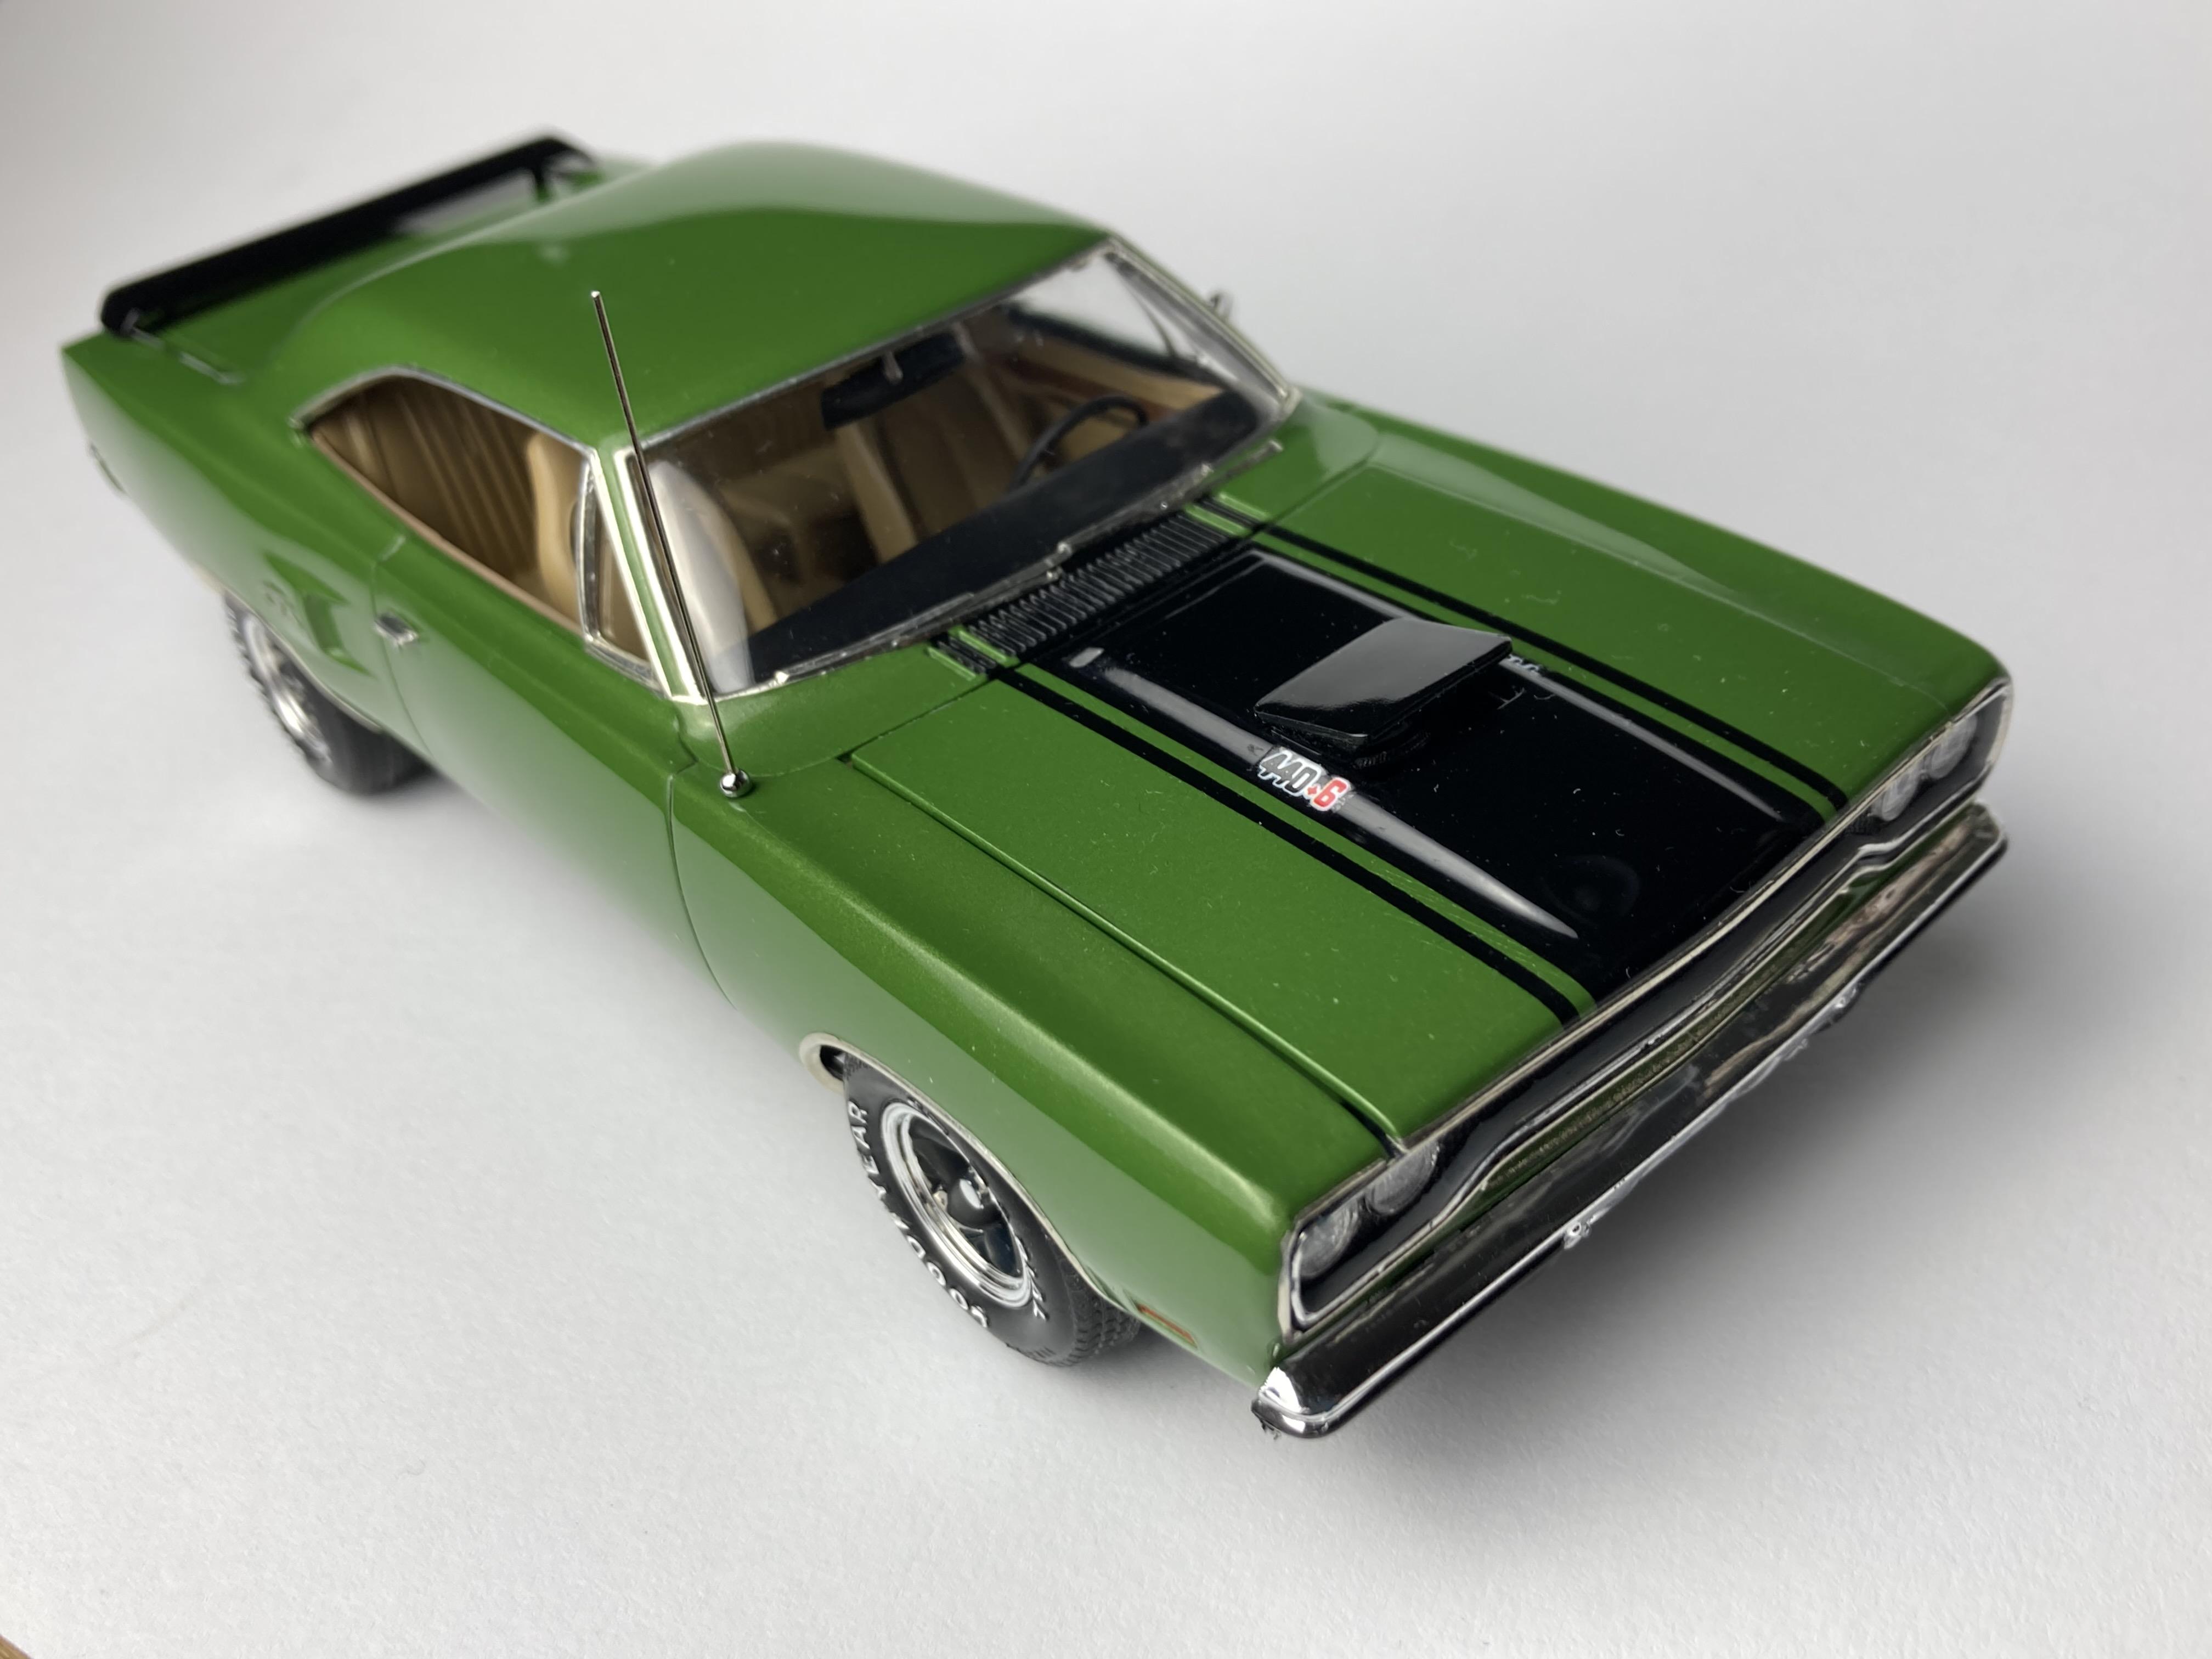
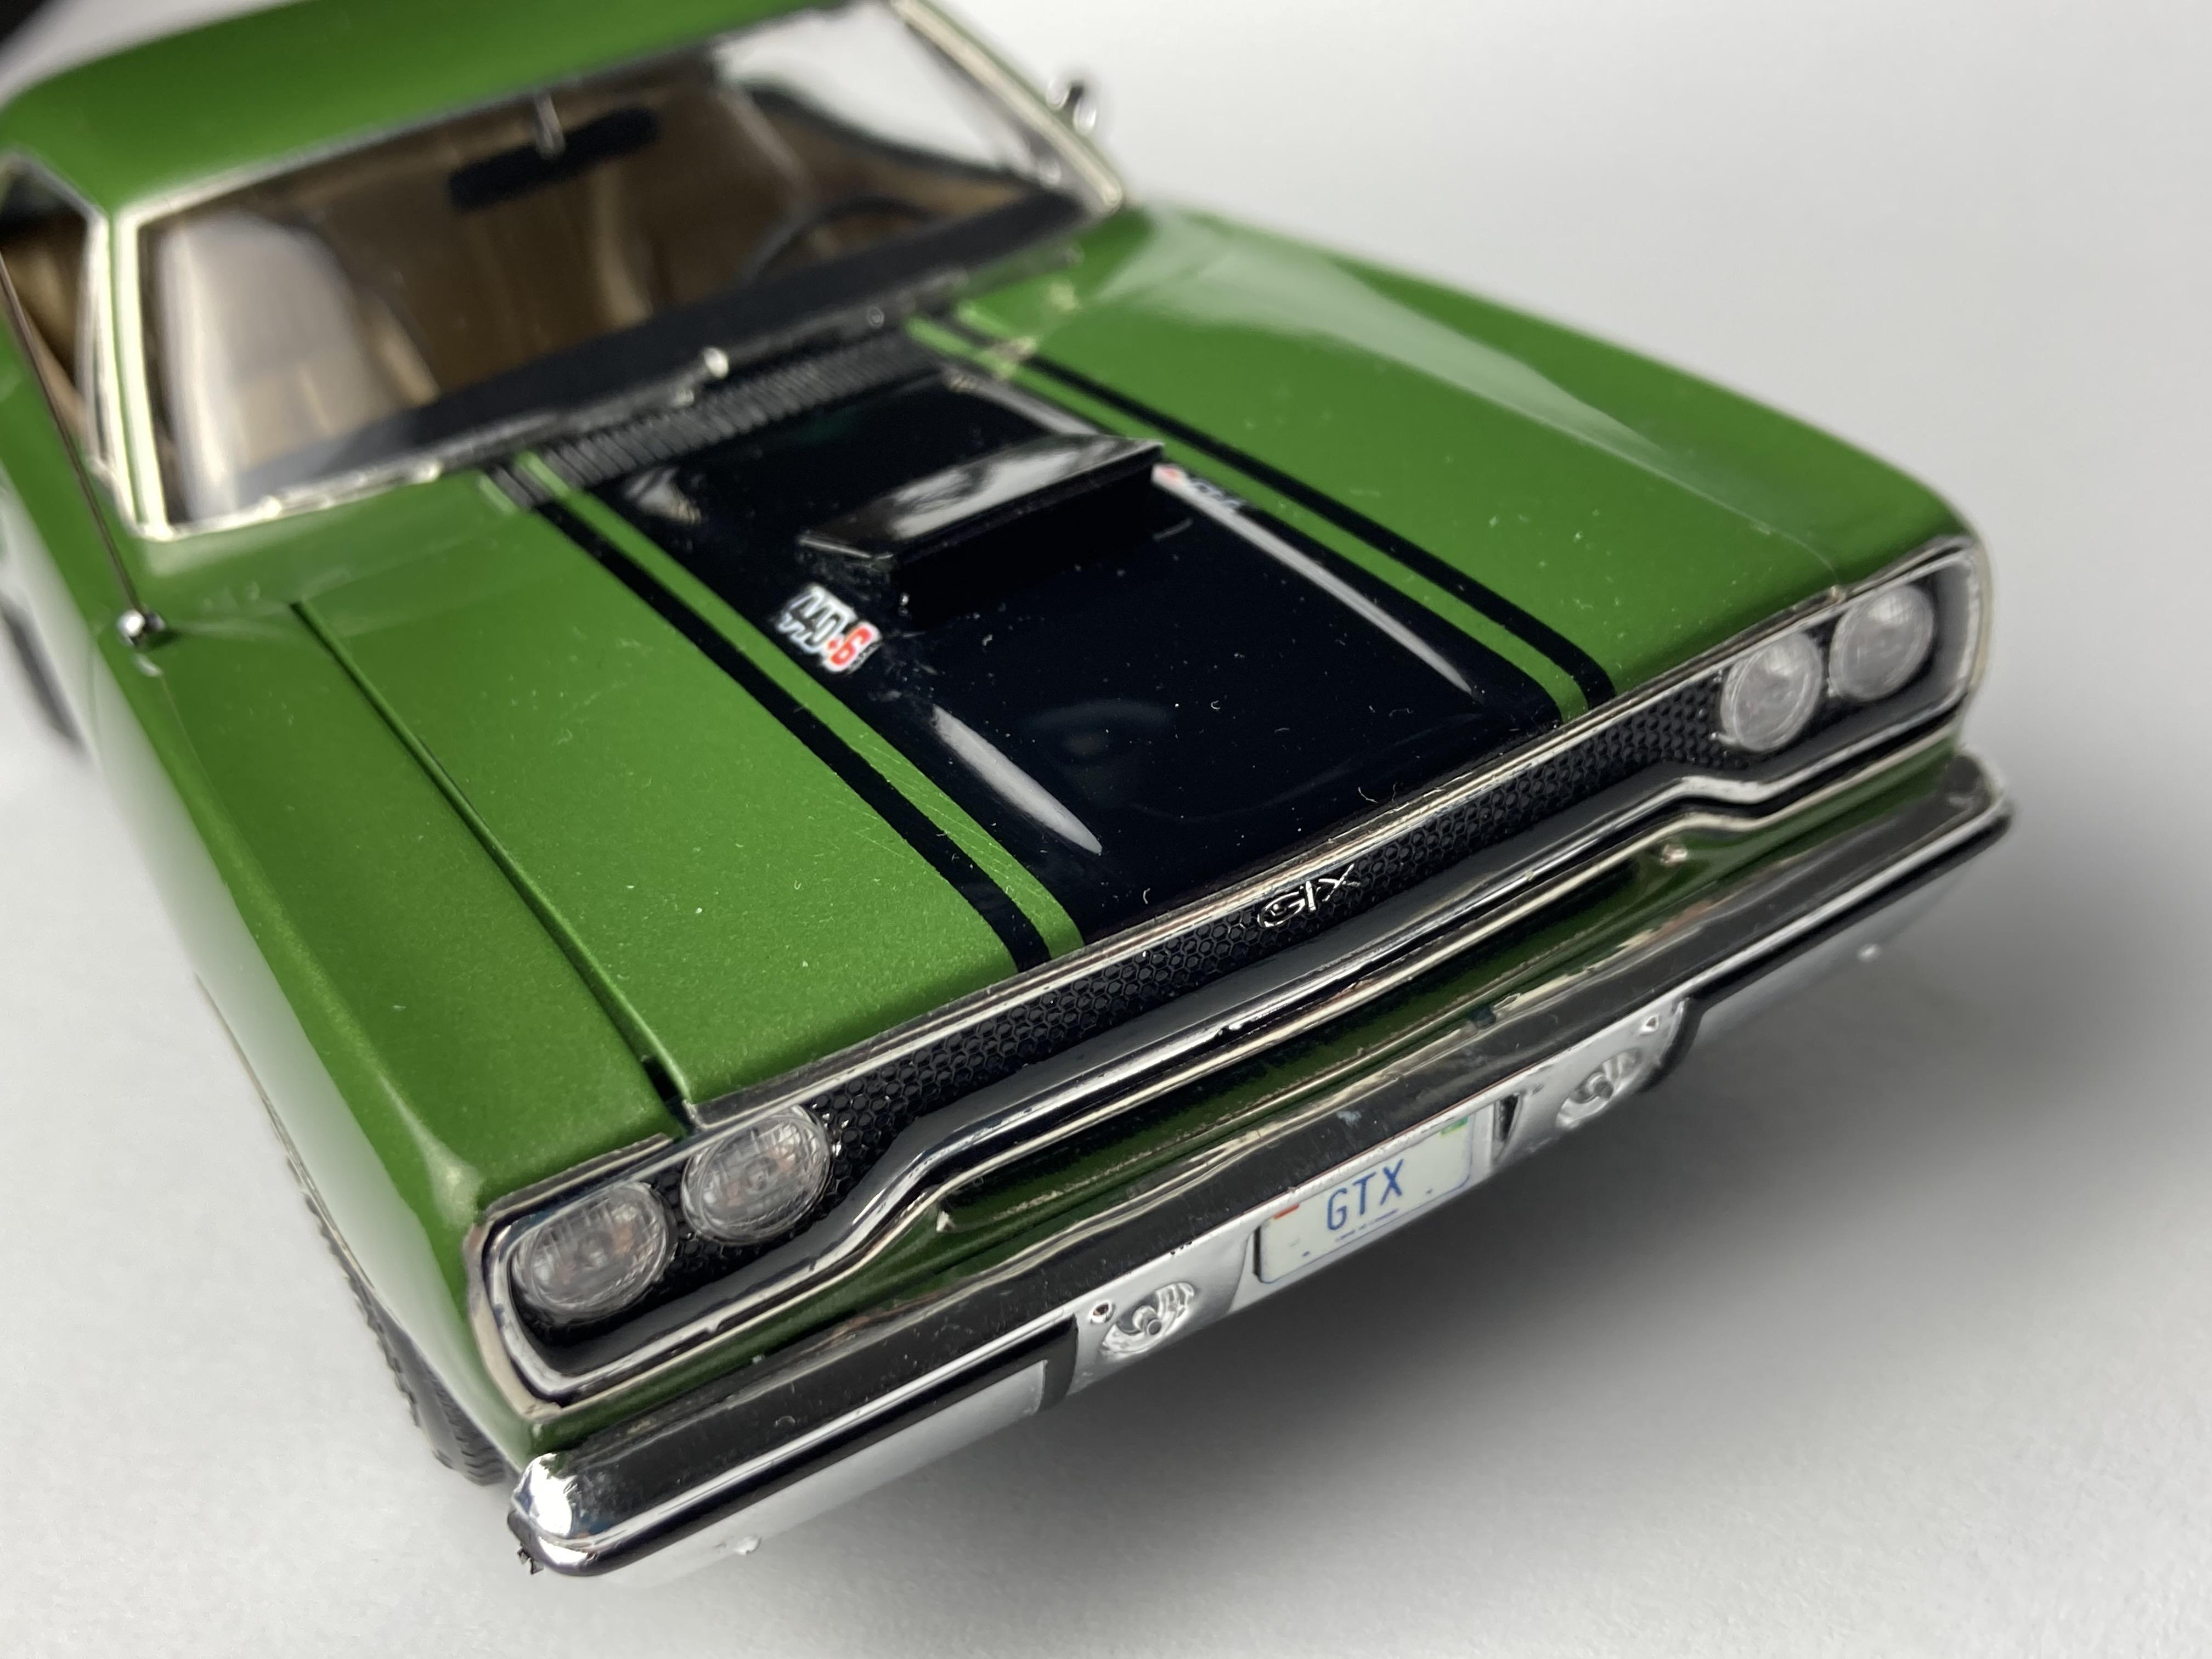
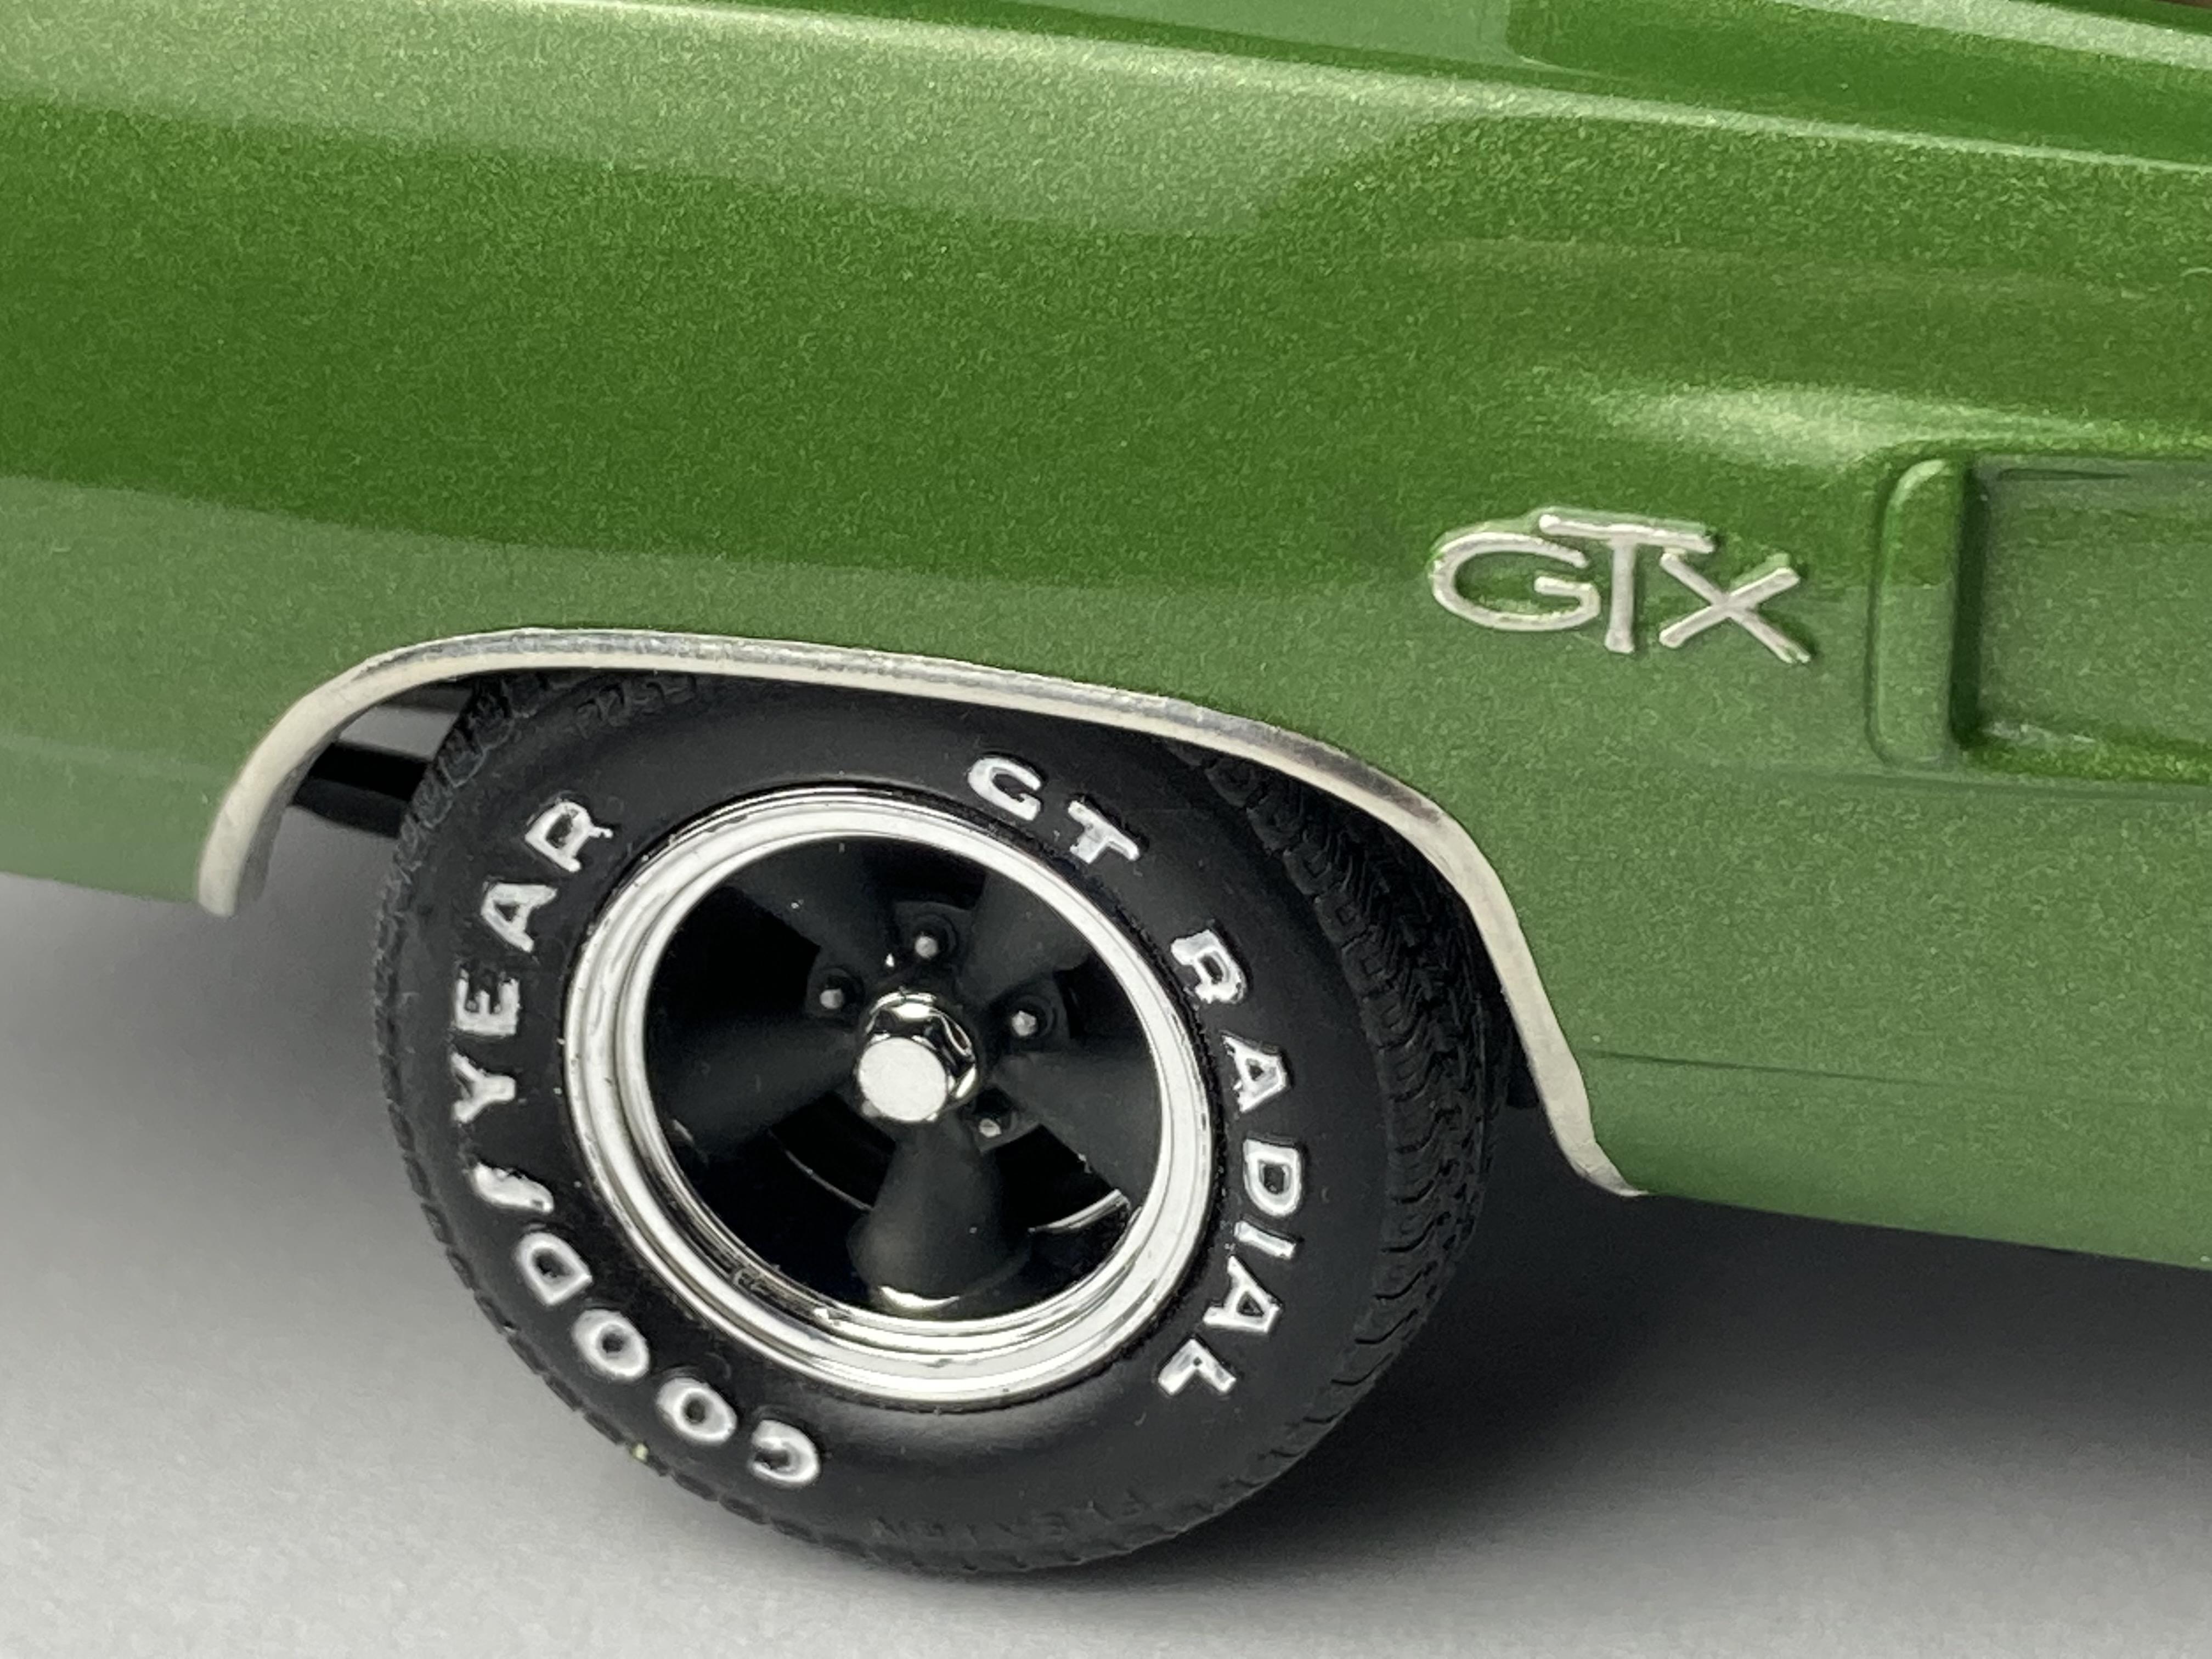
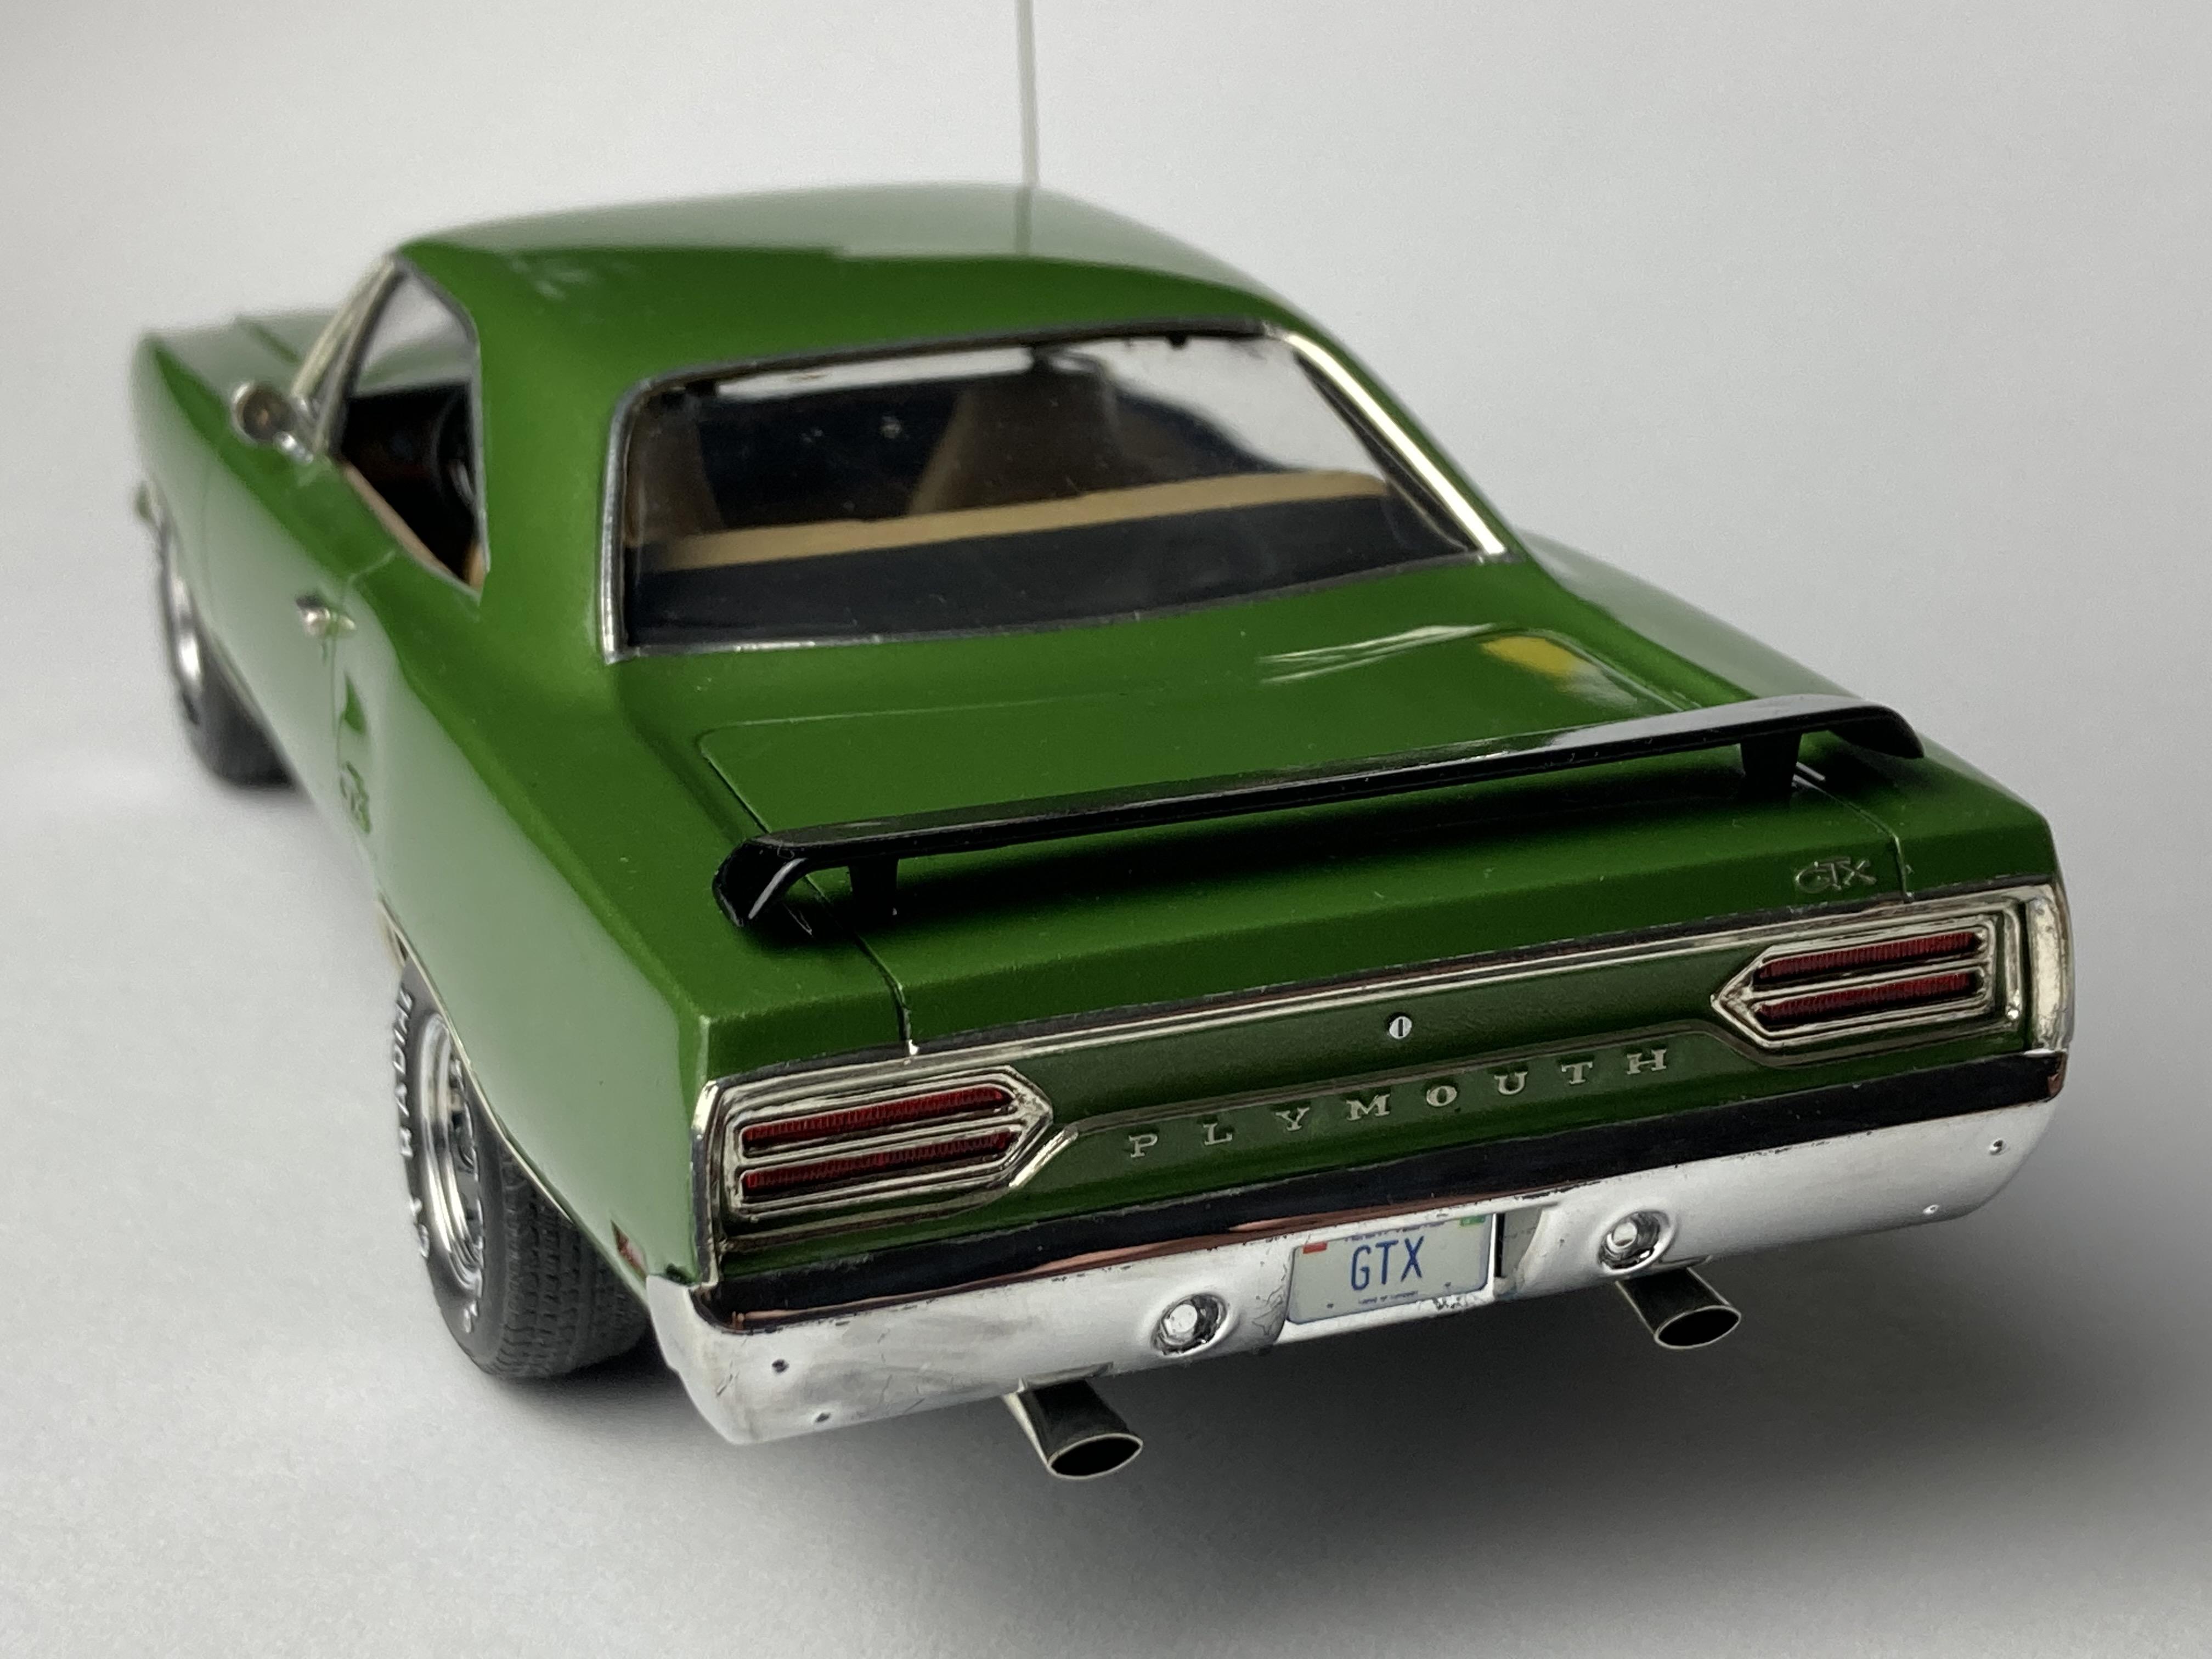
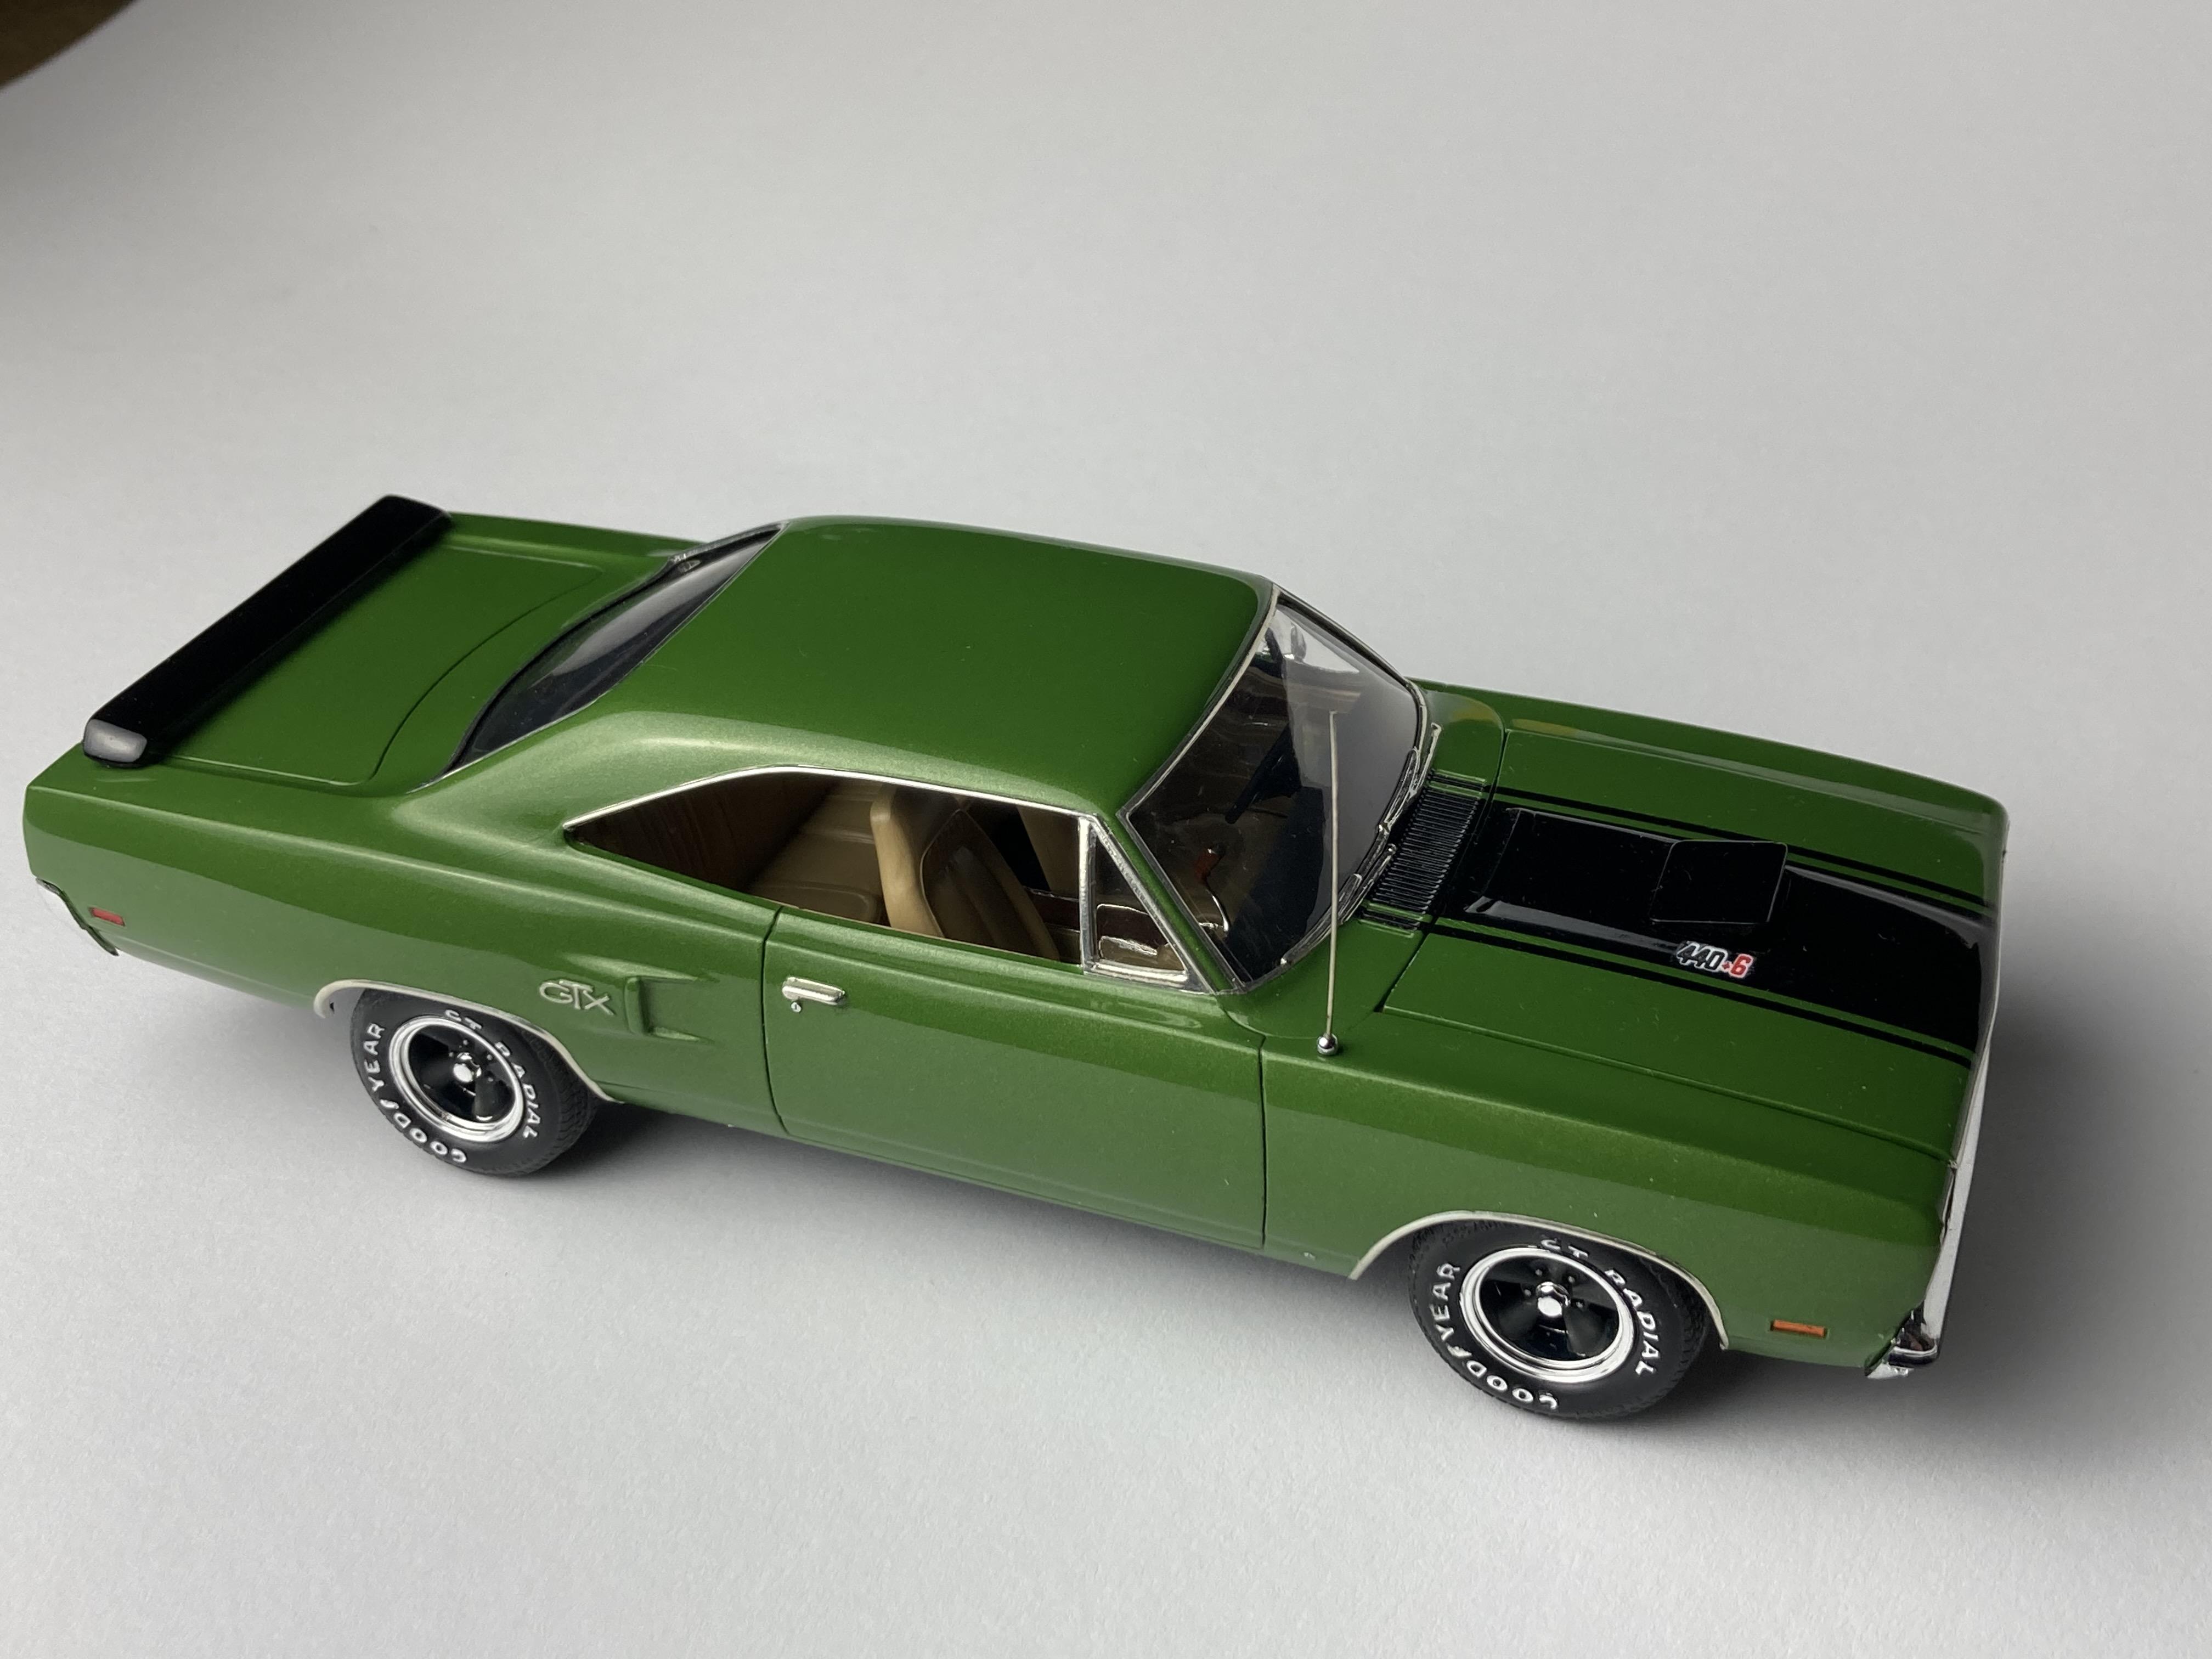
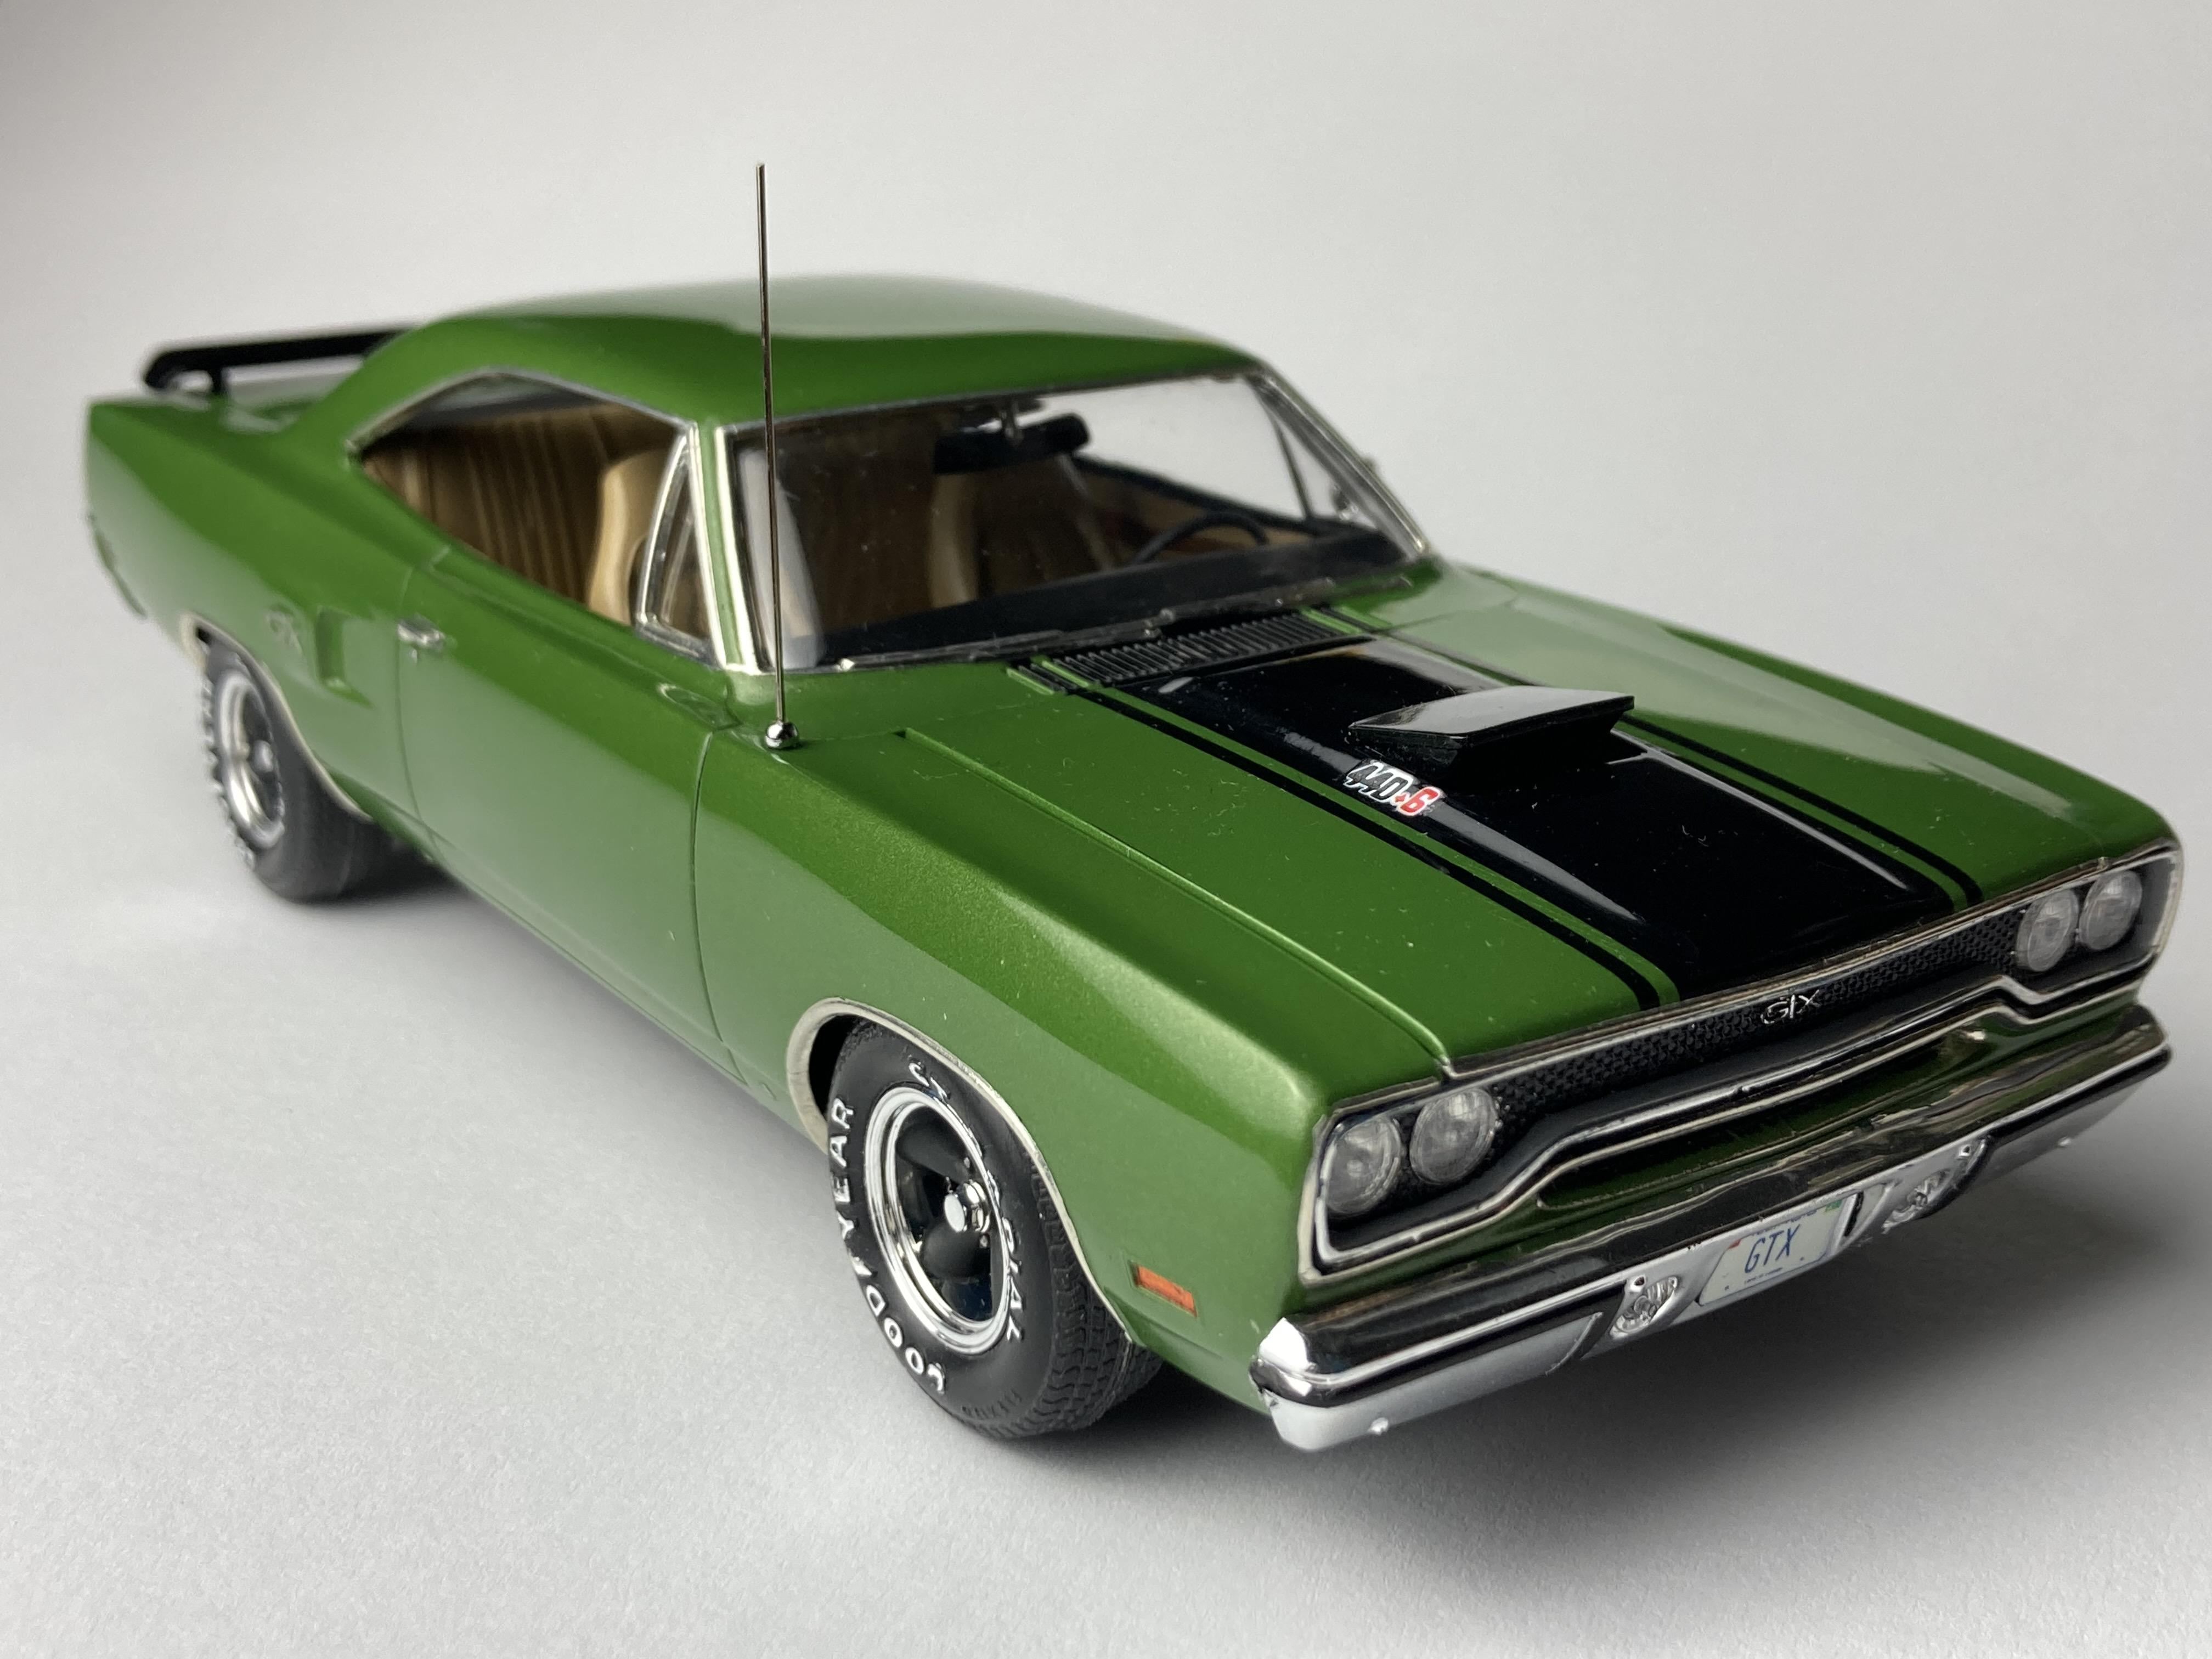
Thanks for your kind words, I appreciate it! The antenna is from my parts box. Some time ago I was lucky to get hold of some parts originally designed for use on die-cast models. I believe the antenna was designed for military models, but it can be used otherwise. The badging has been done with the BMF-under-paint methold. The scripts are very nice on this model so it's fun to make that work.
-
Great diorama, excellent work!