spencer1984
-
Posts
3,322 -
Joined
-
Last visited
Content Type
Profiles
Forums
Events
Gallery
Everything posted by spencer1984
-
Can't go wrong wit ha red Corvette, nice job!
-
Great job!
-
Looks great, you did some nice clean work here!
-
Beautiful work, the JPS was always one of my favorite paint schemes and it looks terrific on the Volvo!
-
That looks great, nicely done!
-
Huh, I hadn't seen that graphic. I guess, "you're welcome, Jalopnik."
-
Nice job on a tough kit!
-
Nice clean work on this, it looks good!
-
So far so good, looking forward to seeing more of it! The kit has fairly respectable big & bigger Goodyear Eagle GTs, the same tires Revell used in several of their muscle car kits. It's the hubcaps that look doofy.
-
Nicely done! I also have one of these to get to some day...
-
I always liked these Z cars, nicely done!
-
Dream car 2.0 (68 Dodge Charger) update 5/8/2018
spencer1984 replied to 426 pack's topic in WIP: Model Cars
Good choice; I don't have any of my very first builds, but I do have a few that were still early enough that I can compare them to newer builds. Looking forward to seeing what you do with this one! -
Great job on this!
-
Nice clean work on this!
-
Nicely done, the Salt look really suits this car
-
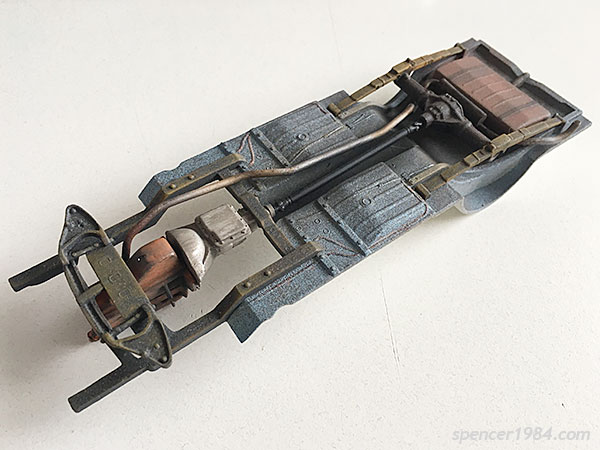
Got a bit more done over the weekend. The transmission is a B-N-L Resins Powerglide, and fit the MCW engine perfectly. Also made an exhaust from 0.080" rod stock and the crossover muffler/tailpipe from the original kit. Once that was done I could get the rear axle in, so now I can add the wheels.

-
Olive drab foose
spencer1984 replied to Ryansrust6's topic in Model Trucks: Pickups, Vans, SUVs, Light Commercial
Nice choice, the truck looks good in OD! -
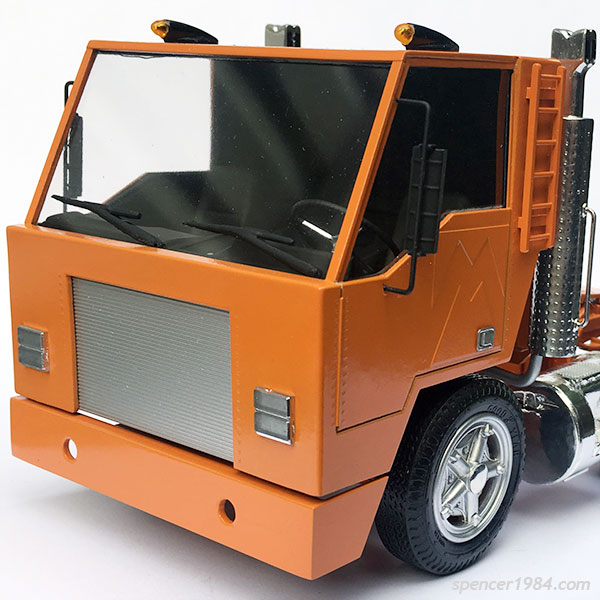
Transformers G1 Huffer
spencer1984 replied to spencer1984's topic in Model Trucks: Big Rigs and Heavy Equipment
Thanks, guys! -
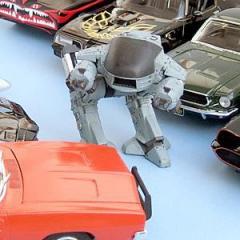
BJ & the Bear XXL Project Complete
spencer1984 replied to Mike77's topic in Model Trucks: Big Rigs and Heavy Equipment
That's fantastic, nicely done! -
Thanks!
-
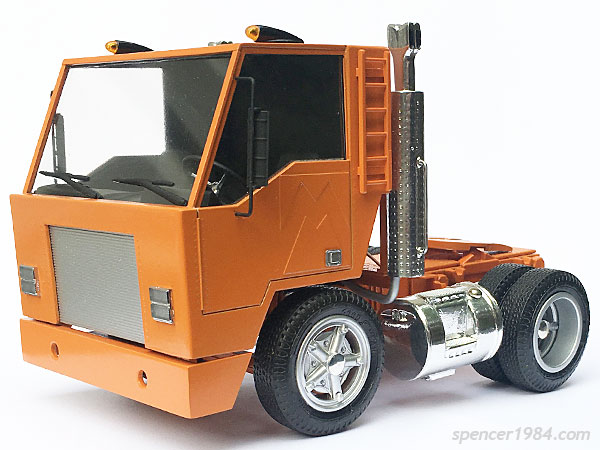
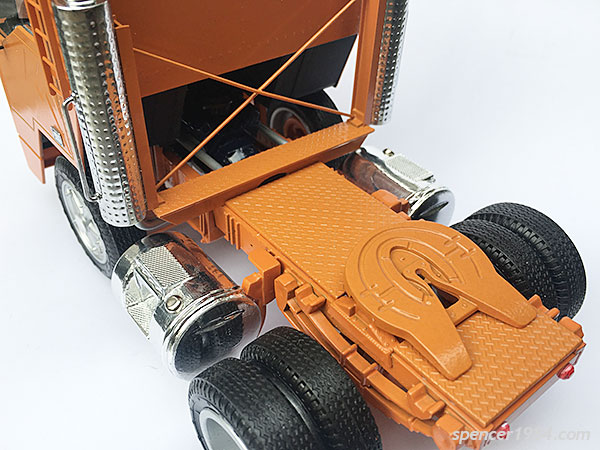
I started with a Lindberg Dodge L-700 chassis, wheels, & engine, then scratch built or kitbashed everything else. More info on what went into it is in the "On the Workbench" thread here or on my site here. As always, any comments/criticisms are welcome!
-
Wow, some incredible work so far! Looks fantastic!
-
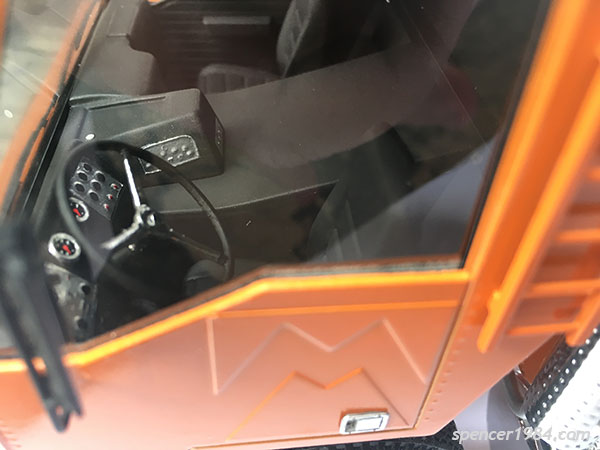
Thanks! I've just wrapped him up, pics and text will be posted to the "Under Glass" shortly! In the meantime, here's a preview:
-
I was thinking about trying to make a bag for the front seat, but need to go back and watch the movie for a plan of it. Some of my family lived in Massena, so I'd say we're more central–in the woods about a half hour/45 minutes from Albany. But any time a forecast includes "hill towns will receive...," that's us.
-
Thanks, guys! It didn't amount to much, but yeah - flurries mixed in with the rain. Tomorrow it's supposed to be in the 80s. Gotta love NY weather!