nickfzr61
-
Posts
309 -
Joined
-
Last visited
Content Type
Profiles
Forums
Events
Gallery
Everything posted by nickfzr61
-
That build is coming out very nice. That's the next kit I'm building. Can't wait to see more.
-
I agree with the others about the color. Really nice. I also like the two tone interior. Looks like you nailed the color to me.
-
Some shots of the nose removal. I epoxied the suspension bracket in place and cut the nose off when it had cured.The steering rack was scratch built using aluminum and brass tubing.I have repainted the steering rack to better match the real one just don't have pictures now.
-
Some shots of the rear of the monocoque with a removable electronics box like the 1:1 car.
-
An overhead shot and two showing the suspension adjusting lever in the forward and rear position:
-
And another shot of the cockpit before the seat went in test fitting the dashboard.
-
The roll hoop with the Top Studio antenna.
-
Thank you. FW14B here: http://www.modelcarsmag.com/forums/topic/102907-112-scale-williams-fw14b/?page=1
-
And the cockpit. Purchased the Top Studio cockpit detail set. Really nice detail set.Seat belts tighten like the real thing.Removed the blue and pink knob and used aluminum tubing to mount it so that it rotates. Suspension lever on the left side also moves forward and back with the metal rod sliding in and out of the electrical box. T handle on the left scratch built using aluminum tubing.
-
The cowling and under tray done:
-
"Next up is the 1/2 Tamiya McLaren MP4/6."
-
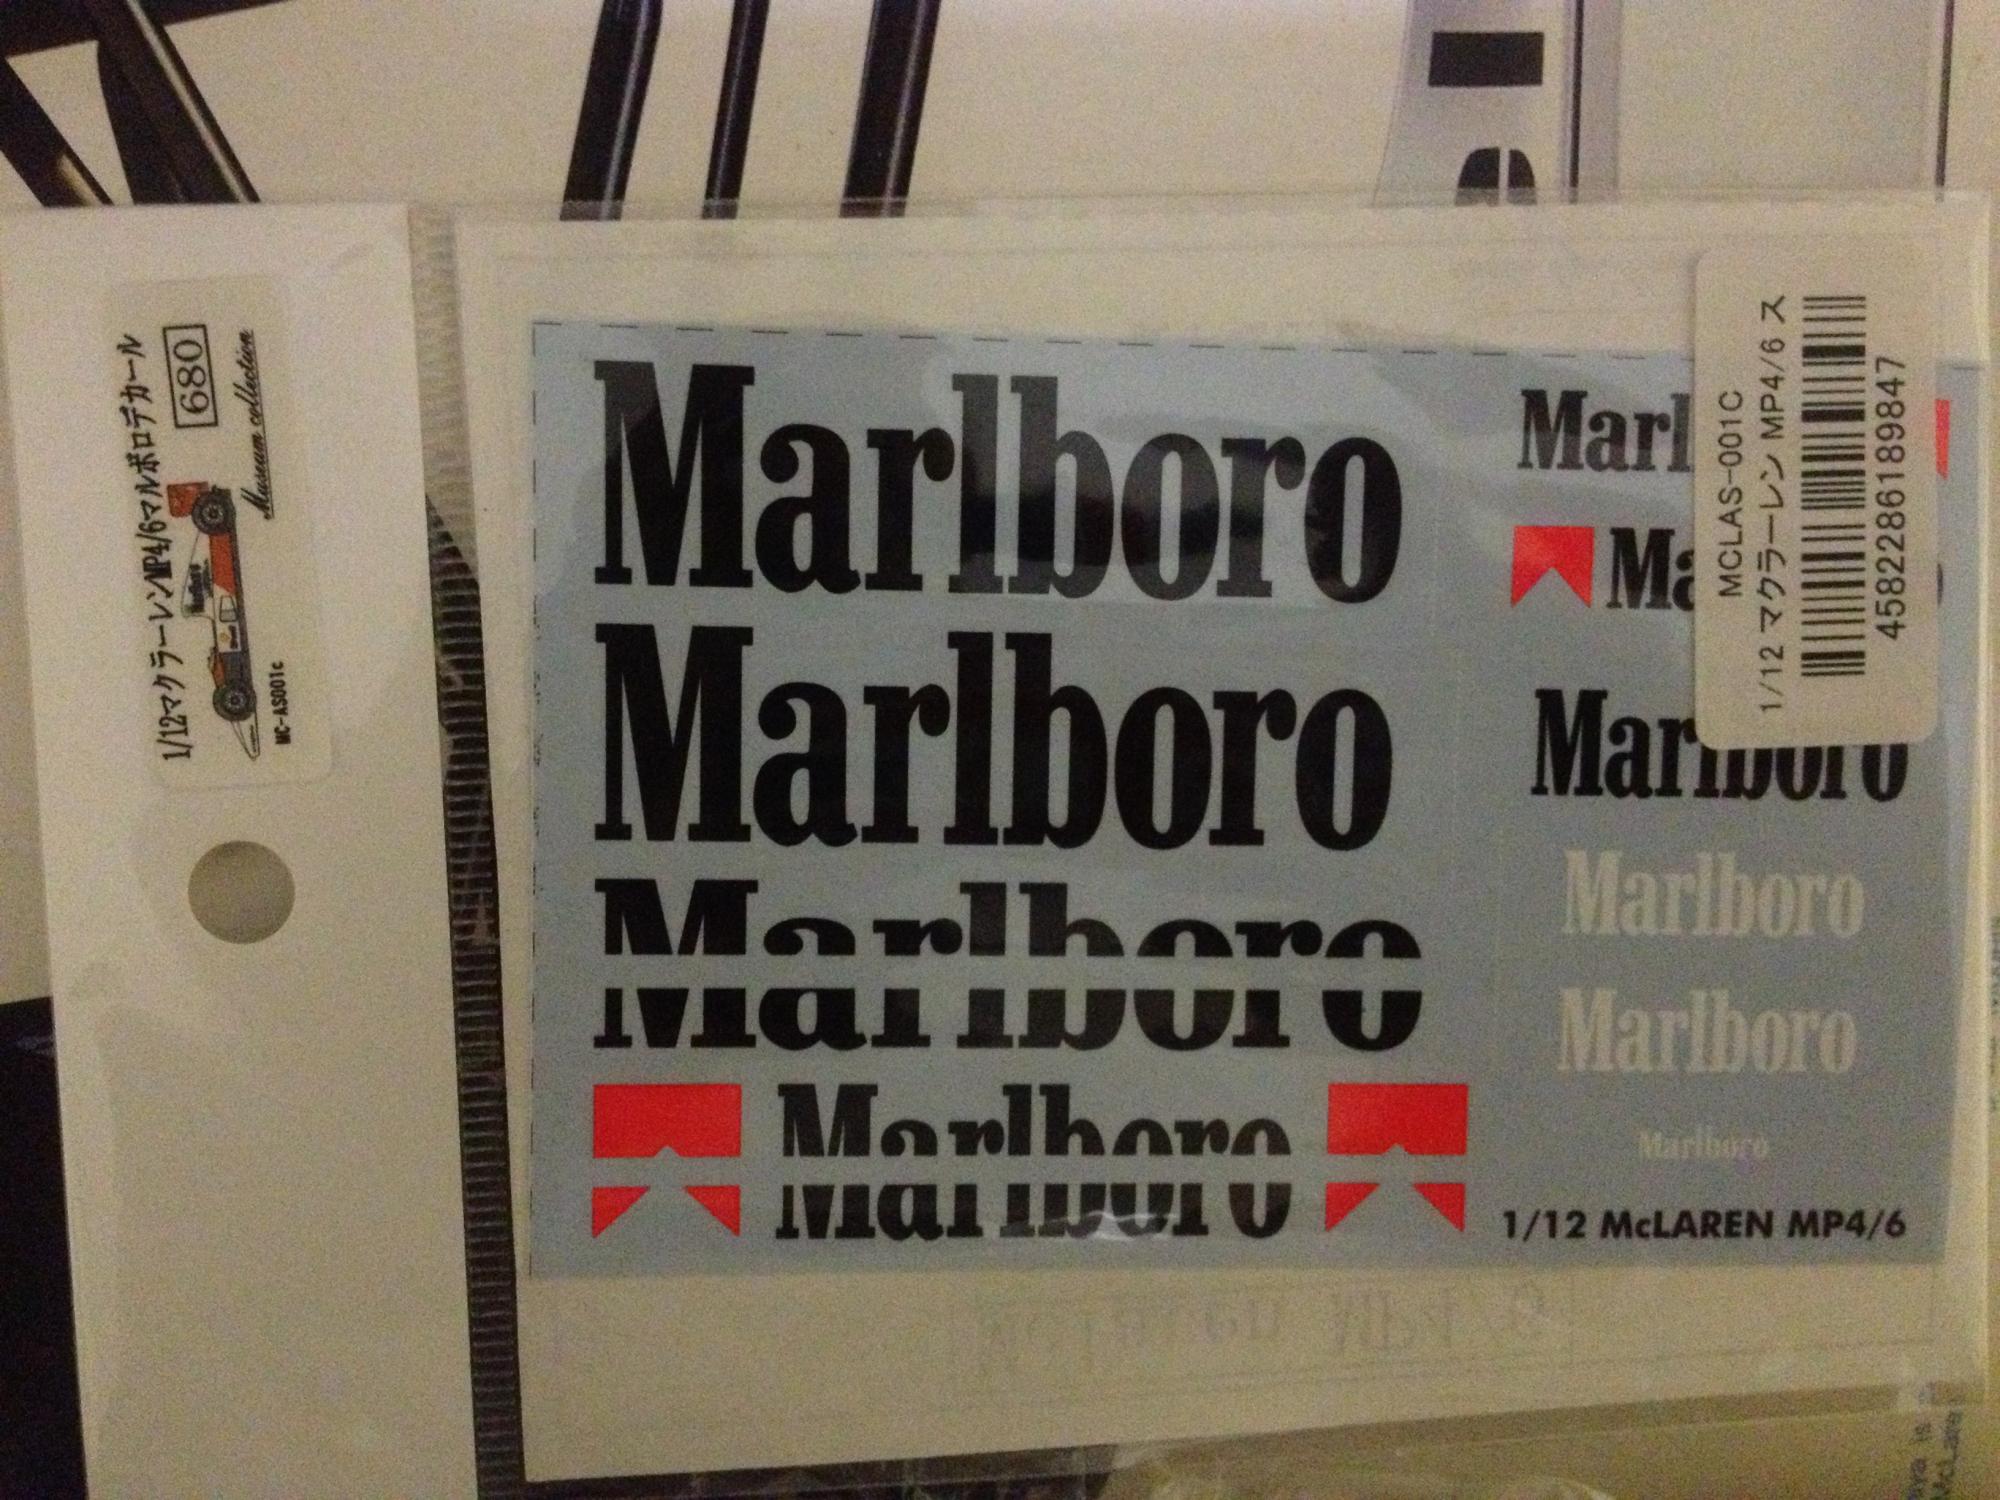
HLJ is a great place. I've purchased a lot of cool stuff from them a lot cheaper than any where else. I was able to get the decals from indycals. Good price and fast delivery but like I said they are water slide decals which don't look as good as the dry transfer in my opinion. I think bestbalsakits.com has the dry transfer ones but he's too expensive for me. You can keep trying ebay and you might get lucky. Next up is the 1/12 Tamiya McLaren MP4/6.
-
Thank you Crusader101. The first 10 pics are Acu Stion stencils airbrushed. The rest are a mix of the Tamiya dry transfer decals that came with the kit and water slide decals I had to purchase from "indycals.net". Unfortunately I never used the dry transfer decals before and I ruined a few of them before I figured out how to apply them. I definitely like the decals that came with the kit better but the ones from indycals work and are a lot cheaper than the Tamiya ones if you can find them. Also the tires in first 10 pictures are sealed with Testors Dulcote while the rest I did the side walls with Microscale Gloss. Sort of running shoes and dress shoes.
-
My 1/12 scale Tamiya Williams FW14B.
-
Hi Just about finished the 1/12 scale FW14B I thought I'd start another F1 build. This time its the McLaren MP4/6. Planning on taking what I learned on the Williams to try and push this build a little further.I was originally only going to add more of the wires and connectors and hoses along with the Thunder Valley detail set and Super Brake Package but after looking over the model I'm thinking about making a removable nose cone and detailing the brake reservoirs and steering linkage. I've never done any scratch building or major modifications to kits before but I think I'd like to. I'm starting with the body first then the monocoque.

-
Guys Thank you so much for the compliments. It makes the building of a model even more rewarding when my fellow builders give me compliments like these. 8 months and counting is the longest I have ever taken on a build but the outcome is definitely worth it. There are still things that I am not happy with but I've learned a lot and I am very excited to start the next one. Hoping to post pictures of the completed car very soon. Here's another shot that looks pretty mean:
-
Still have to do the front braided lines, mirrors and rear spoiler but it's almost there.
-
A few shots of the cowling in place.
-
A few more shots.
-
Started working on the cowling. Finished the paint and wet sanded the finish then applied the decals.
-
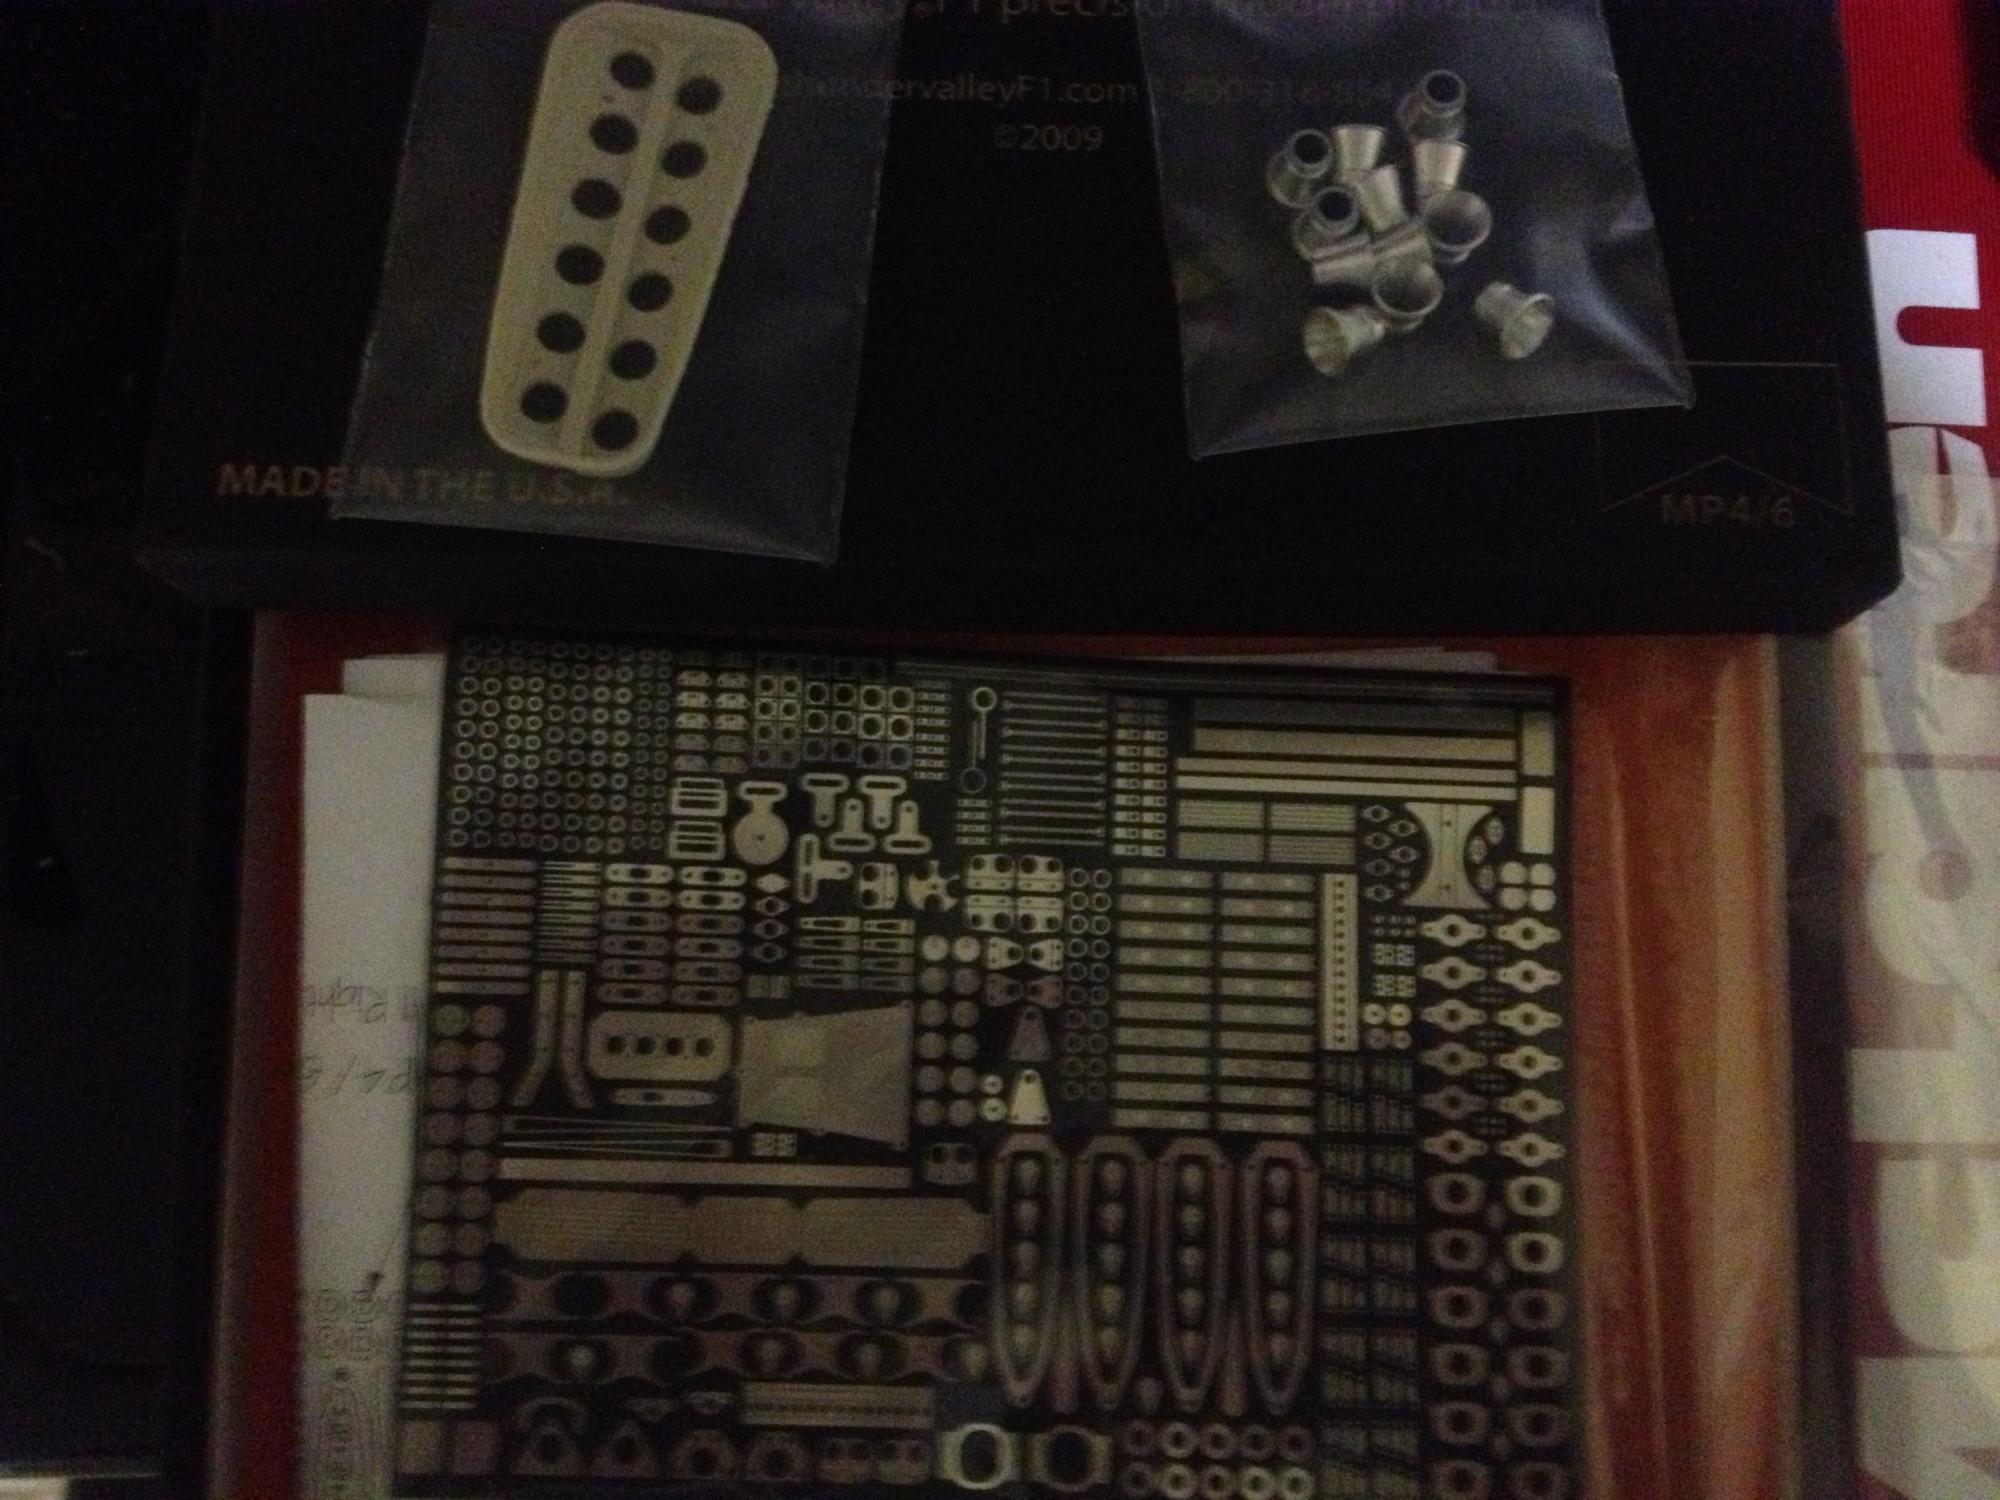
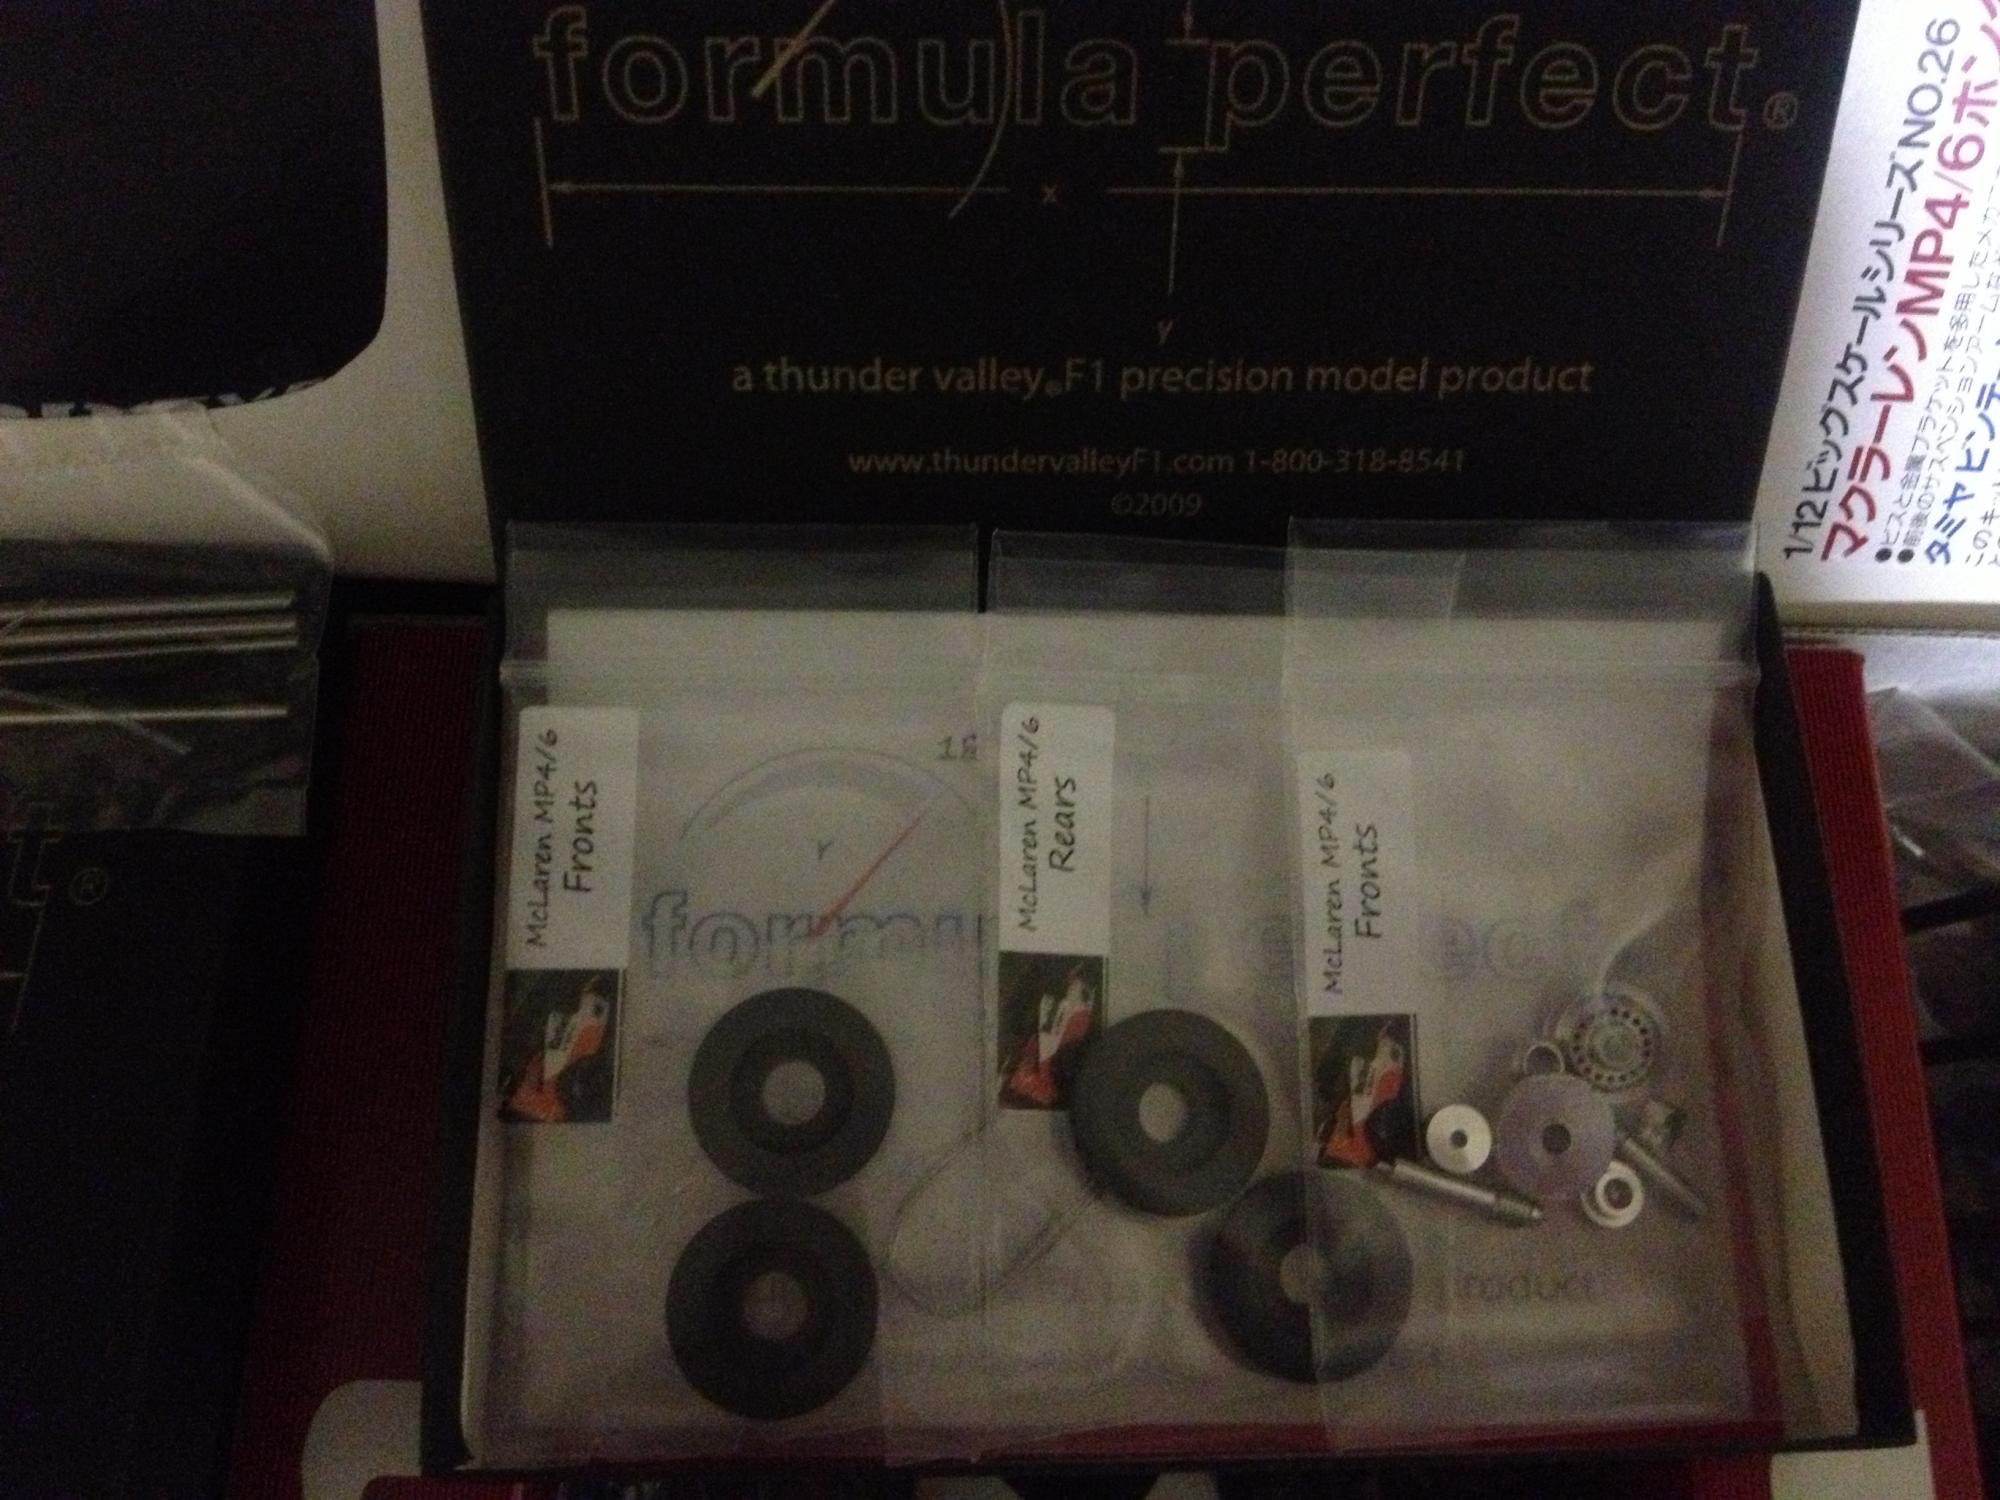
The brakes and photo etch parts are from Thunder Valley F1. Nutsbolts and washers are from RB Motion. I purchased tires stencils and a vacuum formed windshield from Acu Stion and the camel decals off of eBay.
-
aurfalien Thank you for the compliment but I am far from a pro builder. This is my first large scale detailed build. In the past I have always built 1/24 scale cars straight out of the box but after seeing some beautiful builds on the internet I decided to give it a try. I'm definitely a part time builder. Its hard to find time to work on it between work and family. I believe I started it in January. The way I'm going I'm hoping to have it done within the next month or two.
-
Some updated pictures of my progress. It's been pretty slow going but its getting there.
-
And the air box tray and velocity stacks and PE butterflys.
-
Rear rotors and brake cooling ducts.