nickfzr61
-
Posts
309 -
Joined
-
Last visited
Content Type
Profiles
Forums
Events
Gallery
Everything posted by nickfzr61
-
1/12 Tamiya 312T
nickfzr61 replied to nickfzr61's topic in WIP: Other Racing: Road Racing, Land Speed Racers
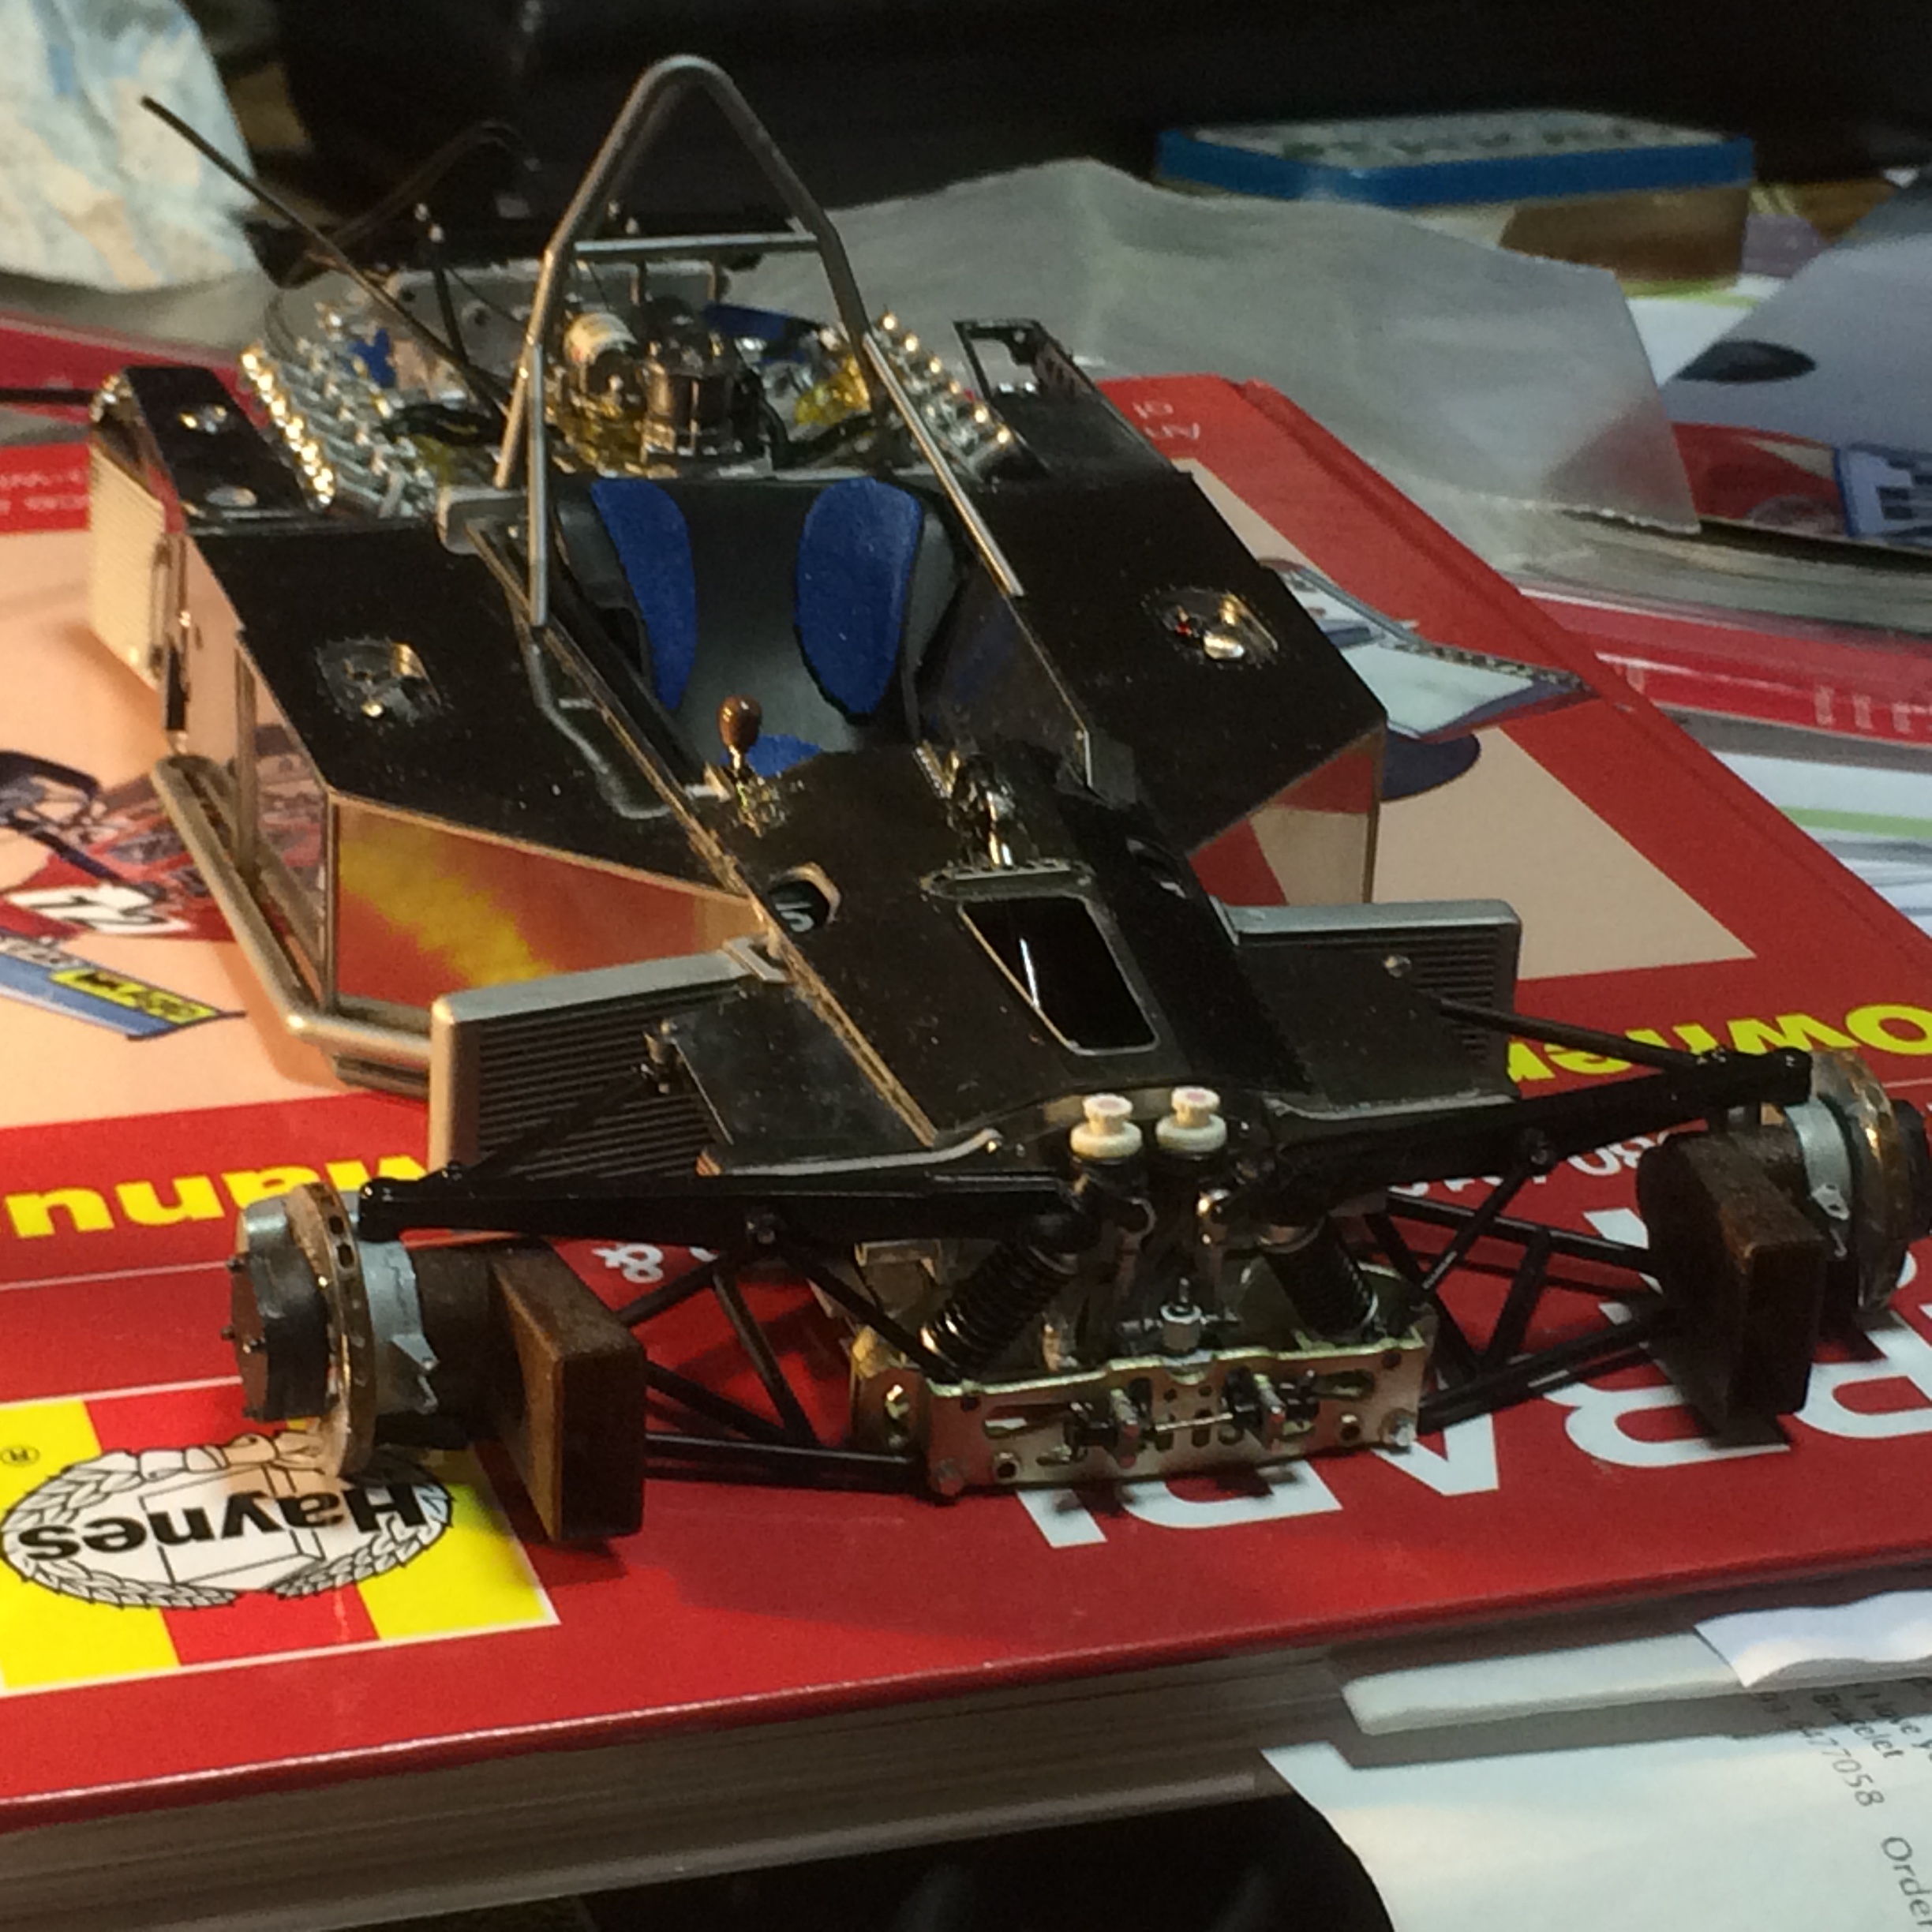
Finally mated the engine to the chassis. -
1/12 Tamiya 312T
nickfzr61 replied to nickfzr61's topic in WIP: Other Racing: Road Racing, Land Speed Racers
-
1/12 Tamiya 312T
nickfzr61 replied to nickfzr61's topic in WIP: Other Racing: Road Racing, Land Speed Racers

-
1/12 Tamiya 312T
nickfzr61 replied to nickfzr61's topic in WIP: Other Racing: Road Racing, Land Speed Racers
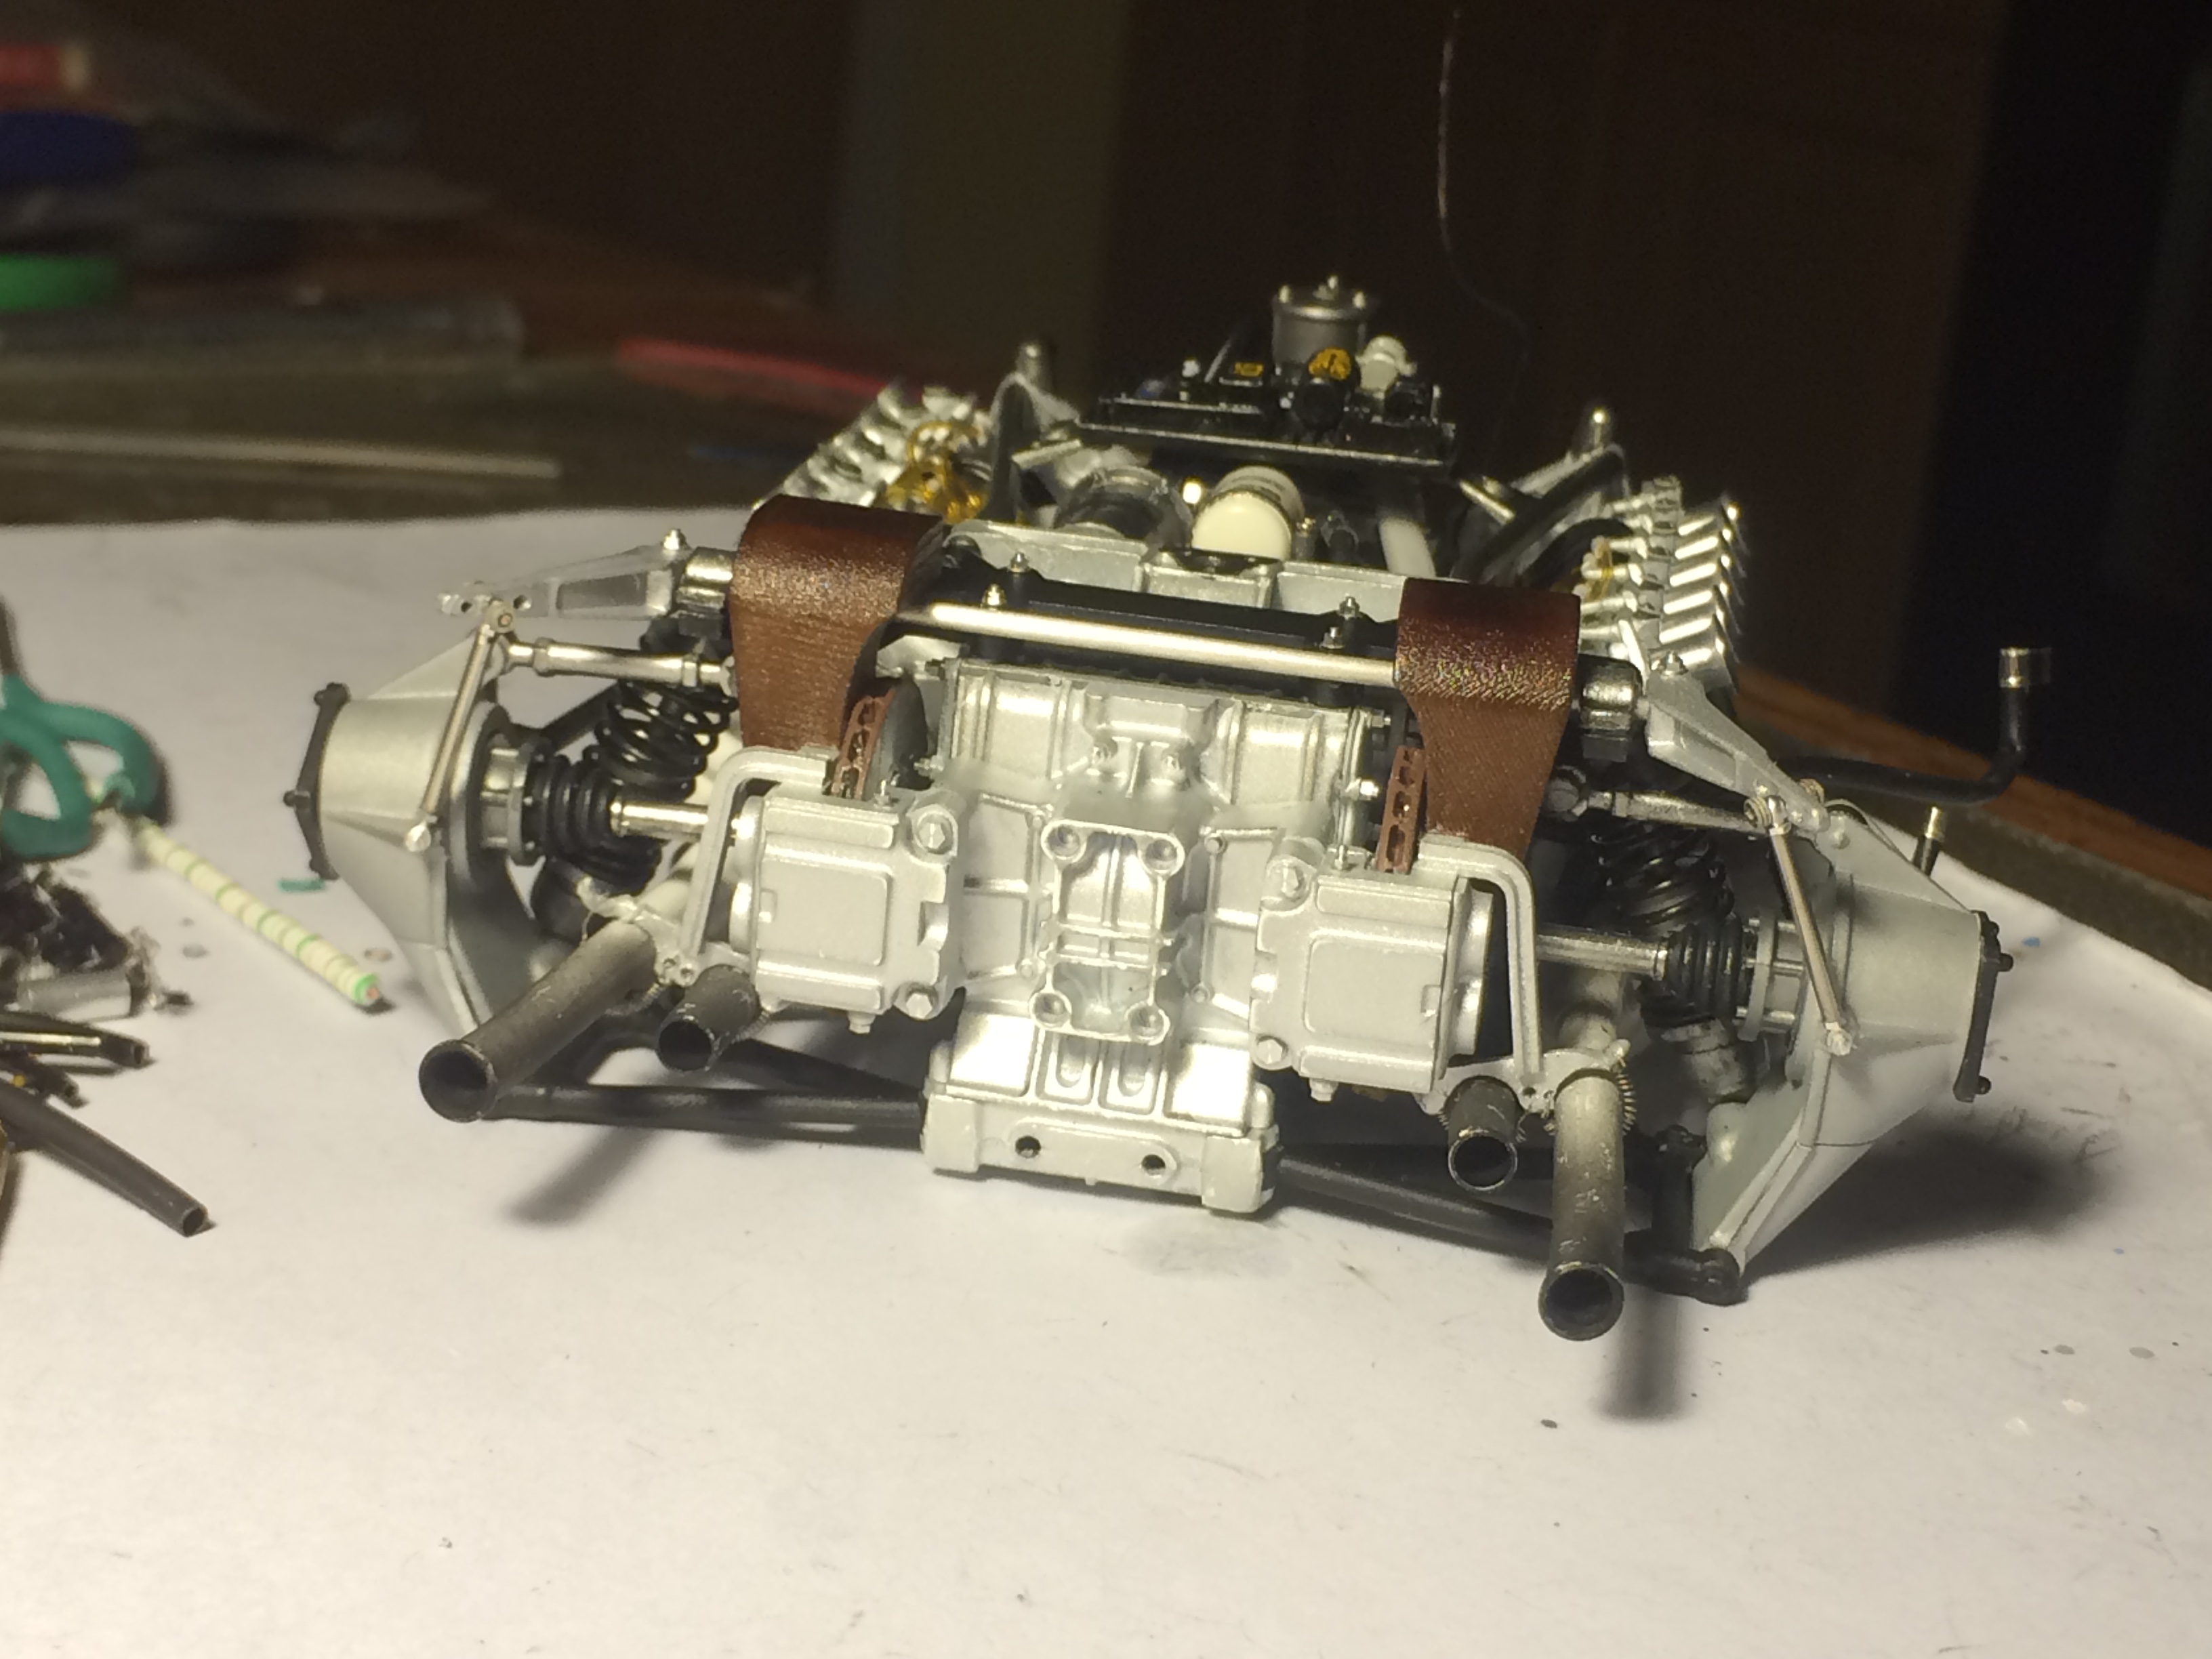
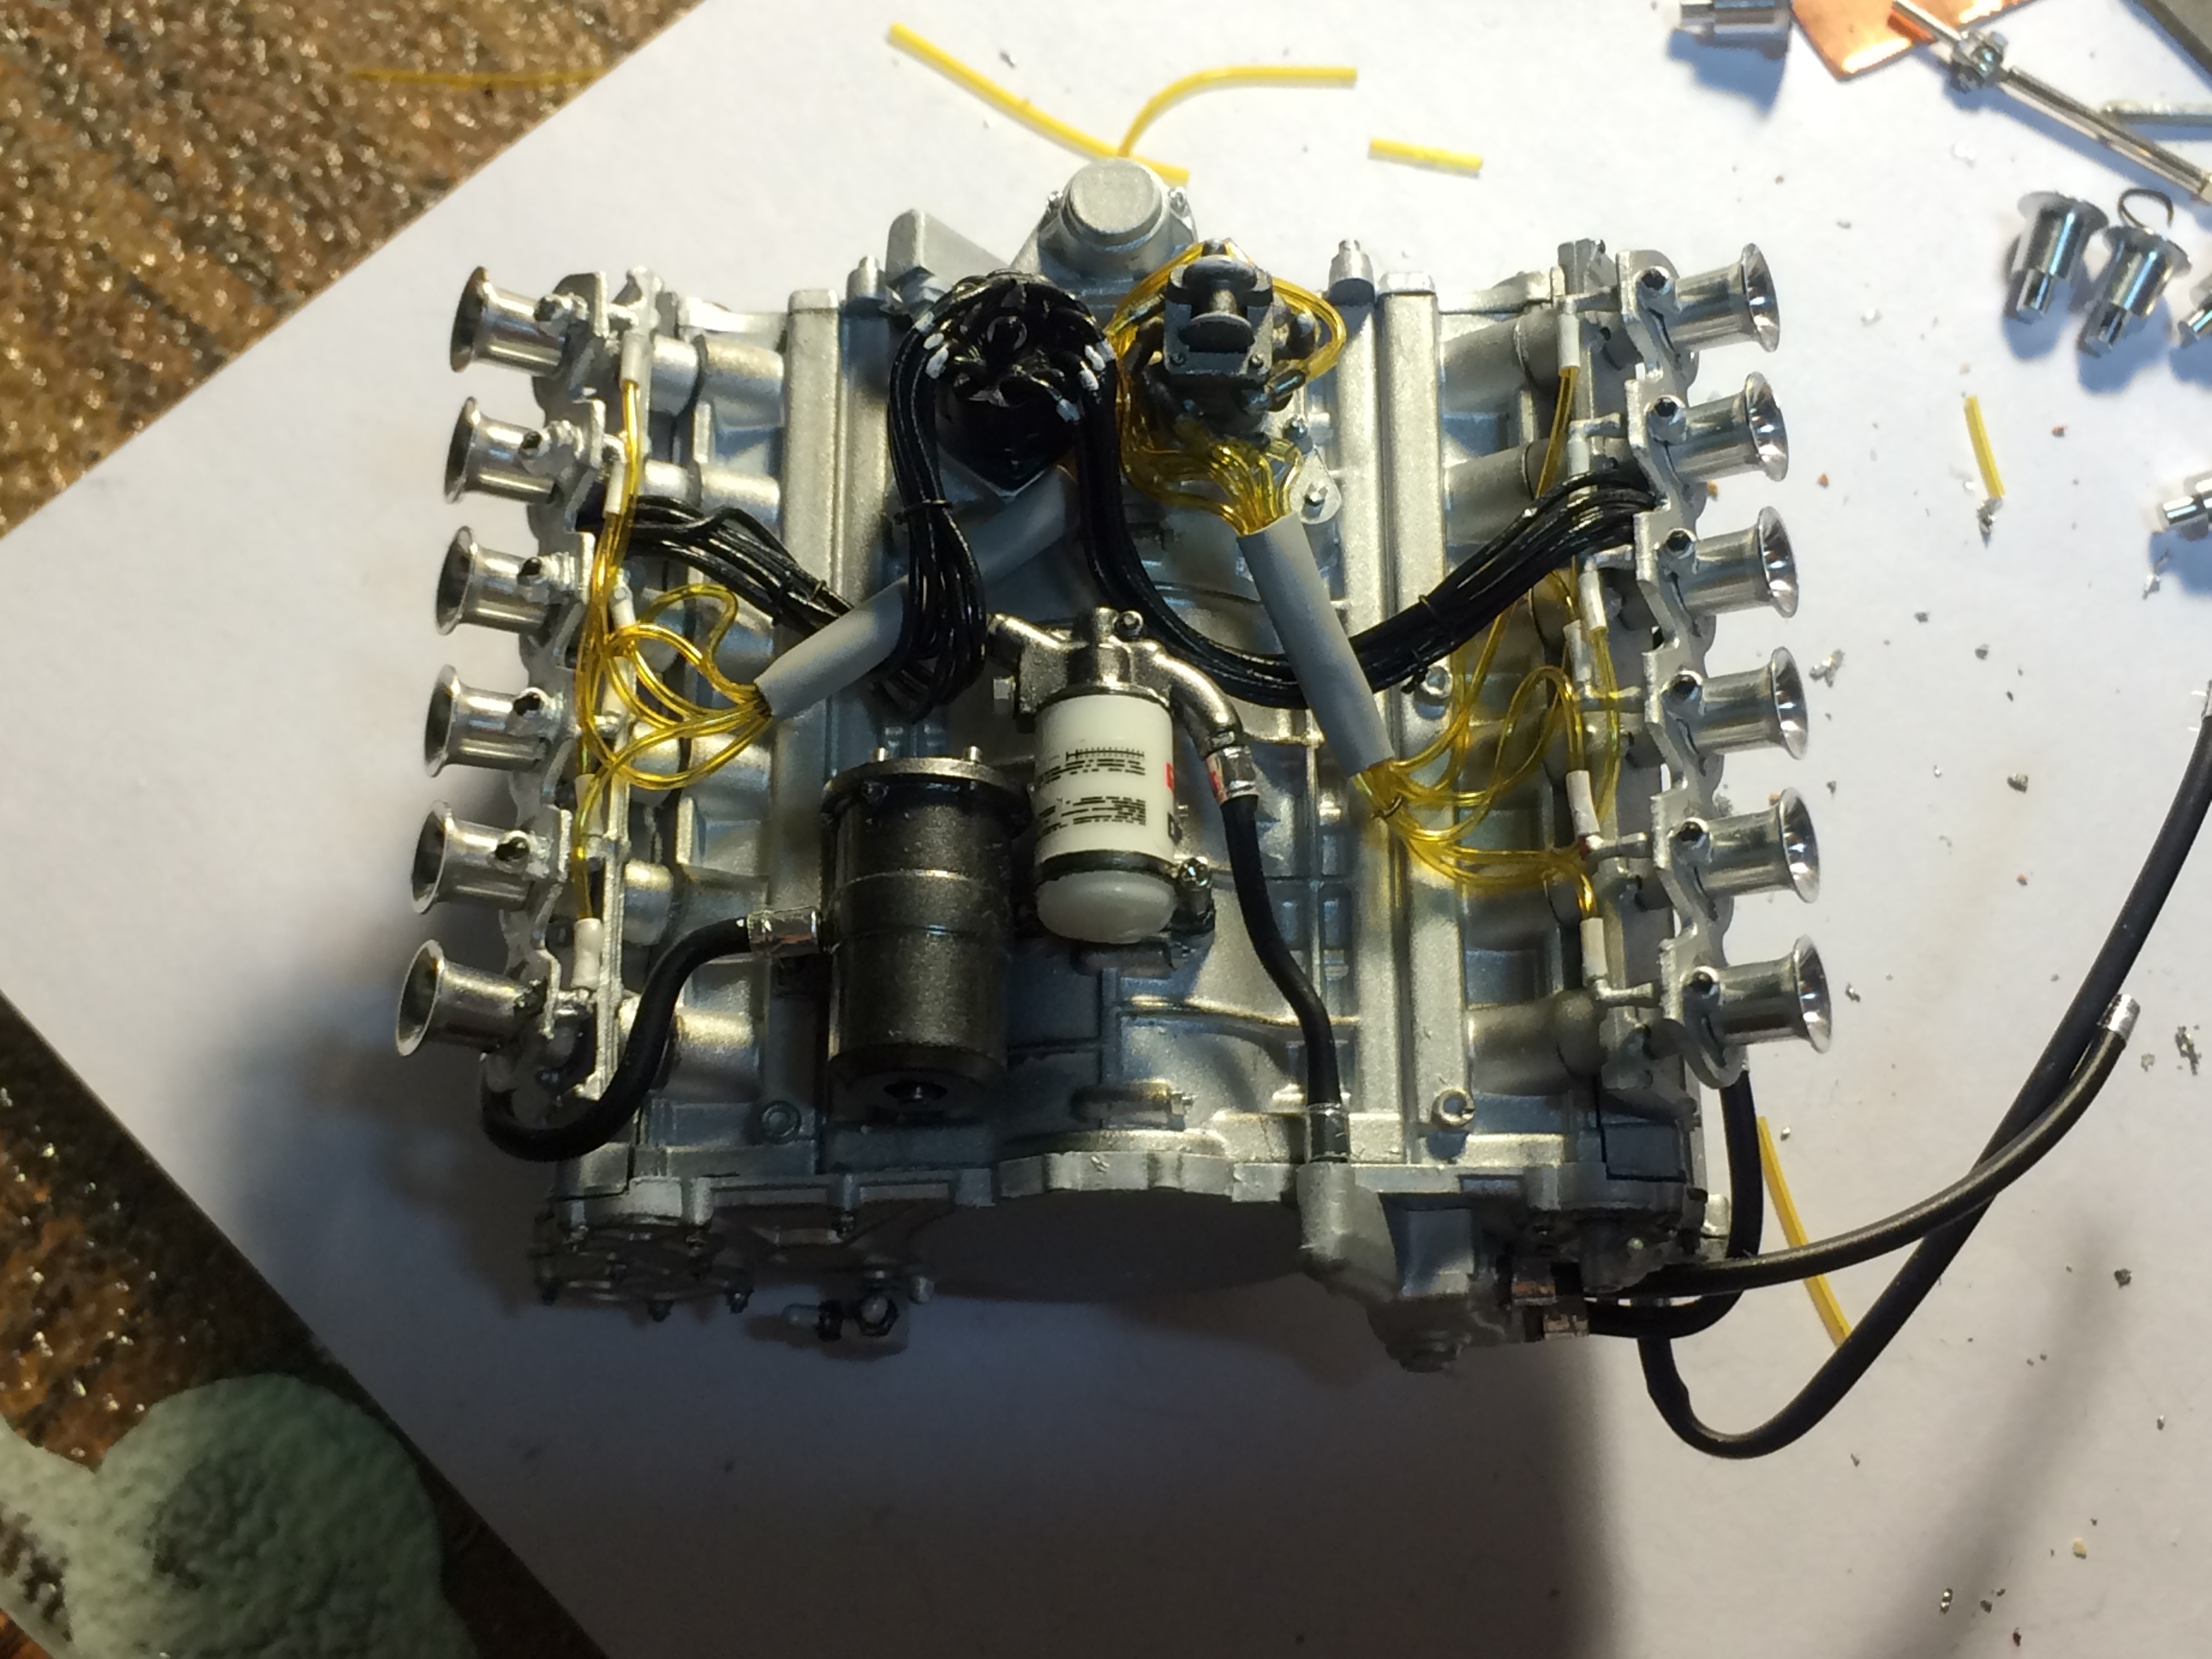
Some shots of the engine and transmission. Also header assembly.
-
Looking good so far. Hope to see some updates soon. I've done the FW14B and MP4/6 and I'm currently doing the 312T from Tamiya in 1/12. I used Thunder Valley and RB motion for most of the detailing items for those builds. I've dealt with Paul at Thunder Valley many times and he has always been very responsive and helpful. Parts were always delivered quickly but I have seen some negative reviews for his site on the internet. Just my two cents. P.S. Studying to be a surgeon. Steady hands will deffinitely be a plus in this hobby. Good luck in your chosen career.
-
1/12 Tamiya 312T
nickfzr61 replied to nickfzr61's topic in WIP: Other Racing: Road Racing, Land Speed Racers
-
1/12 Tamiya 312T
nickfzr61 replied to nickfzr61's topic in WIP: Other Racing: Road Racing, Land Speed Racers
-
My 1/12 scale Tamiya 312T so far. Purchased the SMS photo etch set. Scratch built the steering rack.
-
That looks freakin cool. Great imagination. I could see a mid mounted turbo 4 banger in there.
-
Almost finished with this build. Thought I'd post some pics and video link of the rain light I installed. I drilled out the light and used the Top Studio photo etch mounting bracket which is very accurate to the actual car. Lined the inside of the light with BMF and installed a blinking red LED. Right side pod house's the 3032 battery and micro switch. Battery holder has enough slack so that it can be pulled out of the side pod to replace the battery. Only issue is the cowling has to be removed to turn the light on and off. Video of working rain light: .
-
Installed the left side radiator. To me the radiators are the hardest part of this build. I had to paint them with the Alclad Polished Aluminum twice. I was afraid I made a mistake by cutting out the plastic radiator grills to replace them with Fine Molds AE-15 Metal Mesh #12 Radiator Patterns but there was no going back once I did. I tried installing the patterns after I shot the polished aluminum but I ended up messing up the polished look. I had to go back down to primer then install the radiator patterns and mask them off and re spray the gloss black and polished aluminum. The cooling duct was made by tightly wrapping .35mm wire around a piece of the kits black rubber tubing then wrapping it in a long piece of foil from the kit. Then I rubbed down the foil to let the wire wrapping show.
-
Scratch built this steering rack for my 1/12 scale MP4/6 build. Used aluminum and brass tubing. Filed the pieces and soldered together. Actually this is the first thing I ever scratch built. Made the junction block that is on the right side of the MP4/6 monocoque. I used some left over resin pieces from the Top Studio detail sets that I cut to size and glued together and a spare piece of PE cut to shape on top of the main block. The rest are RBmotion and Top Studio pieces. Not much and not as intense as some of the other tings here but its a start.
-
Looking good. Looks like its going to be a really cool build. I haven't tried anything detailed like that in that scale. I have a hard enough time with 1/12 scale builds. Keep up the good work. Looking forward to seeing this build progress.
-
1971 Pinto Wagon Street Freak Showcar - Done!! 4-18
nickfzr61 replied to Impalow's topic in WIP: Model Cars
.What a cool build. I love the scratch building and how clean your work is. This is gonna be one sweet pinto. Looking forward to seeing it completed. -
Some recent shots of my progress.
-
Another with the assemblies mocked up.
-
Some more progress shots. The headers: Assembled Primed Alclad Gloss Black Alclad Chrome Alclad Heat Treatment
-
A few more shots. Sorry for the delay.
-
1/12 scale Tamiya FW14B.
nickfzr61 replied to nickfzr61's topic in Other Racing: Road Racing, Salt Flat Racers
Not sure if this will work but this is a video of the posi rear in my FW14B: "https://www.youtube.com/embed/zOAn5X_73ho" -
1/12 scale Tamiya FW14B.
nickfzr61 replied to nickfzr61's topic in Other Racing: Road Racing, Salt Flat Racers
Thank you for the compliments. Another shot that I really like. -
Hello everyone. This is my Williams FW14B completed last year. The build was posted in the On The Workbench category but I never posted the finished model here which is where it should be. It took about 8 months to complete and it was the first large scale detailed build I did. Aftermarket parts were mostly from Thunder Valley, RB Motion, and SMS for the carbon fiber decals. I really learned a lot from this build and am currently working on the 1/12 Tamiya MP4/6.
-
A few pictures of some completed parts. The side cover for the transmission is safety wired.
-
Thank you Ian The carbon fiber on the rear of the monocoque is from Tunermodel Manufactory T2M-6006-B twill weave carbon fiber decal black/golden. The cockpit and other little pieces are Scale Motor Sports Plain Weave Carbon Fiber Black/Amber 1:24th. For the nose cone I used the Scale Motor Sports Plain Weave Carbon Fiber Black/Pewter.
-
Started installing the front suspension components and the connectors for one of the electrical boxes.
-
Steering rack and shaft installed. The gear for the steering slides off of the original Tamiya part and fits onto the Top Studio part perfectly. I also glued a tiny piece of tubing on the steering shaft up by where the steering wheel goes because the shaft kept sliding out the front of the steering rack.