nickfzr61
-
Posts
309 -
Joined
-
Last visited
Content Type
Profiles
Forums
Events
Gallery
Everything posted by nickfzr61
-

-
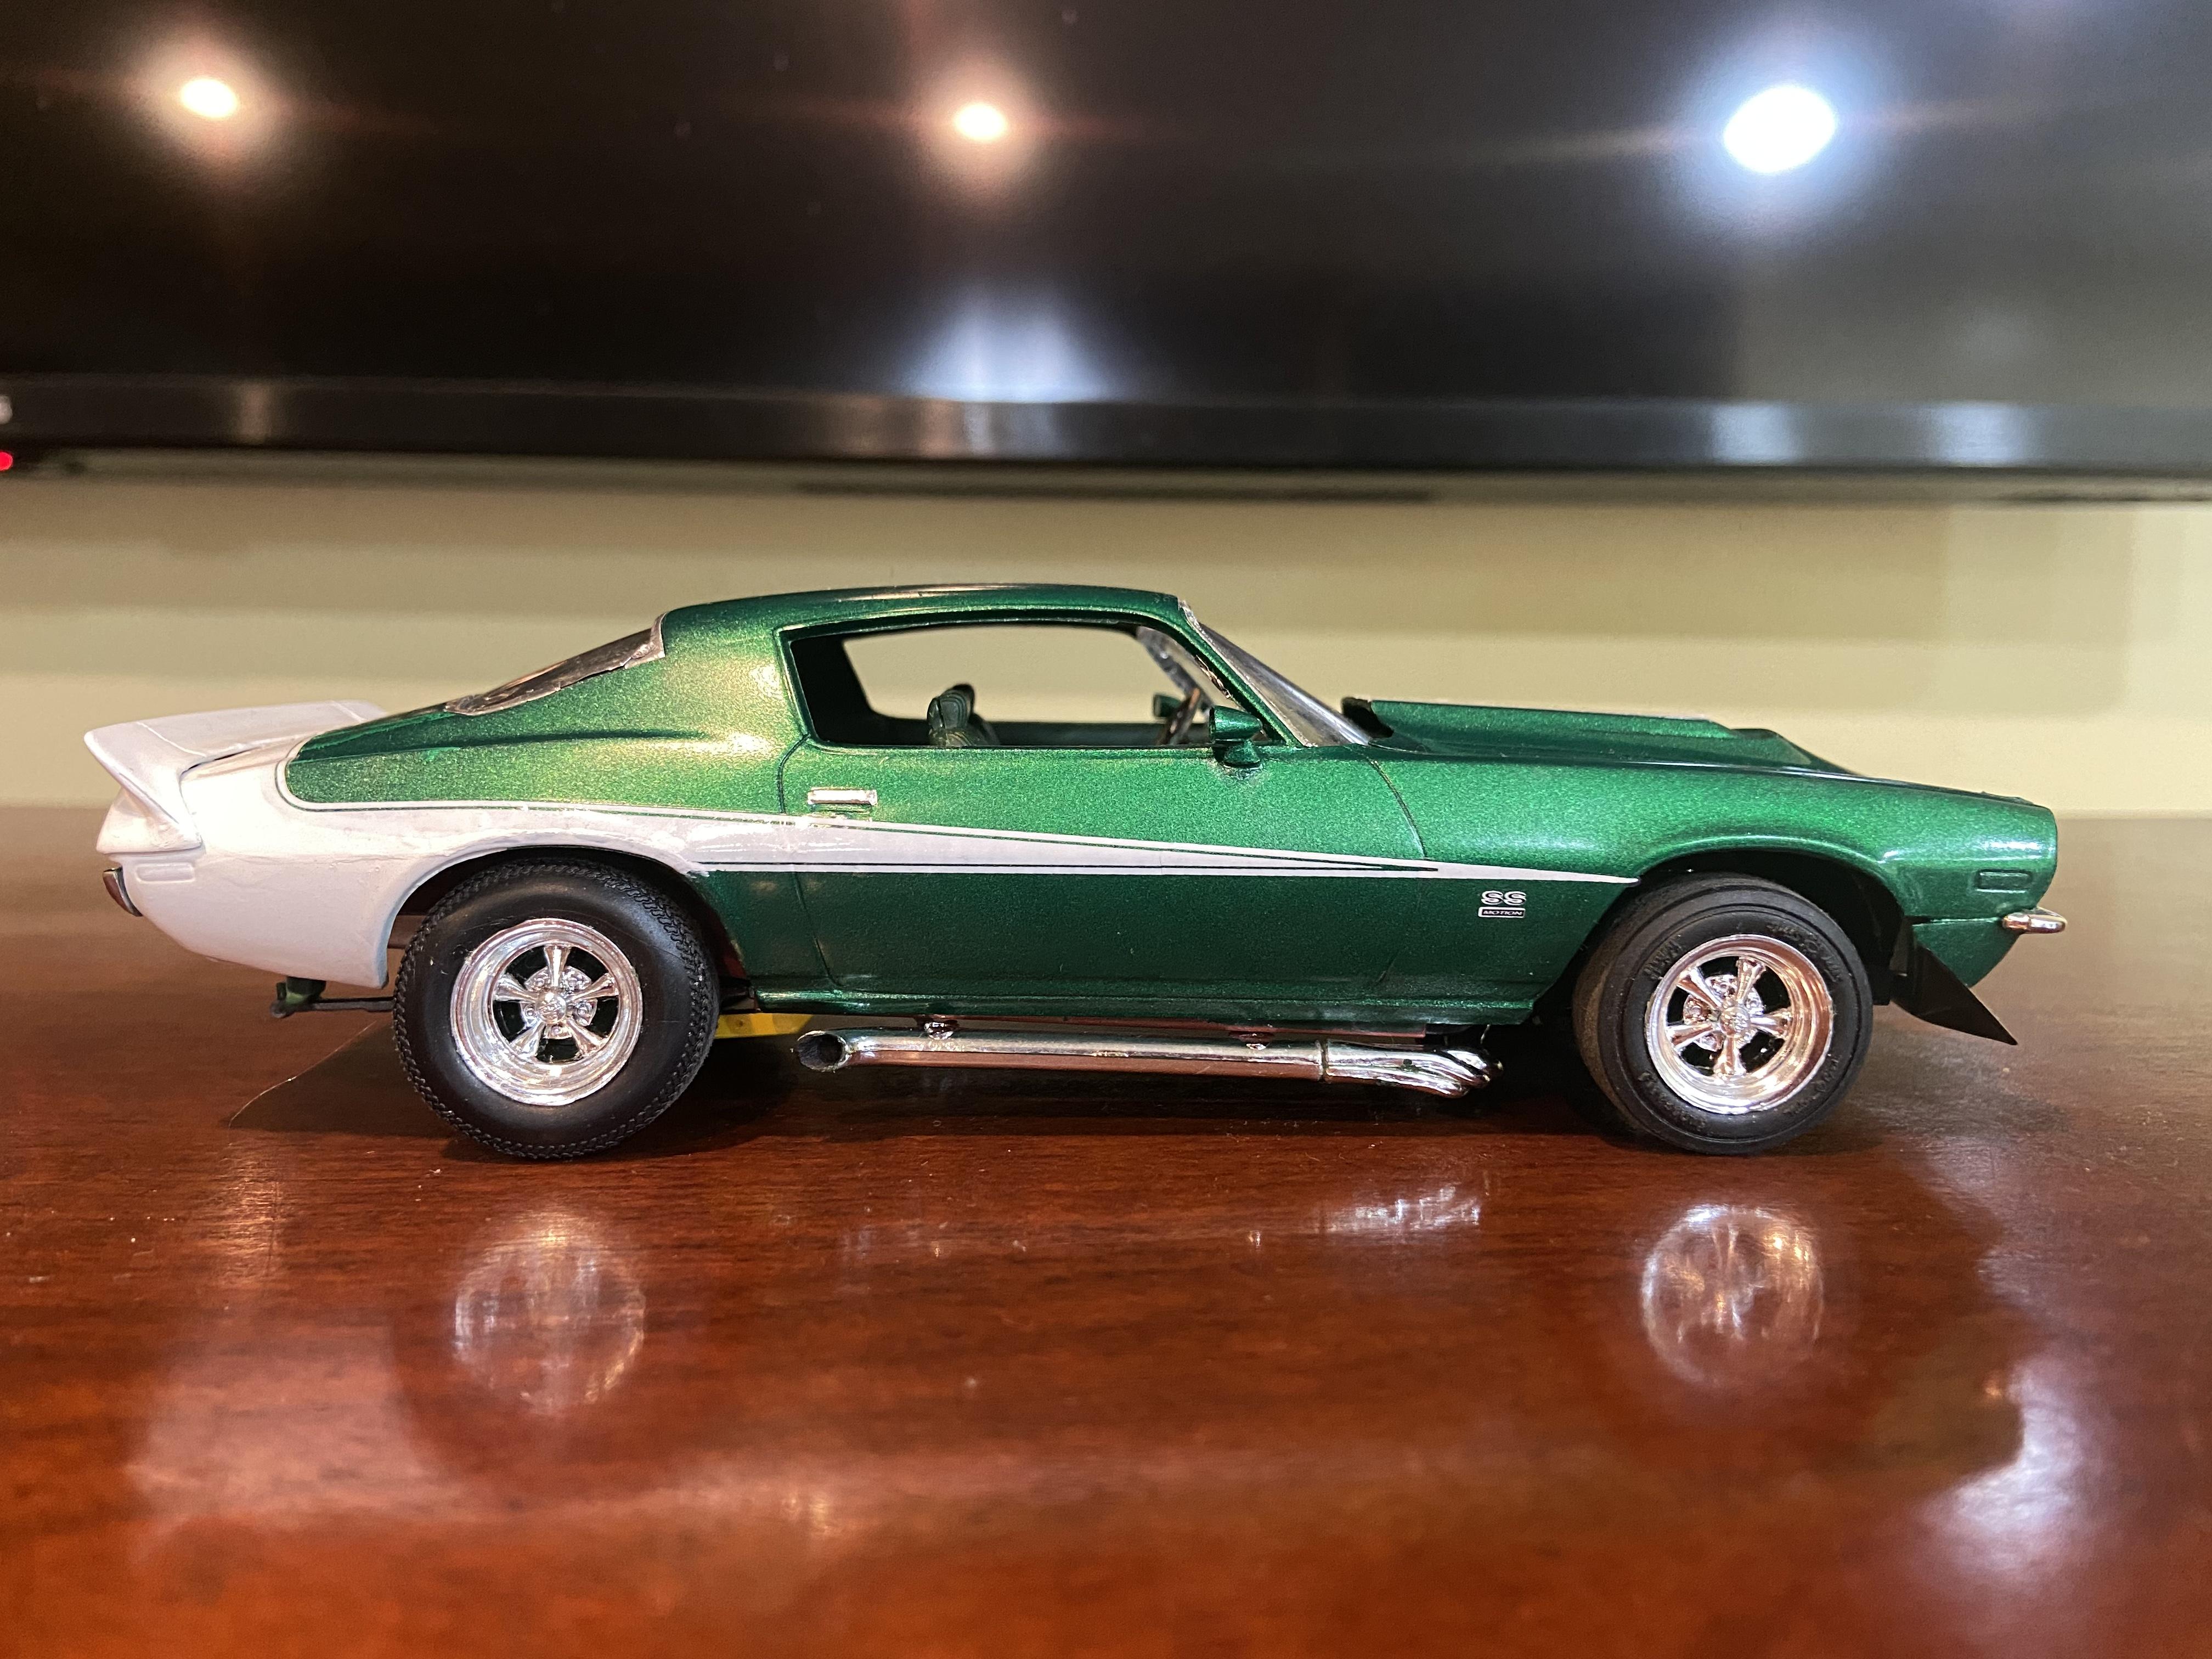
Going with the white. Was thinking about doing a Thunderbolt and Lightfoot.
-
-
-
-
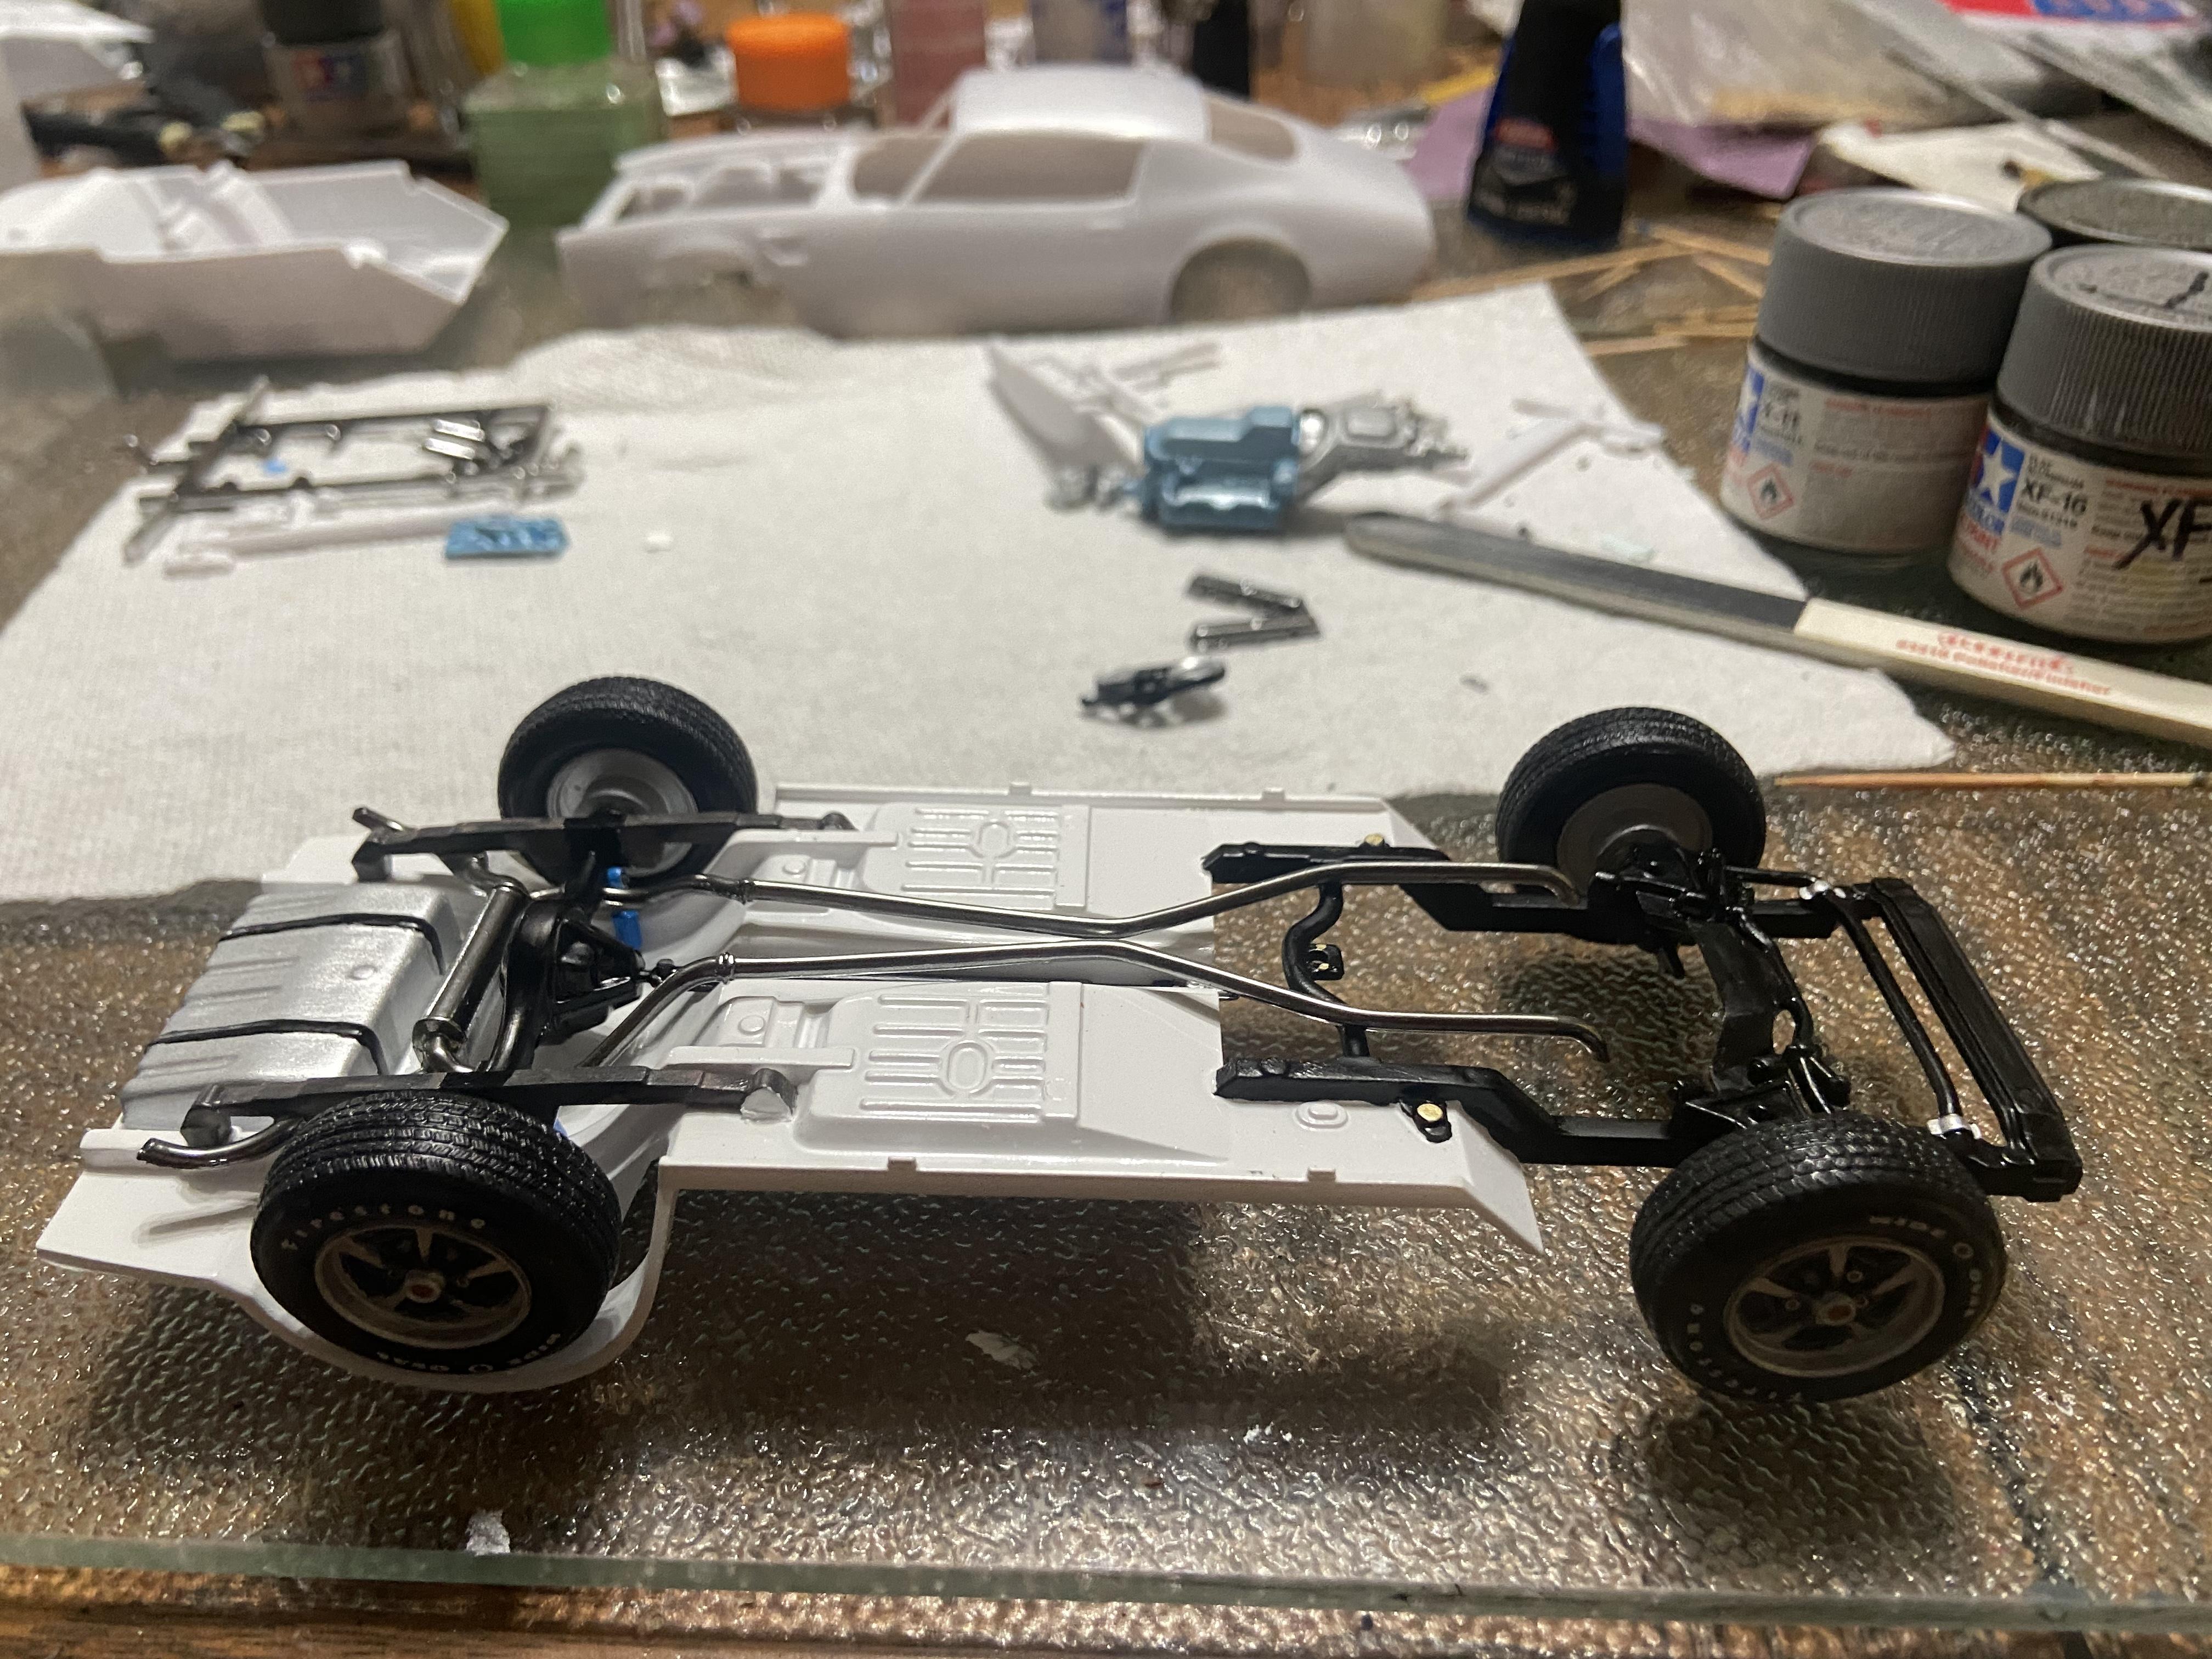
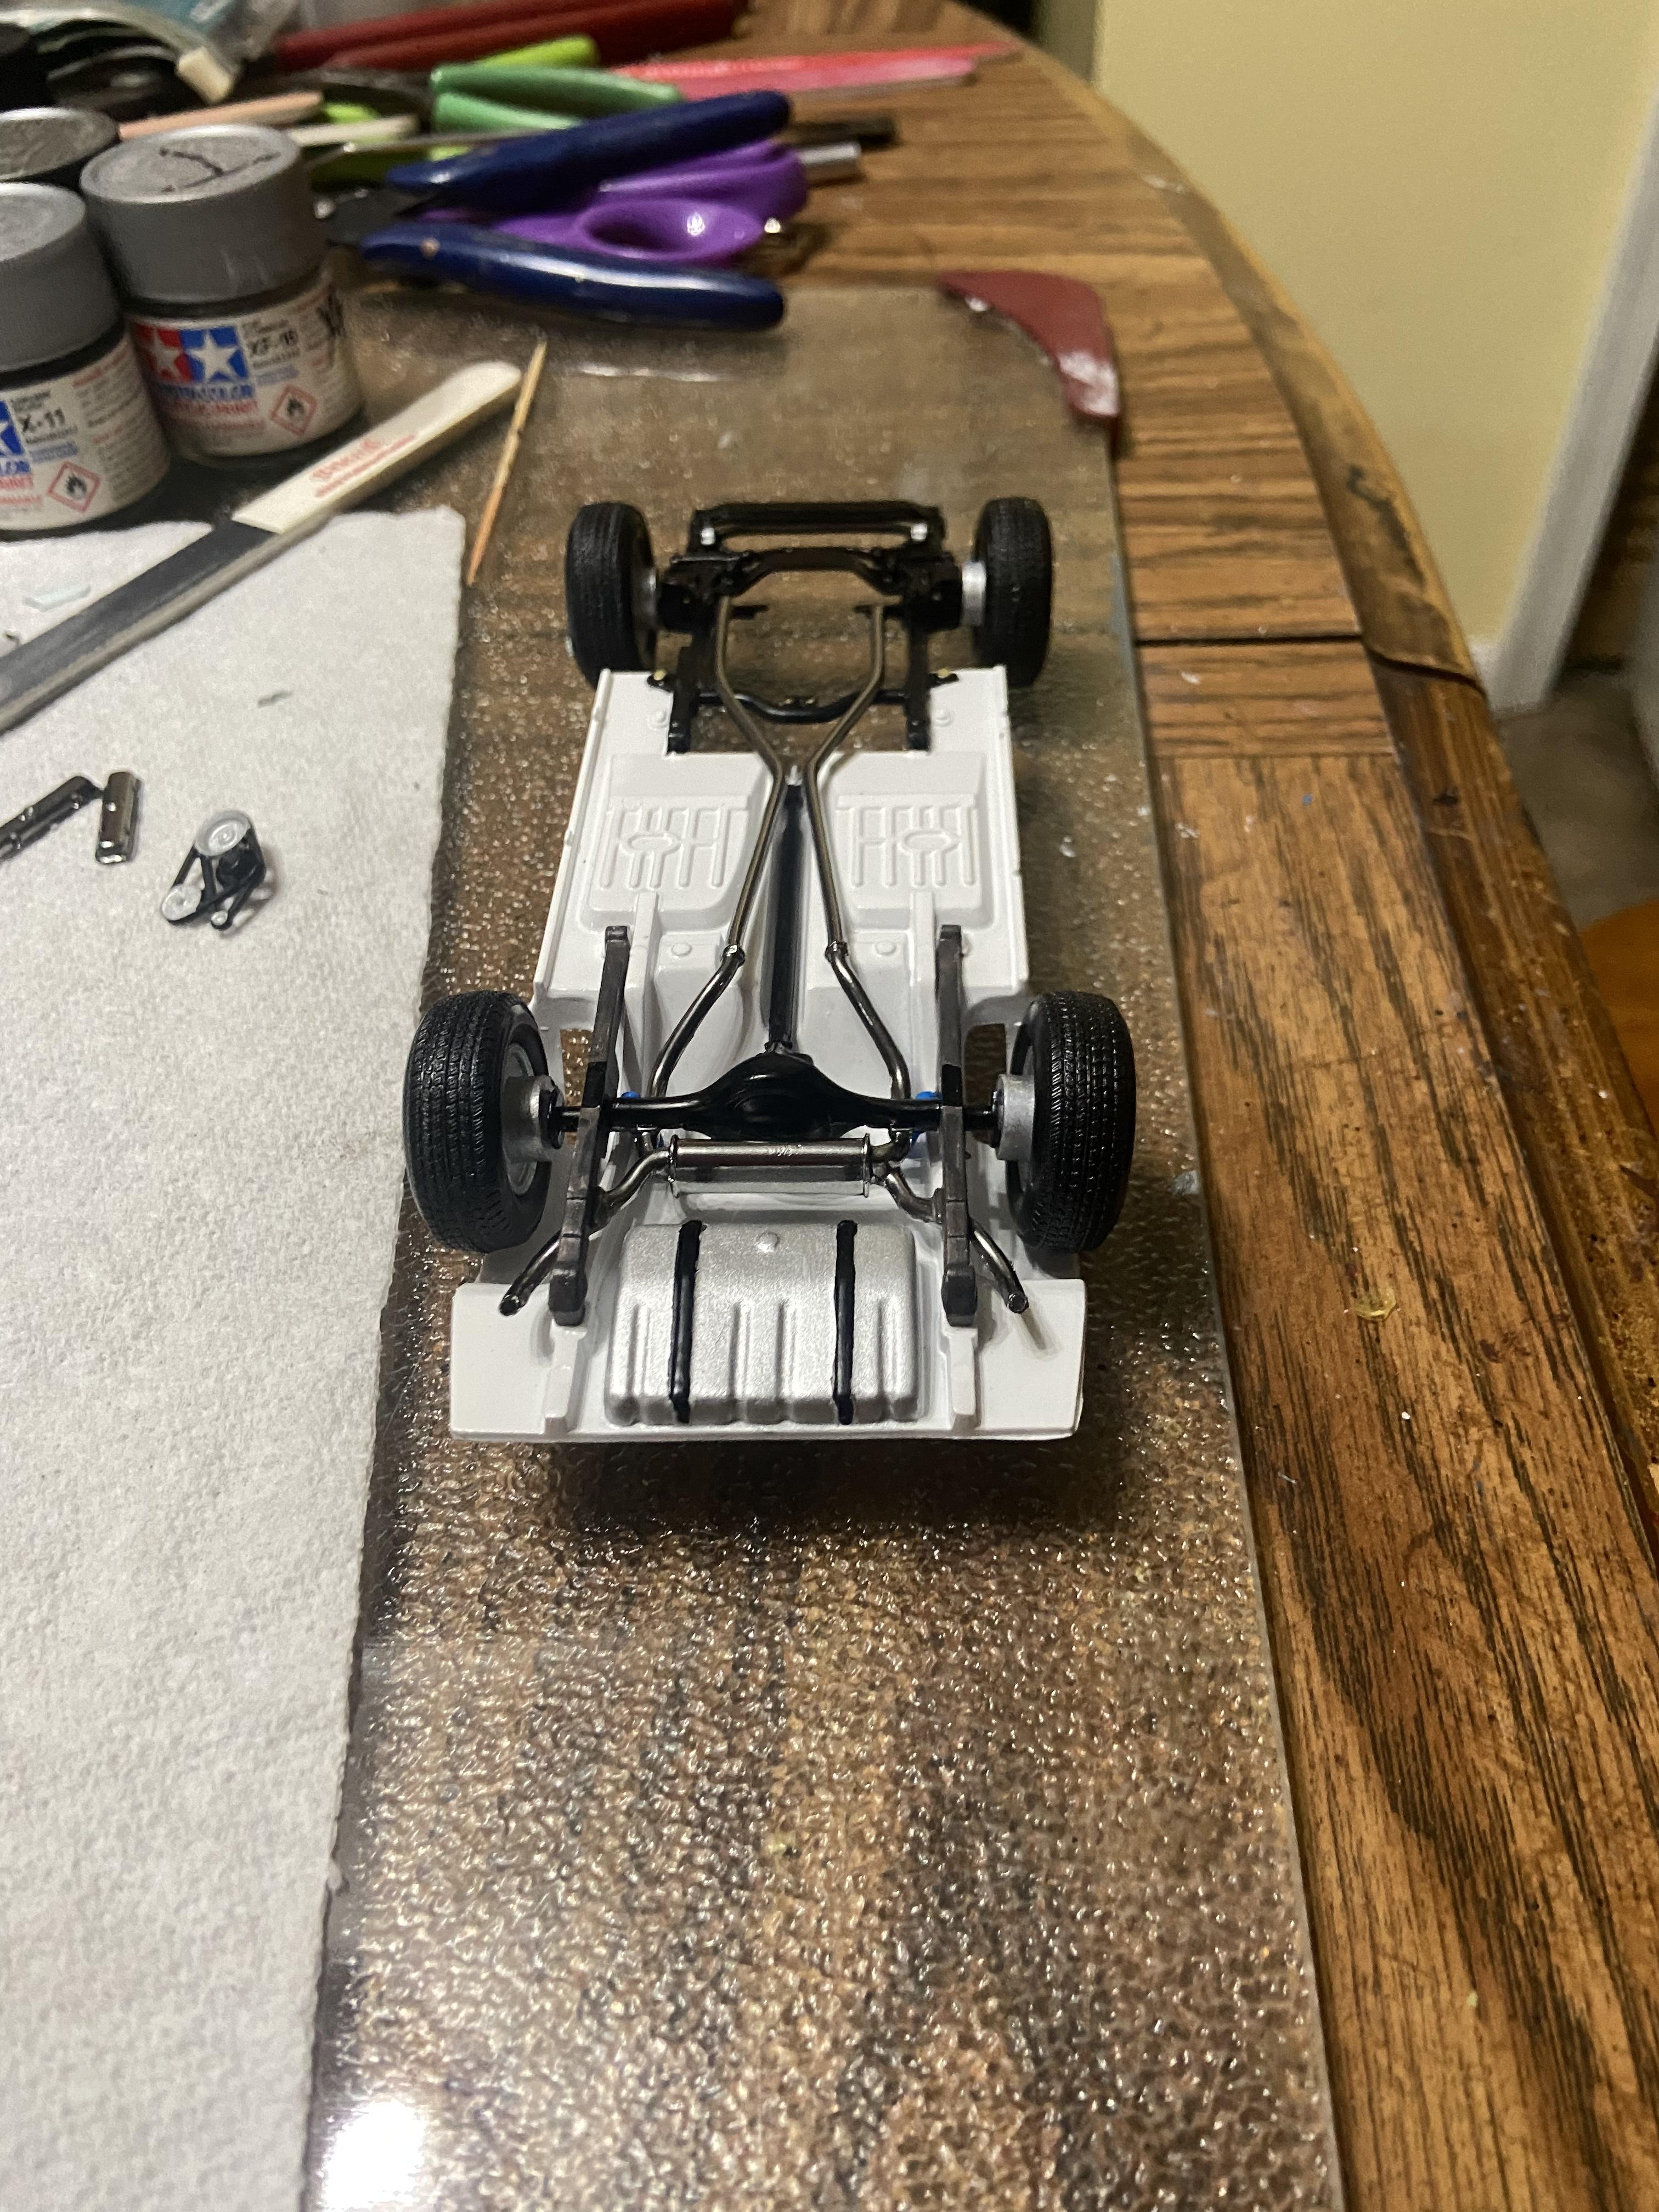
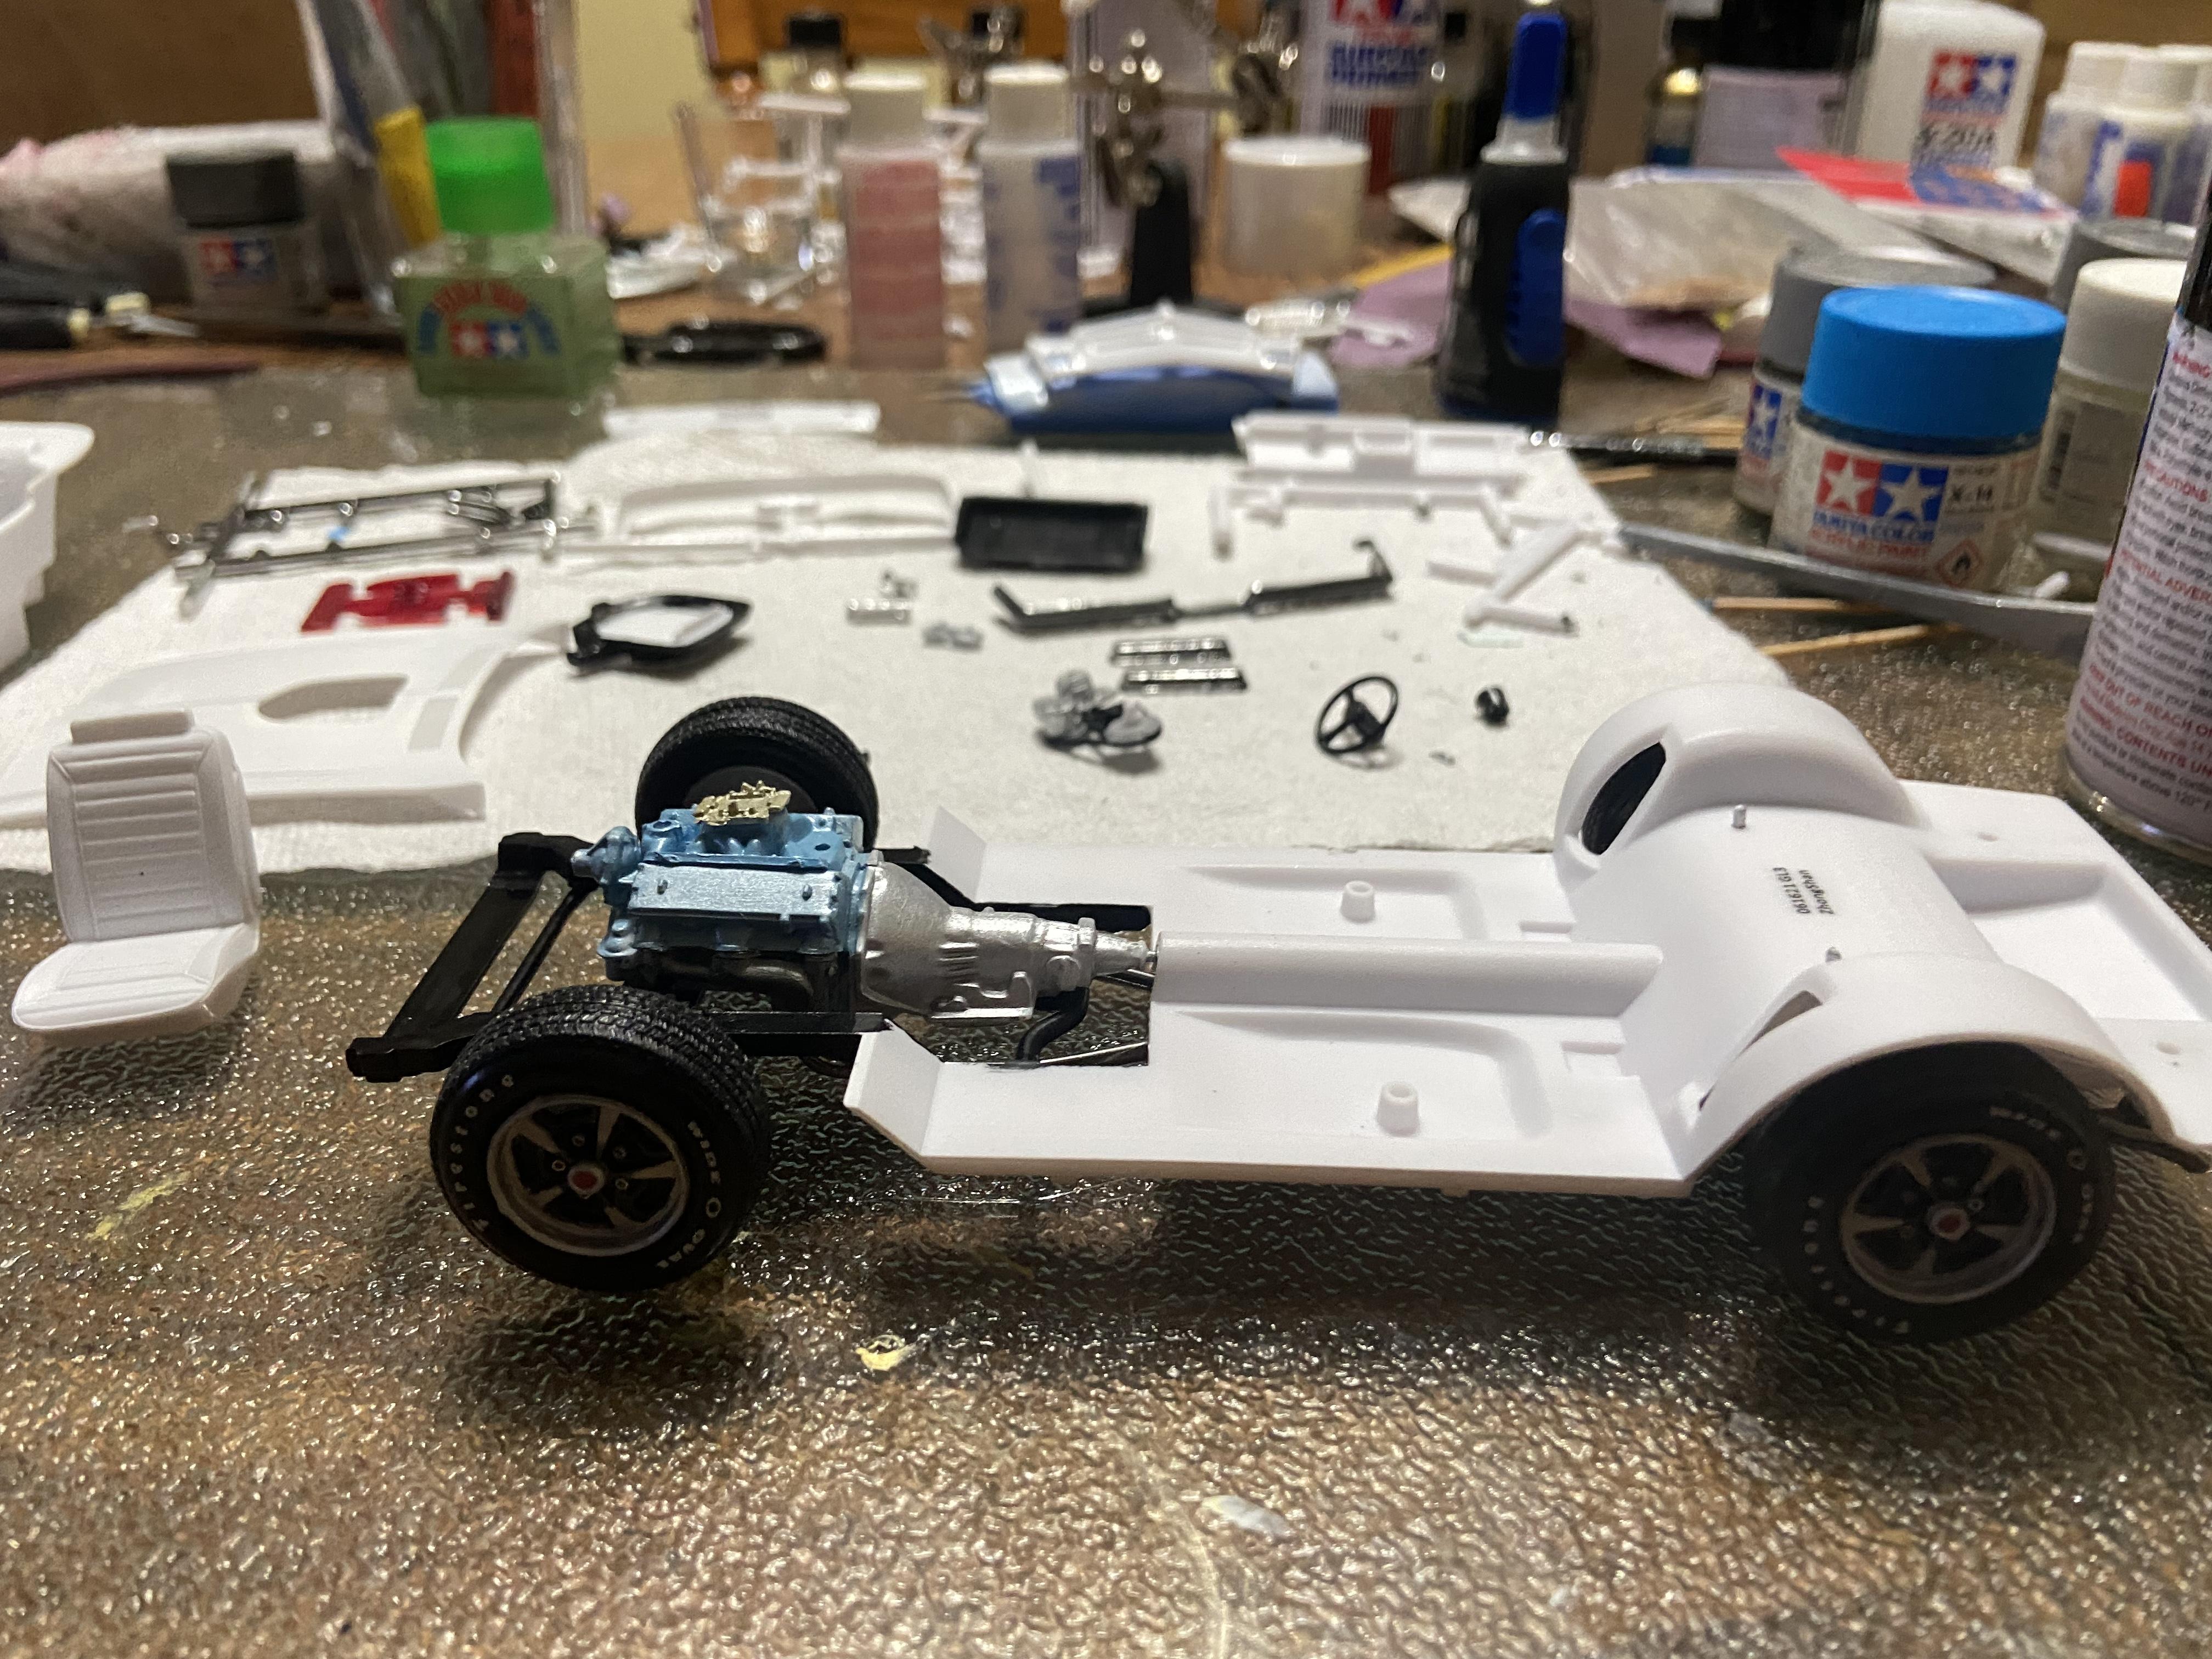
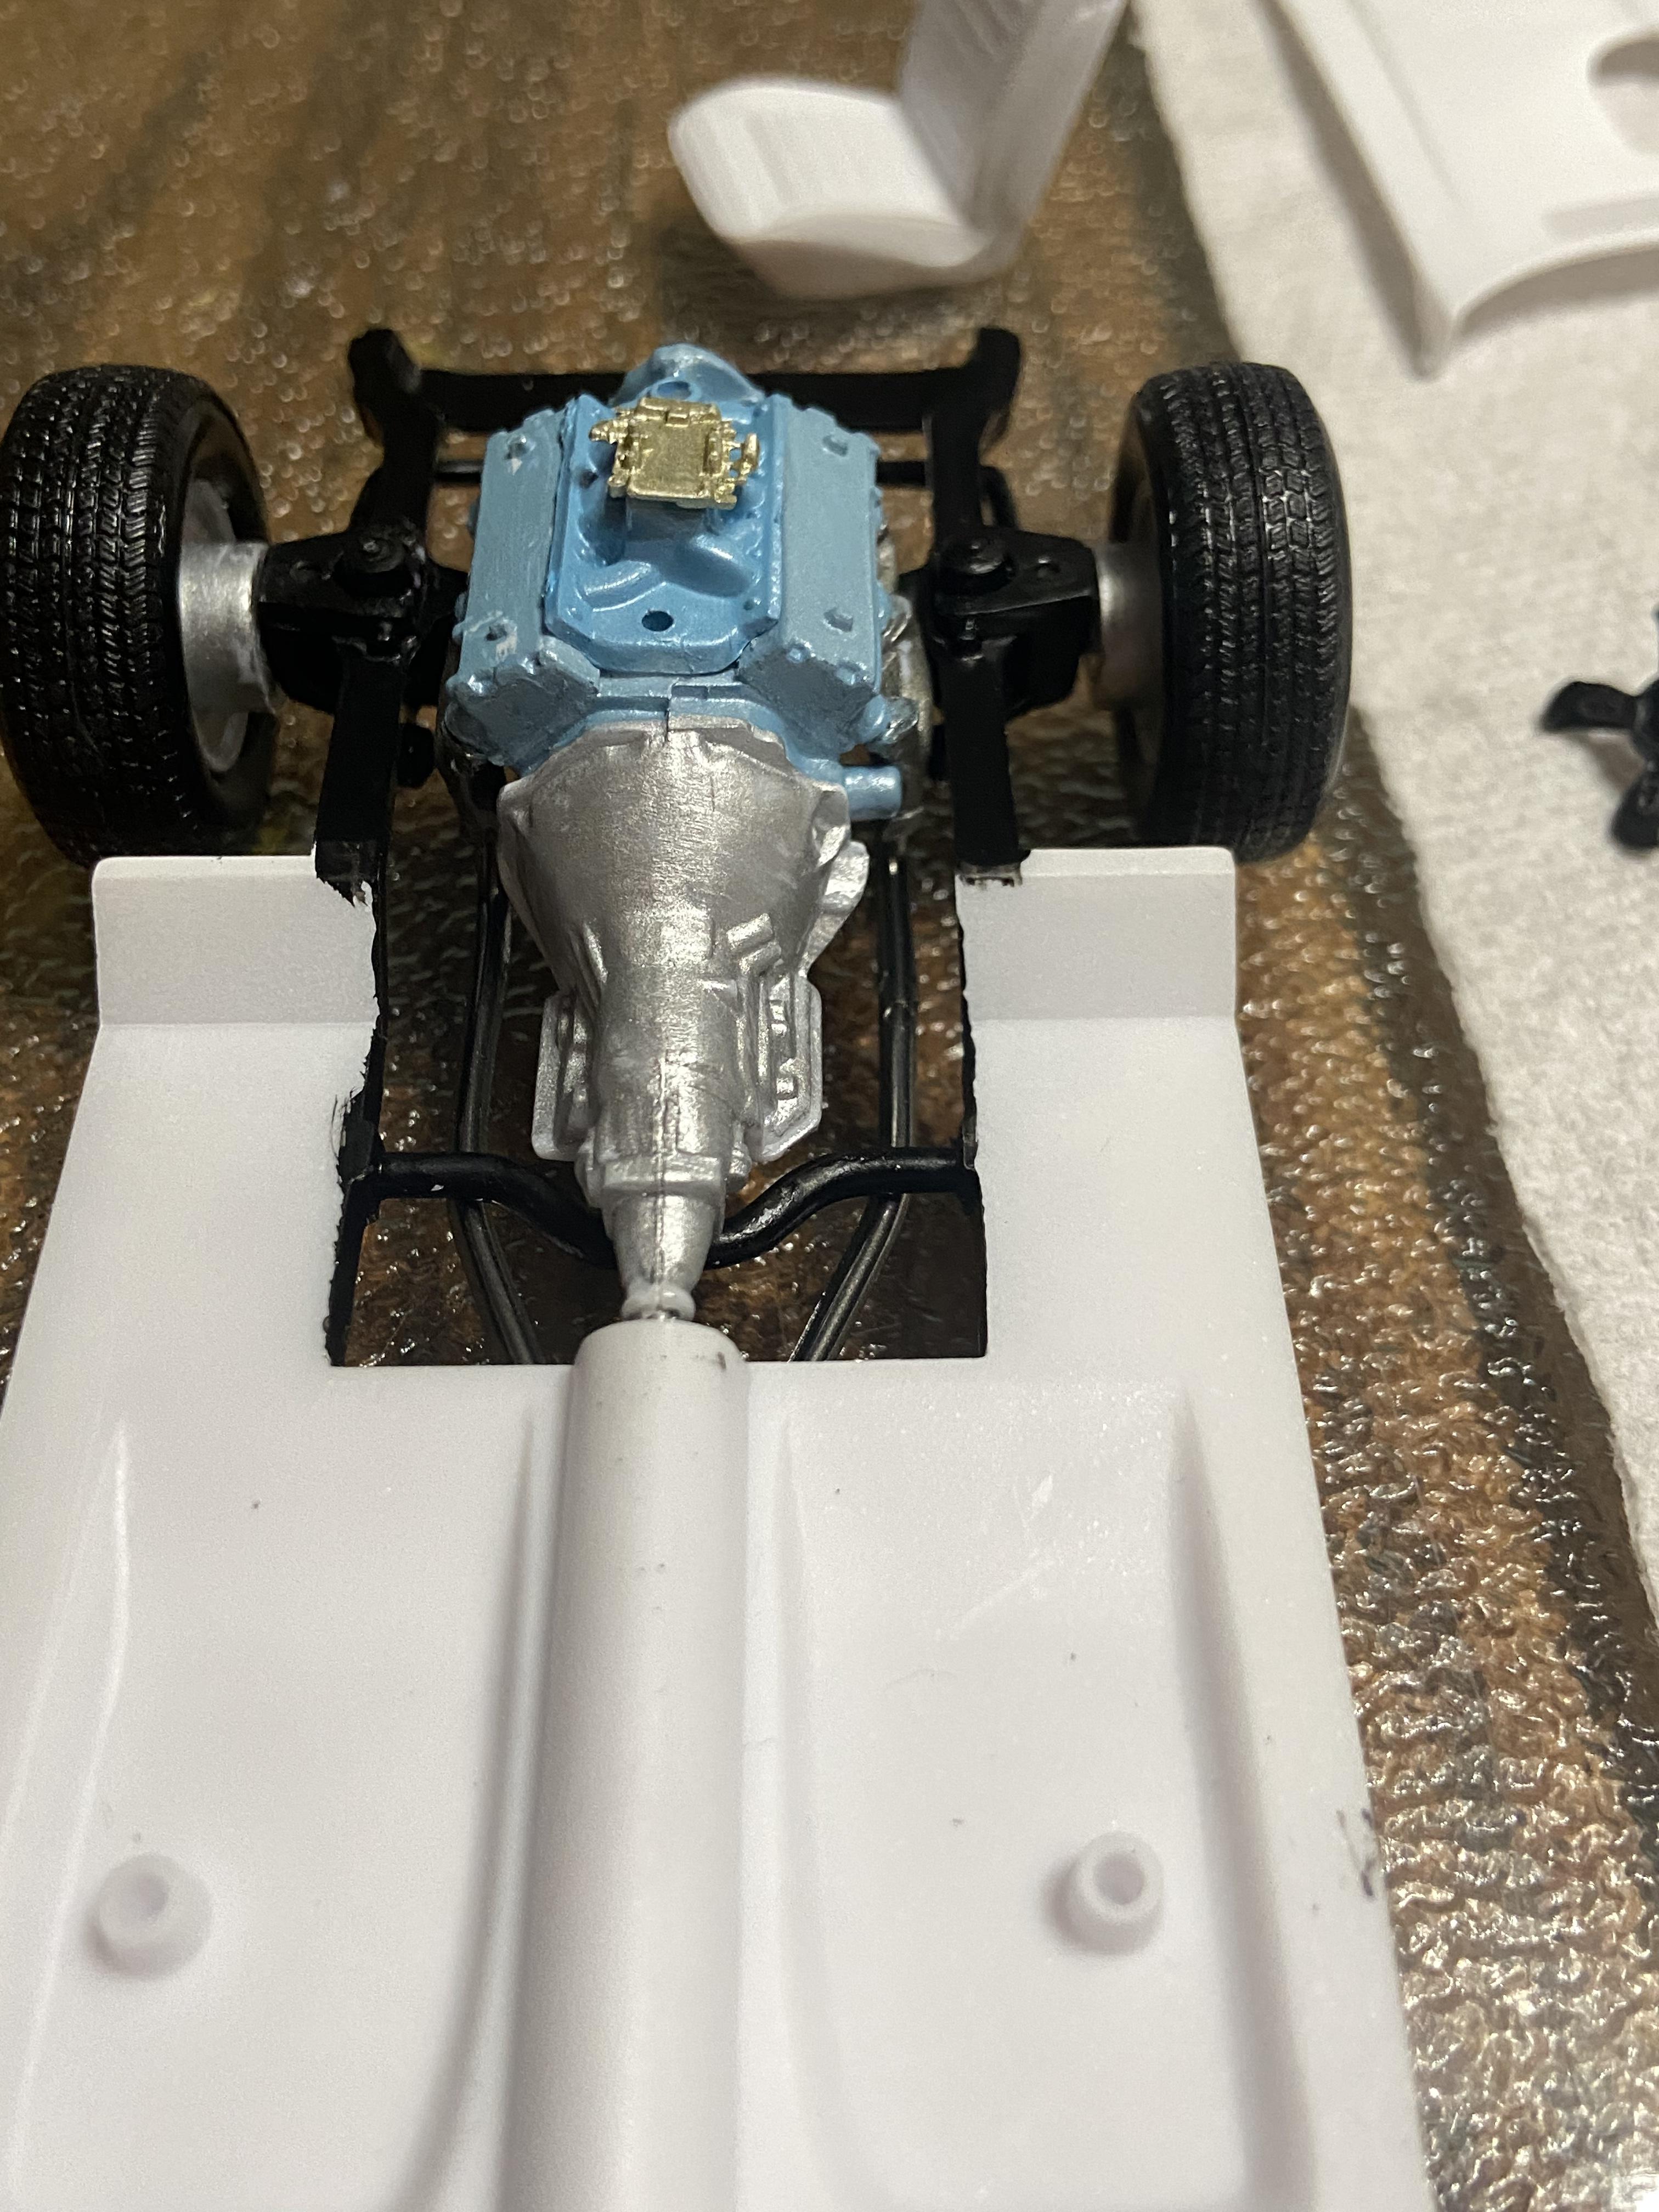
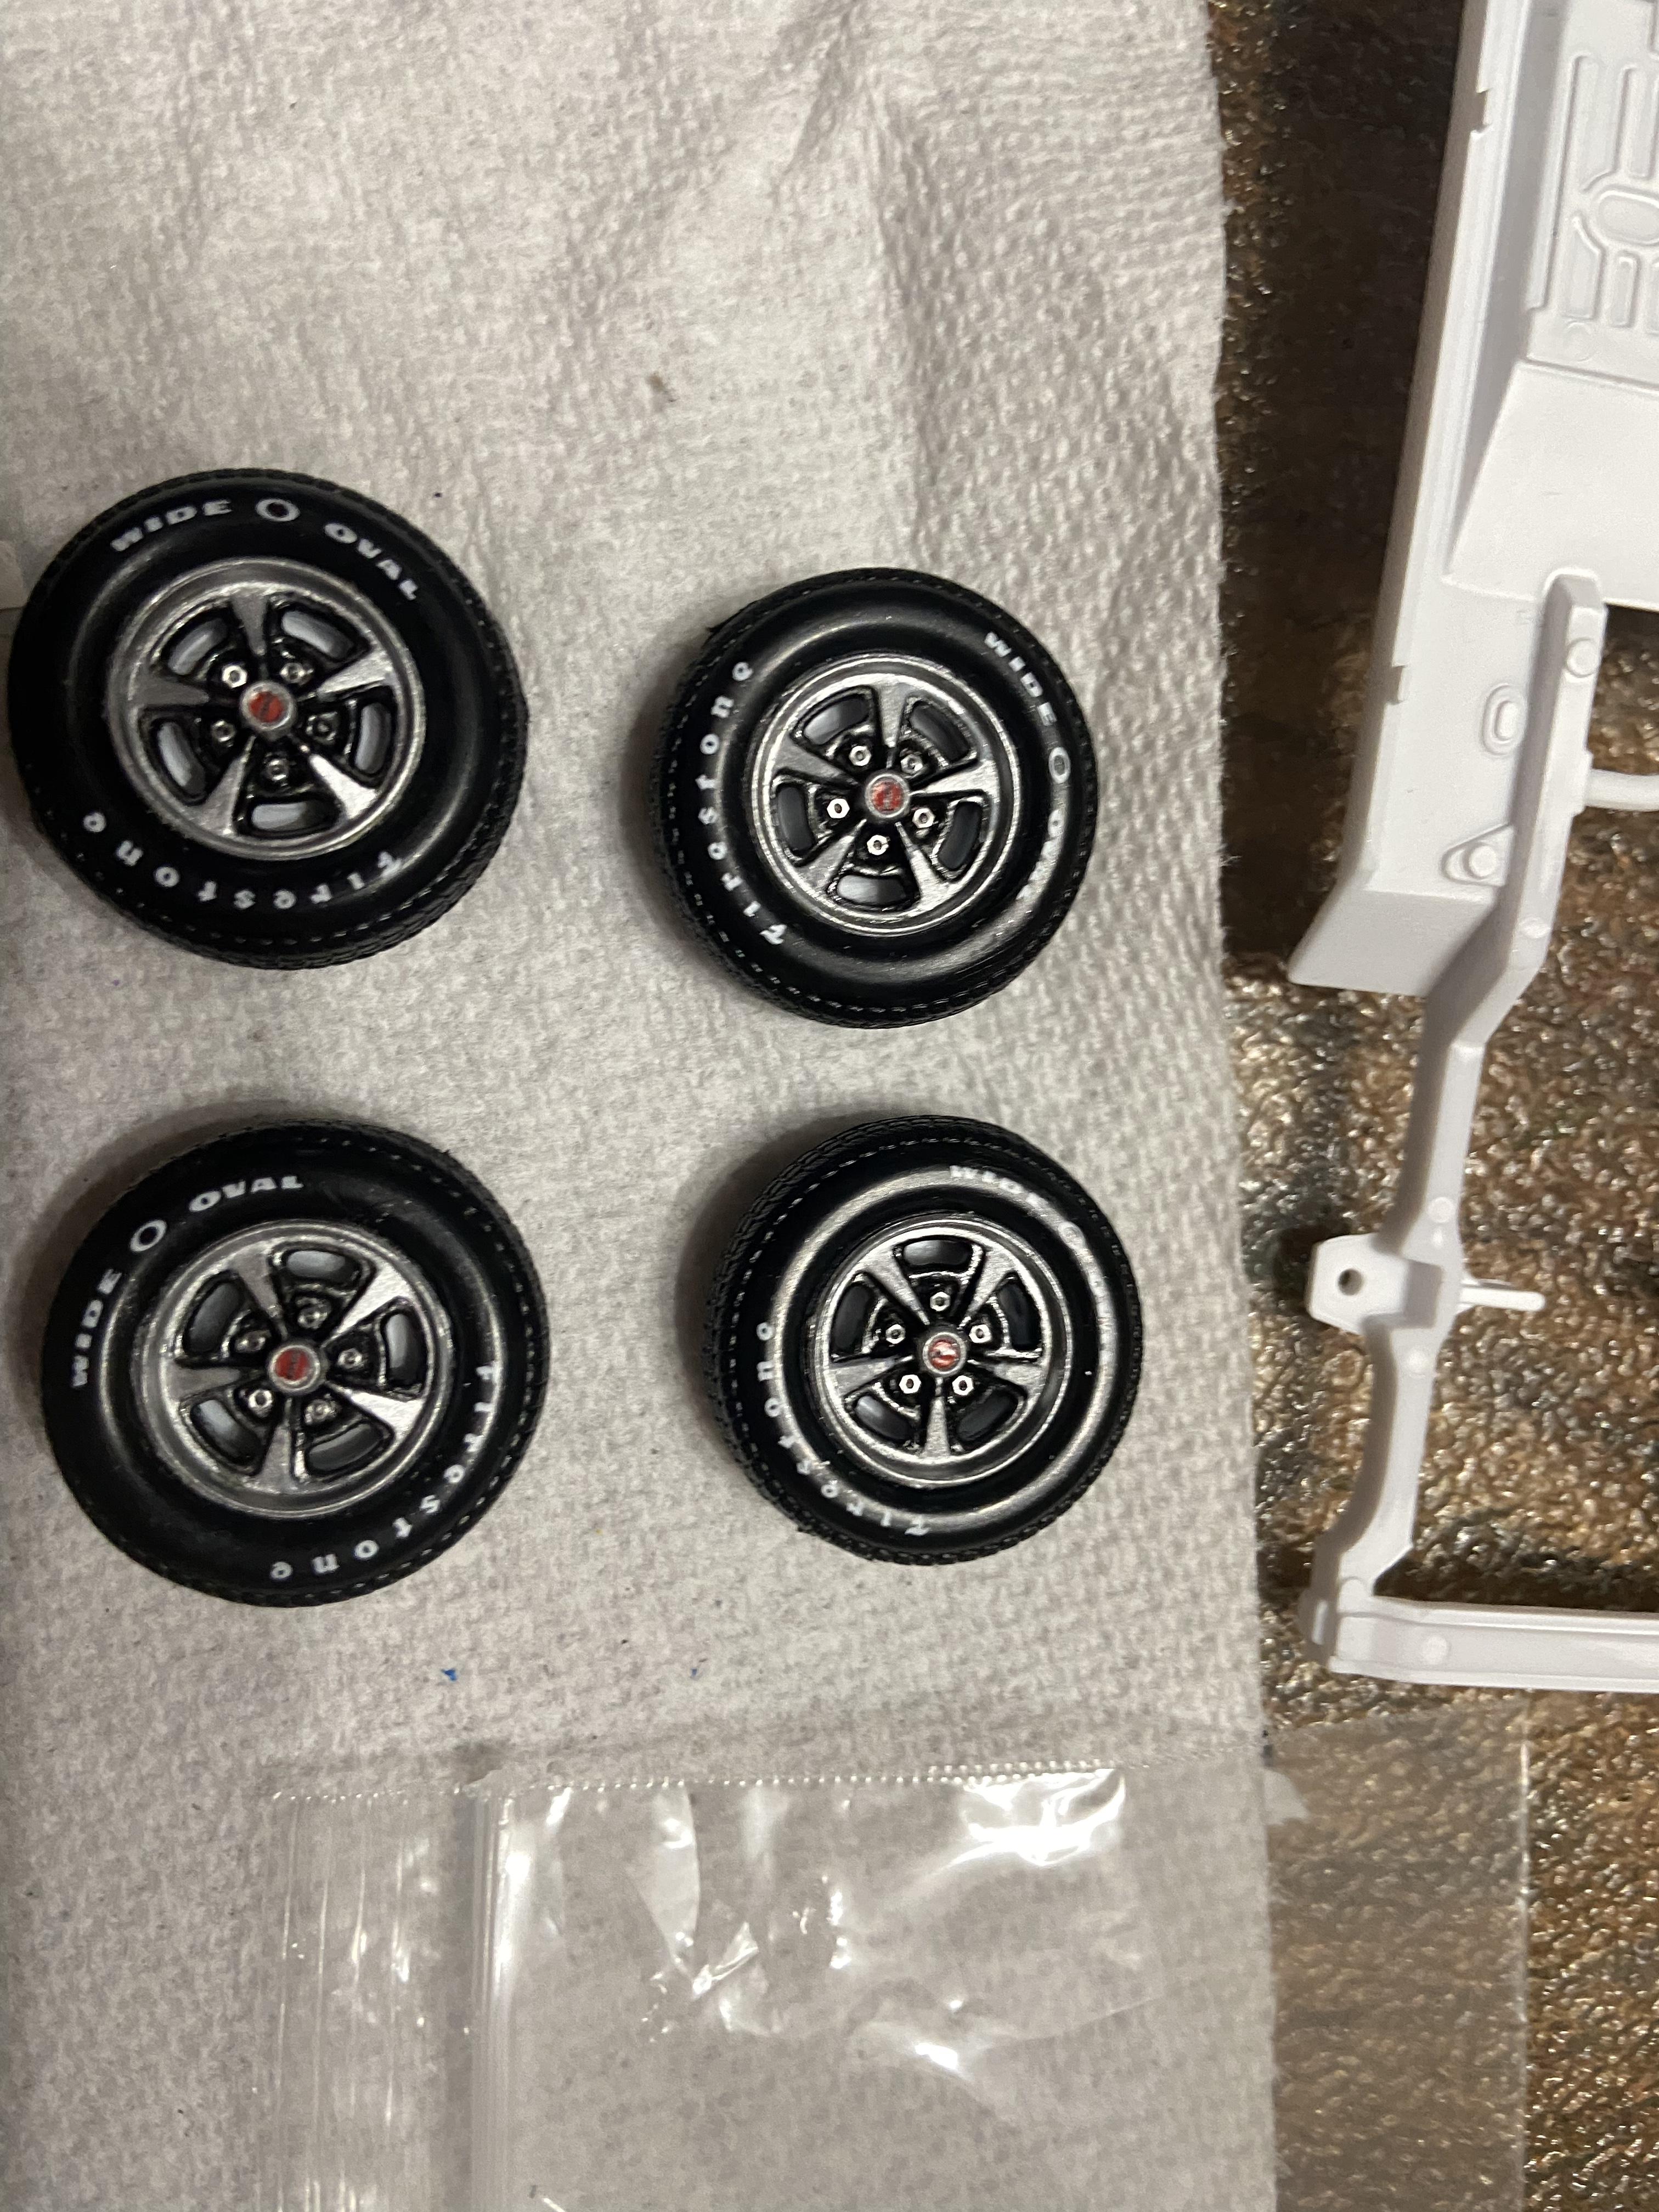
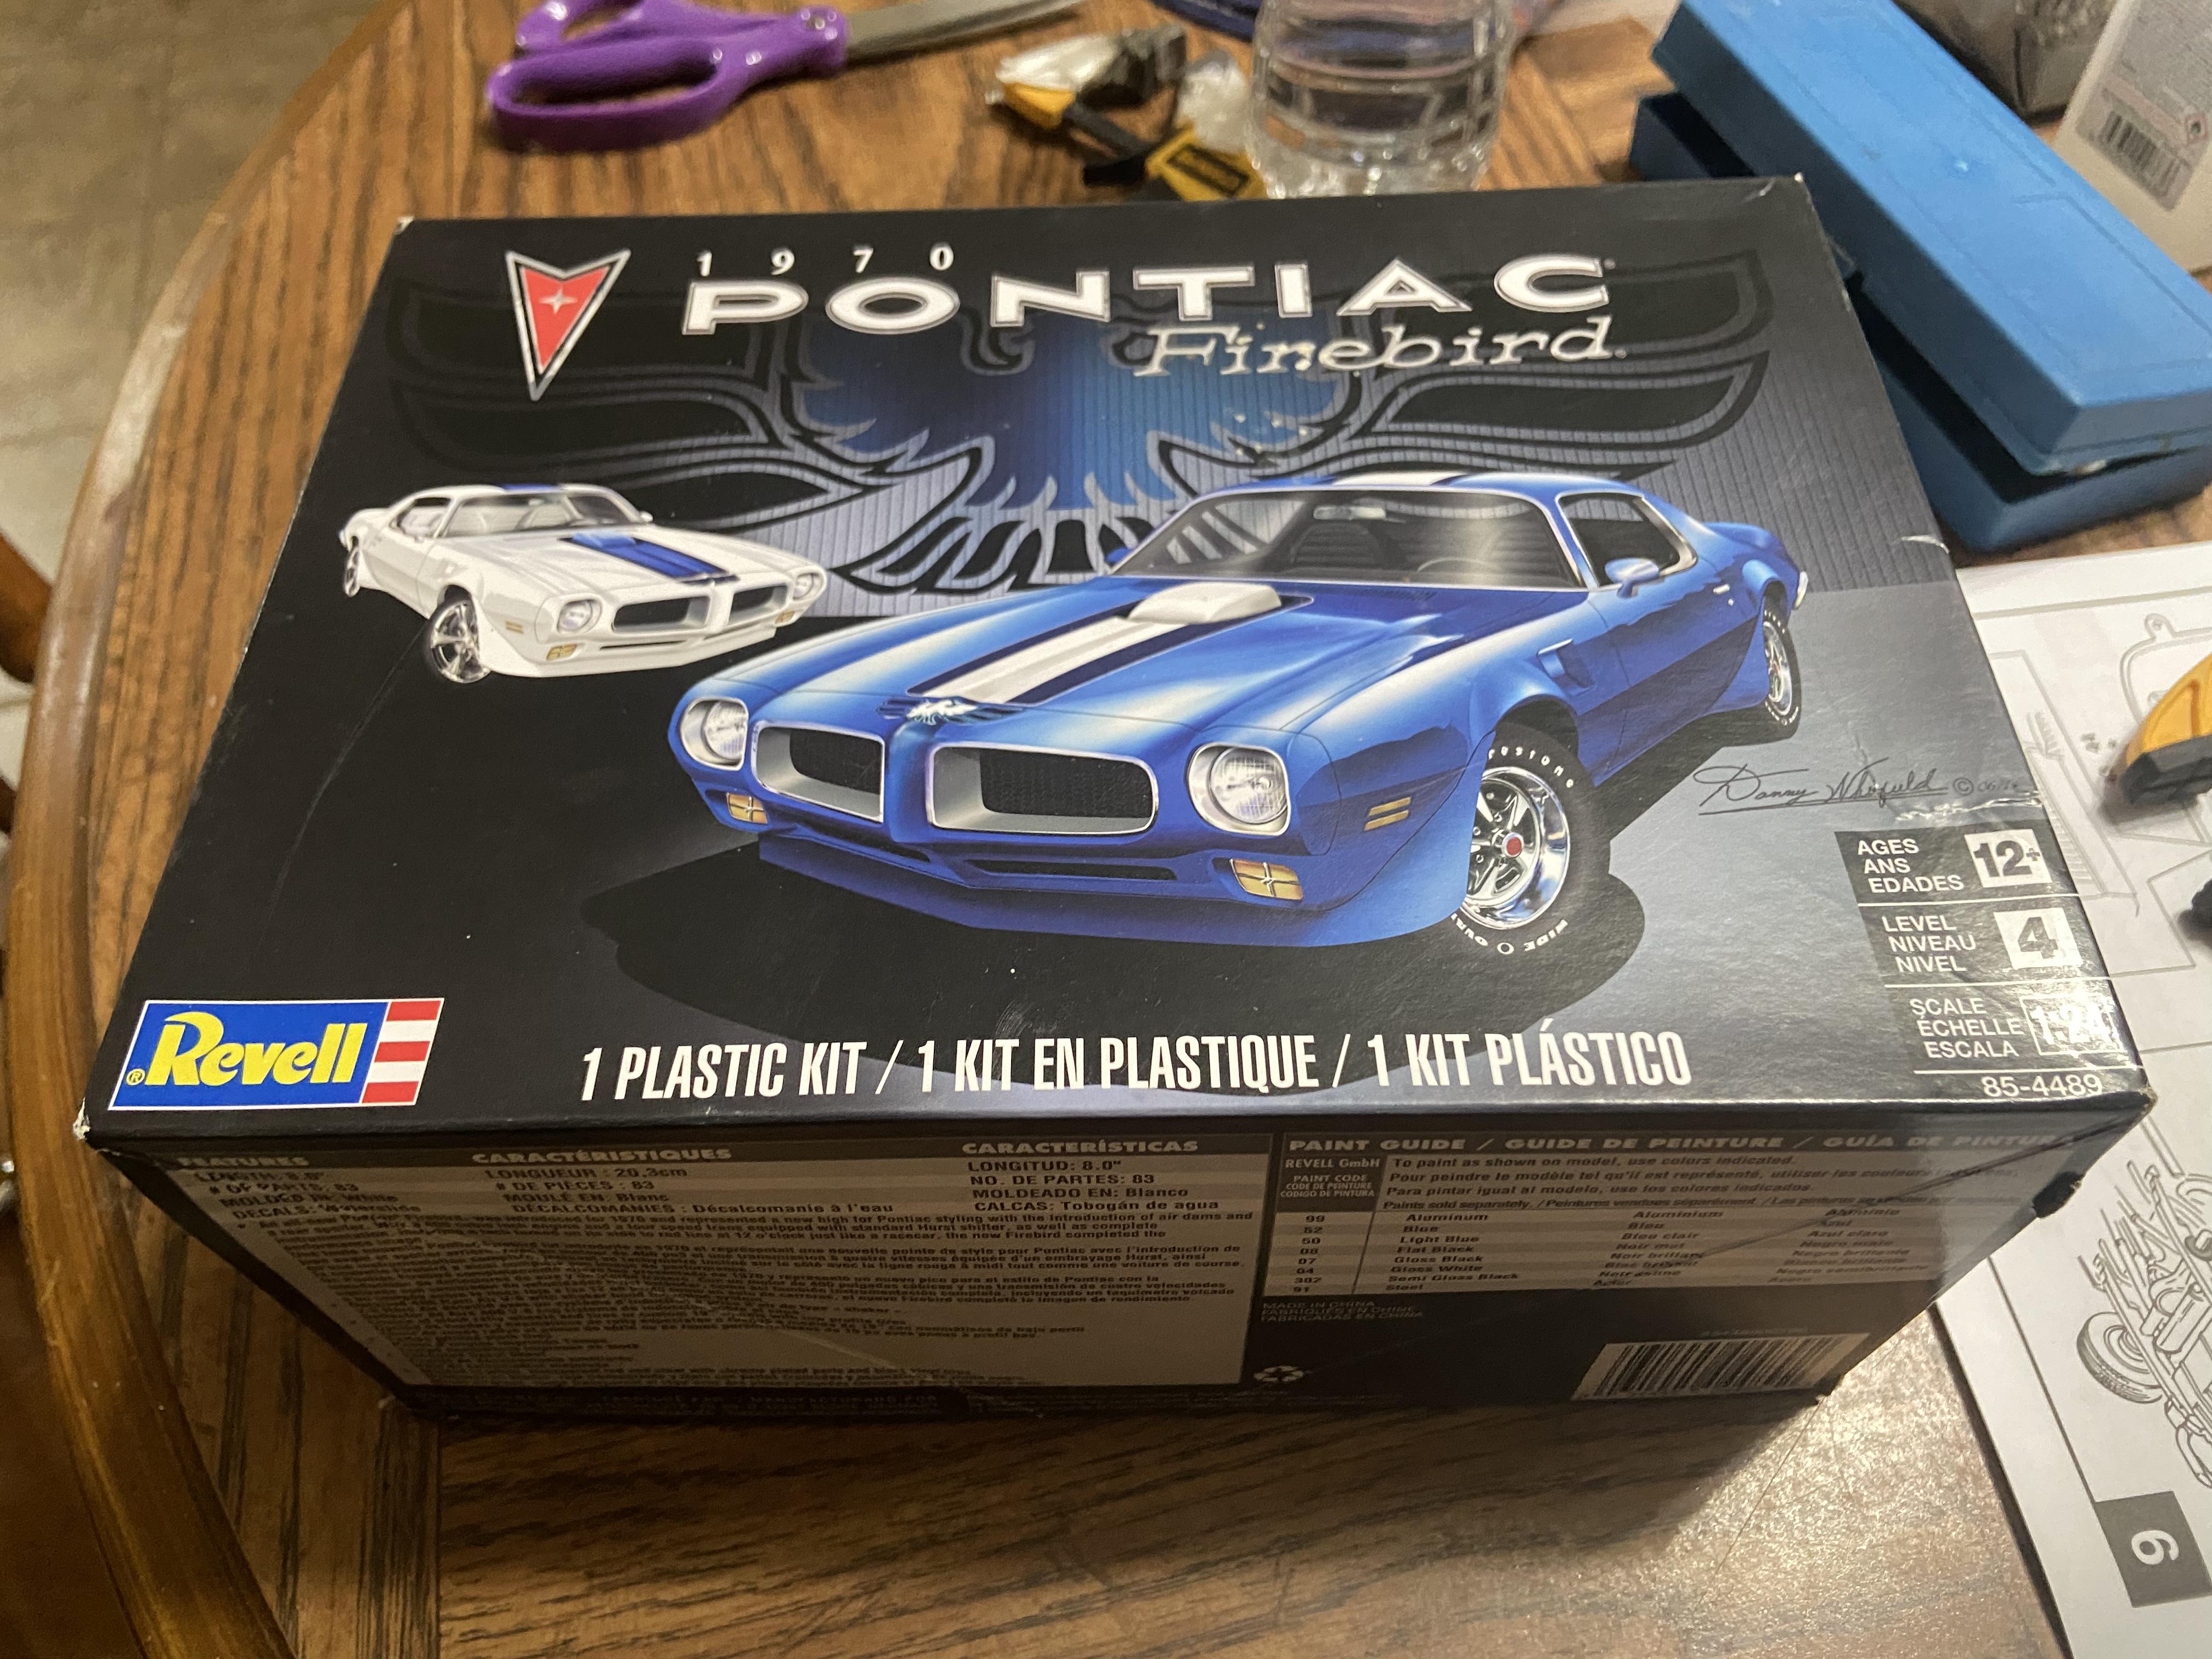
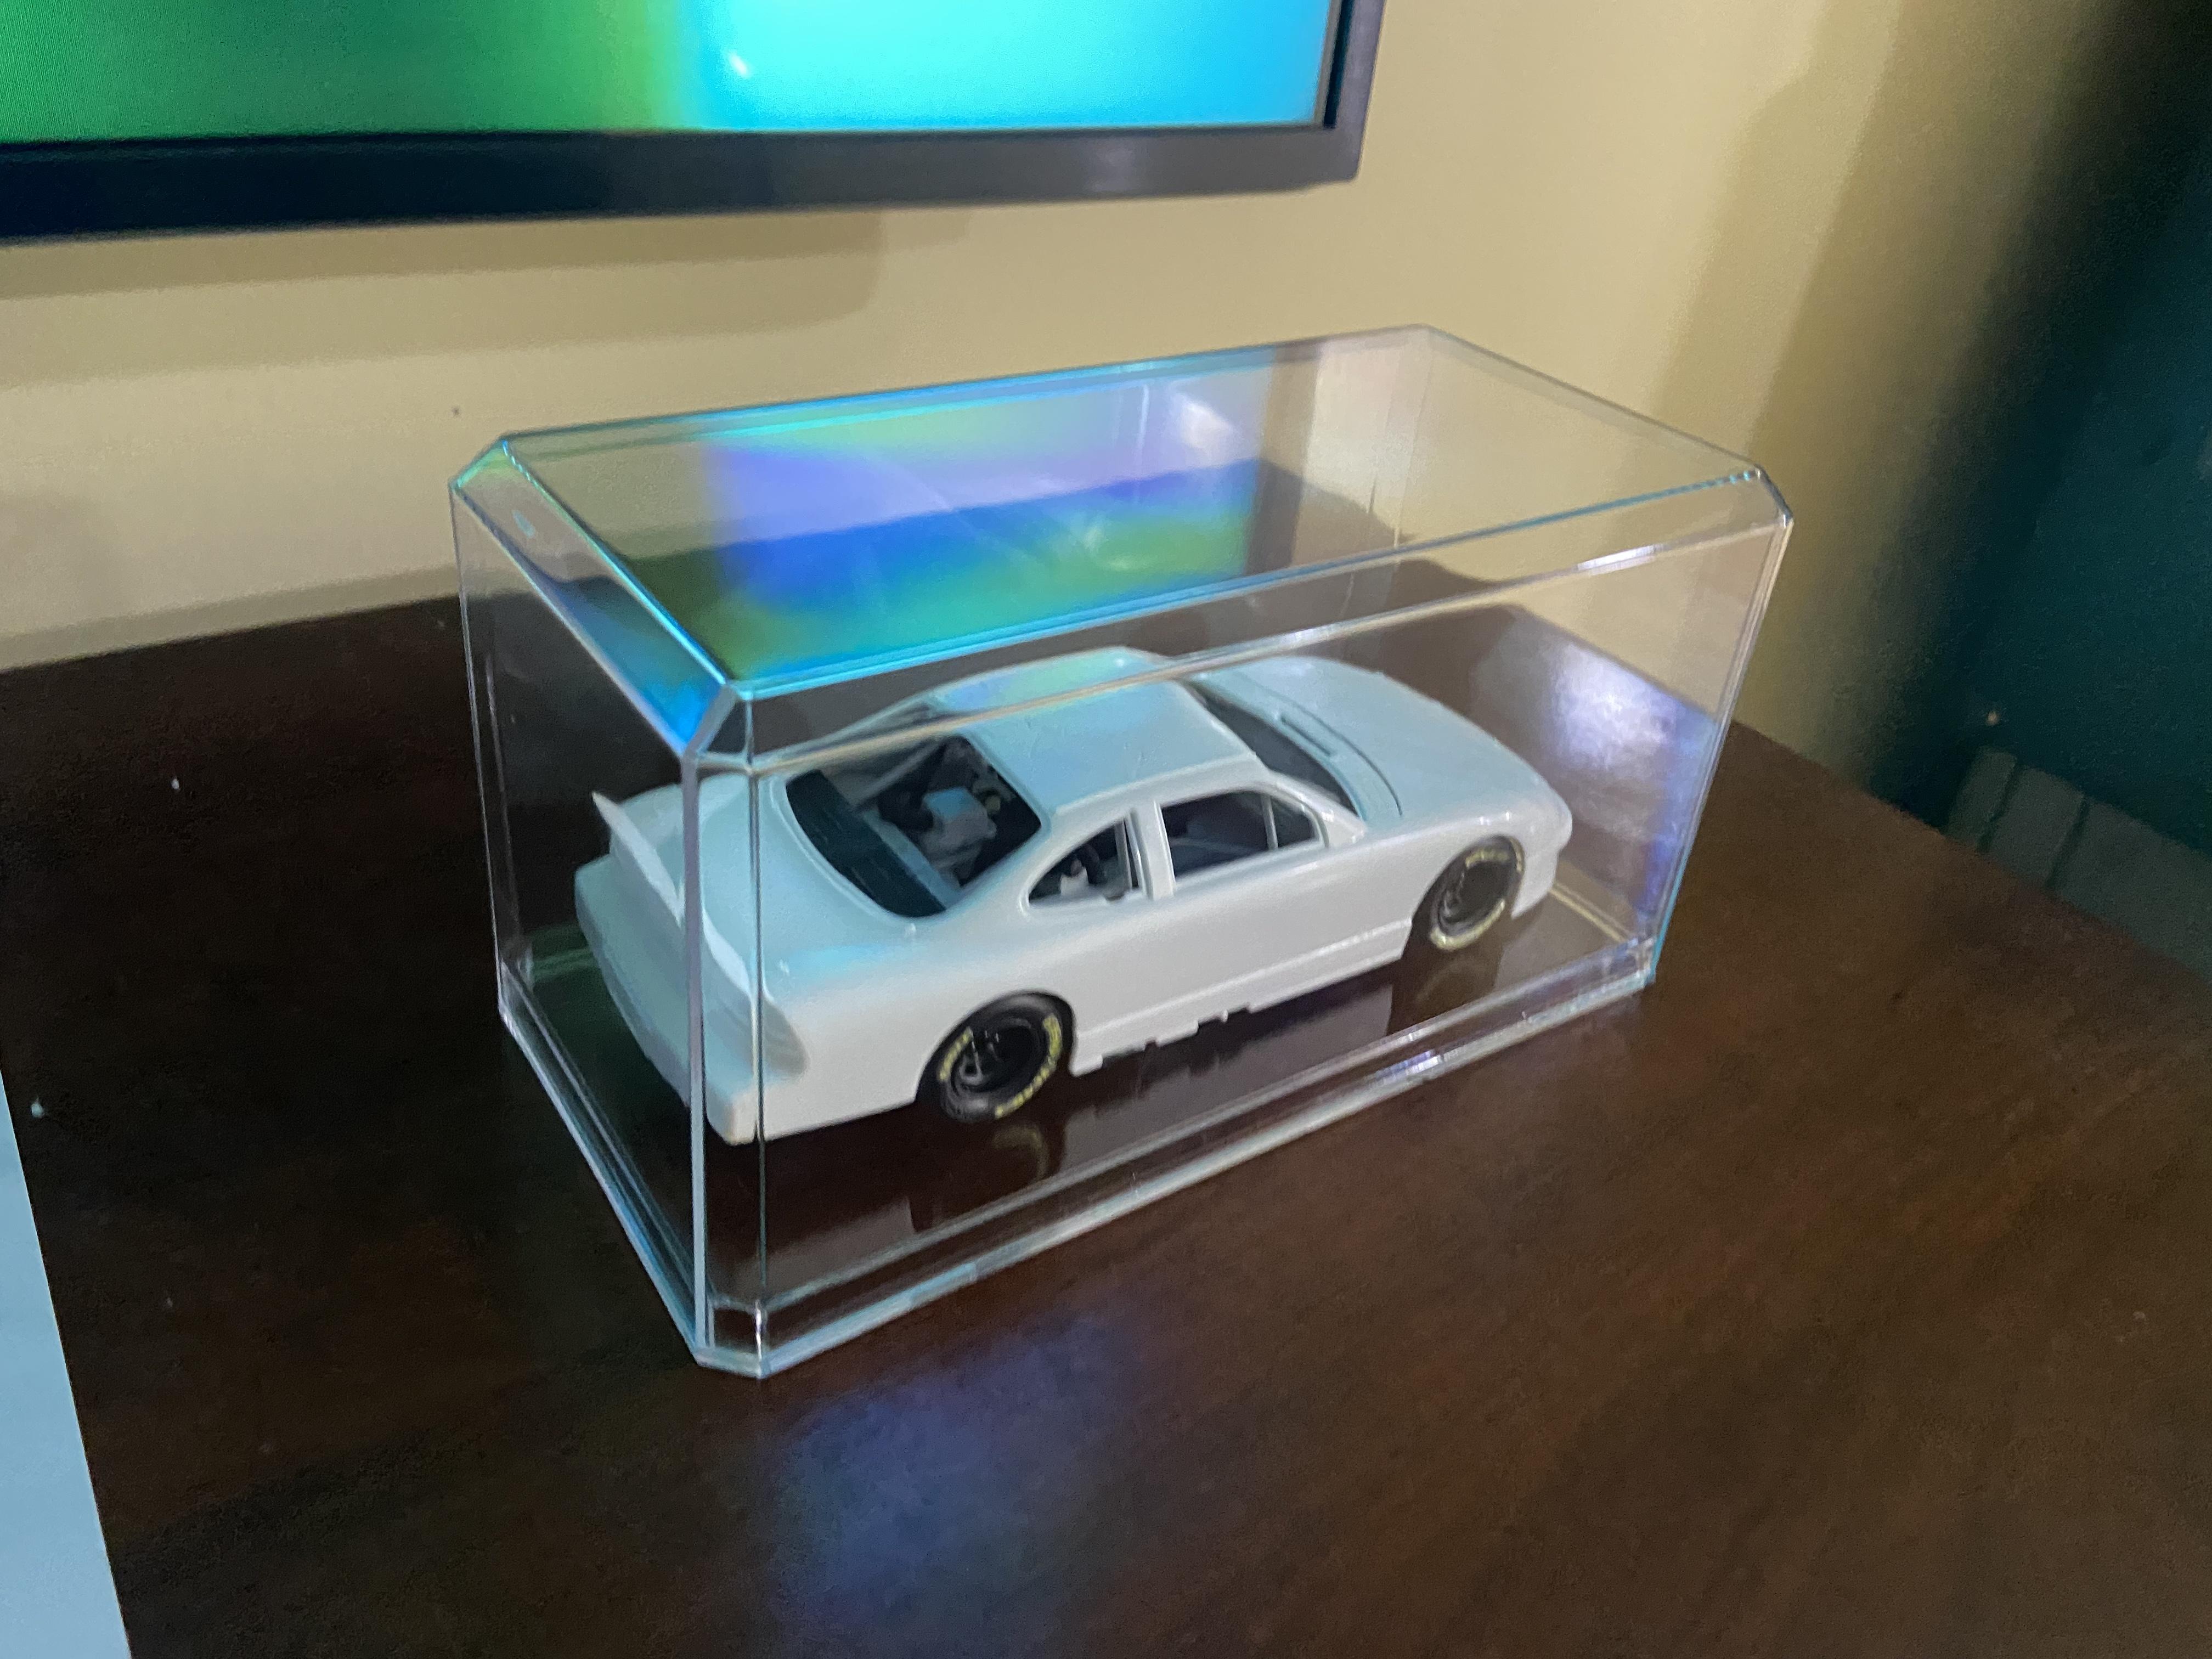
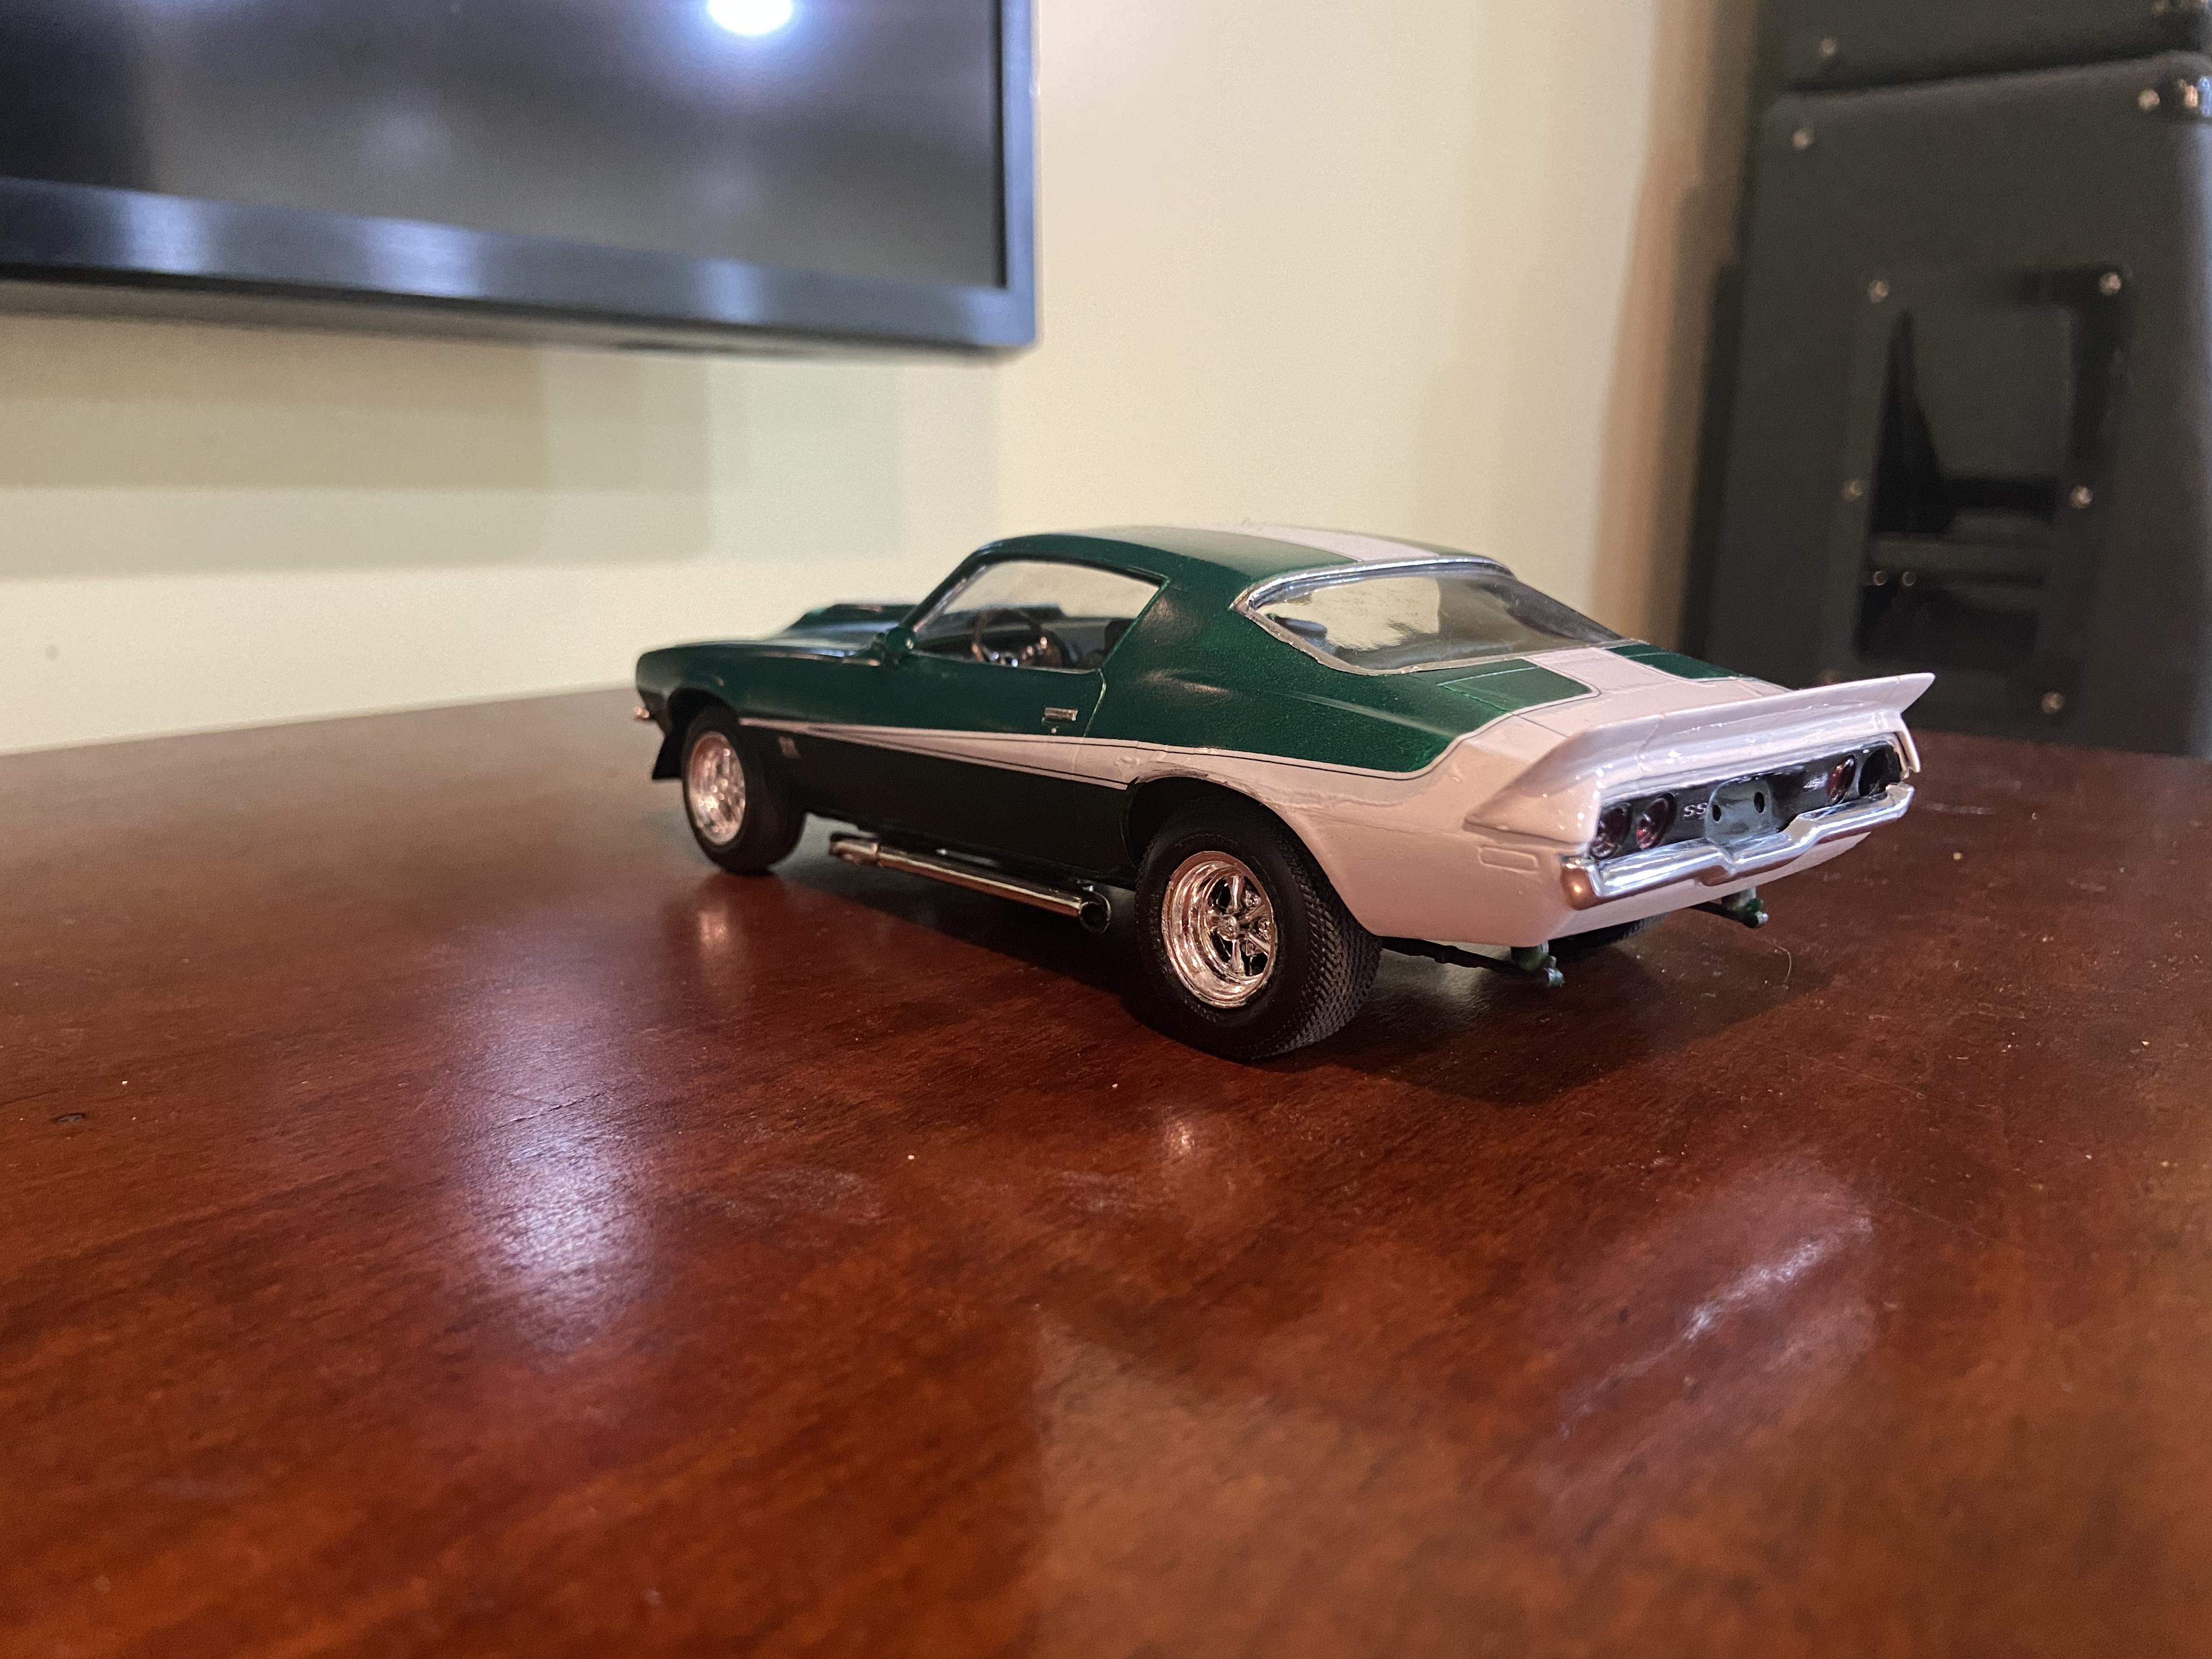
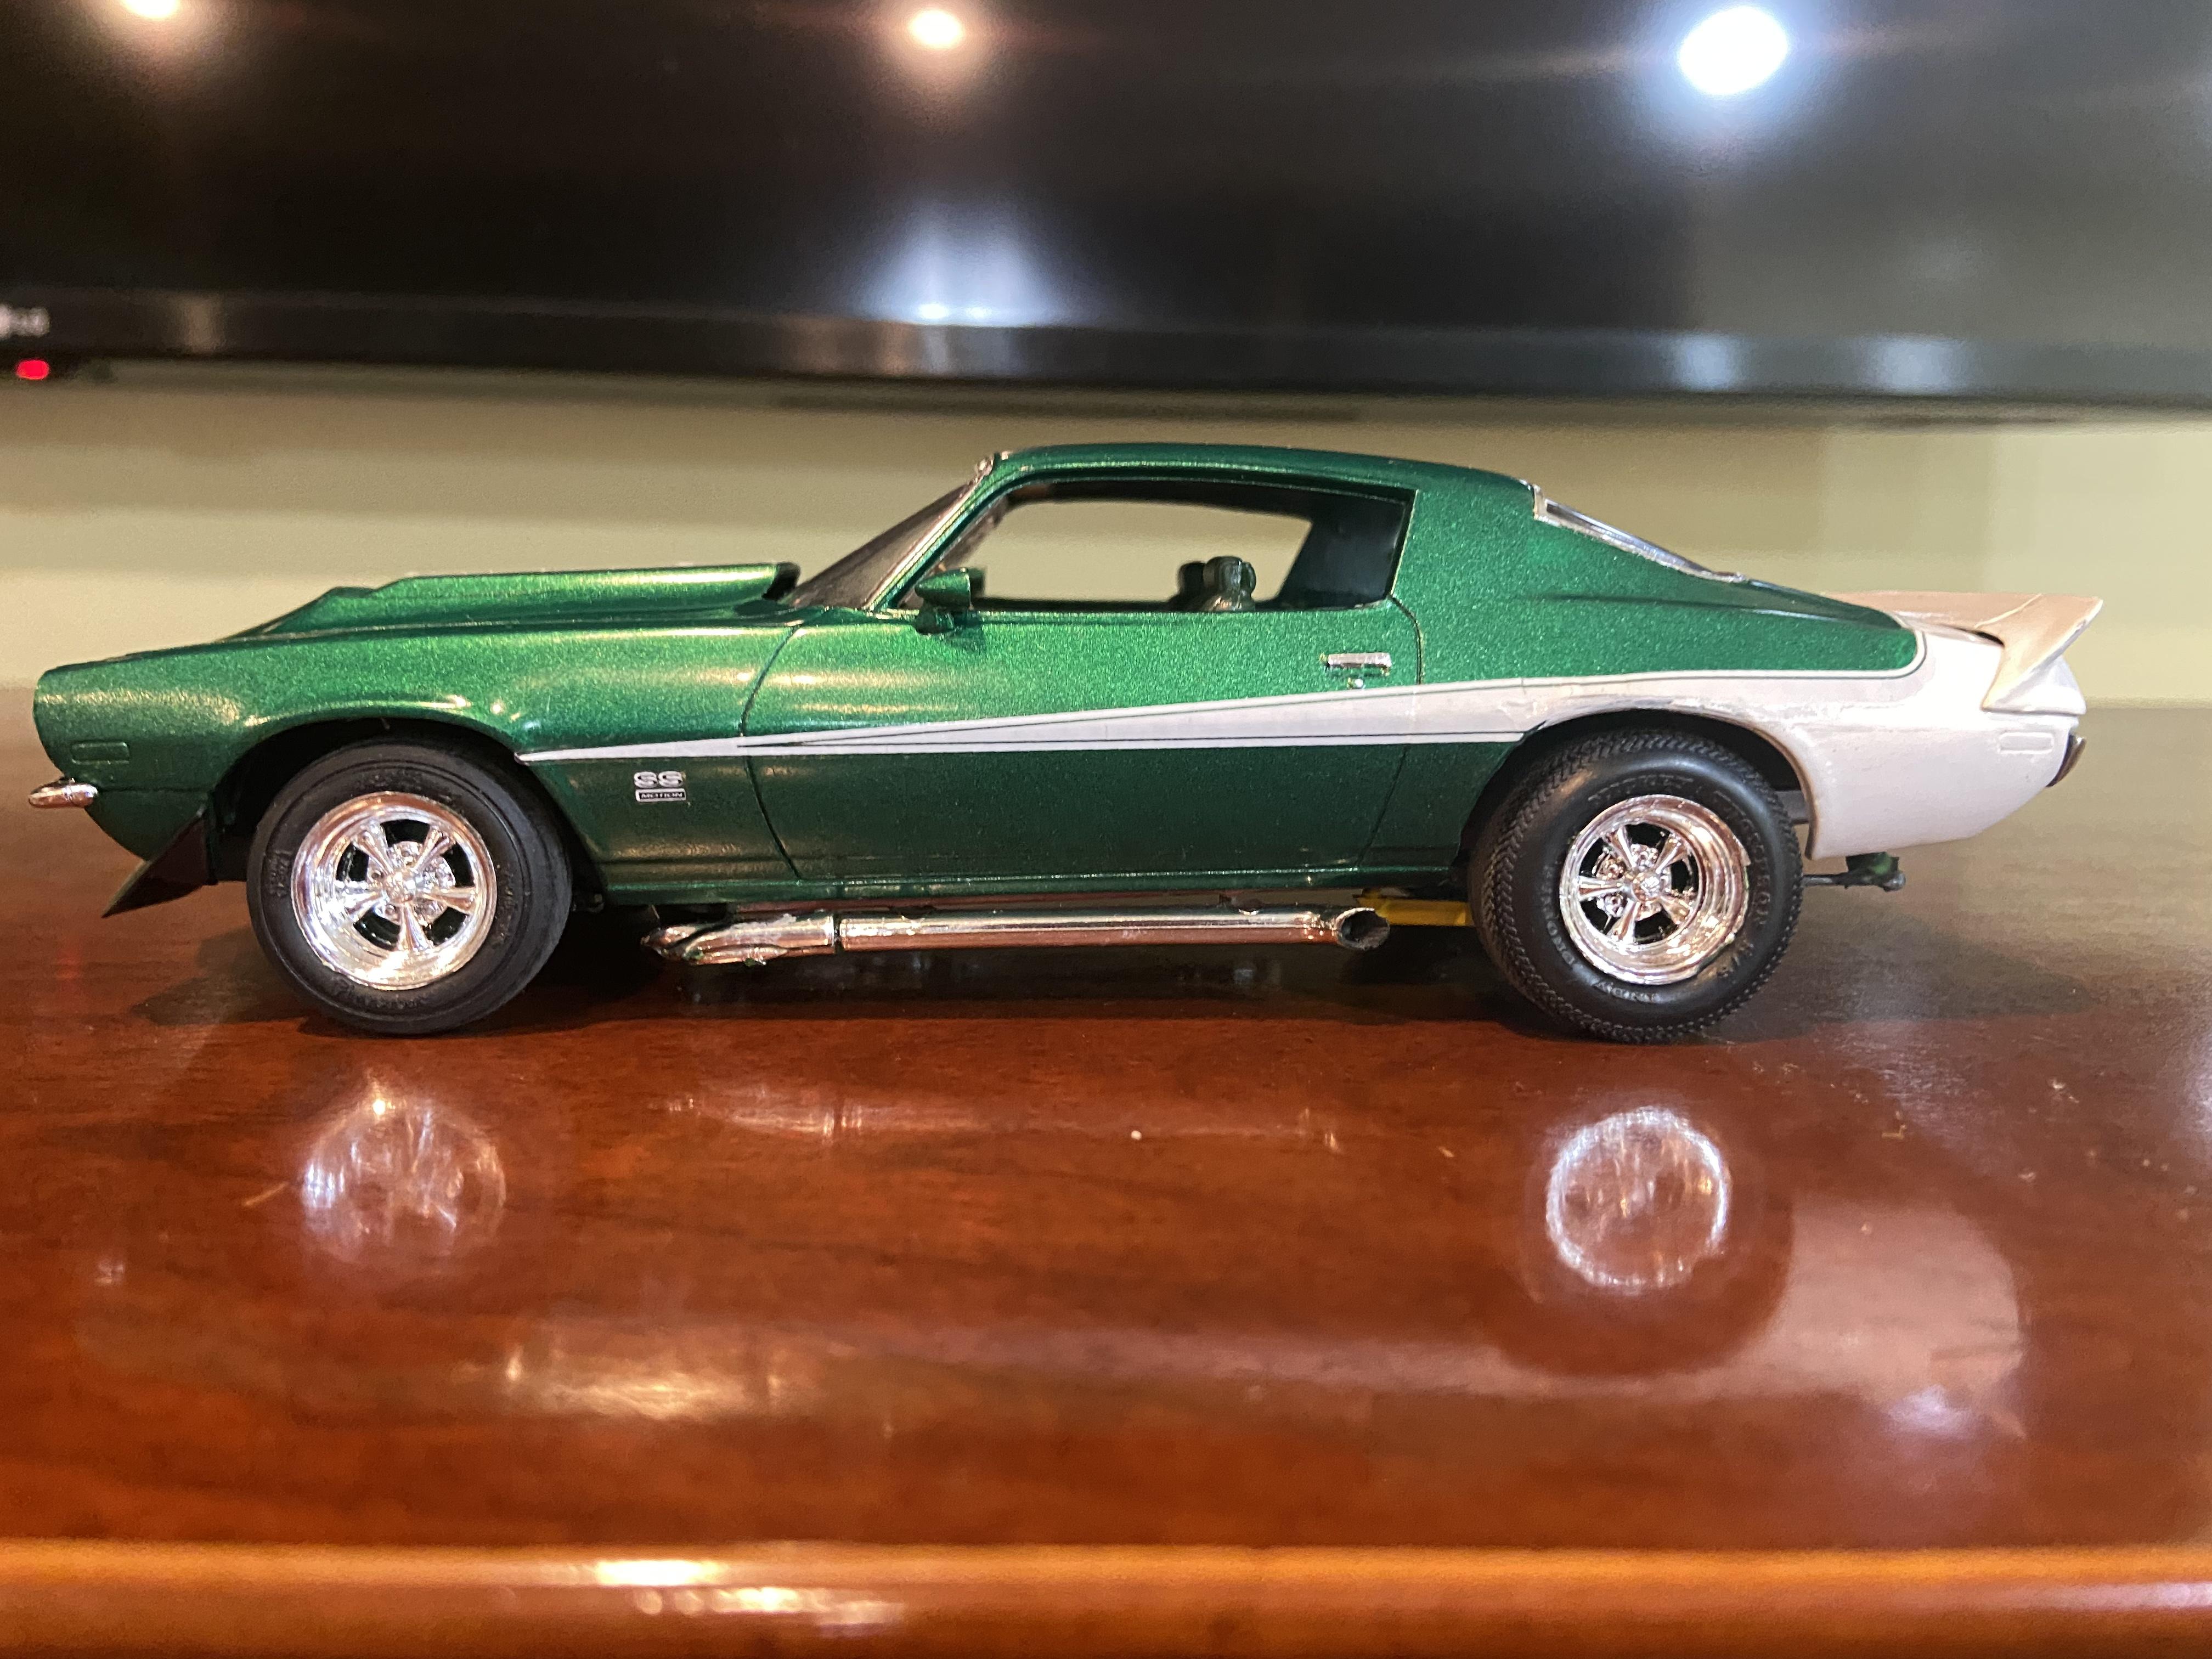
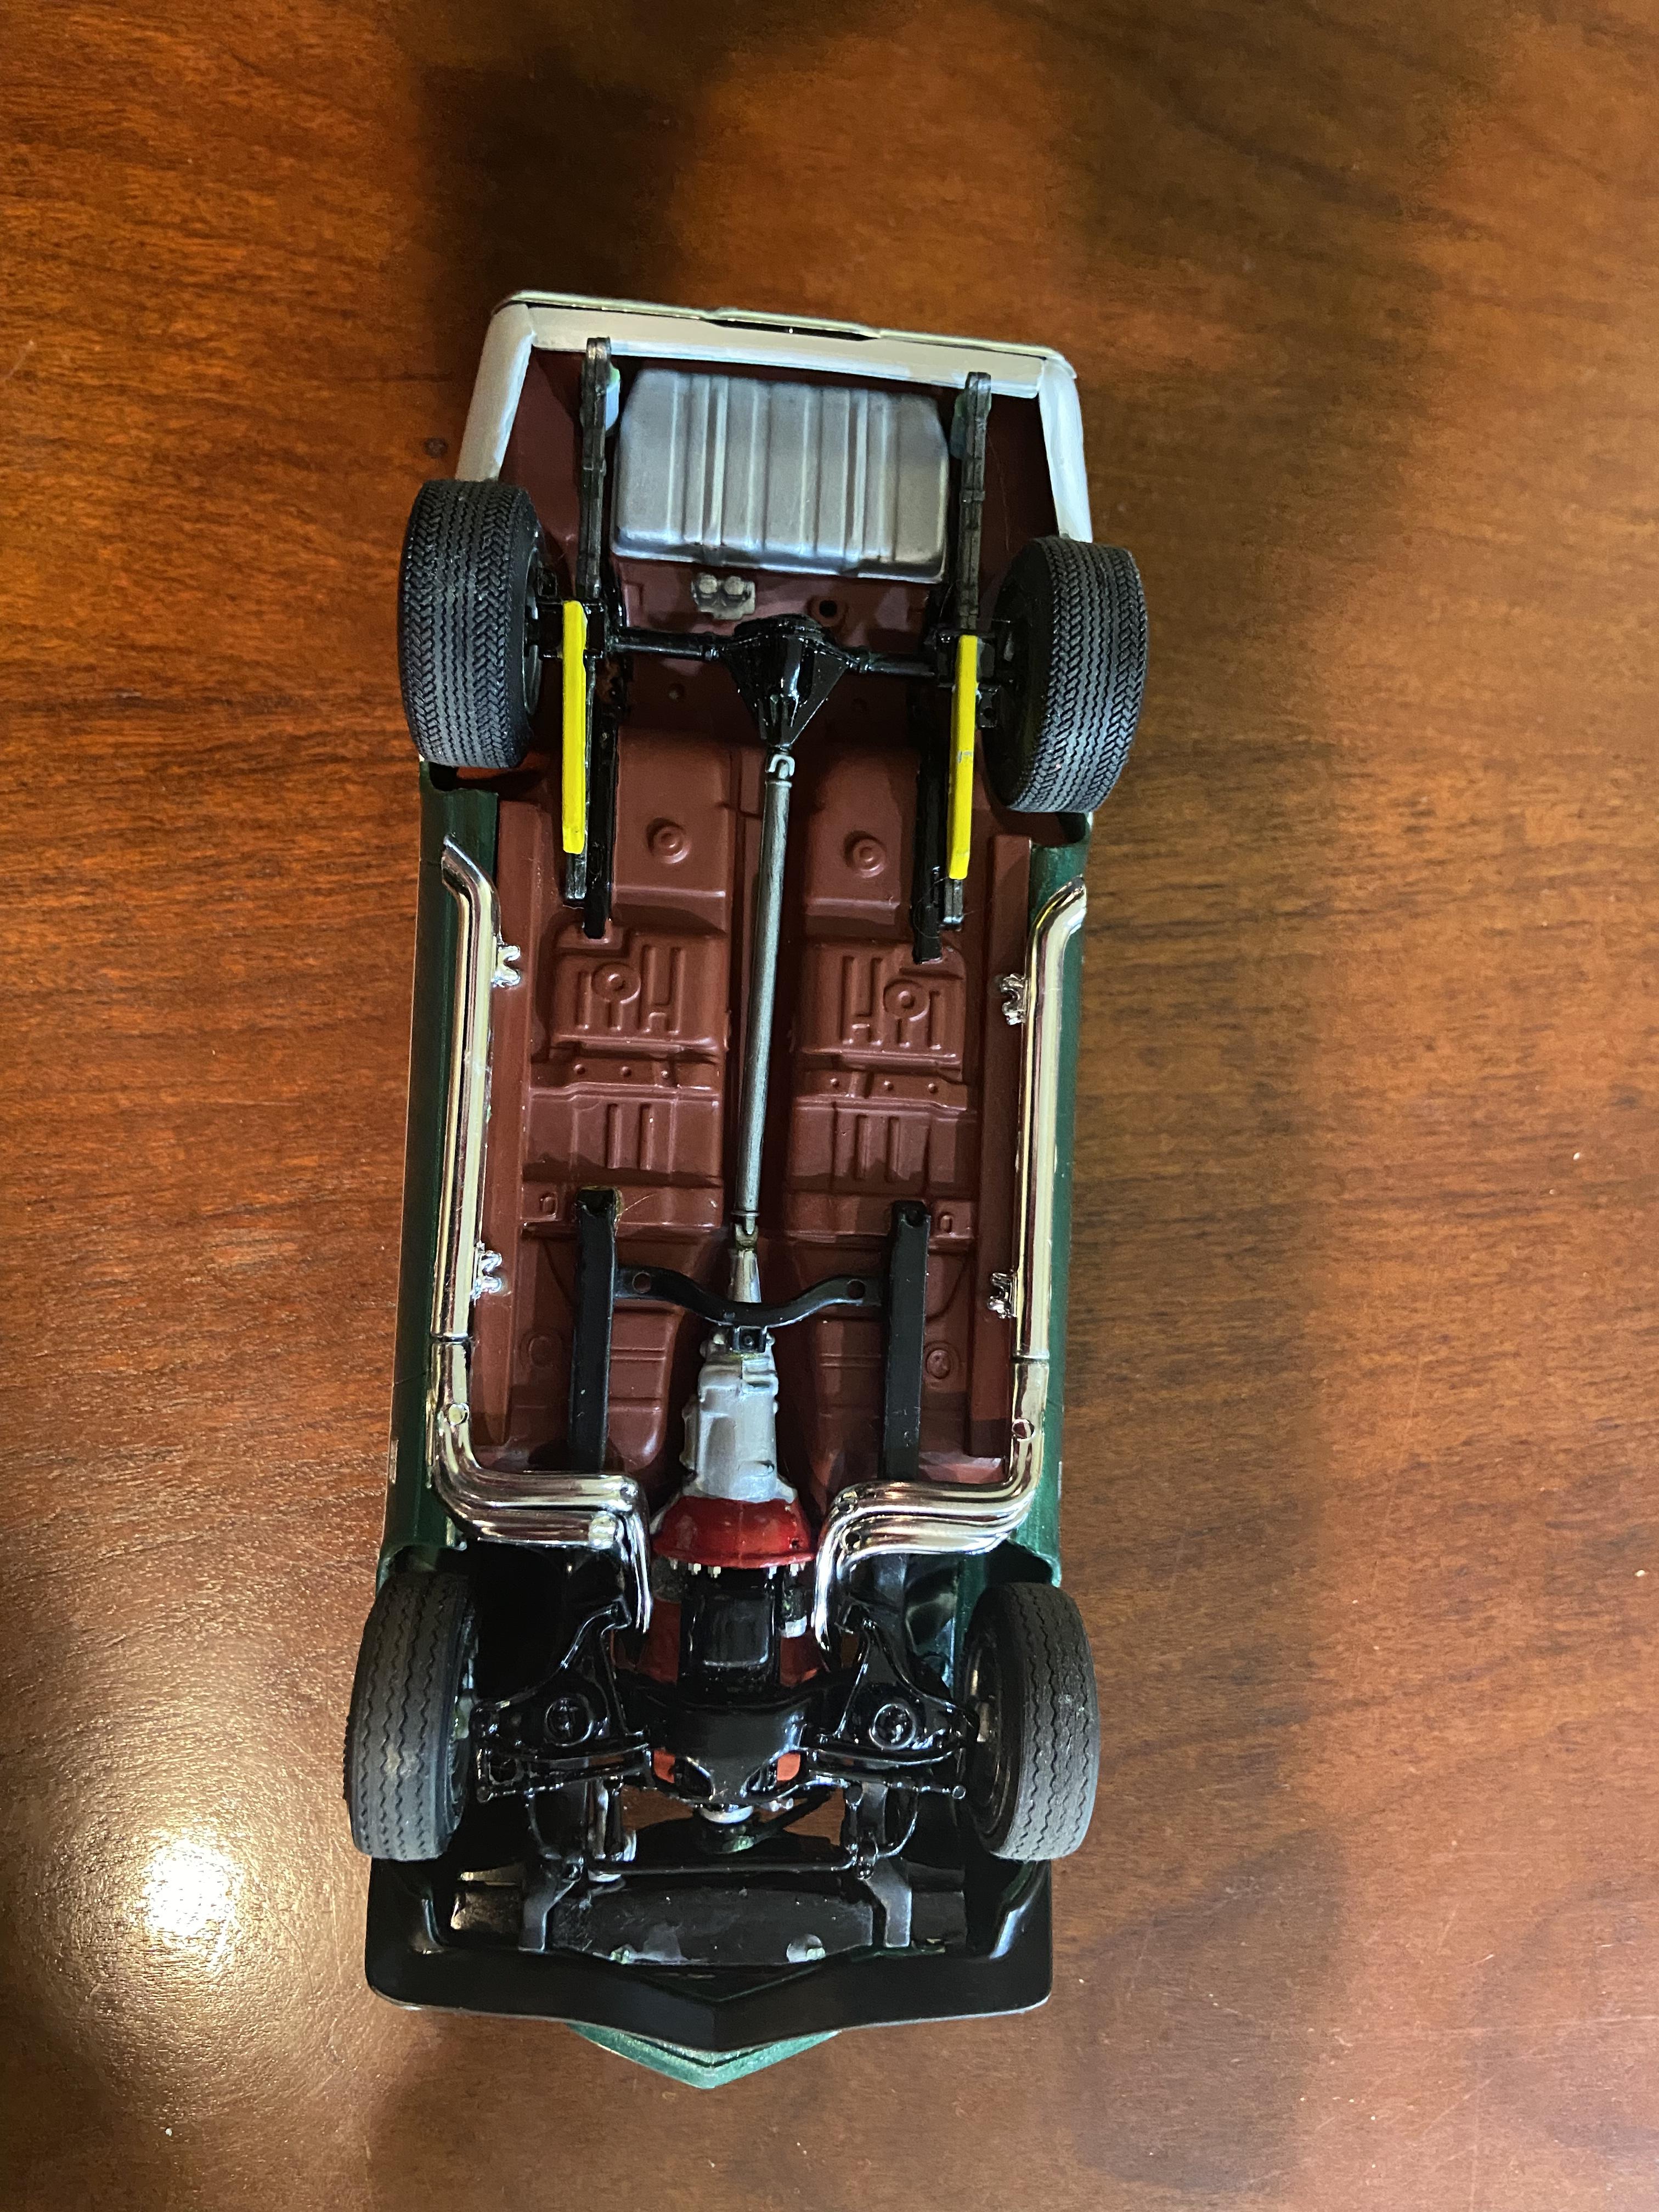
I want to get back to a 1/12 scale F1 car I started 3 years ago so I’ve been getting back in the groove with some simpler 1/24 scale kits. This is a Revell Trans Am that I picked up a few months ago. Hard to find the time with work and family.
-
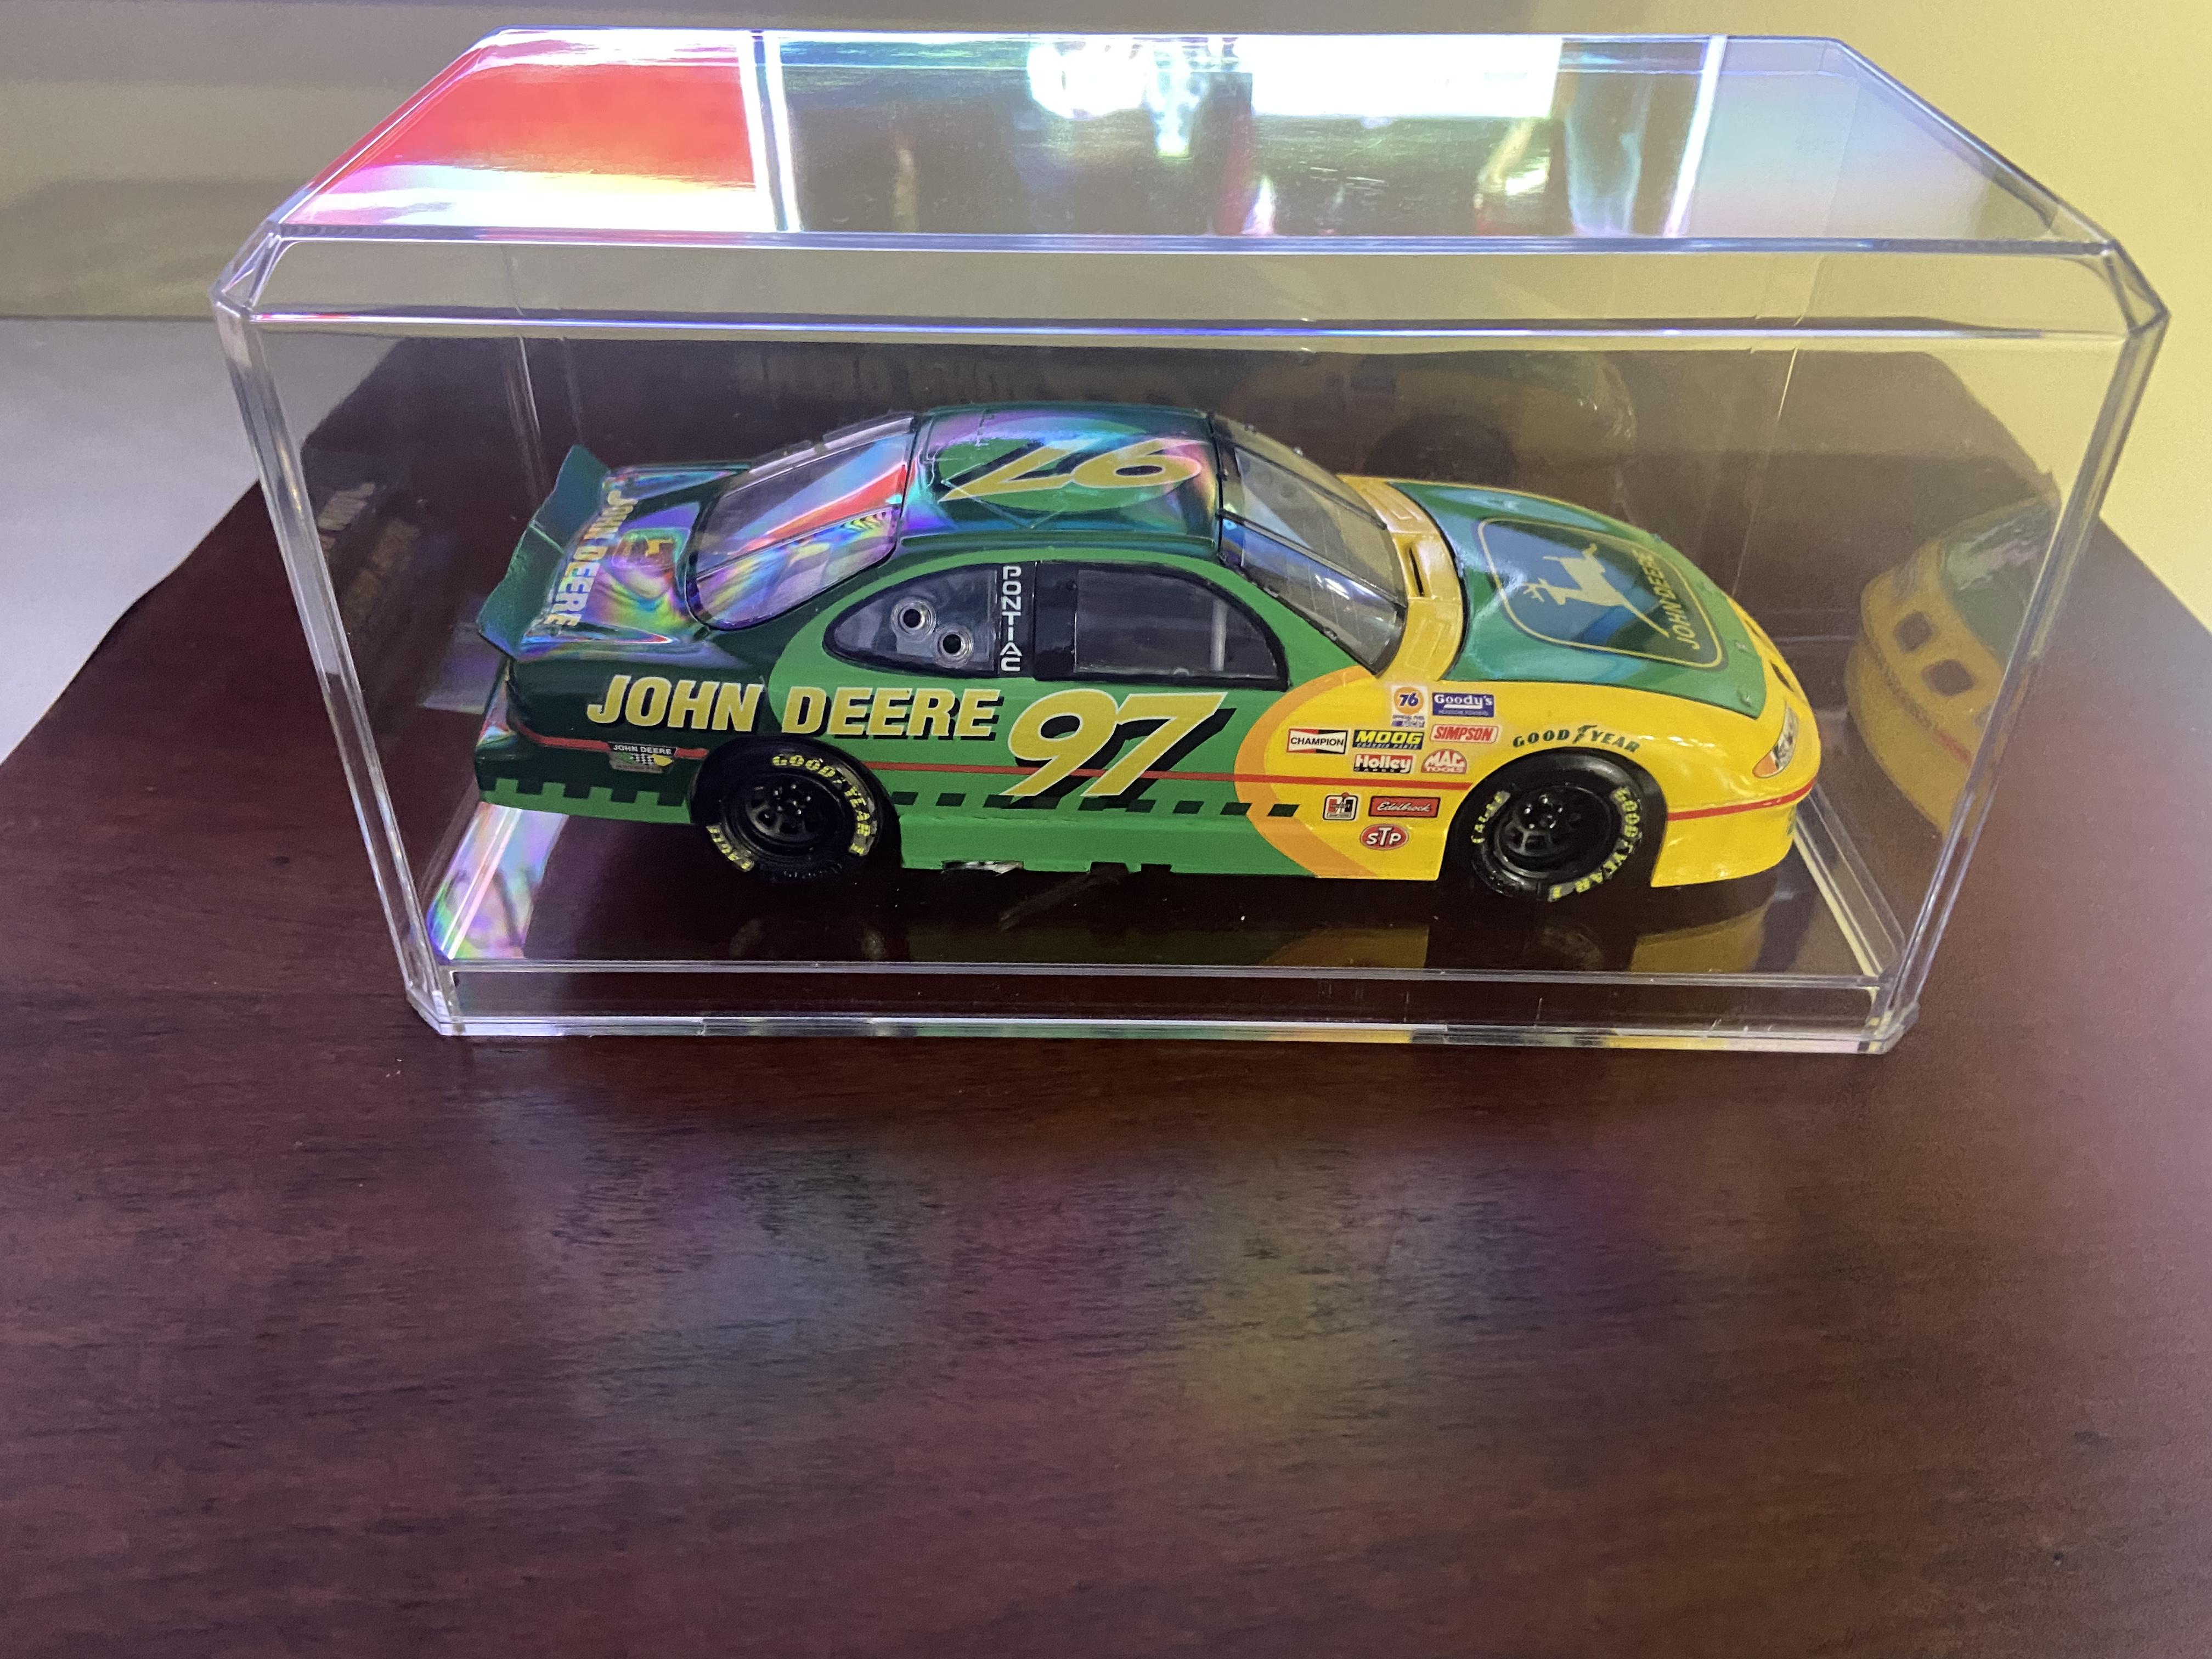
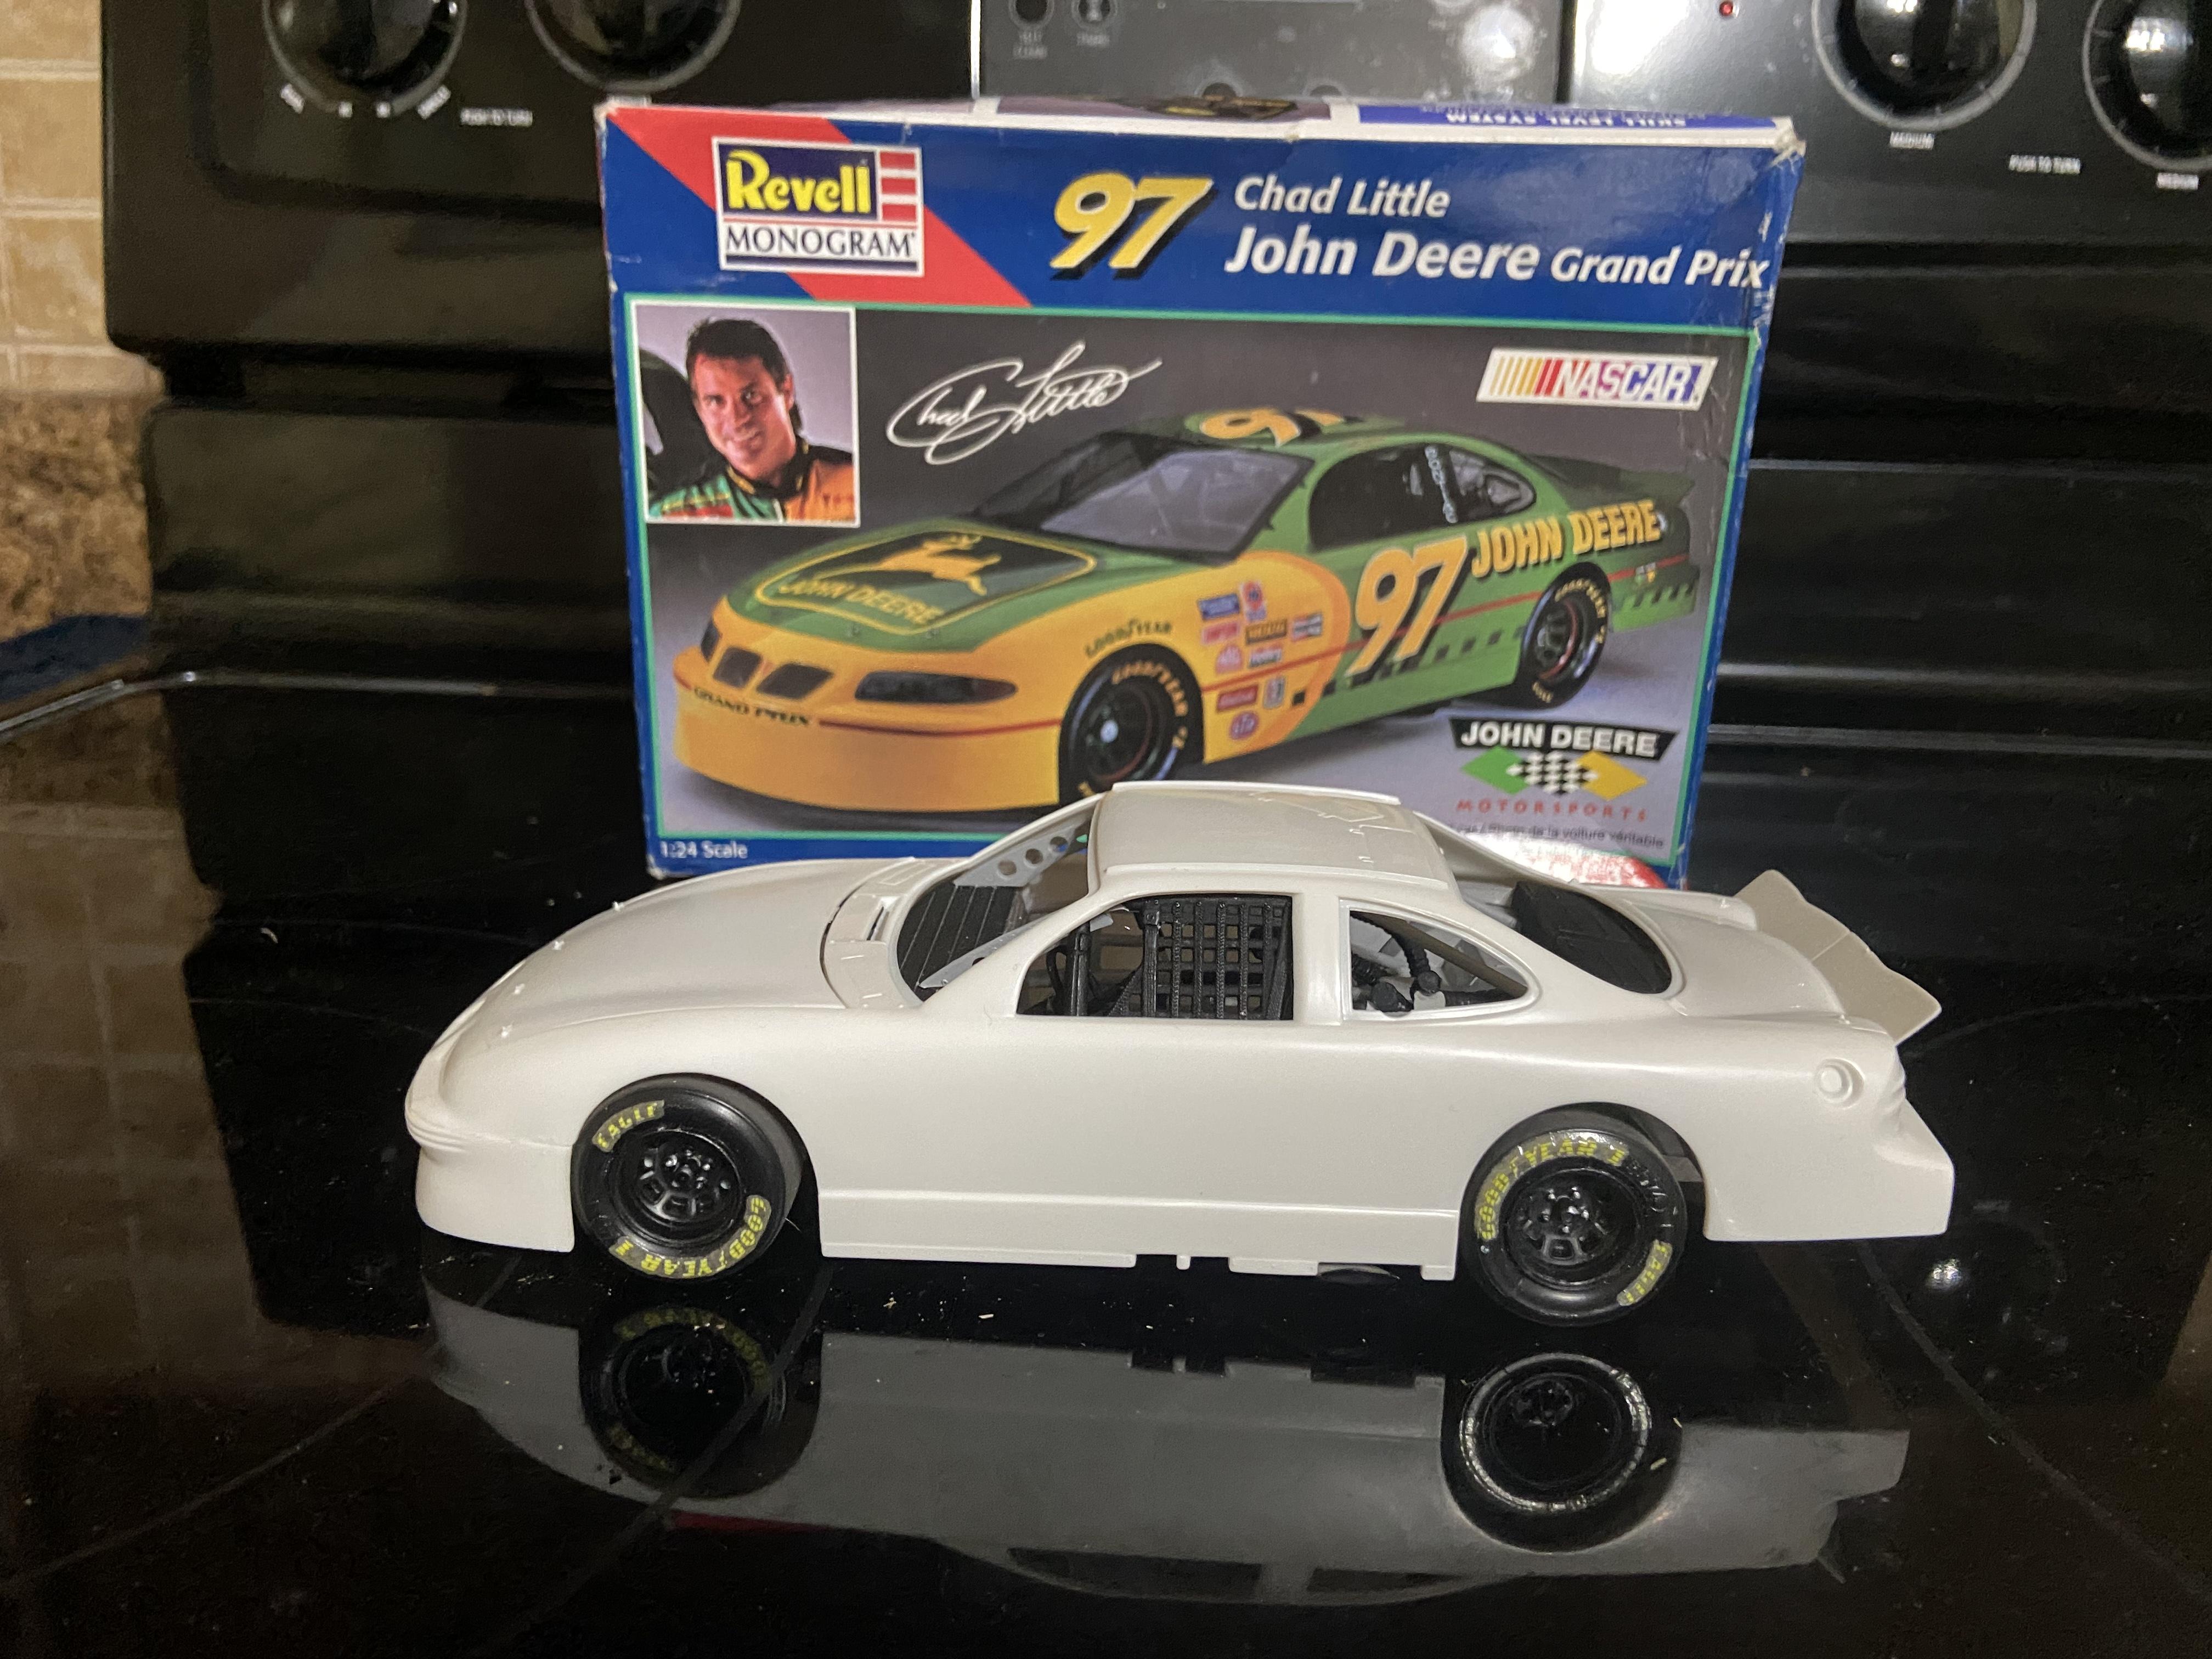
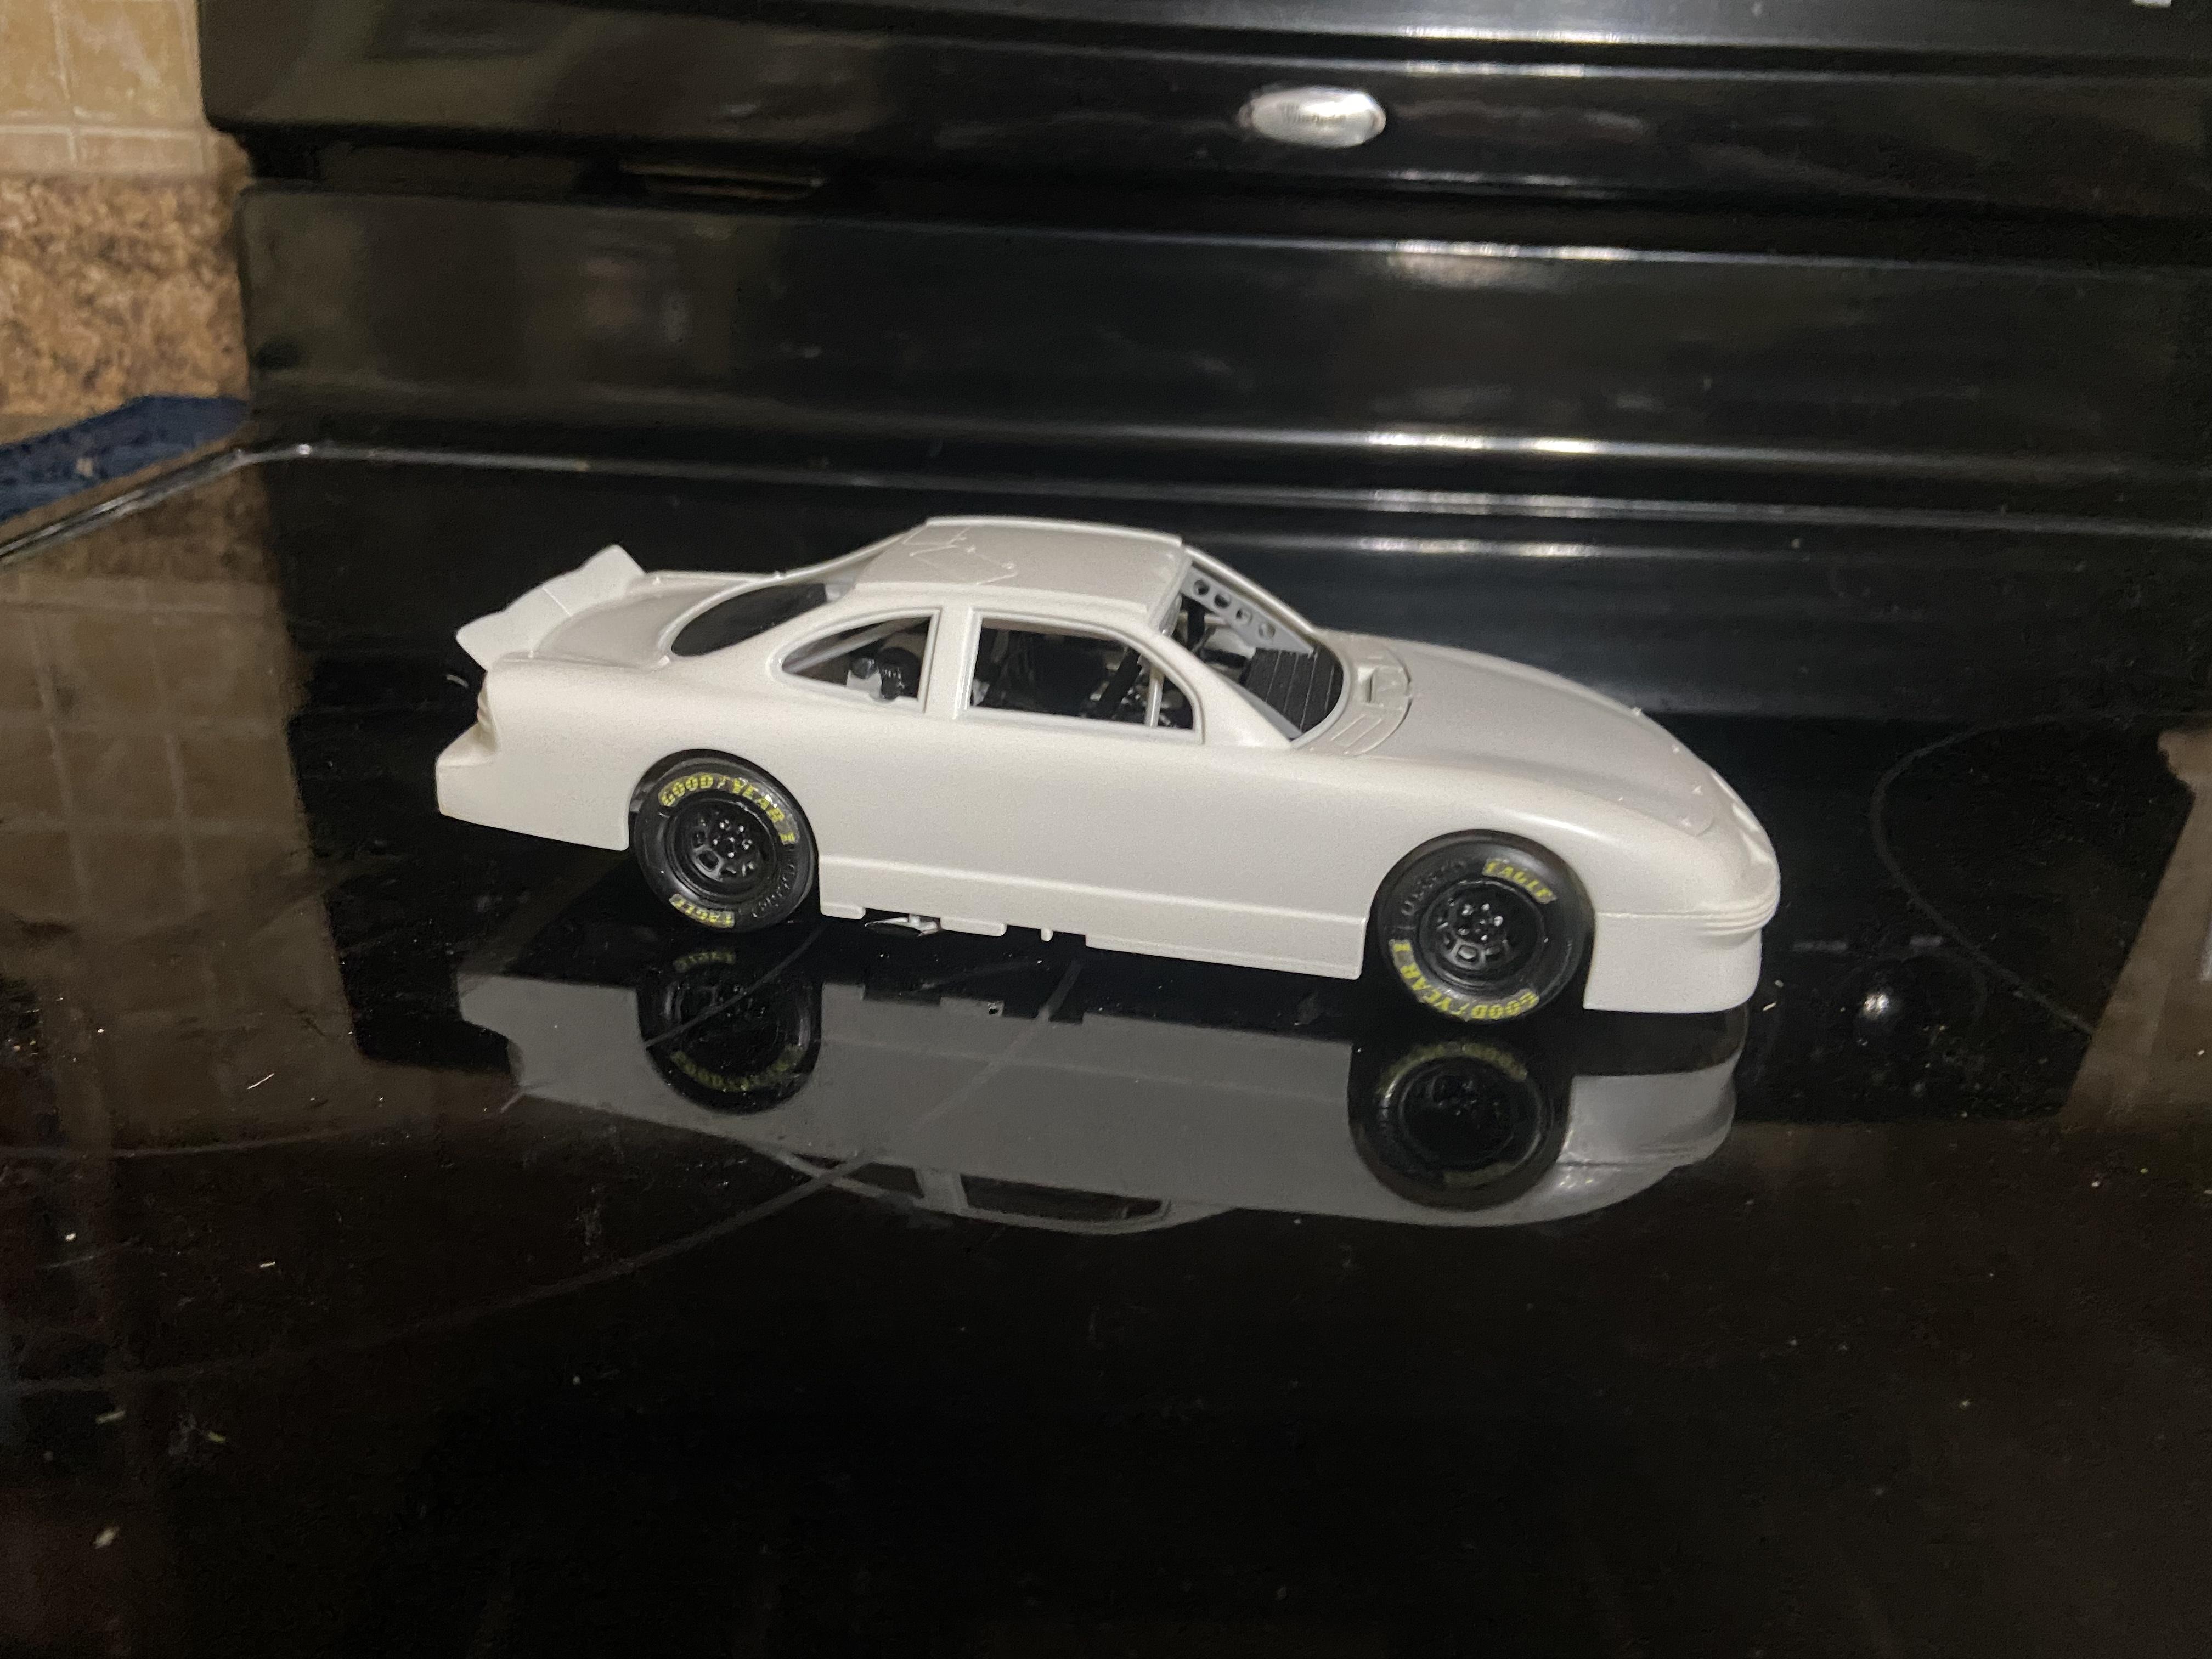
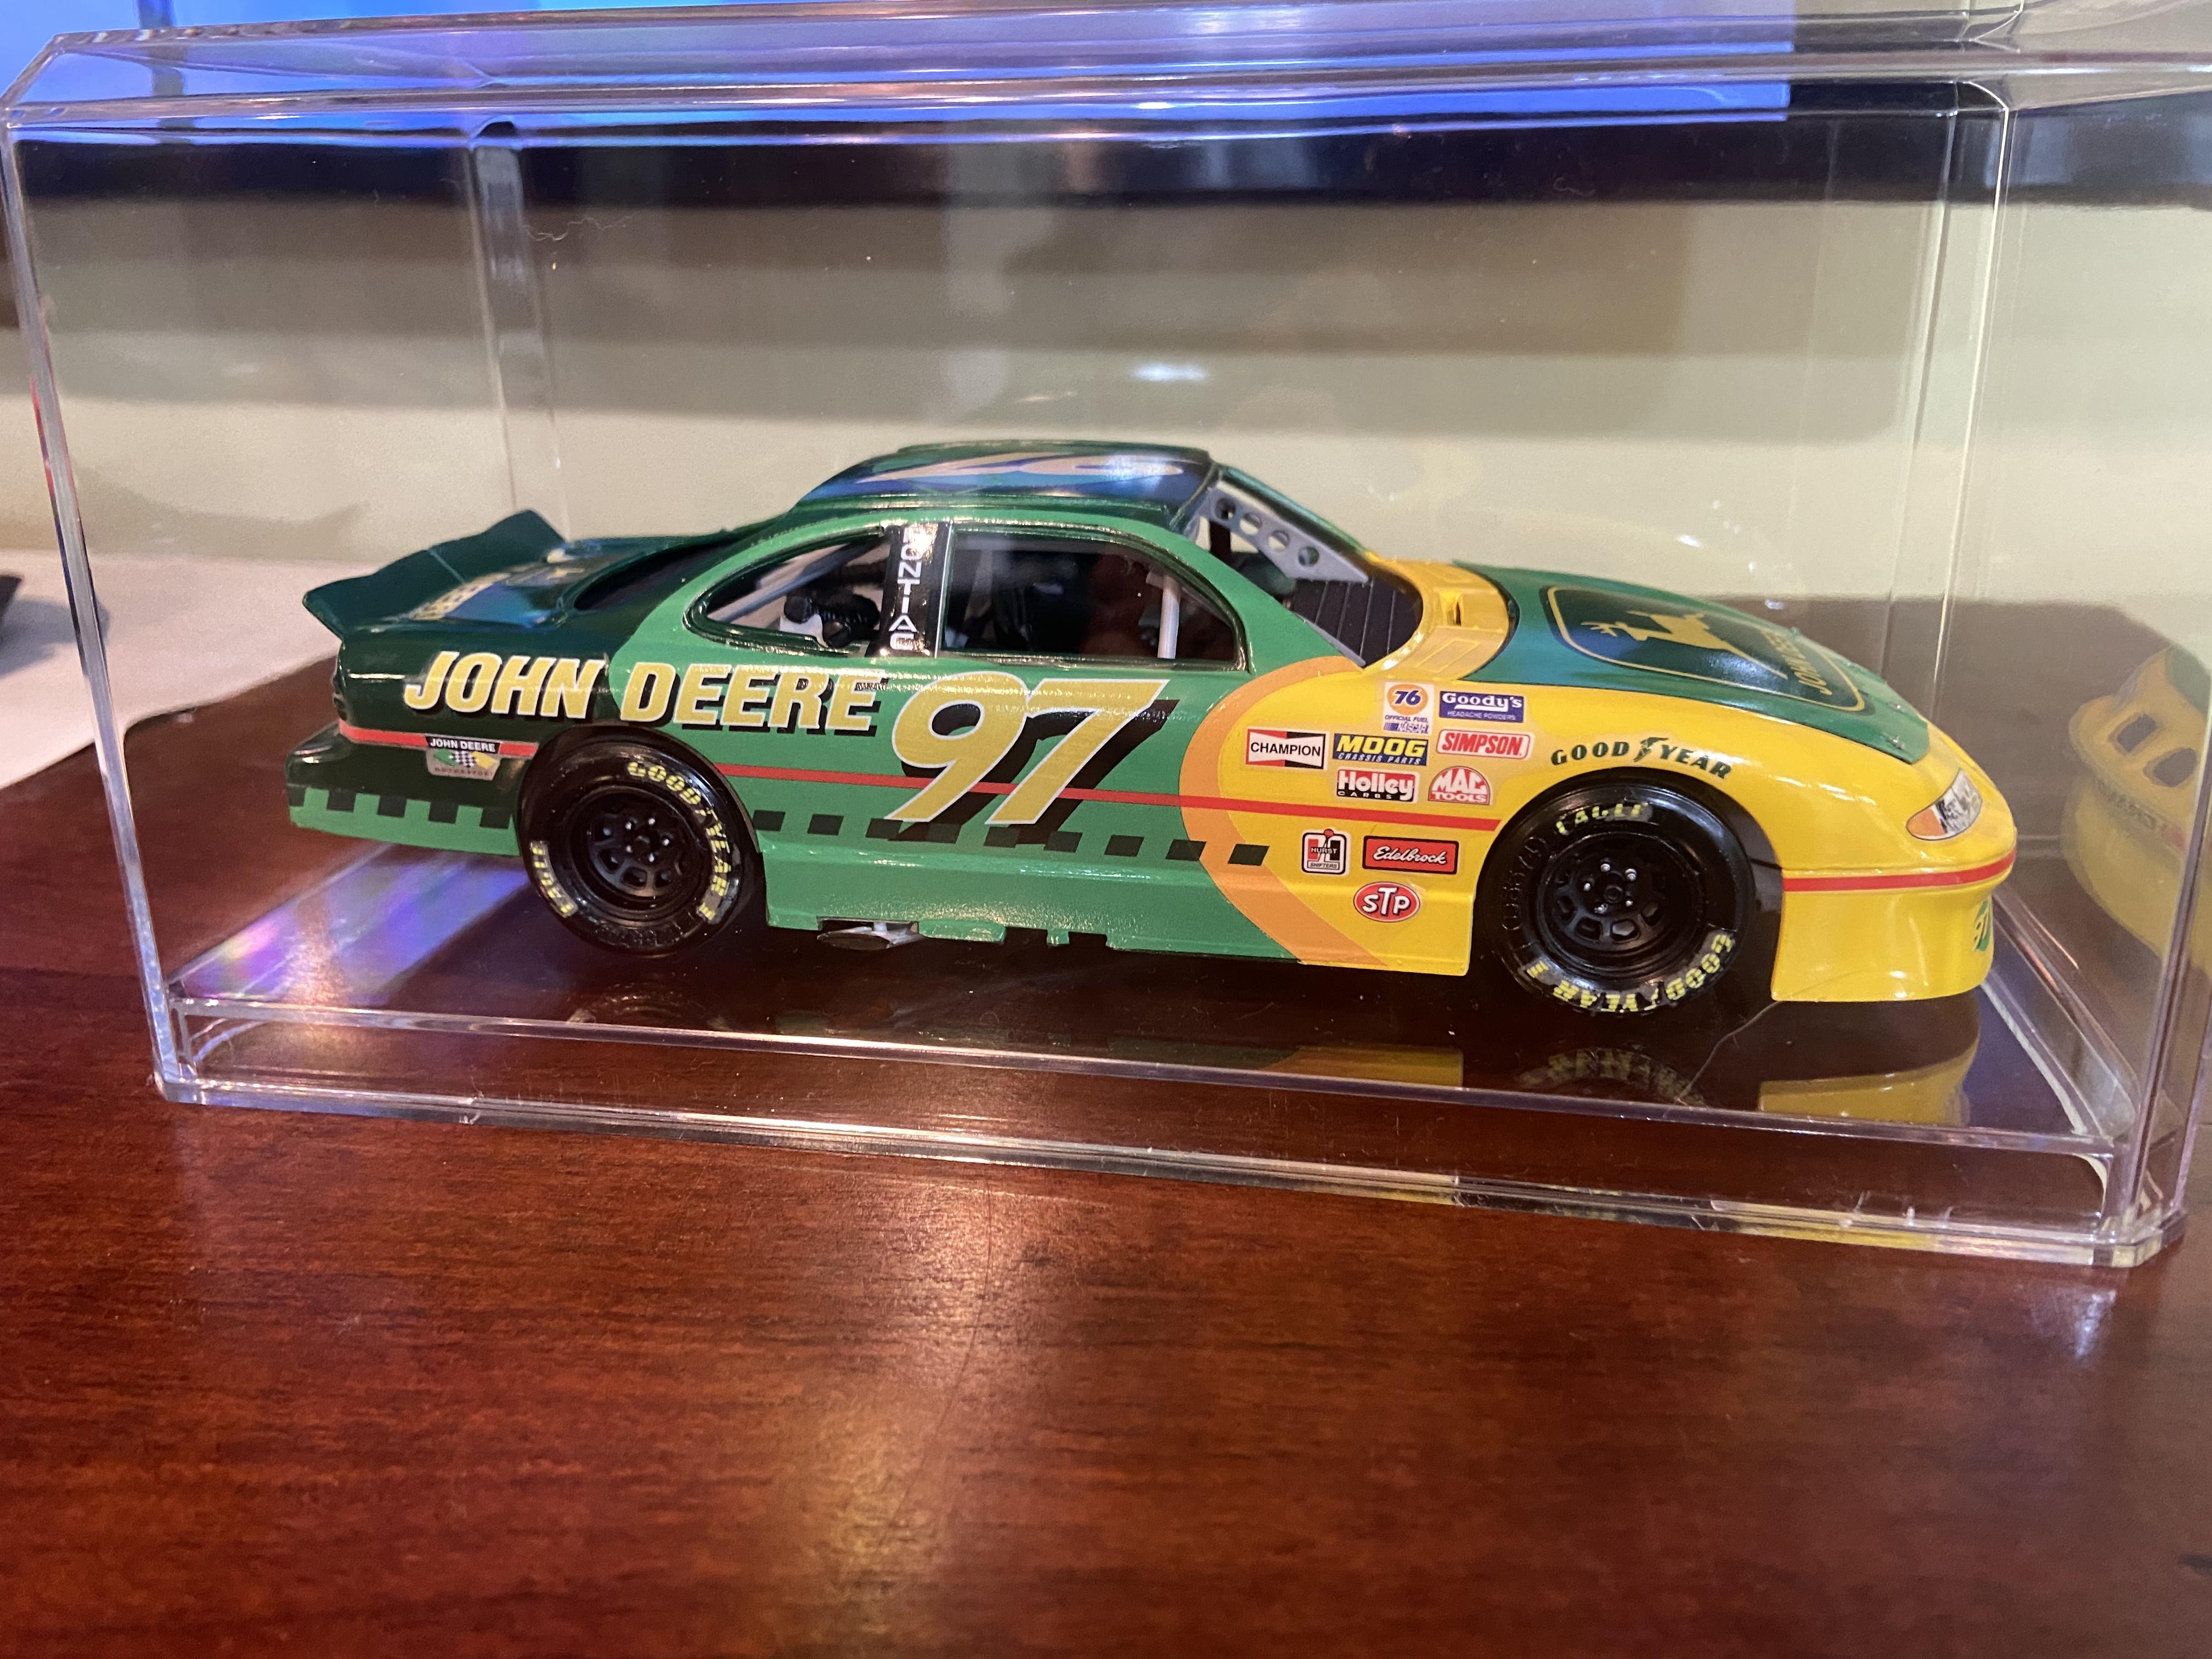
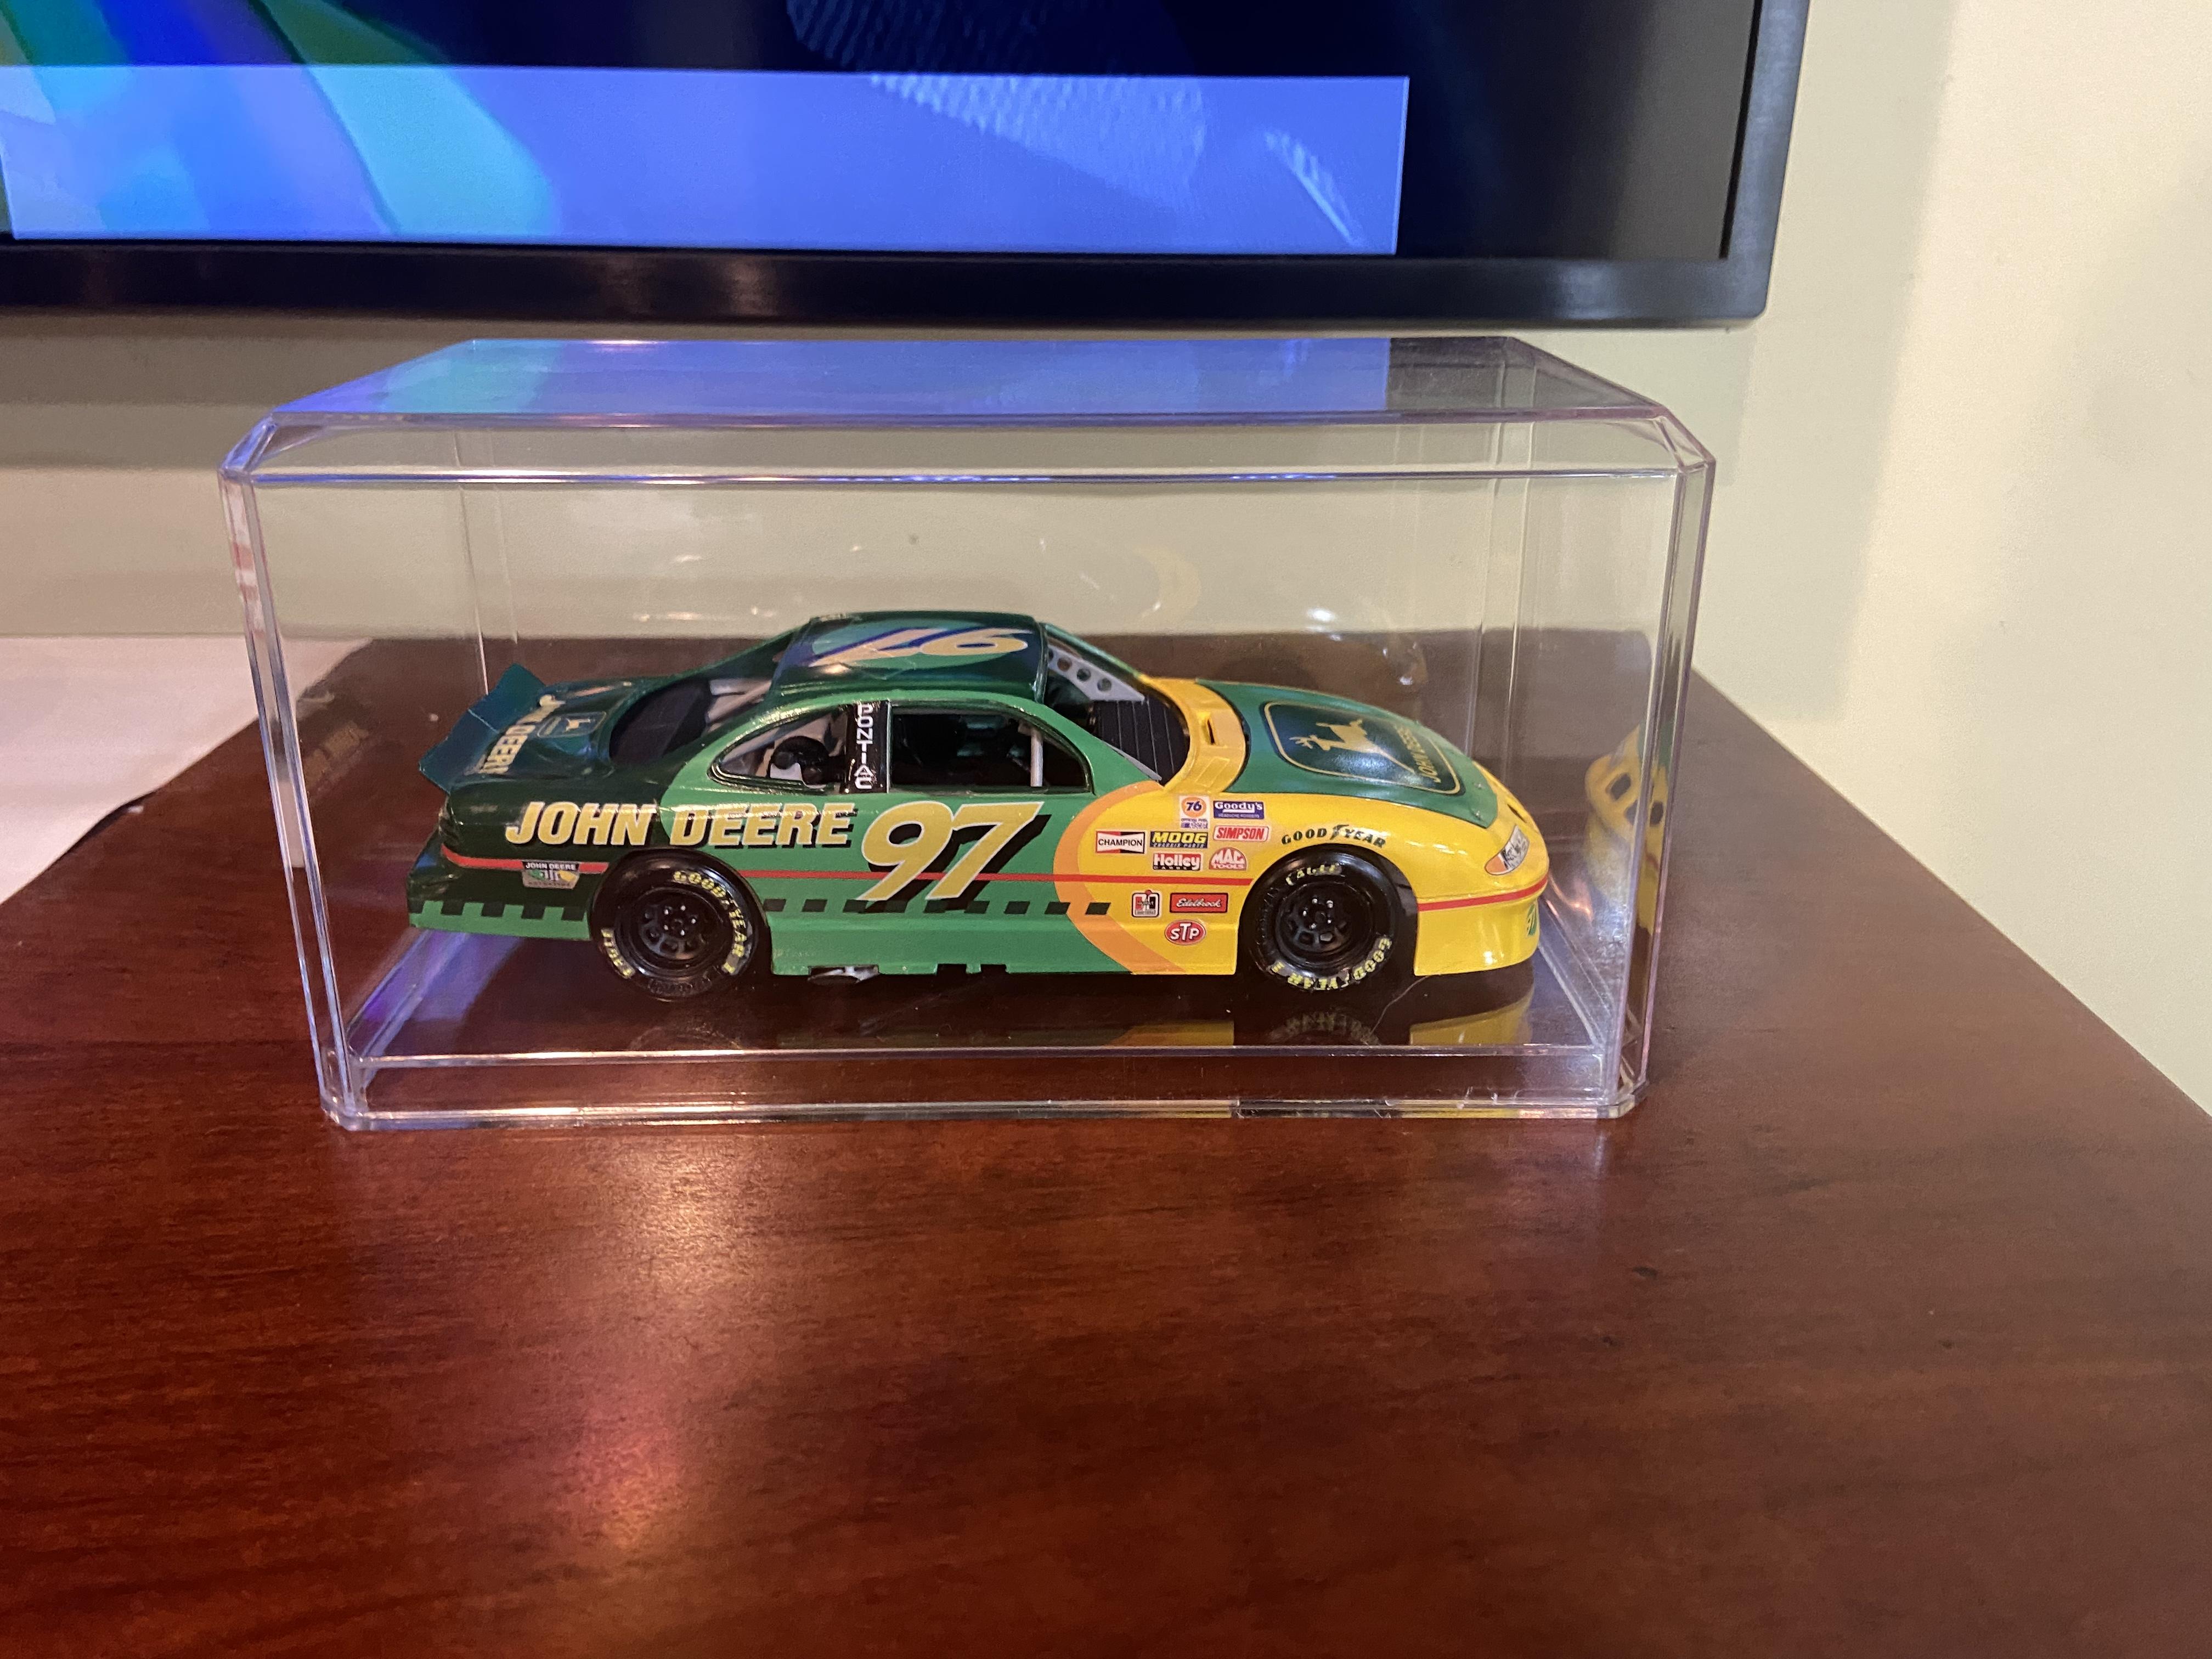
Chad Little Pontiac
nickfzr61 replied to nickfzr61's topic in WIP: Stock Cars (NASCAR, Super Stock, Late Model, etc.)
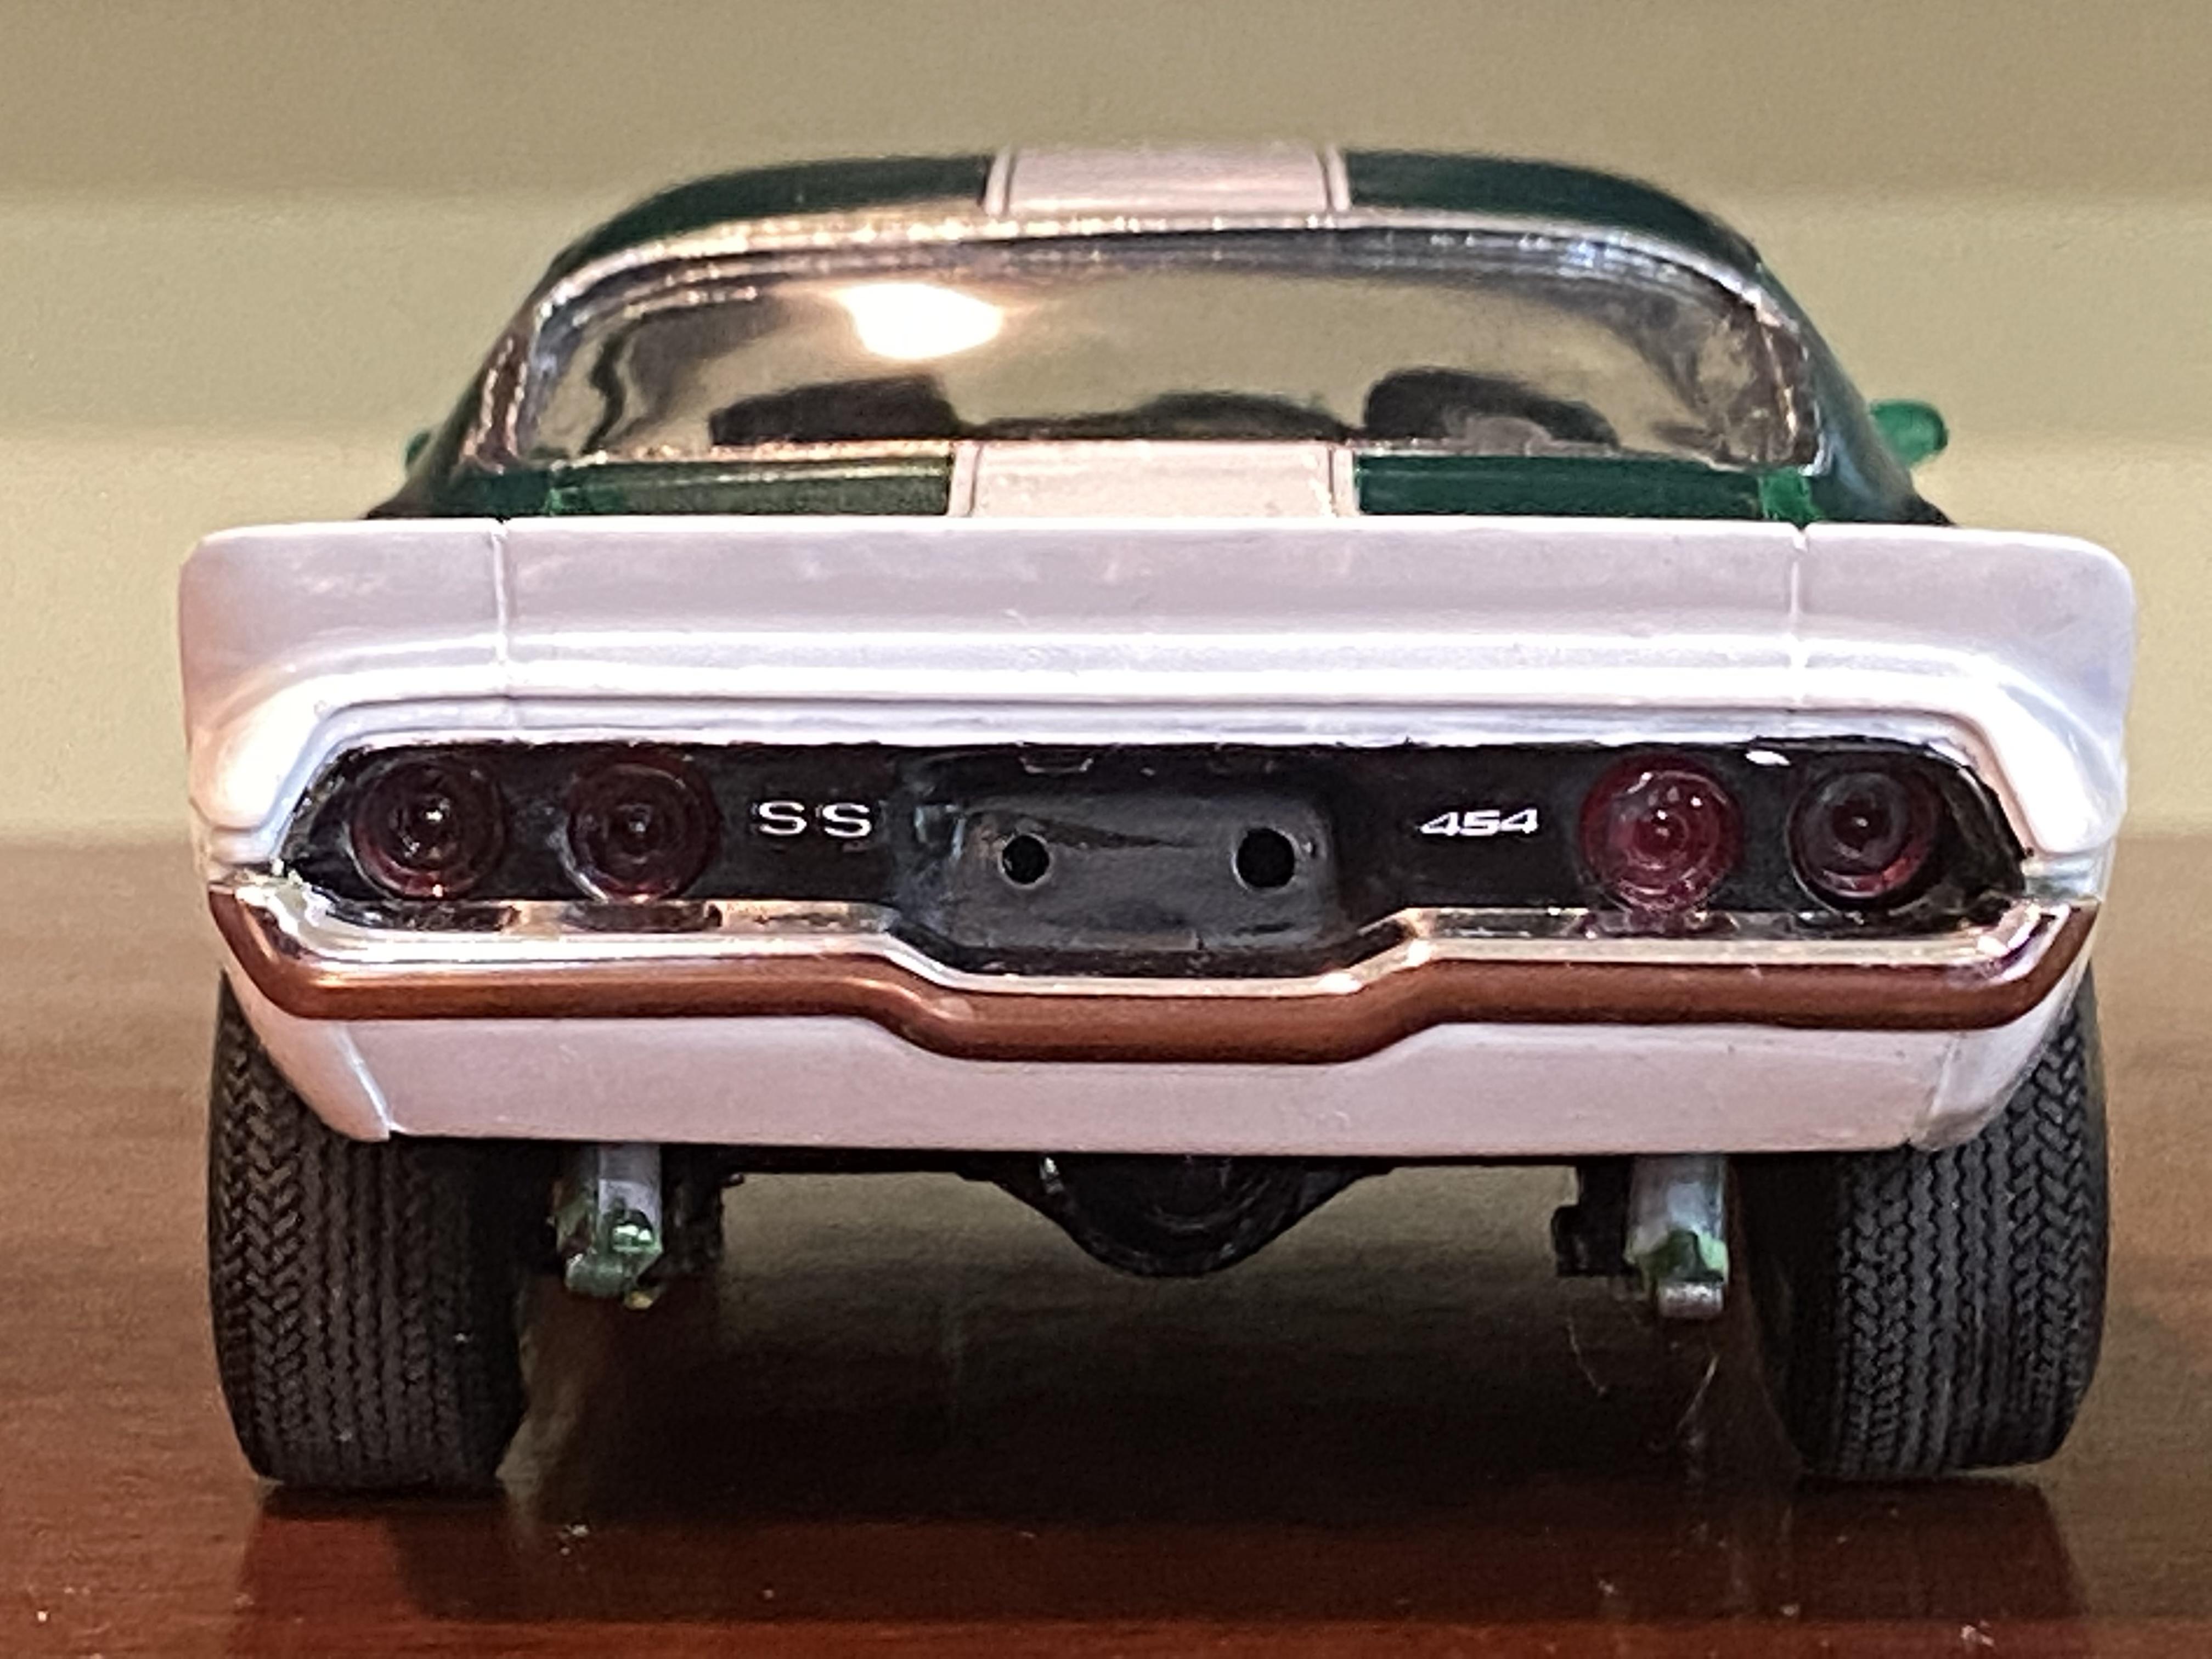
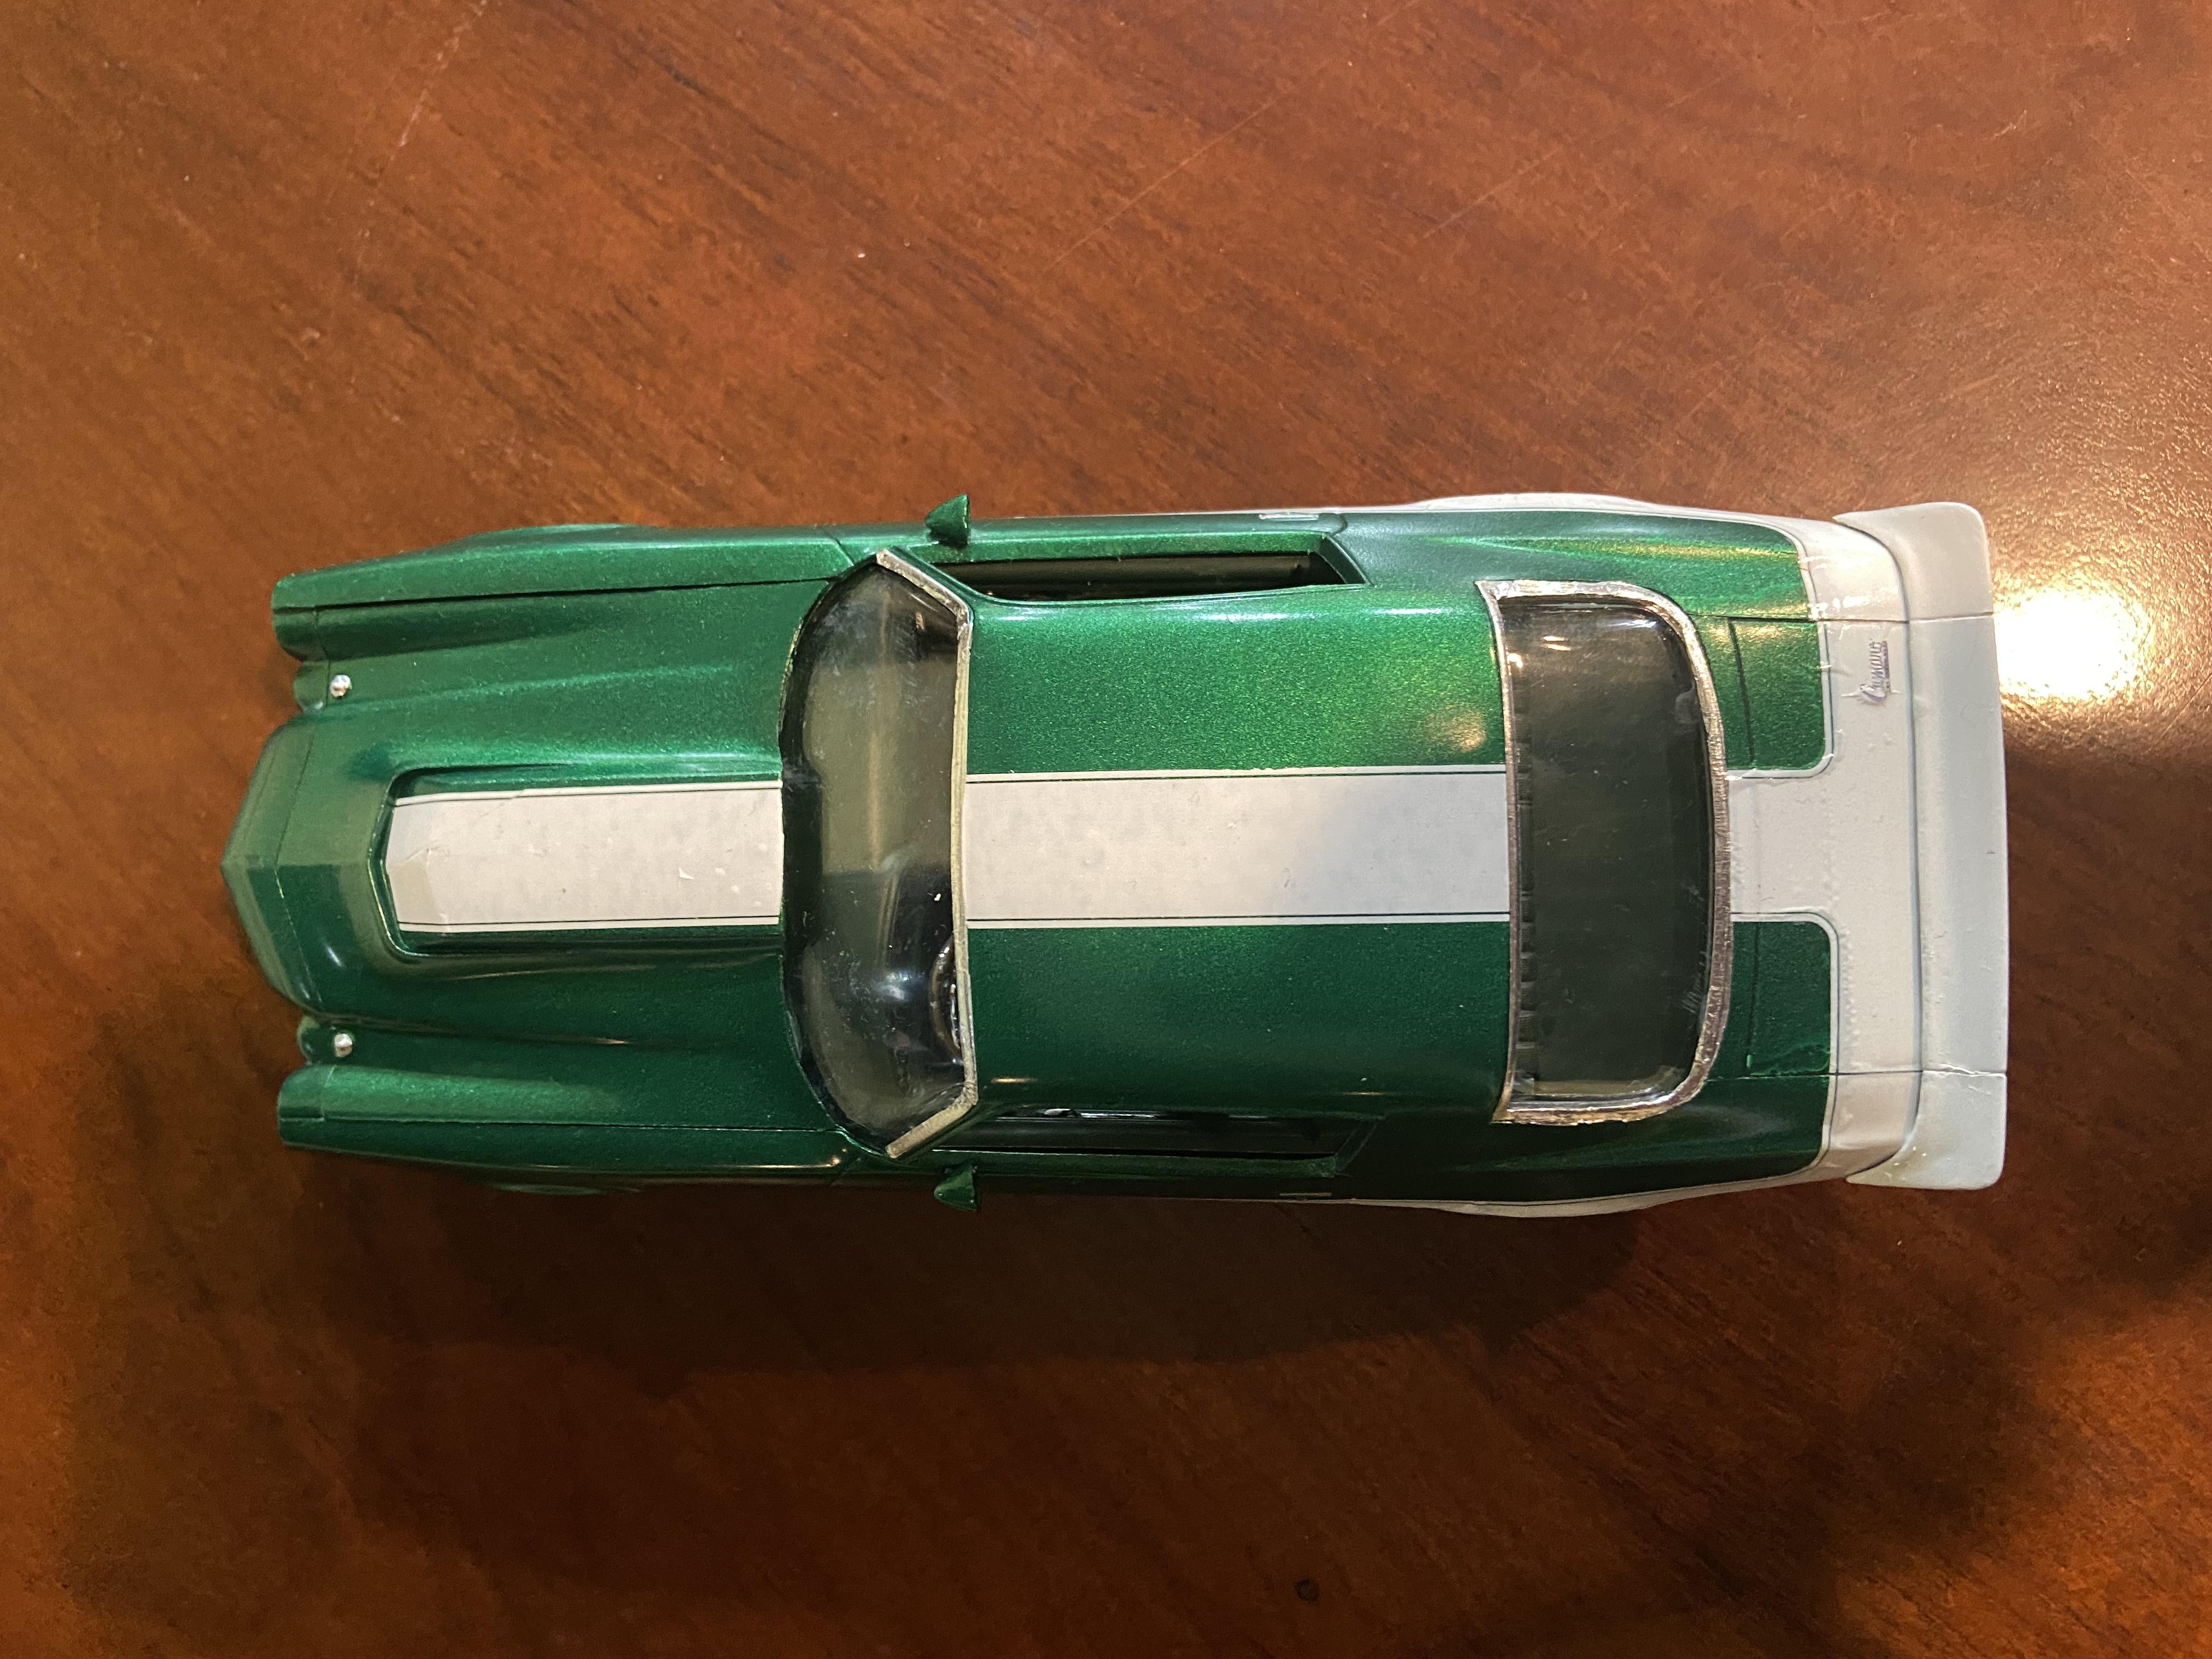
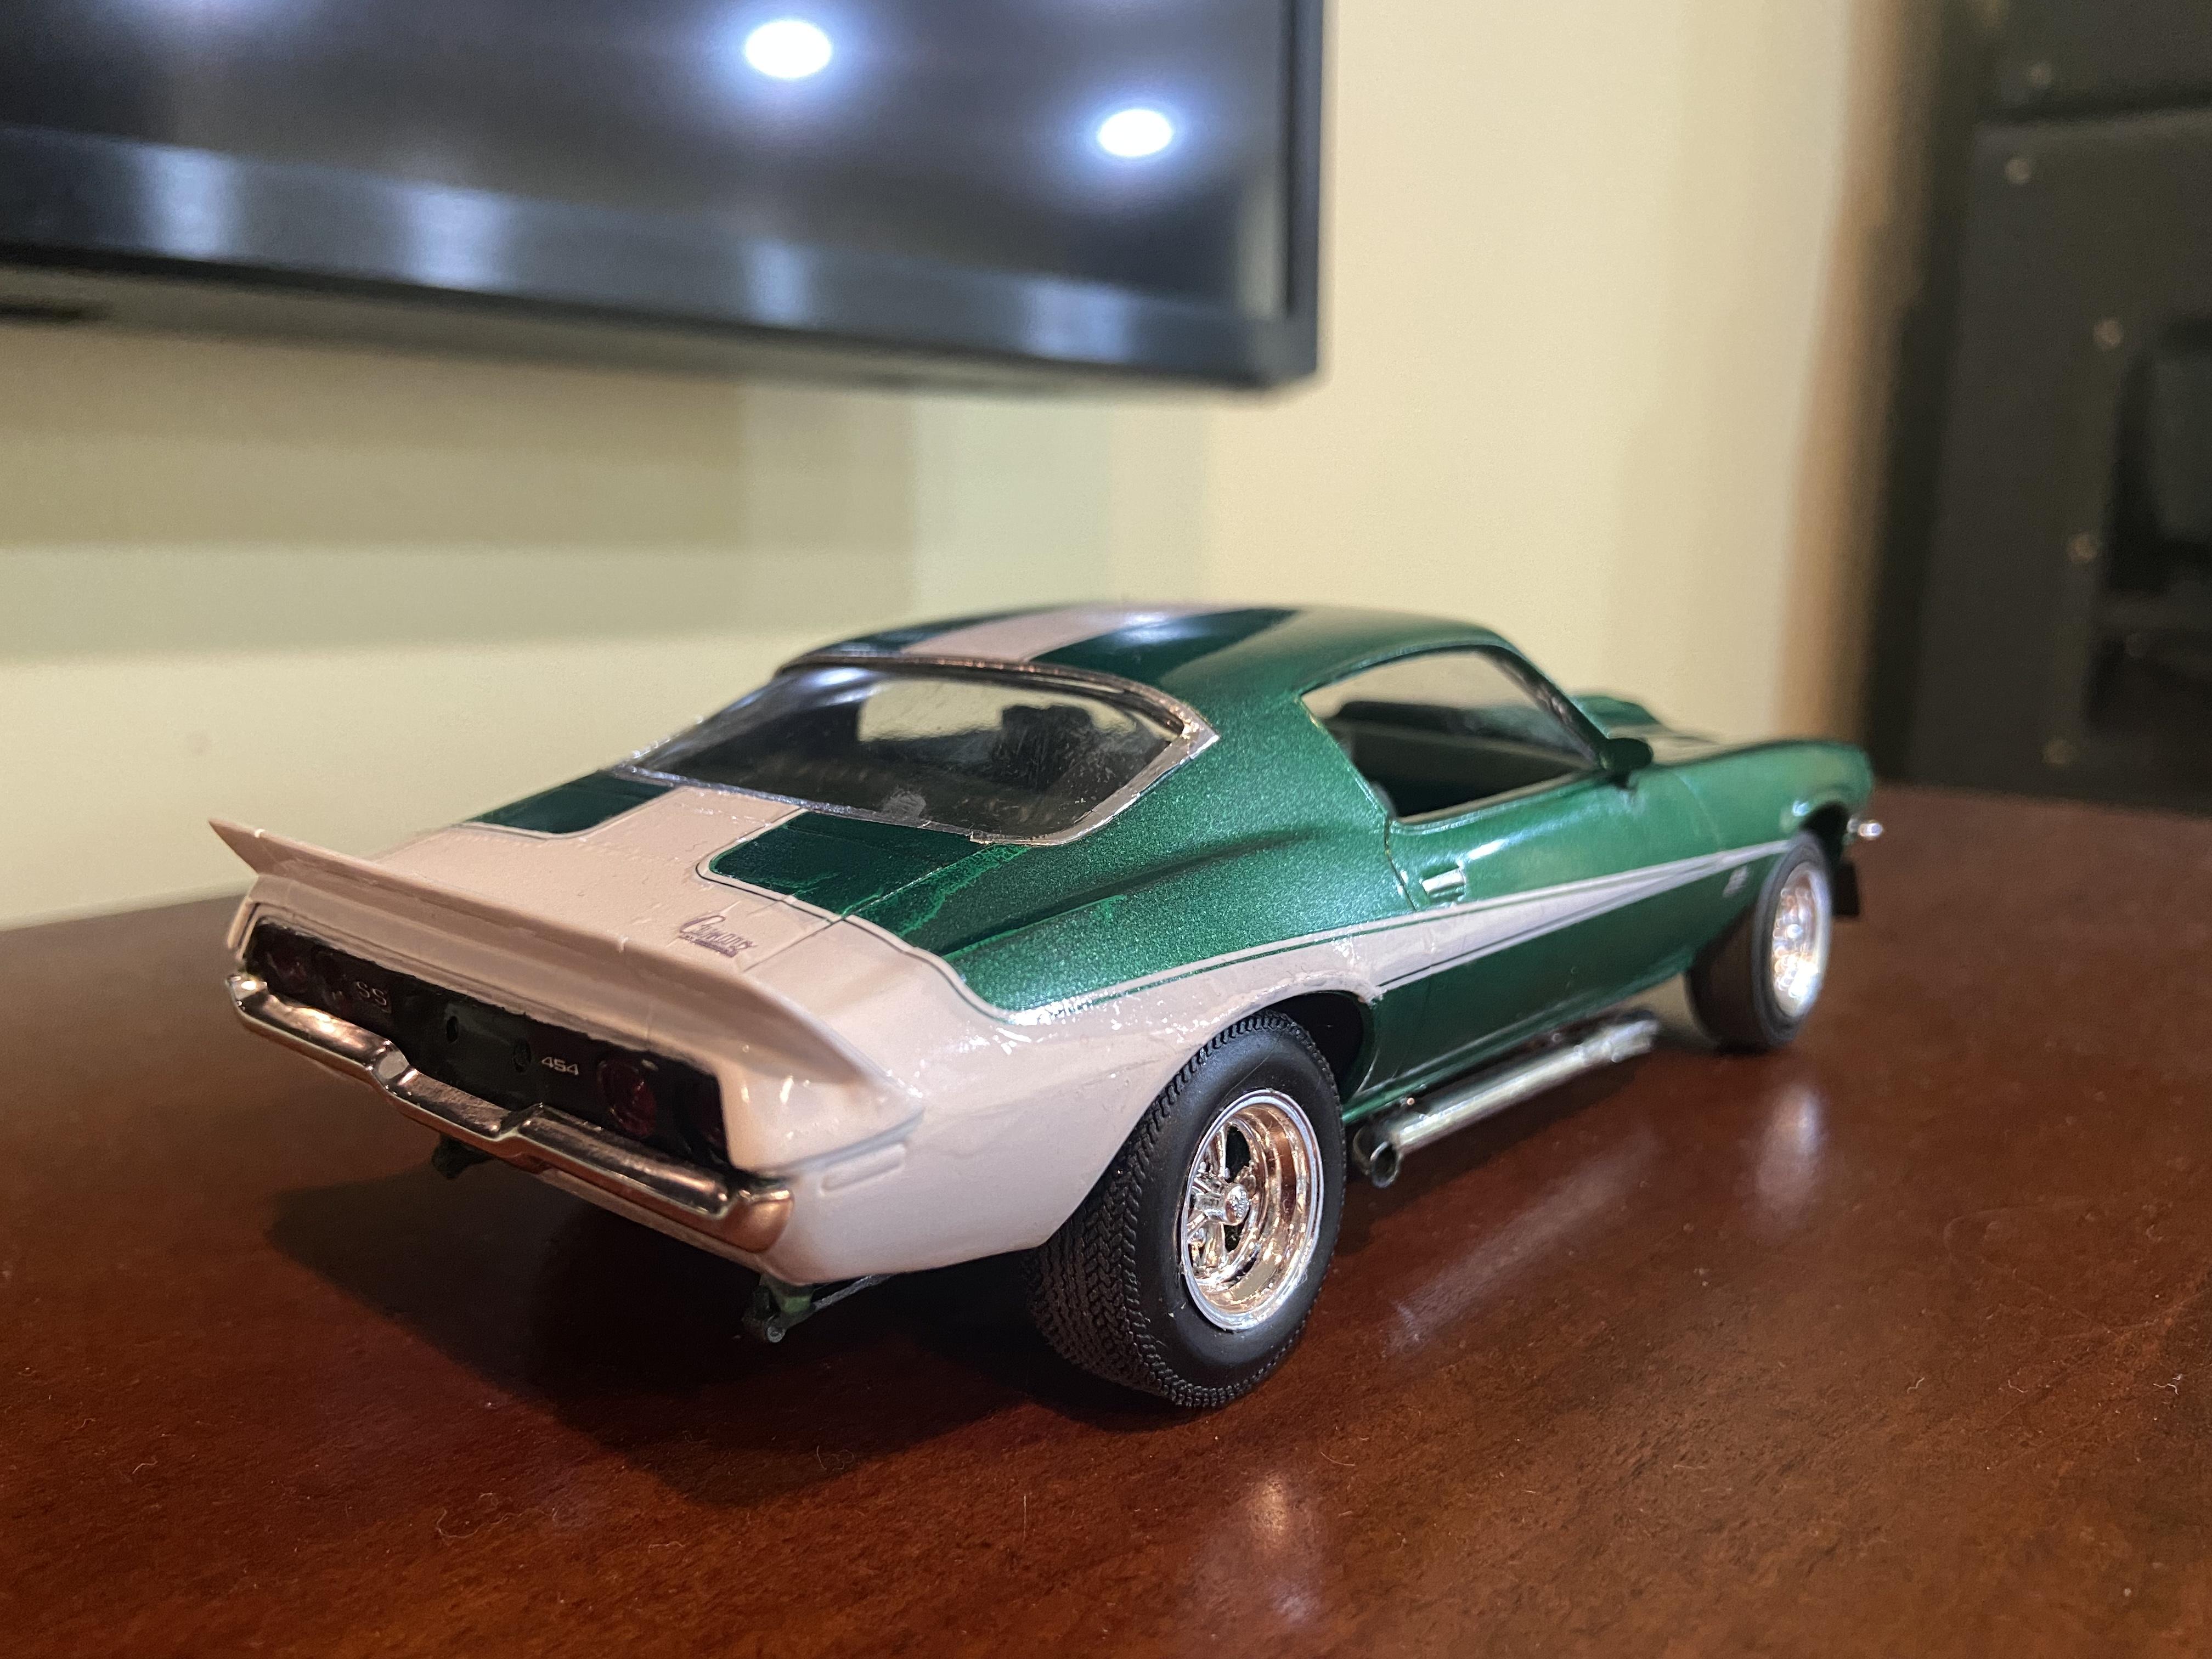
Installed the glass and clear coated.
-
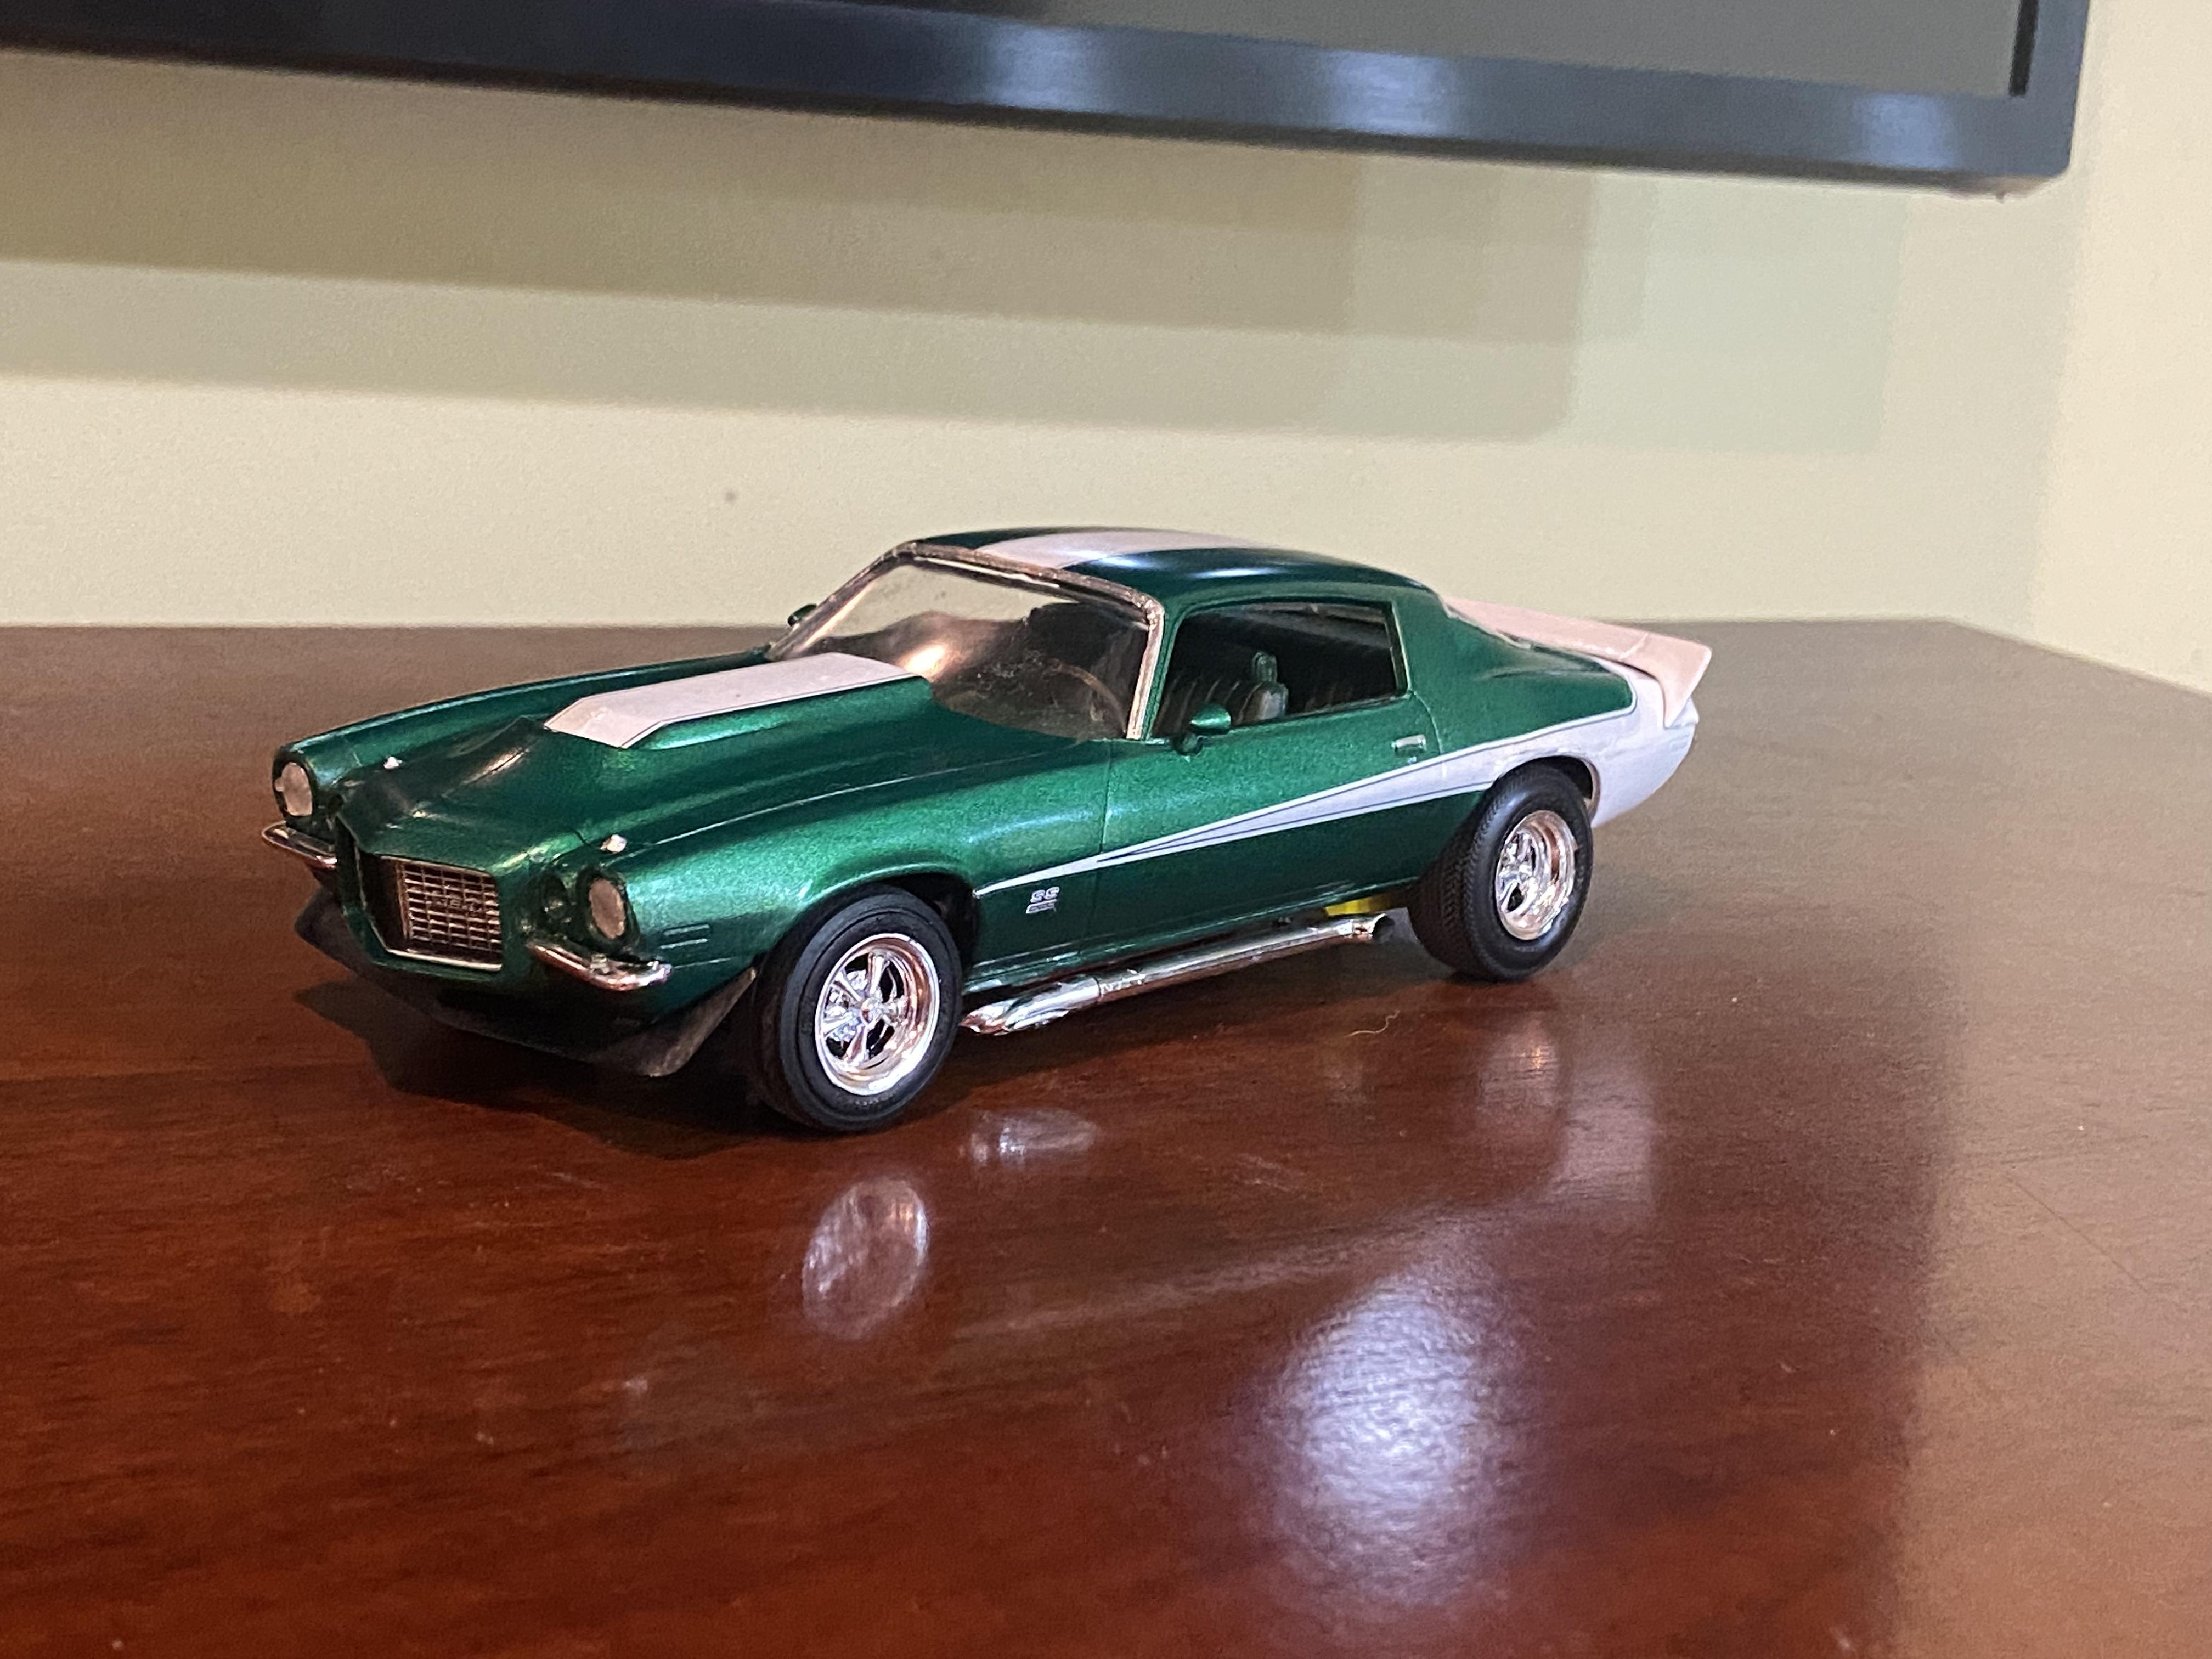
Had this model sitting around in my basement for over 10 years. Finally got around to building it. Only problem was the decals didn’t want to release from the backing sheet. Other than that it was a pretty nice kit. Still have to clear coat and install the glass.
-
They came off the paper fine. Moving them was the problem. Bill’s suggestion below for the dish soap sounds like it would help. I used micro sol and micro set since they worked great on my 1/12 scale builds but didn’t help with these.
-
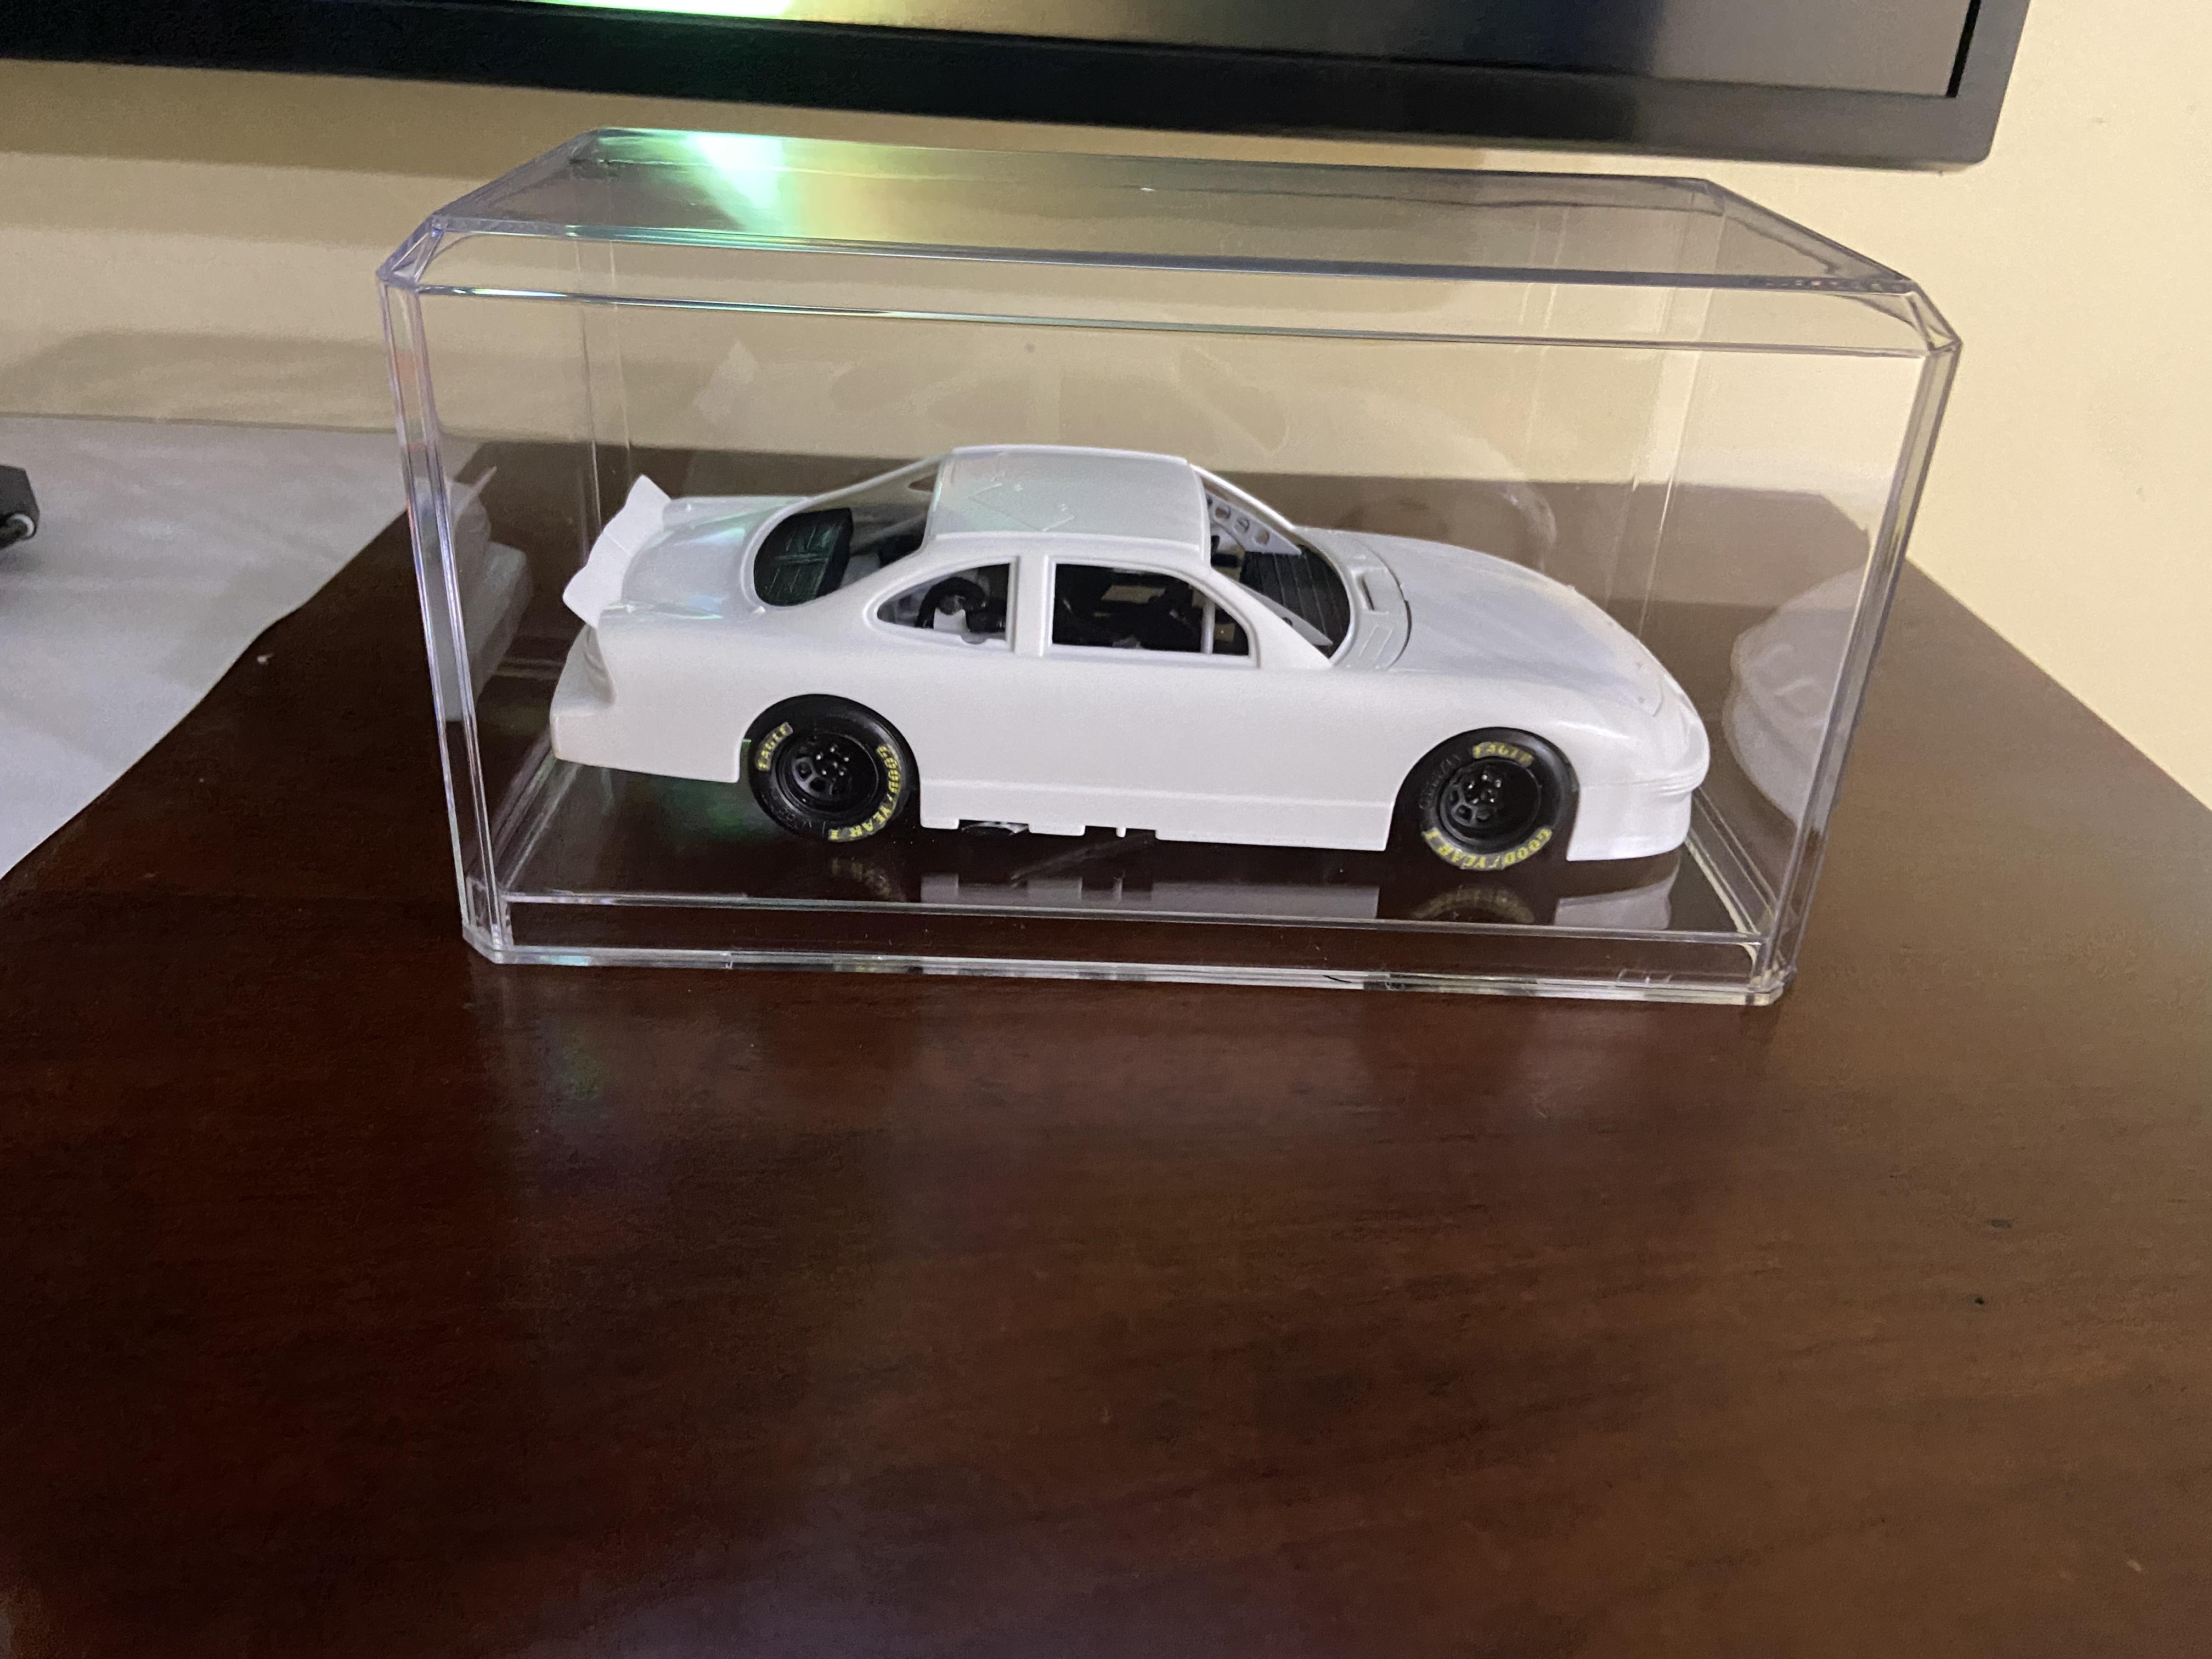
Hello All I prefer 1/12 scale F1 but was given this kit as a Christmas present. So much easier to work on the larger scale cars. While it didn’t turn out as nice as some of the 1/24 model’s here I’m happy with it. One thing I’d like to ask. Does AMT have horrible decals or is it just me? Nearly every one one ripped on me
-
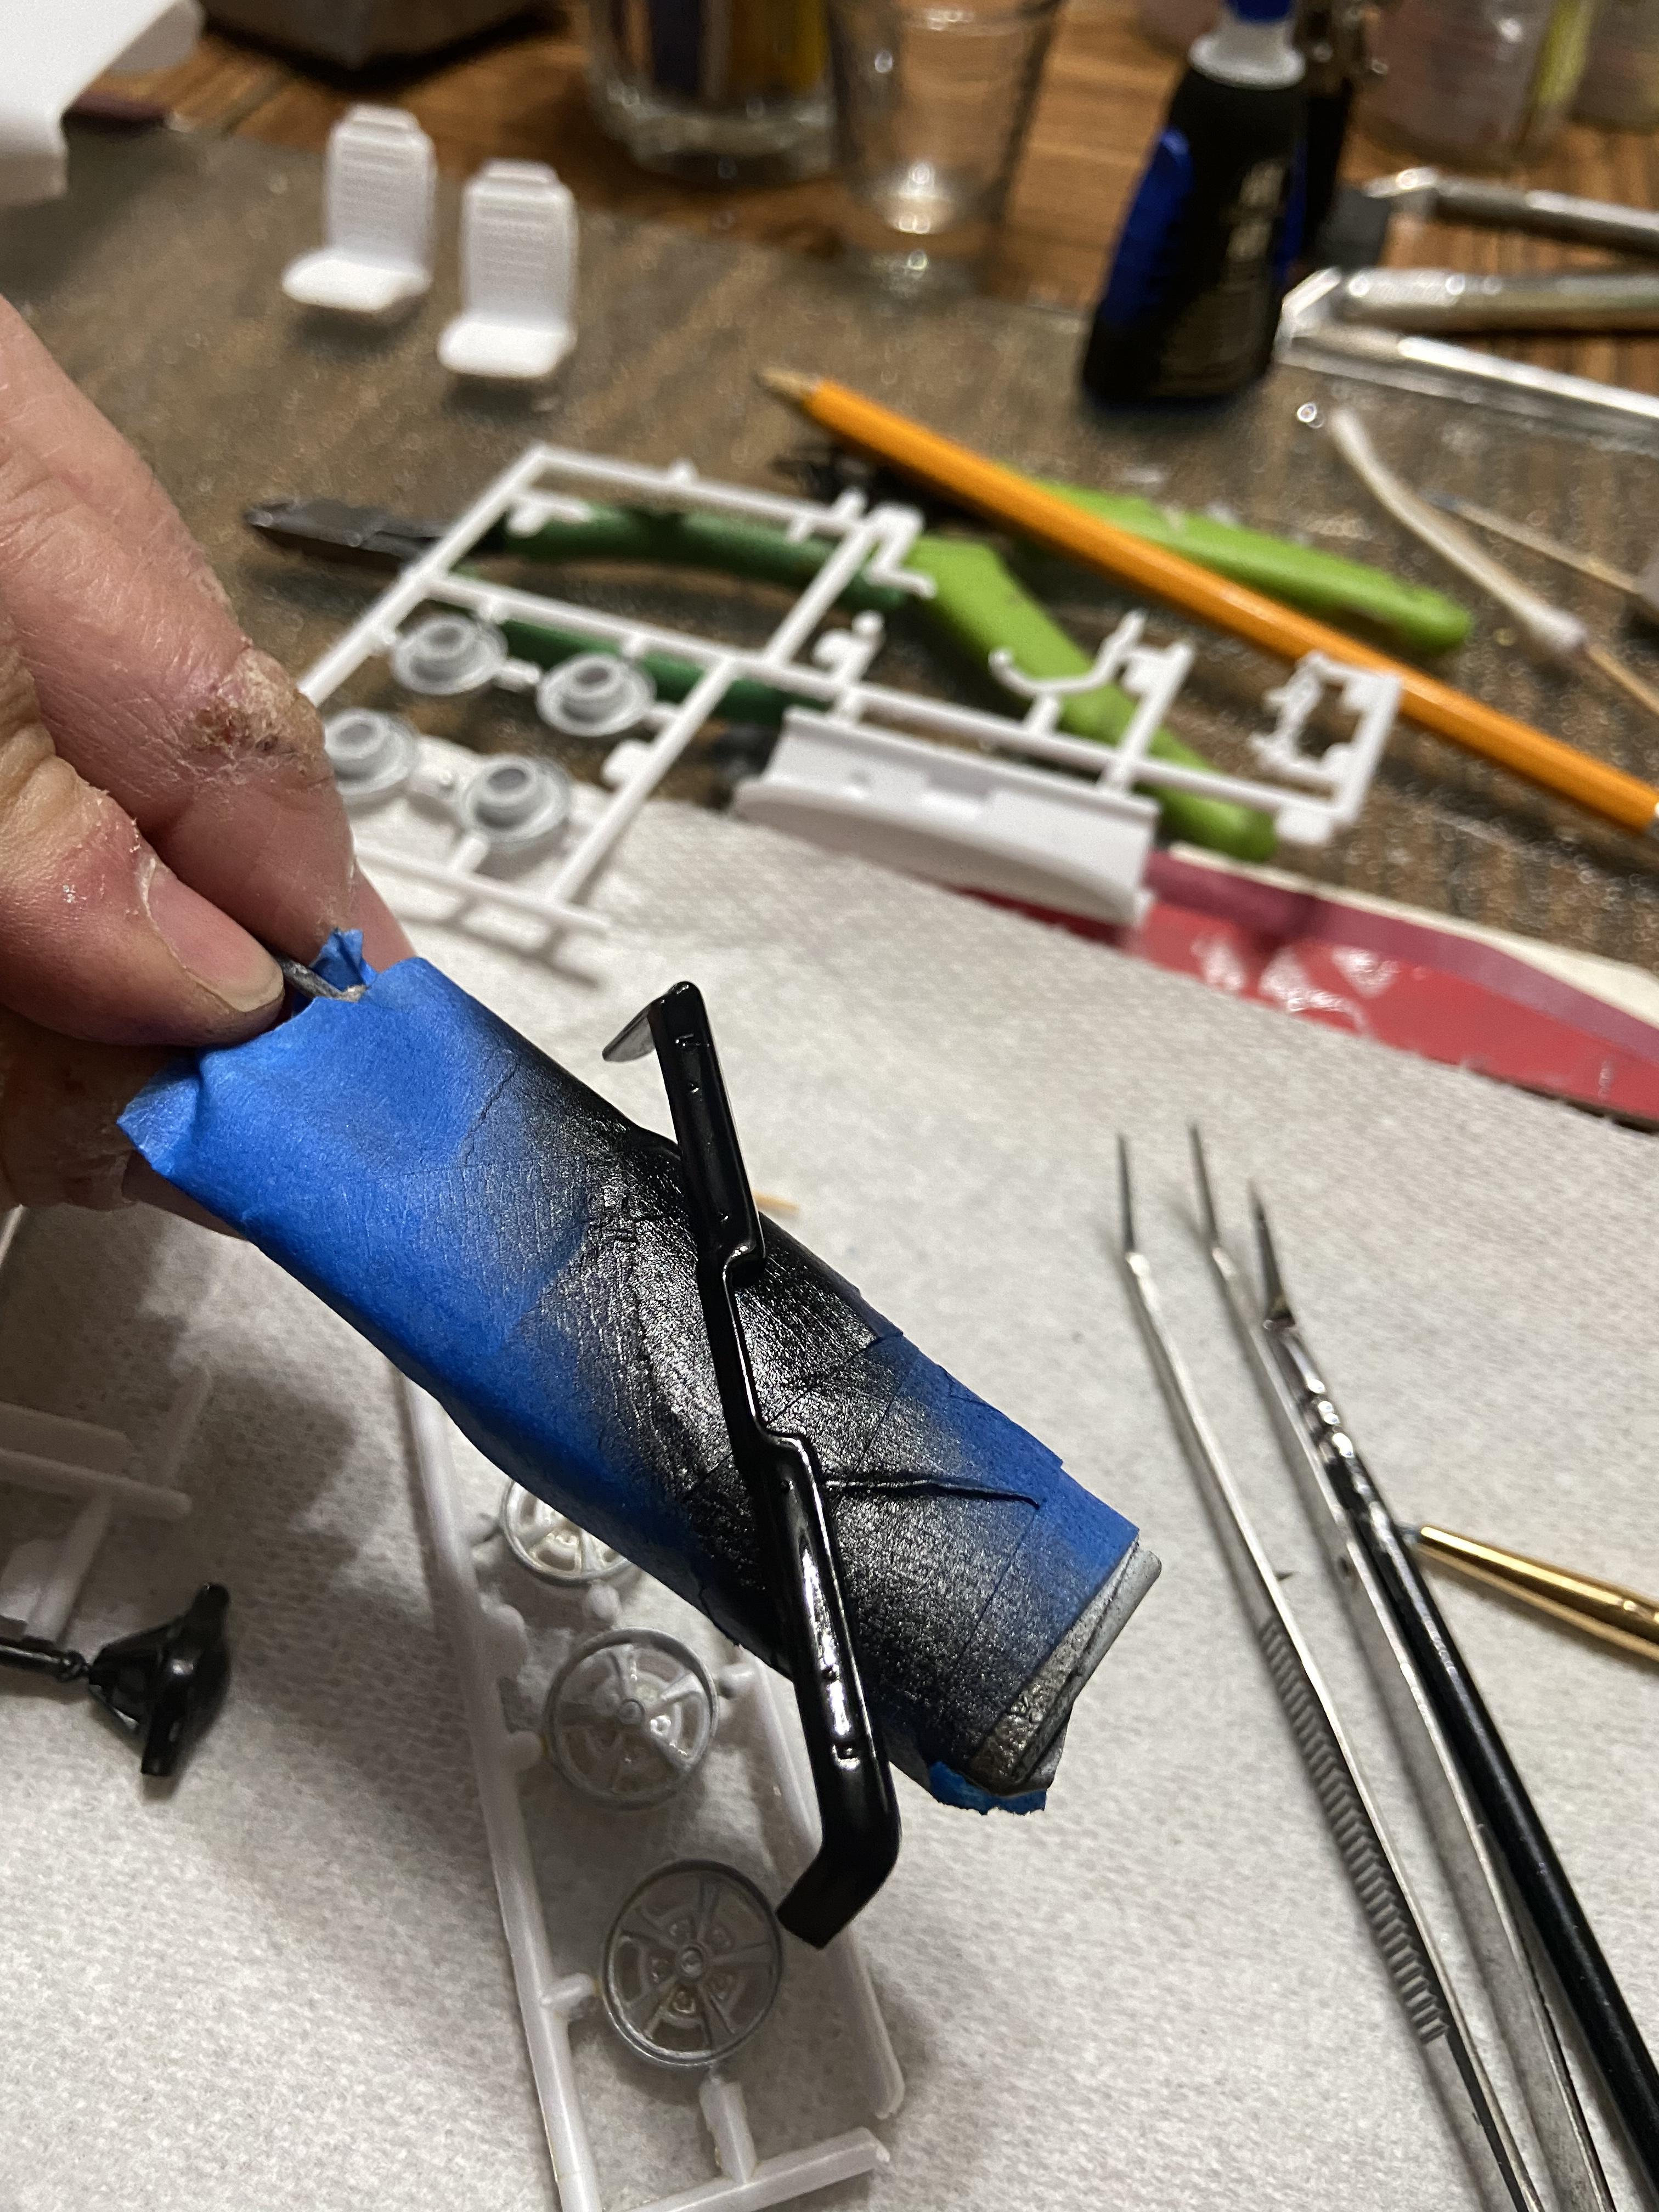
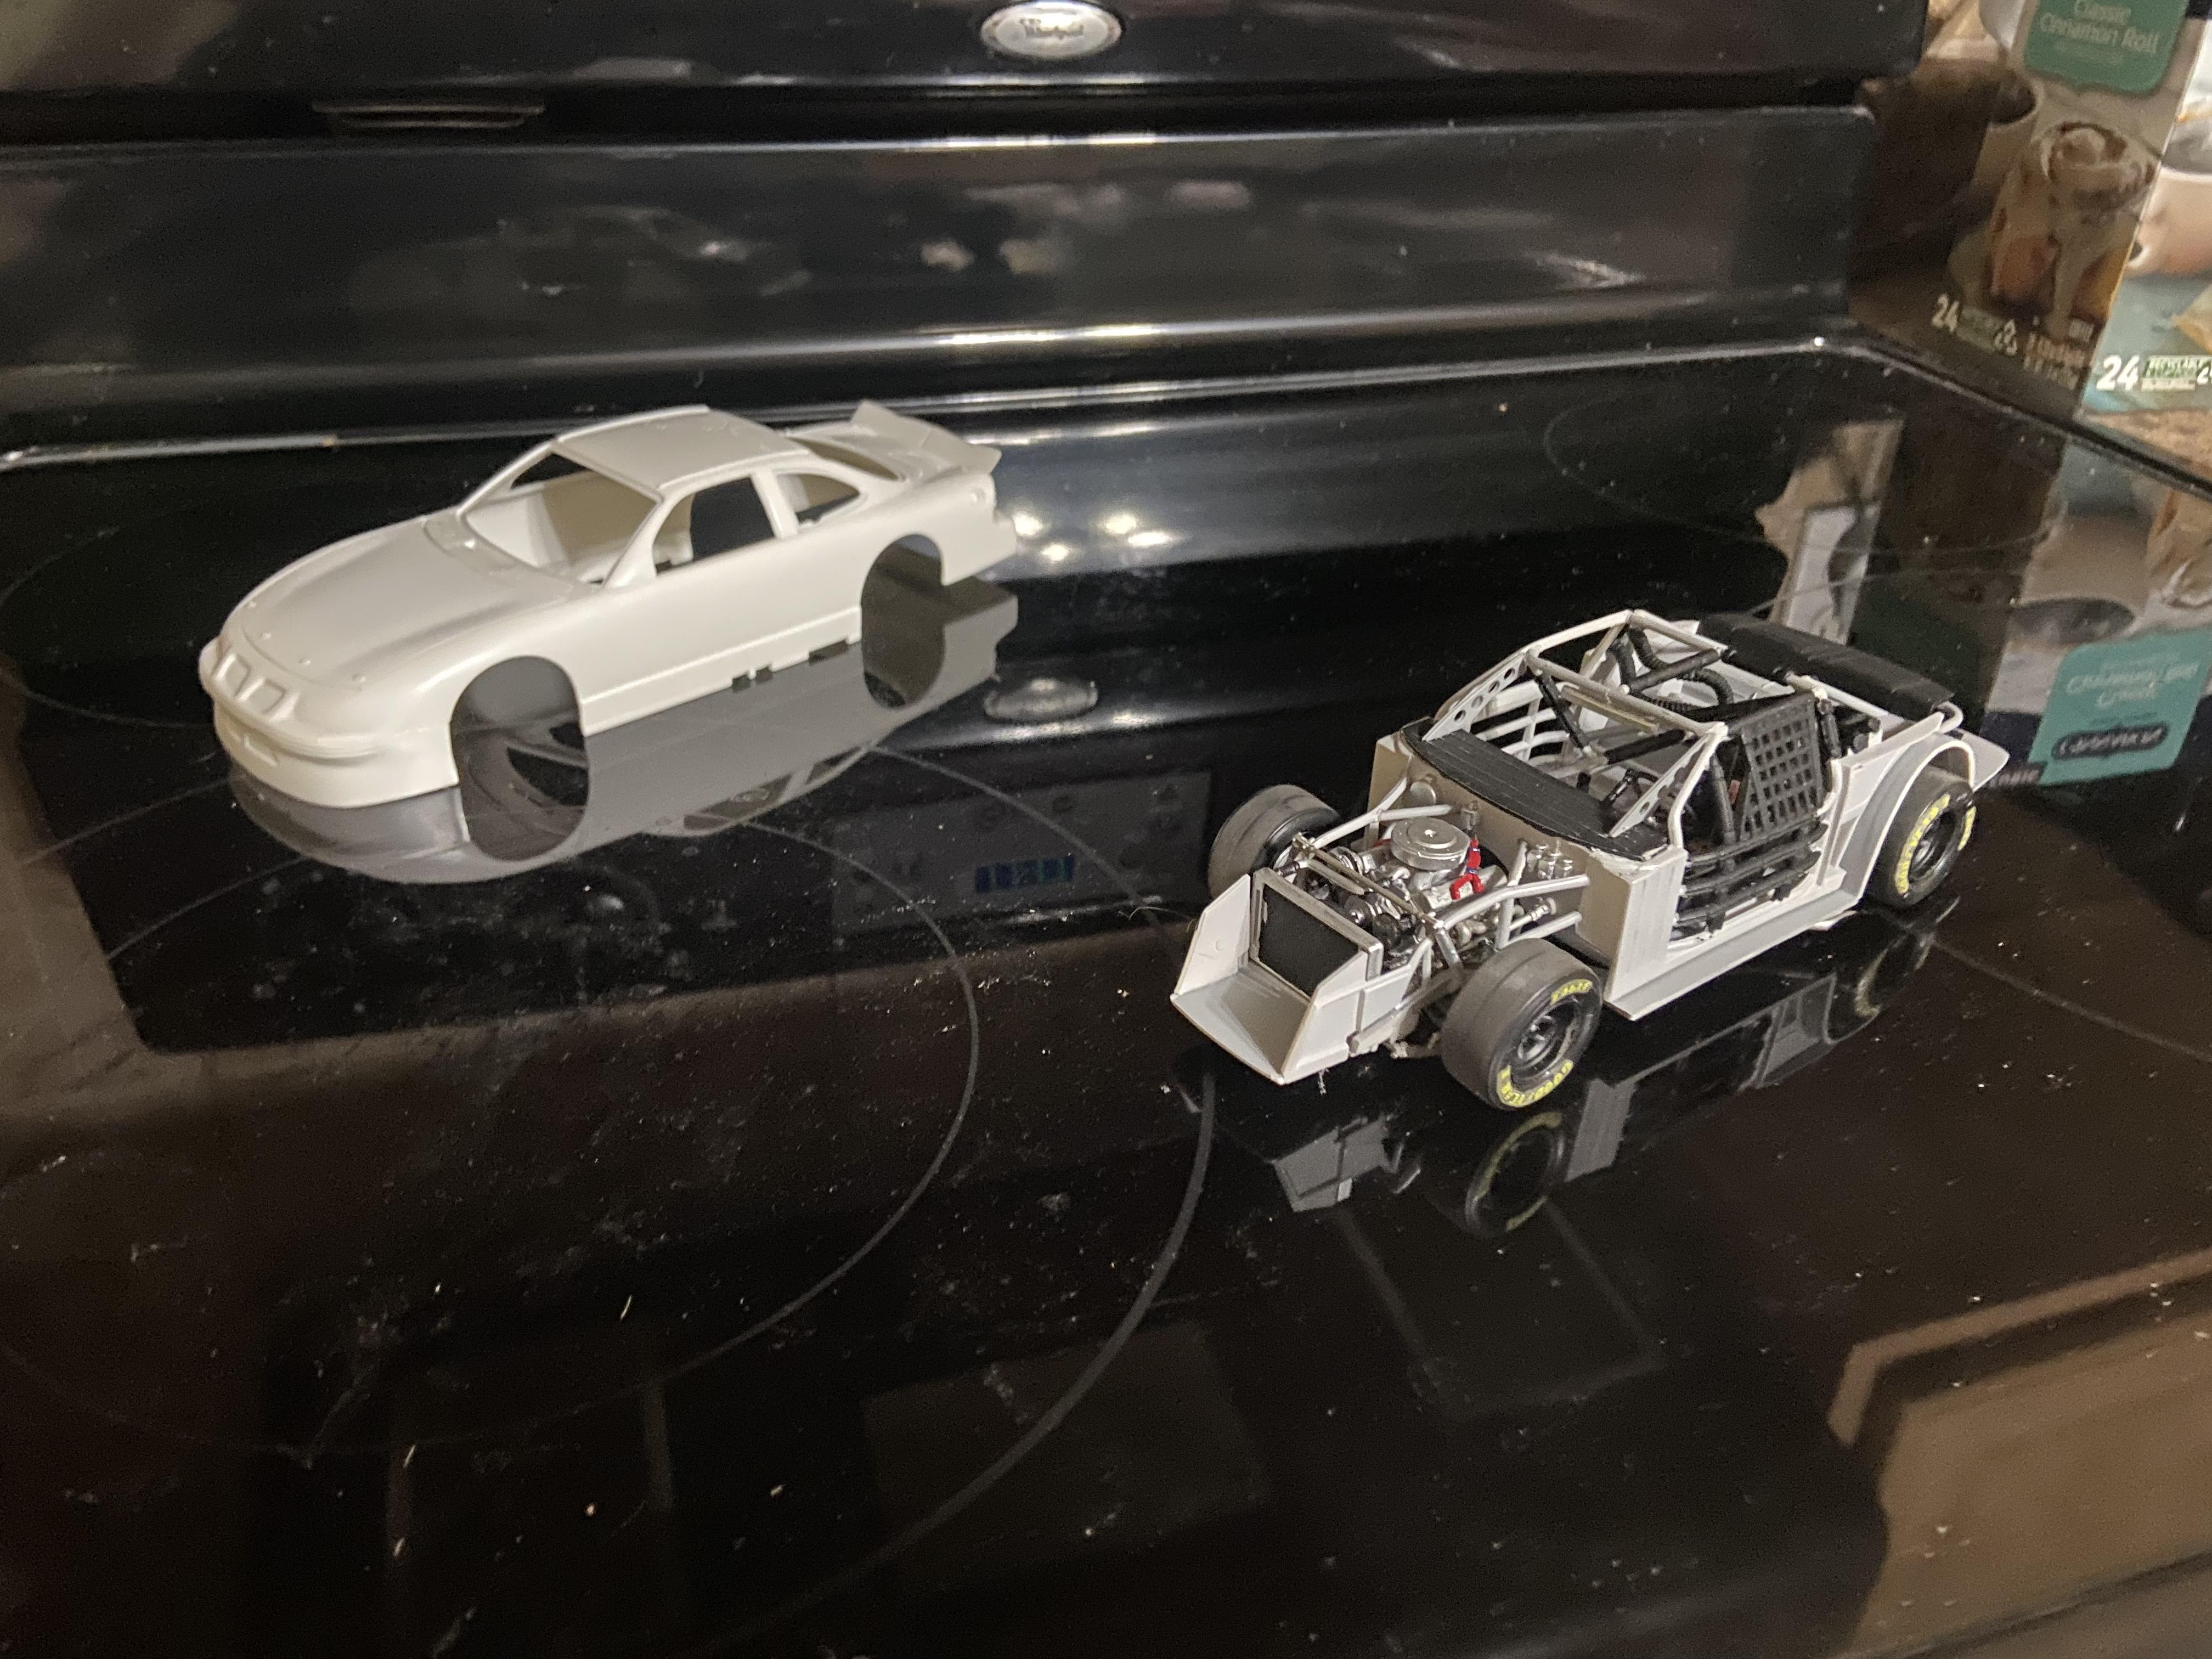
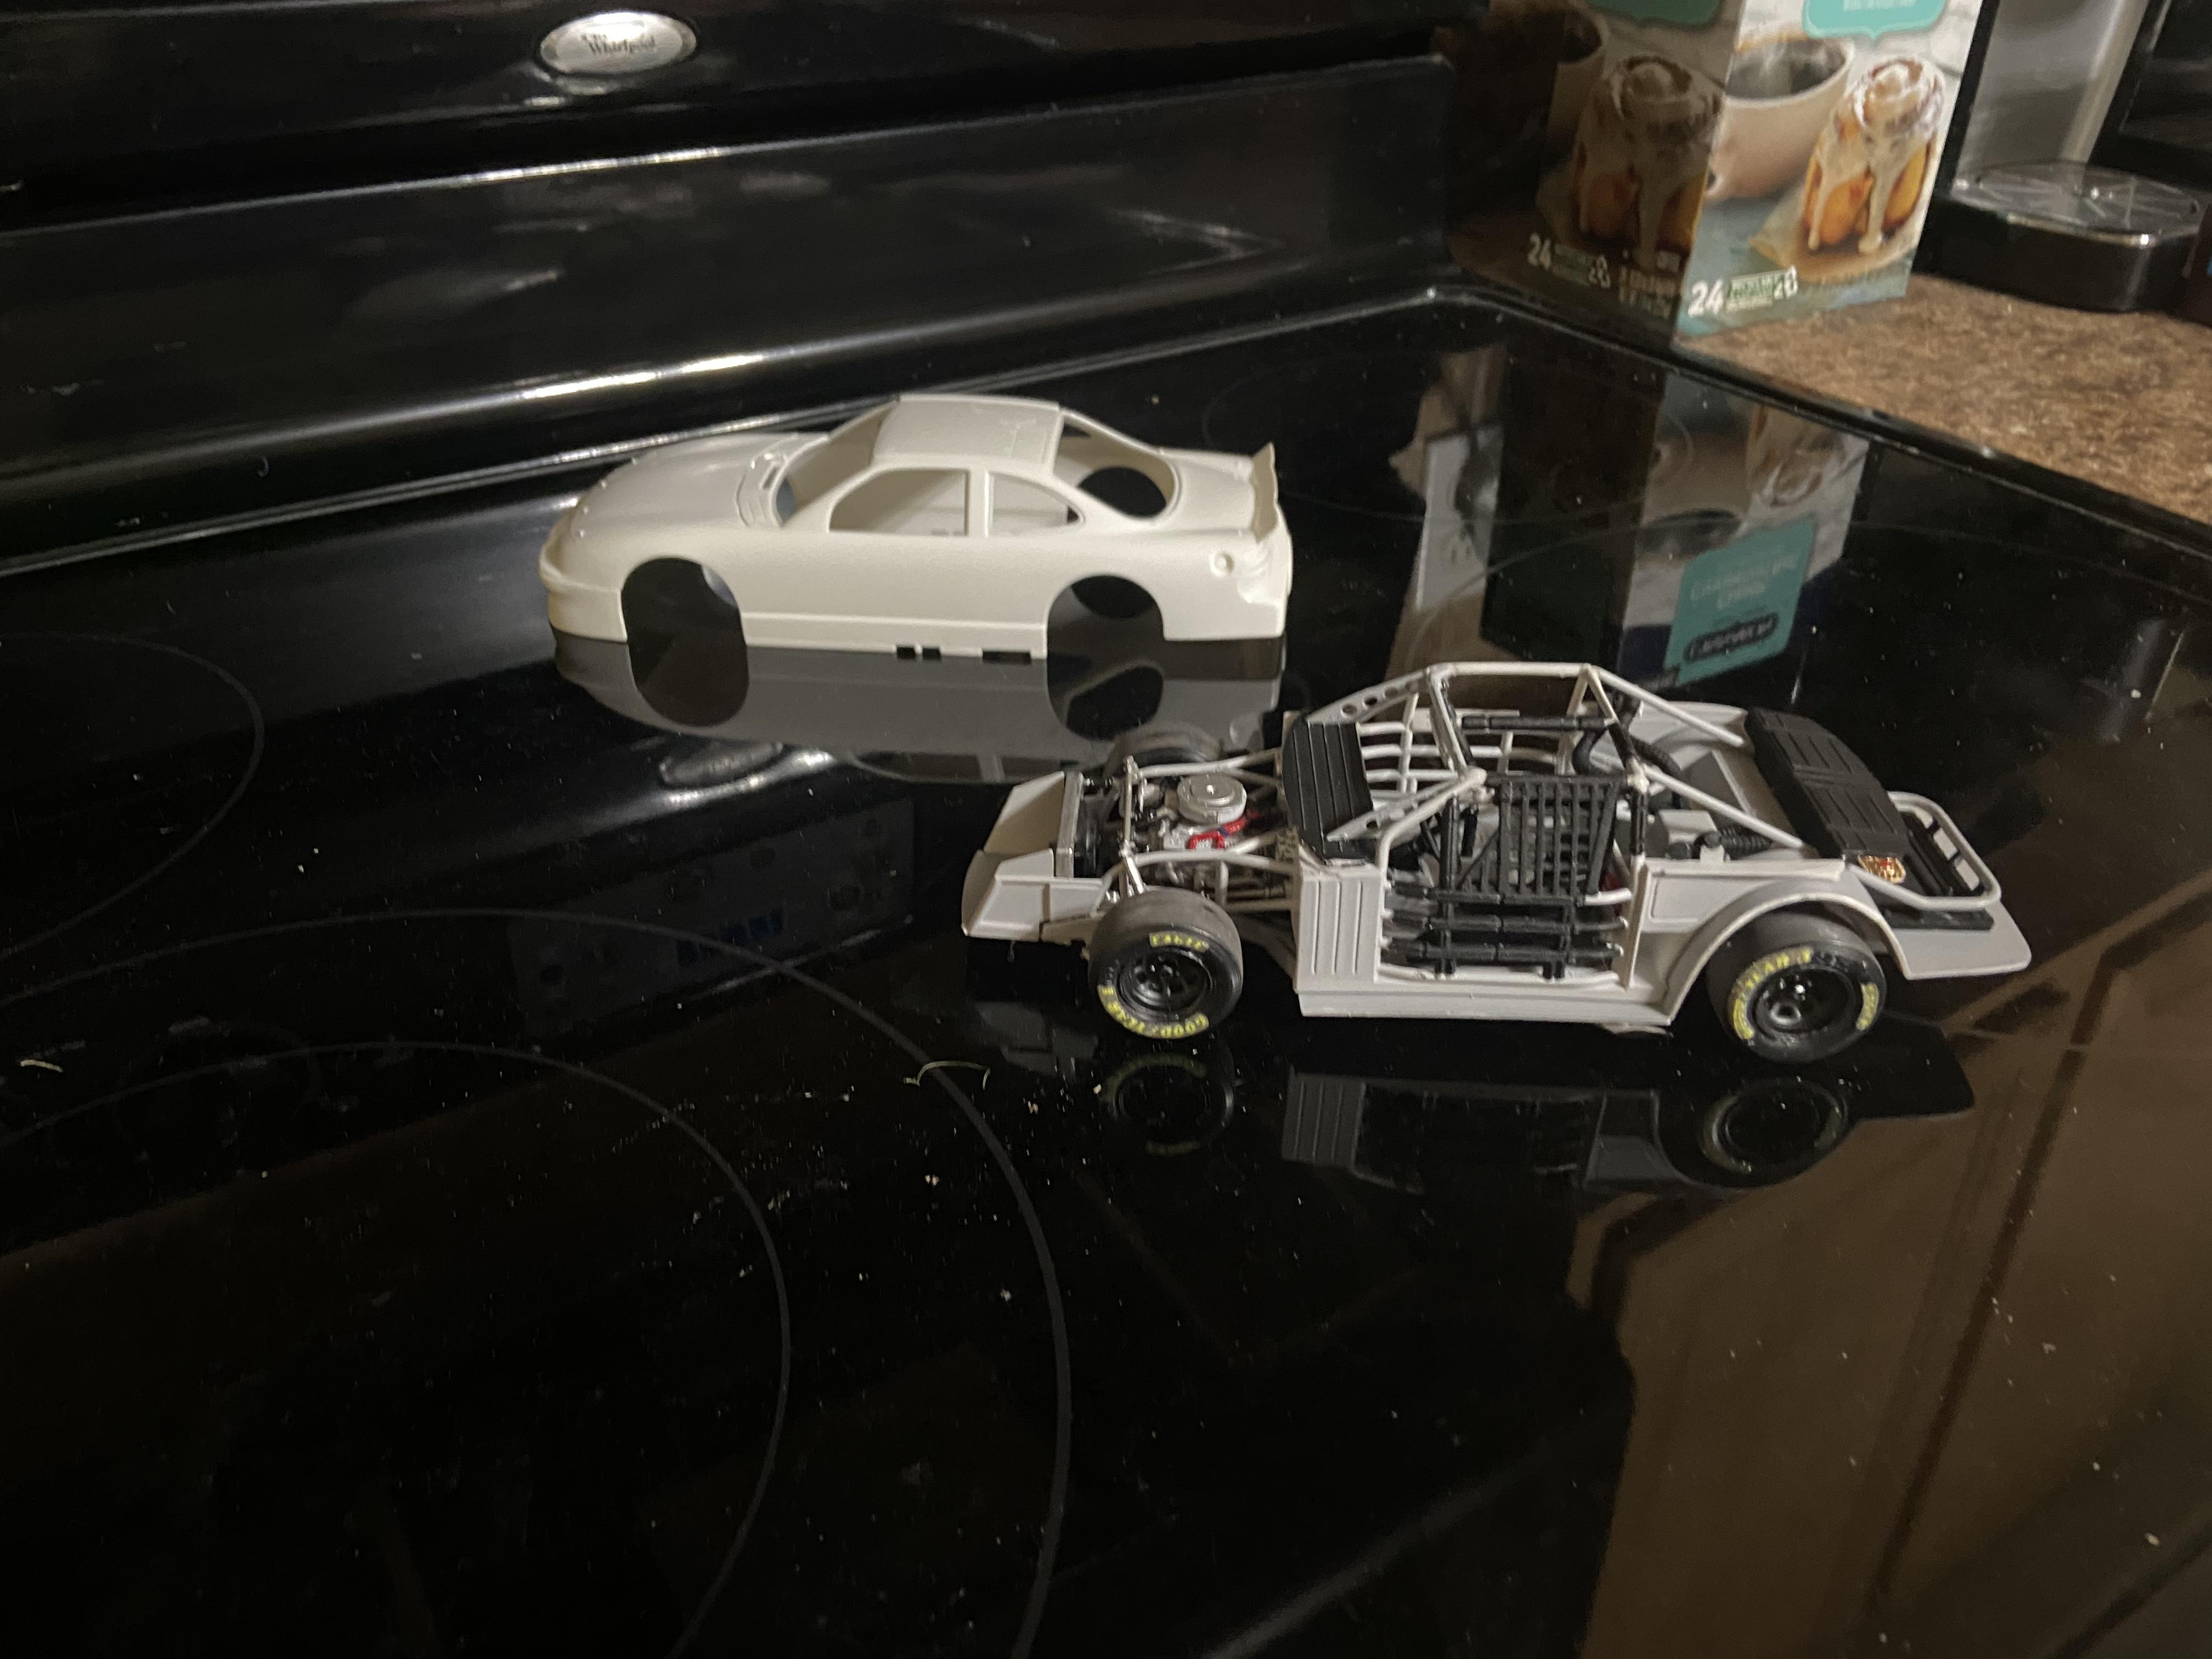
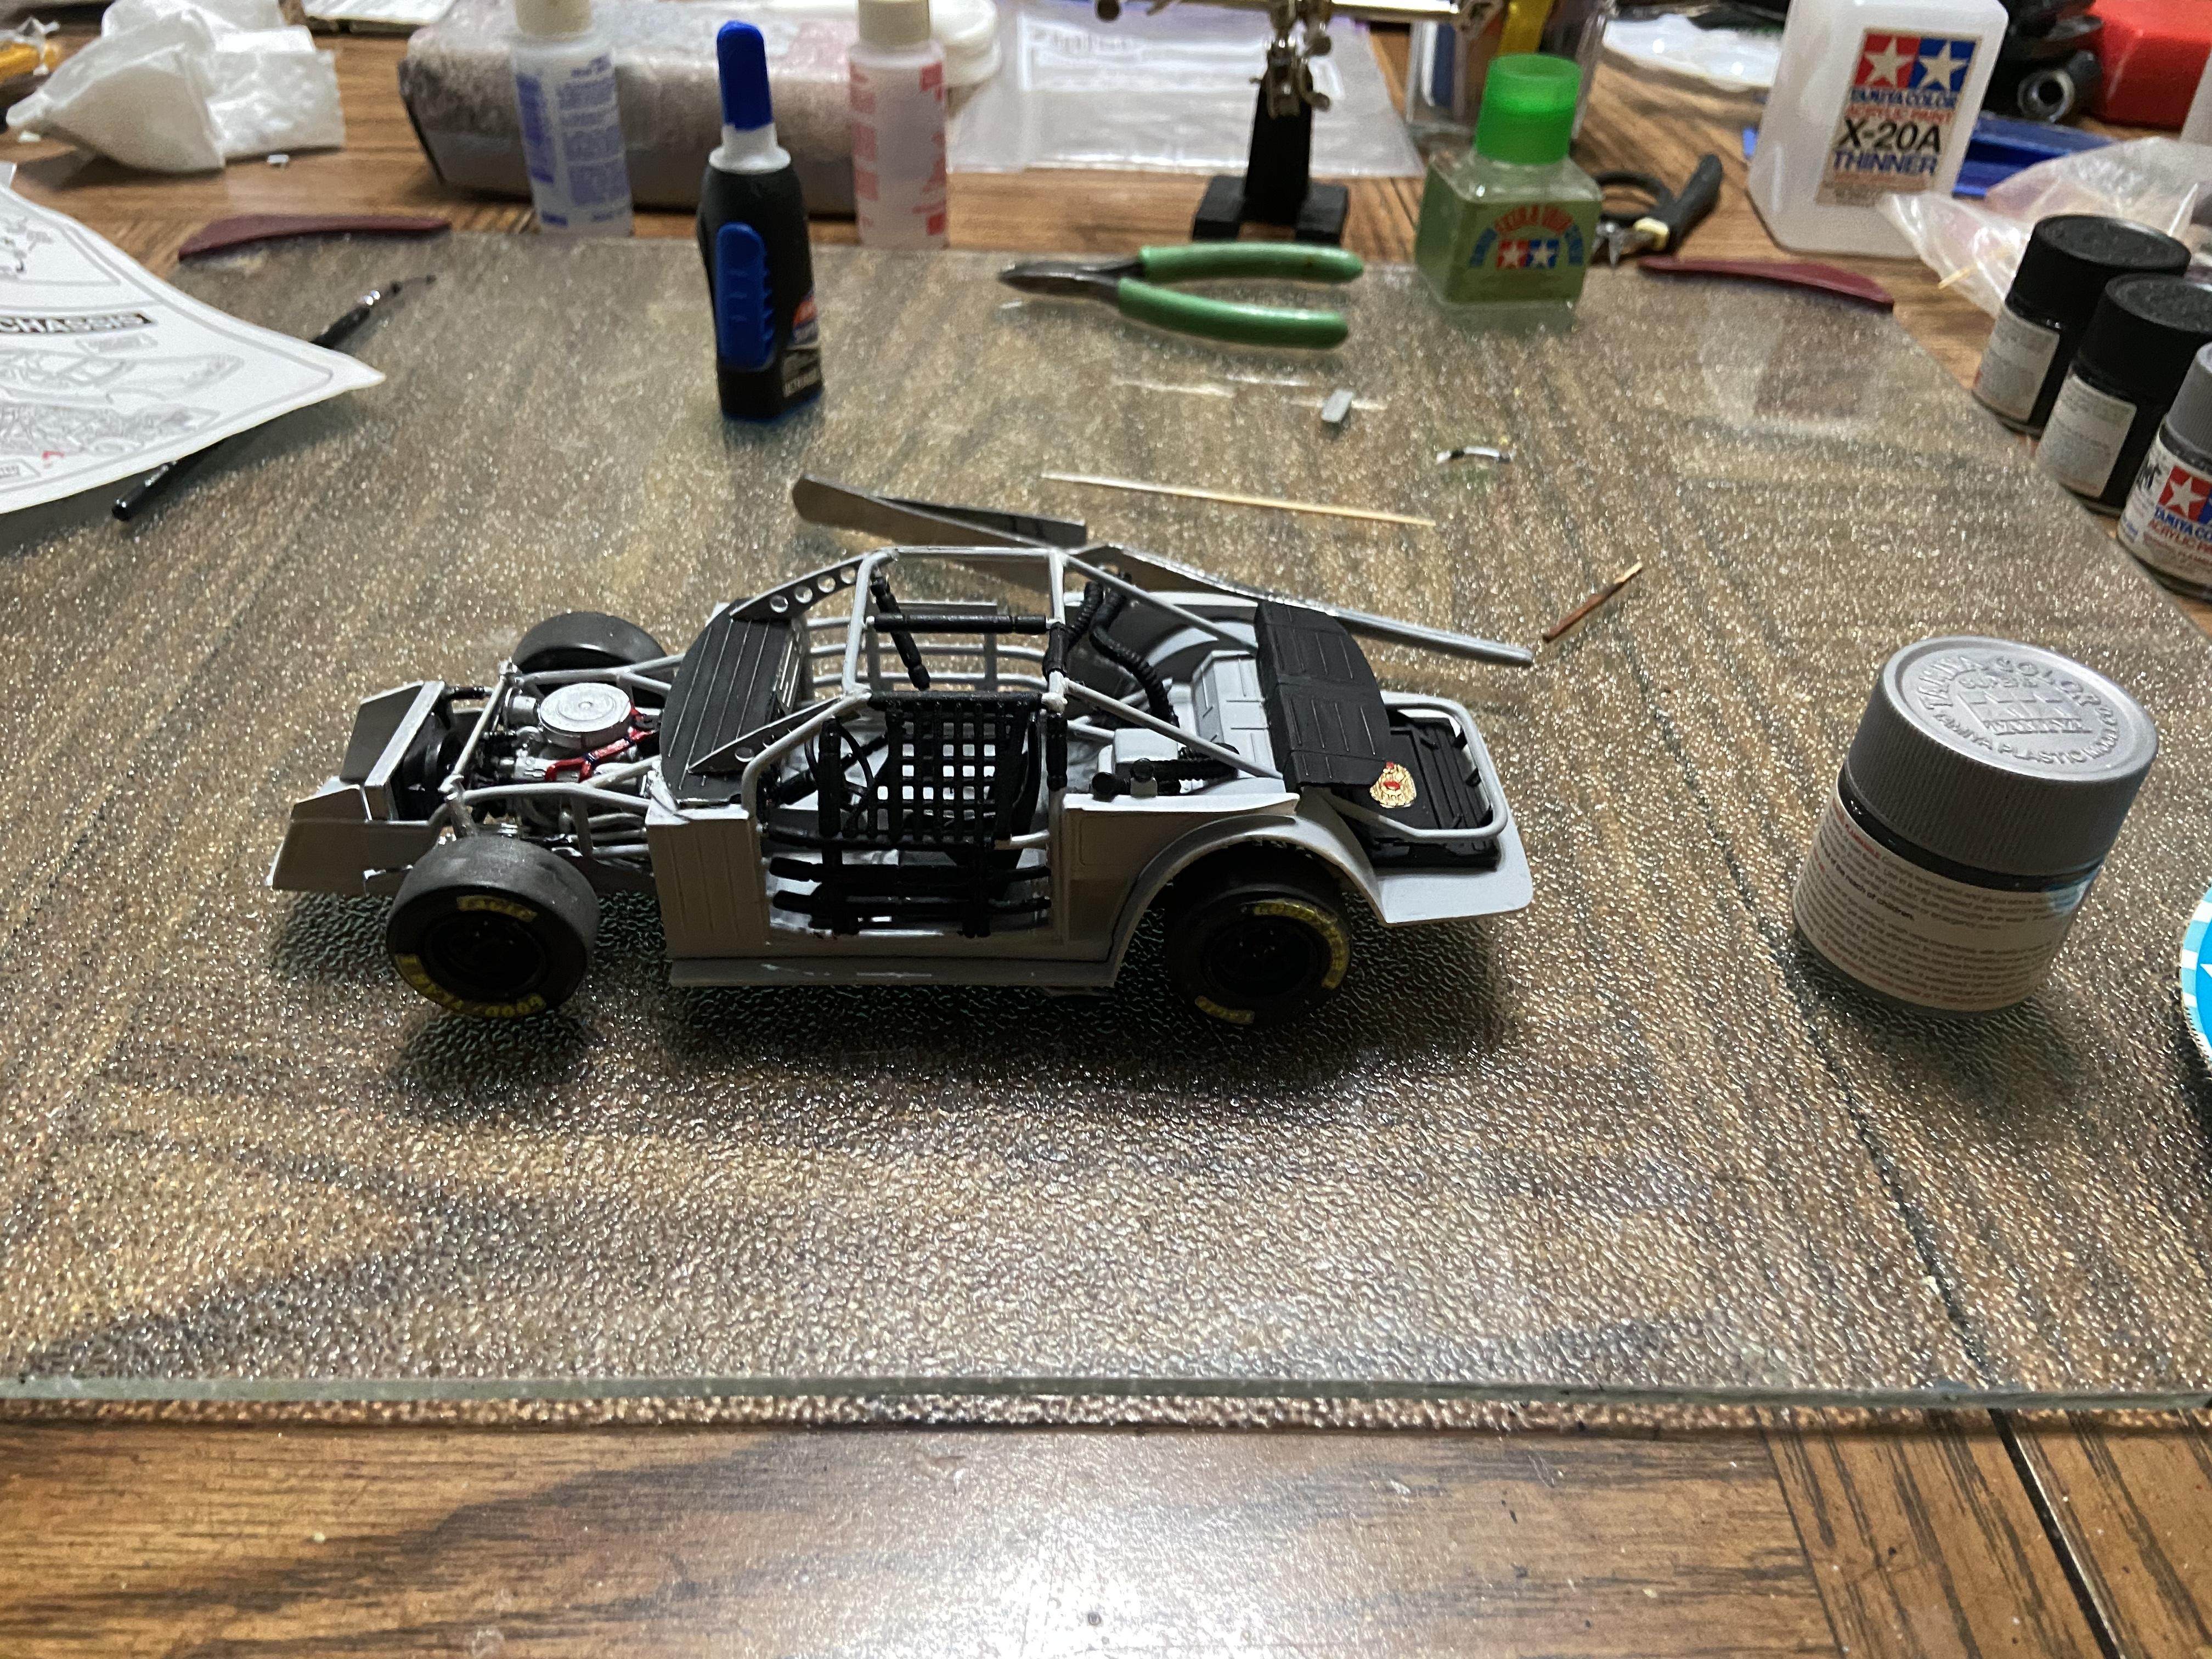
Some progress shots of the body. The red areas are decals that came with the trans kit. It looked a little too flourescent to me so I sprayed some red underneath to try and darken them a little. Still have to cut and polish.
-
2 of my Dad's F1 cars
nickfzr61 replied to dimebolt's topic in Other Racing: Road Racing, Salt Flat Racers
As someone who spent over a year building my 312T I have to say that these builds are very impressive. The build quality and attention to detail is second to none. Again bravo and thanks for sharing. -
Ferrari 312T4
nickfzr61 replied to Belugawrx's topic in WIP: Other Racing: Road Racing, Land Speed Racers
Coming along nicely. I like your weathering. That is something that i have trouble with. -
Lotus Type 77/78
nickfzr61 replied to Chris Smith's topic in WIP: Other Racing: Road Racing, Land Speed Racers
Looks like this is going to be good. Not enough F1 build on here. I'll be following for sure. Good Luck. -
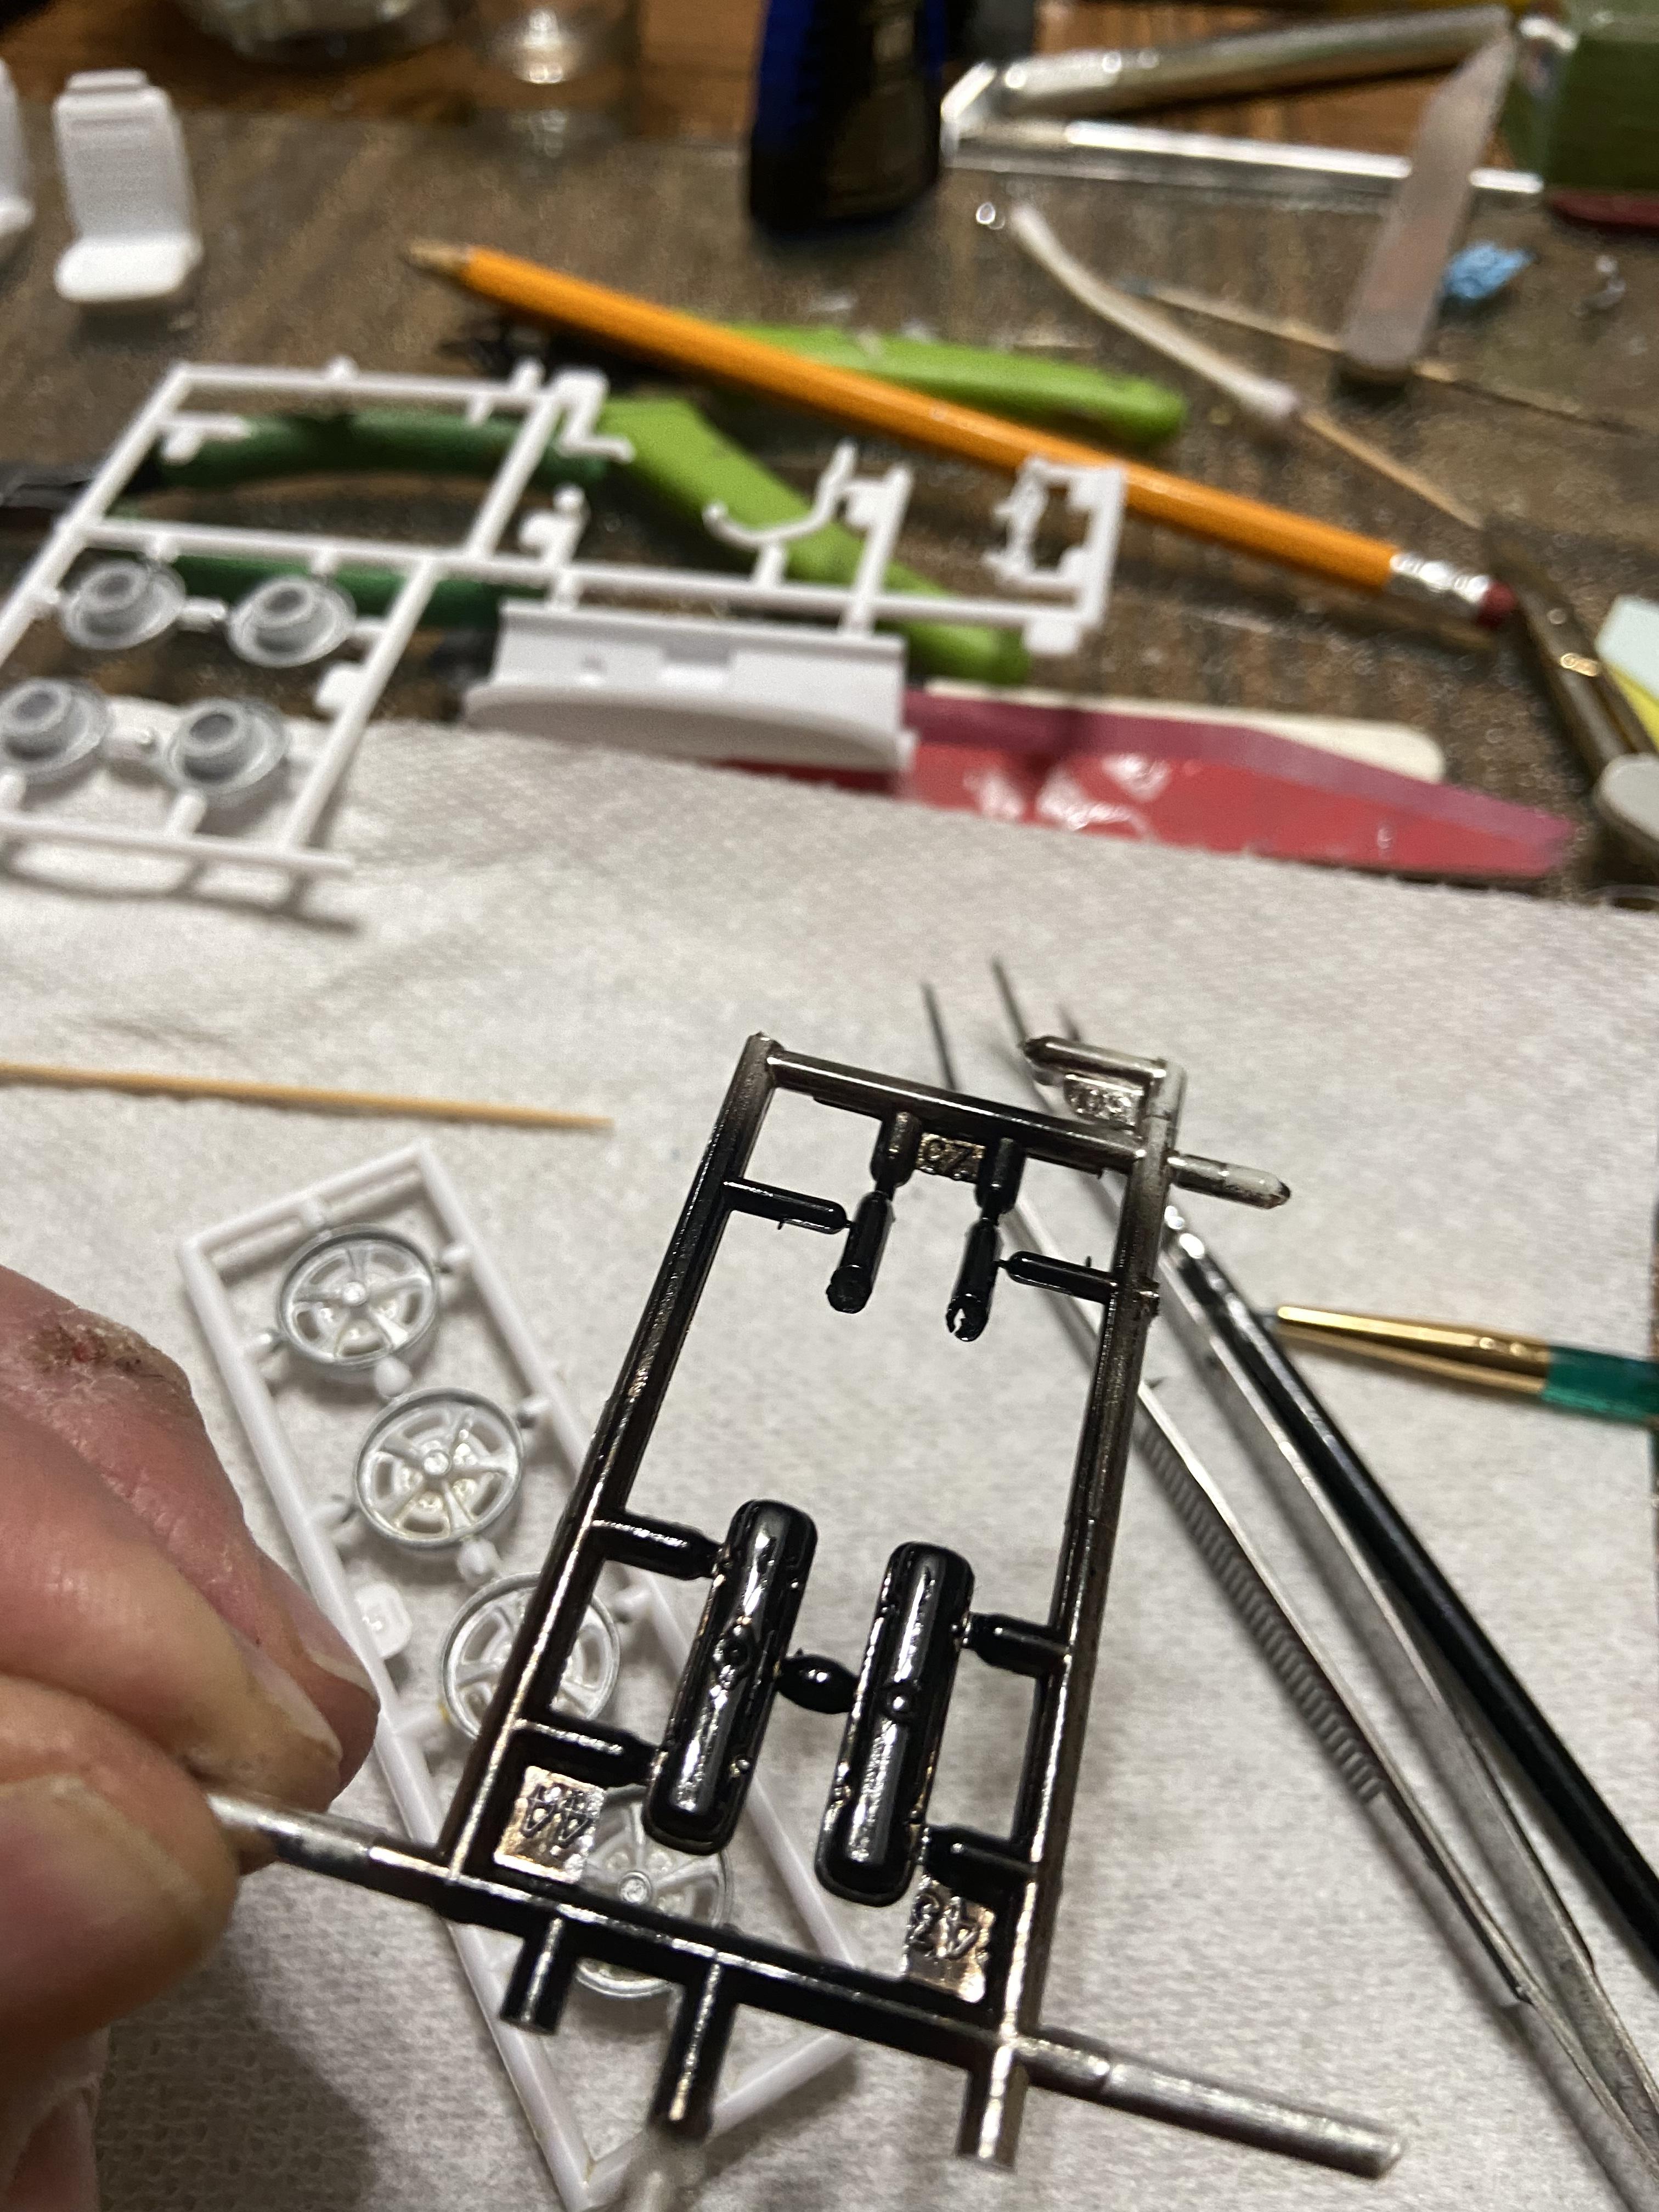
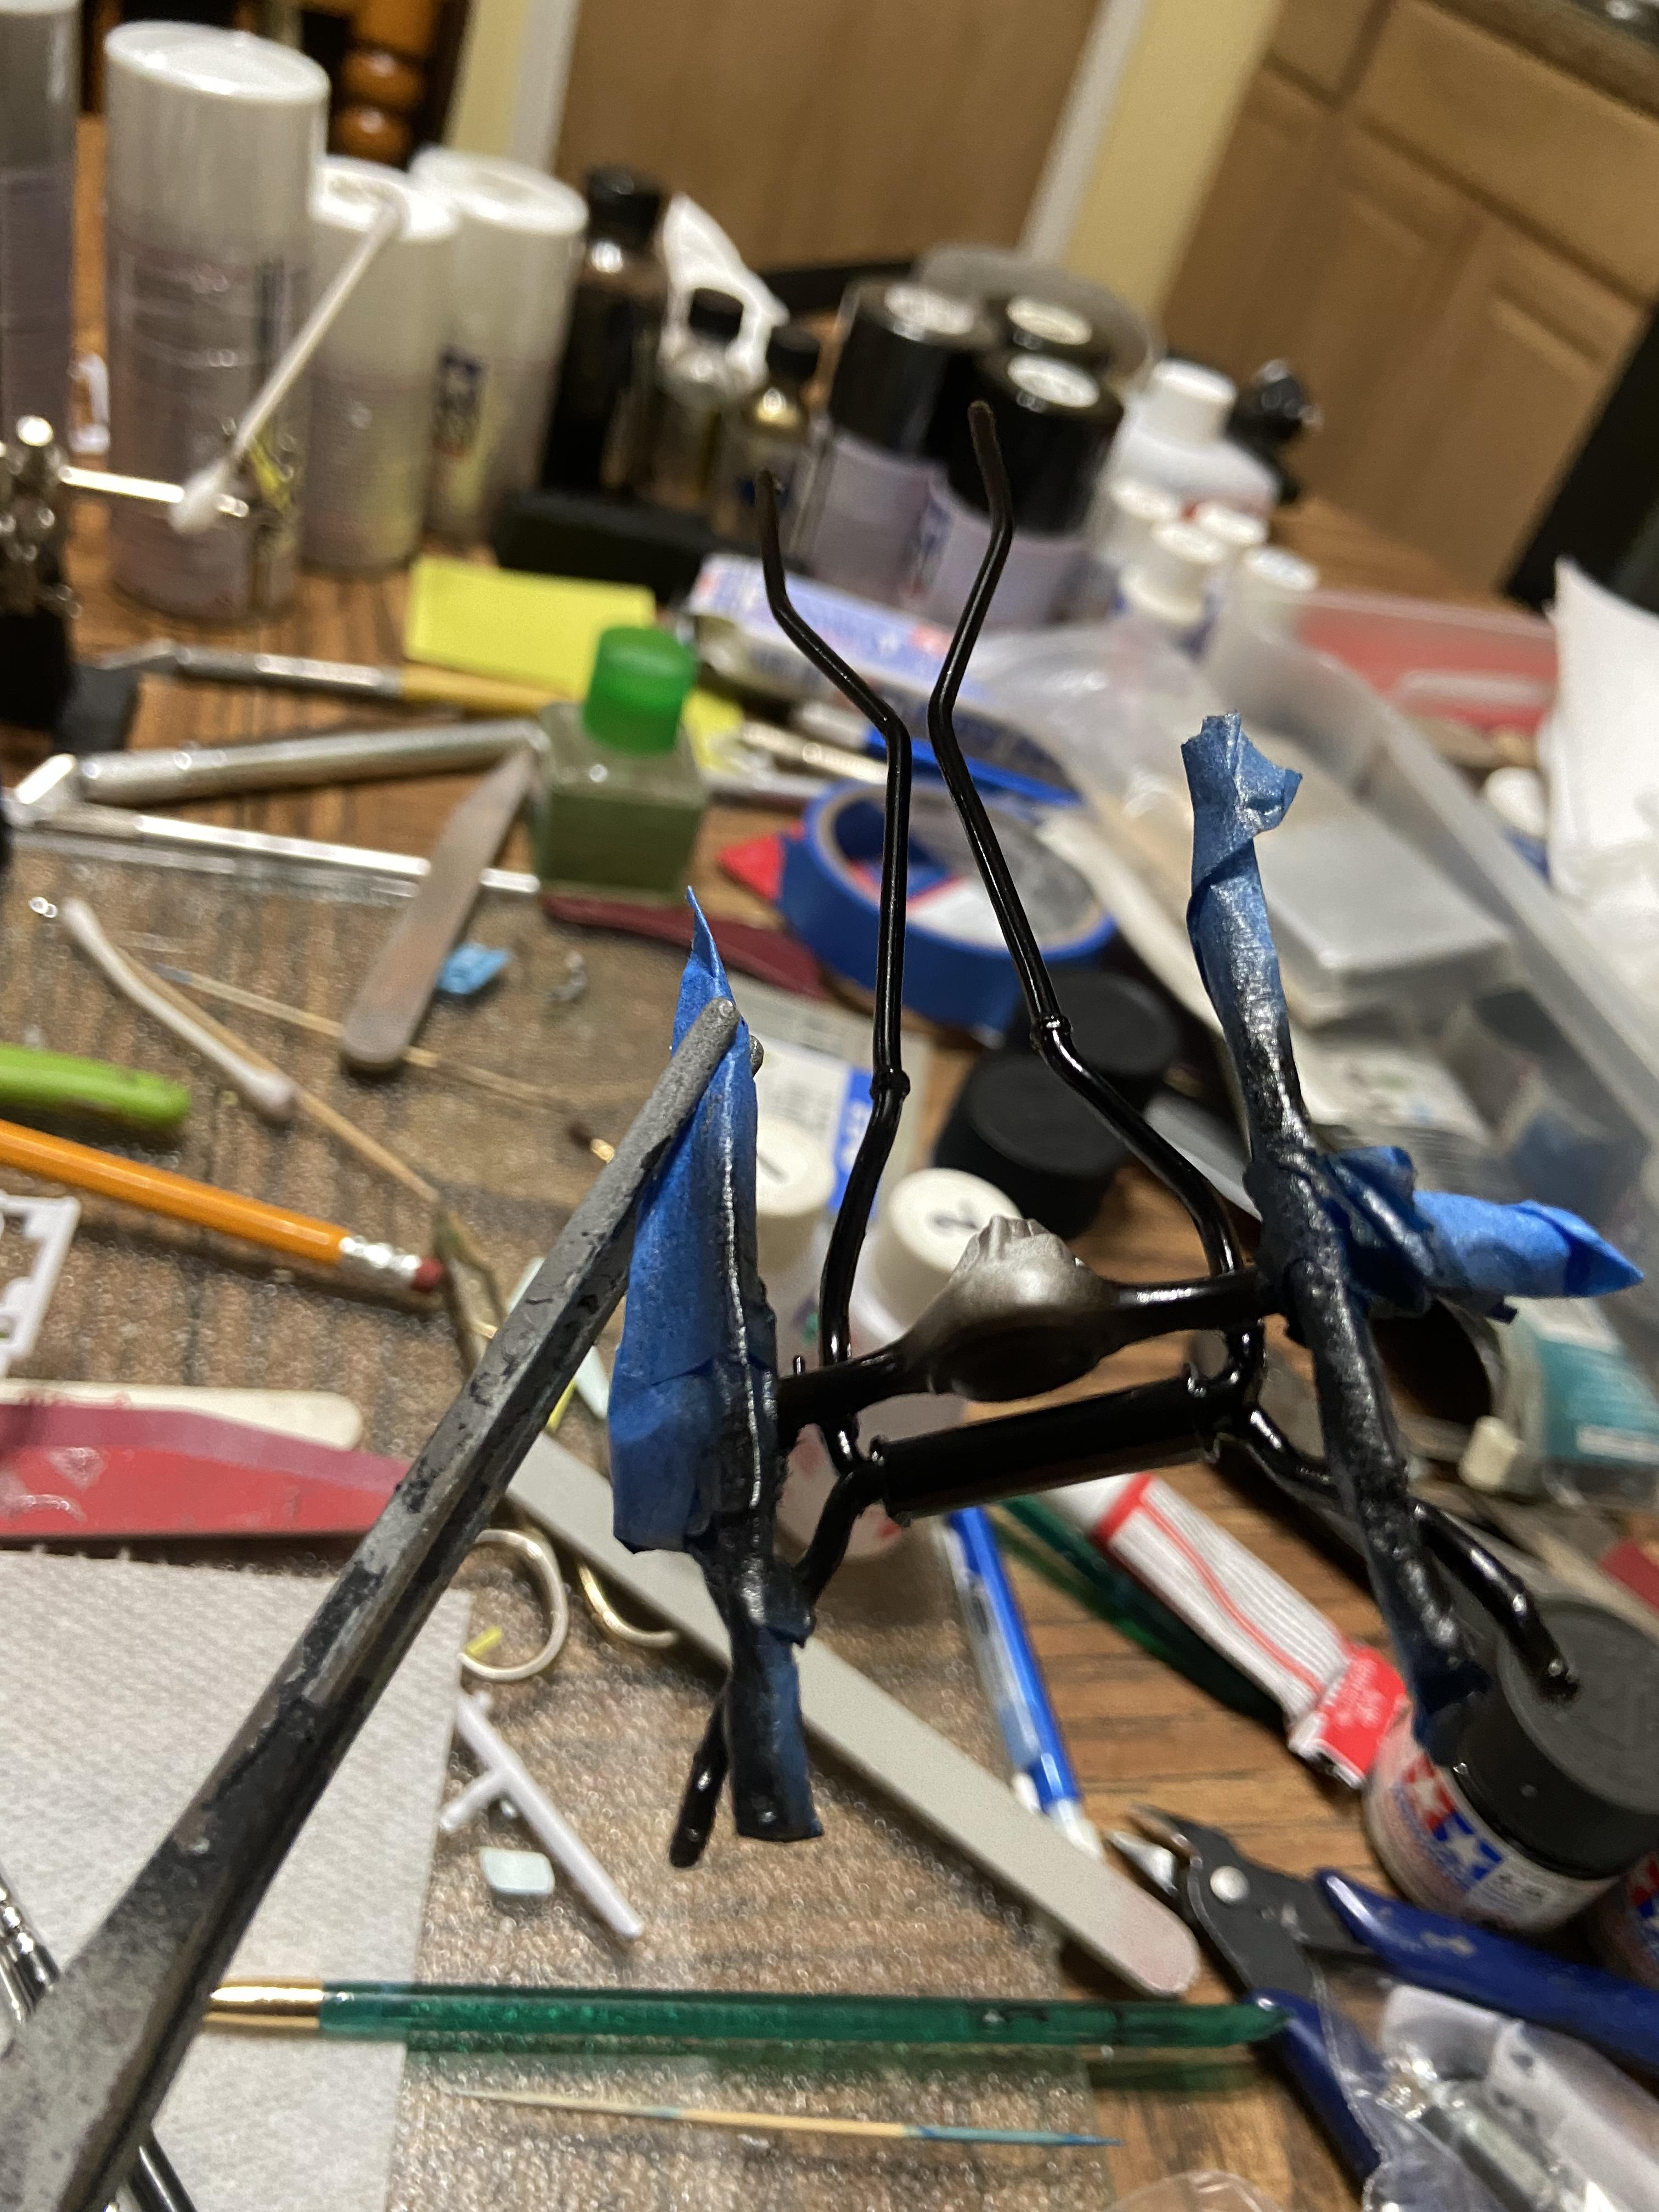
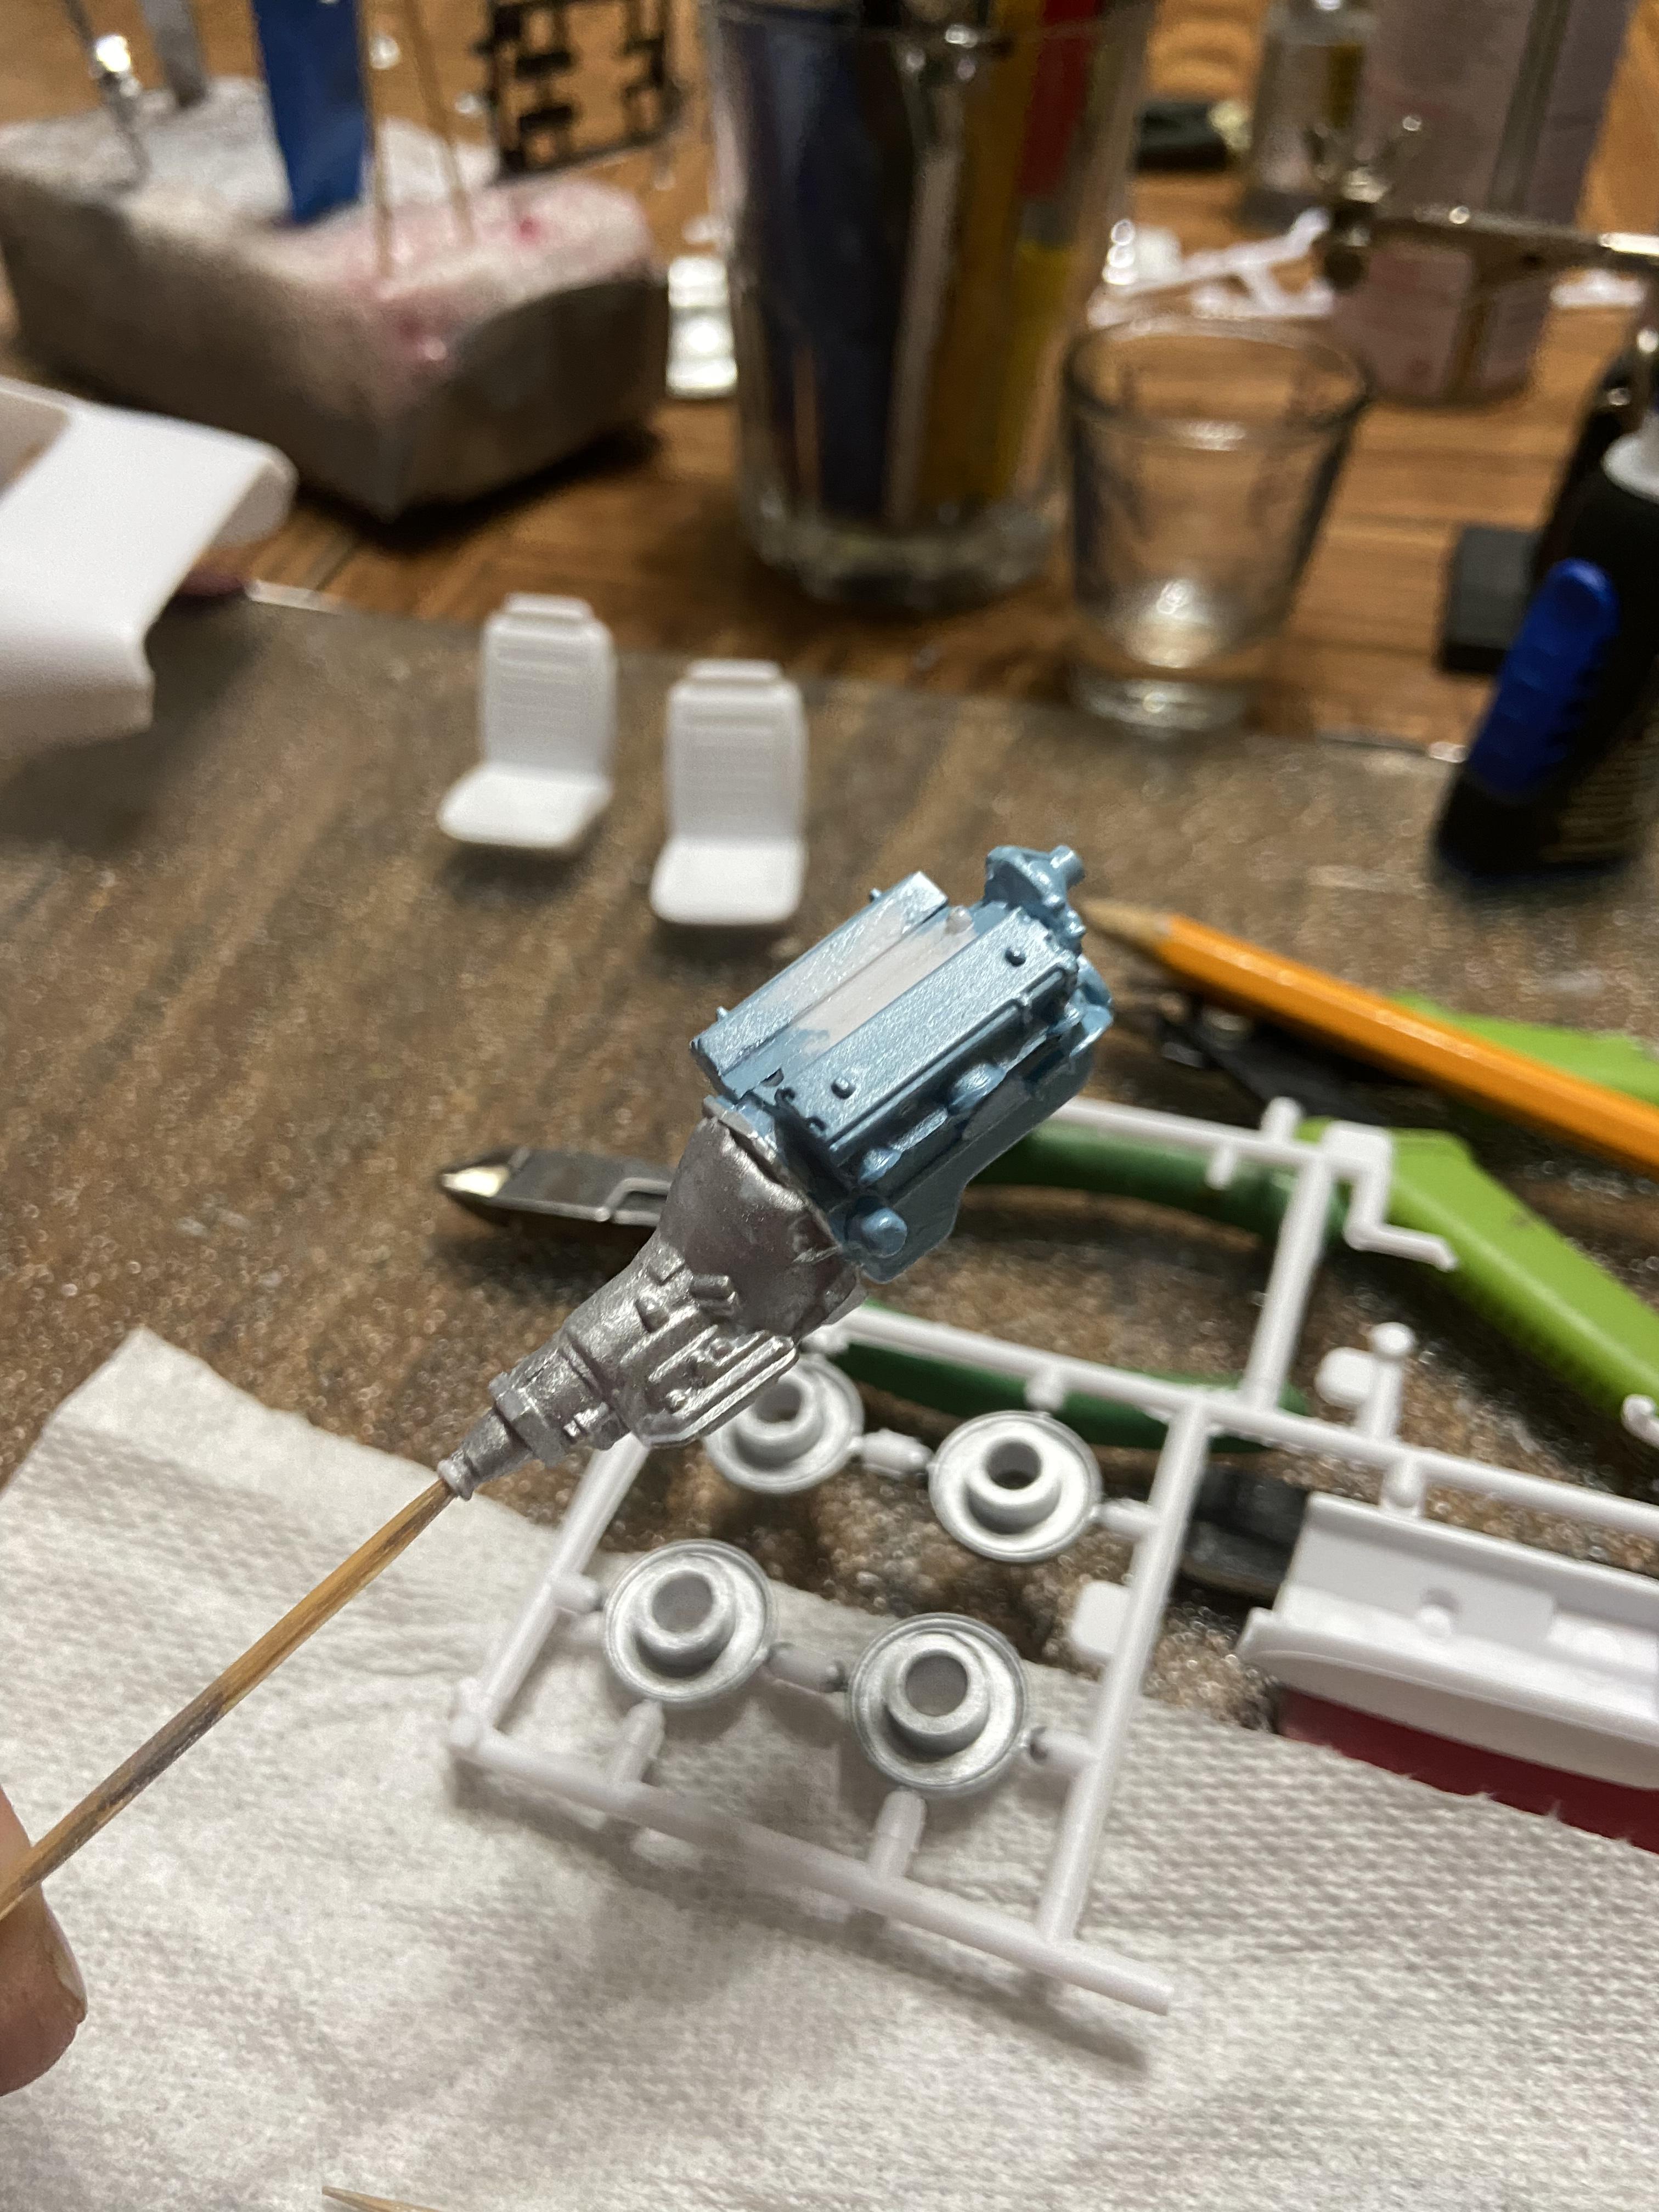
Started test fitting the body and front bulkhead. Kit instruction call for assembling the body around the cockpit and front suspension but that would leav an obvious seam on the side of the body. My plan is to assemble and paint the body then slide in the front bulhead, assemble the front suspension then slide the completed cockpit in from the rear of the body. Also modified the kits steering rack using some left over parts from my spare 312T kit. Used a mirror and shock absorber halves to better replicate the real rack.
-
Chris Very nice clean build. I love F1 cars. They just look fast standing still. I haven't done a Studio 27 kit yet. They seem kind of pricy for a curbside kit. How is the quality and do you recommend them? I've been building the 1/12 scale Tamiya F1 cars recently.
-
Getting ready to start my next project. I will be attempting to build the 1/12 scale Tamiya M23 kit with photo etch using the EJan 1976 Japanese Grand Prix Conversion kit. I'll be building the James Hunt version to go with the Niki Lauda 1975 312T Ferrari that I recently completed. This will be my first use of a conversion kit and also with resin body parts. I used the Top Studio detail sets for my McLaren MP4/6 but they were nothing like the EJan kit. Limited instructions as to which original kit parts the conversion parts replace. Some are obvious but others will take alot of studying of reference pictures and test fitting. It's going to be interesting for sure. Just sorting things out now and ordering my reference books. Surprisingly I haven't been able to find to much on the internet to use as reference photos. There are pics out there but not enough showing details that I am looking for. I hope the books are better. Thank you for looking.
-
1/12 Tamiya 312T
nickfzr61 replied to nickfzr61's topic in WIP: Other Racing: Road Racing, Land Speed Racers
-
1/12 Tamiya 312T
nickfzr61 replied to nickfzr61's topic in WIP: Other Racing: Road Racing, Land Speed Racers
Lee, Jasper018 Thanks for the compliments. Jasper018 The decals are a mix of original and after market. I don't remember where I purchased them. Pretty sure it was Indycals.net but most of the aftermarket decals didn't look right to me so I used which ever I felt scaled best to the model. I think most of them are the original decals. -
1/12 Tamiya 312T
nickfzr61 replied to nickfzr61's topic in WIP: Other Racing: Road Racing, Land Speed Racers
A few shots of the cockpit. -
1/12 Tamiya 312T
nickfzr61 replied to nickfzr61's topic in WIP: Other Racing: Road Racing, Land Speed Racers
-
1/12 Tamiya 312T
nickfzr61 replied to nickfzr61's topic in WIP: Other Racing: Road Racing, Land Speed Racers
Almost done. This one took a long time but it was worth it. -
1/12 Tamiya 312T
nickfzr61 replied to nickfzr61's topic in WIP: Other Racing: Road Racing, Land Speed Racers
-
1/12 Tamiya 312T
nickfzr61 replied to nickfzr61's topic in WIP: Other Racing: Road Racing, Land Speed Racers
Thanks guys.