GeeBee
-
Posts
4,030 -
Joined
-
Last visited
Content Type
Profiles
Forums
Events
Gallery
Everything posted by GeeBee
-
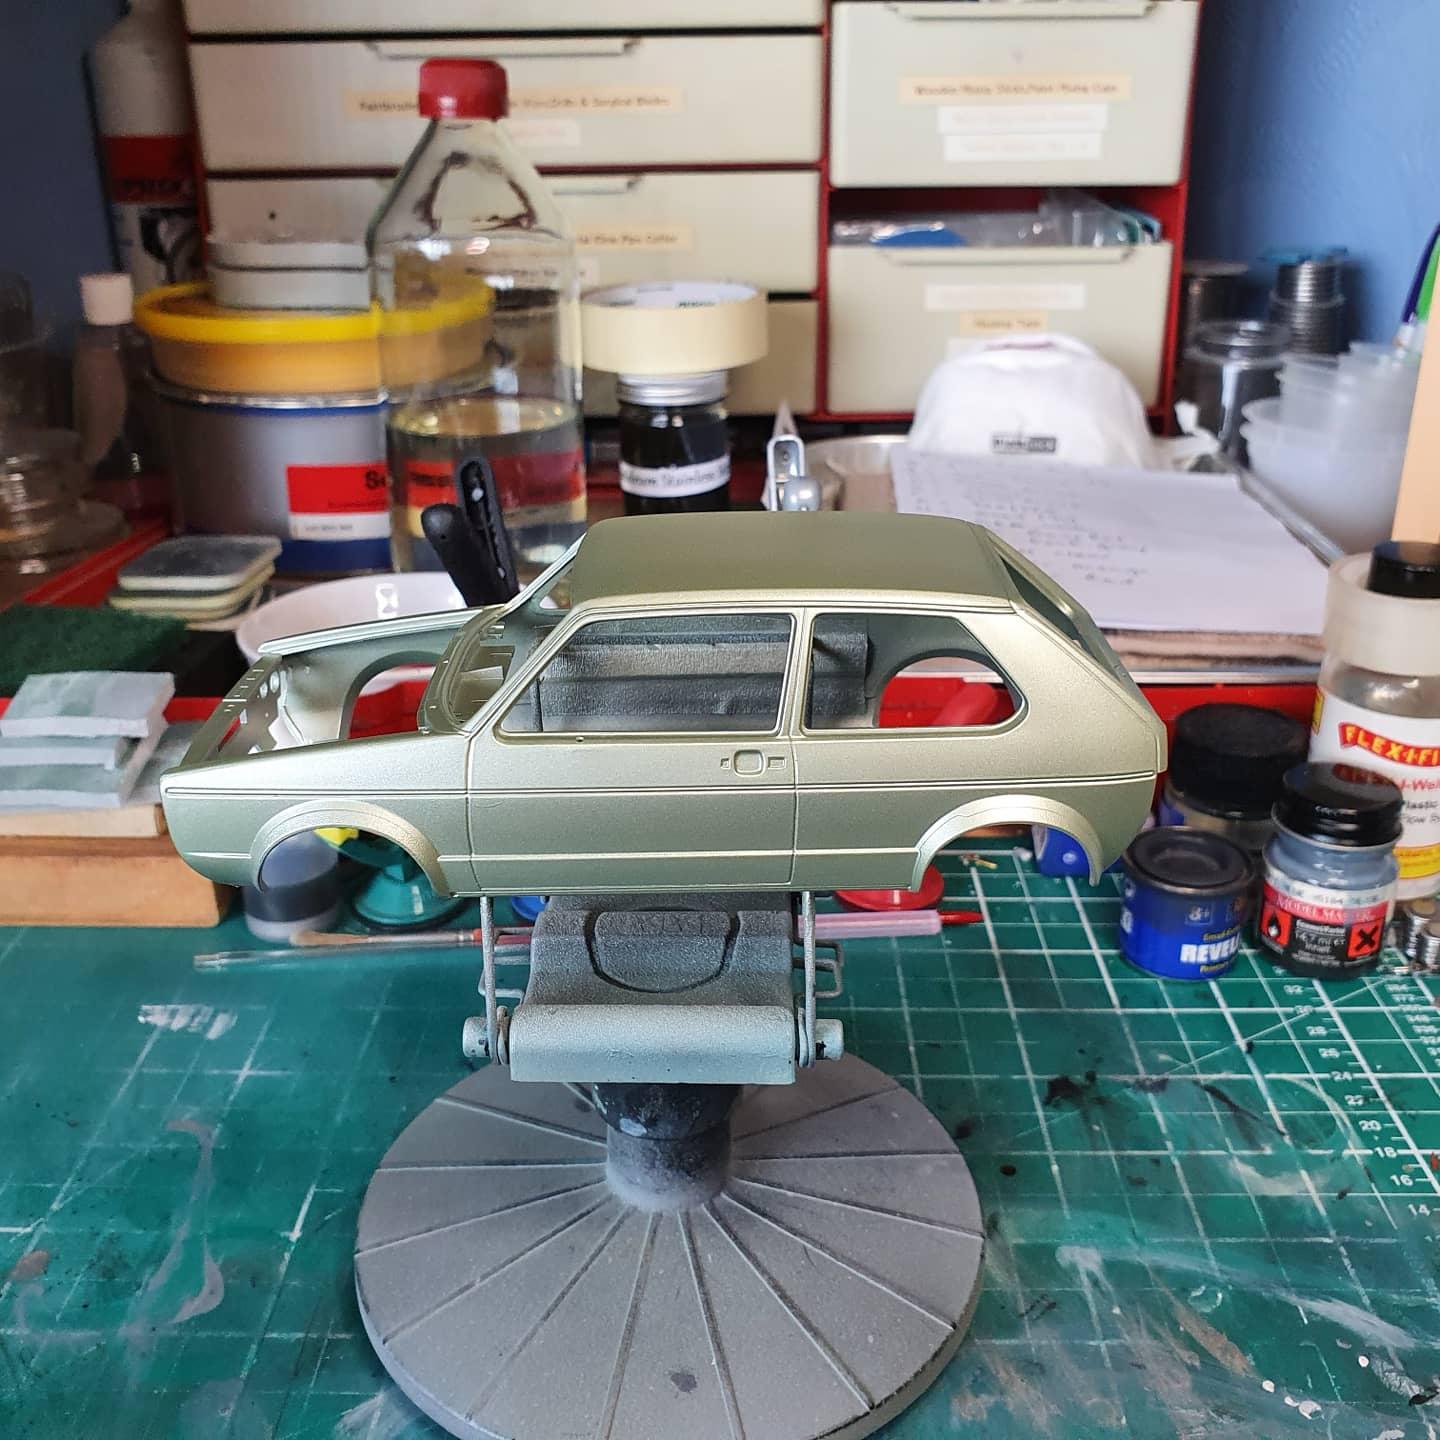
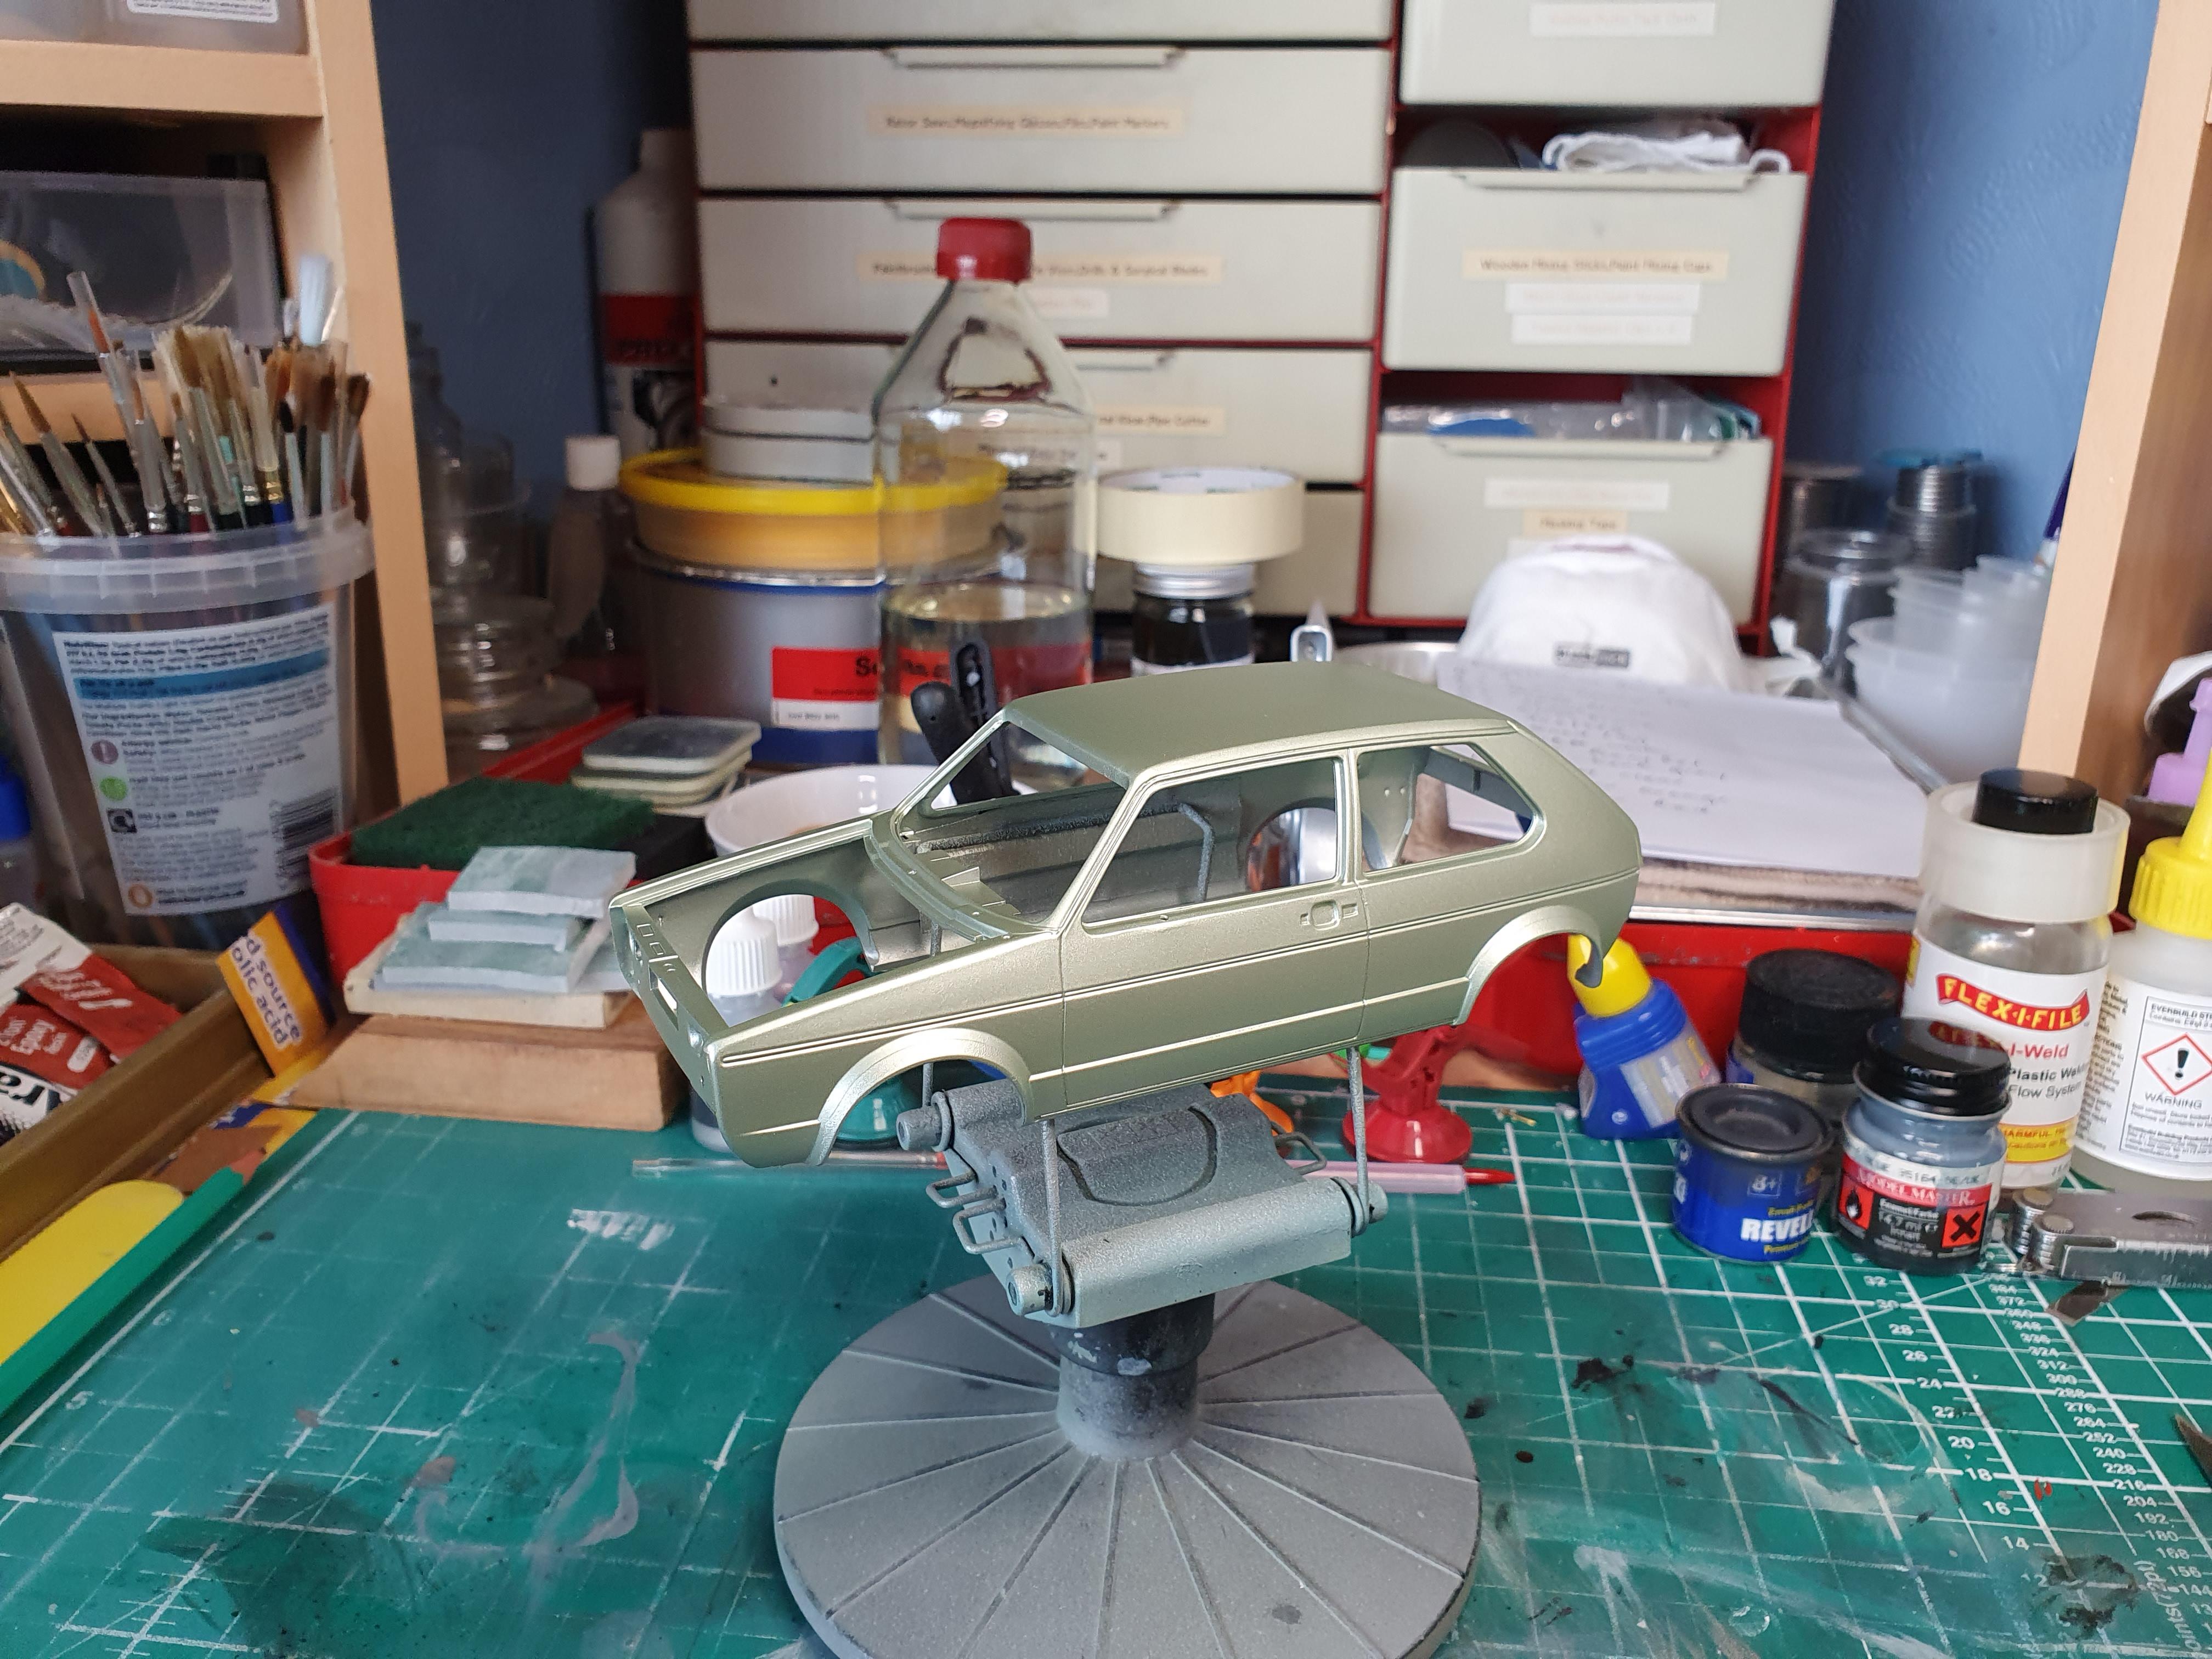
 I think I might be getting the hang of this clear coating, being acrylic it'll need some time to dry before getting wet sanded and polished
-
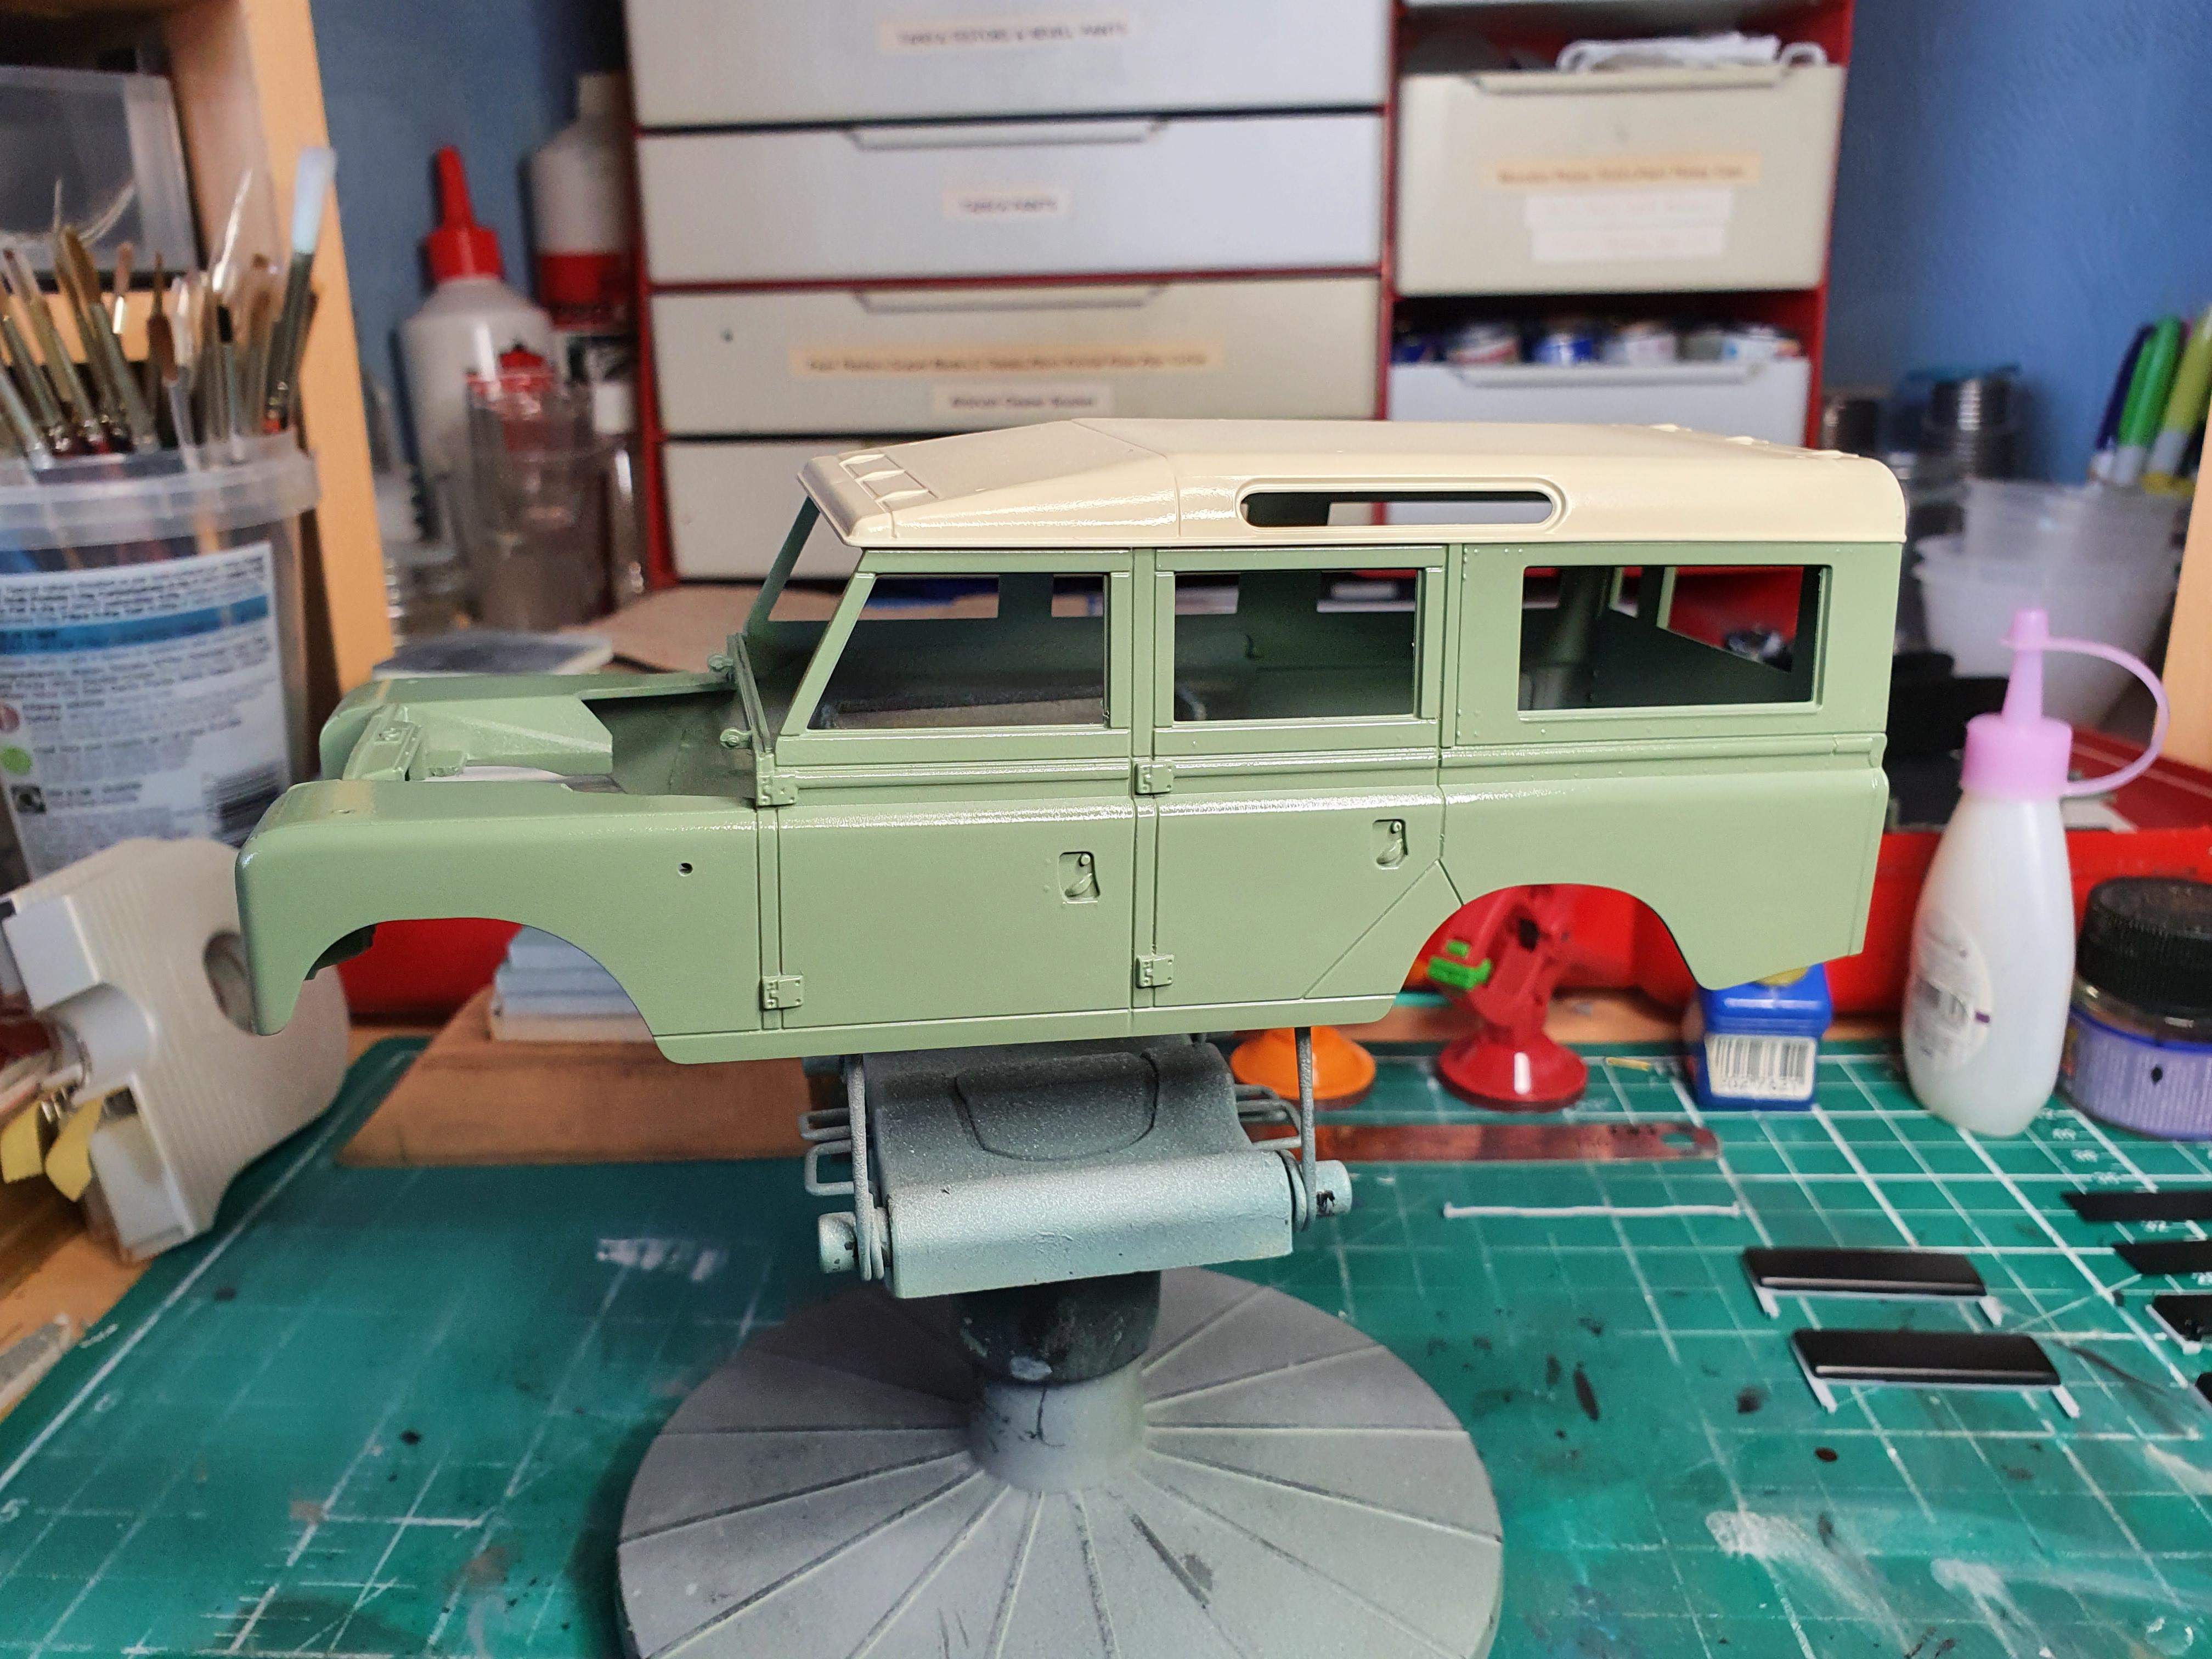
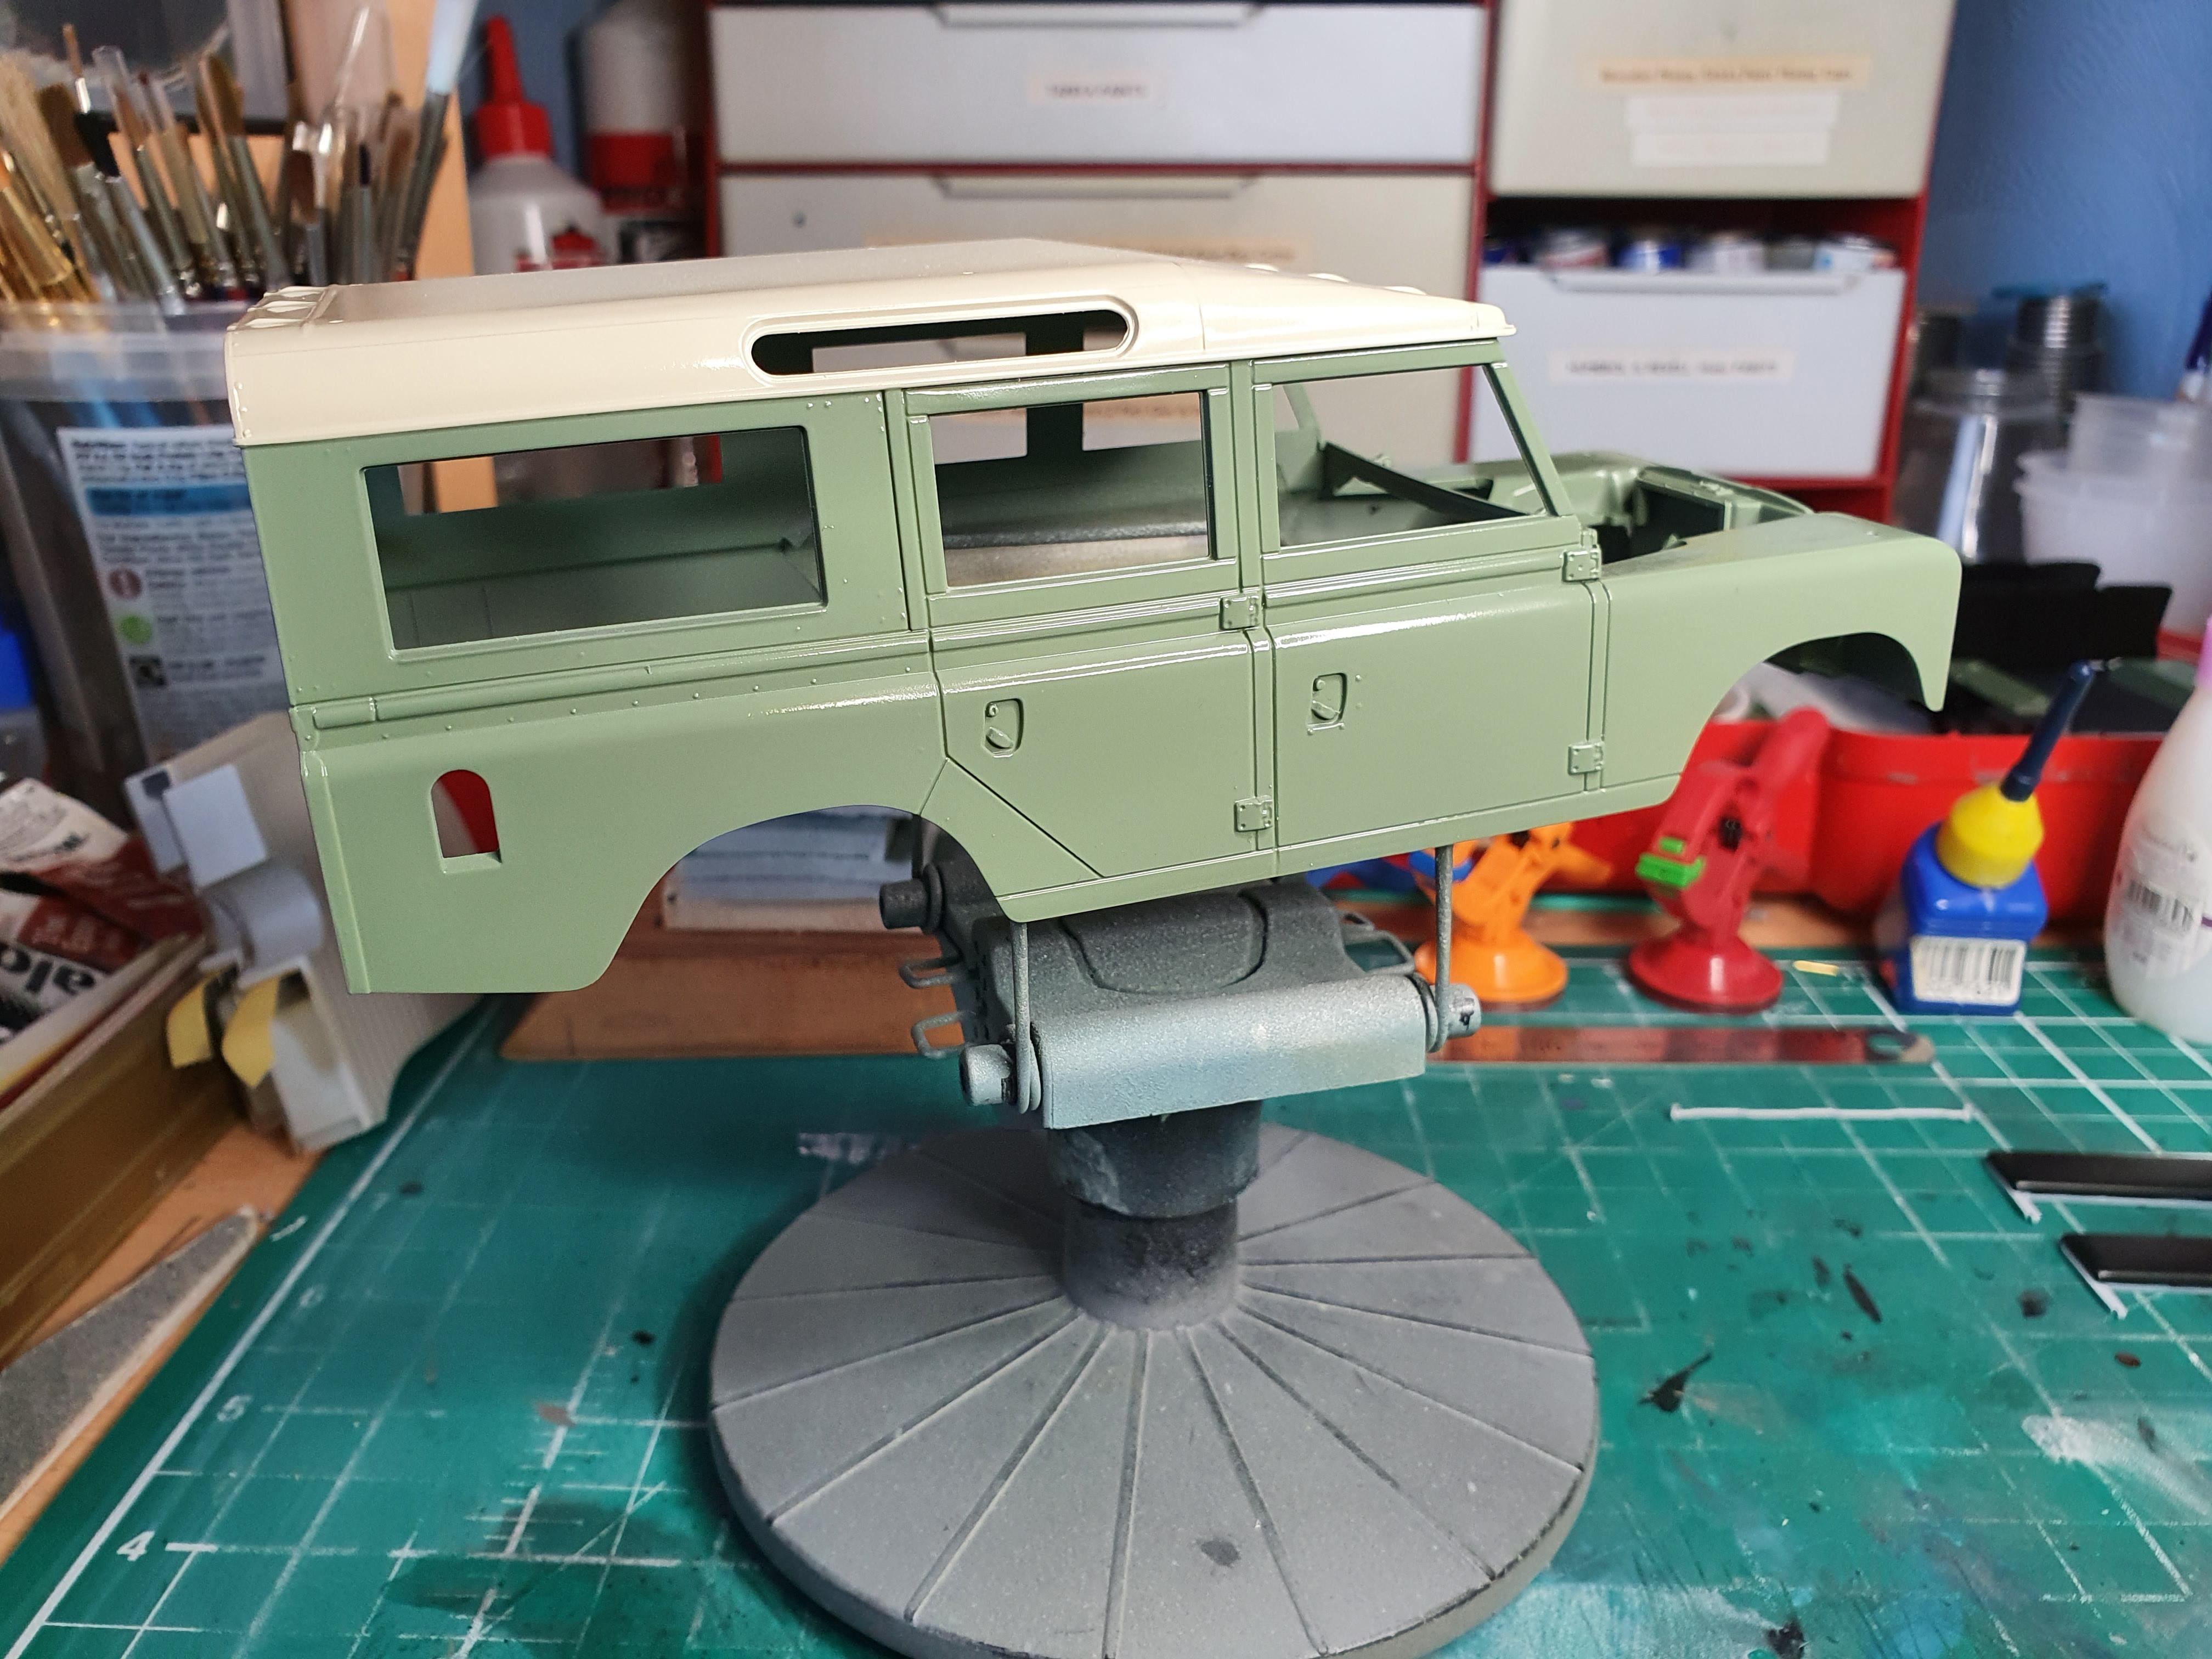
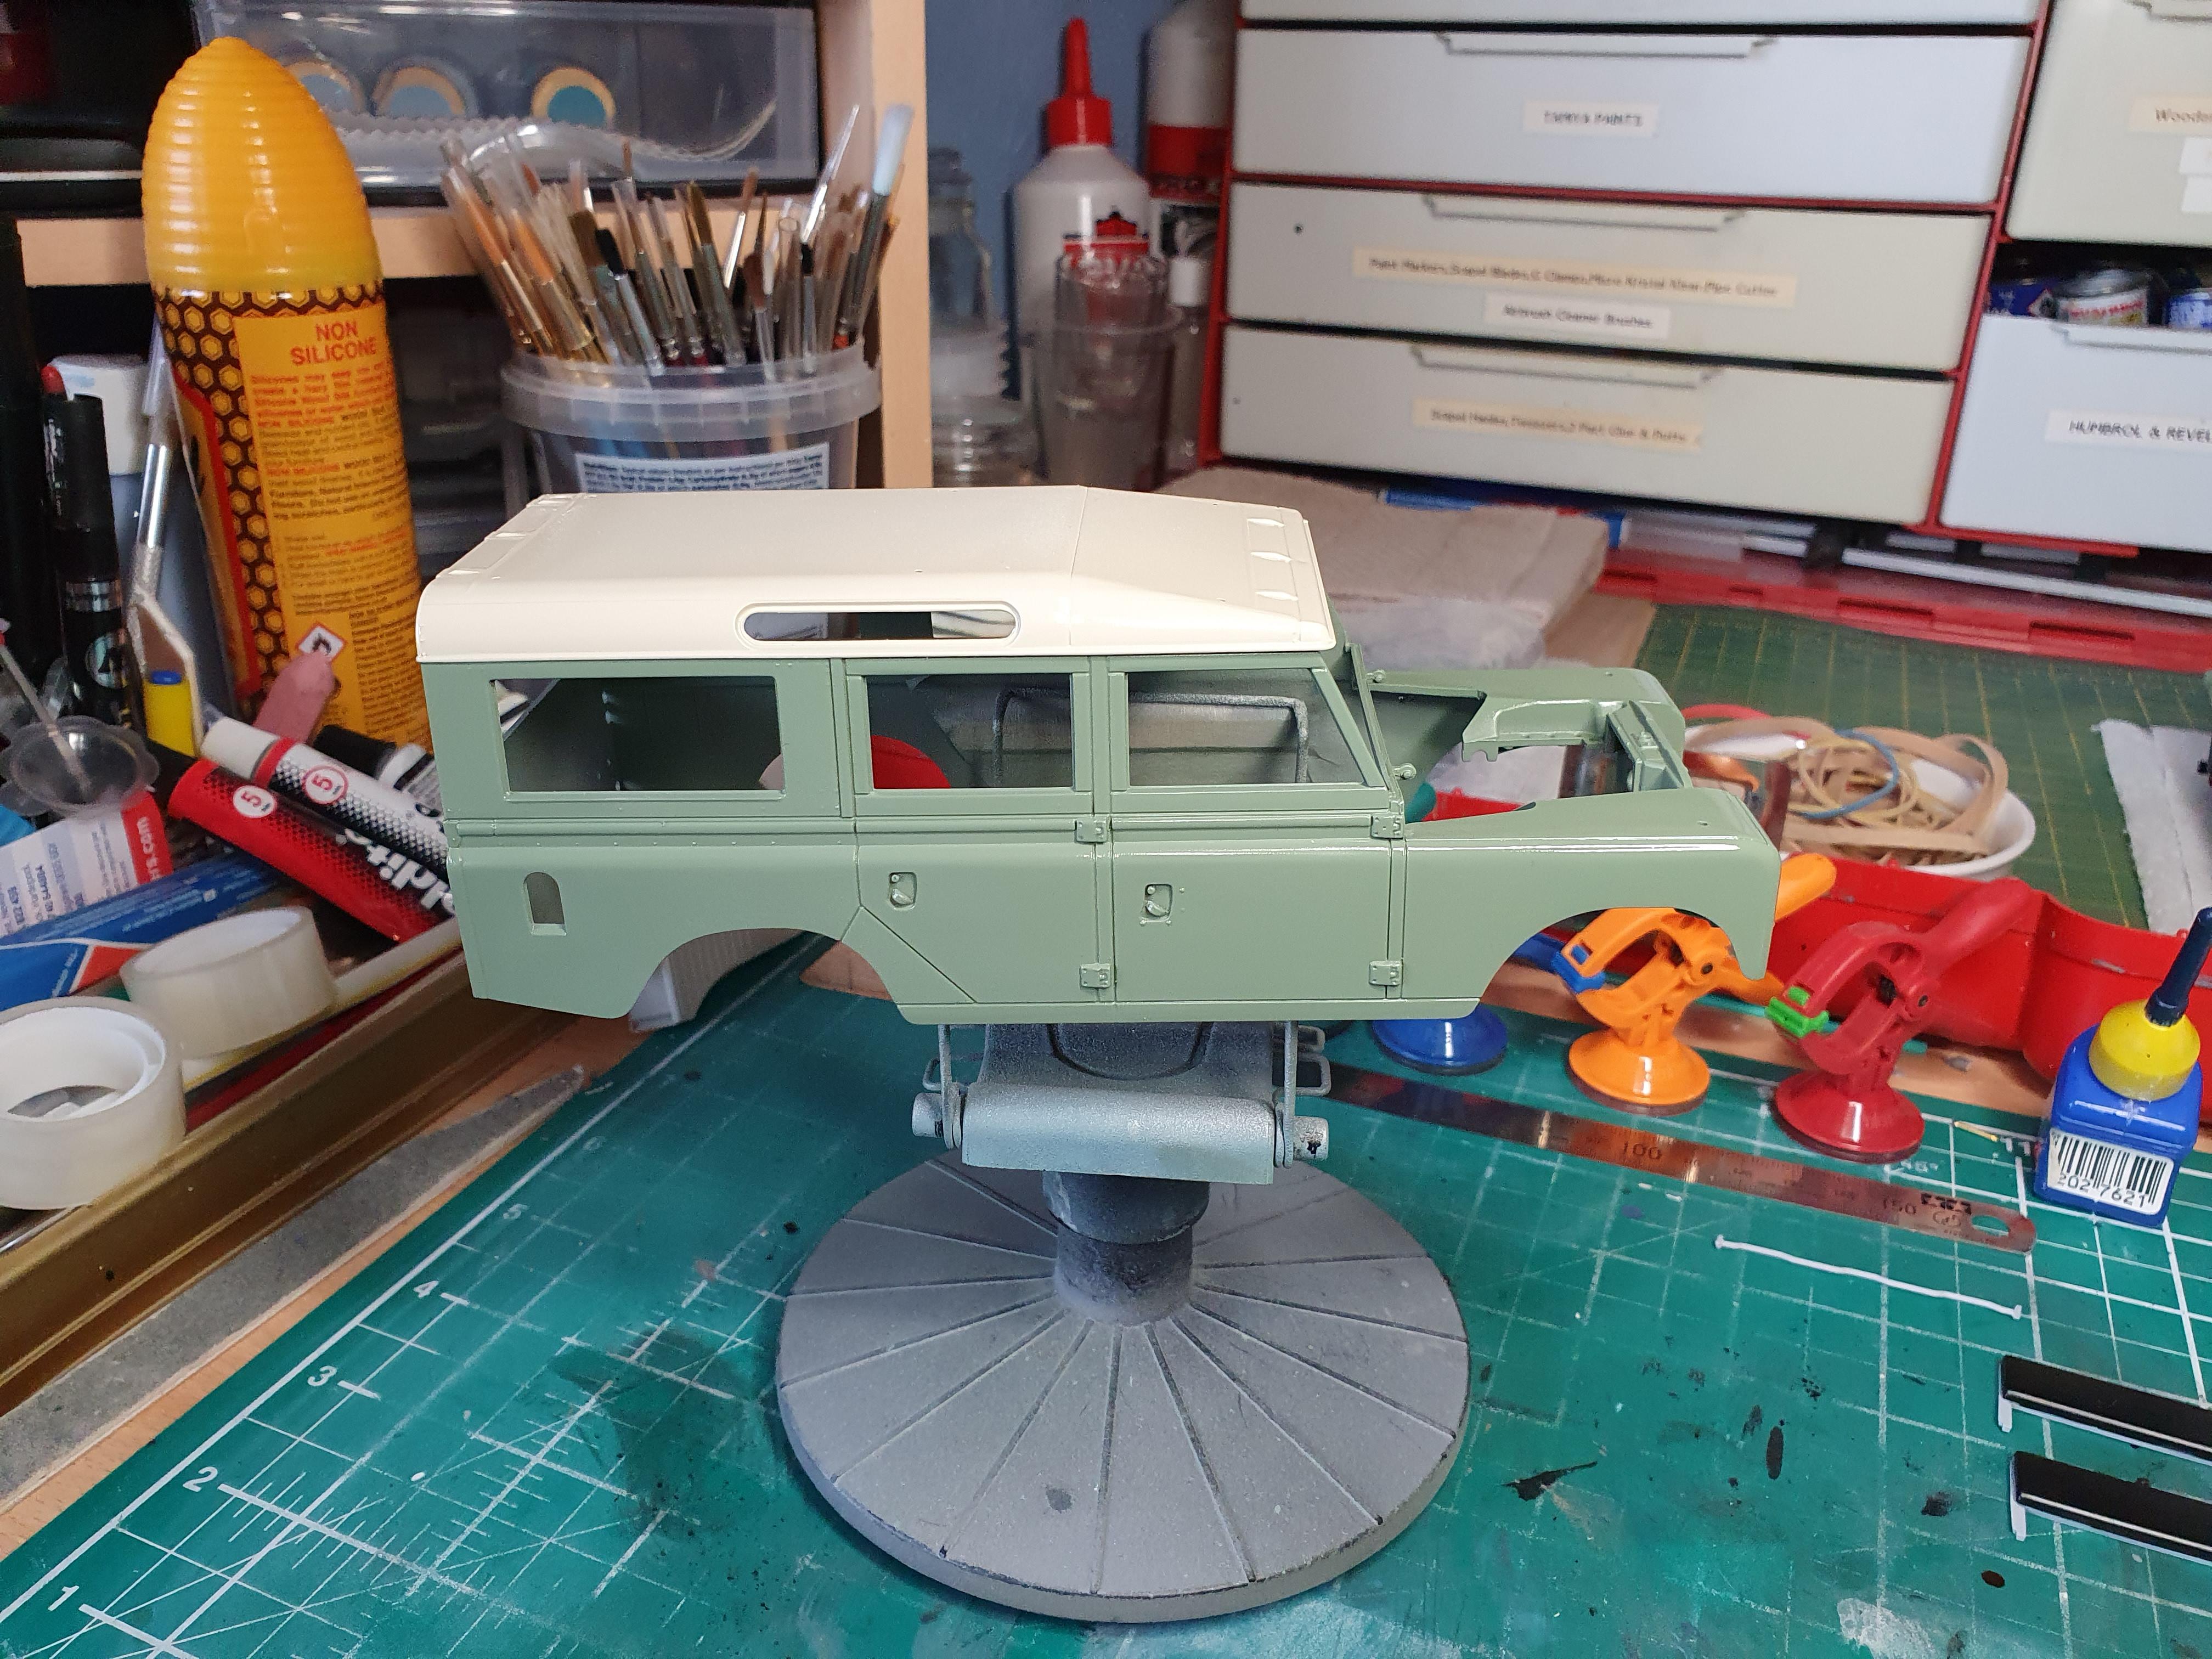
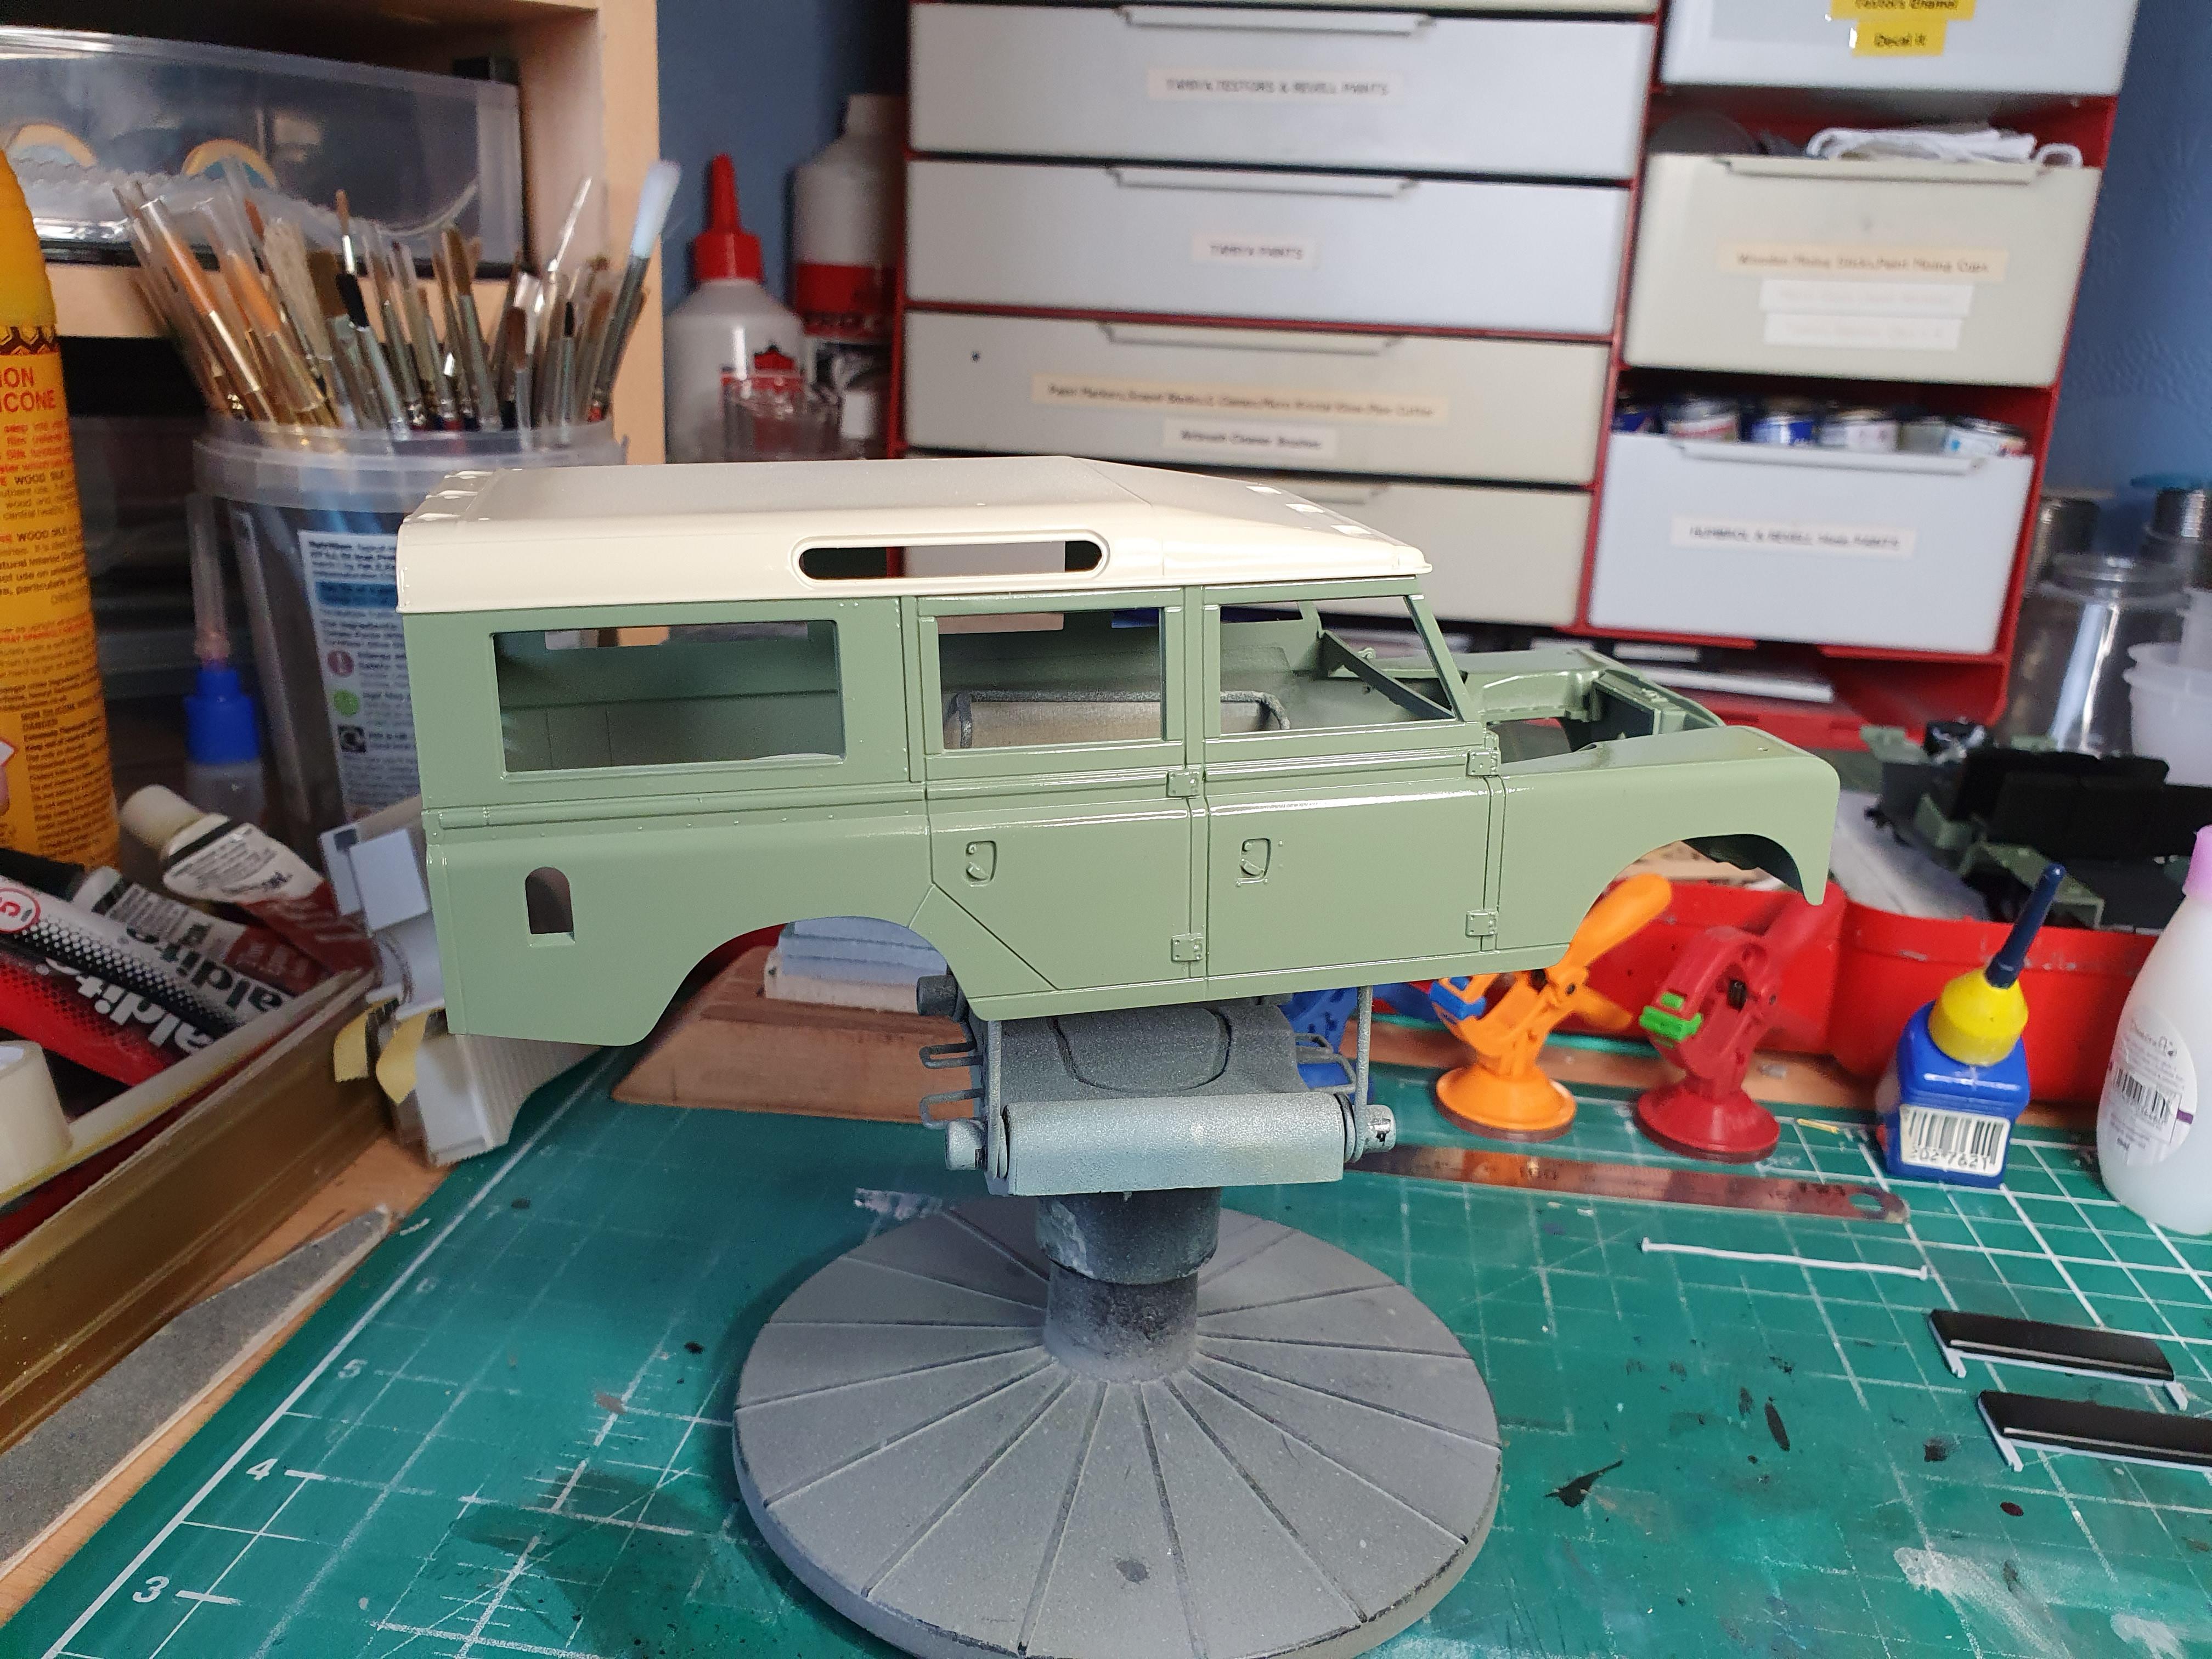
Revell Land Rover into Land Rover Defender
GeeBee replied to GLMFAA1's topic in Model Building Questions and Answers
While looking at the two side by side there doesn't seem to be too much difference between the two, but apart from the extended wheelbase 110 instead of 109, wider track,which is the reason for the wheel arch extensions, the suspension was upgraded to coil springs and the 4x4 was permanent like the Range Rover, and the old 6 cylinder wheezy overhead inlet side exhaust was put out to pasture, only 4 cylinder petrol and diesel and of course the 3.5 litre V8 petrol engine was available in the 110, there a few other cosmetic things that would need to be addressed, one piece front windshield, actual wind up side Windows, being just two, I'm not saying it's not possible, but would be a lot of work. -
Very nice build....
-
Tamiya 1/24 Mazda MX-5 Miata NA BRG Edition
GeeBee replied to Italianhorses's topic in WIP: Model Cars
Looking forward to seeing you build this, I've had one in the stash for years, I really need to get it built -
Looking forward to seeing this build
-
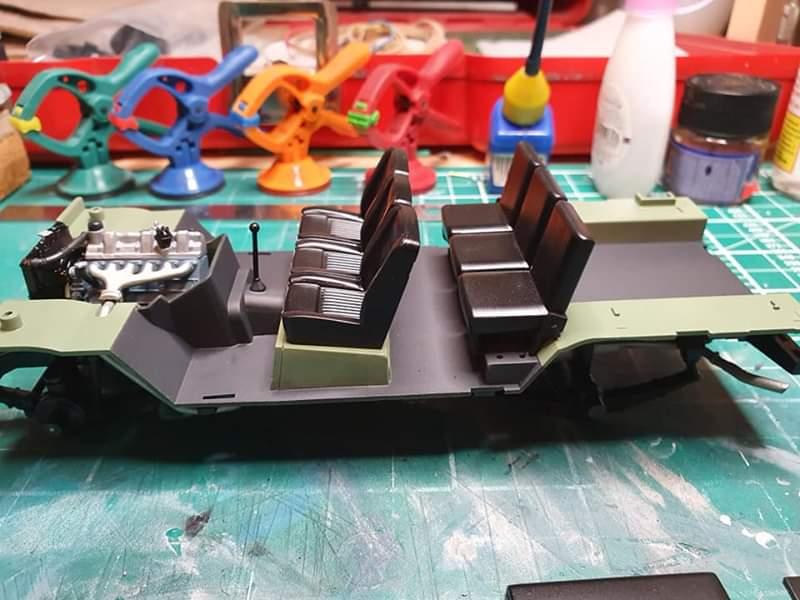
Front and rear seats fitted, gearlever painted satin black, gearknob painted gloss black and the rubber gaiter painted using Tamiya rubber black.
-
VW T1 Van
GeeBee replied to Caballero_ScaleModel's topic in WIP: Model Trucks: Pickups, Vans, SUVs, Light Commercial
Coming along very nicely..... -
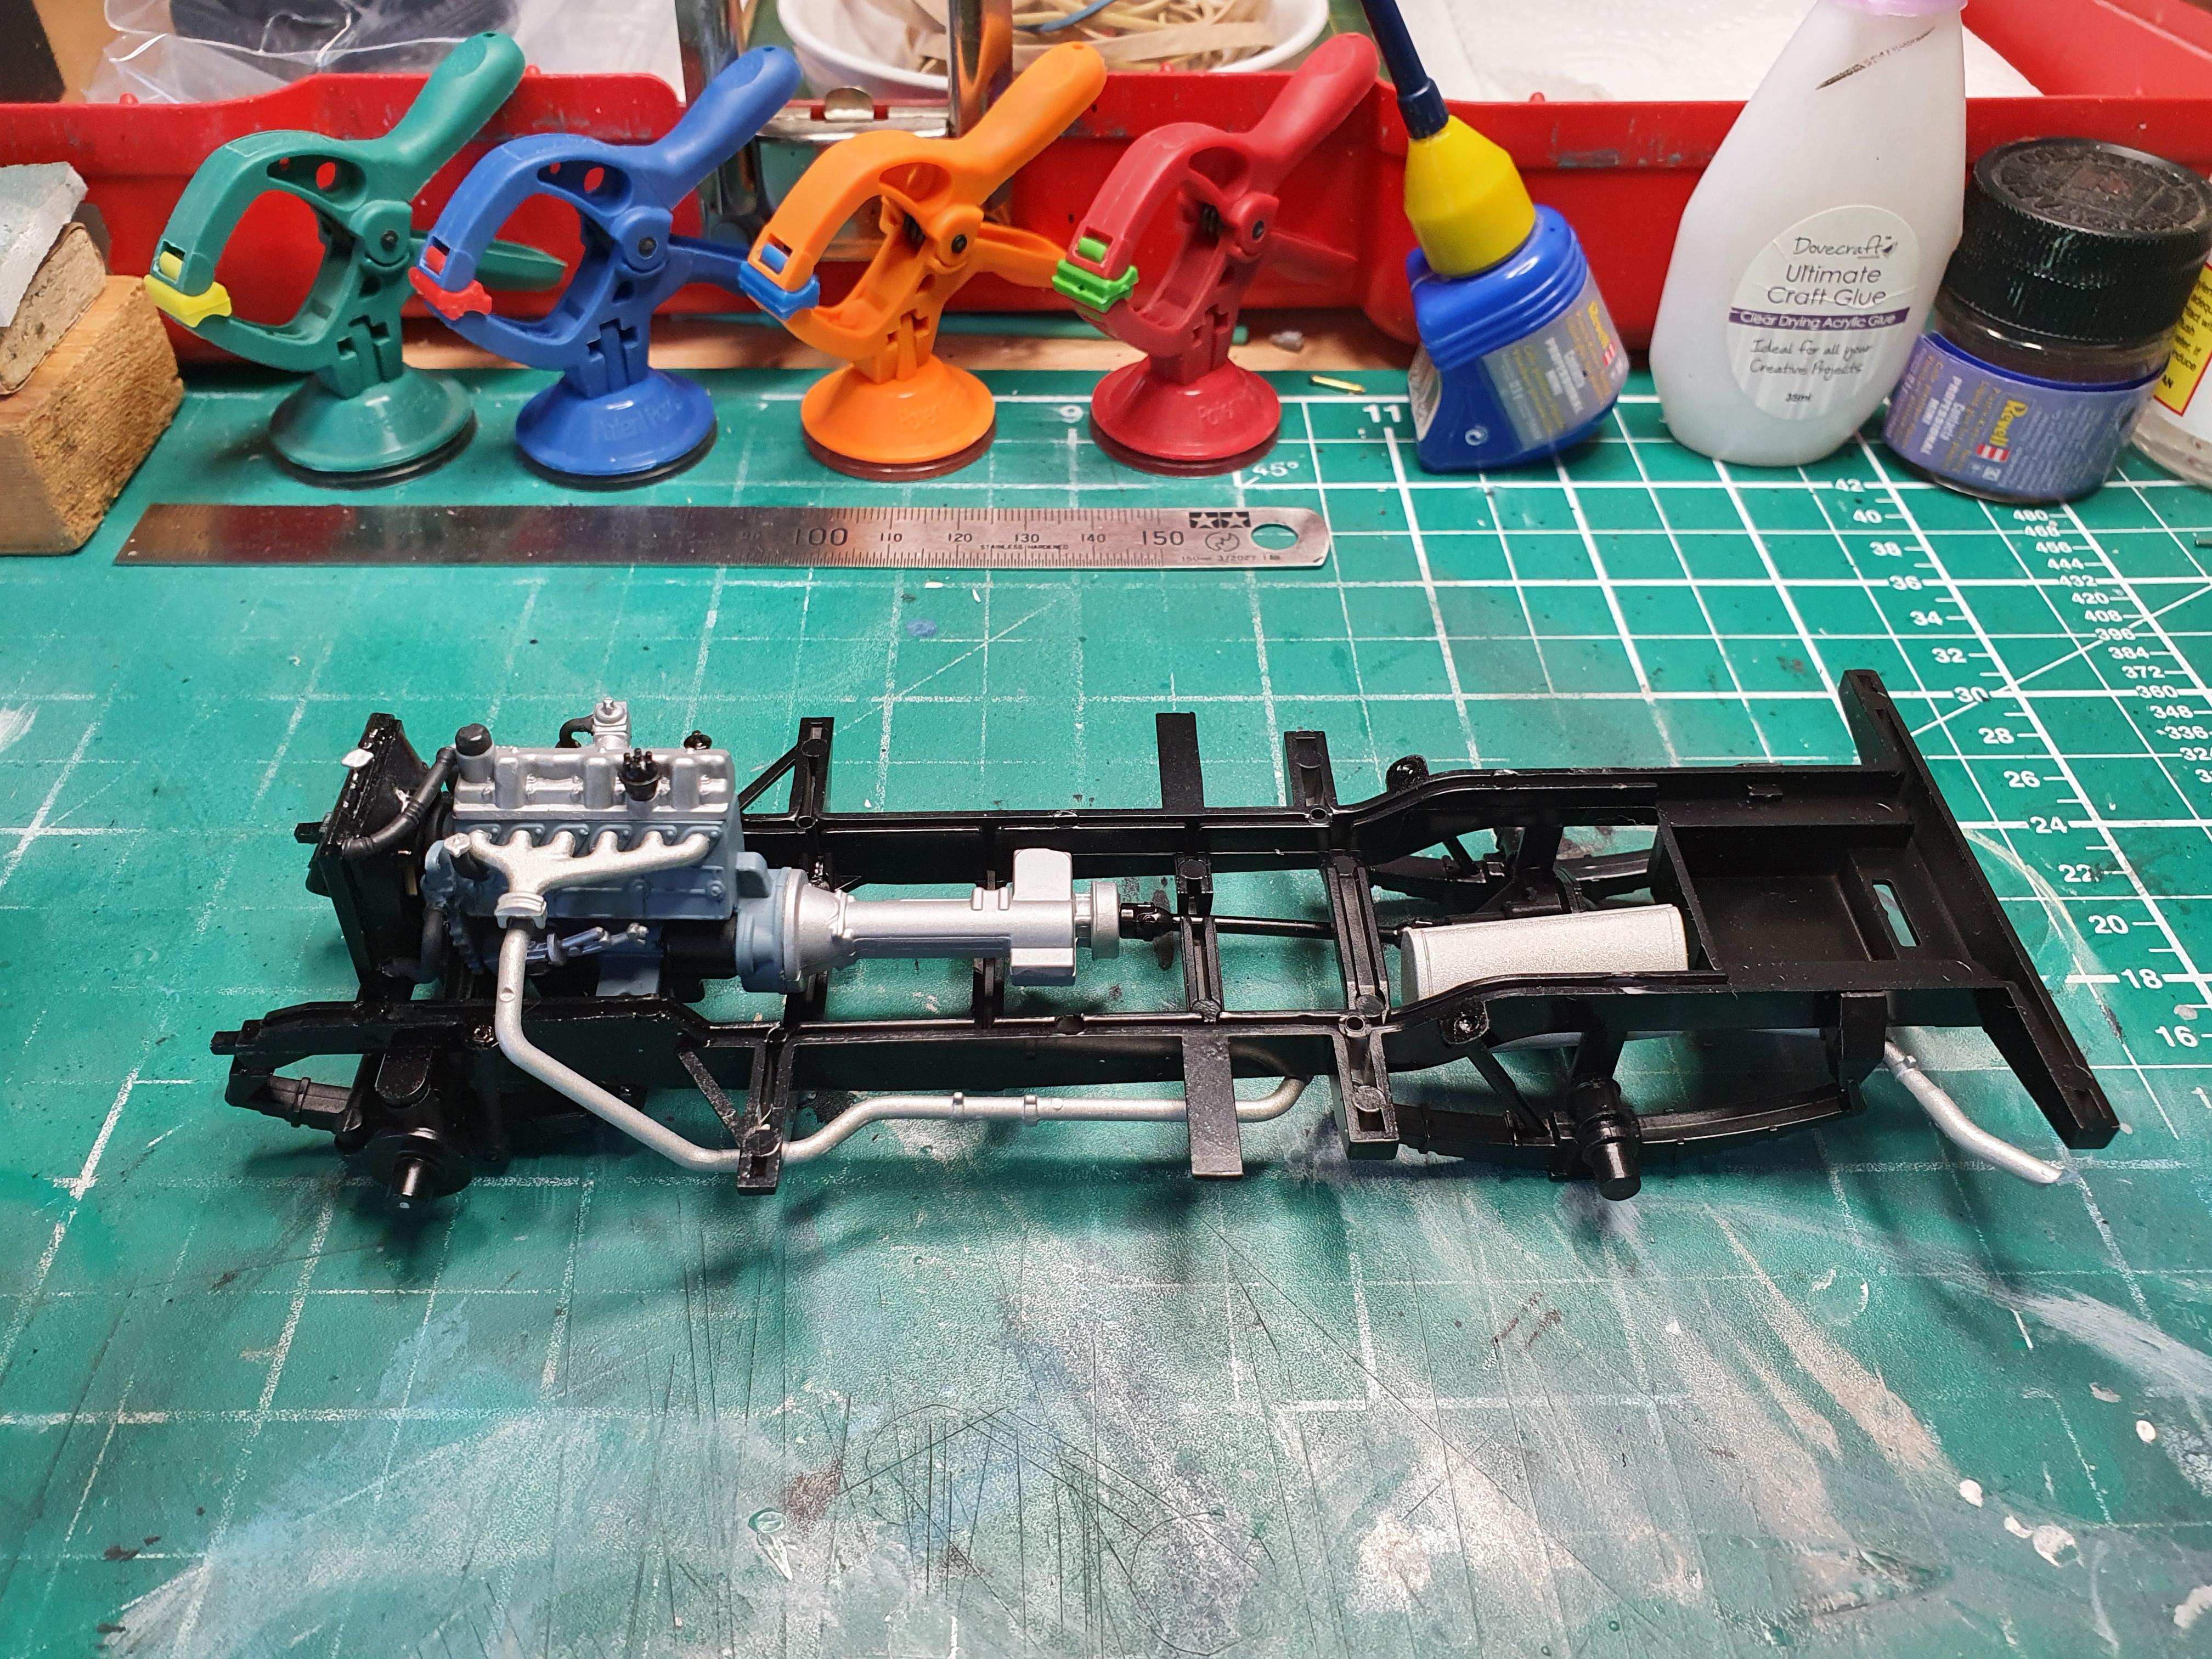
Floorpan fitted to the chassis and held in place with spring clamps while the glue dries up overnight, not the easiest job lining the exhaust and manifold up, but it's doable, in fairness to Revell, there are 3 mounting pins on the exhaust, the front one is marked "Do not glue" which of course i only noticed after, you'd guessed it, glued it to the chassis.....
-
Chassis all finished, engine and gearbox fitted, the gearbox was a pita to fit, there's a notch in the engine that is supposed to line up with a peg on the gearbox, but do it that way and the transfer box sticks up so the floor can't be fitted and it doesn't line up with the mounting on the chassis, so trim them off and line it up by eye, the exhaust isn't fitted to the manifold yet, as it needs to go through the inner wing before being glued onto the manifold.
-
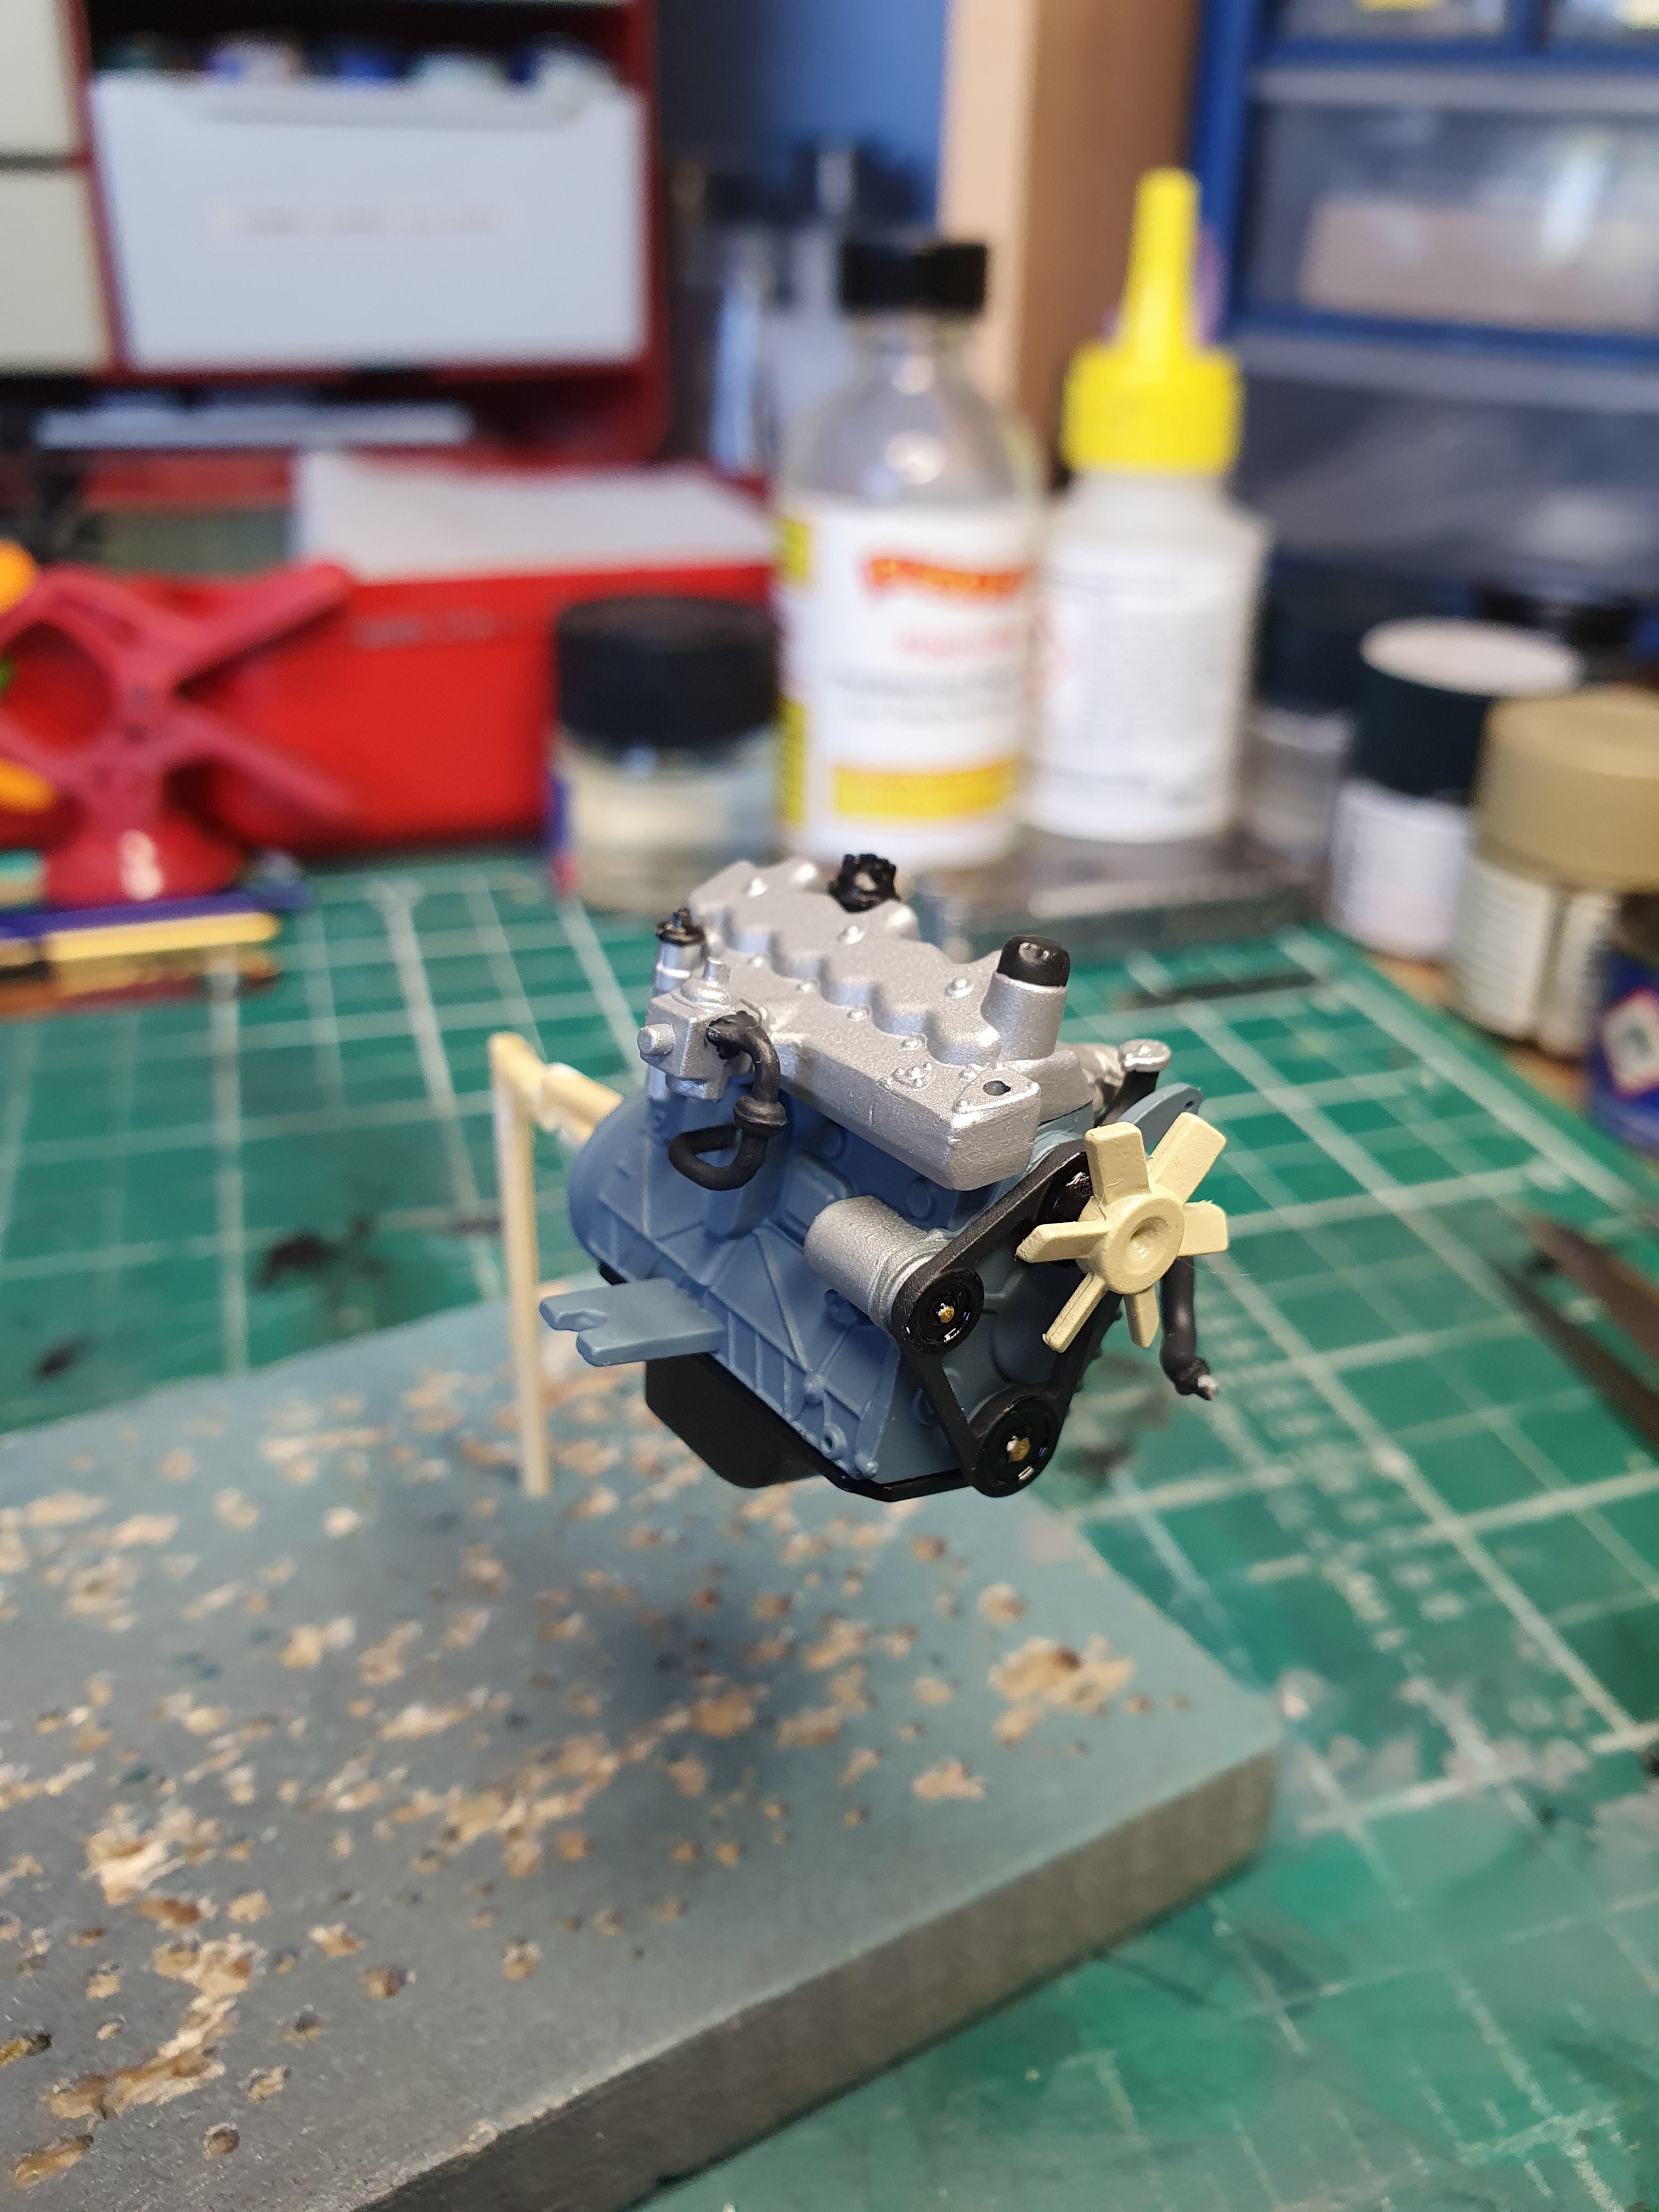
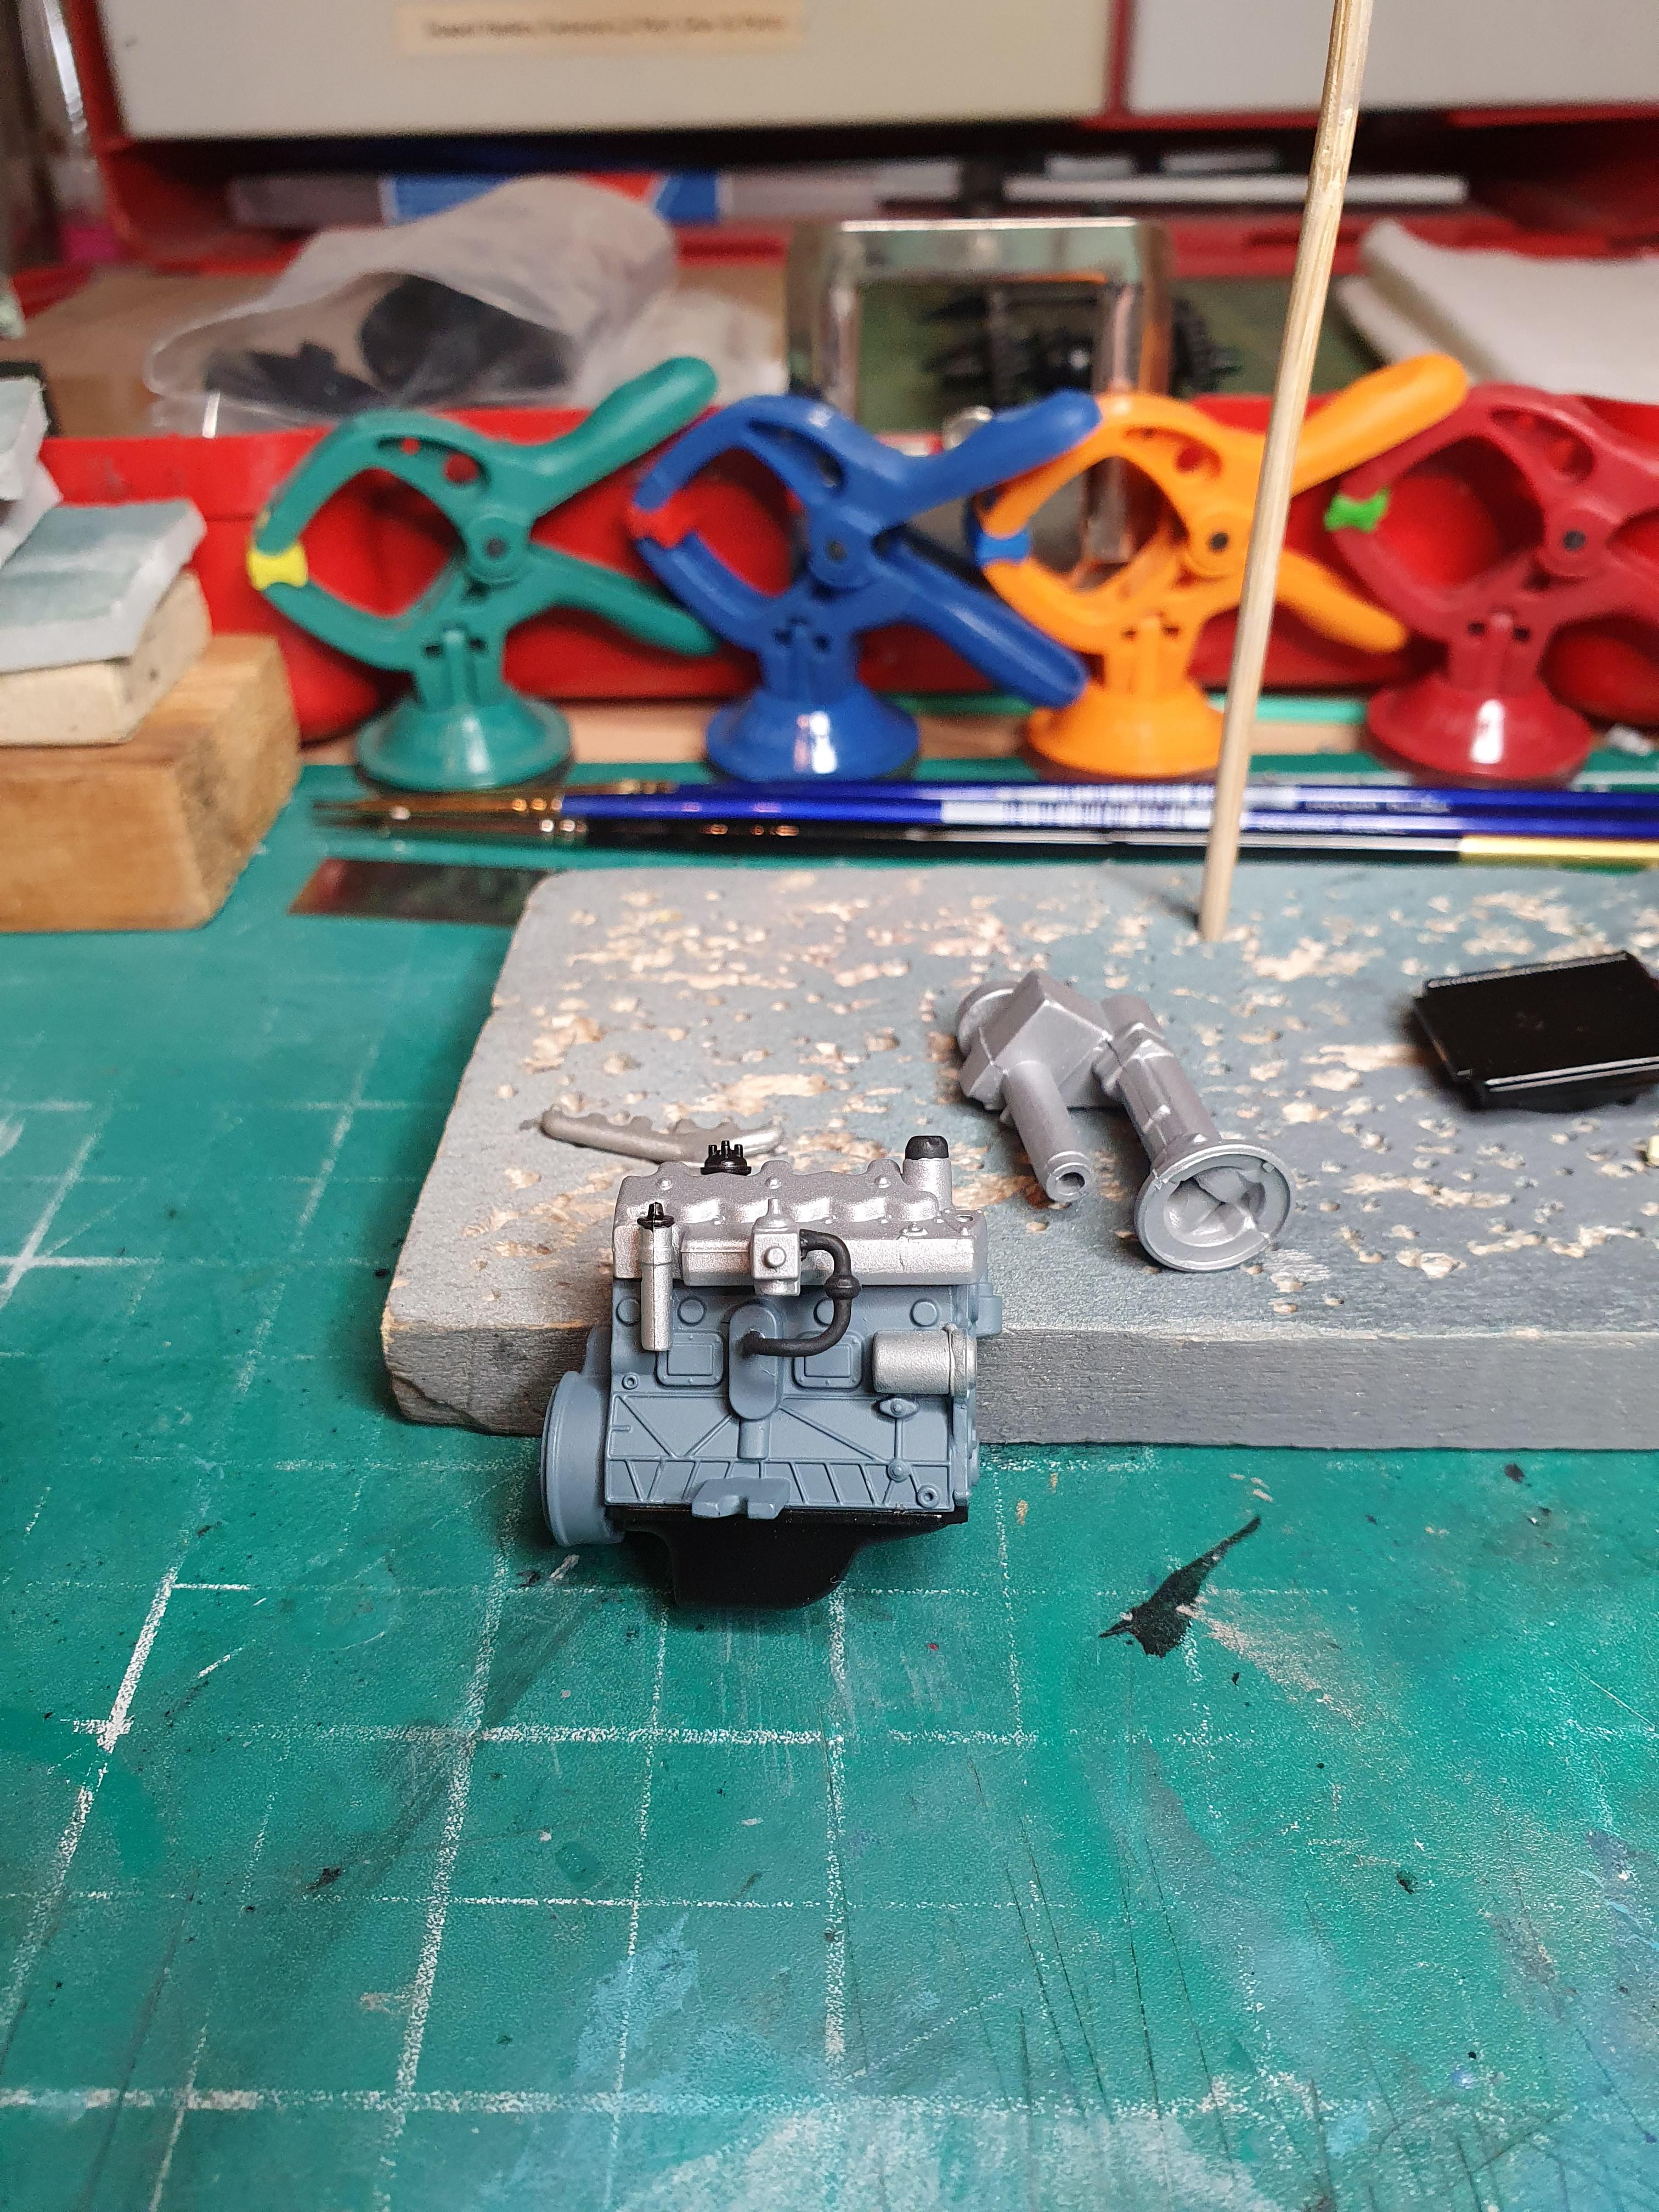
Engine all finished
-
Getting a little further with this build, getting the chassis built up, everything fitted without any problems, also getting the engine built up, i can almost hear this 2.6 overhead inlet, side exhaust wheezing into life....
-
Superb clean build, what's not to like.....
-
Very nice build....
-
Whats In The Box Revell Land Rover Series III LWB
GeeBee replied to martinfan5's topic in Truck Kit News & Reviews
Just be careful with the RHD and LHD options, in some sections they have them reversed and some parts shouldn't be used, like the transmission tunnel marked LHD, throw that part away, Land Rover never made a LHD gearbox set up. -
Just heard back from Mike at MCW Lacquer, he can mix the Silver grey metallic, but it's a "Special Order" colour, meaning I'll need to order 2 bottles of it, I'm sure I'll find something to use the second bottle on,I'm just pleased he can mix it.
-
It's the first time I've actually used Zero paints, even though I've got a few bottles of Zero in the paint cupboard, I spray at around 20 p.s.I using a Paasche VL, it sprays out real smooth, I'd recommend their paints to anyone.
-
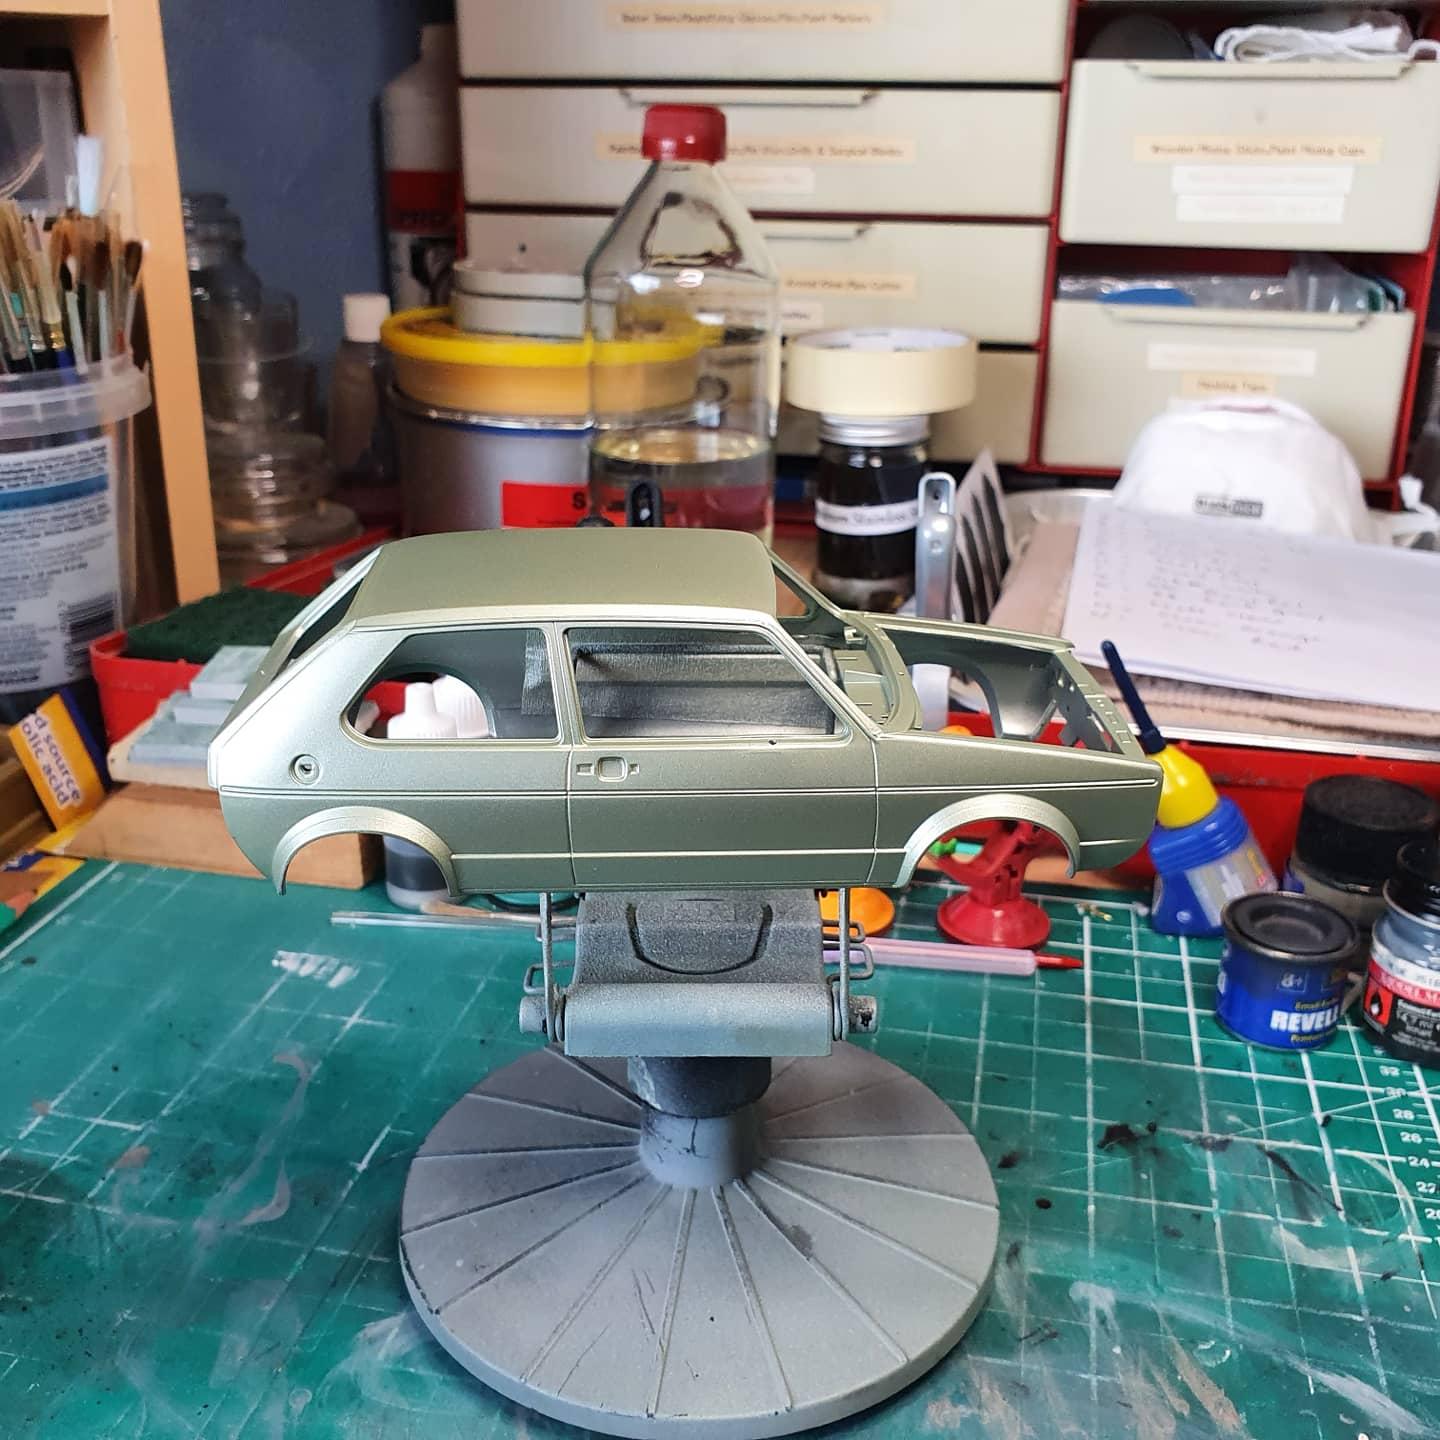
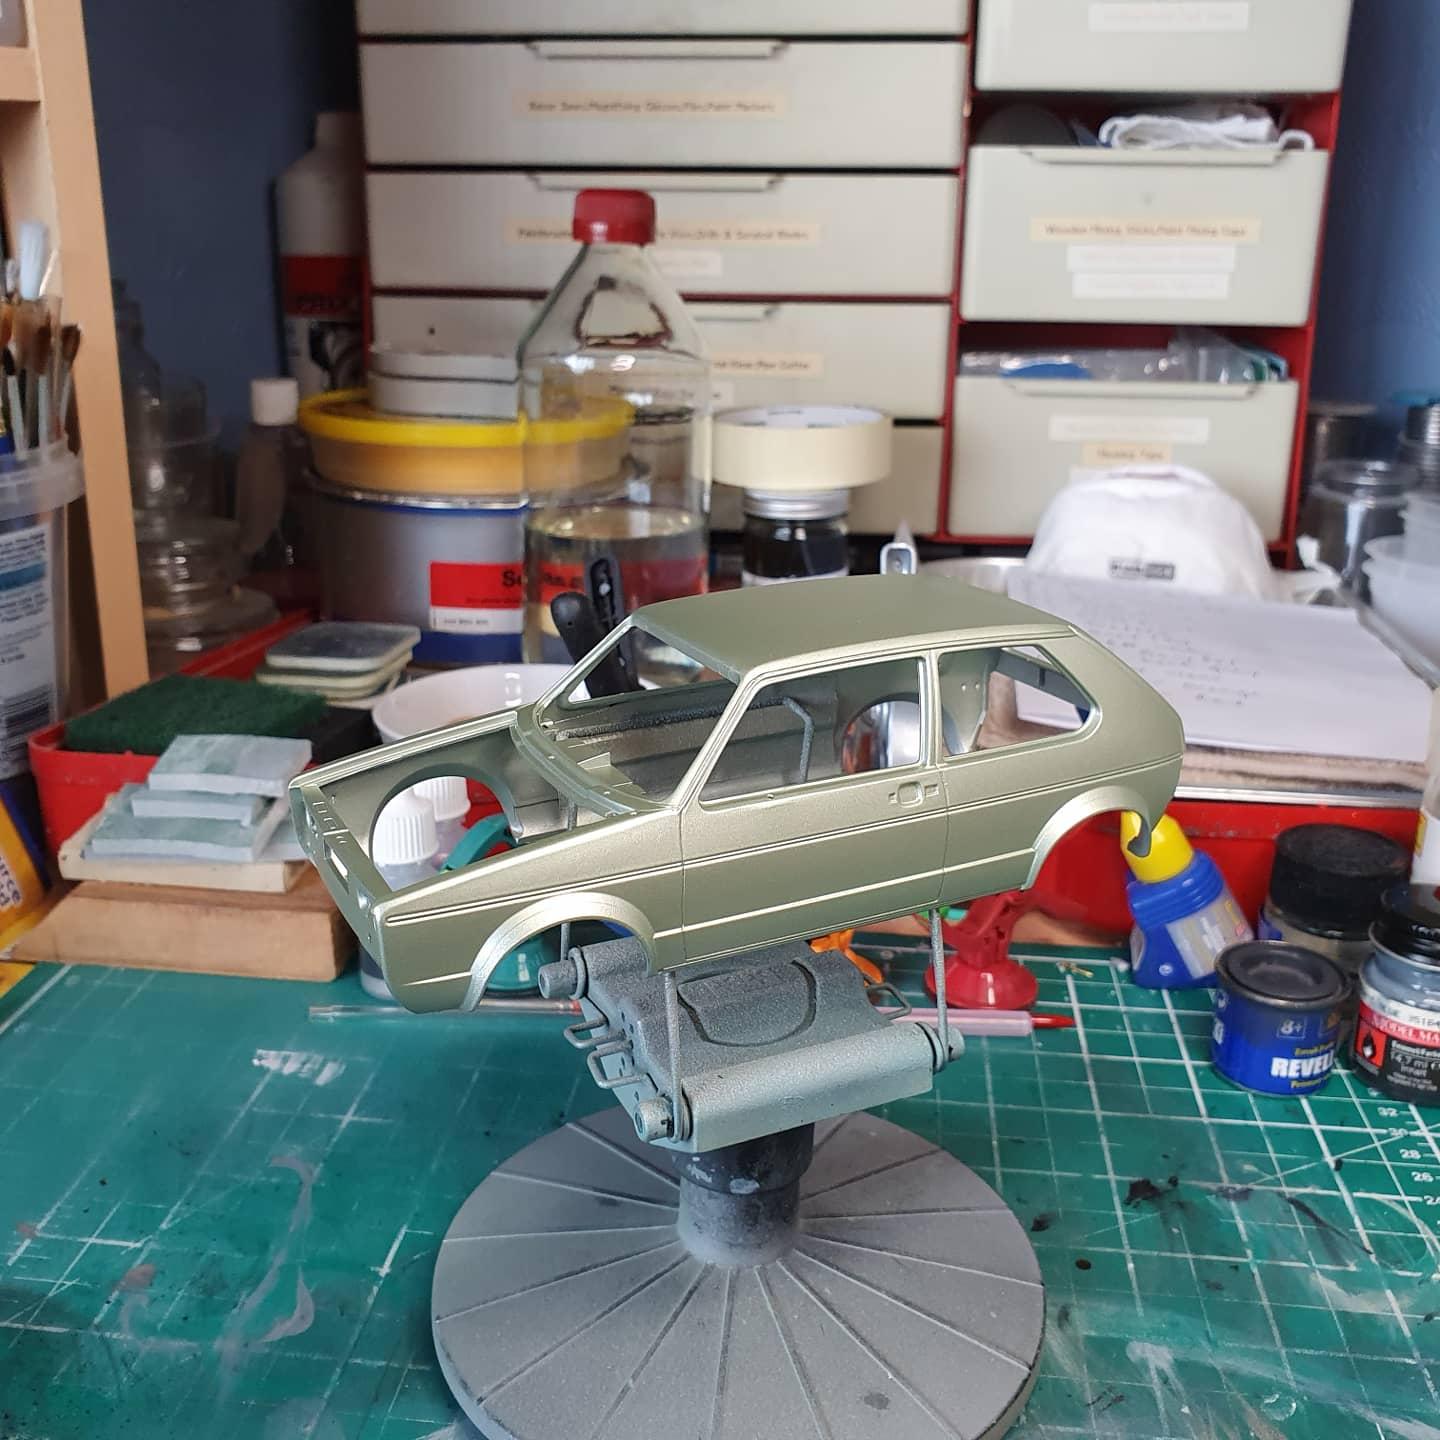
It's a metallic finish Sonny, it will look a lot better once it's been clearcoated, these Zero paints really do have a scale metallic,unlike using regular auto paint,which look wrong because of the larger metallic particles. Inari silver was a popular colour on Golf's, Polo's and Audi's, just not very popular on the GTi
-
Absolutely superb build....
-
Thanks Dann.
-
I'm still getting used to this basecoat paint from Zero, it's the first time I've used their paints, I usually airbrush using cellulose lacquer, or 1K acrylic lacquer and just wet sand and polish, using basecoat and clearcoat is all new to me, this time i used my Paasche VL airbrush instead of the Badger 200, as I'm sure it gives a much better finer spray pattern.
-
Round two went much better, I'll be leaving it to dry out before I apply the clearcoat.
-
It looked lonely on its own, so i got it a friend....
-
Got the interior masked up to airbrush the rubber matting, for this i used Tamiya TS-82,Rubber black decanted from the aerosol, pretty happy with the results.
-
Revell Trabant 601S 30th anniversary of the Berlin Wall
GeeBee replied to GeeBee's topic in Car Kit News & Reviews
A good supply of styrene sheet should be all you need and some oblong rear lamps.
-
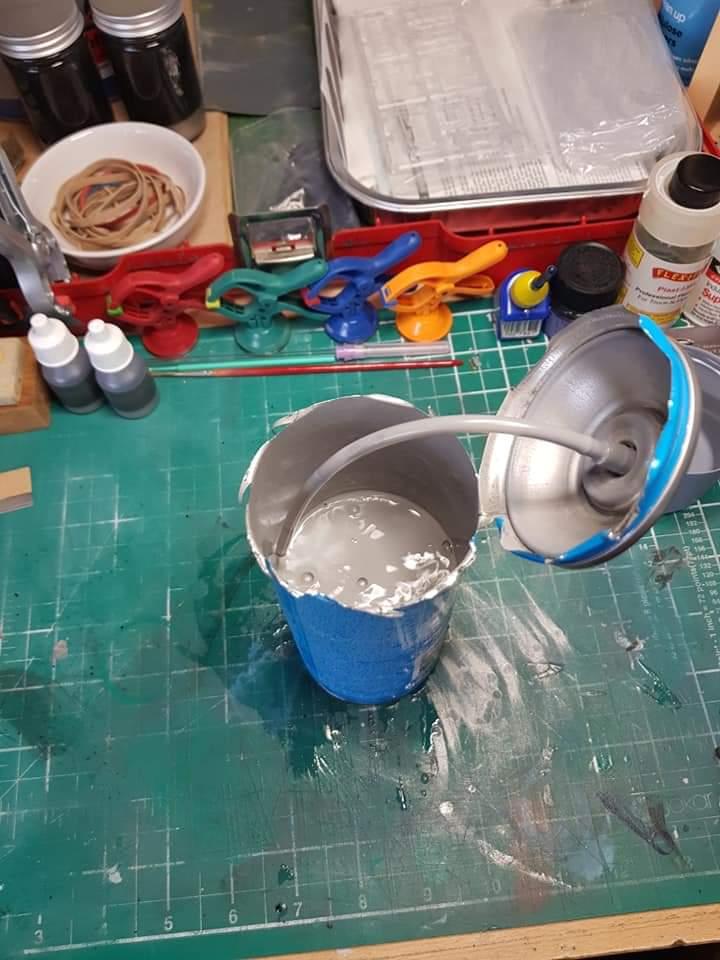
I've been doing it this way for years without any problems, pop a small pinhole just below the top of the aerosol can, let the propellant to escape, then cut the top off, the paint will still have gas in it, just agitate it until it's all escaped out of the paint, then pour the contents into a glass bottle or jar.