NOBLNG
-
Posts
9,565 -
Joined
-
Last visited
Content Type
Profiles
Forums
Events
Gallery
Everything posted by NOBLNG
-

How can I make these tires look better
NOBLNG replied to chris chabre's topic in Tips, Tricks, and Tutorials
Scuff them up a bit with scotch brite to get rid of the sheen? -
Start a build thread when you get around to it.
-
Doesn’t look like very many parts. I’m sure you’ll be adding some details.
-
If you only want to do those three models and then quit….you would have been farther ahead to hire an accomplished modeller to build them for you. Dismantling something mechanical and bolting it back together (no offence to master mechanics?) is far different than airbrushing. You can learn mechanics from a book or video, but you can’t master painting, golf or ballroom dancing from watching a video. If you are serious about building these models yourself, you have to DO IT YOURSELF. Start spraying something…get some practical experience.
-
There, I fixed that for you.?
-
I have little to no experience spraying enamel. My best advice would be to get a bunch of Testors enamels (any colors will do) and experiment. Mix them up and paint some plastic cups or spoons. Once you are comfortable with the paint consistency, air pressures and get some results that YOU are satisfied with….try your purple….on a spoon, then the model. You will NOT be happy if you spray your models with your very first jar of paint! And yes, laquer thinner will clean your airbrush.
-
Very classy ride! Those hubcaps look fine on it. Sounds like you and the family are enjoying it.?
-
Of the early 1960s Chevys, I think the ‘64 Impala has THE nicest lines of them all! The only problem I had with the Revell Lowrider kit I built is the tail lights weren’t right, so I made some from scratch.
-
Just cut some out of a coffee can lid and you’re laughing. I would rather have a full flat gasket than those perimeter ring gaskets anyways. JMHO!
-
Another Rabbit hole….?
-
I guess you can save a dime if you need a special type of gasket or just want to make your own. I have some teflon offcuts that I got from a local gasket supplier that I use. You could make them from a coffee can lid. I think that is polypropylene maybe? Nothing sticks to it anyways.
-
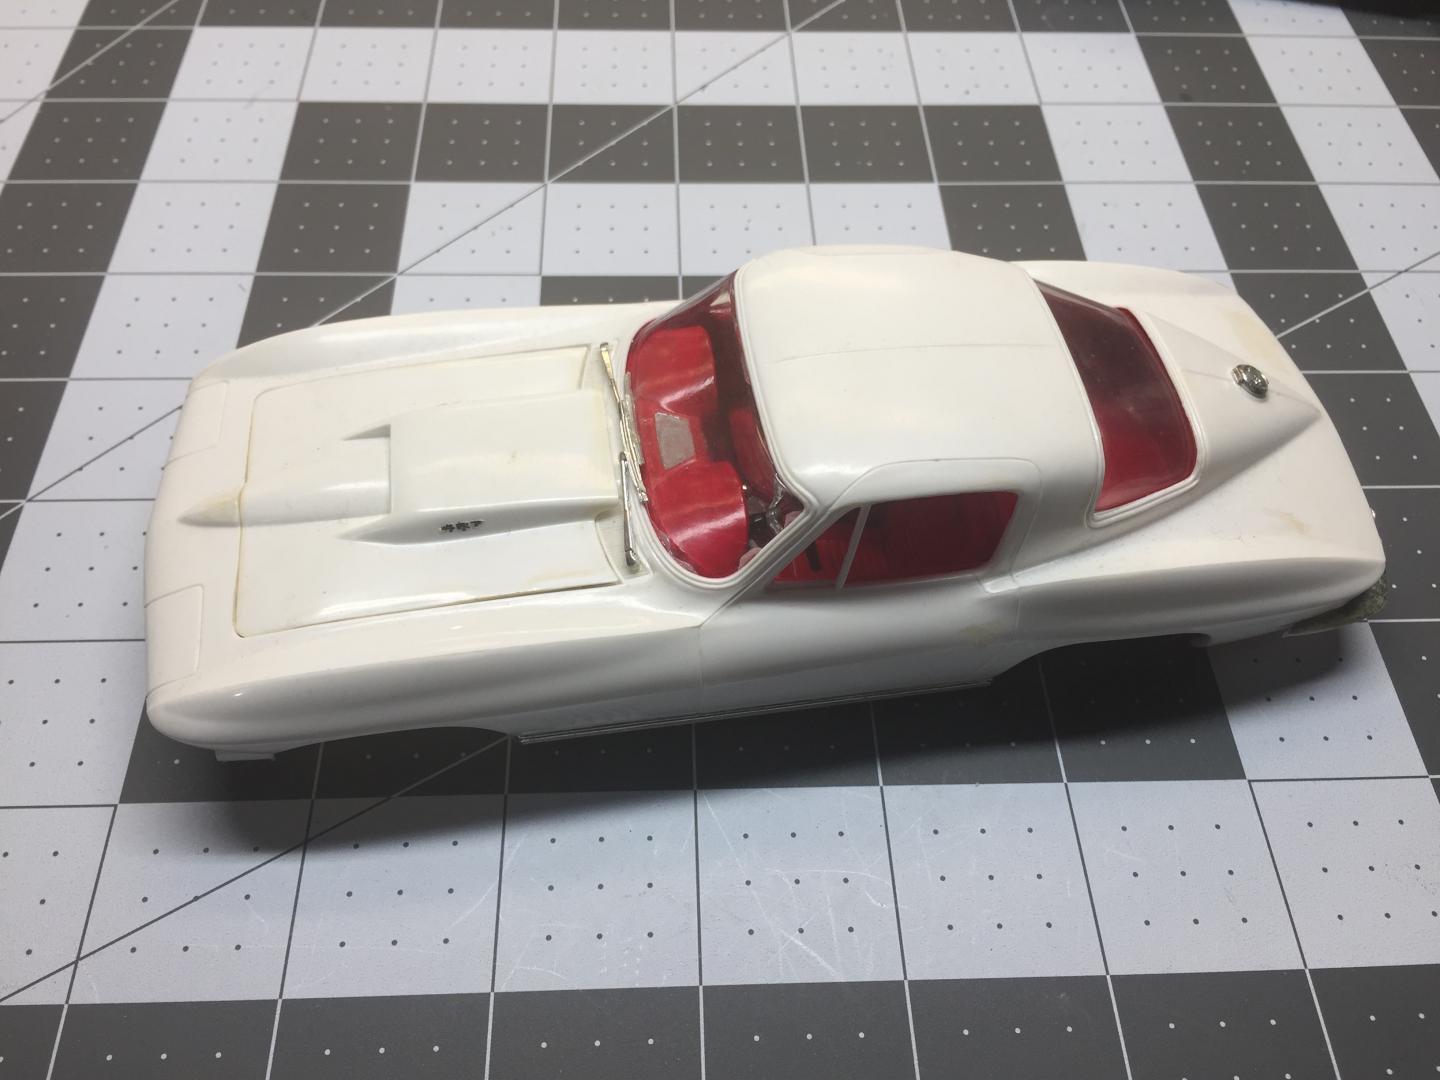
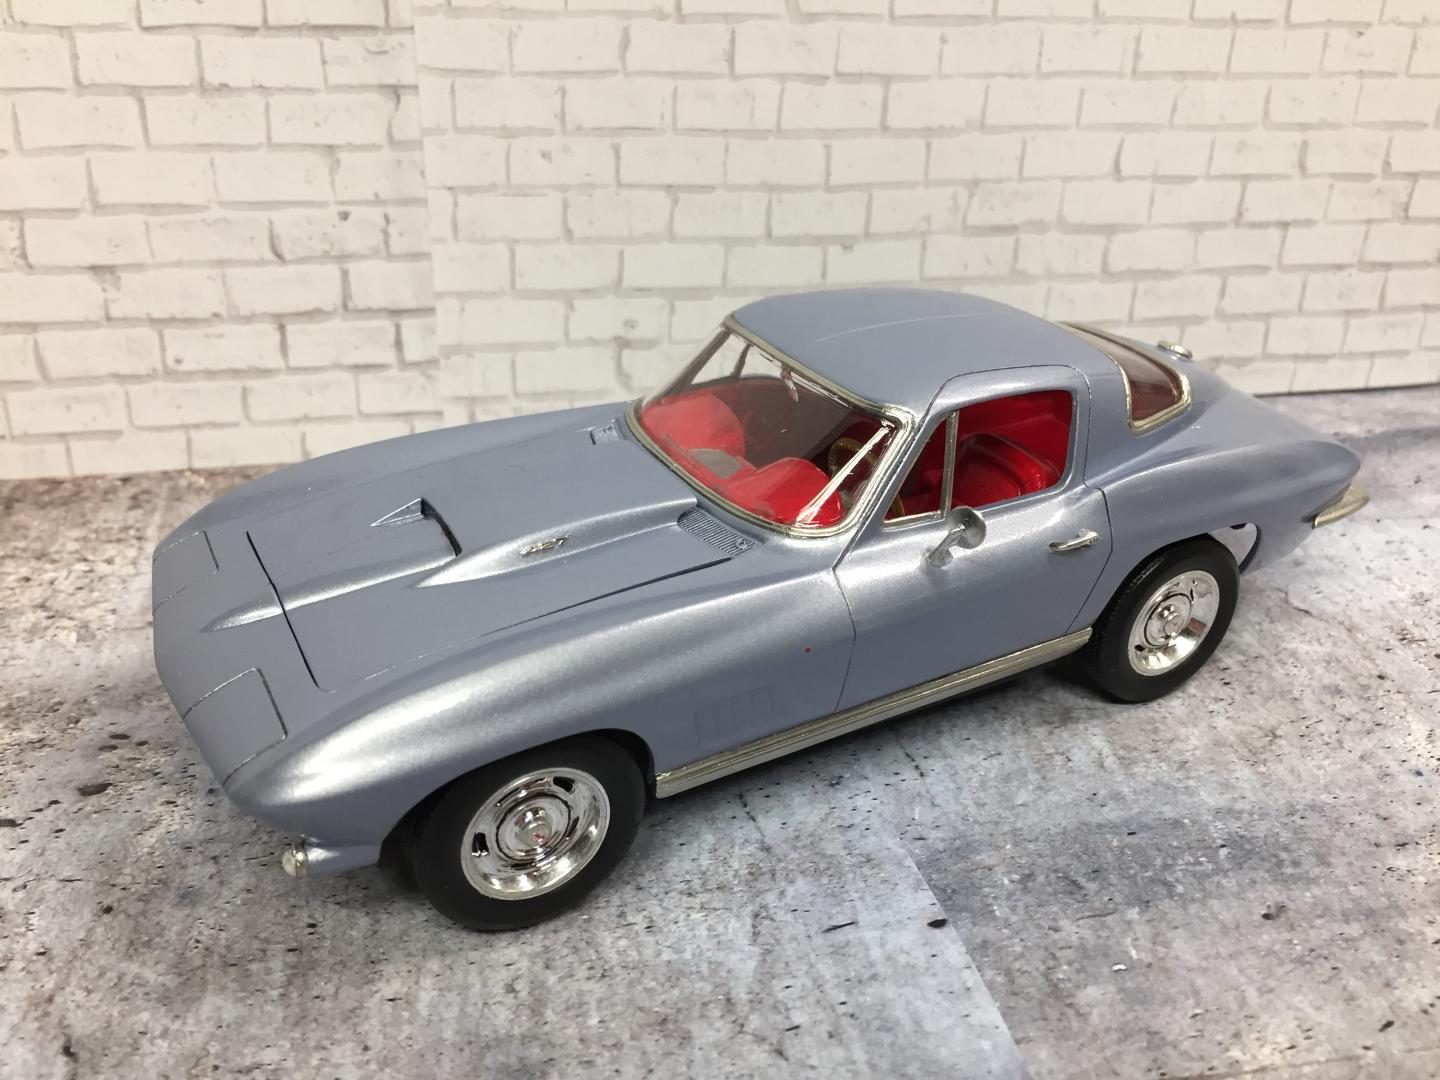
Those Corvette kits are both nice! I got them both at a flea market. The ‘67 was built and just needed paint. The ‘60 is a bit finicky to put together, but builds up nicely! ?
-
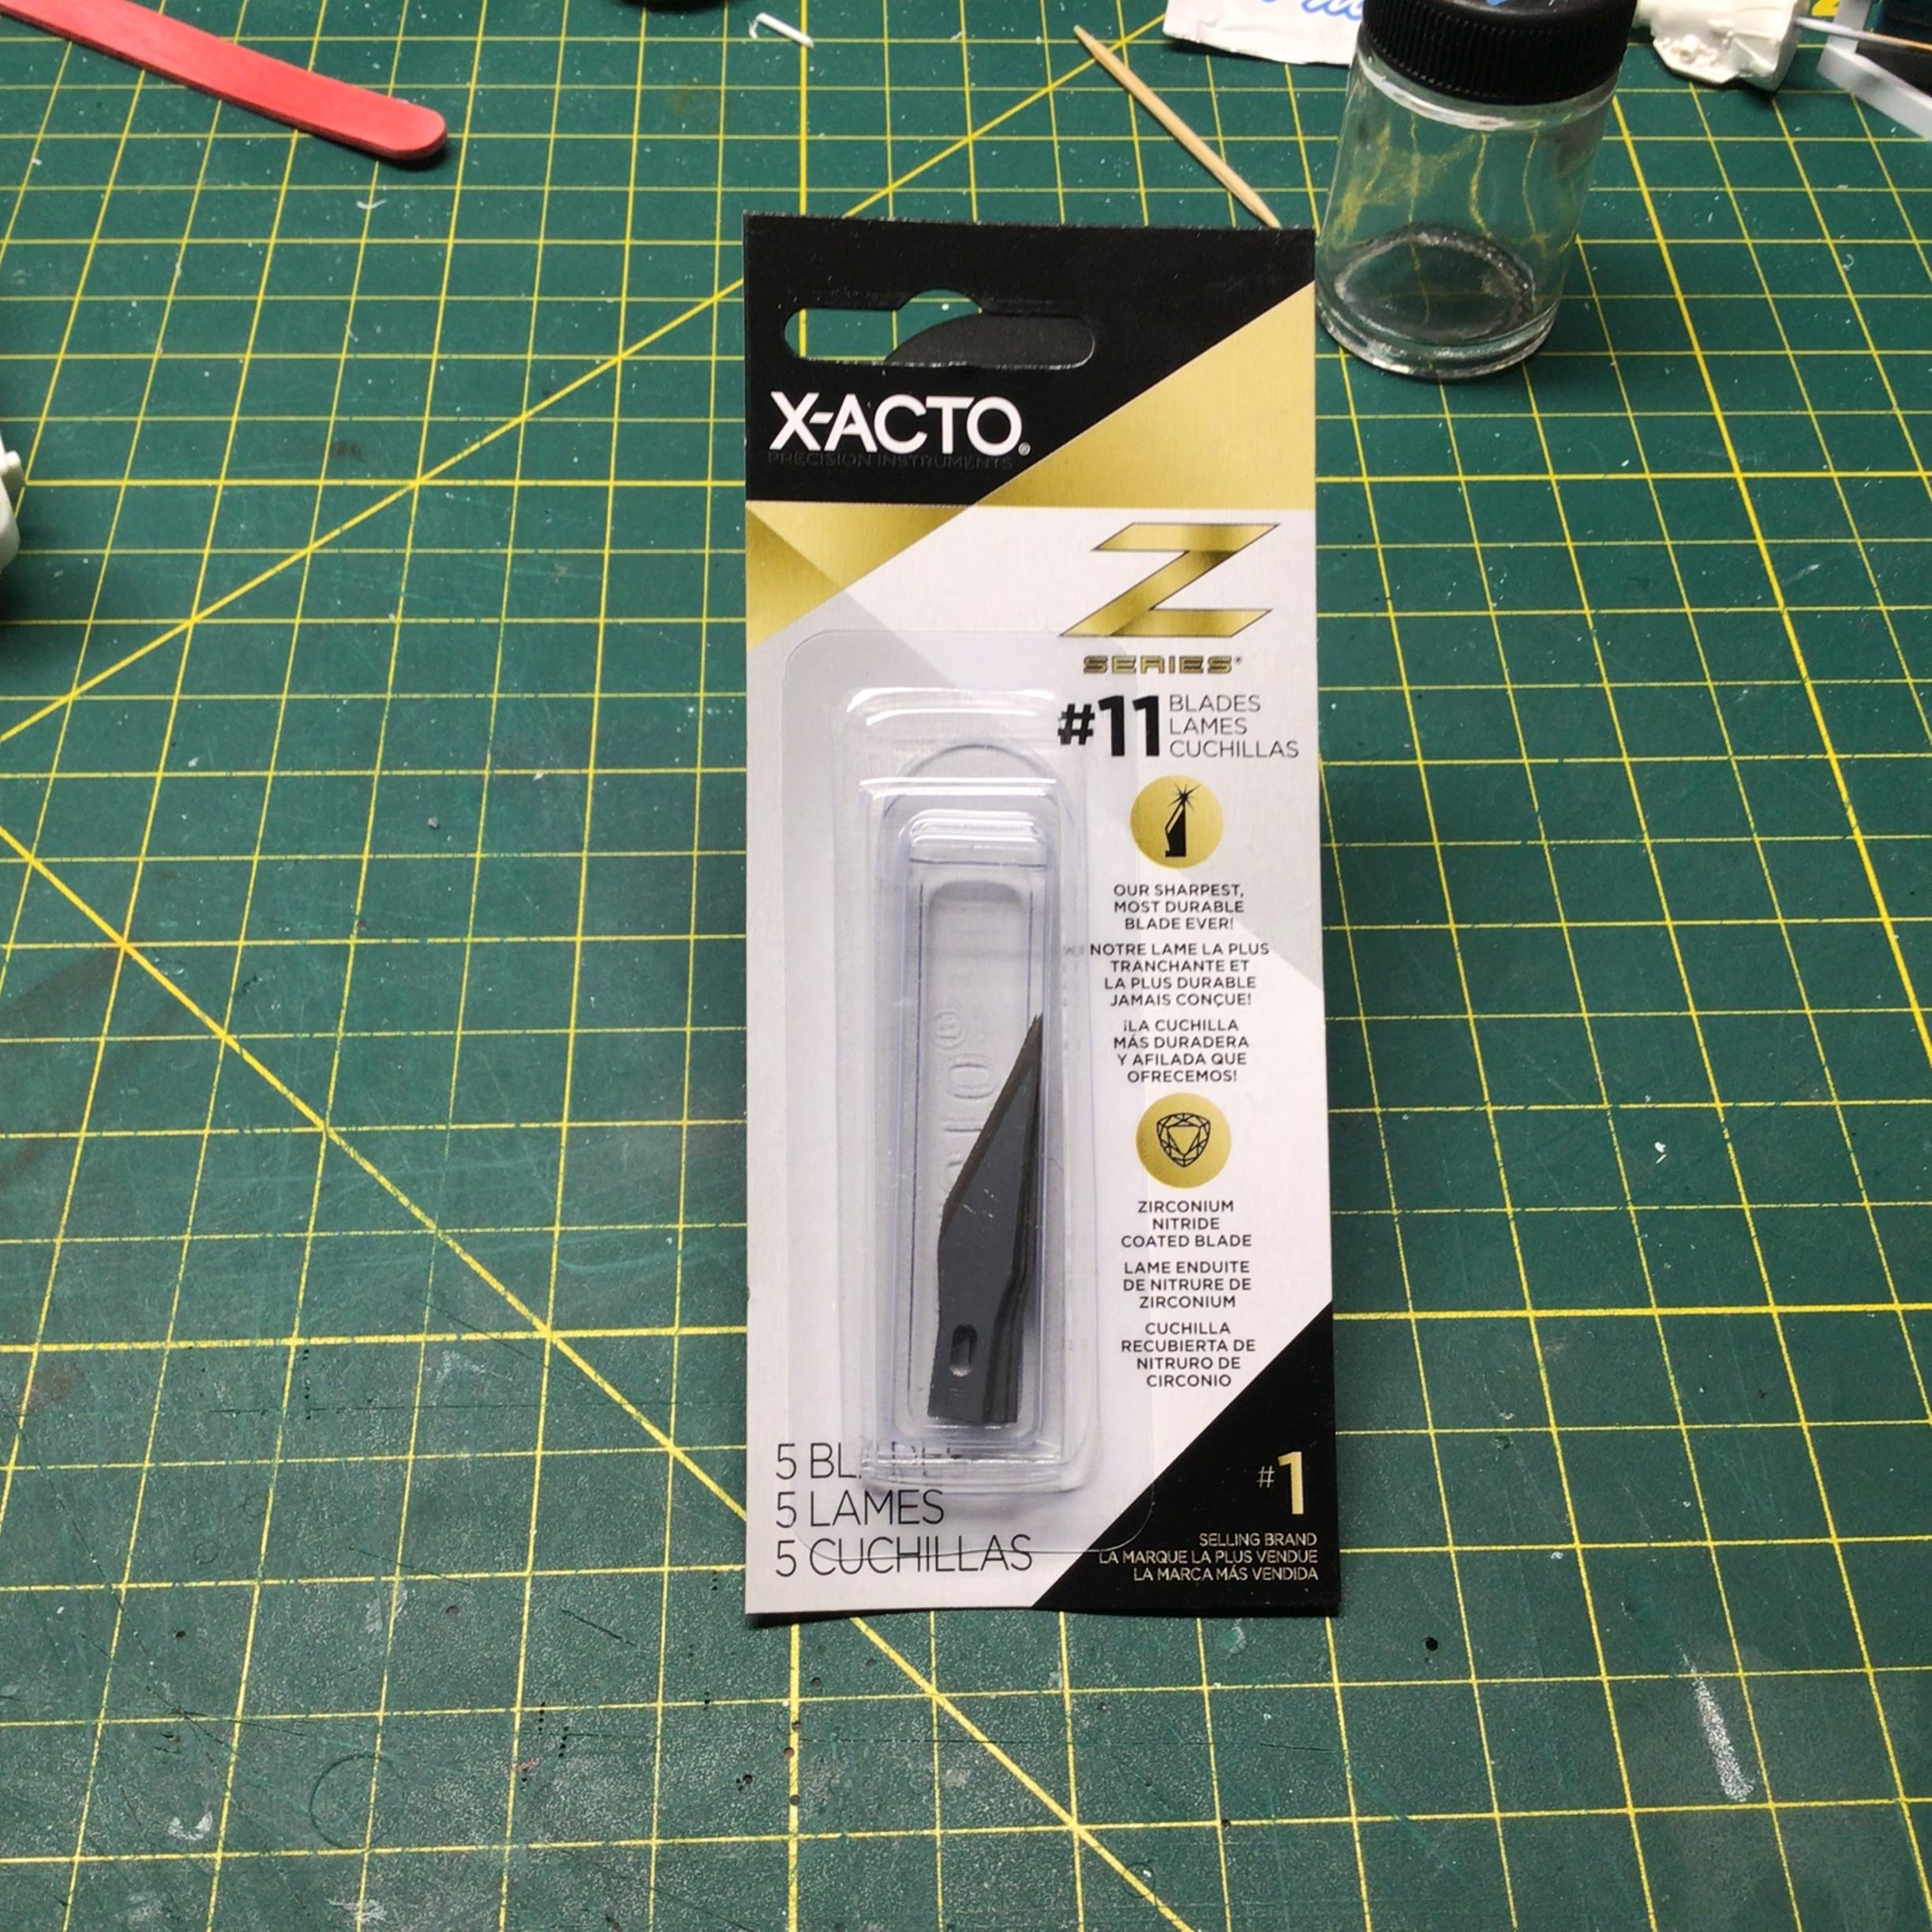
I bought some of these at Michaels that I reserve for foil work.

-
This engine is actually a 430 from the AMT ‘69 Riviera that I re-worked a bit to resemble the smaller block since no Buick kit came with a 350.
-
???
-
Very nicely done! Good job on preserving those decals, they look great.?
-
Truck Overload
NOBLNG replied to tiking's topic in Model Trucks: Pickups, Vans, SUVs, Light Commercial
Very well done. Some outdoor pictures with the right background could make it look very real.? -
1959 El Camino Kustom
NOBLNG replied to Kool Kat's topic in Model Trucks: Pickups, Vans, SUVs, Light Commercial
Nicely done.? -
The only one that I have restored is this ‘vette. All it needed was paint, foil, and a very tiny amount of detailing. Interior, engine and chassis were all quite nice. It is now one of the better models on my shelf.?
-
Revell Bronco Baja Kit
NOBLNG replied to Hawk5.0's topic in WIP: Model Trucks: Pickups, Vans, SUVs, Light Commercial
Wow, that is beautiful! Those wheels and tires are perfect for it. That has to be one of the nicest engine wiring jobs I’ve seen. -
Welcome to the forum Ron. Looking forward to seeing some of your work.
-
Thanks Andy. I’ve got that peril covered. Tiny loose parts go in the relish jar and when I figure it’s been long enough, it gets poured through the strainer and back into the jug. Large parts get fished out of the casserole dish when ready and scrubbed with a stiff brush. Liquid gets strained into the jug again just in case. There is a fine screen in the sink also that catches most of the paint and any small parts that might fall off while scrubbing.
-
That makes perfect sense!?
-
Went to Michaels for some Folk Art brushed metal paint and got side tracked. I bought this instead. With a 30% off coupon and a supposedly limited supply…I couldn’t resist.
-
I am stripping some glue bombs, and also some parts that I have partially assembled. I use superclean mostly since it seems to do a pretty good job. What do you folks do when stripping items like an engine, or a chassis that has hollow parts like a gas tank. The stripper will get inside these parts, so how do you ensure that all the stripper is flushed out, so as not to affect the new paint job. Just an extensive soaking in clear fresh water afterwards? Followed by a thorough drying in a dehydrator or ?? TIA.