Plowboy
-
Posts
3,434 -
Joined
-
Last visited
Content Type
Profiles
Forums
Events
Gallery
Everything posted by Plowboy
-
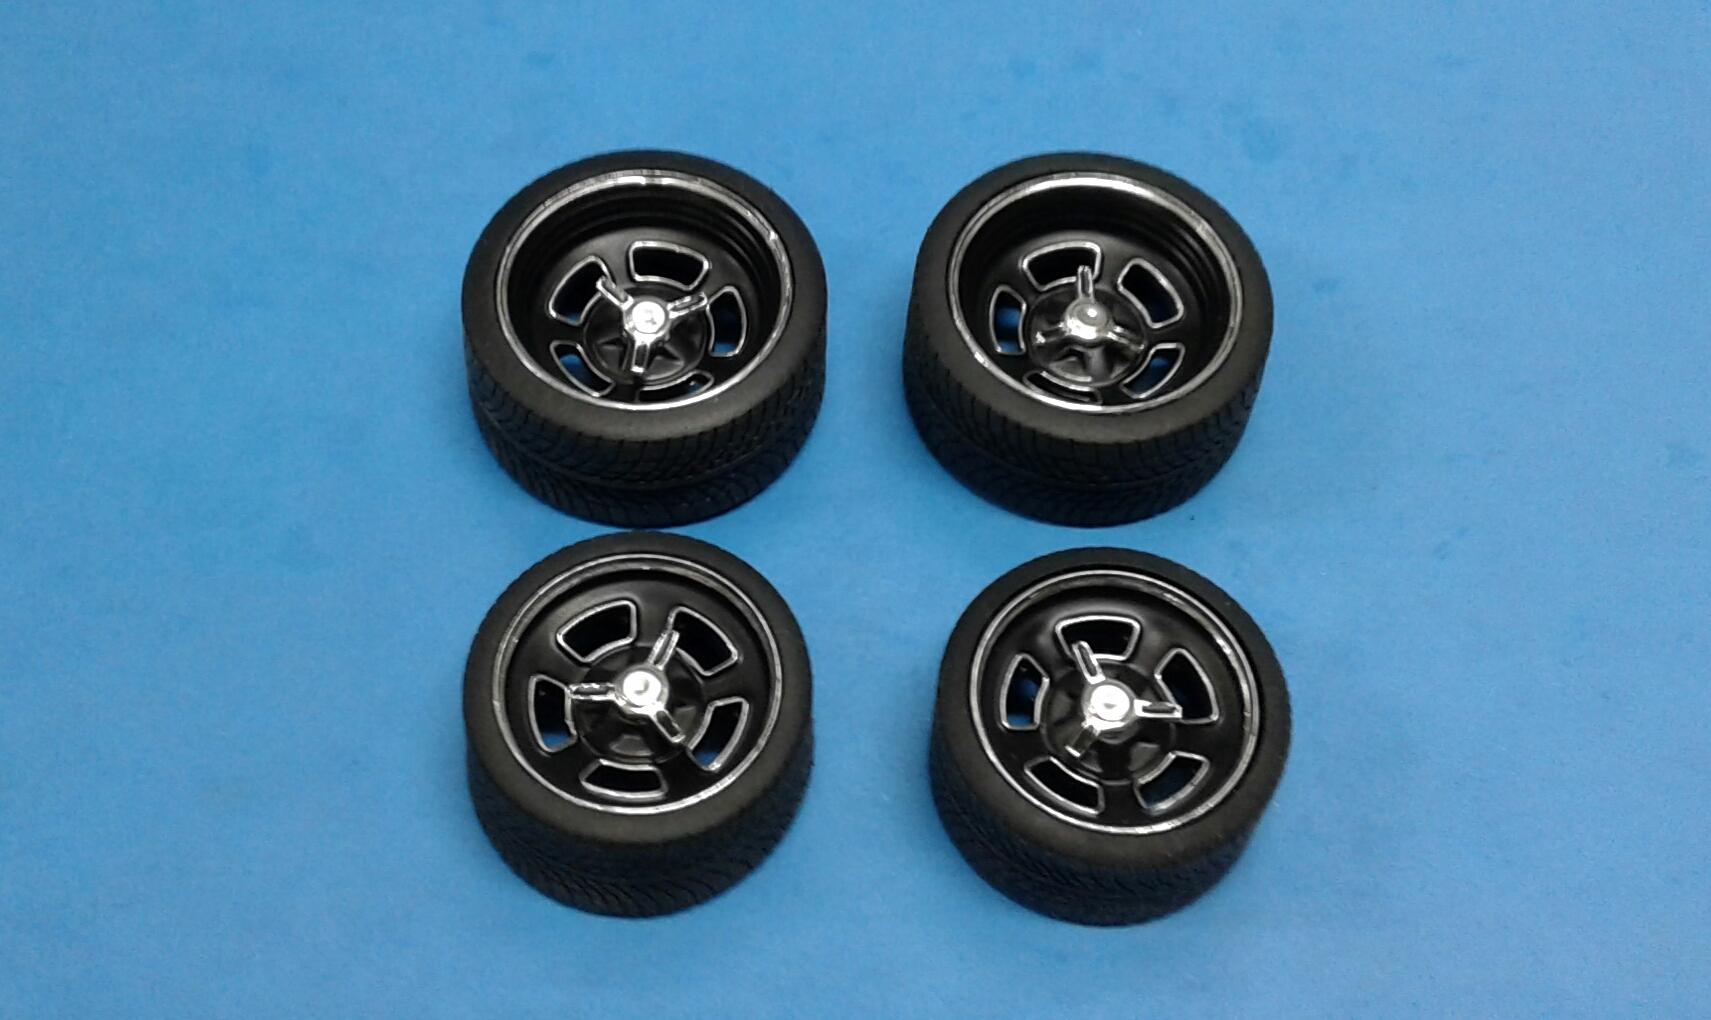
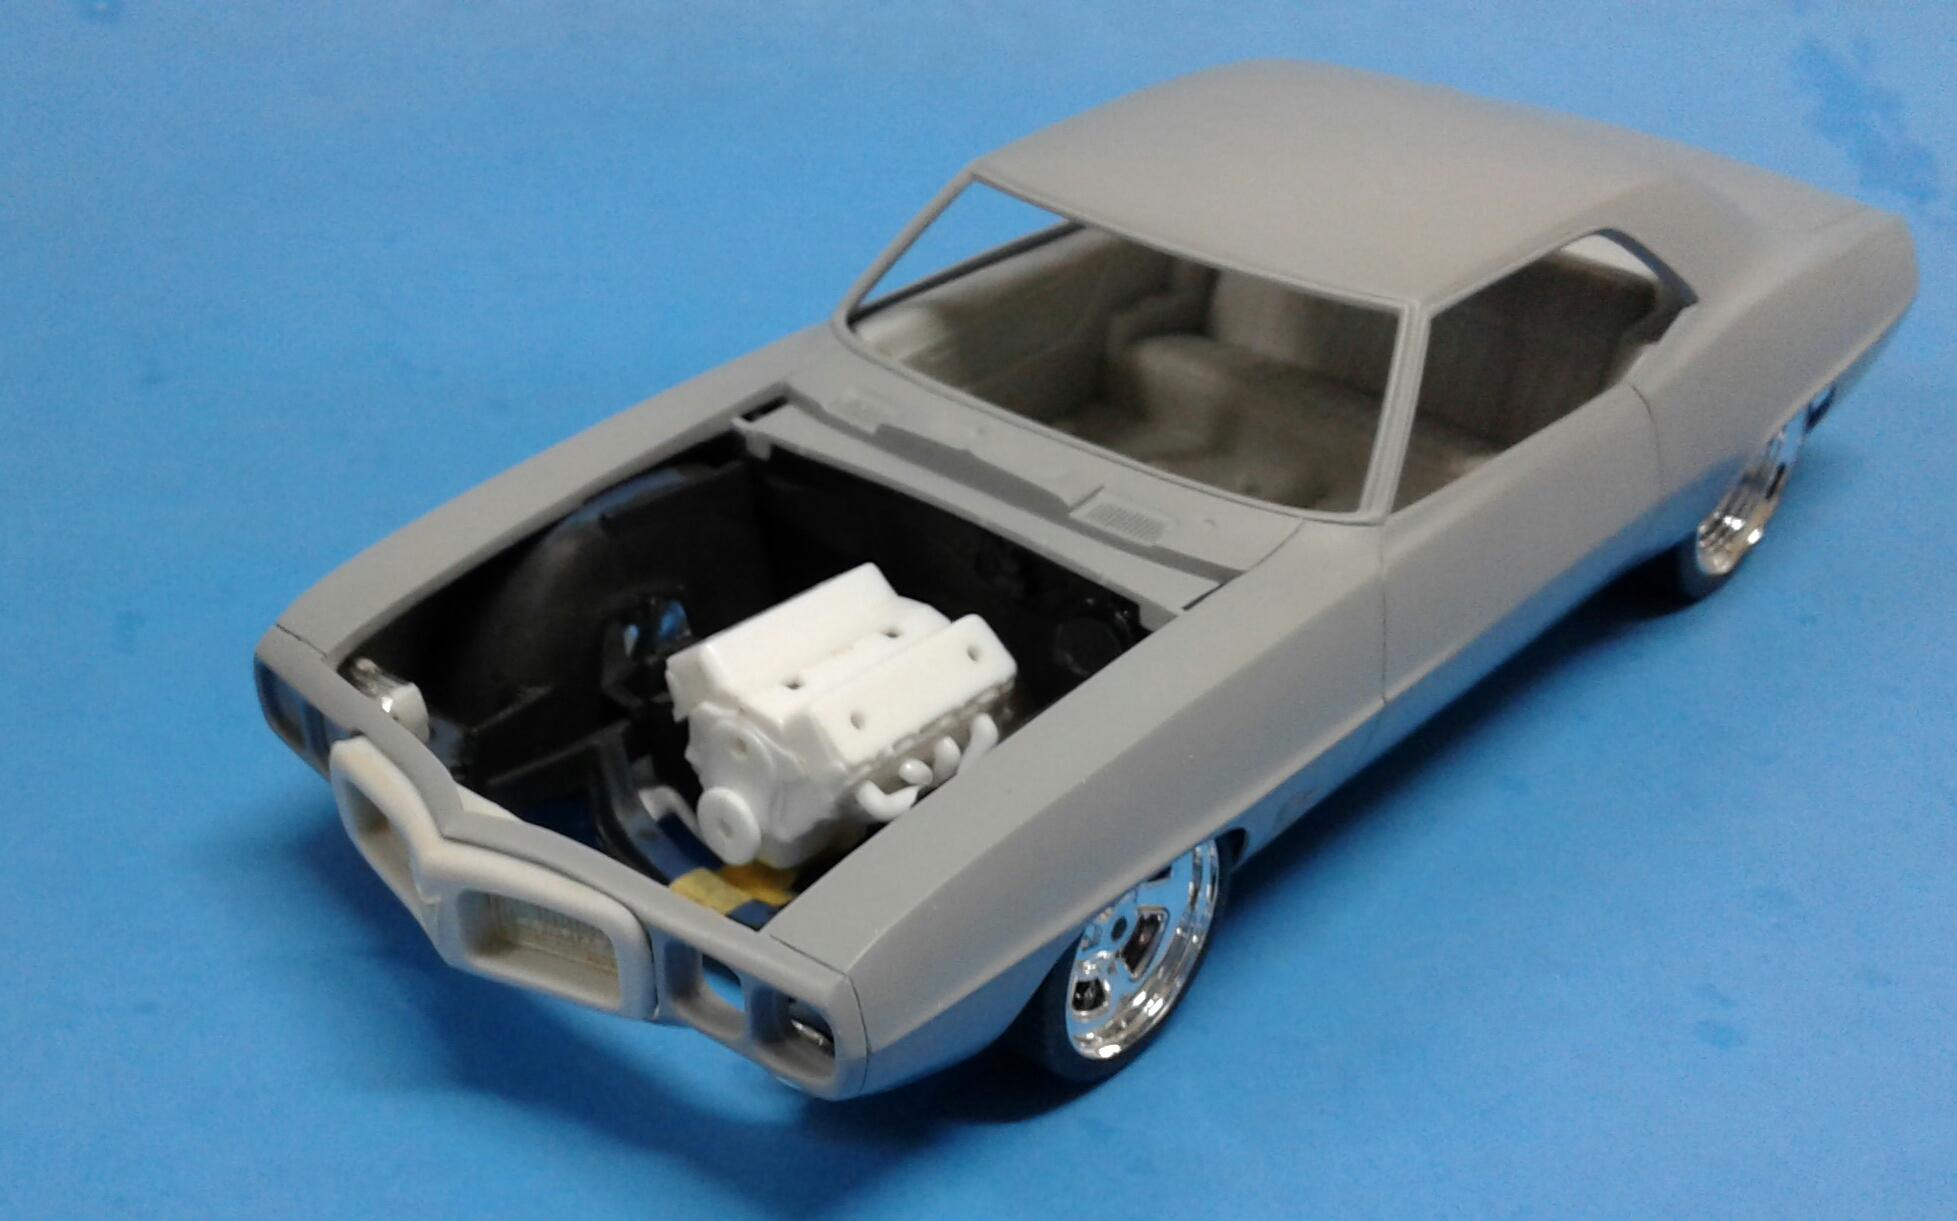
I have the basic engine put together. The block and transmission are from the Camaro. Block is painted Dupli Color Avignon Blue. The transmission is Tamiya Mica Silver. The heads and valve covers are from the Revell '55 P/S. The heads are painted with Plasti Kote Aluminum. The valve covers are chrome with a coat of Tamiya Semi Gloss. The intake is from the AMT '57 Corvette with a coat of Tamiya Flat Clear over the chrome. I may stick a Dominator carb on it or use one from the Camaro. No idea on a breather yet. The wheels are now complete with the knockoffs. Not sure if I like them. I'll do a mockup and see. If I don't like them, I'll paint them black. I also have the new interior in paint. No photos. I'll take some when it's done. Just needs some foil and the dash detailed to be ready to assemble.

-
And they all have the messed up side trim. The chrome strip on the door should have slight downward curve to transition into the quarter panel trim. Your photo angles show it well. It's like the '58 Plymouth. Pretty much impossible to fix. In all of the years I've been building models, I have never built a '57 Chevy. I may be the only one!
-
Question For The Pontiac Guys
Plowboy replied to Plowboy's topic in Model Building Questions and Answers
I would. But, I've already done way more work to the project than I had planned. I sure don't want it to snowball any further. -
The EXCLUSIVELY '32 Roadster/Cabriolet ONLY thread. Show us what you got!!!
Plowboy replied to mrm's topic in Model Cars
Not a roadster. But, I guess it qualifies as a cabriolet. Never have been happy with the wheels. But, not enough to change them yet. -
I remember that car as Bryce Michelmore built a tribute model of it a few years ago. It was the first sedan model that I truly liked. I'll be watching this one!
-
I didn't like the way it looked and I wanted to change the door panels a little.
-
No, it's painted with Dupli Color. Can't remember the name of it.
-
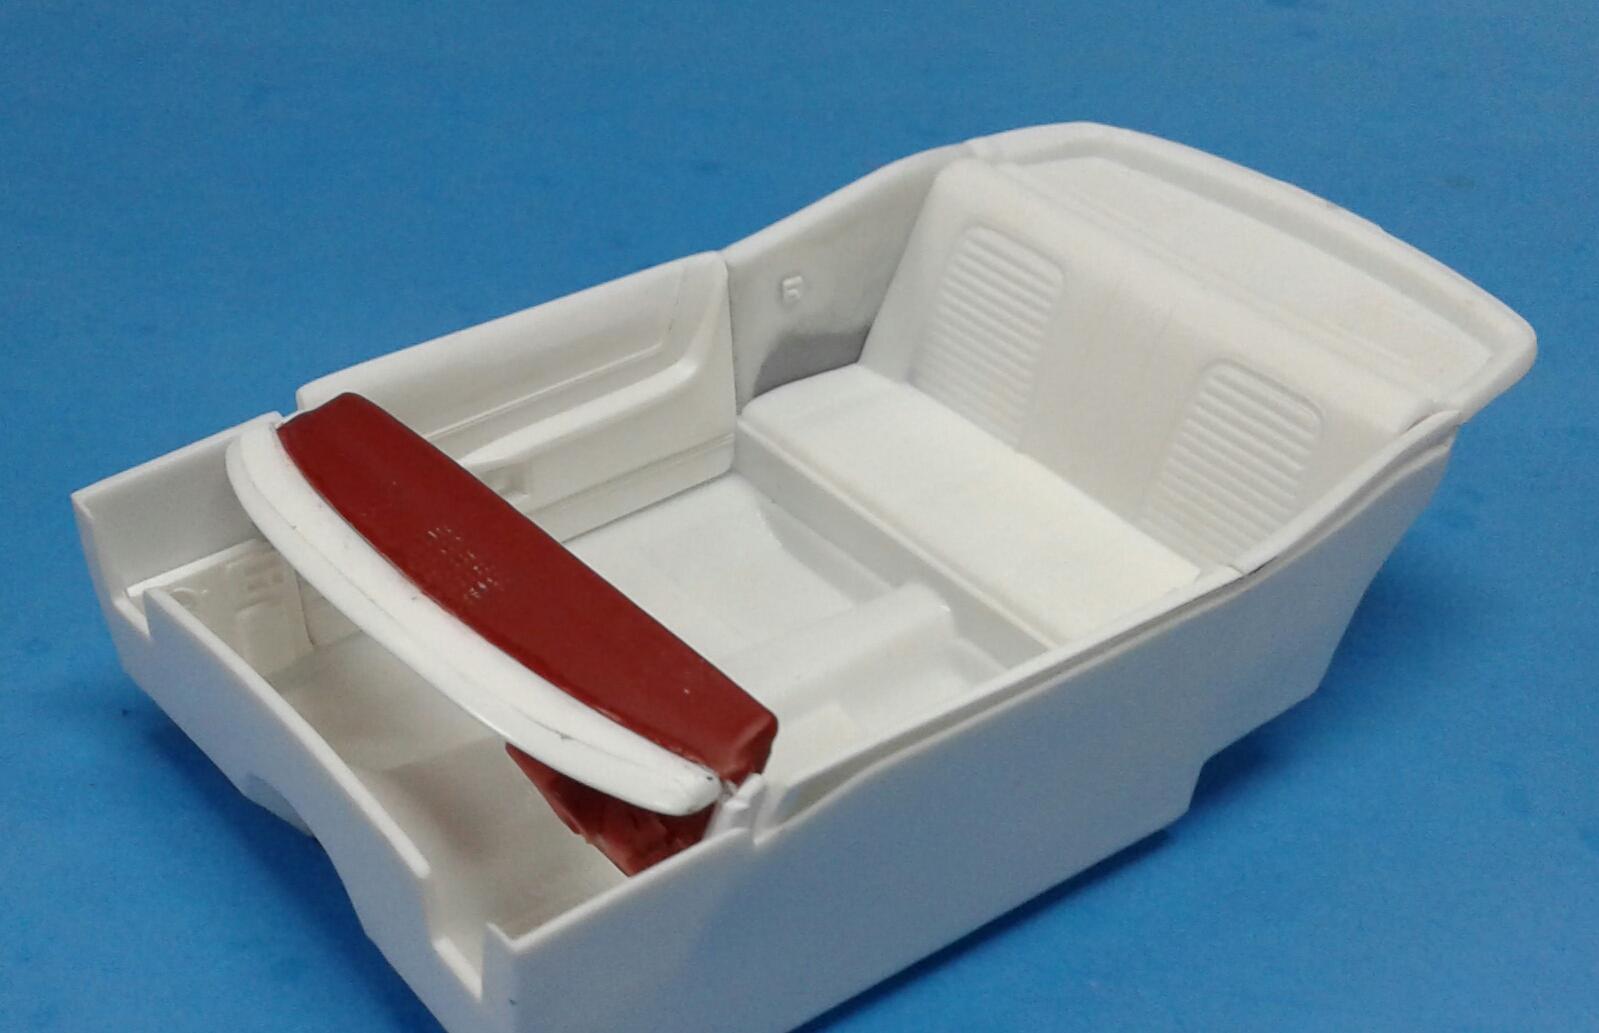
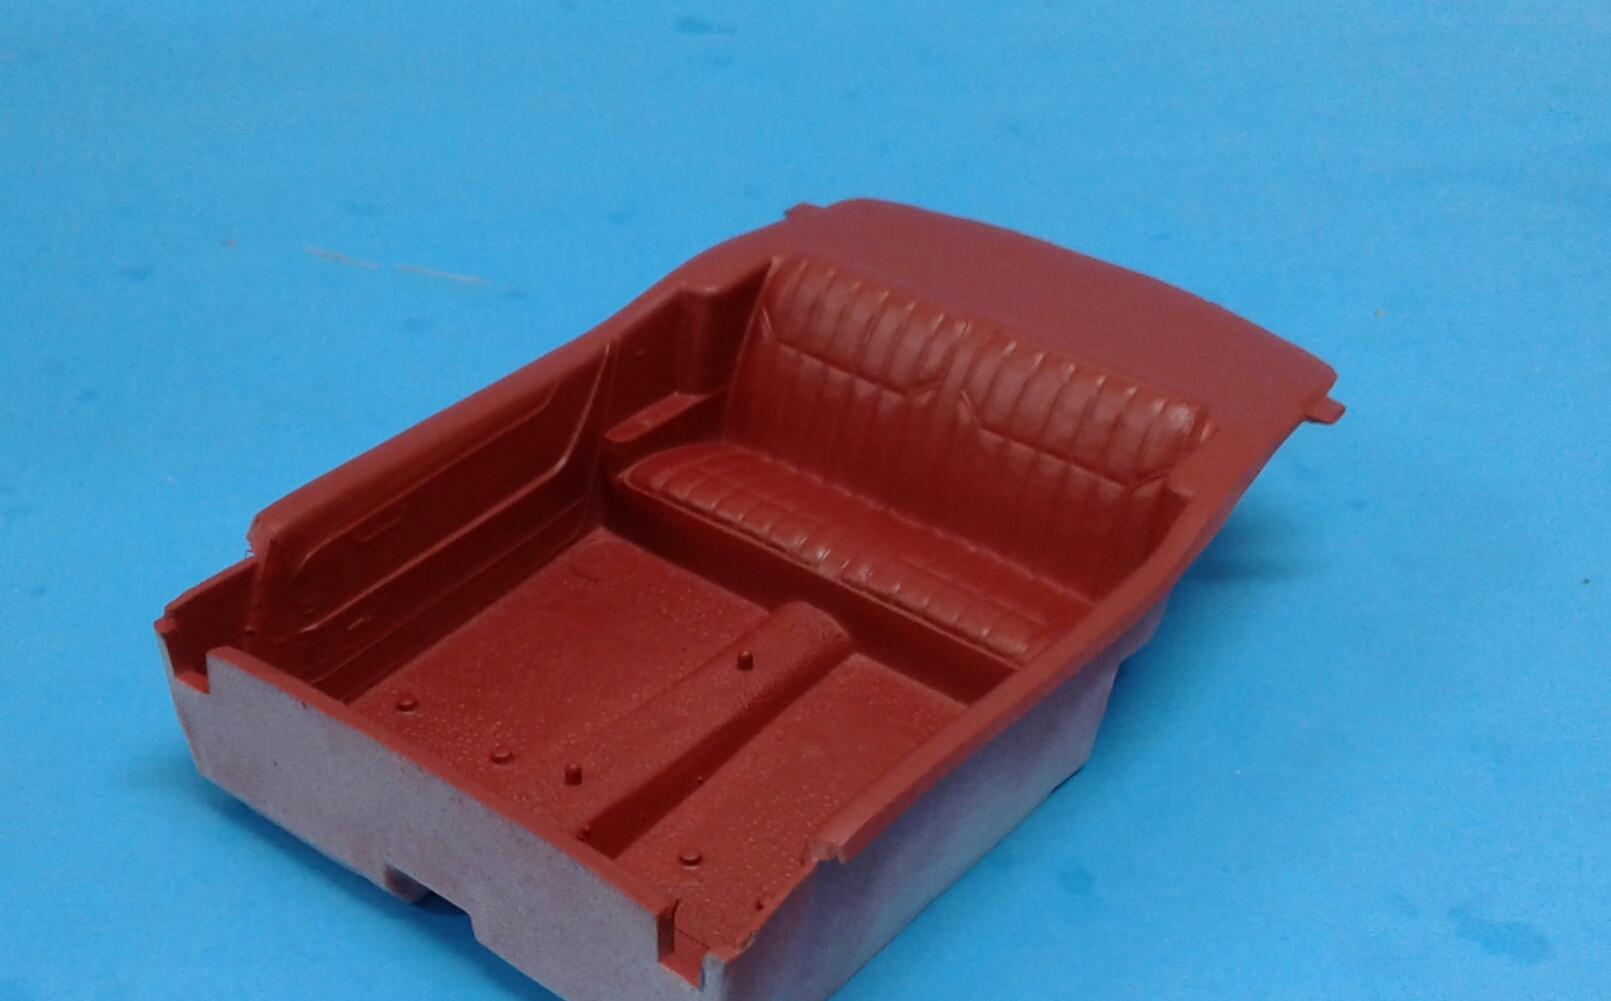
I finally have the interior going my way. I never would have thought that mixing the coupe and convertible interior parts together would have caused so many fit issues! But, I finally got the panels to fit the tub and body. On the door panels, I got rid of the door strap and Camaro script. Then, I rounded the tops of them and cut the rear panels off. I then cut the excess away from the window switch so that I could glue it to the coupe's rear panels. On the rear panels, I cut them loose, smoothed them and glued the window switches on. I decided to use the Camaro's rear seat as is. After all of the work with the door and rear panels, I wasn't up for customizing the seat. Remember me having to take 3mms from the hood? Well, I had to add the same amount to the dash! I also had to add .040 to each side. Hopefully, I can get by with just spraying the pad over as I have already painted the black on the gauges etc.I almost decided to can this interior because of the dash. But, I kept telling myself that the extra work would be worth it. We'll see.
-
Maybe it's your monitor? The fine metallic shows clearly in the photos on my tablet. Better in person.
-
Question For The Pontiac Guys
Plowboy replied to Plowboy's topic in Model Building Questions and Answers
The convertible has the deluxe interior. -
Question For The Pontiac Guys
Plowboy replied to Plowboy's topic in Model Building Questions and Answers
Looks like that would be the best option for the '69. Just swap the dashes maybe? Is there a difference in seat patterns? Looks similar. -
Question For The Pontiac Guys
Plowboy replied to Plowboy's topic in Model Building Questions and Answers
Thanx for the info Rusty! I decided to customize the Camaro convertible's door panels slightly and blank the coupe's quarters. -
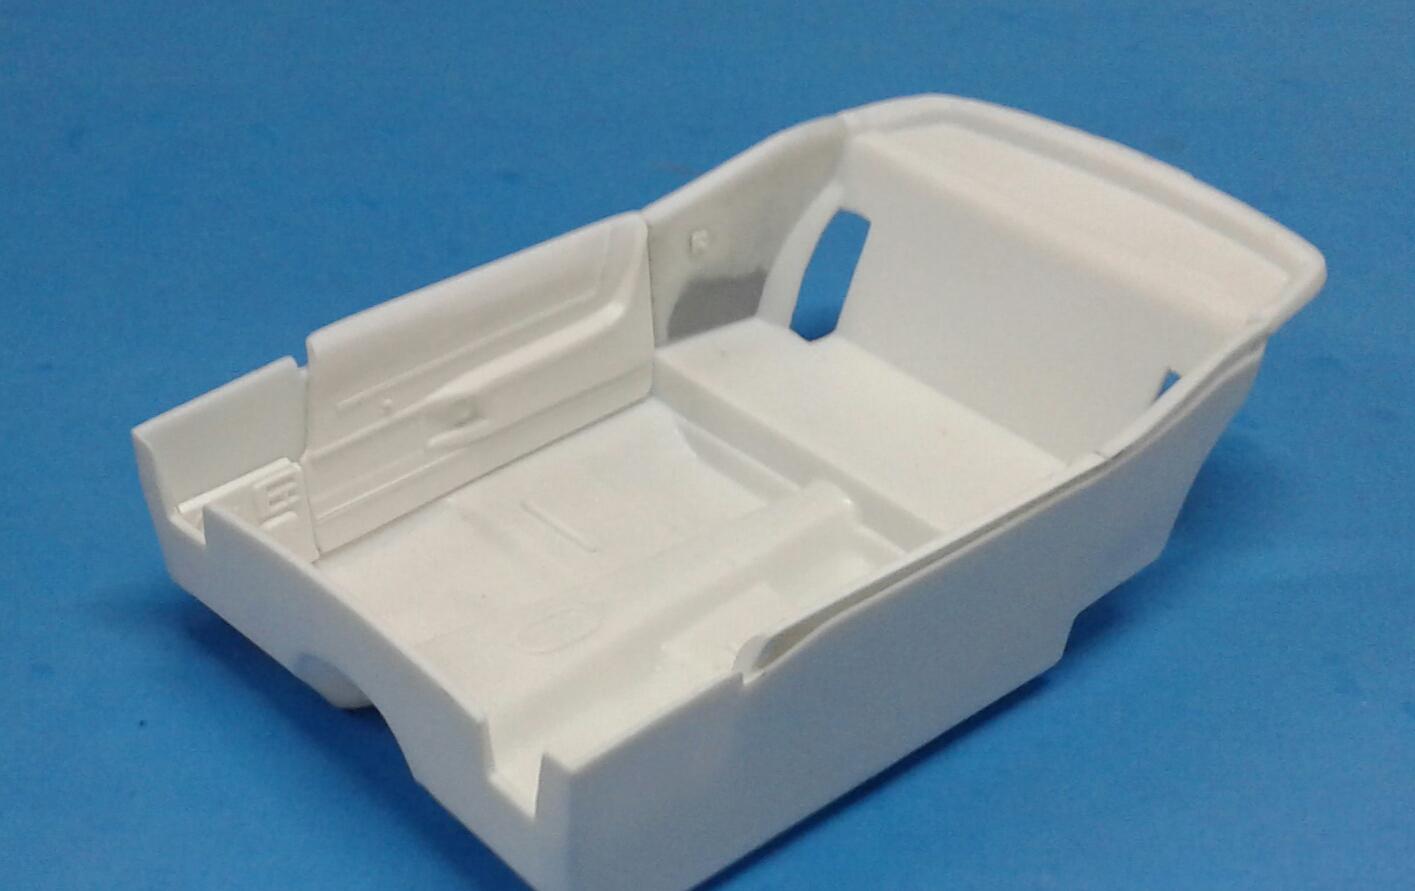
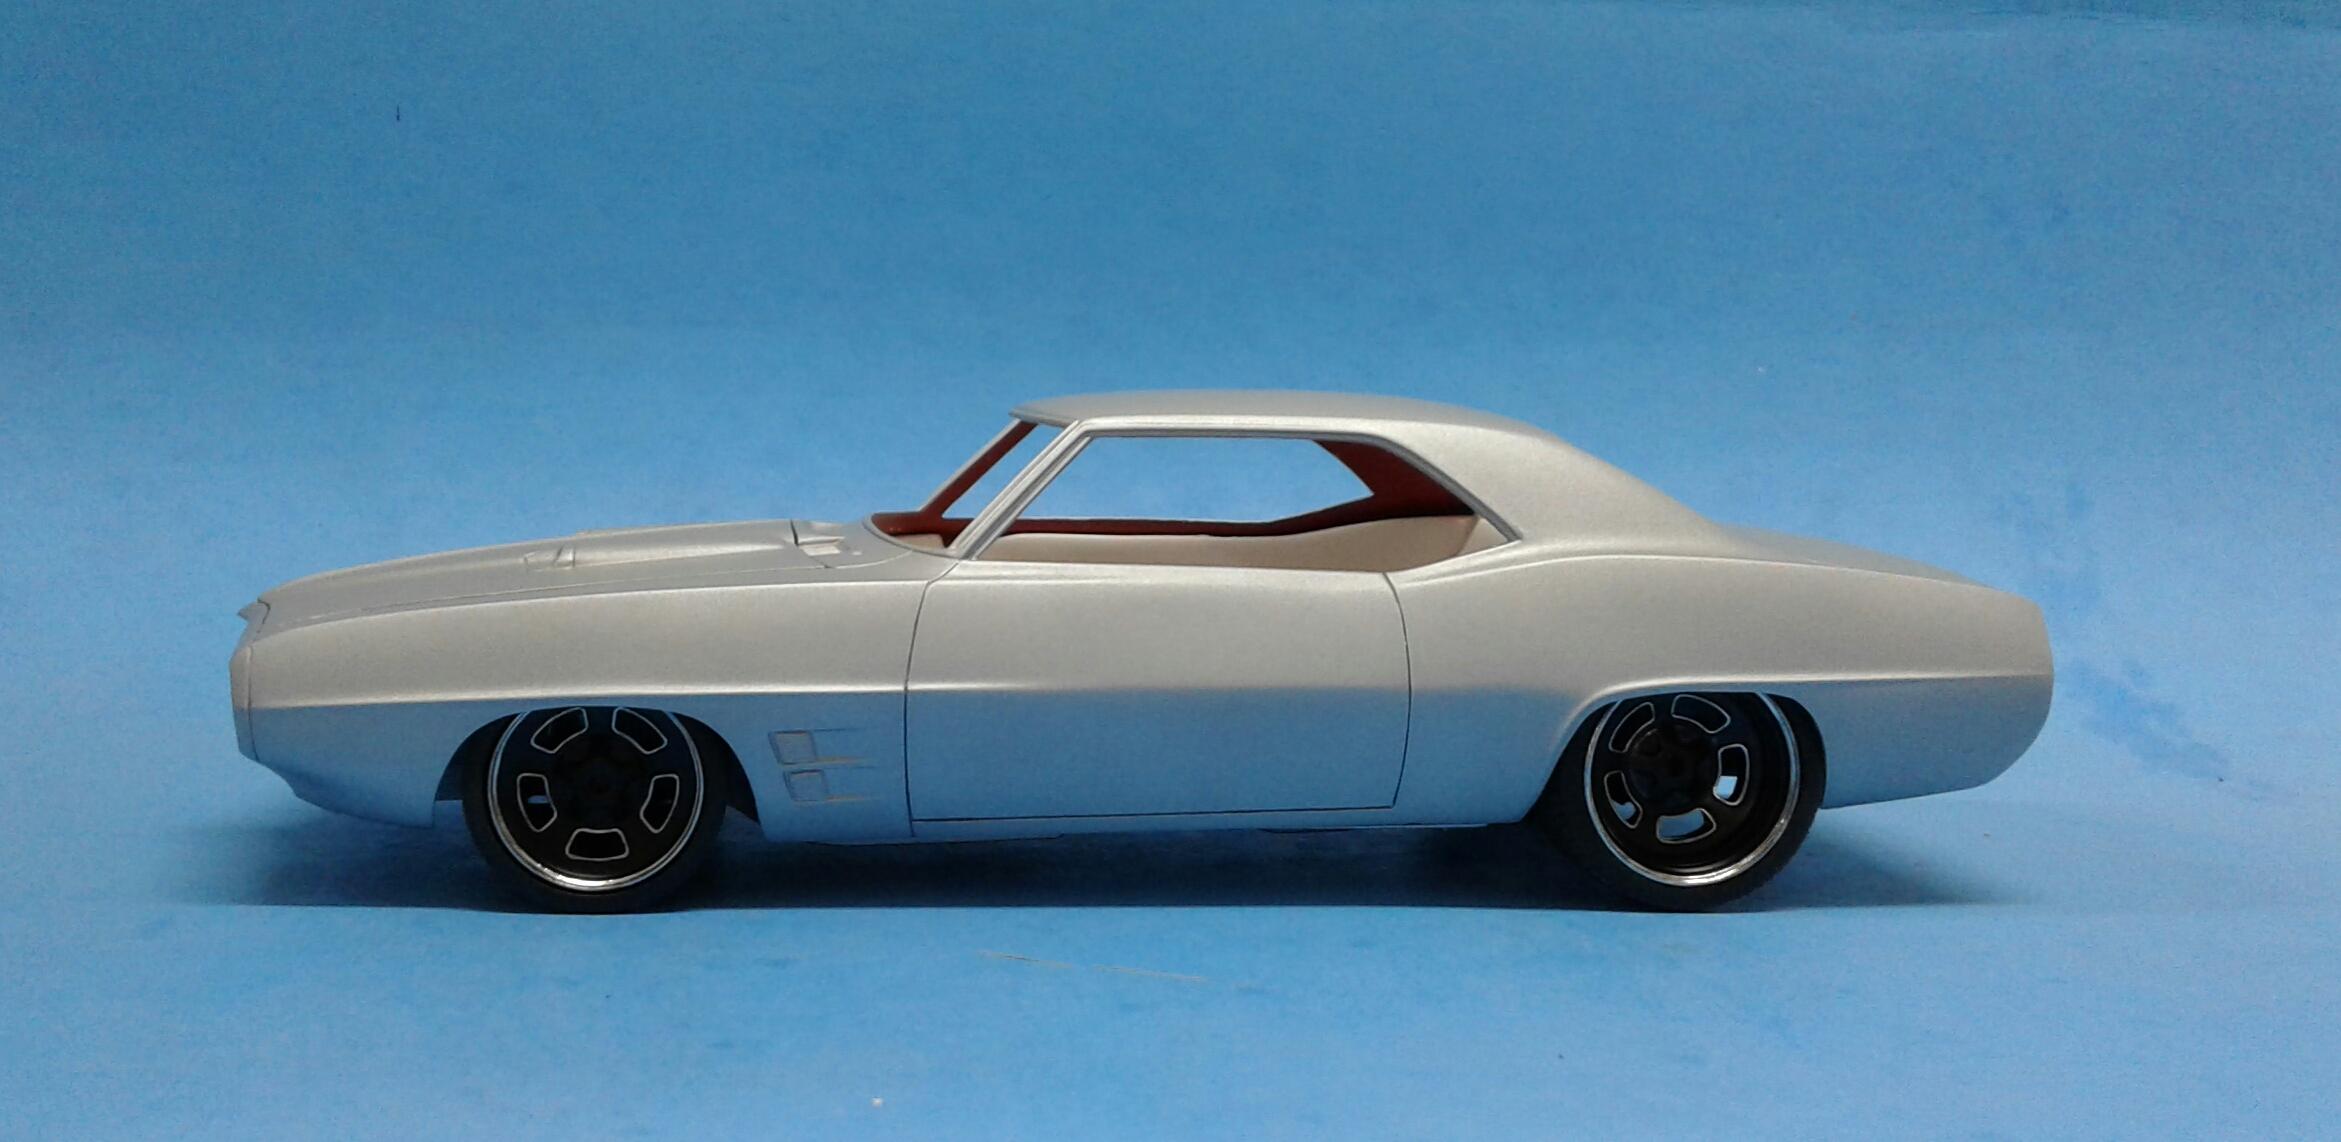
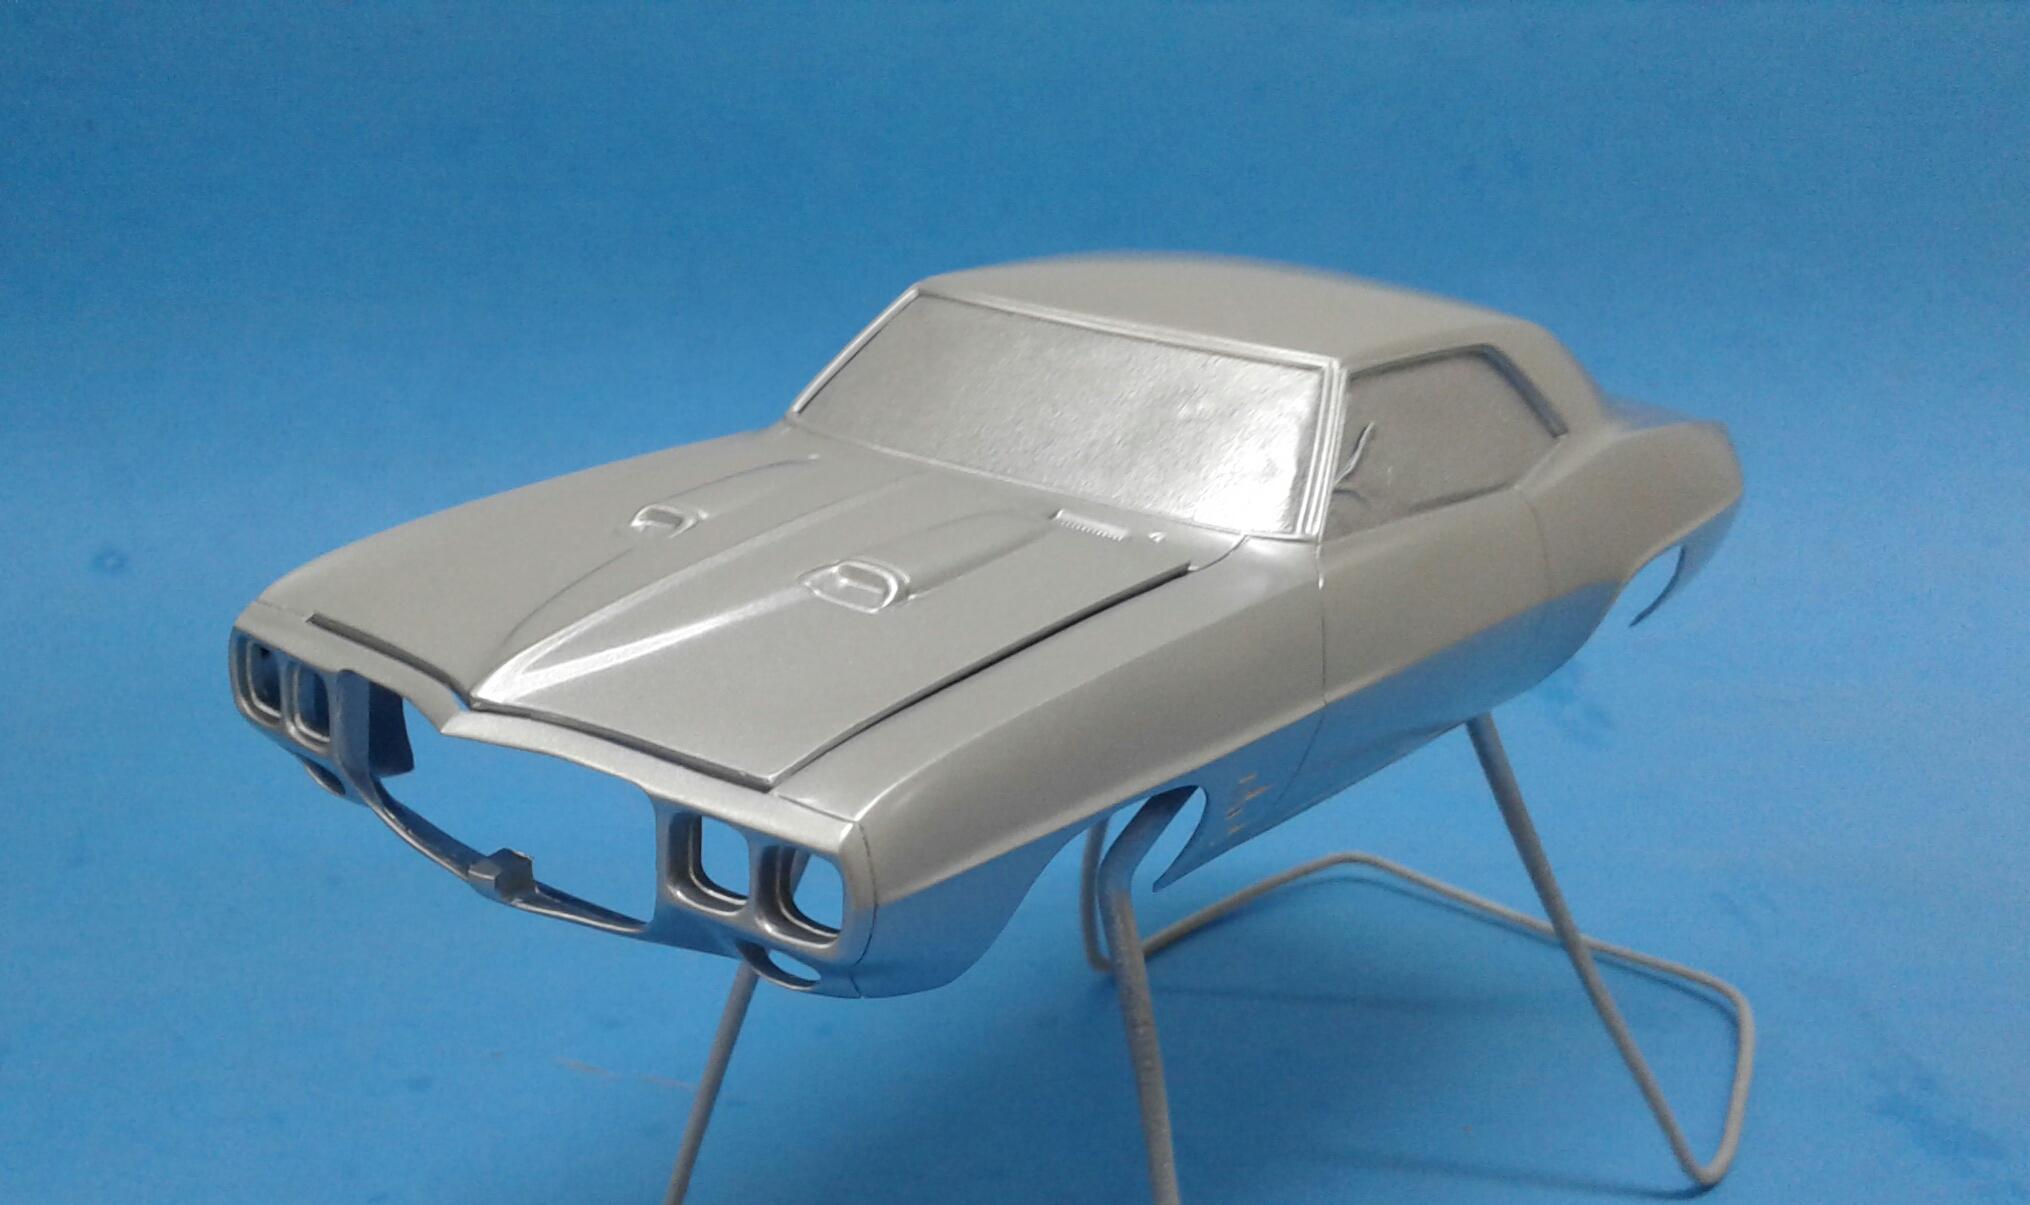
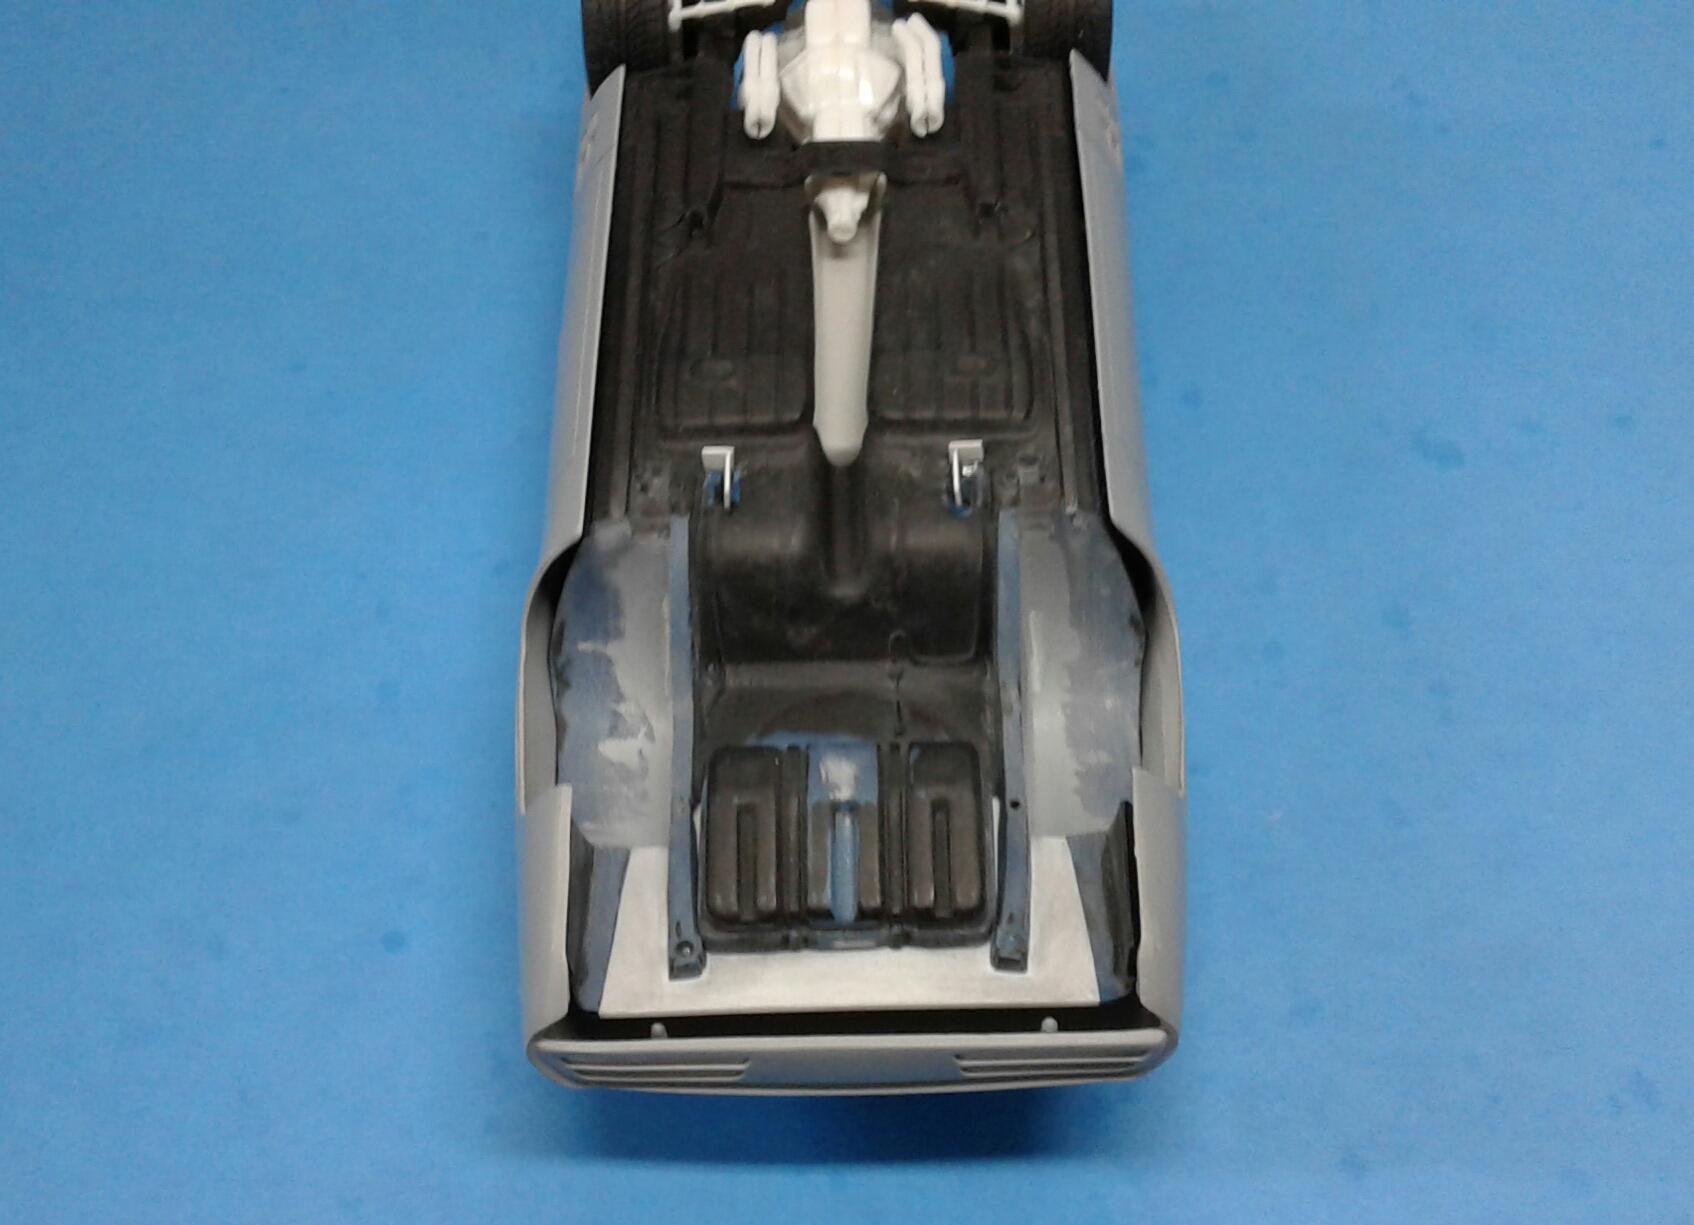
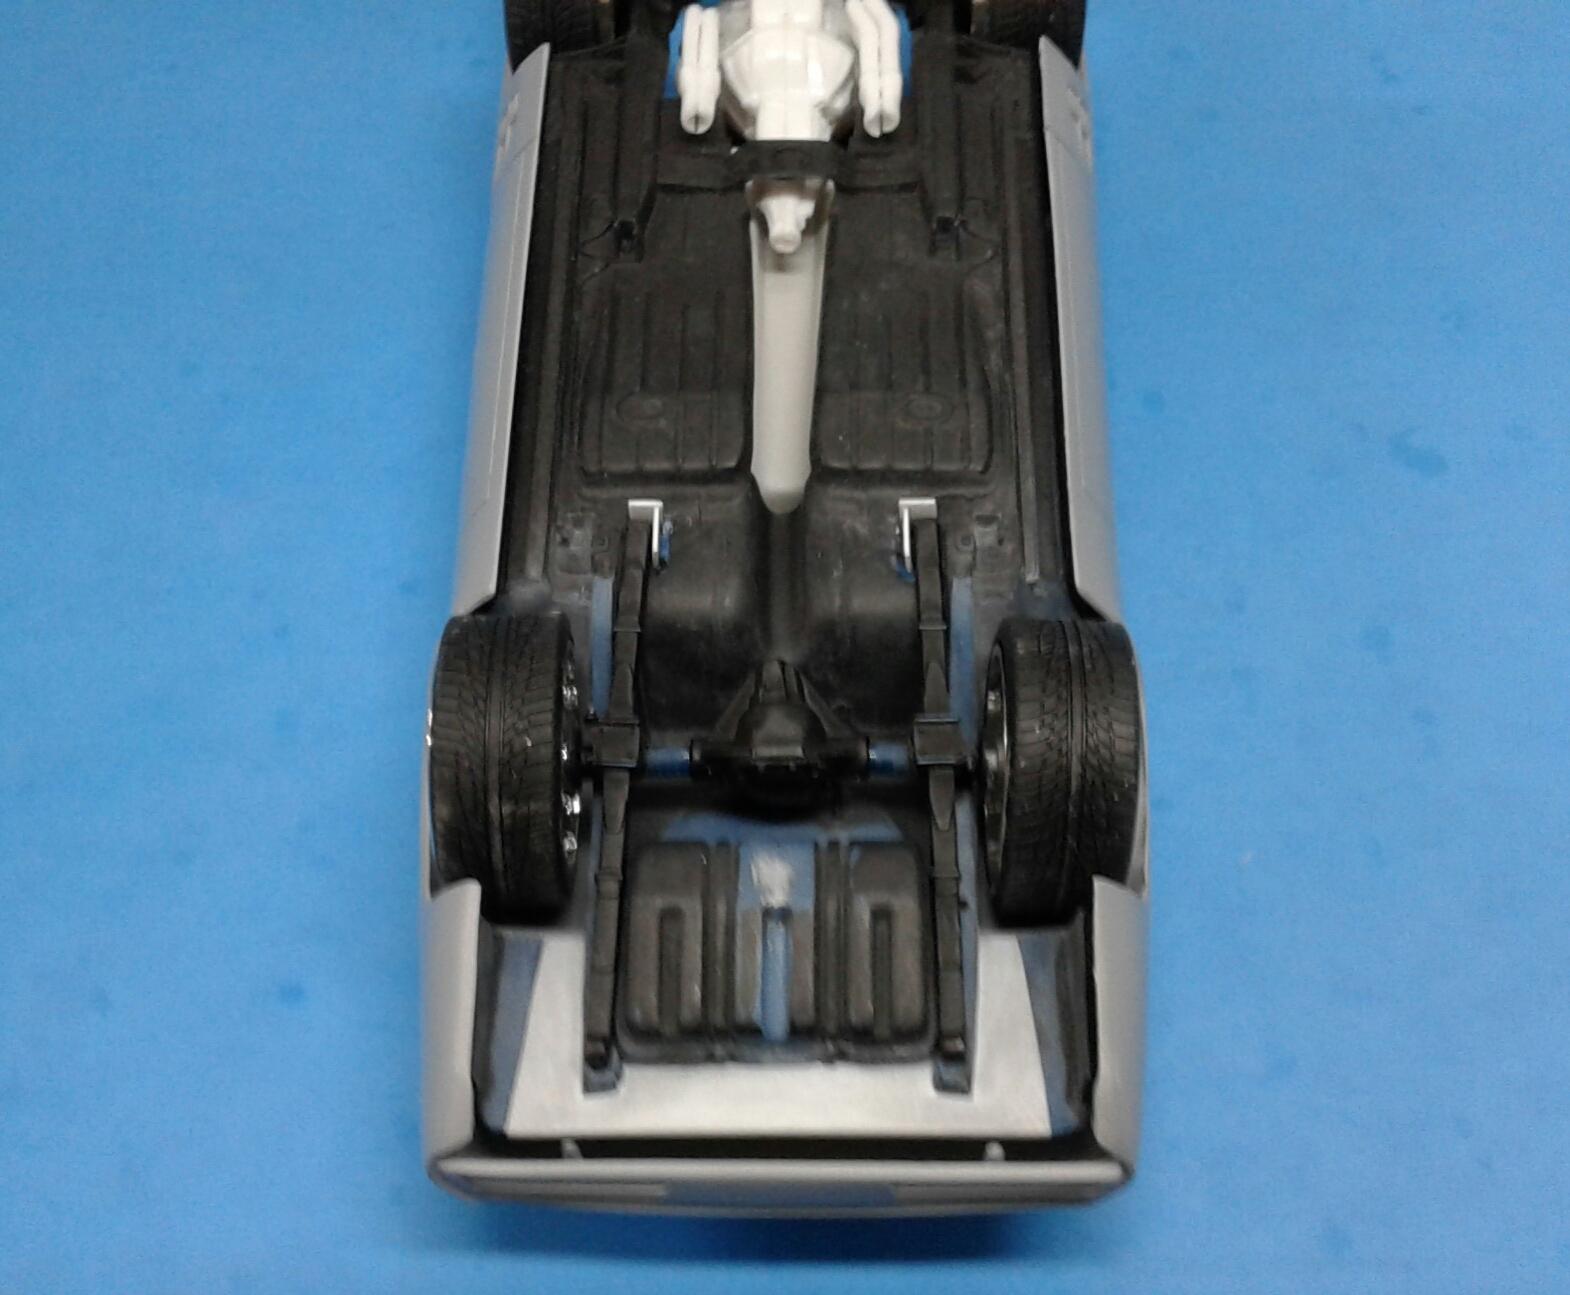
There's a lot of things wrong with this kit. Even more than I realized! I just learned that the interior is also wrong! It actually has '69 Camaro convertible door panels. WTH?! That combined with how shallow it is has convinced me to can the kit interior. Instead, I'm going to use the interior from the '69 Camaro and customize it a bit. I'm going to use the coupe's tub and quarters and customize the convertible's door panels. The interior quarters will be blanked. I may or may not use the rear seat. If not, I'll add a four point roll bar. I first fitted the interior tub to the chassis. I had to do some cutting due to the wheel tubs. I wanted to make sure that the deeper interior wouldn't mess with the stance. Plus, I was dying to get a visual of it with the wheels and tires on it. The front wasn't affected at all. But, the rear is up just a touch. Just need to de arch the springs a bit to get it back down. I wasn't sure about the Flat Clear at first. But, now that I see it with the wheels and tires, I love how it looks! Hopefully, I can get the interior cobbled together today and maybe in primer. I still haven't touched the engine. I'm thinking about seeing if the heads from the '55 P/S will fit the BBC. There's a scale difference between them. But, it may not make a huge difference.
-
Question For The Pontiac Guys
Plowboy replied to Plowboy's topic in Model Building Questions and Answers
Ah! Thanx Steve! I was comparing the kit pieces. I hadn't looked at the Firebird's door panels. Looks like the '69 Firebird actually has '69 Camaro convertible door panels! I noticed the legs for the convertible top on the kit. But, I didn't realize that they were completely wrong. This is the interior from the Firebird kit.
-
I'm currently working on a '69 Firebird and combining it with a Revell '69 Camaro. I've done some work to the body to make it more accurate. The chassis is more accurate. But, the interior is the sore spot. Today, while rifling through parts of the Revell '69 Camaro convertible, I noticed the door panels are eerily similar to the door panels in the '69 Firebird. Could the '69 Camaro convertible's door panels pass for the '69 Firebird door panels? My build is a custom. So, dead on accuracy isn't an issue. Especially since I'm using '85 Corvette bucket seats. Just thinking this could be the fix for the shallow interior in the Firebird.
-
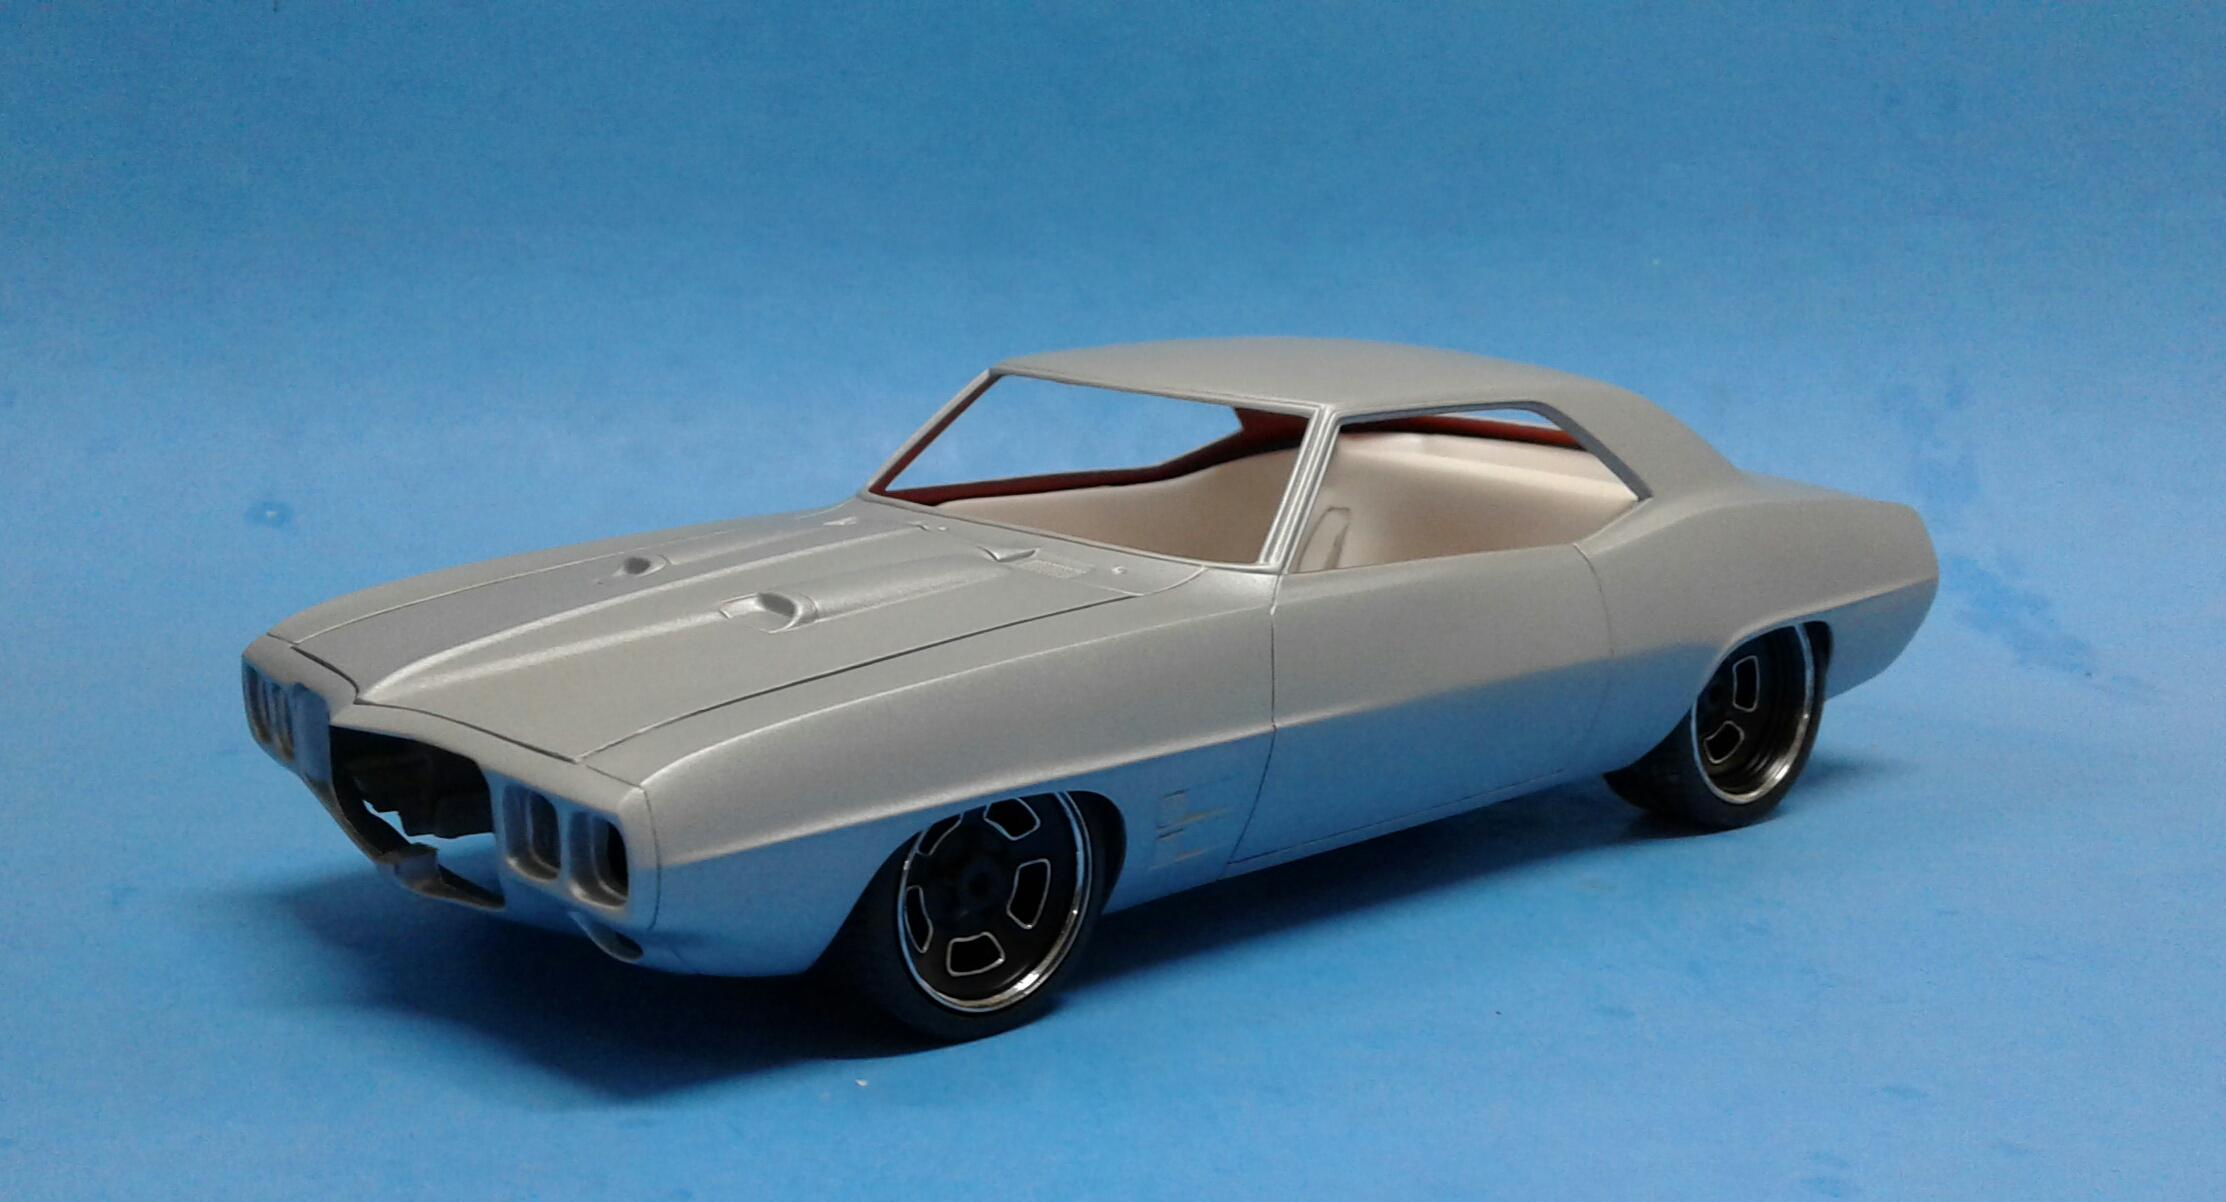
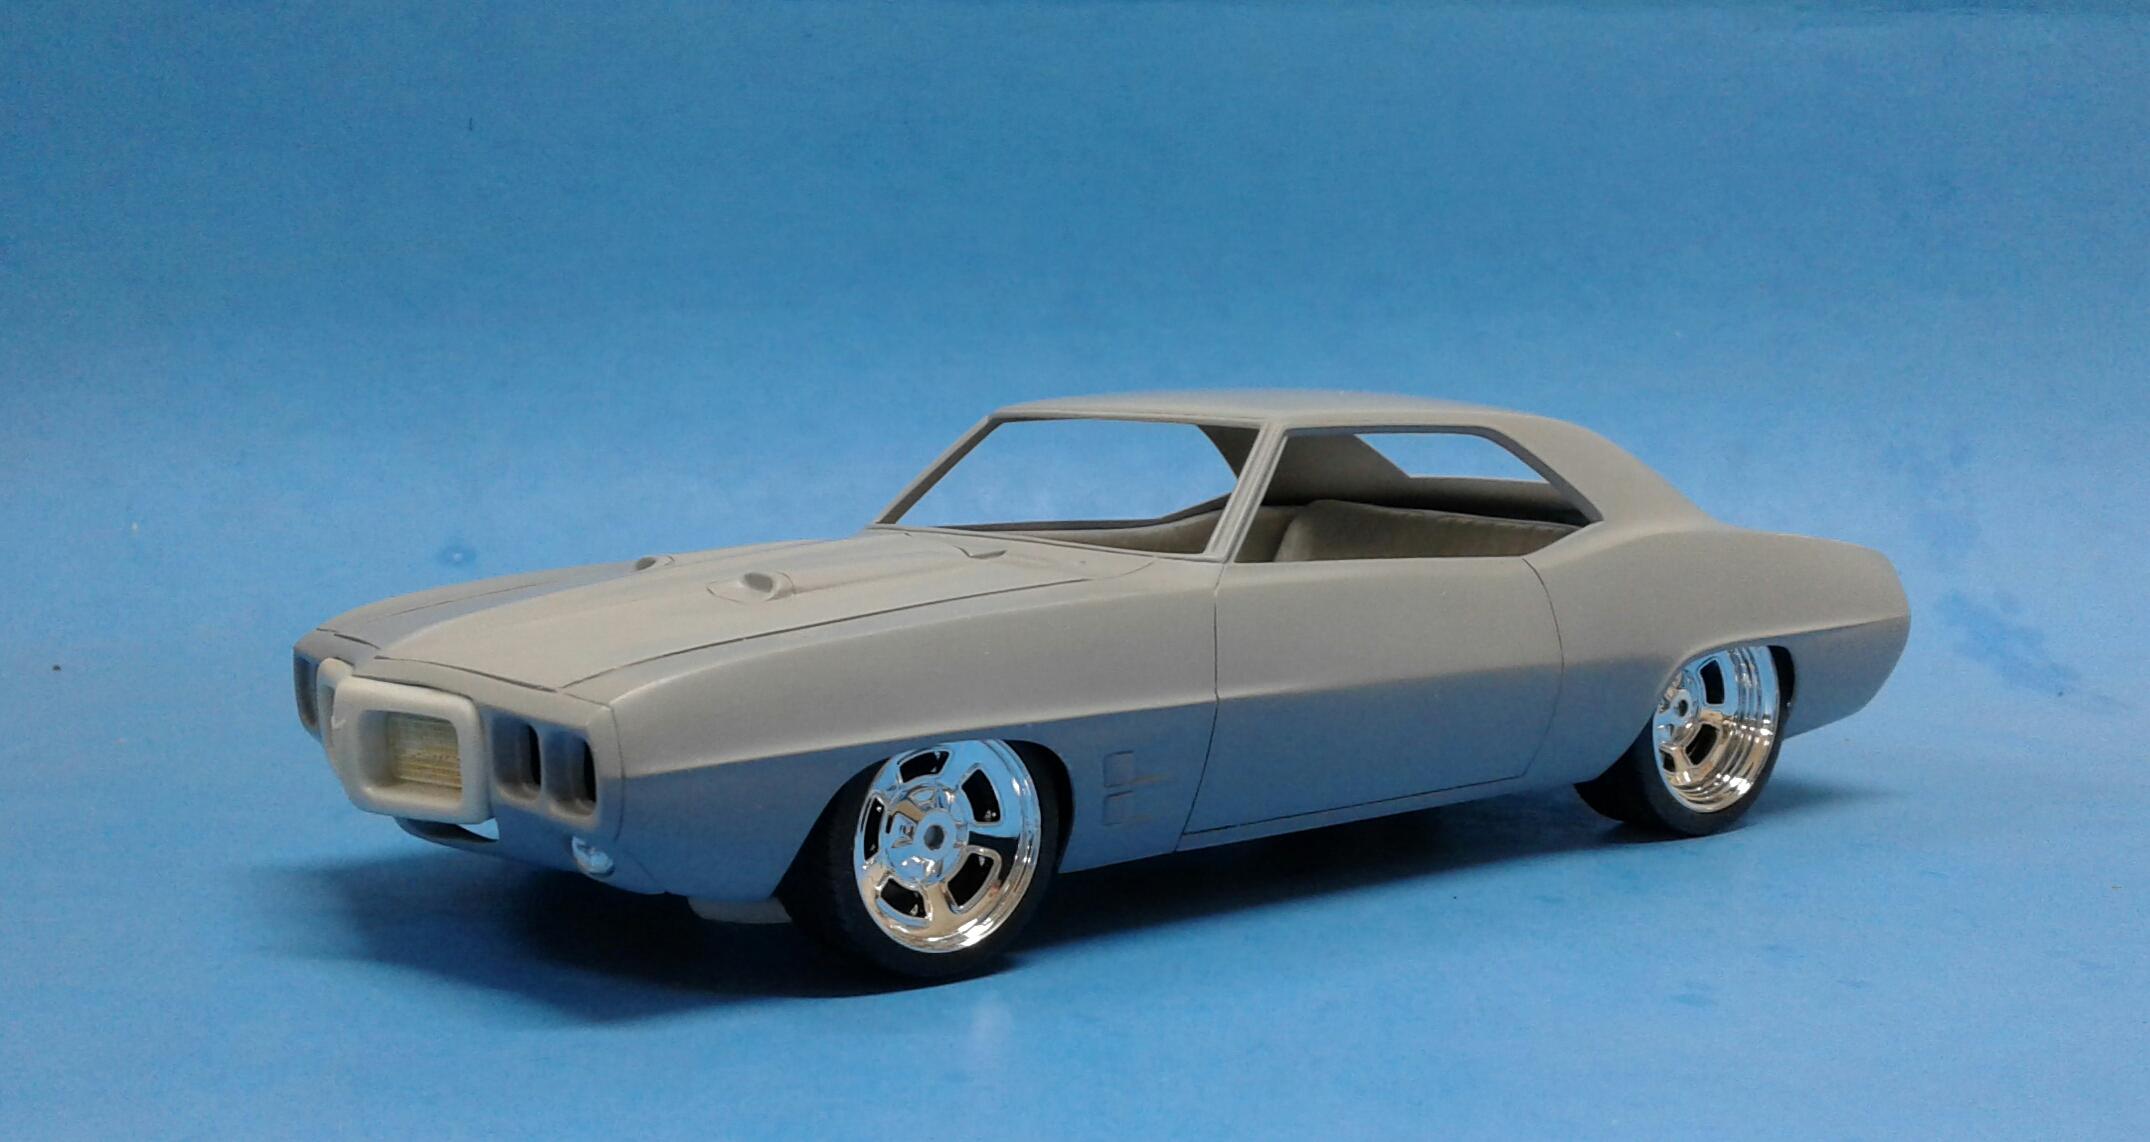
Thanx Steve! I haven't seen the semi gloss gunmetal. I was thinking about attempting a fade at the bottom with Light Gunmetal. But, I shot a coat of Flat Clear on it last night and I don't think it needs it now. Especially after I got the wheels painted and stuck them under it. It's gonna be sinister looking!
-
The engine is what I'm planning on painting the blue on the Jeepster. The body will stay silver.
-
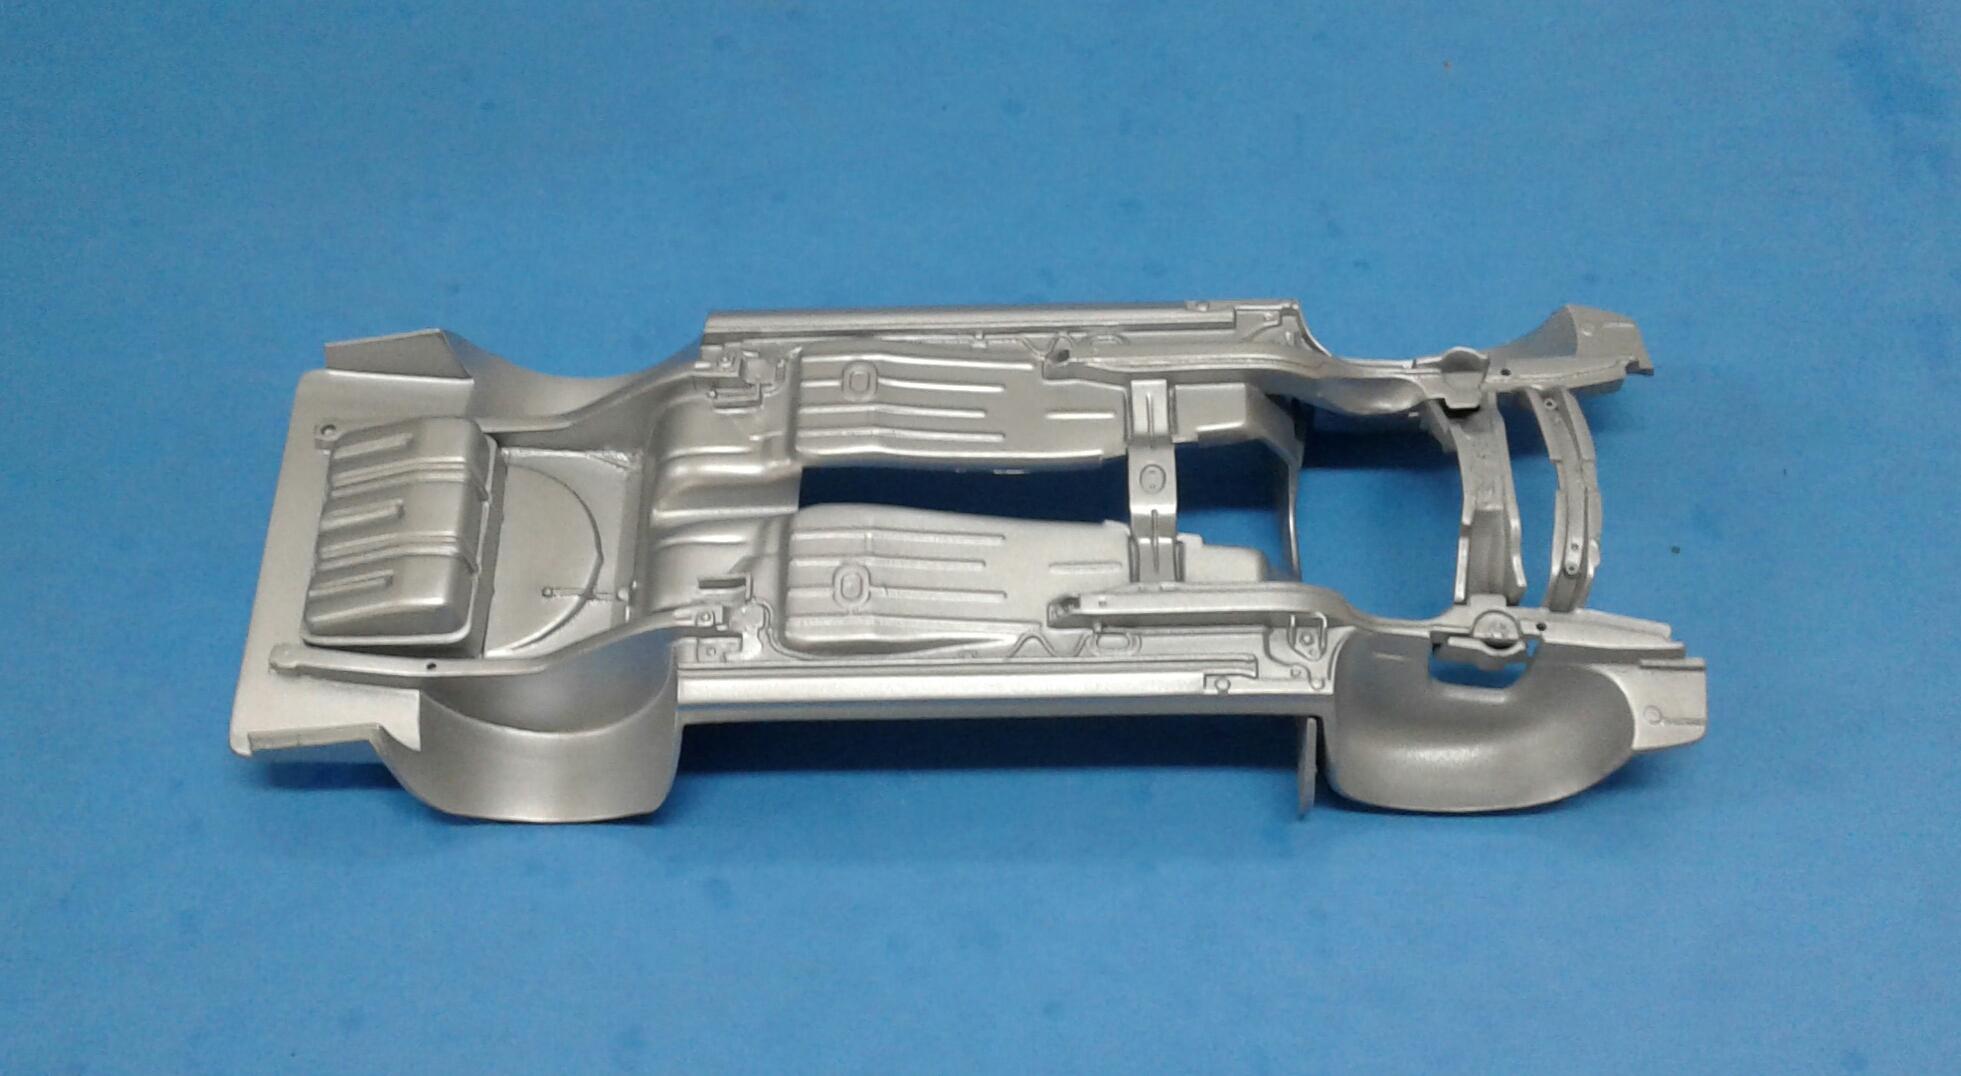
Thanx guys! I got quite a bit of paint work done today. I'll just hit the high spots. The body is now in two coats of Tamiya Mica Silver. I'm either going to clear it with Semi Gloss or Matte. If I don't like the look, I can hit it with Gloss and polish. I also got the chassis in paint. I have a lot of detail painting to do! Not in the photo are the front and rear suspensions that are painted Semi Gloss Black. The interior is painted with Tamiya Dull Red. While this stuff is drying, I'll get started on the engine. The plan is to paint it with a color similar to Pontiac Engine Blue. I also plan on using a set of Pontiac valve covers from the Revell '55 Chevy P/S. I think the color on this Jeepster will be about right.
-
Thanx Paul! Couldn't have finished it without your help! Thanx Mike! I really like this red also! This was the first build I've ever done that the color picked the model. Thanx Tony! This model really tried my patience! There were several times that I thought about body slamming it! Thanx Nigel! I don't think I'll want to attempt another hot rod with various parts for a long time! Thanx Steve! I'll take that compliment! I liked a lot of Boyd's builds. Just wasn't a fan of Boyd himself. Thanx Carl! Glad you like it! Thanx also to everyone else for the great comments! I appreciate it! When I get a chance, I'll take some photos of the 2.0 version and post them. I have this model set up so that I can change the wheels and tires out at will.
-
Nice looking '57 Jim! You did a great job of putting all of the colors together!
-
Thanx Mike! It's not quite accurate. But, it's more accurate than the original. I may take another stab at one someday to make an accurate body. Thanx Carl! Yeah, the chassis is from an old built Revell '69 Camaro I had. Kinda regretting that move. I should have used all new stuff. But, I wasn't sure how well it would work and hated to hack a good one.
-
So well done! You captured so many of the details of the full scale T-Bird! Like the tail lights, trim and the wheels with the slightly mismatched center cap. Nice work!
-
It's looking good Mike! It's hard to beat a tubbed out '55 Chevy! I have an old '55 project that I need to finish up. Maybe yours will give me the push I need.
-
I think my problem with this project was cross frustration. I was more annoyed with the '32 3-W I was working on at the same as this one. But, I'm back on it for good now. Hopefully, I don't start another project while I'm working on this one! I got the wheel tubs filled in and puttied. The gas tank glued back on. I also roughed in the spring pockets. The rearend is glued together permanent. I'm hoping I can use the Camaro exhaust. I'd kinda like to use the chambered exhaust from the small block version. I'll just have to see which one fits best or easiest. The BBC setting in the engine bay. I glued the firewall to the chassis. It doesn't quite meet the front of the cowl. So, I may have to do some trimming. First official mockup with the front and rear suspensions installed! I lowered the front and rear a couple of scale inches. I wish I could take it a little lower. But things are already close to the ground. It has just a touch of rake to it. The body is ready for paint. I need to get the rear valence ready also. If I can, I want to get the interior and chassis in primer today. I'd like to be able to paint the headliner and interior in the same session. We'll see how it goes.
-
Super nice looking Mustang Tony! The lowering and better tires made a huge difference! Topped off with a slick as glass black paint job. It doesn't get any better! Nice work!