-
Posts
2,739 -
Joined
-
Last visited
Content Type
Profiles
Forums
Events
Gallery
Everything posted by BIGTRUCK
-
The Beast - Tank-truck
BIGTRUCK replied to Nosferatu's topic in Model Trucks: Pickups, Vans, SUVs, Light Commercial
Its a "Beast" for sure, good work. -
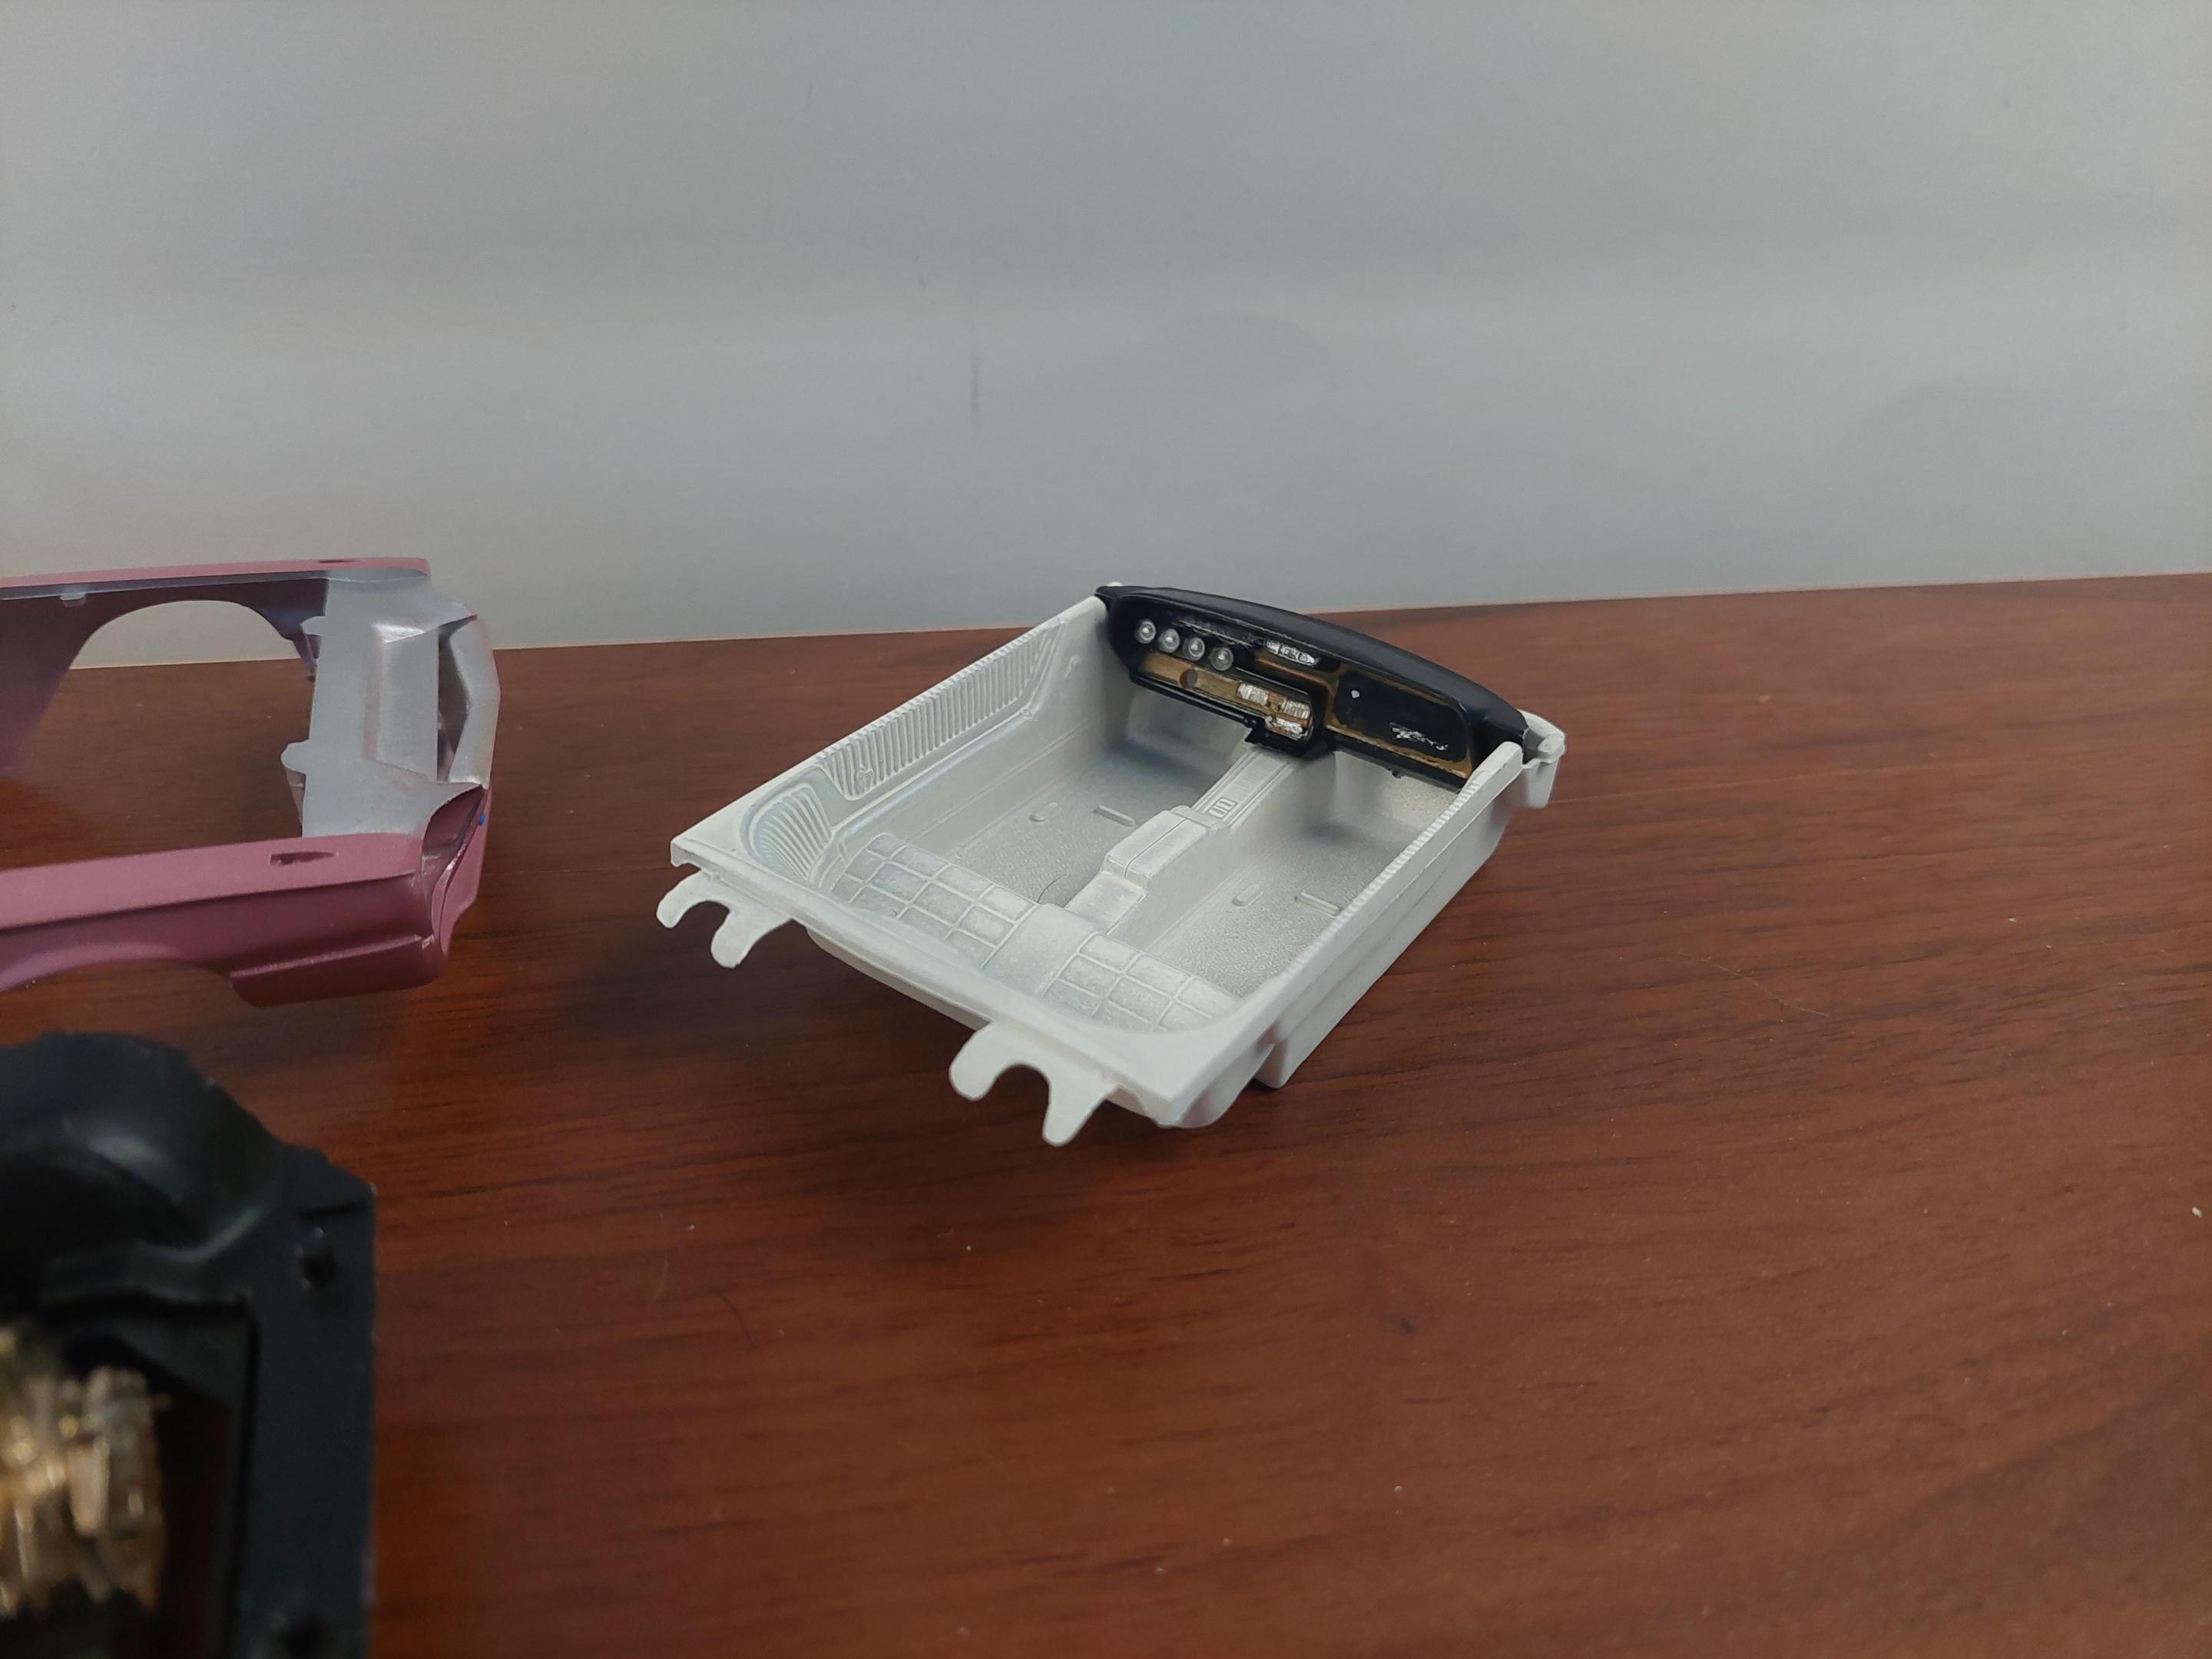
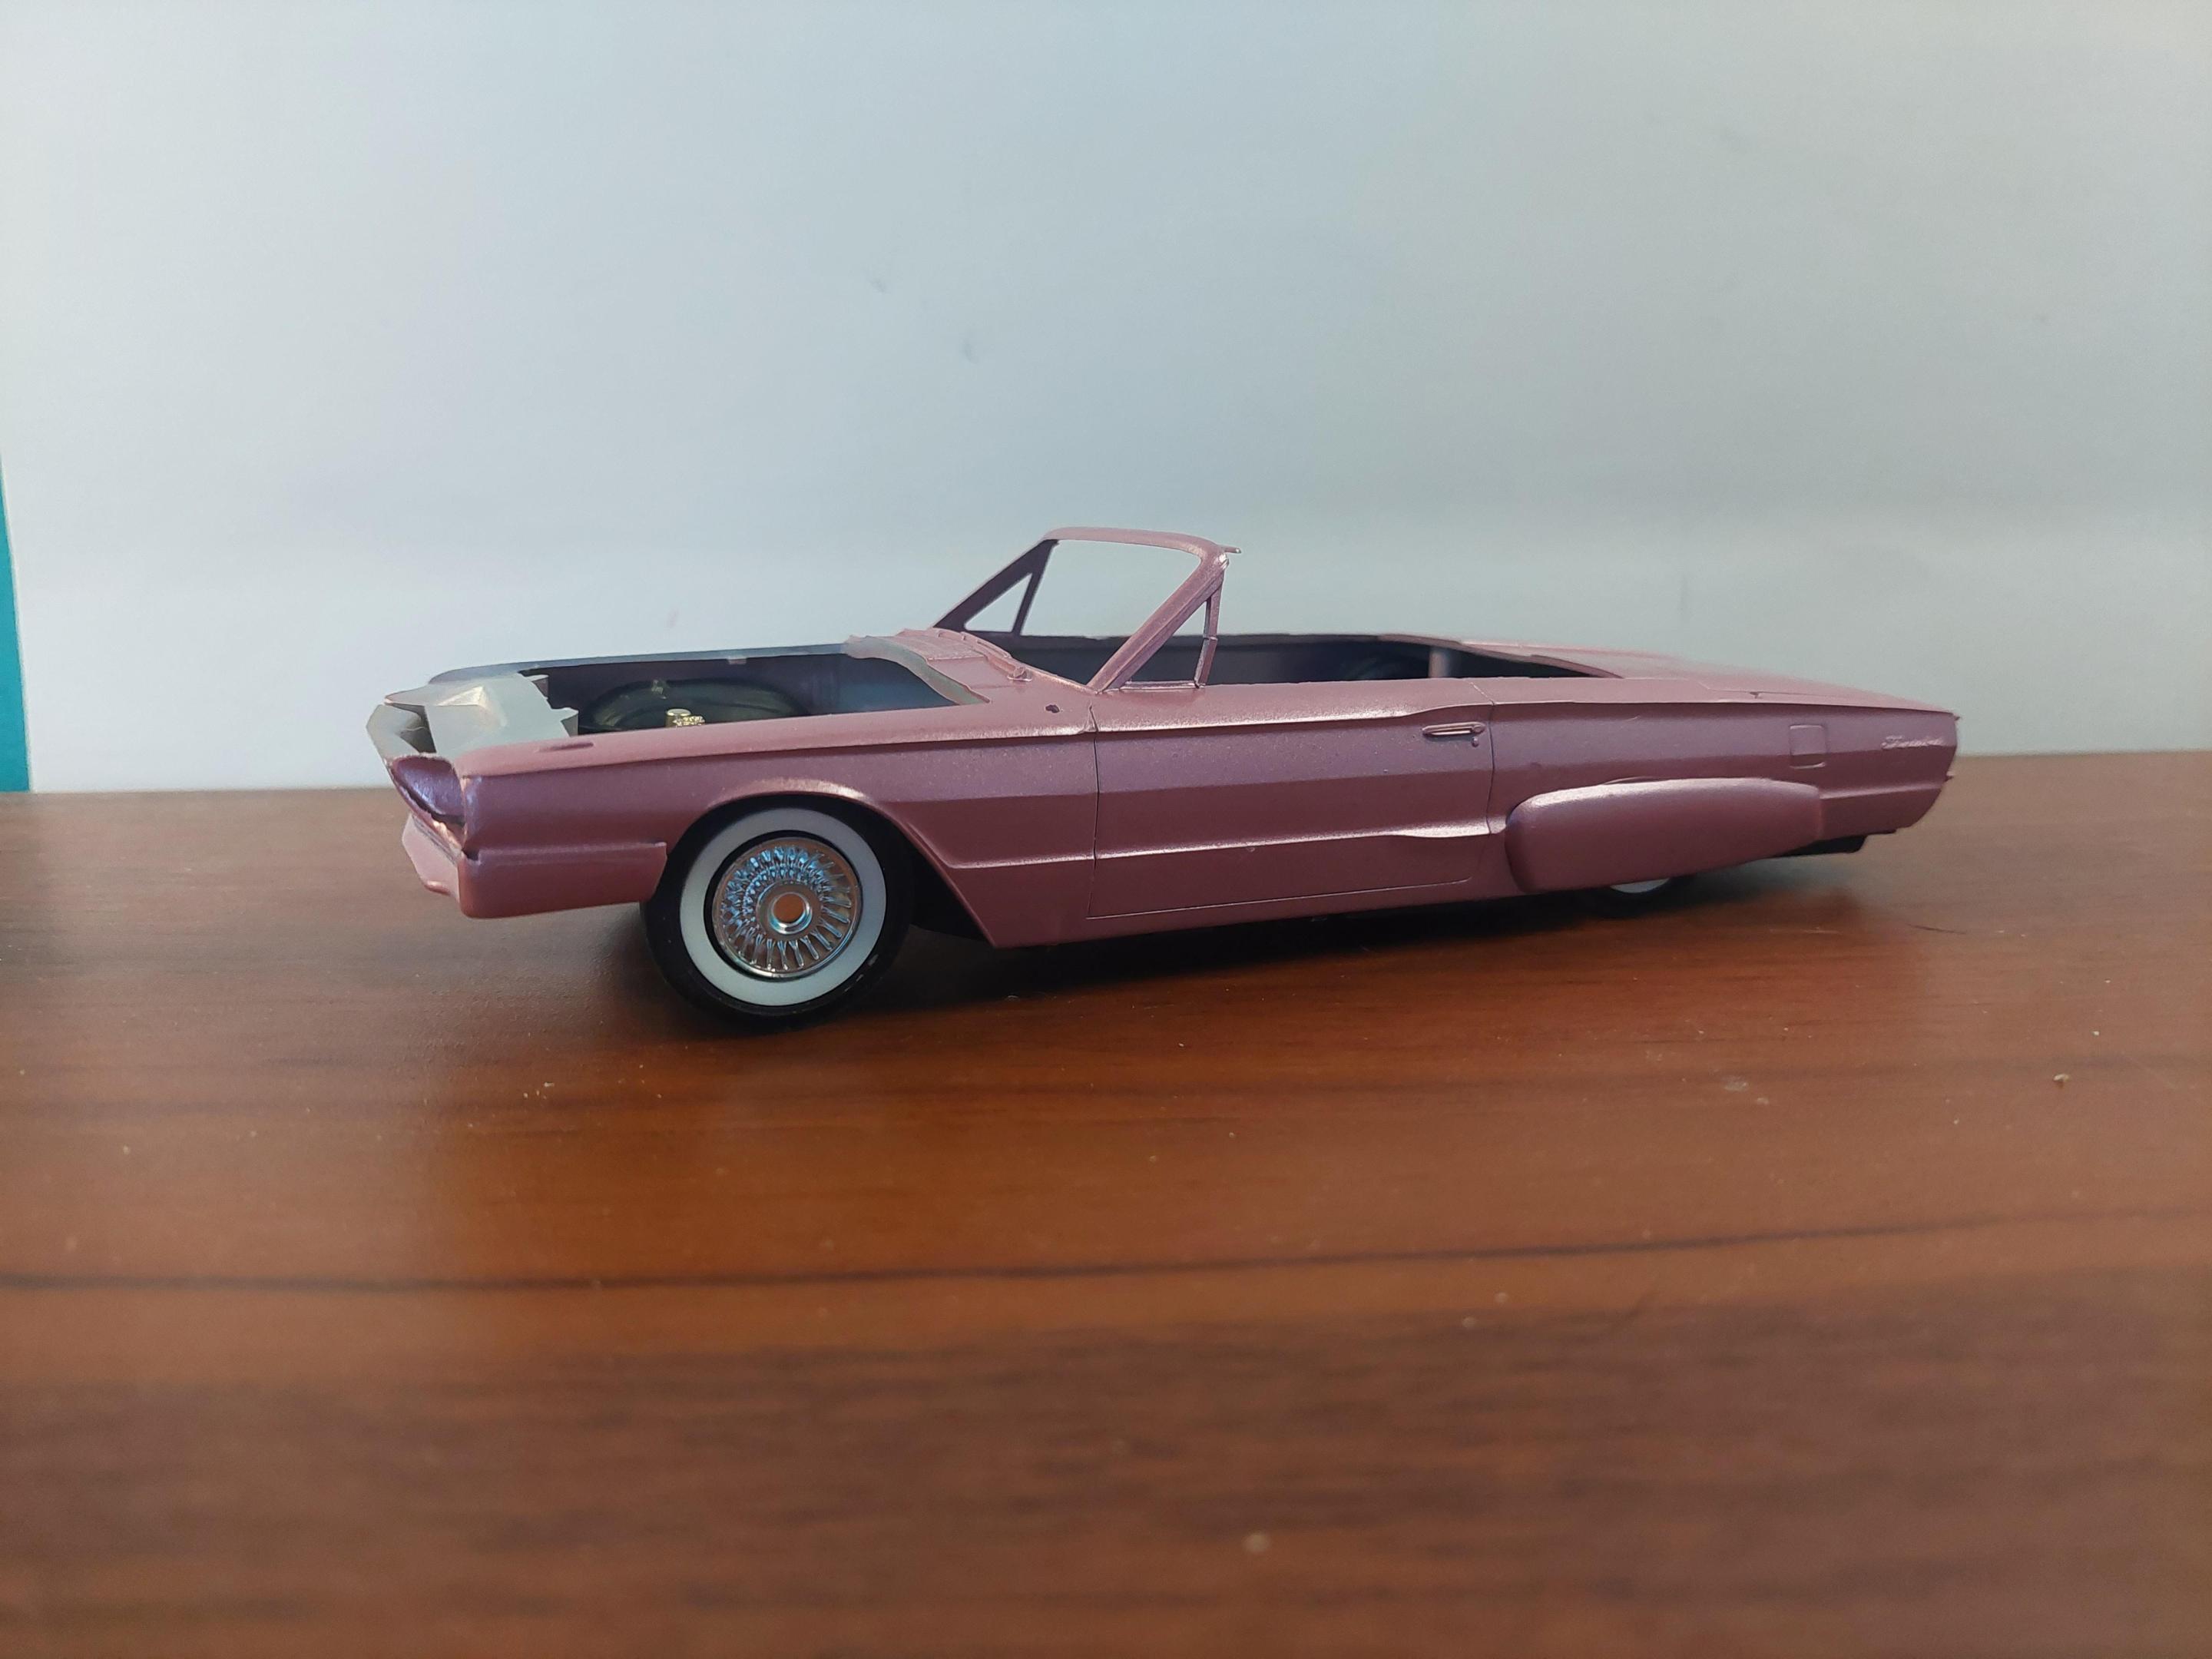
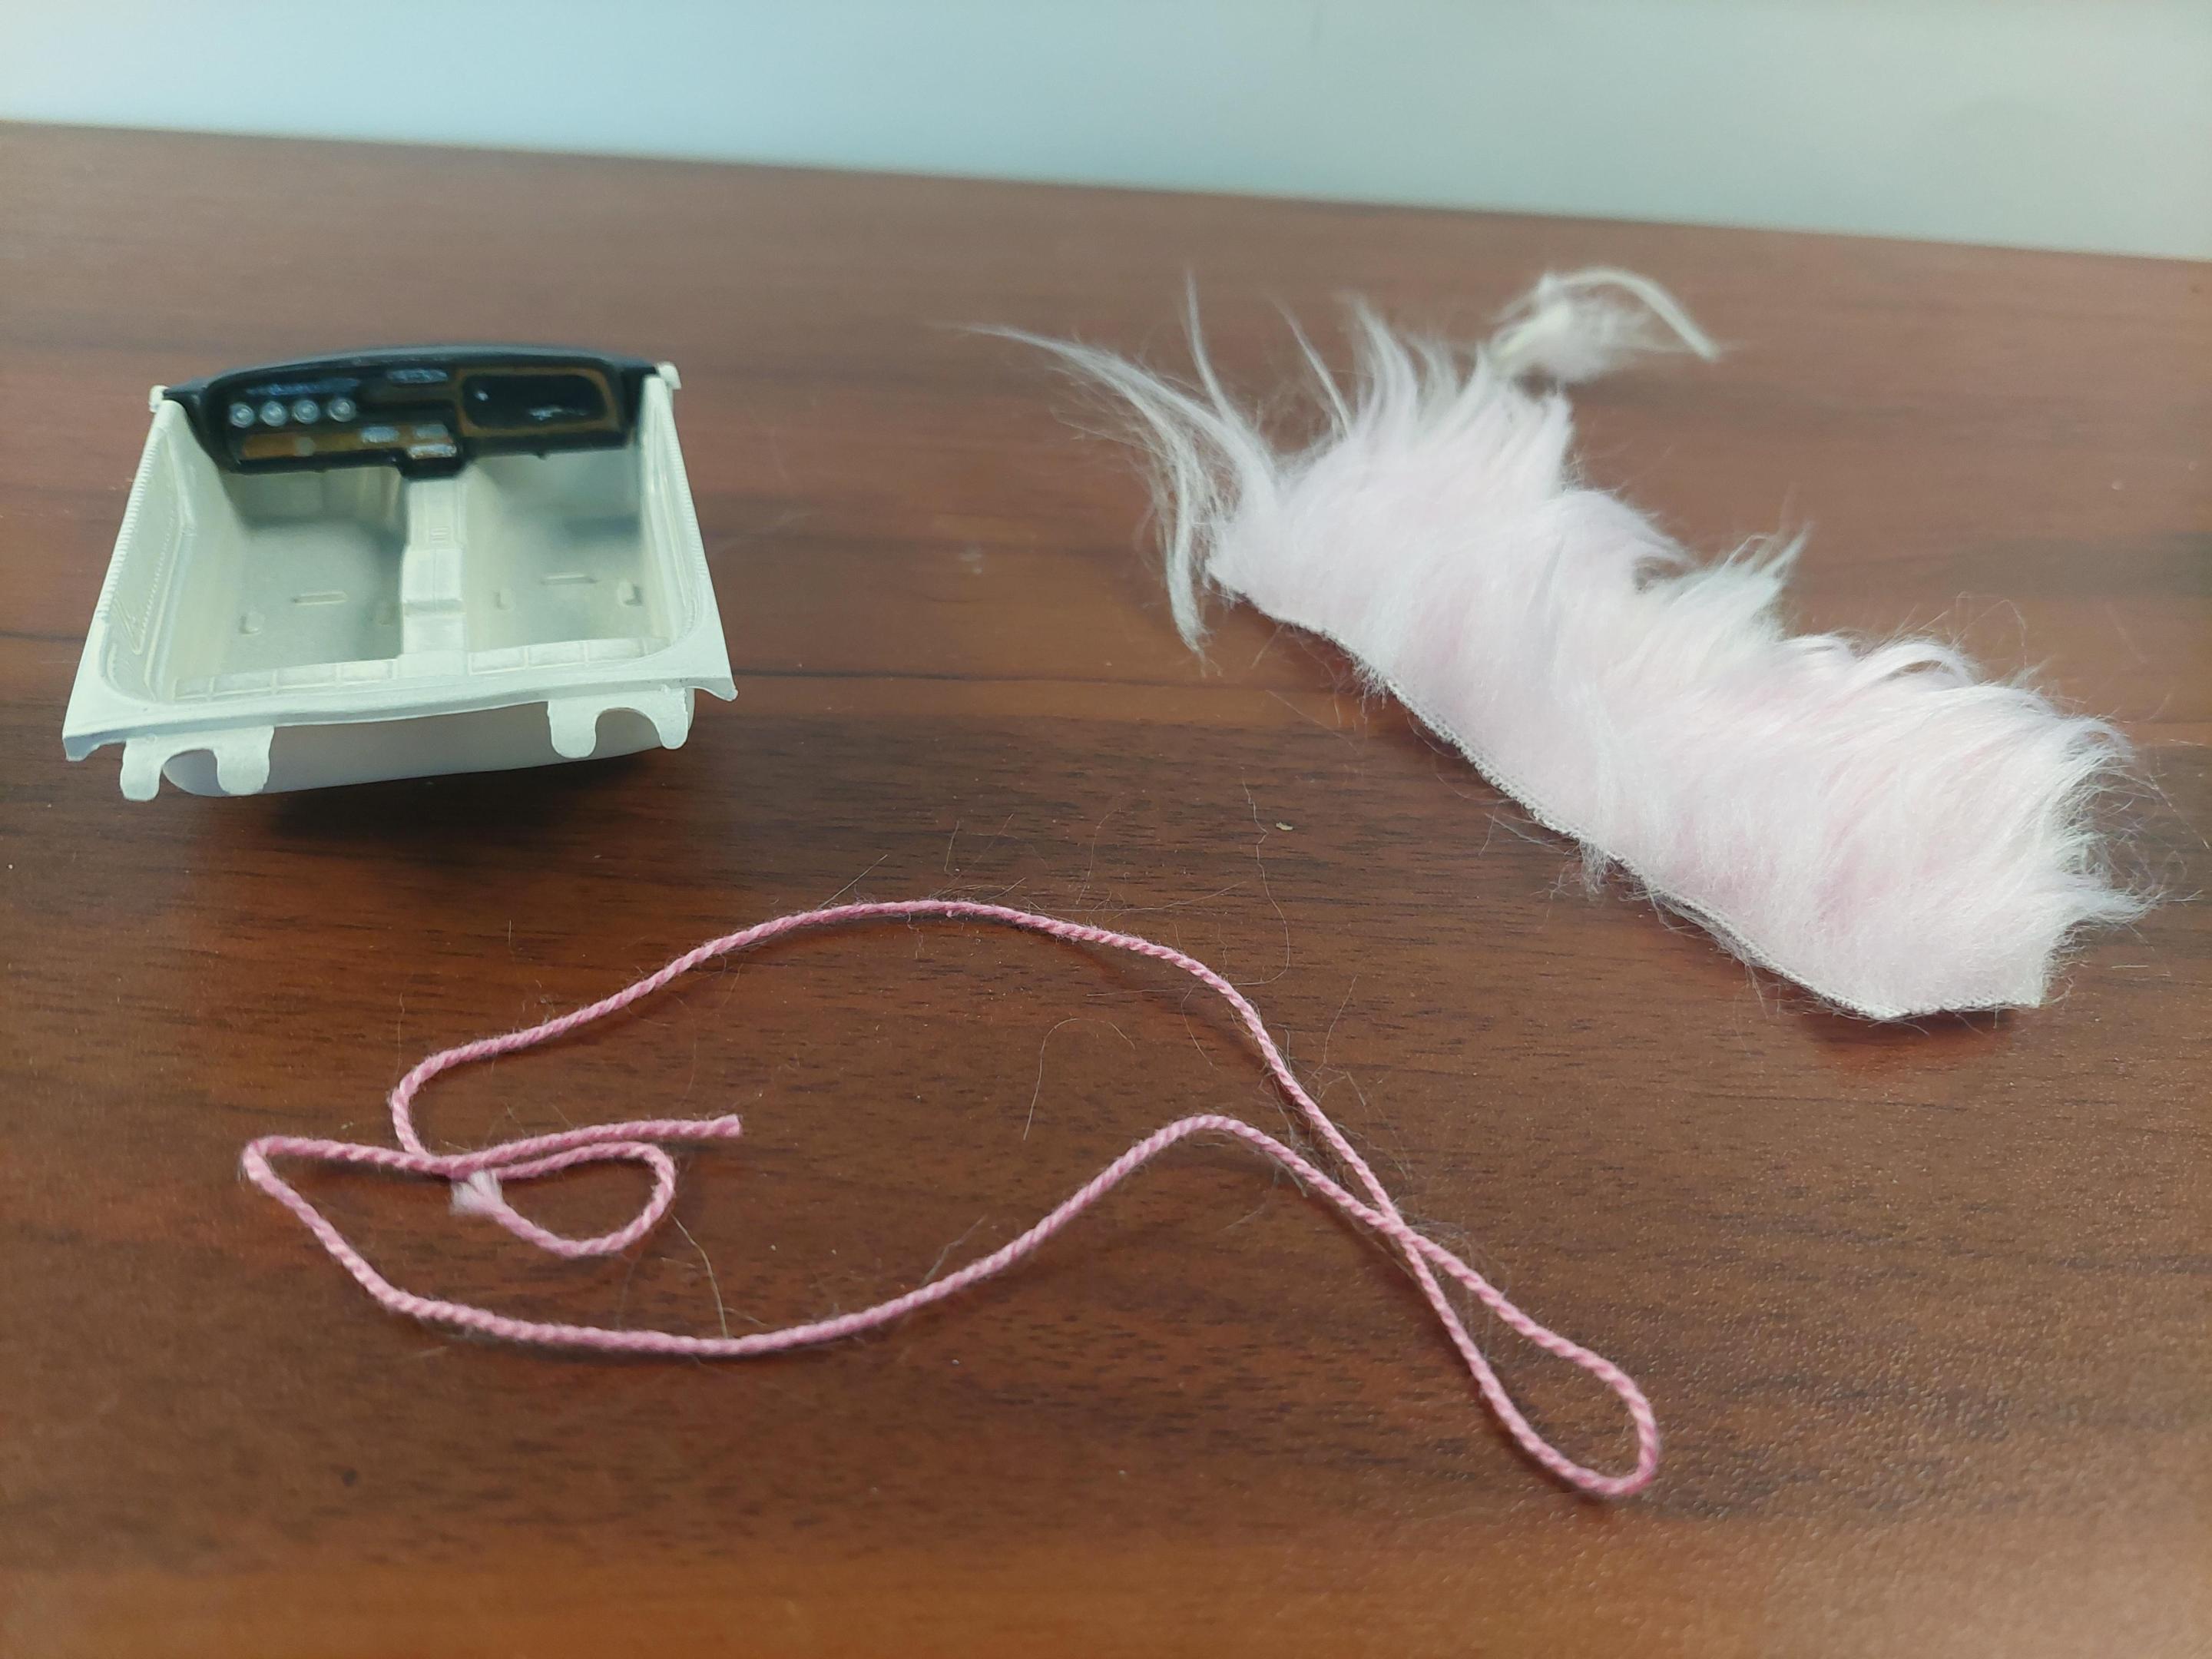
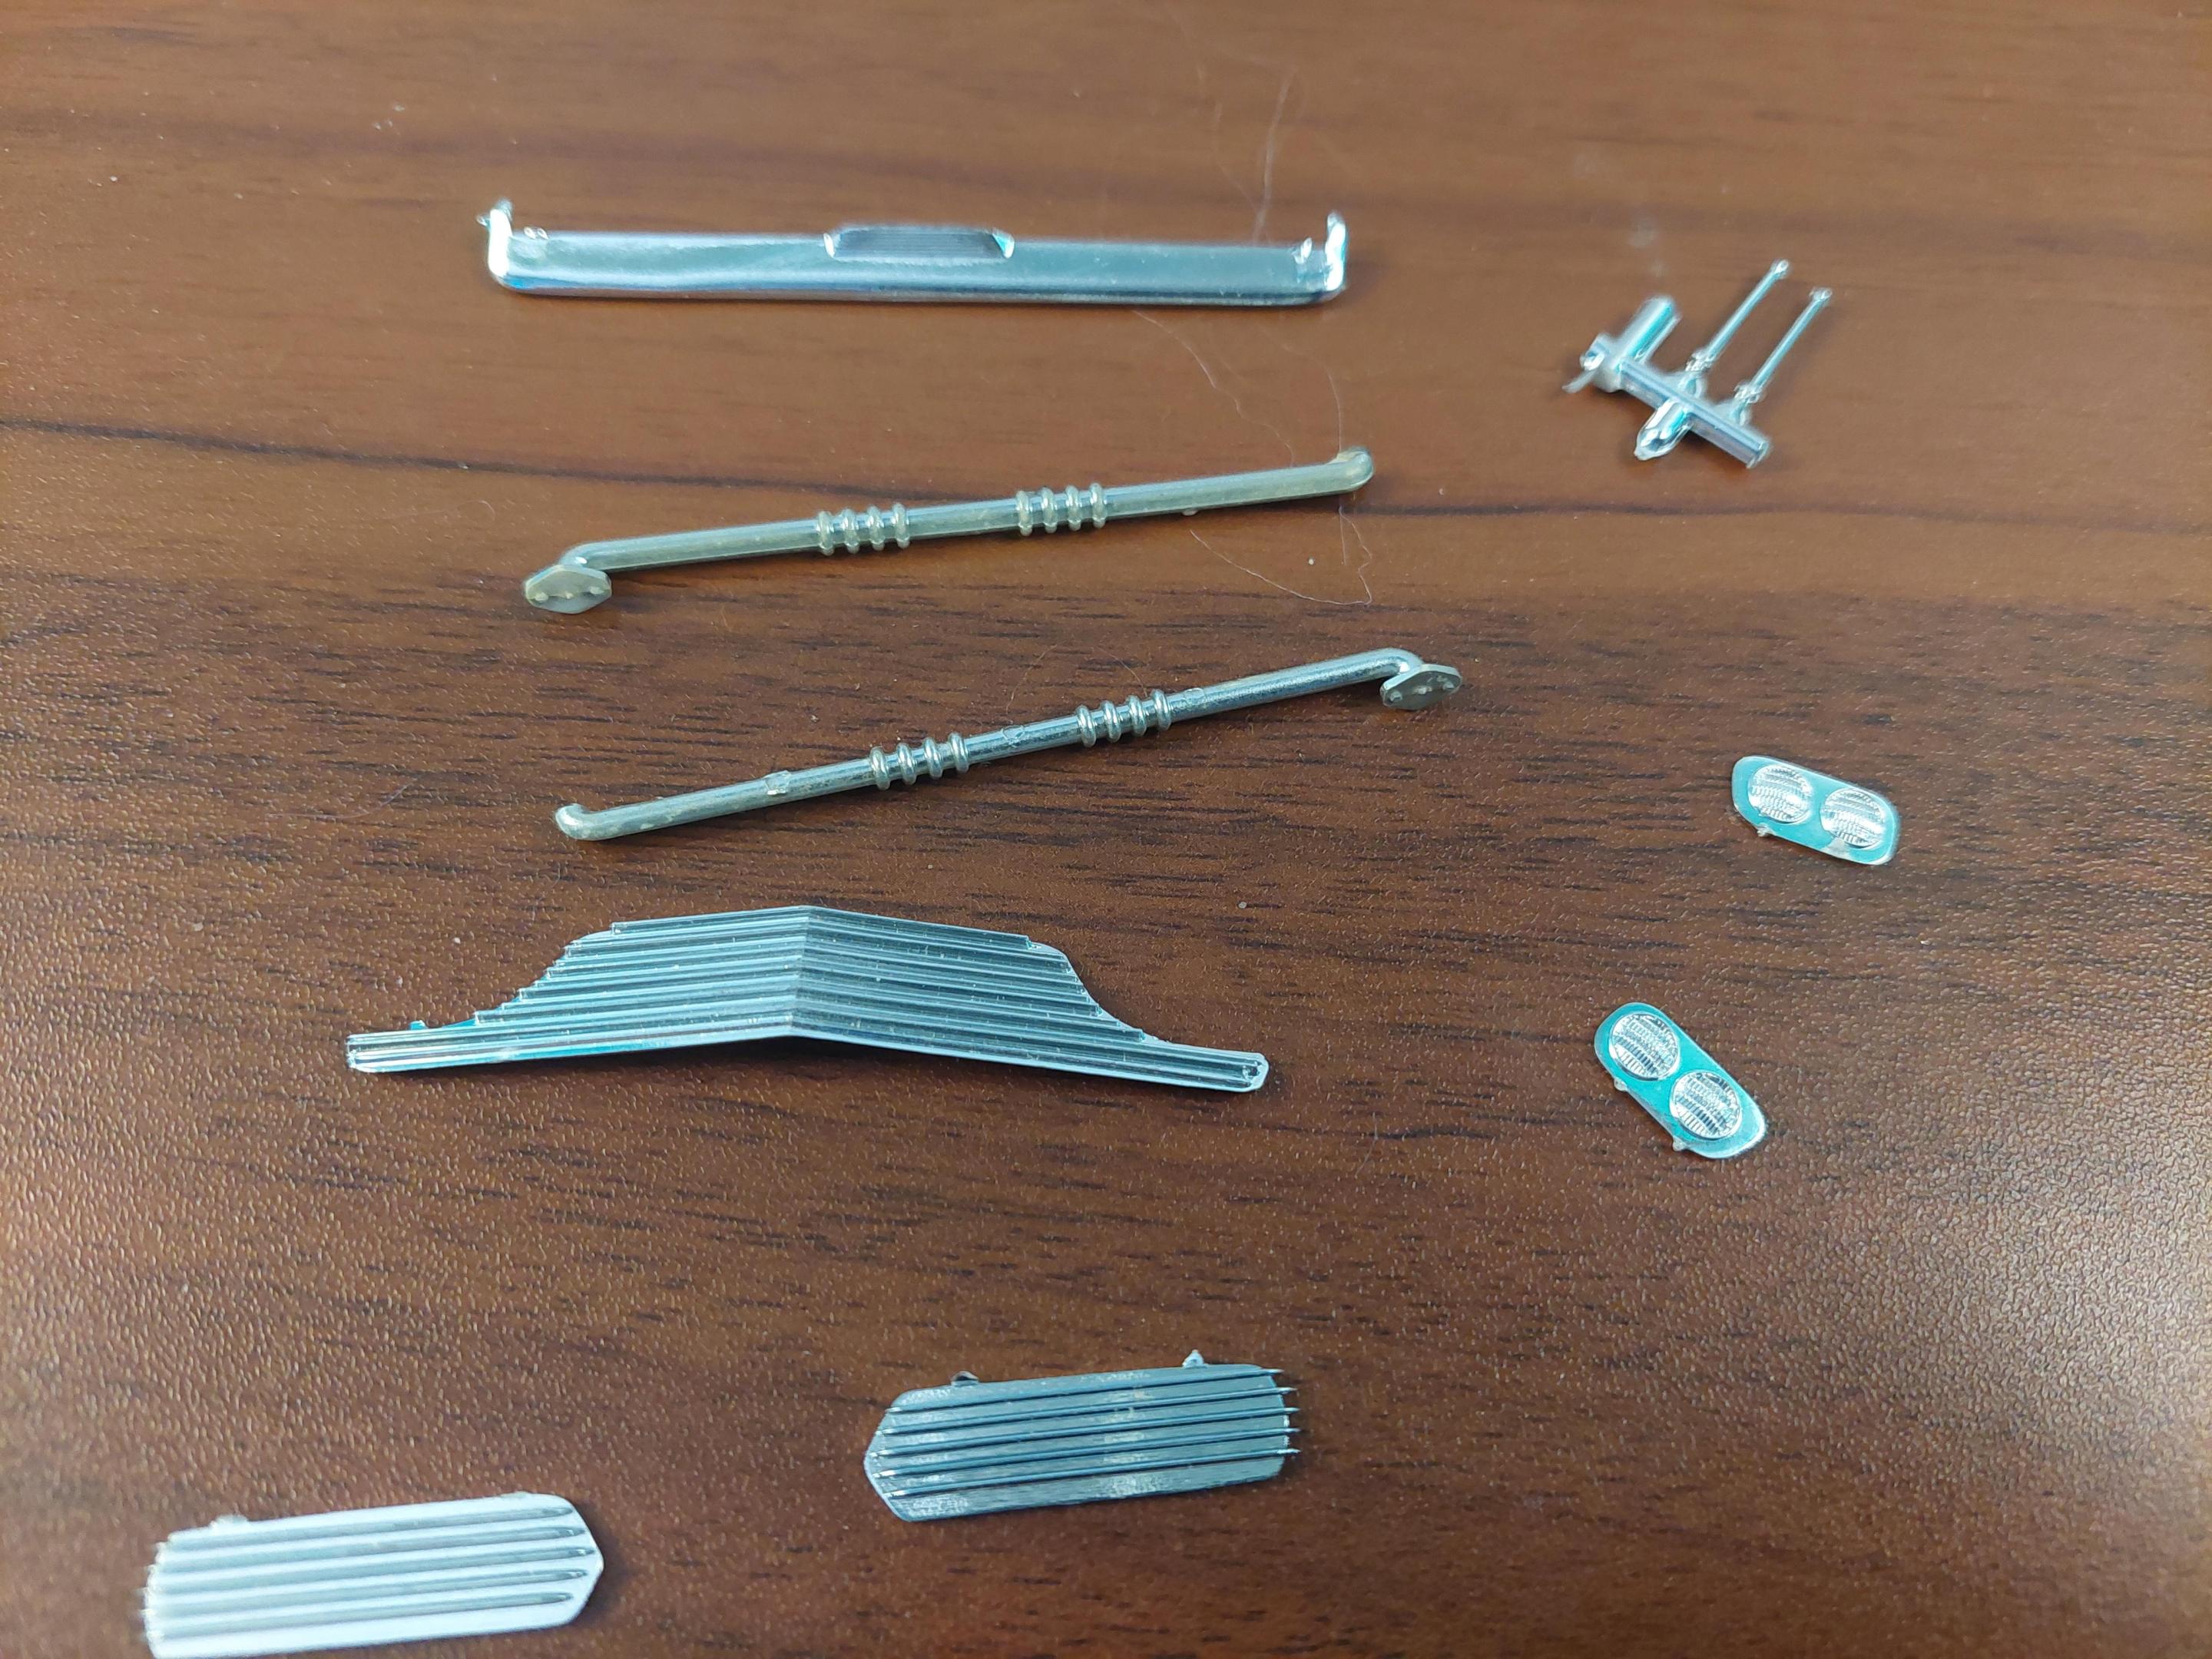
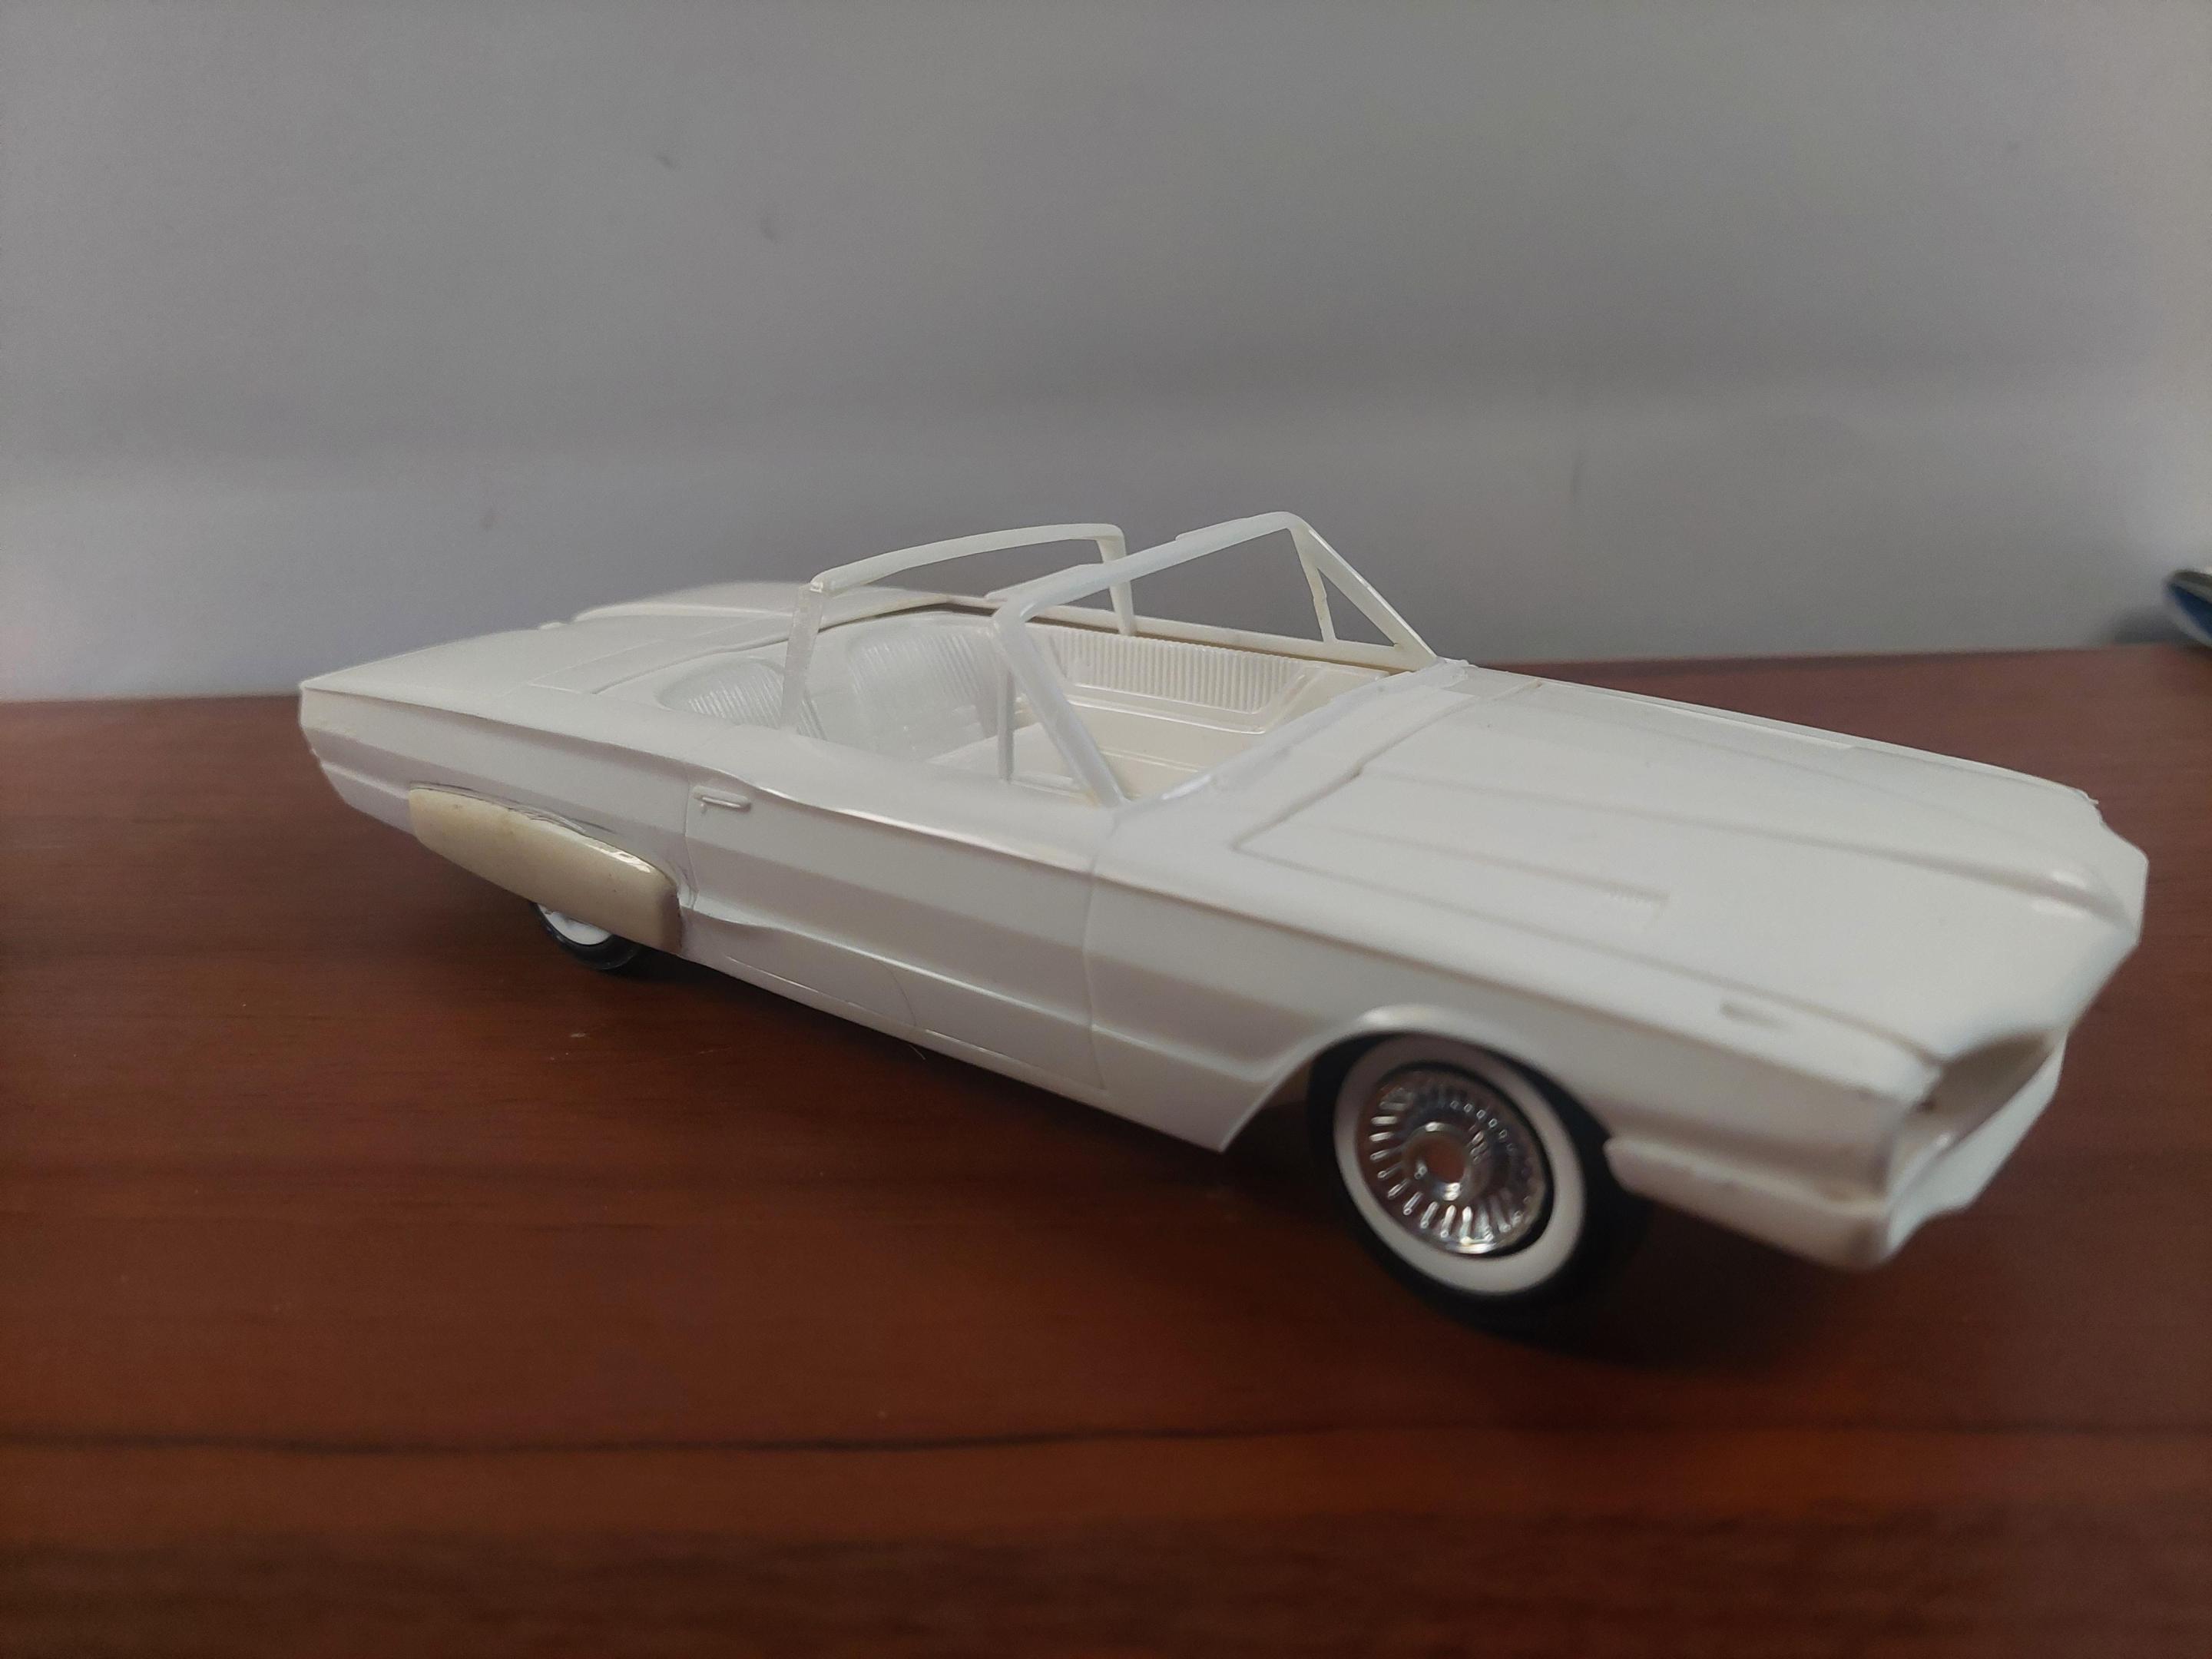
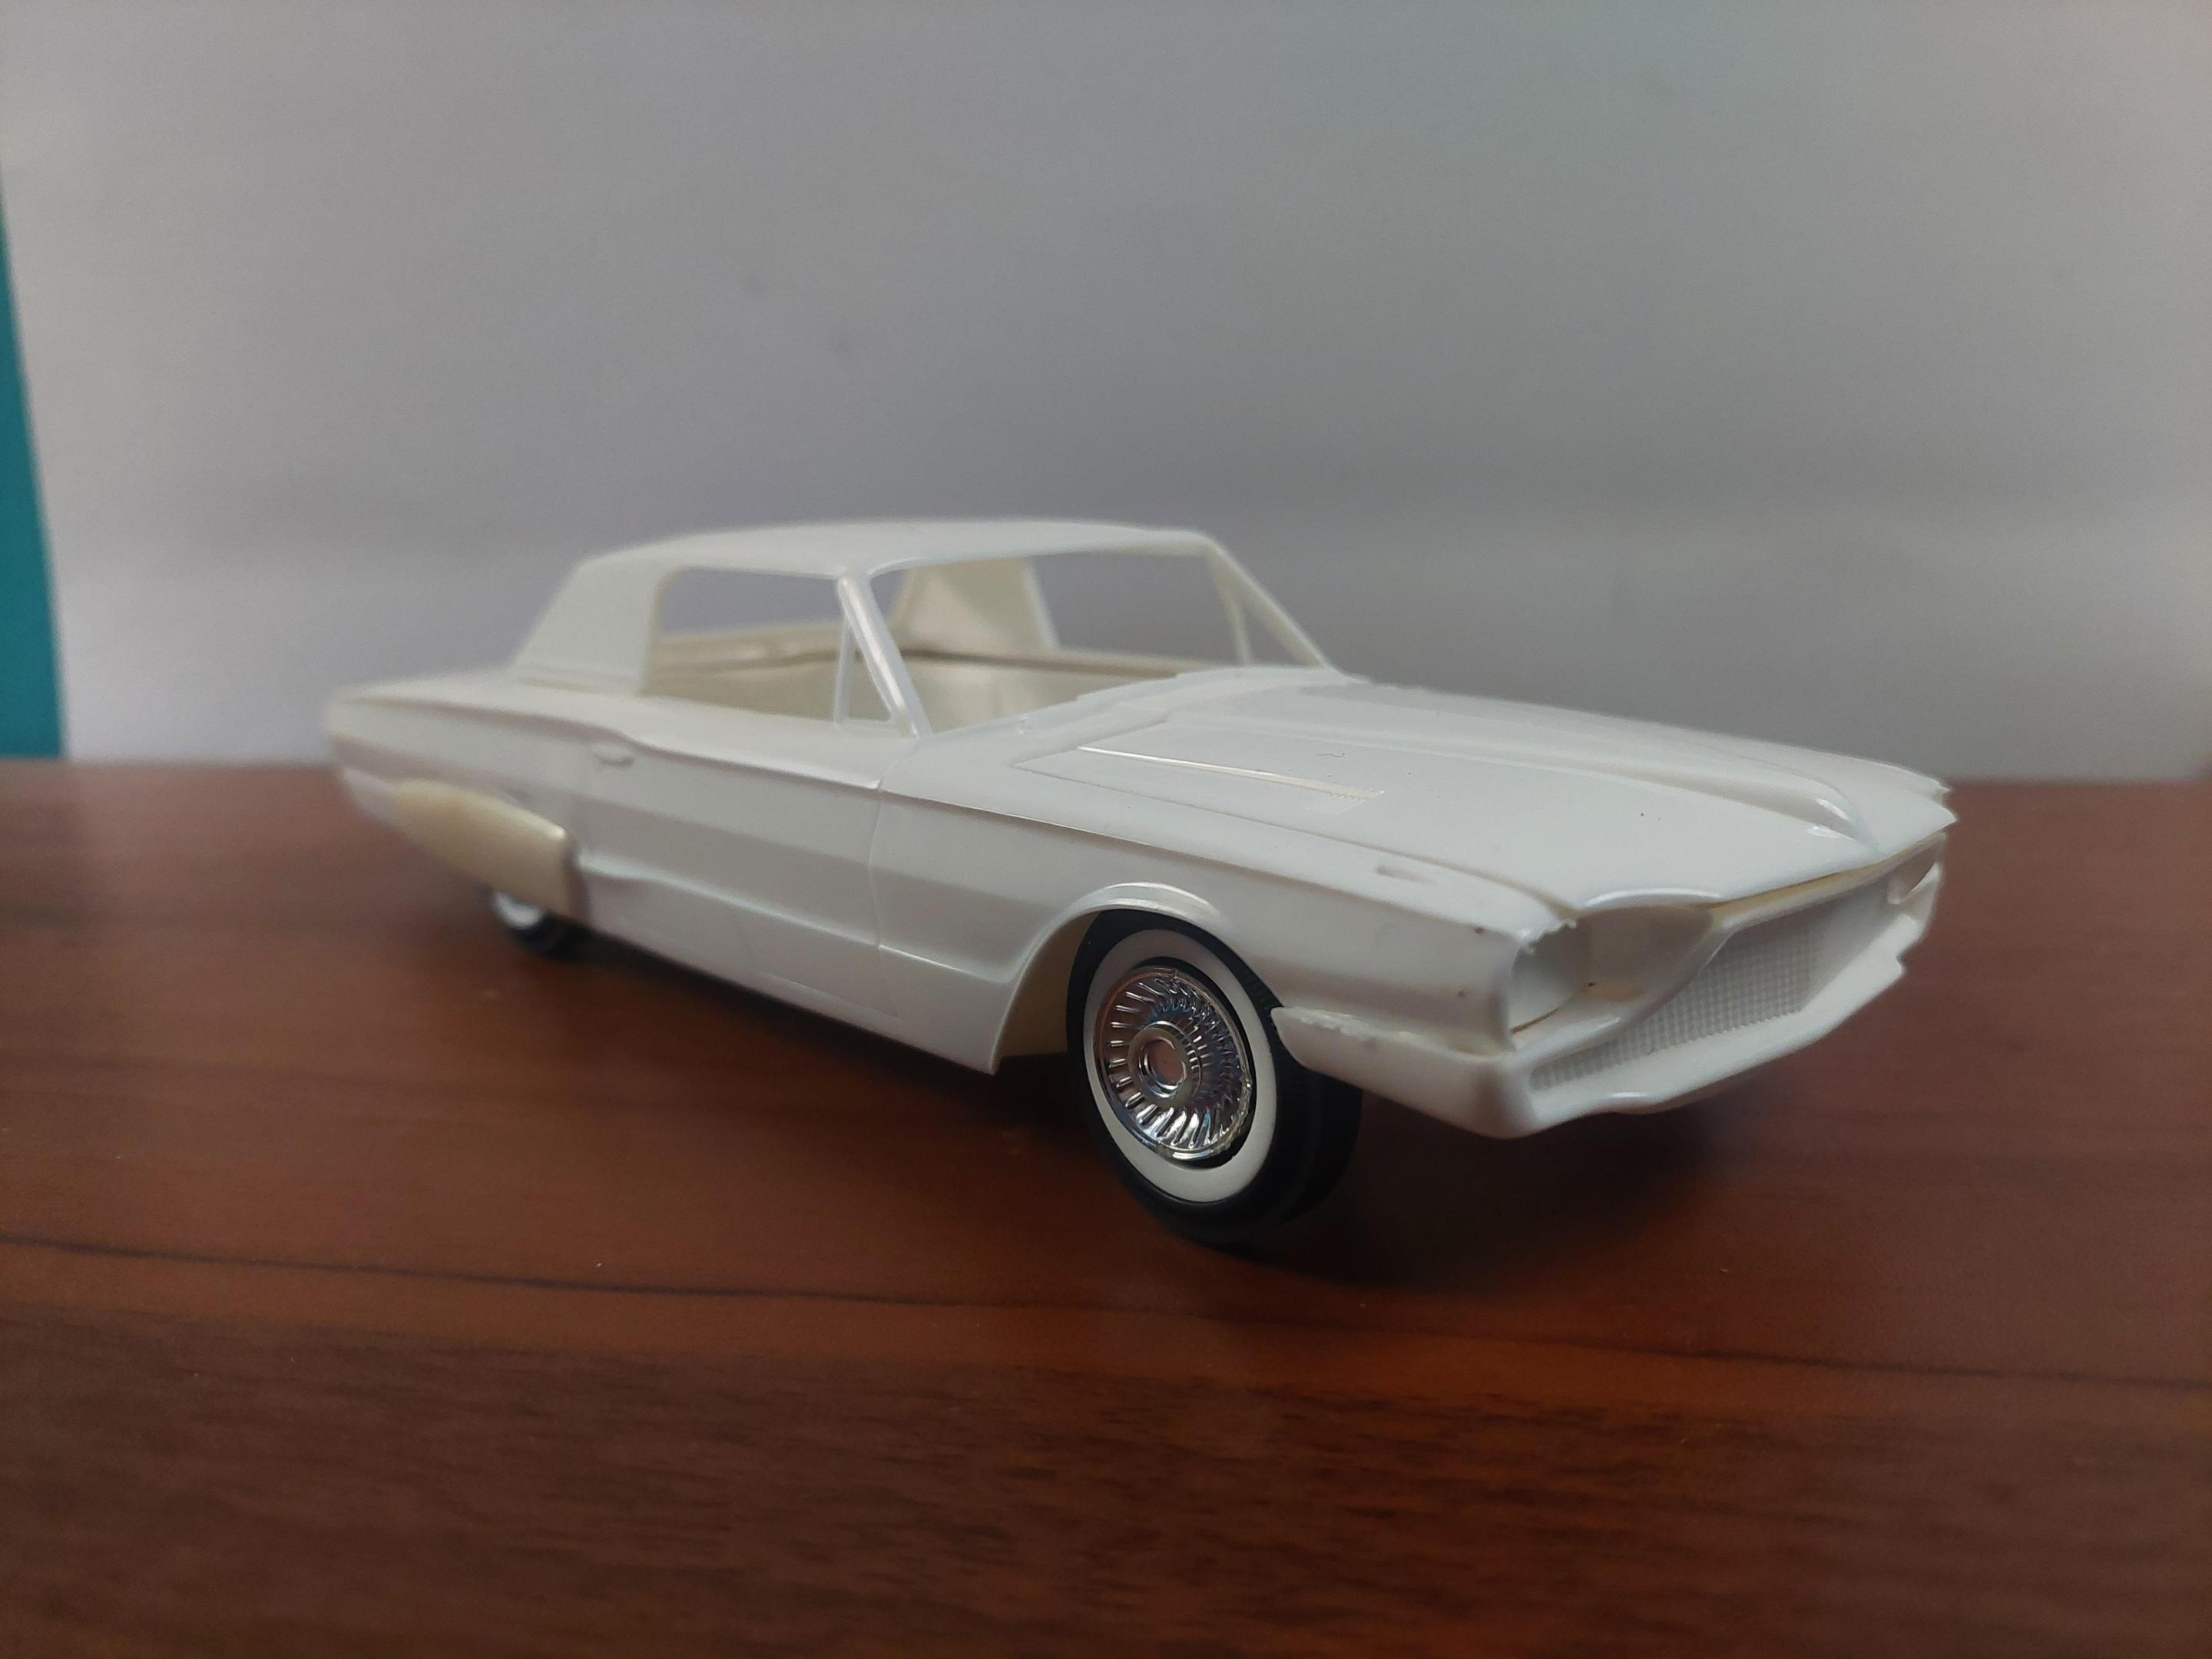
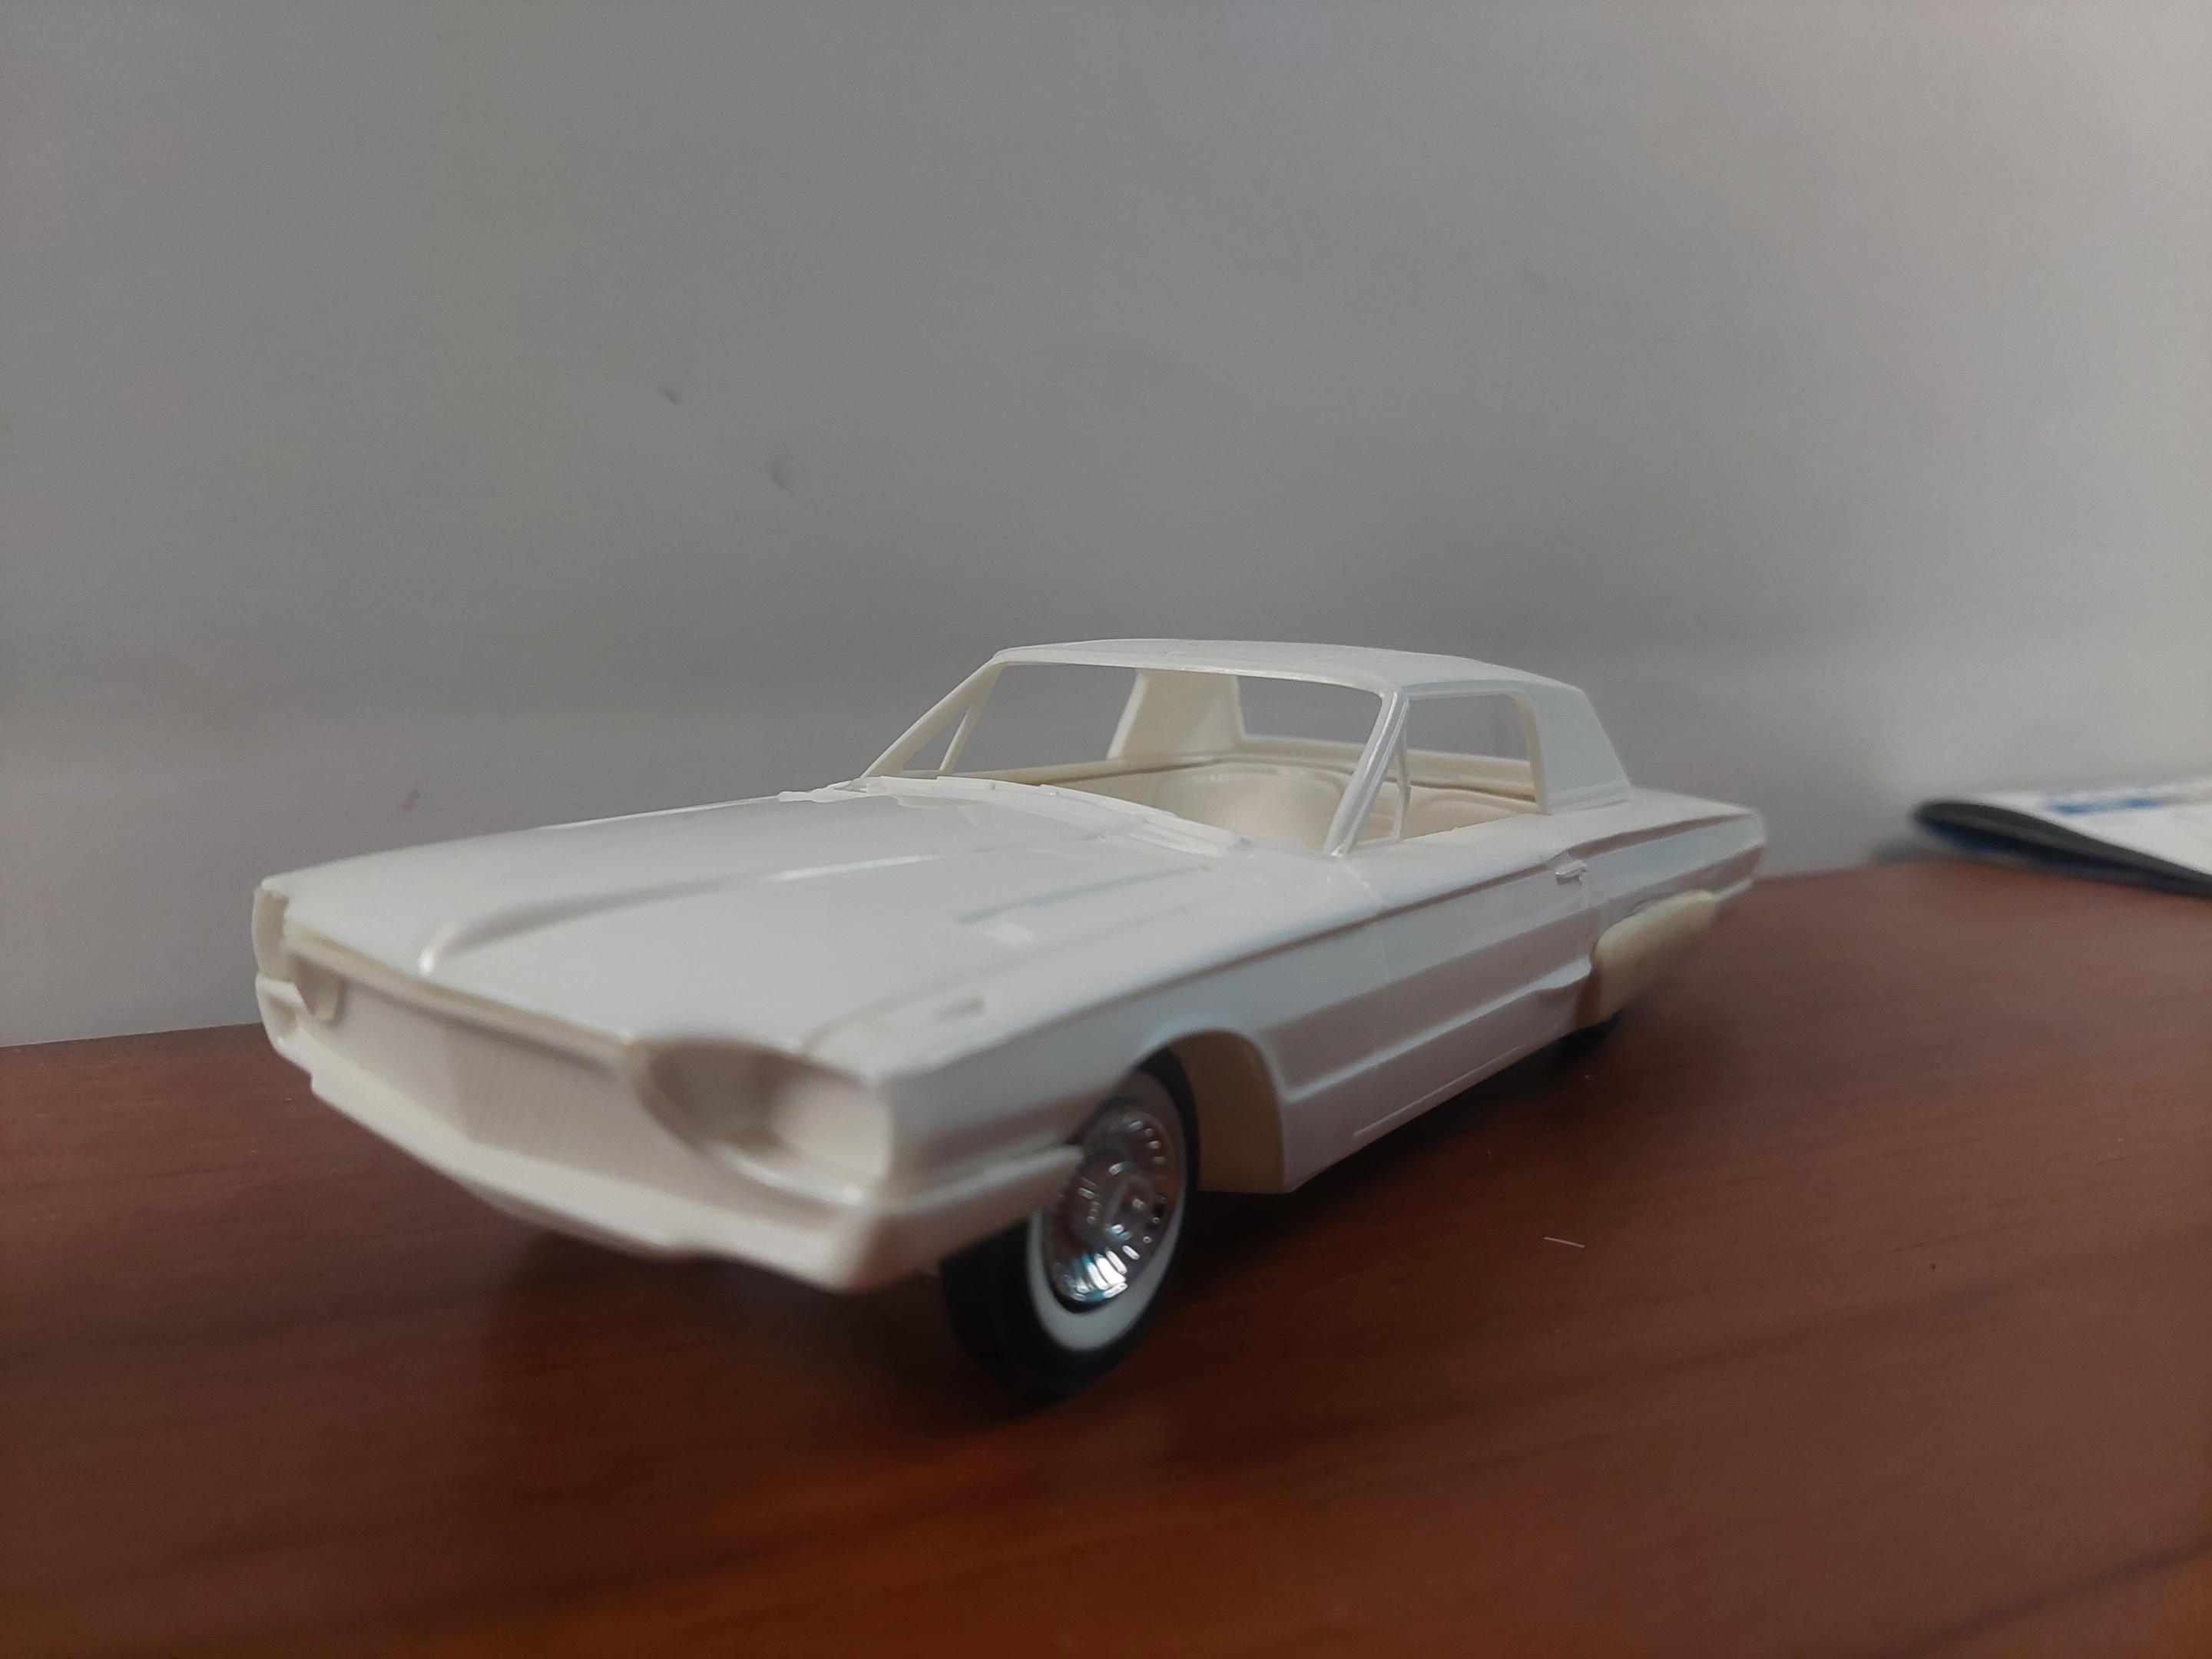
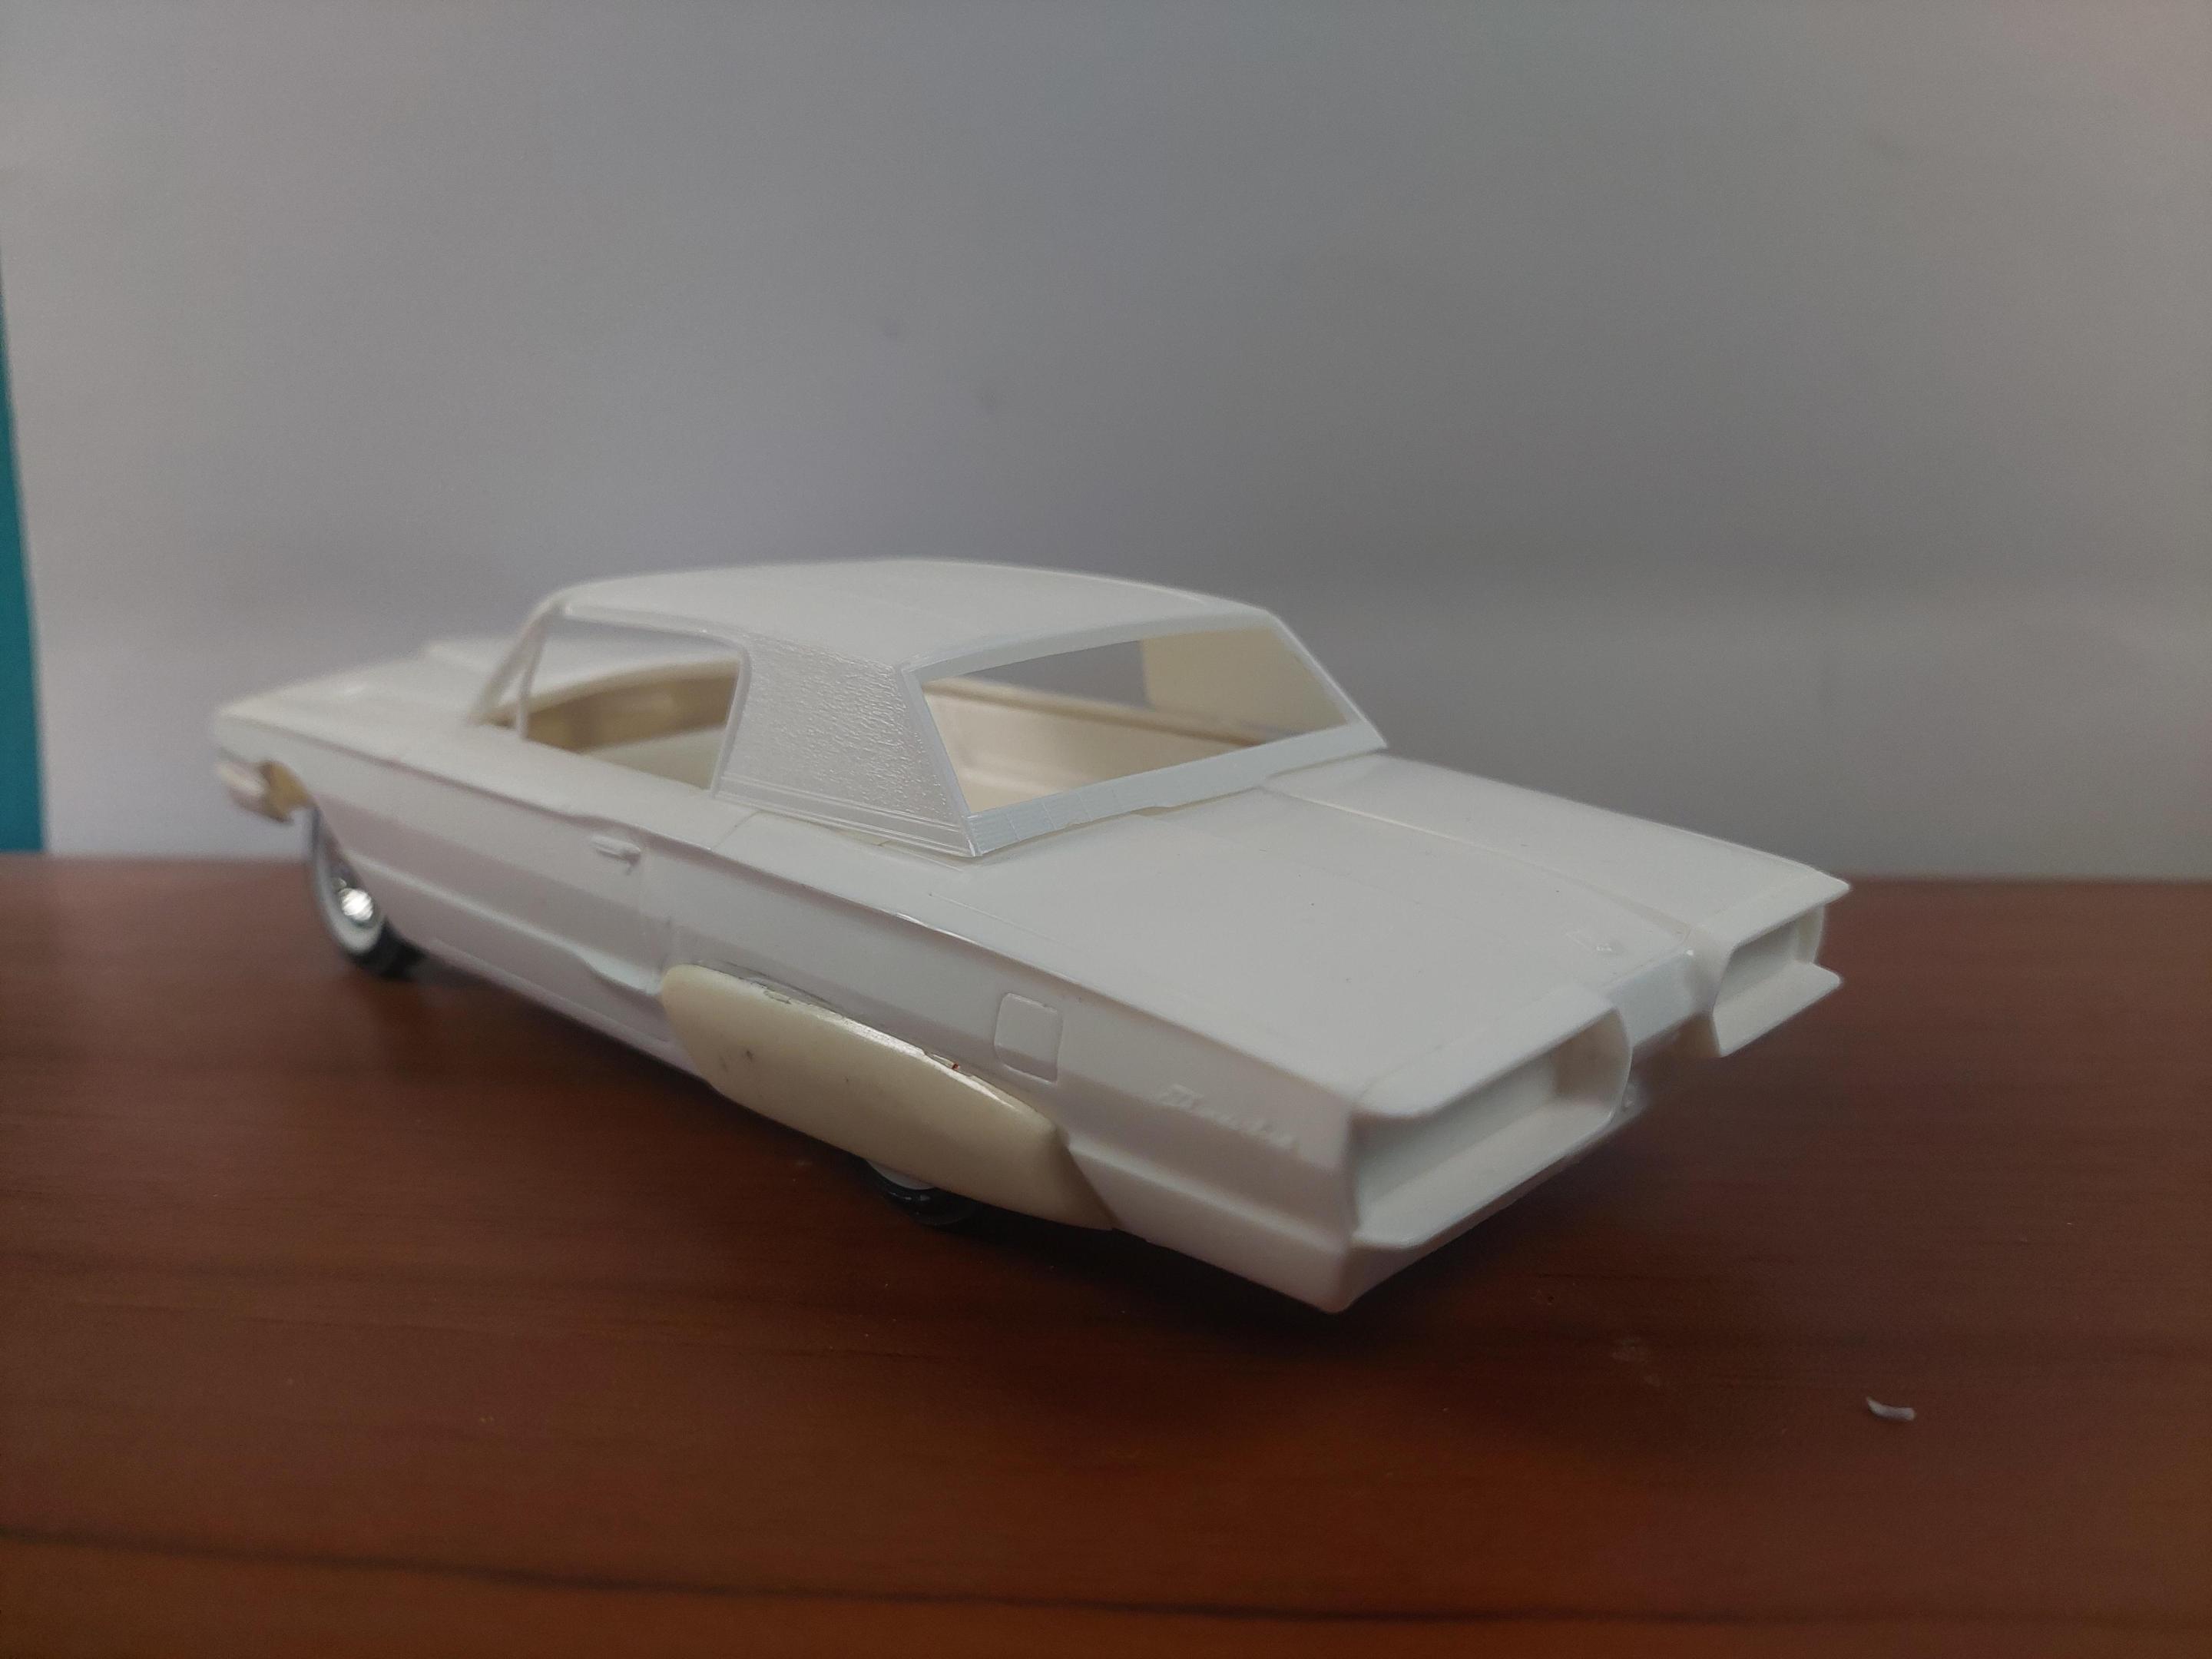
Still doing this 66 TBird, but now will be without the roof. Fur the interior floors in pink and pipe trim the seats in pink, add a chrome Targa bar and a few other goodies such as side pipes spots etc. .
-
Ive never built a 66 TBird before for lack of interest but a custom one sounded alot better and this early mock-up with parts box wide whites and front and rear custom treatments along with parts box skirts and custom hood will work out nice. Targa bar open top or complete roof or maybe a half roof I have to see which way this is going to go.
-

Class of 2022
BIGTRUCK replied to Bobchayer's topic in Model Trucks: Pickups, Vans, SUVs, Light Commercial
Nice back in the day group. -
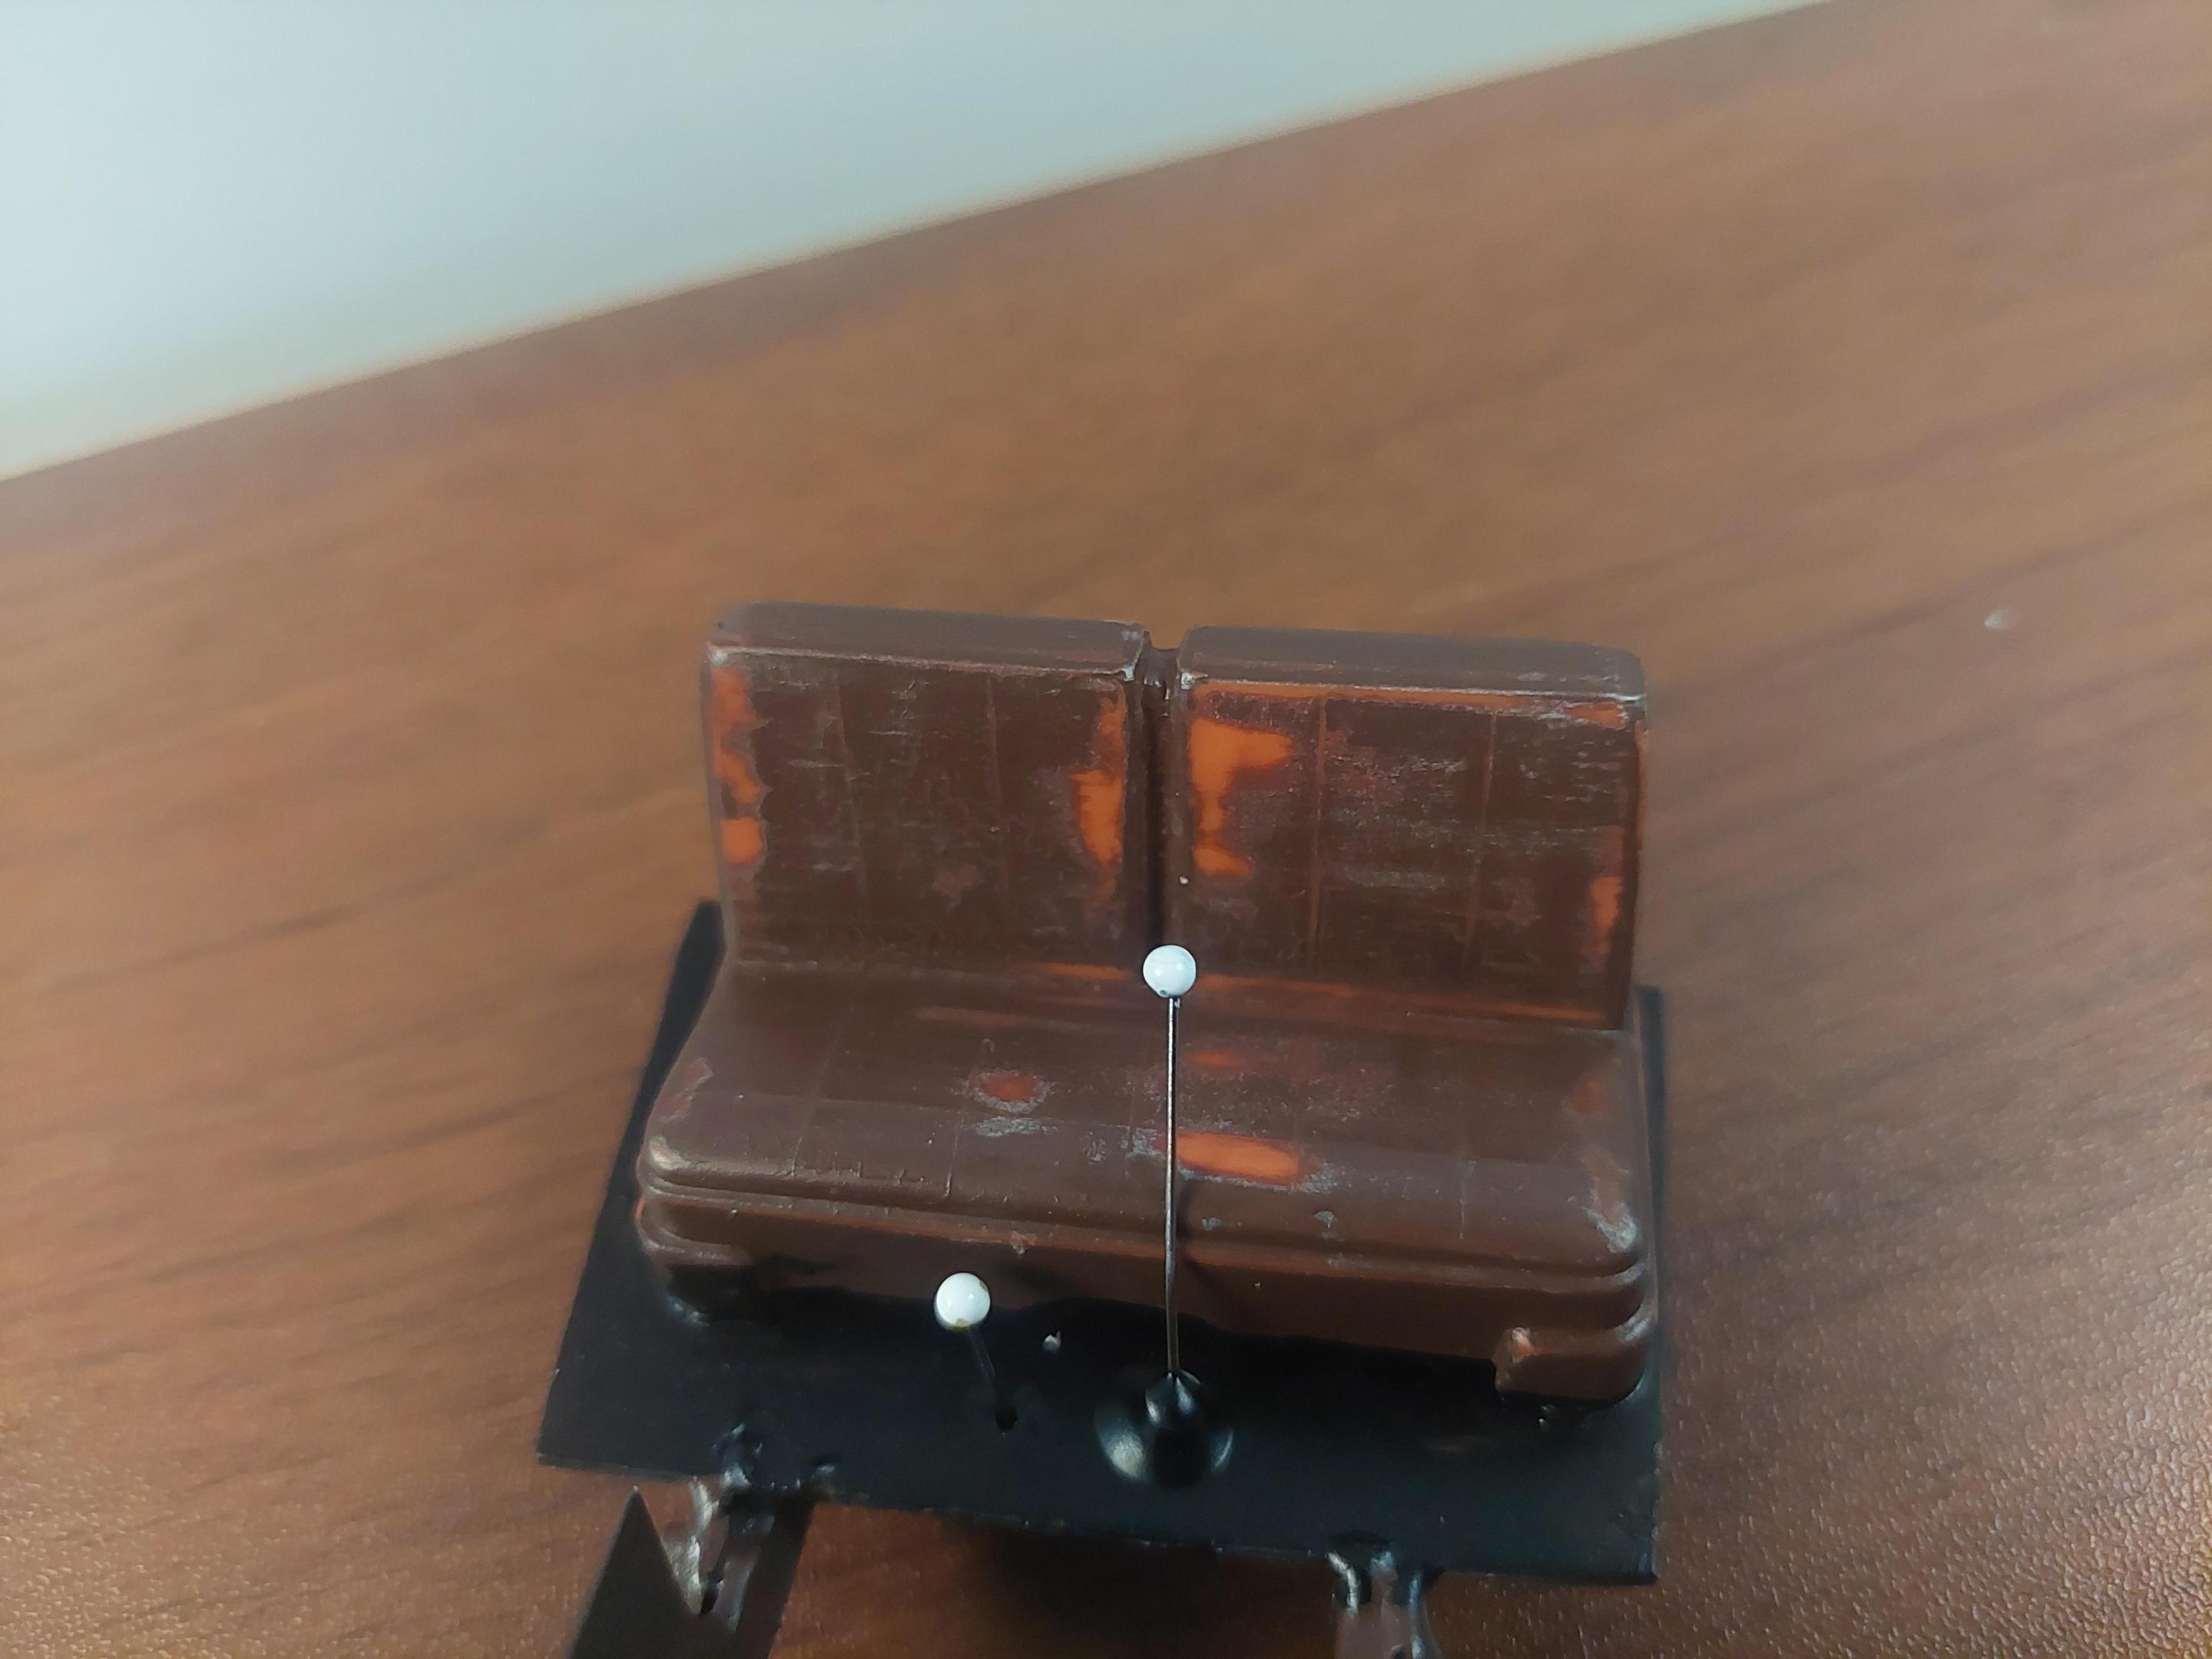
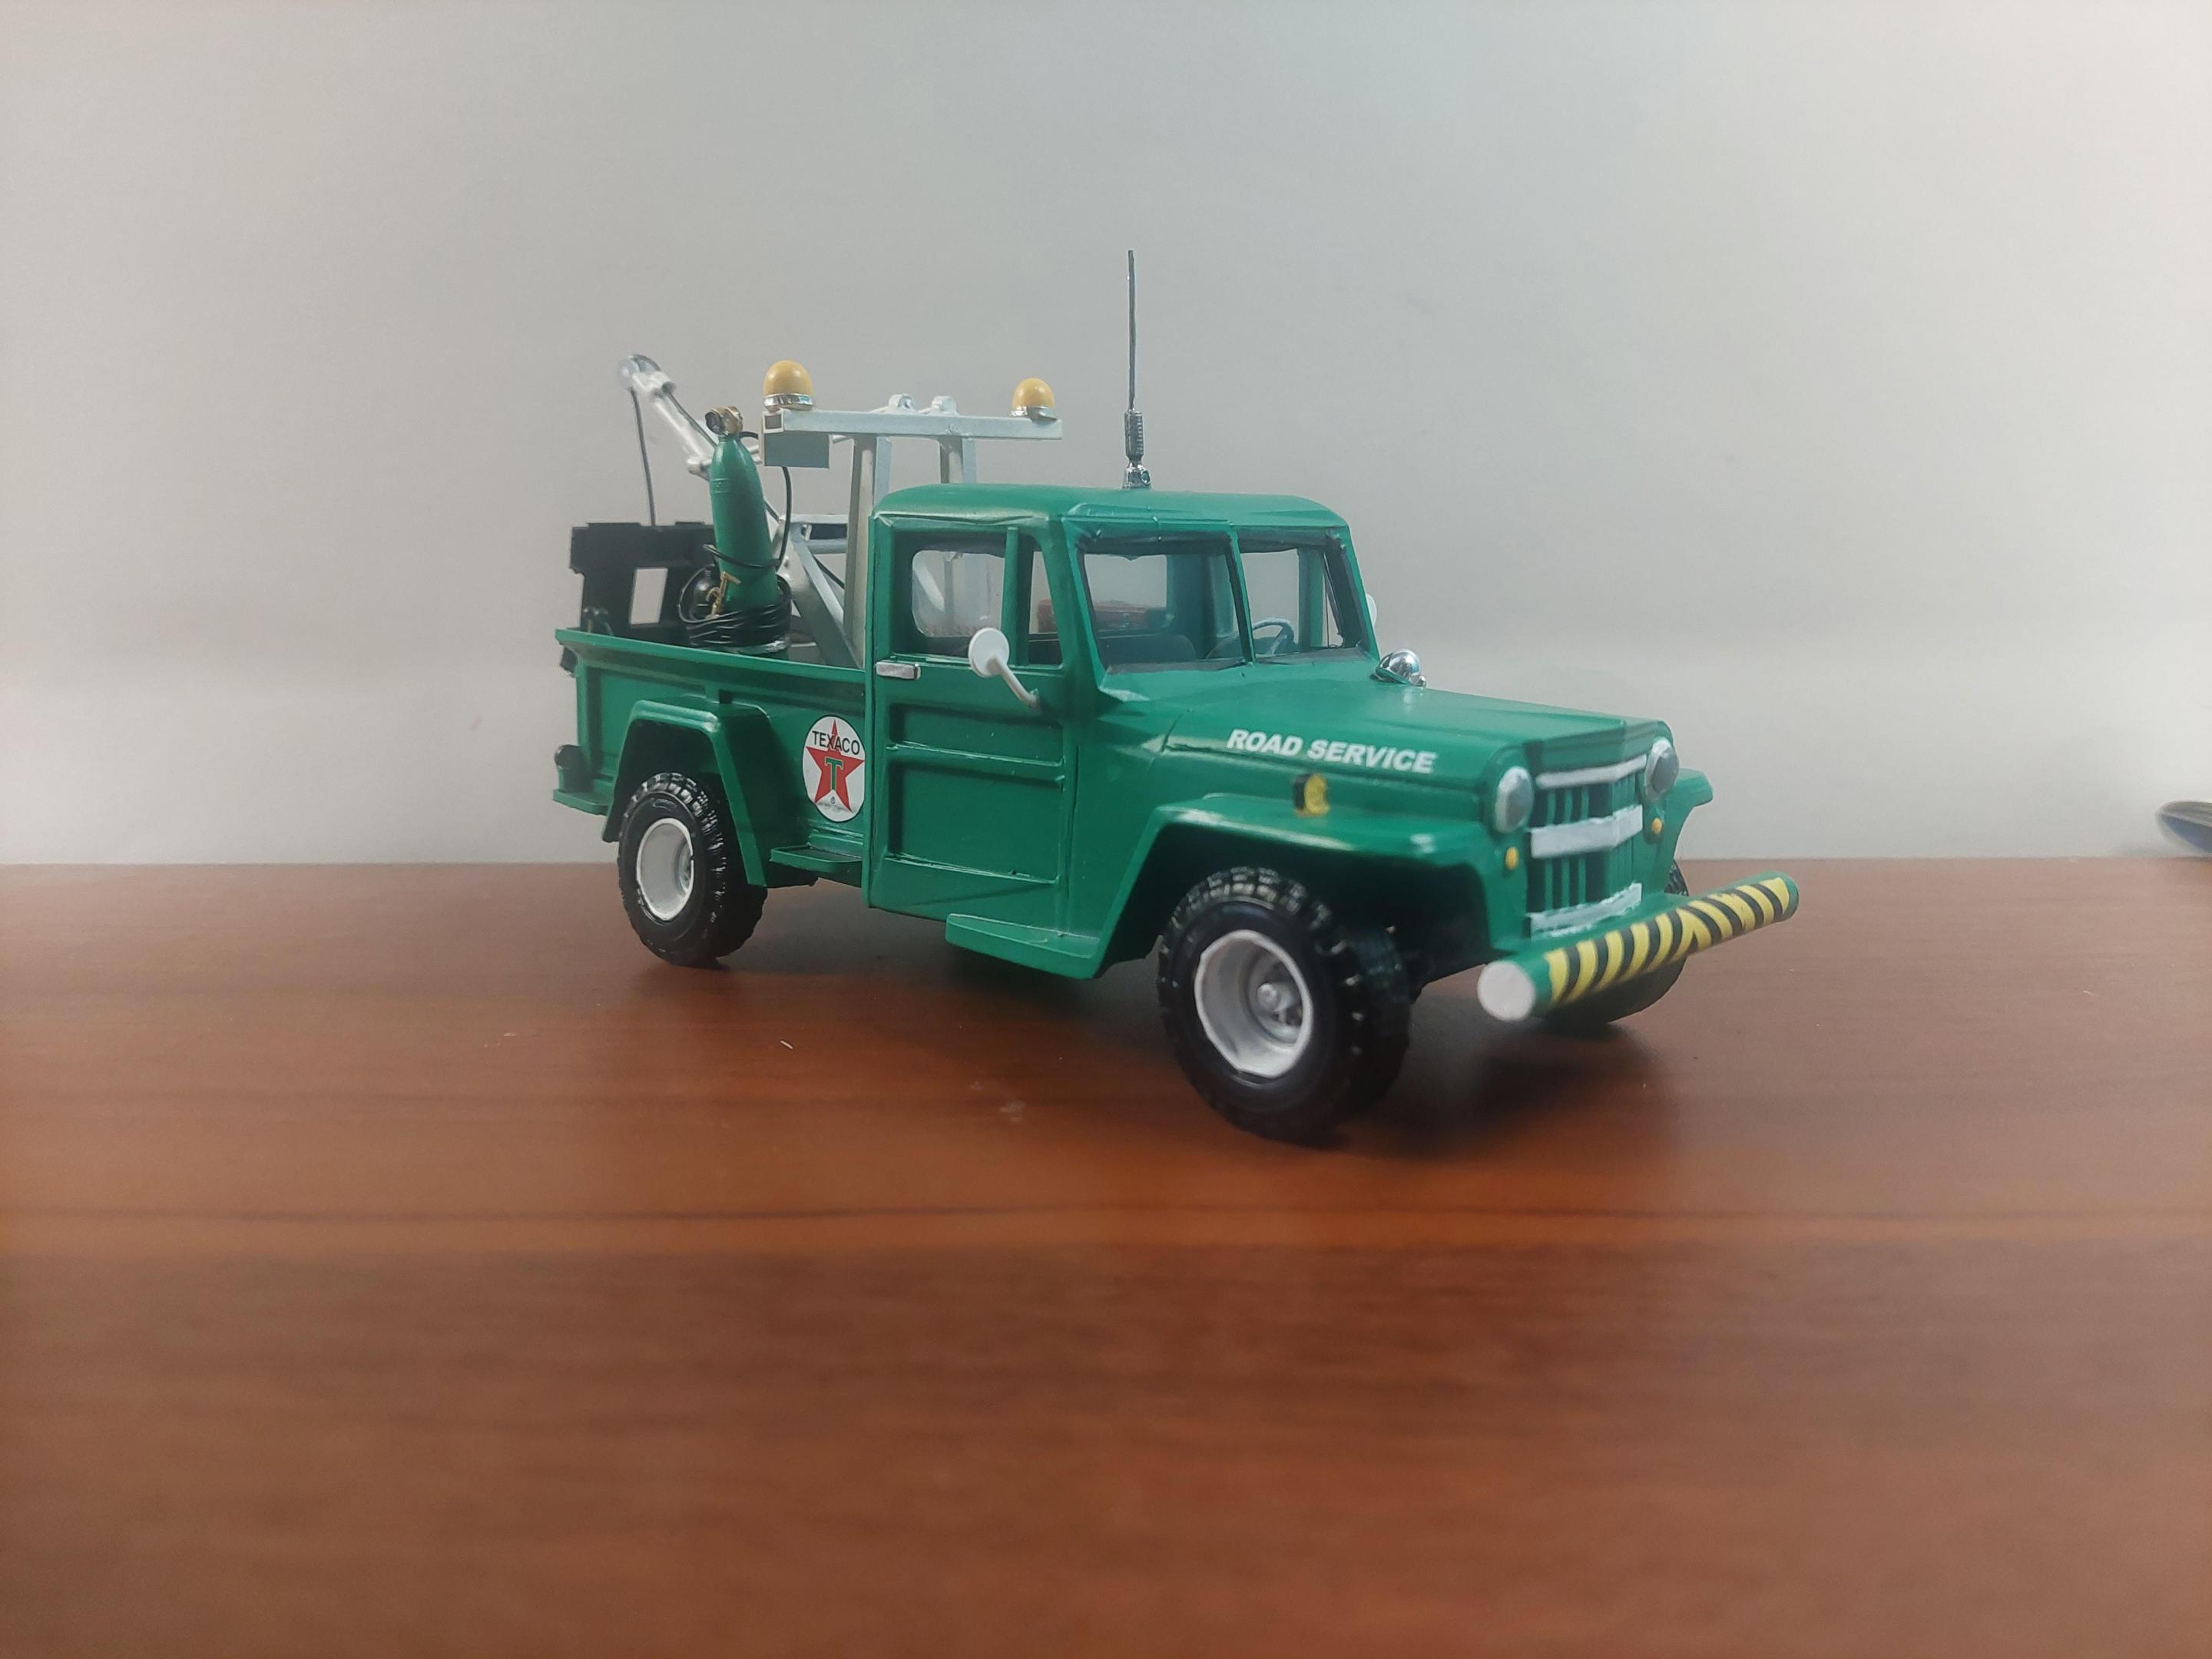
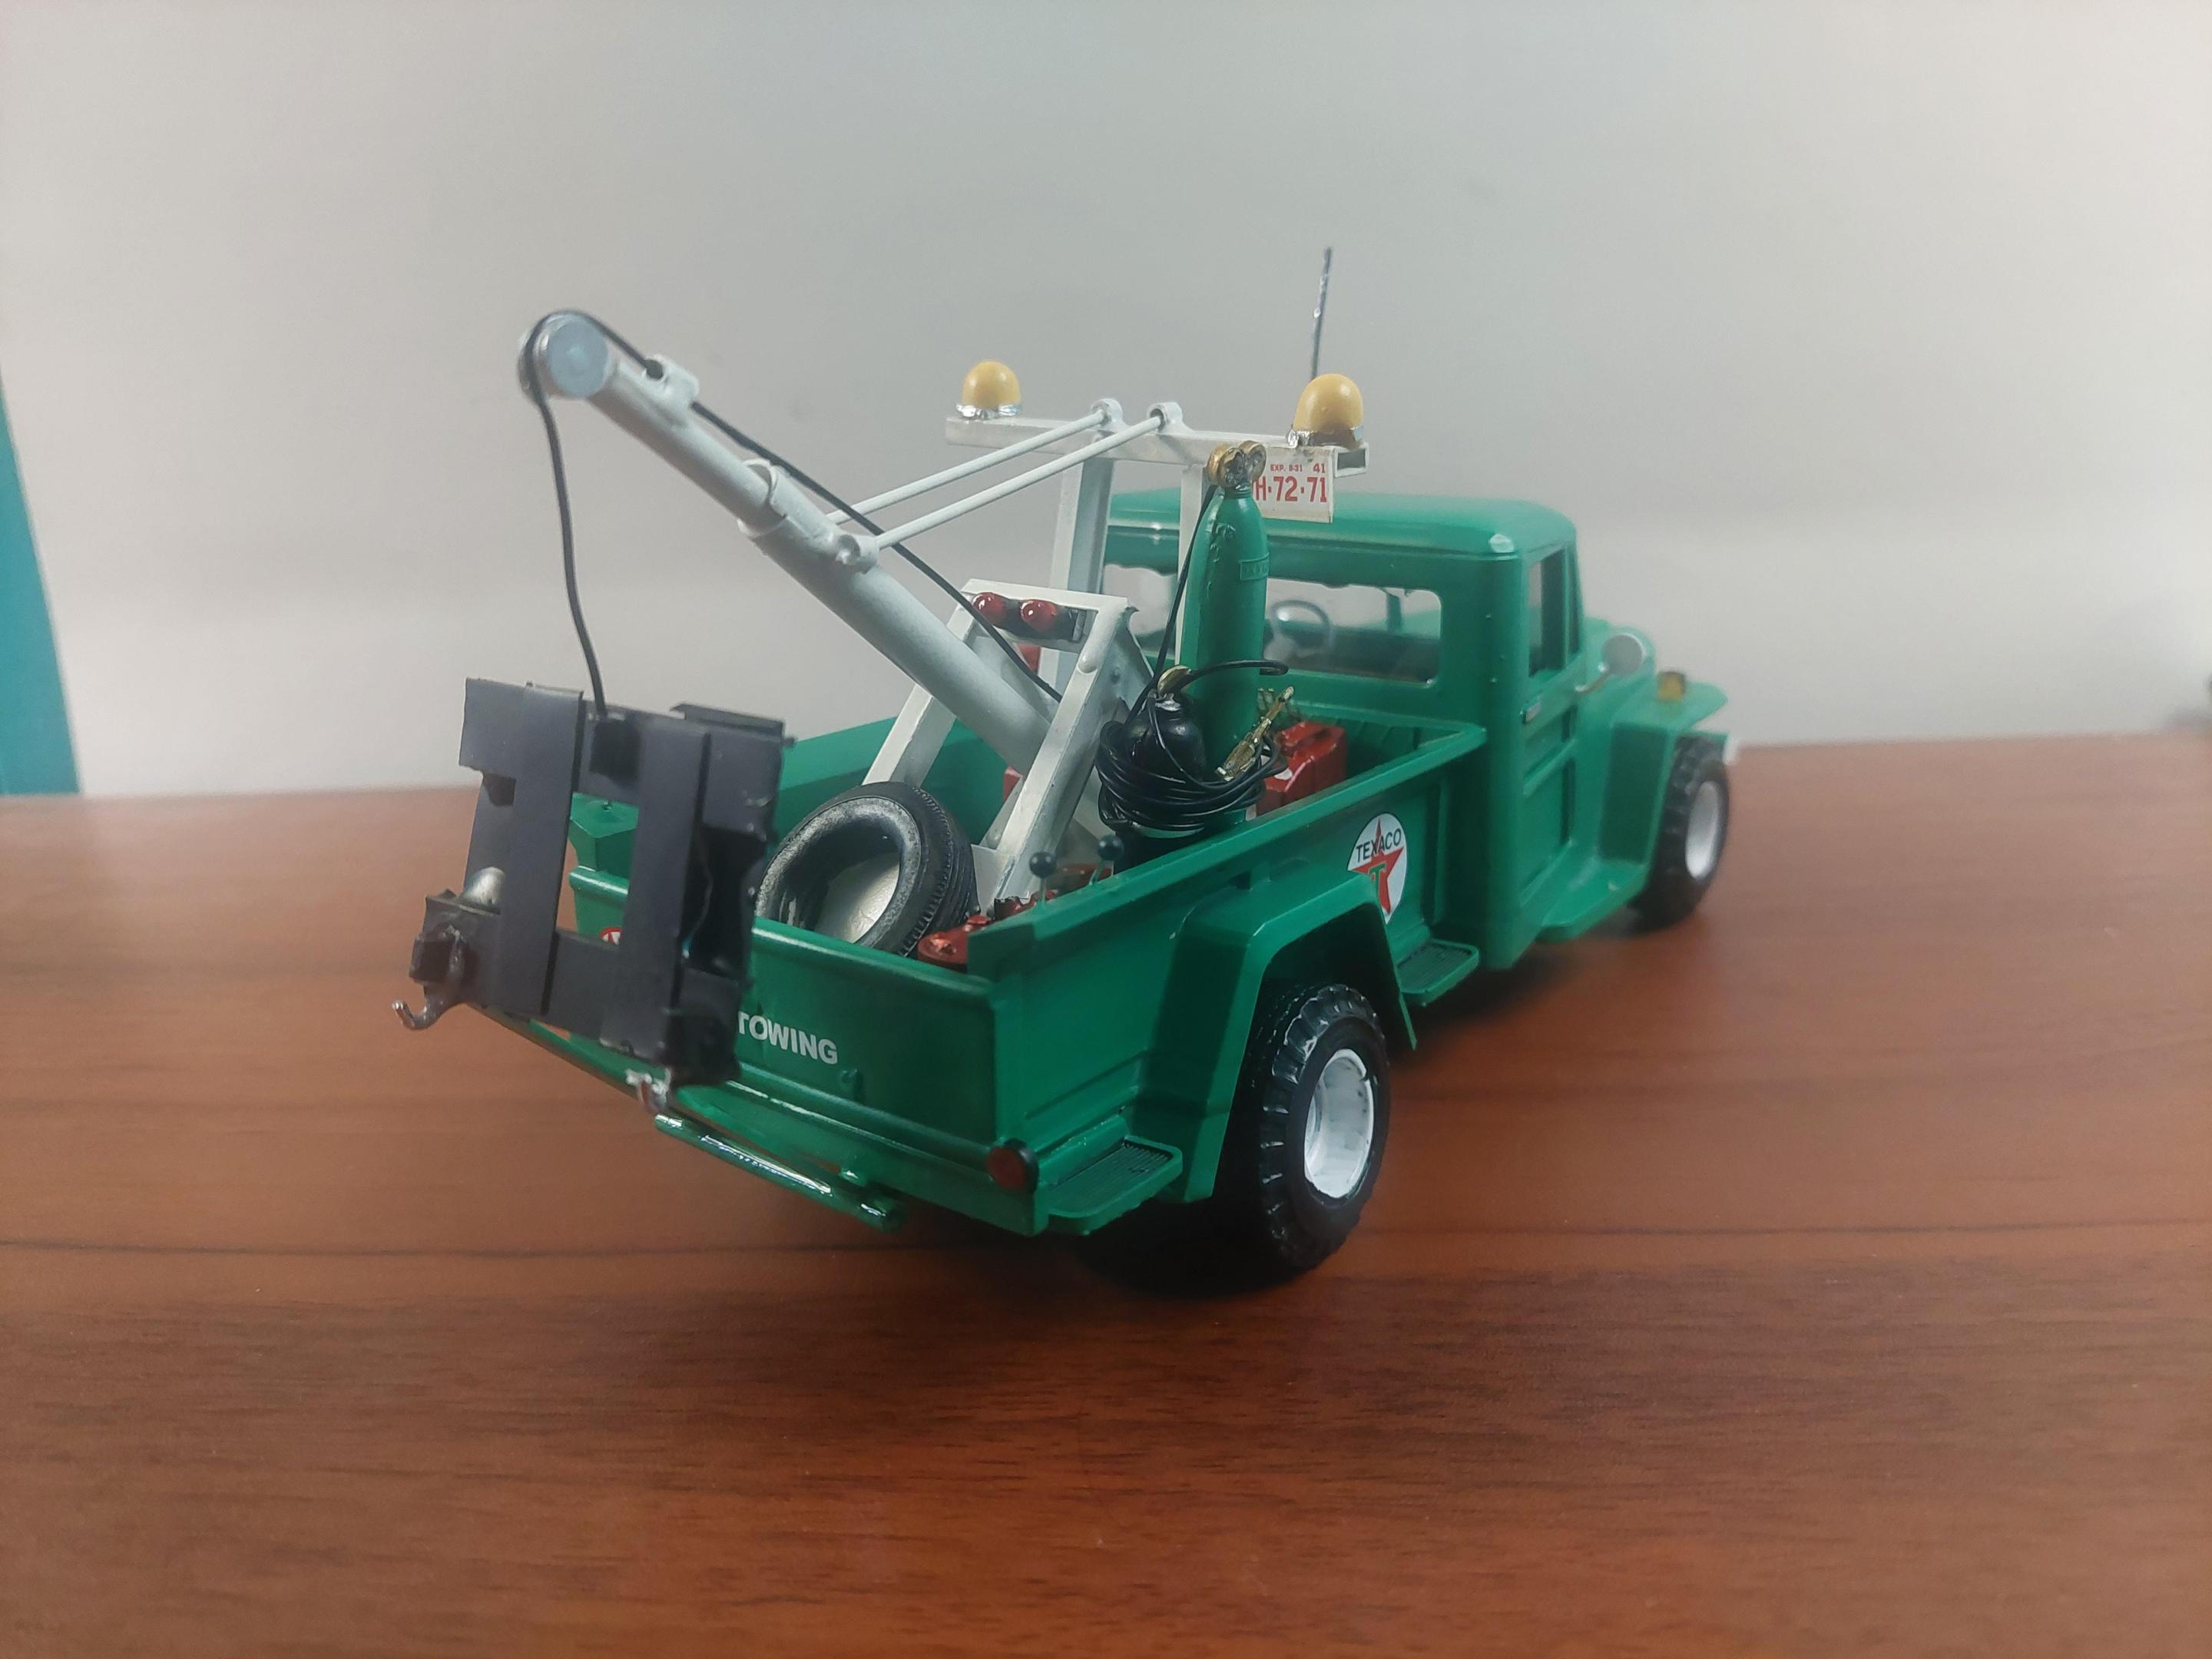
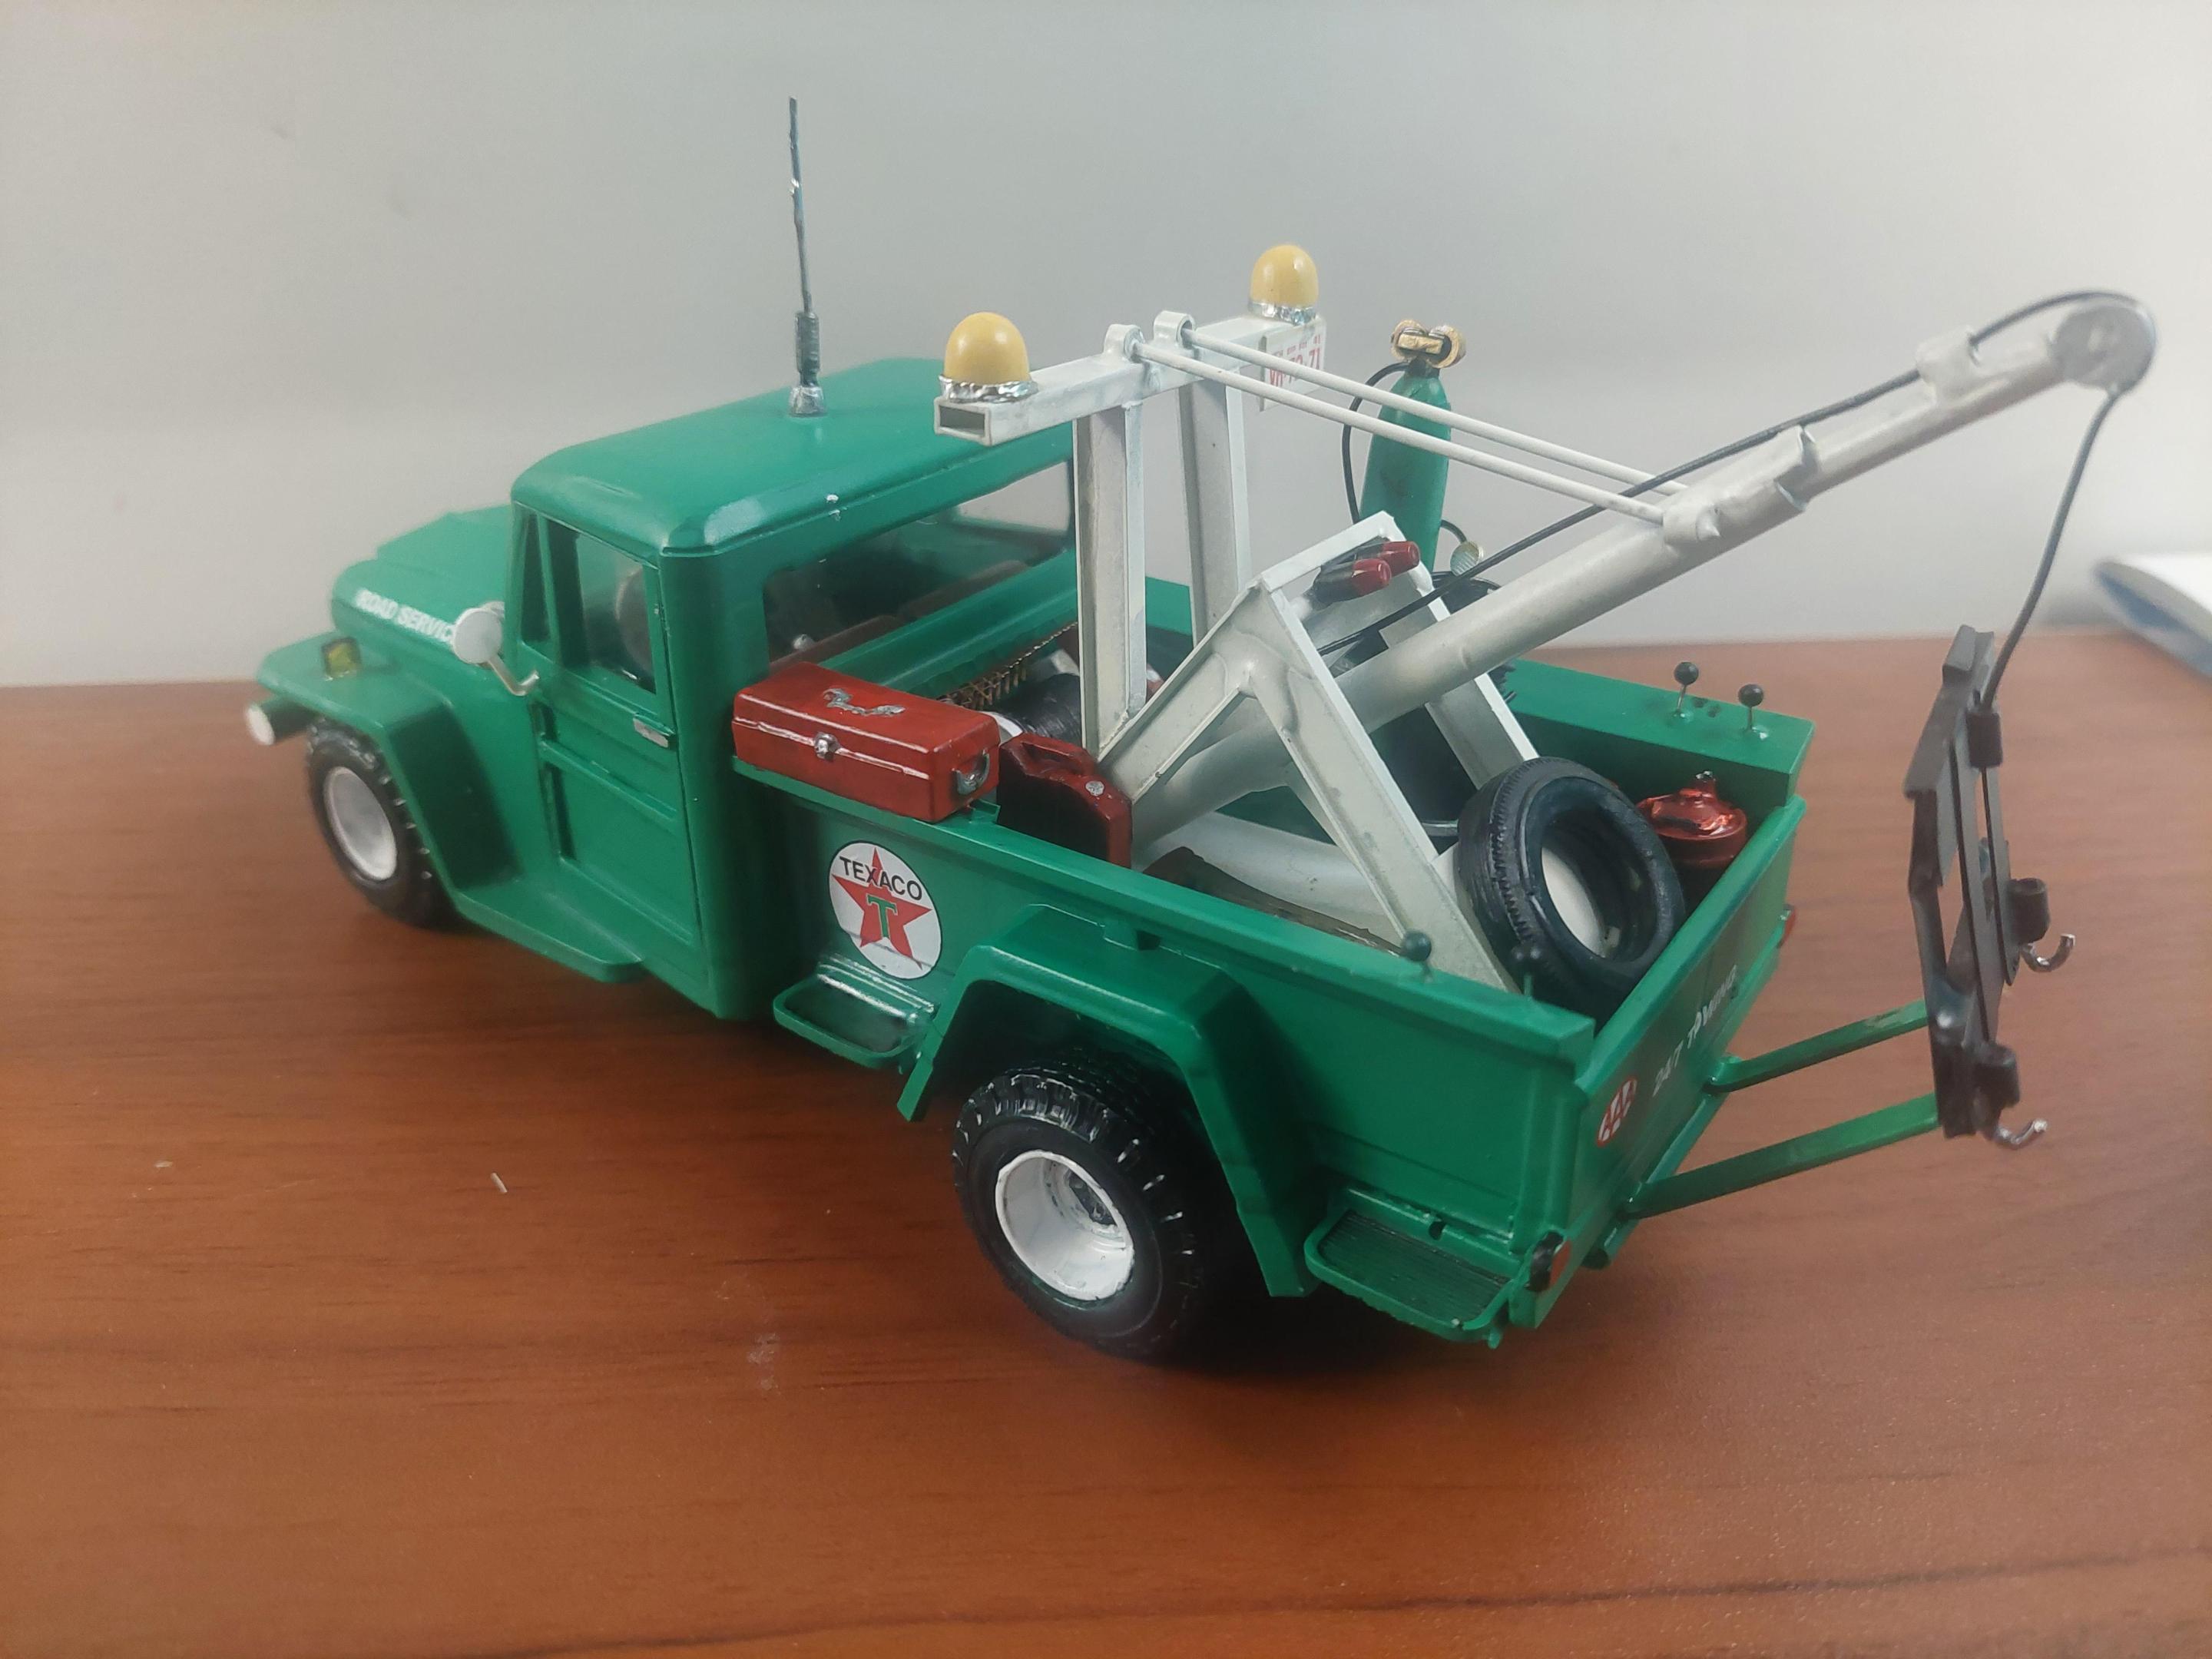
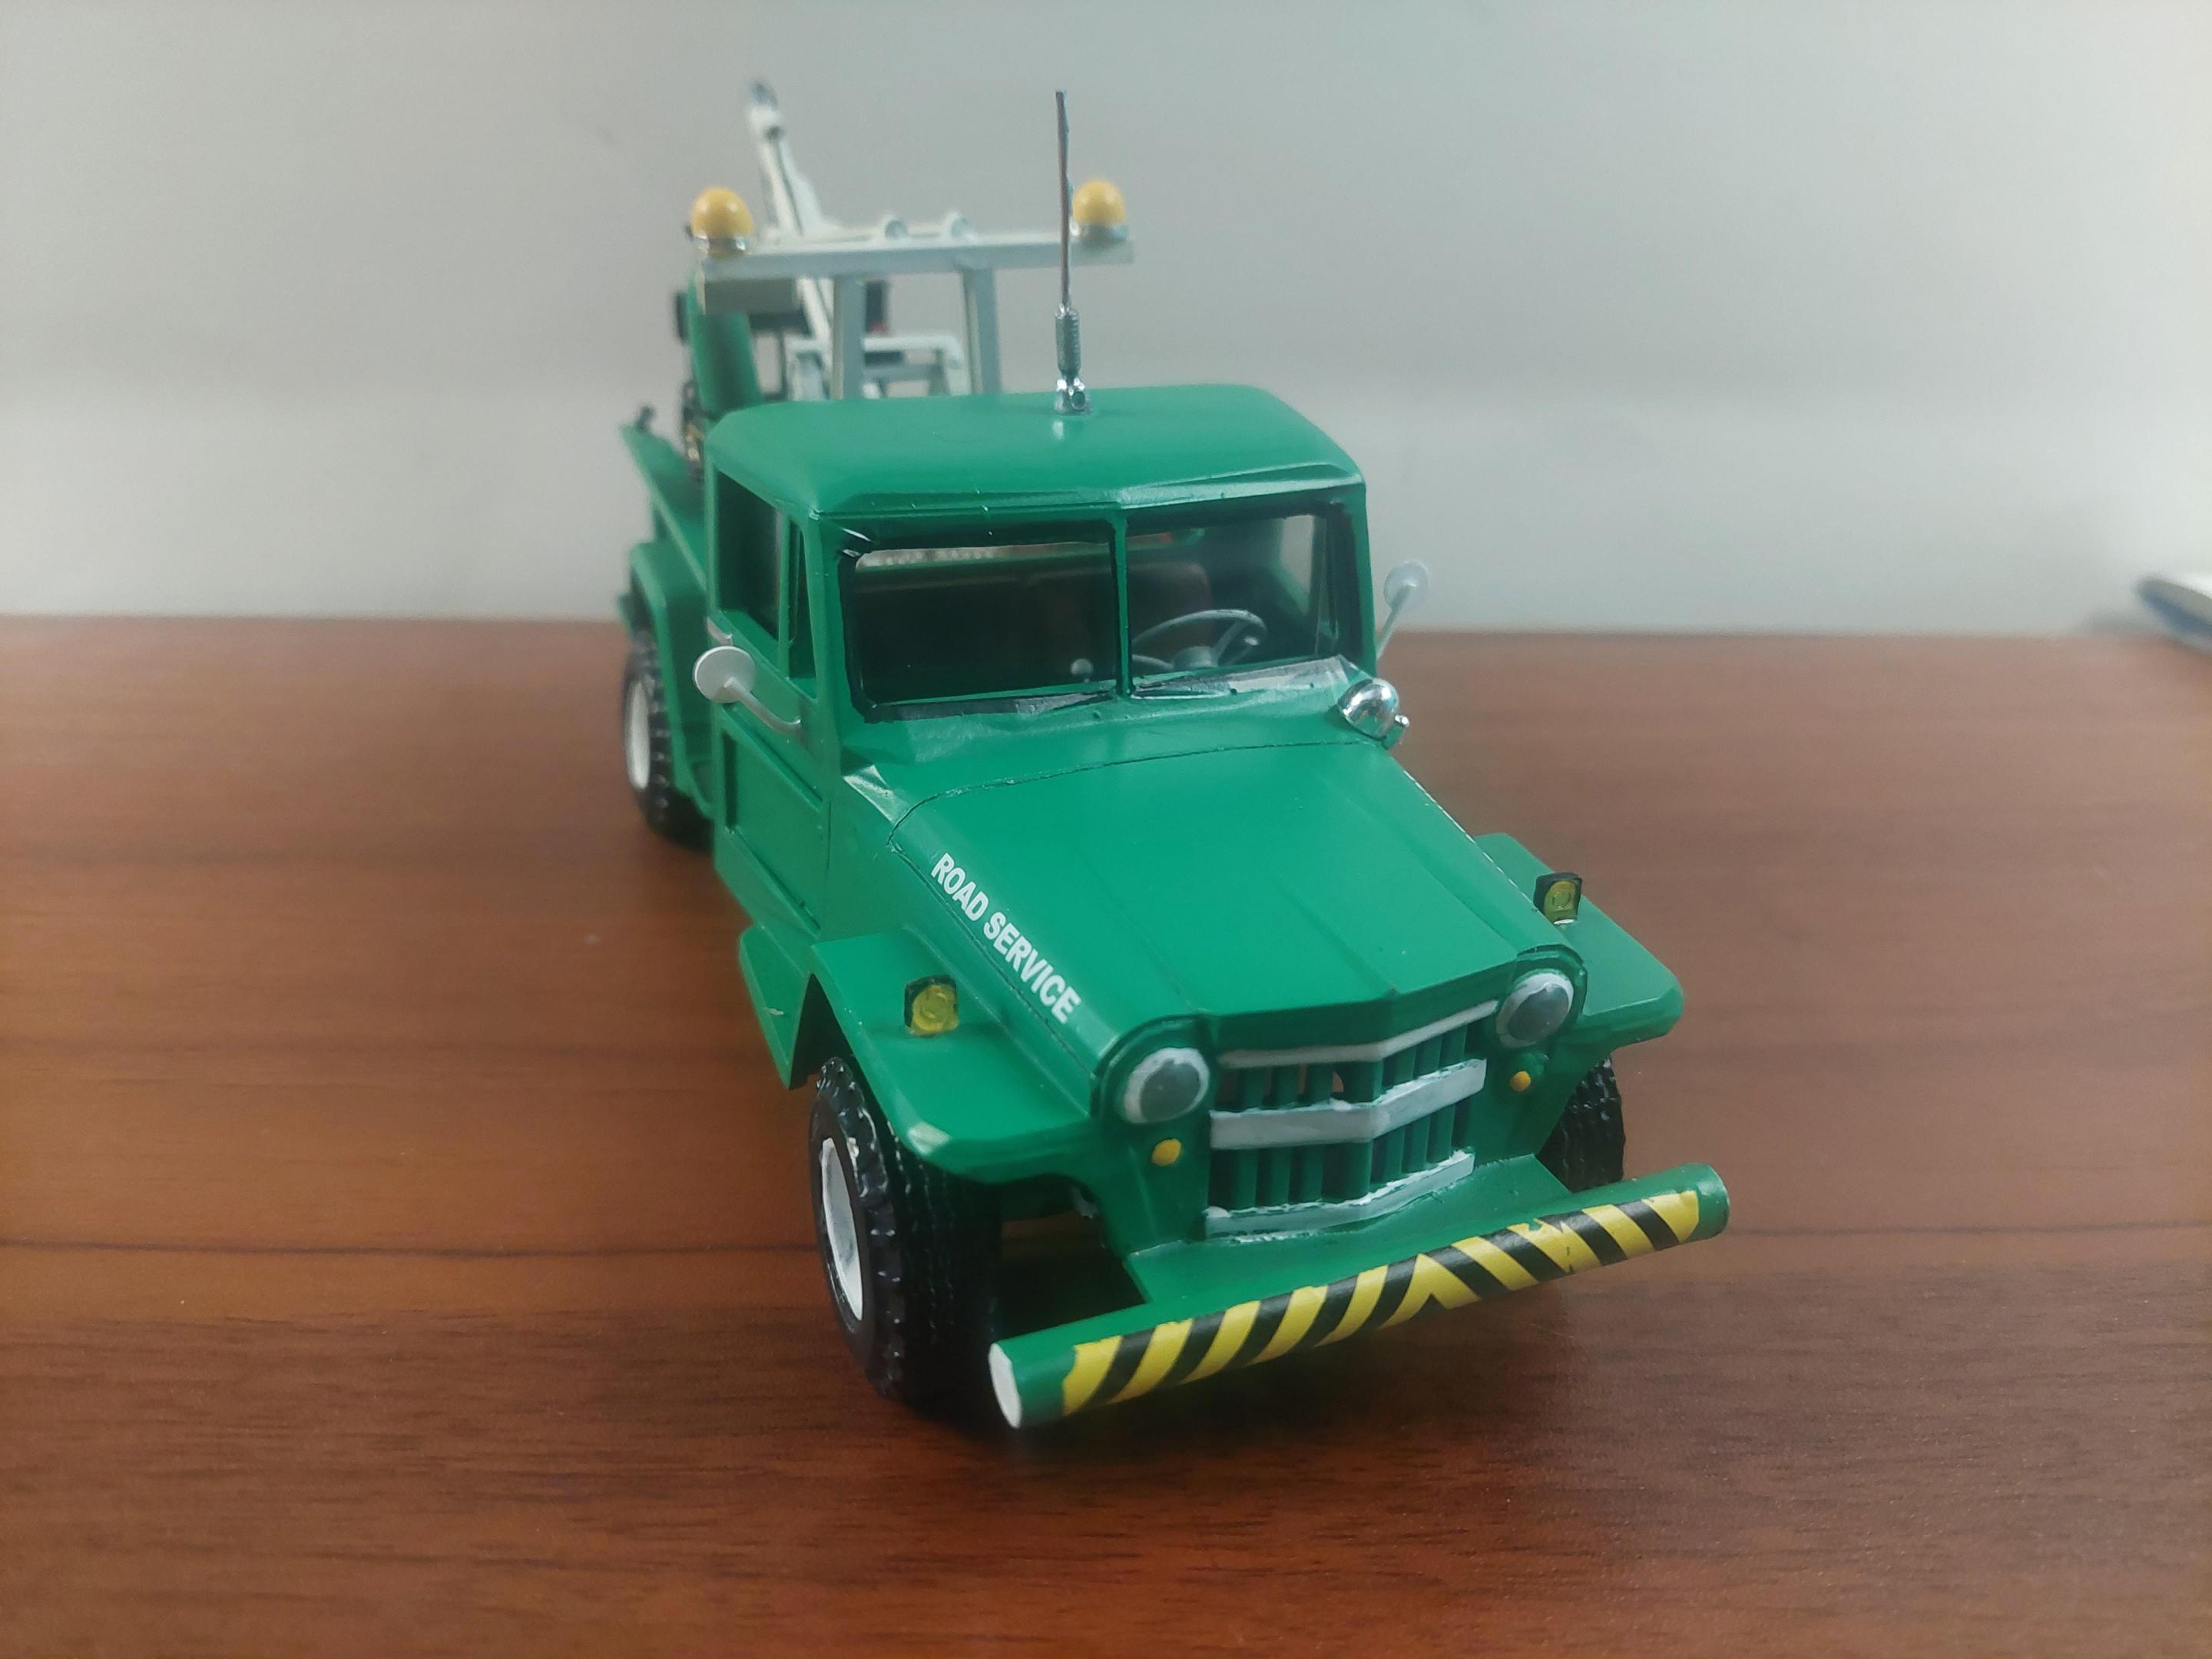
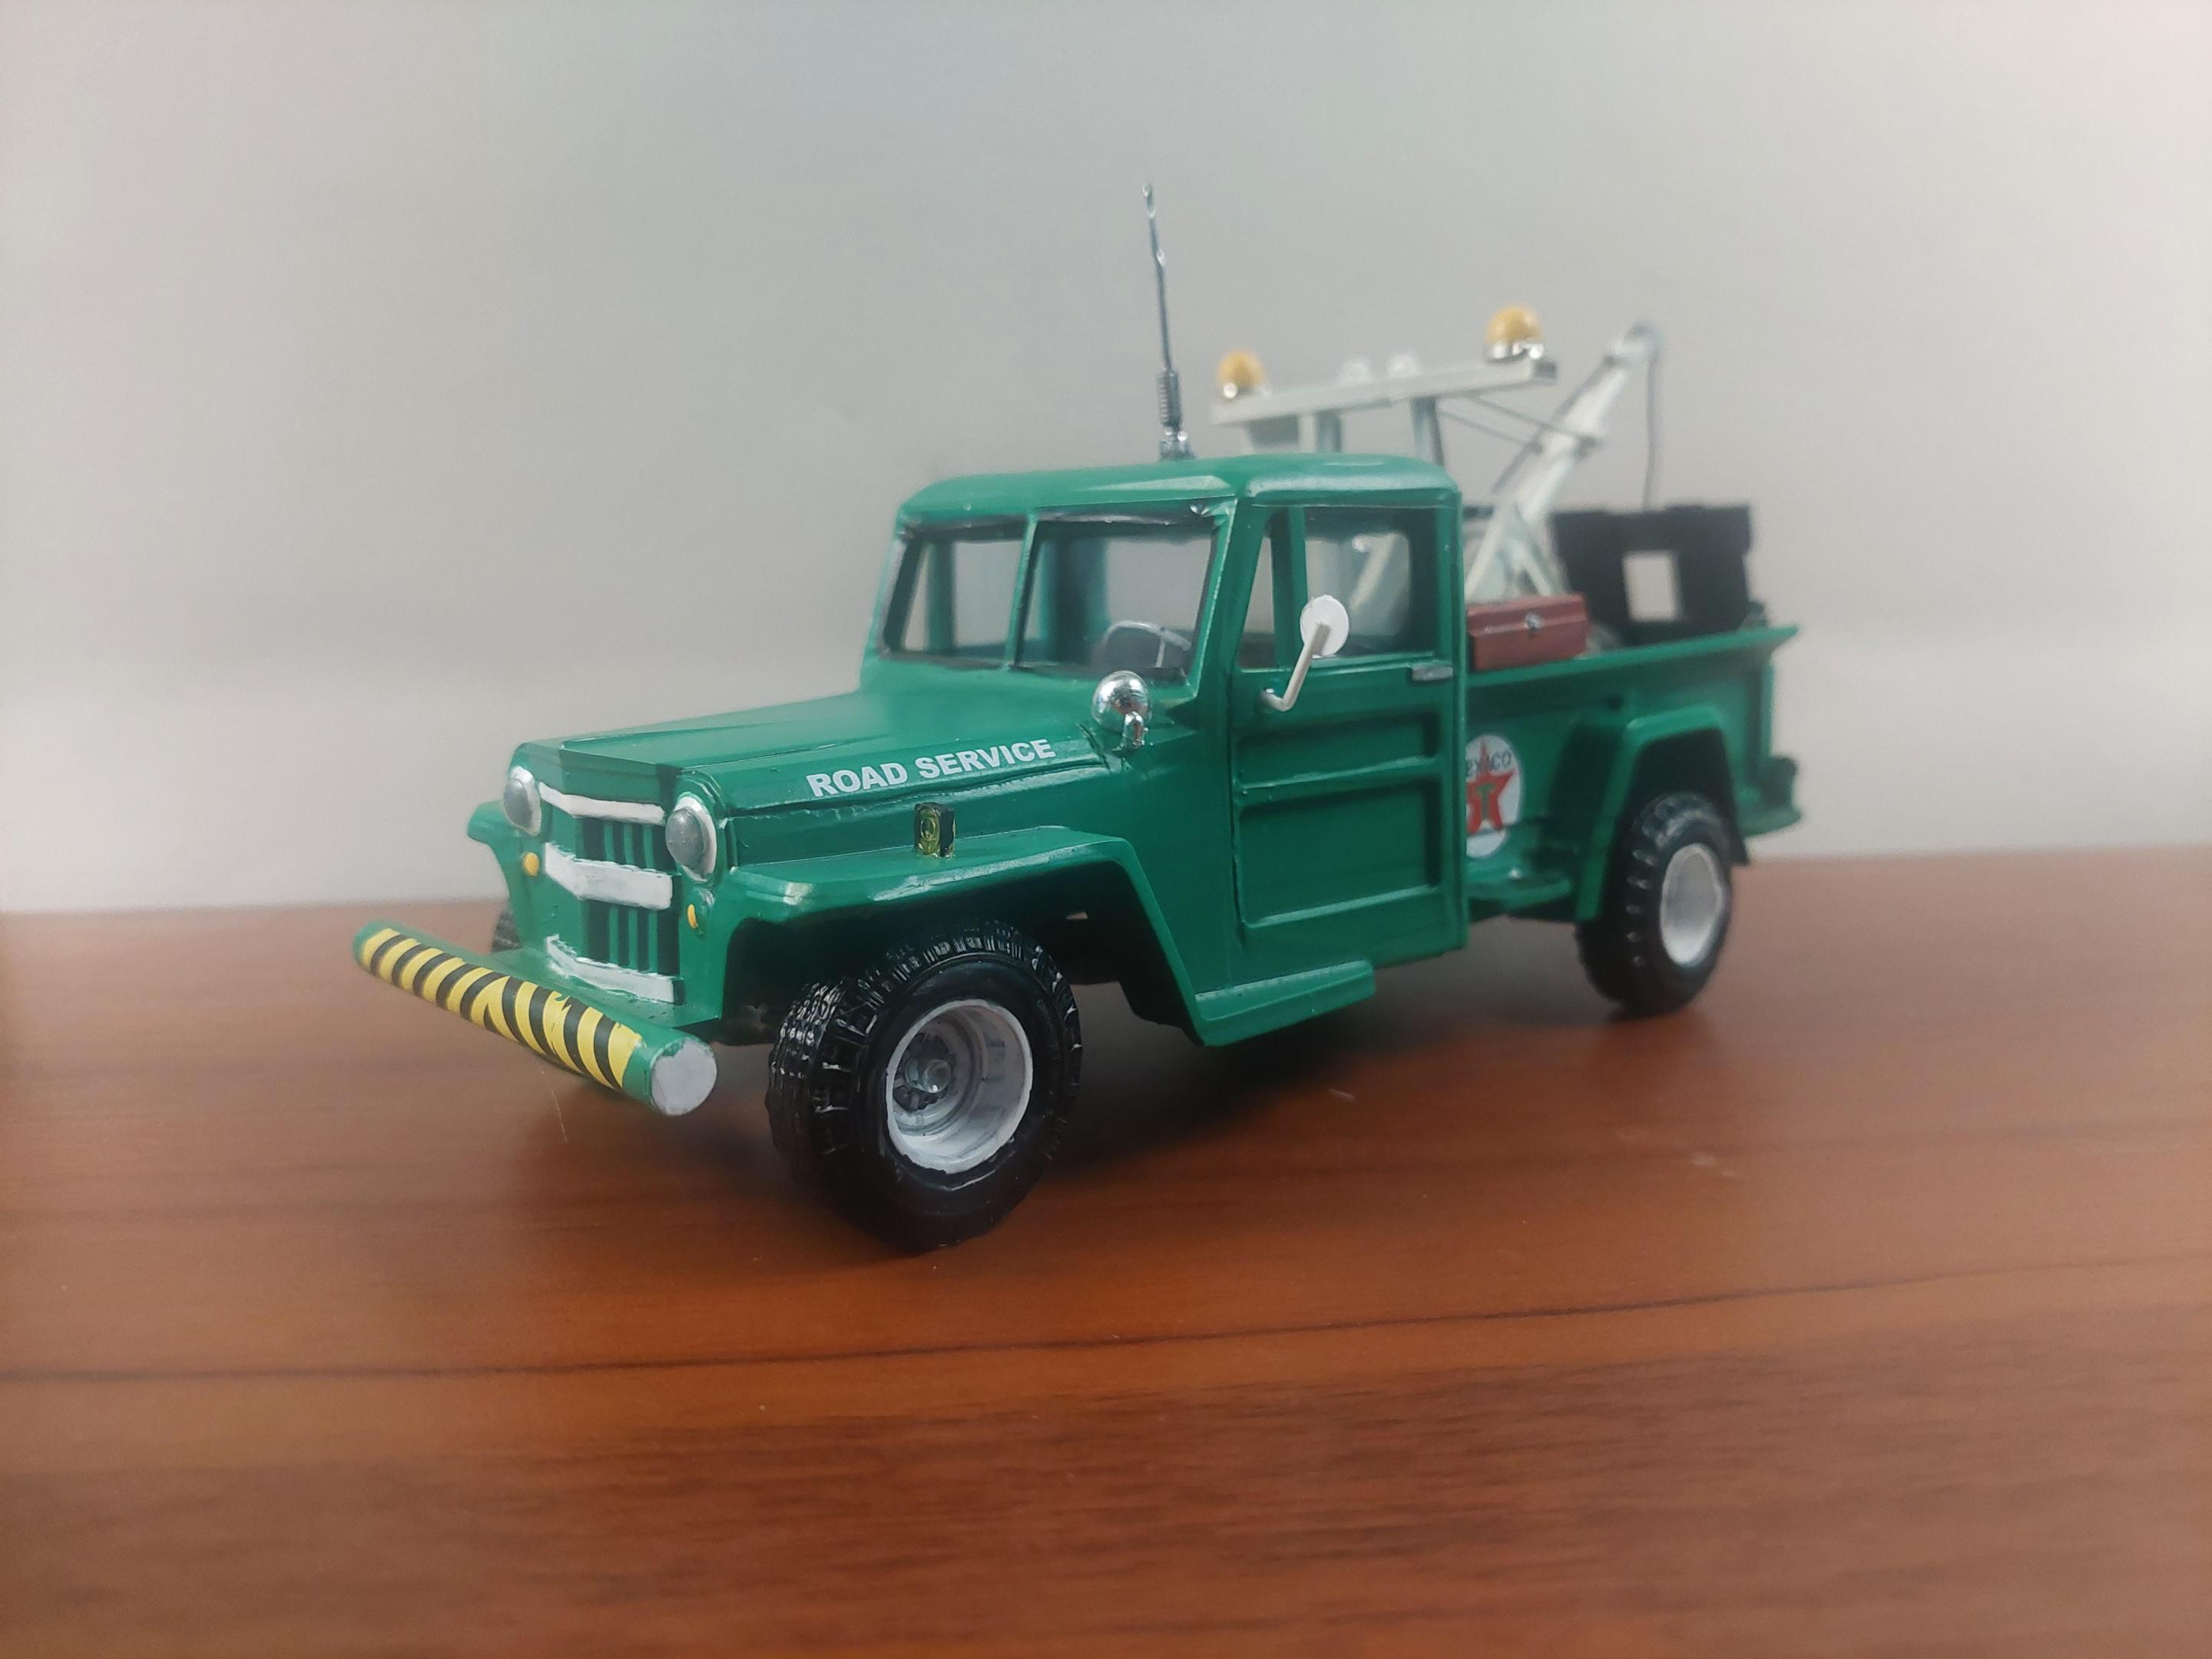
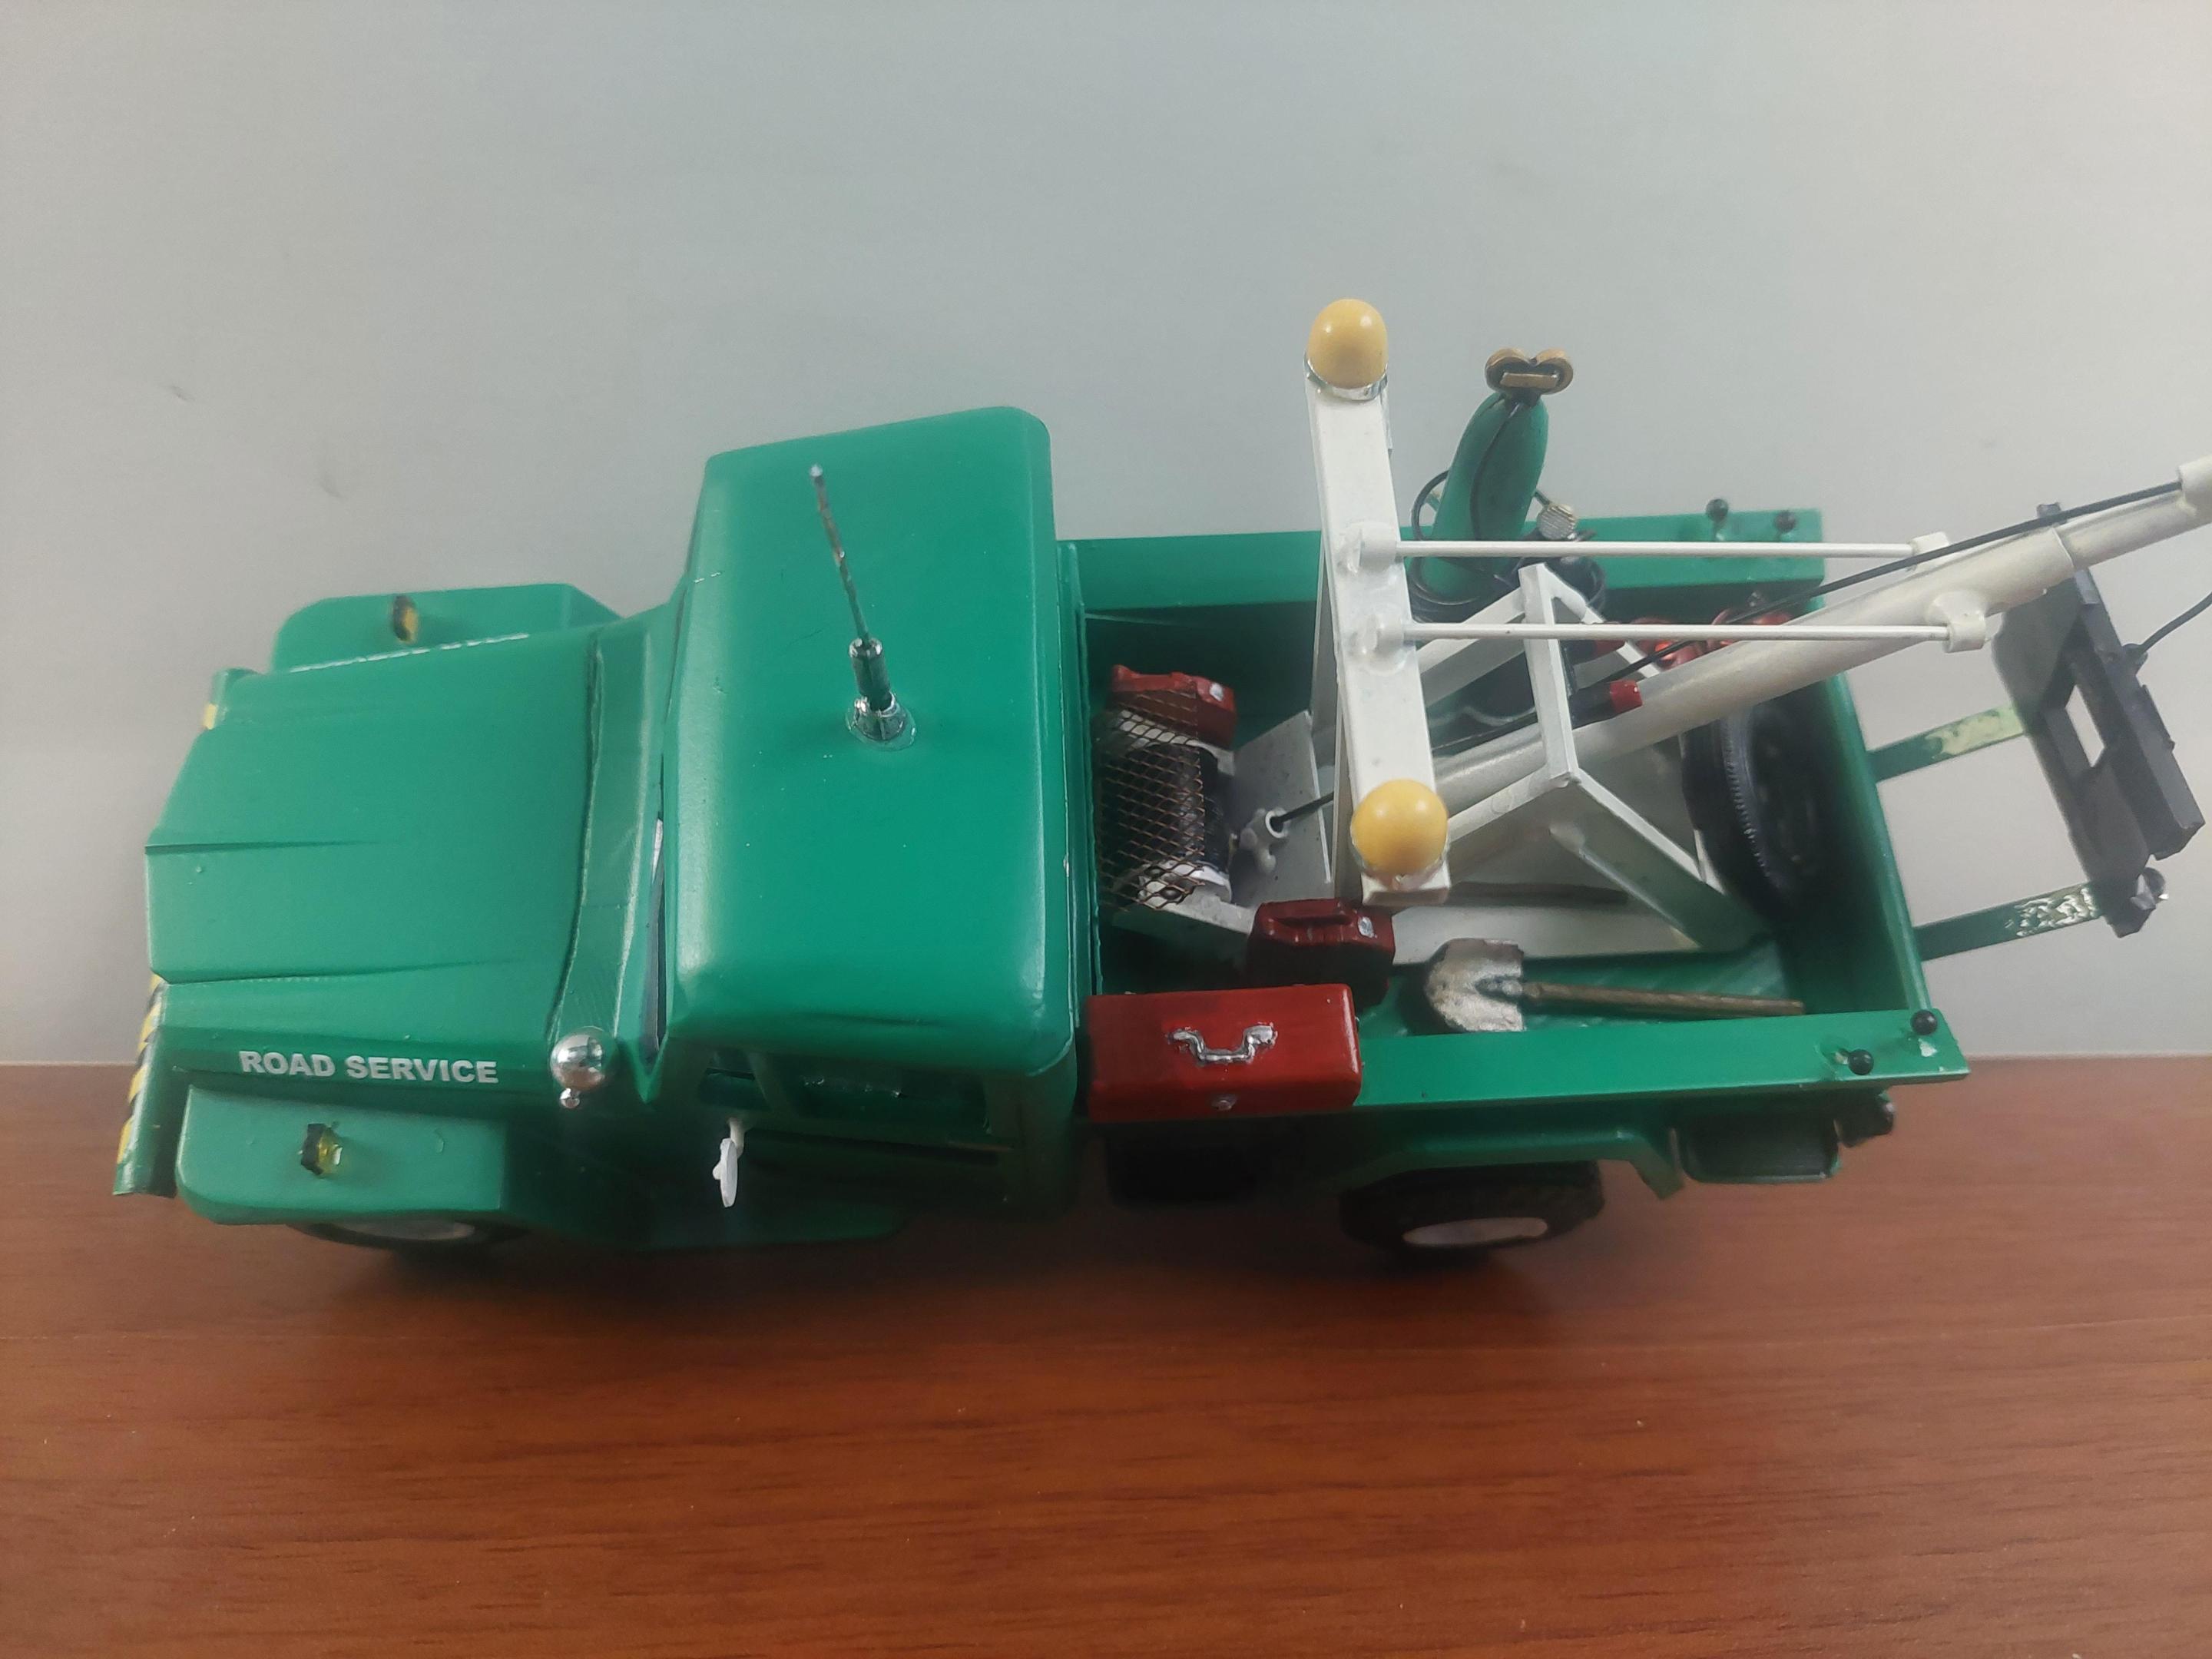
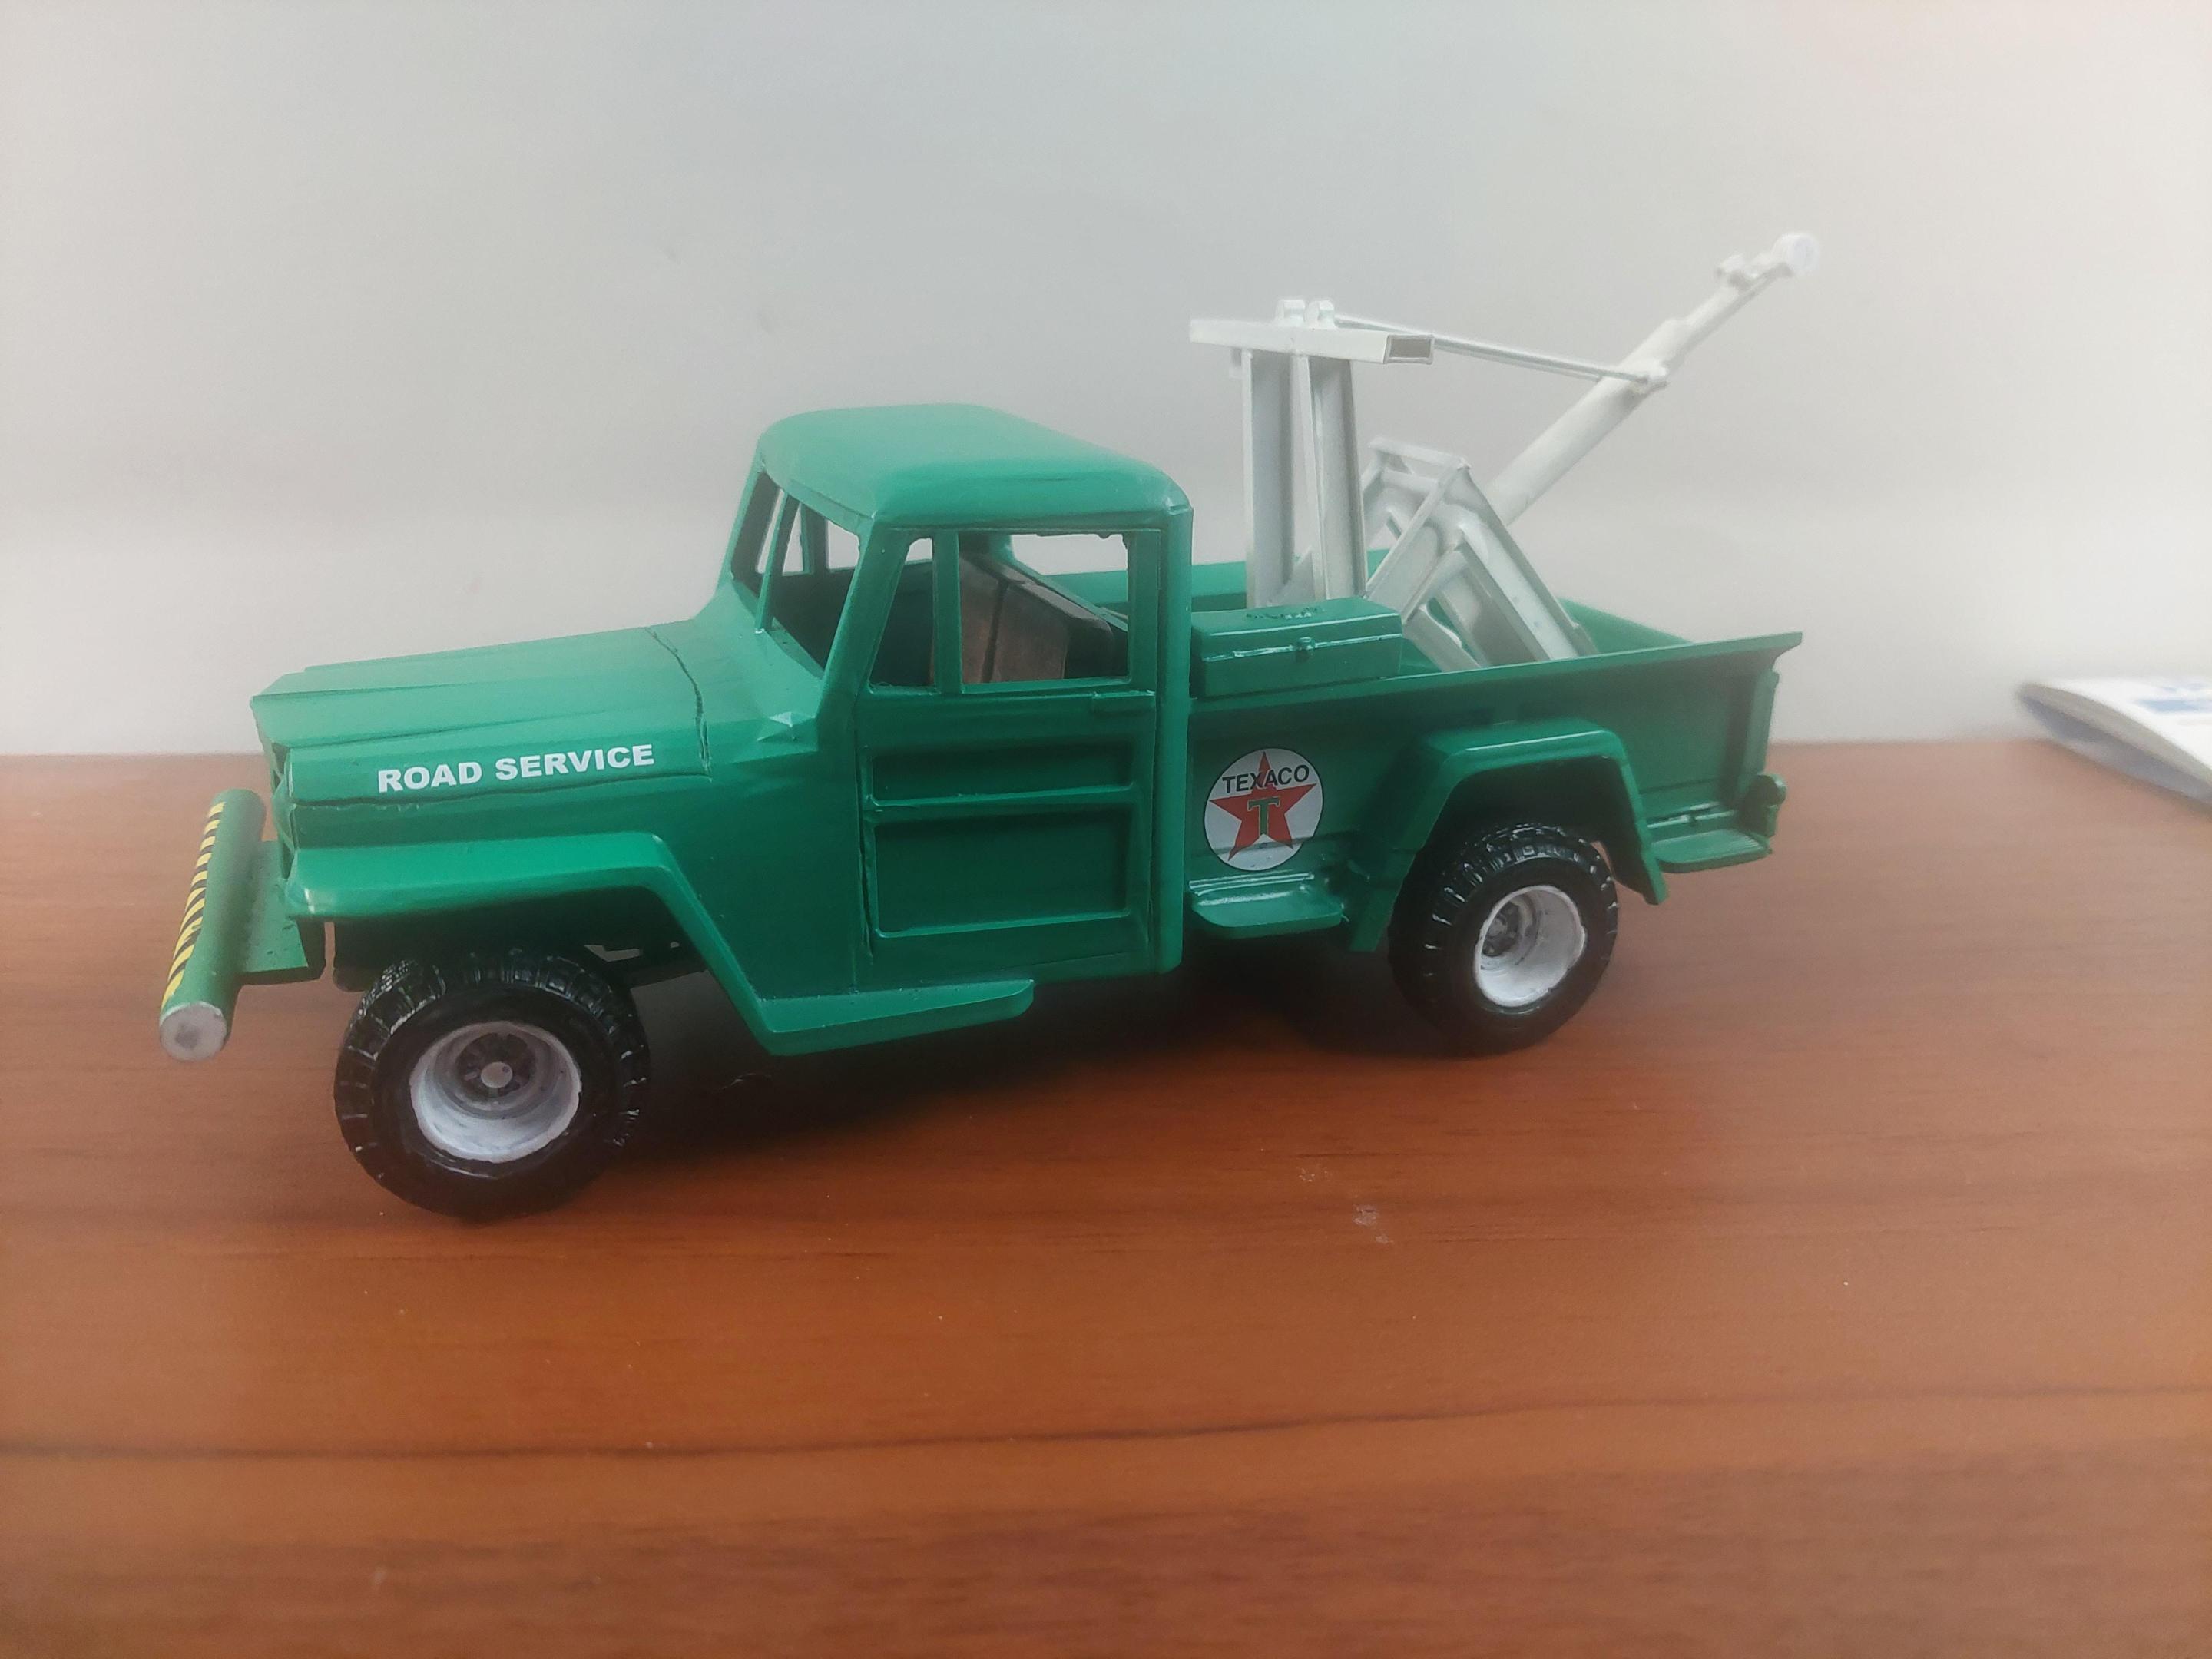
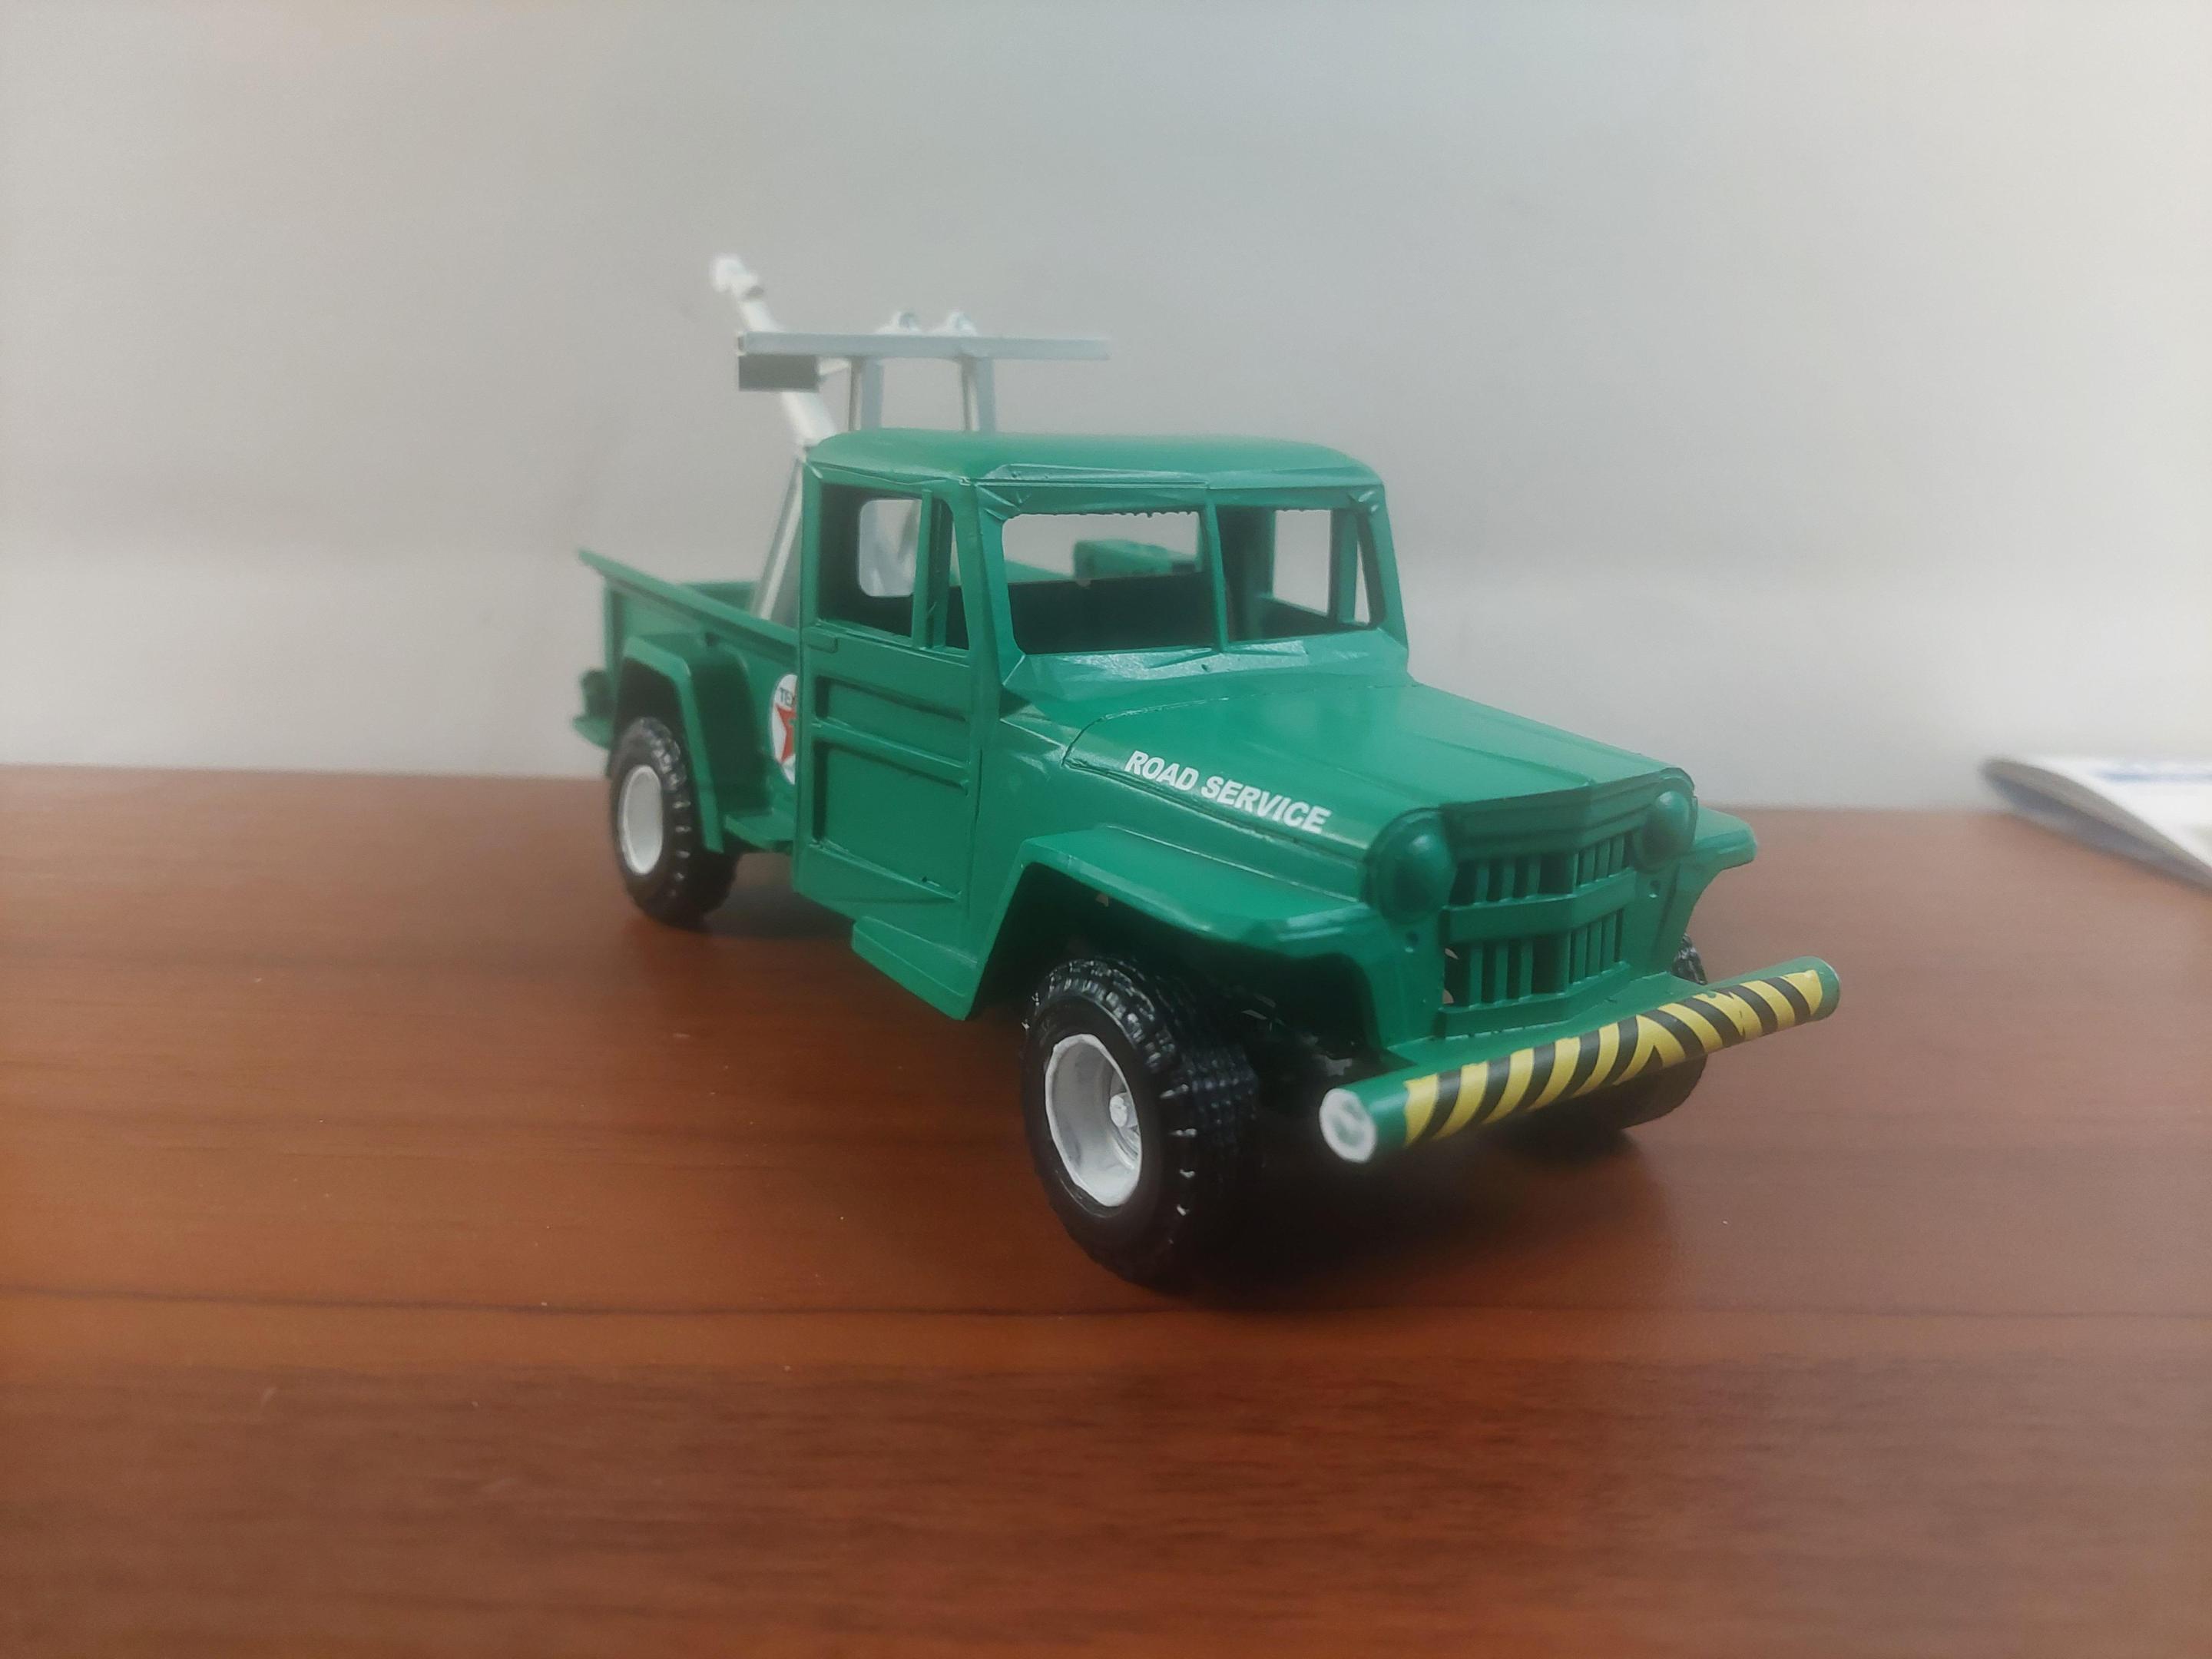
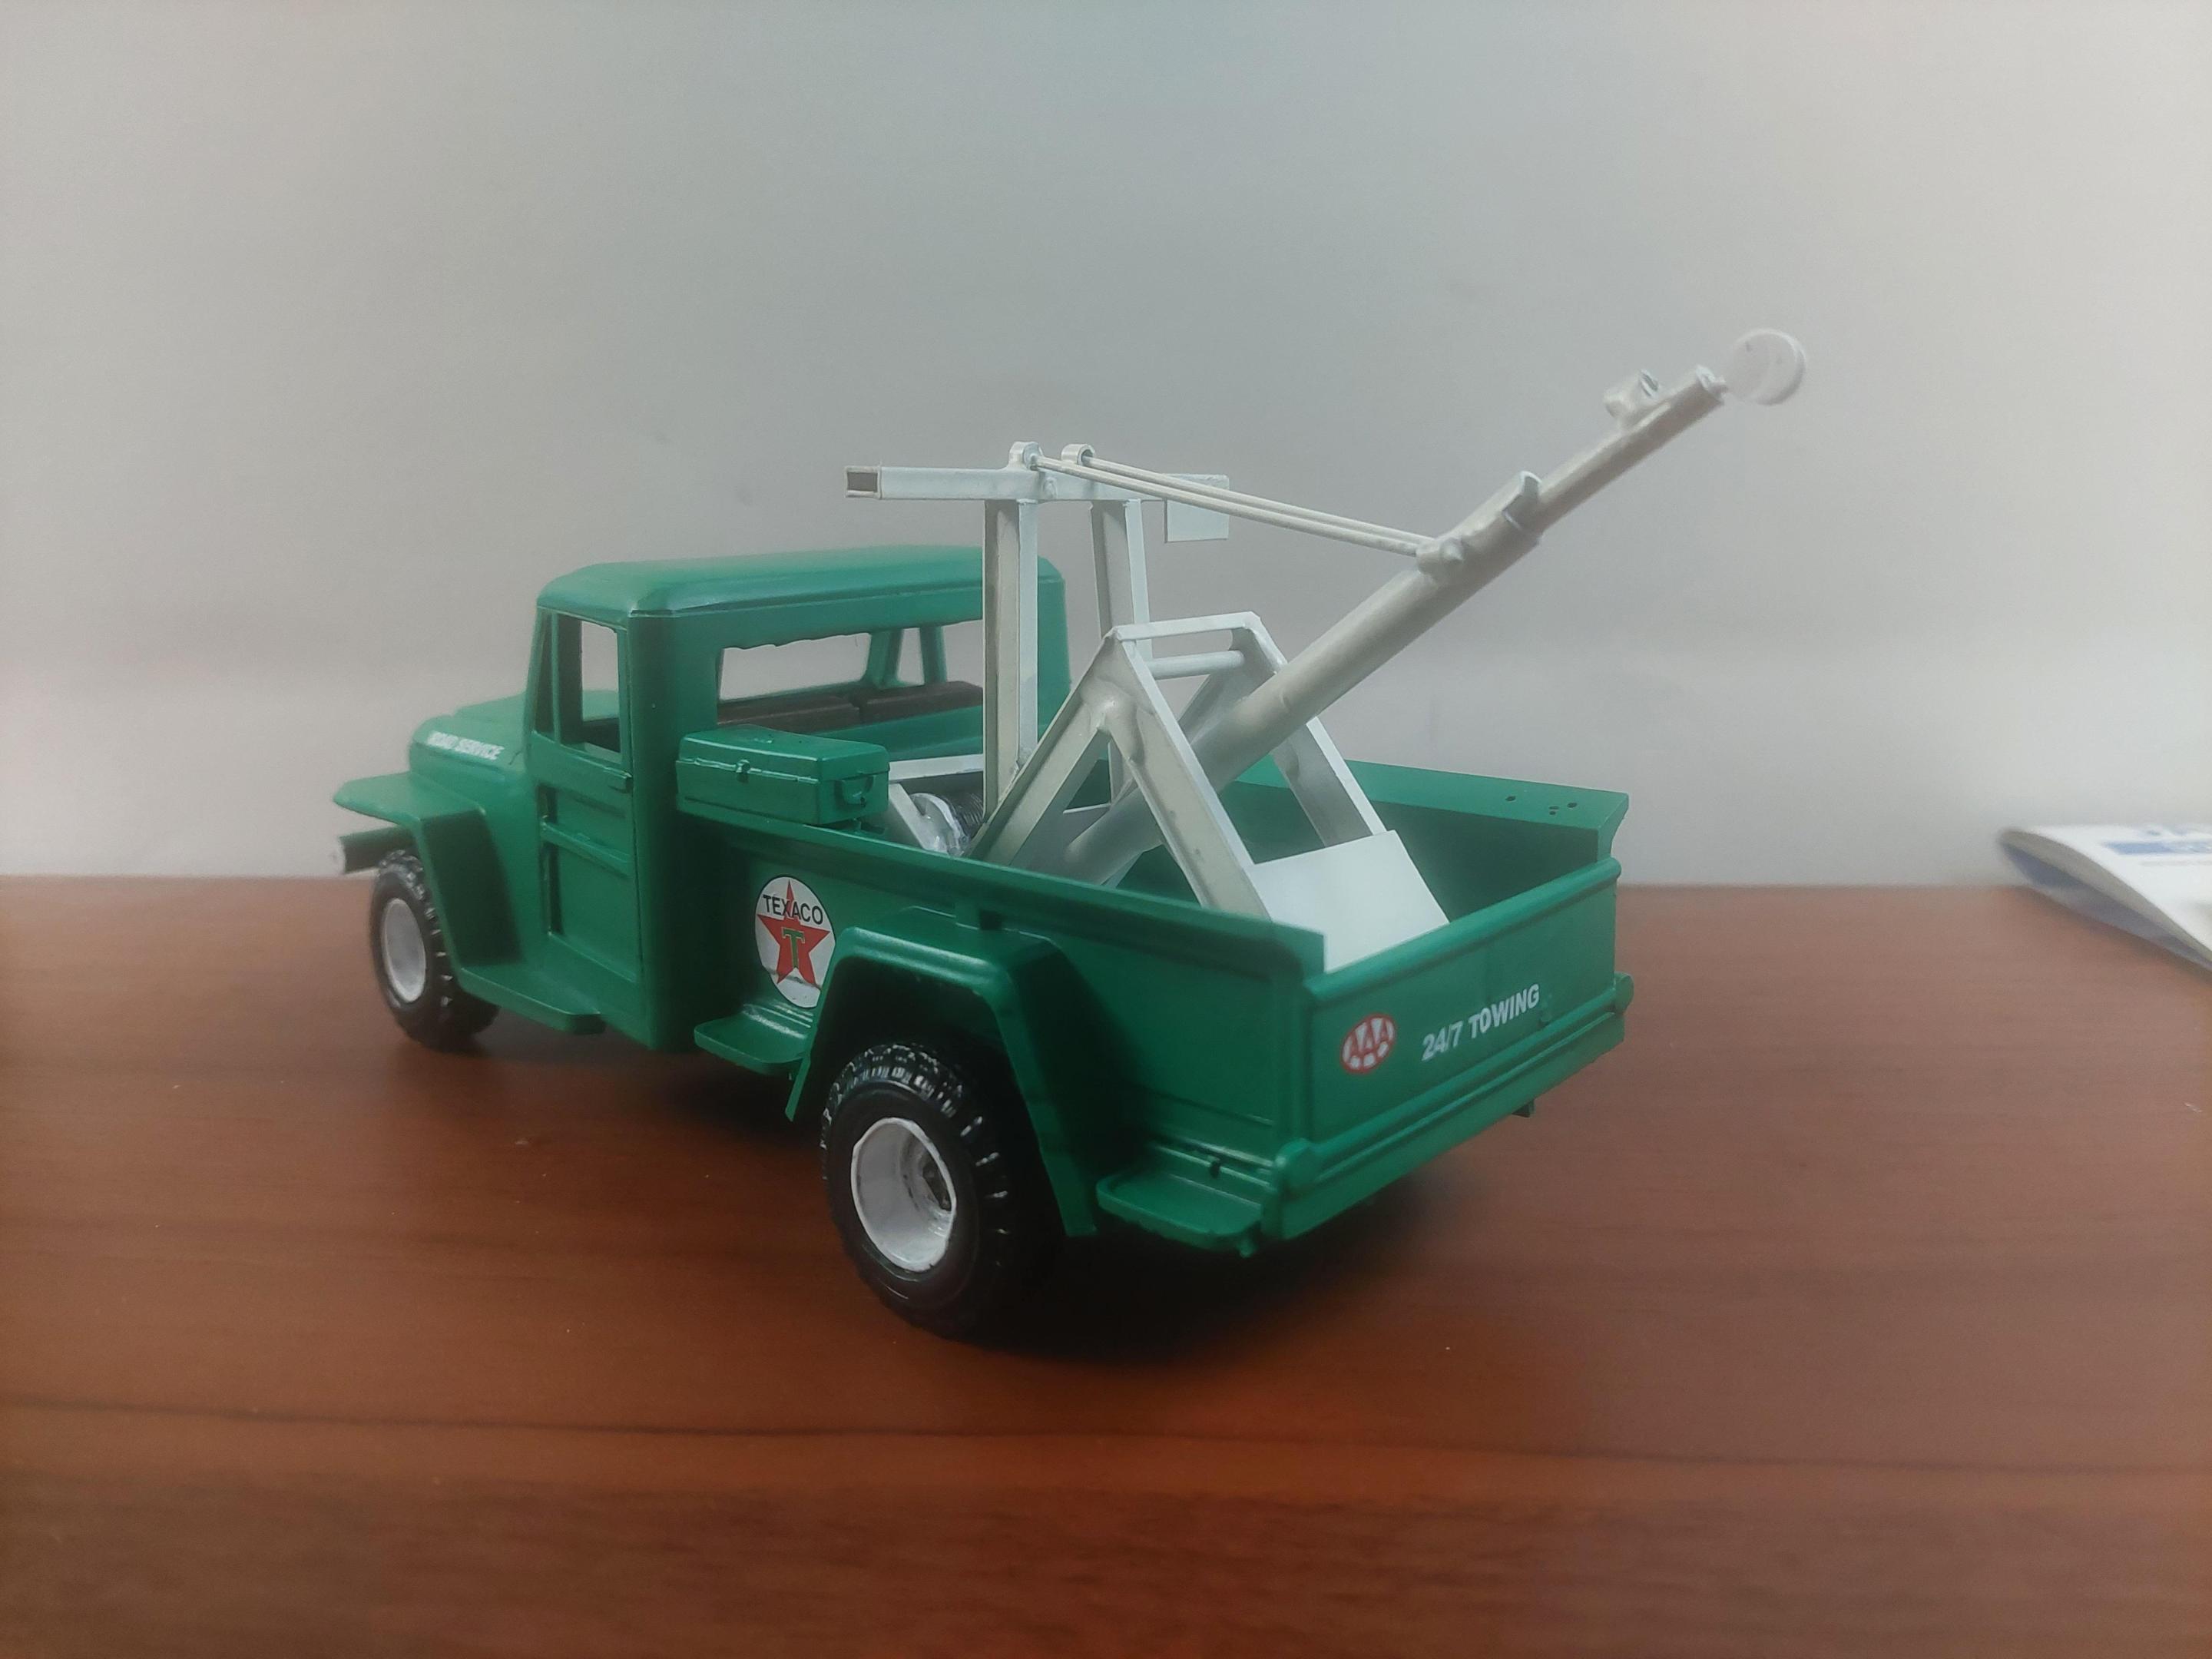
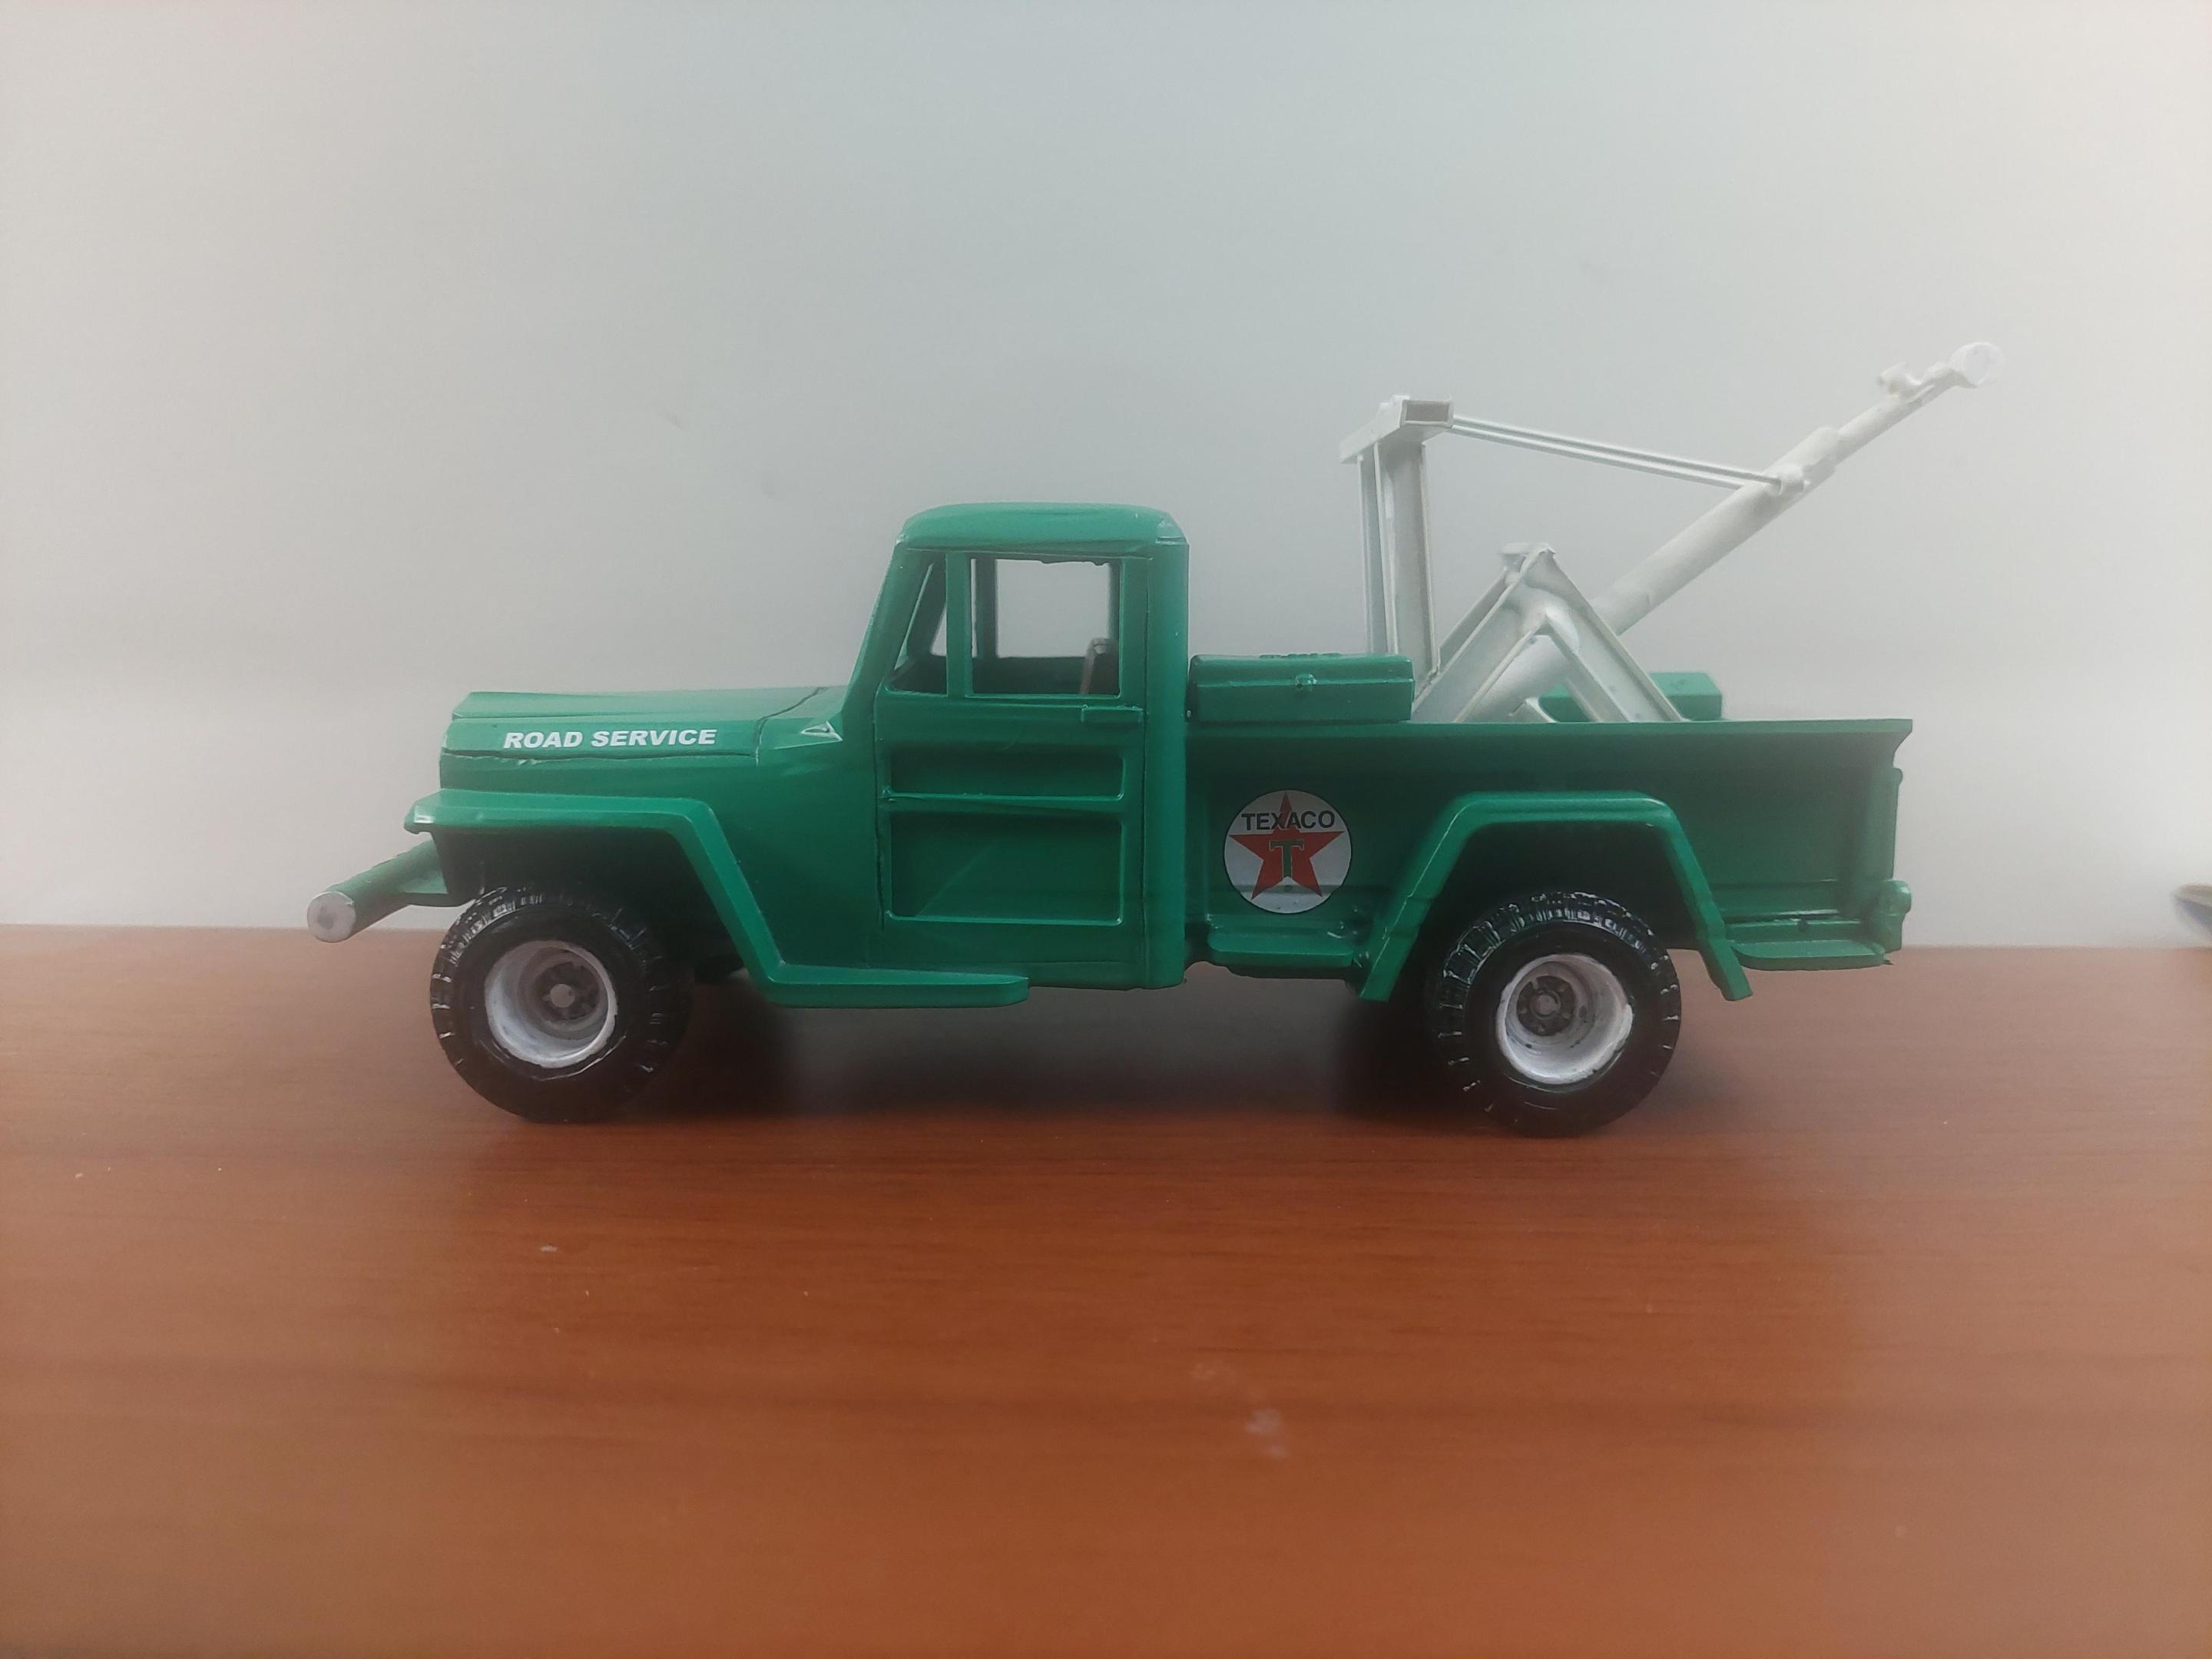
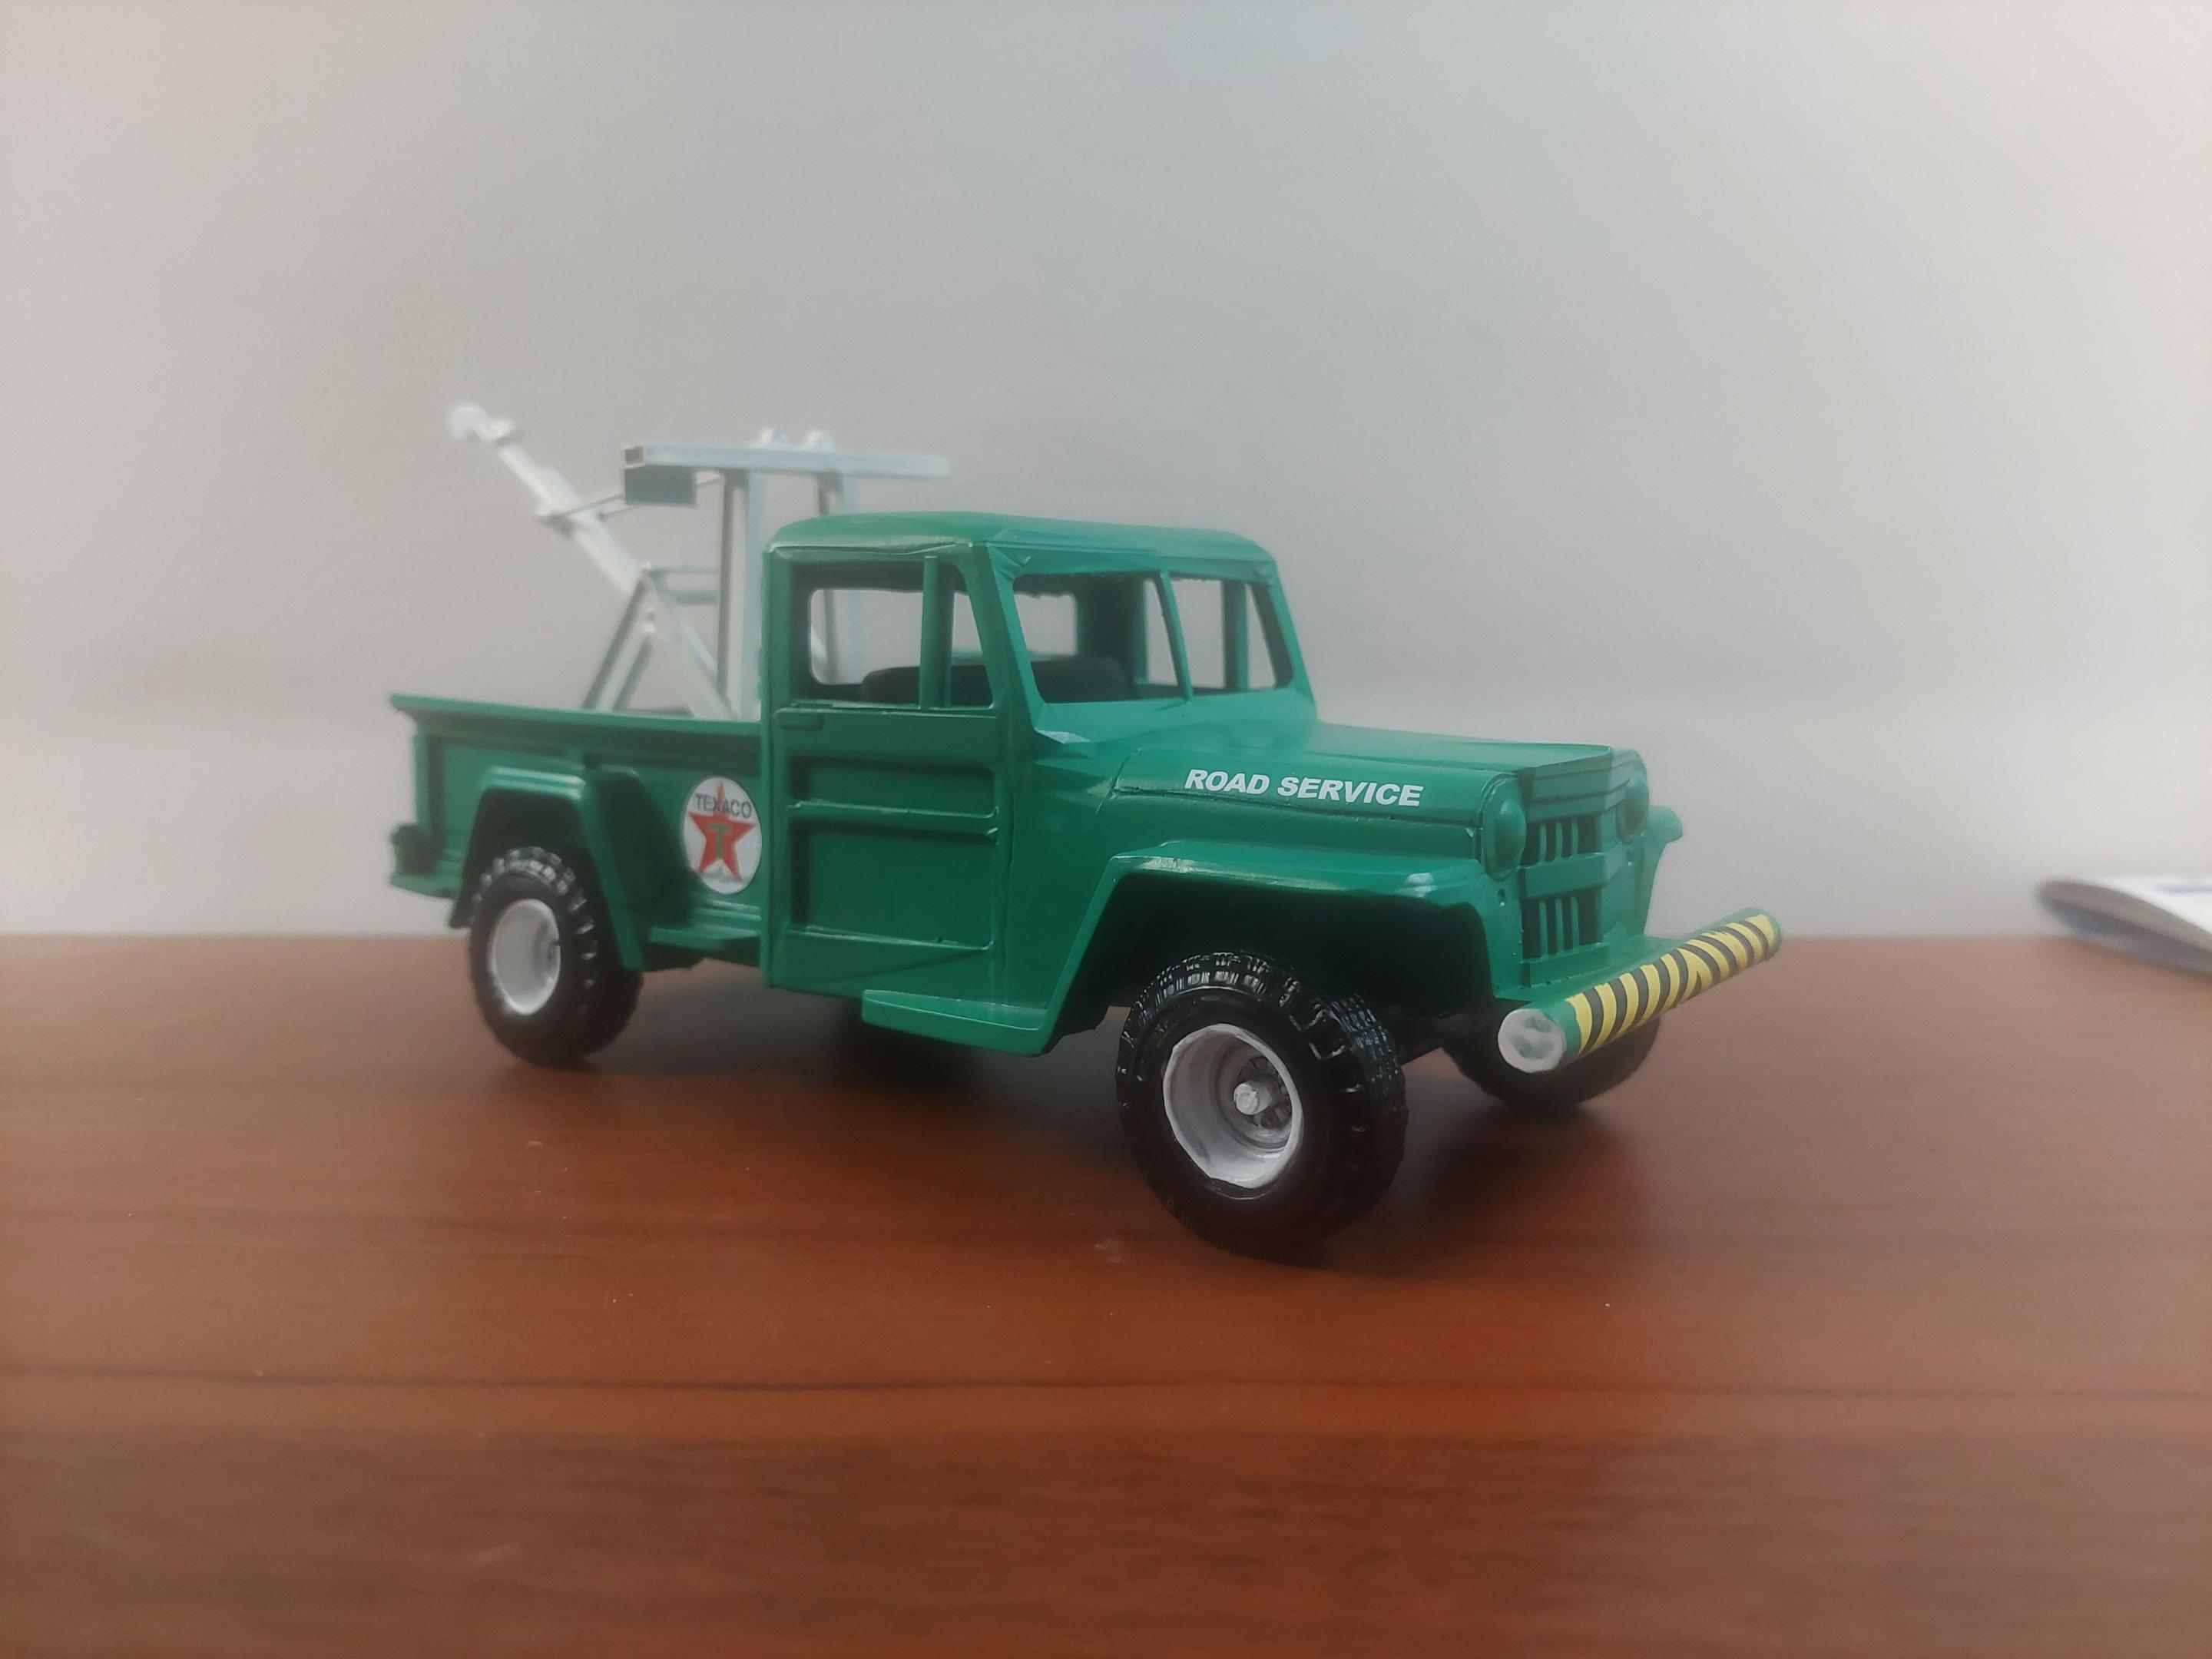
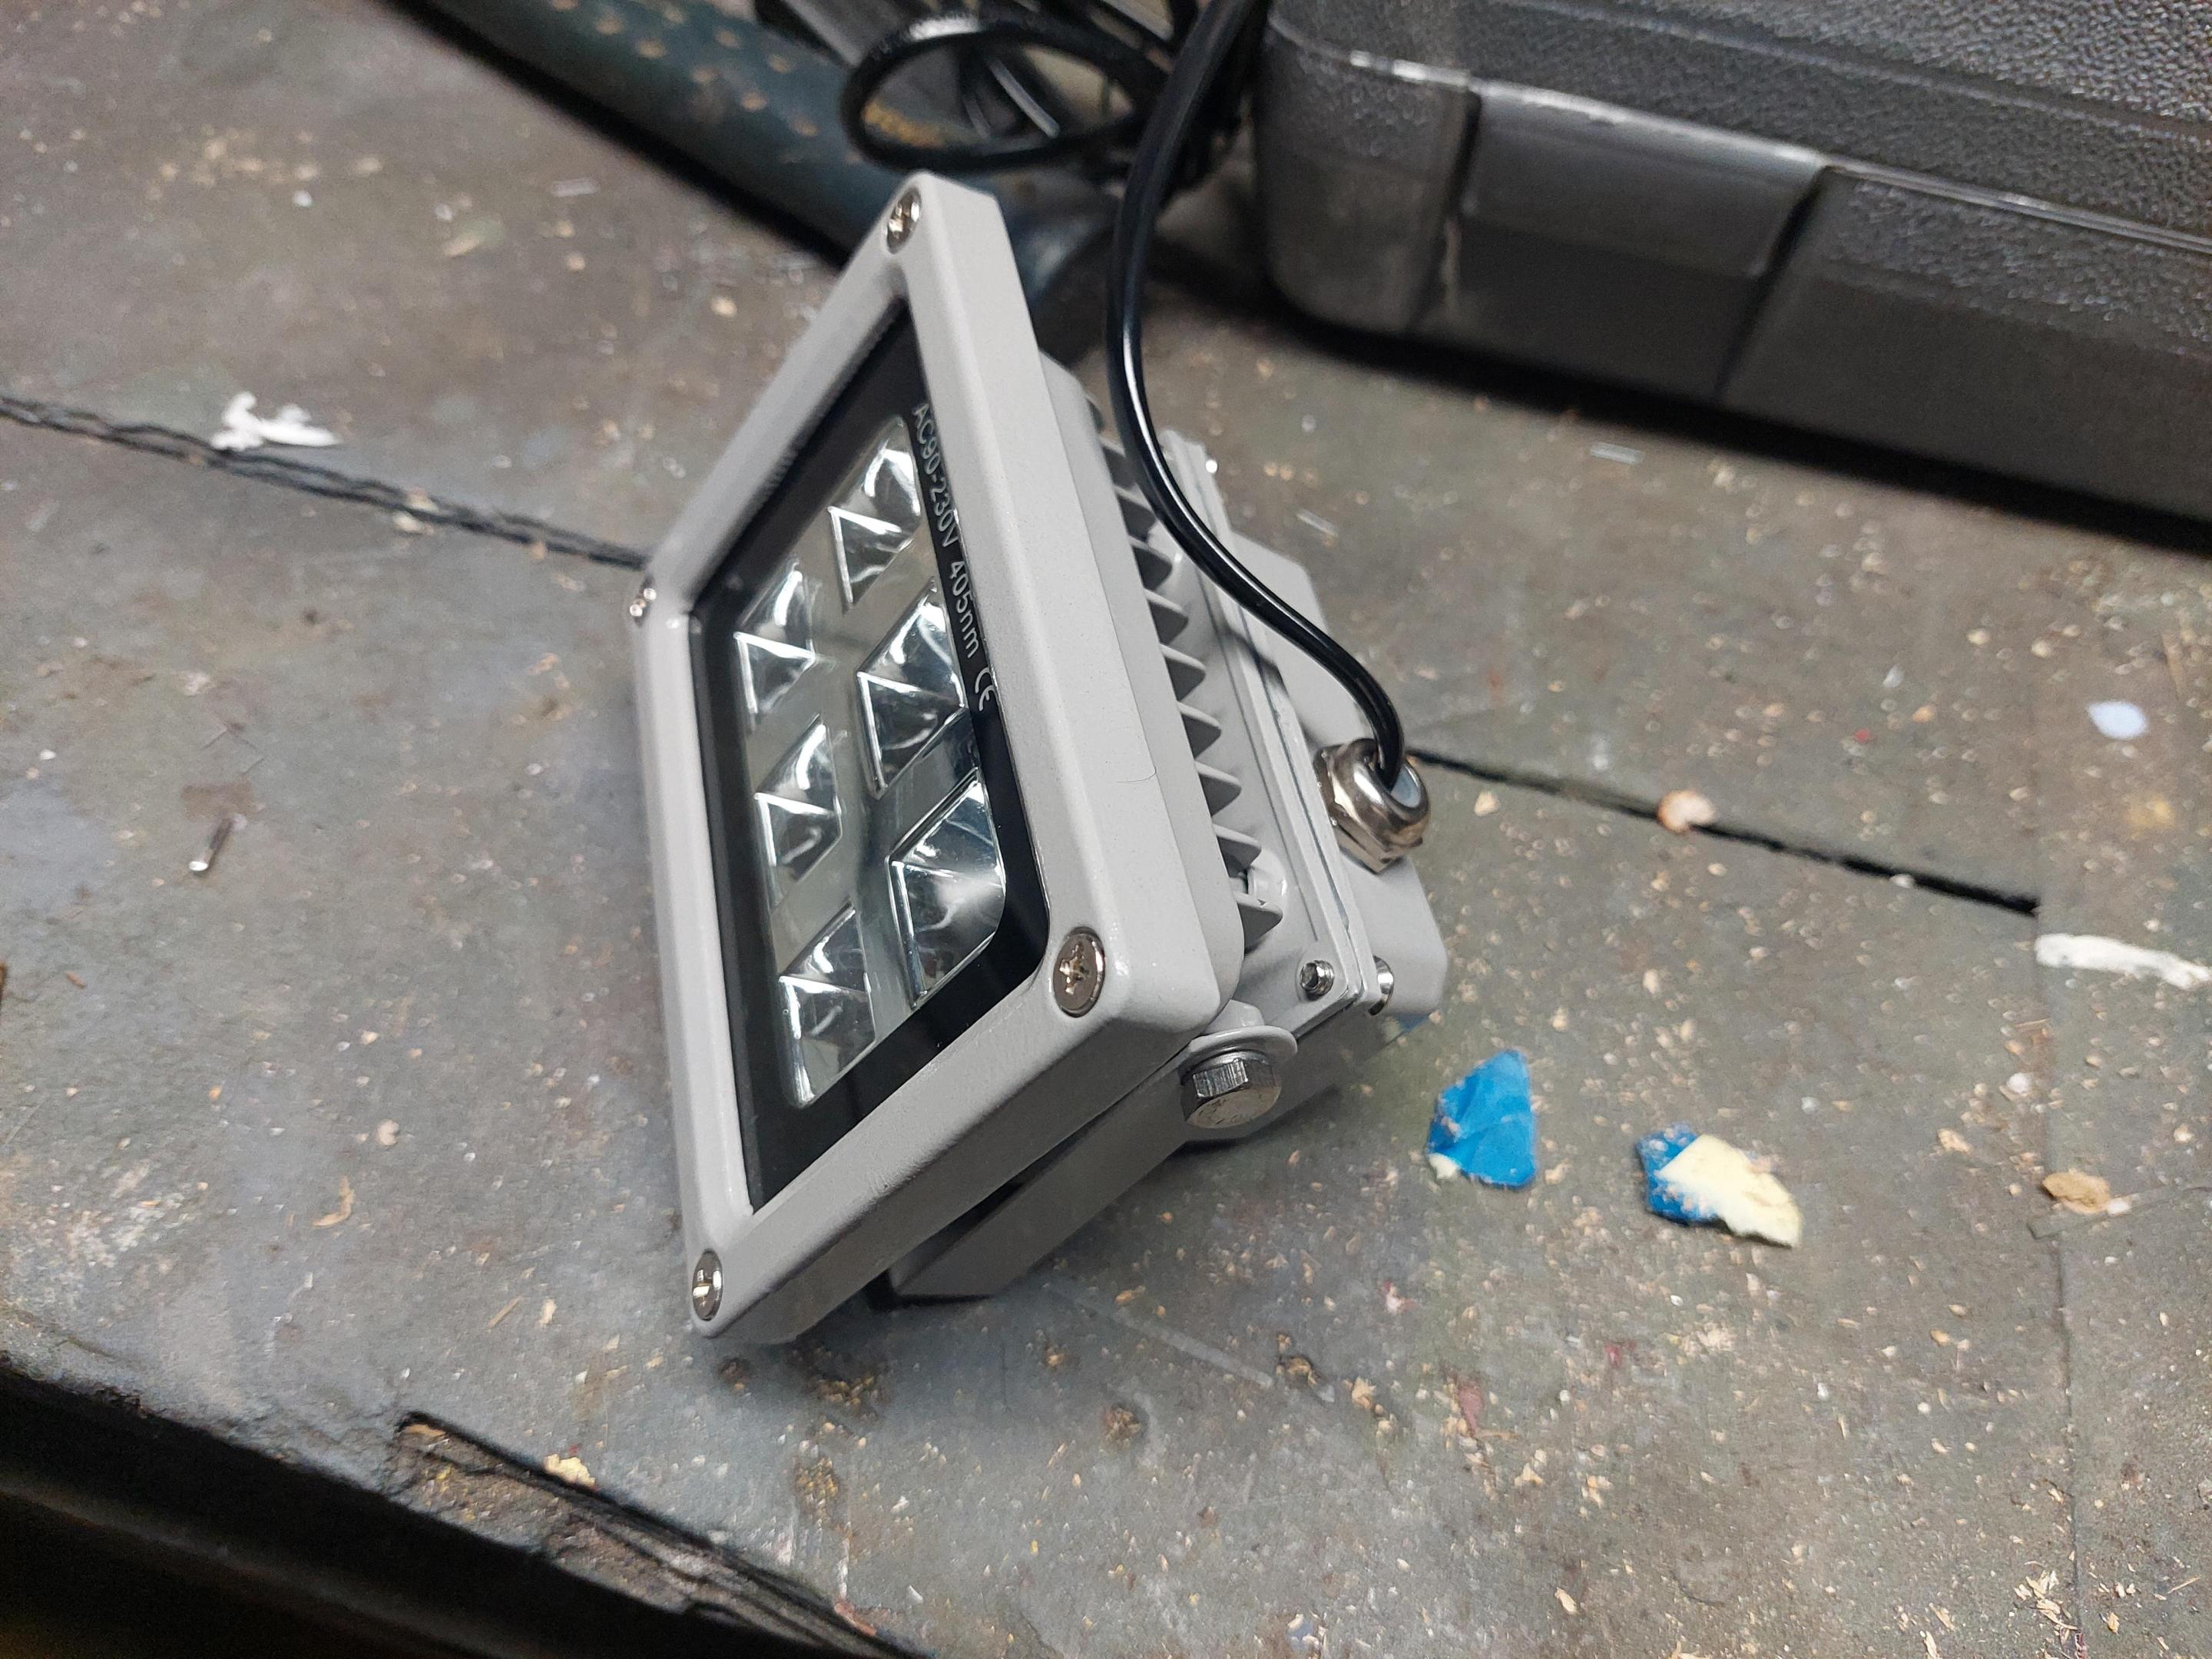
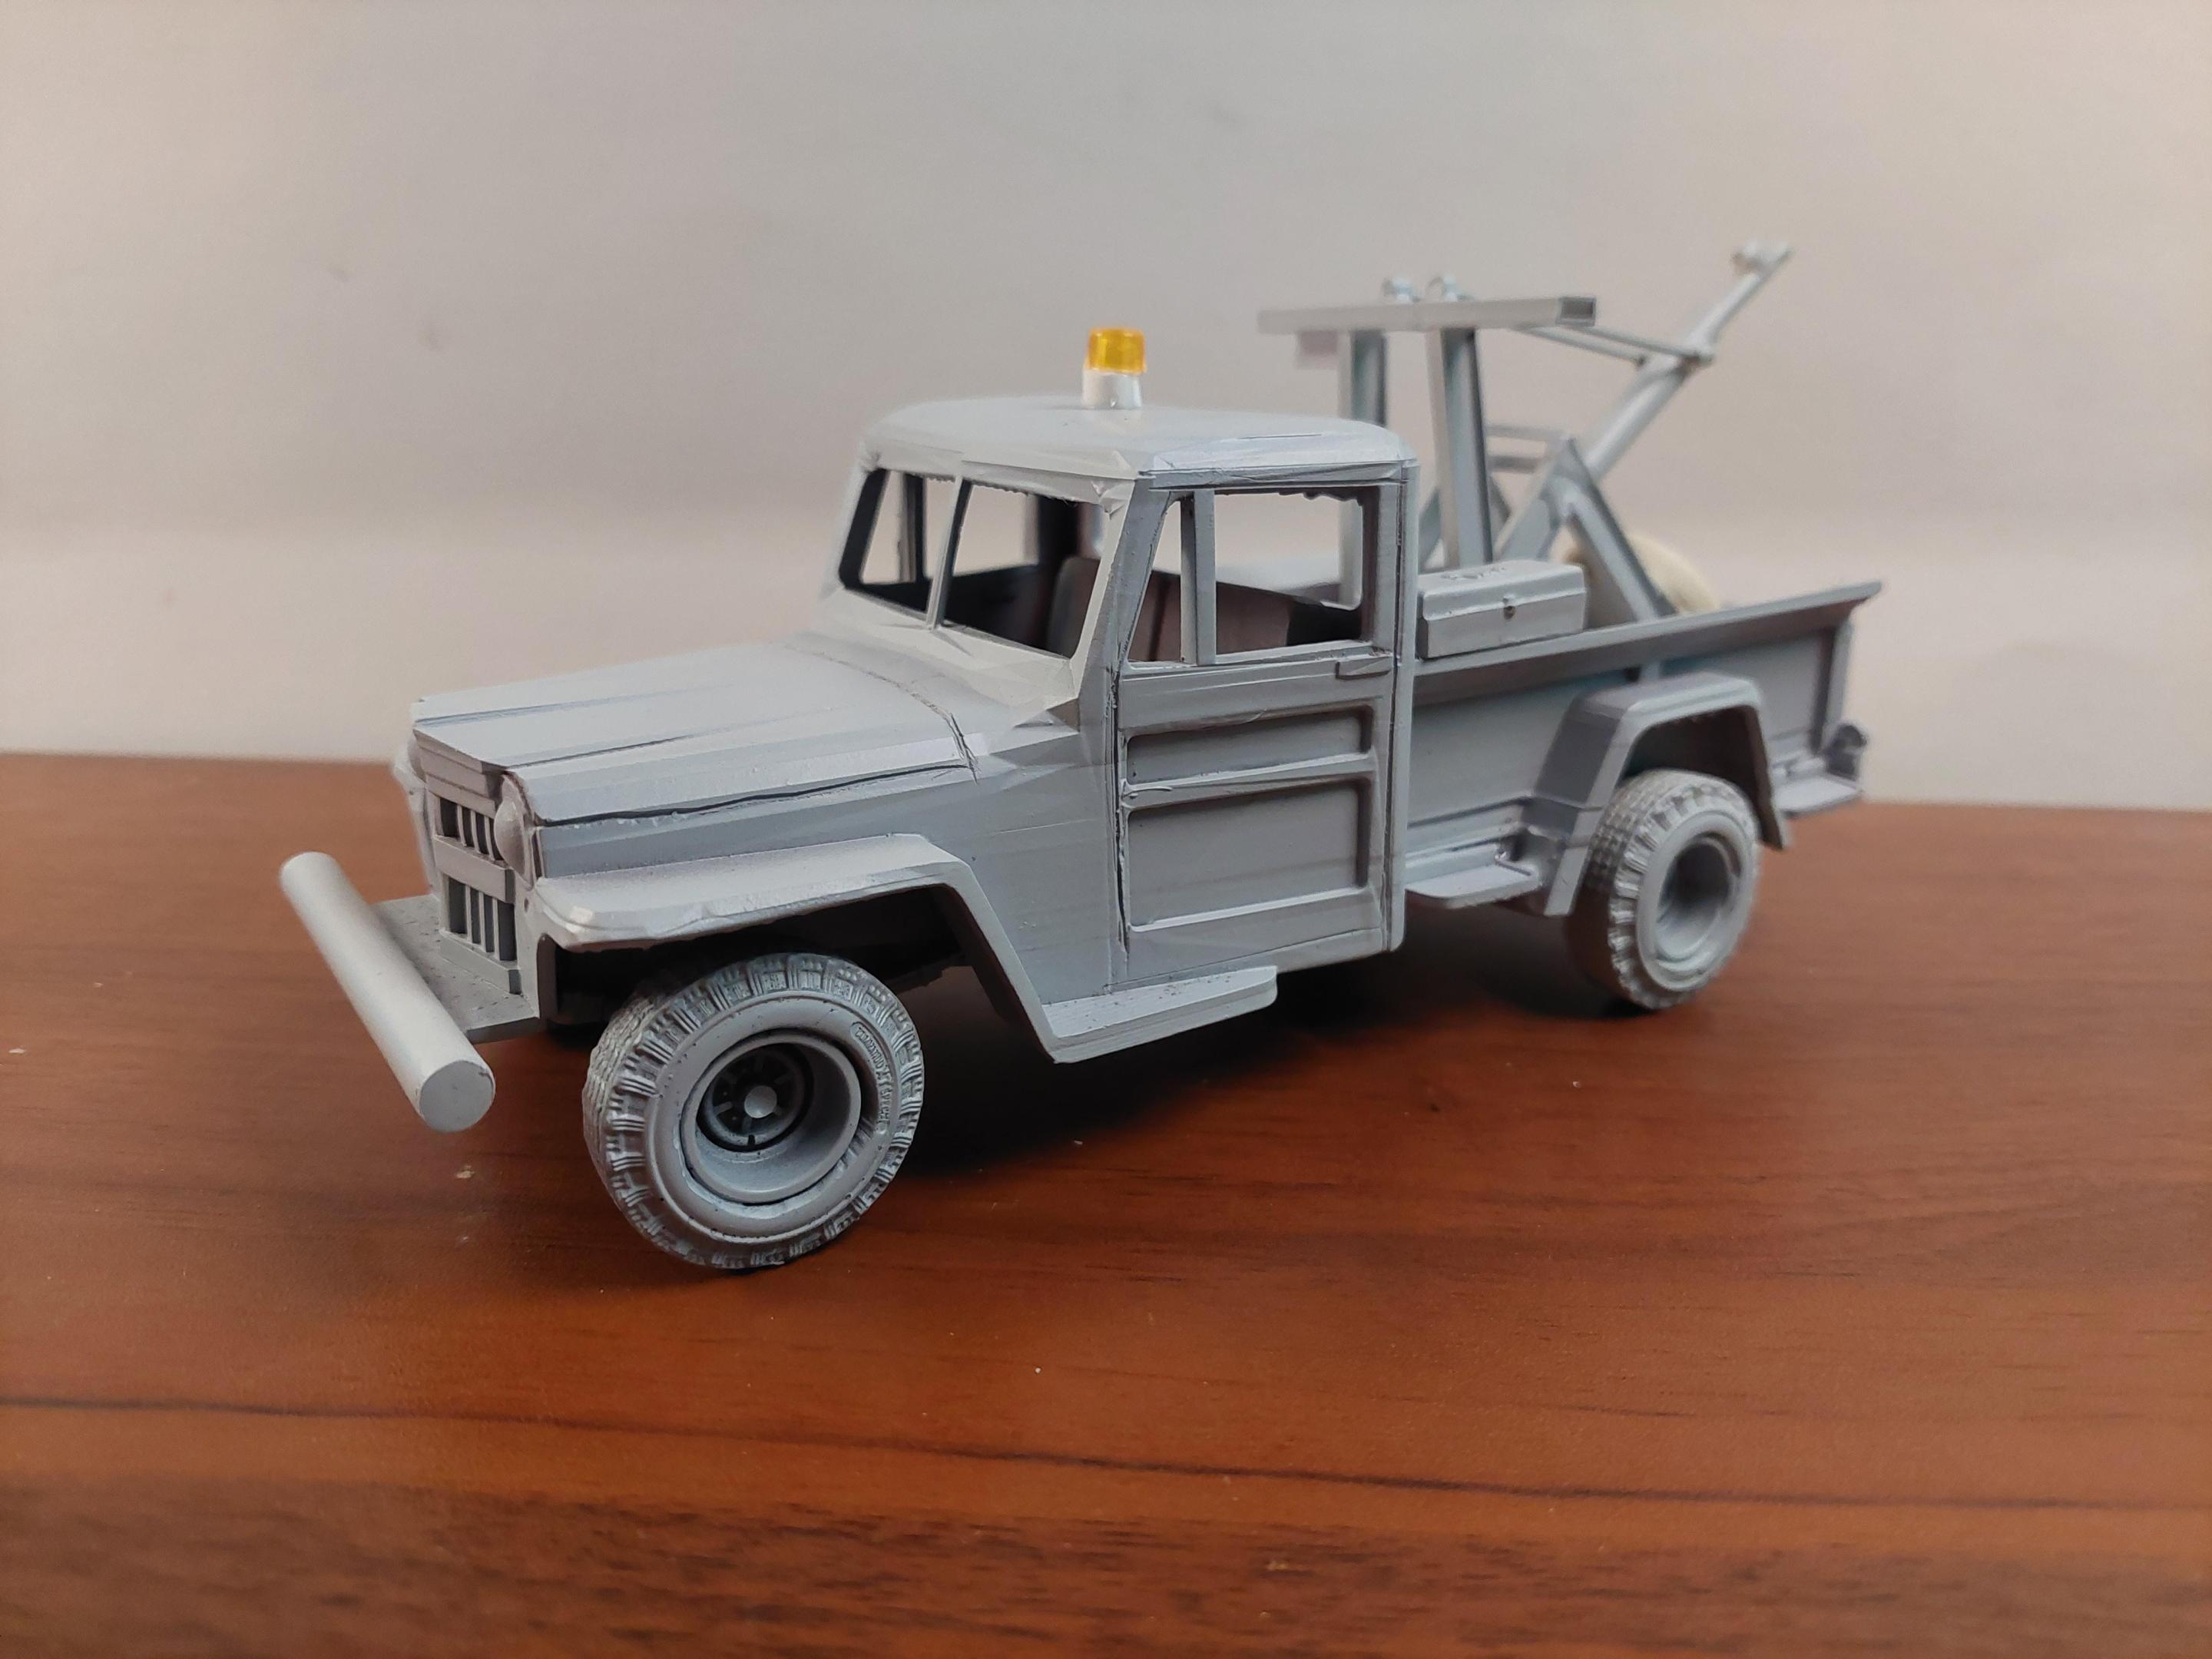
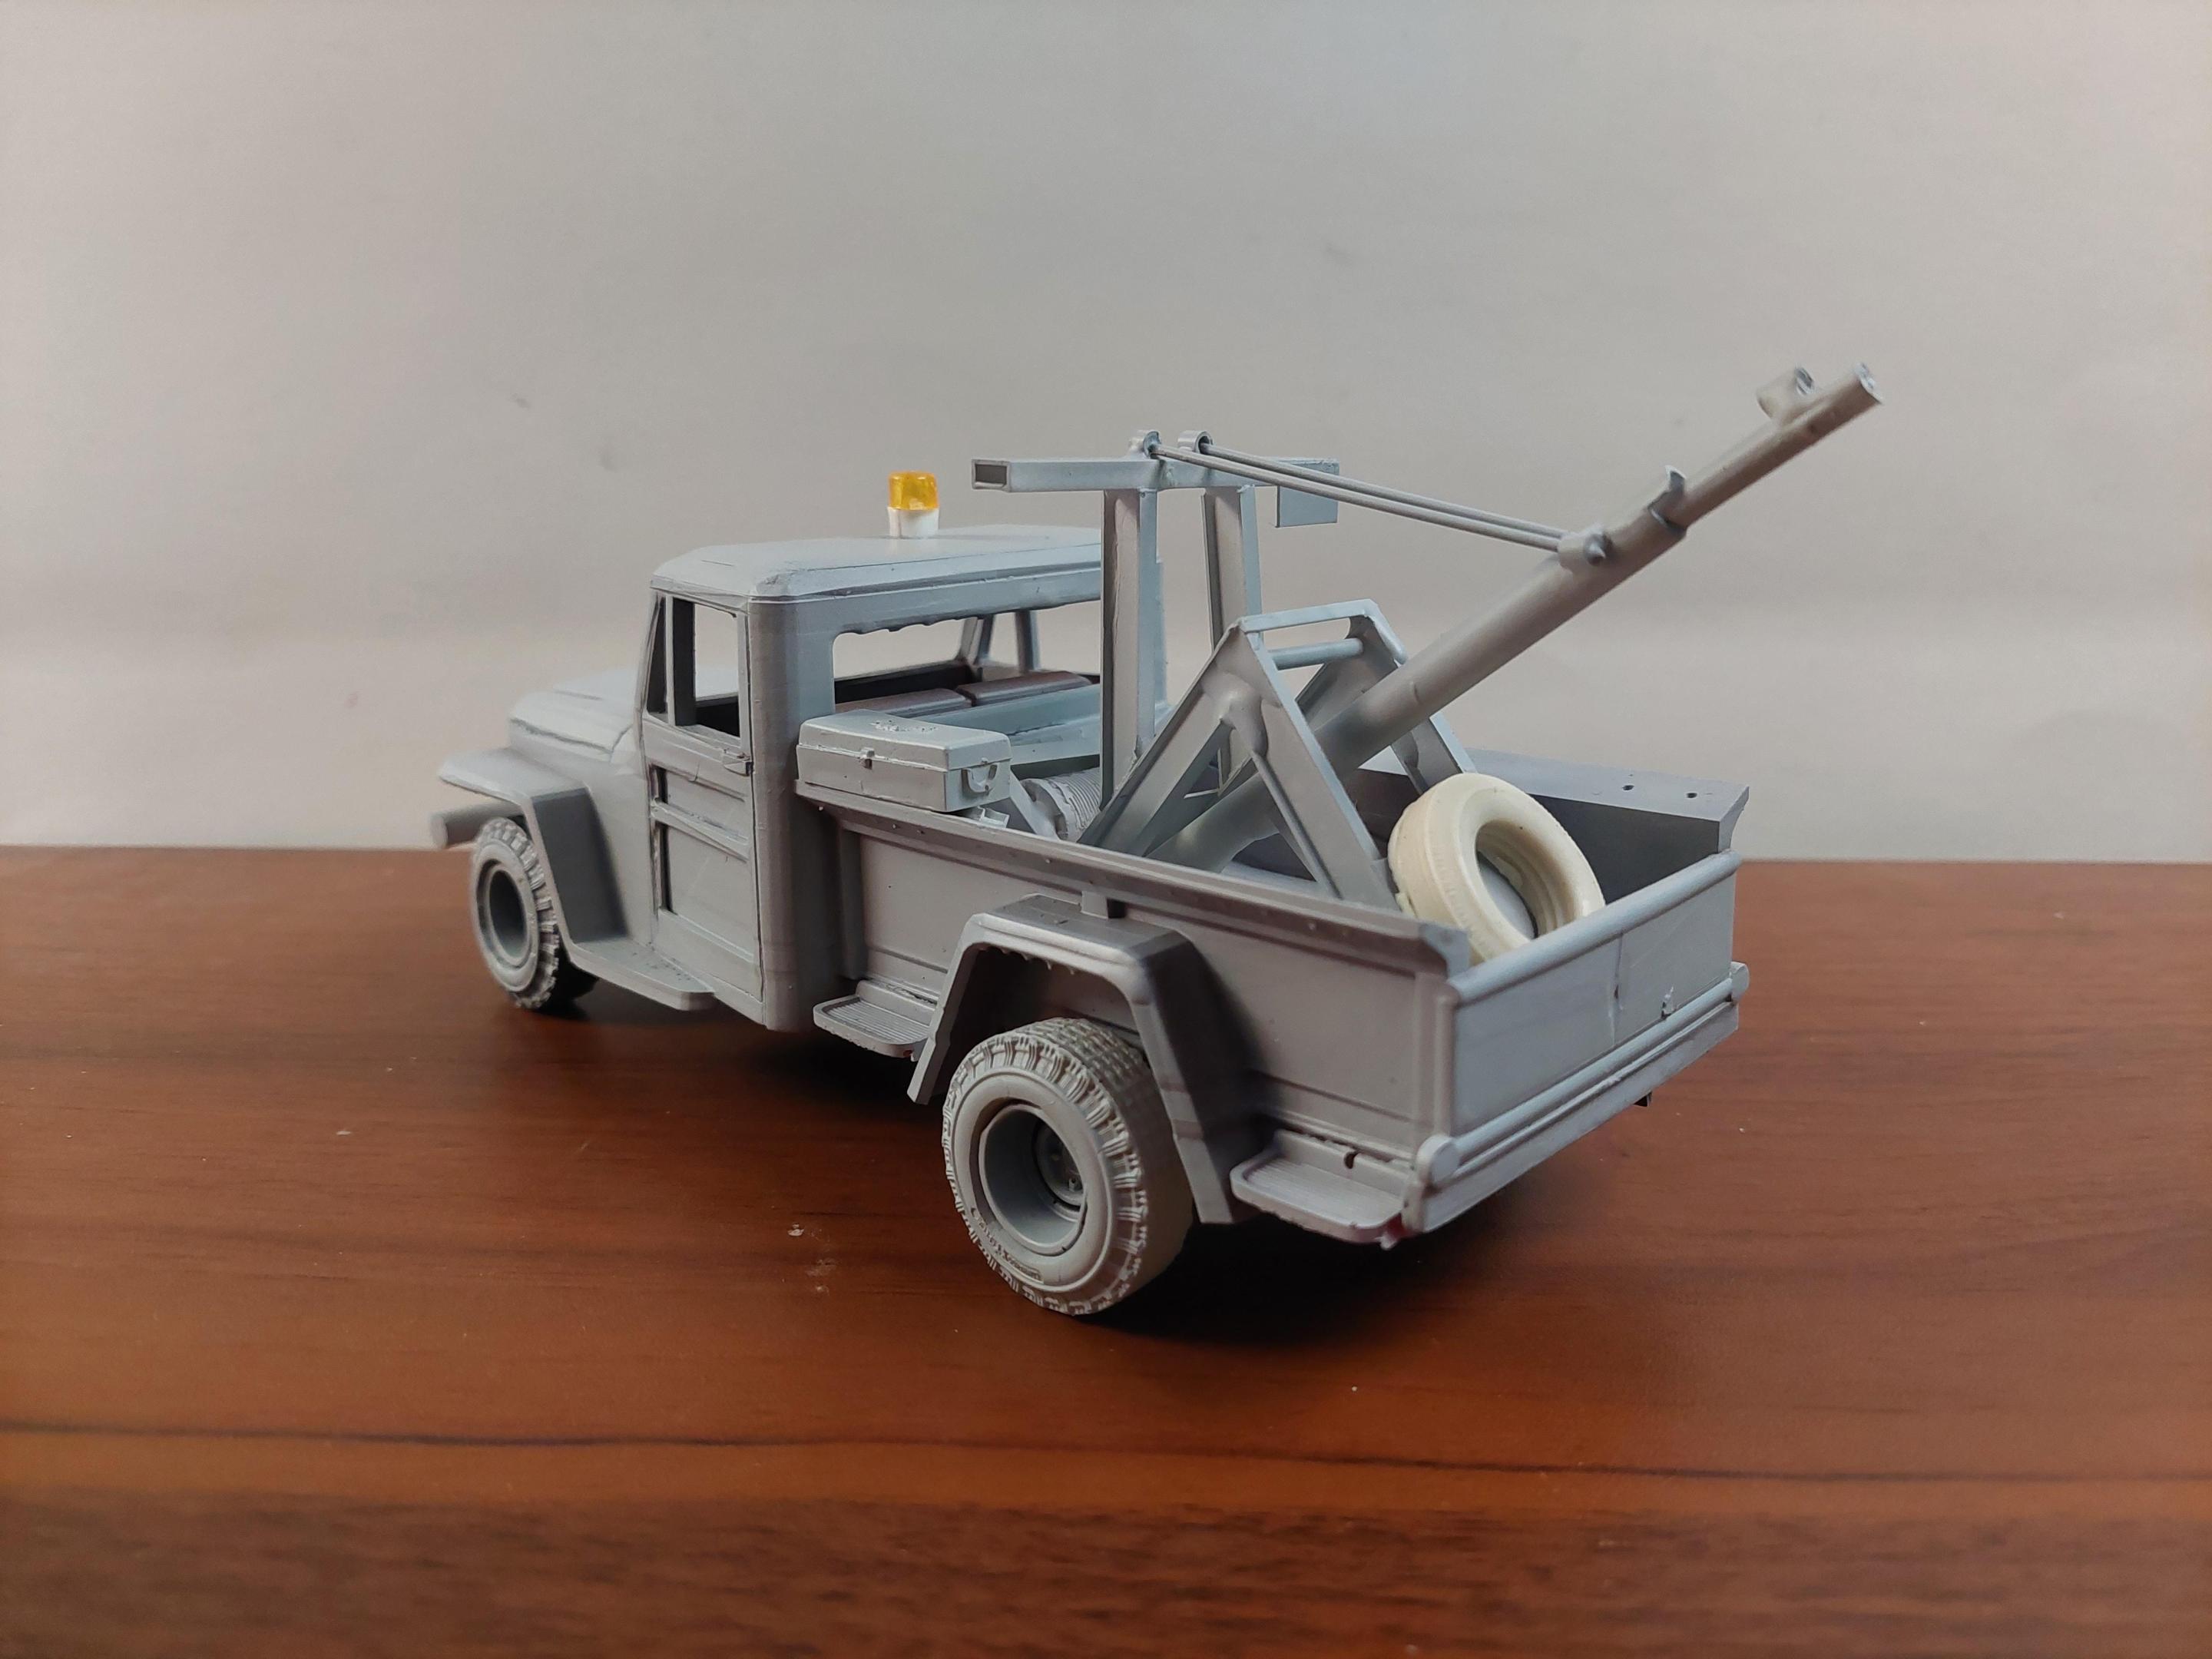
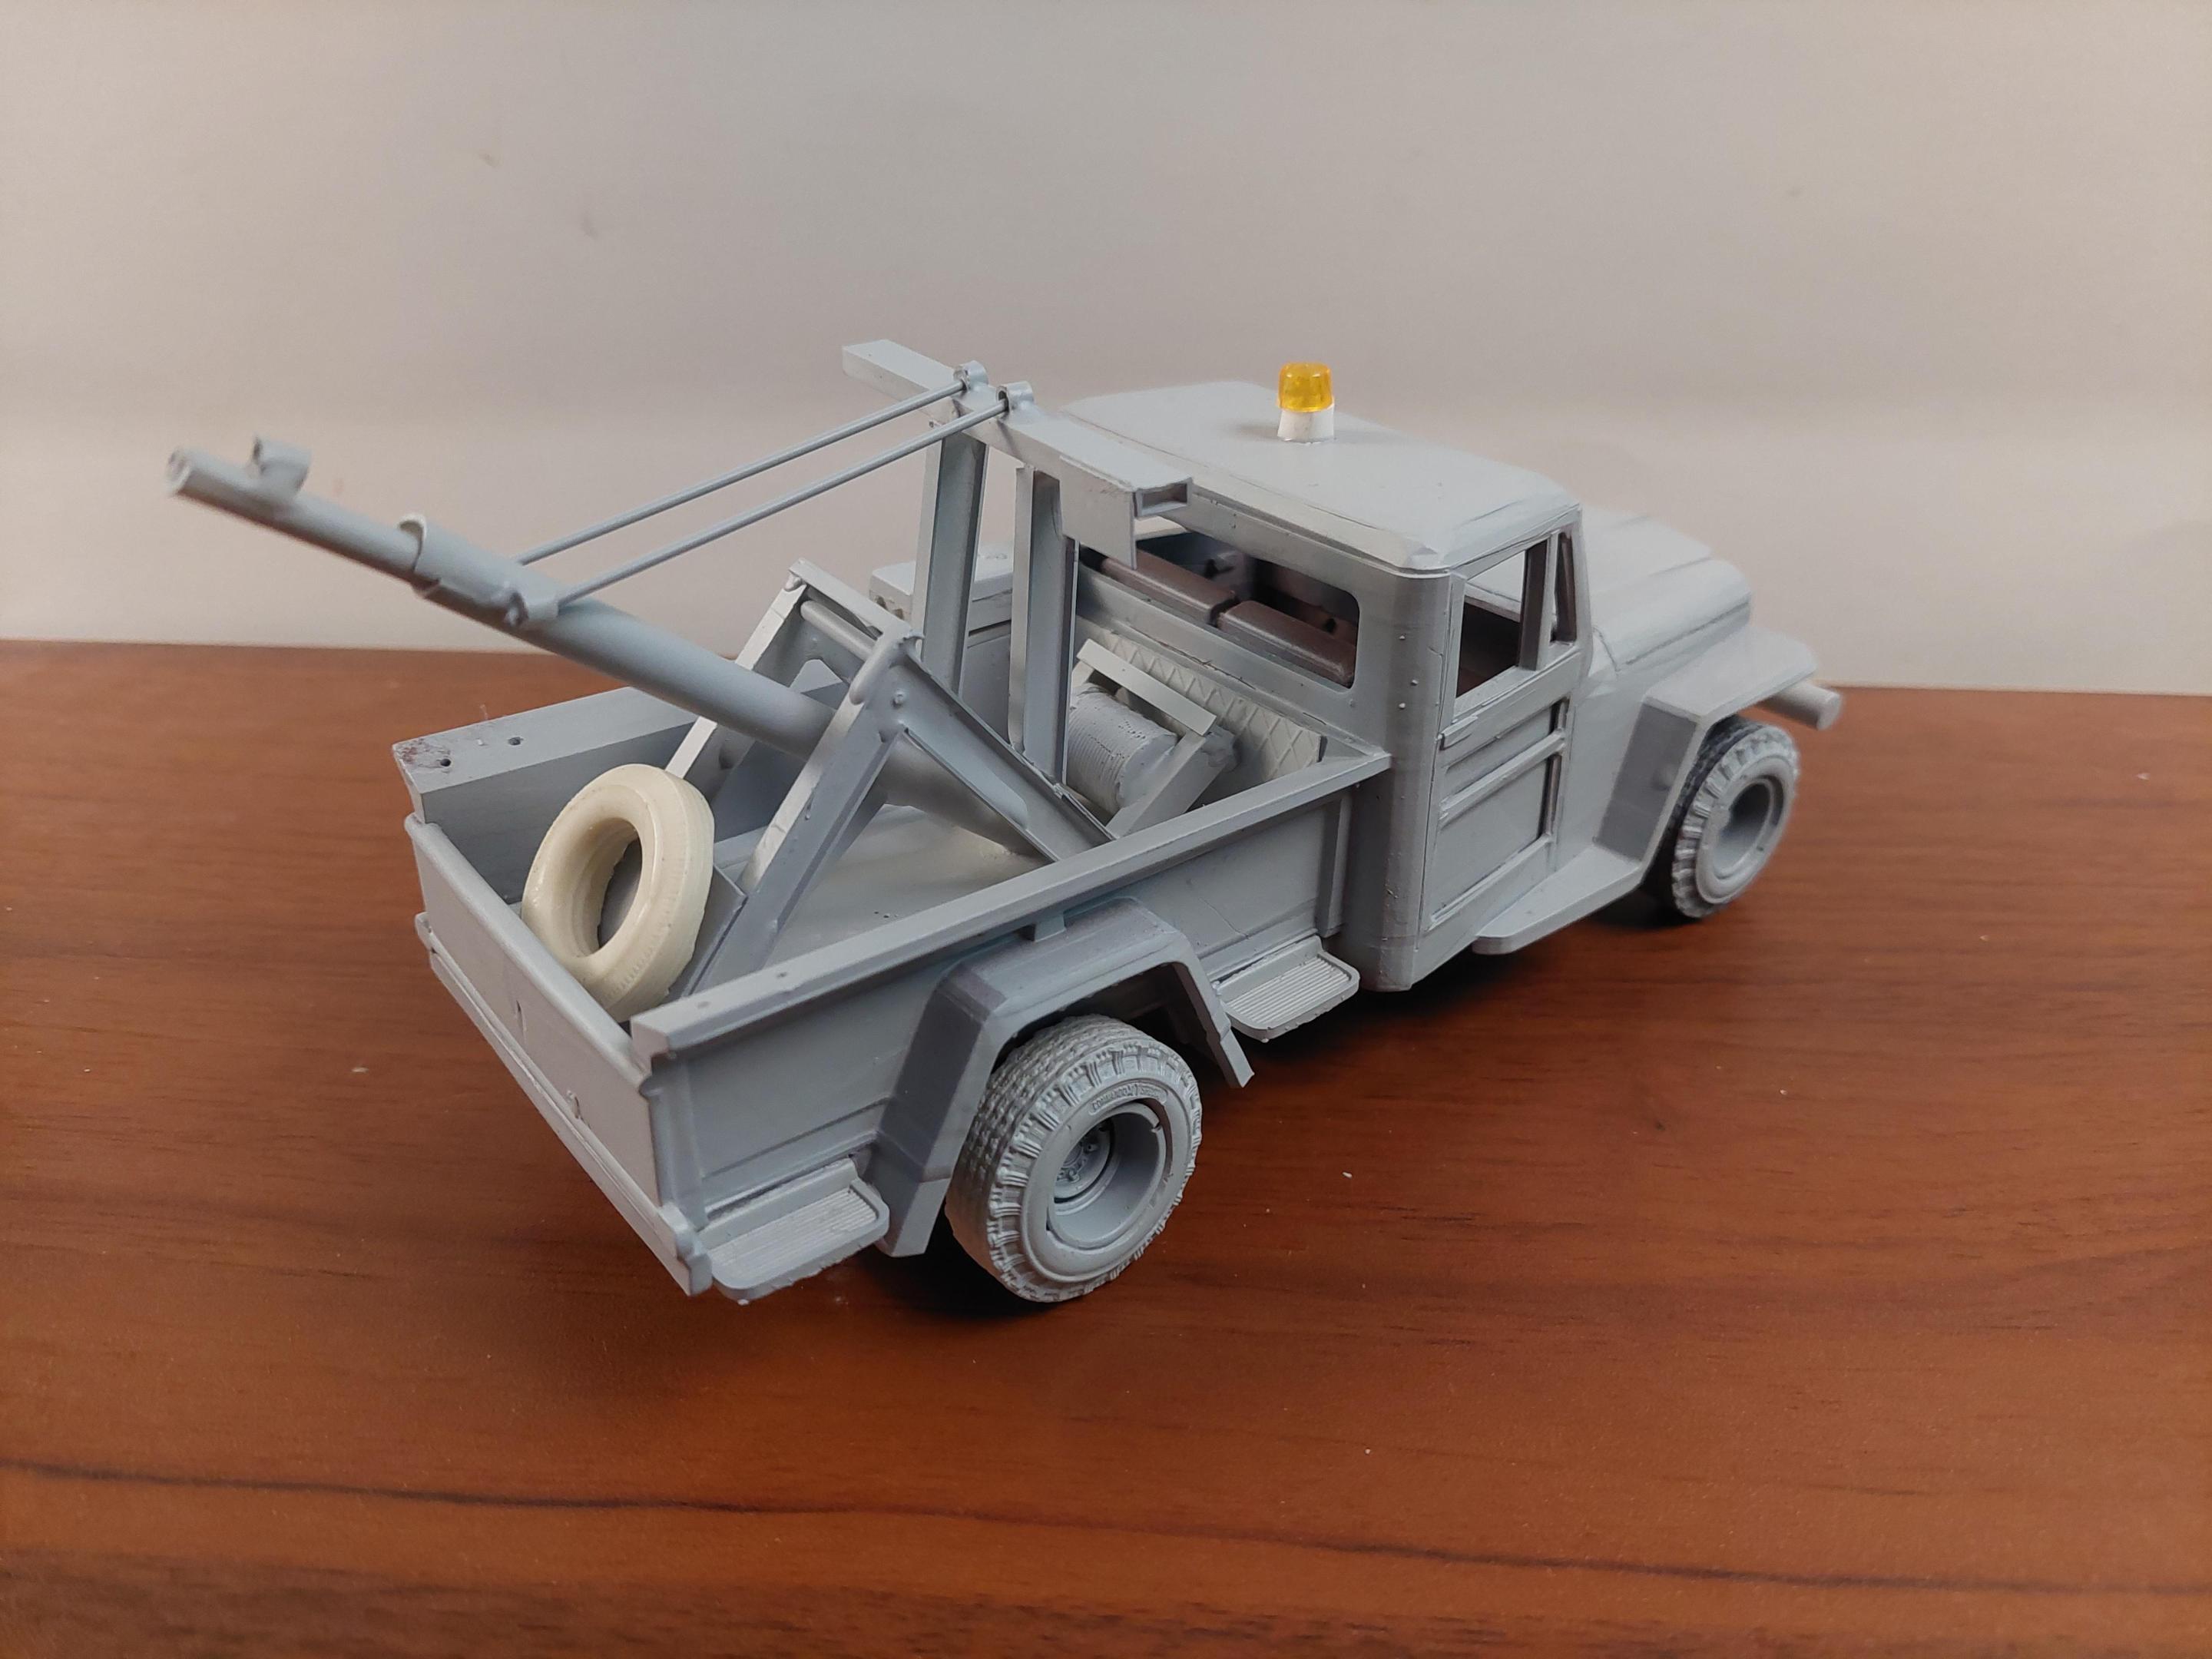
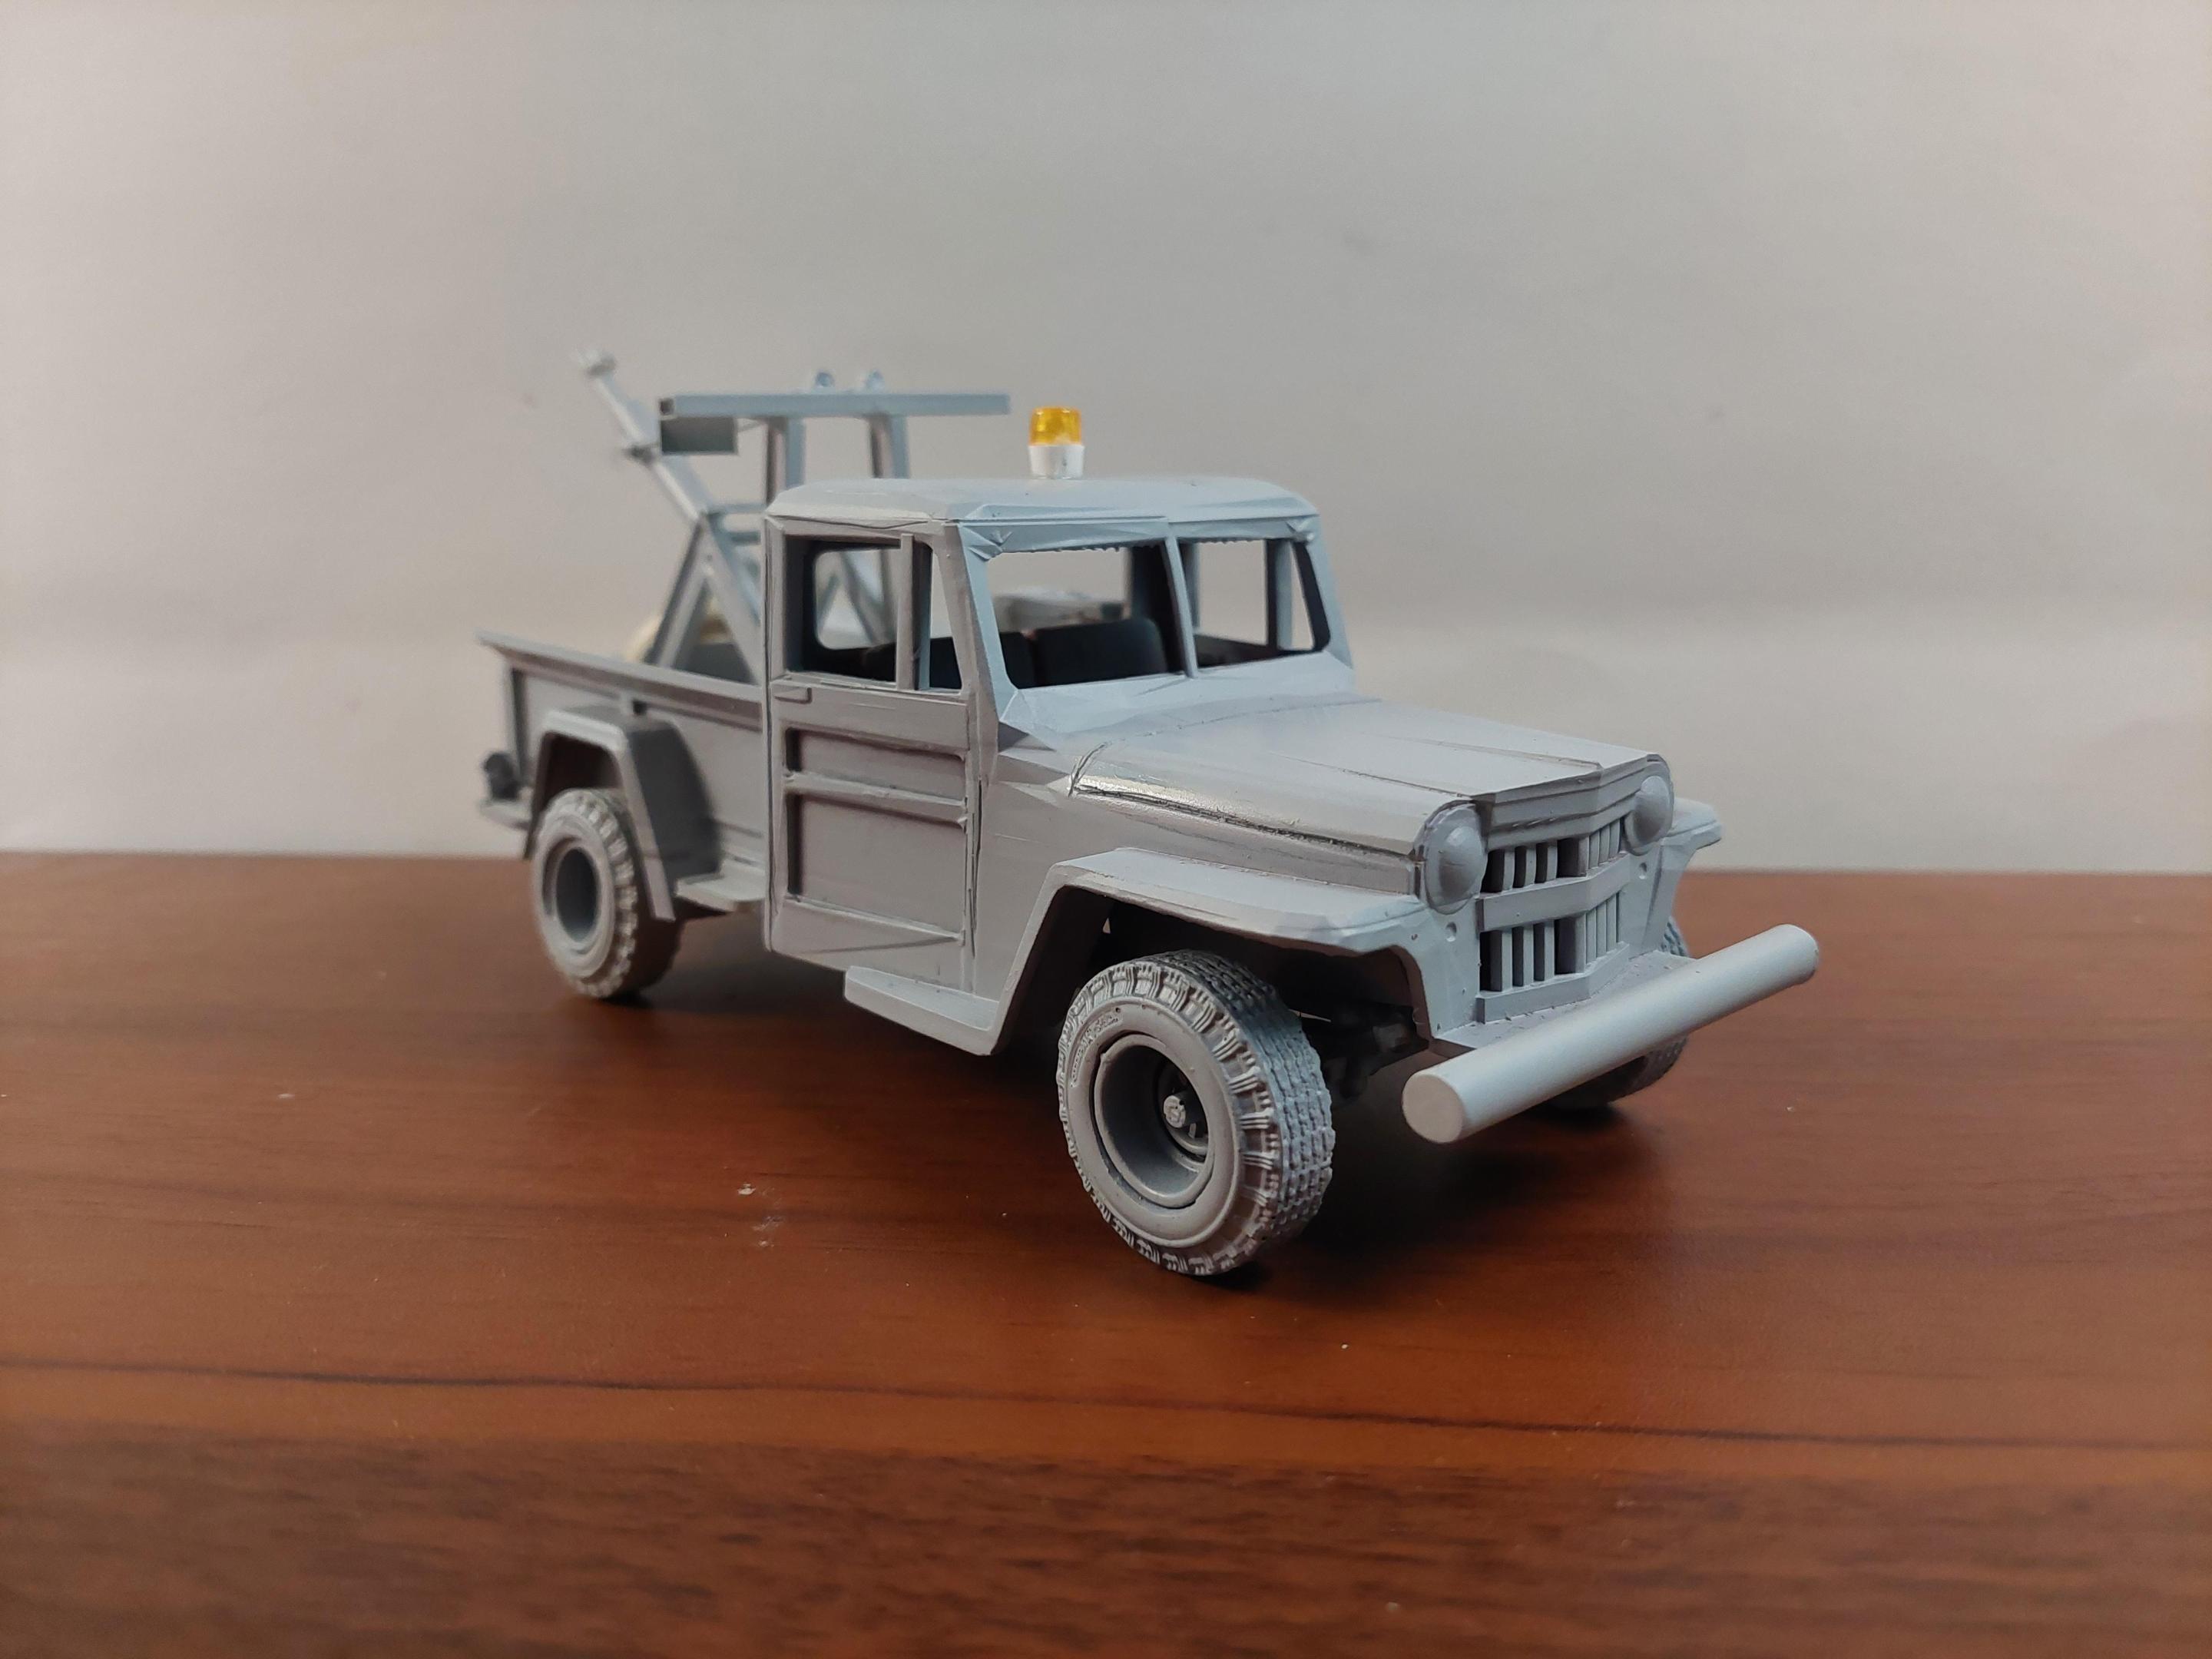
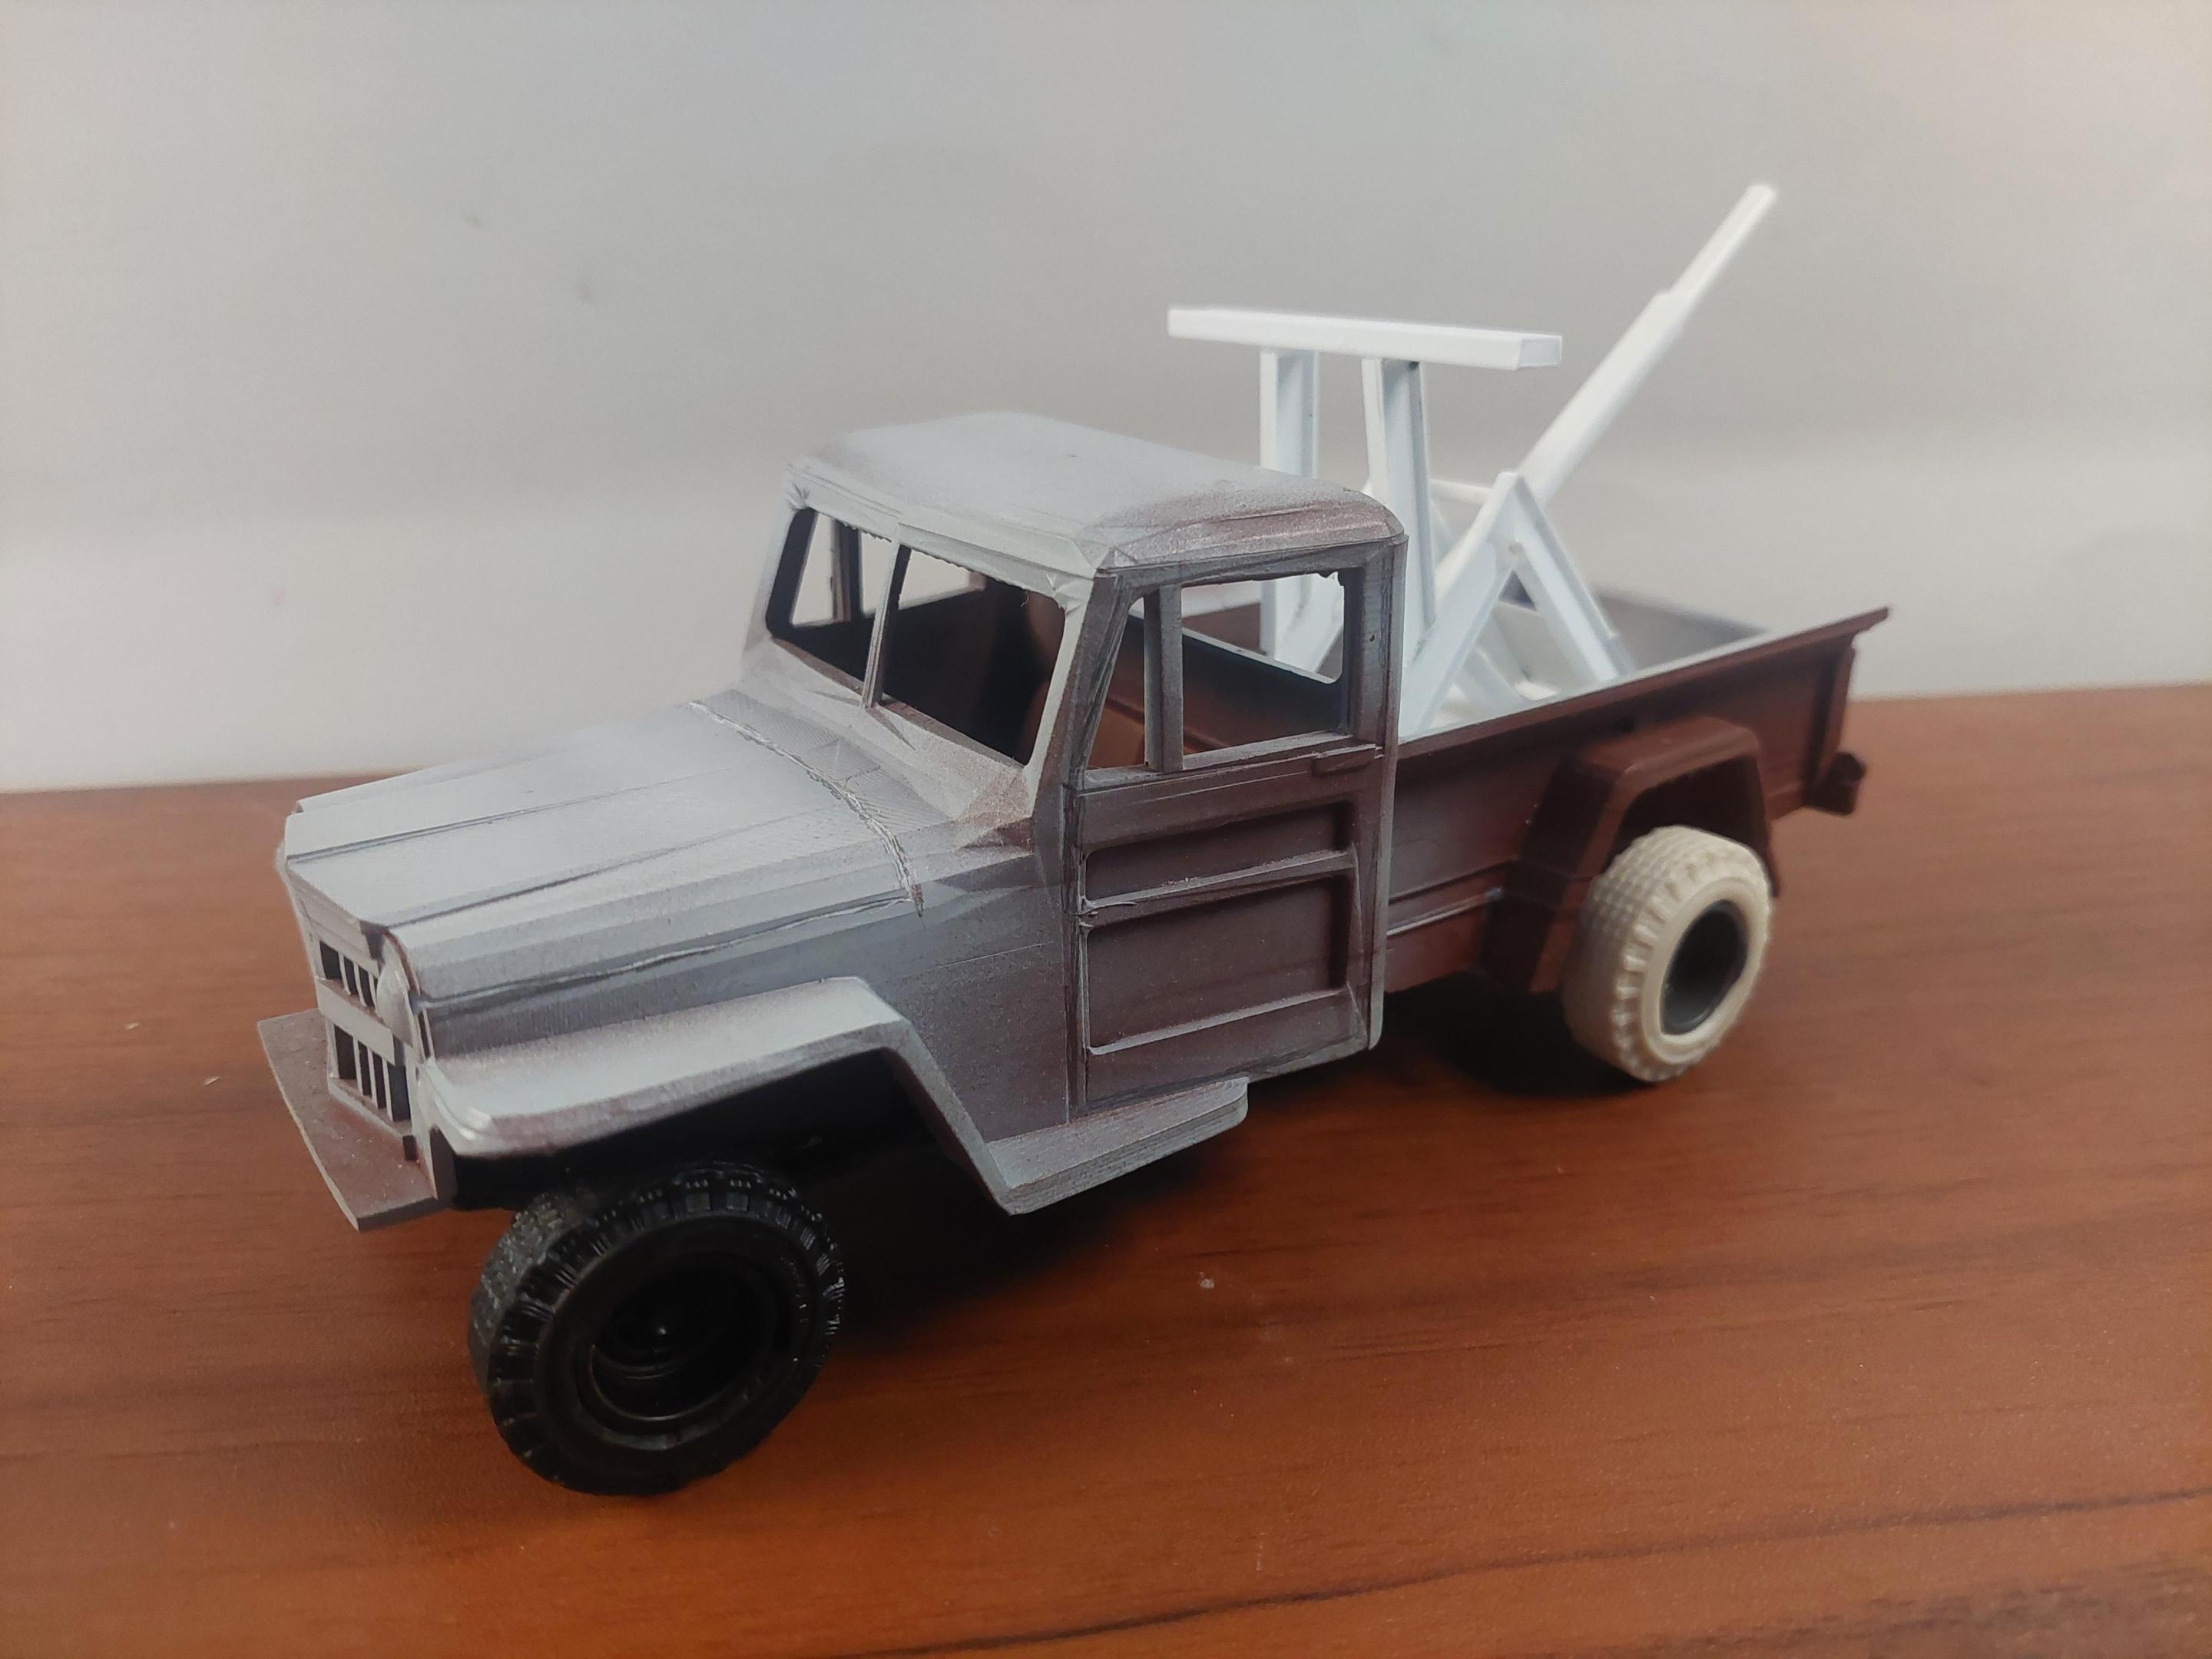
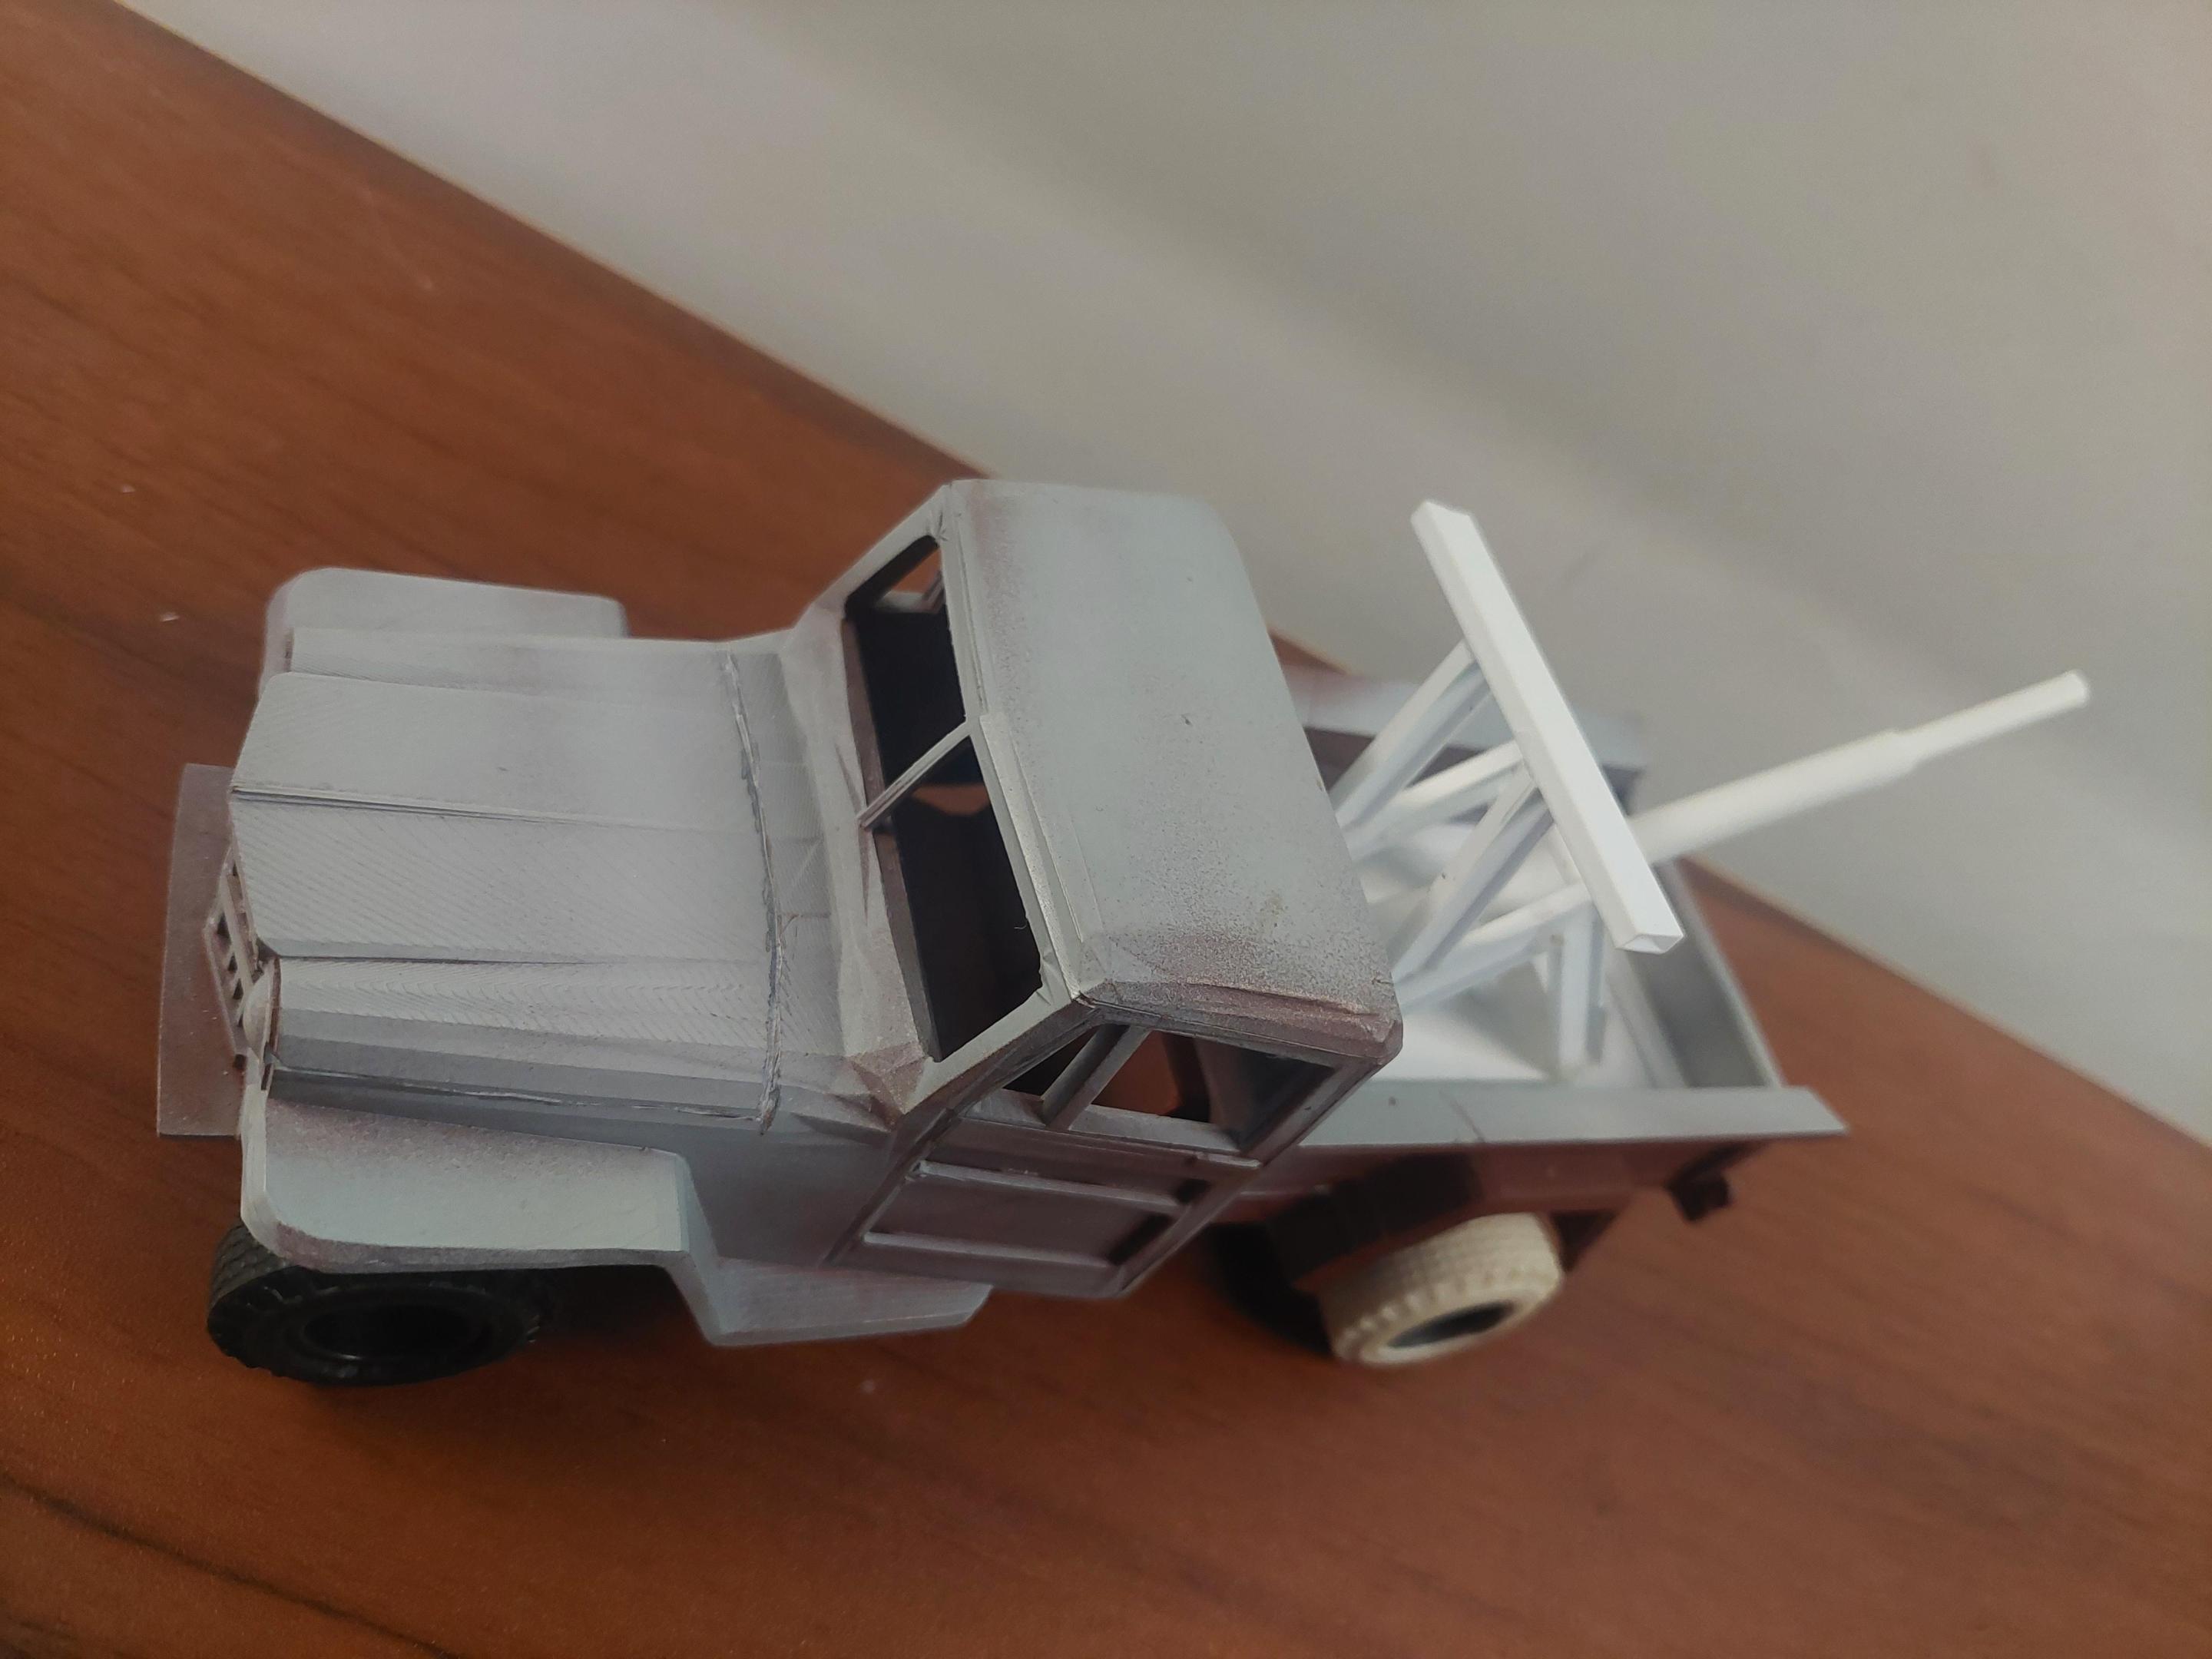
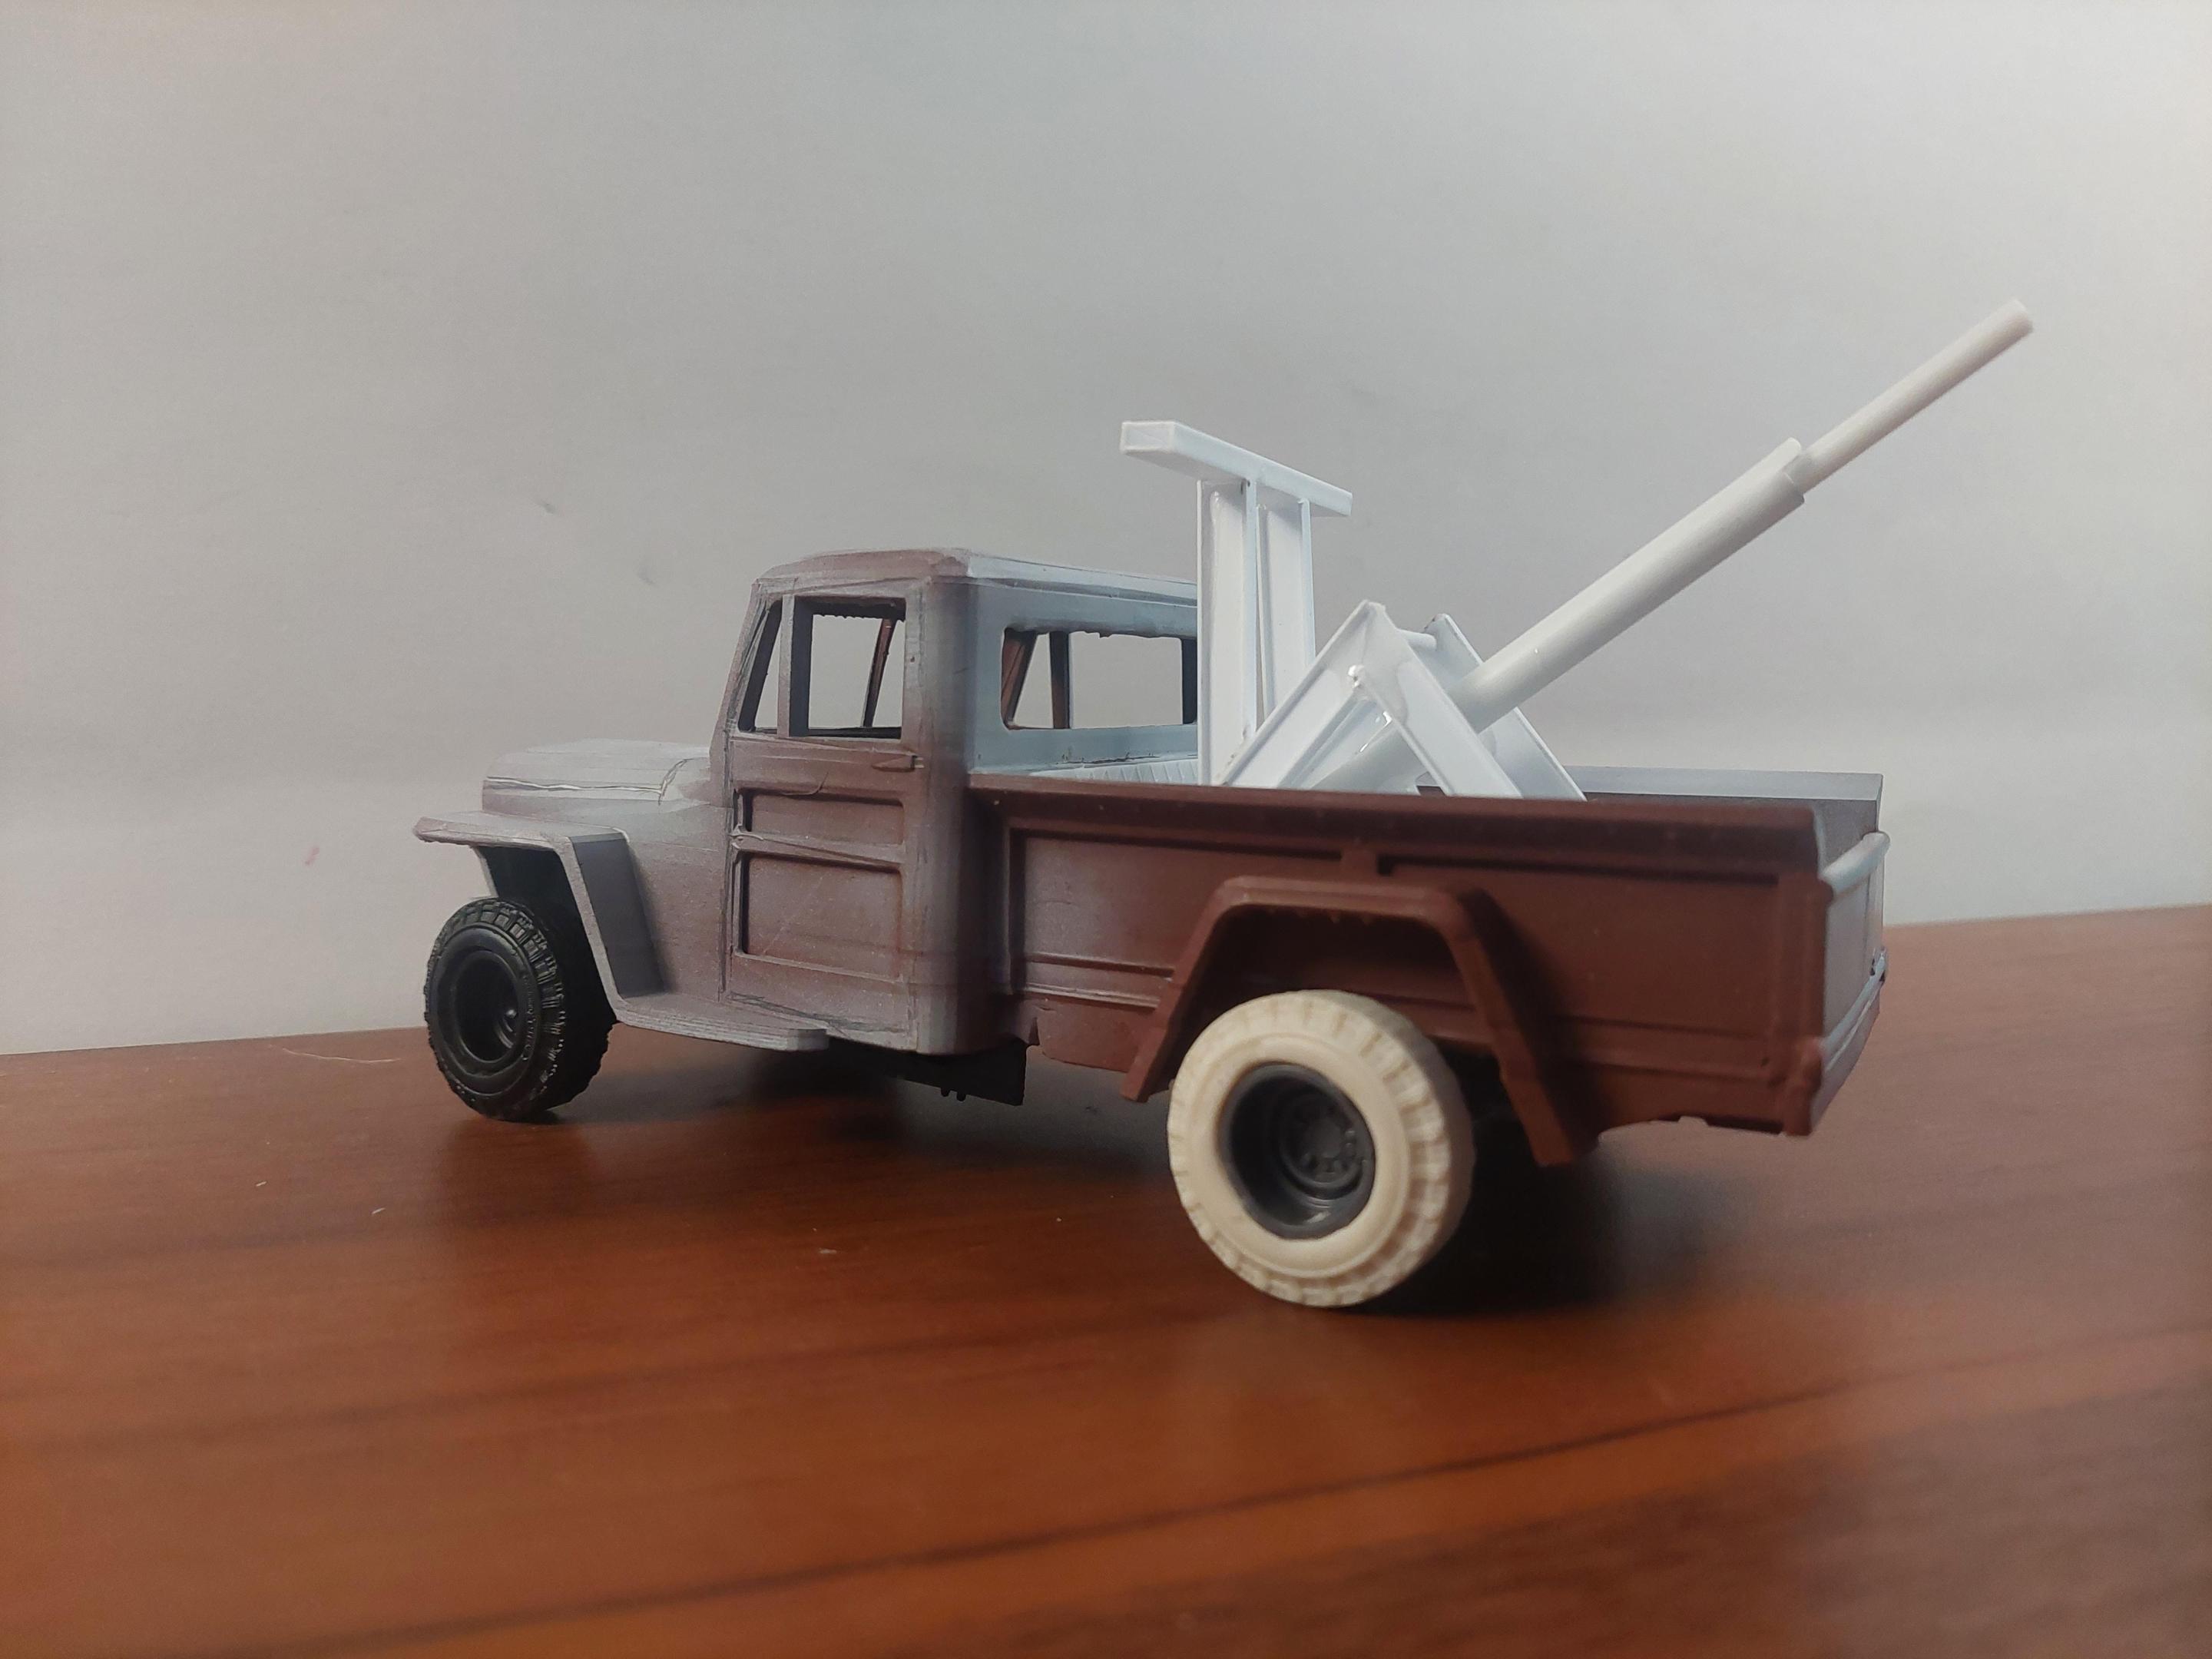
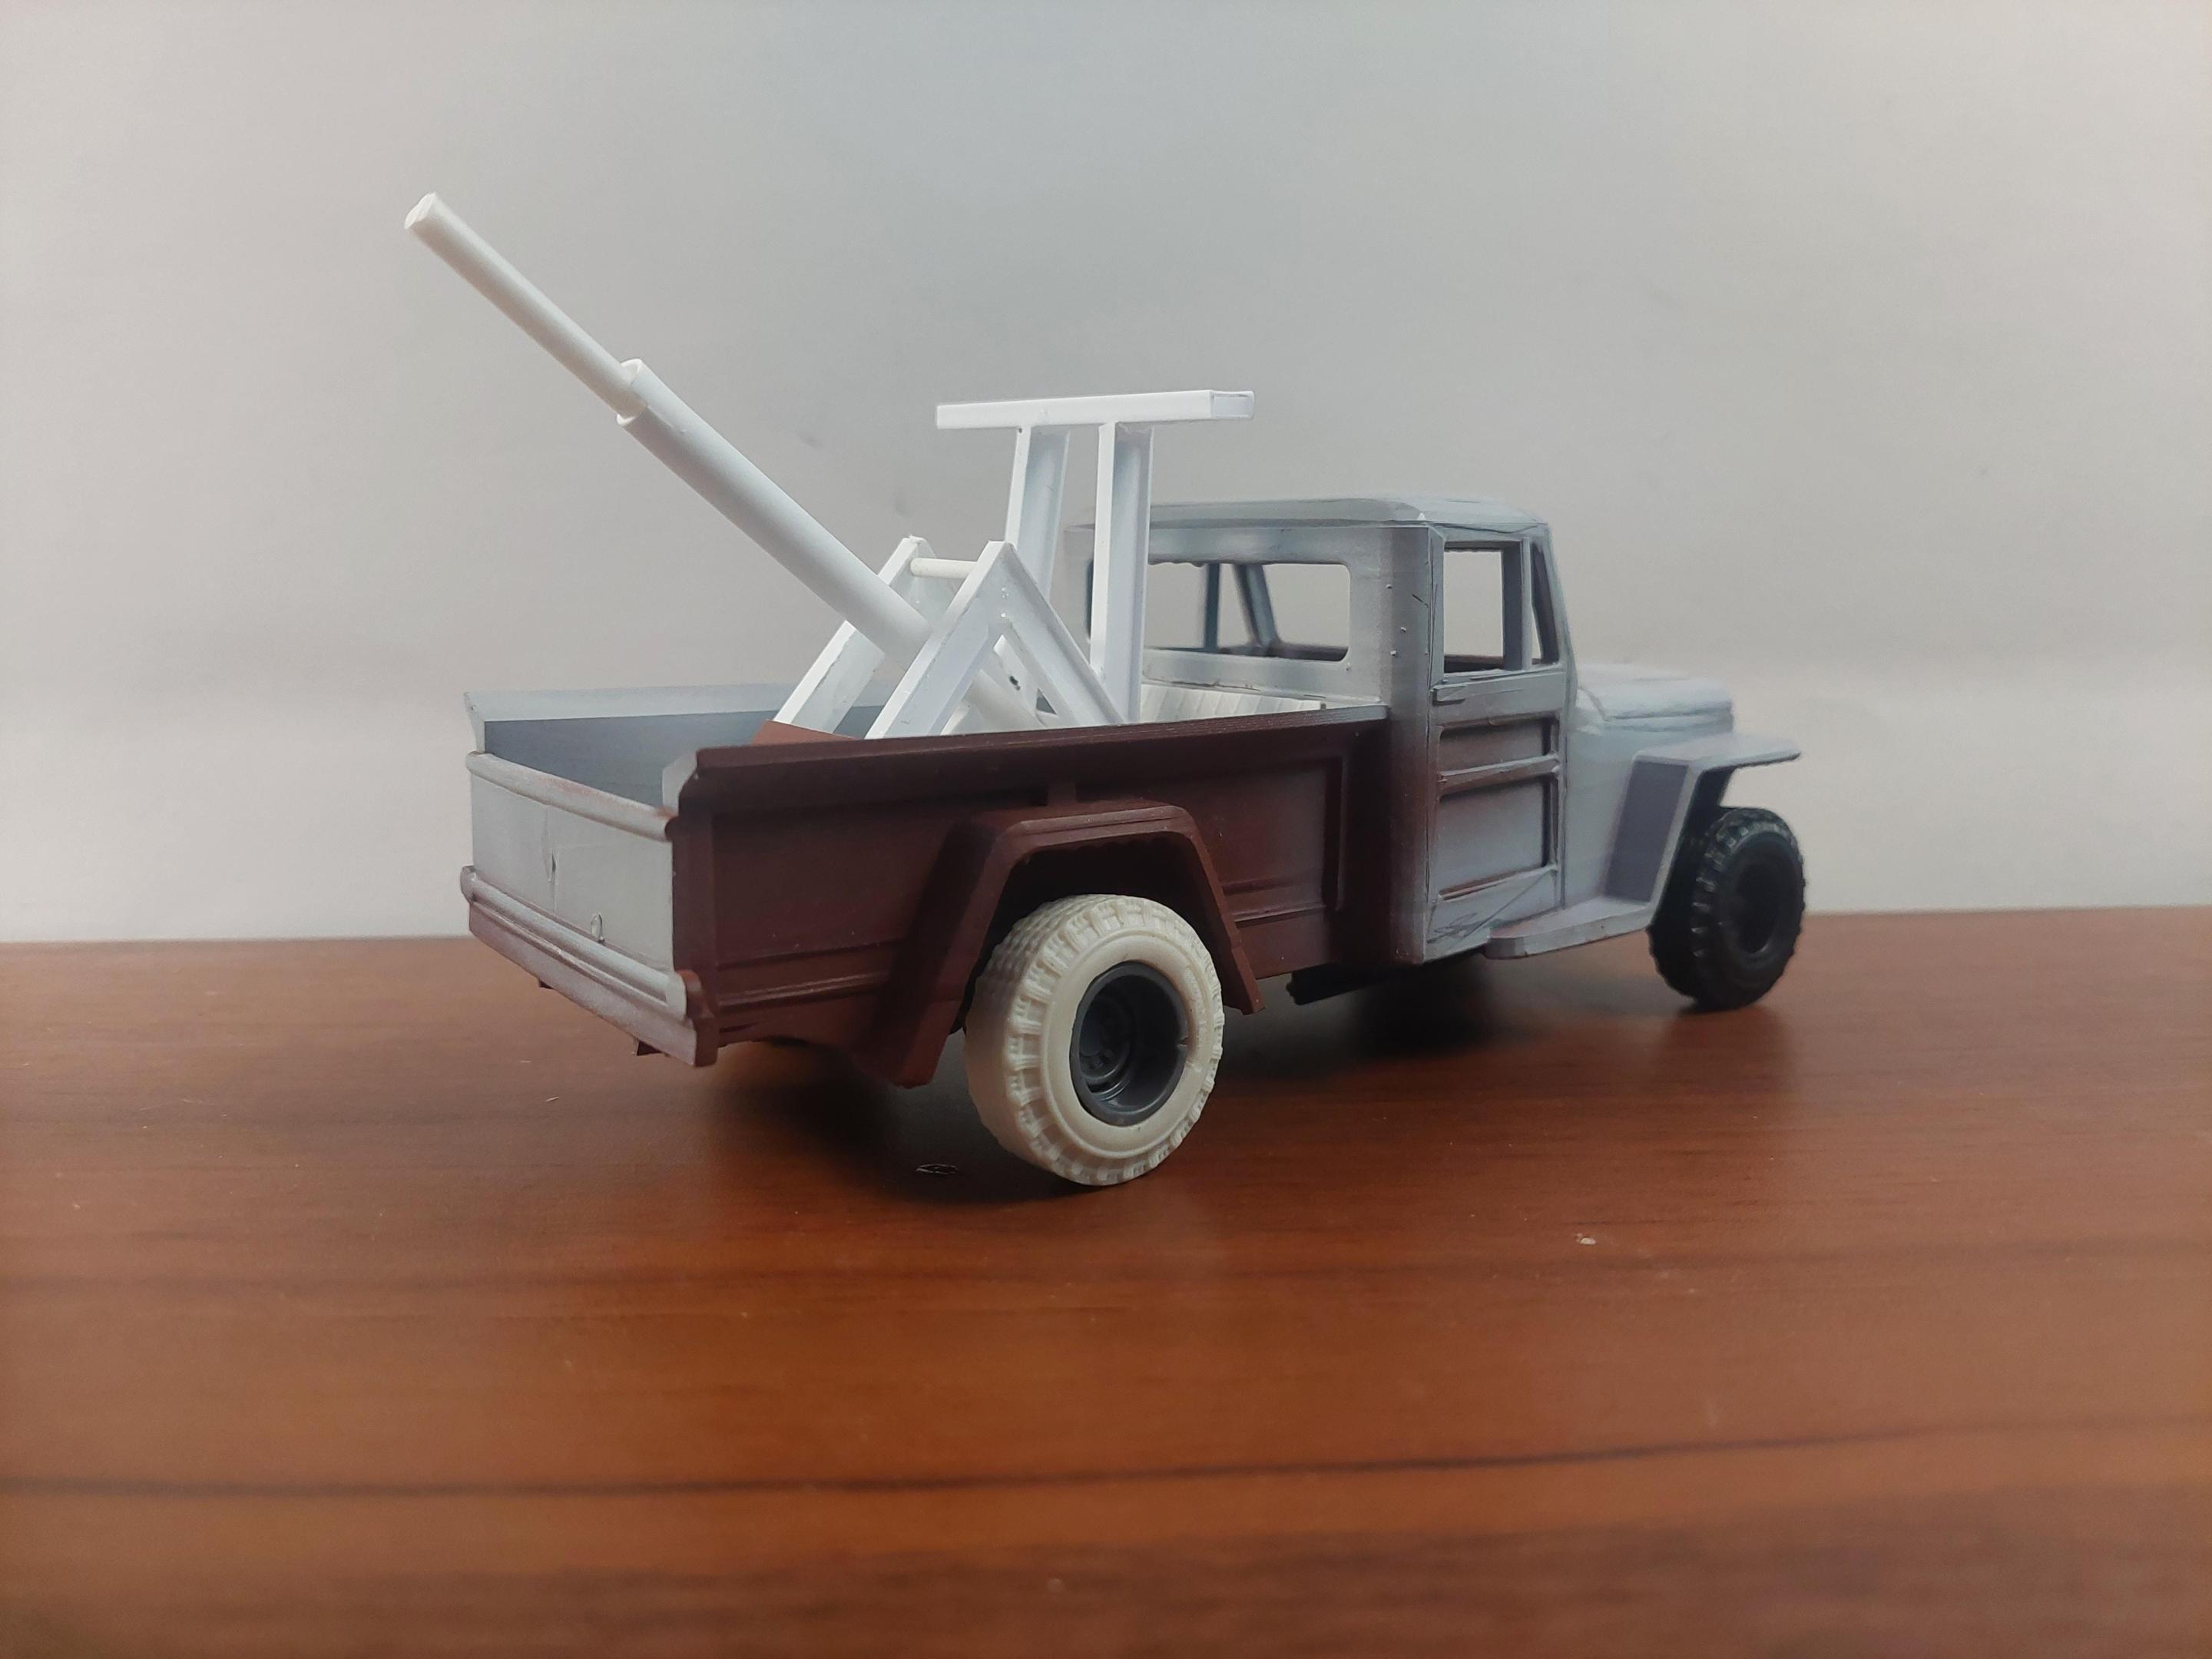
I started this in October and it fought a pretty good battle but its nkw done. It started as a 3D printed body only item and after I gathered up interior and chassis items I decided curbside was going to be my route. I tried my hand at resin casting simple items such as the : tires,wheels,gas cans, tools and tool box, light beacons and winch. Seat is 53 Chevy SD ,chassis is a modified Ford 4x4, boom, bumper,mirrors and cradle are made from evergreen plastic and glass is from clear sheet platic. Paint is Tamiya green and racing white all toned down with dull coat. Decals are Gofer everything else is parts box. Other than alot of sanding and scoring door and hood lines the only issue was when I bought this Jeep is seemed like it was not fully cured so I had to purchase a UV light to complete that.
-

Willys Jeep truck
BIGTRUCK replied to BIGTRUCK's topic in WIP: Model Trucks: Pickups, Vans, SUVs, Light Commercial
Progress moving nice now, the UV light worked well curing. Interior is next , then all the paint detailing. So far no more leaking .. -

Willys Jeep truck
BIGTRUCK replied to BIGTRUCK's topic in WIP: Model Trucks: Pickups, Vans, SUVs, Light Commercial
Mounted my UV light to help cure this 3D print so I can get on with completing ...here it is in action. The turntable does not have a switch to turn on, the UV or sunlight activates it. 20221224_085131.mp4 20221224_085100.mp4 -

Willys Jeep truck
BIGTRUCK replied to BIGTRUCK's topic in WIP: Model Trucks: Pickups, Vans, SUVs, Light Commercial
-

Willys Jeep truck
BIGTRUCK replied to BIGTRUCK's topic in WIP: Model Trucks: Pickups, Vans, SUVs, Light Commercial
I picked ip a UV Lamp on Amazon , I may be back in business soon.. -

Willys Jeep truck
BIGTRUCK replied to BIGTRUCK's topic in WIP: Model Trucks: Pickups, Vans, SUVs, Light Commercial
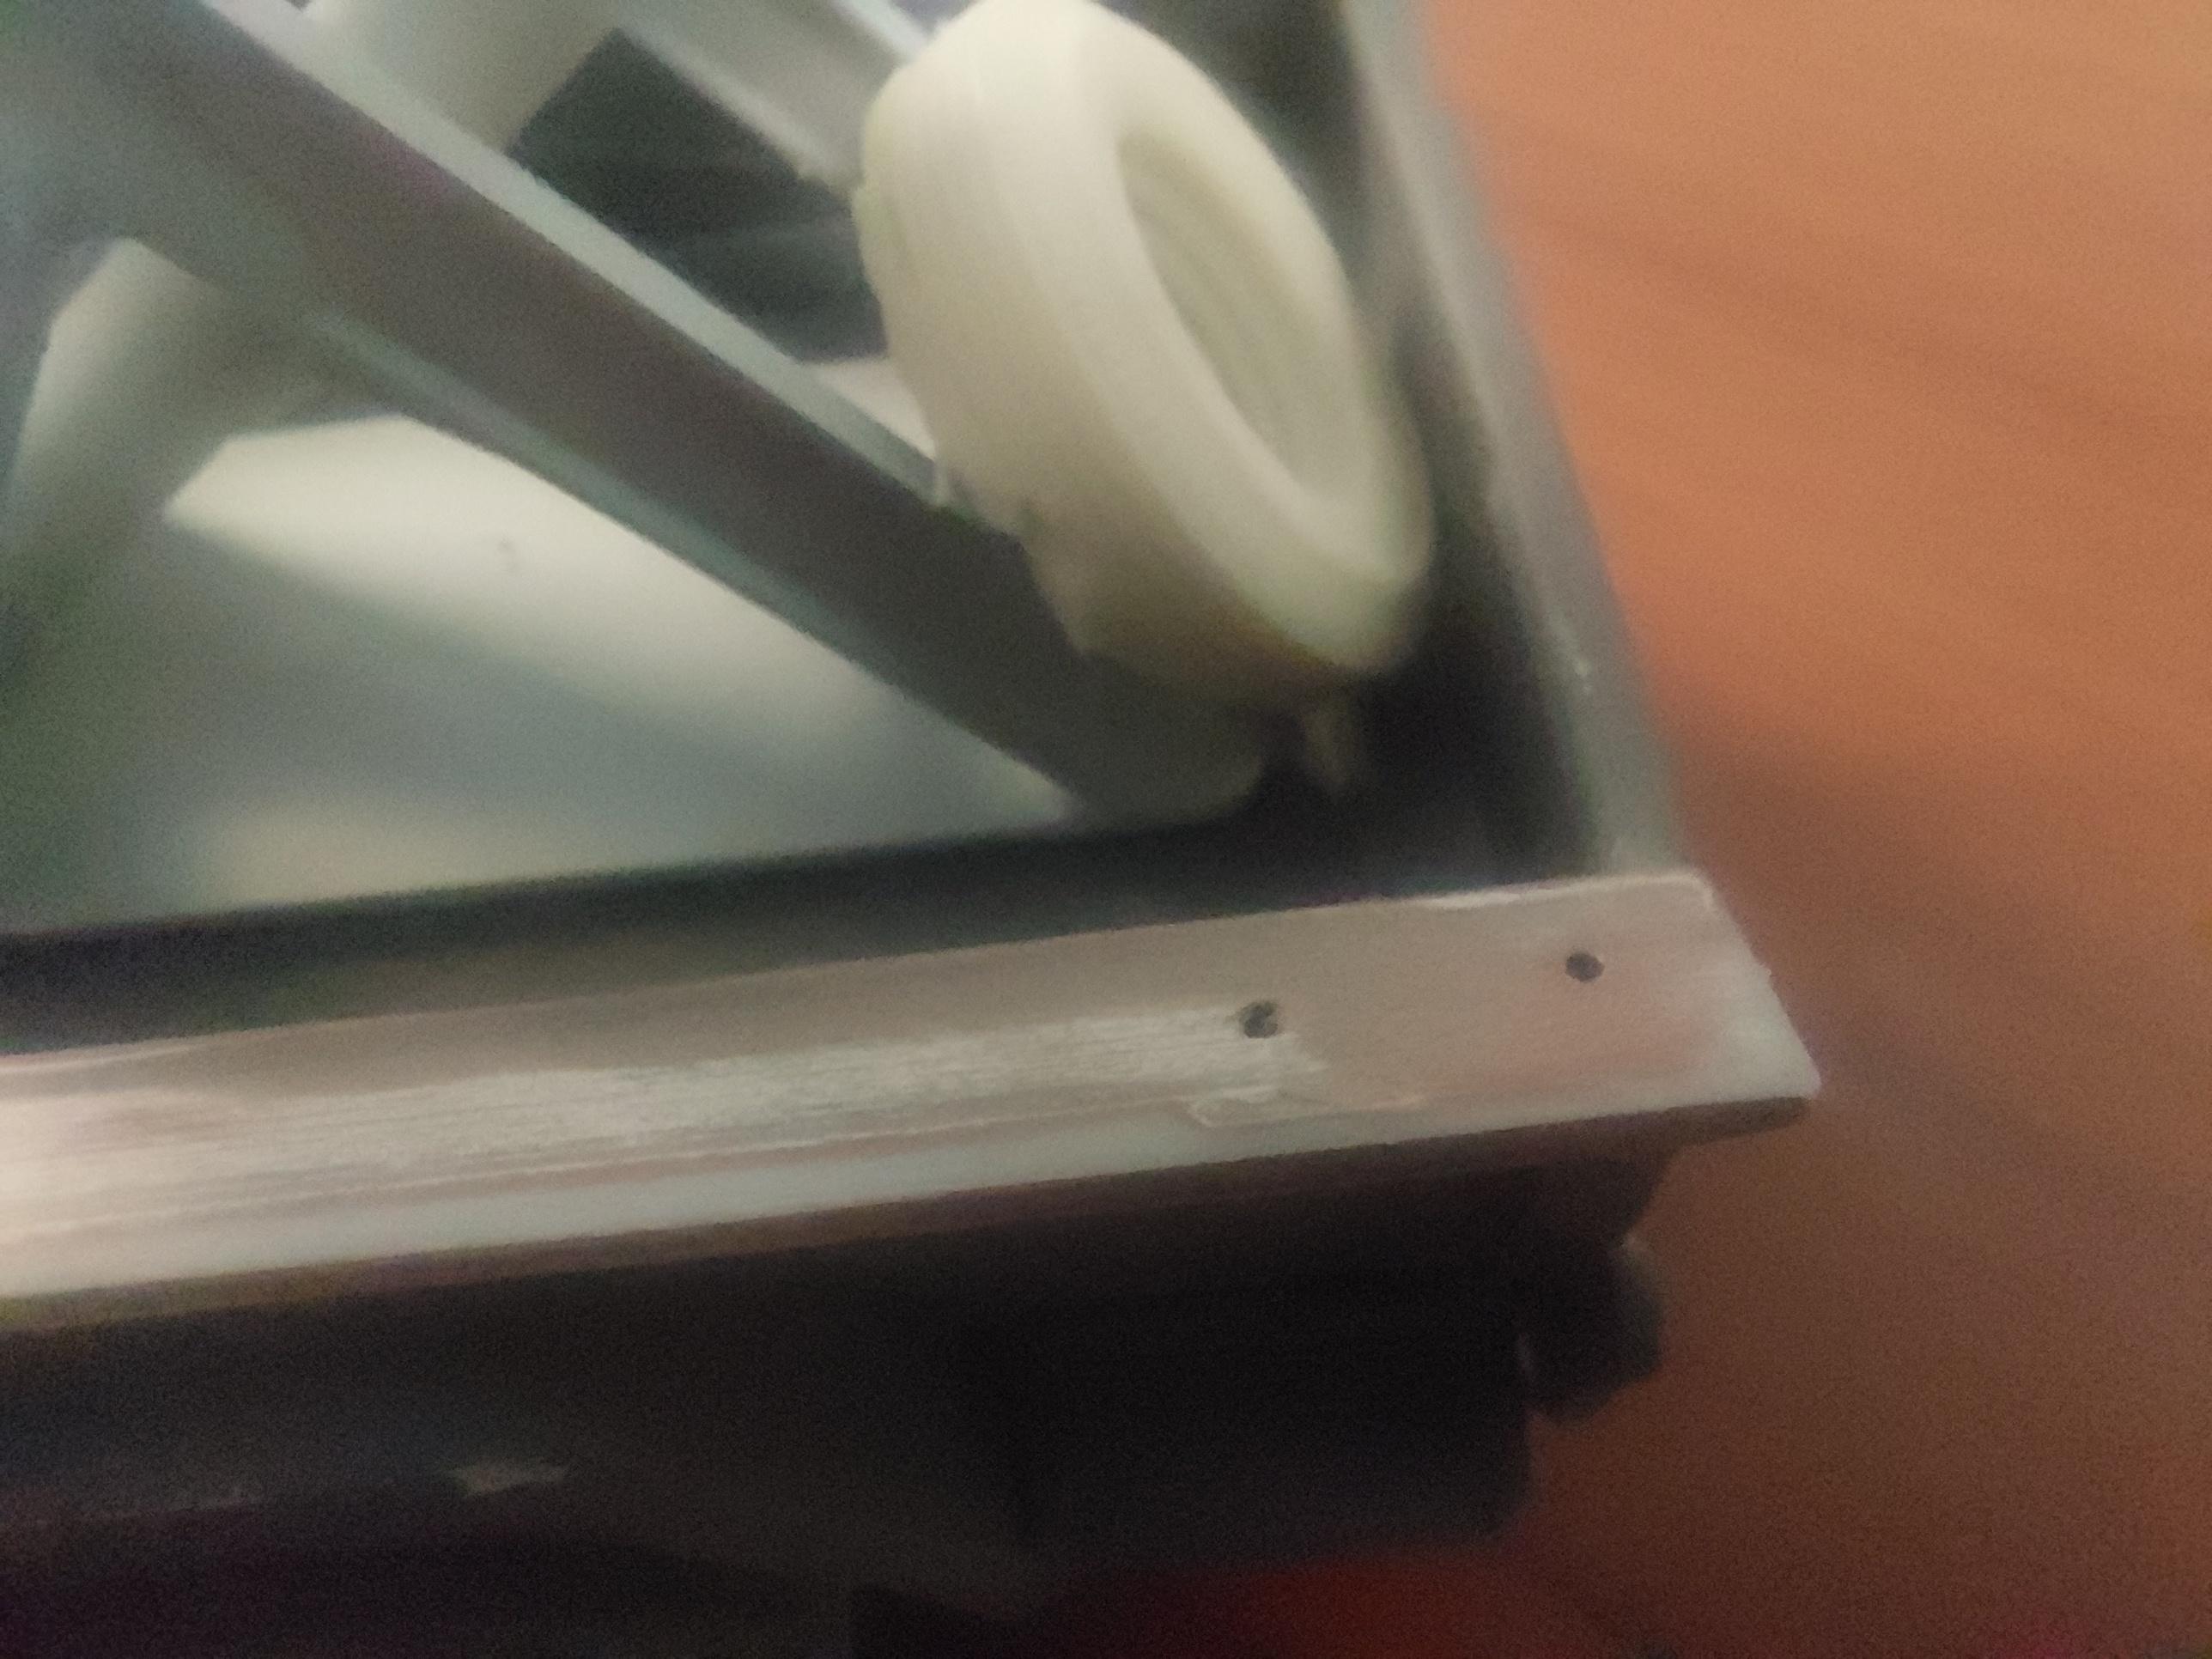
This build has been a nightmare from day 1 when a crack developed on the back of the cab. I fixed the crack and then noticed a wet spot next to the repair....another crack. After chasing 1 more wet spot and another coat of primer I let it sit for about a week. No more problems so I continued the build. I drilled 2 pin sized holes for levers and the next day wet spots appeared. I contacted the person who did the 3D printing and he said the leak means in areas it has not fully cured. My options are put the body out in the sun so the UV can do its thing to complete the process or hit it with portable UV light. Sun is not really an option where I live maybe until next April, I dont have a portable UV source that would help so Im boxing it up until next spring before trying it again. Besides the leaks getting all over the body and making the primer soft heres what I found out about the problem on a 3D site: Why Do Resin 3D Prints Leak/Explode/Pop? Resin 3D prints can leak or explode due to uncured resin being trapped inside the model. This uncured resin is trapped inside but is still slowly curing and expanding, so it produces extra pressure inside the model until it finally finds a way out. This can either leak, explode, or pop so it can be very dangerous. So until the next update on a sunny day next year, on to another different build..? -

Willys Jeep truck
BIGTRUCK replied to BIGTRUCK's topic in WIP: Model Trucks: Pickups, Vans, SUVs, Light Commercial
?That would have saved me alot of time and I would have missed all the fun and aggravation. But it would be a neat kit to have. MPC came out with a later (maybe a 1968 Jeep) version called a Commando. -

Willys Jeep truck
BIGTRUCK replied to BIGTRUCK's topic in WIP: Model Trucks: Pickups, Vans, SUVs, Light Commercial
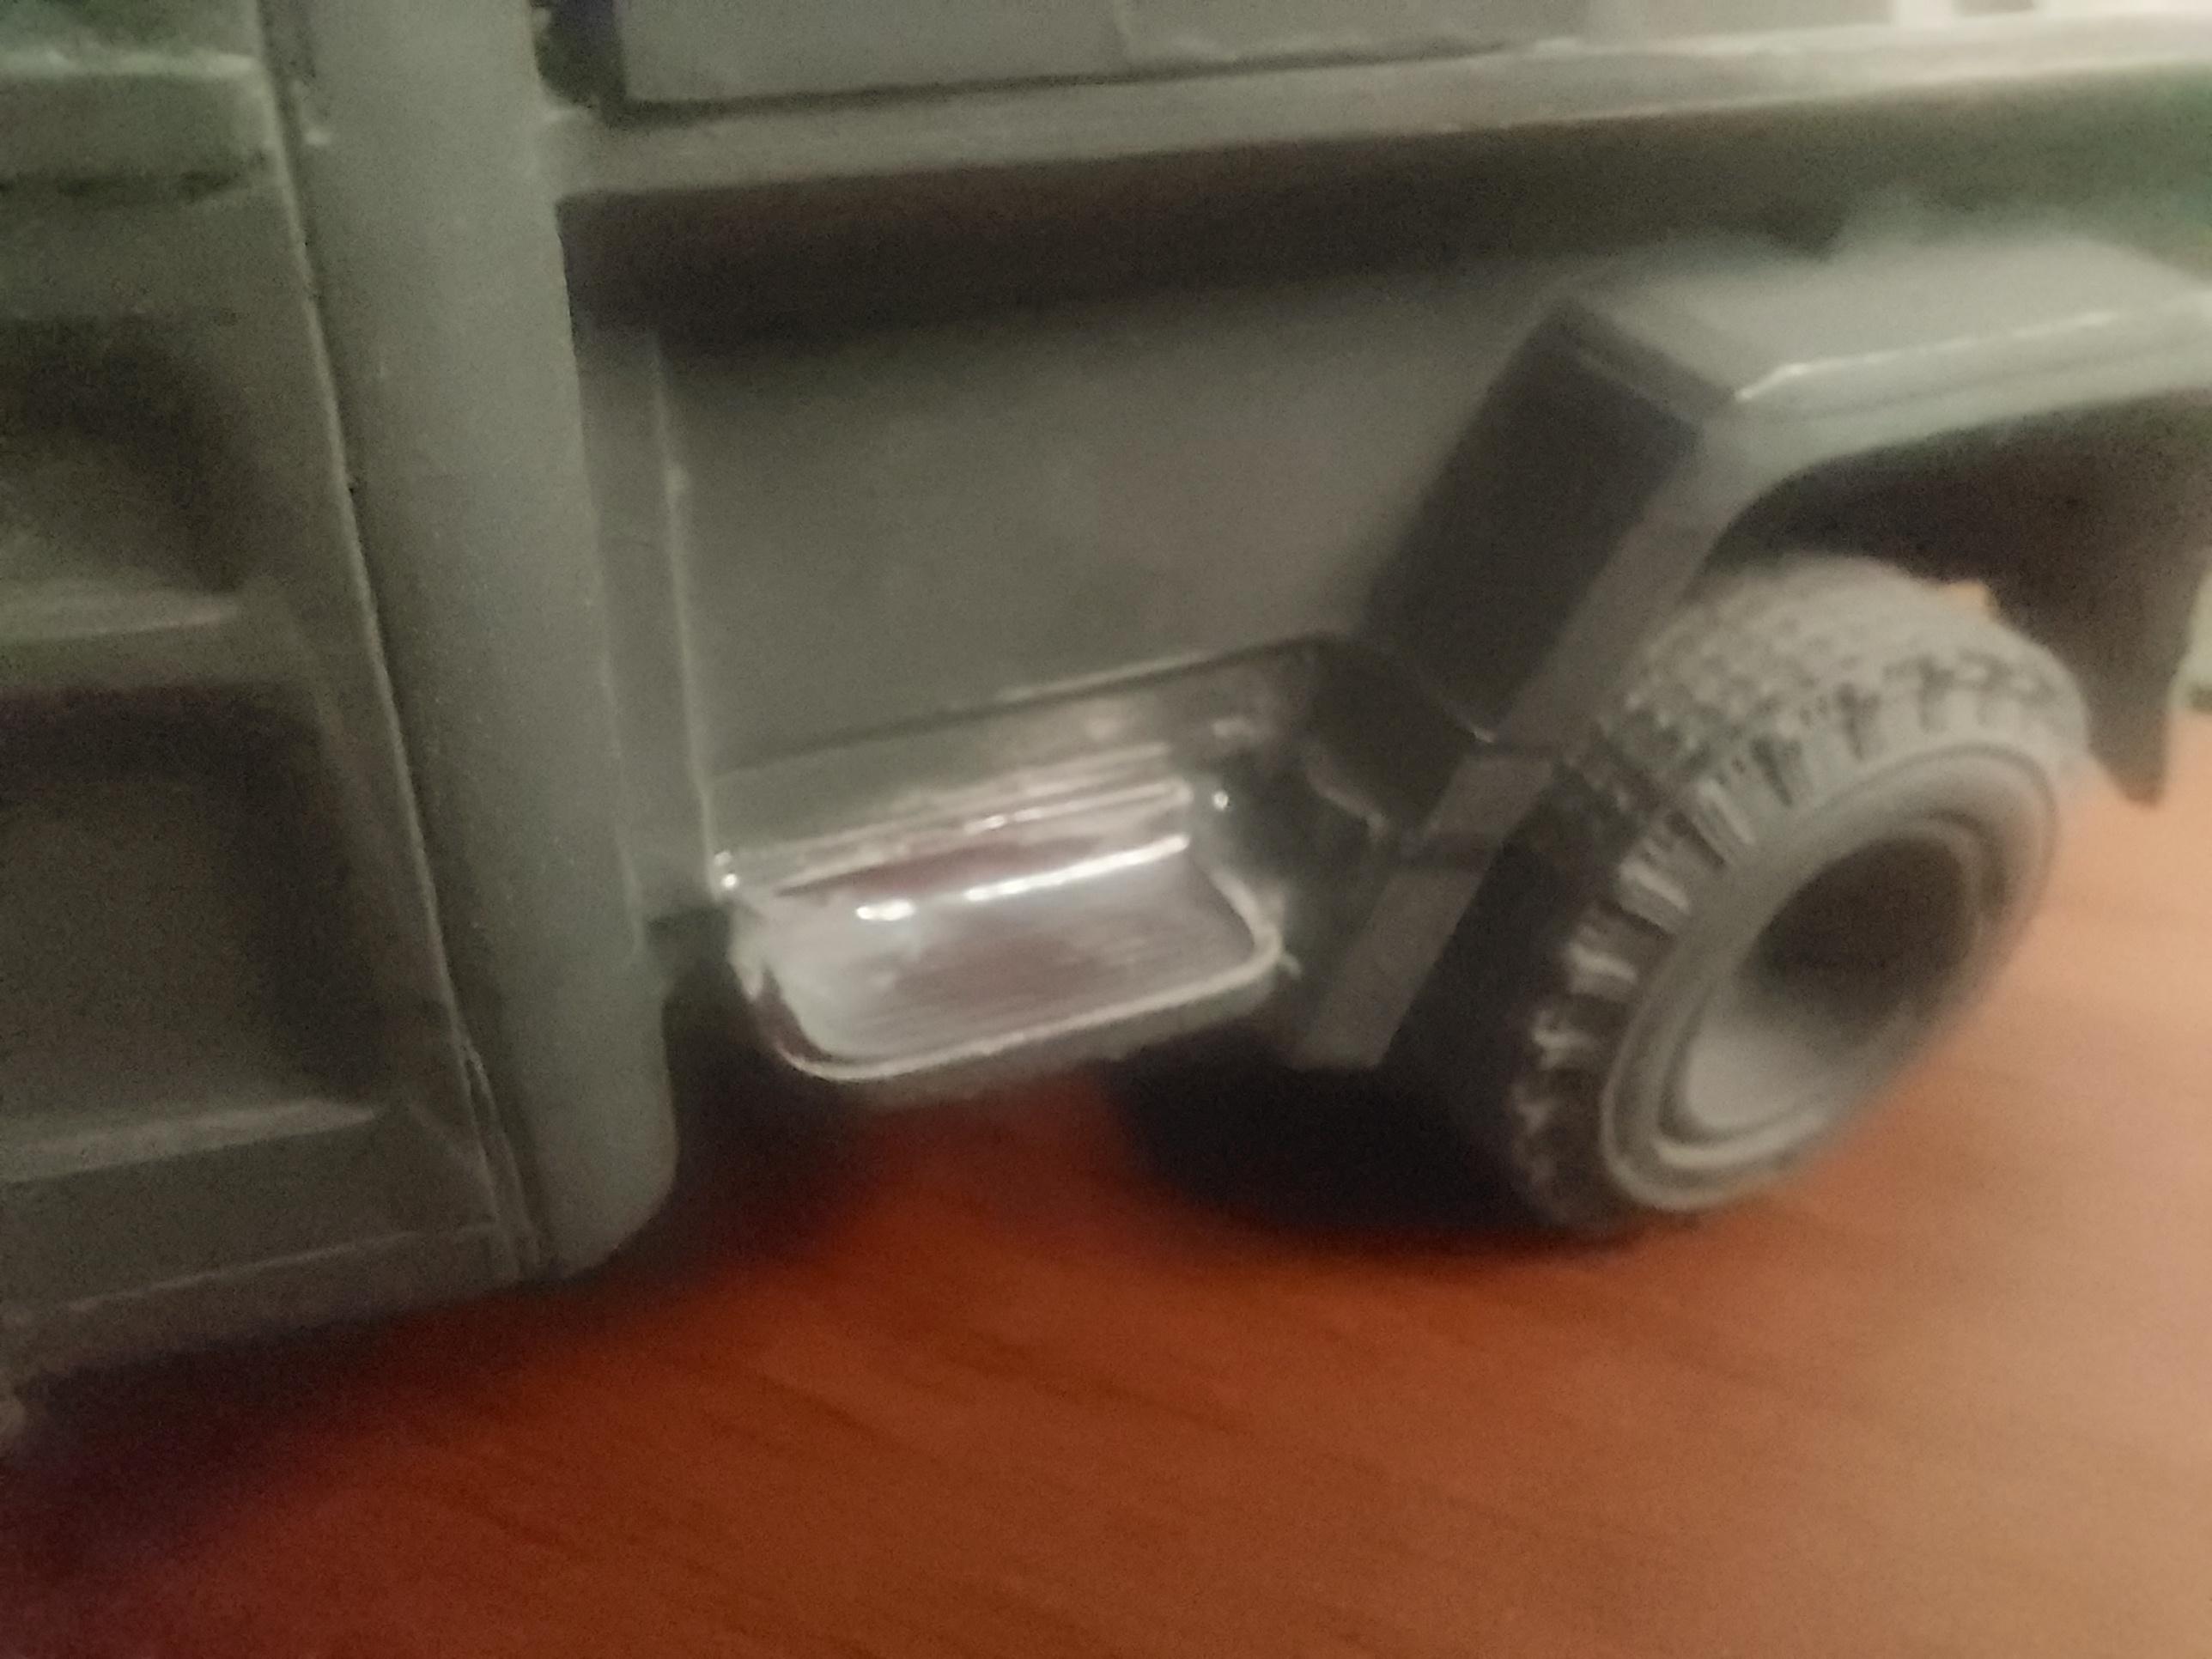
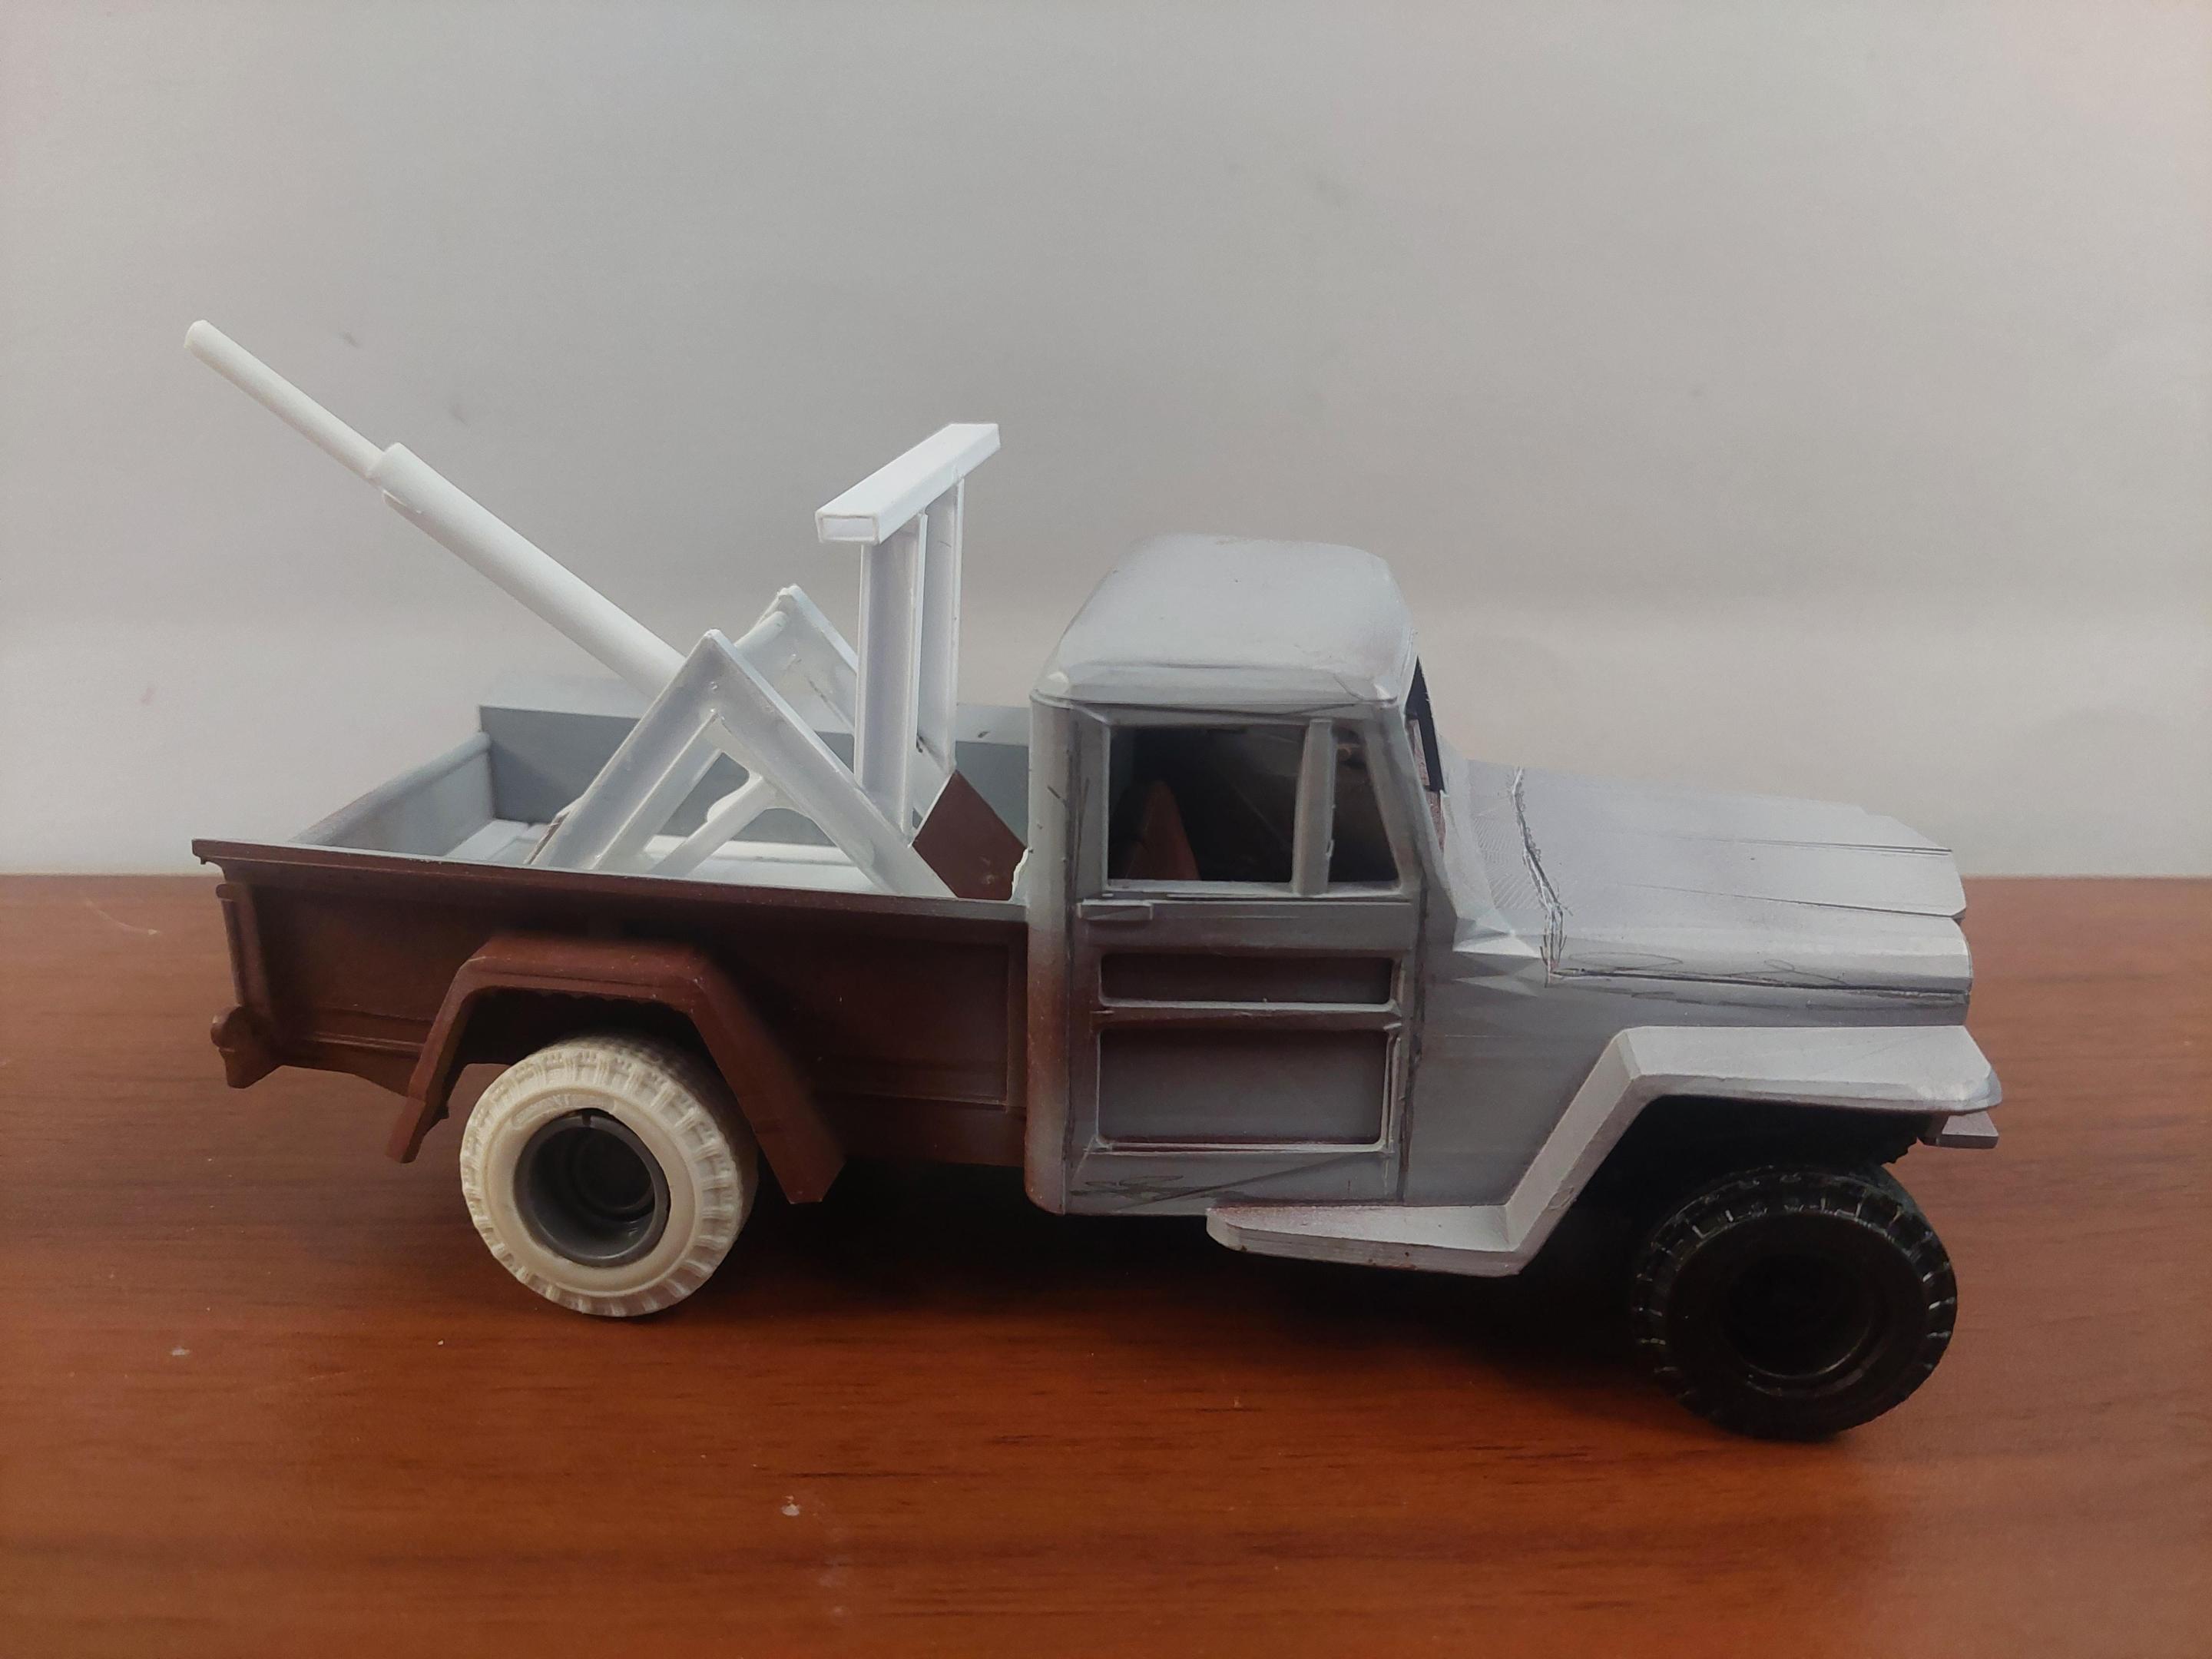
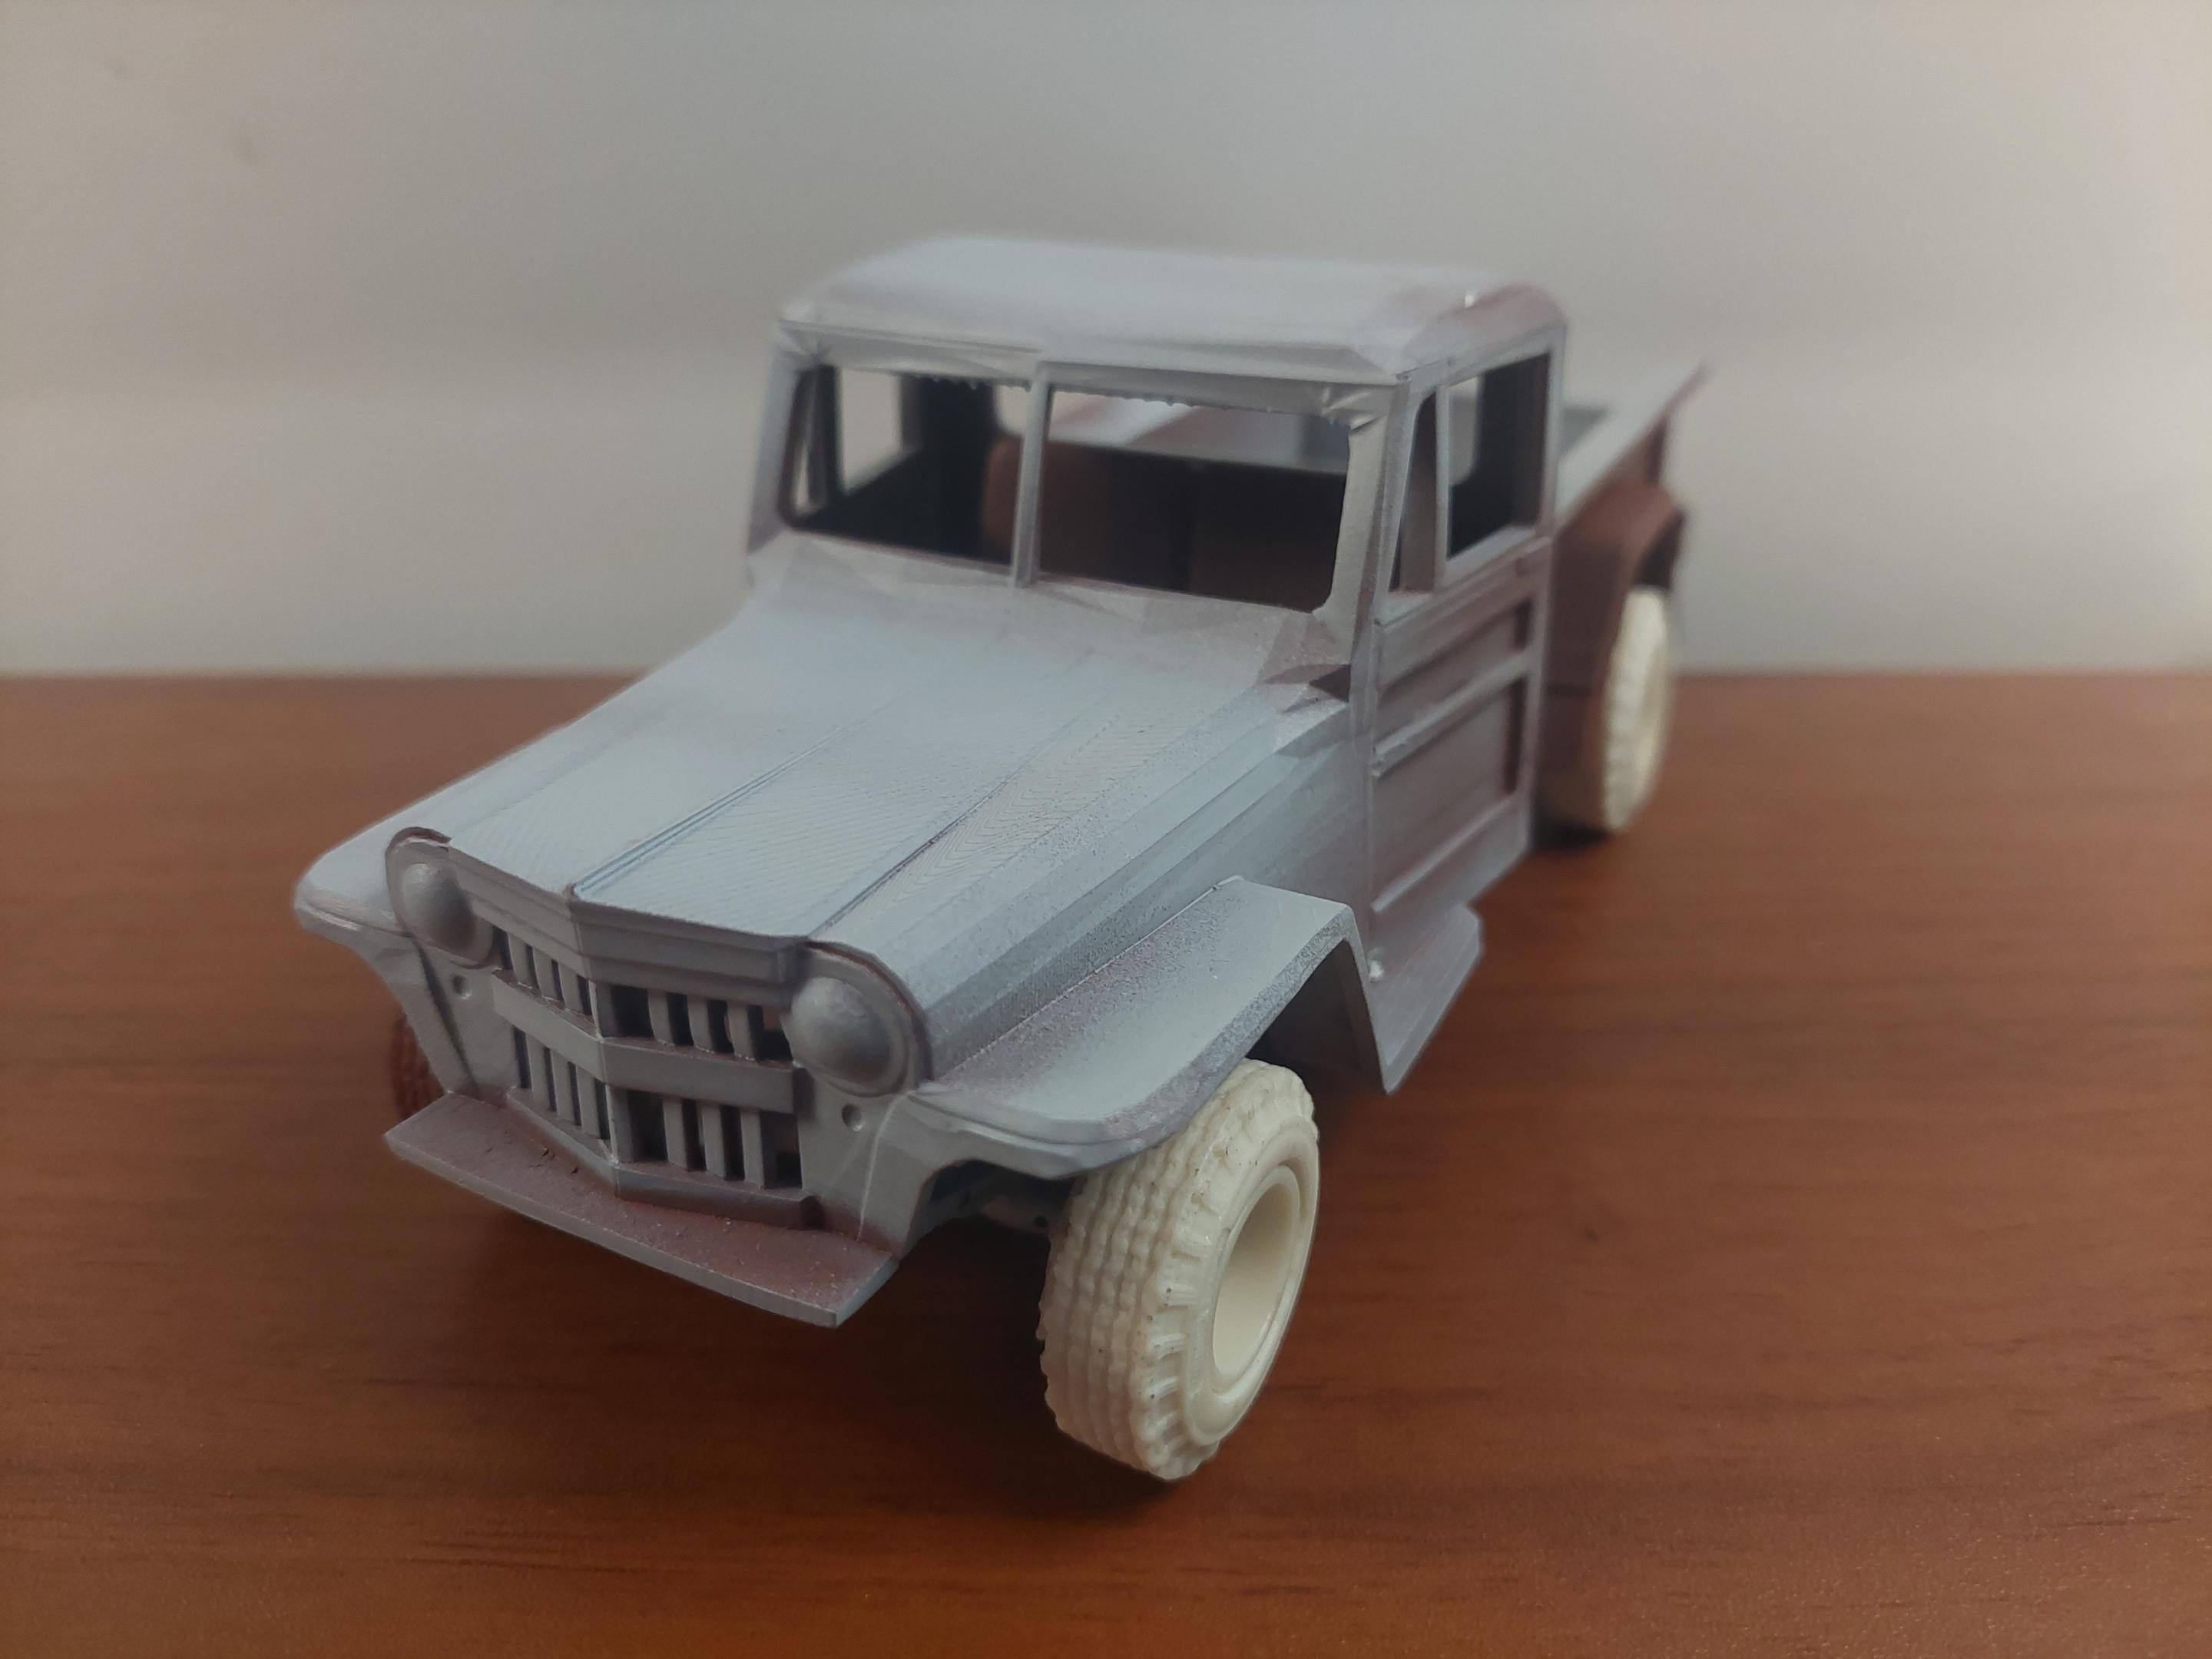
This is what I came up with up to now. There were small running boards (if I remember right) came in a 66 AMT Lincoln kit, I made a mold of them , cast a few and they fit perfectly in front and behind the rear tires. Cobbled up a pipe bumper and completed the boom assembly. Now to get that body as smooth as I can and try to get it done this year . -

Willys Jeep truck
BIGTRUCK replied to BIGTRUCK's topic in WIP: Model Trucks: Pickups, Vans, SUVs, Light Commercial
I was getting lazy building this jeep but then I started laying in a new floor . I had a bunch of scrap evergreen and the next thing you know I sparked some life to get it done. Fabricate a old homemade boom. Once I get everything done and in position I will loose that tailgate. -

40 Ford Miller Delivery Van
BIGTRUCK replied to bluestringer's topic in Model Trucks: Pickups, Vans, SUVs, Light Commercial
I think it looks just fine, the Miller decals give it character . -

MPC Mail Truck ShowRod
BIGTRUCK replied to BIGTRUCK's topic in Model Trucks: Pickups, Vans, SUVs, Light Commercial
You must get your mail fast..? -

Willys Jeep truck
BIGTRUCK replied to BIGTRUCK's topic in WIP: Model Trucks: Pickups, Vans, SUVs, Light Commercial
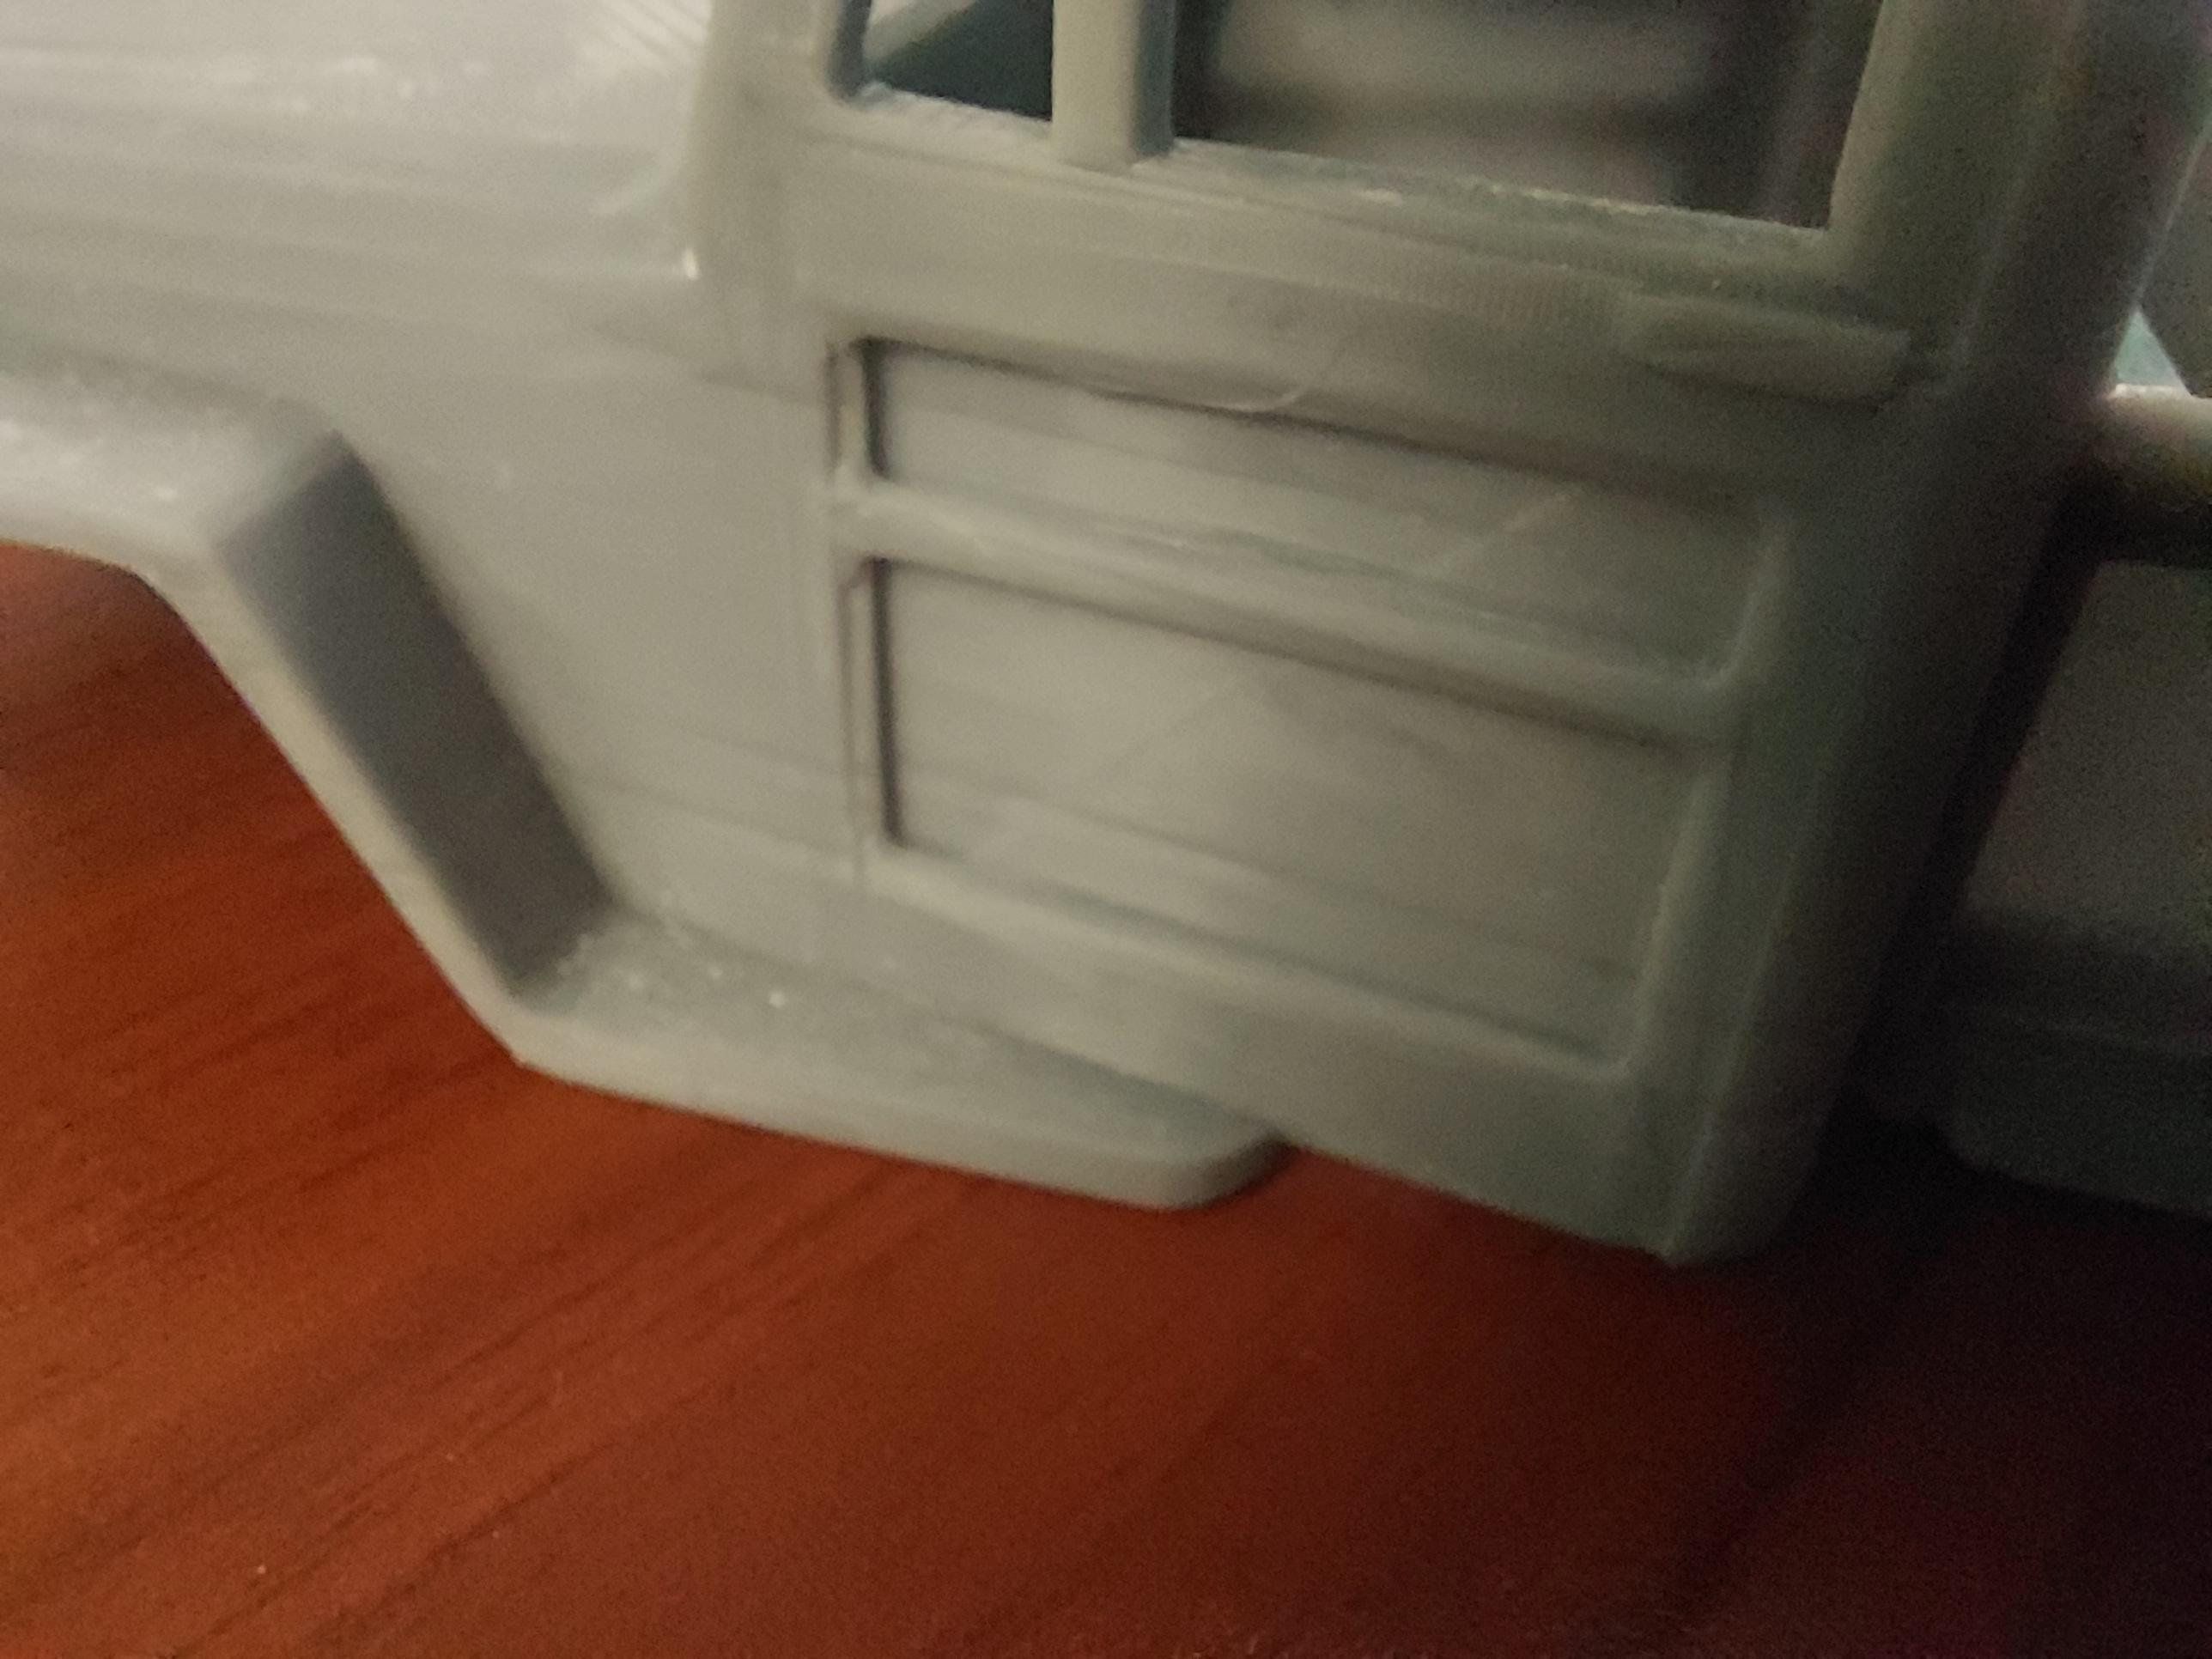
I was working on the back area and put a crack in the lower cab wall, the crack started to appear wet and had a chemical smell. This is my first experience with a 3D body, is this something any one else saw or heard of? After making the repair the primer would not adhere around that area..so I cleaned it with strong soap solution and it seems fine now. Now back to smoothing out the body. -
Has anyone heard from Vince Nelson? Its really been awhile, hope all is well.
-

Willys Jeep truck
BIGTRUCK replied to BIGTRUCK's topic in WIP: Model Trucks: Pickups, Vans, SUVs, Light Commercial
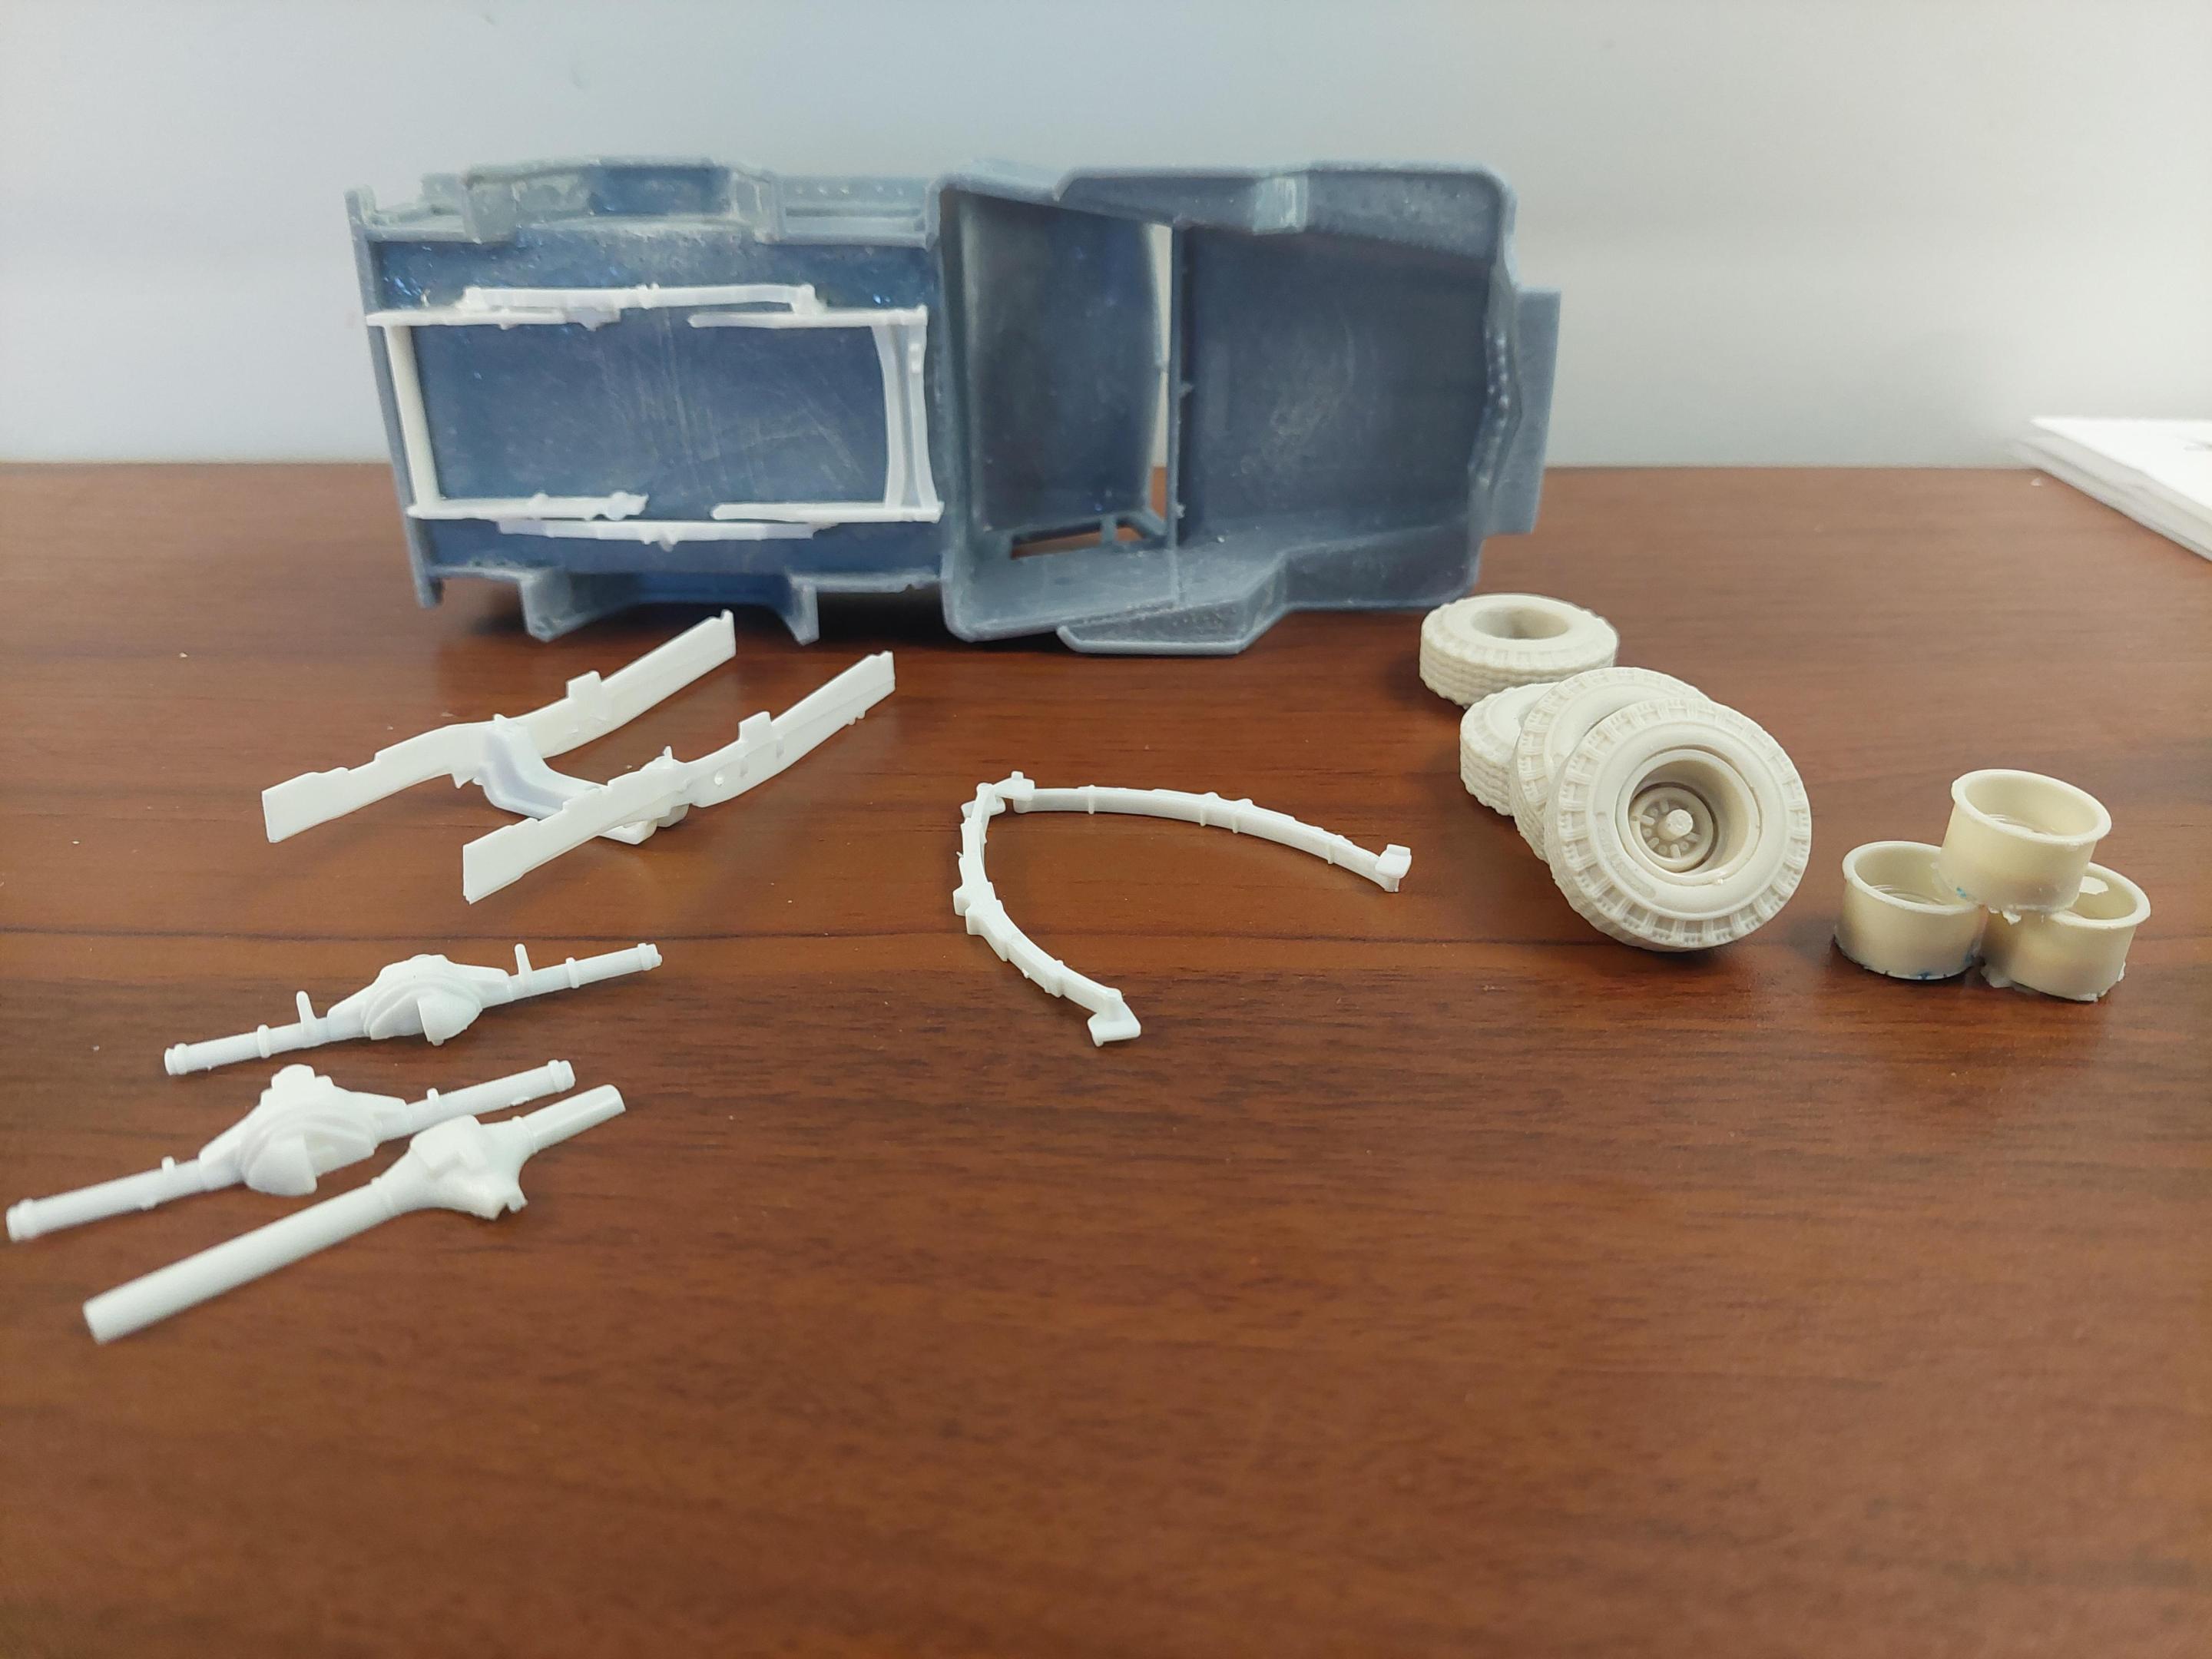
I didnt print it, I bought and it listed as s '46 on ebay.. the rear bed floor would need to be removed and replaced for any chassis to fit, its pretty deep. I can do it , its just easier for me ( getting too old?)to piece build around it. -

Willys Jeep truck
BIGTRUCK replied to BIGTRUCK's topic in WIP: Model Trucks: Pickups, Vans, SUVs, Light Commercial
Its the frame arches at the rear end. I found a frame tbat would work close enough with the 4x4 goods. -
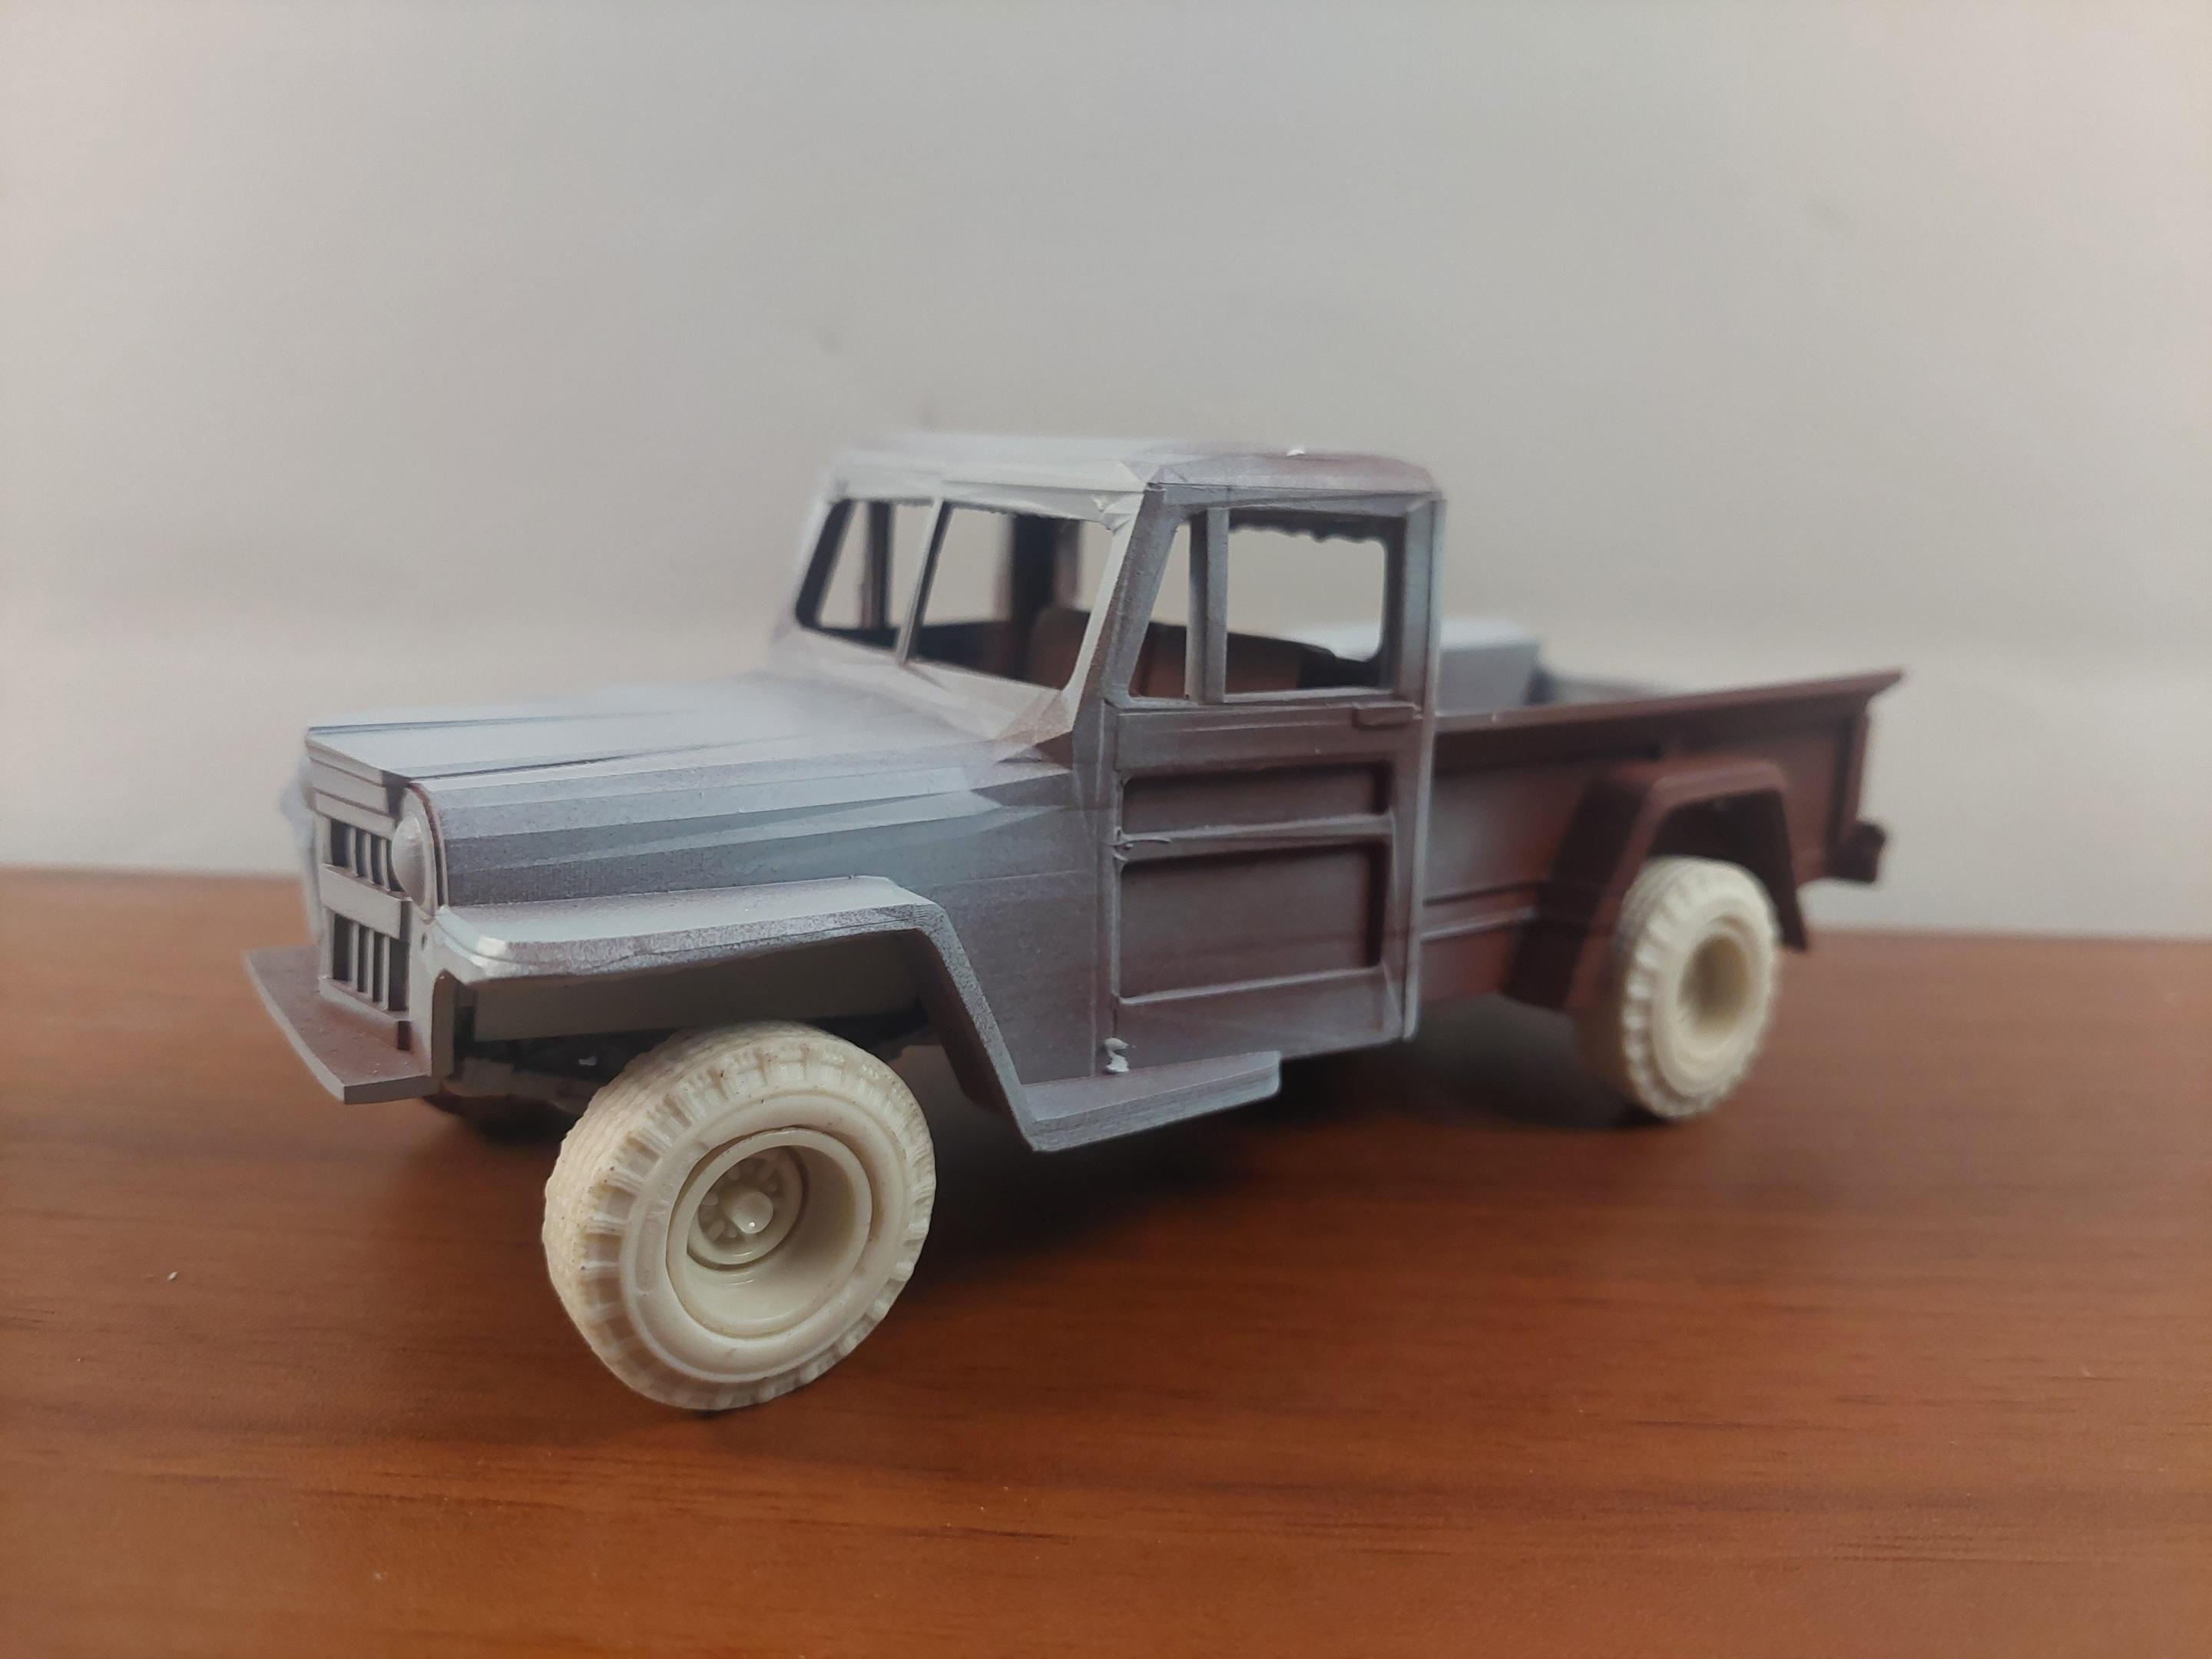
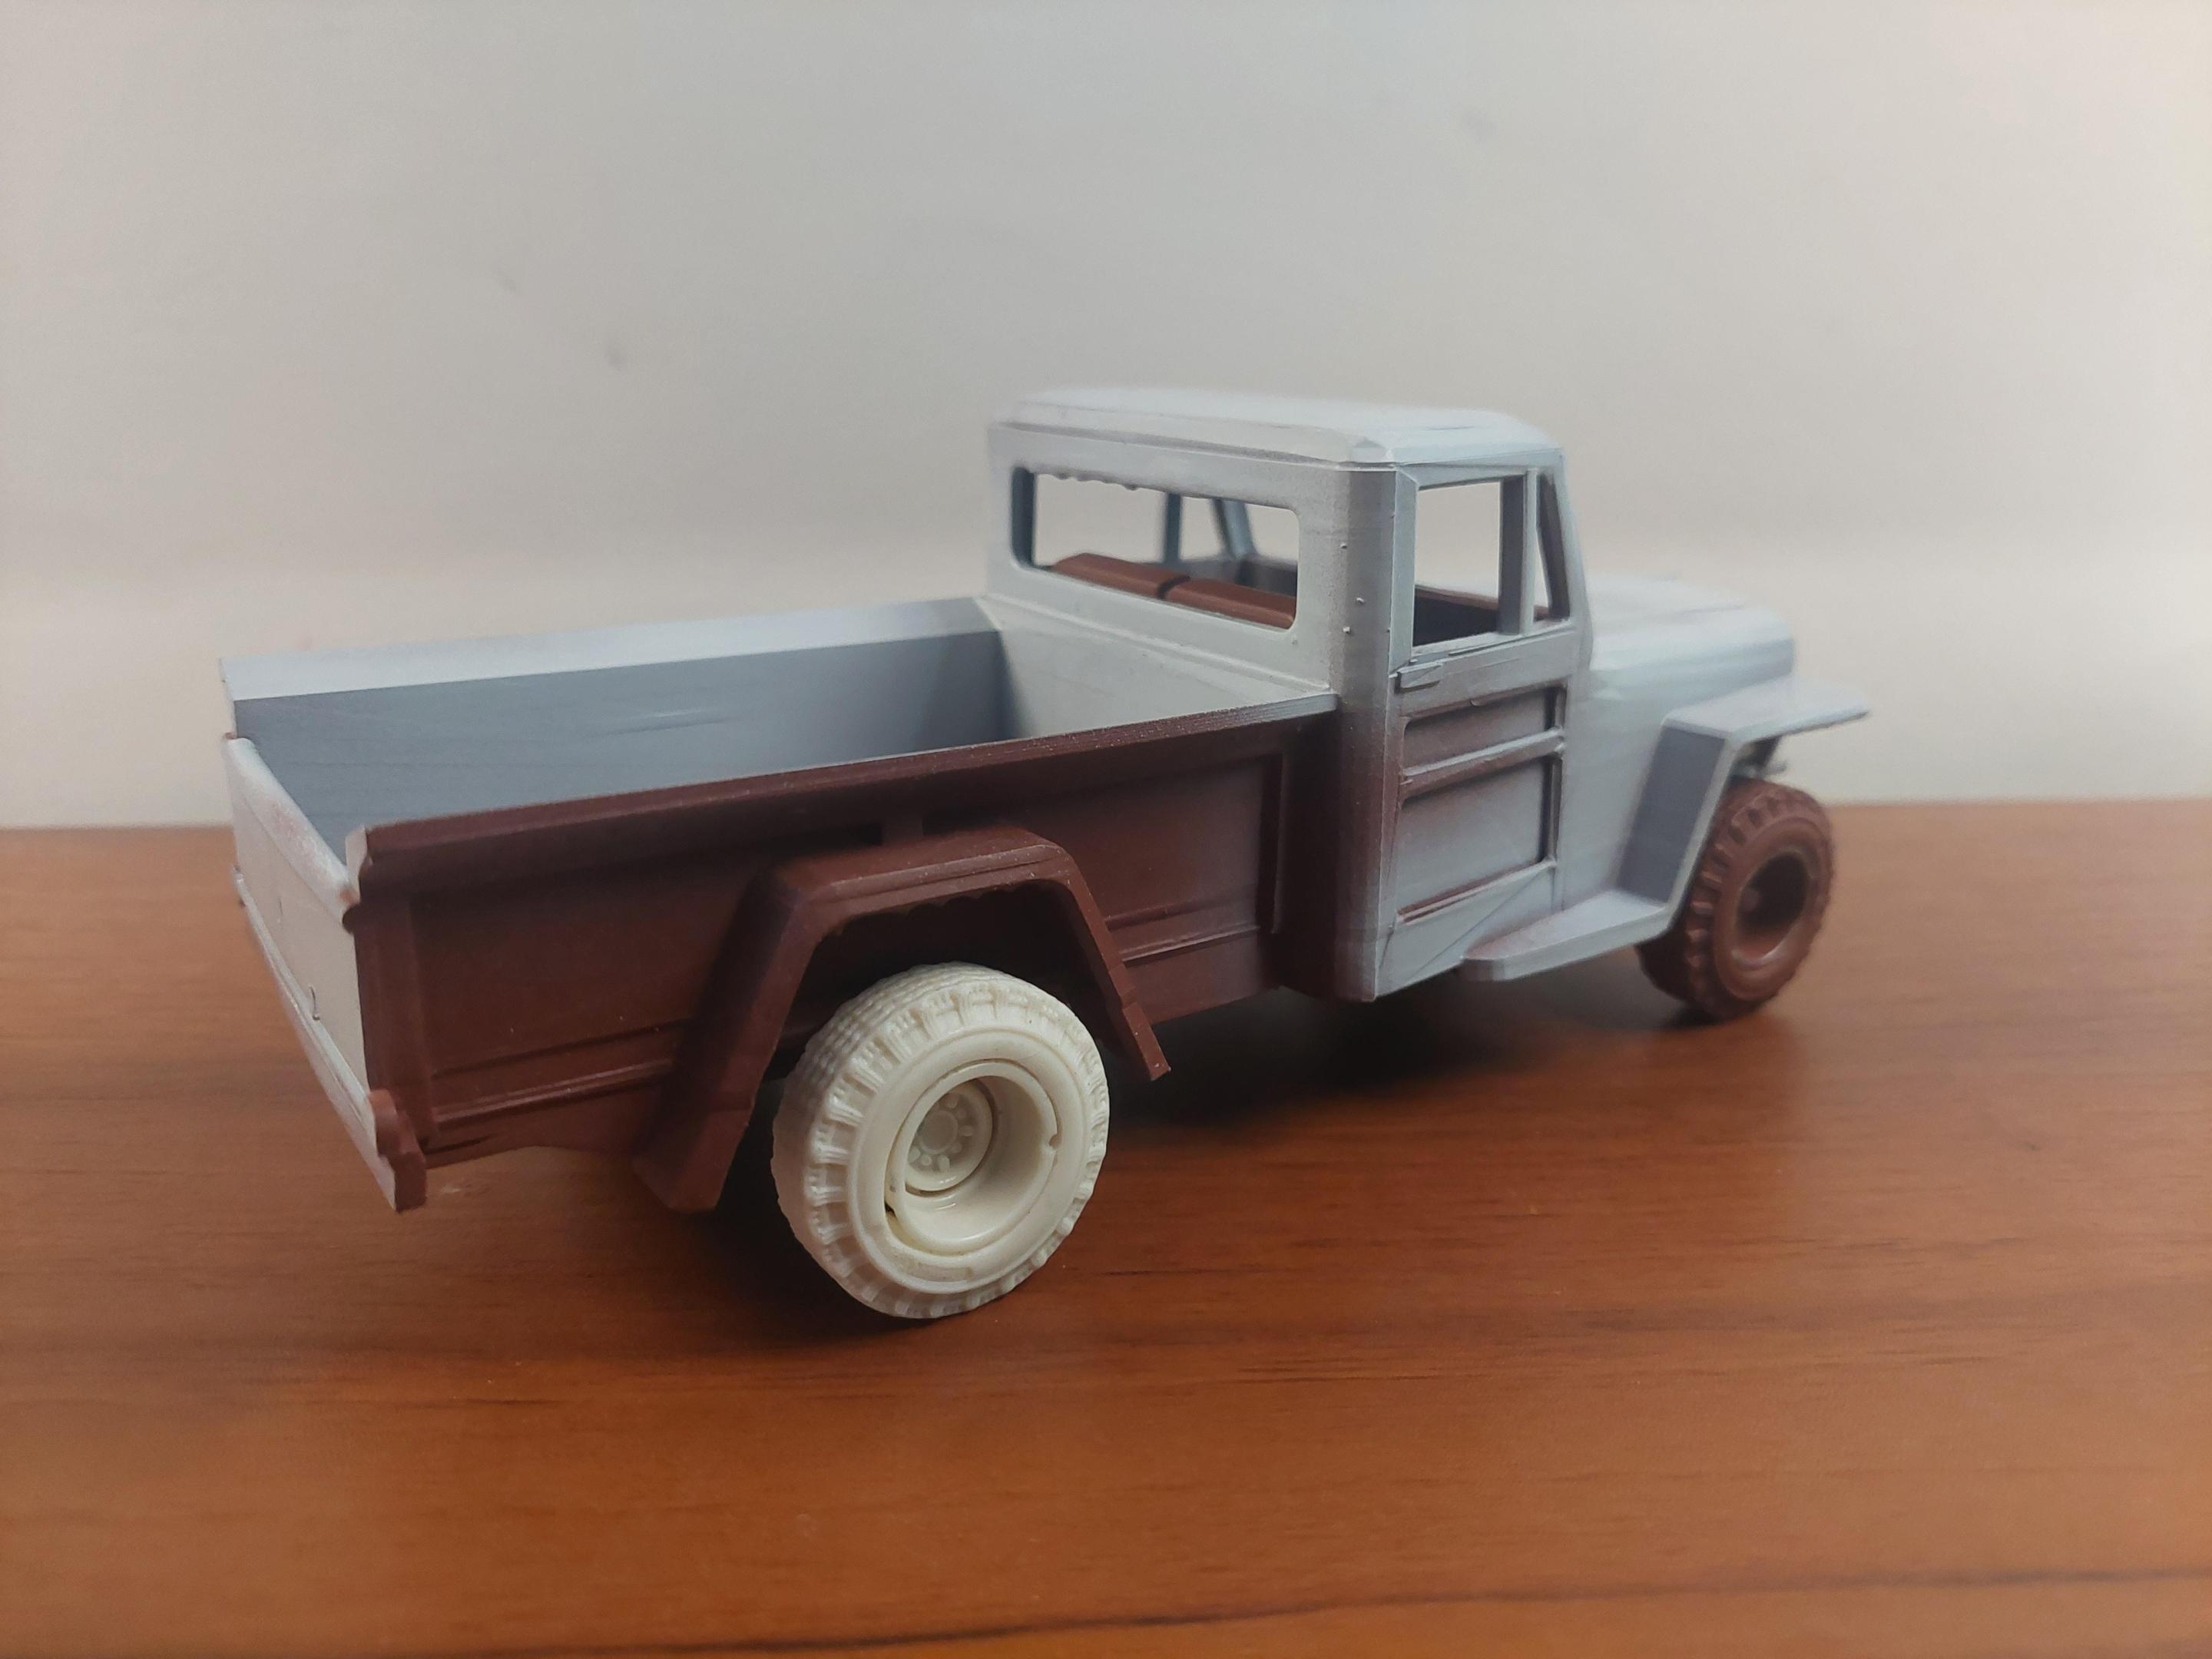
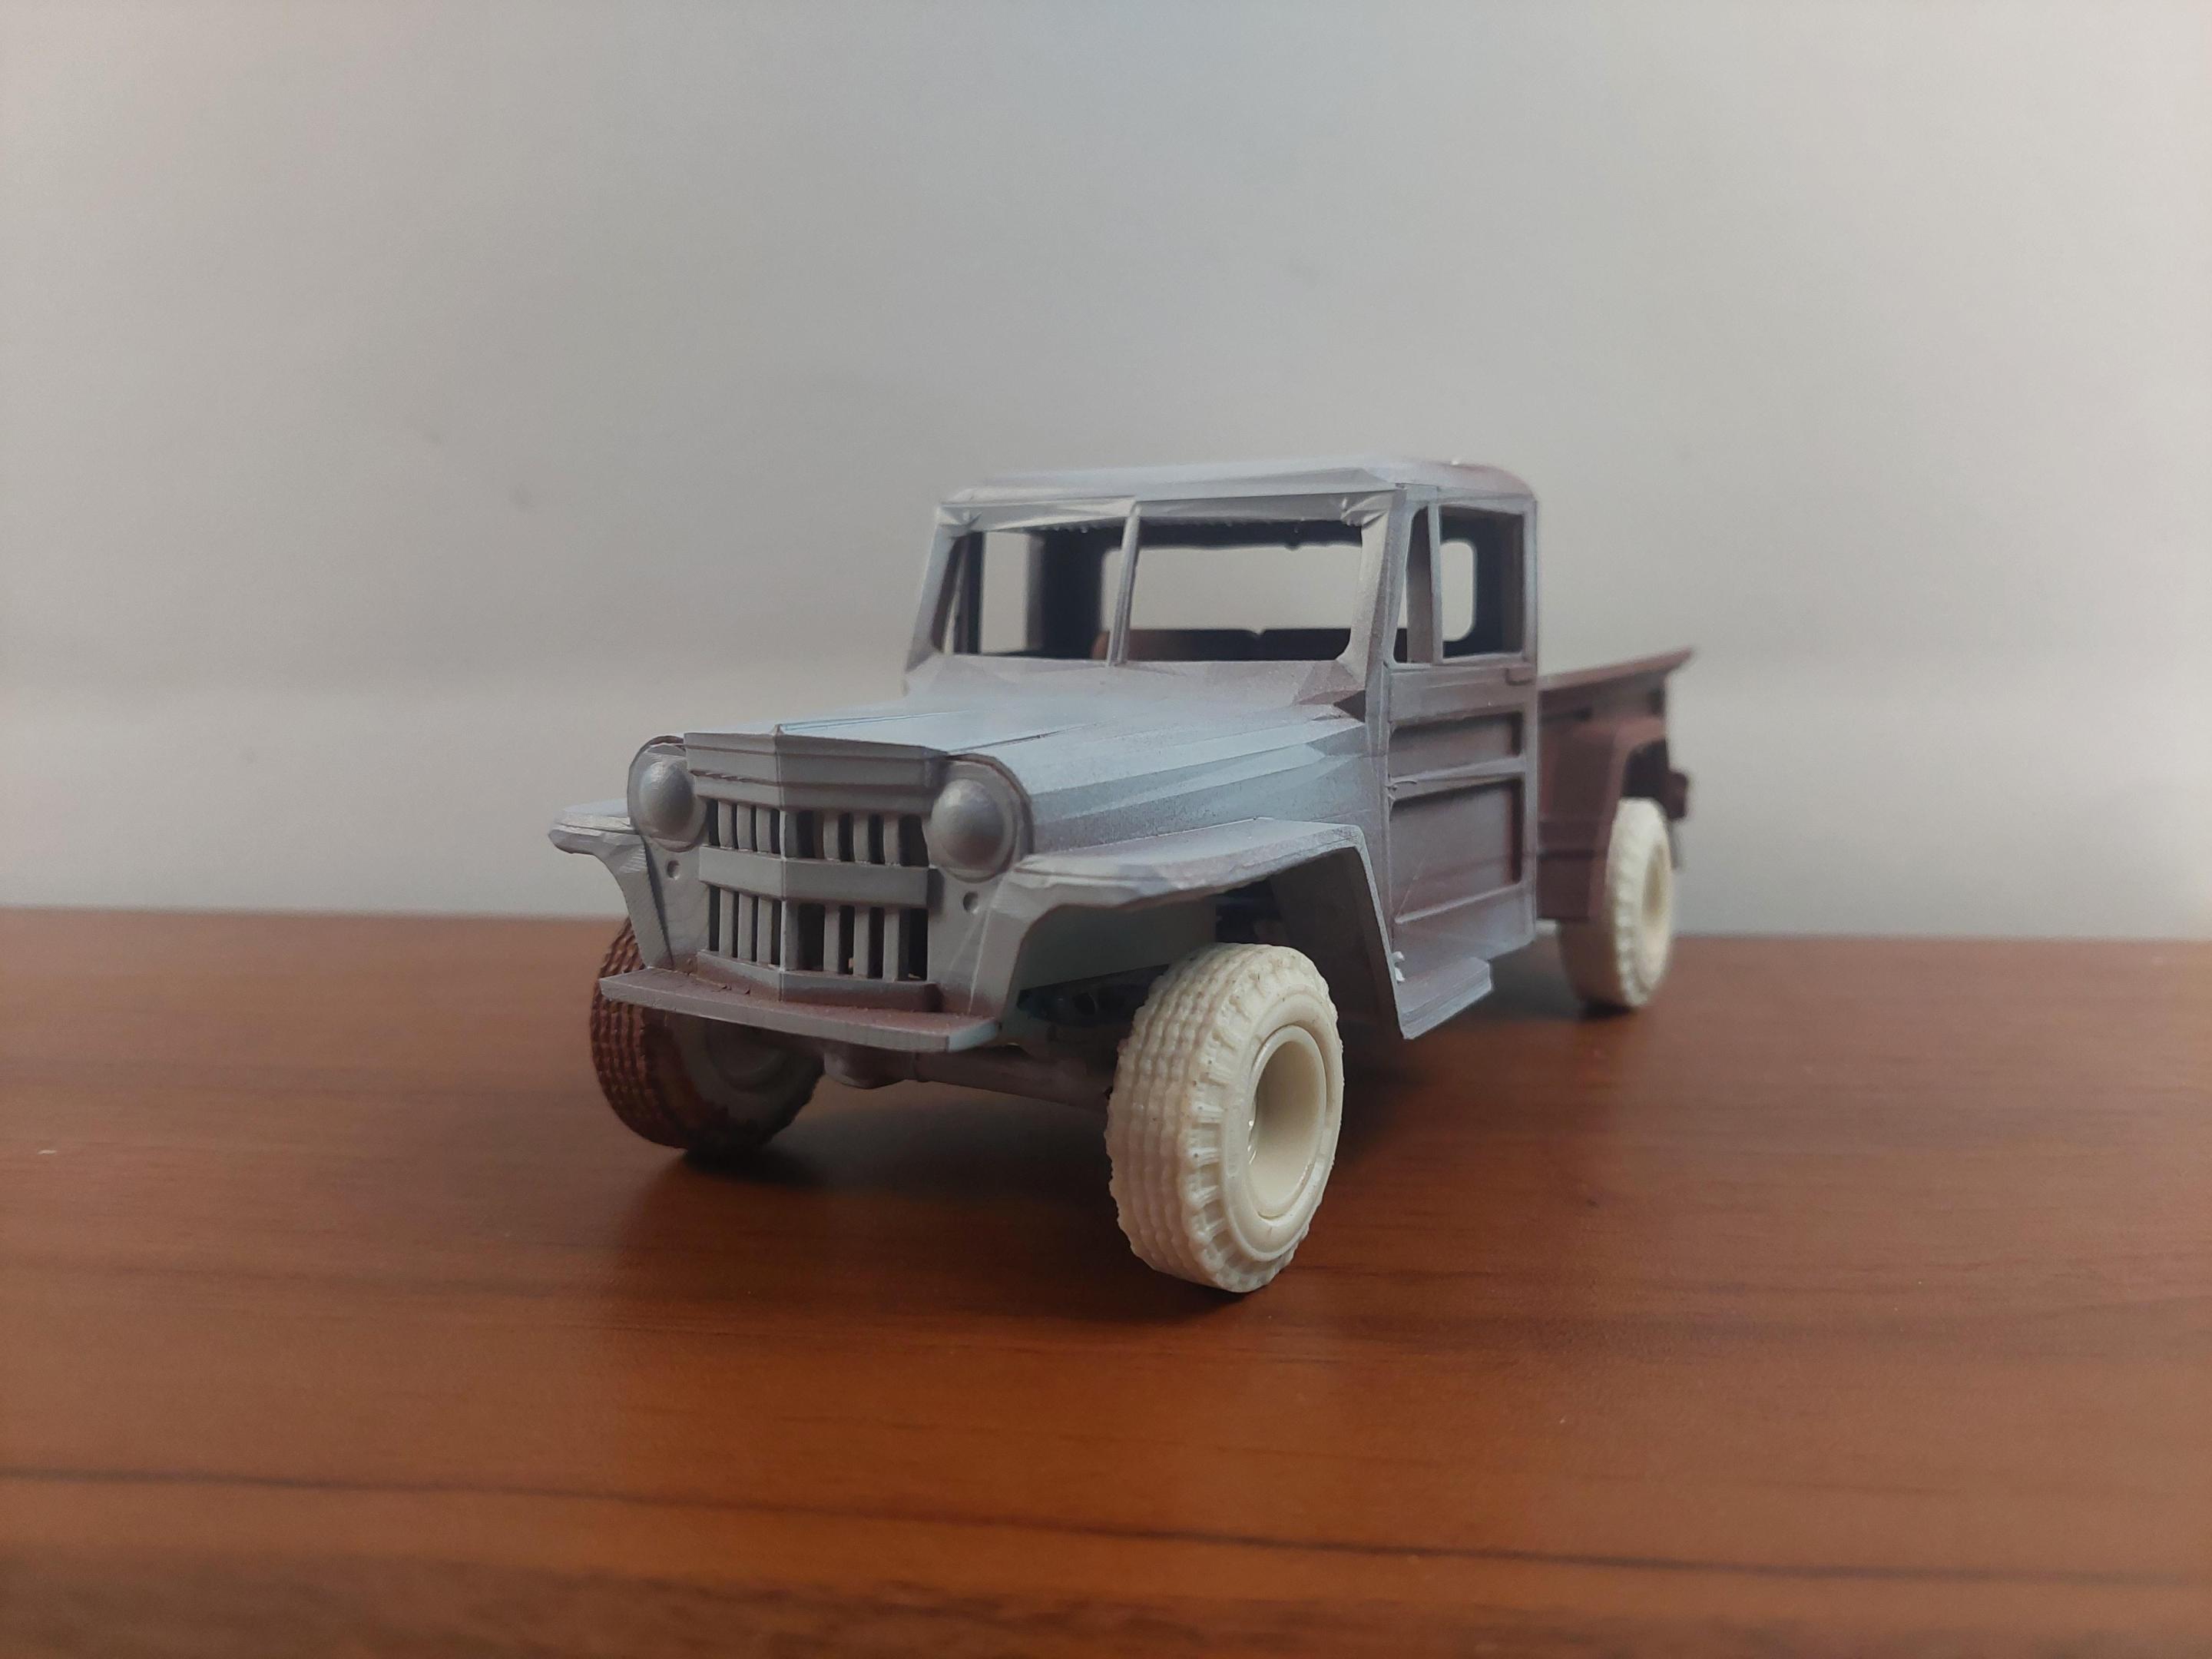
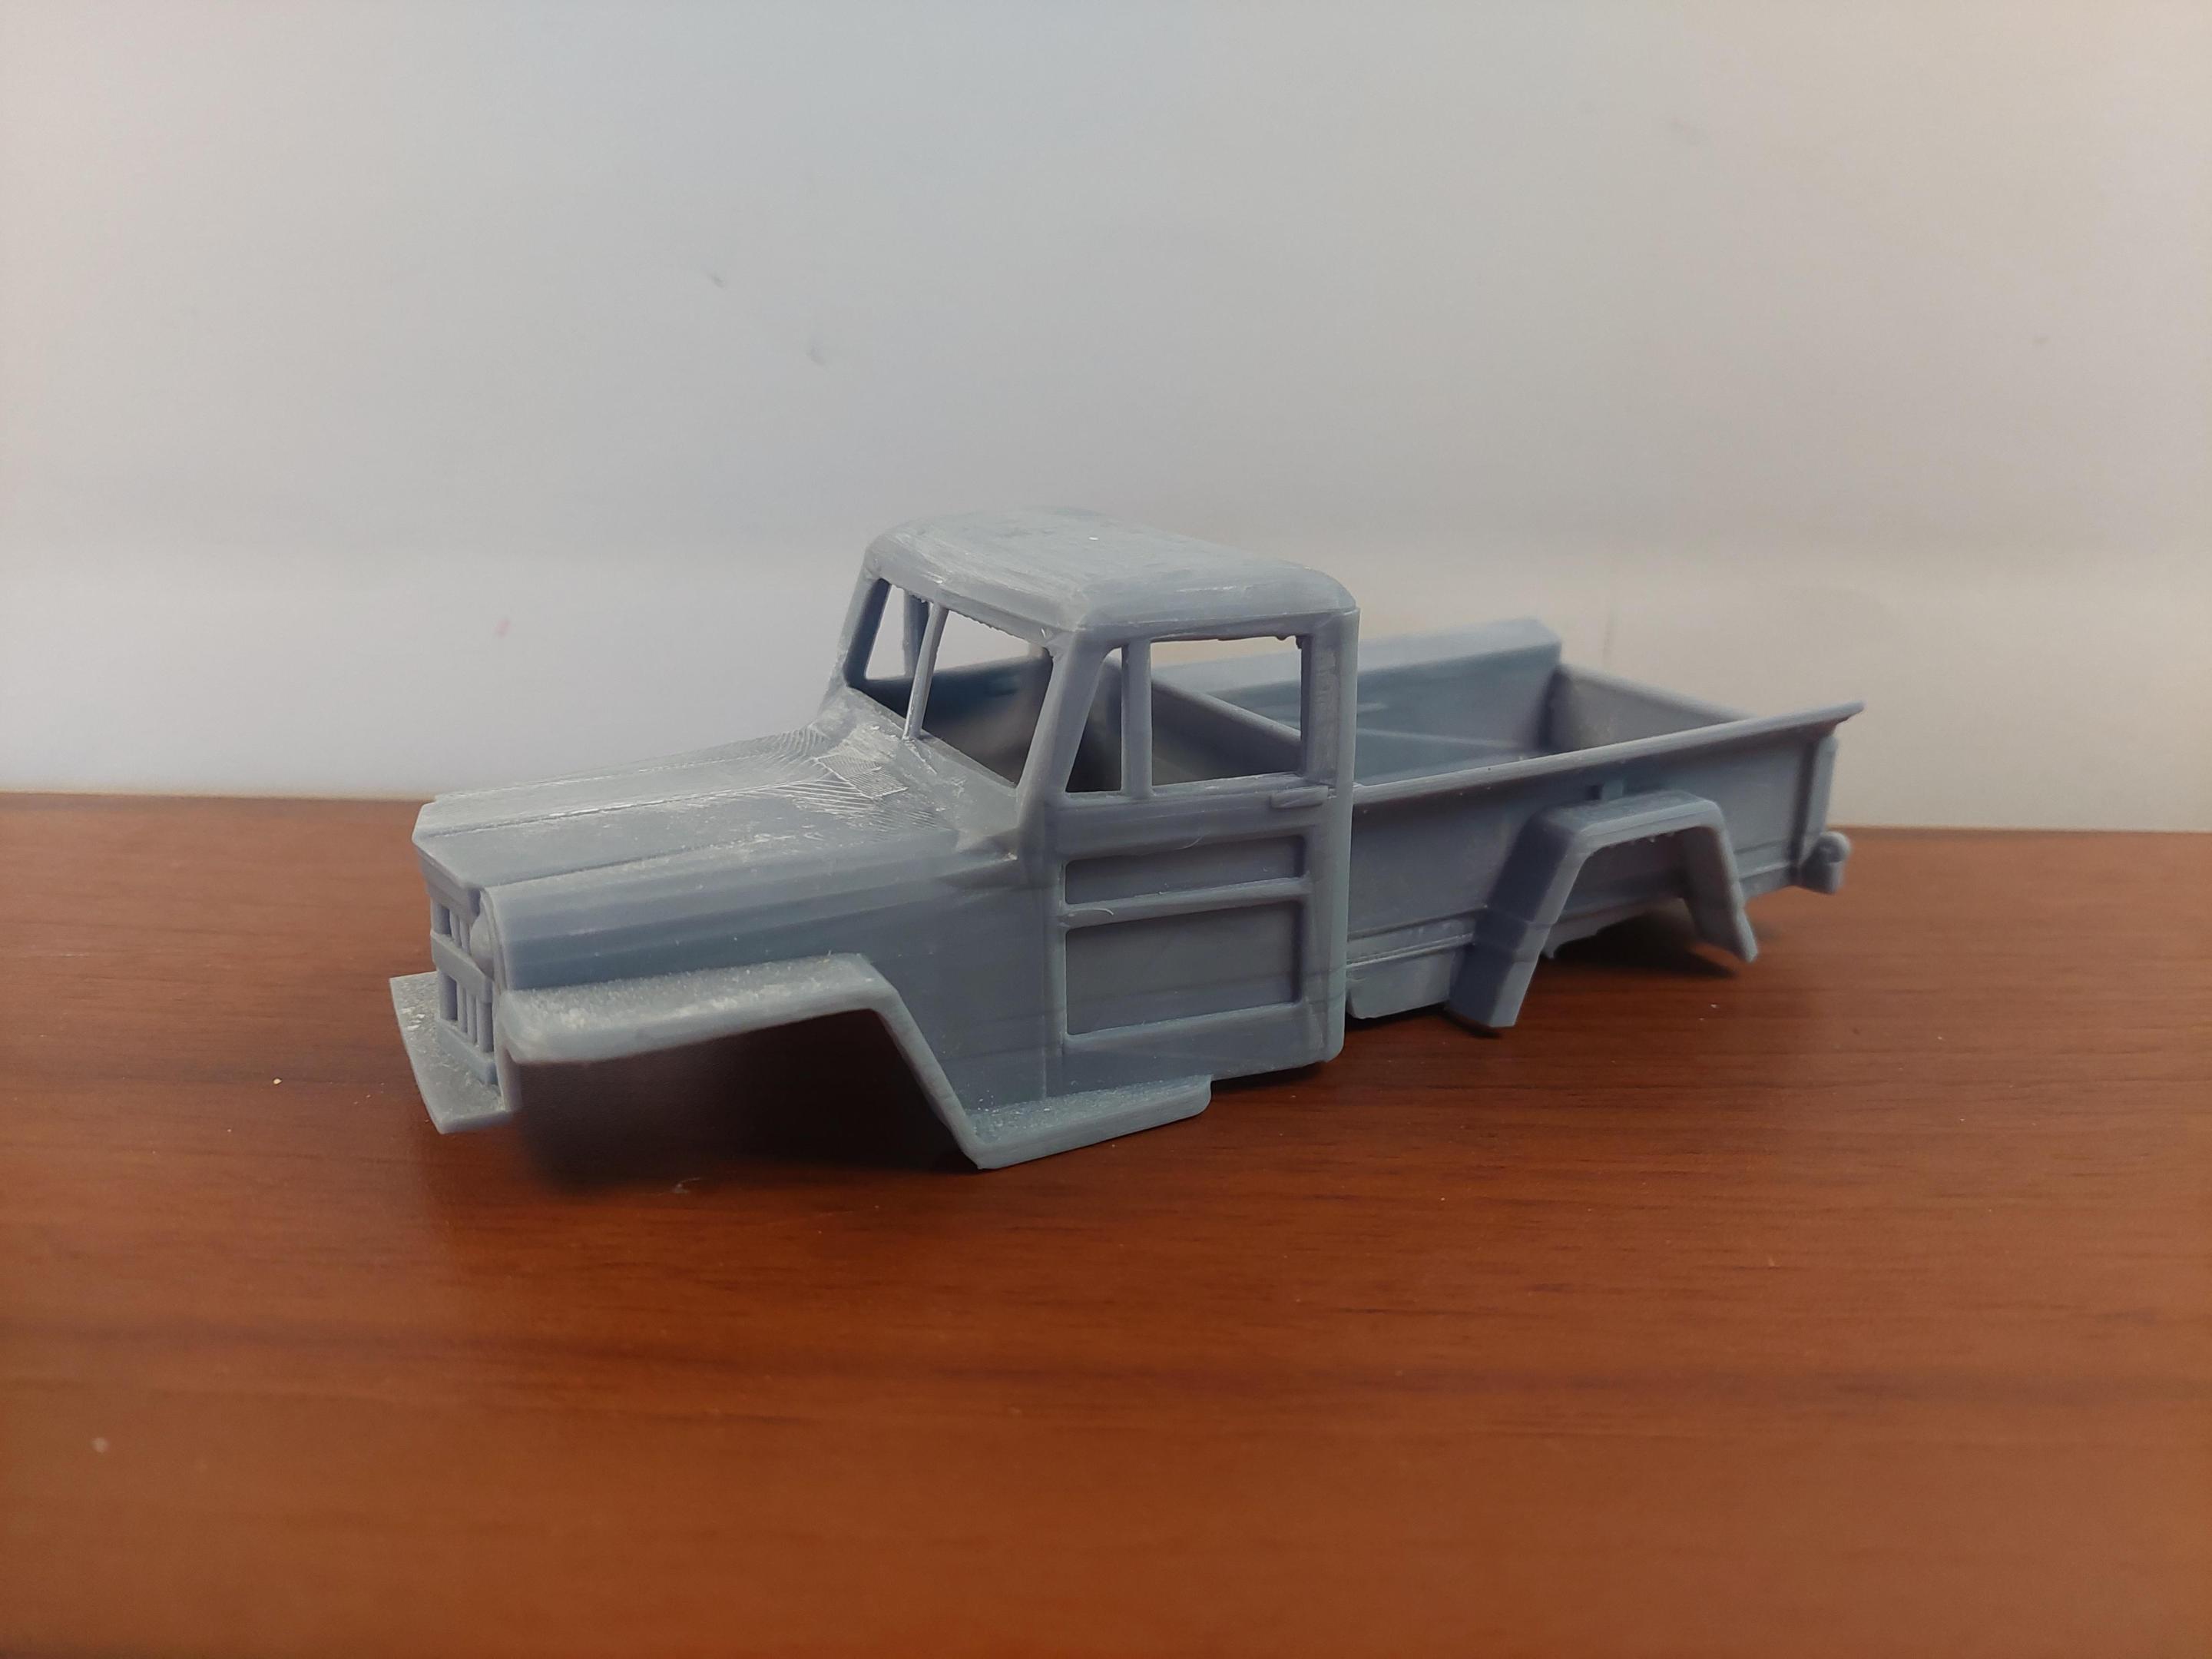
This is a 3D printed body that will need a chassis and interior . No chassis came close to fitting with out a lot of alterations so making the chassis in pieces as I go. Im at the interior plate now and thats where the front chassis rails will mount. This body will need clean up to smooth out the marks and door and hood lines will need to be deeper. Bed floor will also need detail added. I will go to the parts boxes many times on this one. ?
-
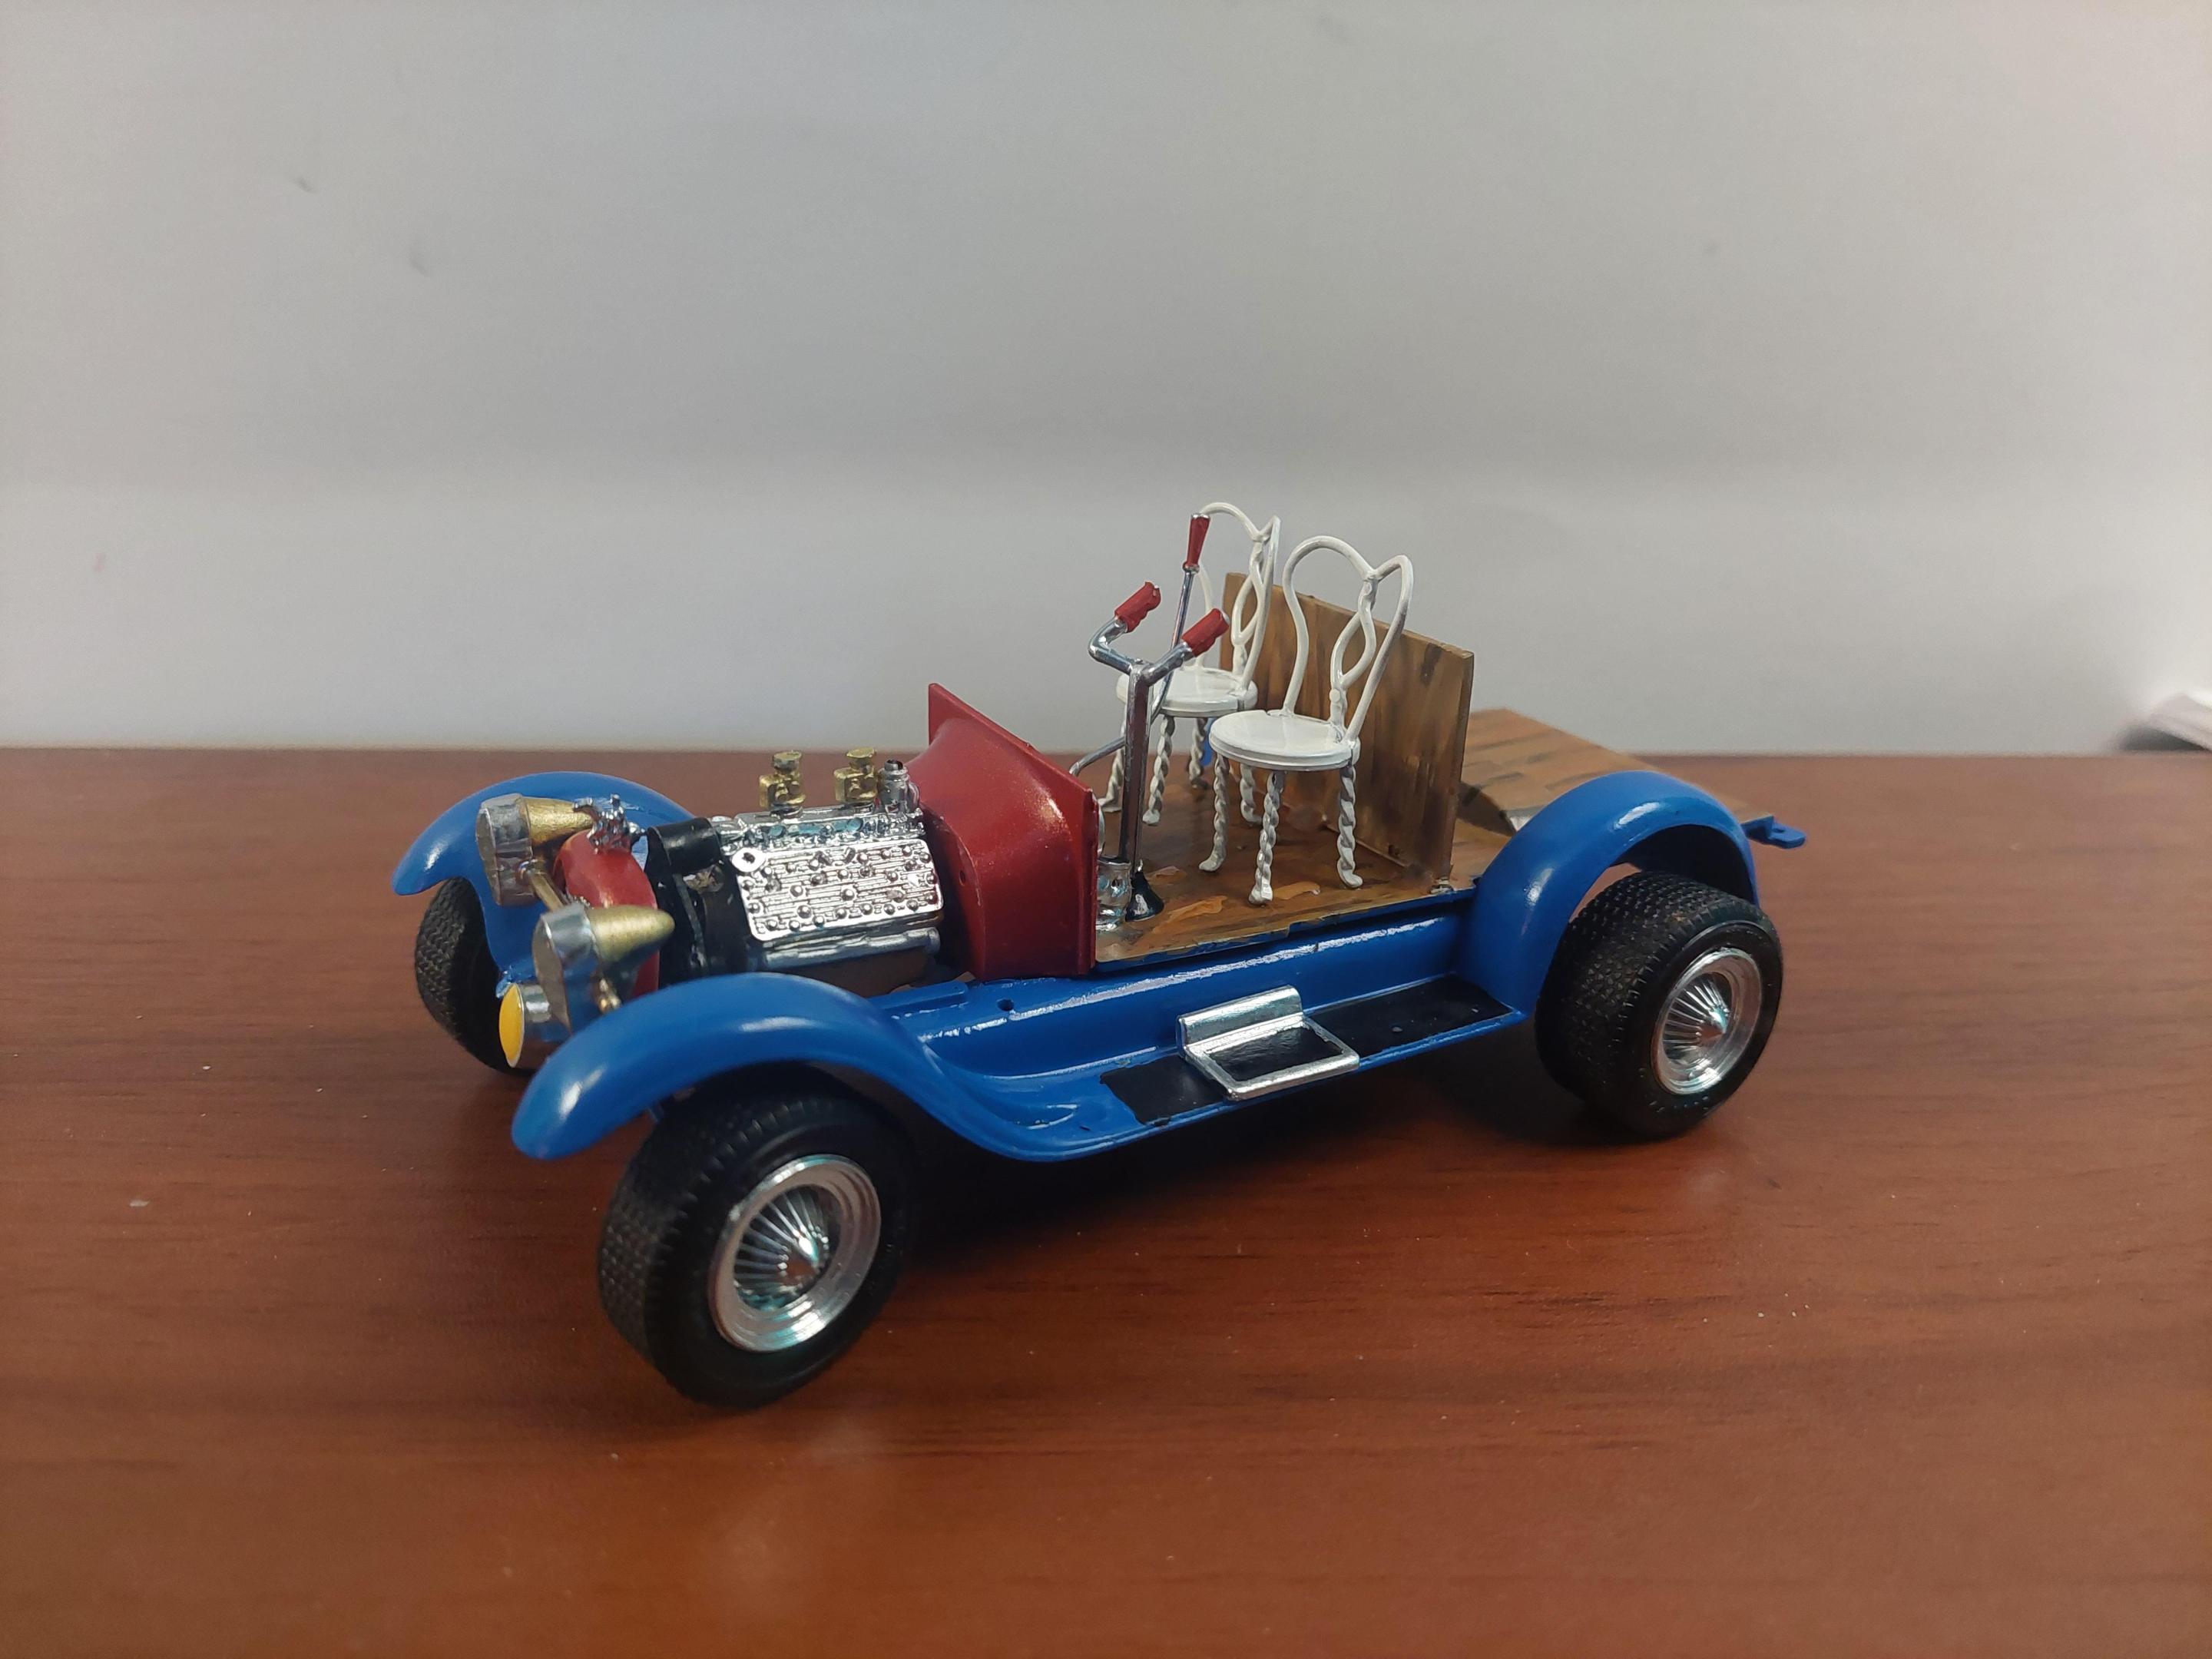
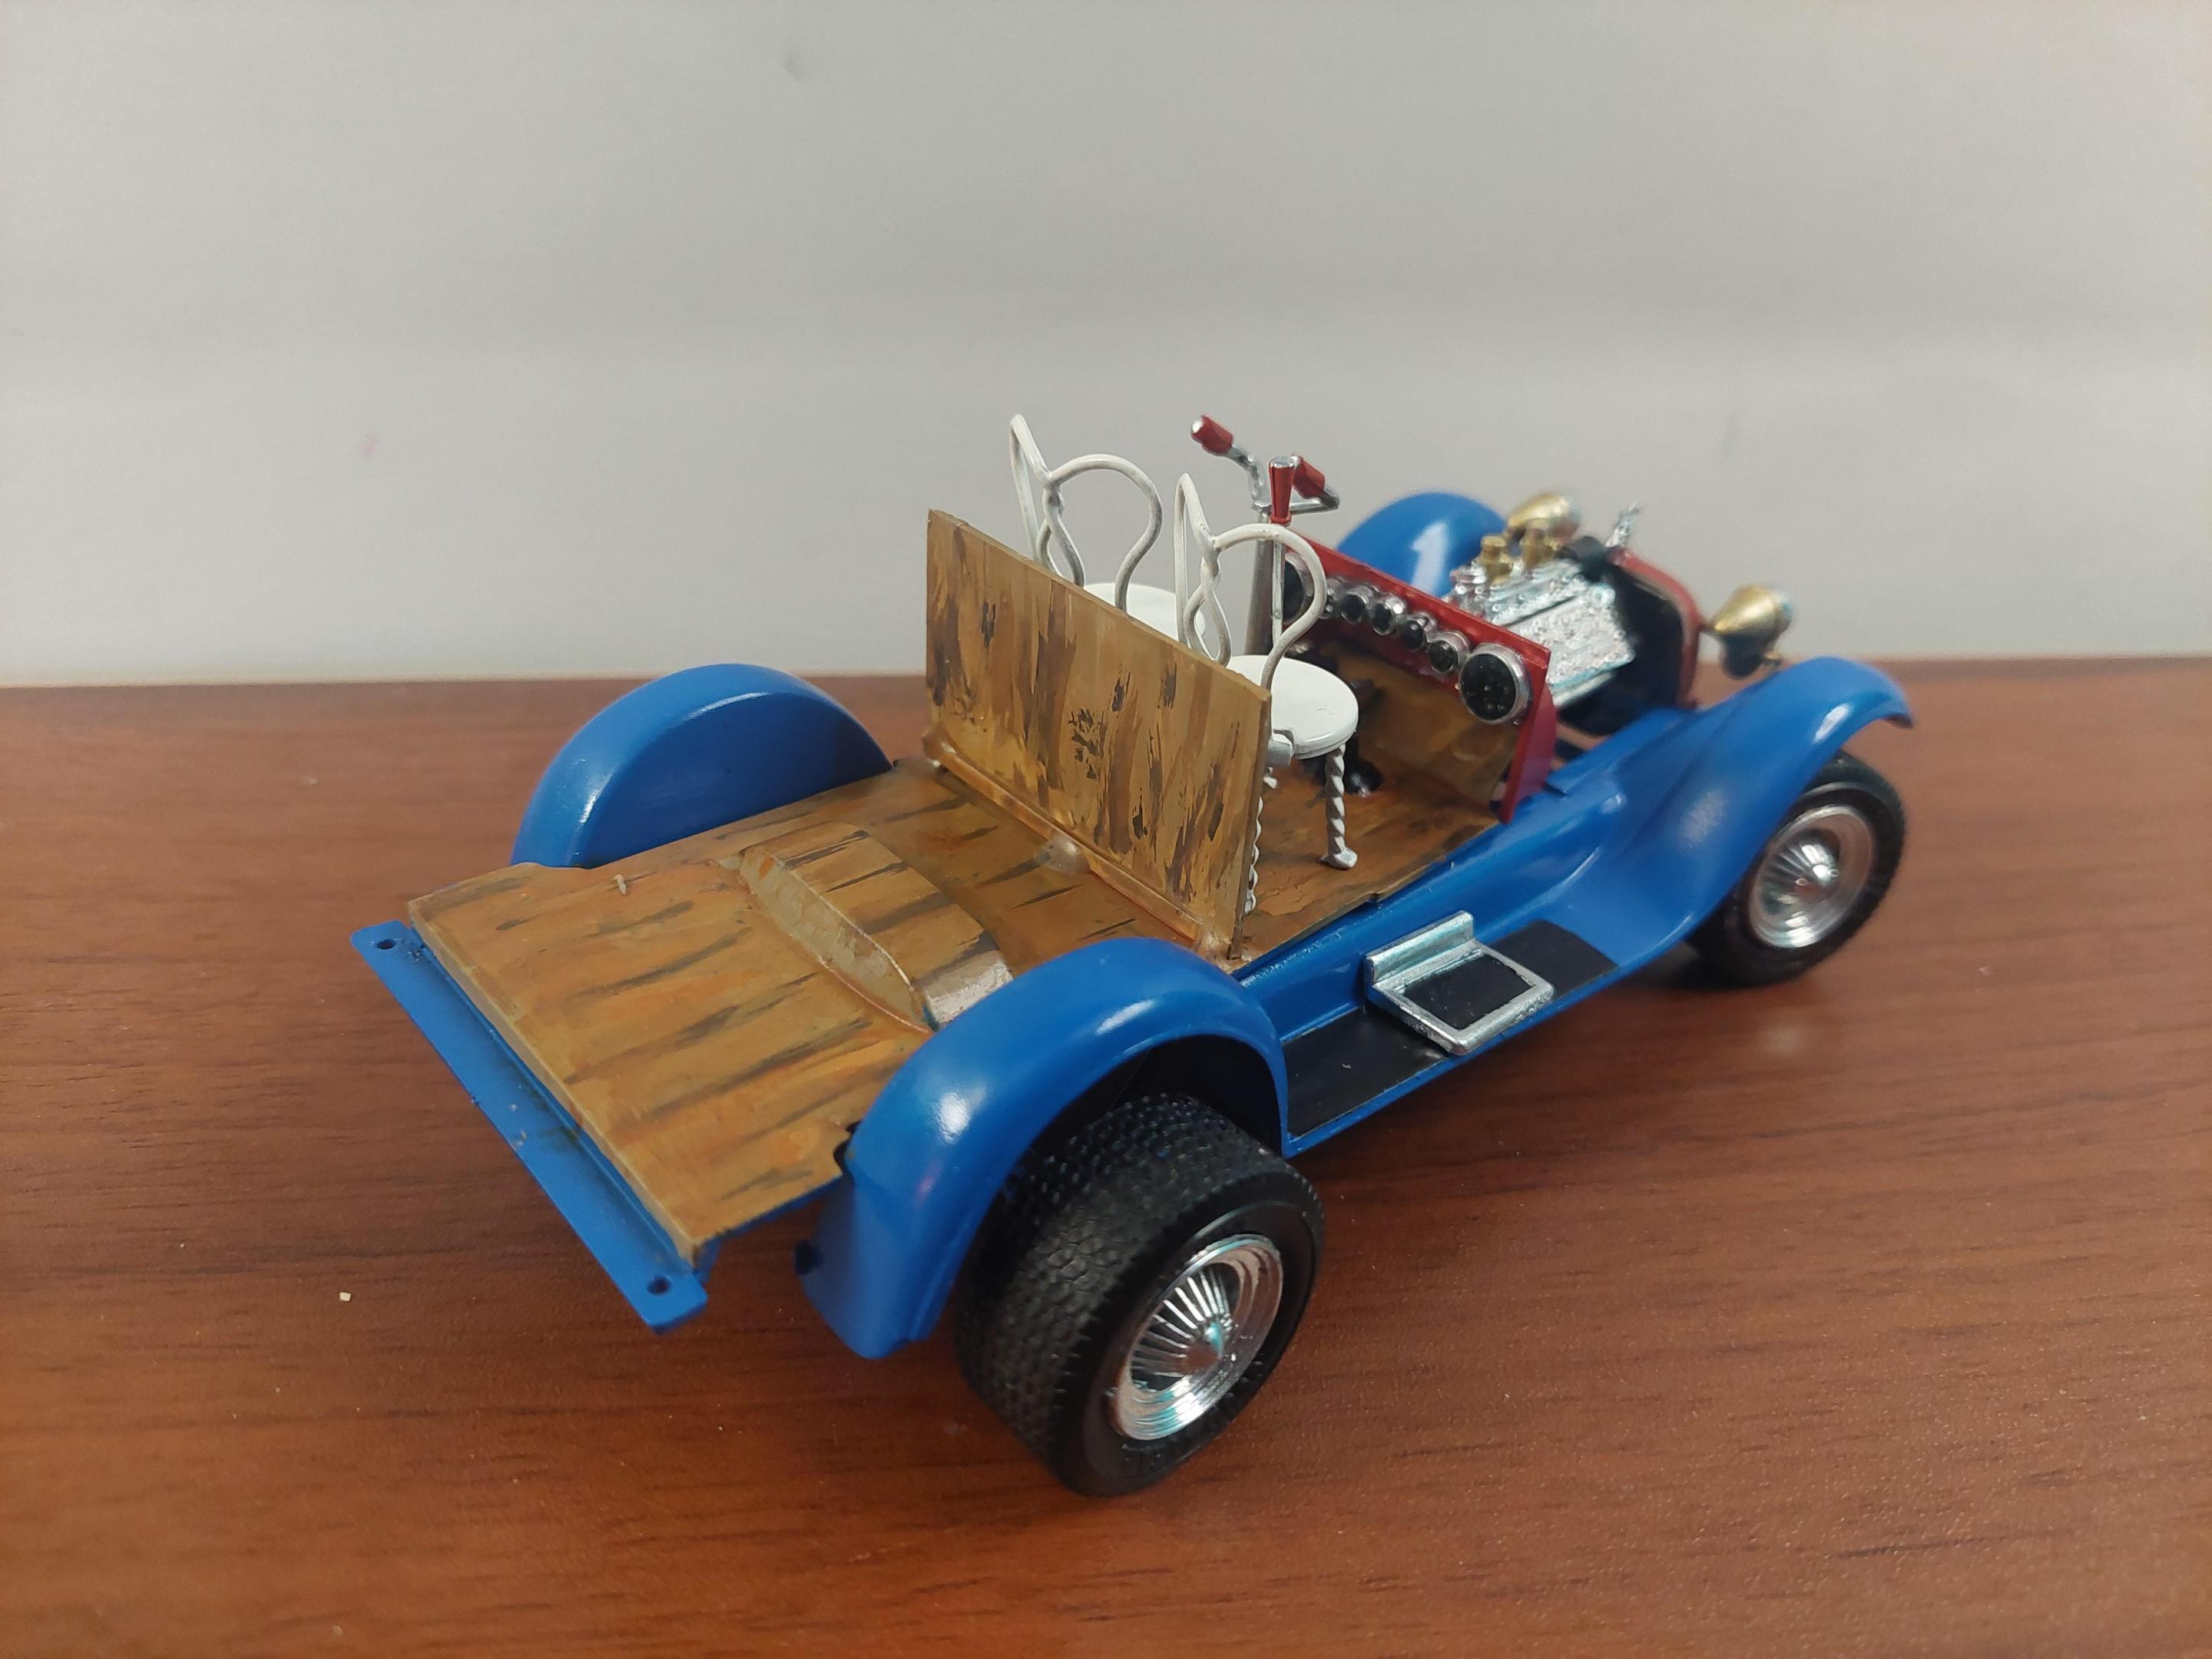
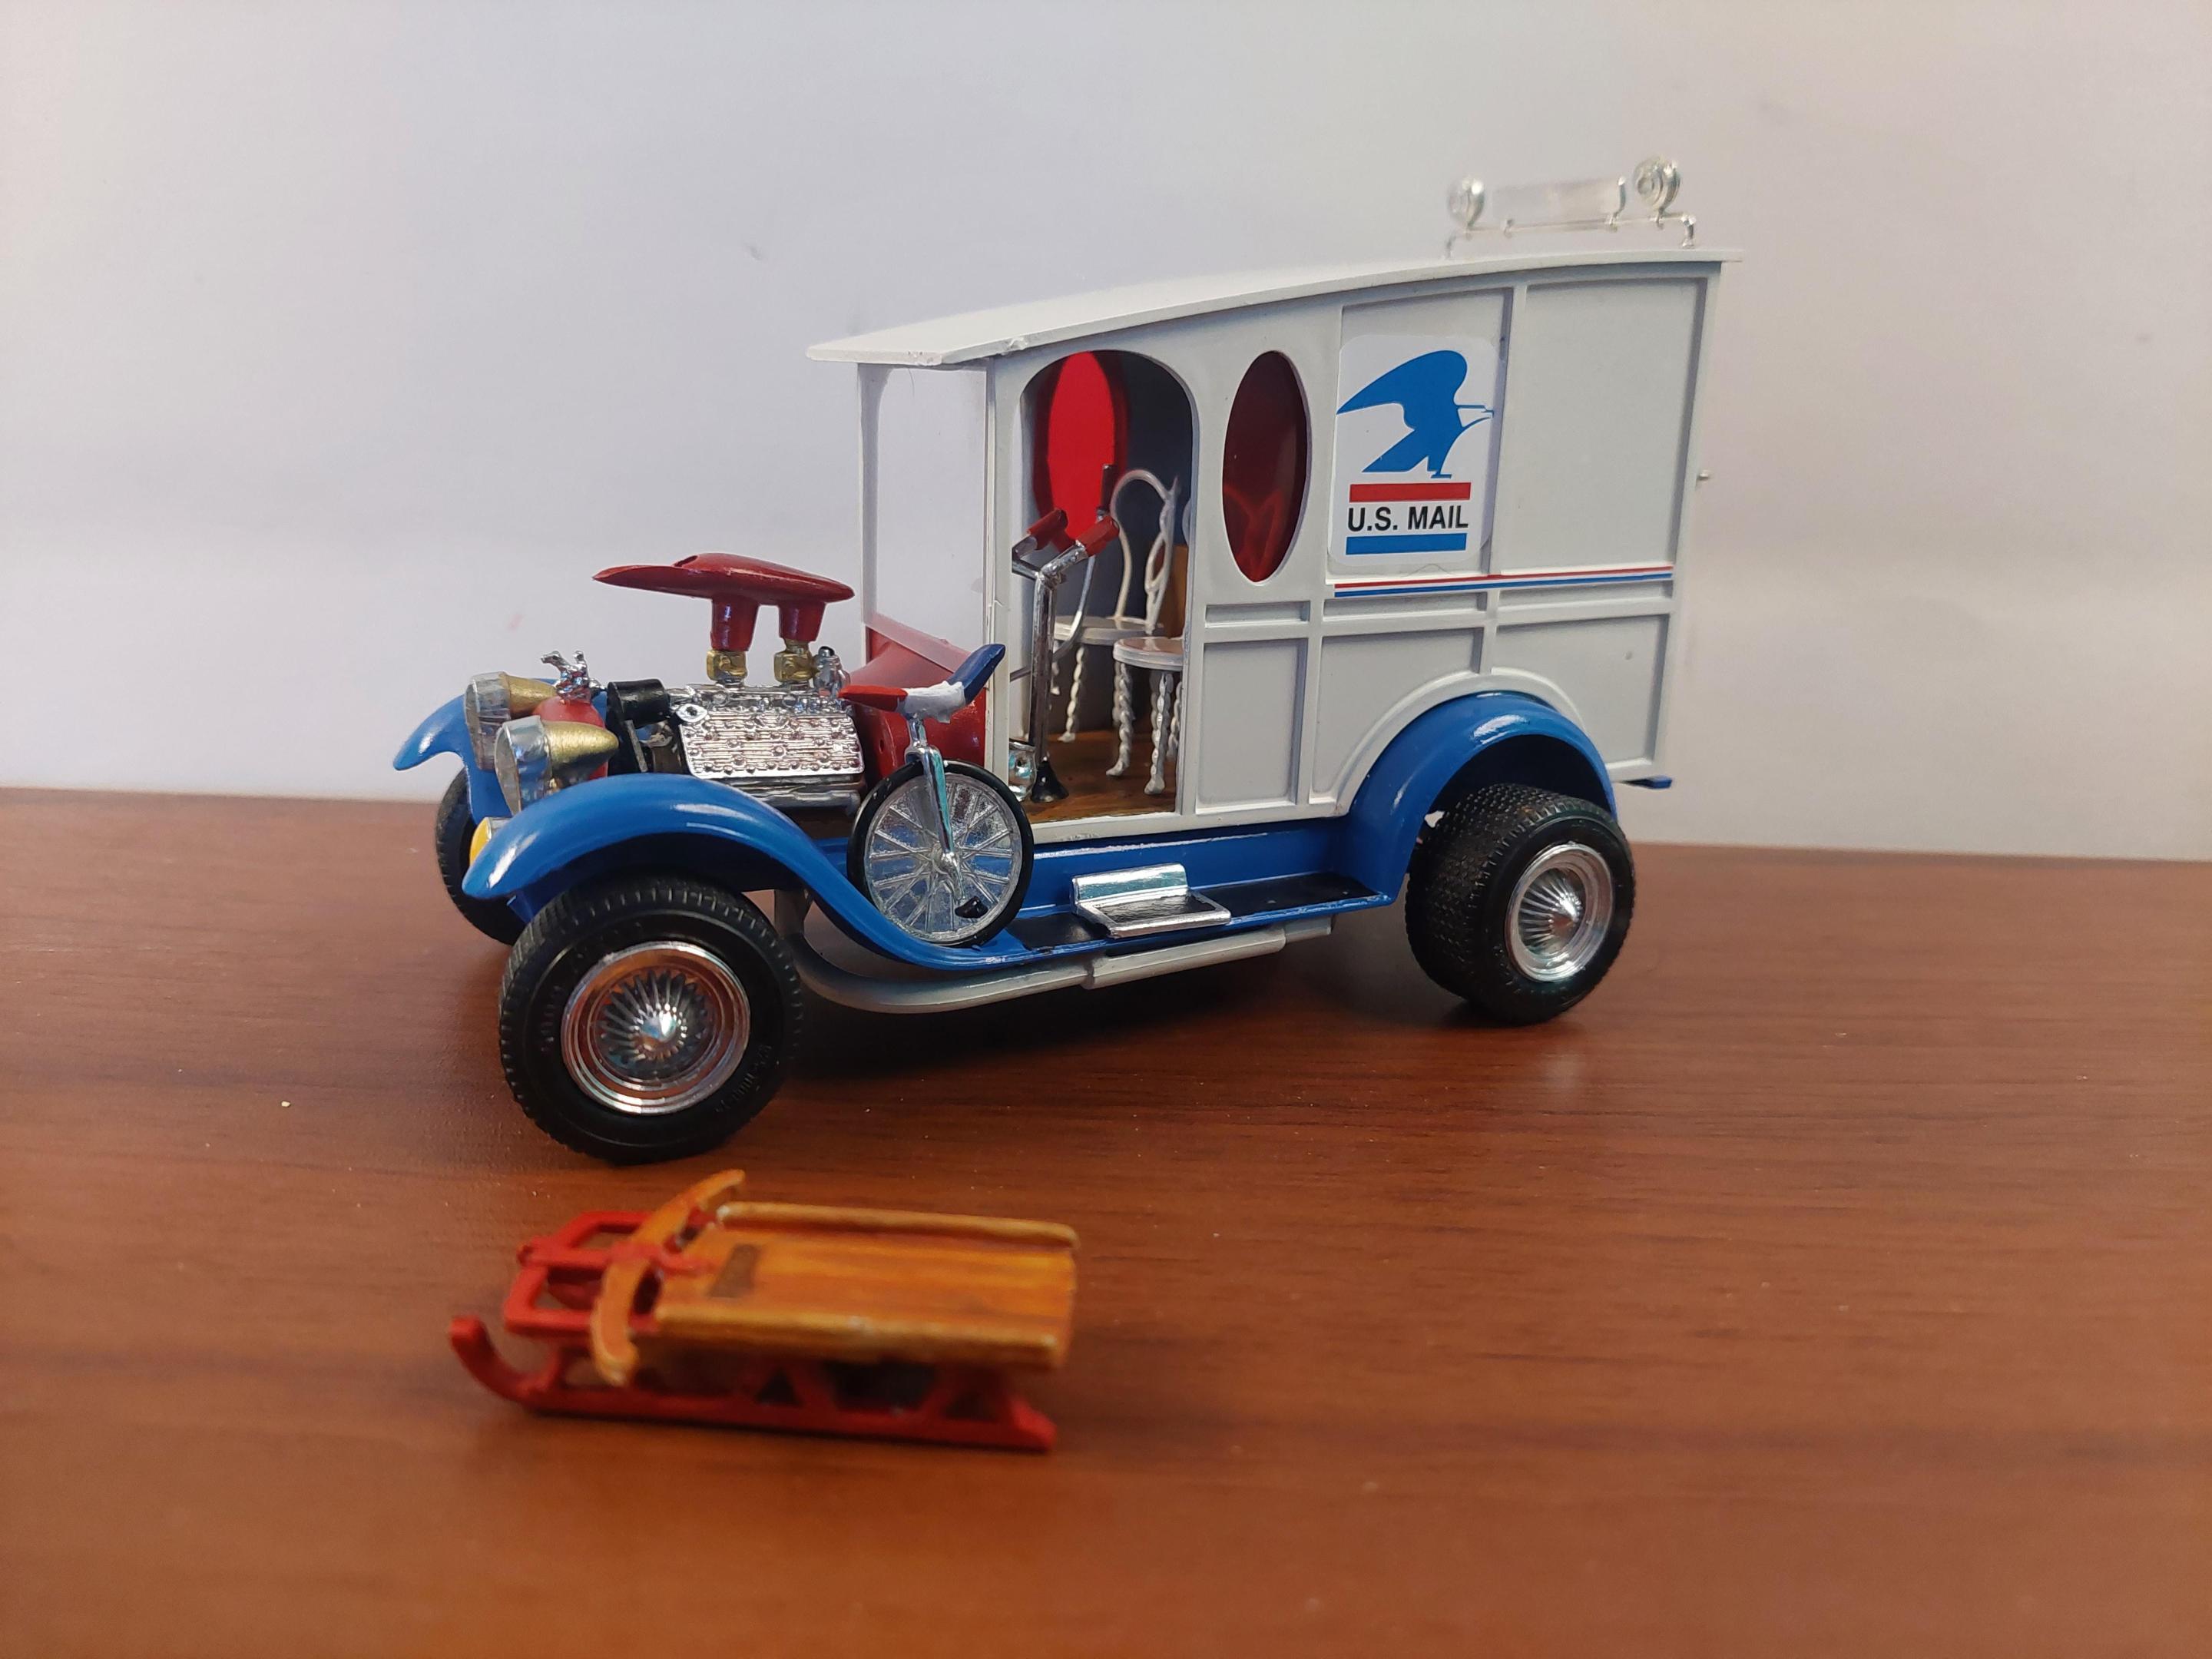
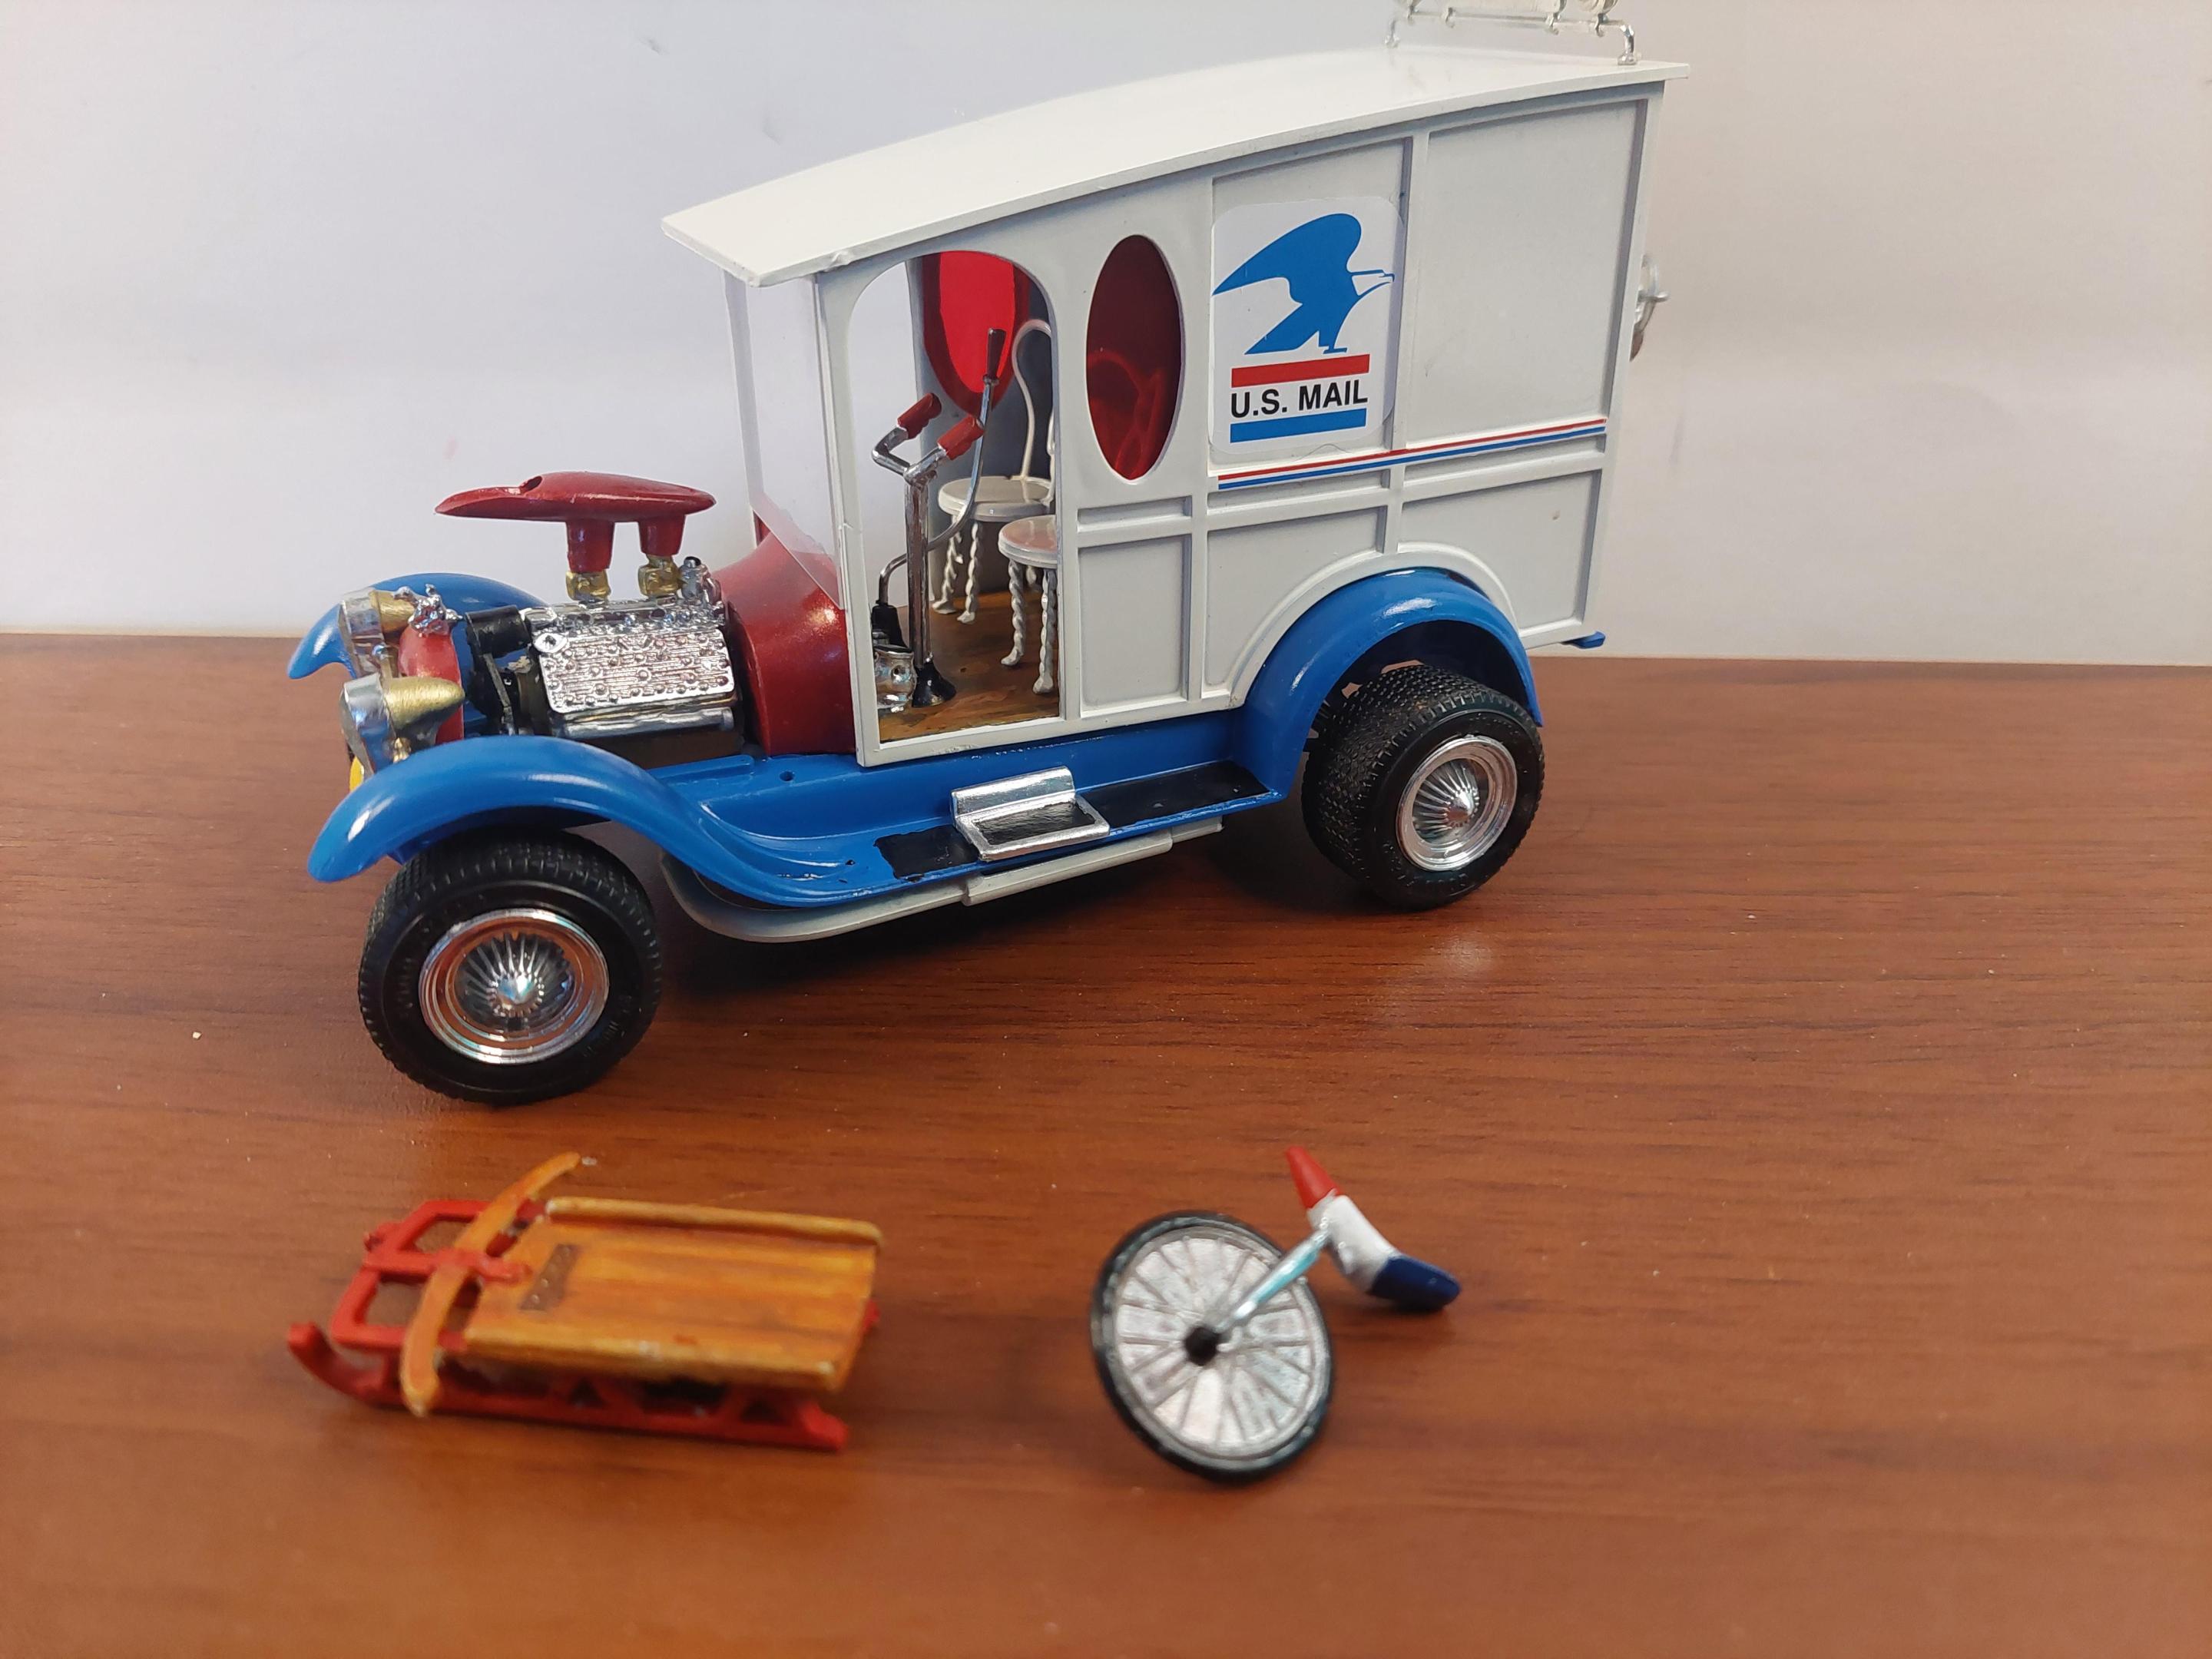
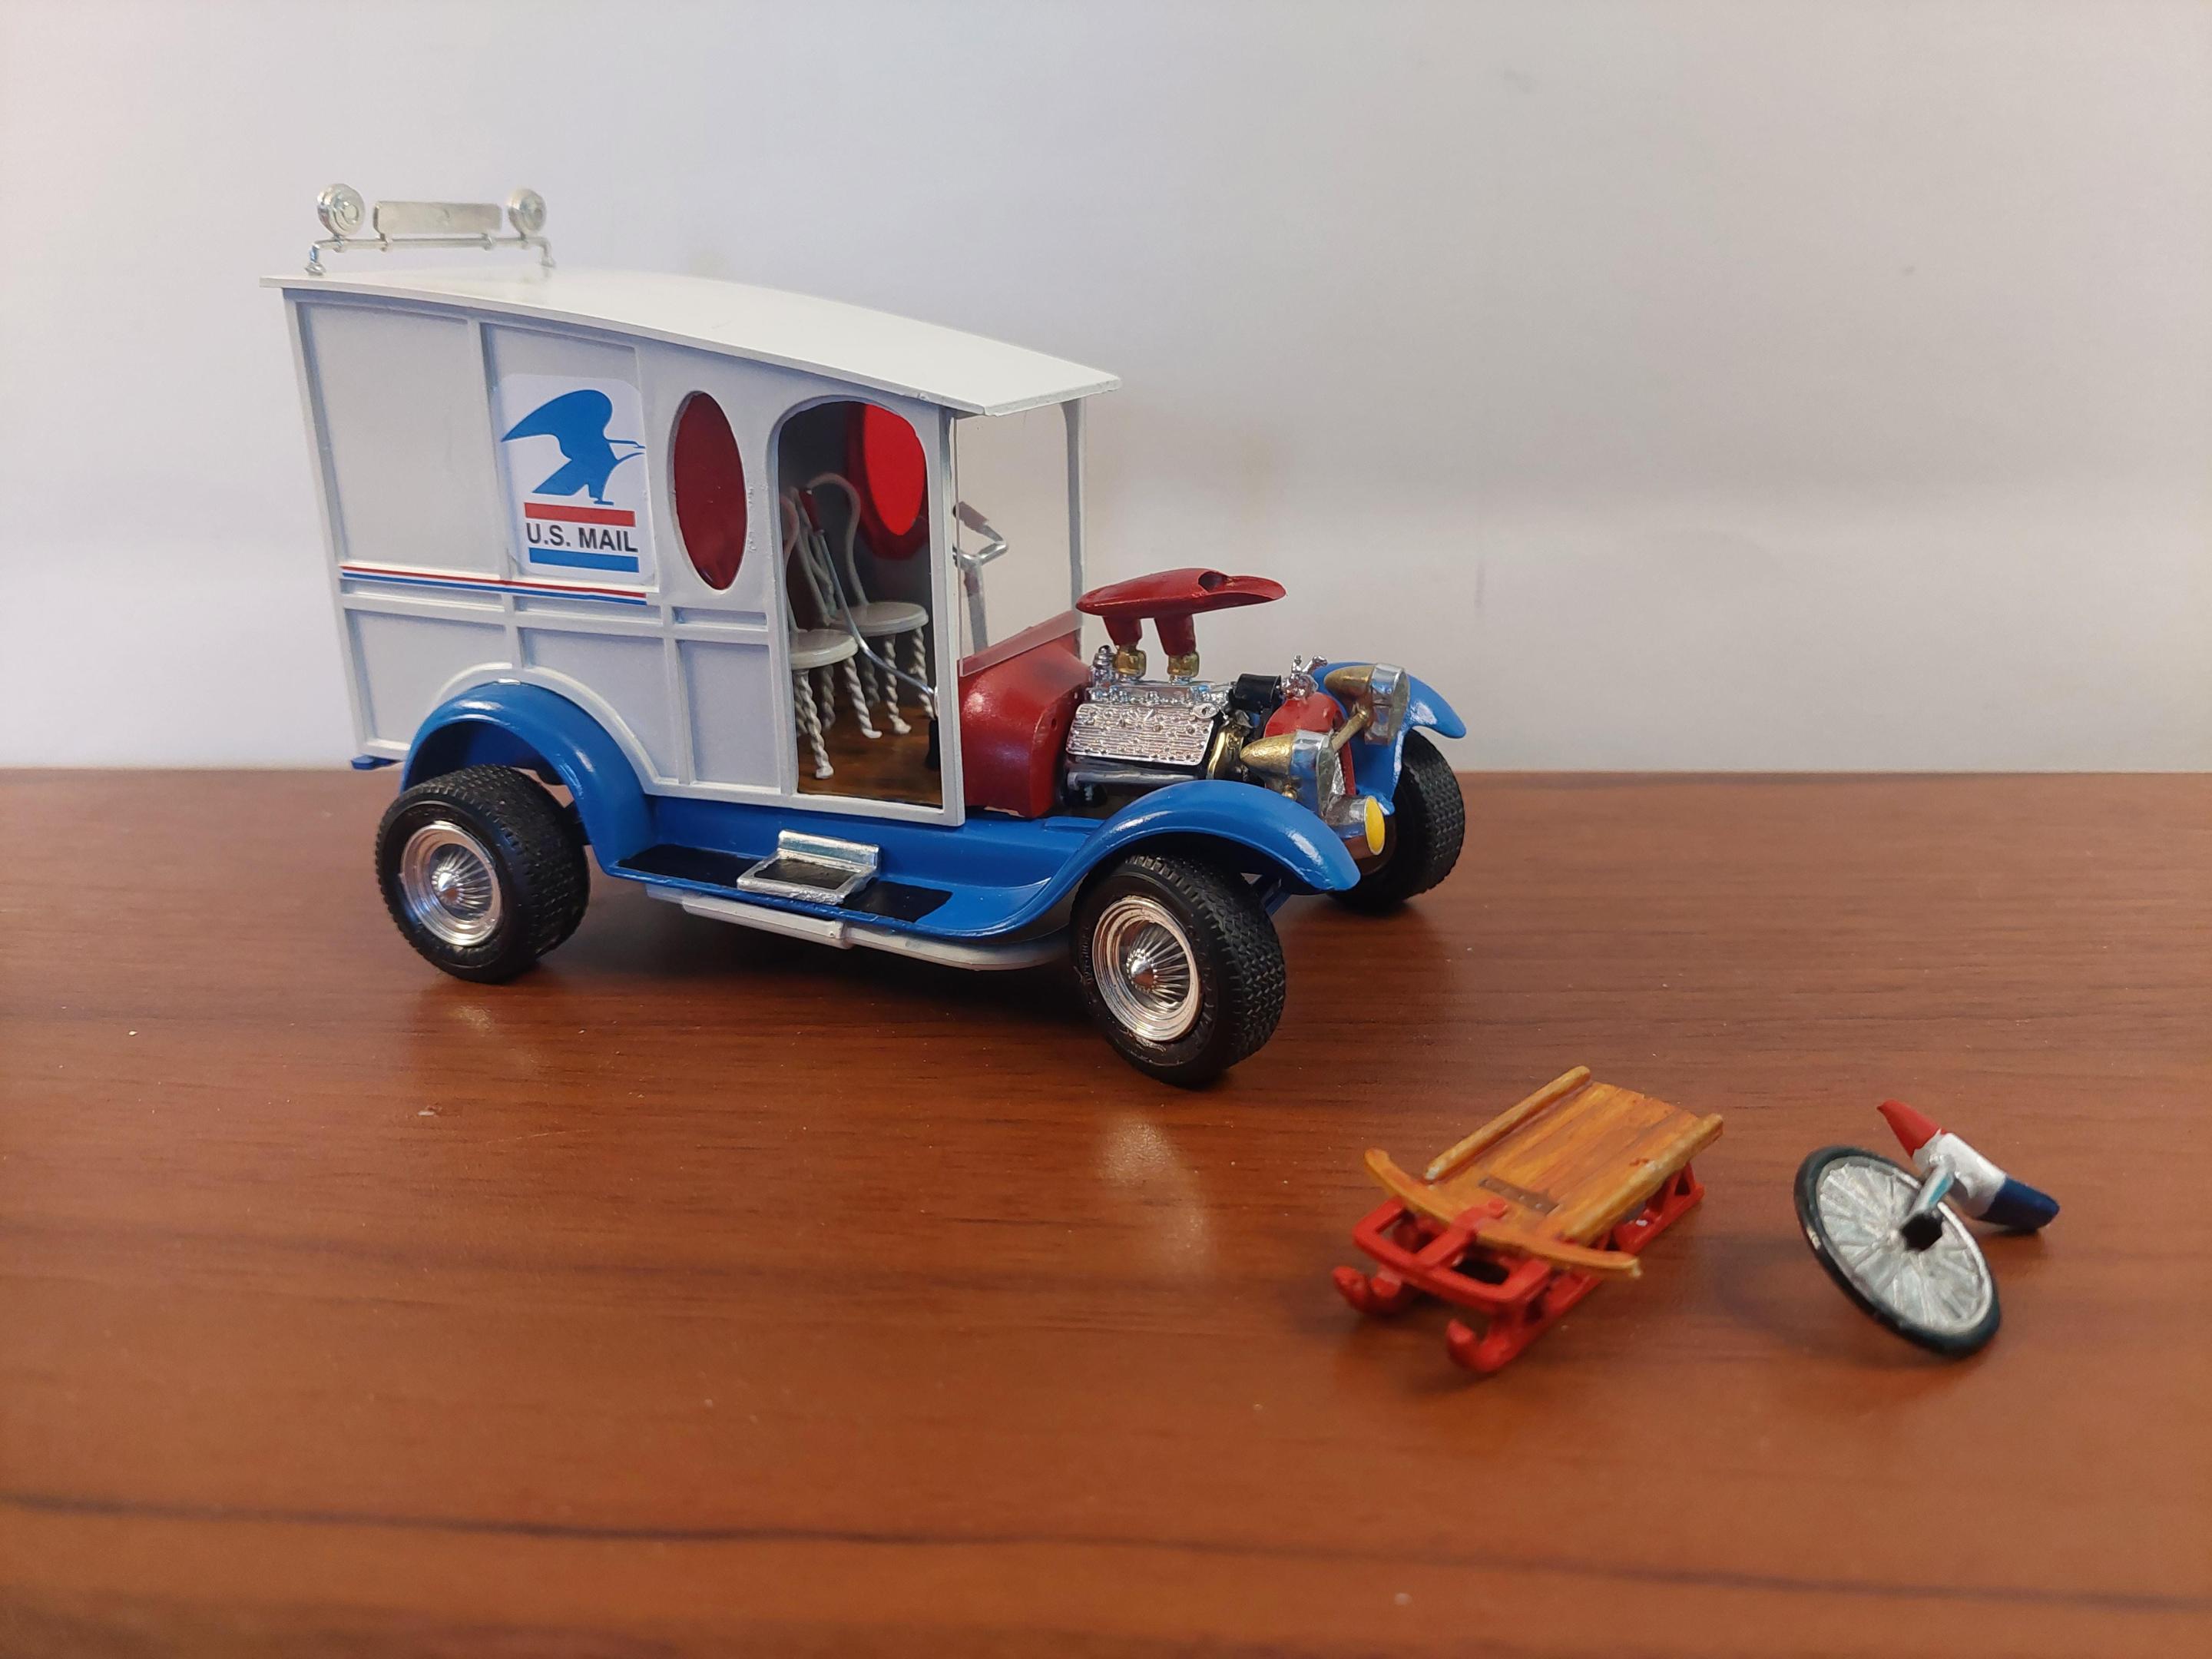
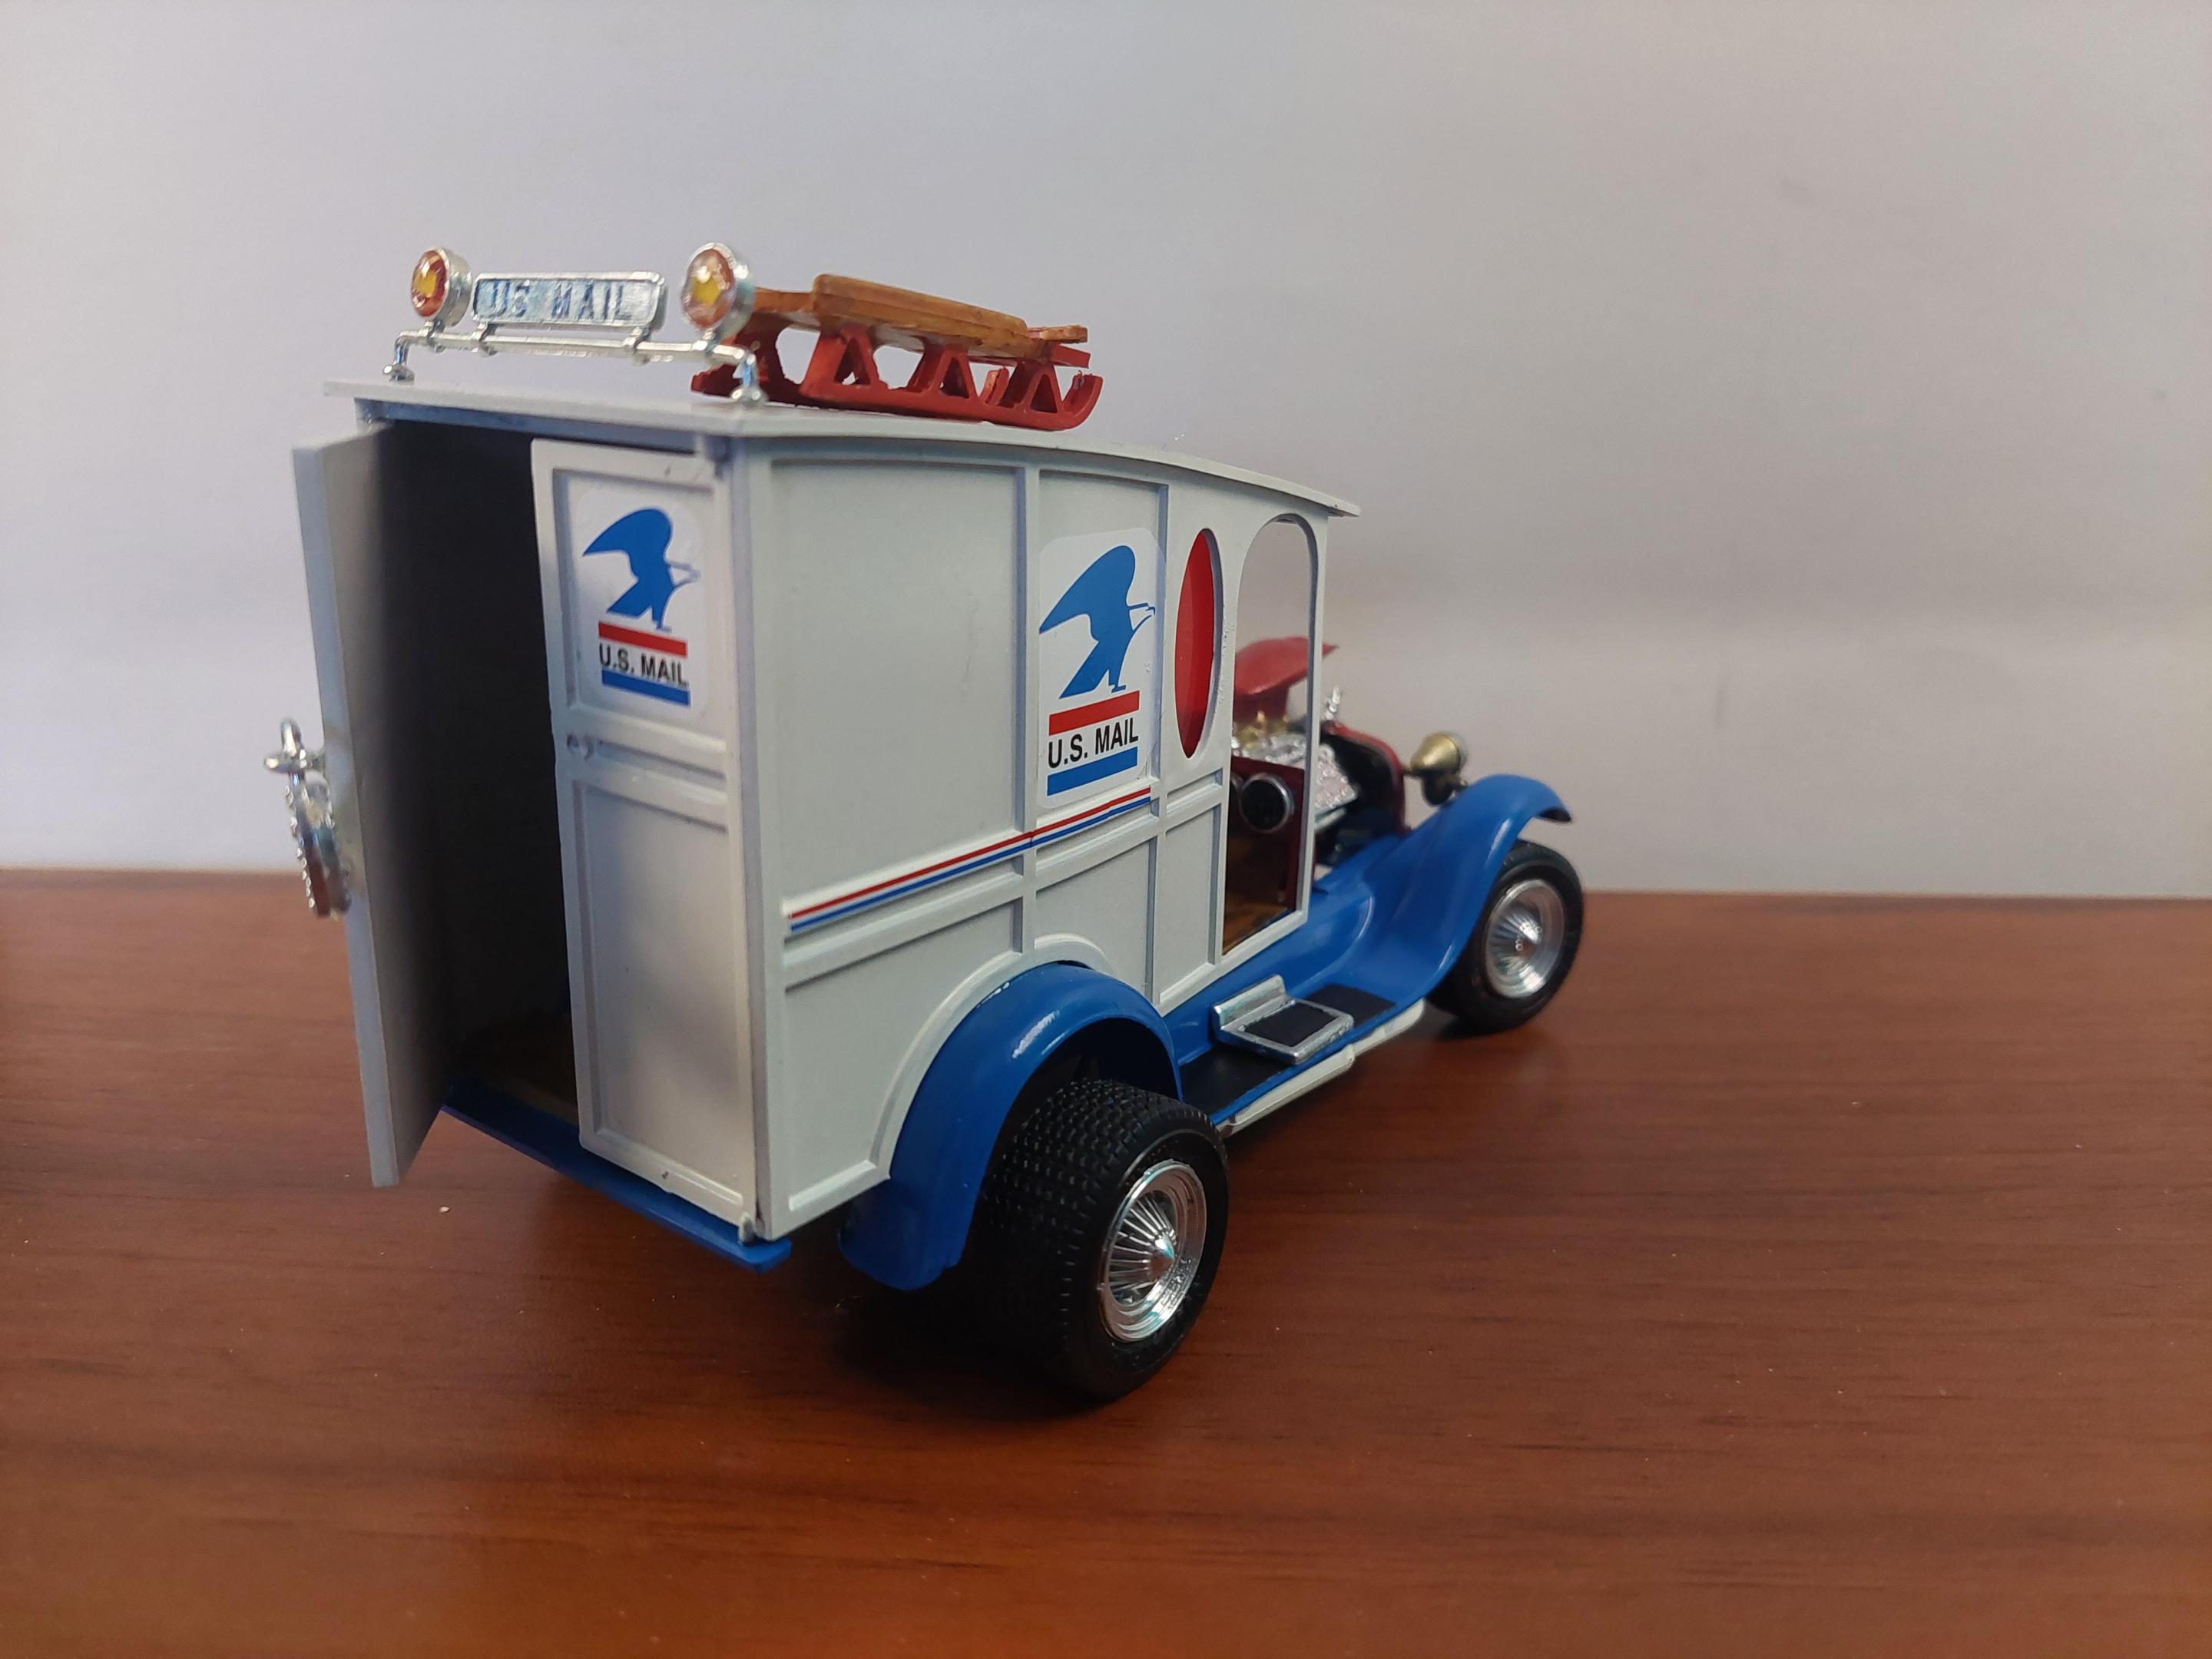
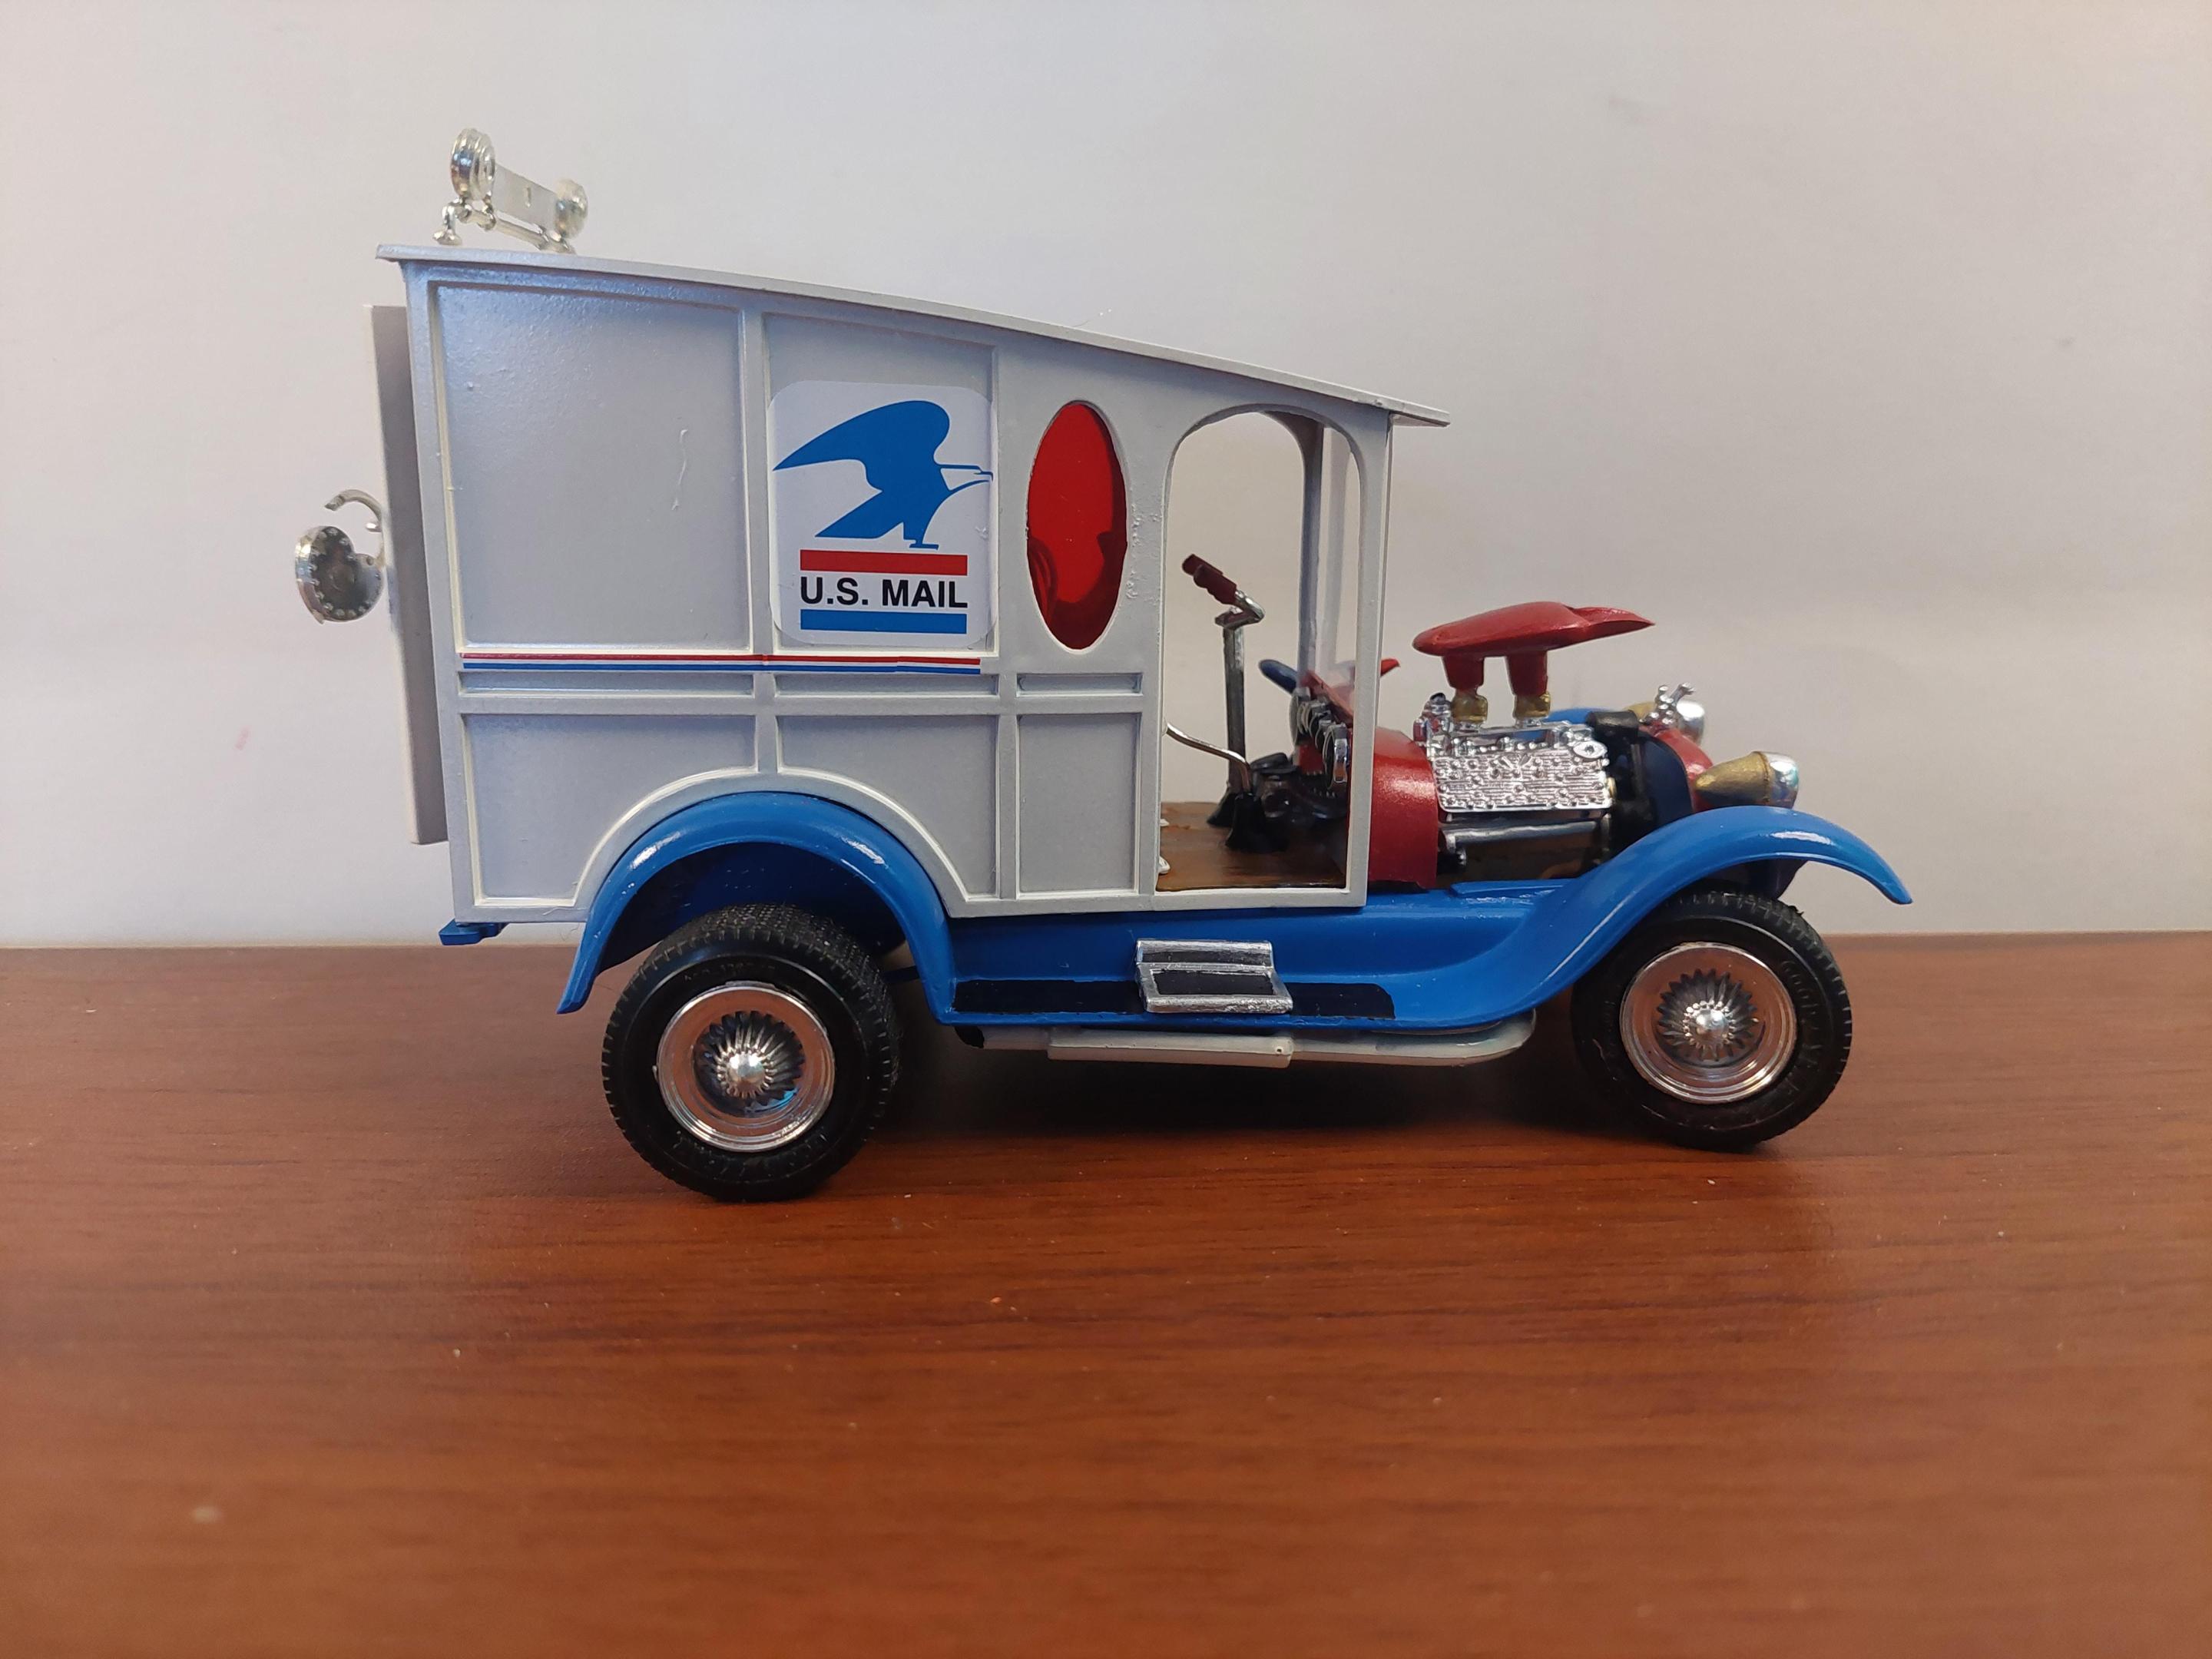
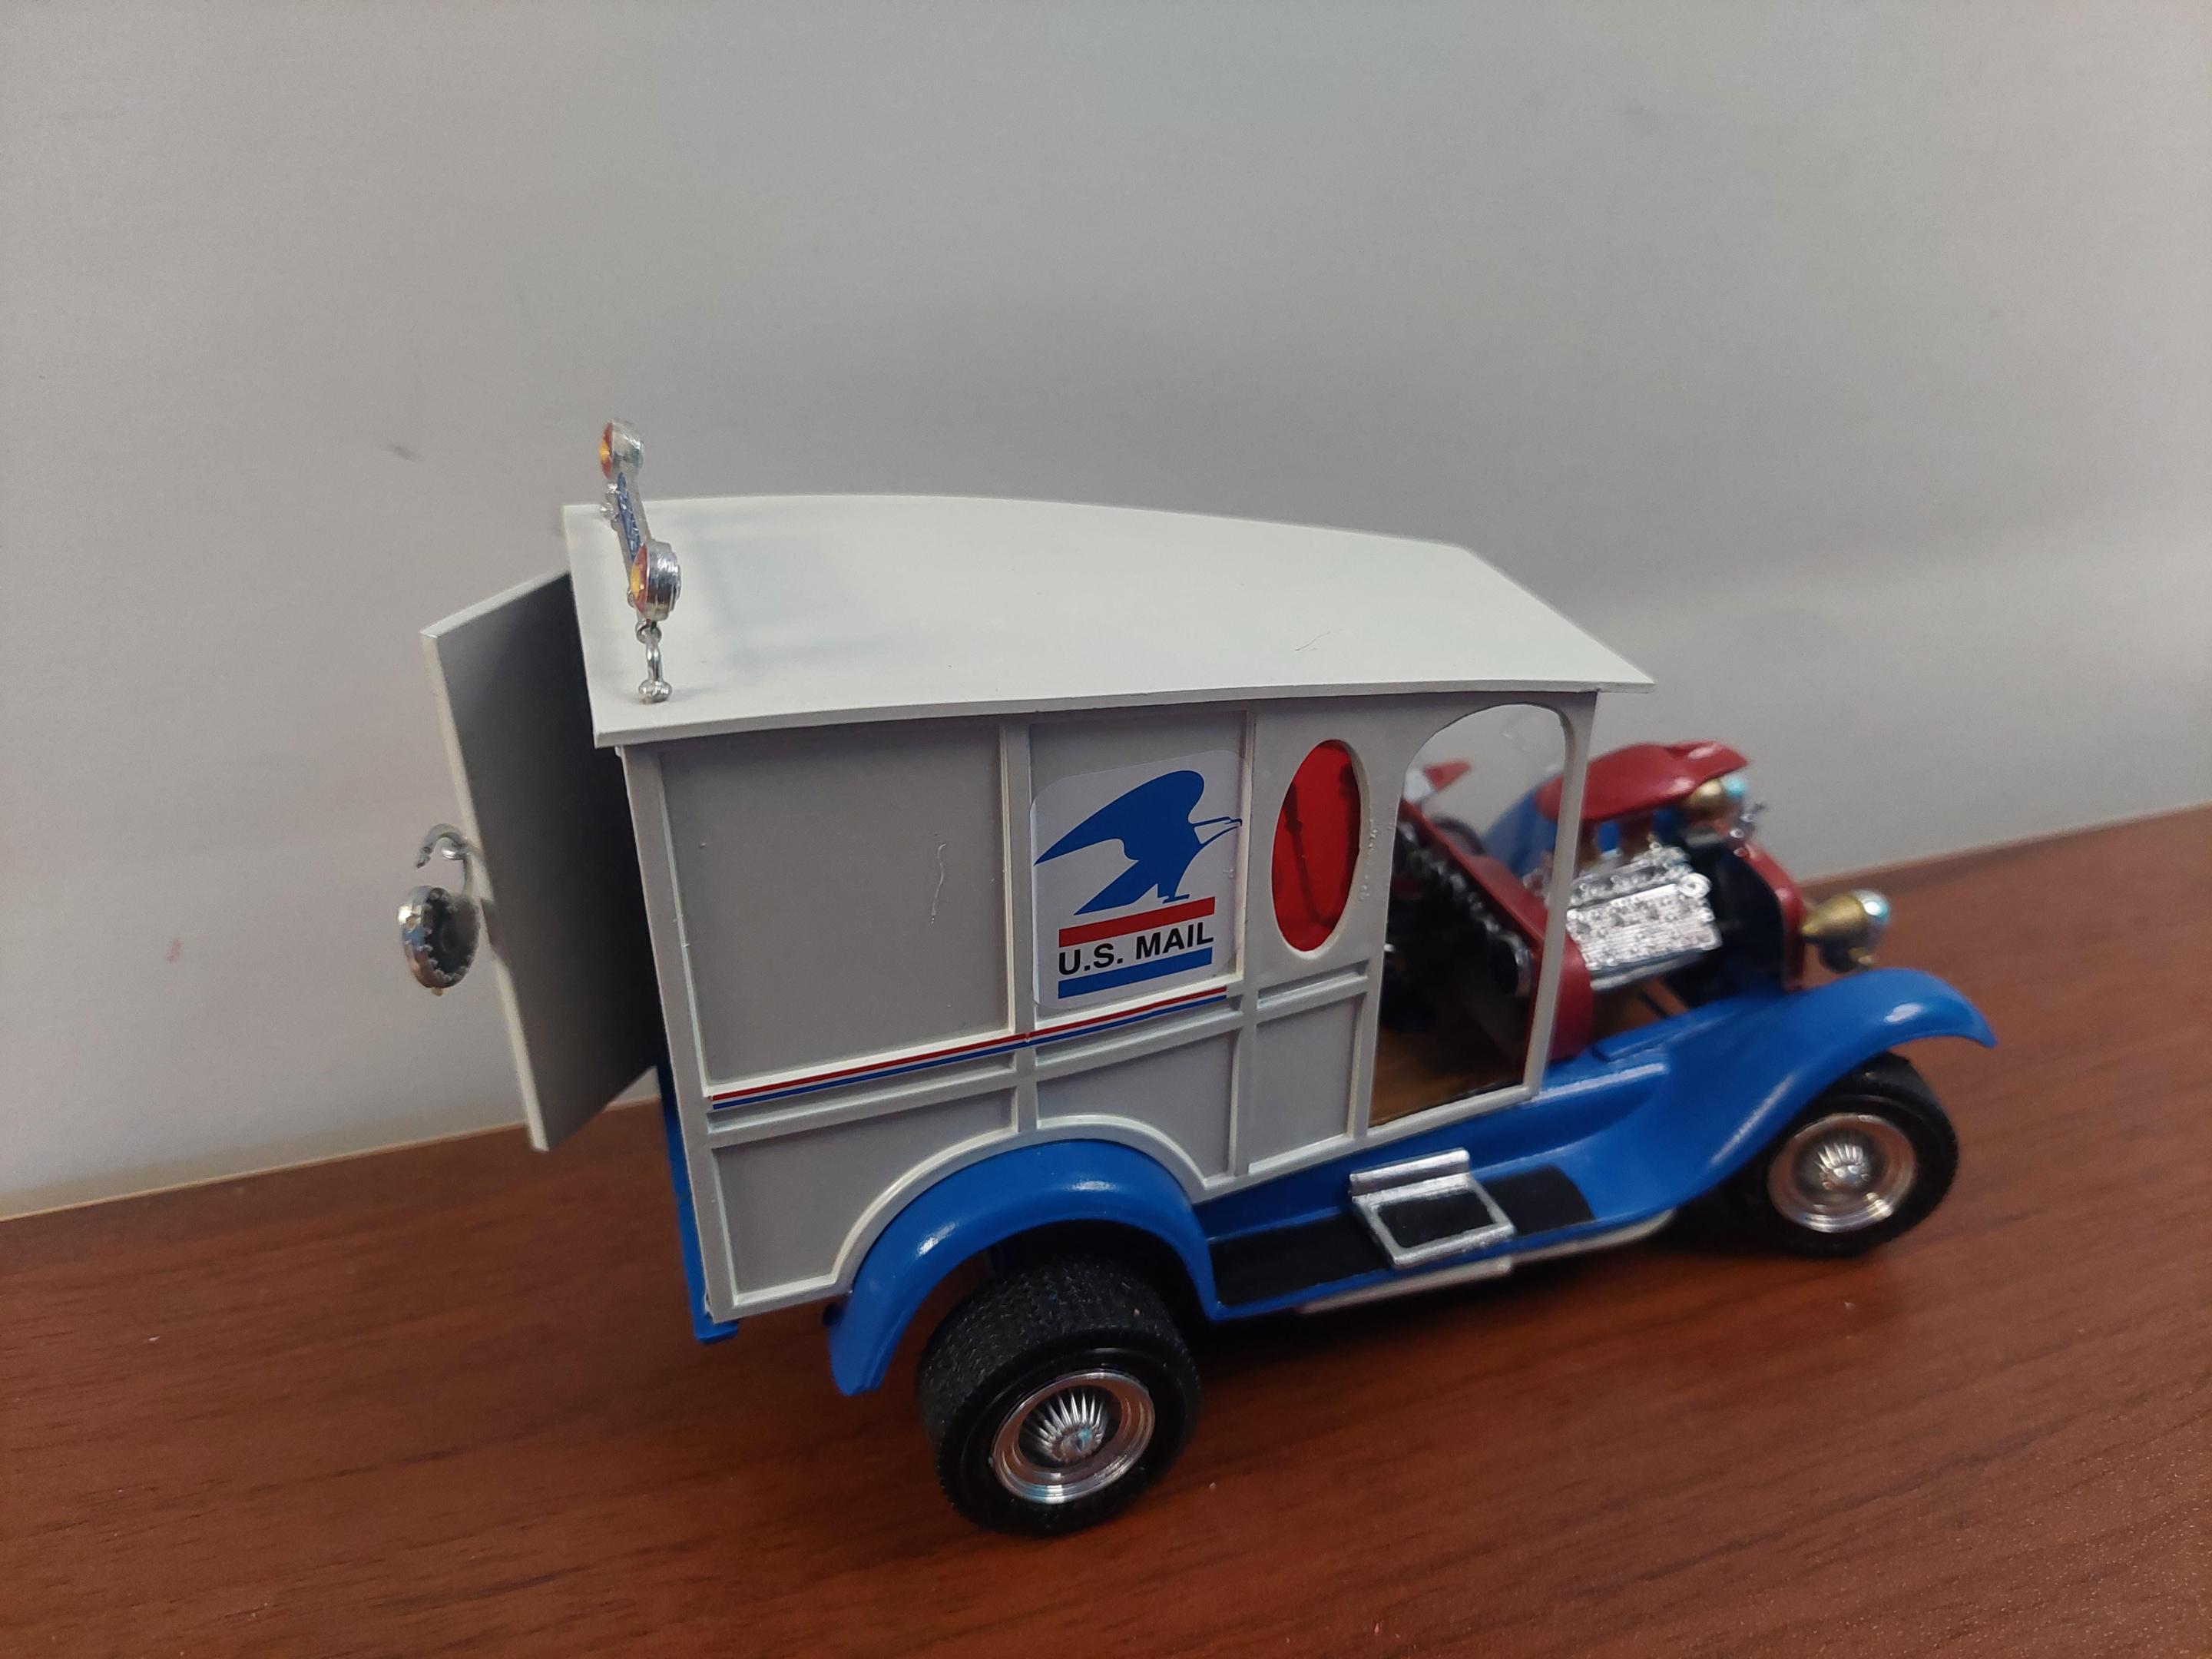
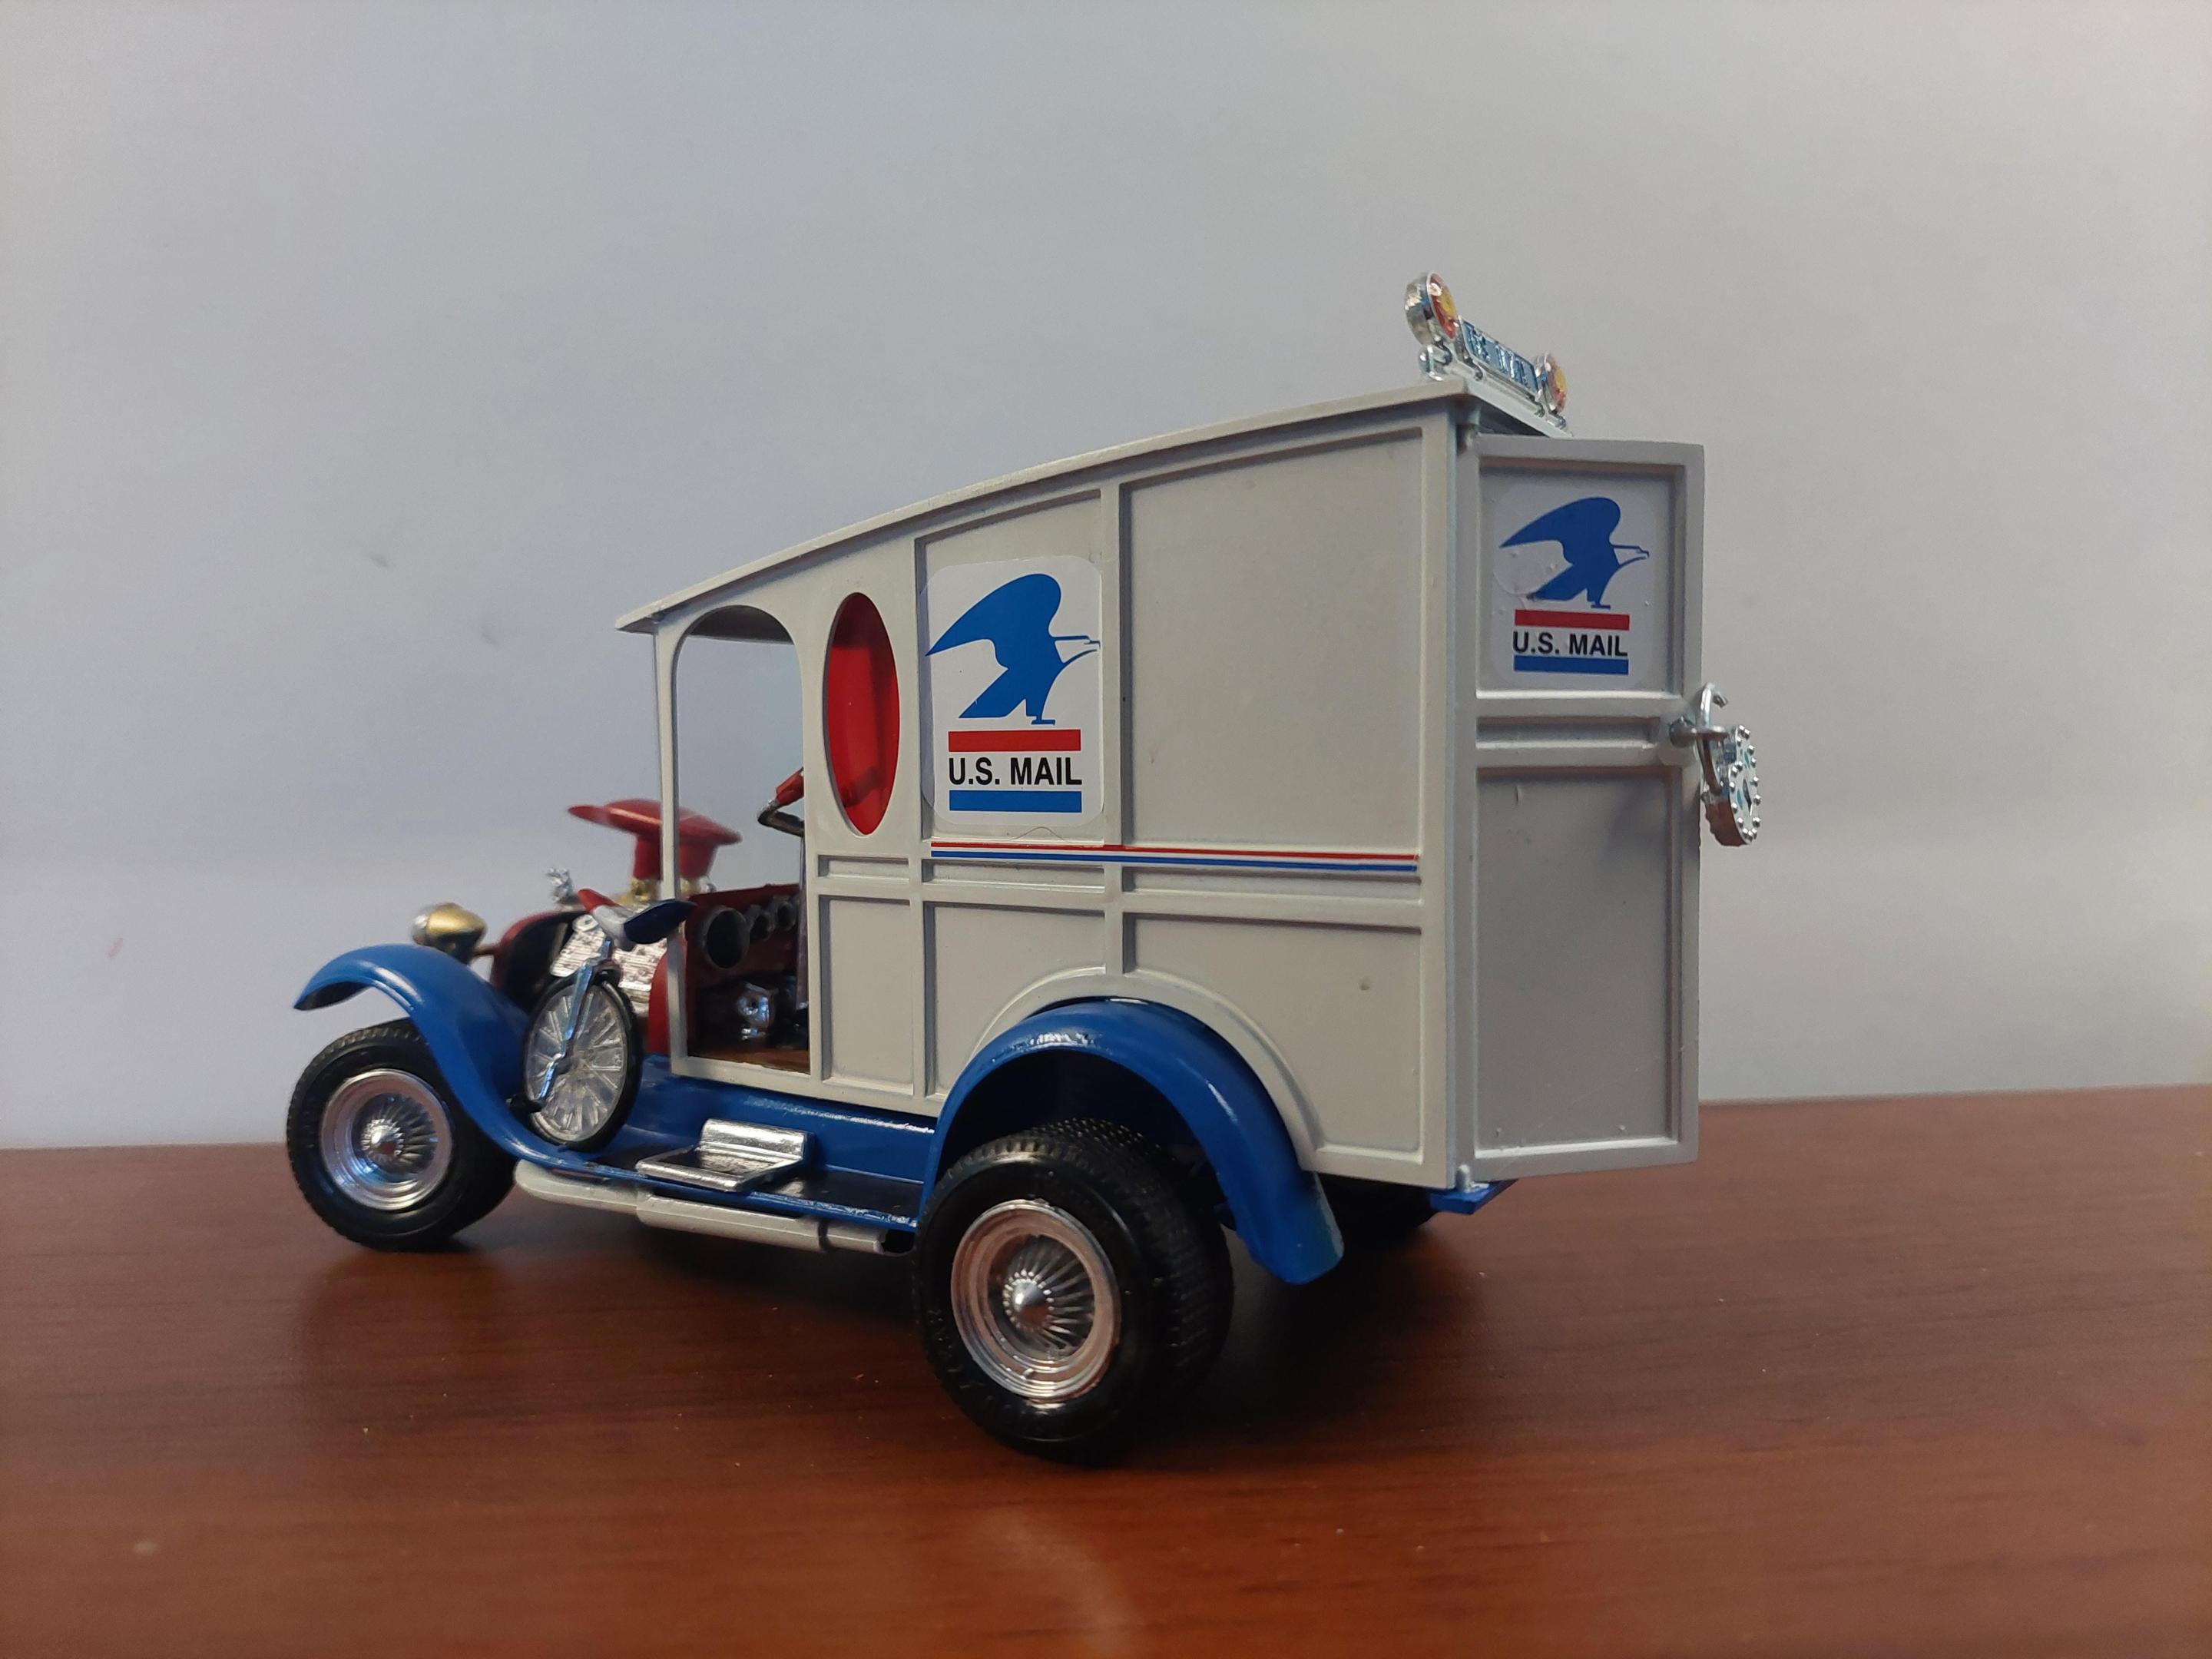
Its not done the way George Barris did it , but its still a save. I gave up the airbrush [tired of cleaning it] so no fogging on this paint. No original decals , its missing the wind direction and wind speed indicators and correct side pipes but everything else is there. The original glass was full of glue and fingerprints, so all glass is new. I made a mold of the sled and cast a few , this one is one of the resin copies. Decals maybe from ' Gopher vintage ' , cant remember. Paint is all Tamiya. Light lenses are epoxy.
-

MPC Mail Truck ShowRod
BIGTRUCK replied to BIGTRUCK's topic in WIP: Model Trucks: Pickups, Vans, SUVs, Light Commercial
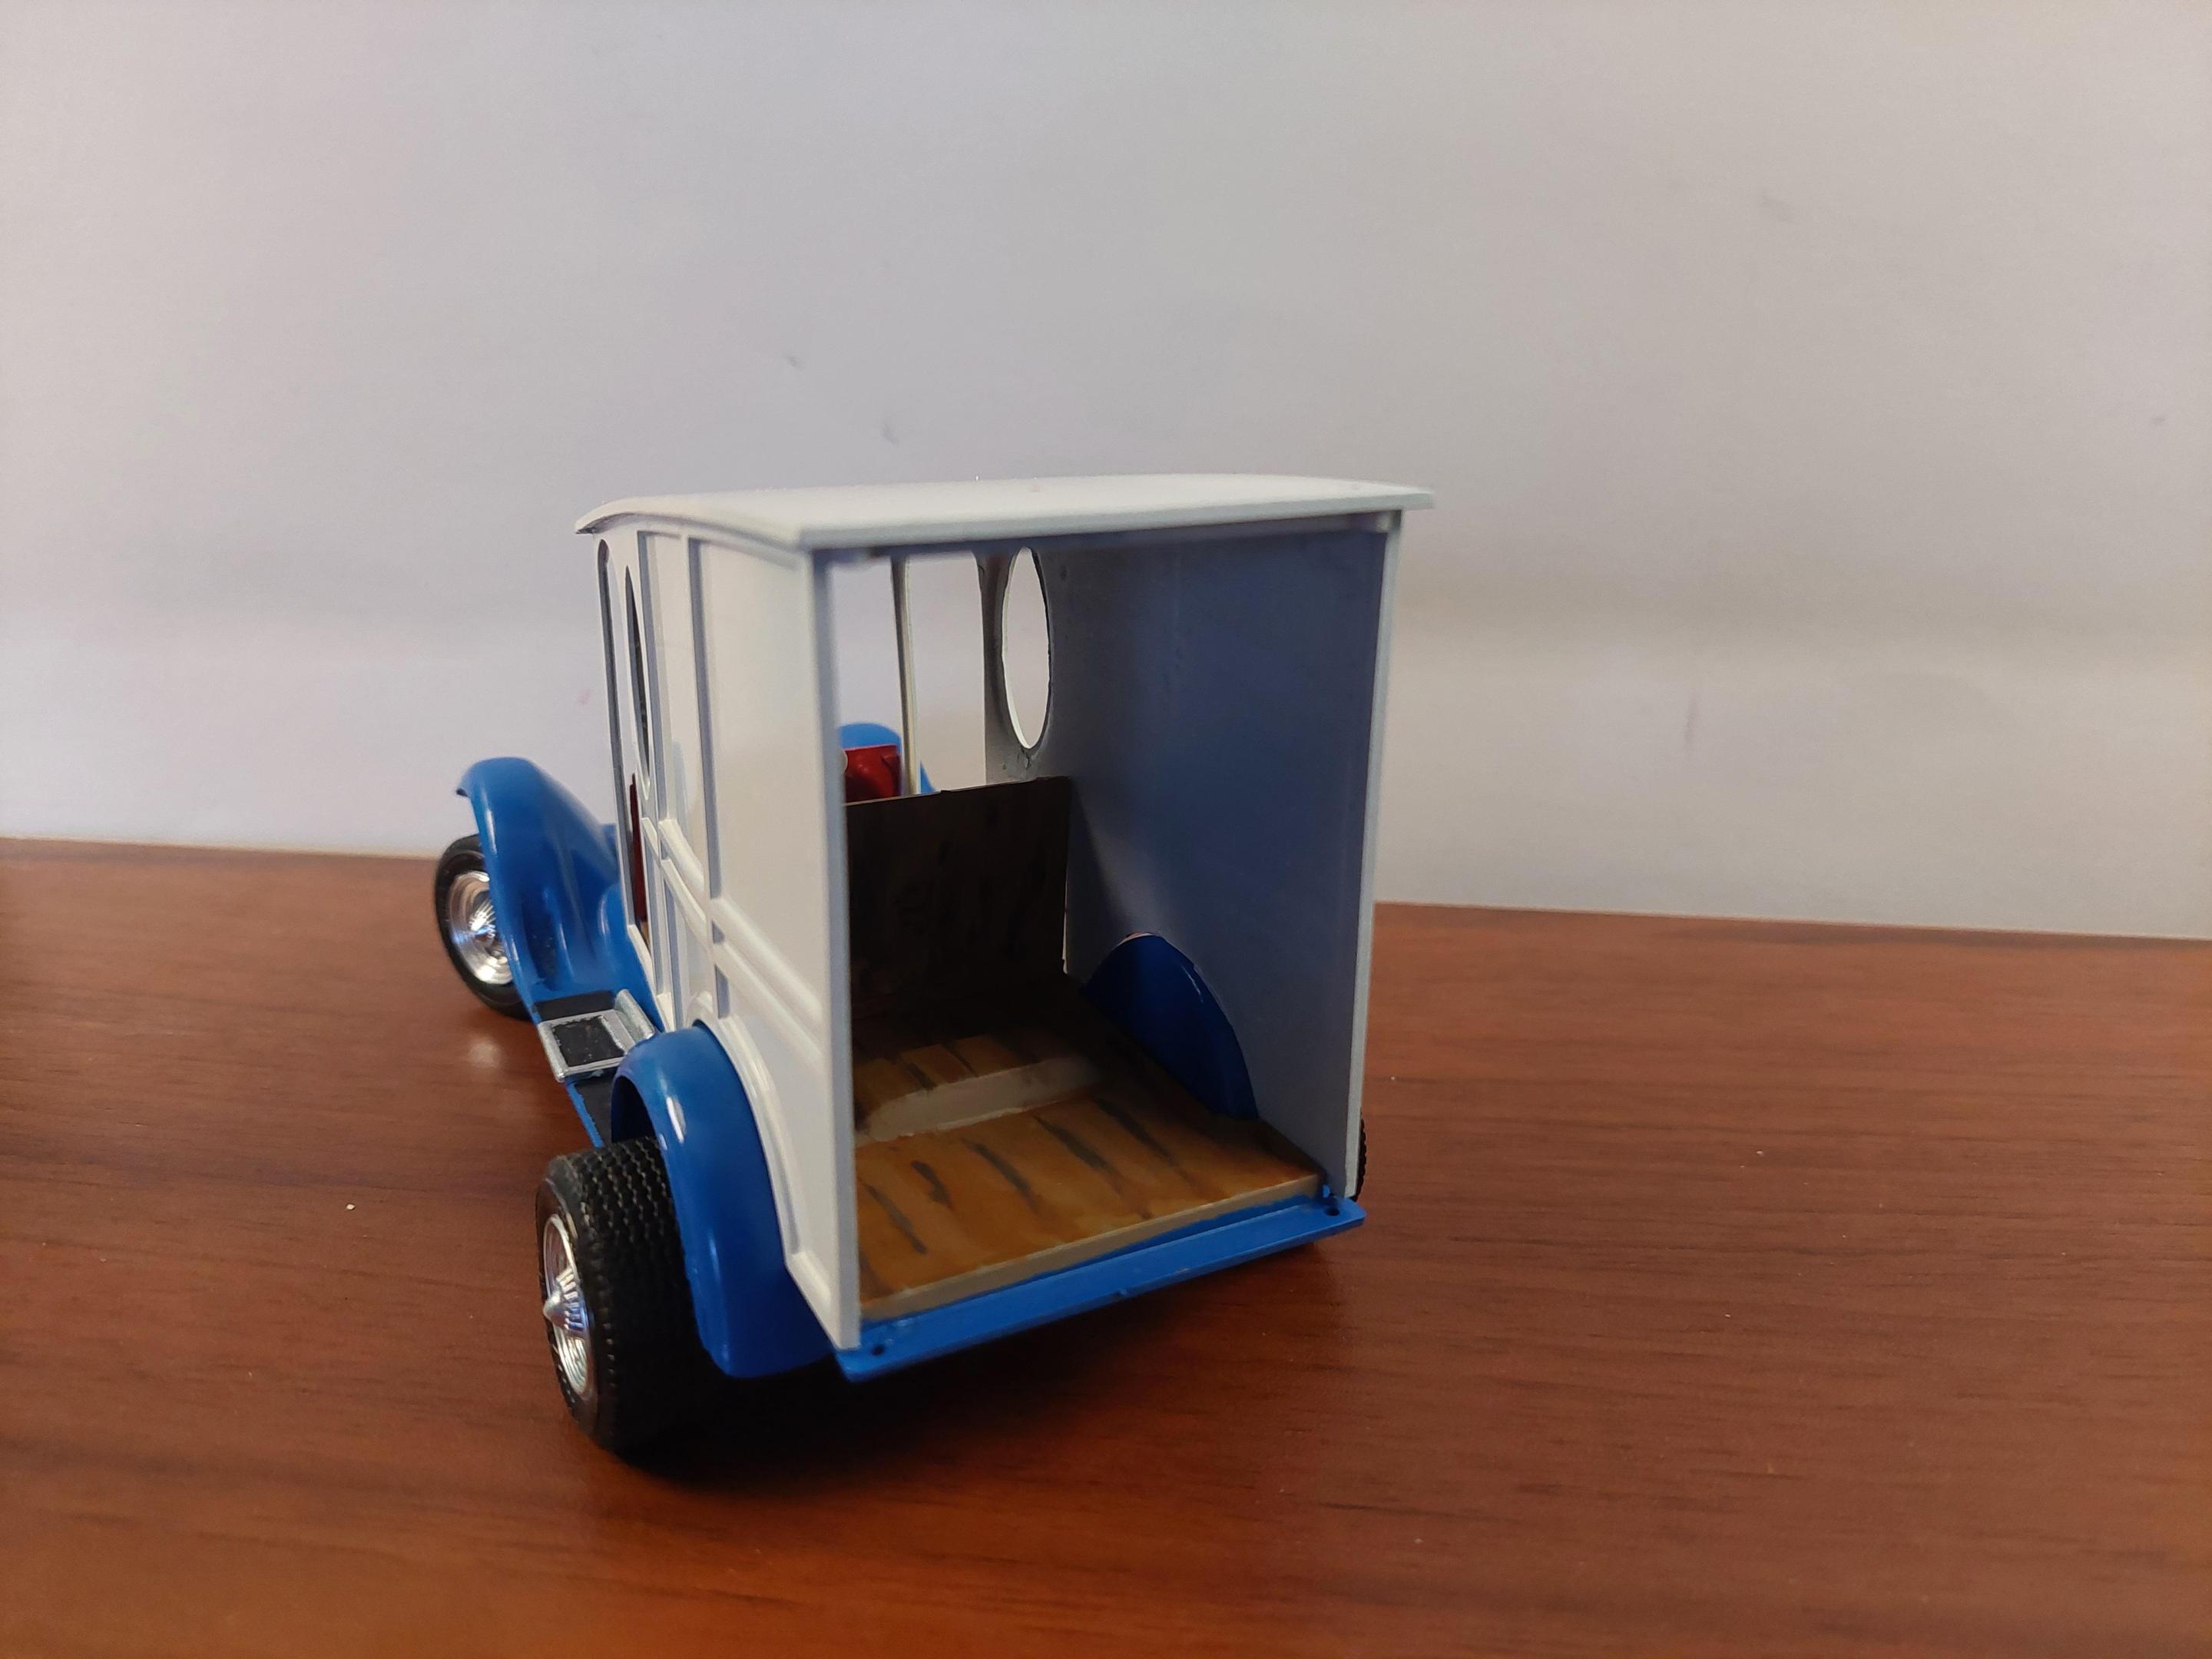
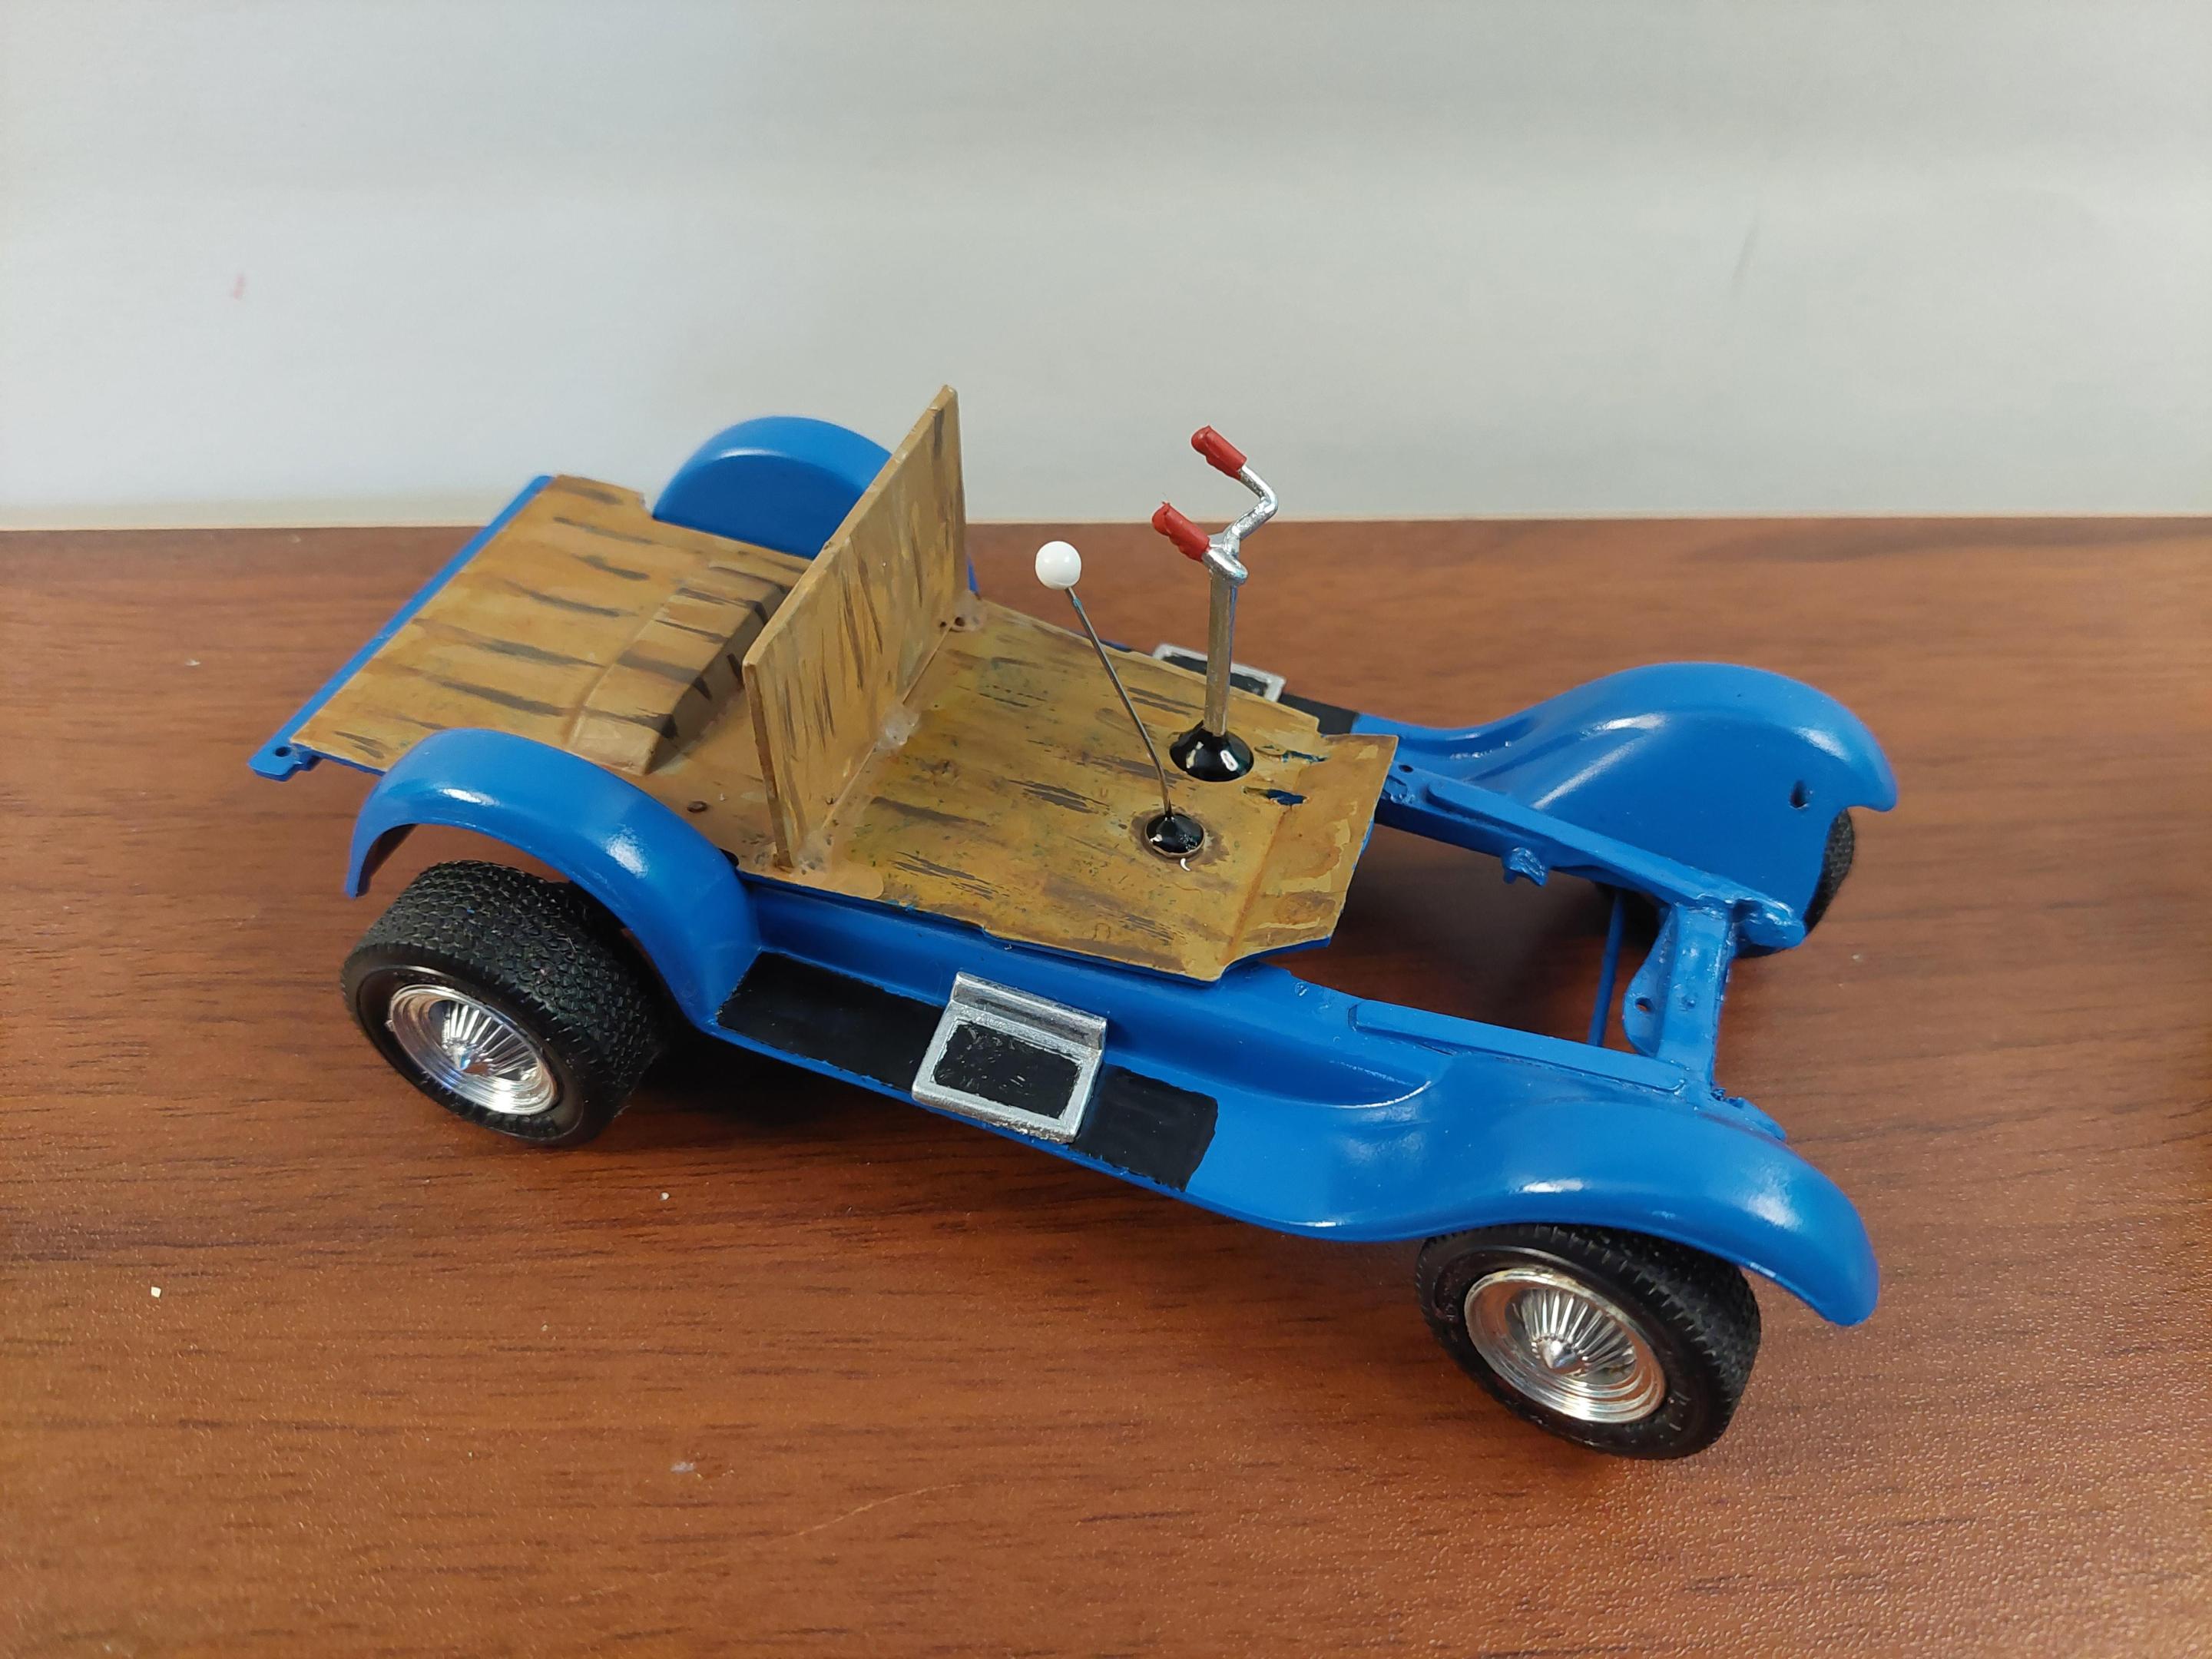
All the parts that needed alot of attention are done. The rest of this rebuild should move along just fine....I hope. -

MPC Mail Truck ShowRod
BIGTRUCK replied to BIGTRUCK's topic in WIP: Model Trucks: Pickups, Vans, SUVs, Light Commercial
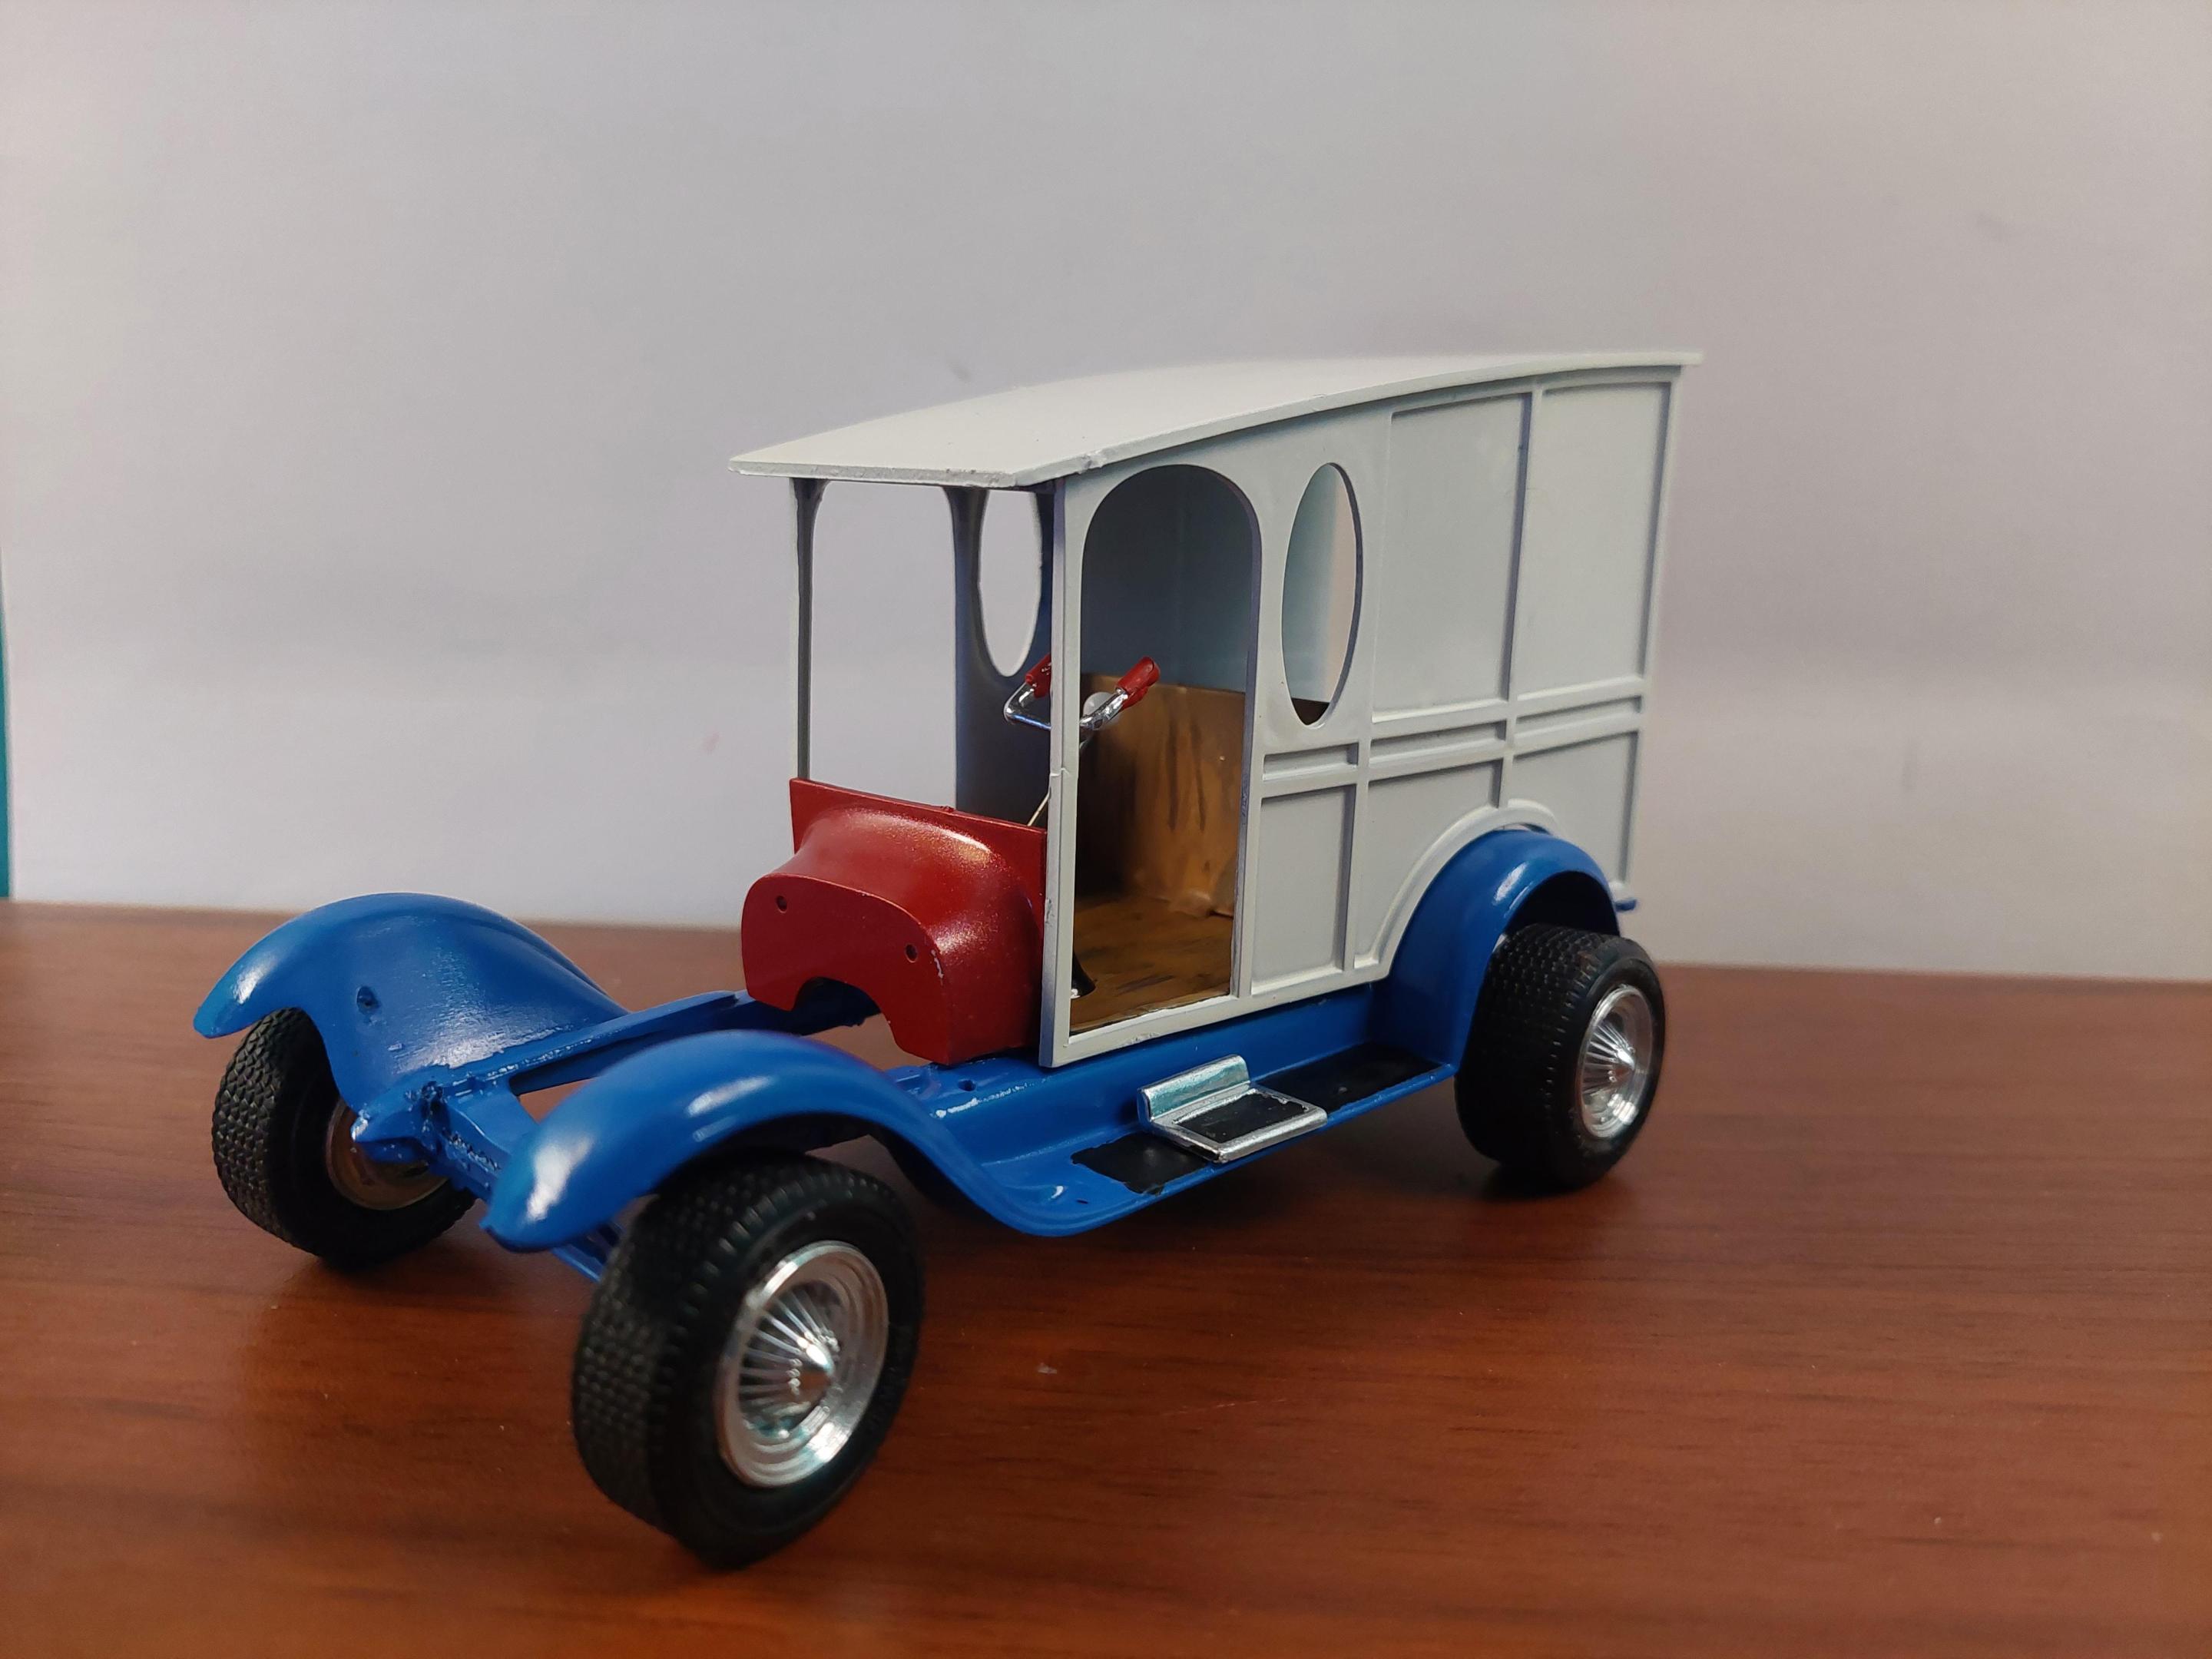
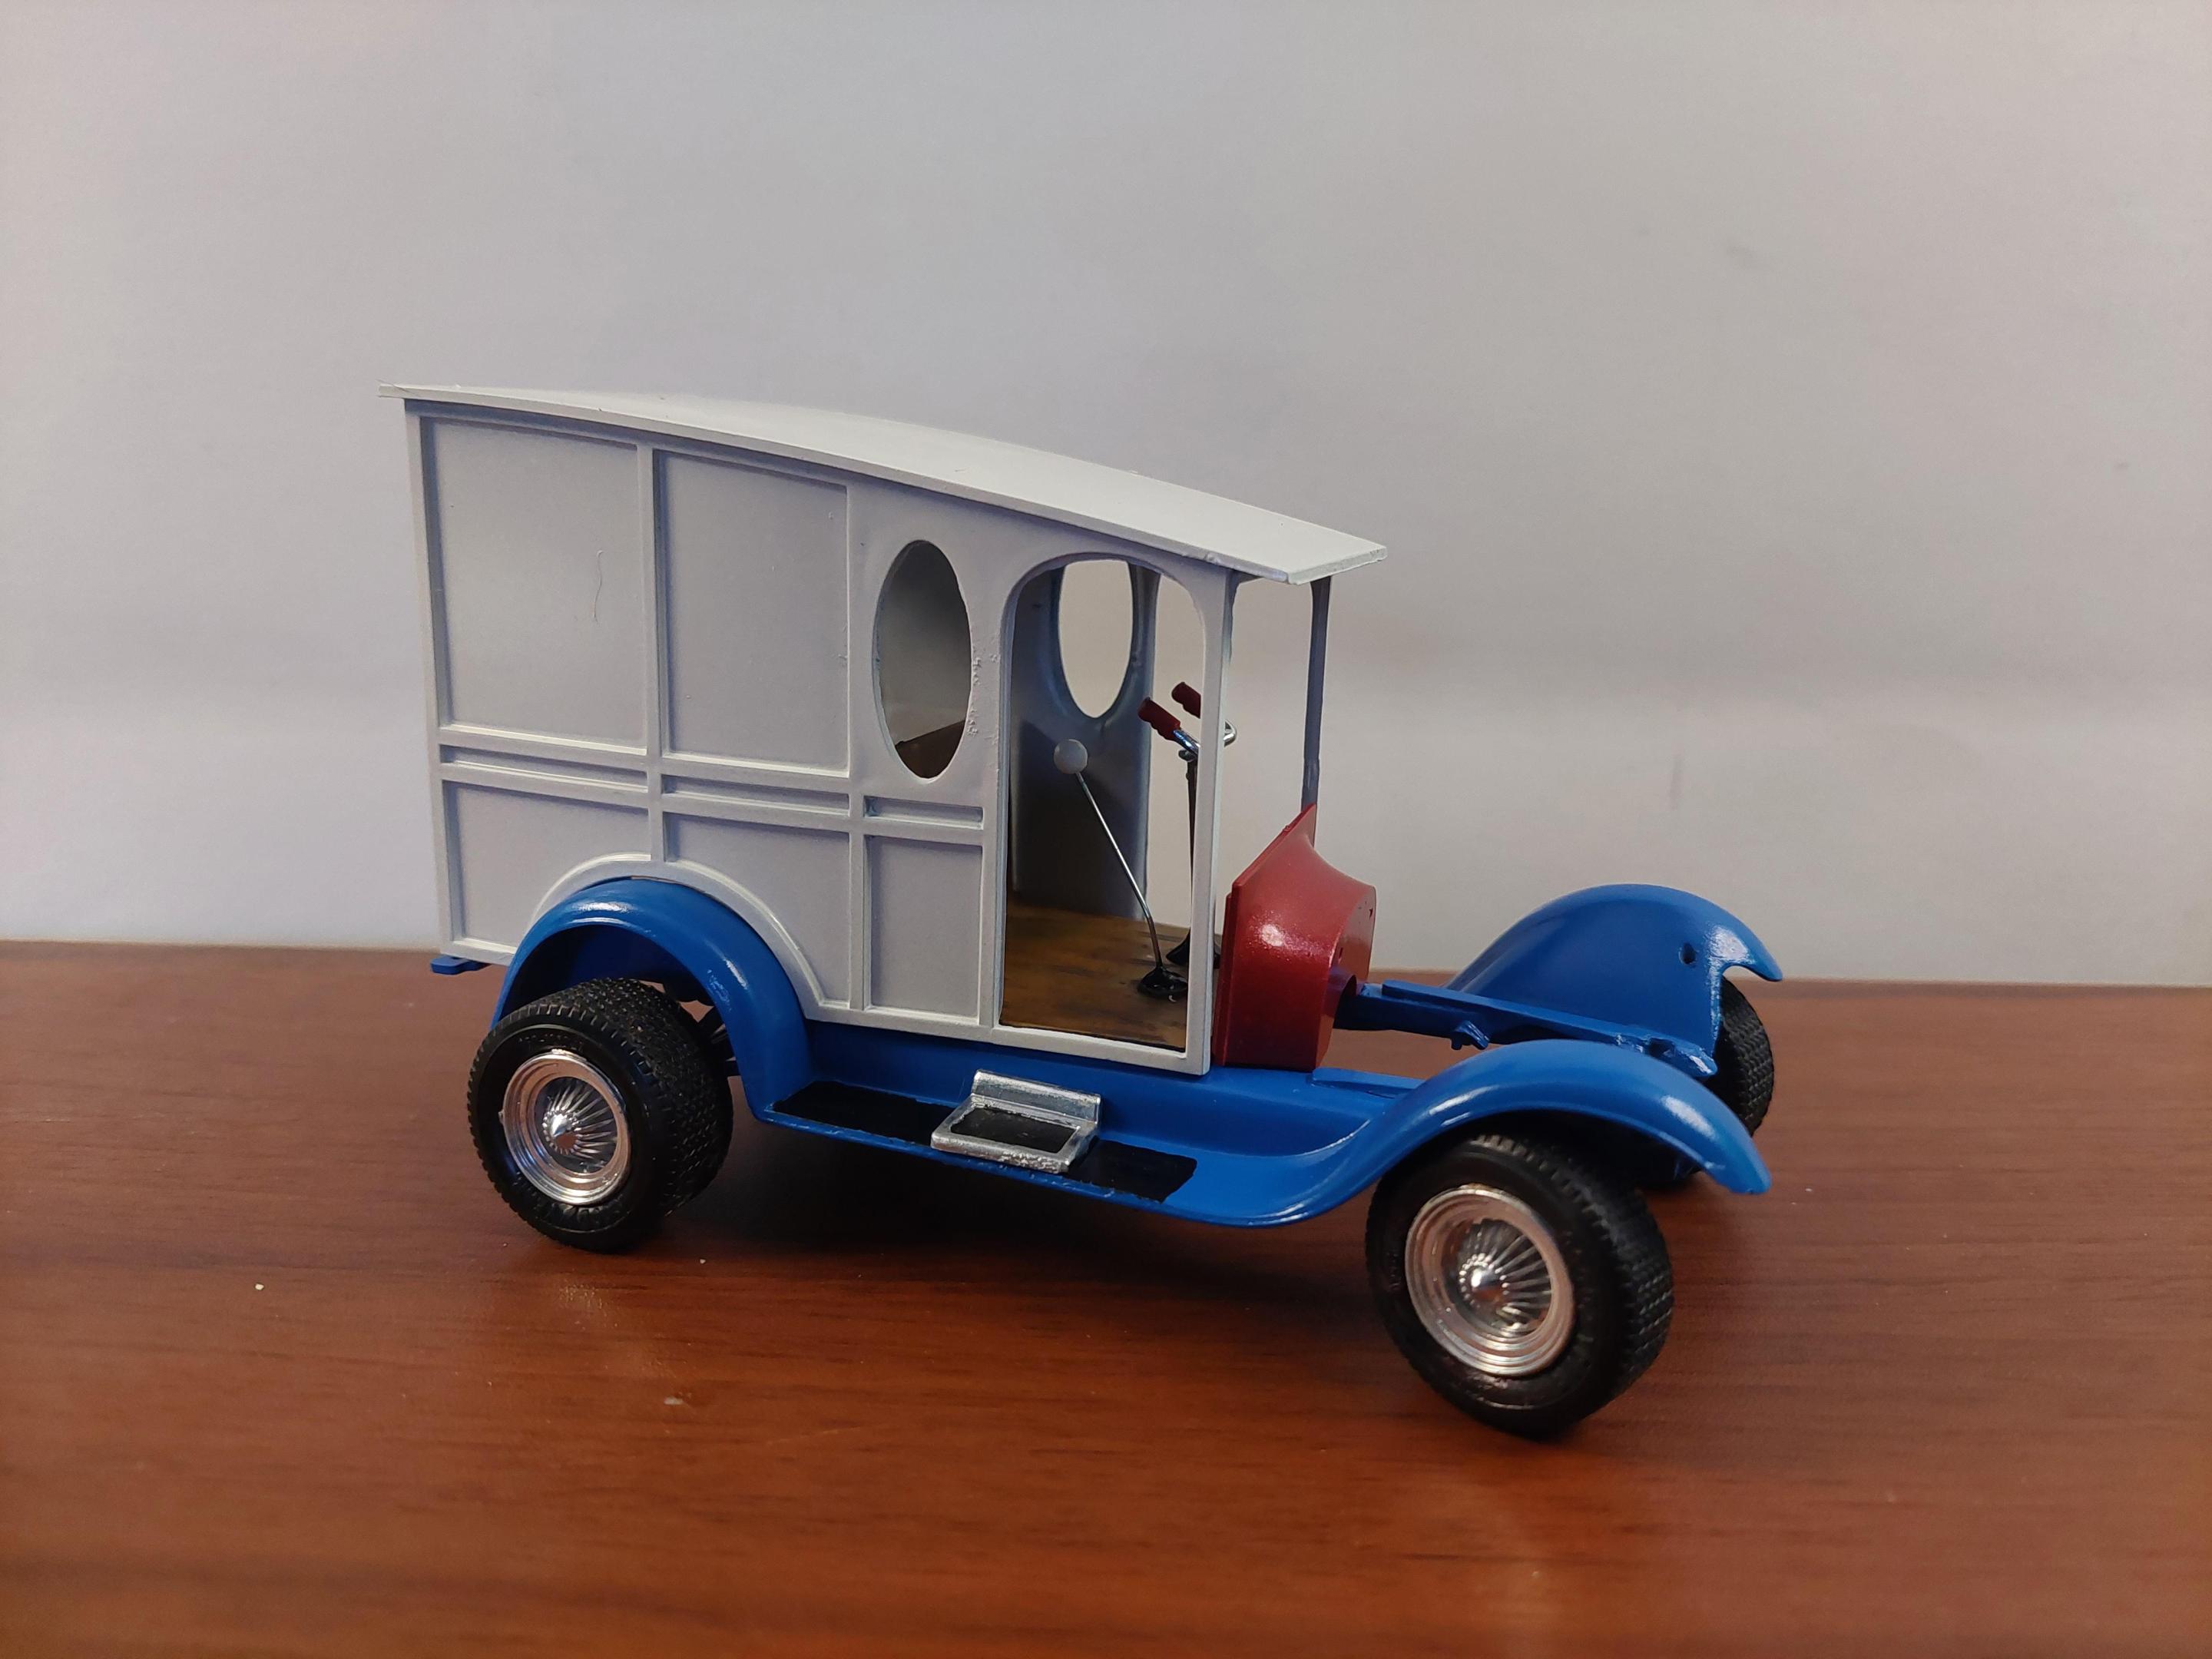
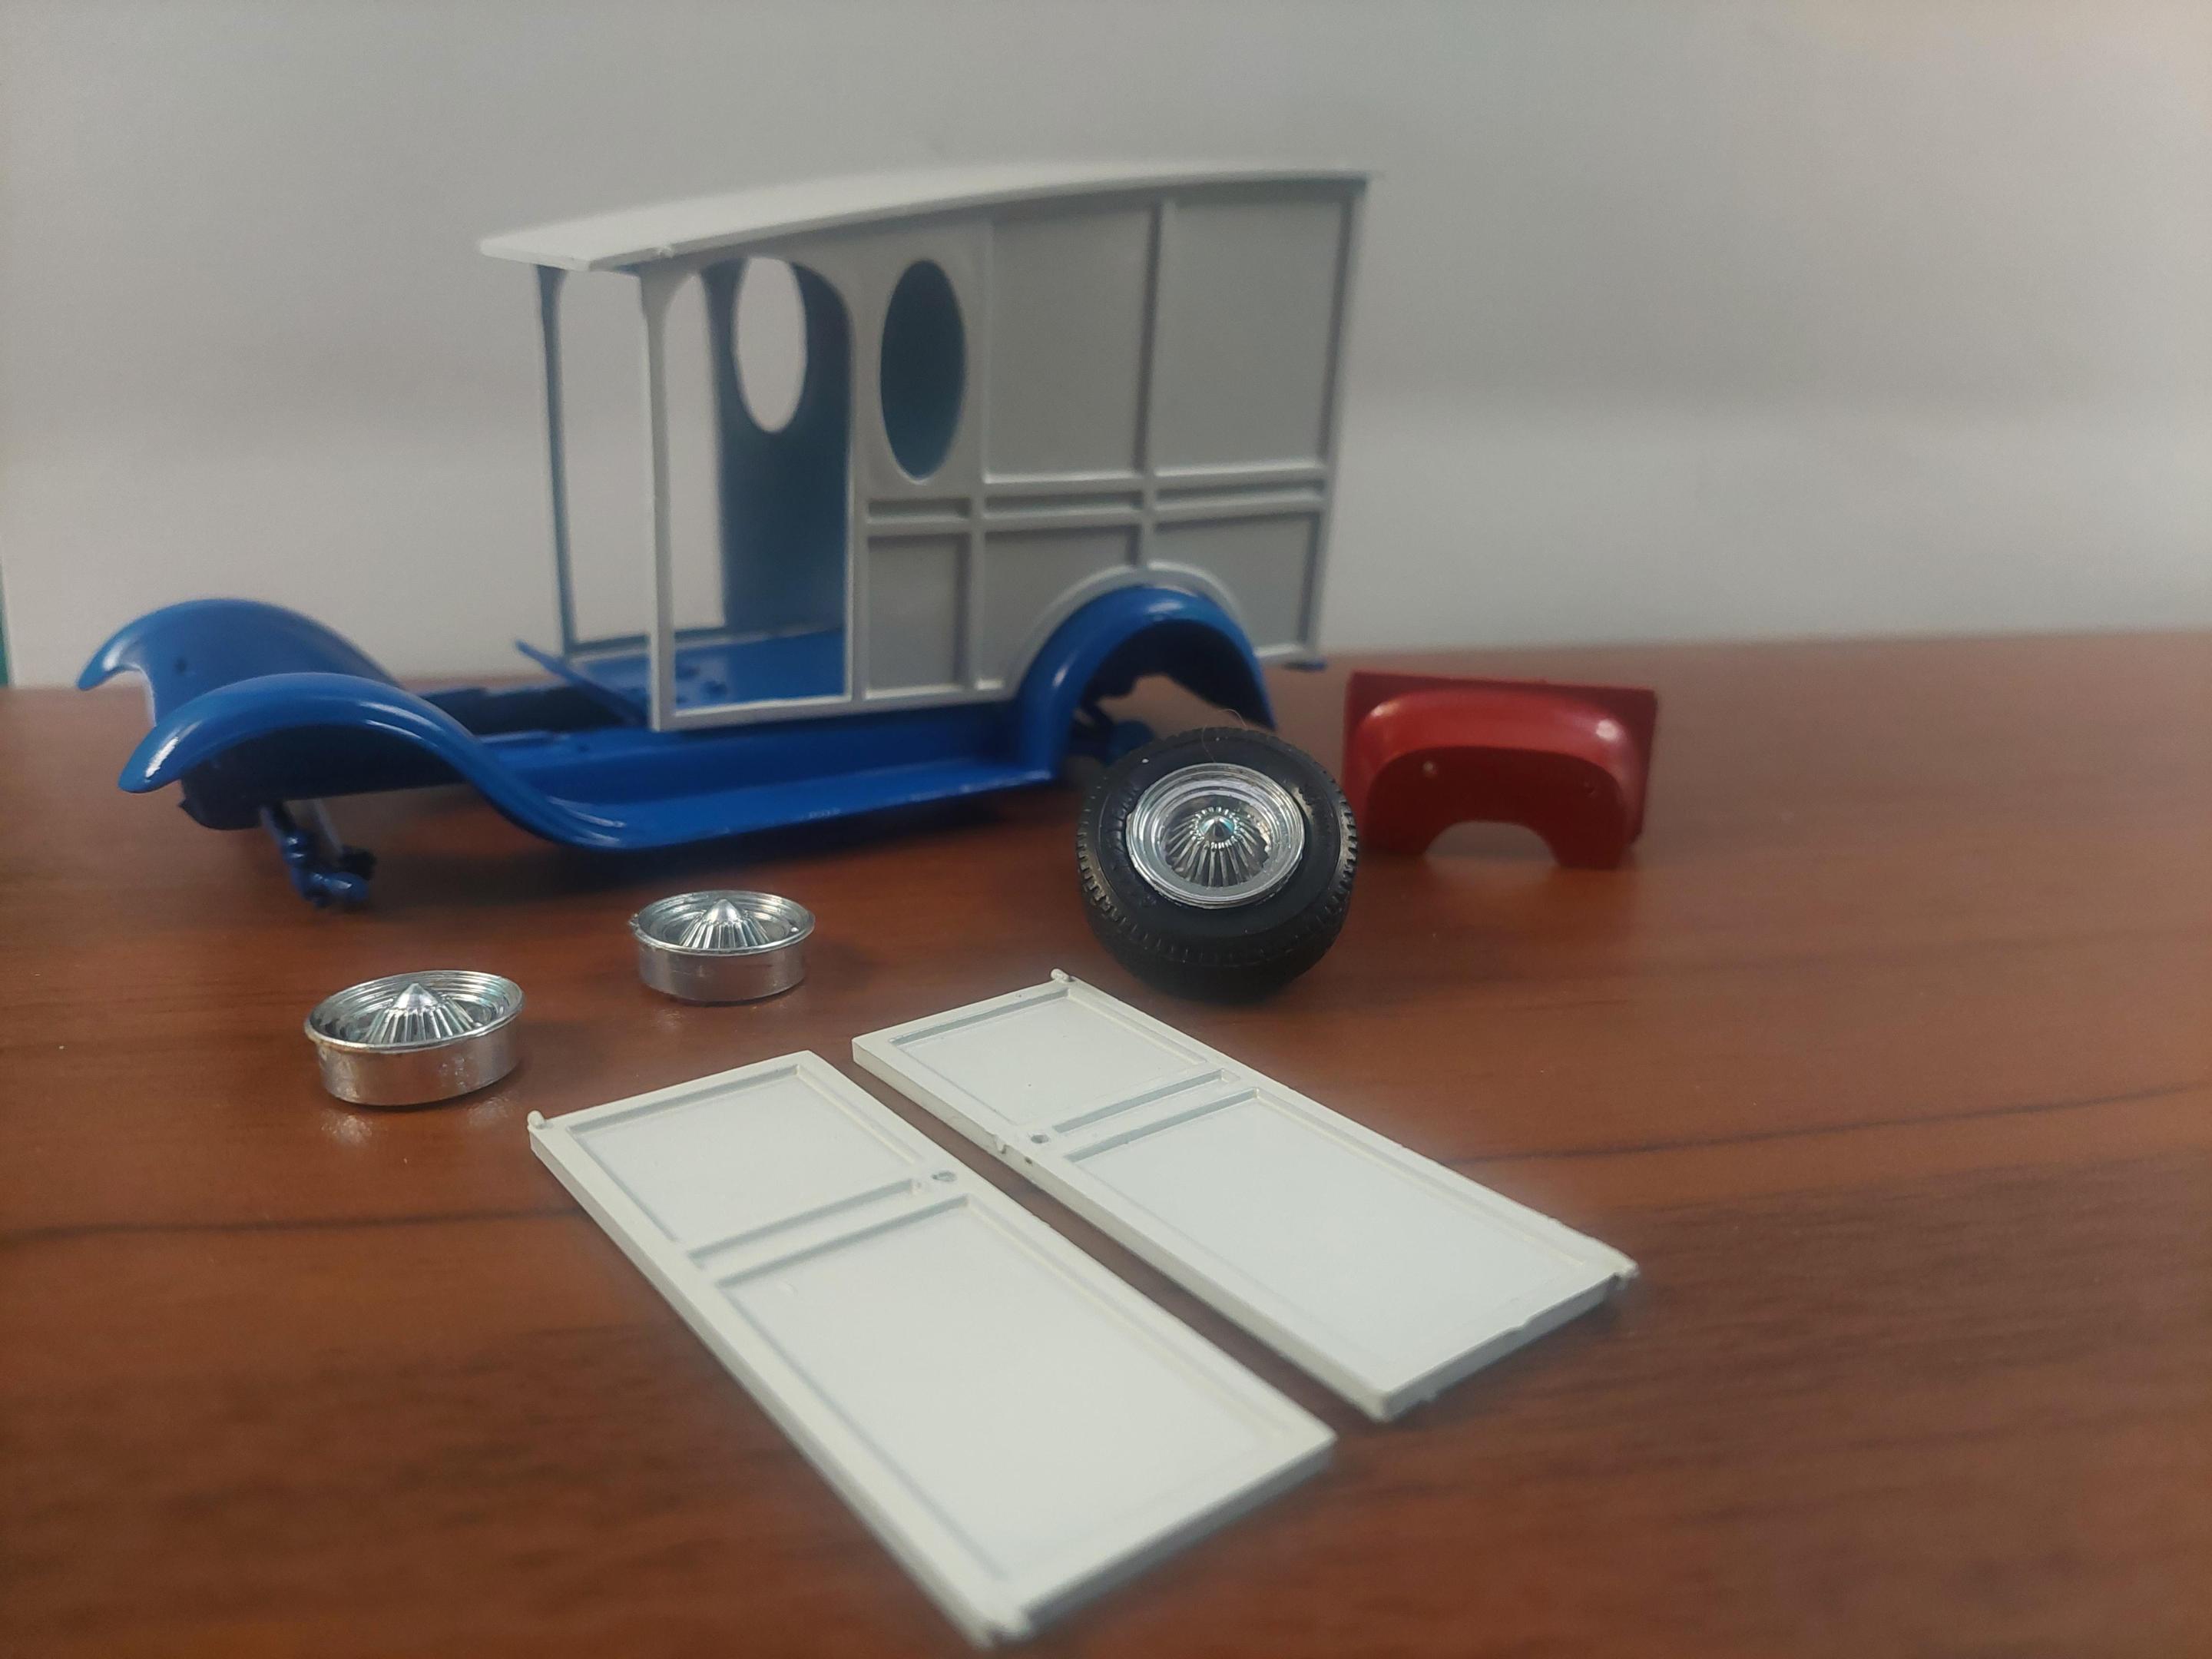
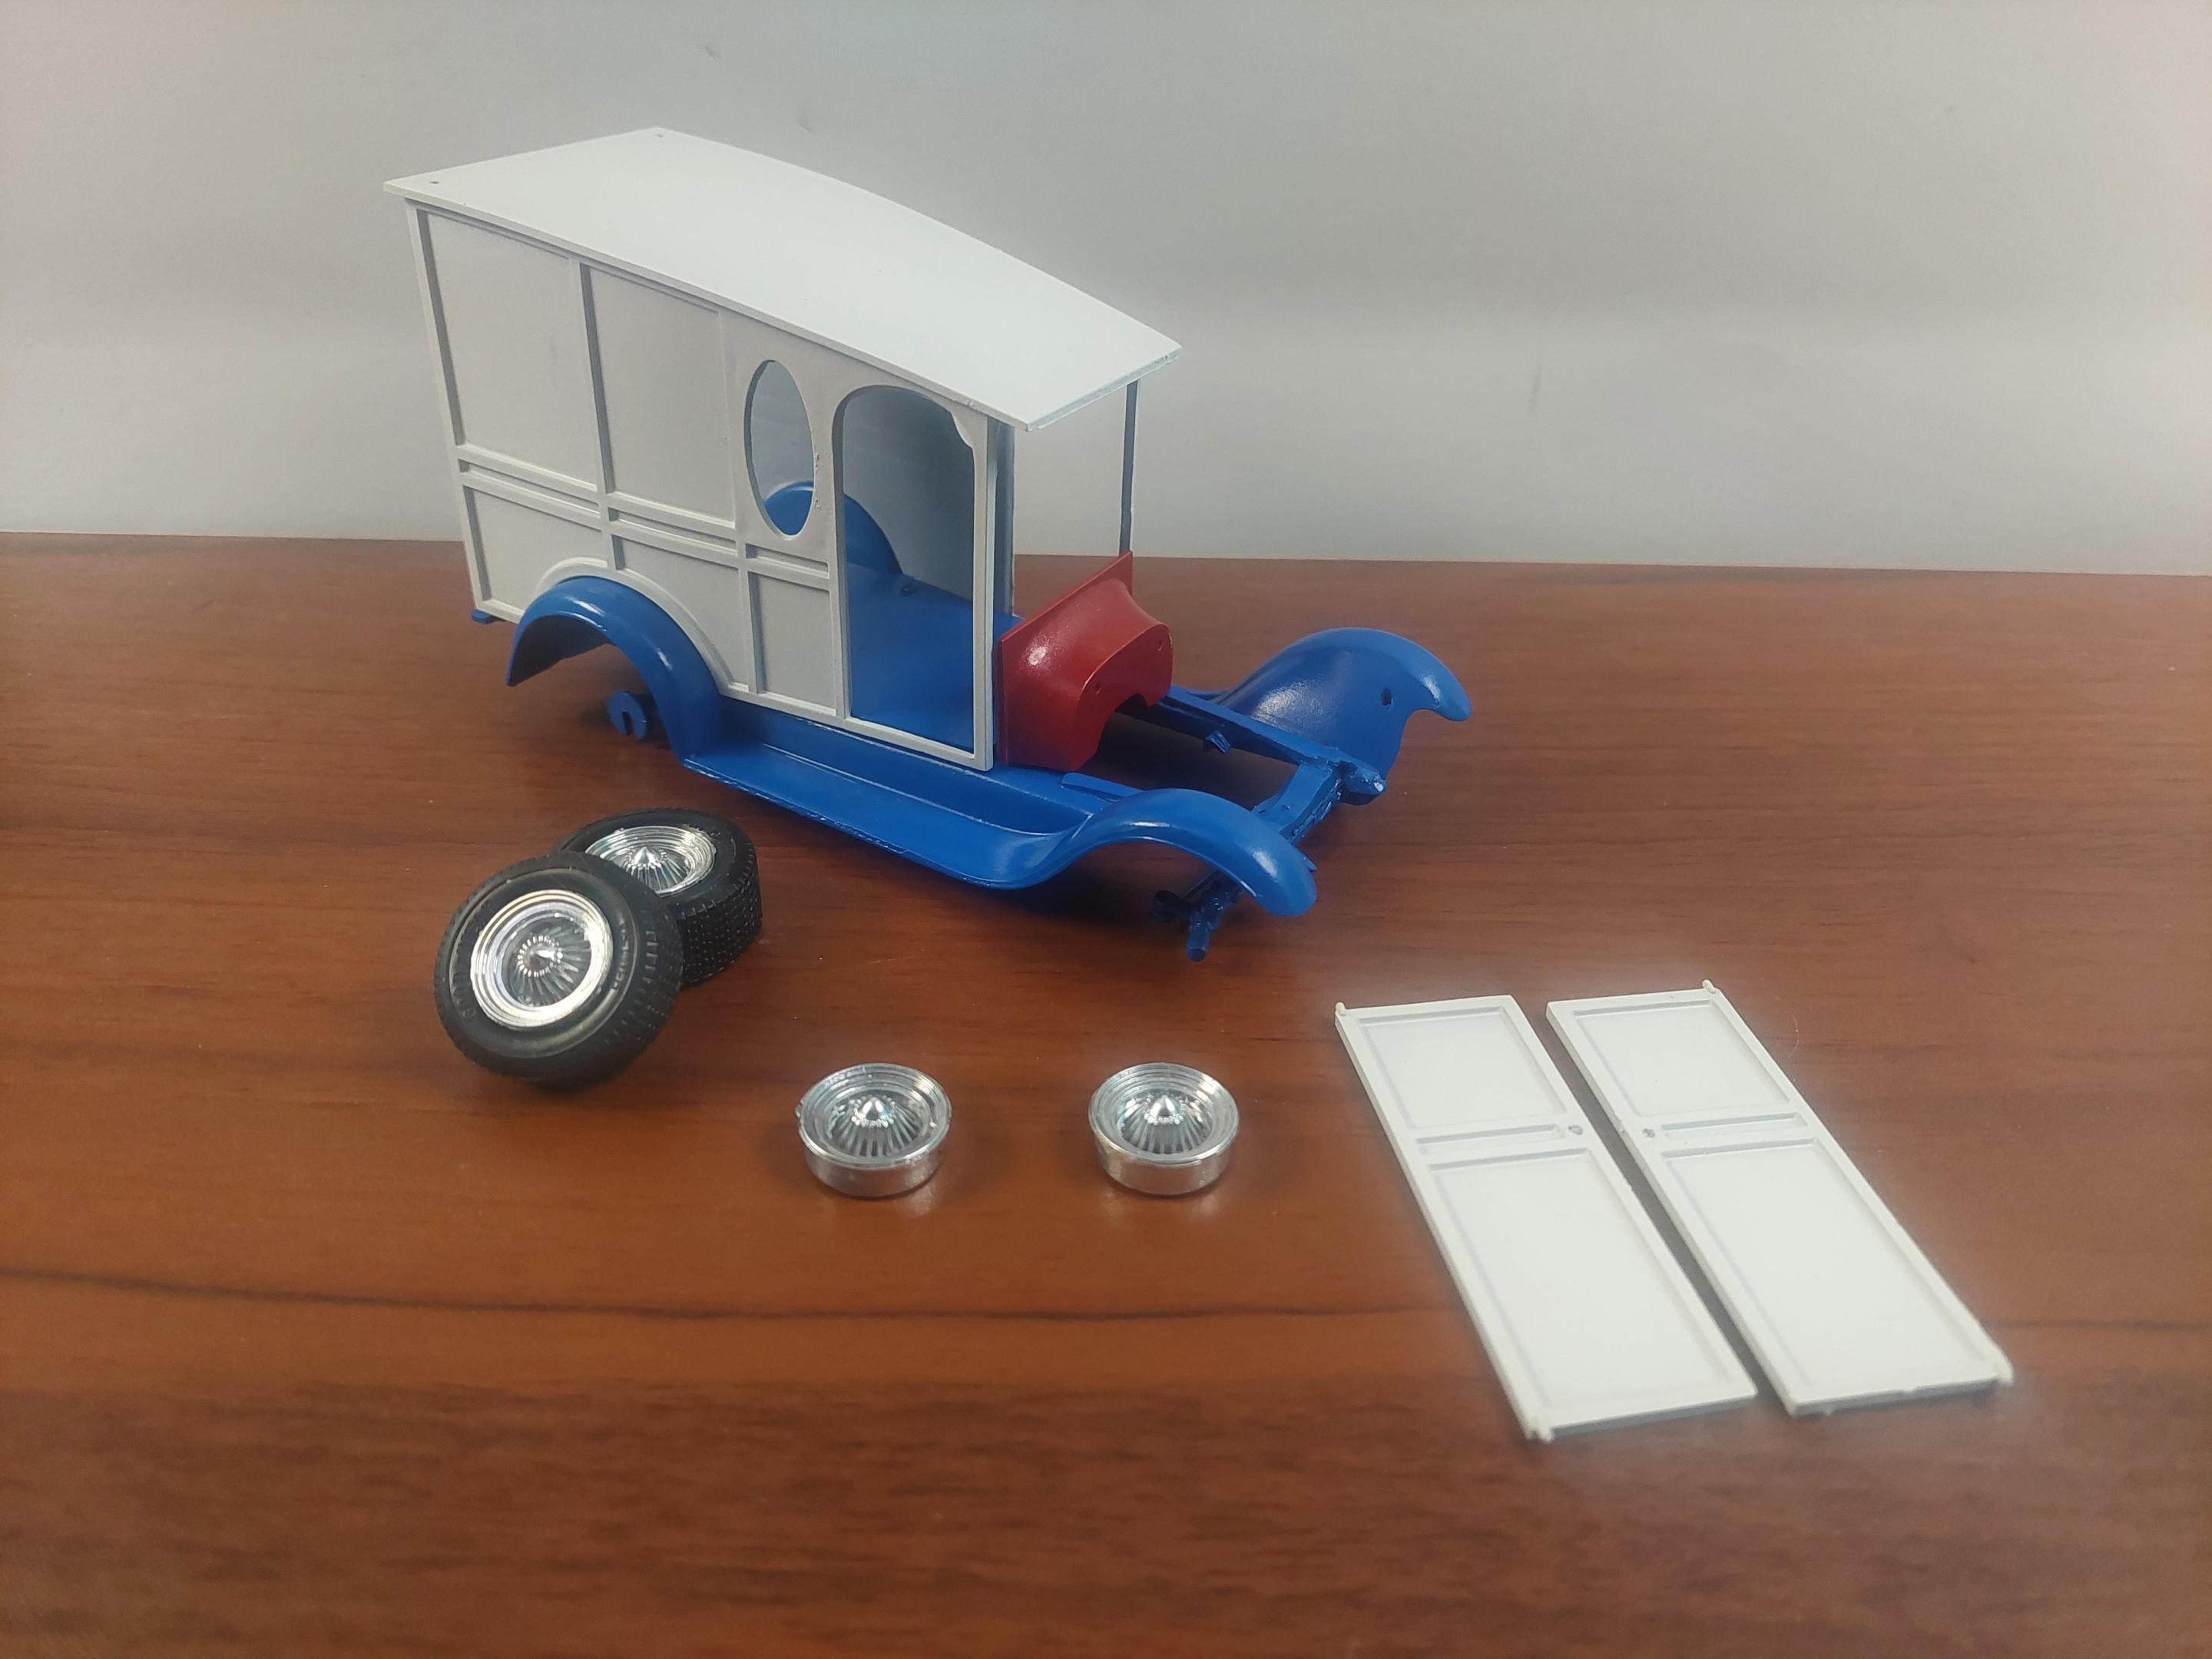
A little color this weekend and touched up the chrome wheels. I decided to use all original kit parts only, except the decals , they will be aftermarket. Even tho' the kit came apart pretty good , I still have alot of glue and paint residue on most parts that need clean-up , and chrome parts need some minor attention.

