Biggu
-
Posts
1,769 -
Joined
-
Last visited
Content Type
Profiles
Forums
Events
Gallery
Everything posted by Biggu
-

Resto Rod Autocar
Biggu replied to Gary Chastain's topic in WIP: Model Trucks: Big Rigs and Heavy Equipment
Ooohhhh that color 🥰🥰🥰 -
Resto Rod Autocar
Biggu replied to Gary Chastain's topic in WIP: Model Trucks: Big Rigs and Heavy Equipment
Thanks, Gary thats good to know. A can of it up here is more than $40 ! So it kind of becomes an issue about economics to a degree -
I will be following along with great interest
-
Resto Rod Autocar
Biggu replied to Gary Chastain's topic in WIP: Model Trucks: Big Rigs and Heavy Equipment
Does it become a ‘no touch’ item after the application? I have to ask silly questions because up here a can is $40! Which to me is a trifle pricey … -
Resto Rod Autocar
Biggu replied to Gary Chastain's topic in WIP: Model Trucks: Big Rigs and Heavy Equipment
Niiiiceee !! What did you use , Gary? The Revell spray by any chance? -
Western Star 4900 FA plow truck
Biggu replied to BK9300's topic in WIP: Model Trucks: Big Rigs and Heavy Equipment
LOL.... great minds... I hope I have the gears meshing on this idea.... -
The old school short Macks always looked "tougher" to me , looked like they always meant business, and were not going to take any B.S. , this is going to be a very interesting build.. and a great idea...
-
Western Star 4900 FA plow truck
Biggu replied to BK9300's topic in WIP: Model Trucks: Big Rigs and Heavy Equipment
Looking closely at the old model, who ever built it had some knowledge of trucks and snow plows, there are some real good details on it, and very well done , it's even chained up ! I agree with Gary, it would look really good, also here is another random thought... Brian with your scratch building skills, you could get the 1/25 scale Mack coal truck and scratch a V plow and wing set up in high detail to go along with these two... THAT would look really cool..... -
Short Mack tandems are cool. ….
-
Western Star 4900 FA plow truck
Biggu replied to BK9300's topic in WIP: Model Trucks: Big Rigs and Heavy Equipment
That is really cool. An old ‘V’ plow with double wings ! My dad operated one of those back in the early ‘50’s…. The truck was a single axle FWD with the same plows. It actually took two guys to operate that …… in our case, my dad would drive and operate the V plow while his swamper ( Jim Reagan ) would operate the two wings. No live hydraulics back in those days. All mechanical. And I think he said the truck was chain drive too, Very hard work. That would make a sweet display the old and the new. -
Western Star 4900 FA plow truck
Biggu replied to BK9300's topic in WIP: Model Trucks: Big Rigs and Heavy Equipment
Talk about patience and dedication , you have it in Spades. When you display this, may I suggest you set it on a beveled mirror, that will show the incredible fine scratch made details under the truck and sander that you have so thoughtfully and accurately portrayed… It would be painfully sad not to show it off. That is just a random thought ….. too much to hide ….. -
Thanks Brian, funny thing is, I get into “ the zone” as they say and I just putter along and before I know it , a few hours have blown by and the bolt details are done. I know some of the guys probably think Ron and I are “nuts” for doing this, but in my case, when I look at soft details and know that there is a fairly easy remedy to make a little eye candy, I think why not? My little bit of detailing pales in comparison to the level of you and Gary as perfect examples ….. but ….. it is fun and I have met some really nice fellows here. And have had some really great dialog …. I enjoy this very much. Thanks for following along ….
-
The one with the 4 foot handle , no less
-
I had better check the torque spec …… I’ll get back to ya !😋
-
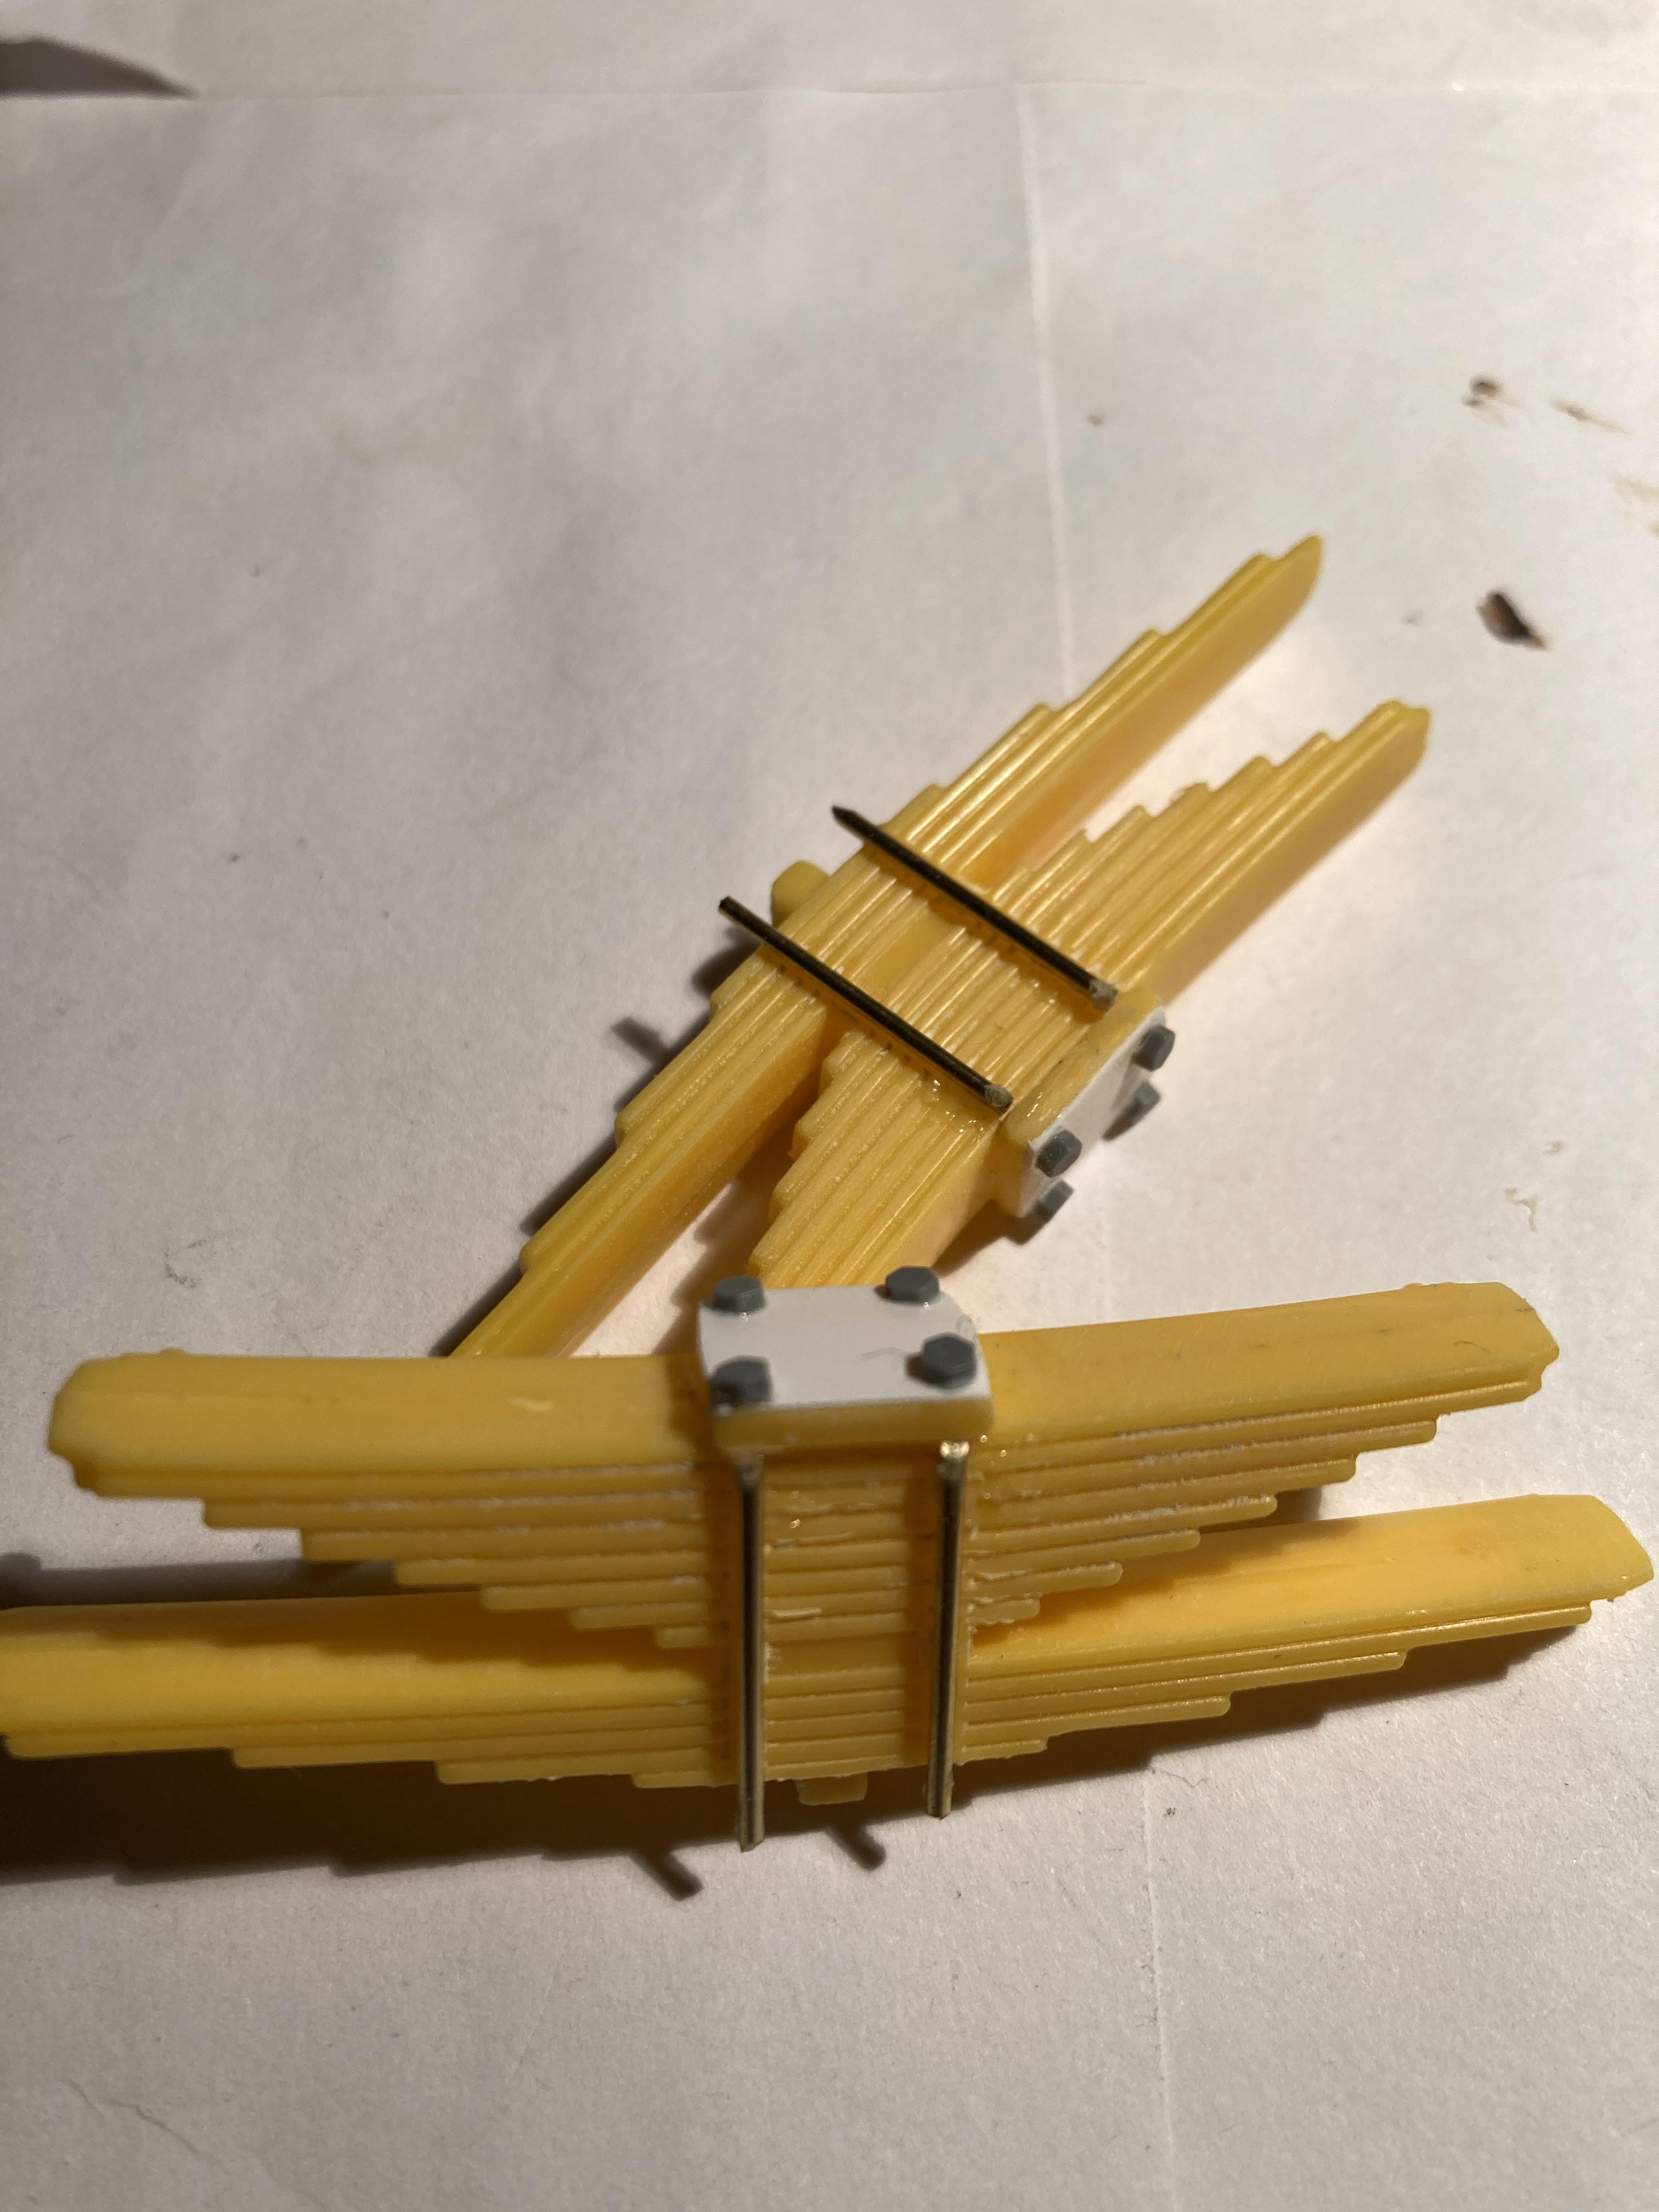
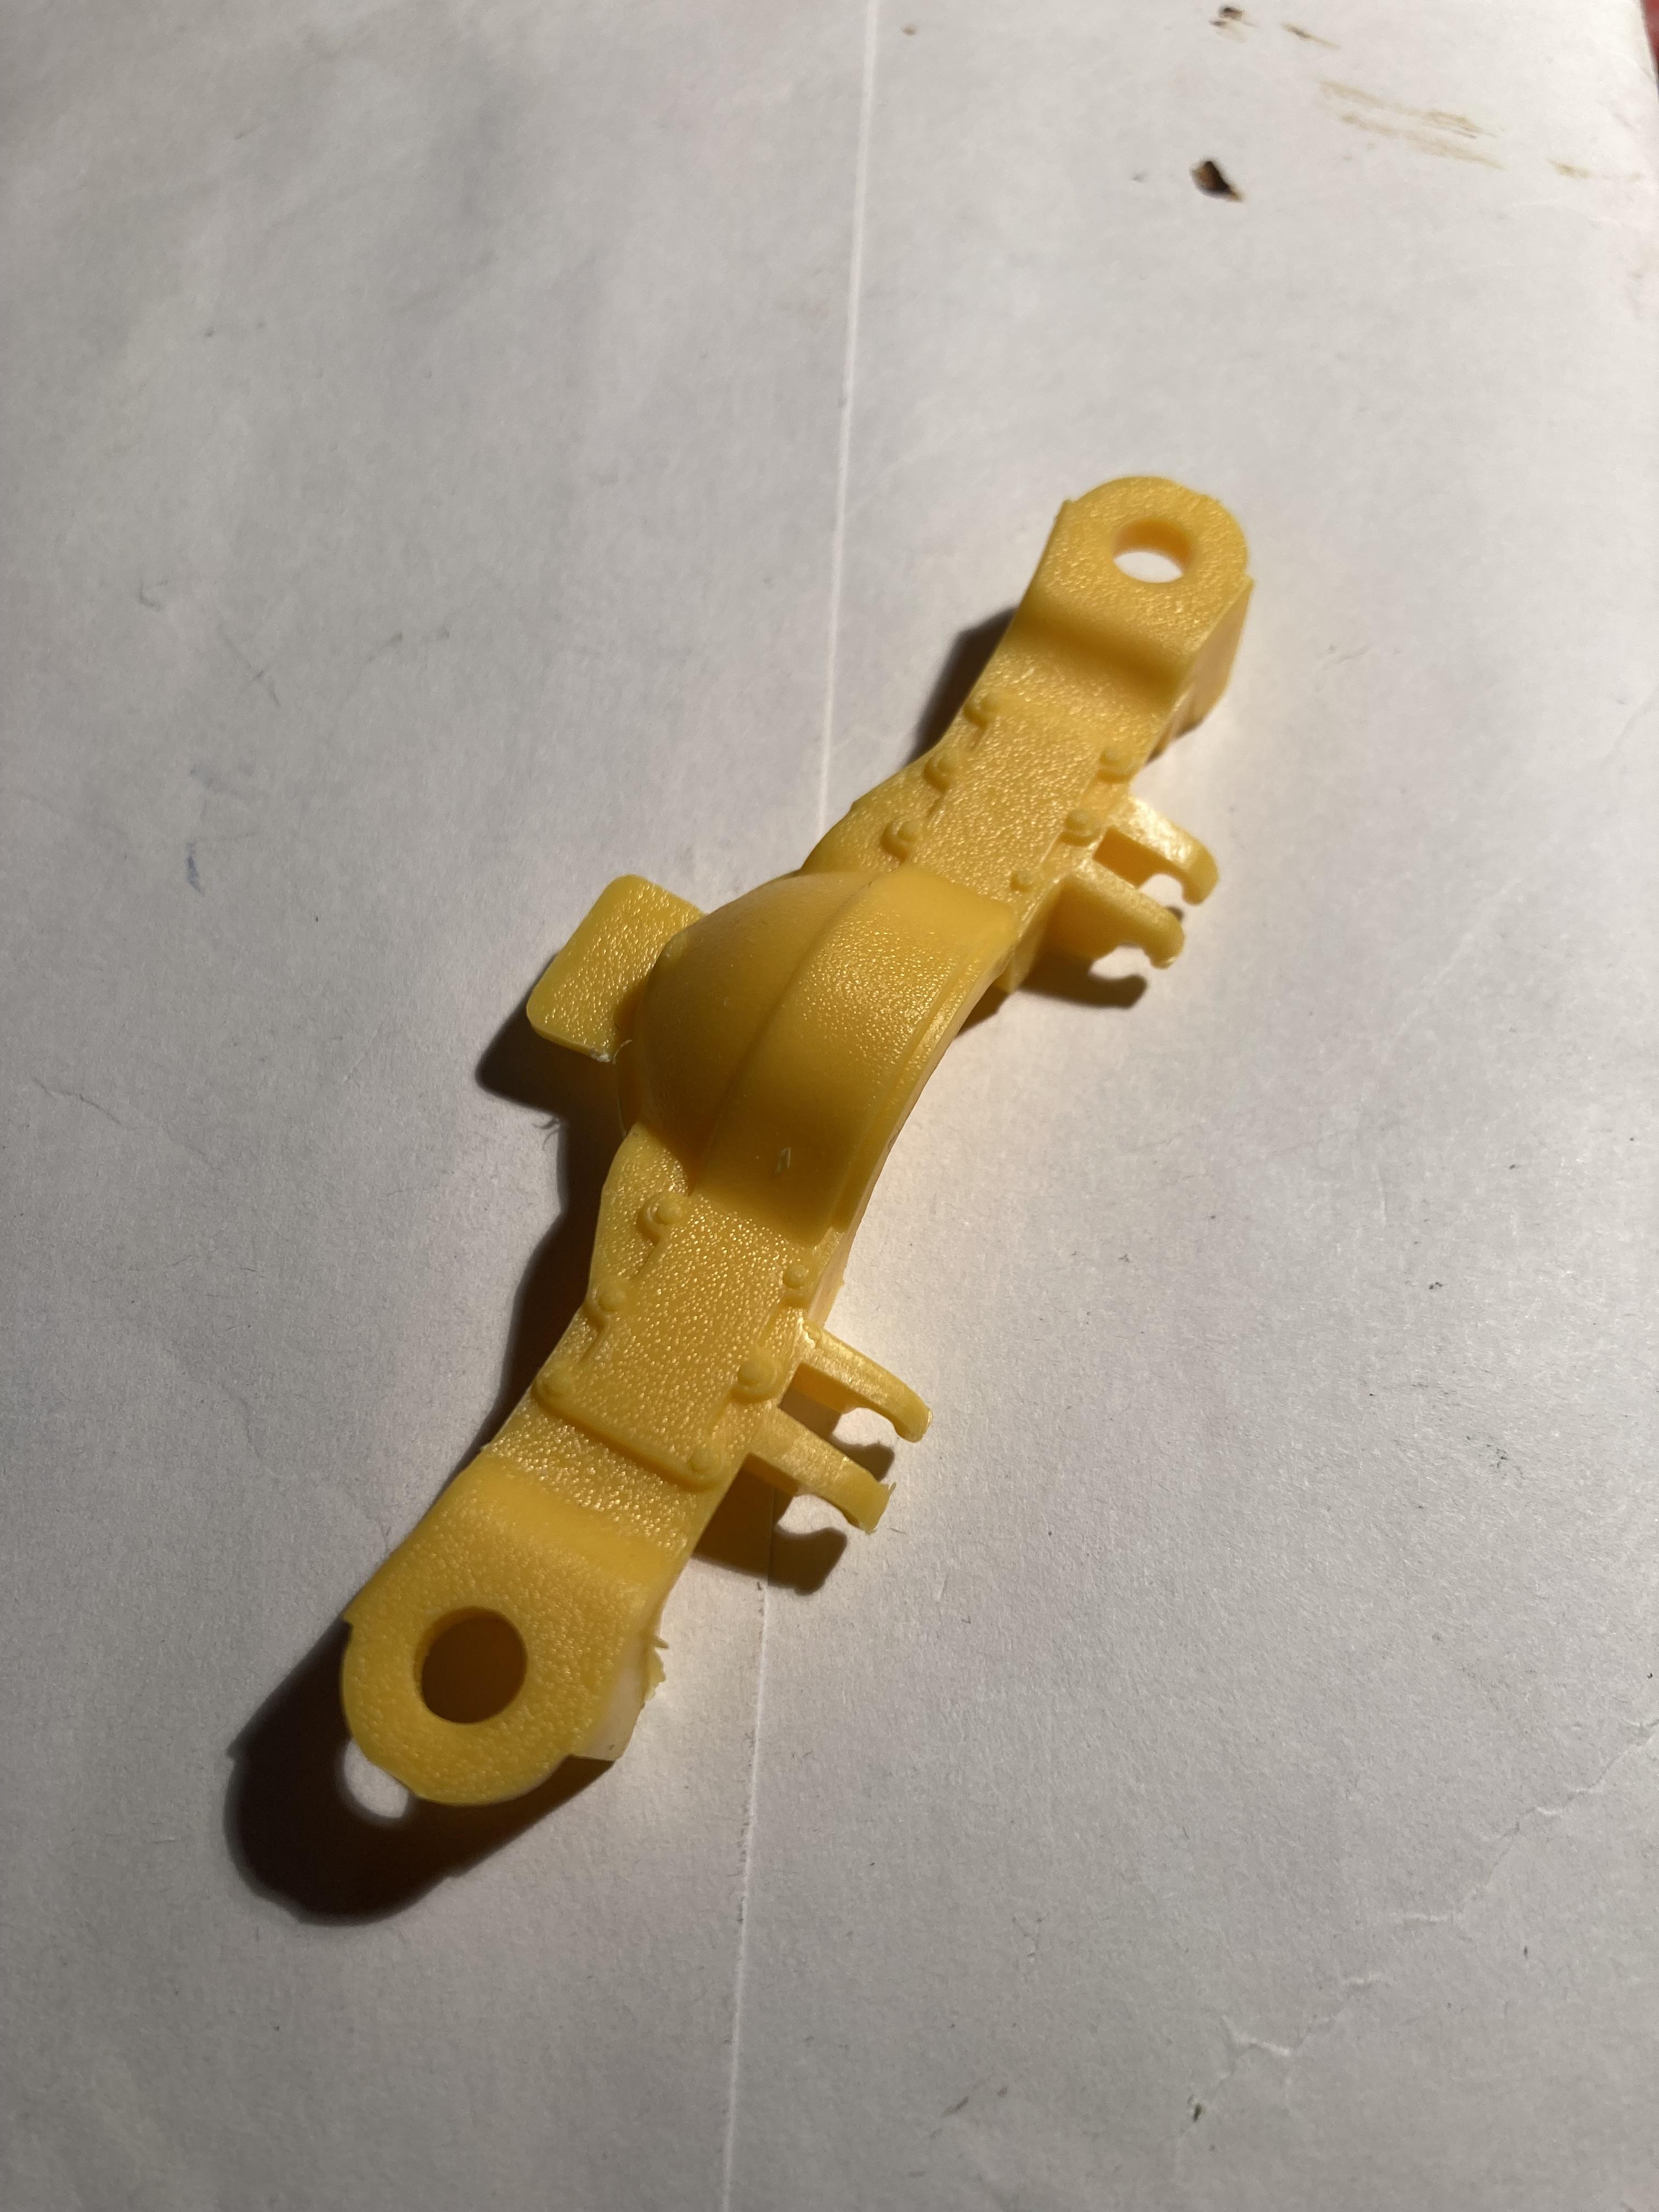
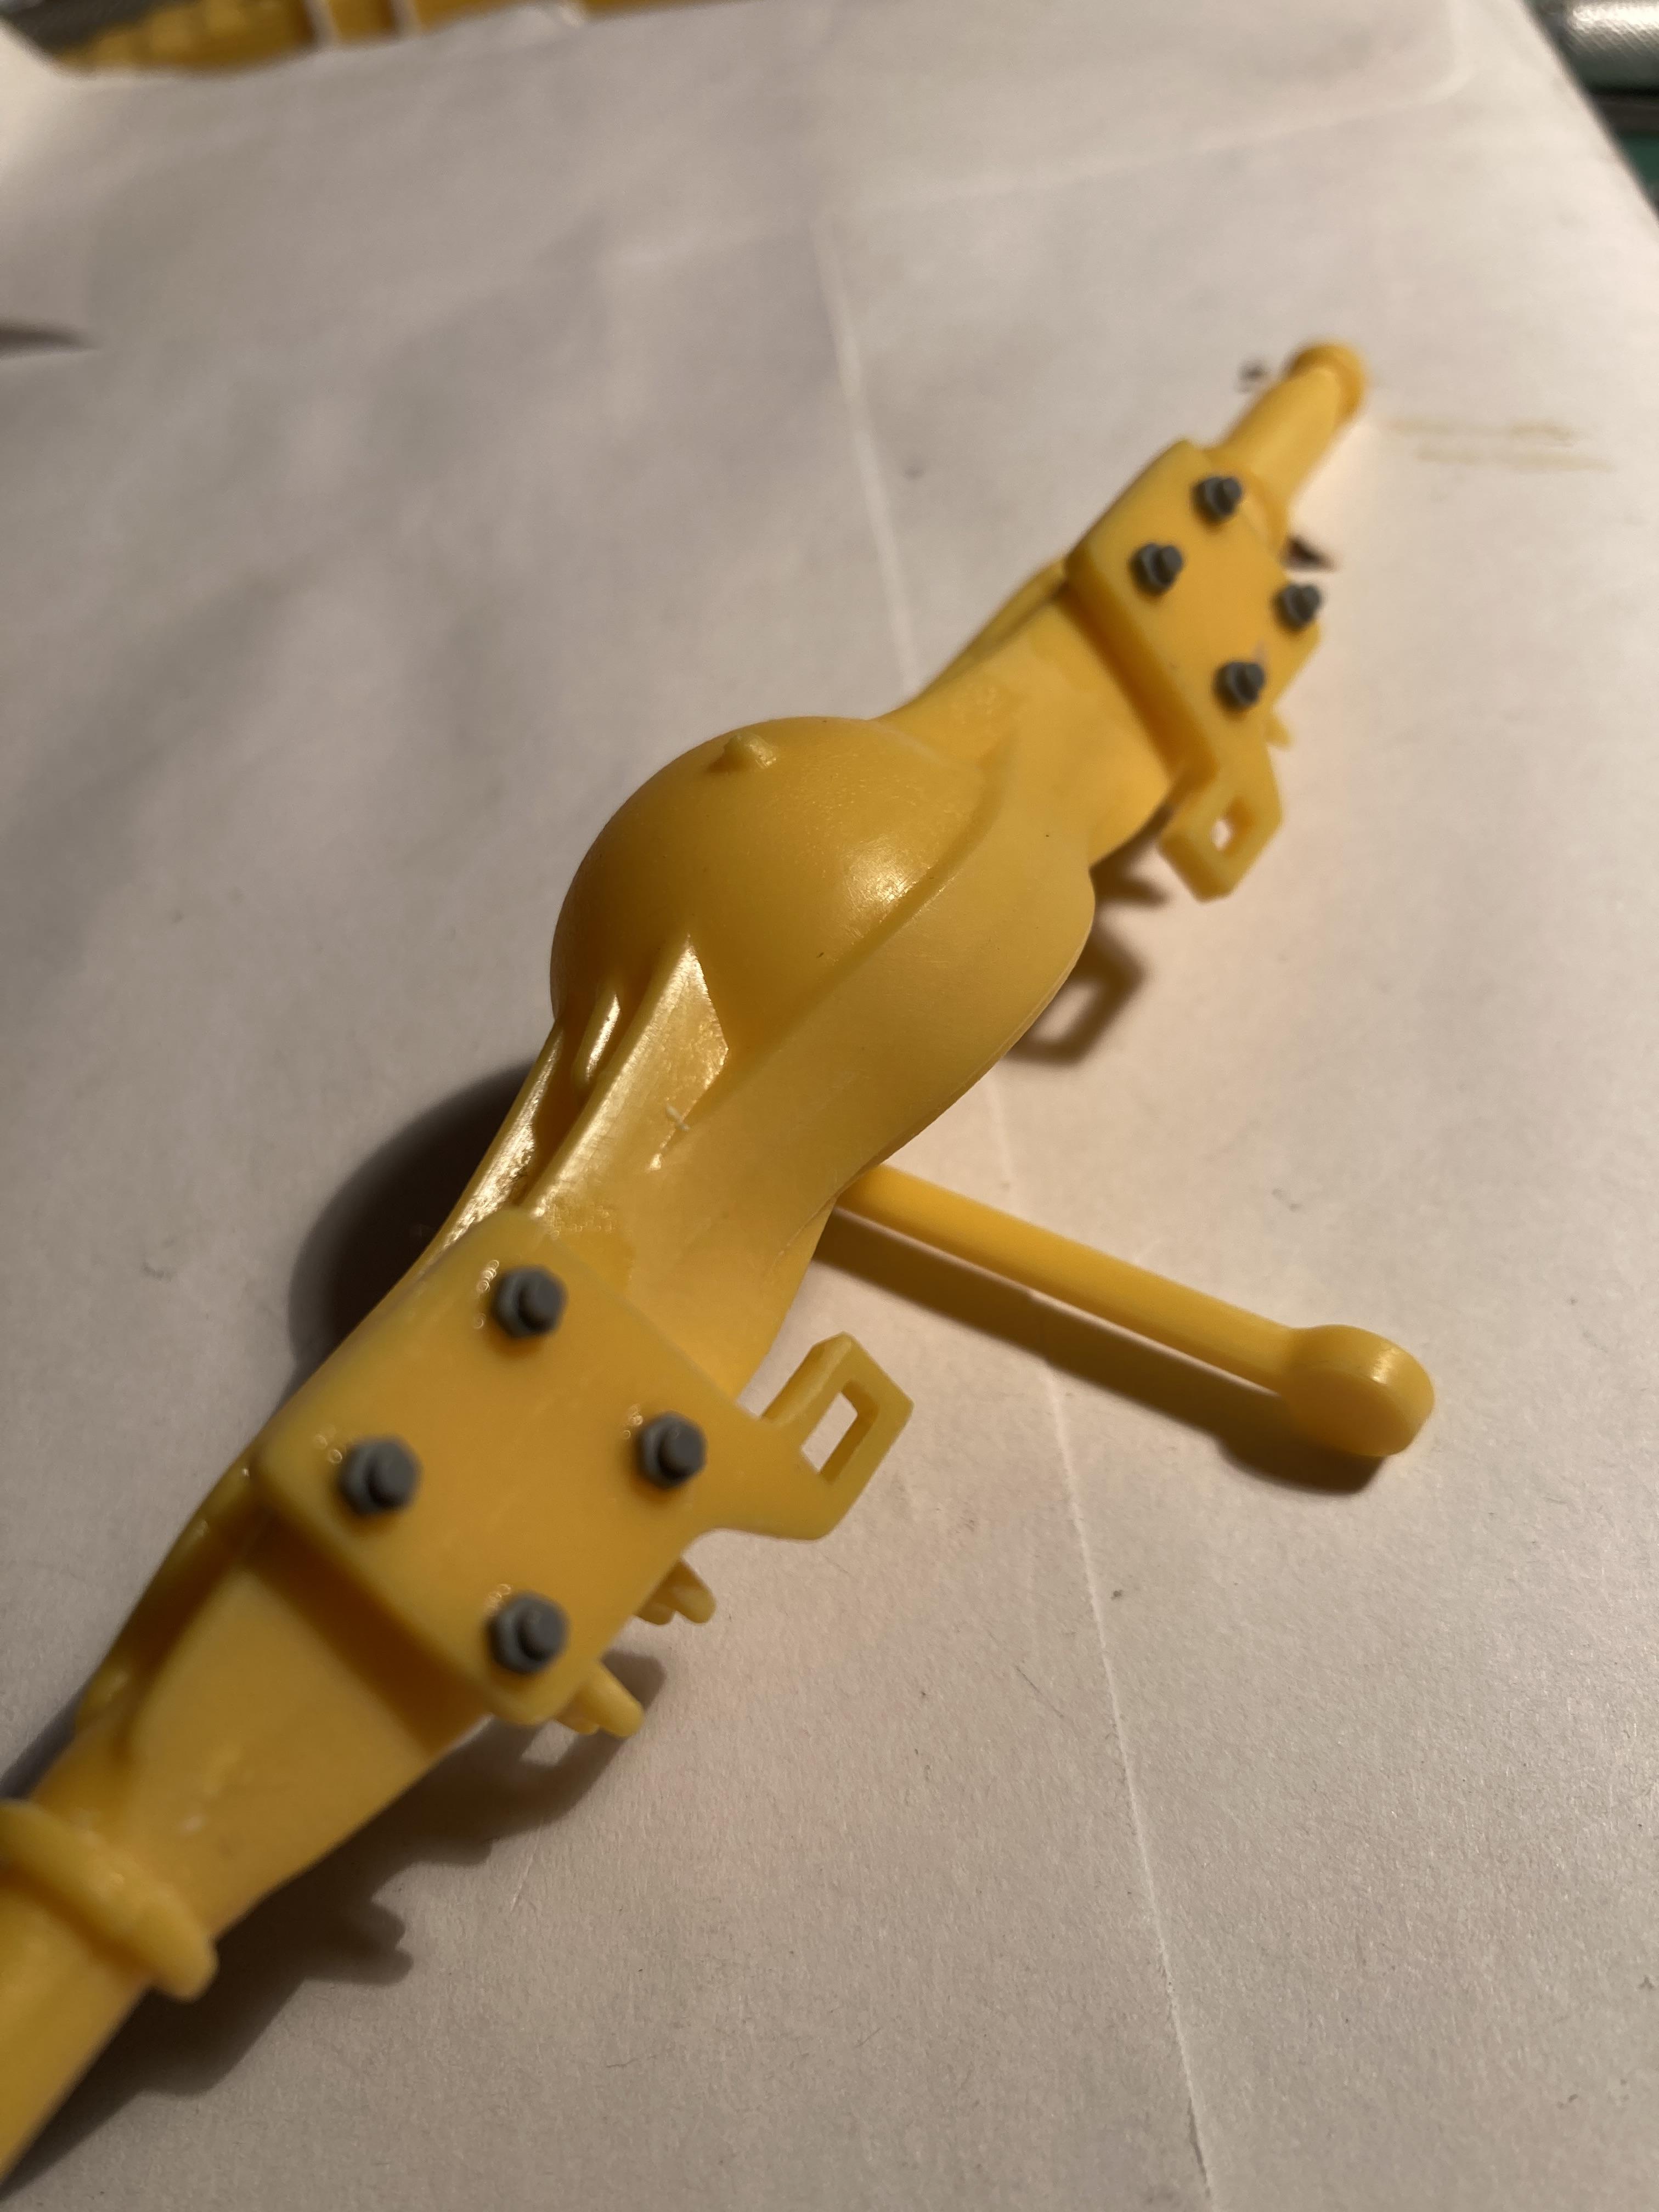
Well , as I sat here and looked at the rear spring pack, and looked and looked again, the decision was made to grind off the molded carriage bolts and ad something that looked a little more defined. So I added some brass rod and will trim to fit when assembled. I think it looks better and definitely will under some paint.

-
😋
-
Drain plugs on both Diffs added
-
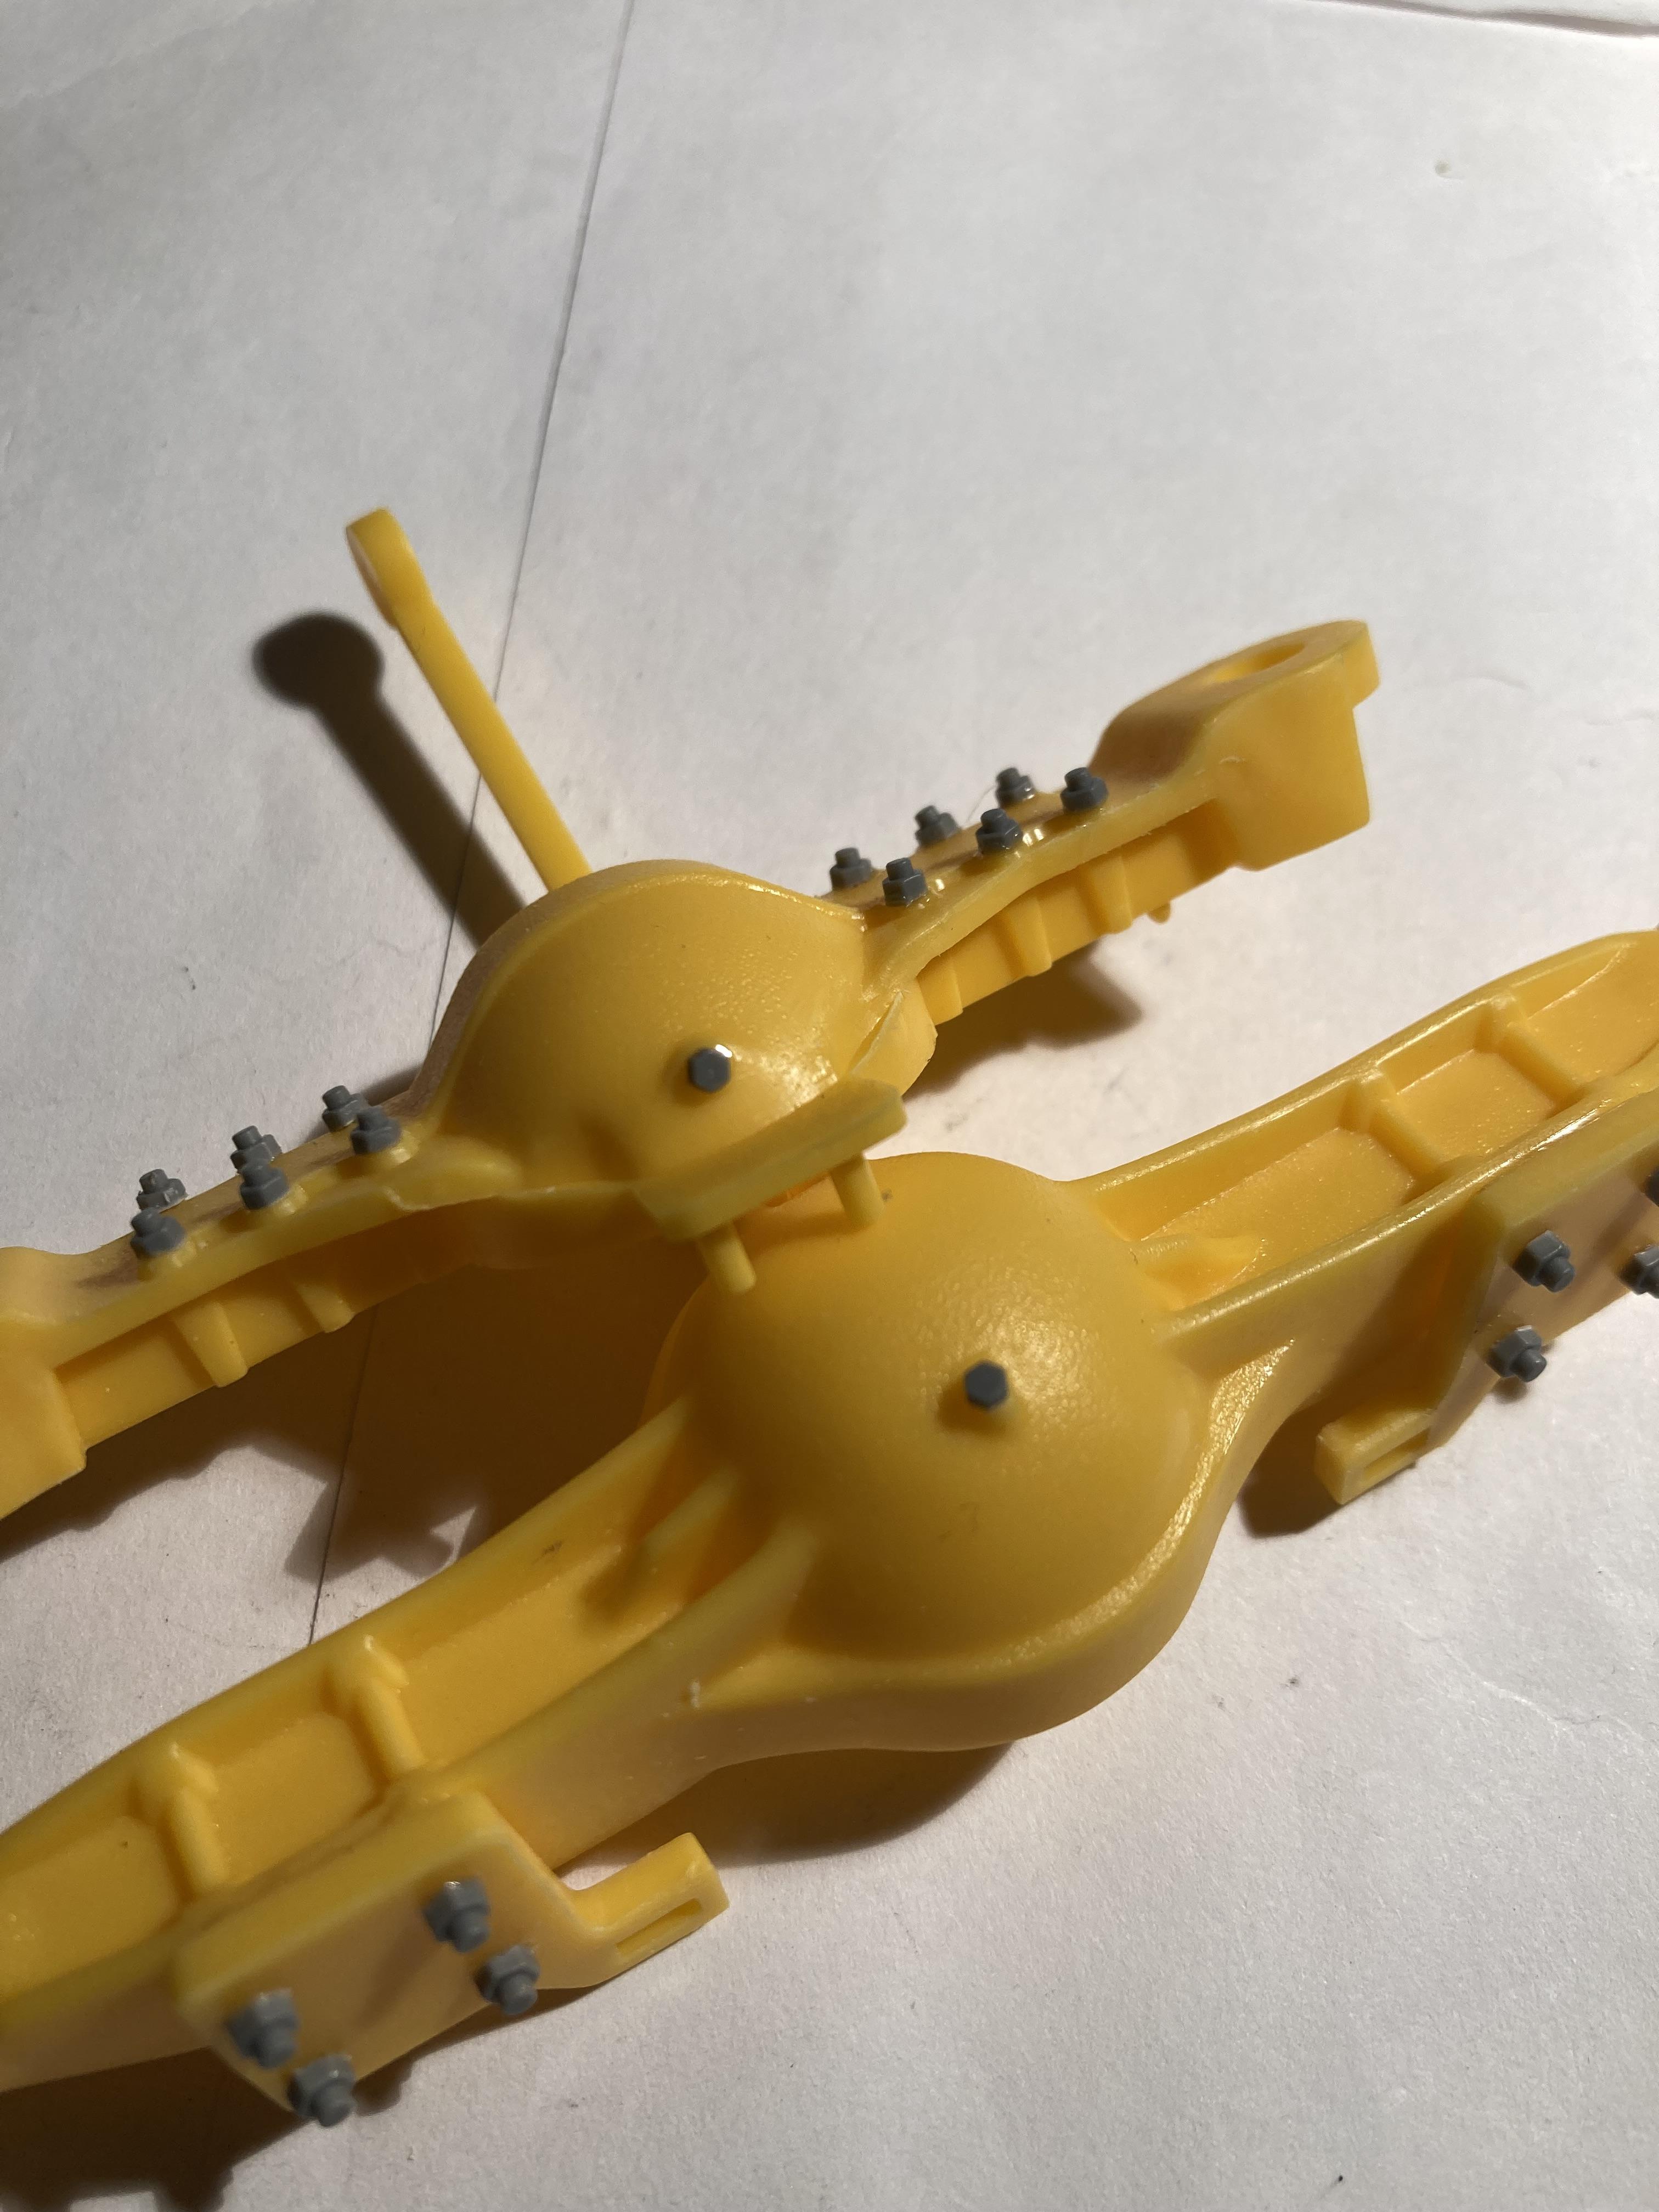
Lousy pic but it appears to lone up…. Might grind off the molded bolts and put something else in
-
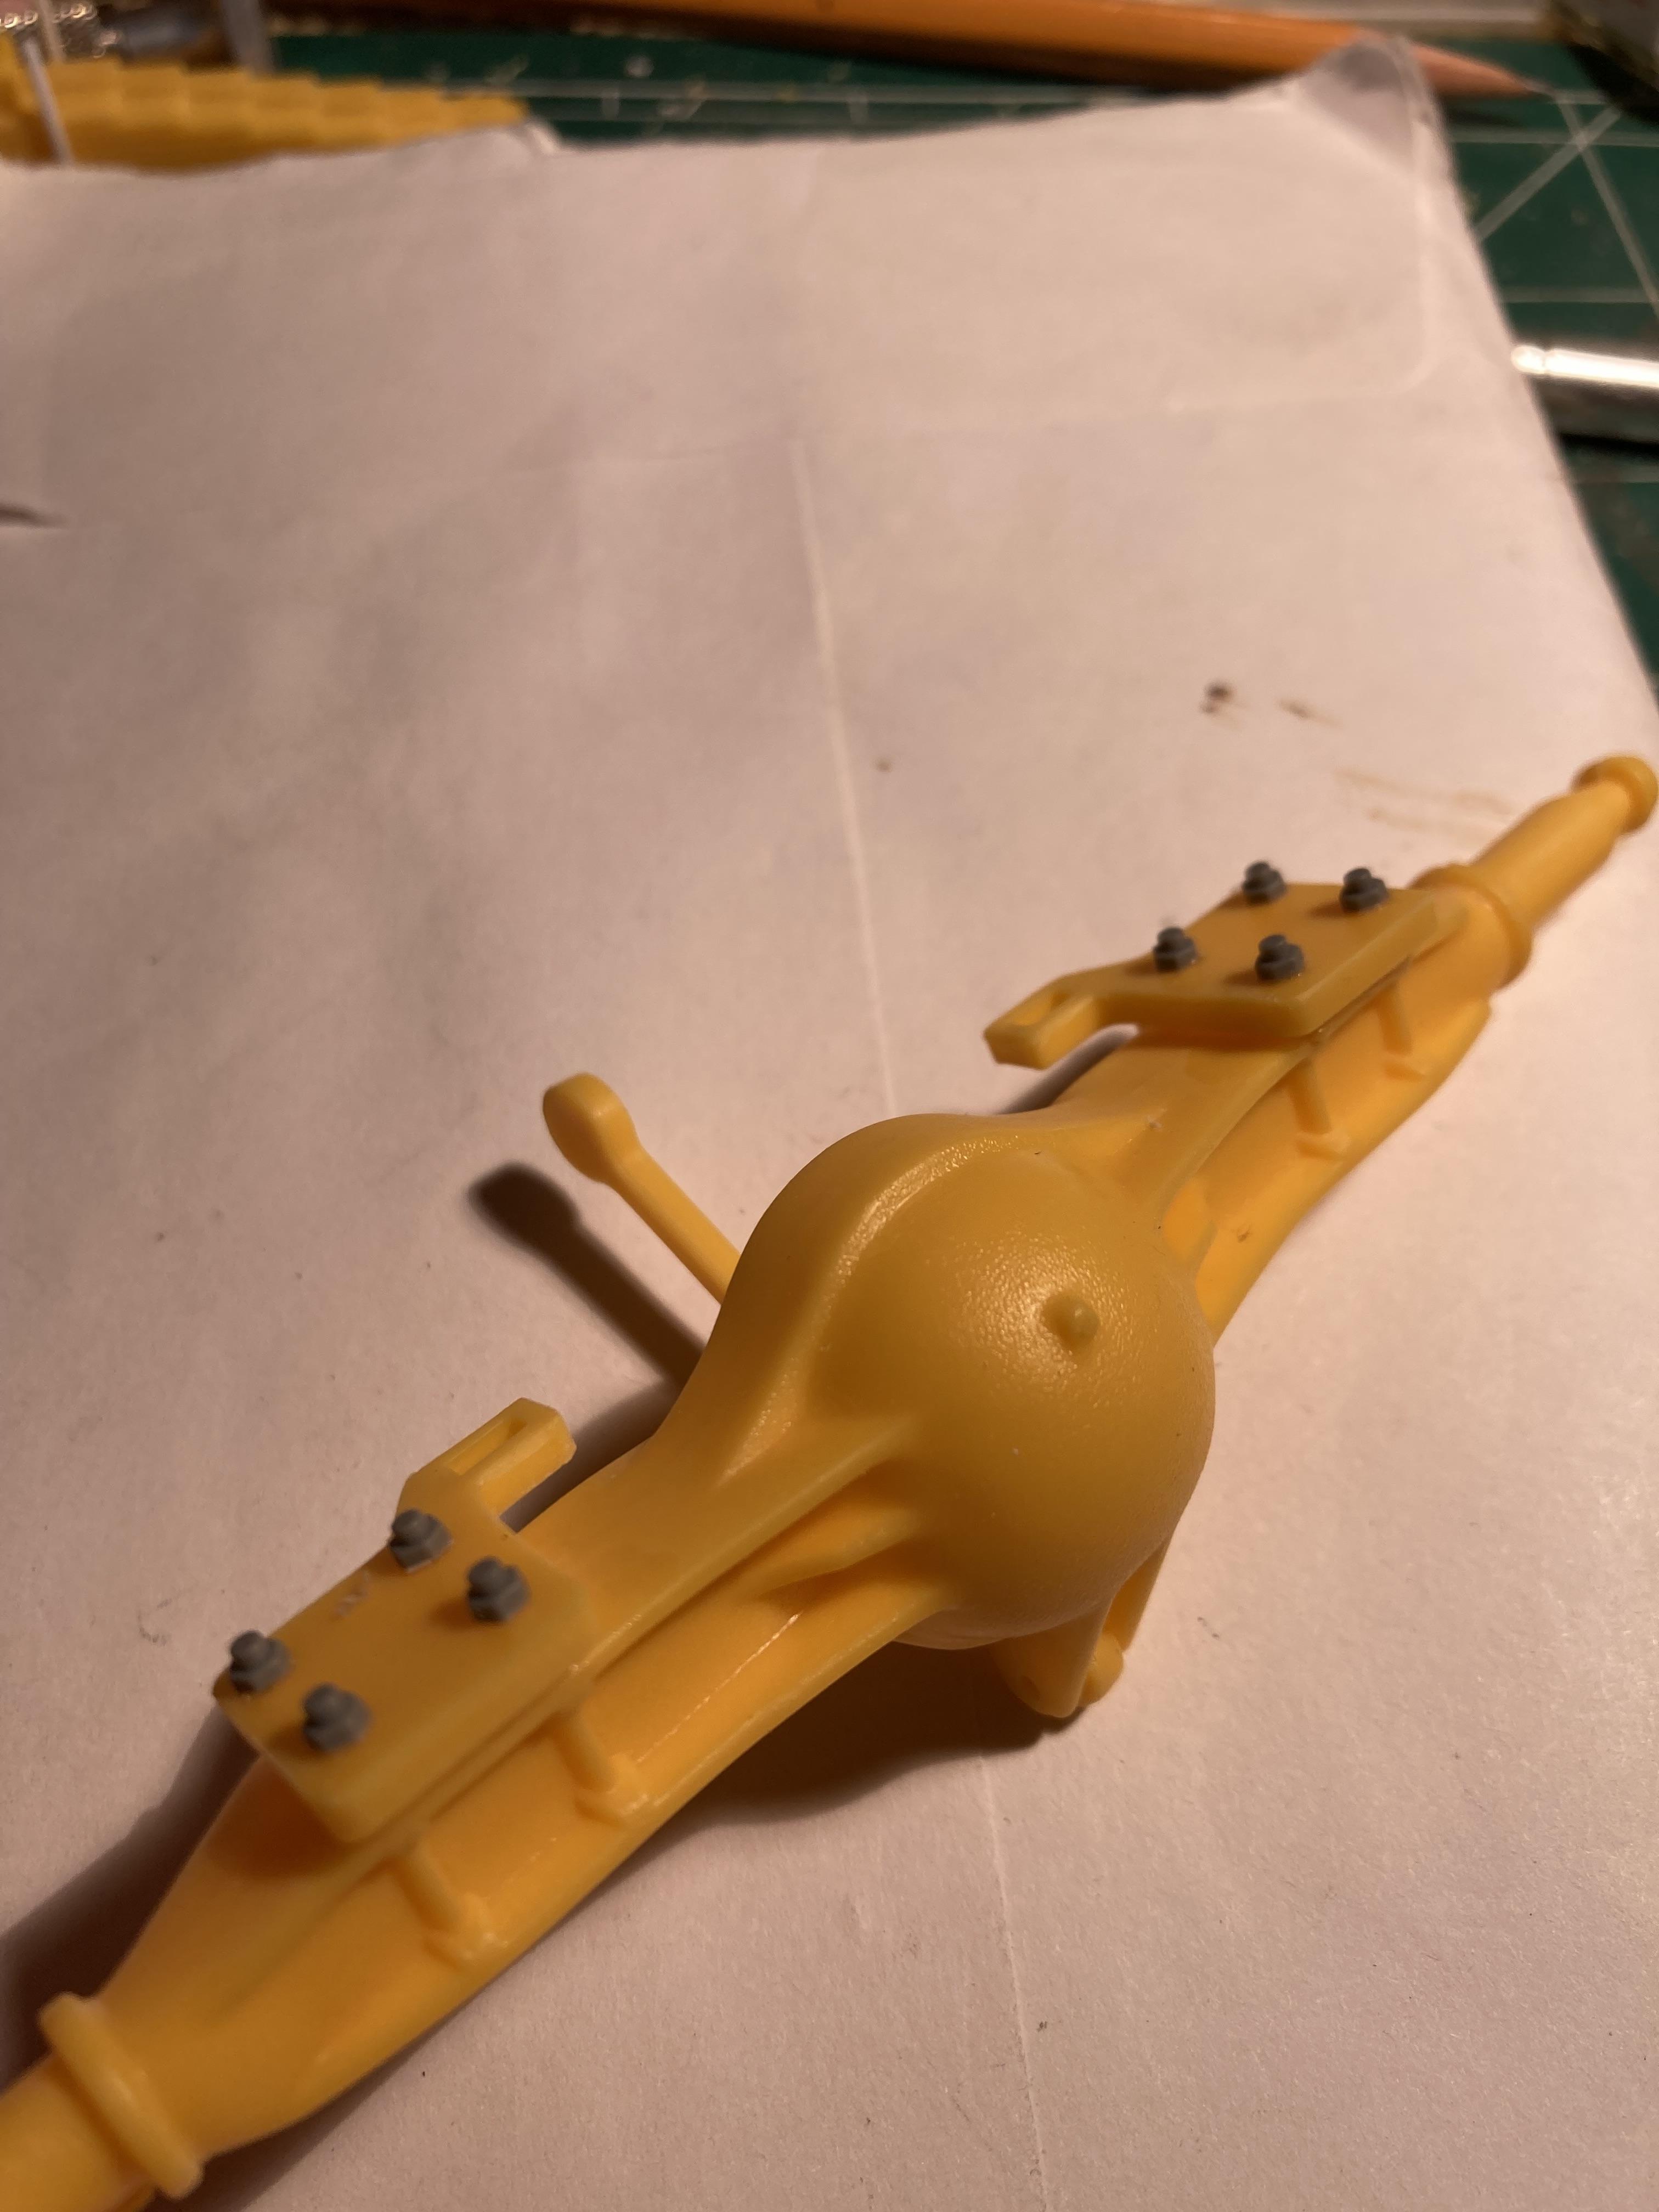
Yes, that’s “more better-er”
-
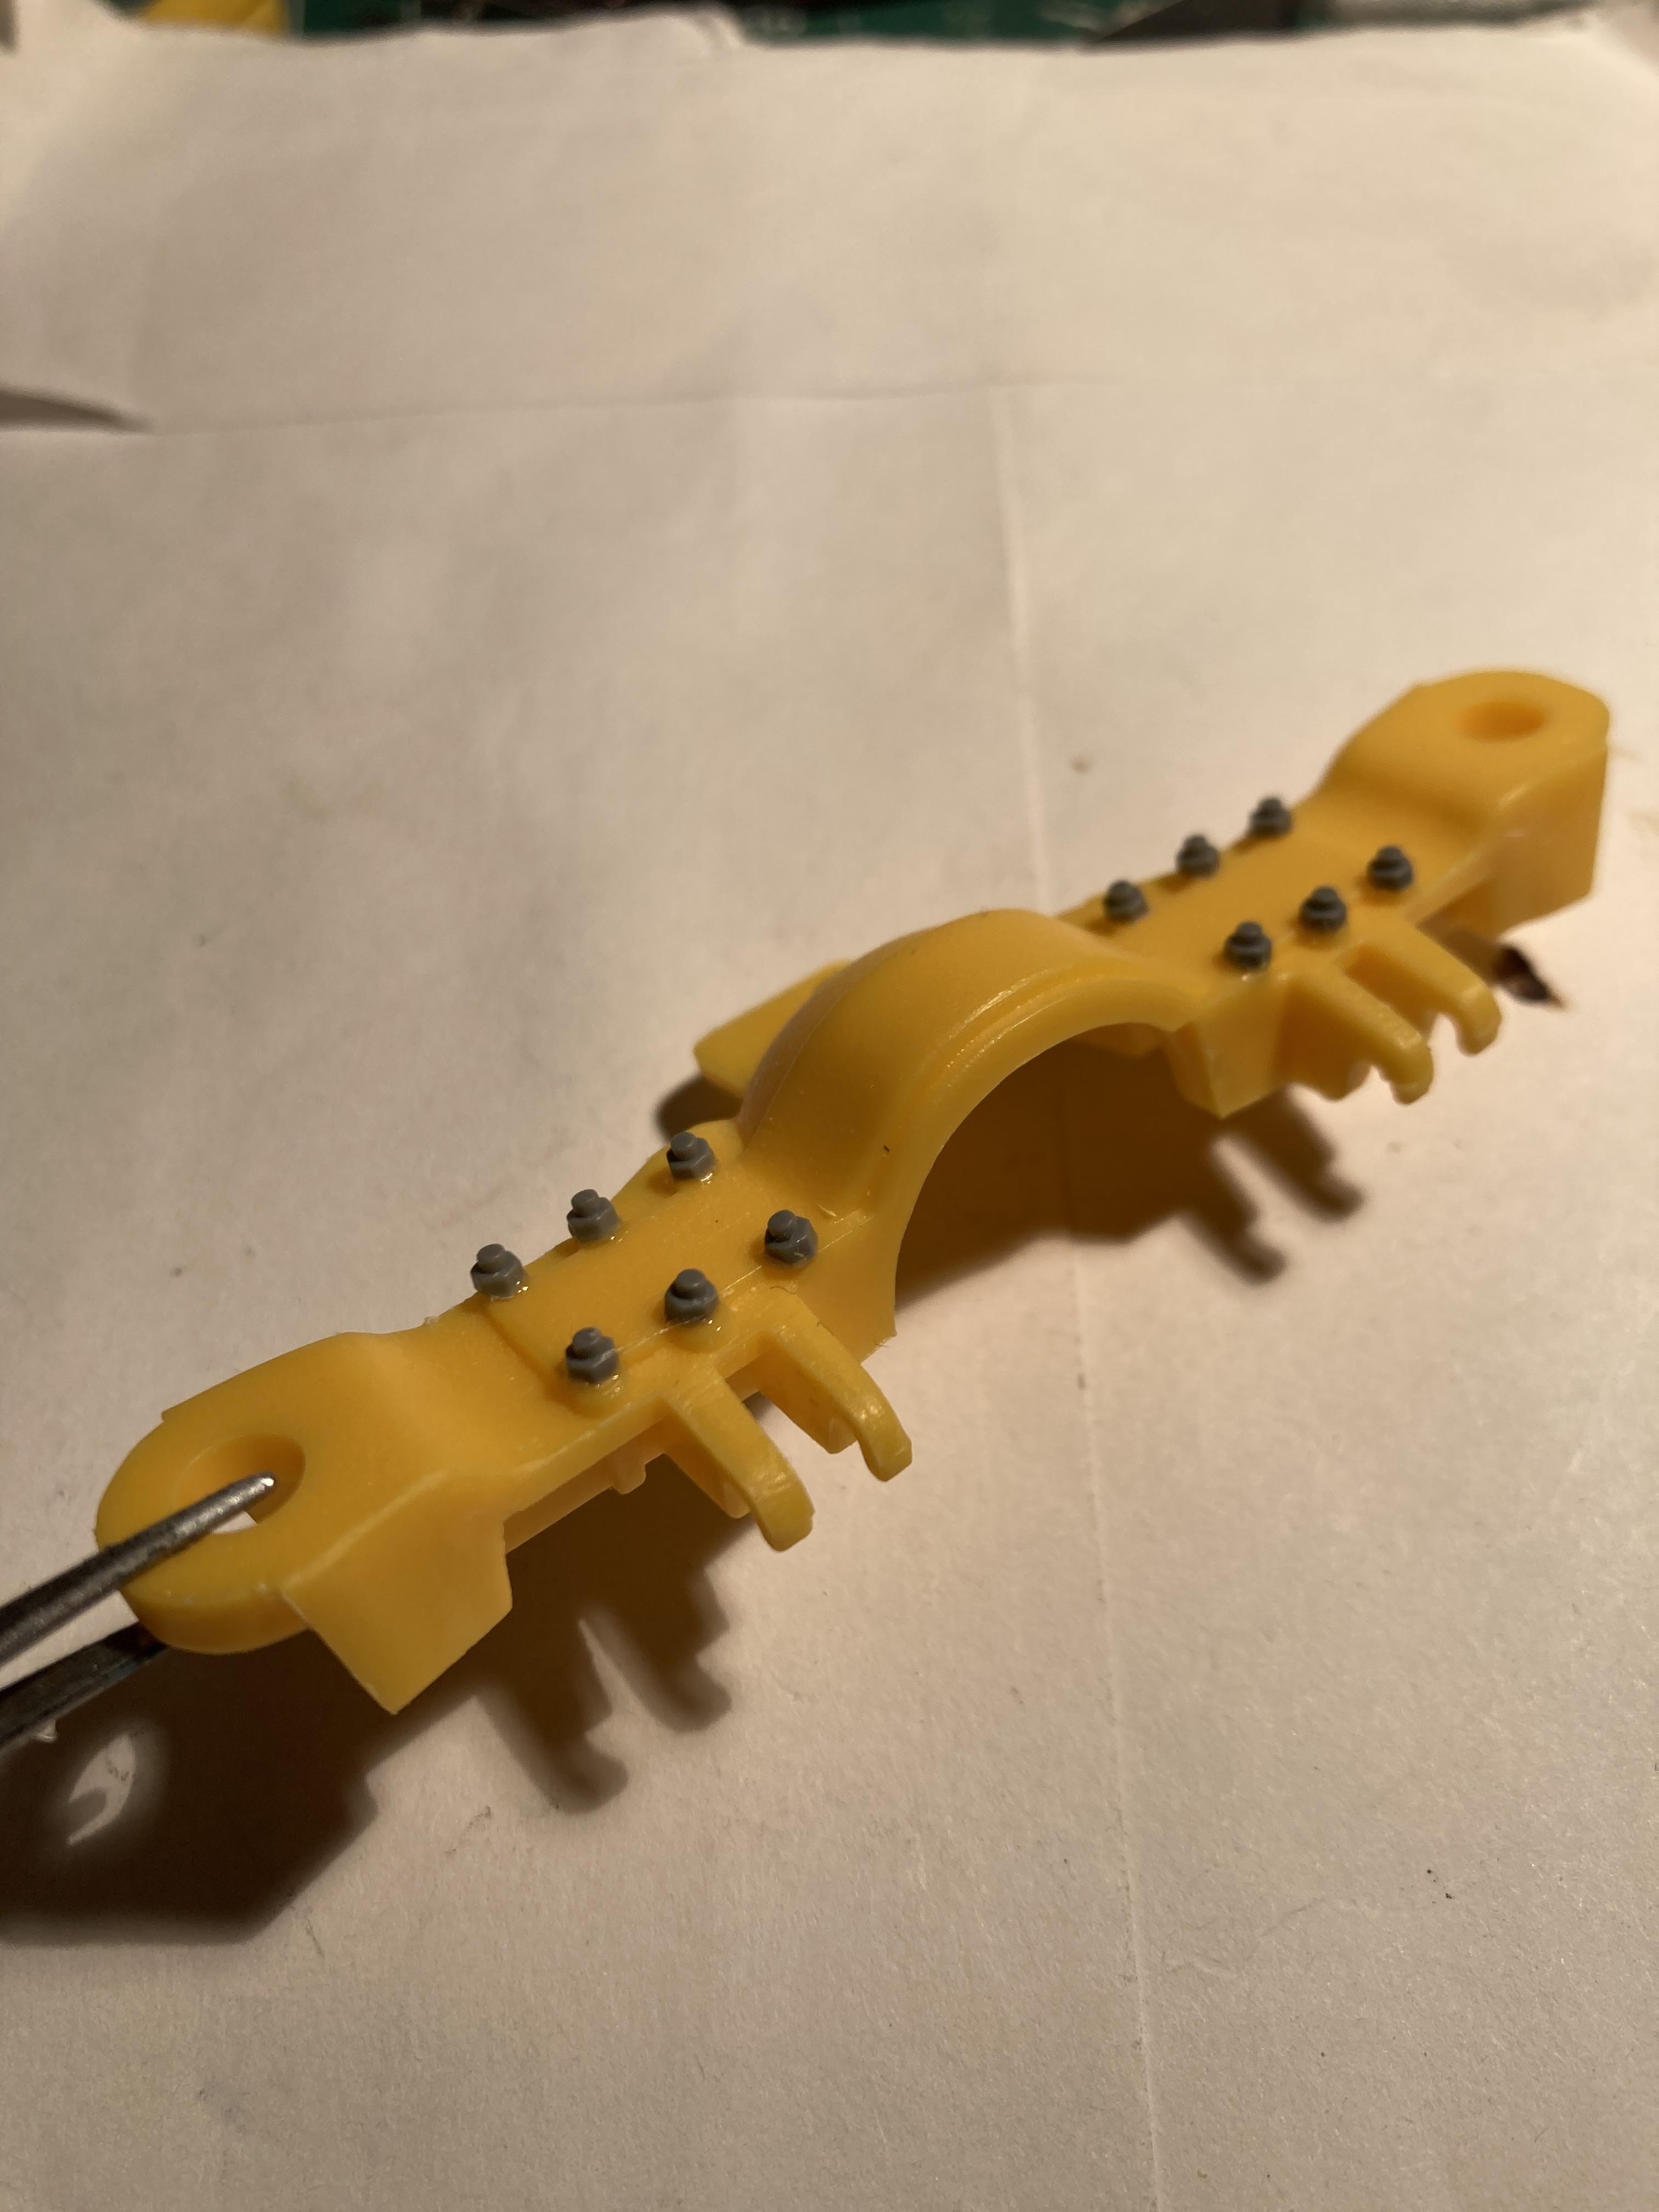
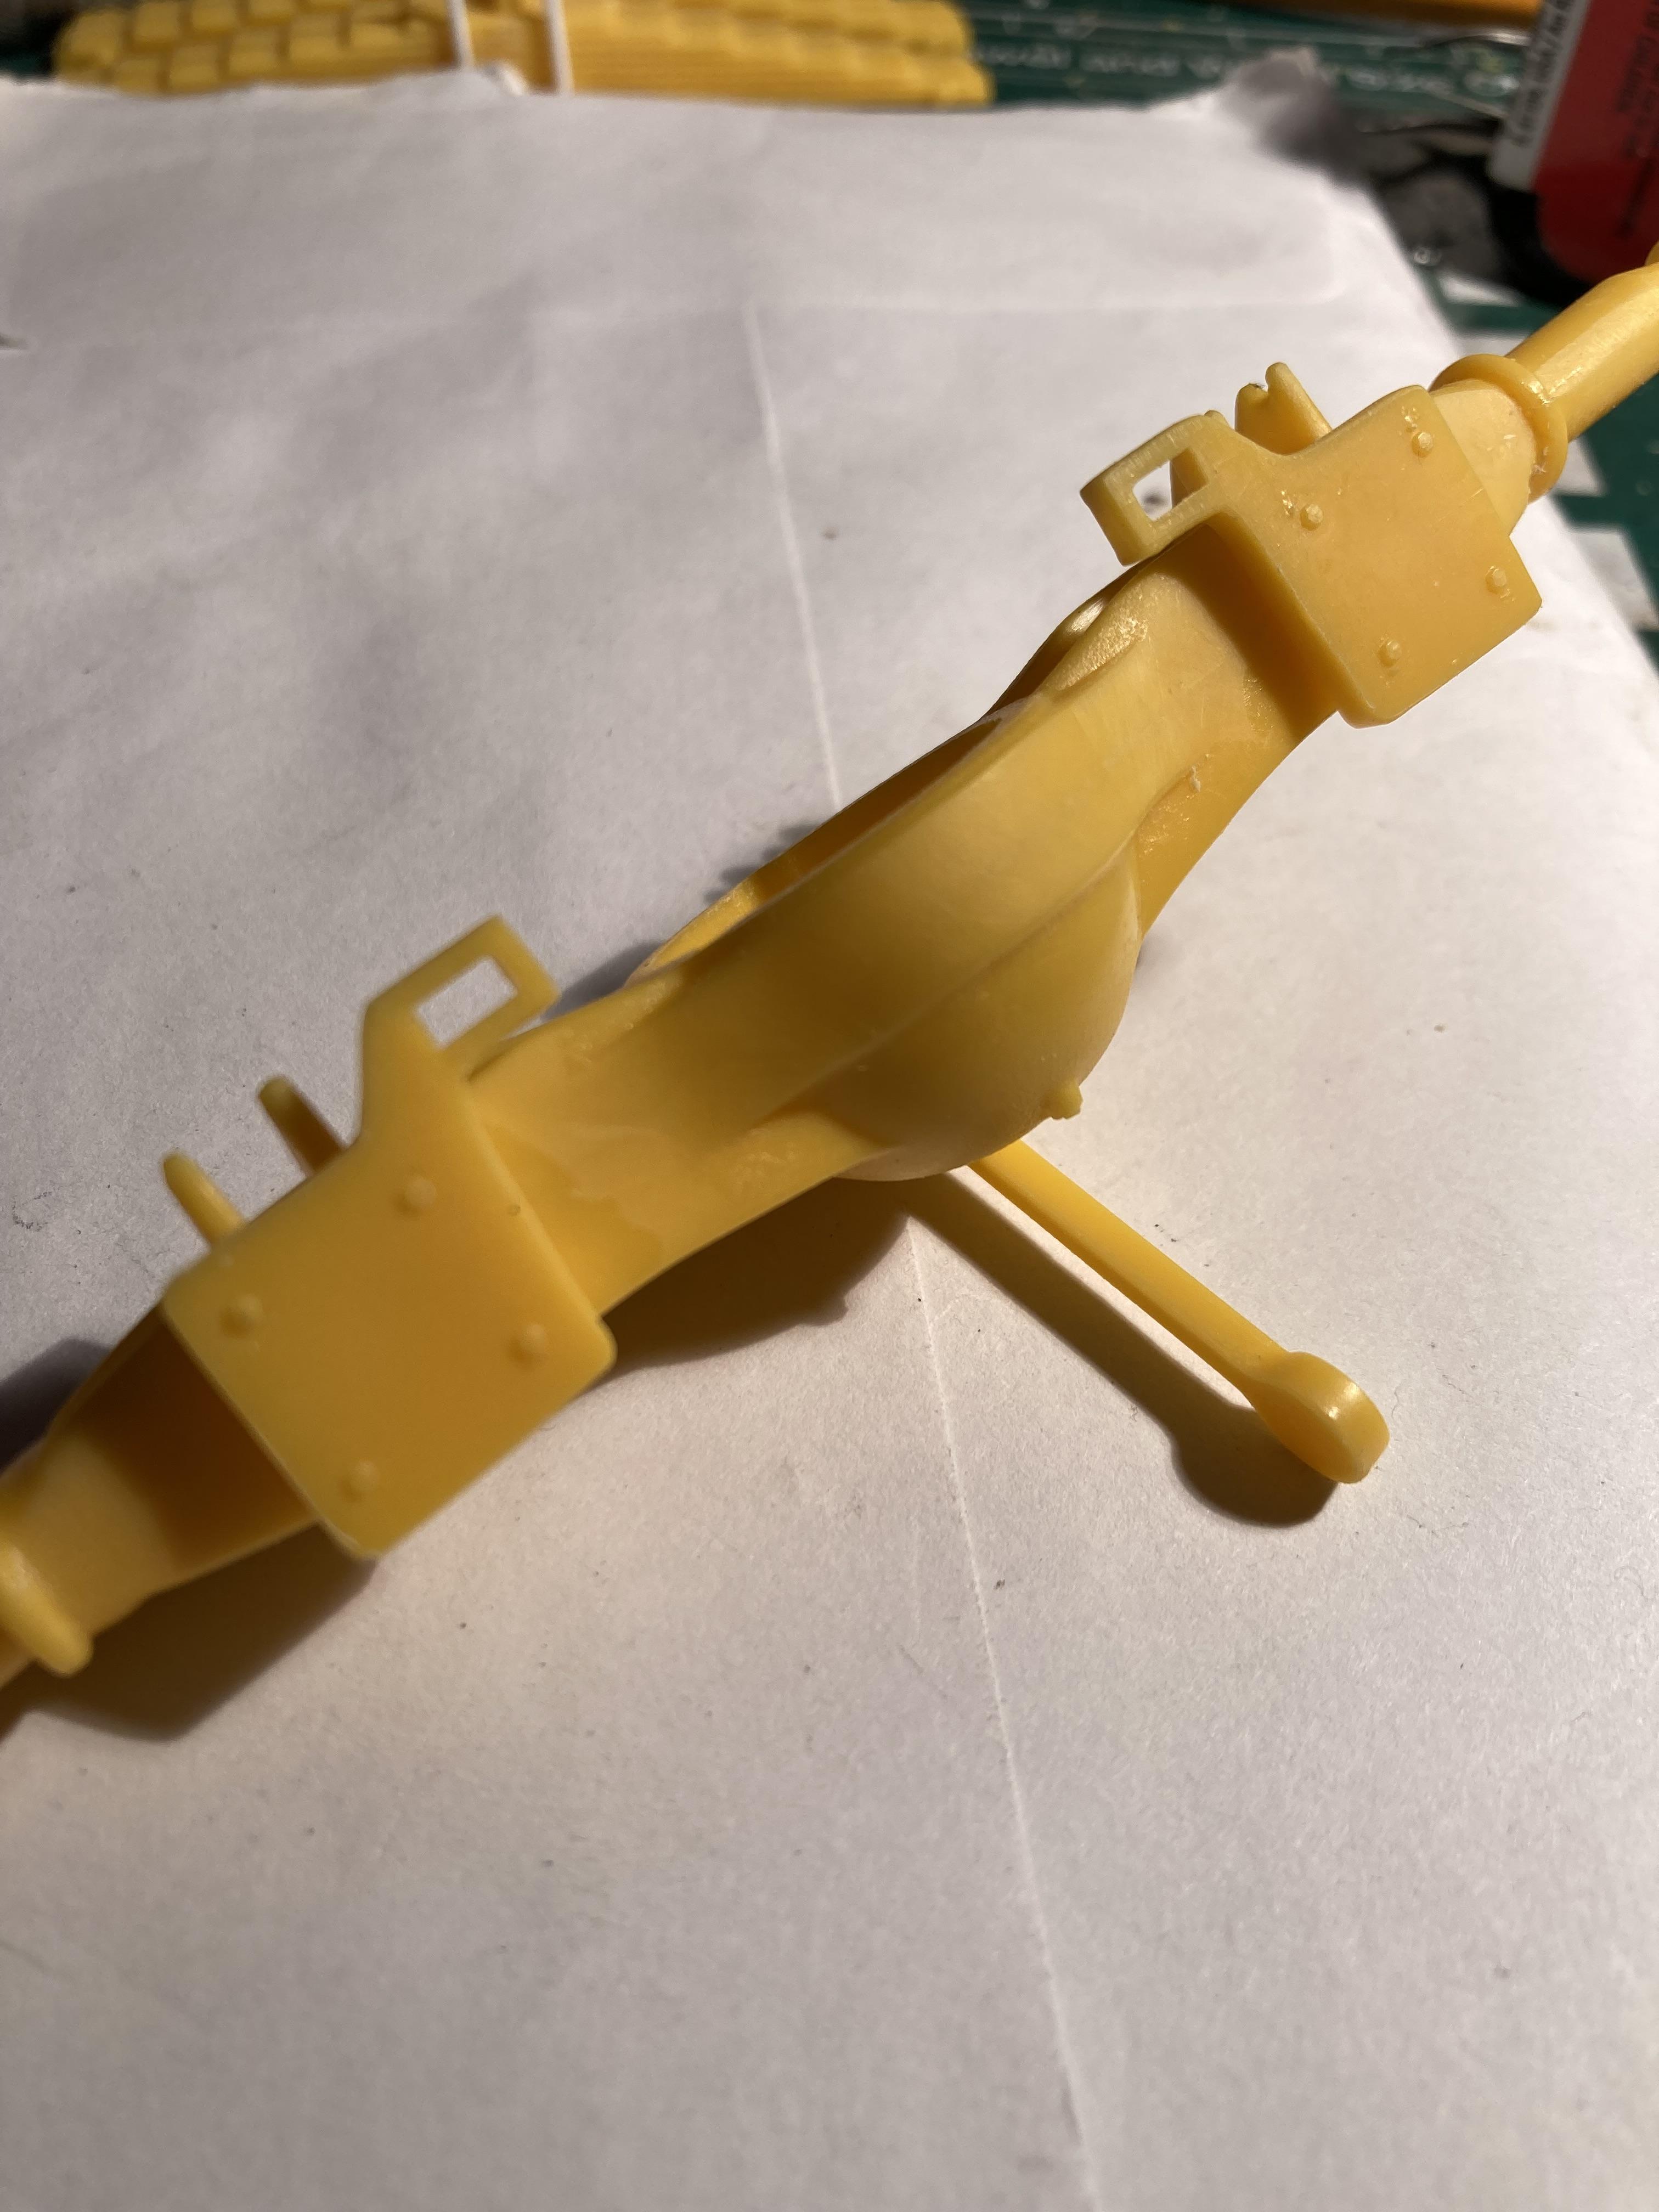
No……..
-
Ah……. Thats much better …
-
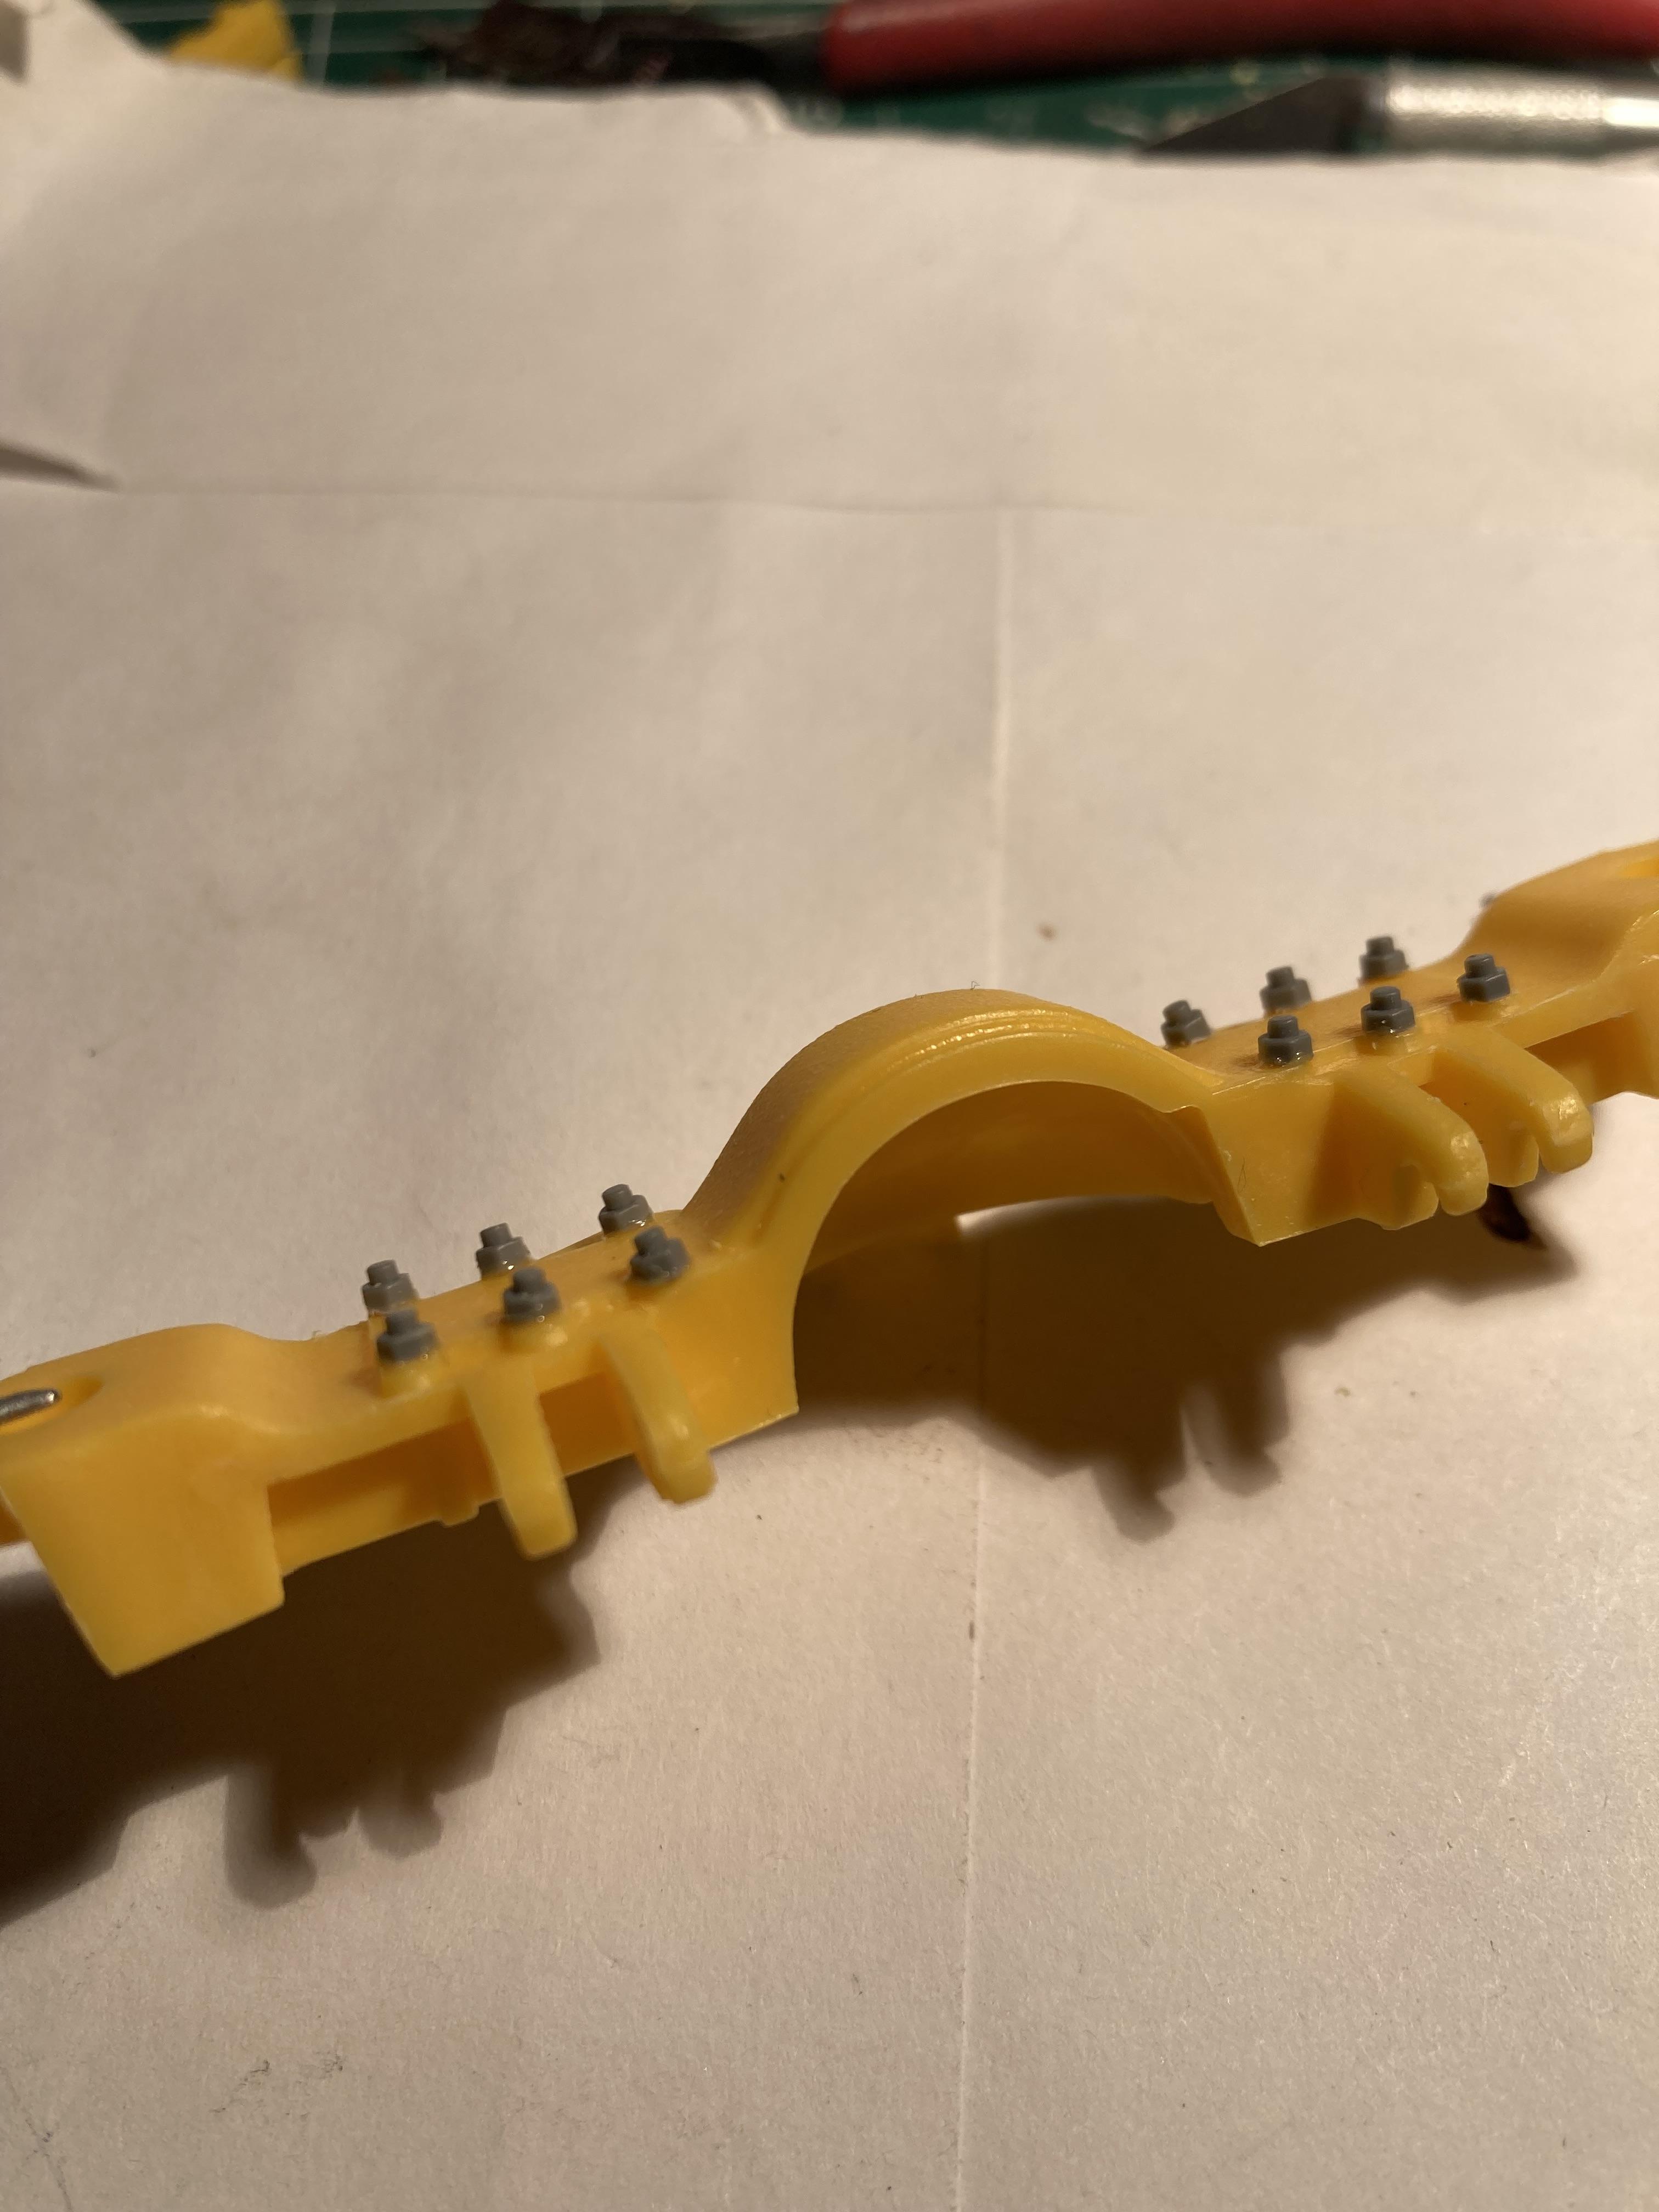
Ah……. N O !!!!
-
Resto Rod Autocar
Biggu replied to Gary Chastain's topic in WIP: Model Trucks: Big Rigs and Heavy Equipment
This just gets cooler and cooler -
Johnny Cash 1972 C60 Chevrolet
Biggu replied to DRIPTROIT 71's topic in Model Trucks: Big Rigs and Heavy Equipment
The stack was the first thing that caught my eye, that is spot on, I have seen a few just like that and the oil and grime on the drive wheels is perfect.... super cool job, it looks every bit of your vision... well worked but not abused.... -
359 Pete Tanker with Trailer
Biggu replied to Jürgen M.'s topic in Model Trucks: Big Rigs and Heavy Equipment
I totally agree with Lee, it sure looks the part, and a HUGE departure from the camper... WAY better.... take a bow !