Beans
-
Posts
735 -
Joined
-
Last visited
Content Type
Profiles
Forums
Events
Gallery
Everything posted by Beans
-

What Did You Accomplish Today? (Model Car Work)
Beans replied to Snake45's topic in General Automotive Talk (Trucks and Cars)
Got the gluebomb interior mostly taken apart. As a bonus I discovered a mosquito encased in the old glue under the seats that I have been able to extract DNA from so I can clone some dinosaurs. just kidding about the mosquito....
-
That PBR is a great kit!! Wish I remembered what happened to that one...
-
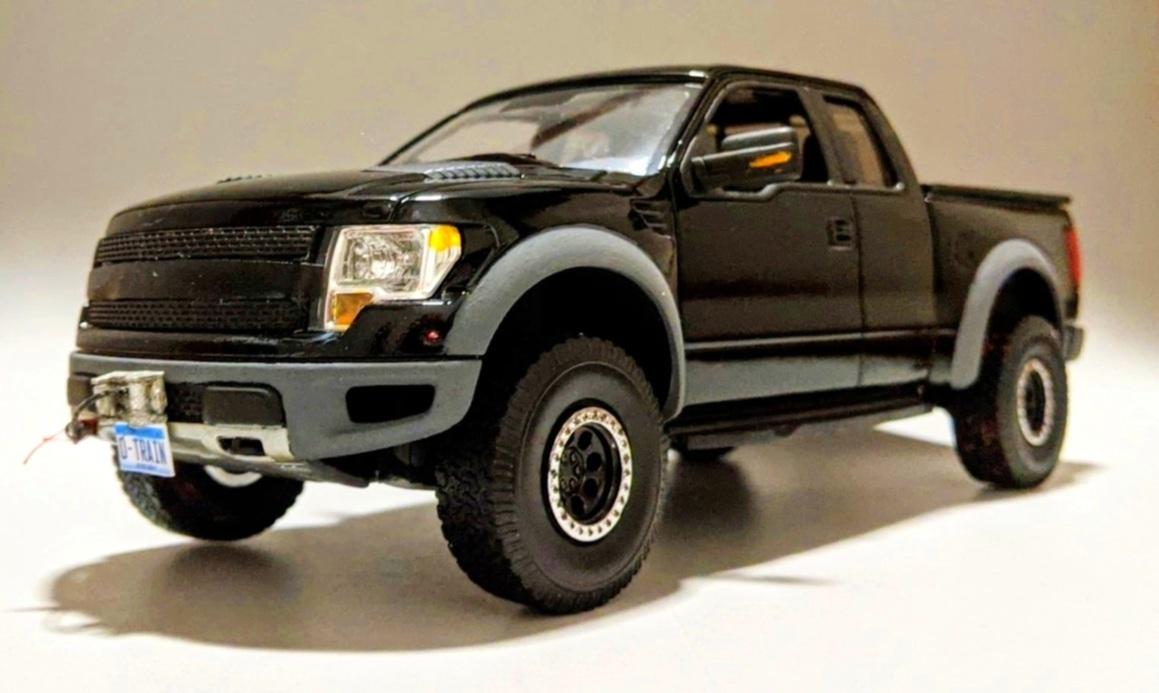
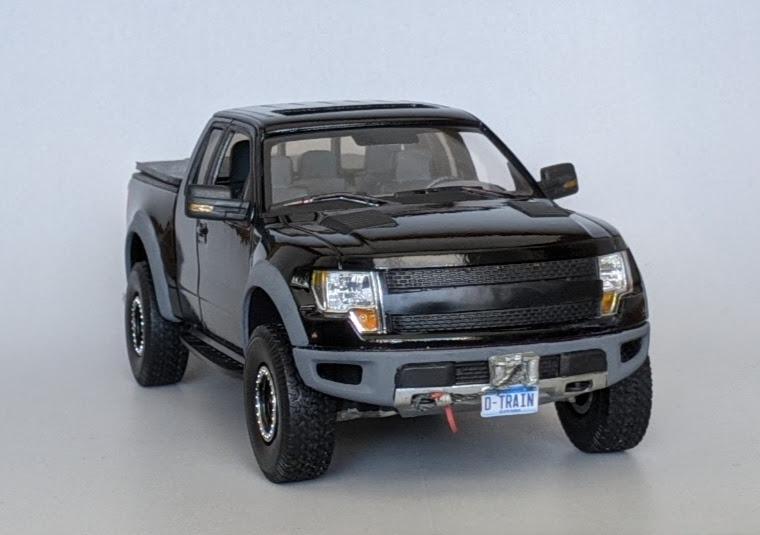
Ford Raptor Snap Kit
Beans replied to Beans's topic in Model Trucks: Pickups, Vans, SUVs, Light Commercial
Thanks all!! Overall it was a fun build. It's weird that everything just kind of worked out. I'm going to have to get a few more snap kits to break from a stressing build. -
What did you see on the road today?
Beans replied to Harry P.'s topic in General Automotive Talk (Trucks and Cars)
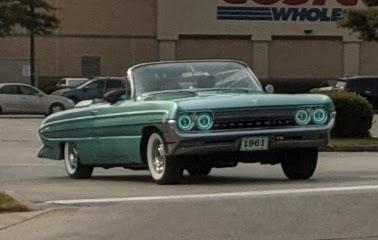
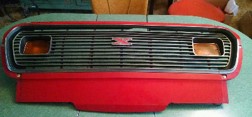
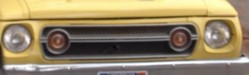
Saw these two. The first one is for sale, although I couldn't bring myself to look and see how much. This one was had a whole side painted in a Mario Brothers theme. I was only able to get a through the windshield picture of the back. No idea what the passenger side looked like...
-
Completed this quick fun kit with no real issues or complaints. I tried some things that I knew could lead to total failure, especially in the painting department but everything seemed to work out pretty well. As with my current build theme, I created this one to replicate another vehicle from the Supernatural TV show. For the show fans, this is the personal vehicle of Sheriff Donna Hanscum. Overall I made some very minor changes/additions to the kit to replicate the show version. They must not have had a license from Ford because the show creators have big F O R D on the grill covered and all other emblems blacked out...so I did the same. -Created the license plates -Created a bed cover -scratch built the winch and cable -Wheels are from a Jeep Rubicon kit -added seat belts (but you can't see them) -Painted with Duplicolor Black rattle can -Cleared with Krylon Triple-Thick Crystal Clear Glaze rattle can(used on a whim, never used before and honestly the idea of puting Krylon over Duplicolor would have made me cringe if someone else had said it). -Grey accents are craft paint. It could stand some polishing which I may do at some point. For now though it has a nice home next the previously completed Impala and Gremlin.
-
My Summer driver.... finally
Beans replied to Sledsel's topic in General Automotive Talk (Trucks and Cars)
Not so much a summer only, but definitely not a full time driver...actually in the process of updating the brakes now.
-
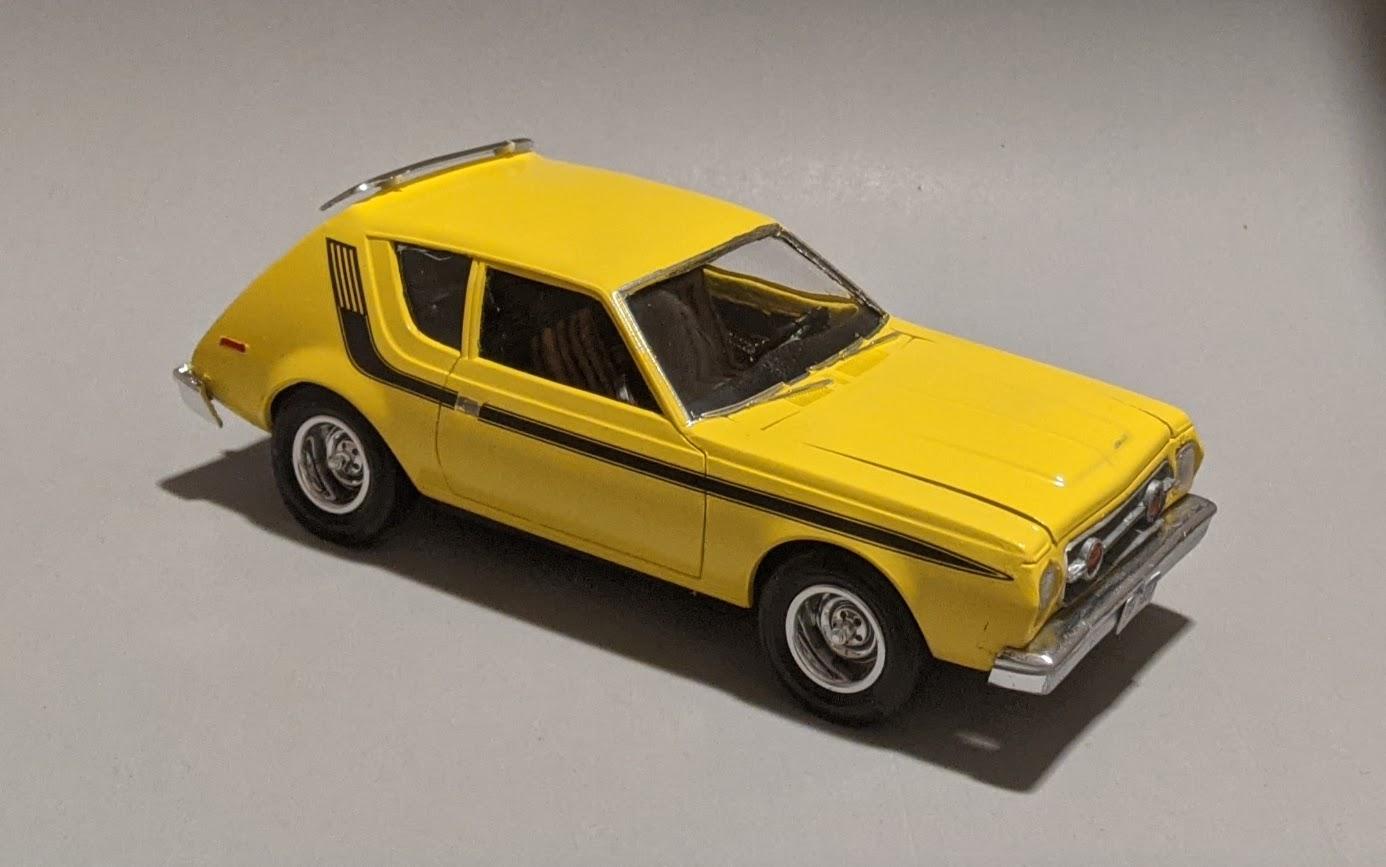
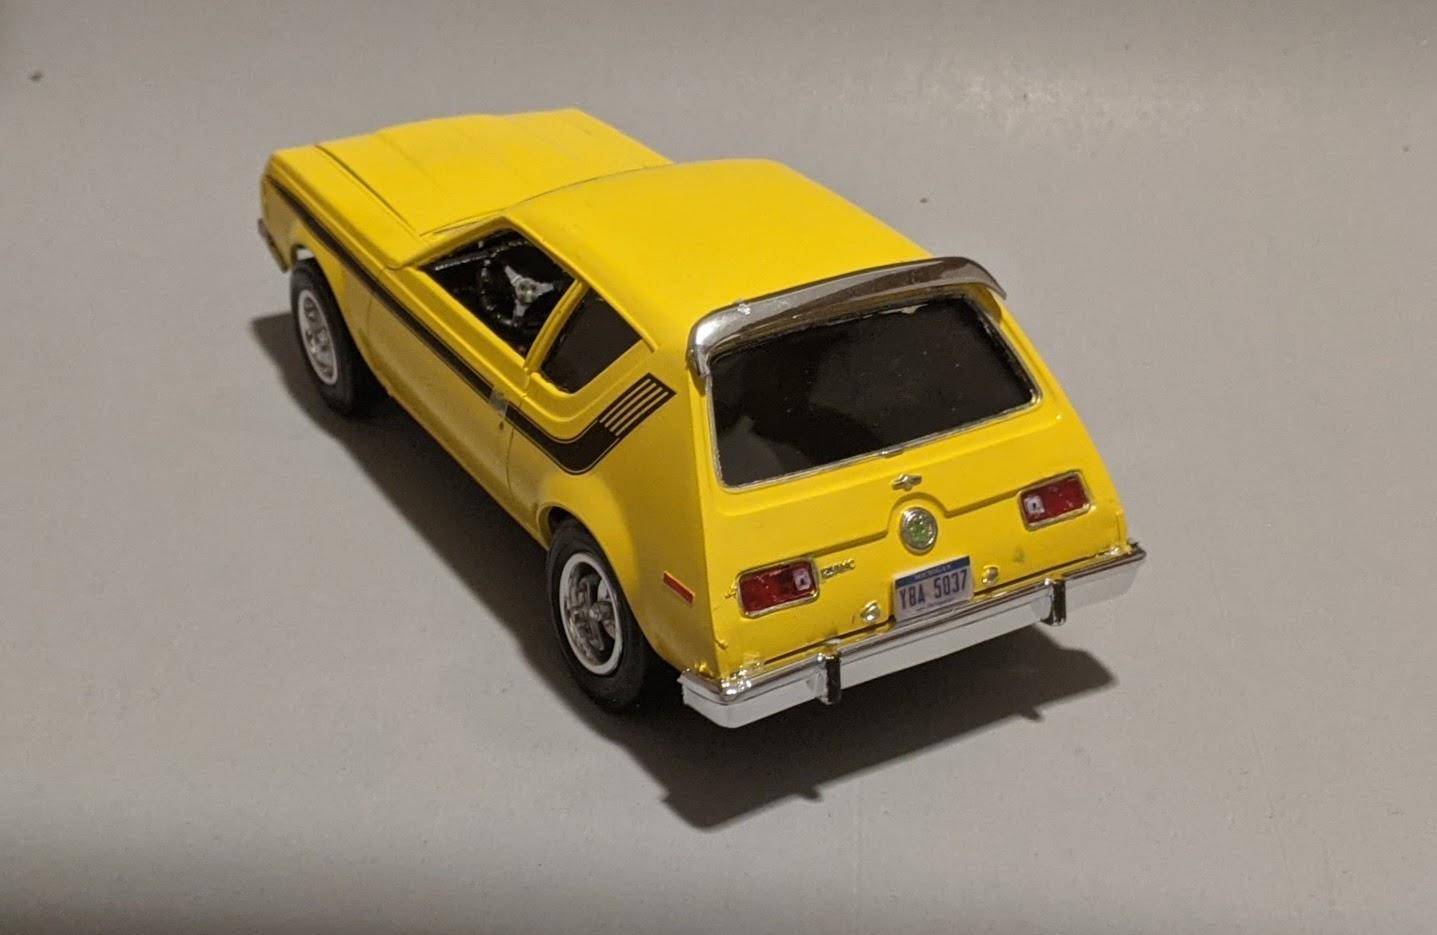
AMT '75 Gremlin - next of the Supernatural show builds.
Beans replied to Beans's topic in WIP: Model Cars
and what's next on my weird quest to do as many of the cars from the show Supernatural as possible......
-
AMT '75 Gremlin - next of the Supernatural show builds.
Beans replied to Beans's topic in WIP: Model Cars
Fiiiiiiiiiinaly got the black decals. I am pretty much calling this one done. I do still need to add the front turn signals (which I actually totally forgot about). Then will put up a post in the completed section. Otherwise, here she is as she sits:
-
My local Ollie's still has a decent amount of the last offerings. Gremlins, Sciroccos, Chrysler 300s, and the big rigs.
-
What did you see on the road today?
Beans replied to Harry P.'s topic in General Automotive Talk (Trucks and Cars)
Just runnin' around town
-
Chevelle knowledge needed '70 to '71
Beans replied to Beans's topic in Model Building Questions and Answers
Great. Thanks. I've put the Chevelle project on the back burner for now. But getting close to wanting to jump back into it. -
What Did You Accomplish Today? (Model Car Work)
Beans replied to Snake45's topic in General Automotive Talk (Trucks and Cars)
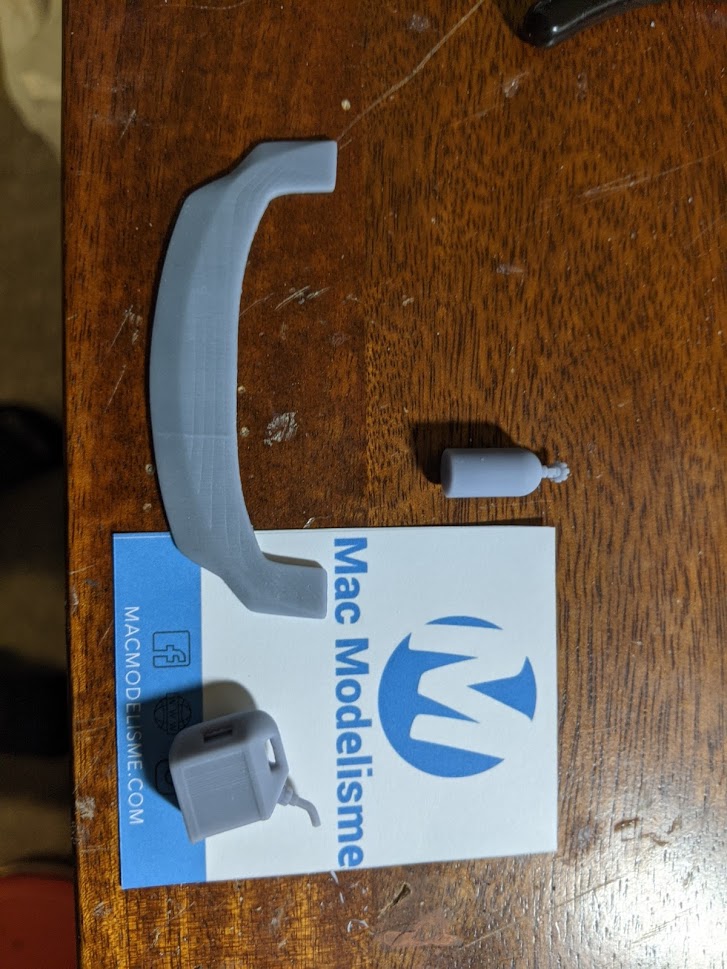
Waiting on decals to complete a project so I made a ID card/holder/lanyard. and worked on a Ford Raptor interior...gotta trim up that seatbelt end though, its a little big...
-
What did you see on the road today?
Beans replied to Harry P.'s topic in General Automotive Talk (Trucks and Cars)
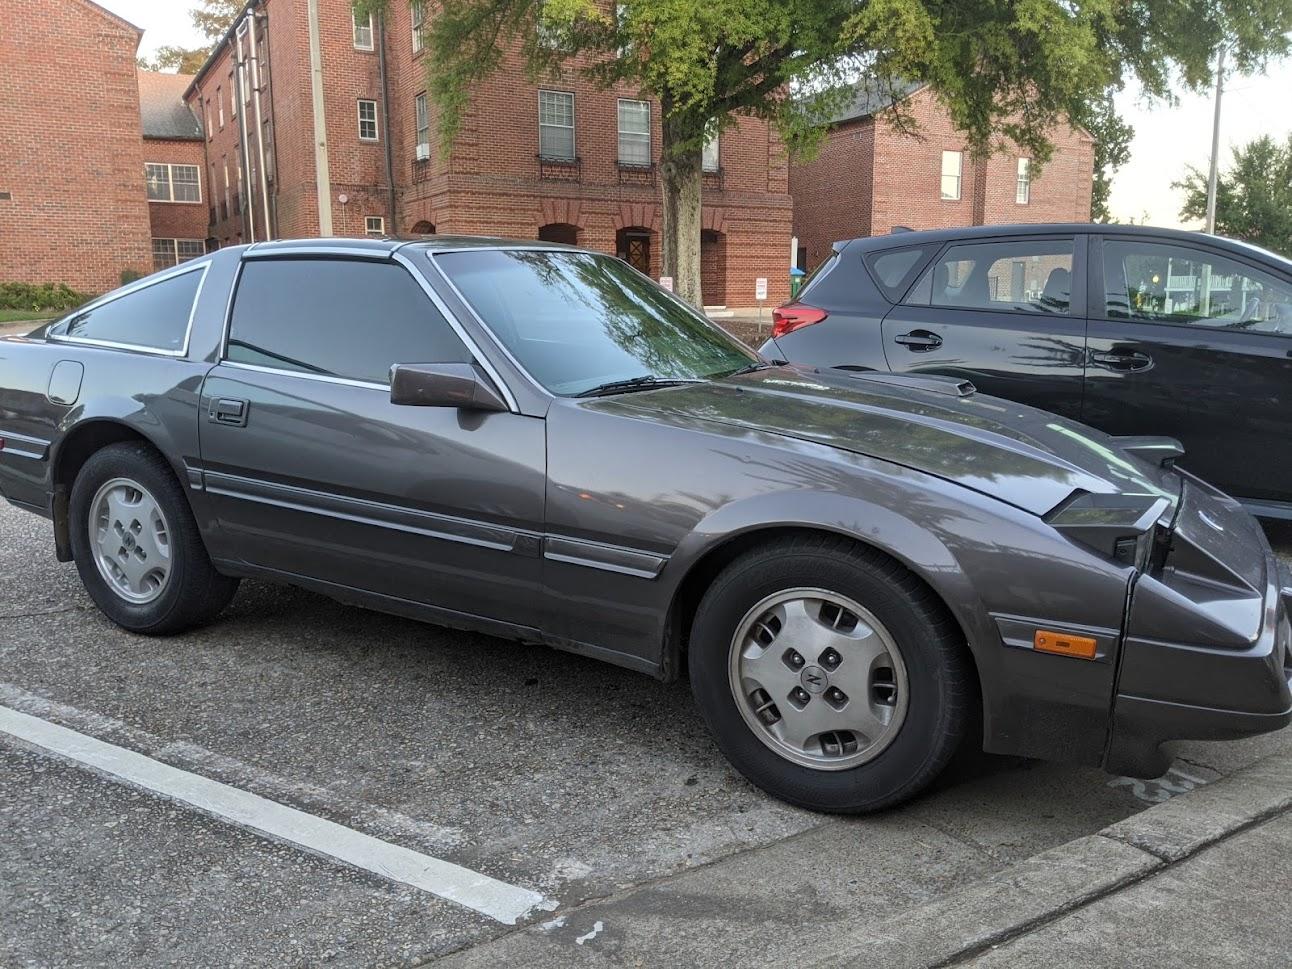
Don't see many Z's around lately.
-
Chevelle knowledge needed '70 to '71
Beans replied to Beans's topic in Model Building Questions and Answers
Thanks for this. Looks pretty much like my best bet. -
AMT '75 Gremlin - next of the Supernatural show builds.
Beans replied to Beans's topic in WIP: Model Cars
Thank you. Overall not my favorite build but I enjoyed it. The kit wasn't too bad. I ended up sanding the front push bumper things off and made new headlights that I am happy with. Never did get the correct engine, so there is currently nothing under the hood... Will be sure to put up the completed photos when I do get around to finishing this. -
AMT '75 Gremlin - next of the Supernatural show builds.
Beans replied to Beans's topic in WIP: Model Cars
Here is where the gremlin sits. Need black stripes for the side. Only red ones in the kit. Have some coming. Other than that and the side turn signals, she pretty much there.
-
AMT '75 Gremlin - next of the Supernatural show builds.
Beans replied to Beans's topic in WIP: Model Cars
I think I finally have an acceptable grill.
-
Ford F-150 Raptor
Beans replied to Dhgfx4's topic in WIP: Model Trucks: Pickups, Vans, SUVs, Light Commercial
Paint looks great!! I think this is going to be my next kit so I will definitely be watching you complete this. -
I have ordered from them in the past. The quality is really good. Communication and shipping times are also really good. They even threw in the nitrous bottle for free just because. I would not hesitate to order from them again.
-
Engine sold separately?? On an obscure note...why are the pallet jacks lifting the pallets from the wrong side??
-
I get those quite a bit. Sometimes I get a little too crazy with the watch list, or just want to see what something will eventually sell for. Some specific sellers use this on pretty much every item. Unless it is something rare I will almost always put something on my watch list for a couple of days before placing a bid. This also helps me cut down on the impulse buys.
- 39,131 replies
-
- 1
-

-
- johan
- glue bombs
- (and 1 more)
-
Now you just gotta get you some of those $0.10 Speed-dry enamels.
-
AMT '75 Gremlin - next of the Supernatural show builds.
Beans replied to Beans's topic in WIP: Model Cars
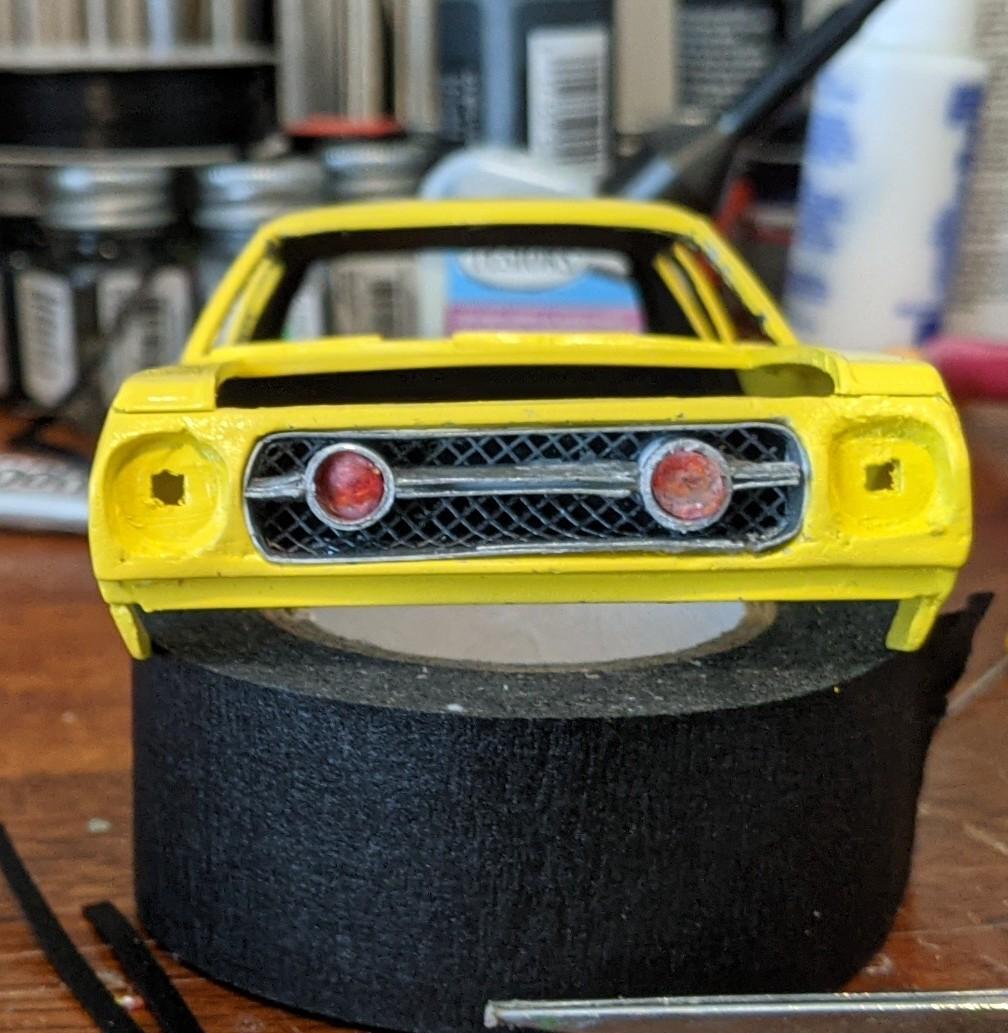
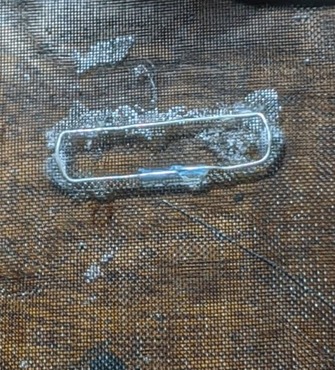
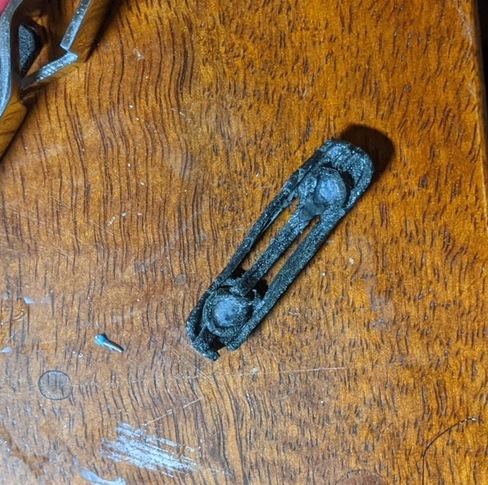
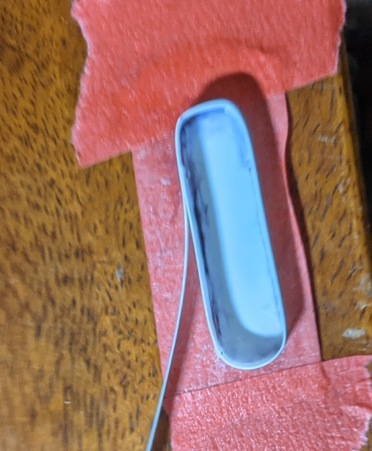
Grill update...the struggle is real. I love following those builds from the really experienced and awesome modelers on here where they simply are able to figure out what they need to scratch build and magically turn raw plastic into an amazing looking piece. That aint me. With me you will get every ugly, messed up, convoluted, and weird scheme I can think of that may eventually turn out to be generally passable as to what I am trying to create. Since I am updating the 74 to a 76 I needed to change the grill out. Yes I could have just gotten a 76 model but I had the 74, it was not expensive when I got it, and overall I am cheap. Plus I get some odd enjoyment out of the frustration and work that goes into modifying things. I had several ideas on how to accomplish going from this to this With the old grill gone and drilled out I made several attempts at making a new one. 1) Wire....too bendy. Hard to keep straight, no depth. My bright idea was to try to glue it down to a mesh backer..... That didn't work out so well. 2. Craft foam... Yes craft foam. I have actually used this to make parts before. If you use heat to close up the pores and seal it, it works pretty well. The trick here was cutting it thin enough to stay in scale.... Yike!!! But getting closer. 3. Styrene. I cut out the internal size and shape I needed for the base of the grill and added an edge. Used masking tape to hold it in place while glue dried.... This might actually work. I will put the mesh in then add the center bar and grill lights. Hopefully my next post will be of the completed grill...
-
AMT '75 Gremlin - next of the Supernatural show builds.
Beans replied to Beans's topic in WIP: Model Cars
Thanks. Overall I am pretty happy with it. -
AMT '75 Gremlin - next of the Supernatural show builds.
Beans replied to Beans's topic in WIP: Model Cars
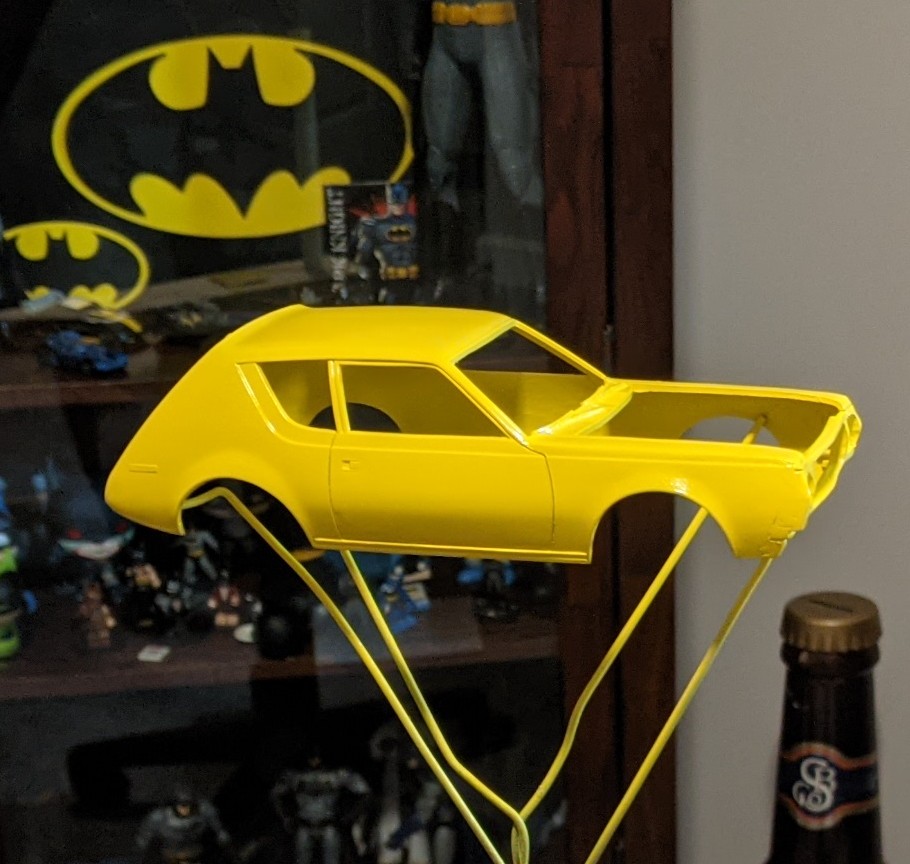
Looks...color!!! Humidity dropped to 50% at about 80° by the time I got home from work and couldn't resist.