Beans
-
Posts
734 -
Joined
-
Last visited
Content Type
Profiles
Forums
Events
Gallery
Everything posted by Beans
-
Here is the WIP thread I did on this one. I probably didn't take nearly enough pictures or explain some of the things I did to the model other than some customizing, but if it helps....
-
Your glass problem is the wing windows. They don't fit well with the interior tub. It's been a little bit since I built this one, but as I recall, the tub cuts in around the windows but not nearly enough. I had to thin the wall on the interior and cut down the wing window slightly to get them to fit together. Had to do the same thing as you with the back side of the interior. I opened the trunk so I had the hinge bracket I made to attach the rear of the interior to. But overall yes, it is a struggle to get the interior to fit where it should.
-

2022 Cannonball Group Build theme suggestion thread
Beans replied to Fat Brian's topic in Community Builds
I kind of realized the same thing. I got all into the idea then thought about how these cars would really stand out and be kind of obvious tearing across the country. -
2022 Cannonball Group Build theme suggestion thread
Beans replied to Fat Brian's topic in Community Builds
I don't think you actually use the hit wheels car, you use a 1/24 or 1)25 kit and replicate the selected hit wheels car. So it doesn't have to be one you own. But it's all new to me. -
2022 Cannonball Group Build theme suggestion thread
Beans replied to Fat Brian's topic in Community Builds
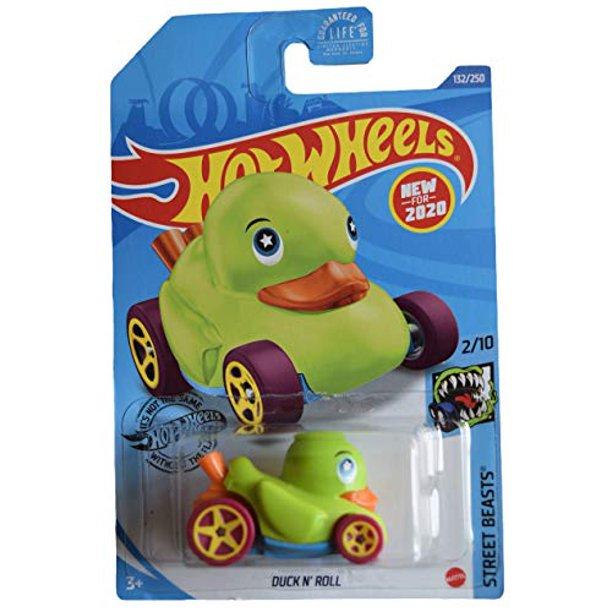
I'm seriously tempted by the giant duck.... But I am pretty sure I know what I would build. It was my favorite of my hot wheels as a kid. Not even sure why but for some reason I loved this car. Gotta find a picture. -
2022 Cannonball Group Build theme suggestion thread
Beans replied to Fat Brian's topic in Community Builds
The more I think about this the more I like the idea. There is such a range that it could be a pretty standard build with a custom paint scheme all the way up to a crazy totally custom build
-
What Did You Accomplish Today? (Model Car Work)
Beans replied to Snake45's topic in General Automotive Talk (Trucks and Cars)
In the end it is going into a 69 F250 that I'm doing to match my 1:1 project. We'll see which one gets done first... -
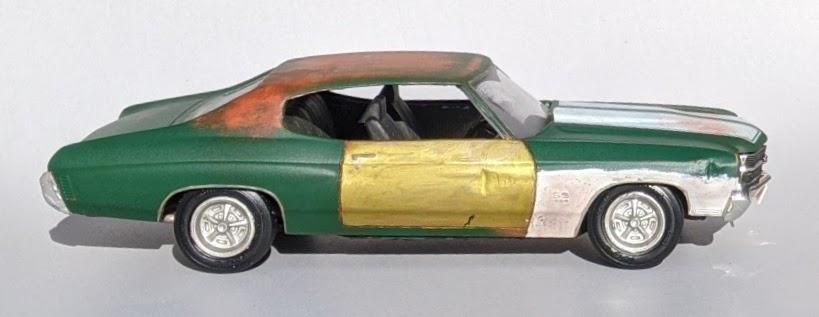
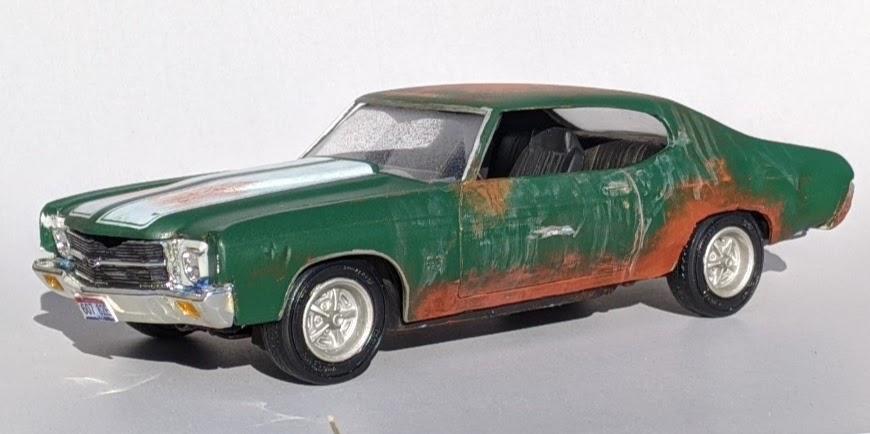
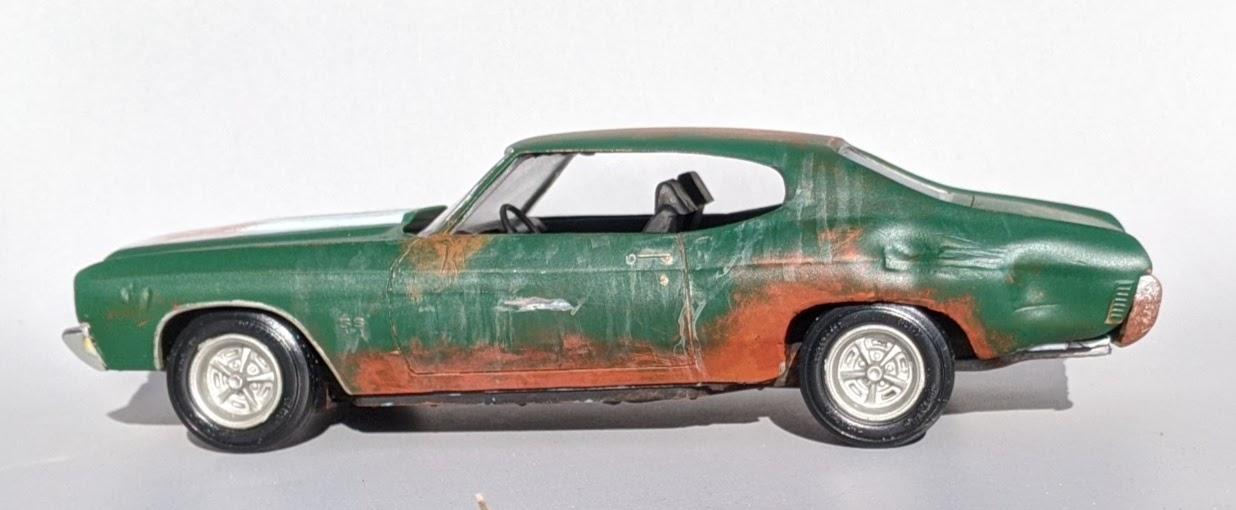
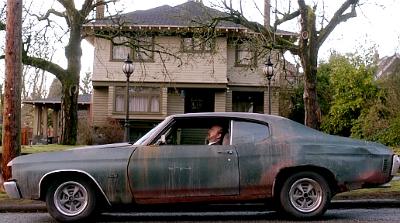
My version of the 71 Chevelle driven by the Character Bobby Singer from the Supernatural TV show. Modified the front end by cutting apart the grill headlight piece into separate pieces and repositioning the headlight. reworked the entire rear bumper to make a 71 out of 70. added miscellaneous grill damage, dents and dings and weathered to replicate the car from the show. First pictures are from the show.
-
What Did You Accomplish Today? (Model Car Work)
Beans replied to Snake45's topic in General Automotive Talk (Trucks and Cars)
finished up (or nearly so) the upholstery on my Moebius truck seat.
-
Best Source For AMC 232 Six Cylinder Engine
Beans replied to W-409's topic in Model Building Questions and Answers
Was looking for the same thing not that long ago. The pacer seemed to be the only true option other than finding a similar size and looking straight 6. -
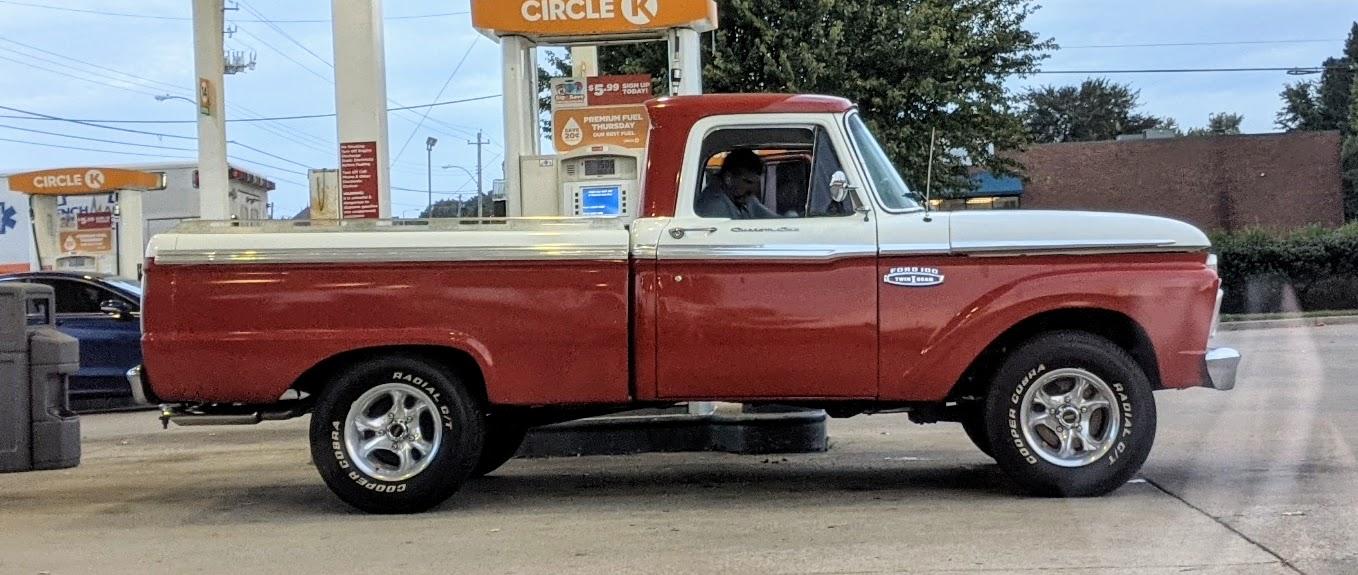
What did you see on the road today?
Beans replied to Harry P.'s topic in General Automotive Talk (Trucks and Cars)
Nice old truck at the gas station this morning
-
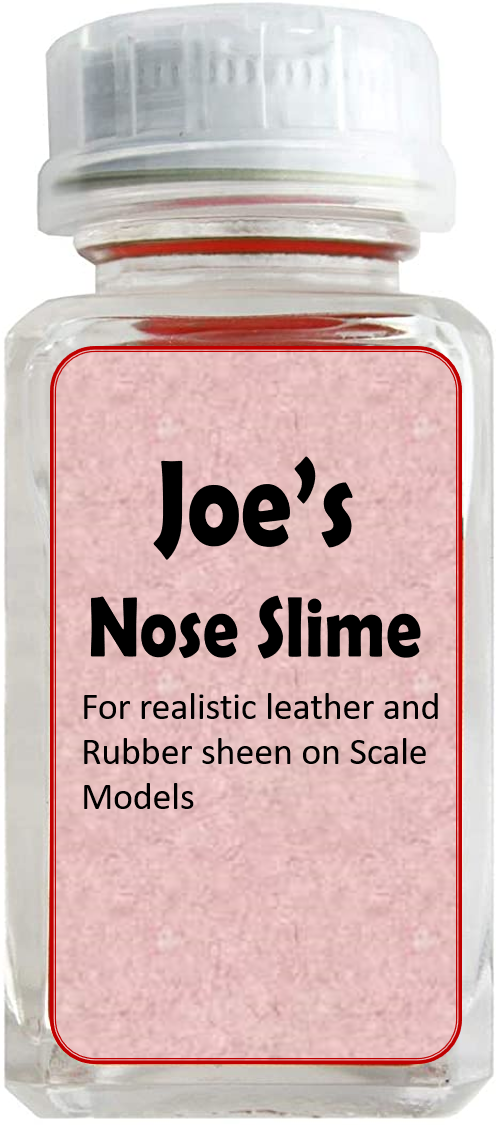
Don't worry too much. It will wash off with water and is pretty much like working with elmers white glue.
-
Ford Raptor Snap Kit
Beans replied to Beans's topic in Model Trucks: Pickups, Vans, SUVs, Light Commercial
Thank you. I did the Mustang as well a while back. That one came out pretty well also. These snap kits are great for nice fitting quick but detailable projects. -
How can I make these tires look better
Beans replied to chris chabre's topic in Tips, Tricks, and Tutorials
Do the same, except the slime part, just because I never heard that before. Gonna try that tonight. If it works I may just bottle it HA
-
This wasn't bad overall. We older guys get more blunt, especially where opinions are concerned. Disagreement isnt a bad thing. You had a valid question. You got answers all over the place. Don't worry about the disagreement. Just think what a boring world we would live in if everybody always agreed on everything.
-
2022 Cannonball Group Build theme suggestion thread
Beans replied to Fat Brian's topic in Community Builds
That is actually a pretty cool idea. The fun in that is that songs aren't always the most accurate (as Snake pointed out) and to make the car what the song says can be a challenge.... I mean come on, somebody has got to build the Johhny Cash "One Piece at a Time" car. -
Ford Raptor Snap Kit
Beans replied to Beans's topic in Model Trucks: Pickups, Vans, SUVs, Light Commercial
Thank you again everybody. I really appreciate all the compliments. I can definitely say that this is one of those builds that was really fun to do. All those usual little moments of frustration never happened with this one. Everything fit and everything worked out. -
Very cool! I love these obscure 80s kits. Great job.
-
AMT '67 Mustang Fastback-Now in Under Glass Section
Beans replied to mustang1989's topic in WIP: Model Cars
Love following this build. I'm in the process of doing a 1964.5 mustang and several times have reviewed your work and then gone back and re-did something or added something. Thanks for the continual inspiration. -
Great start. Definitely following this one. Dont' think I've ever seen a body molded in that green. And the box art!! Wonder if the Japanese at the time thought that was a typical day for the San Diego County Sheriffs.
-
Looks great!! You did a really good job on it. Gotta love a Mustang!
-
2022 Cannonball Group Build theme suggestion thread
Beans replied to Fat Brian's topic in Community Builds
Oh, I want in on this one. Birth year: Definitely works out great for me. Lots of options from 1970. Just have to find one that hasn't already been done to death. Wagon: This is a close second for me. Always a fan of wagons. Just wonder if there is enough variety for everyone involved. -
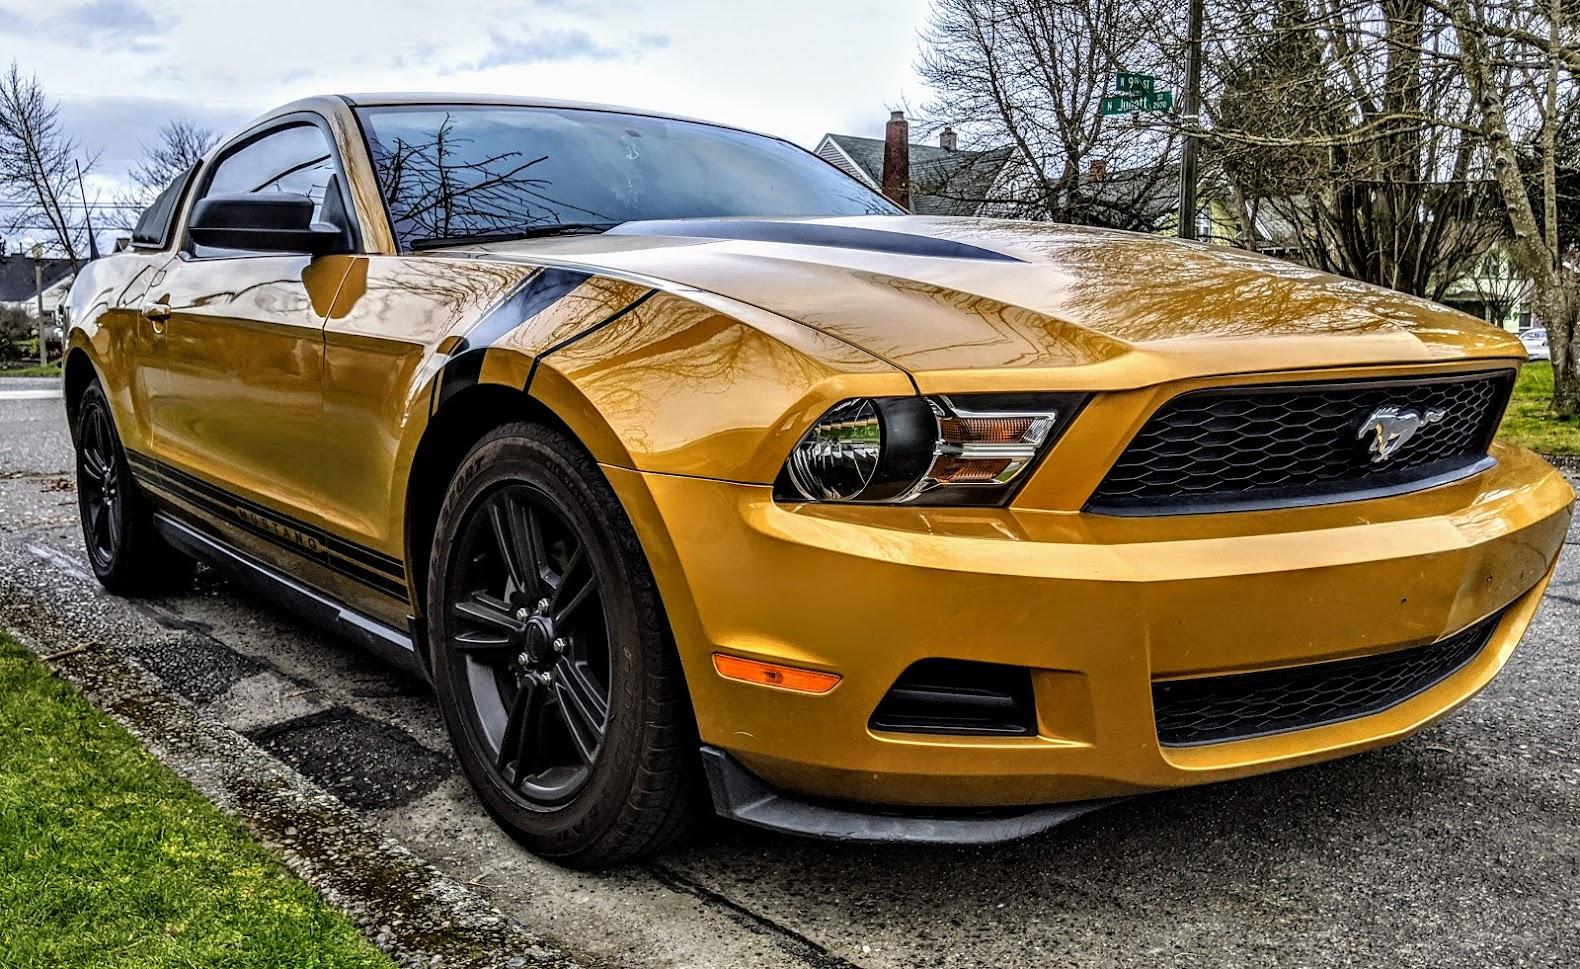
My 2010. Bought it used a couple of years ago with only 40K miles. Haven't seen another factory Sunset Gold yet.
-
Aoshima 1/24 1977 RA35 Celica Liftback 2000GT
Beans replied to Katsusauce's topic in WIP: Model Cars
Looks great. I always like seeing these kits built up well. -
What Did You Accomplish Today? (Model Car Work)
Beans replied to Snake45's topic in General Automotive Talk (Trucks and Cars)
Got the gluebomb interior mostly taken apart. As a bonus I discovered a mosquito encased in the old glue under the seats that I have been able to extract DNA from so I can clone some dinosaurs. just kidding about the mosquito....