ksnow
-
Posts
742 -
Joined
-
Last visited
Content Type
Profiles
Forums
Events
Gallery
Everything posted by ksnow
-
1992 Ford F-150 XL Work Truck
ksnow replied to av405's topic in WIP: Model Trucks: Pickups, Vans, SUVs, Light Commercial
That grill looks great. Awesome progress so far. -
Looking forward to this project. Great choice on wheels and tires.
-
Just returned from a grave side service for a Revolutionary War veteran buried in Brookfield, WI. Very moving ceremony.
-
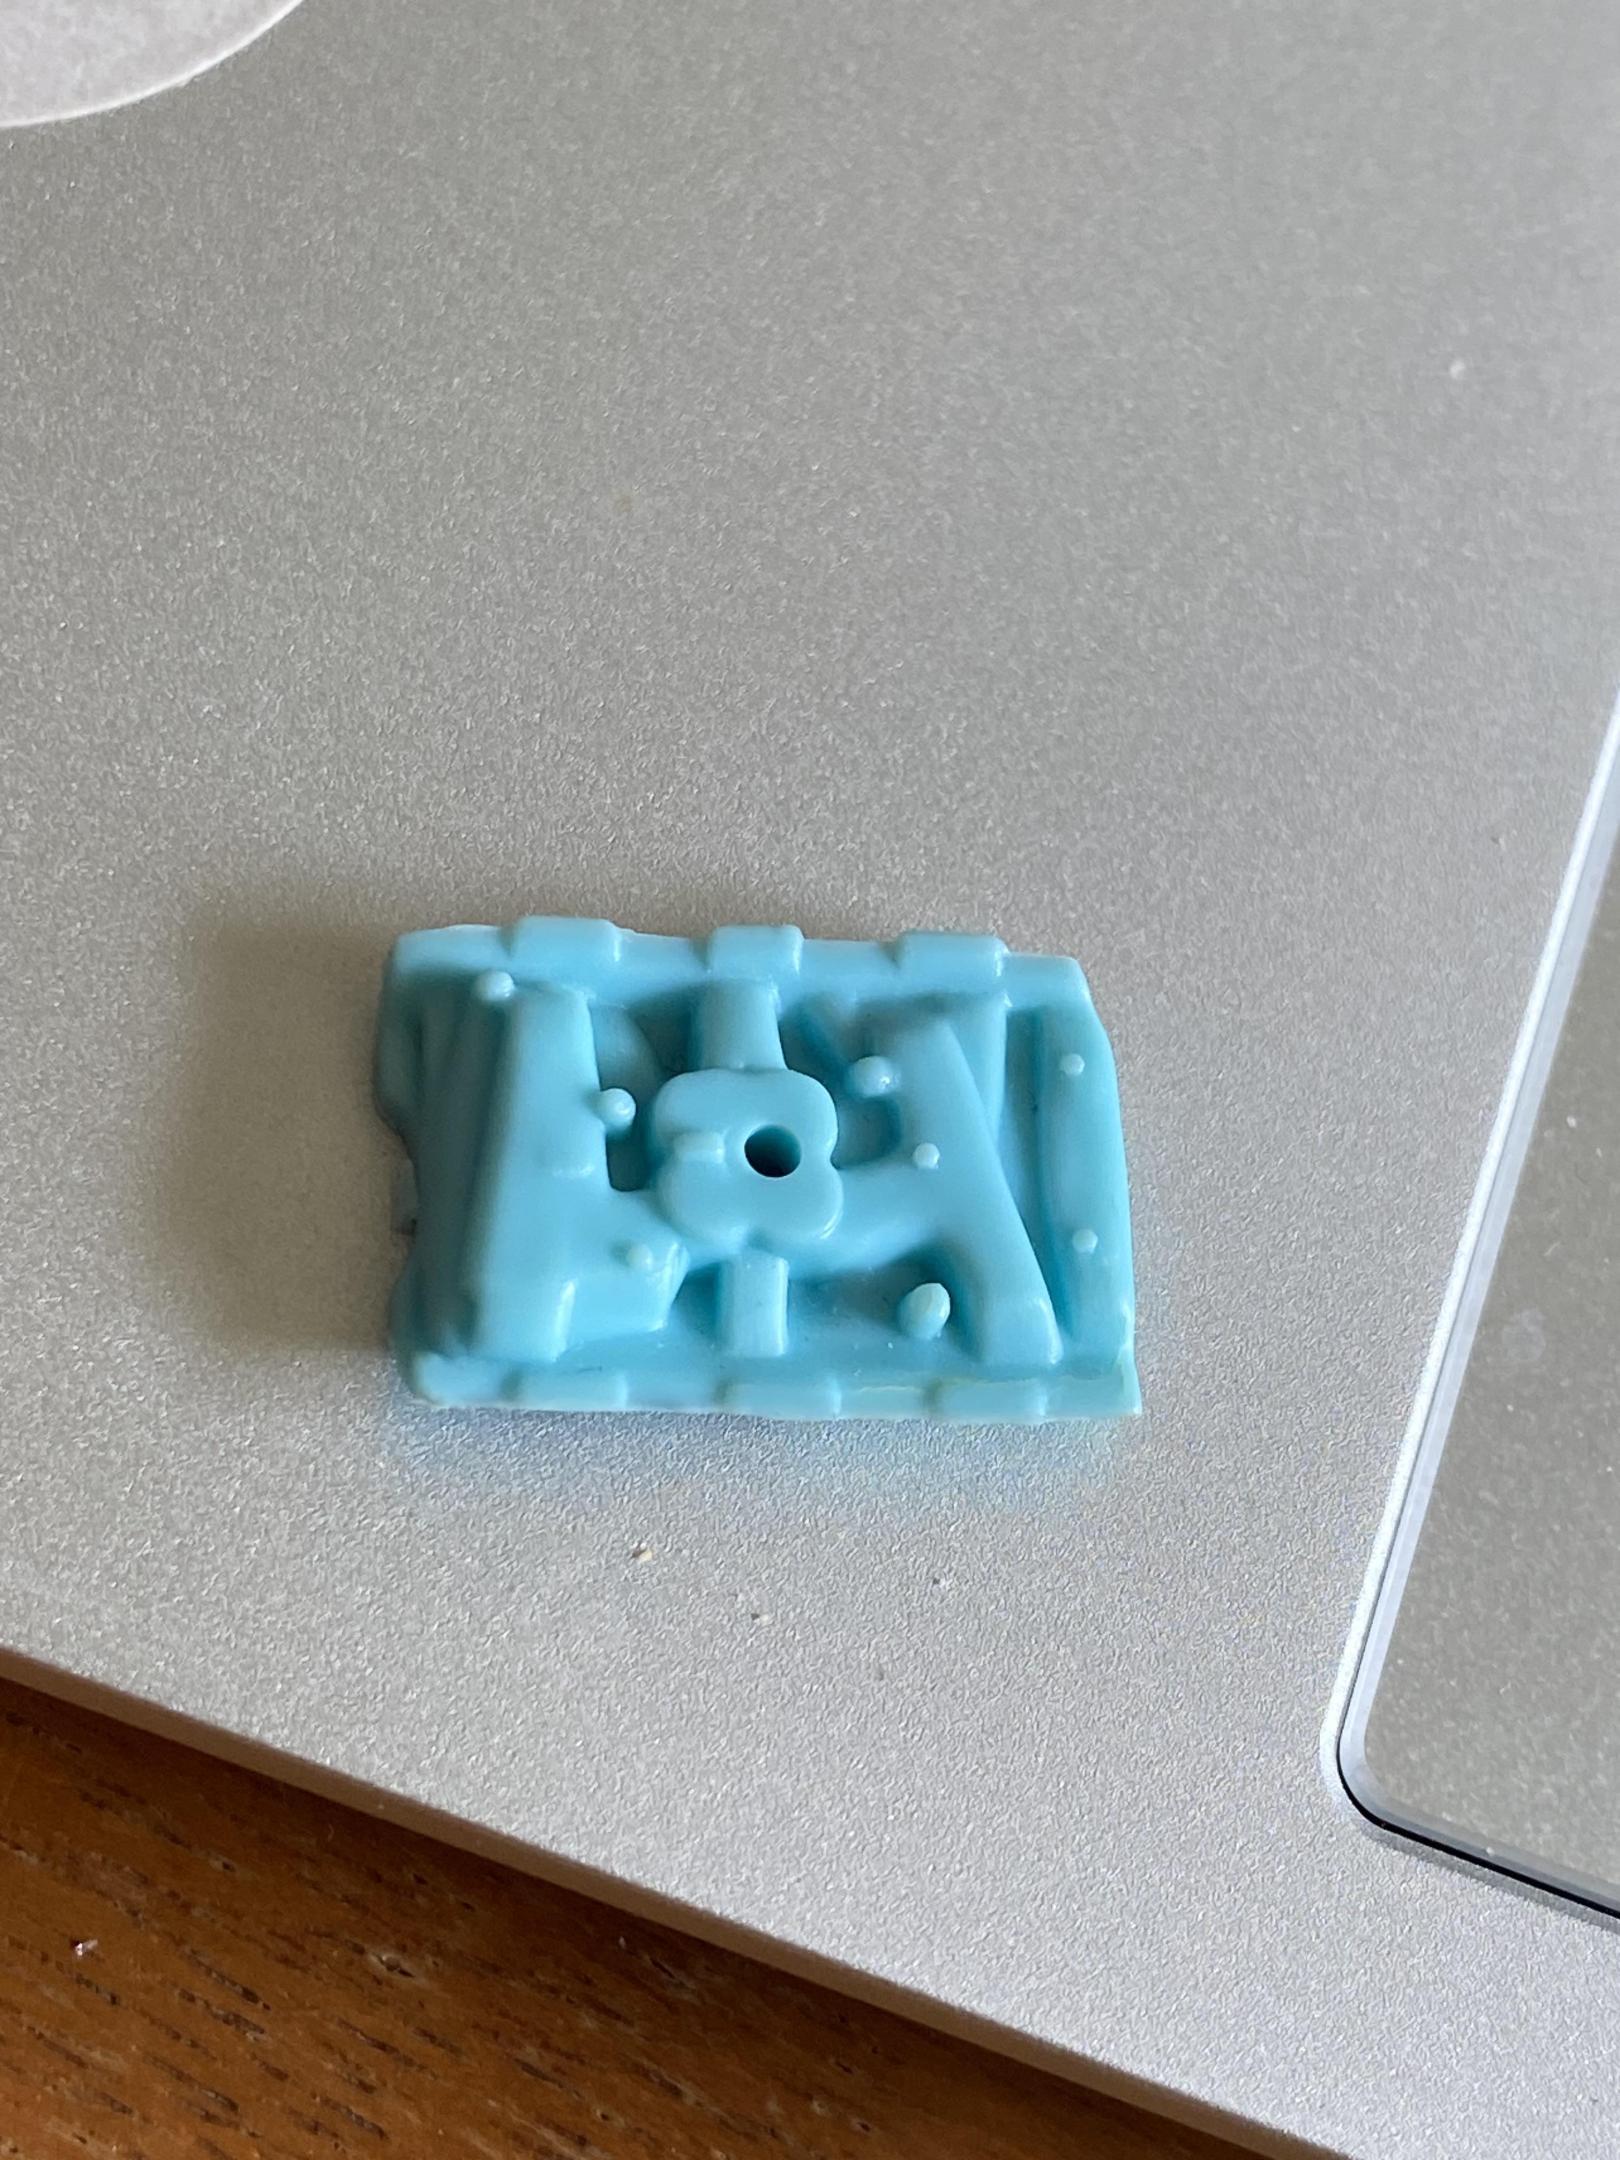
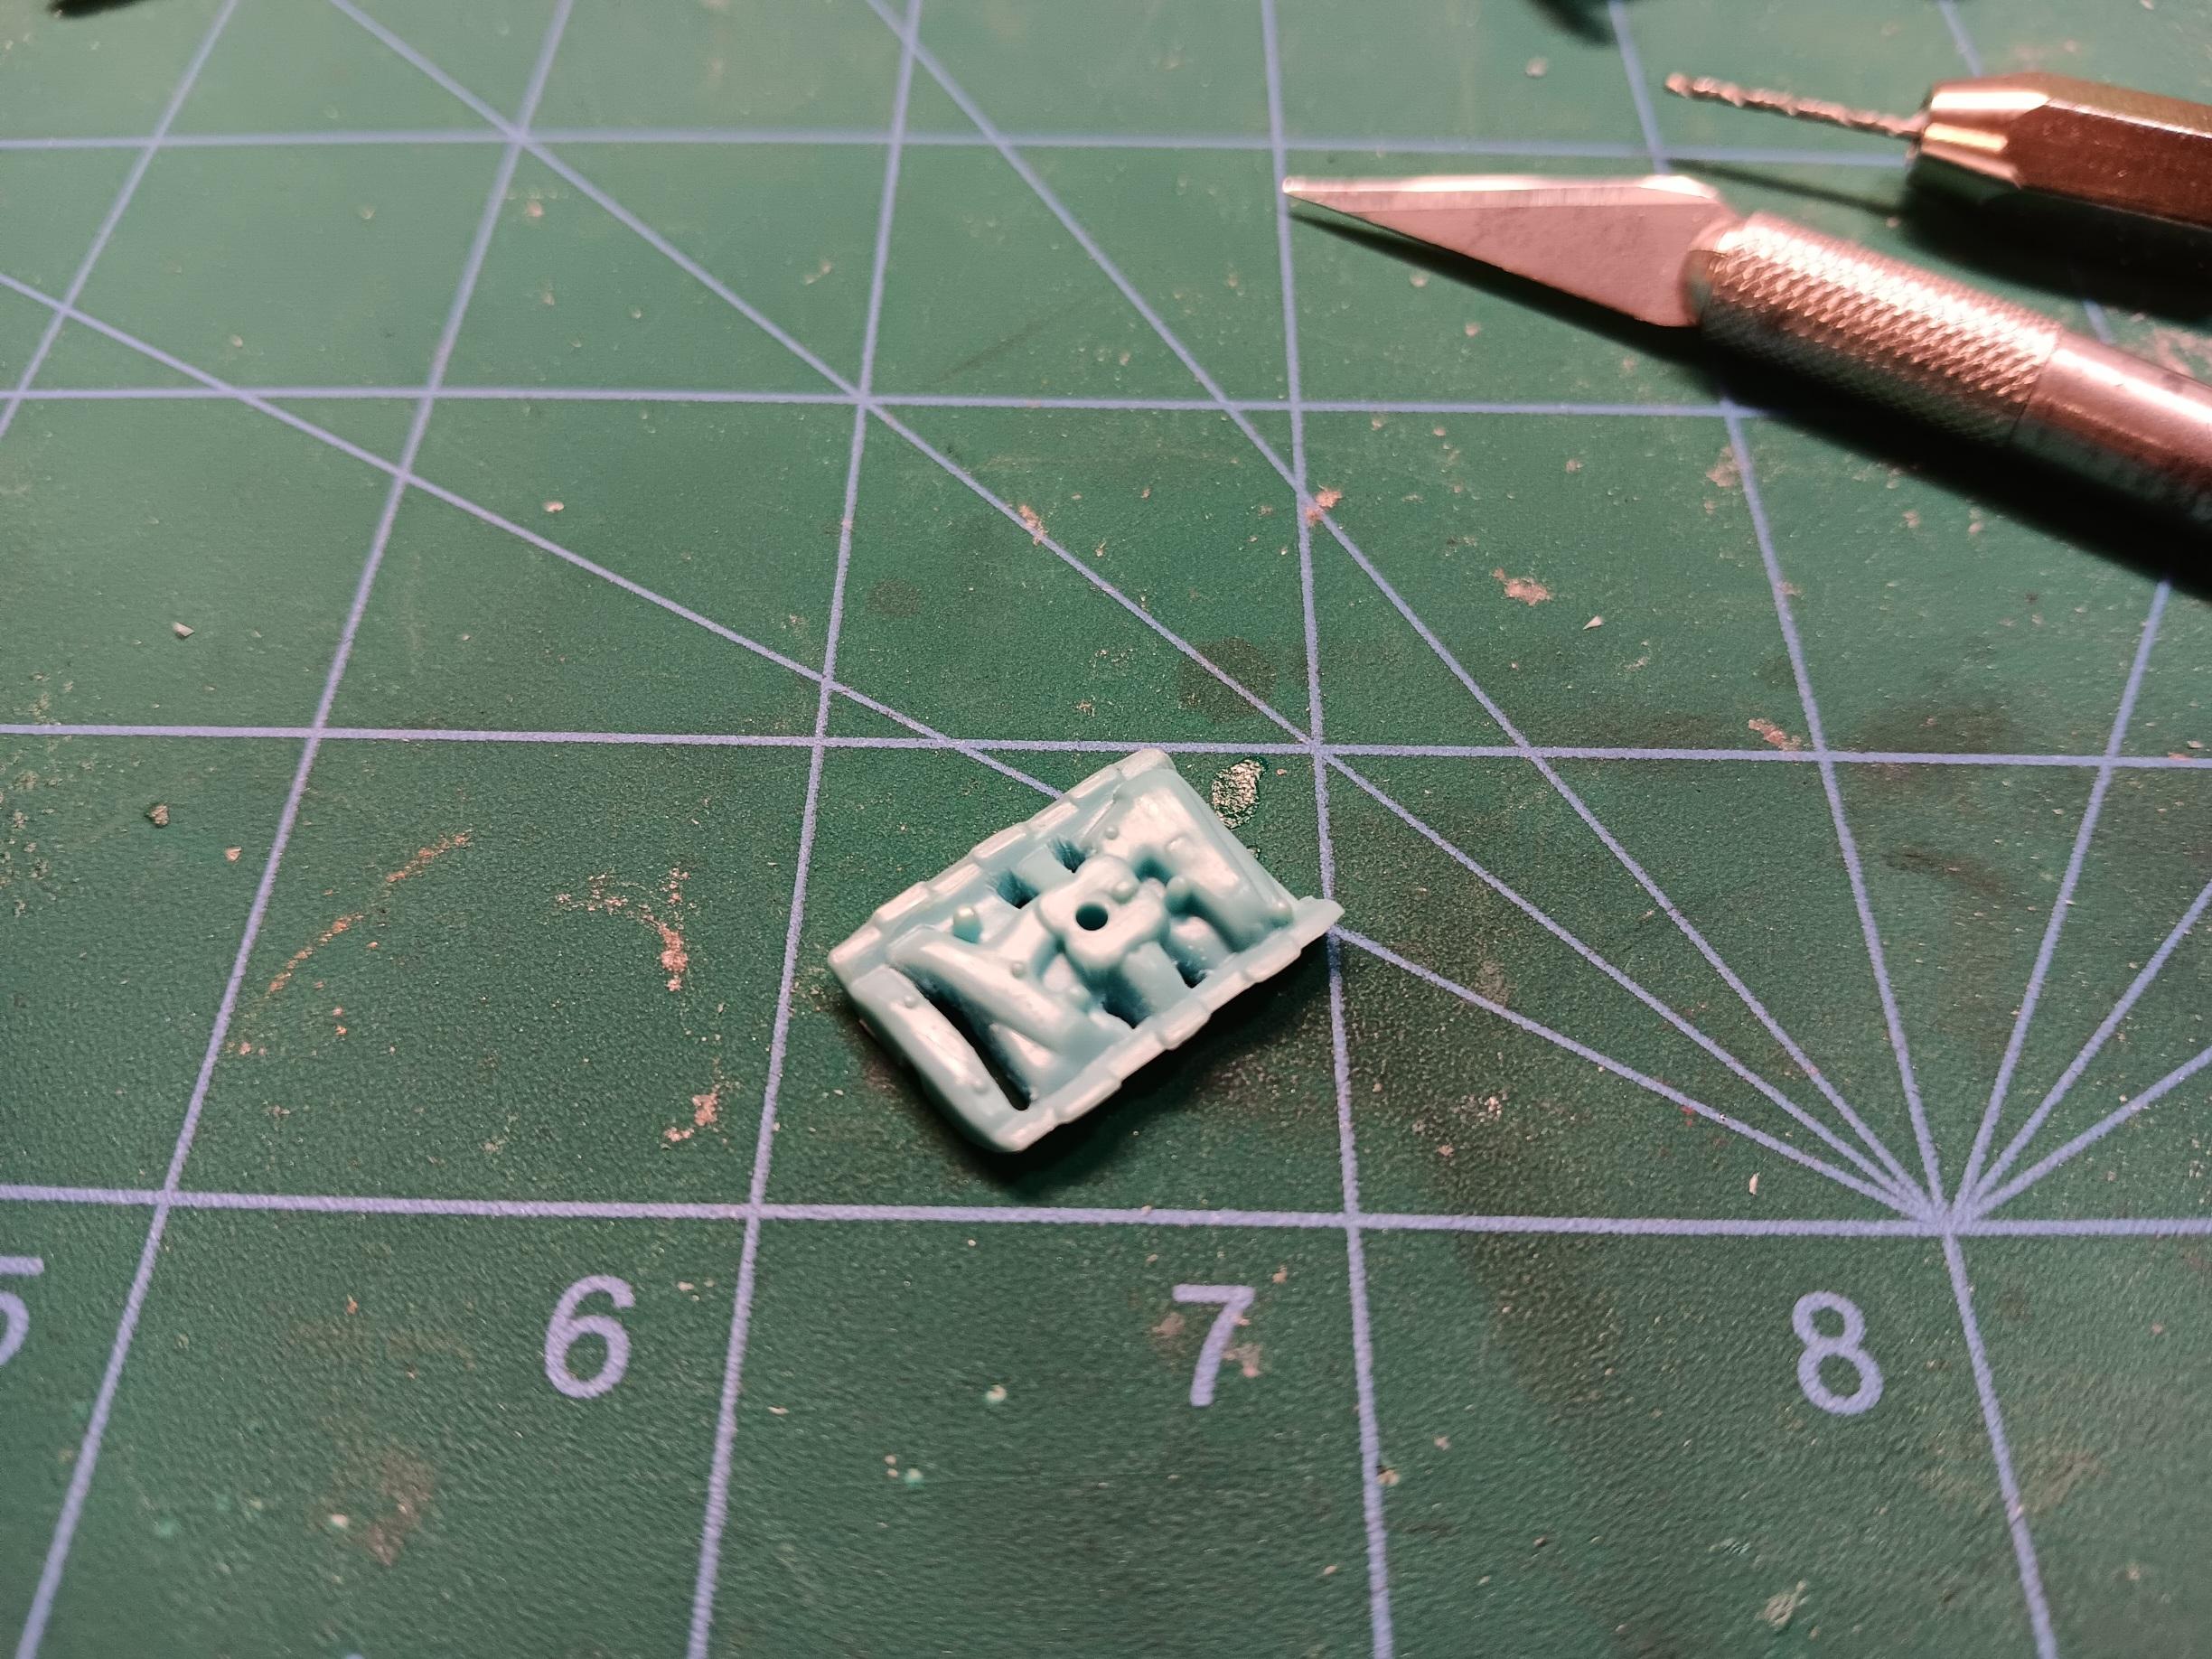
Just a small update. I received a correct intake manifold. I decided to open it up a bit, like the original Pontiac intakes were. I am pretty happy with the result.

-
I've always been interested in trying to paint figures, and the price wasn't bad. The seated driver fits perfect in the Nova wagon I am working on. Not sure what I'll do with the guy skater, but it should be a good lesson in skin tone.
- 39,060 replies
-
- 1
-

-
- johan
- glue bombs
- (and 1 more)
-
HAVE YOU EVER SPILLED SUMTHIN AT THE WORKBENCH....?
ksnow replied to Mothersworry's topic in Tips, Tricks, and Tutorials
Not quite, but the knurling in the handles of my xacto knives and mechanical pencils still makes it look like someone got stabbed with them. -
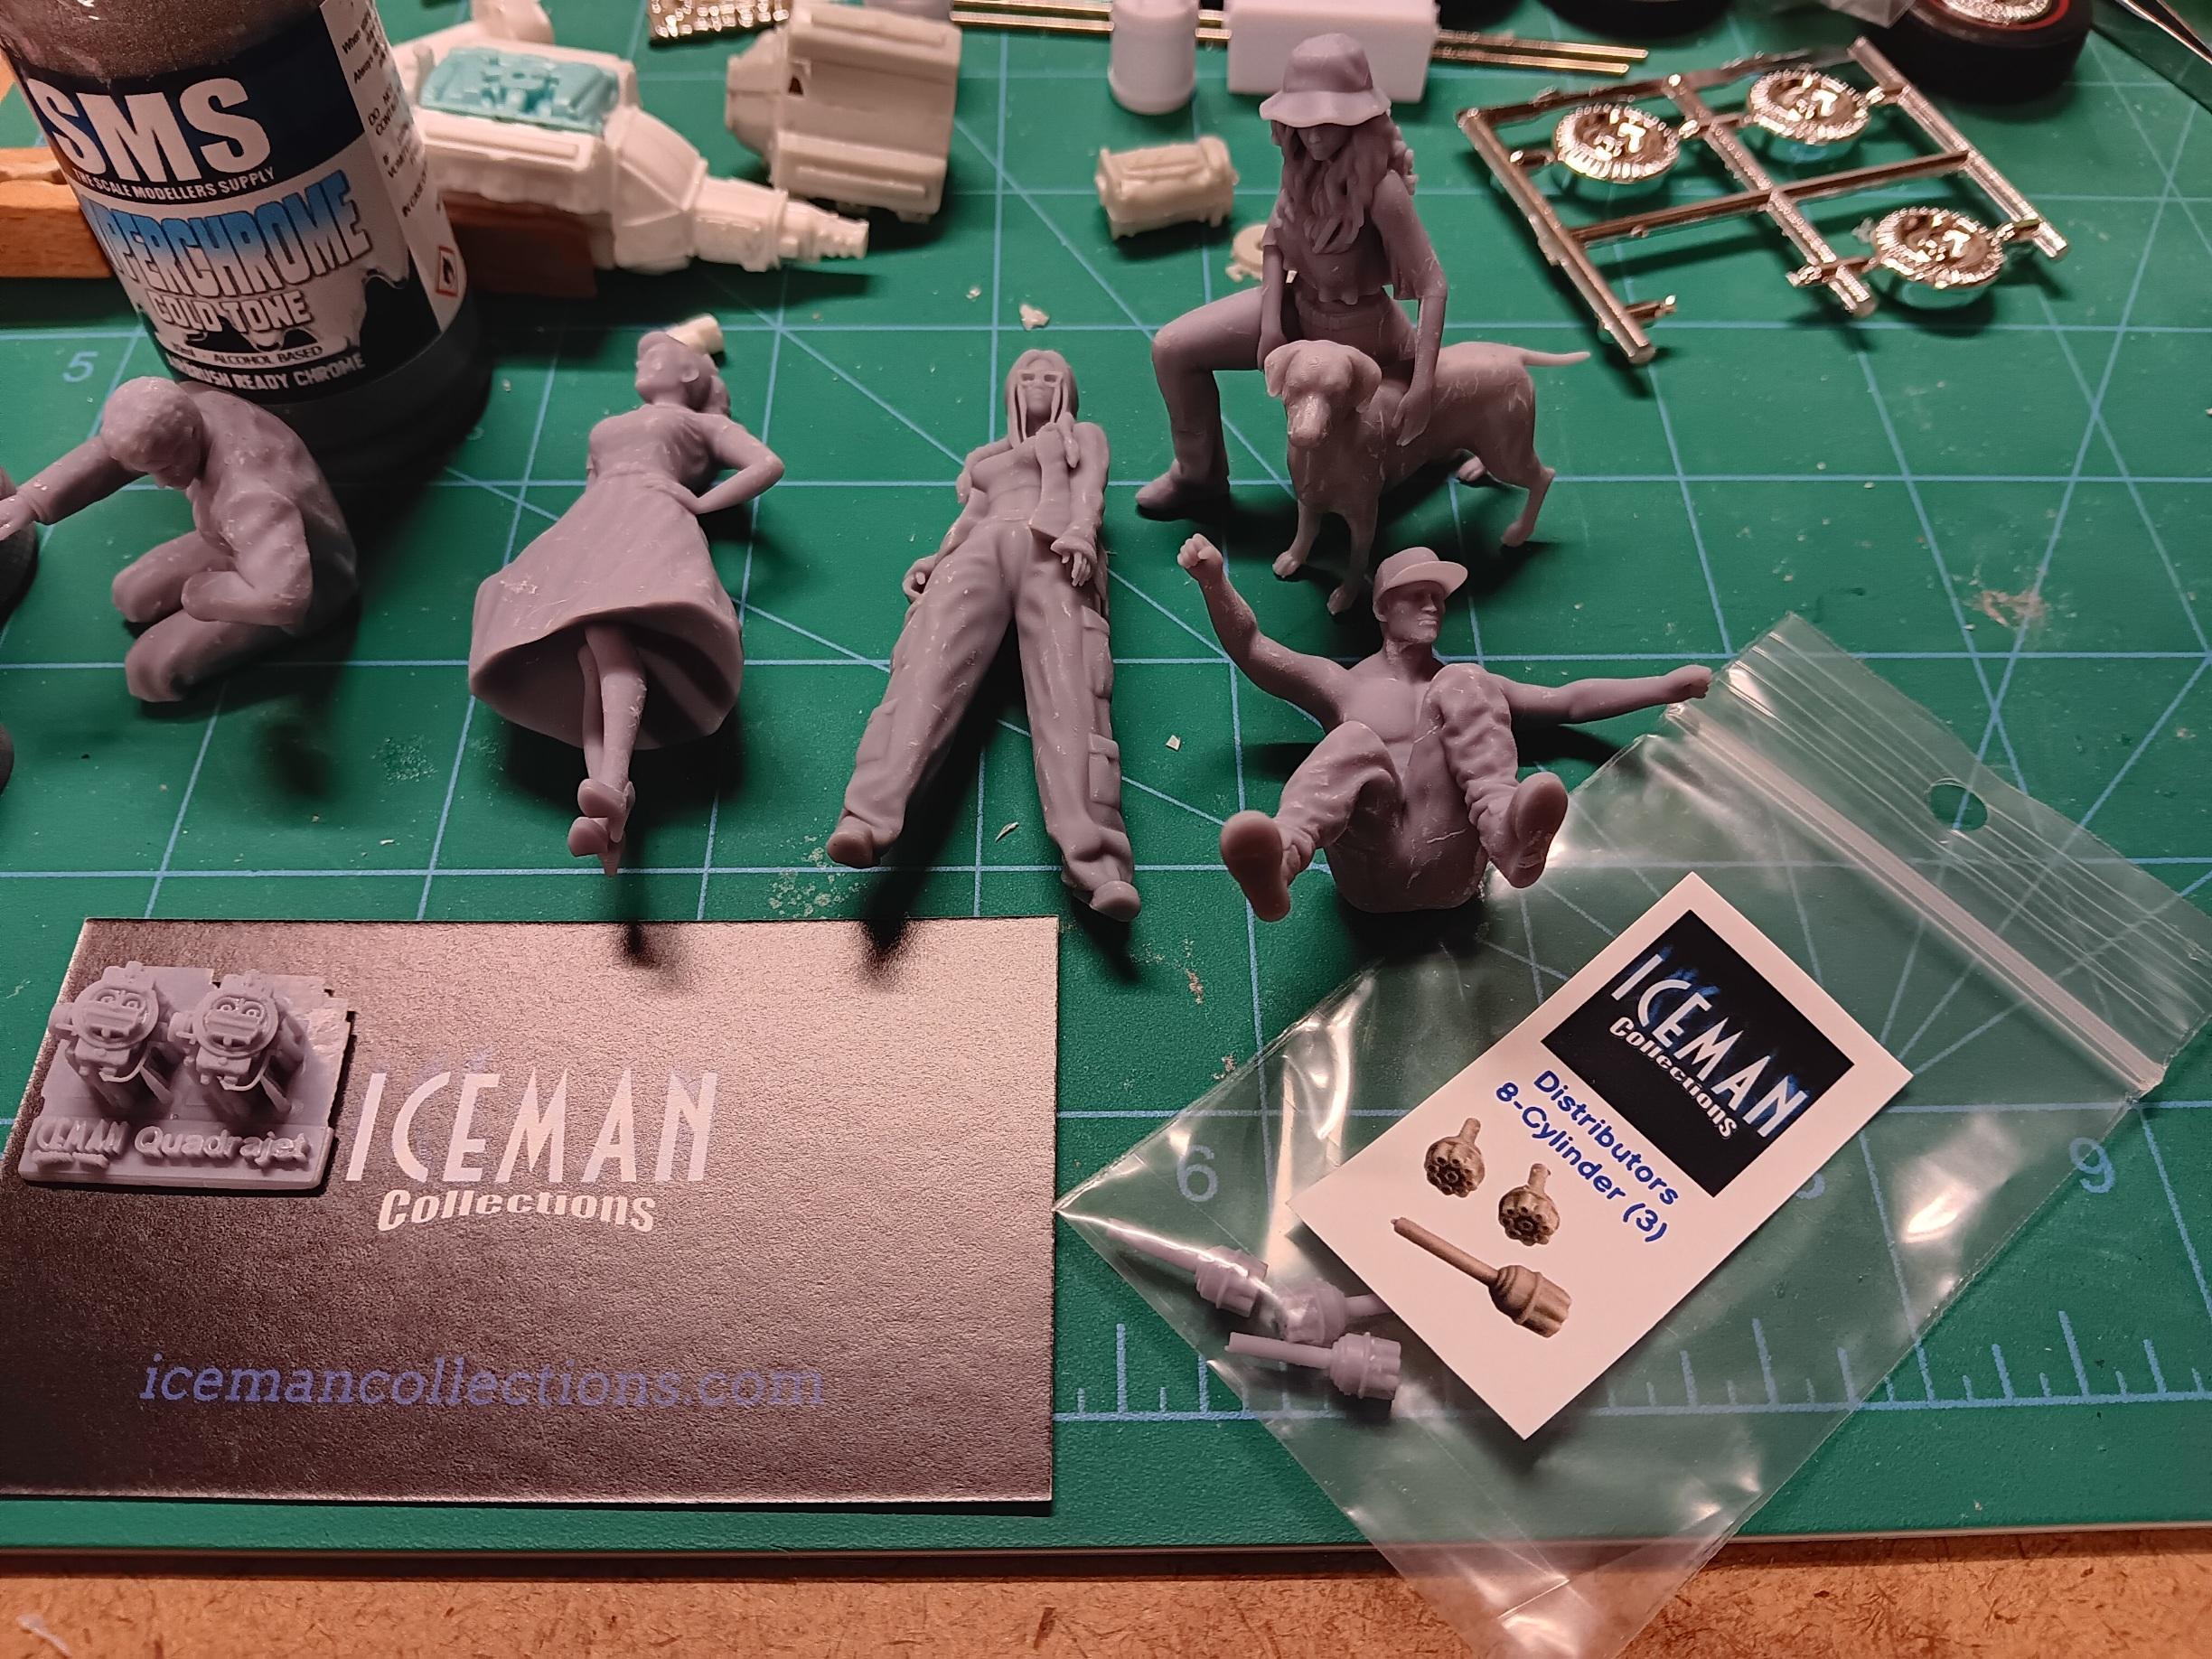
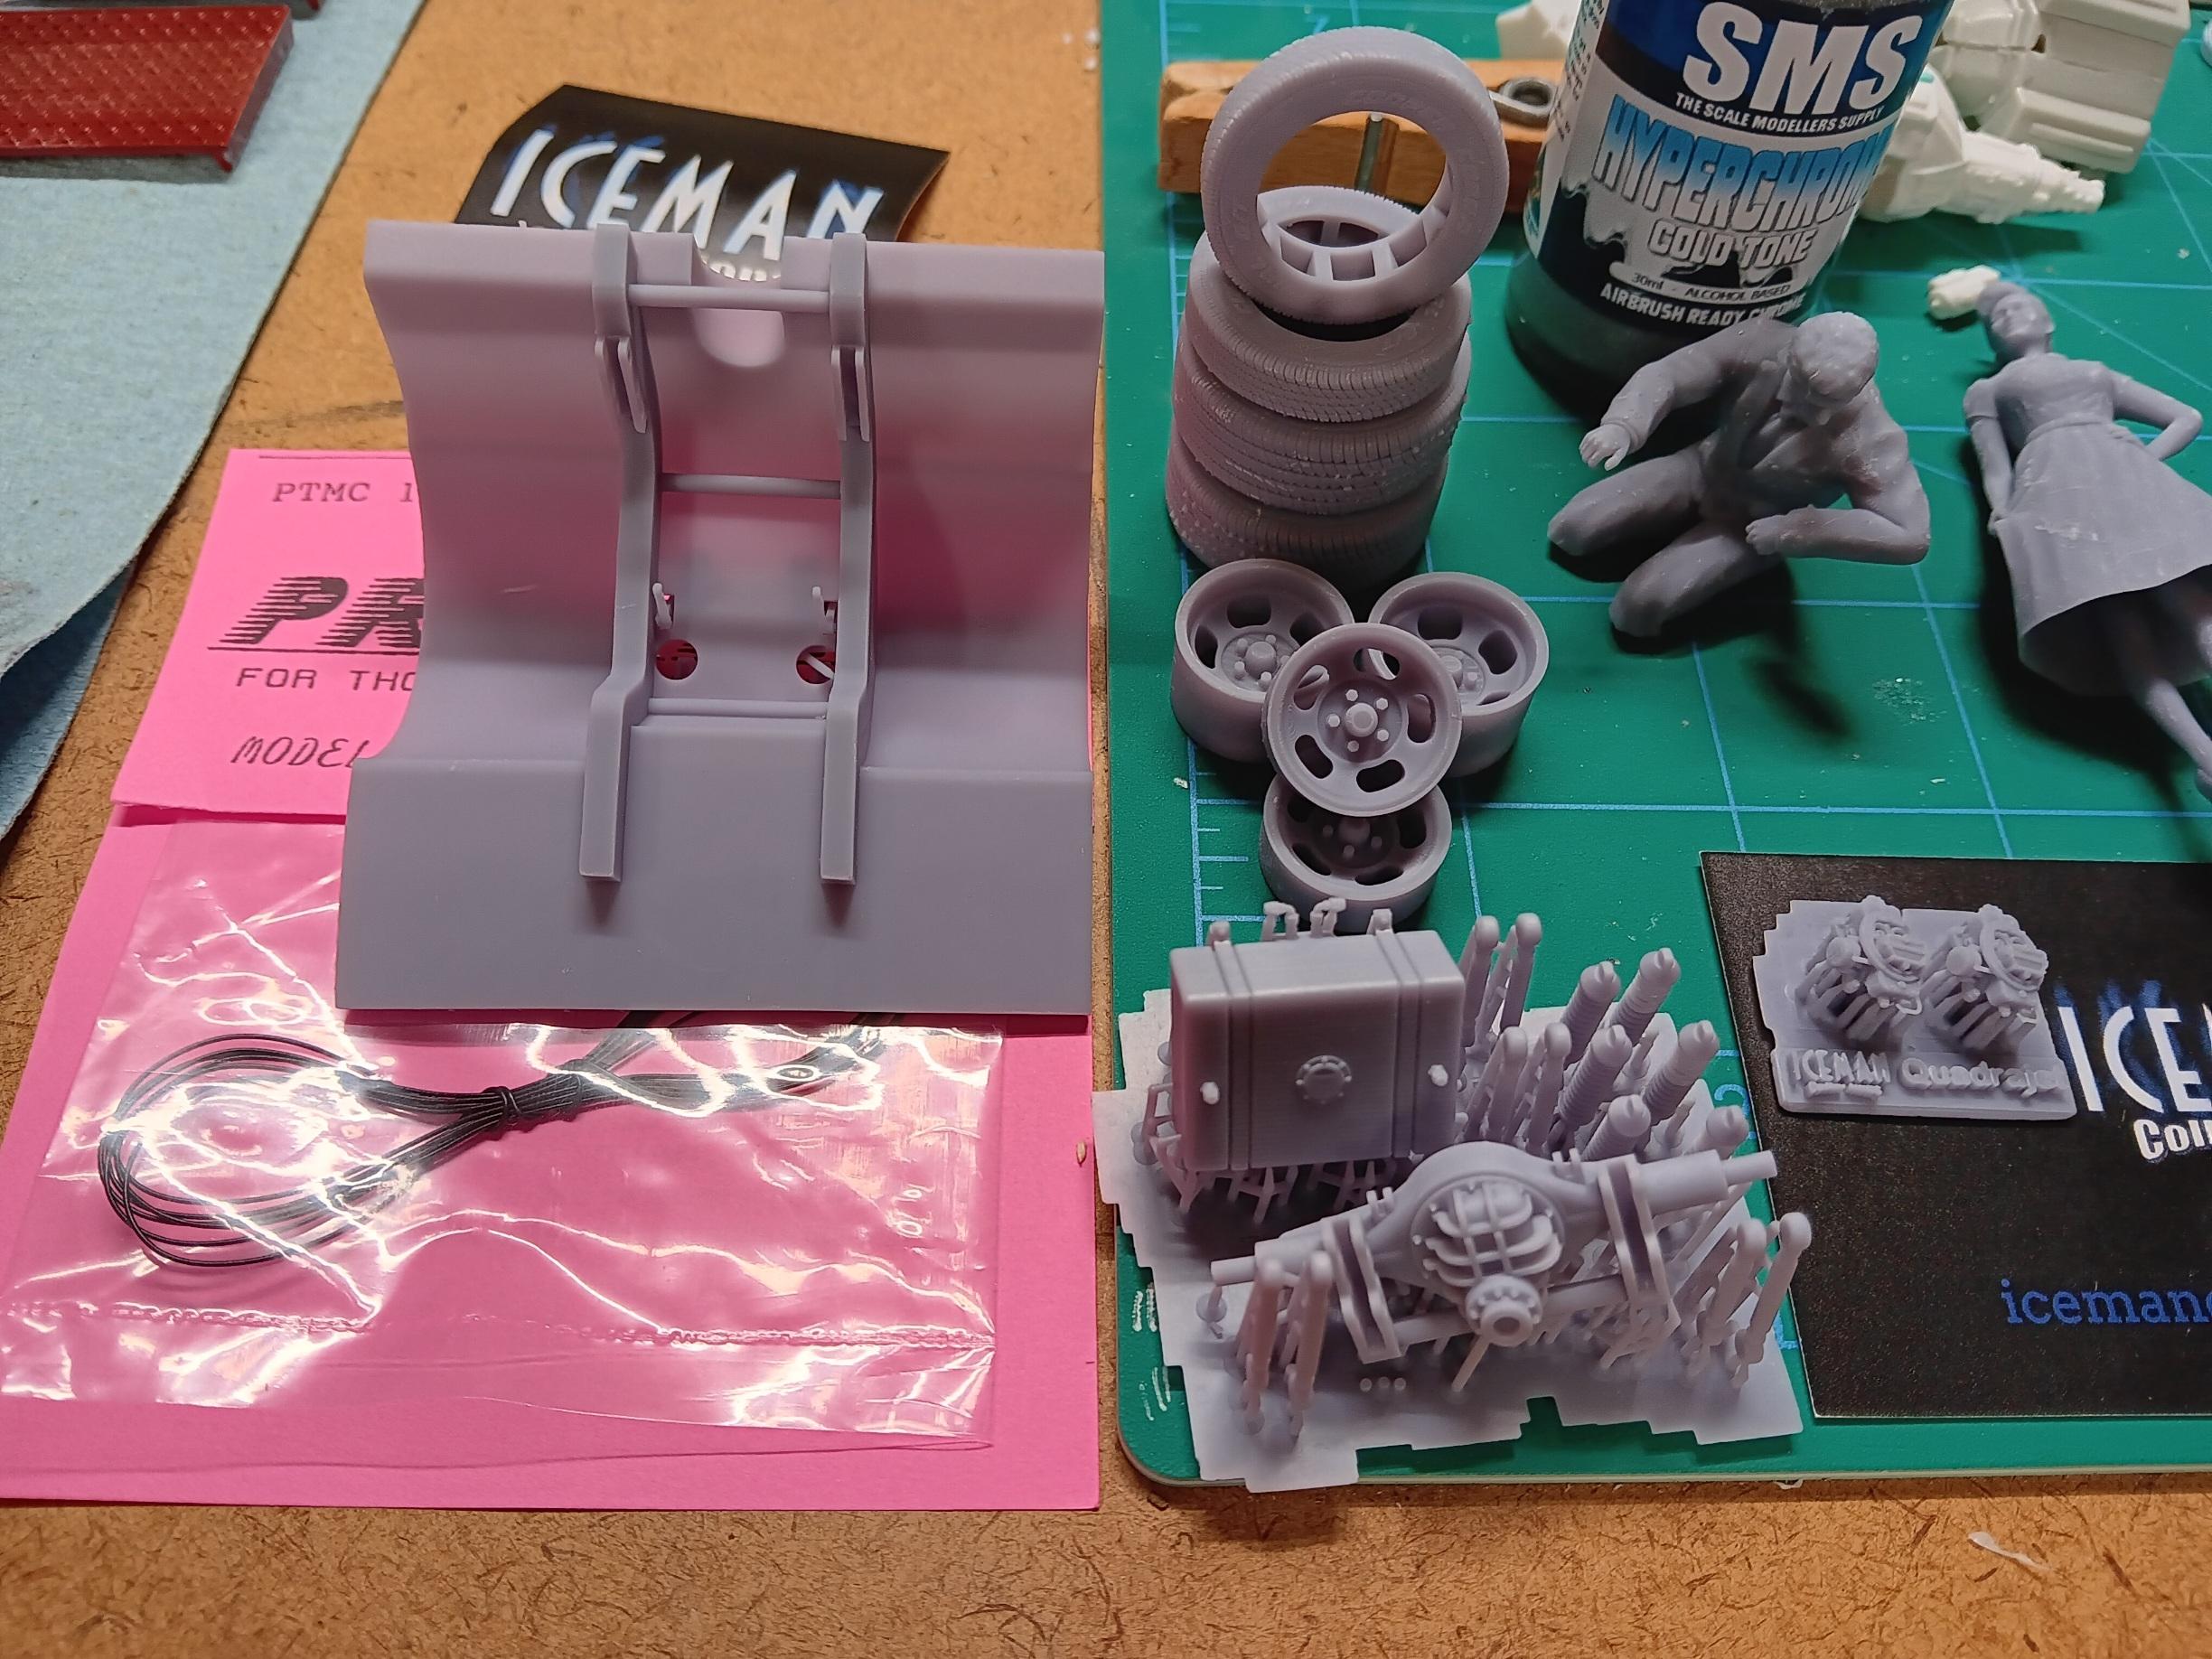
Got my first order from Iceman collections. Very, very impressive stuff. Quadrajet carb for the 67 GTO, prostreet clip, tire and wheel set, distributors and wire, chrome paint to try out and a grab bag of figures to learn on.
- 39,060 replies
-
- 6
-
-
- johan
- glue bombs
- (and 1 more)
-
HAVE YOU EVER SPILLED SUMTHIN AT THE WORKBENCH....?
ksnow replied to Mothersworry's topic in Tips, Tricks, and Tutorials
I tipped over a bottle of taillight lens red Testor's. My work bench looked like a crime scene for a while. -
Revell Chevy SSR
ksnow replied to Mike C's topic in WIP: Model Trucks: Pickups, Vans, SUVs, Light Commercial
Nice build so far. Saw a 1:1 SSR, in yellow, last weekend near Elkhart Lake (Road America). Sure don't see many of them on the roads around here. -
Very, very nice metal finish on this one. I am going to have to go back to the WIP thread and read about your process.
-
‘99 Chevy Silverado
ksnow replied to JFLV's topic in Model Trucks: Pickups, Vans, SUVs, Light Commercial
Great looking truck. -
Thank you. I'll get more practice at it. I started looking at the rest of the body and there are some short shots at the corners of the wheel openings, and the A-pillars are misaligned in the middle. I pulled out another 67 body from another kit, and the molding is much better. So, I will be cutting the 66 piece back out and putting it into a new body. That will also give me a chance to add some sort of ledge for the hood to sit on, which I forgot about in my first attempt. I'll practice the vinyl top on the first body also. It pays to have 2 or 5 extra kits some times.
-
Yep, confirmed that the kit indeed has the hurst shifter. And the wierd ridged texture. Time to start correcting that hot mess. Pretty much the story of this entire kit.
-
ongoing oilfield project
ksnow replied to cdntrucking's topic in WIP: Model Trucks: Big Rigs and Heavy Equipment
Very impressive project. -
Looks like a great start.
-
Thanks, I hadn't looked that close at it yet. Yes, I am using the AMT 67 interior. He remembers wood grain on the dash, I'll have to ask about the console. I've got a handful of the AMT kits, so maybe one has chrome that is a bit thinner in that area. He did mention he replaced the shifter ball with a wood grain one that had a GTO logo on it, from the JC Whitney catalog.
-
1992 Ford F-150 XL Work Truck
ksnow replied to av405's topic in WIP: Model Trucks: Pickups, Vans, SUVs, Light Commercial
What a great build. As a work truck driver, I love what you are doing with this build. -
I tried this method for the first time with the spotlights on the supernatural Impala. Worked like a charm. I might need two boxes of staples though, every time I cut a pin, I lose two before I can get them glued in.
-
Dad's GTO project is moving along. He had the Hurst dual gate shifter in it. Short of trying to scratch build something, is there anyone out there 3D printing these? Or a kit that has one in it? Thanks in advance.
-
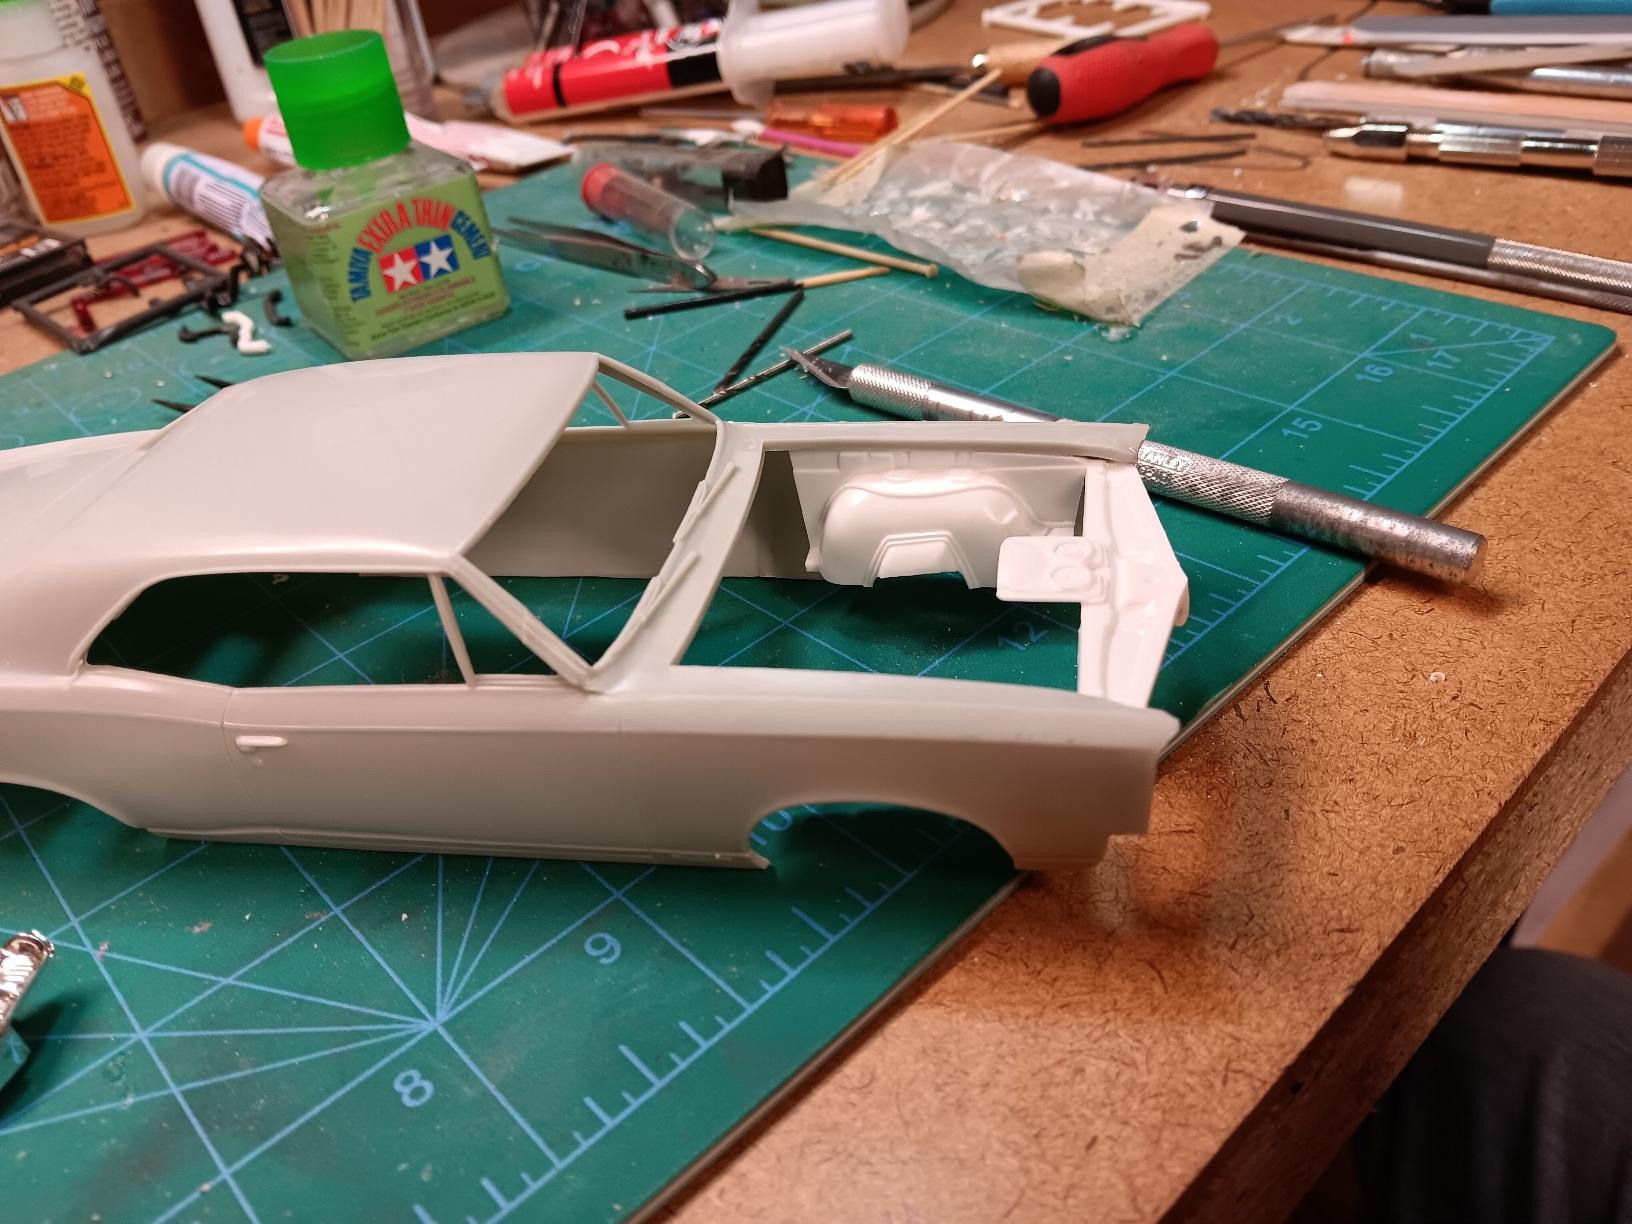
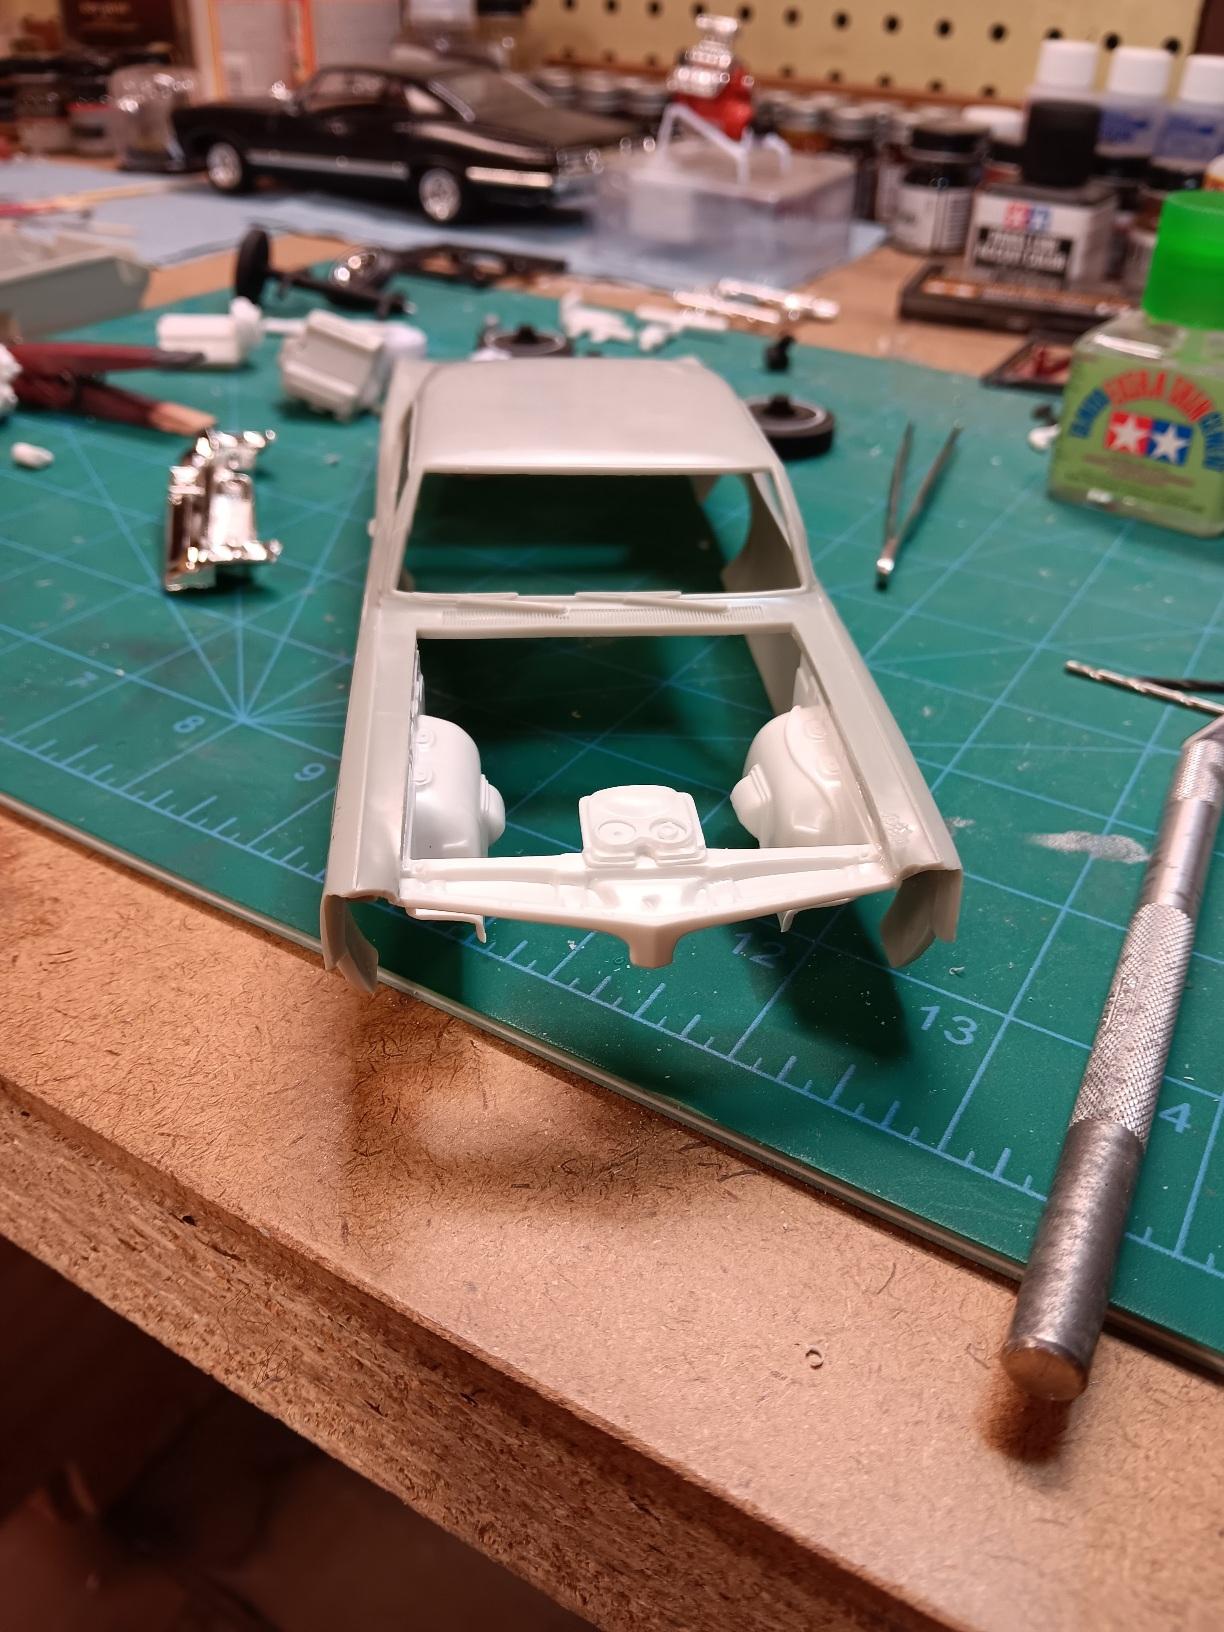
Tonight I got the fender liner/radiator cover glued in place. This was my first time trying anything like this. I am pretty happy with how it turned out. Had to trim the drop part on the front center. The 66 GTO has a flare that goes under the grill inserts a bit, in 67 the drop part is straight on the sides. Its interesting researching all the little differences between model years.
-
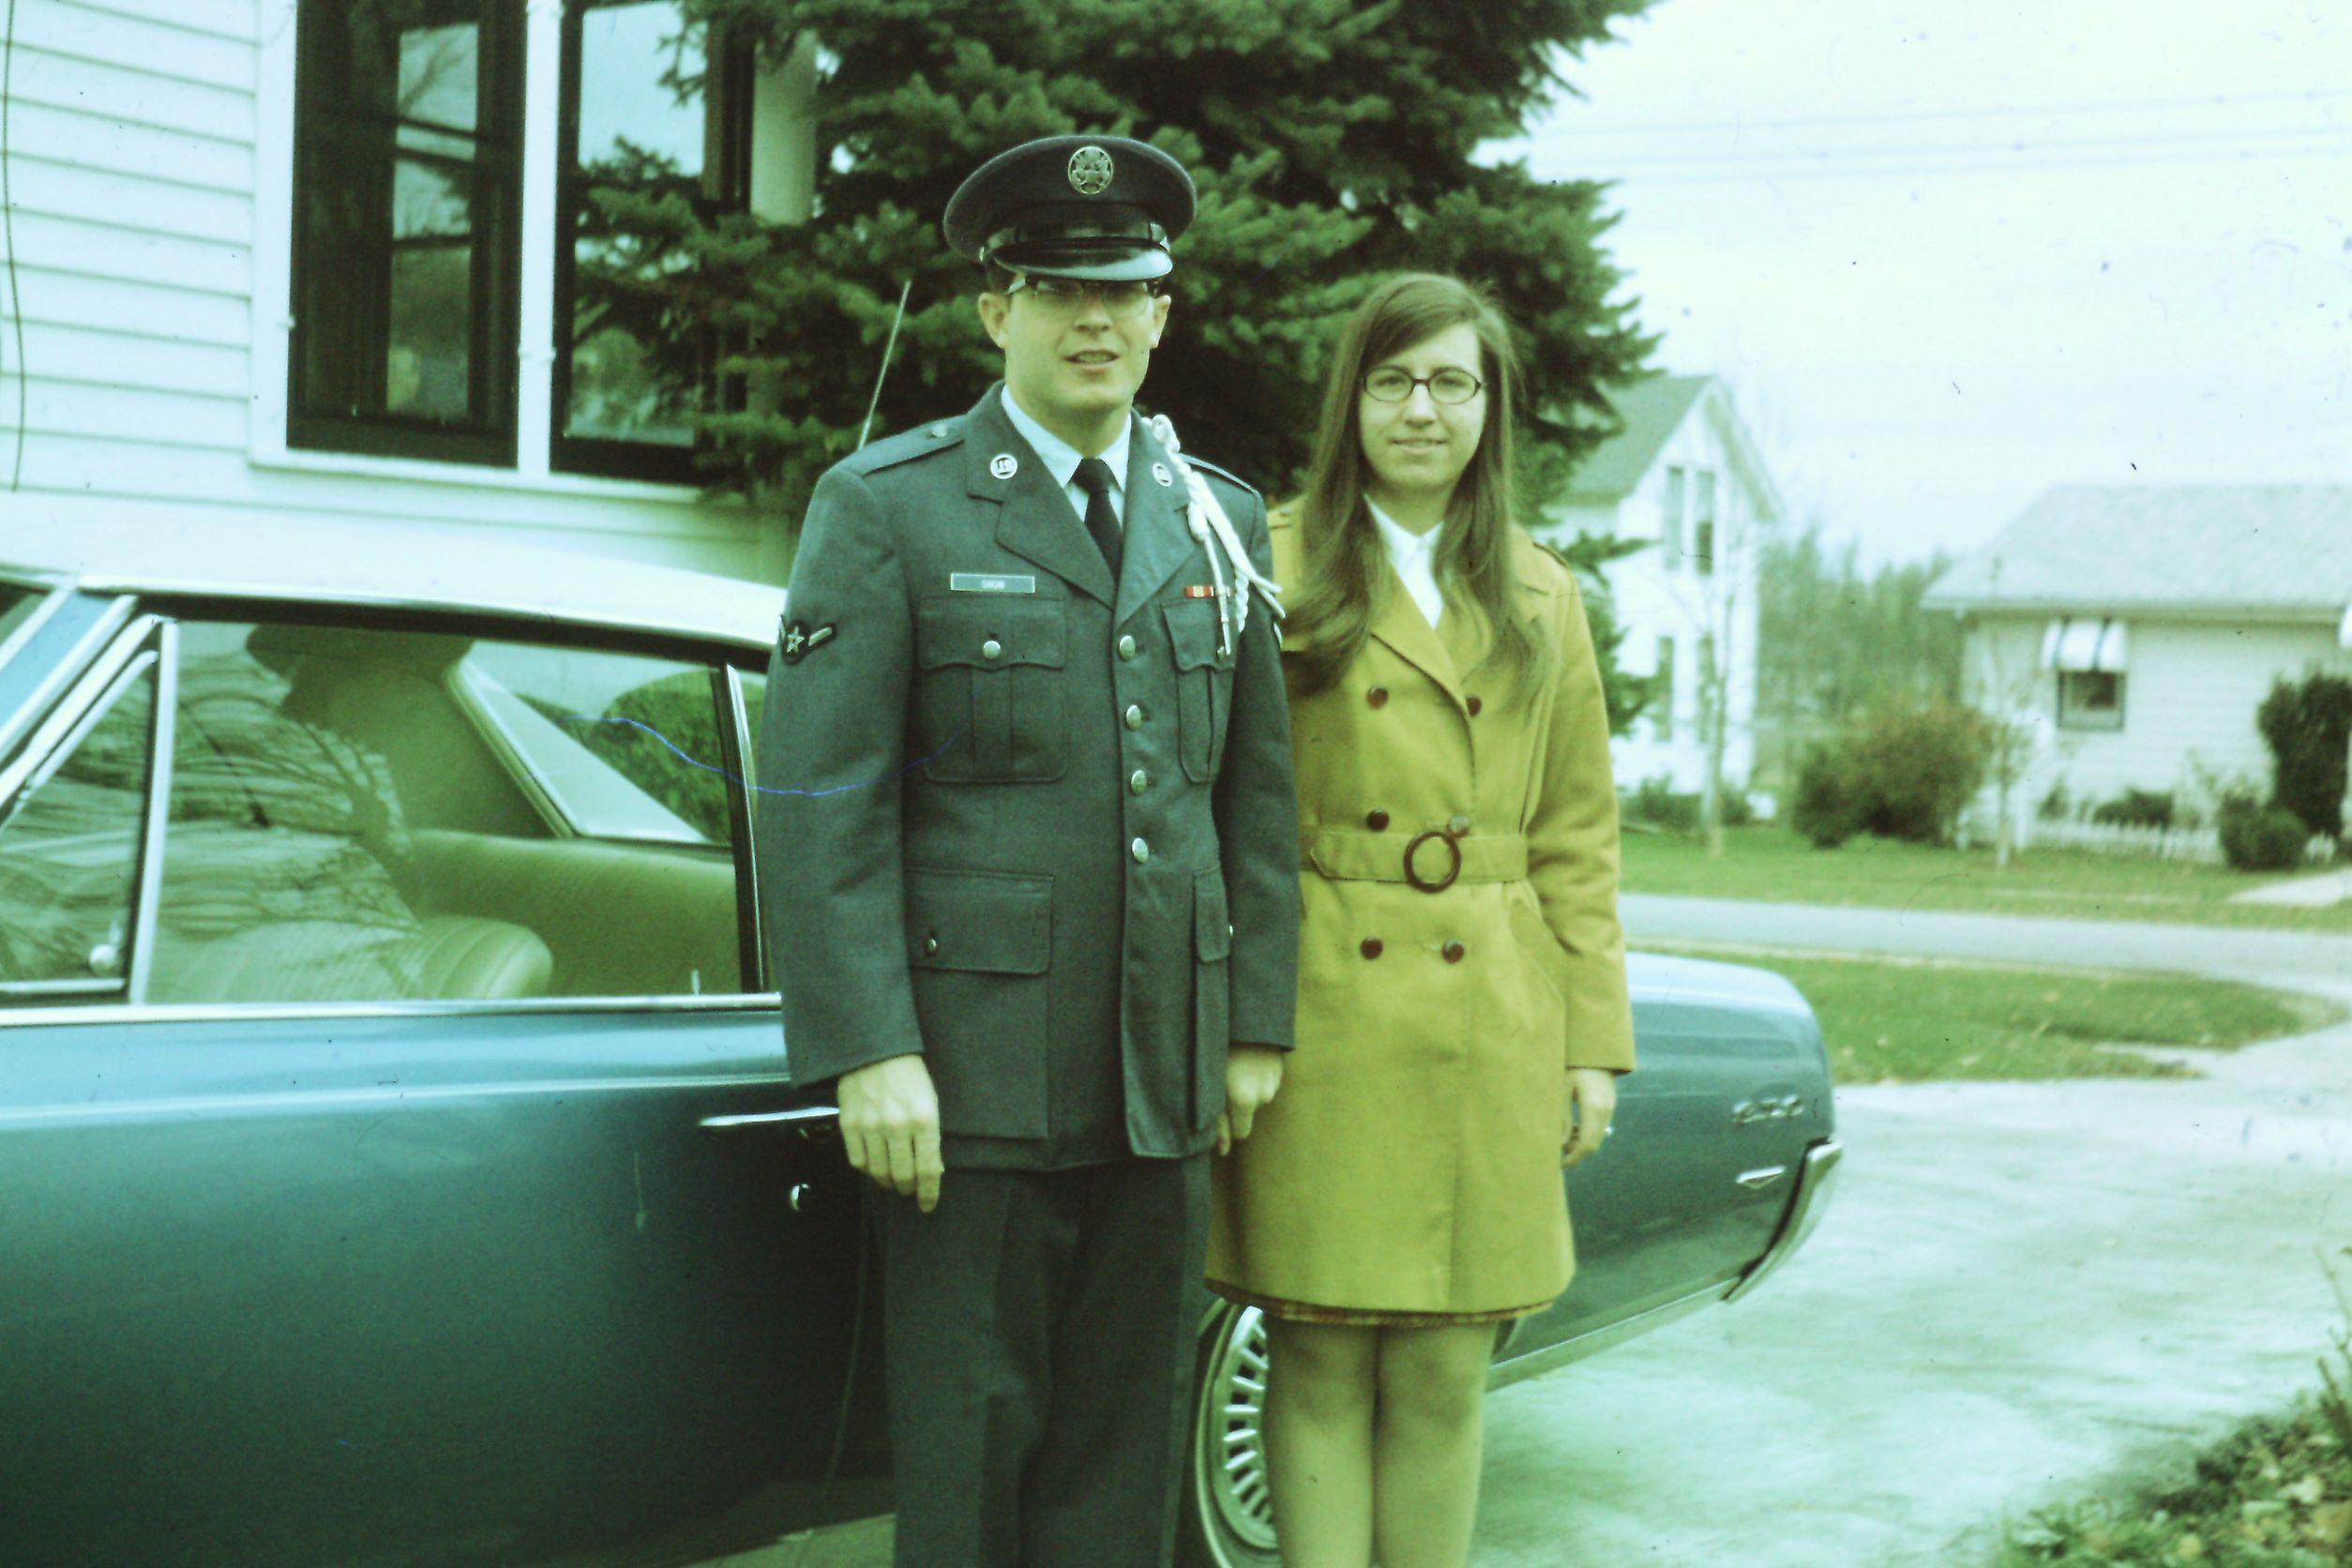
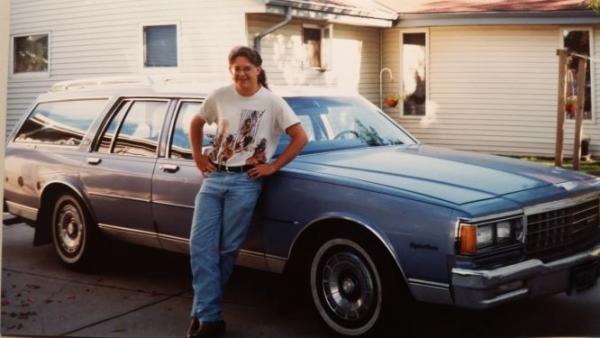
I was 5 when it got sold, so I only have vague memories of it. And the above picture is the only picture we have of it. I just hope i can do the car justice.
-
That's looking really sharp.
-
Sweet car, great details. I really like the poseable front wheels.
-
Glory days, definitely.
-
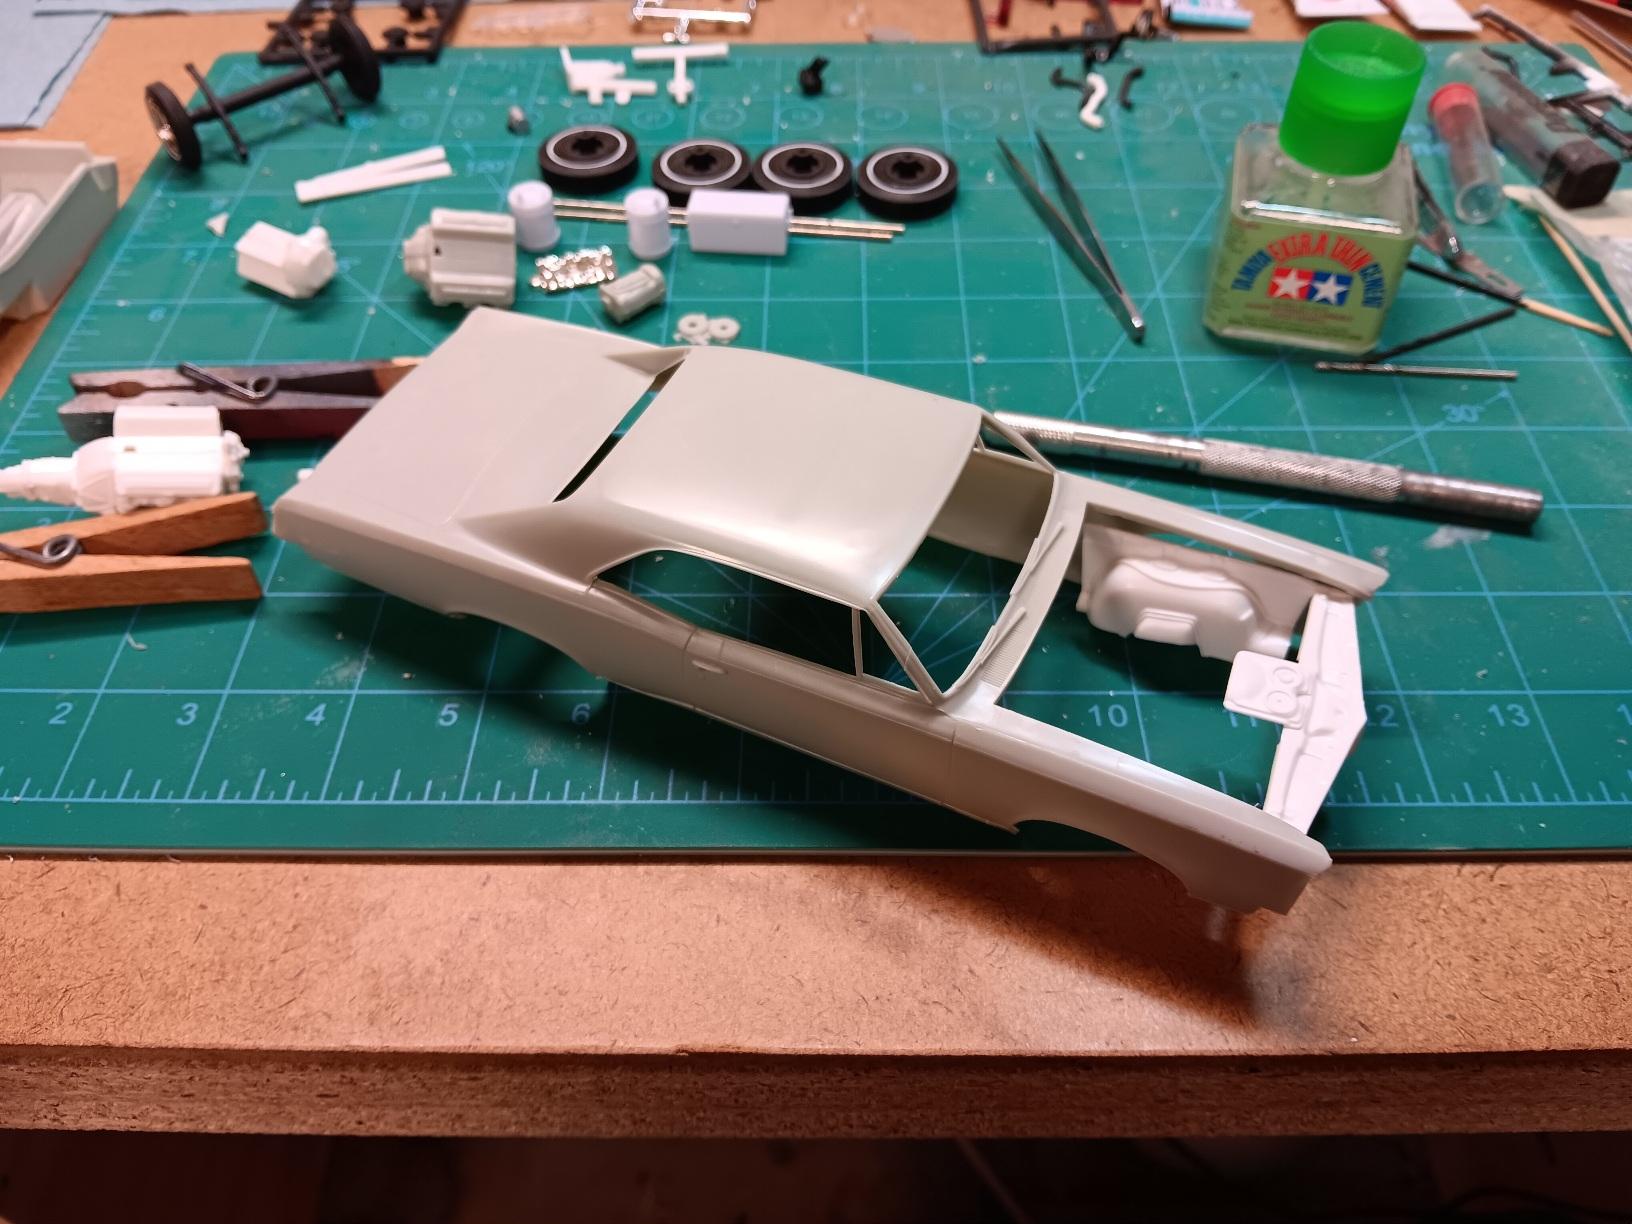
I have finally dug into building my dad's 67 GTO. He bought it used when it was only 6 months old. Drove it until 1983, when he sold it to buy a station wagon for the family. By that time the lower parts of the rear quarters had been replaced with pop riveted aluminum sheet, gotta love WI road salt. The car was tyrol blue with a white interior and a white vinyl top. Starting with the MPC/AMT/Ertl 1967 GTO kit, and its a doozy. I have several releases of it, including the one pictured below, and none of them are near what I would like. After looking at it, and looking at it, and looking at it, I finally opened the Revell 1966 GTO and wow, what a difference. The current plan is to use the body and interior tub from the 67 kit and everything else from the 66 kit. I've hunted down wheel covers that will be close enough, and a single 4 barrel intake for the Revell motor. Here's Mom and Dad with the GTO in the early 70's. And my progress on the body. The AMT kit has the fender liners molded with the blob of a chassis, the Revell kit has them with the body. A little surgery and I have the liners and radiator upper brace rough fit into the 67 body.