The Creative Explorer
-
Posts
1,990 -
Joined
-
Last visited
Content Type
Profiles
Forums
Events
Gallery
Everything posted by The Creative Explorer
-
 Thanks! and I am affraid many more have yet to come ? Holy cow, this is a giant undertaking.
 -
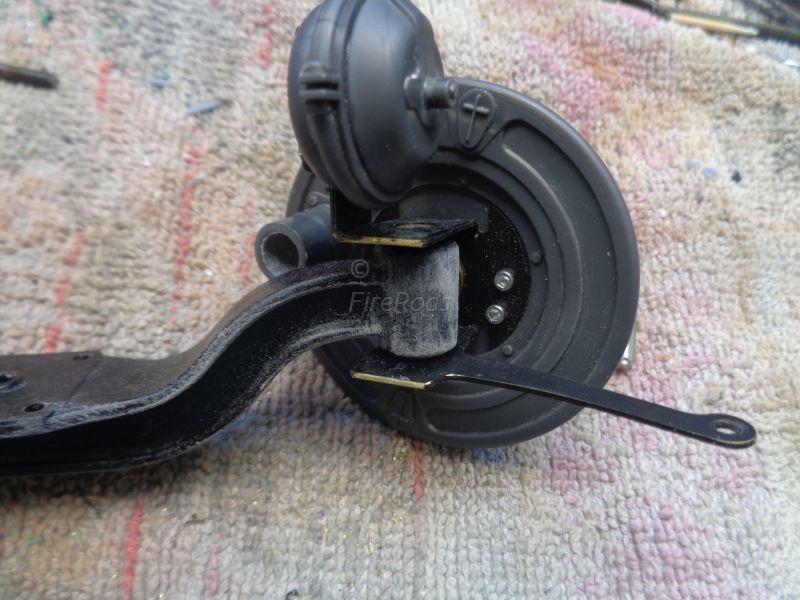
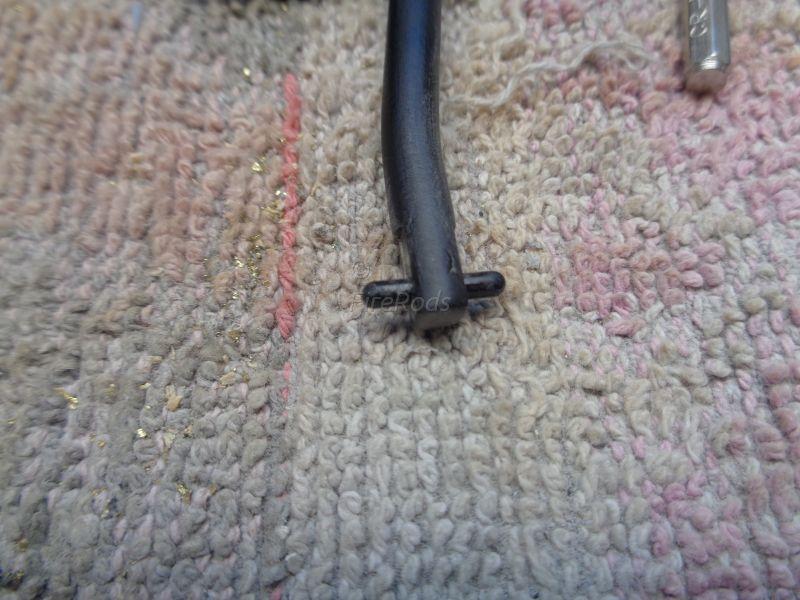
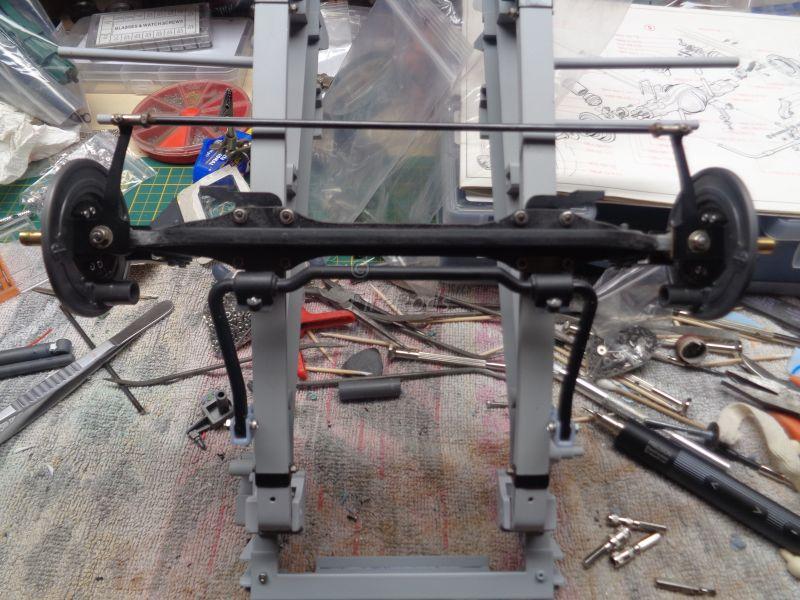
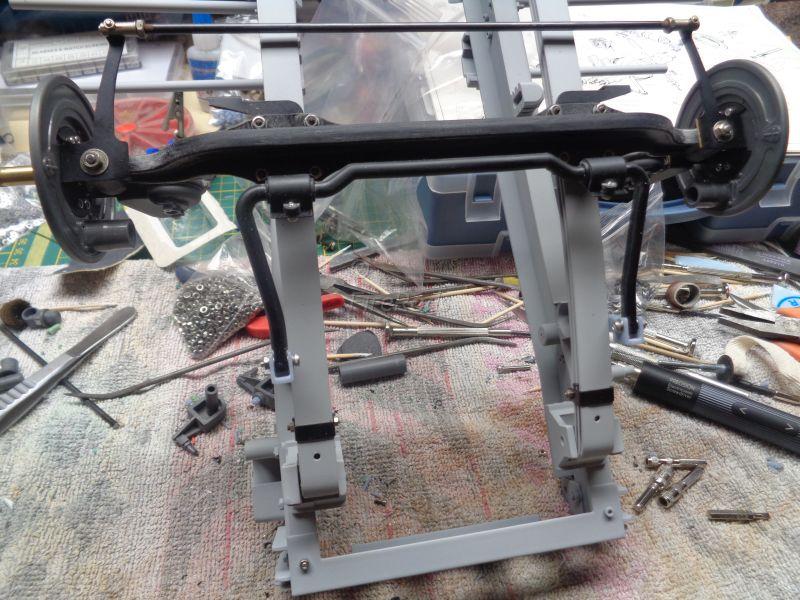
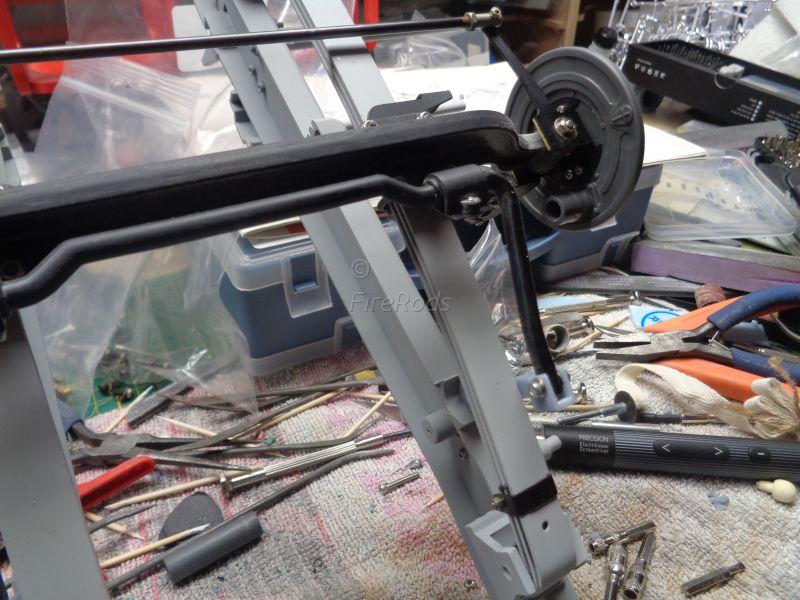
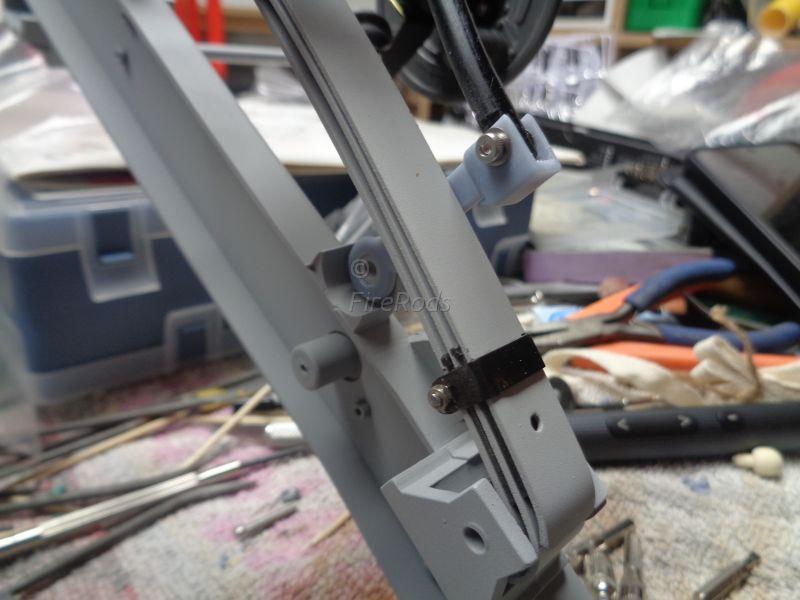
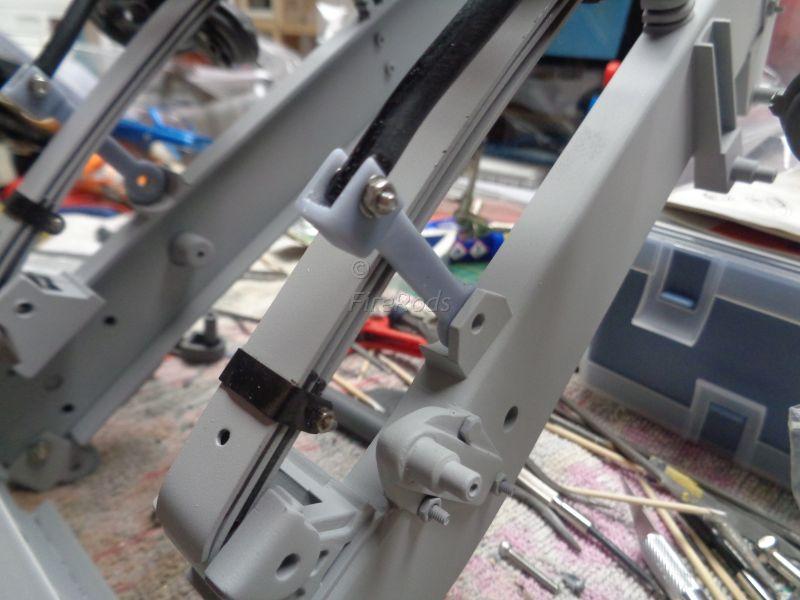
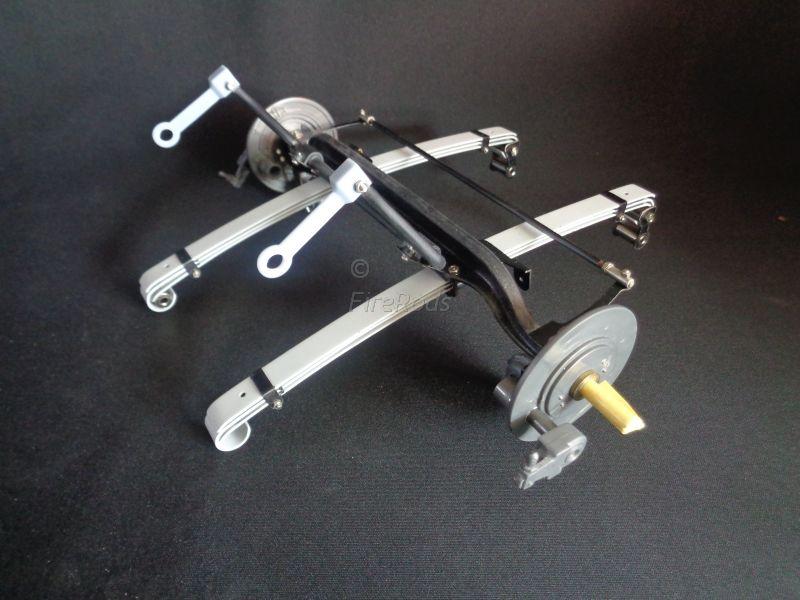
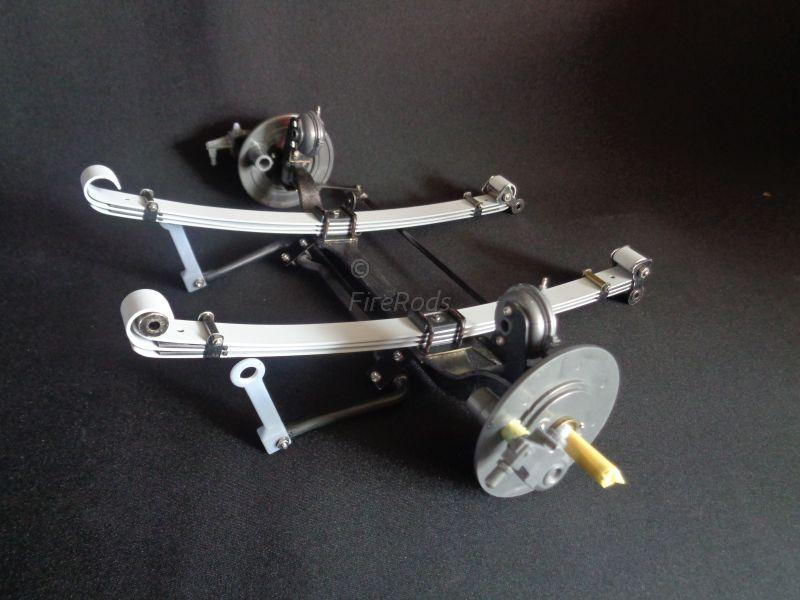
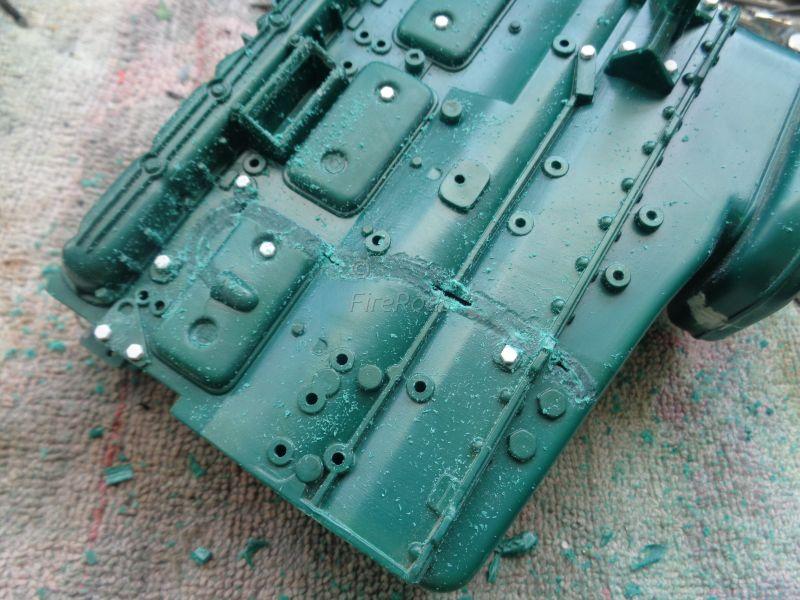
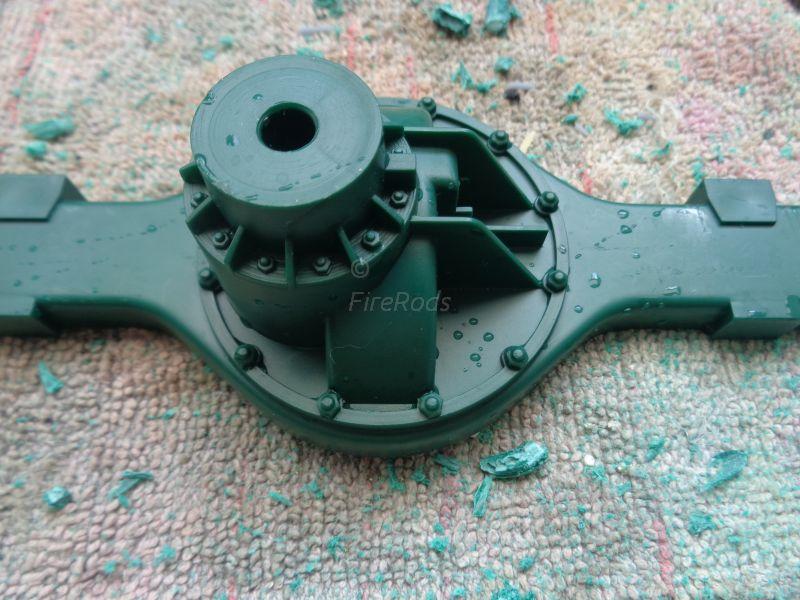
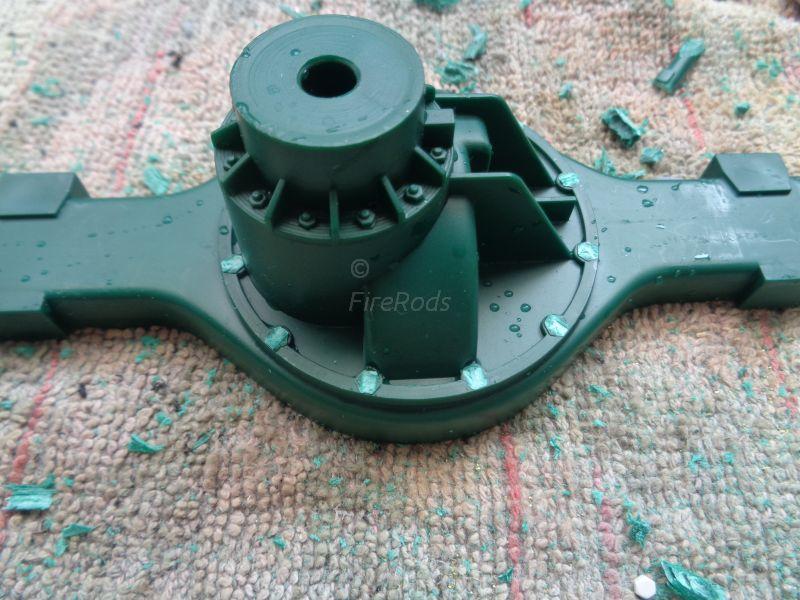
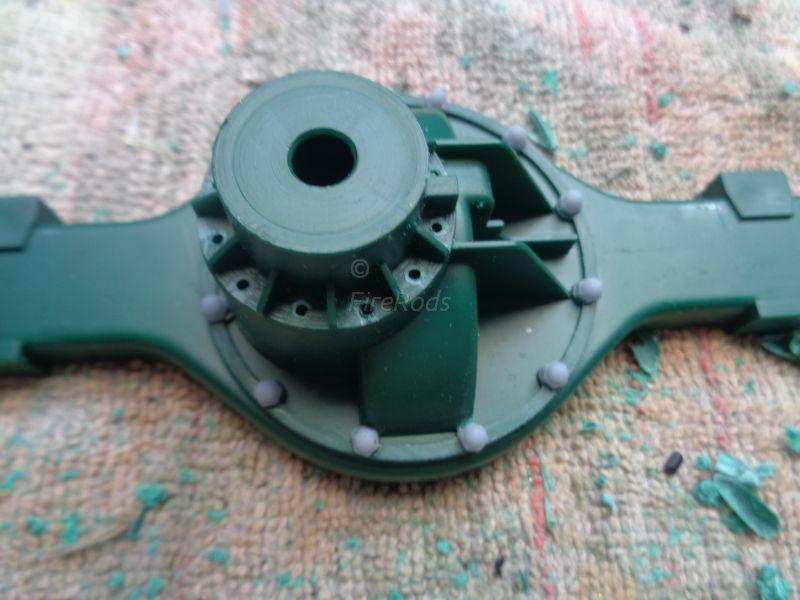
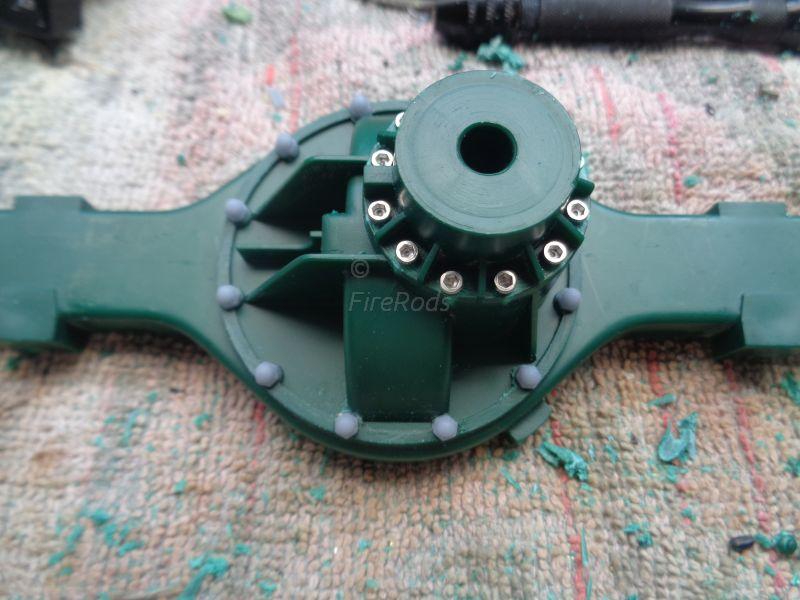
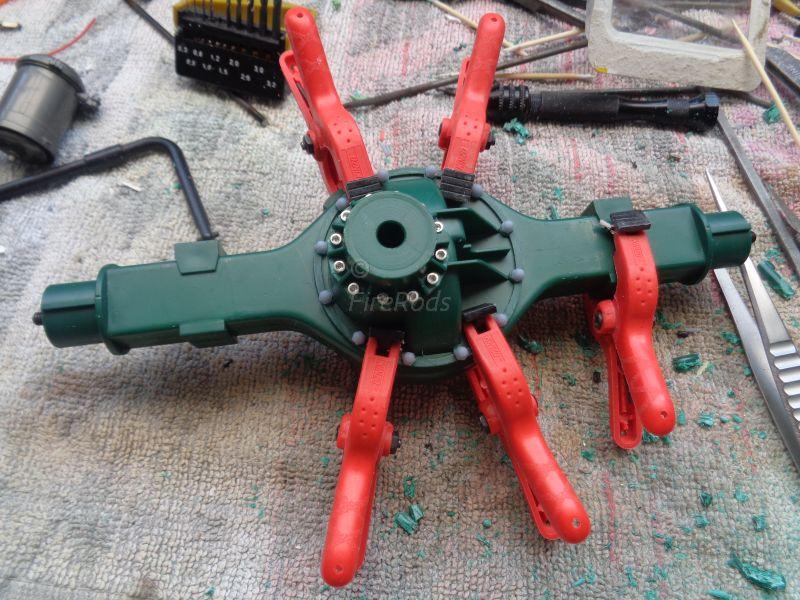
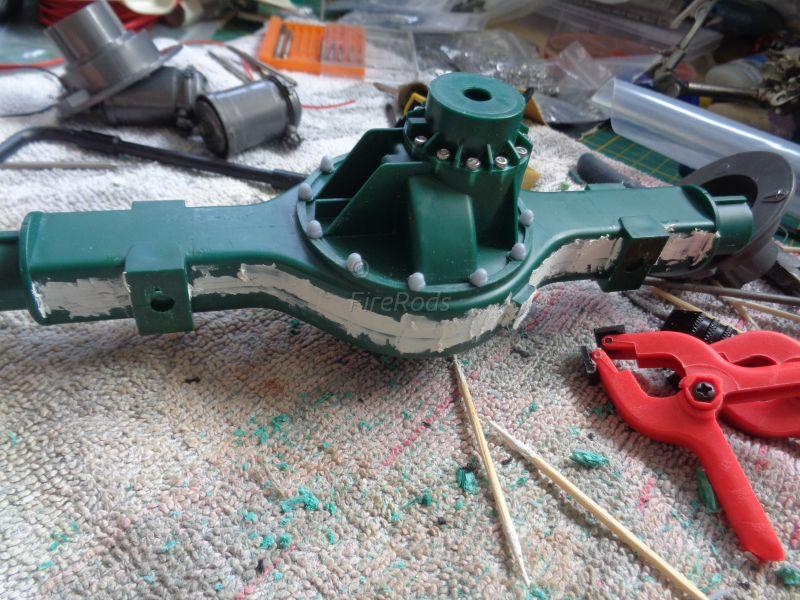
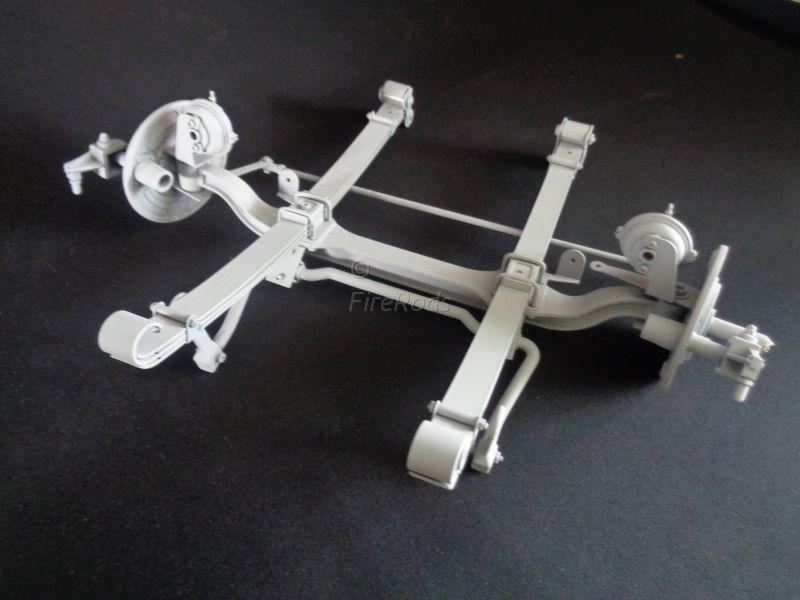
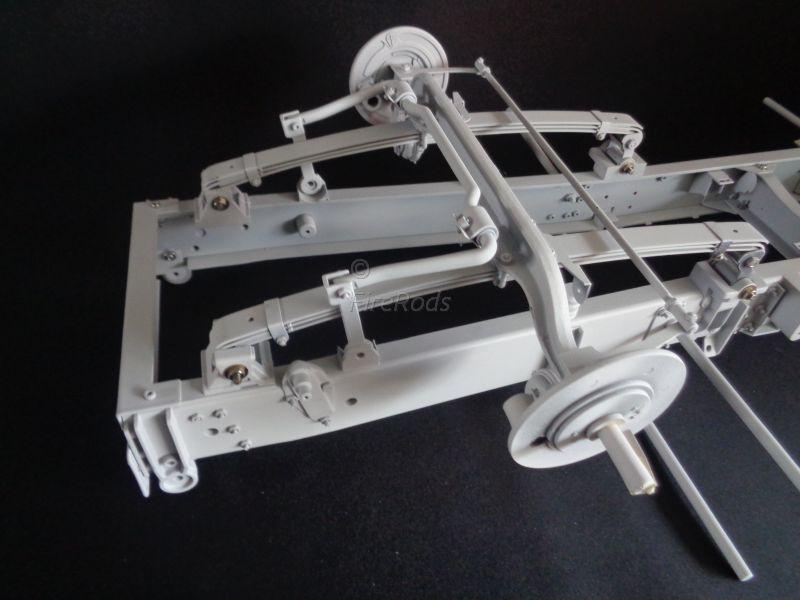
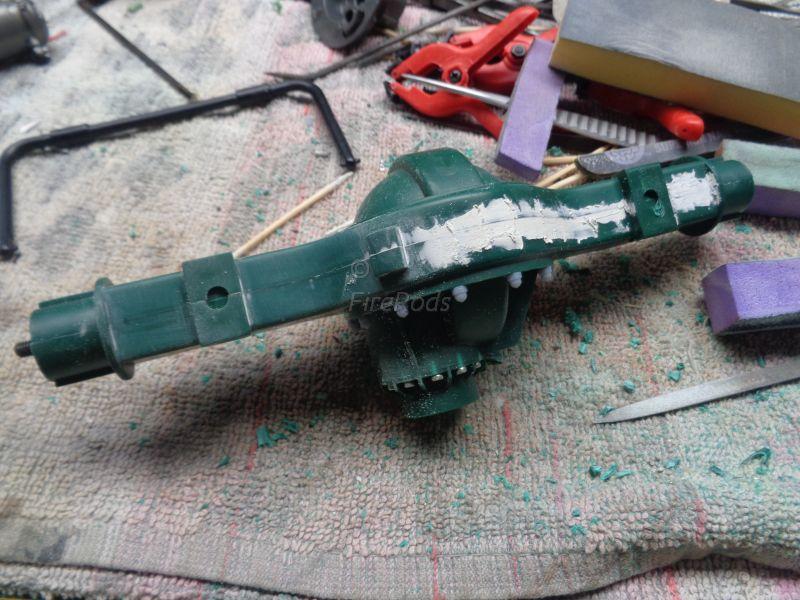
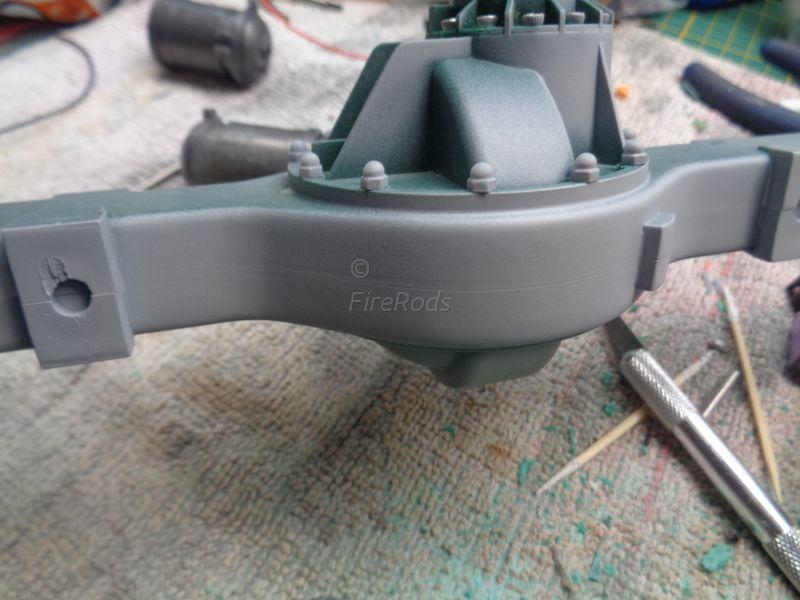
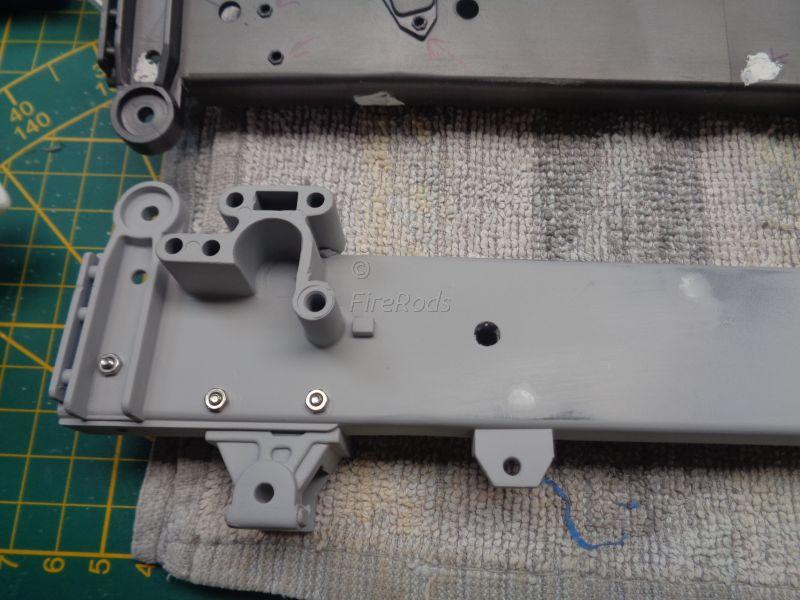
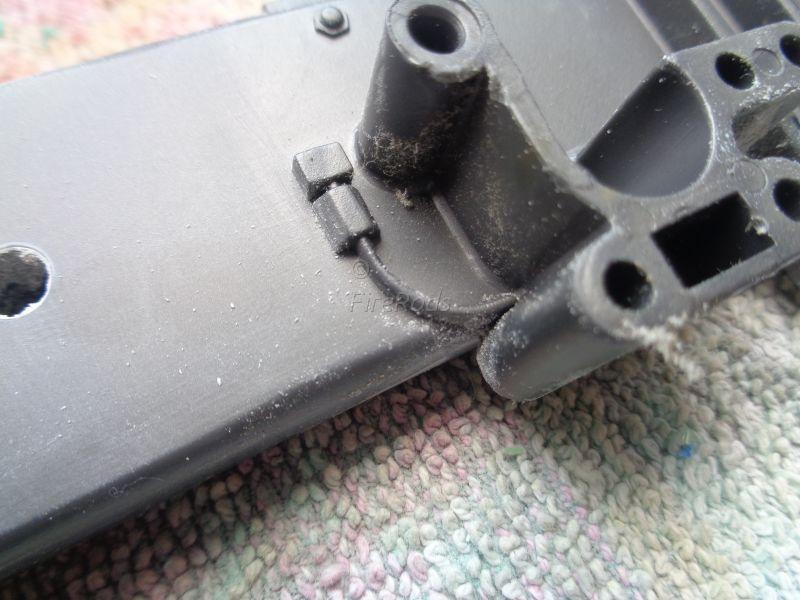
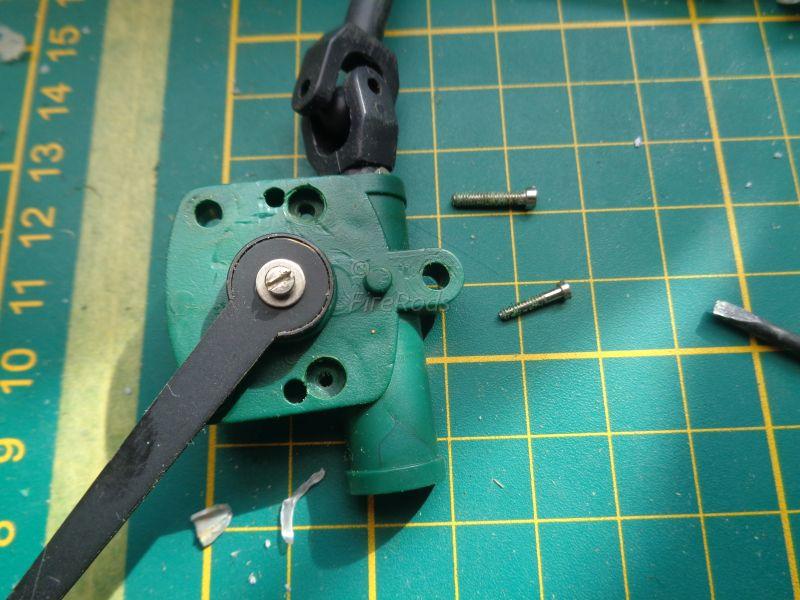
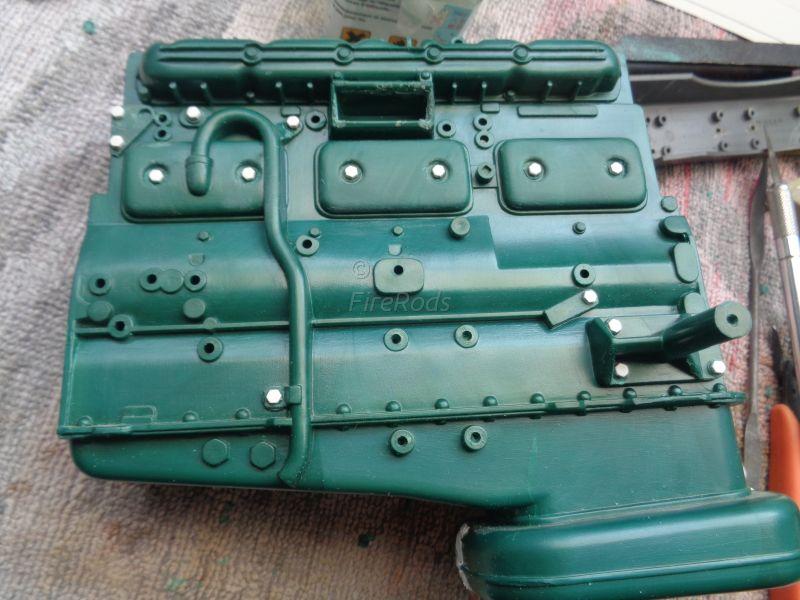
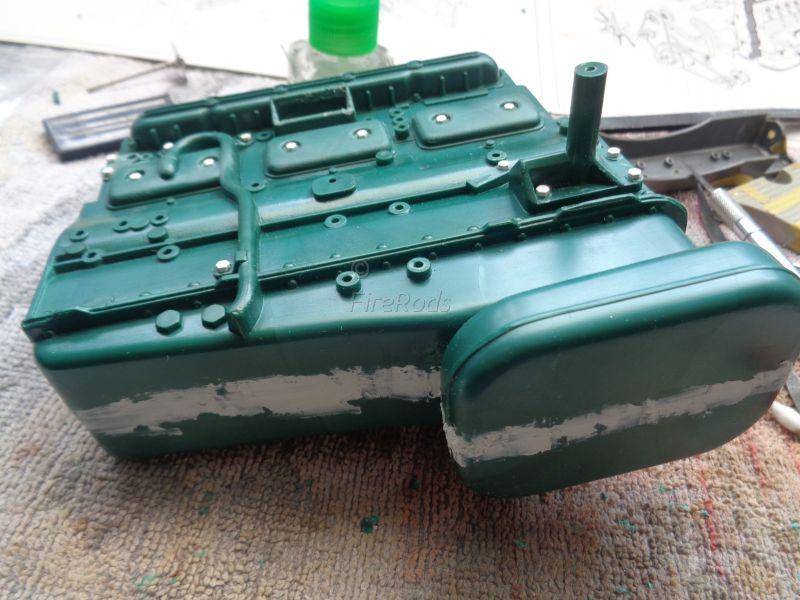
Update 3-9-2024; the last couple of days has been mostly sanding, sanding and more sanding. Not much fabricating or assembling. I continued on the front axle and the front wheel hubs had 2 screws per side, I decided to open up the other 2 holes and have 4 screws per side, for that beavier look and rigidity. The torsion bar at the front was also weird with the pins sticking out, I decided to cut them and drill a hole, so it can be attached with a screw and nut. Here is a view with the torsion bar and the 3D printed part. The front axle got assembled and being prepared for paint. In the meantime, I worked some more on the engine, the molded in hose was a real nuisance to me and I made the decission to grind it off. Also the molded in detail on the rear axle was not to my liking and I replaced all molded in nuts with nuts and screws. This rear axle turned out to be a real pain in the buttocks, I have been working on sanding it smooth for several days now and finally got to a point where I put a light coat of primer on top, to see how much is necessary. The front axle got painted in primer. And assembled to the chassis Work continued on the rear axle, sigh…

-
I made a boo-boo, can one of the moderators move this topic to the (obvious, duh) work in progress section?
-
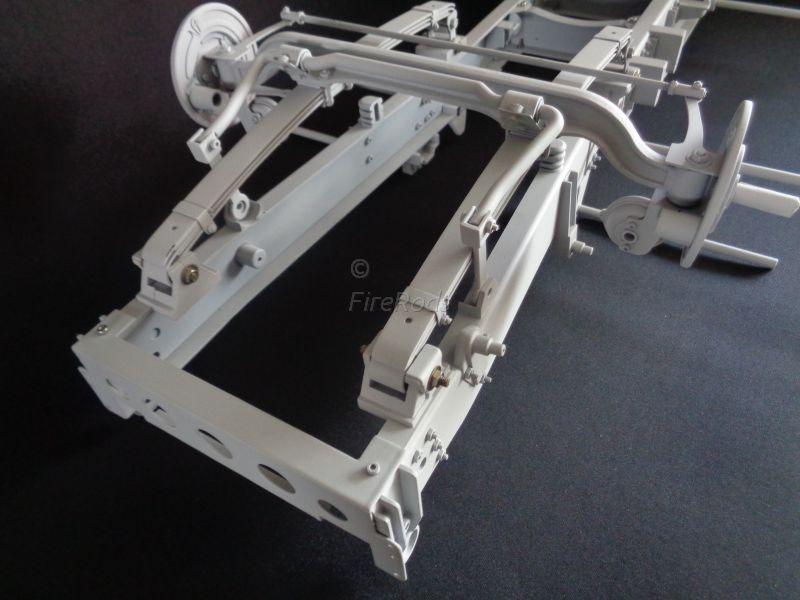
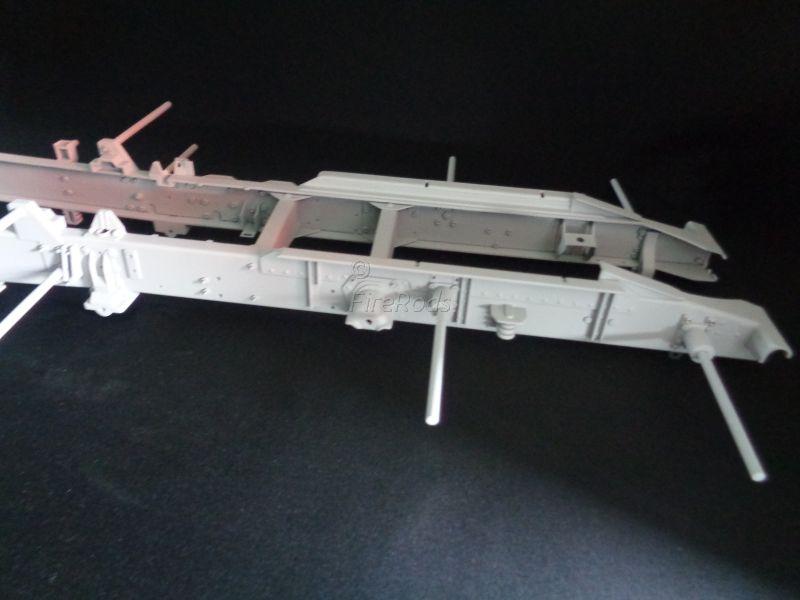
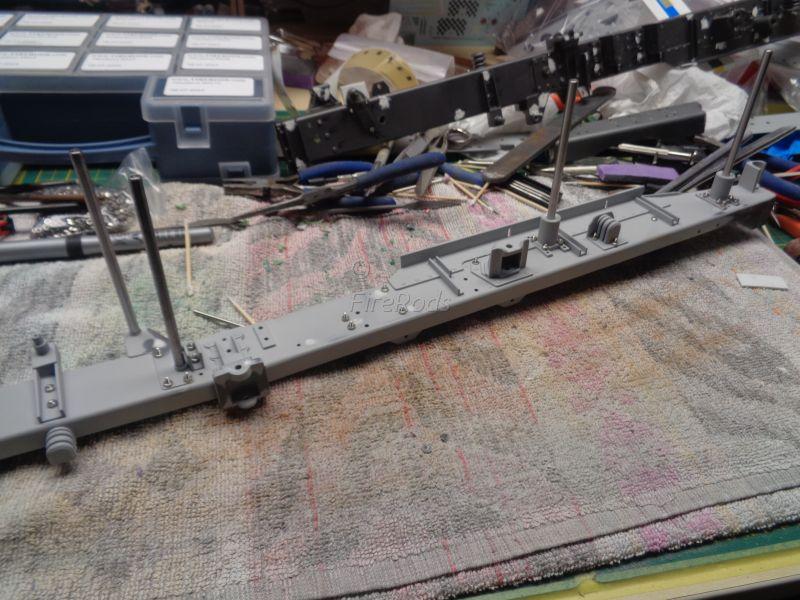
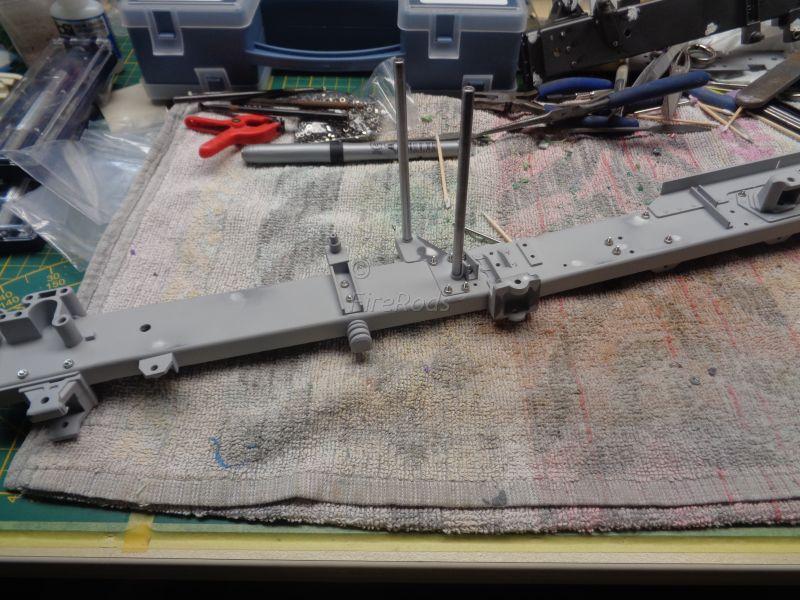
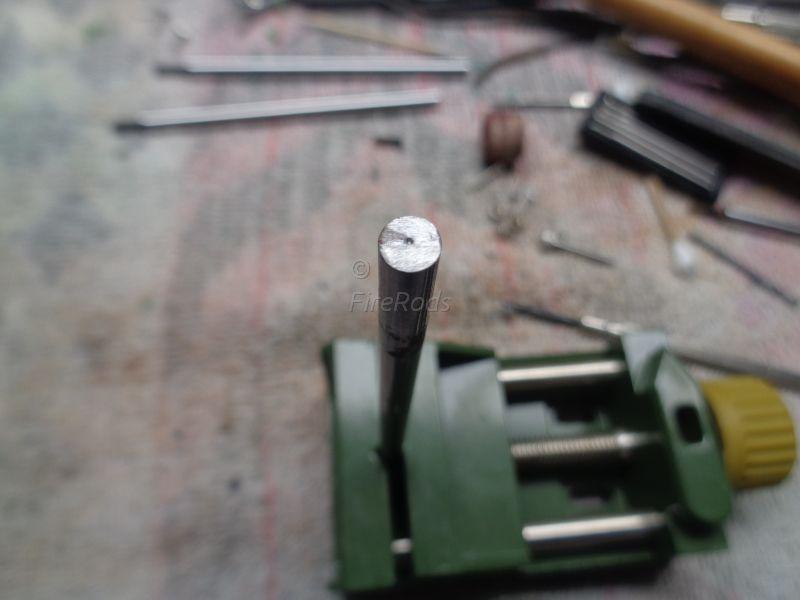
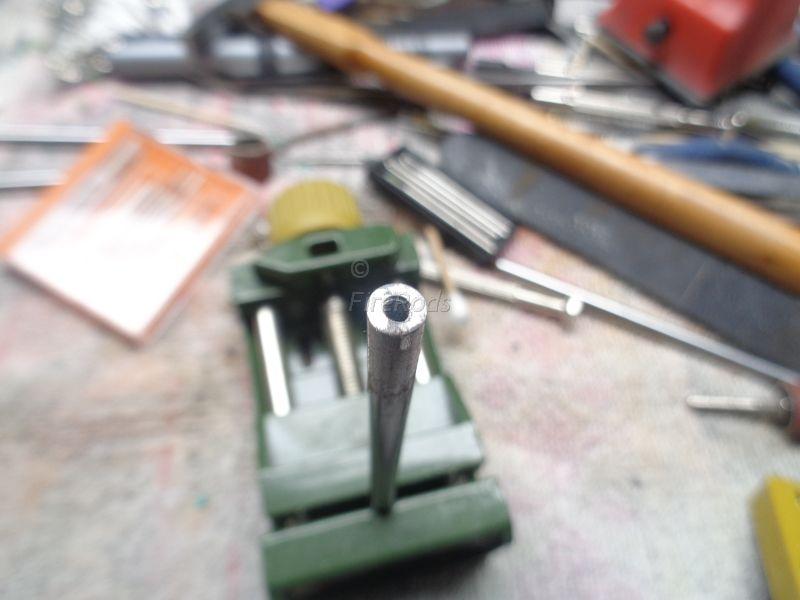
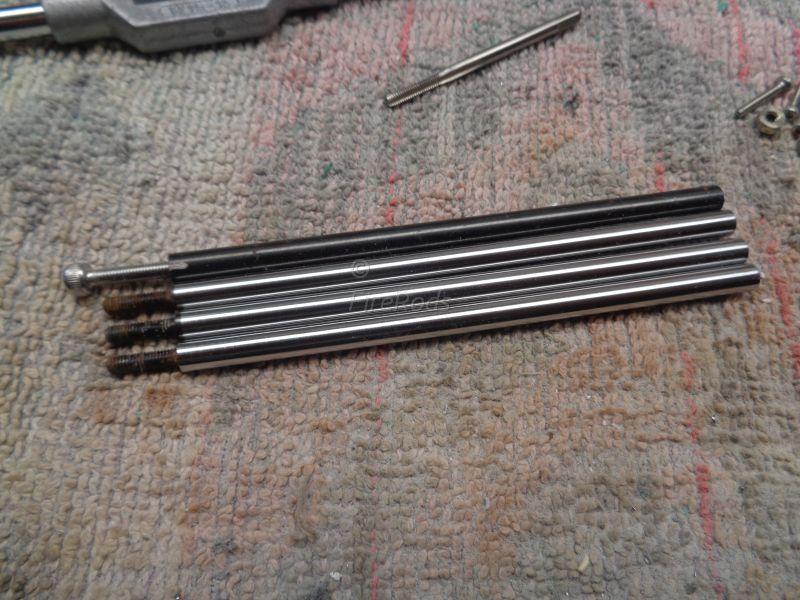
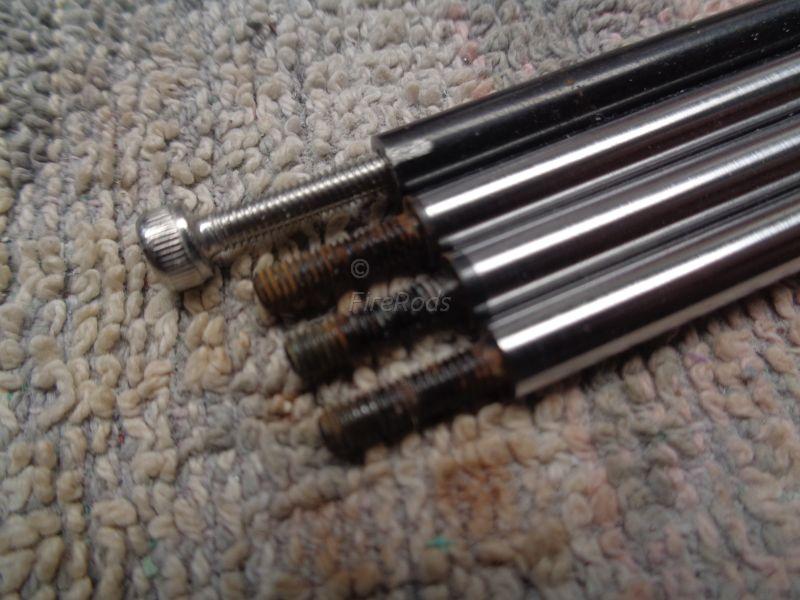
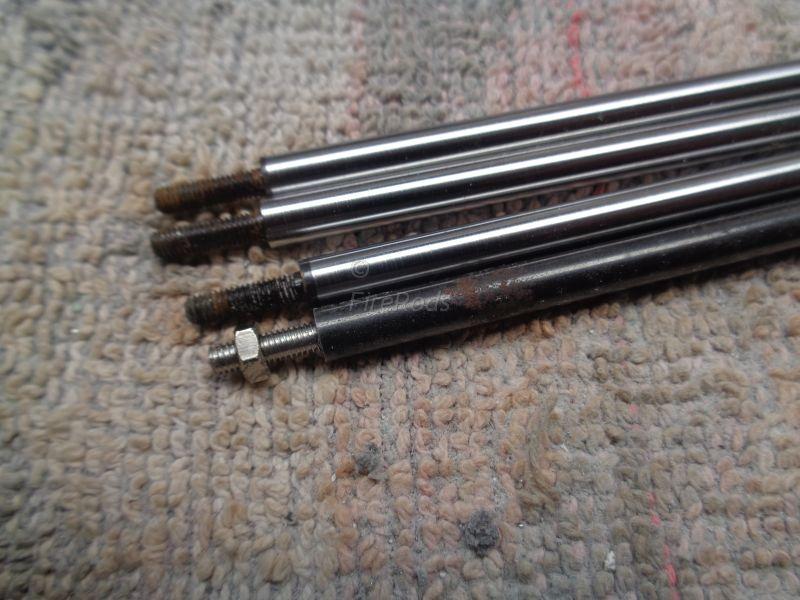
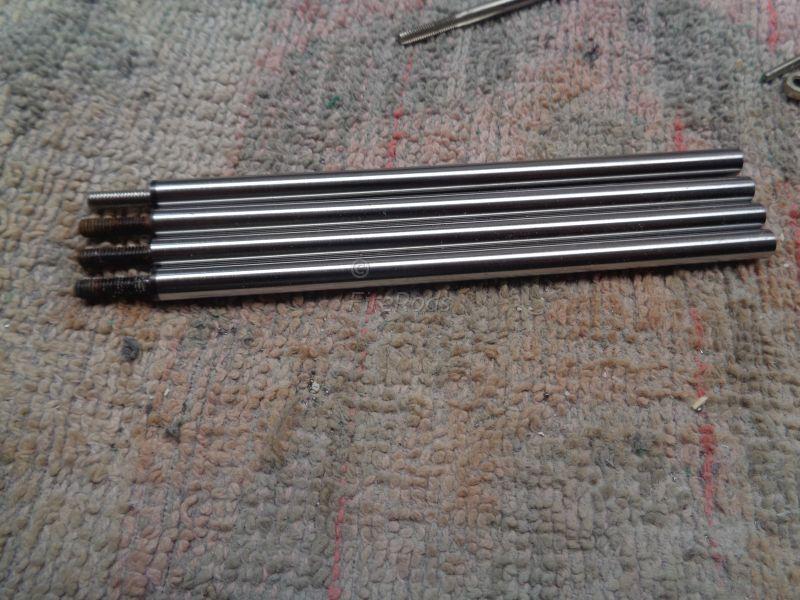
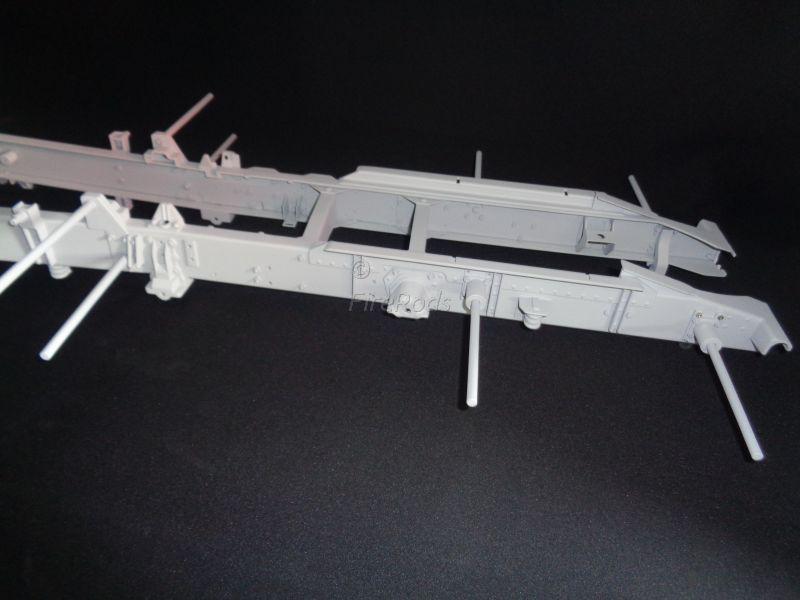
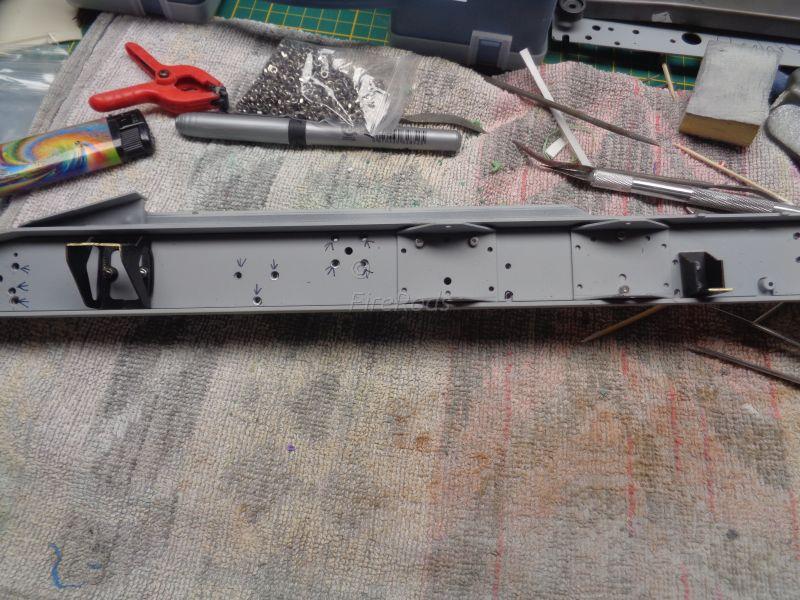
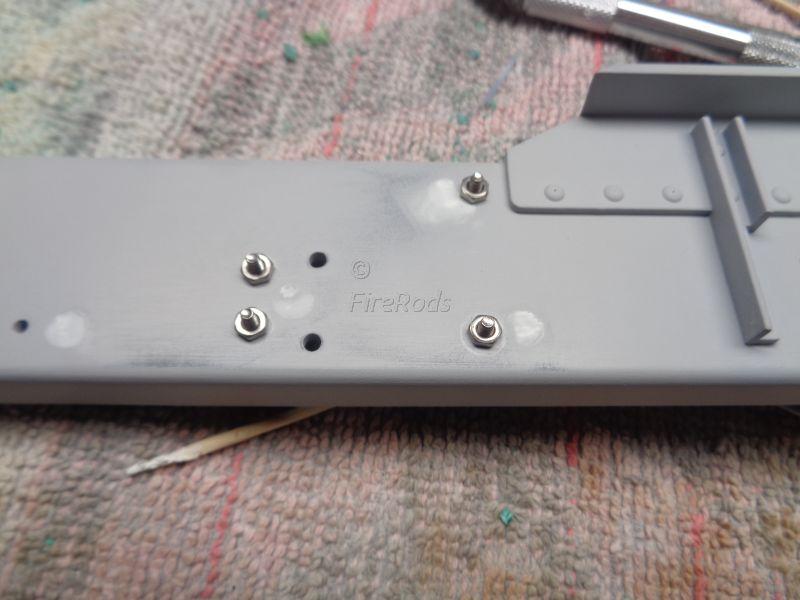
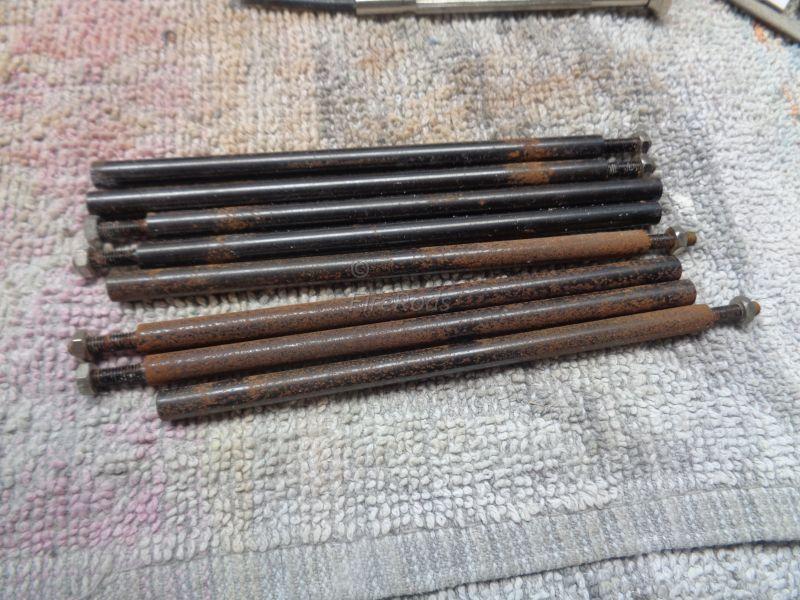
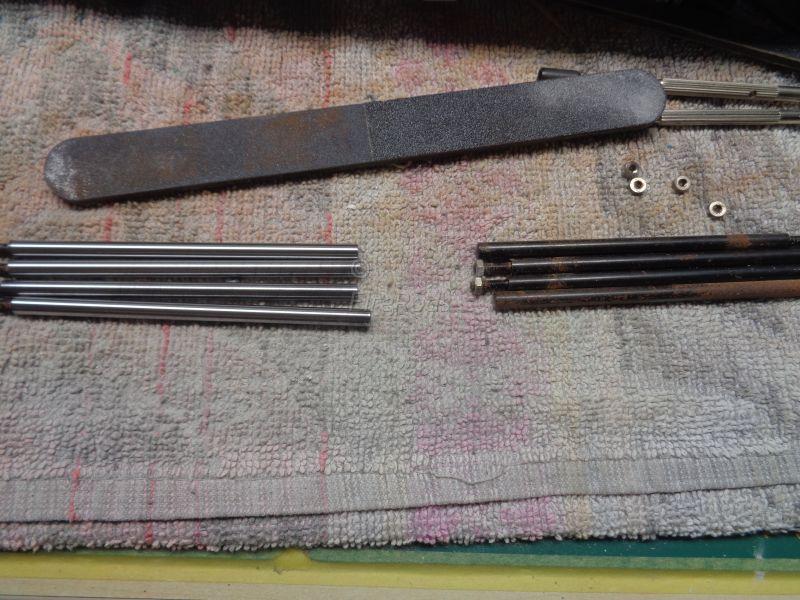
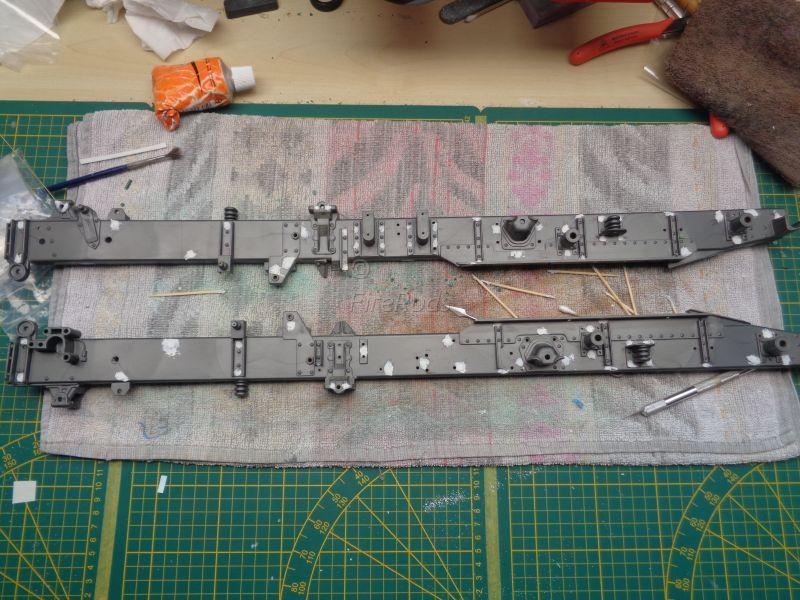
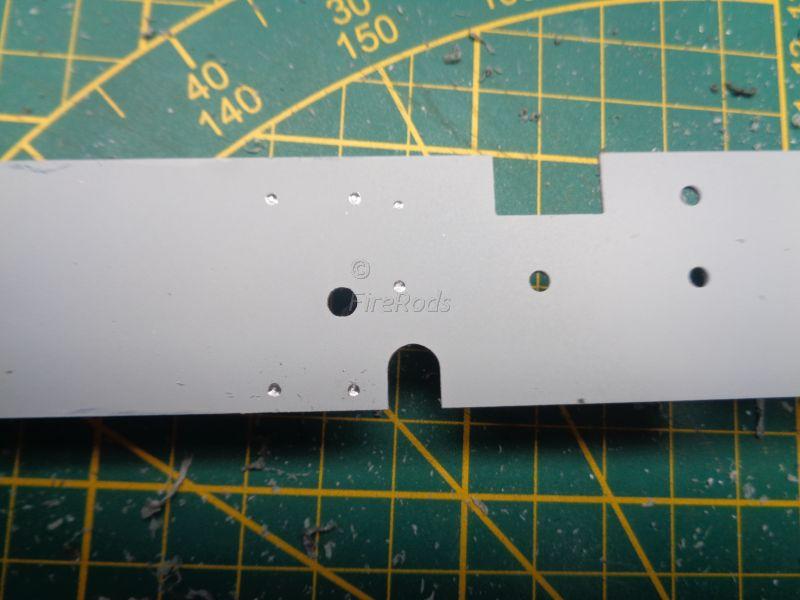
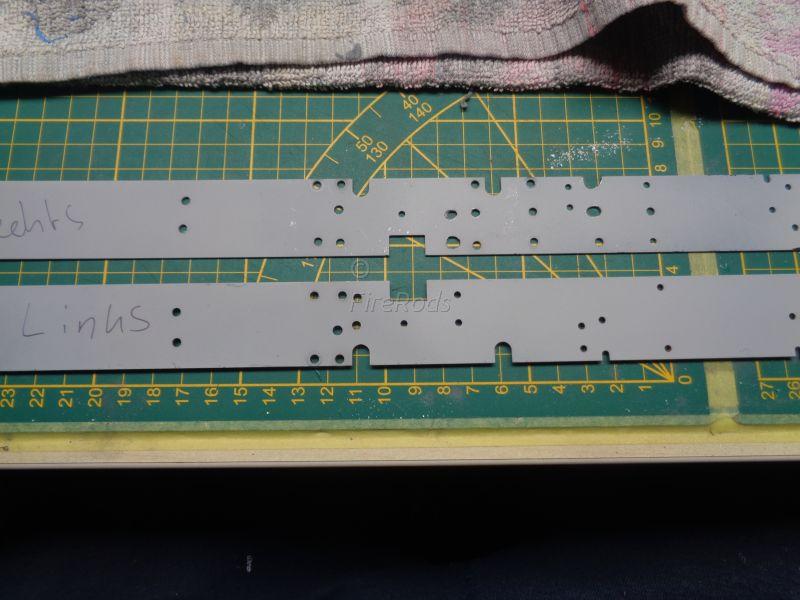
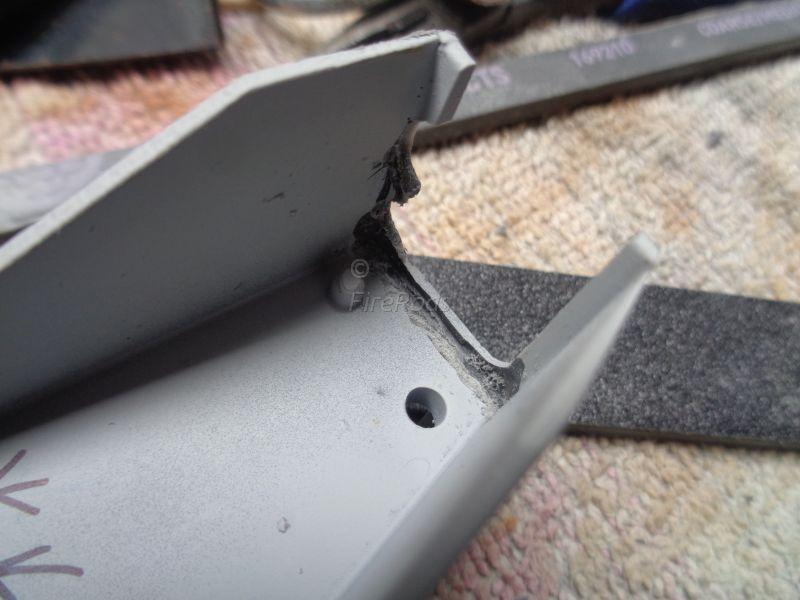
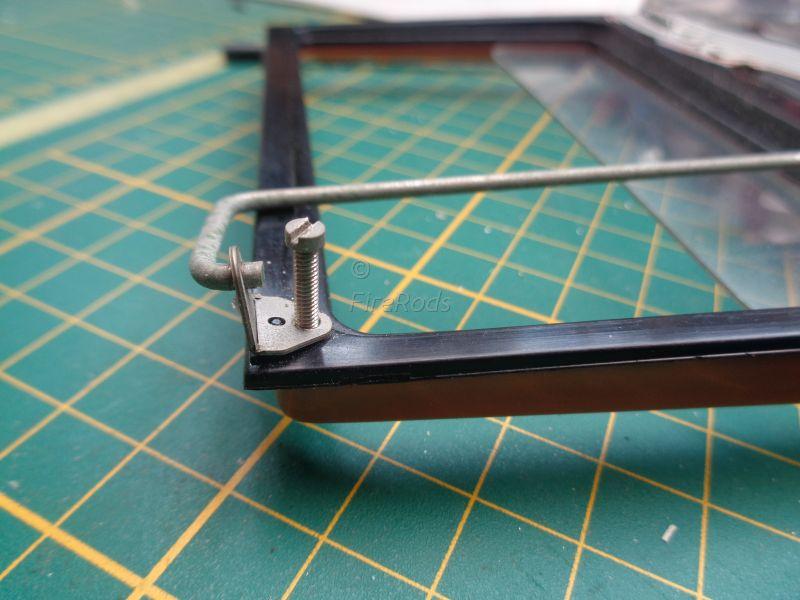
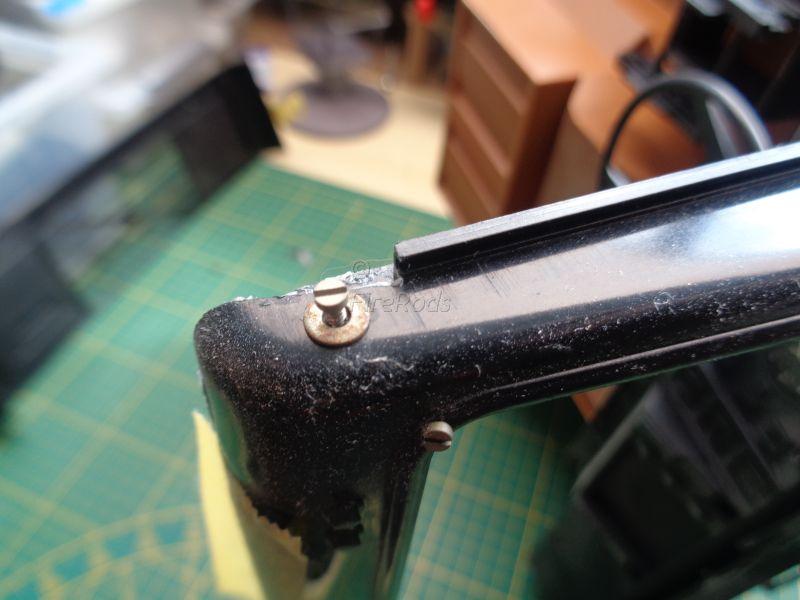
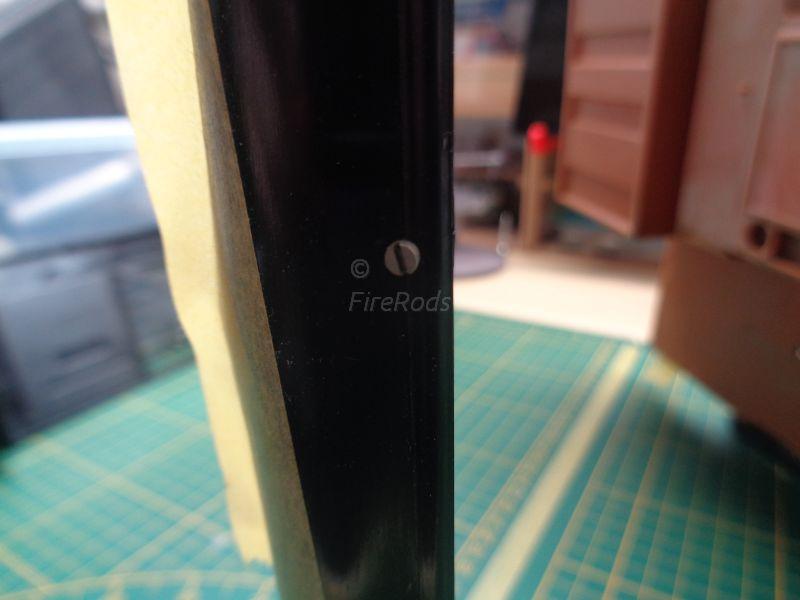
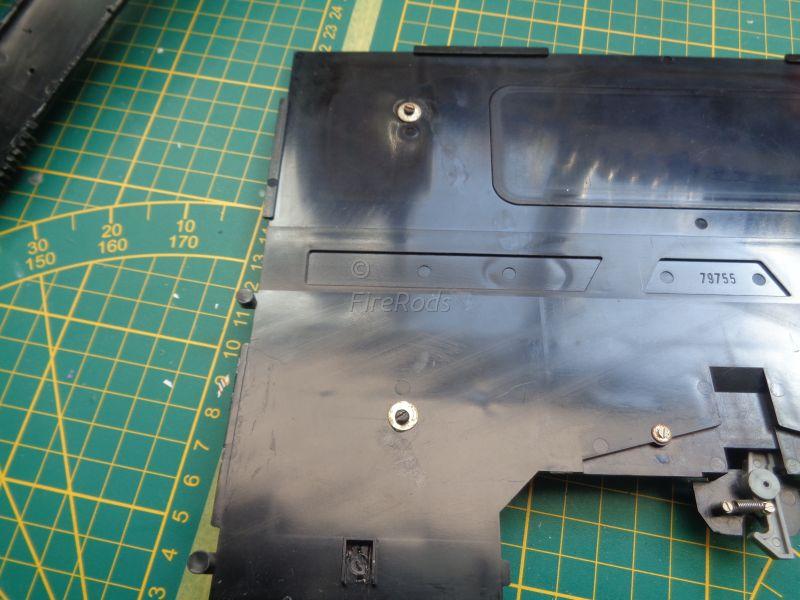
Assembling the studs before a light coat of primer. When doing the 4 studs for the other frame rail, one of the threaded ends broke... oops... Had to think for a solution as glueing would not be sufficient. So bring in the metalworks experience! First I found the center and punched it with a centerpunch Than I use my rotary-tool drill-stand to make a straight cut and drilled a 1,2mm hole, 2mm hole and a 2,5mm hole Than threaded the hole with M3 thread and insert the longest M3 bolt I had When I had it clamping on the inside, I cut of the head, deburred the cut and I was back on track. This is where I stand now, I assembled both frame halves together and now waiting for paint to show up. Both halves are not bolted together yet, I will first paint the insides of the frame rails, before I assemble them. Each frame halve has taken me 2 weeks, with more than average build hours for me, since I am struggling from being rear-ended and having a whiplash. I am starting to go back to work with increasing hours per week.
-
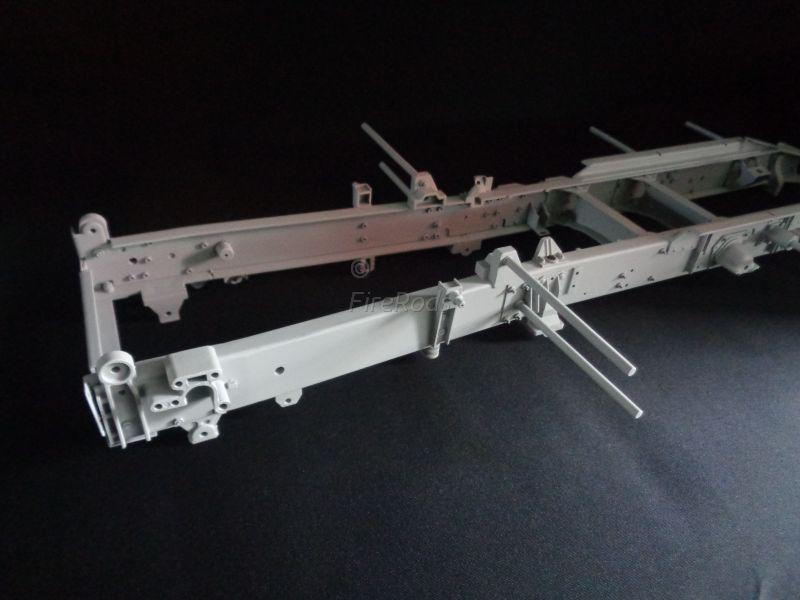
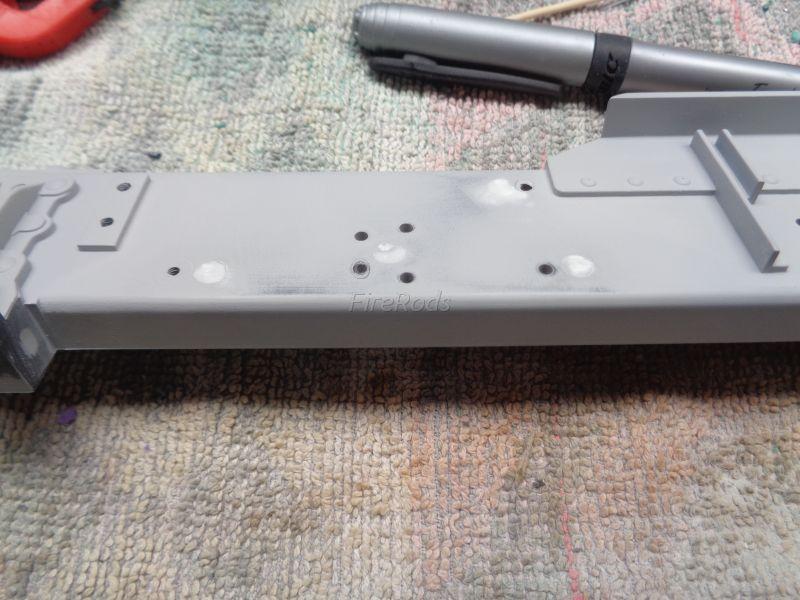
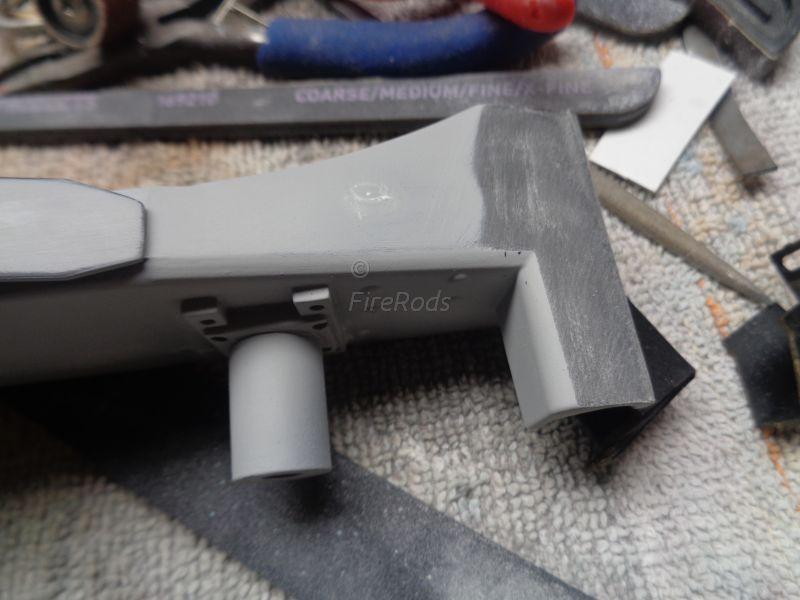
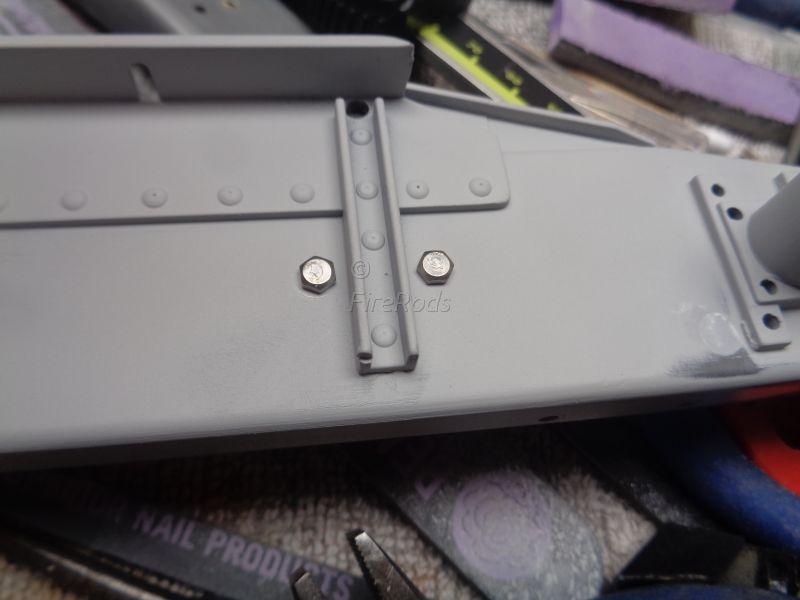
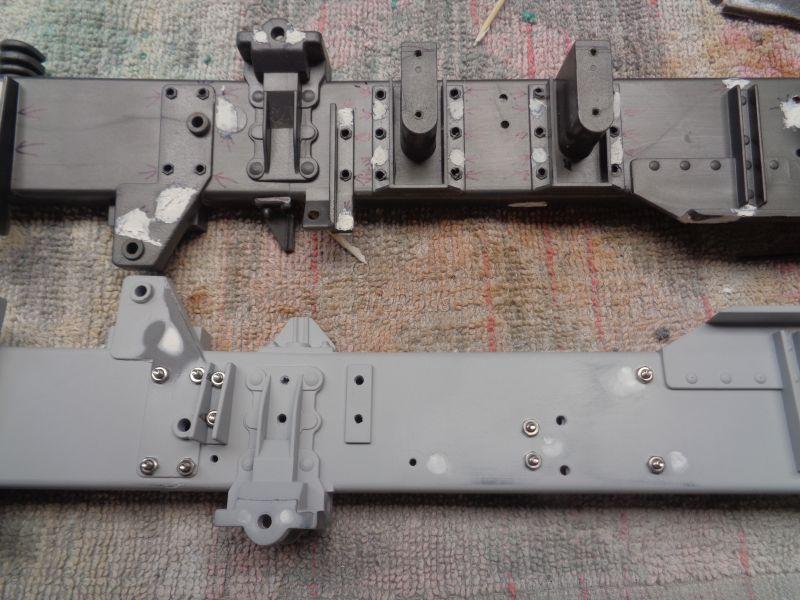
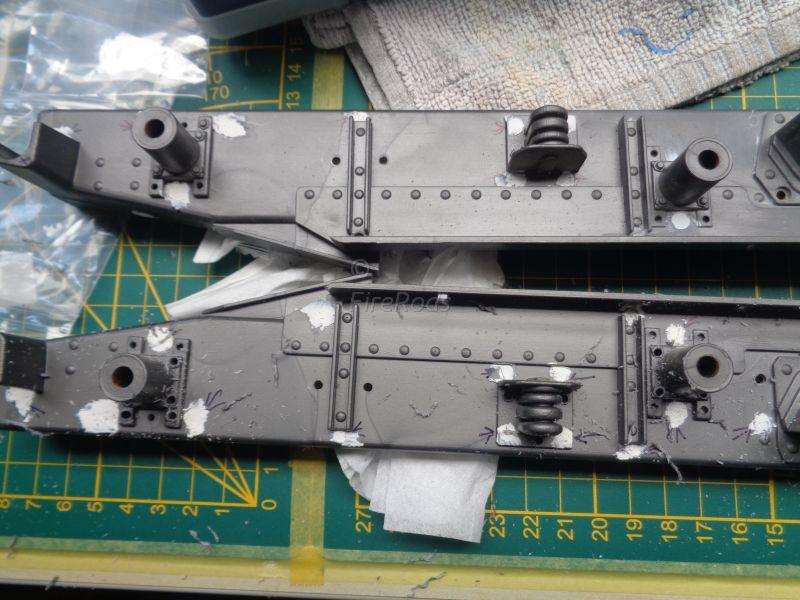
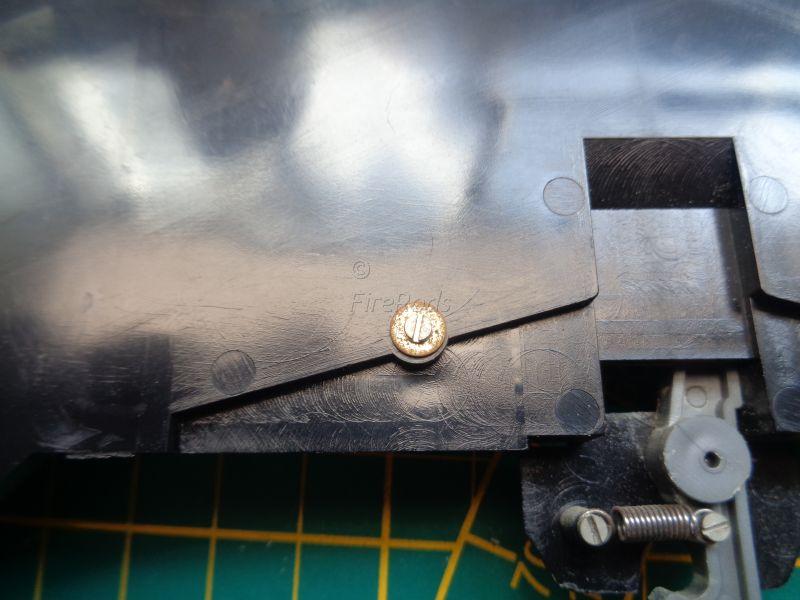
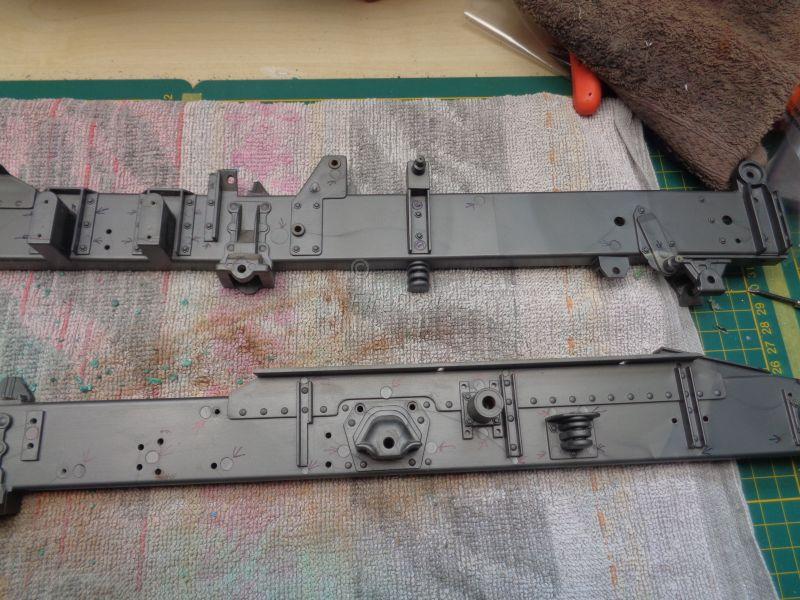
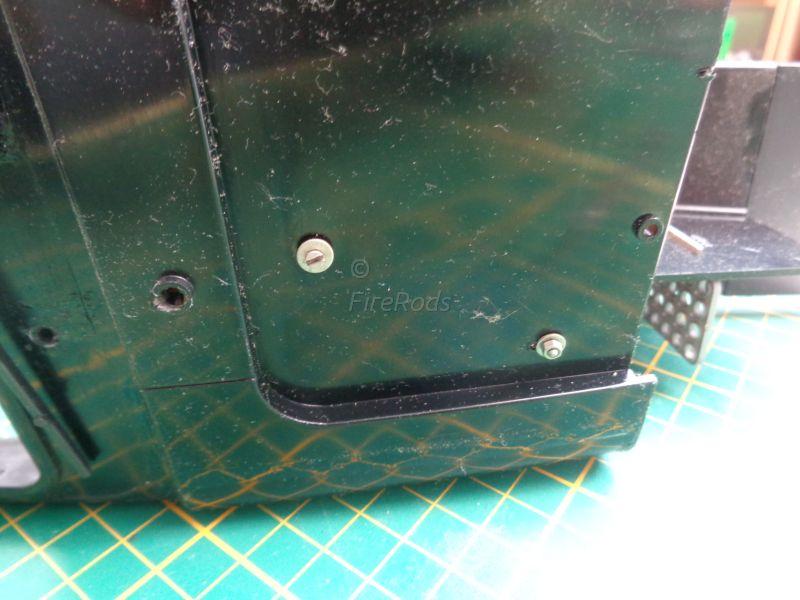
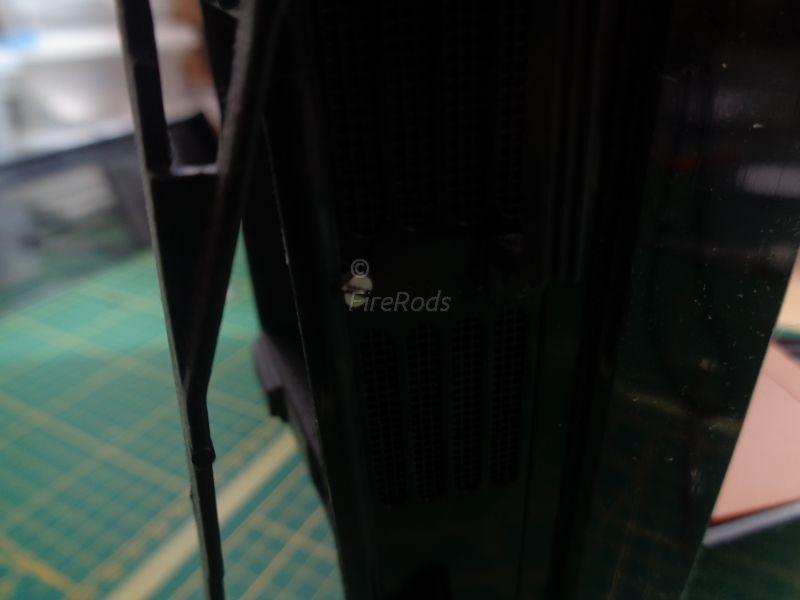
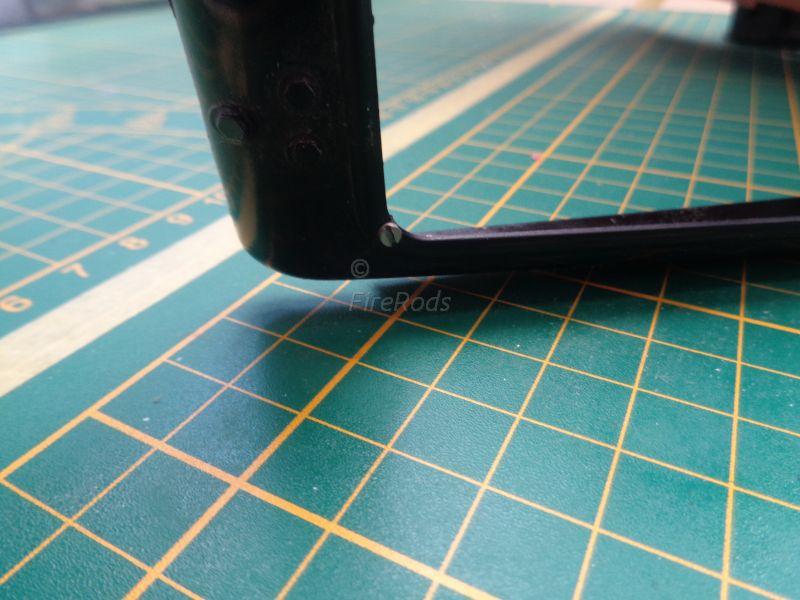
I put a layer of primer to see where I was and what had to be done. The rear end of the framerails had to be sanded down quite a bit, in order for the plastic end piece to fit. The previous owner didn't do anything about it and made that piece of plastic tear. That had to be fixed too. And finally time for some assembly. I ordered for over 100 dollars in miniature bolts and screws. The hexagon head bolts were surprisingly expensive, so I will use them only where the head will be visible. When the threadend is visible, I will use inner-hexagon screws. A sort of before and after. I also went ahead and installed the mud-guard studs. They are somewhat patina'd.... I took care of that, using my rotarytool as a lathe. Left is the result after a polish
-
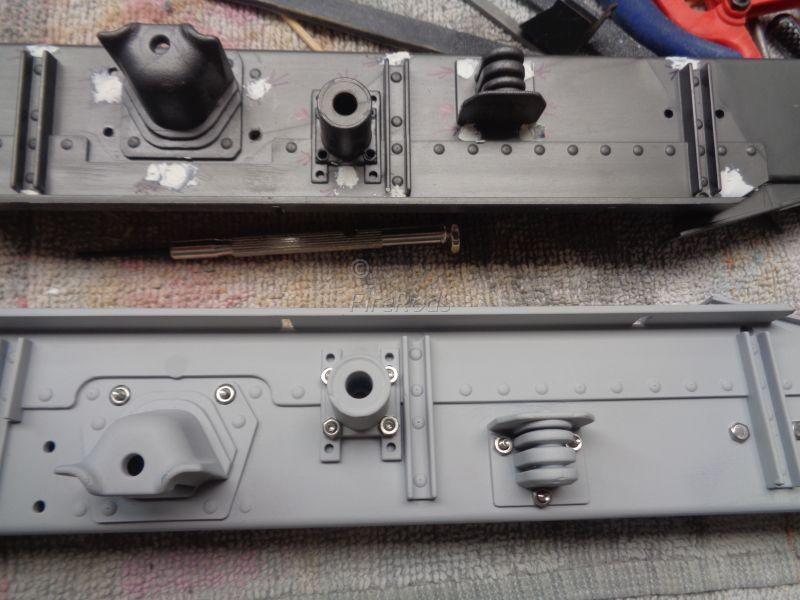
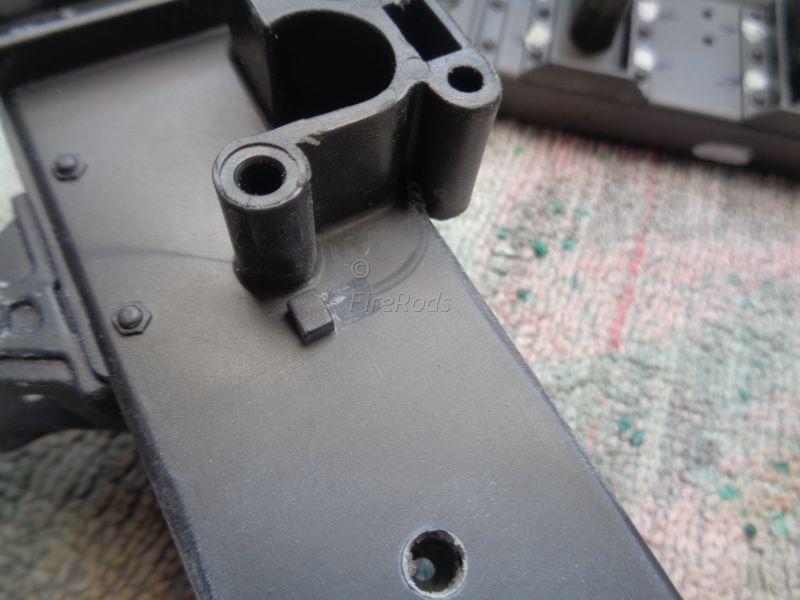
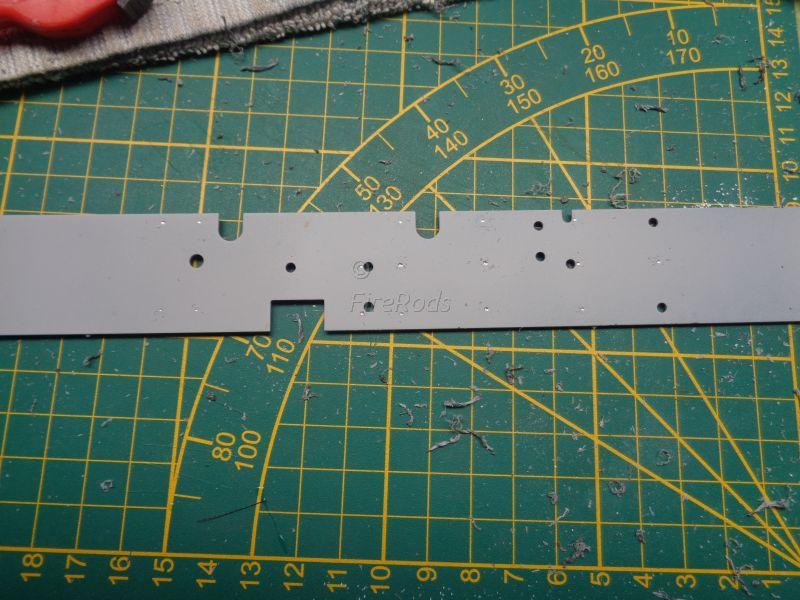
A lot of filling, filing and sanding has to be done. Also getting rid of the molded in details, they just don't look right on a 1/8 model. Then I also decided to get rid of all the molded in studs, nuts and bolts. Again, it looked crappy and with actual studs, bolts and nuts it will look so much better. But it gives a whole lot more sanding and filling. Making a hole in the plastic is halve the story, the metal bracket has to be drilled through as well. The plastic parts have to be modified too, they don't fit good out of the box.
-
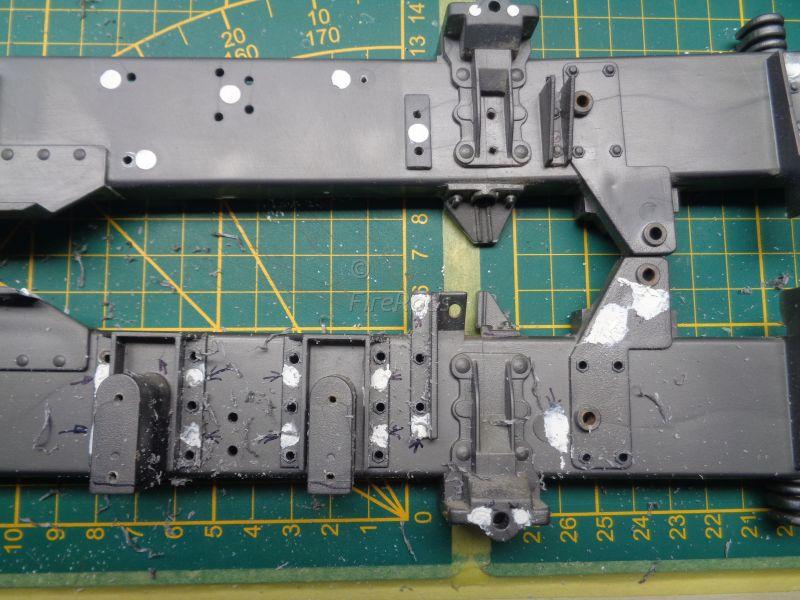
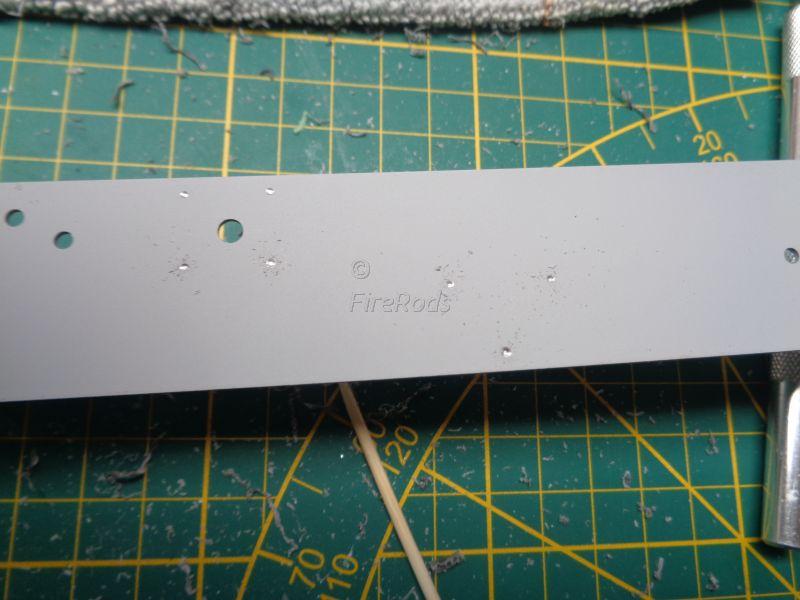
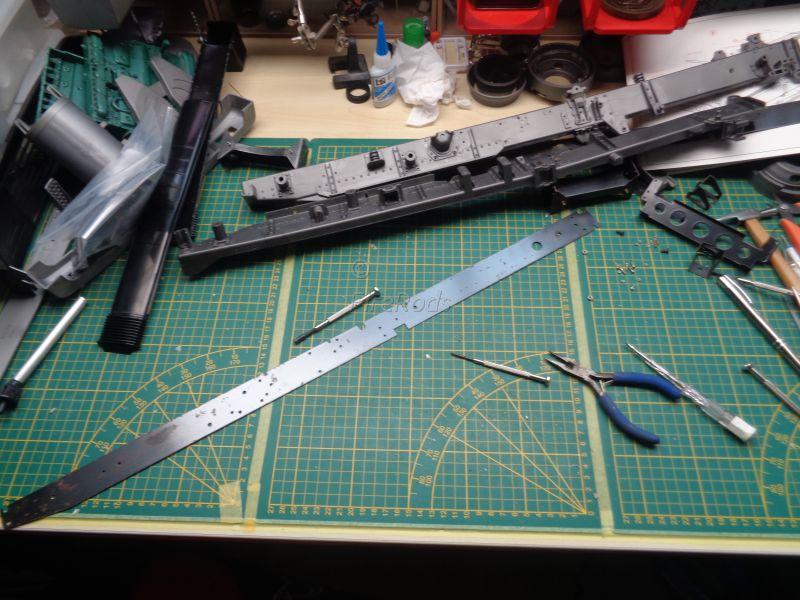
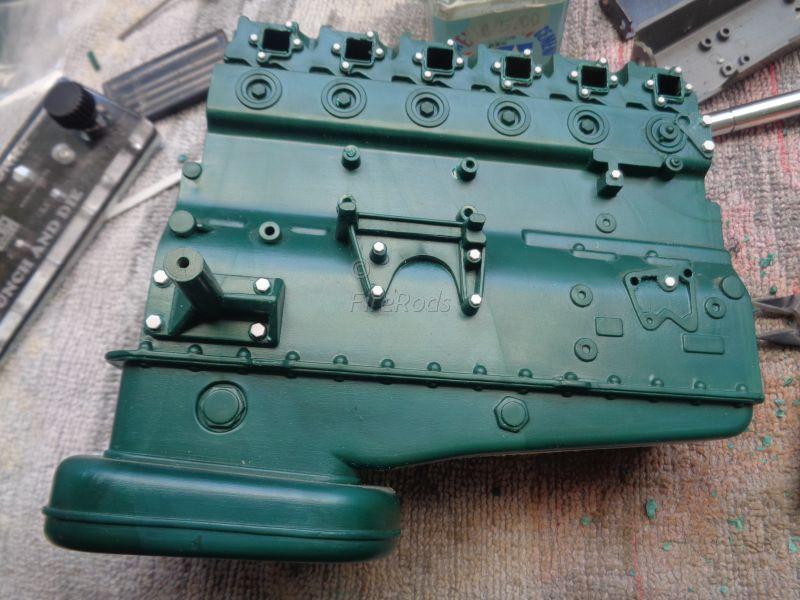
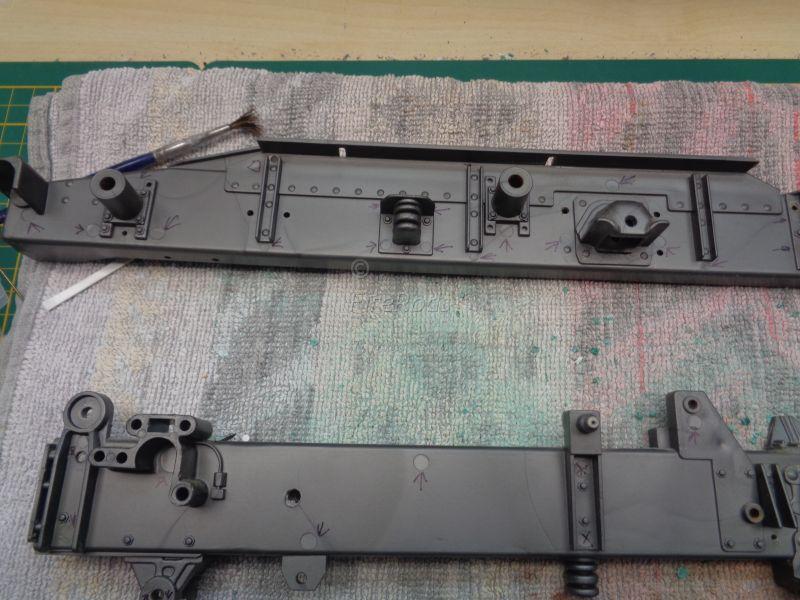
Did I mention this thing is huge? Now that everything has been disassembled to its bare bones, it is time to work on it and start the rebuild. I started with the engine, getting rid of the molded in bolt-heads and replaced them with punch-and-die styrene heads that I made myseld. it does look a lot sharper. The thing has huge seem-lines, which has to be taken care of. I have put the engine aside for now and fixated myself on the frame rails. Both rails contains of 2 pieces, the plastic display piece and a metal insert for stability. I marked all the ejector marks that have to be sanded and/or filled.
-
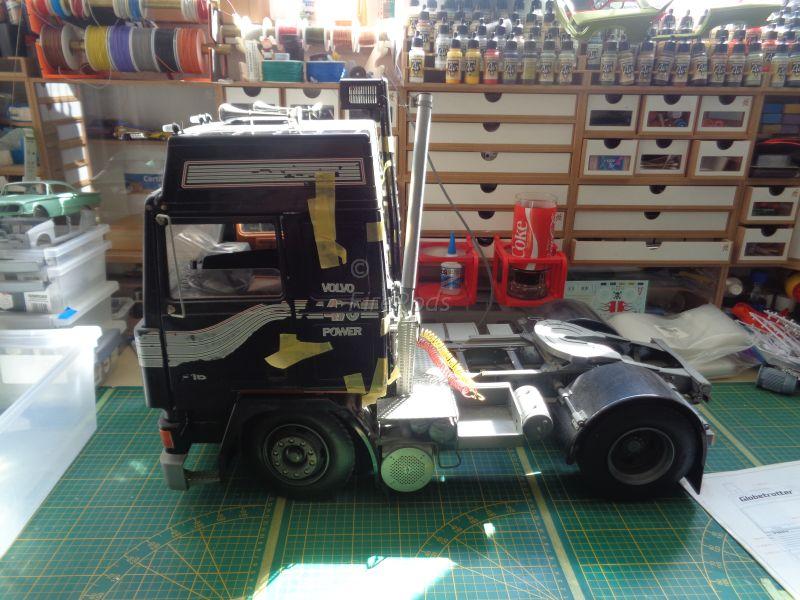
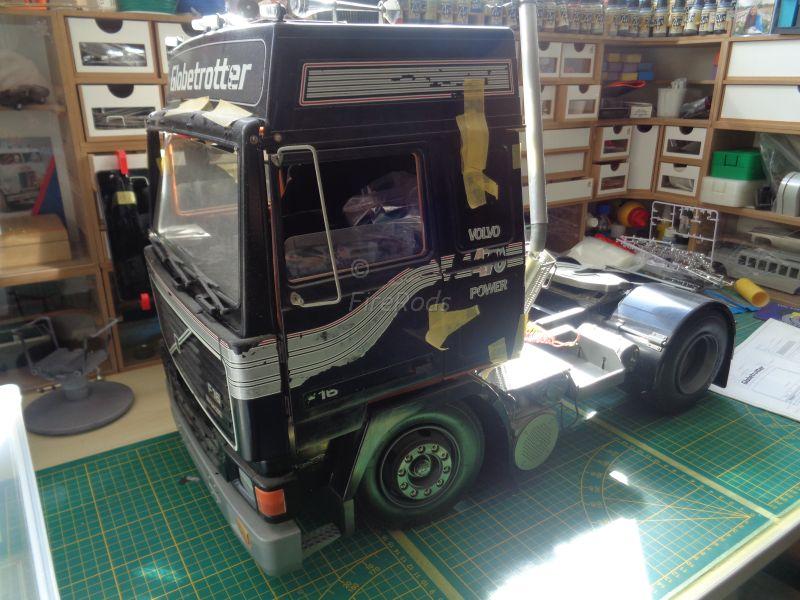
Hi all, It has been sure a long time since I posted a project and I will not post on a regular base, sorry. Usually my available time is short and I usually choose to build, rather to sit behind the computer, which I already have to do for my dayjob... Sorry! But, I hope I will make up for the irregular updates for good updates. I have just started restoring a Pocher 1/8 Volvo. I bought 2 of them in the last couple of years, both build and both not so good. I already disassembled the first one and put it away. This one was in my display cabinet downstairs and after tackling 2 Pochers last year (Lotus F1 and the yellow Aventador), both being mostly assembly models with paint-tweaks, I decided it was time to actually build a Pocher again. And I thought this was a good candidate for it. This is how the Truck looked how I bought it, I had to held it together with tape to keep the shape. The previous owner must had similar issues, since there are non-standard screws at odd places. That has to be improved.
-
Issue 223
The Creative Explorer replied to Dave Ambrose's topic in Model Cars Magazine News and Discussions
I subscribed (again) on november 15th and I think I am suppose to start with issue 223. But so far the mailbox has yet to be filled. What should be the acceptable term when the issue should be delivered? -
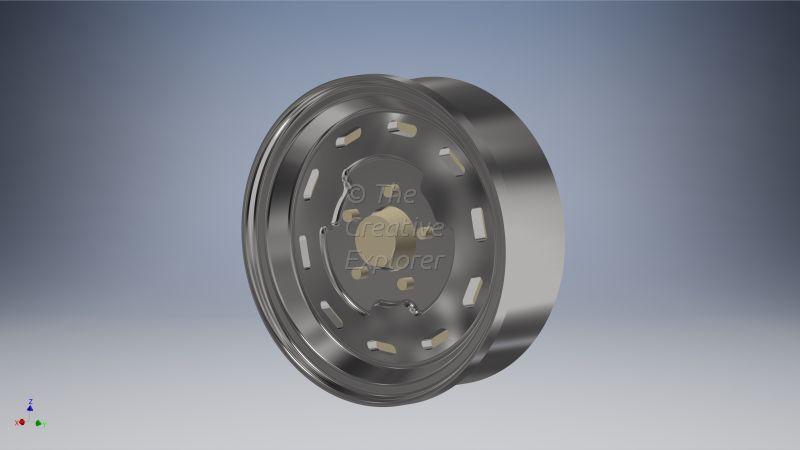
I found one online and stated: OEM-2015-19-Dodge-Charger-Pursuit-AWD-Police-Car-18-Hubcap-Wheel-Cover
-
Rob, If you look closely in between the spokes, you can see the black steelie behind it. So I assume they are plastic wheelcovers.
-
MAgzter
The Creative Explorer replied to The Creative Explorer's topic in Model Cars Magazine News and Discussions
Thanks Dan, I am aware of the great work that has been achieved lately, getting the magazine back on track and so far it is going great. Thank you for the feedback! I hope rather sooner than later a different option would emerge, :-). keep the good work up! -
I am sorry to come and complain. I love the magazine, have been an subscriber for a while, both print and digital (not at the same time). And for budgetary reasons, for now it is digital. Is it possible to please, please consider a different venue/platform for the digital magazine? The customer service and the overall service of magzter is horrible. This year will definately be my last year for Magzter, I tried it, tried it again and it does not improve. I also had back in the days a digital subscription to SAE and it was provided through Zinio. Maybe you could consider that? The app works a lot better, the subscriptions work better, barely any need to the customer service and overall just so much better. I do understand that there is more that meets the eye, but just look into it, please. Thank you ?
-
Issue 219
The Creative Explorer replied to TarheelRick's topic in Model Cars Magazine News and Discussions
@Dave AmbroseWhen will the digital copy be available at Magzter? (Which is a horrible digital supplier, but that is not MCM's fault. I'll go where MCM is, but please, consider Zinio as well). It has been a bit more than a few weeks after the analog issue got issued, but no sign in the digital newsstand. -
I hate 'plugging', but in this case I think it might be helpful. There is a large Pocher Enthusiast facebook group, it already has a couple of the Lotus build threads, some straight out of the box, some very extensive and some in between. It has quite good info of the mishaps in the kit and how to work around it. I just started a 'inspirational' build, I received a kit from Pocher to be build on the socials. I decided to go not straight out of the box (I did that with the Ducati I got from them) but build it as a modelkit builder, without spending a fortune on upgrades. My own Lotus will be build later and will be more extensive.
-
I have the kit and it is quite an impressive box of parts :-). The bodywork is very intricate and multiple-multiple piece. I have yet to see one finished and this one looks quite challenging. But it being a Fujimi, it shouldn't be all too bad.
-
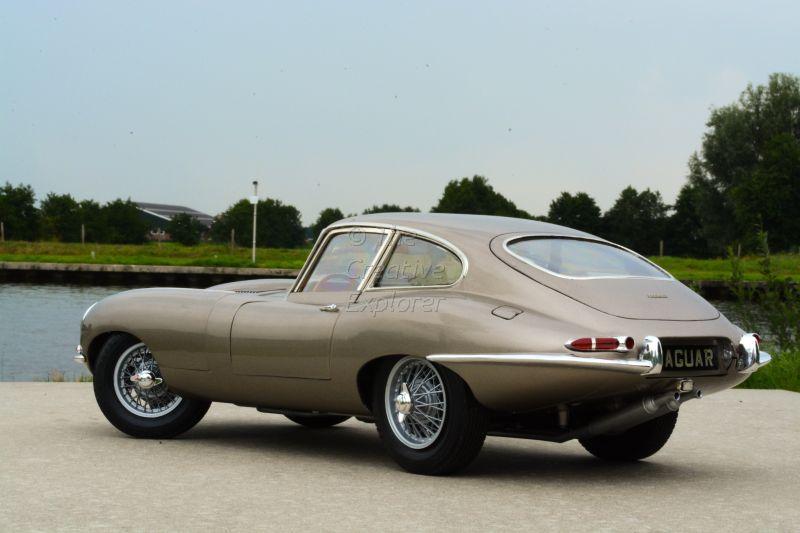
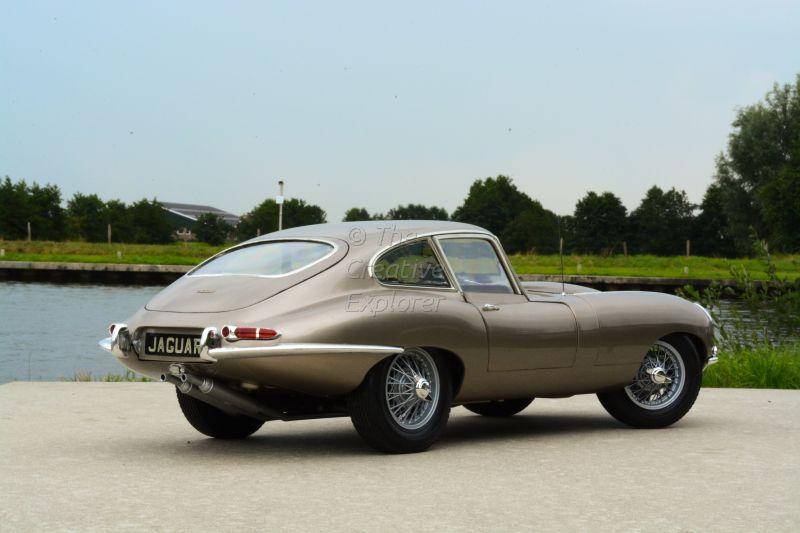
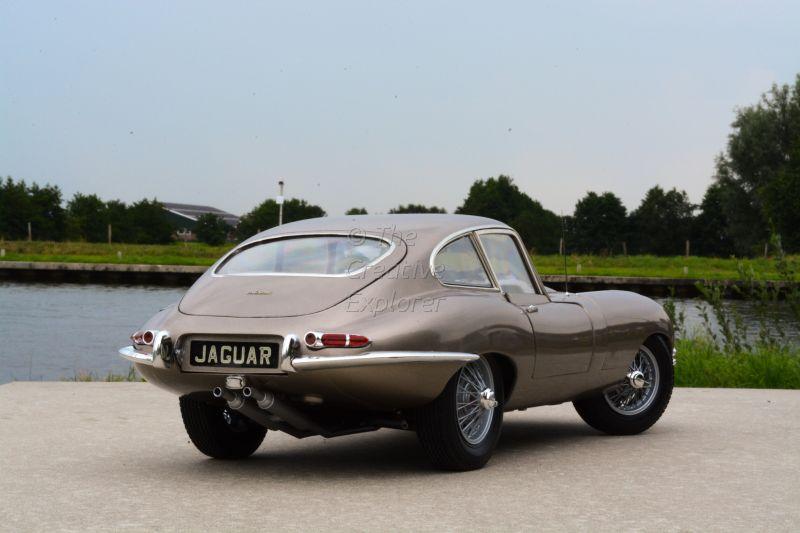
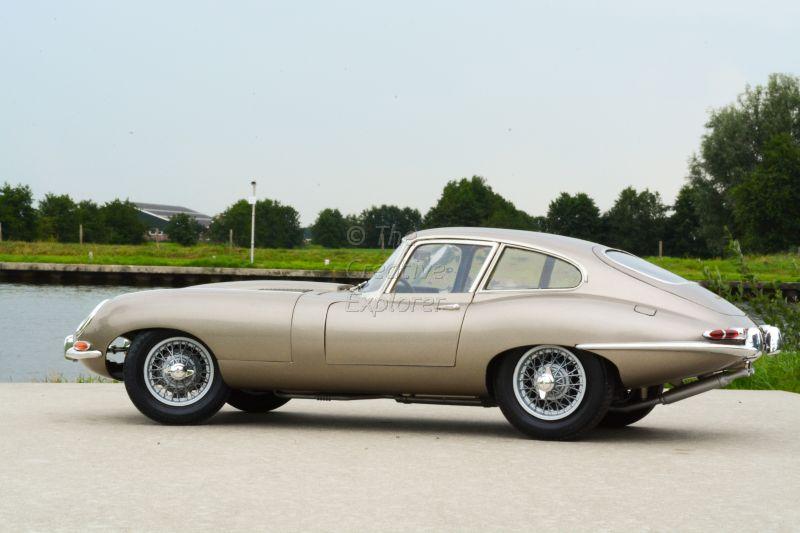
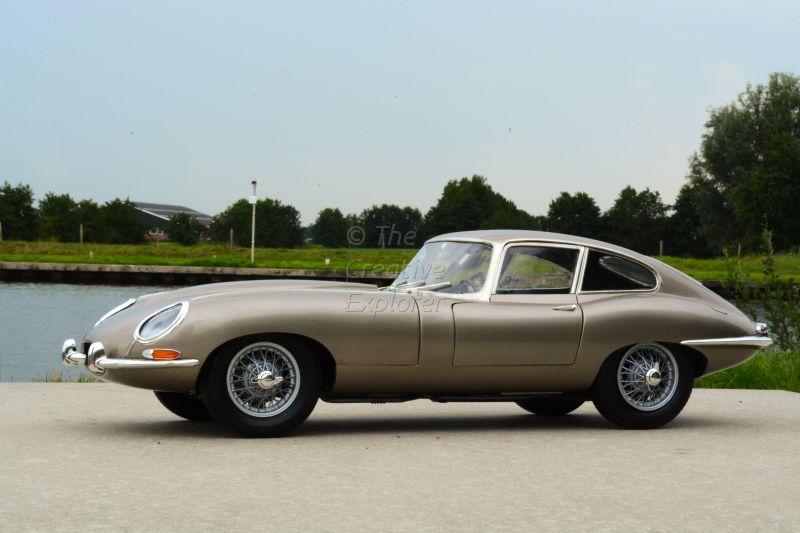
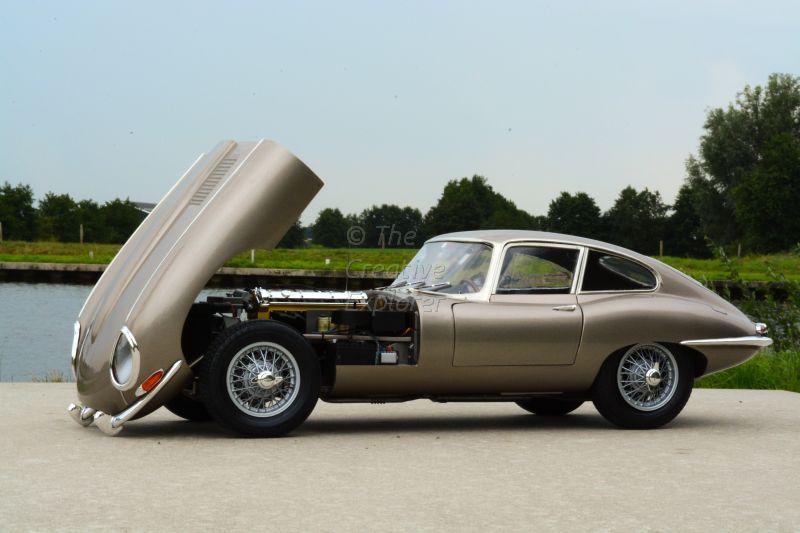
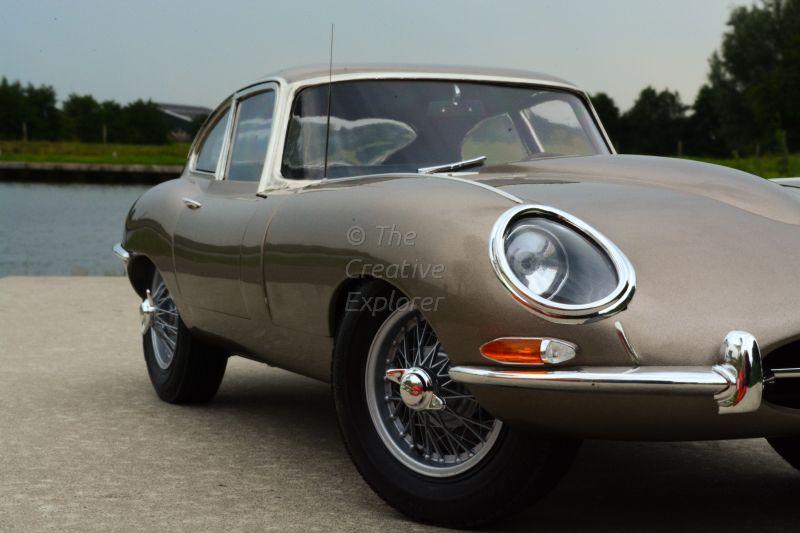
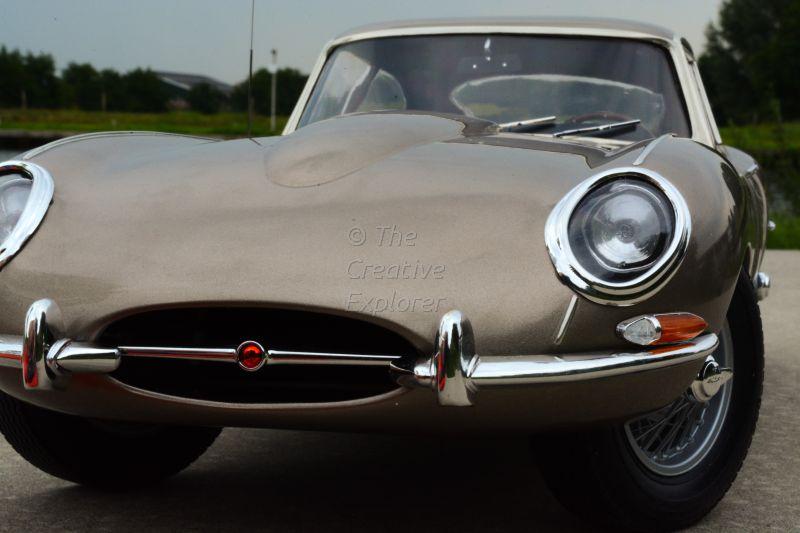
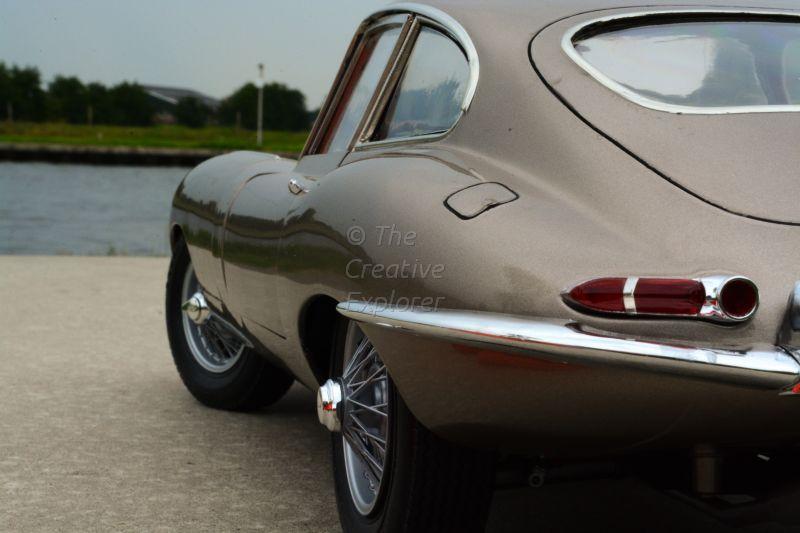
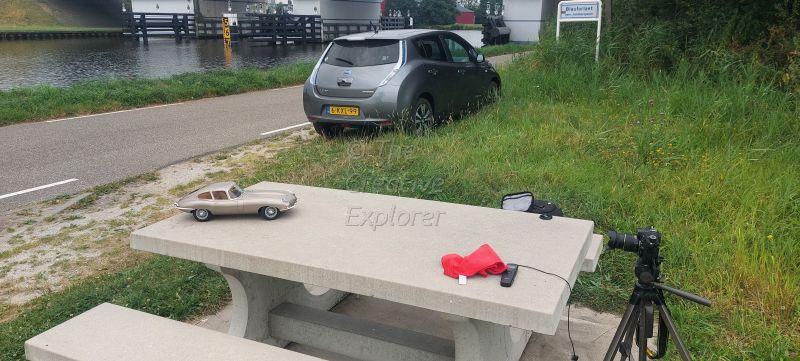
This one took me a while; I've started this project basically as we moved into our current home, a bit more than 2 years ago. I have been basically working on this project exclusively and I think it took me a year and a half to get the body and bodywork nicely and correct. Even though it is a great kit, the body is quite a work to get it nicely done. Especially in such a way that everything will be able to be put together. But, here we are, 2 years later and the results are in... I think it came out quite ok. The paint is Zero (bought just before it was being shipped to mainland Europe) and the interior is beige. The steering wheel is a PE/Wood kit (almost 80 dollars) and turns out very nice.
- 34 replies
-
- 3
-

-
- 1/8 scale
- jaguar xke
- (and 2 more)
-
1/8 Revell '79 Pontiac Firebird Trans Am
The Creative Explorer replied to Casey's topic in Car Kit News & Reviews
I think it would be wise to sit back and wait a little longer. I can not imagine Revell wouldn't release this in The States. My guess; it will be a 2023 first or second quarter release, probably retailing for 150-160 dollars. -
1/8 Revell '79 Pontiac Firebird Trans Am
The Creative Explorer replied to Casey's topic in Car Kit News & Reviews
I received my Firebird today and it is a delight! The body is now molded in grey, (not sure if that was known yet), the clear parts are actually clear and not smoked. Plus the decals are a huge upgrade! You can compare it to the last Stingray issue; it has way more decals to dress up the engine bay. Since the decals are printed in Italy, I dare to assume they are Cartograf. And also noticable; there are 4 different film-versions to be build: Smokey and the Bandit (II?), The Hunter, IT, and another one that I forgot for the moment.- 129 replies
-
- 1
-
-
- revell 07710
- trans am
- (and 2 more)
-
I think they were attached JPEG's, but unsure why they disappeared? It might have to do with the forum overhaul.
-
Vallejo Model Air
The Creative Explorer replied to showrods's topic in Model Building Questions and Answers
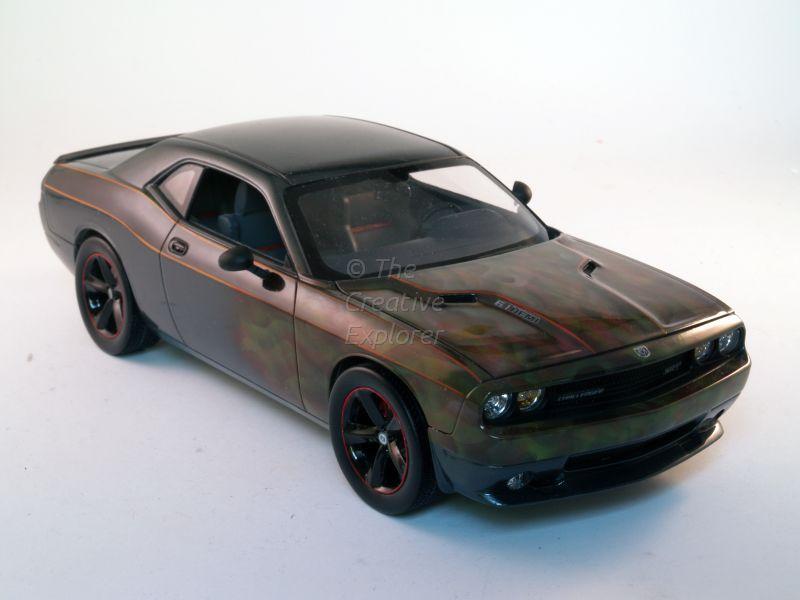
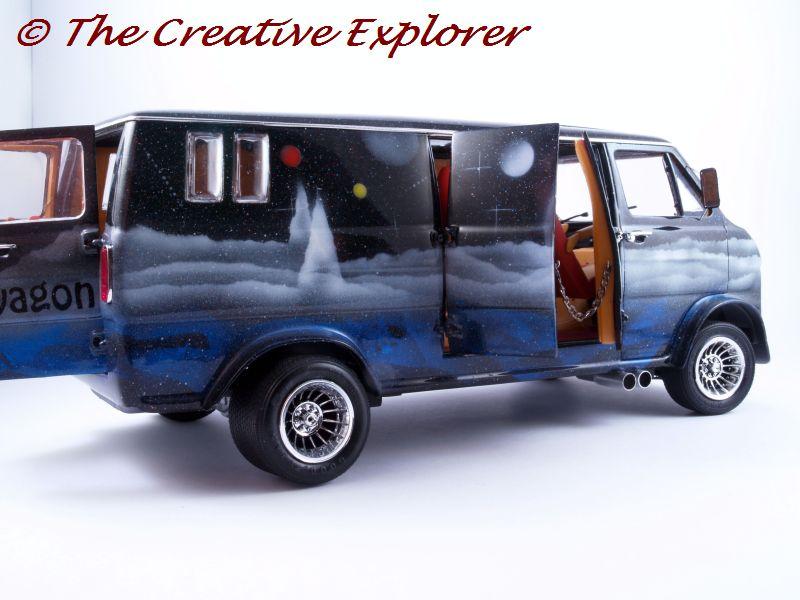
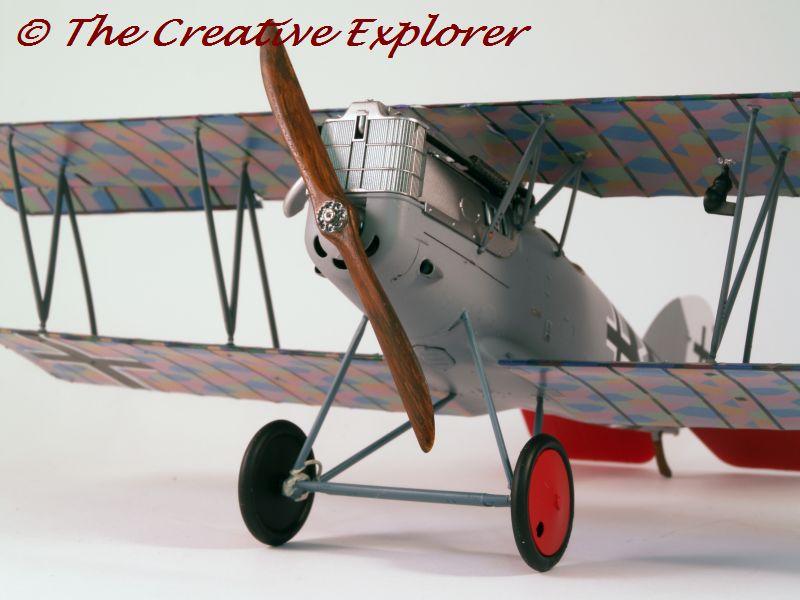
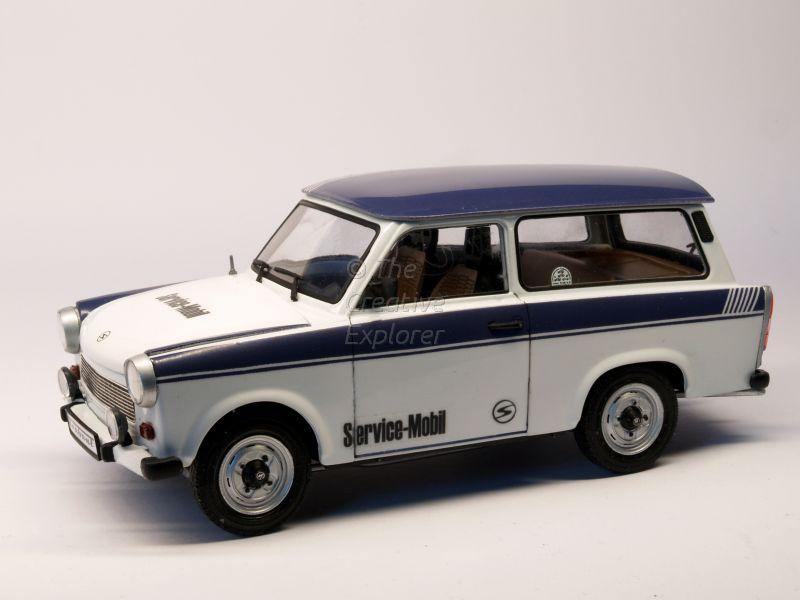
I guessed I earned a bit of credit when it comes to paint and finish, but sure, here is 'proof'.... The yacht is painted with Model Air black 057, Model Air Gun Metallic and Model Air Orange, clearcoated with Zero 2K The same goes for the matching Challenger, although it had some more Model Air colors on the front (red, yellow, white and orange) The BMW M1 has a combination of Zero colours and Model Air colors, everything apart from the numbers is airbrushed, clearcoated with Ultimate Paints 2K The artwork is done with Model Air colors, the finish is Zero 2K The Pfalz is done with Model Air grey something and Model air red, clearcoated in Zero 2k and zero 2K matte. The Trabant is painted with Zero white and a mixed purple Model air color, clearcoated in Zero 2k.
-
Vallejo Model Air
The Creative Explorer replied to showrods's topic in Model Building Questions and Answers
I have and I agree with @Dpate; the primer does not sand. However, the primer does stick! I do use both Vallejo primer and the Vallejo model air sometimes on a body. I use the primer when I know the body is all smooth and does not have to be altered anymore. The Vallejo Model air works good for solid colors, not such fan of the metallics. It is quite resistent to many different clear coats. I do have the Vallejo clears, but I use them only for smaller parts. I use PU 2K as a clearcoat and Model Air handles that without problems. -
I got my order placed today as well, I am wondering in how long it will take to get here and how much taxes I have to pay at customs ?
-
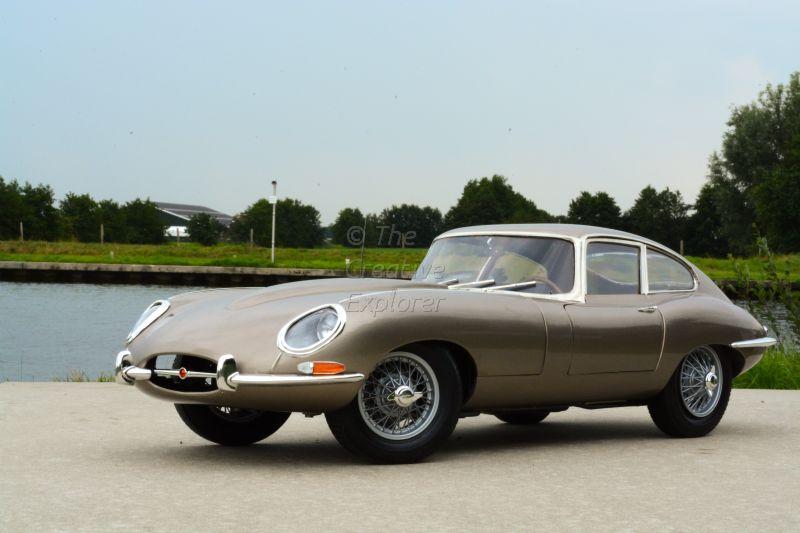
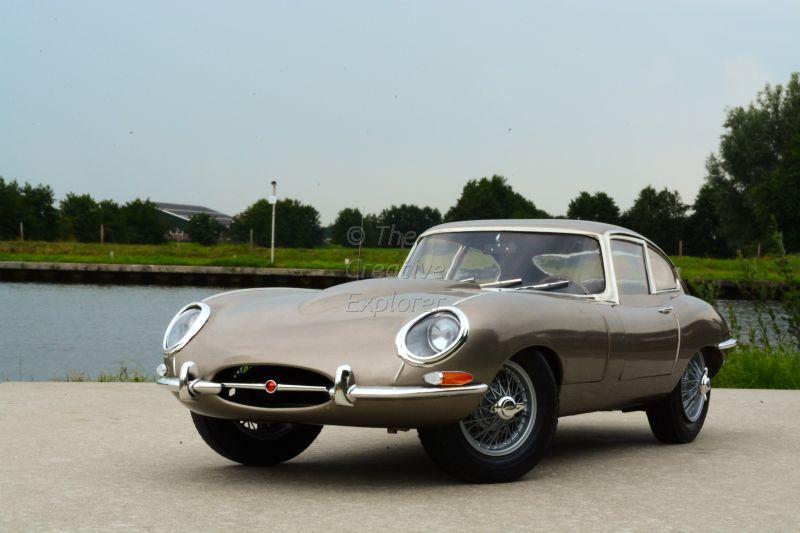
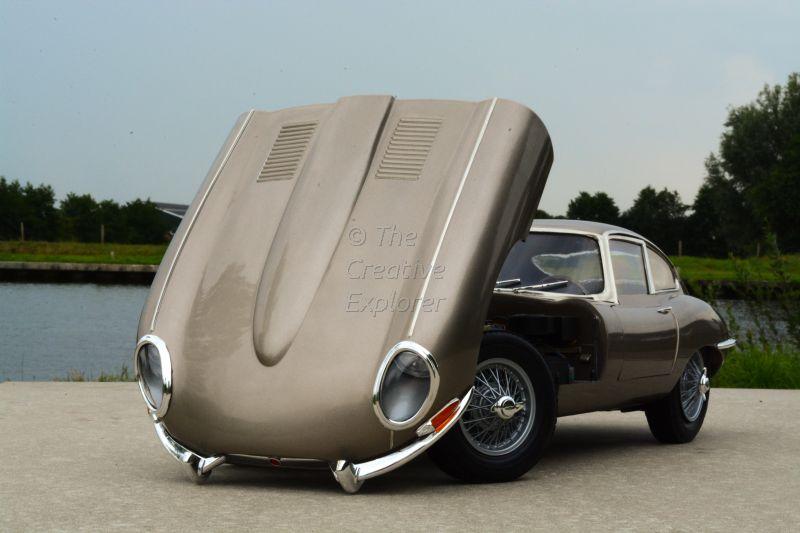
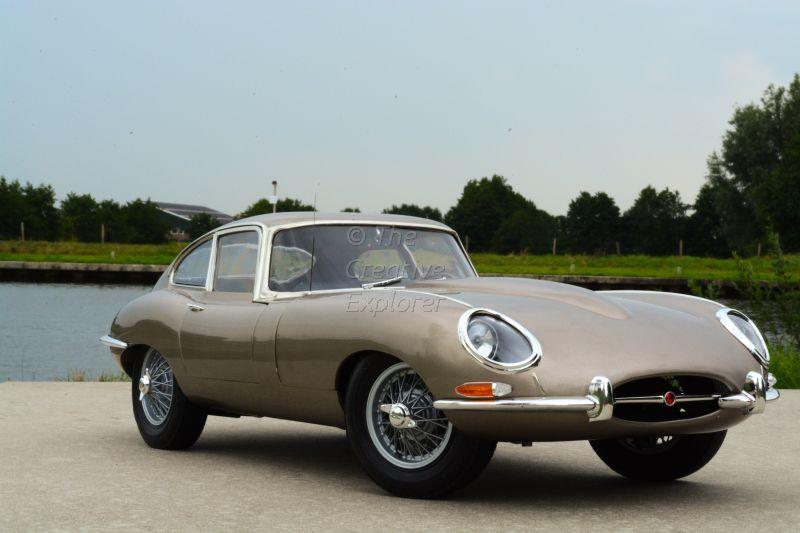
Thank you John & David! John, did you order the chrome as one would regular order? I have some foil left, perhaps for 2 or 3 cars, but I have to do a 1:8 Jaguar and need almost one sheet alone for that car.