Bullybeef
-
Posts
2,290 -
Joined
-
Last visited
Content Type
Profiles
Forums
Events
Gallery
Everything posted by Bullybeef
-
Already done sir, and thank you
-
That looks sinister even in white!
-
Thank you Larry, I’m happy to get this one finally finished.
-
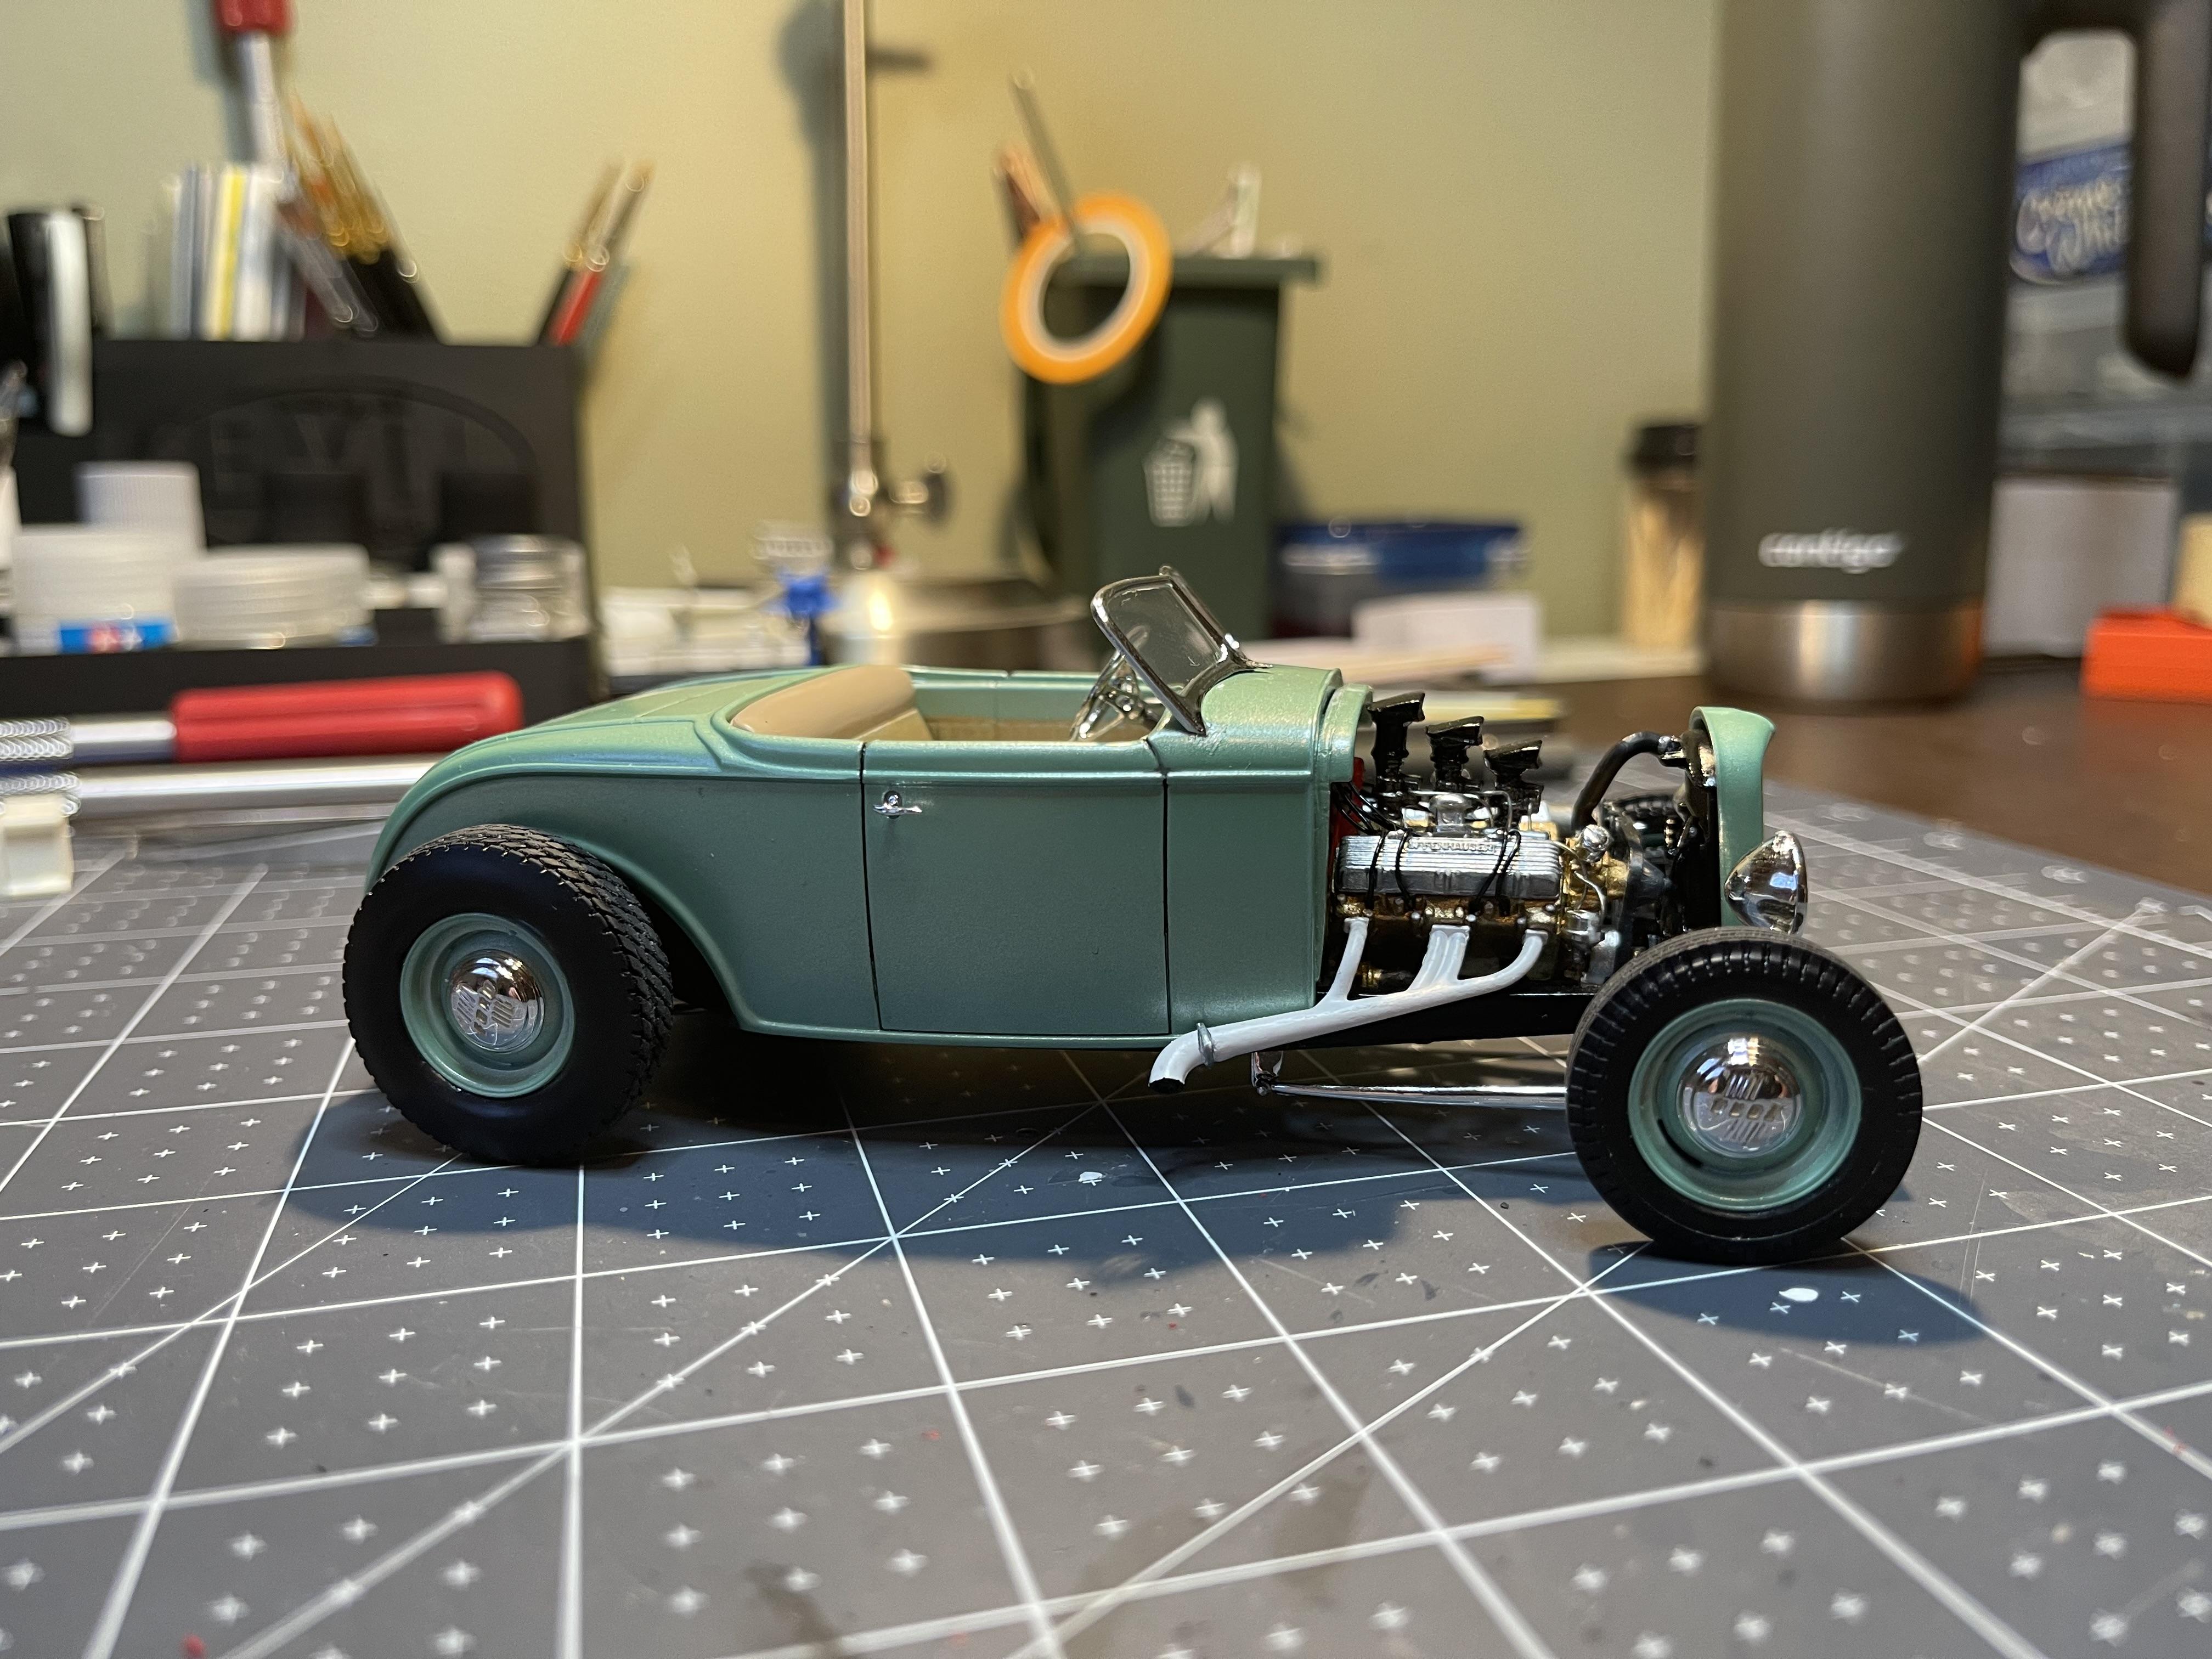
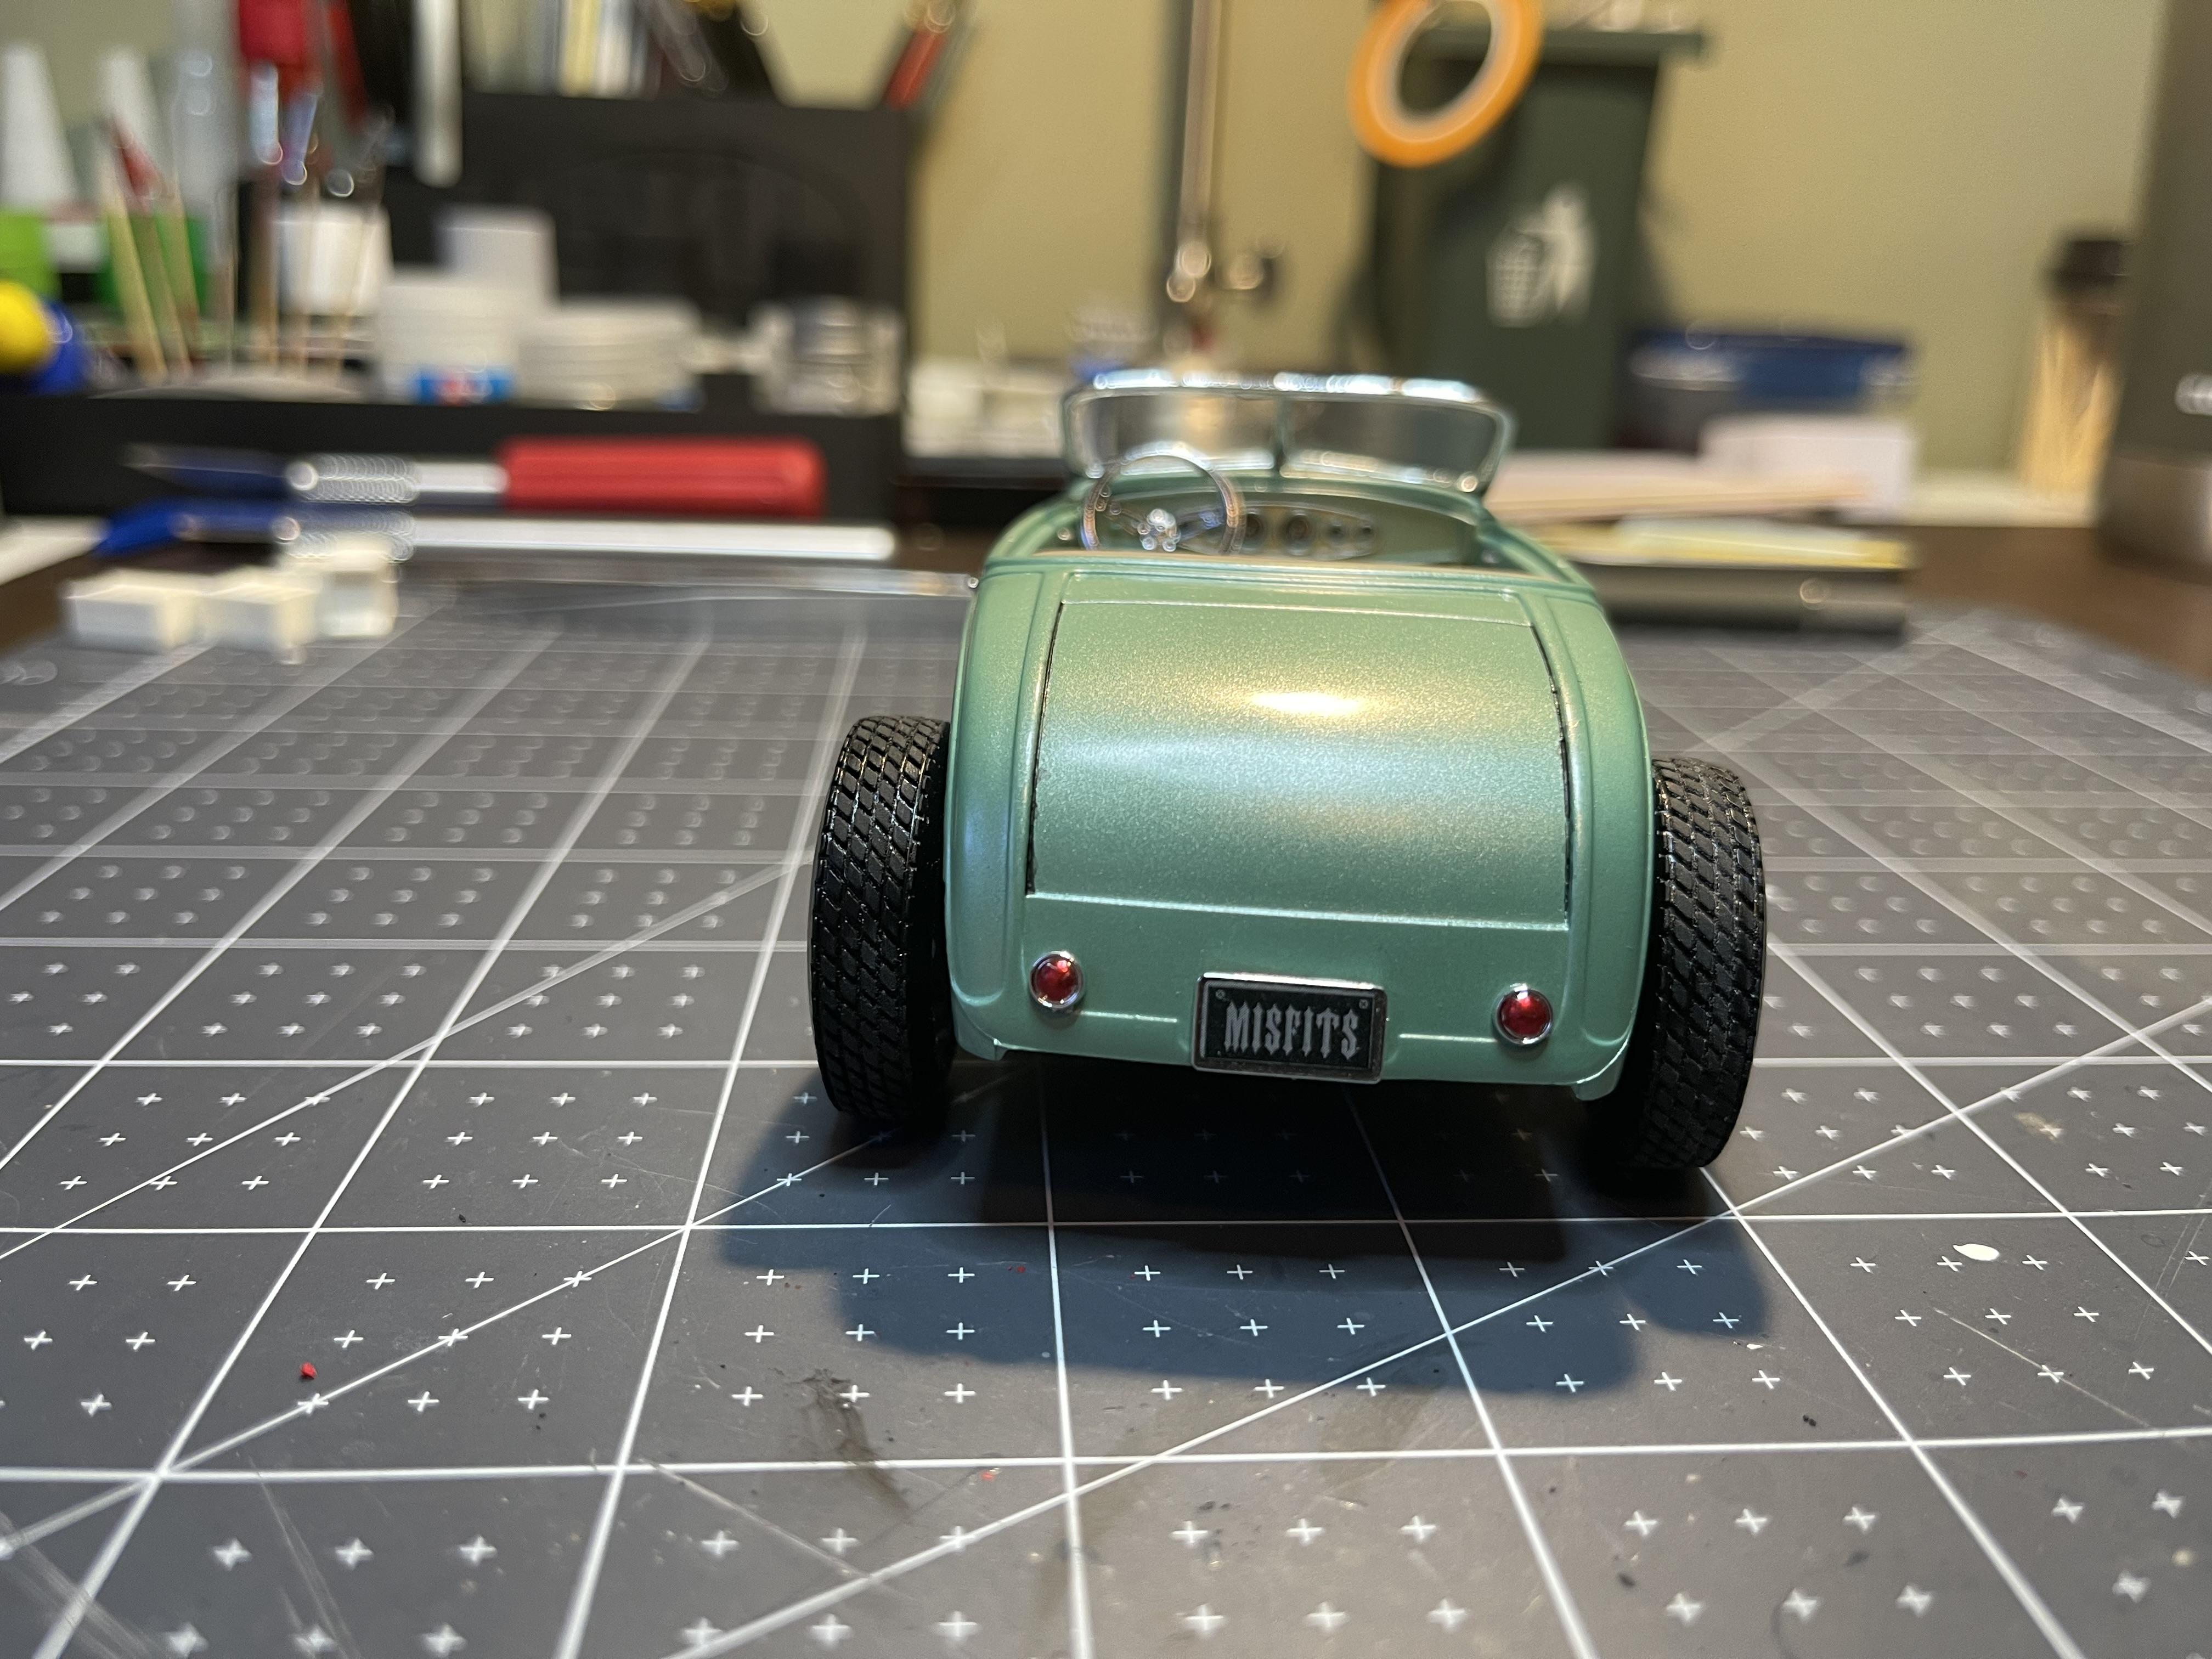
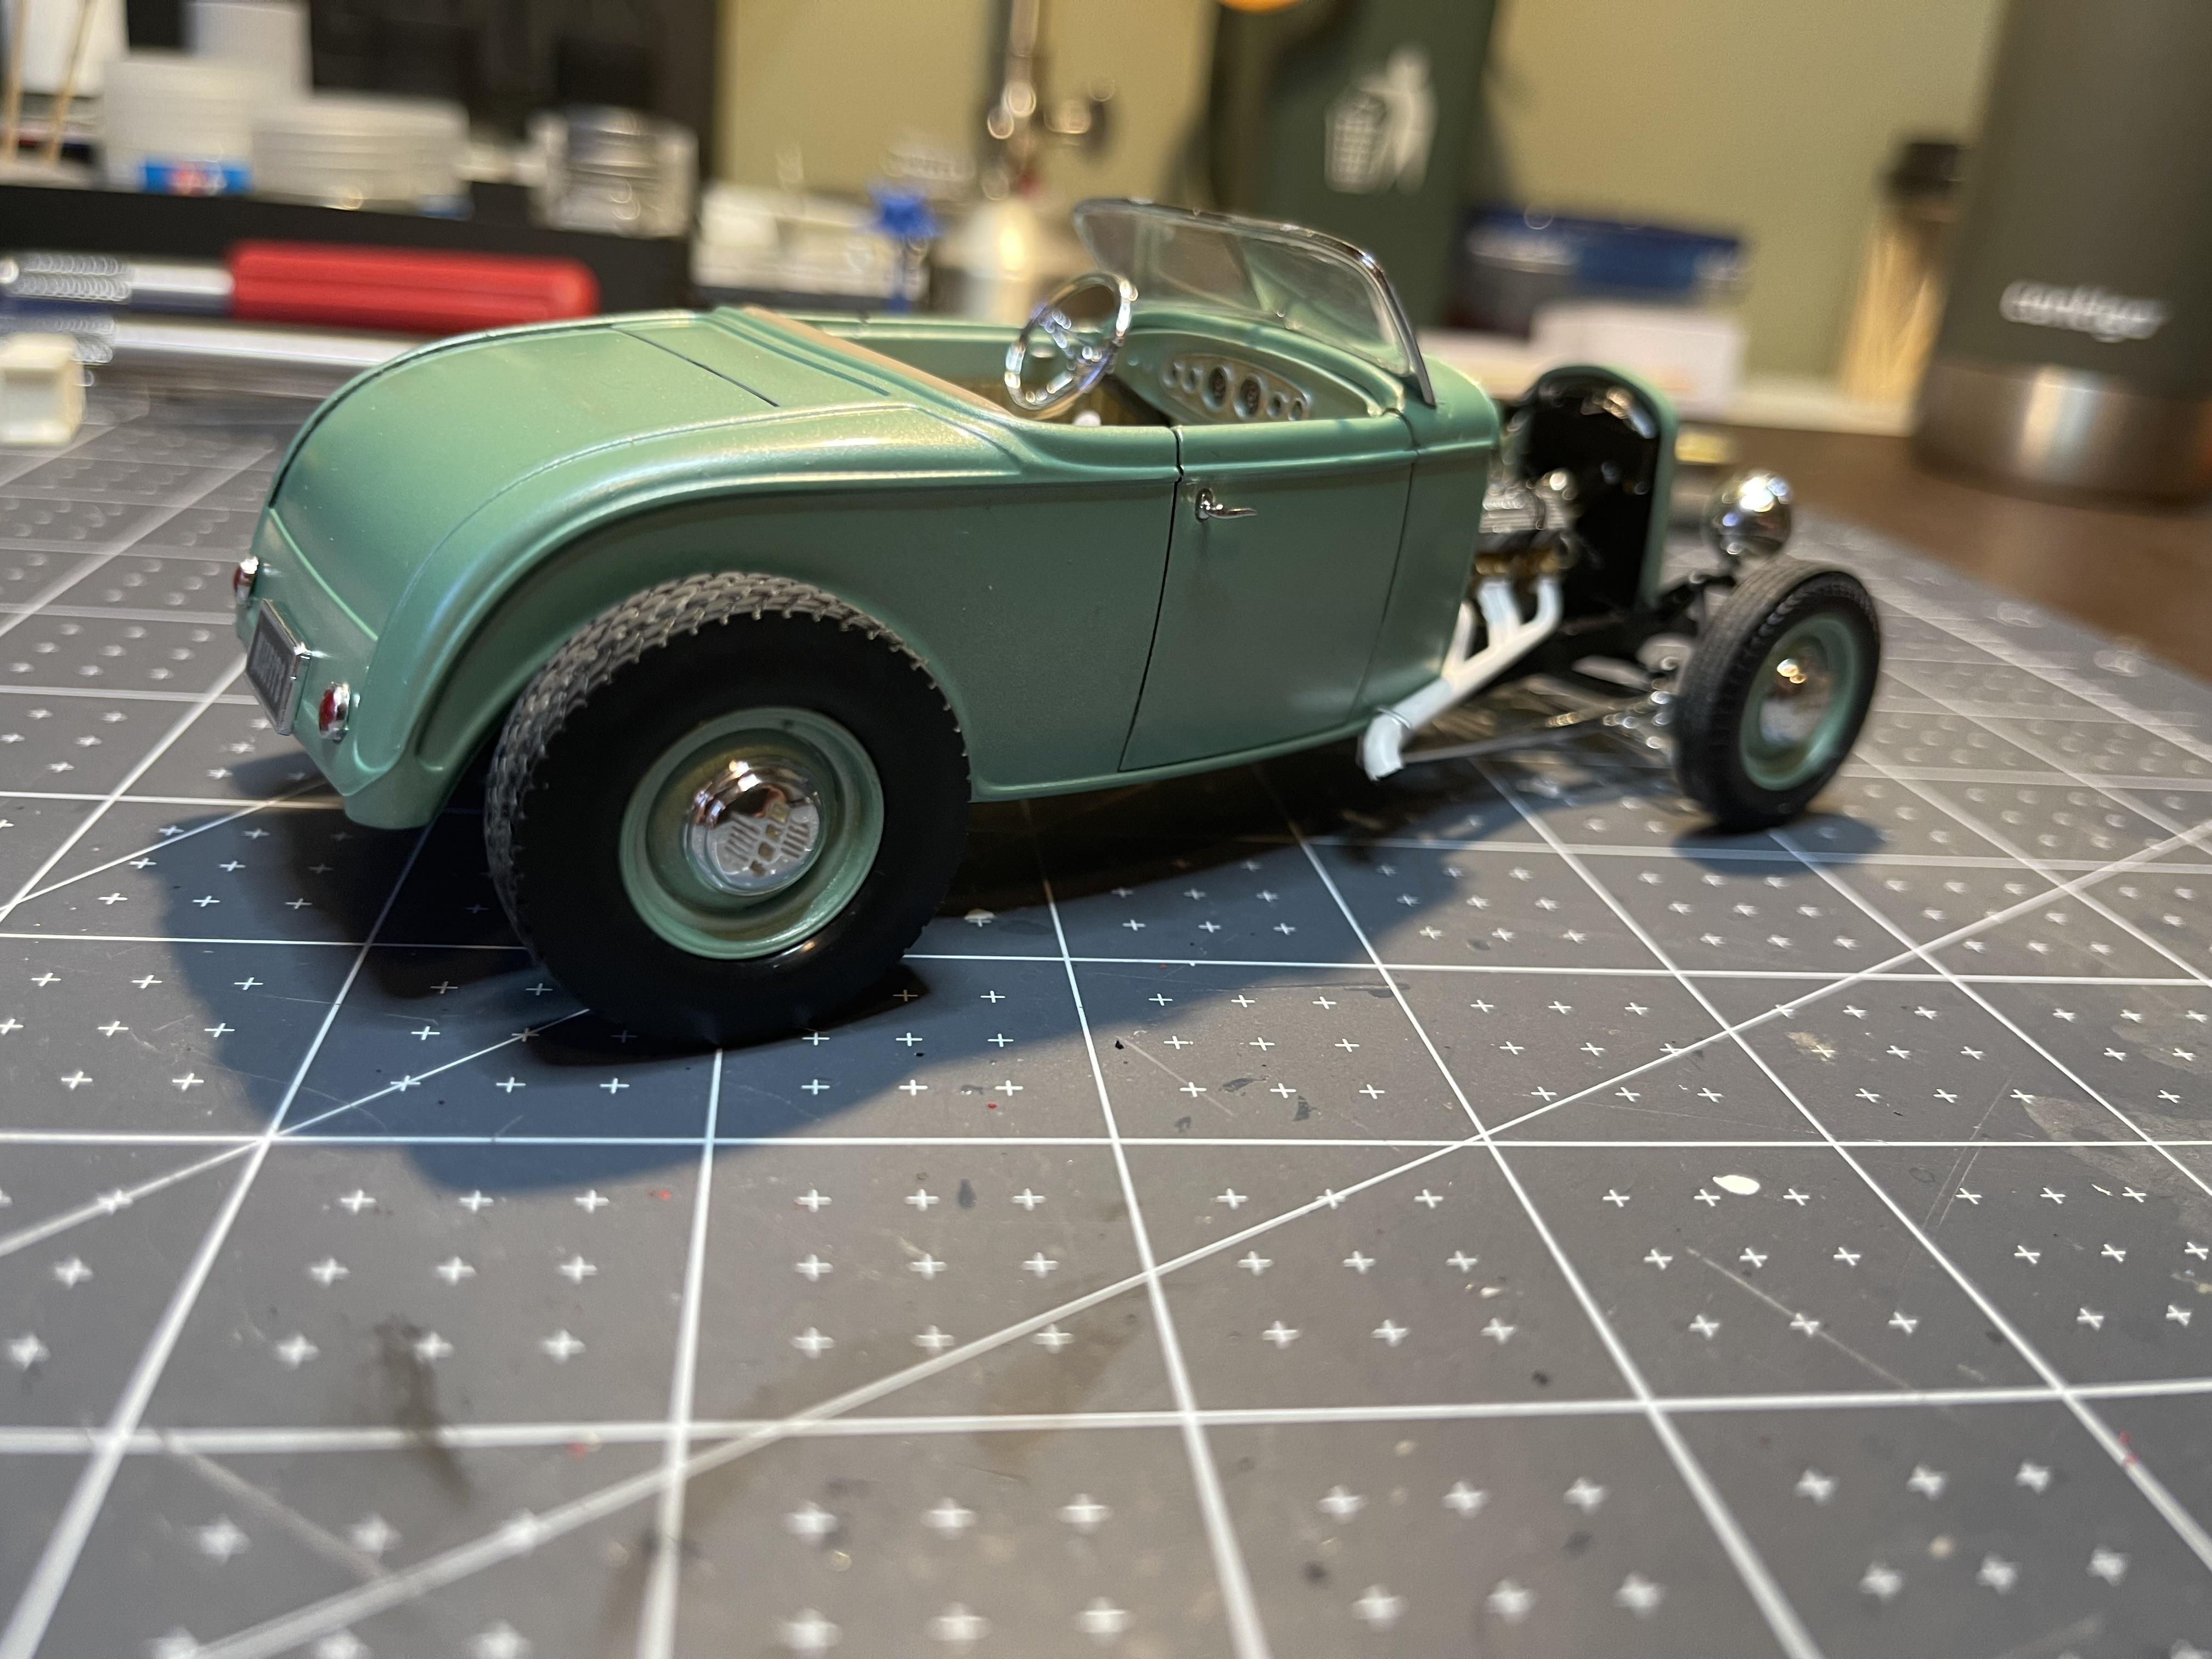
Thanks Stuart, yes it is Tamiya Pearl Green it’s a beautiful green imho.
-
Thanks Ken, it’s a great kit and I highly recommend it.
-
Thank you David. It was a fun build.
-
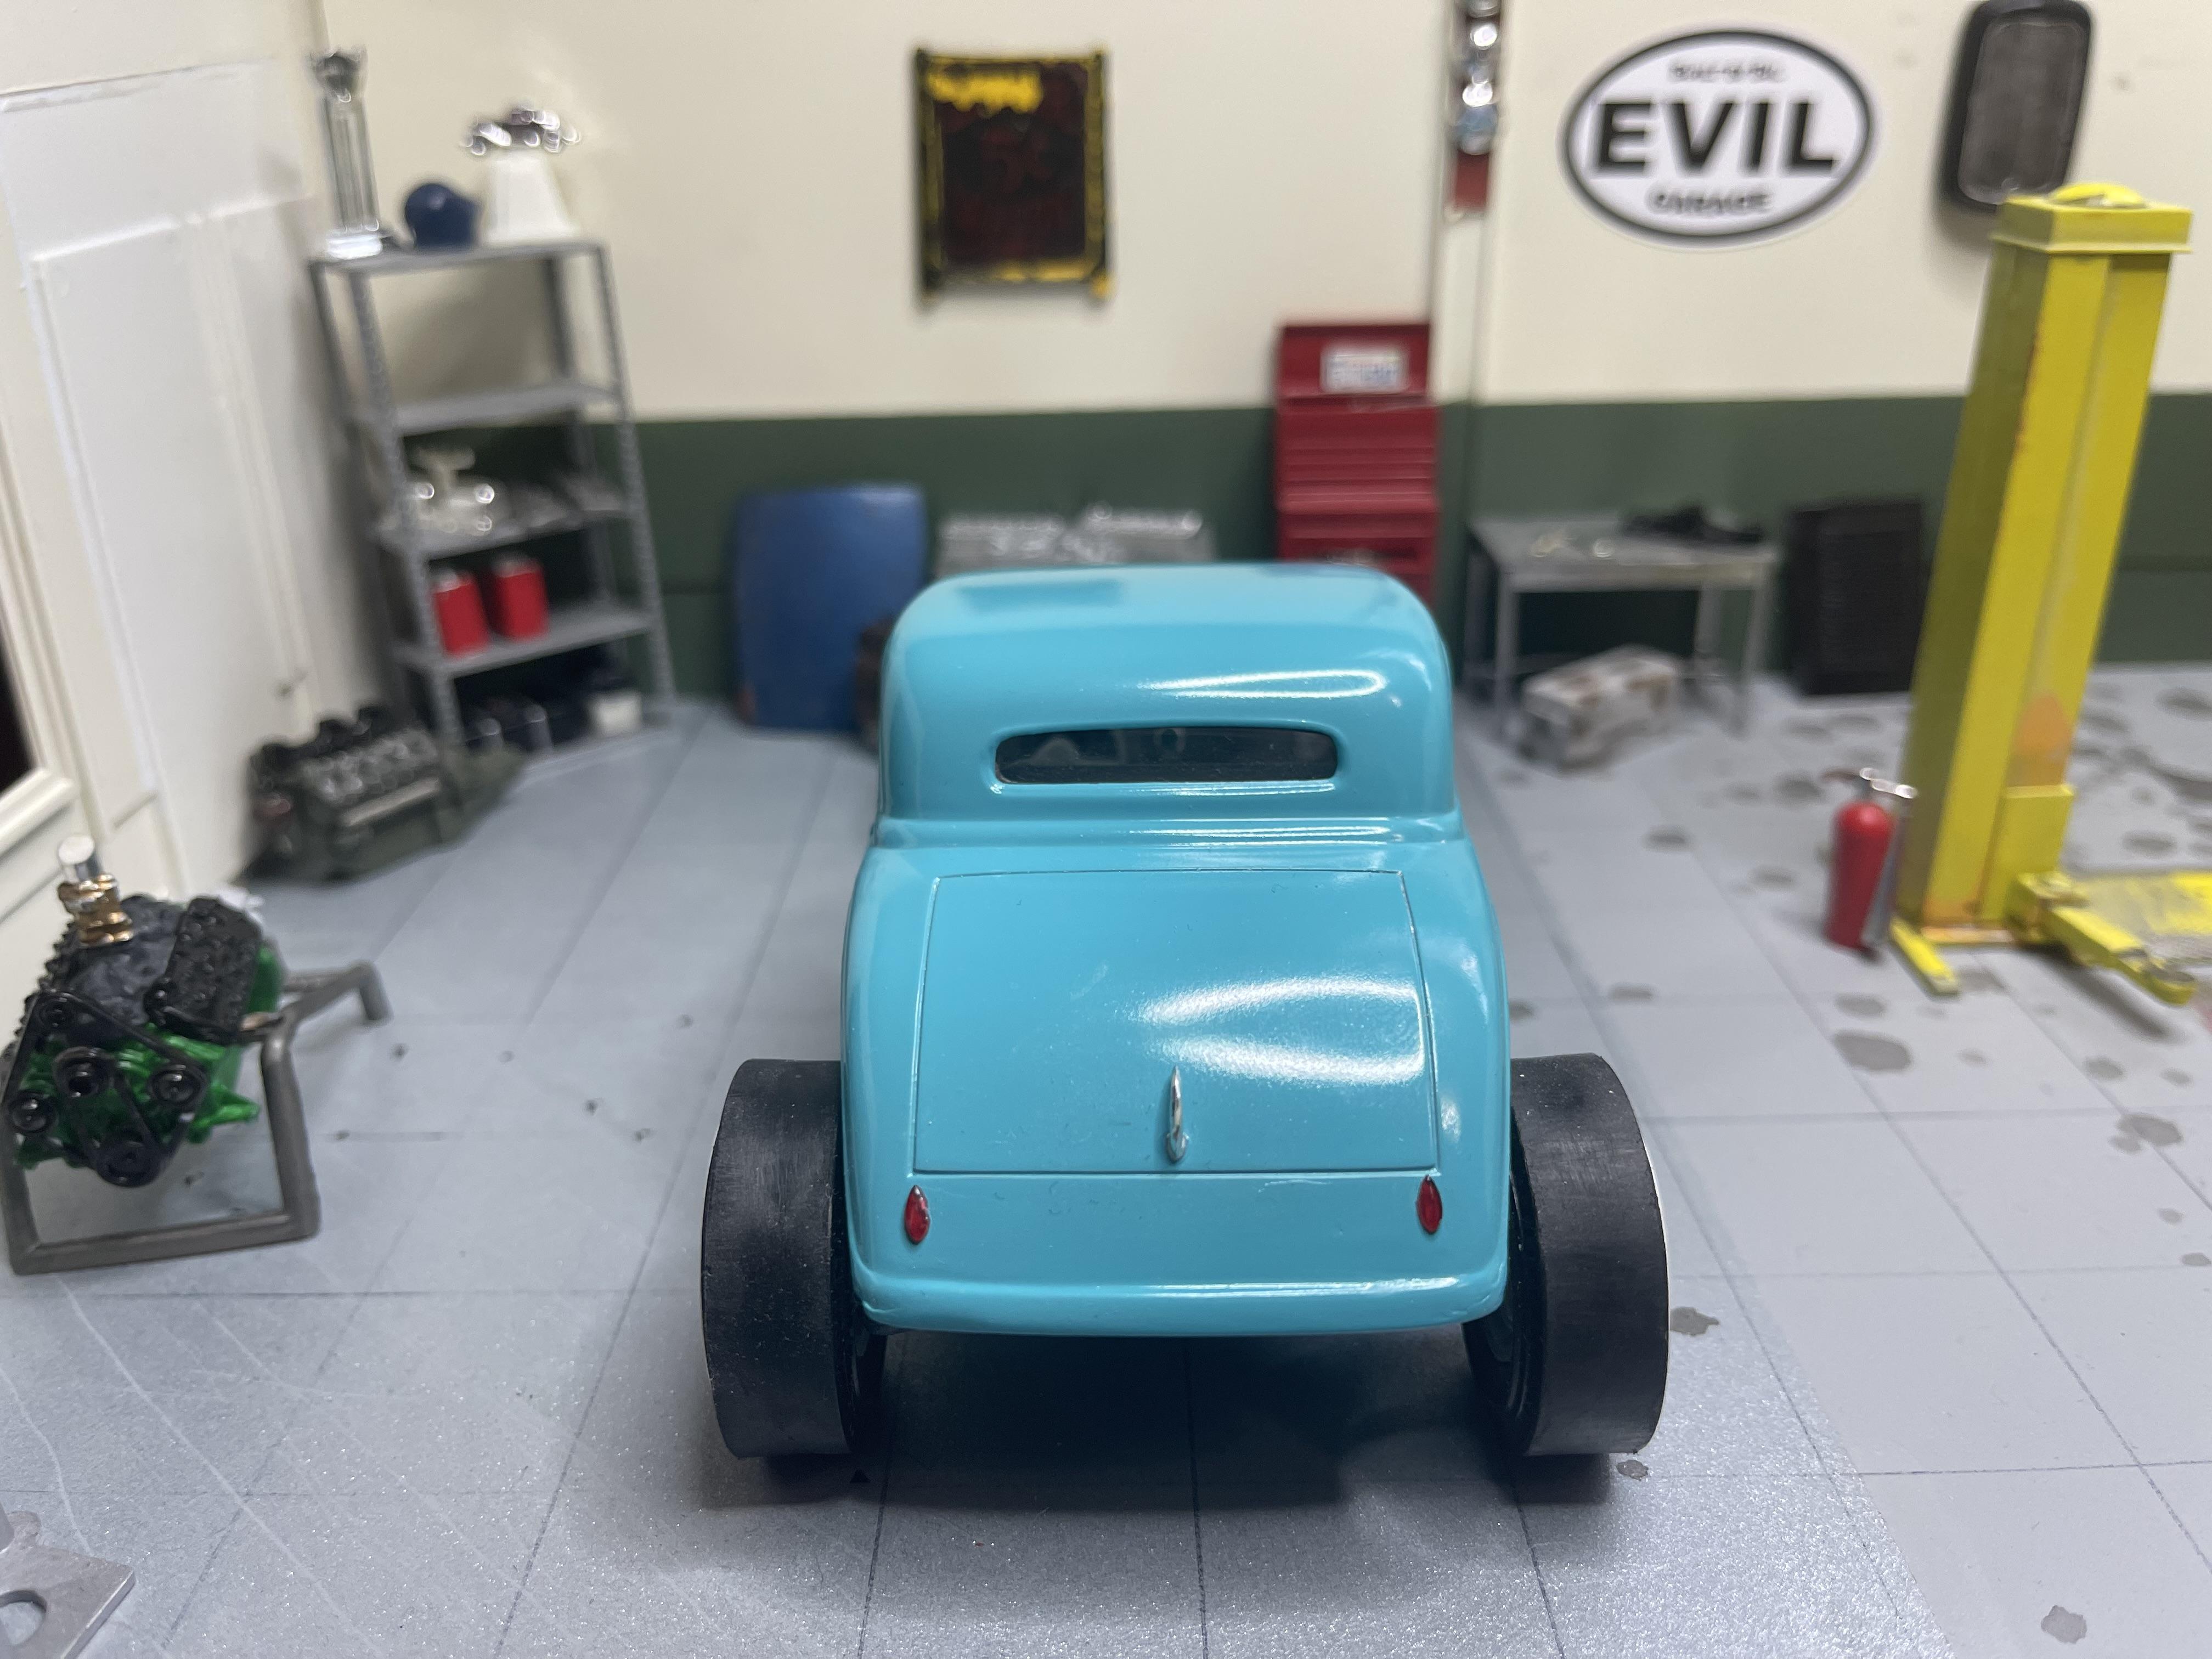
Well let’s call it finished, I may revisit and repaint once the weather is nicer.
-
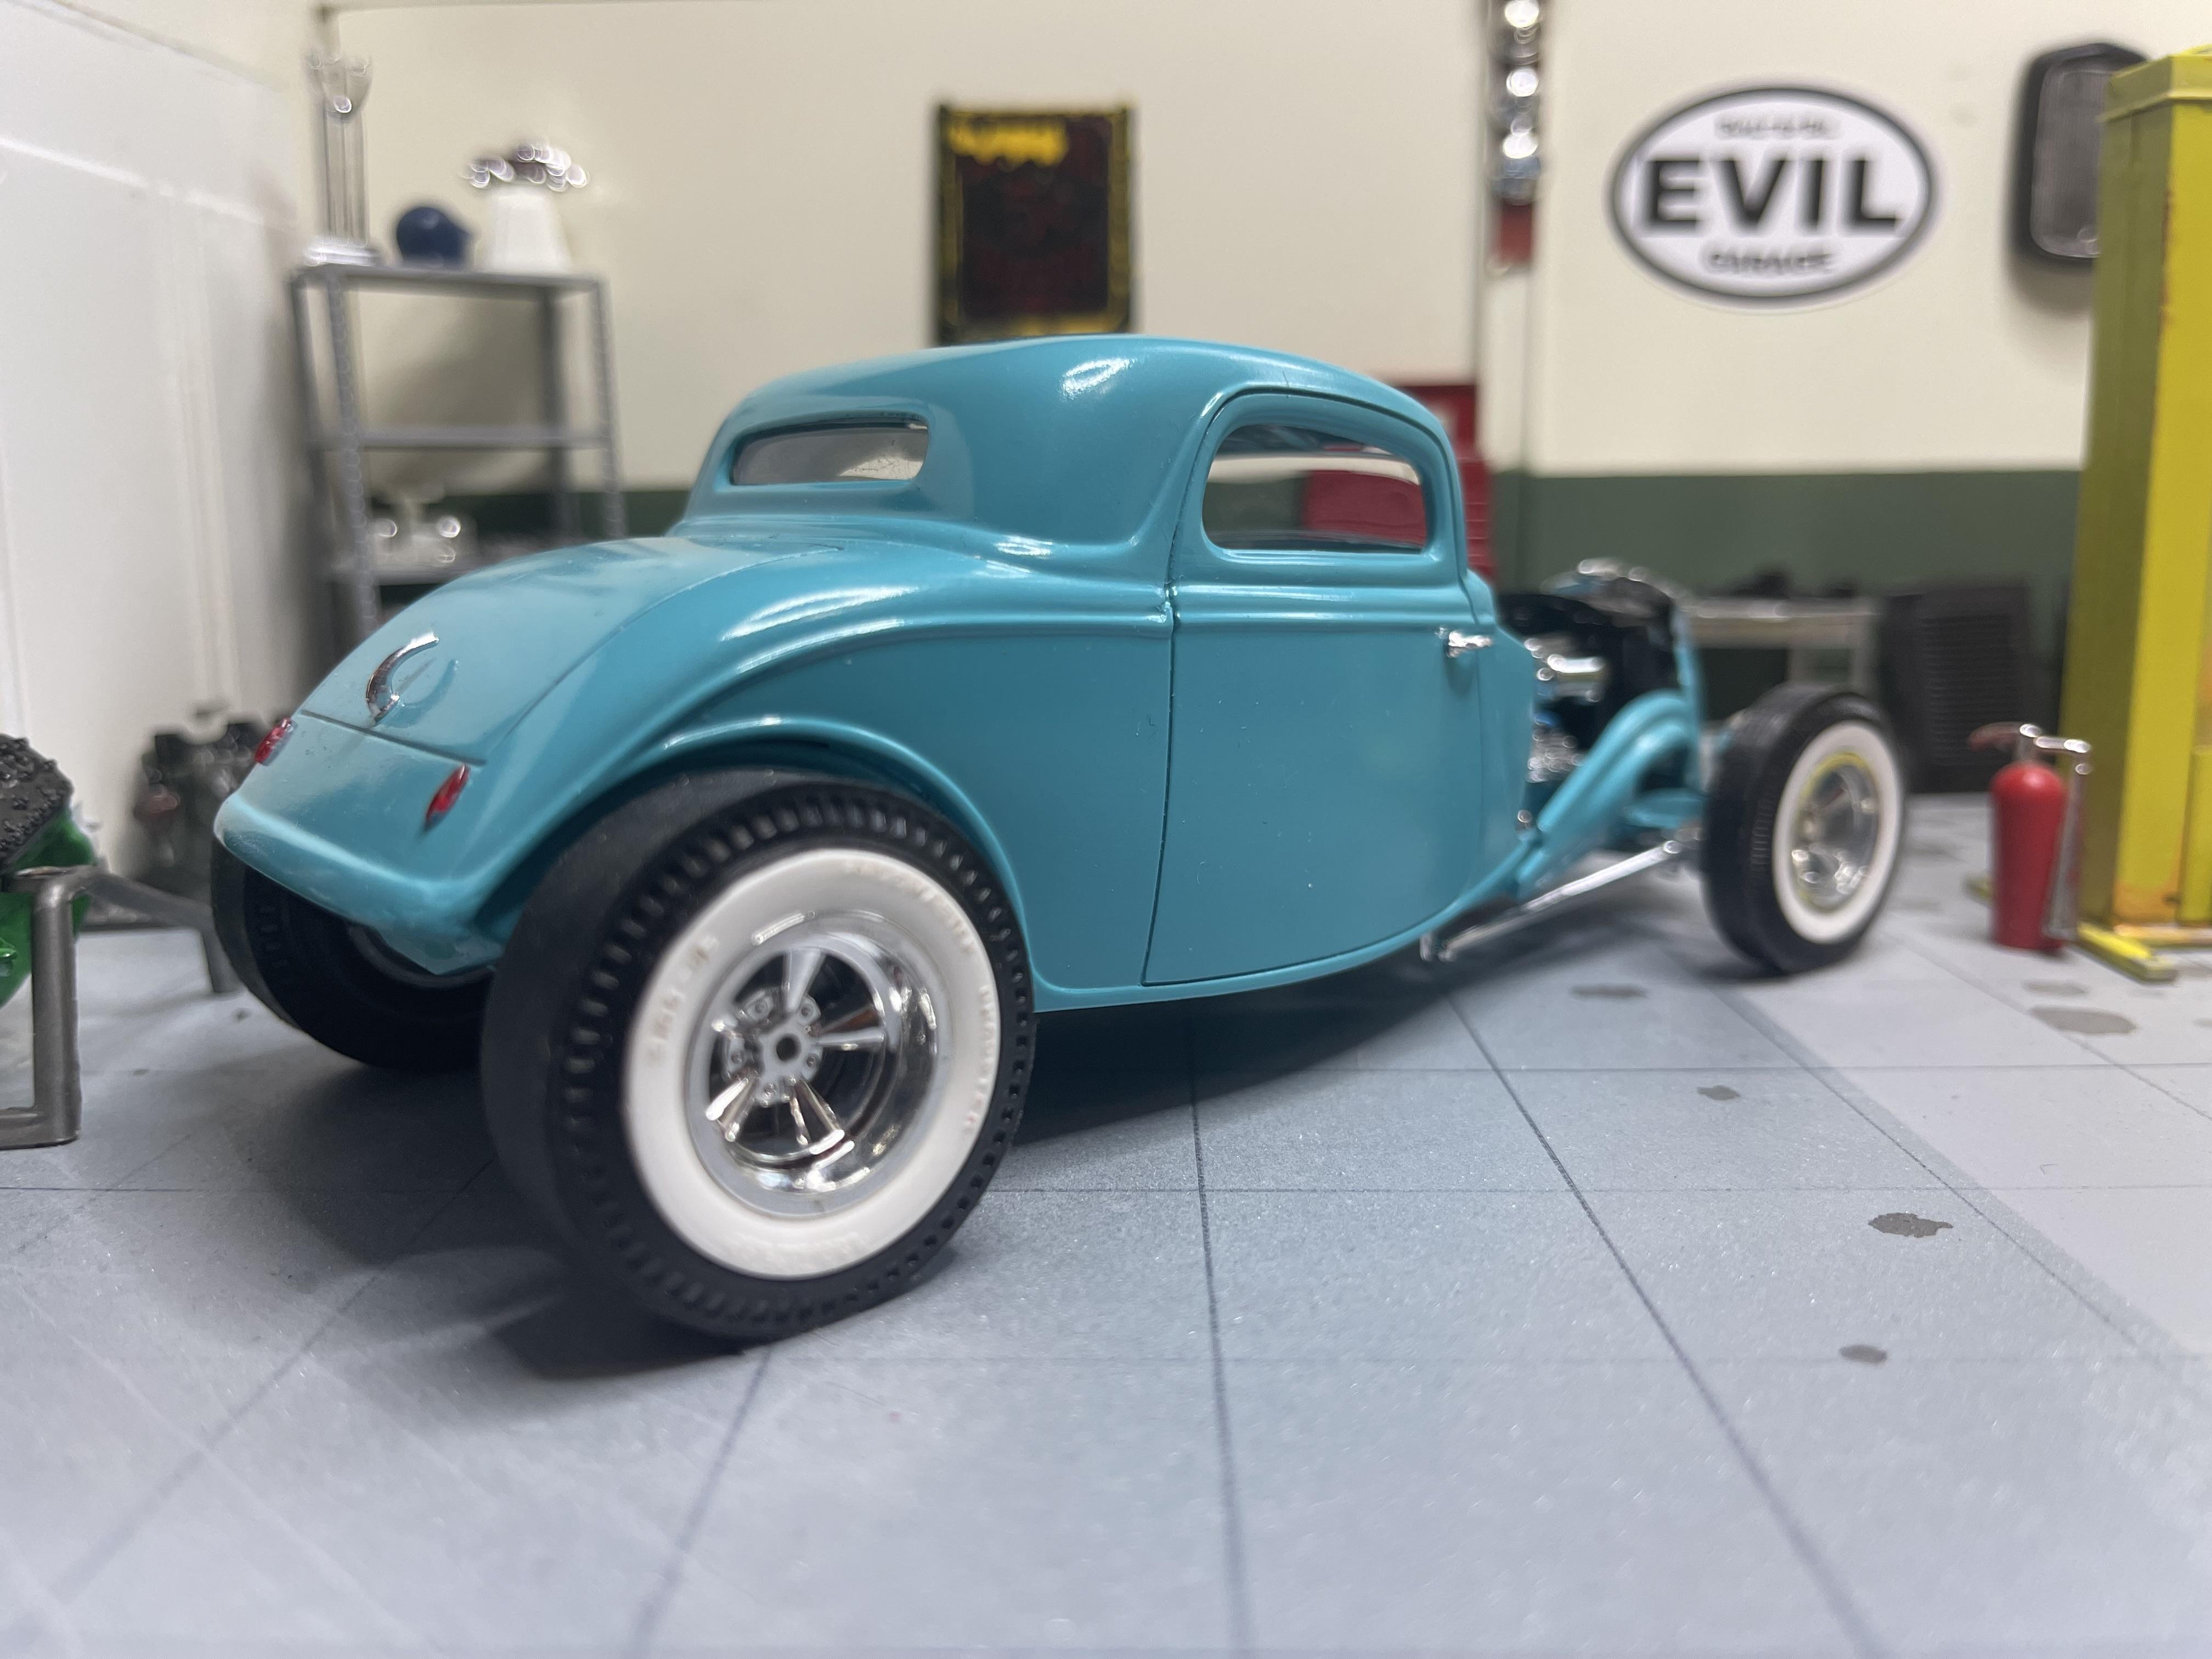
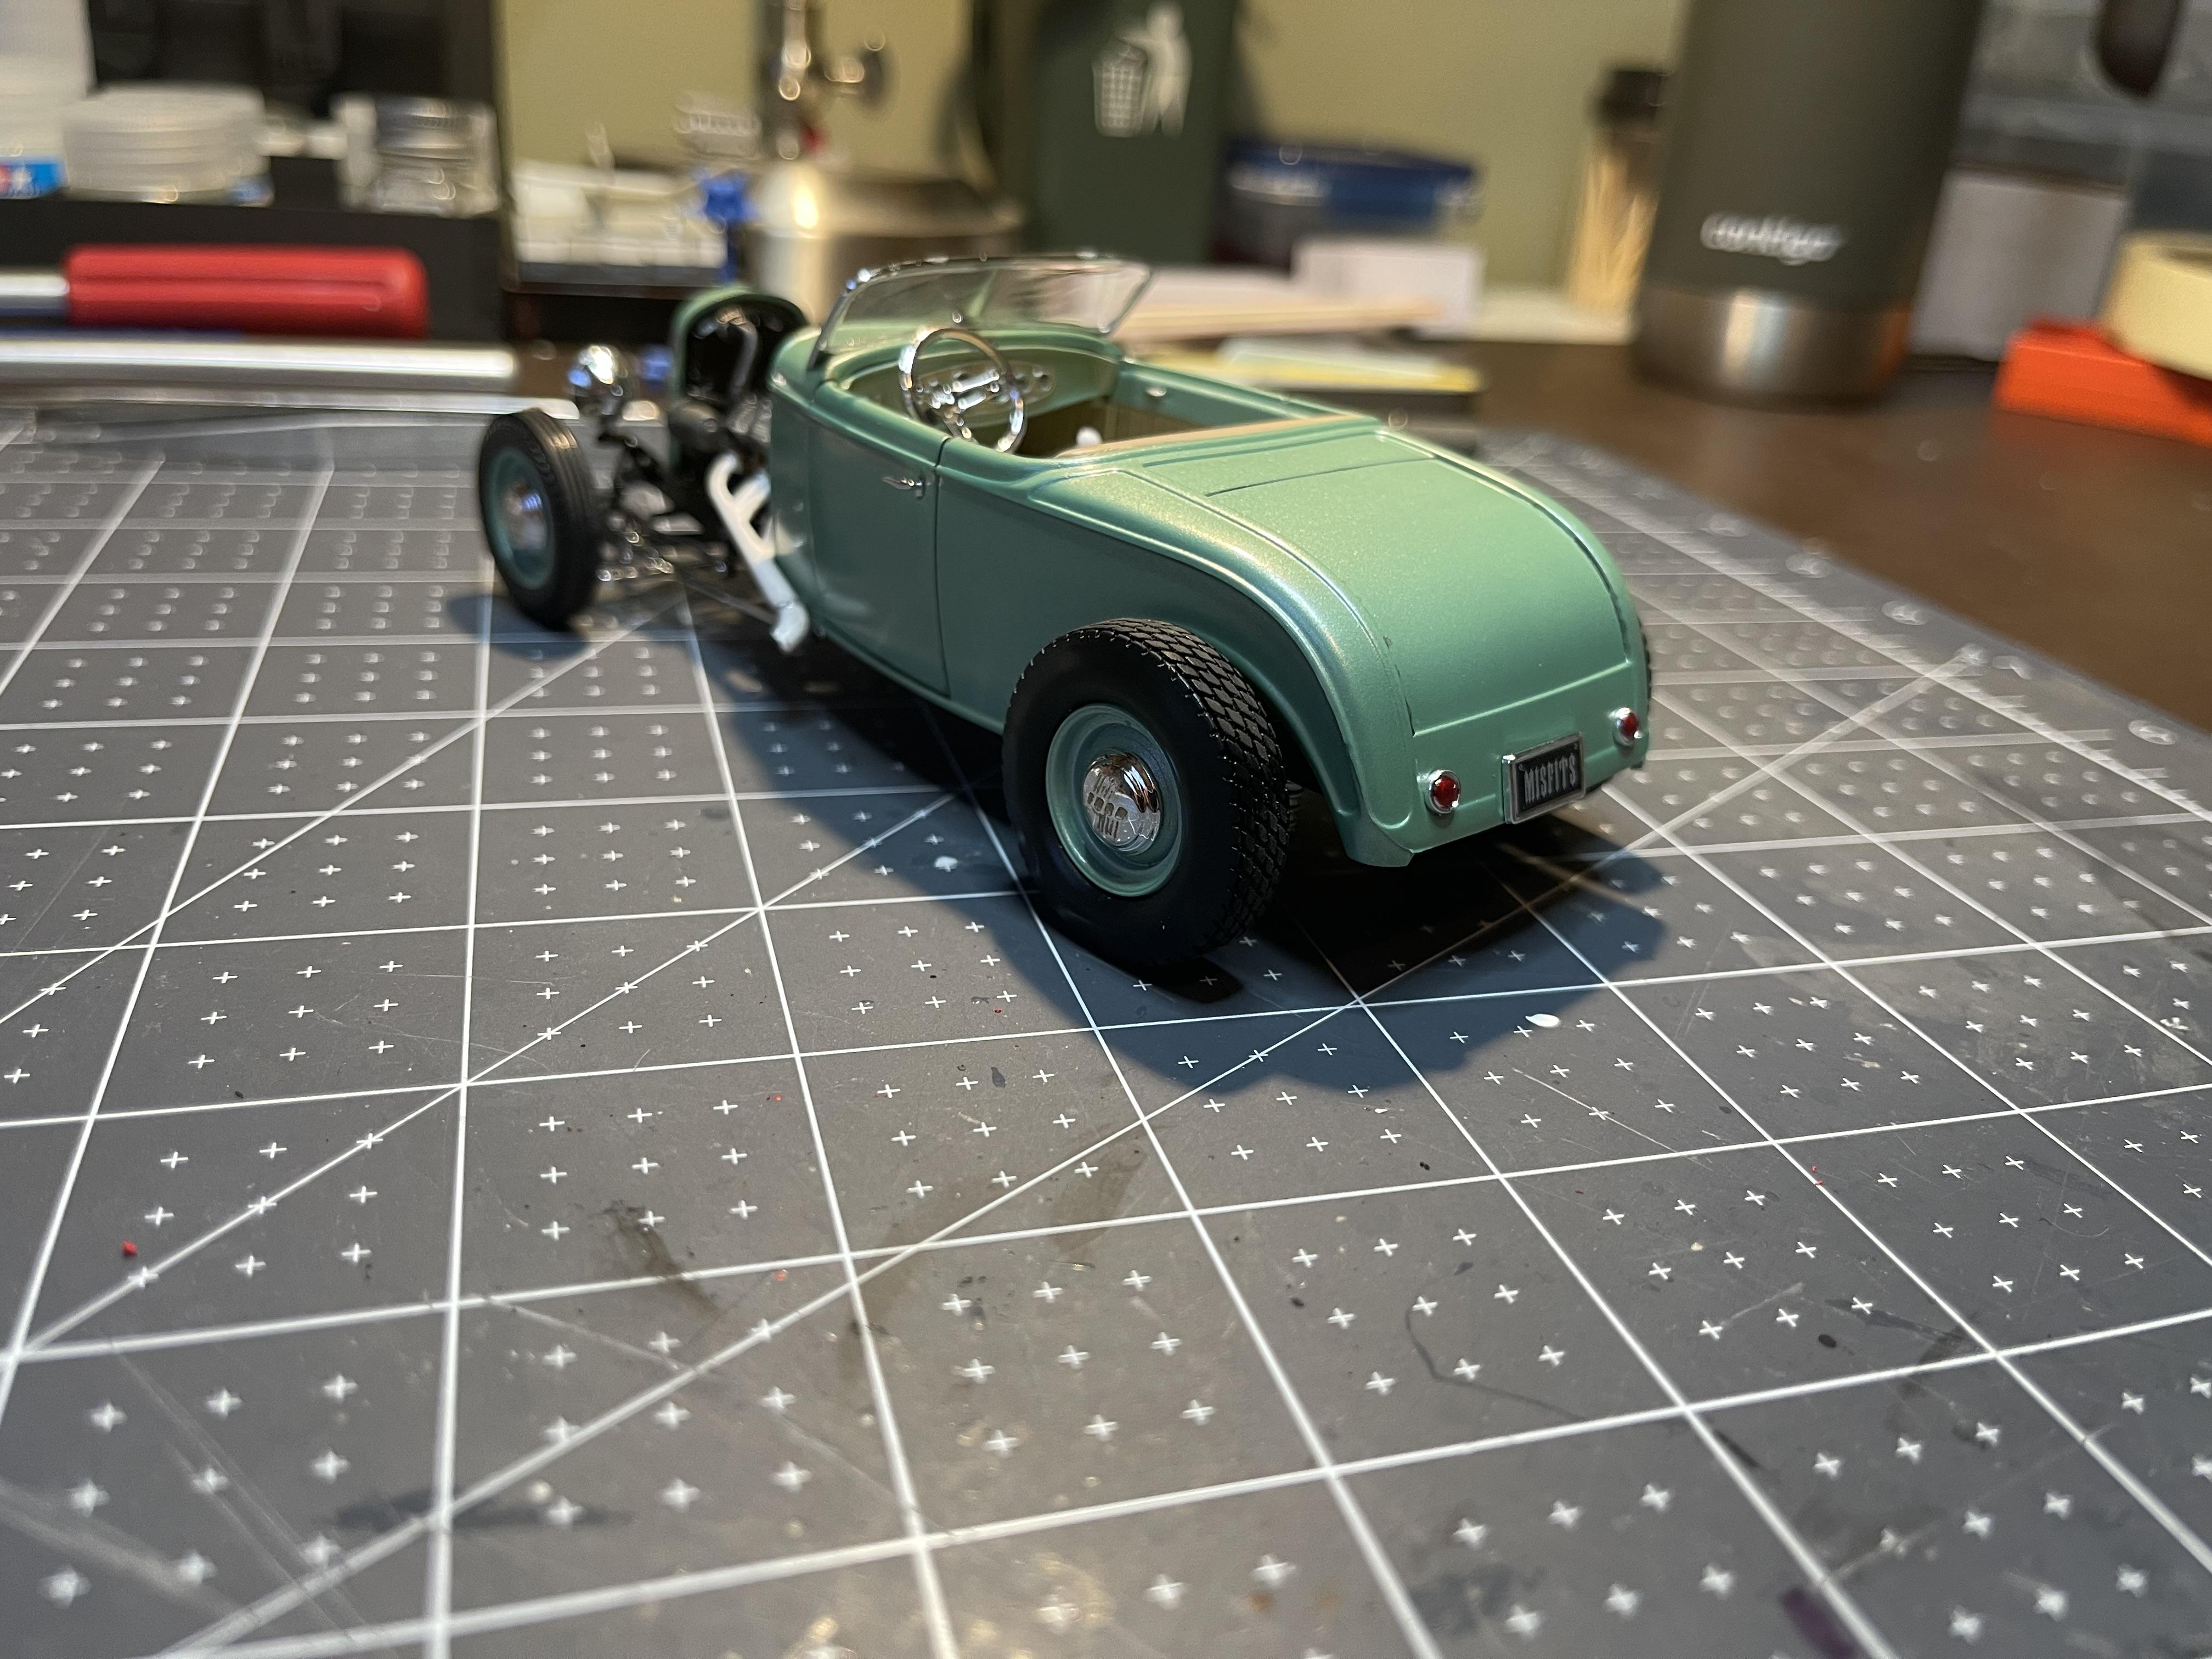
Well I decided it was long enough on the shelf uncompleted so I decided to throw the finishing touches at it and call it done, it has languished on the shelf of shame for too long because of the paint blemish on the drivers door. I may end up at some point giving it a repaint but perfection is not part of my game plan for building. So here she is build thread here ->

- 27 replies
-
- 13
-

-
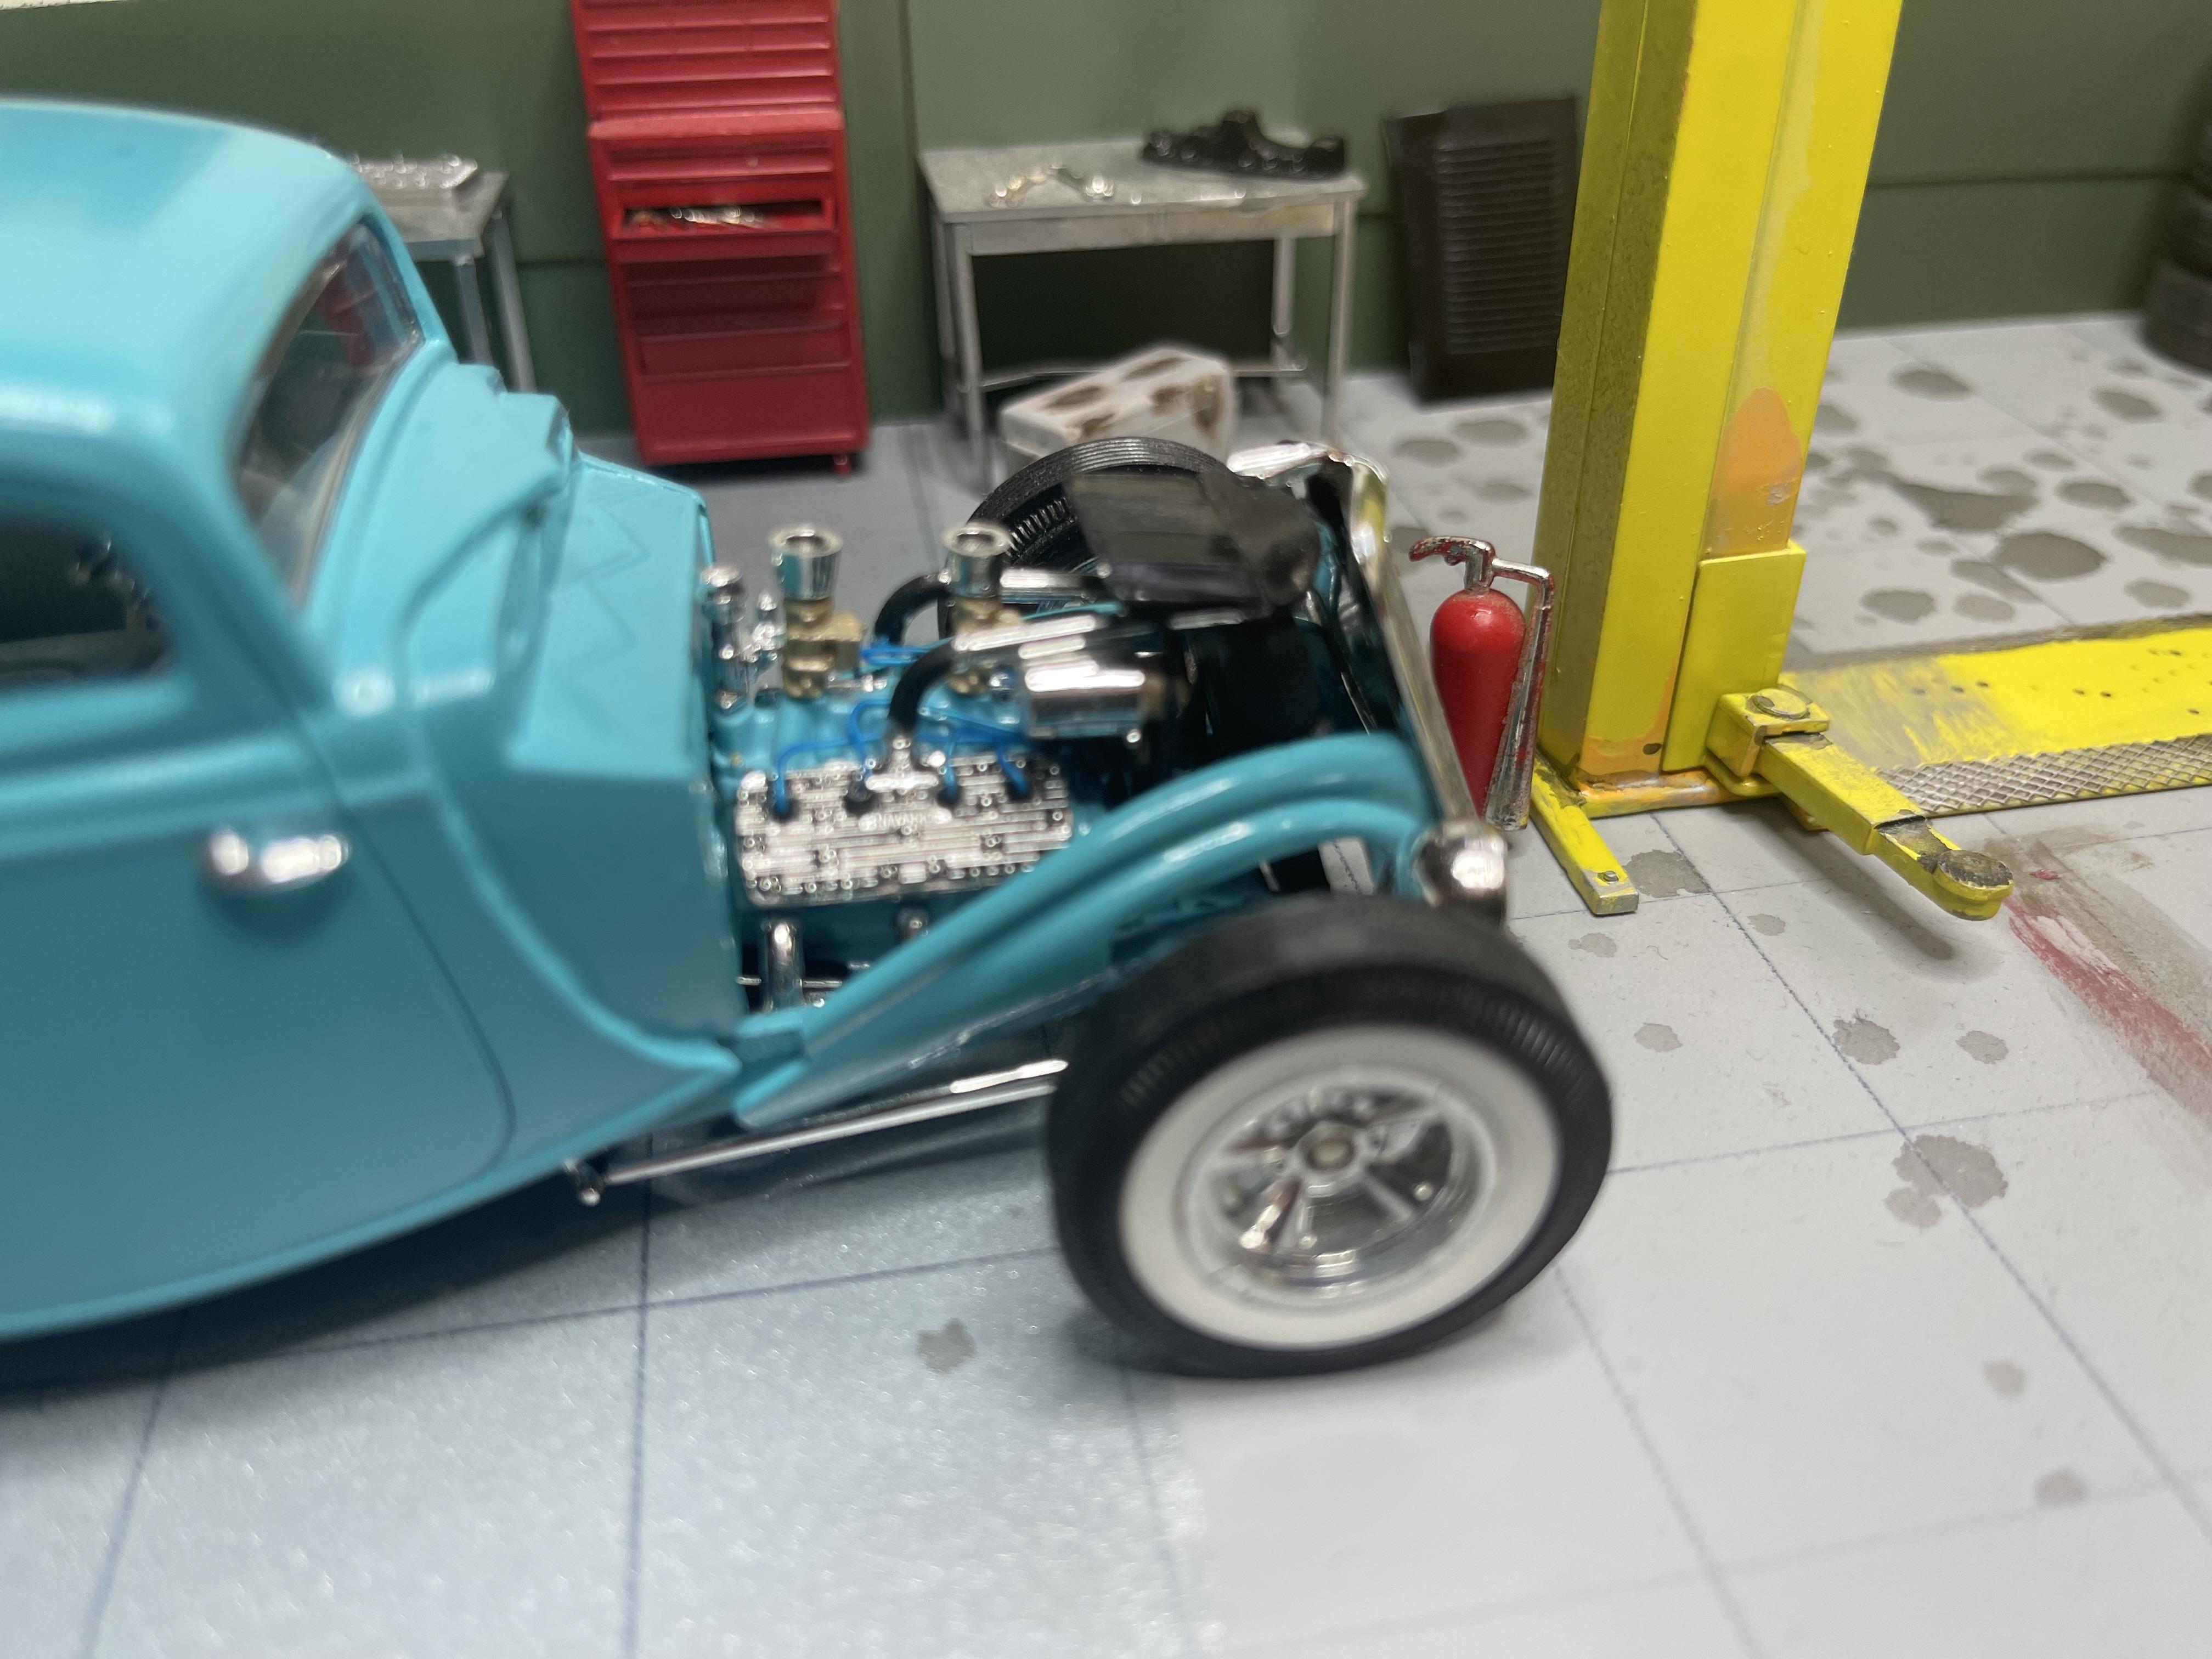
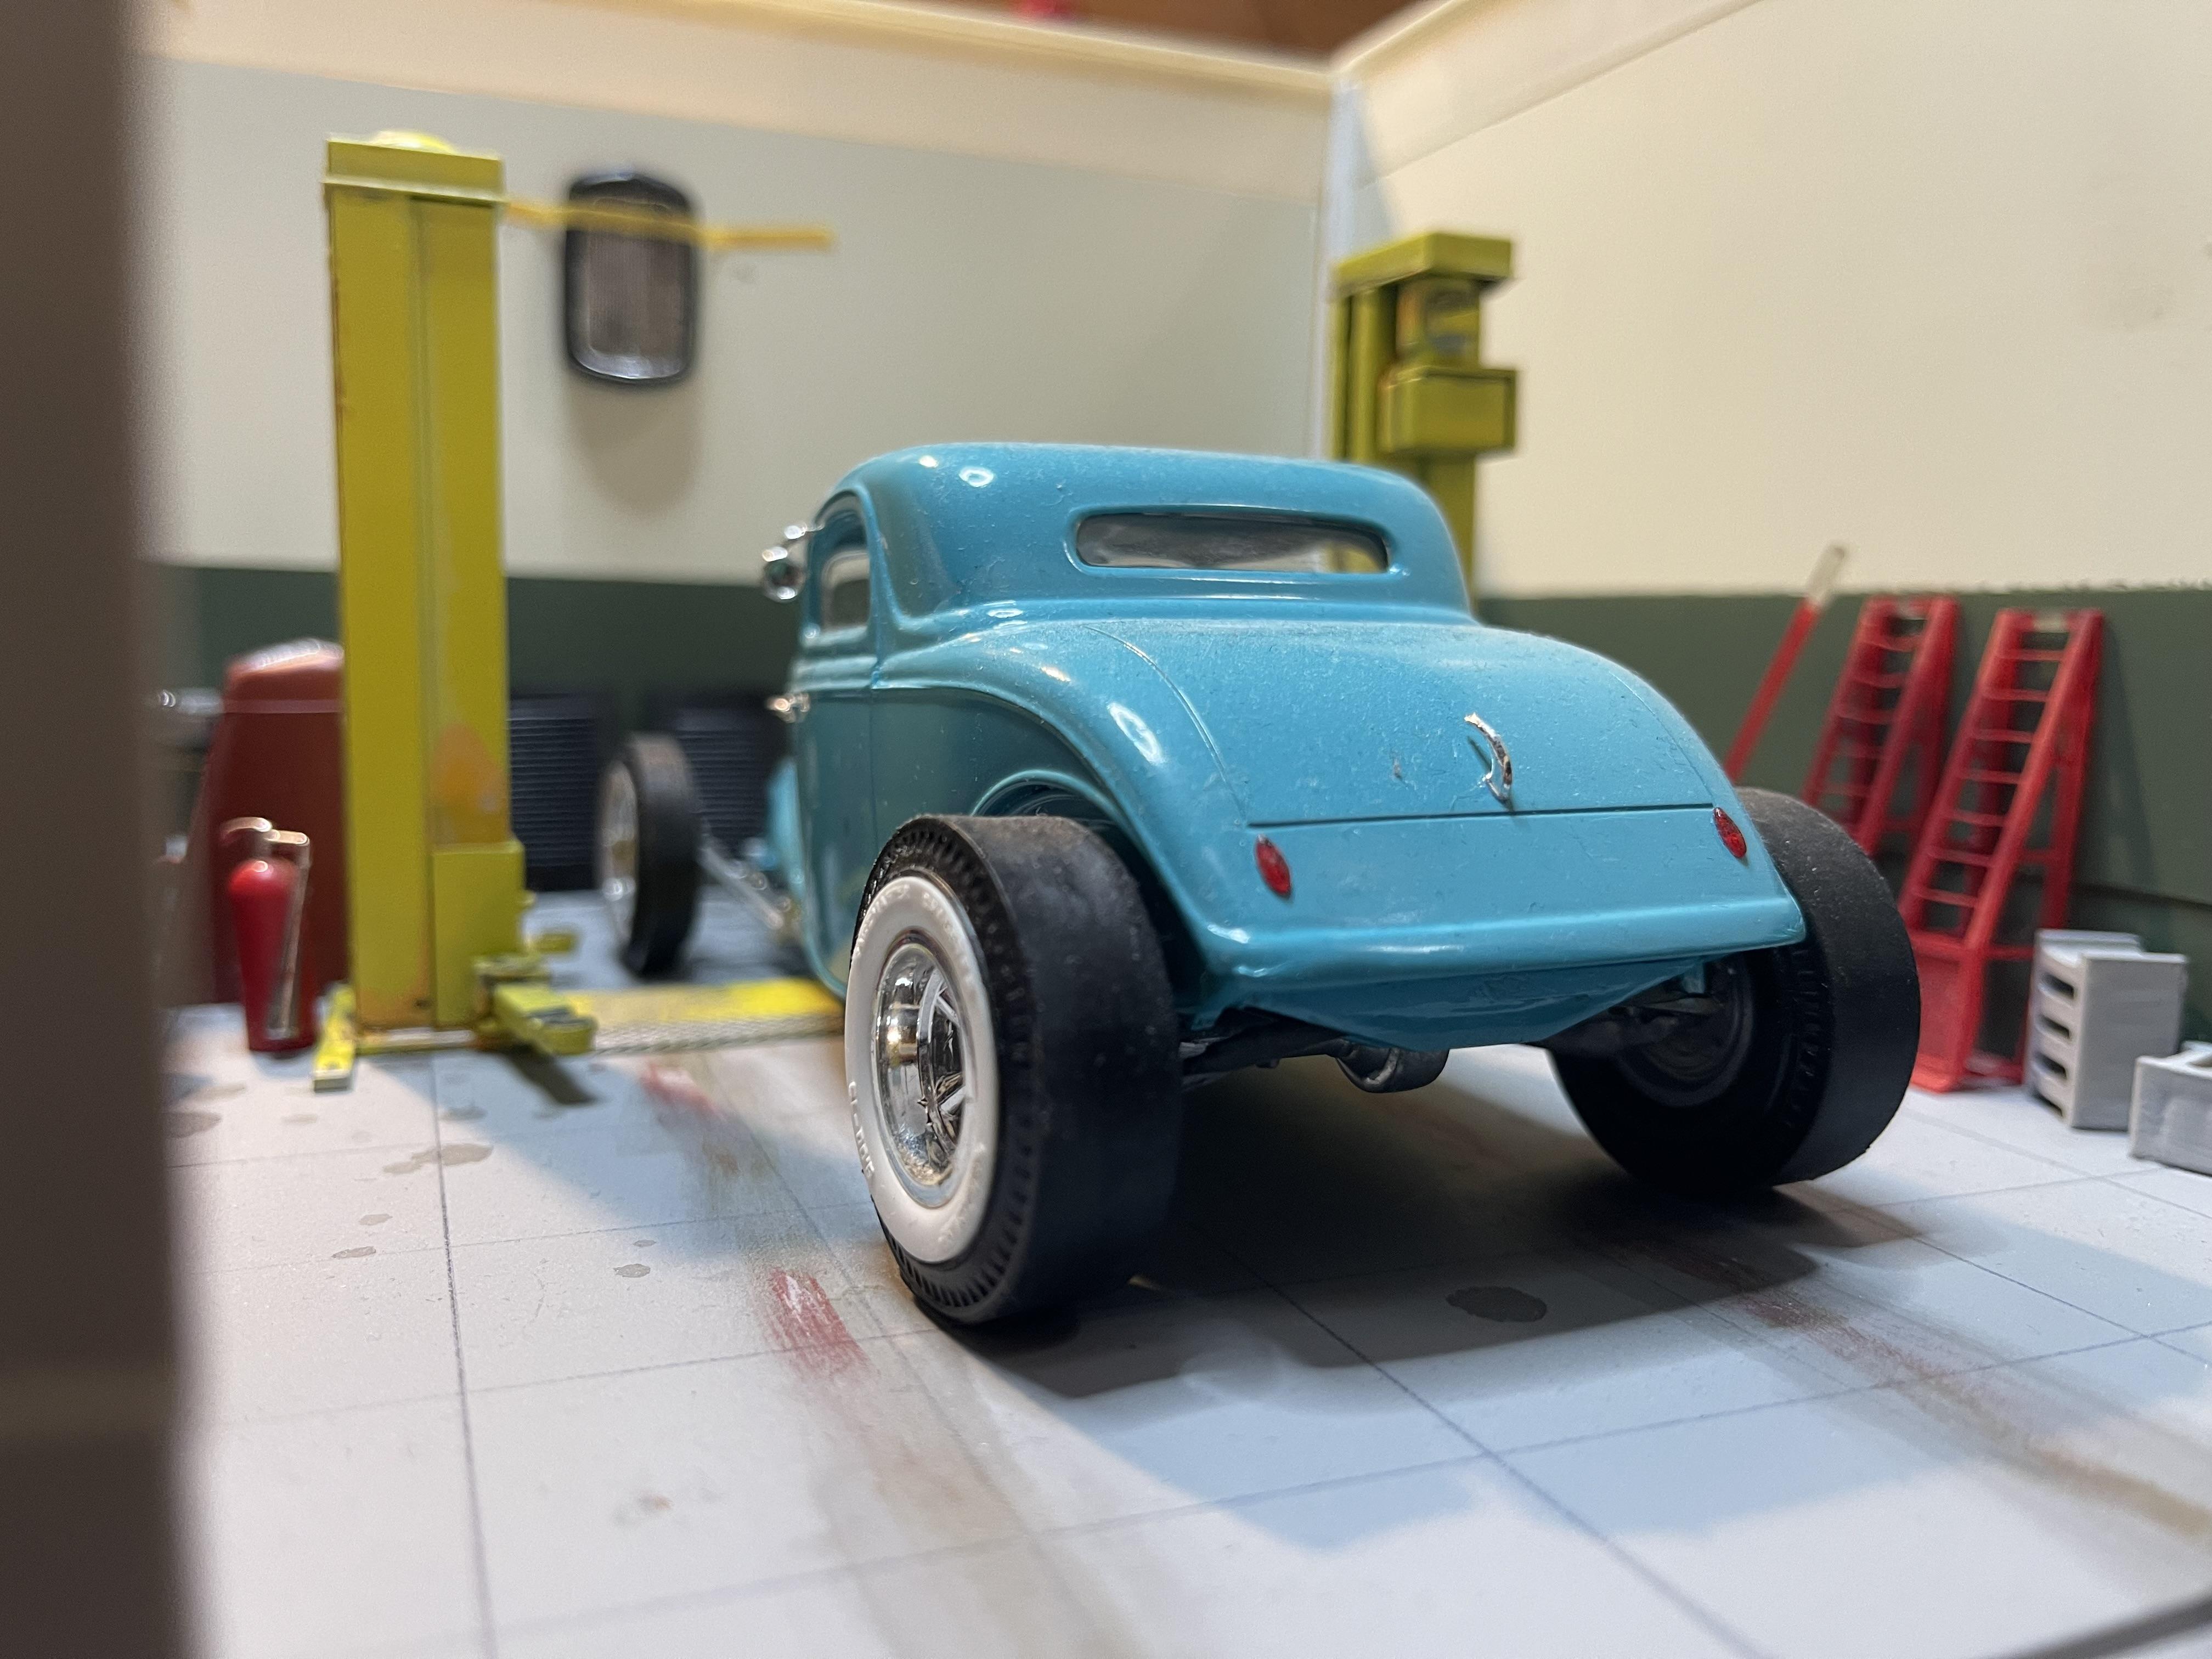
@LennyB Here is a better view of the damage.
-
Gosh dang it (stronger words were used) that looks absolutely awesome Greg! The two tone wheels really sell the accent stripes on the body.
-
That would be cool but I don’t think it will encompass the damage to the paint.
-
I do like the idea Len but it’s the location of the said blemishes that make it slightly difficult to cover.
-
Well I think it’s time to blow the dust off and bring this down from the shelf of shame. I’ve given it some long hard thoughts about the paint blemishes and I’m thinking about leaving them as is!
-
Thank you Kindly Carl!
-
Thank you David! It’s definitely one of my better paint jobs.
-
I believe I may be able to help with this request, hang tight while I scour the archives.
-
Good luck with your search, I’ve been looking for a front bumper/grille assembly for my wagon for a couple of months now.
-
I’ll be extra cautious in that case
-
Well Phil you had me at Deuce Days, you know I do love a 32 Ford no matter what the body style! I’m in for the series maybe I’ll find some inspiration here. I’m currently at 20 built since 2020( my return to the hobby at a Dr’s suggestion to pick a low stress activity).
-
Thank you Oliver
-
Thank you Trevor, I agree it’s a shame that the interior can’t be seen. I Always try to entertain in my build threads, gotta get those views! Like, share and subscribe Hahahha.
-
Thank you DJ, It was an easy choice.
-
Thank you Donato
-

What Are Some of Your Favourite Kits That You Built?
Bullybeef replied to Falcon Ranchero's topic in Model Cars
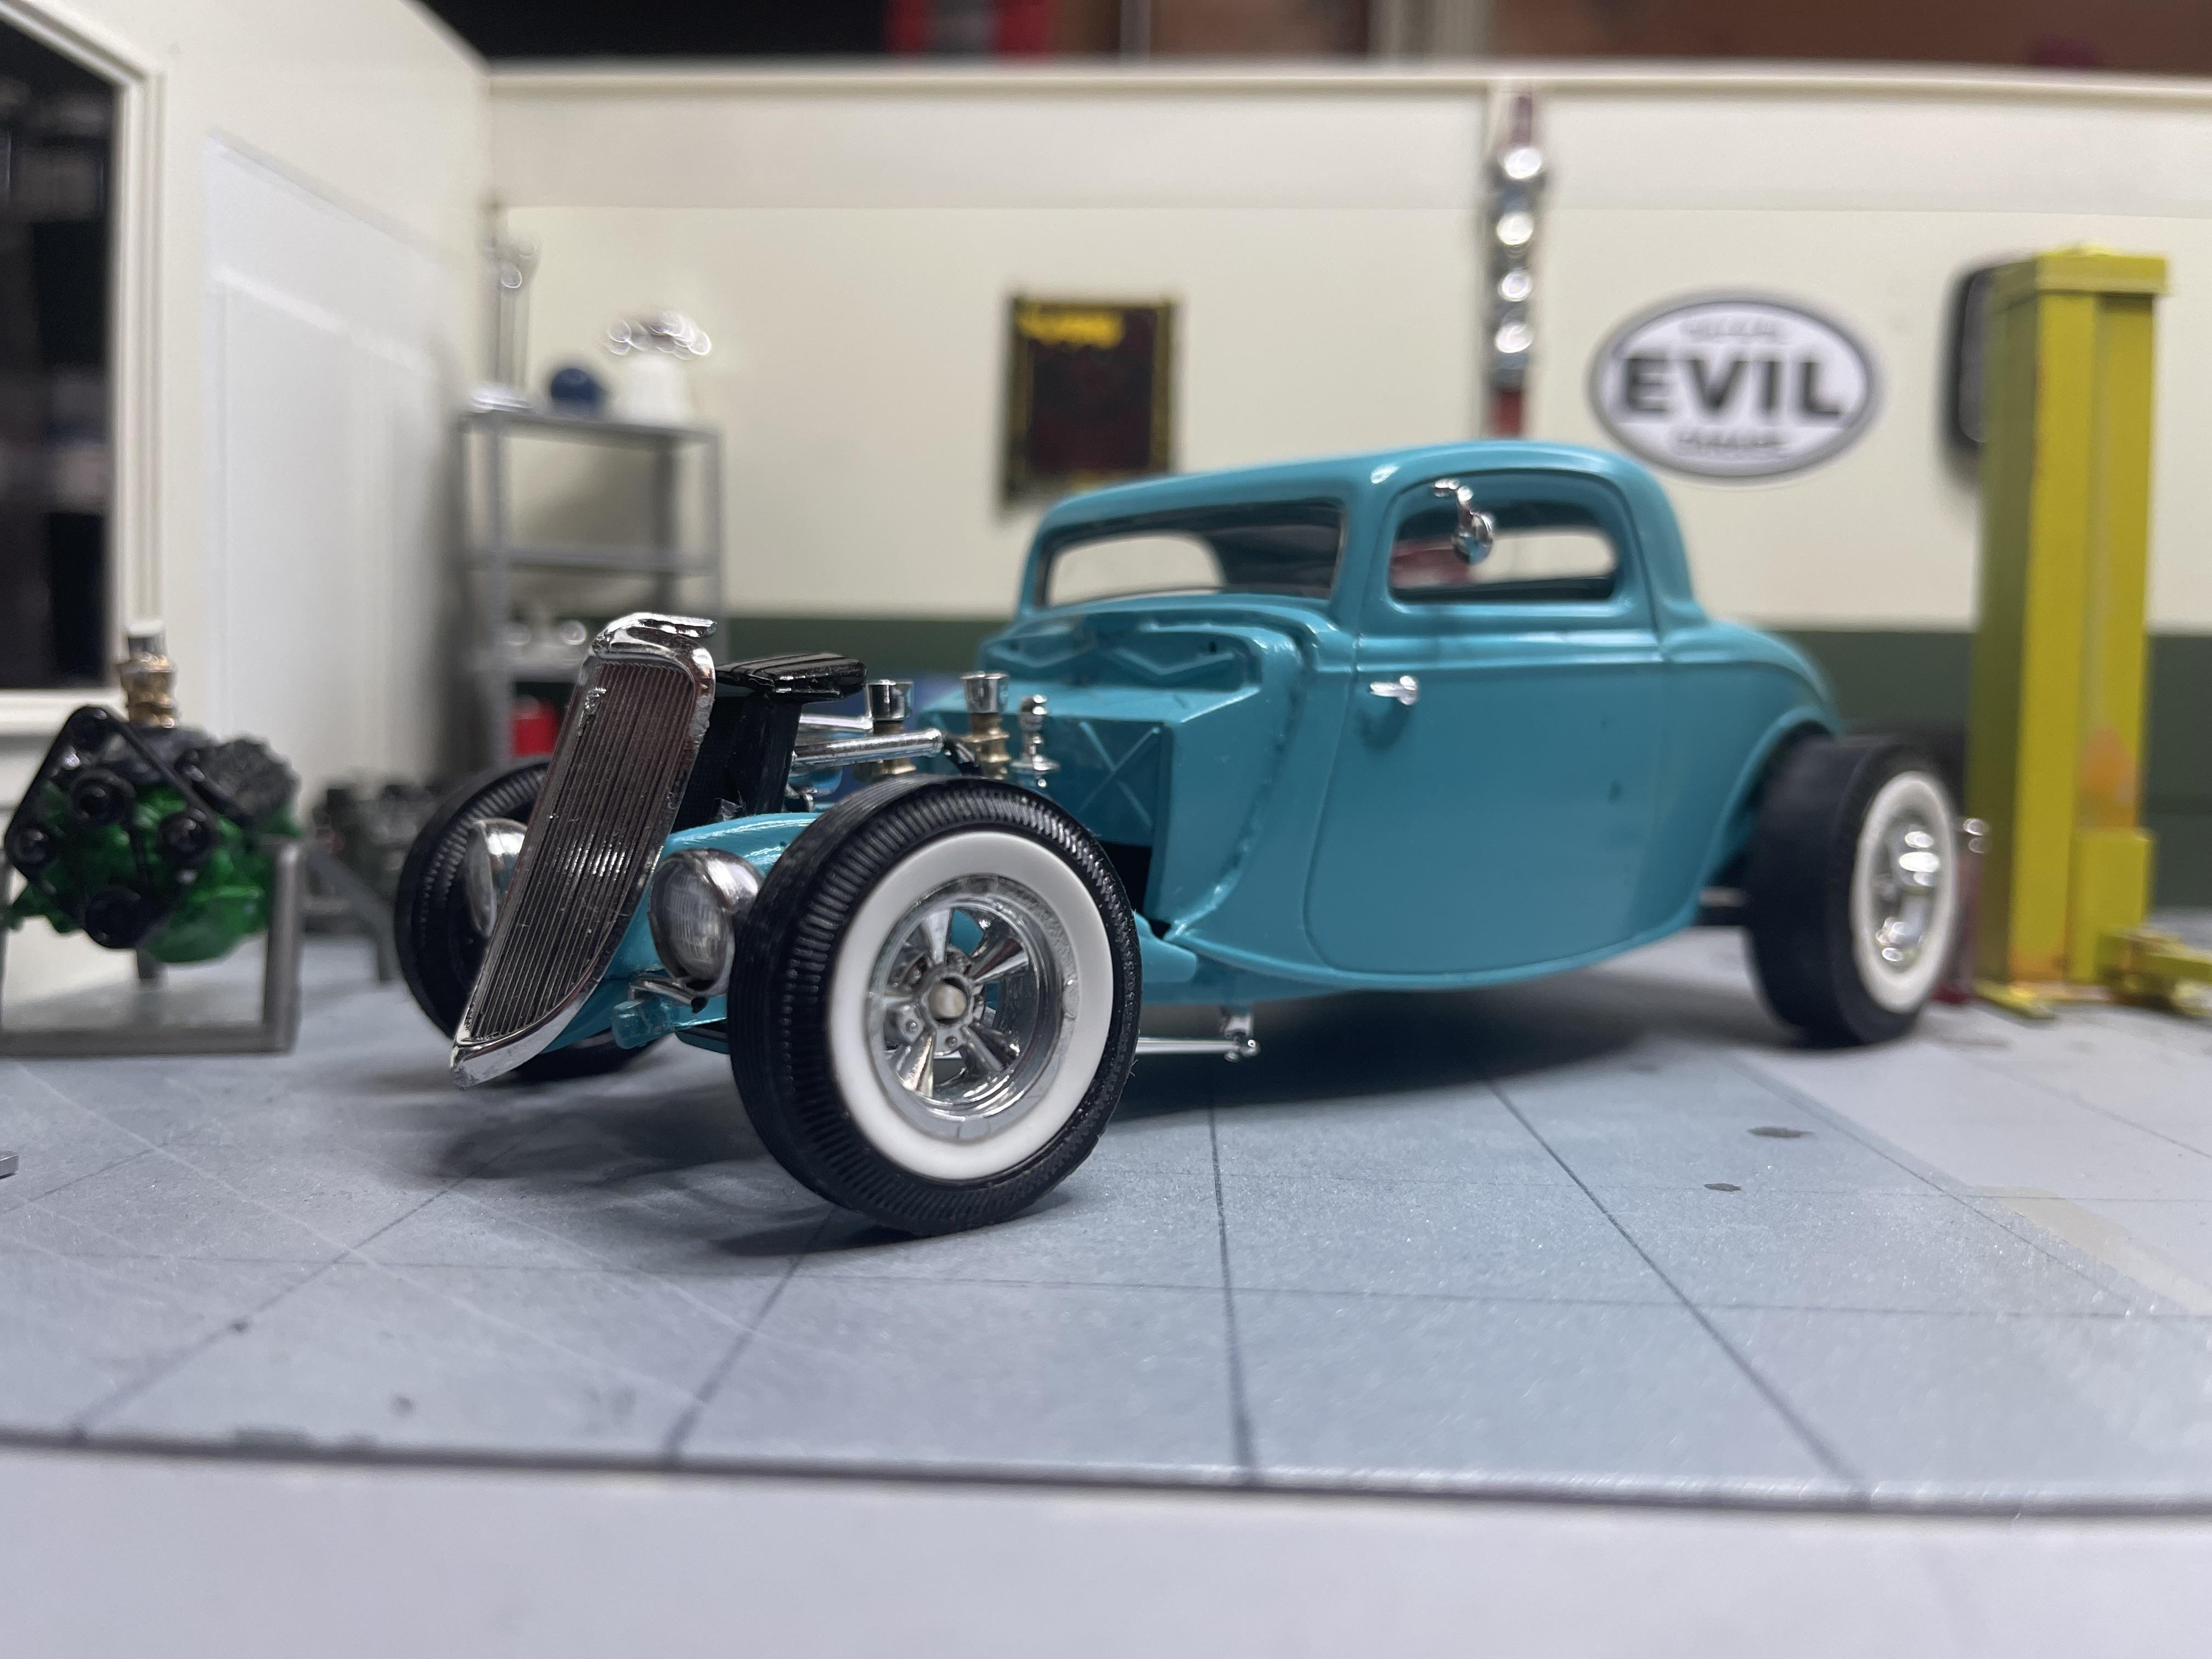
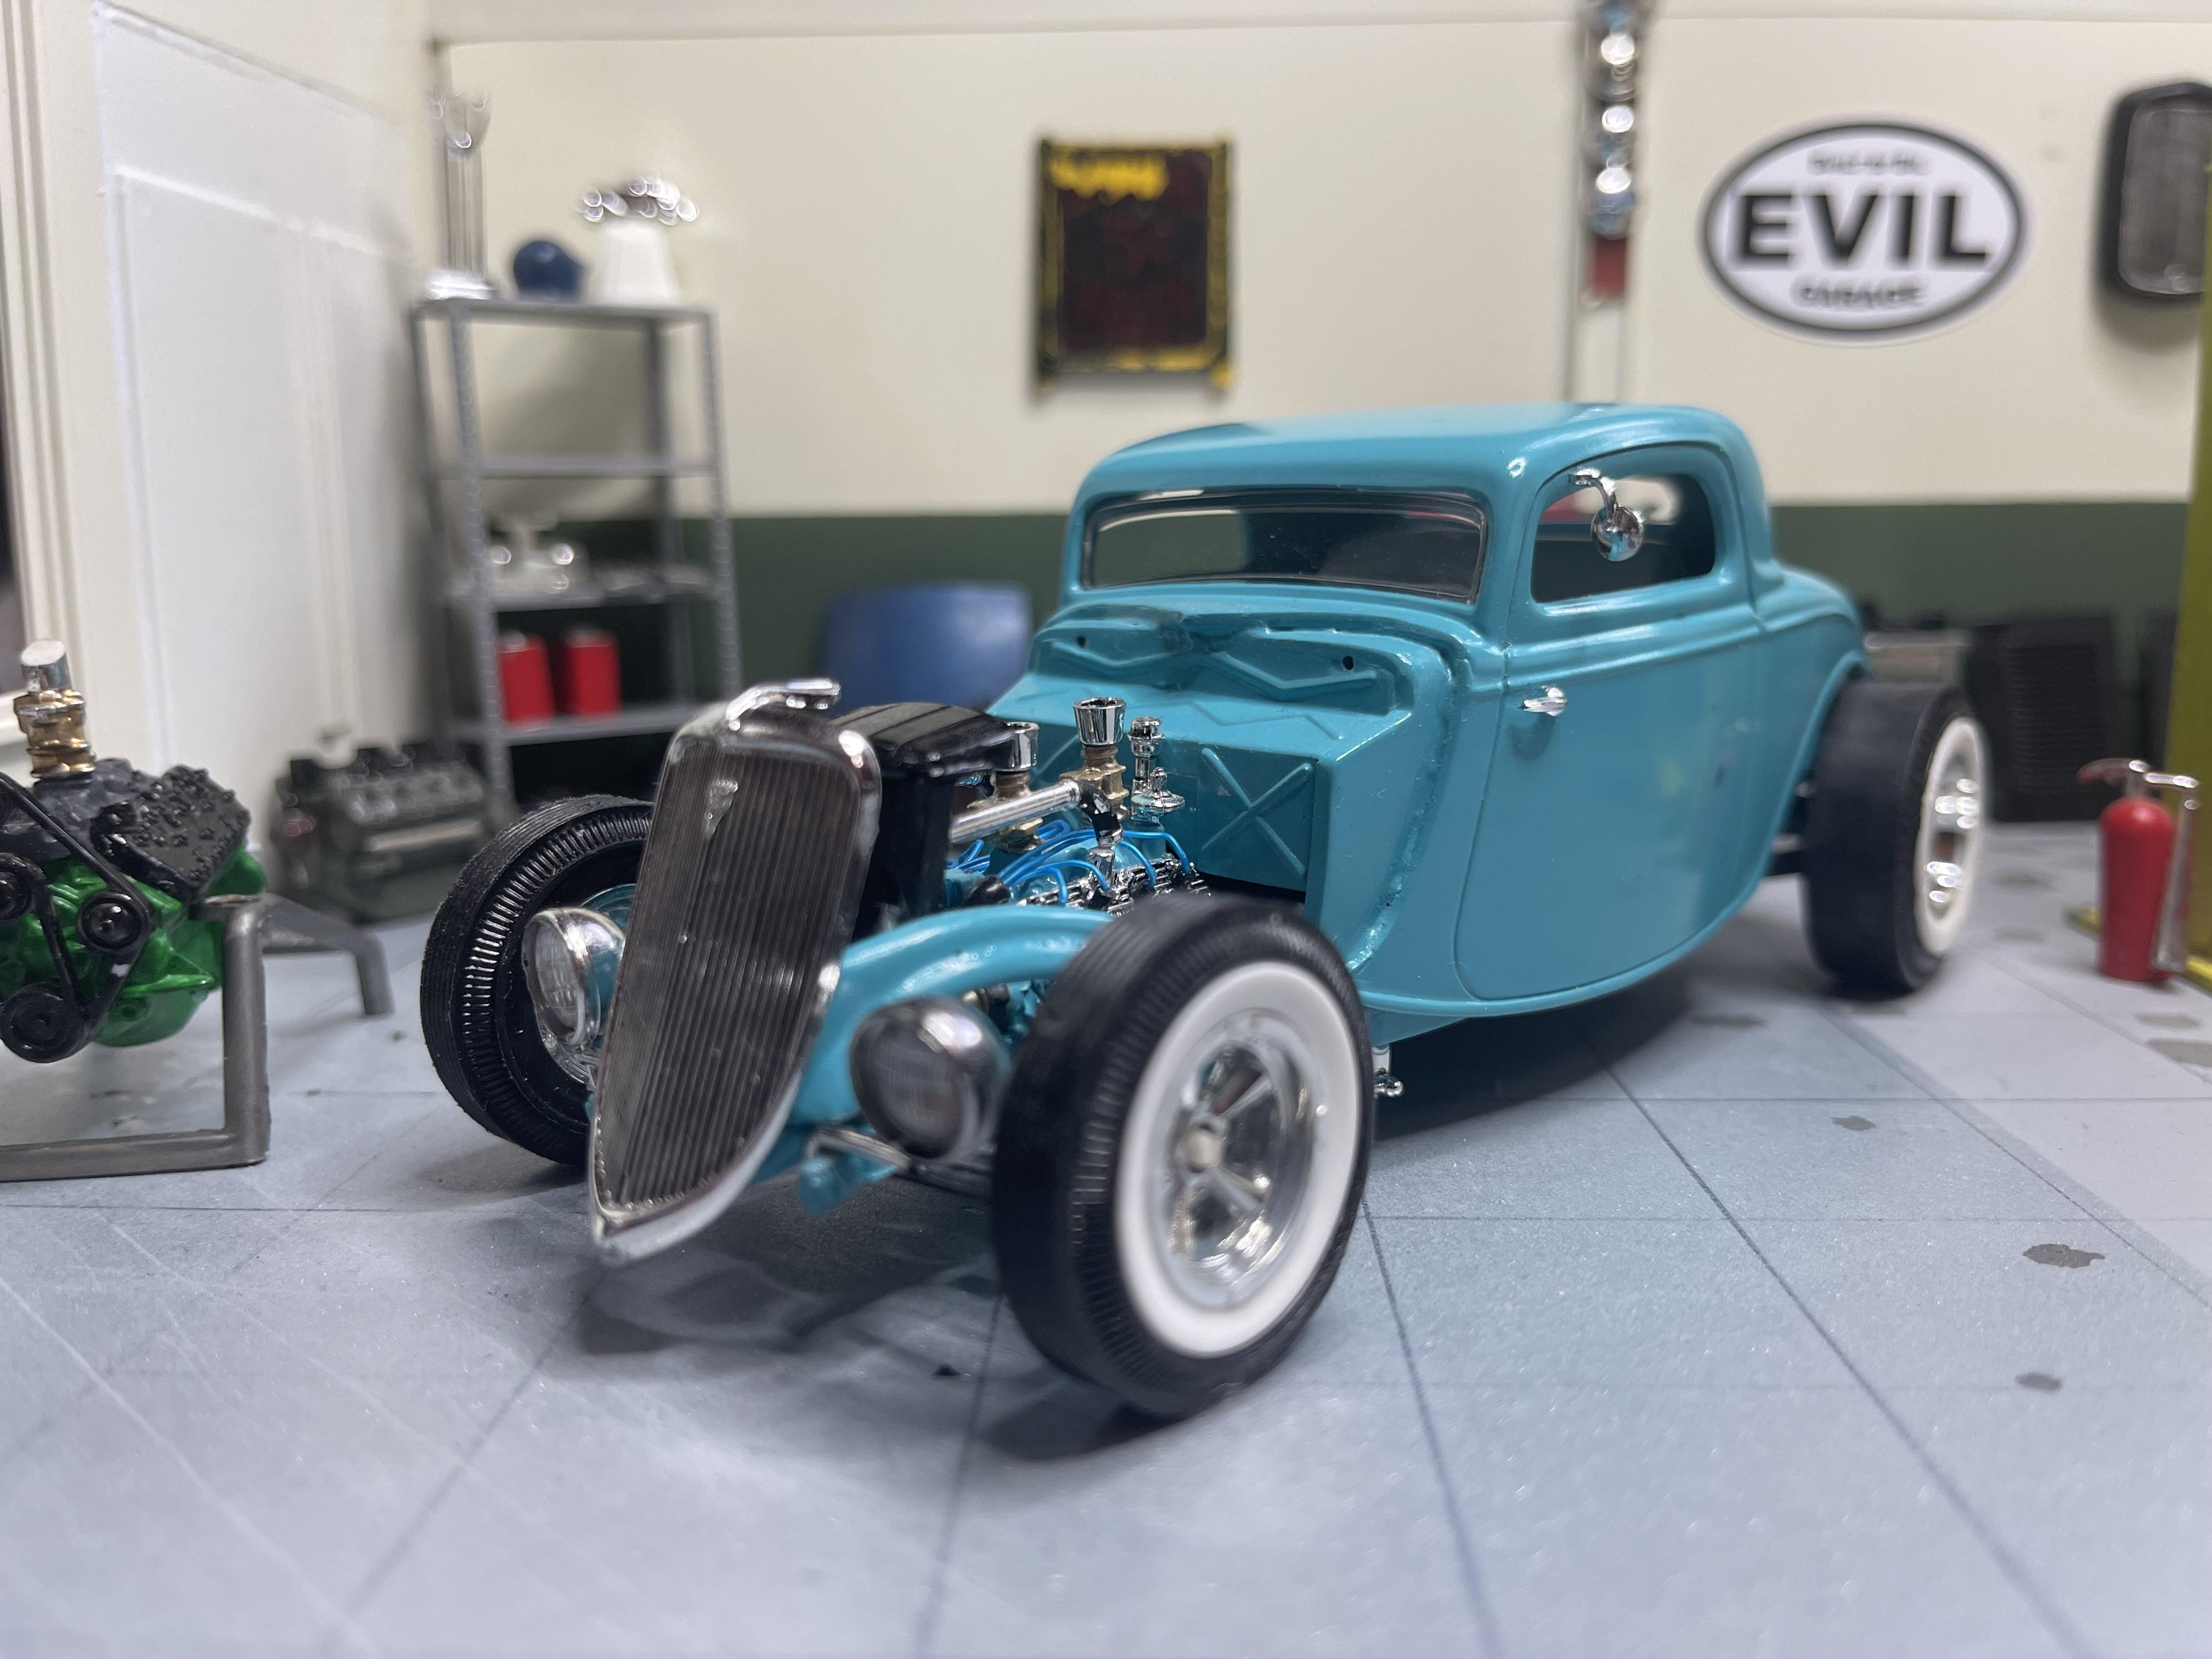
My favourite build to date!
-
Thank you LM it came out better than even I expected