Bullybeef
-
Posts
2,292 -
Joined
-
Last visited
Content Type
Profiles
Forums
Events
Gallery
Everything posted by Bullybeef
-
Thank you Topher, I really wanted this one to be an eye catcher Thanks Jim Many thanks Carl, I’ve said it before, you are definitely the forums good will ambassador, always a positive comment from you! Hope to hammer on some more details today
-
I’ll send a cold front from the east coast out to you, we are getting frost warnings!
-
An interesting custom for sure, I’m in to see how this one builds up.
-
Never! I believe it goes til the 15th of October!
-
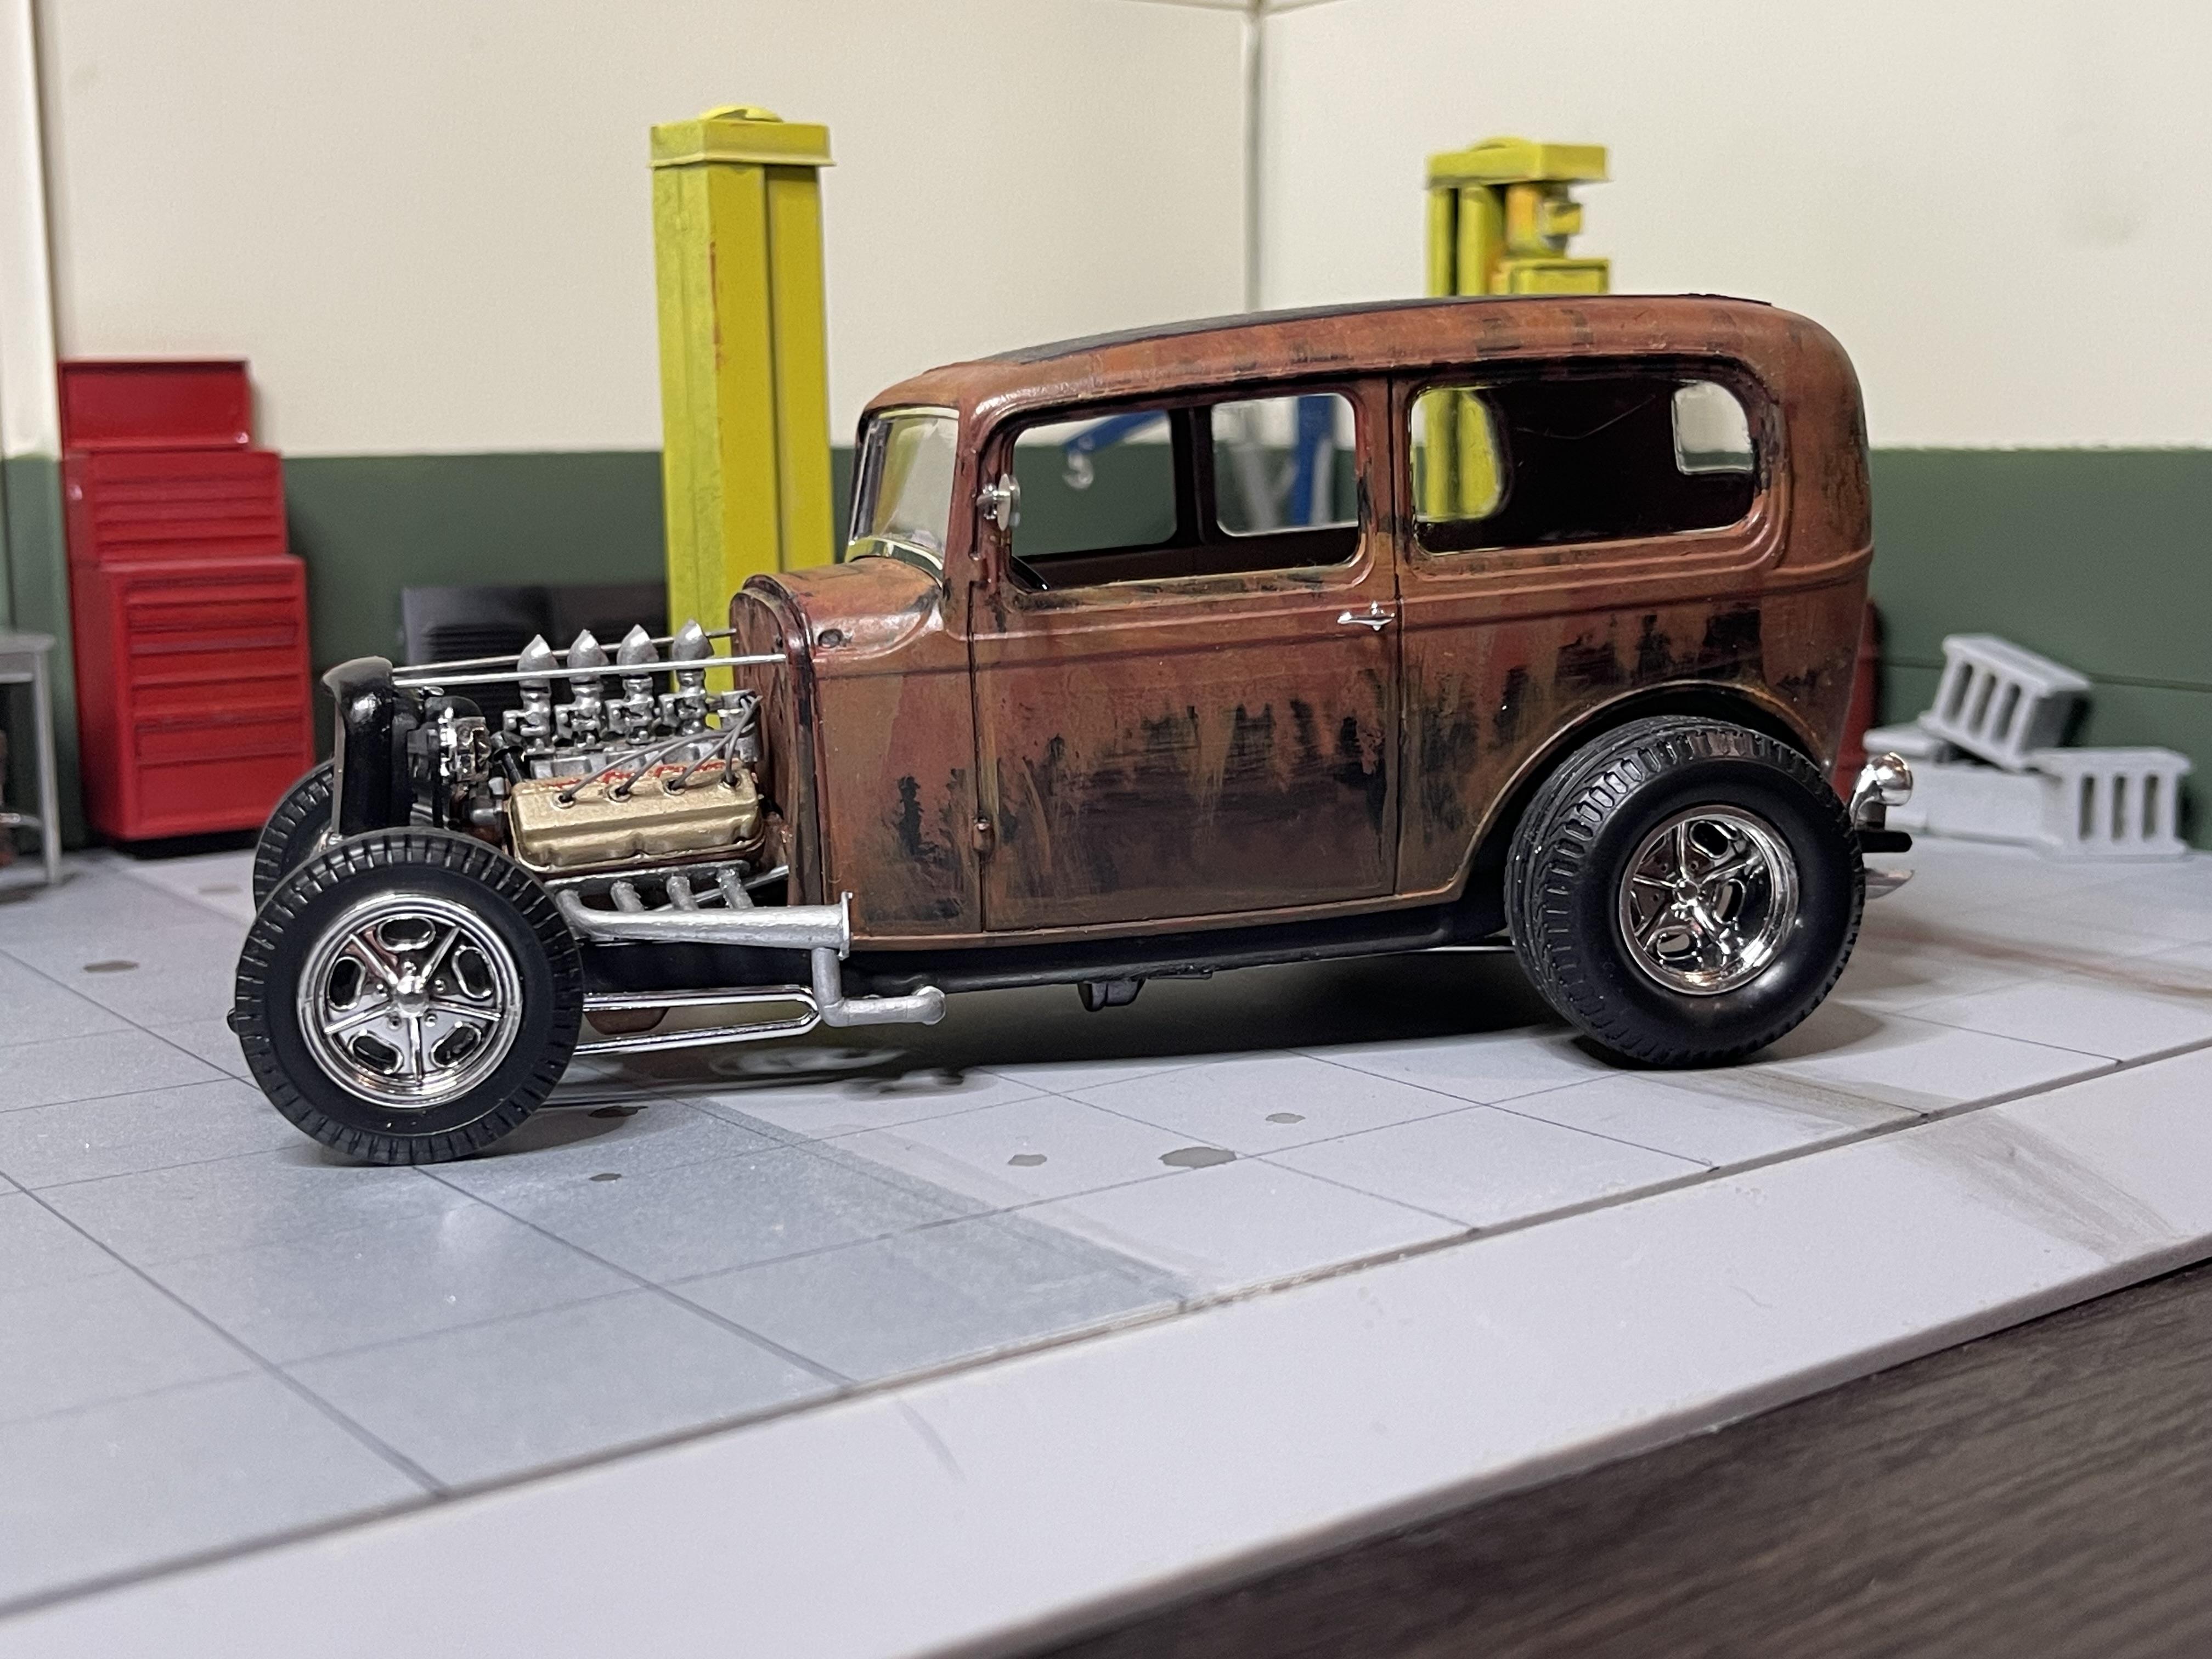
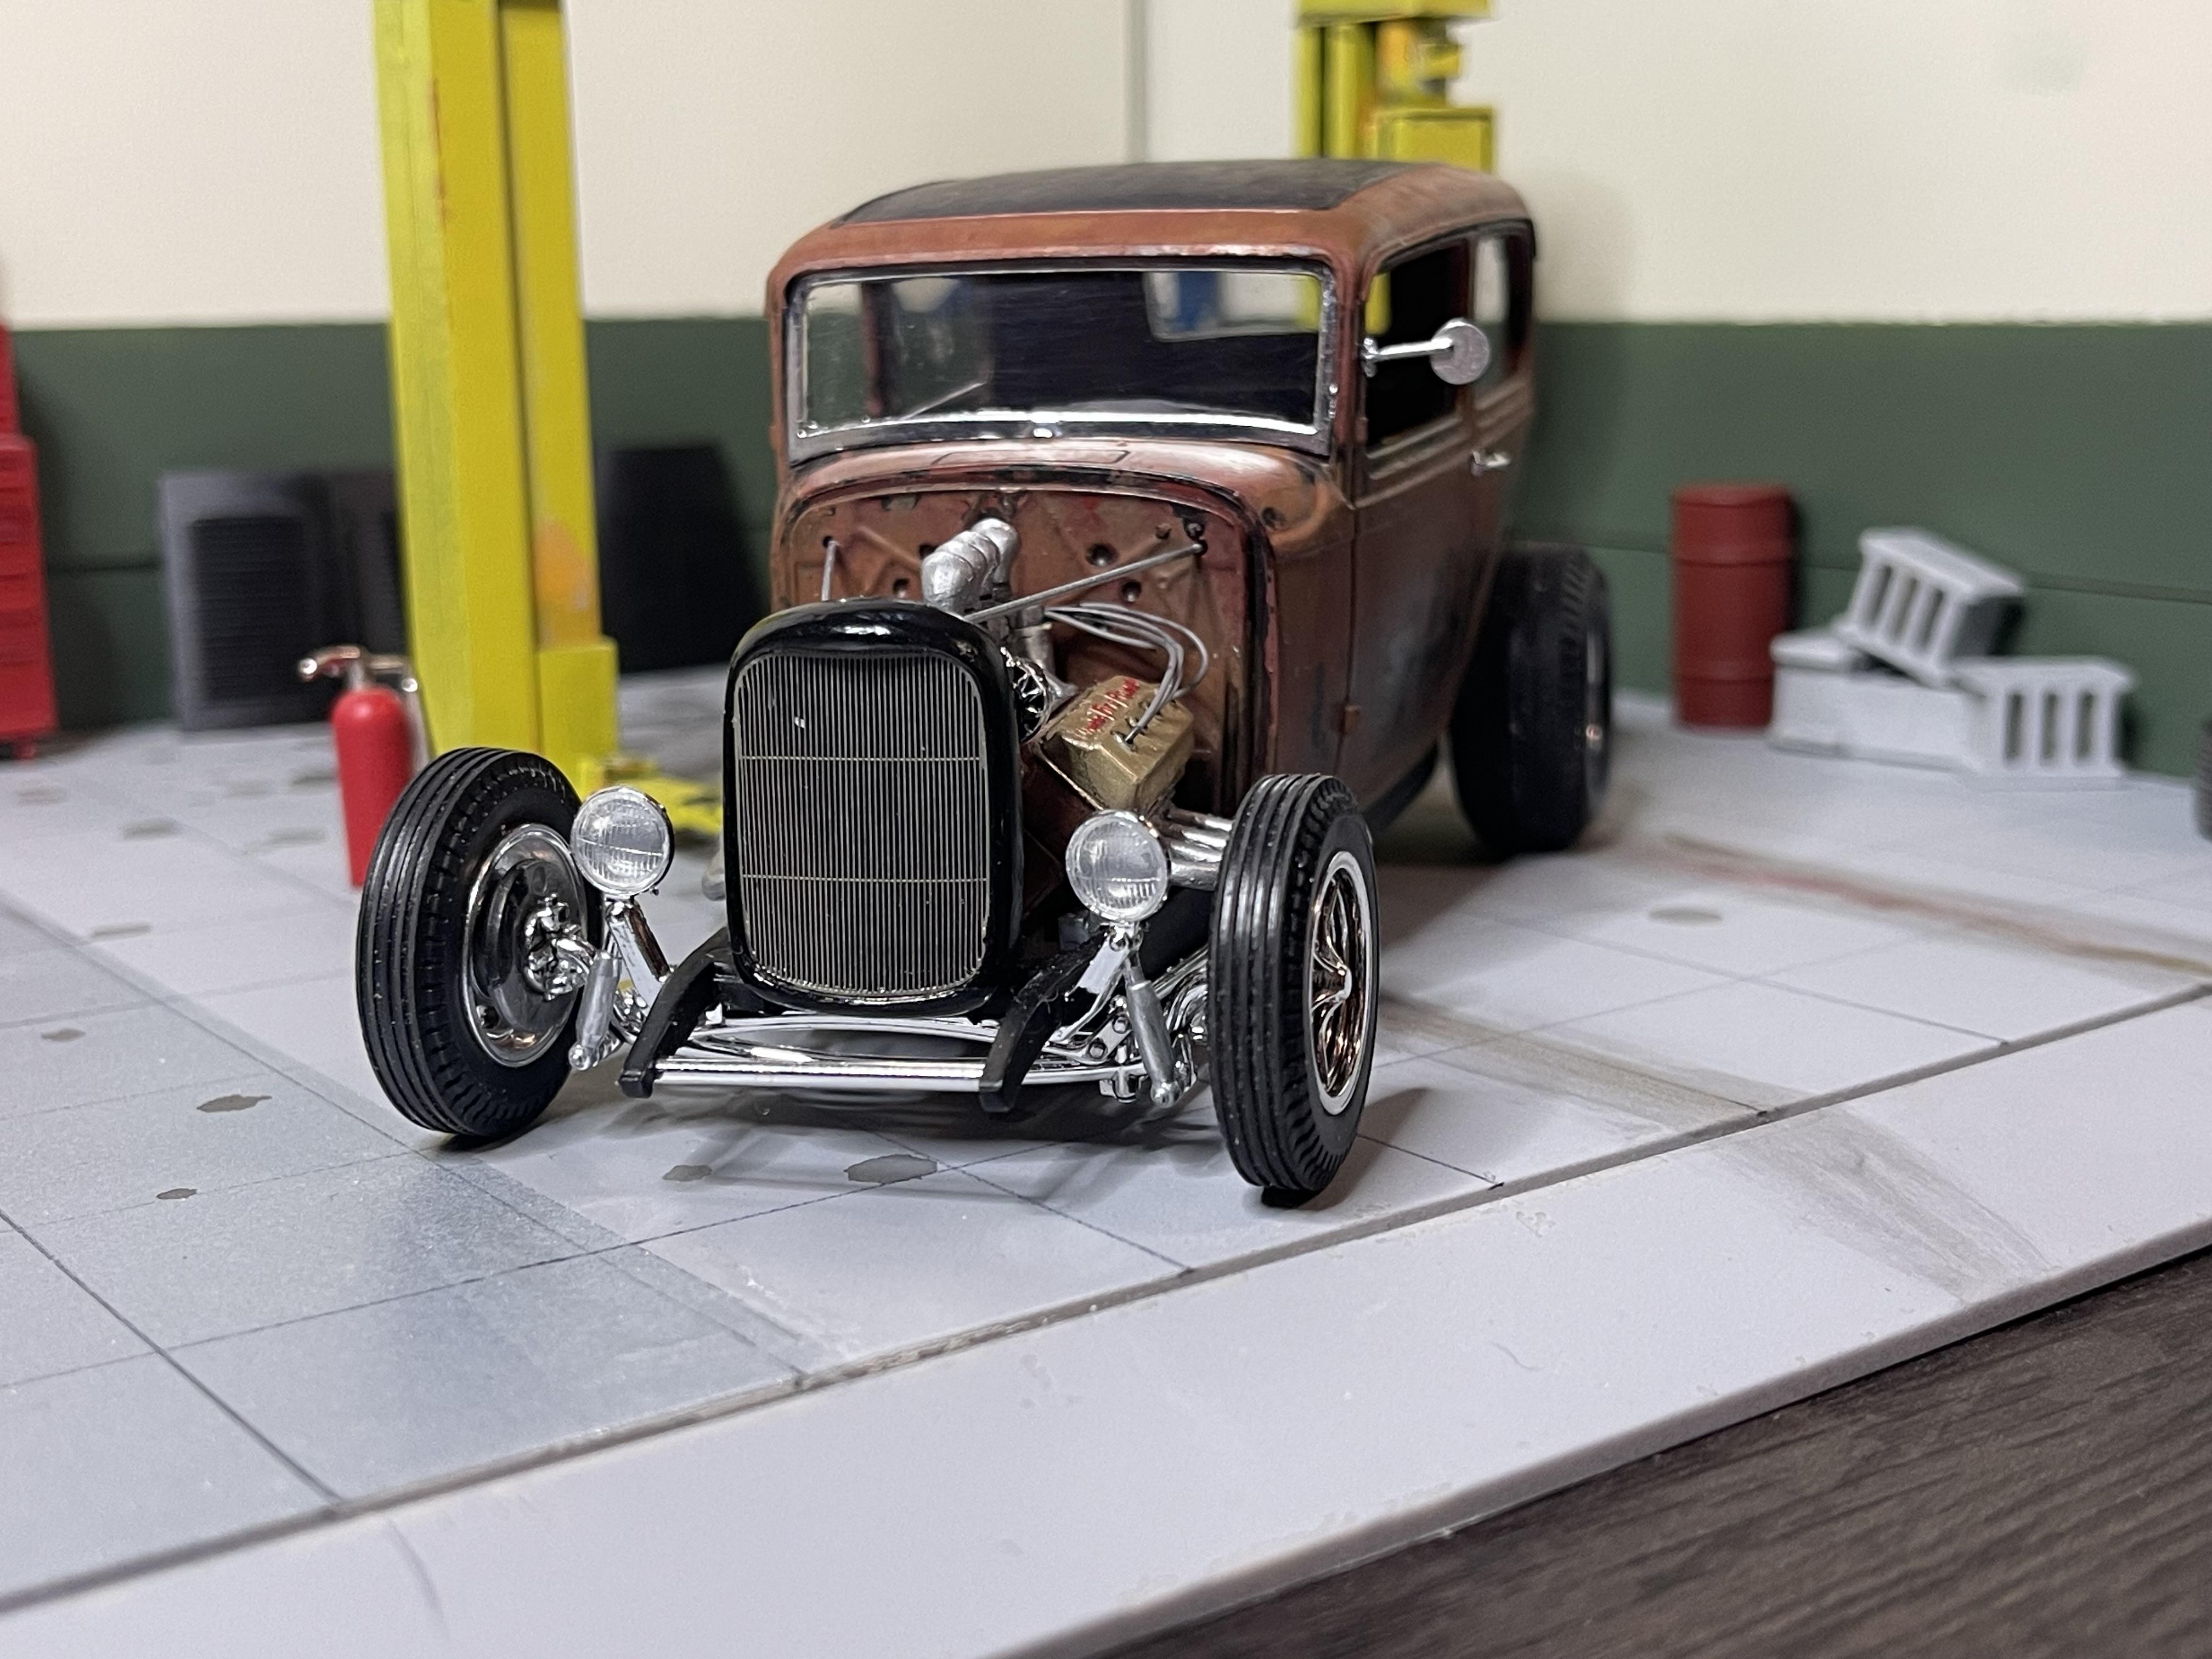
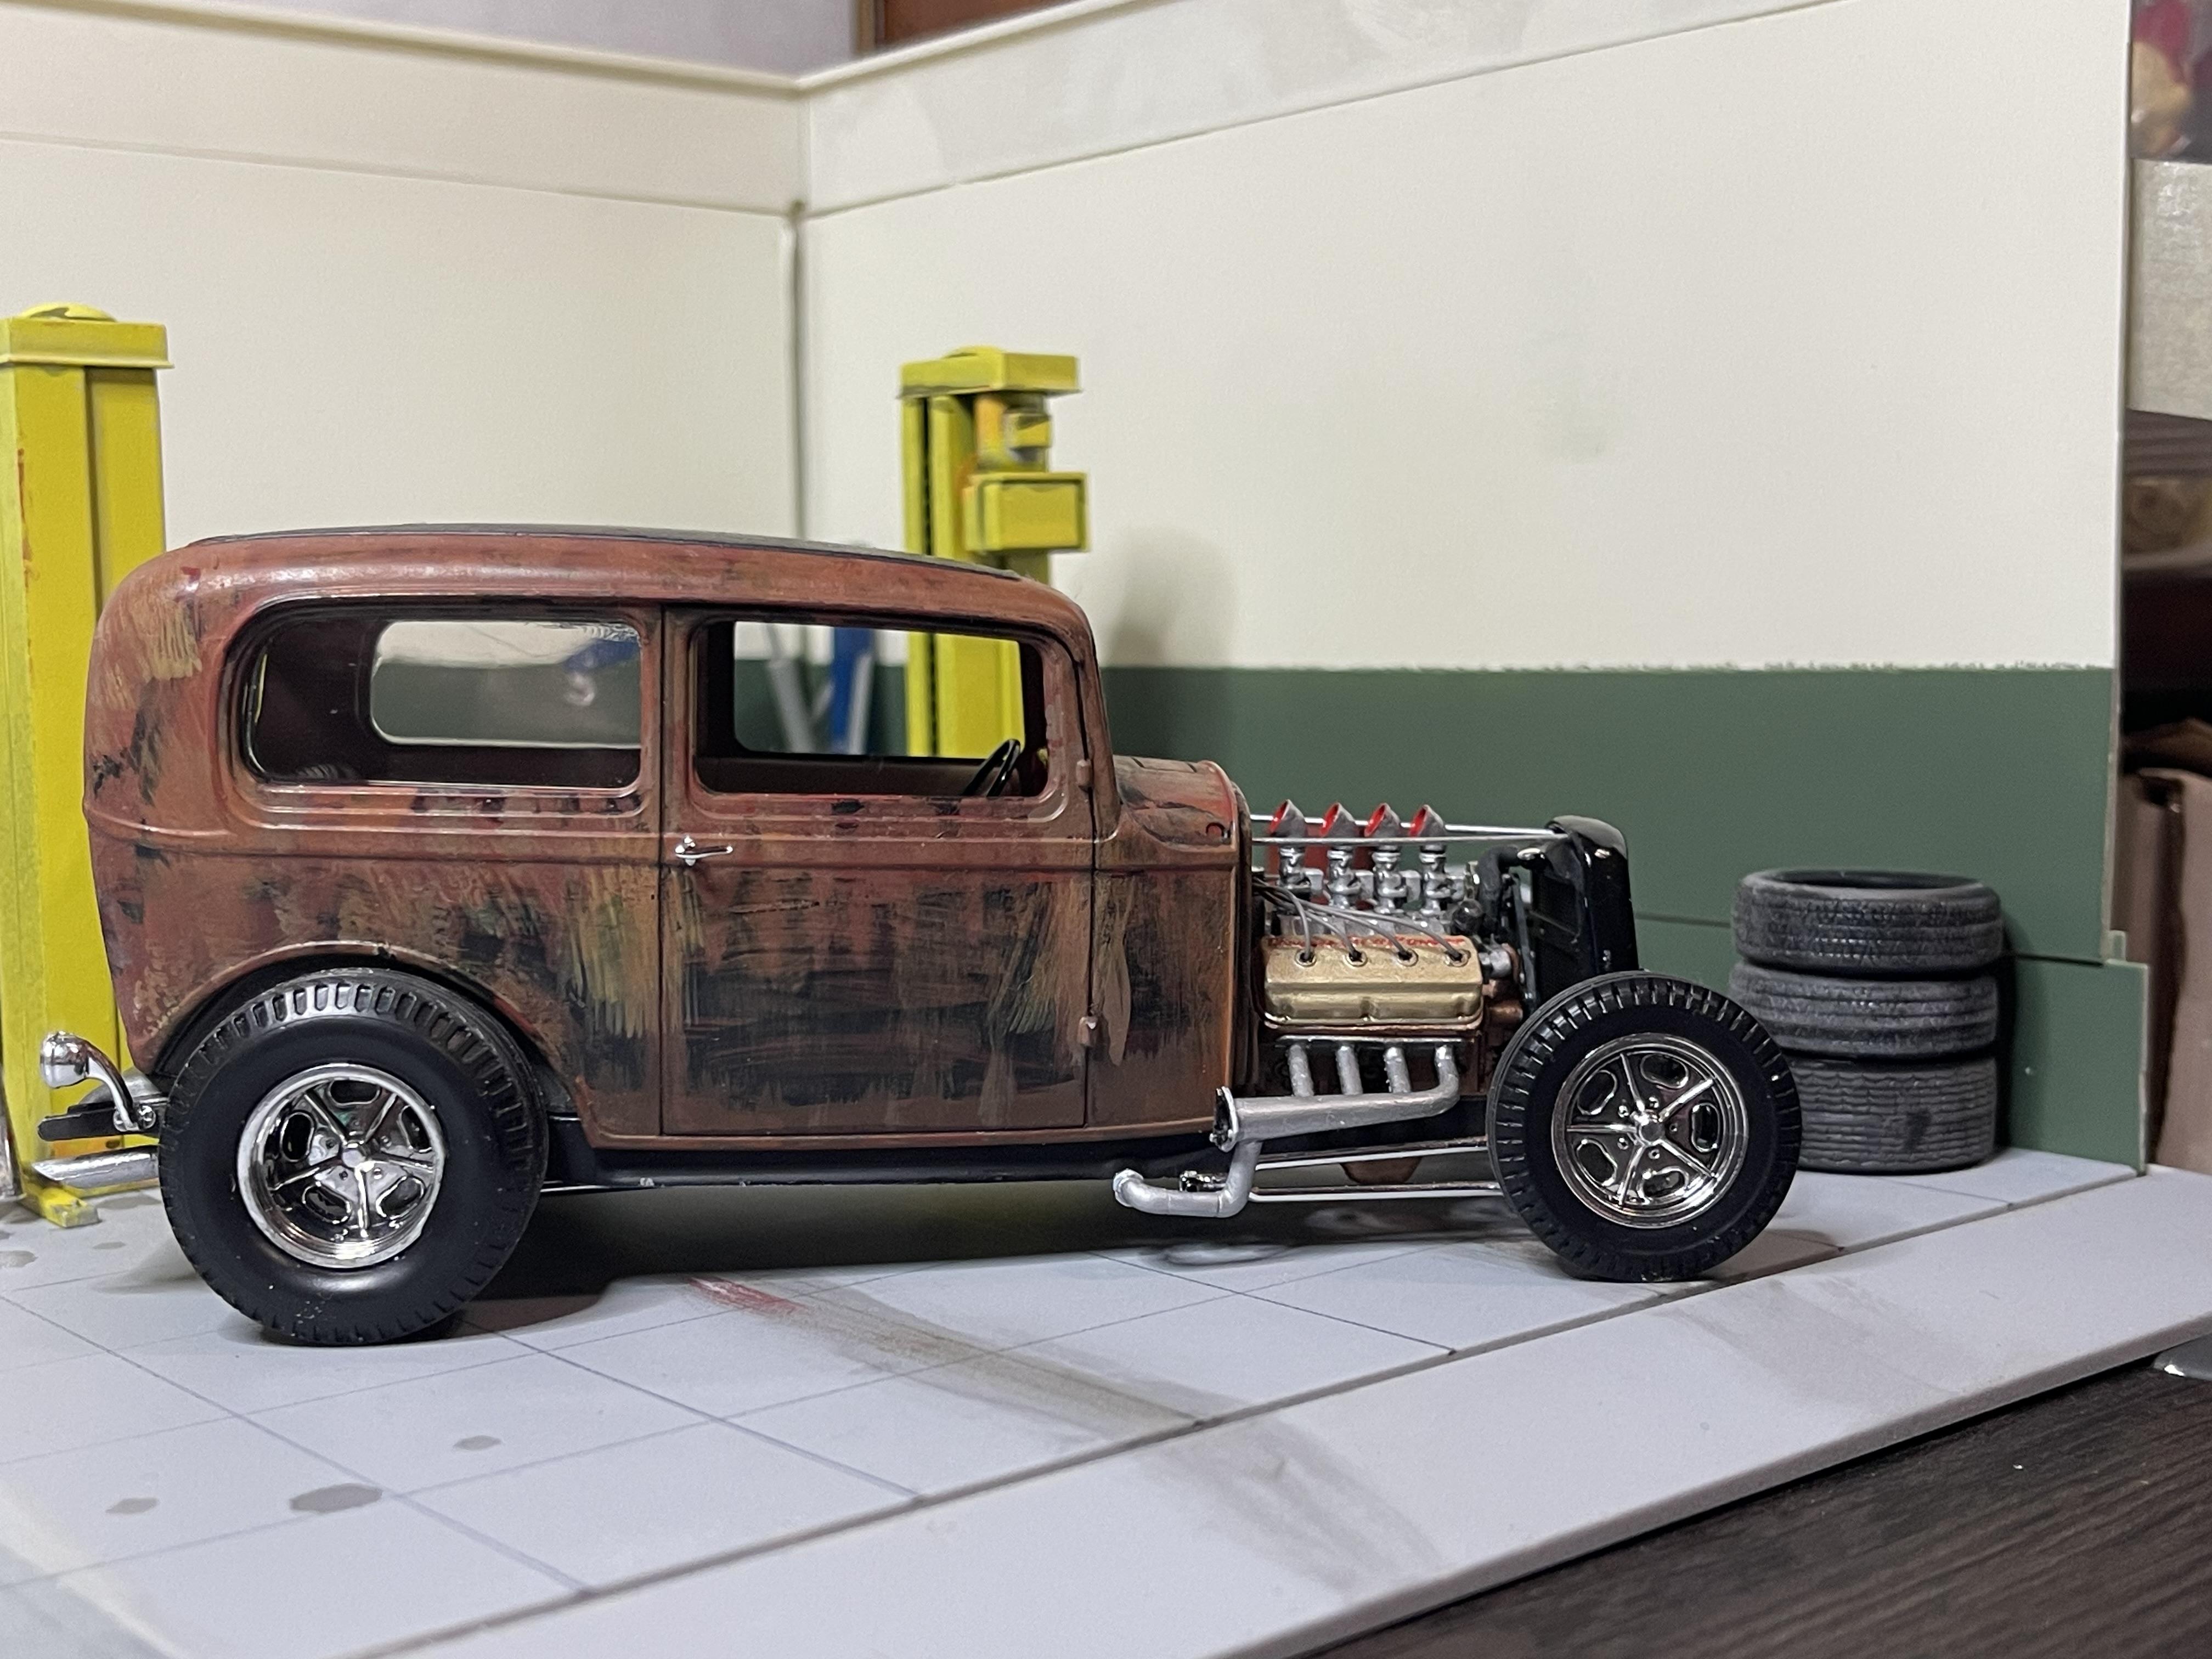
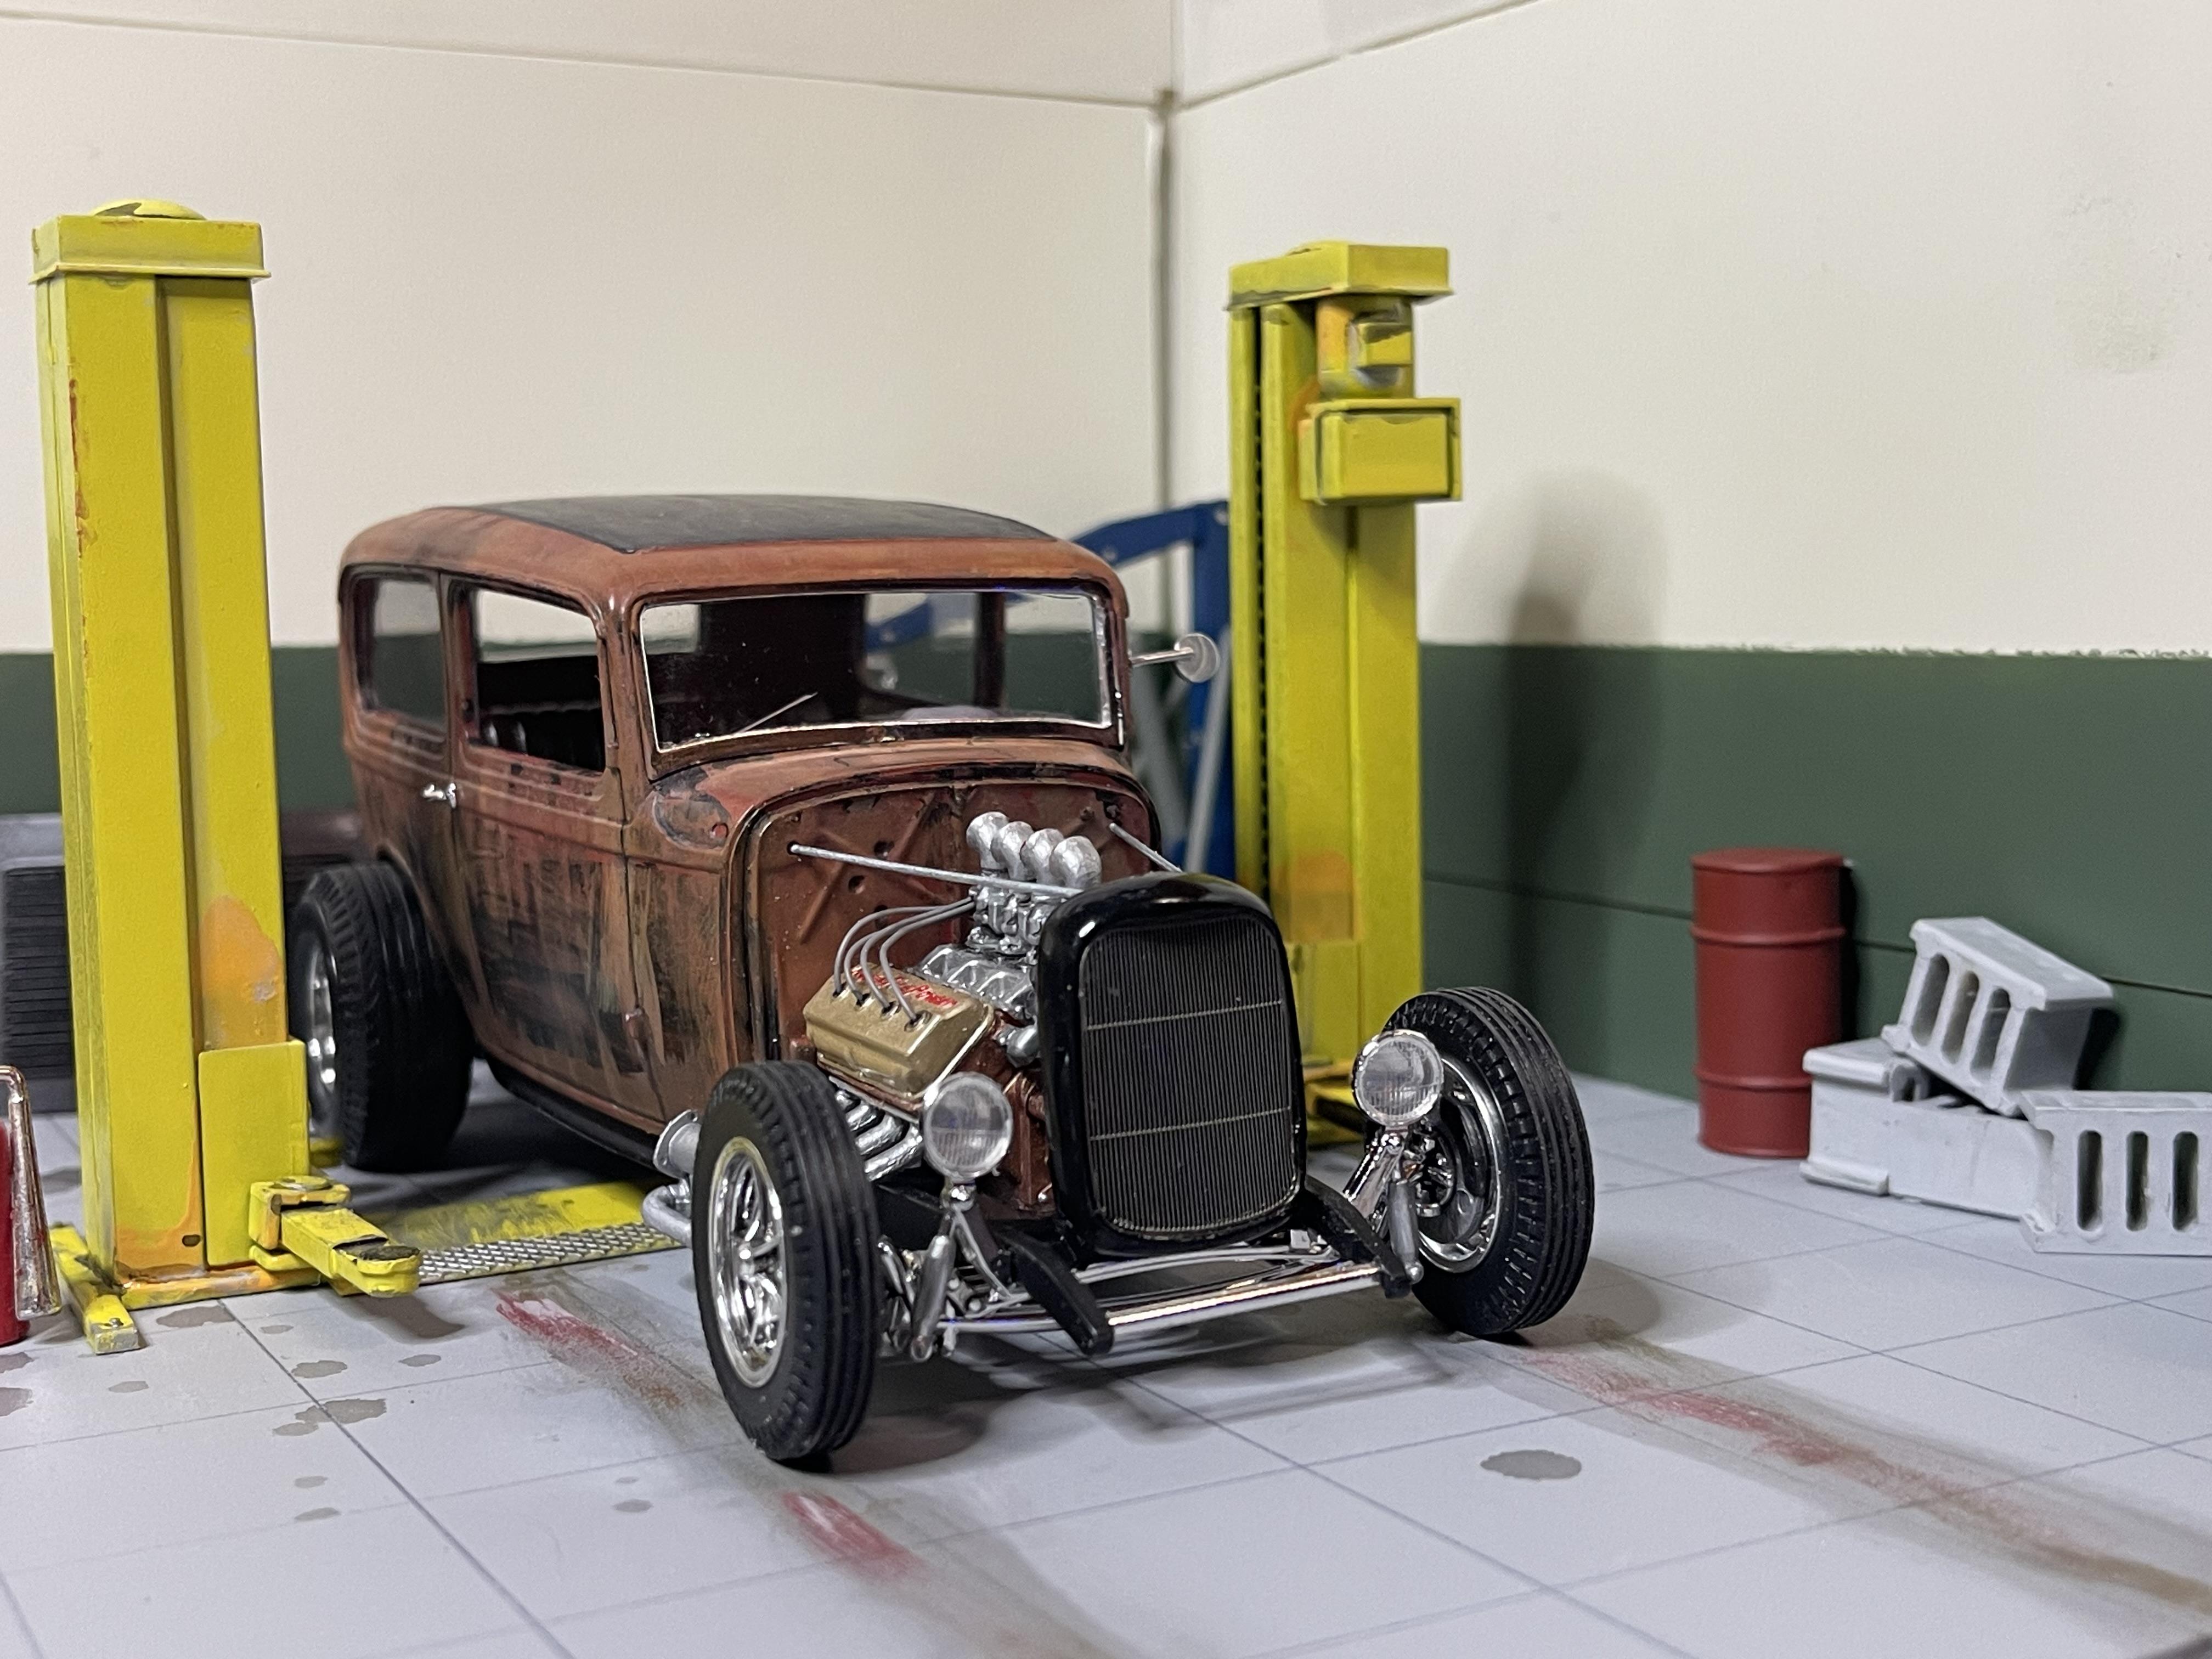
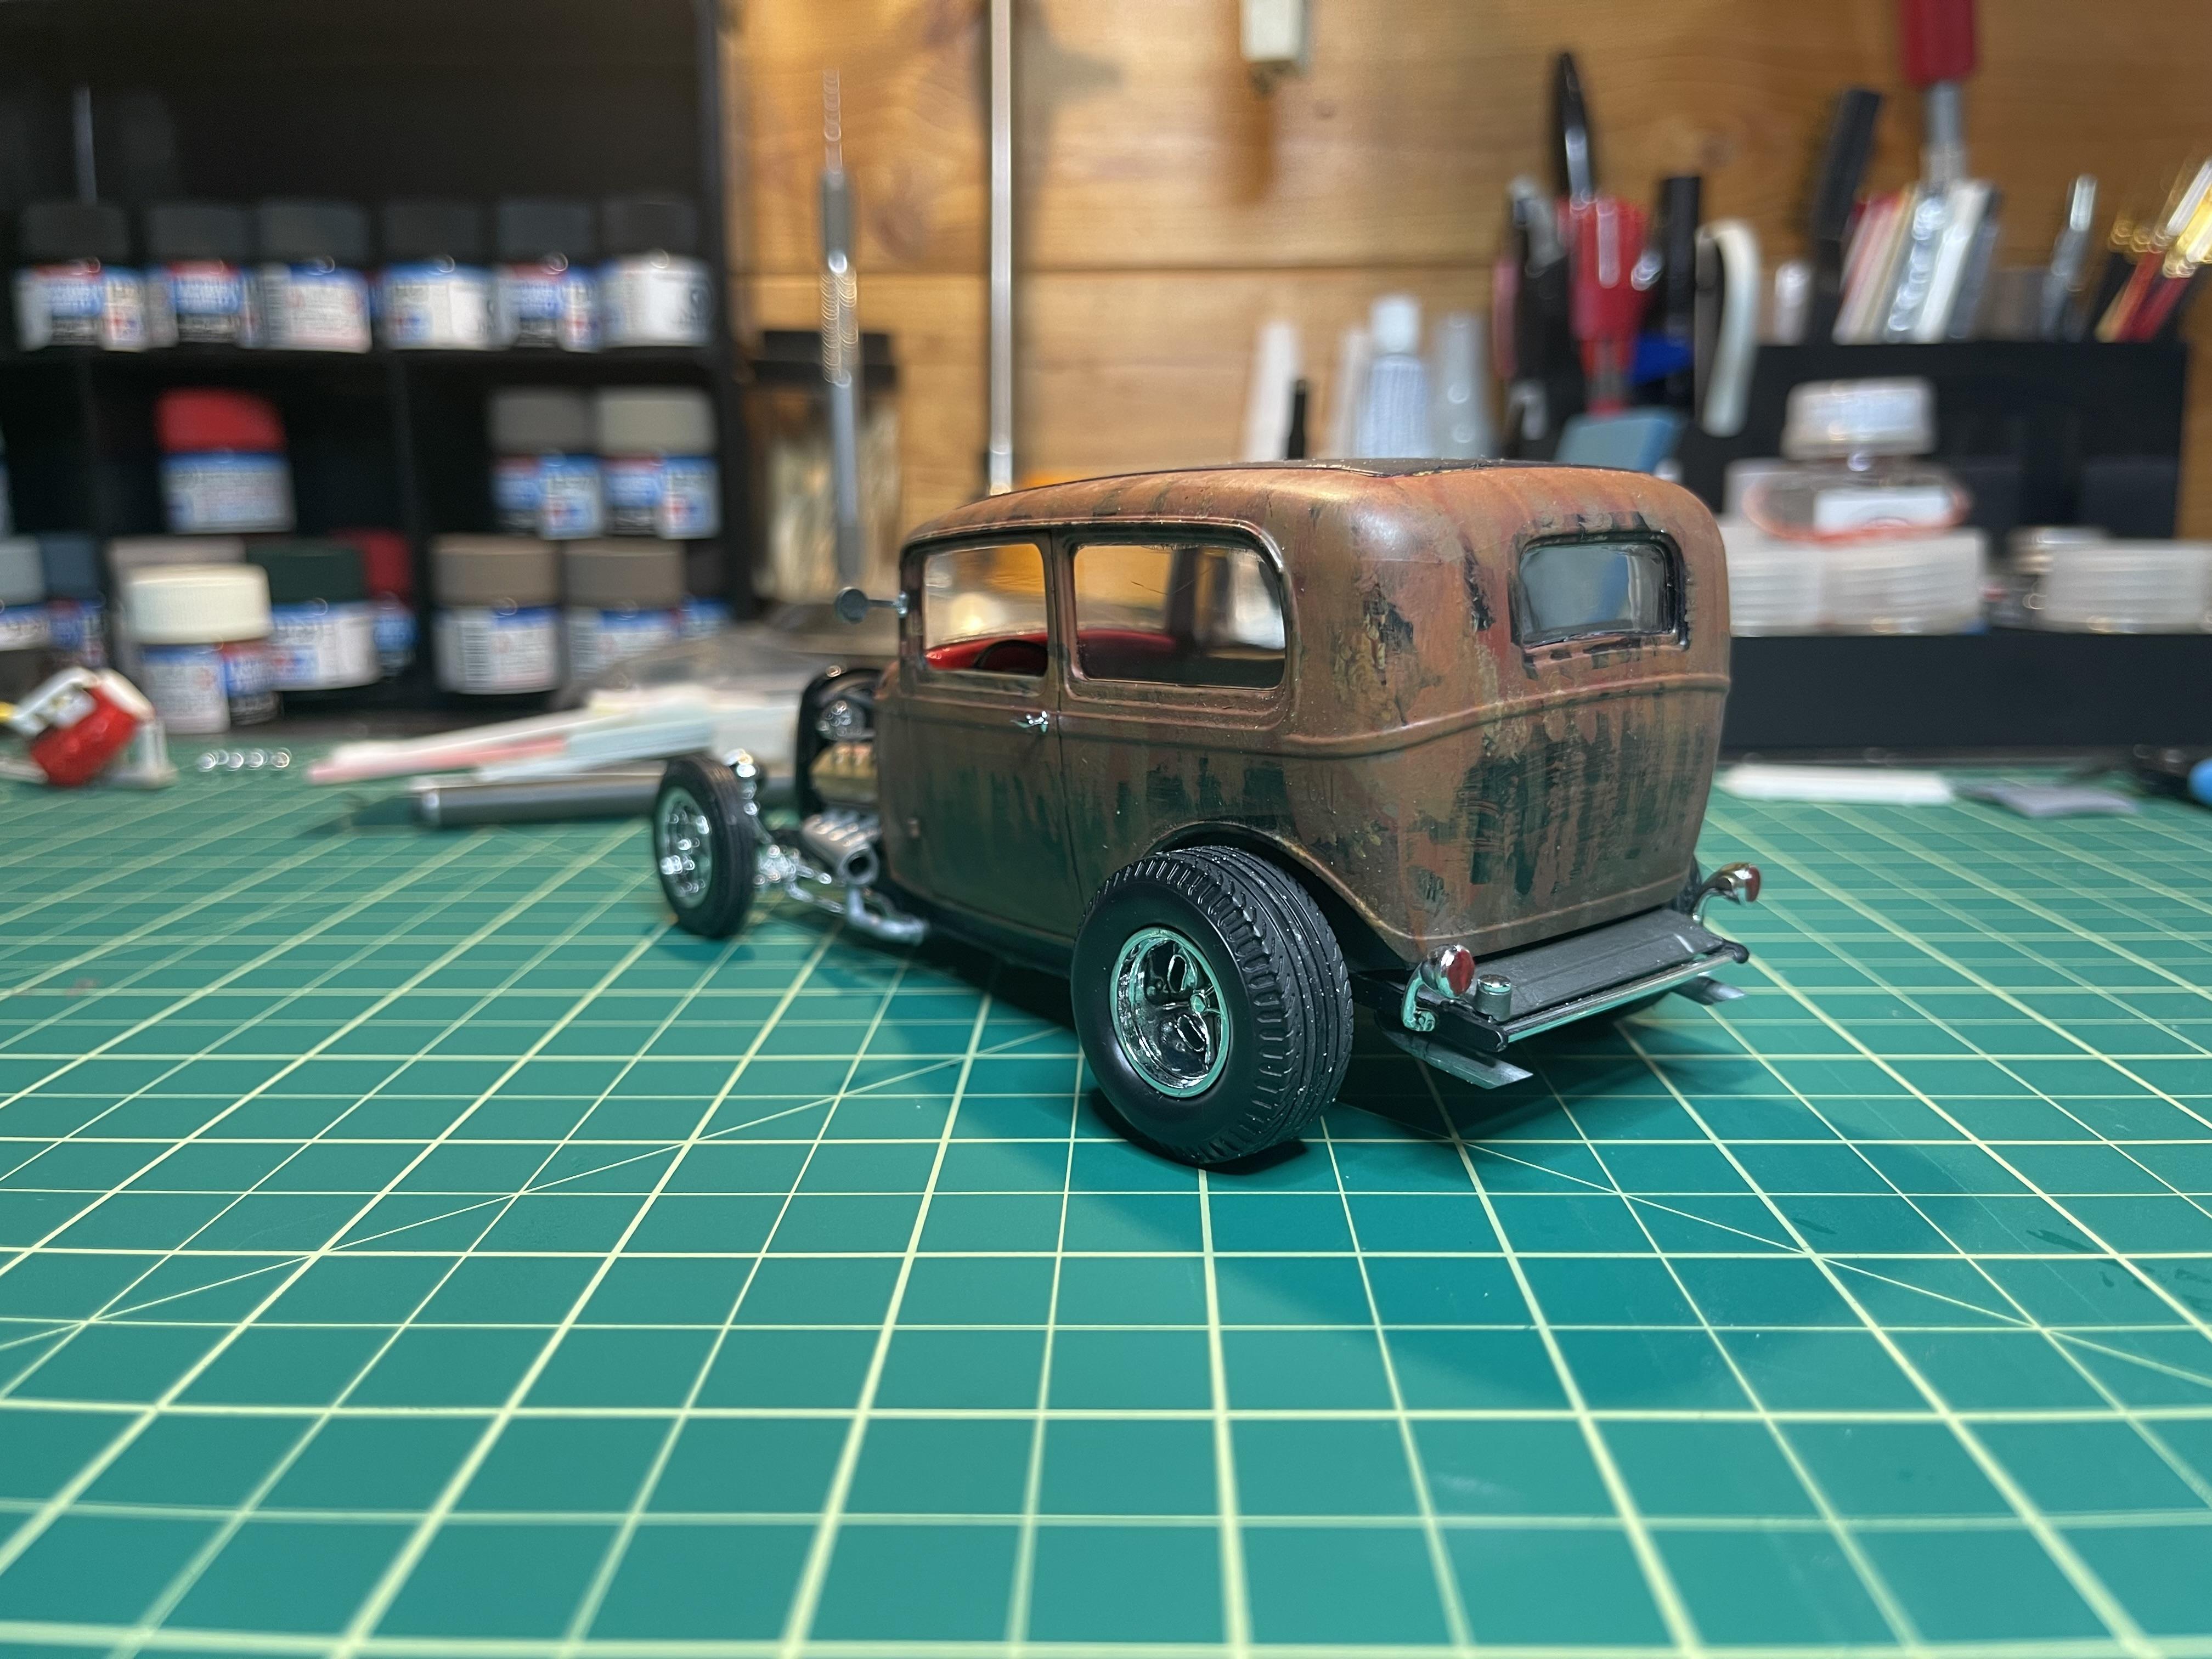
Well back a couple of months ago Revell re released their 1932 Ford Sedan, which prompted the Well I was in from the word go as my favourite kits to build are the 1932 Fords and its iterations. I had to blow the dust off the desk and have a go. It was fun to be part of a build off, I decided on a patina finish of the body with everything else being in a rather newish state. Please excuse the state of the shop, the guys had to clear out a project to get the photo shoot done haha!

- 28 replies
-
- 13
-

-
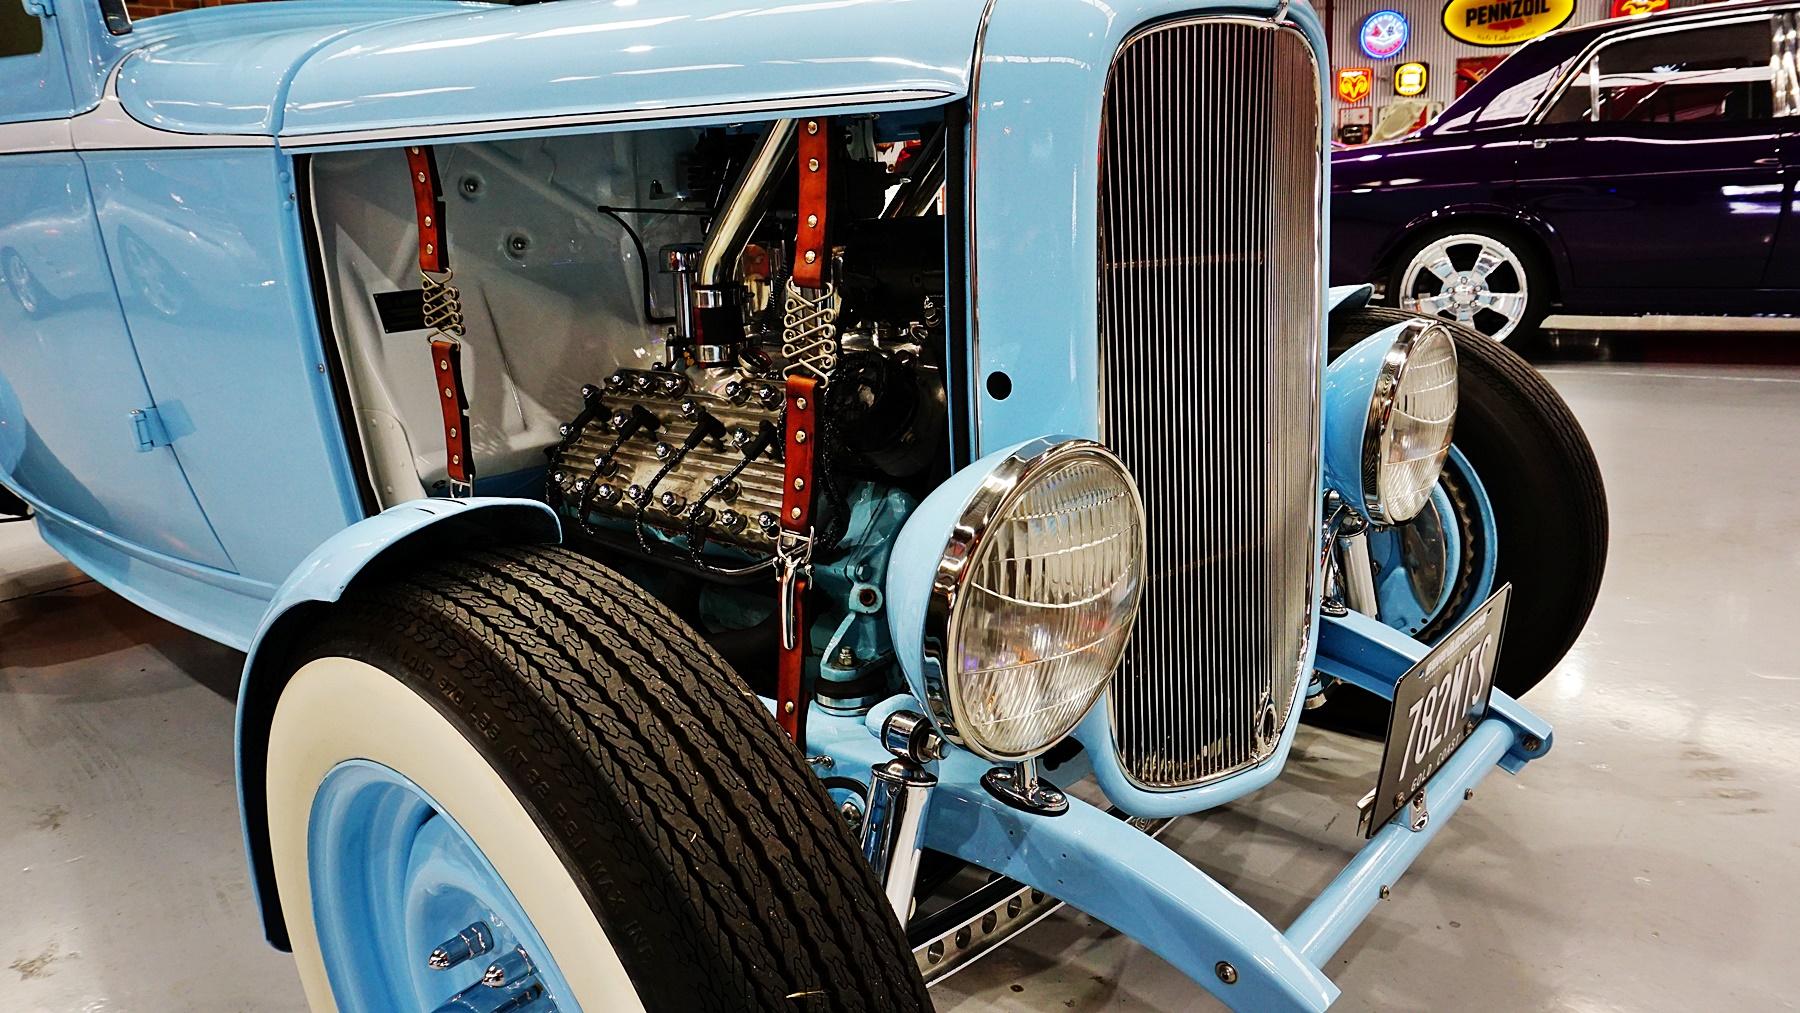
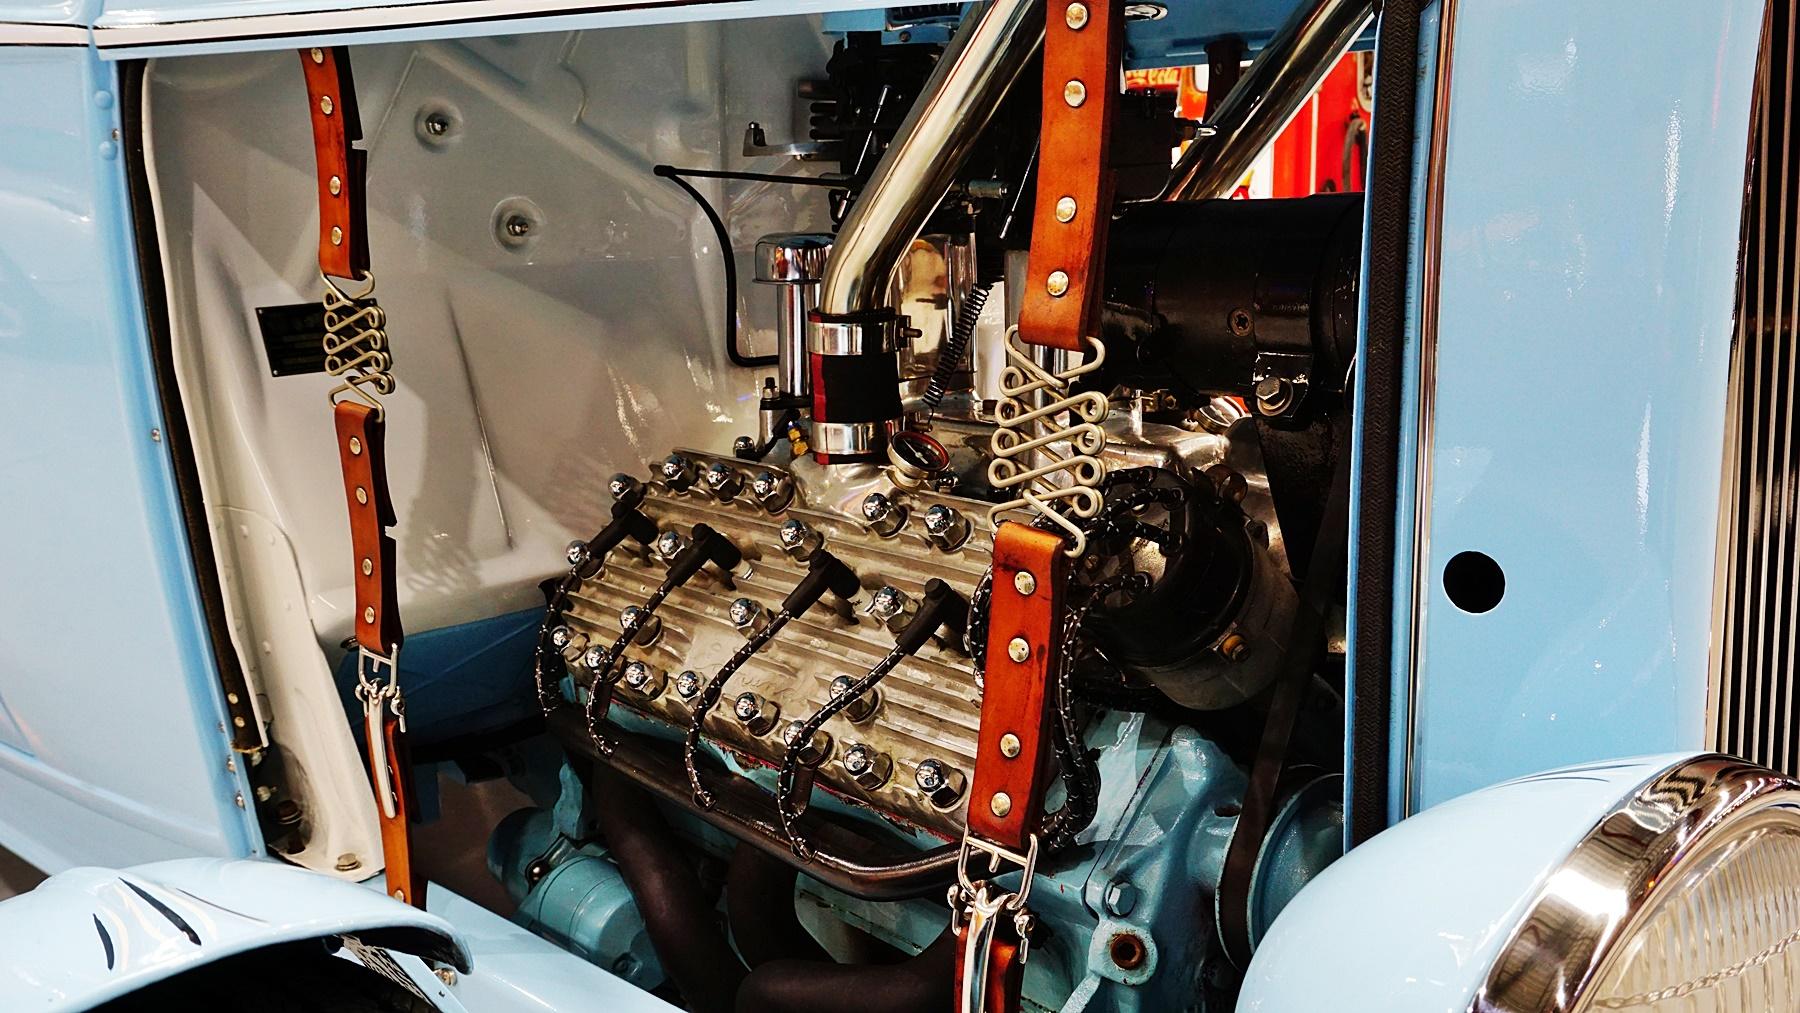
 Well we could presume that the centre hinge mount was modified so that it could support the smoothed hood and still provide a way to hold the hood on to the car, and remain hidden, who said our high schoolers weren’t a crafty lot!
 -
Who is Steven? I get your point though, I actually did a google search and could not come up with a viable soloution besides the “suspenders”! I presume that there is a sort of device that would hold the hood down like a pinned bracket. With that being stated I guess the truck will be hoodless now.
-
Thank you Alan, it’s a bit of work but the results are worth it. Damnit Jim i‘m a model builder not an engineer! Sorry can’t resist. Now there is a predicament I had not thought of. Maybe some old leather straps.
-
It used to be a Castrol product, now it’s just listed as Super Clean! apologies to the OP for cluttering up the thread @LennyB
-
I scribed door, hood, trunk lines before dipping, it helped, but it depends on type of paint, I used it mostly on old builds ie junk rebuilders. I have a small sealable container on my desk for quick removal of chrome. No mess and biggest perk, no f’n smell like oven cleaner!
-
Thank you Bob.
-
Thank you Michael. Thank you Dennis.
-
It’s coming together rather well! Body is only on loan, it’s from another project!
-
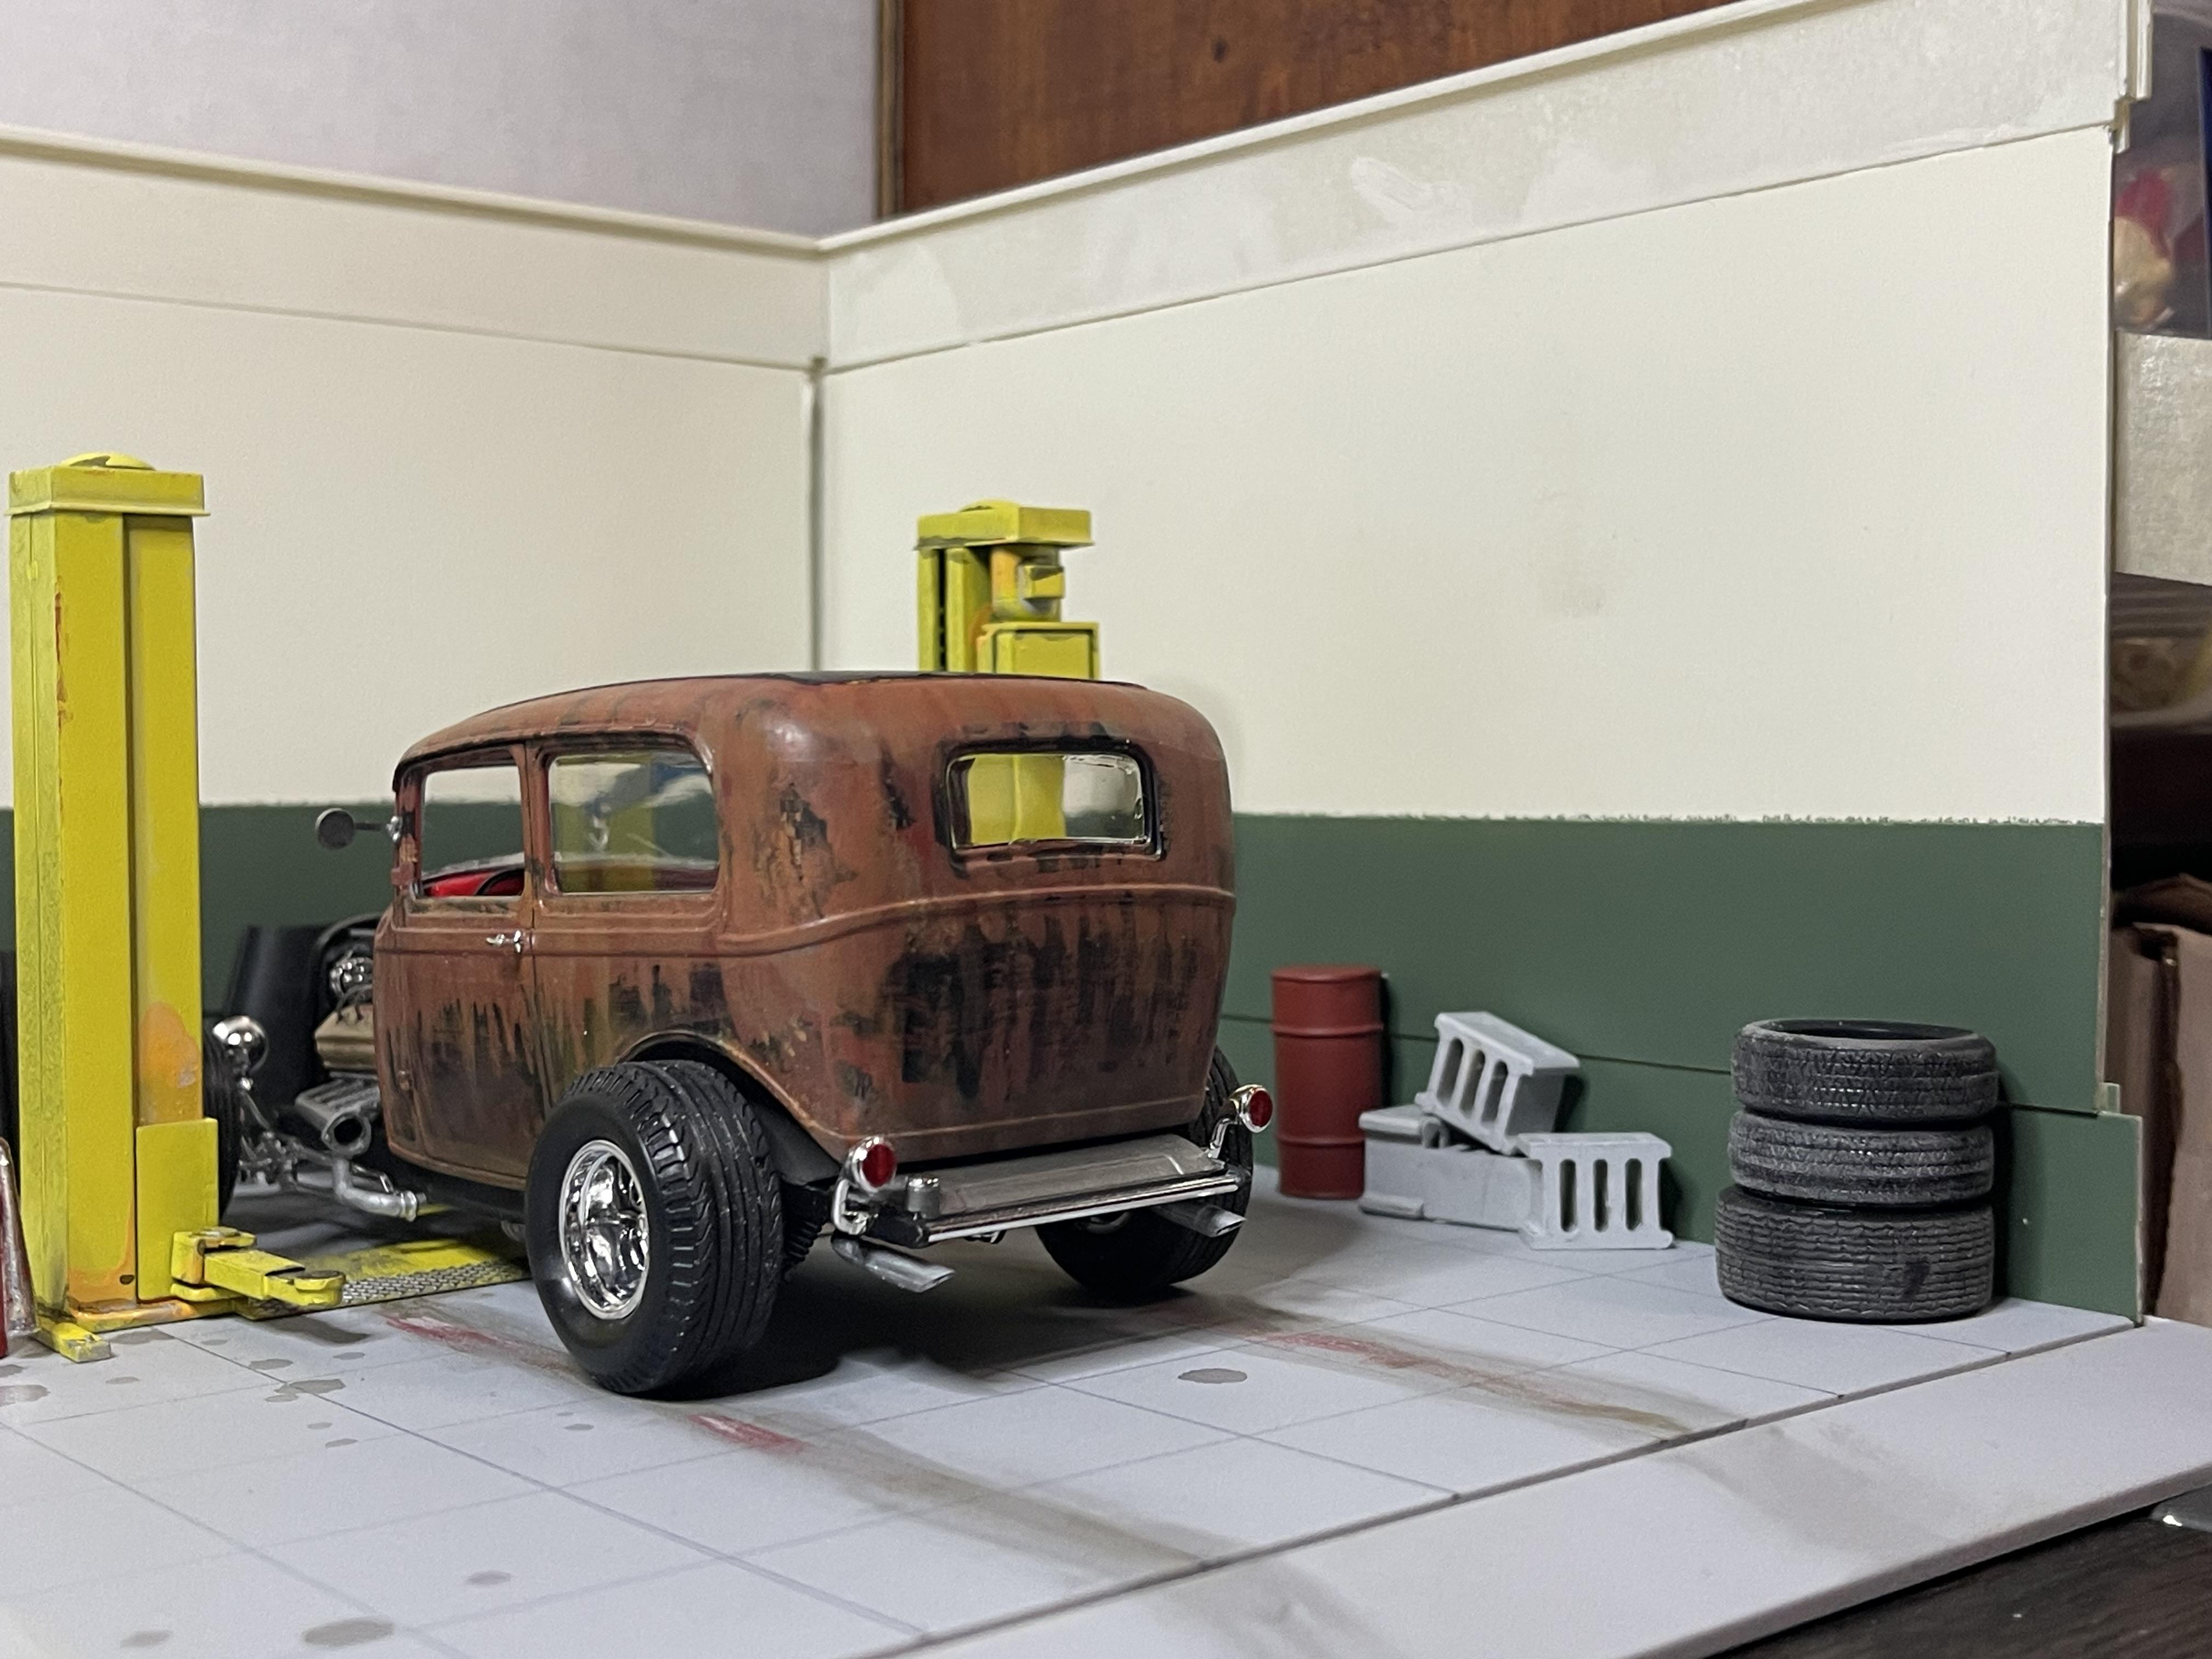
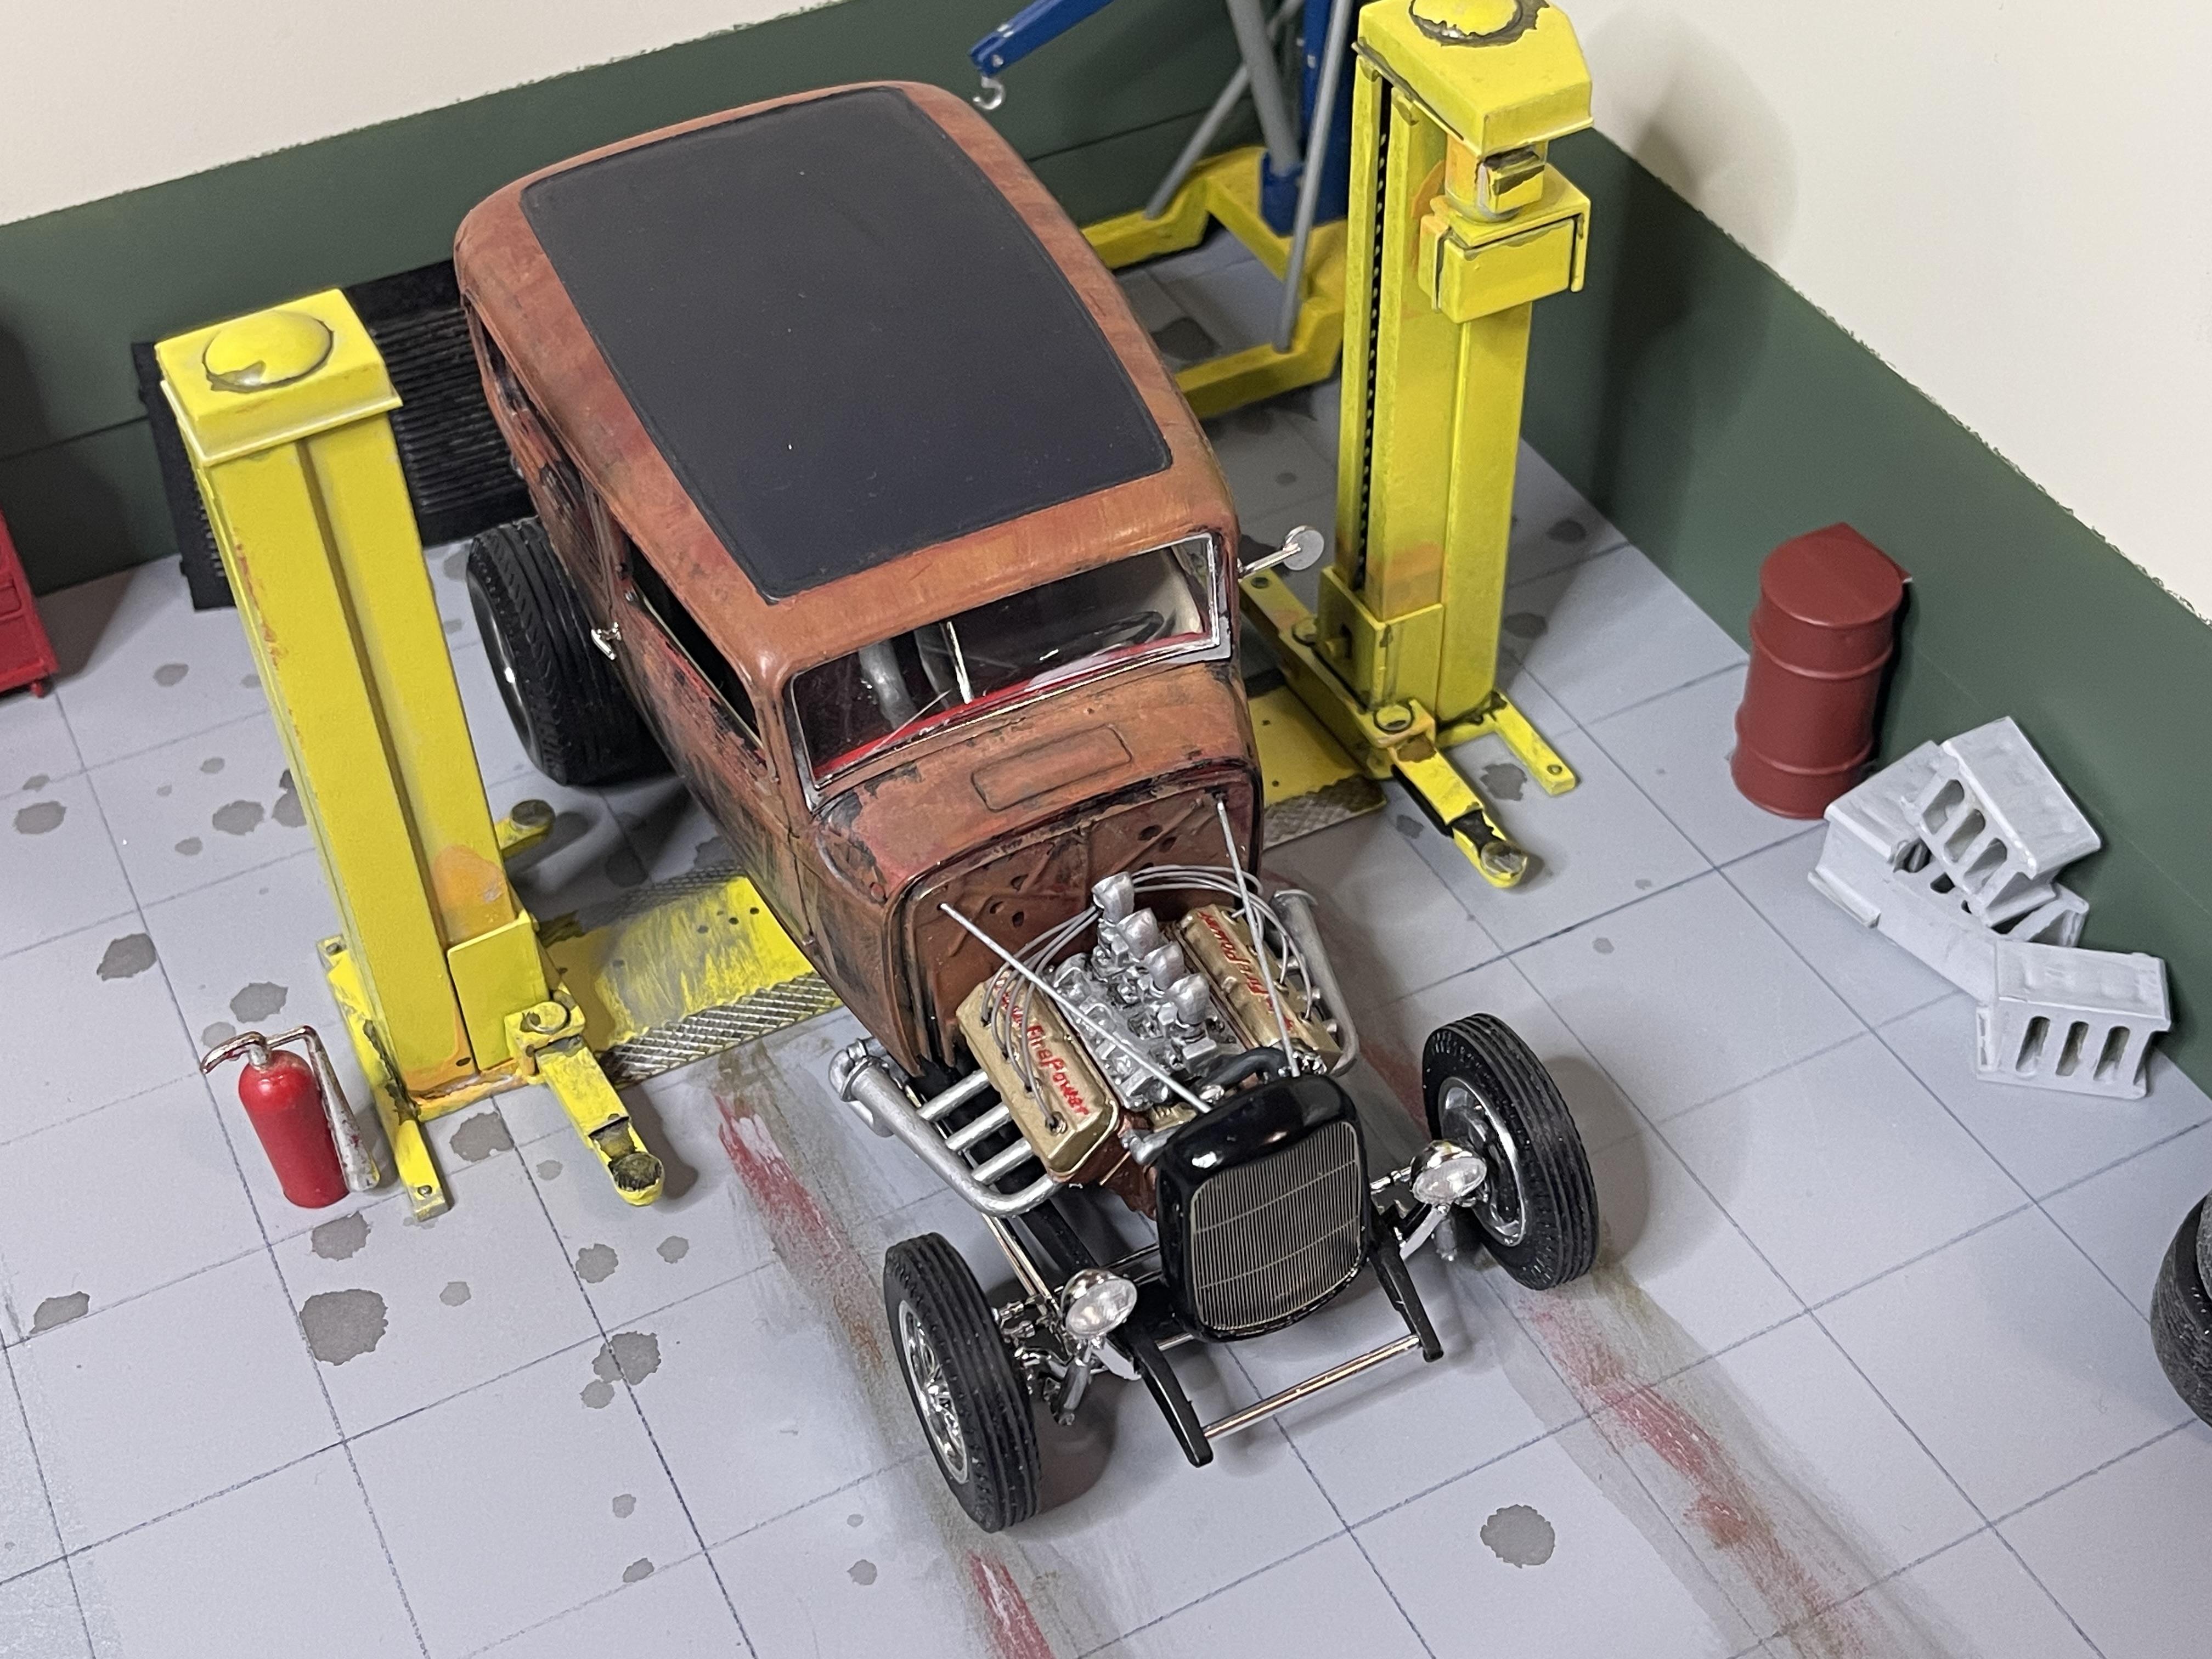
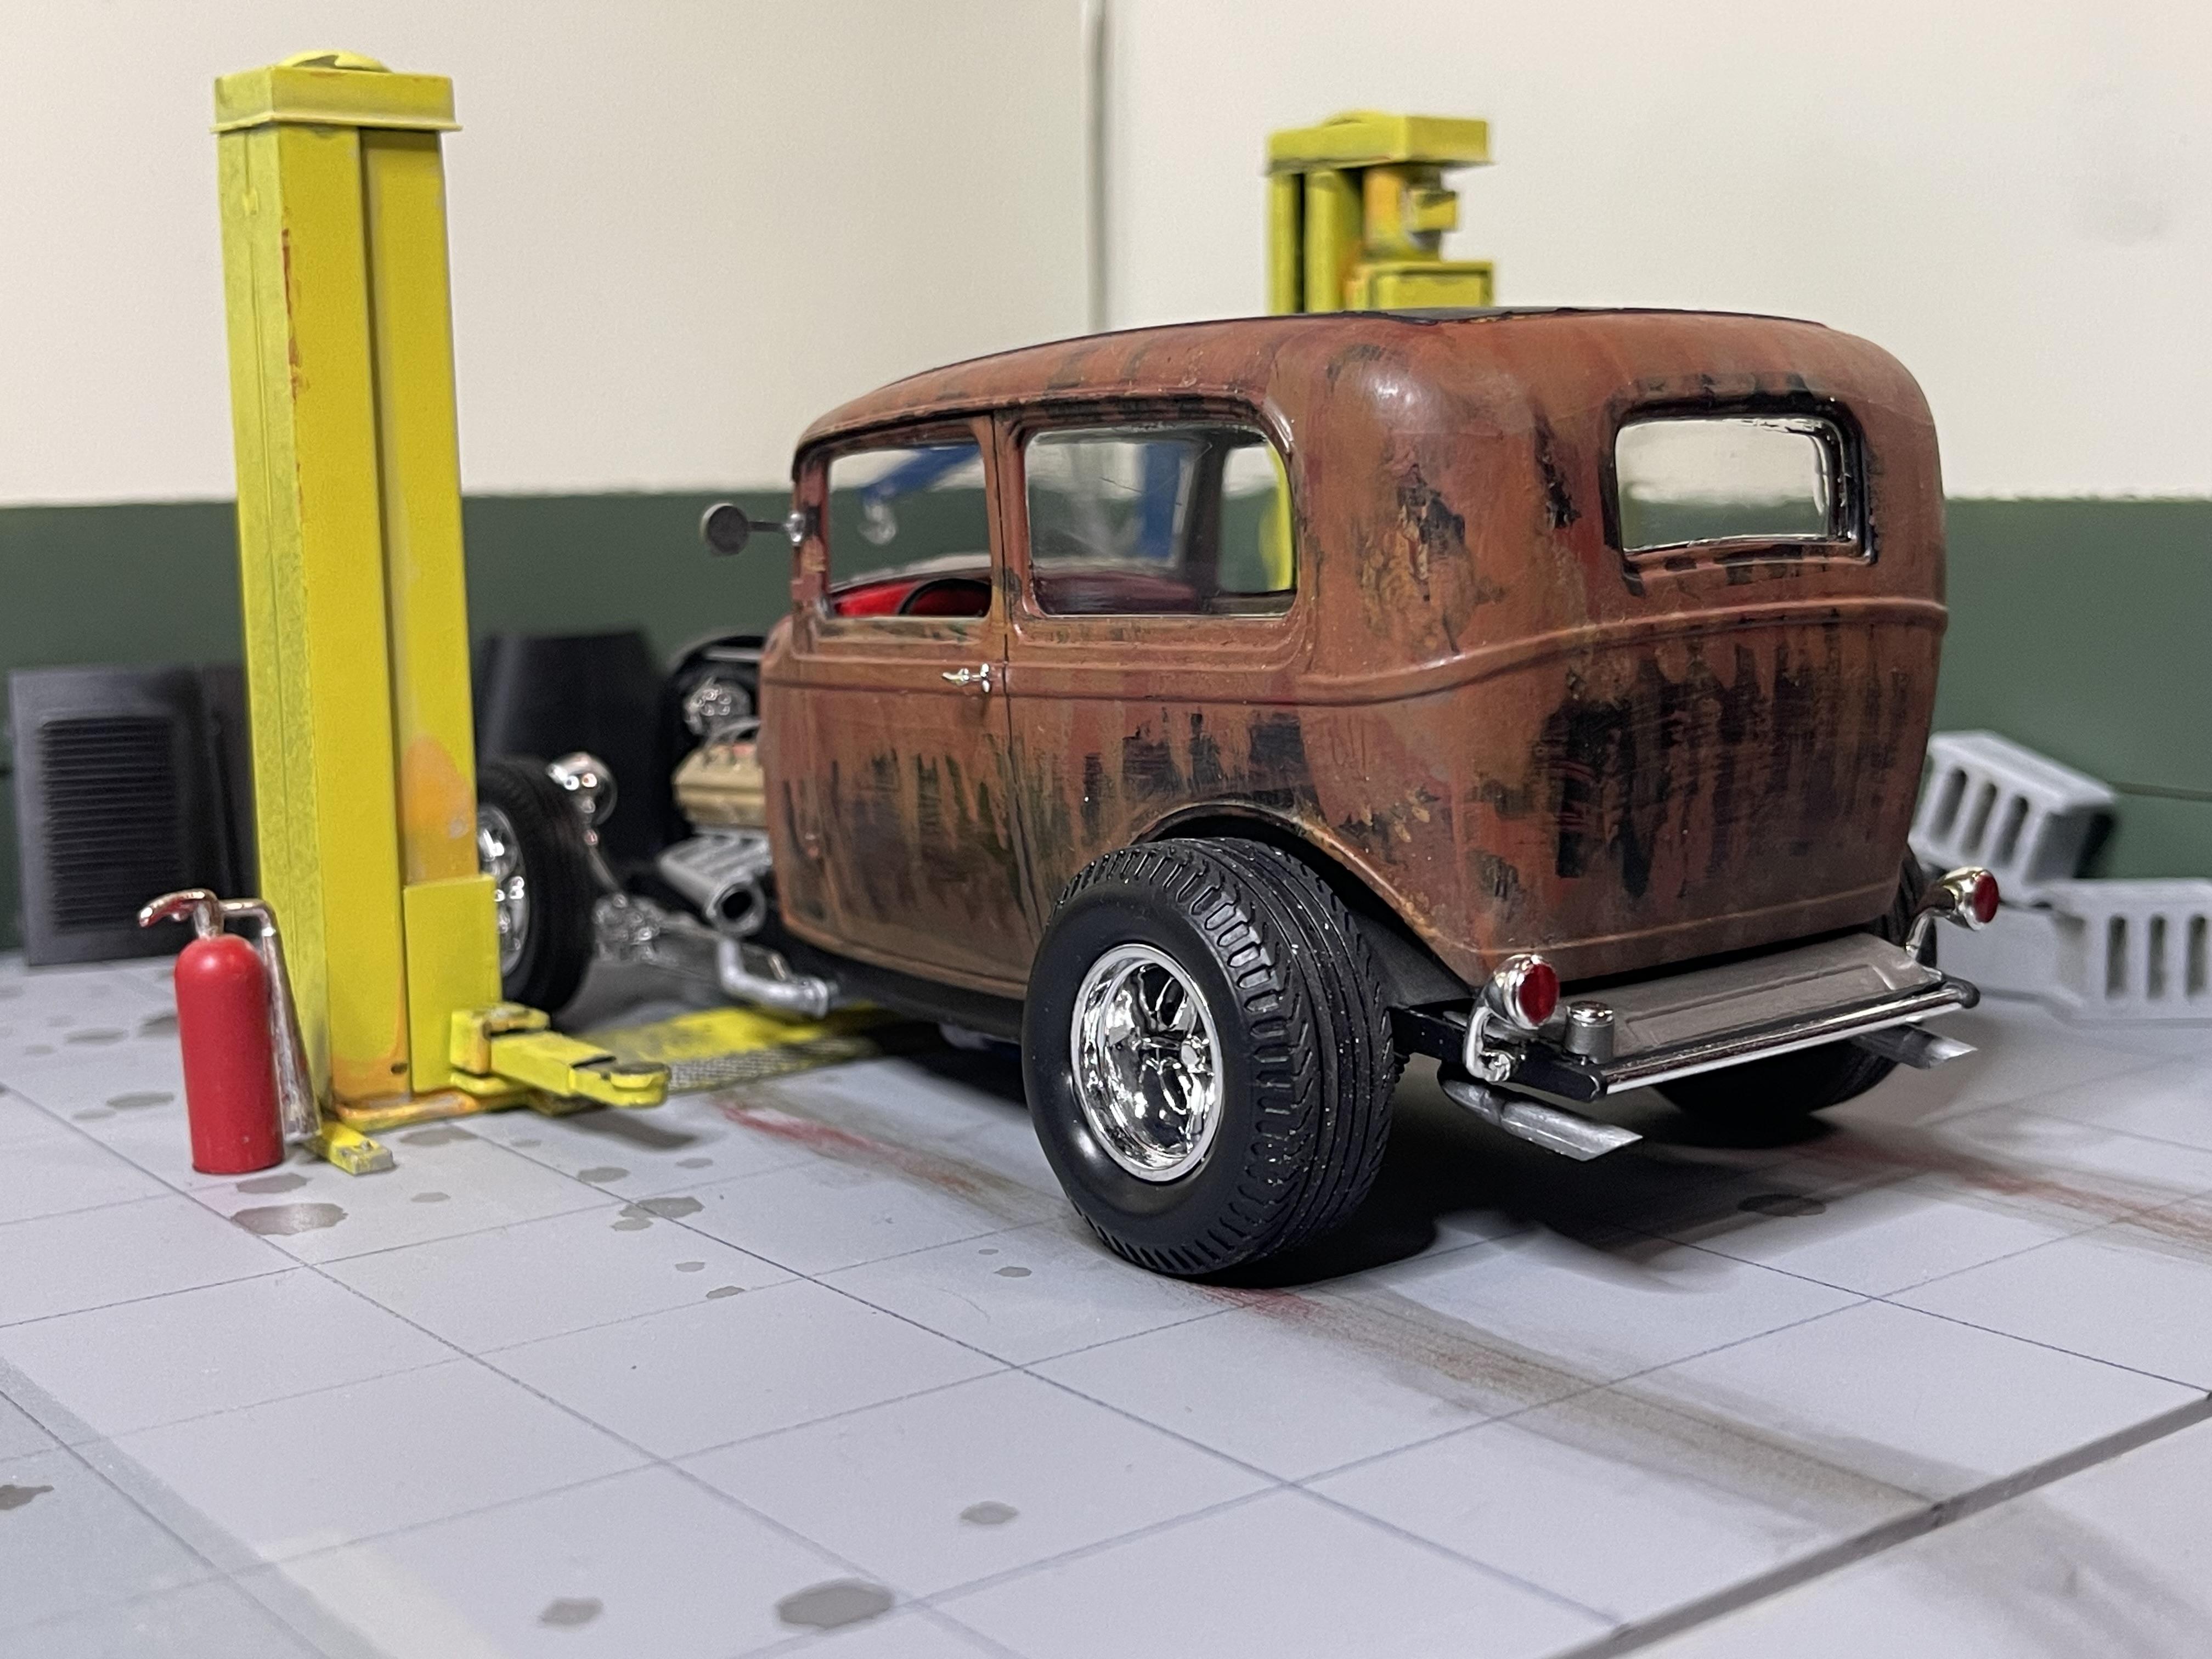
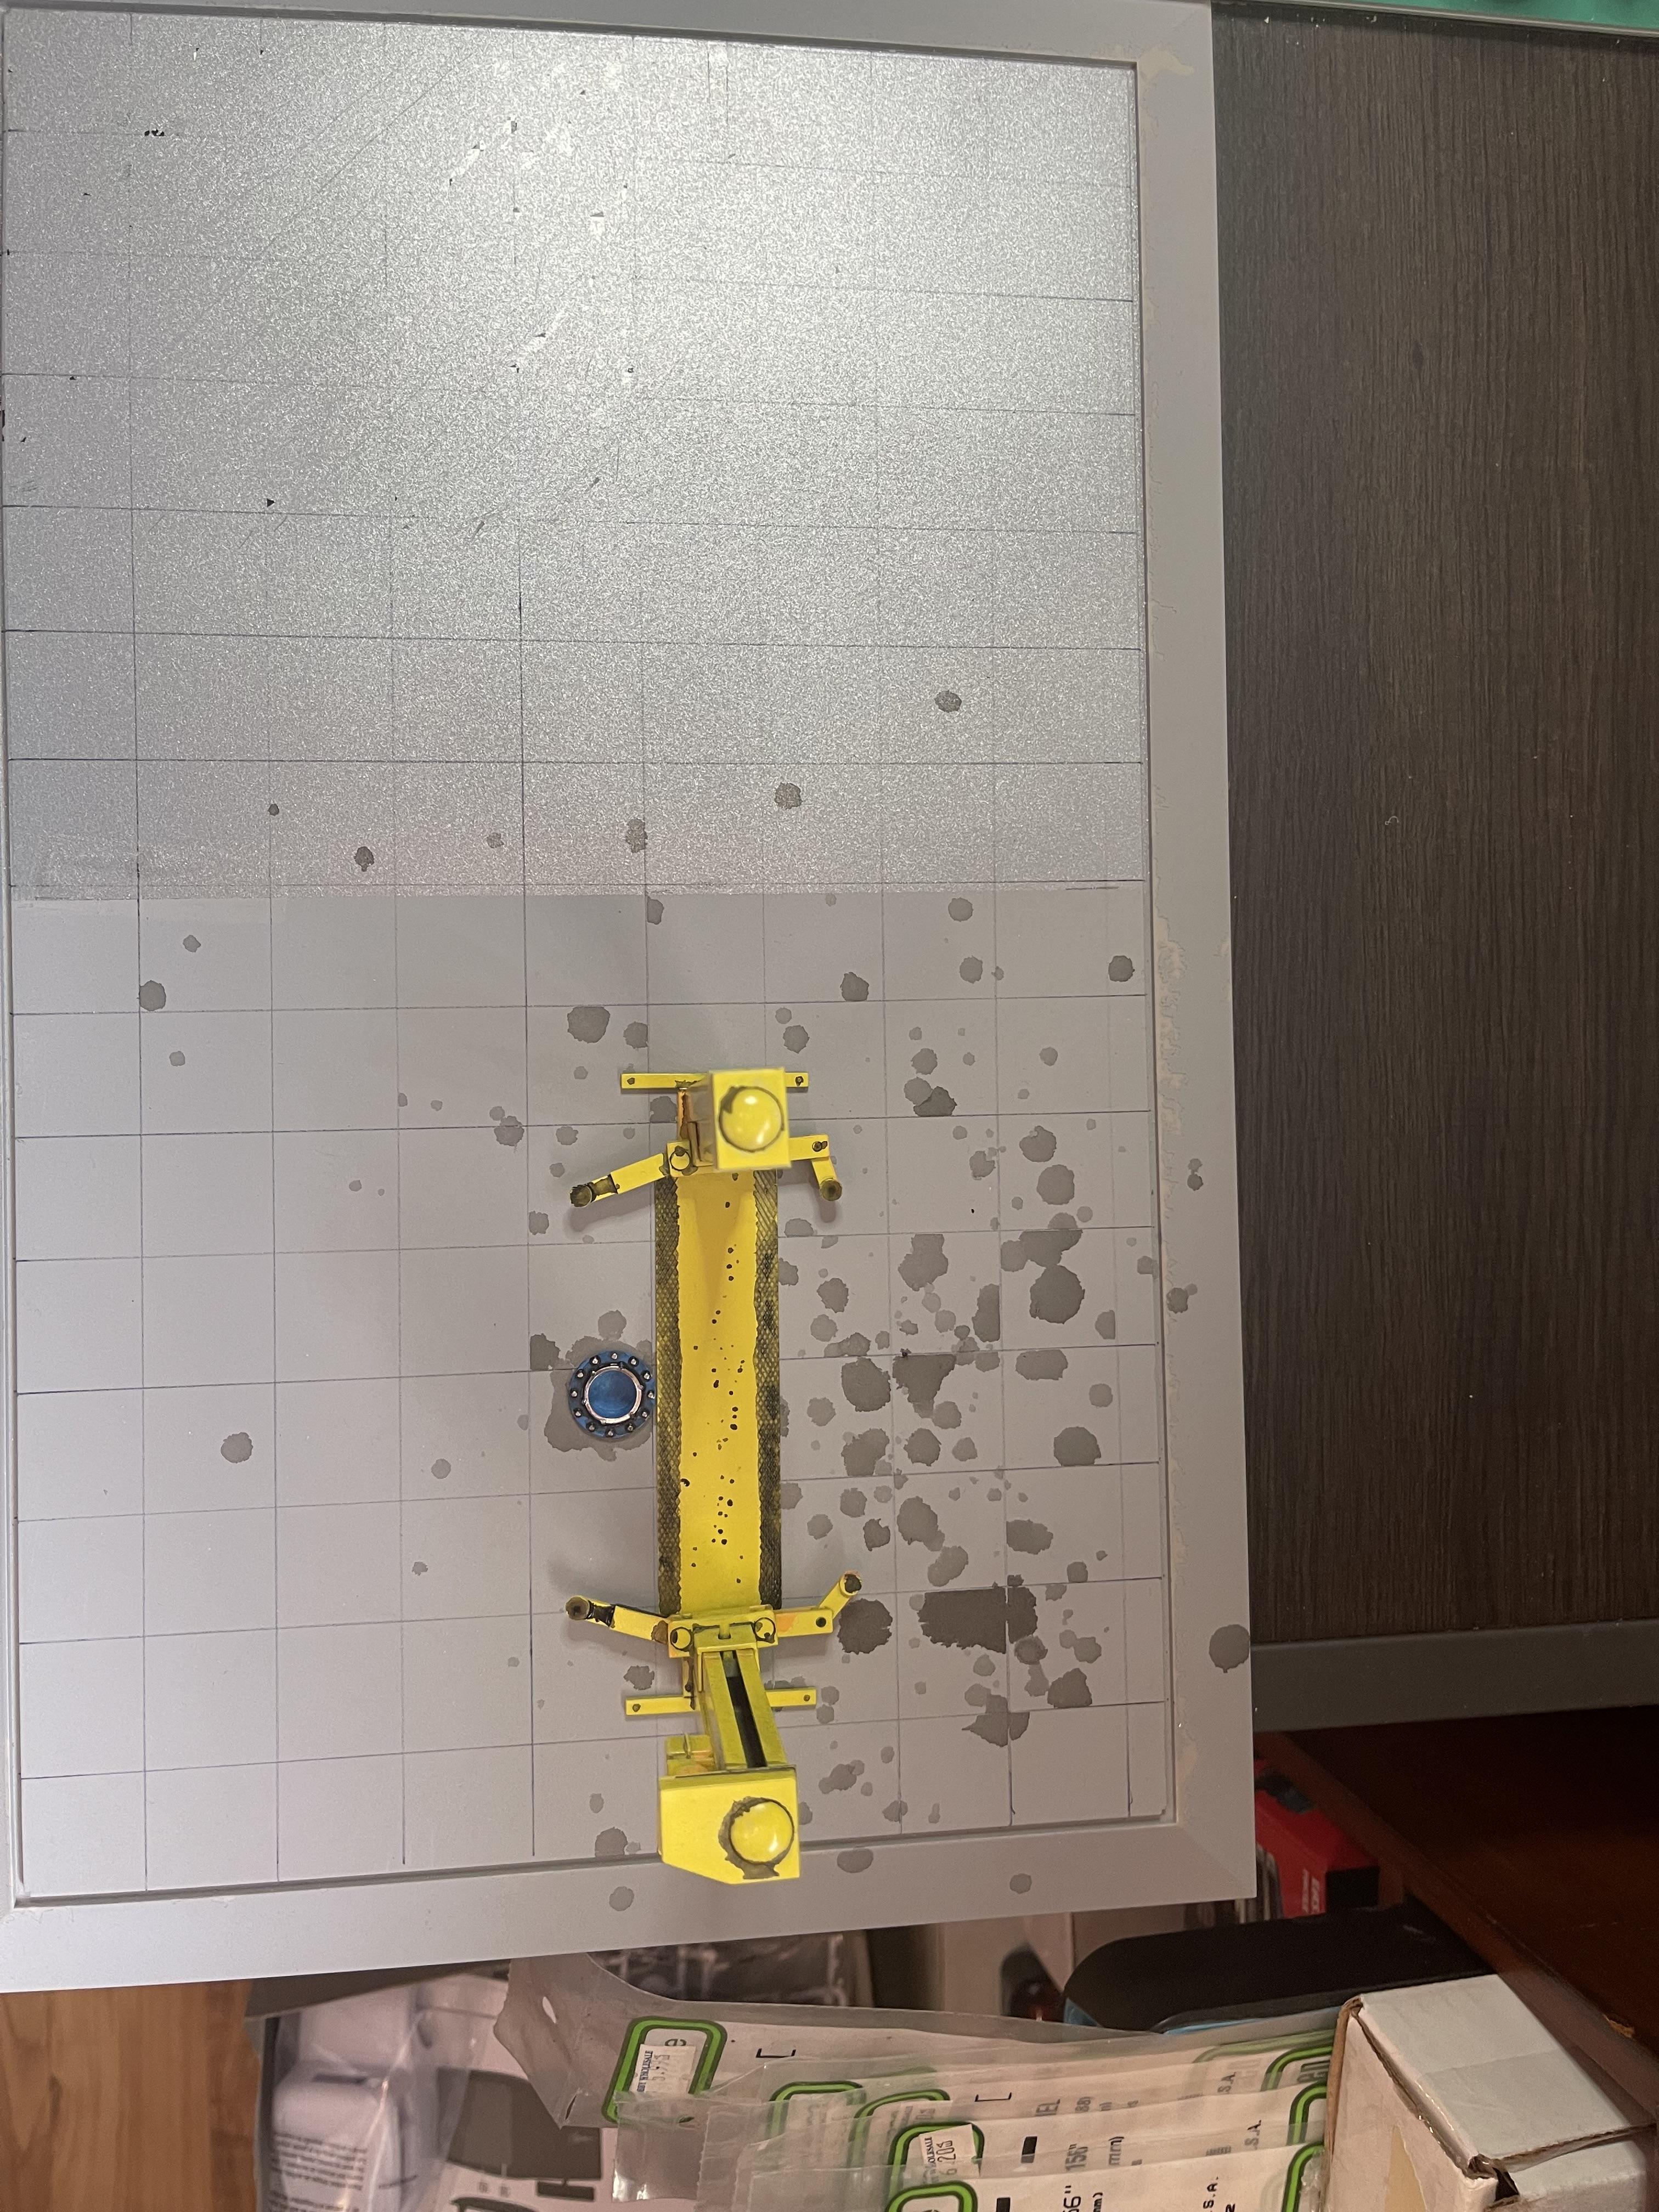
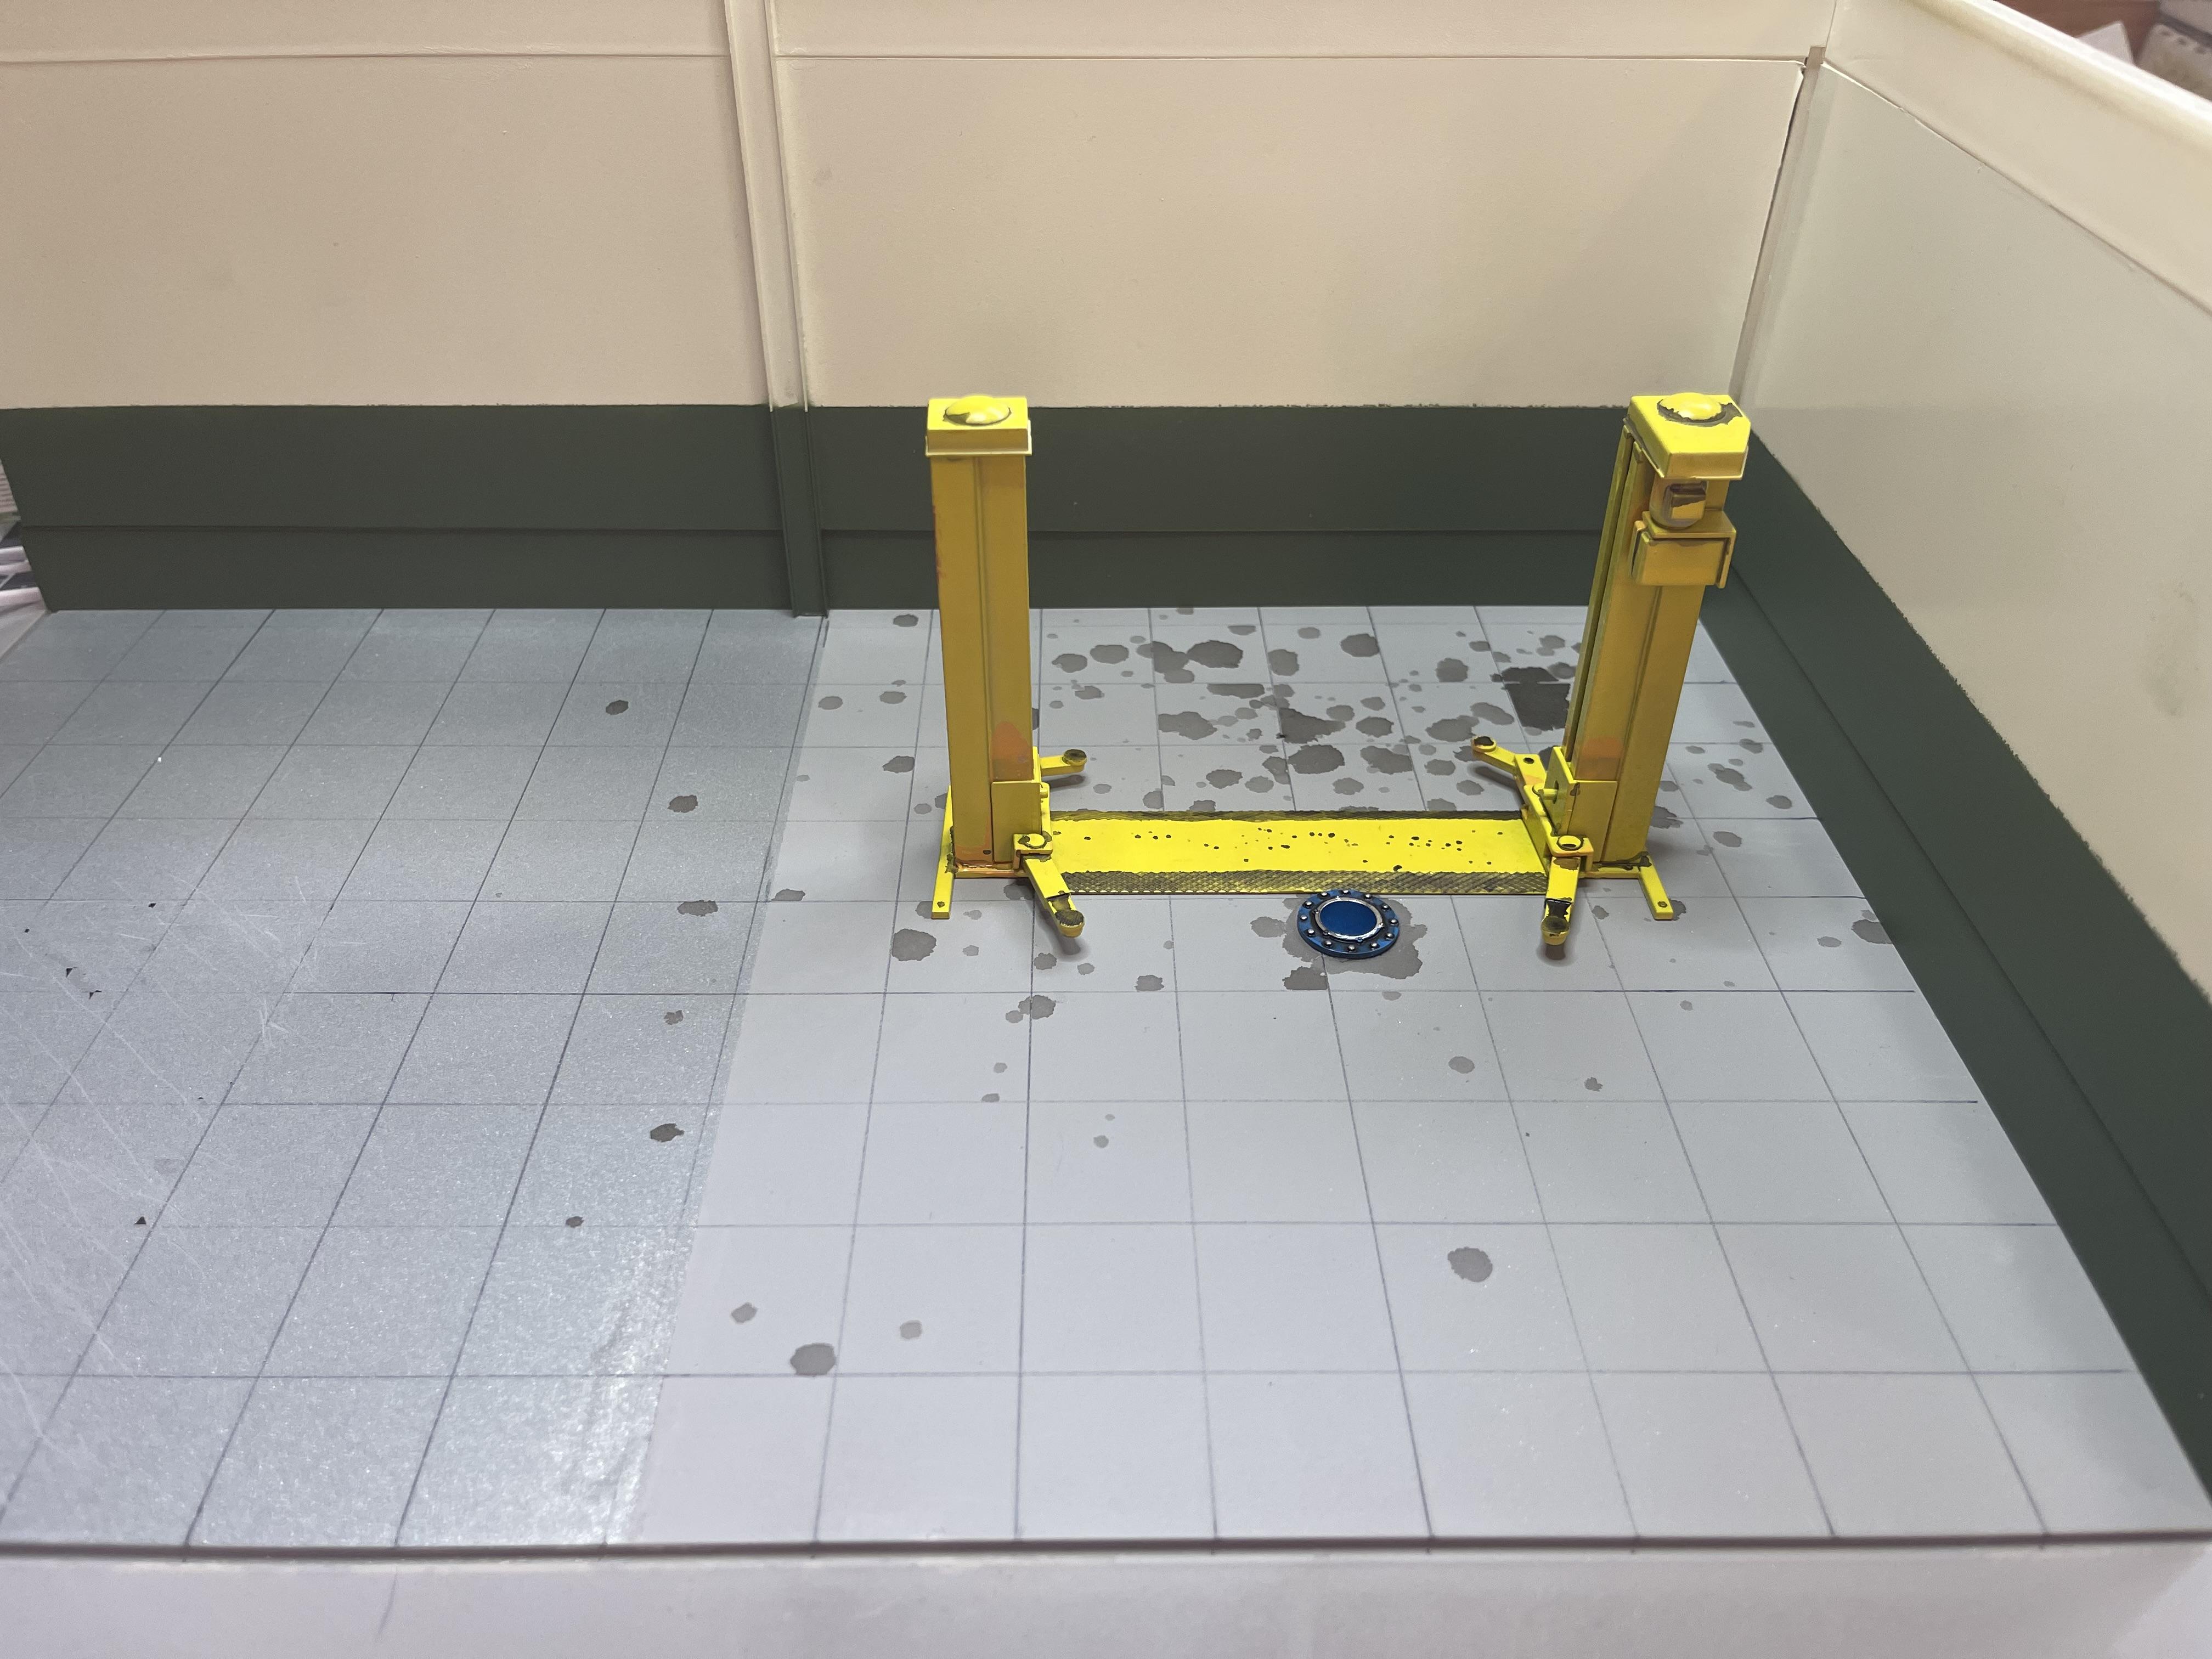
Spent some time adding some stains to the floor and a bit of colour to the walls! It’s starting to come together. Not sure if the lift is staying but it adds a nice touch to the garage.
-
Full strength works the best, it removes chrome and the varnish underneath in minutes as well!
-
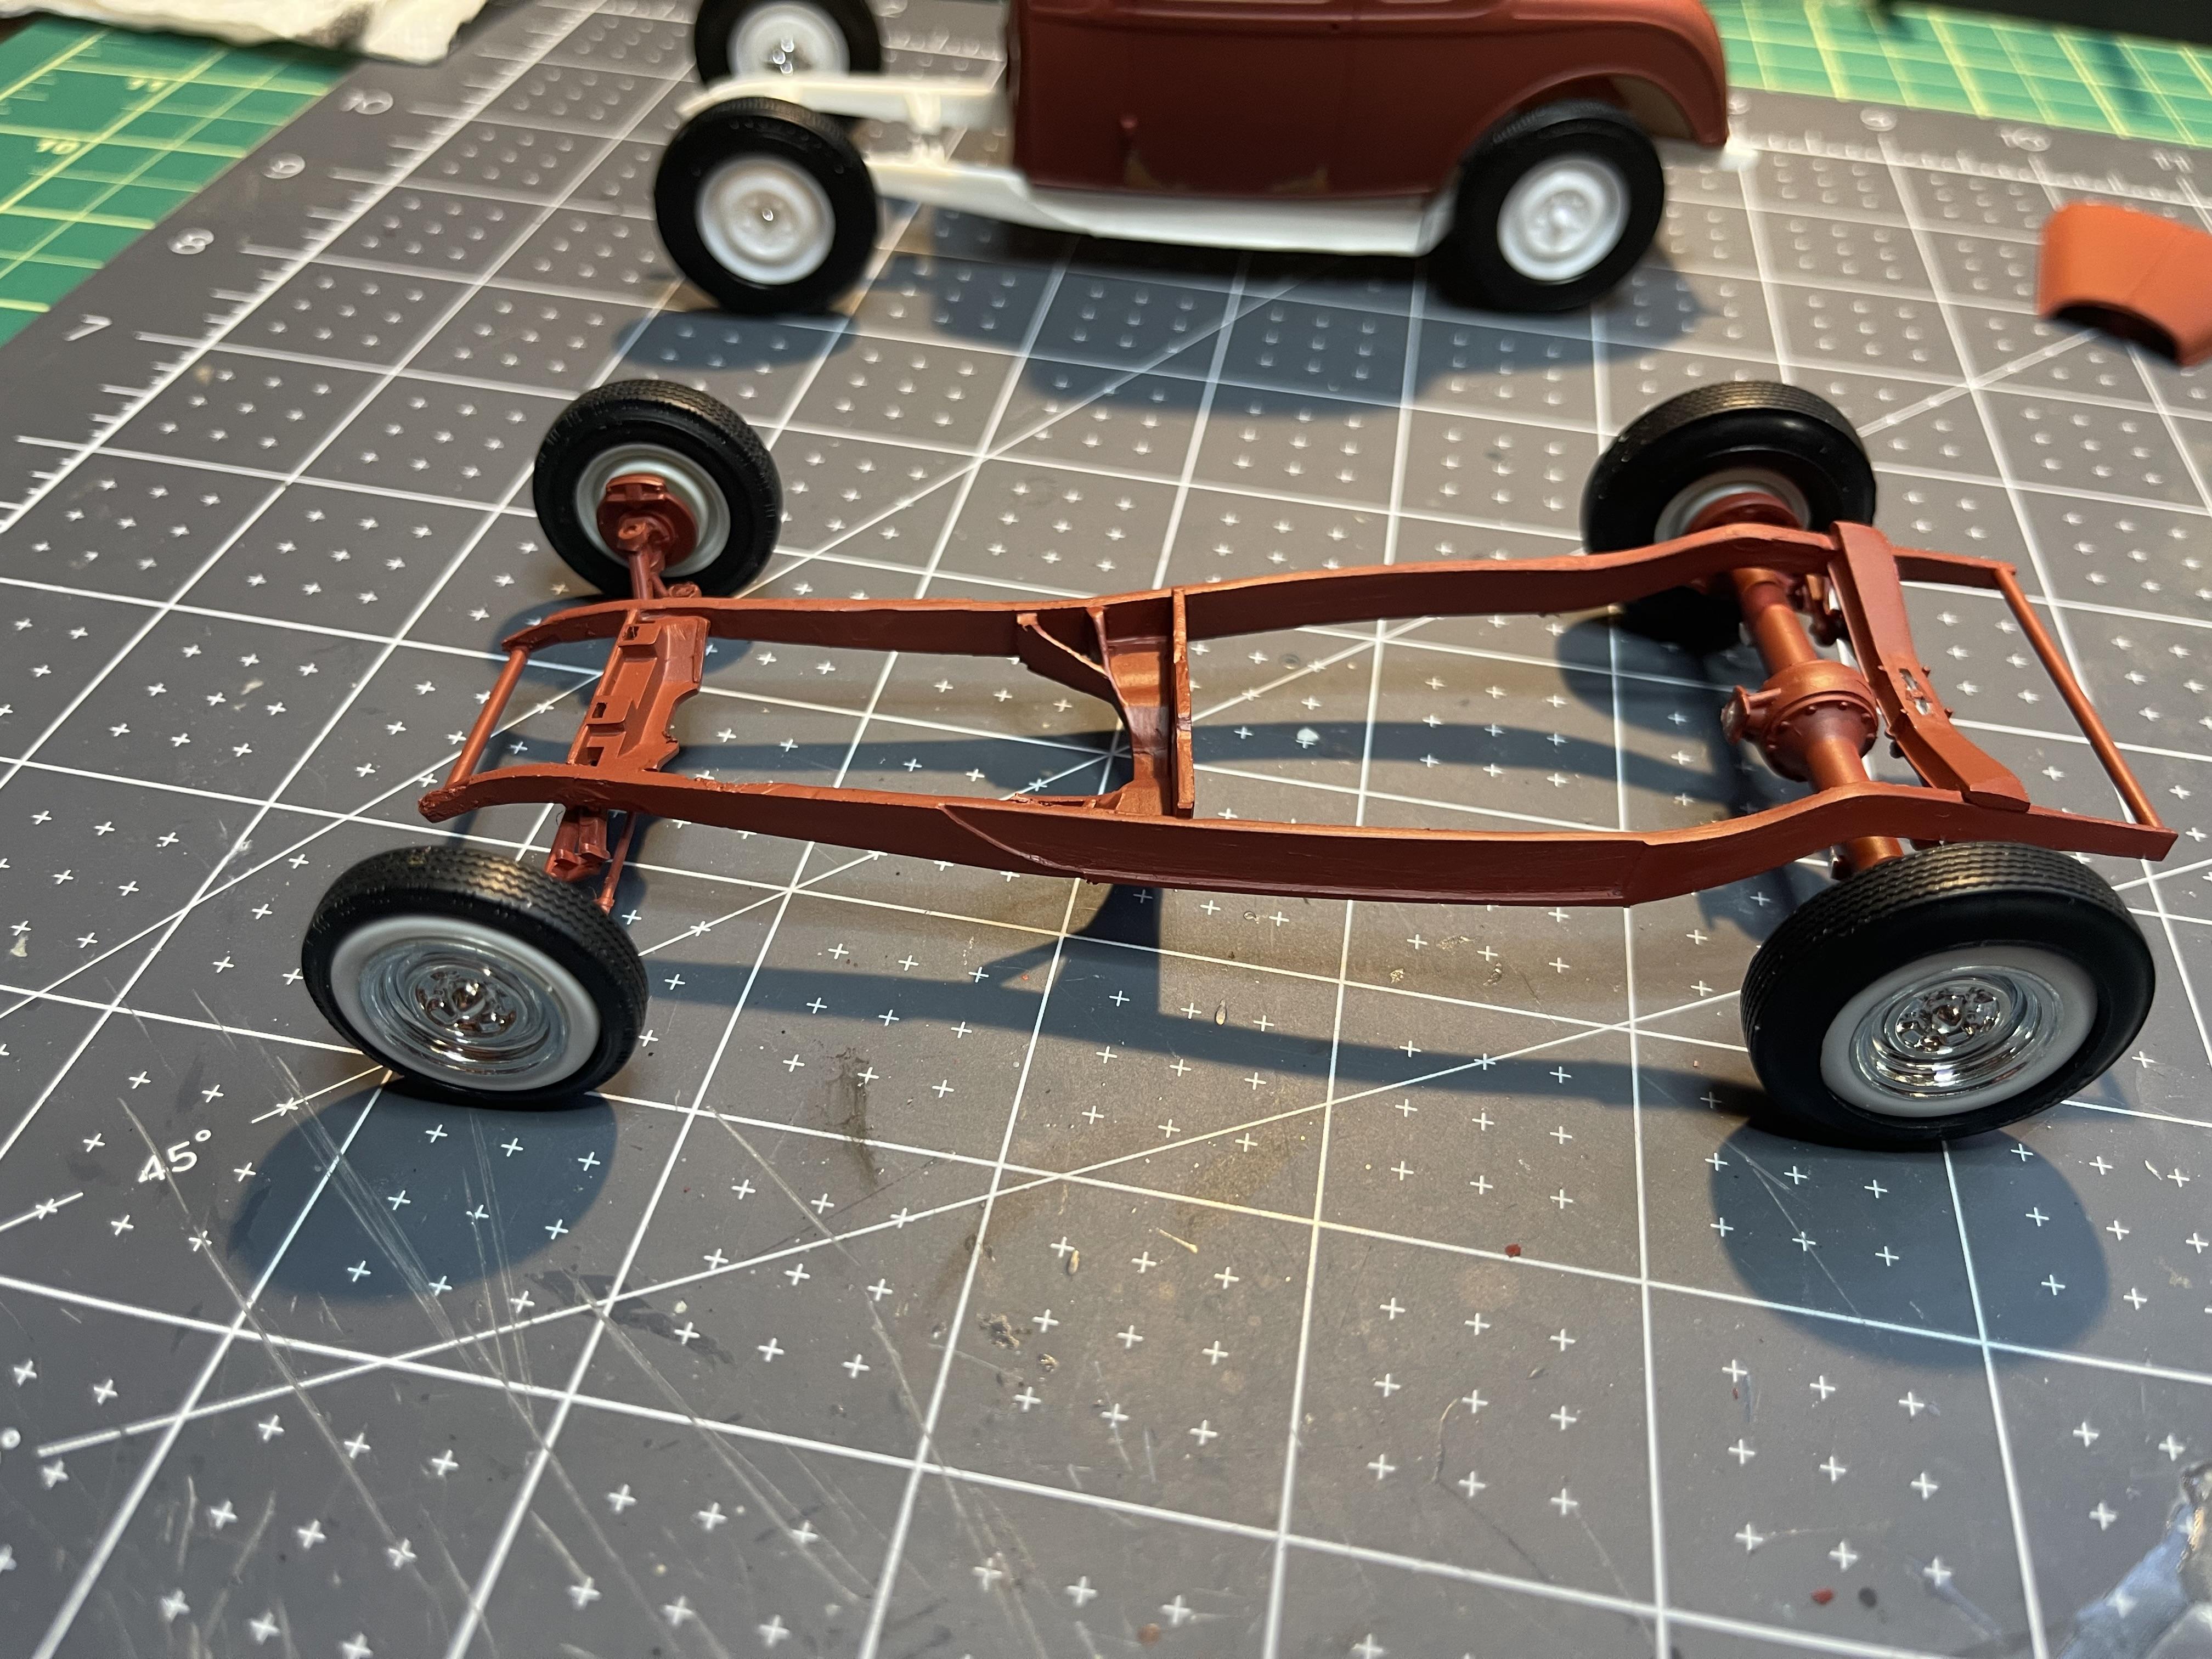
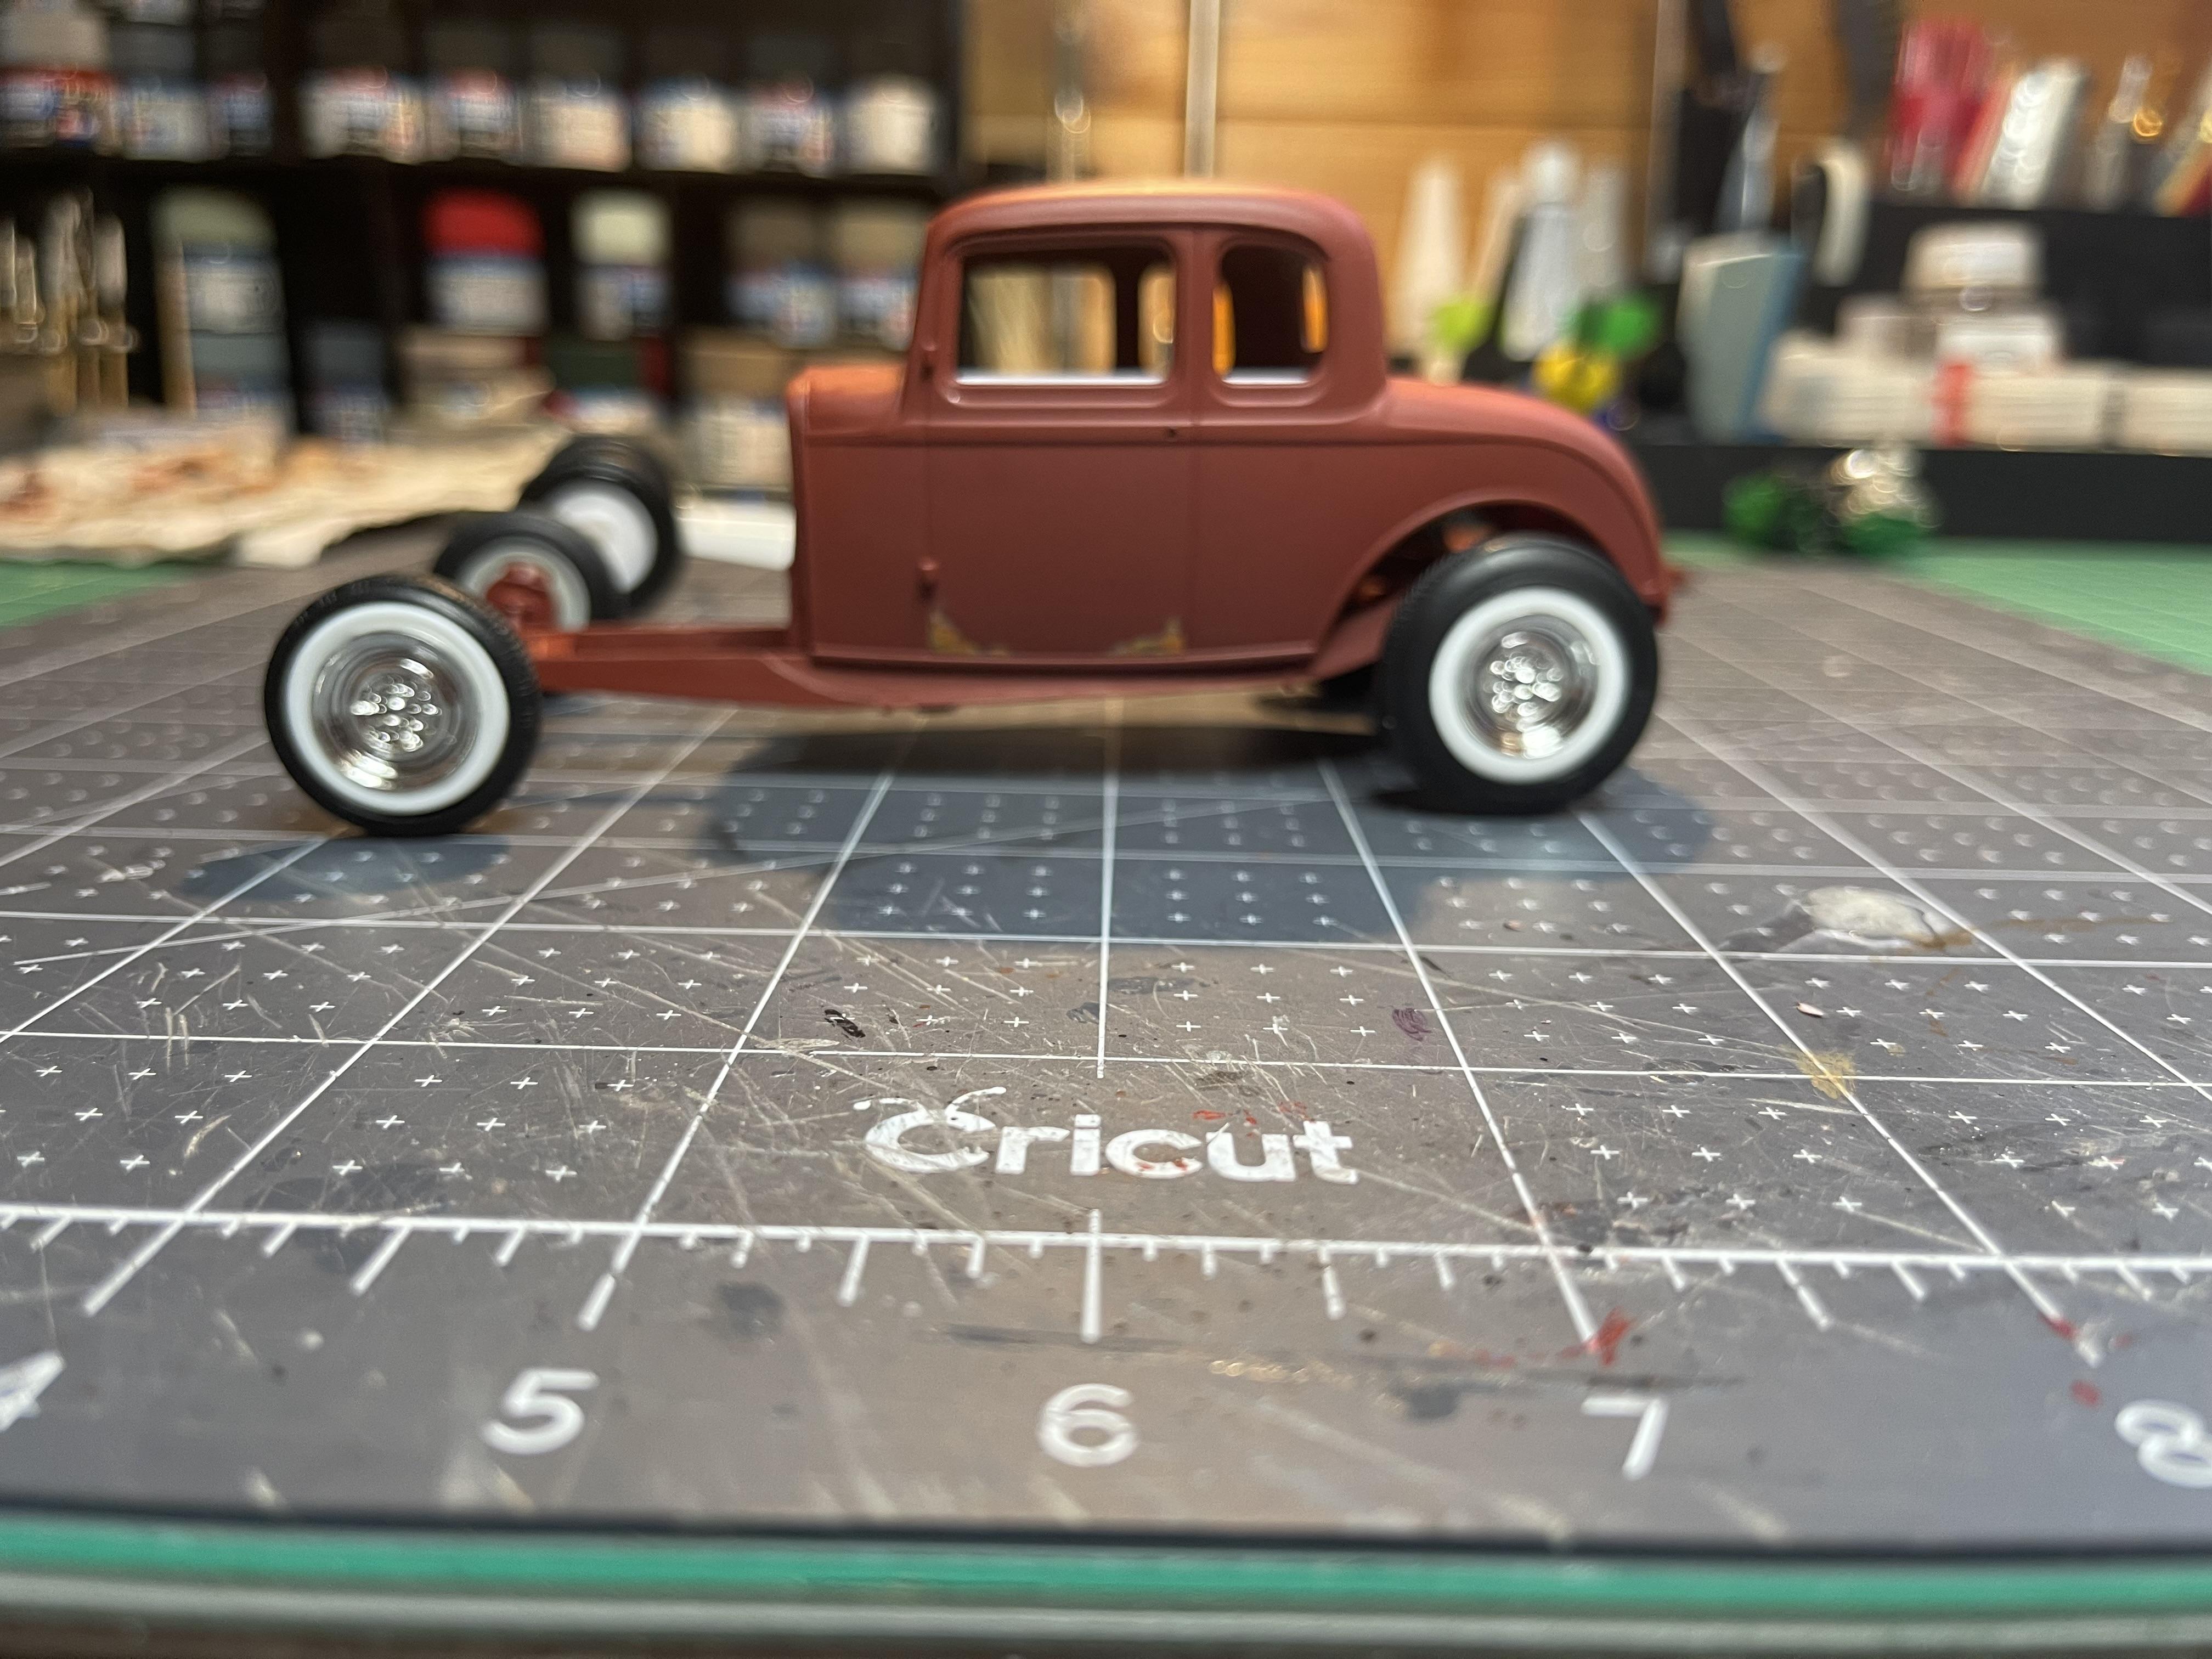
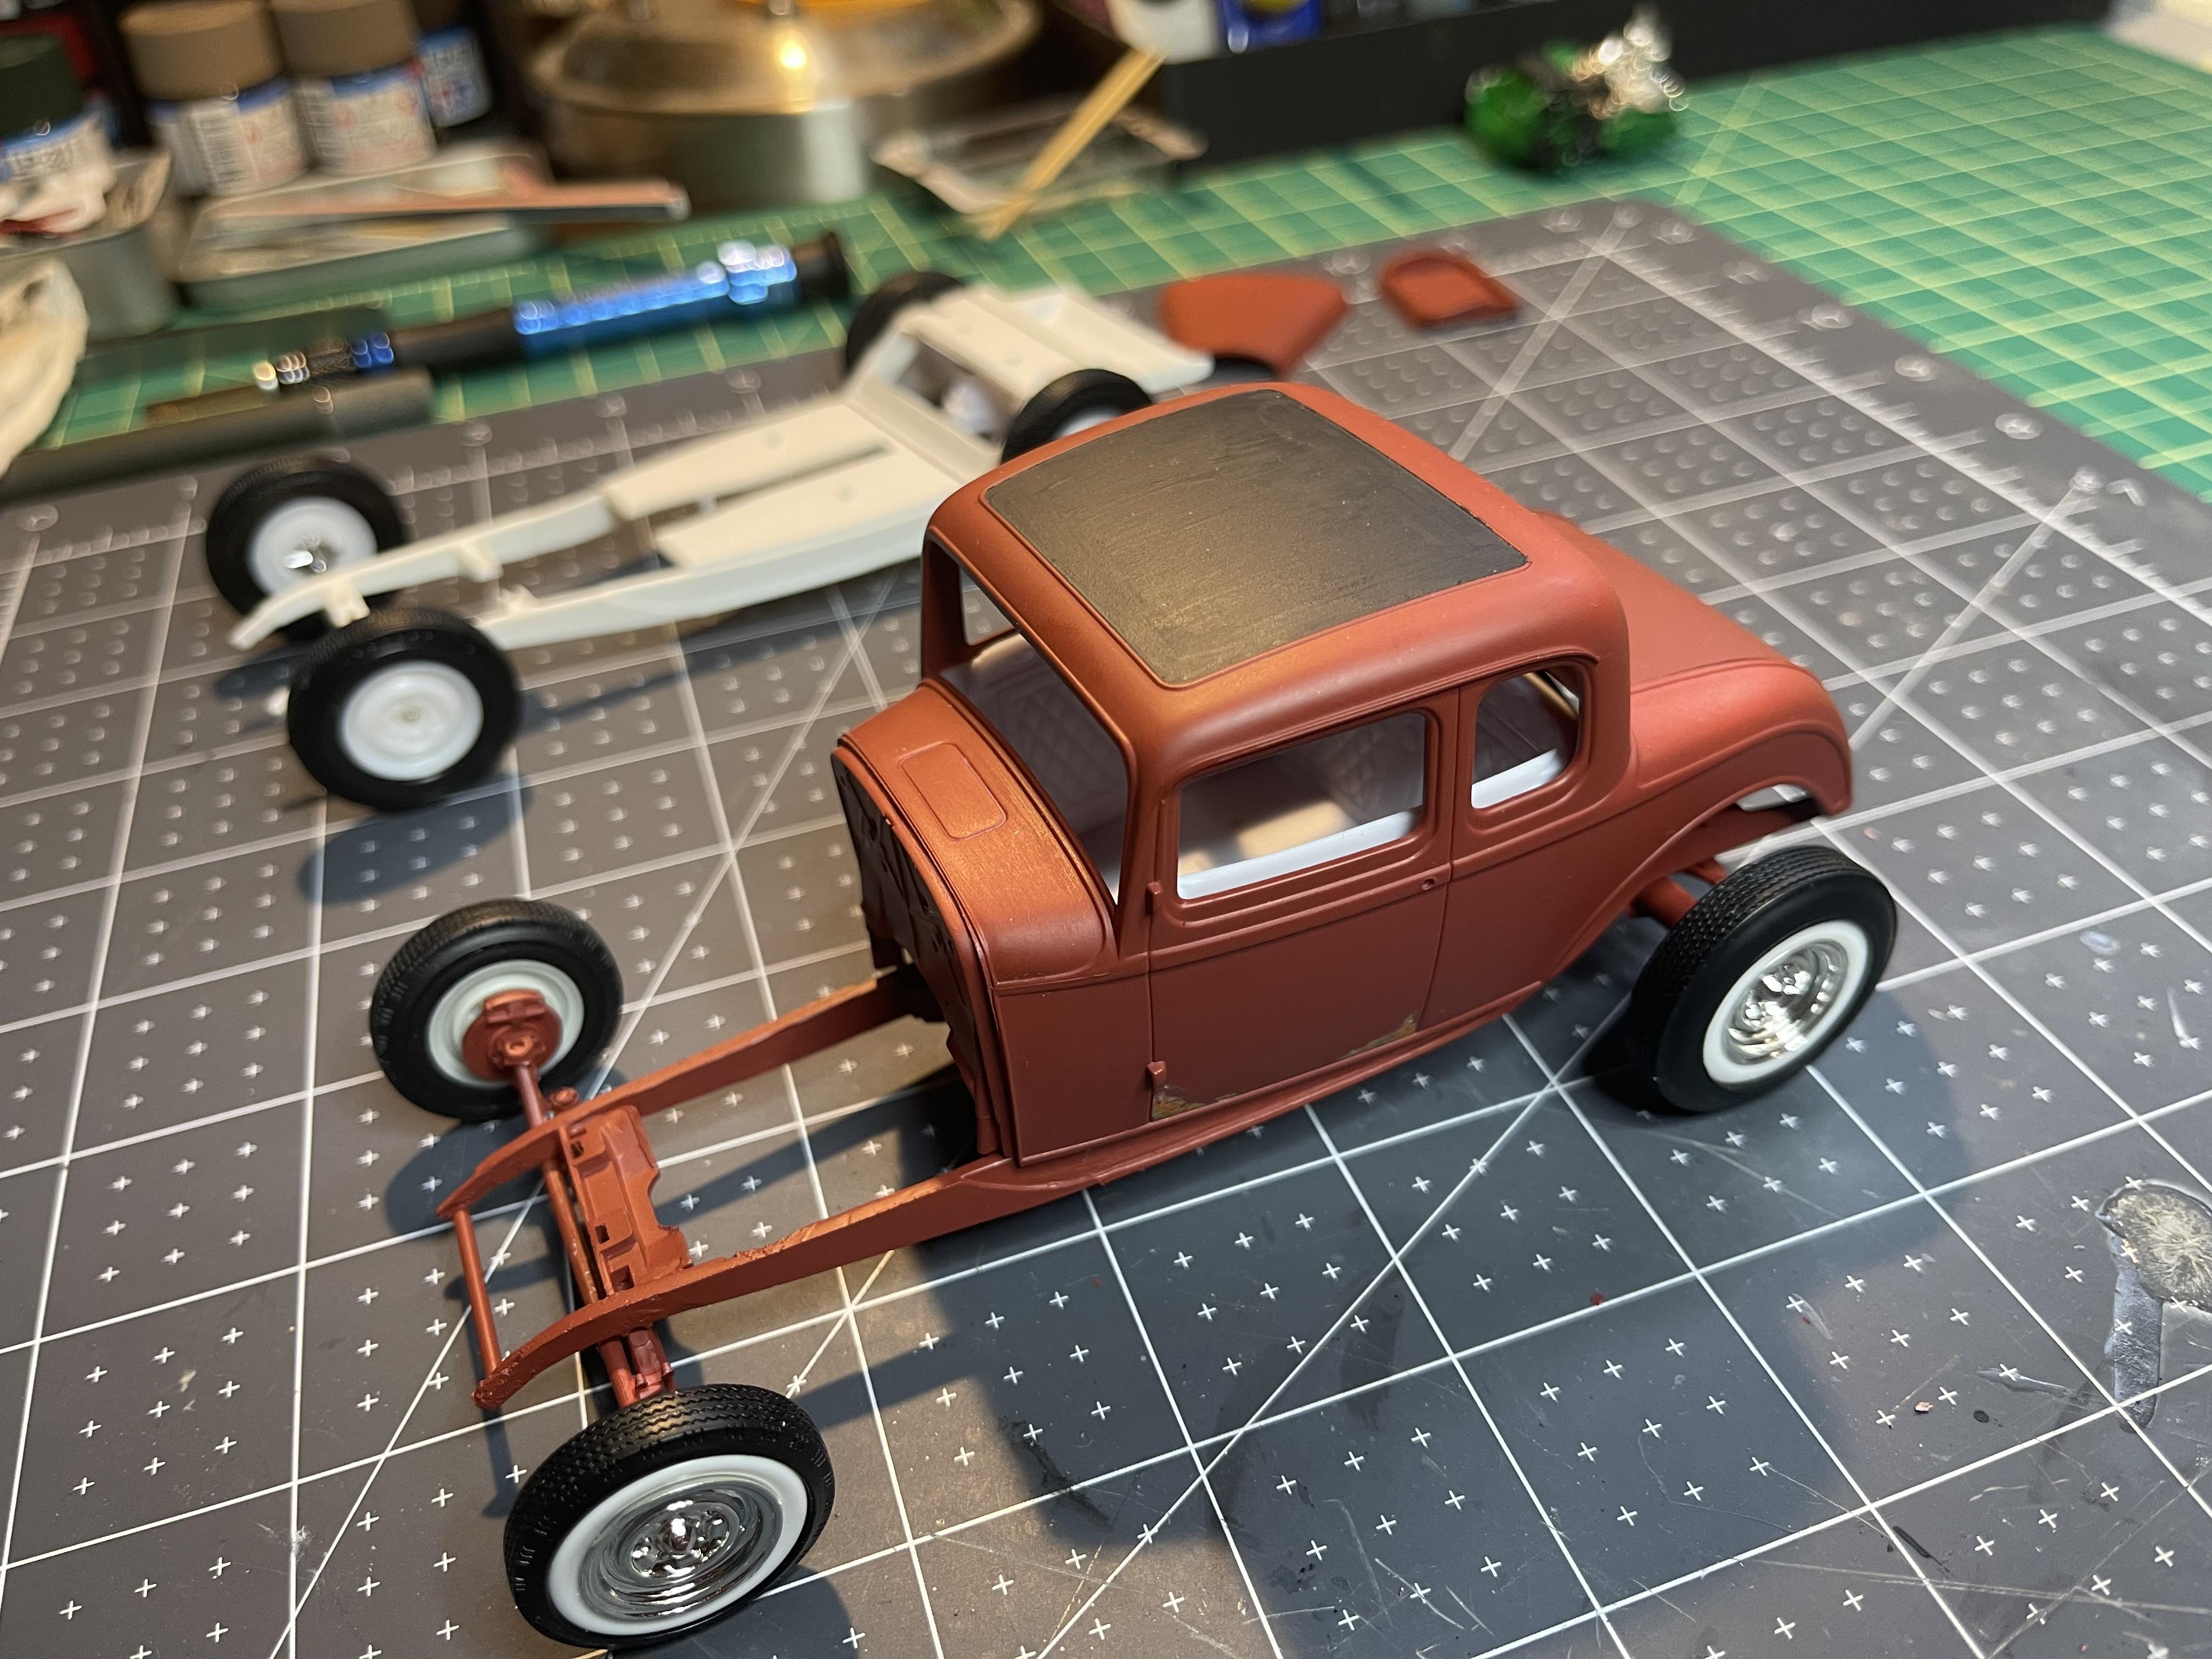
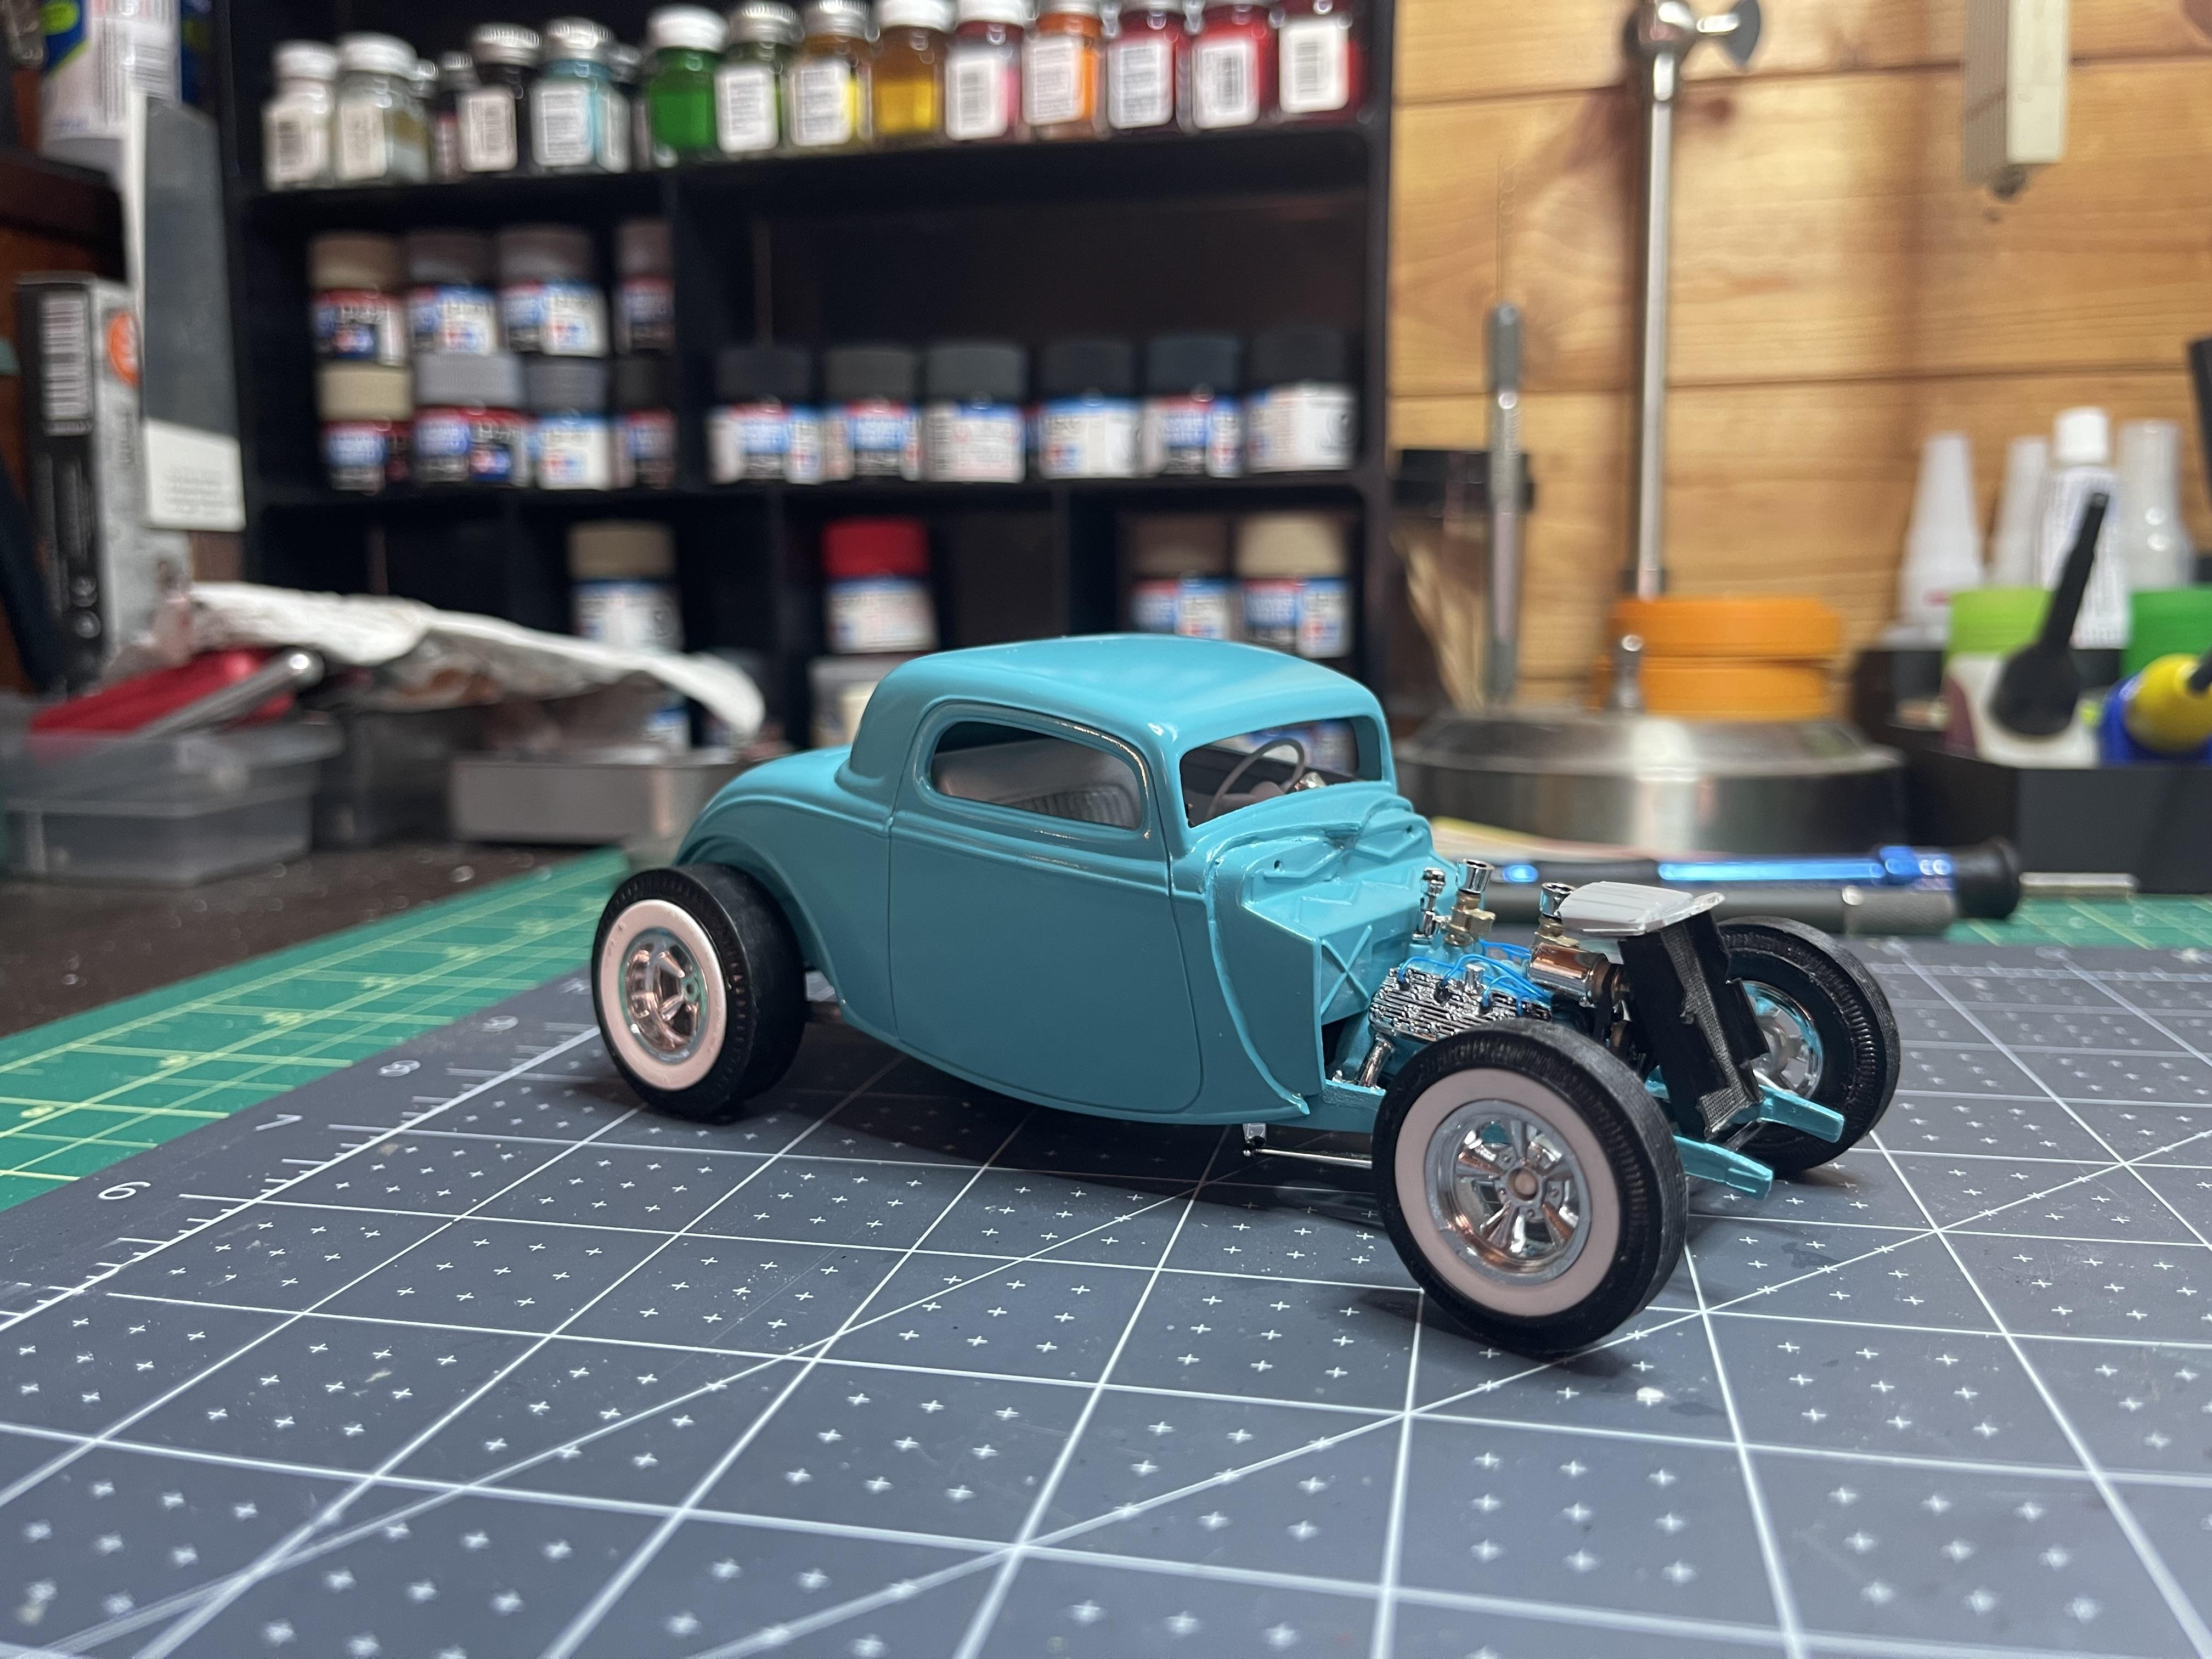
Final stretch coming! Chassis is complete, now it’s down to the small details.
-
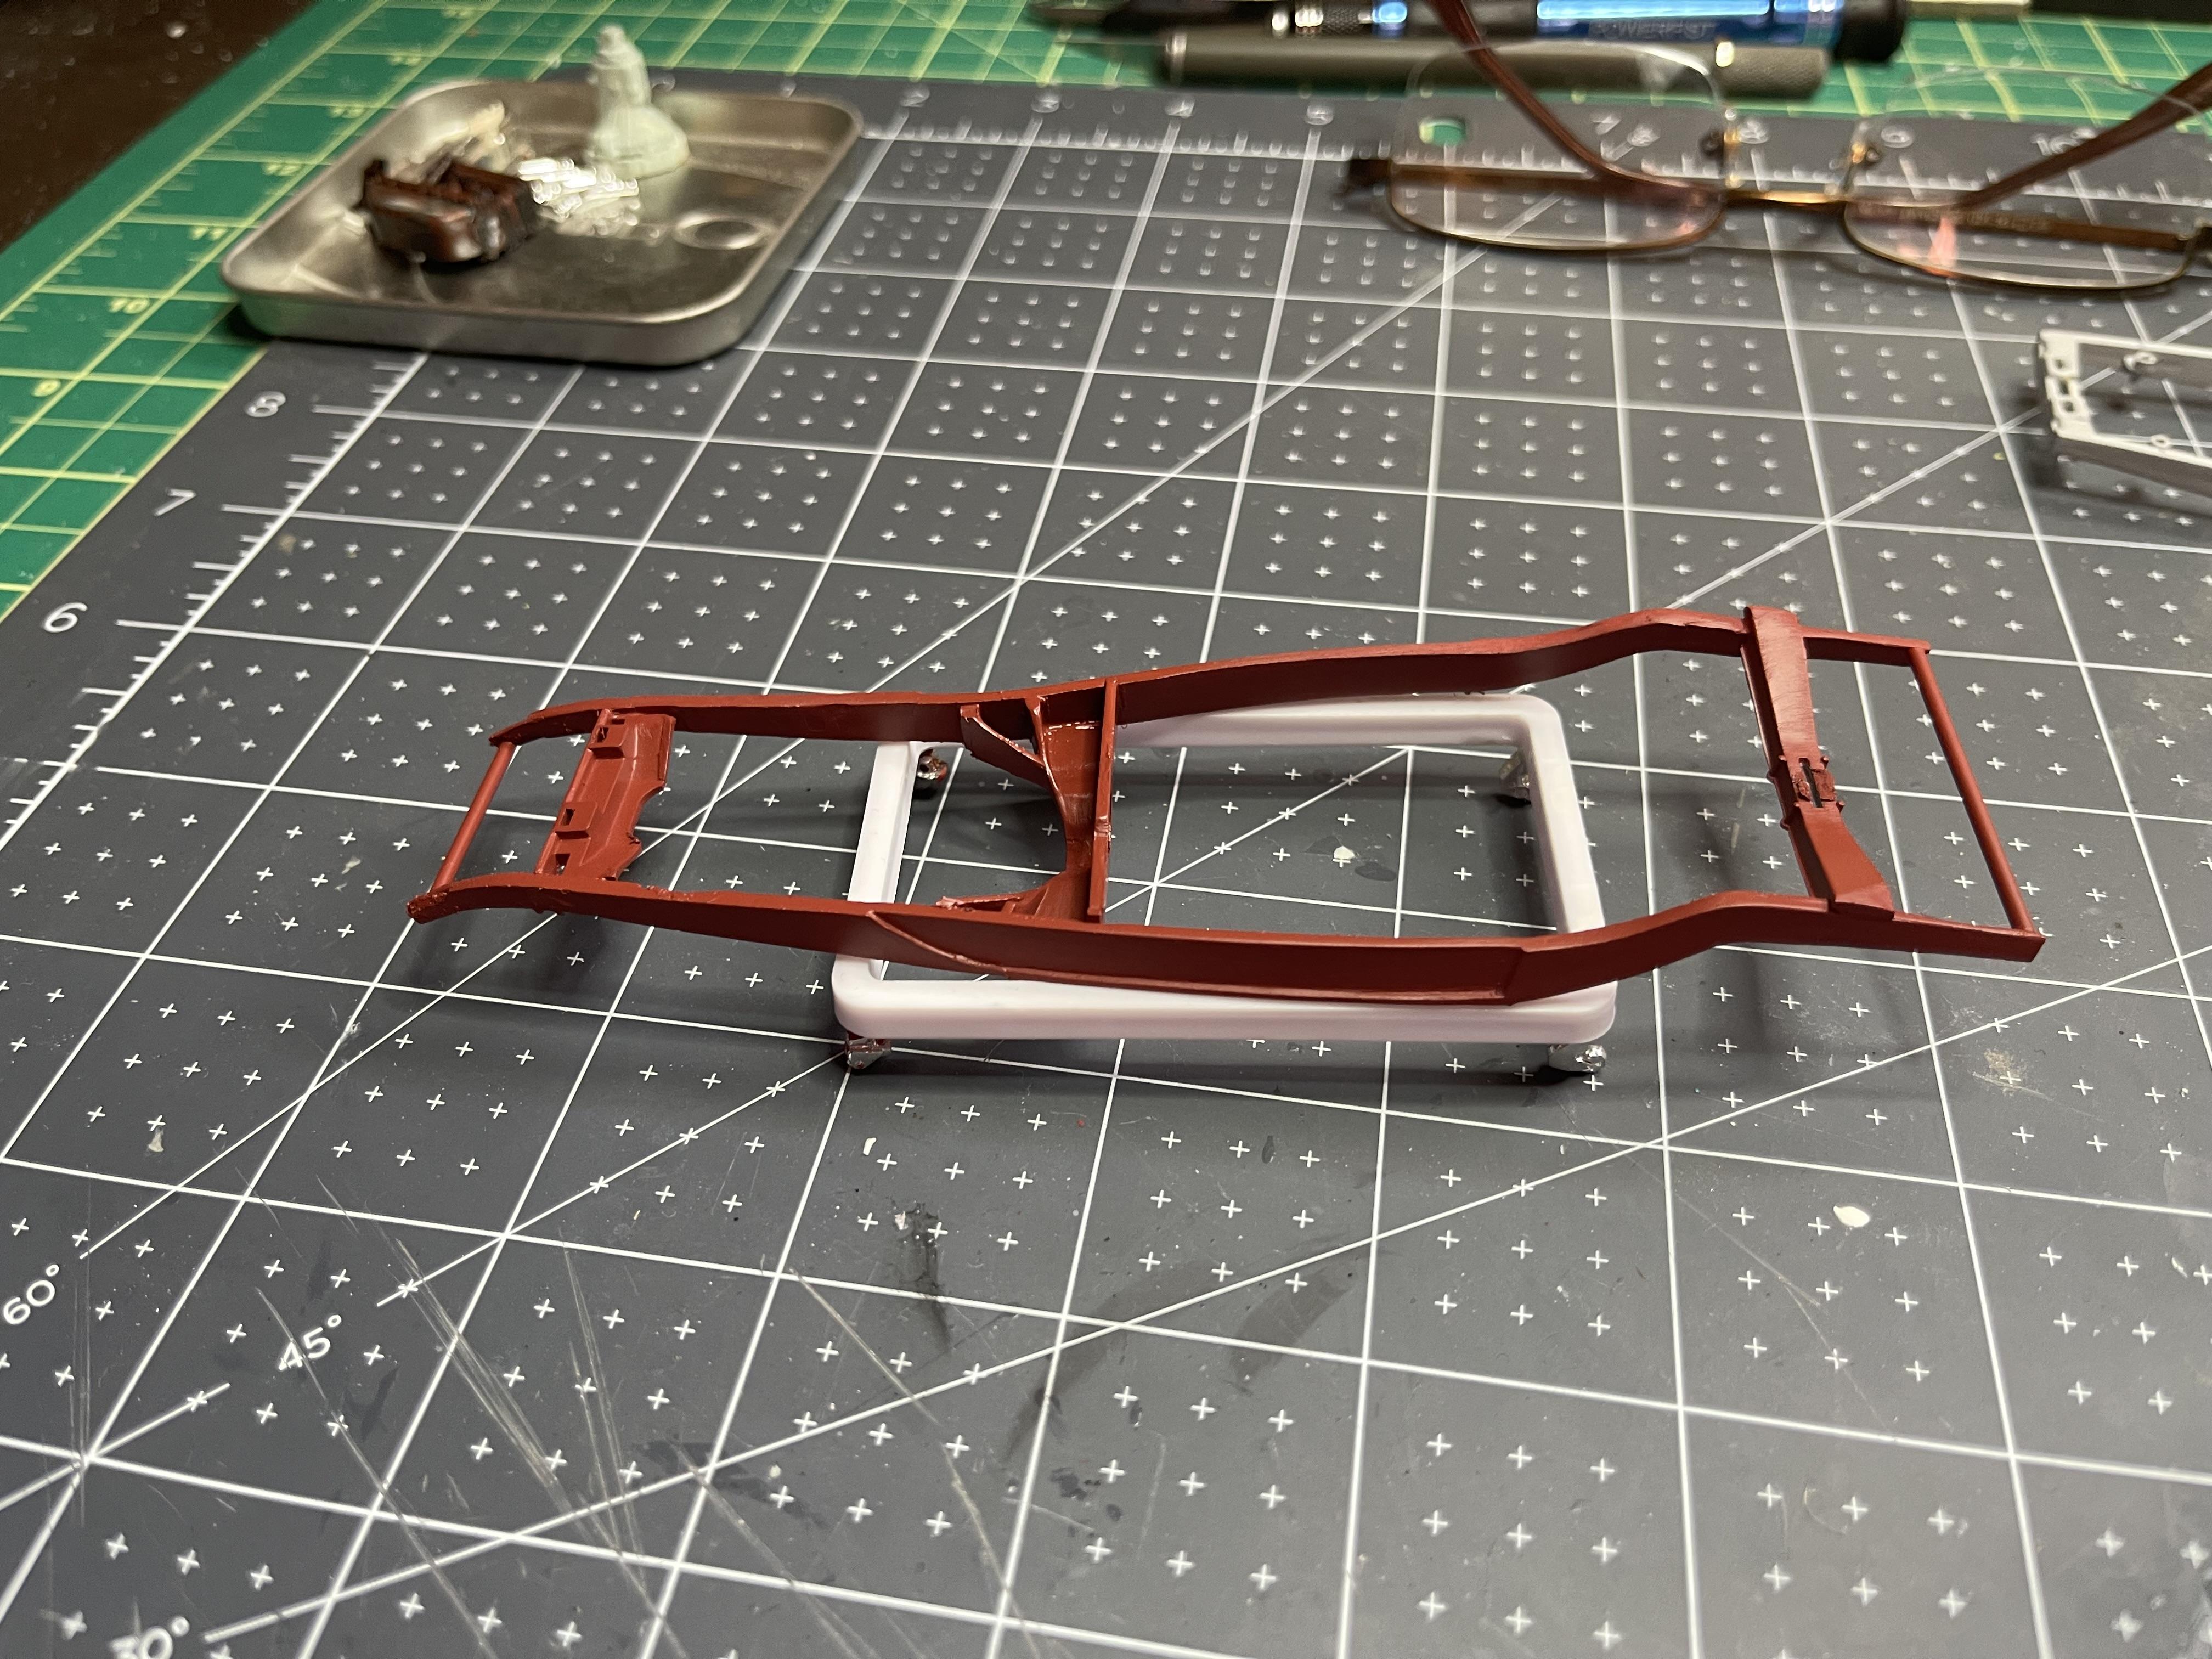
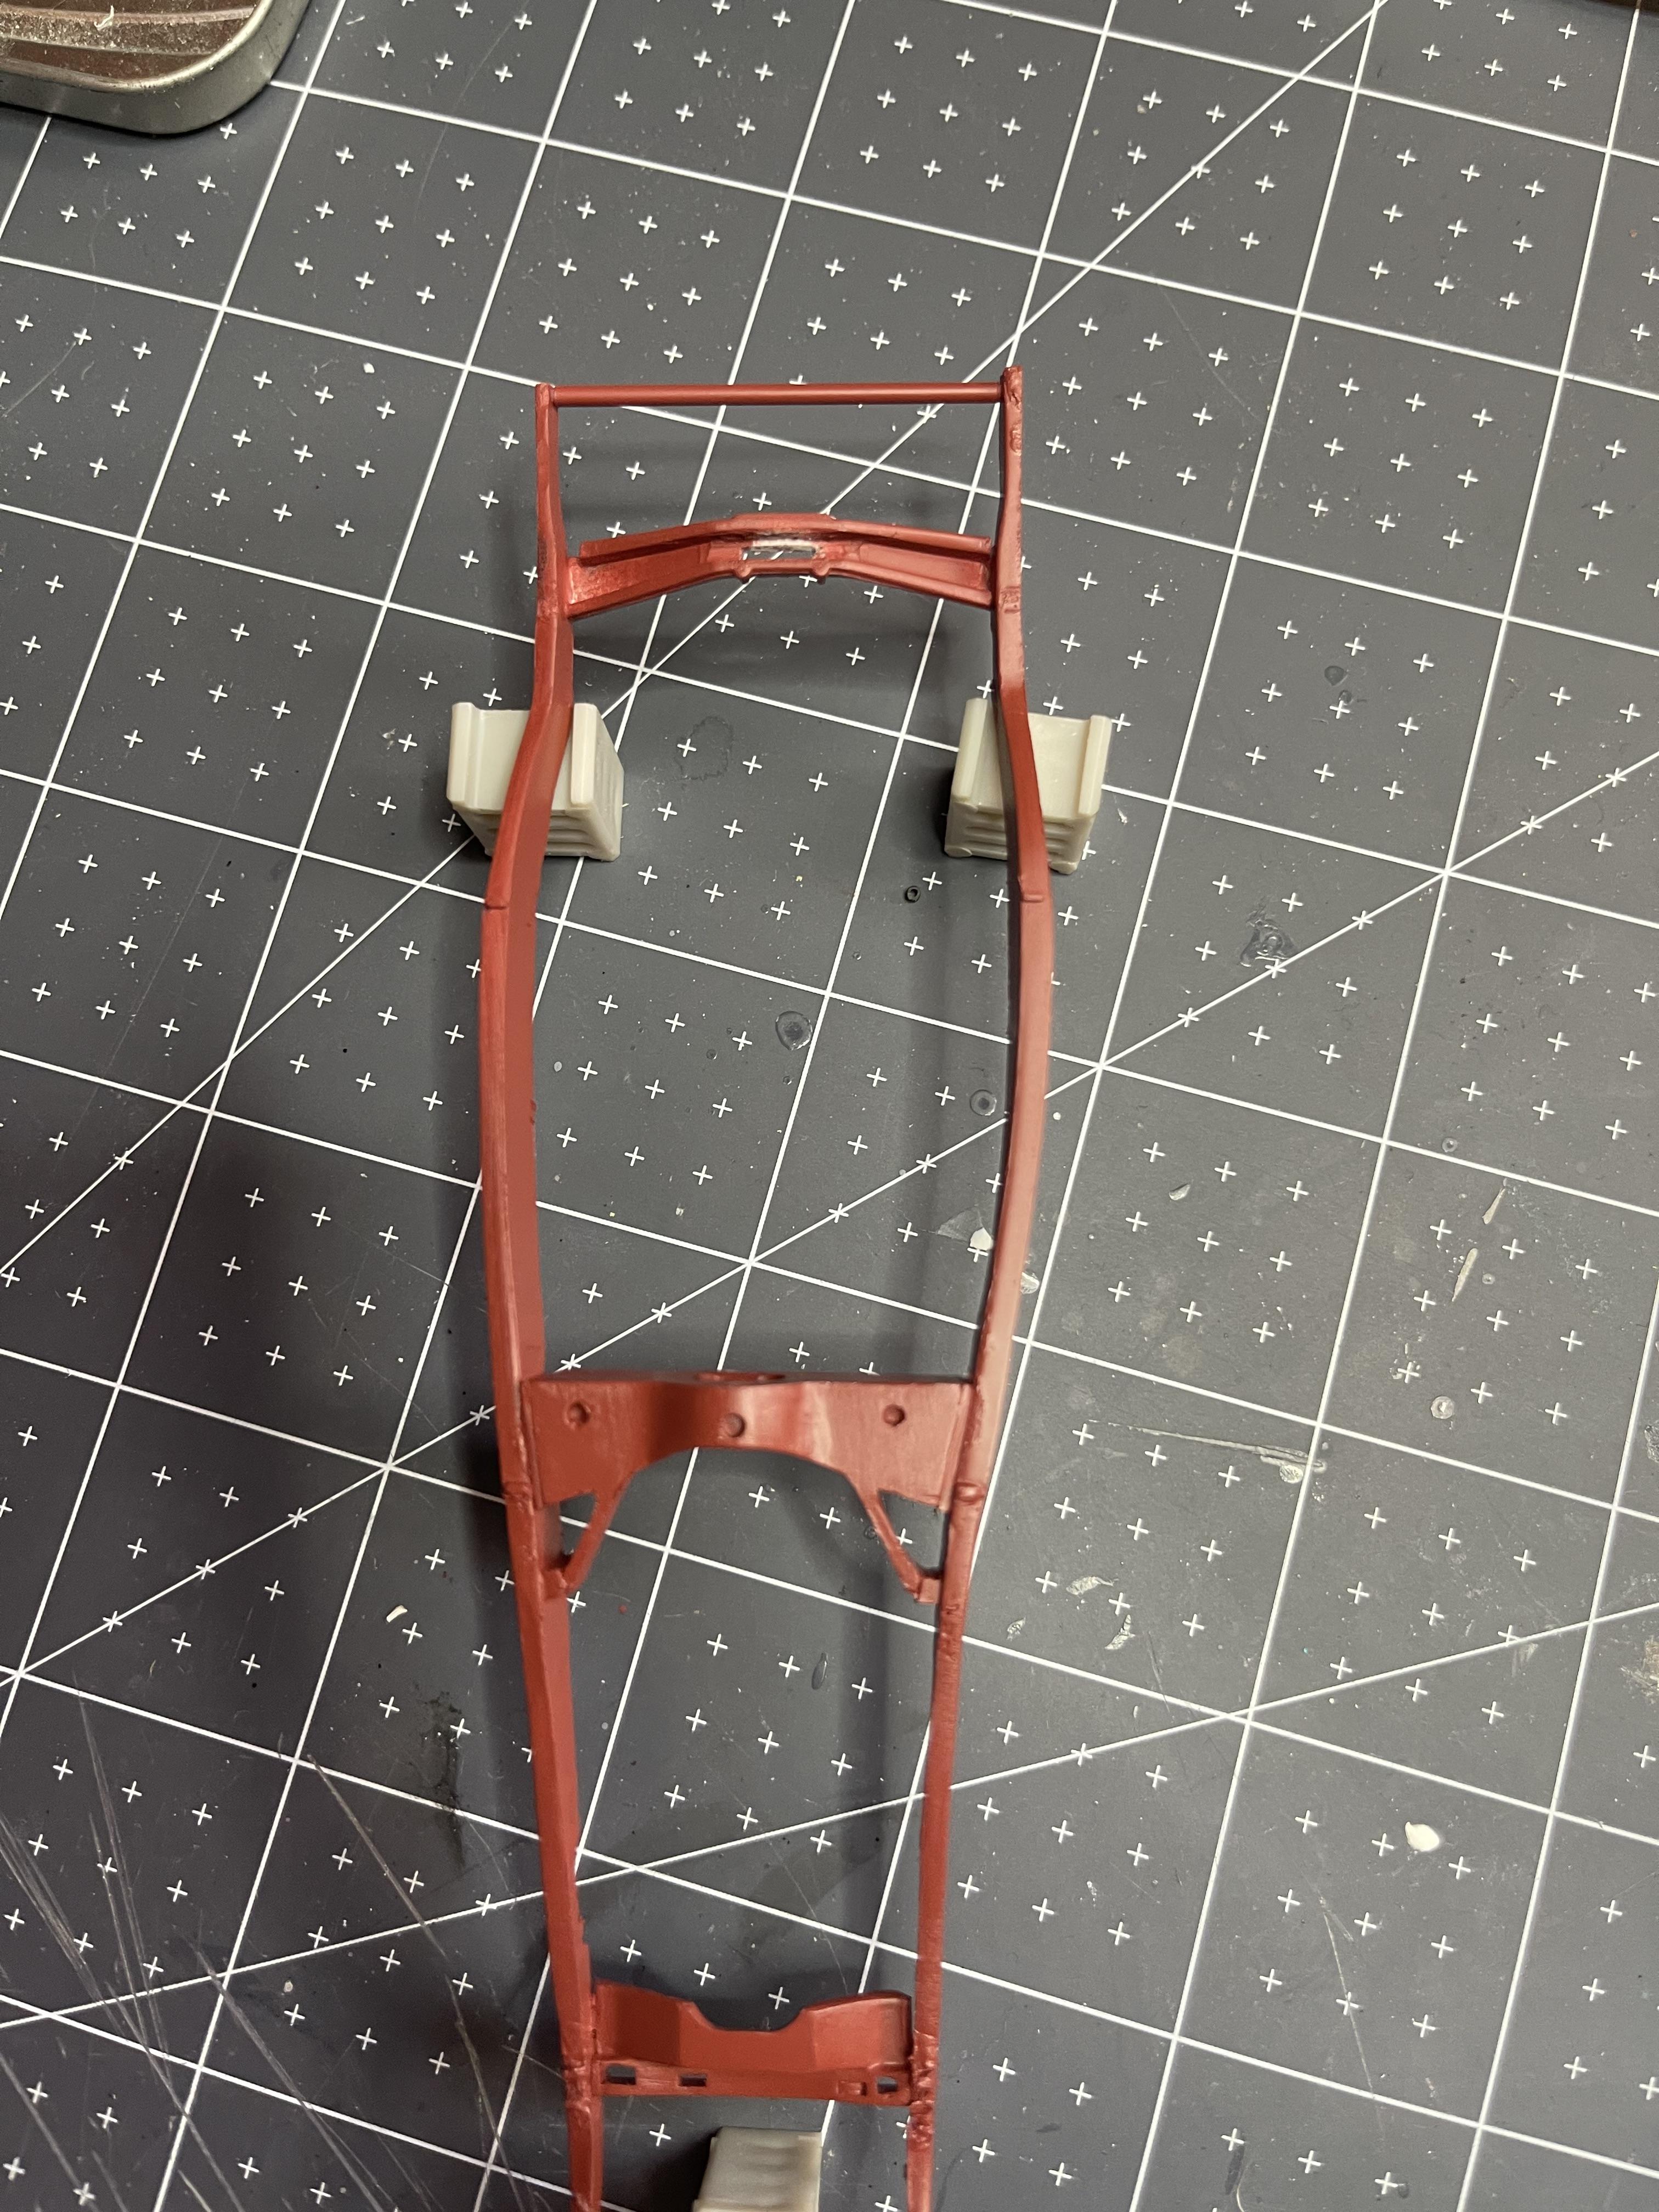
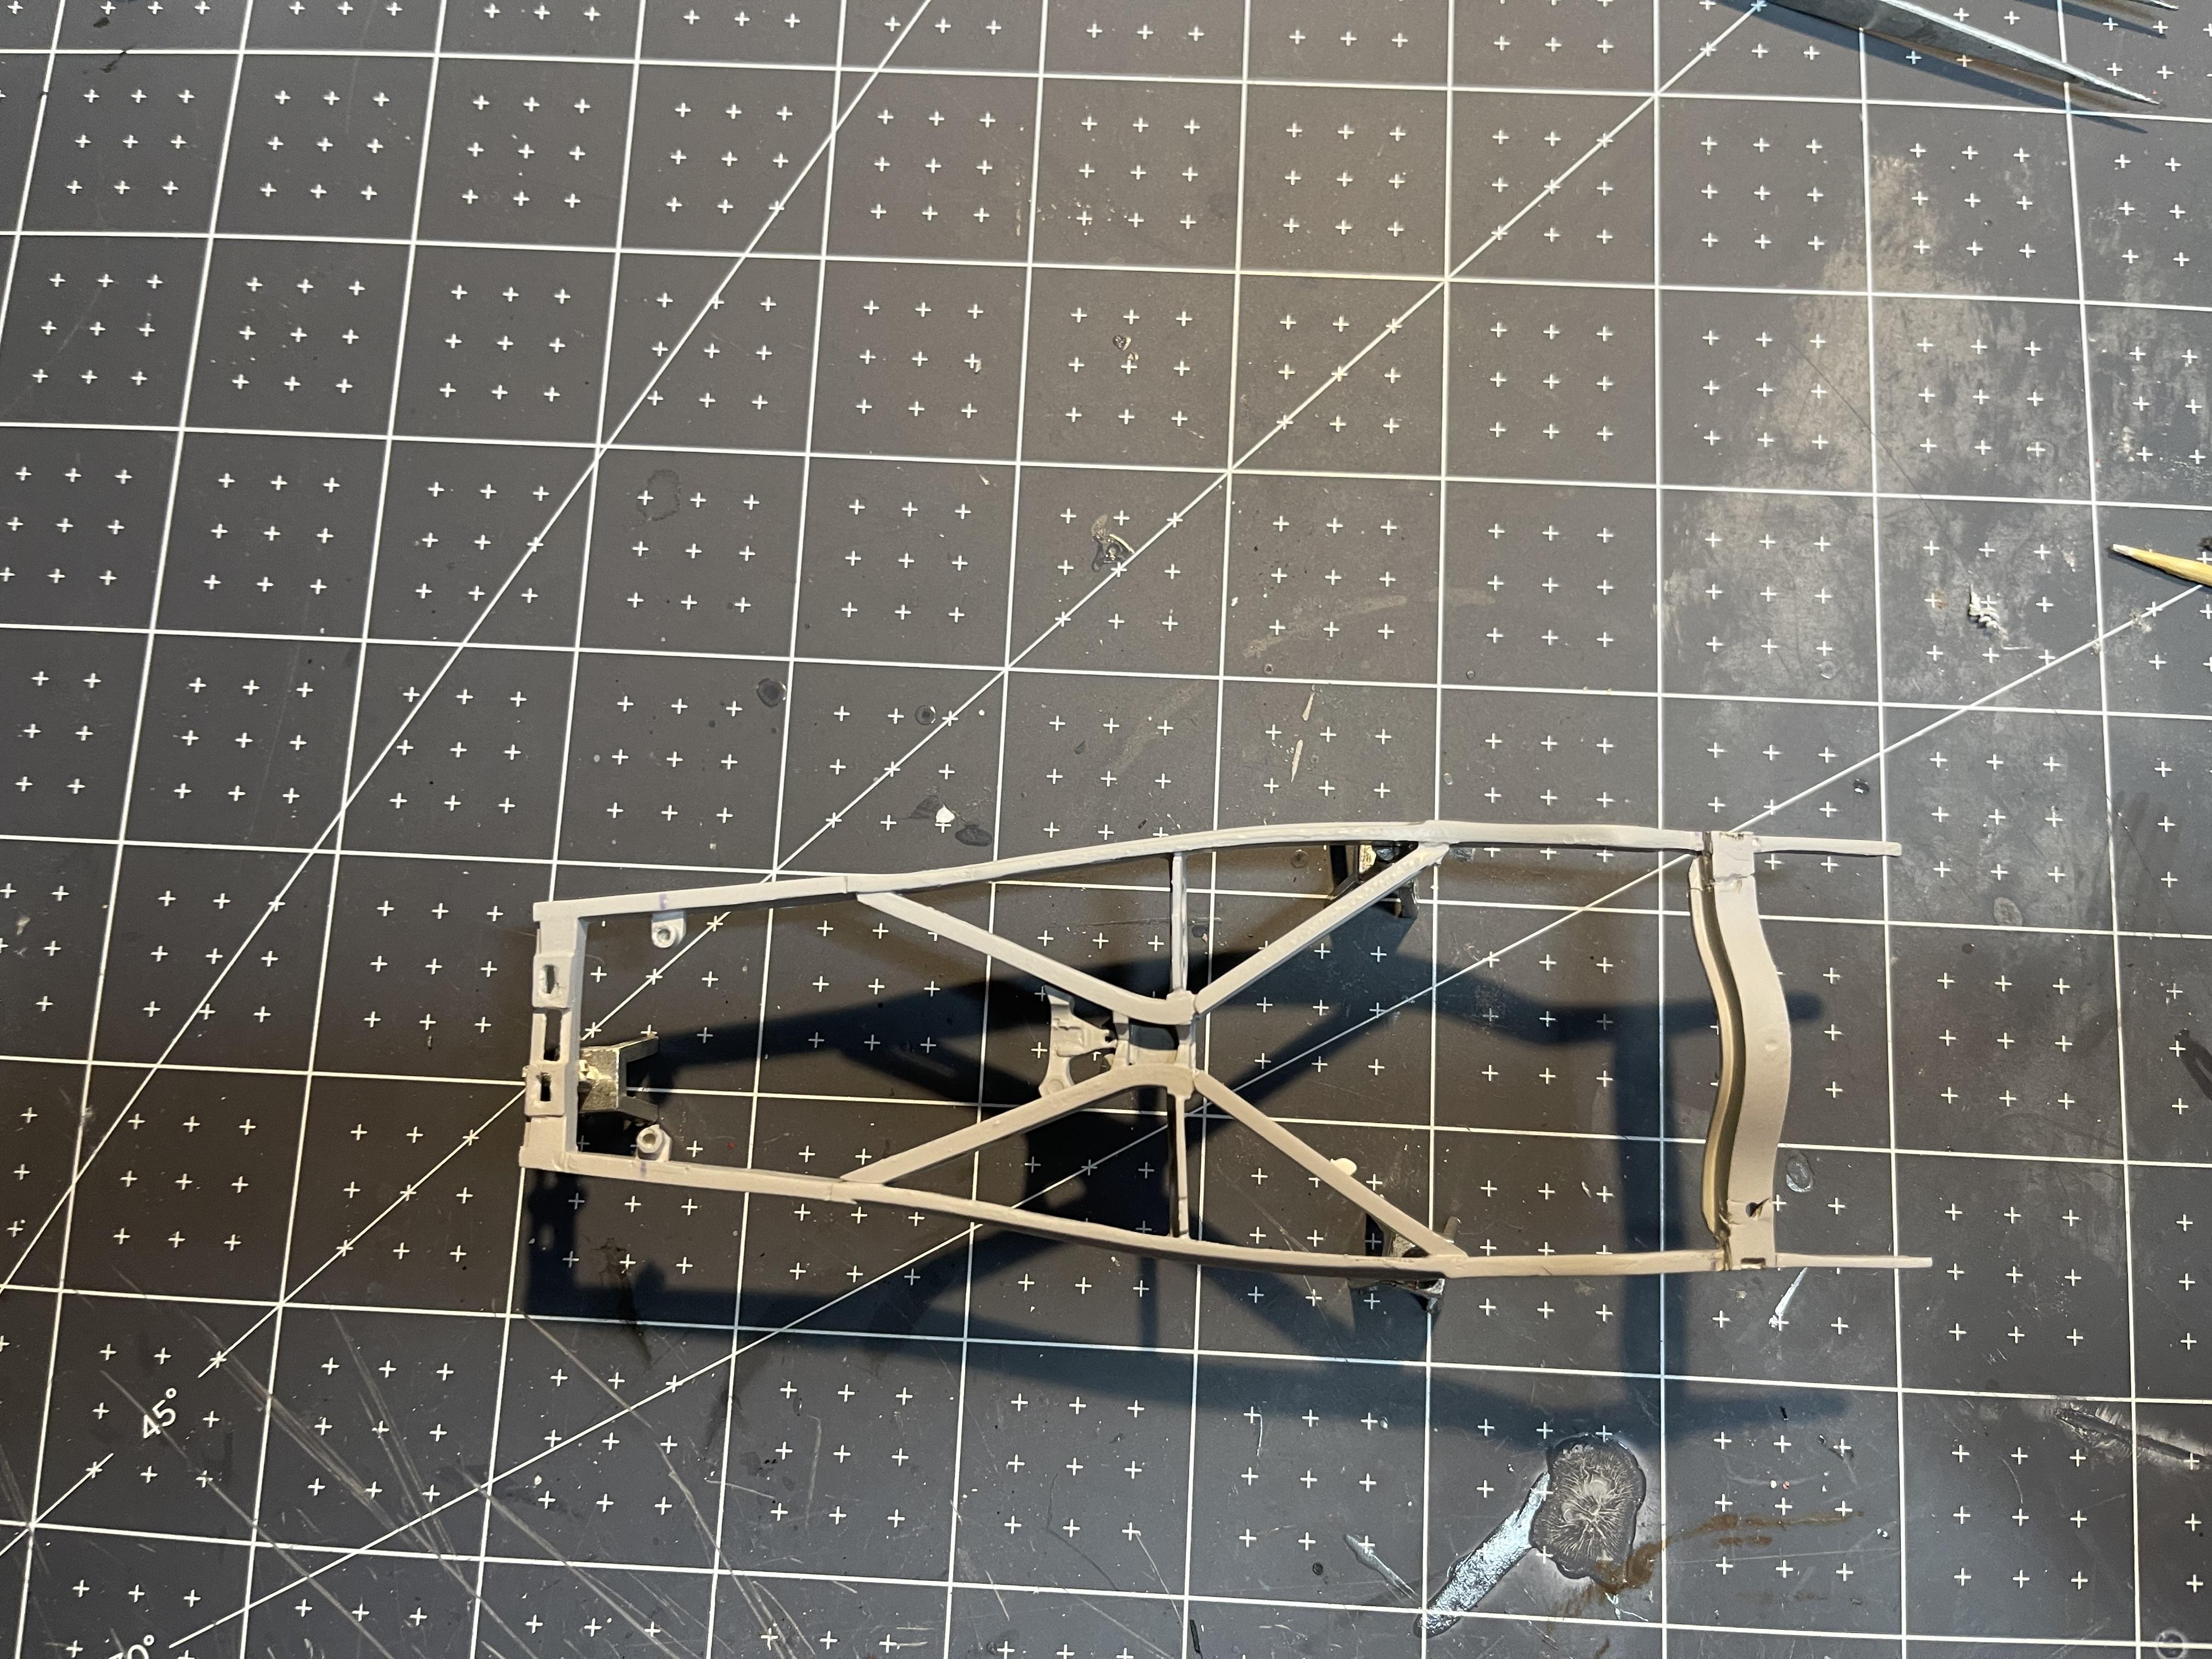
Stock frame finished in red oxide primer. parts used: Revell 32 ford frame rails, Revell 40 ford rear spring perch, Revell 29 ford front spring perch( from the older 29-31 model A kits) K member from the Amt ford Victoria(early kit not the phantom Vickie). The K member took substantial reworking to get it to look stock. Now the work is not perfect but it gives a better representation of a stock frame. Both frames will find a home in the Deuce works diorama I have started! Stay tuned for the next installment of suspension components for the modified frame!
-
As others have already stated Wow! I’d love to see the chassis to see how you’ve achieved the stance.
-
Well that figures lol, it gets re-released after I comb the ends of the earth to find one hahaha.progress on this will be slow but I’ll make an effort to try to keep after it.
-
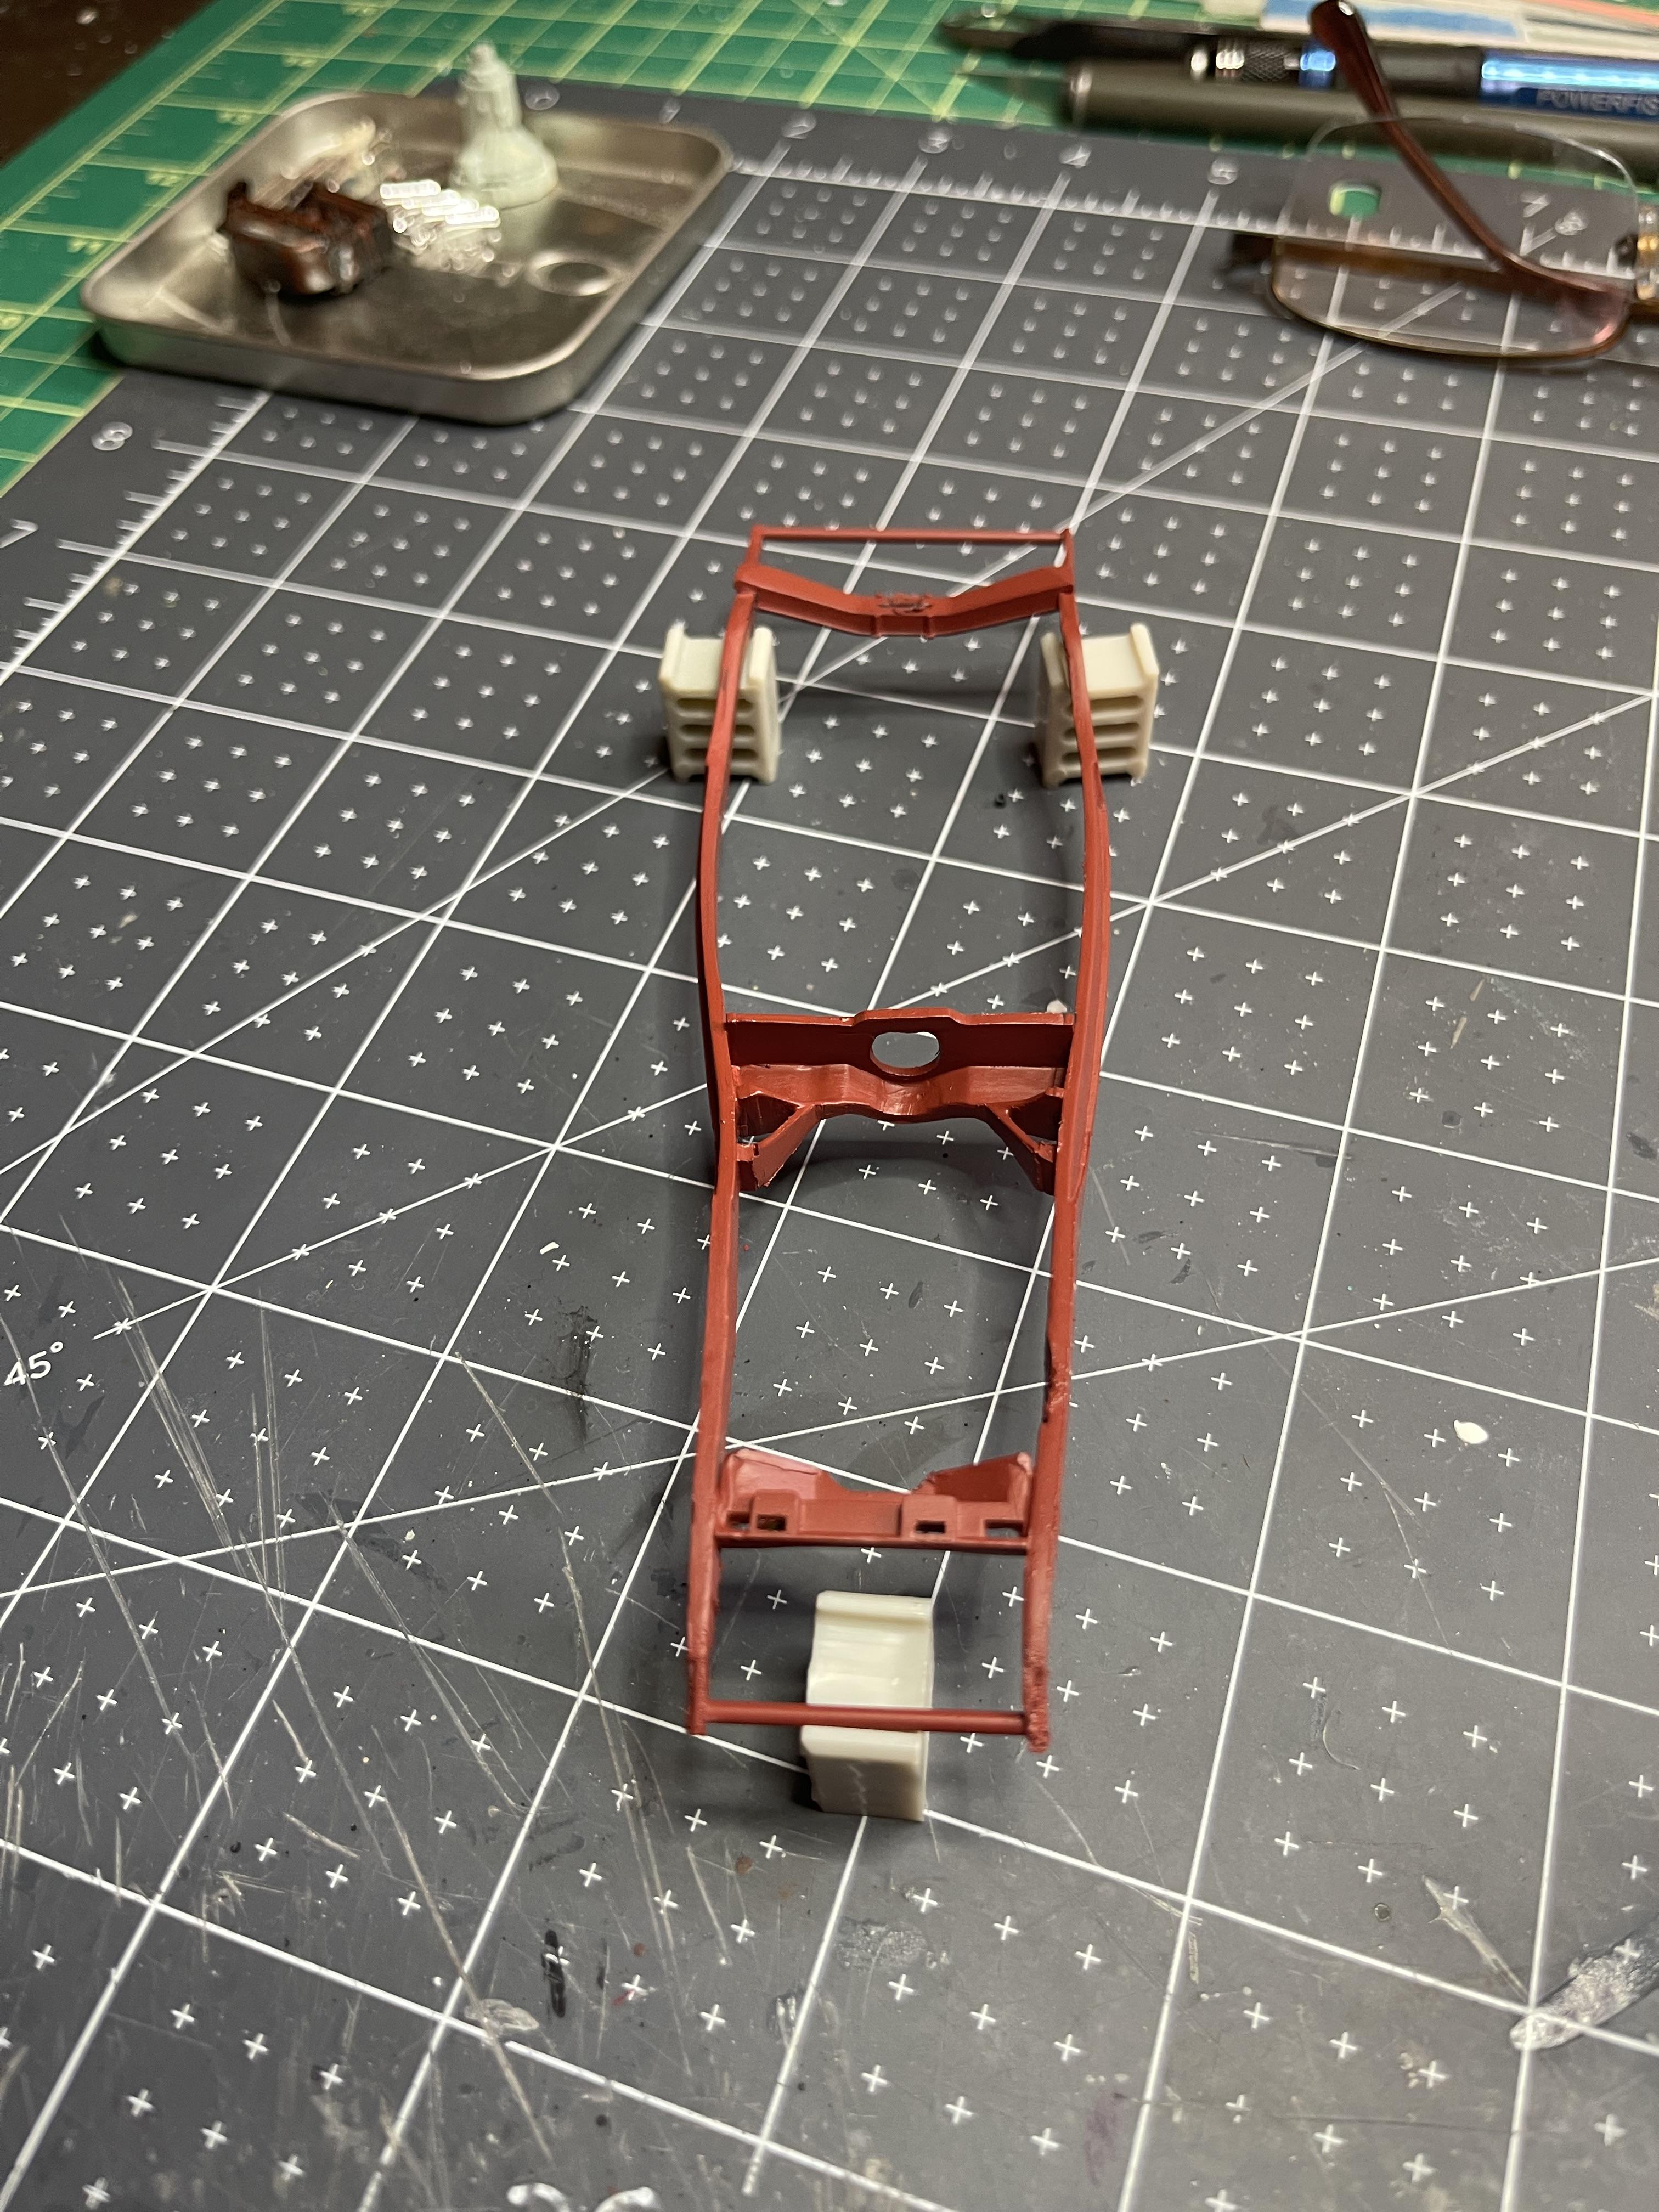
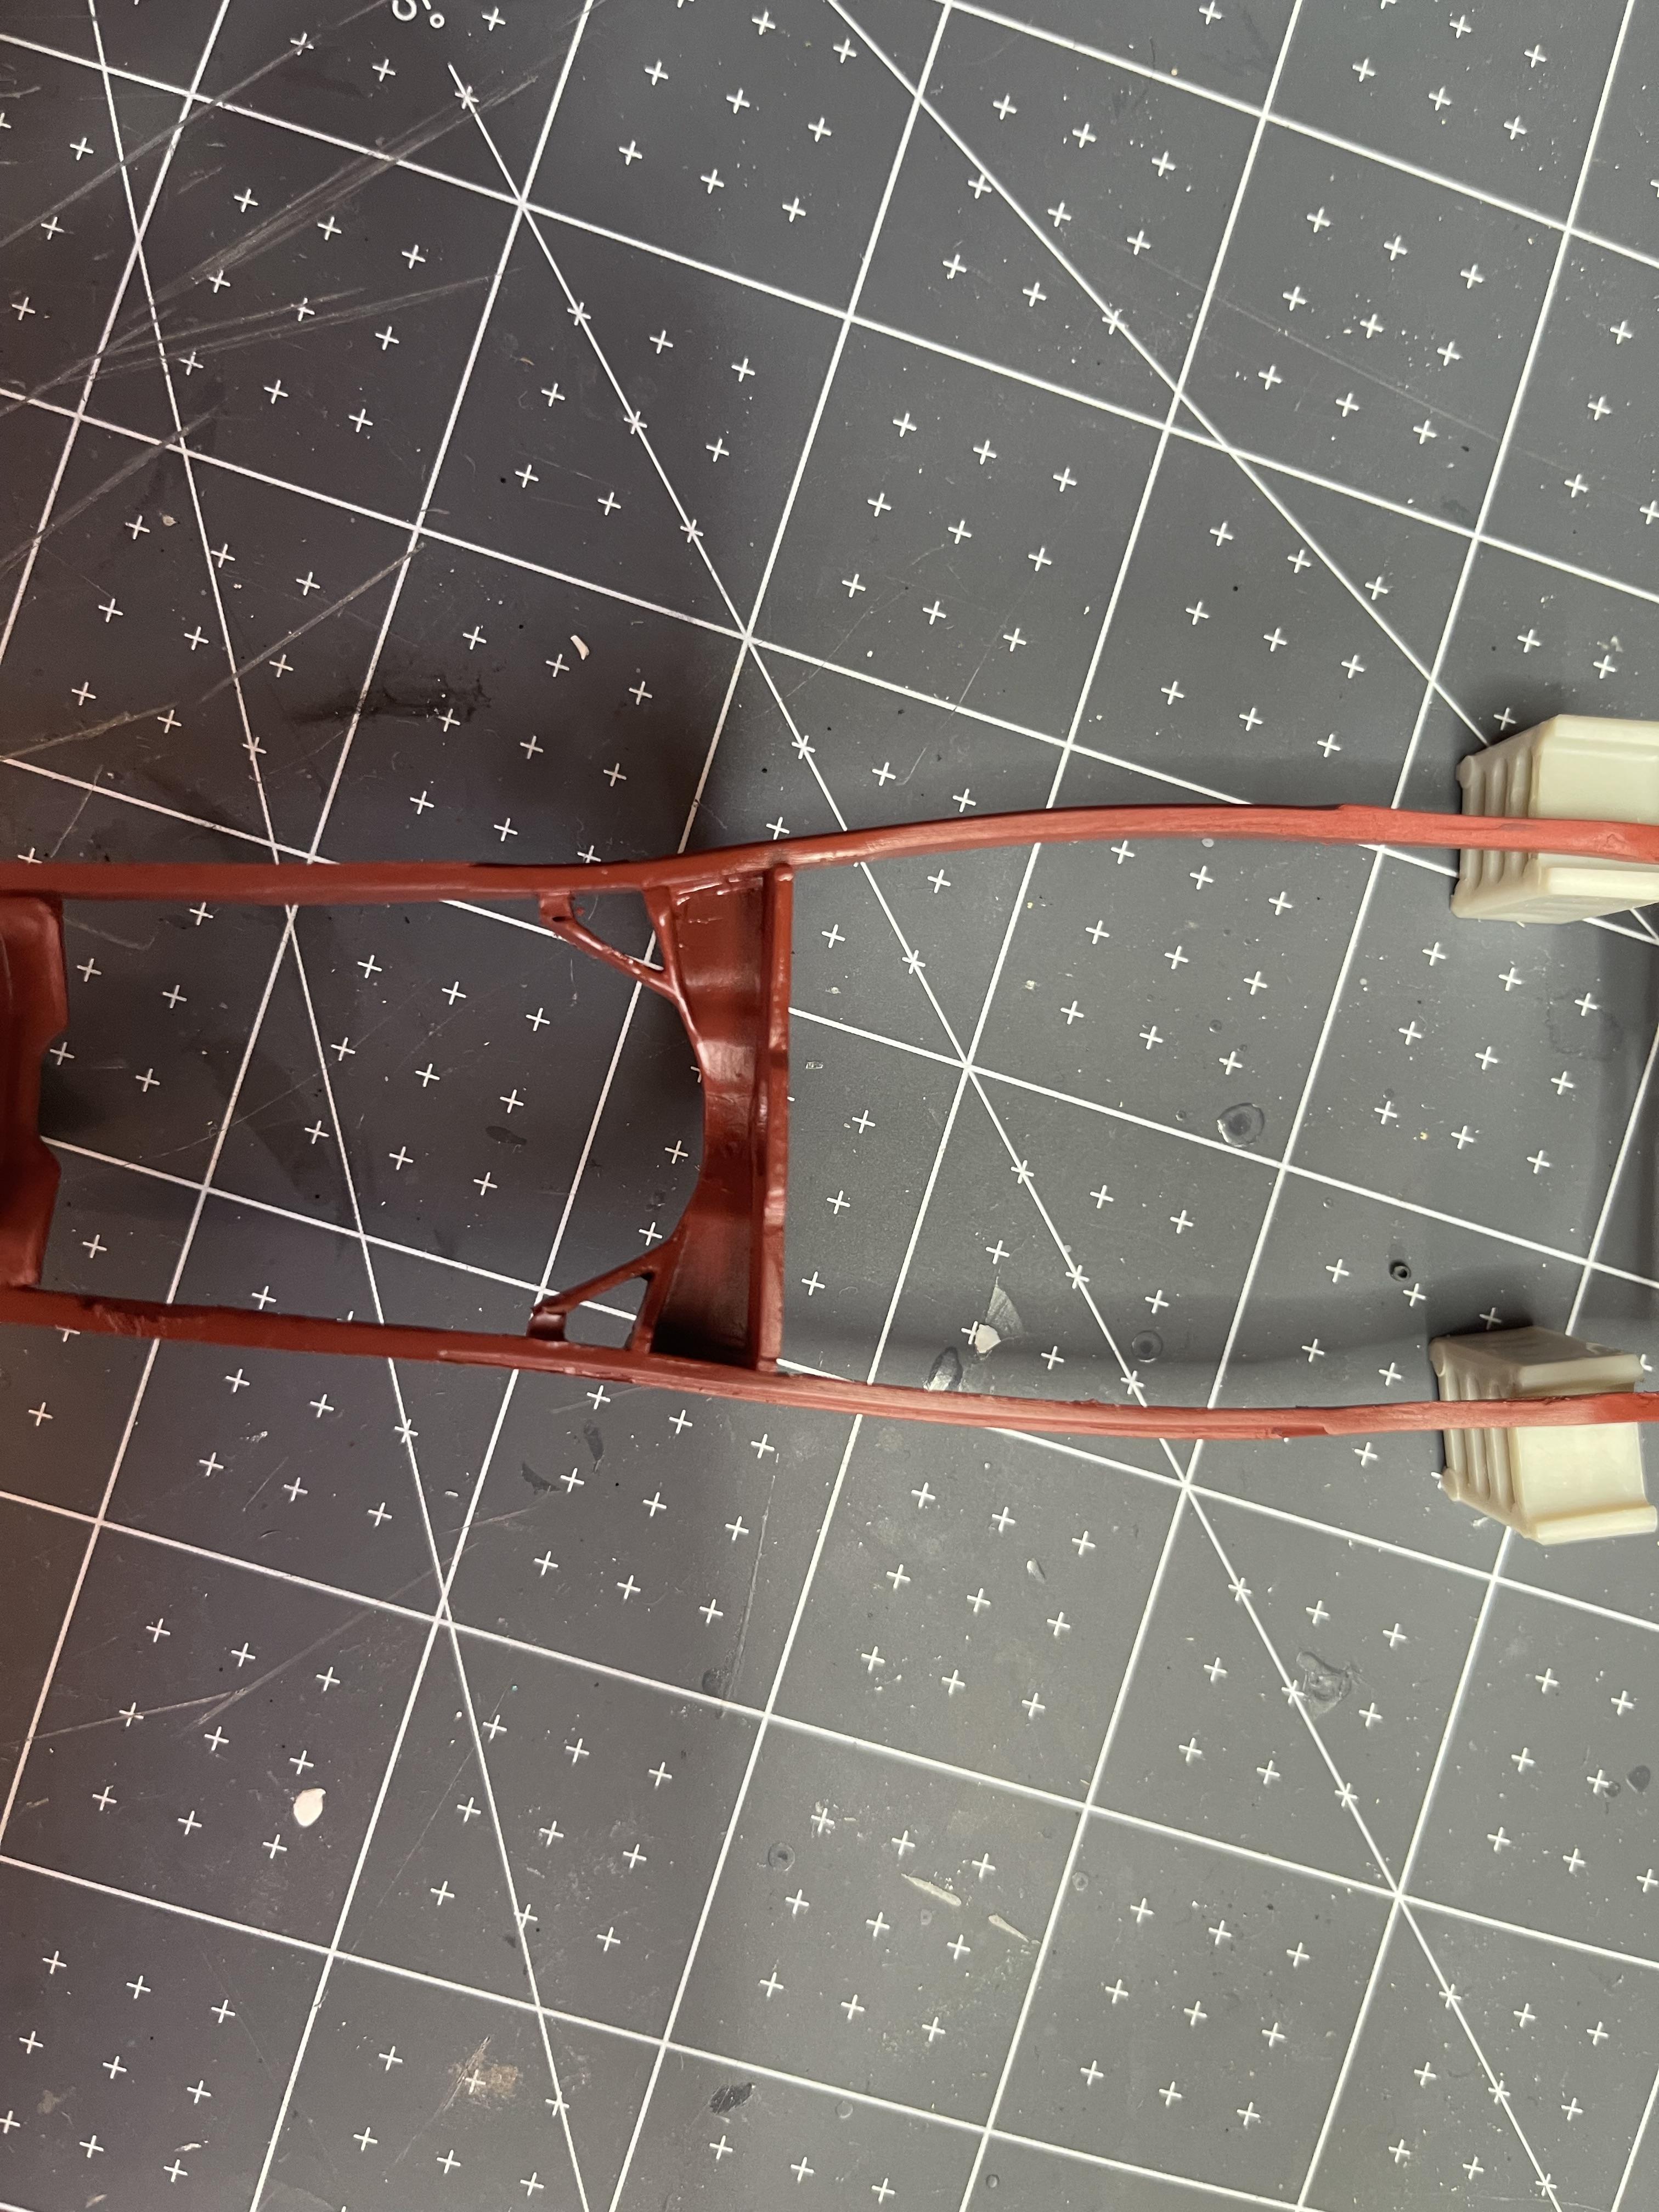
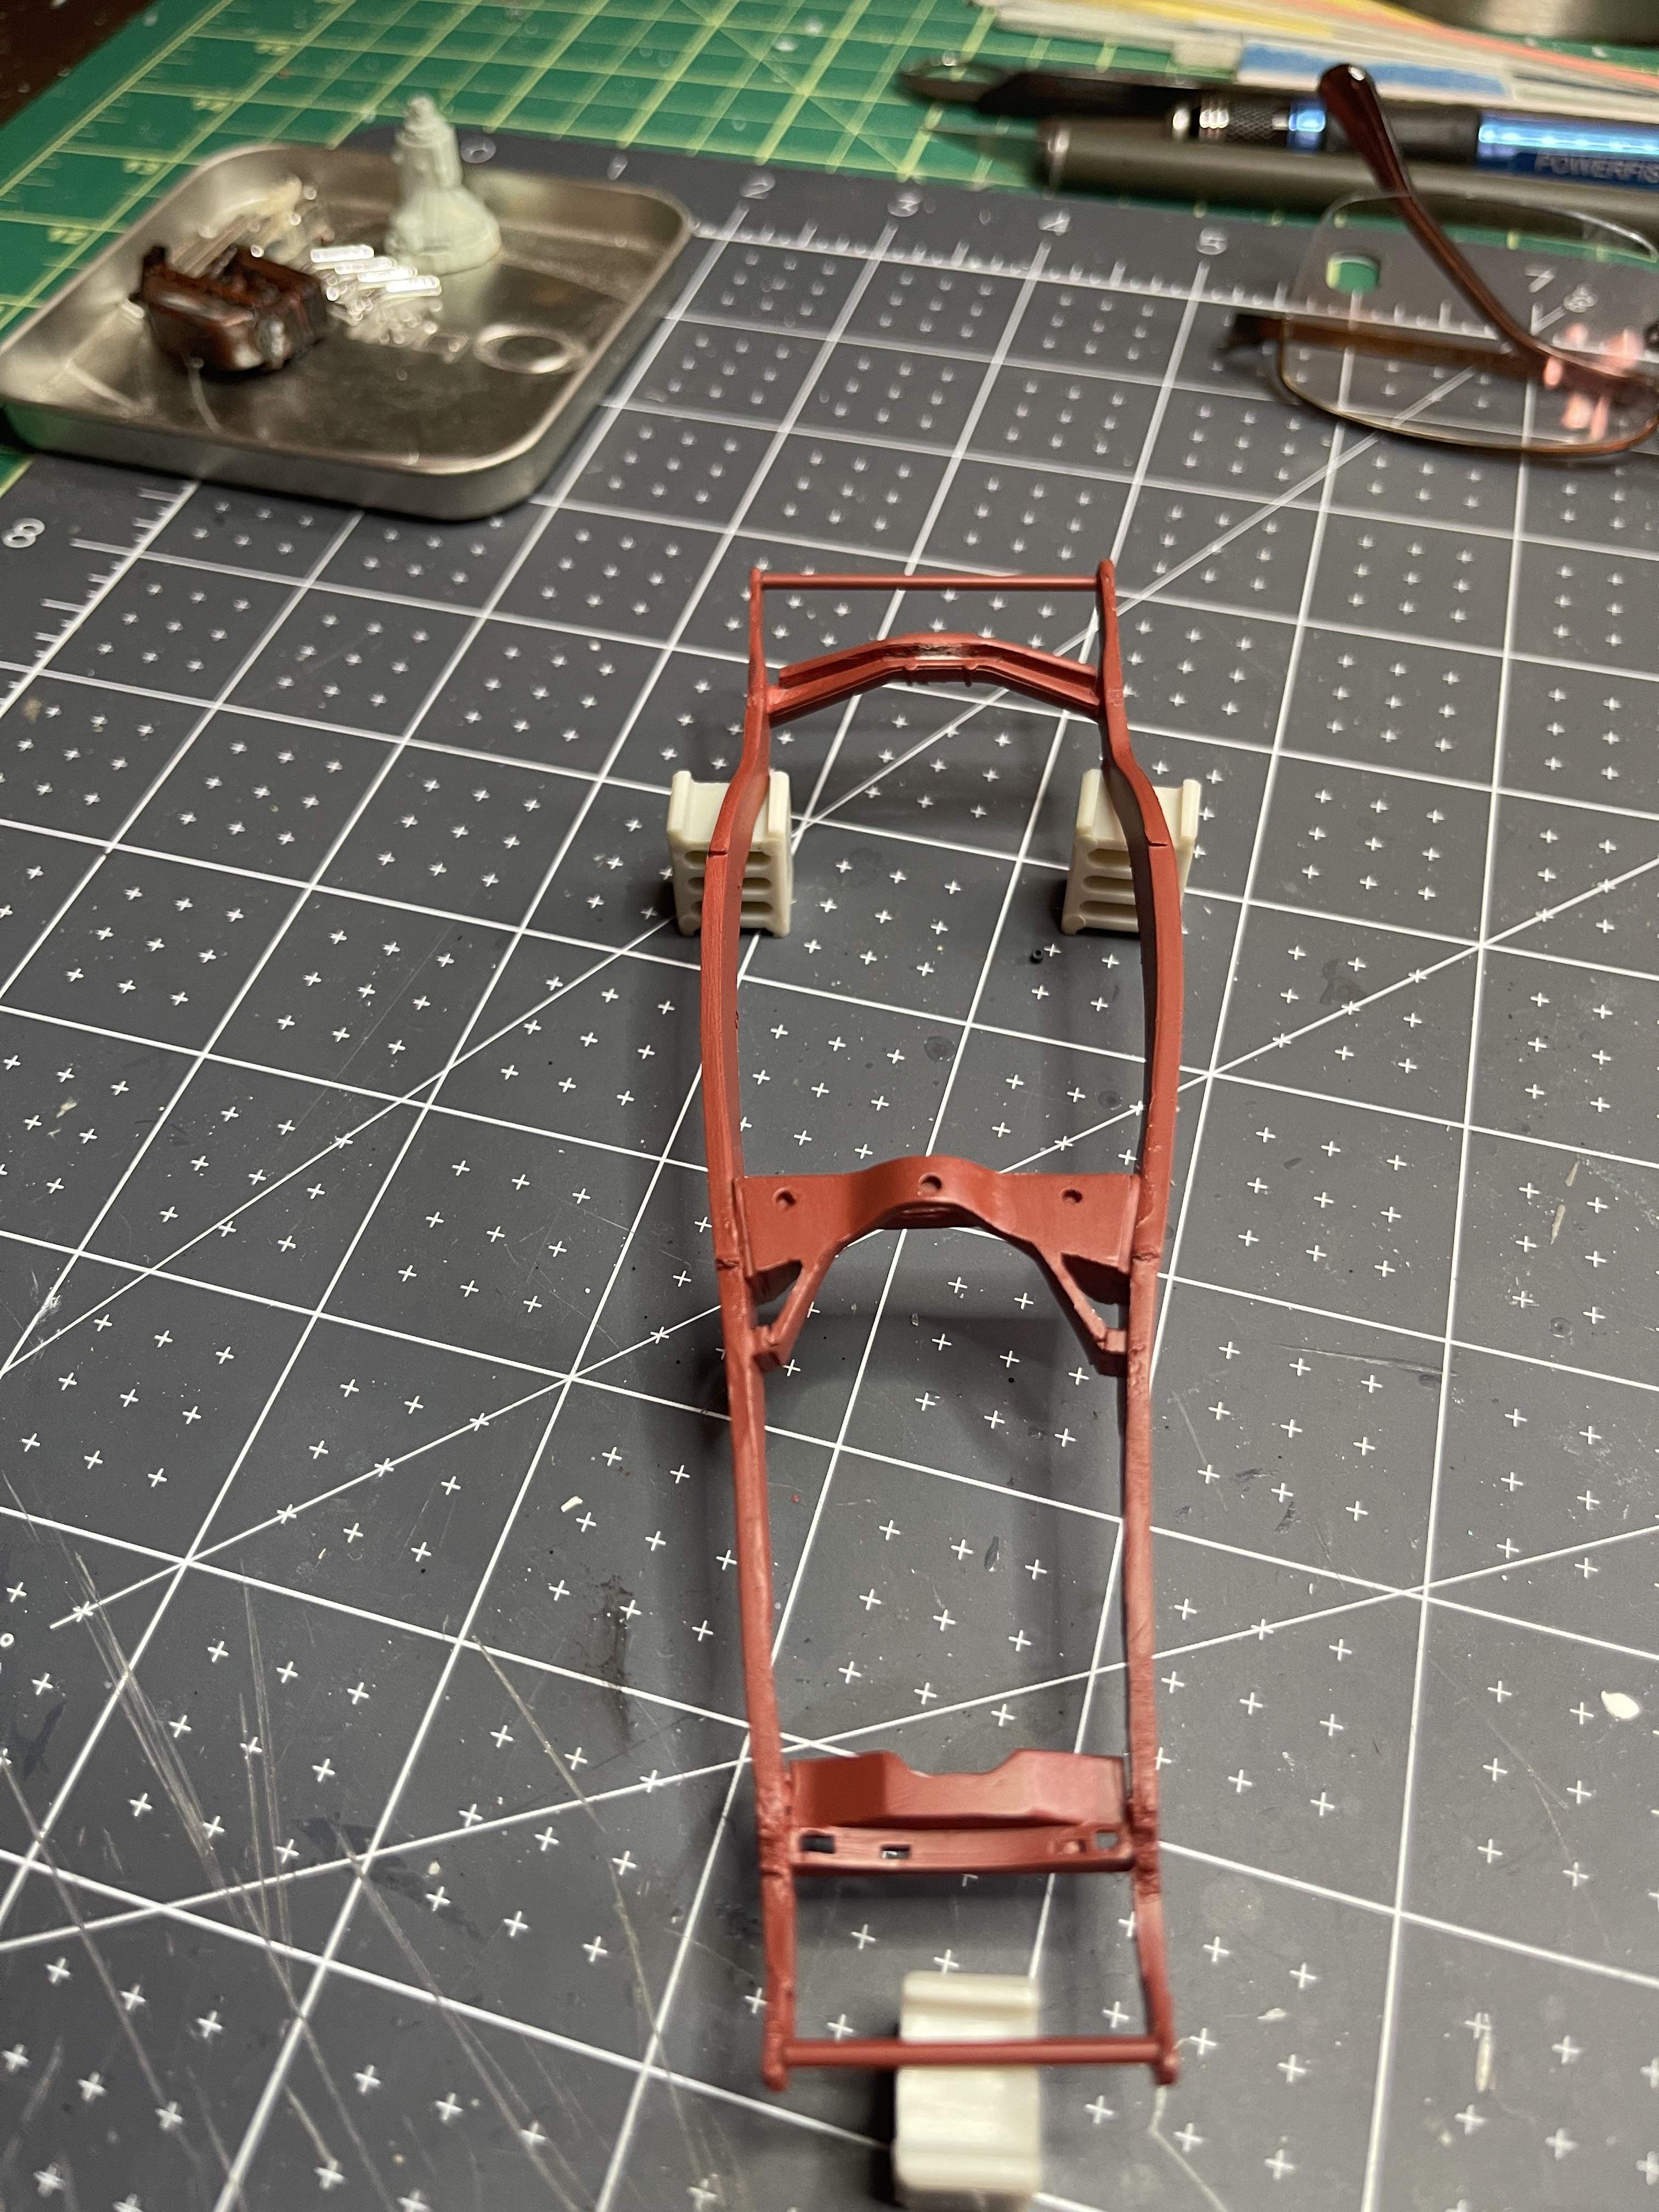
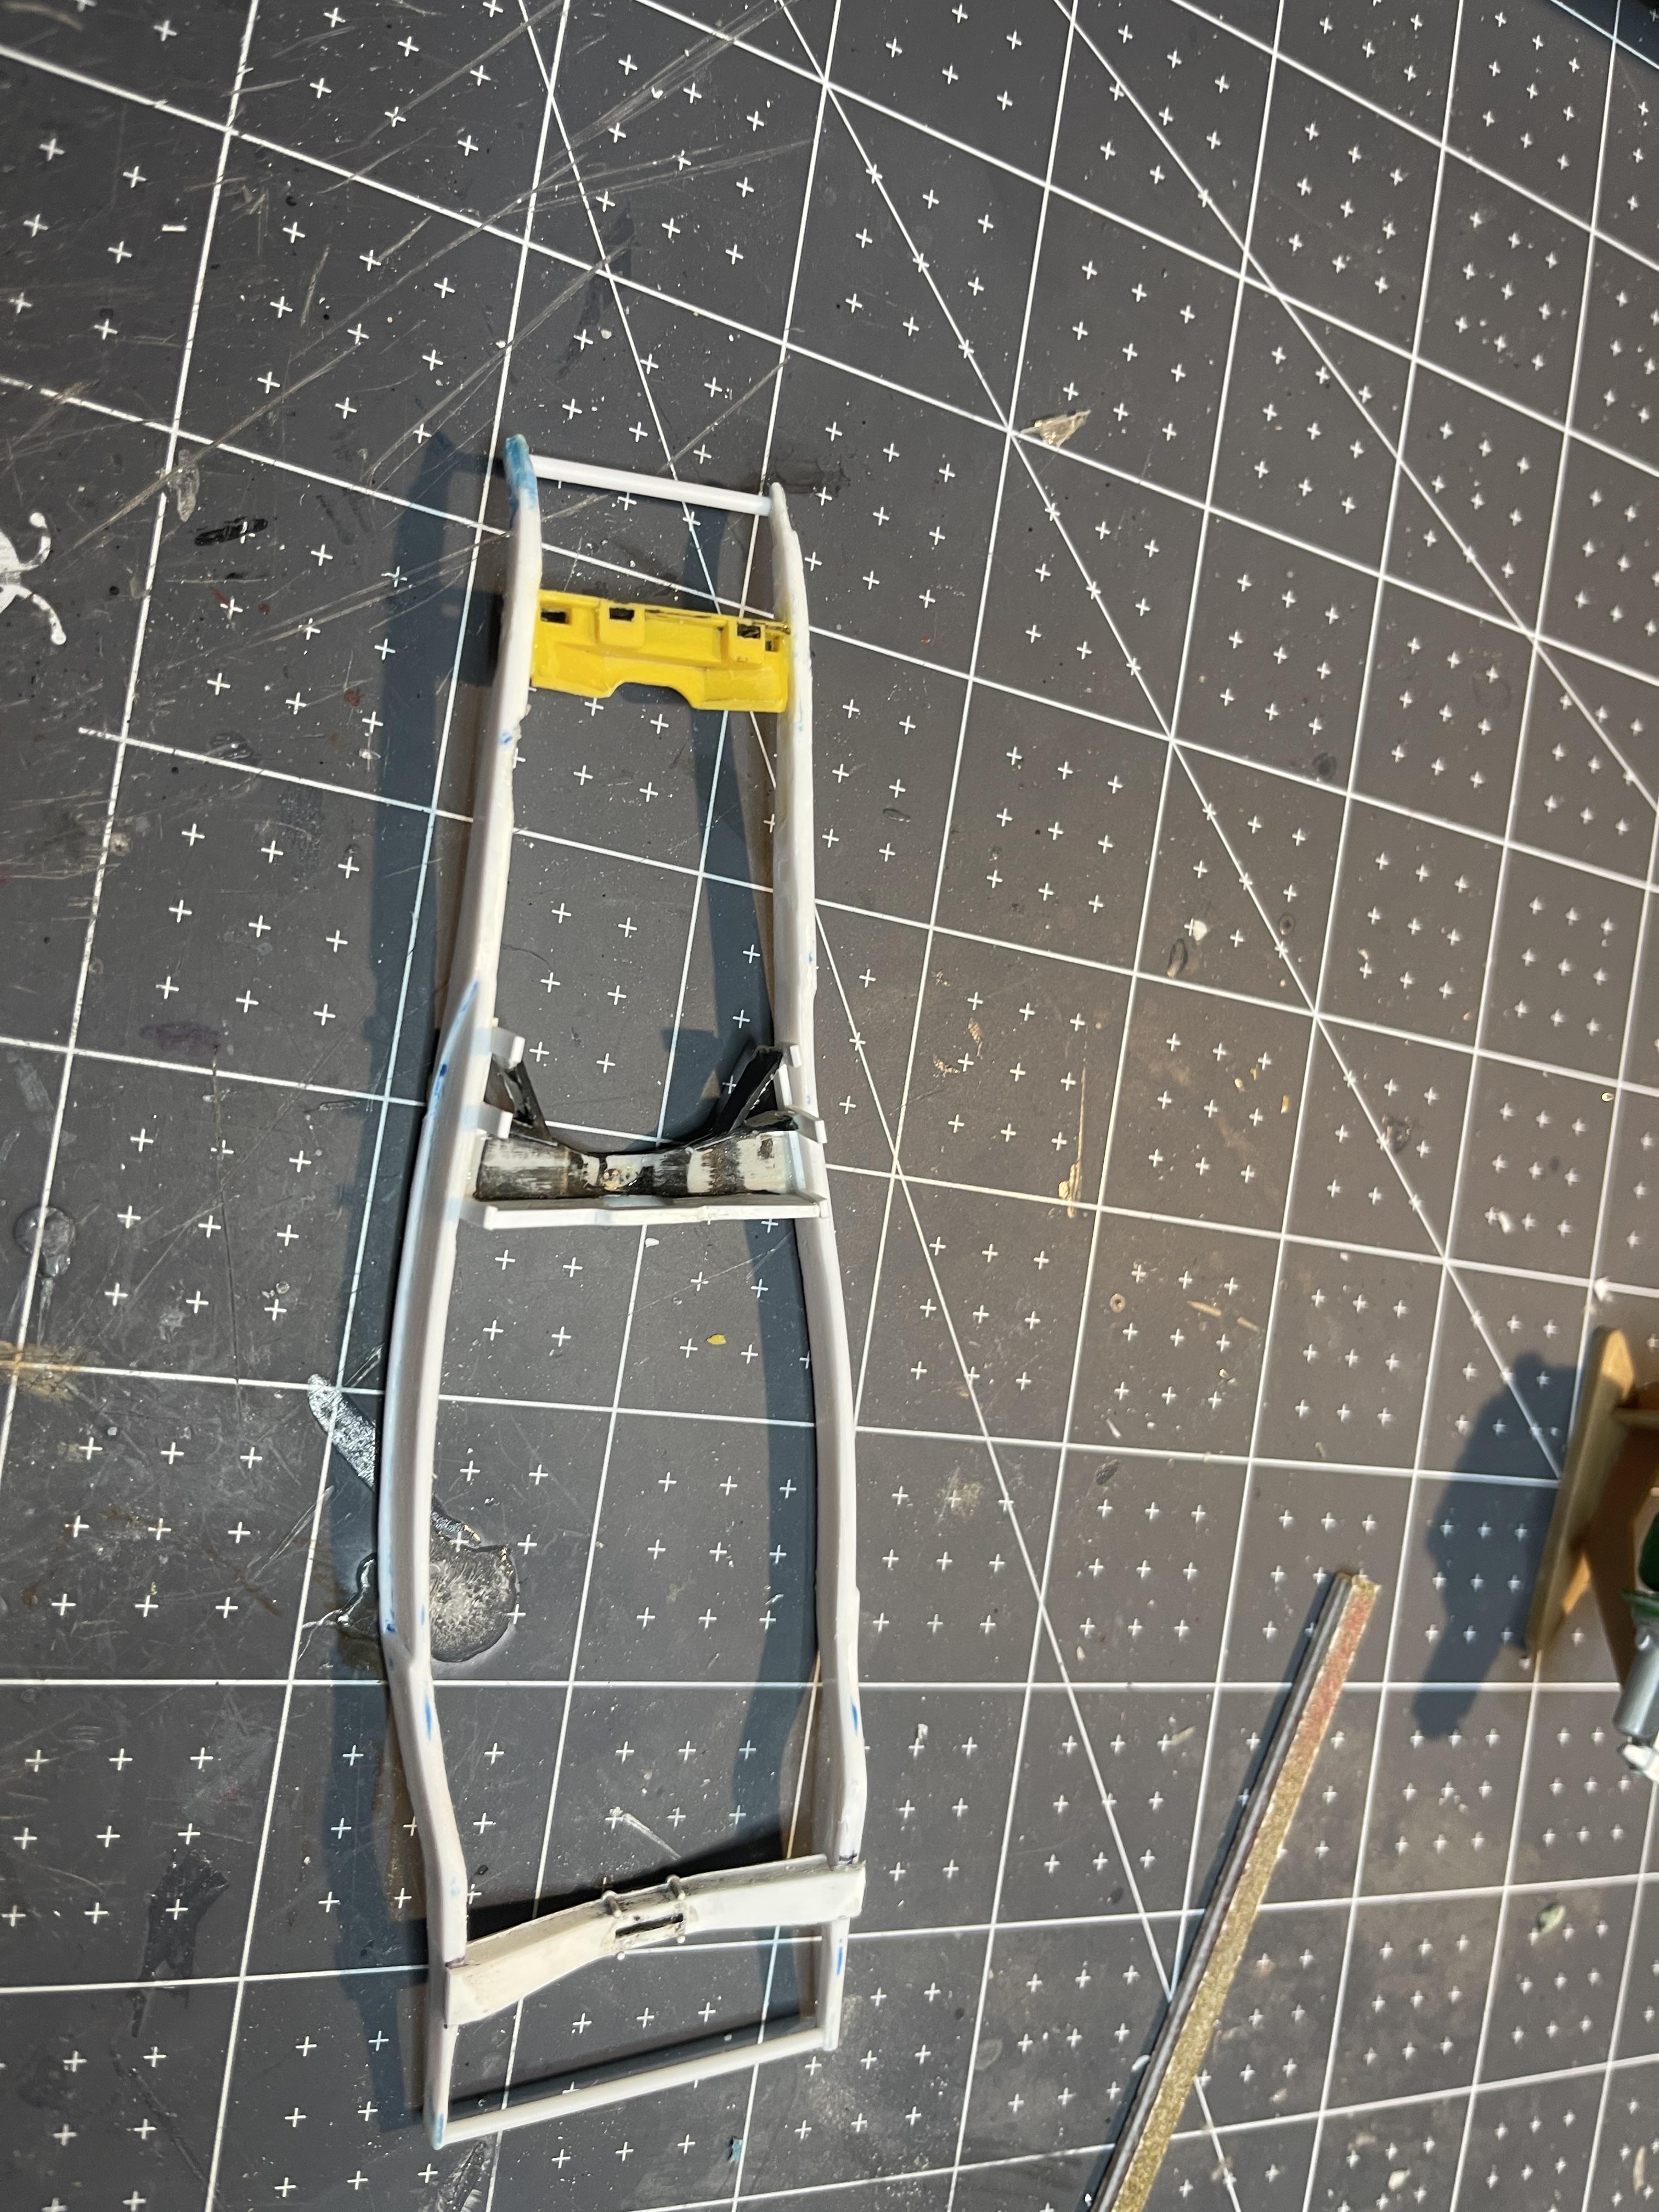
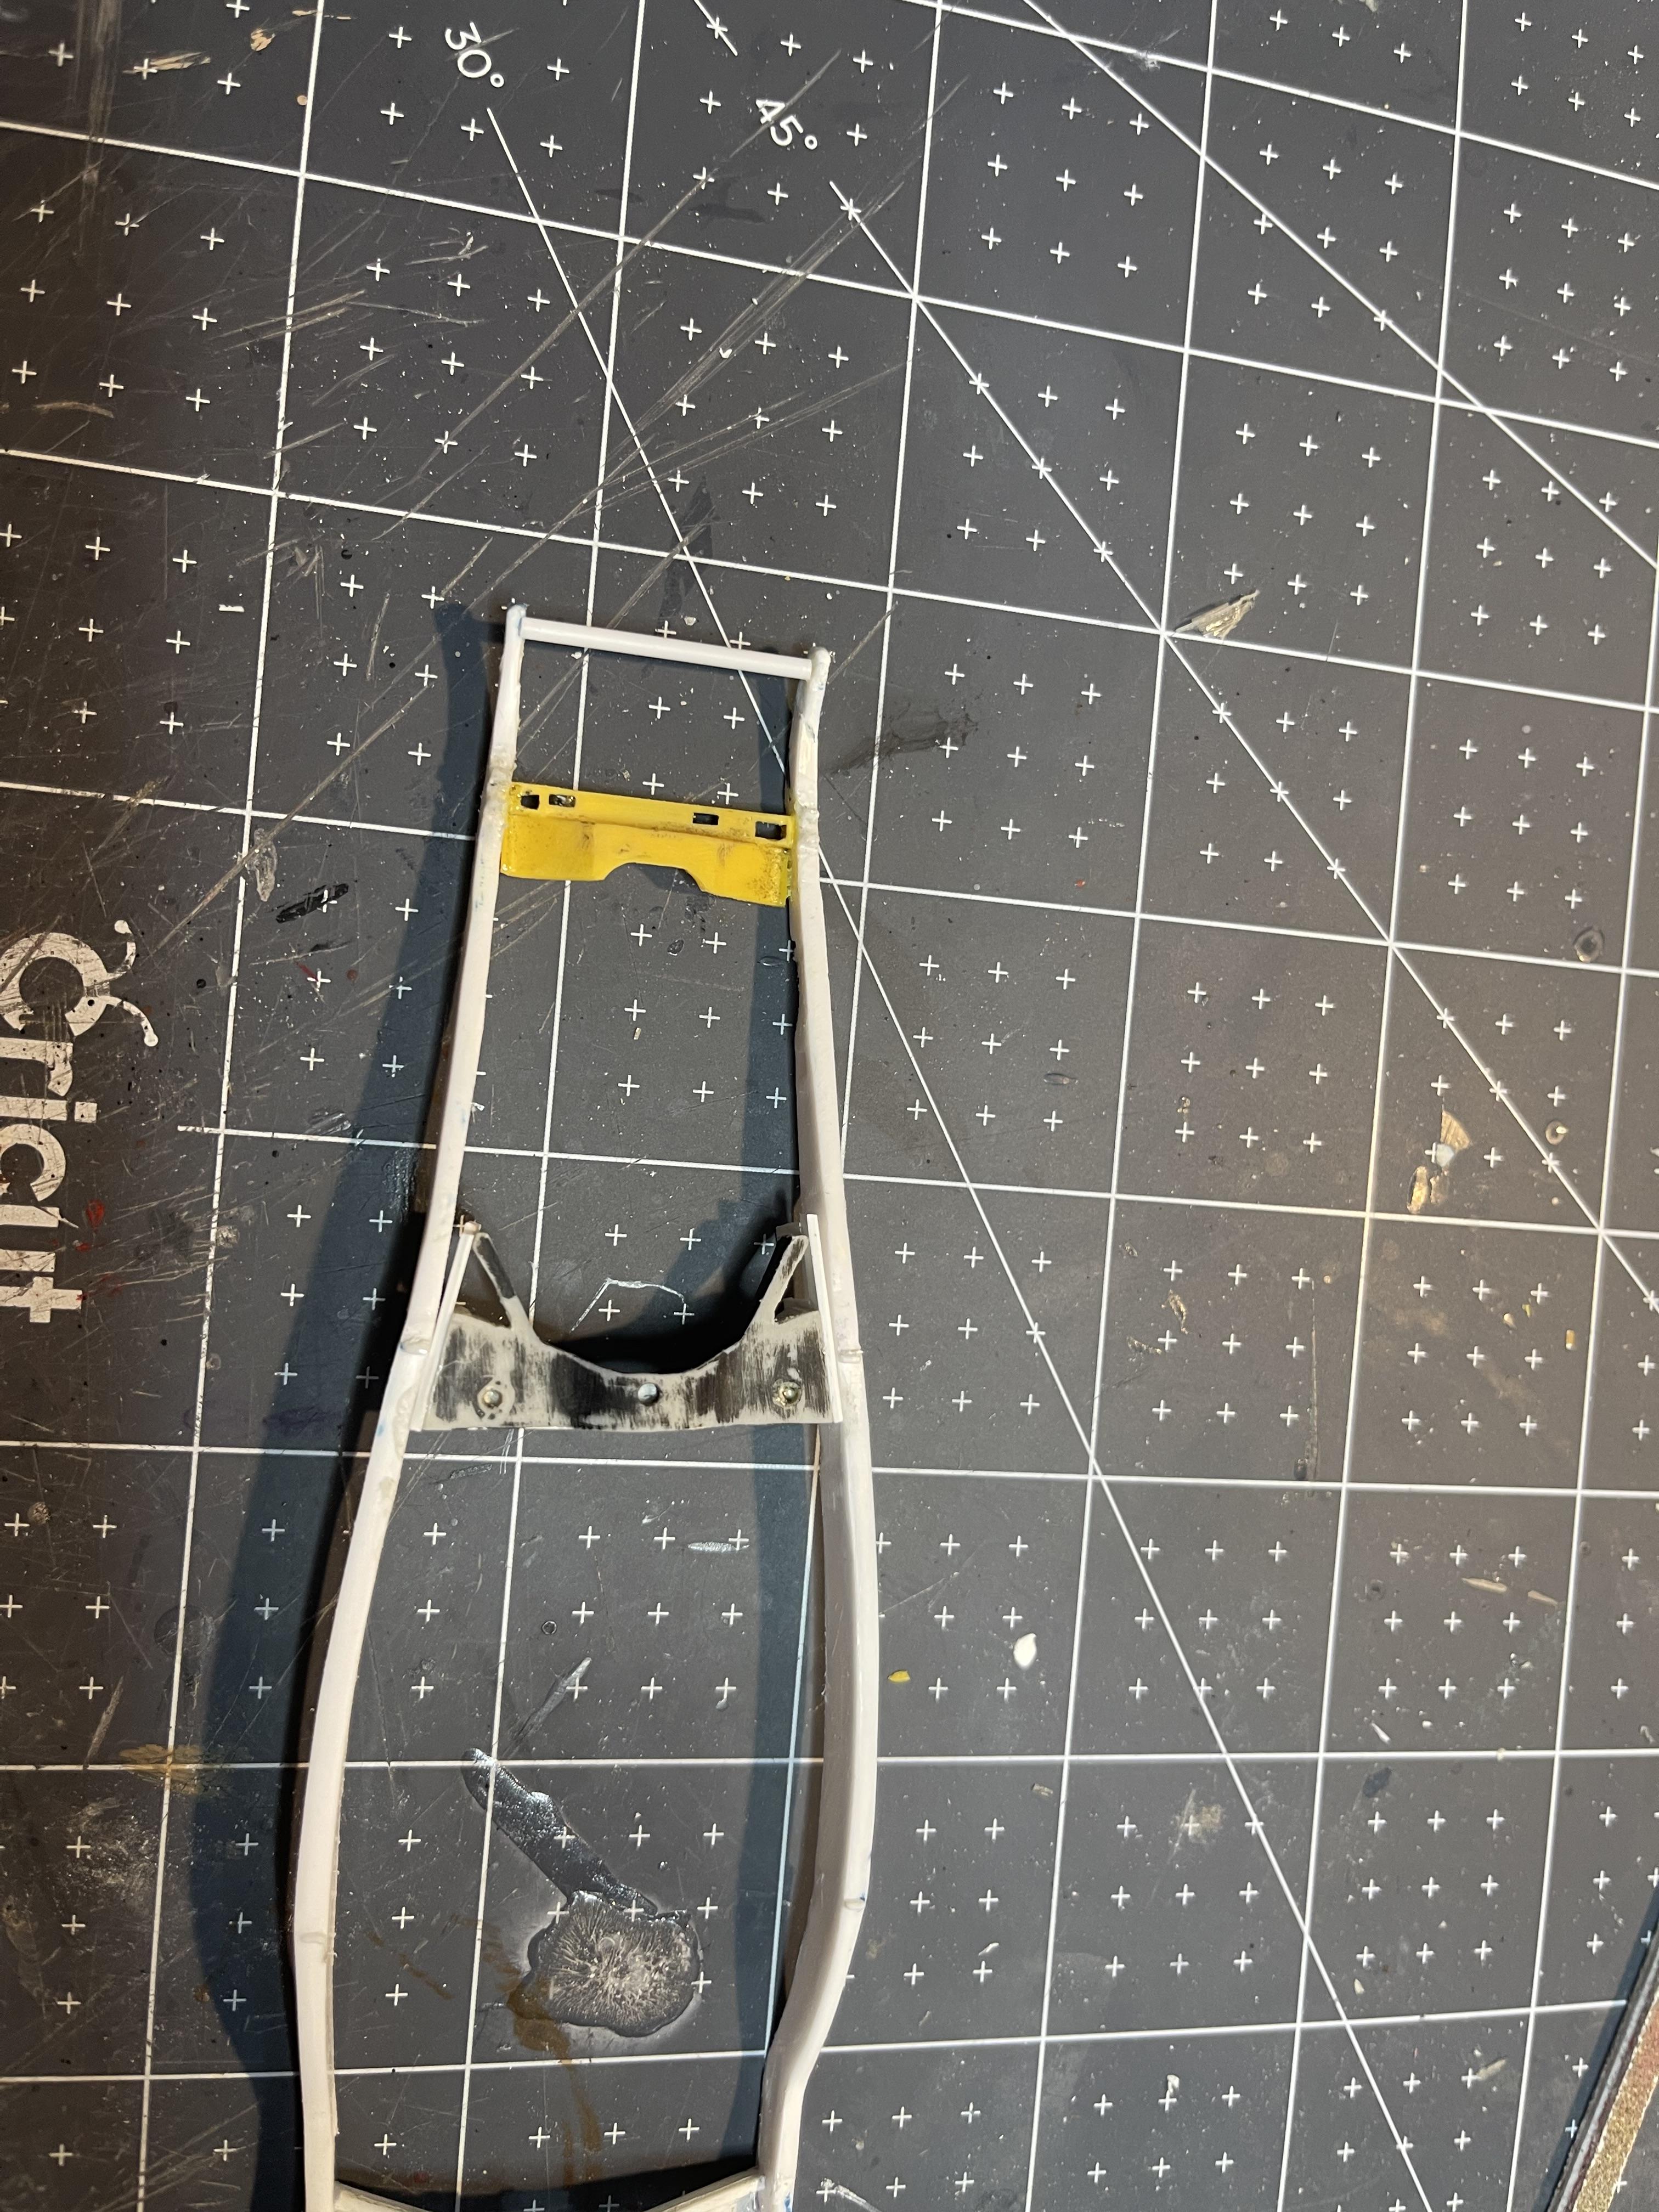
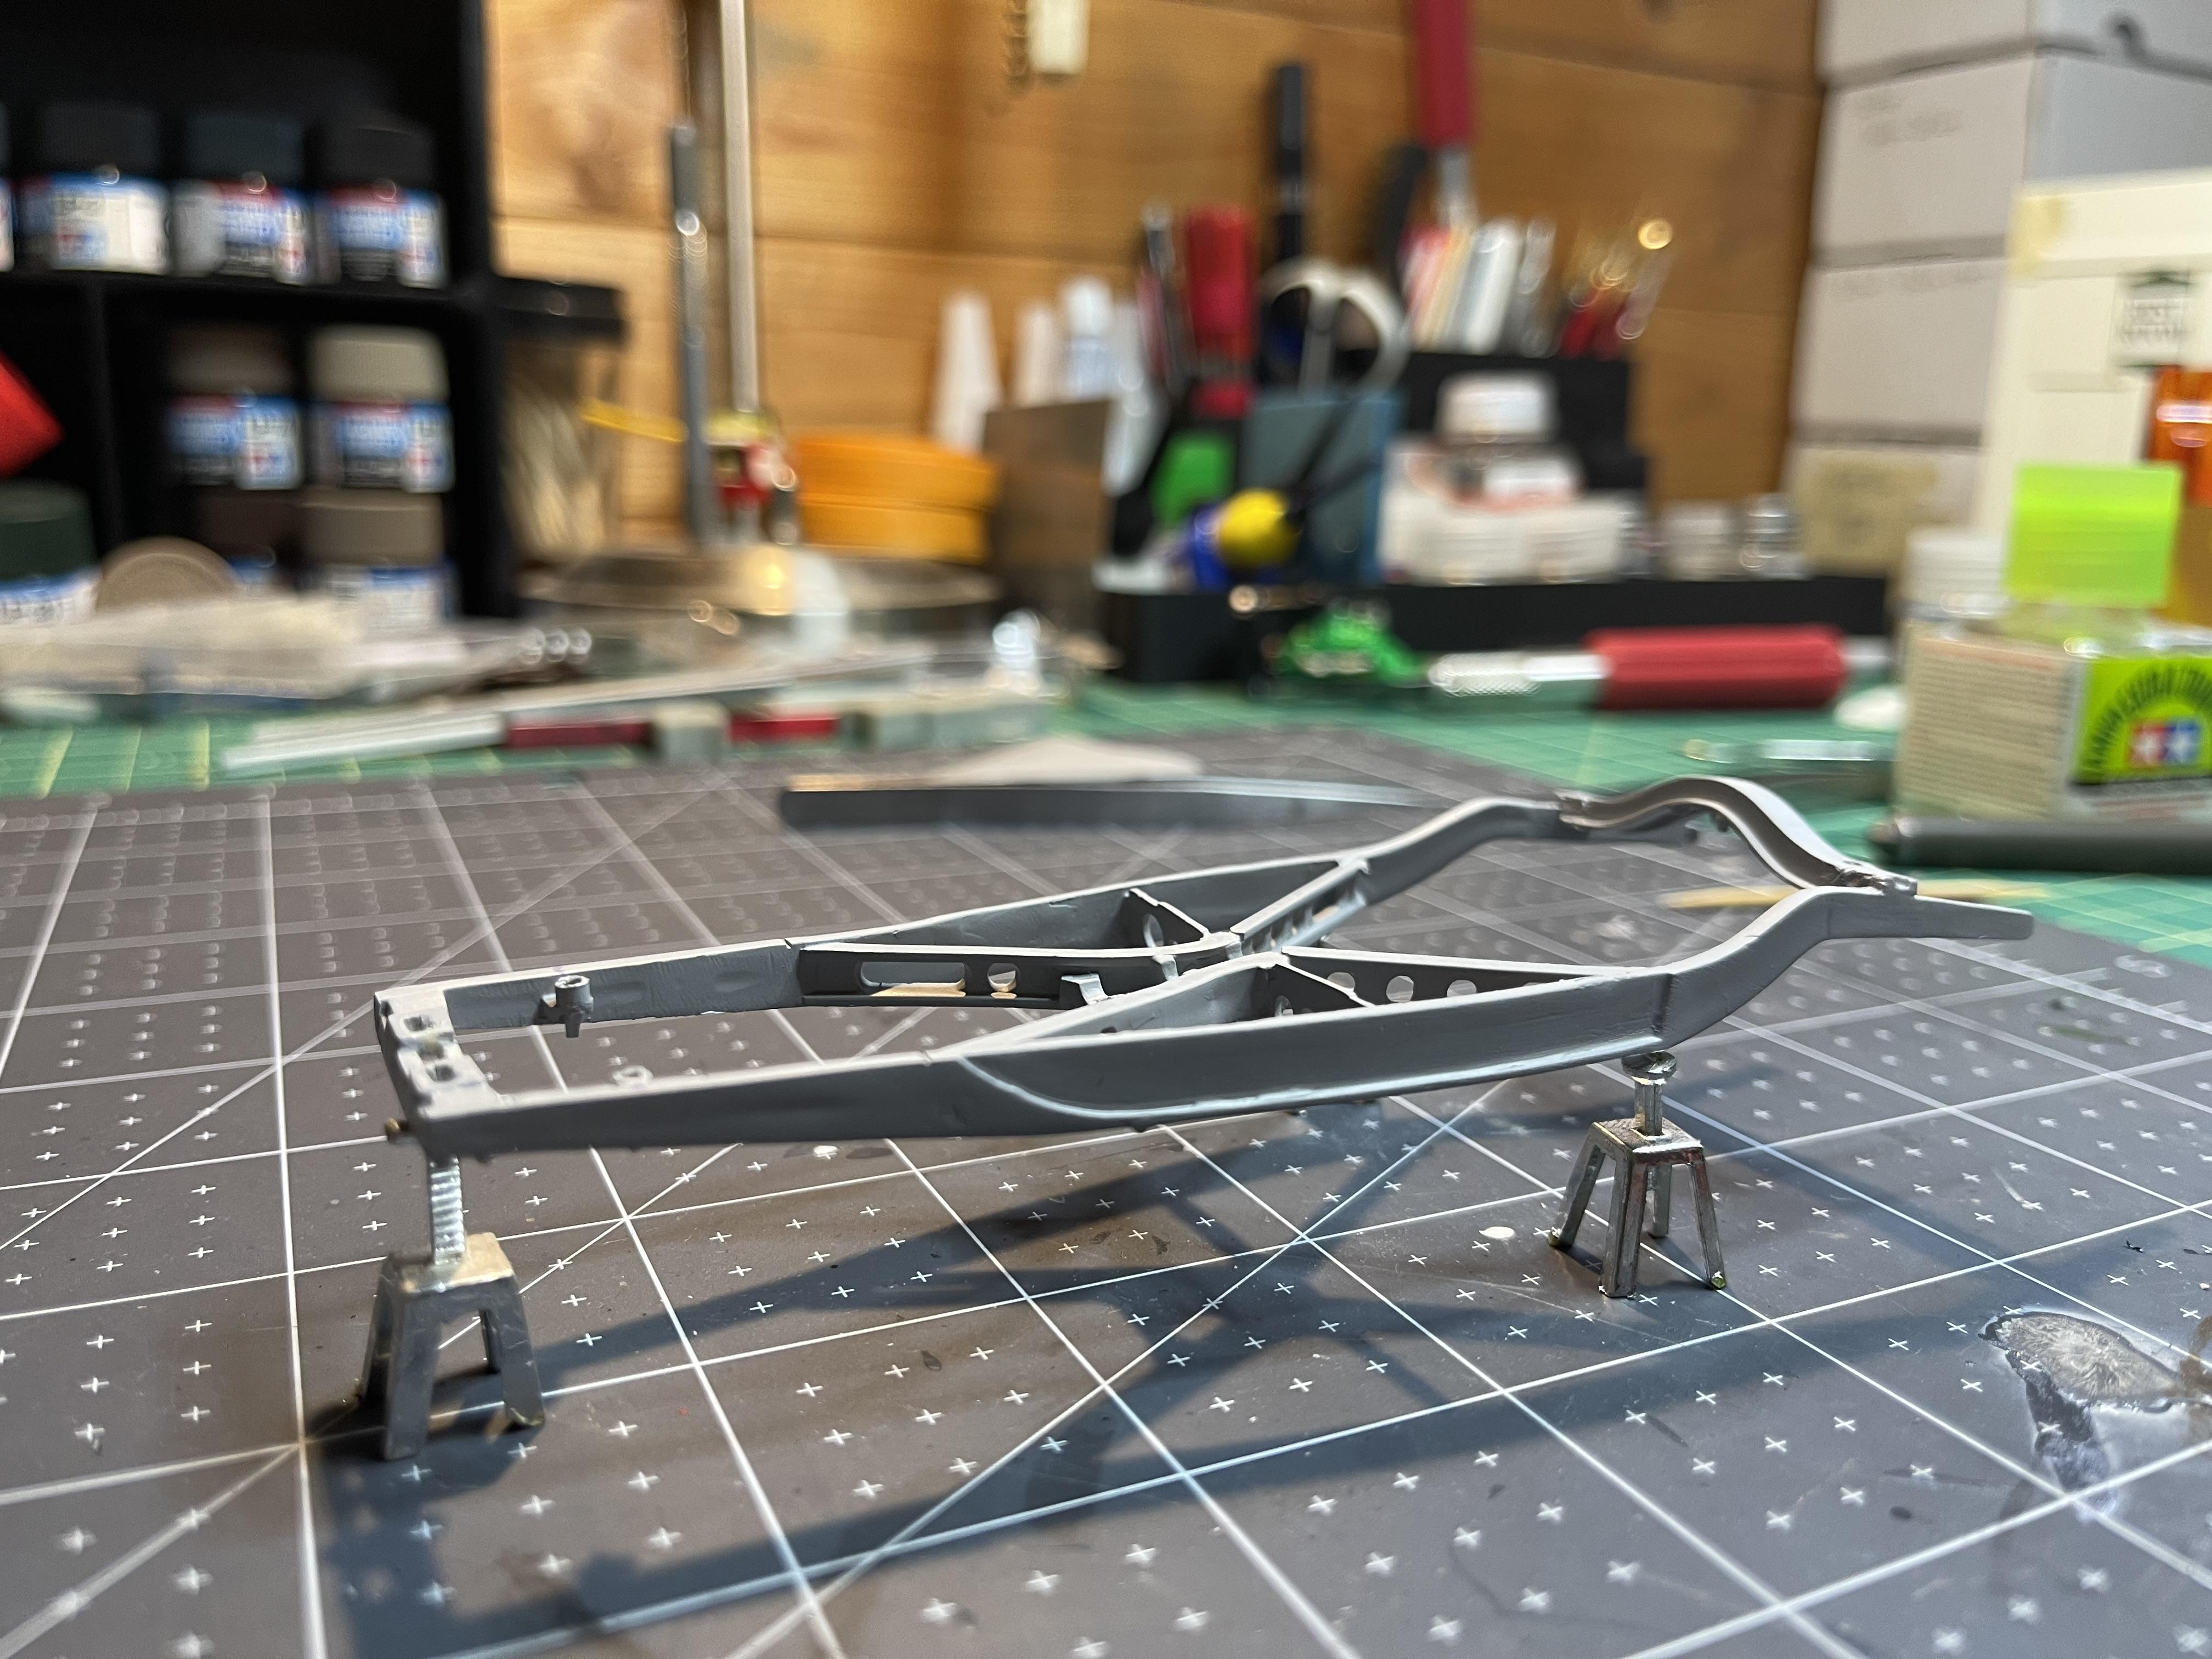
Ok a little more work has been completed on the stock frame. The K member is taking shape. I added the front and rear cross tubes as structural support. Still more work to do on the K member as it needs some shaping, (it is not currently added in its correct location) still but I’m happy to be making progress. more soon. Comments are always welcome.
-
Thank you Carl, and I’m glad people will remember me for a coined phrase ?
-
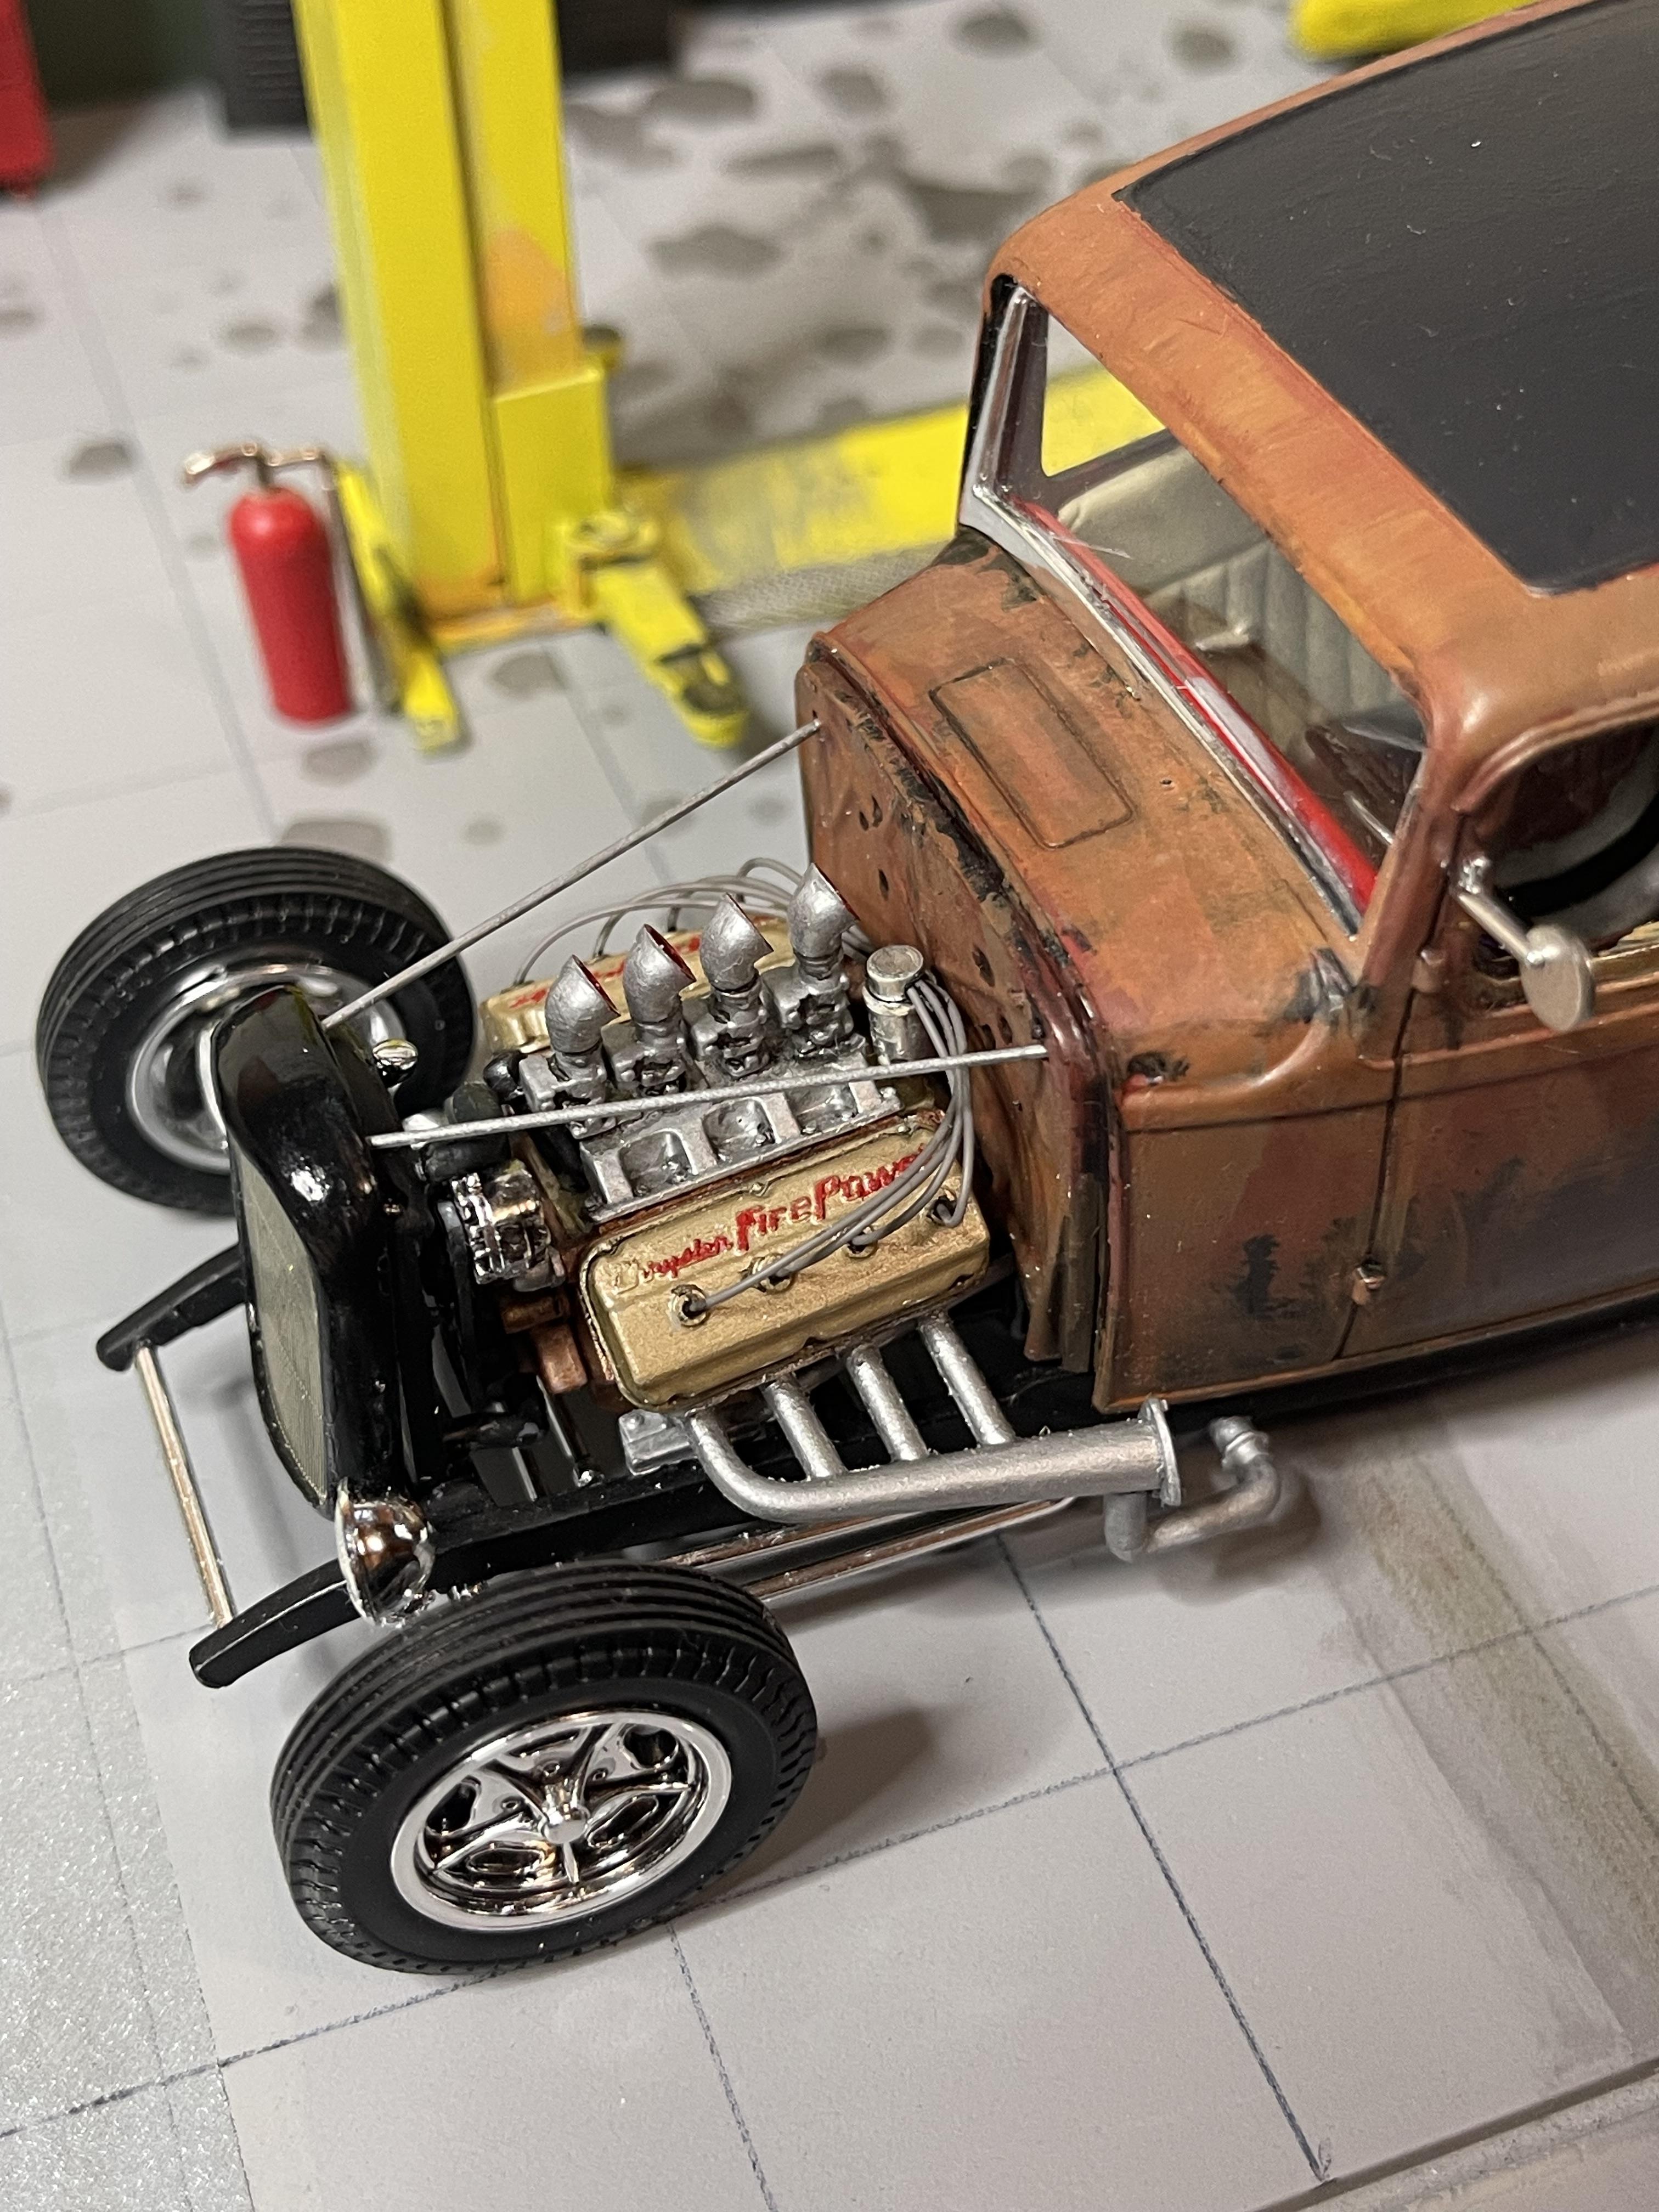
I rarely if ever build cars with hoods, if it does have a hood, it most likely does not have hood sides, so engines are a yes for me.
-
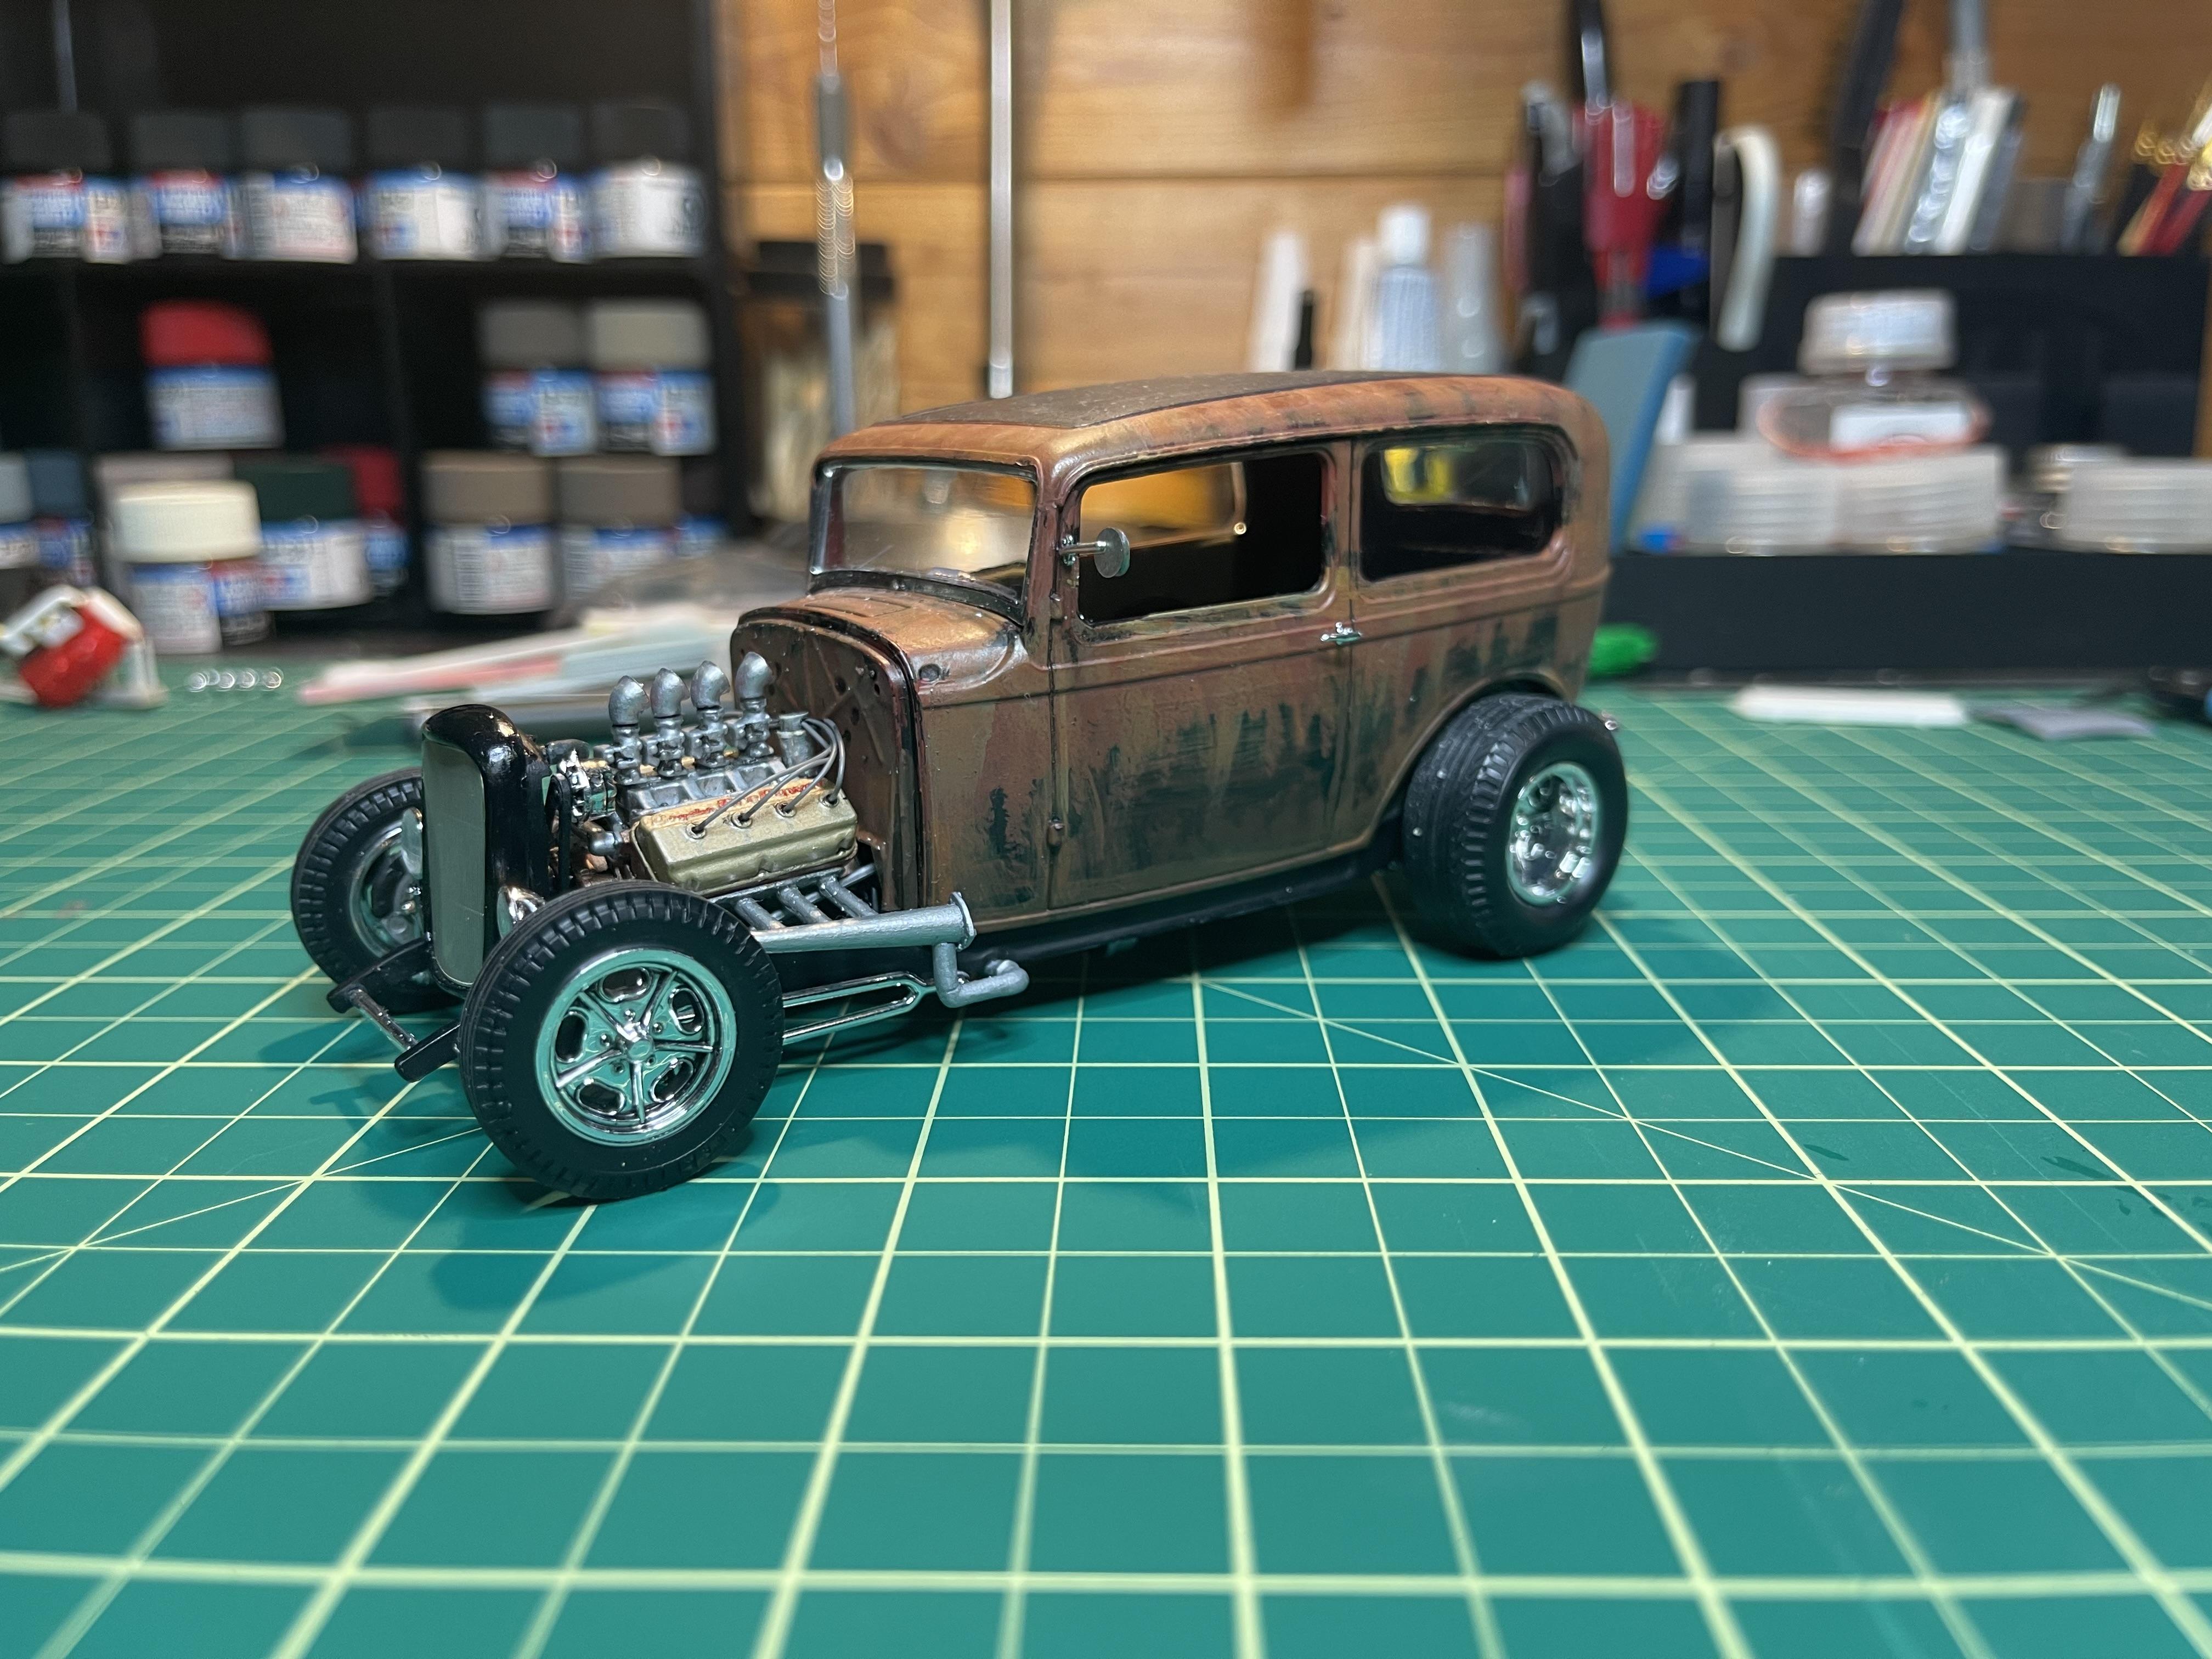
I’m gonna call this one done! It’s been a heck of a lot of fun participating in a group build. The Patina styled 32 sedan was a challenge of my weathering skills. Now I have to order in a couple of the new release kits to fill the stash again. Here it is in all the glory of a clean work mat. (no current fancy background or photo studio! more pics
- 706 replies
-
- 10
-
-
And now we have primer! The backdated frame is finished and awaiting the next stage the suspension. The stock frame is still in work so no pics or primer yet.
-
Thank you Bill, so far I’ve just kinda mocked this up and threw some litter in there to get a feel for how it’s gonna lay out I’ve dispensed with the idea of having an office area, so the difference in the floor colour will stay. I’m looking into fabrication of a compressor but I may leave that idea as an outside the back of the shop item.