Pierre Rivard
-
Posts
2,632 -
Joined
-
Last visited
Content Type
Profiles
Forums
Events
Gallery
Everything posted by Pierre Rivard
-
Thanks for the help Bill. Your 250SWB build is great and shows that the Italeri body have good lines and proportions. Those kits are very hard to find and I'm happy to have one.
-
The GSW looks like chrome but it's too good to be true. You just can't touch it...at all. Hope you find a way with it because I failed miserably. Perhaps there is a way because it looks so good!
-
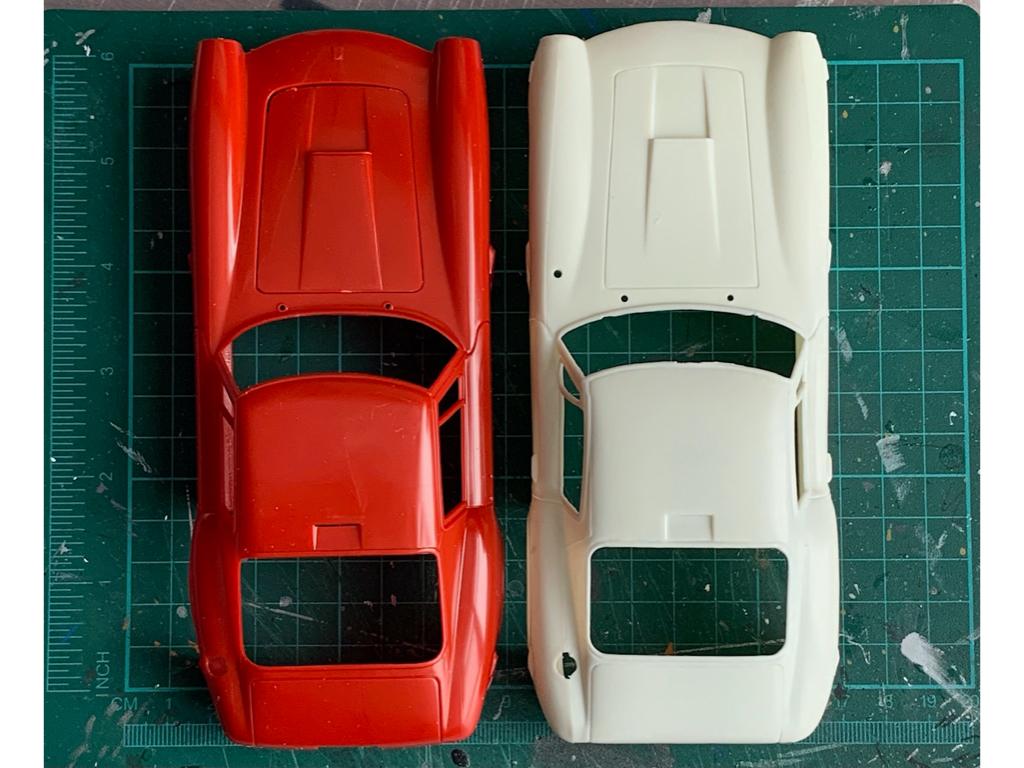
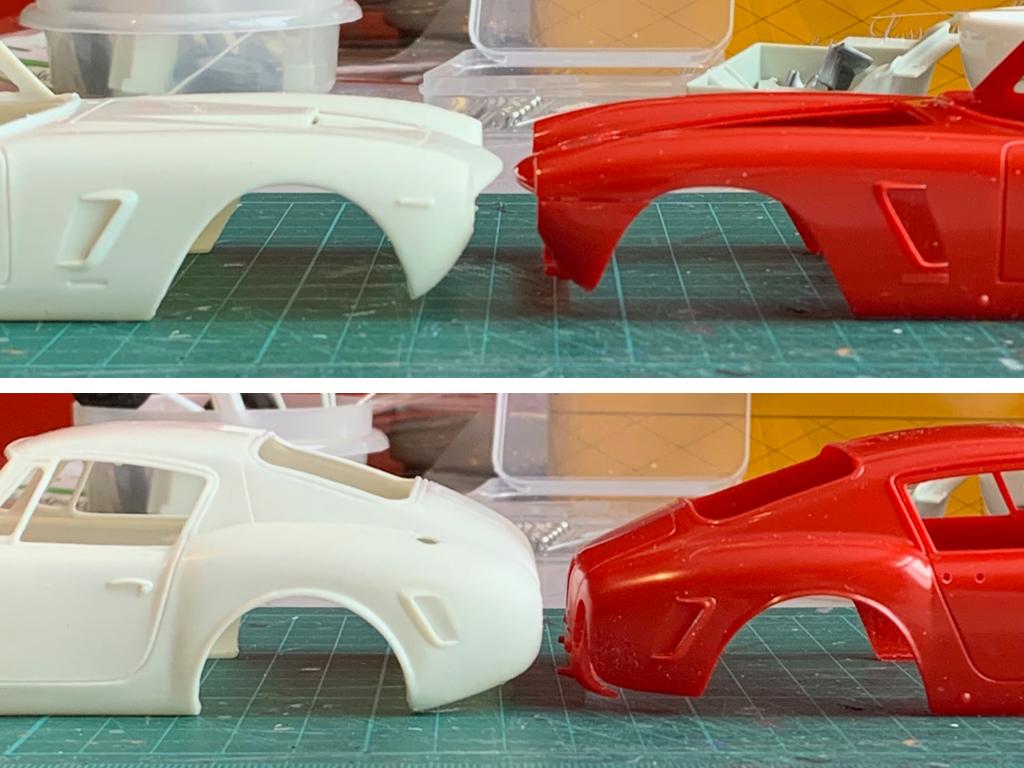
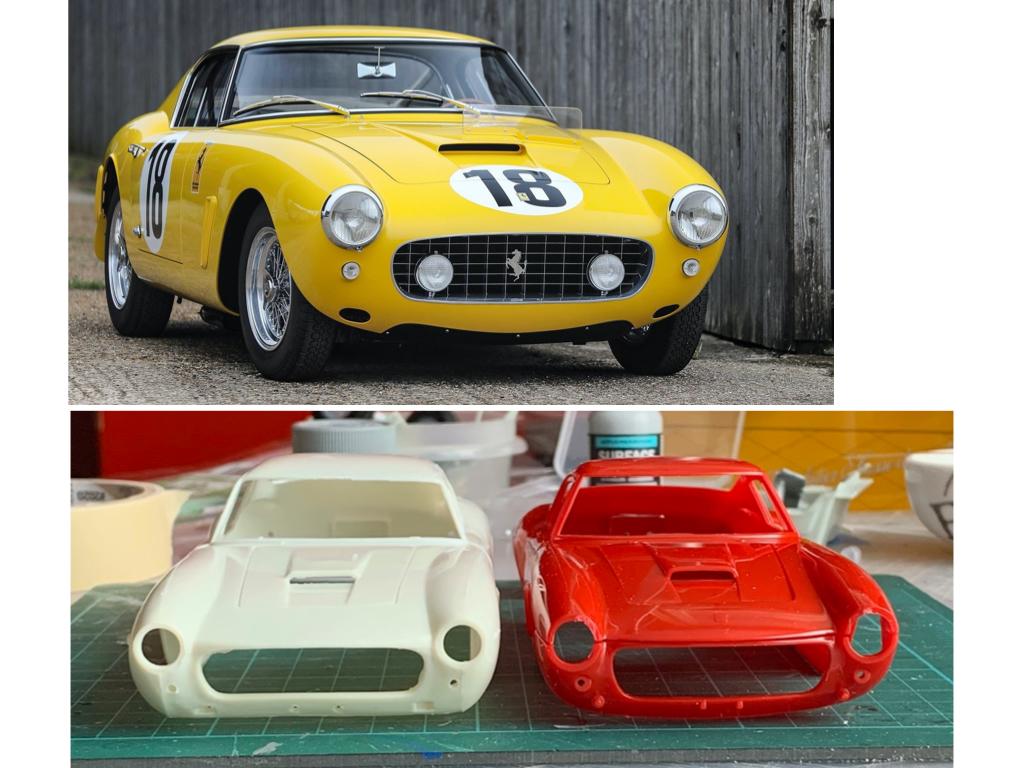
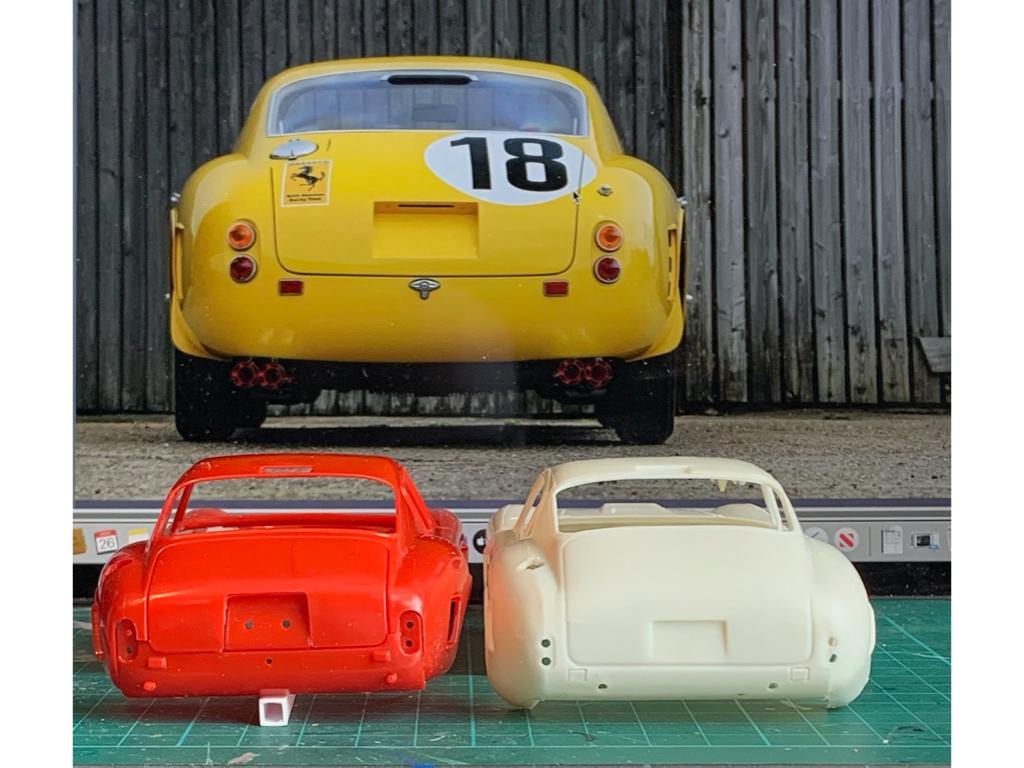
Perhaps my favorite Ferrari. Lucky to have landed an Italeri kit thanks to Helmut (Scudetto1959) but I also have the ESCI/AMT and wondering if it can be made into something decent. The chassis/interior/engine pieces are fairly decent and comparable but I think the challenge lies with the AMT body (not that the Italery is without a few issues too). Here are some comparison pictures. Questions builders who may have a better eye than me for body design and proportions. Is the AMT kit workable and where/how would you make changes to make it into a better replica?

-
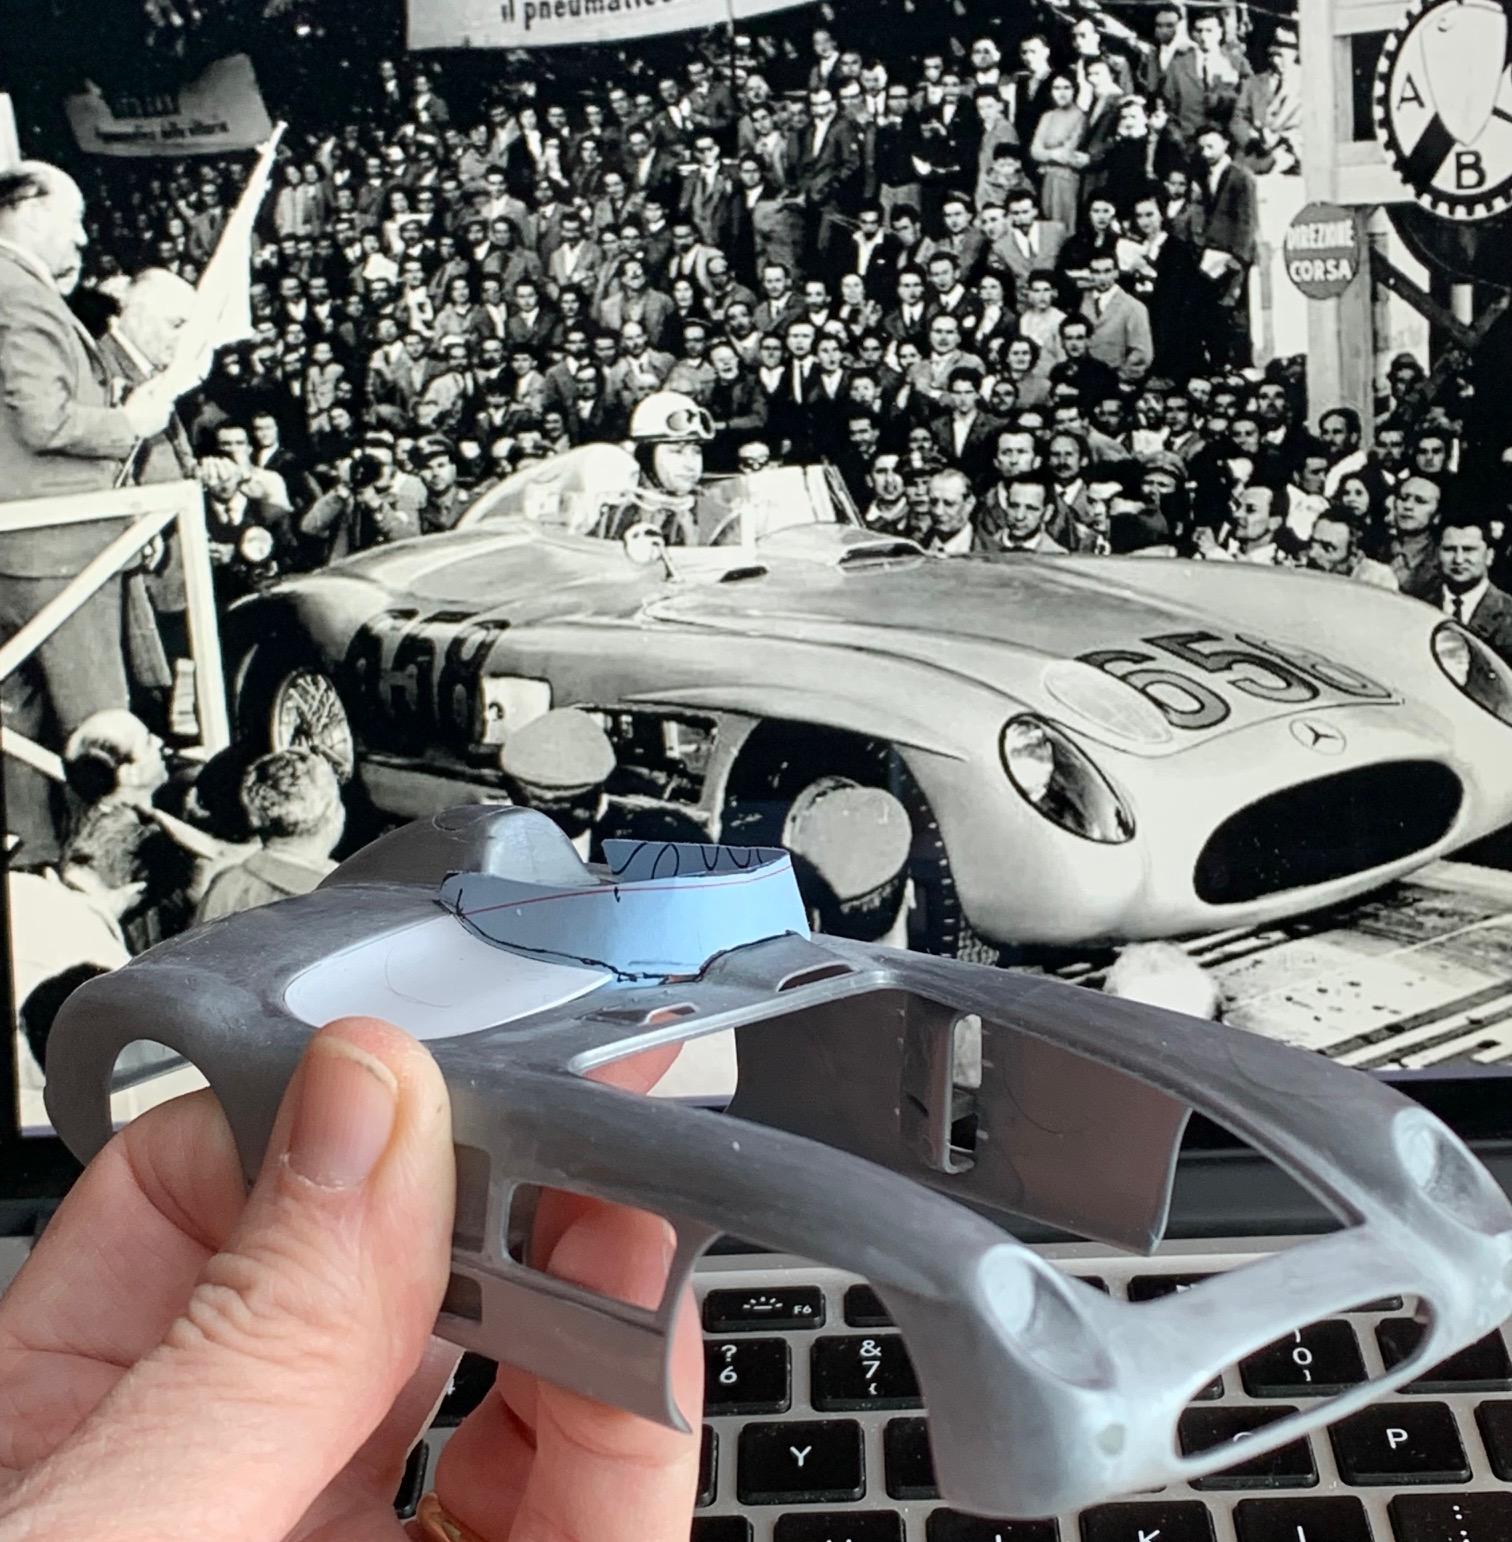
The chance to be in person near this incredible race car... goosebumps! The restored Moss car has seen changes relative to how it was at the 55 MM but still an amazing reference. Imagine if Mercedes had not left racing at the end of 55? I adore Ferraris but this Mercedes was a game changer.
-
1967 Spa winner Gurney Eagle
Pierre Rivard replied to mrindy77's topic in Other Racing: Road Racing, Salt Flat Racers
Mighty impressive sir! This beauty is small scale yet rich with beautiful detailing. This Eagle could be the best looking F1 car ever -
Thanks guys. Trying to get the details right is where all the fun is and why I chose to do Fangio's car, and not just as the kit was designed (Moss car). Lot's of changes needed but I love it. Speaking of getting the details right I have excellent news. Jason Hupin has agreed to take on a new project to design and 3D print the wheels as pictured below. These wheels should also be a good fit for some Ferrari front wheel applications (250LM, P275)
-
That's a good catch. Finding pictures period pictures of the cars is key to a more accurate replica. Anything recent must be treated as suspect.
-
Amazing duo!
-
Essentially OOB hey? Wonderful what you are doing with this kit. The wheels are magnificient!
-
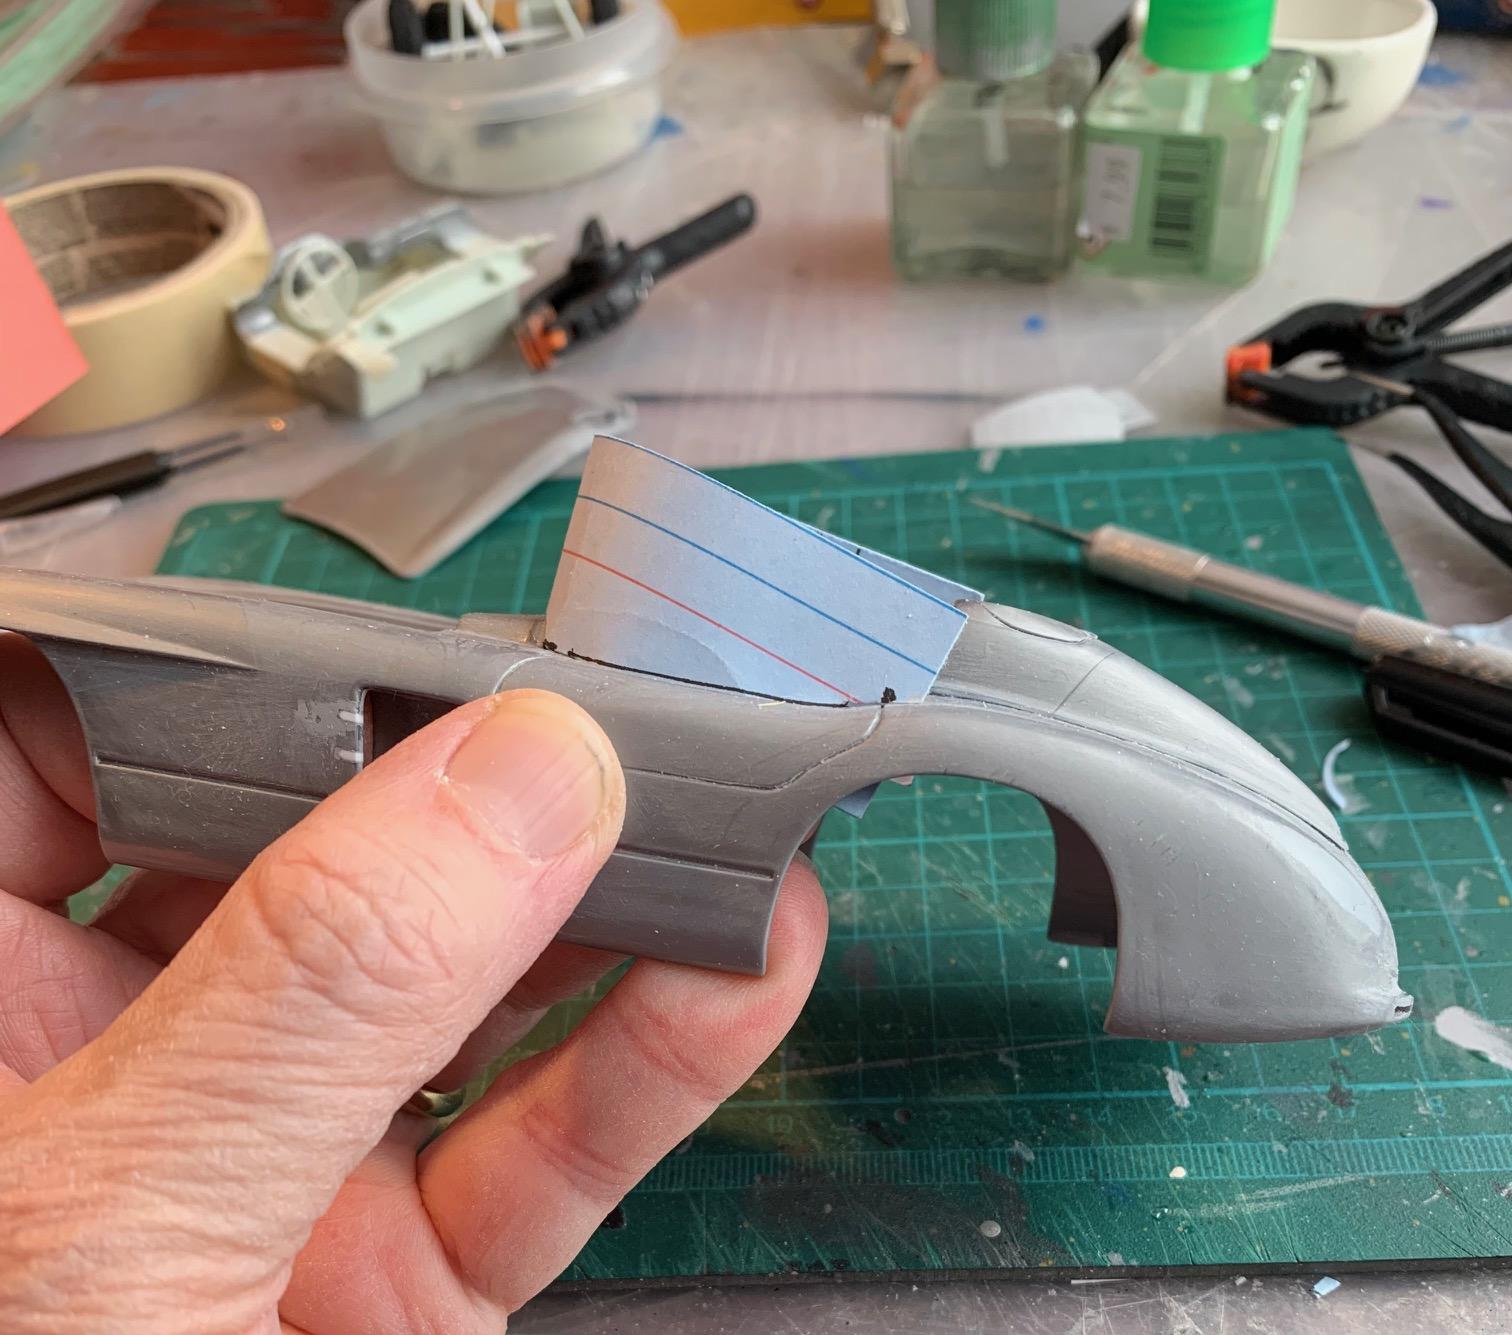
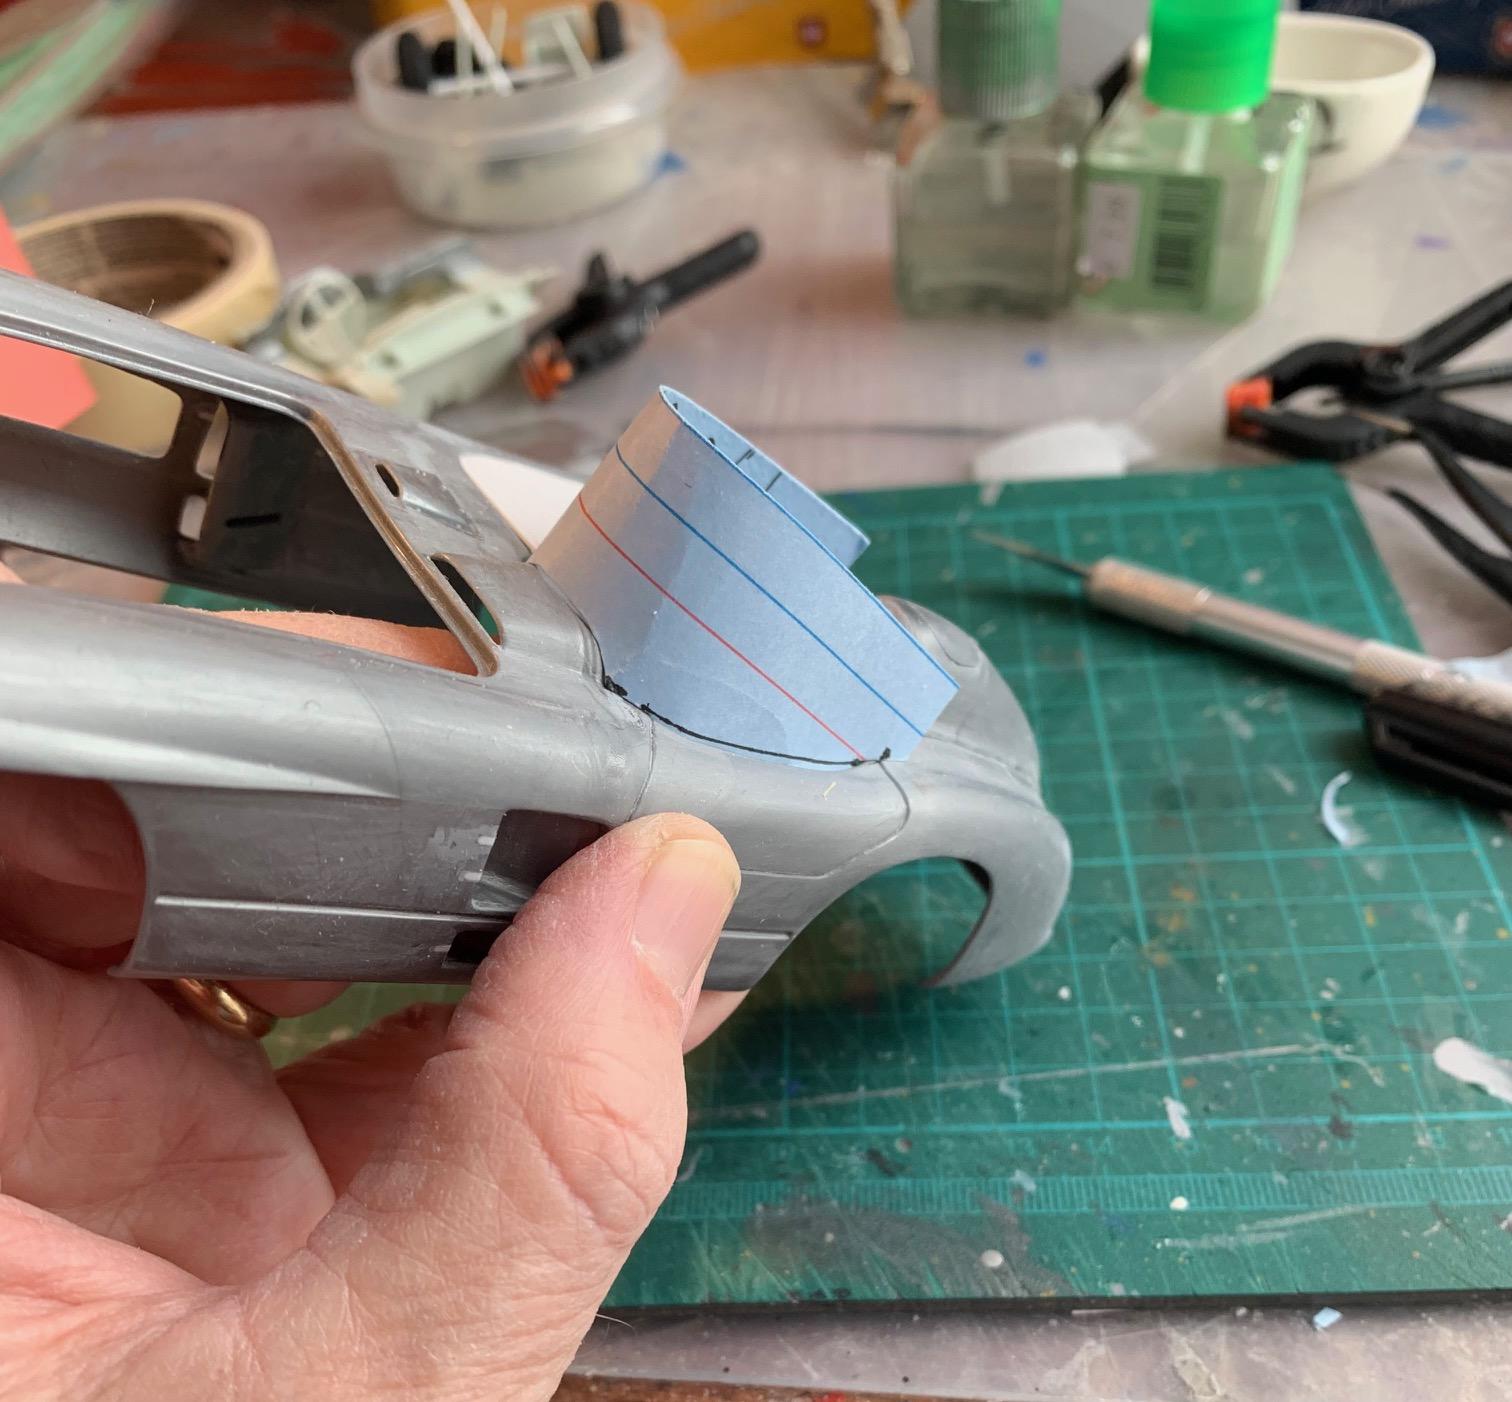
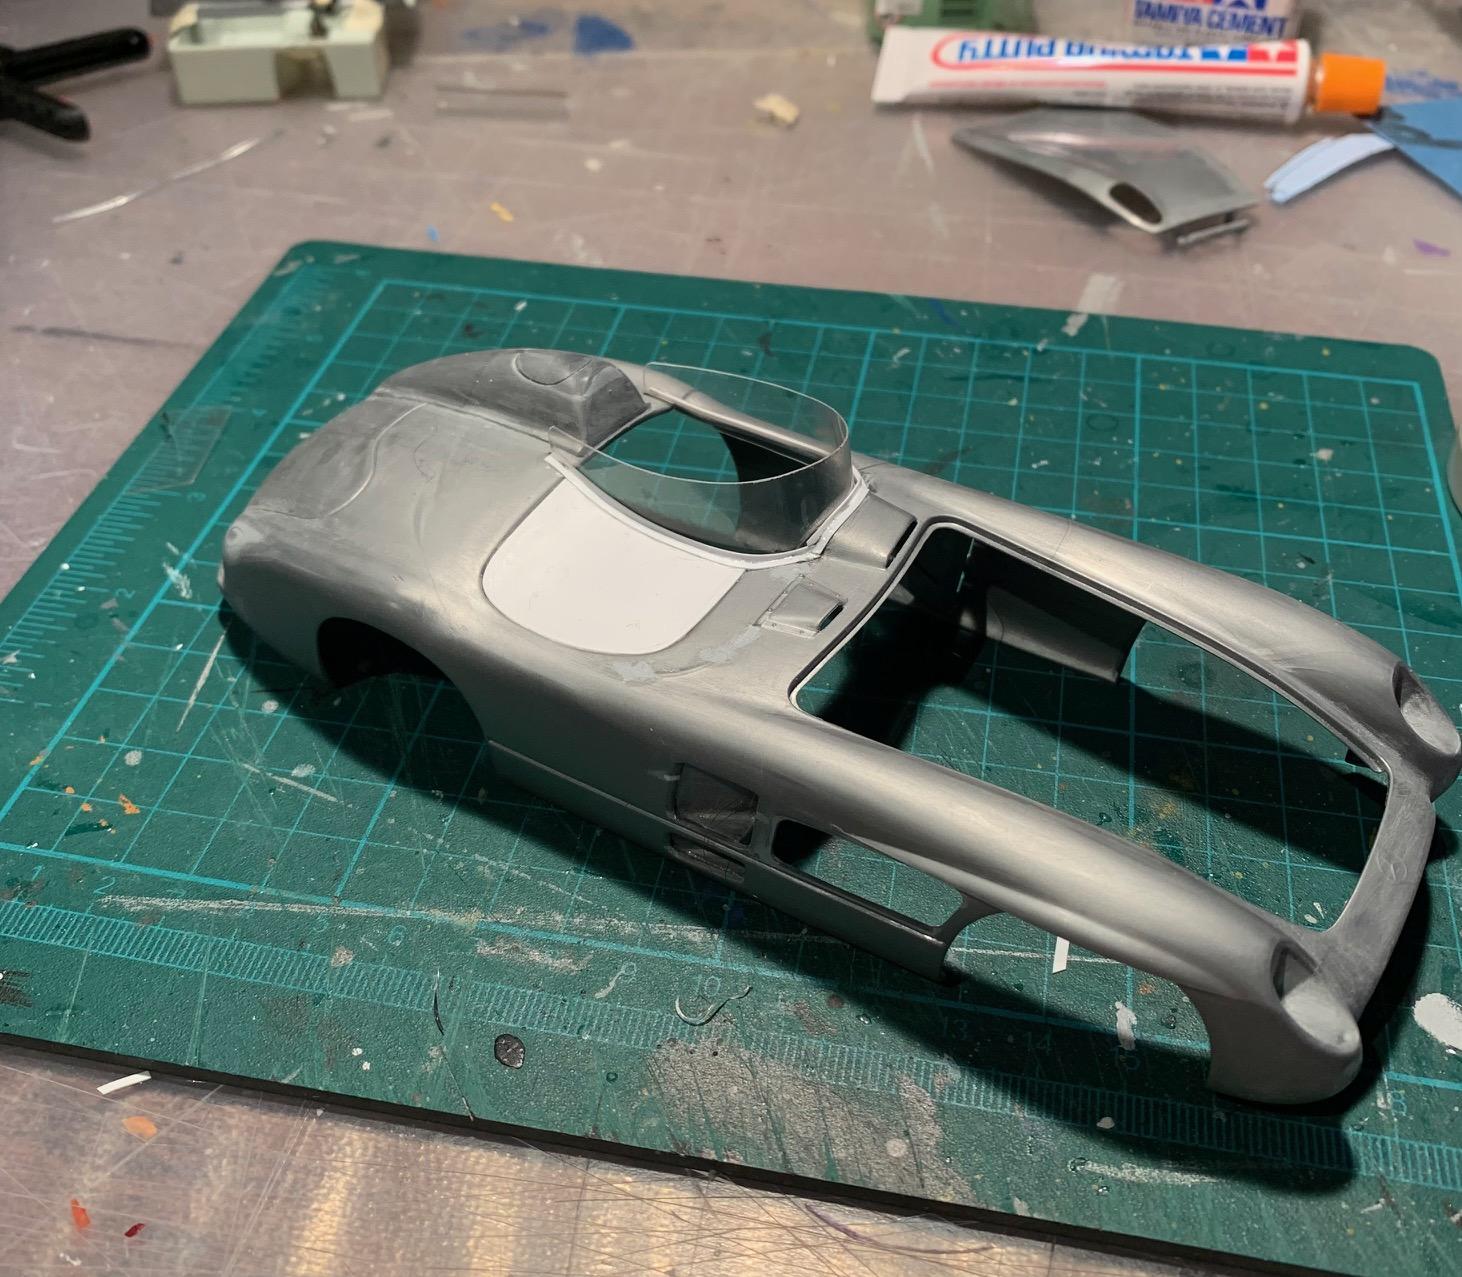
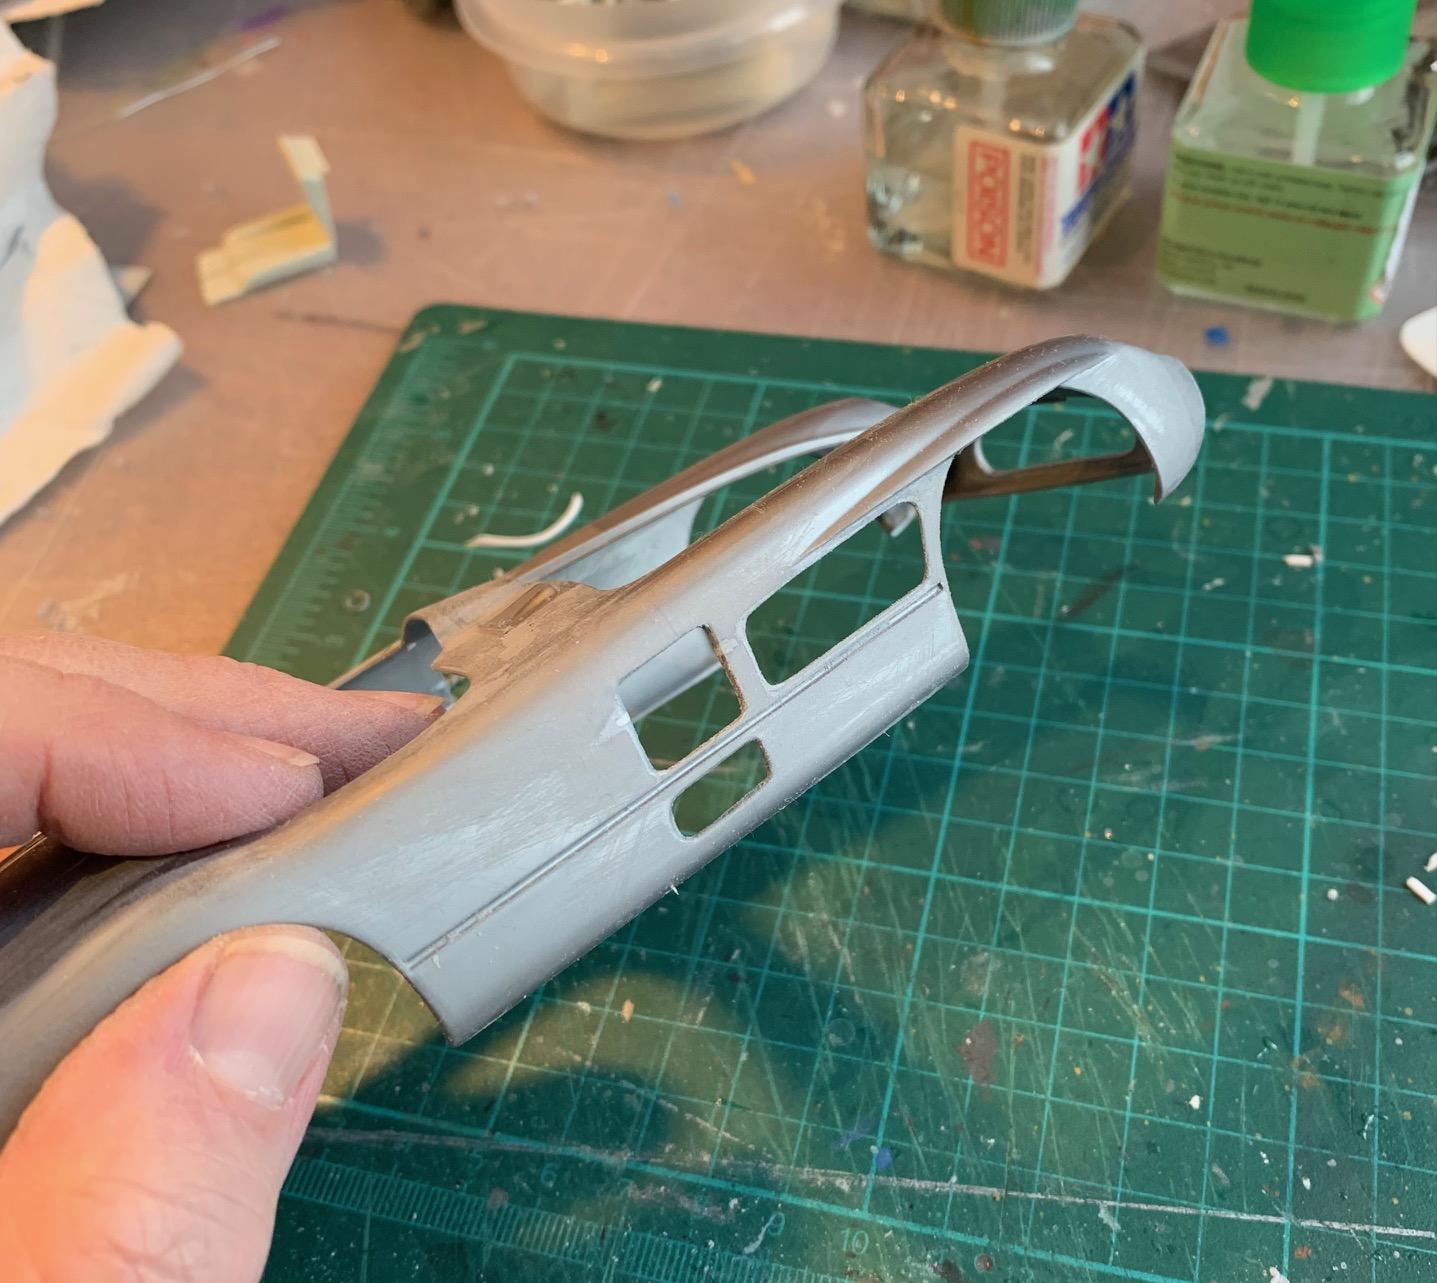
Thanks Bob and Mark. I lowered the windscreen a bit, finessed the trim pieces and did a mock up with the interior (minor interference relief needed). Looks a bit better like that. Not perfect but this method only allows single axis curvature but it's reasonably close. The body of this car is looking more and more like Fangio's ride.
-
Wow Daniel.... seeing it finally come together overwhelms the senses. So much to look at, so much detailing, the exquisite metal chassis, the gorgeously decorated body panels. I could go on and on. This is the best model I have ever seen and no doubt a future recipient of many awards. Thank you for taking us along for the ride.
-
3rd gen Camaro
Pierre Rivard replied to MarkJ's topic in WIP: Other Racing: Road Racing, Land Speed Racers
Excellent scratch building. This is quite the transformation, especially considering the humble beginnings of this Camaro chassis pan. -
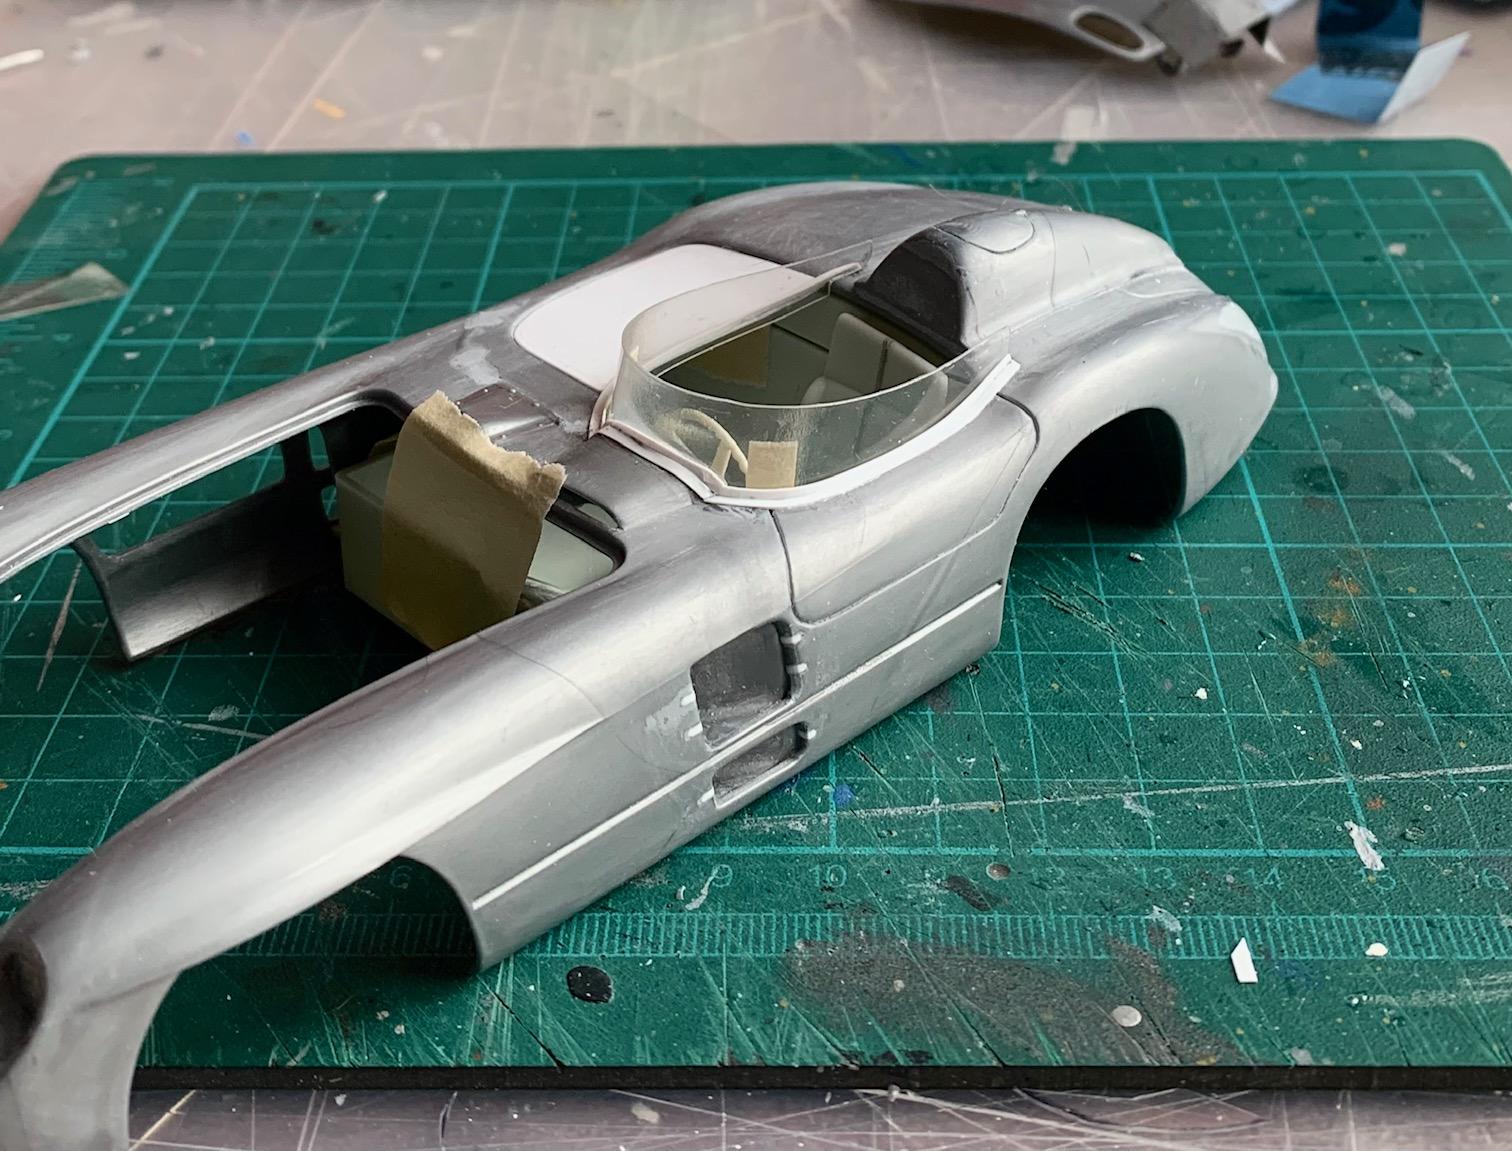
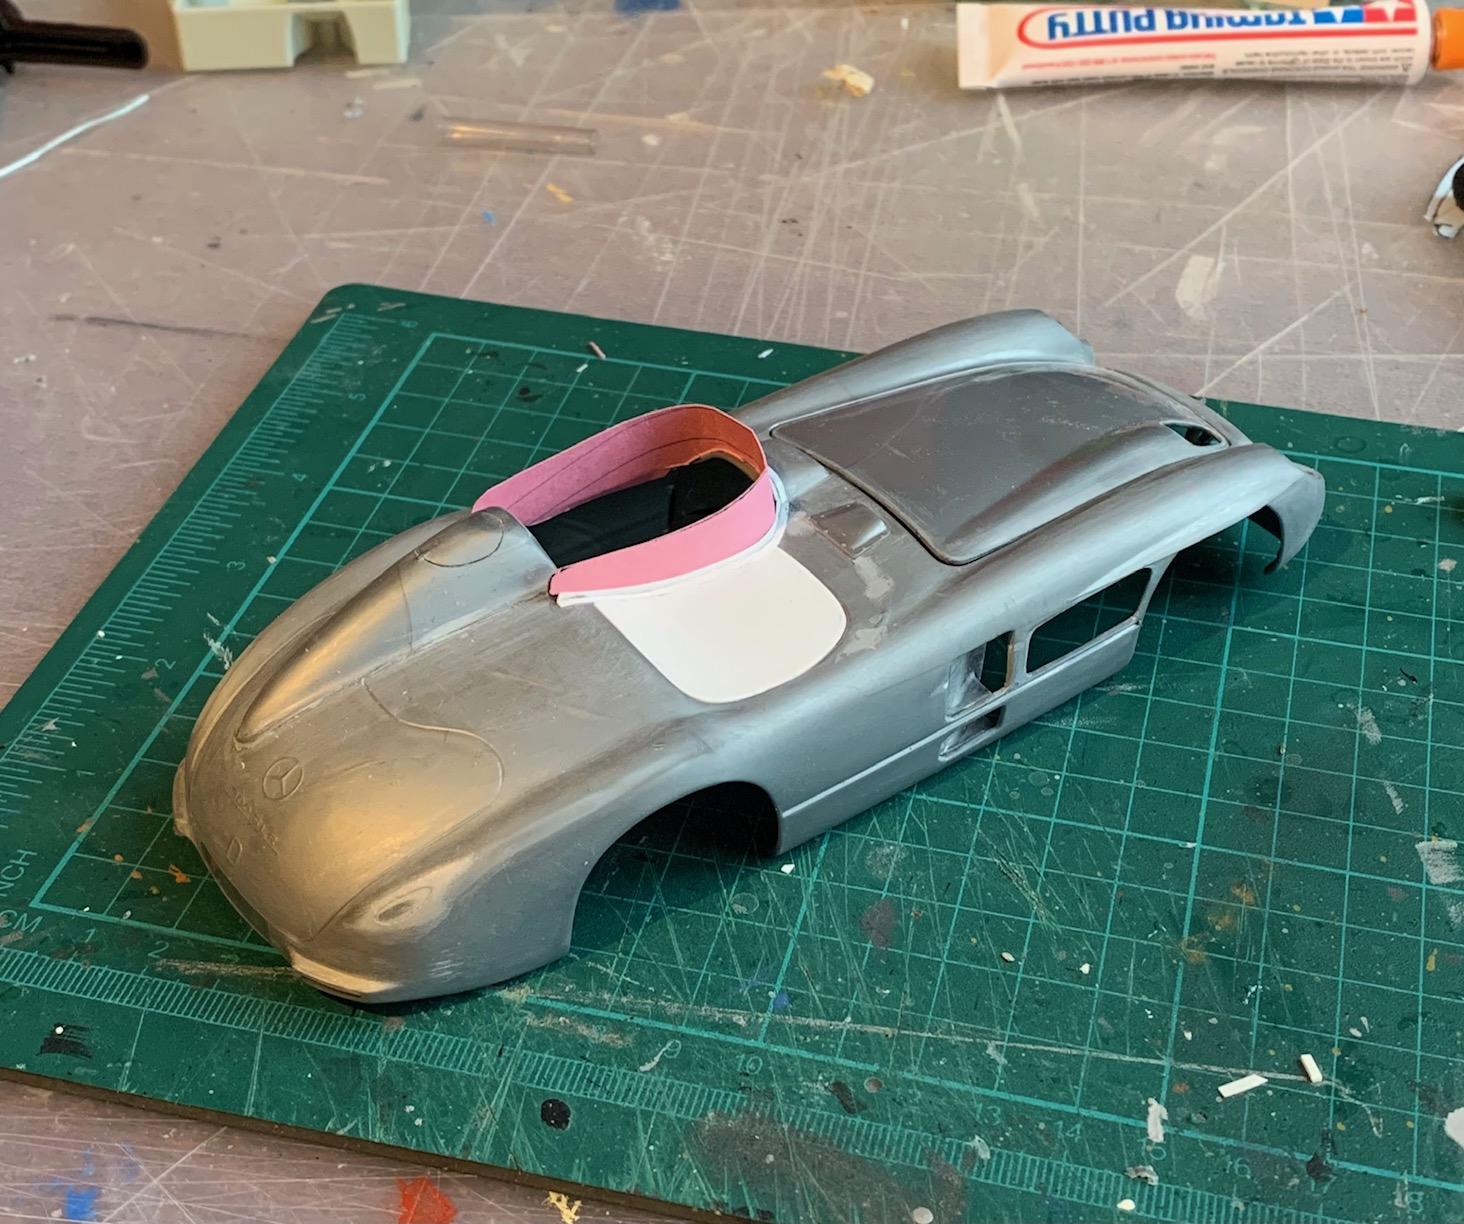
Home made windshield using a paper card to make the template, 0.25 x 1.0 mm styrene for trim and food container plastic for the glass. Can't make it more home made than that. It's possible I may have to cut a new piece of clear plastic as this one has been tormented in the fitting process but I'm happy with the result.
-
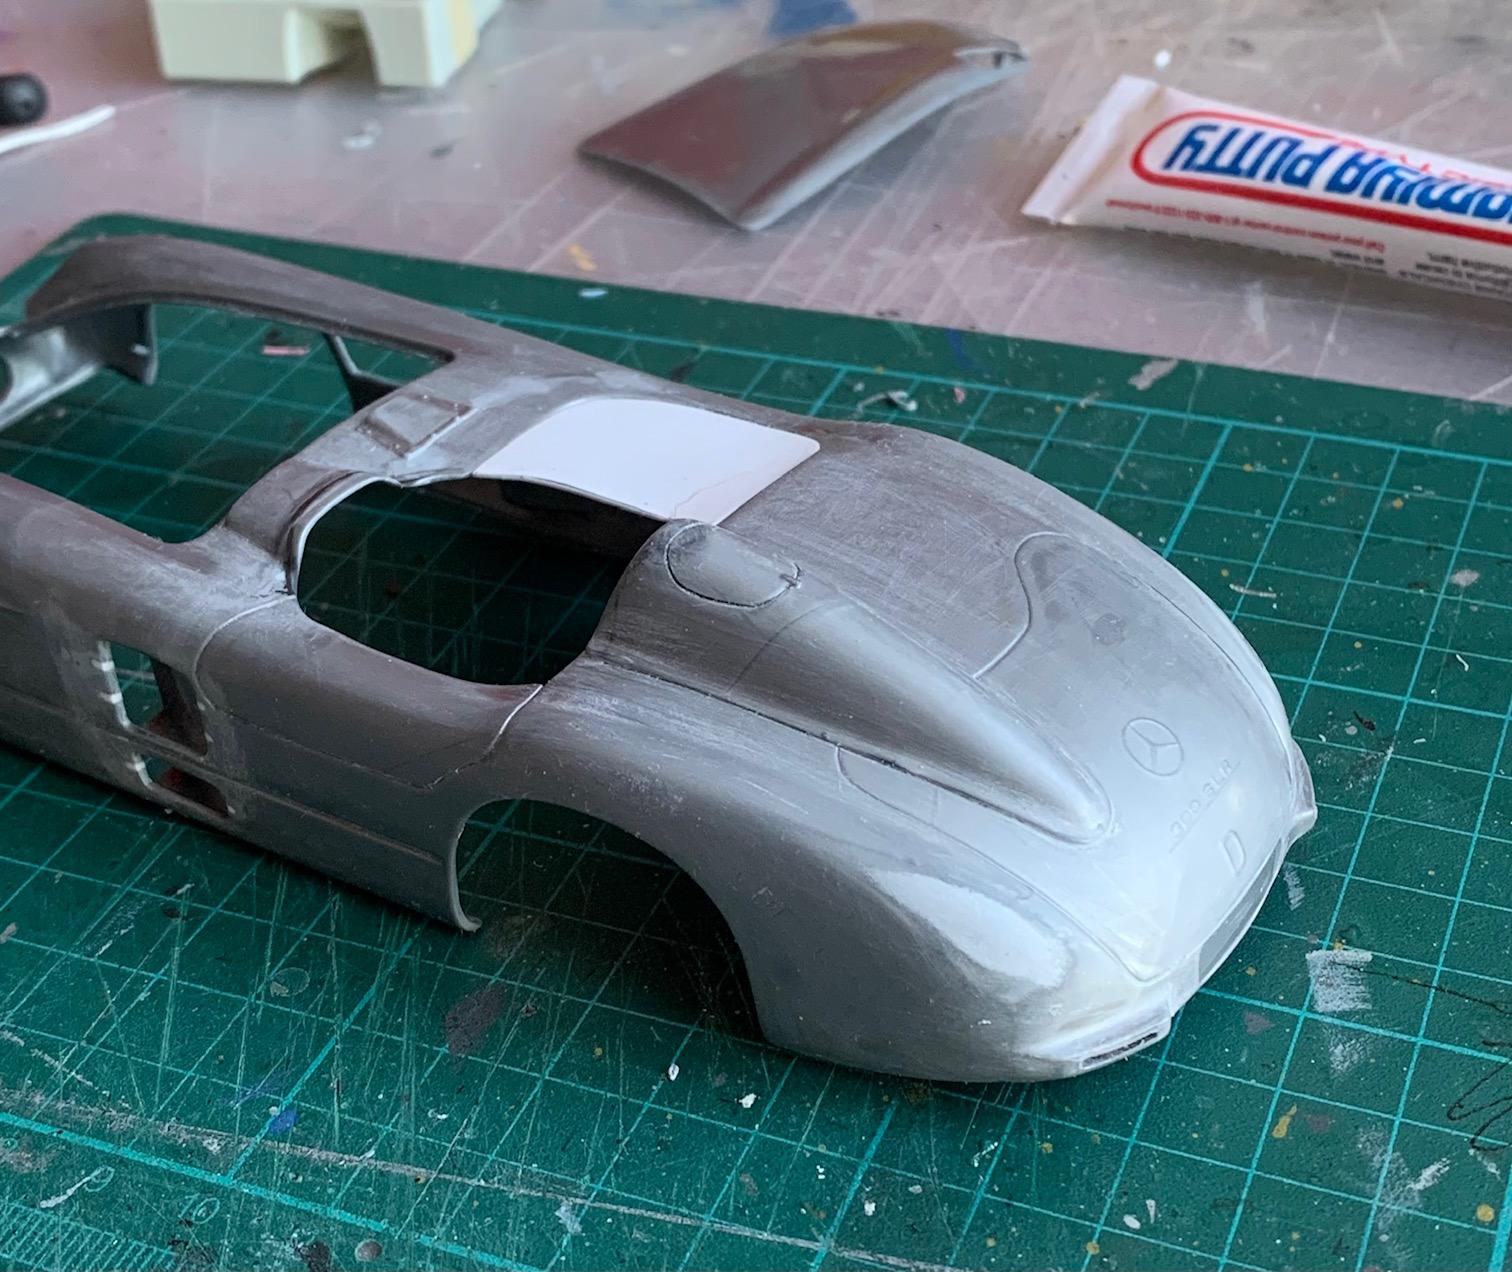
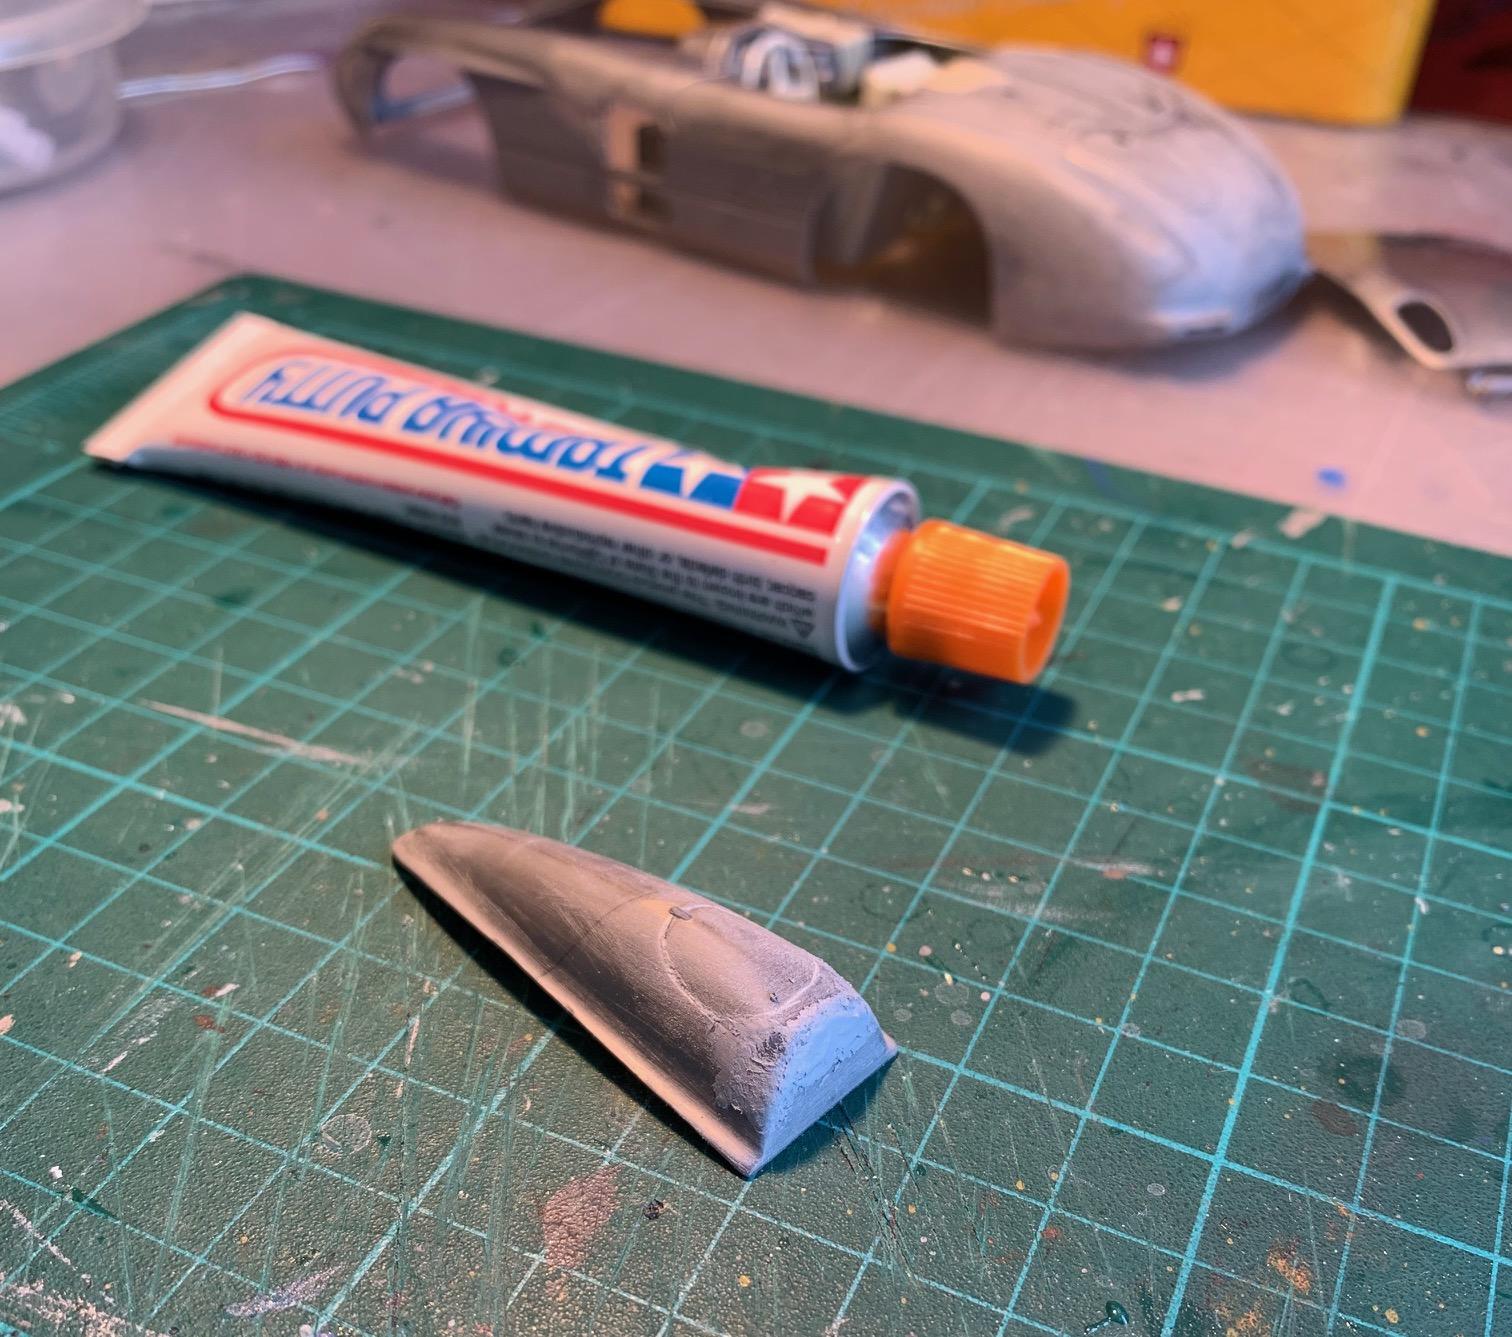
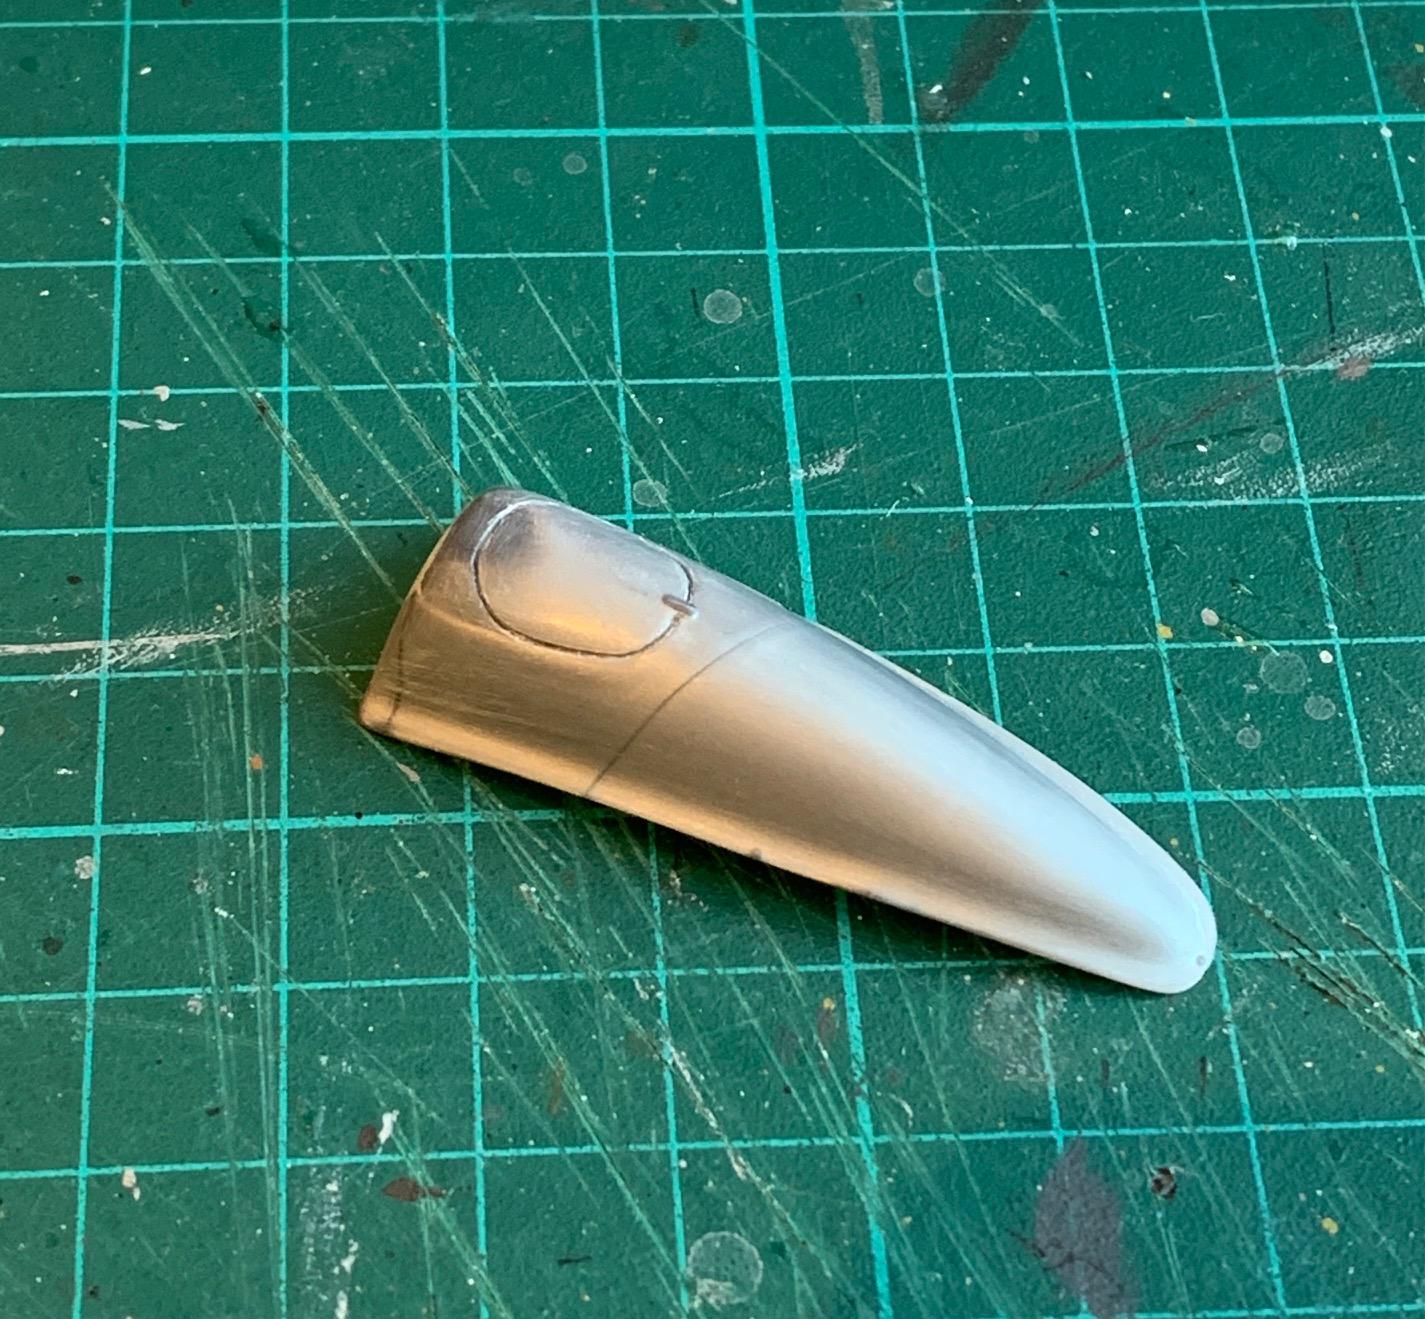
The driver only head rest /aero fairing has been glued to the body. The thinning of the part from the underside has improved the integration quite a lot. Than big step is gone.
-
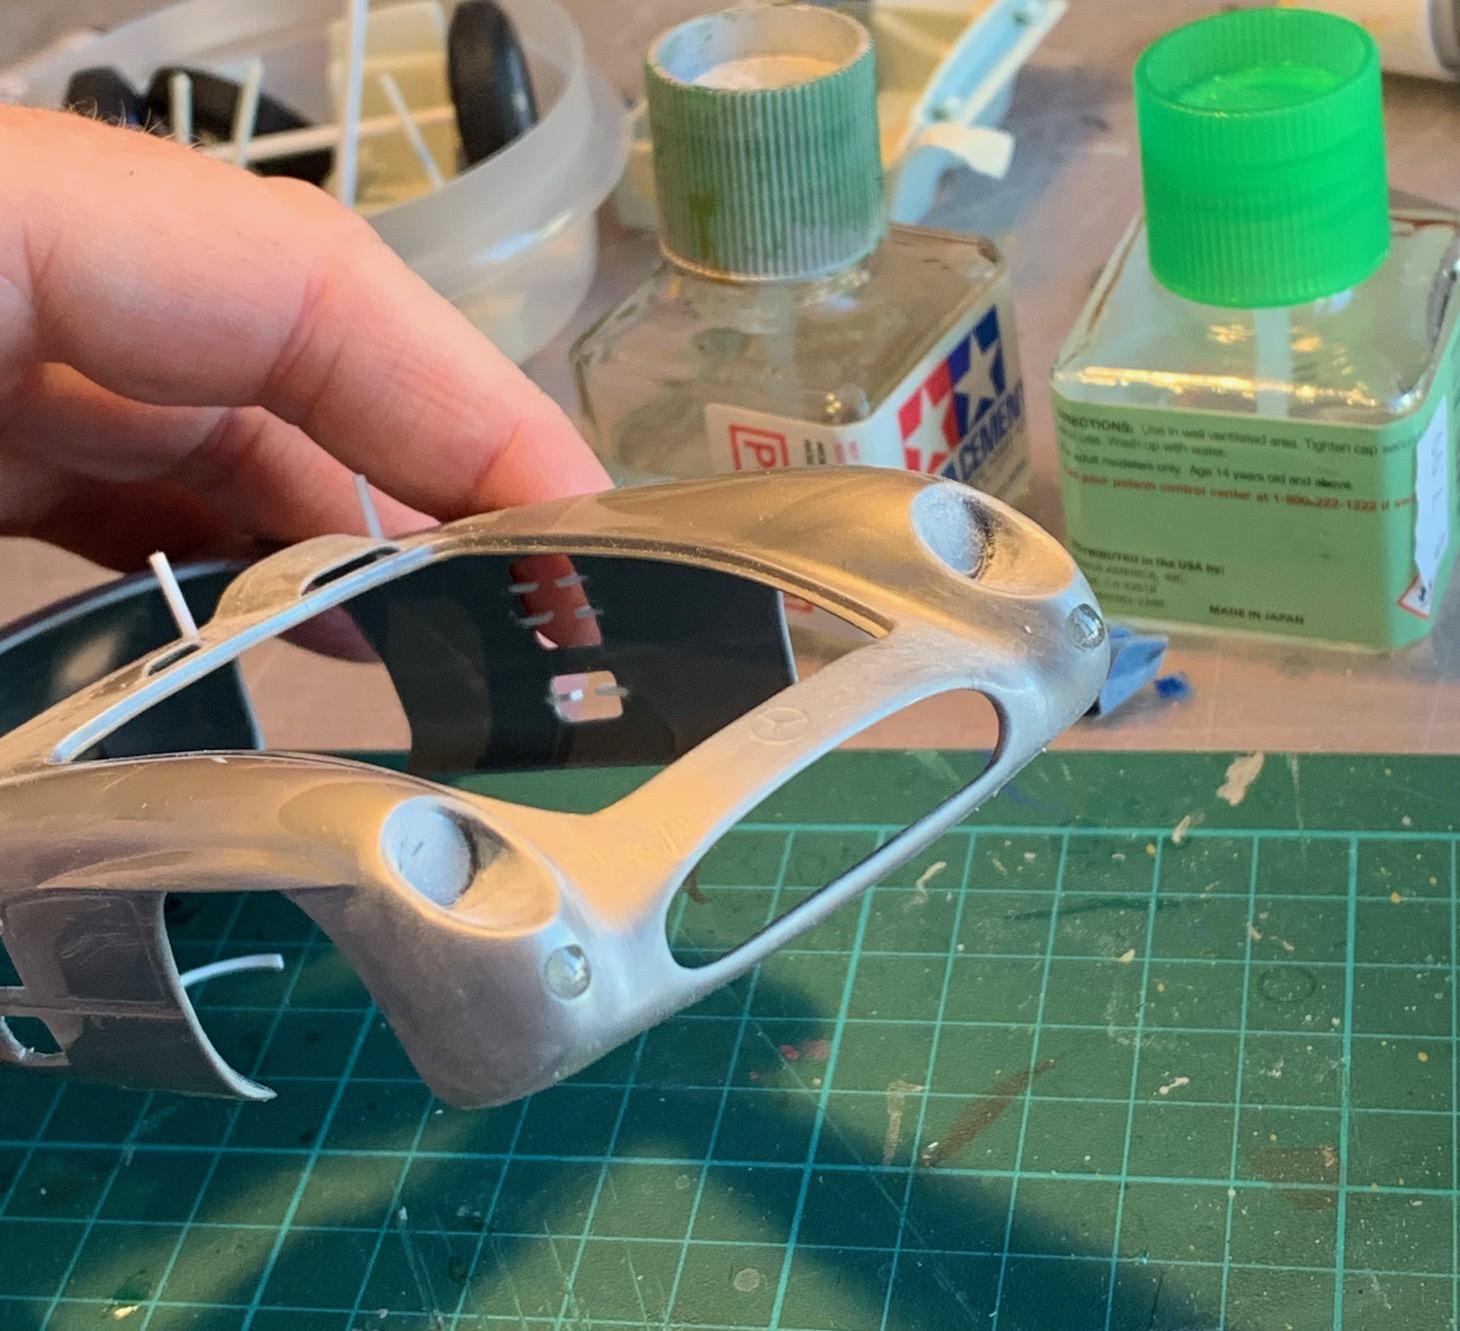
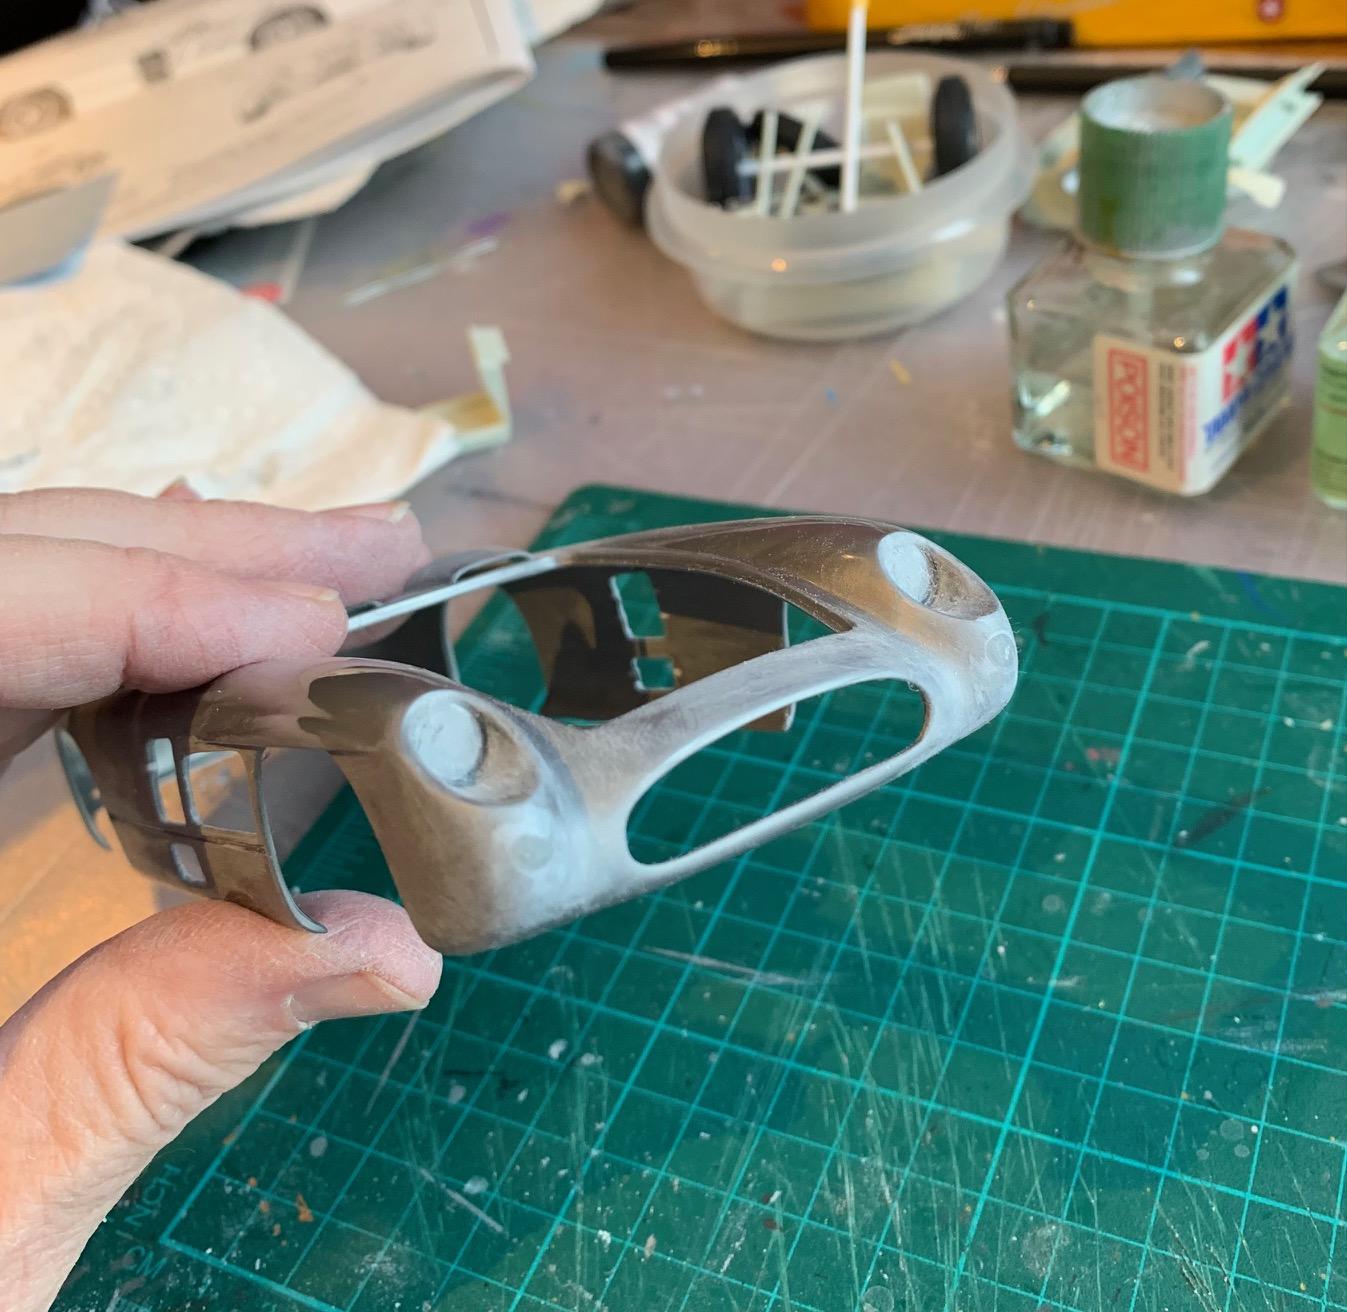
I just carved out a body side panel (jest behind front wheel opening) as it was not on the car at that race. Just like you I would not do opening doors & deck lids. I just don't have those kind of skills.
-
The brick track surface looks very convincing. What products did you use for the joints and weathering?
-
Beautiful build and great way to display it. Great paint and detailing, and the wheels & tires are incredible.
-
1977 McLaren M24 - Tom Sneva
Pierre Rivard replied to ModelcarJR's topic in WIP: Other Racing: Road Racing, Land Speed Racers
Awesome looking race car and you are giving it justice. Beautiful heat stress finishing on the exhaust headers. Adds a lot of realism. Thanks for sharing this build. Lot's to learn here. -
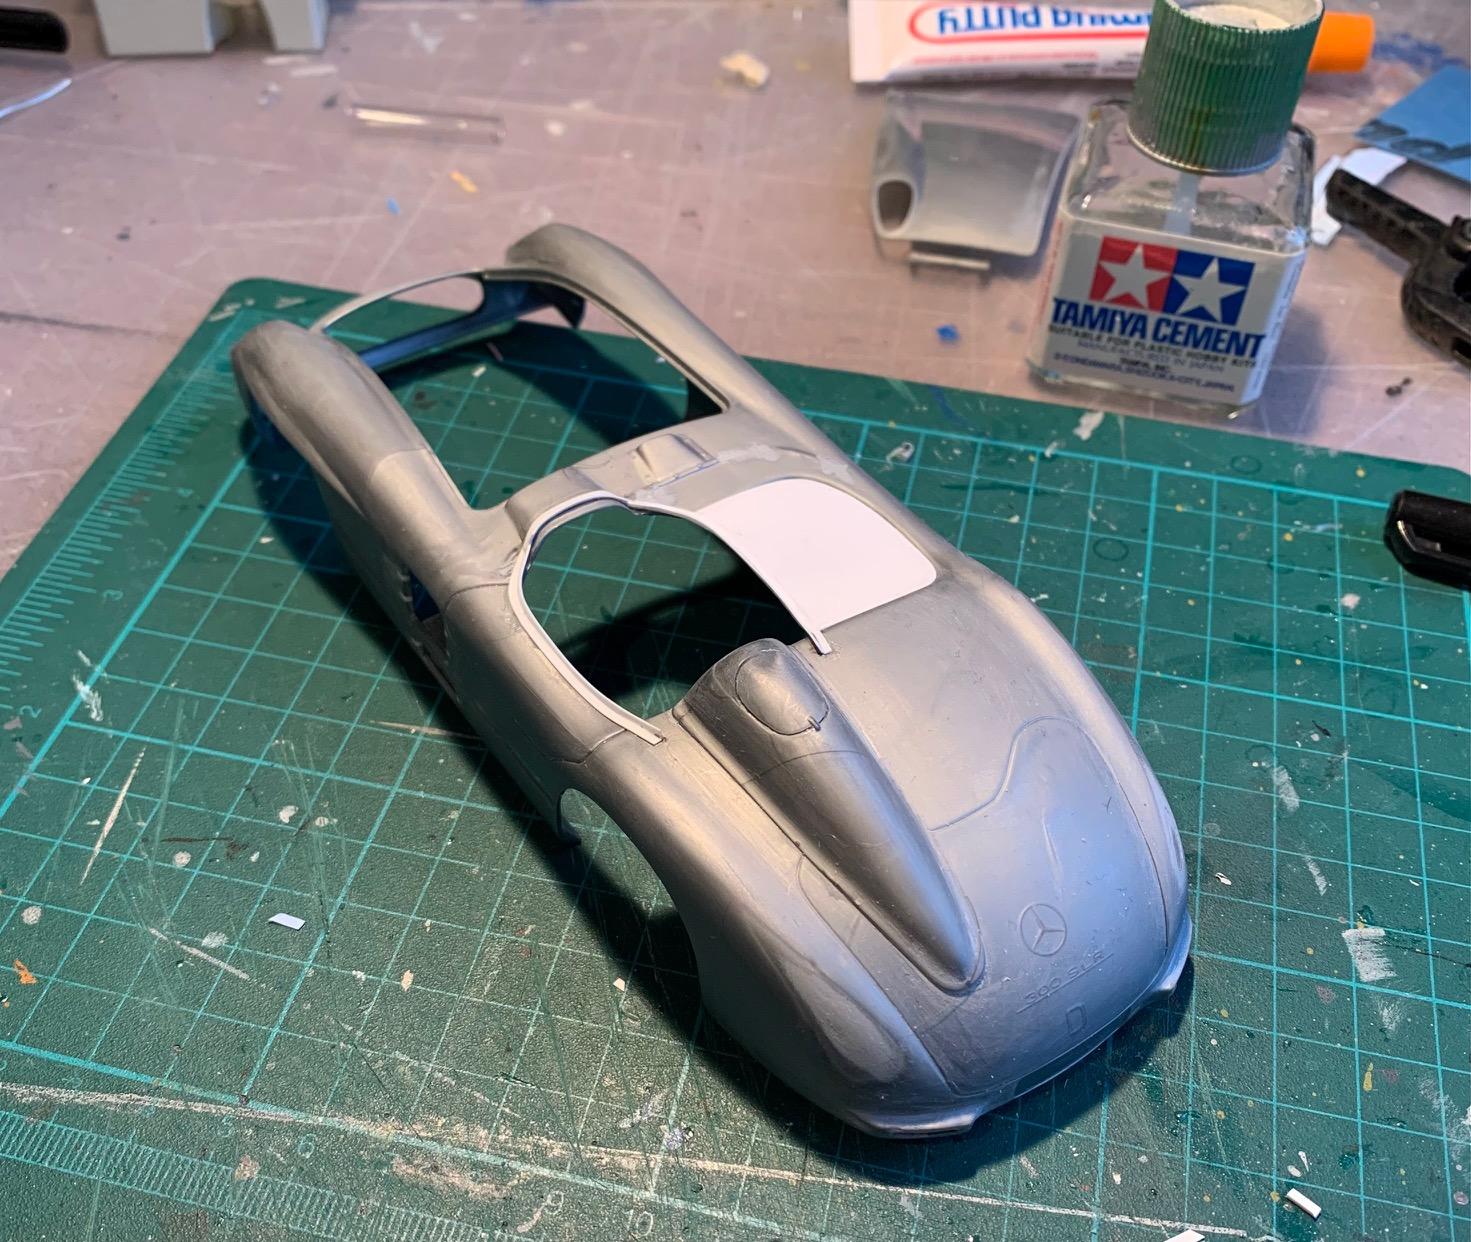
Reconfig fuel filler door on headrest , filling in front turn signal lamps, side openings per MM race configuration, starting work on removing 2 seat windshield setup and fab of passenger cockpit closeout. Chipping away...
-
At my local hobby shop yesterday. Only two of them almost out of view on the bottom shelf. CAD $40 each. I don't know how they got there but now they're mine! ?
- 39,275 replies
-
- 8
-

-

-
- johan
- glue bombs
- (and 1 more)
-
Wonderful build Misha. You are crafting all the details unique to this specific vehicle. I'm a big fan of recreating a moment in history and your build feeds my addiction! ?
-
This should be a formidable build Phil. The livery is so beautiful. I only built one resin car and like you I soaked it and then I did a progressive wet sanding of the body (800-1000=2400=3200) to help give it a bit of mechanical adhesion for the Tamiya fine primer. Maybe I just got lucky but no paint peeling events.
-
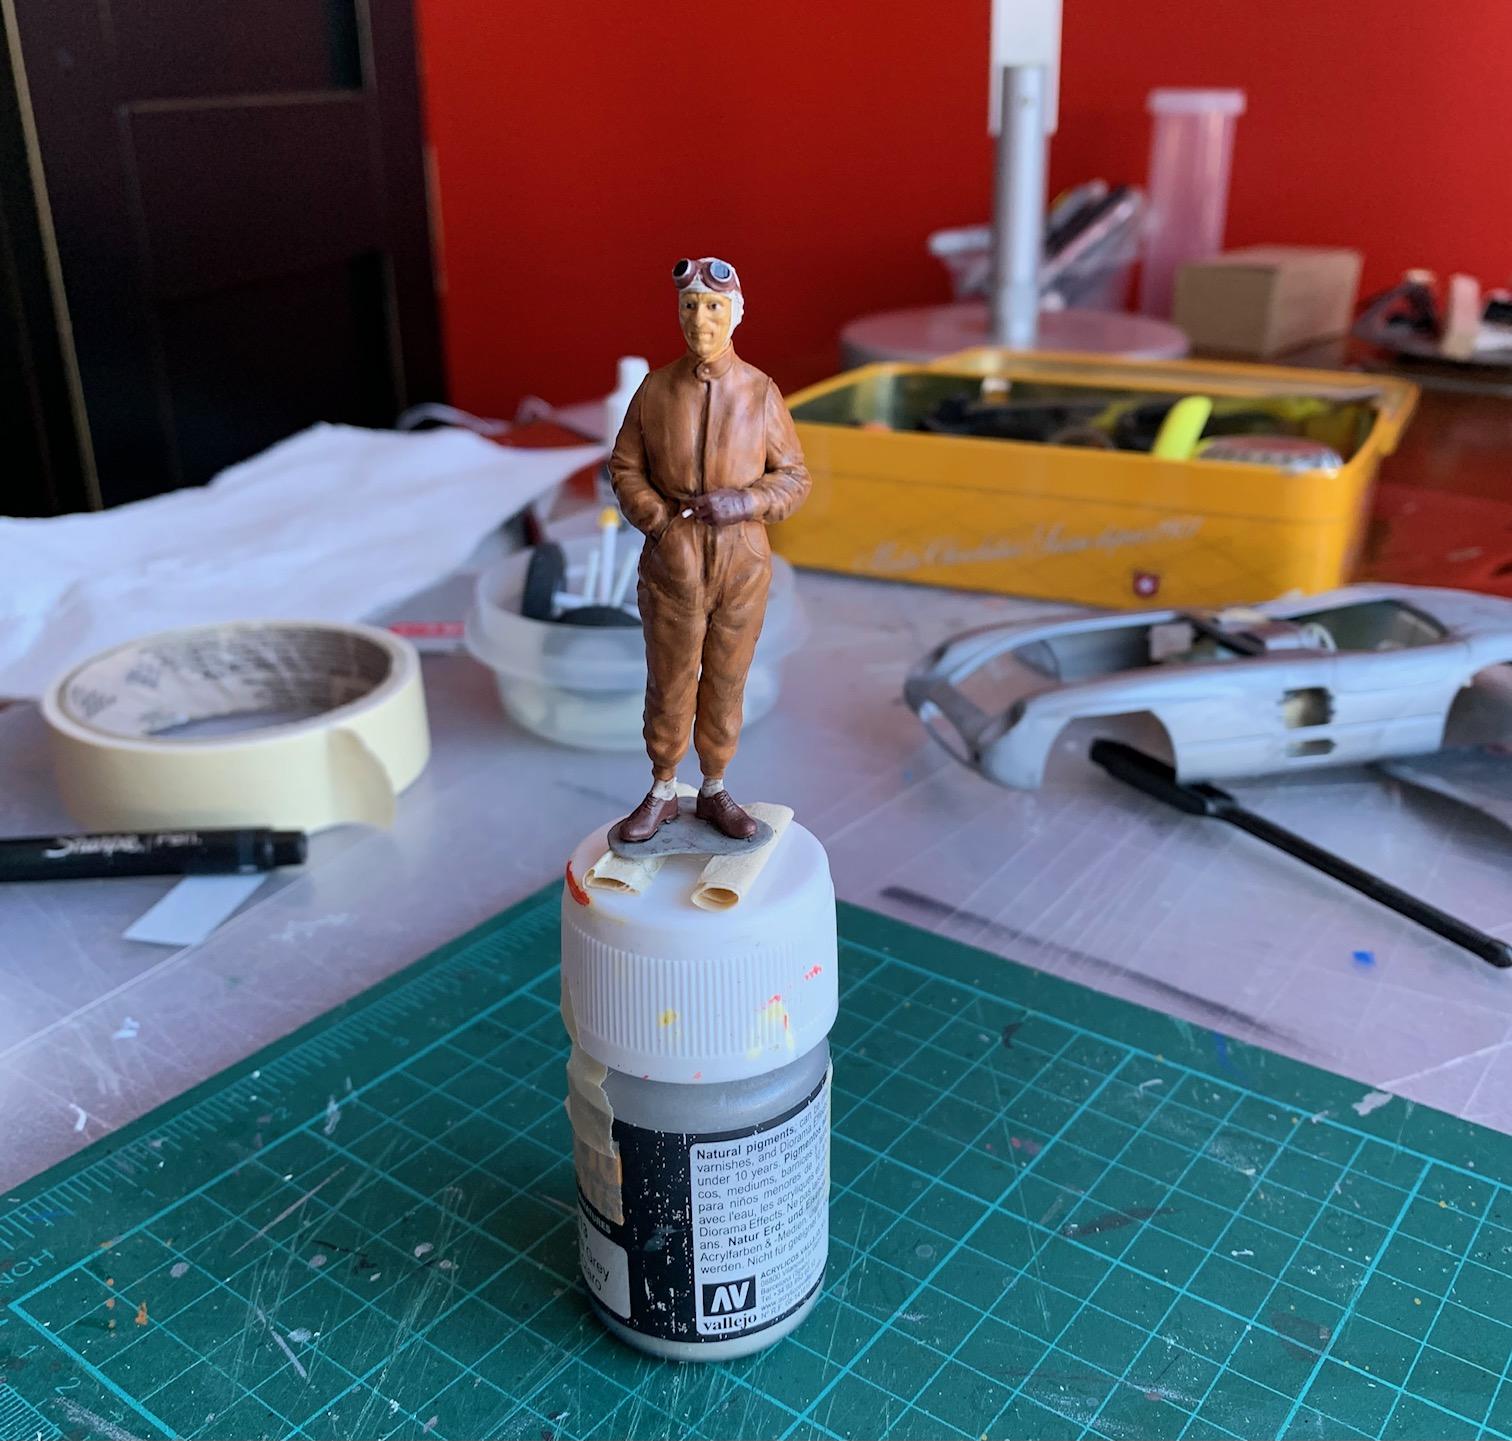
1/24 figurine, painted using this most sophisticated device....?
-
67 Ferrari 330P4 Spider
Pierre Rivard replied to Chris Smith's topic in WIP: Other Racing: Road Racing, Land Speed Racers
Look forward to this one Chris. So many beautiful Ferraris in the 50's and 60's and this one may be at the top of the list. You plan to model this before or after the crash? Just saying... you know, for a bit of challenge. ? -
Very nice Matt. Does K&R provide a complete chassis or is it more of a curb style model?