Pierre Rivard
-
Posts
2,579 -
Joined
-
Last visited
Content Type
Profiles
Forums
Events
Gallery
Everything posted by Pierre Rivard
-
Thanks Helmut. It's definitely a learning process. At this point I'm mostly worried about doing a good enough job on surface preparation and paint. That stuff is not as smooth as styrene.
-
Looks super nice Mathias. I love the color of the interior, it looks so much with real leather. How did you finish the steering wheel rim? it's very convincing!
-
Thanks Mark. I like the kit very much but it requires some thinking and referring to period pictures / artist drawings to see what it needs to look like since there are no real instructions. Big challenge ahead is the resin surface preps and finishing.
-
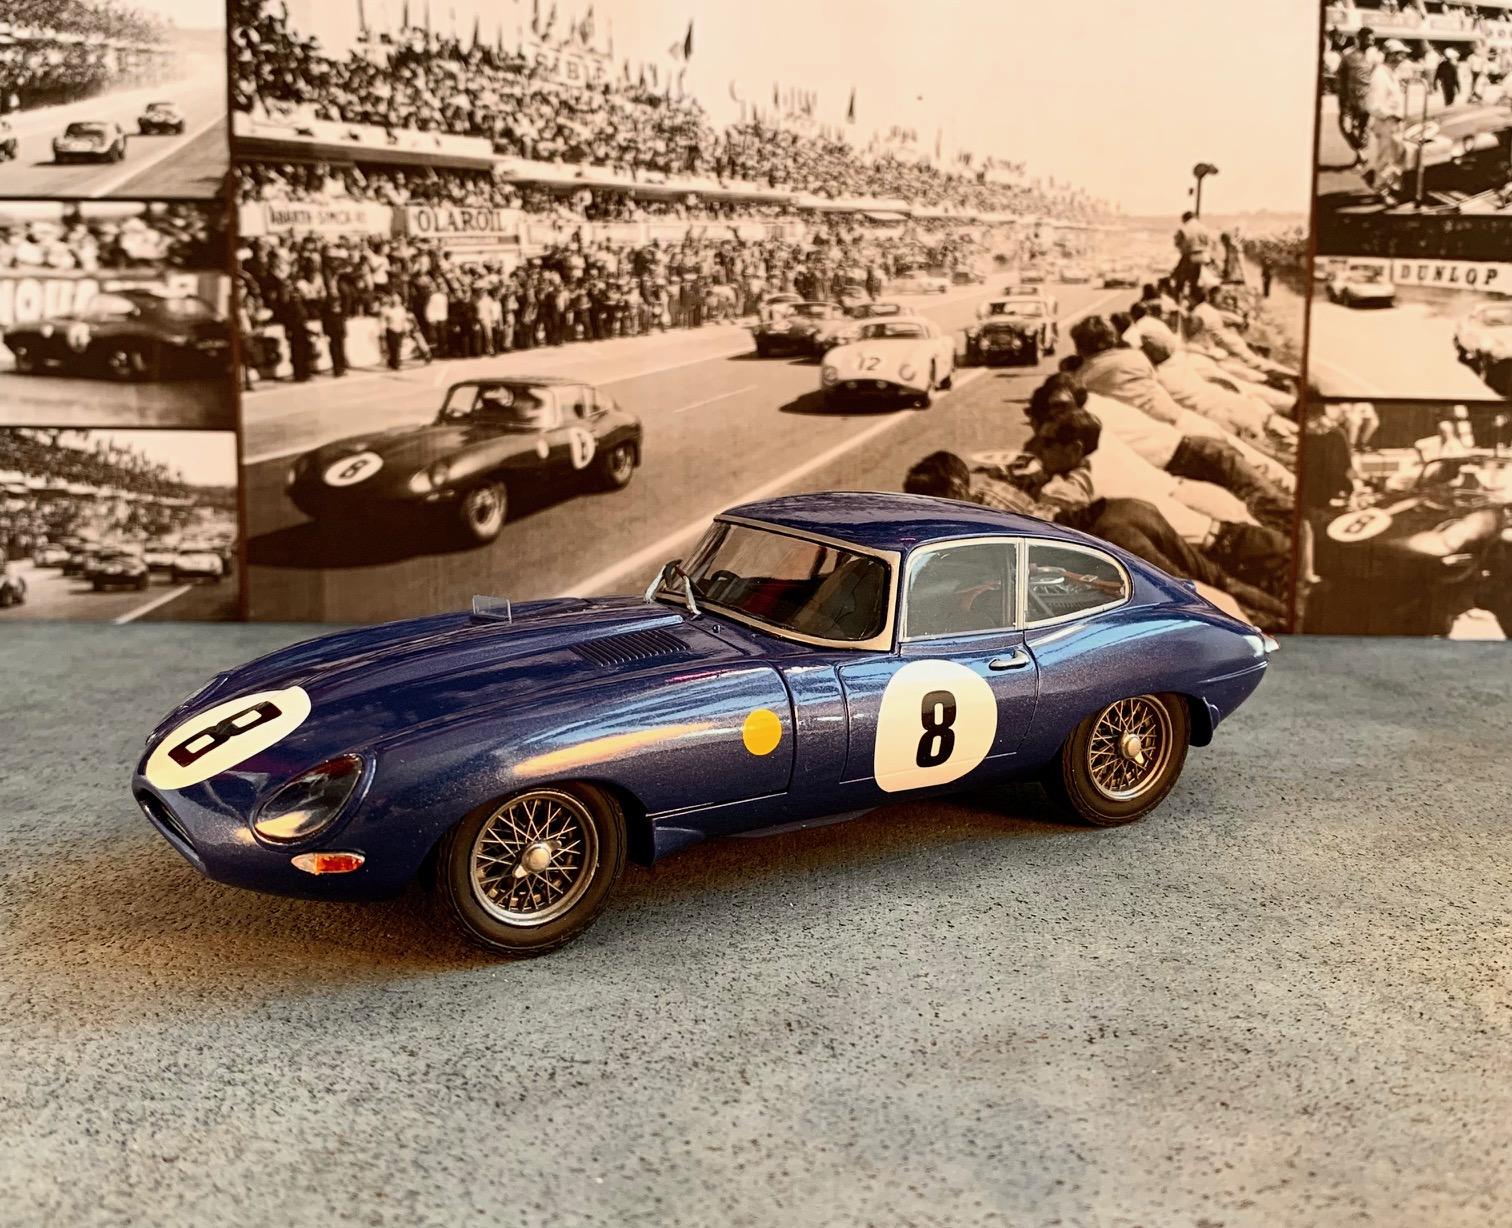
The rears were somewhat trickier to get fitted but I made it through. These, unlike the fronts, attach to the body. They ride a touch too high for my taste but it's not a deal breaker.

-
The fronts went in pretty easily. They attach to the chassis on four points. They then to sag a bit but will come up when I add the cross bar ahead of the radiator. The inner fender profile curves into the tire too much. A trait seen on all four fenders relative to my ref pictures. I will need to grind that excess material
-
Next step is the positioning of the fenders. Fernando has them built with metal wires acting as brackets (nice, delicate, realistic) but positioning on the body side requires the builder to determine the location and drill holes, then making multiple adjustments. Not overly complicated but a third hand would be very handy. Take note that the as designed track width is on the narrow side. I'll do the fender placement and then determine how to adjust the track.
-
Porsche 356
Pierre Rivard replied to afx's topic in WIP: Other Racing: Road Racing, Land Speed Racers
Thought the nose might be a touch high but looking at ref picture it appears to be right. That Abarth looks really good. Would be cool to enter it in Andy's 64 Sebring group build. -
This is really taking shape Hanjo. Well done!
- 45 replies
-
- 1
-

-
- 1/24
- talbot lago
- (and 1 more)
-
Beautiful Thomas. Must have been quite the challenge to paint and it came out perfect.
-
McLaren MP4/6
Pierre Rivard replied to Scale-Master's topic in WIP: Other Racing: Road Racing, Land Speed Racers
Looks mighty fine and I hope all goes well when you eventually clear this beauty. This level of resilience must be rewarded! -
Yes, 5 minutes 2 part epoxy from Bob Smith Industries. I'm fortunate to have an amazing hobby shop in my area and they always provide good advice. The resin and hardener both come in 4.5 oz dispenser bottles and I can easily mix mini matches (as small as one drop from each)
-
Thanks JC. I like to assemble as much of the vehicle in a dry mockup as much as possible before "commiting with glue" Particularly when dealing with an unknown kit and more so with this resin stuff that is all new to me. I've already started changing a few things.
-
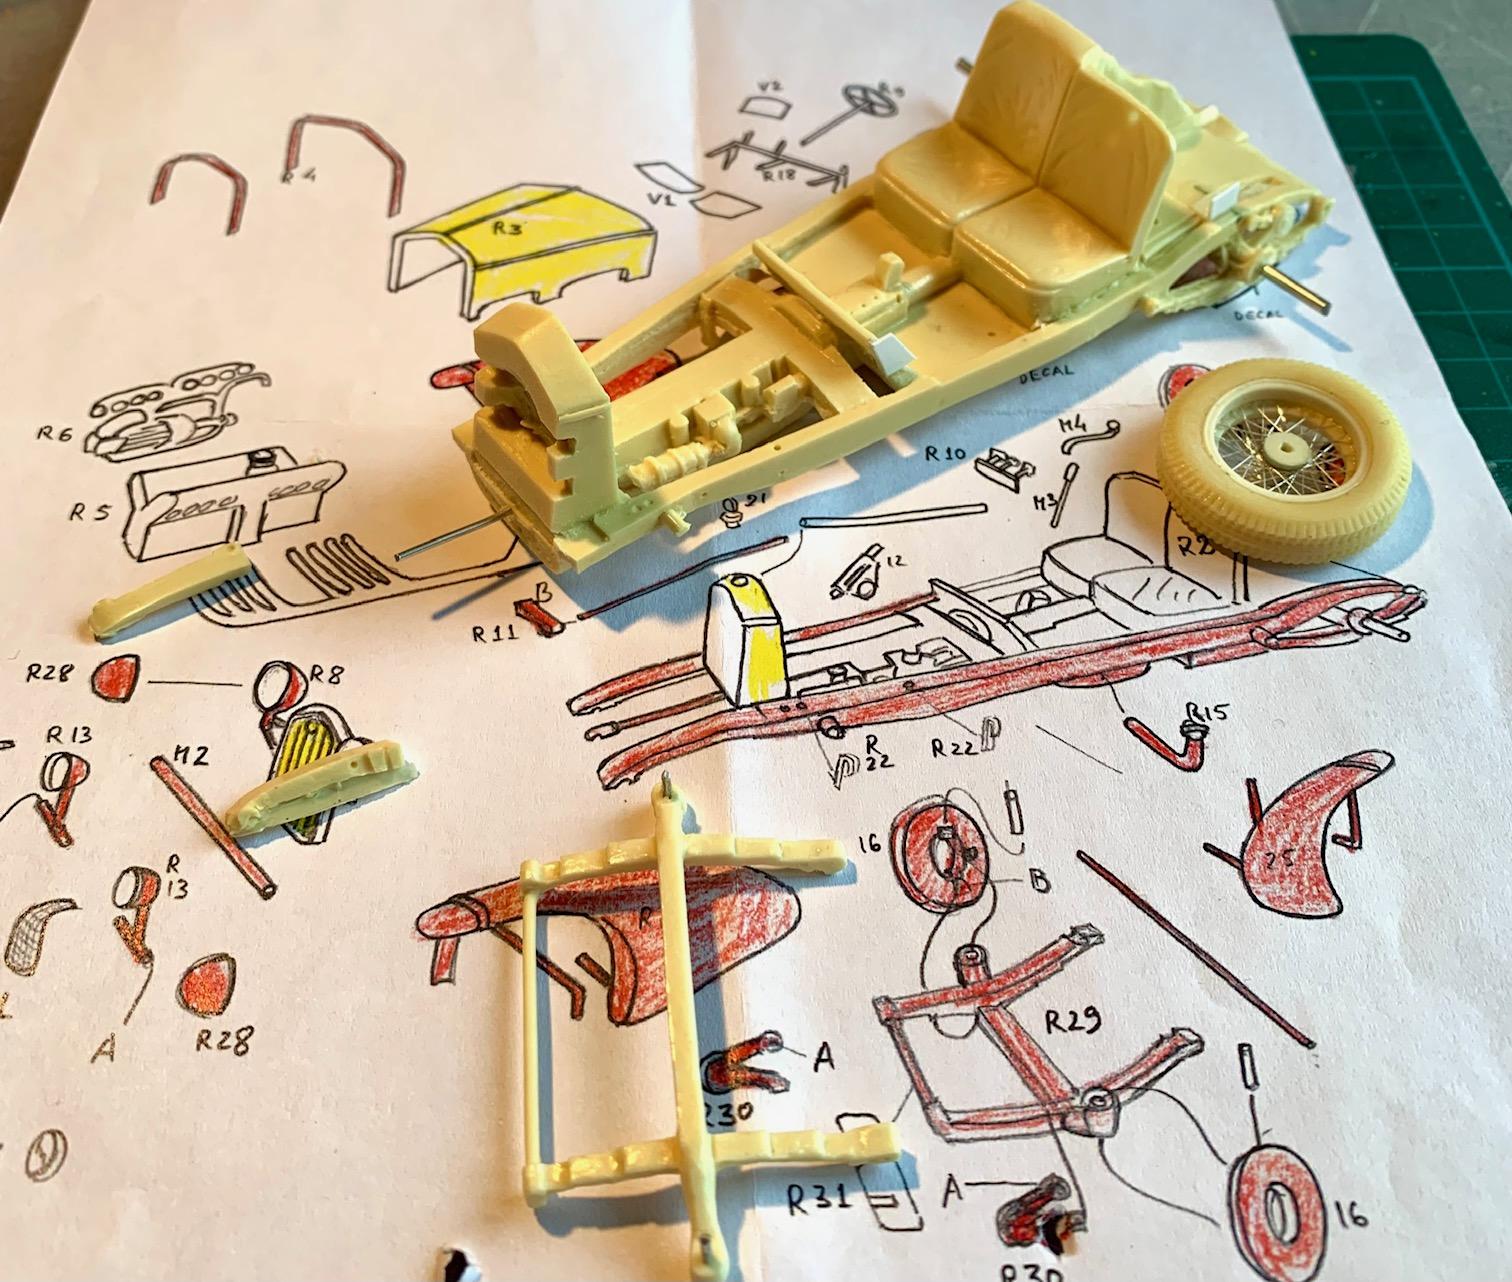
Going through my sequence process I'm thinking I need to get the chassis mock up done so that I can then figure out how to position the fenders (no defined method or attachment points) Instructions show the chassis pan includes complete frame rails molded in but the front pieces actually have to be added. Thought I would need to fabricate these extensions but found them in a bag of small parts. Makes things easier. Got these cleaned up and epoxy glued the front chassis components. Finally got to a decent dry fitted body and get a mockup done with the wheels on. I now have my foundation to figure out how and where to get fenders installed
-
Porsche 356
Pierre Rivard replied to afx's topic in WIP: Other Racing: Road Racing, Land Speed Racers
The Abarth resin body looks very good. So you are now doing 3 cars on this w.i.p.? Busy man! -
The most elaborate, crazy, beautiful paint job I've ever seen on such small parts!
-
Thanks fellows. Just finished today's session and I now have body/hood/chassis relationship reasonably defined. It does not seem like much but just these 3 parts needed quite a lot of work...and more is needed but I'm getting used to this new stuff. I don't know how this resin kit rates compared to others but it appears quite a lot of work will be needed to make all the parts fit and look correct. Reassuring that Fernando thinks I only need this one page instruction sheet to figure this out. ?
-
Me Louis Carabott from Malta
Pierre Rivard replied to louis Carabott's topic in Welcome! Introduce Yourself
Bienvenue Louis. I caught up with your new postings, the Fiat Mefistofoles, Ford GT 40, the w.i.p. on the Rolls Phantom. This is all extraordinary work. I hope you will share a lot from your build process (in the w.i.p. sections). Wonderful to have you on board sir! -
Magnifique Louis. I love what you have done with this kit. Impeccable finishes and detailing. Bravo!
-
So time to actually start this build. This is my first "date" with resin so no doubt I will learn a lot along the way. Any input from other builders will be more than welcome. I'll try stuff, make mistakes, you'll point me in the right direction and hopefully we'll have a few laughs along the way. Welcome to "Resin for dummies" First task is to get the major body pieces cleaned up and fitted. I got the 3 pieces to finally talk to each other, but some fitting will be required. First discovery is that the bonnet top is shorter left vs right at the front edge and some bending will be required. I have to figure out how to gently bend (some heat?) without breaking the part. Looks more brittle than the styrene I'm used to. I don't know what I'm doing...this is gonna be so much fun!
-
I'd say this is formidable... but it feels like an understatement! You keep pumping out these incredible 1/12 MFH builds and they always come out perfect.
-
More natural light inside?
Pierre Rivard replied to JollySipper's topic in Model Building Questions and Answers
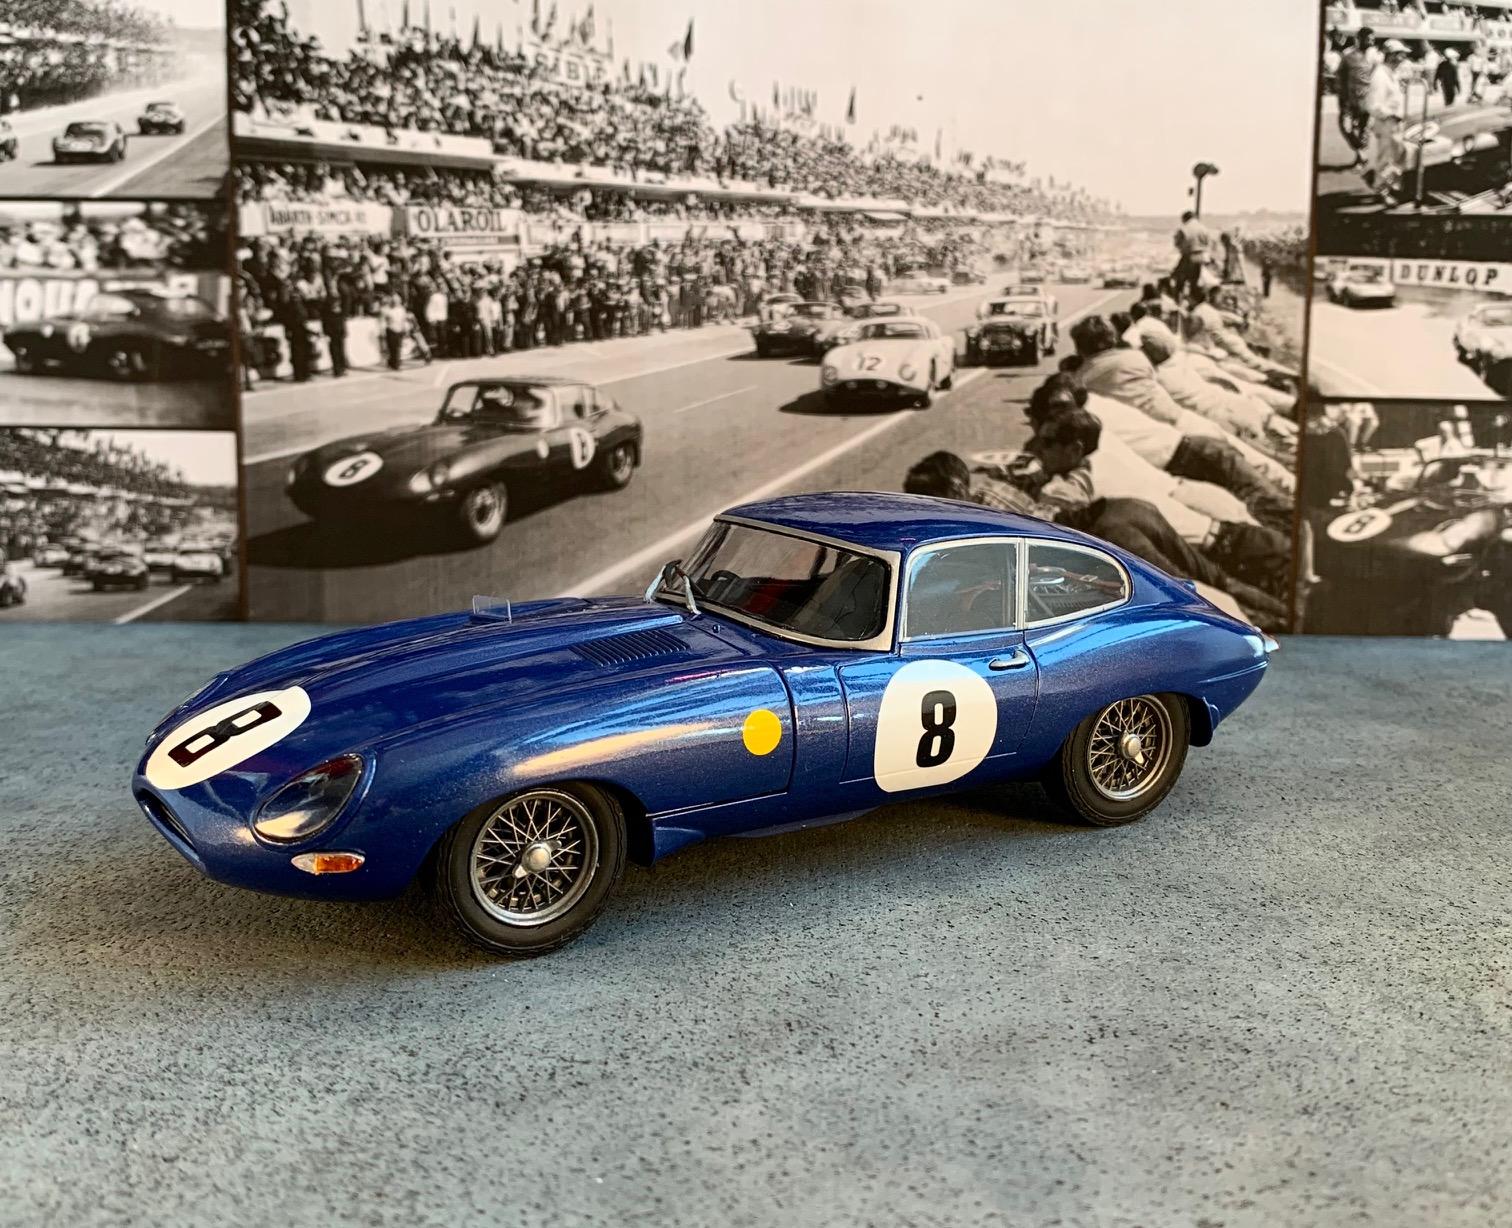
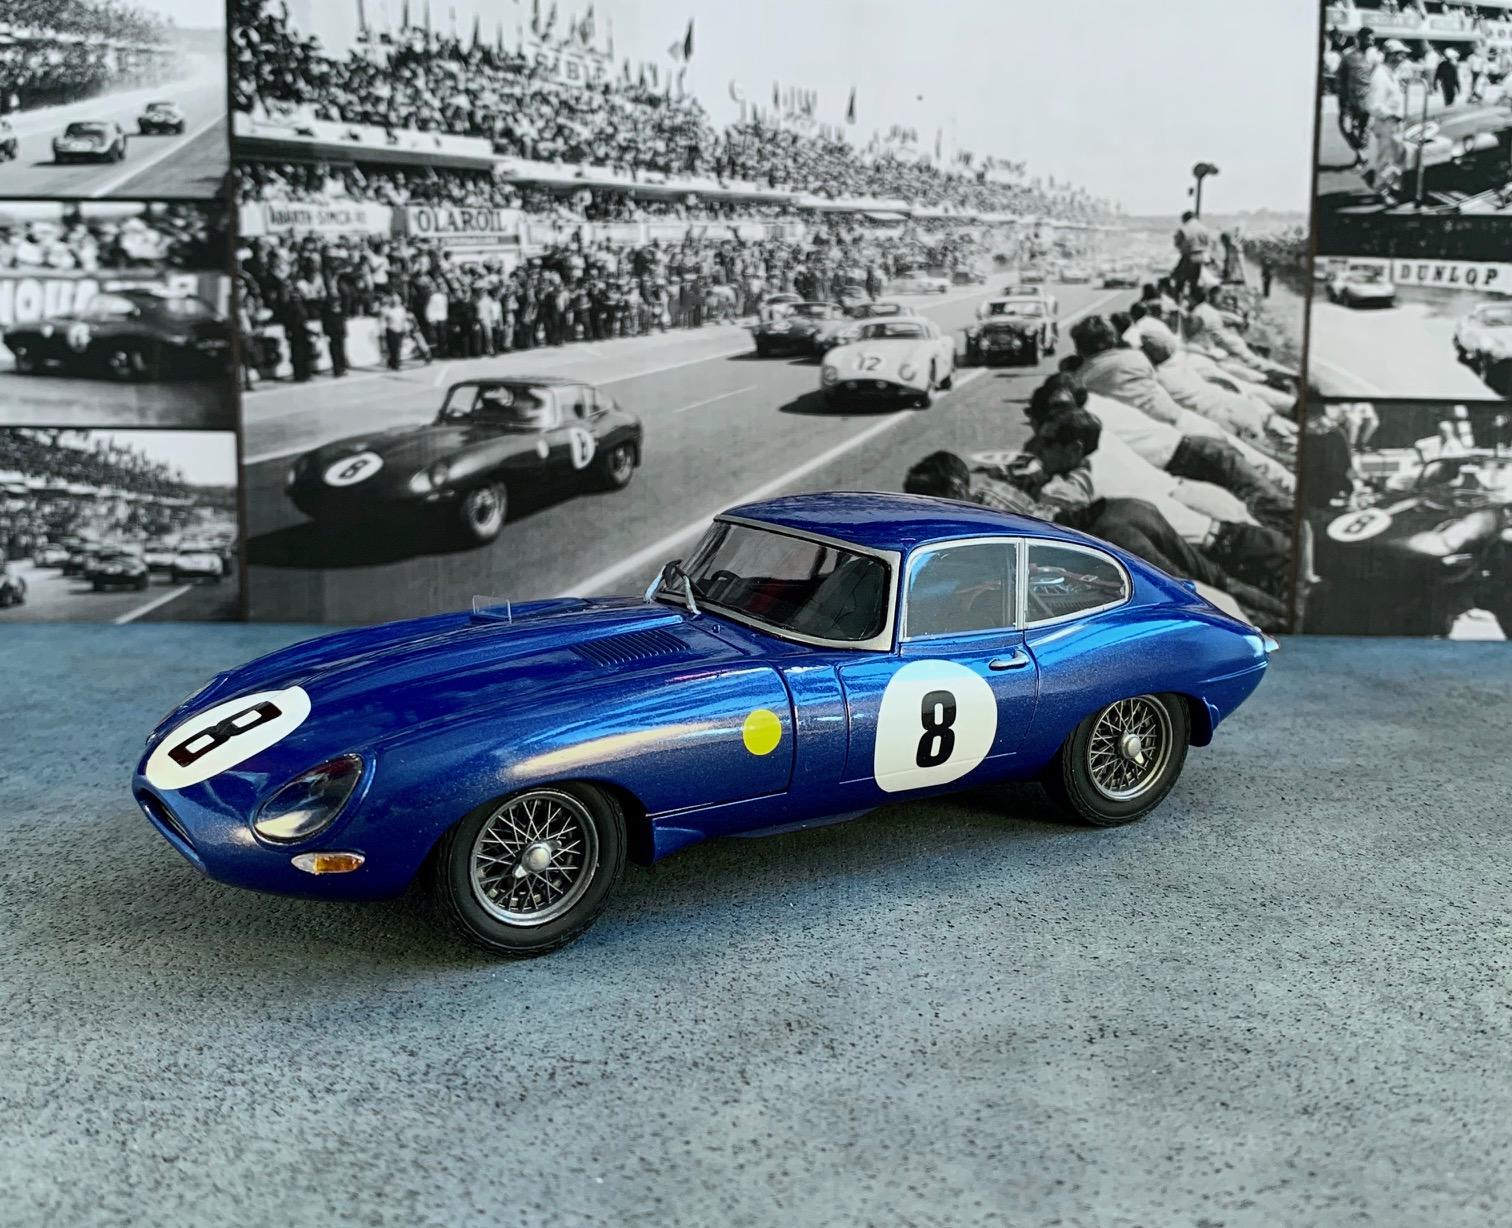
Excellent input from all. we can all learn from each other. Reading Peter's comments about CRI which now helps me understand why lighting with 5000K fluorescent vs 5000K LED does not provide the same results. LED provides better rendition of the whole spectrum of color. My photo setup has 3000K LED but I have an adjacent window which provides additional daylight. So I guess just like Bill and his combo warm white and daylight LED bulbs I do end up with a bit of a combo. If I did not have that window I would move from a 3000k to a 4000K LED lighting. Russel and Peter both make an excellent point that color can also be adjusted digitally. I just use my iPhone for taking pictures and it is very easy to do a bit of post processing on the spot. I usually only add a bit of contrast but color temperature can also be easily altered. Pictures below show what can be done in a matter of seconds. Warm, neutral and cold
-
You do beautiful work Louis. The detailing, finishes and weathering on the engine provide a very realistic appearance. I would love to know more about the materials and methods used.
-
Fiat Mefistofoles....Italeri 1/12 scale
Pierre Rivard replied to louis Carabott's topic in Model Cars
And that engine is glorious... as is the rest of the car. A splendid replica. -
Porsche 356
Pierre Rivard replied to afx's topic in WIP: Other Racing: Road Racing, Land Speed Racers
All looks really sharp JC. I love the delicate shifter, you scratch built that right? -
More natural light inside?
Pierre Rivard replied to JollySipper's topic in Model Building Questions and Answers
Hi TJ, I went the same route as you about lighting until I got to understand lighting temperature and what I wanted to achieve. Temperatures for different sources of lighting 2700K - incandescent, 3000K - Halogen, 4000K - fluorescent, 2500K - sunrise/sunset, 5000K - noon sunlight, 6000K - daylight overcast In the end I did not go for daylight type lighting because all my interior house lighting is 3000K LED lighting and so is my display cabinet. So for photography I chose to go to with 3000K LED lighting and then formulate my paint mixes to achieve the color I like under that lighting. Of course if I take my model outside the color will look colder but that's not how I display them in my house. So in the end I match display and photography lighting temperatures. With LED lights you have many choices available, 3000K warm white, 4000K bright white, 6000K cool white etc. Hope I am not imposing too much but here are a few examples of photography with my LED setup