Dpate
-
Posts
1,278 -
Joined
-
Last visited
Content Type
Profiles
Forums
Events
Gallery
Everything posted by Dpate
-
That makes sense now that you explain it that way. I got a heated ultrasonic cleaner coming in tomorrow, and it'll allow me to set it to whatever temp i want and should do alot better than just having the parts sitting in the liquid.
-
Will do.
-
Gotcha and thanks for the help as everyone else. Also yes i hope to get to his level one day.
-

Wheel Arch Molding Foiling Tutorial
Dpate replied to StevenGuthmiller's topic in Tips, Tricks, and Tutorials
Going to start doing it myself. -
Food Dehydrators & Paint Dryers
Dpate replied to JayVee's topic in Model Building Questions and Answers
I own the smaller one. It stopped heating like 3 days ago, and I've emailed them about replacement parts etc but haven't heard anything back. I've only had it for 11 months and probably used it 4 of those months like 2-3 hours every other day. -
Yeah i was thinking of putting a heater like you would use in a fish tank into the container and have it set for 70F to keep it heated. Good idea or no? Would that work for the lye too heating it up? Well the instructions on the bottle just explain how to add it to a drain. I just add it to the water very slowly and mix it using a plastic spoon and avoiding any splashing. Yes. The only concern I've had was if the lye was causing any issue/damage that's all. Seems it's not so think I'm good to go.
-
hmmmm....Interesting. Will do lol
-
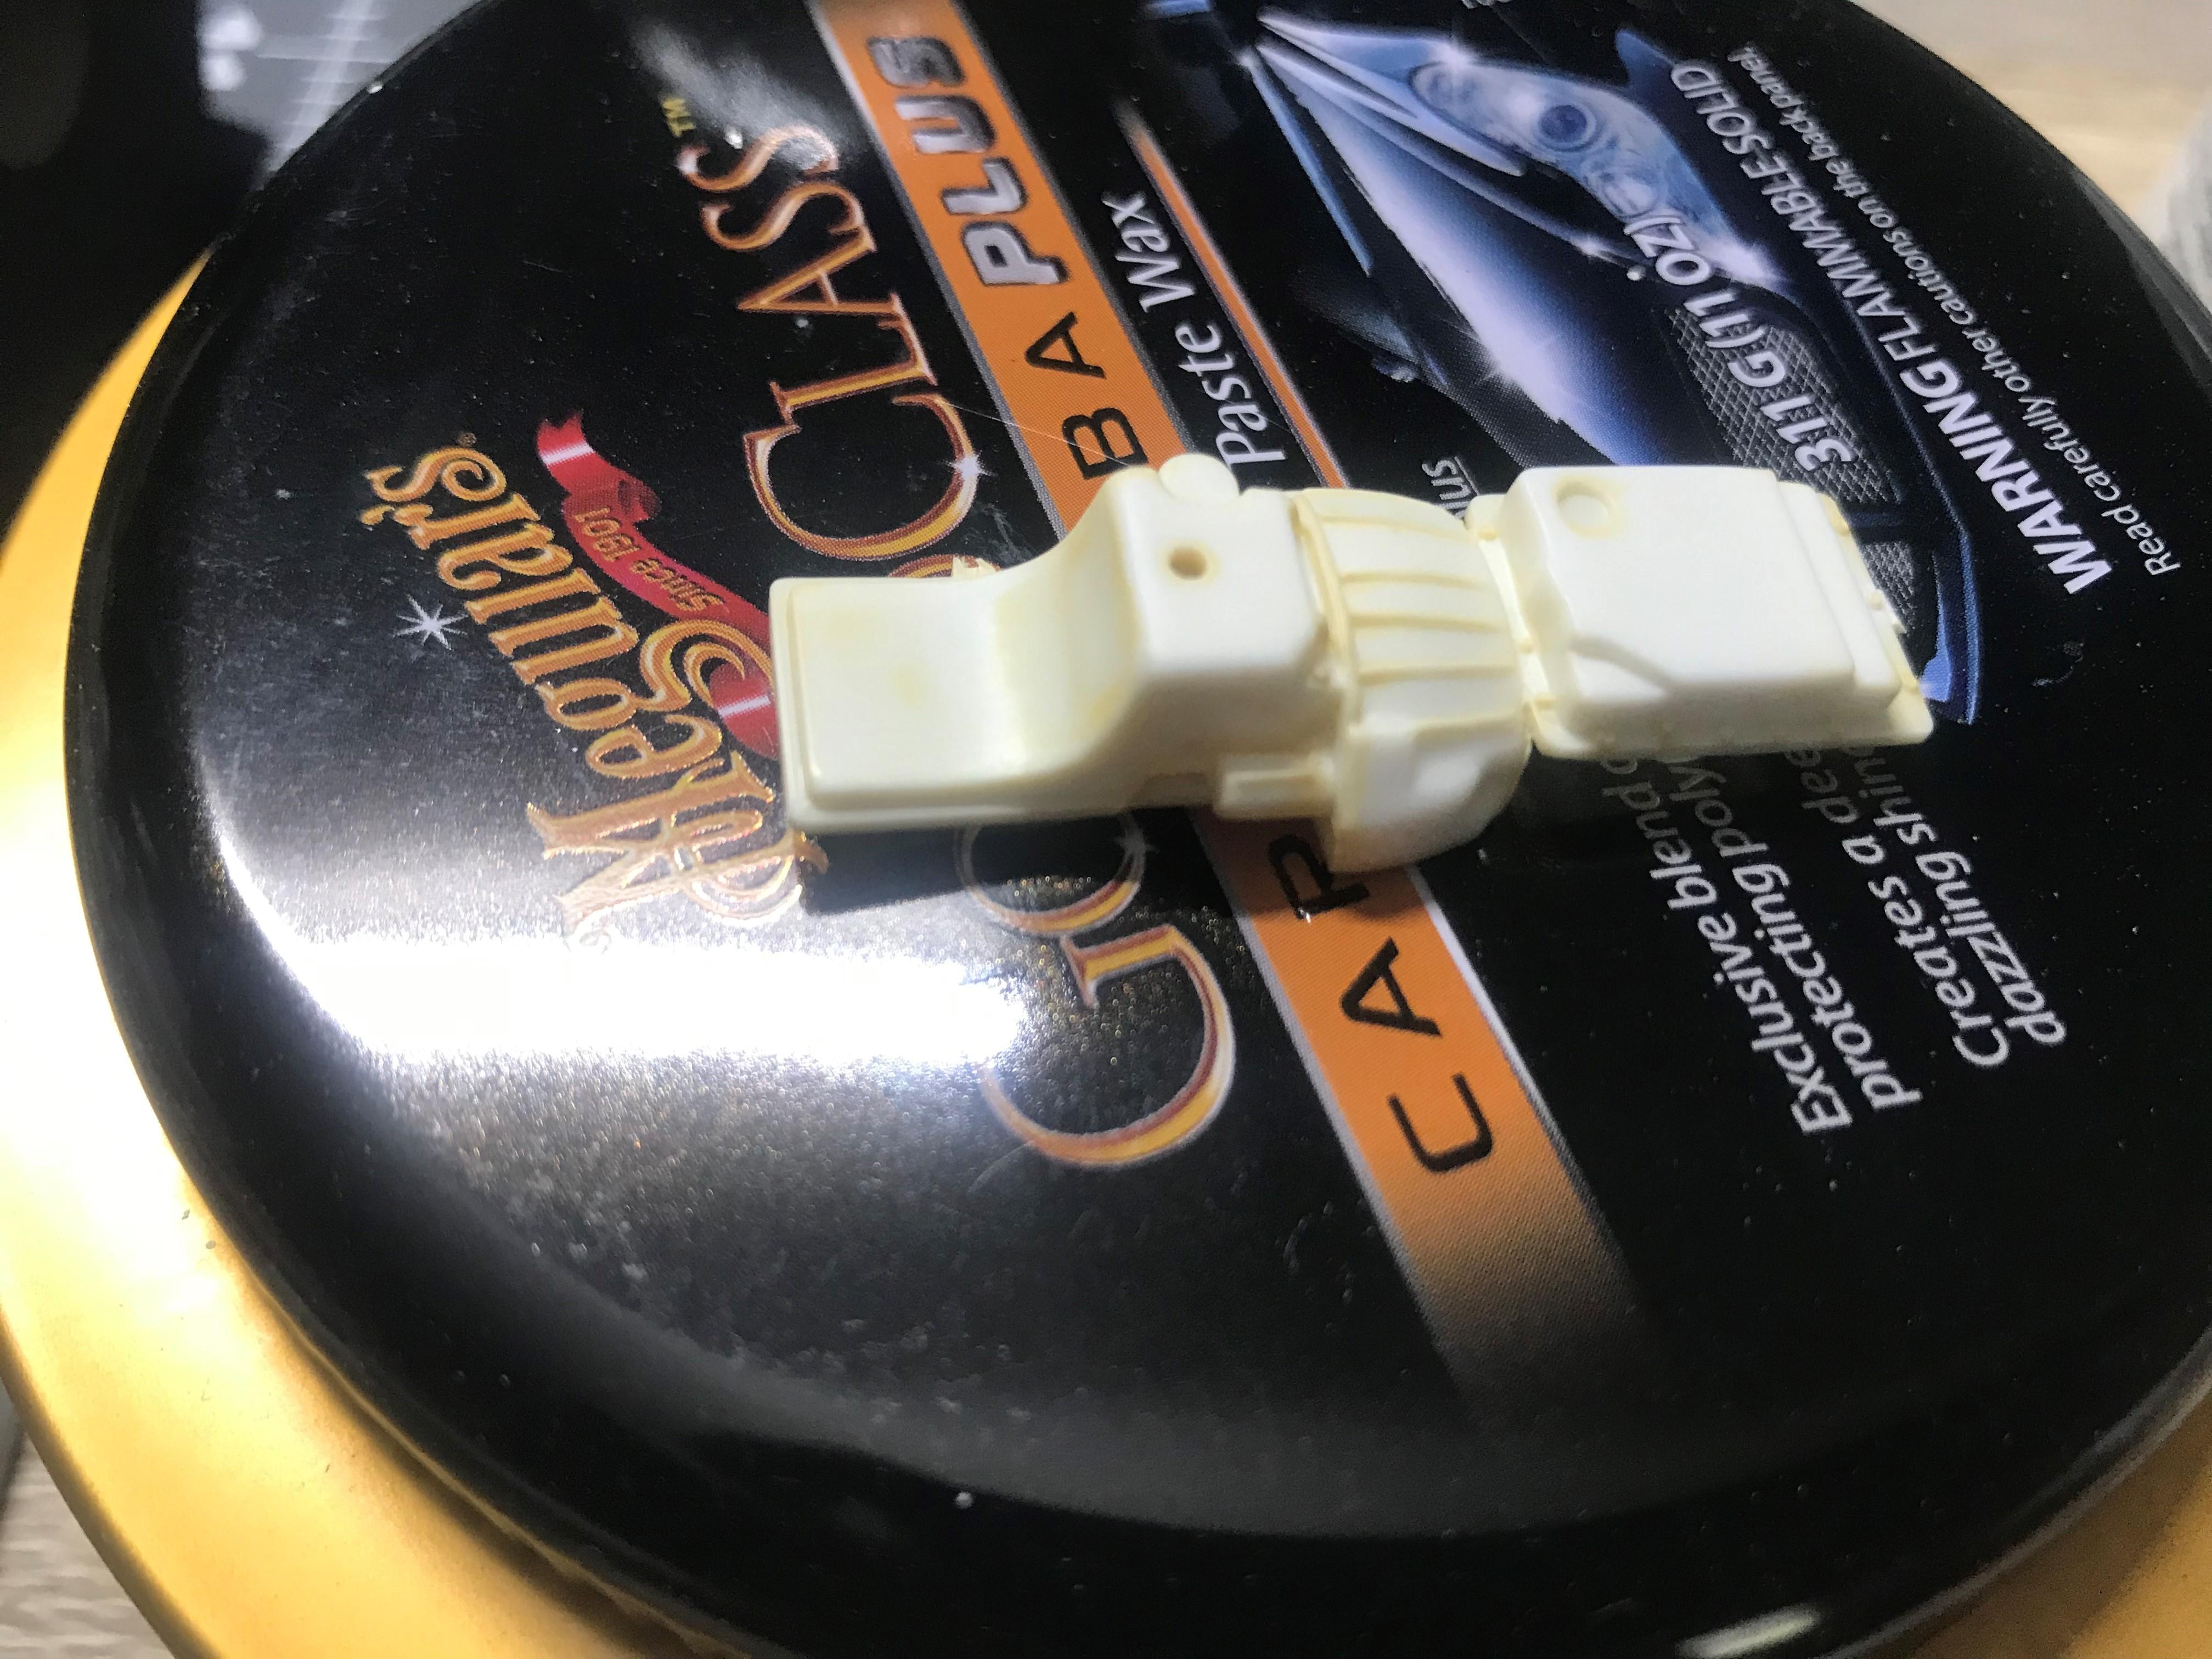
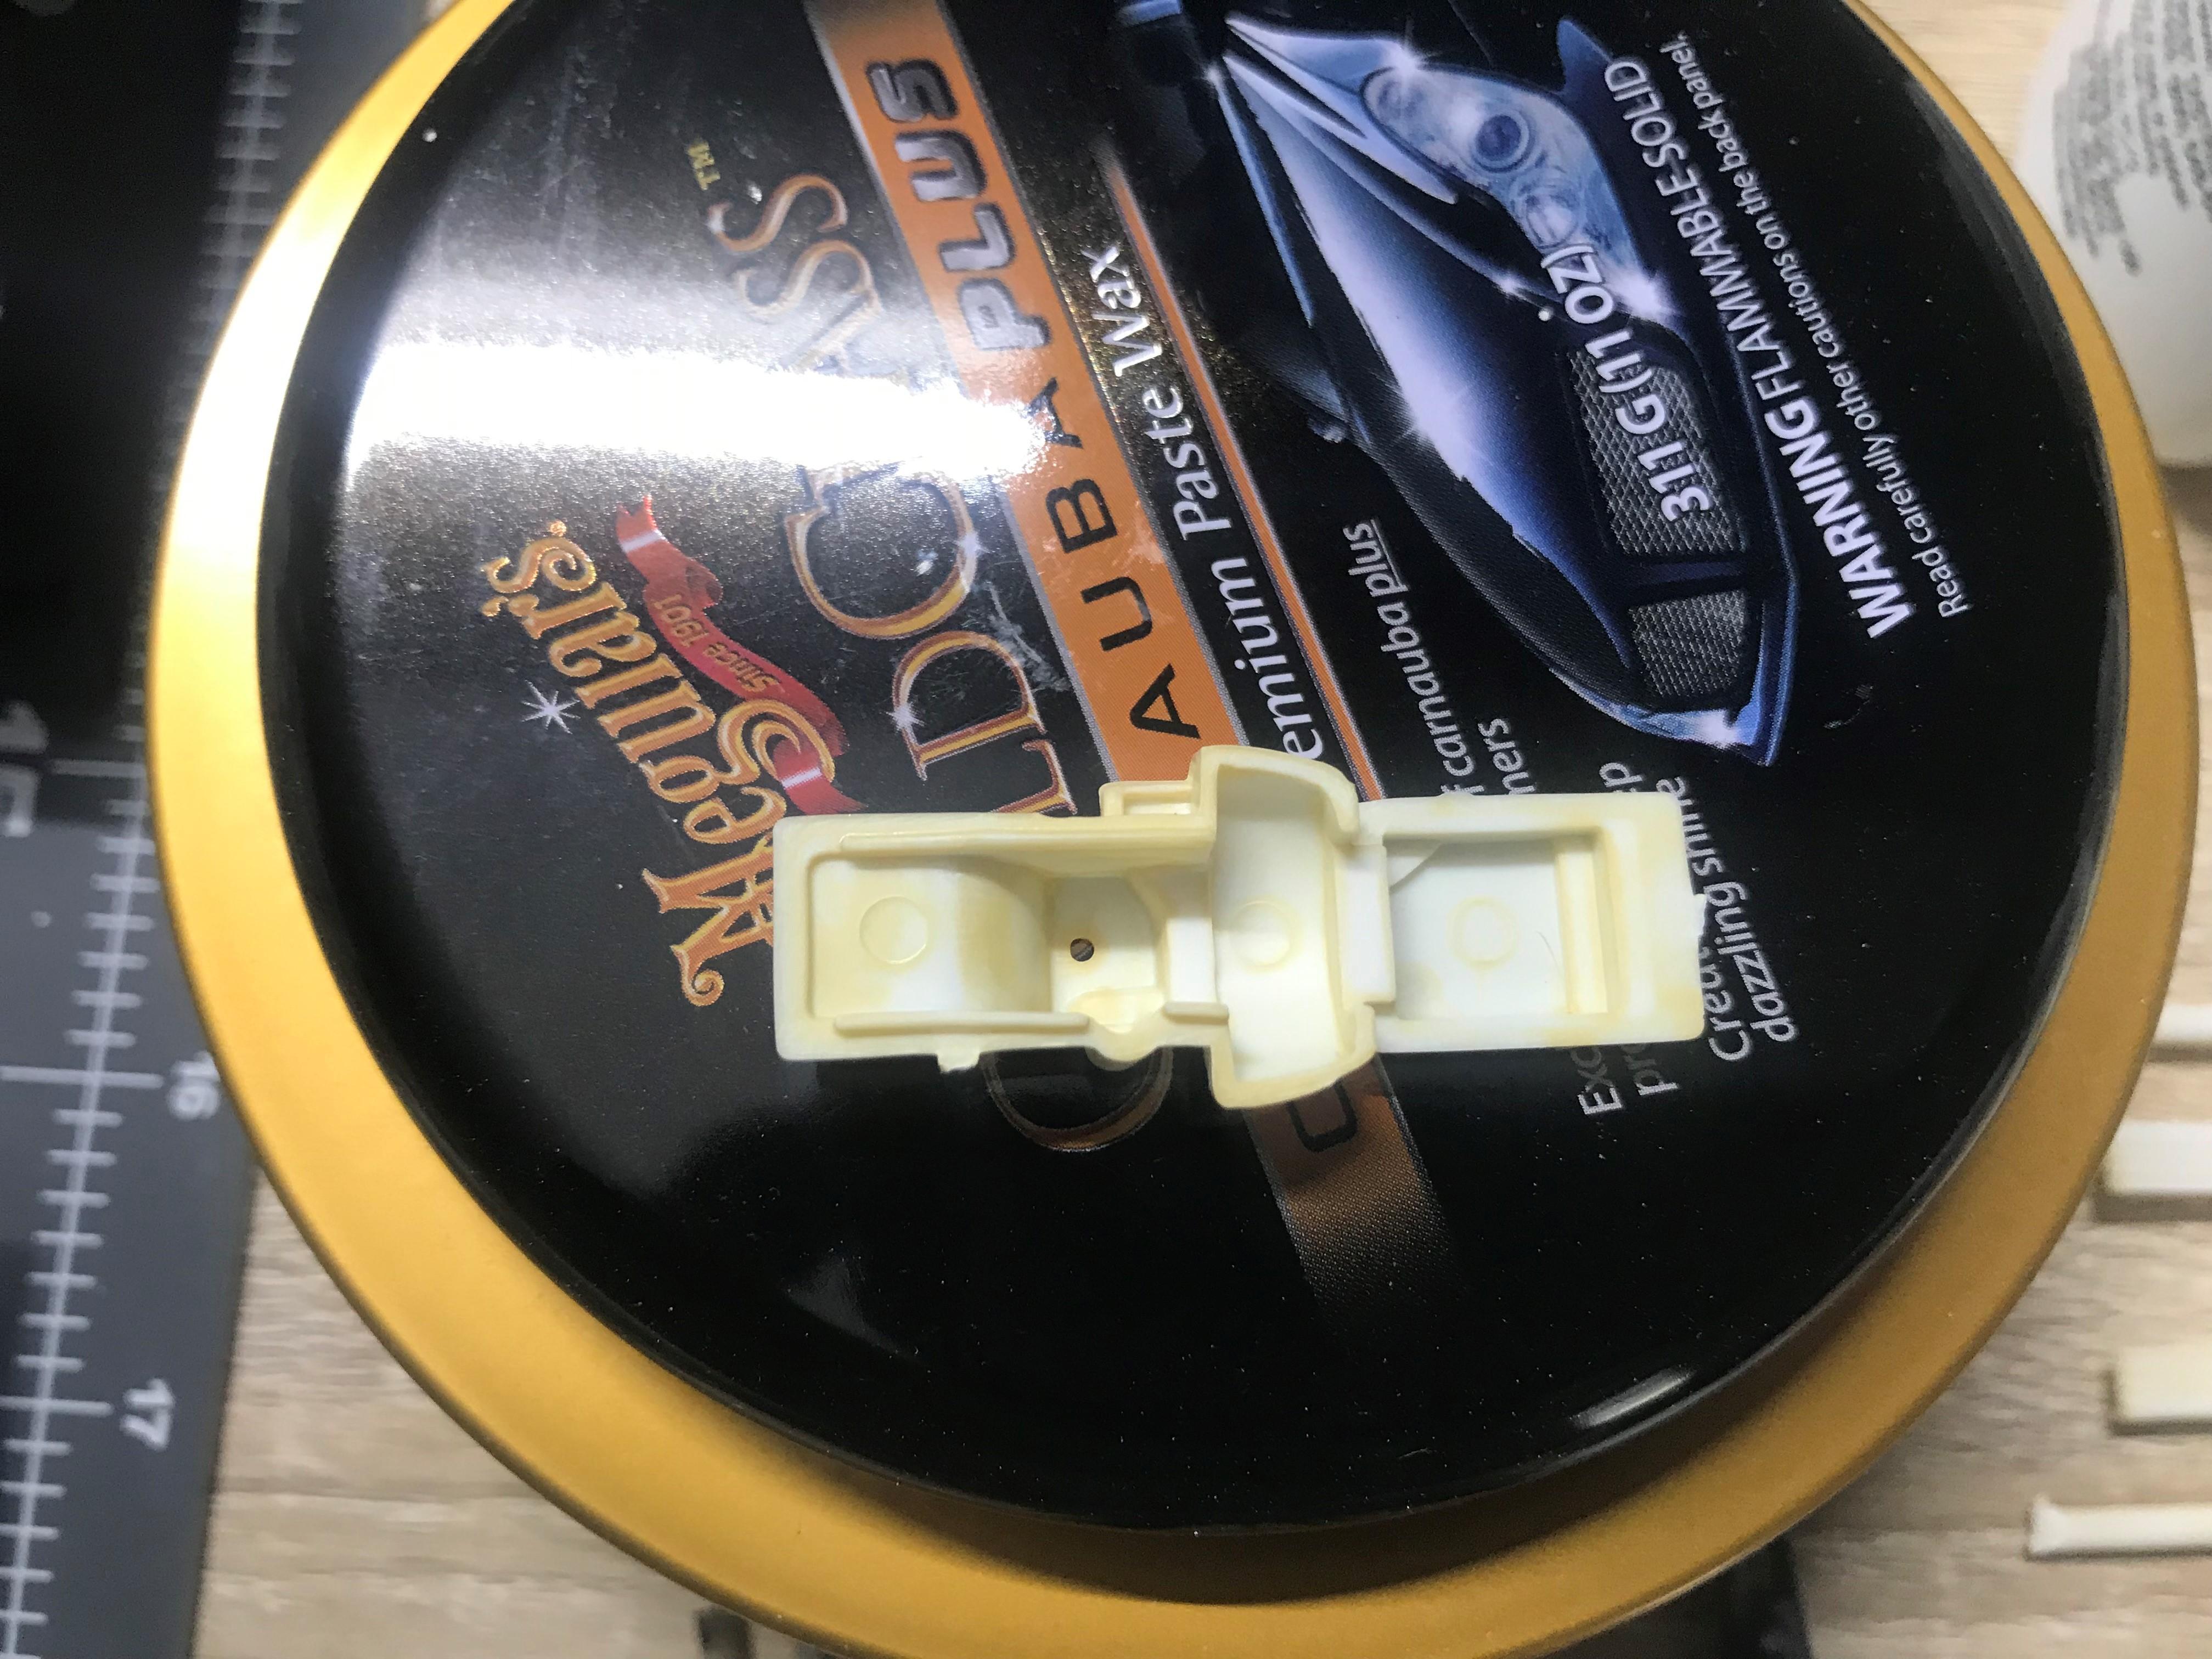
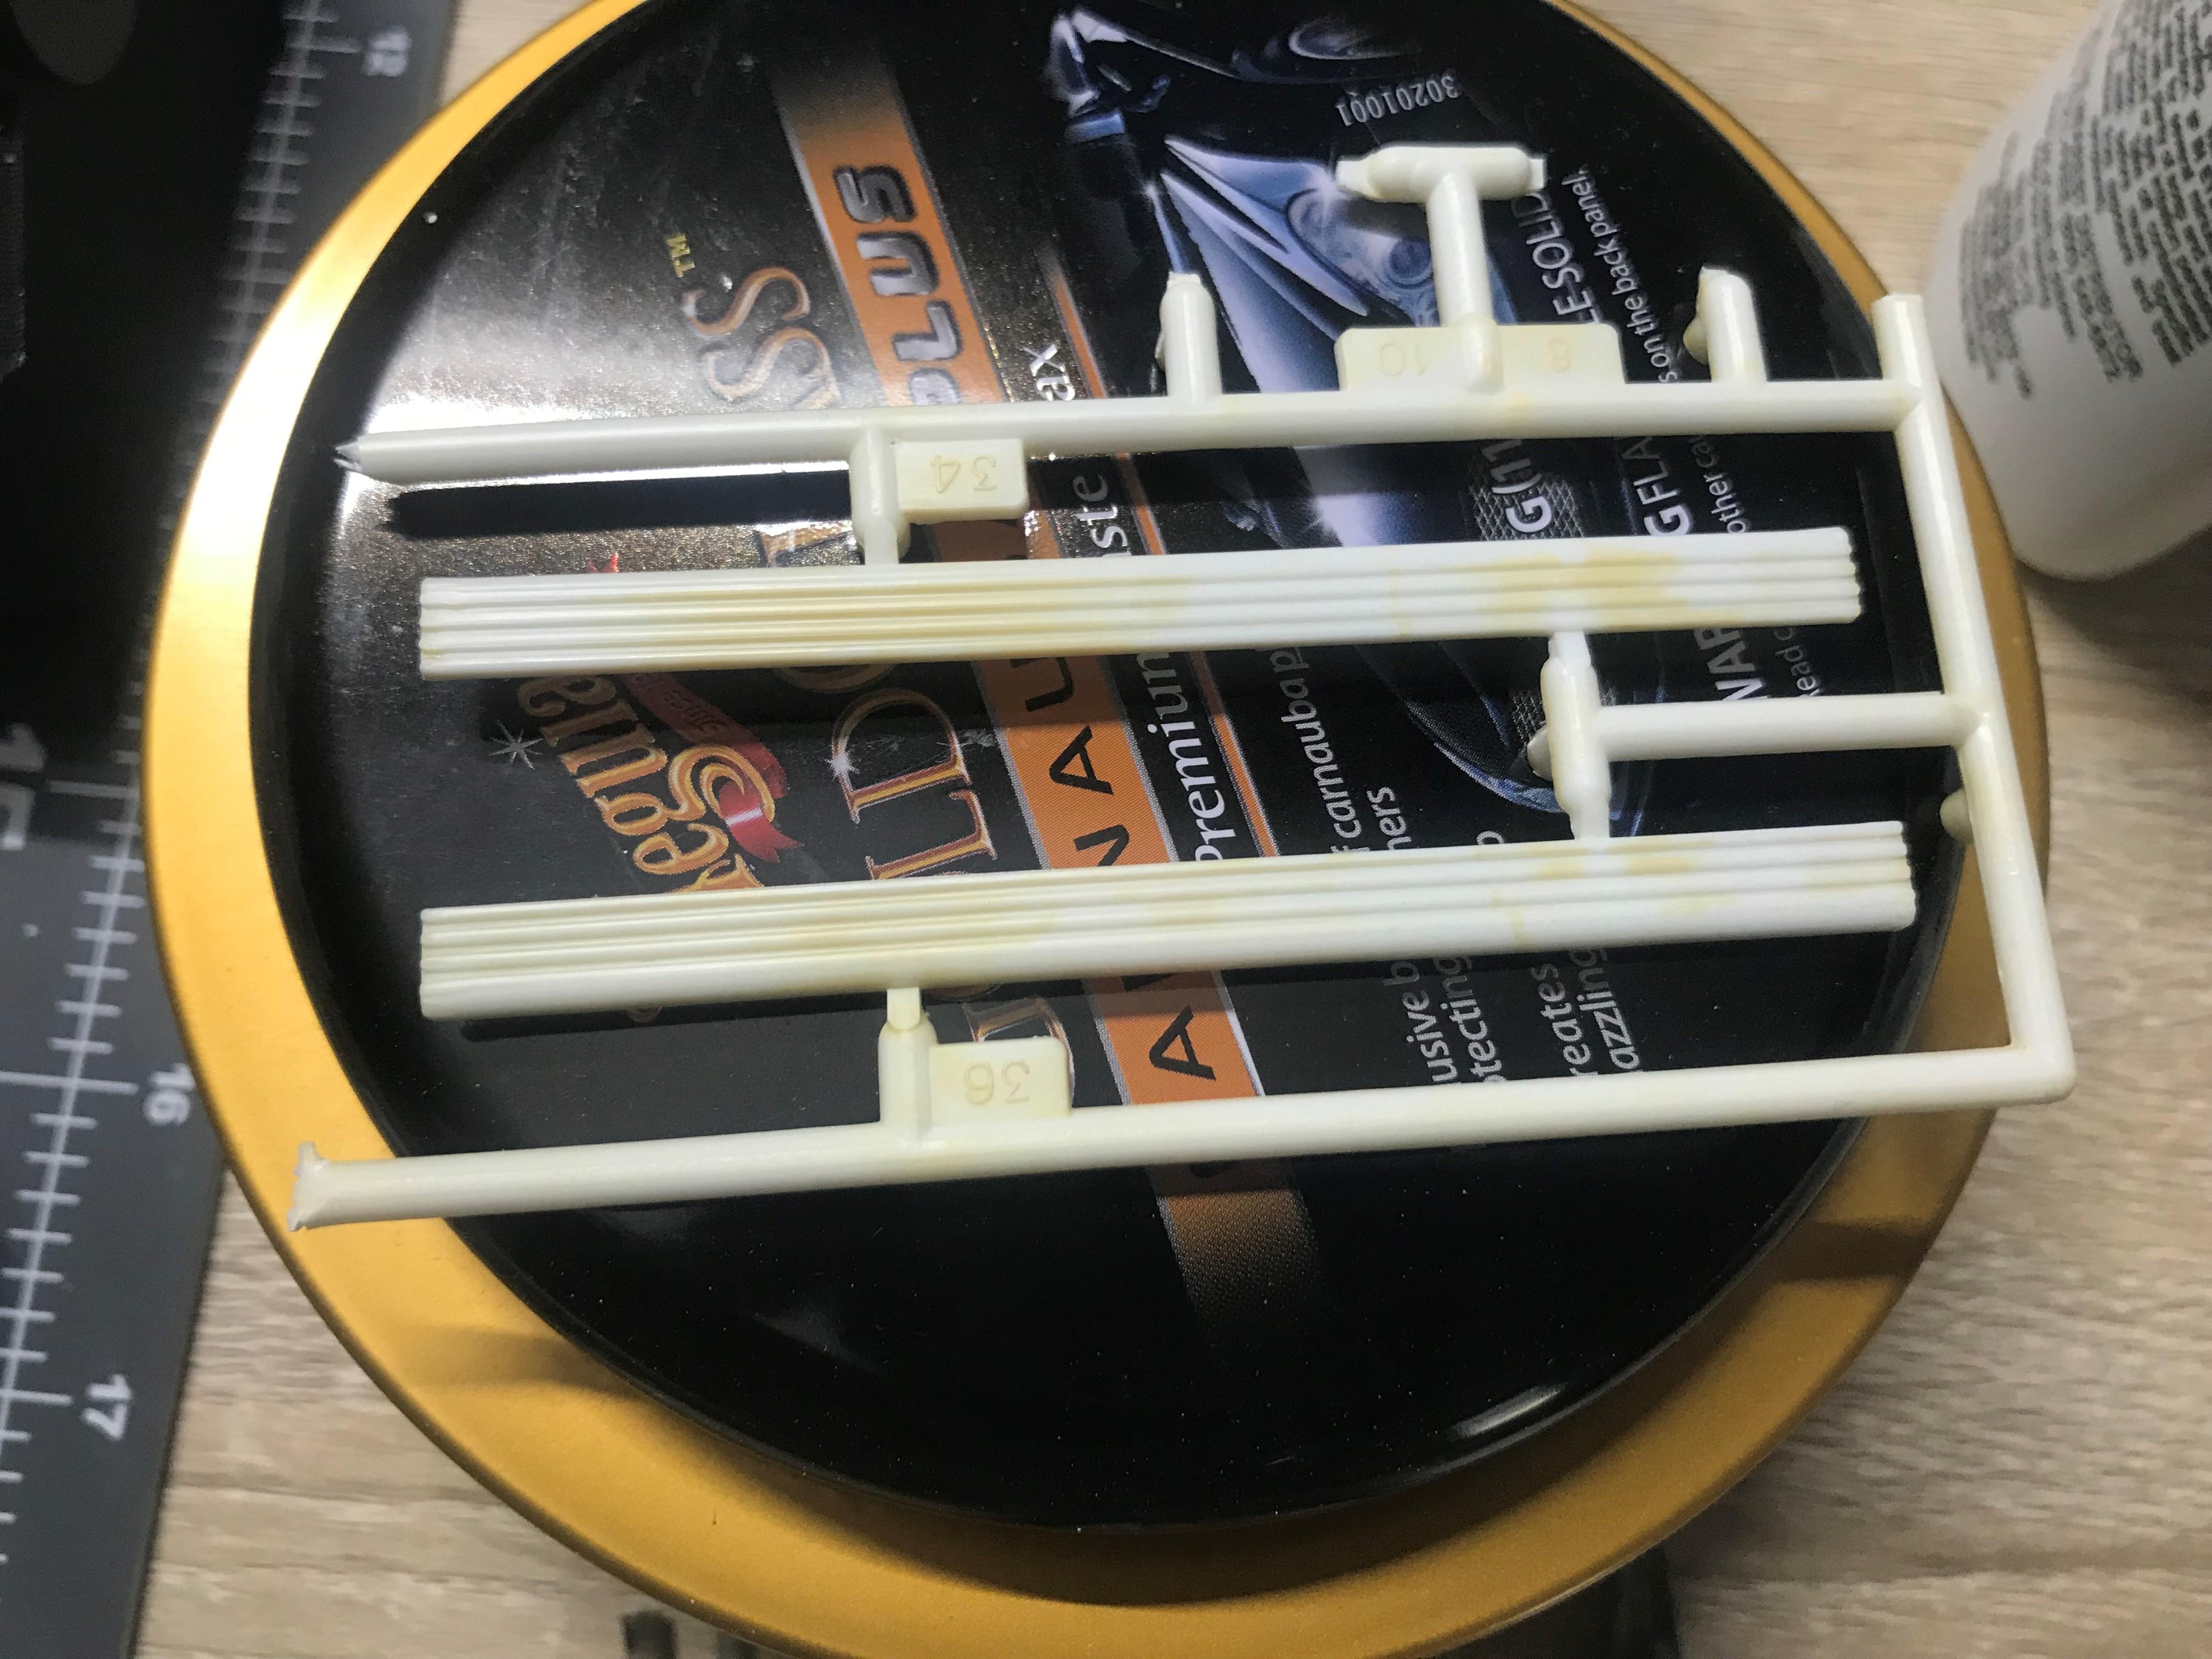
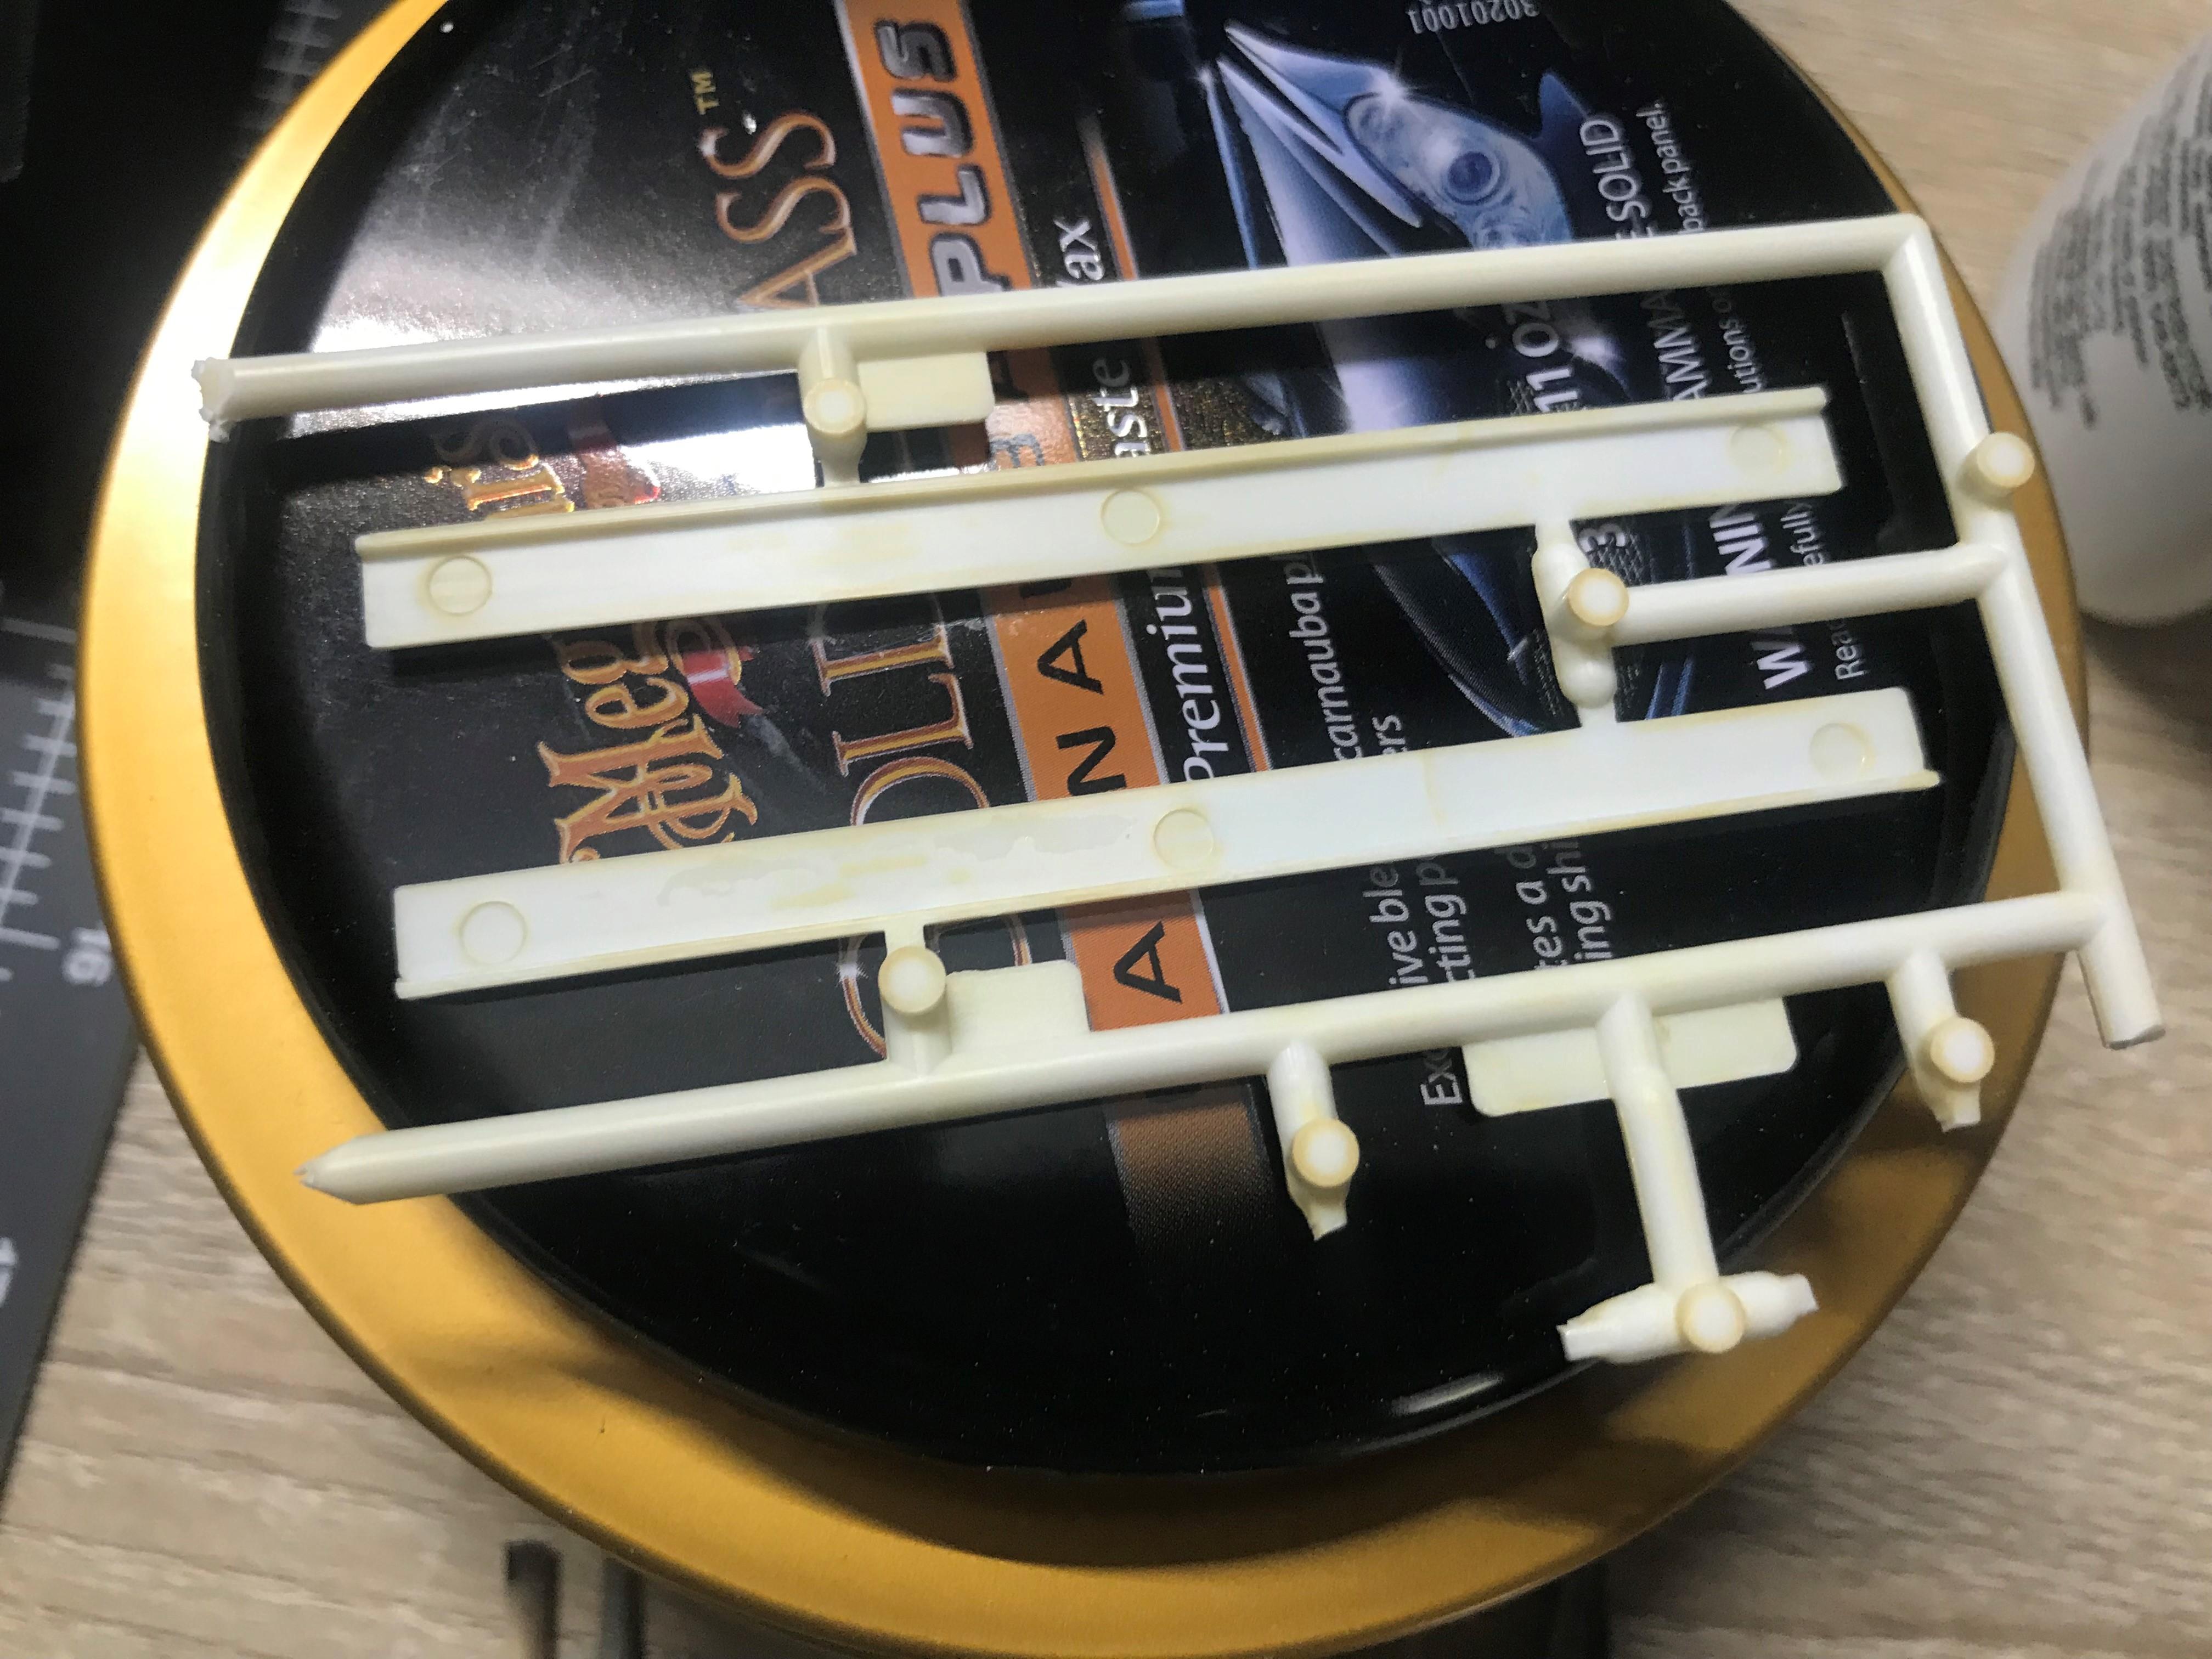
No i don't think its the clear undercoat -that's 100% gone. Just looks stained. This is after sitting in the lye for 2 days. So it's got to be just the parts itself so I'm probably gonna put a nice white part from a RIP kit and let it sit in the lye for 2 days and see what happens. I think the lye is 100% safe so after i use up this new gallon of super clean I'm gonna stick with the 100% lye. It works even faster than the super clean, and it's pretty amazing to watch it eat away the chrome in a matter of seconds lol.
-
So here are the pics guys. It may be just the part itself.

-
I own few colors of that brand. Good stuff, but you could prob shop around and get little cheaper. I got mine from the actual site when they had a coupon.
-
Well when i use it i keep it in a 2 gallon plastic container with locking lid. I put whole entire chrome tree's into it, works amazing when it's fresh. I can tell it's getting used up because it takes a whole lot longer to strip anything - like sometimes it gets so weak it wont even touch the chrome. So straining it i don't think would do any good if the stripping properties are already used up. Could i put the lye into the super clean considering it already has it in there or putting 100% lye into a chemical like that is a bad idea?
-
Wheel Arch Molding Foiling Tutorial
Dpate replied to StevenGuthmiller's topic in Tips, Tricks, and Tutorials
You think the BMF would do better especially around windshields and stuff if we scribed like we do panel lines doors etc? The windshield A pillers and cowl be pretty shallow, and maybe with a little scribing not much to make it little less shallow. The BMF should be able to "sit" in better and hold without lifting up after trimming so close. -
Wheel Arch Molding Foiling Tutorial
Dpate replied to StevenGuthmiller's topic in Tips, Tricks, and Tutorials
Gotcha. I was just saying out of frustration of how it does around windows and such without wanting to stay down in the corners no matter how you burnish it. I'll def be giving this tape method a try next go round with the BMF. Last kit i was working on i had the windshield foiled looking pretty darn good - than put the windshield in glue and all and it pulls the BMF from the bottom of the windshield up from the front cause it didn't stick like it was suppose too. Frustration frustration lol. -
lol no too powerful for that.
-
I'll have to do some more testing or maybe i used to much lye in the water. Some of the chrome parts are like half white and half of the stained yellow after scrubbing. Never had this issue using just super clean. I'm gonna do some more test parts and take some pictures, but to better explain the look - it's looks like how old decals get with the faded yellow look. Maybe it could just be the chrome parts itself like you said? I'll check again tomorrow.
-
Awesome You'll love that mixer trust me and it's simple to clean too. I use a bella mason jar full of your choice of cleaner and stick the mixer in and give her a rip. But the shaking the solid colors might work out good cause i have some solids from them and hand shook it sprayed and laid down just fine no issues. Metallic's might need the extra TLC with the mixer lol, but i use the mixer for almost all my paints especially tamiya. Speaking of scale finishes he has a 20% sale going on until end of October so I'm def ordering more paint.
-
Wheel Arch Molding Foiling Tutorial
Dpate replied to StevenGuthmiller's topic in Tips, Tricks, and Tutorials
This is a fantastic method. I'm surprised though that the tape doesn't pull up the BMF considering how crappy it's gotten and doesn't like to stay down. -
If you don't have a handheld mixer like the badger than shaking is all you can do. Few mins should do or put couple more mixing balls in the bottle. Handheld mixer head will fit perfect inside the bottles.
-
So i use super clean for stripping chrome parts and it works great, but i end up wasting a whole gallon of it after it's used up. So i figured with it have lye in it i would get some lye and try out on some test parts. Basically the lye takes the chrome off in a matter of seconds, but takes even longer to take off the under coating. So after leaving it in the lye for a whole day - the undercoating was gone, but the part is stained a light yellow looking where all the under coating was left at. Looks kind of weird and i wish now i would of took a picture of it. Seems the 100% lye needs something with it to clean along side of it. 1Ib of lye was $6 and gallon of super clean is $9, and i figured the lye would last much longer, but if this issue is what happens I'll stick with super clean.
-
I'll take the lego set any day of the week over the model kit. That's just me though cause i love LEGO.
-
I had one of the cheap ones that fold. There okay for light work if all you're gonna spray is water based paint. I built one of these, but it's more expensive route. https://vent-works.com/blogs/the-ventilation-blog/15945741-diy-hobby-spray-booth barely can hear it running compared to the cheap ones that use loud PC fans. Just the exhaust fan will cost more than any cheap foldable paint booth lol.
-
Budget source for micro glue applicators
Dpate replied to OldNYJim's topic in Tips, Tricks, and Tutorials
I use these for CA glue, and i get mine from micro mark 100 for like $12. This is a good find. Like $8 for 500pcs can't hurt to try. -
Sanding & Compound & Polishing experts help needed.
Dpate replied to Dpate's topic in Model Building Questions and Answers
Thanks everyone for your help. I'll give ultimate a try, but from now on instead of using micro mesh system I'll use regular sandpaper. Seems to get the same results from what I've seen. -
Sanding & Compound & Polishing experts help needed.
Dpate replied to Dpate's topic in Model Building Questions and Answers
Yes but maybe i didn't do good enough job. lol Yeah like someone who didn't know what they where doing. It looks like the picture on the turtle wax bottle in the picture but cleaner. I thought meguiar's 2.0 was a rubbing compound? I haven't added any wax yet cause I would like to fix this issue before hand. If I'm not able to fix it i guess i will have to settle with it. Like in the picture below but cleaner and running left to right exactly how i was rubbing the meguiars 2.0. There are zero swirl marks its just light scratches in the clear coat spaced out a tiny bit.
-
So after letting 2K clear coat fully dry it had decent amount of orange peel. So after using micro mesh 3200-12000 not skipping a single stage i than use Meguiars scratch 2.0, and the gloss is back and looking nice. BUT there was still orange peel in the finish so i went back through the entire process of micro mesh this time 2400-12000 without skipping a step, and followed up with meguiars scratch 2.0. This time the orange peel is completely gone, and looks really good until you hold it at the right angle at a light. You'll see i guess you could call it "superficial" scratches all over the body like exactly how you see on a 1:1 car in the sun. No amount of scratch 2.0 i use will remove the super fine scratches, so I'm thinking i need a different product or I'm screwed? Did i even need to use scratch 2.0 after doing micro mesh? Should i get and try mequiars ultimate compound and polish or just the polish? I'm thinking after micro meshing up too 12K i should of used a polish without cutting properties? Any help would be greatly welcomed.