-
Posts
1,279 -
Joined
-
Last visited
Content Type
Profiles
Forums
Events
Gallery
Everything posted by Dpate
-

Best glue for photo etch parts
Dpate replied to br67's topic in Model Building Questions and Answers
5 min clear epoxy -
Hey another NC peep what up haha? Yeah you prob could I'm just not too familiar with spray cans.
-
Well from googling it said viper red is a shade of pink-red. 79.22% Red, 12.55% green, 16.08% blue. I'm sure those 3 colors are straight basic colors so shouldn't be too difficult to mix. The legit gravity colors has dodge viper red too but for airbrush https://gravity-colors.com/model-car-paints/131-01-gc-1240-dodge-viper-red/ a guards red over pink primer or tamiya mica red would be close too i think. Sorry can't help much with spray cans.
-
Must be luck of the draw. I know the sheet i was working off of wouldn't work good for emblems or window trim. Like it would go on great, but soon as you're done cutting if you even touch it it'll pull back up from the edges. You basically couldn't have a flawless trim cause it would be too thin and just come back up especially when putting in glass. Maybe i just had bad sheets or just order directly from BMF themselves. Cause who knows how long they where sitting at modelroundup
-

Polishing base coat before clear?
Dpate replied to rightrudder's topic in Model Building Questions and Answers
Looking good so far man awesome job. I use superclean sometimes and 100% lye to dechrome and i use alclad and spaz stix to rechrome using alclads gloss black base. Far as mr hobby leveling thinner causing issues with the paint that's the first time I've heard anything like that. But I'm sure it's cause it didn't dry fast enough which is what probably caused your issue. The flakes settle faster than it dried. There rapid thinner they designed to use for flats and metallics allows the paint to dry before the flakes can settle. Also for the dash gauges did you apply them right over the raised detail? You're suppose to remove those details before applying them it's in step 3 in the instructions ? I'm also going to use the custom rims instead of the stock rims and lower the ride height front and back since the kit includes all the parts to do so. I'm probably going to remove the side trim from the body as well, because i think it looks cleaner without that. -
This is really why i don't deal with aircraft kits also boat kits too. Other than putty's or milliput or some other forms of it most people will take tamiya cement and than squeeze the two halves together and that will ooze out some plastic that helps fill in the gap. You can than scrap off the excess , BUT there is another good alternative too that method even though it's almost the same. You could take and make some sprue goo using the sprue parts from the kit to make the sprue goo the same color. Make it like a medium thickness and use that and once it's dry it'll be easy to sand cause you're left with the plastic itself. P.S those zip ties aren't holding tight enough either. You need clamps like your blue ones or adjustable claps to hold those halves together tight.
-

Polishing base coat before clear?
Dpate replied to rightrudder's topic in Model Building Questions and Answers
Well so far with my kit the side skirts only one fits properly, and the other fits but has a gap. So i'm not going to use them at all. I test fitted the front and rear bumper too, but there kinda iffy. Probably will fit better once i dechrome them and clean them up - than do another test fit. When i first opened the box i knew this was gonna be a iffy kit to begin with lol. I mean there is like 5 ejector pin makes under the hood lol, and the chrome is so thick it took me a few mins to find the windshield wipers lol. There so issues here and there on the chrome too along with flash - so I'm glad i know how and love dechroming and rechroming parts. Yes except i wouldn't use it for Mr.color acrylic line up. -

Polishing base coat before clear?
Dpate replied to rightrudder's topic in Model Building Questions and Answers
Yeah you should see my stash lol i have a stash that would take some folks years to get. Also yeah the flash is pretty bad on the kit even though i've seen worse. I don't use a x acto blade though for most flash or mold lines. Have you seen SMS ceramic scrapper? https://www.scalemodeller.com.au/products/ceramic-scraper its pricey, but it's amazing. Impossible to gauge the plastic when cleaning or any mistake you can make with a X-acto blade. Best part is you can't cut yourself even though it's super sharp. Was you able to fix the roll bar? -
Micro mark sells some and AK has some. You could get some TCP global paper paint strainers and just take out the filter part and put on the bottle of paint under the cap.
-

Polishing base coat before clear?
Dpate replied to rightrudder's topic in Model Building Questions and Answers
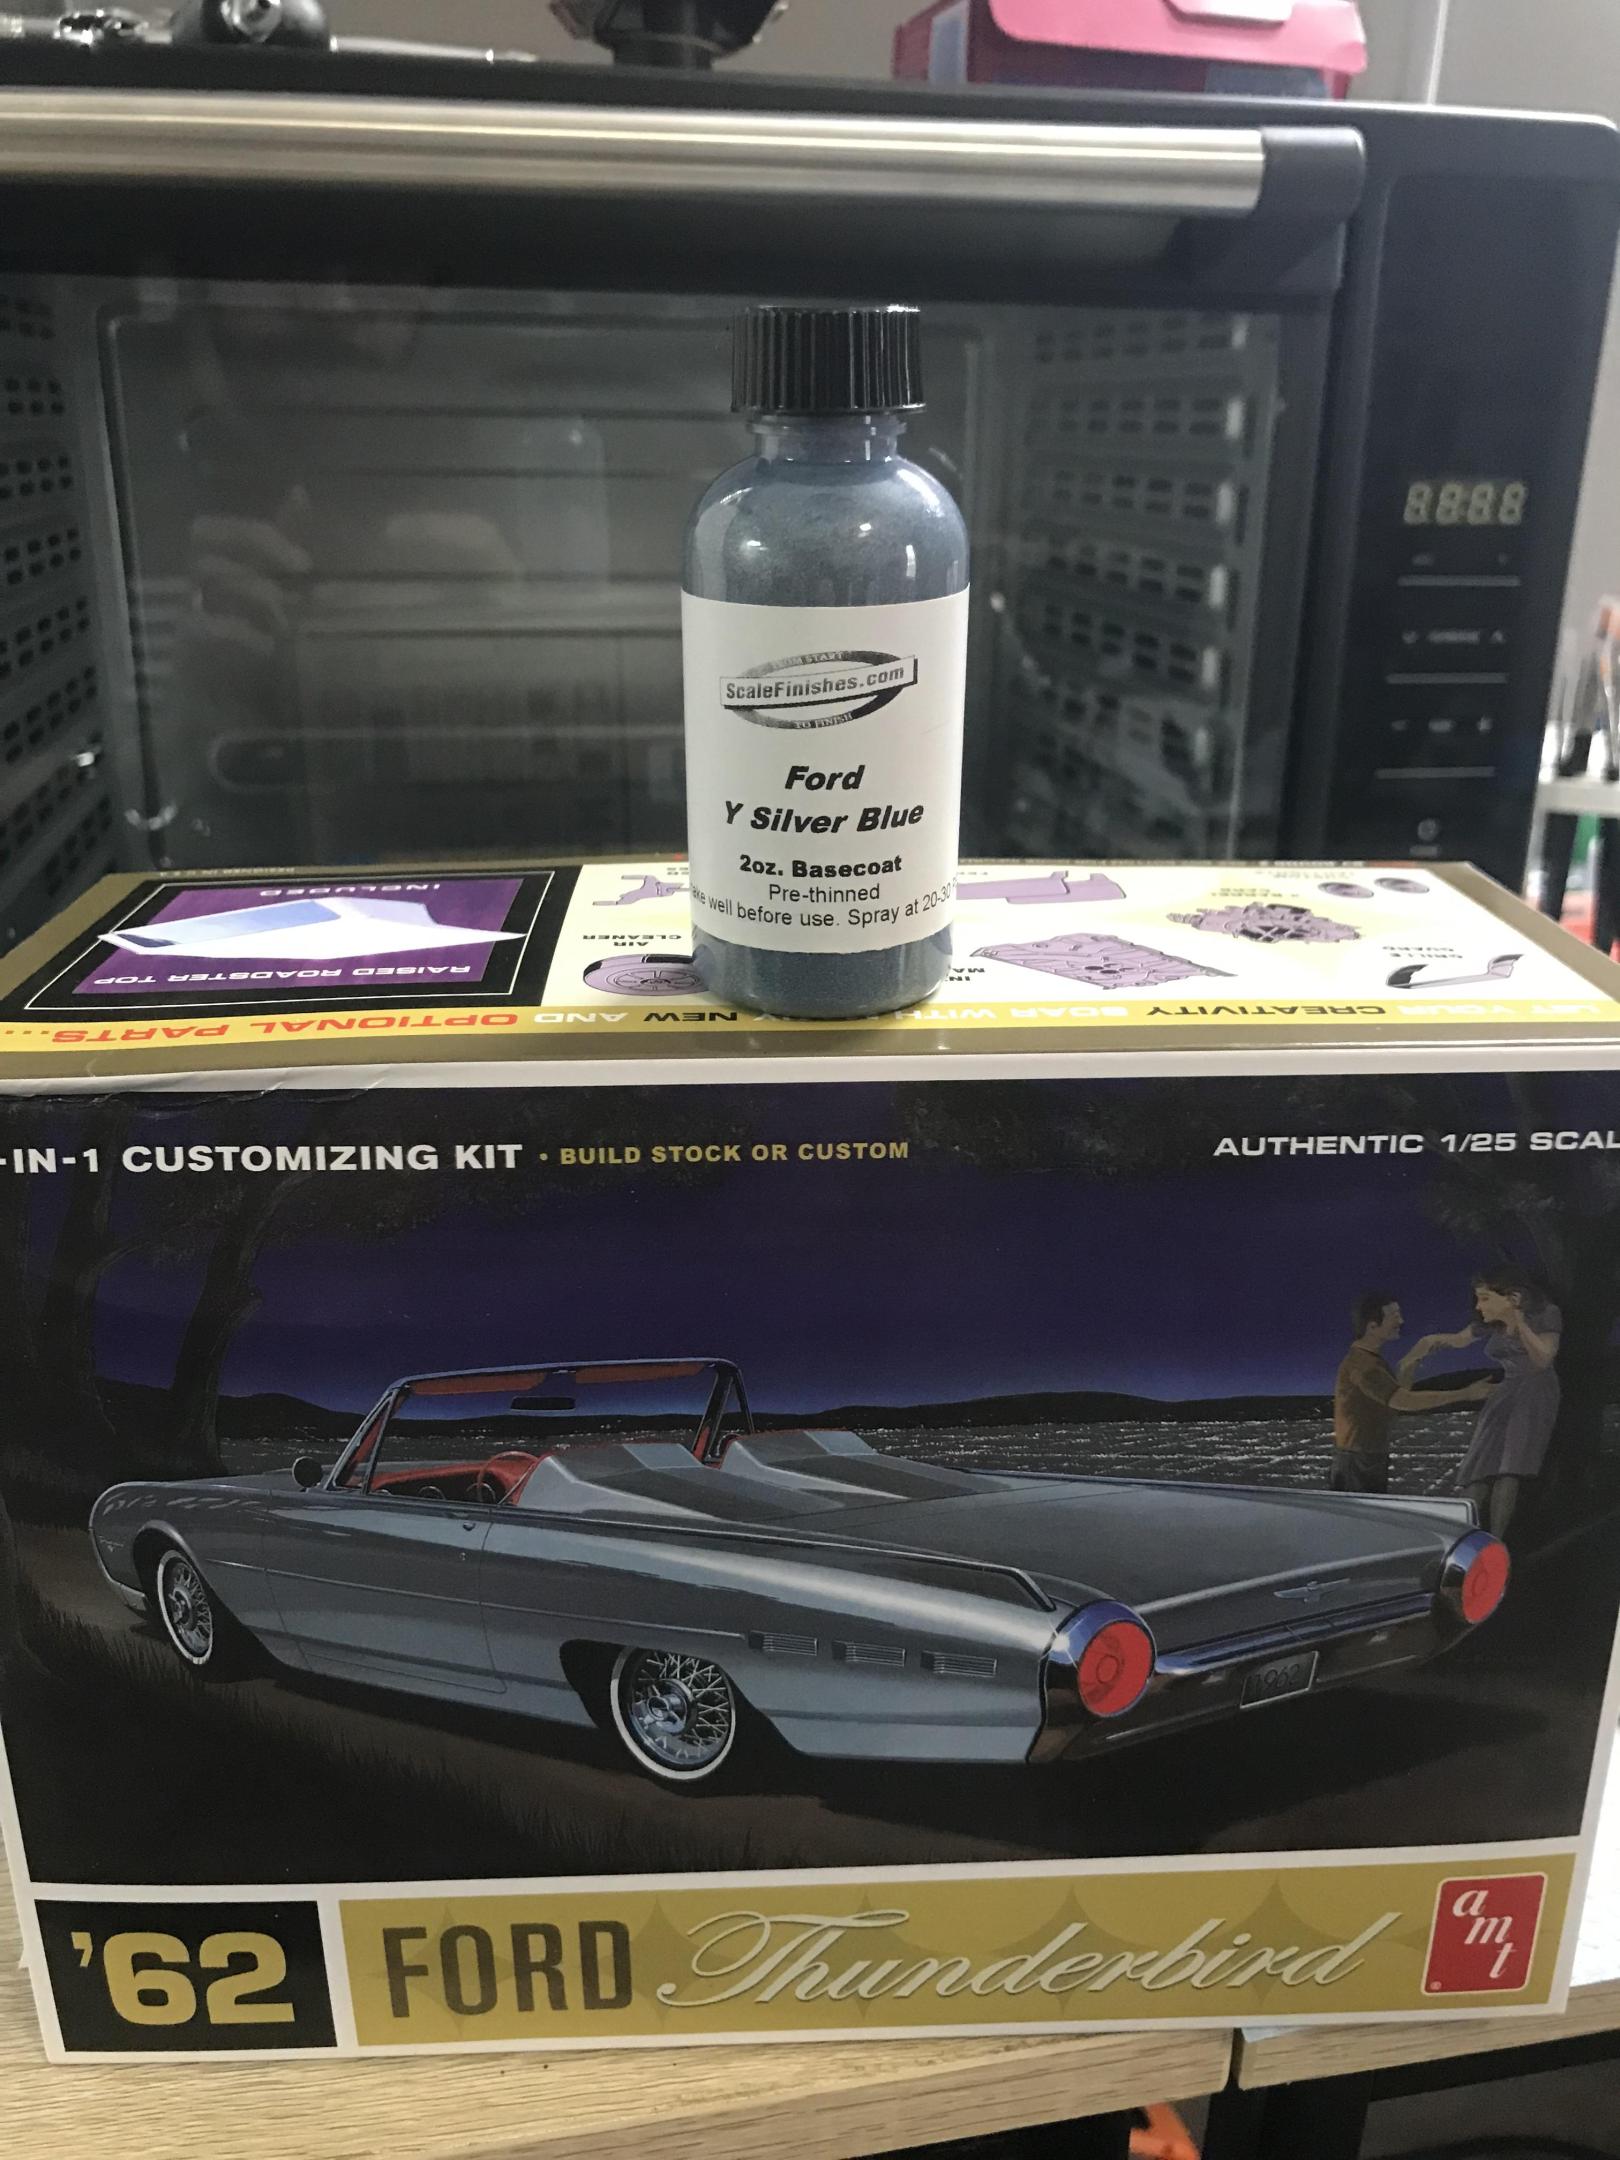
Oh I'm still learning too man. I haven't been in the hobby that long like less than a year, and i watch, read, and learn as much as i can. I turned my old bedroom at my parents house into a hobby room - like literally remodeled the whole room new flooring etc lol. Dang room looks like a store with kits and paint and legos lol. Anyways this is my next project I'll be doing sometime soon - the 62 ford thunderbird "flash" galore haha. I have the photo etch set for the kit too as i do with every kit i own just about lol. -

Polishing base coat before clear?
Dpate replied to rightrudder's topic in Model Building Questions and Answers
Yeah there pretty fragile, and with thin coats yeah you'll burn through pretty fast especially if your clear coats are thin too. But if you burnt through the clear too the color coat than that tells you your clear coats where too thin. You can burn through clear coat fast too, but not that fast unless you're really giving it the grit lol. -

Question: best way to mask interiors for painting?
Dpate replied to customline's topic in Tips, Tricks, and Tutorials
-
That's beautiful. I just wanna jump in the picture and go for a ride bro.
-

Polishing base coat before clear?
Dpate replied to rightrudder's topic in Model Building Questions and Answers
Yeah that looks great man. I can tell a big difference from your last picture. -

Polishing base coat before clear?
Dpate replied to rightrudder's topic in Model Building Questions and Answers
Yeah stuff is amazing. It's almost exclusively the only thinner i use lol. I do also have mr hobbys rapid thinner which is great for metallic paints and flat paints. -

Polishing base coat before clear?
Dpate replied to rightrudder's topic in Model Building Questions and Answers
You should ditch the rubbing alcohol and get some mr hobby leveling thinner. https://spraygunner.com/gsi-creos-mr-color-leveling-thinner/?sku=T108&gclid=Cj0KCQiAuP-OBhDqARIsAD4XHpf9mUZVLEco-G7H5ziXyf6gBHGJodkjyuQHTojDbsQ5mWD-jBPT0Y4aApQdEALw_wcB -

Mr. Hobby Metallic Green (#77)
Dpate replied to rightrudder's topic in Model Building Questions and Answers
Yeah Mr hobby leveling thinner is amazing. I got 2 big bottles of it lol last a long time. There rapid thinner is good too its for flats, and metallic paints. -

Mr. Hobby Metallic Green (#77)
Dpate replied to rightrudder's topic in Model Building Questions and Answers
You should primer because Mr. Hobby is a lacquer and especially gray to check for anything body related that you may of missed from clean up. I don't know have that color so I'm not sure if it's a light or dark green, but the basecoat color of the primer will affect the shade of the color coat. White primer will make the green brighter and pop more so than a gray or black primer those will just make the green darker. Can't speak on there clear coat stuff, but there primer and paint are fantastic stuff. -
I do know with say tamiya X series paints pretty sure the same with there LP range anything gloss color wise needs to be thinned properly and sprayed at low PSI. I remember when i did some side view mirror after the 3 pass with Tamiya X-1 black the gloss just appeared smooth as a babys bottom and mirror finish no orange peel nothing show room quality gloss on side view mirrors LOL. But i mainly use basecoats like scalefinishes on bodies, and never have orange peel. The orange peel will come from the gloss coat 2K or whatever you like to use, because if 2K especially isn't thinned right or sprayed too low of a PSI and heavy coats you will get orange peel. I do all body painting and gloss coats with a procon PS-290 with fan pattern cap, and everything else i do with iwata eclipse i upgraded too a .5 needle setup. There is one trick i read about for lacquer paint like mr hobby is if you get any orange peel just spray lacquer thinner over the base coat and it'll self level the orange peel out.
-

Which Jaguar XKEs Are Better?
Dpate replied to Miatatom's topic in Model Building Questions and Answers
Seen this kit at michaels and seen it was molded in red and instantly put it back on the shelf lol -

Making seats look like leather...
Dpate replied to Hillbilly Deluxe's topic in Tips, Tricks, and Tutorials
Well color me impressed -

What Putty or Fillers to Use
Dpate replied to Chevy II's topic in Model Building Questions and Answers
I use sprue goo, Tamiya white putty, and Mr hobby putty in a jar.


