M W Elky
-
Posts
1,087 -
Joined
-
Last visited
Content Type
Profiles
Forums
Events
Gallery
Everything posted by M W Elky
-
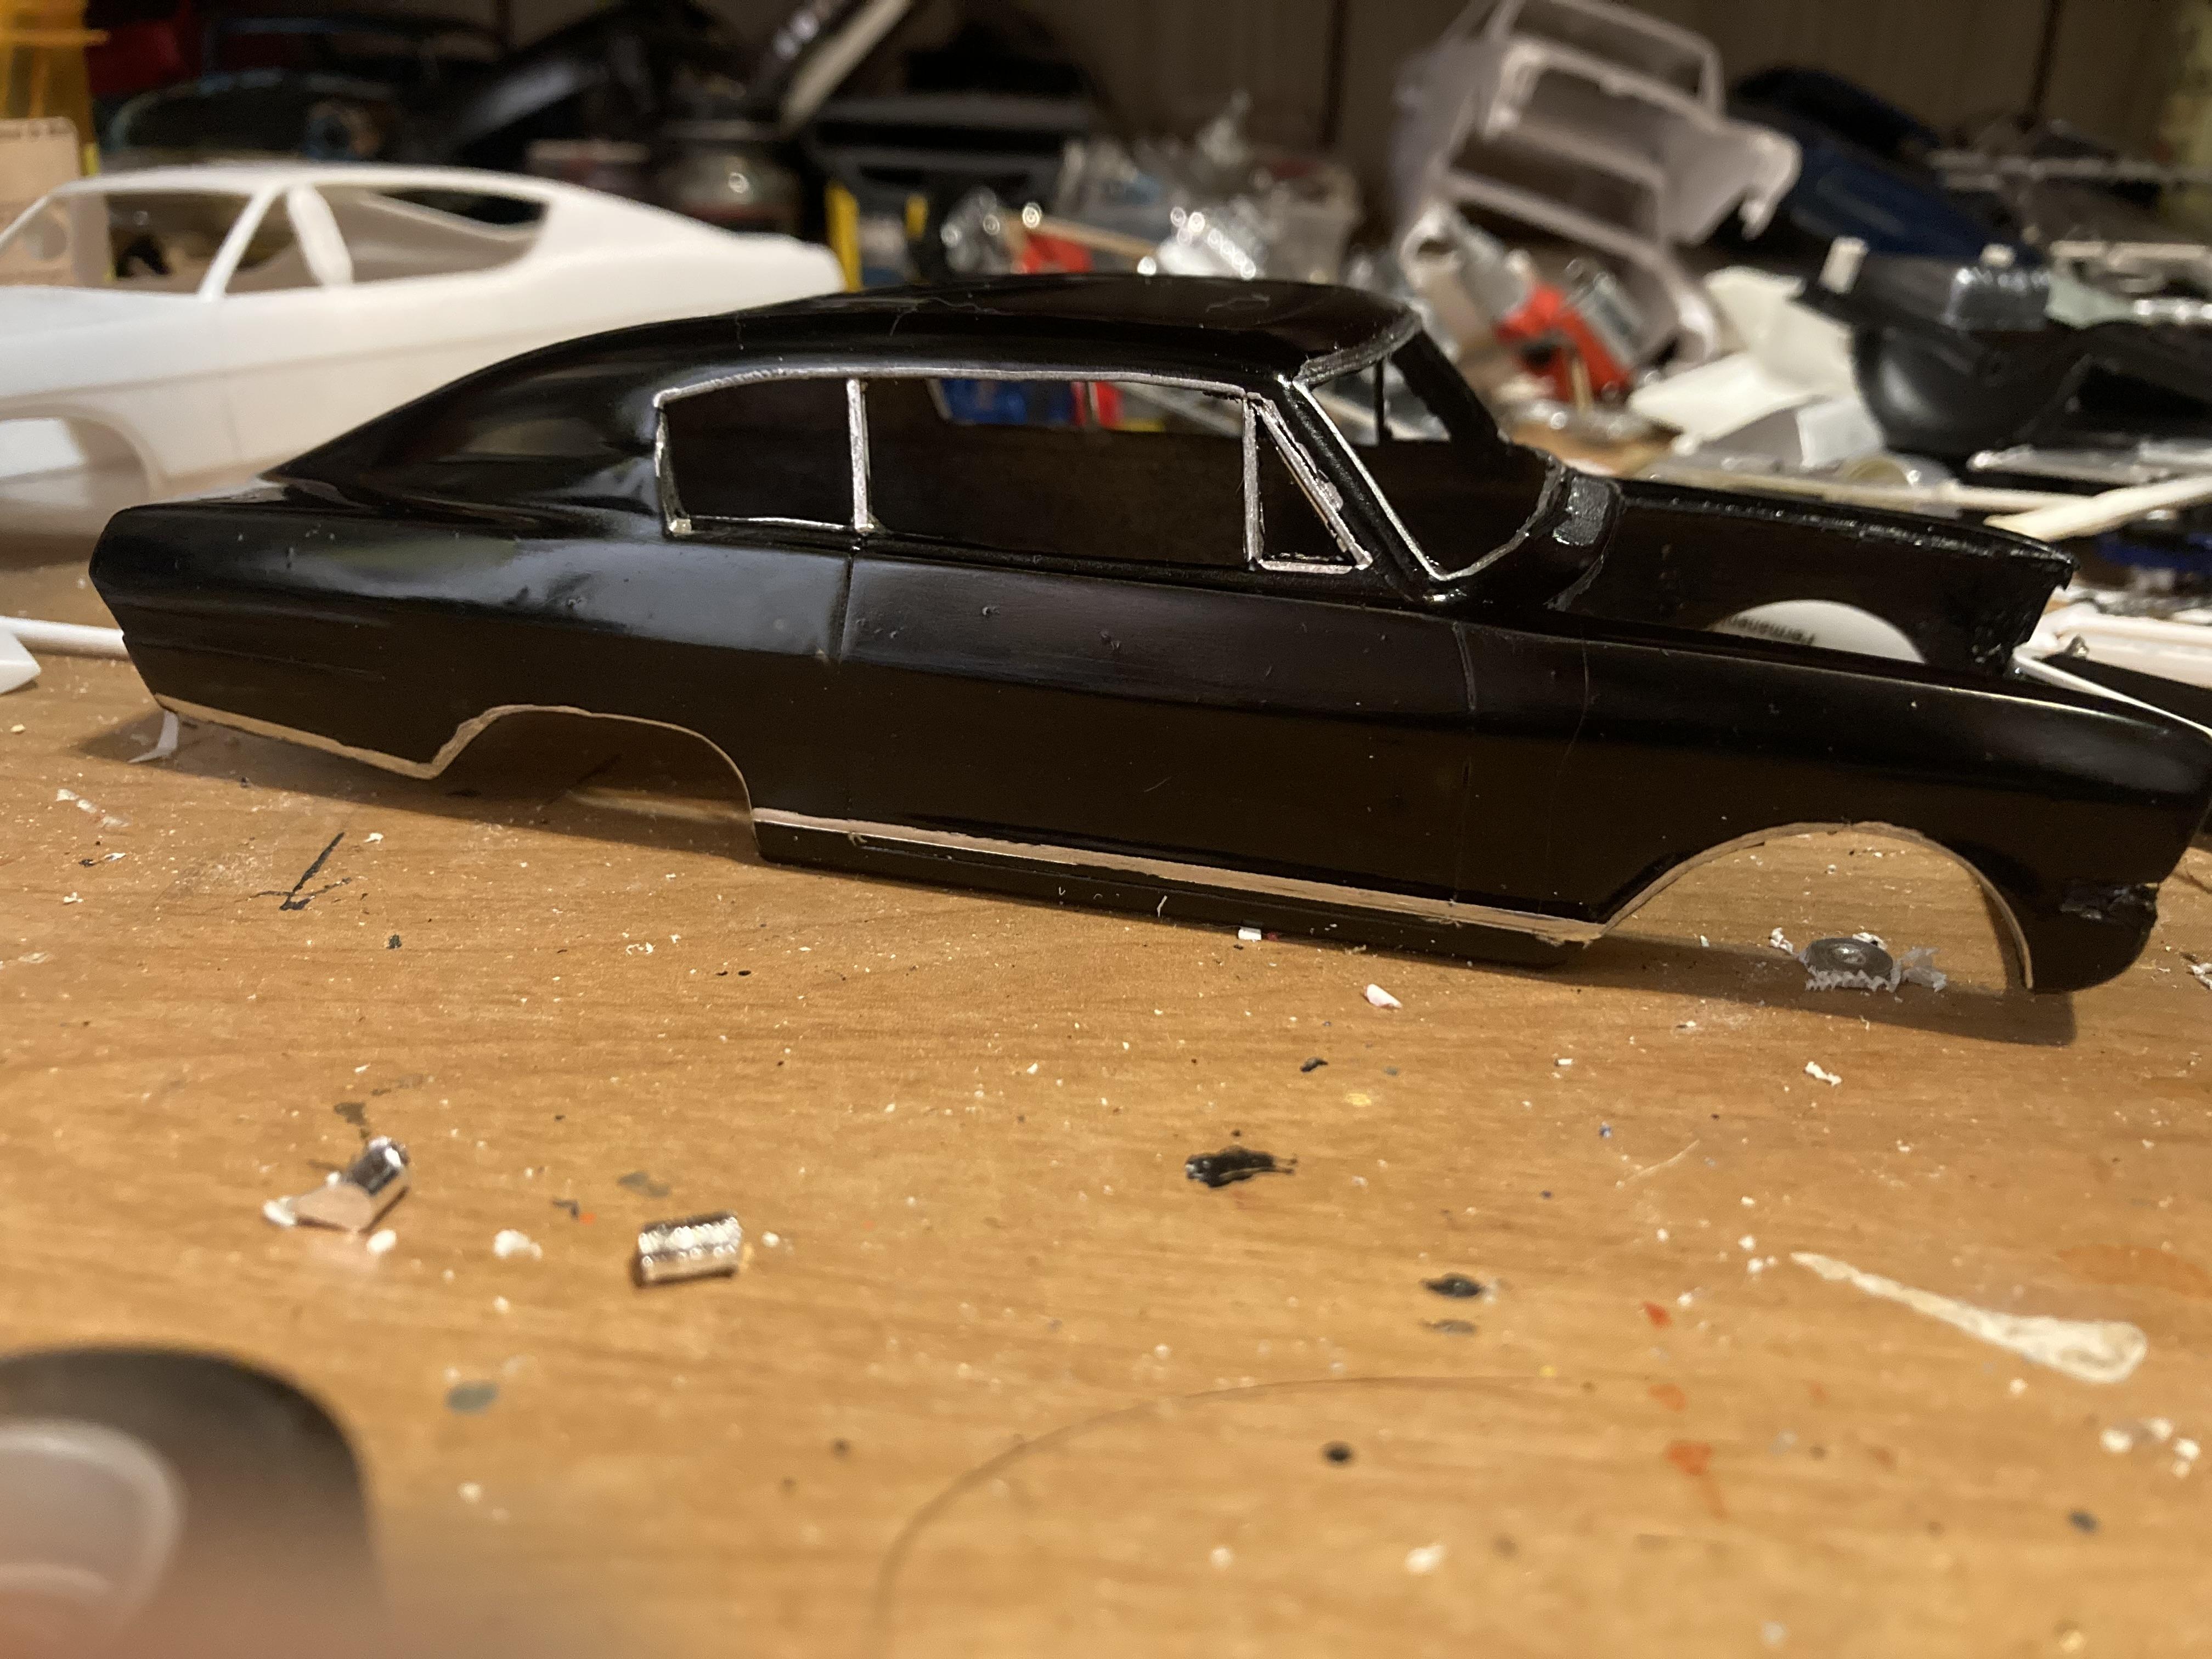
Added the B pillar and chrome side trim

-
I’ve been wanting to build that Al Joniec car for years I’ve never been able to find the correct decals . Pole cat decals just came out with a set for the maverick plus a few other mavericks . I’ve never ordered anything from them but I need to. They are both coming along nicely
-
Another fabulous looking funny car with great photography. It makes the colors really pop . I’m pretty sure this car had a third life with uncle beave’s young nephew John Brut Force .
-
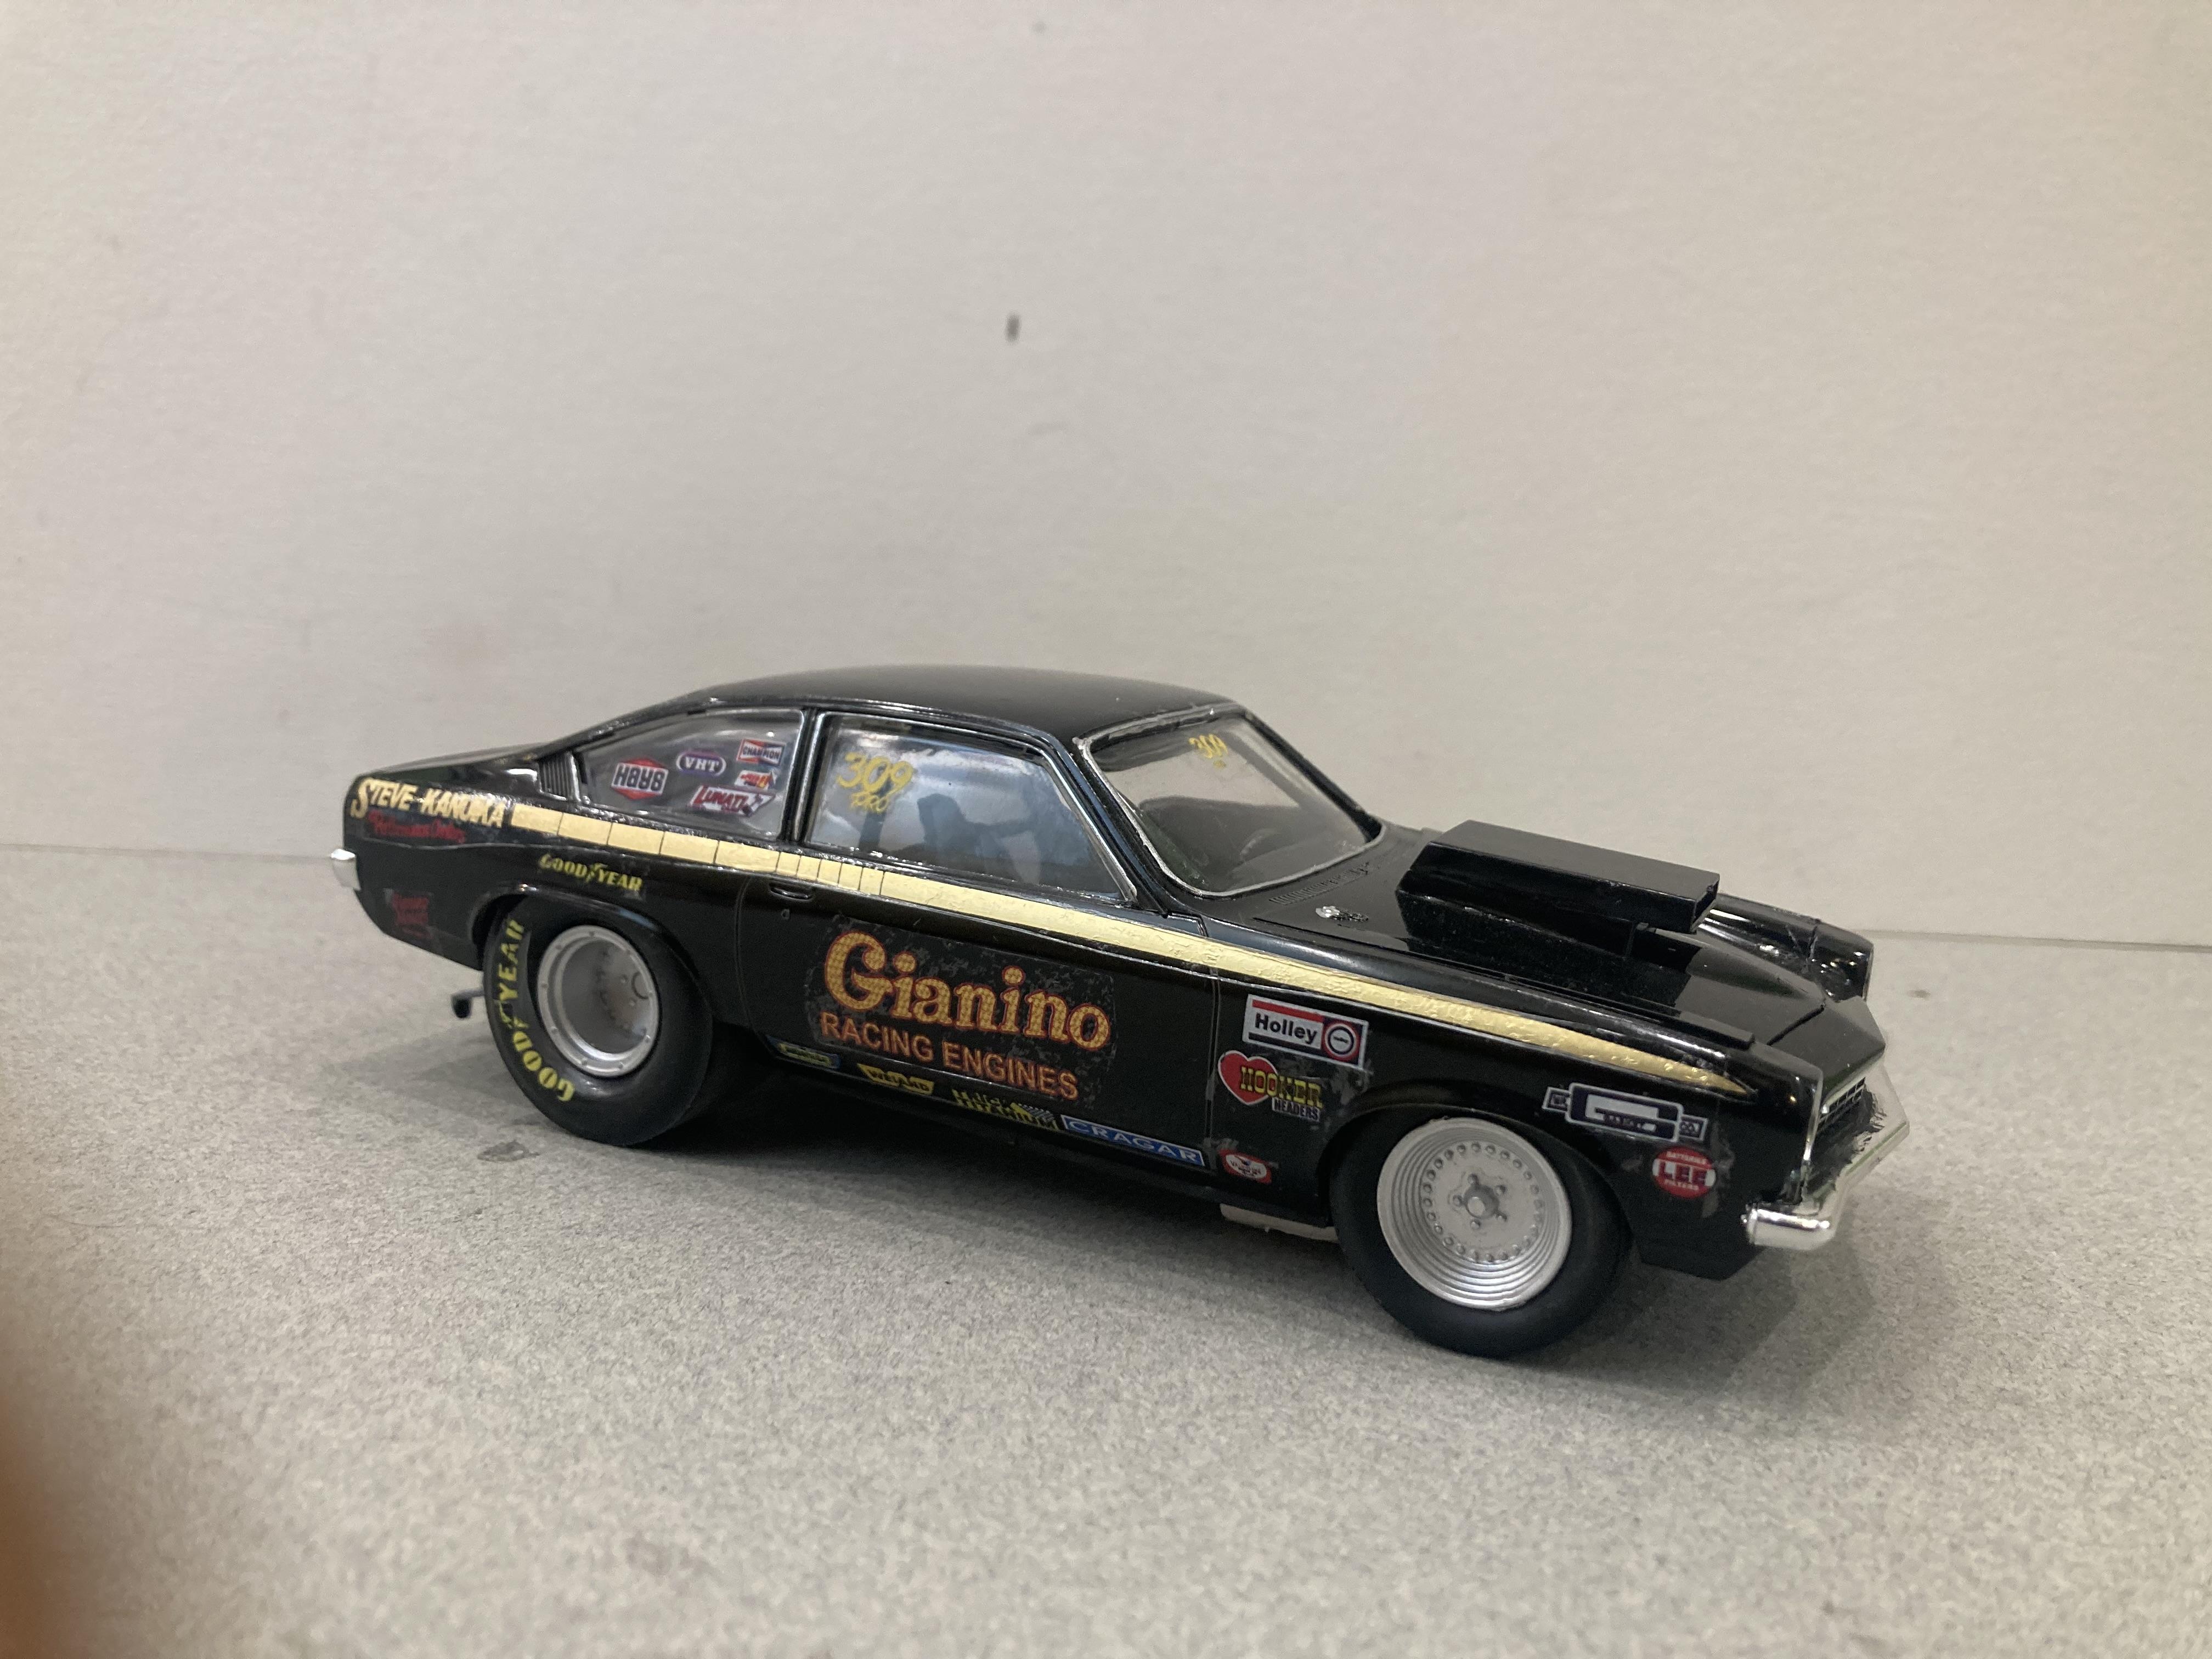
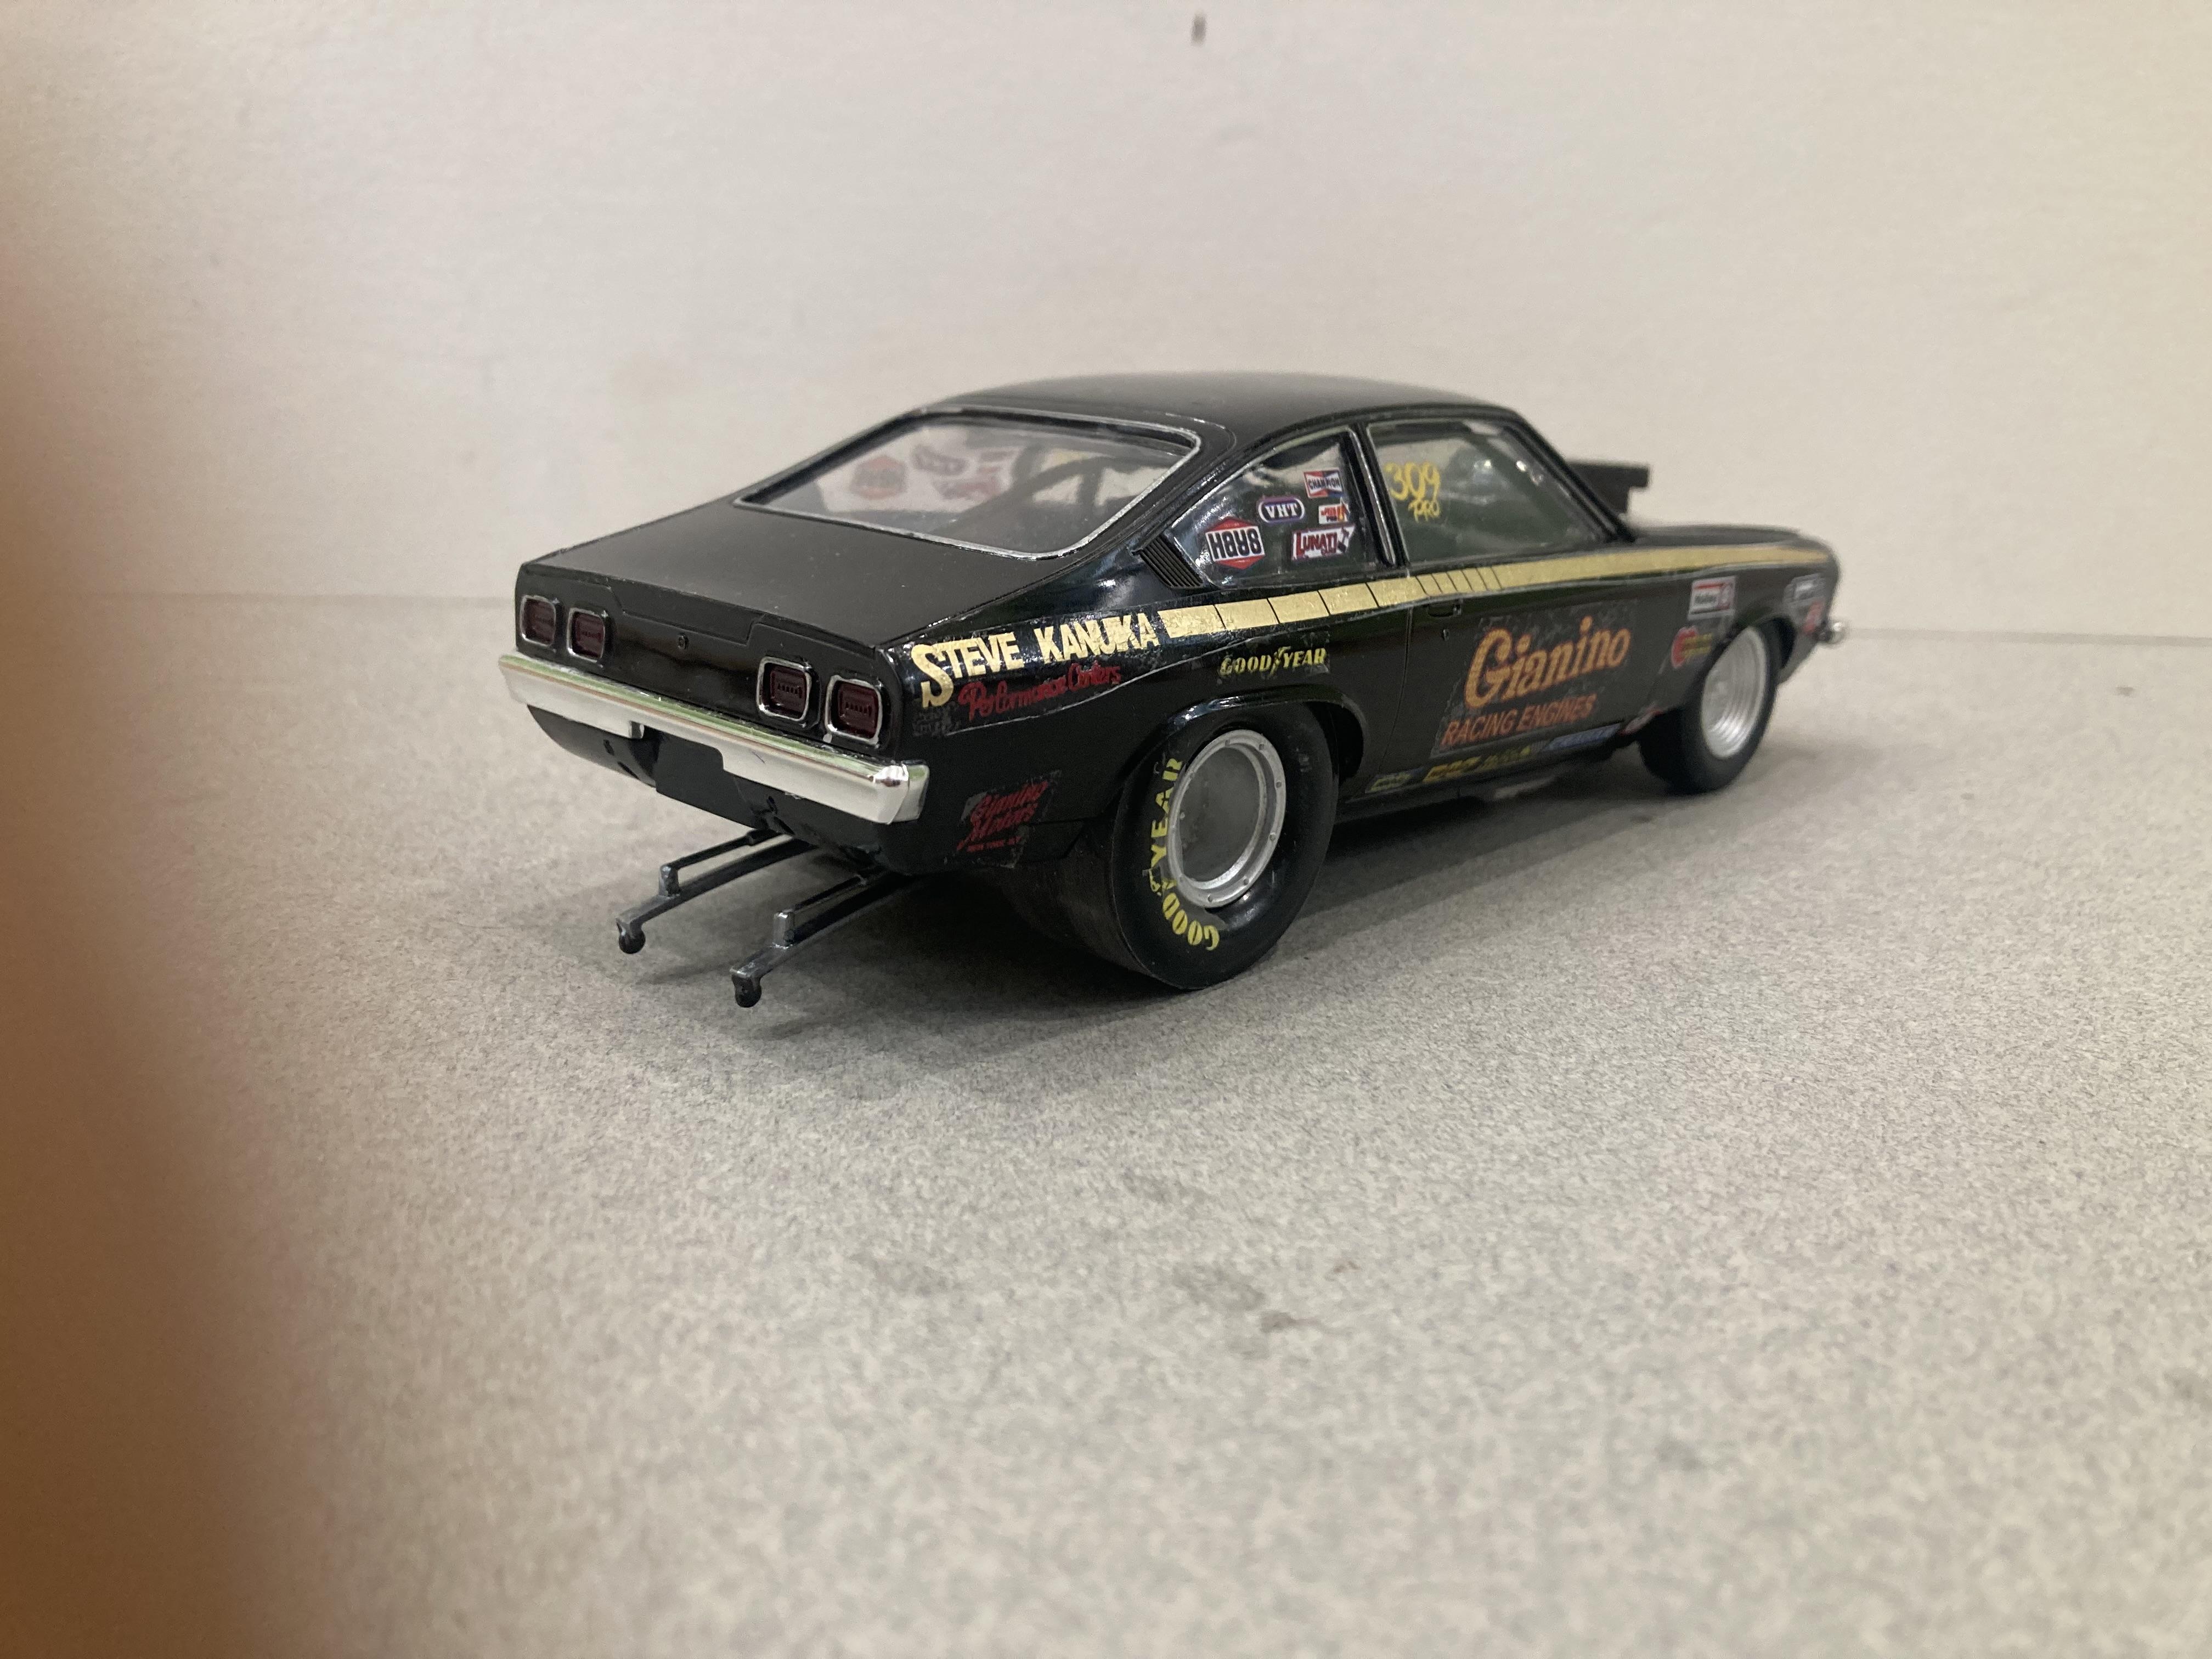
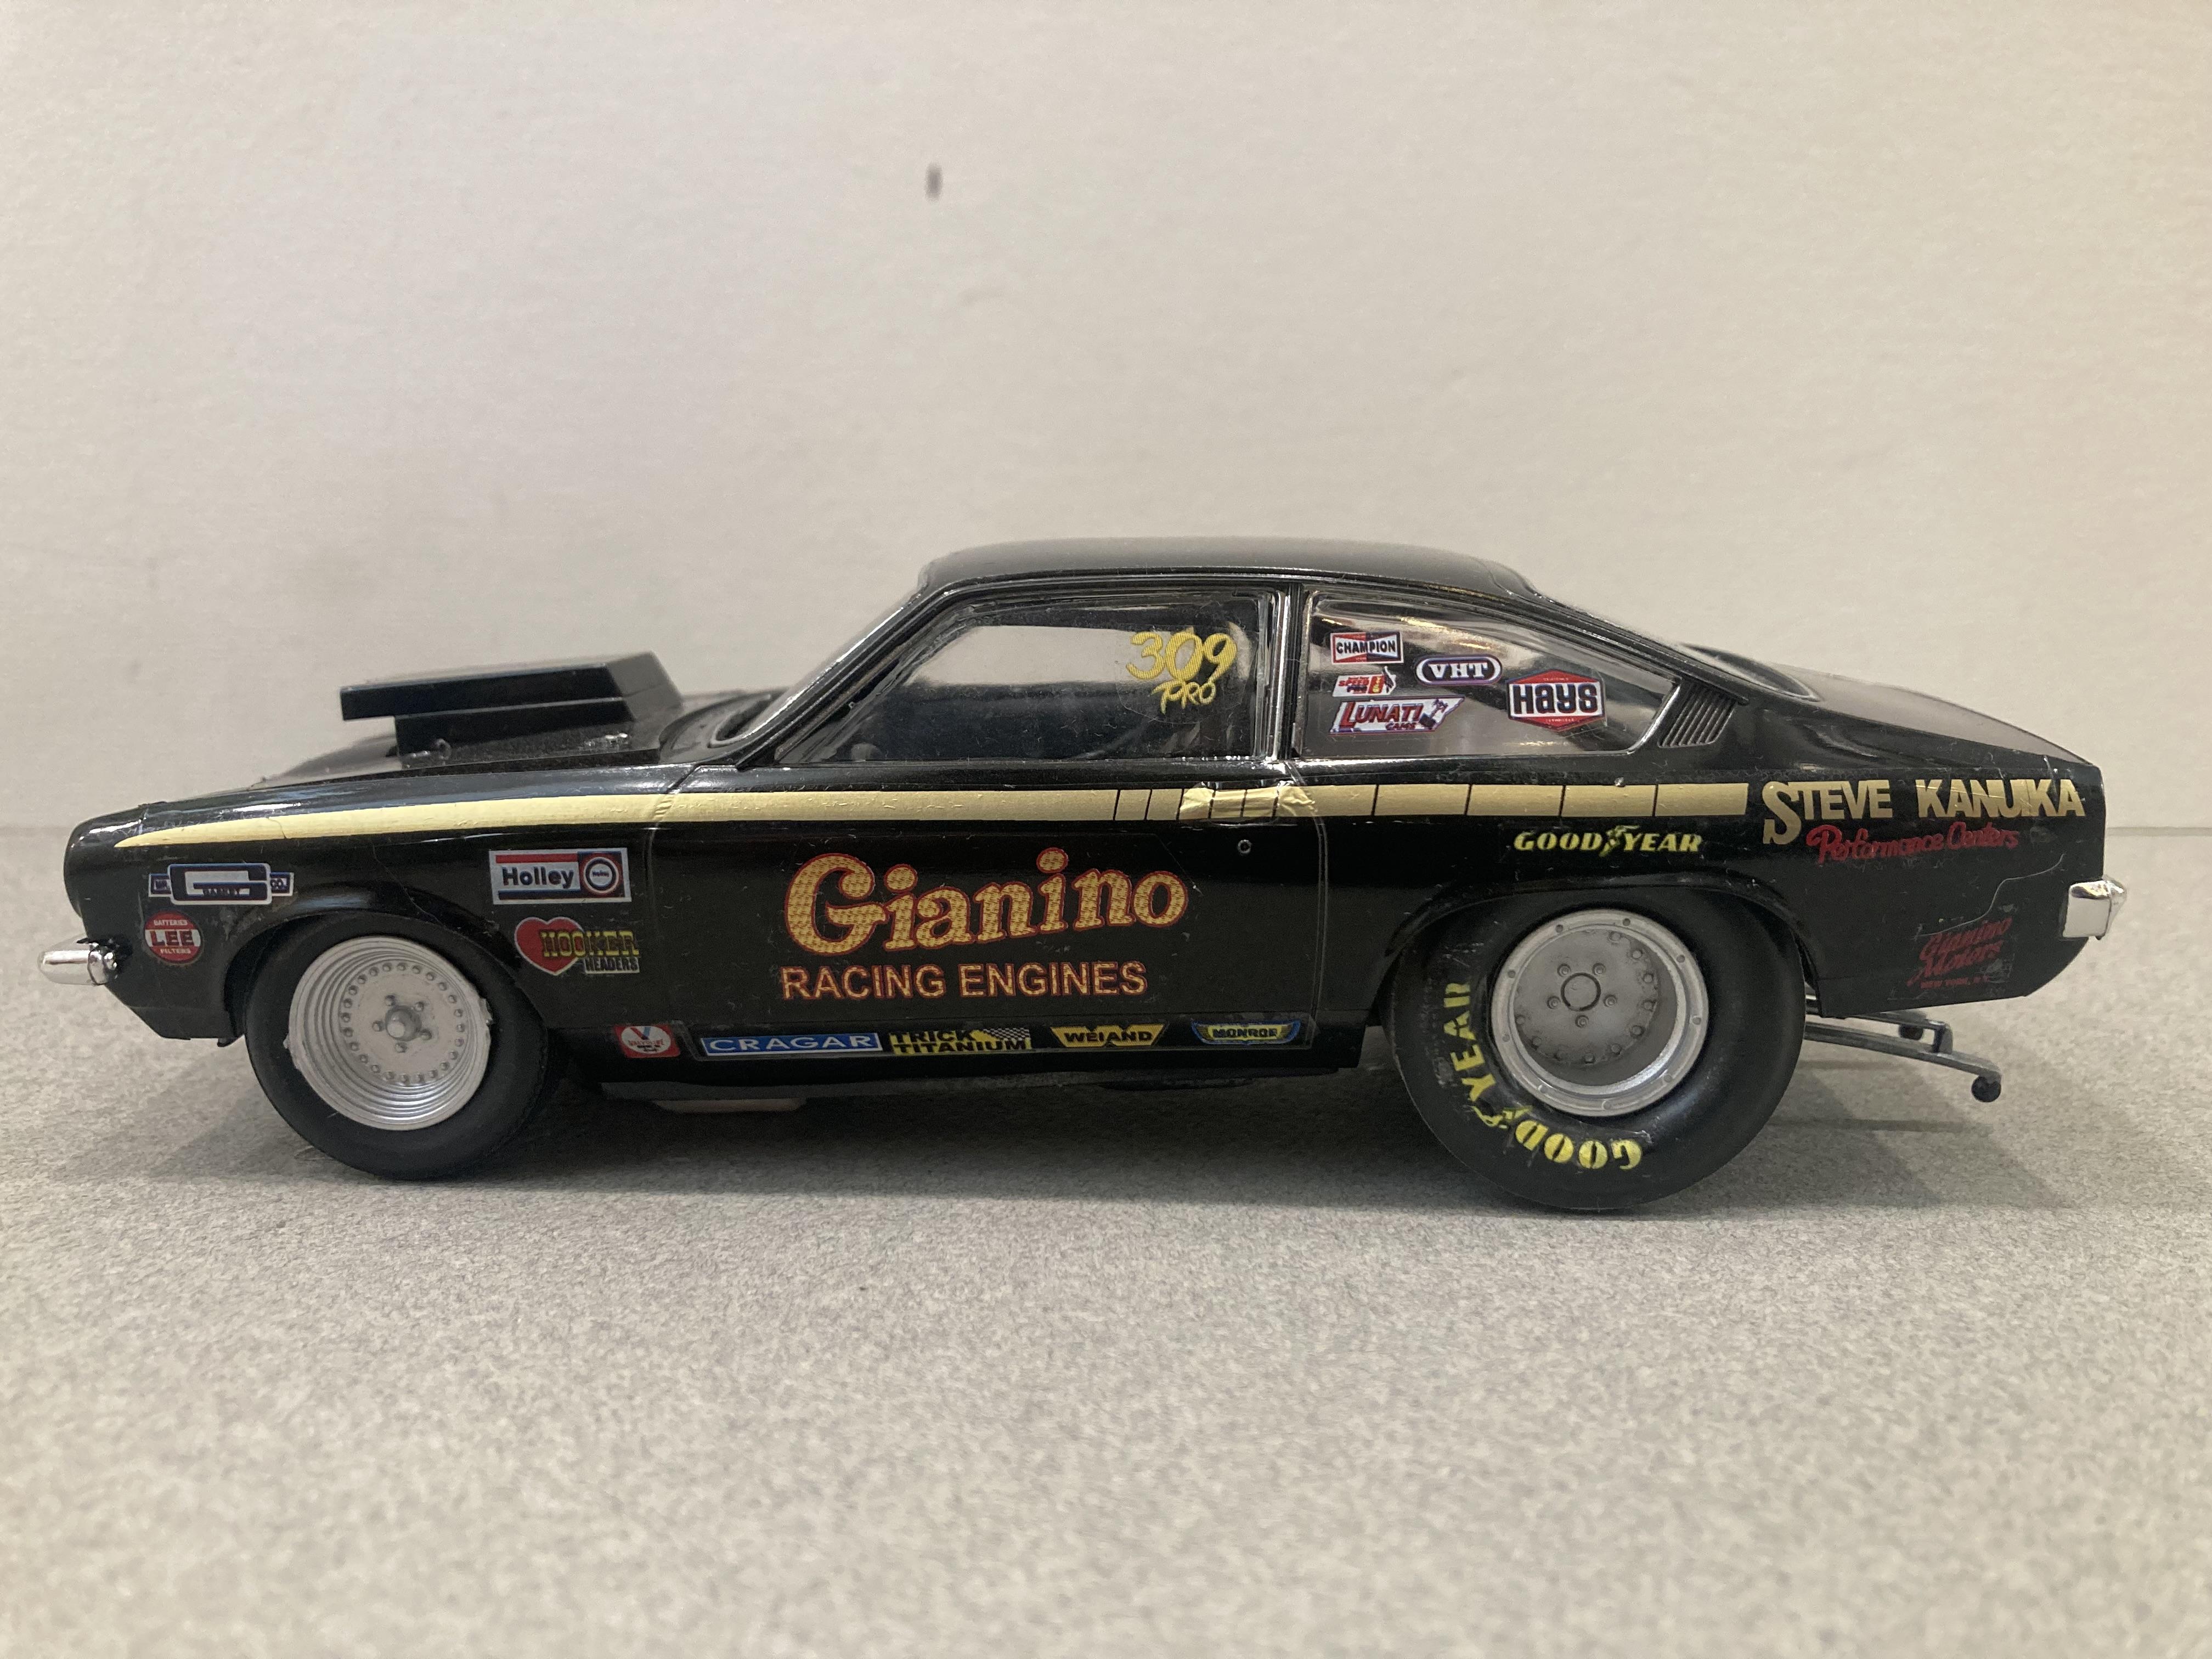
This is your basic mpc grumpy’s toy Vega kit mixed with the engine from the amt 1966 nova pro street kit . Tamyia gloss black with chuck Boener decals. The gold decals are really striking against the gloss black paint. Until next time thanks for looking. Mike
-
Perhaps a Dyno Don Cougar in your future. Maybe a Rod Shop mopar or possibly Herb McCandless
-
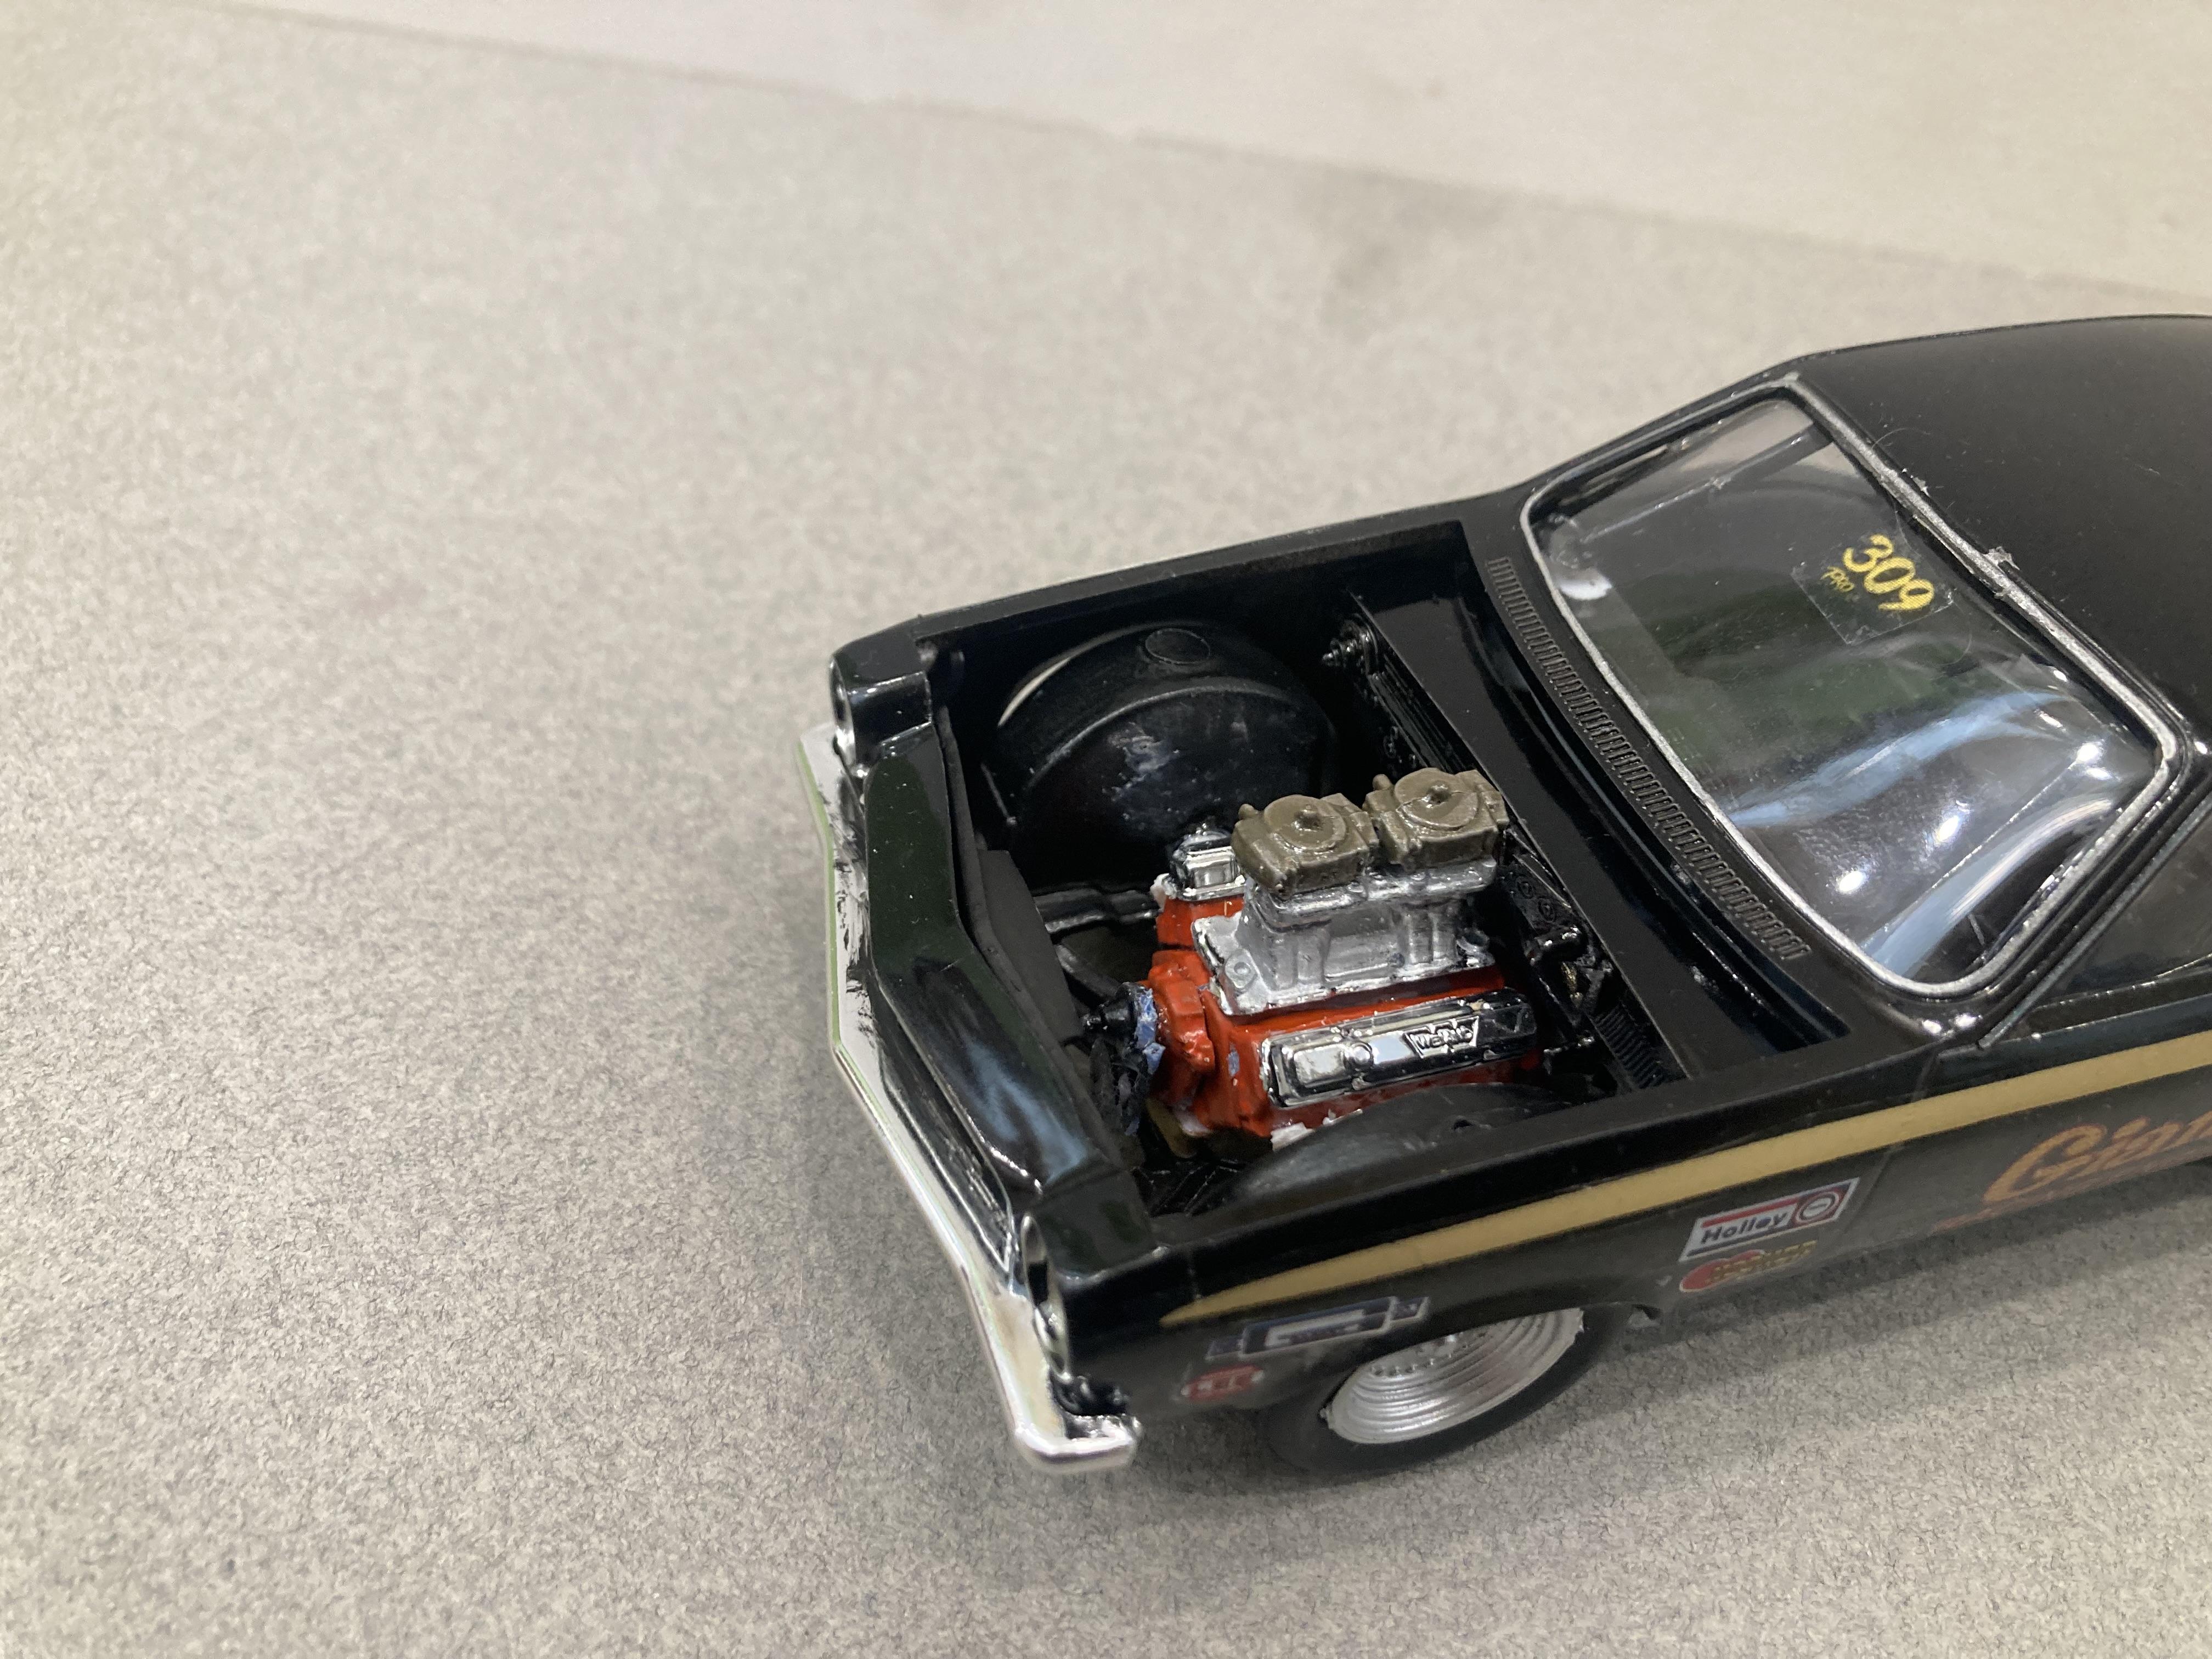
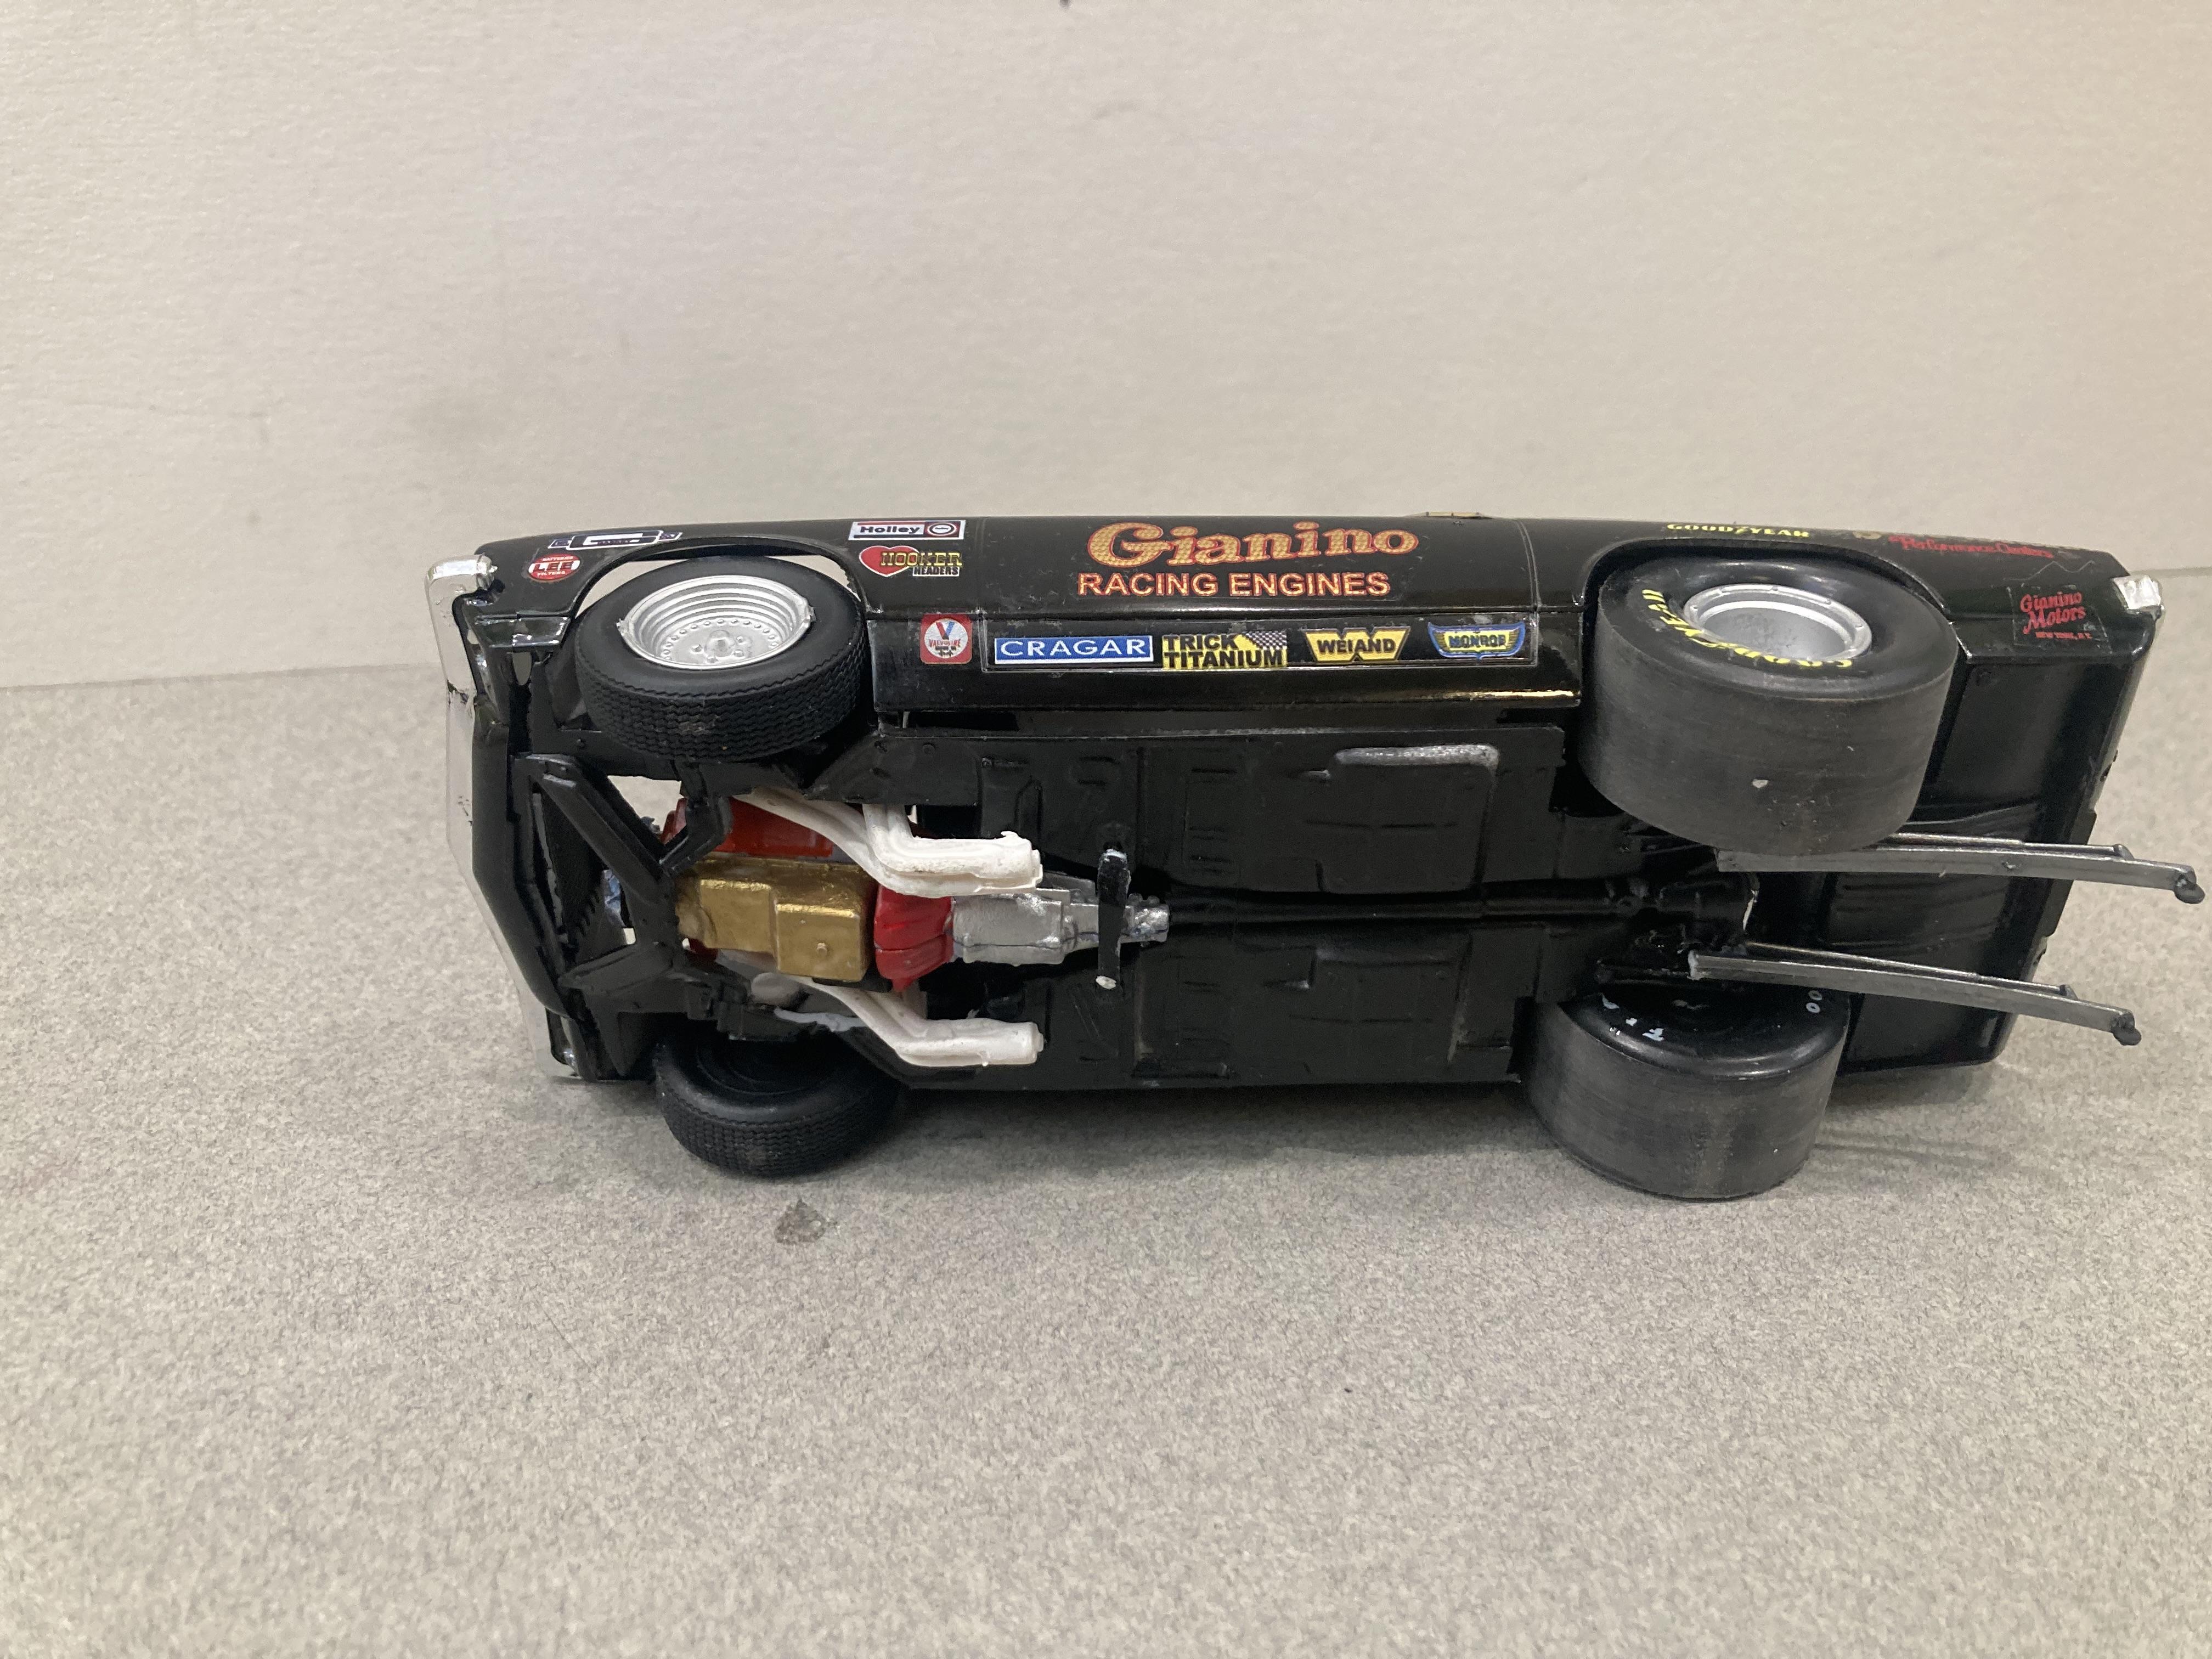
Coleman’s super Ford Torino funny car
M W Elky replied to M W Elky's topic in WIP: Drag Racing Models
Chassis is done and it’s on it’s wheels decals are next
-
WIP Bob Gliddens (Undefeated)Fairmount Pro Stock
M W Elky replied to Mopar2's topic in WIP: Drag Racing Models
SWEET LOOKING FAIRMONT i never liked them as a street car but they made a pretty good looking pro stock I’d like to build Dyno Don’s . That’s a really nice representation of a Cleveland engine. -
Coleman’s super Ford Torino funny car
M W Elky replied to M W Elky's topic in WIP: Drag Racing Models
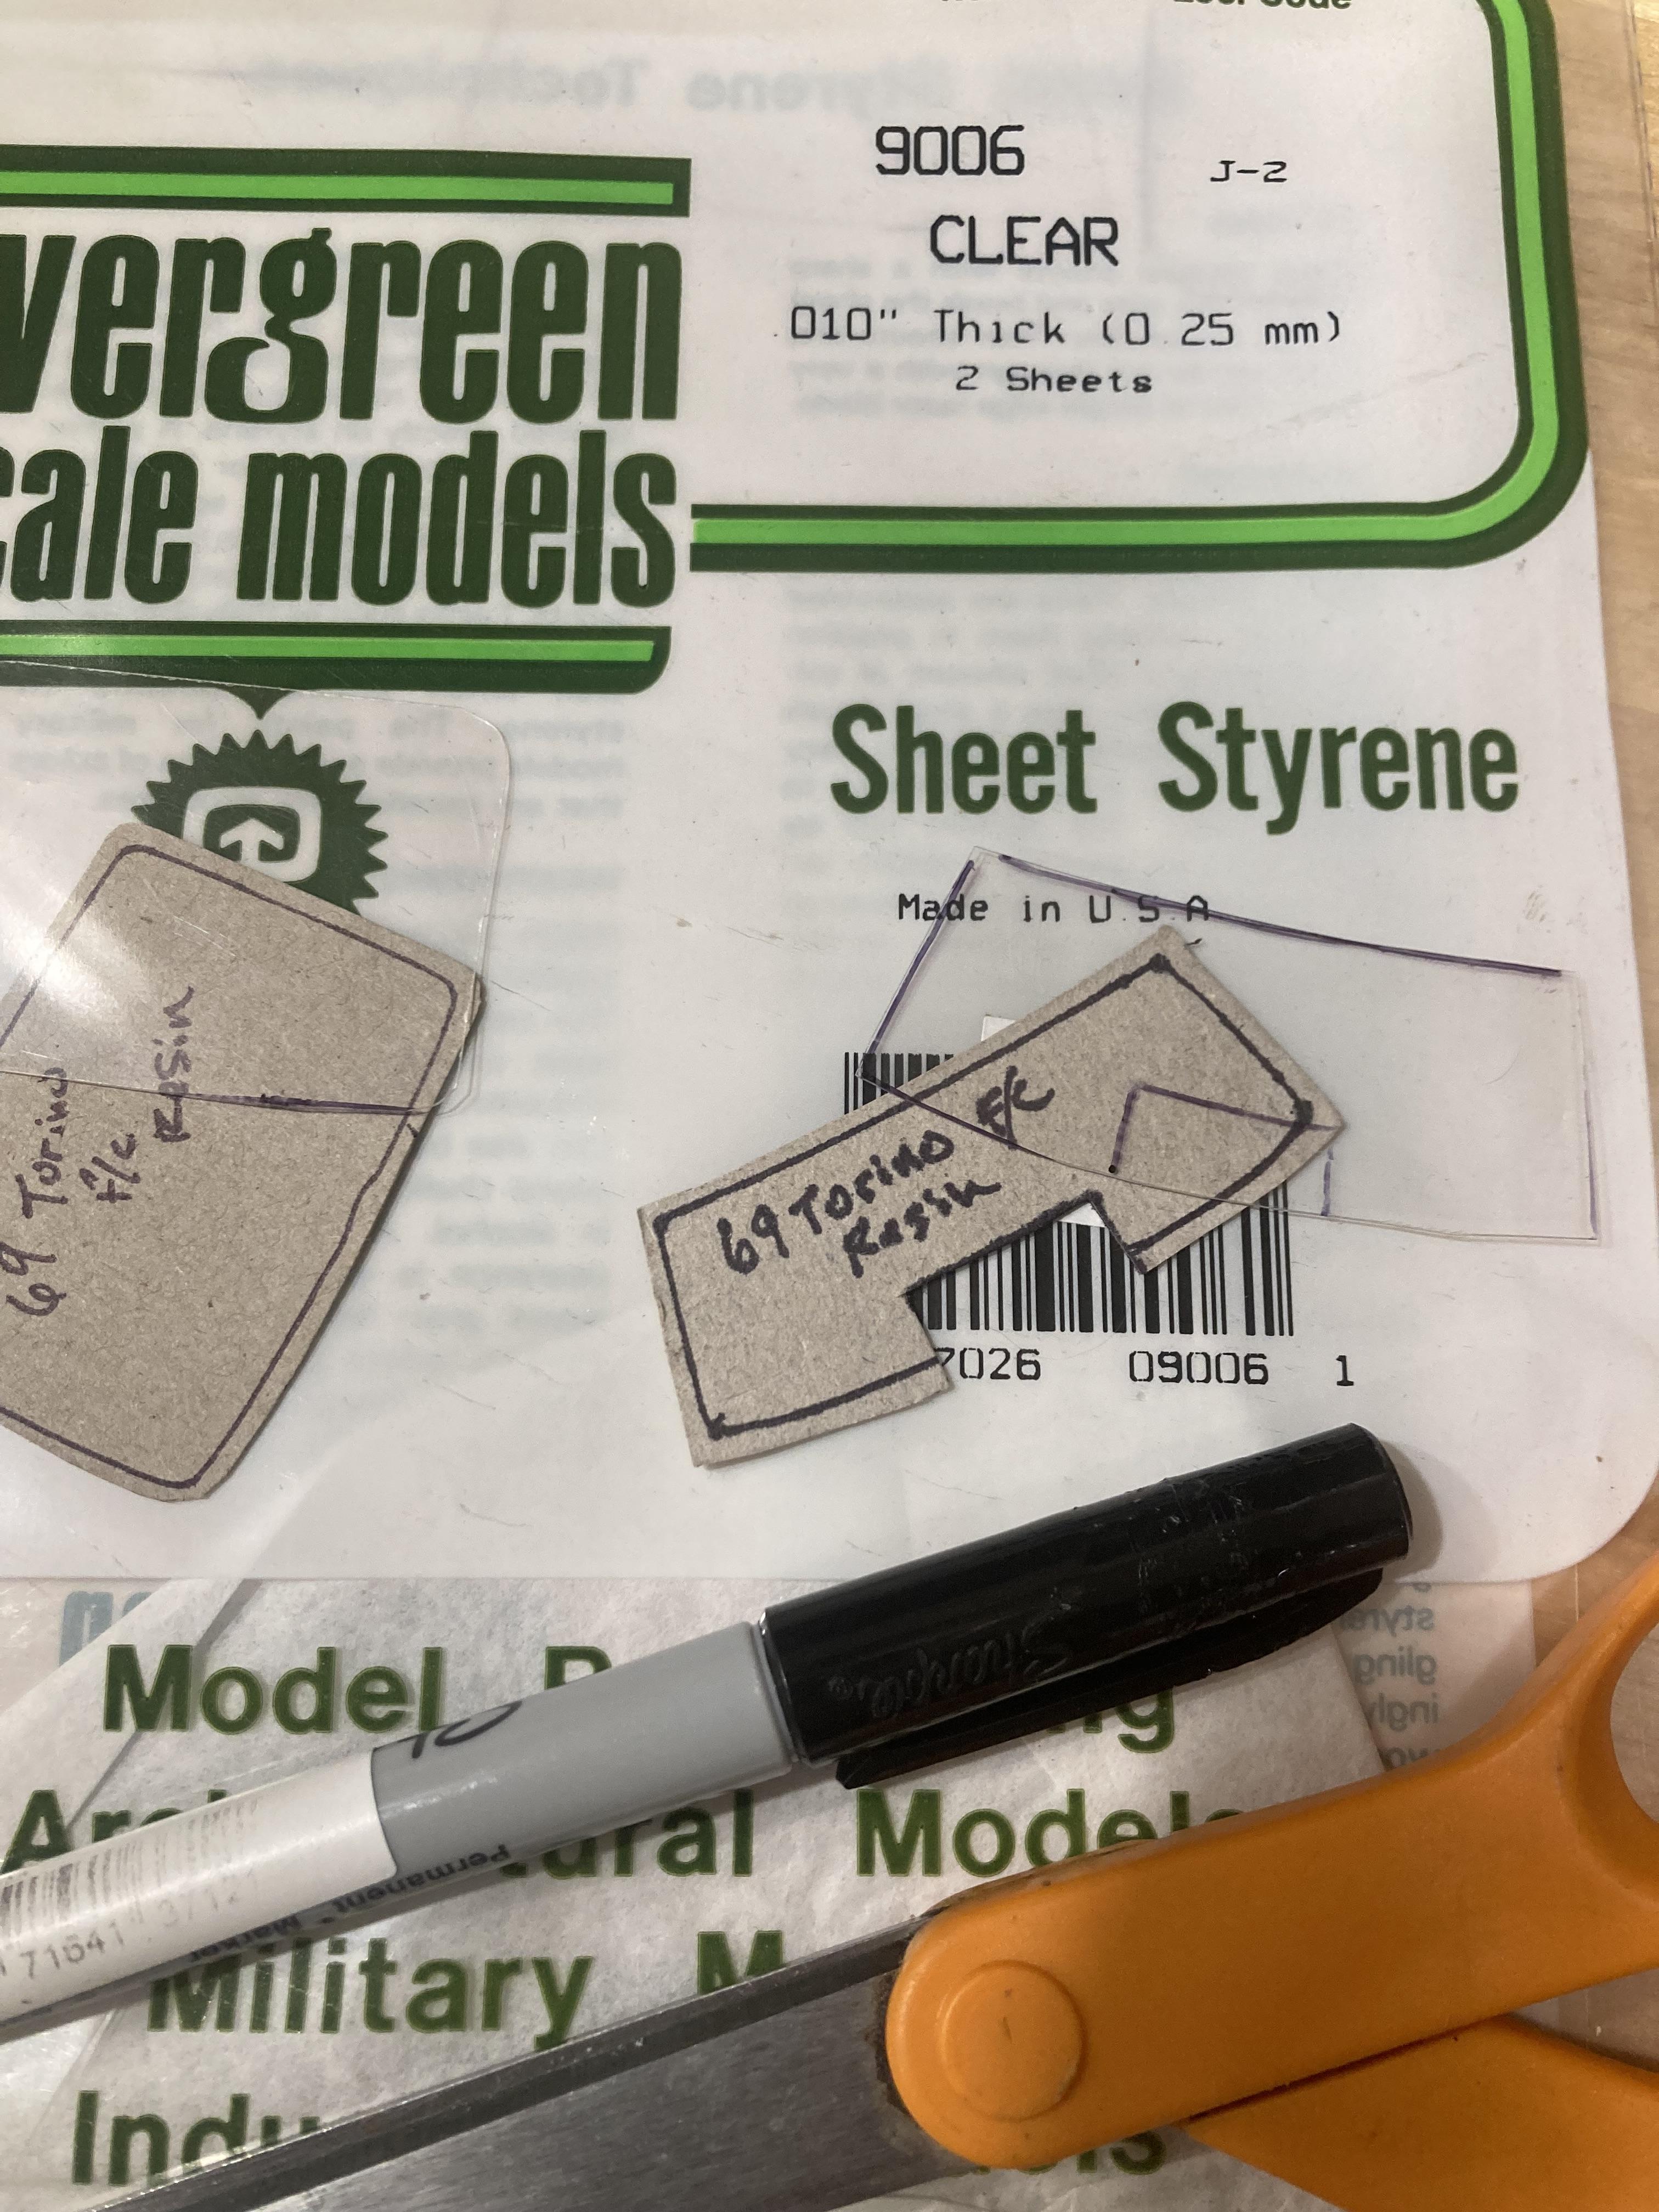
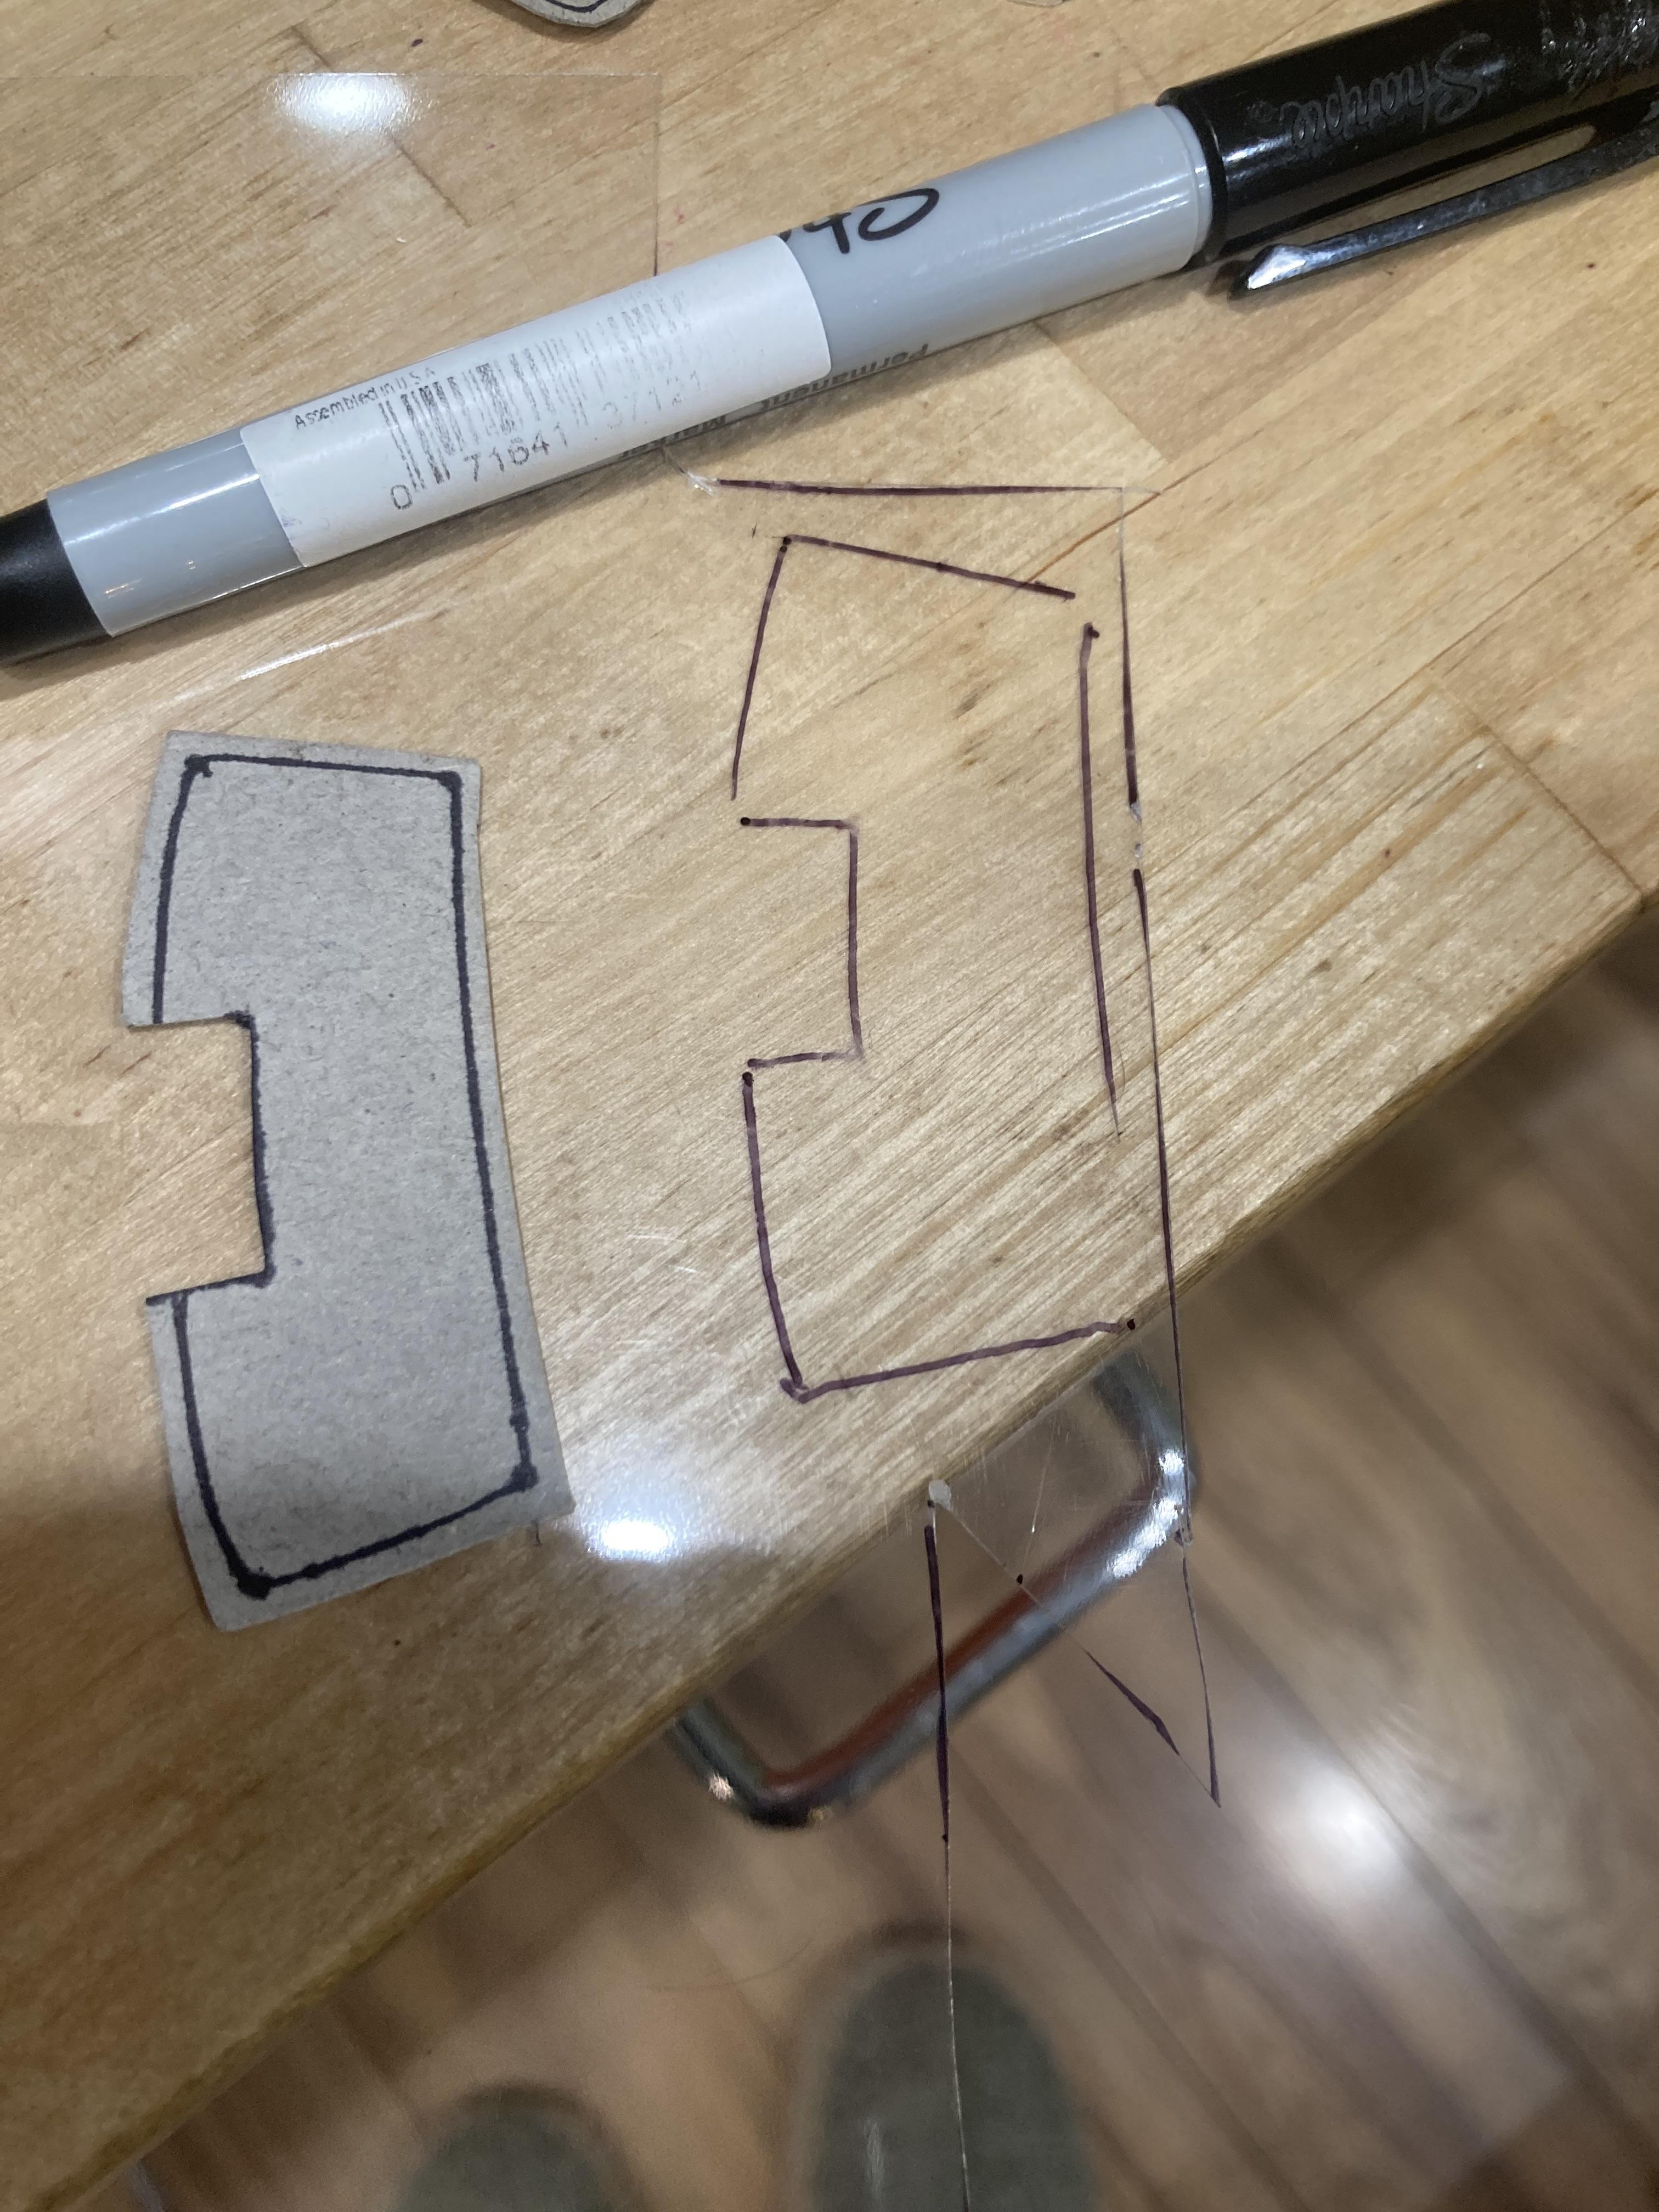
Custom made windows . I use an old model box for the template material. Then trace it out on a .010 clear styrene sheet with an extra fine tip sharpie . Then simply cut them out with scissors, and glue them in with testors clear parts glue. There held in place with tamyia masking tape , and left to set up over night.
-
I had a couple of resin Torino funny car bodies that I painted 11 years ago. Then parked them on the waiting self. After using the body from the MACH WON kit for the Ed Terry pro stock it left me with a pretty nice chassis and just enough cammer parts to finish building the Colman funny car . Some parts came from a raid of the parts box of coarse.
-
They look great. That’s odd about the decals I used the same slixx set on my Vega build and they were fine . I find that the slixx decals like very hot water. I really would like to see someone make a decal set for the 68 Camaro funny car and the 69 ZL1 Camaro super stocker
-
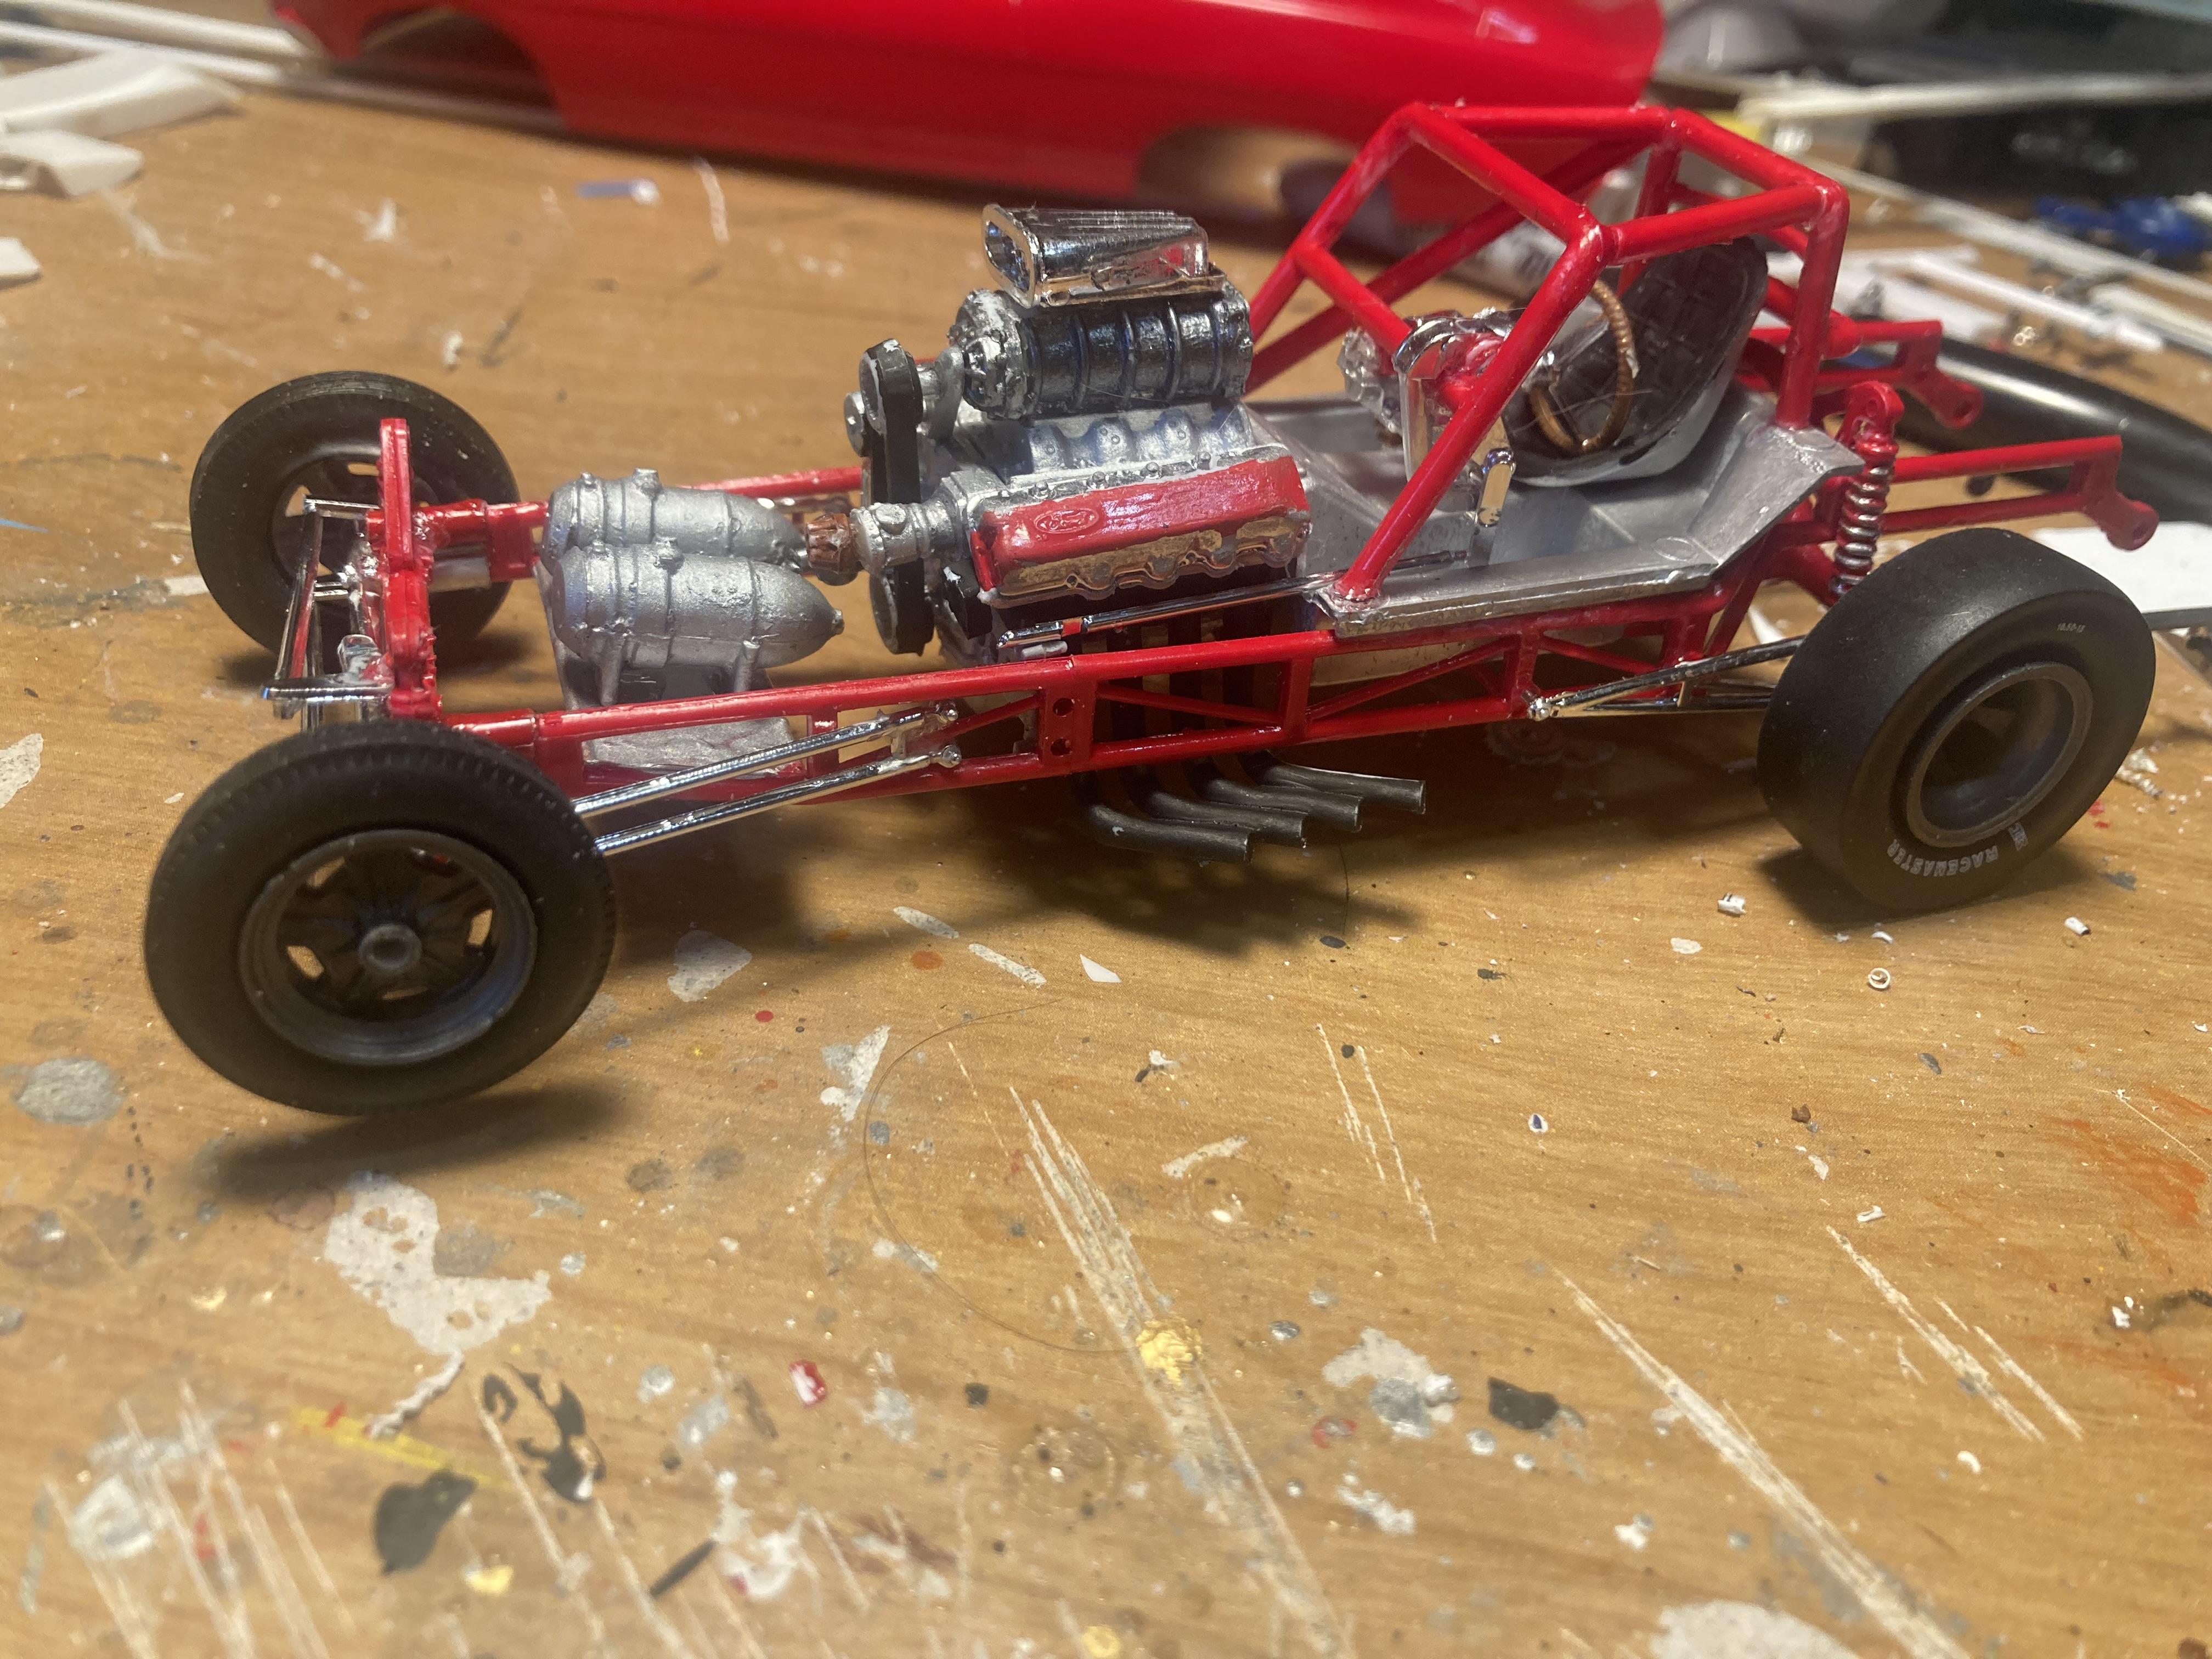
1/16th scale California Charger Dragster
M W Elky replied to Mr.1/16th's topic in WIP: Drag Racing Models
I’m telling you it looks totally awesome , and those decals are Faboo . Please build some more -
A fresh coat of black
-
Sweet build I’ve always really liked the early second generation Camaros
-
This is really cool neat mix of parts
-
Nice job here on both of them especially the snow man . I can remember being about 14 years old and watching the winter nationals on the tv with my dad and seeing him in a plain white top fuel dragster. My dad had to explain to me that he ran on his own nickel as I thought it was really odd that there was no lettering on his car. I was a big fan of him from that day on
-
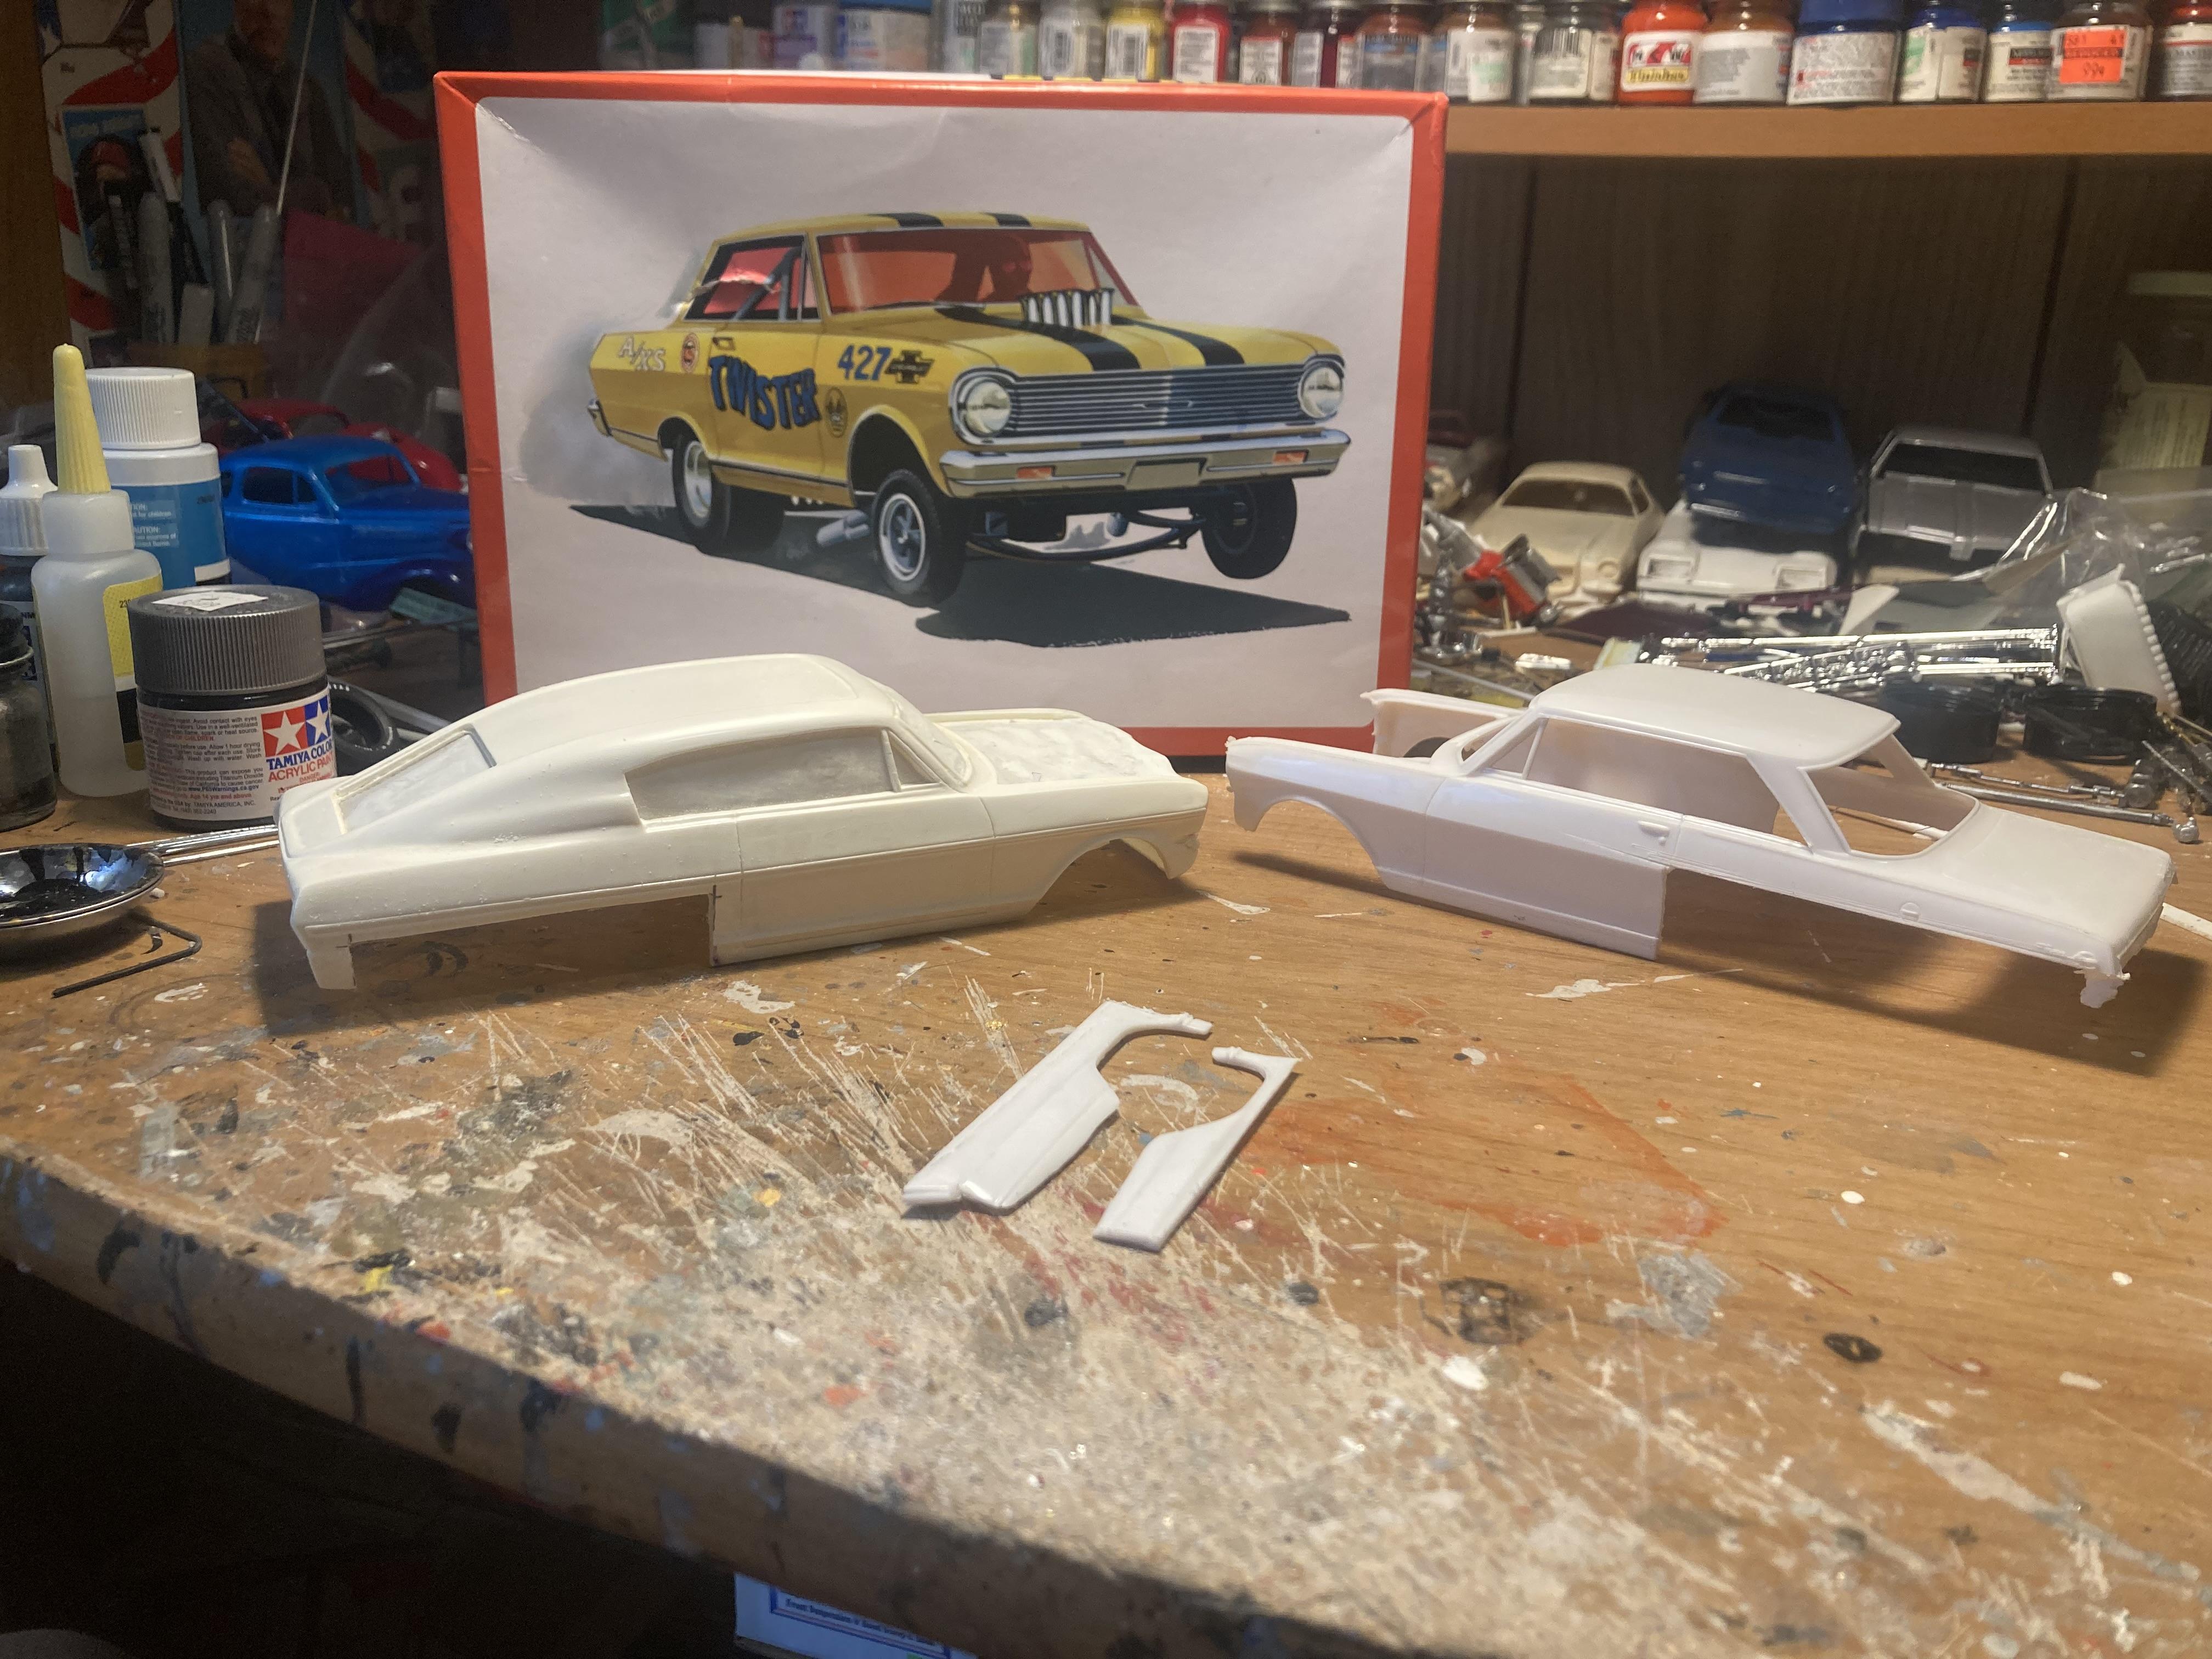
I got them both from southern Motorsport hobbies. However they don’t have the fastback Chevy 2 body on their website so I ordered it through their eBay store. They also have the decals for the Arlen Green Chevrolet version they have the decals on their website under yesteryear drag decals. They offer a lot of good stuff both resin and decals
-
All sanded down and ready for paint I use this nice little plastic container which allows me to sit on the couch and watch tv while sanding nt
-
Thanks they’ve been a real work in progress over the last two years you’ll have to check out all 96 of them the first three aren’t numbered
-
Sweet build man that straight six is a tire work of art and goes nice with rough primer lakes car finish. It looks like it’s ready for some S.C.T.A action
-
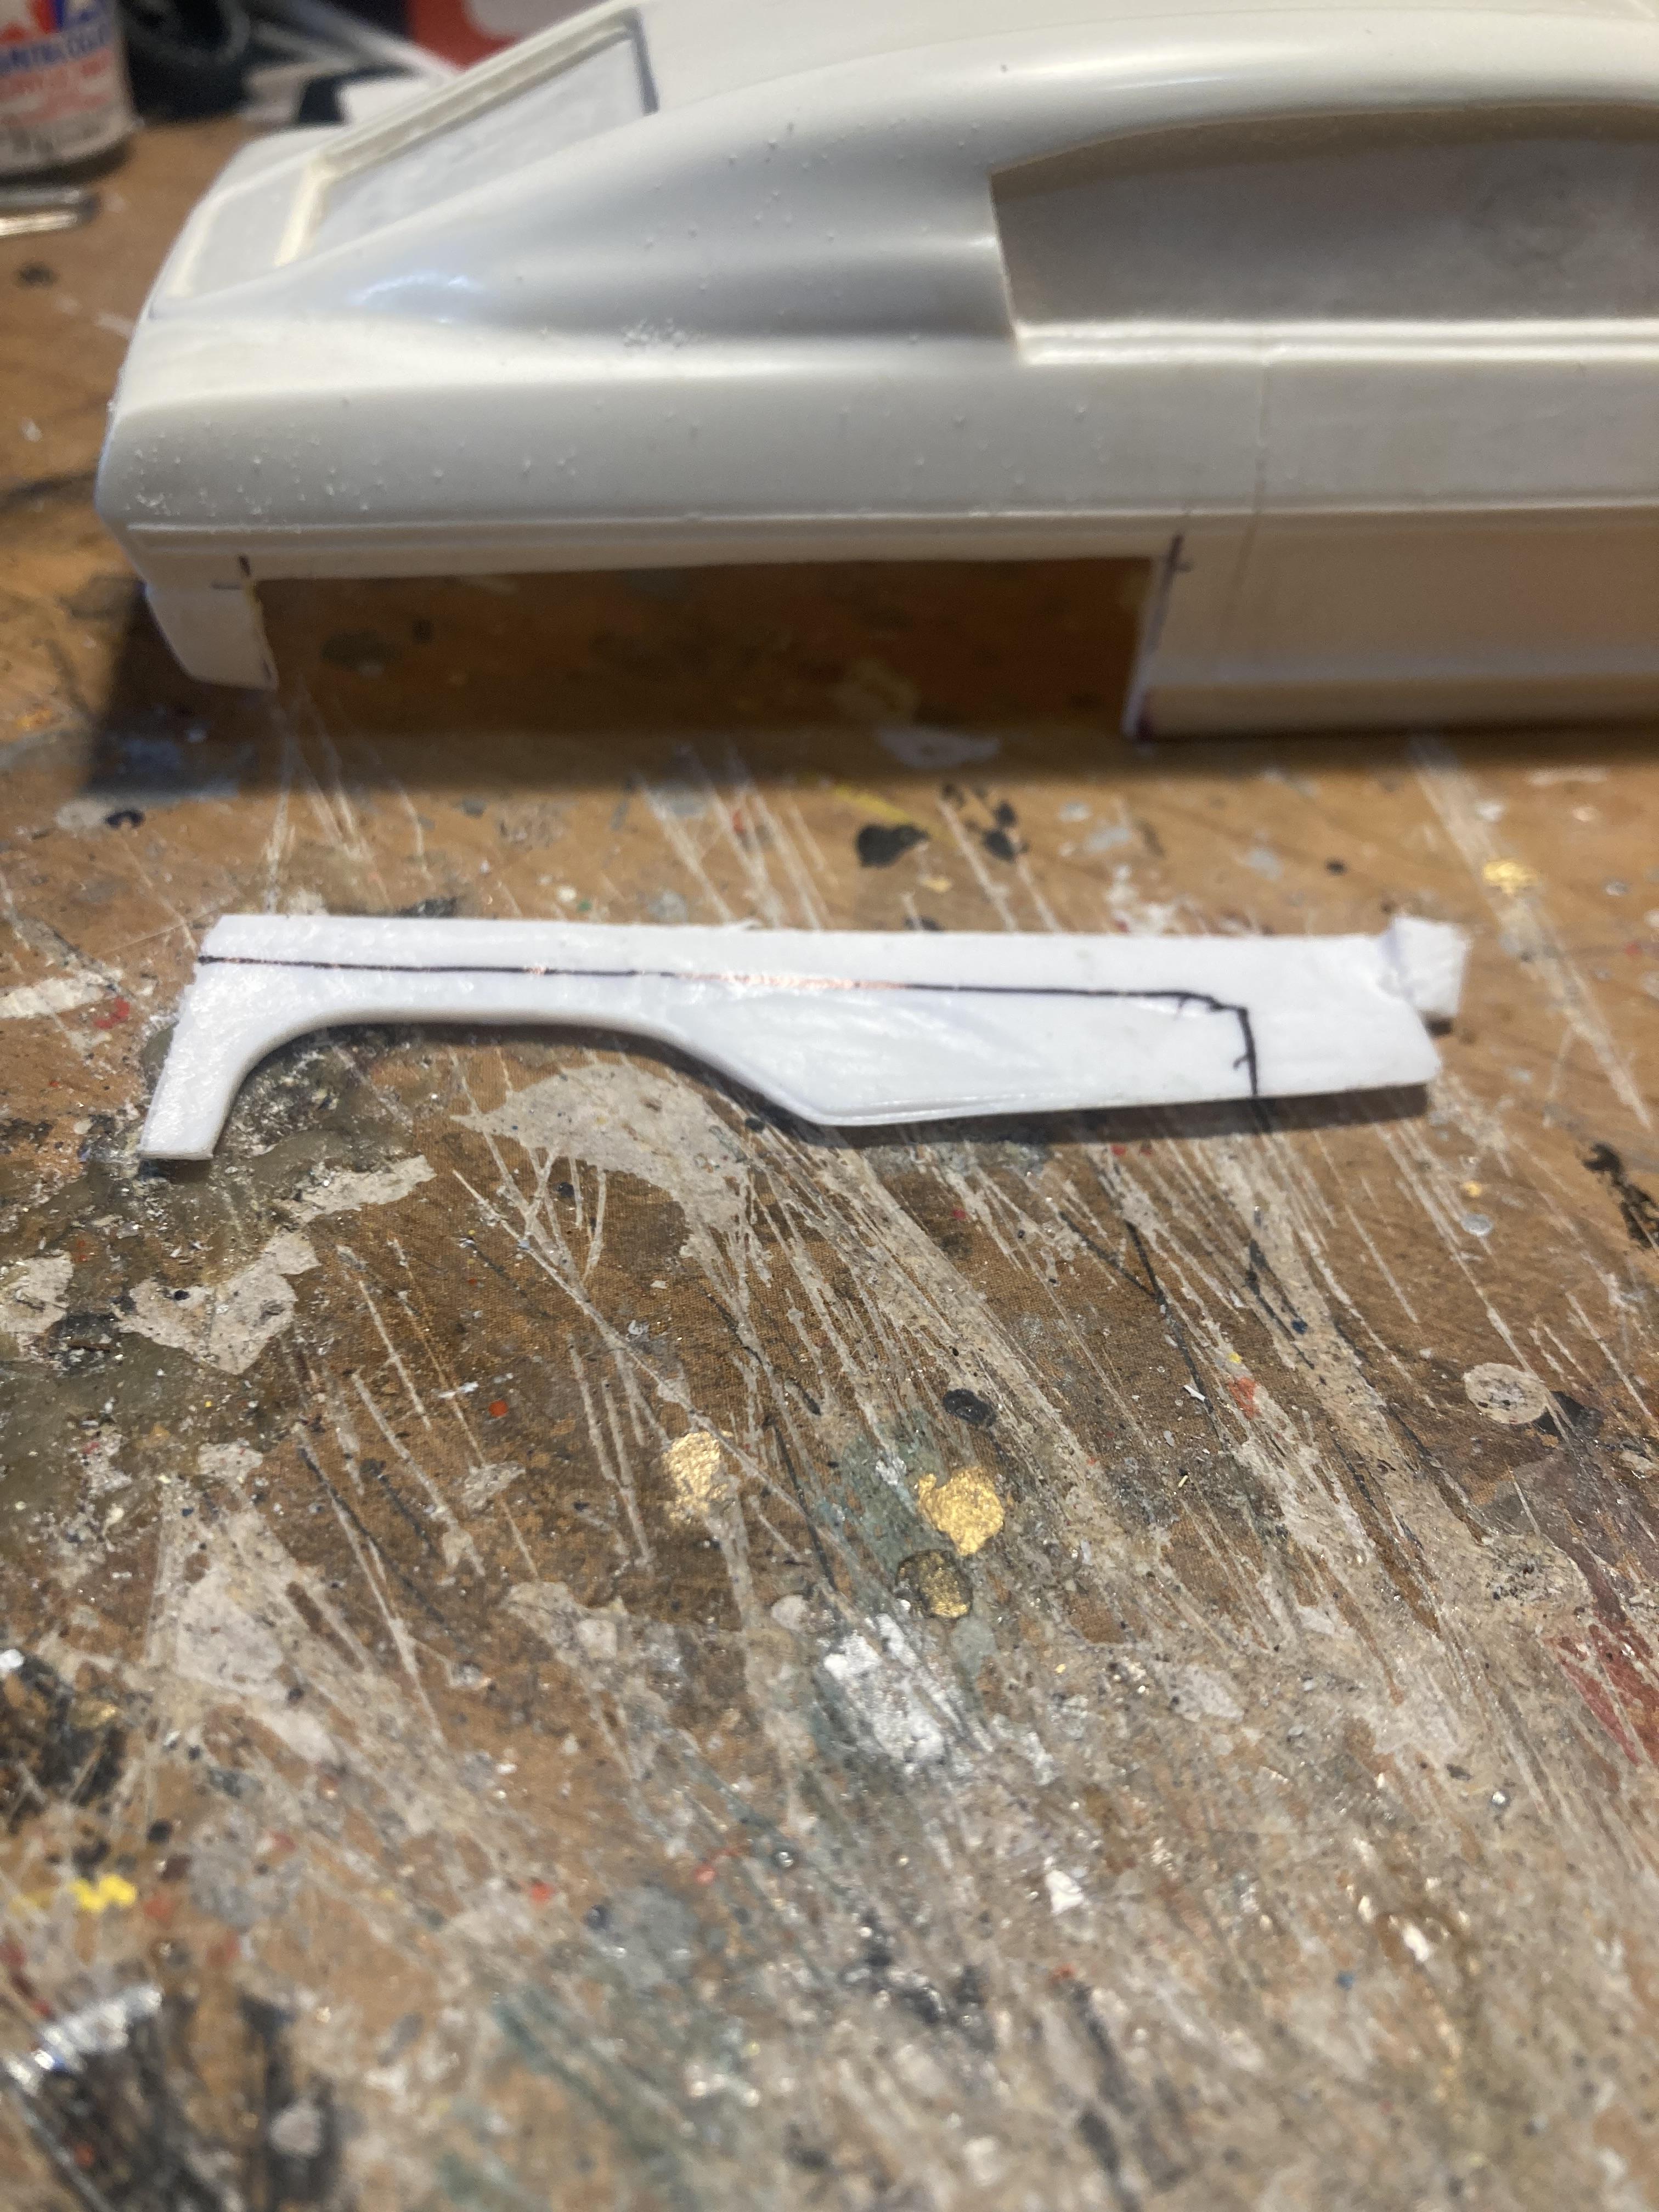
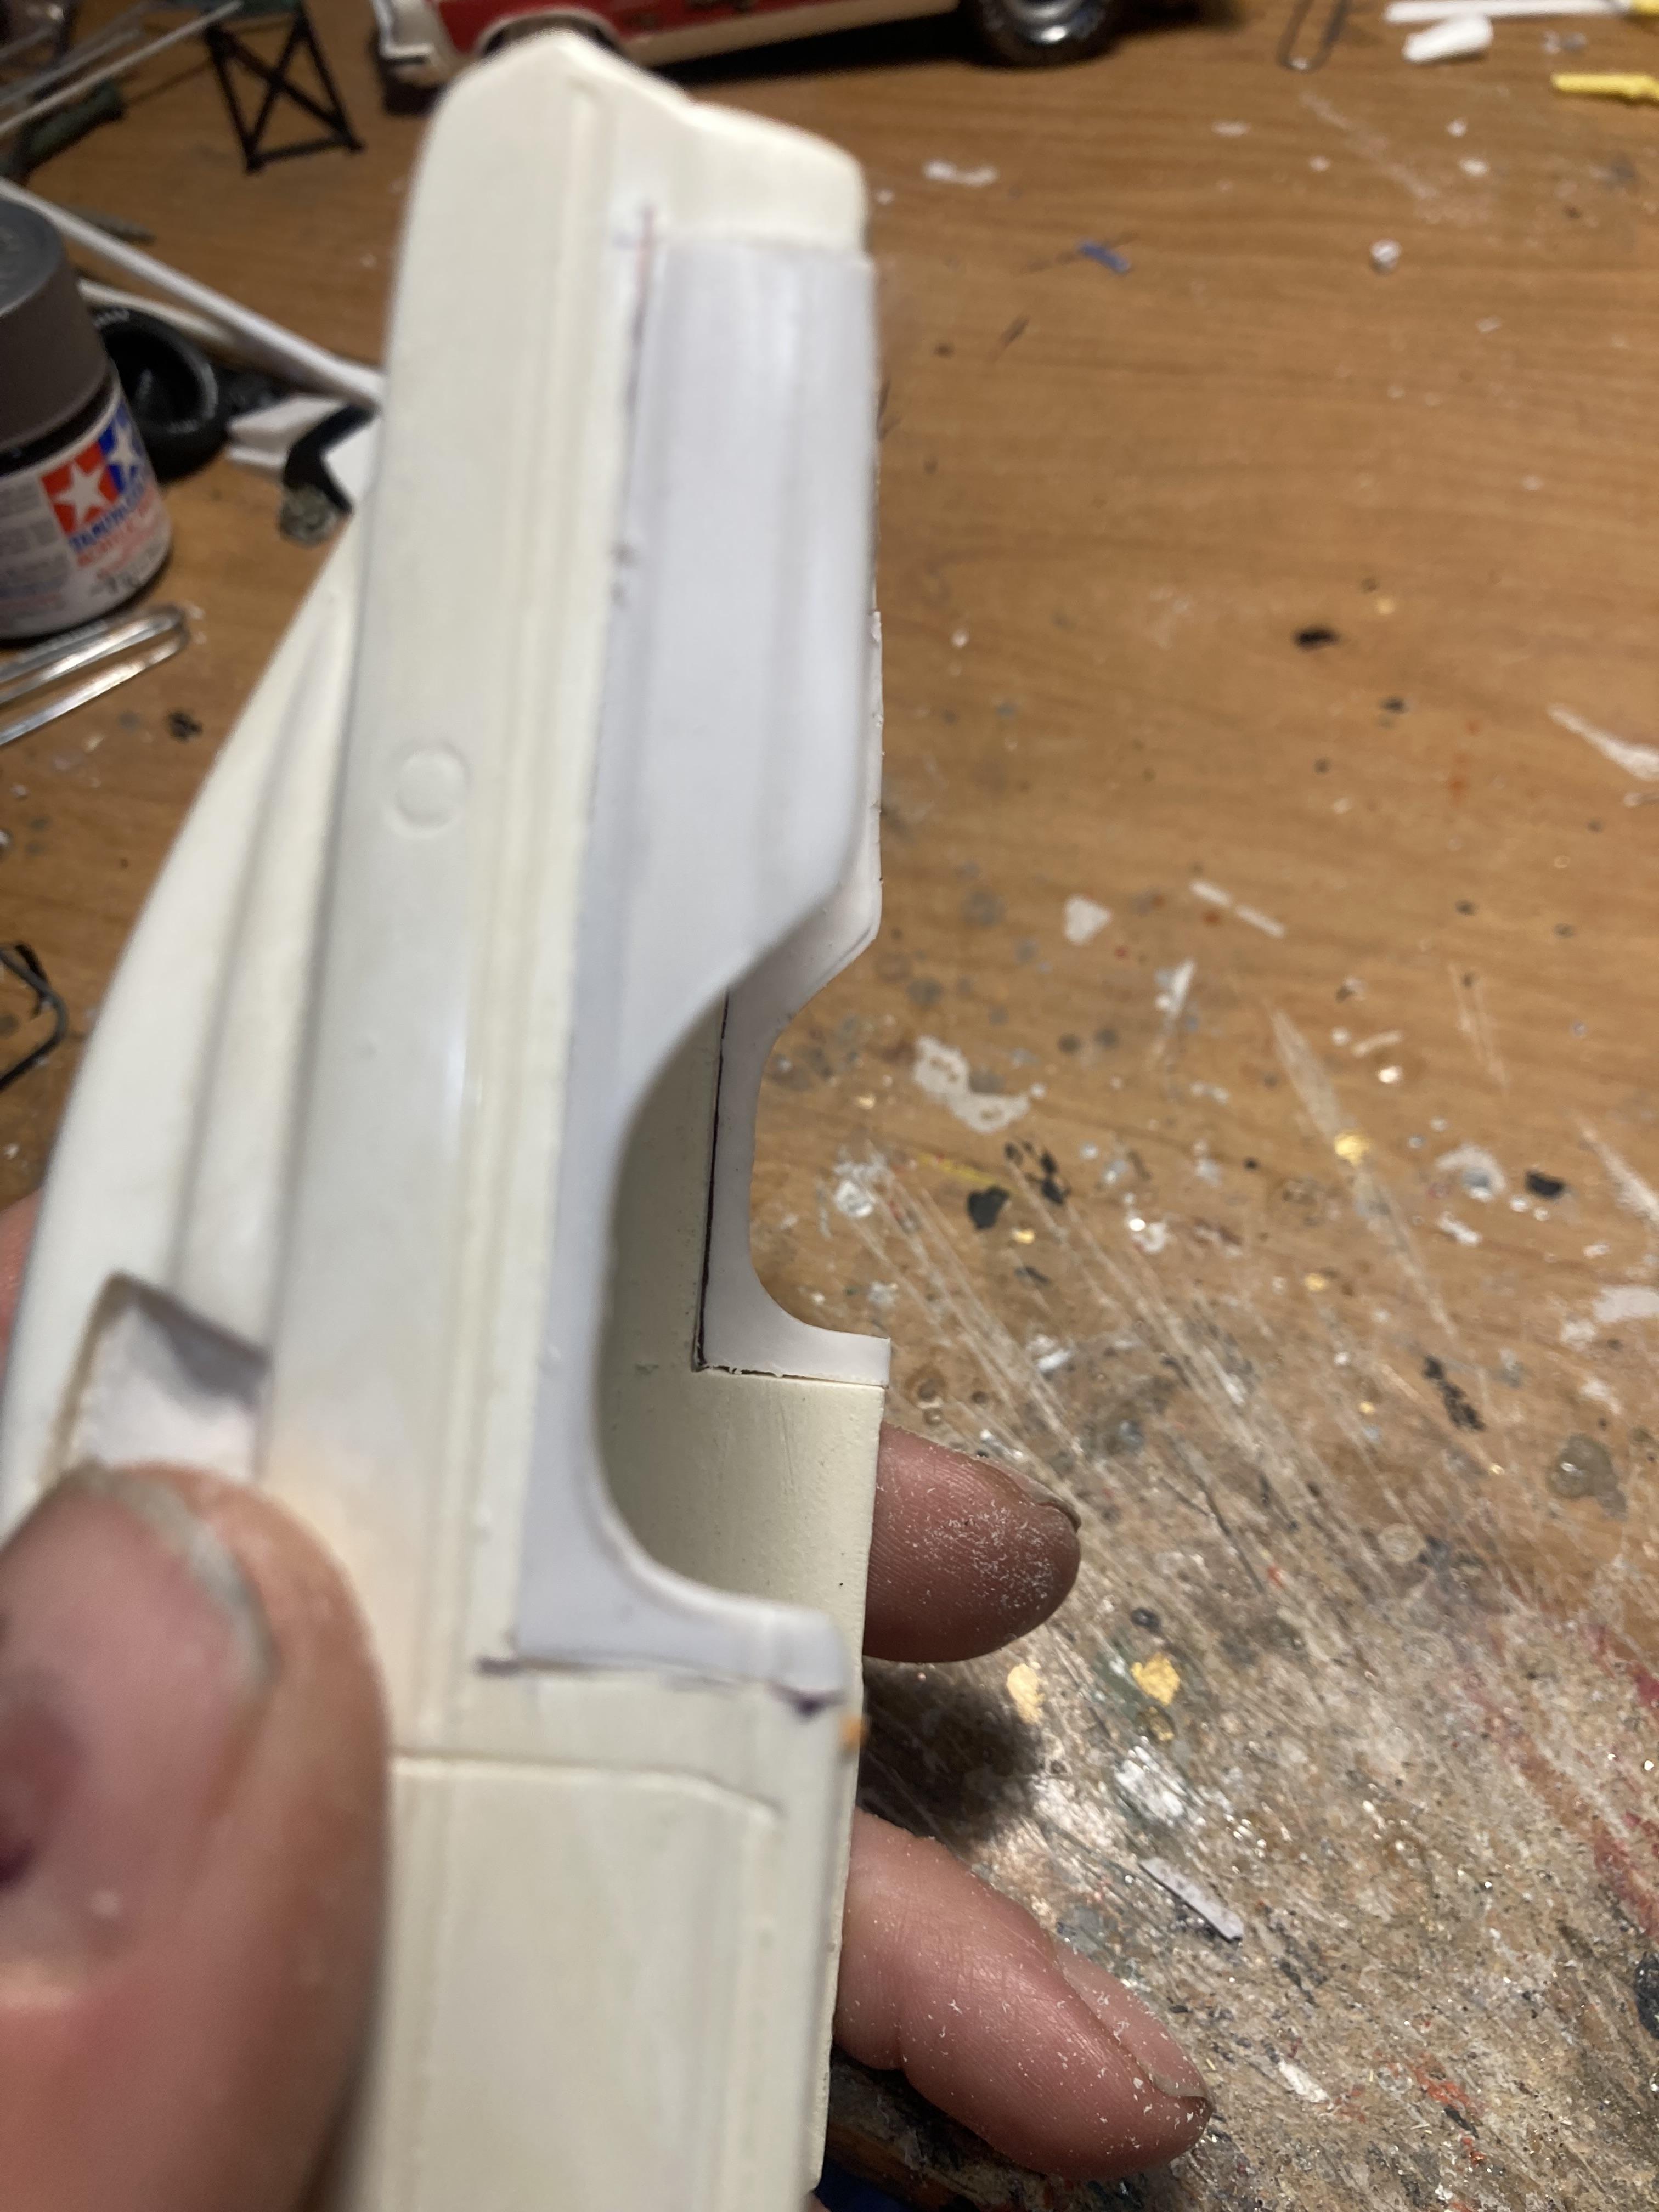
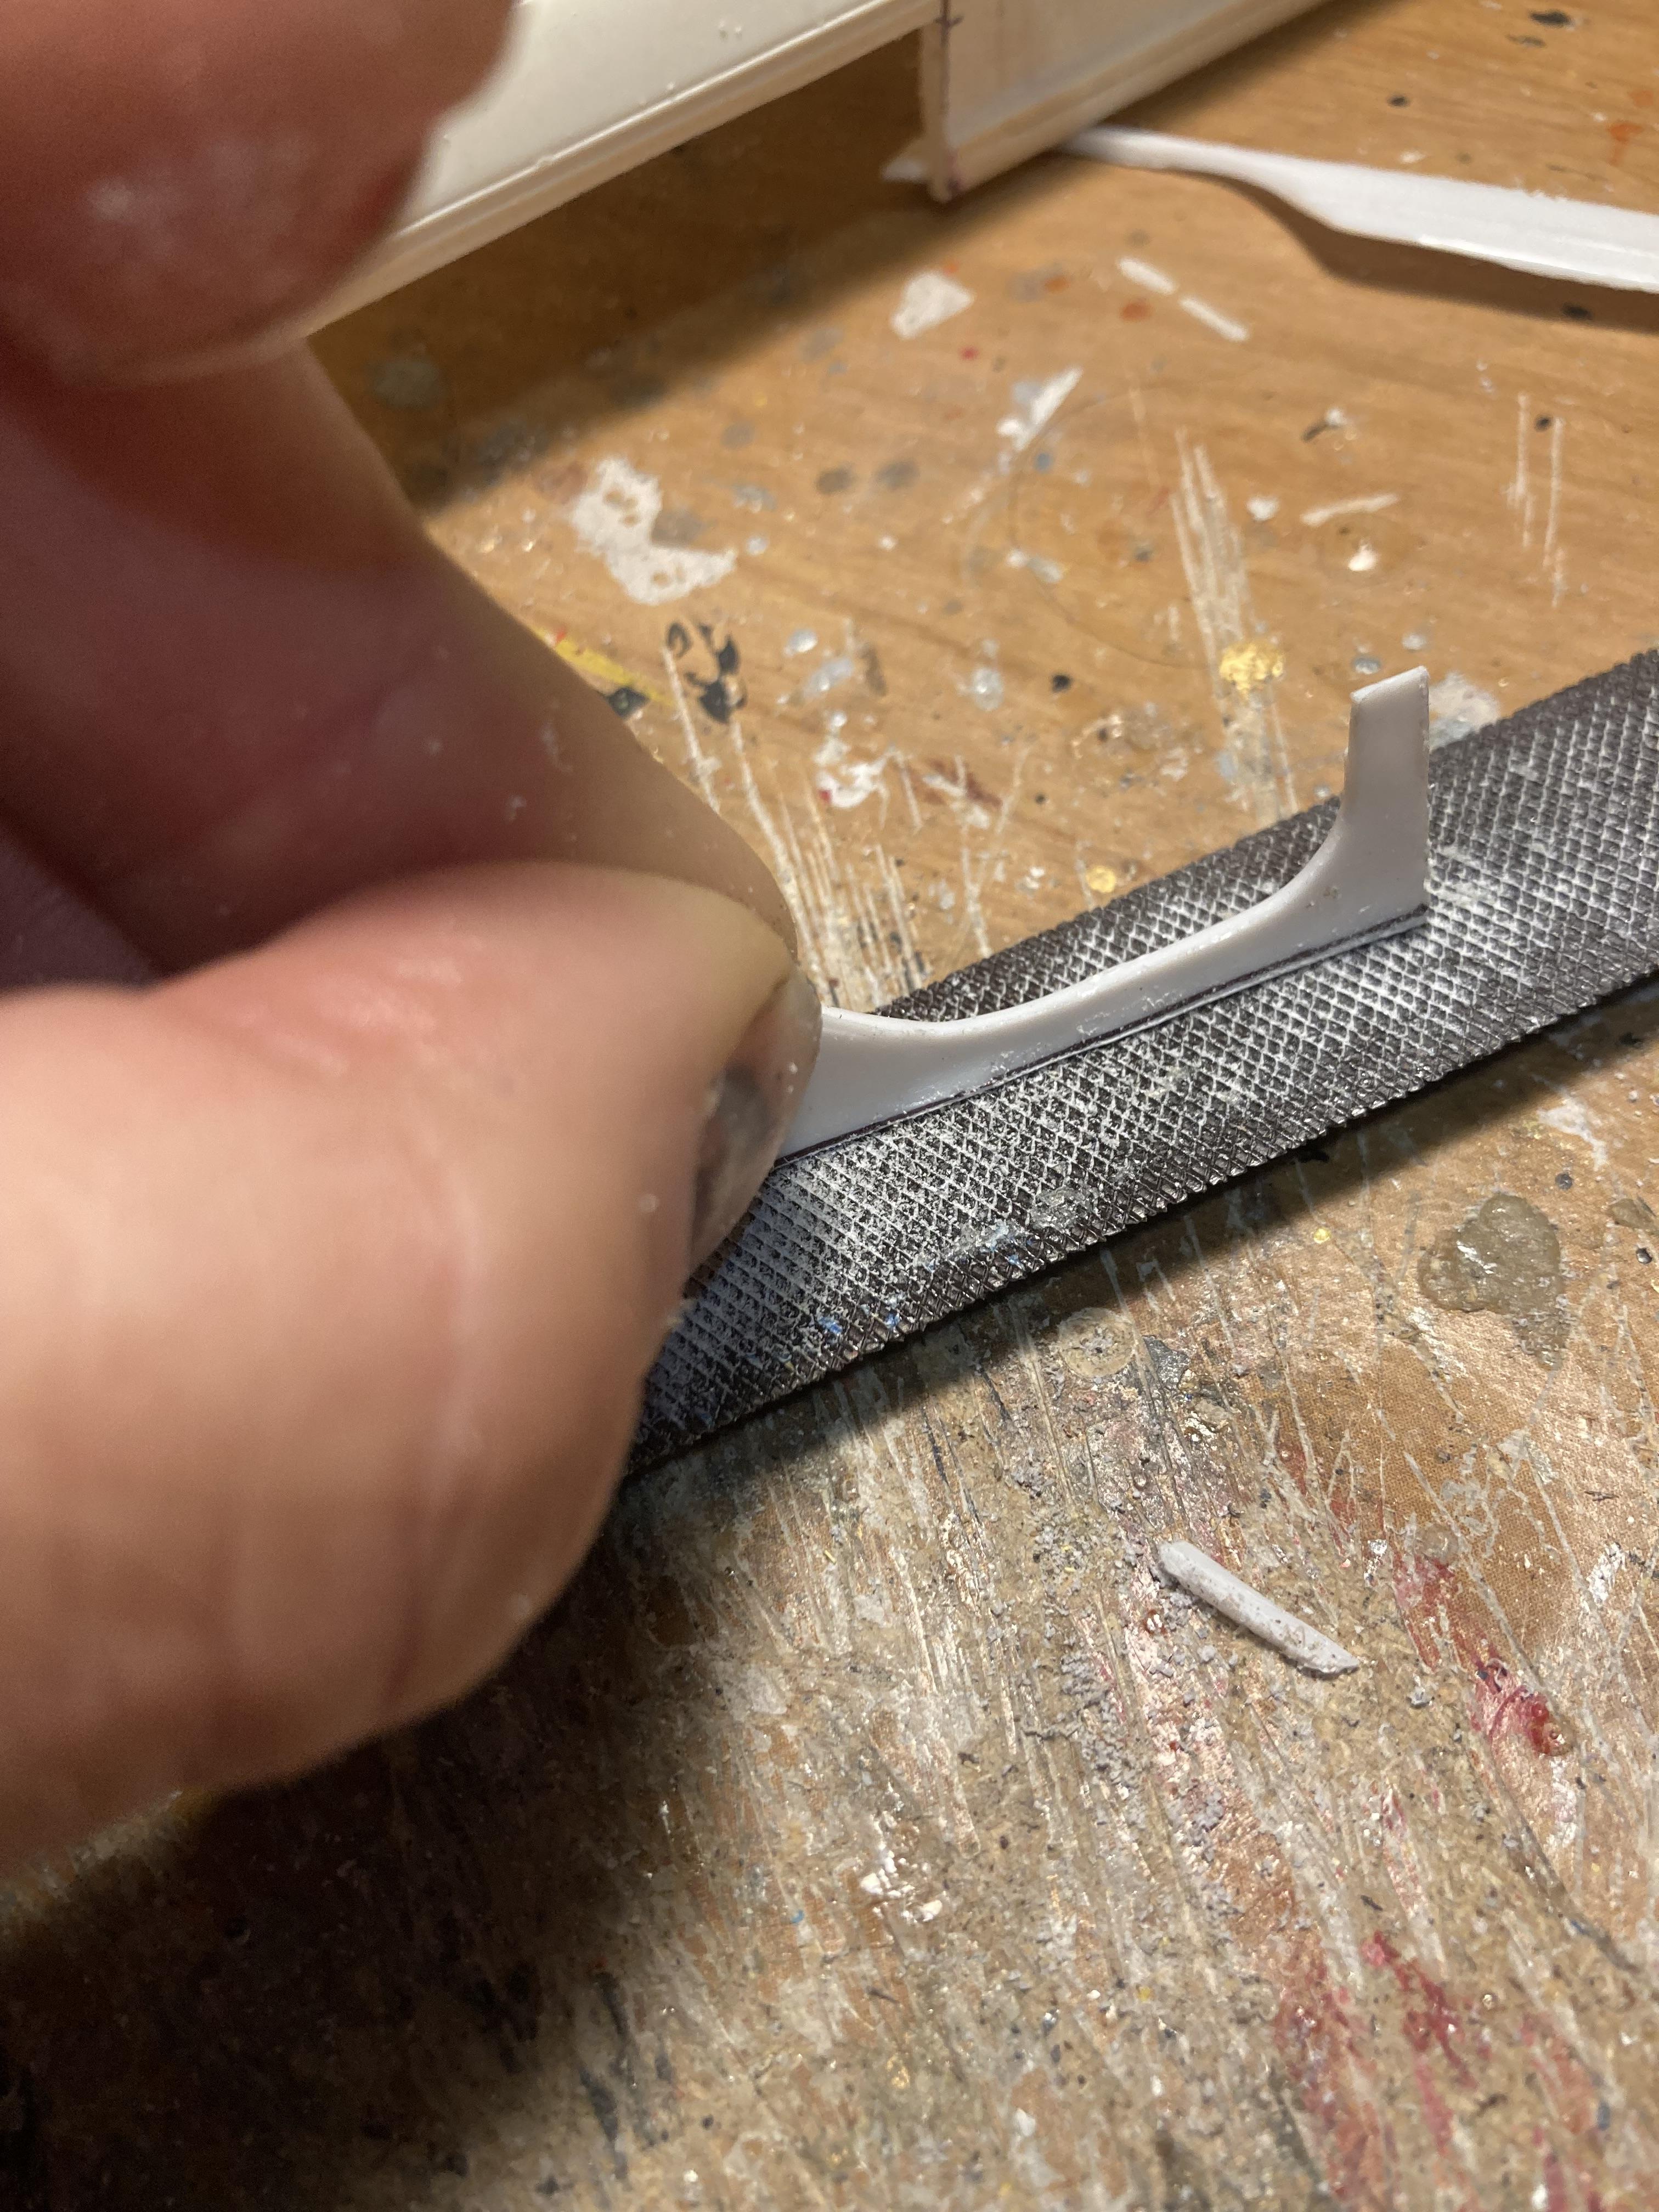
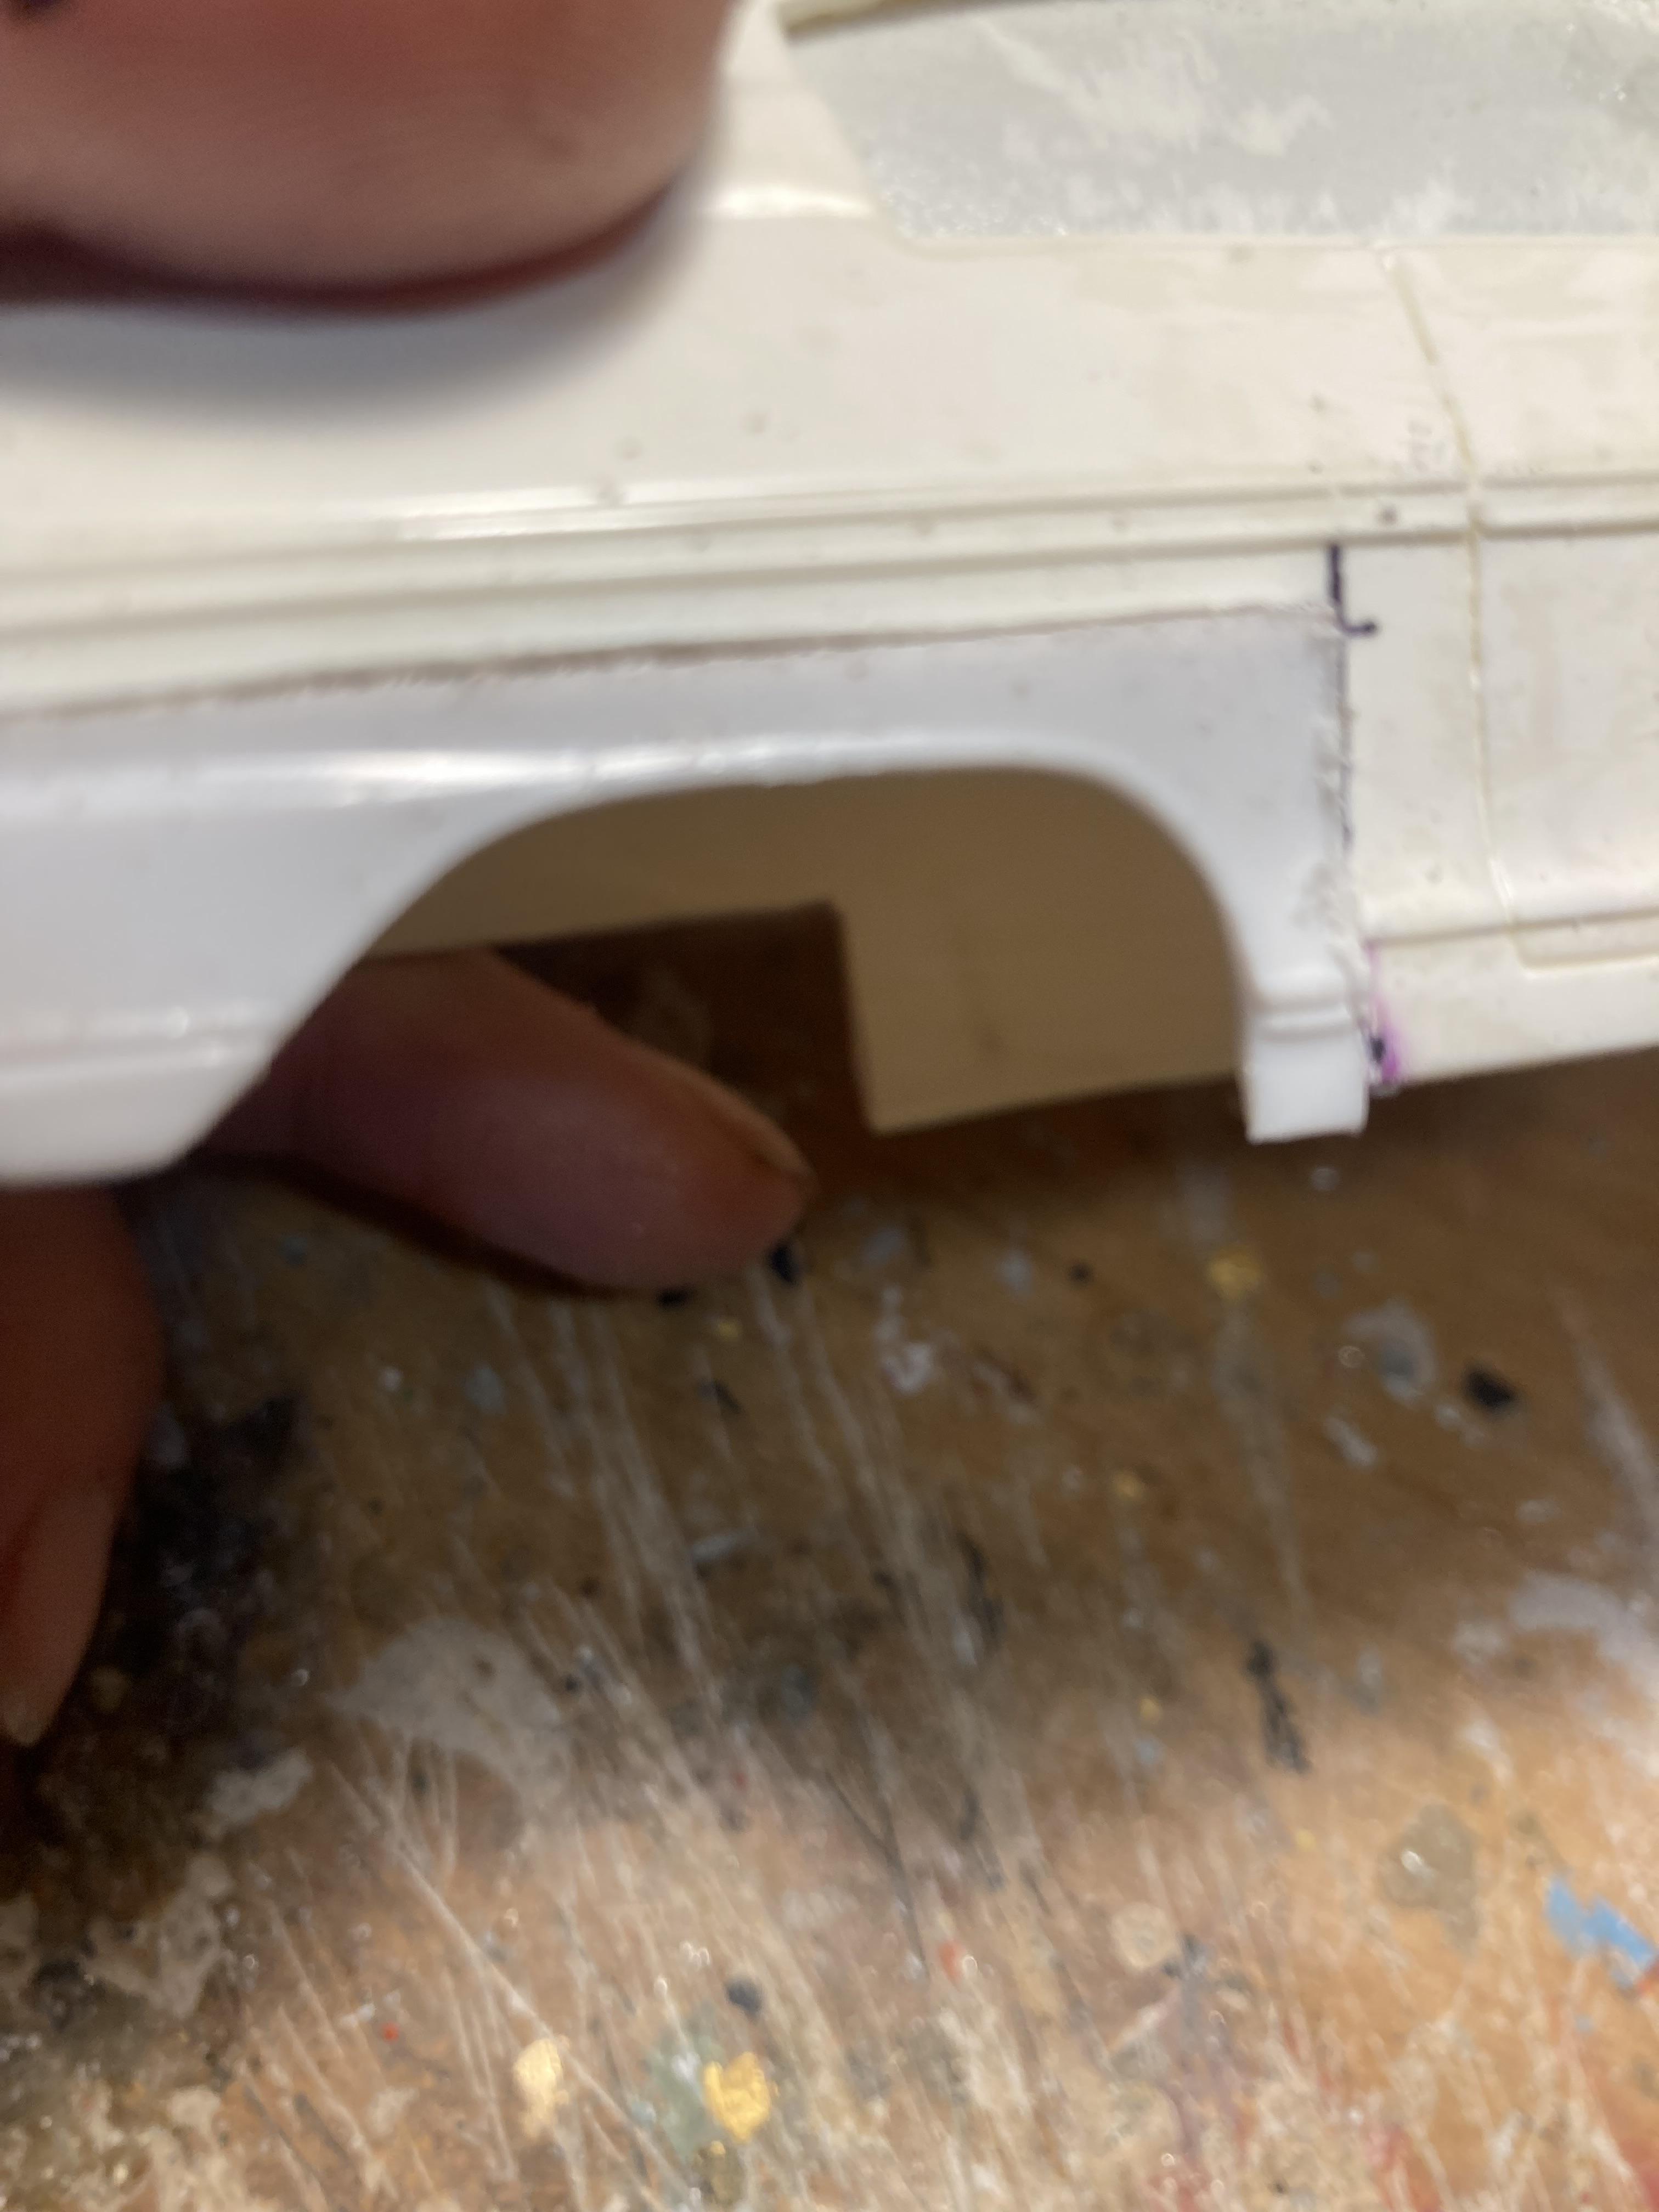
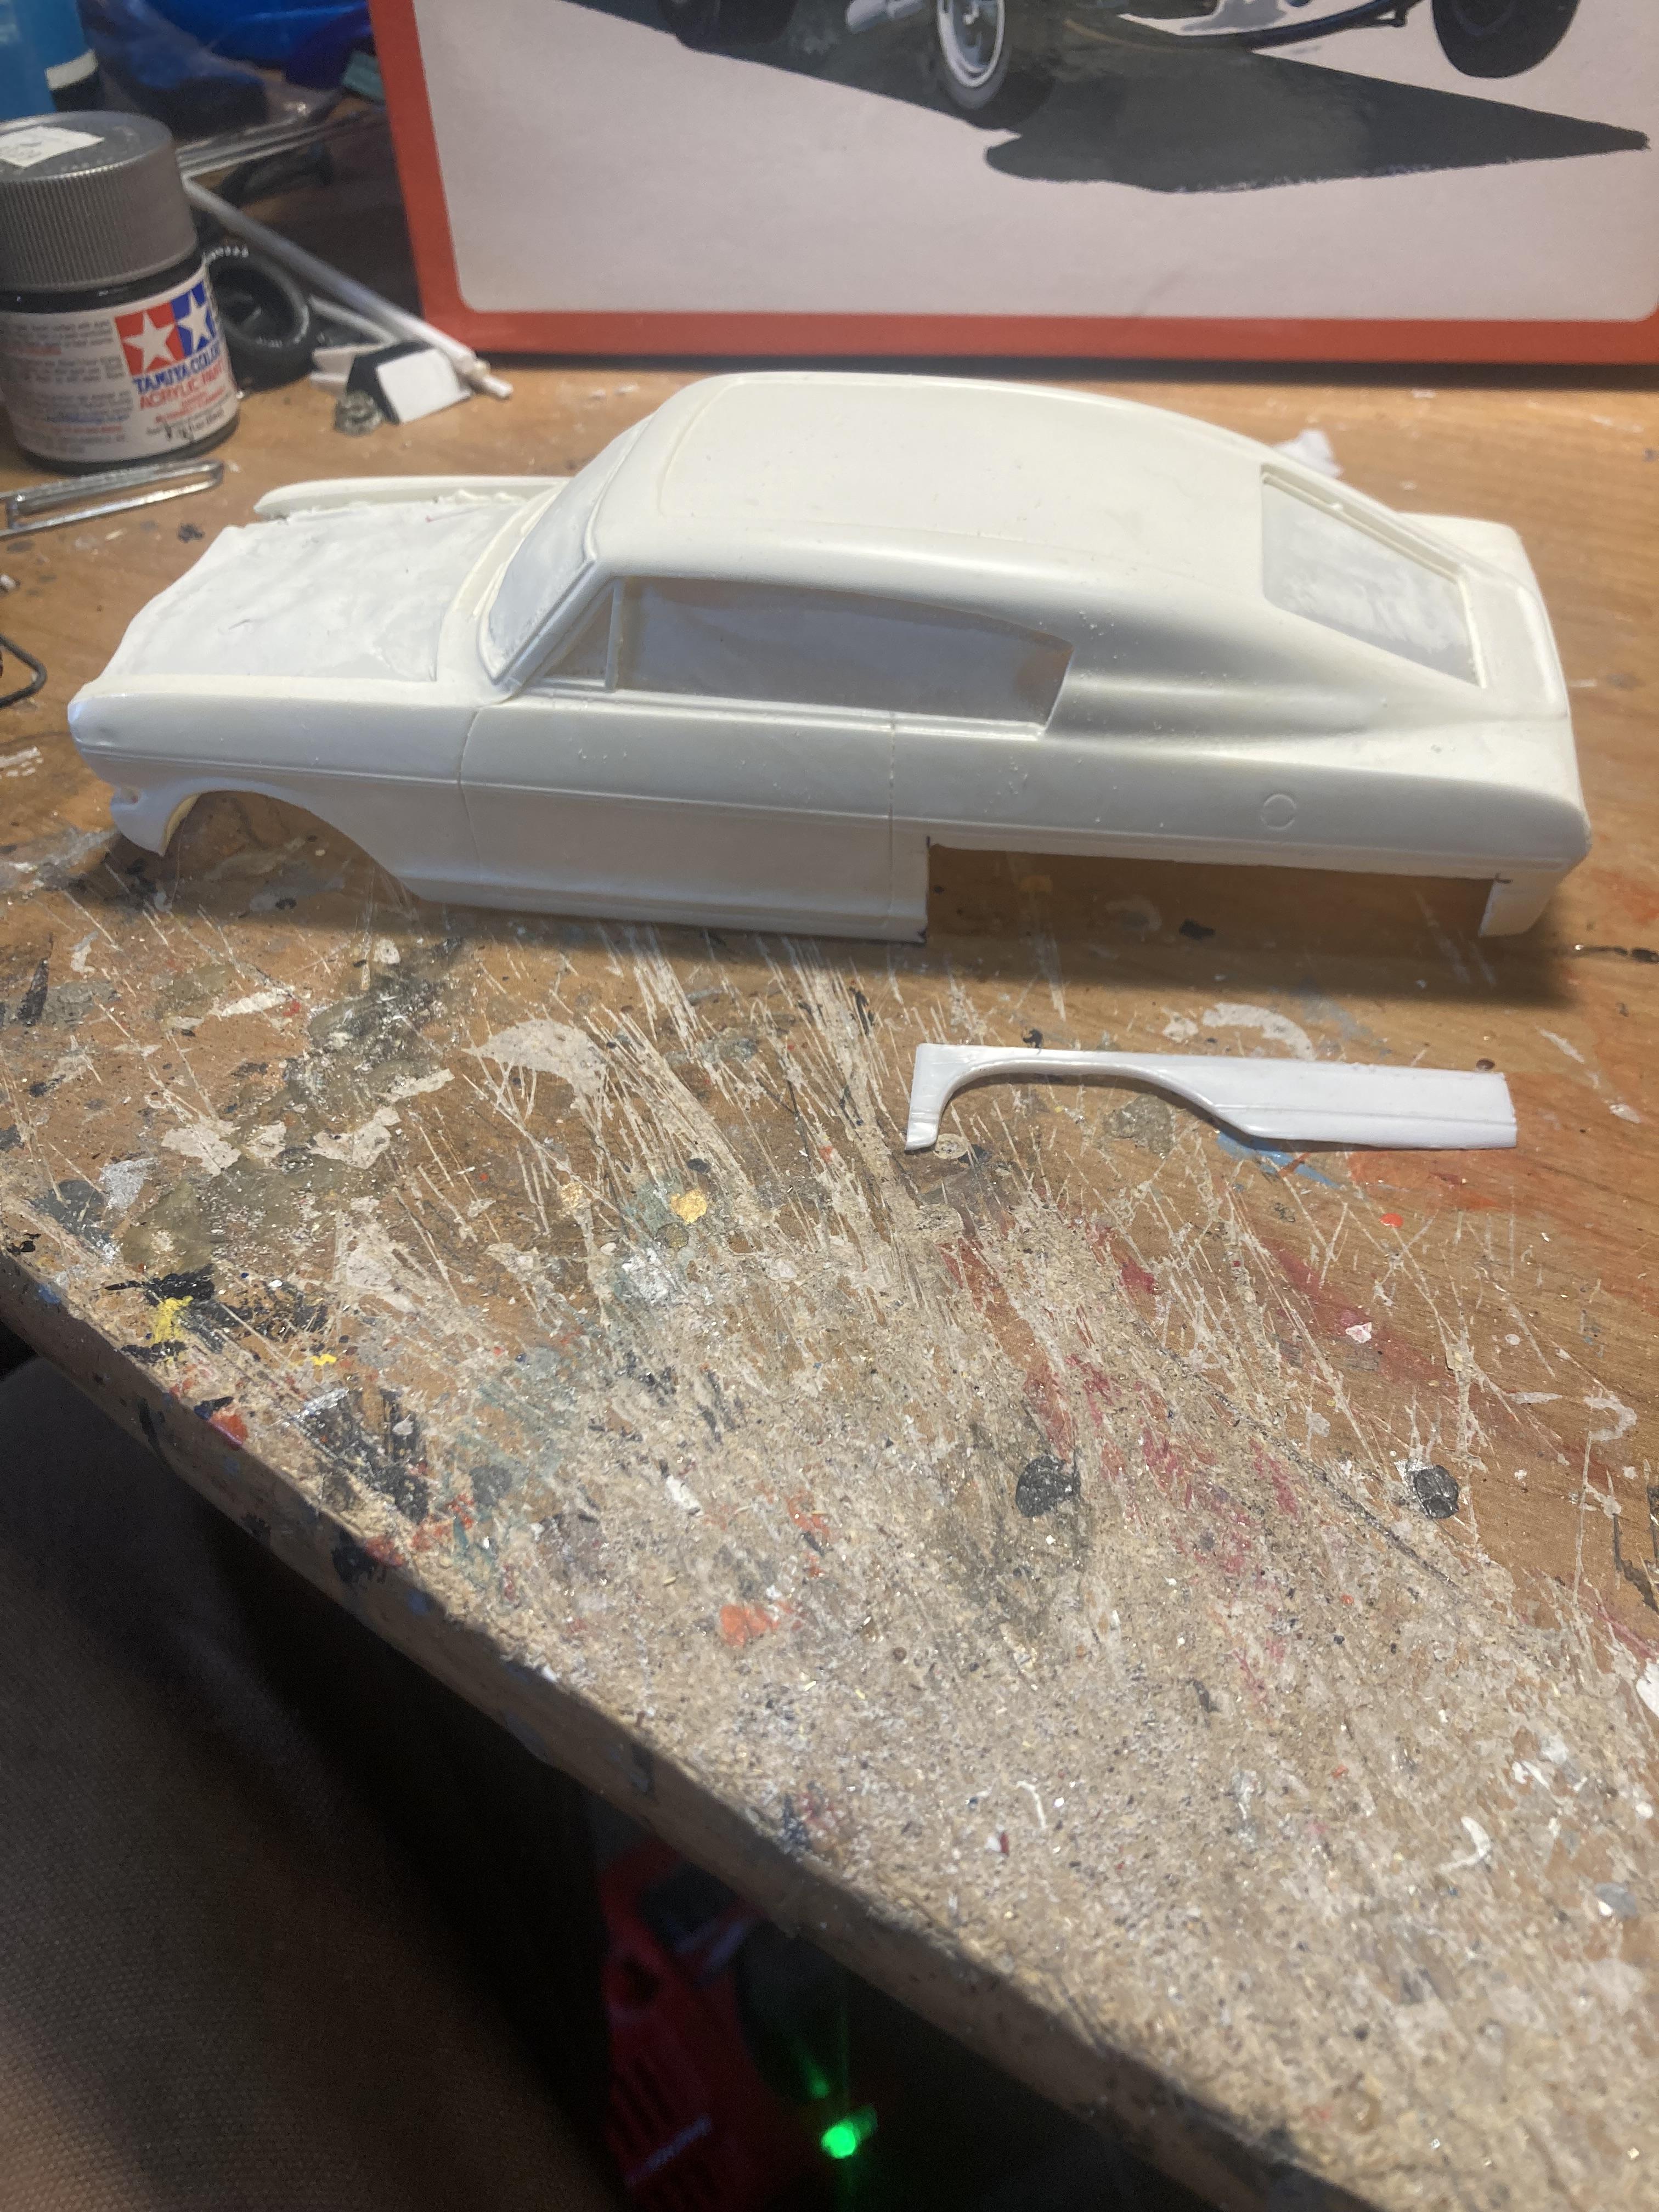
When I cut out the quarter panels off the AMT donor body I cut them out bigger than what they needed to be . So that trace them out to fit the smaller cut outs of the resin fastback body . When I cut them i cut to the outside of my line then file fit them to the opening. When doing this you want a very tight and precise fit to eliminate as much filler and sanding as possible. When fitting the quarter panels determine the desired wheel base and make sure the chassis fits. I sand the joints down from 180 grit to 600 grit with my magnifying glasses on . Then I give it a good heavy coat of filler primer then and filler were needed. Then sand the whole body down starting with 600 finishing with 1500 grit. Once I’m done sanding it will be sprayed with Tamyia gloss black straight from the rattle can.
-
It’s time to start on some plastic surgery with a lower quarter panel swap from the AMT body to the resin body .
-
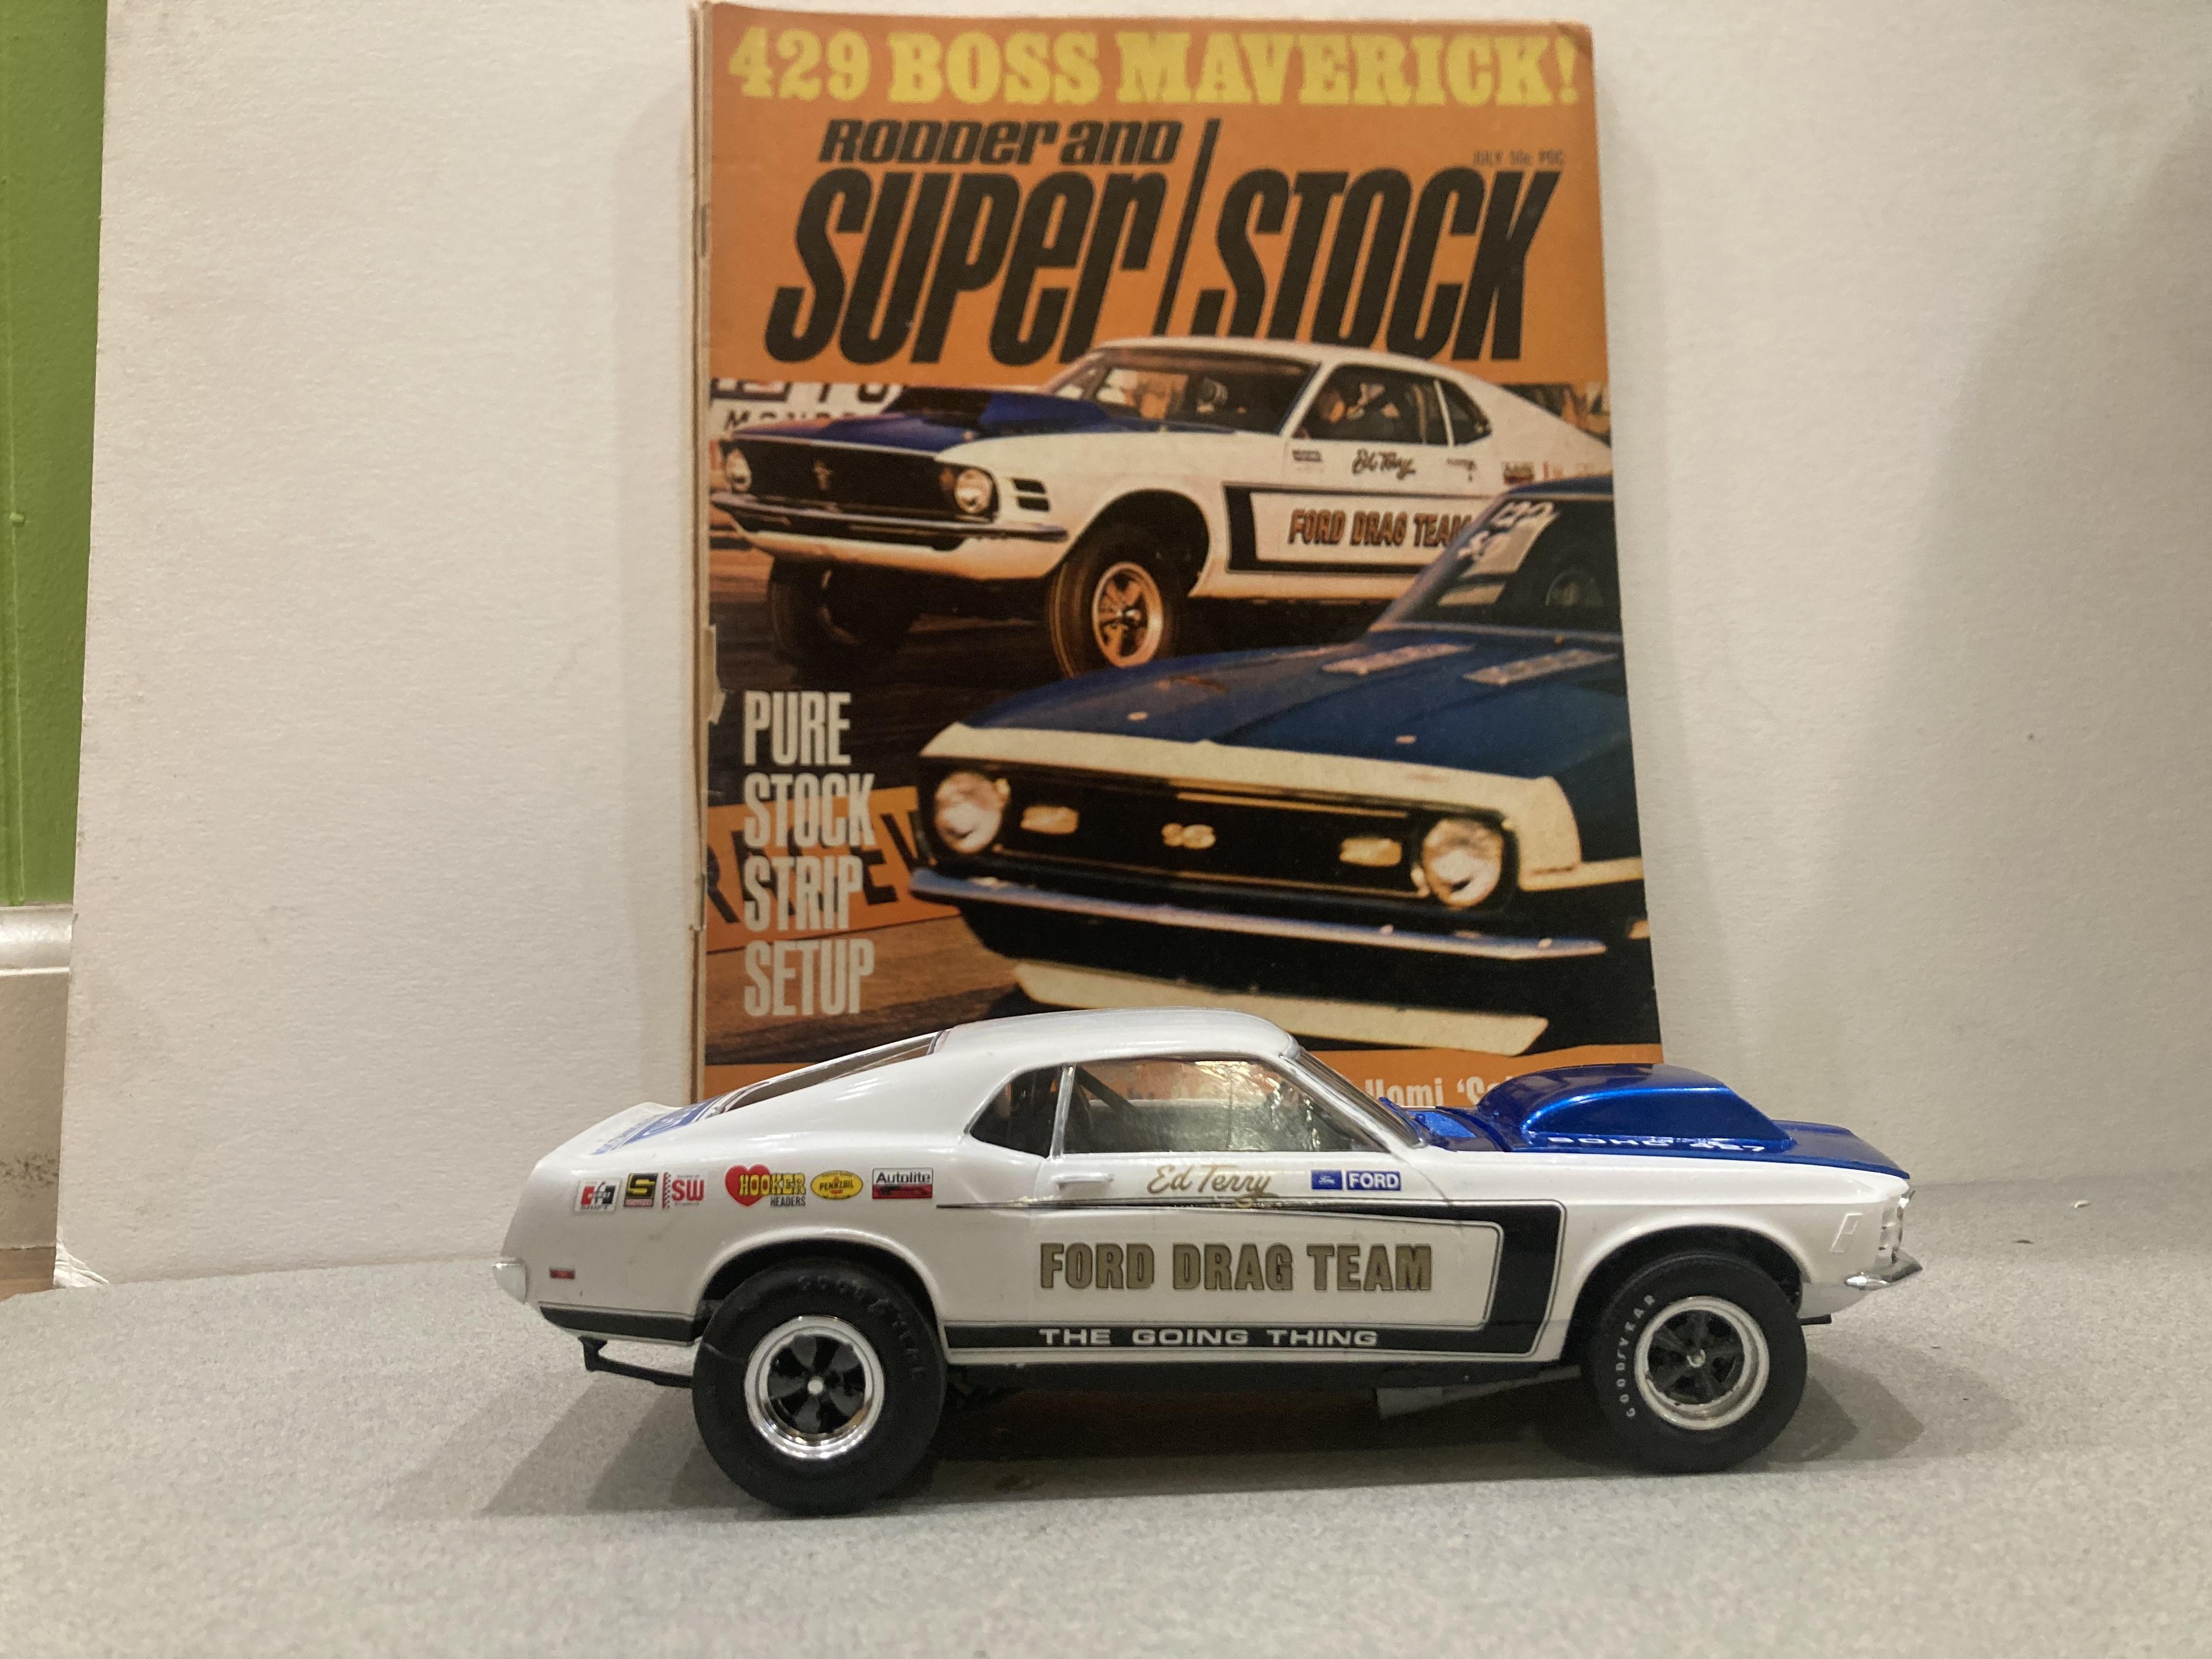
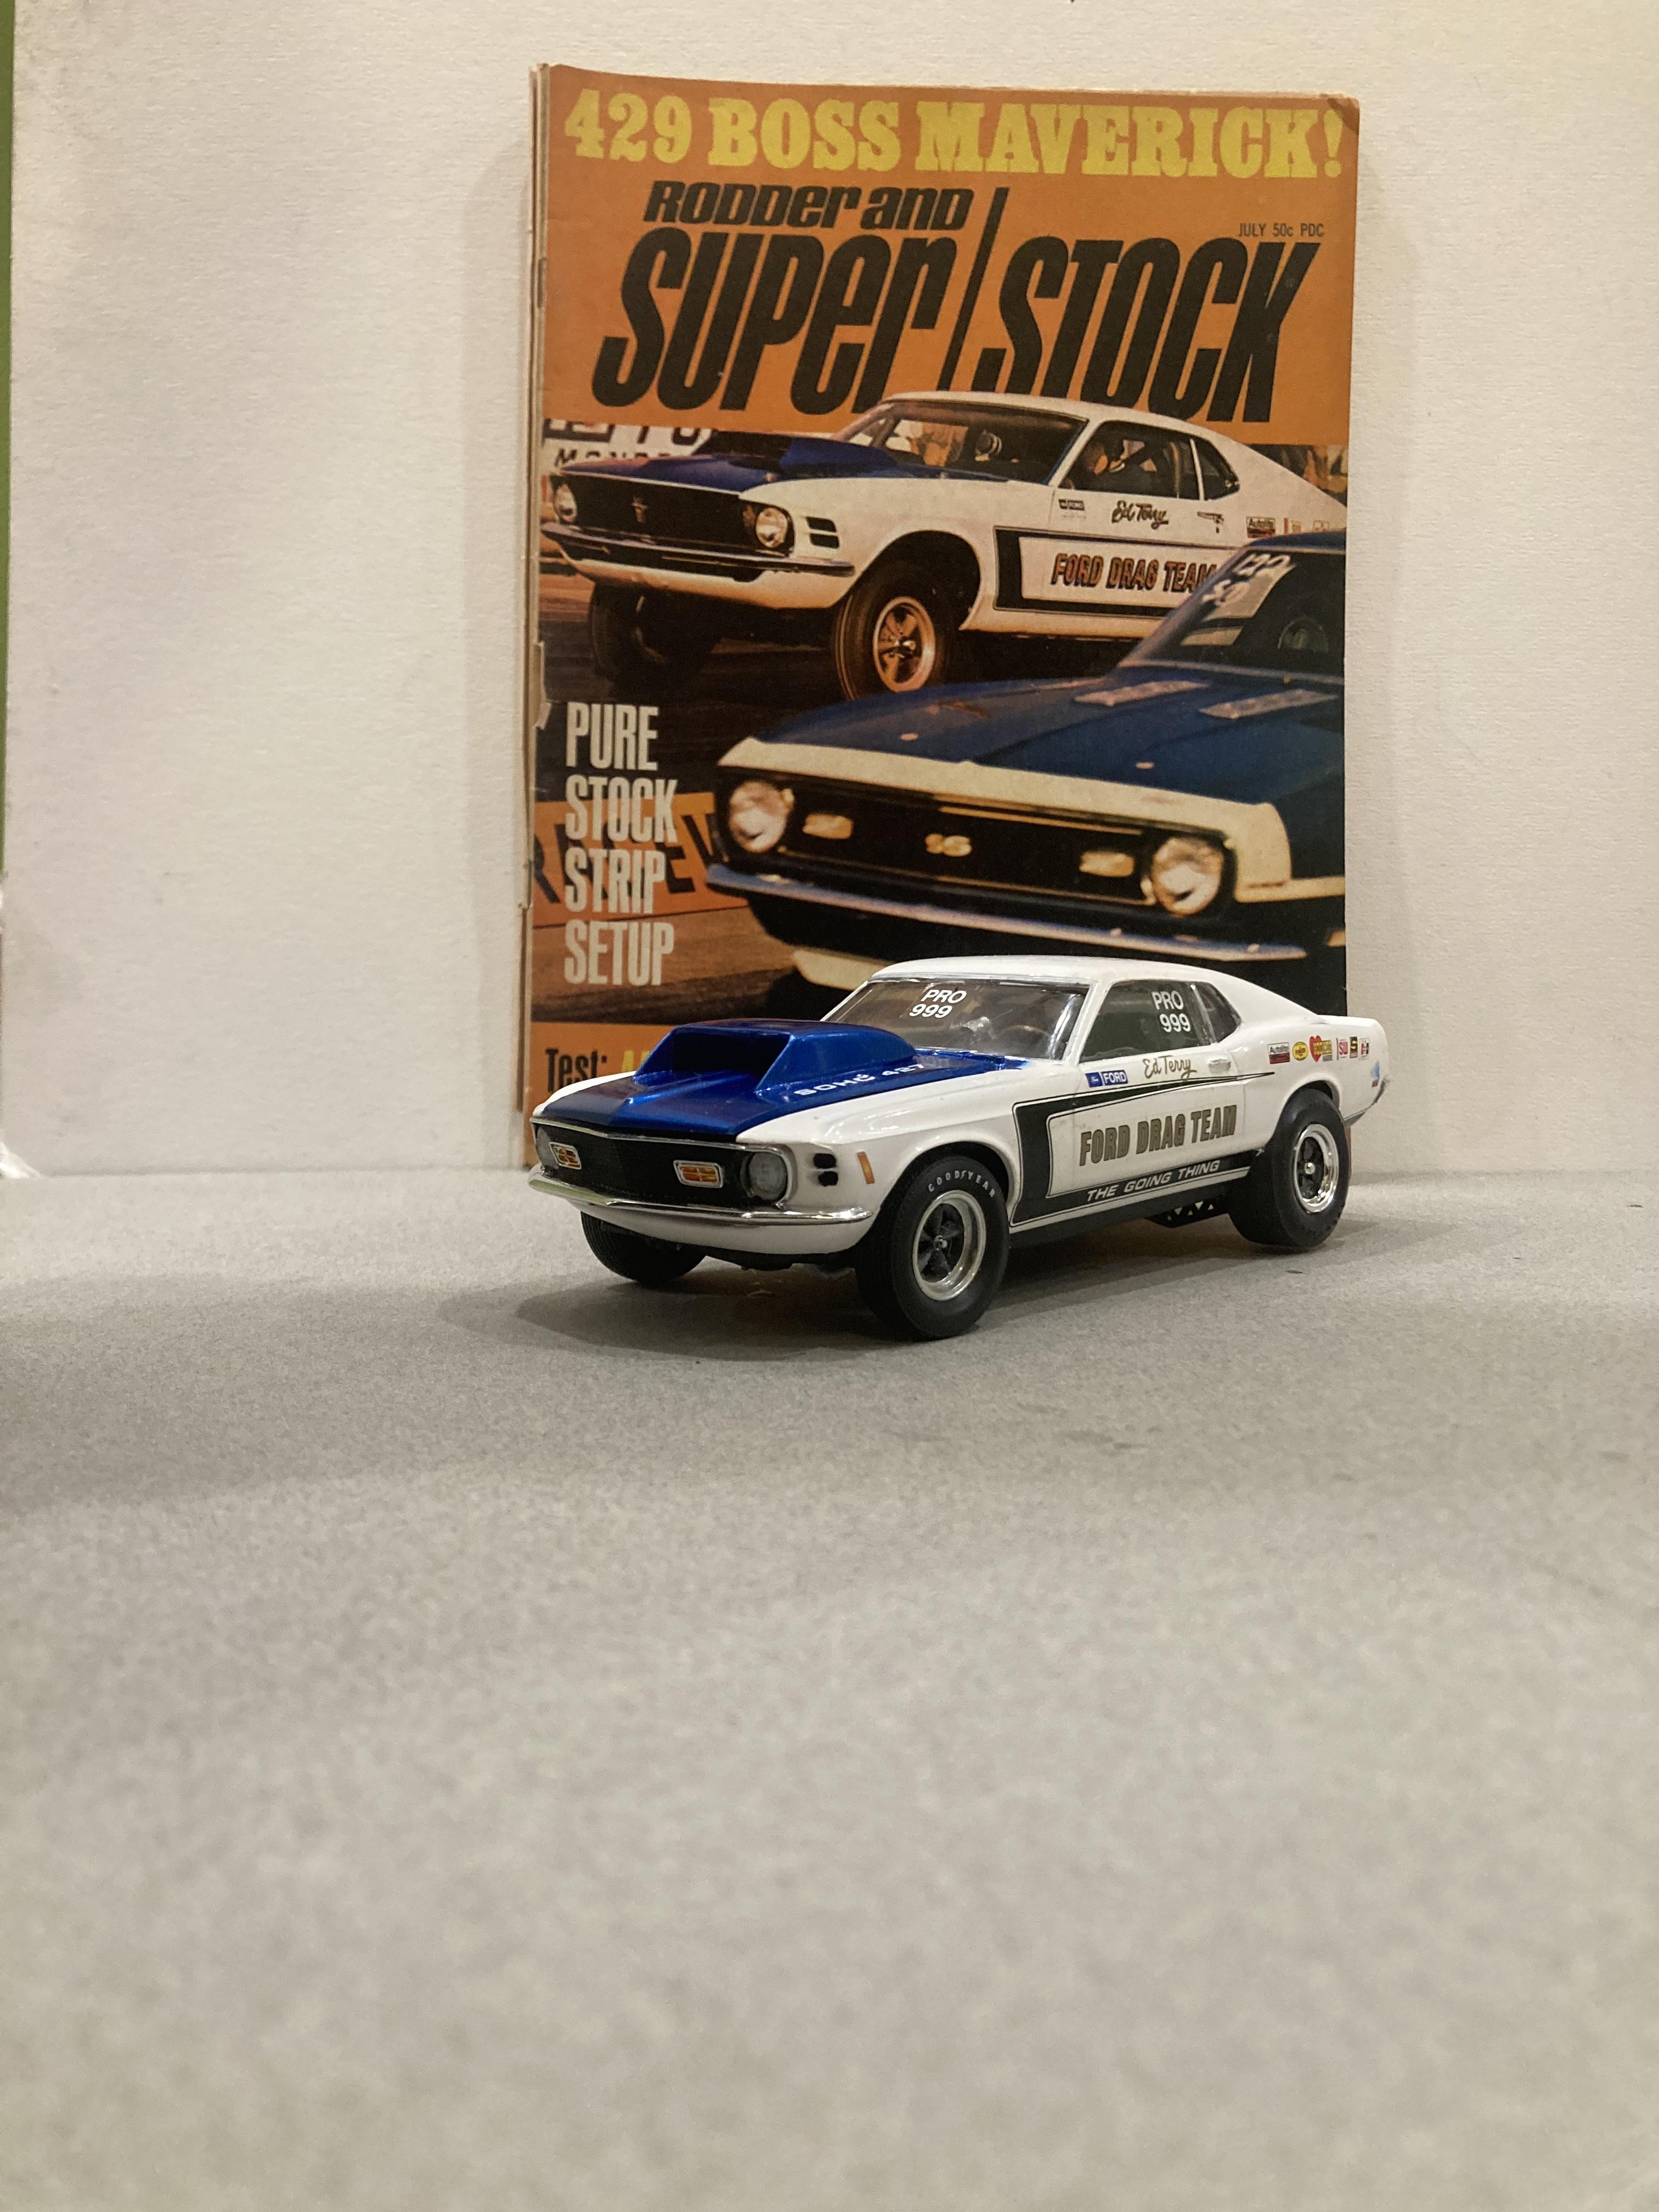
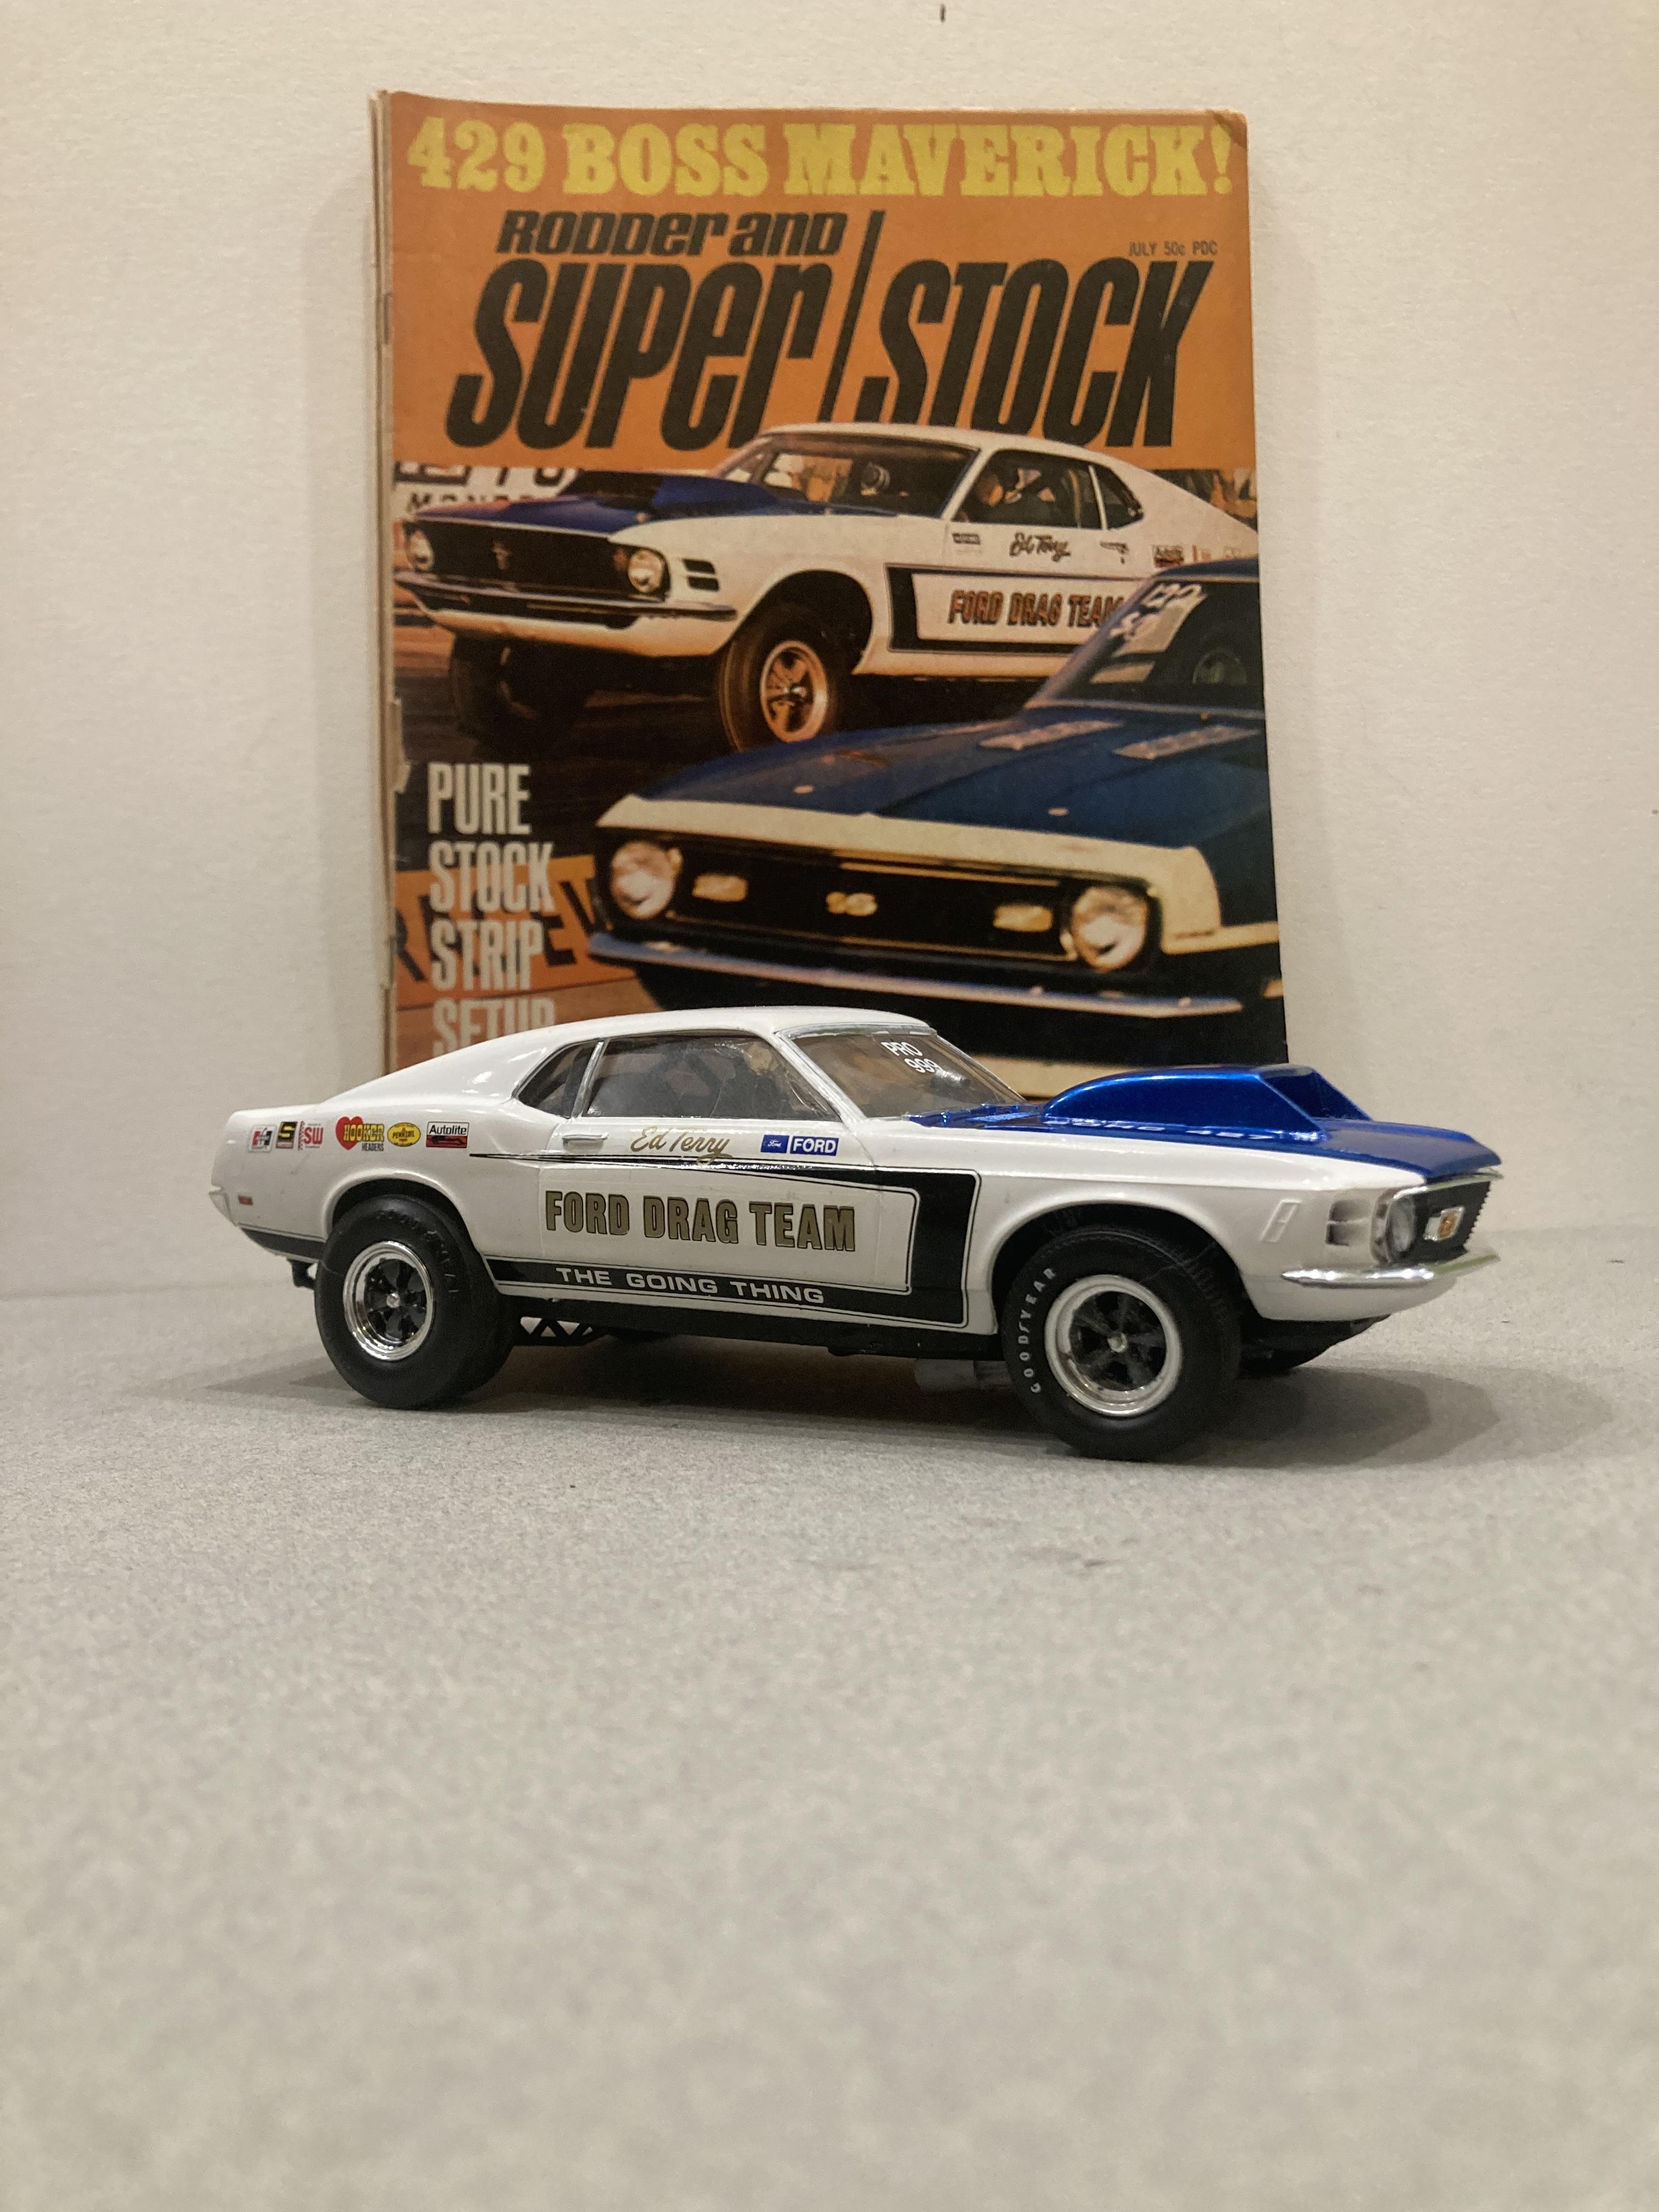
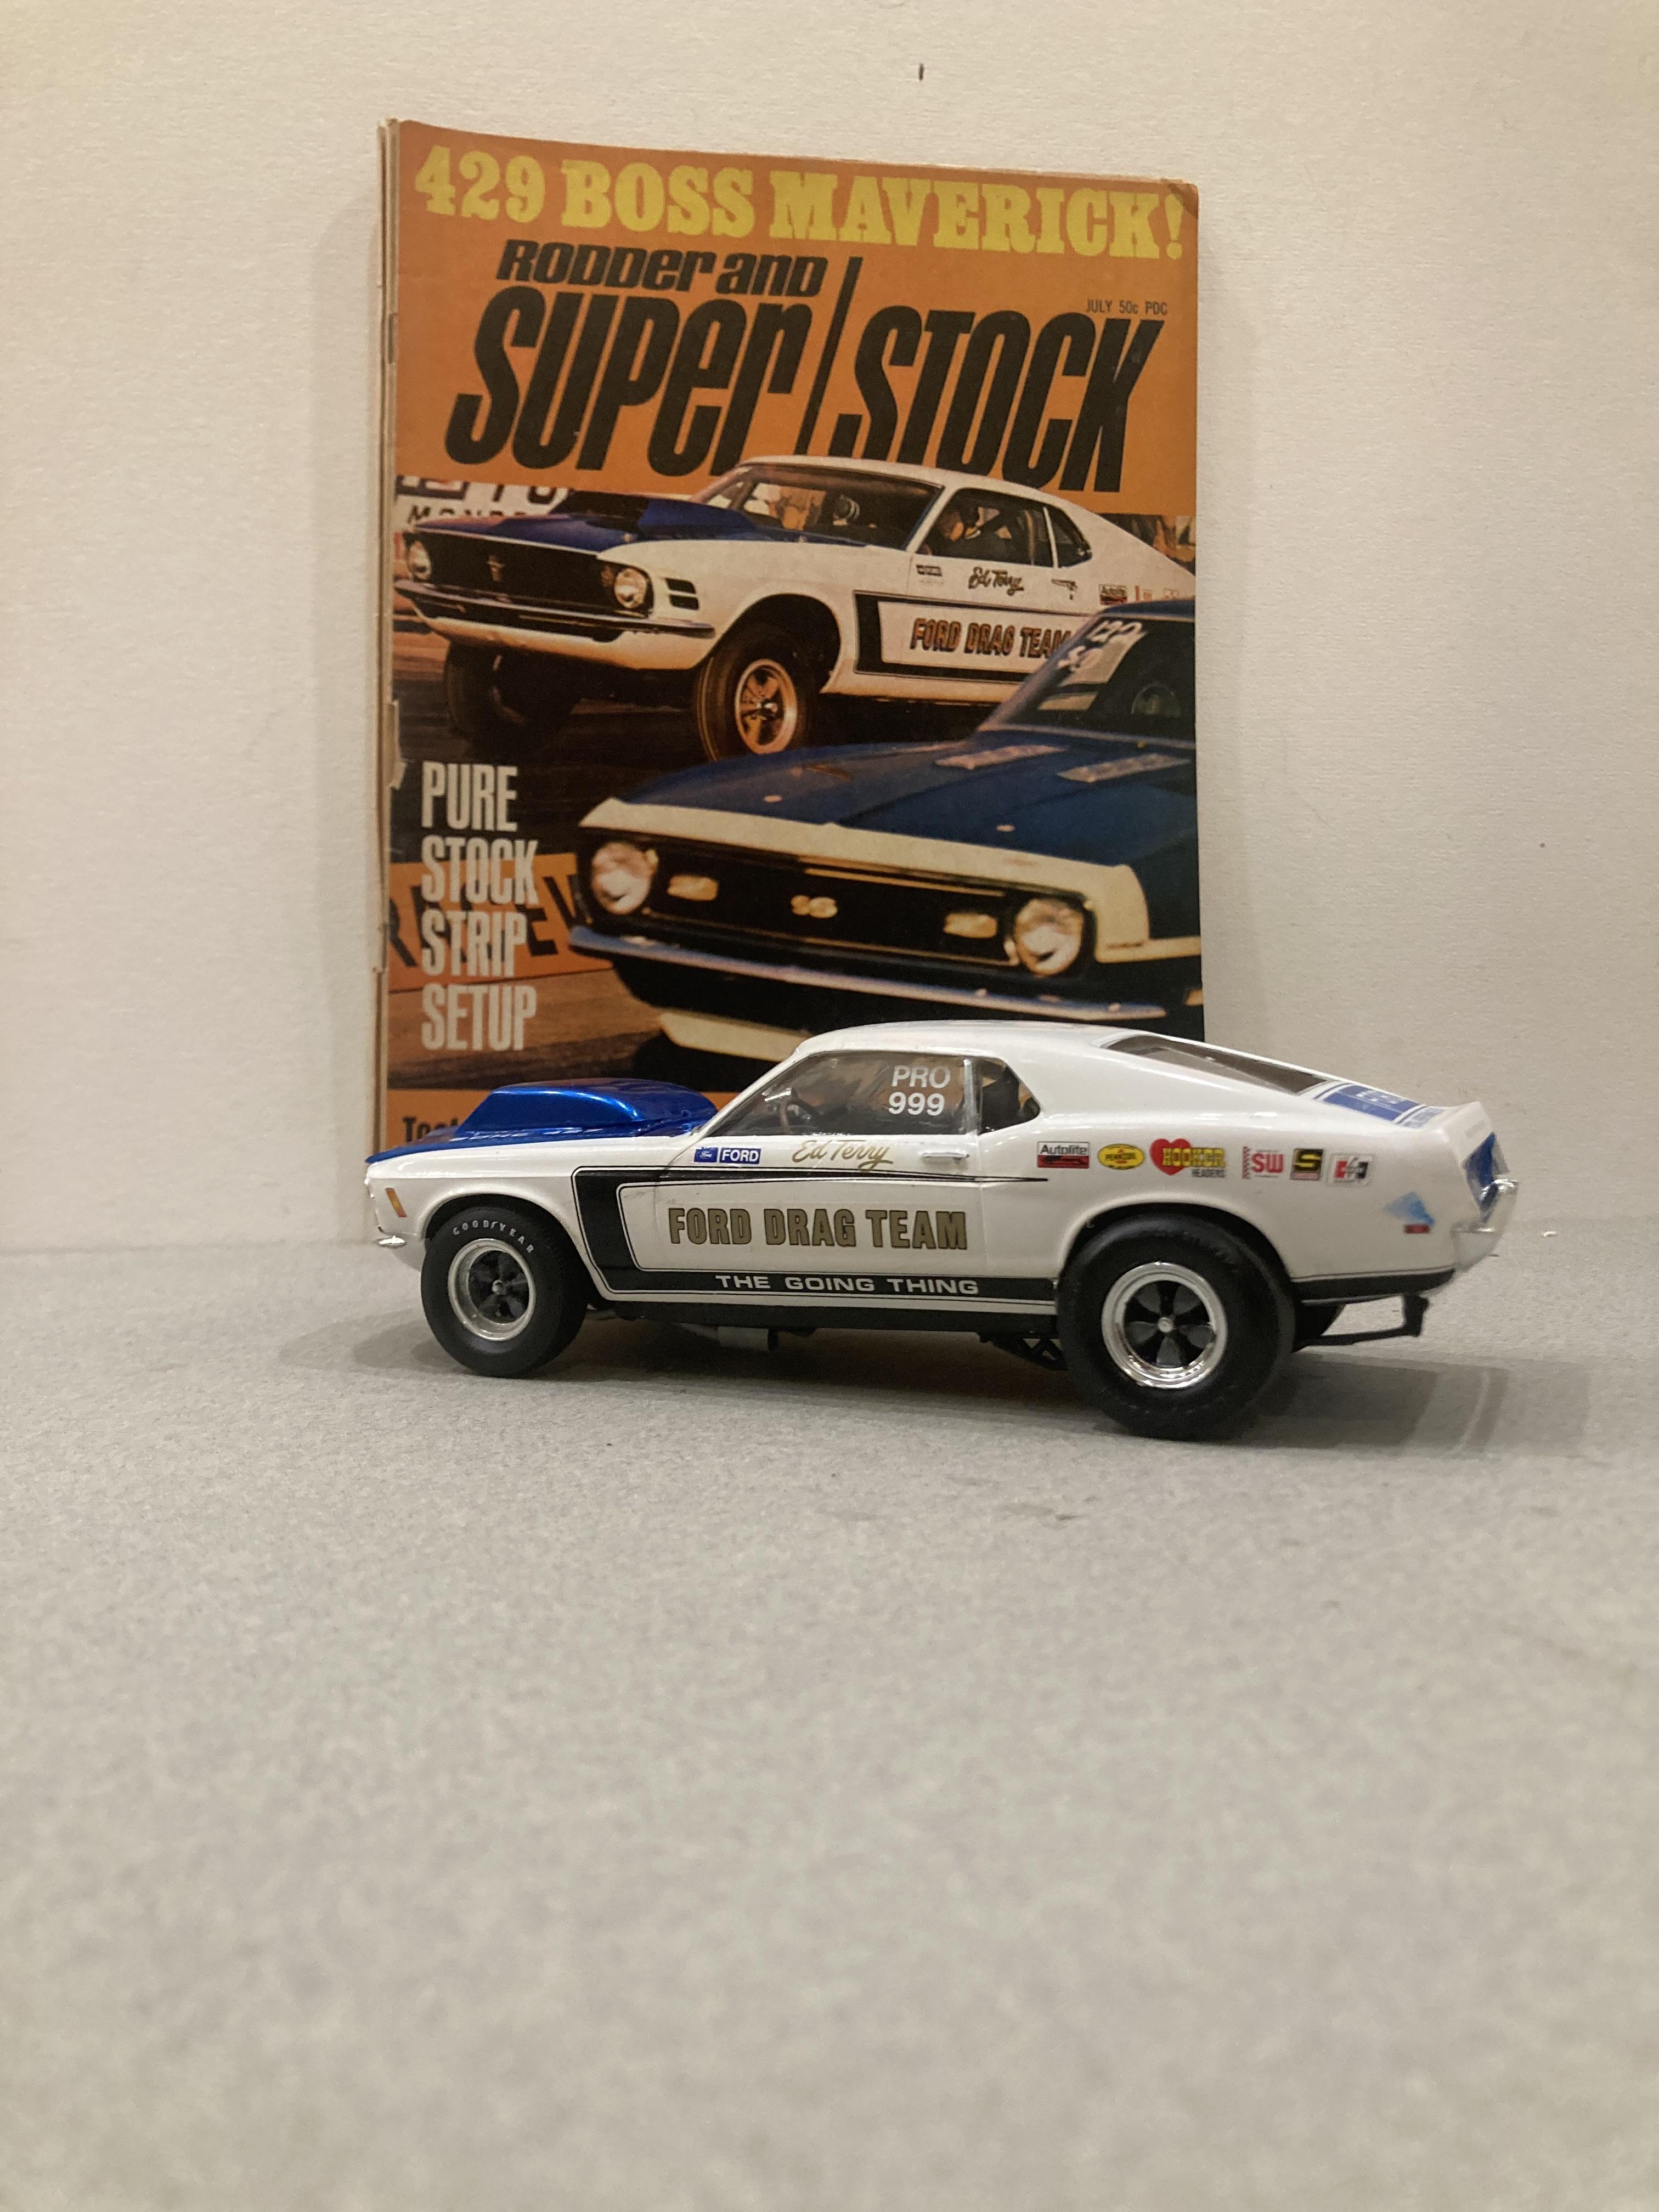
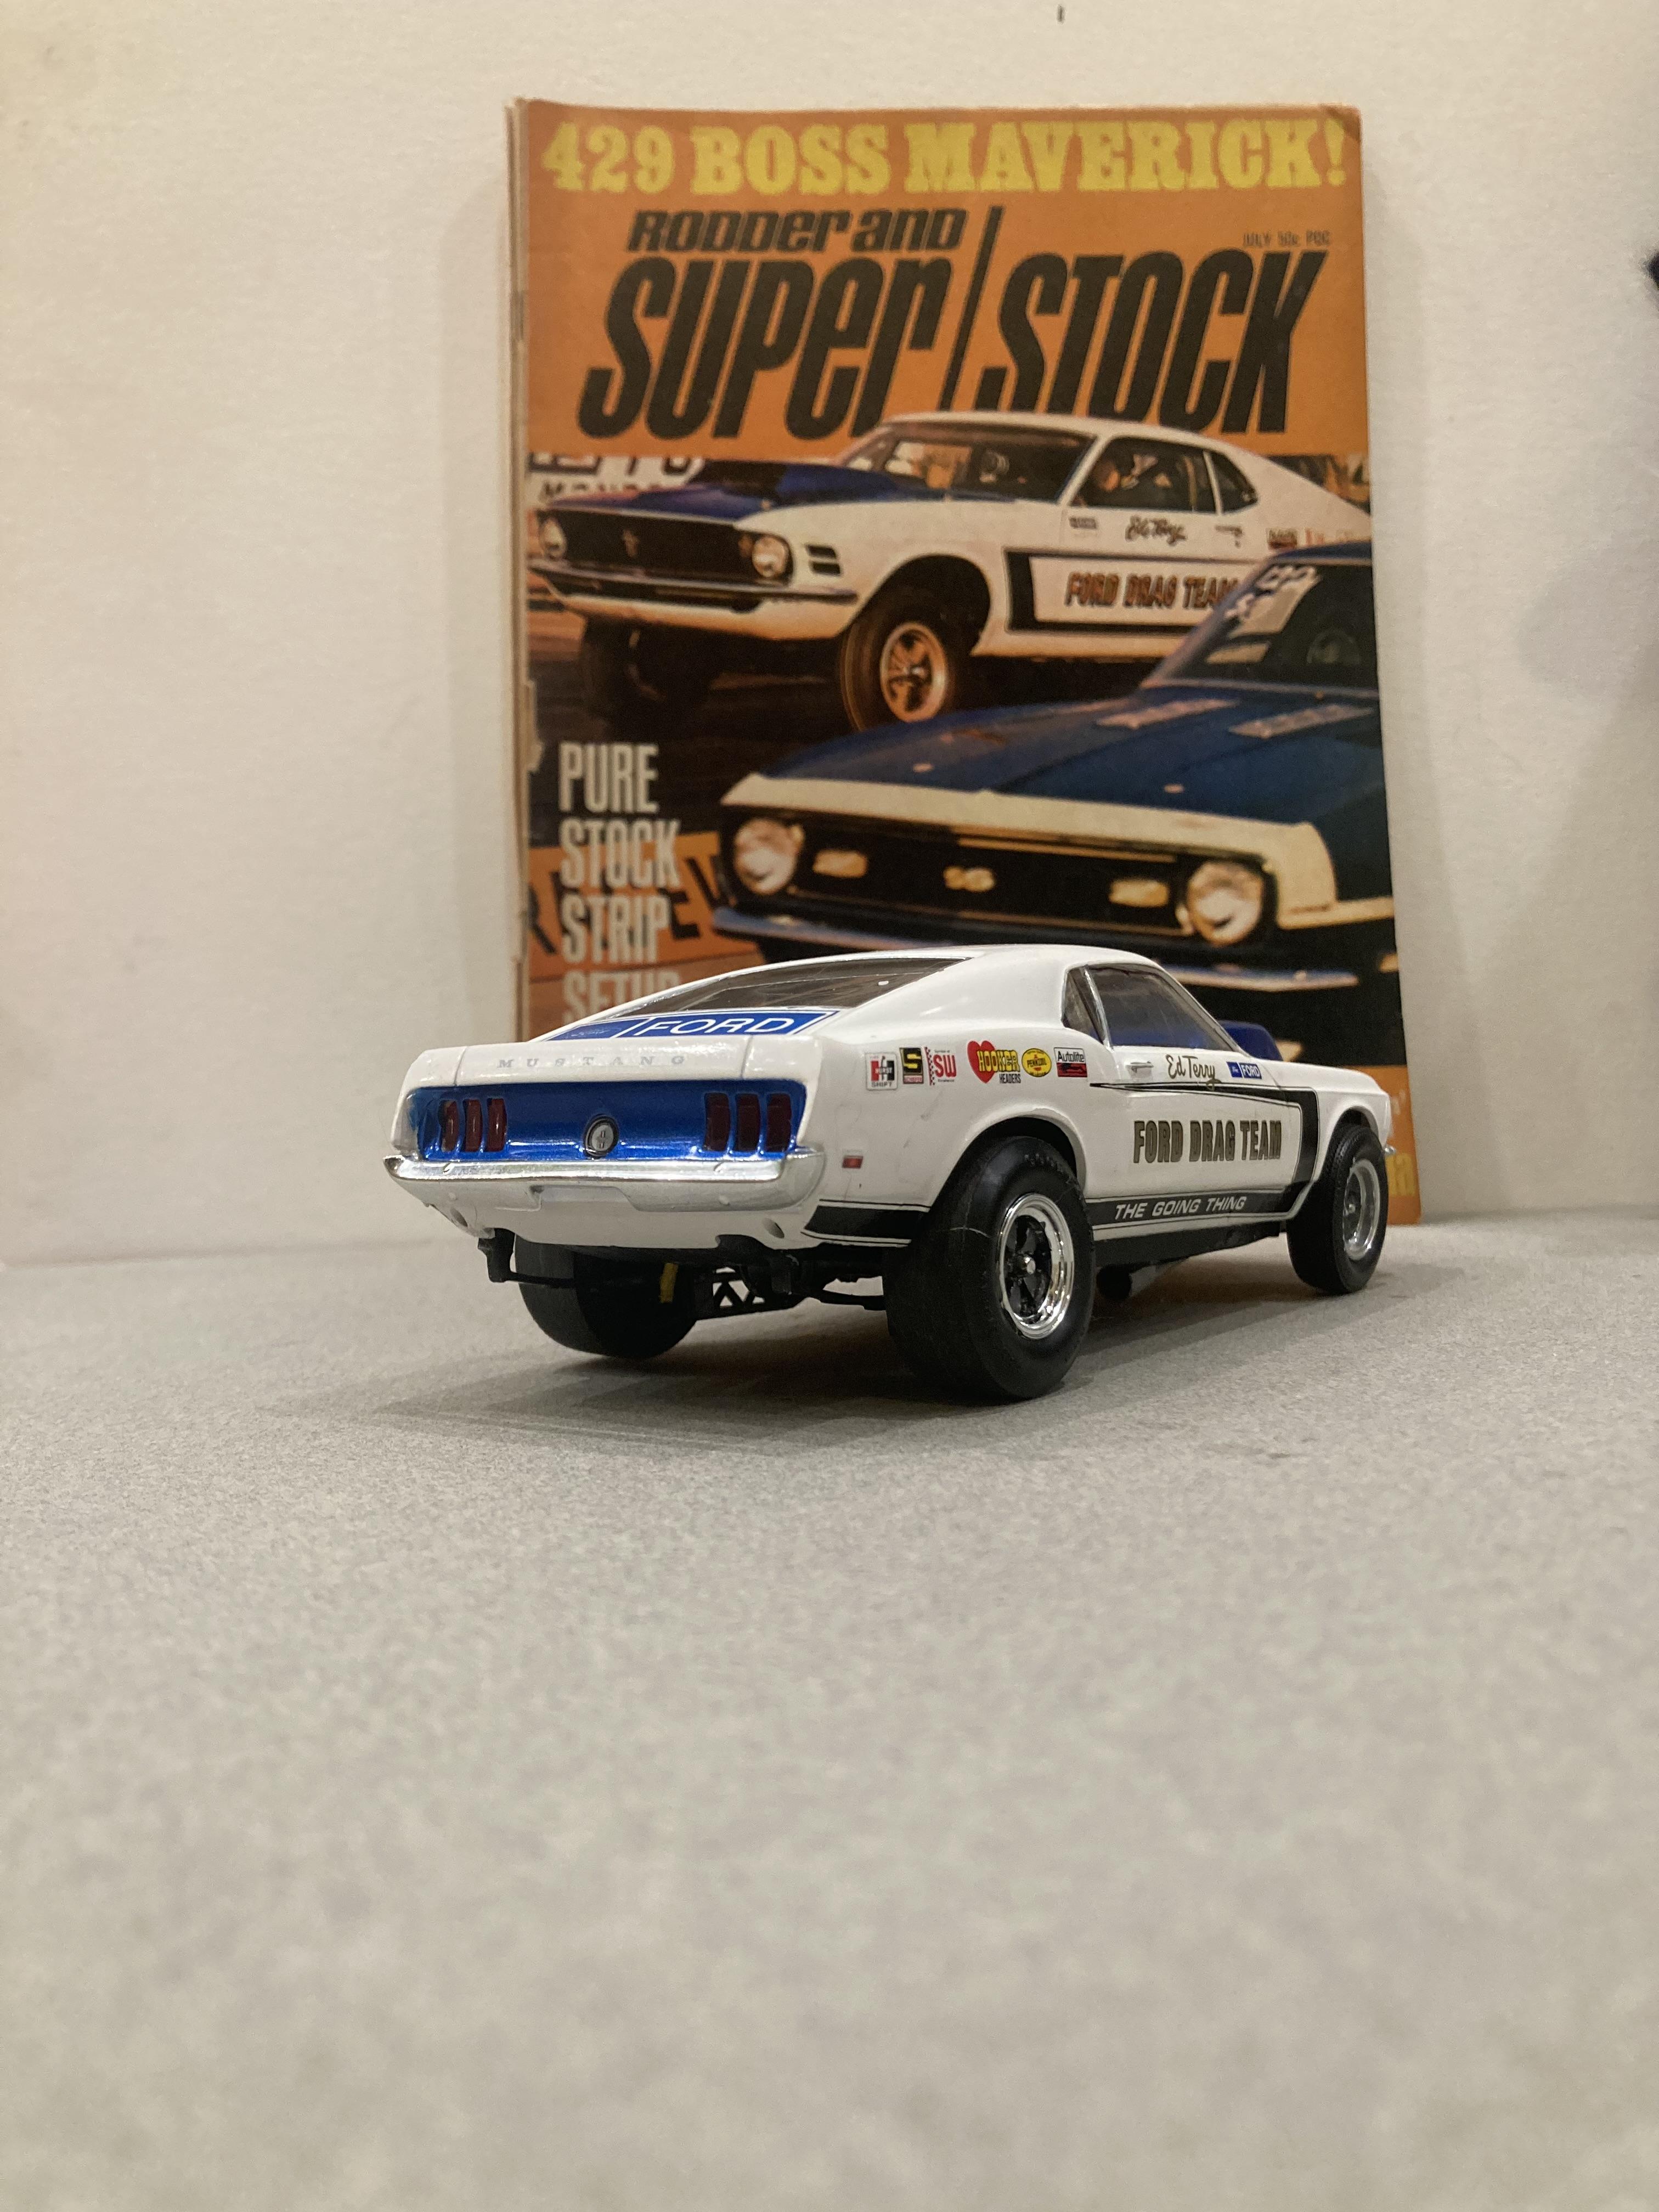
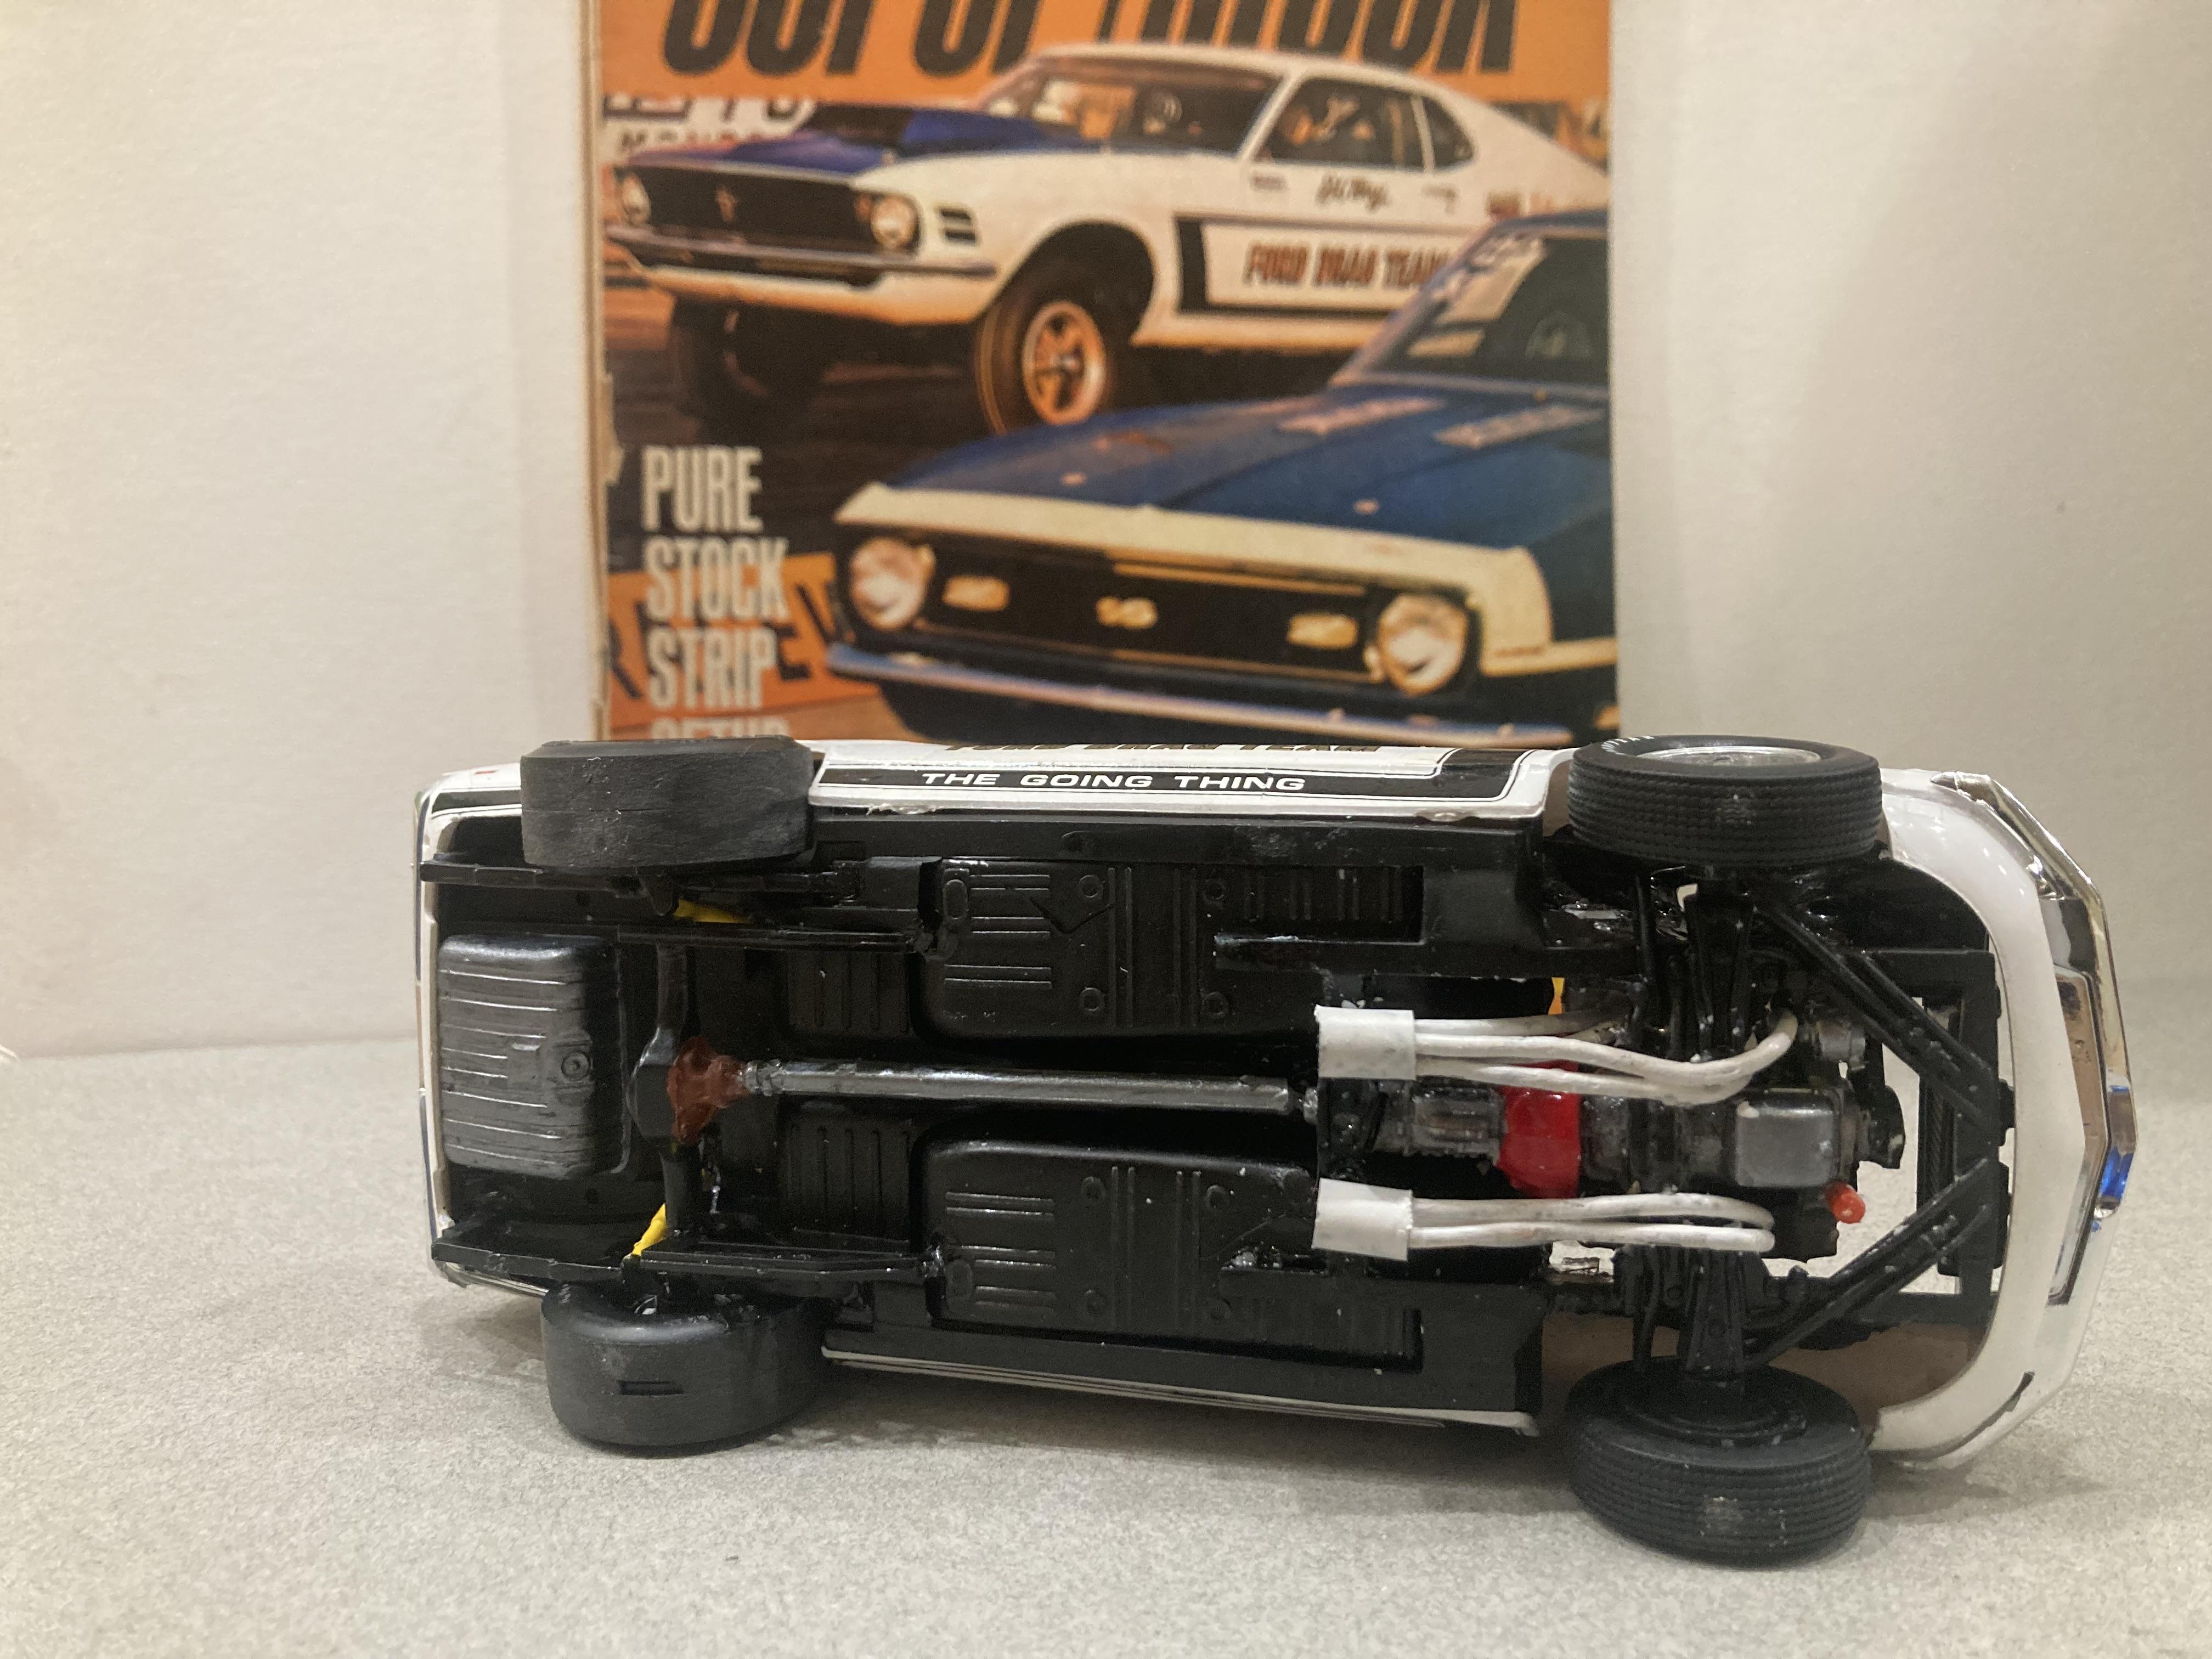
This is a combination of basically three kits along with some parts box items. AMT MACH WON : body , long block with heads AMT 1971 Mustang : intake manifold and carbs , fire extinguisher, console cover , front tires , hood scoop Revell Boss 302 : chassis, interior, glass , engine bay, wheel backs , rear tail light panel / valance, back bumper , distributor , fan belt +altenator AMT Old Pro Nova : slicks , ladder bars AMT 1963 Impala : rear wheels MPC MALCO GASSER MUSTANG: front engine cover , valve covers , oil pan , coil random parts box items include : front wheels, drive shaft scratch built items: headers made from solder and aluminum tubing, side windows from clear sheet styrene , rear spring shackles from styrene square stock paint: tamyia ts-26 white three coats it sprays real thin, ts-19 metallic blue, black on the chassis and interior is krylon satin decals : the black c strips ford drag team , Ed terry script, small ford logo on door , sohc 427 hood decals are old Fred cady that I’d been saving for some 35 years, however you can order new ones from Jim heller he sells on eBay. Deck lid ford logo Jim heller , left over from my Torino build, small sponsor decals on the quarter panels are slixx from the Hubert Platt set . Other small decals side marker lights etc. are from the Mach won and revell boss 302 this magazine issue is kinda tough to find for some reason. This was a really fun build as there is a perfect storm of model kits , and the decals out right now to make it happen. I’m going to get started on the Platt match race 69 and 70 pro stock mustangs next . Until next time thanks for looking , and stay tuned I’ve got some really cool stuff coming up ,Mike
-
Yet another fantastic dragster from your awesome collection. Good old Big Daddy ruined the sexy looks of the front engine rail jobs with that rear engine contraption
-
The work you did lowering the stance worked wonders really nice
-
Those Darts look great in black and gold Really nice work