ea0863
-
Posts
2,559 -
Joined
-
Last visited
Content Type
Profiles
Forums
Events
Gallery
Everything posted by ea0863
-
 I have new levels of sympathy for you as of today. I'm working on a project for my son with a GT Spirit resin Jeep Rubicon which I'm redoing like one he just bought - - - but I messed up the paint job and just spent 8 hours with rubbing alcohol and a brush. Those hand cramps you were referring to are apparently a real thing!
 -
I agree with this assessment. The undercarriage looks incredible - just like ten winters of snow and salt in New York. The top looks great, but looks like it's ready for Barrett Jackson. BTW; I personally wish I had your skills either with the topside, or the bottom.
-
Okay, so am I the only one that thinks that looks really cool just like this?
-
Such a beautiful model, and such a great sentiment behind it. My dad just passed a few months ago, and he loved the Panther Westwinds J72 so much he took one of their magazine ads in the 1970's and framed it for his office. Sometime in the 90's, I converted a Bburago Jaguar SS100 for him, and painted it the tuxedo black exterior and vibrant red leather interior like the ad. I am just now getting this model back, and to me it is worth its weight in gold.
-
Joseph, which Moebius kit did you go with (maybe it doesn't matter)?

-
Thank you much. Loving this topic!
-
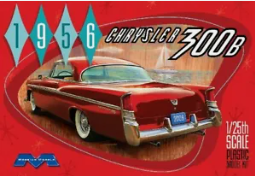
Mine just arrived in today's mail; quite a bit of damage in the front fenders where someone hacked at it, but overall looking like a fun project. I have to say though - - - that is a BIG 1:25 scale! The body is a good 9" long. May I assume the Moebius Chrysler 300 was chosen in part for good matching scale?
-
Beautiful job on a beautiful car Bruce. I'm with you; the Monogram Classic Duesenberg is in my top five of favorite models of all time.
-
I JUST bought one of these on ebay, having run across it completely by accident. I too saw the Exner influence, although it turns out to have been designed by Bill Campbell. I love what you're doing with yours, and will be taking detailed notes. Thank you so much for posting!
-
There are such great features, such as pinned sideview mirrors that slot into the body, and one piece windows that are pre-painted. It just made the model a joy to put together with my fumbly old hands.
-
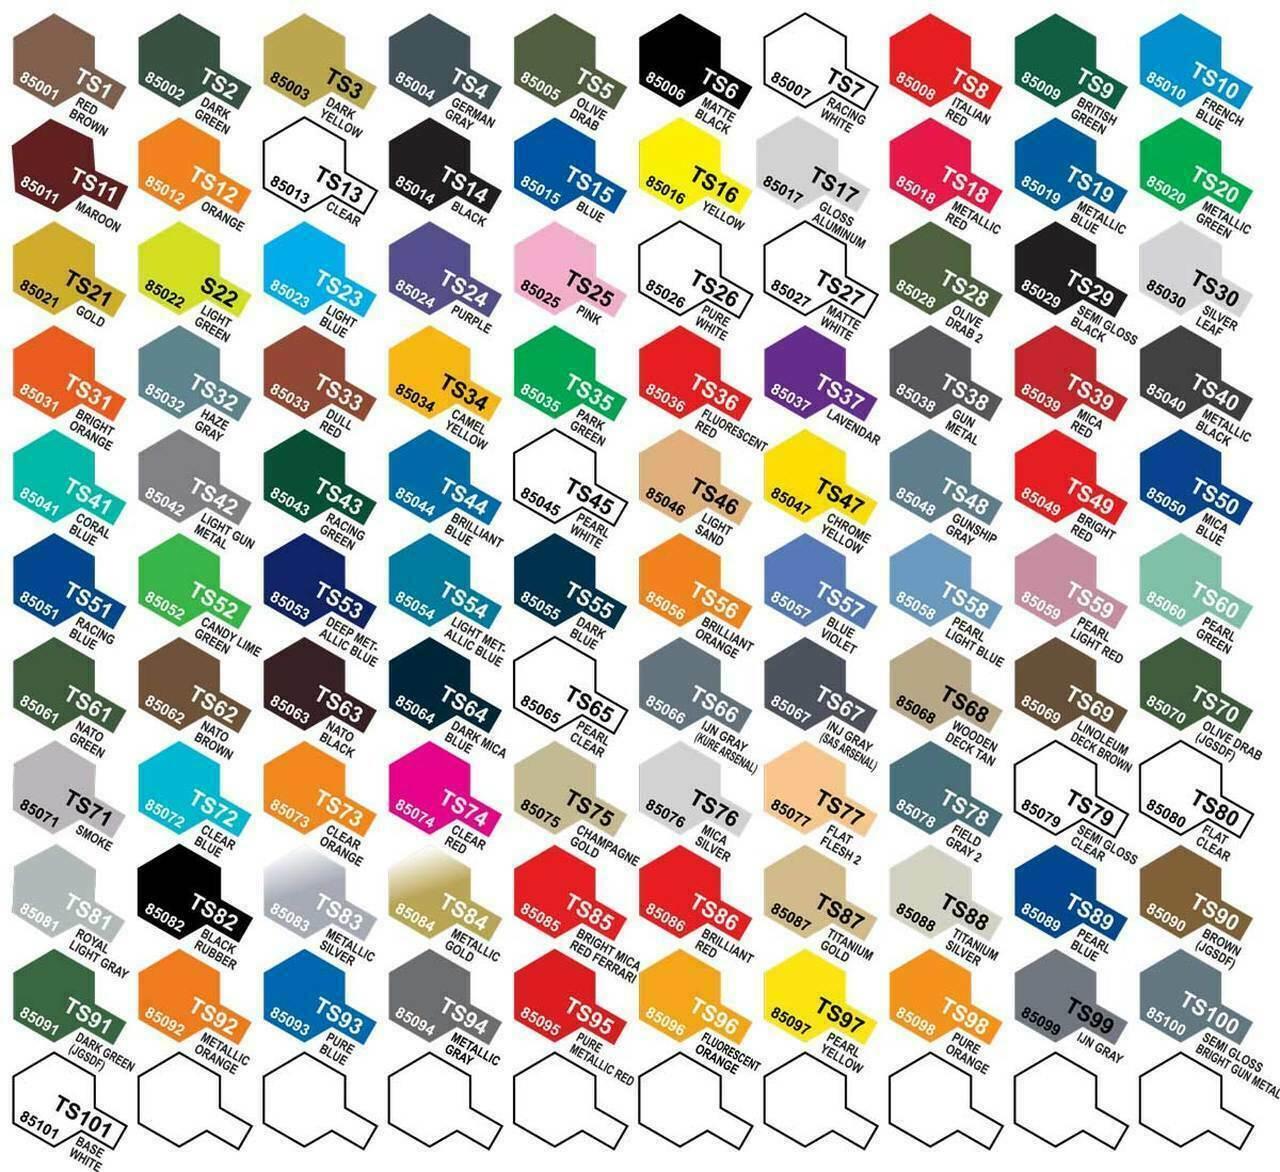
Sorry to see that Craig. Duplicolor has done that to me enough times that I avoid it now. Tamiya TS-19 might do the trick for you...
-
Oooh, very tasty convertible. Great job on the top!
-
I picked this one up on a lark, and all I can say is WOW! The body is beautifully rendered, with lots of opening parts and a hood made of what looks and feels like aluminum. You lift it up, and there is a wonderfully detailed engine underneath. You turn the door handle (which you have to do to get the doors to open), and the interior is no less detailed. The leather top also comes off for better viewing. Both the suspension and the steering work like a charm, and the underside has an aerodynamic pan made of the same metal as the hood. What a stunner this turned out to be!
- 1 reply
-
- 3
-

-
Thank you Michelle! That means a lot coming from you as you are a very prolific and good builder yourself!
-
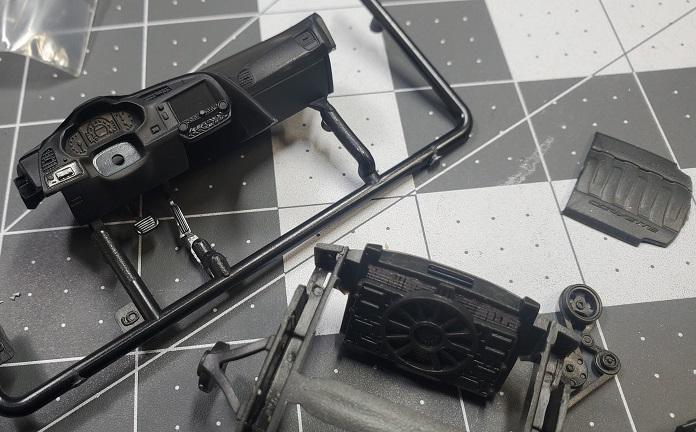
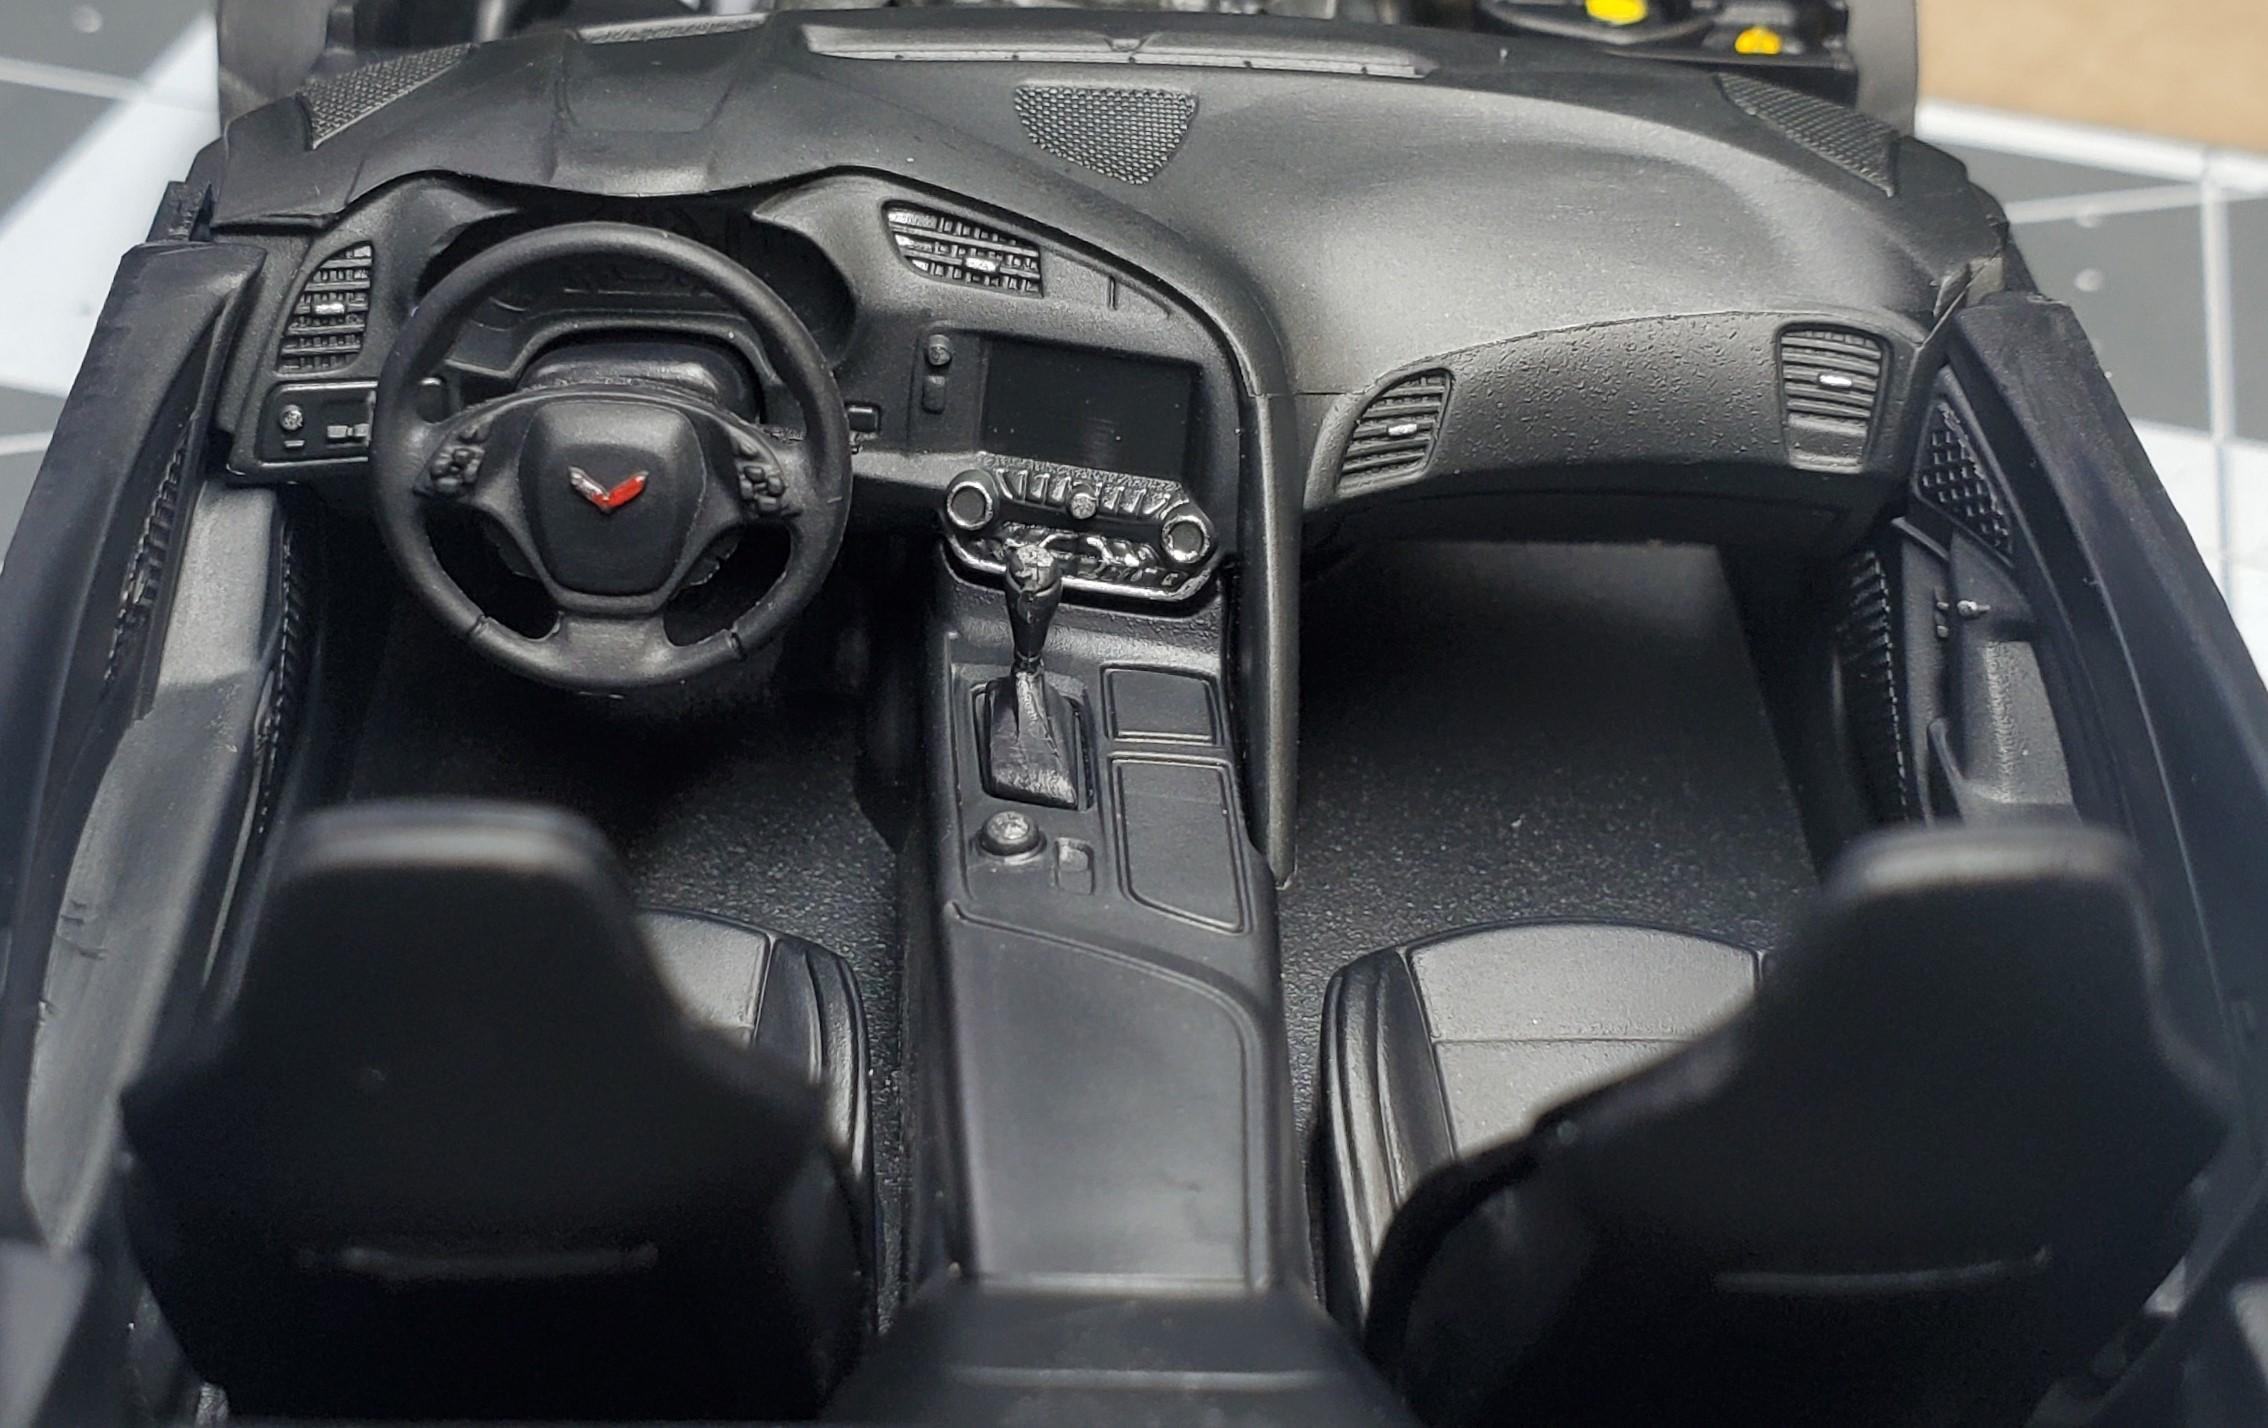
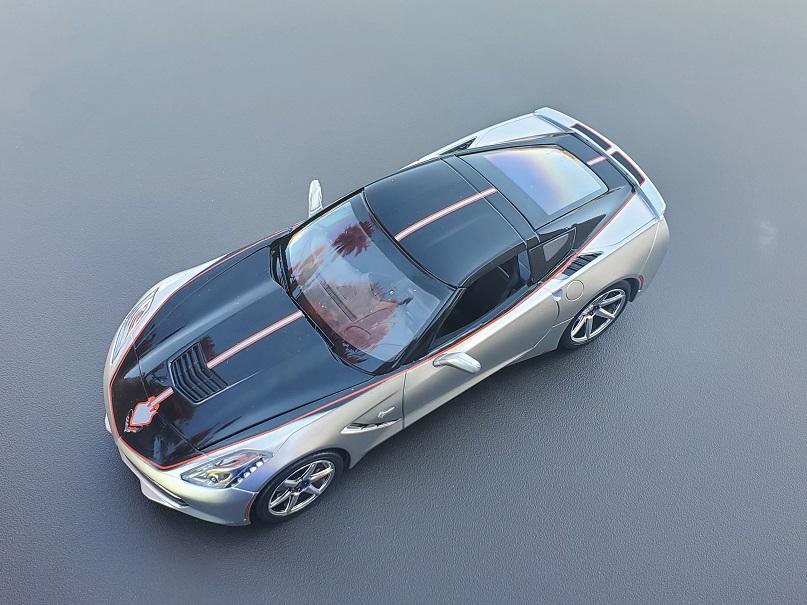
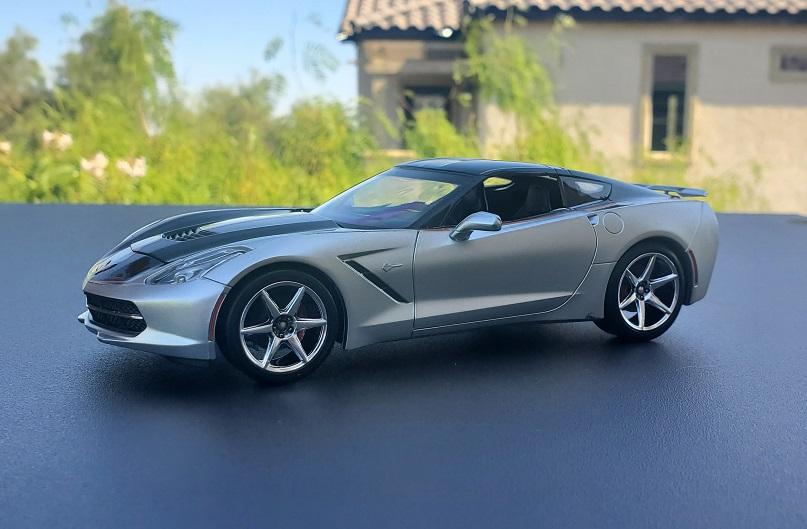
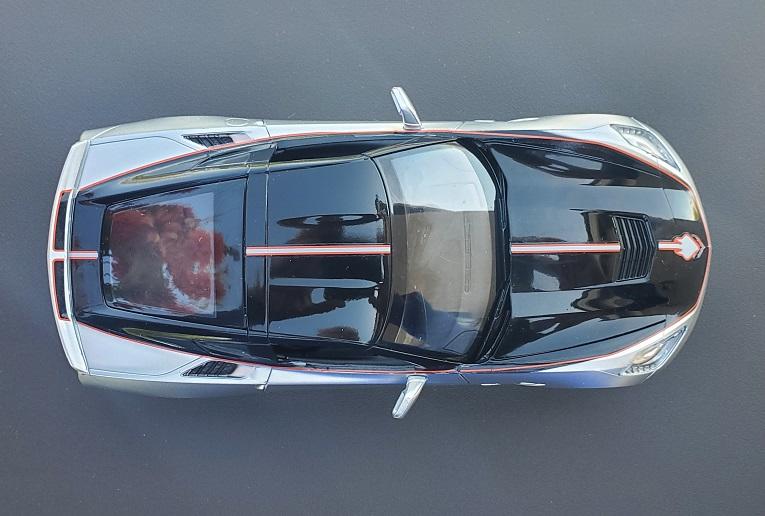
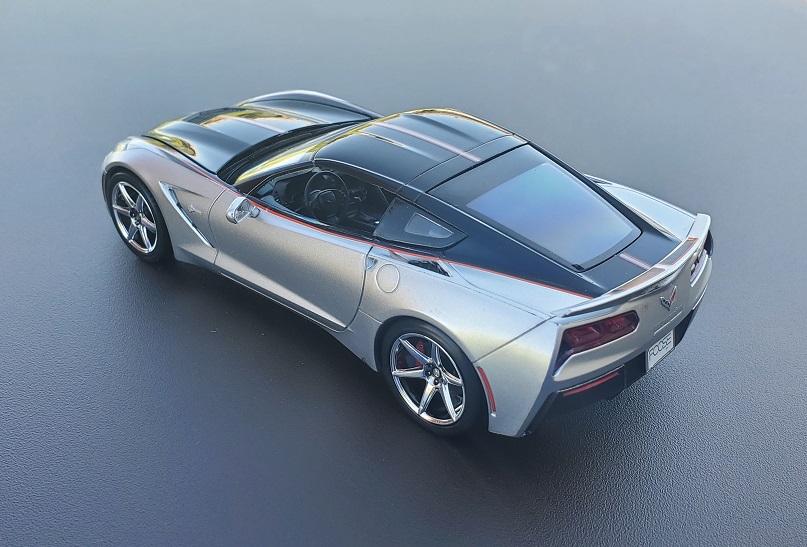
While waiting for things to dry in a couple of bigger projects, I decided to throw together the Revell Foose Corvette C7. I didn't have very high expectations of the model since it is a relatively quick builder, but I couldn't have been more wrong! This model had become one of my all time favorites now. Although it has a relatively low parts count due to combined molding of some major components, there was no skimping on detail for the parts represented. The dash and radiator are just two such examples. The model is engineered so well that parts go together like a Swiss watch. With a little bit of detailing, you get something you can be proud to display. The inspiration for this build had come from @ewetwo, and I'd like to thank him for posting his beauty. He had also mentioned that the decals proved to be challenging, thus I decided to try something new and used Micro Set and Micro Sol for the first time. What a wonderful and magical pair those two are! One coat of Set and two coats of Sol later, the decals had laid down beautifully - even on compound surfaces. And, the clear edges had all but disappeared. Chalk up one more for this forum, and the things I have learned here. Oh, and lest I forget - - - the body is pre-painted as it comes from Revell. Other than a little overspray on top of the front fenders, it looked great right out of the box.
-
I don't like it. I LOVE it! The wood panels are spot on, and the green is so classy. Well done!!!
-
Revell Snap Corvette Build in Kandy Apple Red
ea0863 replied to speedy5963's topic in WIP: Model Cars
Loving that paint job and detail! -
Why thank you Richard! It's wonderful to even register on such cool instruments, much less peg them
-
No Roberto, yours are totally chill beauties! I LOVE that roadster with the custom interior and cut down windshield. And the front engine build has a great paint job. Did you put a Honda motor up front, or something else? Now I have to see if I can find more photos of these builds...
-
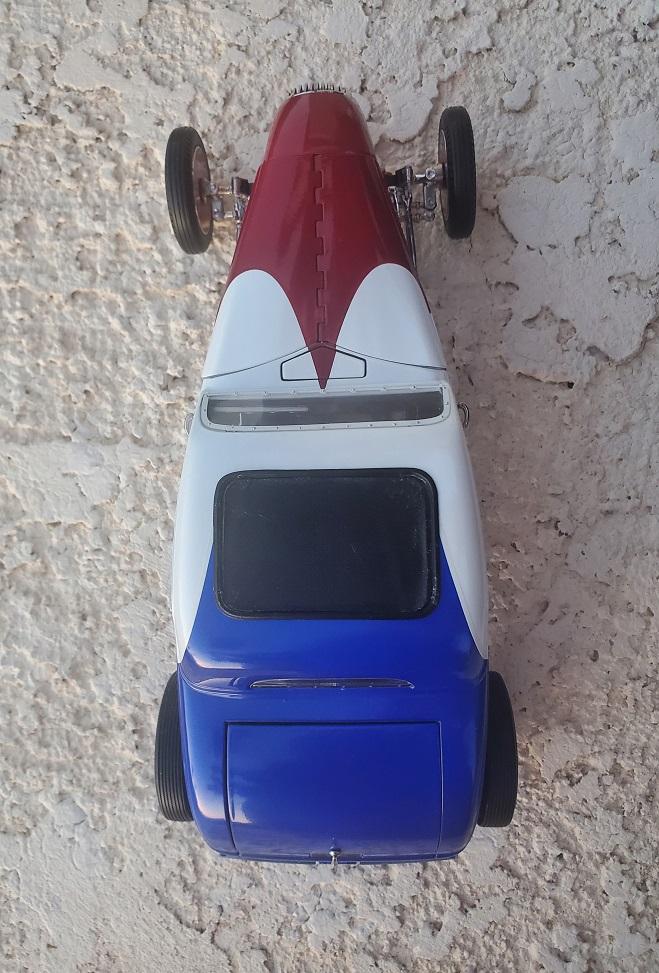
I saw a salt flats version on the Australian Model Builders page a while back, and I agree - - - this body is a natural for such a build. https://ozautobuilders.forumotion.com/t991-aluma-coupe-salt-flat
-
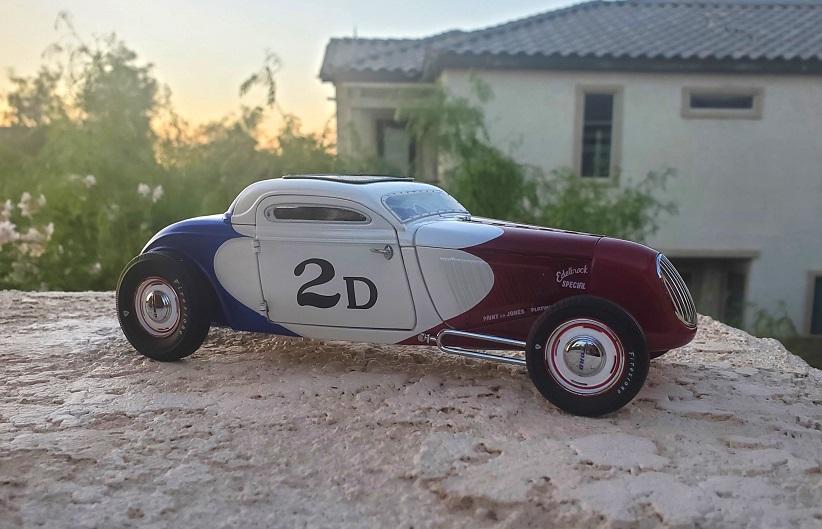
Quick shout out to @Straightliner59 for much of the inspiration of this build...
-
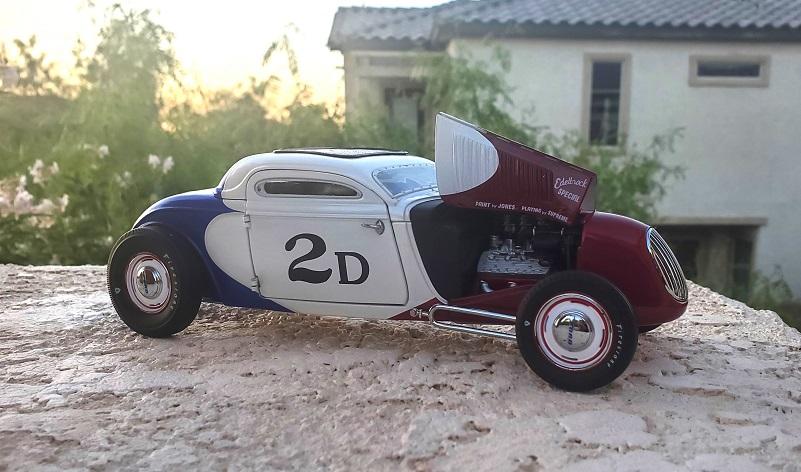
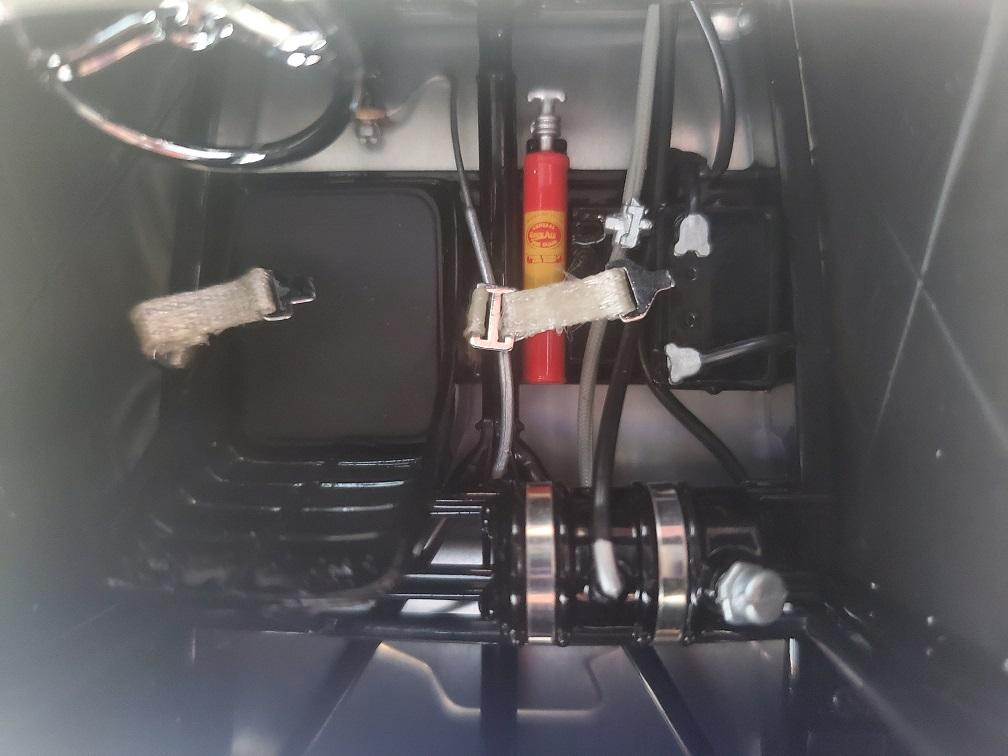
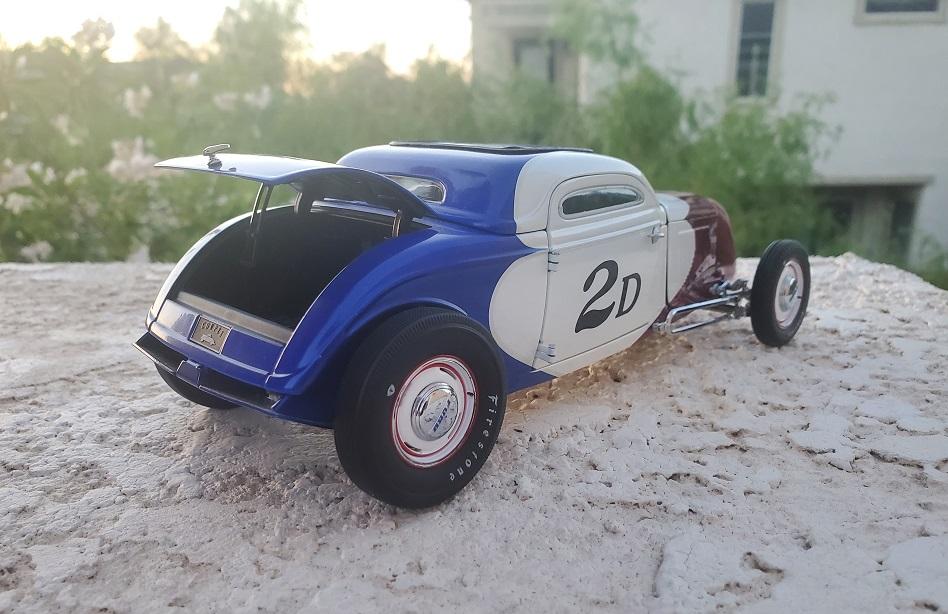
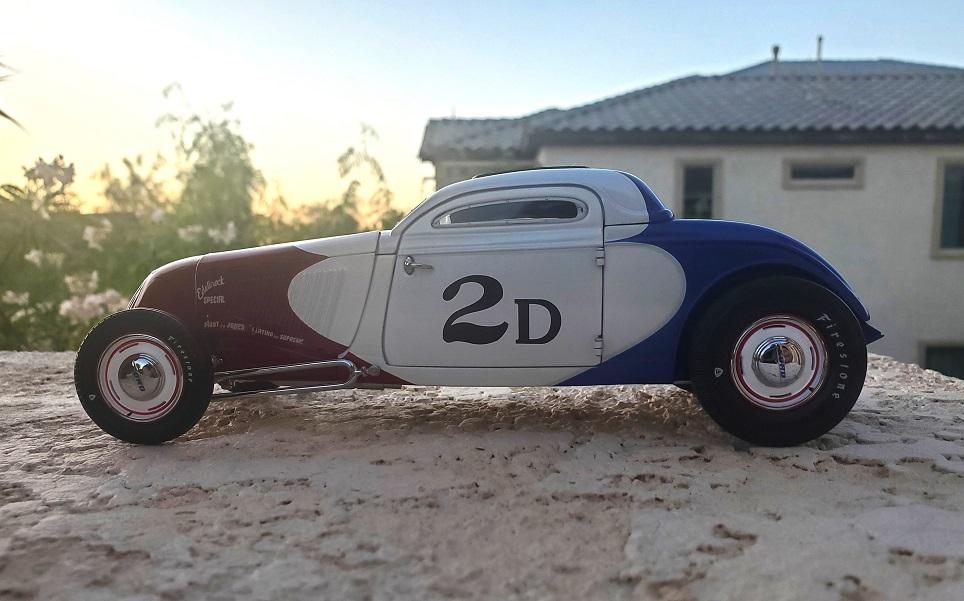
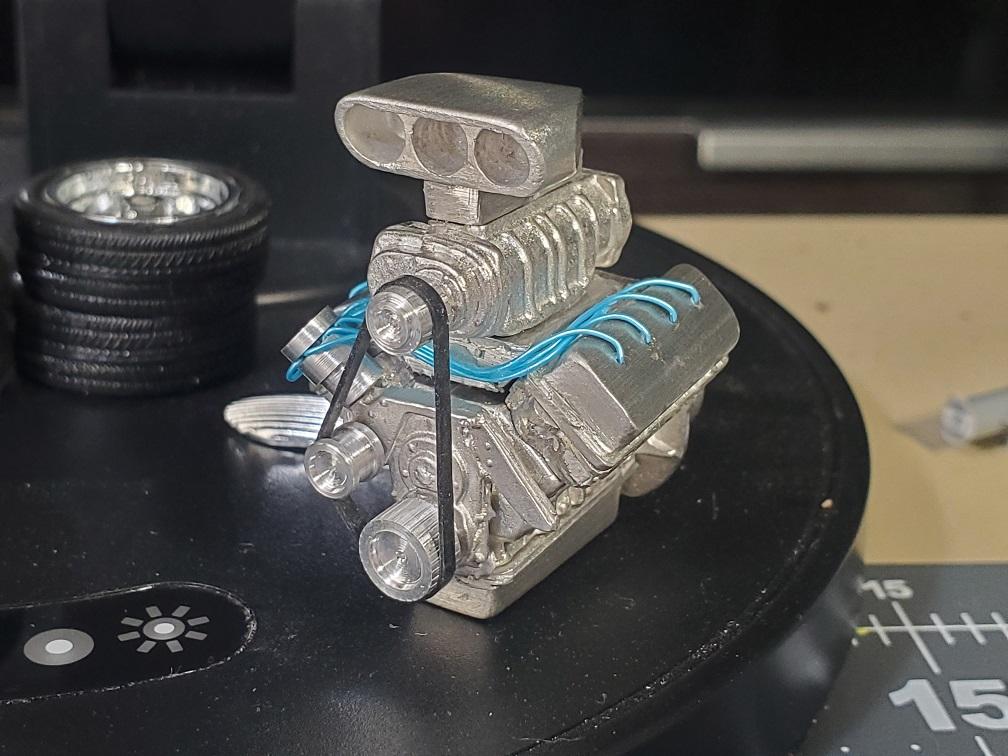
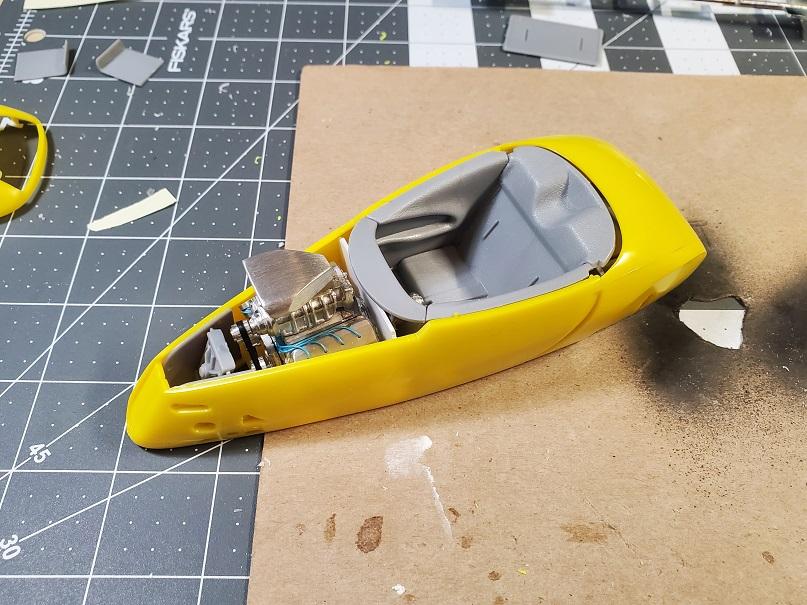
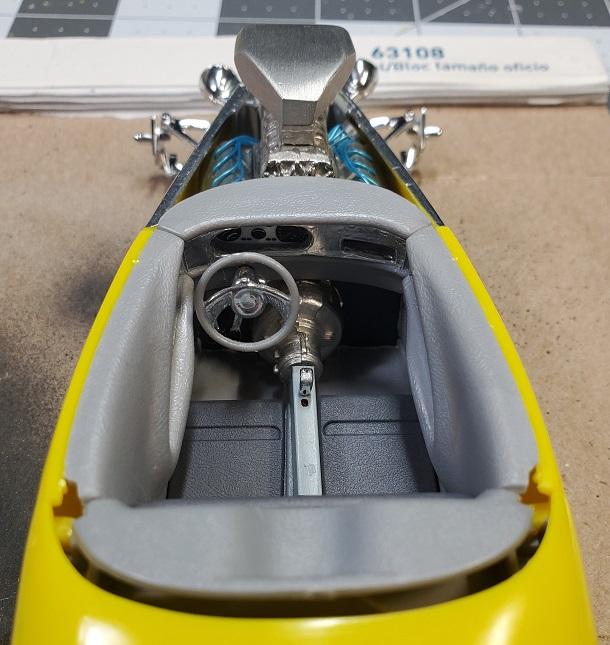
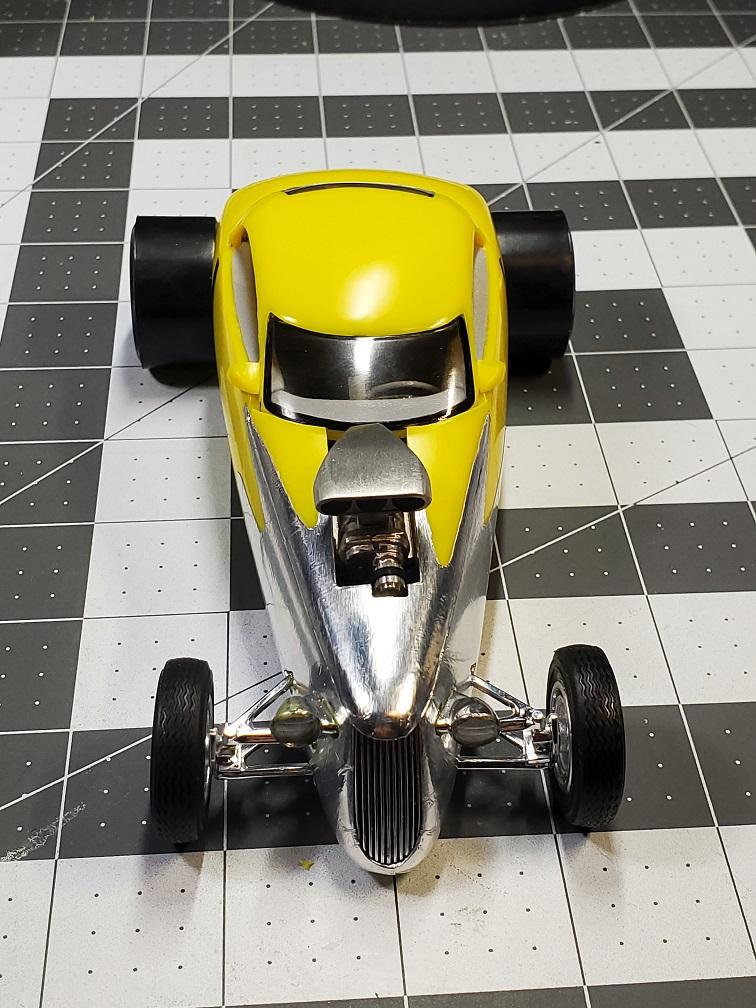
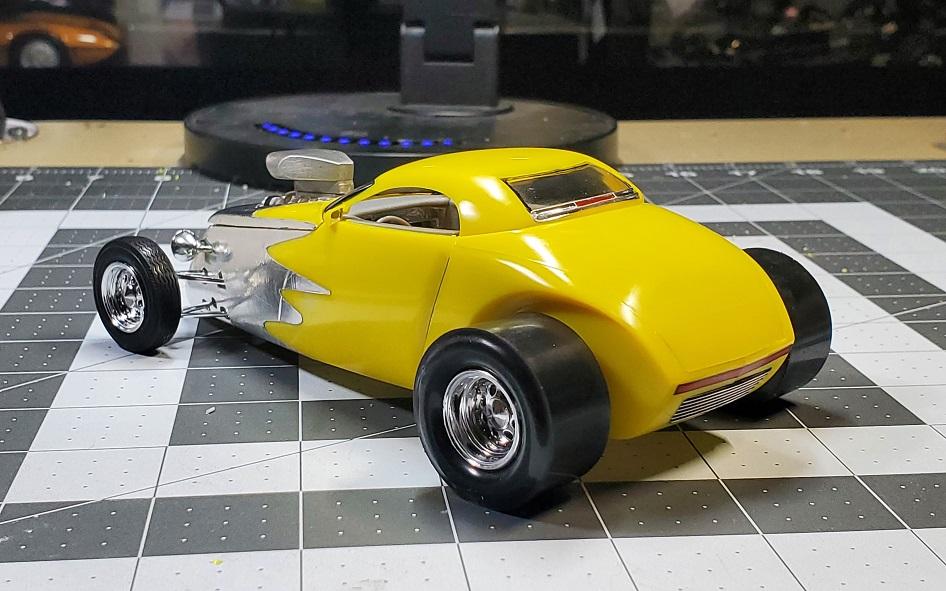
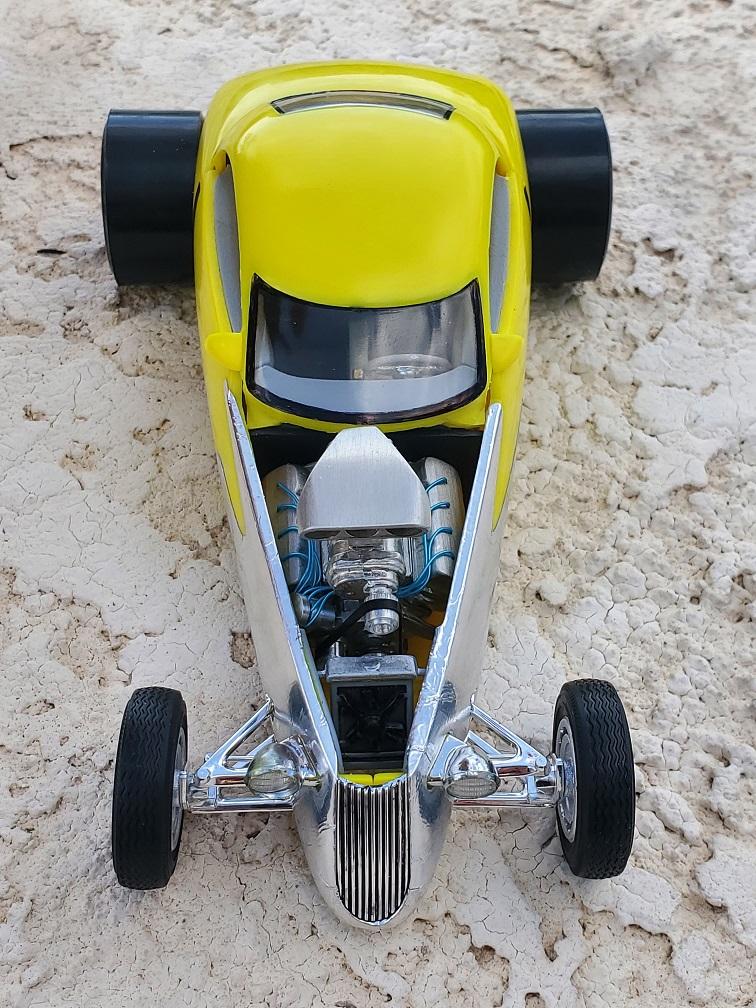
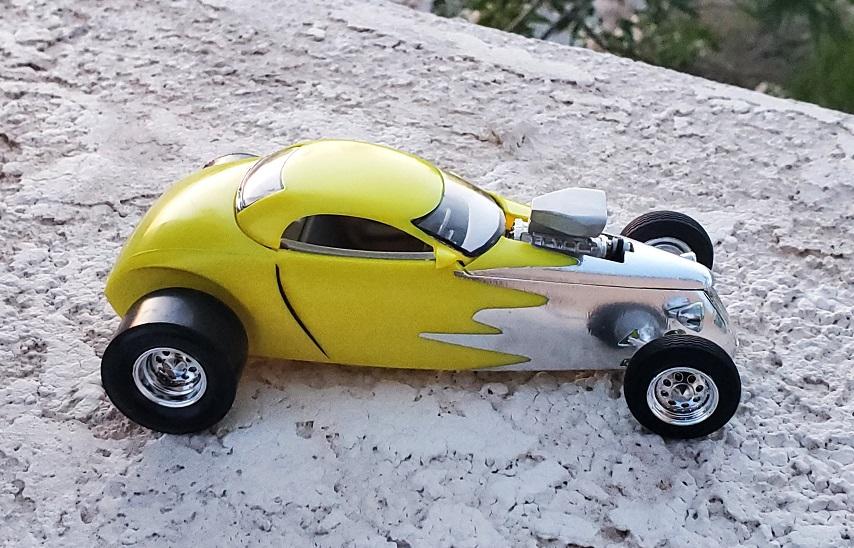
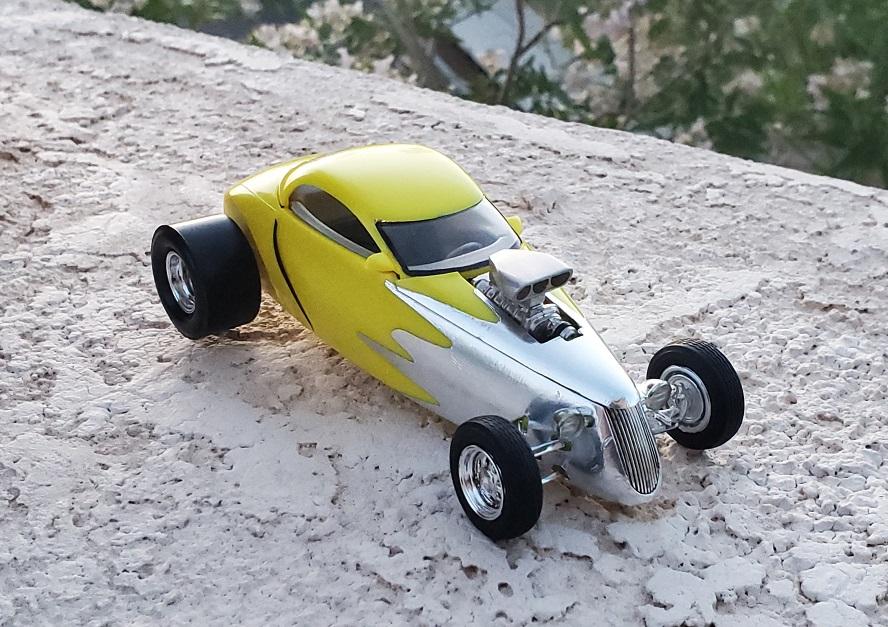
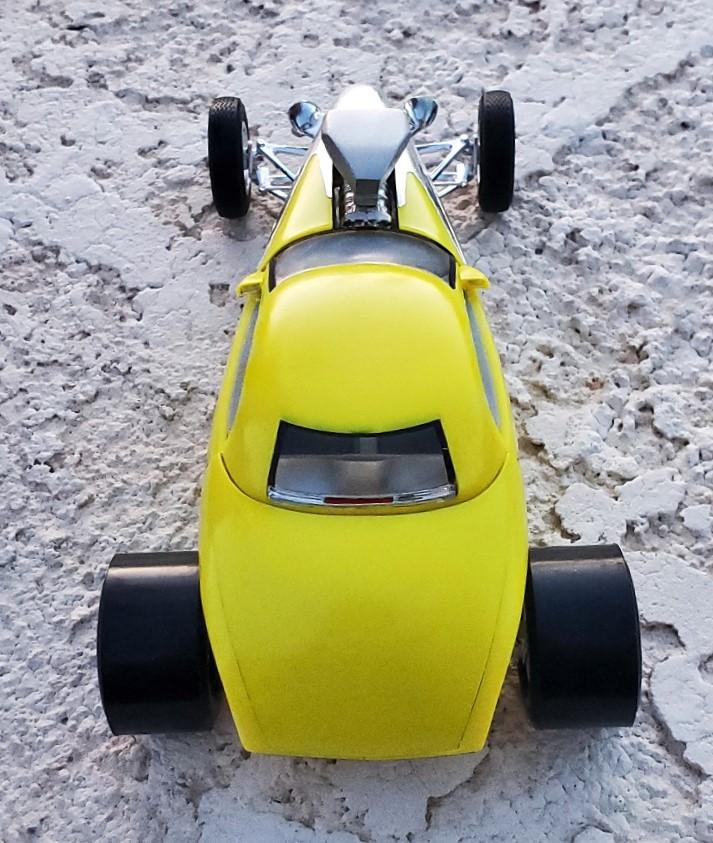
The story goes that Larry Erickson designed and Boyd Coddington built the Aluma Coupe originally with an American powerplant in mind. When Mitsubishi sidled up for a project to showcase their products, somebody had the brilliant idea to drop a two liter four cylinder Eclipse motor in the trunk - which angered the hot rod gods. Marcel DeLay fashioned the lithe body out of aluminum, and thus was born the Aluma Coupe. Fast forward a few years, and rich car collector David Sydorick bought the car to show off at obligatory Saturday morning "Cars and Coffee". Only problem was, this was the heyday of JDM sports cars, not to mention American beasts such as the C5 Corvette, Dodge Viper, and Ford GT. So, practically at every stop light, the Aluma Coupe was left in the dust of some quicker and faster car. So, Sydorick pulled out his checkbook, and the project was underway for the "Angry" Aluma Coupe you see below. The motor was to be a Scale Repro's Plus top fuel dragster creation. The decision was made to put this motor up front, both because of favorable weight distribution, and also to show off this gorgeous hunk of American iron. That may have meant moving the firewall back, and a little less legroom for the passengers, but hey - life is all about priorities... The interior came out no less sexy with its bare transmission and new tunnel - so much so that the owner seriously considered making the car into a roadster. Cooler heads prevailed though, and the signature roof of the Aluma Coupe was left in place. Together with some rims and truly meaty rear tires from an AMT Nova Pro Street, it hit the road to embarrass all who dared challenge its dominance of speed. Only minor problem was that right from its maiden outing, the freaking thing was so fast that it started to strip the yellow paint right off the car! There was some talk of going with some blingy vinyl wrap, but in the end, the decision was made to leave it alone and let the beauty of the original hammered aluminum body shine through. Whether indoors or out, with hood on or removed, Aluma Coupe was a poseur no more. Now, of course, you can look up the specifics of "Angry" Aluma Coupe for yourself. However, please note this is my story and I'm sticking to it!
-
I found some Scotch 3M Foil Tape # 3311 at Autozone, and have been using it instead of BMF for a while. I like it because it's just a bit thicker and goes on smoother. And, it's cheaper to boot.
-
Loving it. More chrome the better!
-
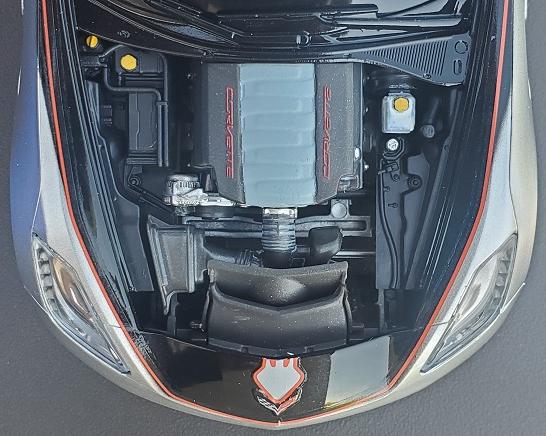
Fantastic in every view, but the engine compartment is out of this world!