OldNYJim
-
Posts
251 -
Joined
-
Last visited
Content Type
Profiles
Forums
Events
Gallery
Everything posted by OldNYJim
-

Pro shop 32 Ford Roadster
OldNYJim replied to slusher's topic in General Automotive Talk (Trucks and Cars)
What are the engine and parts options in this kit? I often see them listed on eBay for a fair price, but I’ve never actually seen what’s in the box... -
Got lucky with a low-humidity day yesterday and shot a little clear: Got a couple of specks of dust in it that I can see, but nothing that won’t buff out...need to start making the rest of this thing now while the body does a couple or three weeks of drying...

-
Ohh yeah! Now we’re talking!!! ?
-
The issues with scratch building
OldNYJim replied to IbuildScaleModels's topic in Tips, Tricks, and Tutorials
@IbuildScaleModels, out of interest, how soft is “too soft” for a rubber tire? Presumably any RTV mould material will sustain the weight of about any kit and is tough enough to make a tire that you can stretch into a rim. What’s the problem that you are running into with them? Mainly asking because I was just contemplating doing the same thing myself - mix some resin dye with RTV and see if I can make some usable tires! -
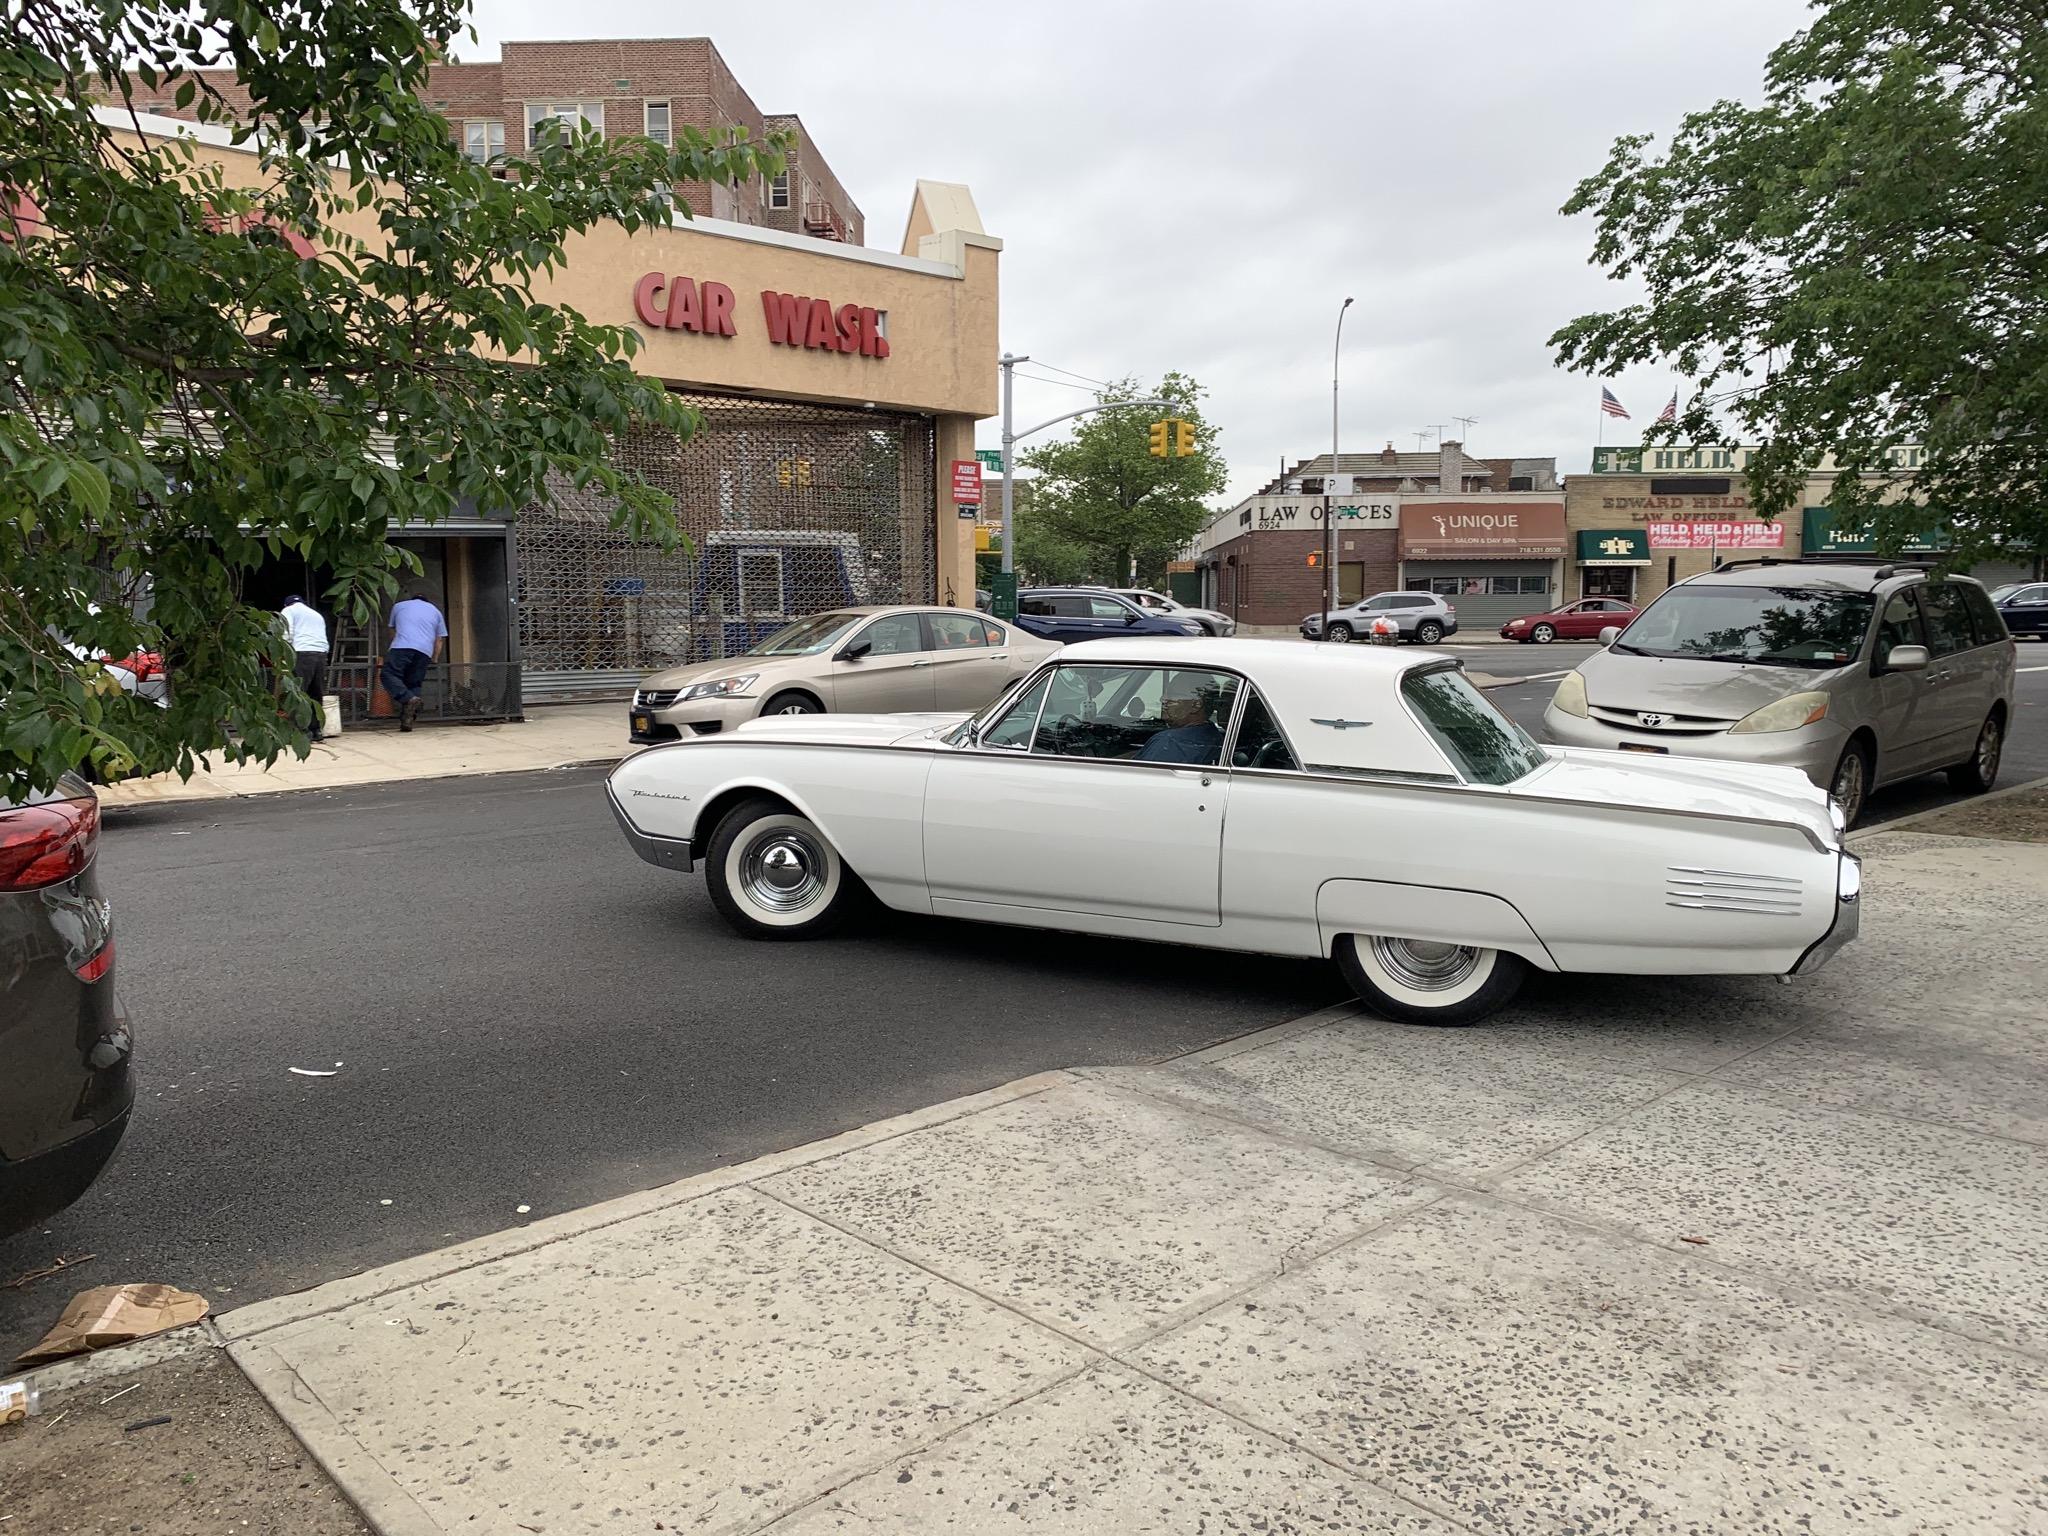
What did you see on the road today?
OldNYJim replied to Harry P.'s topic in General Automotive Talk (Trucks and Cars)
Finally something worth seeing in our neighborhood after weeks of nothing more interesting than the UPS truck ?
-
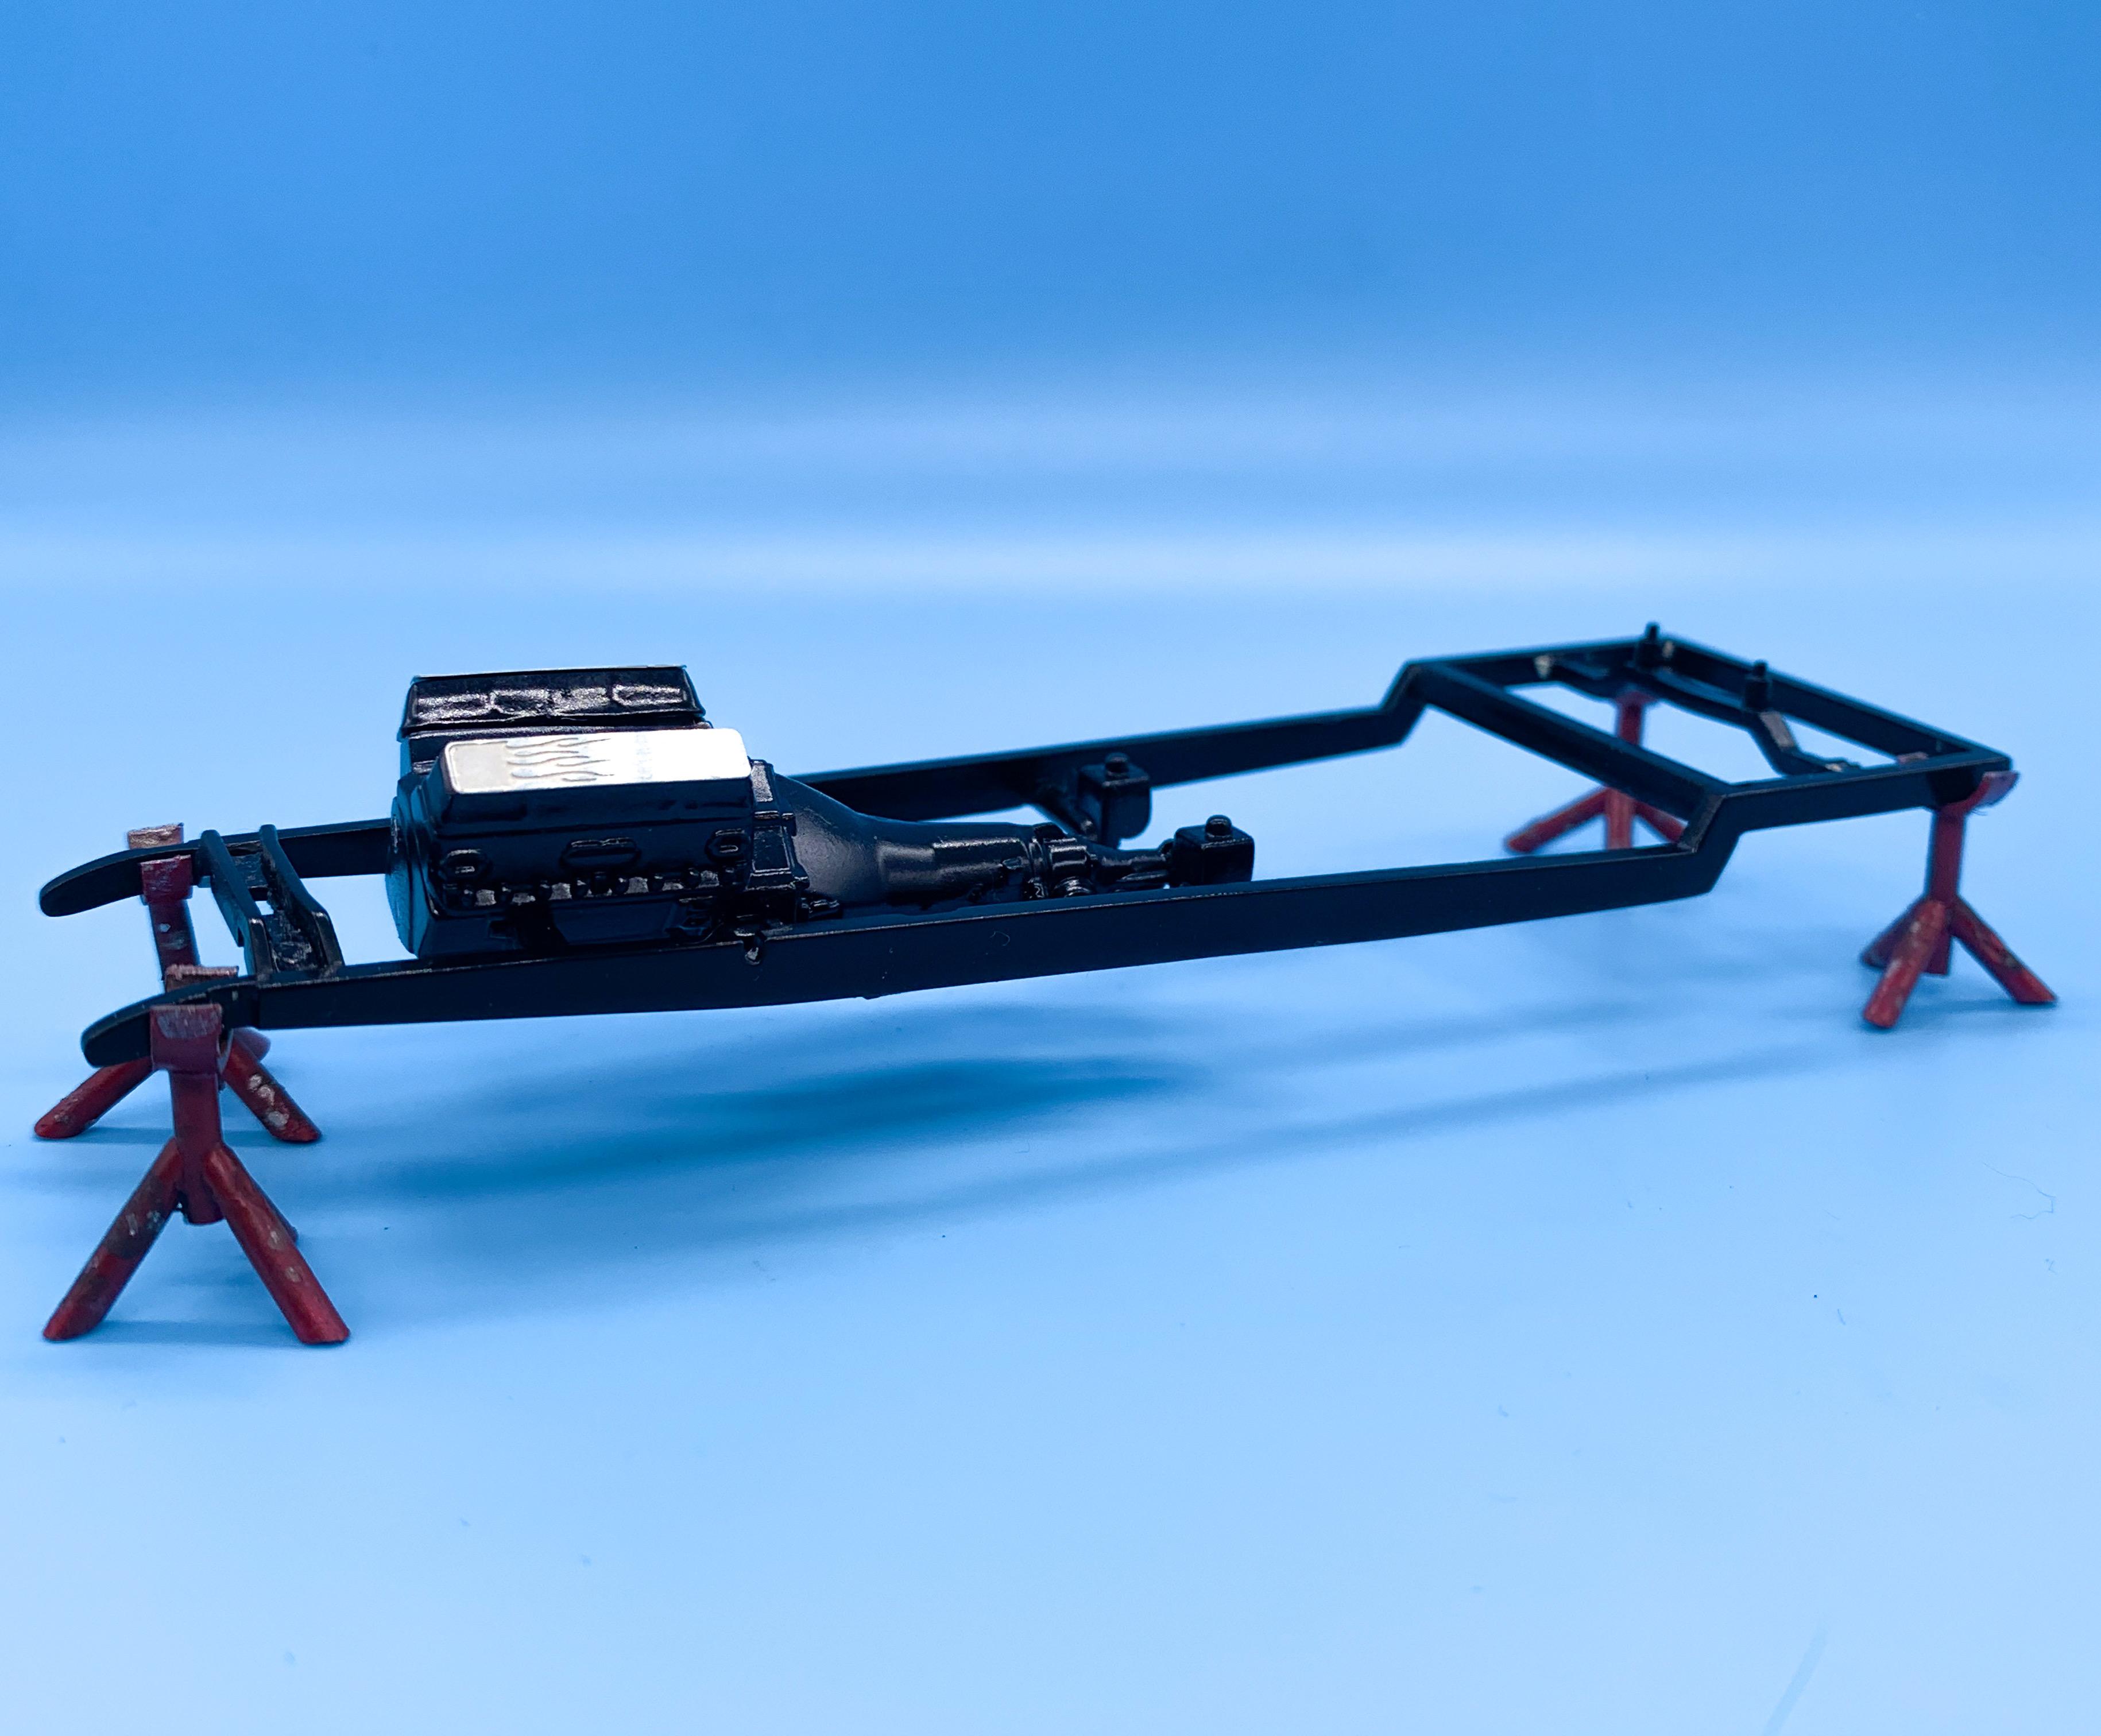
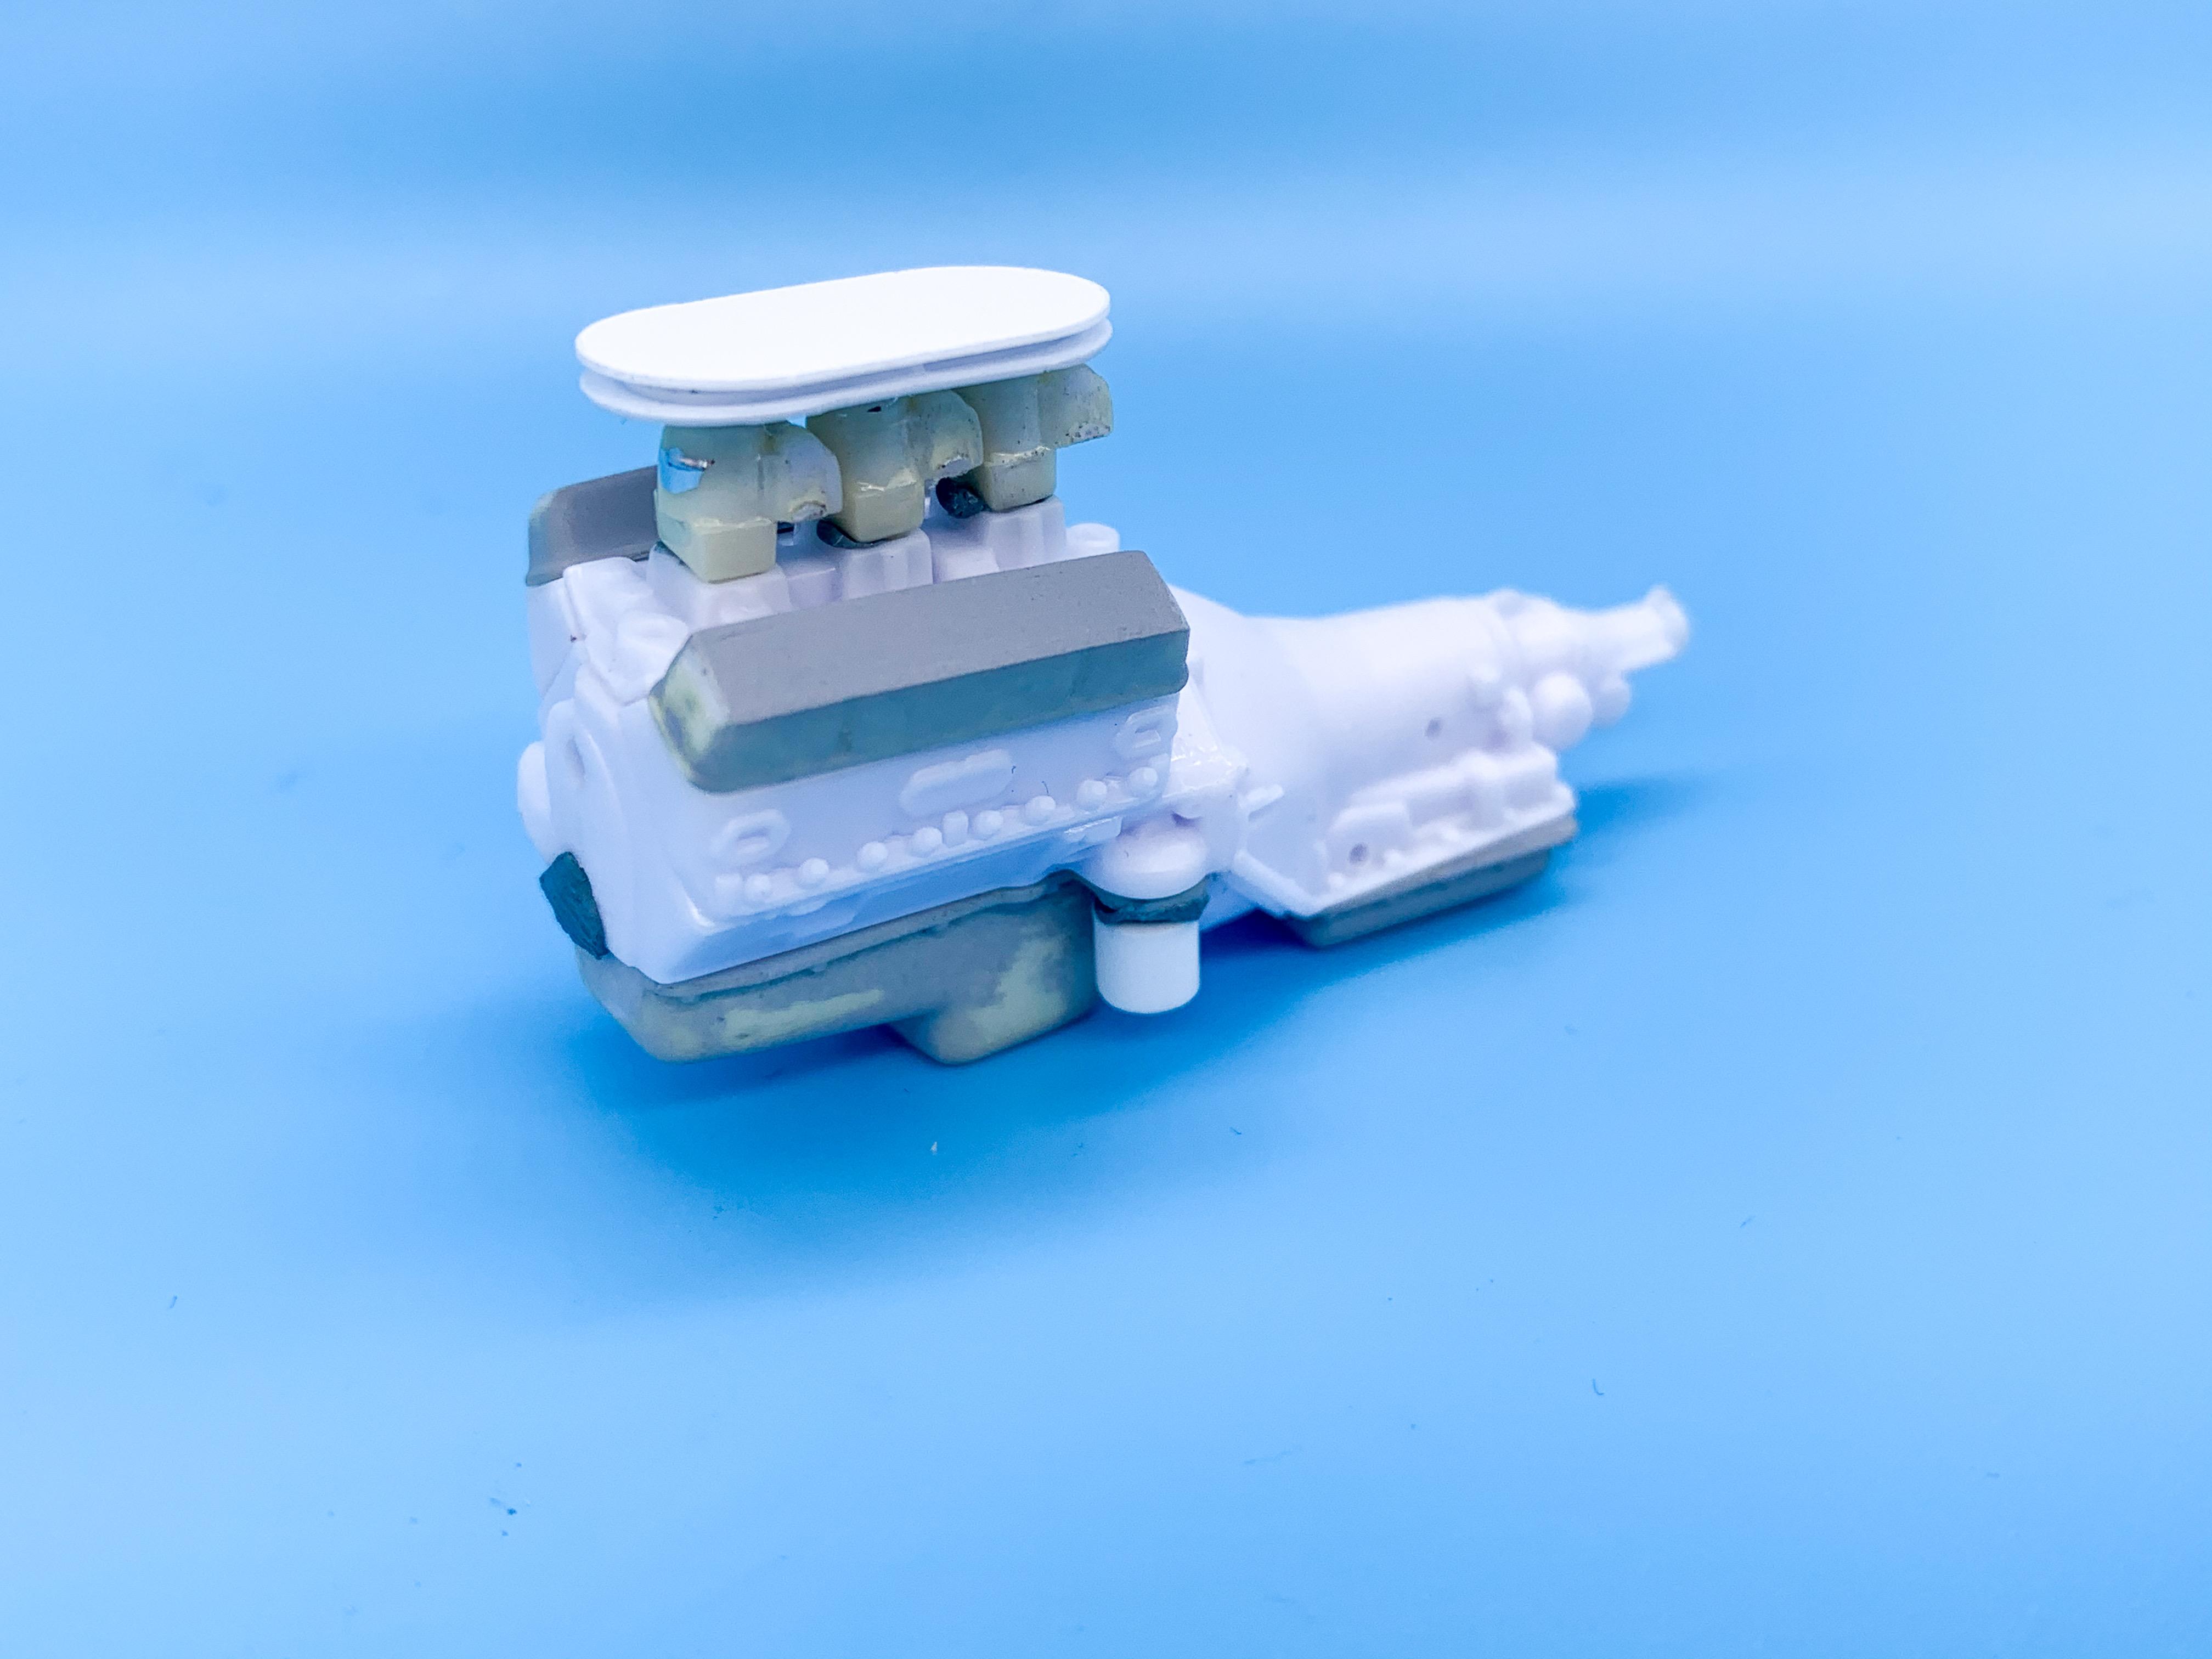
That was it! Thank you!!! I grabbed one in Target last Halloween so I could open it up and see if the skulls had changed...and yep, they weren’t there! ??♂️? Thanks buddy! Got the frame polished (which took three repaints before I got it where I was happy) and the block painted - these two bits took me a few tries and were holding up basically everything else, so I’m glad they’re done finally! Haven’t seen valve covers like those since the nineties...I thought they’d fit this build tho! More soon!
-
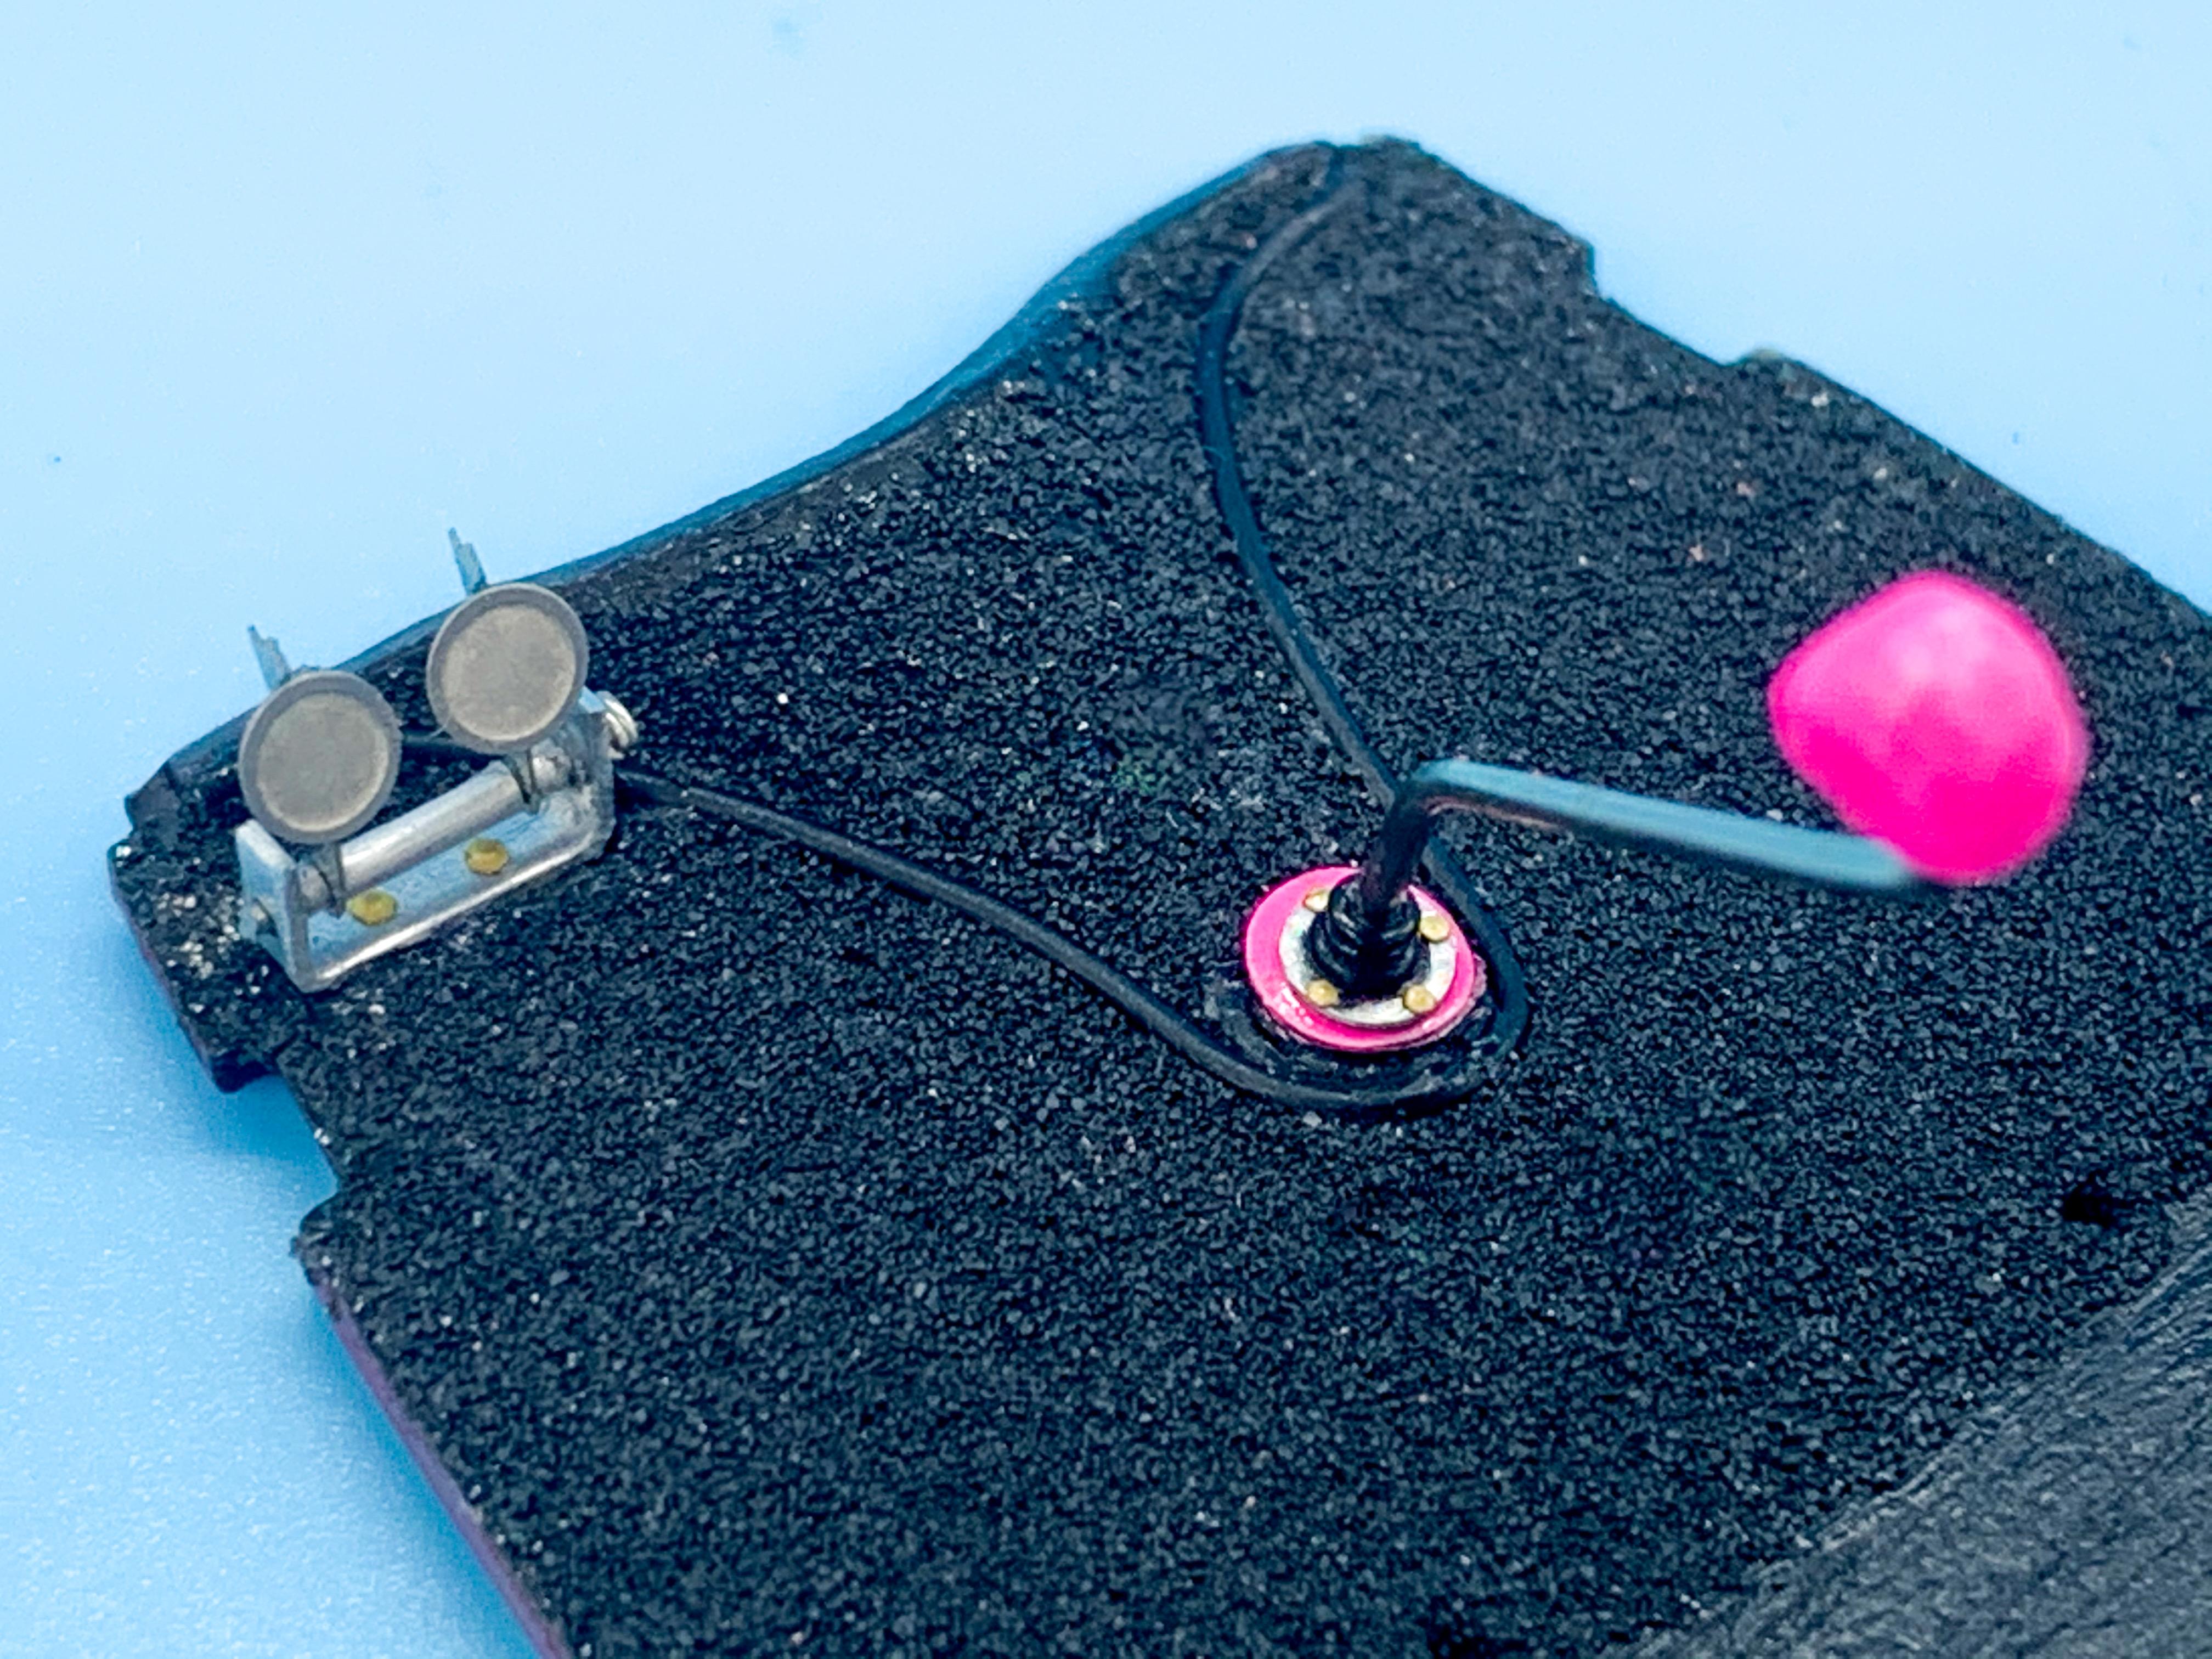
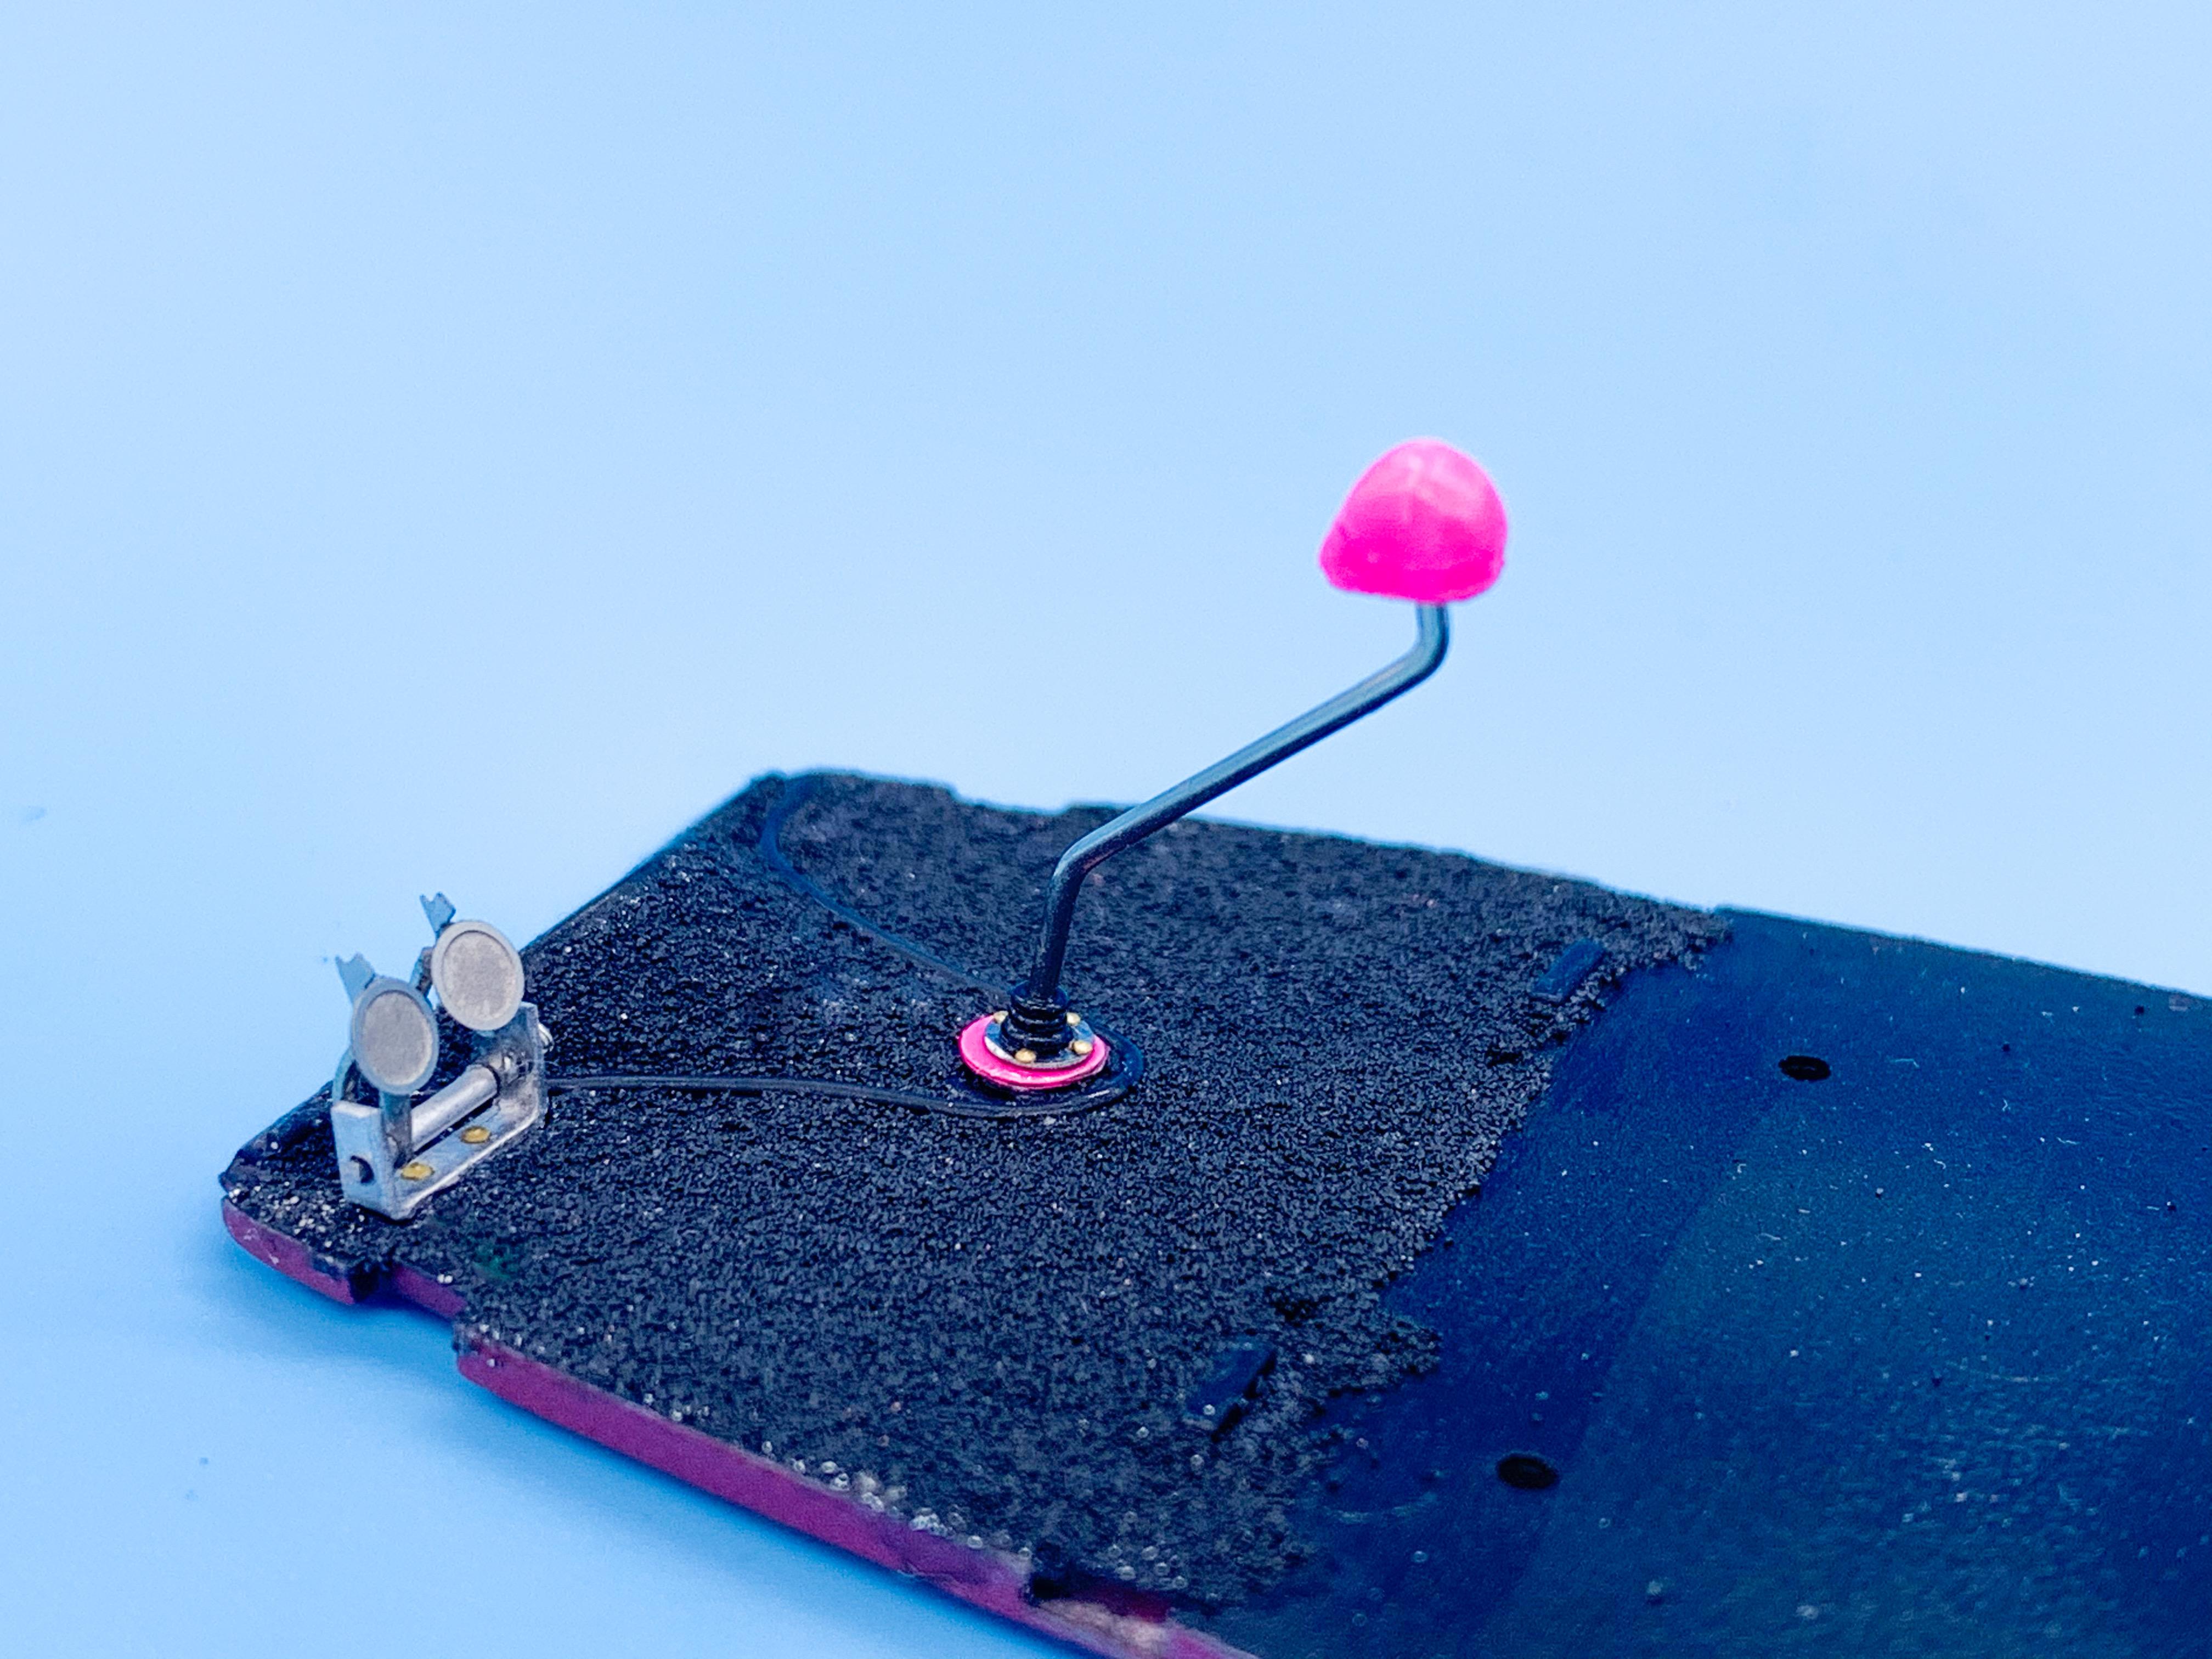
Thanks buddy! Someone sent me a message on Instagram and said they have a scale skull that they use for shifters that has a LOT more detail...so it might get swapped as and when a couple arrive in the mail, but even if not I’m happy with it for what it is... Little update today - made a metal pedal assembly and got it in place - it’ll be pretty well hidden anyway but certainly visible enough if you peek under the dash that I didn’t mind spending a couple of hours on it: I also didn’t like the color of the embossing powder so I gave it a black wash to see if that would get it closer to the color I imagined - actually worked pretty well! ?
-
I’m really enjoying all the responses to this thread - I’m amazed anyone stuck it out through my long-winded ramblings long enough to actually reply ?? I really appreciate the links to further reading that have been posted above - thanks for those of you who gave me some new rabbit holes to fall down and some new builder’s work to explore! I picked up a photo book of motorcycles built by Jesse James (of Monster Garage fame not the olden-days outlaw) - I don’t care for his tough-guy persona or all the tabloid nonsense that surrounded that dude for a while but MANNNN can that guy build some gorgeous well-detailed bikes. Tonnes of tiny little attention-to-detail things to spot...love stuff like that! Definitely inspired me to think more the importance of little details in my builds!
-
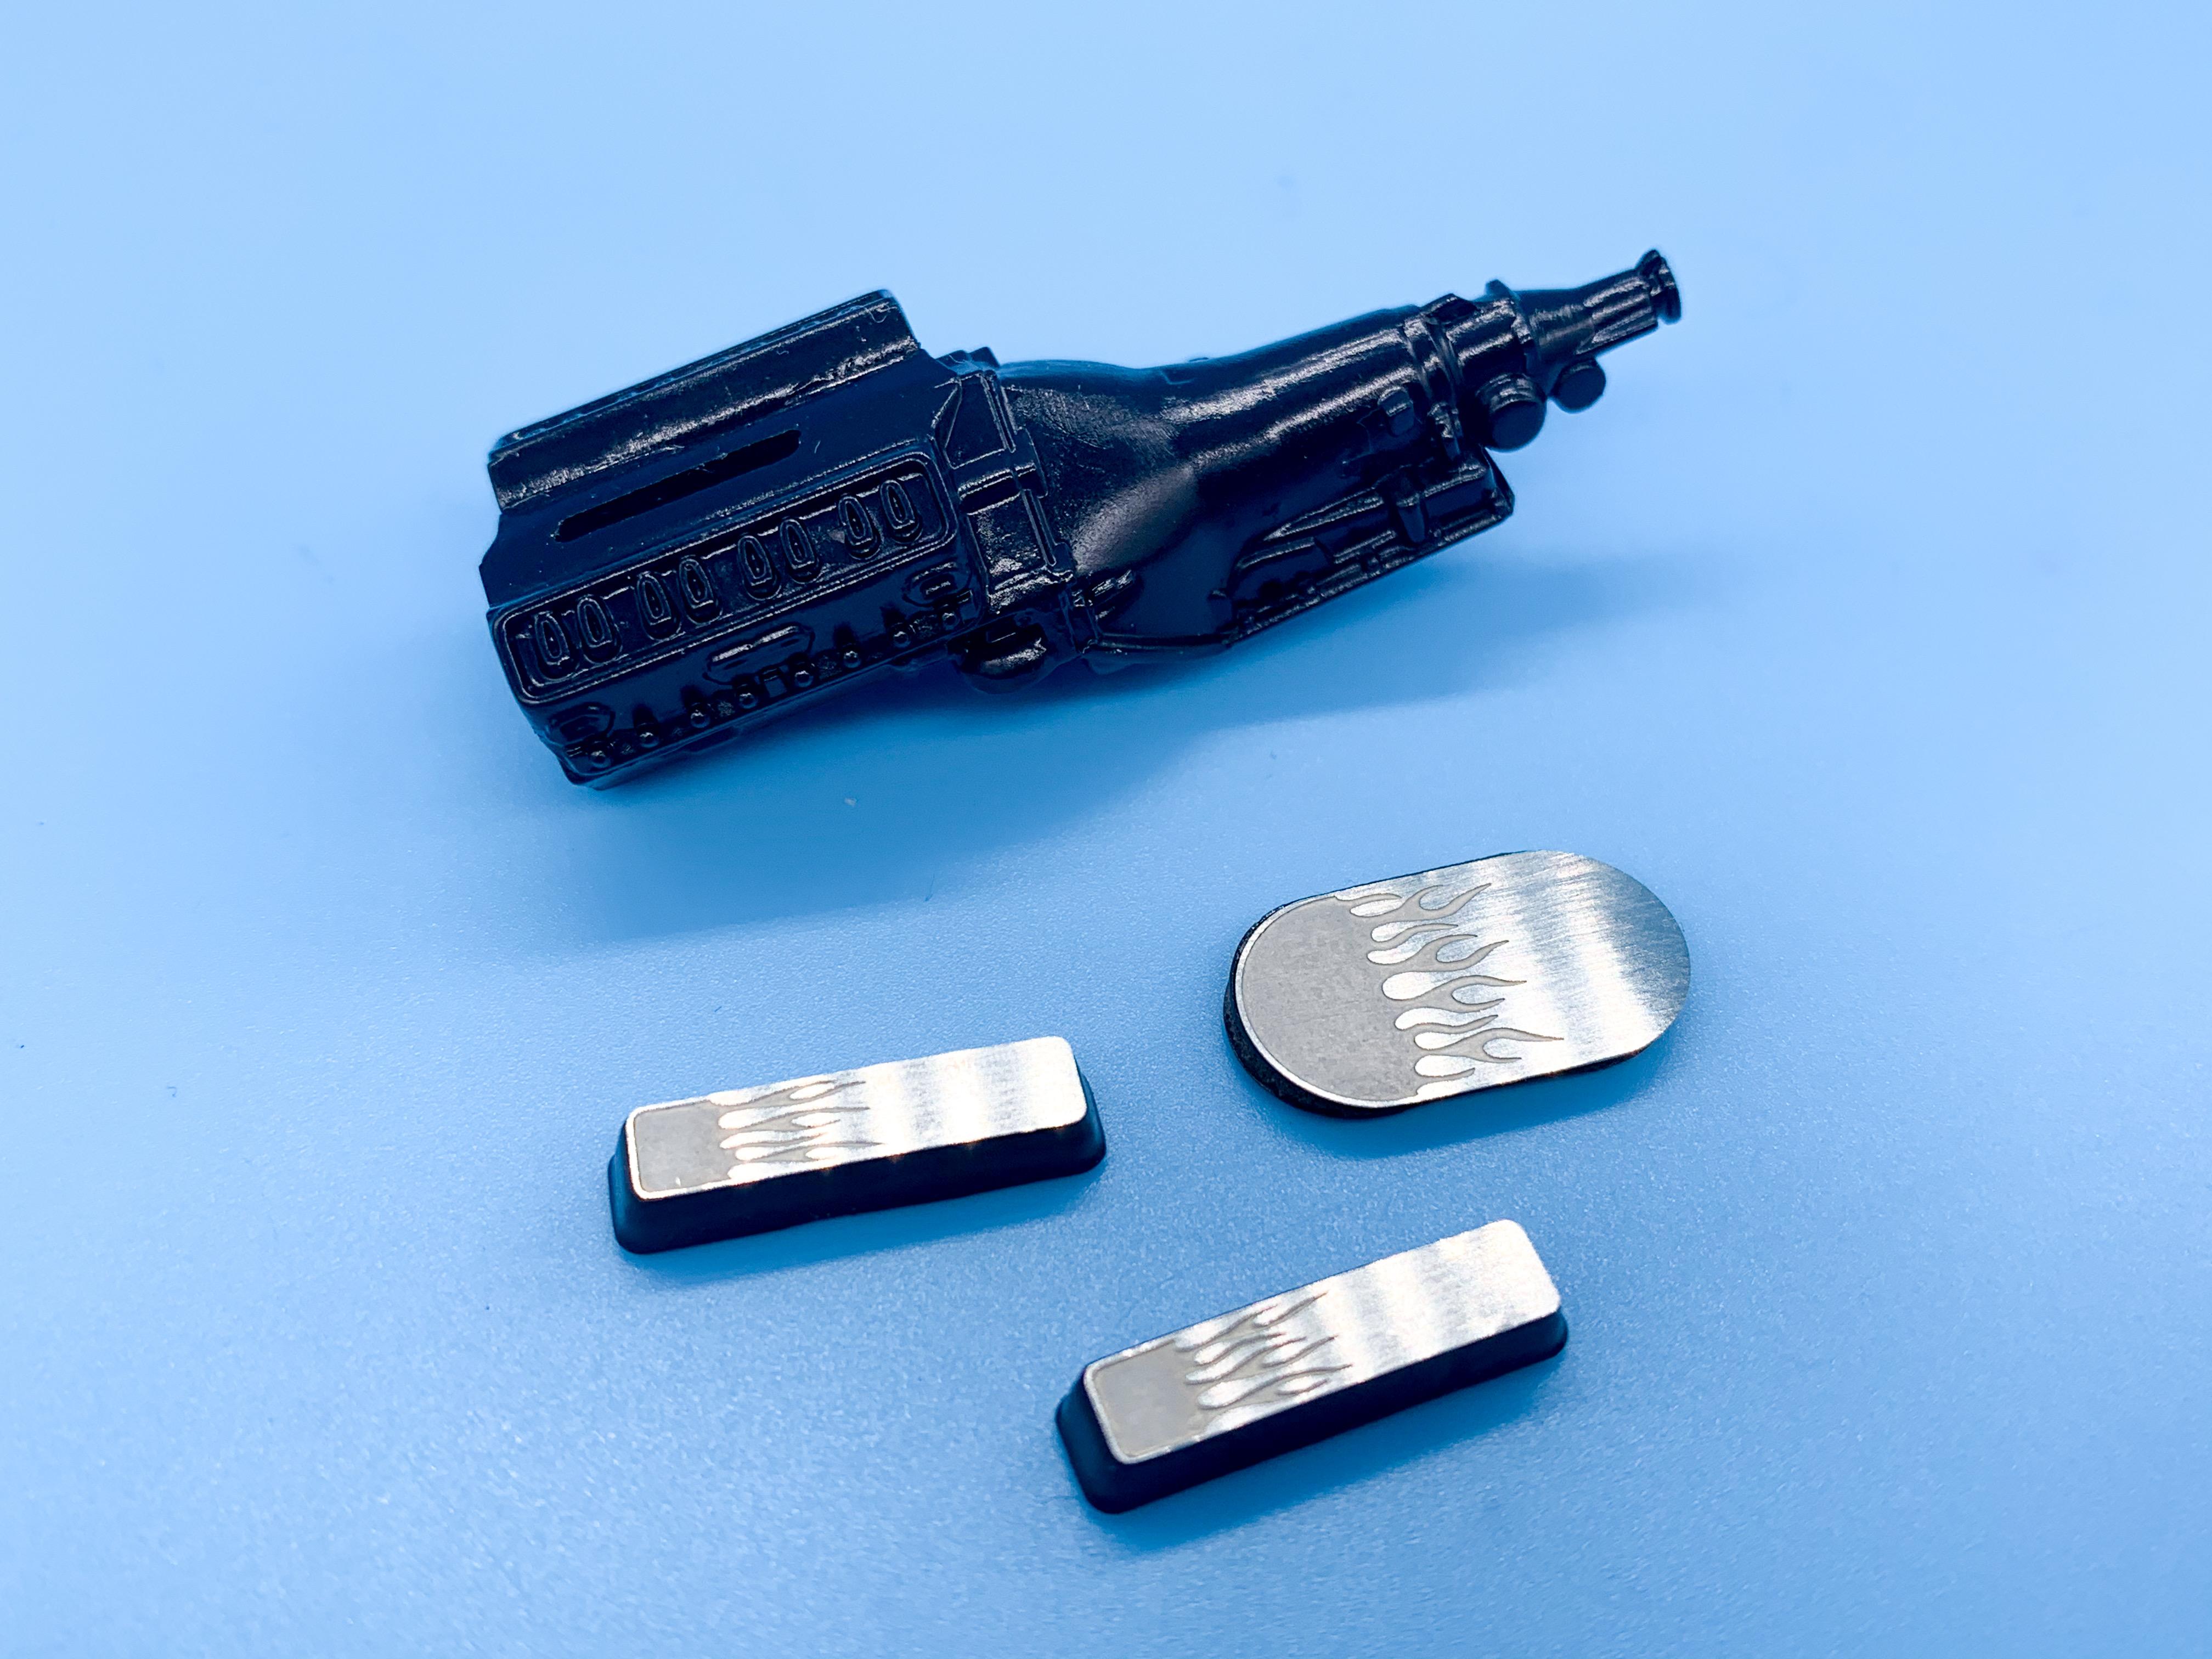
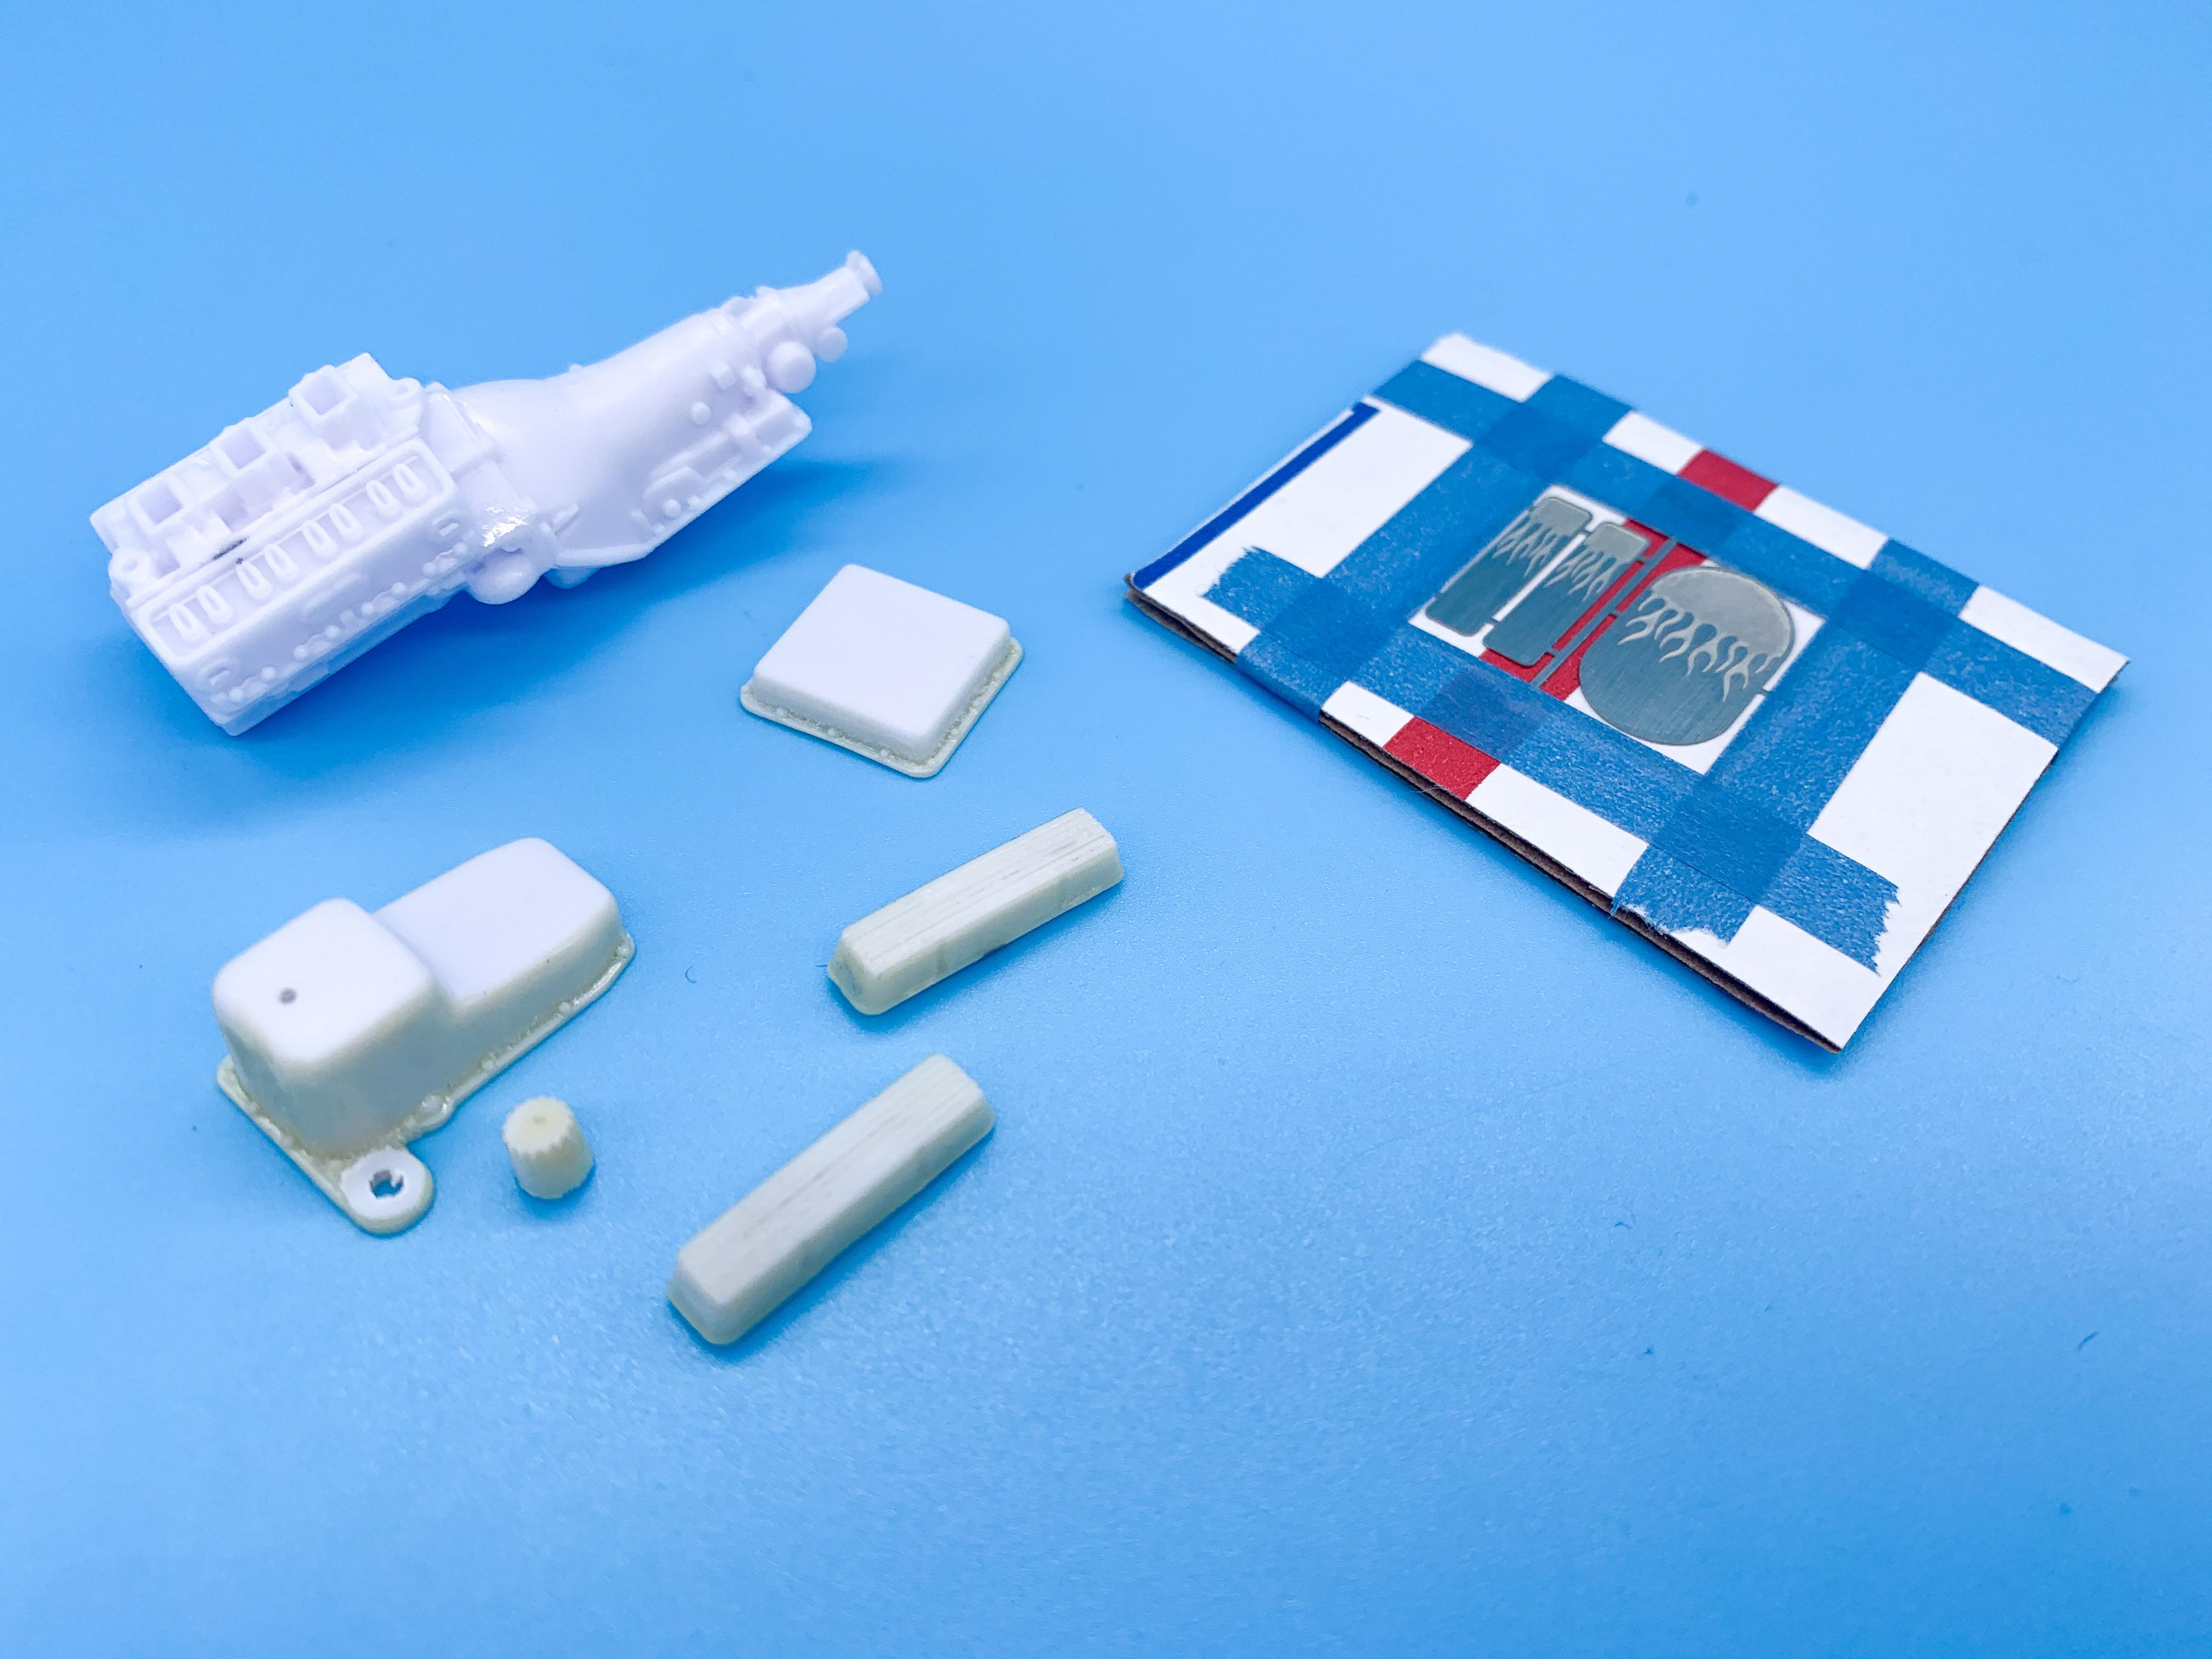
Just a little update today...there’s a cool Hot Wheels who’s name I forget; but it’s a coffin shaped slingshot dragster that has cool little skull ‘headlamps’. Made a mould a couple of weeks back so I could make some of these... I’m going with a mostly-black interior to match the bodywork but I figured a couple of little highlights to match the colors in the flamejob might be cool: Flocked the floorpan yesterday so I could start a little work on the interior today...the frame and engine parts are still drying so I’m finding some little jobs to amuse myself in the meantime: More soon, soon as I’ve done more!
-
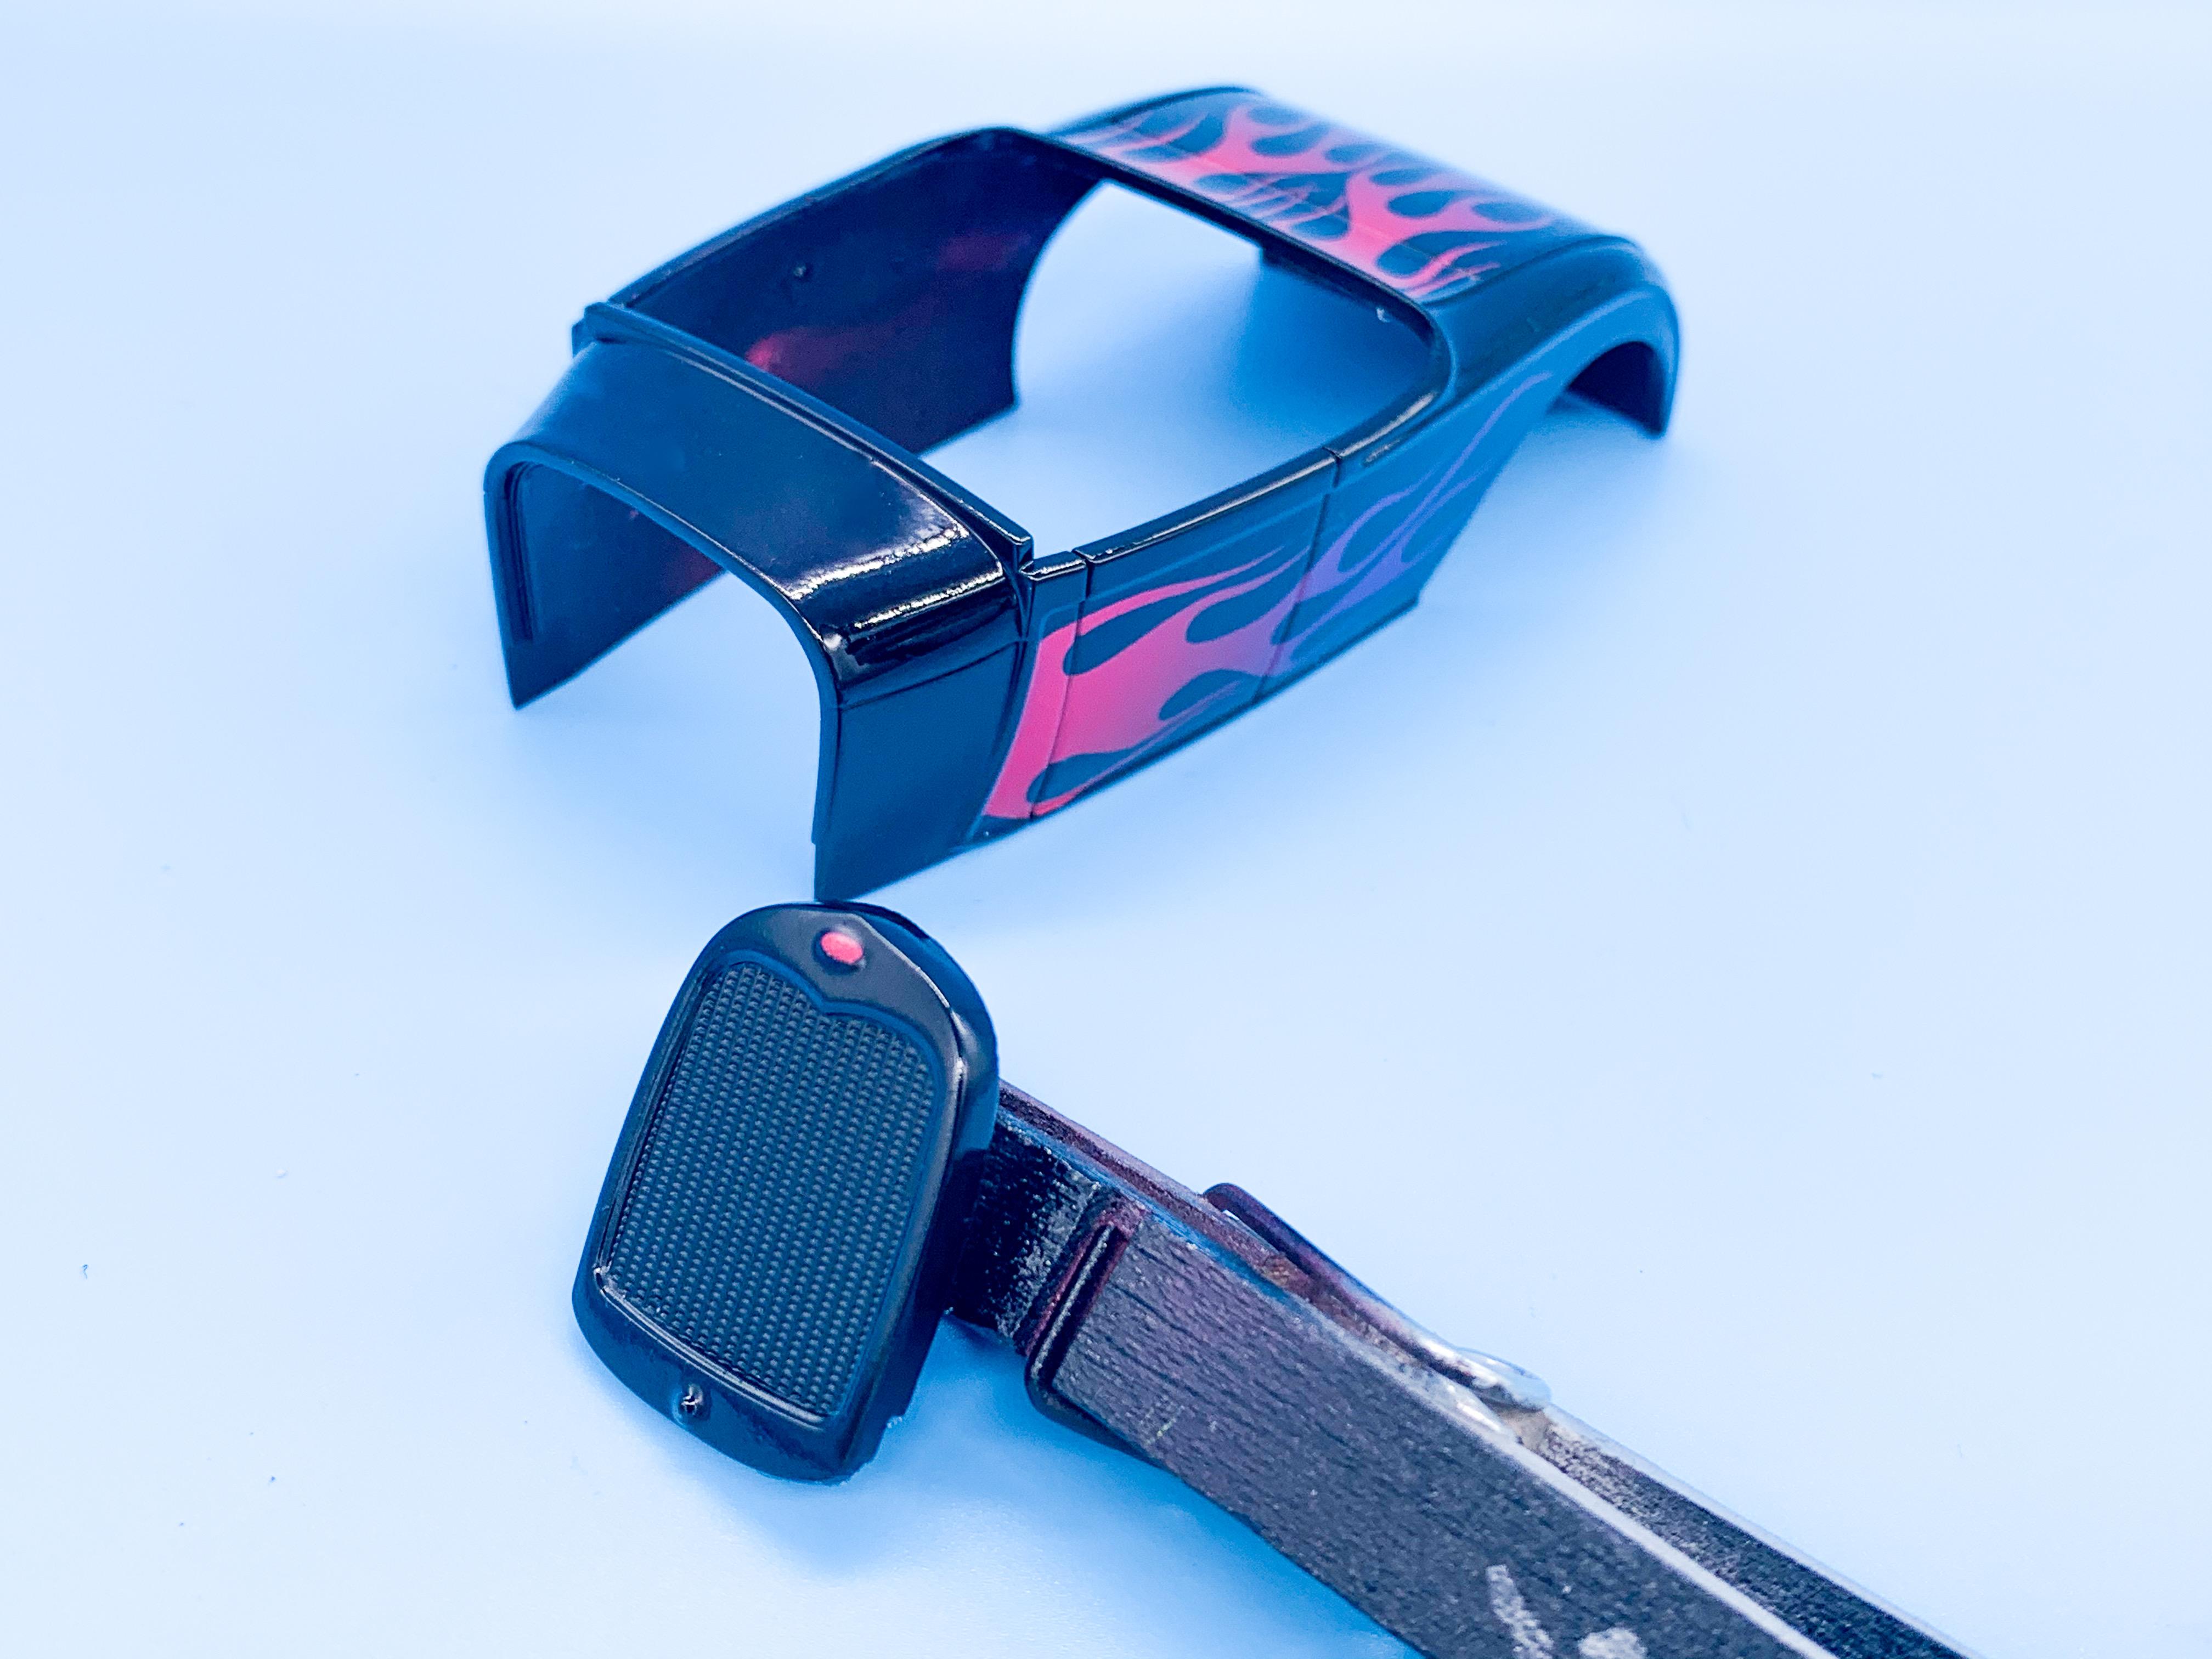
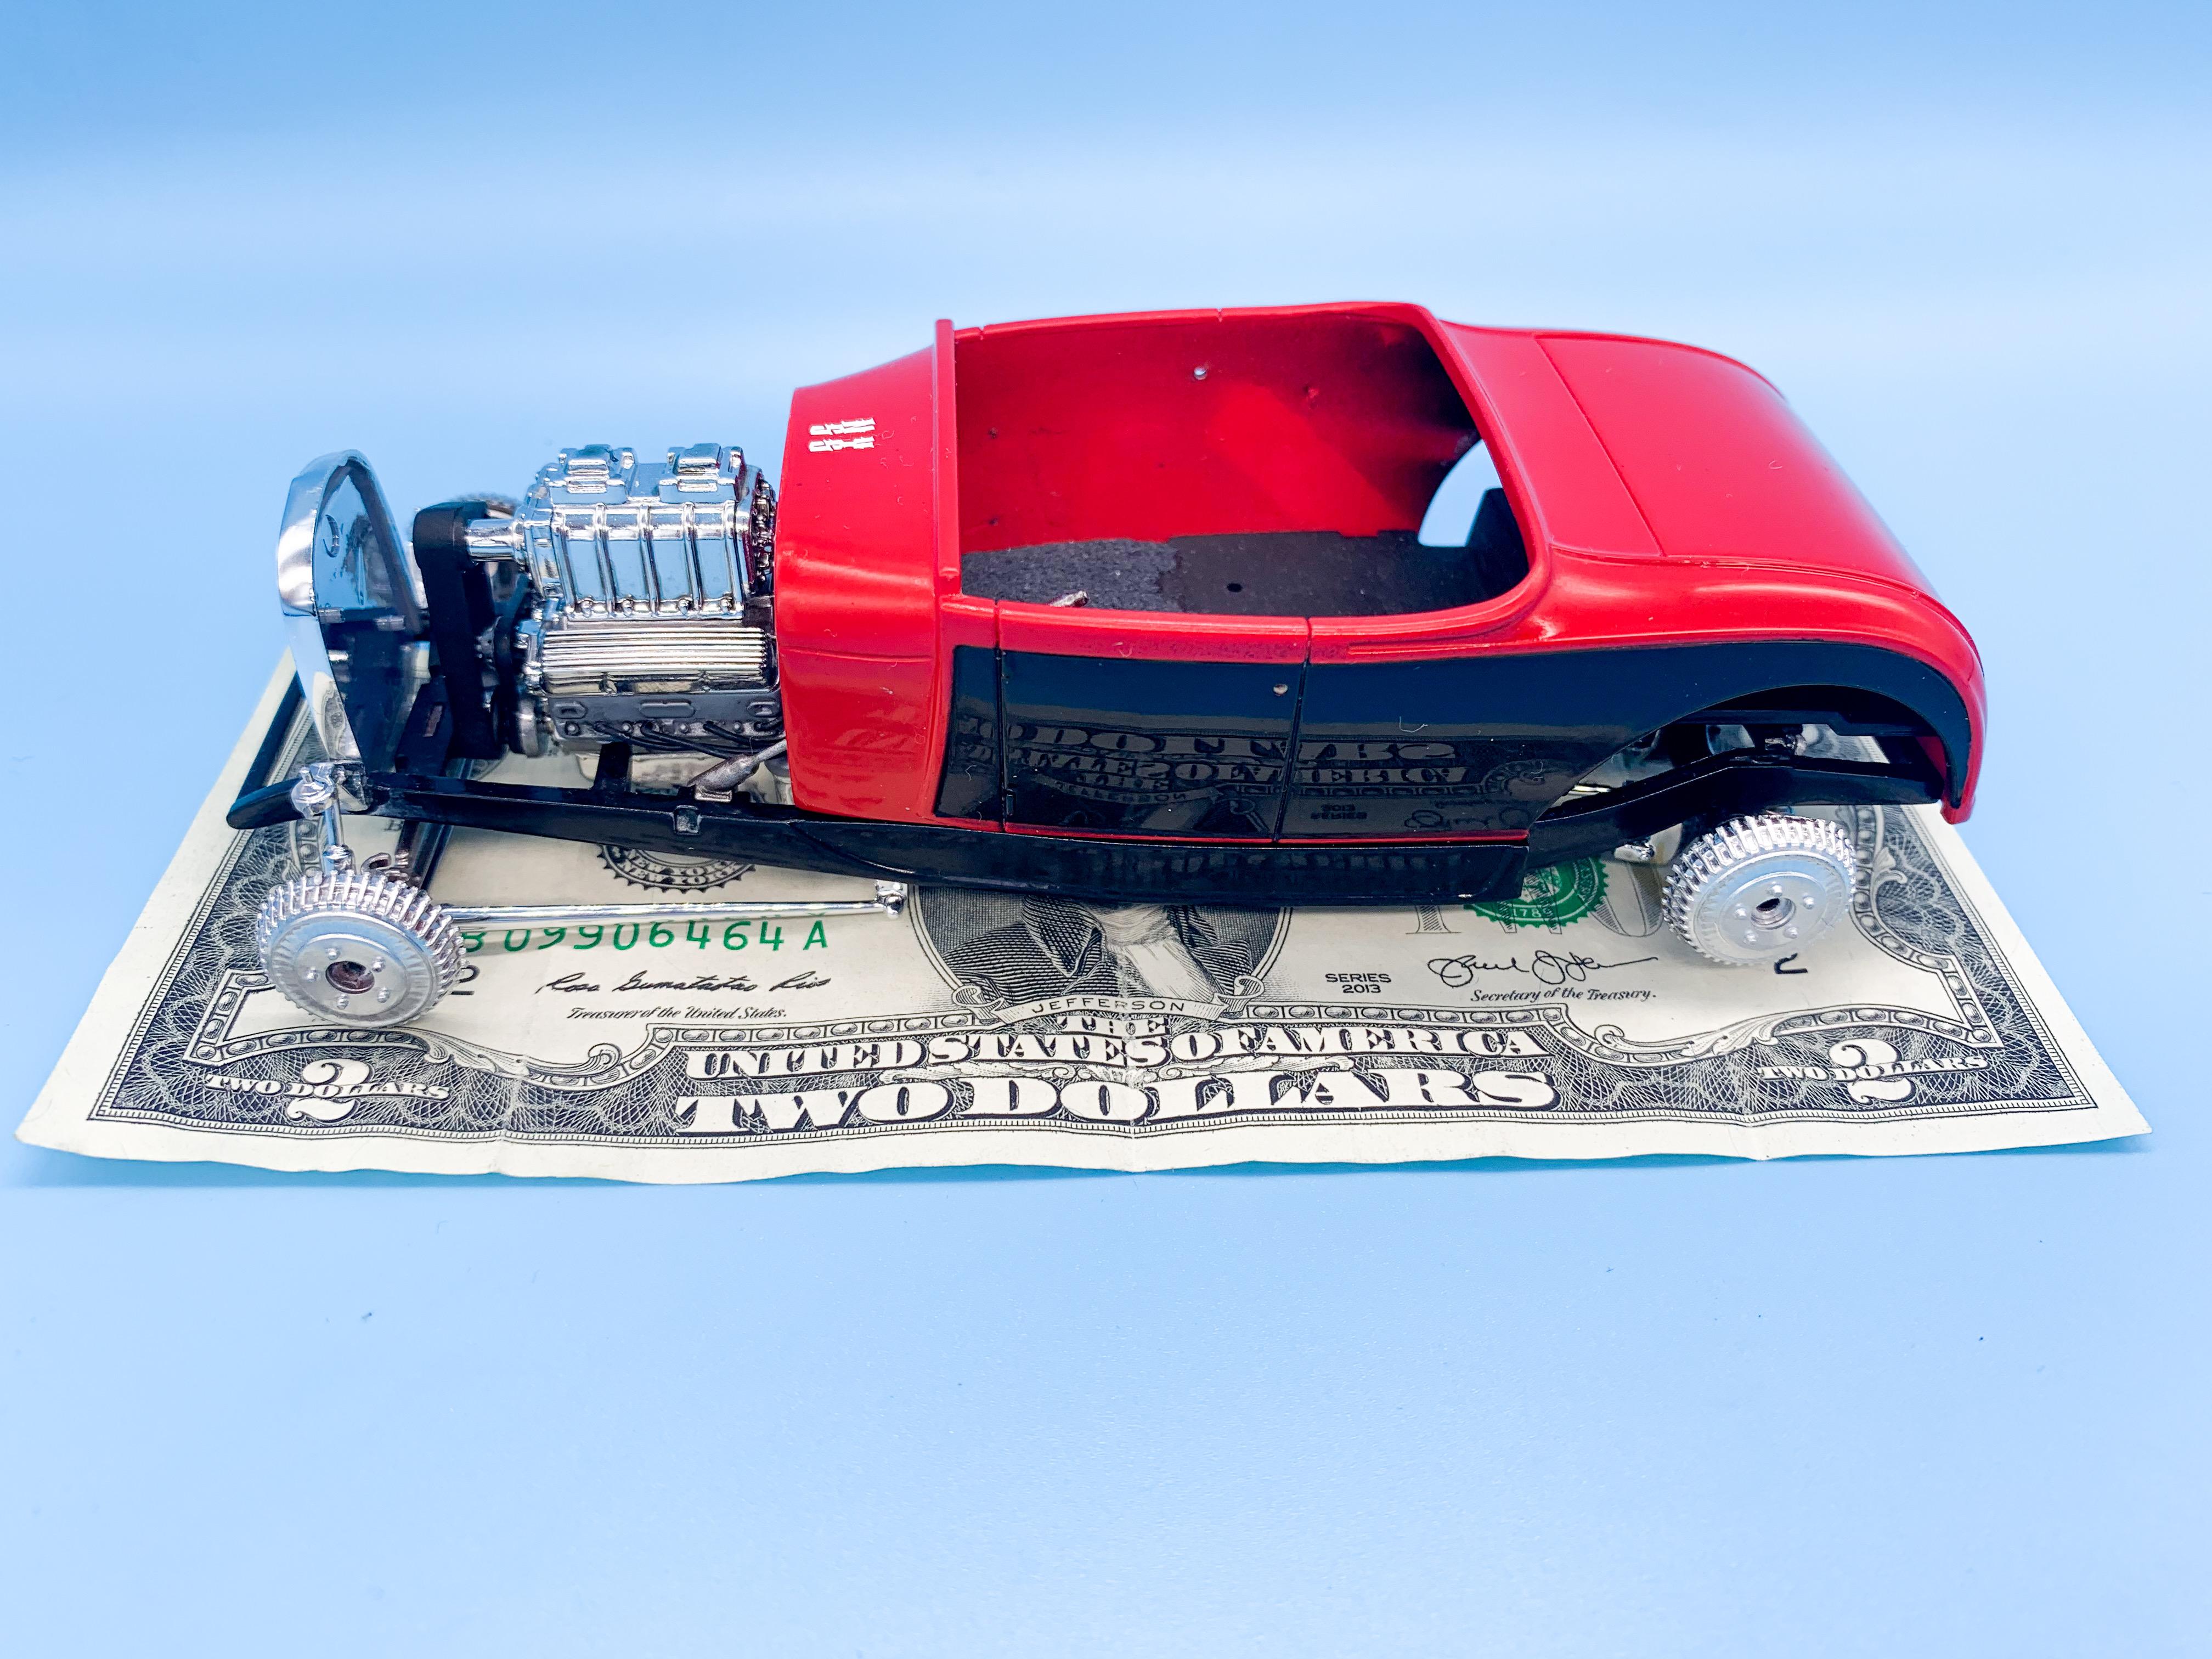
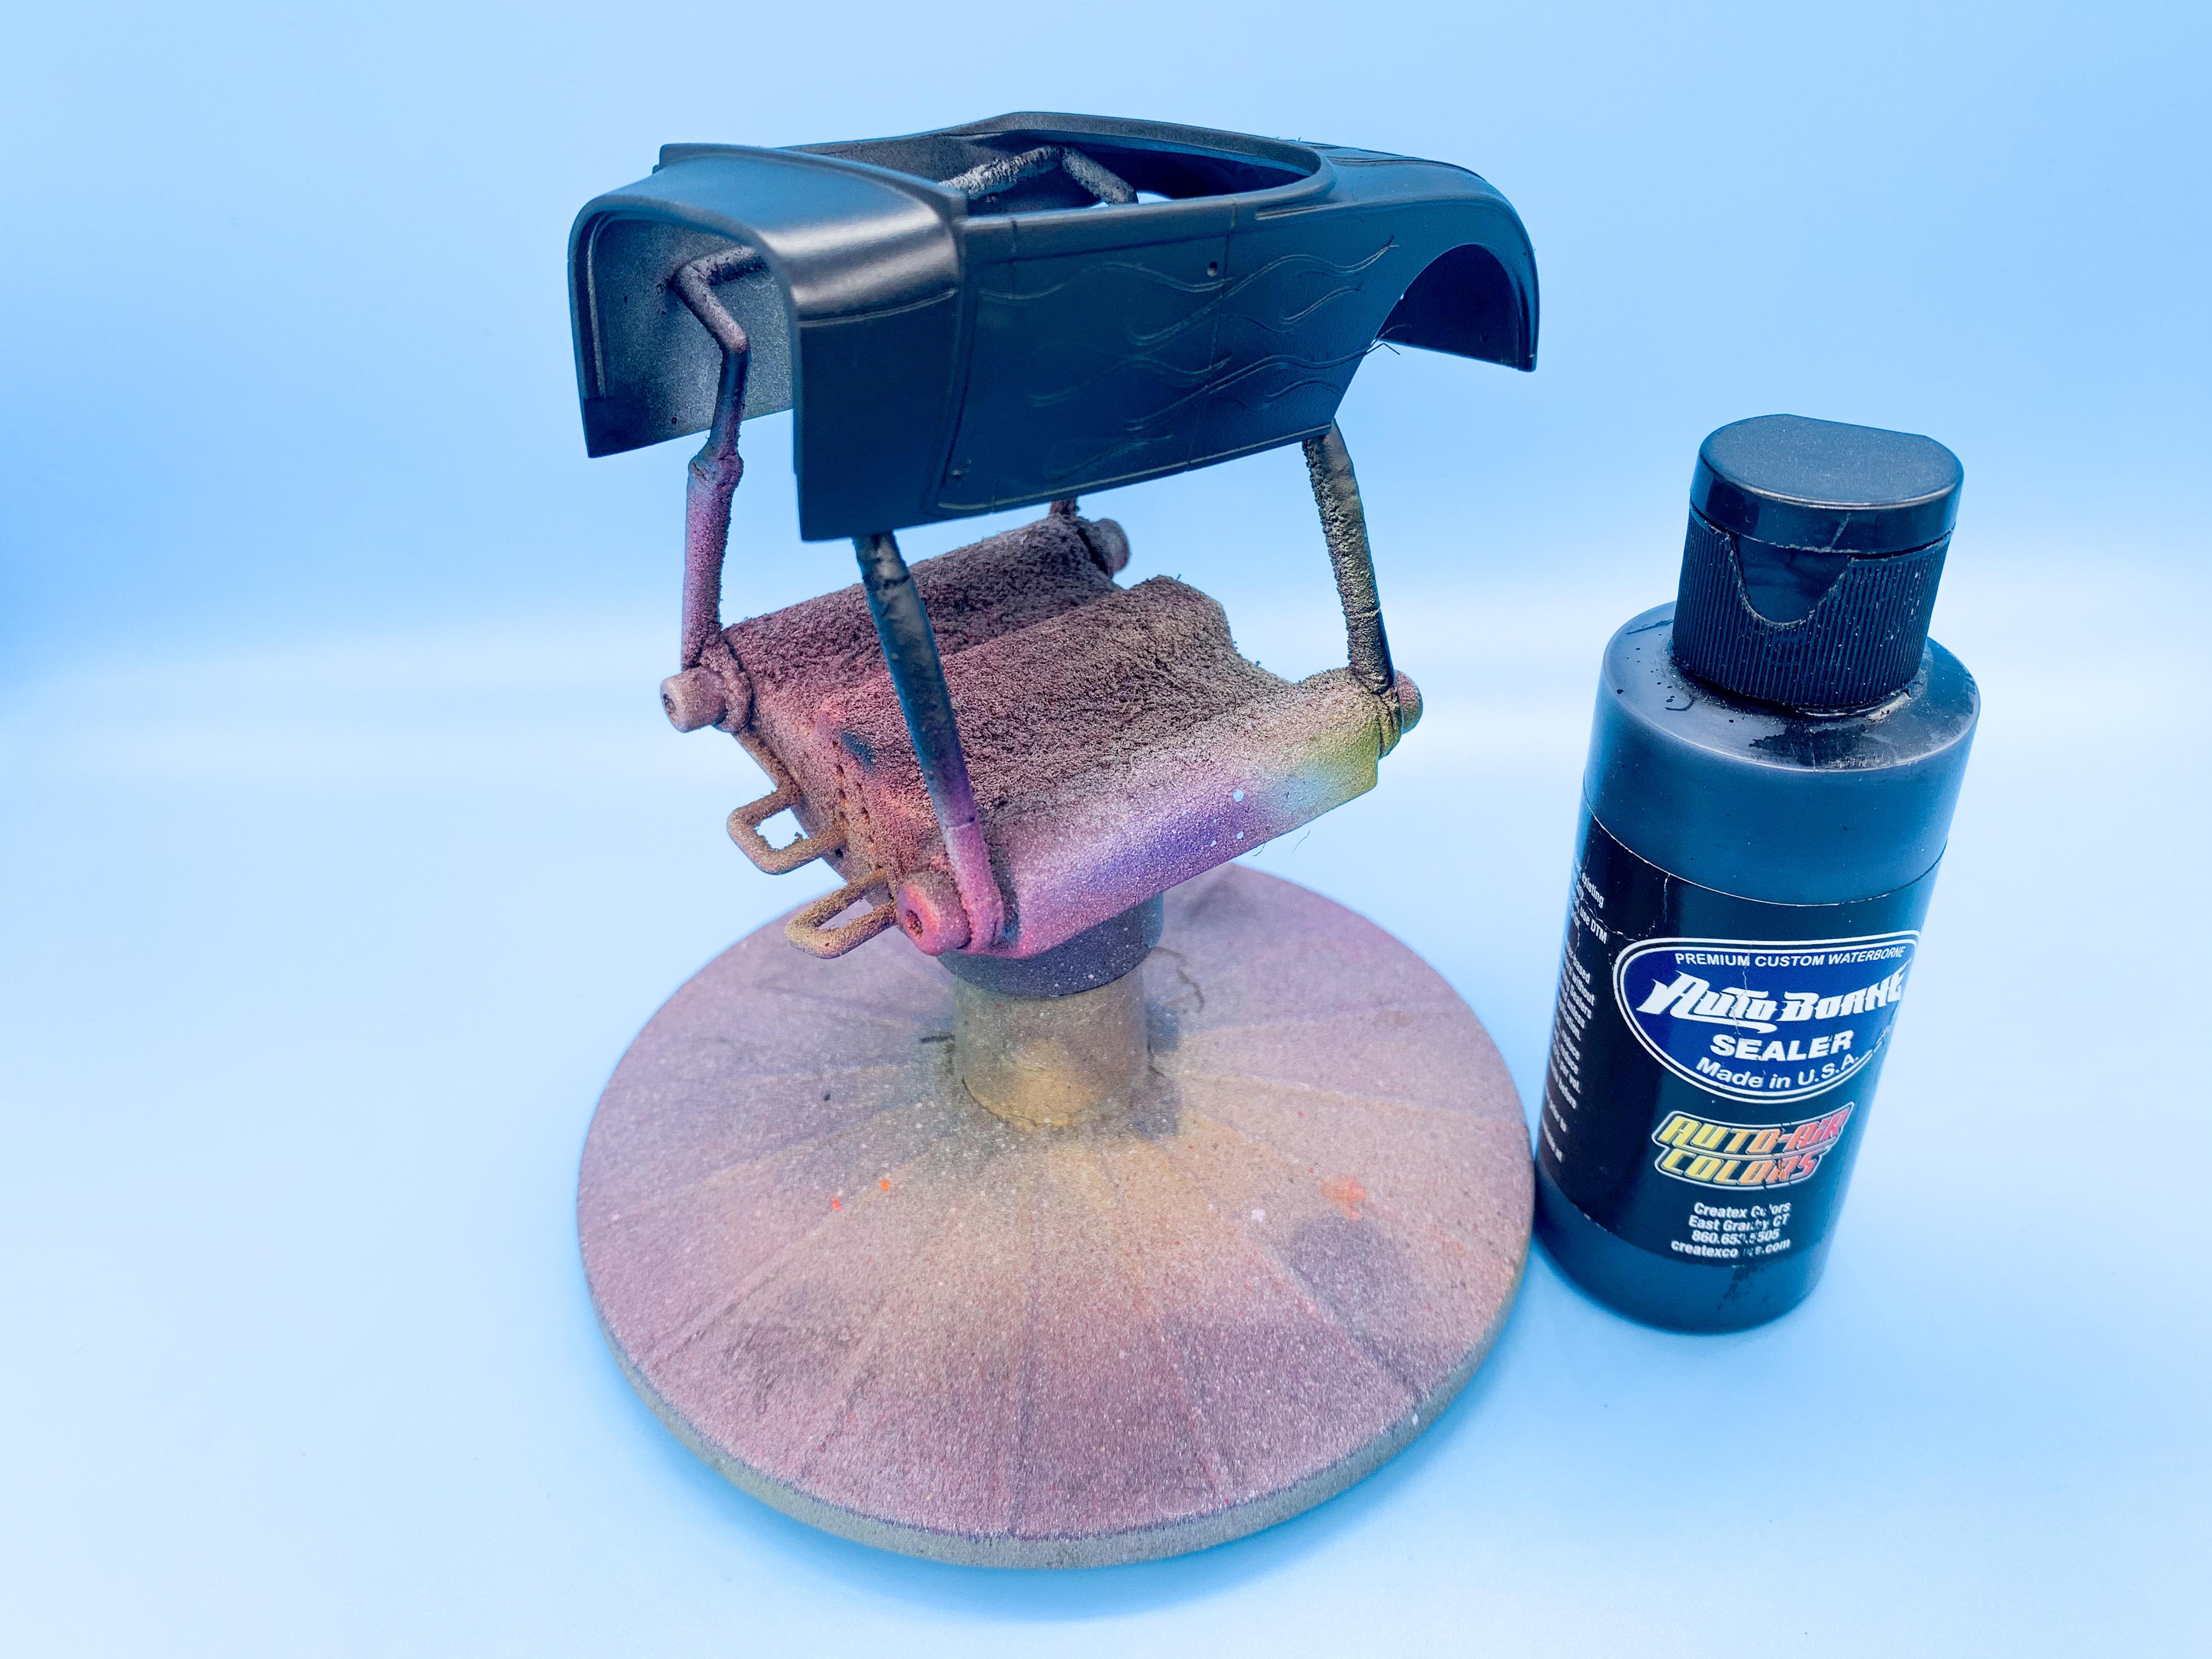
Thanks everybody! So many nice comments!! In this case I made the flames in software and then cut masks using my Silhouette scrapbook cutter. The blue material is Oramask 813 masking film - but it cuts just as well by hand as if does by machine (and before I had the cutter I used to do this kind of job by hand). I just think of them as a tiny little spraycan! ?. I usually start the spray off the body and bring it up (or down) to get a fade between colors...just takes a little practise is all. I’ve been prepping parts and learning some new techniques and messing with some new materials so haven’t got much further on this one - did decide to strip the chrome off the grille and shoot it body color (with the Ford oval in a pink to match a portion of the flames): Started a little work on the engine too - wanted to smooth out some of the ridges and grooves and fins and stuff to make it look a little more modern - but more on that soon...
-
Testors Metal Flake Enamel Paint Bottles
OldNYJim replied to regular guy's topic in Model Building Questions and Answers
Enamel over acrylic is generally ok - I would test to be safe on something that doesn’t matter but I’d be confident of it working just fine -
Probably required disclaimer: I by no means mean any of this as a slight on anyone who is happy to ‘just’ build a kit box stock and put it in their shelf and not sweat it too much. Building just for fun IS the reason to build, and if you like making snap kits (for example) and putting them on your shelf to enjoy that’s no less valuable of a use of time than someone who spends a million hours on a mill or lathe making every tiny part themselves. No looking down-of-nose to anyone here at all, just interested in the thoughts of people who find themselves perpetually unsatisfied with their own work but have the desire to do the best that can be done...
-
I’ve been thinking a lot about craftsmanship lately and I wanted to make a post and see if anyone approaches their building from a similar mindset and see how other builders felt about this topic. I had a birthday a couple of weeks back and I was trying to think of some resolutions for a new year of being alive - like New Years but without the big ball ?. I’ve been really wanting to step up my building lately and I’ve made some steps towards where I want to be and got better at some techniques I want to be good at, and I decided a new year is a good time for a new start and a new attitude. Really push myself to make each part and build not just as good as I can do it, but as well as it can be done. Consider the best possible way to do a thing, not just the best way I already know. I don’t expect to always (or even often) hit that theoretical perfect score, but I like the idea of not taking the easy road so much as the BEST road. I think any hobby will have a natural curve of improvement and learning, but I feel like I’d like to try to make the step from being a ‘builder’ to thinking more like a ‘craftsman’ - someone who’s really at the top of their skill set and excels at what they do. I think a real craftsman might well argue that you never stop improving and never stop being dissatisfied with your work to a degree, but I really like the idea that by pushing and trying harder than you normally might, and constantly finding ways to do the same thing better than before then you’ll end up on a a rewarding lifelong journey. I’ve been trying to find things to watch and read to learn more about that craftsman mentality and find some ideas and inspiration for myself - and I’d really welcome any suggestions from anyone here. I bought a couple of photo-heavy books of a bunch of custom motorcycles and cars recently and have been poring over those looking at little details and really enjoying that, and experimenting with some techniques that I’ve been wanting to try. So, I guess the question is, do other builders feel like they’re trying to approach this hobby from a similar viewpoint? Wanting to really strive to hit ‘perfection’ and finding a lot of enjoyment from doing that? I’d be really interested to hear other people’s viewpoints if you’re on a journey of knowing you might spend a lifetime trying to get better and better at this and always looking for the best way to do something, not just the best way you know right now.
-
I really like this - super clean and nicely built!
-
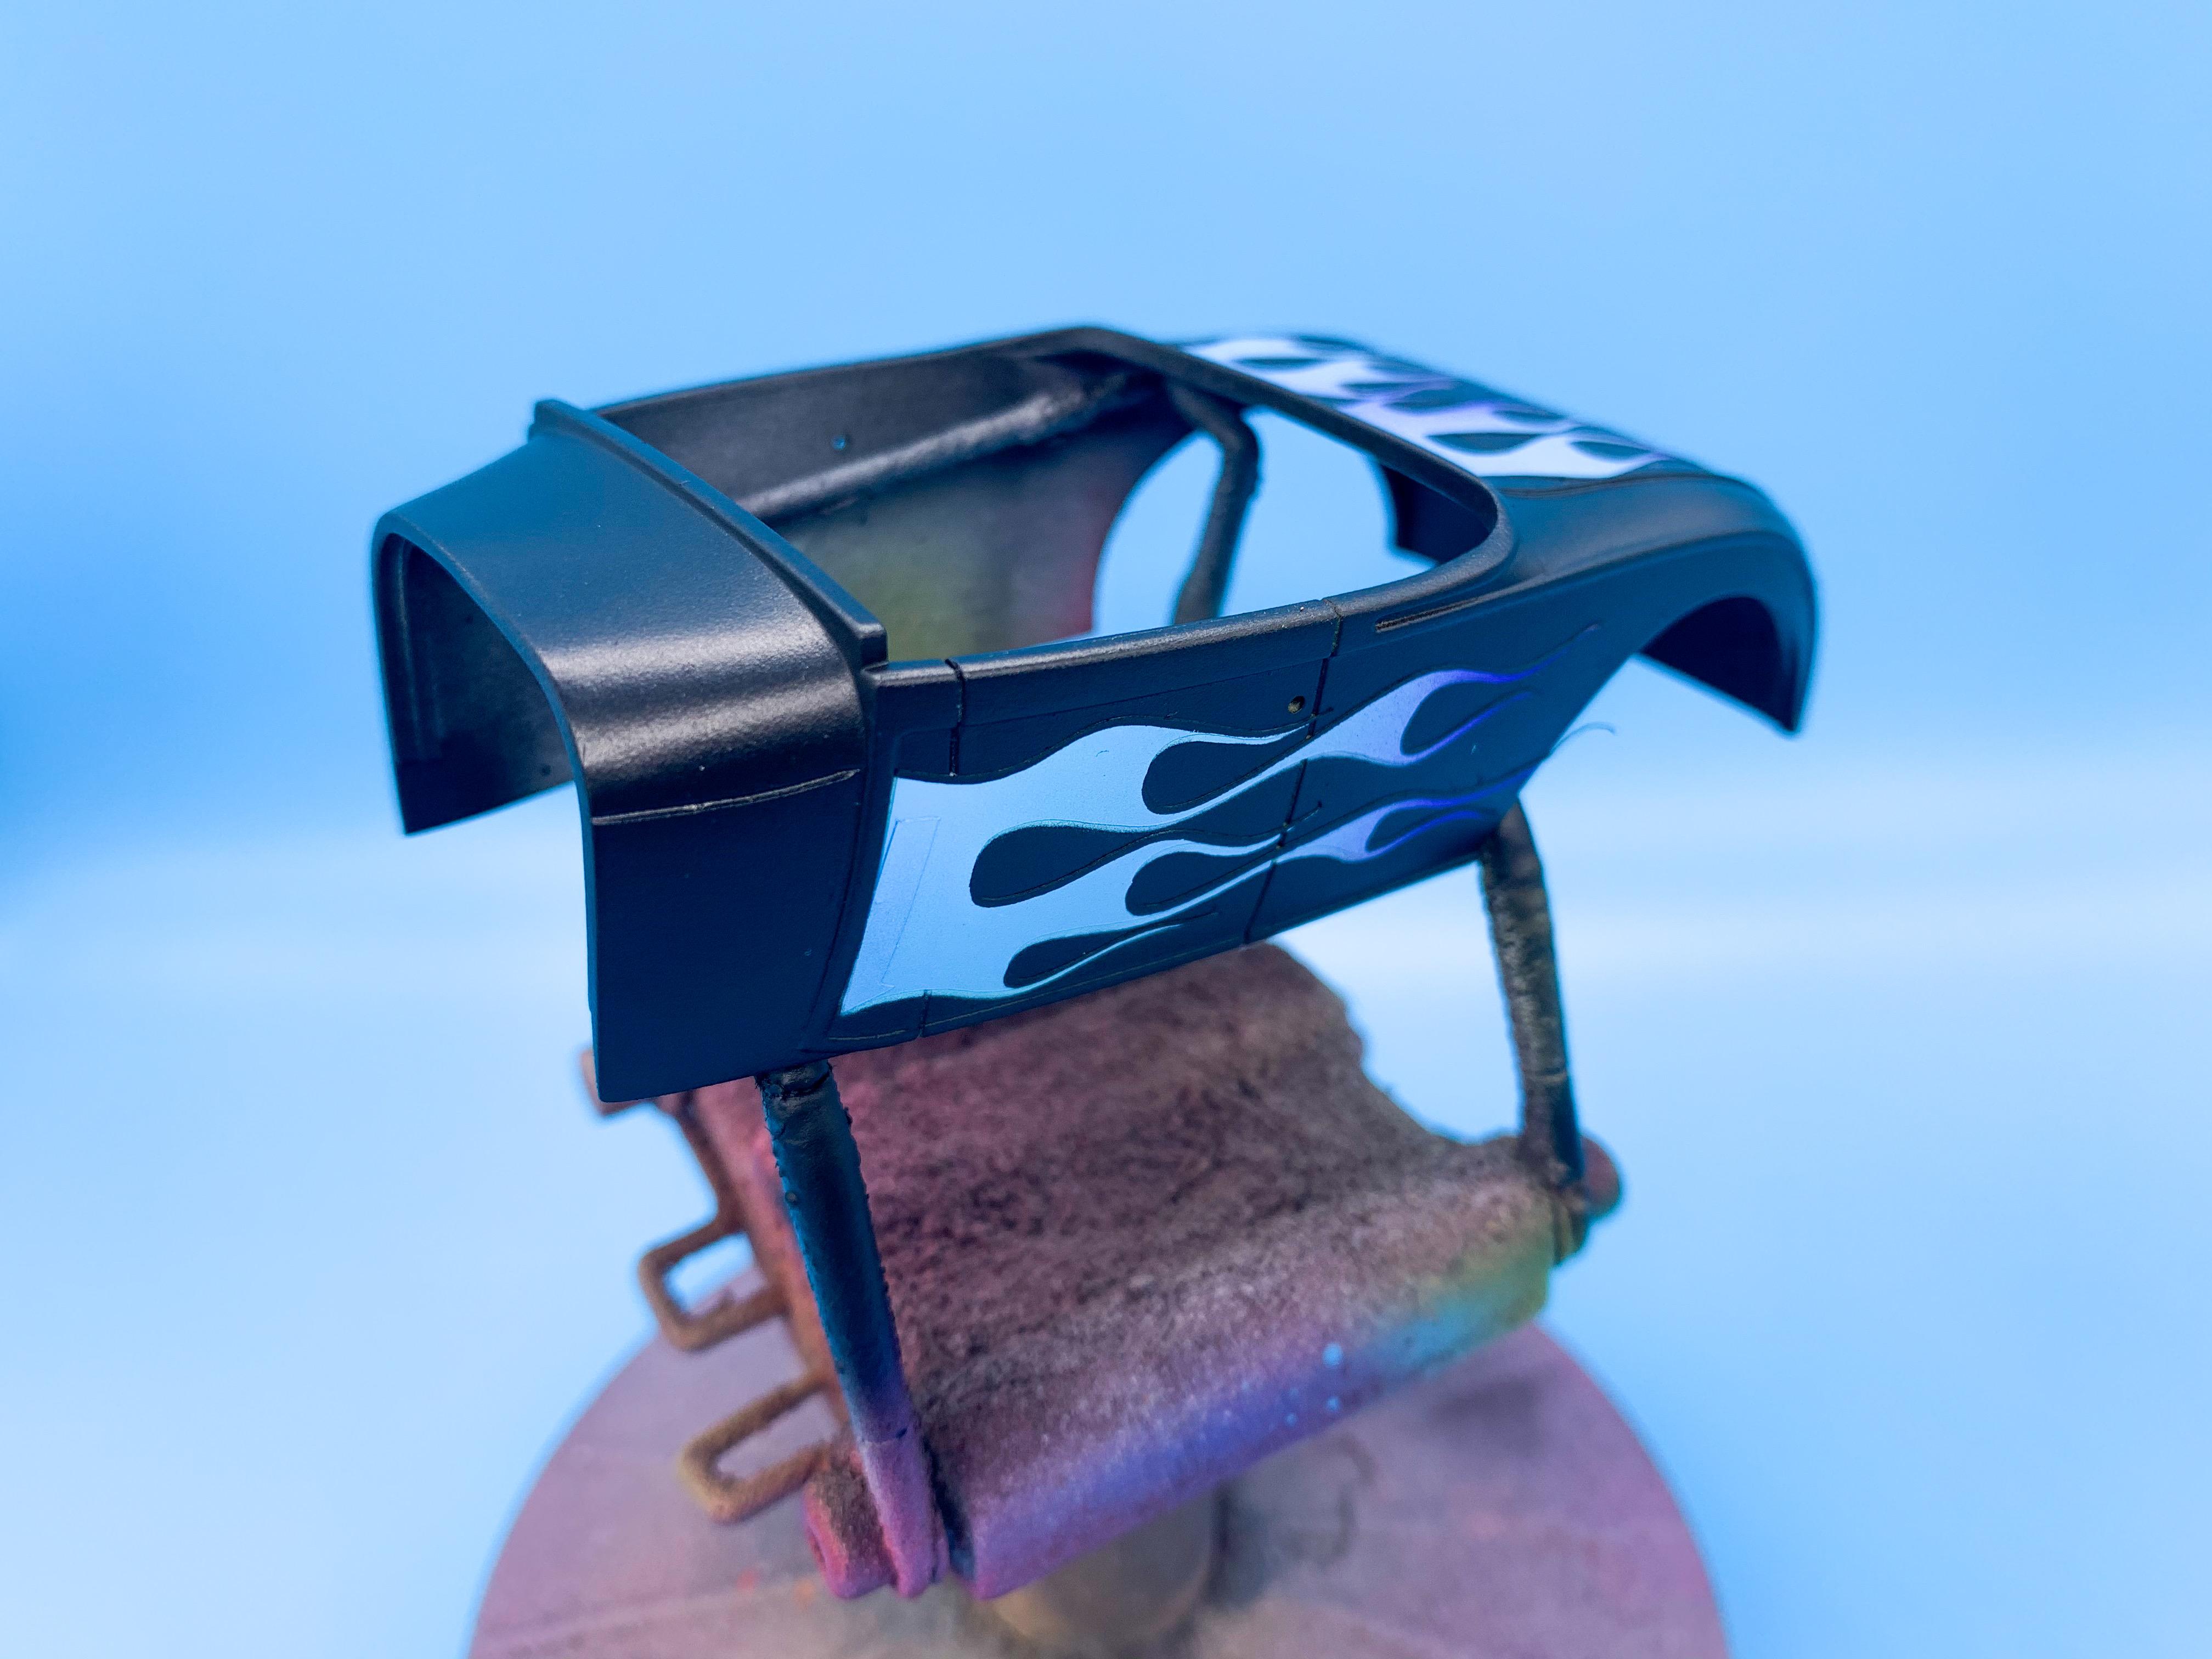
Thanks for all the nice replies everyone! This technique is only really sensible when you’re trying to emulate light flames over a dark base, honestly...trying to cover black with light colors can easily result in a lot of paint build up that you have to then cover with a lot of clear to get level again, and obviously the more clear you add the more you’re hiding details and filling in panel gaps and so on. Doing it this way allows the absolute minimum number of layers - and, provided you can visualize how it’s MEANT to look at the end works ok I think! Definitely more thinking required than just masking the flames in a conventional way though... I design and cut the masks myself - I’m just using the basic Silhouette cutter and Oramask masking film which is pretty cheap and easy to get hold of. The same trick works for just drawing (or tracing) them out on some tape and cutting them by hand though, which is how I used to do it. Lazy Modeler sells some great looking masks on eBay - I actually started selling a range myself but there’s a lot of scammers on eBay and eBay is quick to refund everyone for every little problem so I’ve stopped doing that. I was getting, like, “paint bled under the mask when I used a spray can - I want a refund” and “I tore the mask putting it on the car, I want a refund” and “I ordered these and posted pictures of them on my Instagram but they never arrived so I want a refund”...so, yeah, leave that to Lazy Modeler ??. Just a cheap one from eBay, same as this; https://www.ebay.com/itm/164127624071 Ive never had a brand name one so I can’t compare, but these work ok for what I’m doing now just fine! Ditto my little $40 compressor - no fancy tools here, aside from the vinyl cutter that I like for masks. Createx is generally fine to airbrush right out of the bottle, but they sell a thinner that I’ll use occasionally too. Their paint is fairly thick out of the bottle but it lays down great, doesn’t seem to hide all the detail and doesn’t normally need more than a drop or two of thinner depending on how you like to paint. I’ve got pretty ok at spraying it right as it comes I think, but if you’re used to regular lacquers you’ll definitely notice the difference in how it flows. Main thing is, even painting it “wrong” and not thinning it so it’s watery like a lot of people seem to do it atomizes great and lays down fine for me!
-
I like it!! That blue is a gorgeous color!
-
I actually find them really forgiving and easy to paint - but everyone’s technique and preference is different! They seem to be consistent quality, decent range of colors, easy clean up and inexpensive. The things you have to work around are that they won’t stick well to most plastics without primer (no biggie for me, I prime everything anyway), even with primer a barrier coat is a good idea if you’re planning to mask over them (again, no biggie for me because I shoot a mist of Future over most paints before I mask them anyway to seal them in and give me the option of easily removing a layer if I mess up without going all the way back to the start) and they don’t like to be wet sanded (so I dry sand instead). I like Tamiya’s acrylics too, but you get a LOT of Createx for your money compared to Tamiya’s little jars... Thanks fellas!!
-
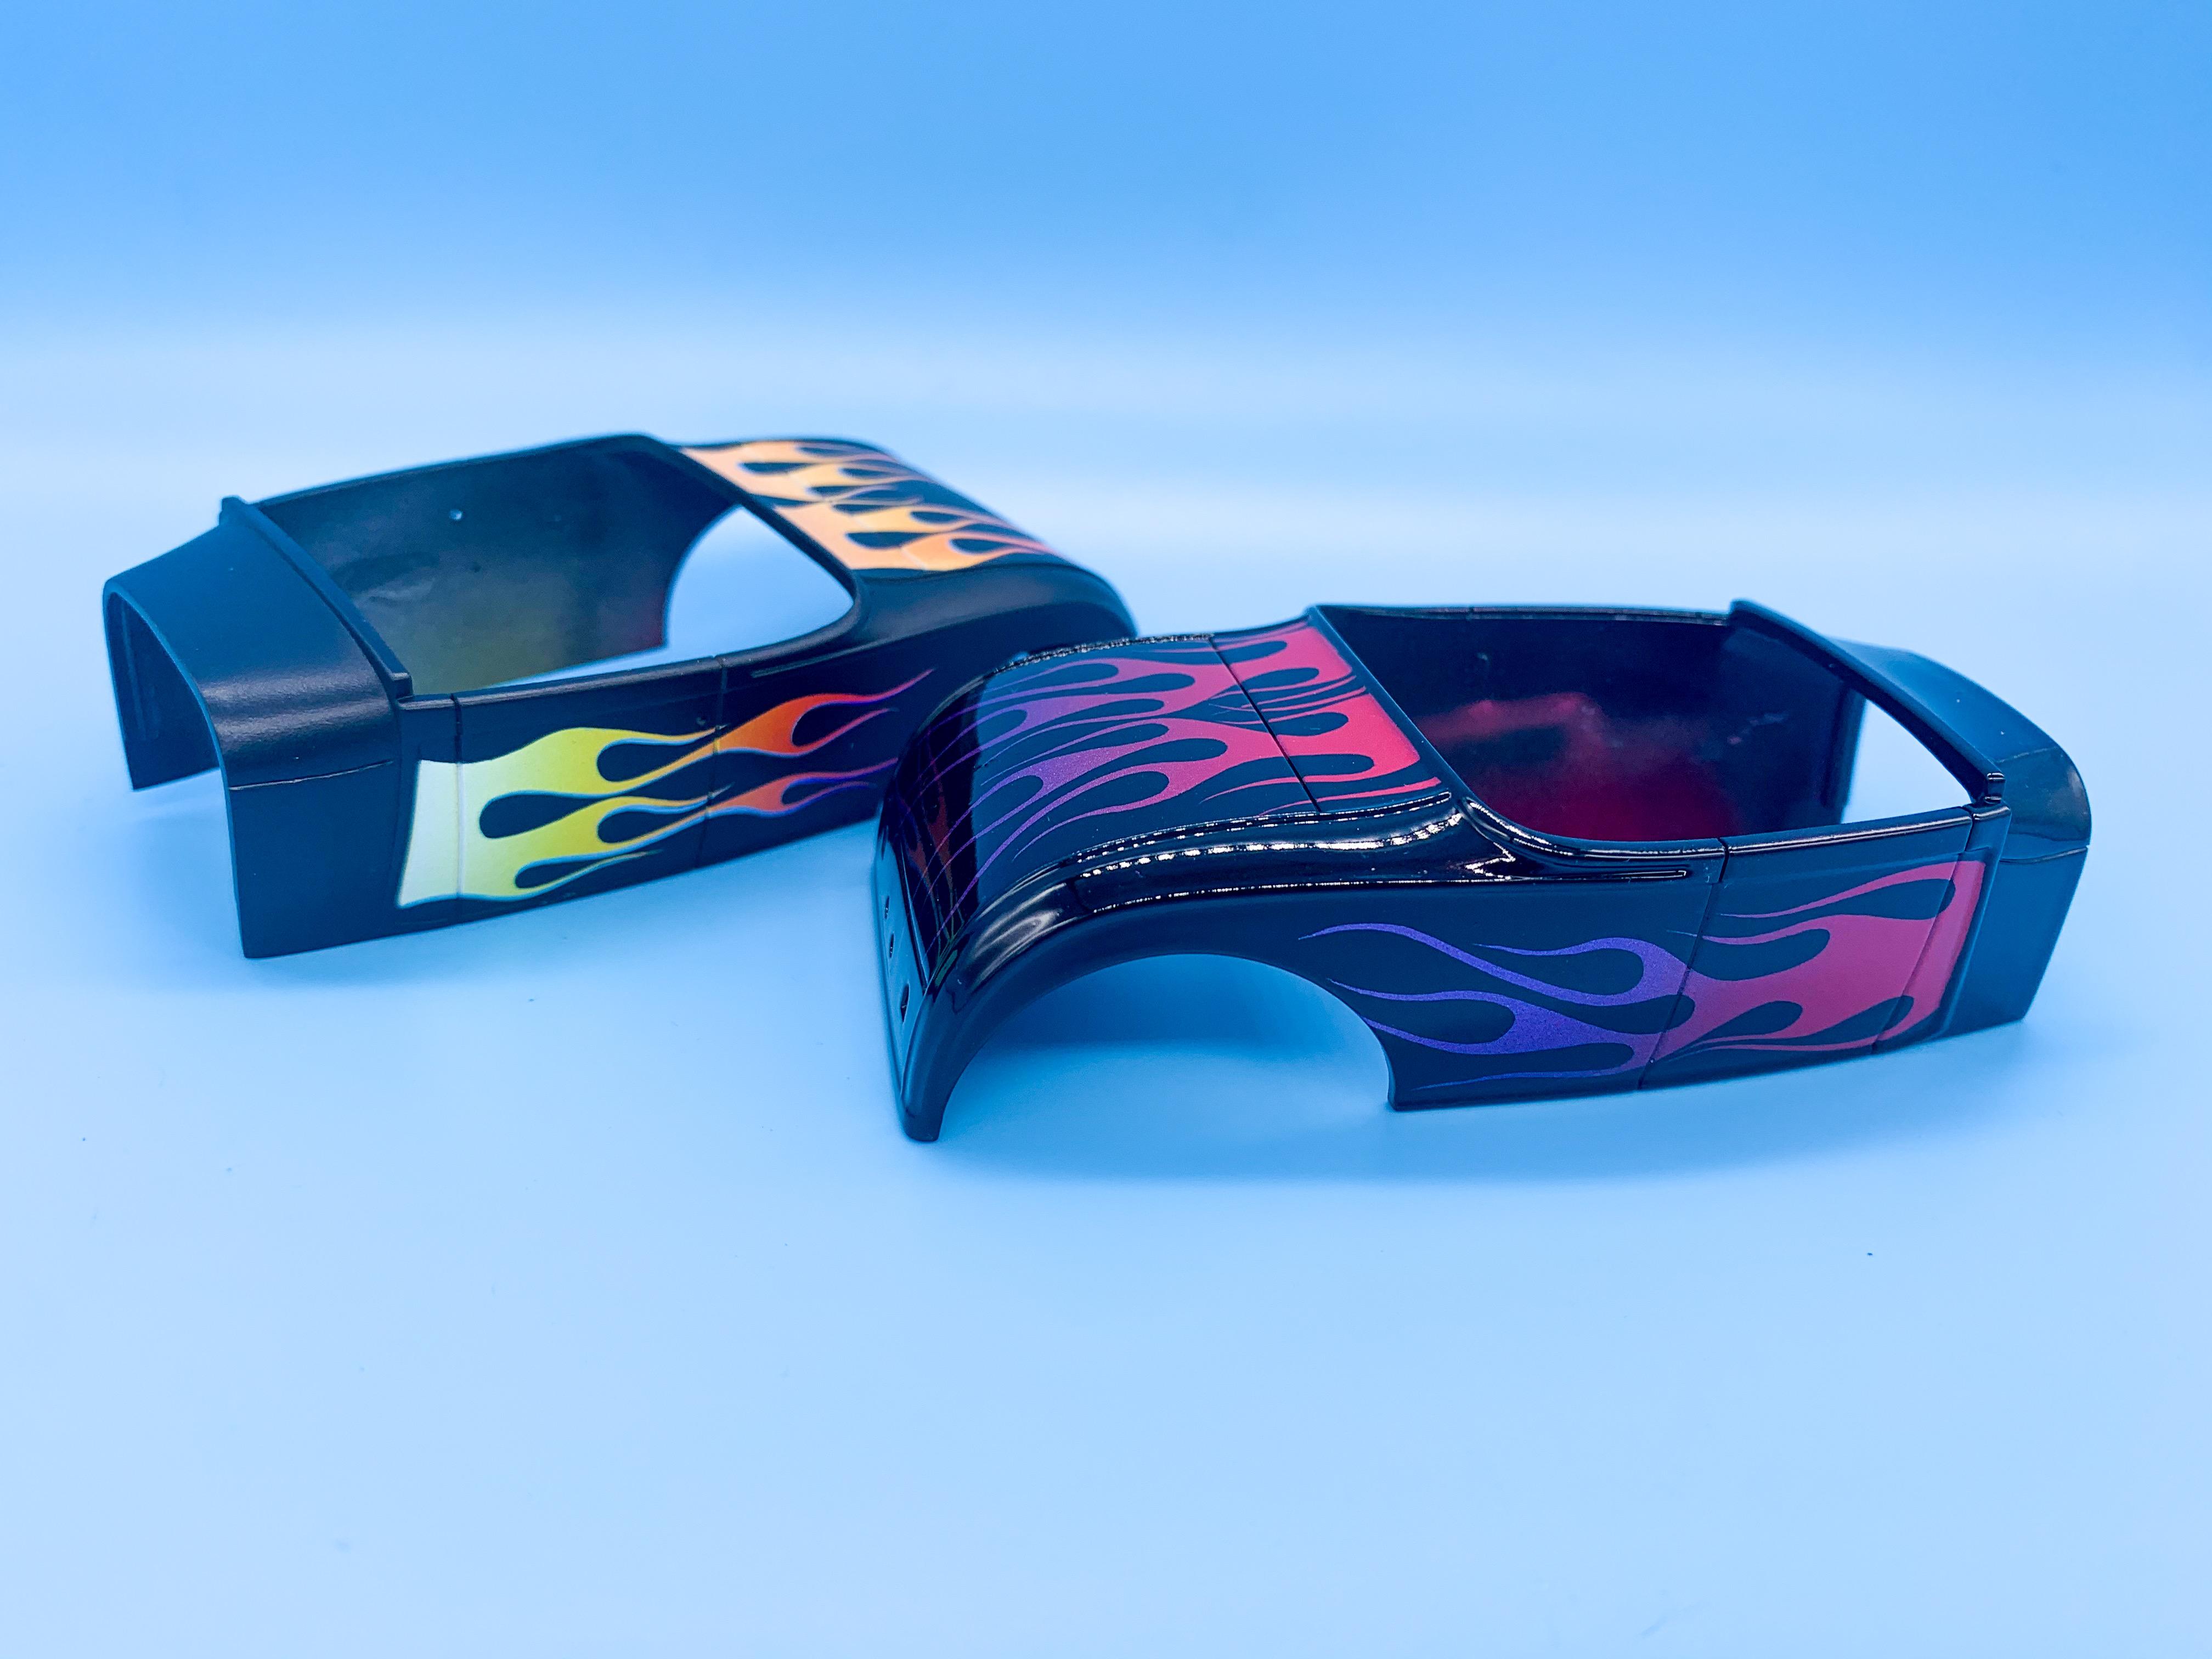
Haha! No, luckily! It was a simple two tone one that I’d had an idea for: It polished out pretty nicely but there was a little rough patch on the body that I didn’t notice until basically when I was going to polish it. I primed it, couldn’t see it, did the red, couldn’t see it, did the black, couldn’t see it, did the clear, couldn’t see it - went to polish it three weeks later and I could see some texture under the black paint. Not in the paint or the clear; but under all the layers. One of the problems of using a lot of Createx paint, which I do, is that it dries matt you have to make sure the surface is perfect because you’ll likely never spot a little flaw until you’ve sprayed the clear (and in this case, not until I was ready to polish it). Turns out these bodies ALL have two little rough circles on each side behind the door...I thought I’d maybe crazed it with primer or something but nope, they all have it. No biggie if you bury it or know to look for it...but I screwed up and didn’t ?. So, no reason to build it with a pair of annoying flaws on each side - giving the whole thing a do-over ? These two will look cool together anyhow, so I’m not too bummed....
-
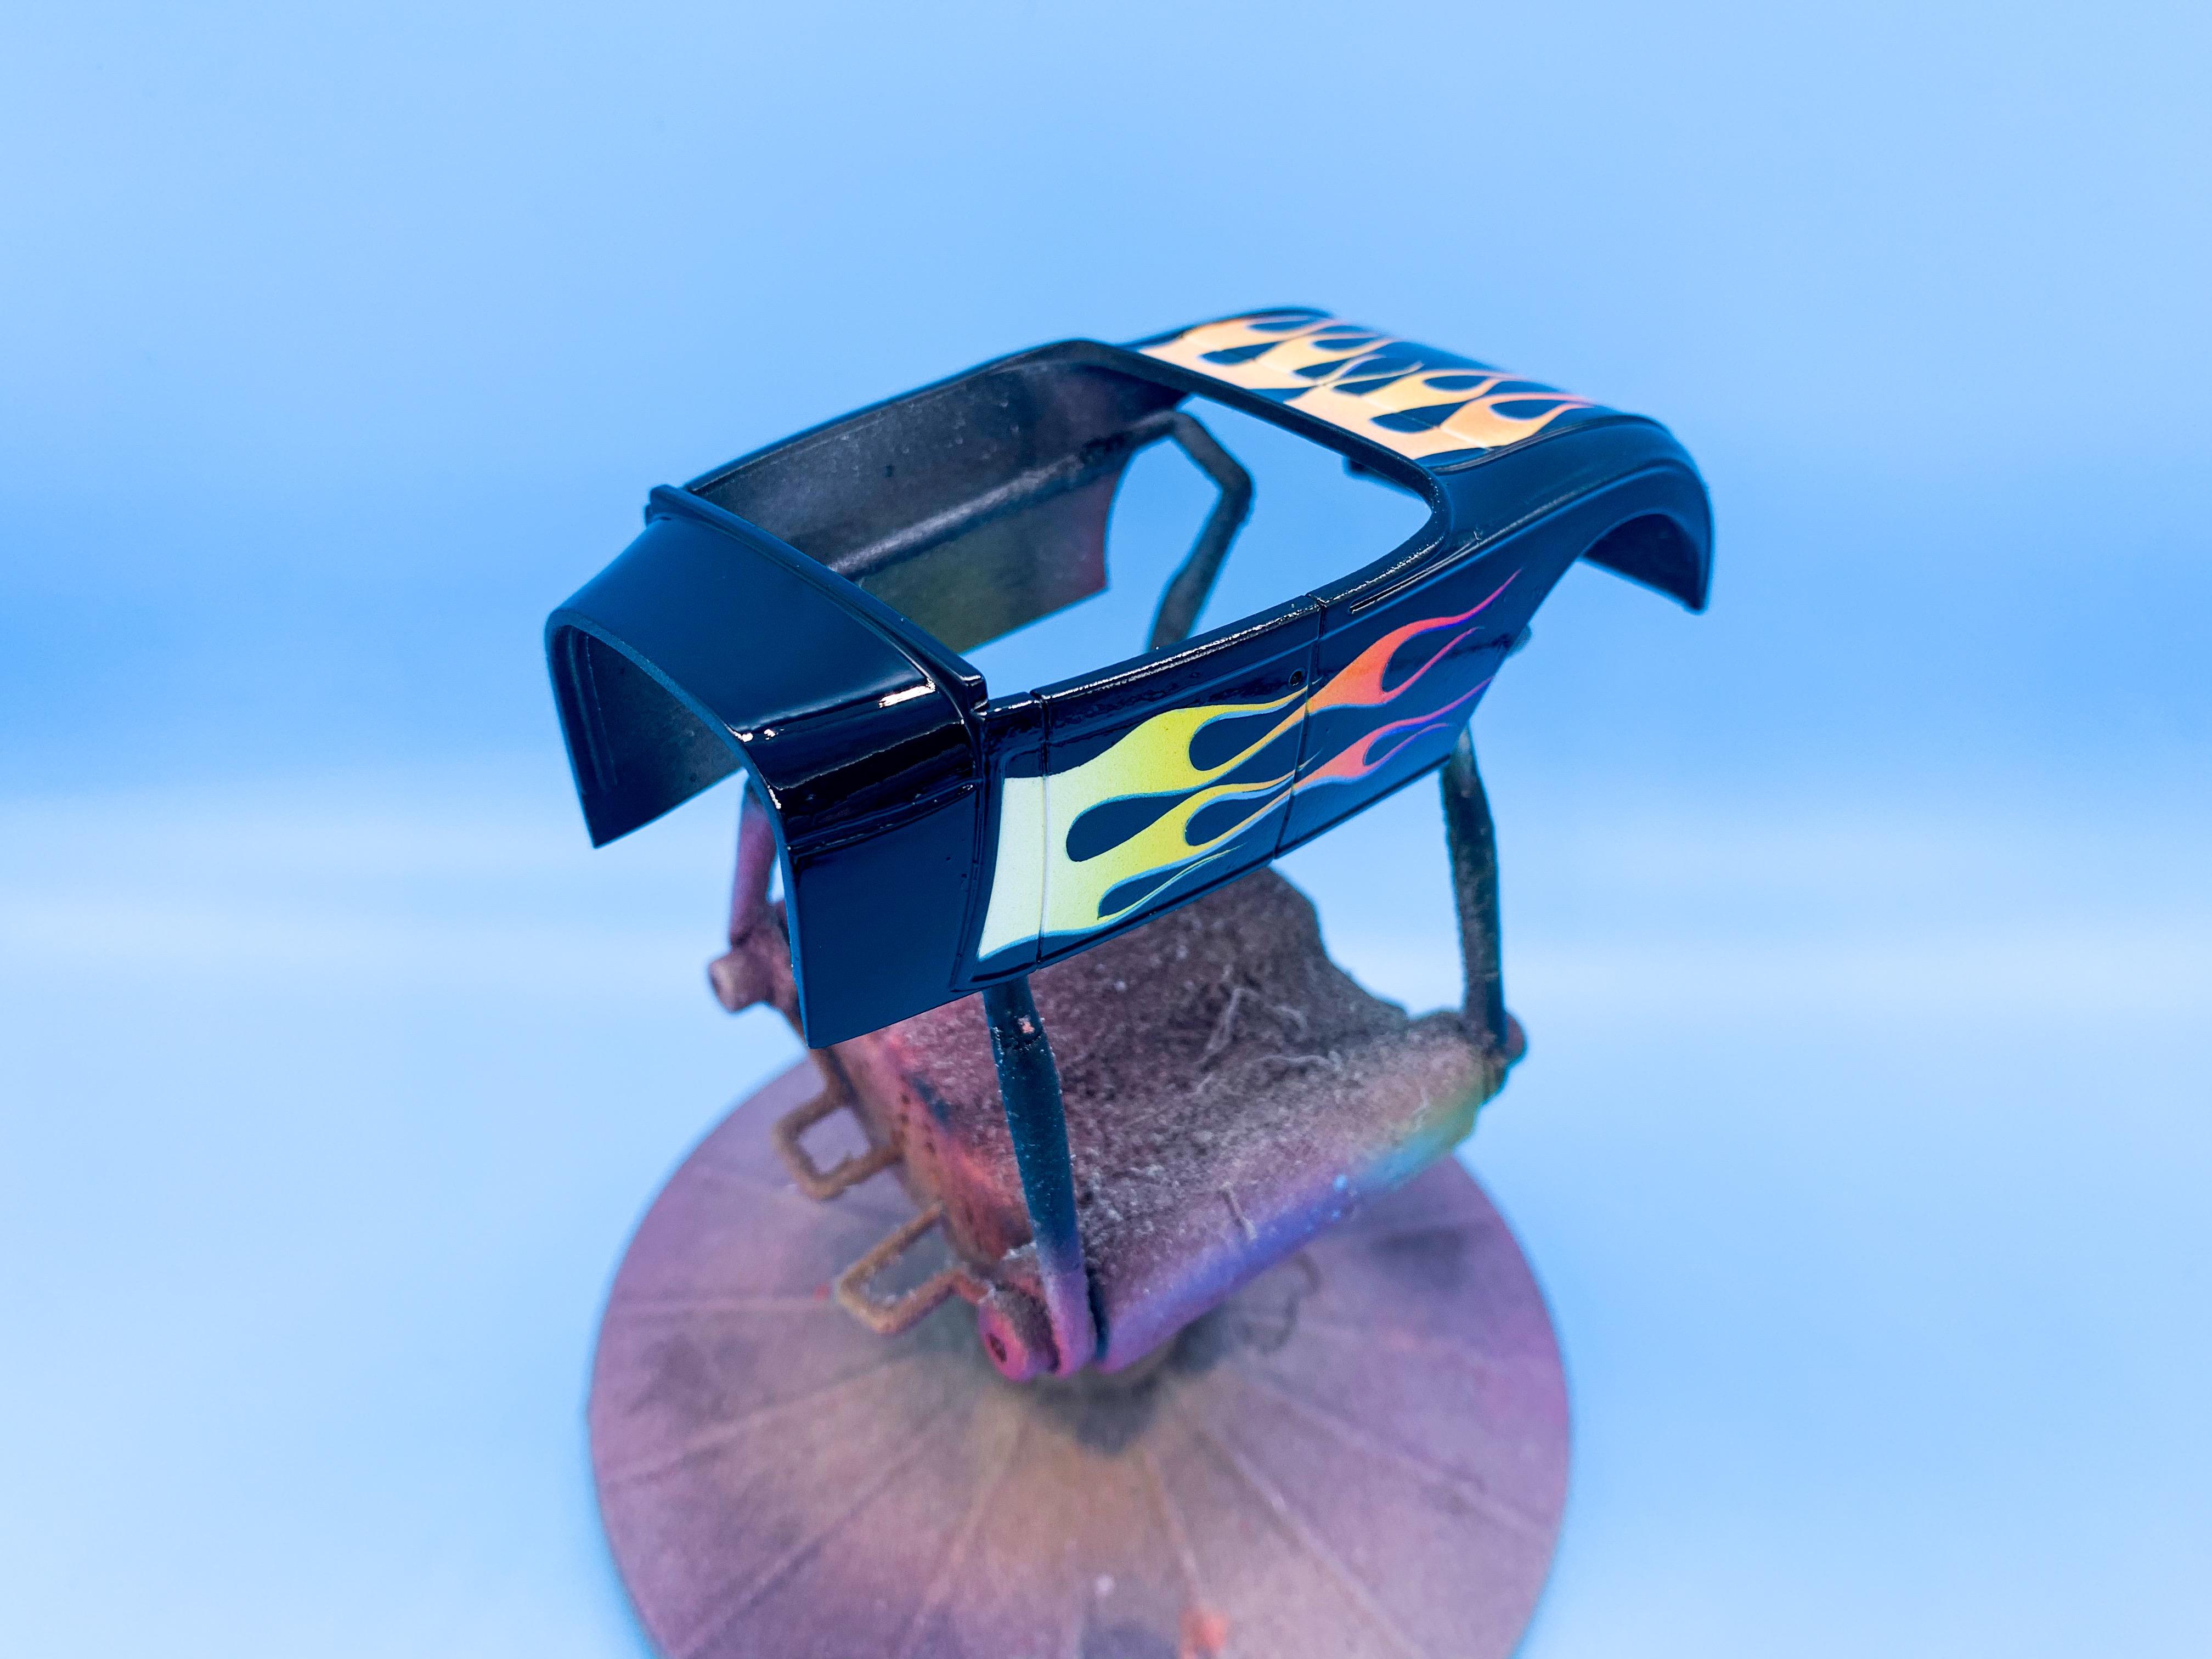
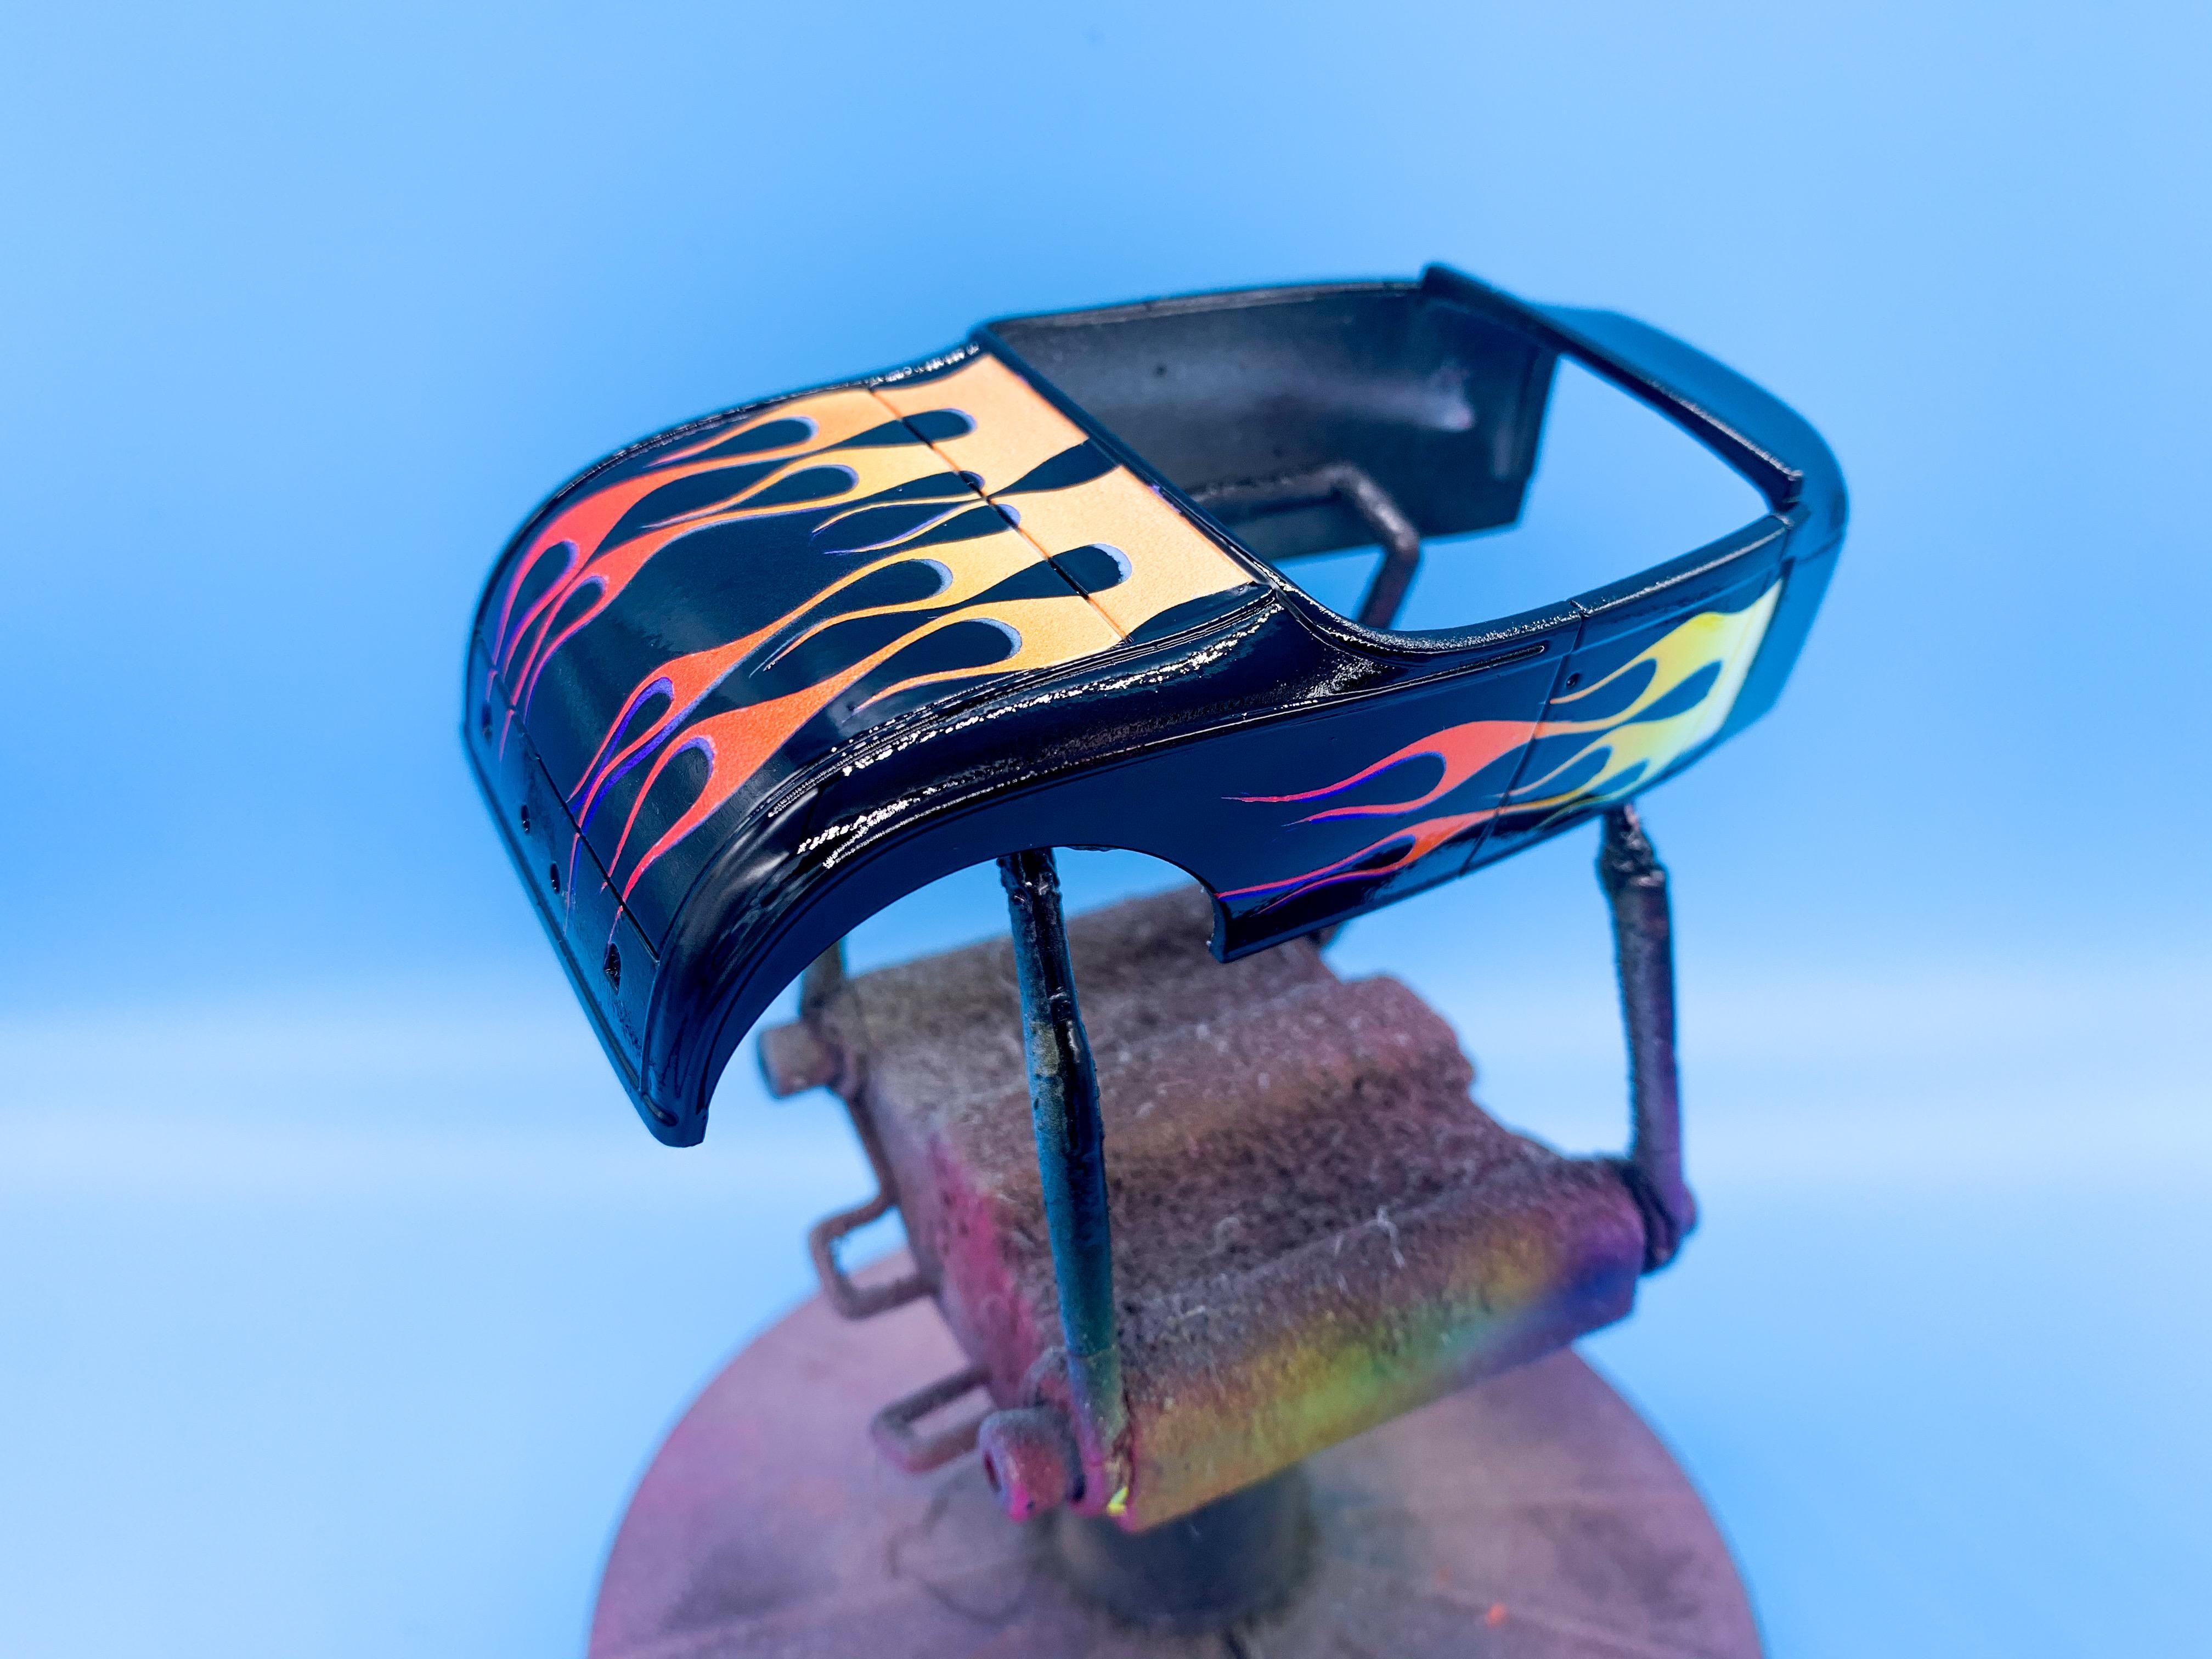
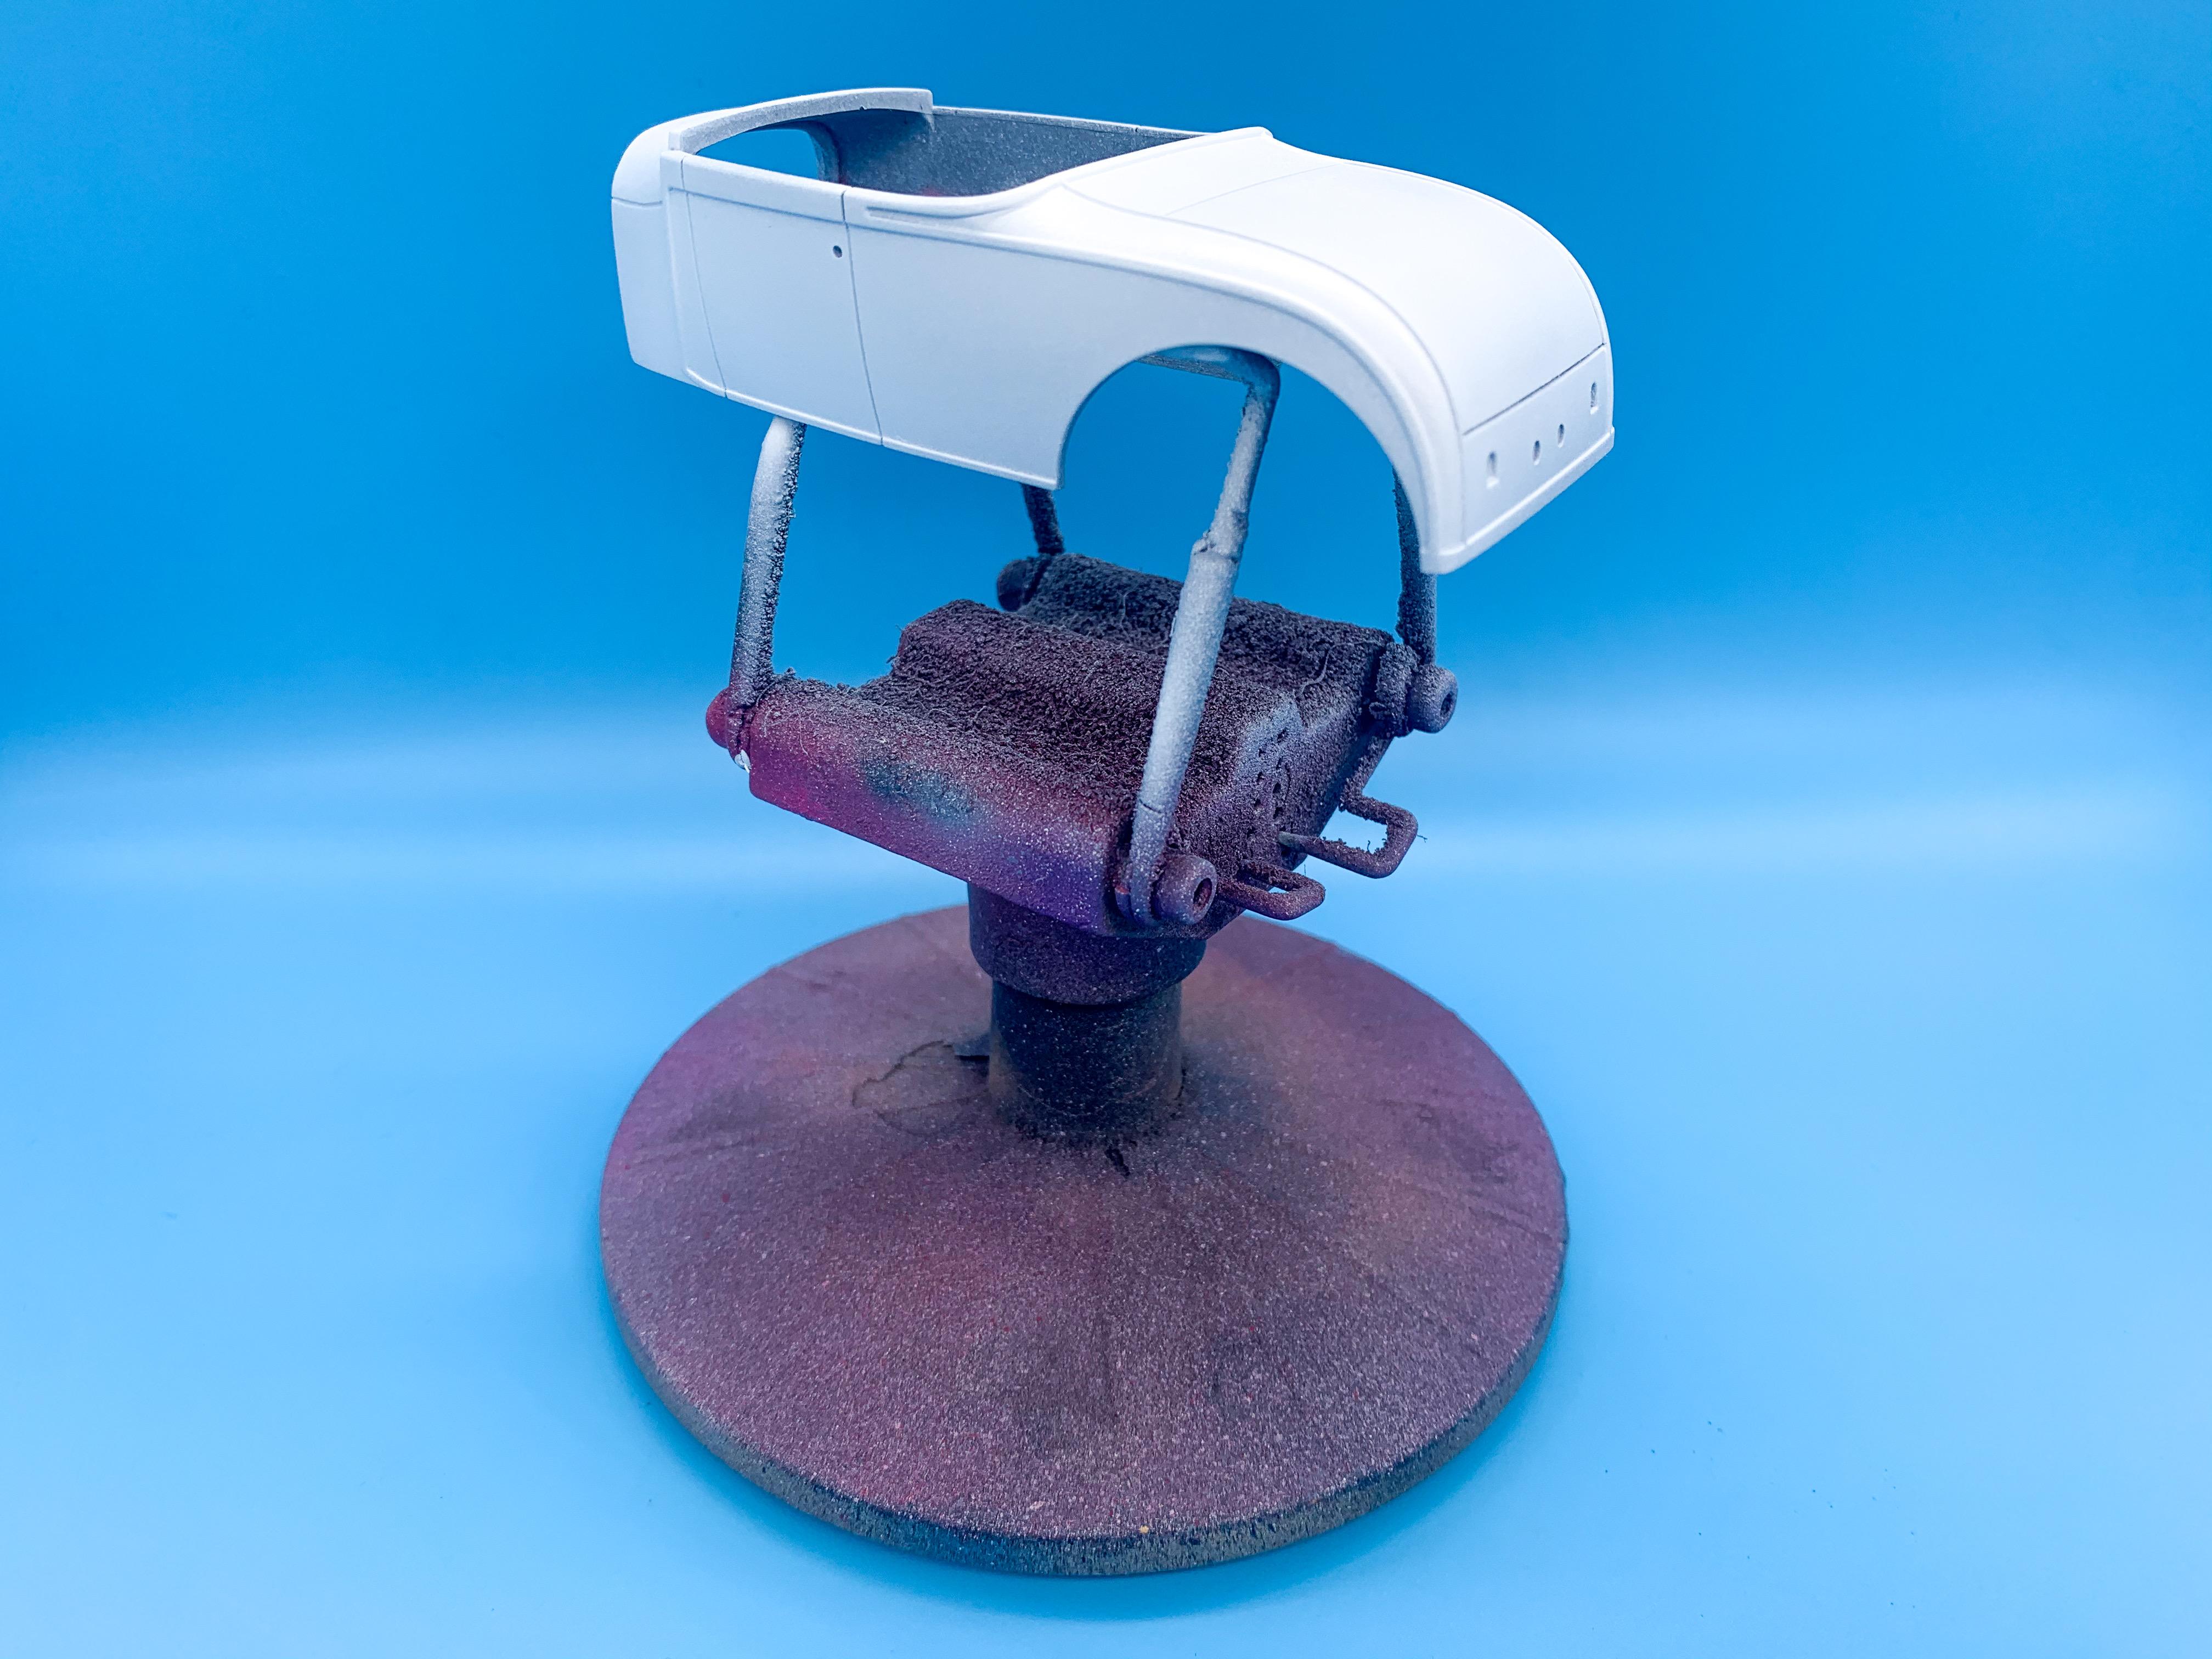
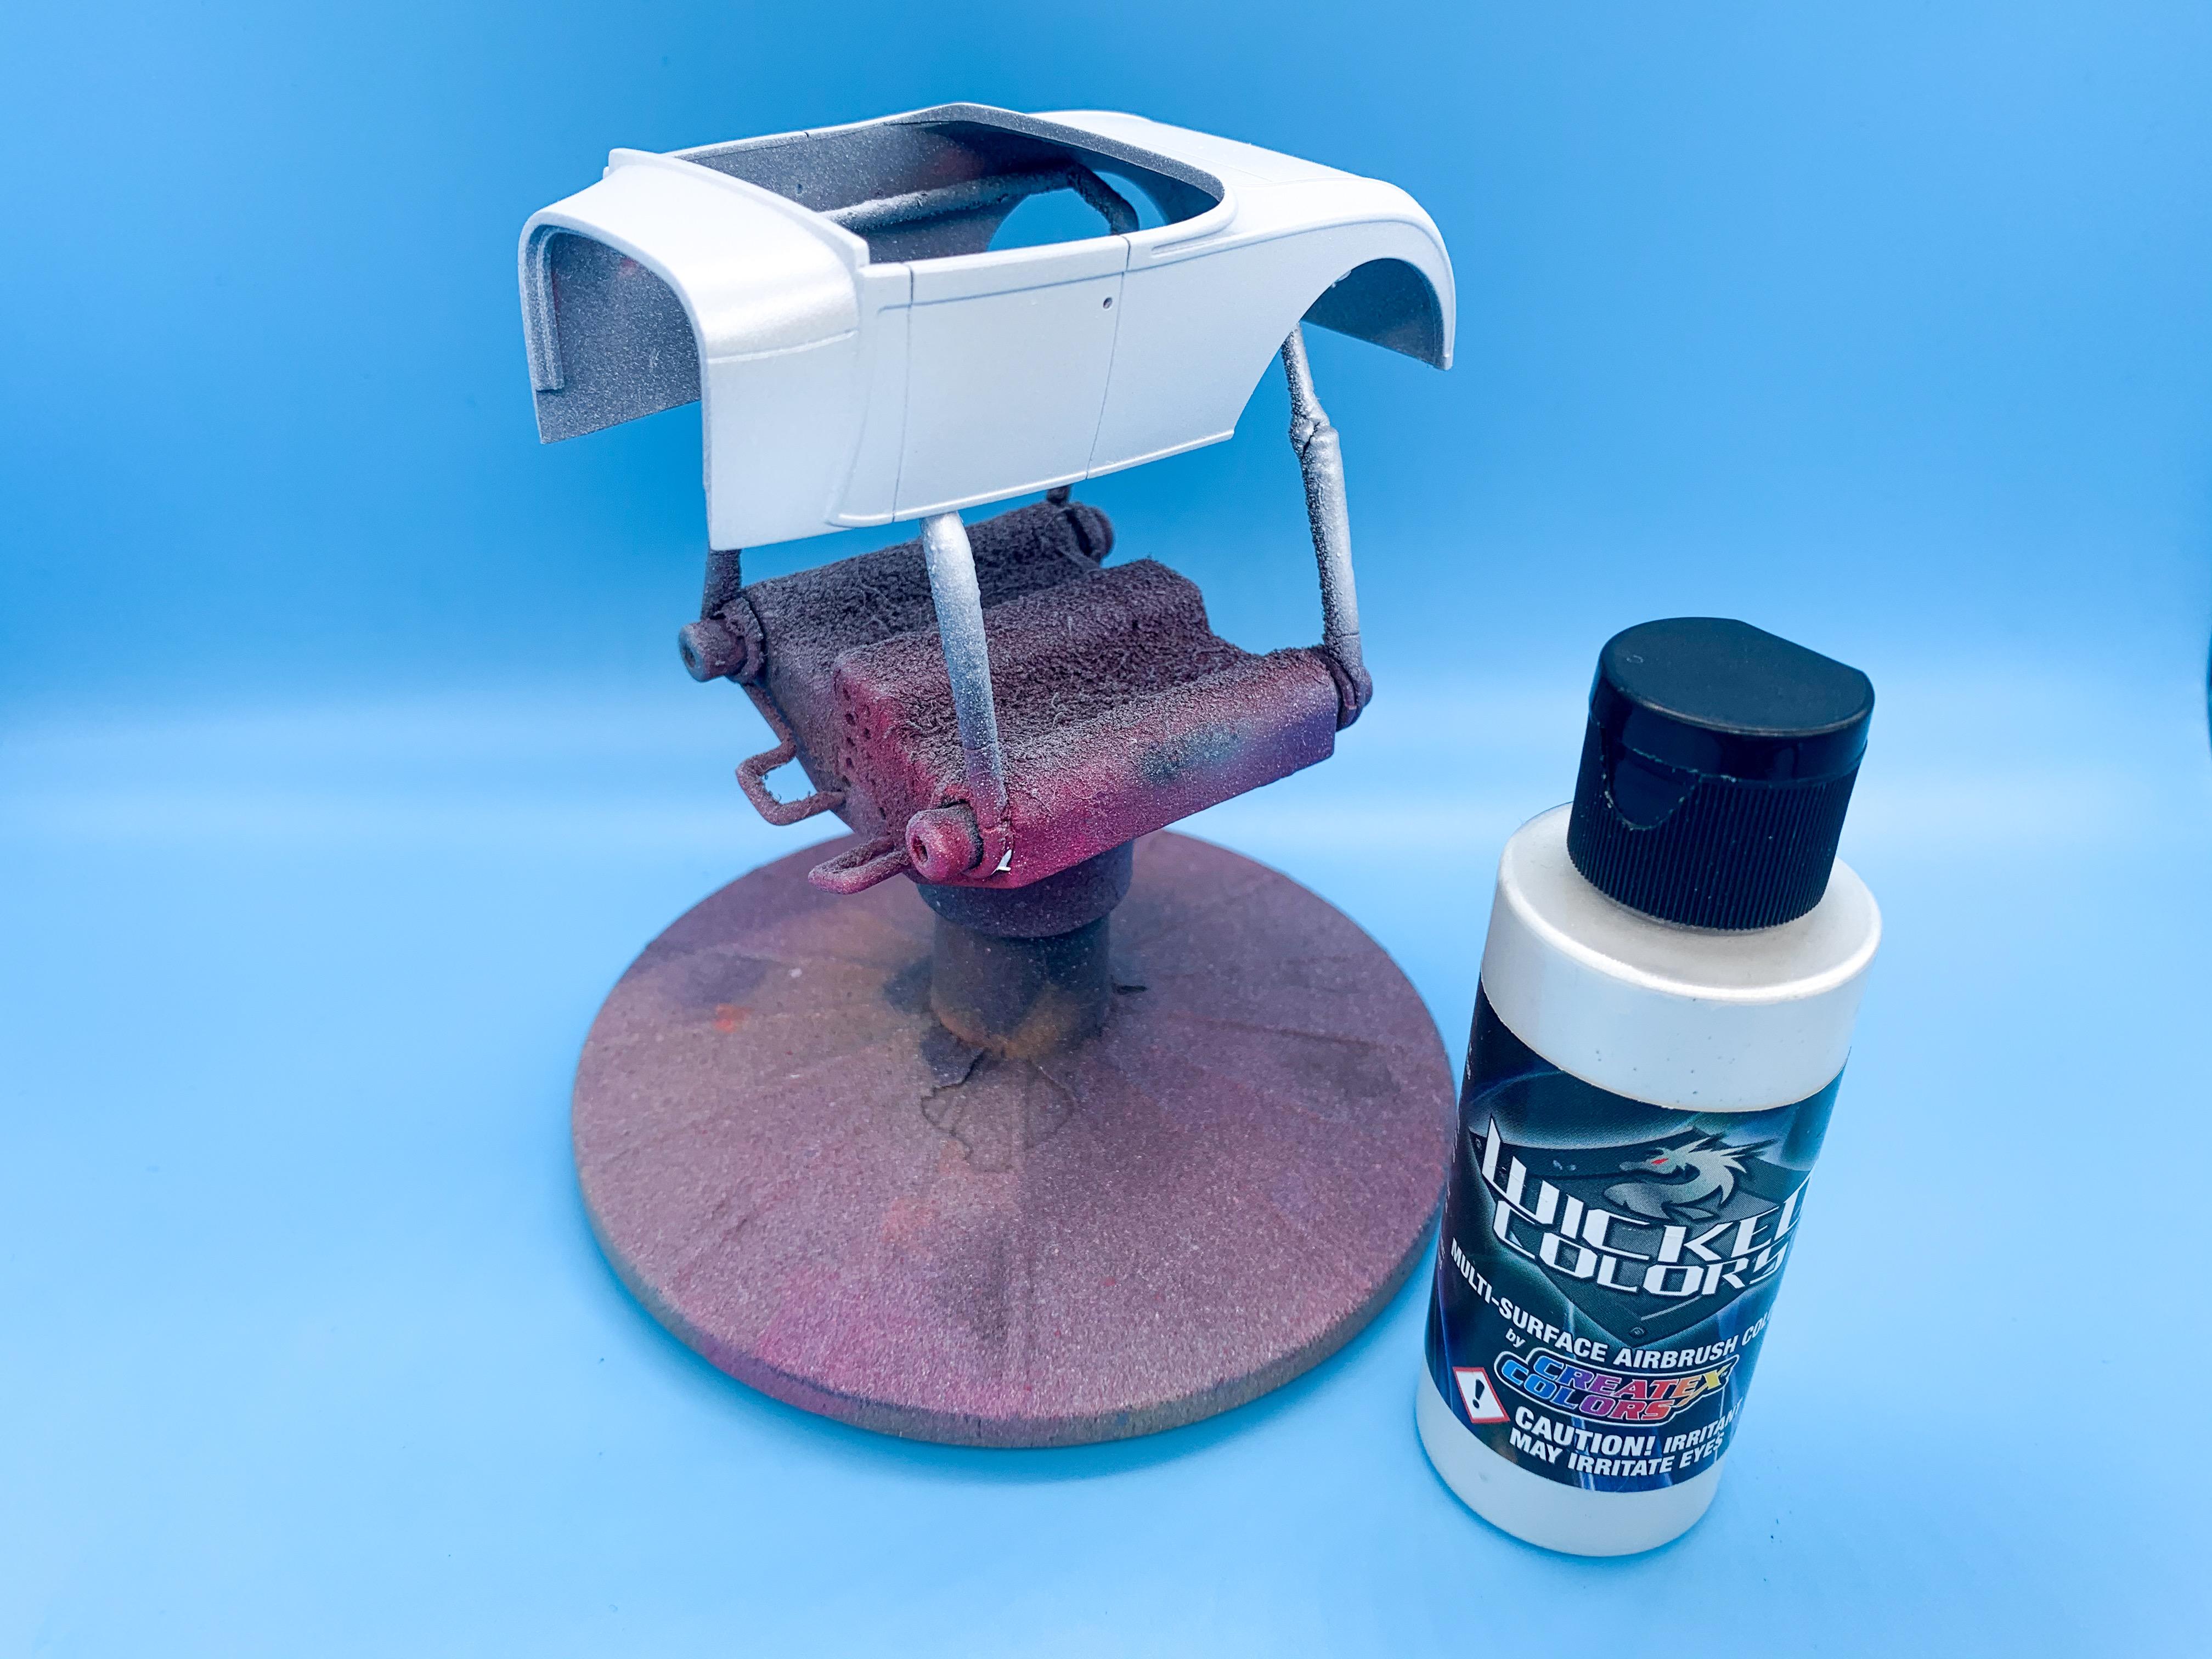
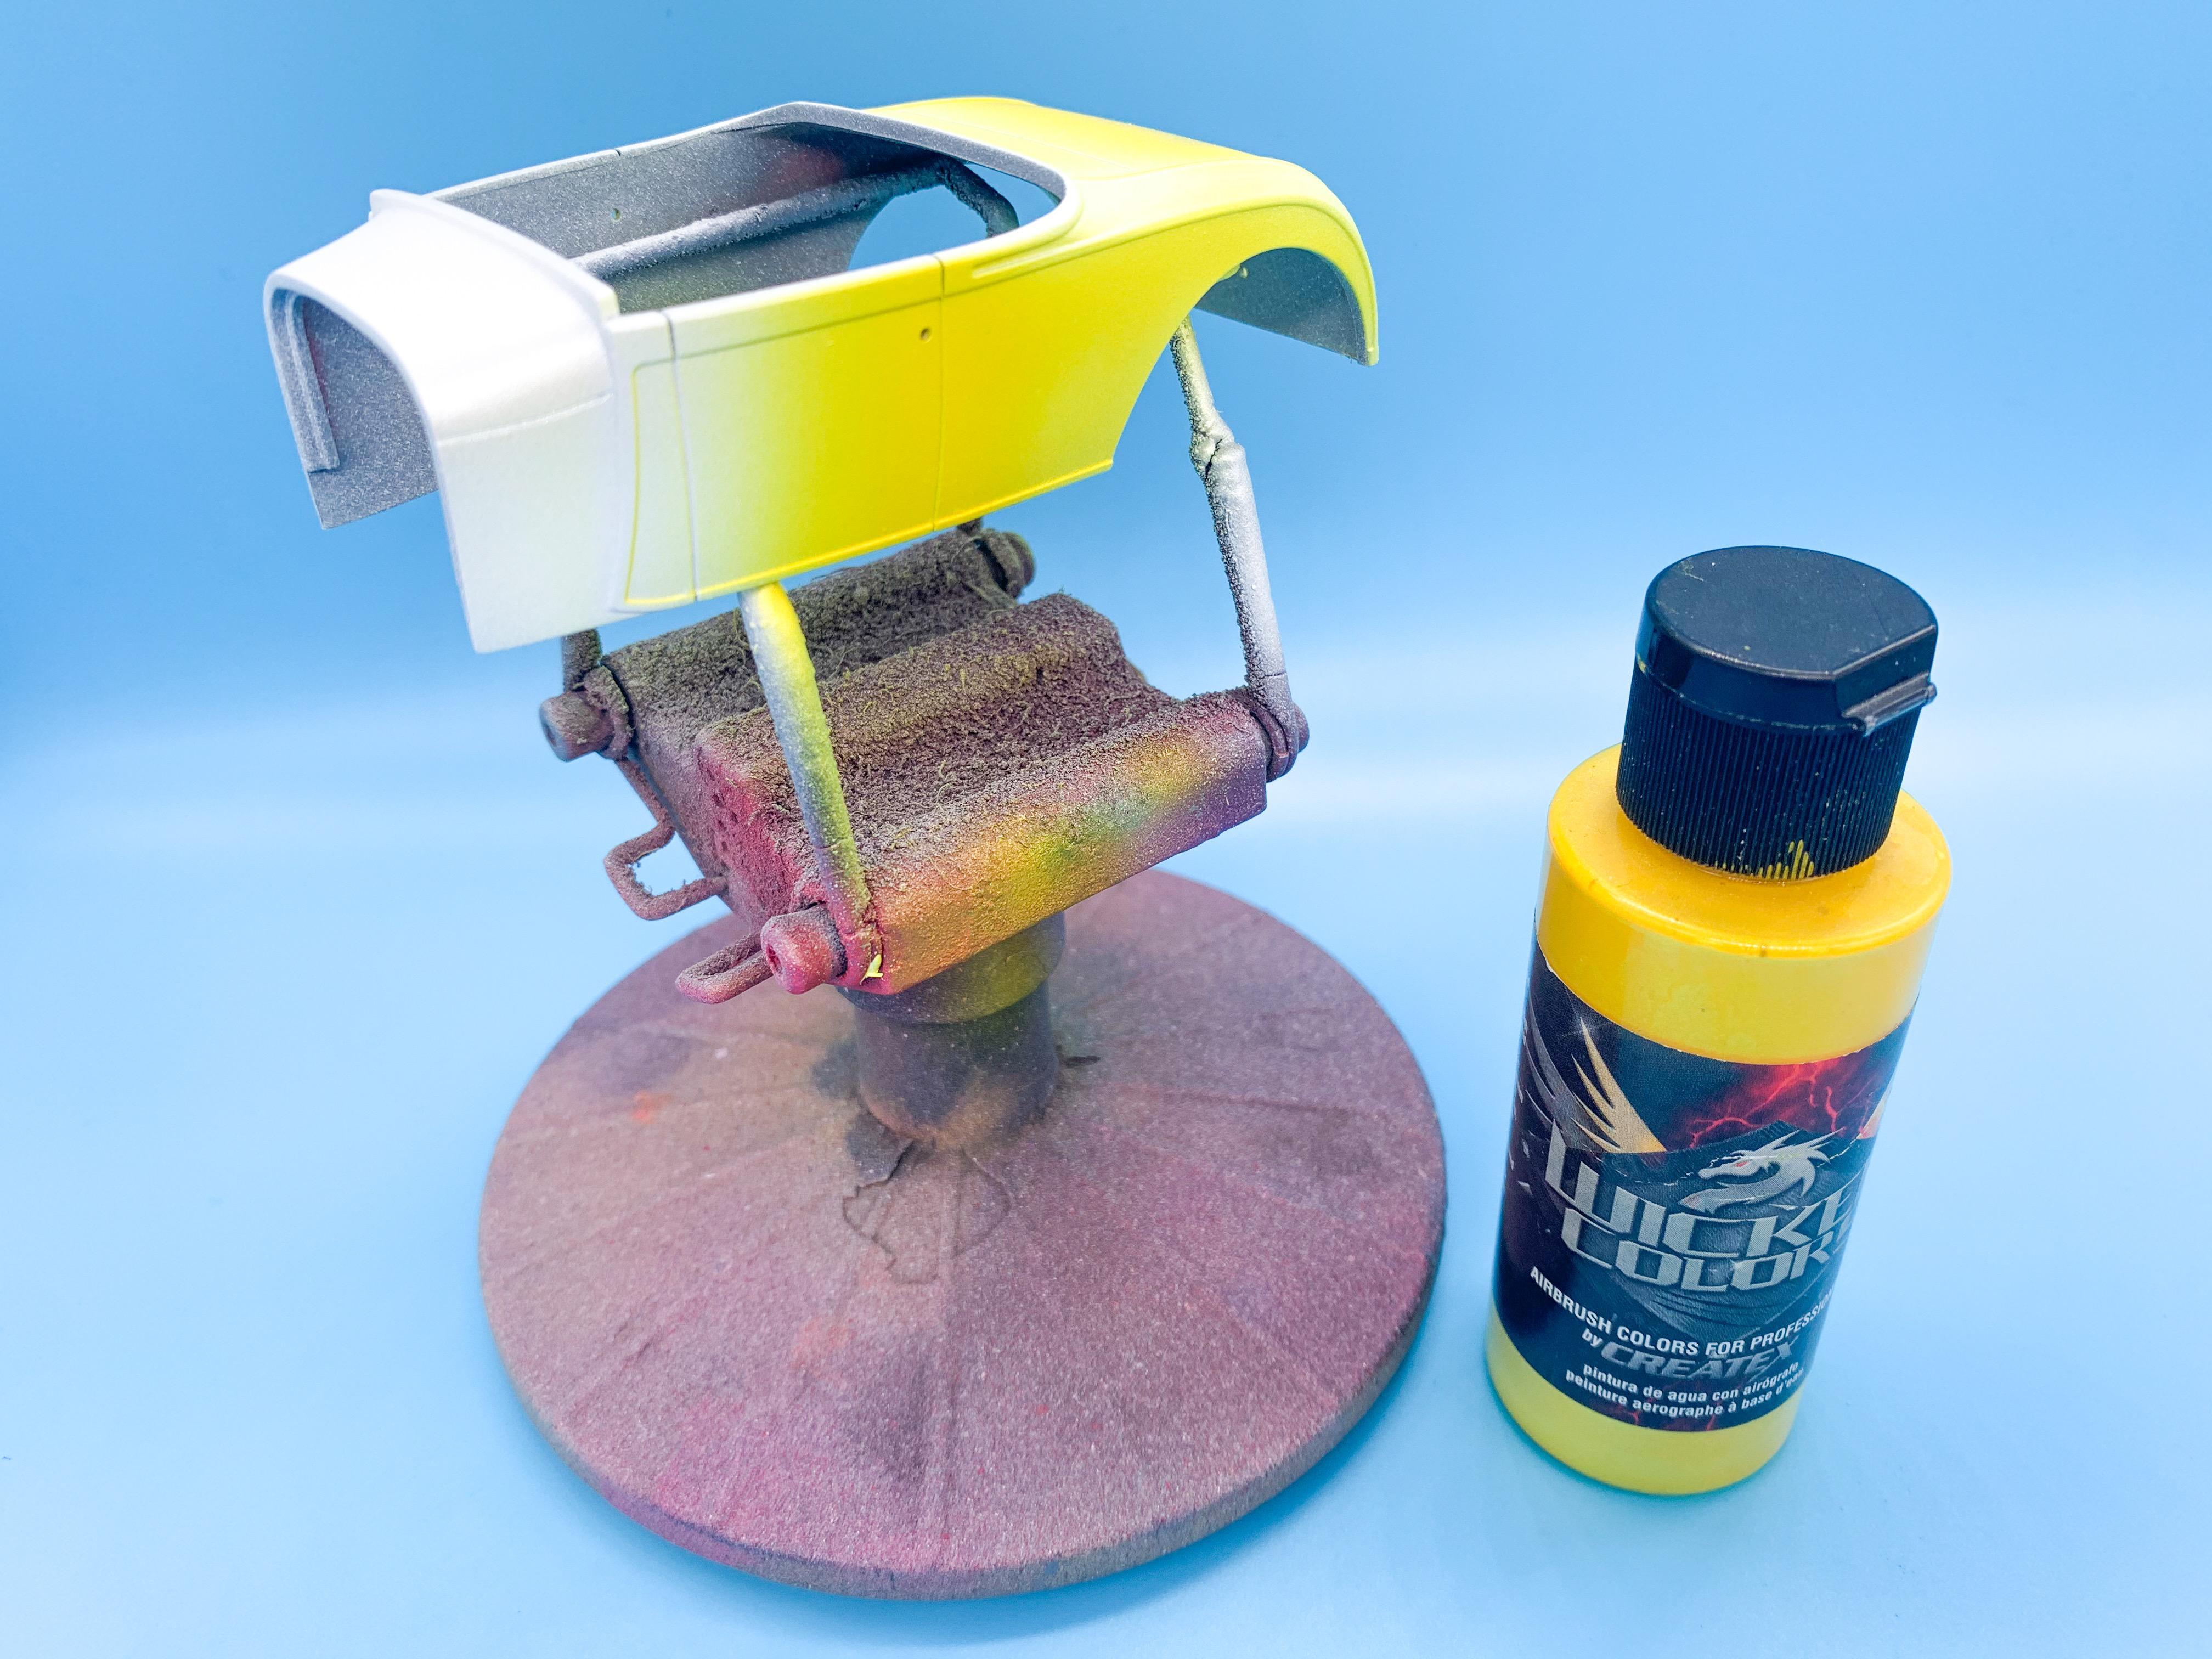
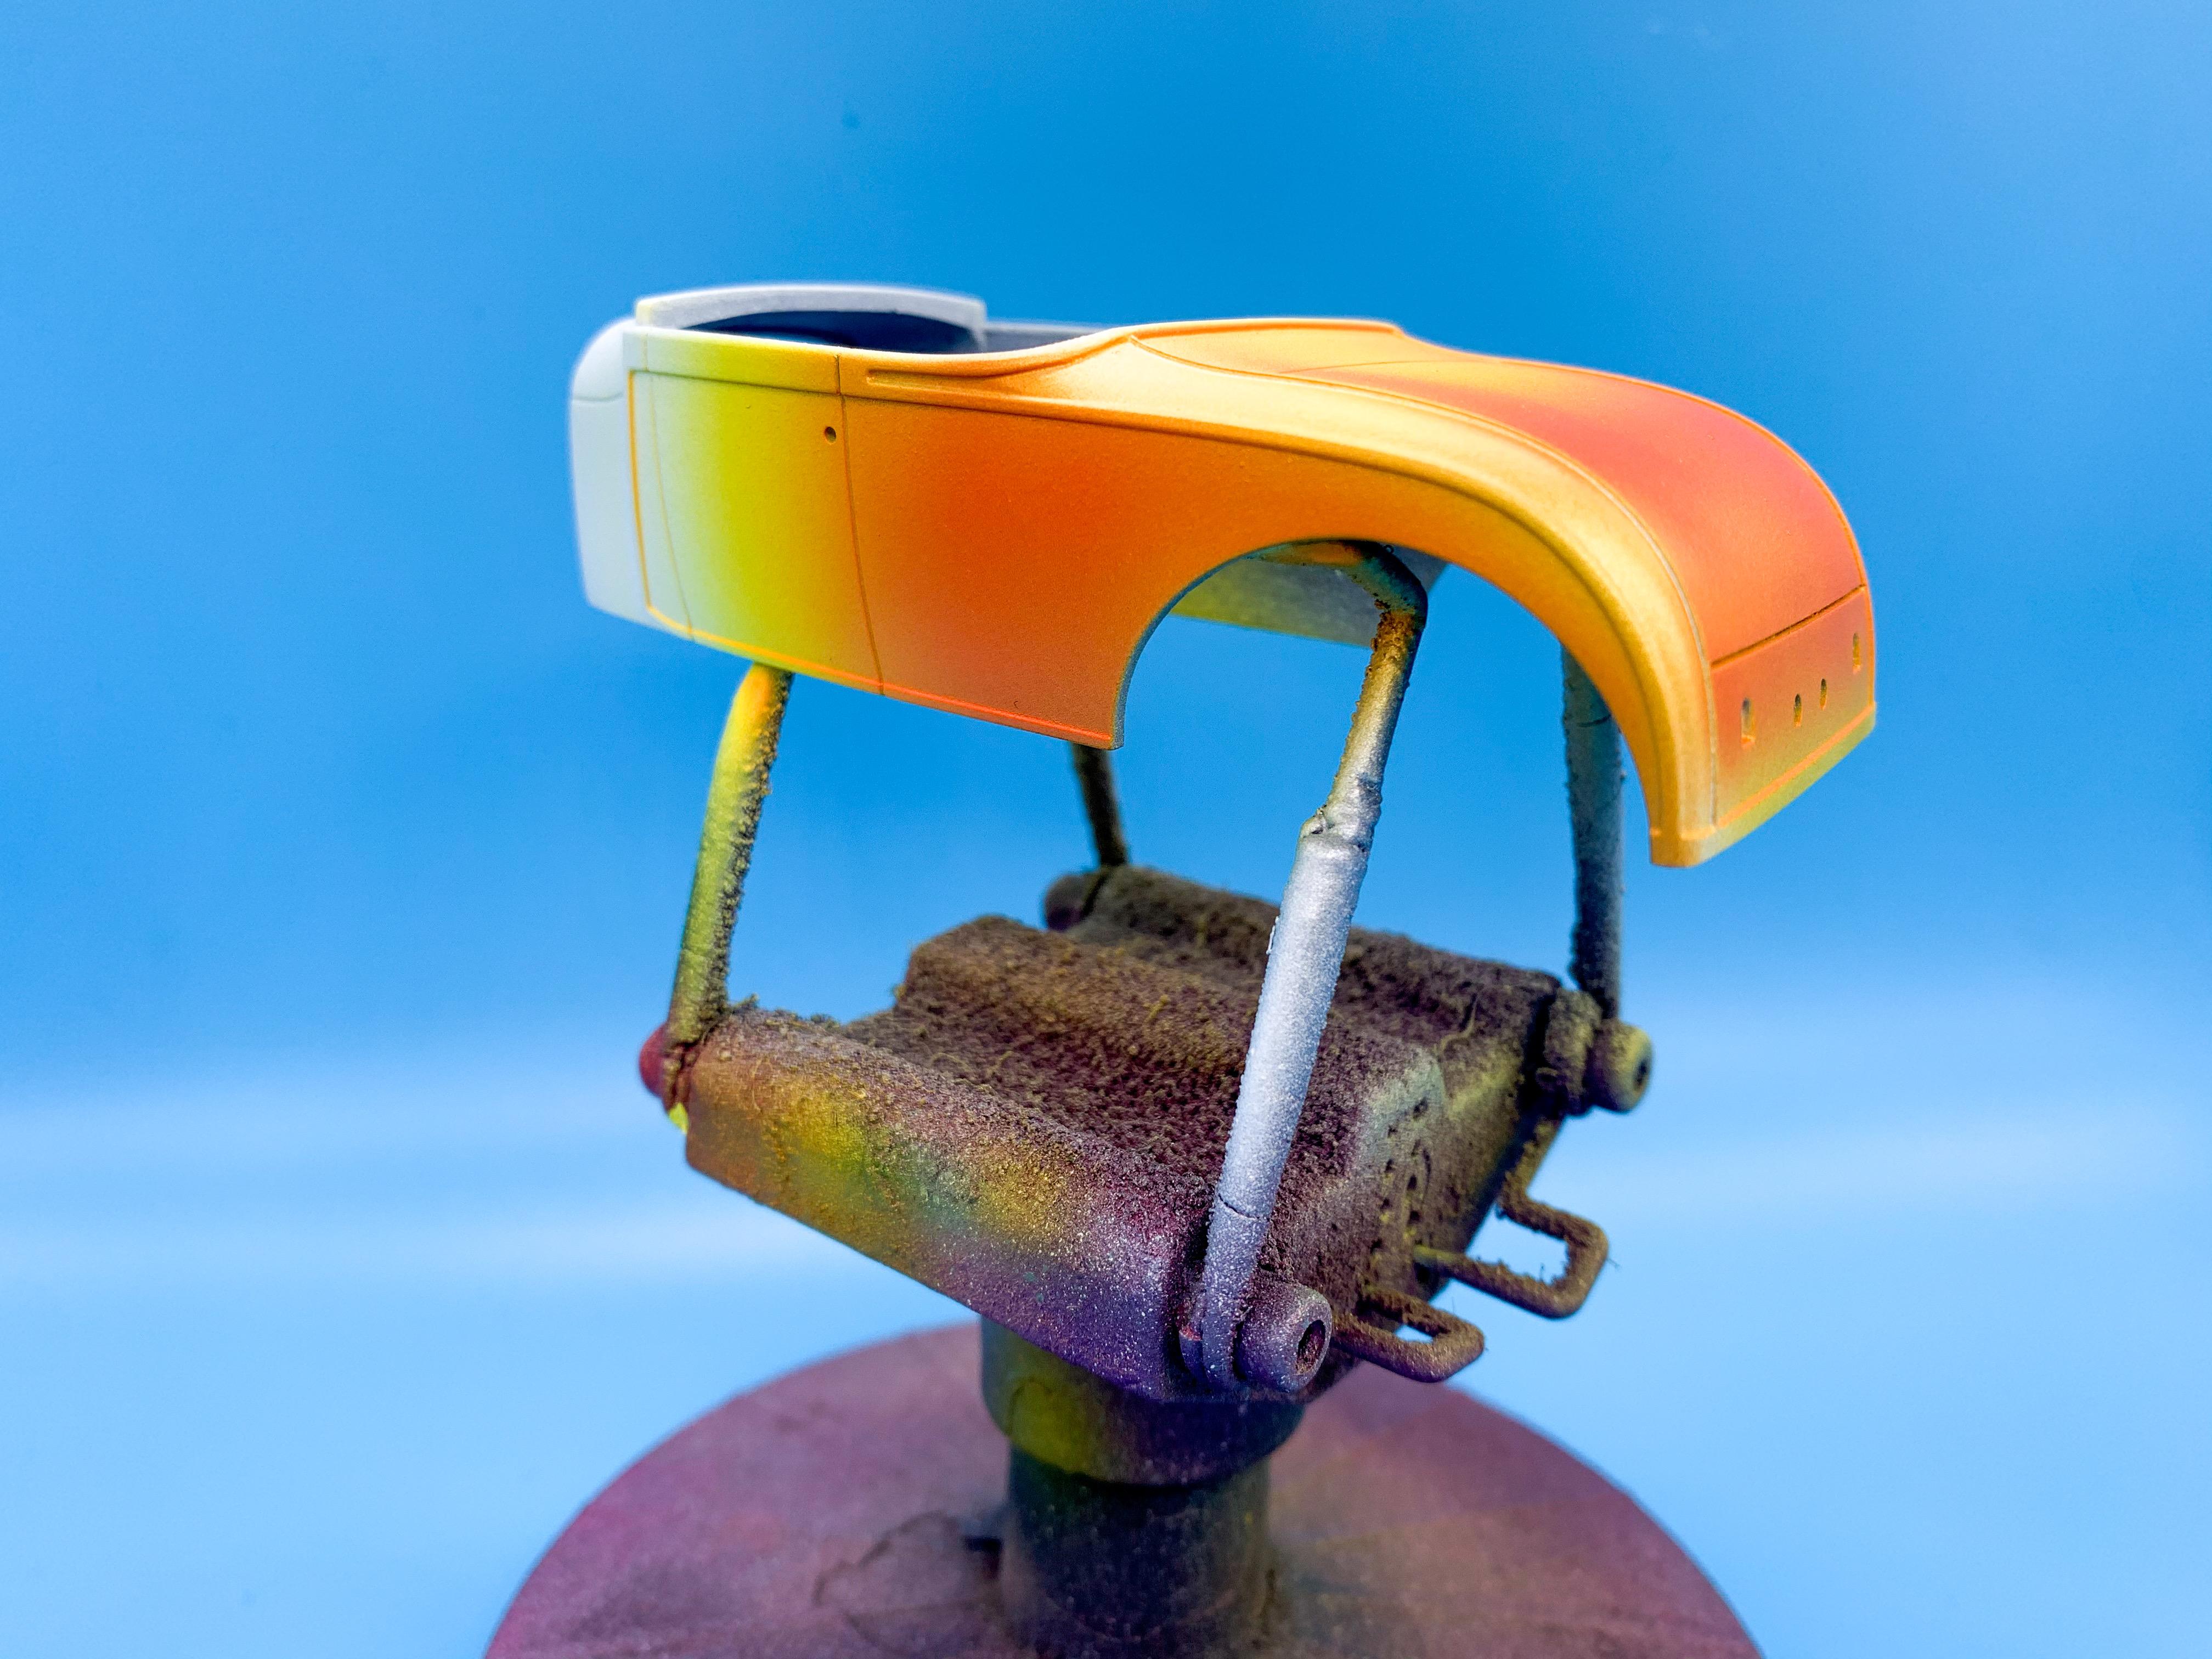
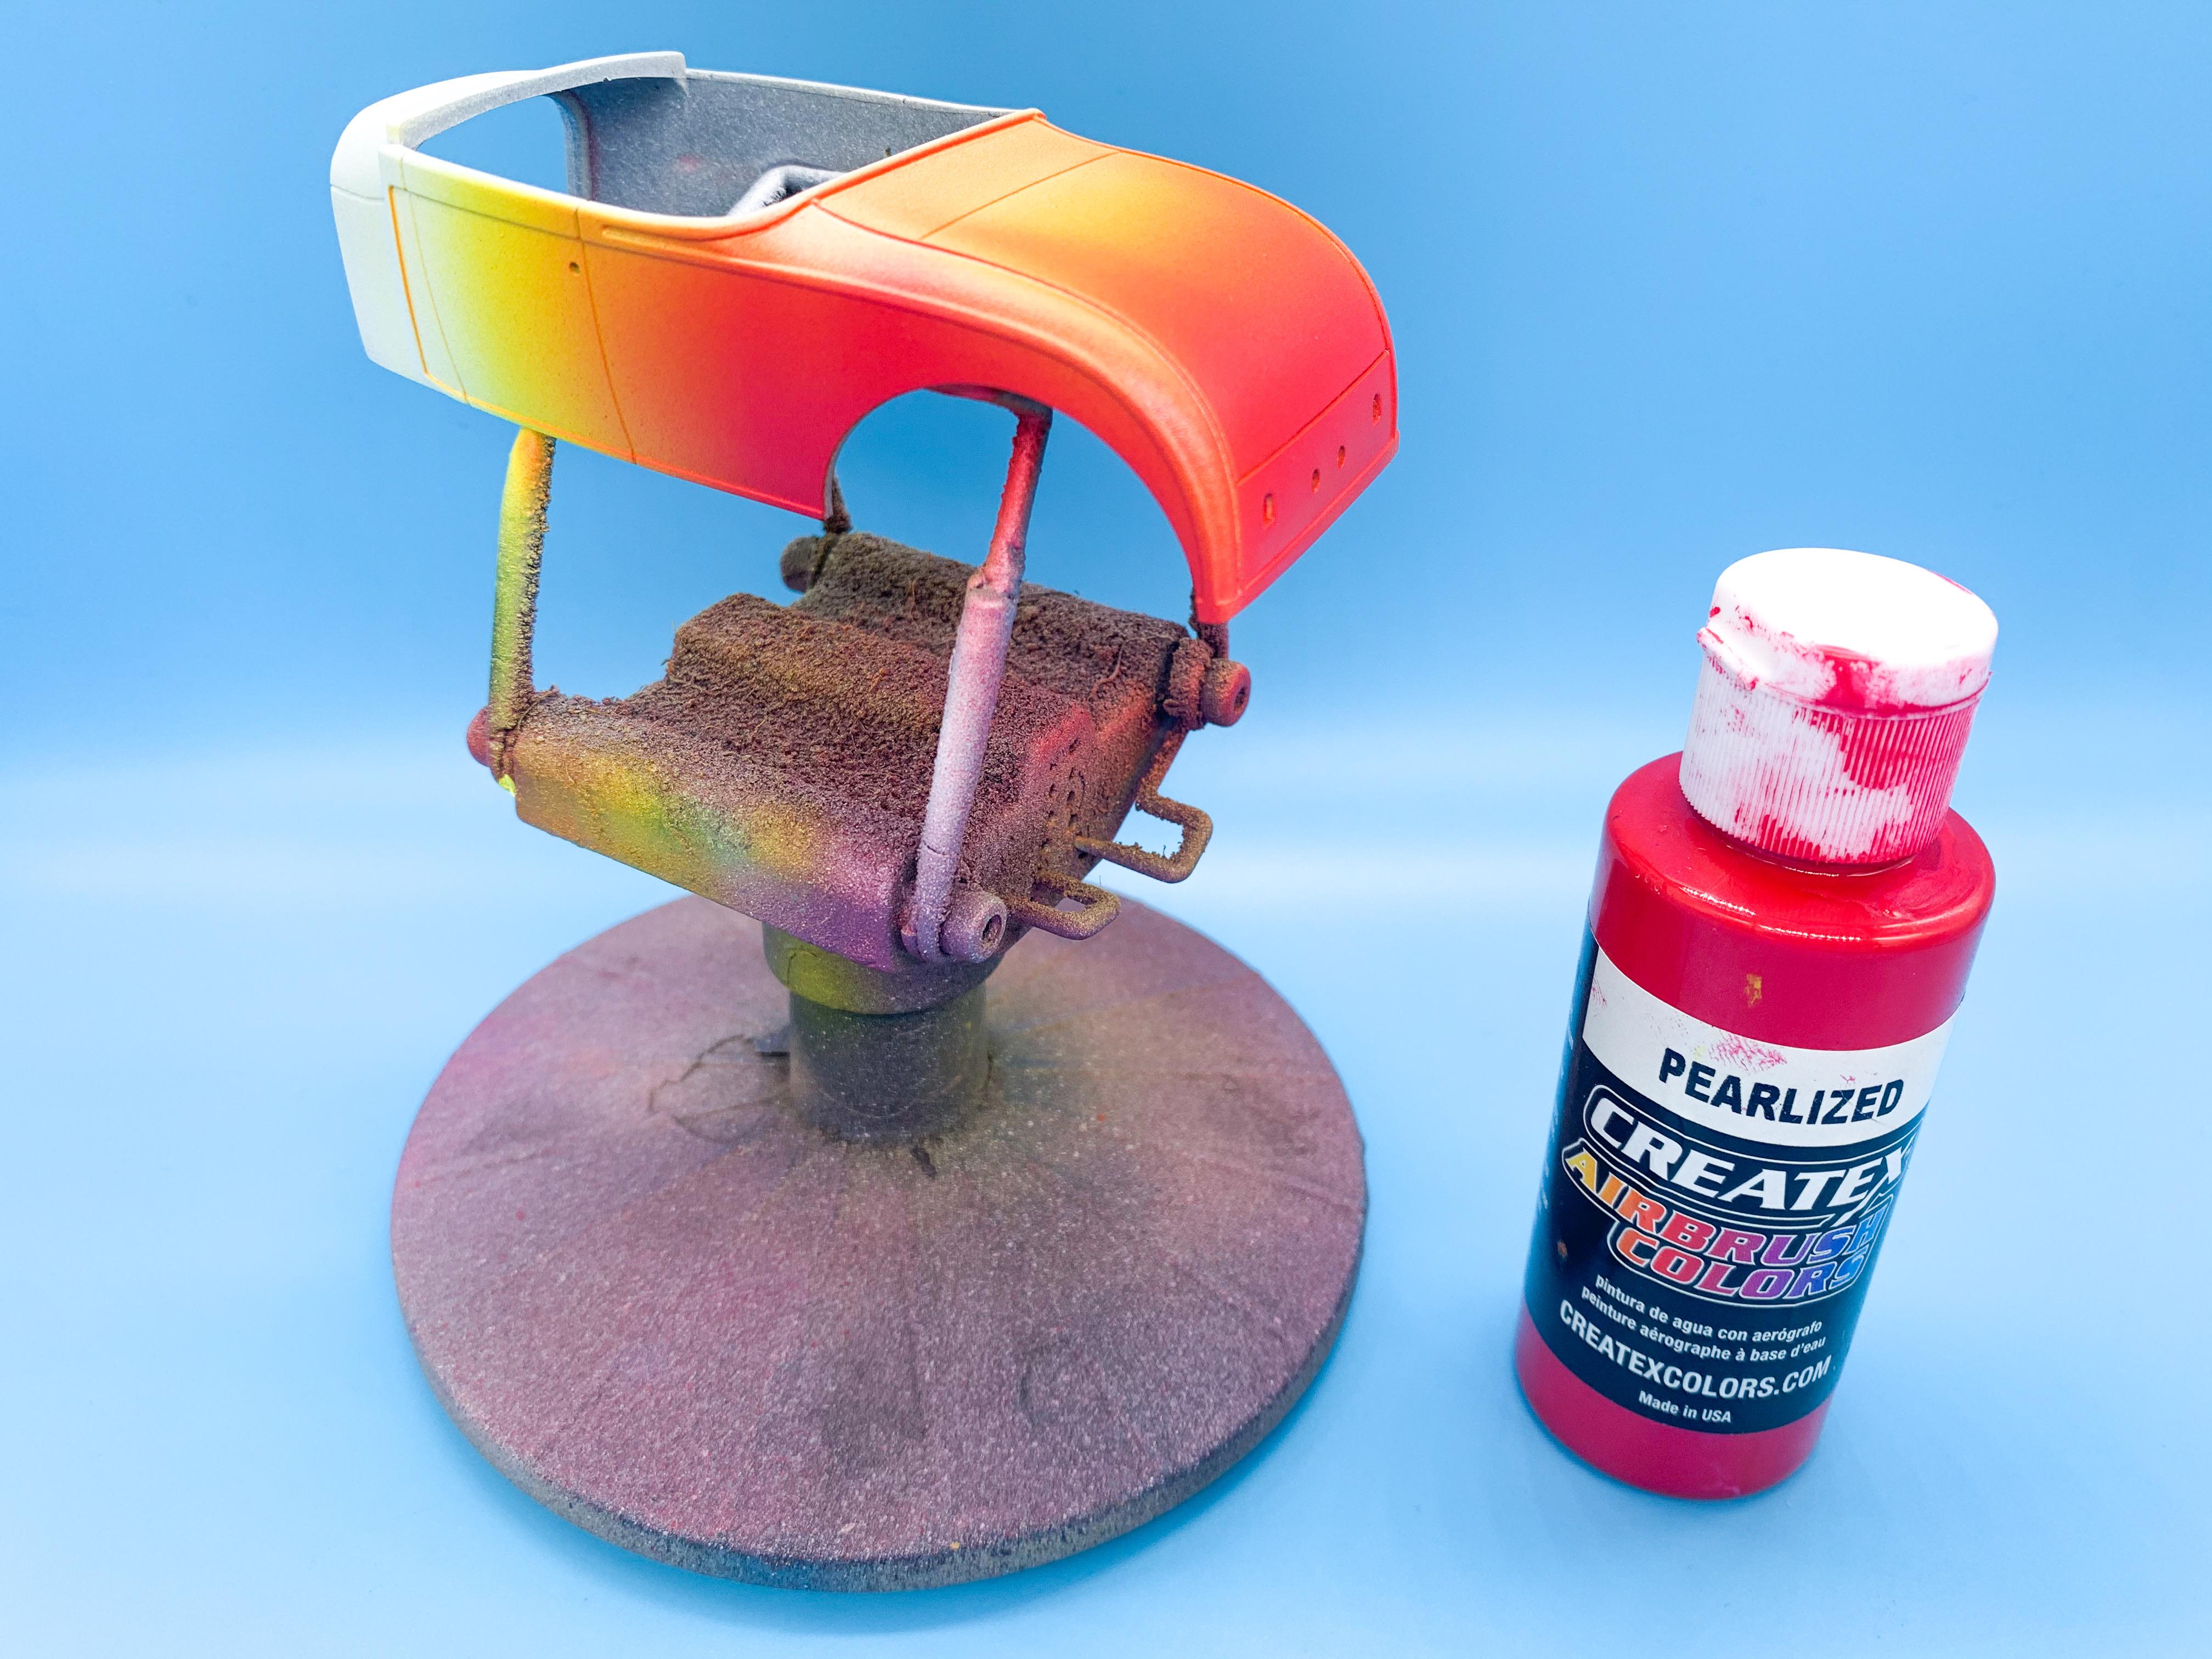
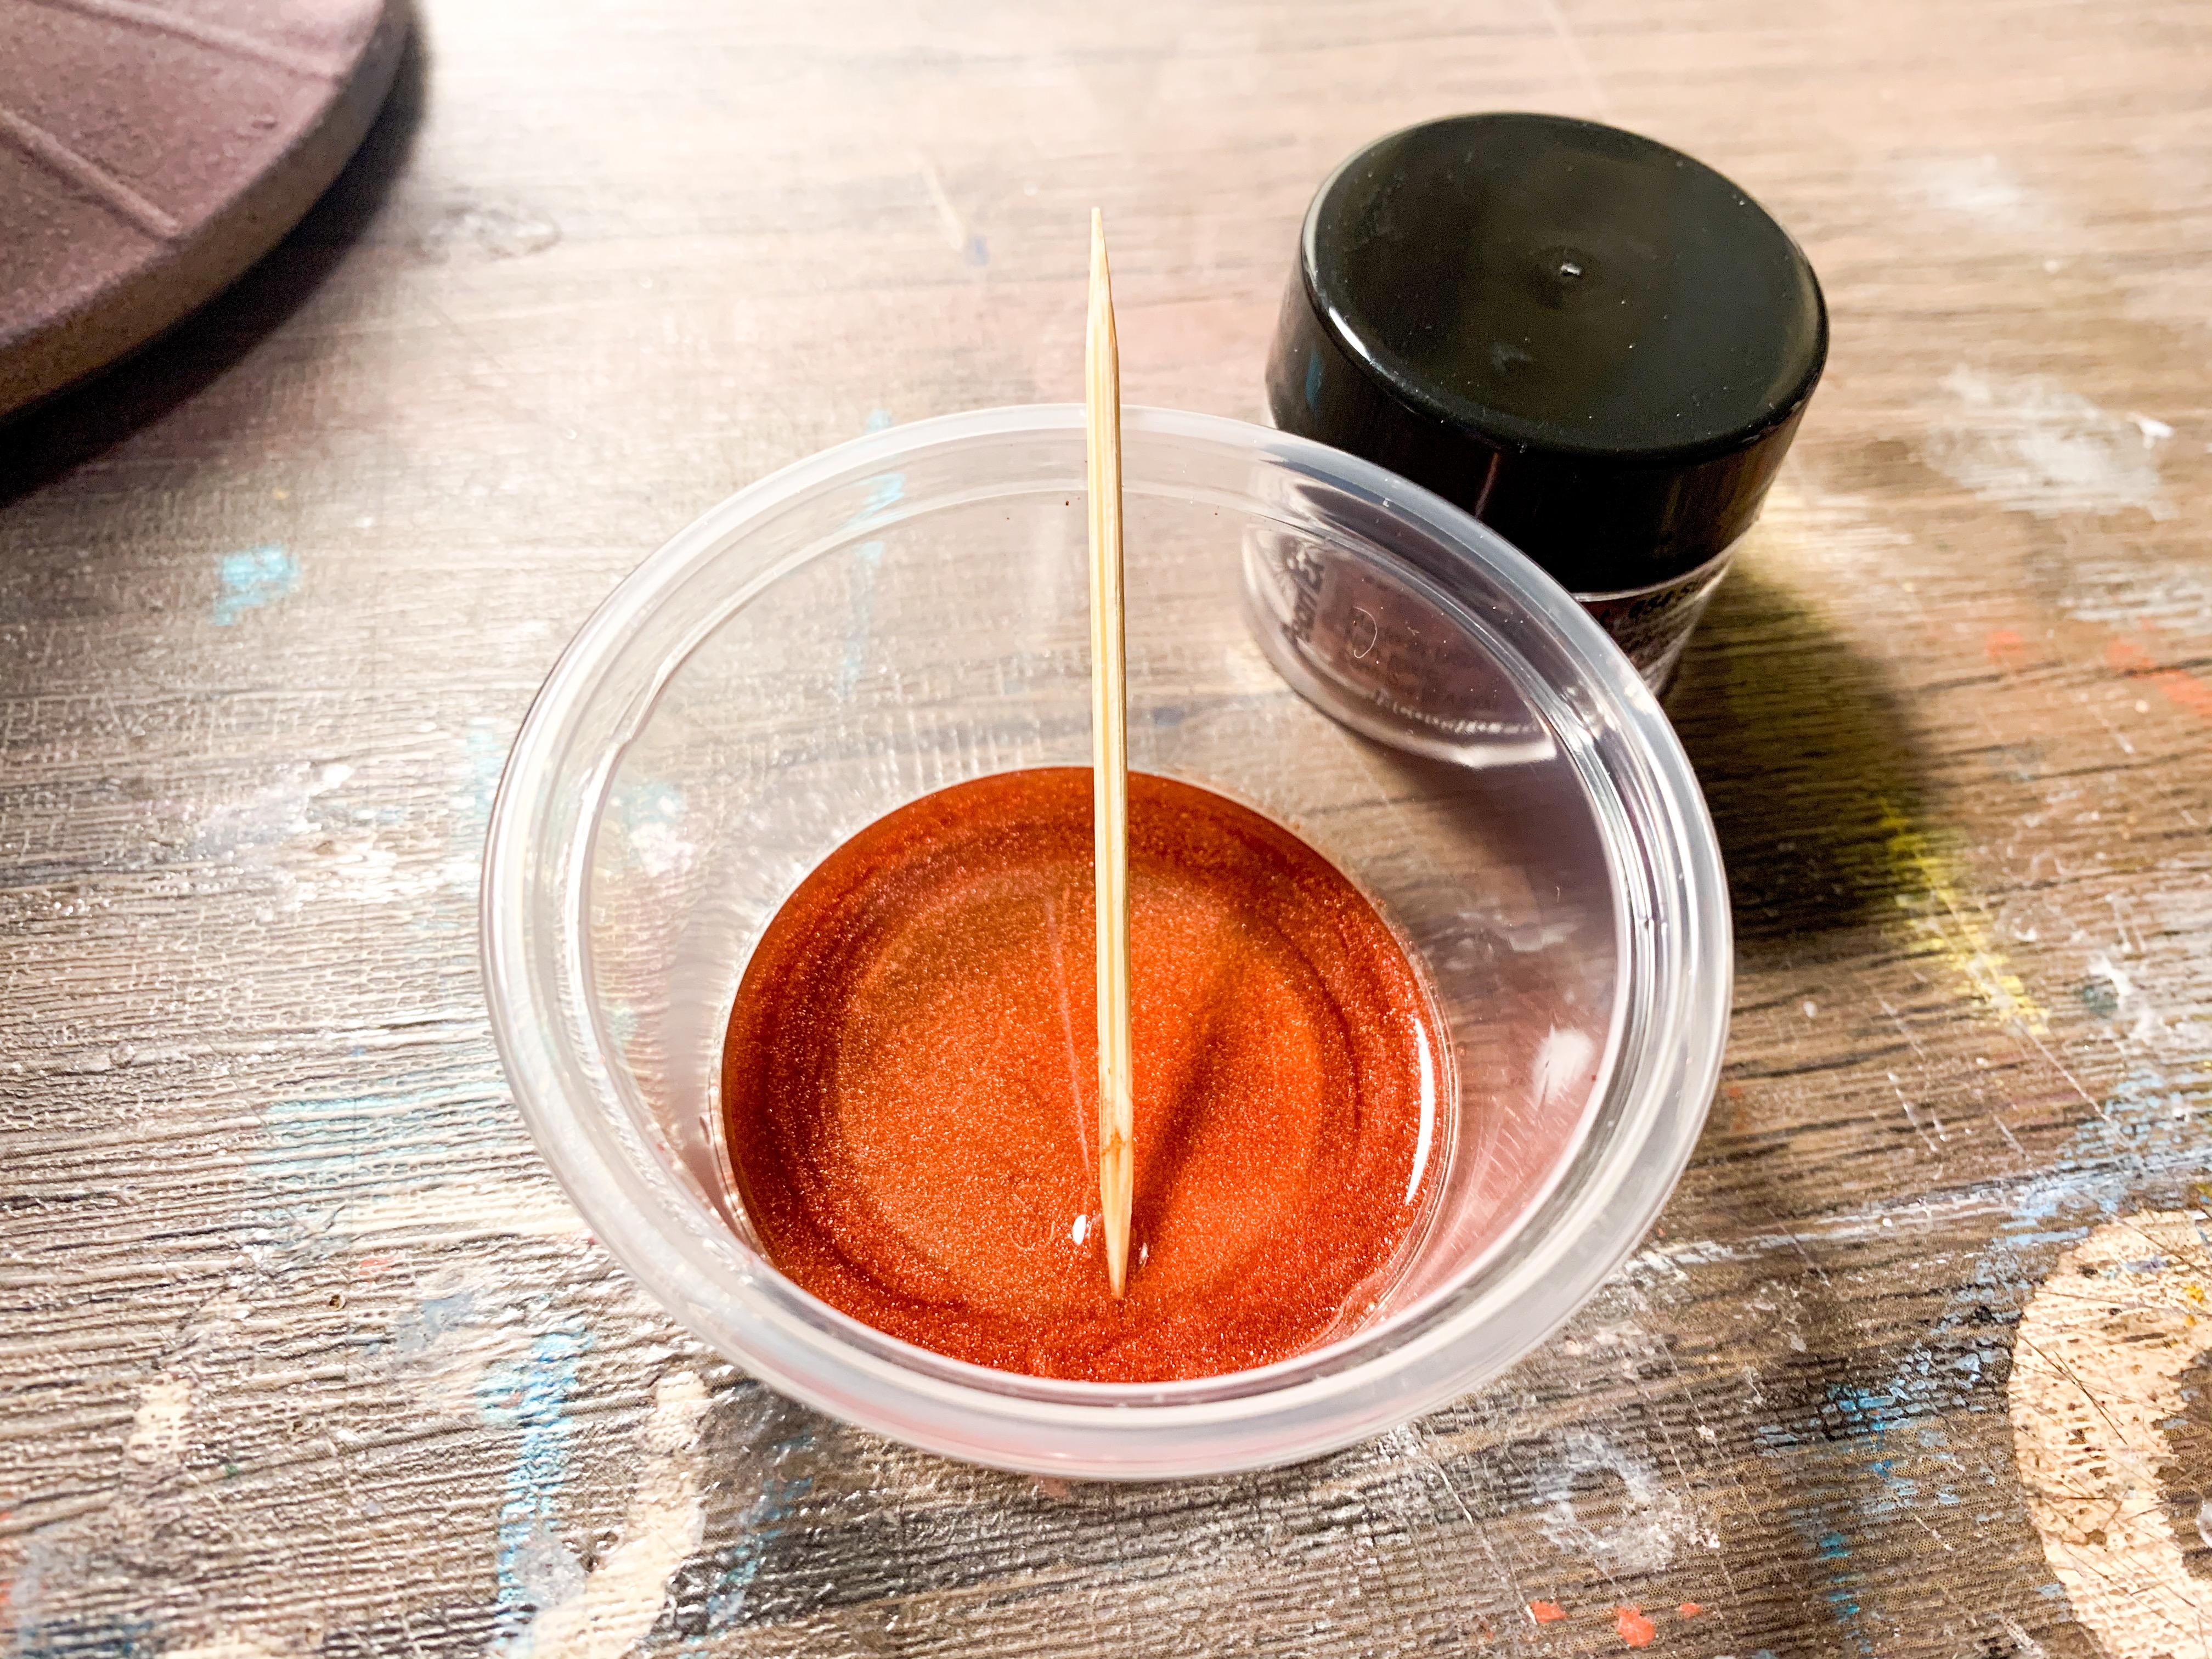
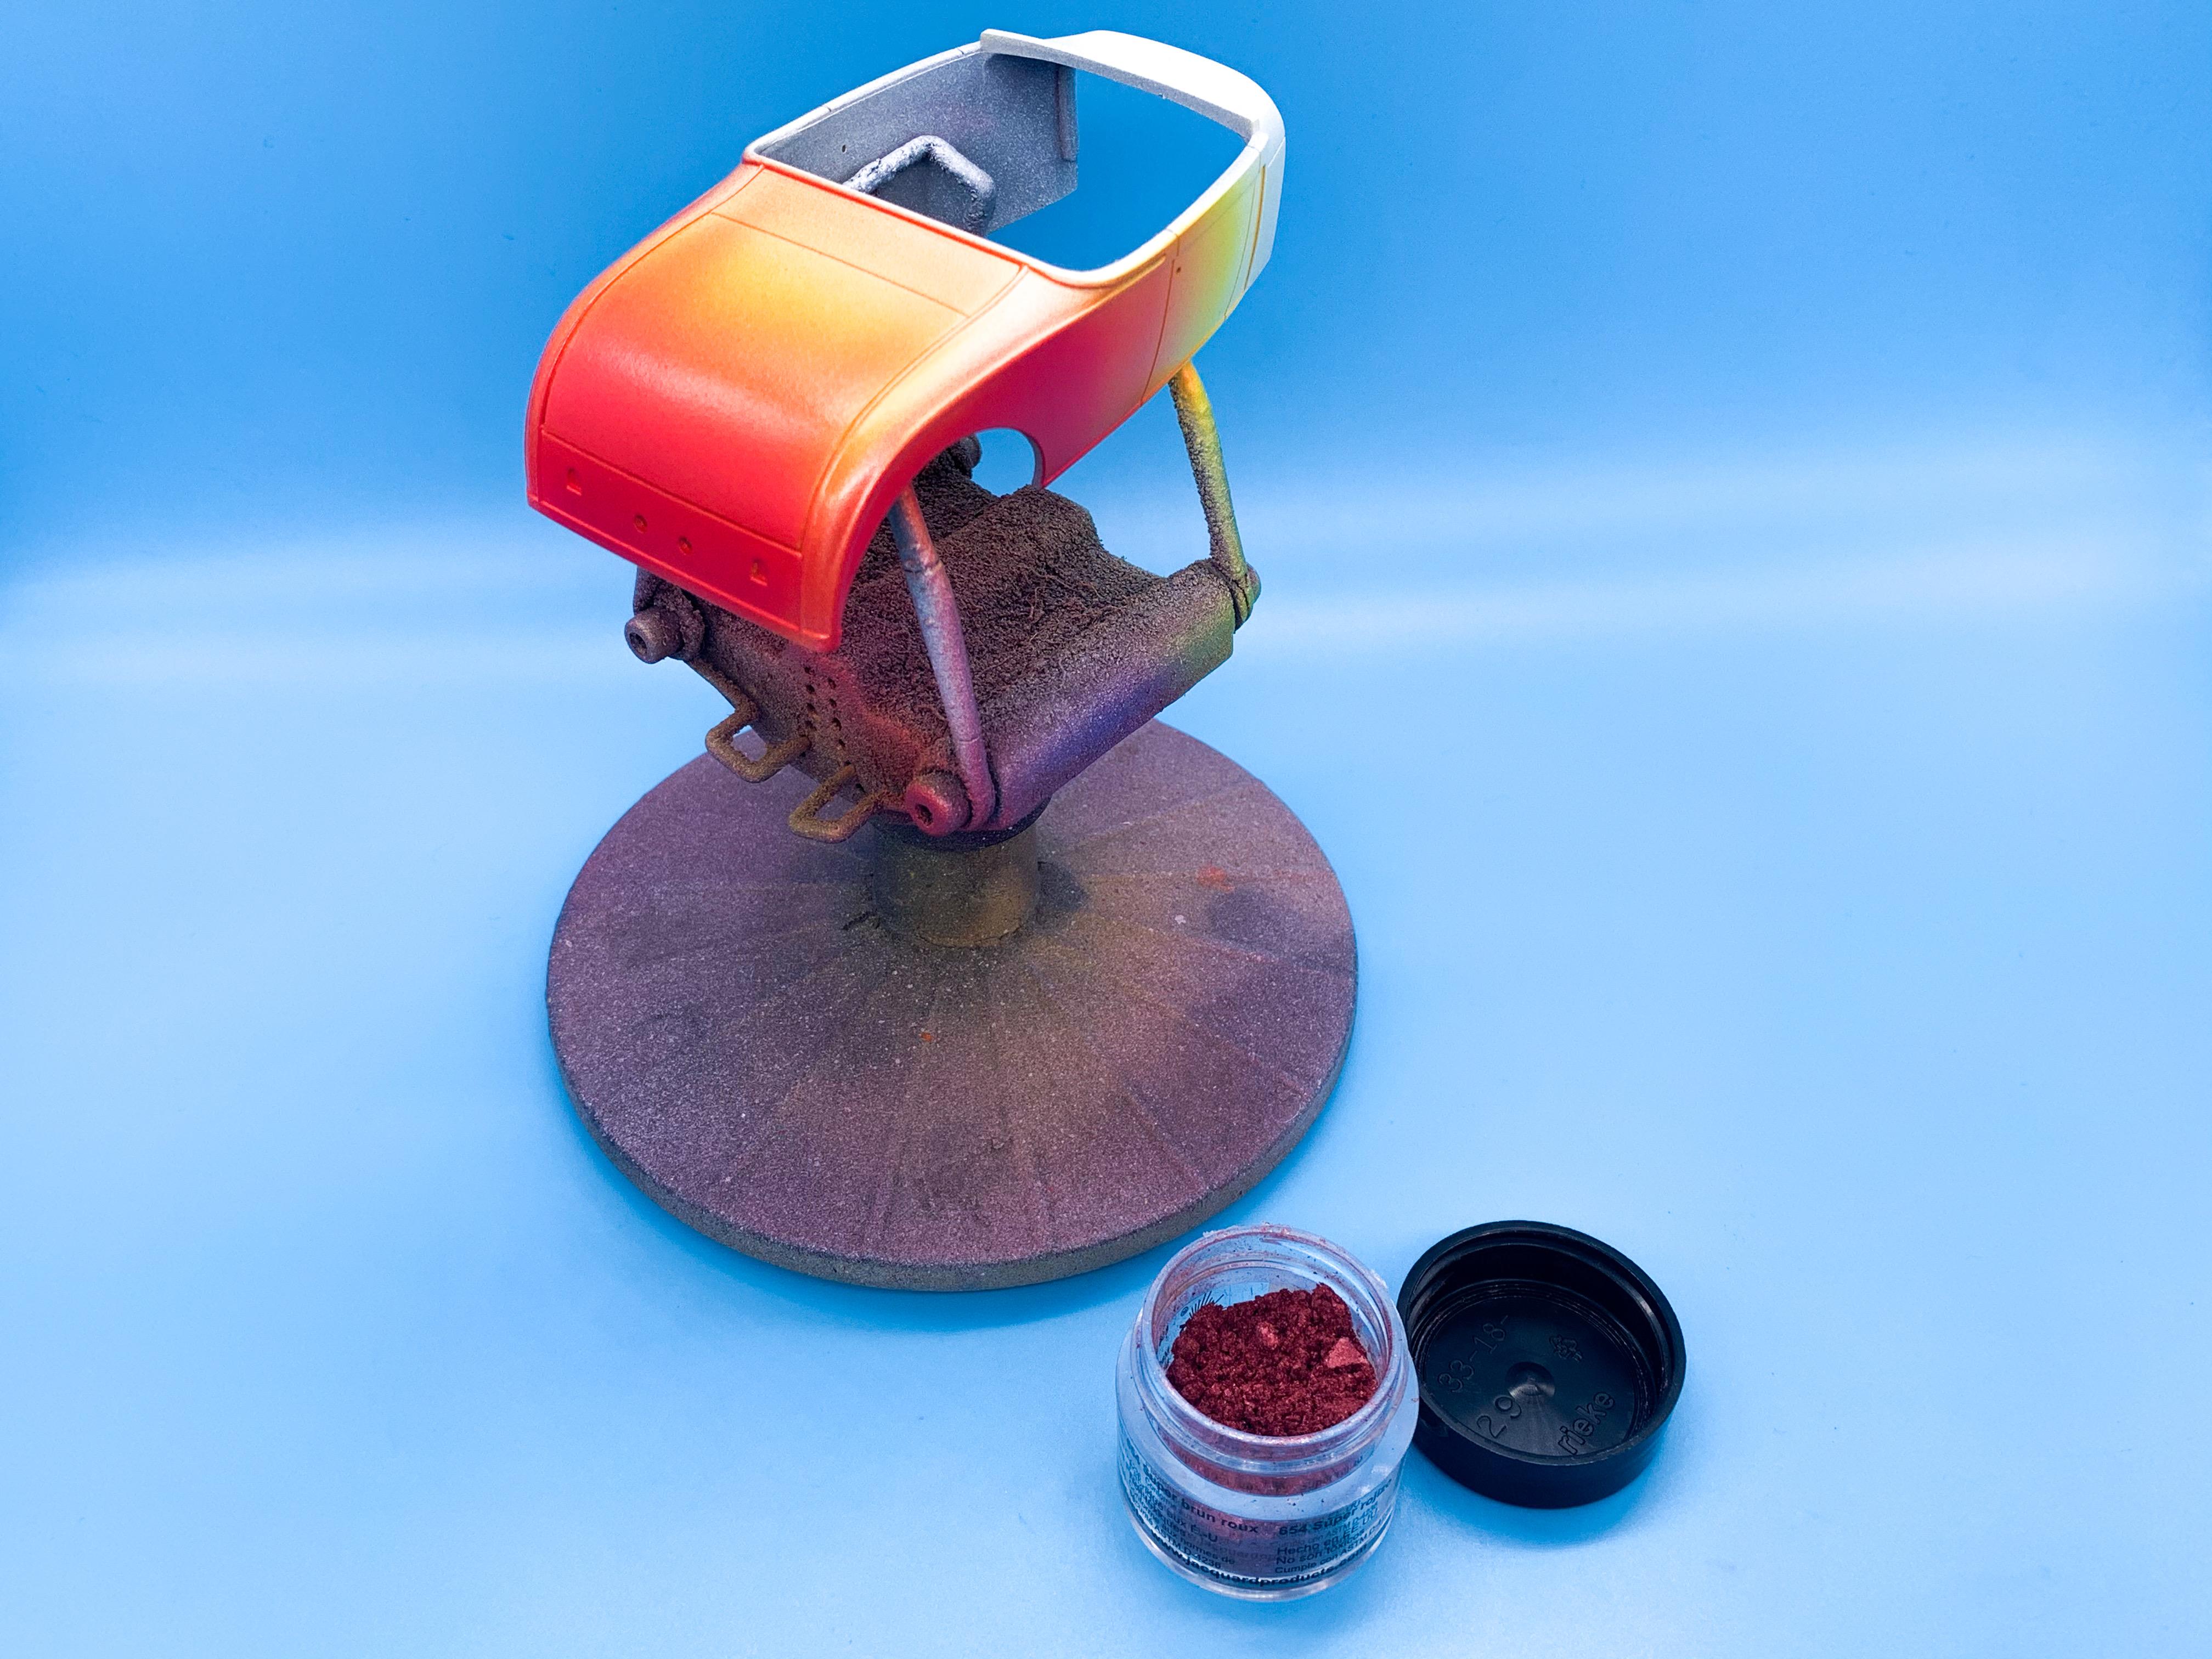
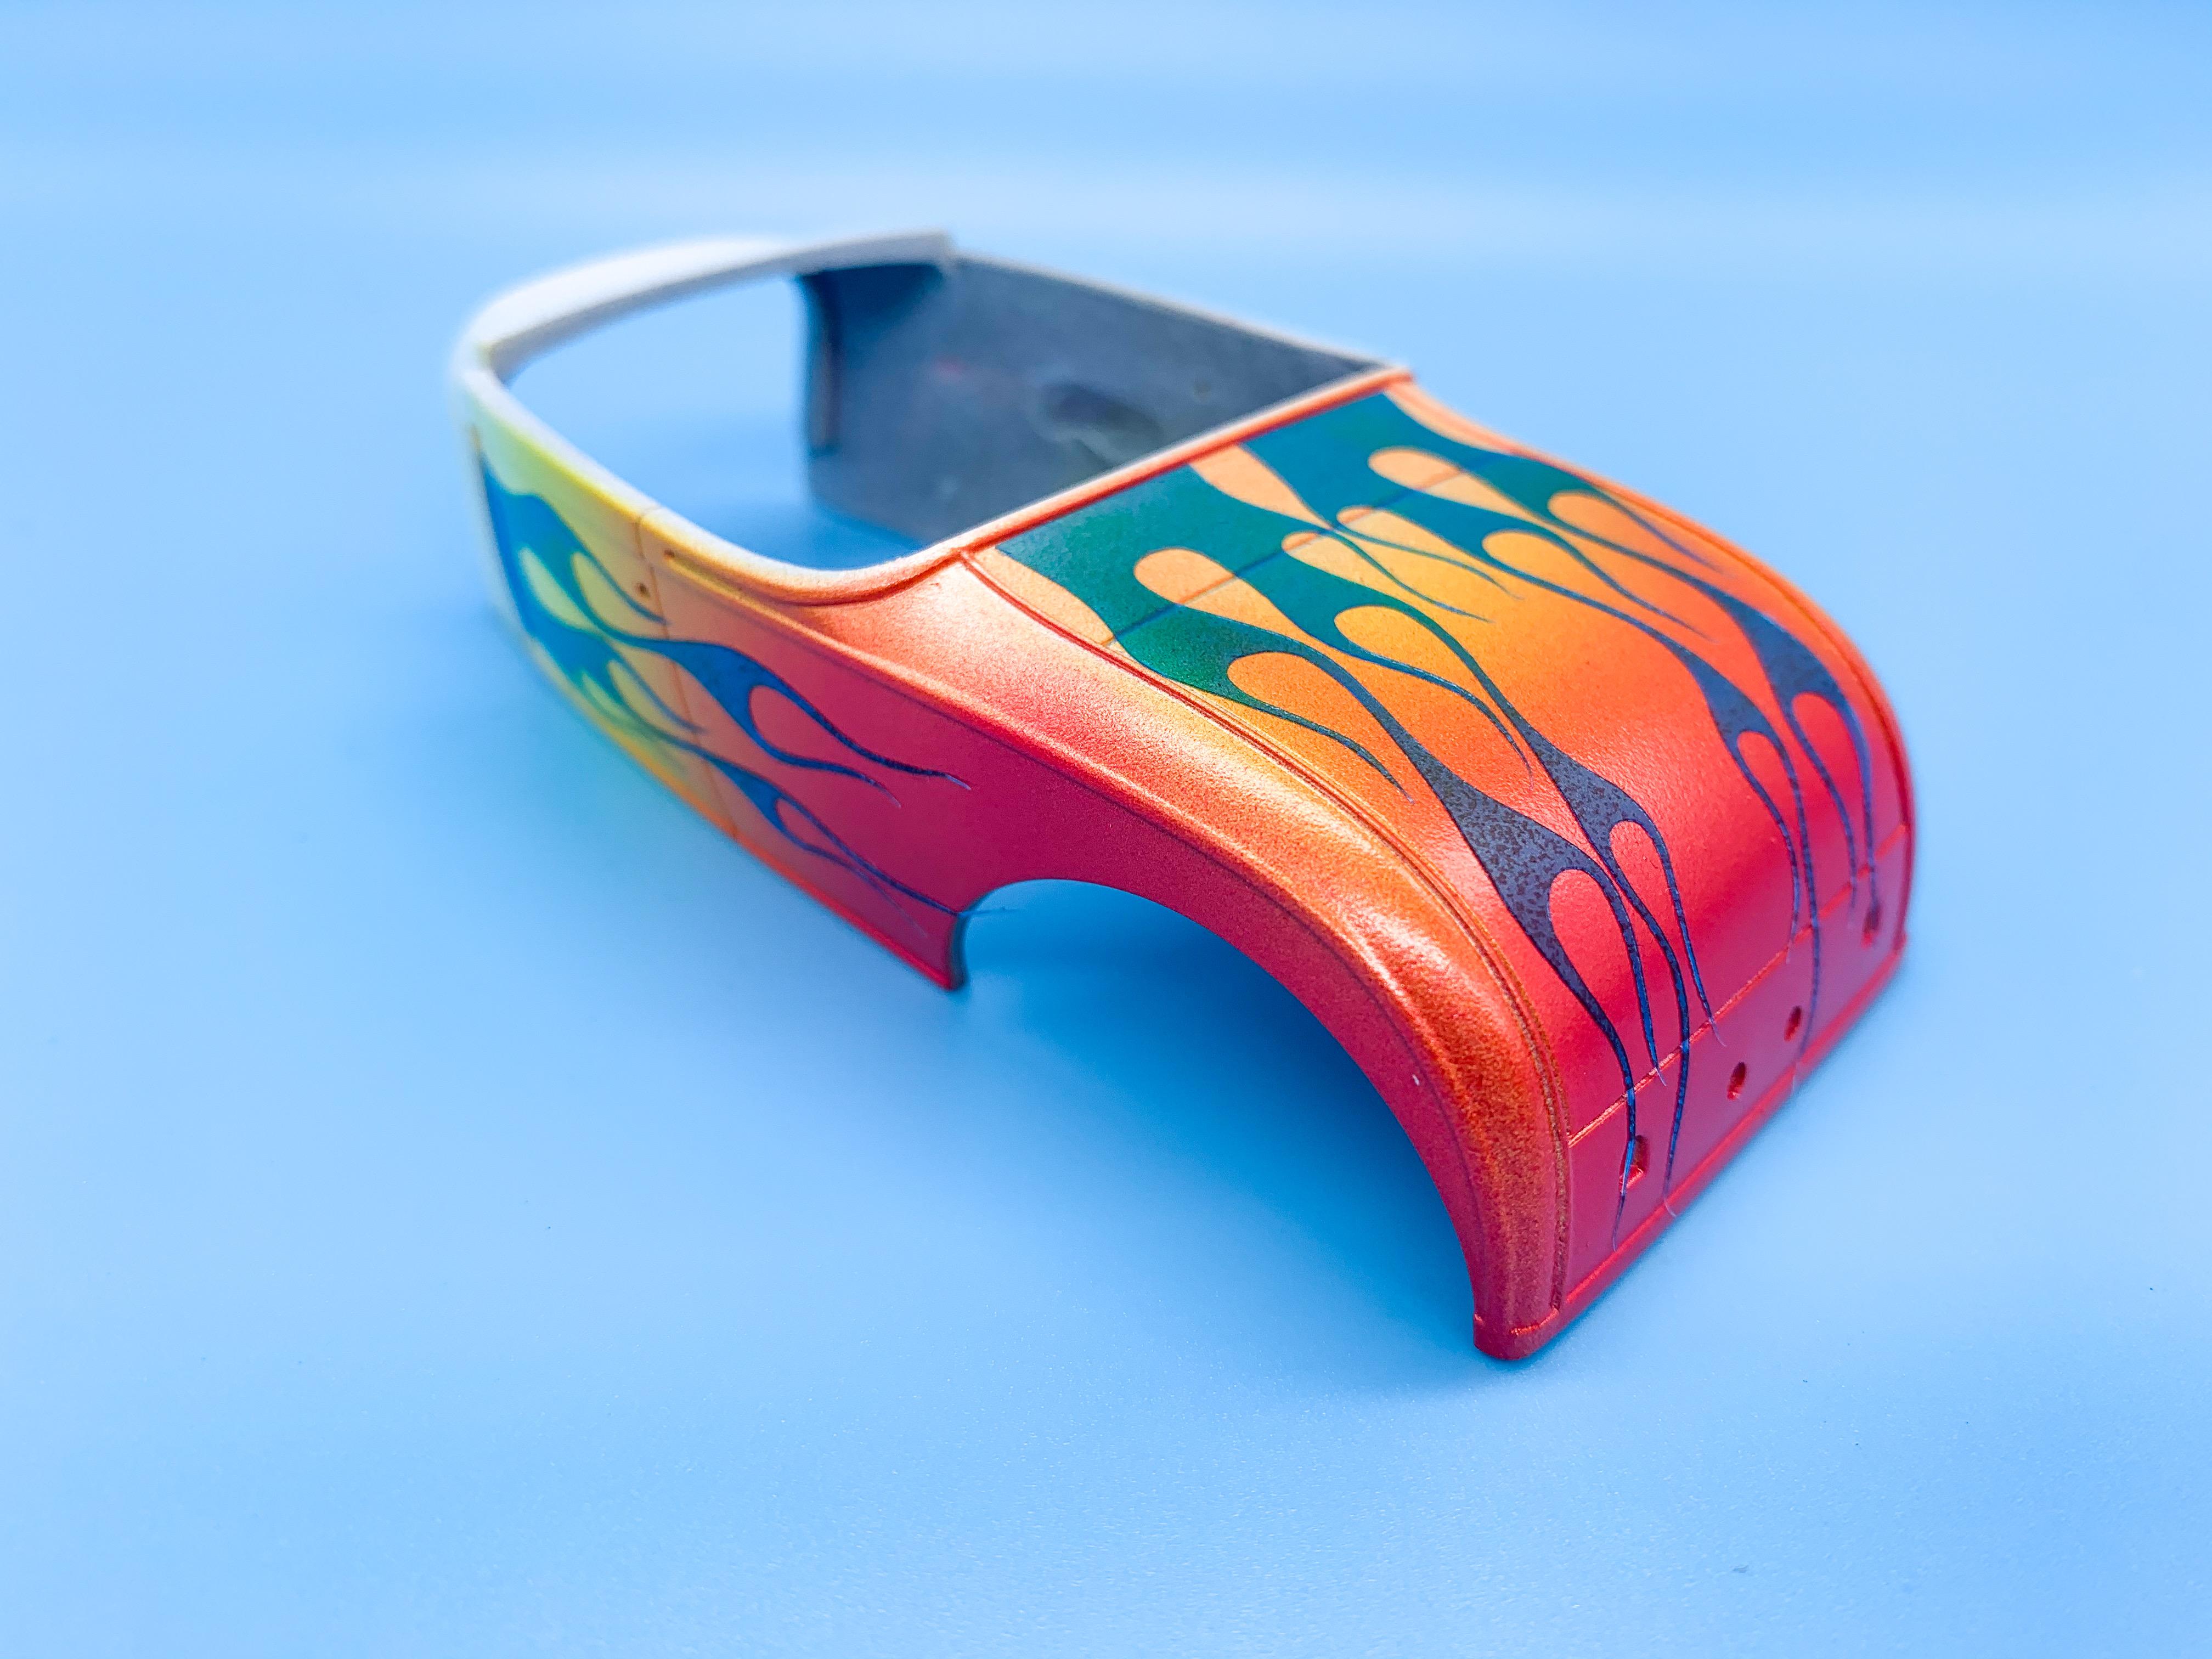
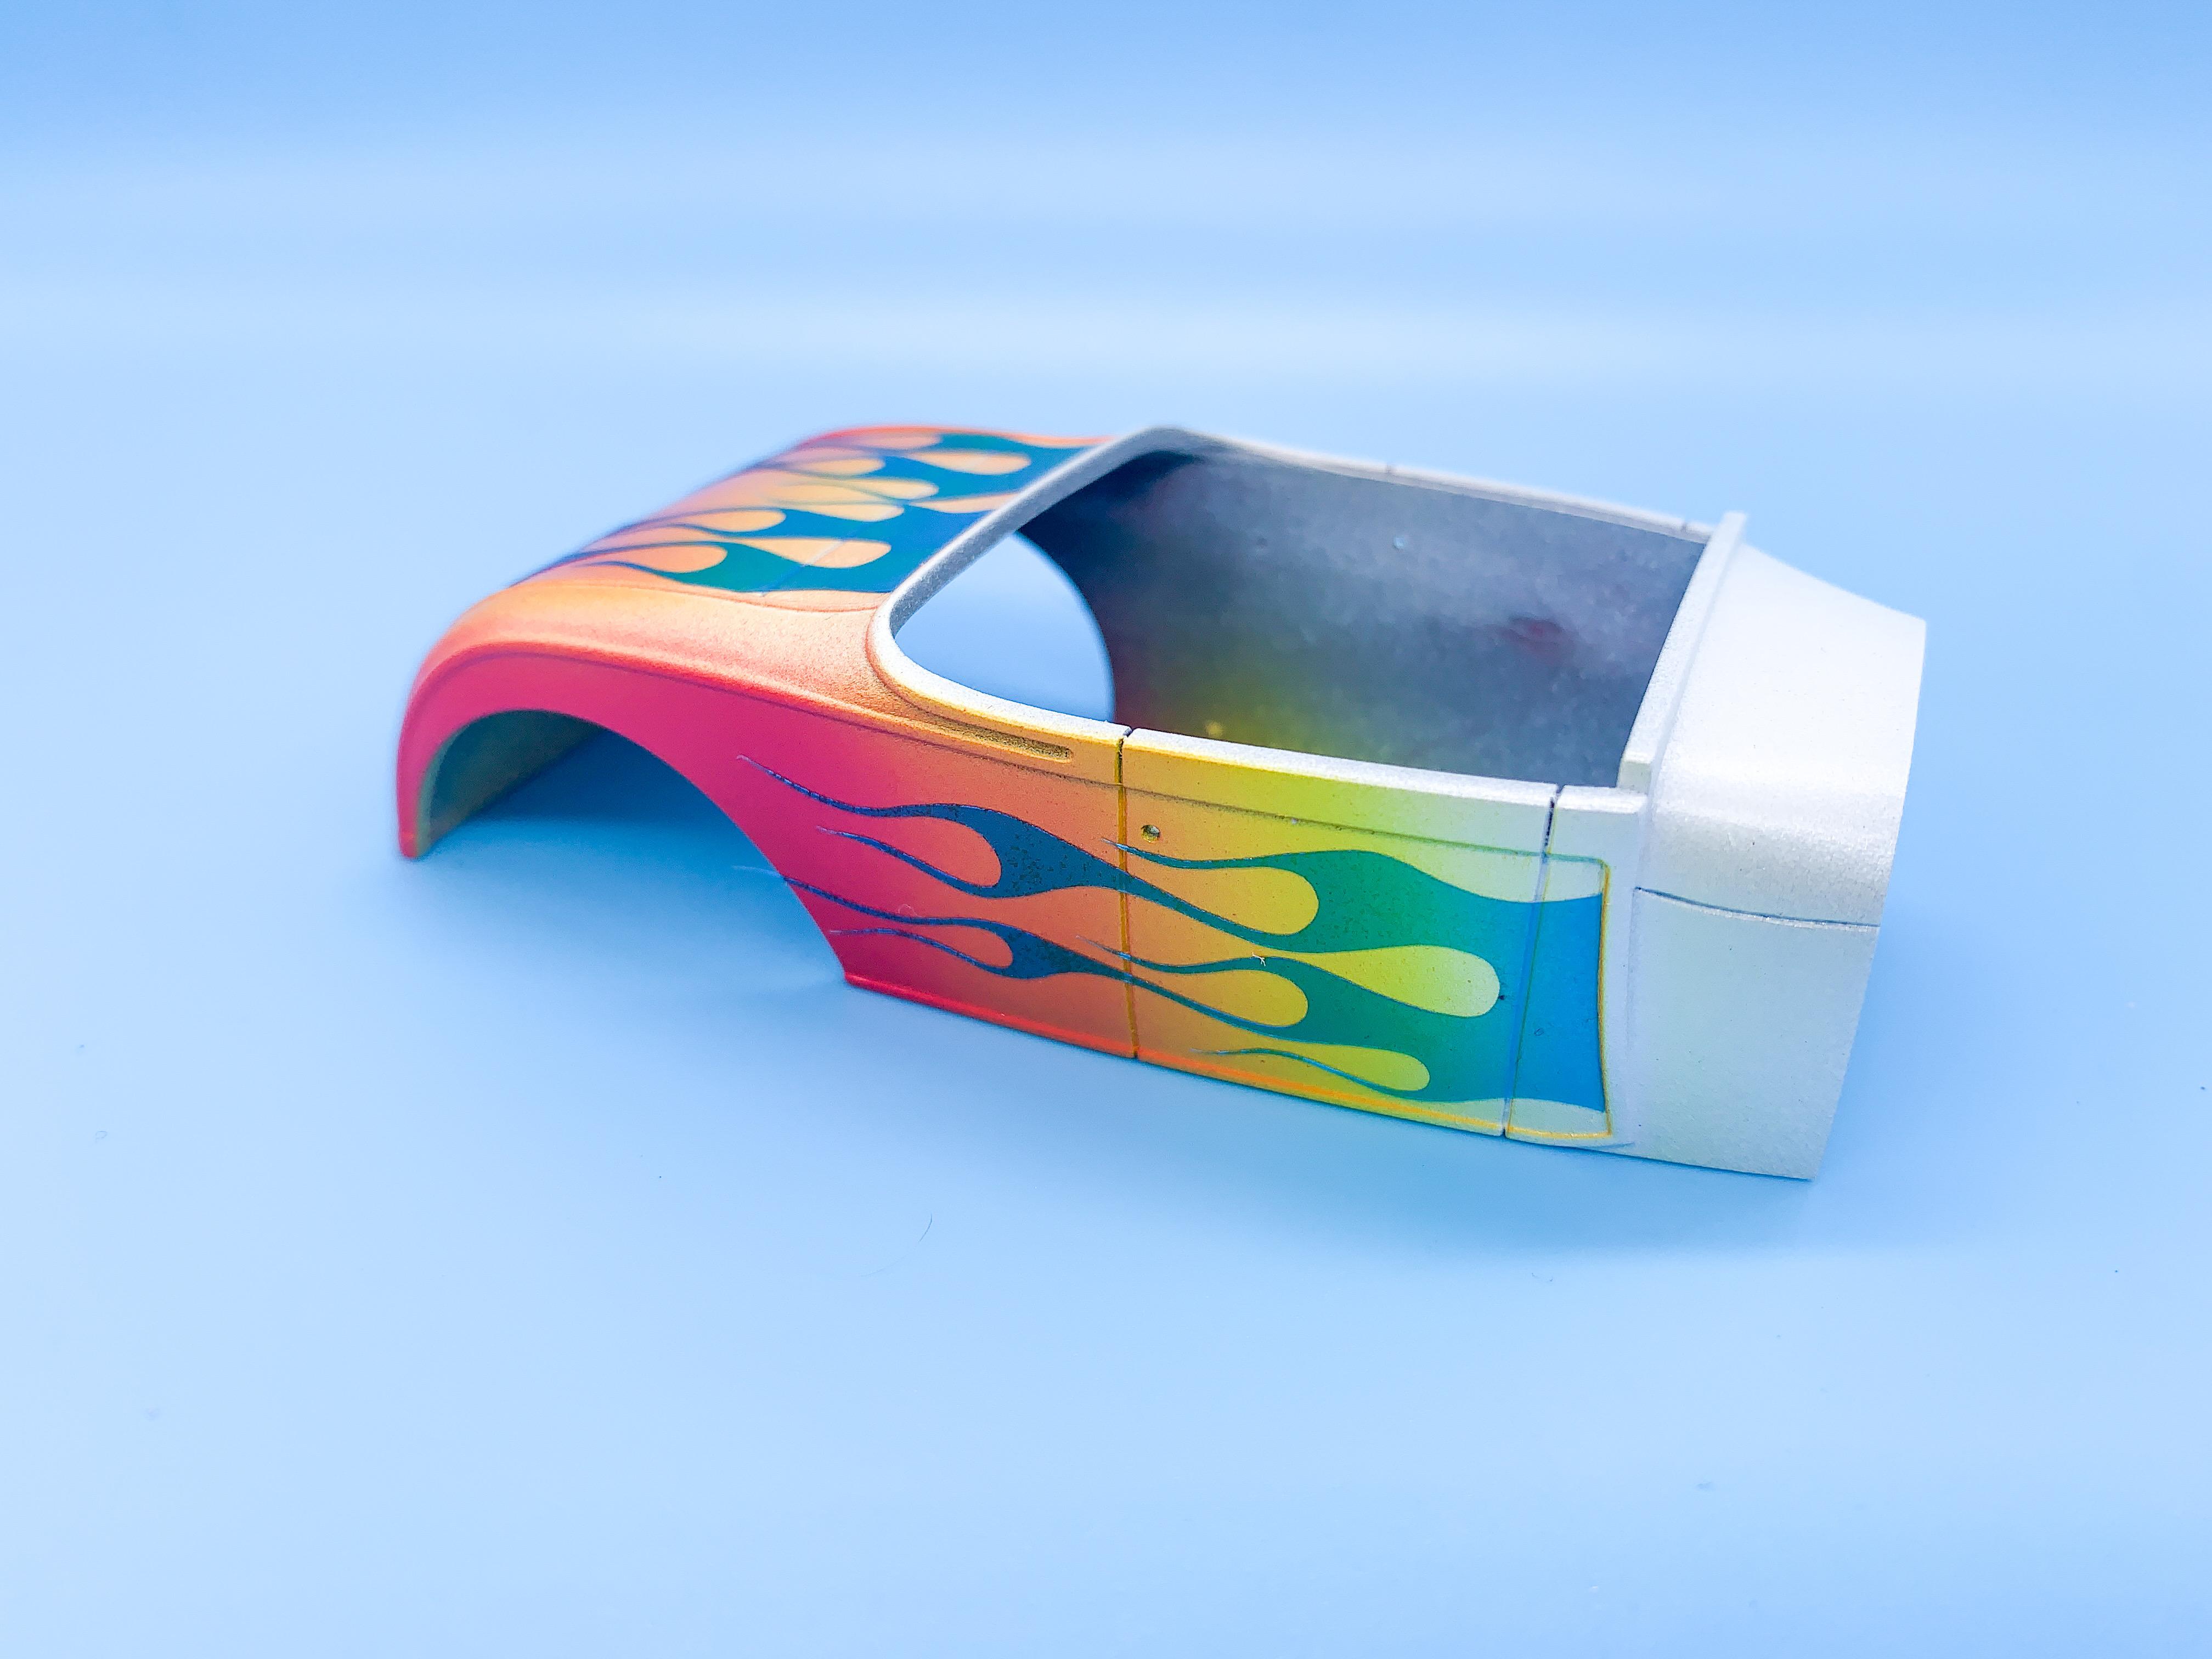
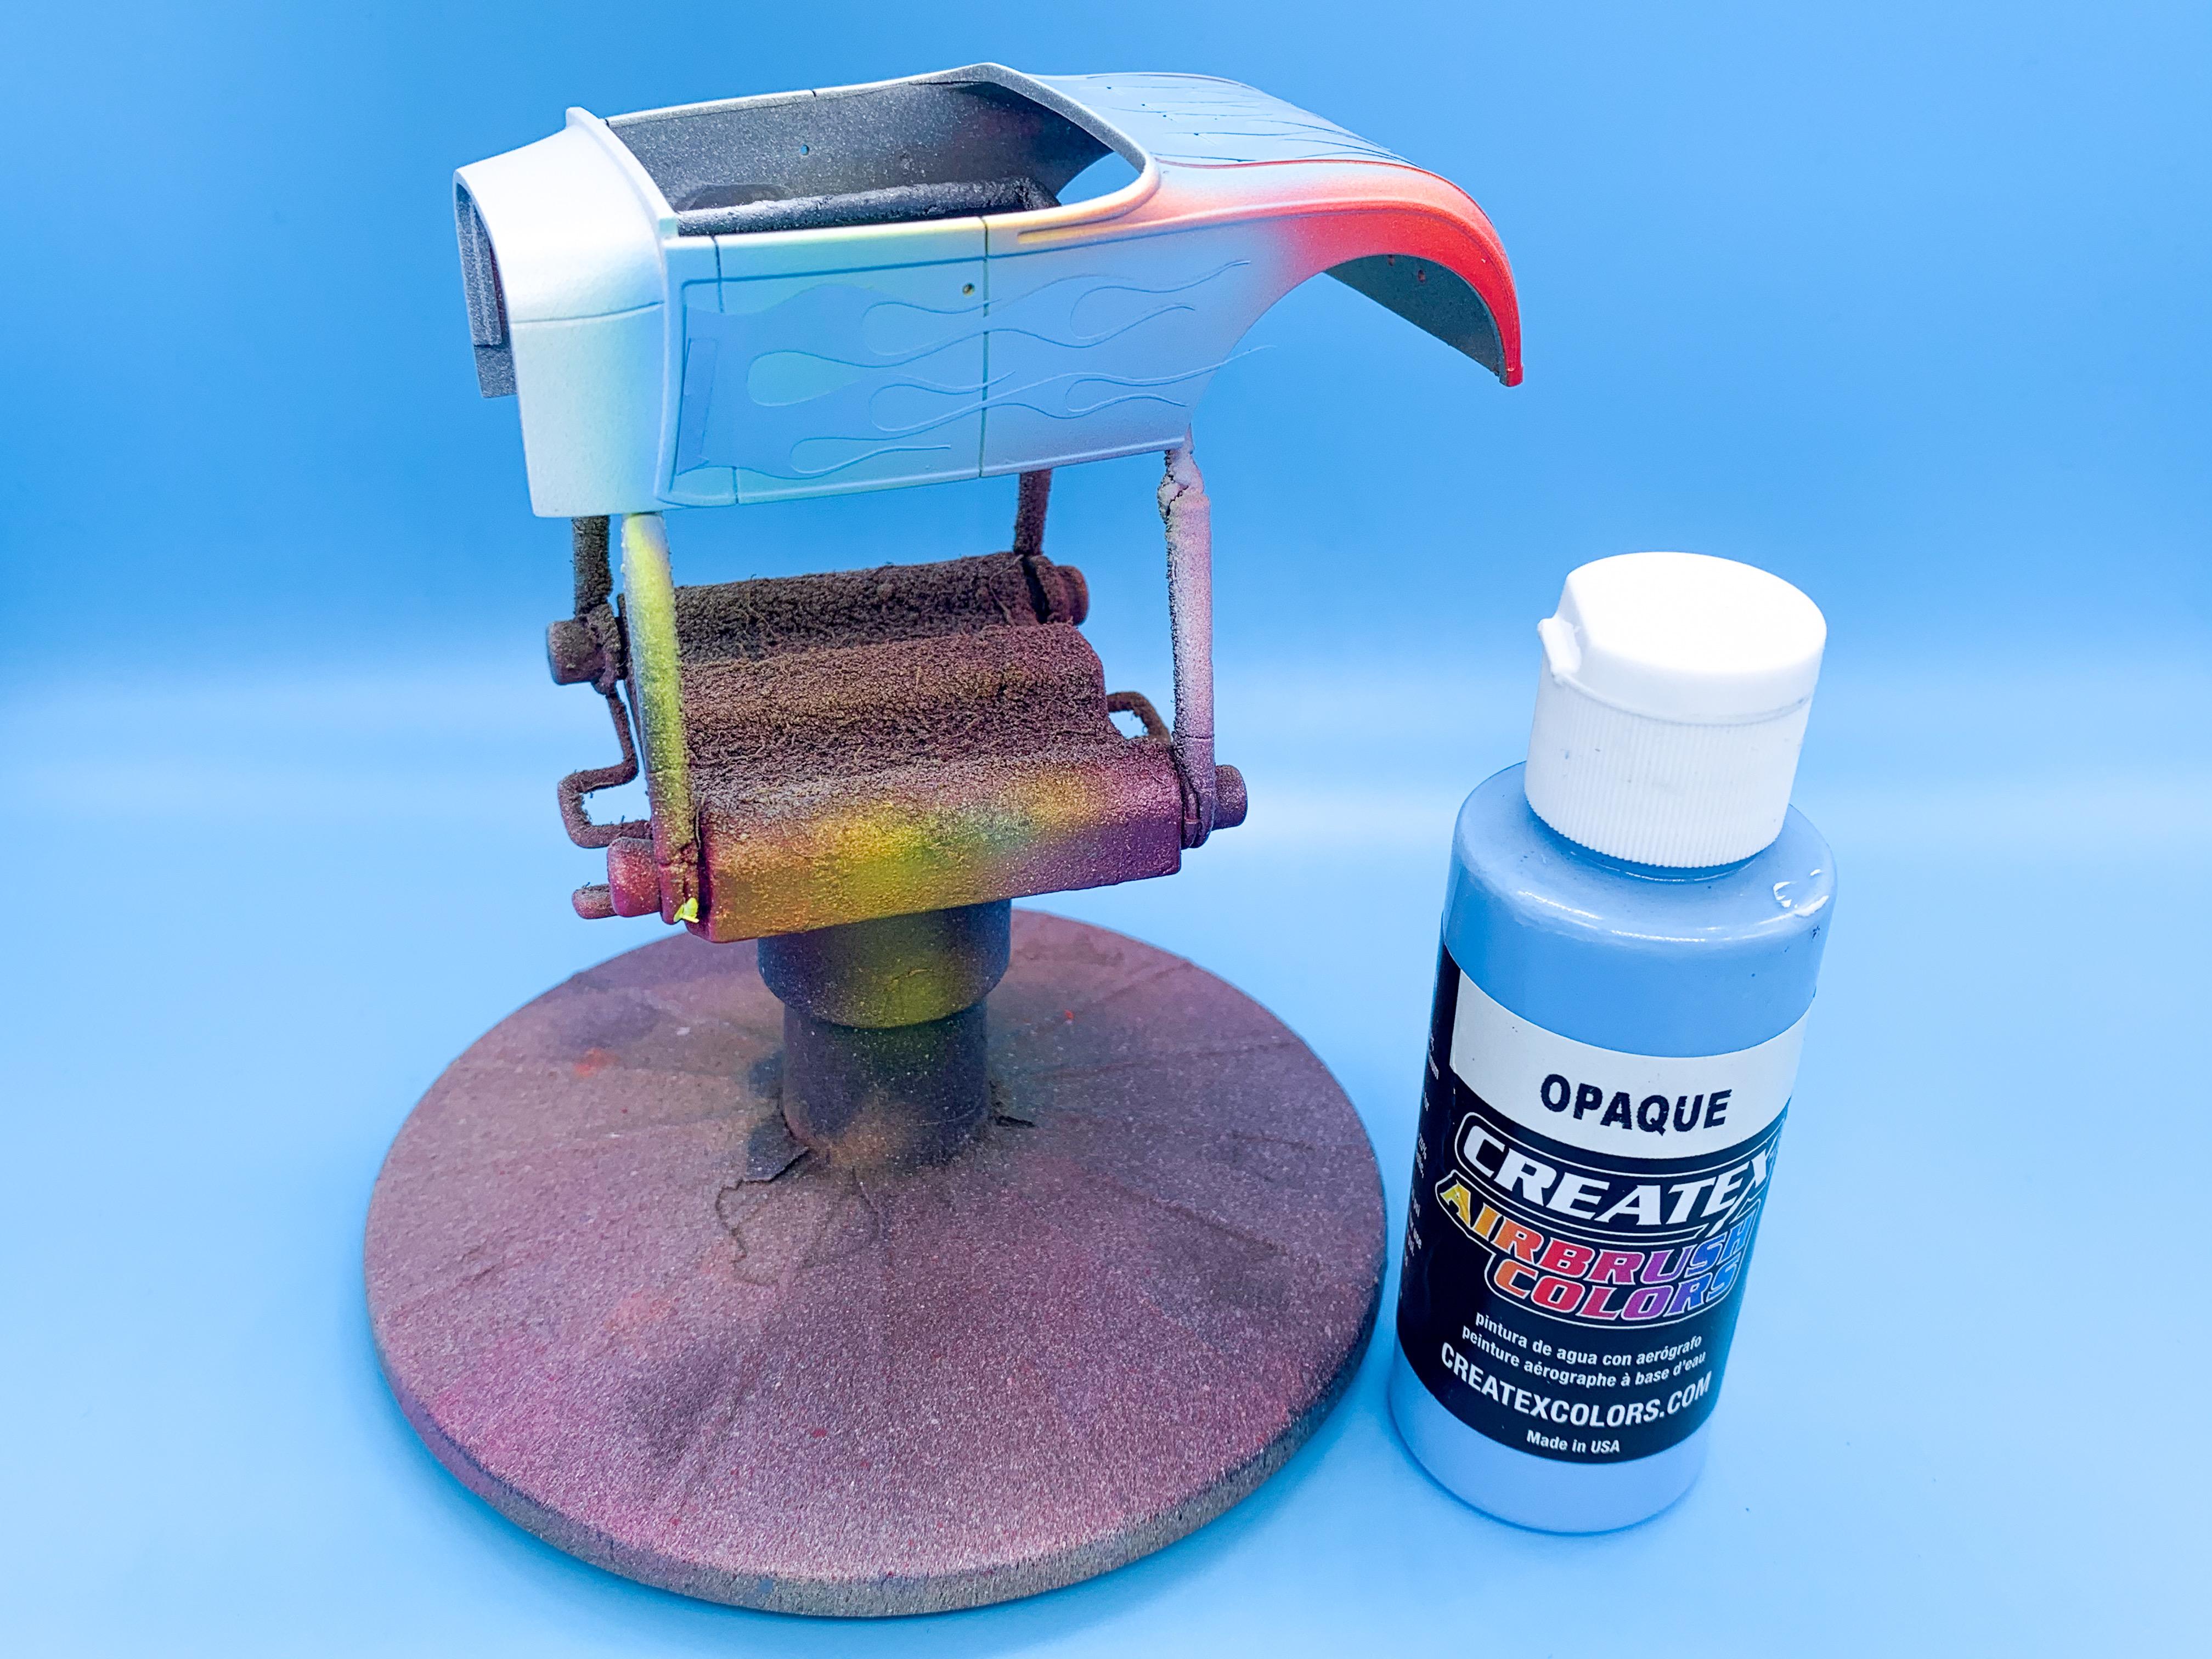
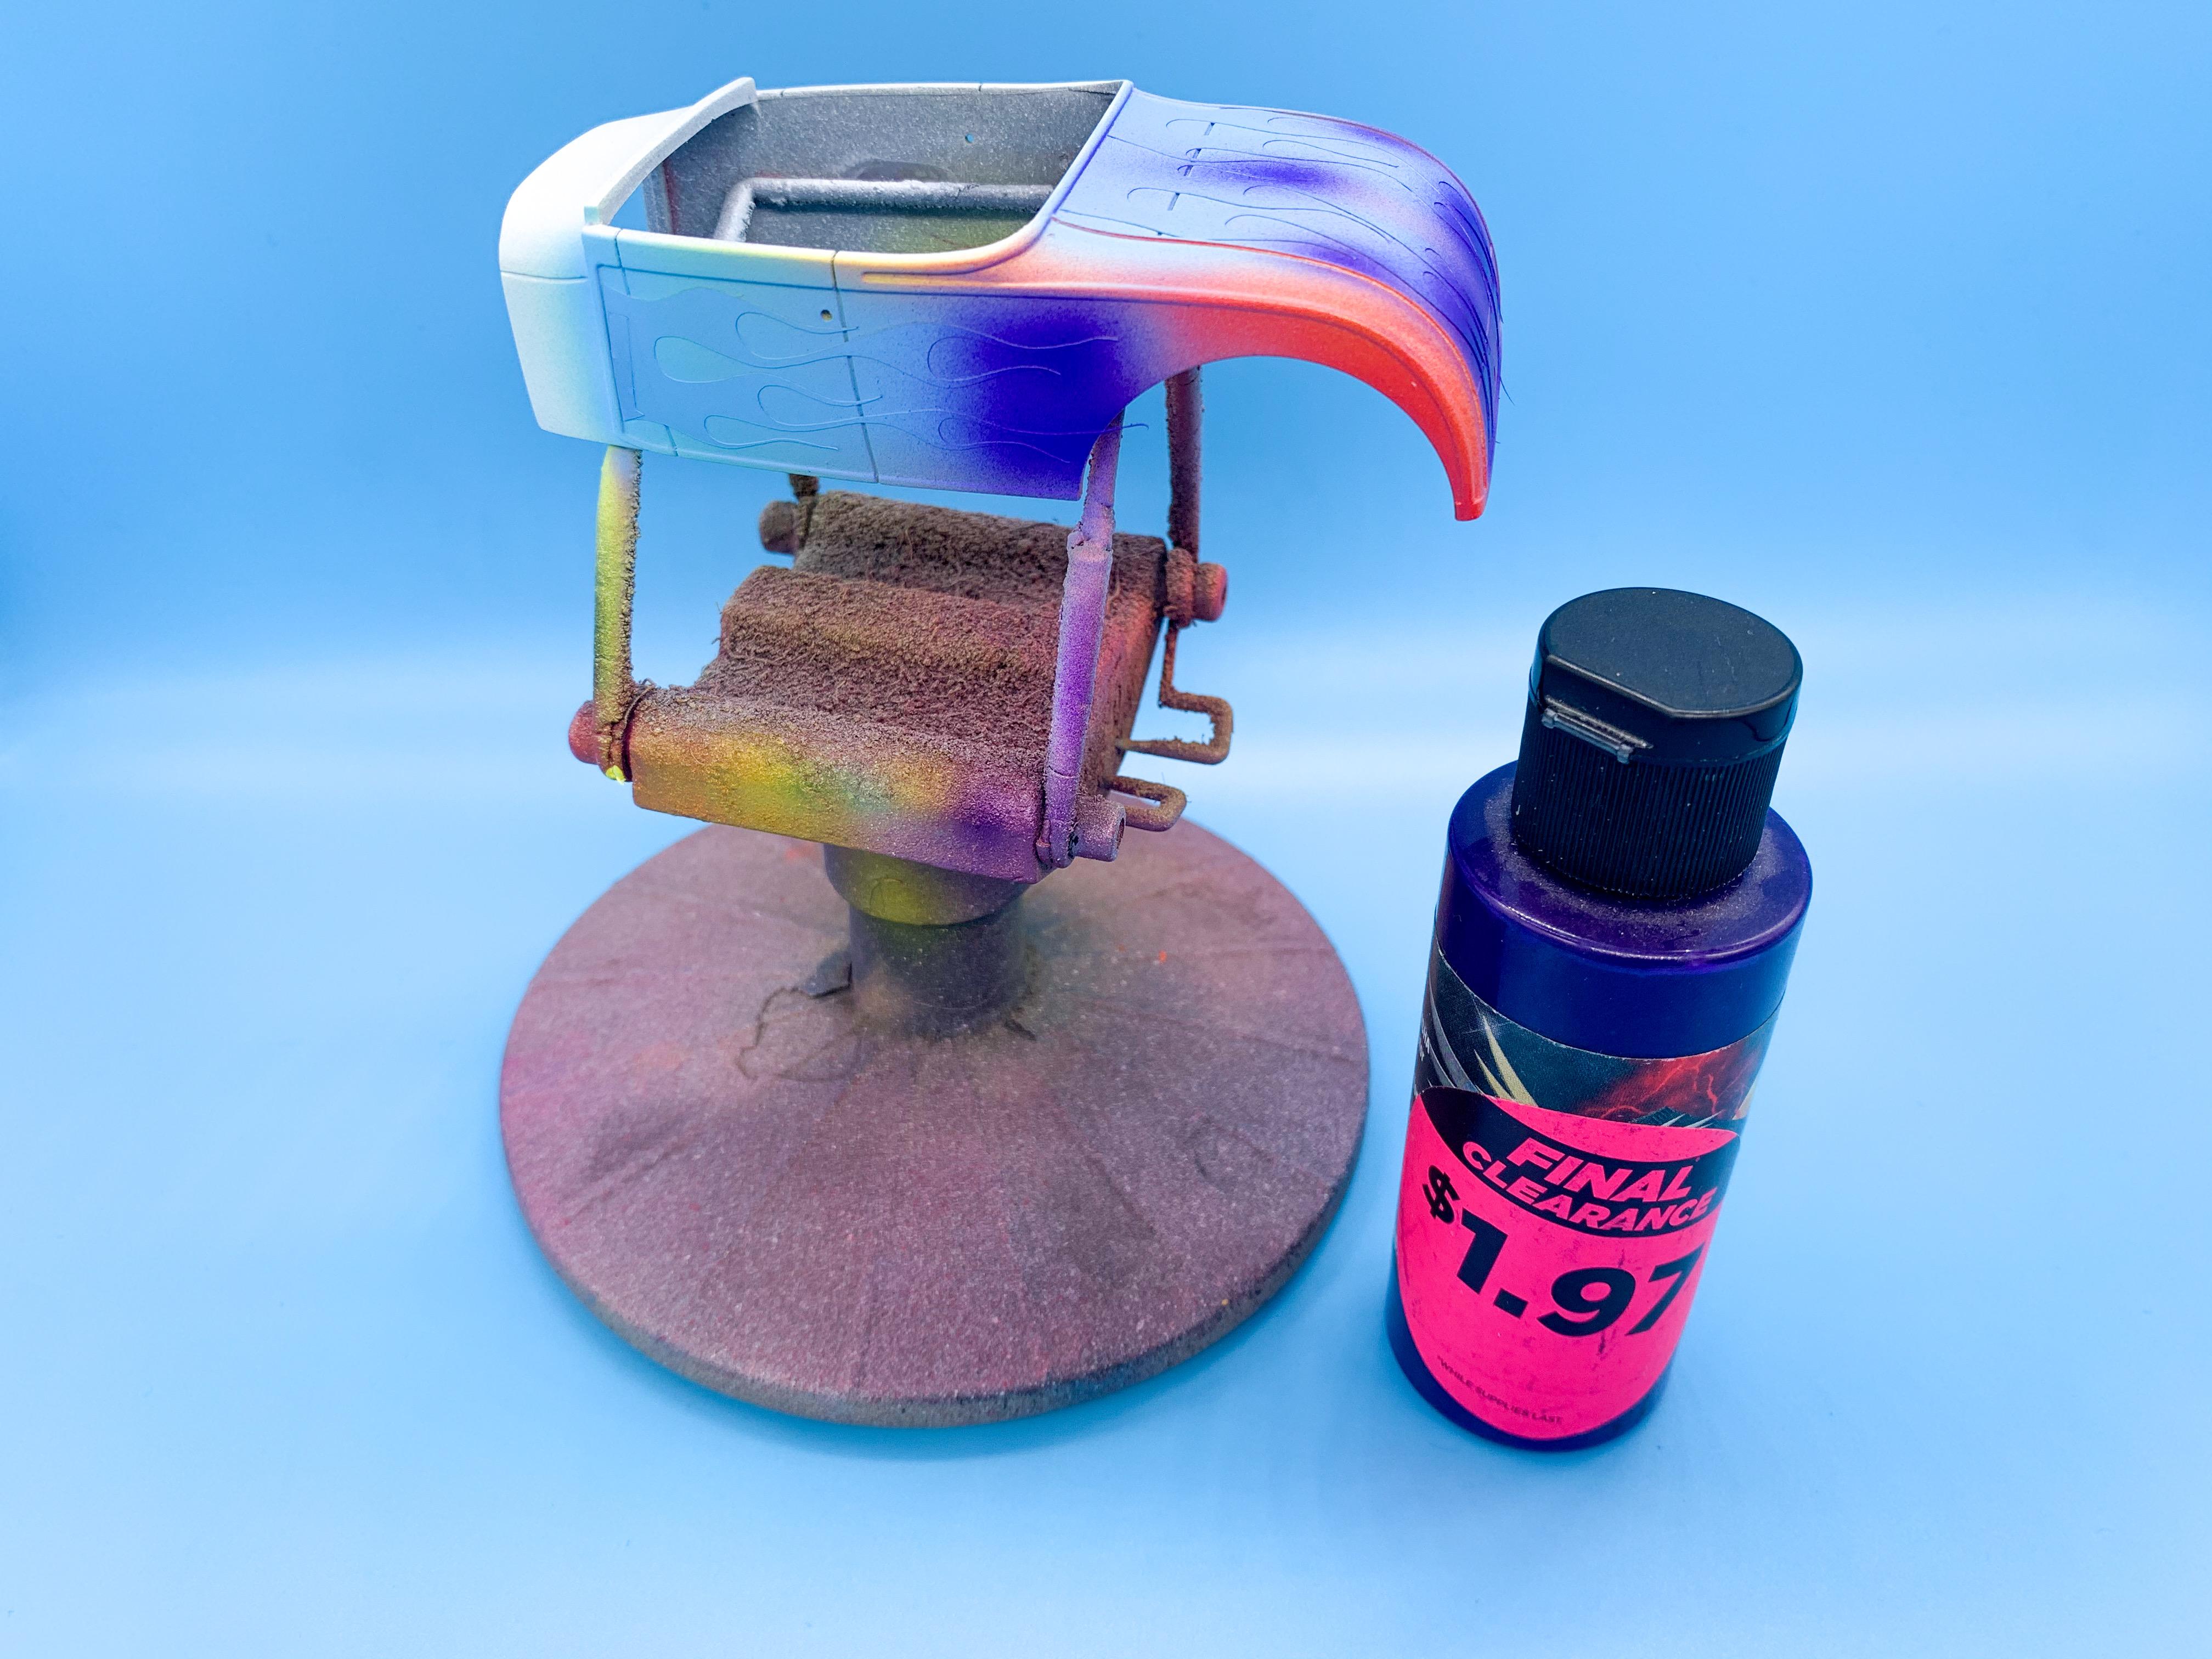
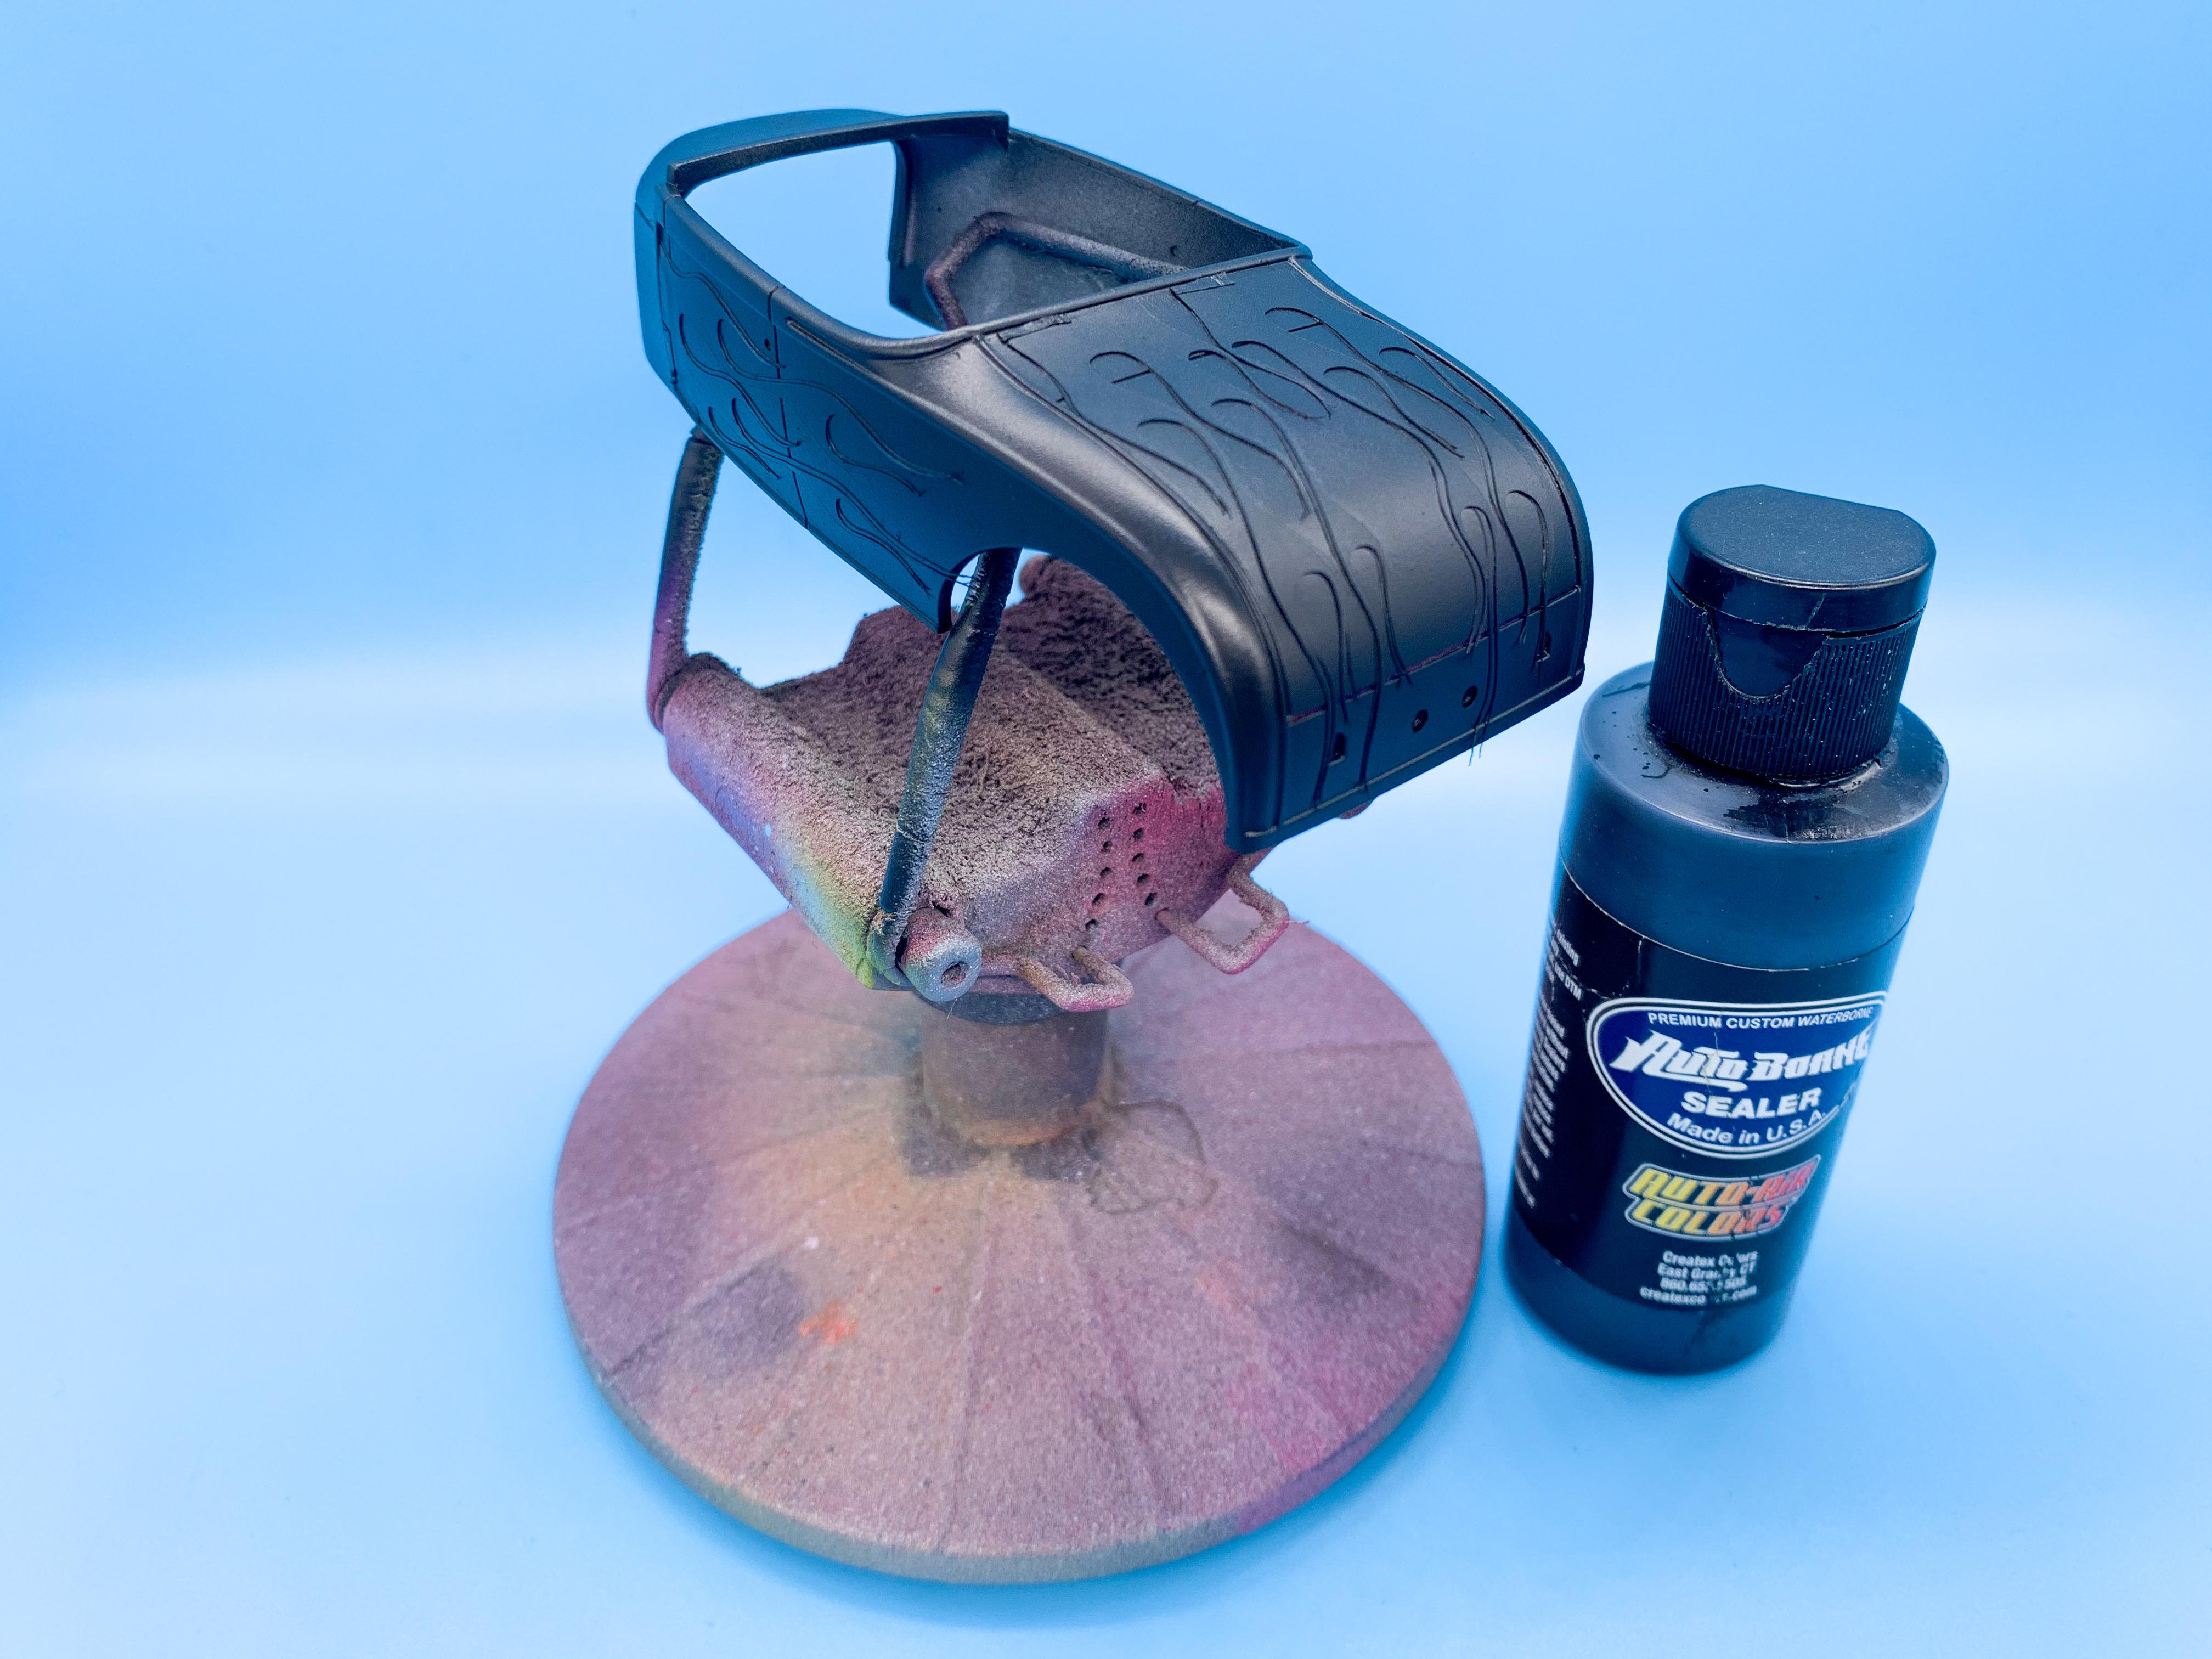
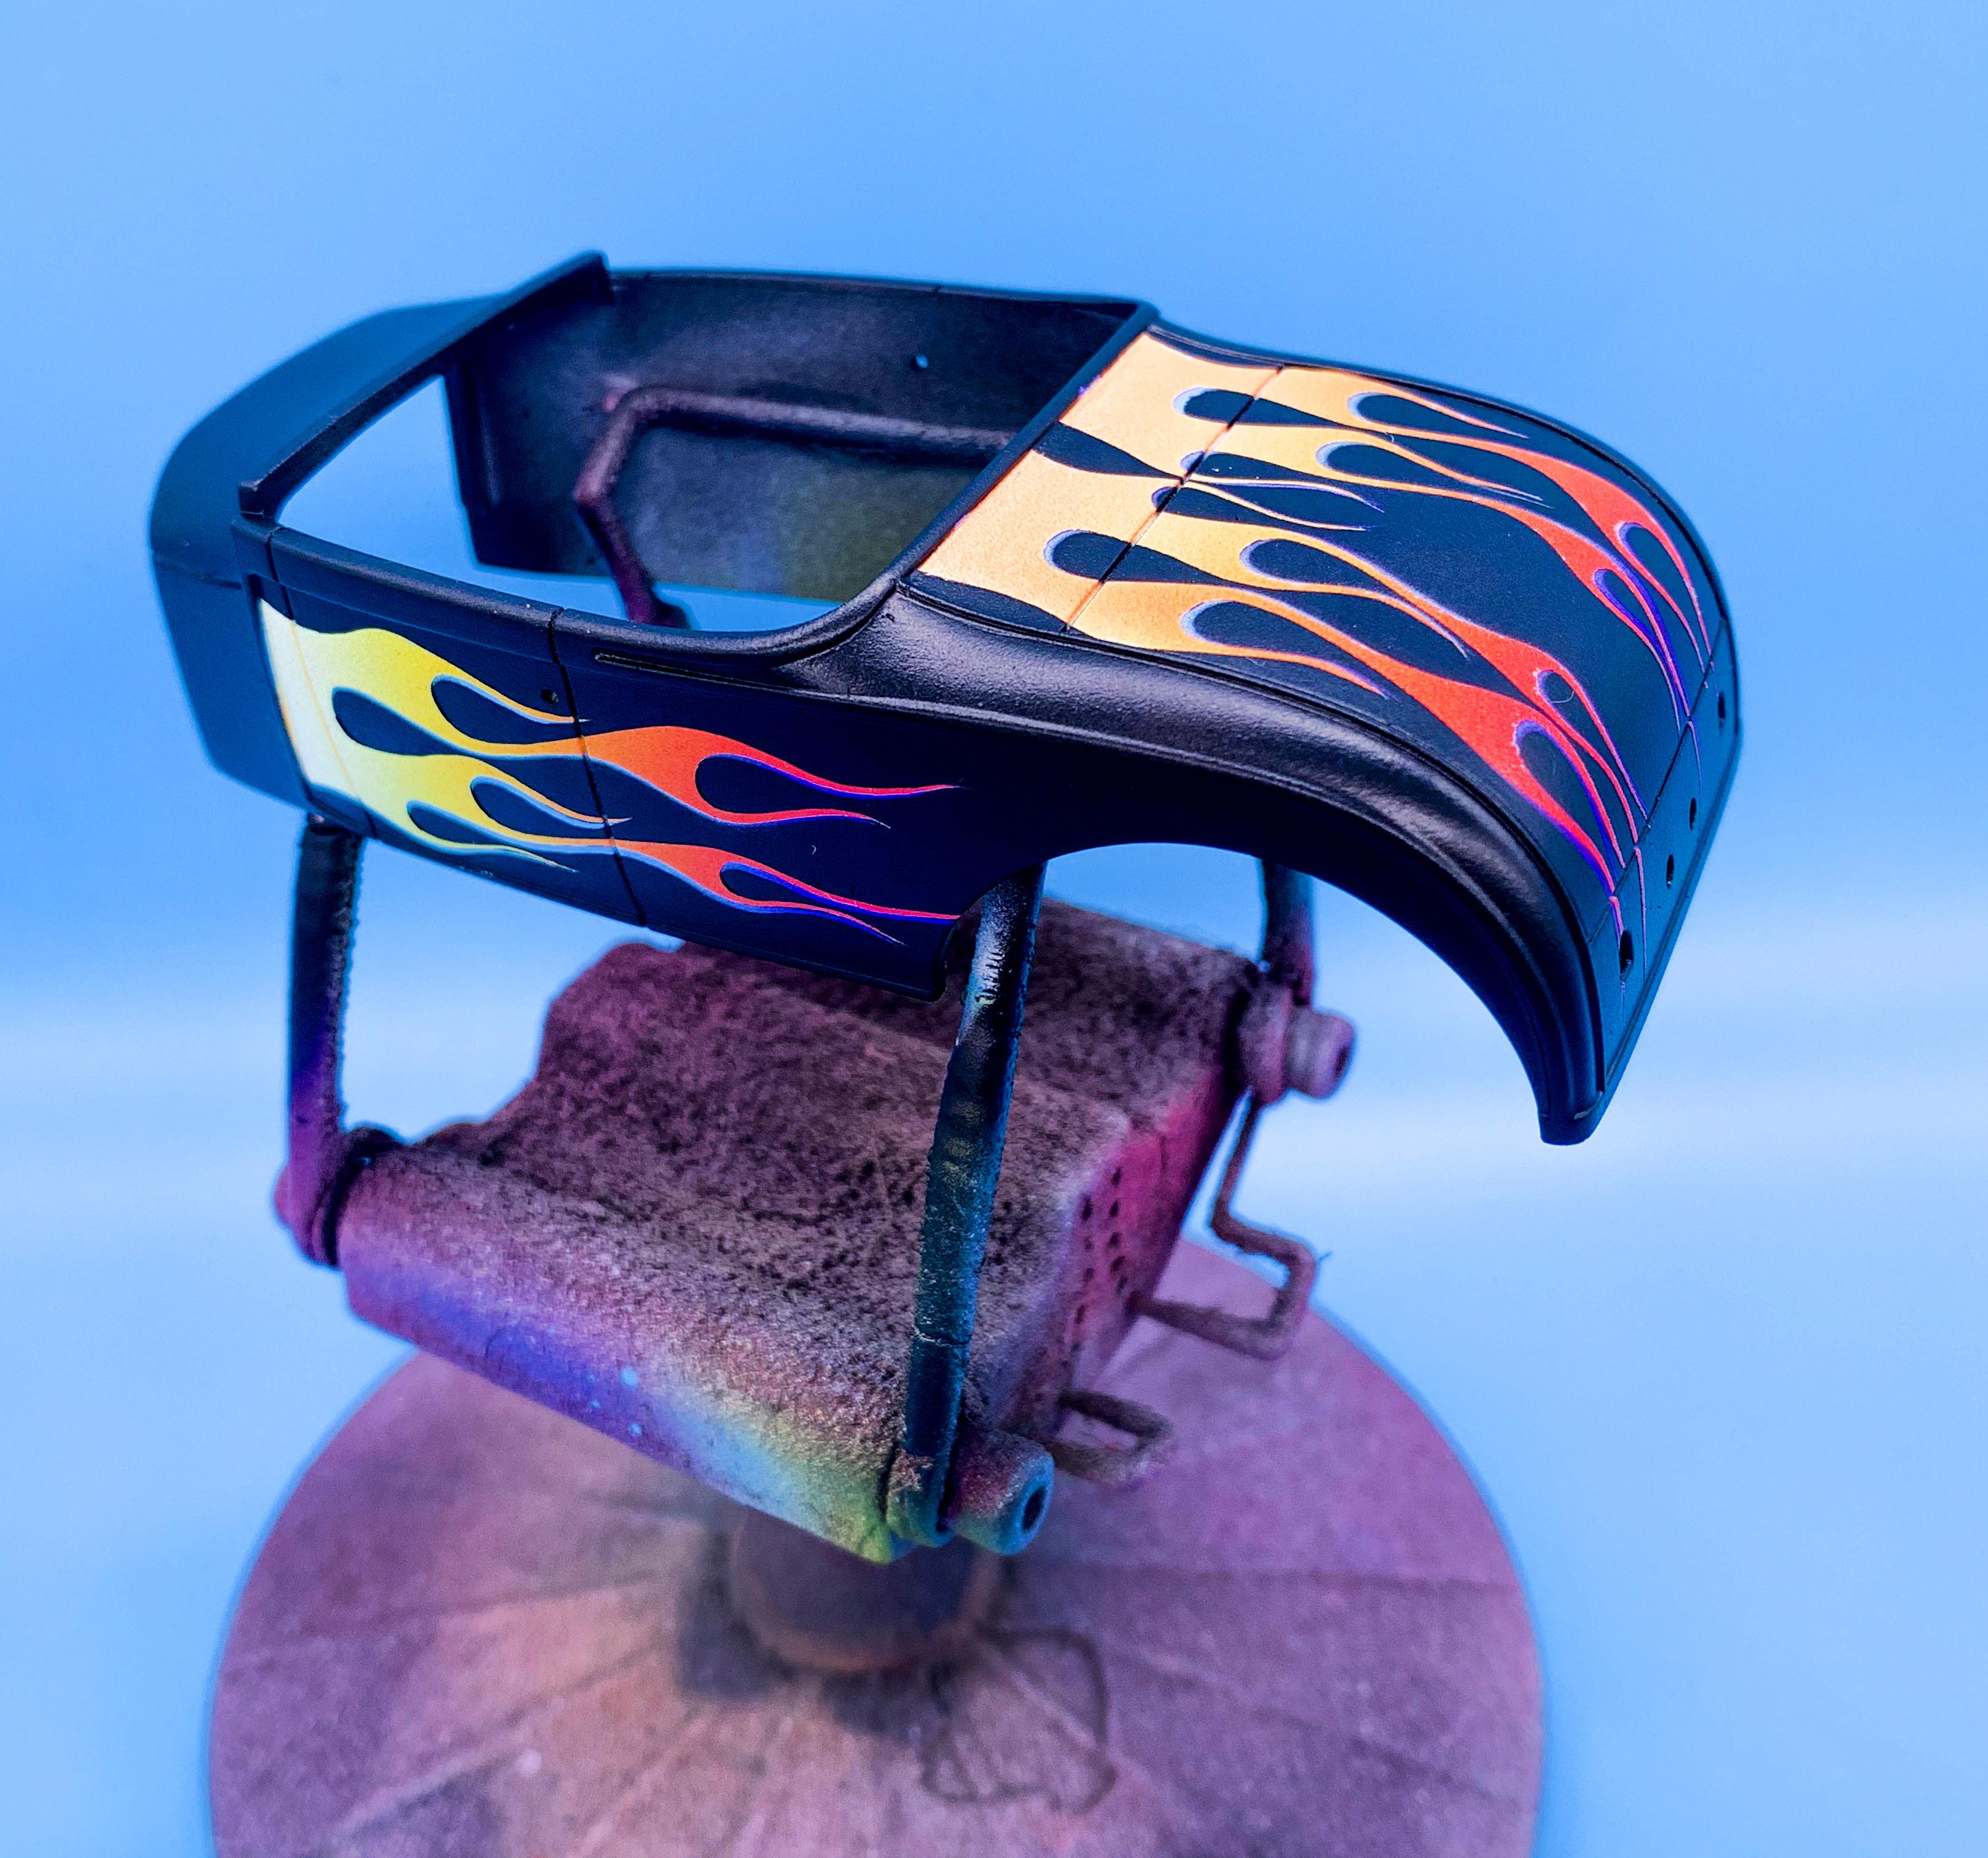
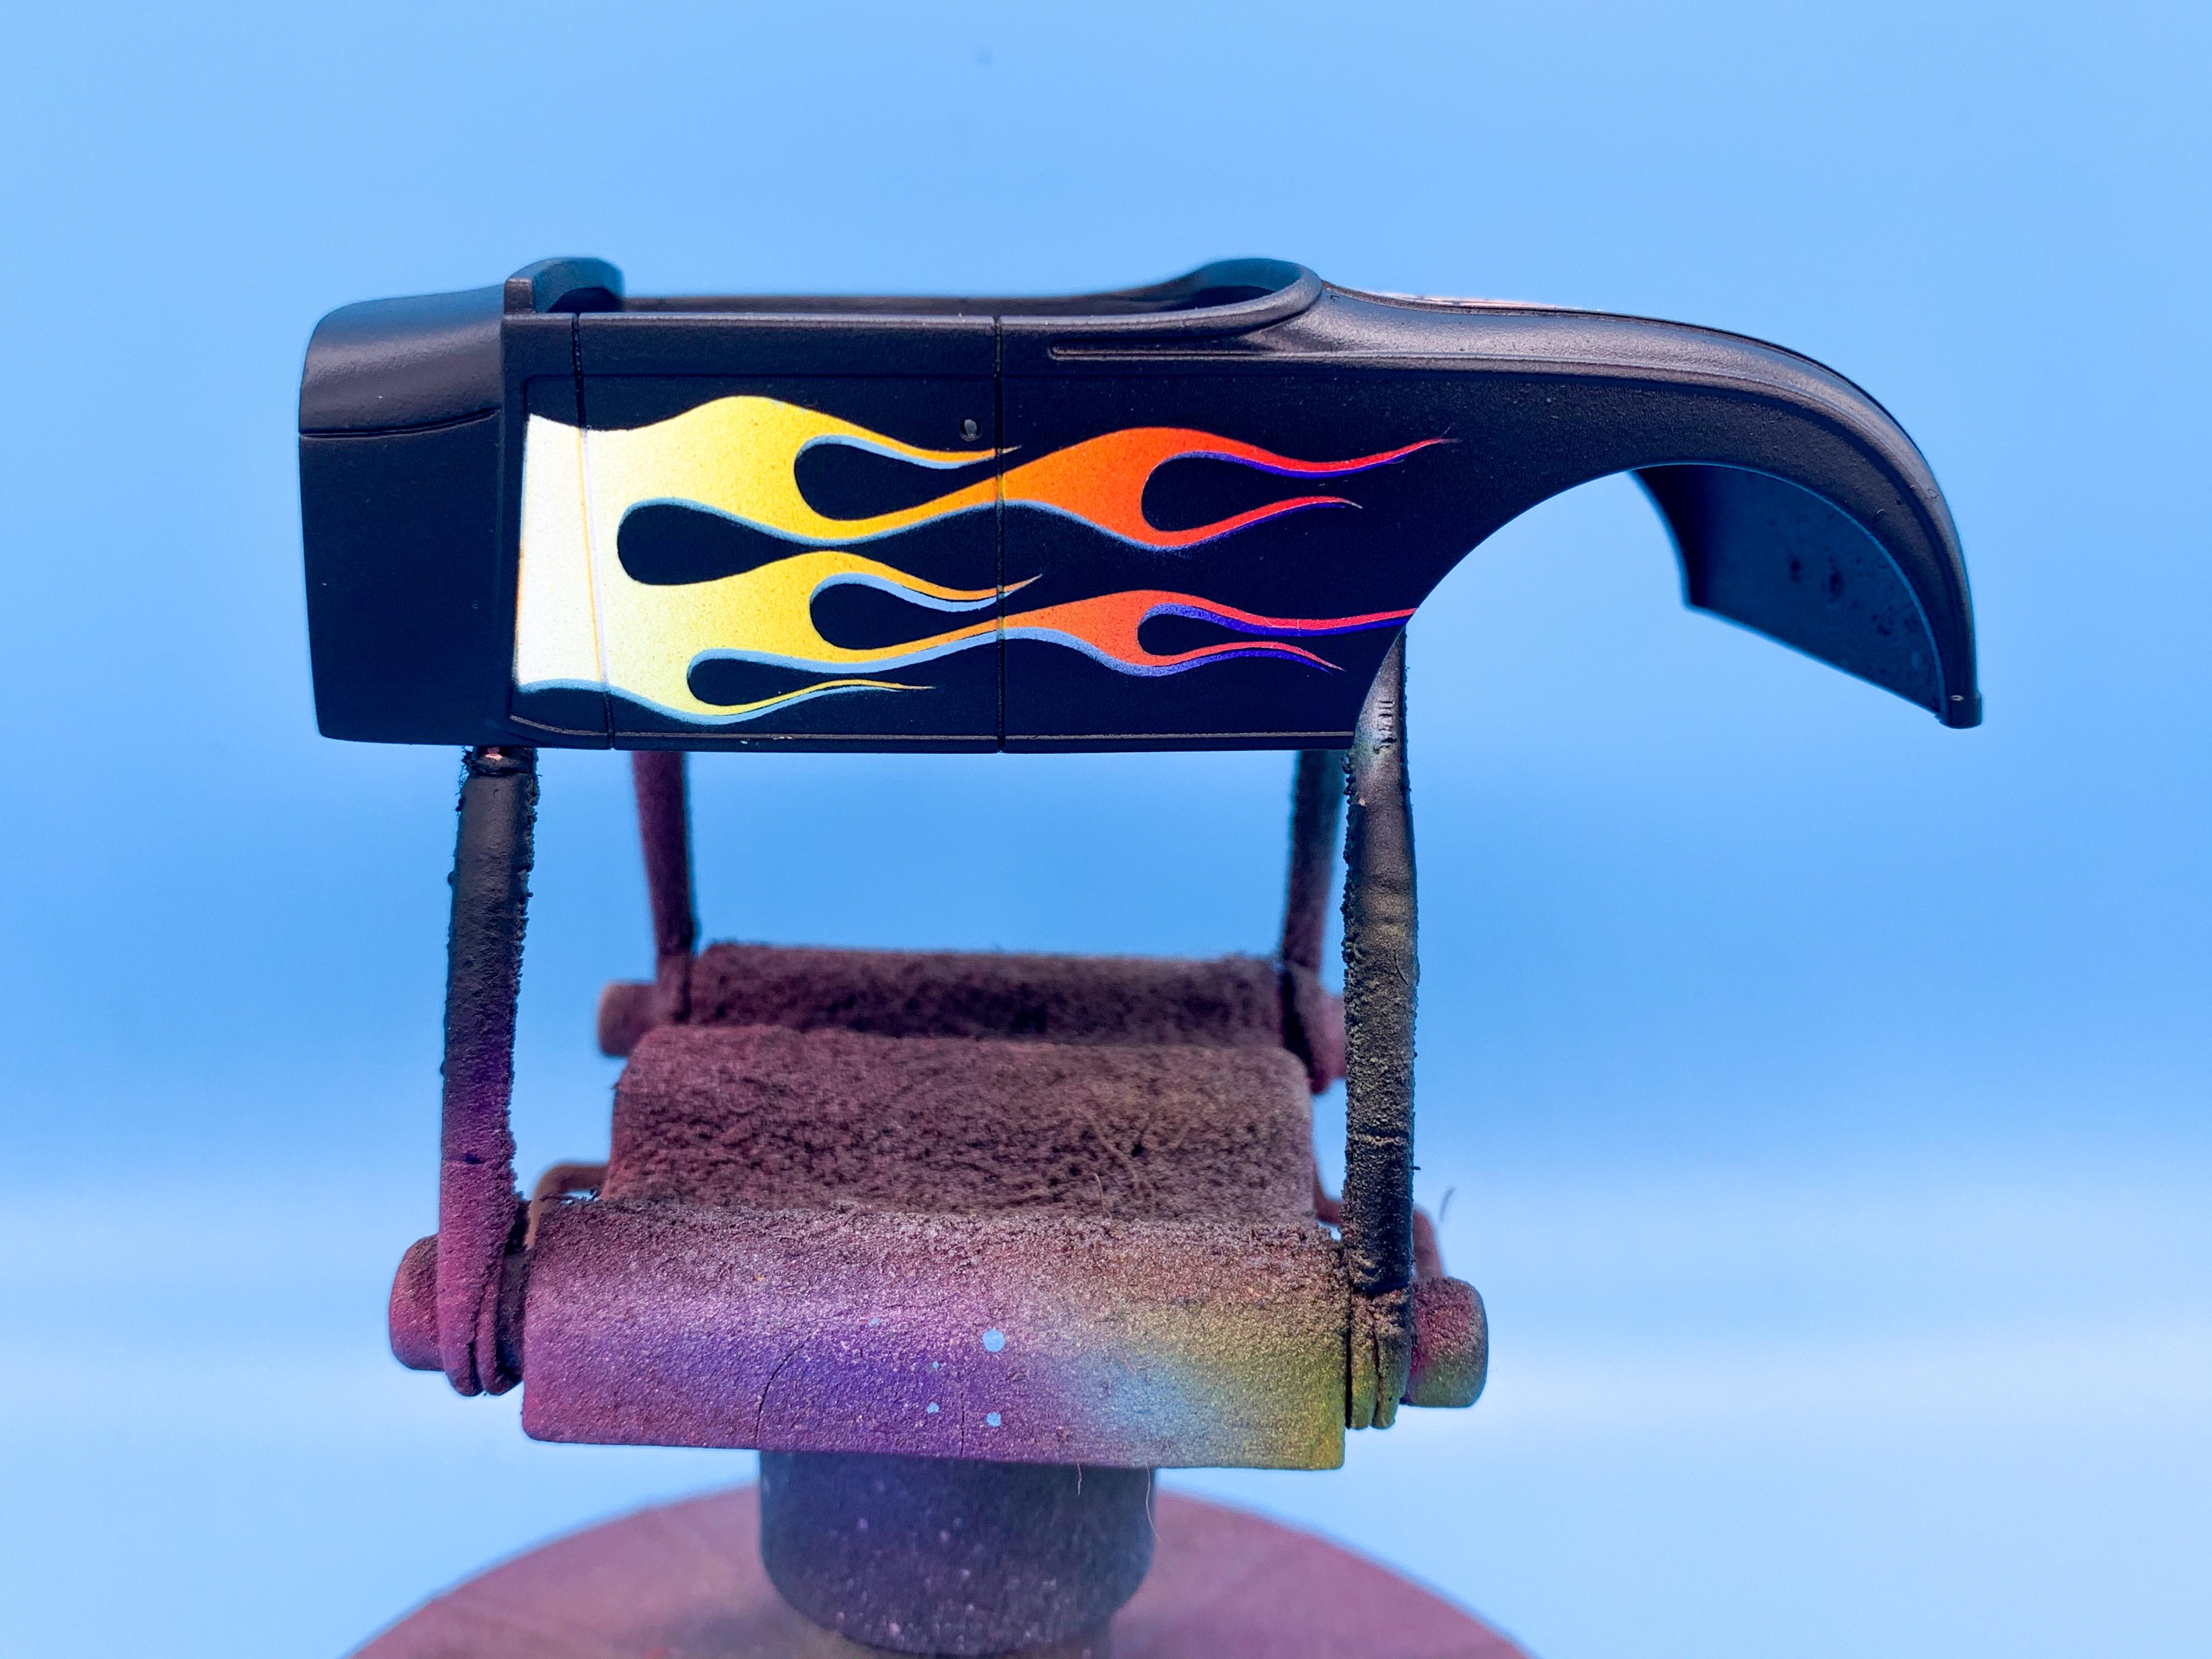
I wanted to build a classic black’n’flamed 29 from the new Revell Model A kit, and after I screwed up the paint on one of the others I was building this seemed like a good chance. Here goes with Jim’s backwards-flame-painting method™️... Primered body and the colors I’ll be using...I would’ve done white primer to save a step here but this thing had already been red once so I went with a darker color to make sure there wouldn’t be any bleed-through: First up, Createx white sealer and a light coat of Opaque white just to get it as bright as possible: Then, pearl white - it’s hard to spot the difference between the regular white and the pearl but I wanted a little flake and flip-flop to the flames without them looking too wild and modern: So, my flames will fade from white to yellow to orange to red, so I laid down a gradient along the sides and trunk-lid which I’ll mask over later with flame-shaped masks: Next up, because I can’t leave well enough alone, a little copper pearl flake over the darker parts to give a little extra flip-and-flop as the light hits the panels: With that done I shot a coat of clear and let it dry overnight - the next stage will involve masking and I don’t want to risk pulling up any of that paint. Narrator voice: *24 hours laterrrr...* Masks cut and applied: I wanted to add baby blue pinstriping around bottom edges of the flames to give them a little less of a flat look, and because I’d never done it before. So, next step is a coat of blue around the edge of those masks: And again, because I can’t leave well enough alone I wanted the tips of the flames to fade from blue to purple so I added a little of that too Now, I get why no one paints flames this way for the most part, because it looks like a mess basically the entire process, right up until the last step. But, stick with it and it works ok... Now that I’ve got the pinstripe color laid down I used a second set of the same flame masks and overlaid them over the existing ones...but down a fraction of an inch. I wanted a relatively narrow pinstripe that looked like it COULD be in scale so I didn’t need to misalign it too much... And now, finally, the ‘real’ color coats... Now, when I remove the first layer of masks it’ll just reveal a little strip of blue and the first mask, and when I remove the first mask I SHOULD have flames that look decent...or a hot mess ?♂️?. First layer of masks off... And, some careful and nerve-wracking unmasking later... Came out ok I think! Couple of tiny touch ups to do with the black paint but nothing too major...the trick with this airbrush paint is to peel the mask off as soon as you can so the edges don’t crack...but also the sooner you handle it the more chance of nicking it so you need to be careful - but got away with it on this one for the most part! I’m going full-glossy for the finish on this one so it’ll get some Testor’s enamel clear when the humidity isn’t sky-high here but hope y’all found the process useful, or interesting at least! More soon!
-
Current Hot Rod / Street Rod trends
OldNYJim replied to OldNYJim's topic in General Automotive Talk (Trucks and Cars)
I was thinking about this today - it’s probably possible for someone with even a semi-keen eye to spot the difference between a ‘traditional hot rod’ built at the time, versus twenty years ago versus today. I wonder what the future has in store for traditional hot rods? ? -
Current Hot Rod / Street Rod trends
OldNYJim replied to OldNYJim's topic in General Automotive Talk (Trucks and Cars)
I like all of those ?. Your version of the California Star totally brings it up to date I think - as much as you can without a total redesign anyway. Amazing what a difference the changes you made make! That blue Vette immediately made me think of Eric Ritz’s Slambo: -
Imagine how that paint will sparkle with those LED lights bouncing off it too - amazing! ?
-
Current Hot Rod / Street Rod trends
OldNYJim replied to OldNYJim's topic in General Automotive Talk (Trucks and Cars)
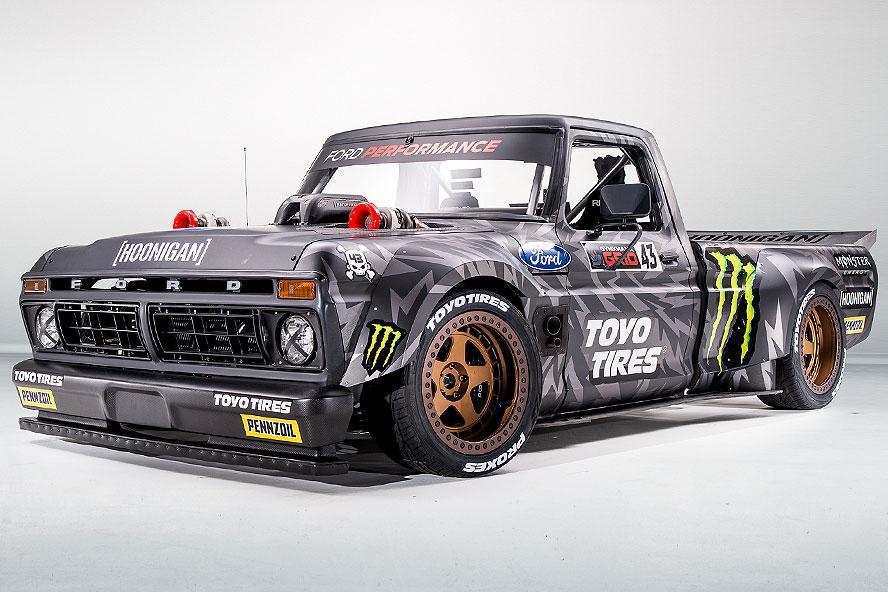
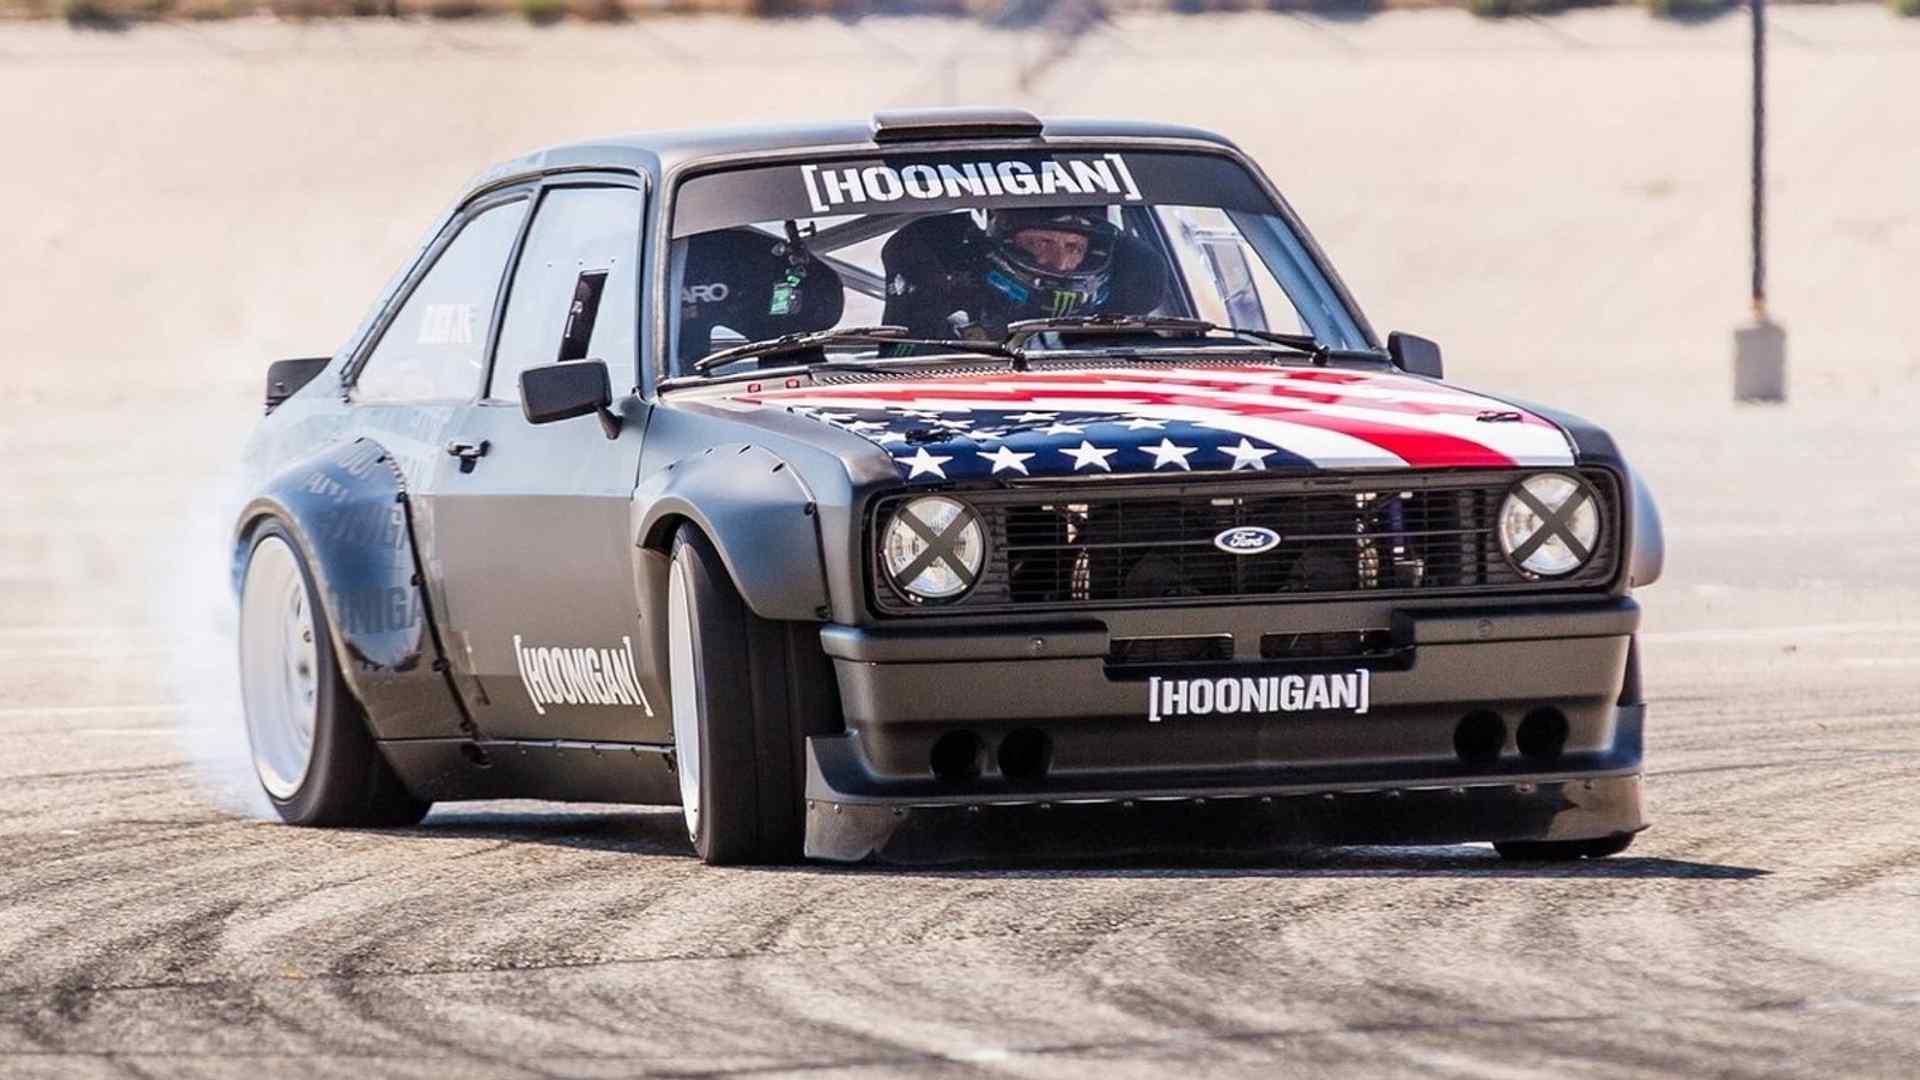
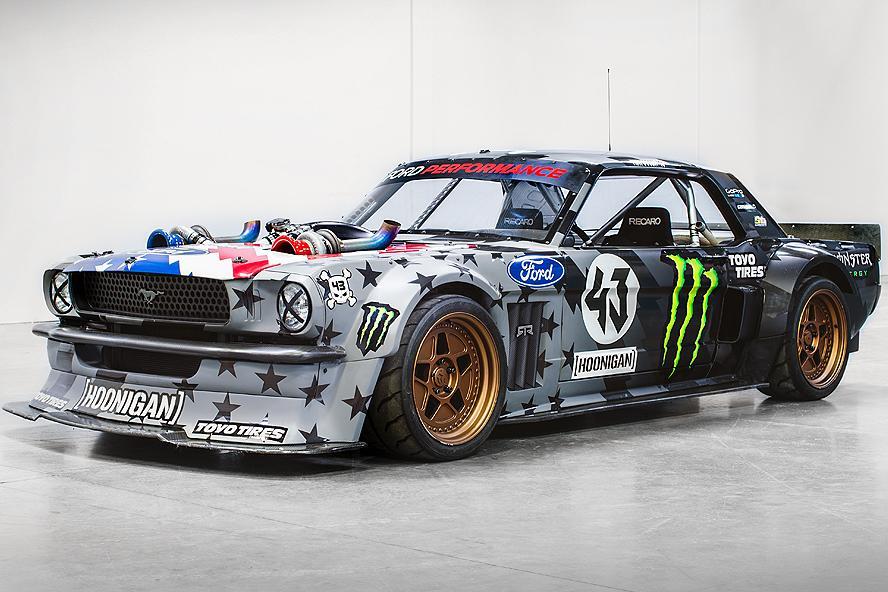
Great post! These are just the kinds of things that I was interested in hearing about. A lot of the things you mentioned make me think of those Ken Block Hoonigan builds: Old bodies, new running gear but a long way from the resto-mod style, with influences from drift and drag cars thrown in the mix. I’d like to see a Hoonigan Deuce, bet it would be pretty wild.
-
Thanks everyone! Just a little update...got a really nice warm day here with low humidity - perfect for laying down some clear! Came out pretty smooth! Doing some more work on getting the frame really straight and making it look as nice as I can today - more soon!
-
The issues with scratch building
OldNYJim replied to IbuildScaleModels's topic in Tips, Tricks, and Tutorials
Found this post today whilst looking for something else - a BUNCH of interesting reference material on scratchbuilding: