OldNYJim
-
Posts
251 -
Joined
-
Last visited
Content Type
Profiles
Forums
Events
Gallery
Everything posted by OldNYJim
-
 Way behind everyone else here, but finally got myself one of these...and then after looking it over immediately ordered a couple more! Looks like it’ll be a blast to put together!
-
The issues with scratch building
OldNYJim replied to IbuildScaleModels's topic in Tips, Tricks, and Tutorials
(Of course, these are real simple and don’t look too good...but if I can get them right I can make some pretty fancy designs on my cutter here and really do some wild stuff) -
The issues with scratch building
OldNYJim replied to IbuildScaleModels's topic in Tips, Tricks, and Tutorials
I figure if I have to buy a part I want online it might be a week or two for it to arrive...and I can learn a lot about fabrication in a week or two! Styrene is cheap, relatively so I do a fair amount of trying this and that to try out different techniques and see what will work and what won’t. This week I’ve been making some simple wheels, seeing if I can get anything perfectly round using only styrene sheet: I haven’t quite figured out the perfect trick yet - the middle part is easy enough but getting the rim to be perfect is trickier. The sheet needs to be thick enough to not be easily damaged, but thin enough that it will conform to the rim. Bill/Ace recommended using heat to preform the sheet around something with a tighter diameter to make it conform and that got me closer, but not as close as I’d like just yet - getting them perfectly round and being able to join the ends is a real challenge.
-
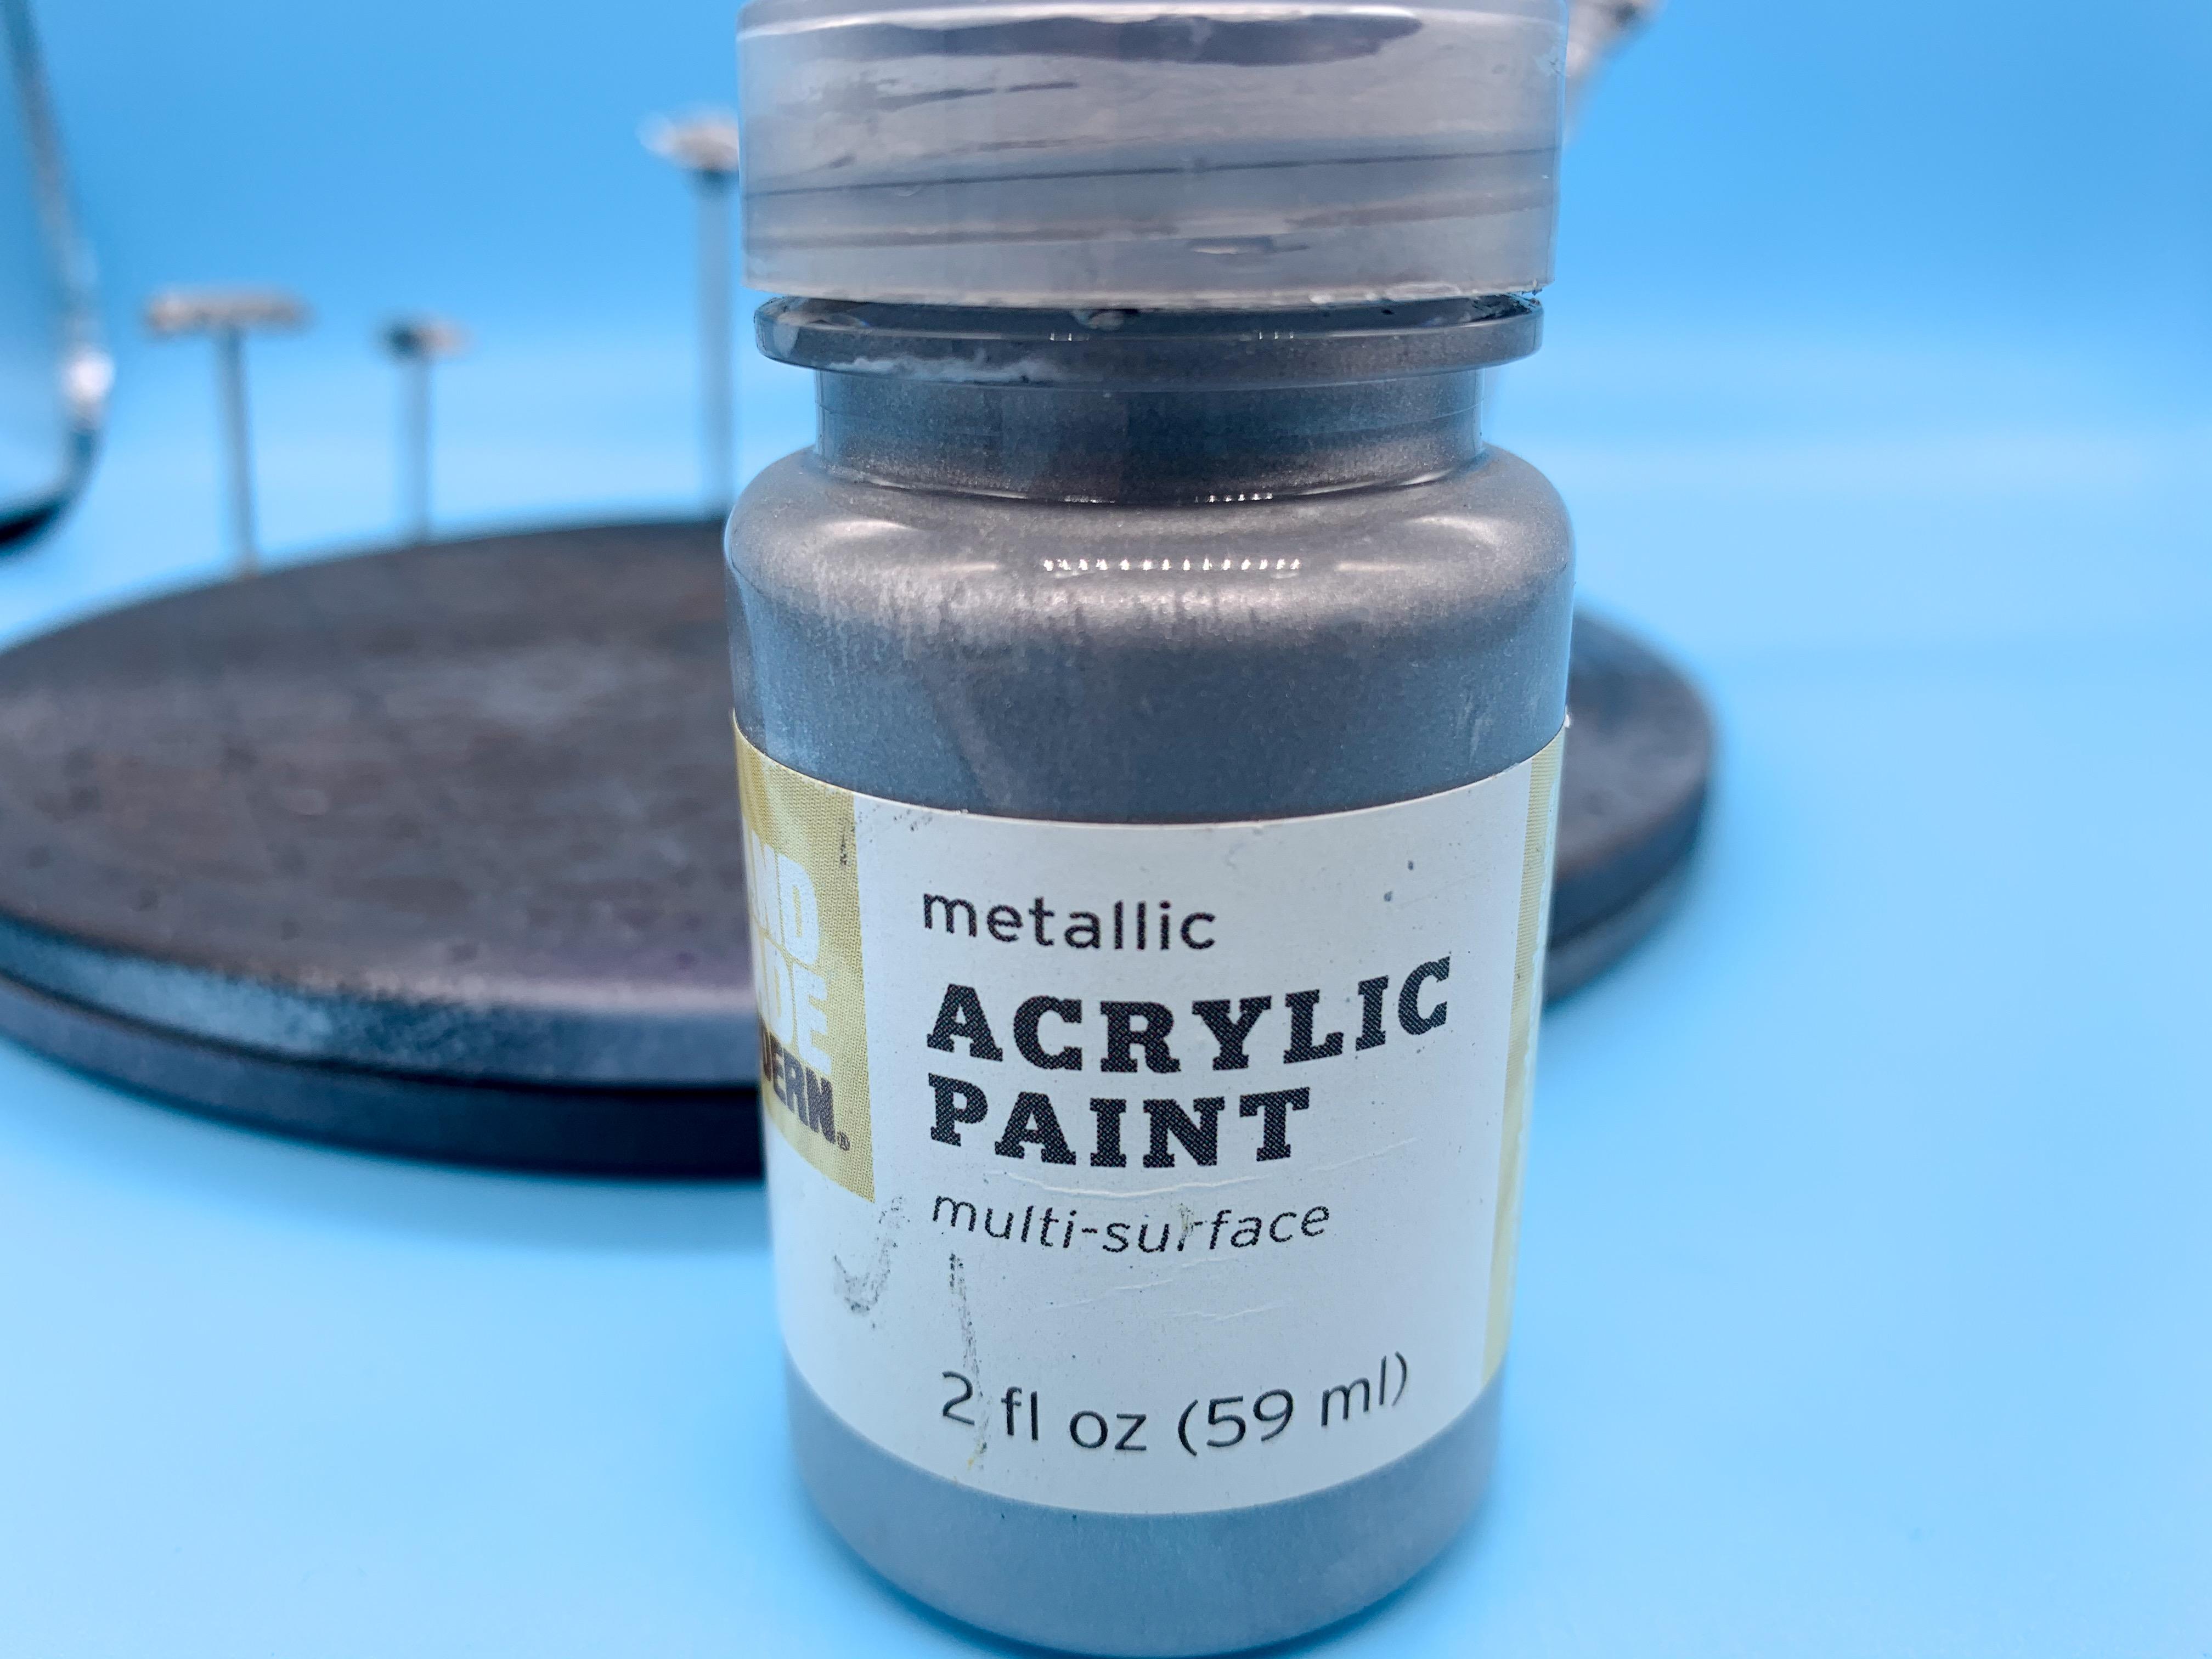
Well, Heinz has 57 varieties and this is way more interesting to me than baked beans ?♂️? My favorite semi gloss black is Tamiya, but I’ll pickup whatever’s cheap on Amazon that week when I need some and usually find a good use for it - I try and keep a few different brands ‘in stock’...can never have too many blacks shades to work with!
-
Dugly-er
-
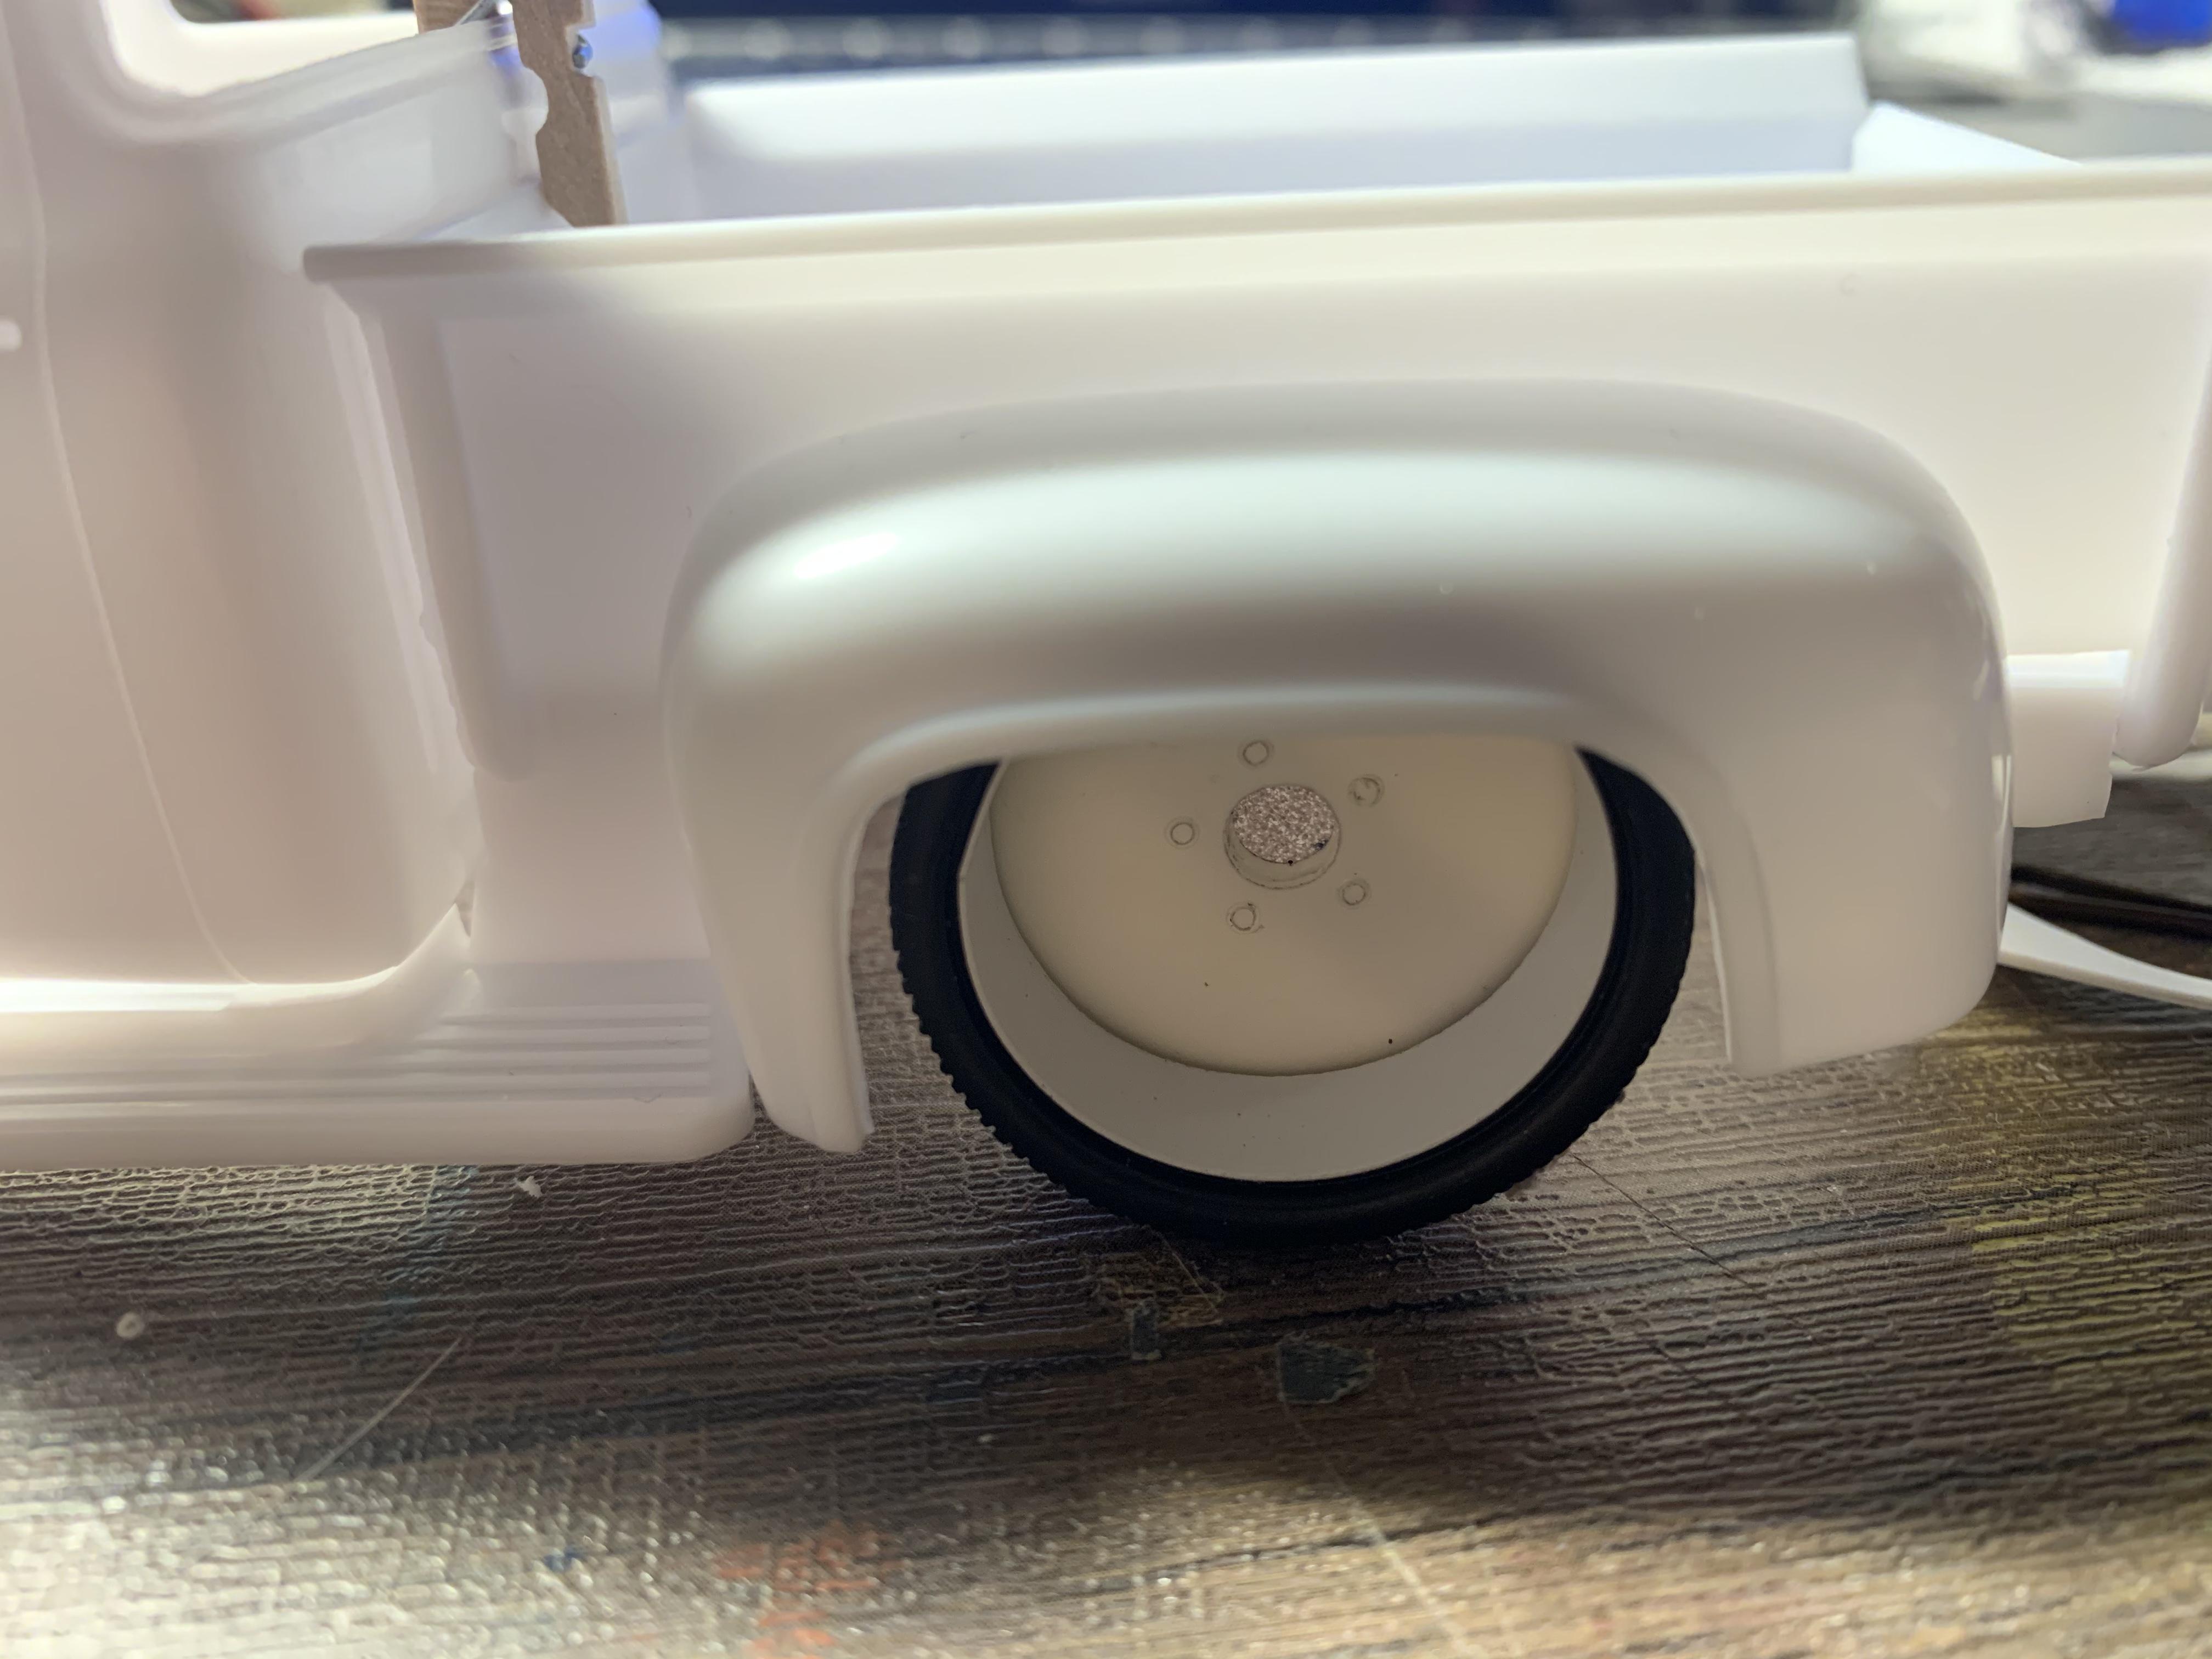
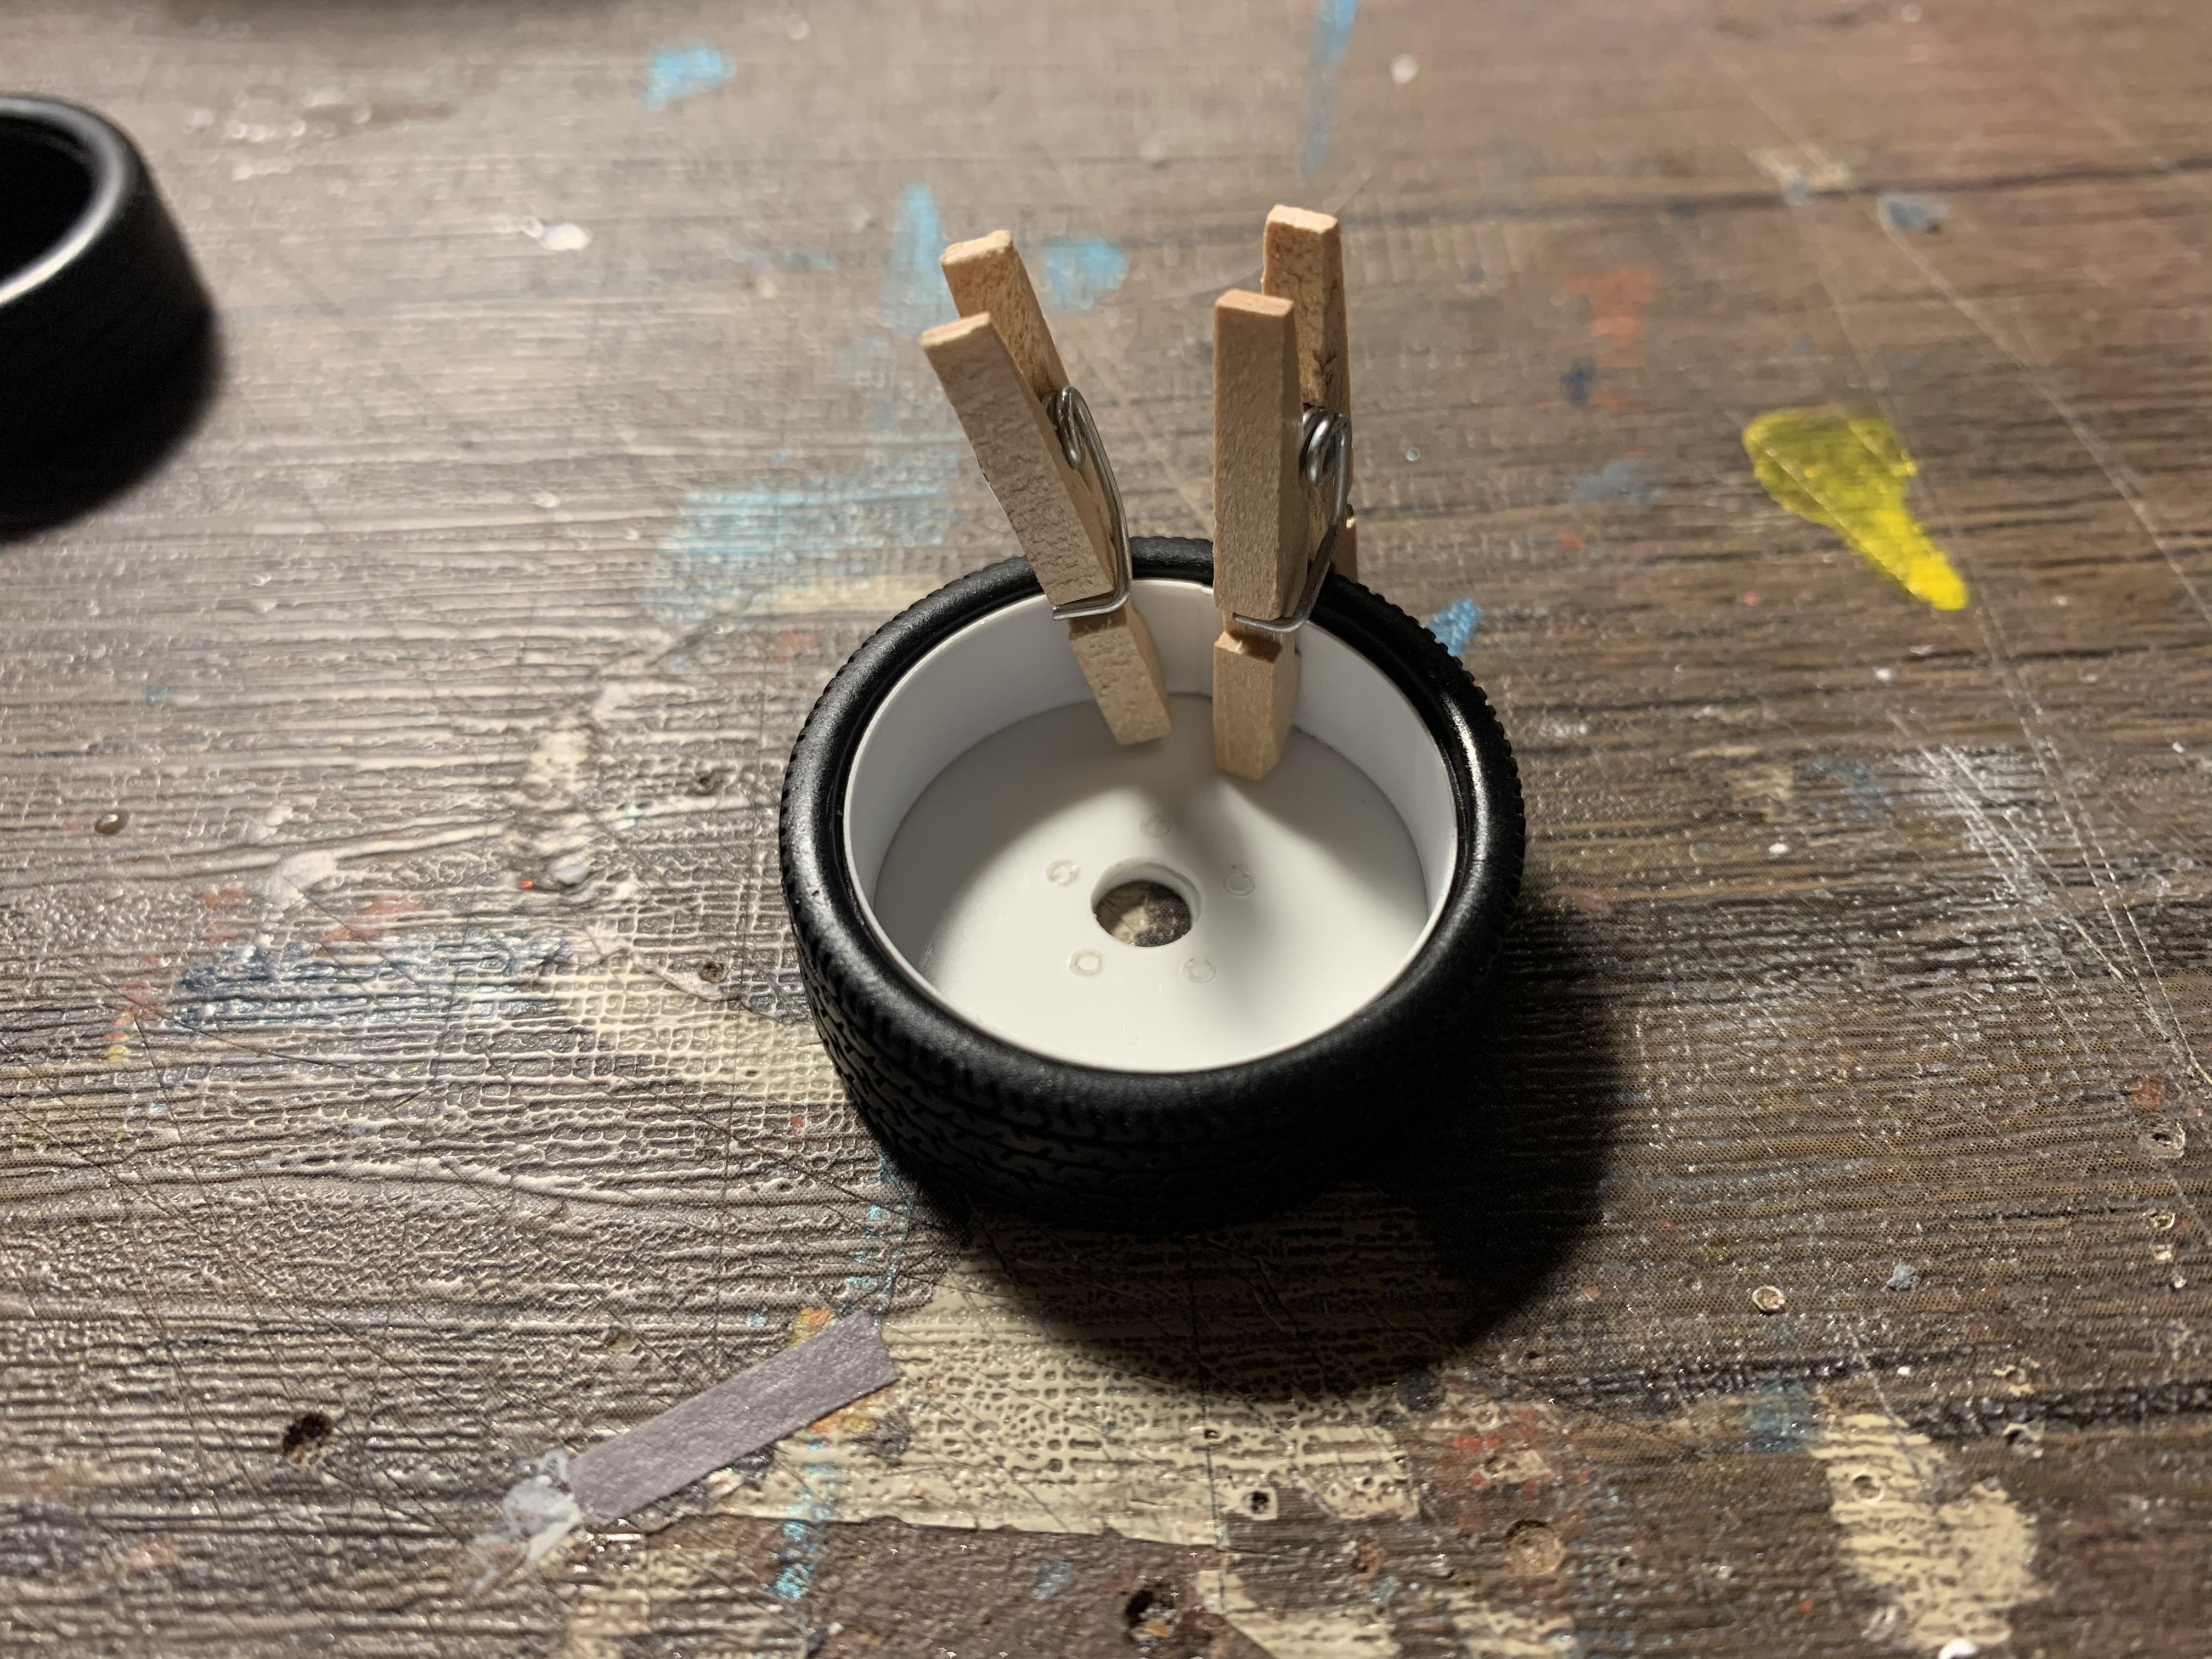
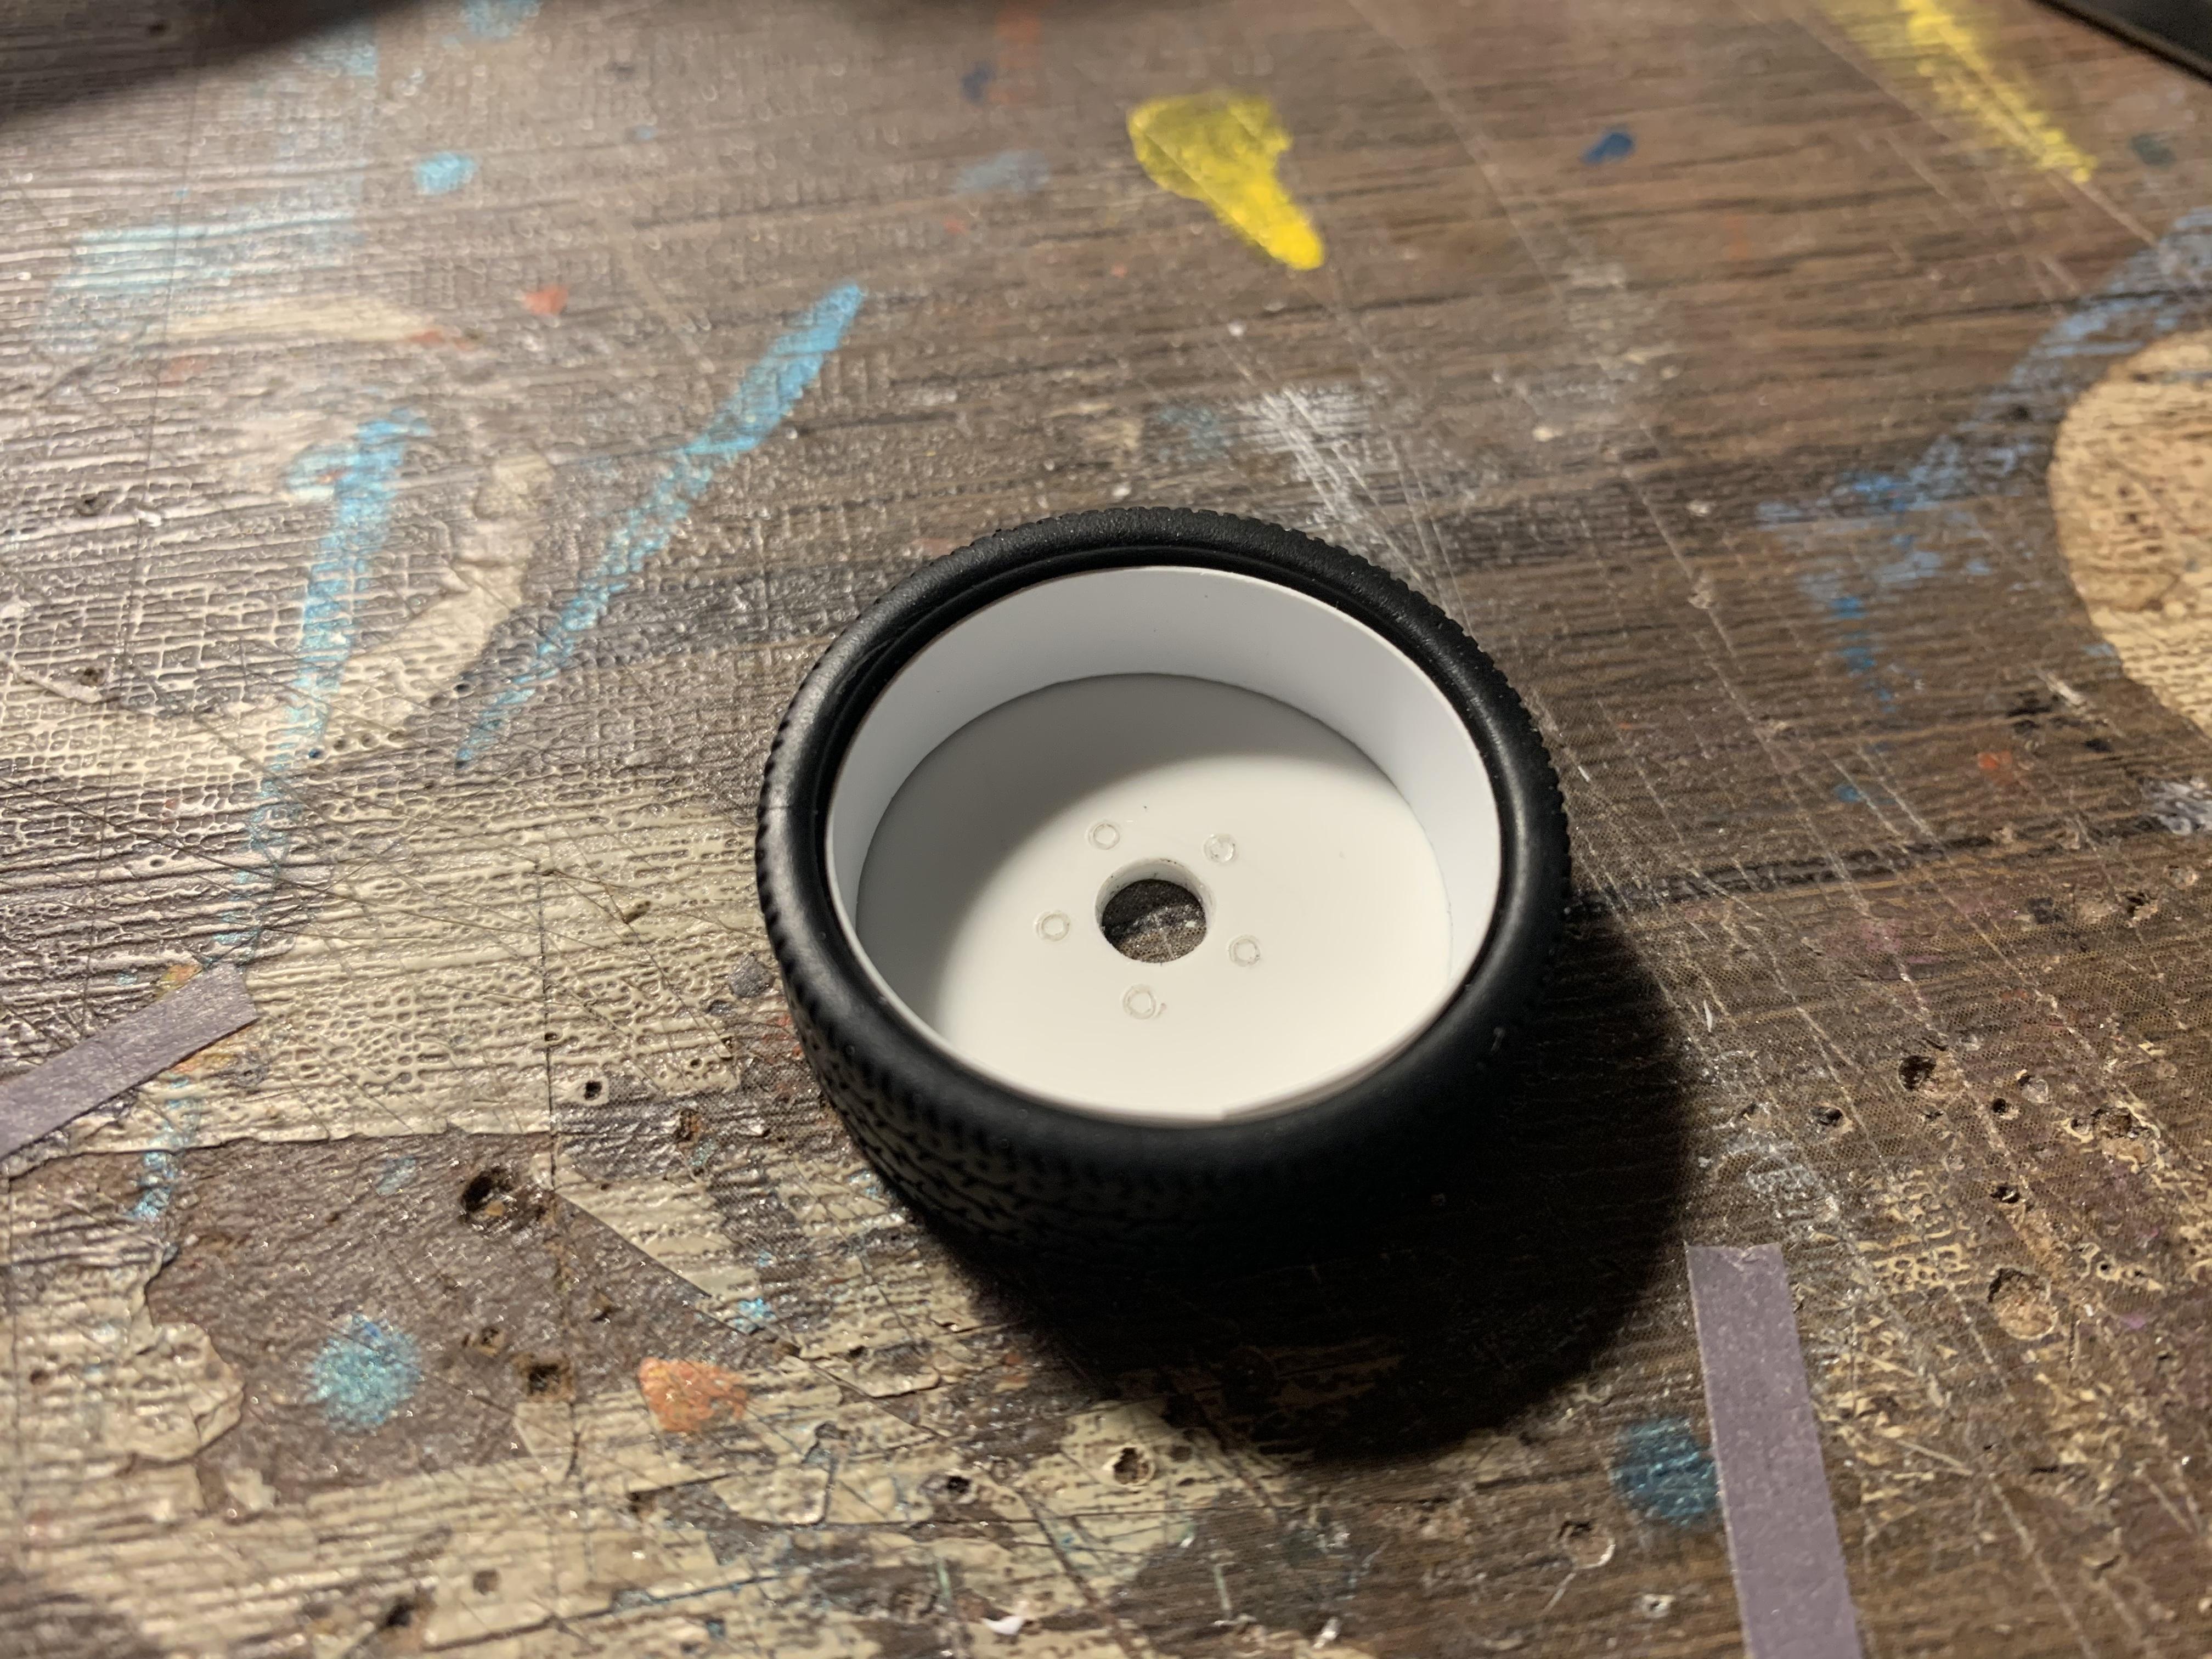
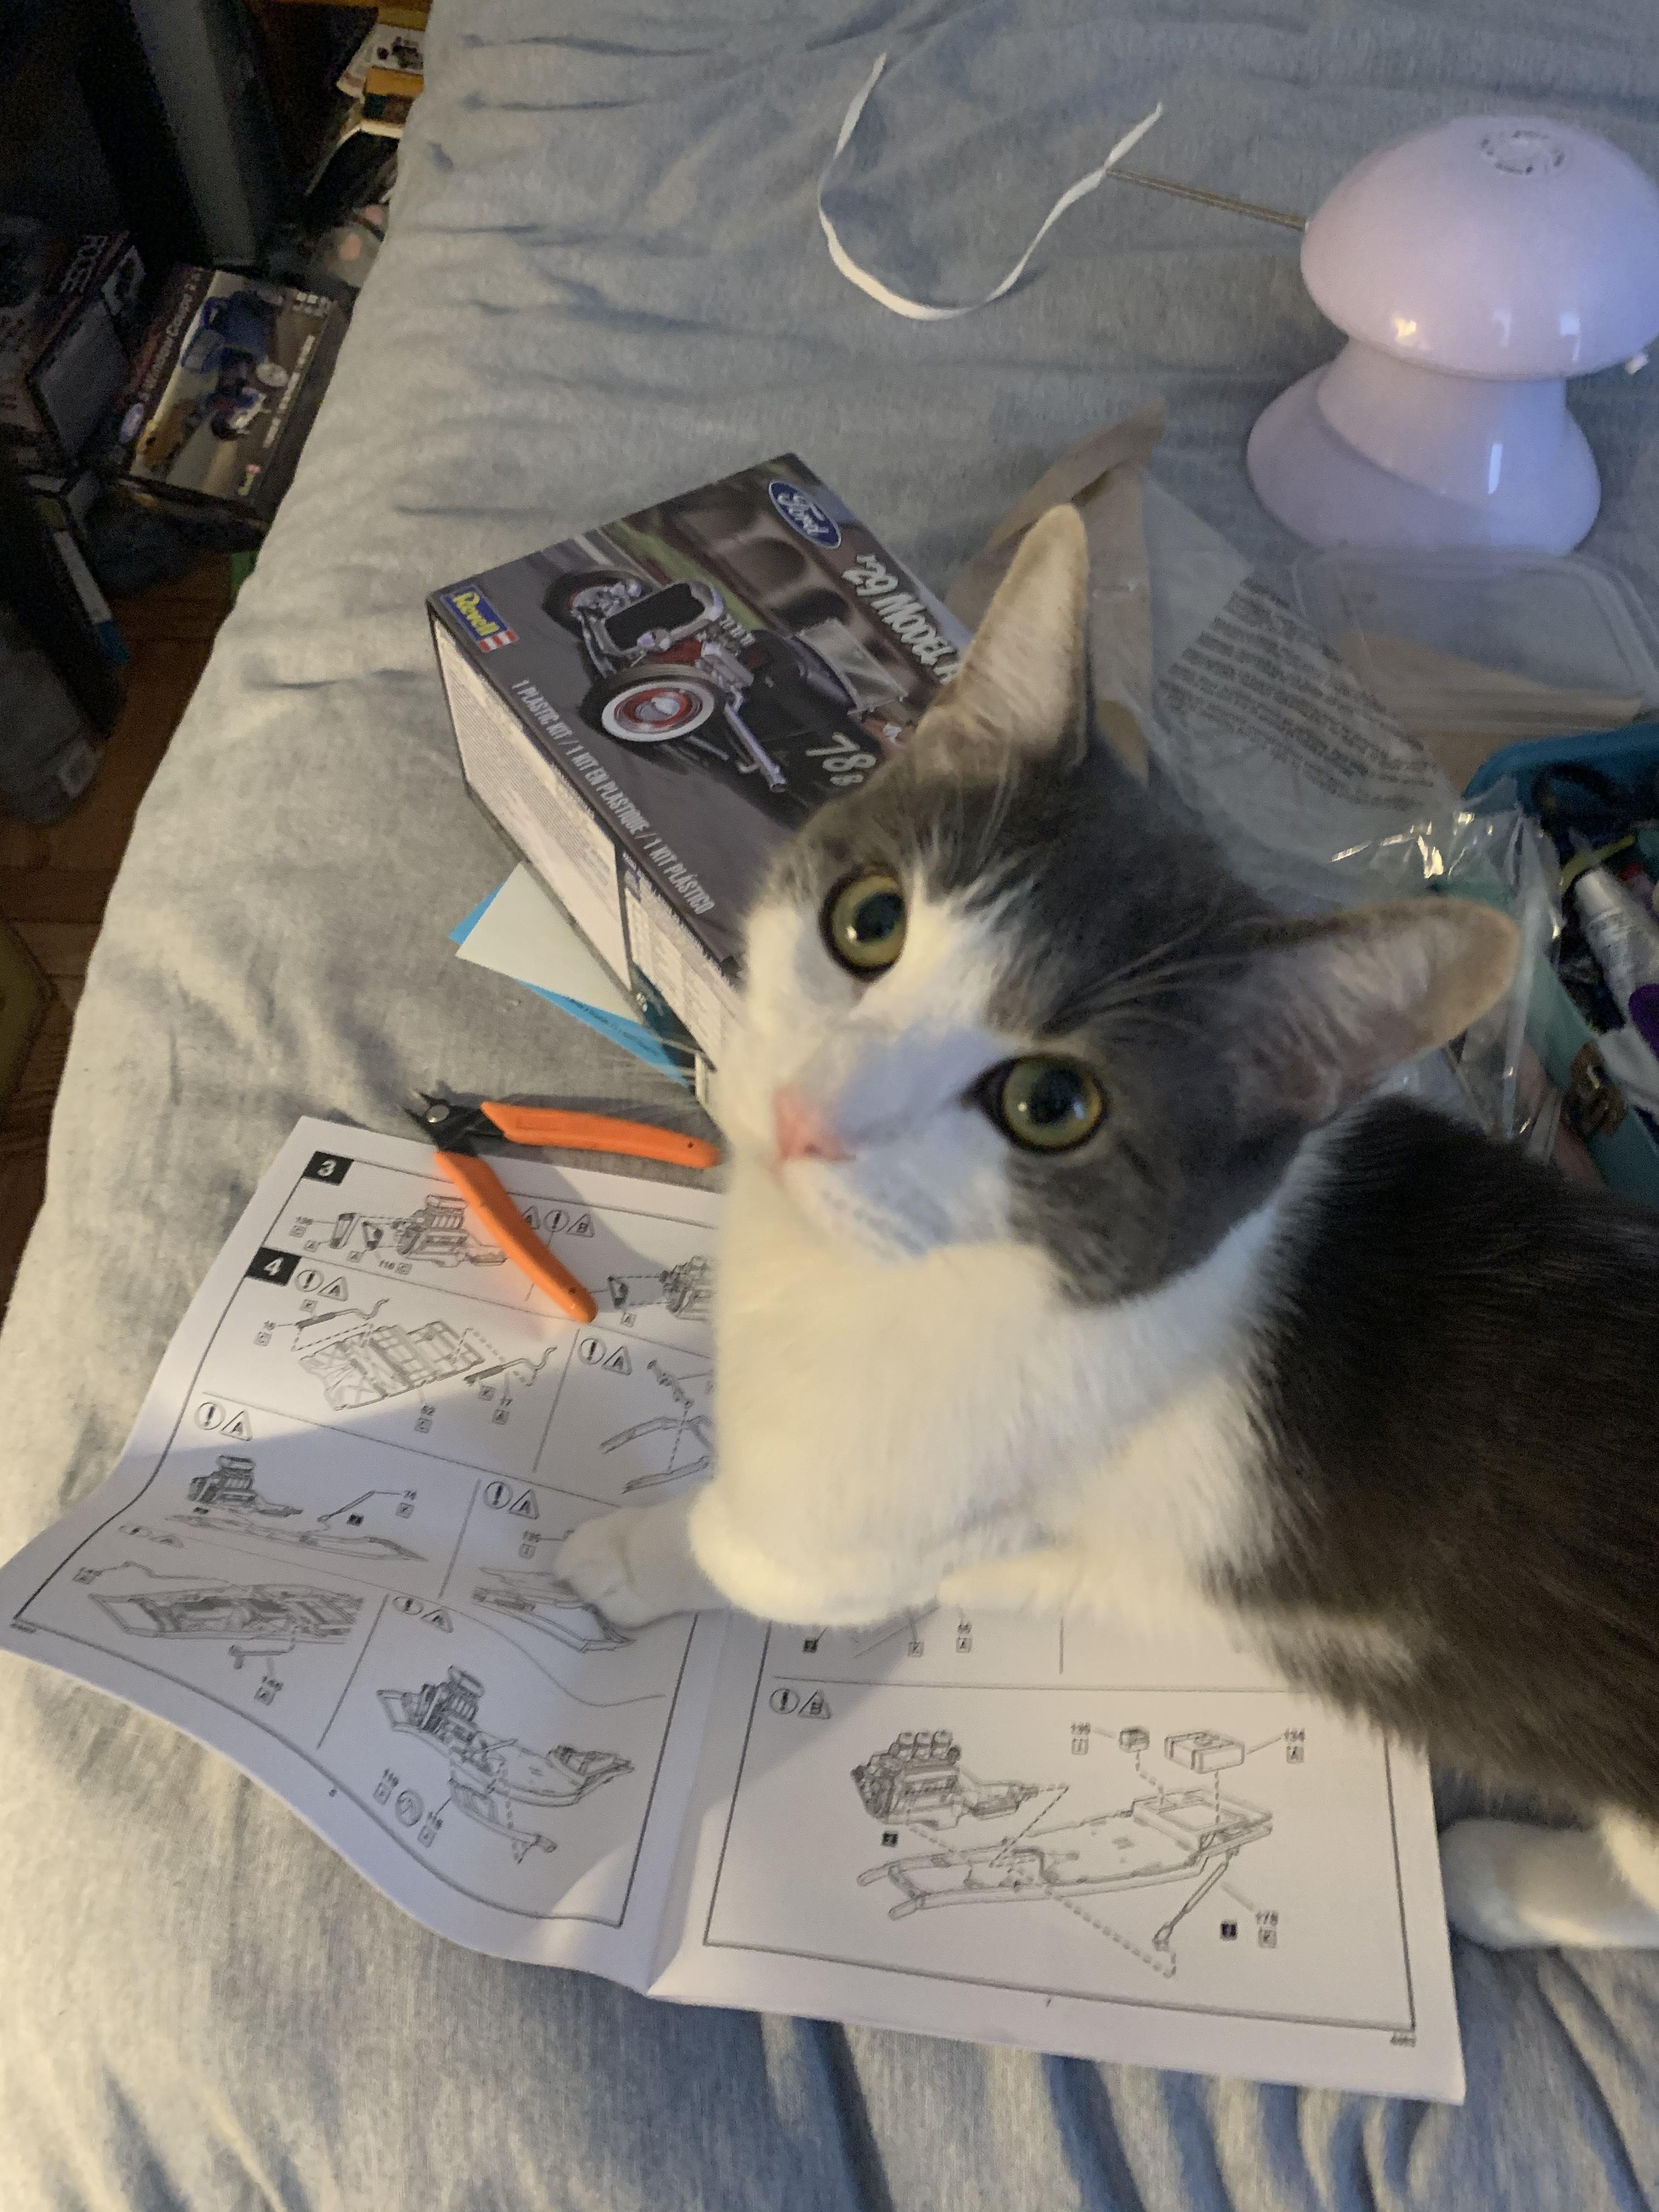
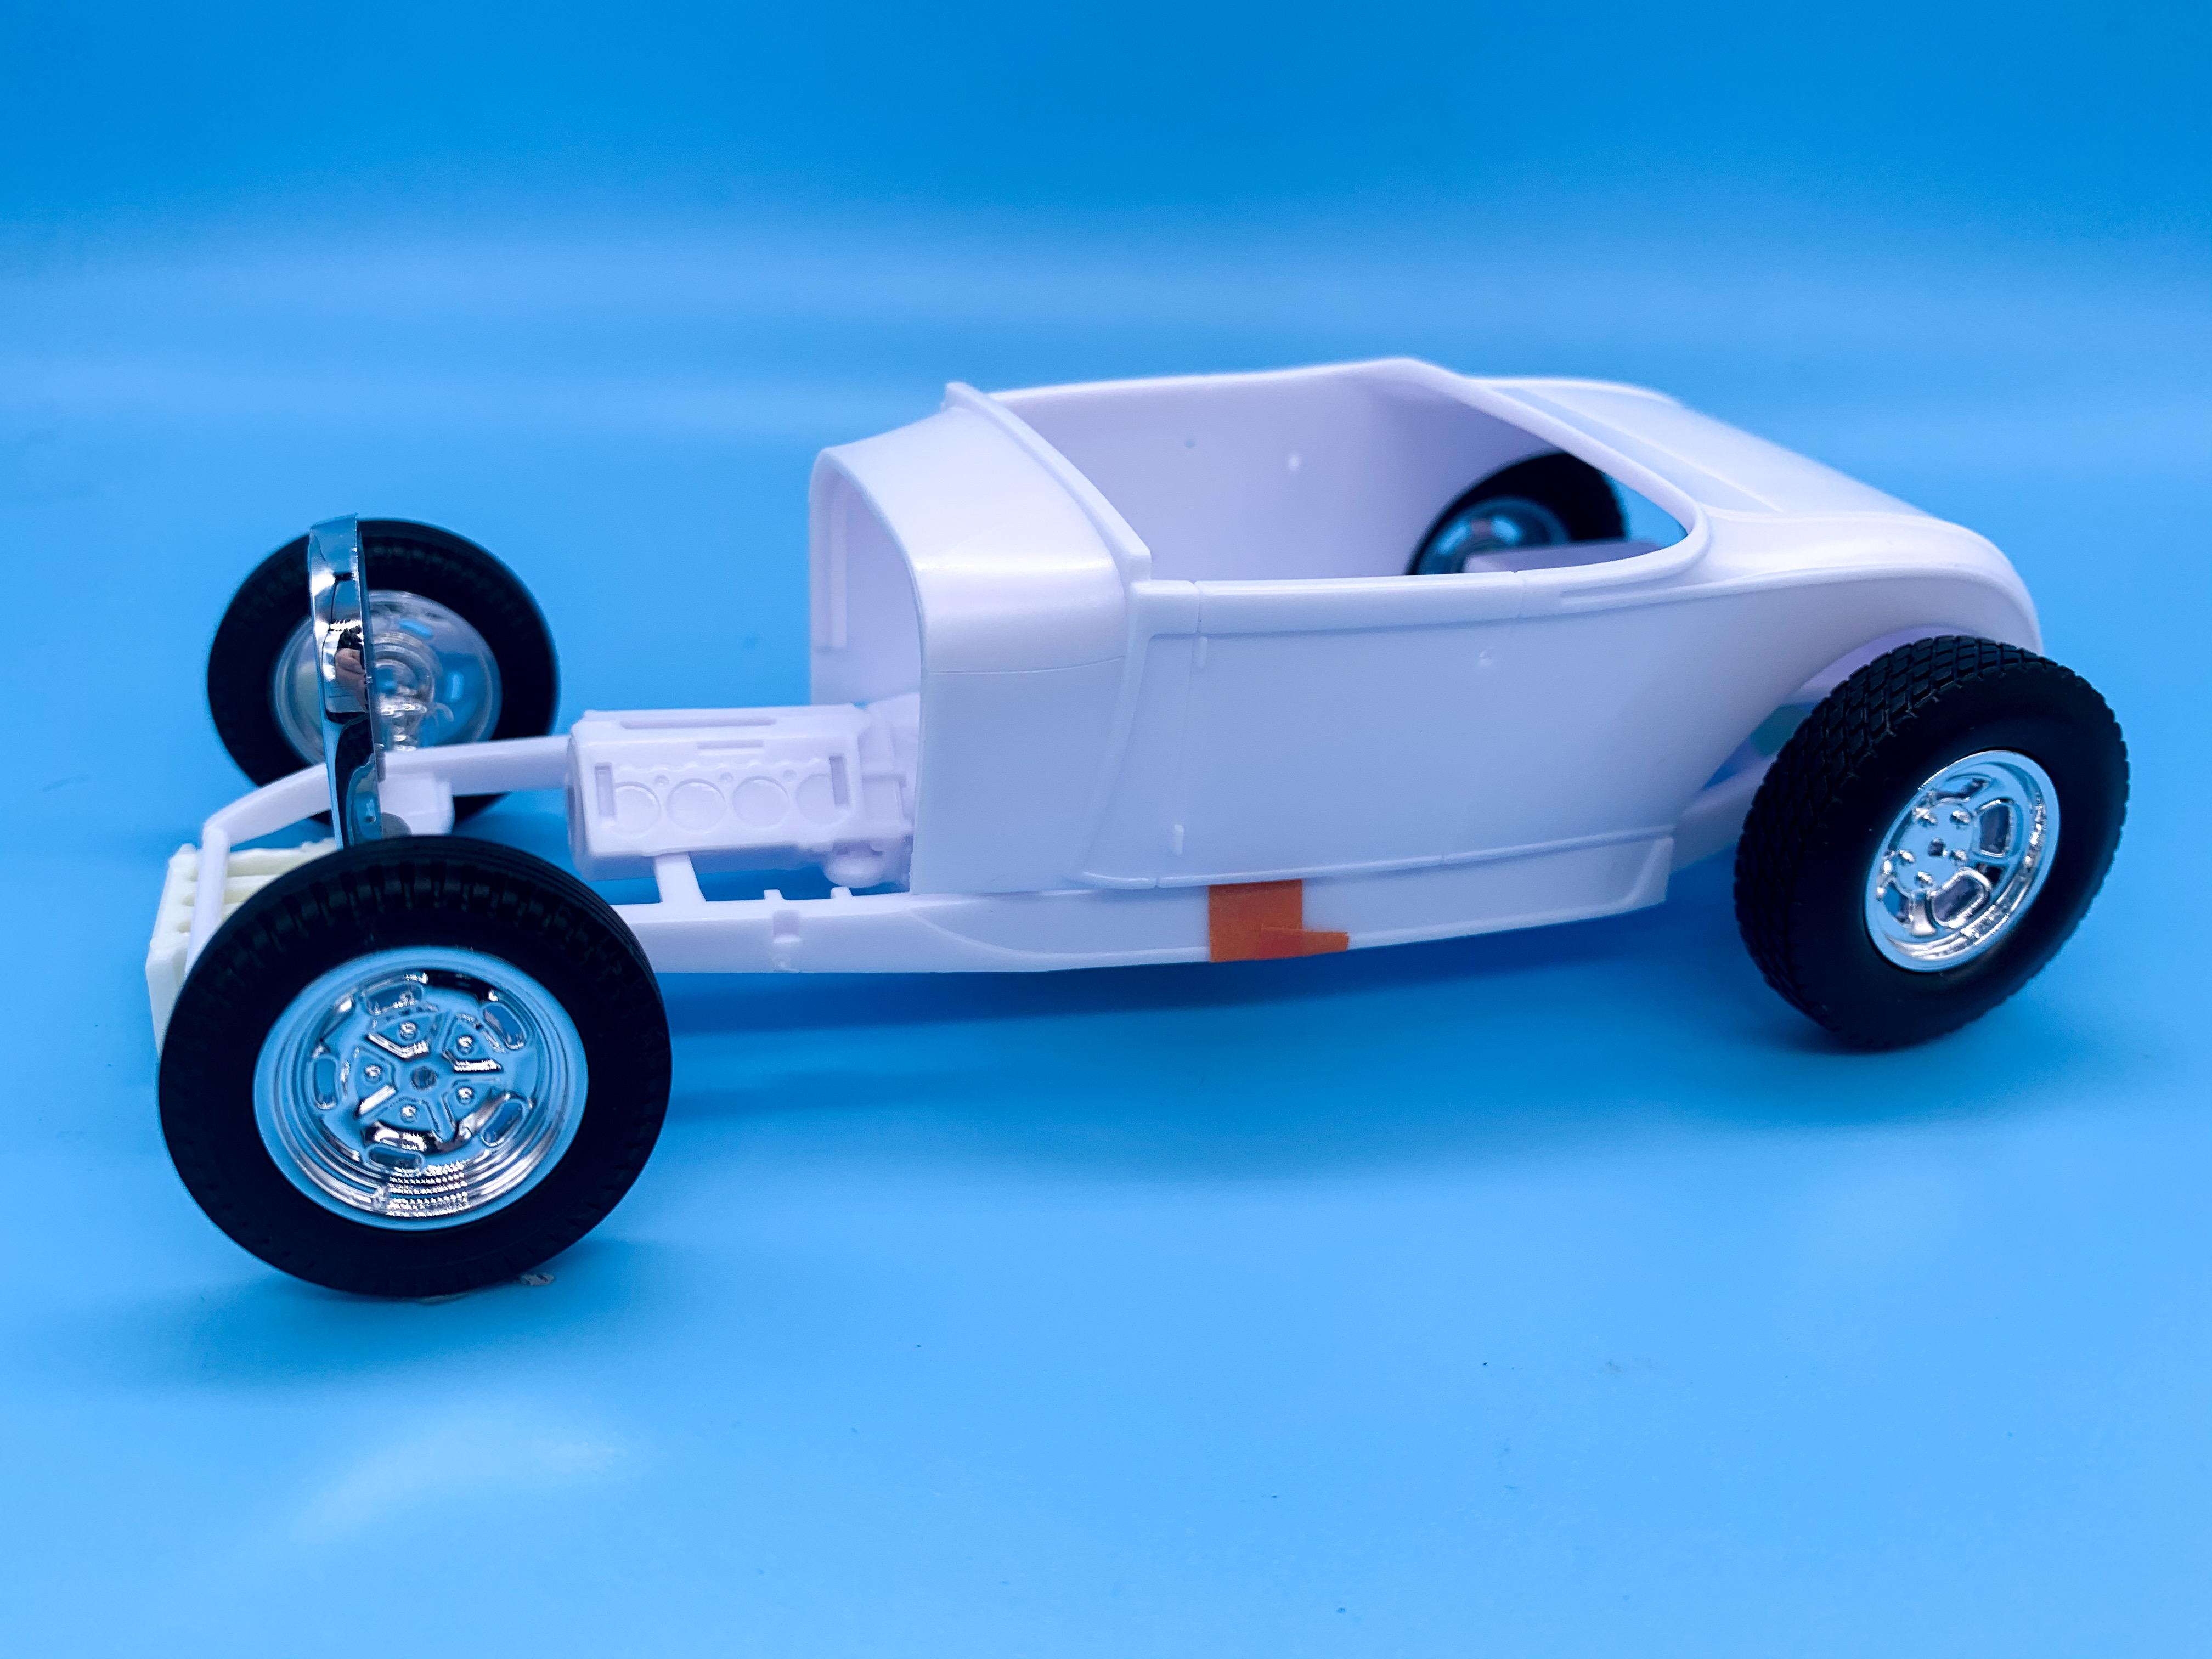
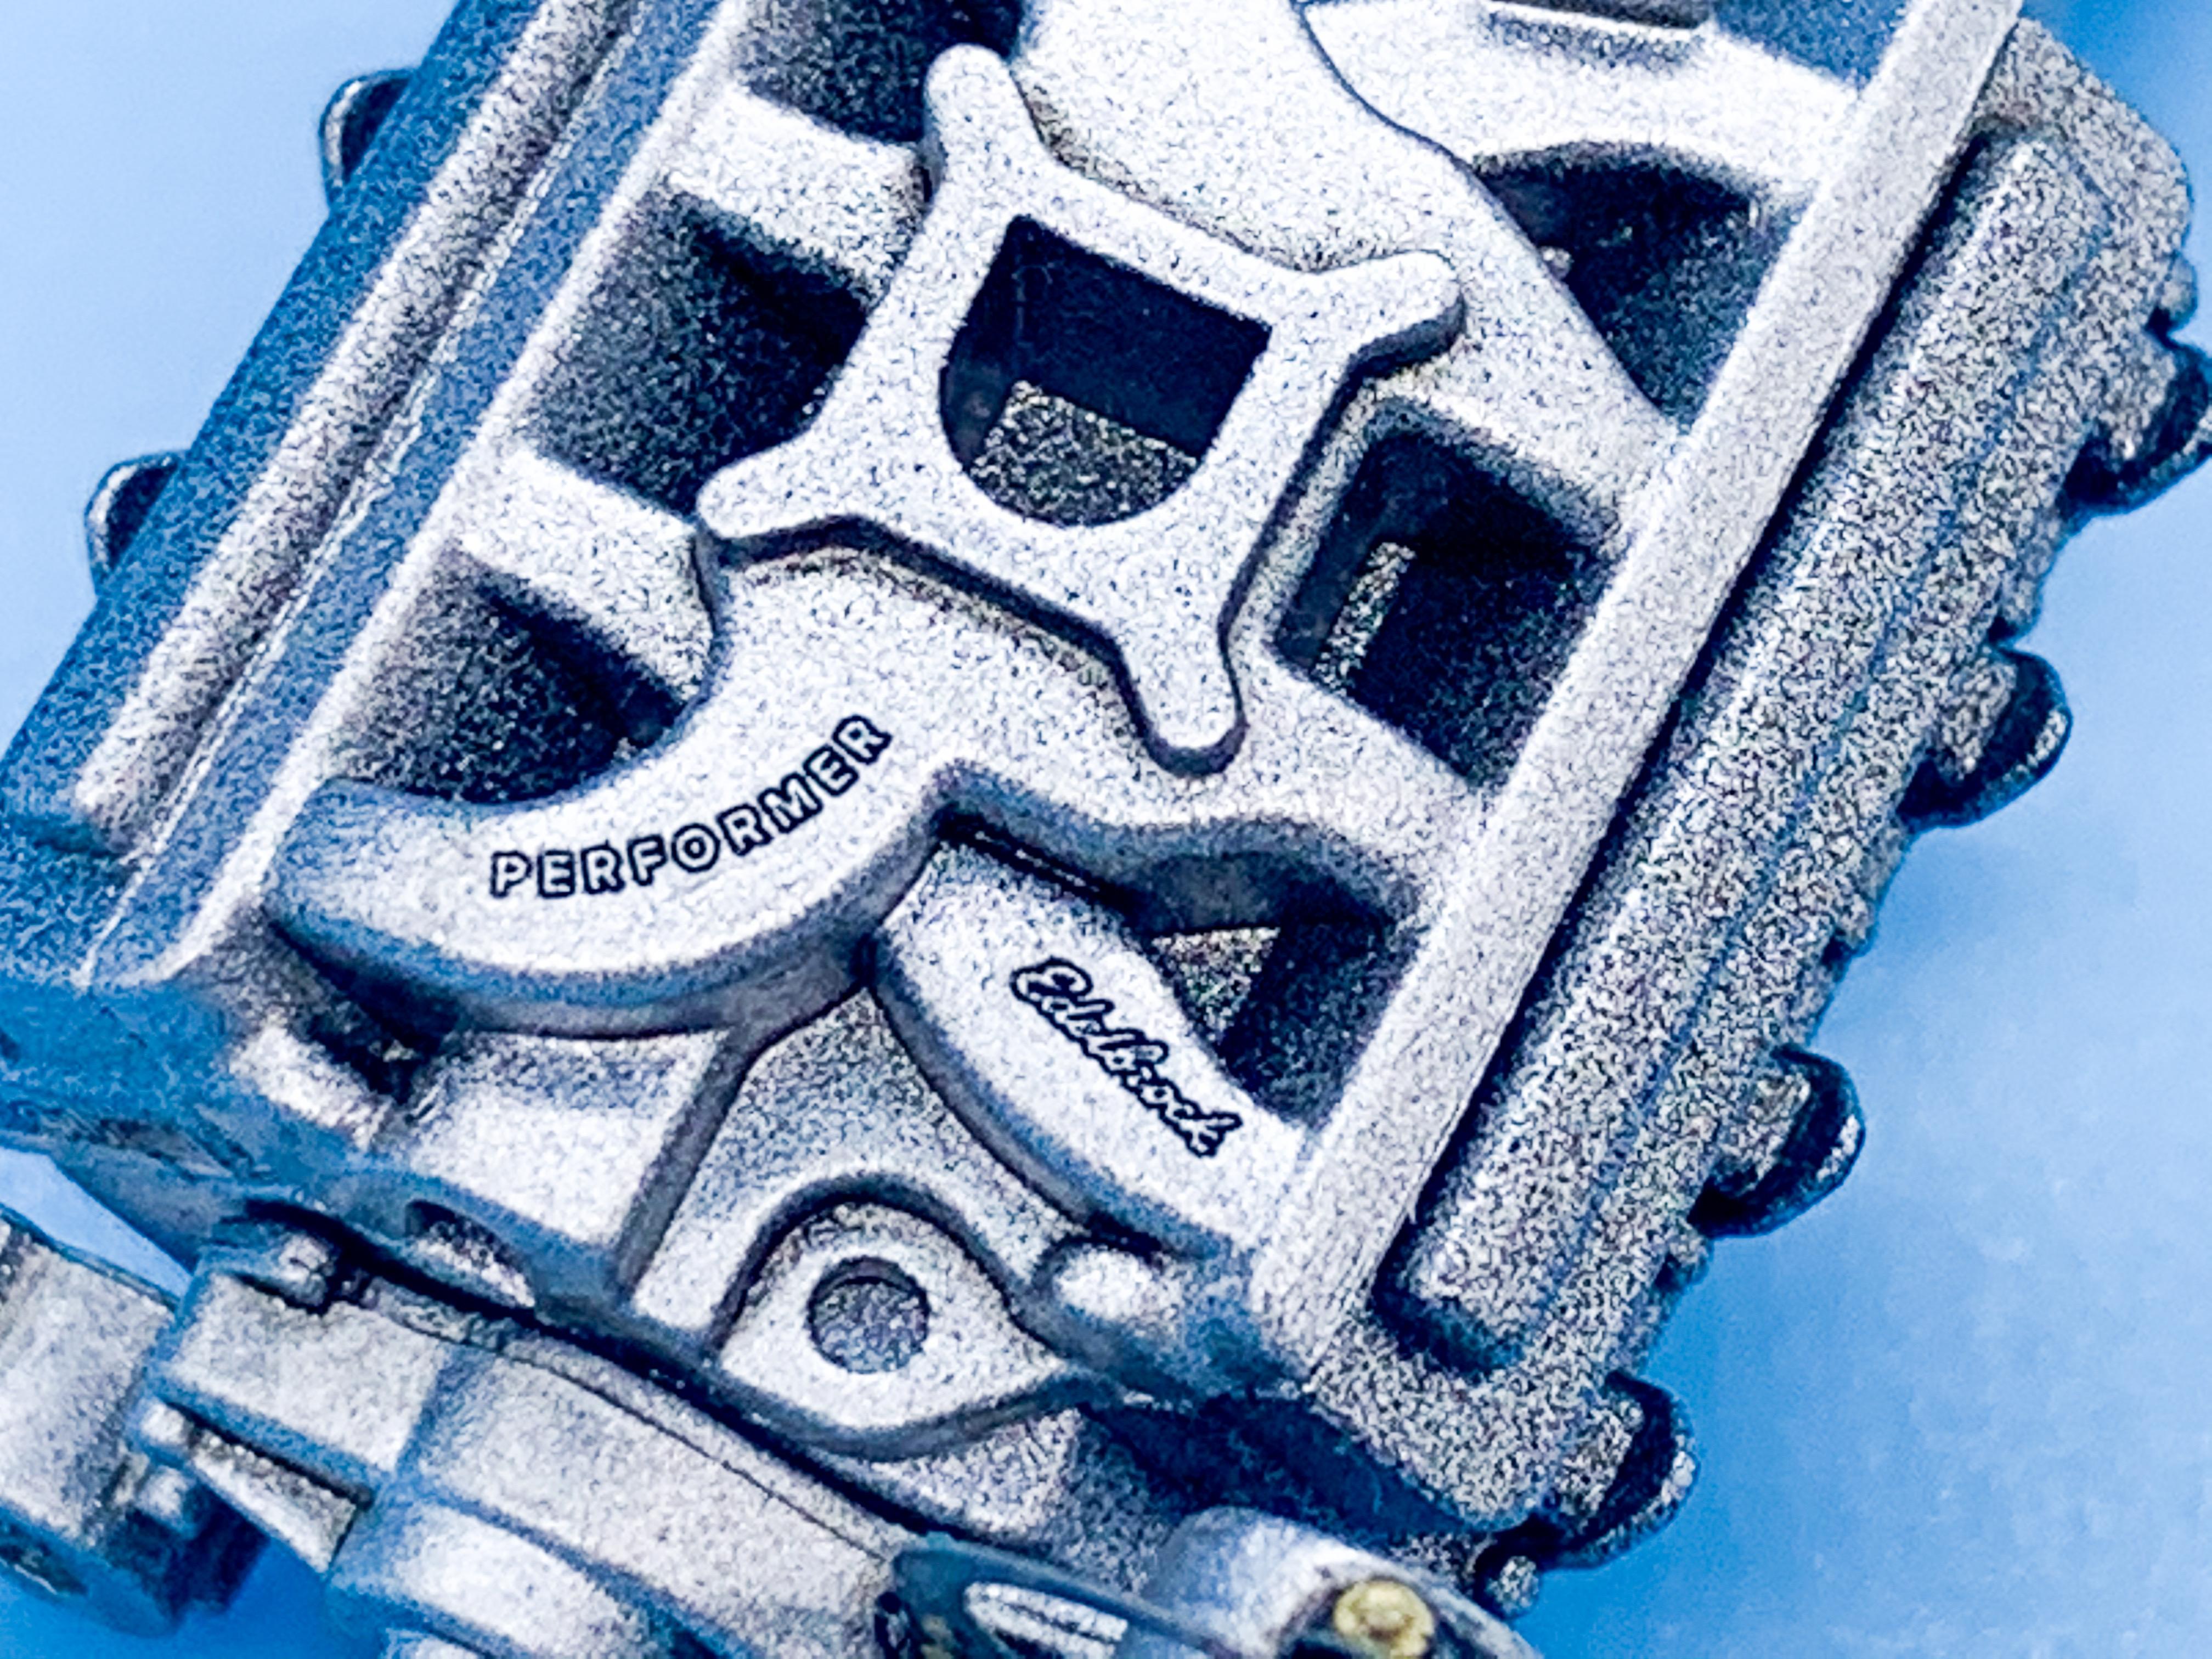
I’ve wanted one of these since the first time around! I nearly picked one up when they were originally issued but didn’t...then regretted it for a few years when the price was super high everywhere for them. Moral of the story: always buy the kits. I ordered this last week and paid for 2 day guaranteed shipping hoping it would avoid getting caught in the hell that is overloaded-NYC-USPS-distribution-centers lately, but the seller sent it USPS anyway so here we are 10 days later: I’ve got a BUNCH of ideas for these (in fact, I ordered 2 more today soon as I’d had a look in the box), but I figure first go around I should at least INTEND to build it mostly box stock. Except plug wires. Probably fuel lines. Maybe some photo tech. Maybe some resin stuff, etc etc ???. Mr Chips decided I’m going with Option A in the manual which is the Highboy version: I like it already! I would definitely mess with the stance a little on future ones, but I’m trying to exercise a little discipline for number one at least: First impressions are pretty good - I wish my chrome wasn’t scratched up from being bagged up with the regular parts, but the wheels made it out alive which was the main thing I didn’t want to have to redo so we should be good...here goes nothing! More soon, soon as I did something!
-
The trick with the Molotow seems to be to give it plenty of time to dry, but still handle it as carefully as possible when you’re done. I airbrush mine but it’s a slightly different technique to Alclad if you’re used to using that...rather than misting JUST ENOUGH on like you do with Alclad this stuff seems to work best if you apply it liberally, as though shooting a wet coat of clear. Unlike the Alclad you don’t need a gloss black base, but I’ll usually shoot one anyway so I can spot any flaws in the surface easily before proceeding to the next step. I need to try Alclad chrome again too - I haven’t used any since I started using this stuff but I’d like to compare them again now my skills have improved...
-
Outstanding work! The mix of textures and finishes on this build is really rewarding - and something I’m trying to do better at myself! I’ll be watching! ?
-
Looks like you’re going to have some fun cleanup on that frame ? I like how it sits with the body on though - keep going! ??
-
'29 Ford Highboy Roadster with old black paint
OldNYJim replied to Bernard Kron's topic in WIP: Model Cars
Outstanding!! Looks GREAT! You can almost smell that old-car smell! I’m a sucker for cheap paints too - I’ll always pick up anything that seems like it might be useful one day, even if I don’t have a use for it right there and then -
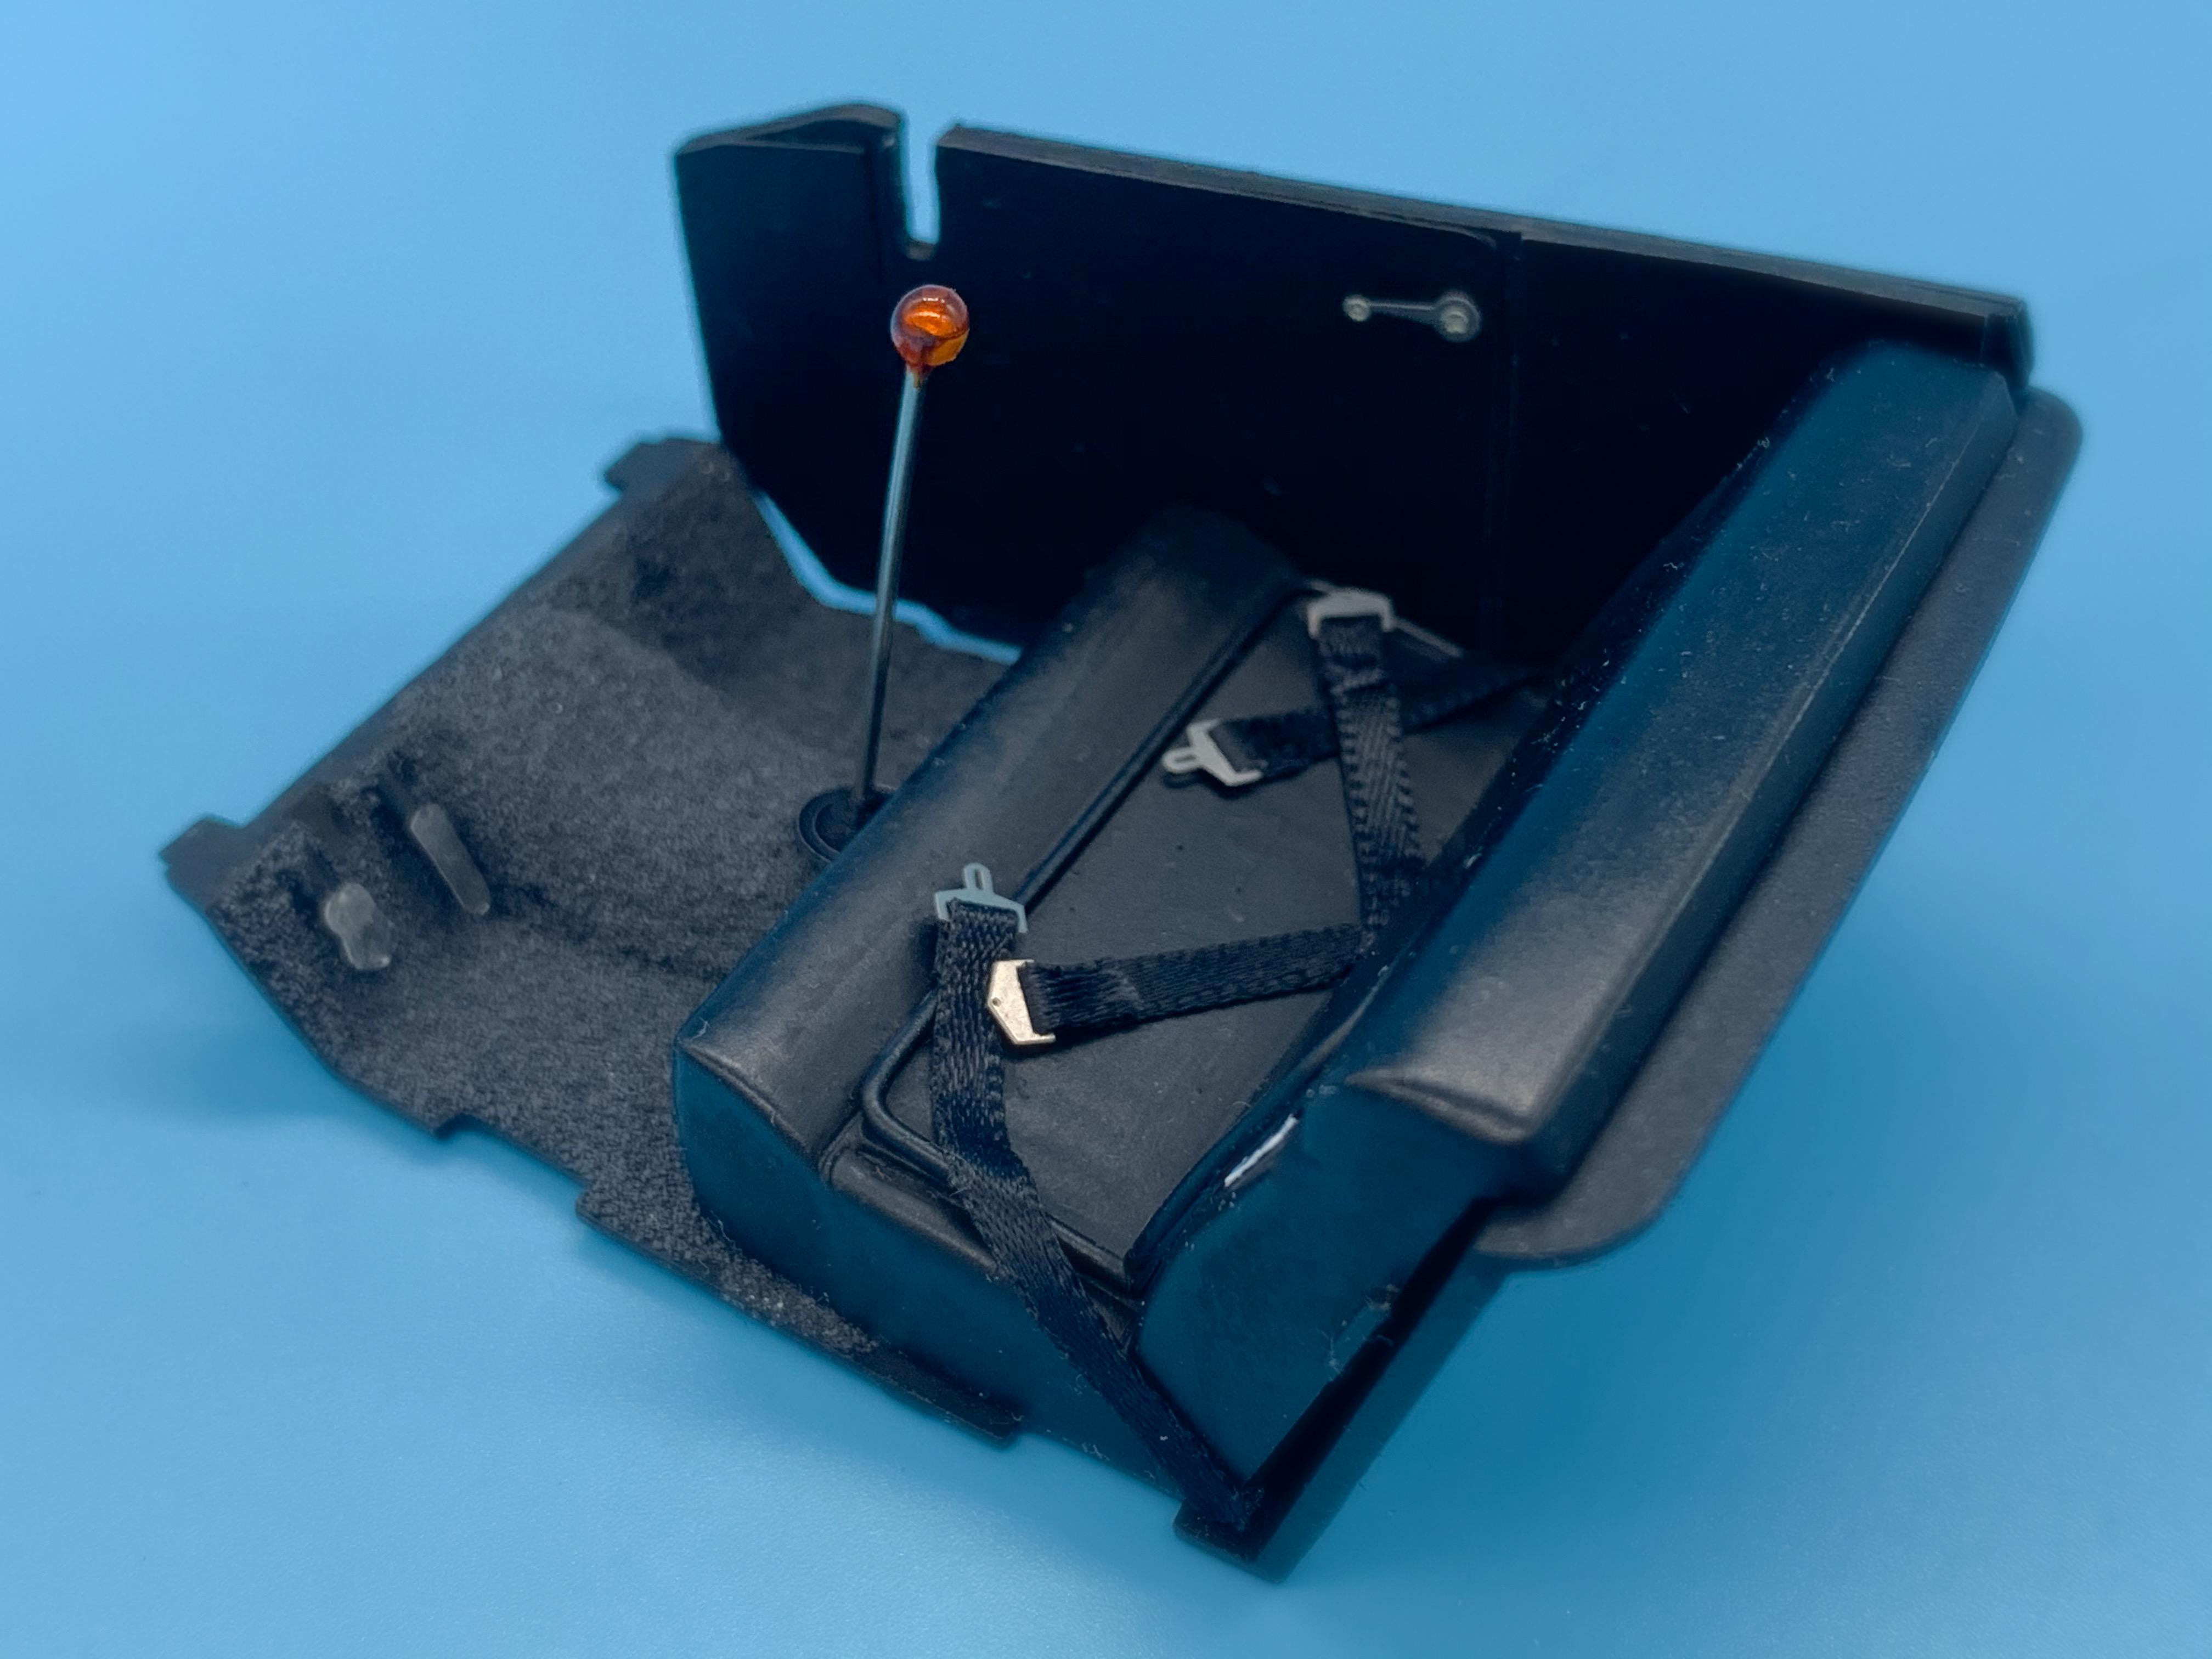
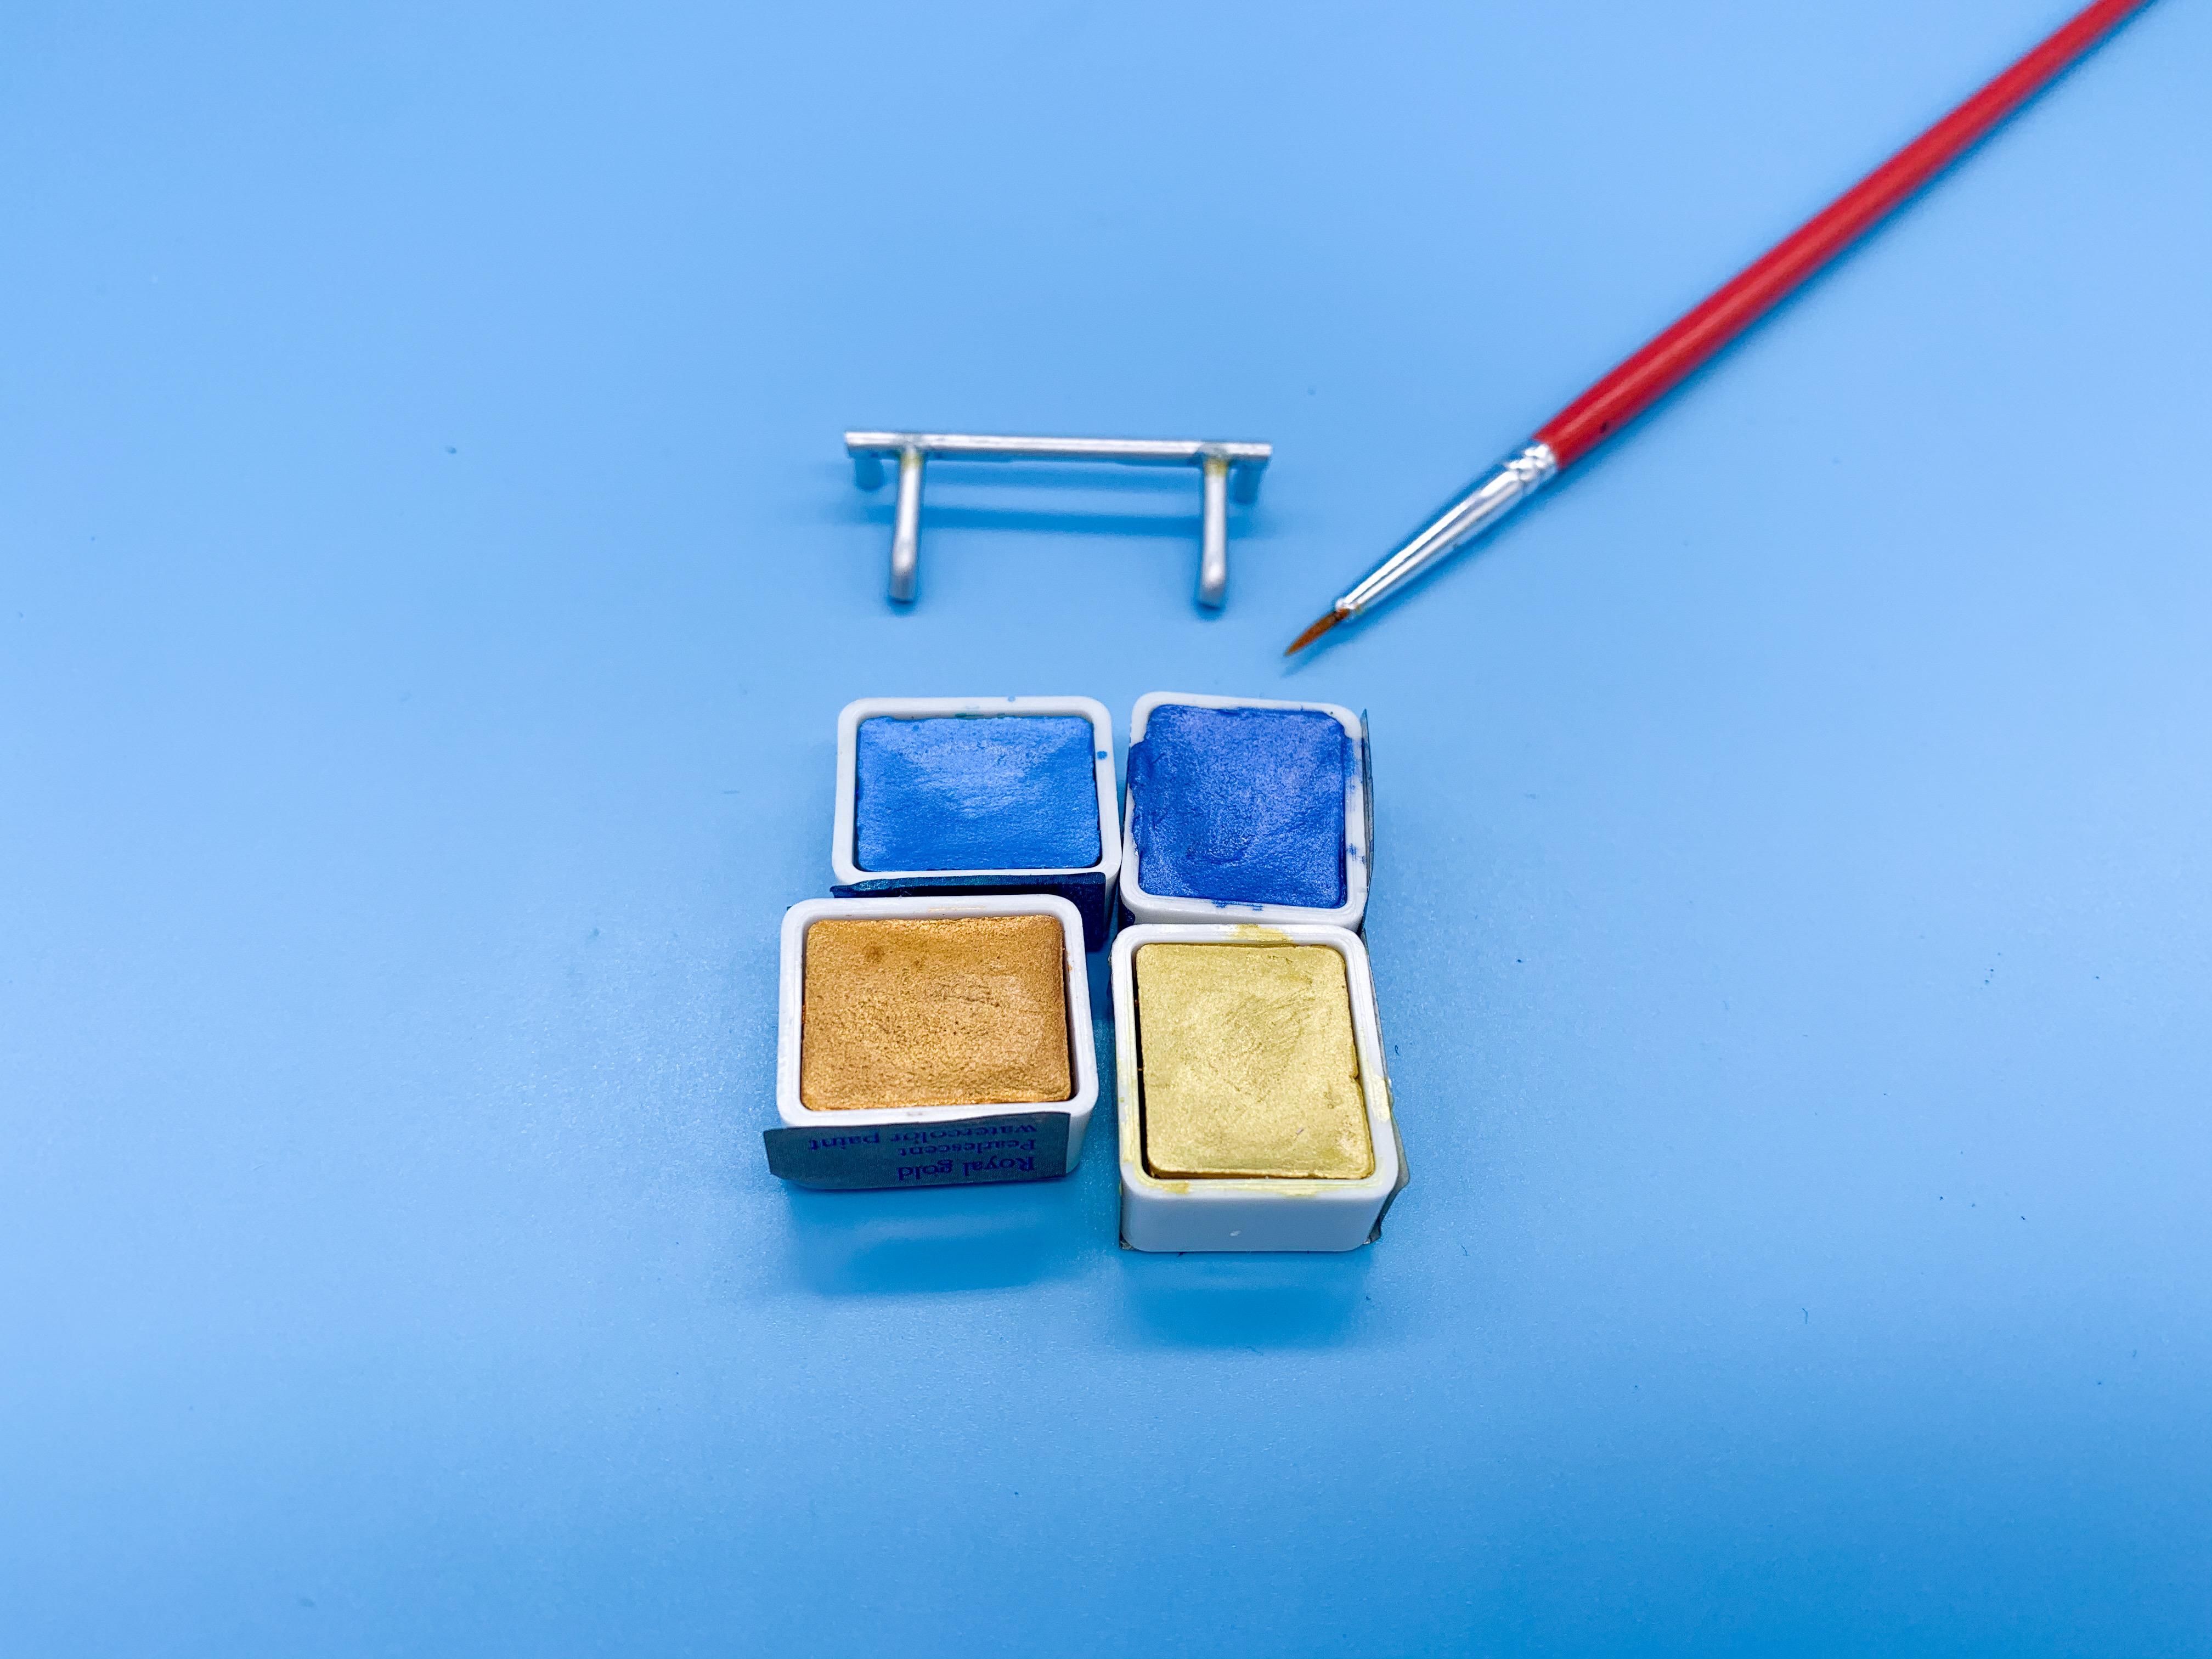
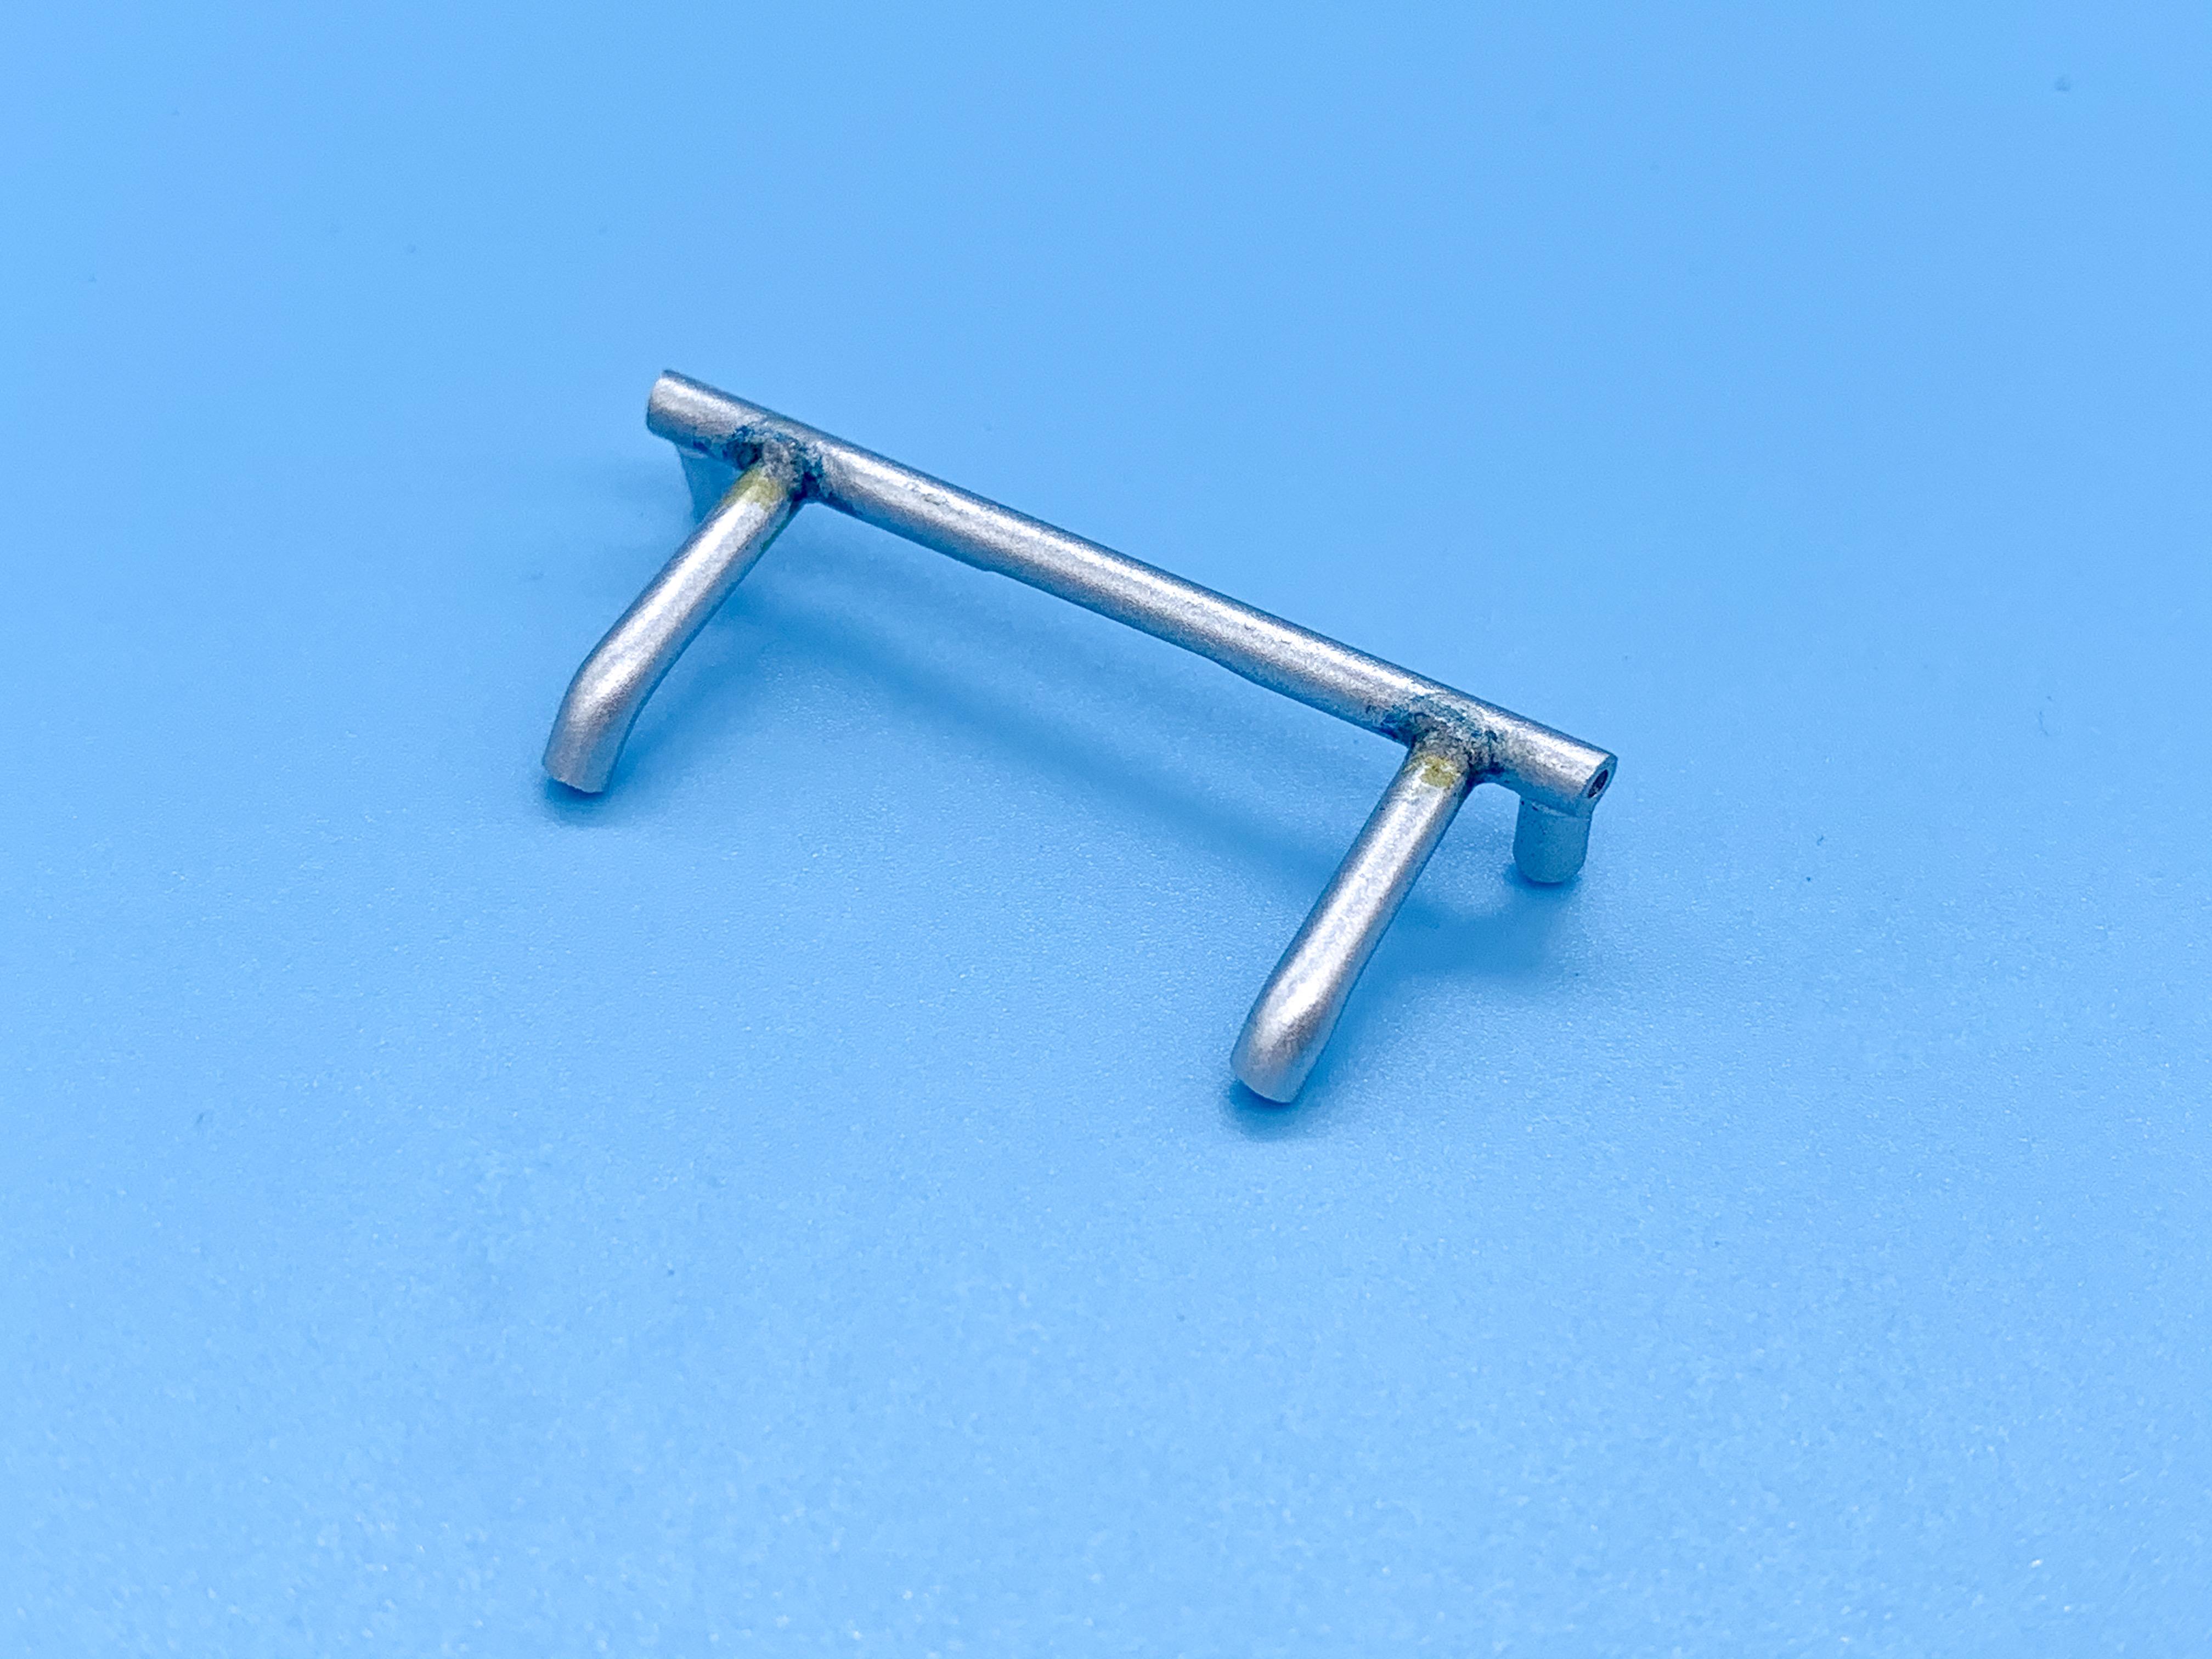
Thanks fellas! Waiting for paint to dry so working on a bunch of tiny little details...flocked the carpet and added some PE pedals - and make a little shiftknob to match the body: (I know it’s an automatic trans - but you gotta be able to shift it into park or drive or whatever, right? So...manual looking shifter ??♂️) I wanted to do some heat-staining on the exhaust once the Molotow has dried enough that I trust it not to smudge, but I also had this little metal crossmember that I made to replace the kit one that I thought would be a fun piece to try out these new metallic water colors that my wife picked up a couple of weeks back: Worked pretty well! More soon!
-
Lola T89 F3000 Car
OldNYJim replied to Art Laski's topic in Other Racing: Road Racing, Salt Flat Racers
Absolutely outstanding work - I really admire and appreciate your work, and the fact that you take the time to document and share it. -
Absolutely stunning build - really really impressive!
-
I think so to...hopefully it fits EASILY ? My kit got to the local sorting office 3 blocks away and got stuck there - I’m excited to get started on one of these finally!
-
I can imagine arriving at the show, putting the ‘63 Impala’ down with the other 63 Impalas and wondering why all the others look different ?
-
Those are maybe the best scale headers I’ve ever seen. Pity the post is nearly a decade old because I’d like to find out more about how those were done! ?
-
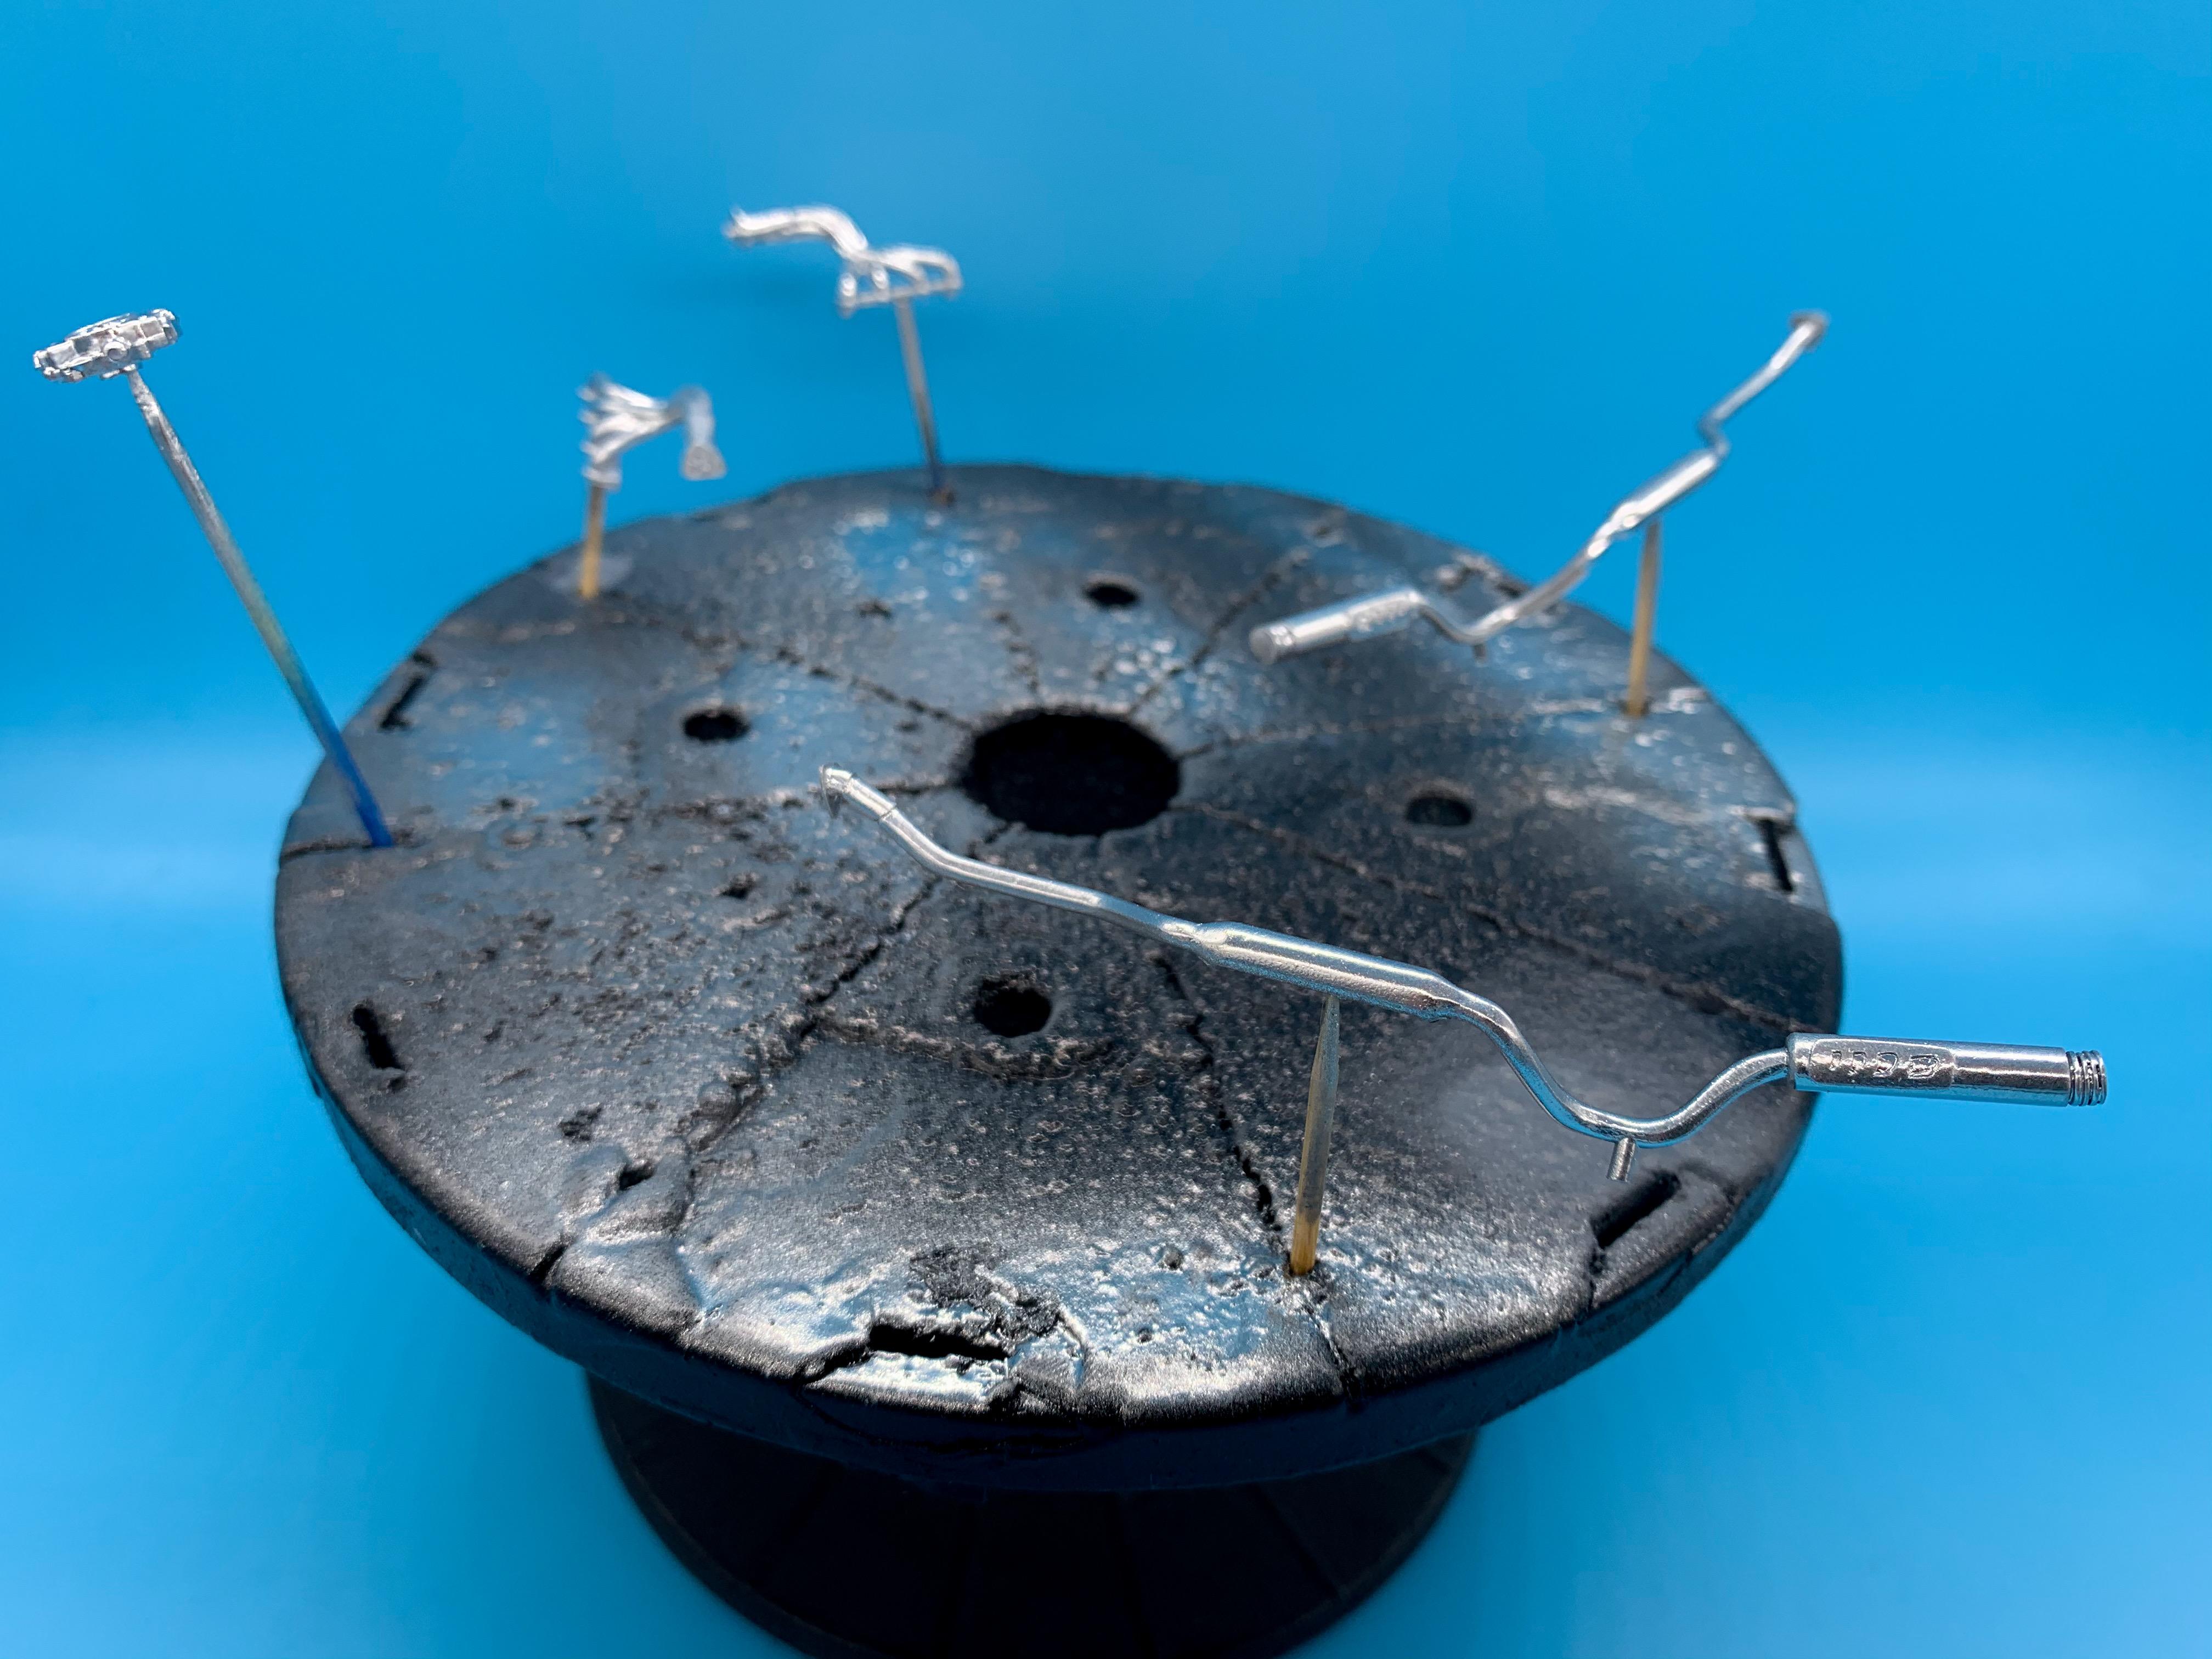
A little more on this one...laid a BUNCH of decals on the engine - Revell really stepped up with the Foose kit! I’ve since cleared all the black parts and they’re nice and smooth and will be ready to install once the paint has dried enough that I won’t put a fingerprint in them ? Meanwhile, a little work on the interior...added some photoetch door handles, seatbelts and so on...nothing too fancy since it’s hard to see in a Coupe anyway, at least when it’s on my shelf ? And finally, a little work on the dash - used some Gopher racing gauges and made some chrome trim rings for the instrument panel...I haven’t mastered making a ring without a visible seam yet but if you put the split part at the top they’re near impossible to see with the dash in the car anyway so no biggie... Oh, and I chromed a bunch of little parts - they’re in the “can’t touch ‘em yet’ stage for a week or so too... More soon, soon as I’ve done more!
-
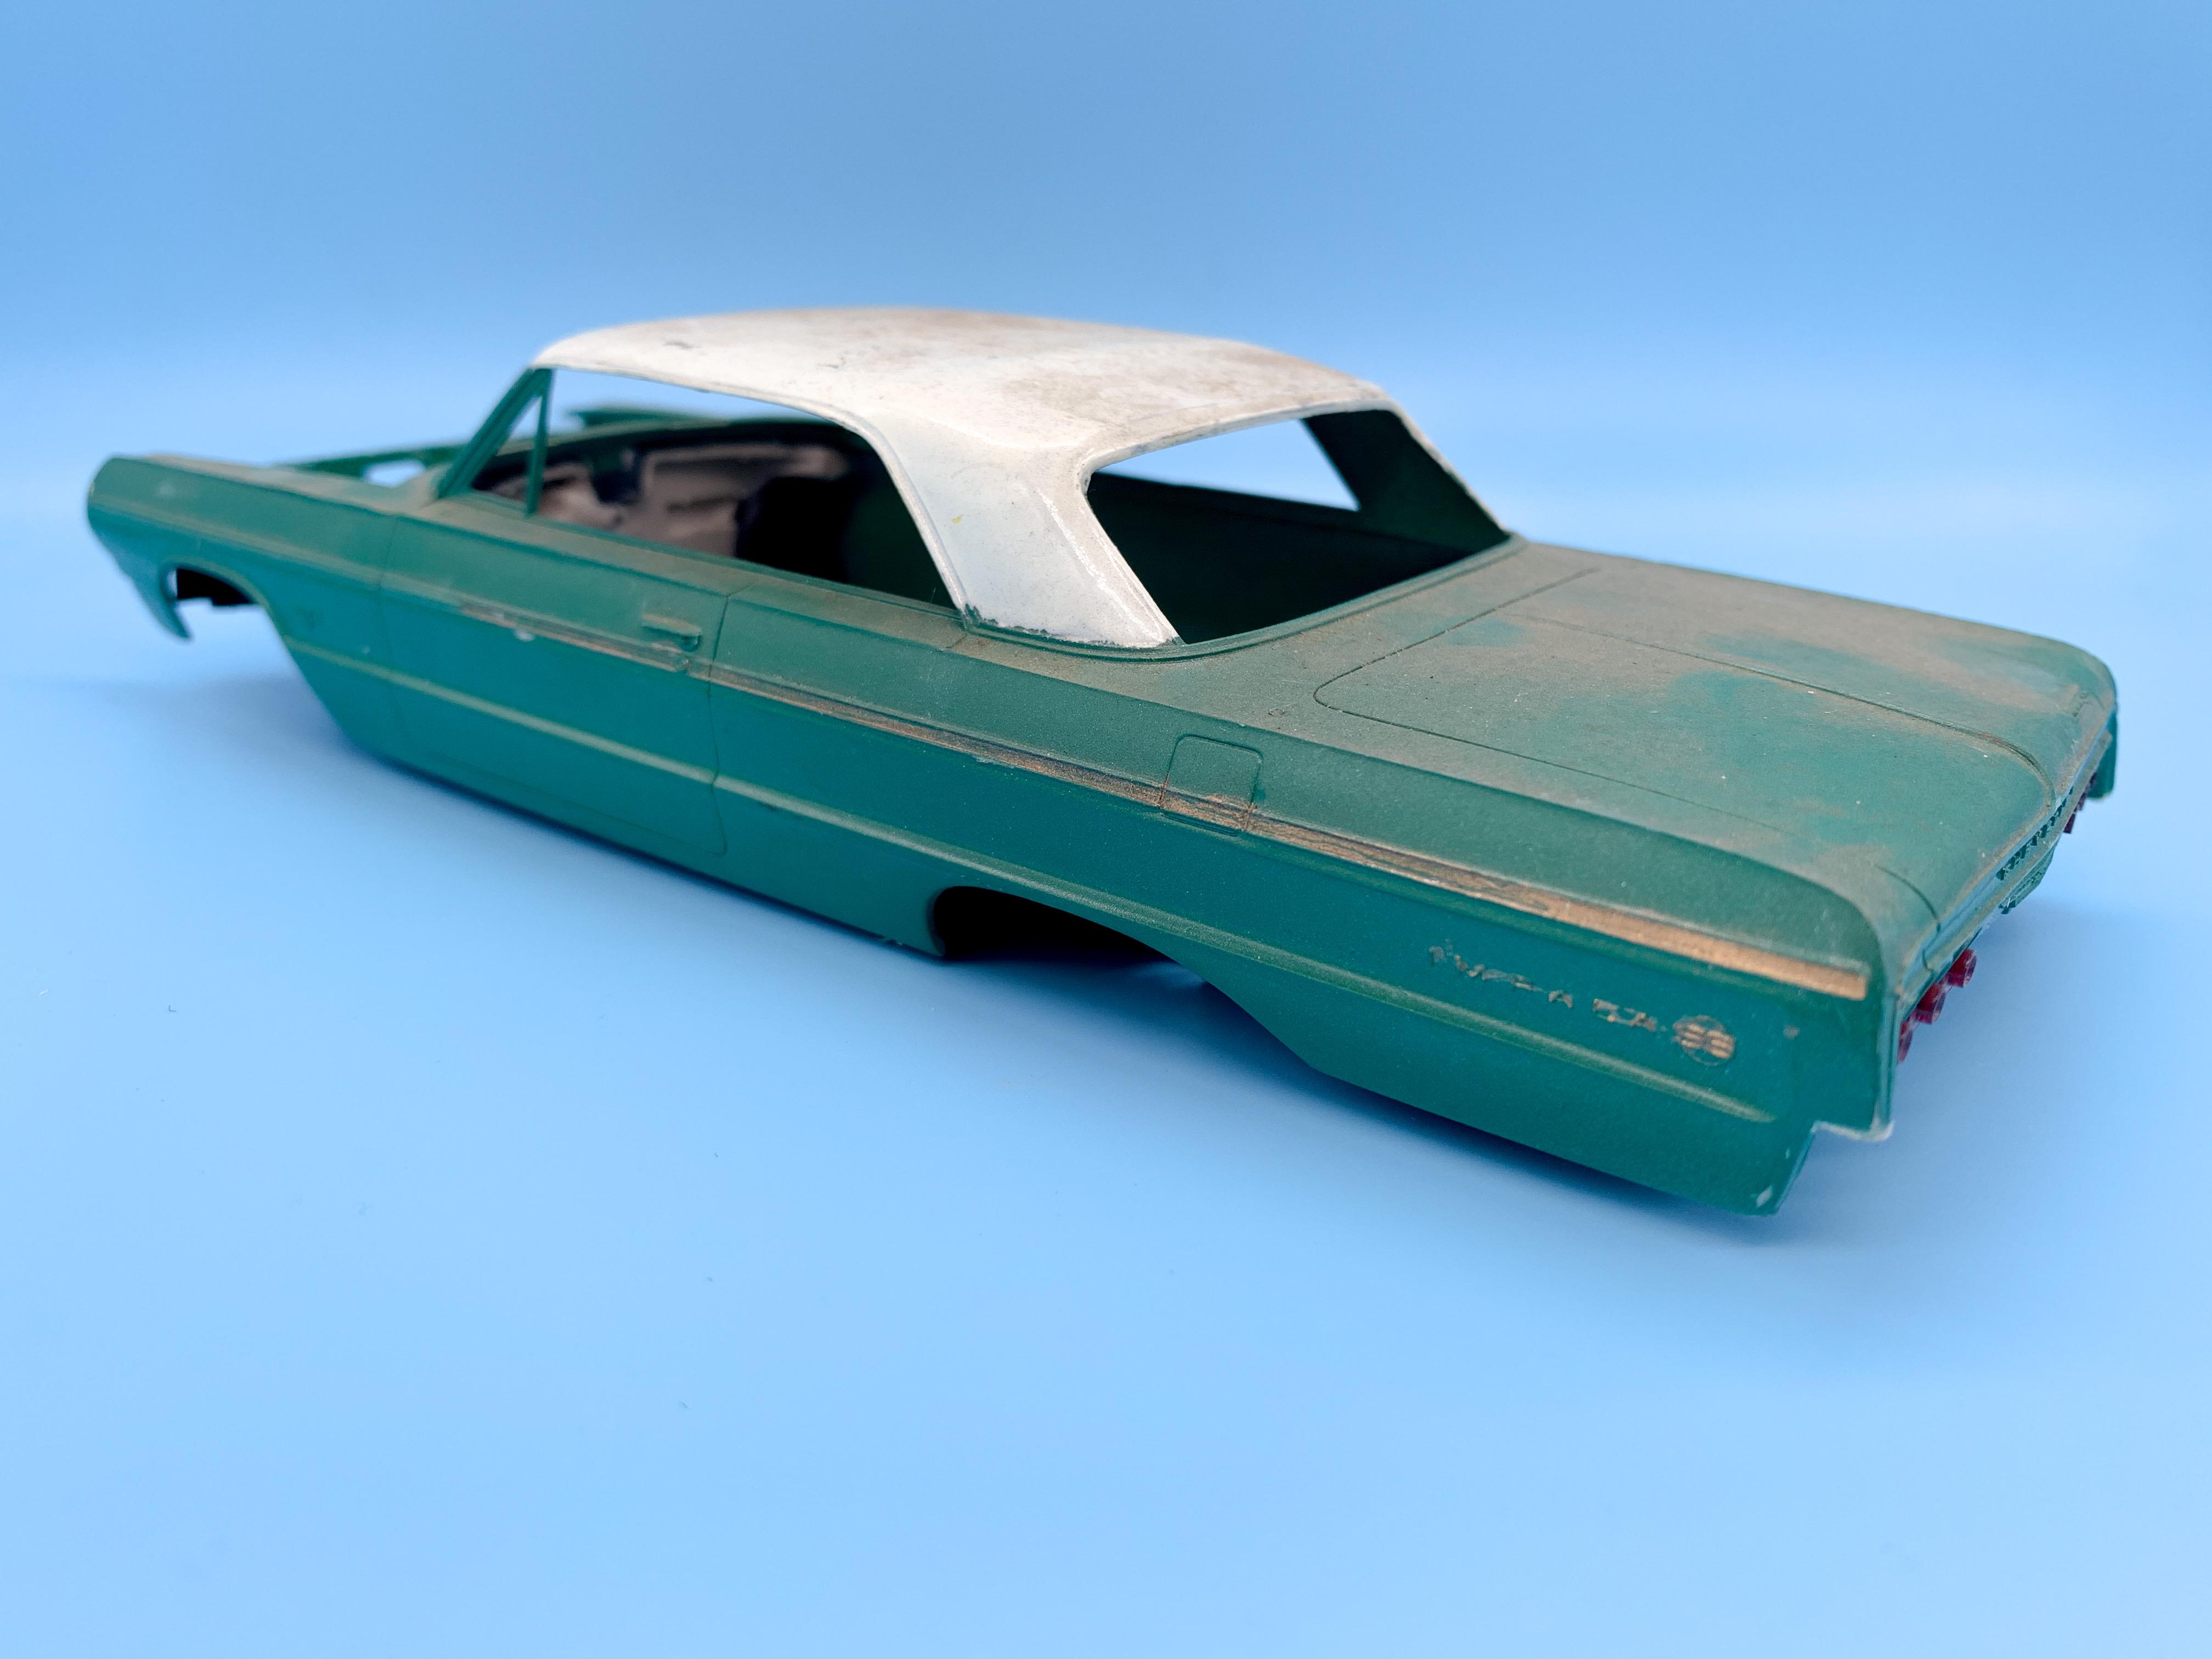
Haha! Yes sir! Everything seems to fit pretty well from the little mock-up I did with my left-over ‘63 parts...doesn’t seem like AMT went to much effort to change their 63 tooling to 64 tooling, luckily for me. It was listed as “63 or 64” and the photos weren’t too good, so I was hoping it would be a 63, but near enough for what I wanna do with it... I can’t enter it in NNL East’s 63 Impala class...but I’ll have fun building it anyway!
-
Built an AMT 63 Impala for NNL East earlier in the year but only really used the body, so I had basically an entire kit left over...found this body on eBay for $3 and change and it arrived today. Got a whole new kit to build now! ??
-
Ohh man, what a cool concept!! LOVE it!
-
Doesn’t stop one of their sellers listing them though, which happened - just ordered mine! Curious to see if the 5.0 Mustang engine from the Deuce kits will drop in there nicely so I can run a Ford in a Ford...and presumably if it fits without too much trouble then the other engines from the 32s will too! Would be cool to mix and match parts from the two series of kits!
-
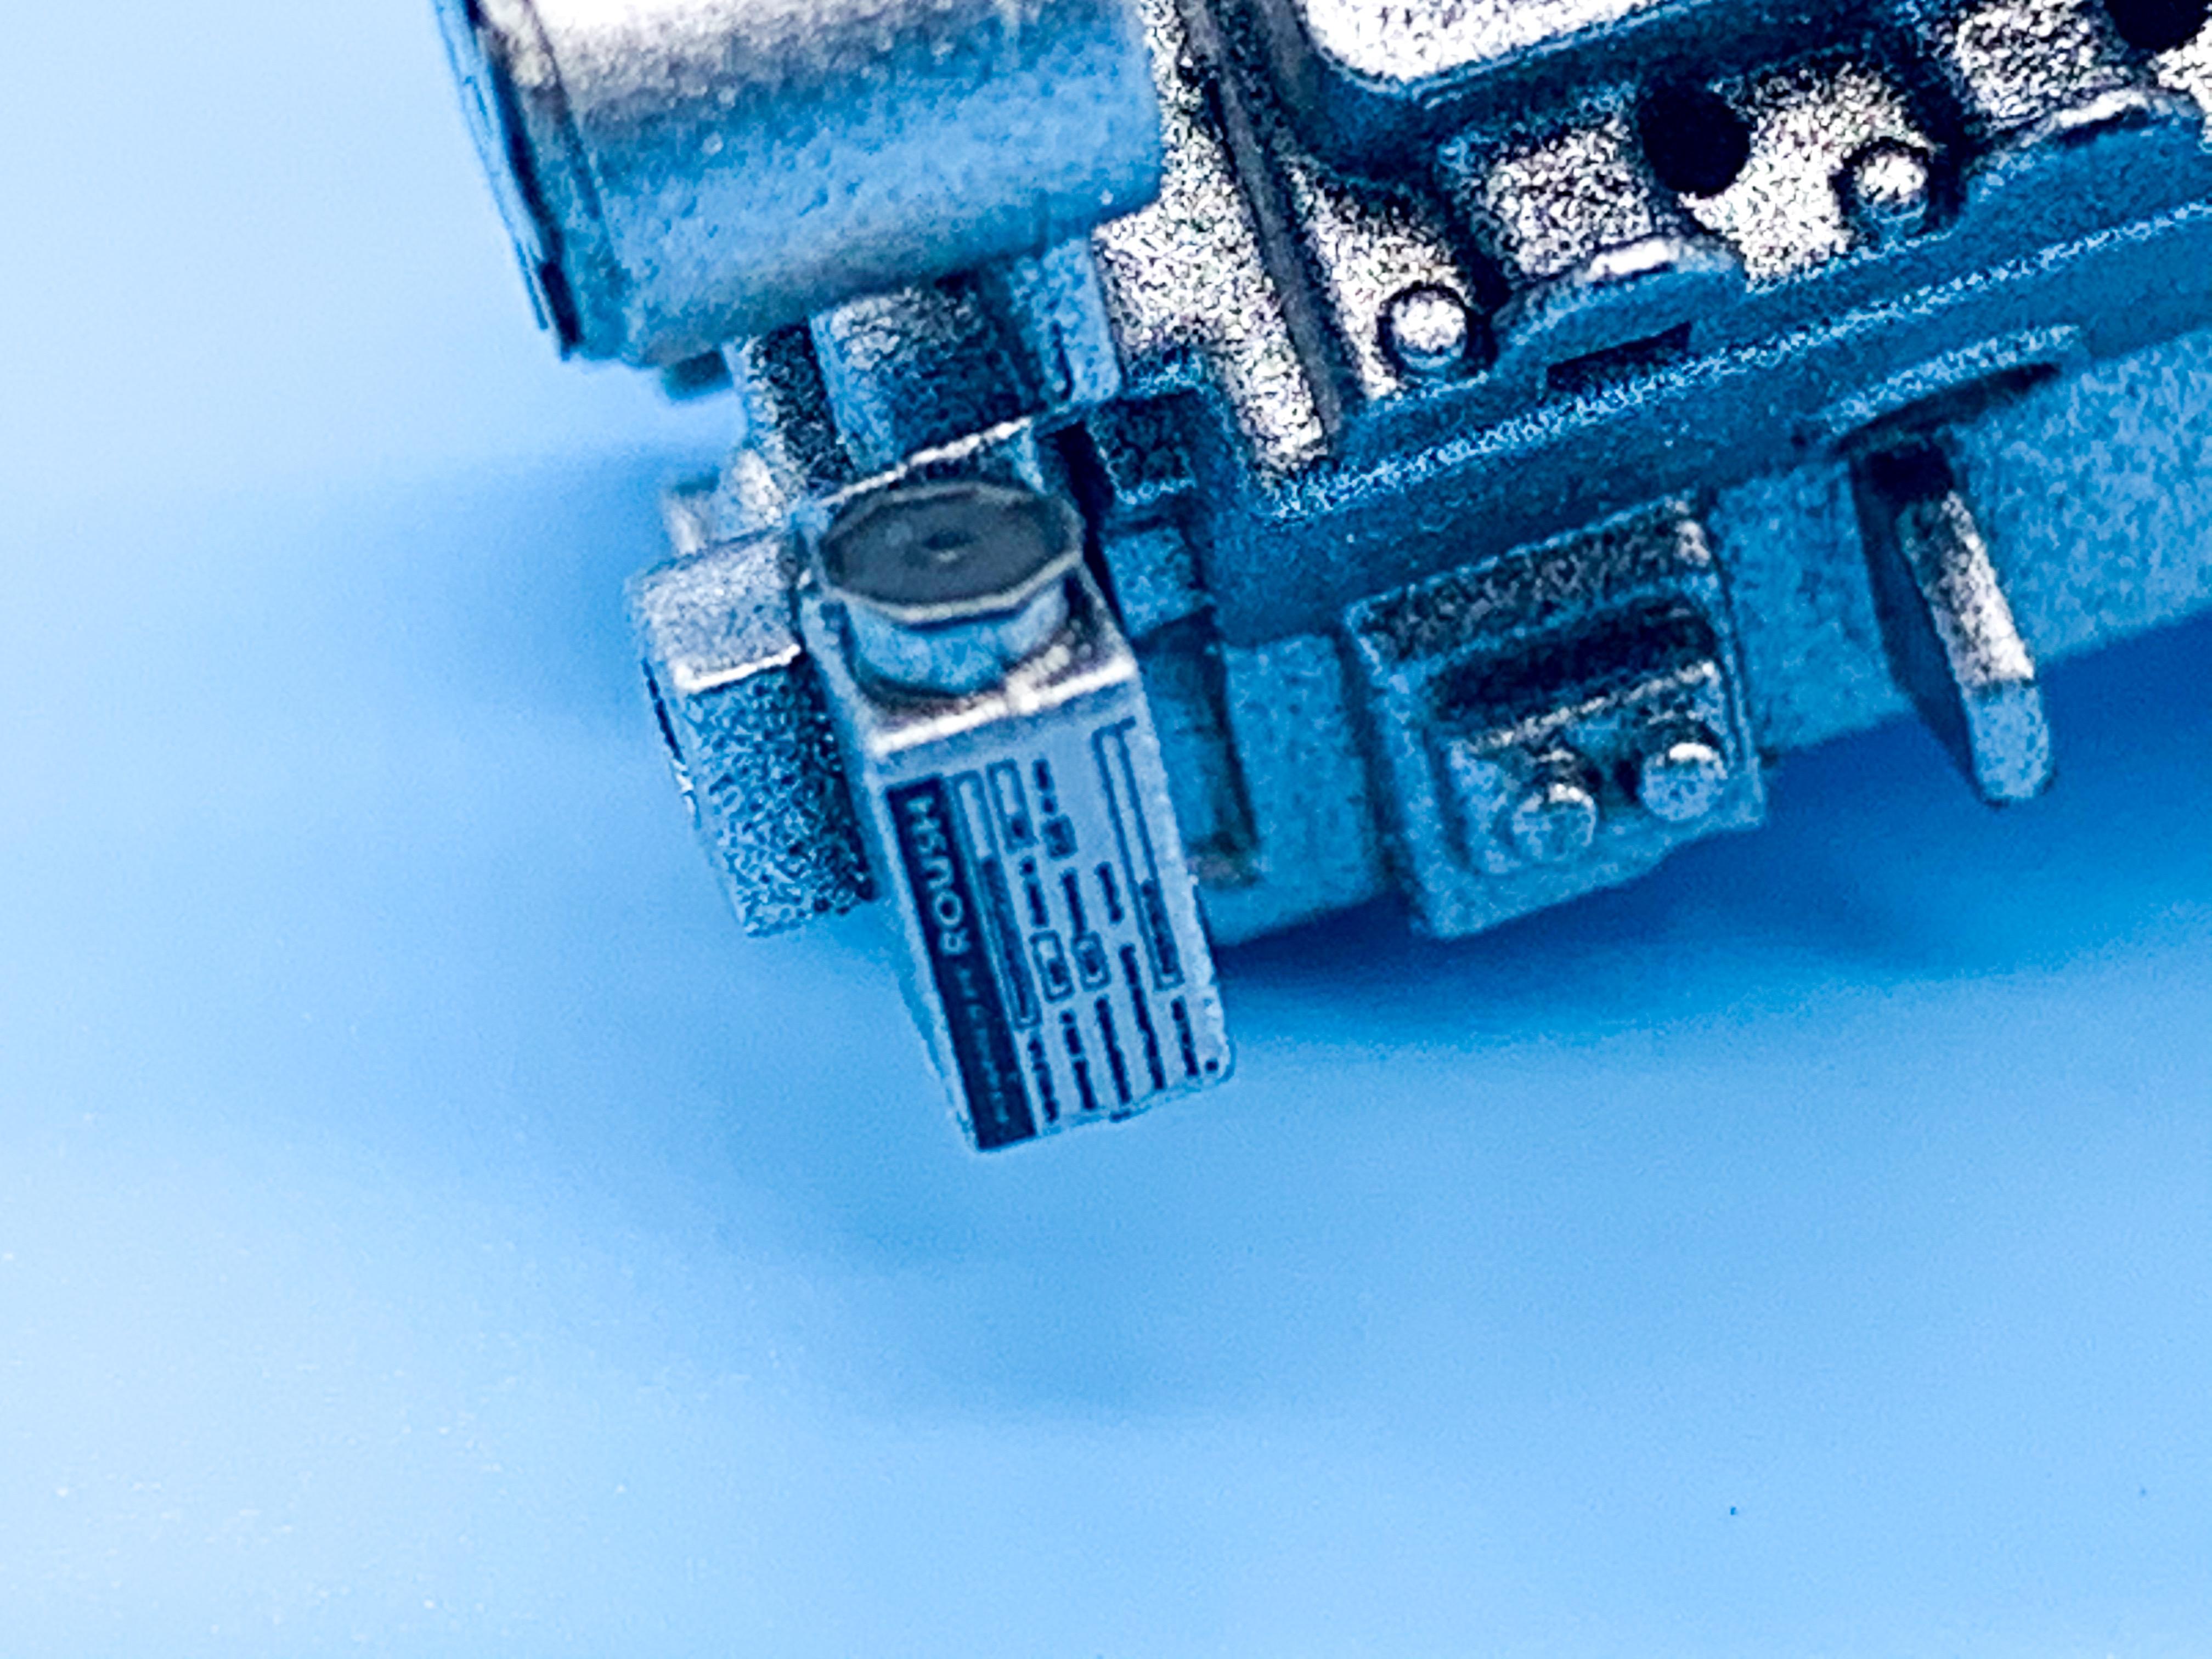
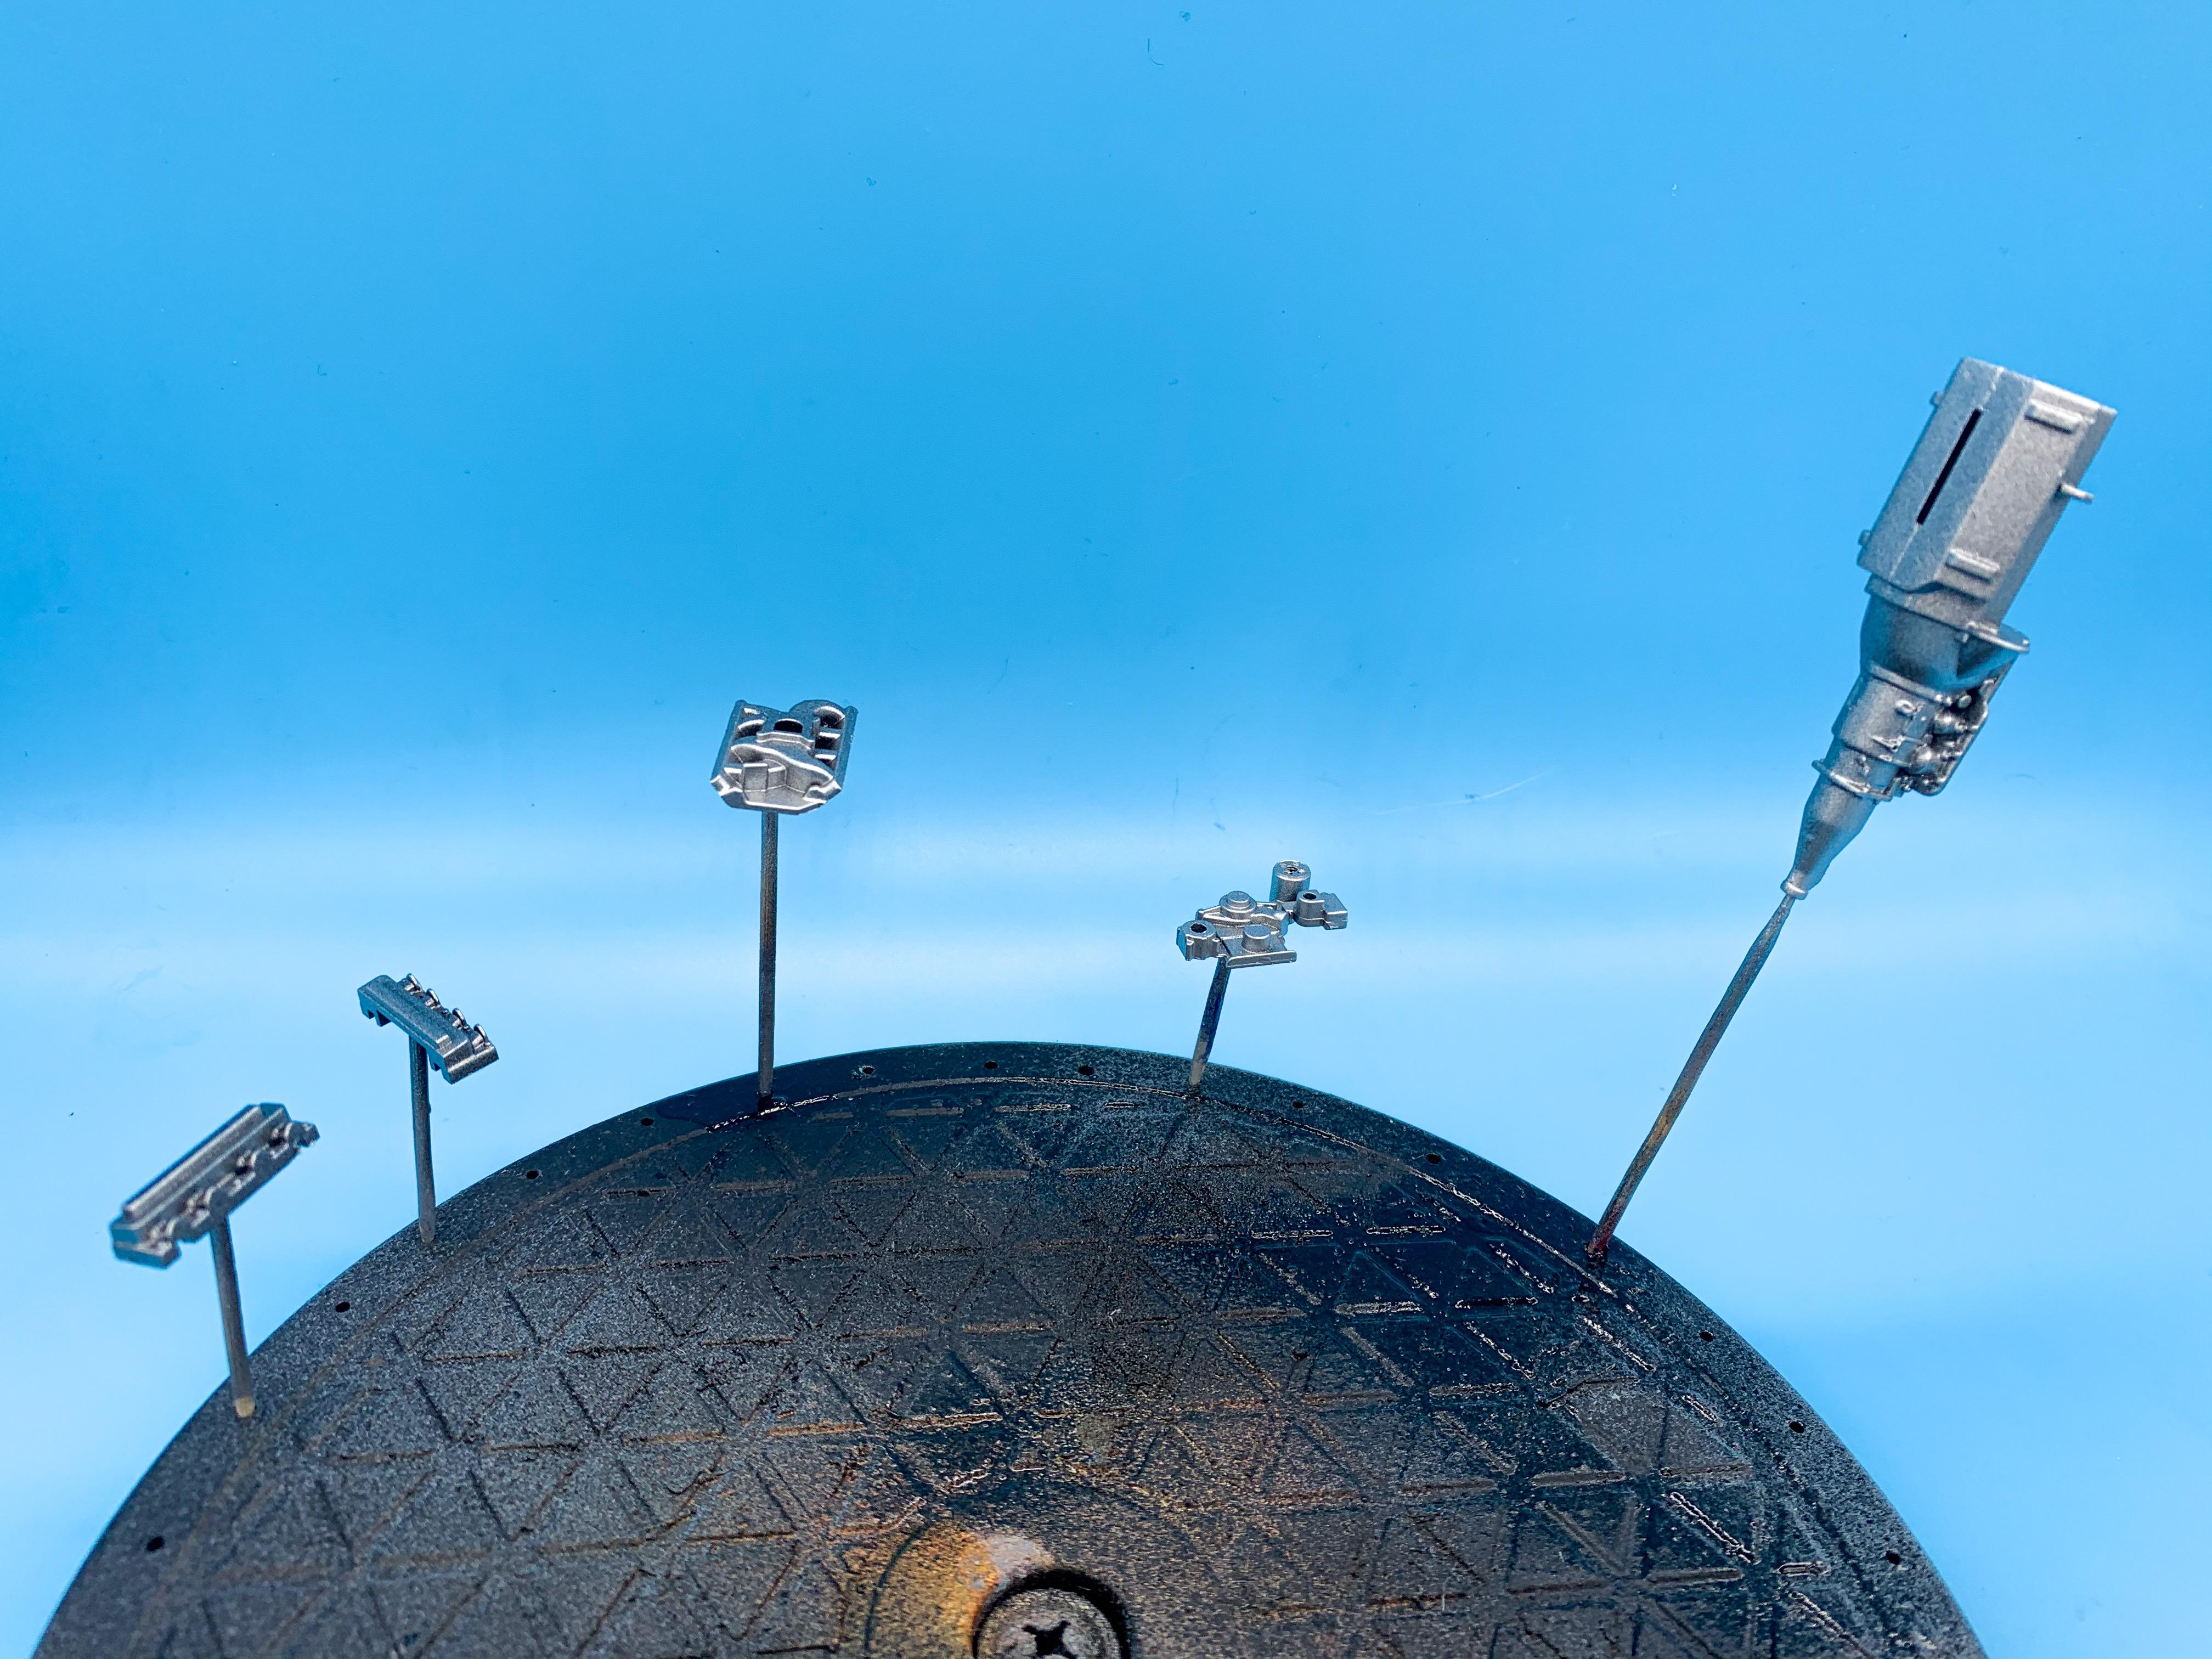
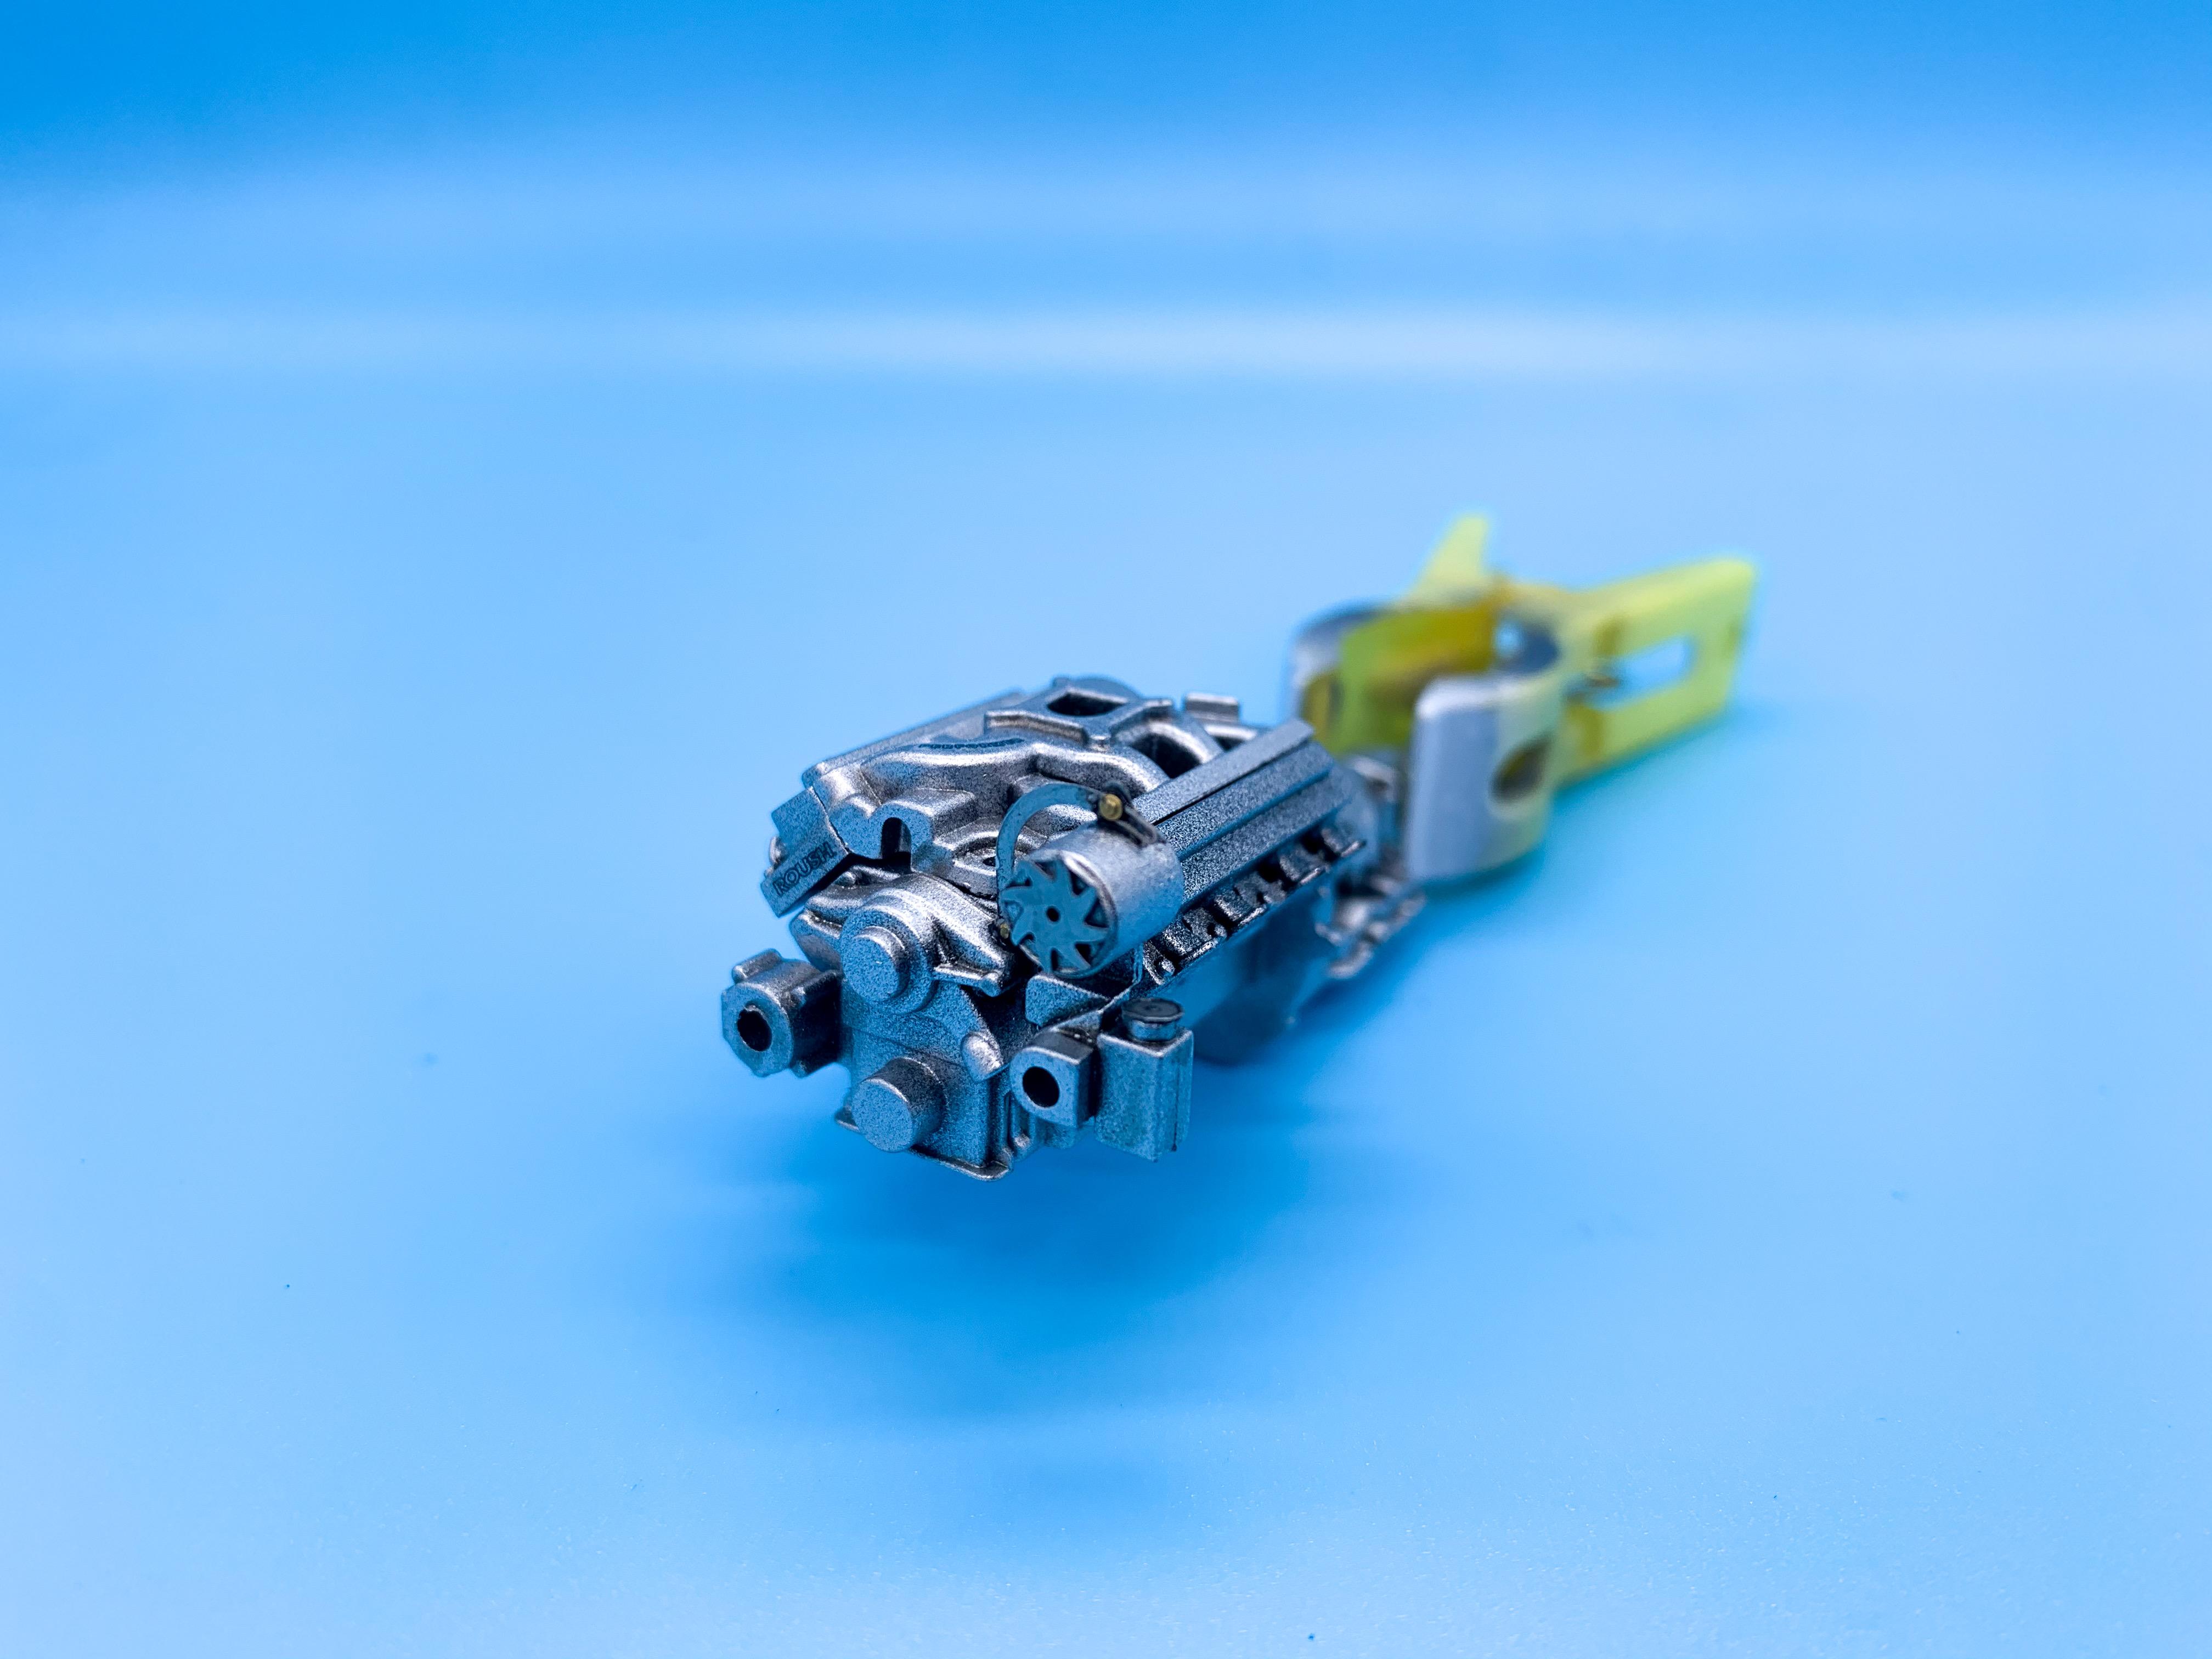
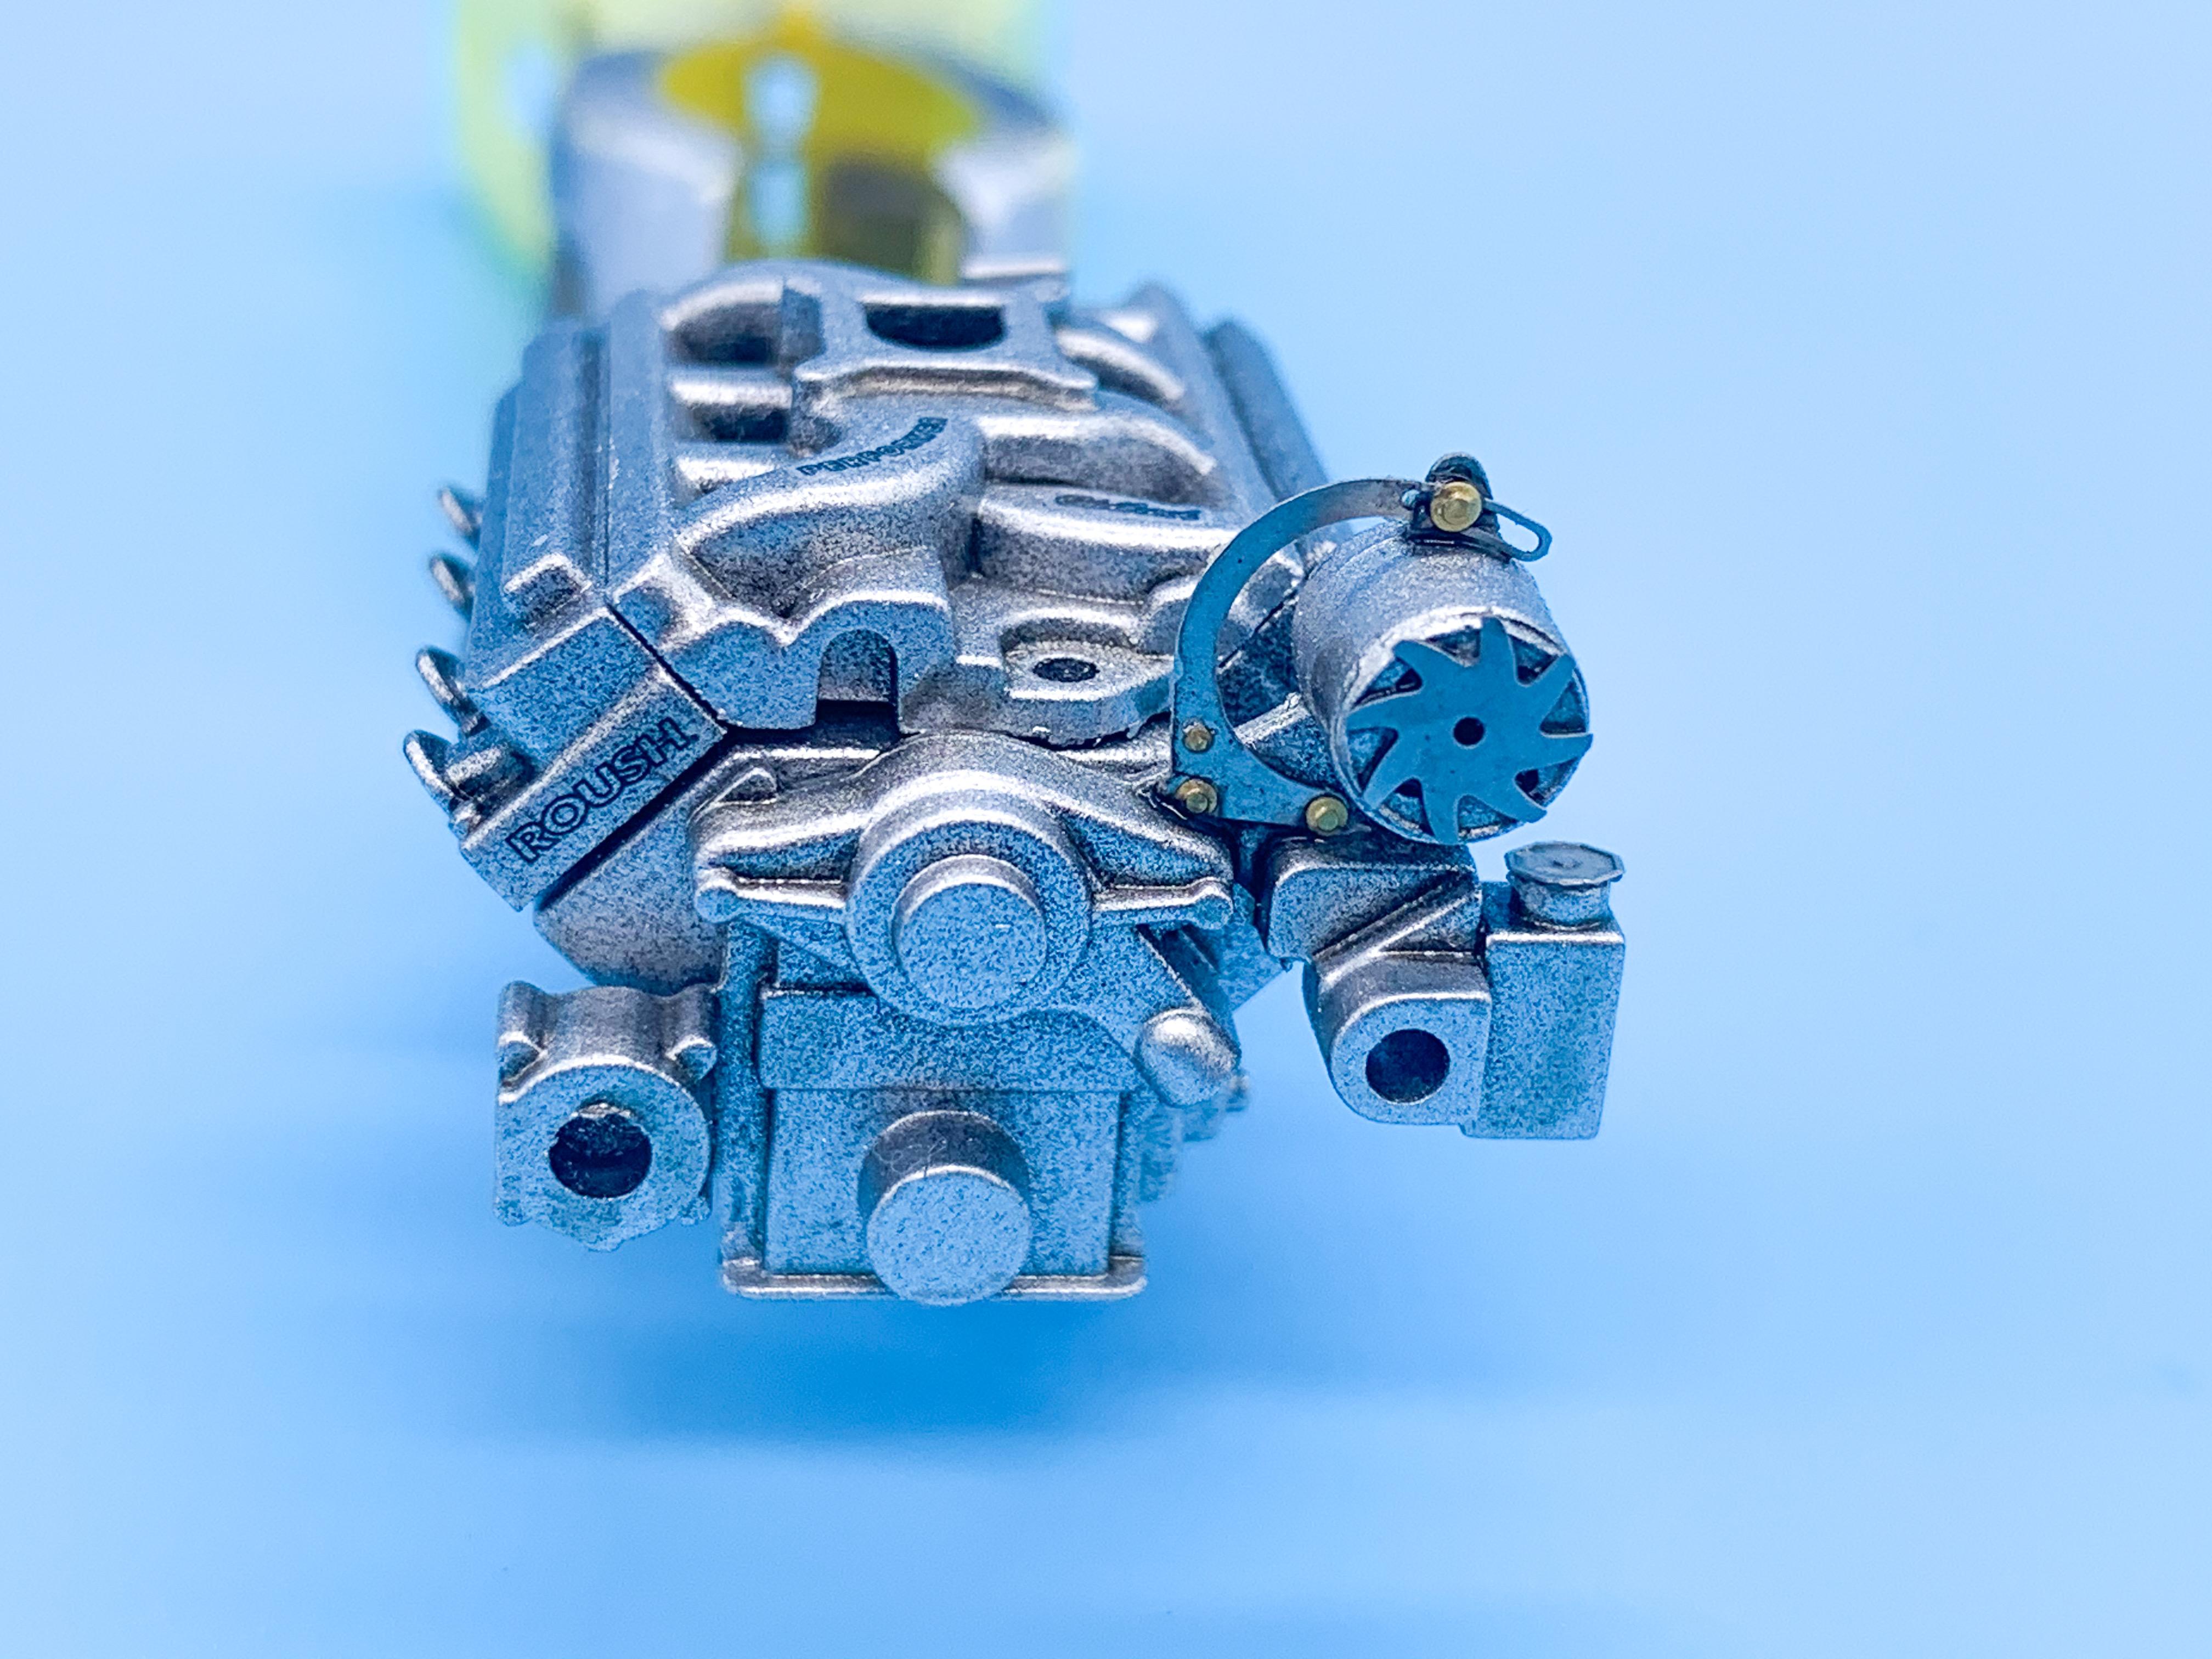
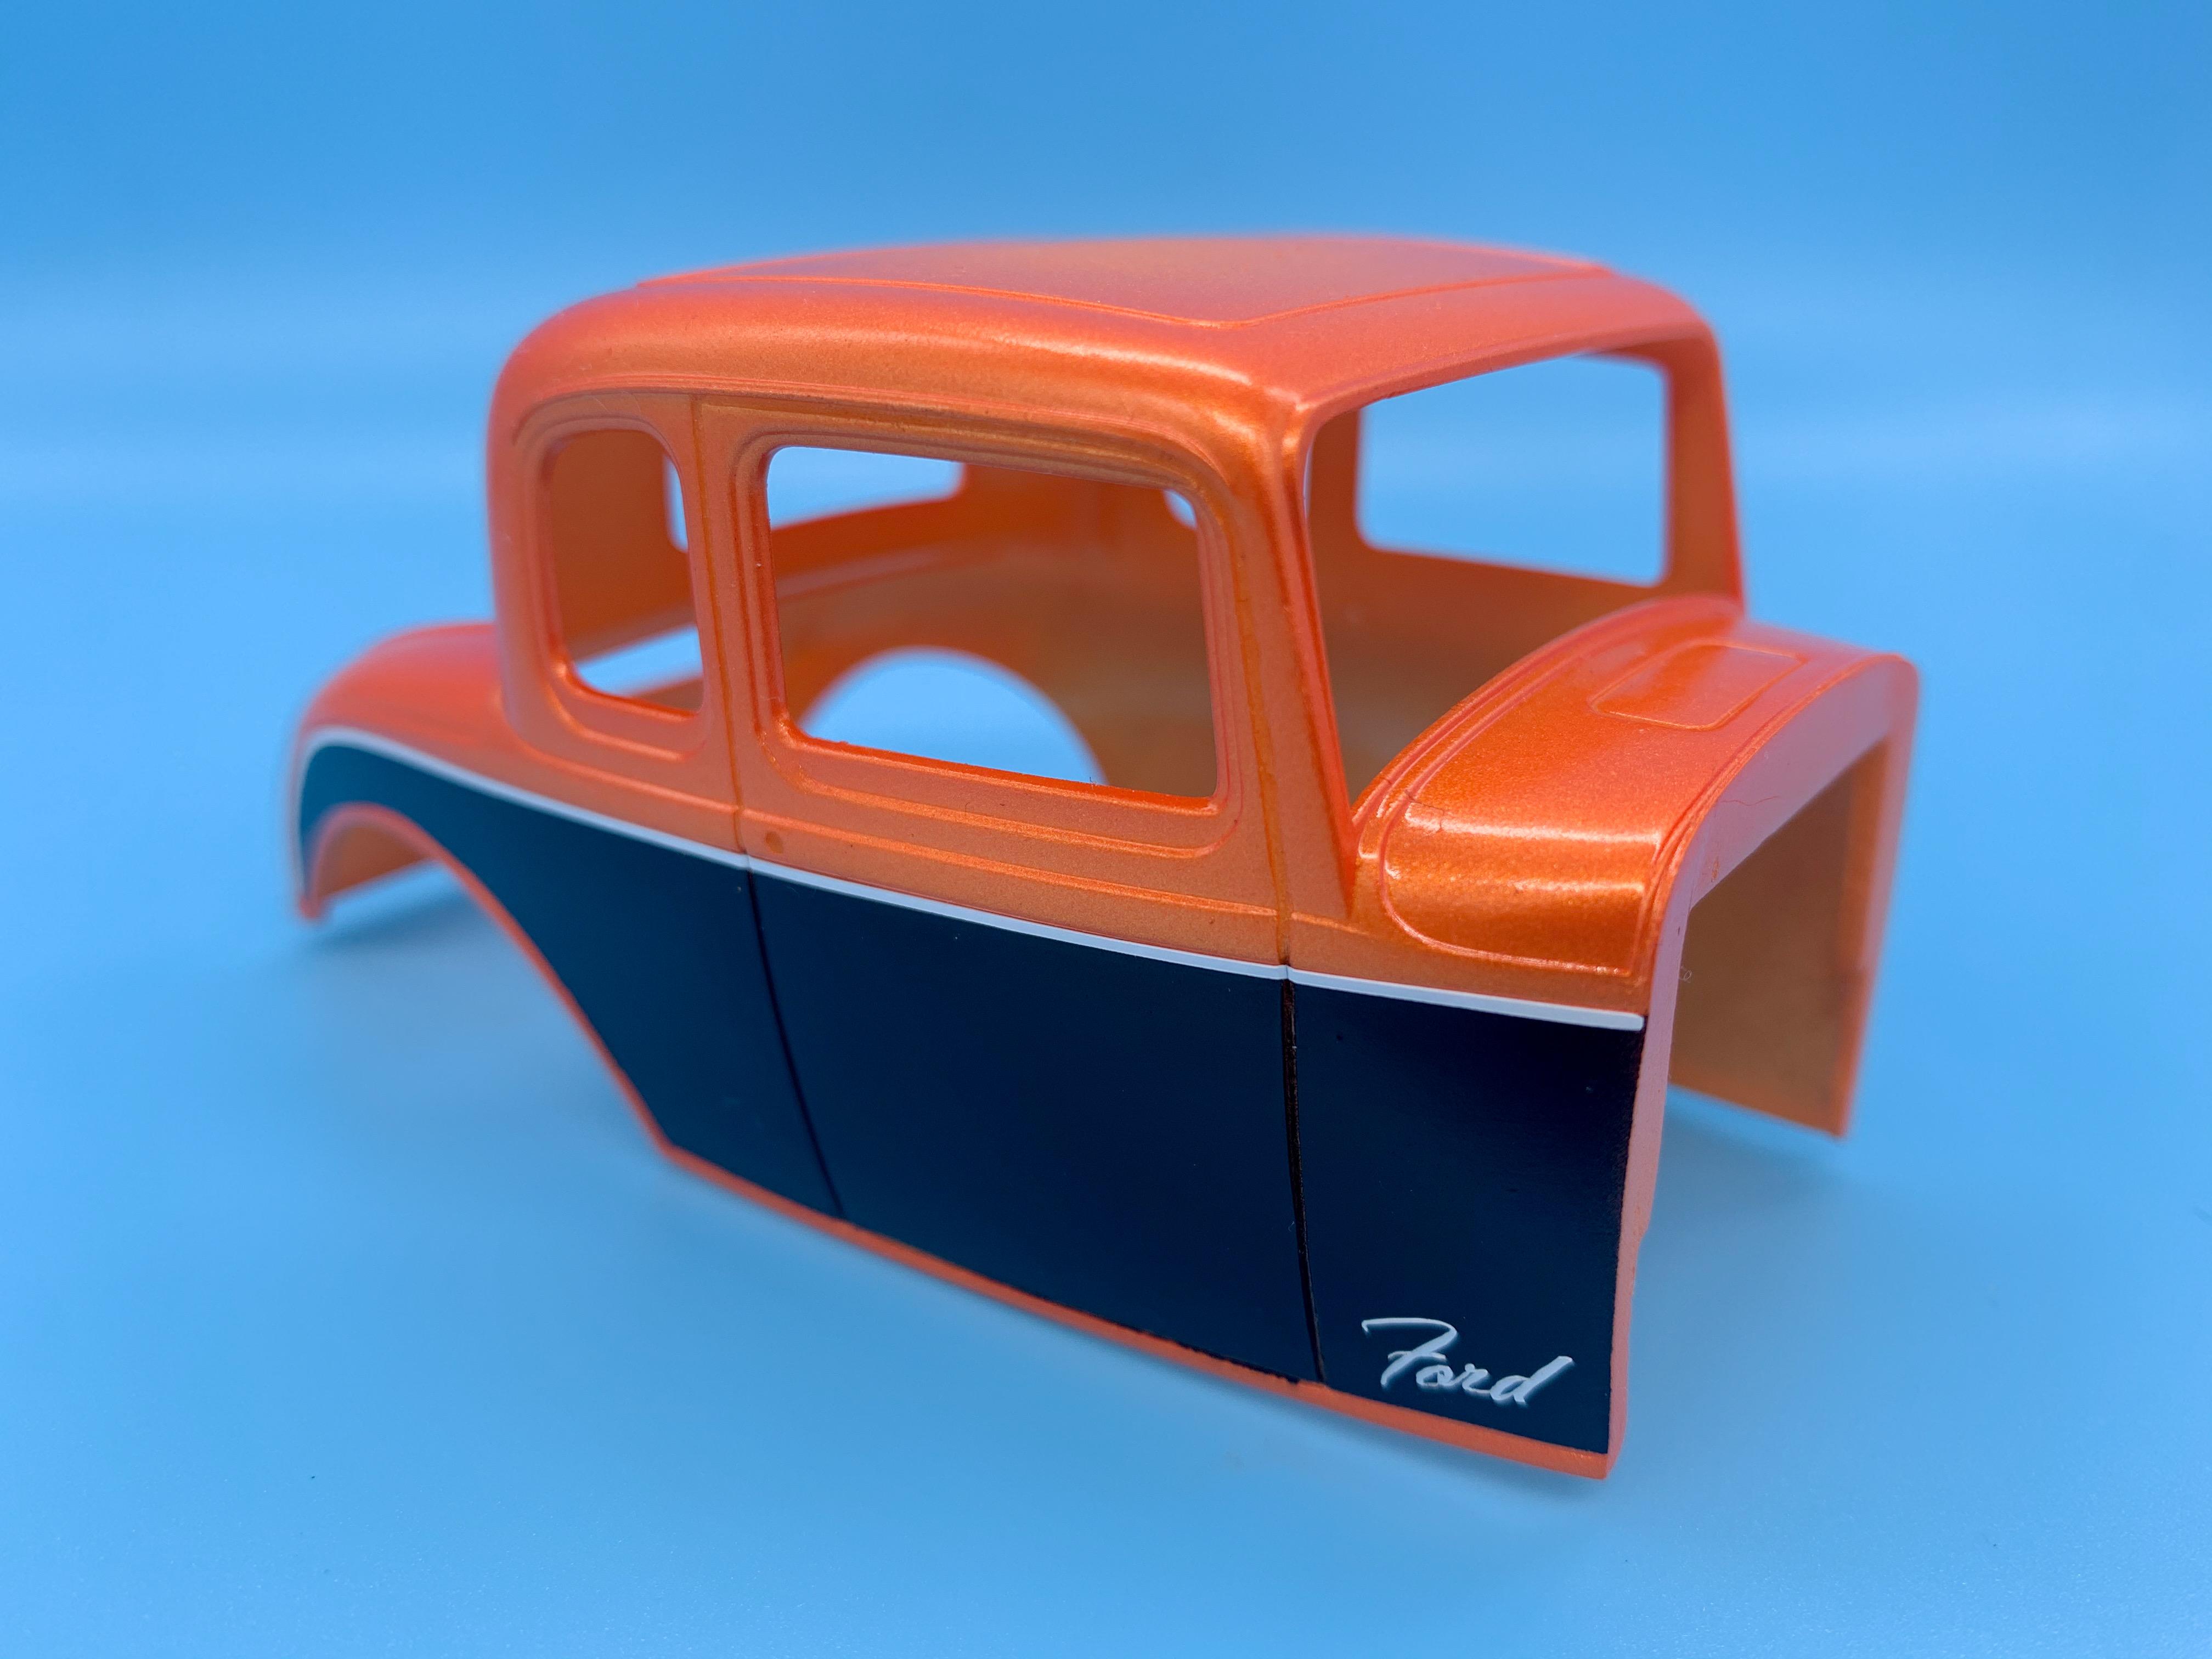
Thanks everyone! MRM: I swear I hadn’t seen yours when I started this - I LOVE it though! WAY cool!!!!! Nice color you chose ???? A little work on the engine next, now that the body’s in clear and drying ready for polishing. I was out of Tamiya Flat Aluminum which I thought would work well to match the finish of the 1:1 aluminum block, but I did have this: Didn’t turn out too bad for a $1 pot of craft paint from the Target clearance section ?: Just starting some assembly on the engine now - first fix was adding an alternator bracket: What IS that little square tank under the alternator anyway? Power steering pump maybe?
-
Thanks buddy! The orange is a custom mix of Createx pearl yellow and red, the black is Createx flat black (their gloss black is their only color I DON’T like, it never seems to dry here with the humidity) and the clear is Testors clear enamel thinned with lacquer thinner ??
-
GREAT idea!!! Definitely need to pick up some of these now (soon as everything reopens, anyway ?). Good tip, thanks Rick!
-
Someone told me I’d painted a Posie’s style paint job...so here I am reading about them! I like the look, I started reading the hot rod mags back in the 90s where monochromatic everything was all the rage...So these look pretty fresh to my eyes even though they were a fad from before the lime-green and bright yellow pro-street whatevers that were popular back then