OldNYJim
-
Posts
251 -
Joined
-
Last visited
Content Type
Profiles
Forums
Events
Gallery
Everything posted by OldNYJim
-
Thank you for all the lovely replies everyone - they mean a lot! ❤️ I ran out of parts before I was done building it! ?. I was enjoying this one a lot and painted a few parts last week and looked through my to-do list and thought “huh - I guess it’s ready to assemble” ?. I intentionally wanted to build a couple of these box-stock-ish before I start getting wild with engine swaps and messing with the frame and adding opening trunks and whatever else - was fun to wrap up a kit fairly quickly! These just FALL together - great kit!! Next project is going to be this one’s counterpart - still mostly box stock but a much more traditional look...I think they’ll display nicely together! Thanks again for the nice comments everybody!
-
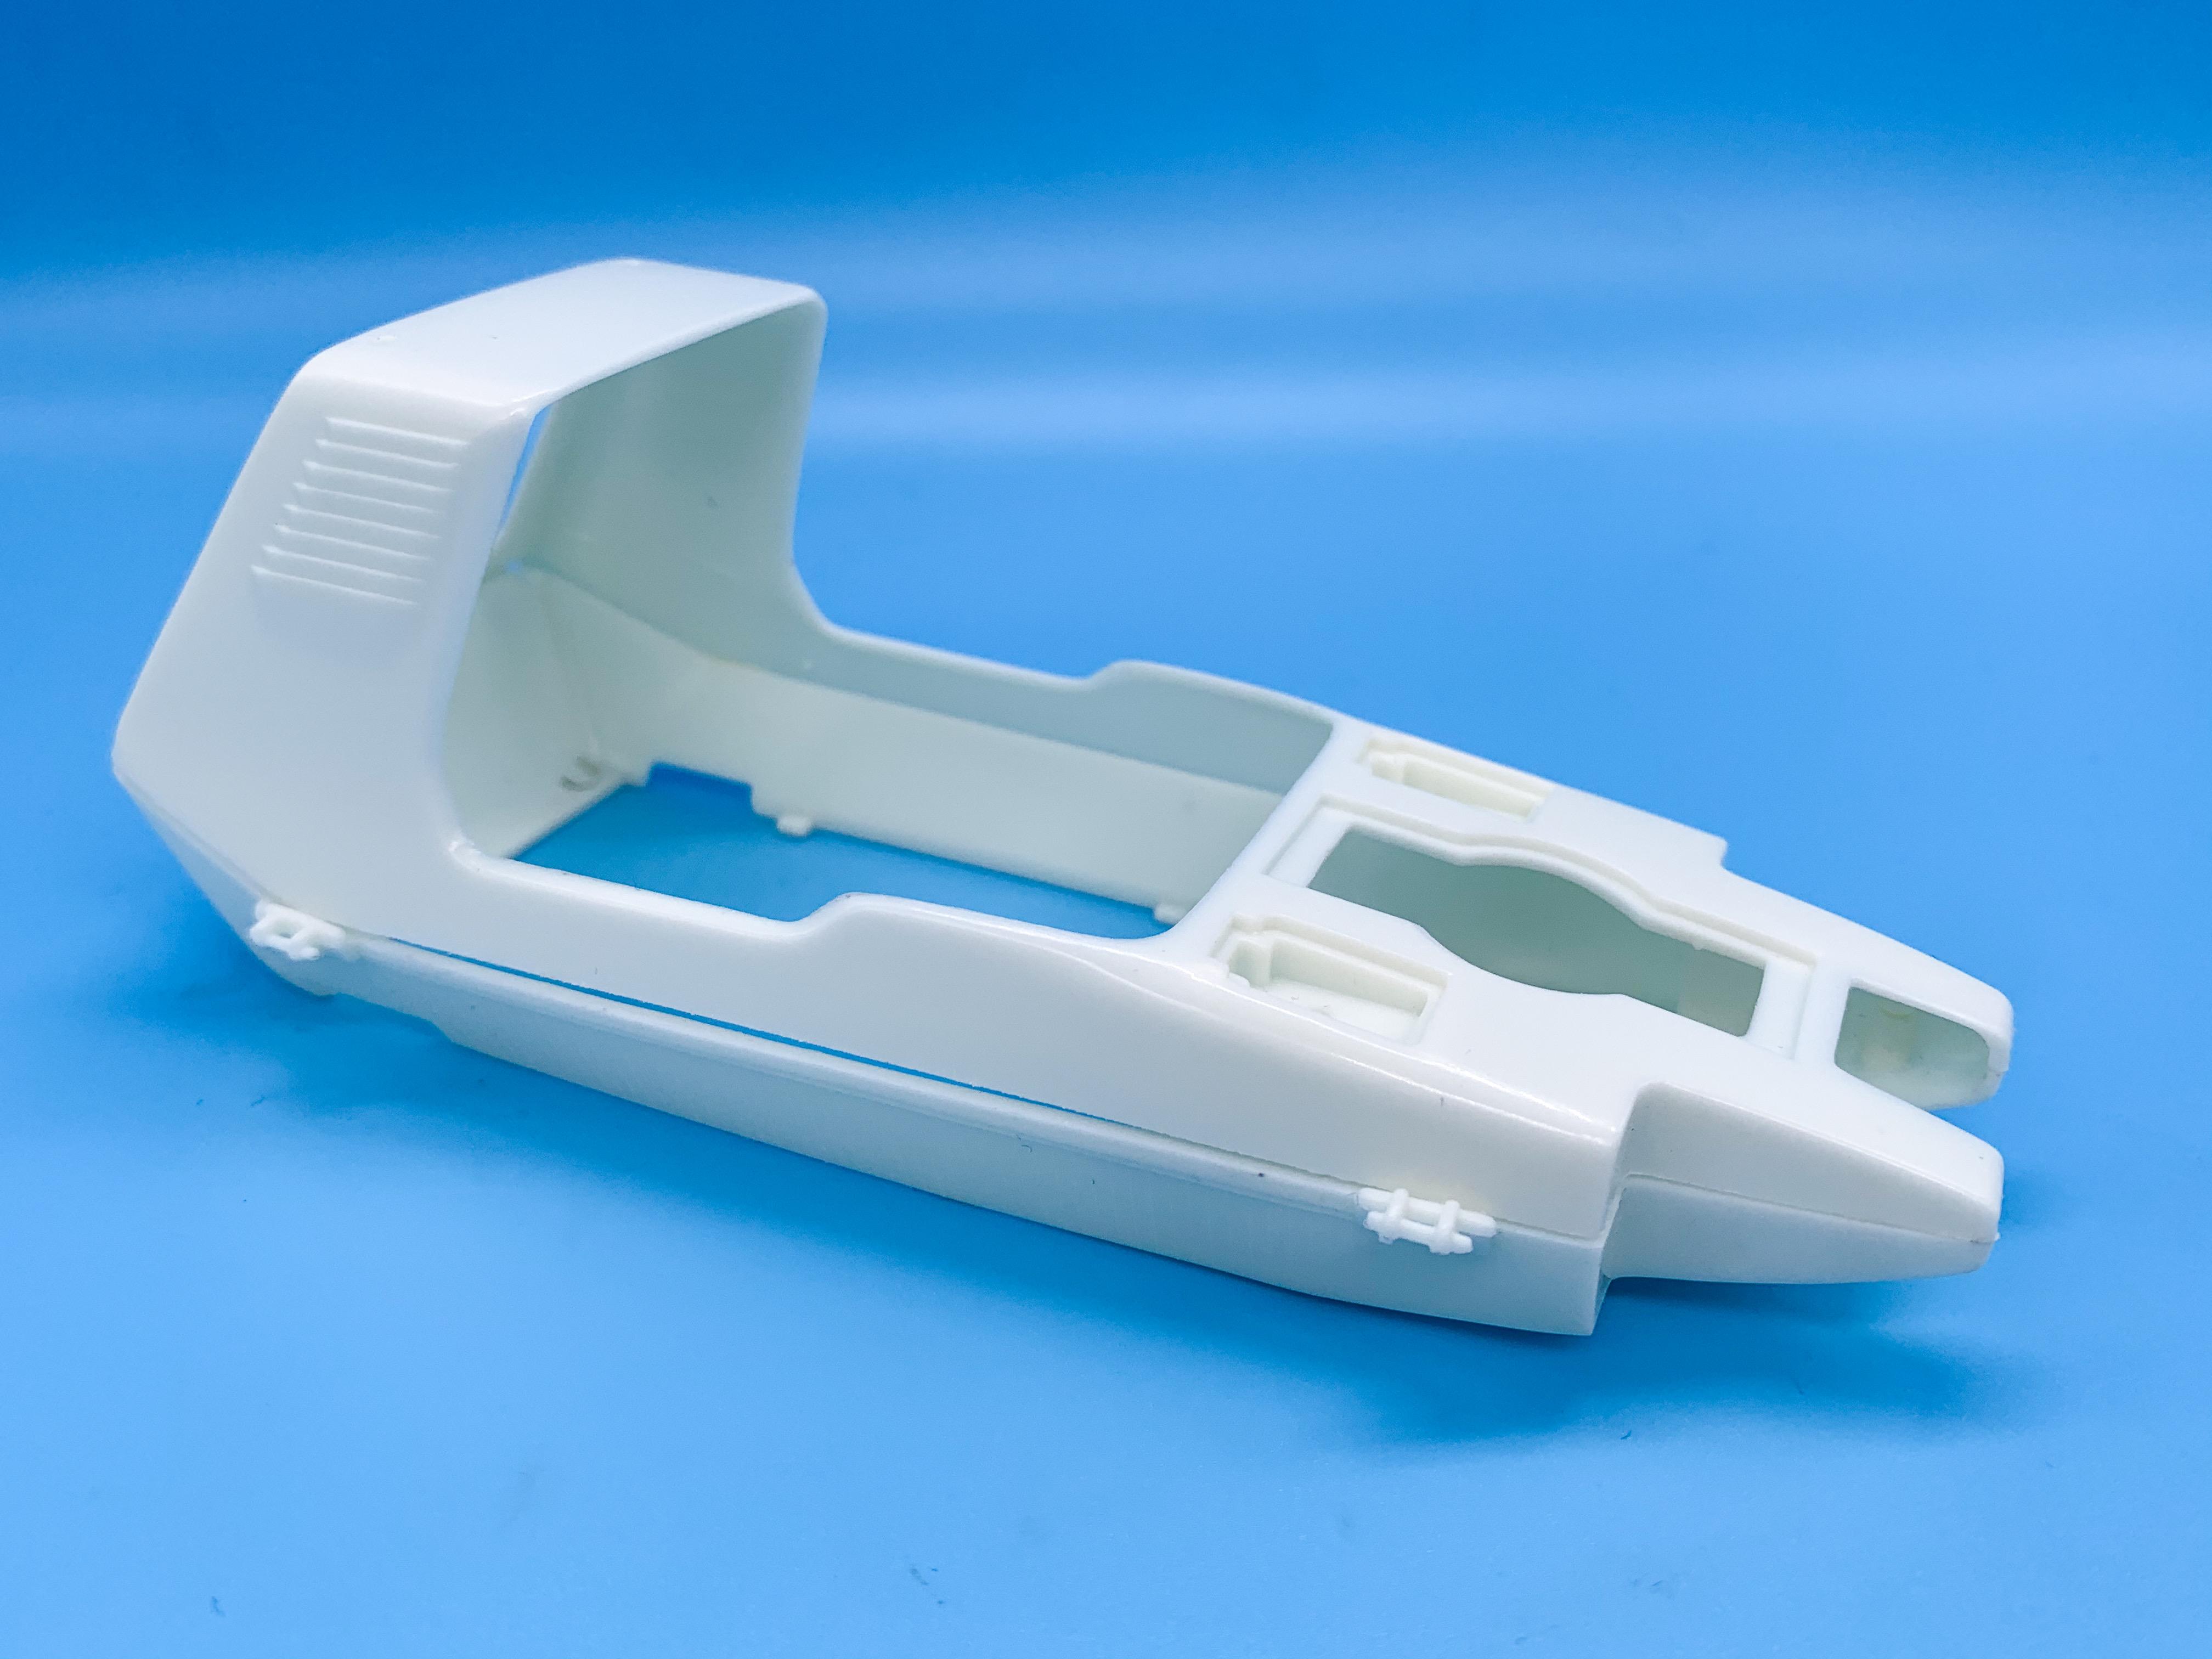
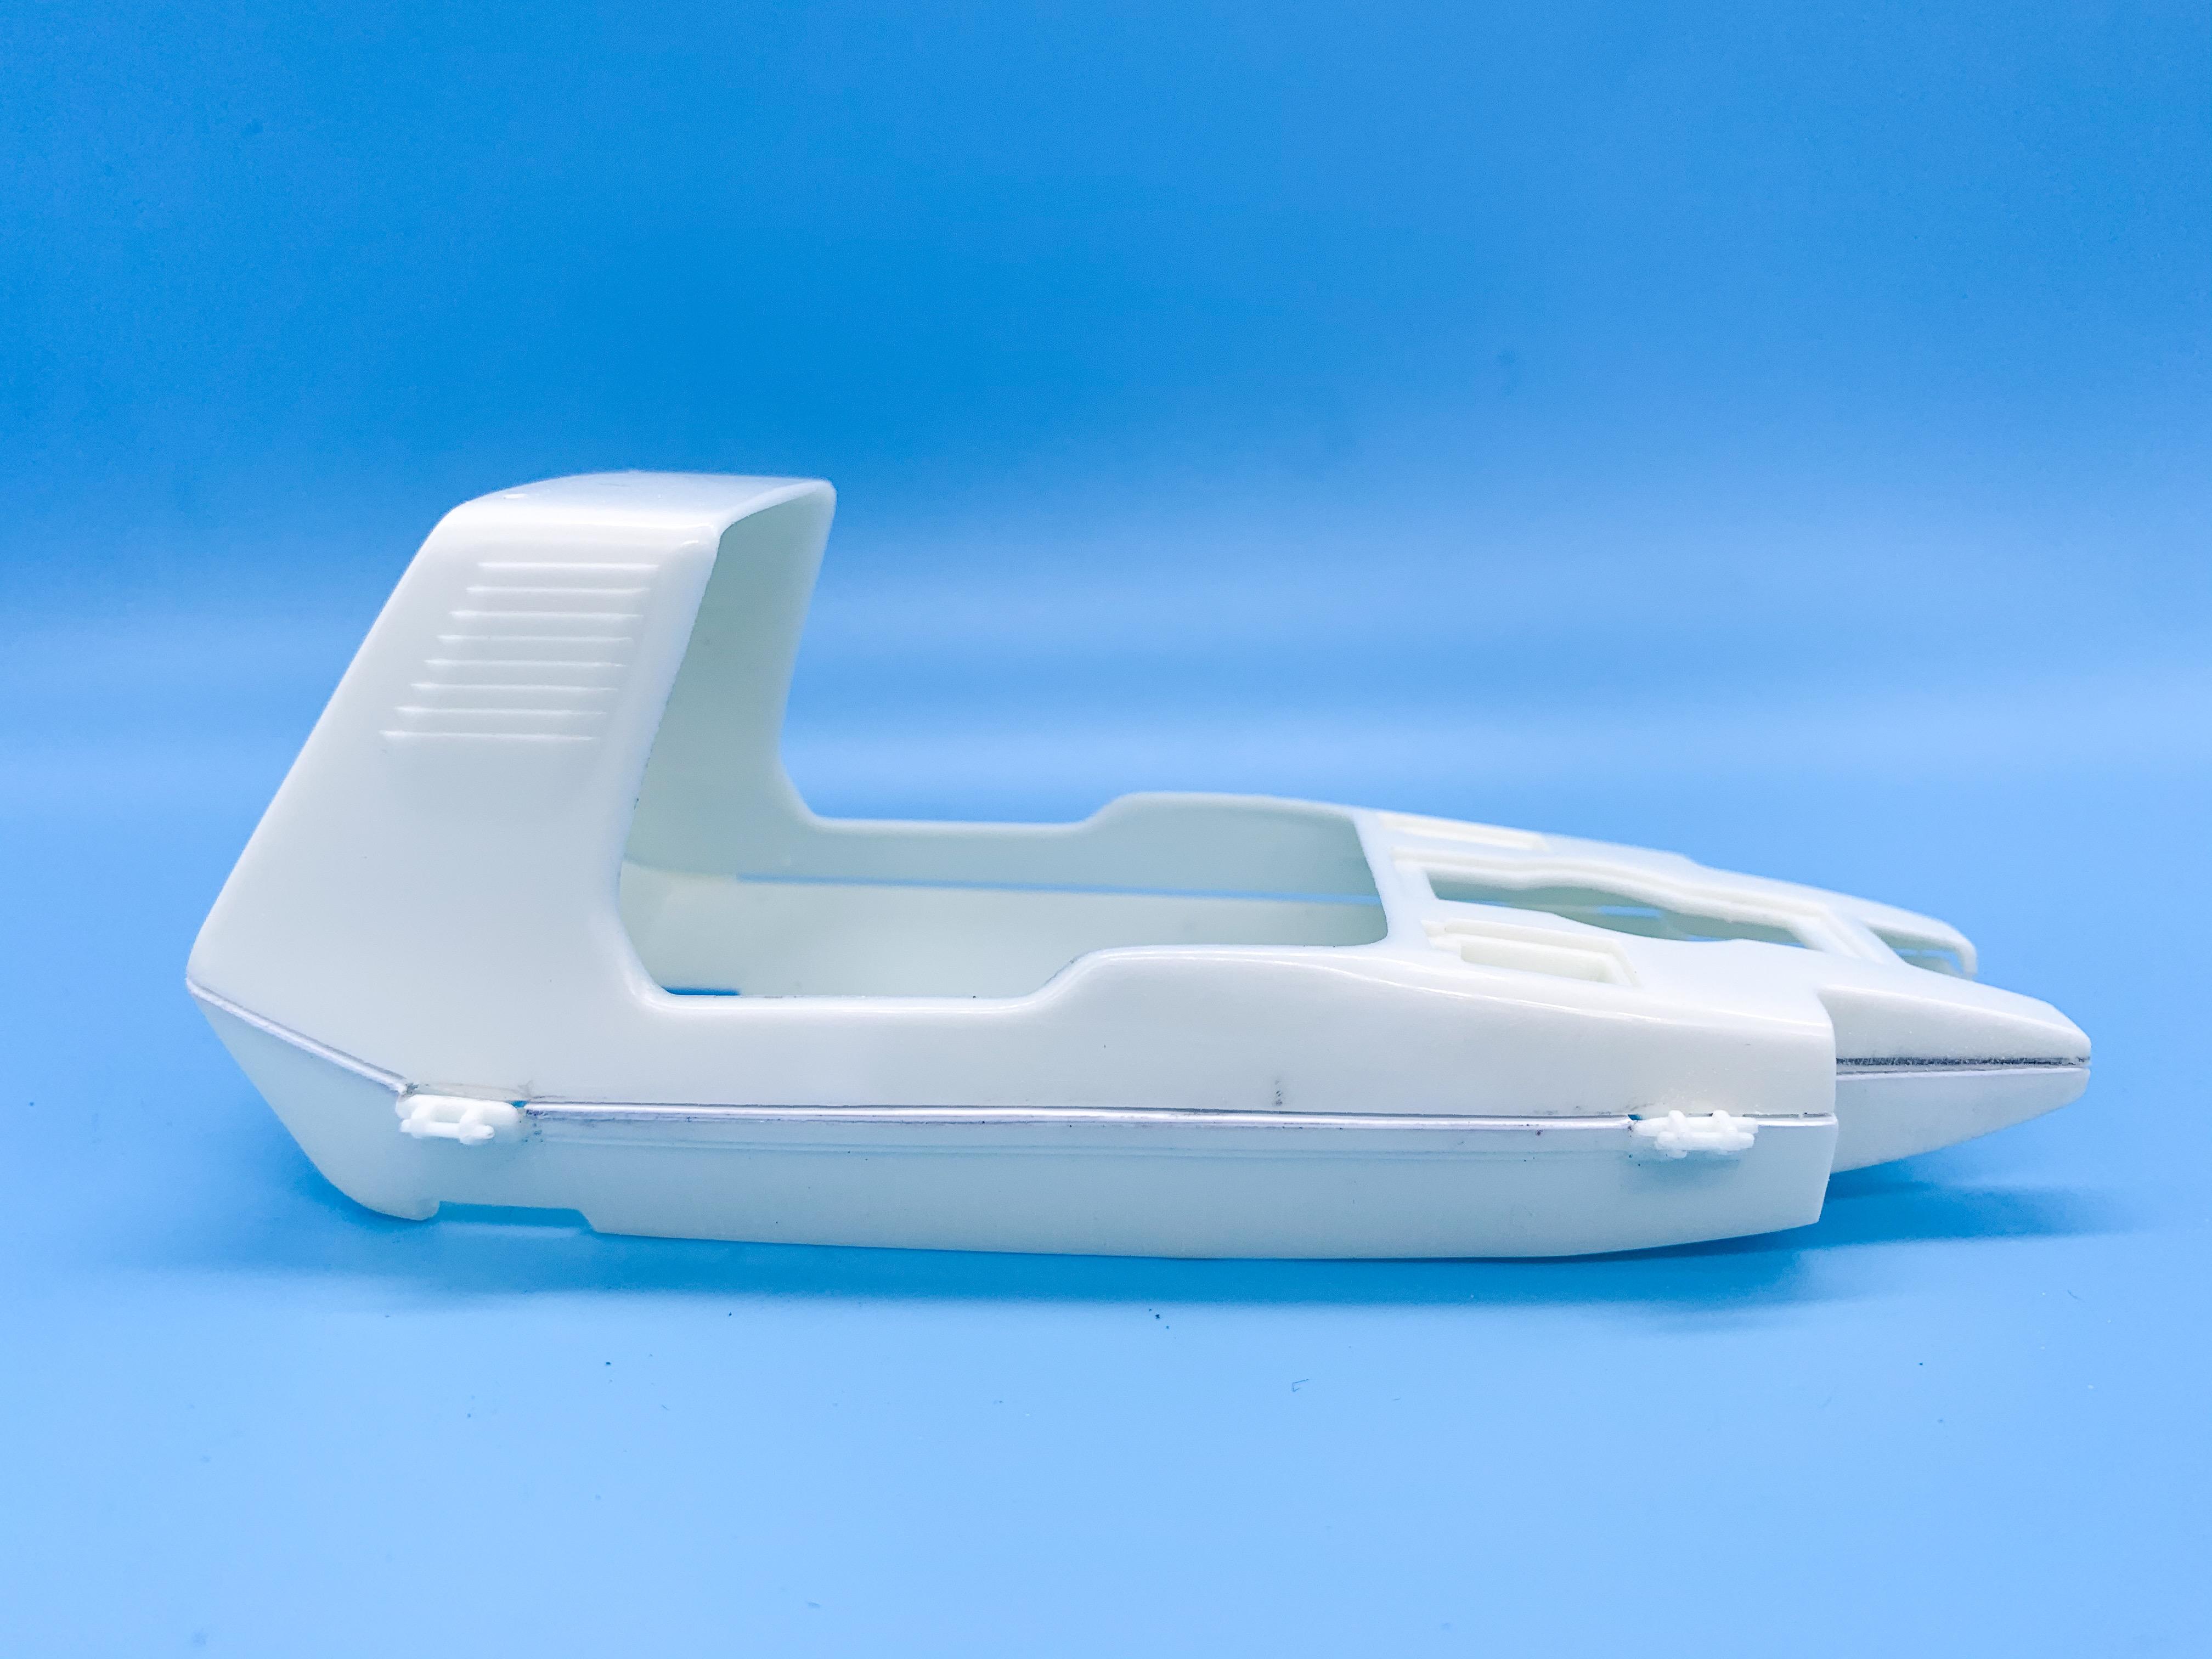
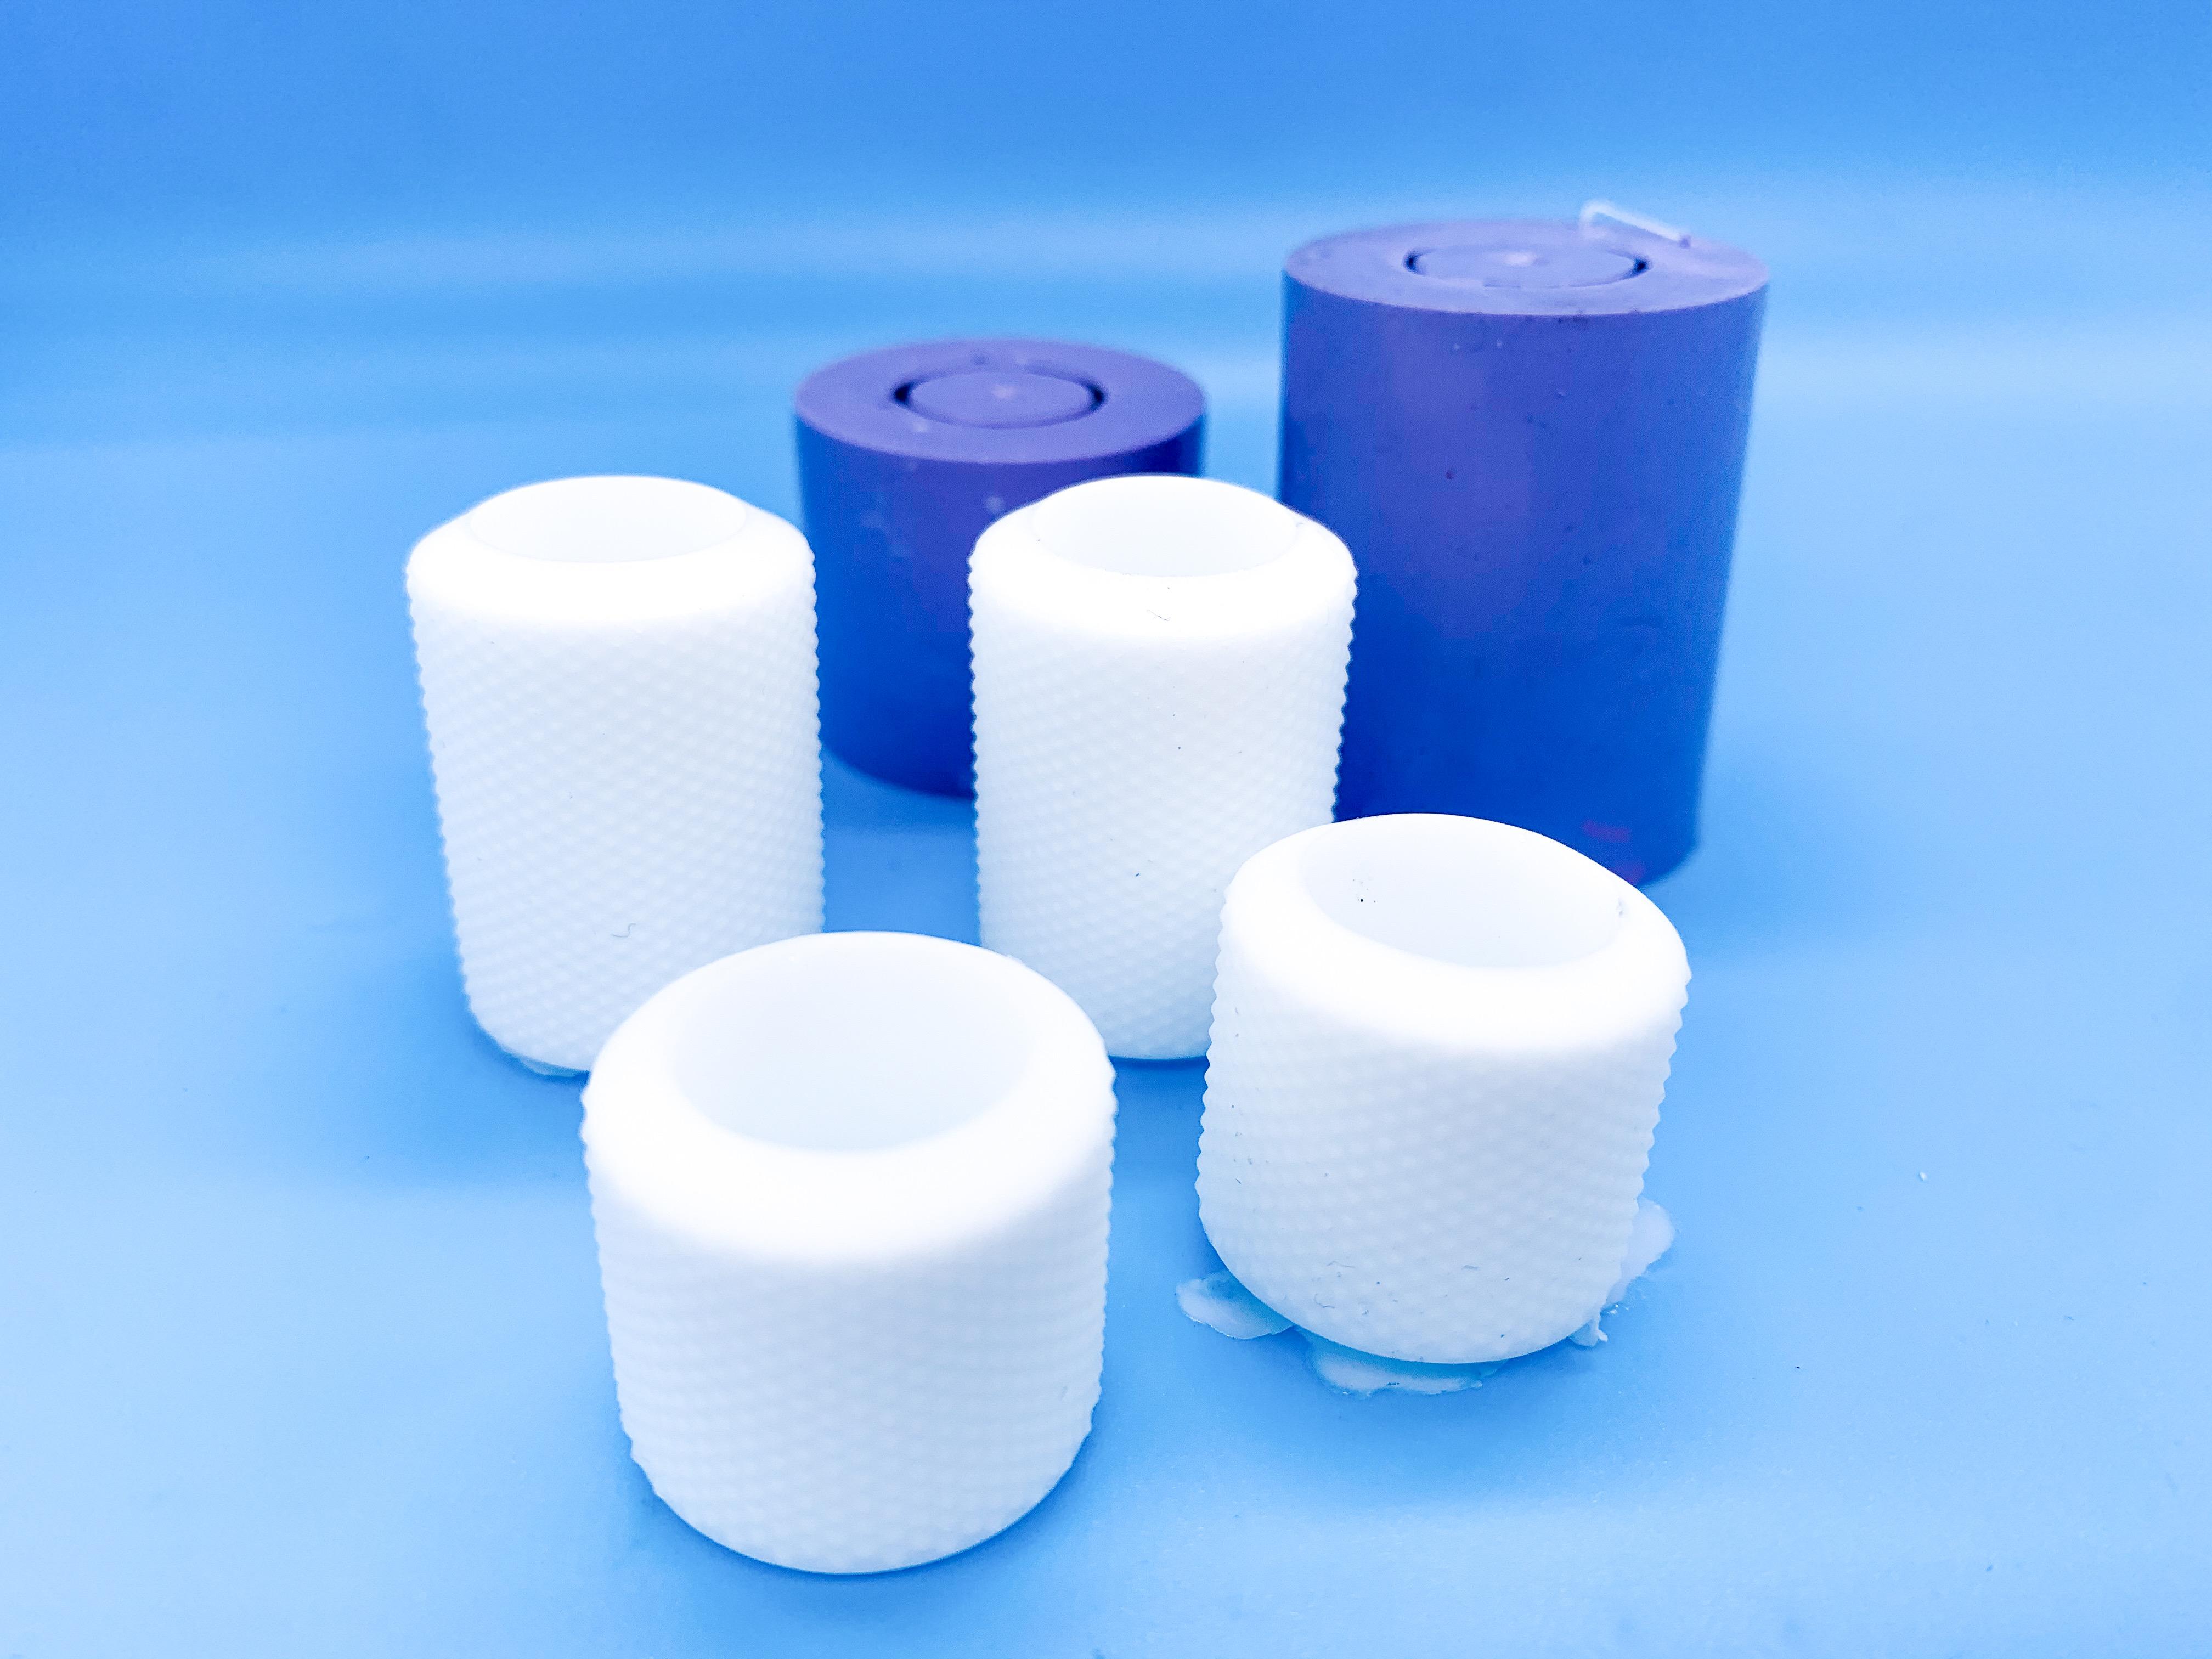
I was watching the Space X launch a couple of weeks back and my wife came in and said “I have a surprissssseee for you!”. I was hoping she wasn’t pregnant or that it was my turn to do the dishes again - but no! Success! Moon buggy kit! I have the best wife! Or she figures I’ll be less annoying during lockdown if I have some stuff to do - kinda like how you give a kid some crayons if they’re being a nuisance ? I wanted to build one of these as I read that it was a showcar Barris designed for, I guess an English TV show? Now, Barris made a 6-wheeled moon buggy called the Moonscope, which doesn’t look too much like this. MPC made a kit of it, and then brought out this thing which is APPARENTLY the Moonscope modified by Barris for this show. However, it isn’t IN the show, and I’ve been looking for a couple of weeks and can’t seem to find any pictures of the real thing. Did a show in England really have Barris build a car, ship it to England and then never use it even once? Or photograph it? And no one ever saw it since? Seems unlikely, but there we are. So, building an exact replica is going to be tough if there might not even be anything to build a replica OF, so I guess I’m free to use some artistic license on this one. First up, I spent some time figuring out that two piece body. You have to assemble the body around the frame, and I was hoping I could assemble the body first to fix this gap between the top and bottom halves: This gap is only on the passenger side and everything else fits fine - and after trying to do some ship-in-a-bottling to see if the frame and interior tub will fit into the body if I pre-glue it (nope) I figured out I need to make these parts fit now. I figured I could just sand the two halves flat and it would work ok, but it’s only this one side that actually needs work - it’s snug as a bug on all the other surfaces. So. I used a little heat to fix that bow in the top half, and added some little strips of 0.01 styrene sheet to the bottom to bring it up to meet properly. Some sections needed three strips, some two, some just one thickness but I got it WAY closer anyway: A little Bondo to smooth it all out and some primer and we should be pretty close on that. Whilst the Bondo was drying I made a mould for some Richard Carroll style showrod tires for this thing. Richard Carroll was a kinda big deal in the 60s with his wild models and range of super wide tires, and a couple of years back I had a 3D artist design and print some tires in that approximate style. I wanted to resin cast them because the masters were kinda expensive so that was today’s project - 60s tastic!! I like how it looks with those already! More ridiculousness soon!

-
 This is the stuff on U.K. Amazon Pat: Pledge 11182 Revive It Floor Gloss, 27 Ounce, Clear Transparent Liquid https://www.amazon.co.uk/dp/B000ARPH4C/ref=cm_sw_r_cp_api_i_UgM-Eb4BWGJVY
 -
Yeah, that’s KILLER! It’s going to look GREAT! What’s going on the two ‘bare’ panels on the roof and hood? Or are they just spots you haven’t got to yet?
-
I never saw this kit, or this 1:1 before. Interesting! I always wondered with these motorized kits how fast they are - I’d be terrified to ever let it go anywhere and be able to catch it again before it smashed itself up! ?
-
No way! I wanna see how this turns out! ??? I liked seeing how you’re going about making these - I would have made them COMPLETELY differently, and hopefully got to the same point as you did anyway ?. I think I would’ve tried some kind of wire or metal rod and bent it around a little jig...not that there’s any specific benefit to that way at all - just interesting to see other people hit the same end-point via a different route. Very cool Steve! I seem to recall seeing some photoetch (maybe from Detail Master?) that had that same shape and design crank, but obviously they’d be flat so your way is better than those too!
-
T.V. car/truck goofs. Mistakes Ect....
OldNYJim replied to ranma's topic in General Automotive Talk (Trucks and Cars)
I seem to remember reading that in Back to the Future, when they’re in 1955 there’s a 57 Chevy in the background somewhere. But being as it’s a movie about time travel I guess that could explain it ?♂️? -
What did you see on the road today?
OldNYJim replied to Harry P.'s topic in General Automotive Talk (Trucks and Cars)
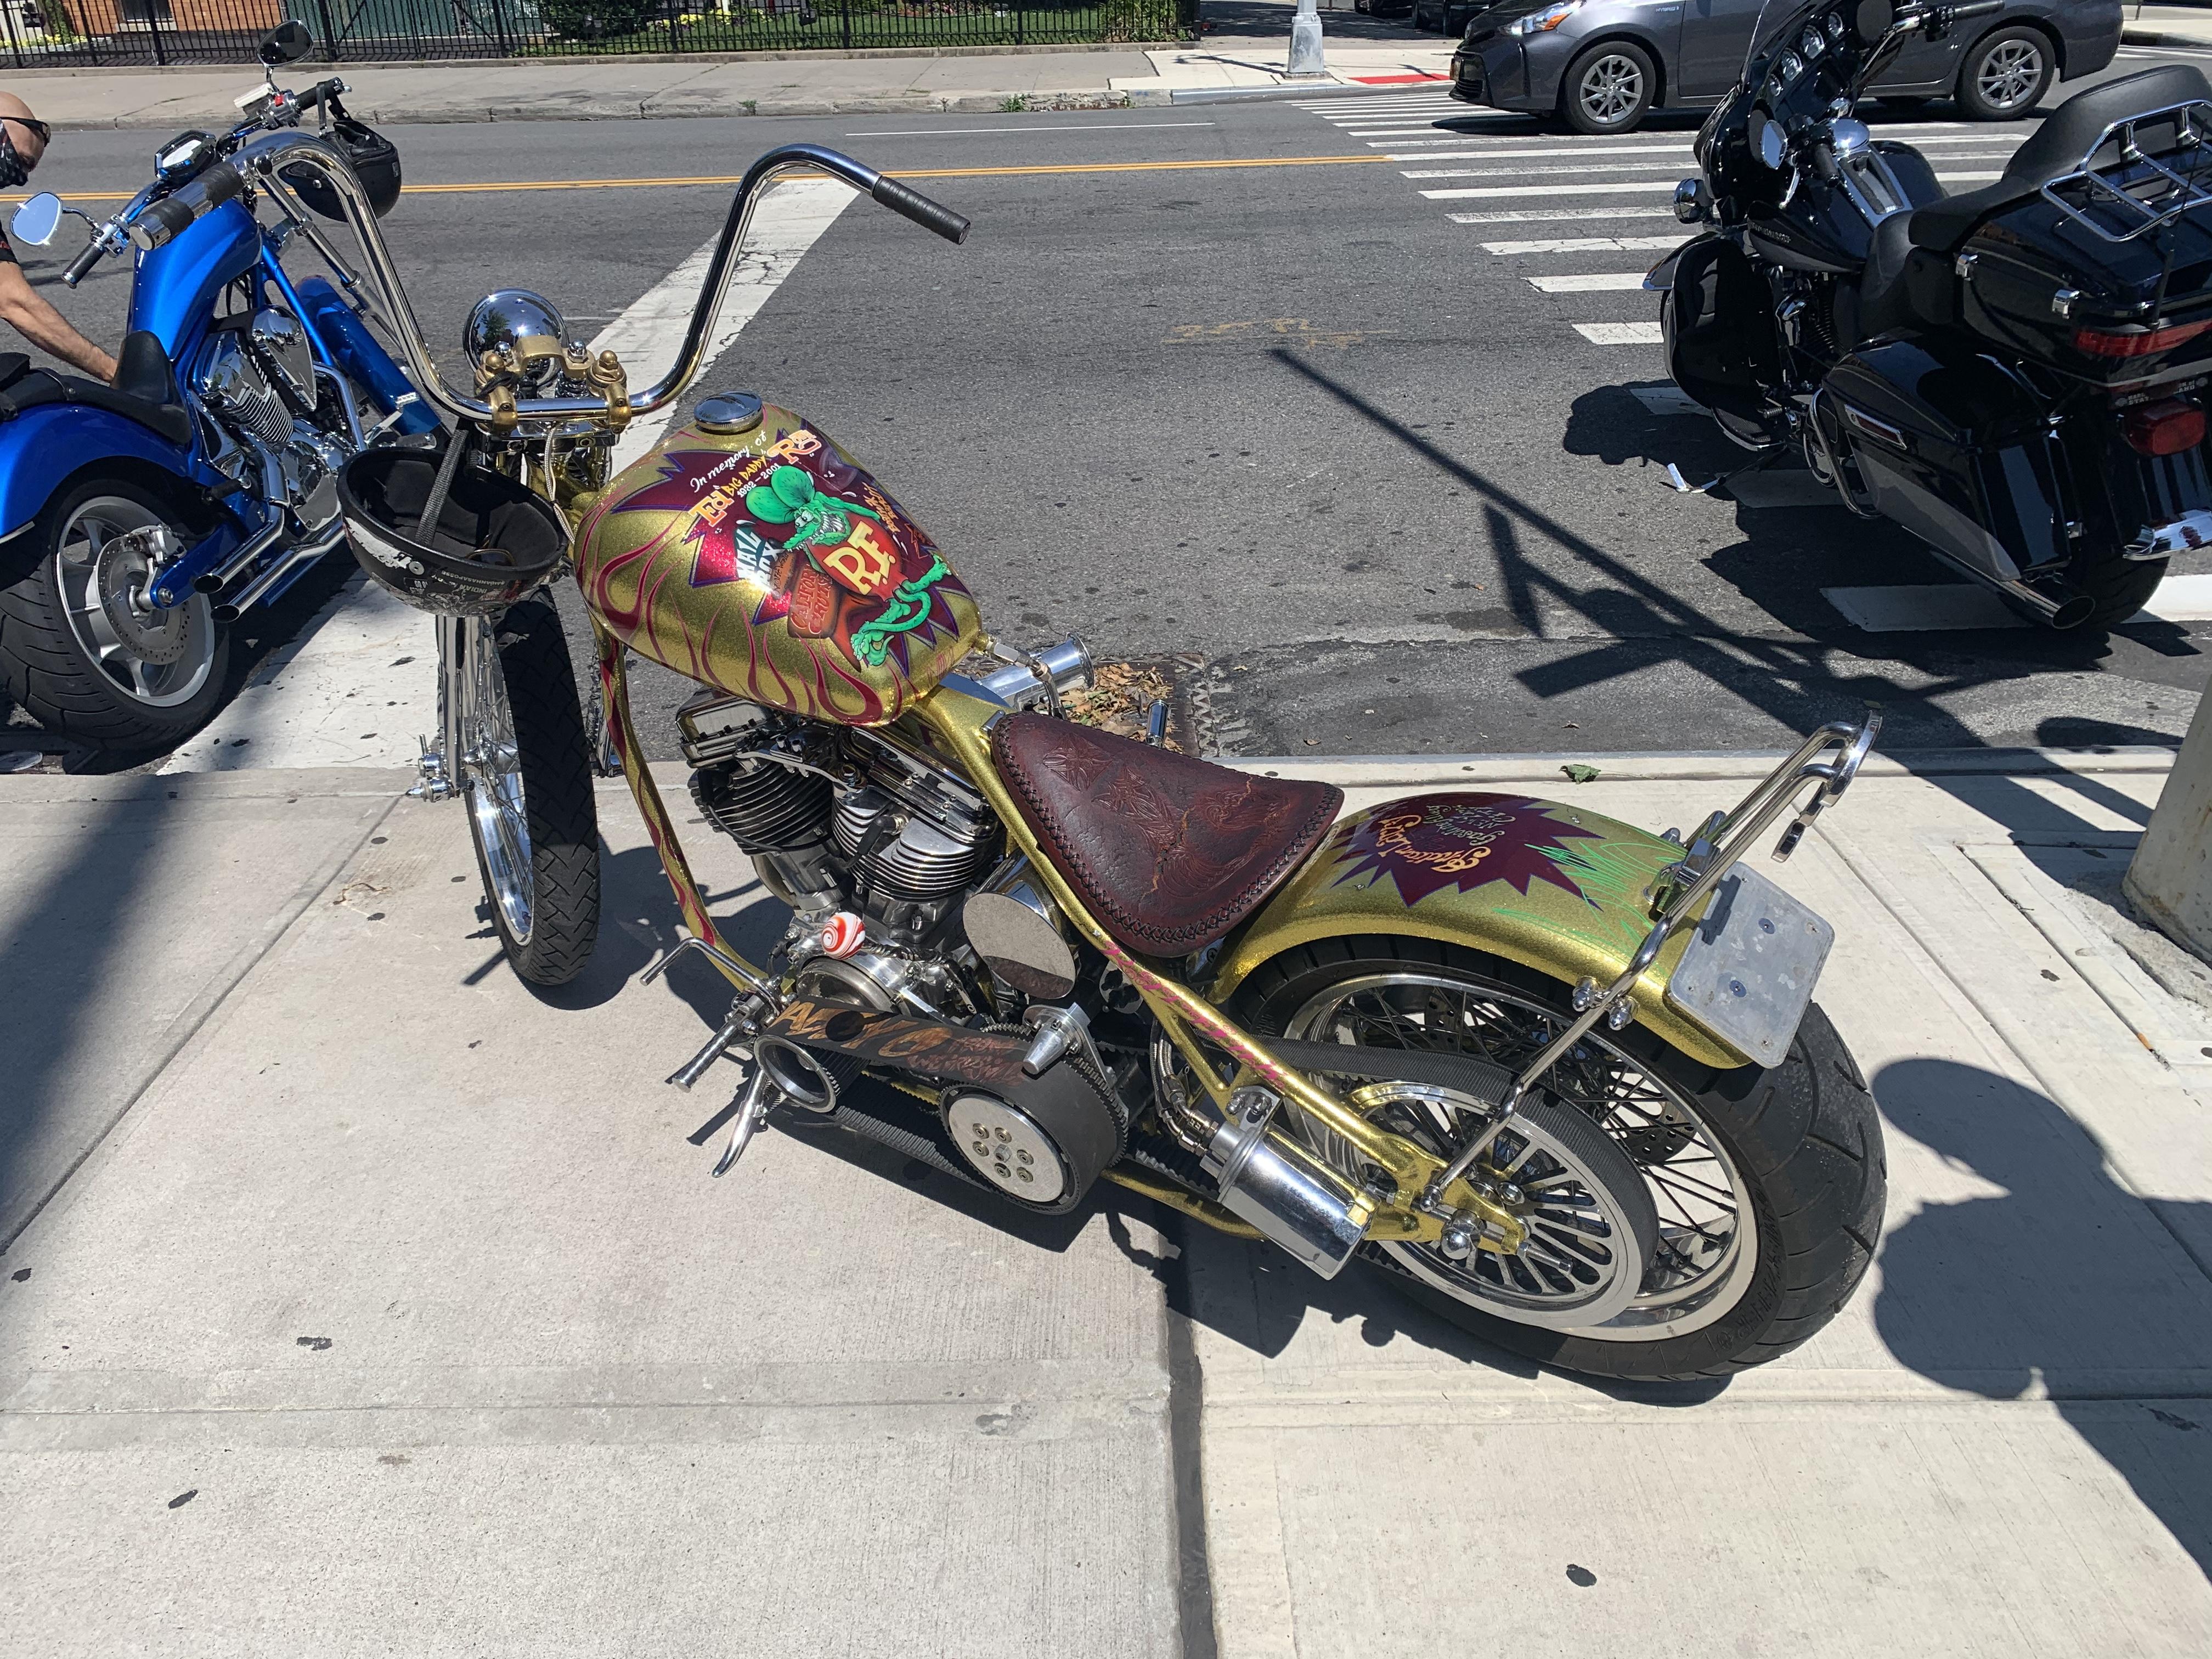
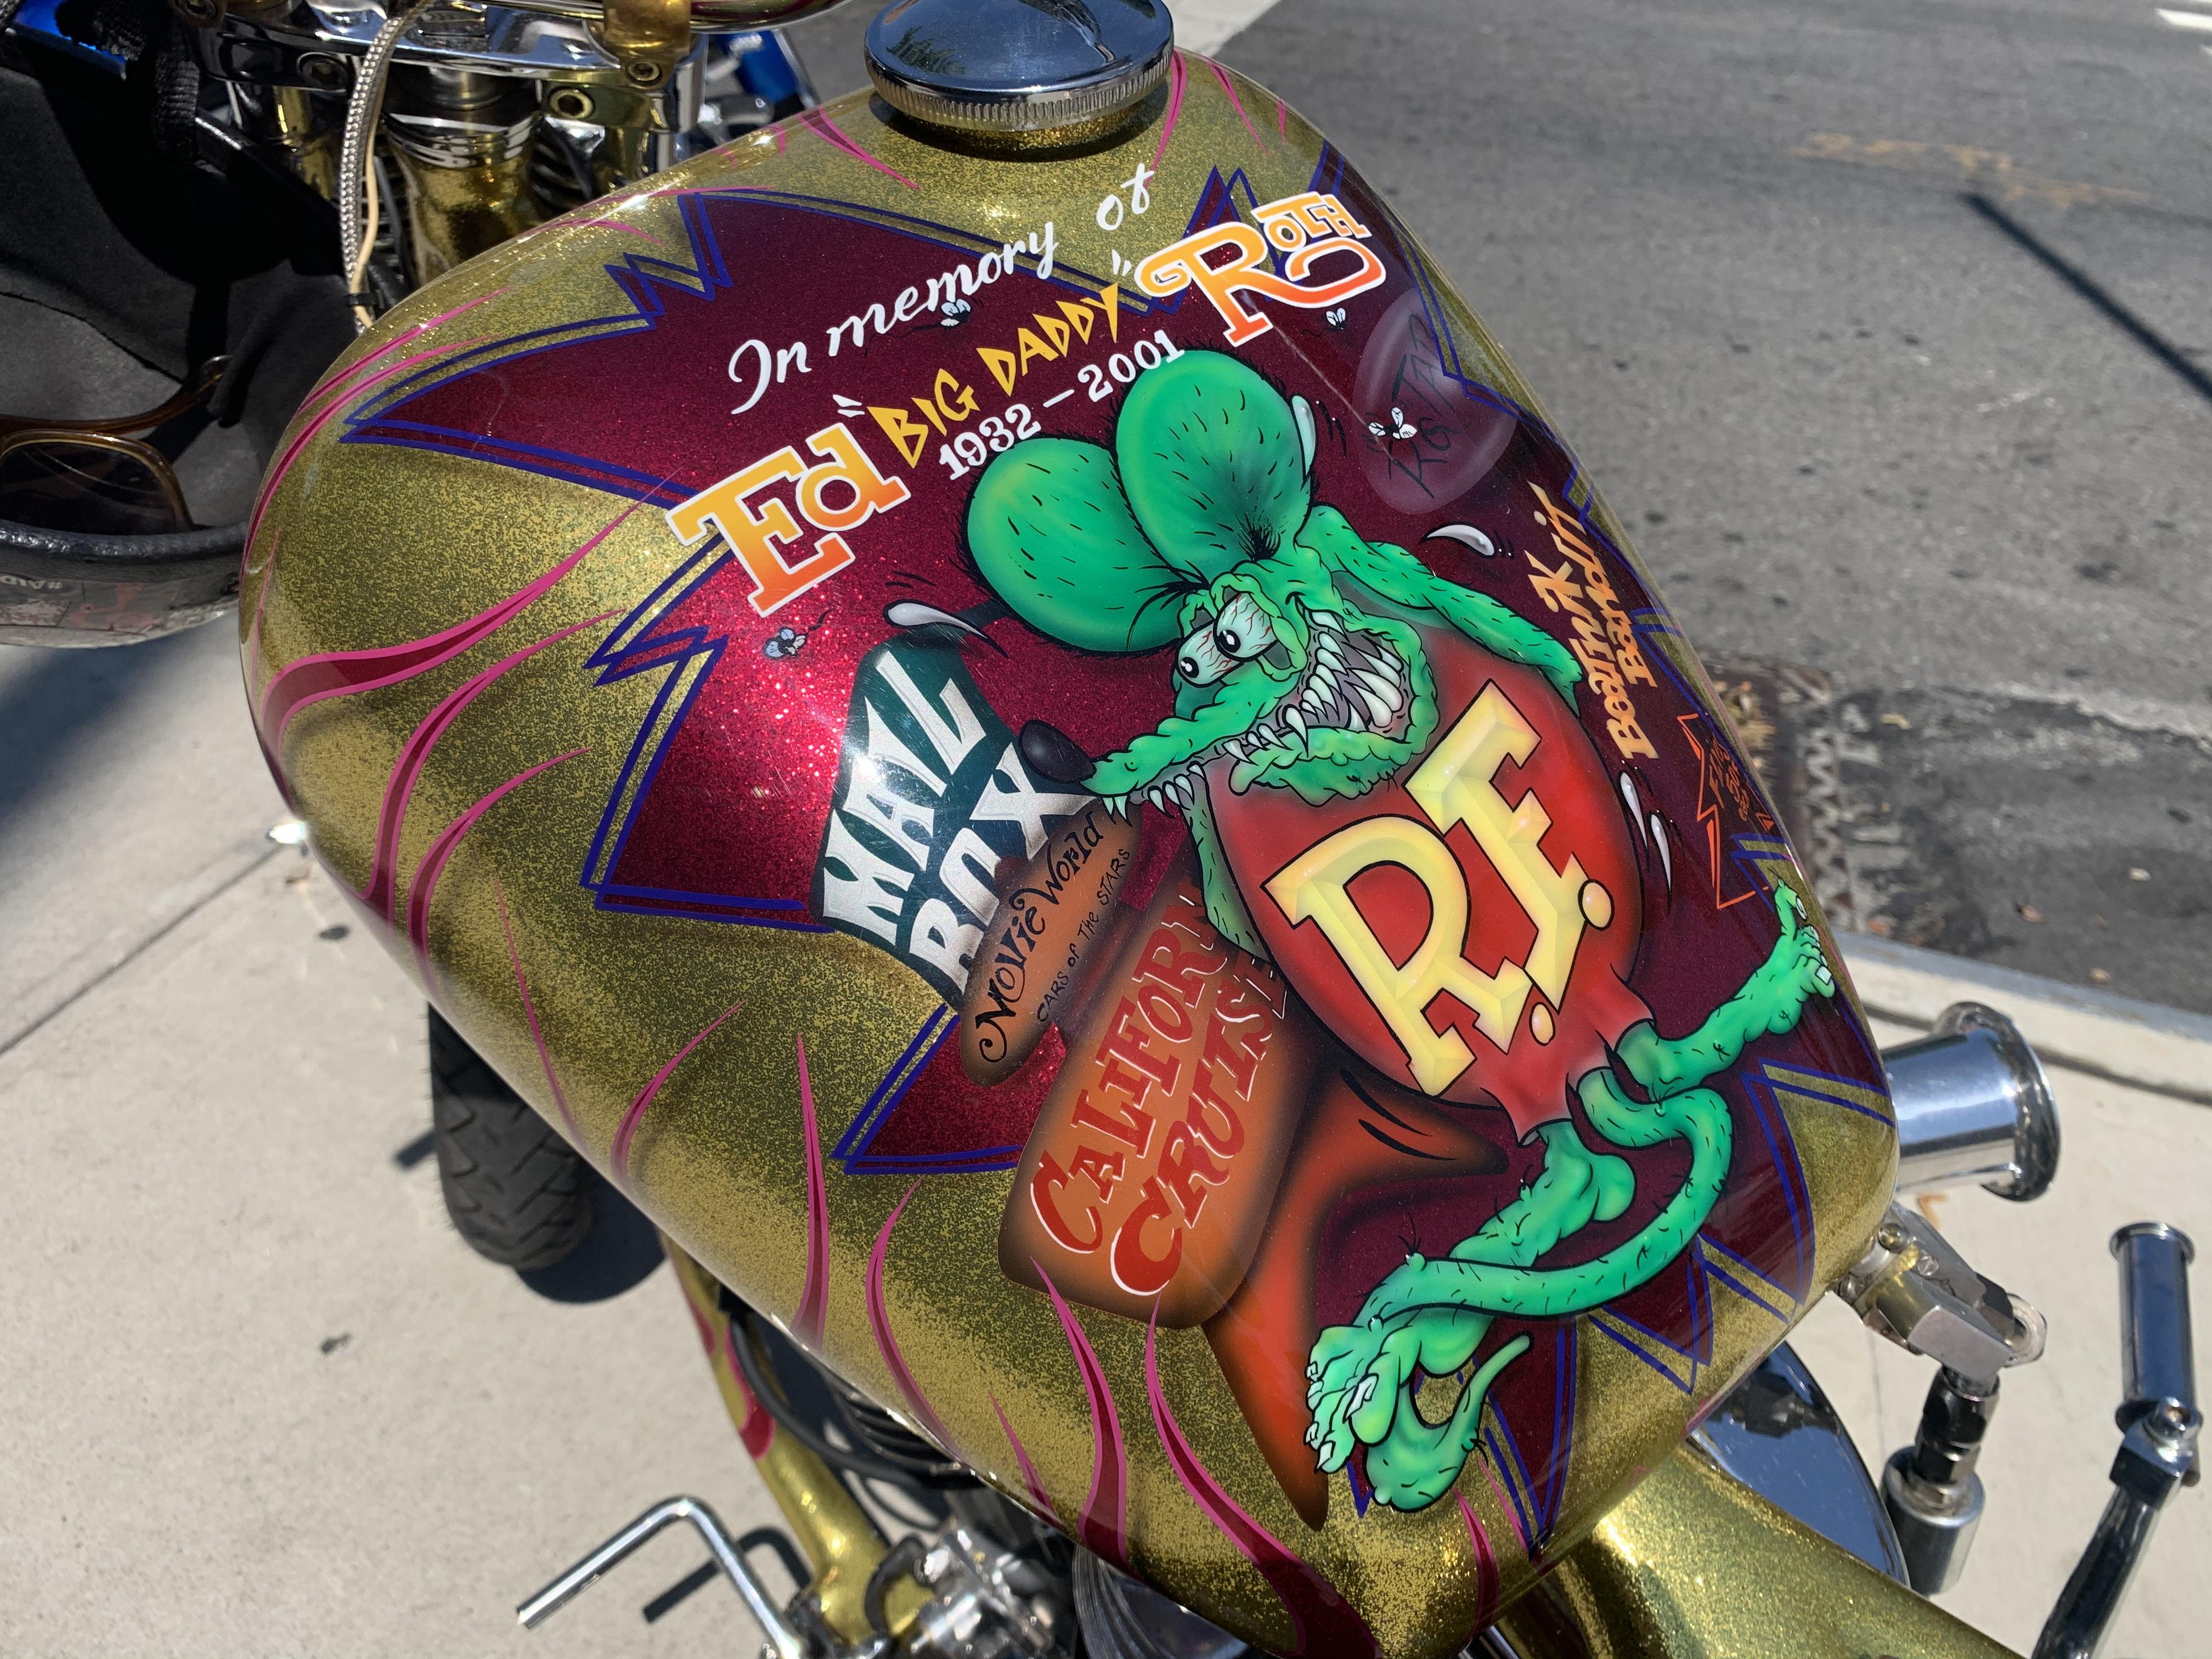
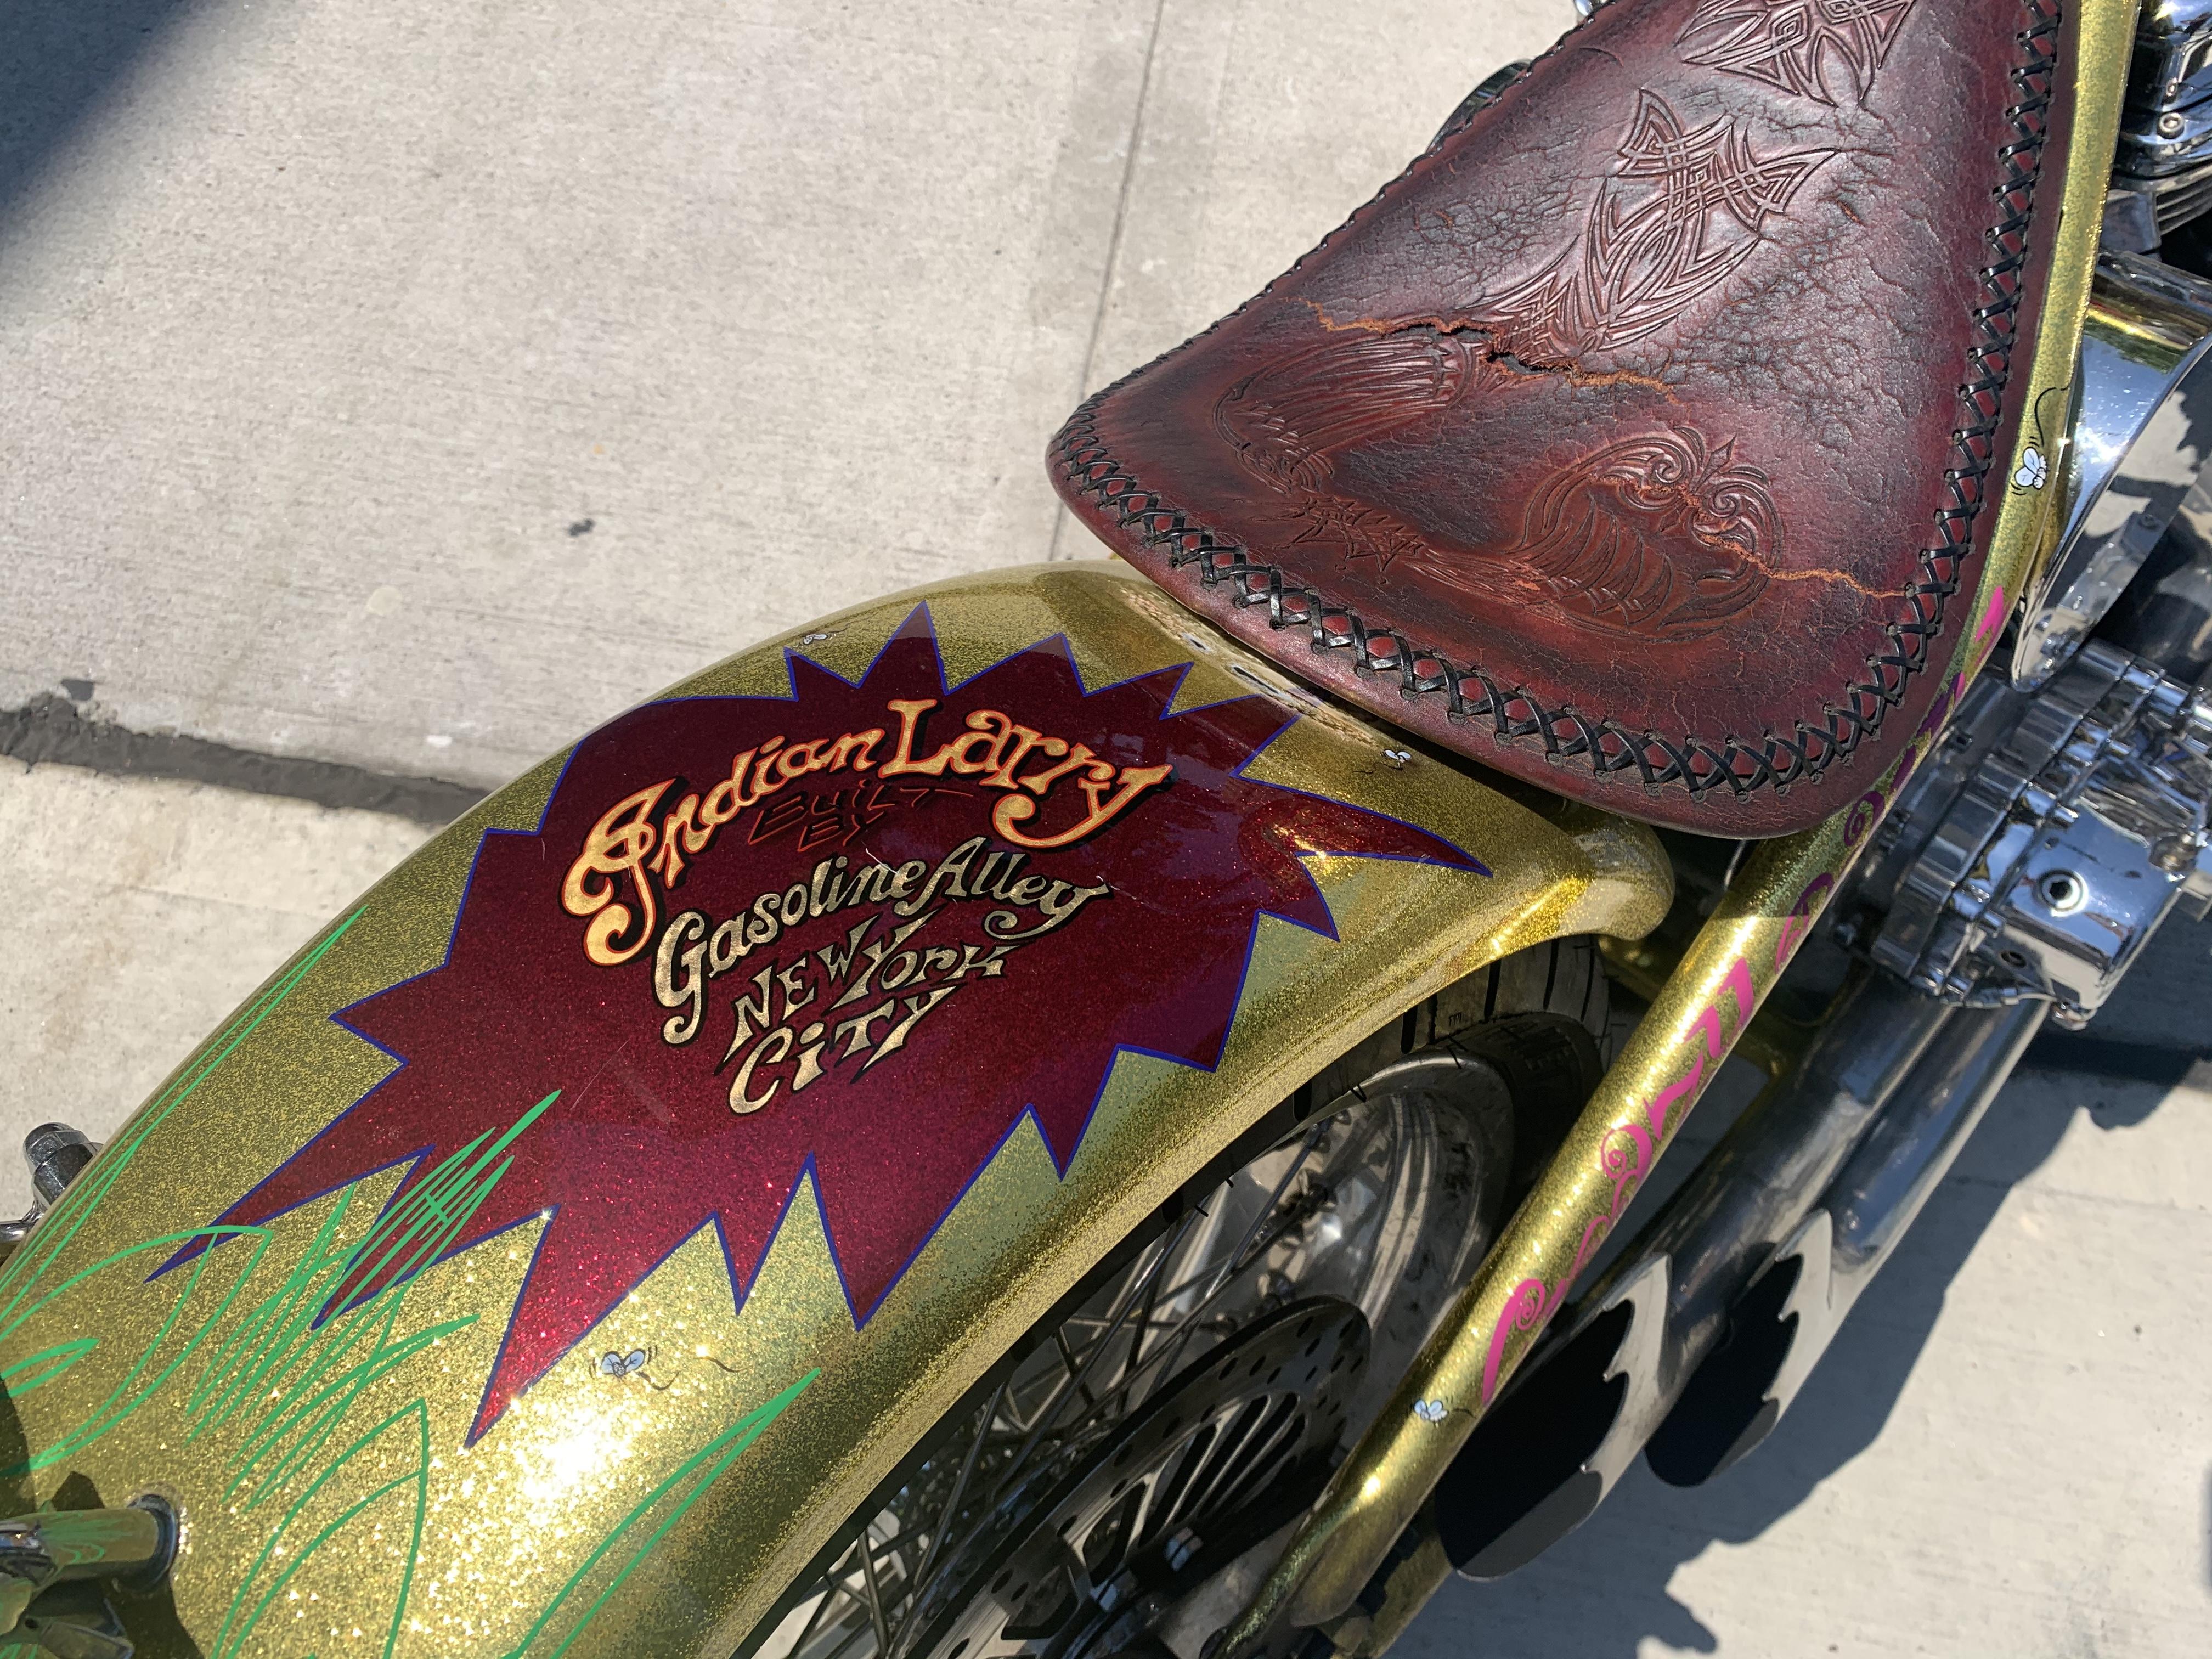
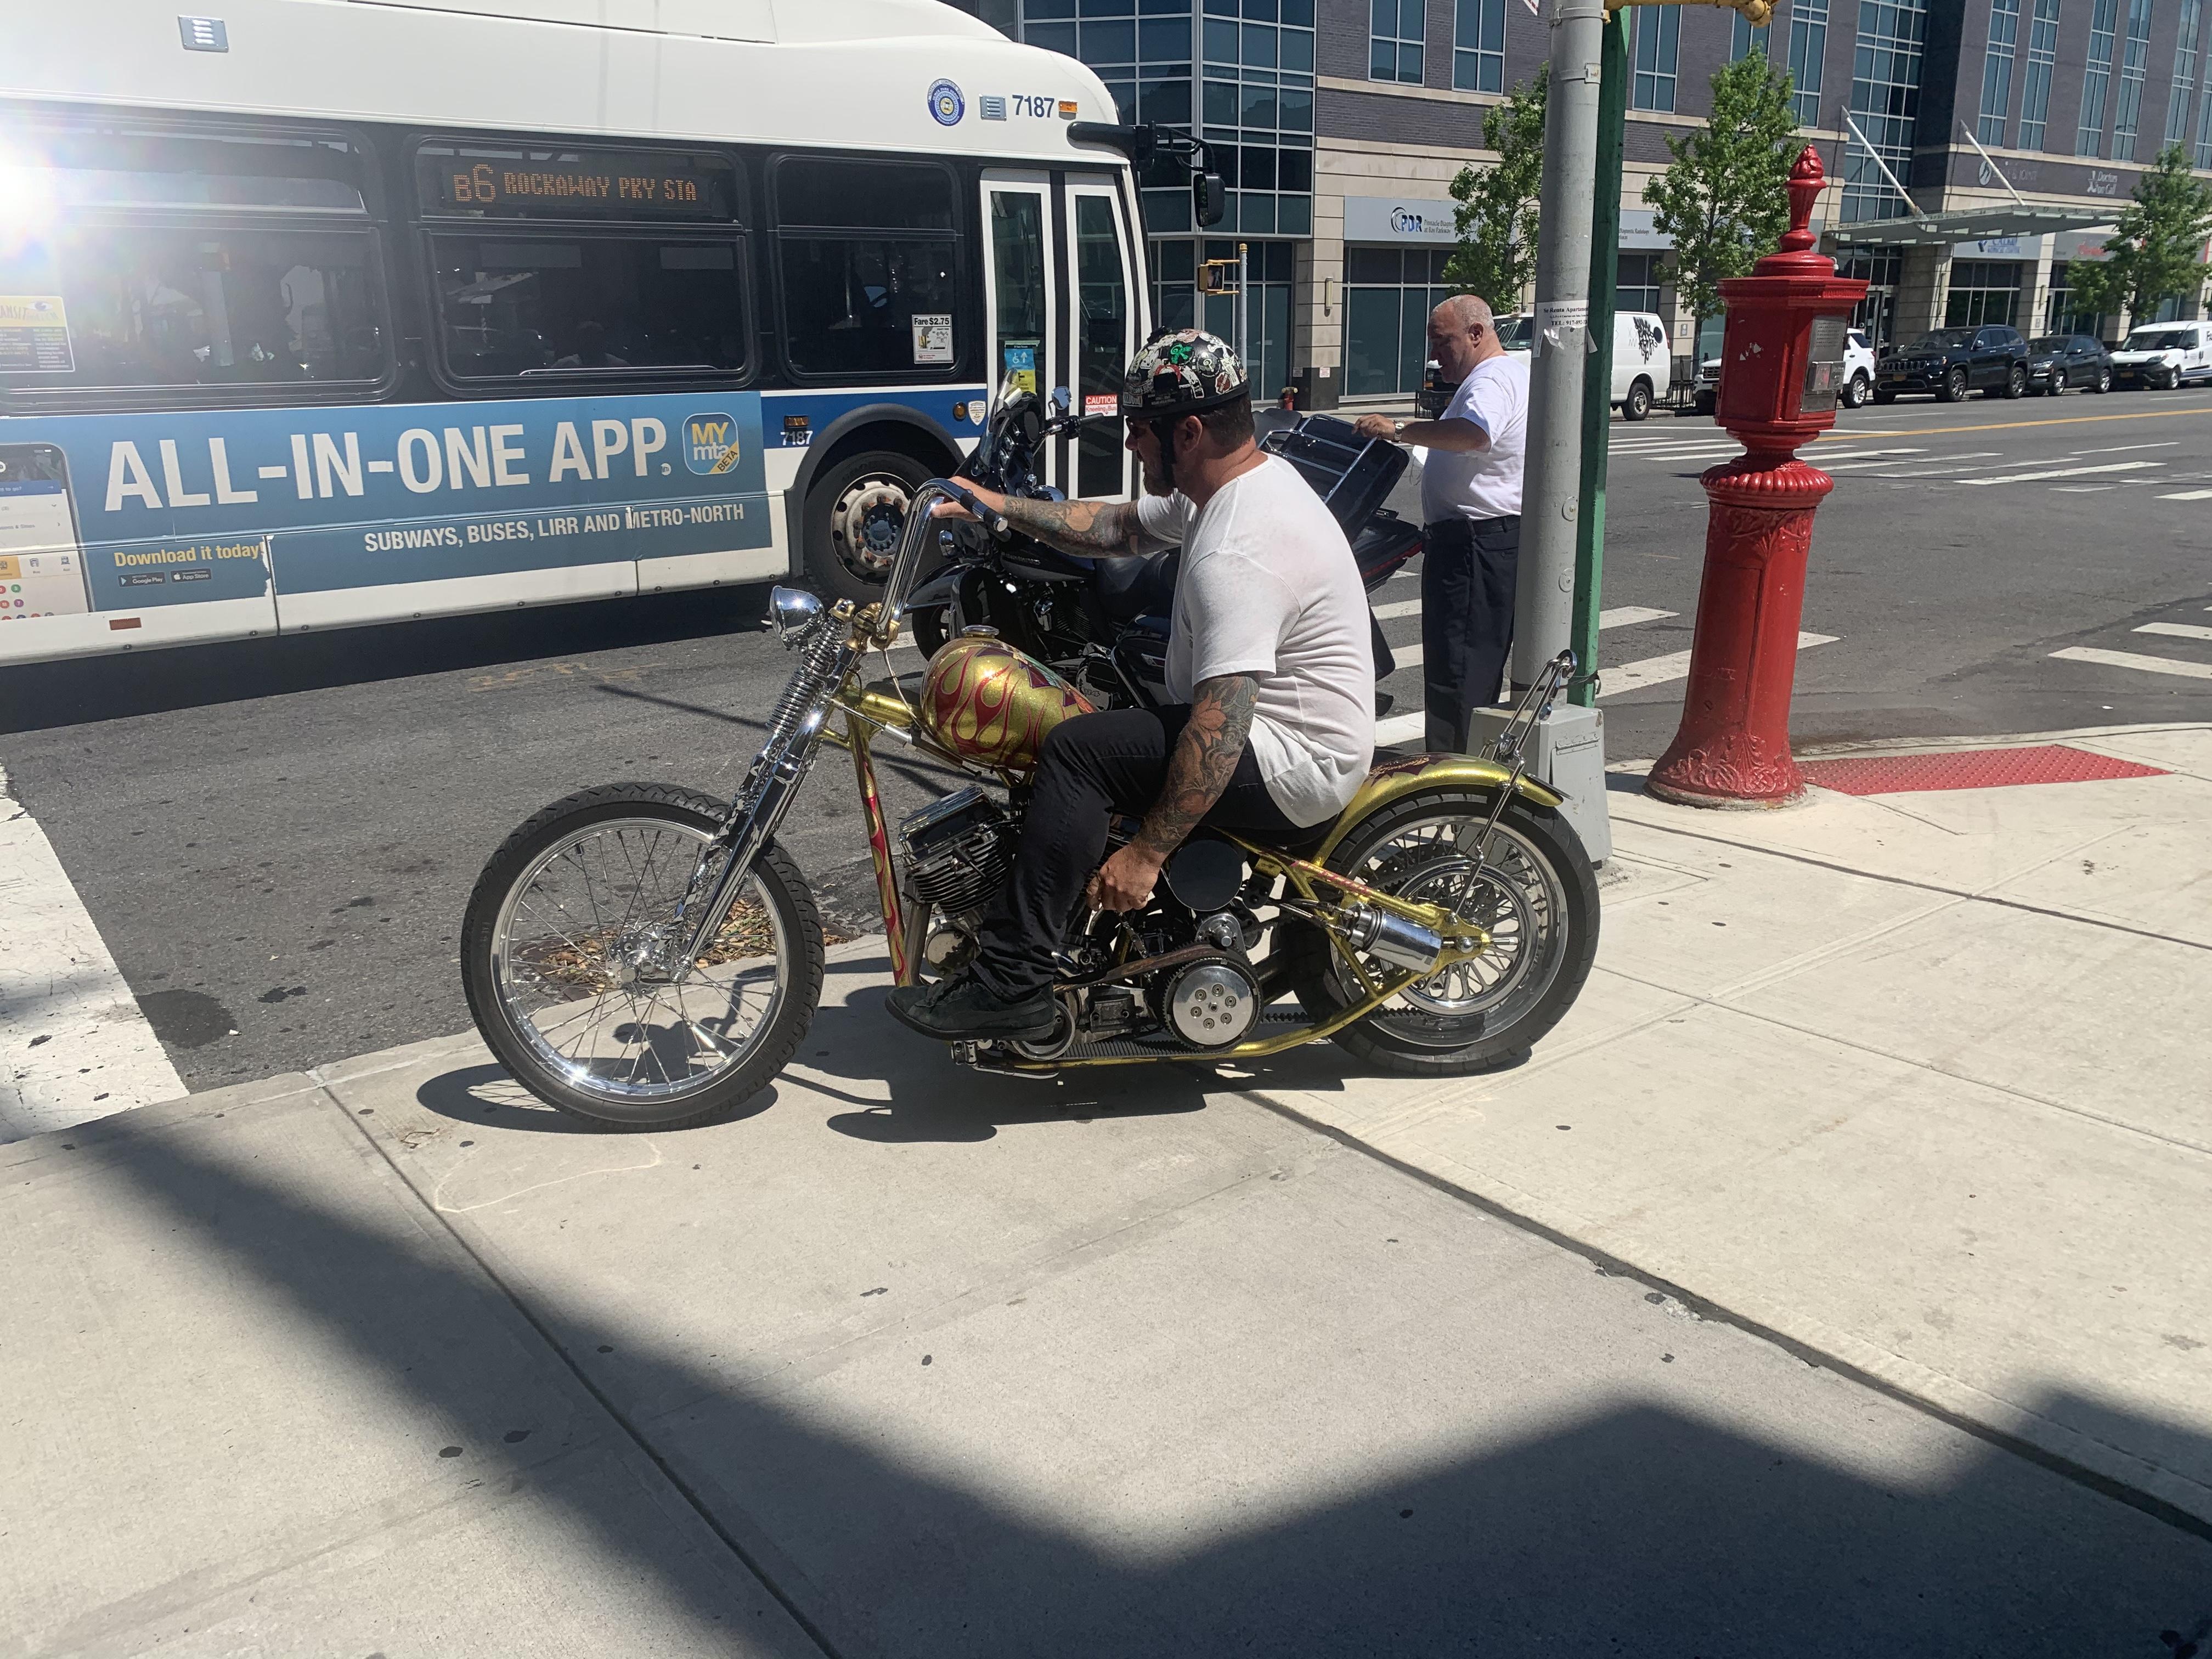
It was the annual Bike Blessing in Brooklyn today, where they invite local bikers and the pastor gives them a blessing. I only saw it was happening after it had started, but it was only 4 blocks from our apartment this year so I went for a look...got to see the Indian Larry Ed Roth tribute bike ‘Daddy O’ in person! A BEAUTIFUL bike, even if I’m more of a car guy than a bike guy... Sounded nice too! IMG_3469.MP4
-
That’s really cool - I love that miles-deep-looking paint job!! ❤️??
-
Tamiya McLaren MP4/6 build
OldNYJim replied to Josie's topic in WIP: Other Racing: Road Racing, Land Speed Racers
Really impressive work so far - I love that it even has the bearings in the rear end! -
This is going to look gorgeous in red! And I’m glad McNally has returned too. Inside job on those coins maybe? Intriguing!!
-
I like both types of knob! Really nice work on those - are the second version made from styrene bar? I couldn’t quite tell if it was round bar or flat sheet from the pics. Either way, nice job as usual!
-
Really impressive build, as always - and I LOVE that color! Stunning, especially with the red interior! Great tip on the anti-static brush too, I didn’t know that was a thing! Thanks for that!
-
Finished pics - thanks for looking everyone!! ❤️
-
What did you see on the road today?
OldNYJim replied to Harry P.'s topic in General Automotive Talk (Trucks and Cars)
Just a normal day in my neighborhood
-
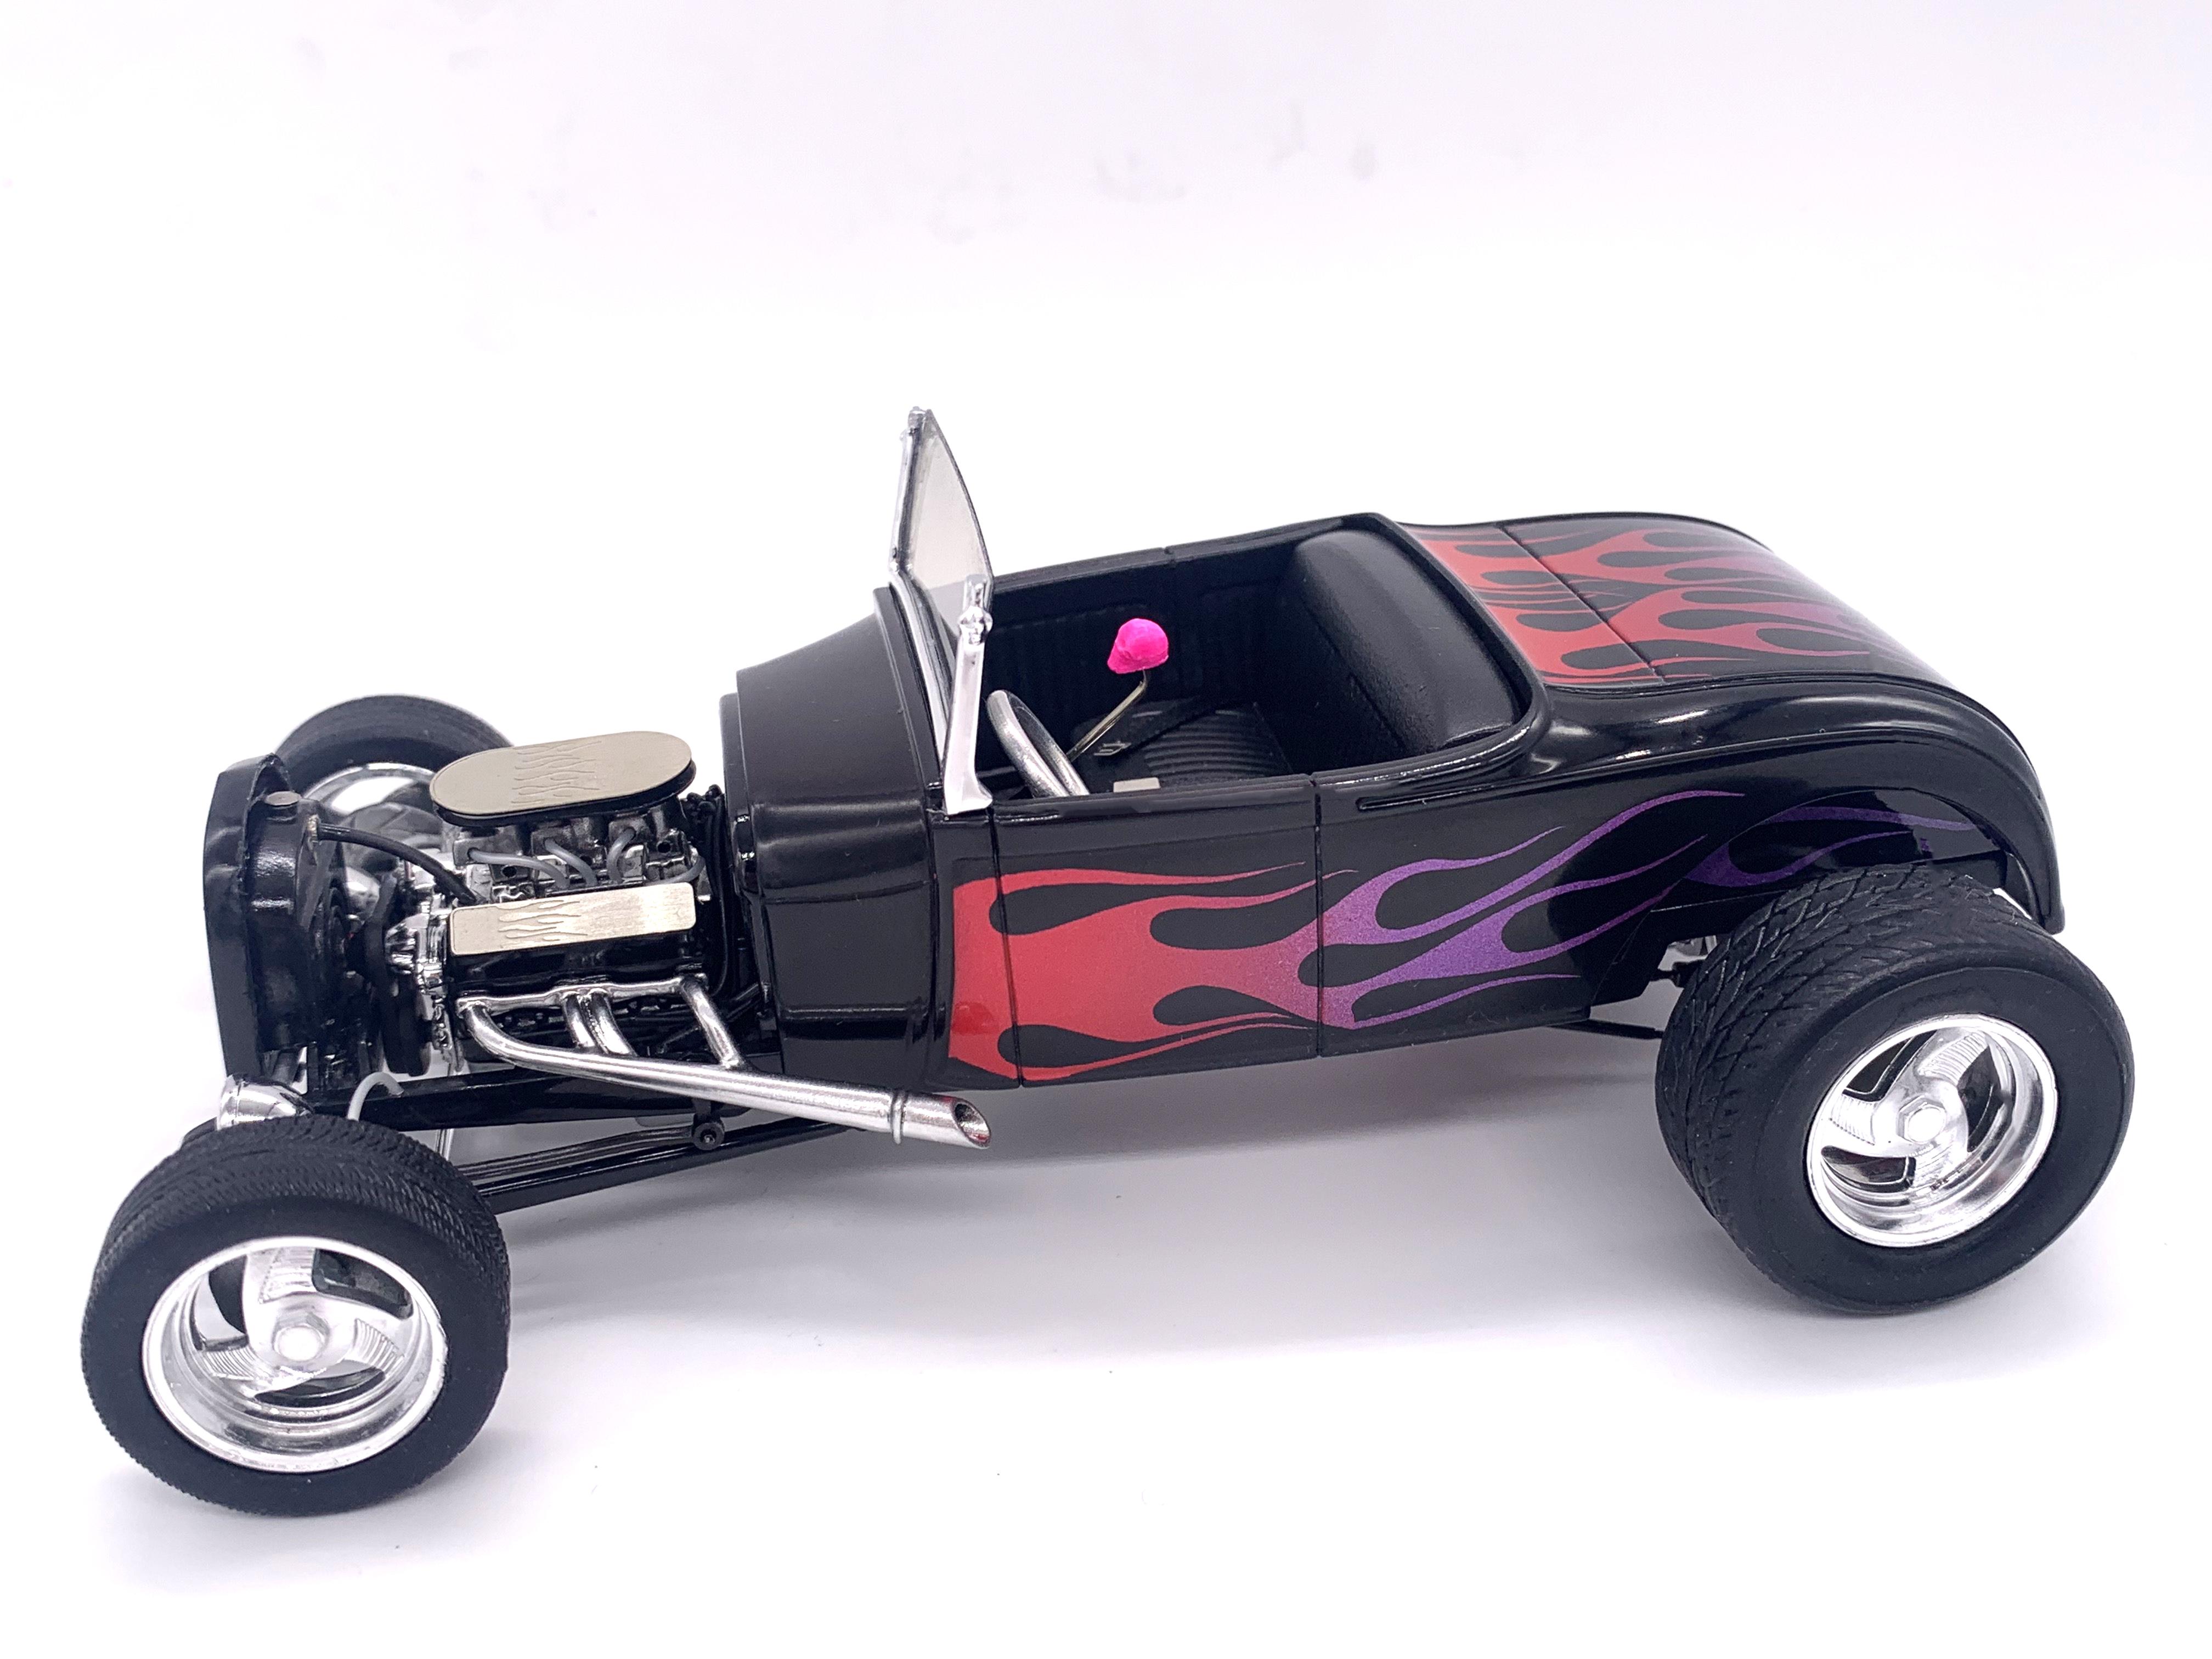
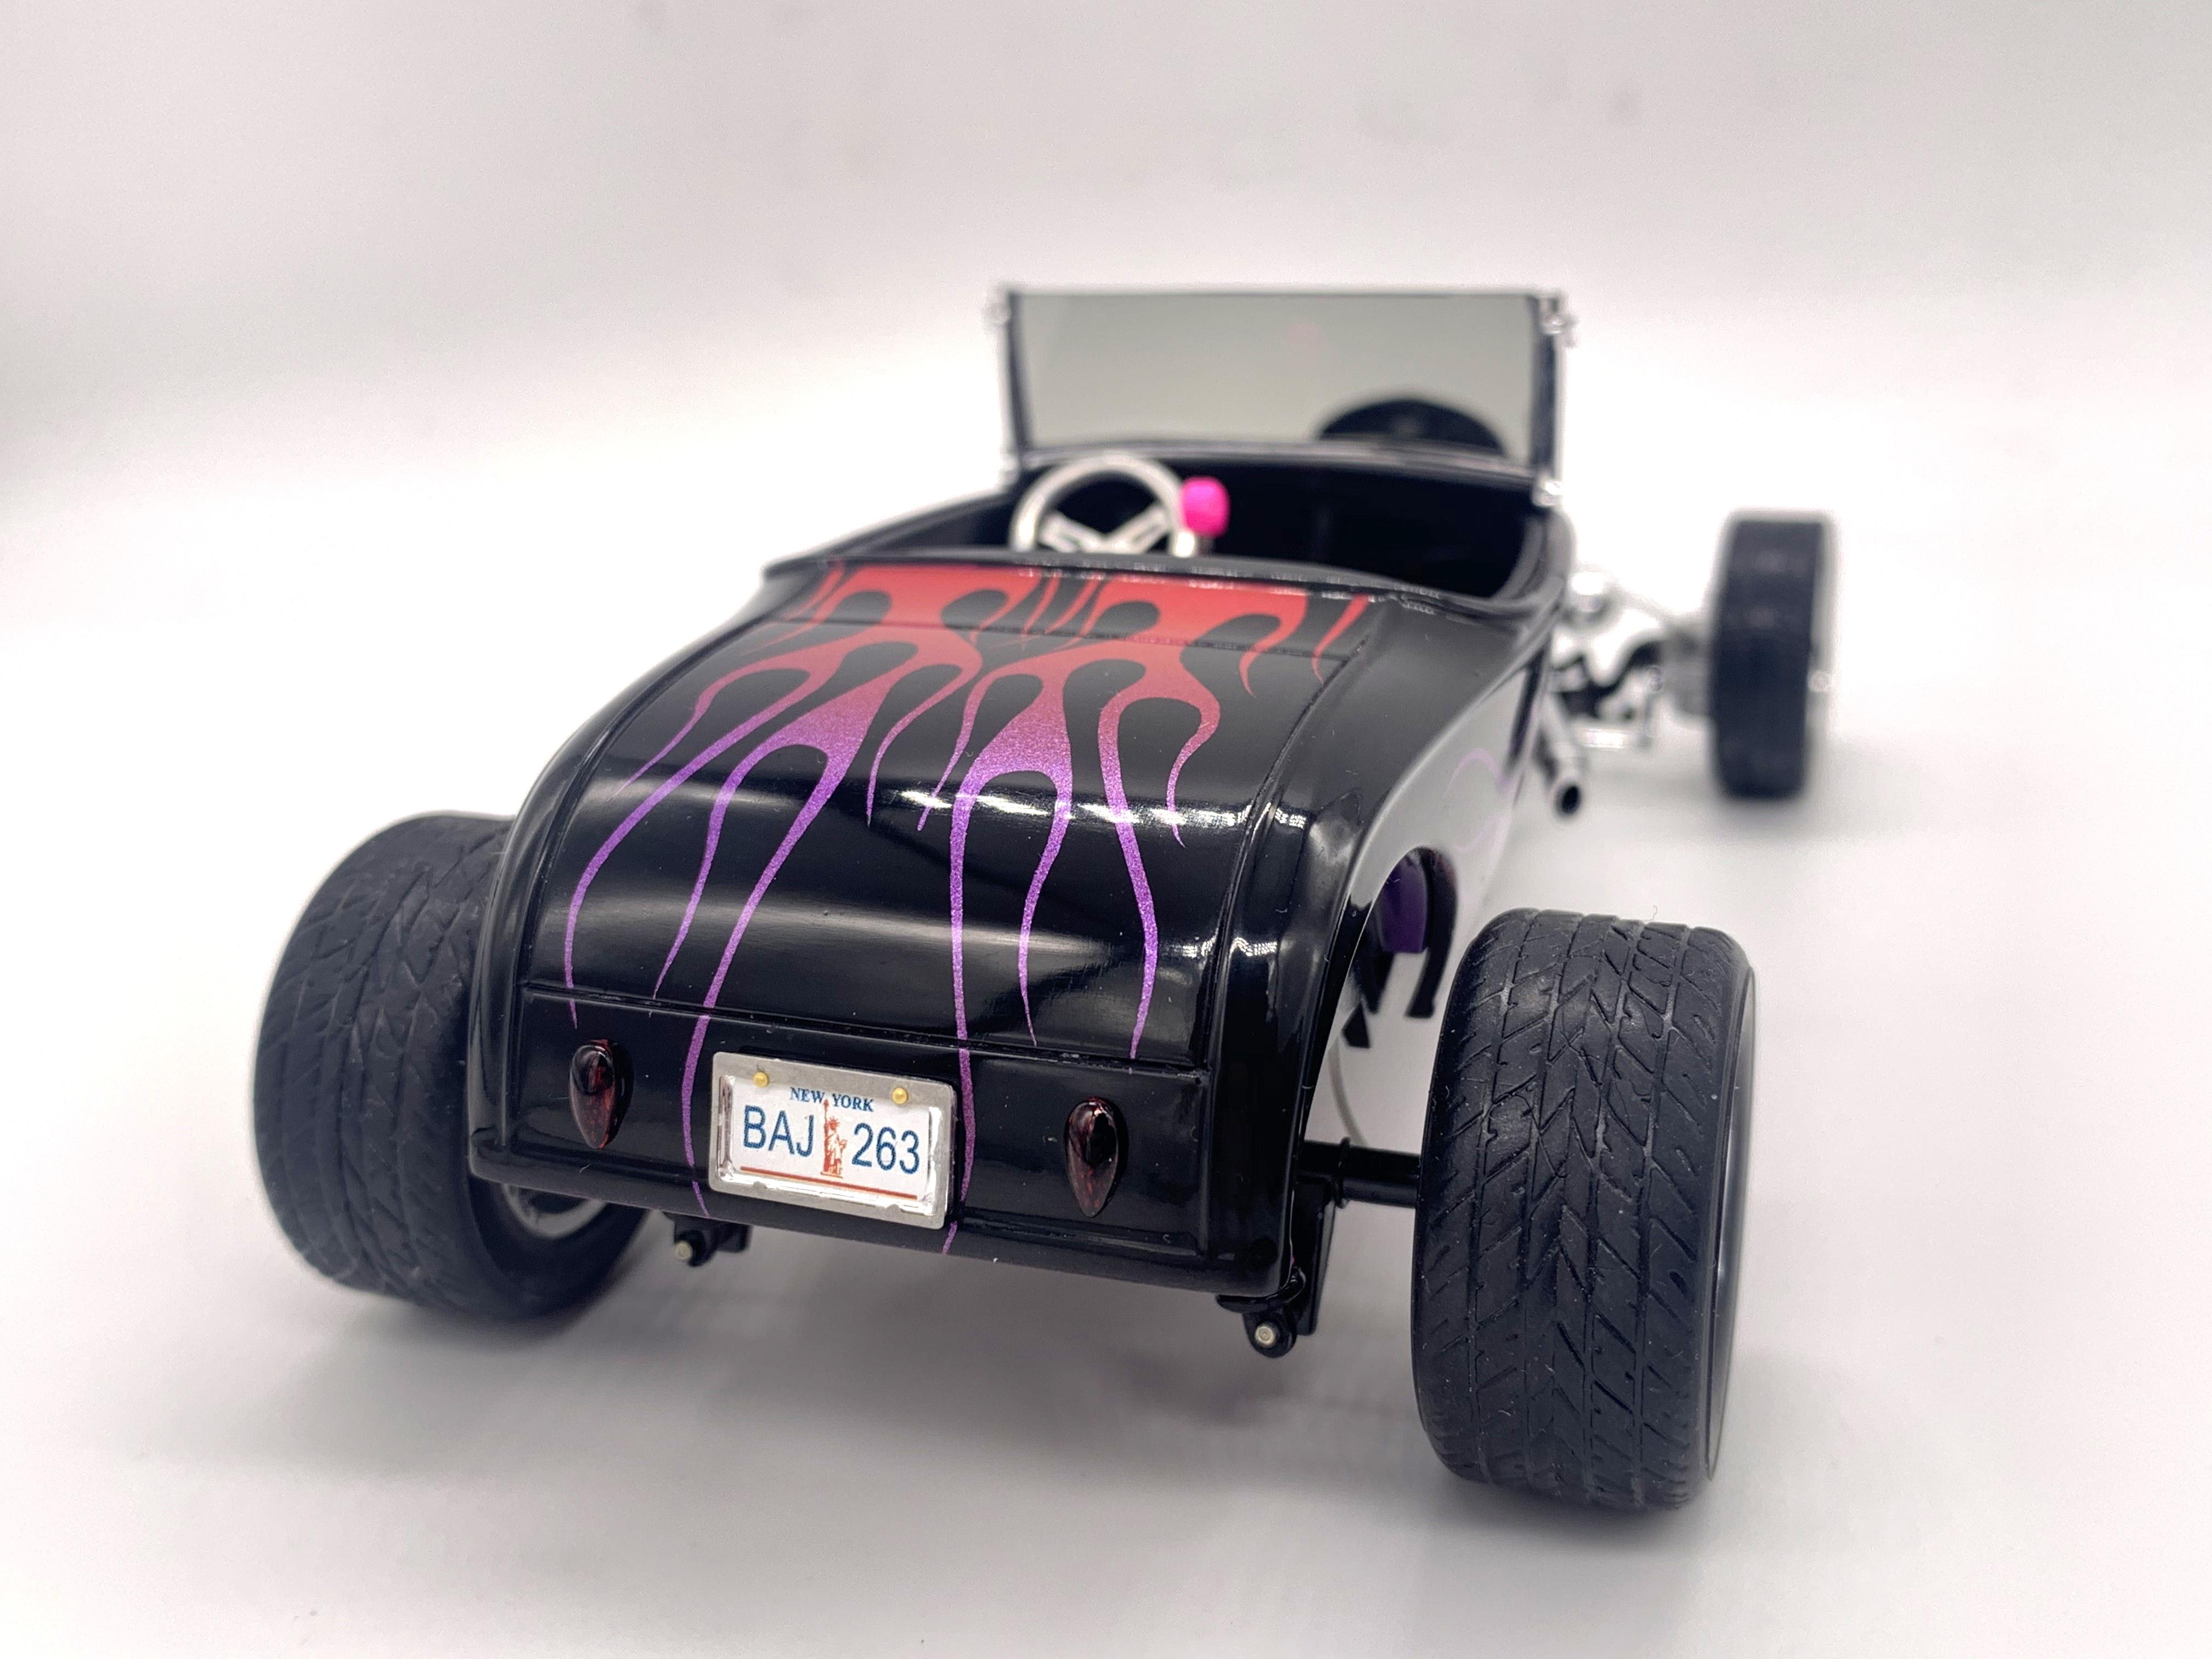
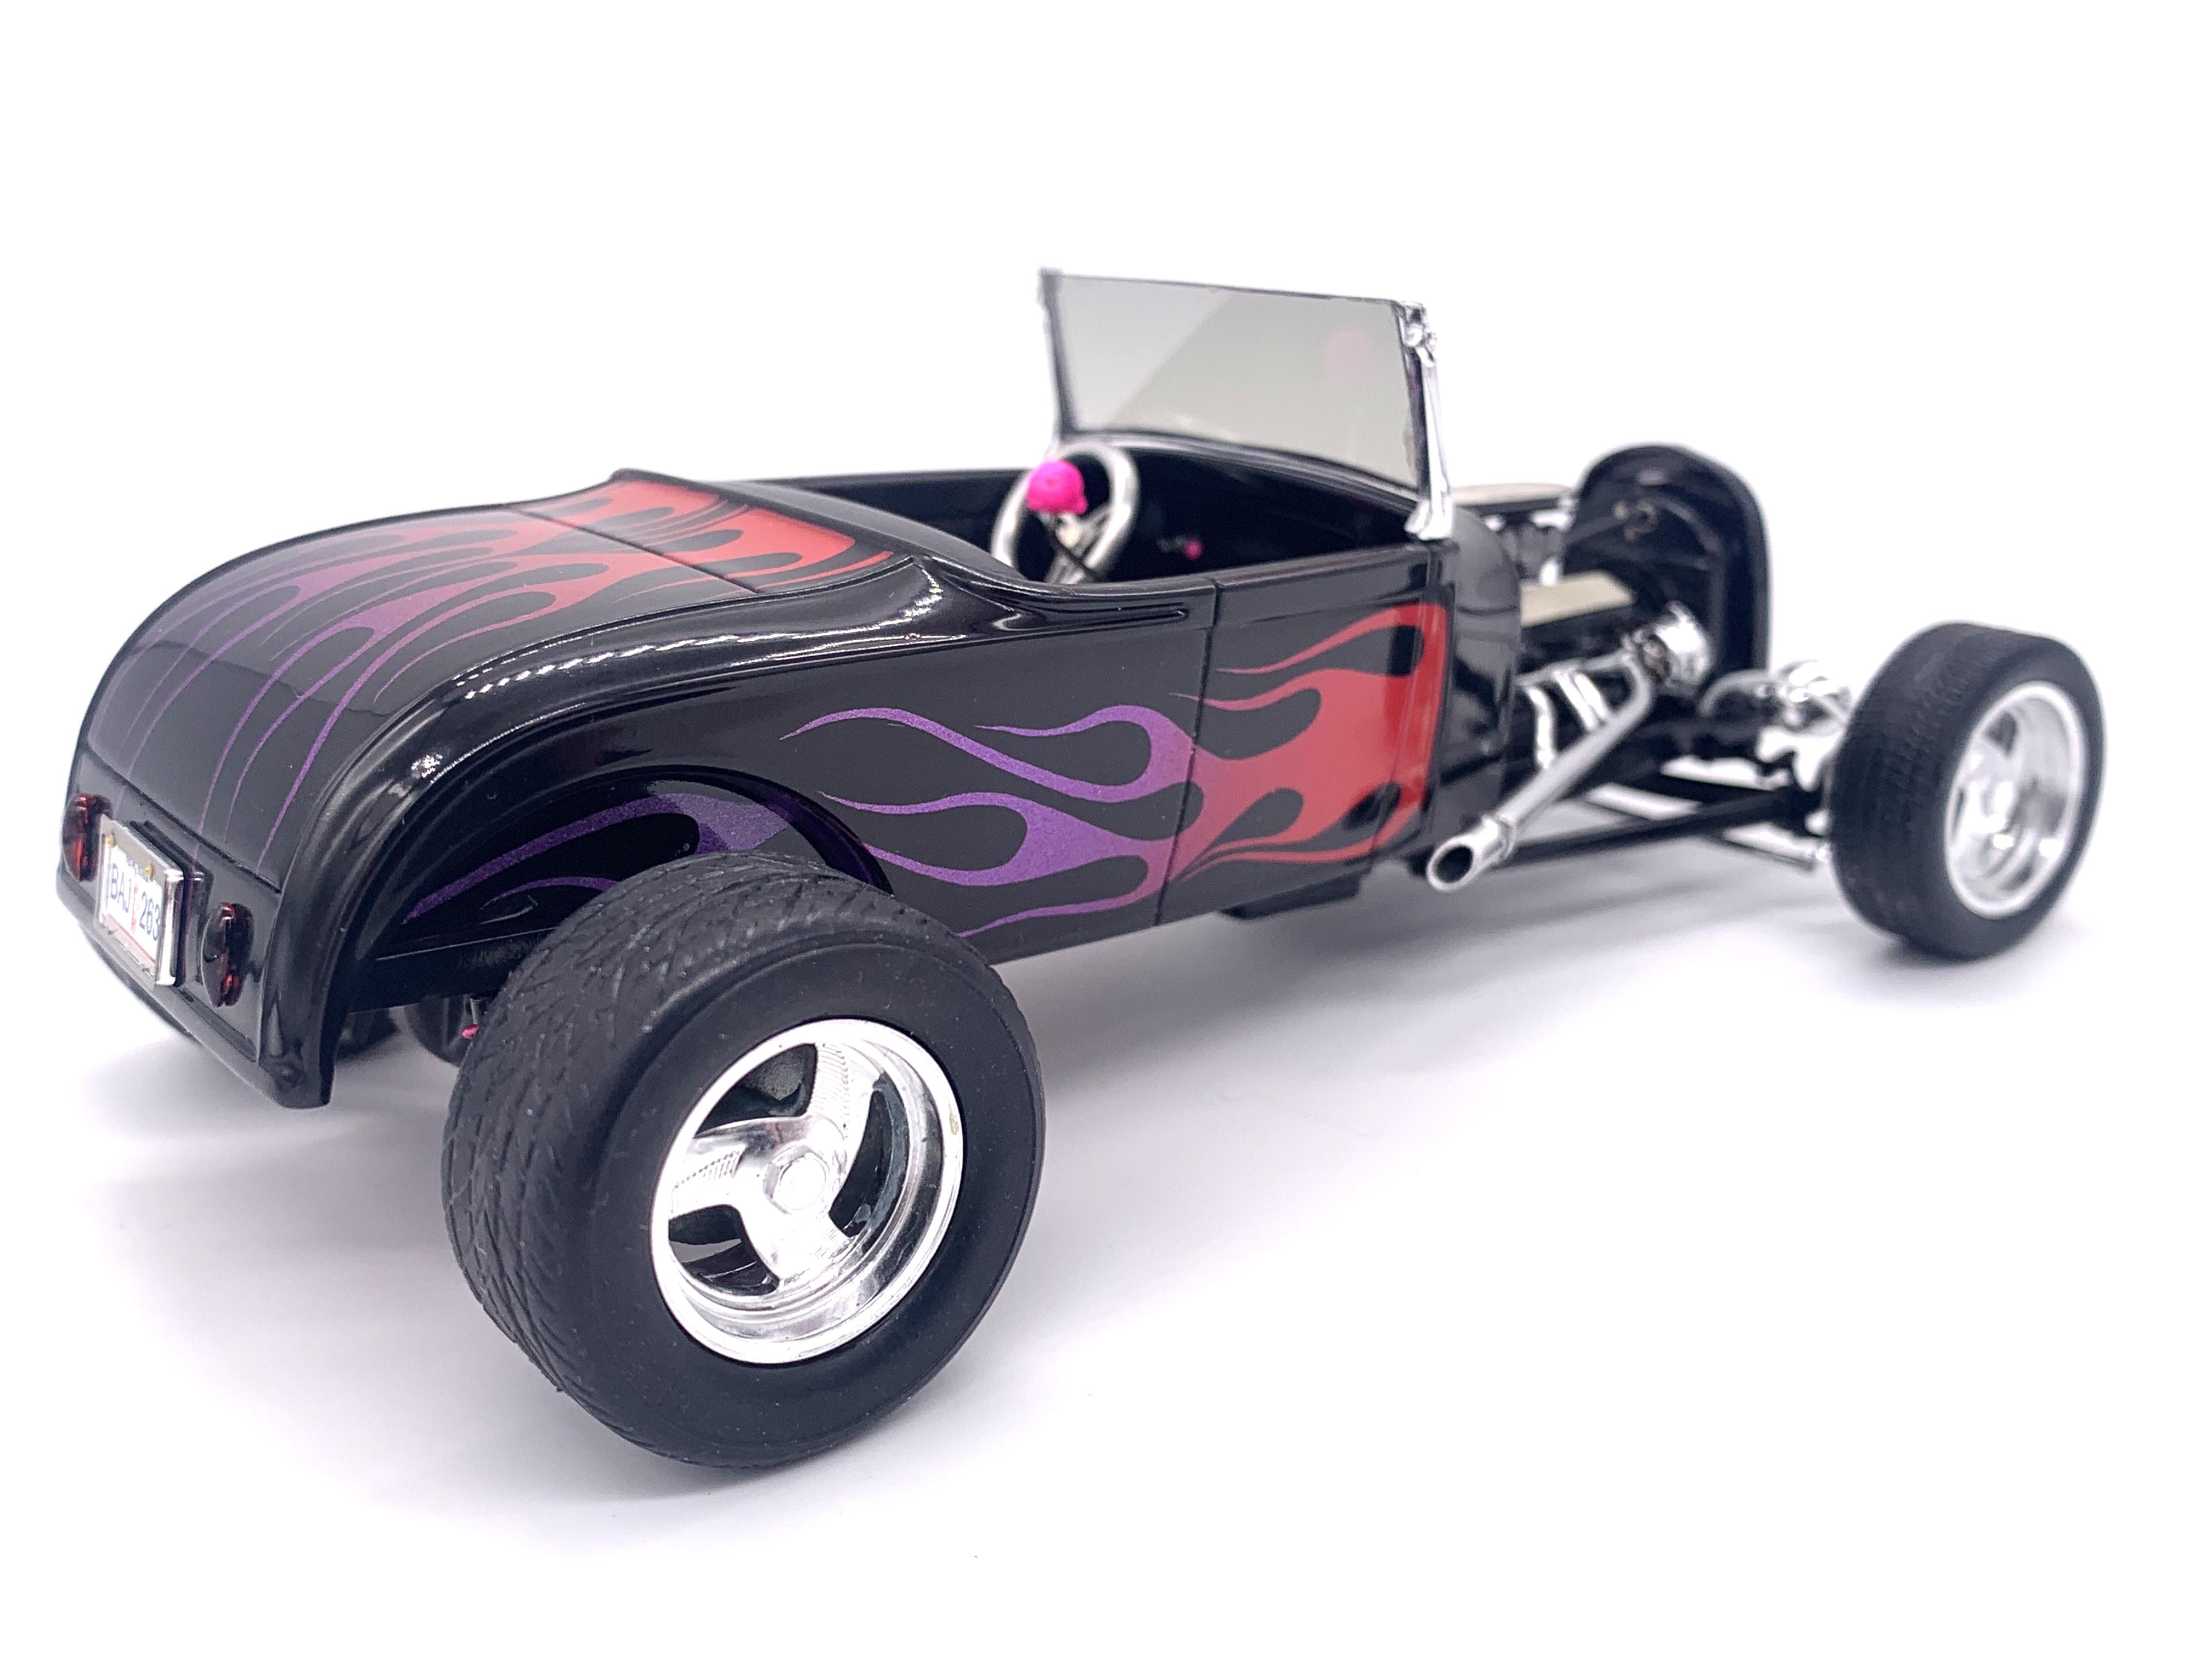
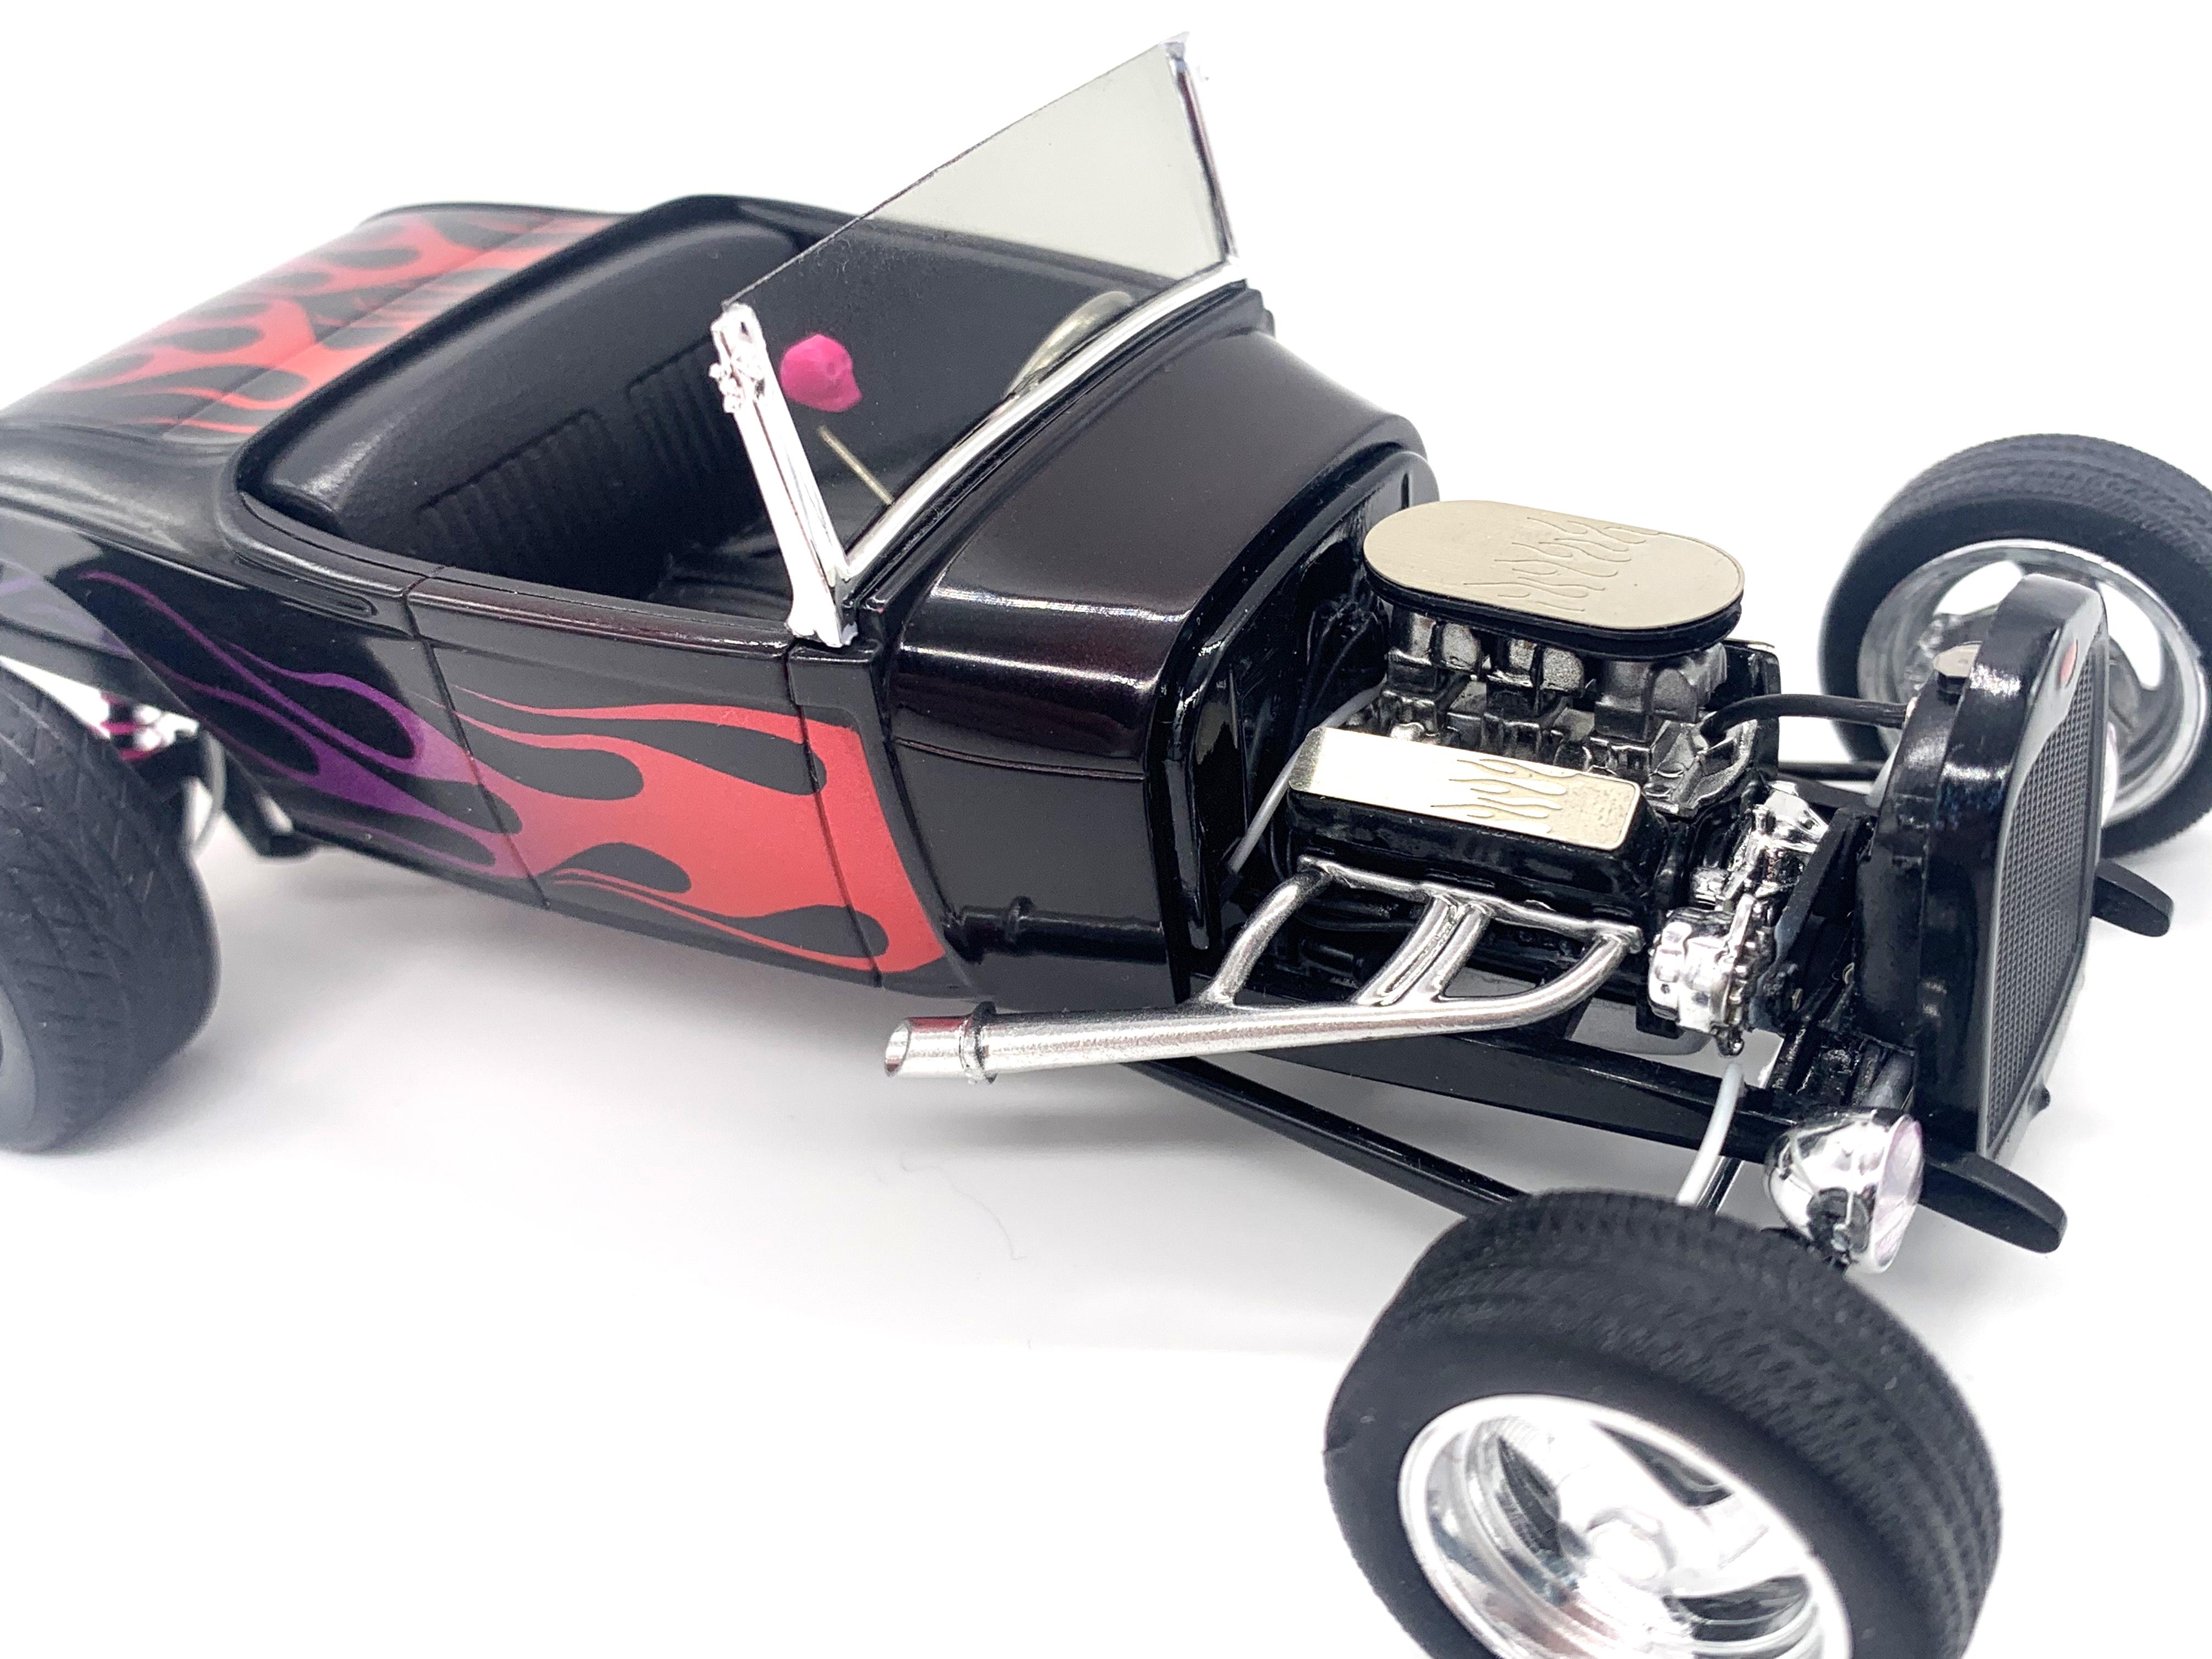
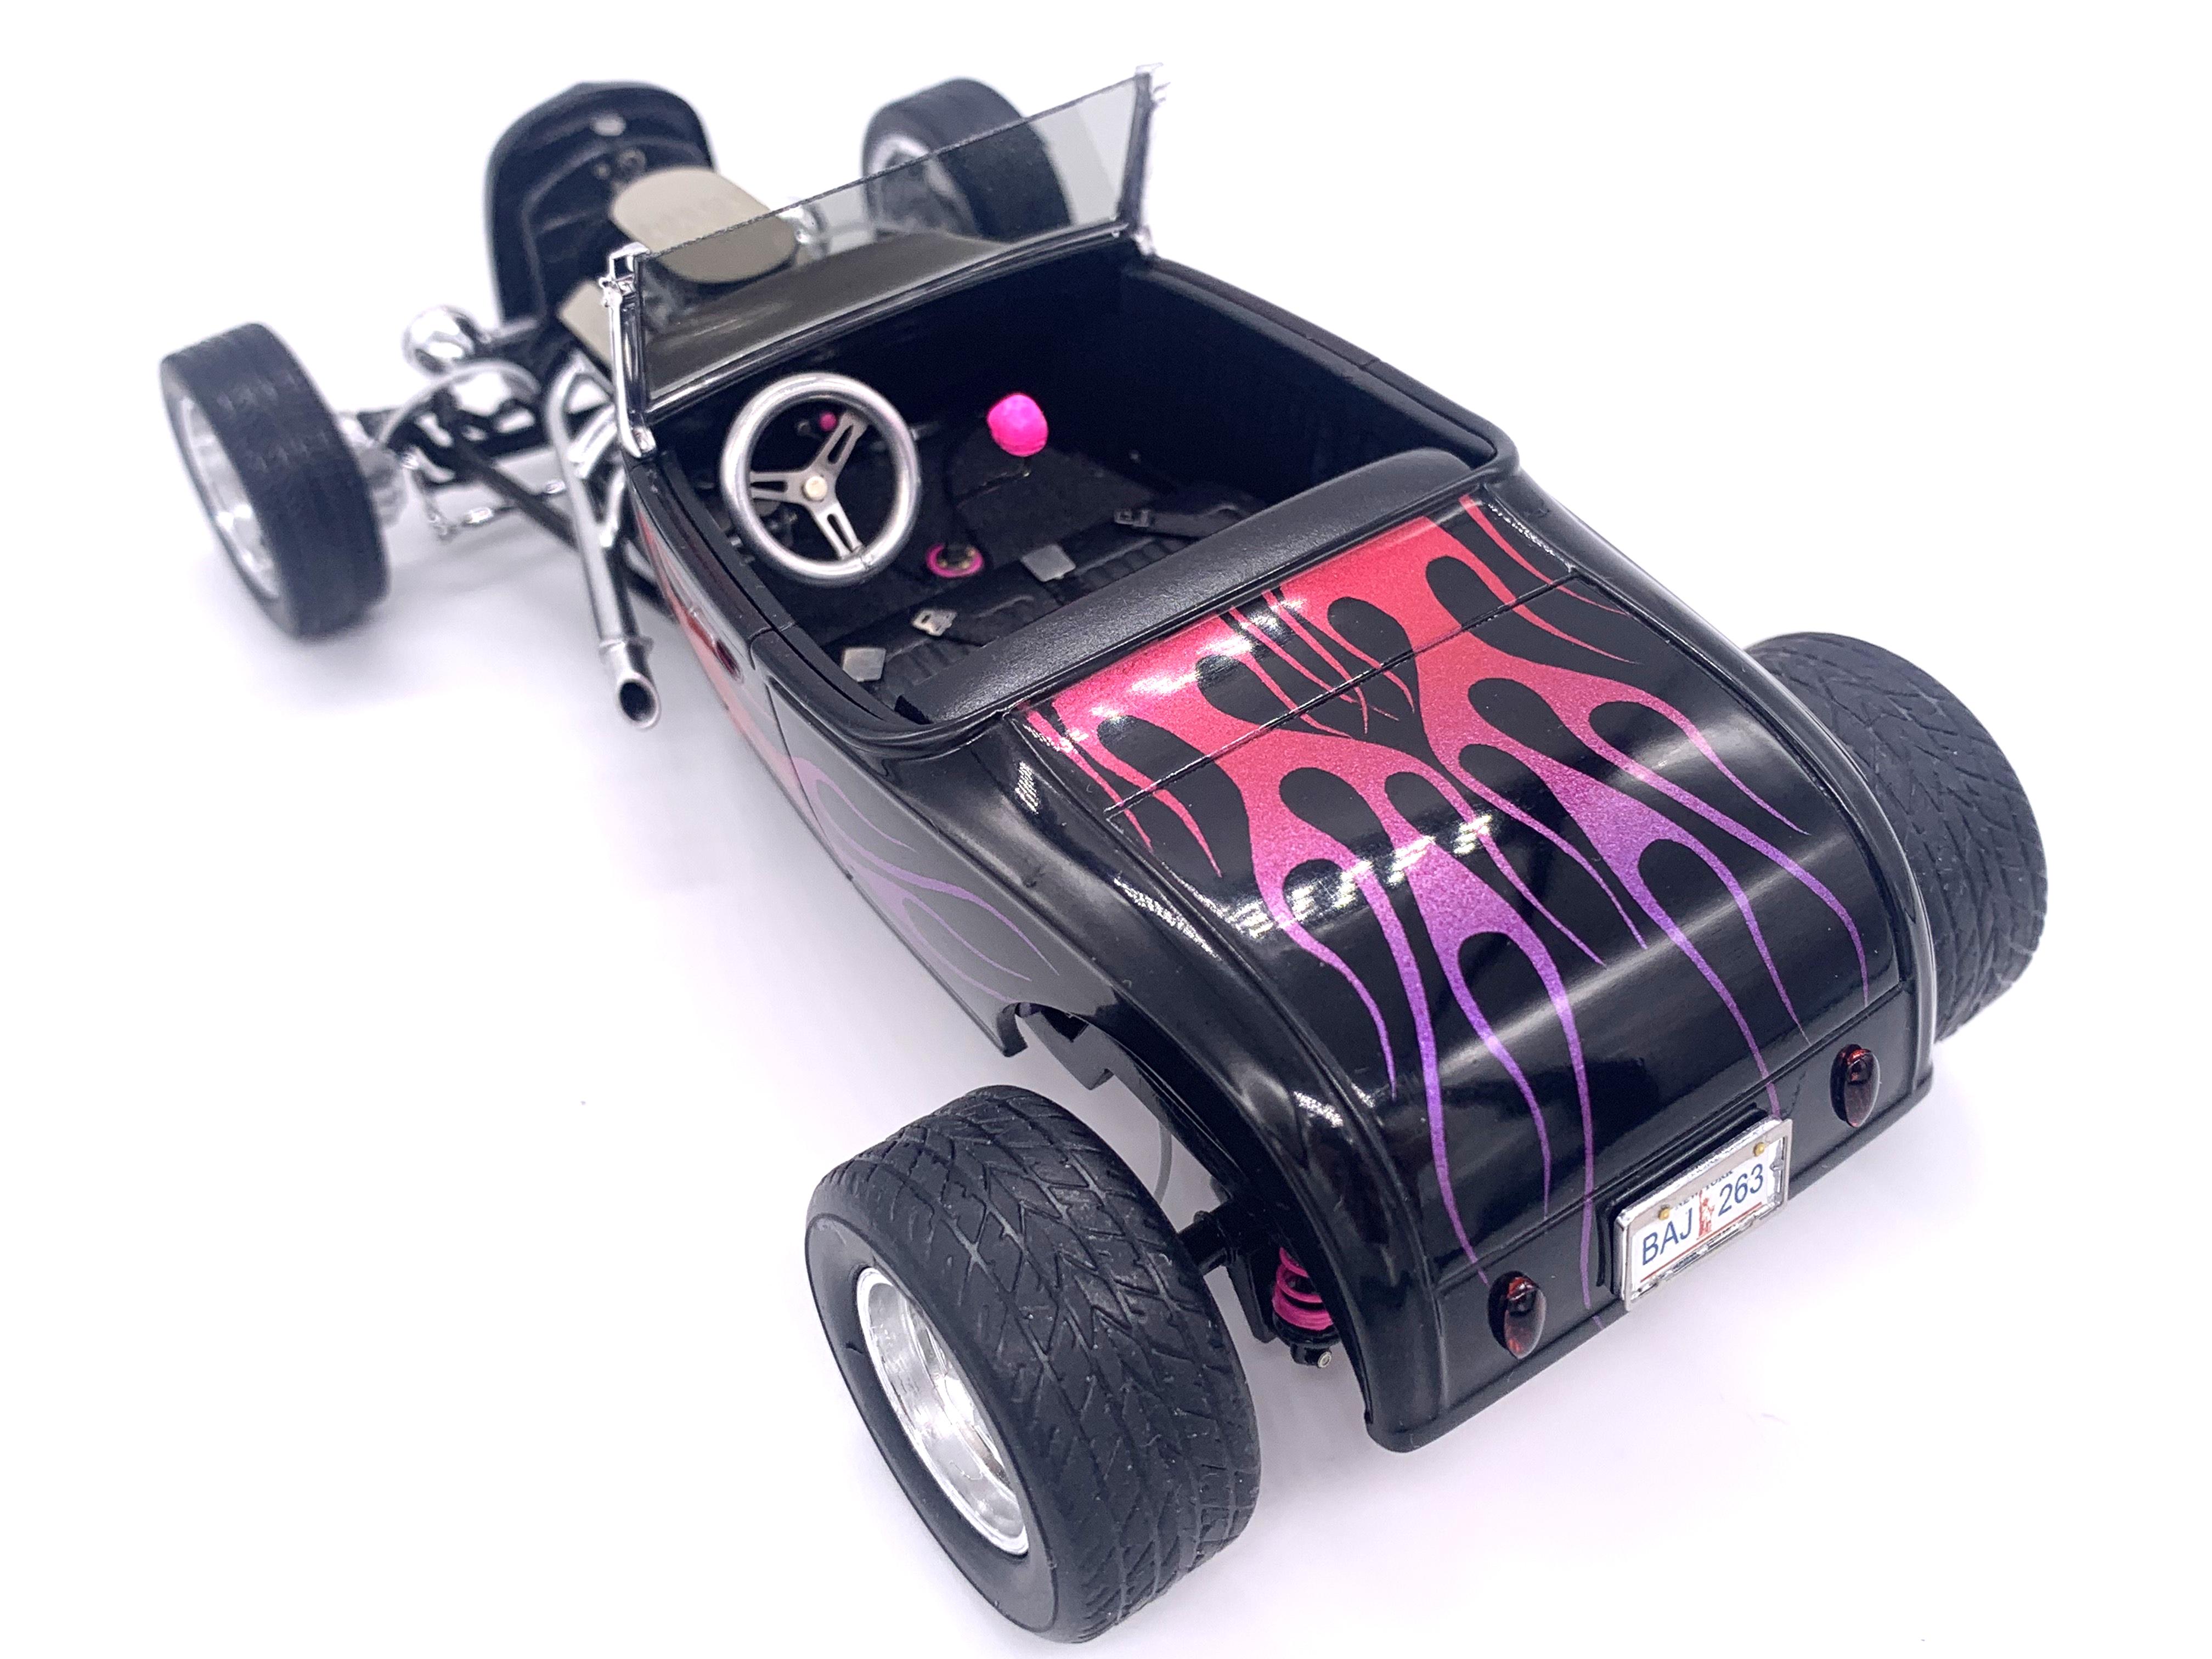
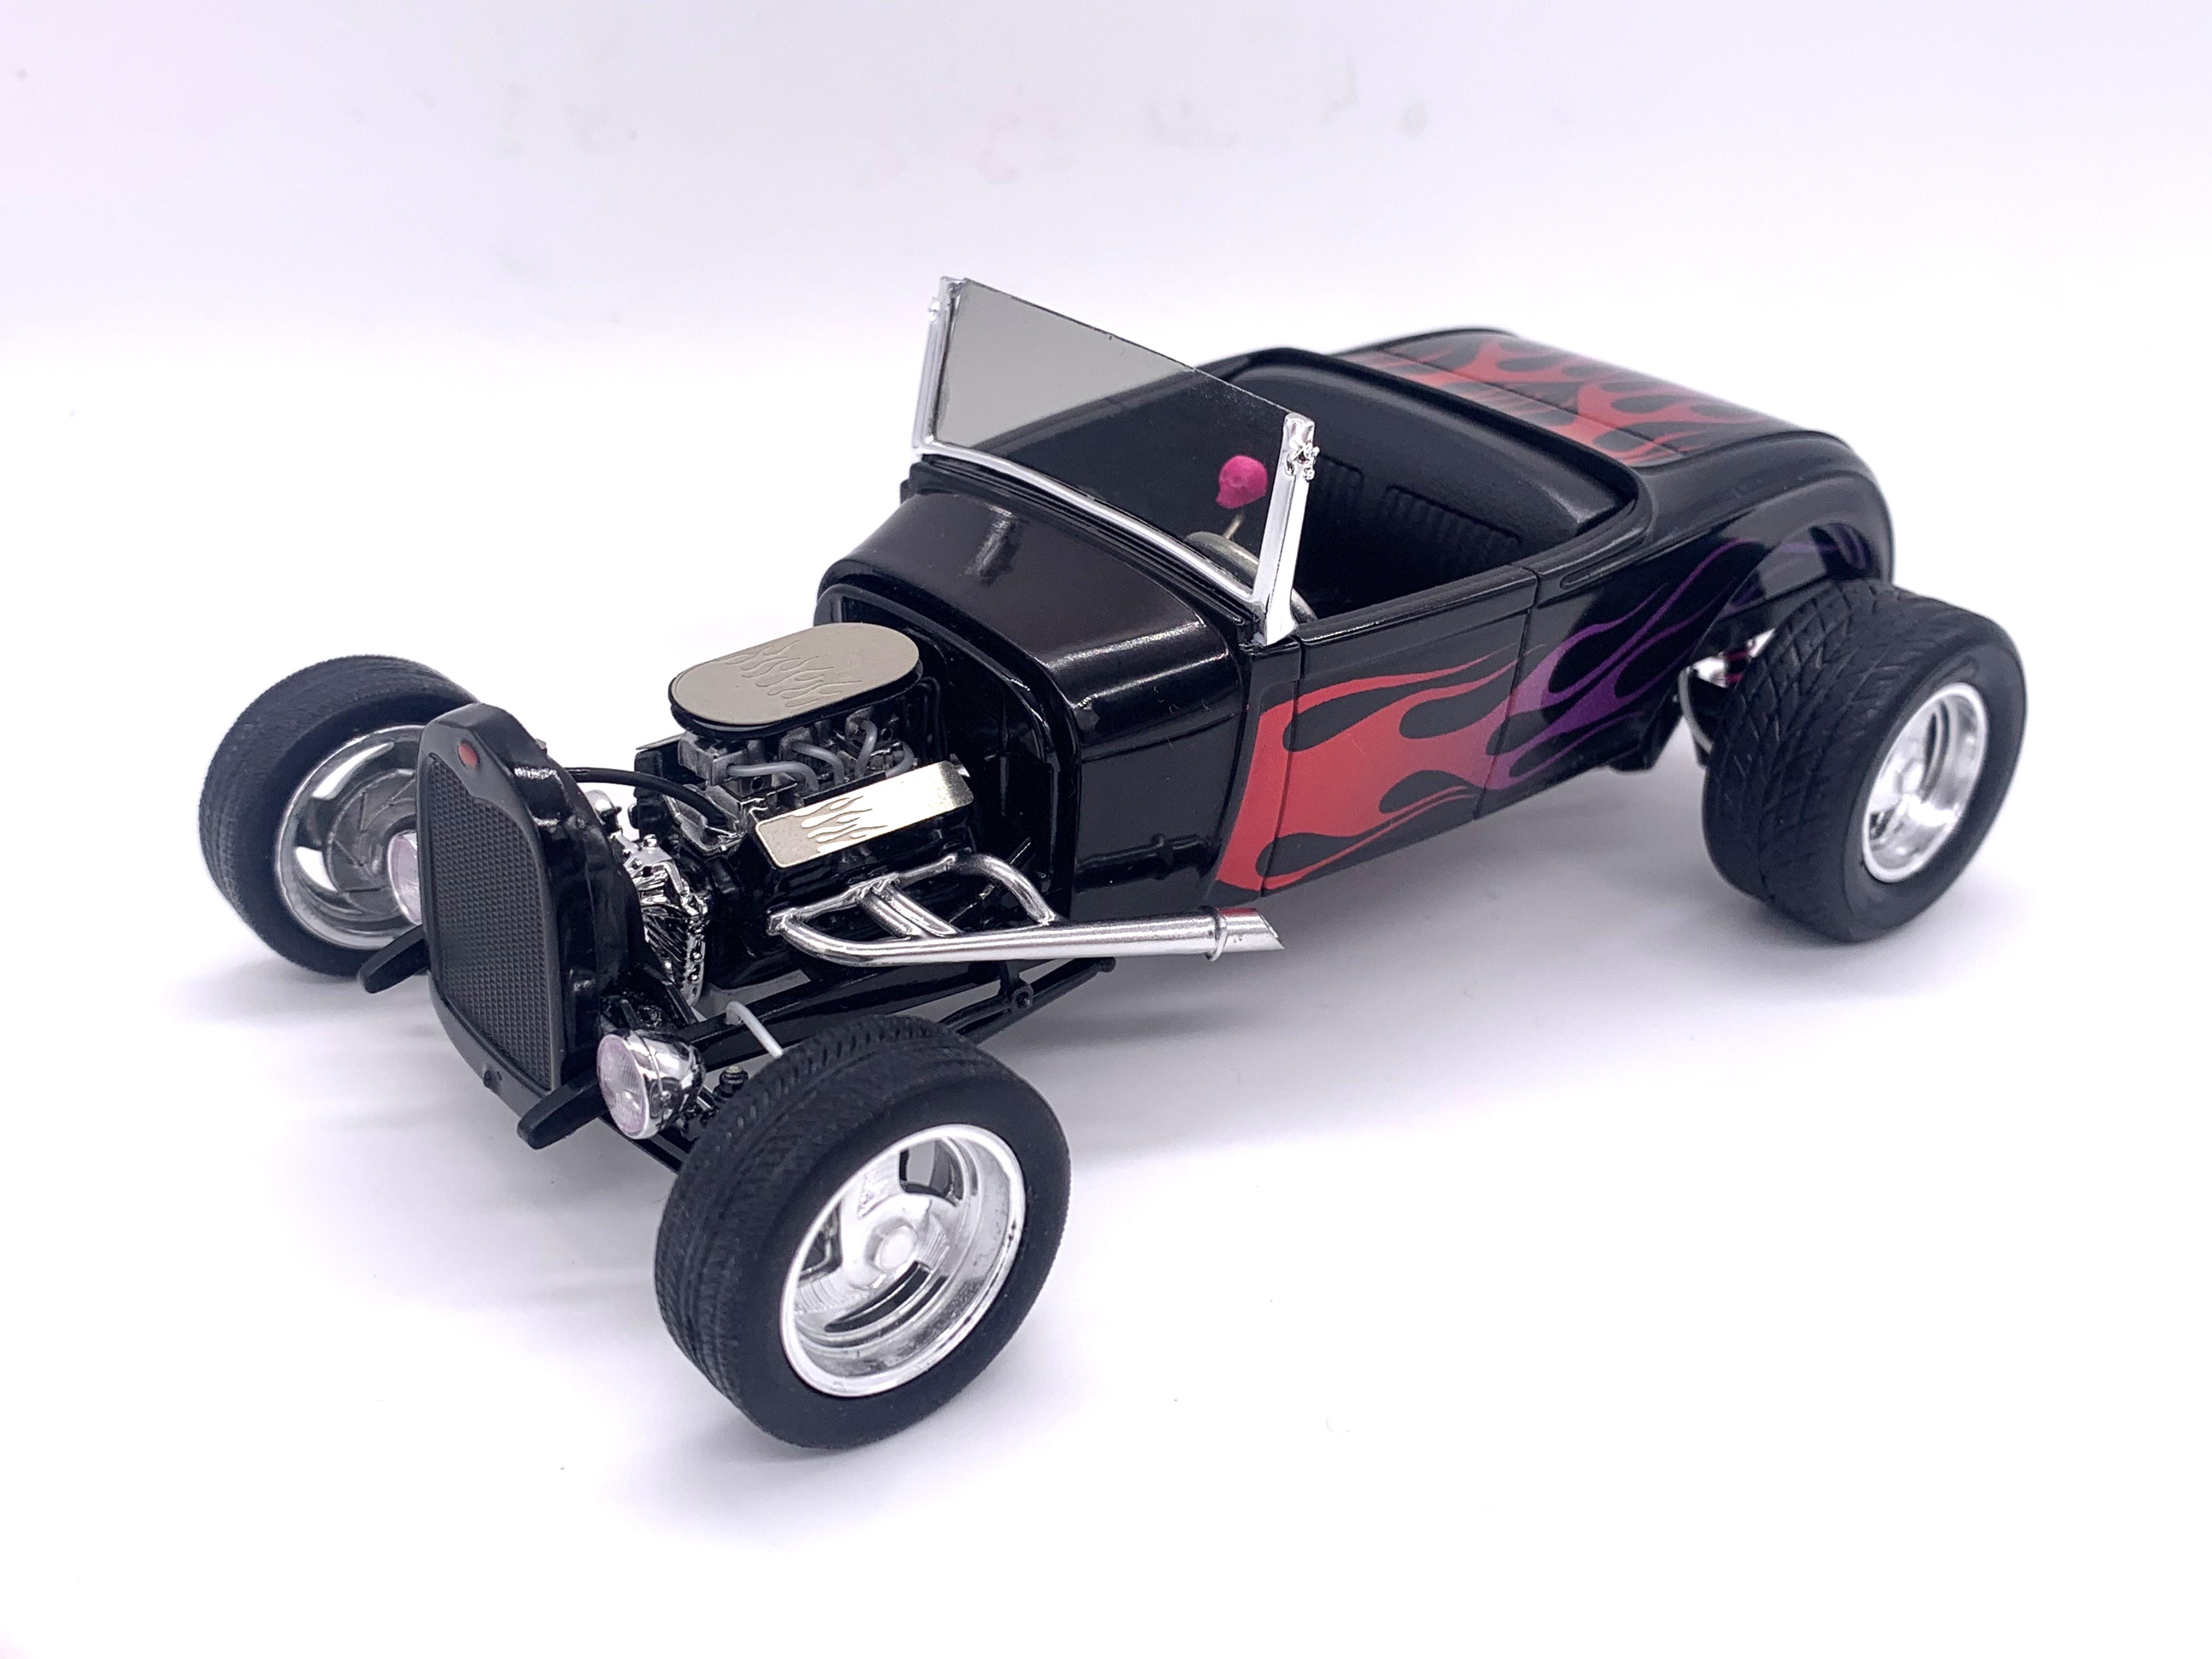
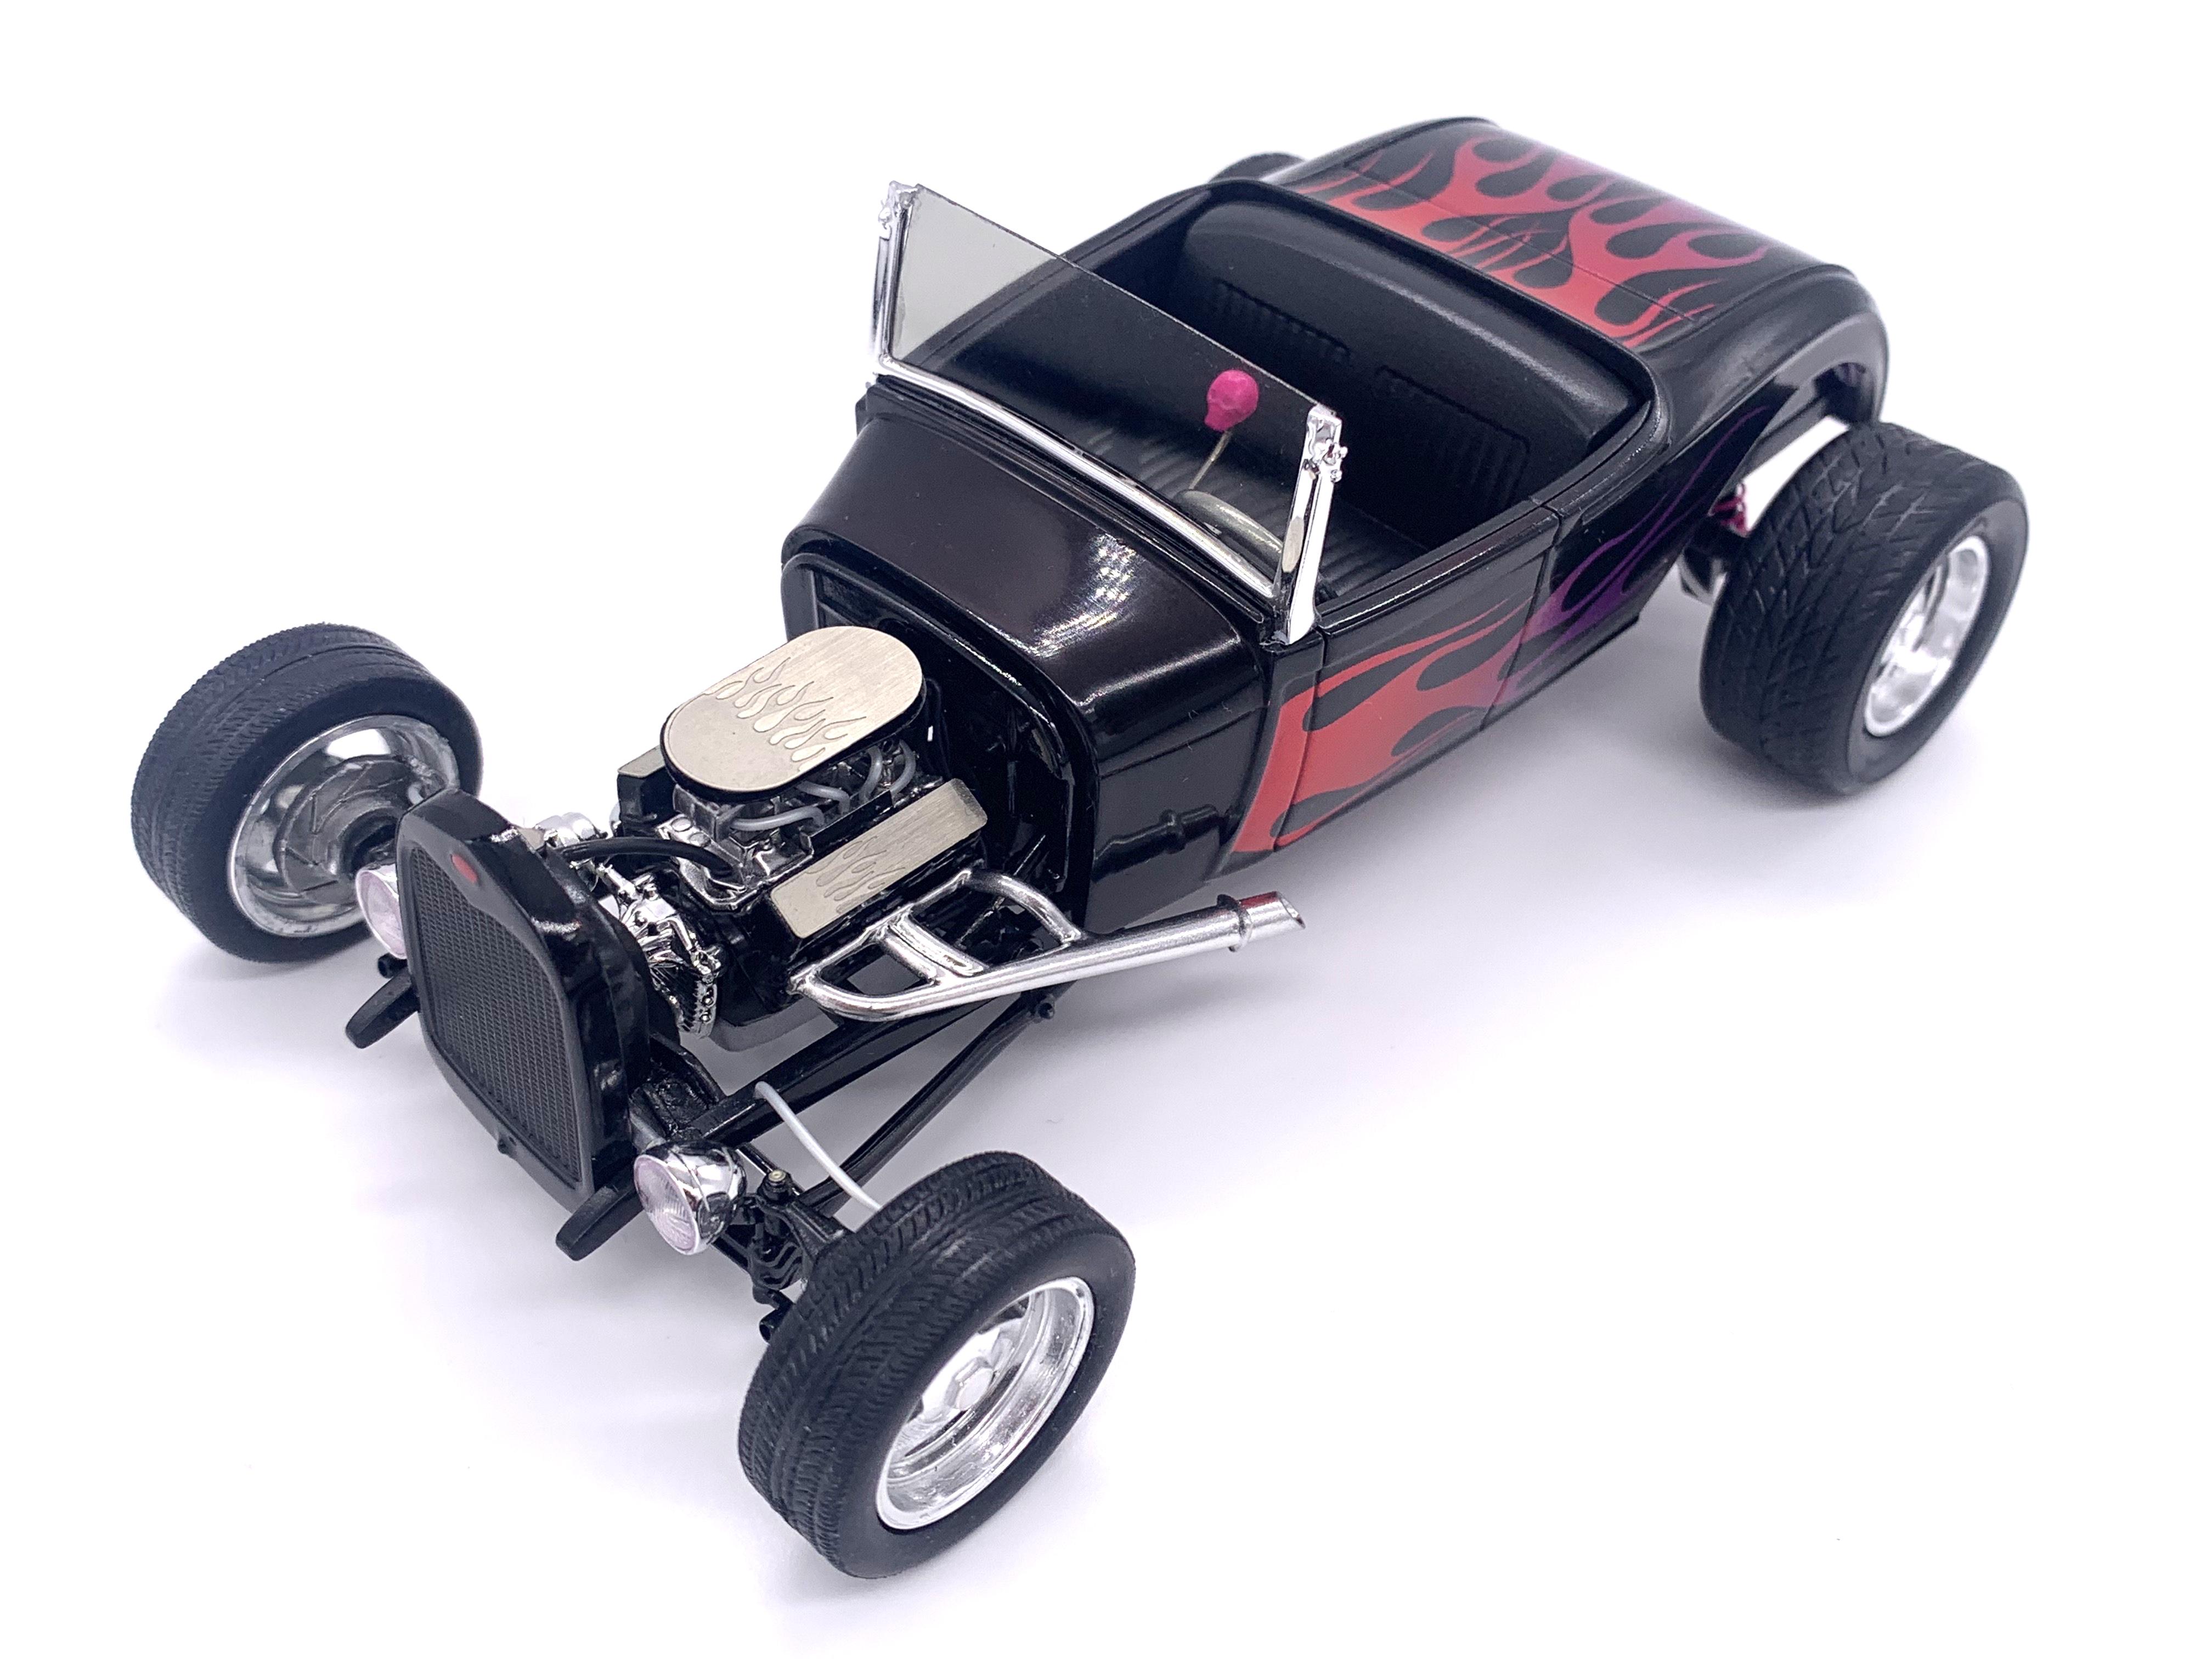
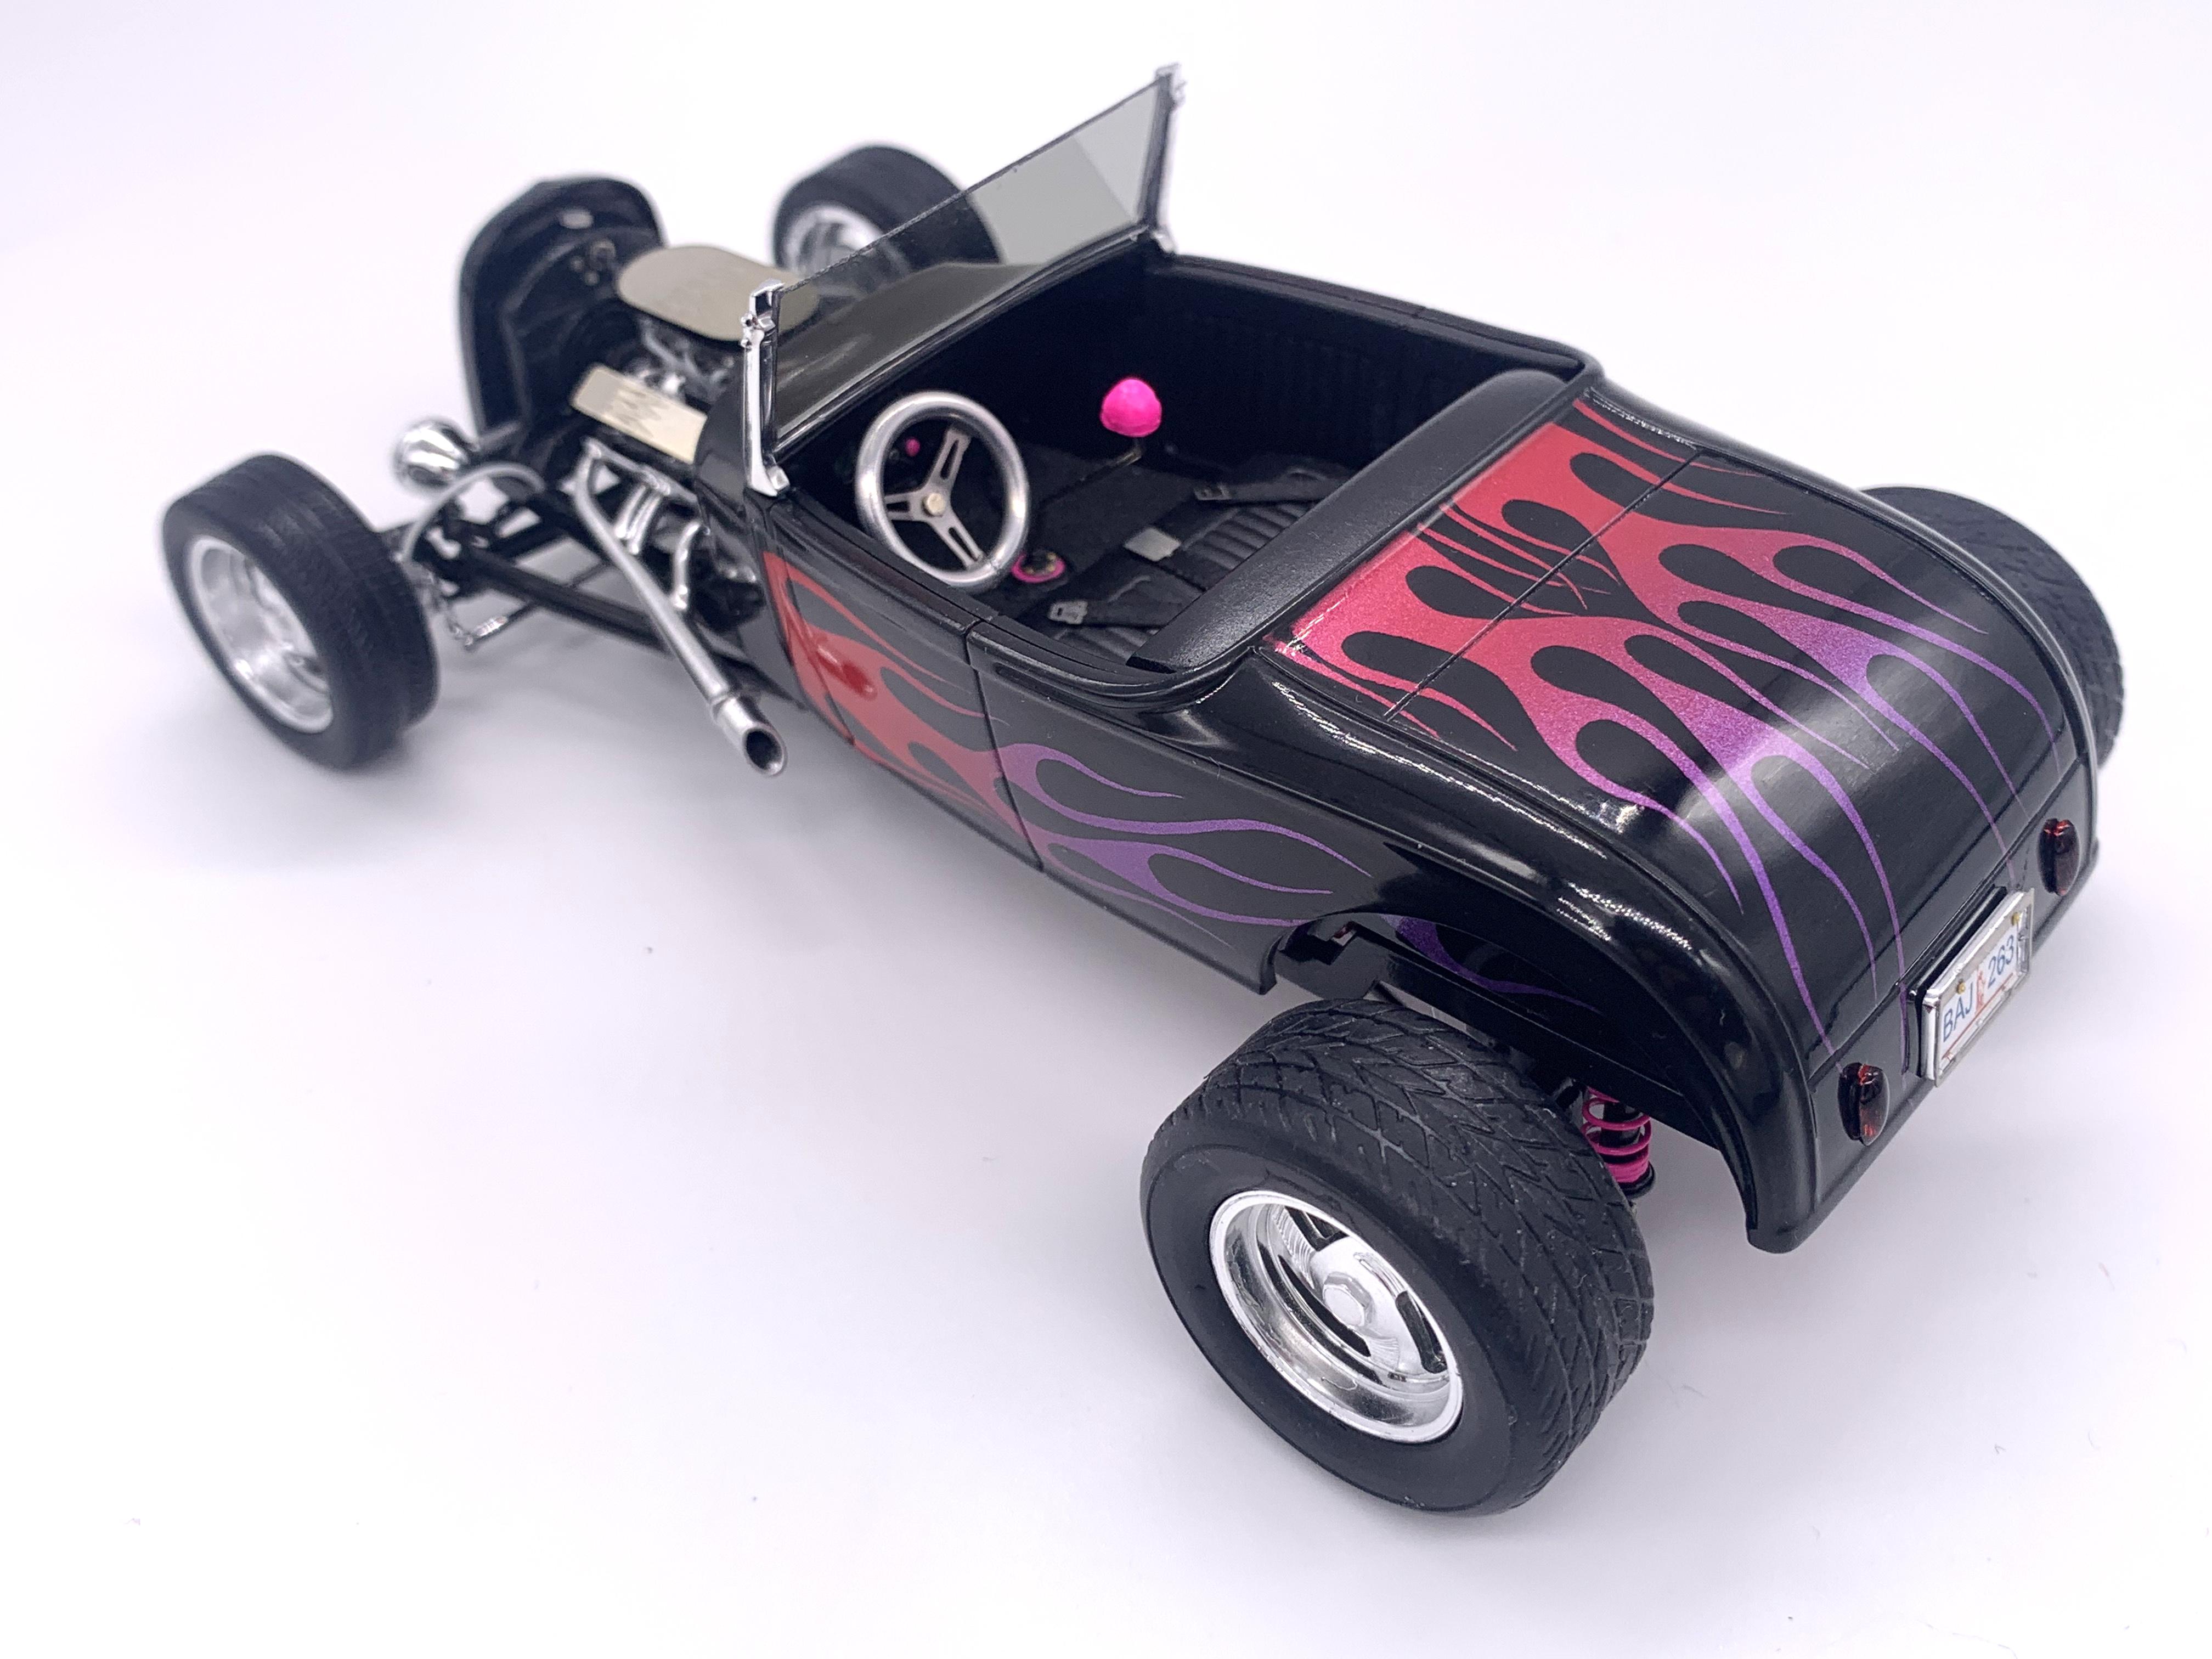
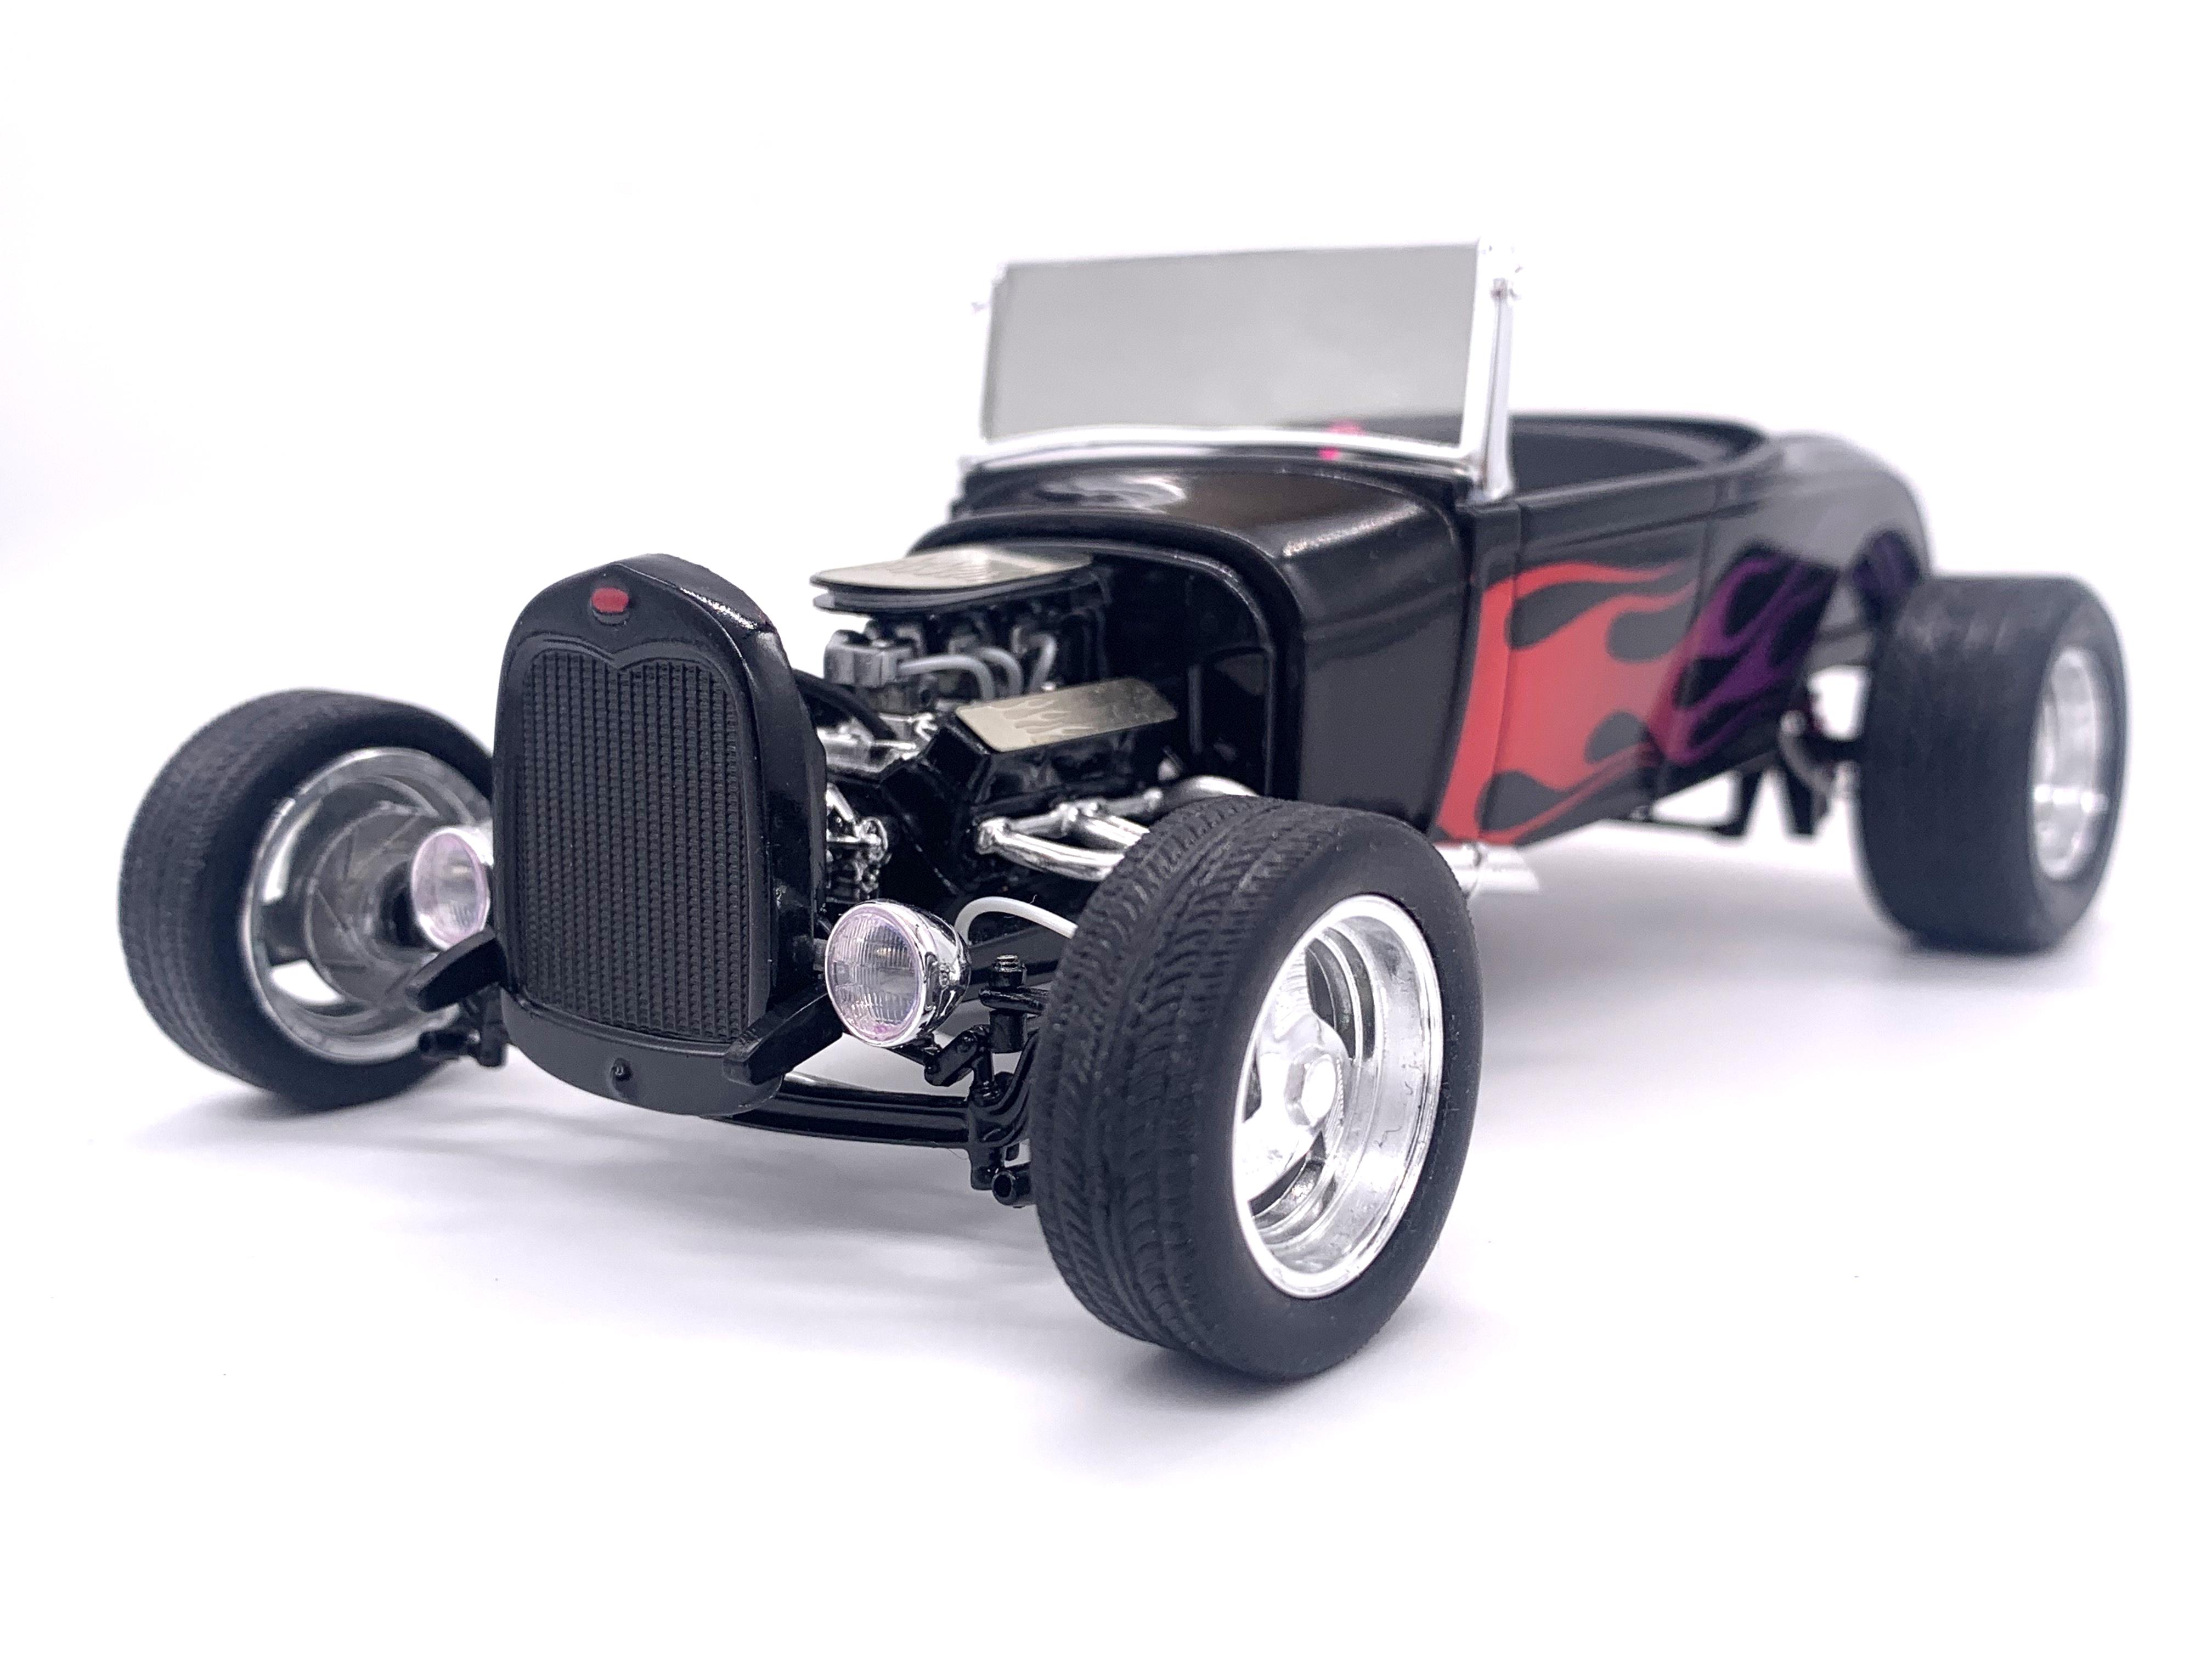
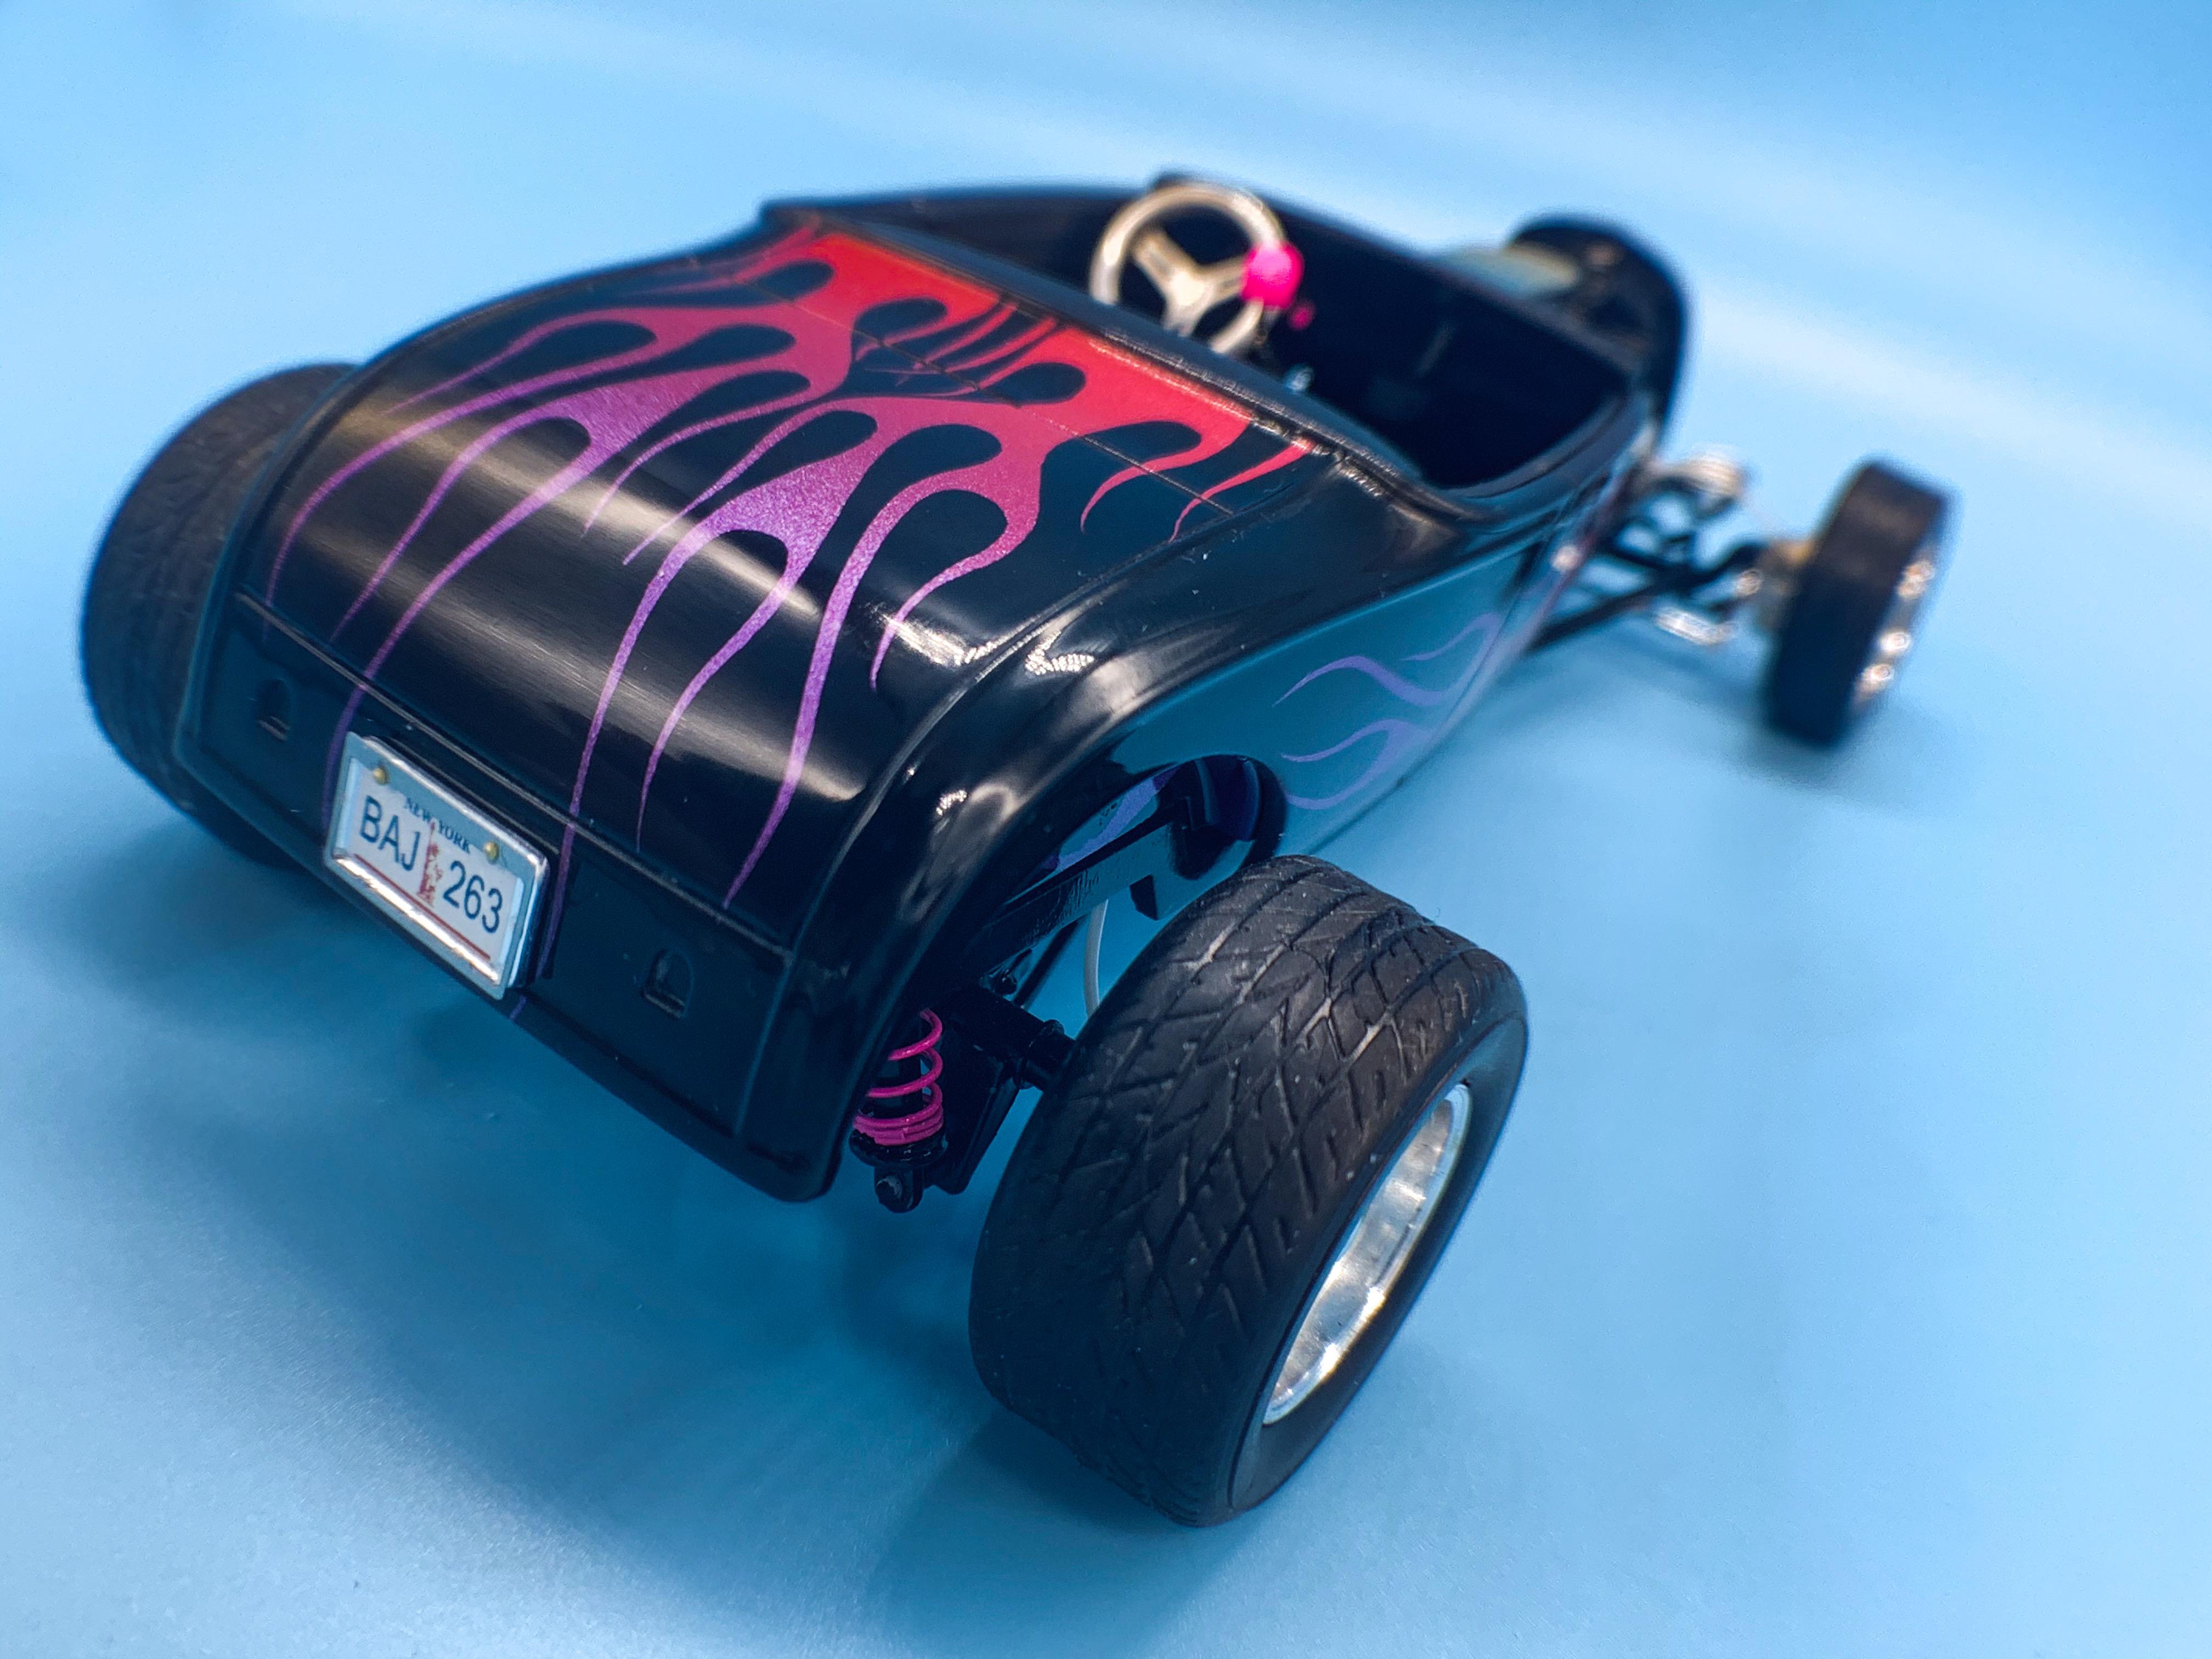
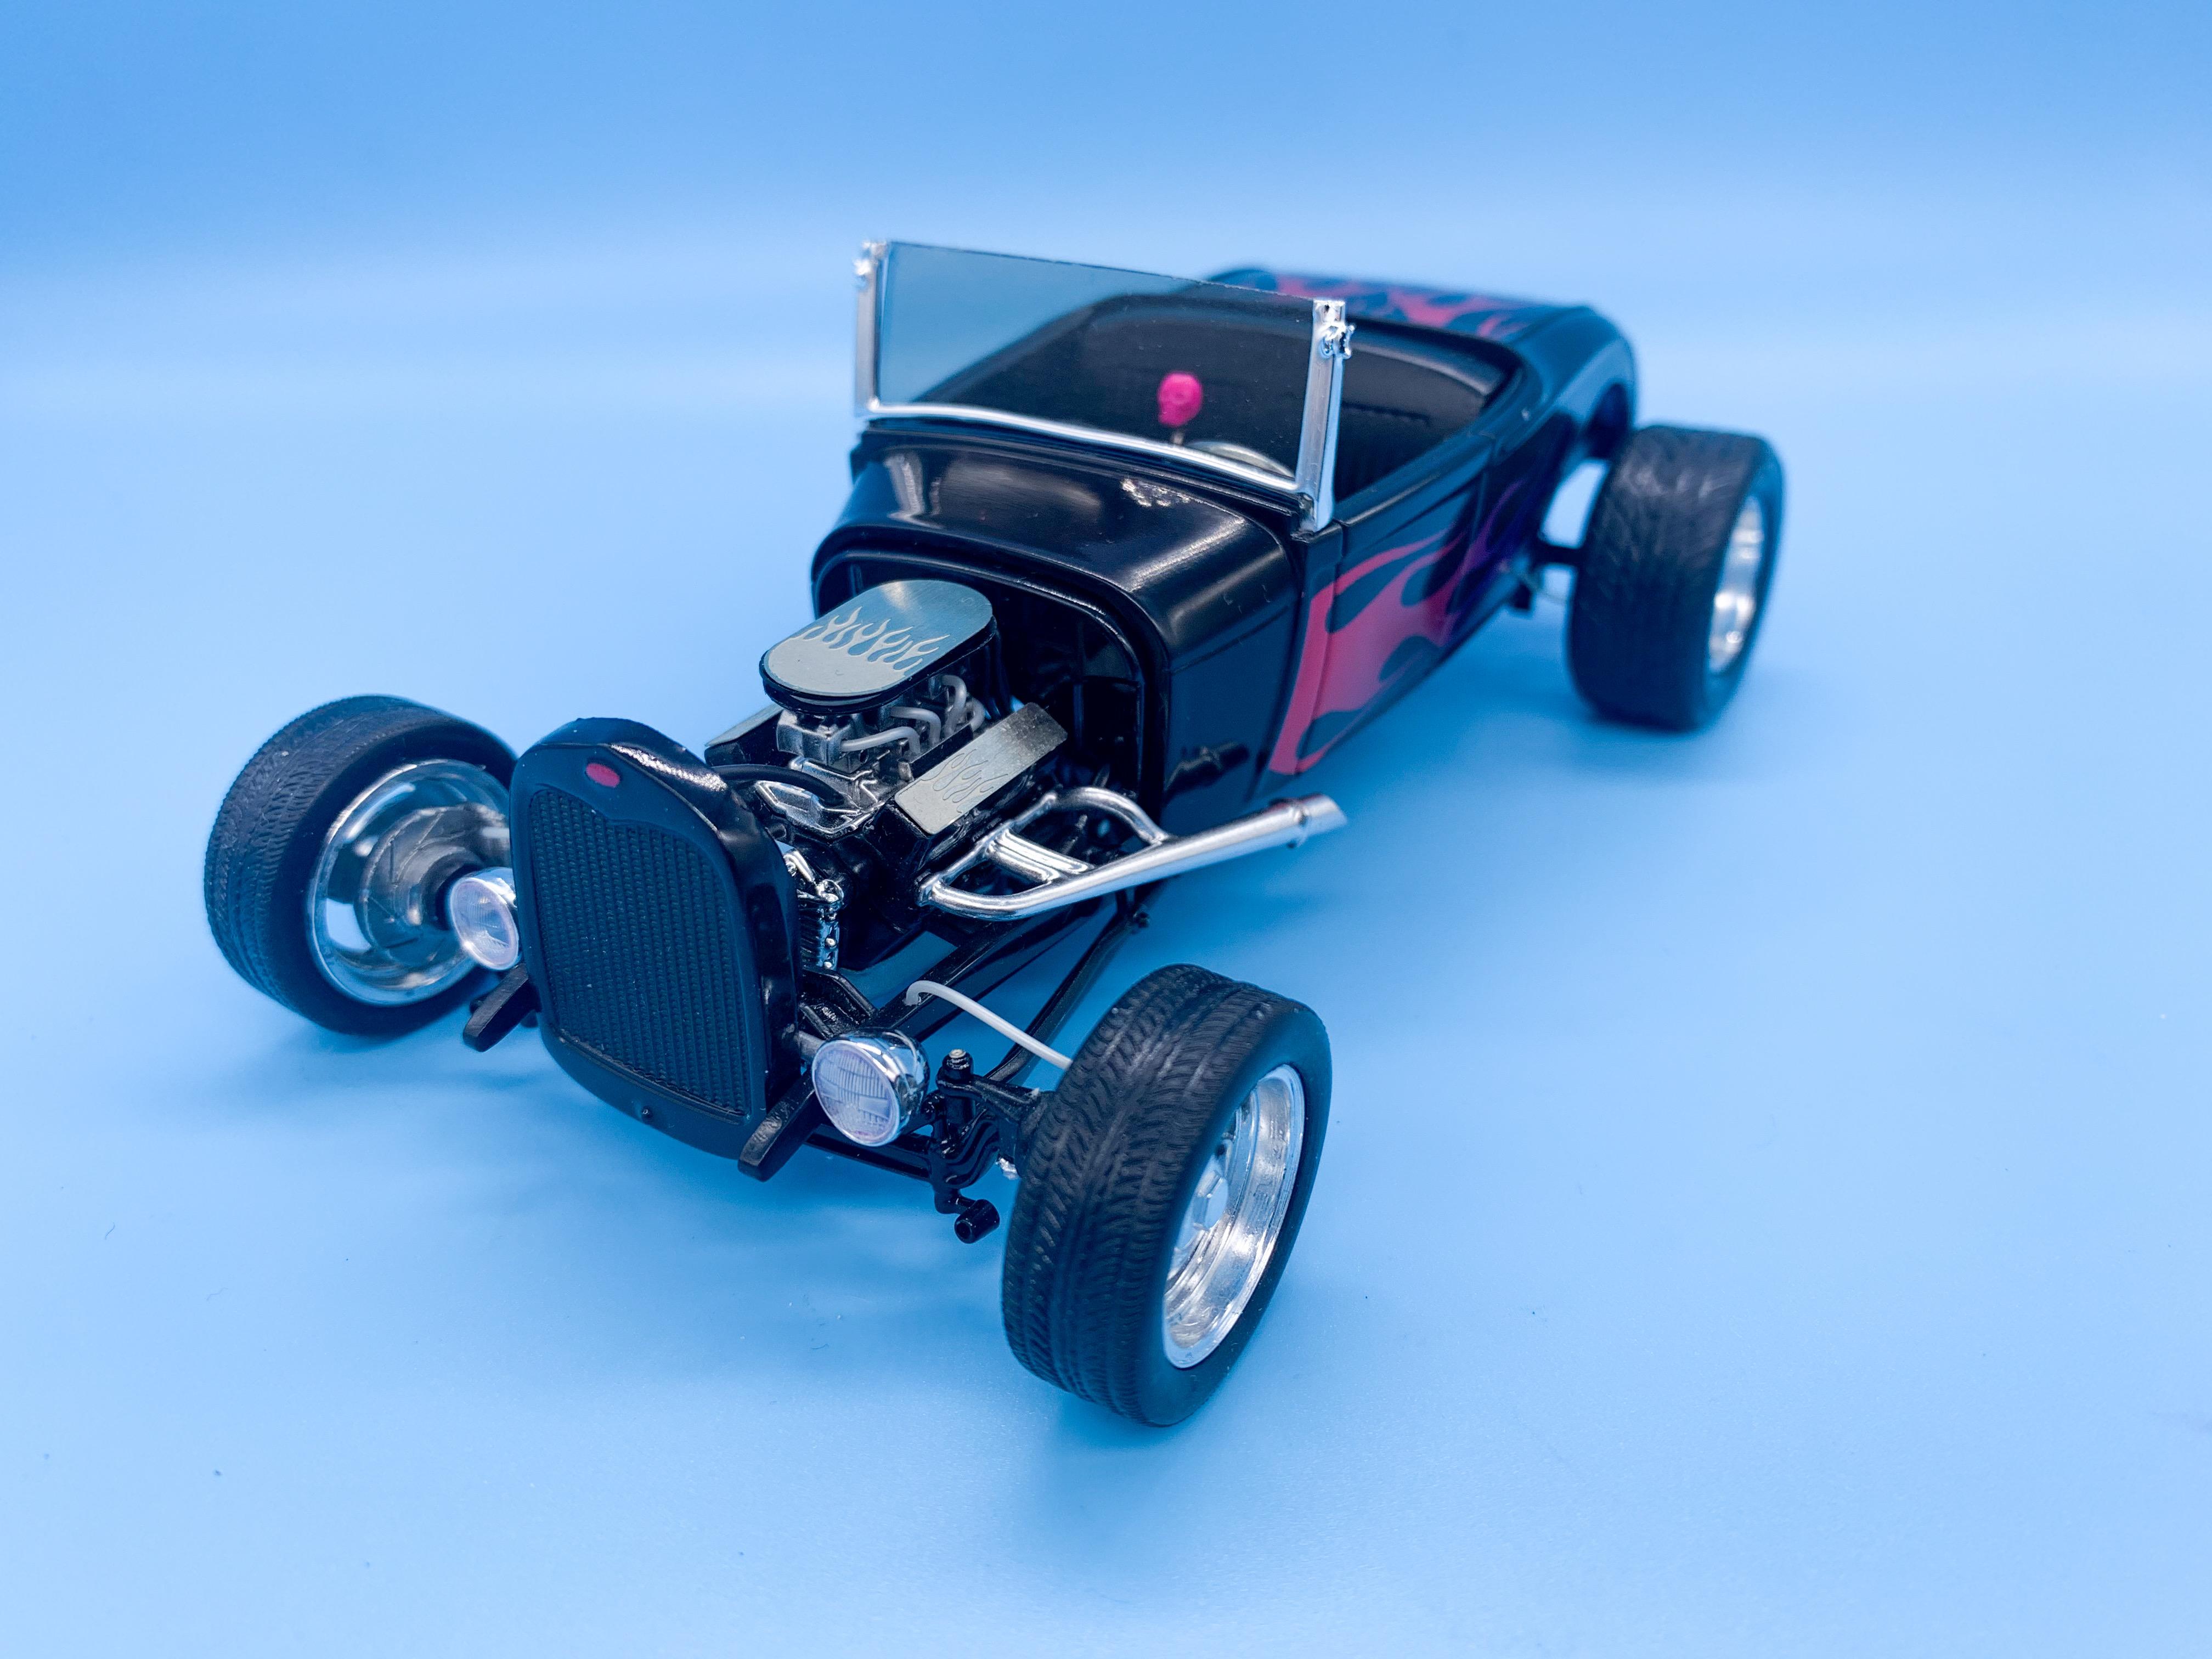
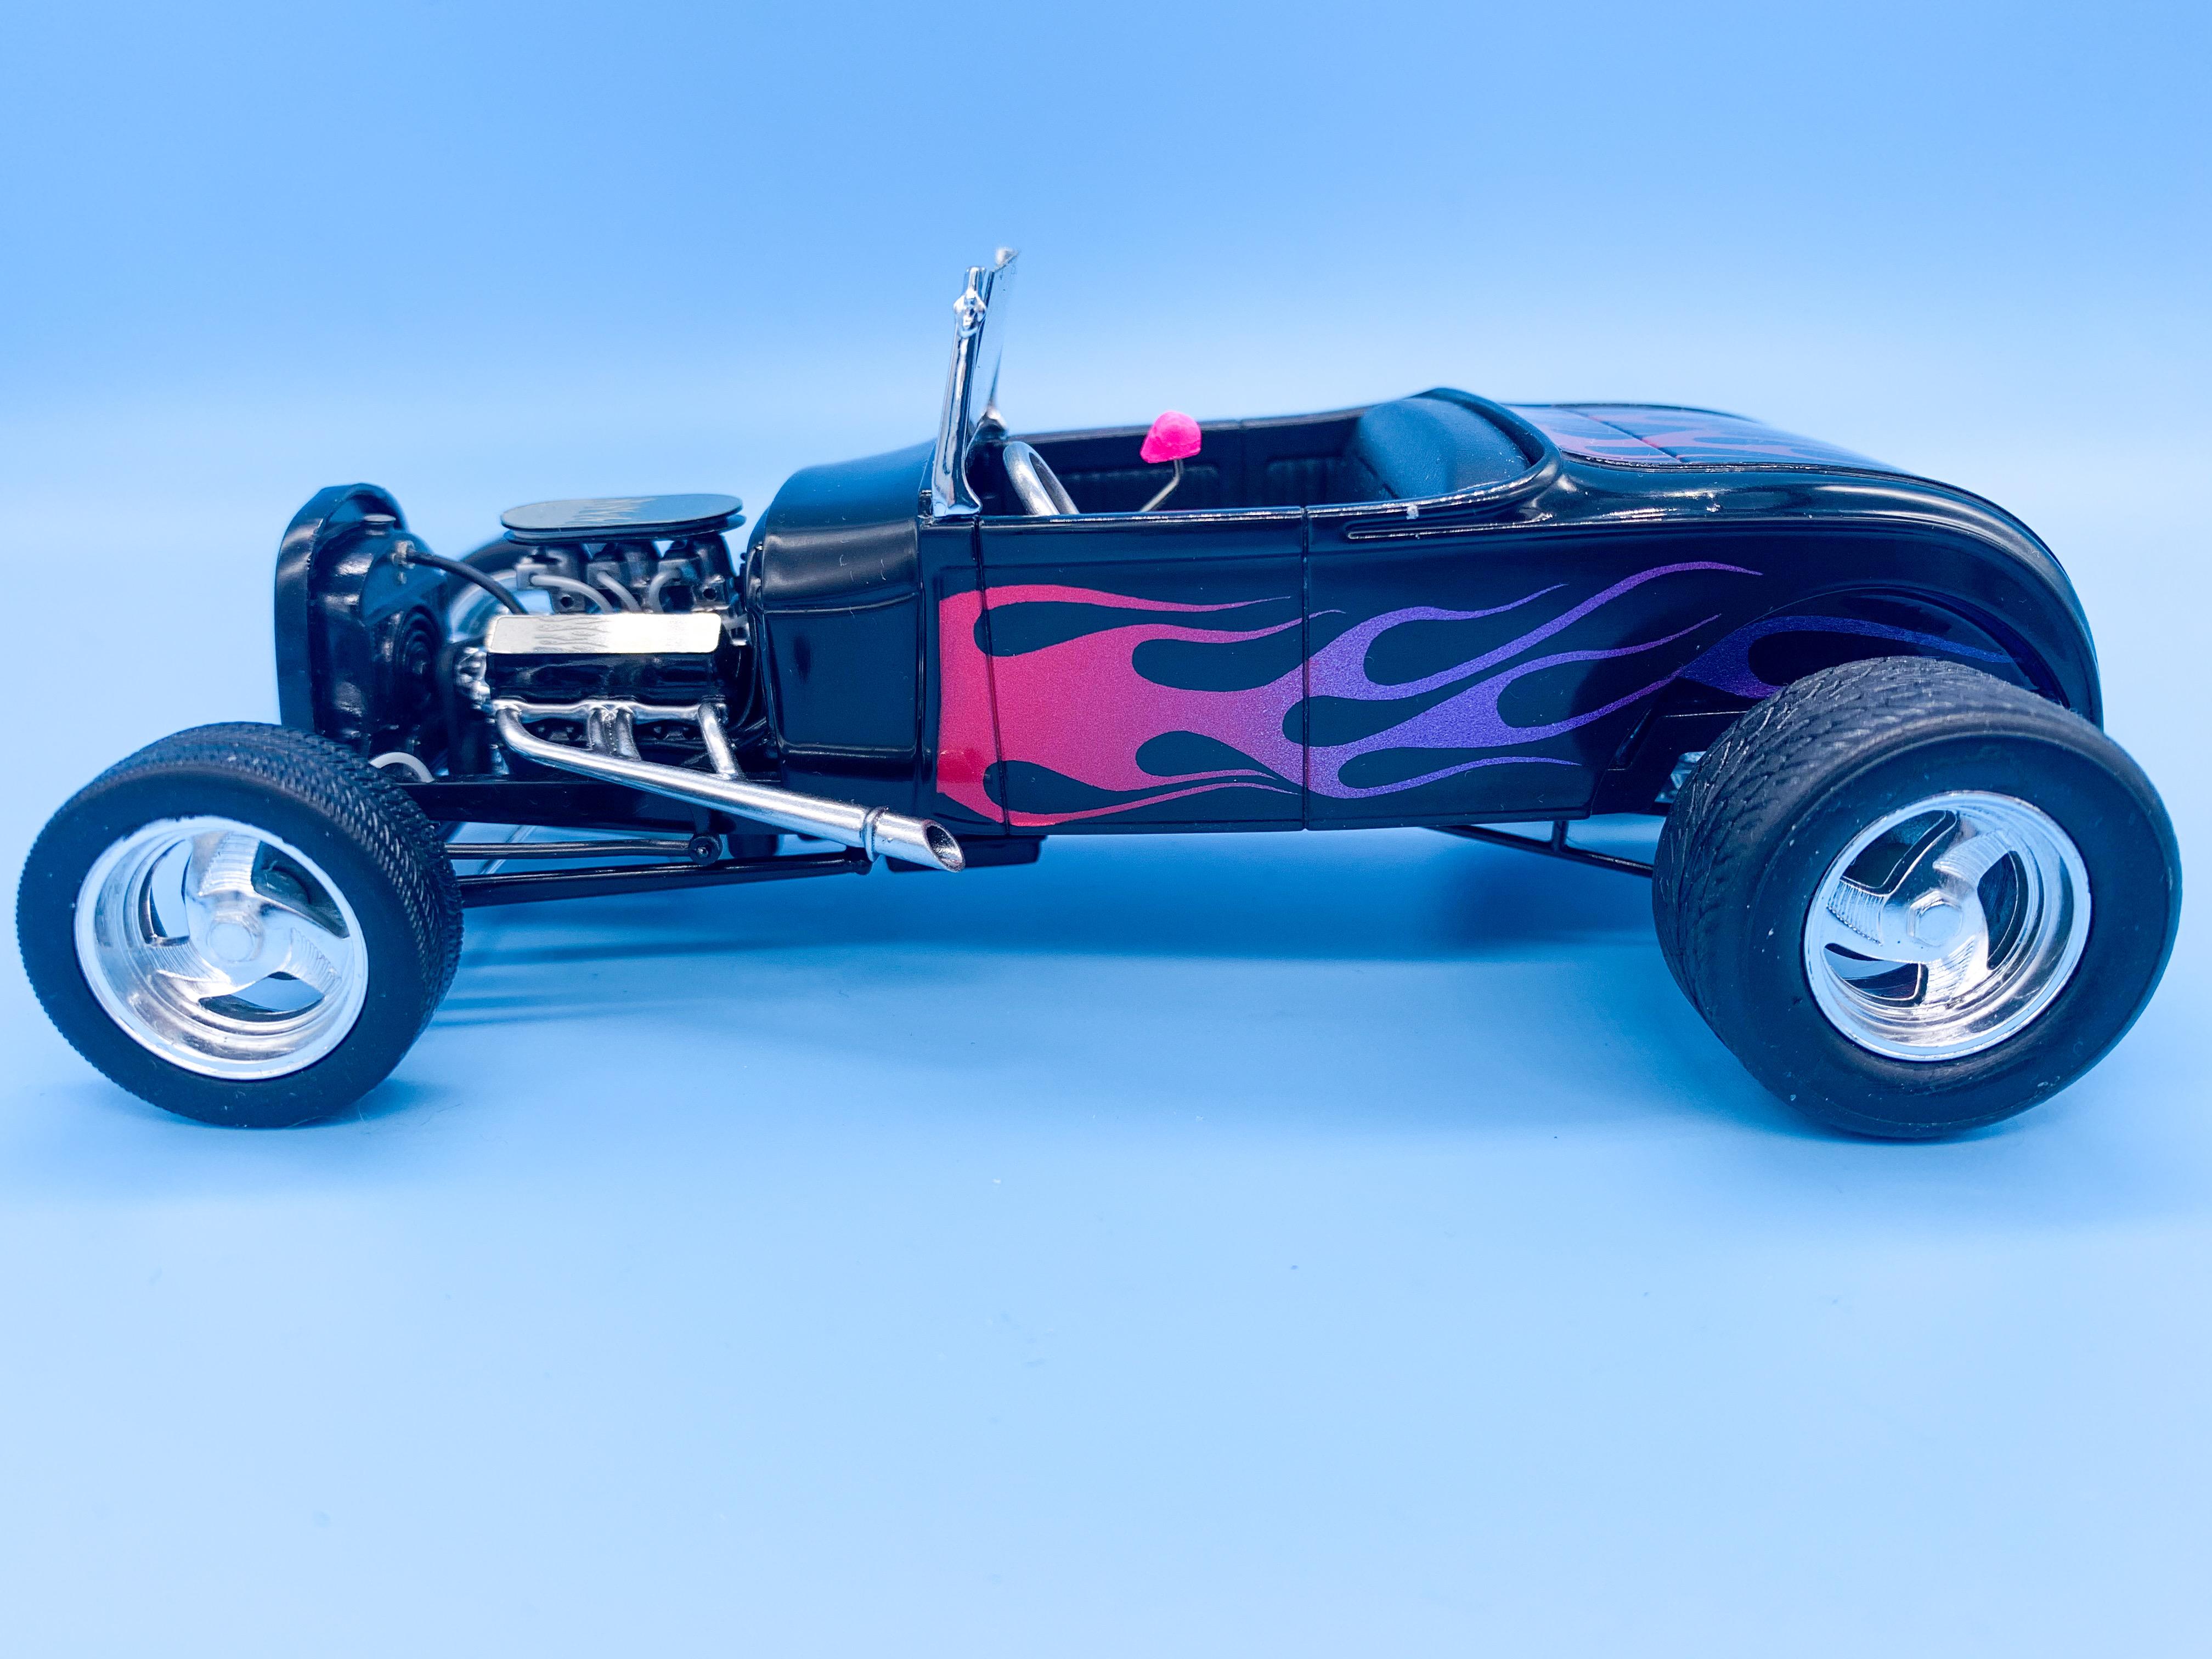
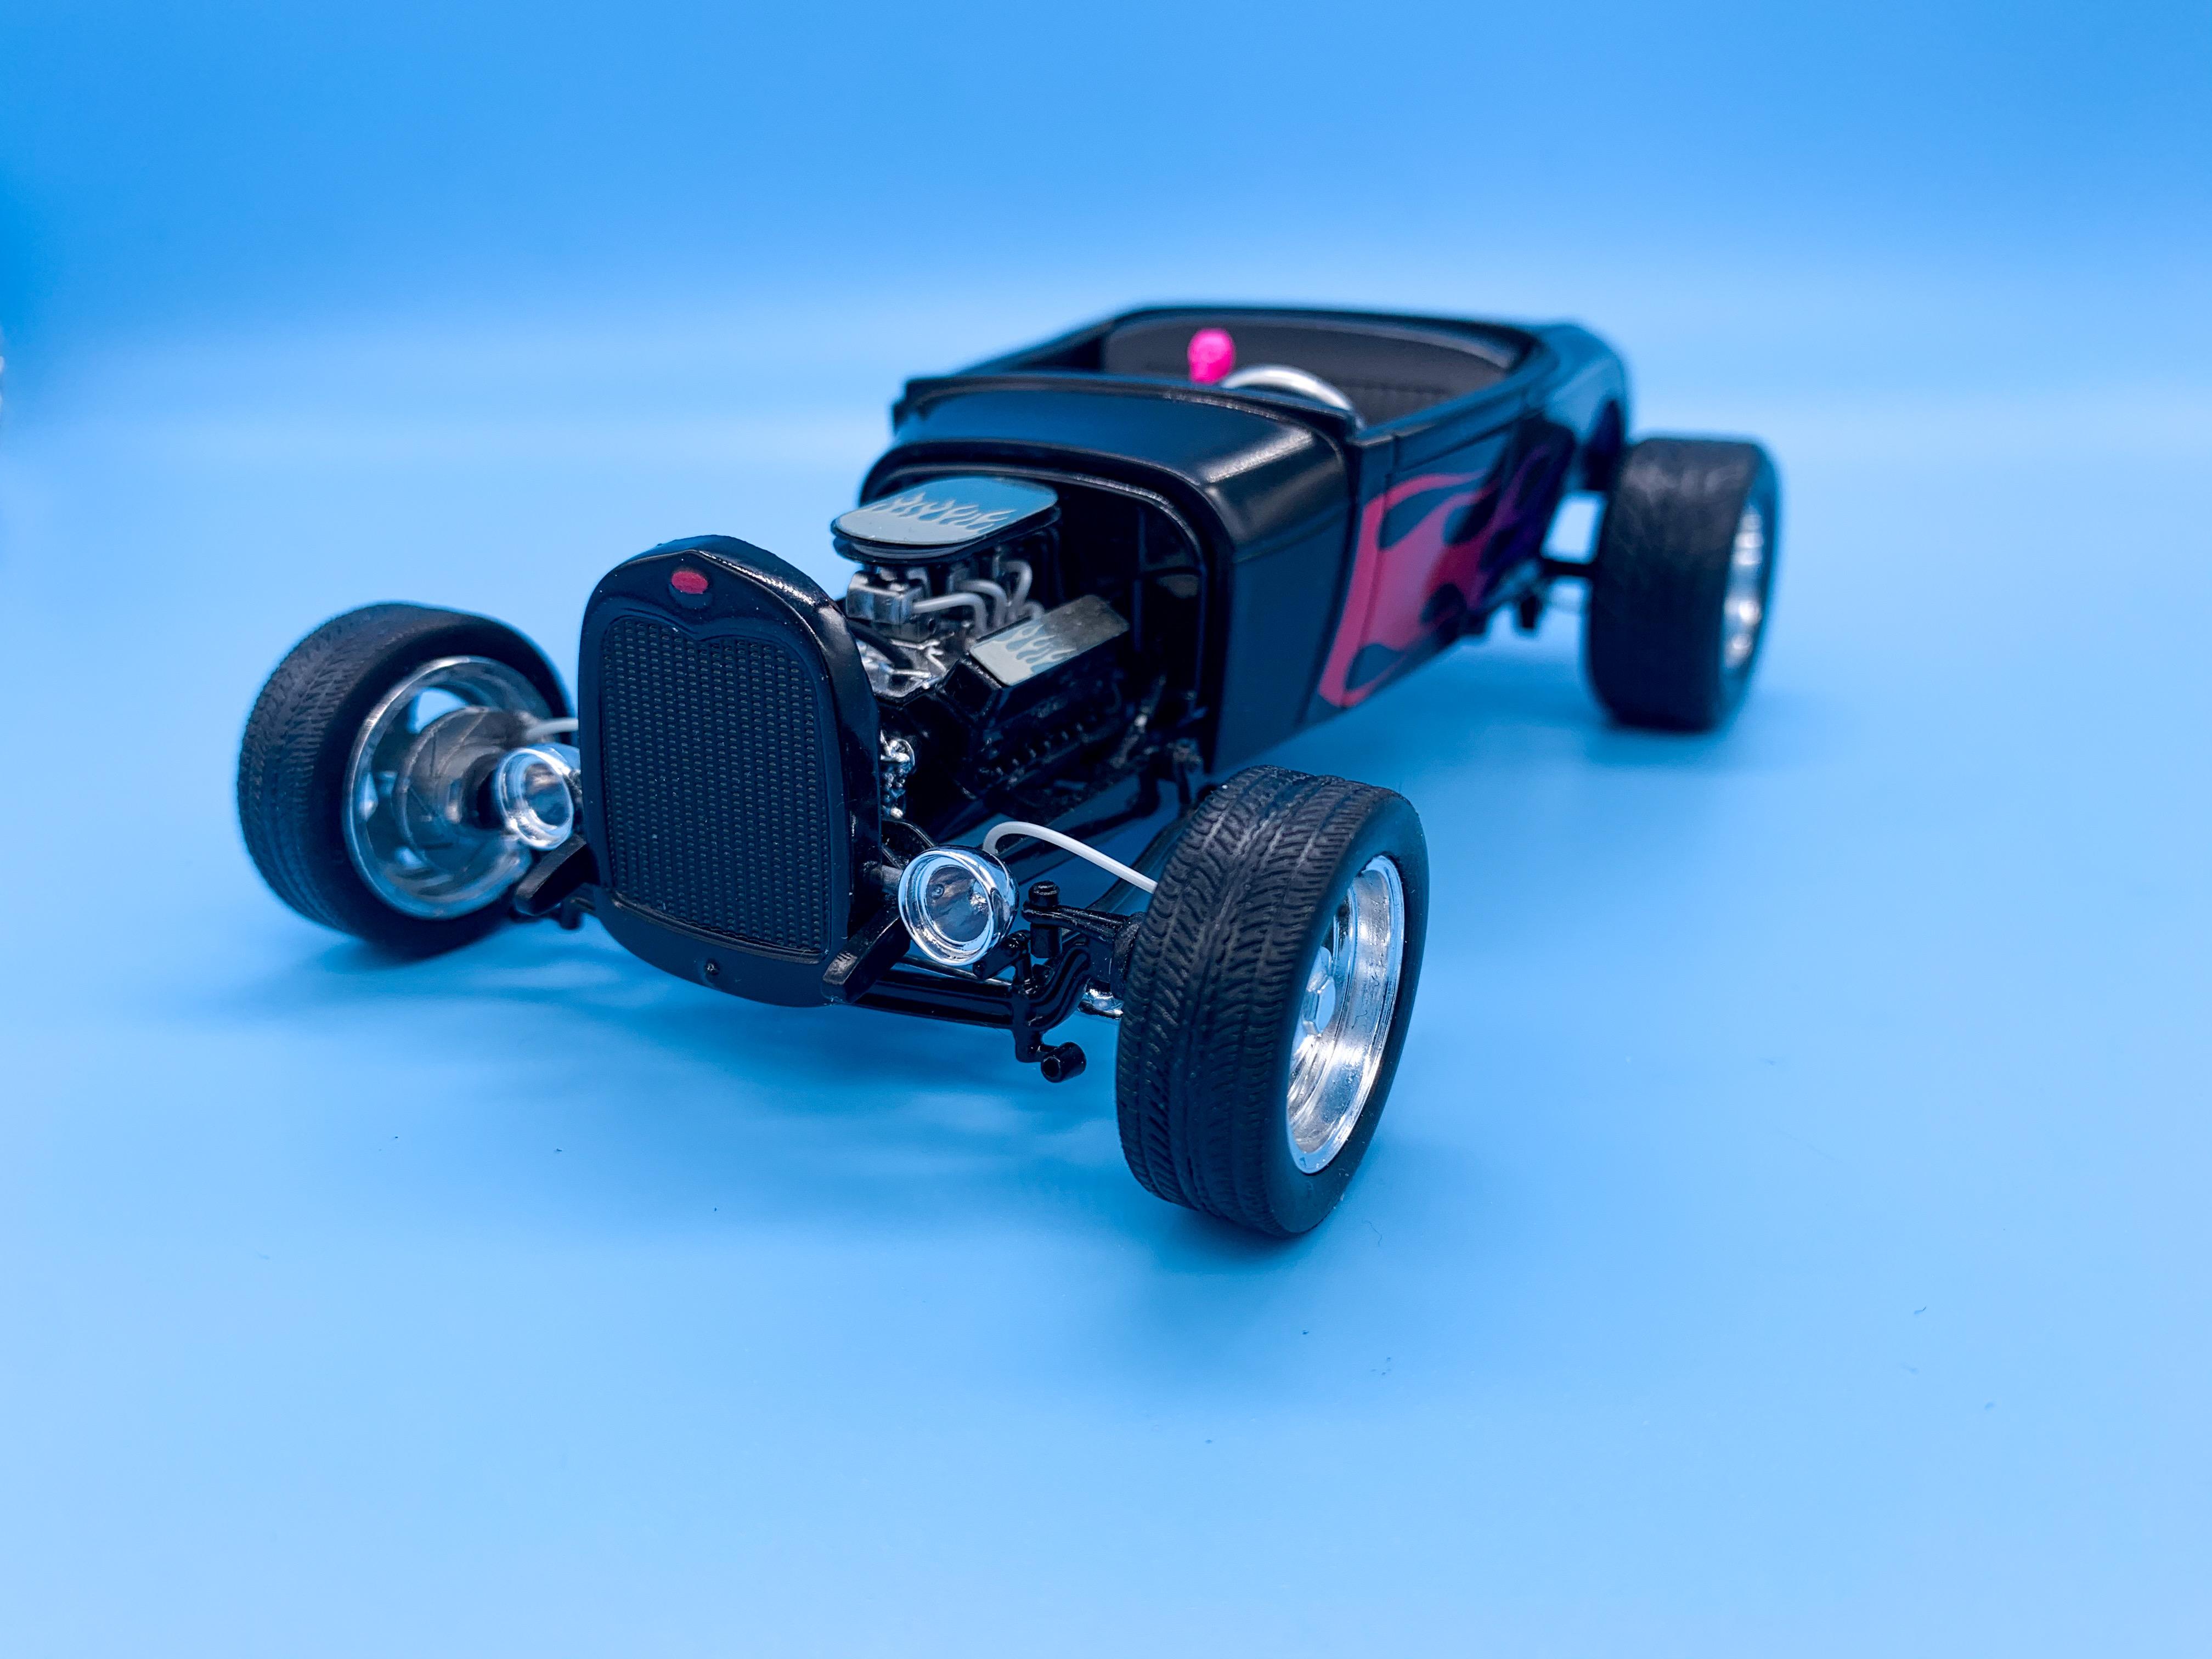
Yet another Revell 29 build! Went MOSTLY box stock with this one, but with a few little tweaks... I flipped the front cross member to lower the front end, swapped the wheels and tires for Boyd Alumacoupe ones and replaced the kit rear shocks for some scratchbuilt ones. Added some photoetch and shot the paint with Createx airbrush colors, Pearl Ex powders and Testors clear topcoat. Oh, and swapped the drum brakes for some resin disk brakes. Ended up with a kinda 90s look, so I used a 90s era correct license plate and added a tinted windshield and gave a very light pink tint to the headlight lenses to match some of the colors used in the build. Build thread here, for anyone curious: Thanks for looking!
- 15 replies
-
- 1
-

-
- street rod
- 1990s
- (and 2 more)
-
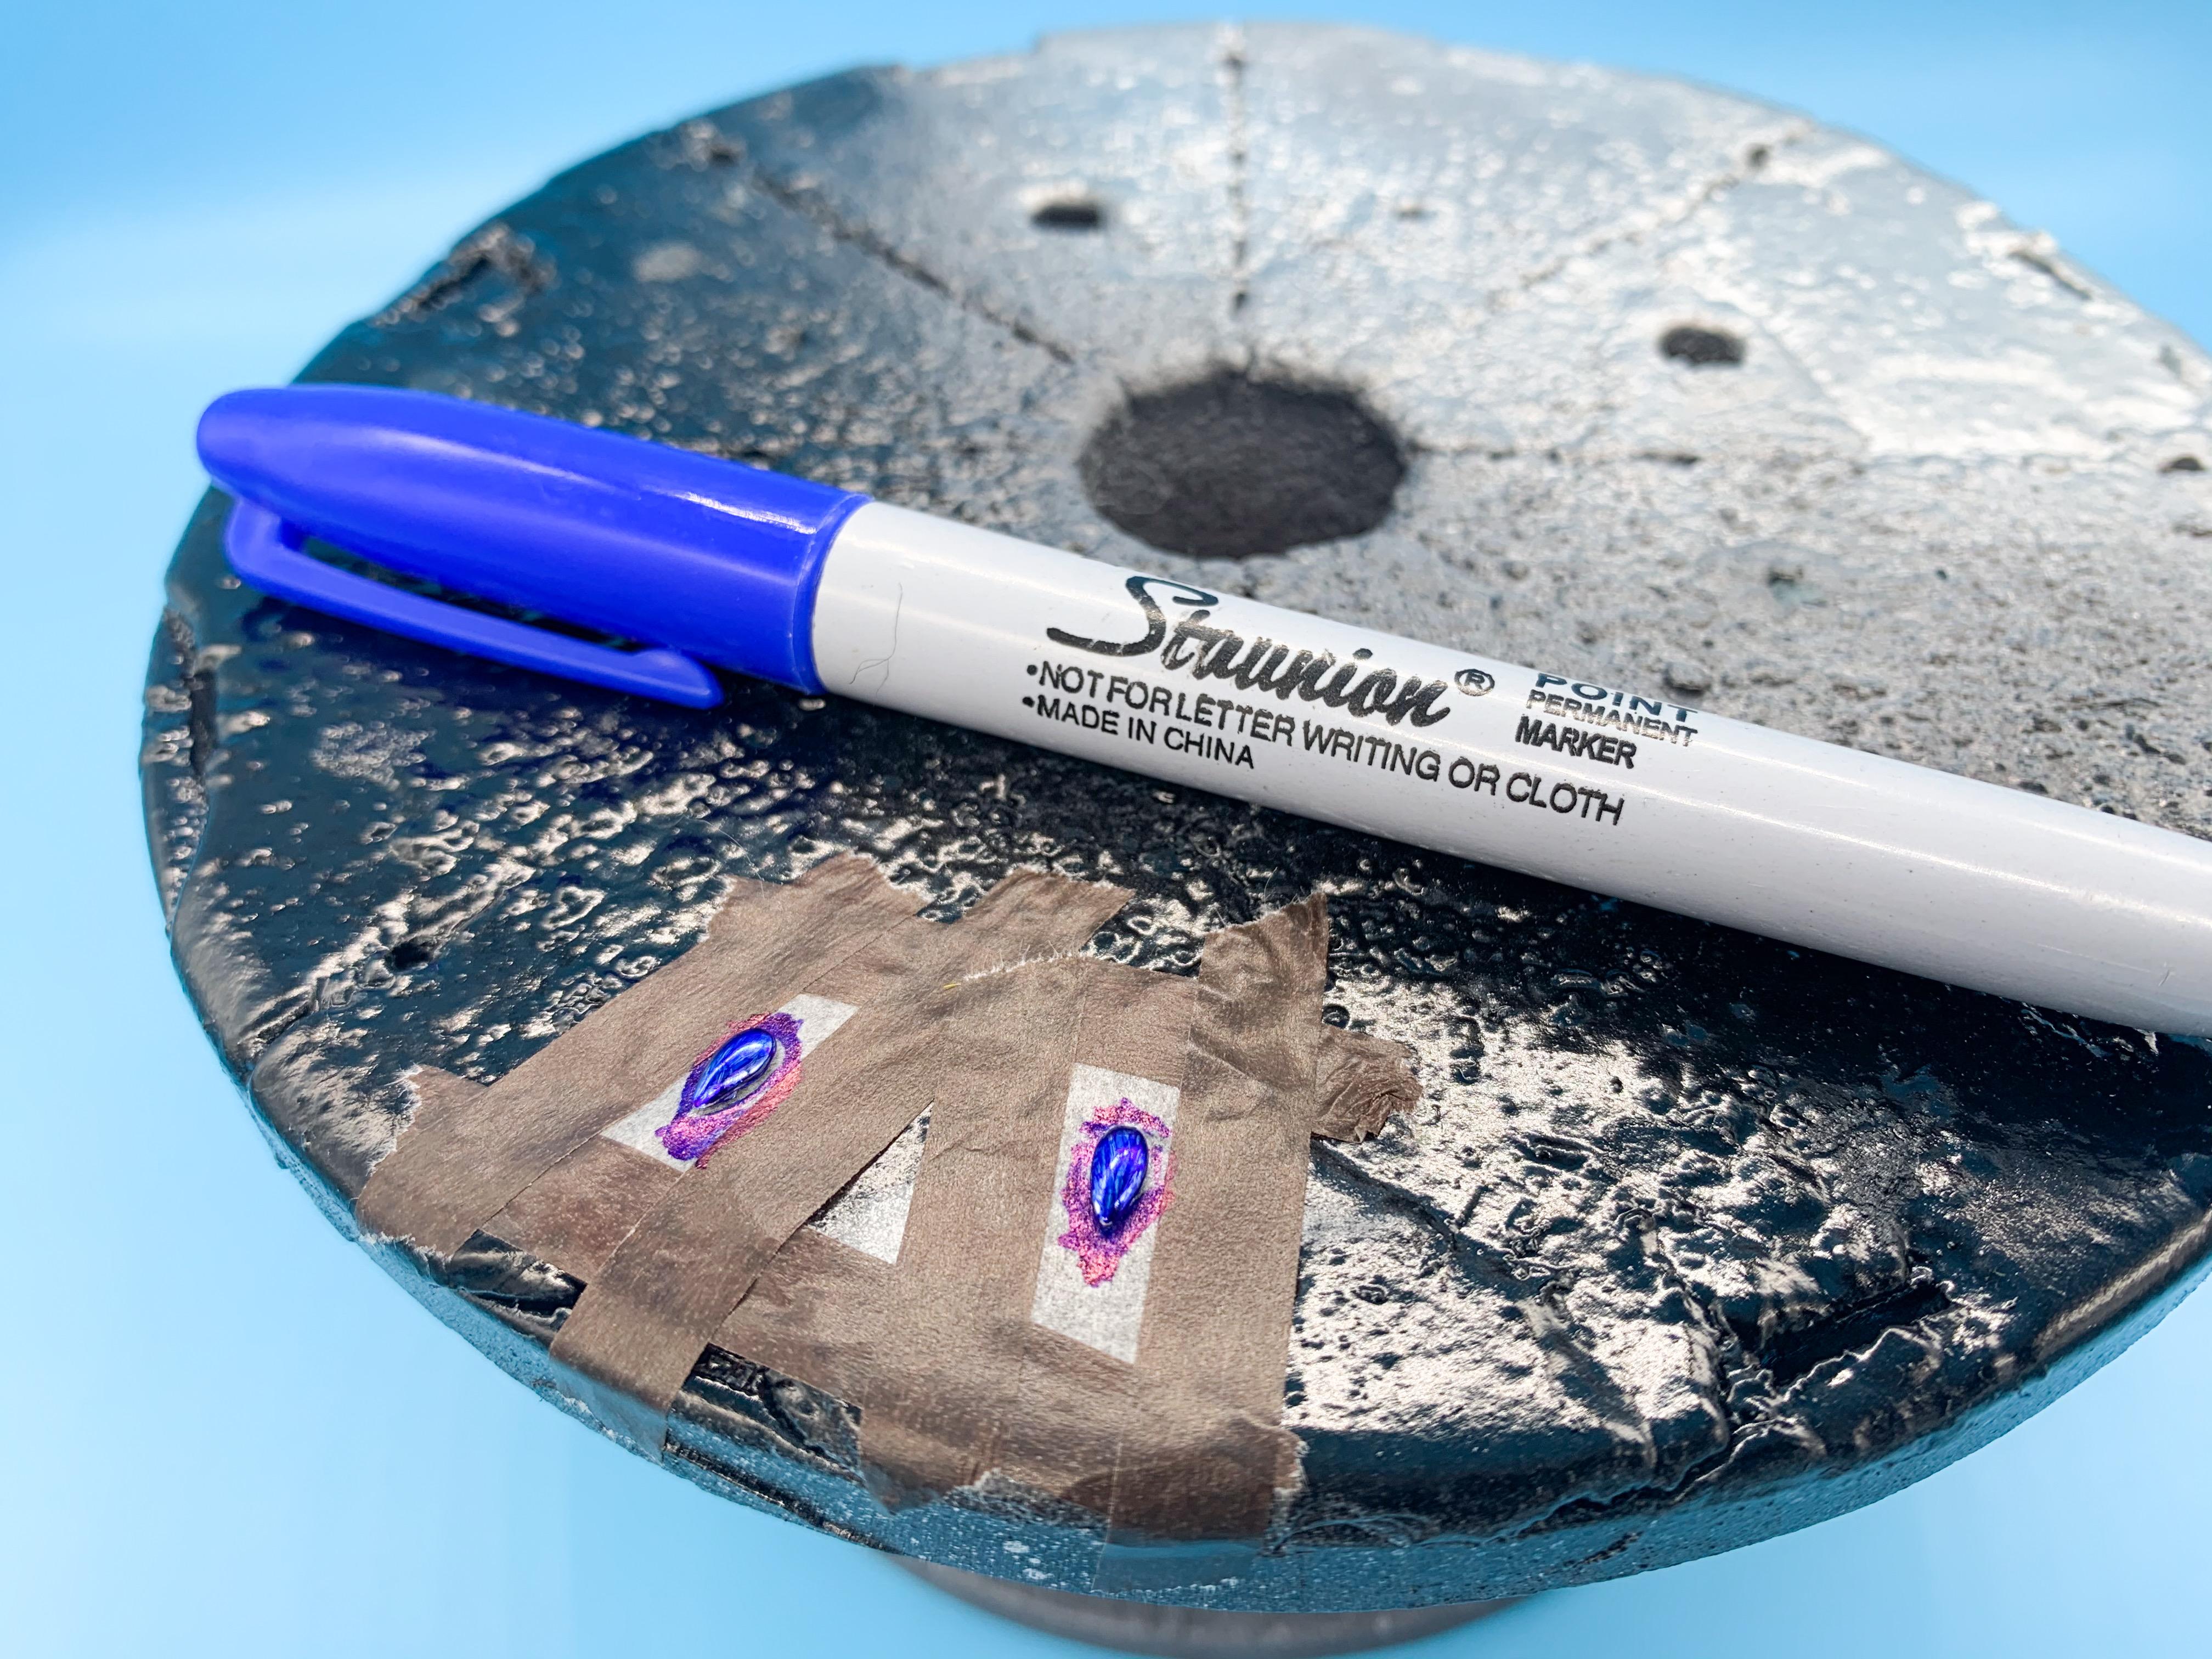
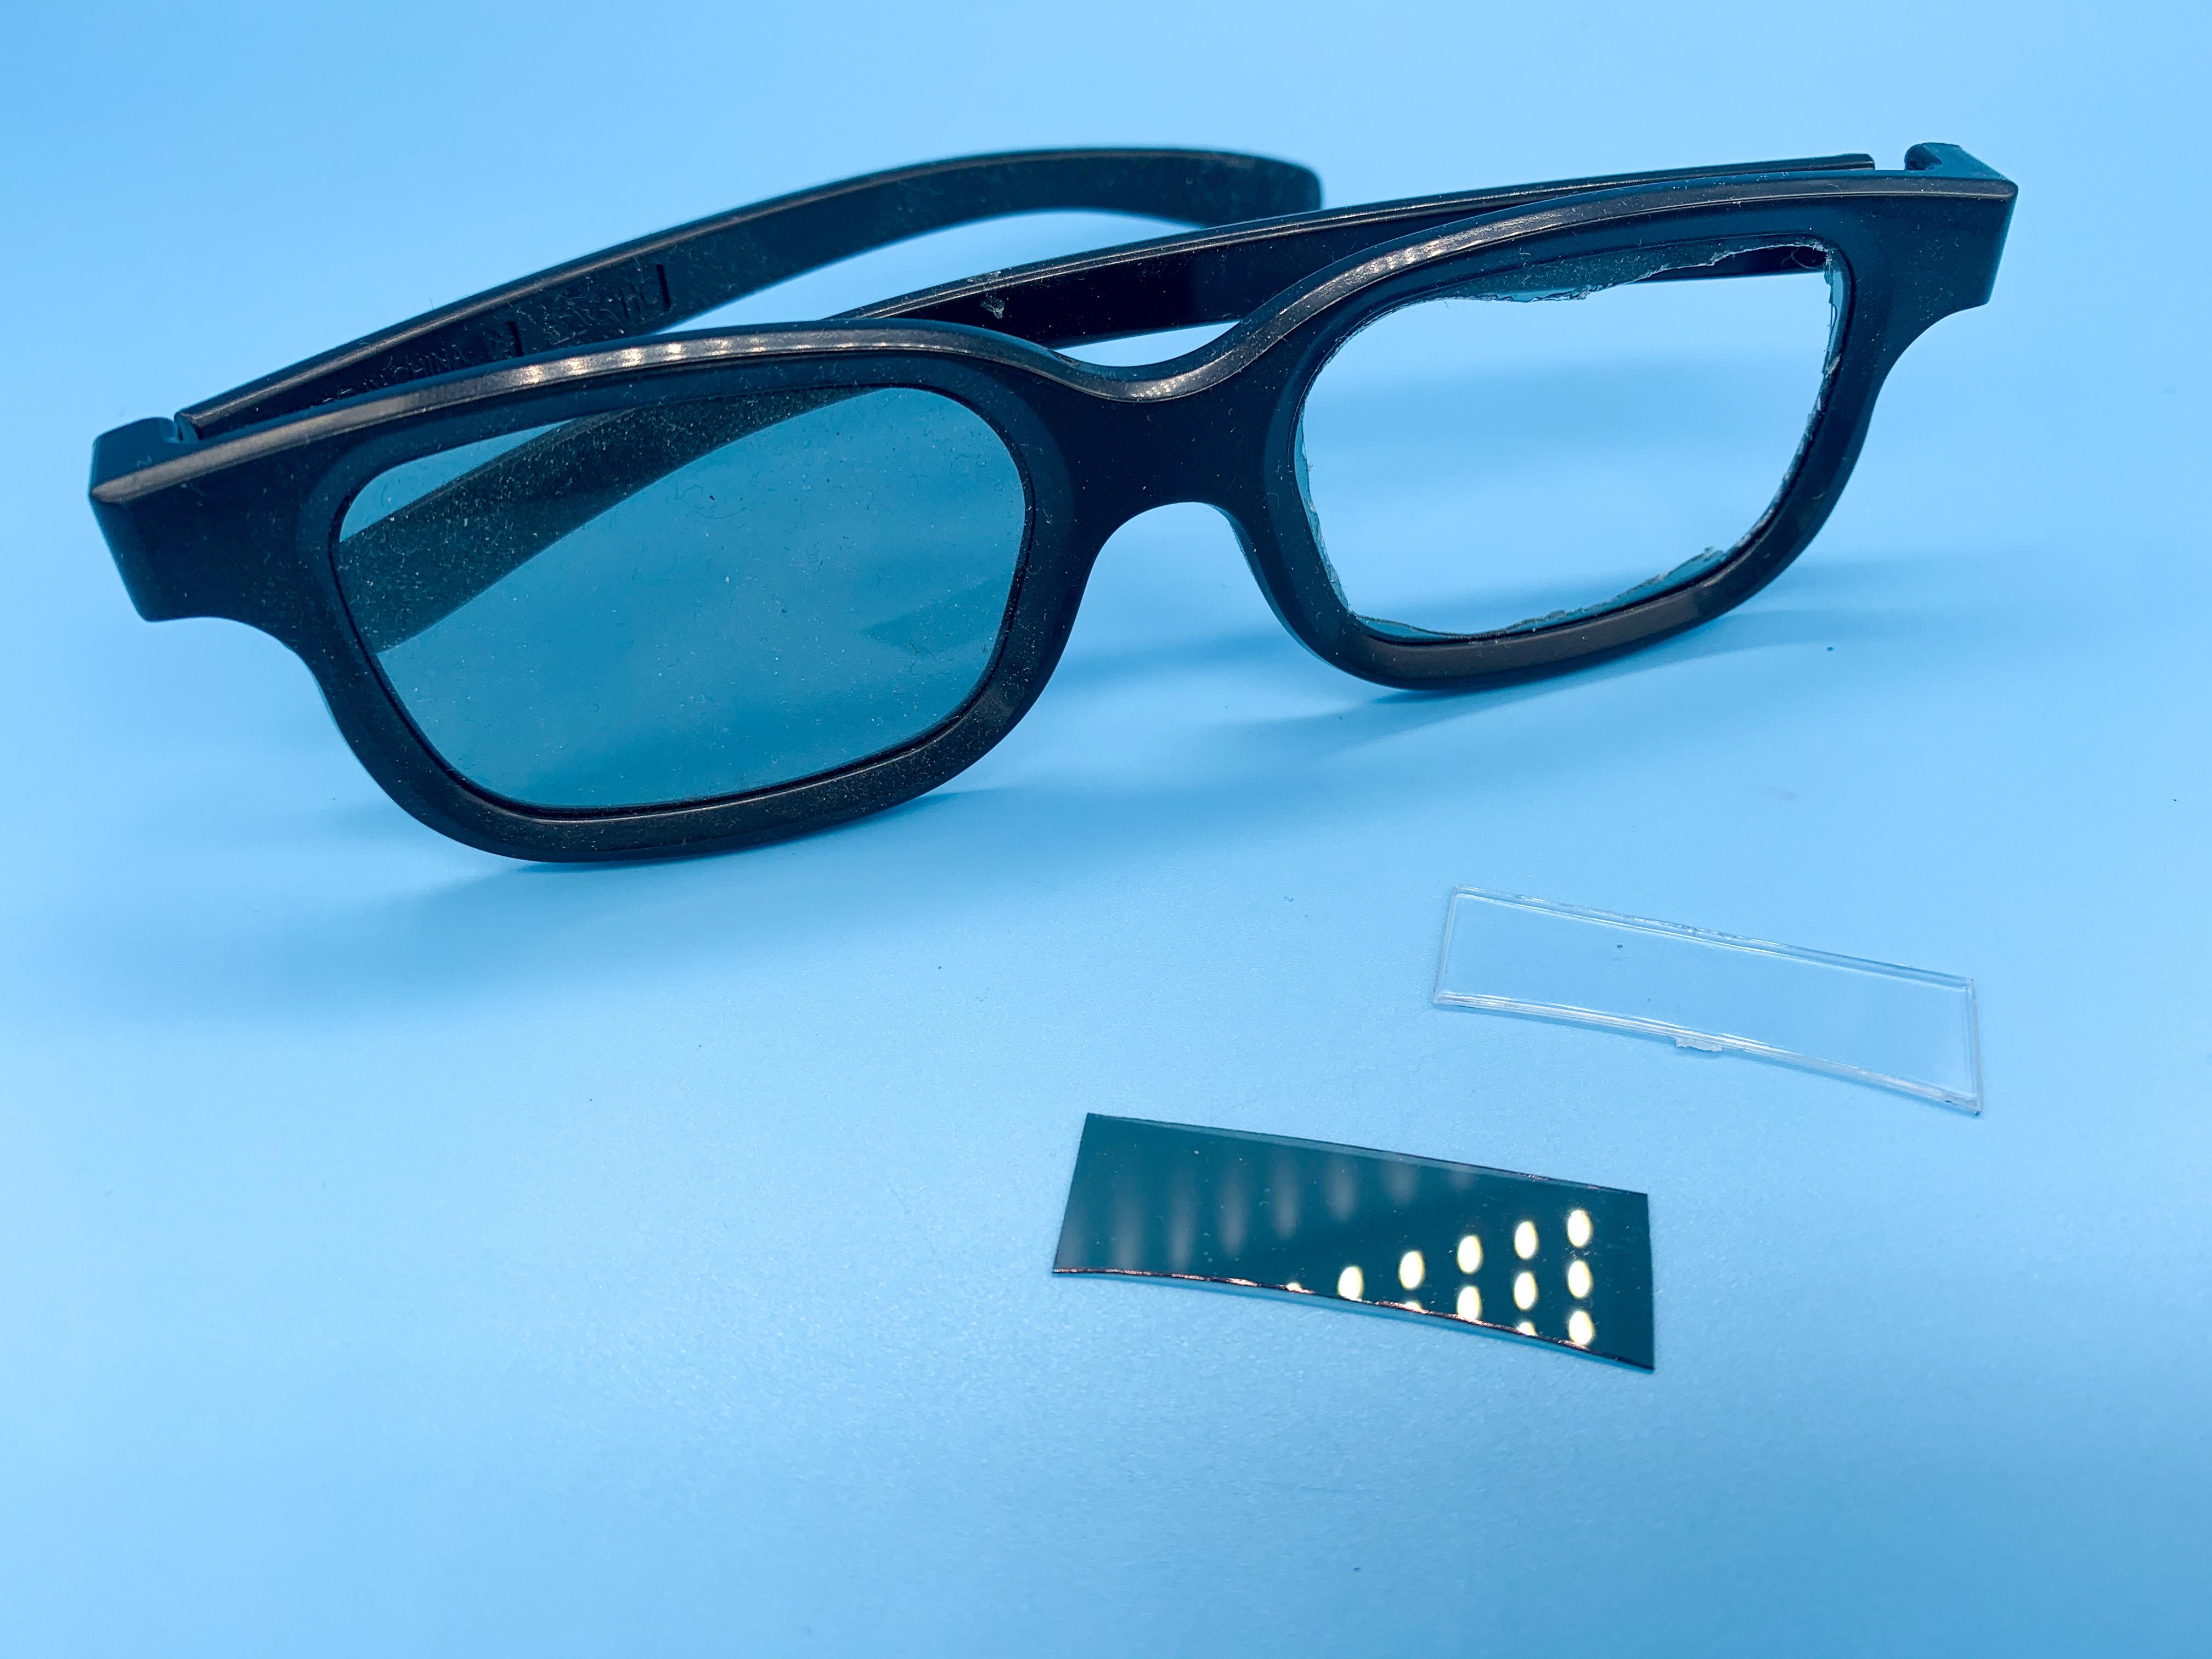
Thank you everyone! Last few touches today - I could’ve gone on building this one but I ran out of parts! ?? License plate on - I wanted an New York plate and then spotted this 90s era-correct one in my decal stash and figured it fit the build: I wanted a dark red or purple tint for the taillights so I colored the kit chrome ones with a (knock off) Sharpie, then hit them with candy red - they flip to a nice reddish-purple in the sun: I decided I wanted to have a tinted windshield so a pair of 3D glasses ‘borrowed’ from the cinema gave up a lens to make that: And then when the glue sets on that, the headlamp lenses (which I shot with Future with a little pink Pearl Ex in, just for my own amusement) and a couple of little photoetch washers and bolts it’ll be about done! Thanks for all the nice comments everyone - finished pics under glass soon!
-
I have used their stuff before, but MAN it’s hot. I never found the best primer to use for that, including their own - and kit plastic doesn’t seem to be getting any HARDER. That said, they have nice a nice range - I should maybe try them again! That red is nice! I did wonder if I should just try their regular red and see how I like it! Looks good! I remember that - I forget what they were painting but it makes sense that it would work well!
-
Would you buy this compressor for airbrush use?
OldNYJim replied to Monty's topic in Model Building Questions and Answers
Mine says Model Expo on the side - but I’ve seen identical ones with different brand names - I’m sure they’re made in their thousands by a factory somewhere and rebranded by whoever’s selling them that week -
Pro shop 32 Ford Roadster
OldNYJim replied to slusher's topic in General Automotive Talk (Trucks and Cars)
Love it! Thanks for the link Bill! Very inspirational work! -
Would you buy this compressor for airbrush use?
OldNYJim replied to Monty's topic in Model Building Questions and Answers
I think you’re right! ?? -
A simple cruise around London,
OldNYJim replied to gtx6970's topic in General Automotive Talk (Trucks and Cars)
I walked through Times Square this week and it ALMOST could have been a scene from that movie. Super creepy...never seen it so empty and quiet. The Topless Cowgirl and the Naked Cowboy where still there though, hustling away as normal.... -
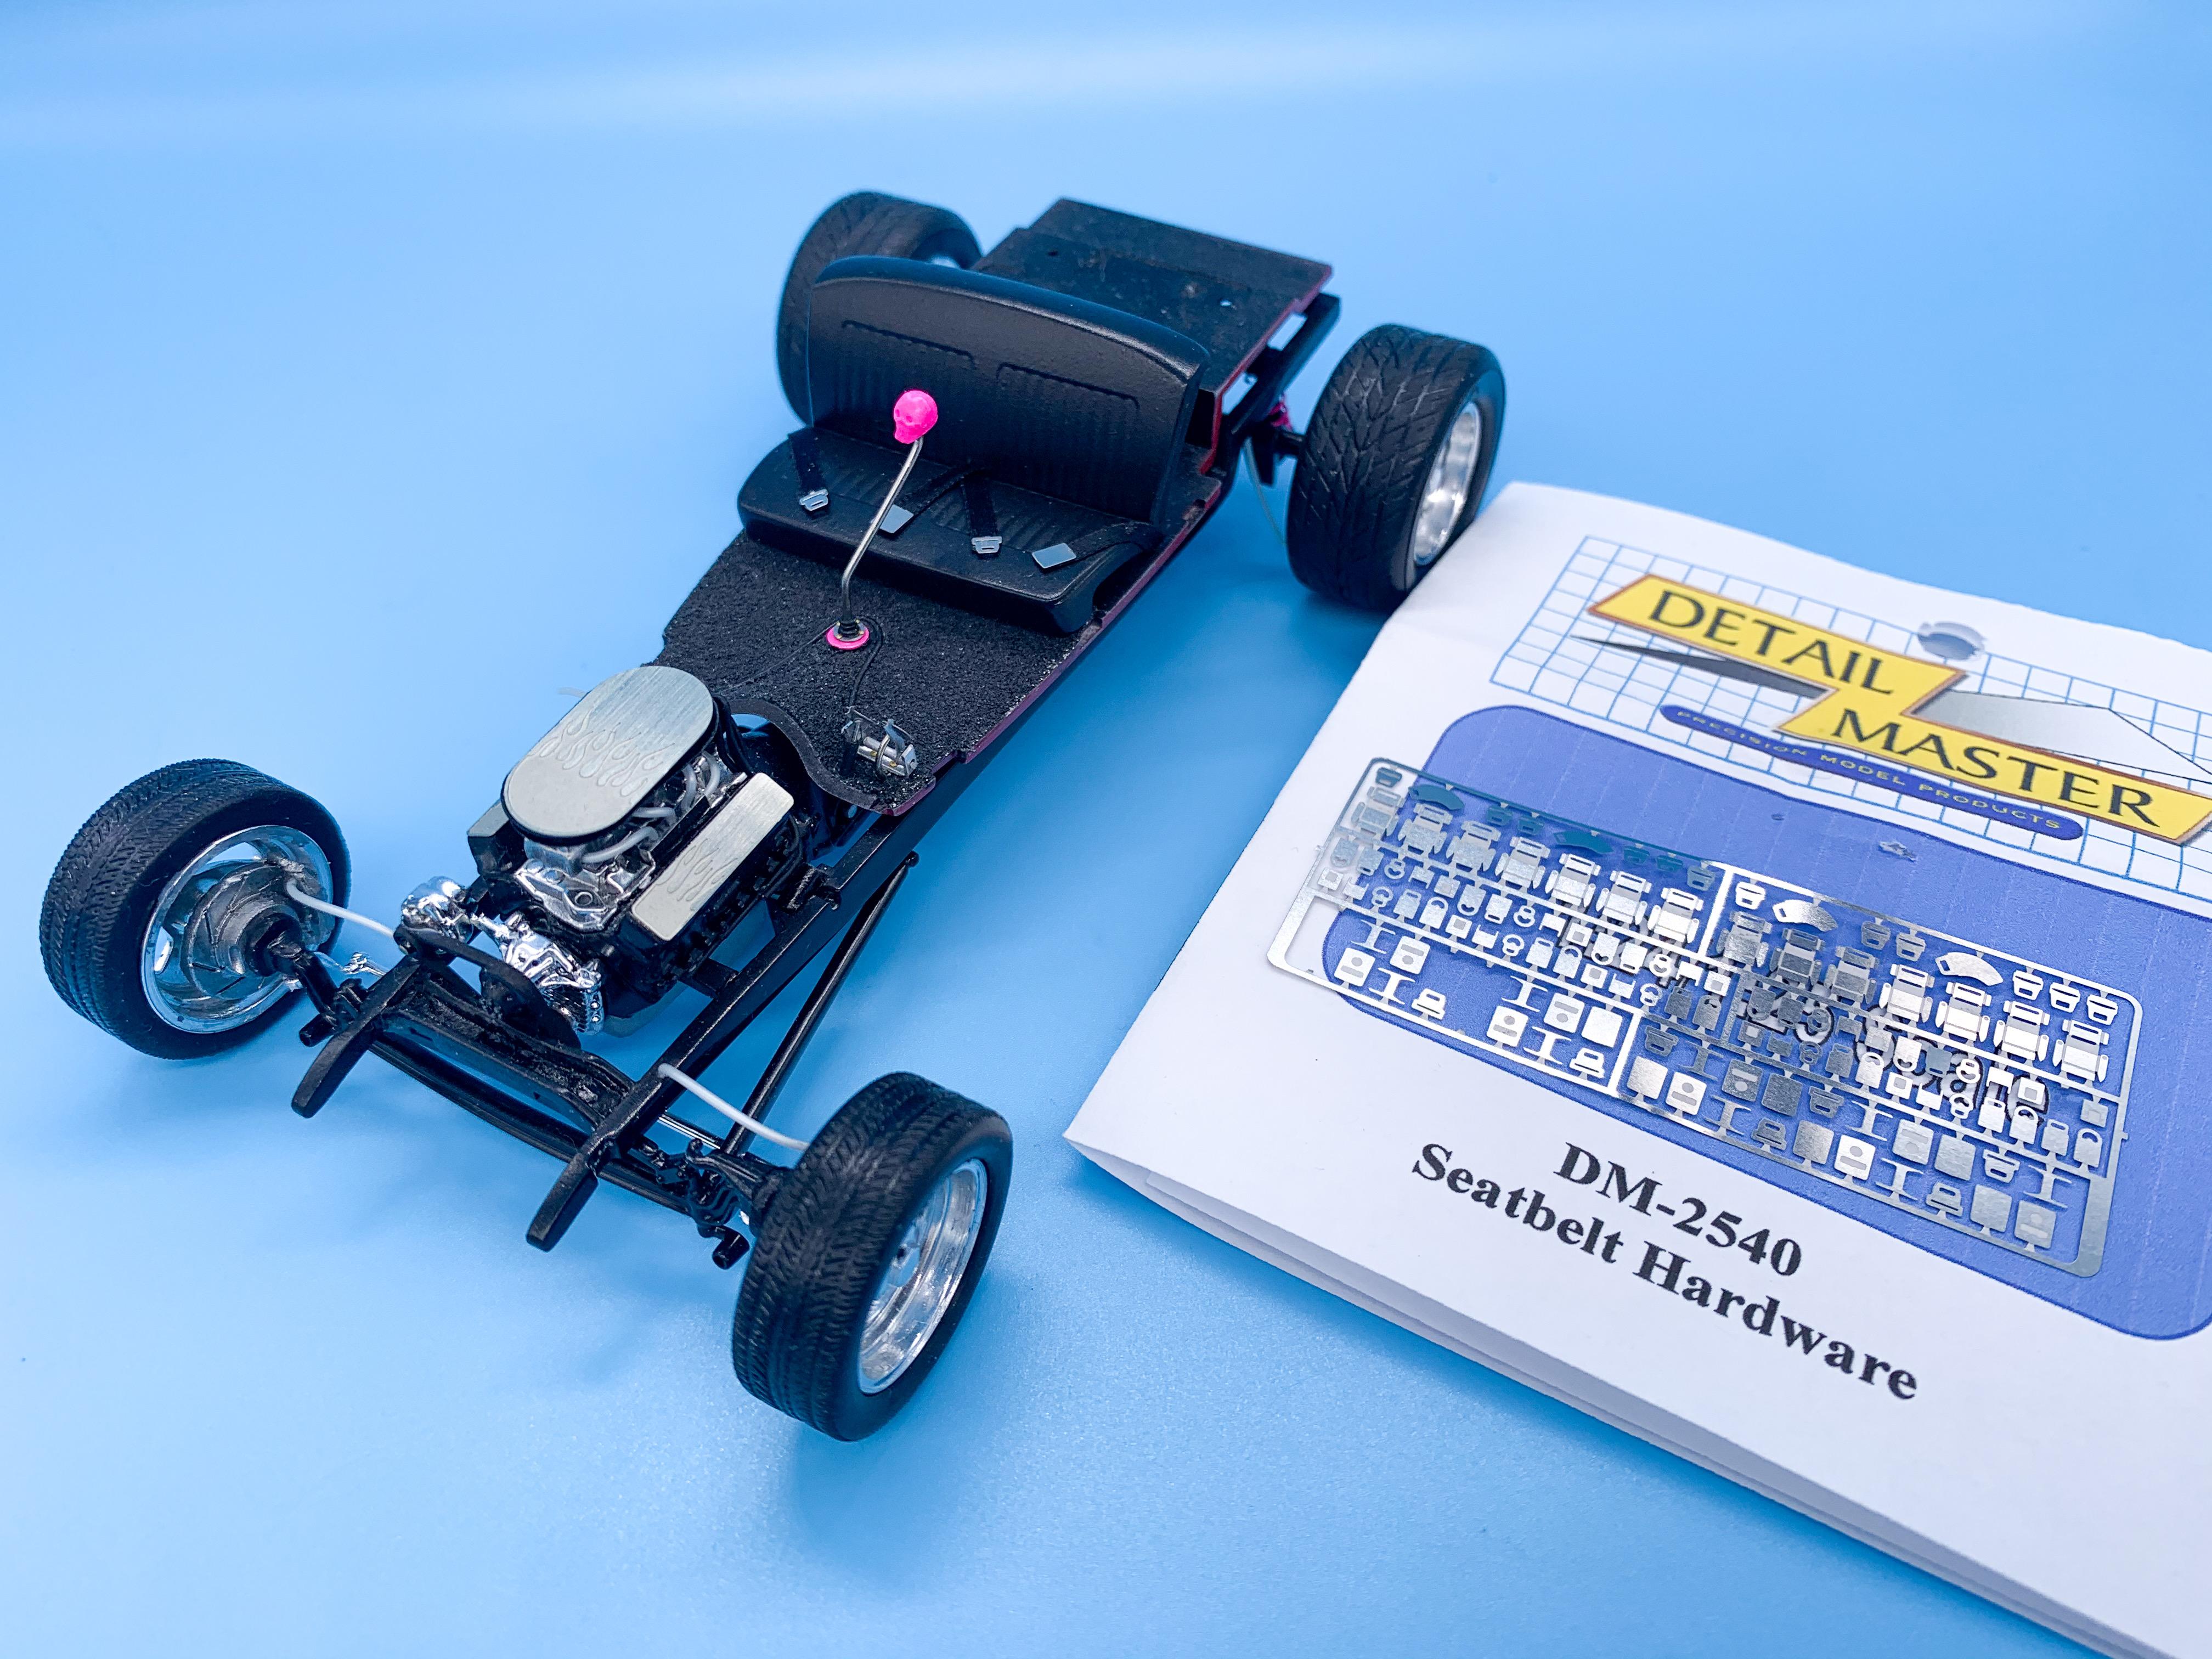
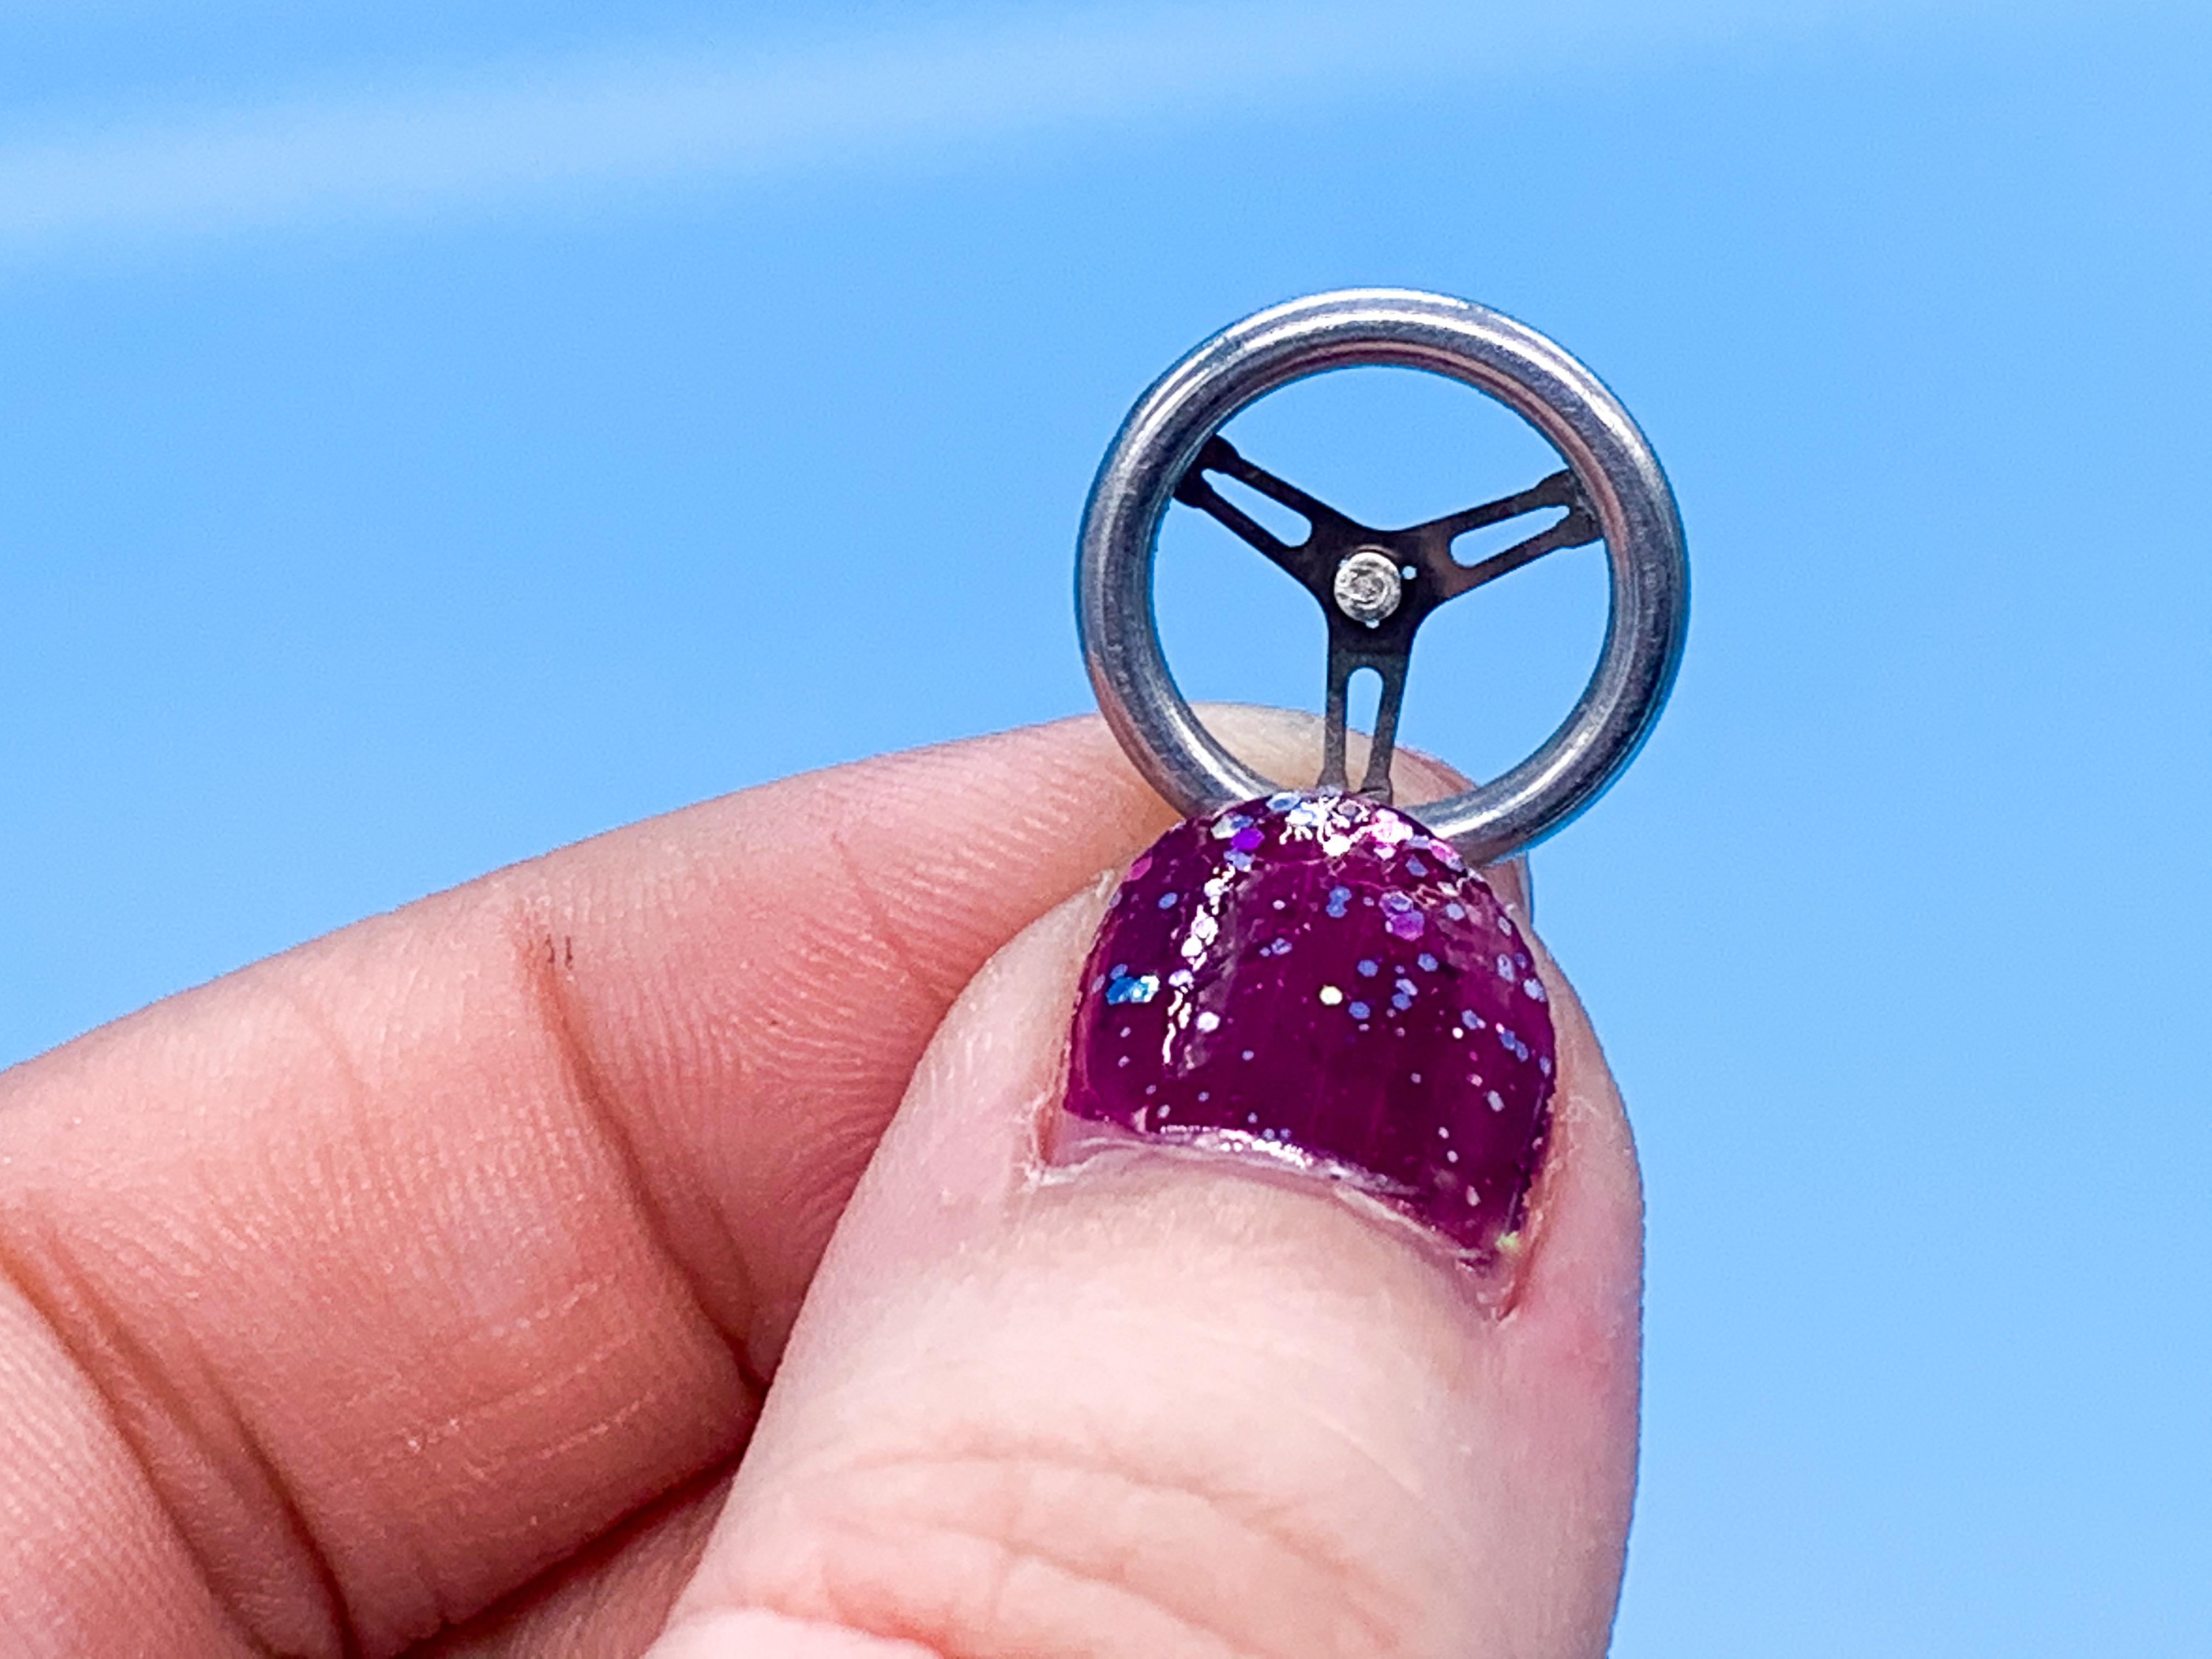
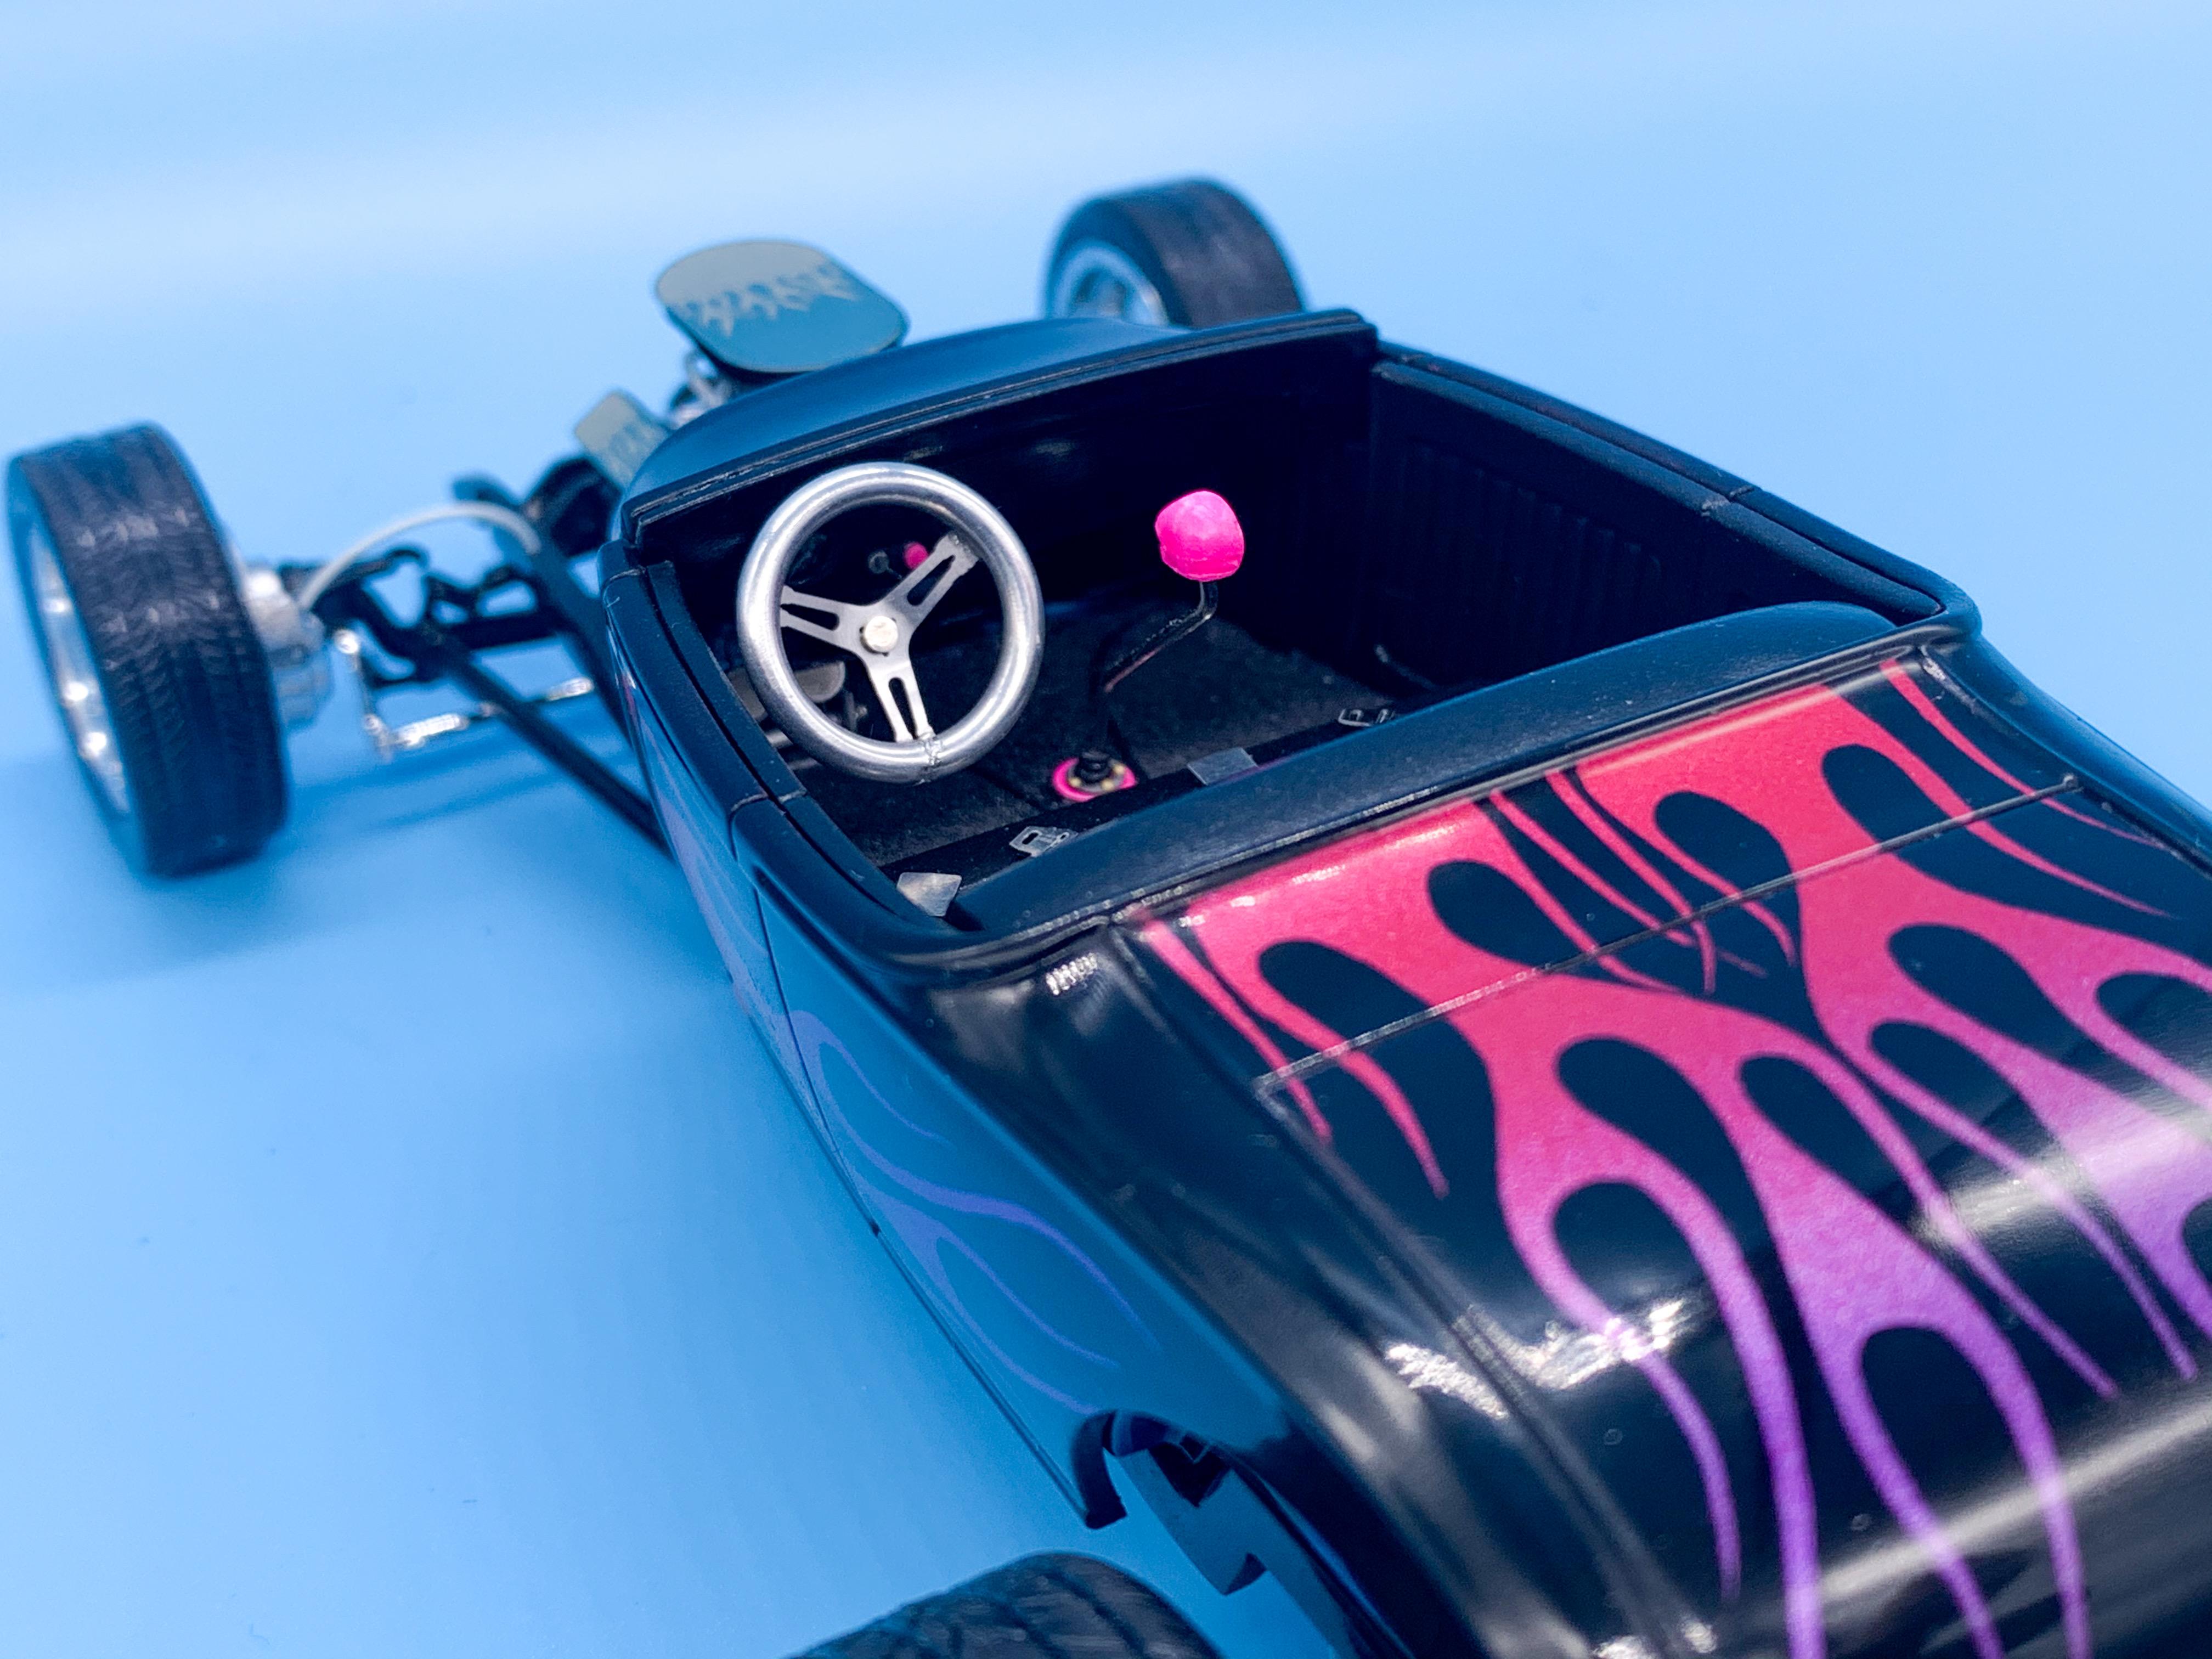
Thanks buddy! And it only cost me a dollar at the Colorado Wild West museum ? I was waiting for some photoetch to arrive so I could add belts to the seat - thankfully the mail here seems to be speeding up so I could make some good progress today! Belts and buckles made and seat installed: And with that done I could install the dash - I smoothed out the kit dash, drilled it for a speedo and used some epoxy for gauge glass: Made a billet-looking steering wheel: (that’s my wife holding it, in case you wondered ??) Looks cool in there I think! And then pinned the kit headlamps and attached them to a bar I’ve hidden behind the radiator - mounting then to a bar like this has given me some wiggle room to get them angled nicely and evenly which is one less thing to screw up once the lenses are in... It’s starting to look like a thing! More soon!
-
That’s a great gauge to follow, in my opinion. I like looking at something the next day and thinking “Huh! I did a nice job of that!”. Much better than looking at it the next day and thinking “well, I’m redoing THAT today” ? I read a quote this week on the subject that craftsmanship that said something like “A builder will allow people people say “he made that” but a craftsman will have people say “HOW did he do that?!”” I like when I see someone’s work on here and I get to experience the “how did they do that?!” reaction myself! I don’t specifically build to get that reaction back, but it does feel good to get positive feedback, of course! Most rewarding for me is to think “huh! I MANAGED to do that!” ?
-
Tamiya Ferrari Testarossa 1:24 90s Magic!
OldNYJim replied to Funkychiken's topic in WIP: Model Cars
Well under a hundred grand! https://www.ebay.com/itm/264772447143 Bargain! ? Great project so far - I like these too! I’ll be watching!