dino246gt
-
Posts
2,244 -
Joined
-
Last visited
Content Type
Profiles
Forums
Events
Gallery
Everything posted by dino246gt
-
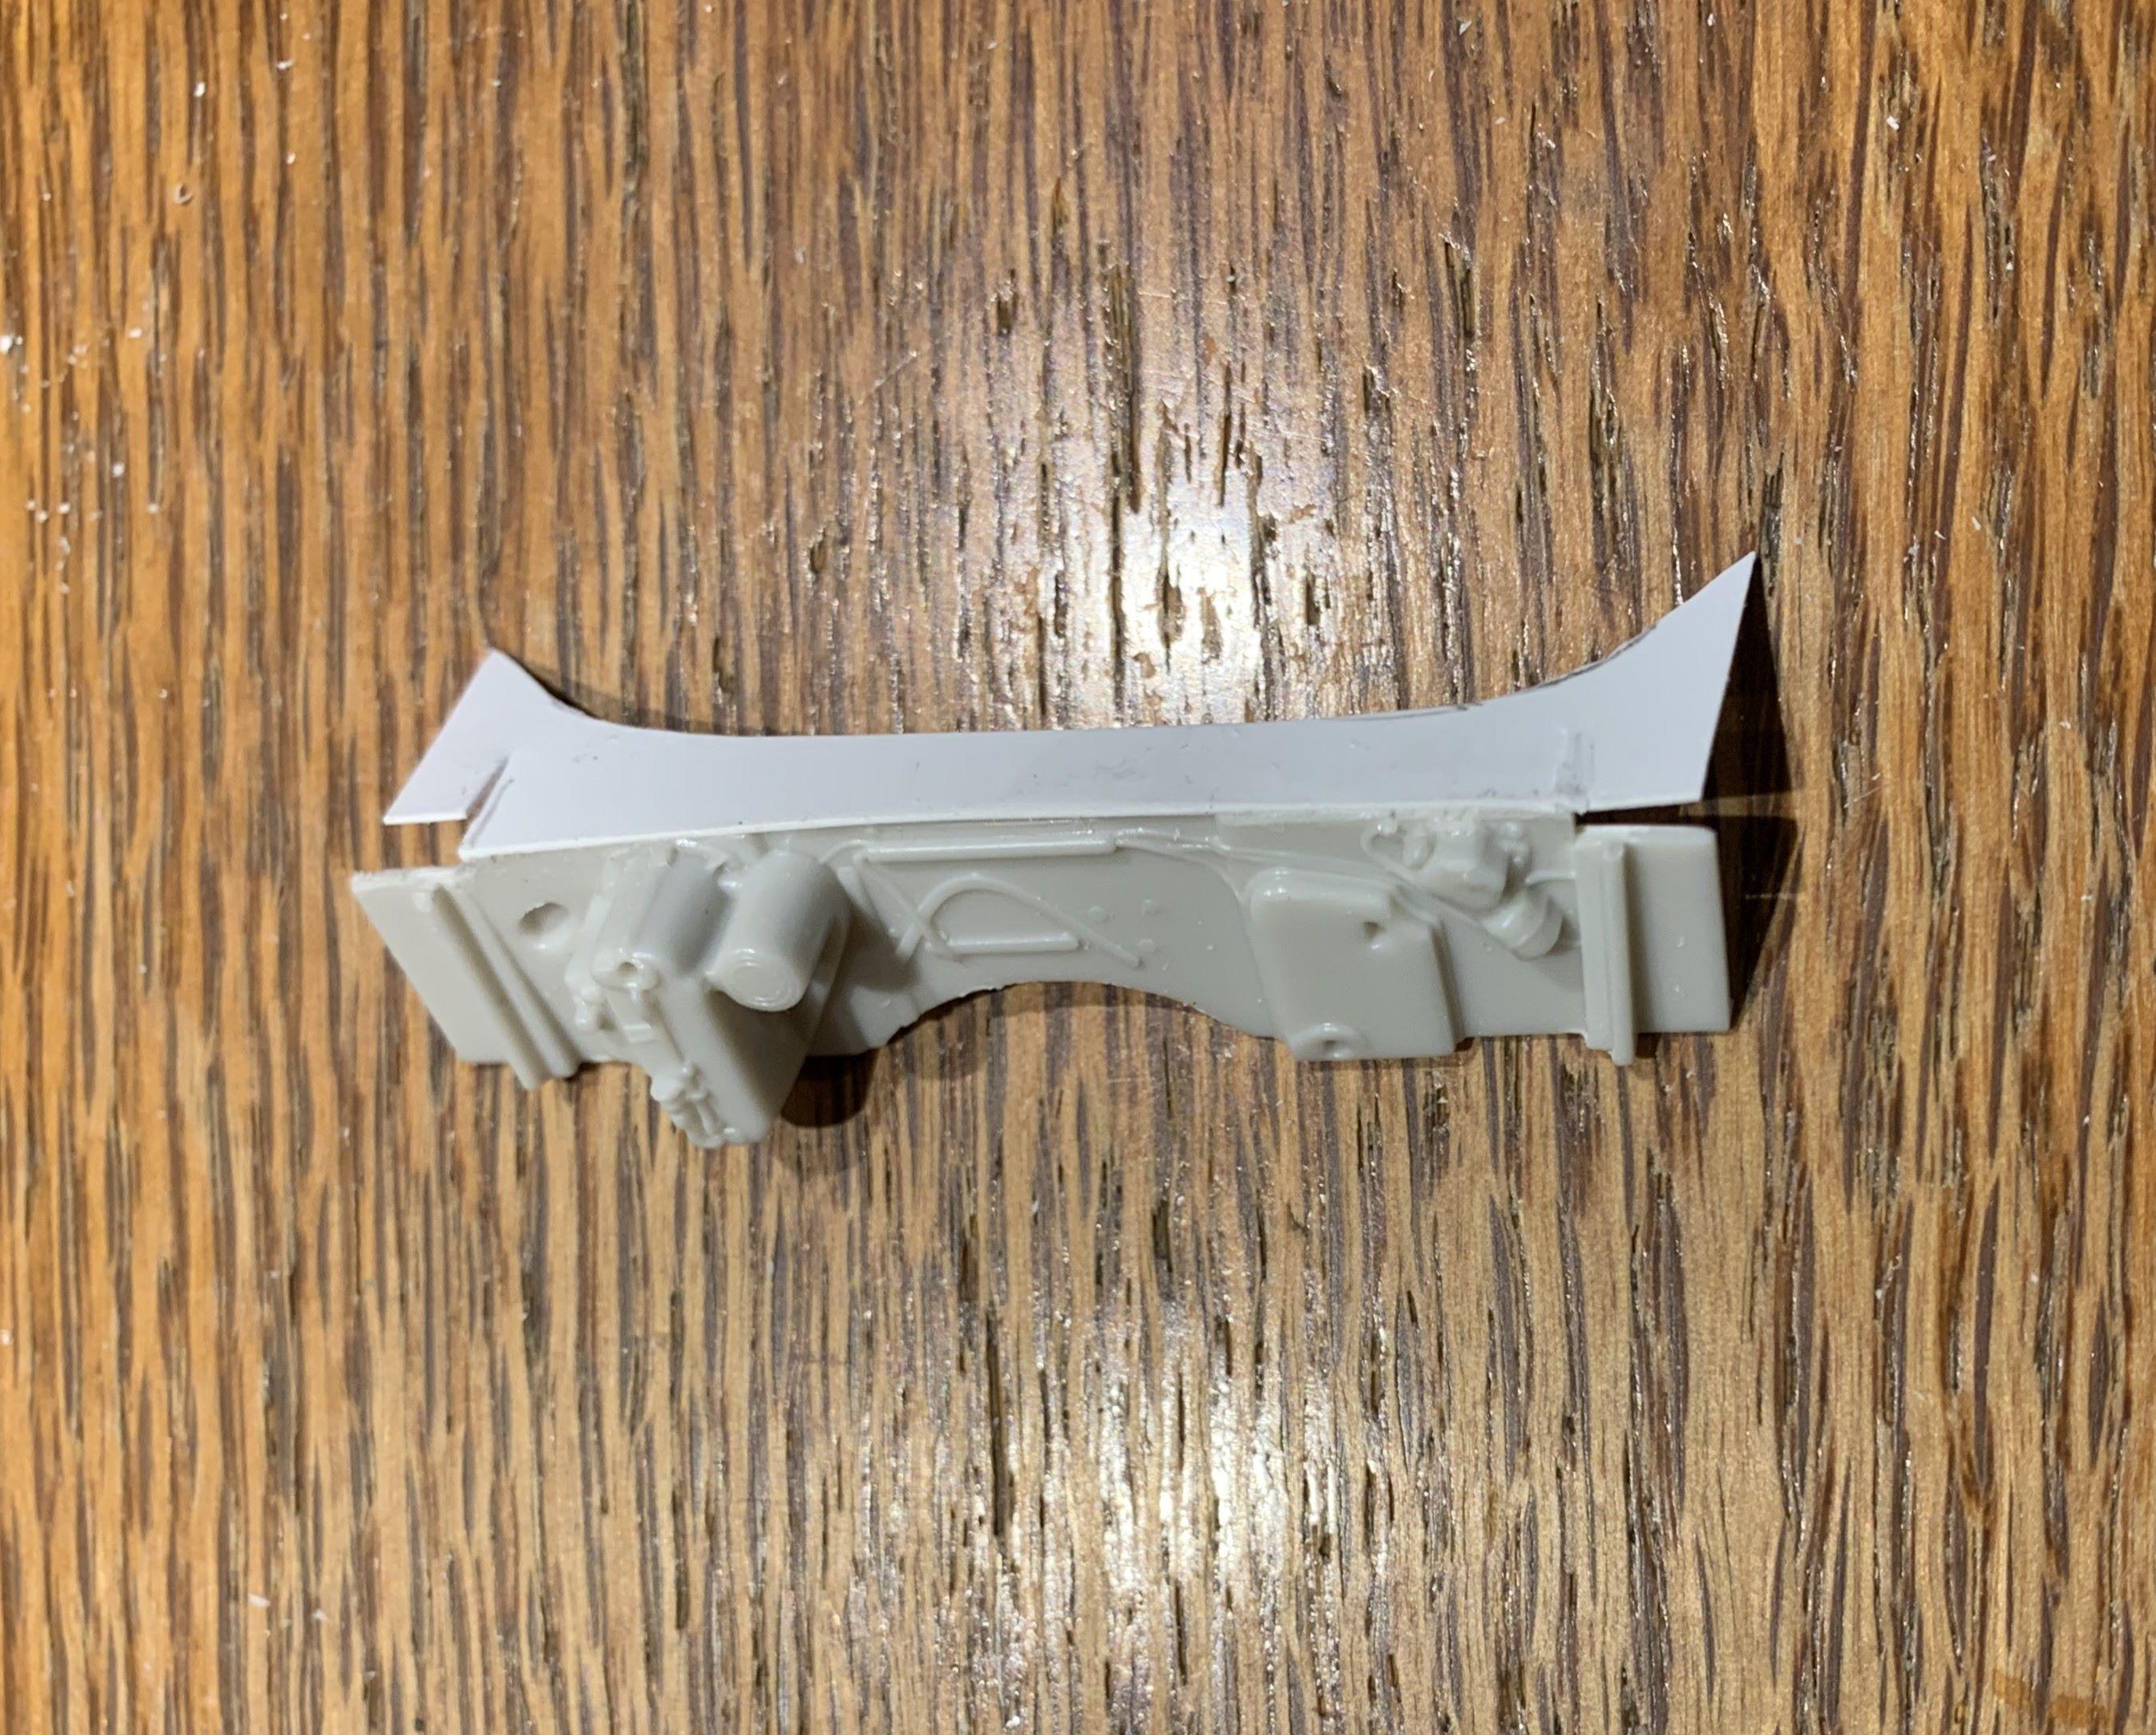
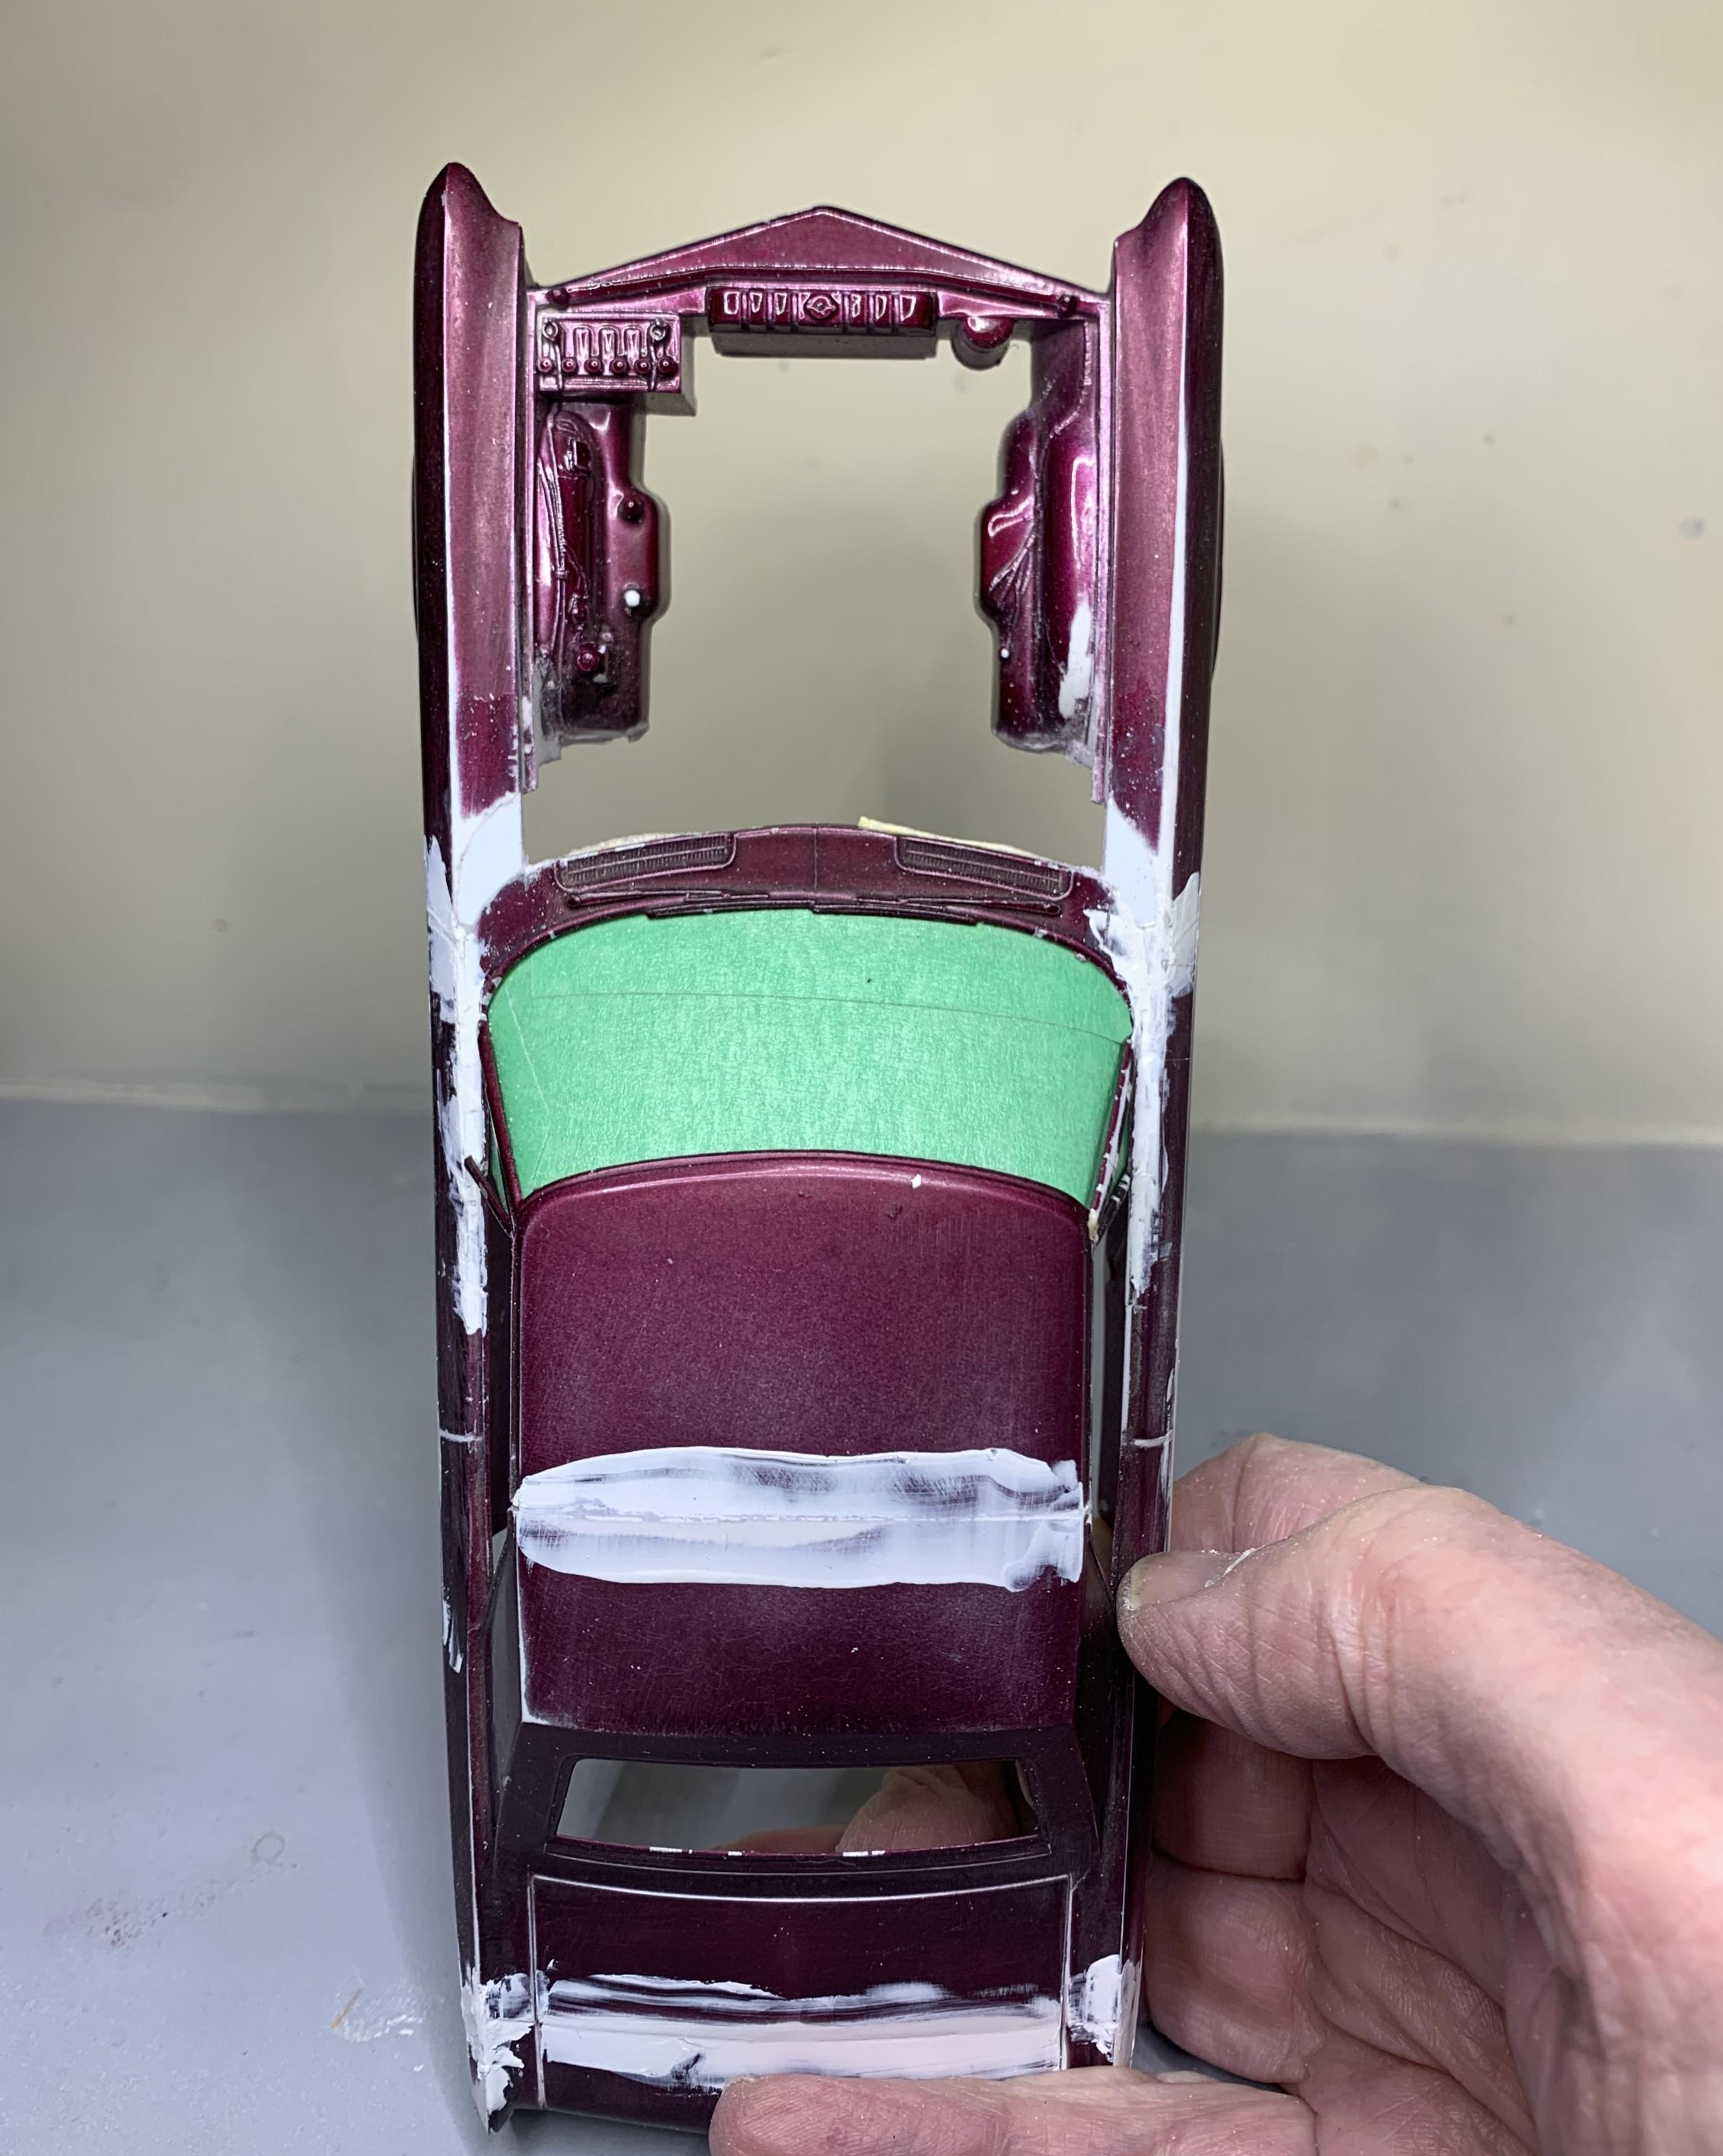
Up front of that floor pan, I wanted to move the firewall back just a touch, but keep the "pegs" for mounting the frame. Even though I cut everything straight, I still needed fillers due to the irregular shapes being cut where I did. I modified the firewall to fit, and I'll keep the air conditioning, why not, it's a Riviera, gotta have air! LOL Once the firewall was in place, I added tiny scraps to fill all the voids. Everything up front will be going and replaced with something better.

-
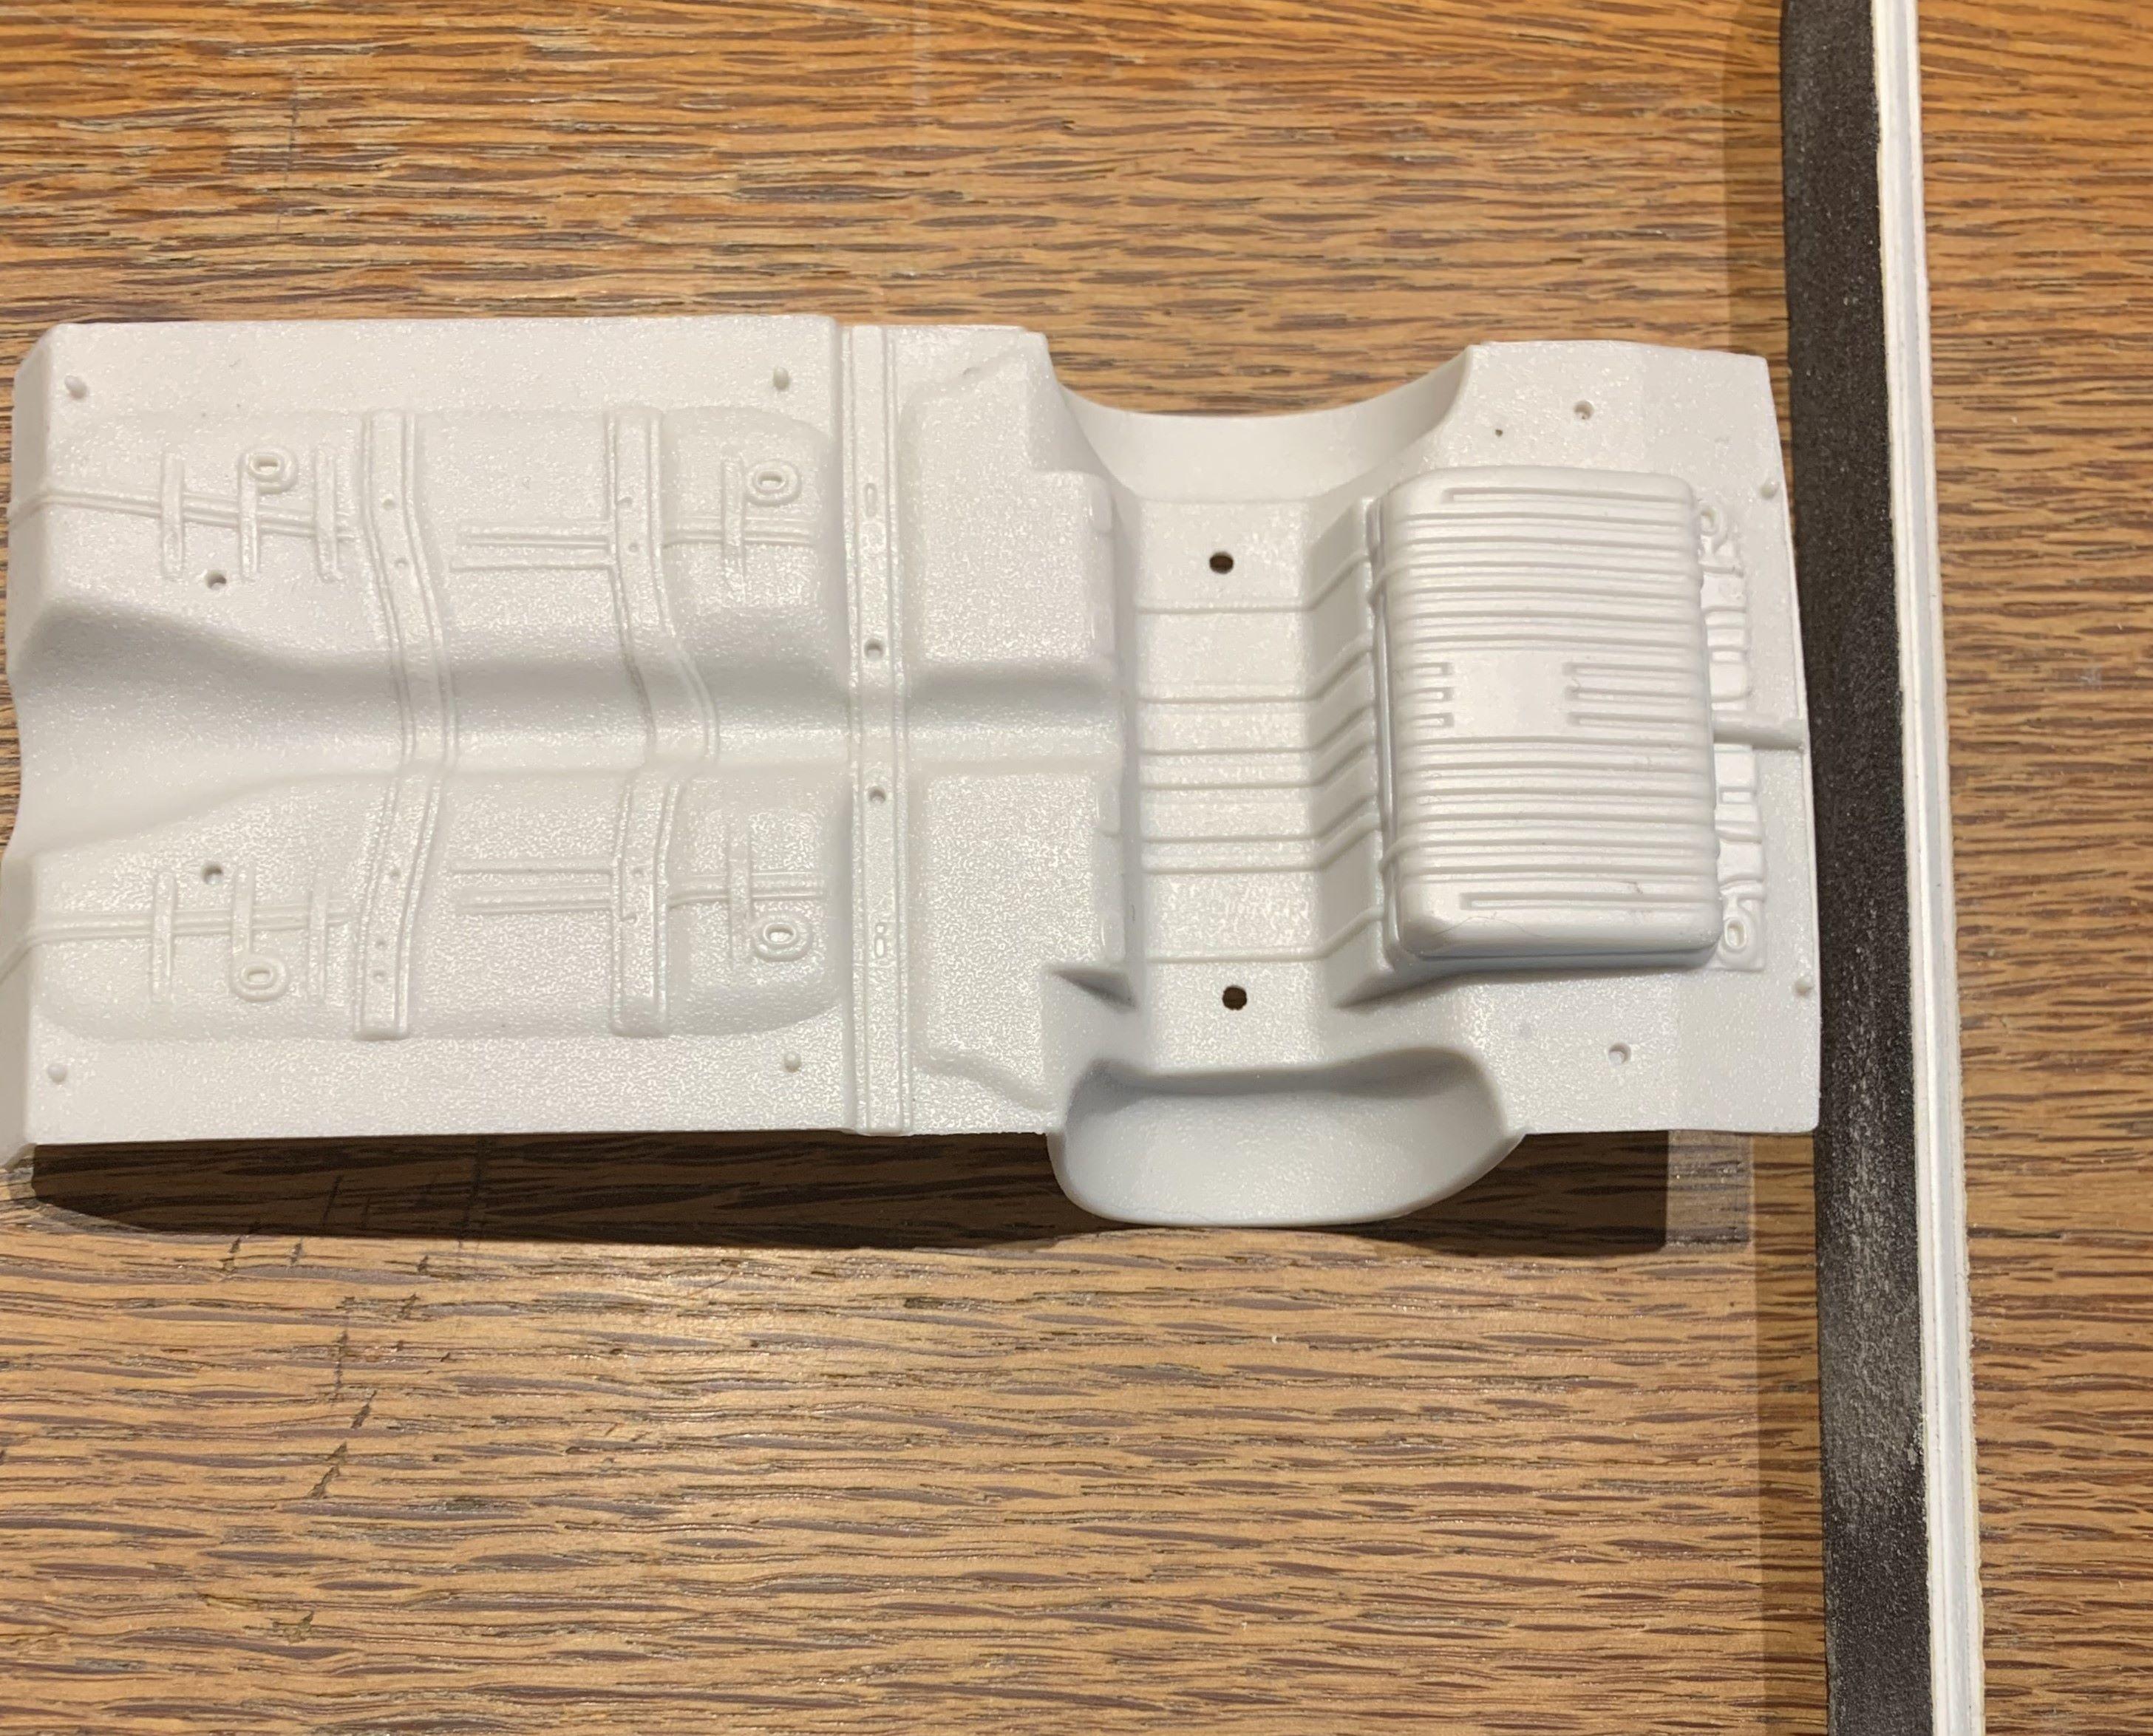
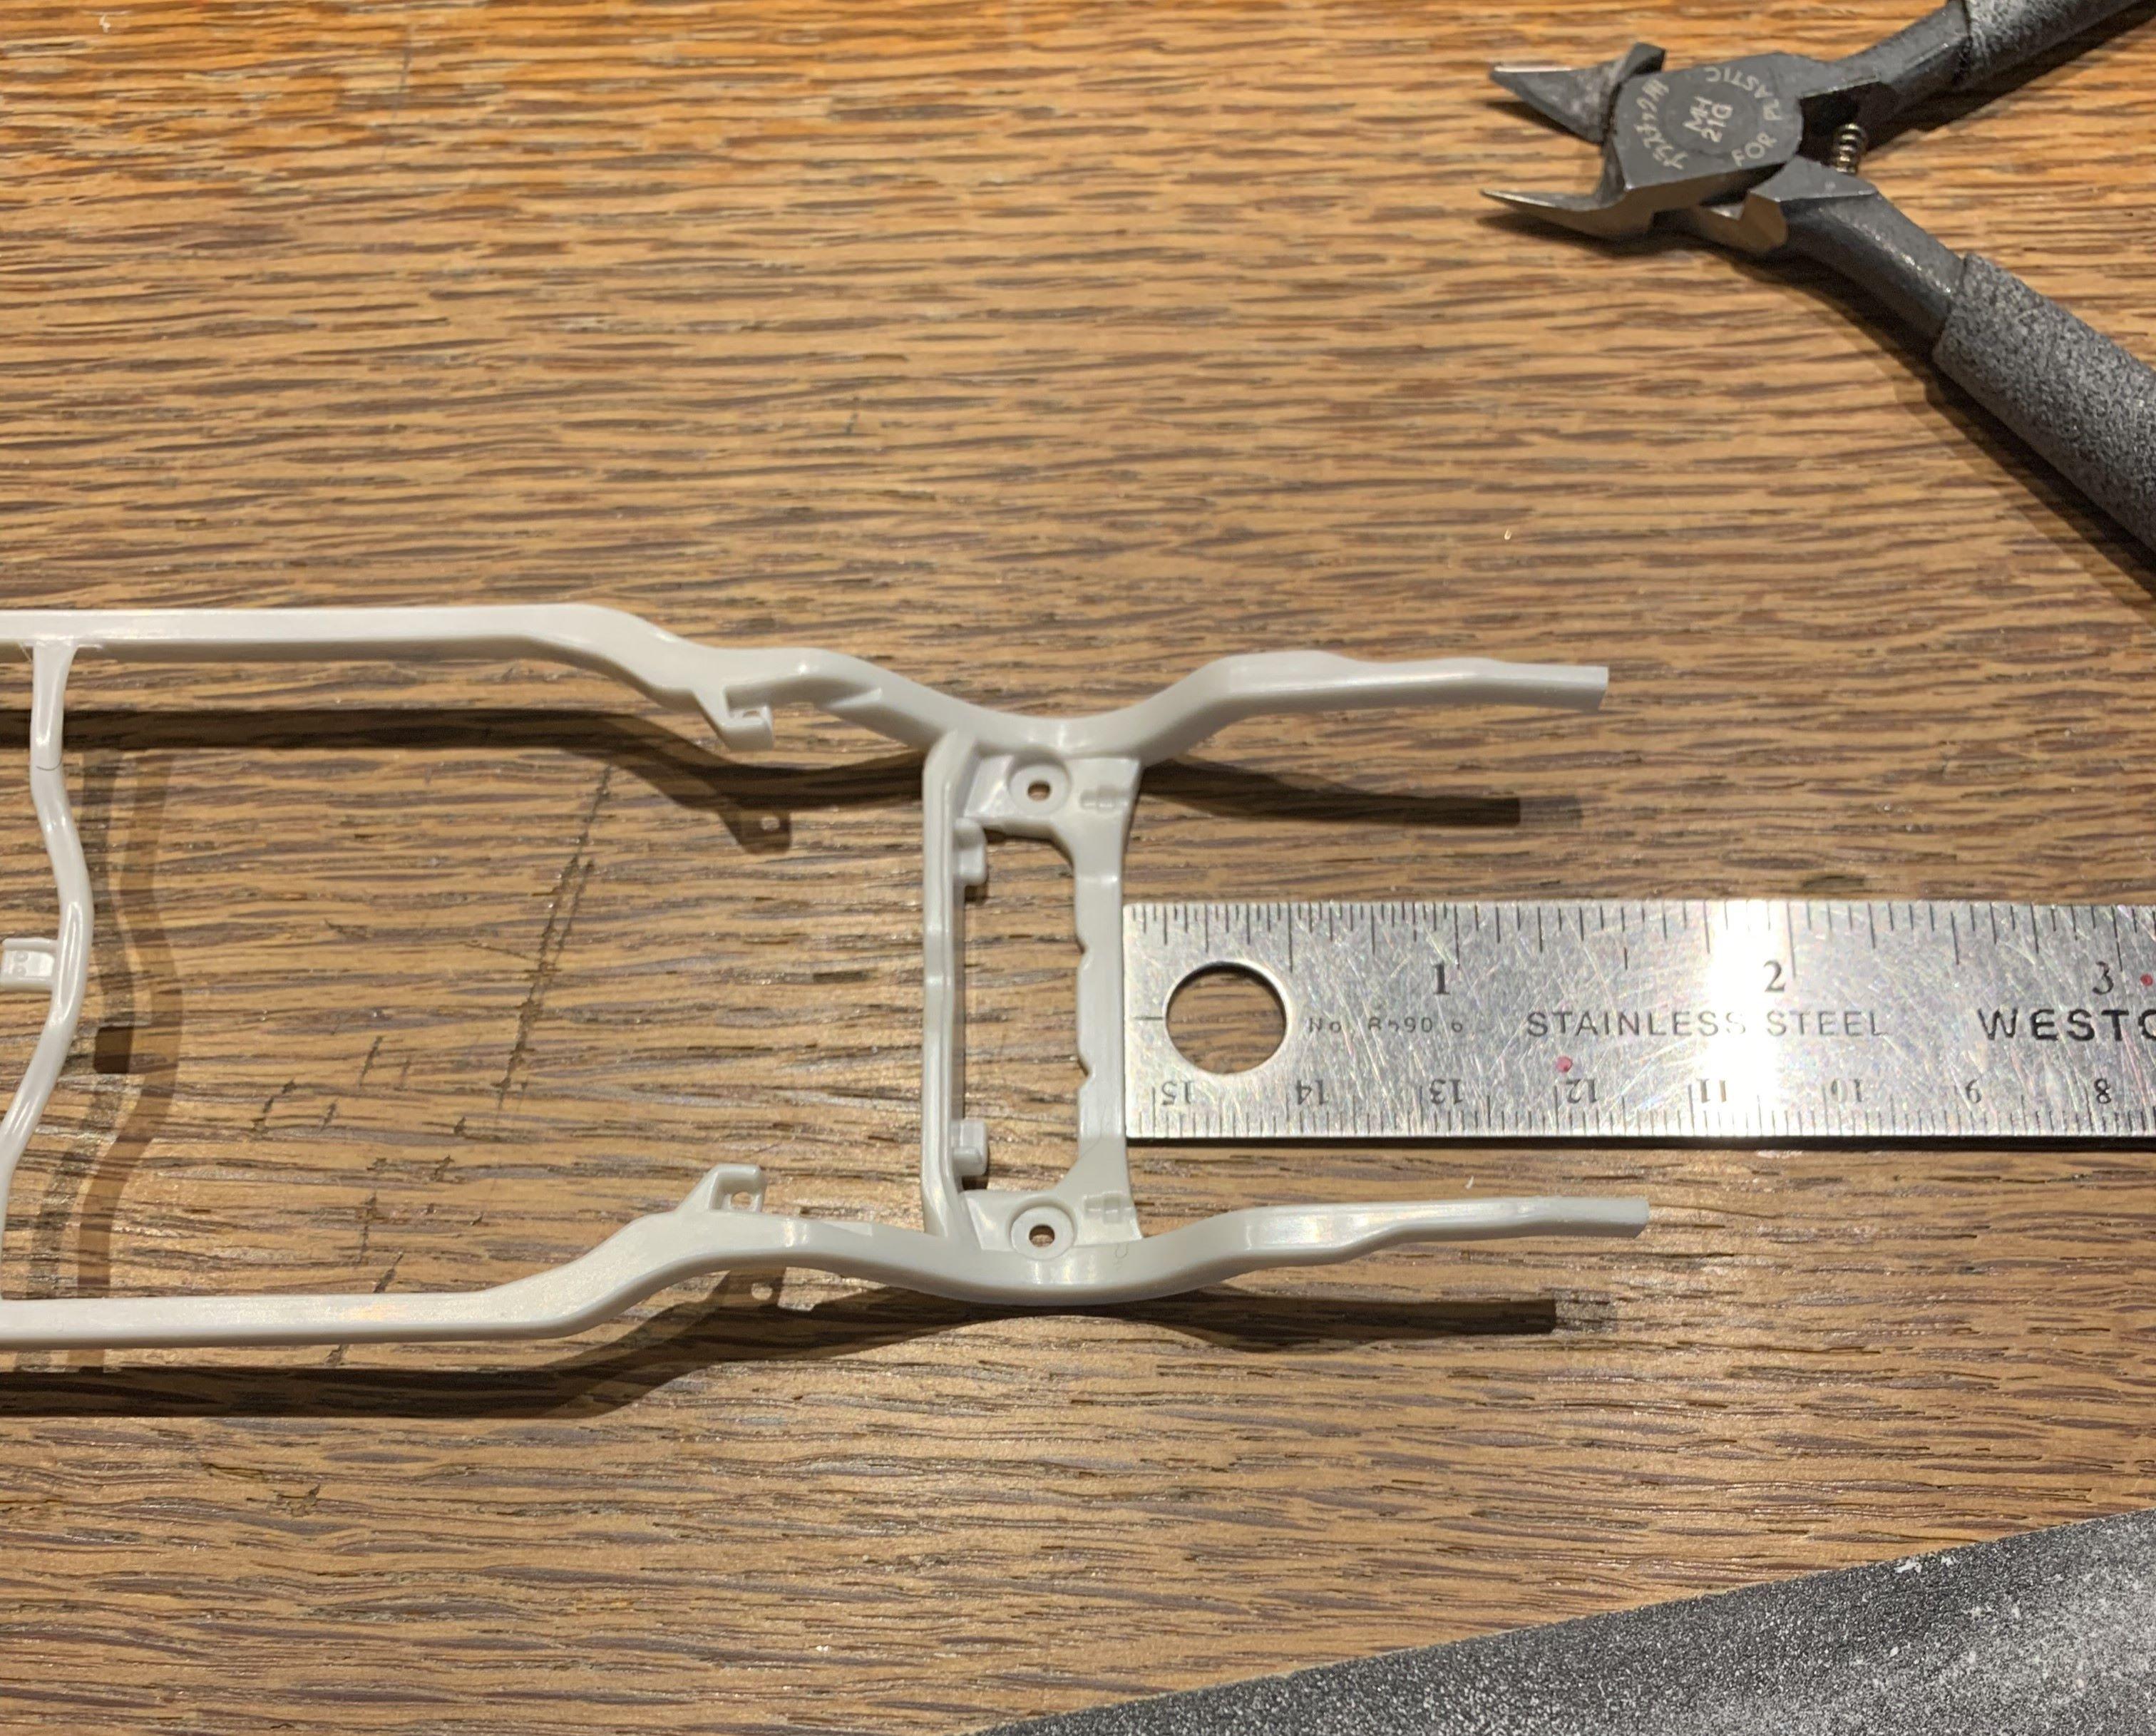
I found a floor pan, frame and firewall to use! First I sanded the rear to fit the Riv body around the back. Then I cut the back of the frame off, because the riv body was shortened at the back. Made sure that both rear rails were cut to the same length. Then I glued the rear of the frame back on.
-
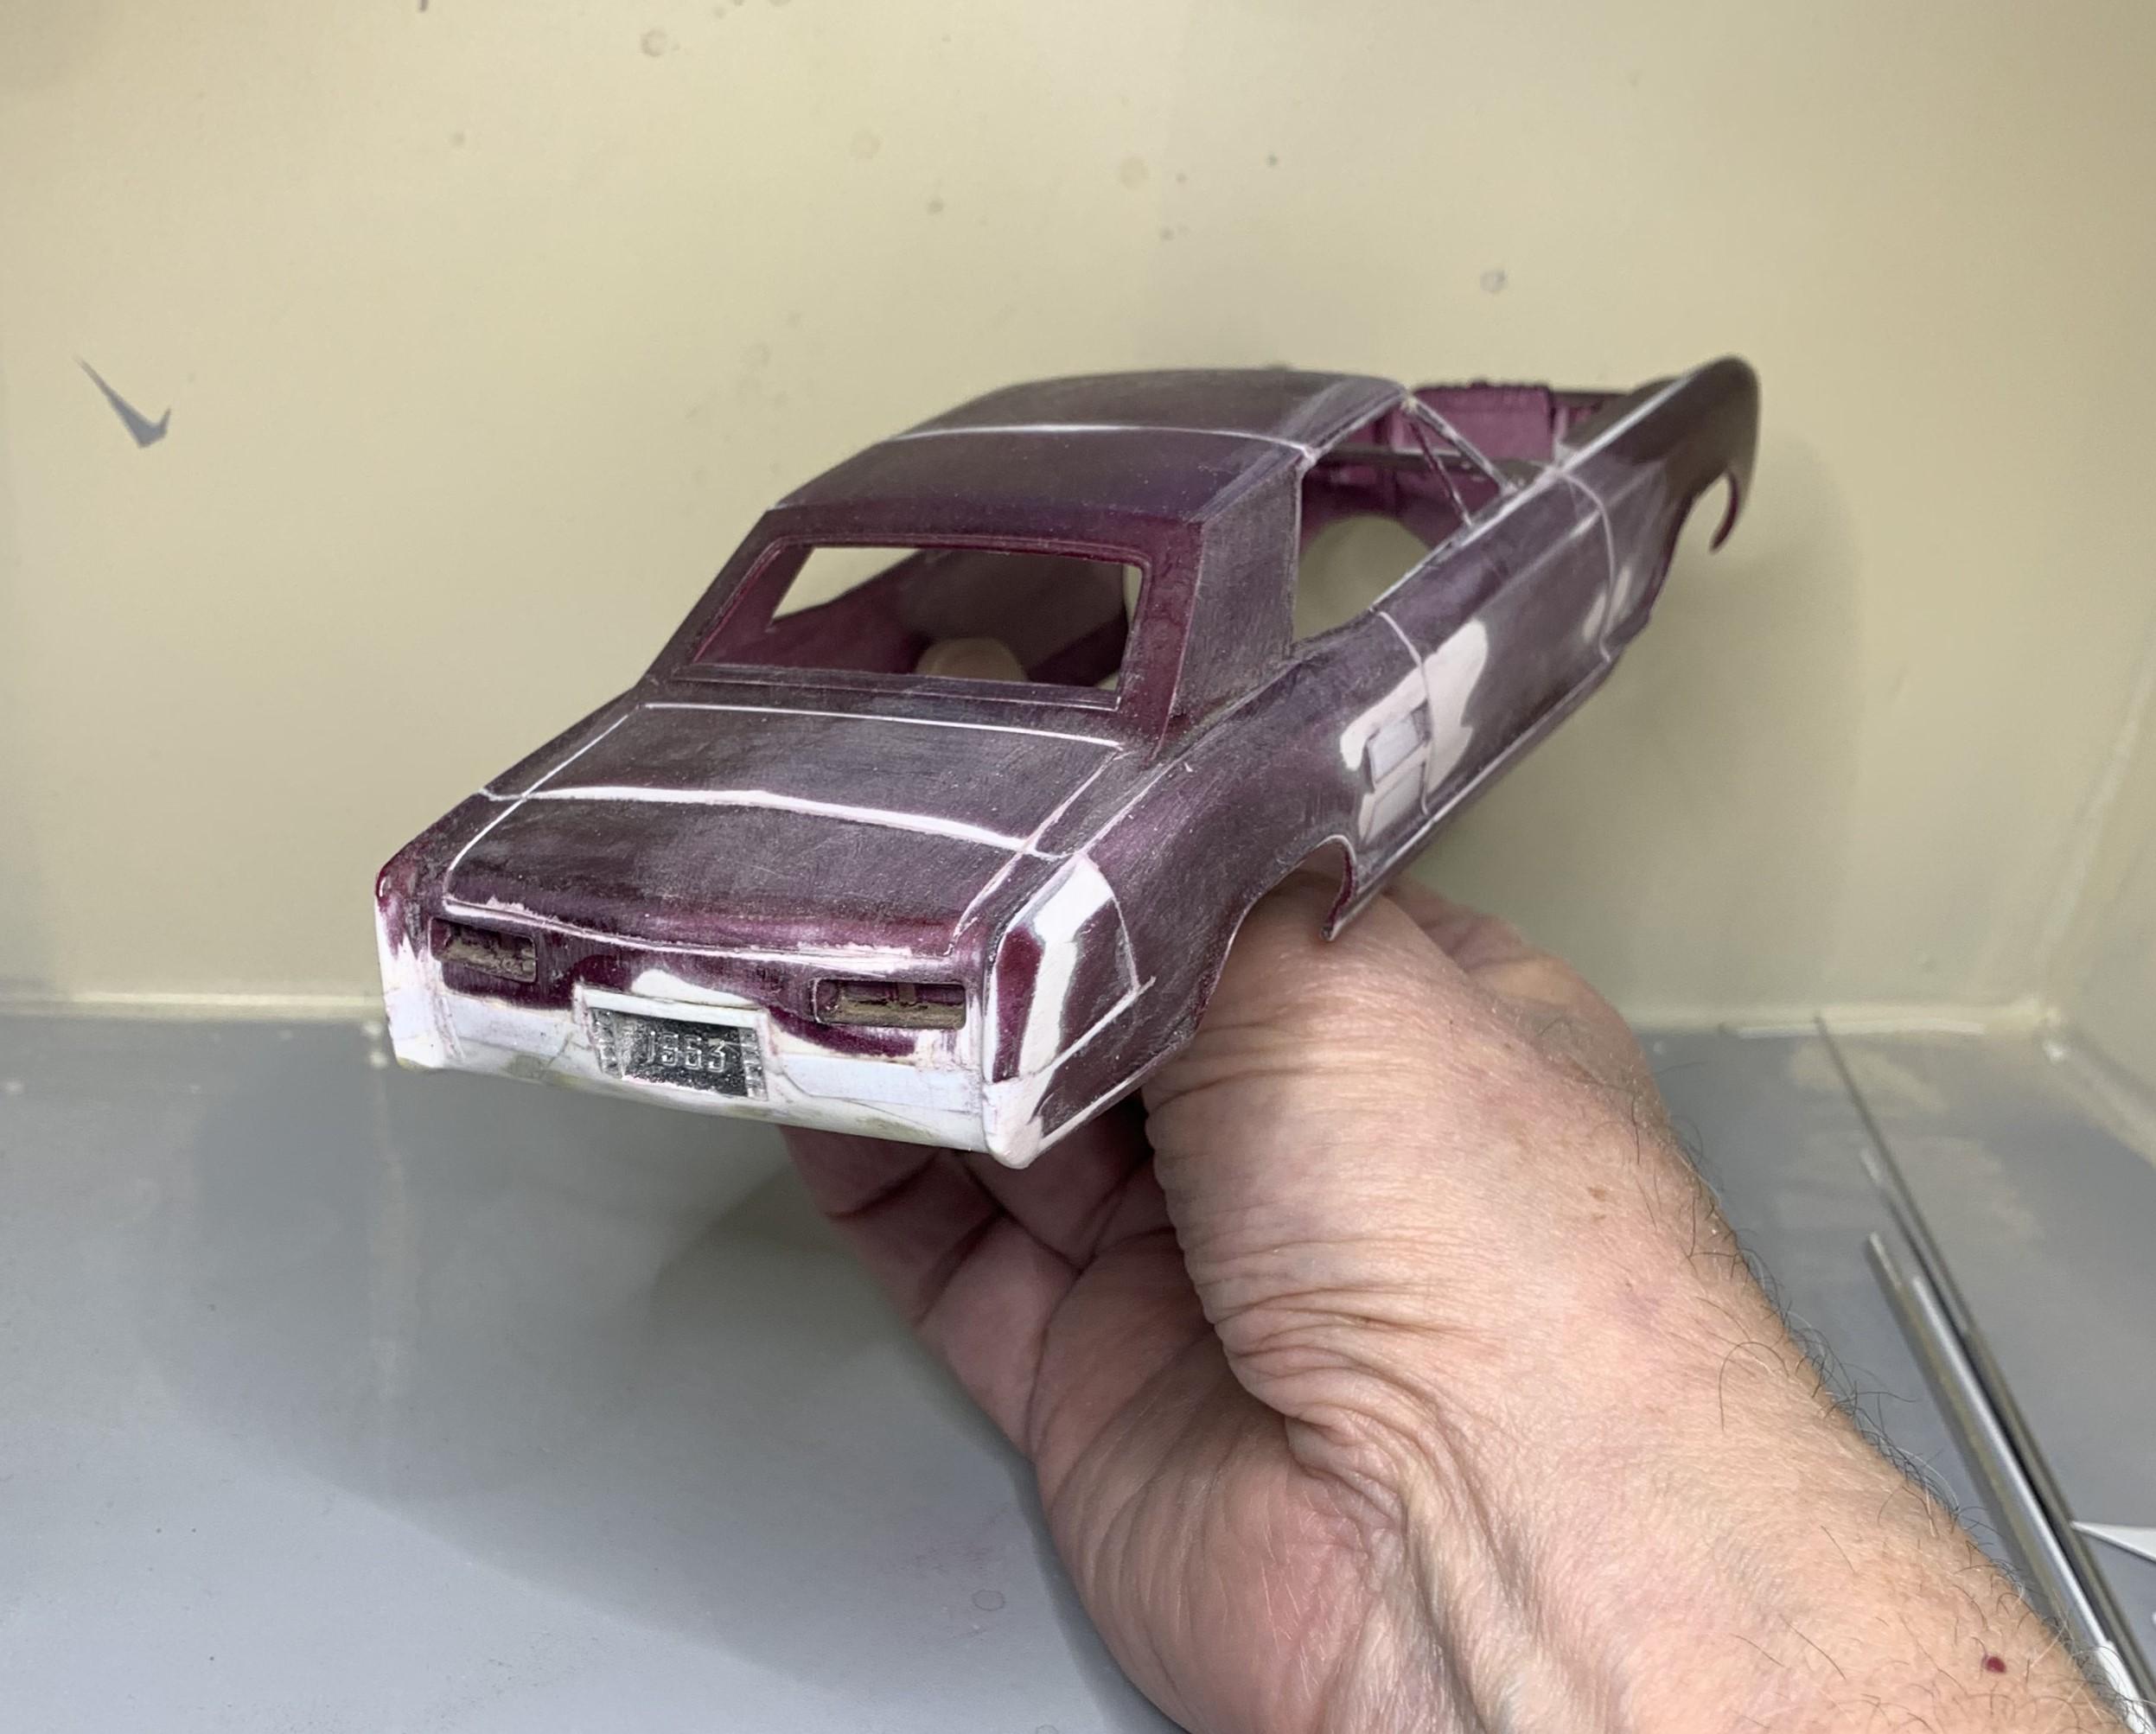
Before I filled the original door cut lines, I made green tape templates. I used those templates to position the stock size door where I wanted the new door cut lines. For the original cuts lines, I made them slightly wider and deeper, then pressed .010 styrene rod into them so I wouldn't be just filling them with putty. Still a ton of work to do but I can start to see what it could look like!
-
I was going to do this as a practice to see how it looks, then do it to the '65, but so far this one might be a keeper! Broken A pillars and vent posts were the biggest problems, that and the fact that all I had was a body, no hood or glass or anything else. I do have the '65 kit though. I still haven't decided if it'll be a modern or period style build, just having fun!
-

AMT 1955 Chevrolet Cameo
dino246gt replied to landman's topic in WIP: Model Trucks: Pickups, Vans, SUVs, Light Commercial
Awesome diorama , those last 2 photos, thought it was real! -
That is going to be very cool, love the windshield slope and wheel/tire choice, nice!
-
Great project, sweet!
-
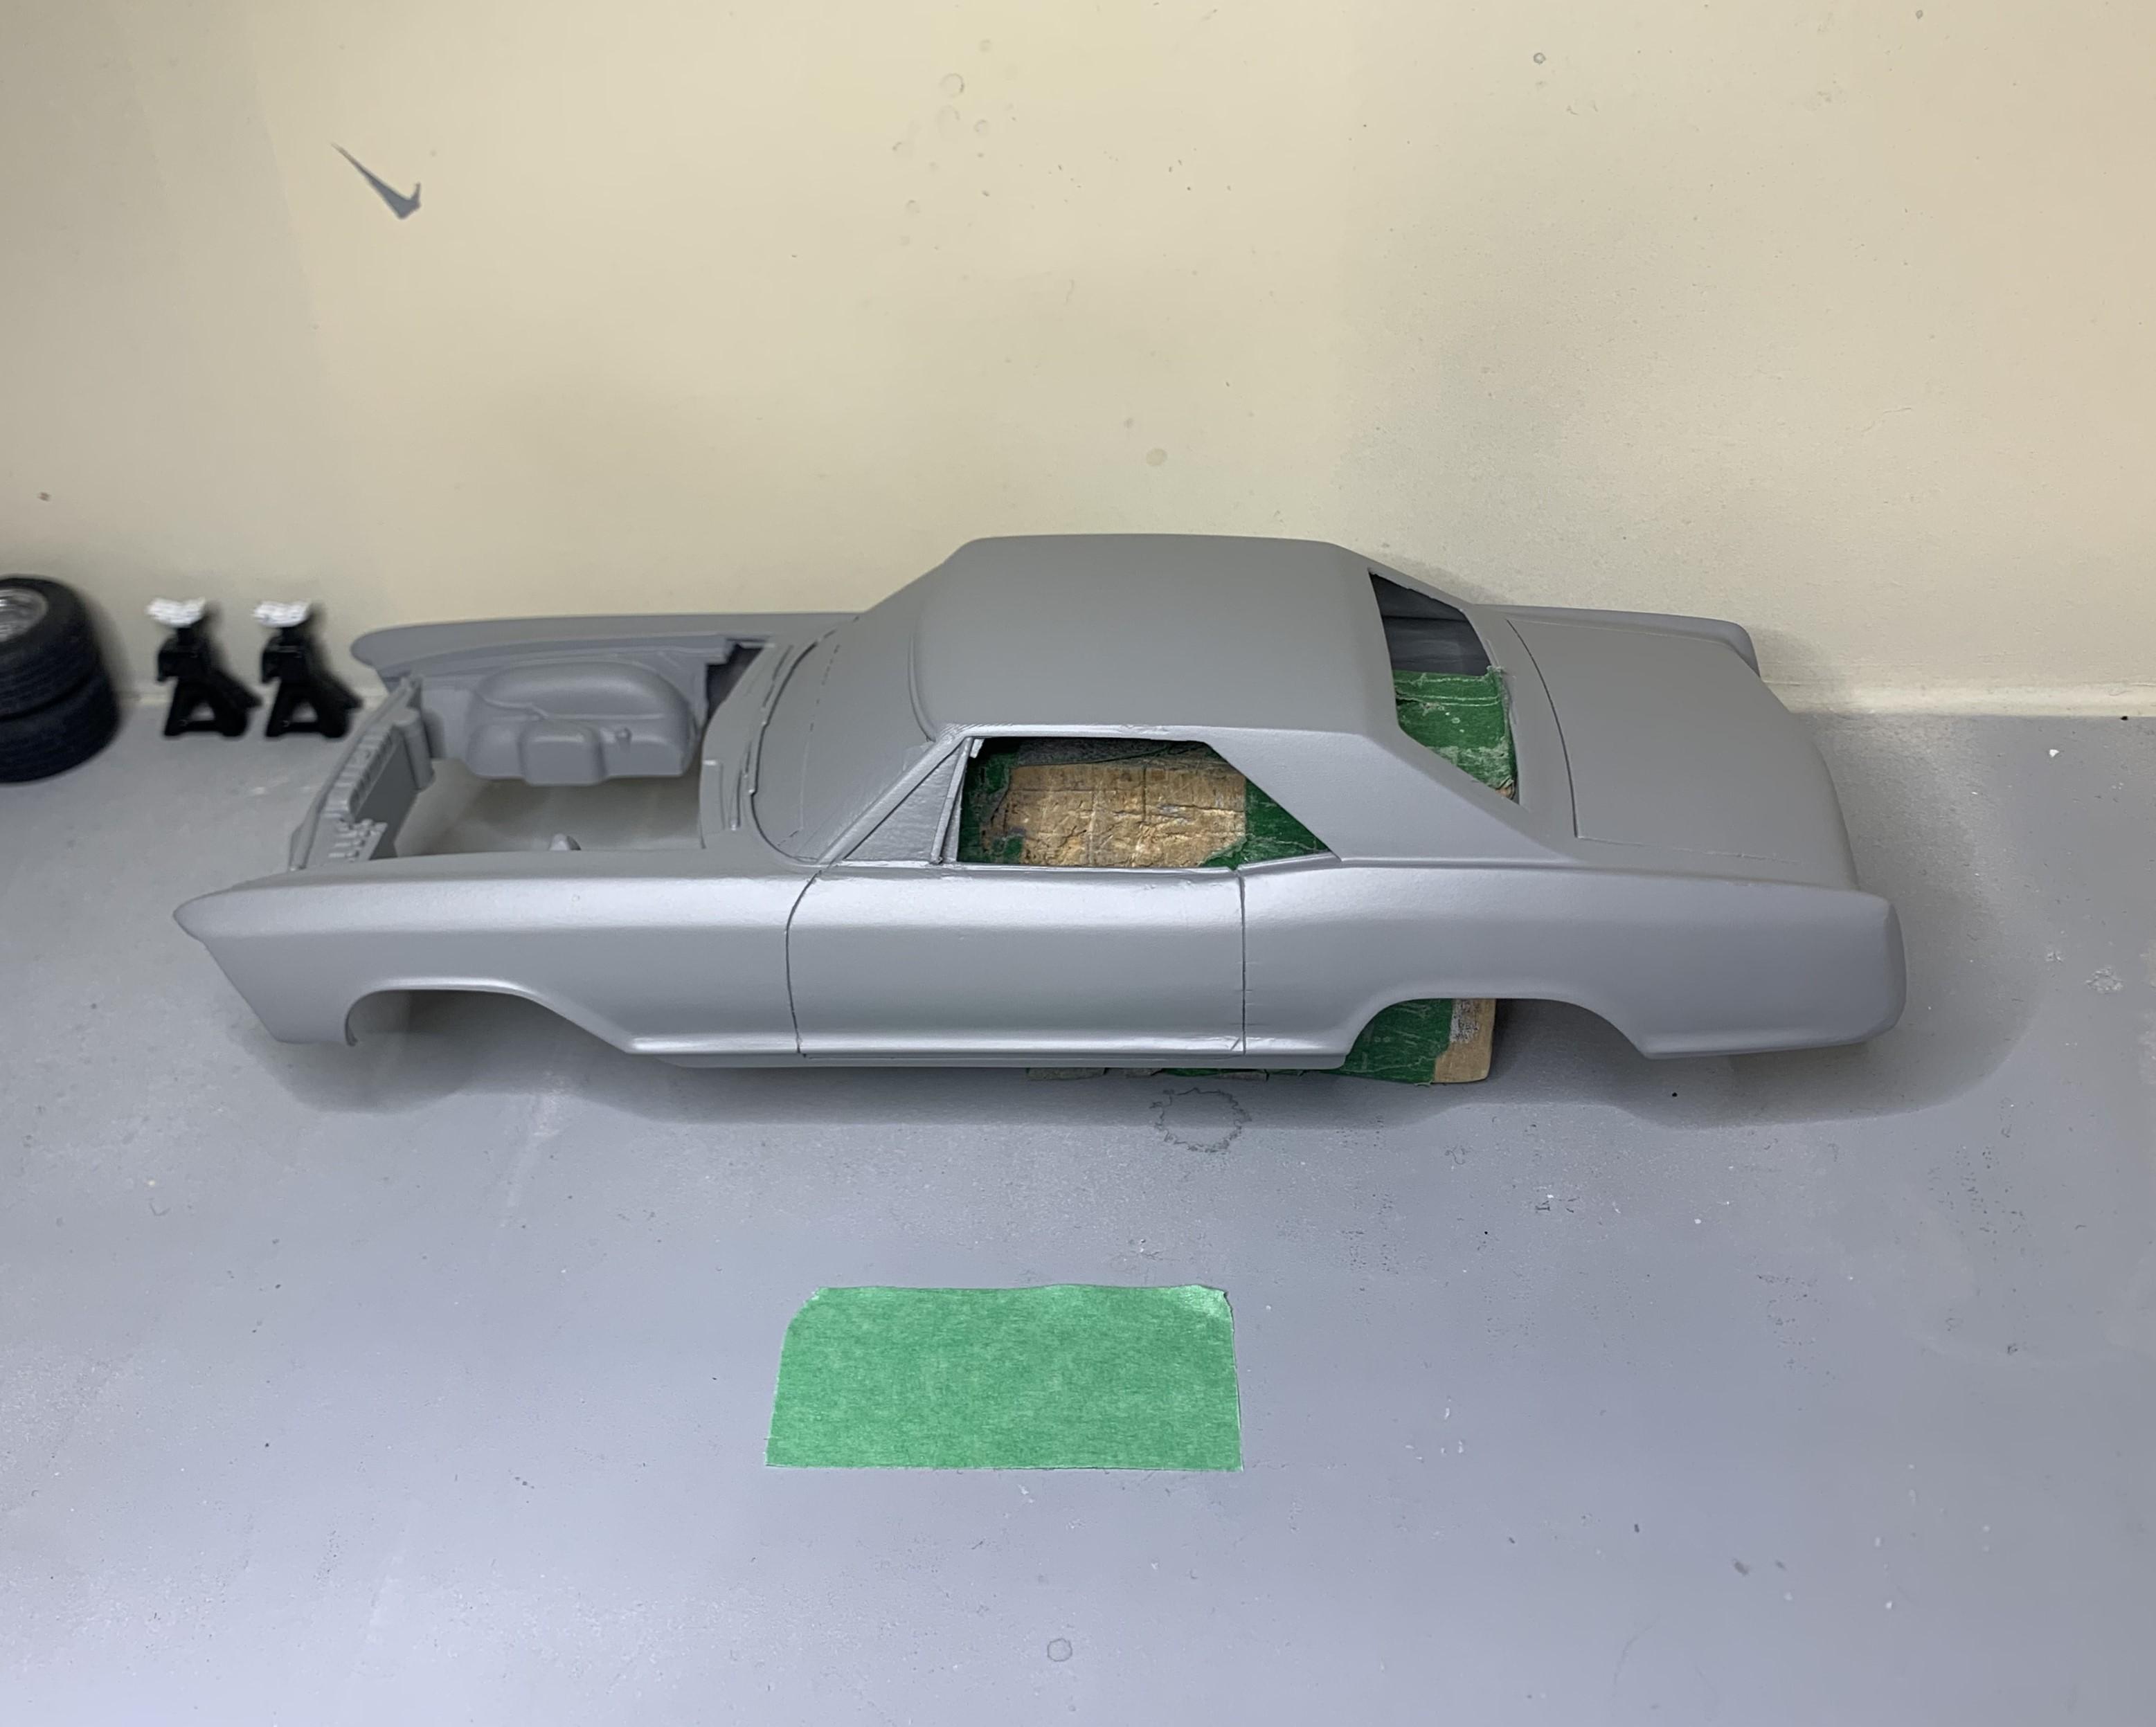
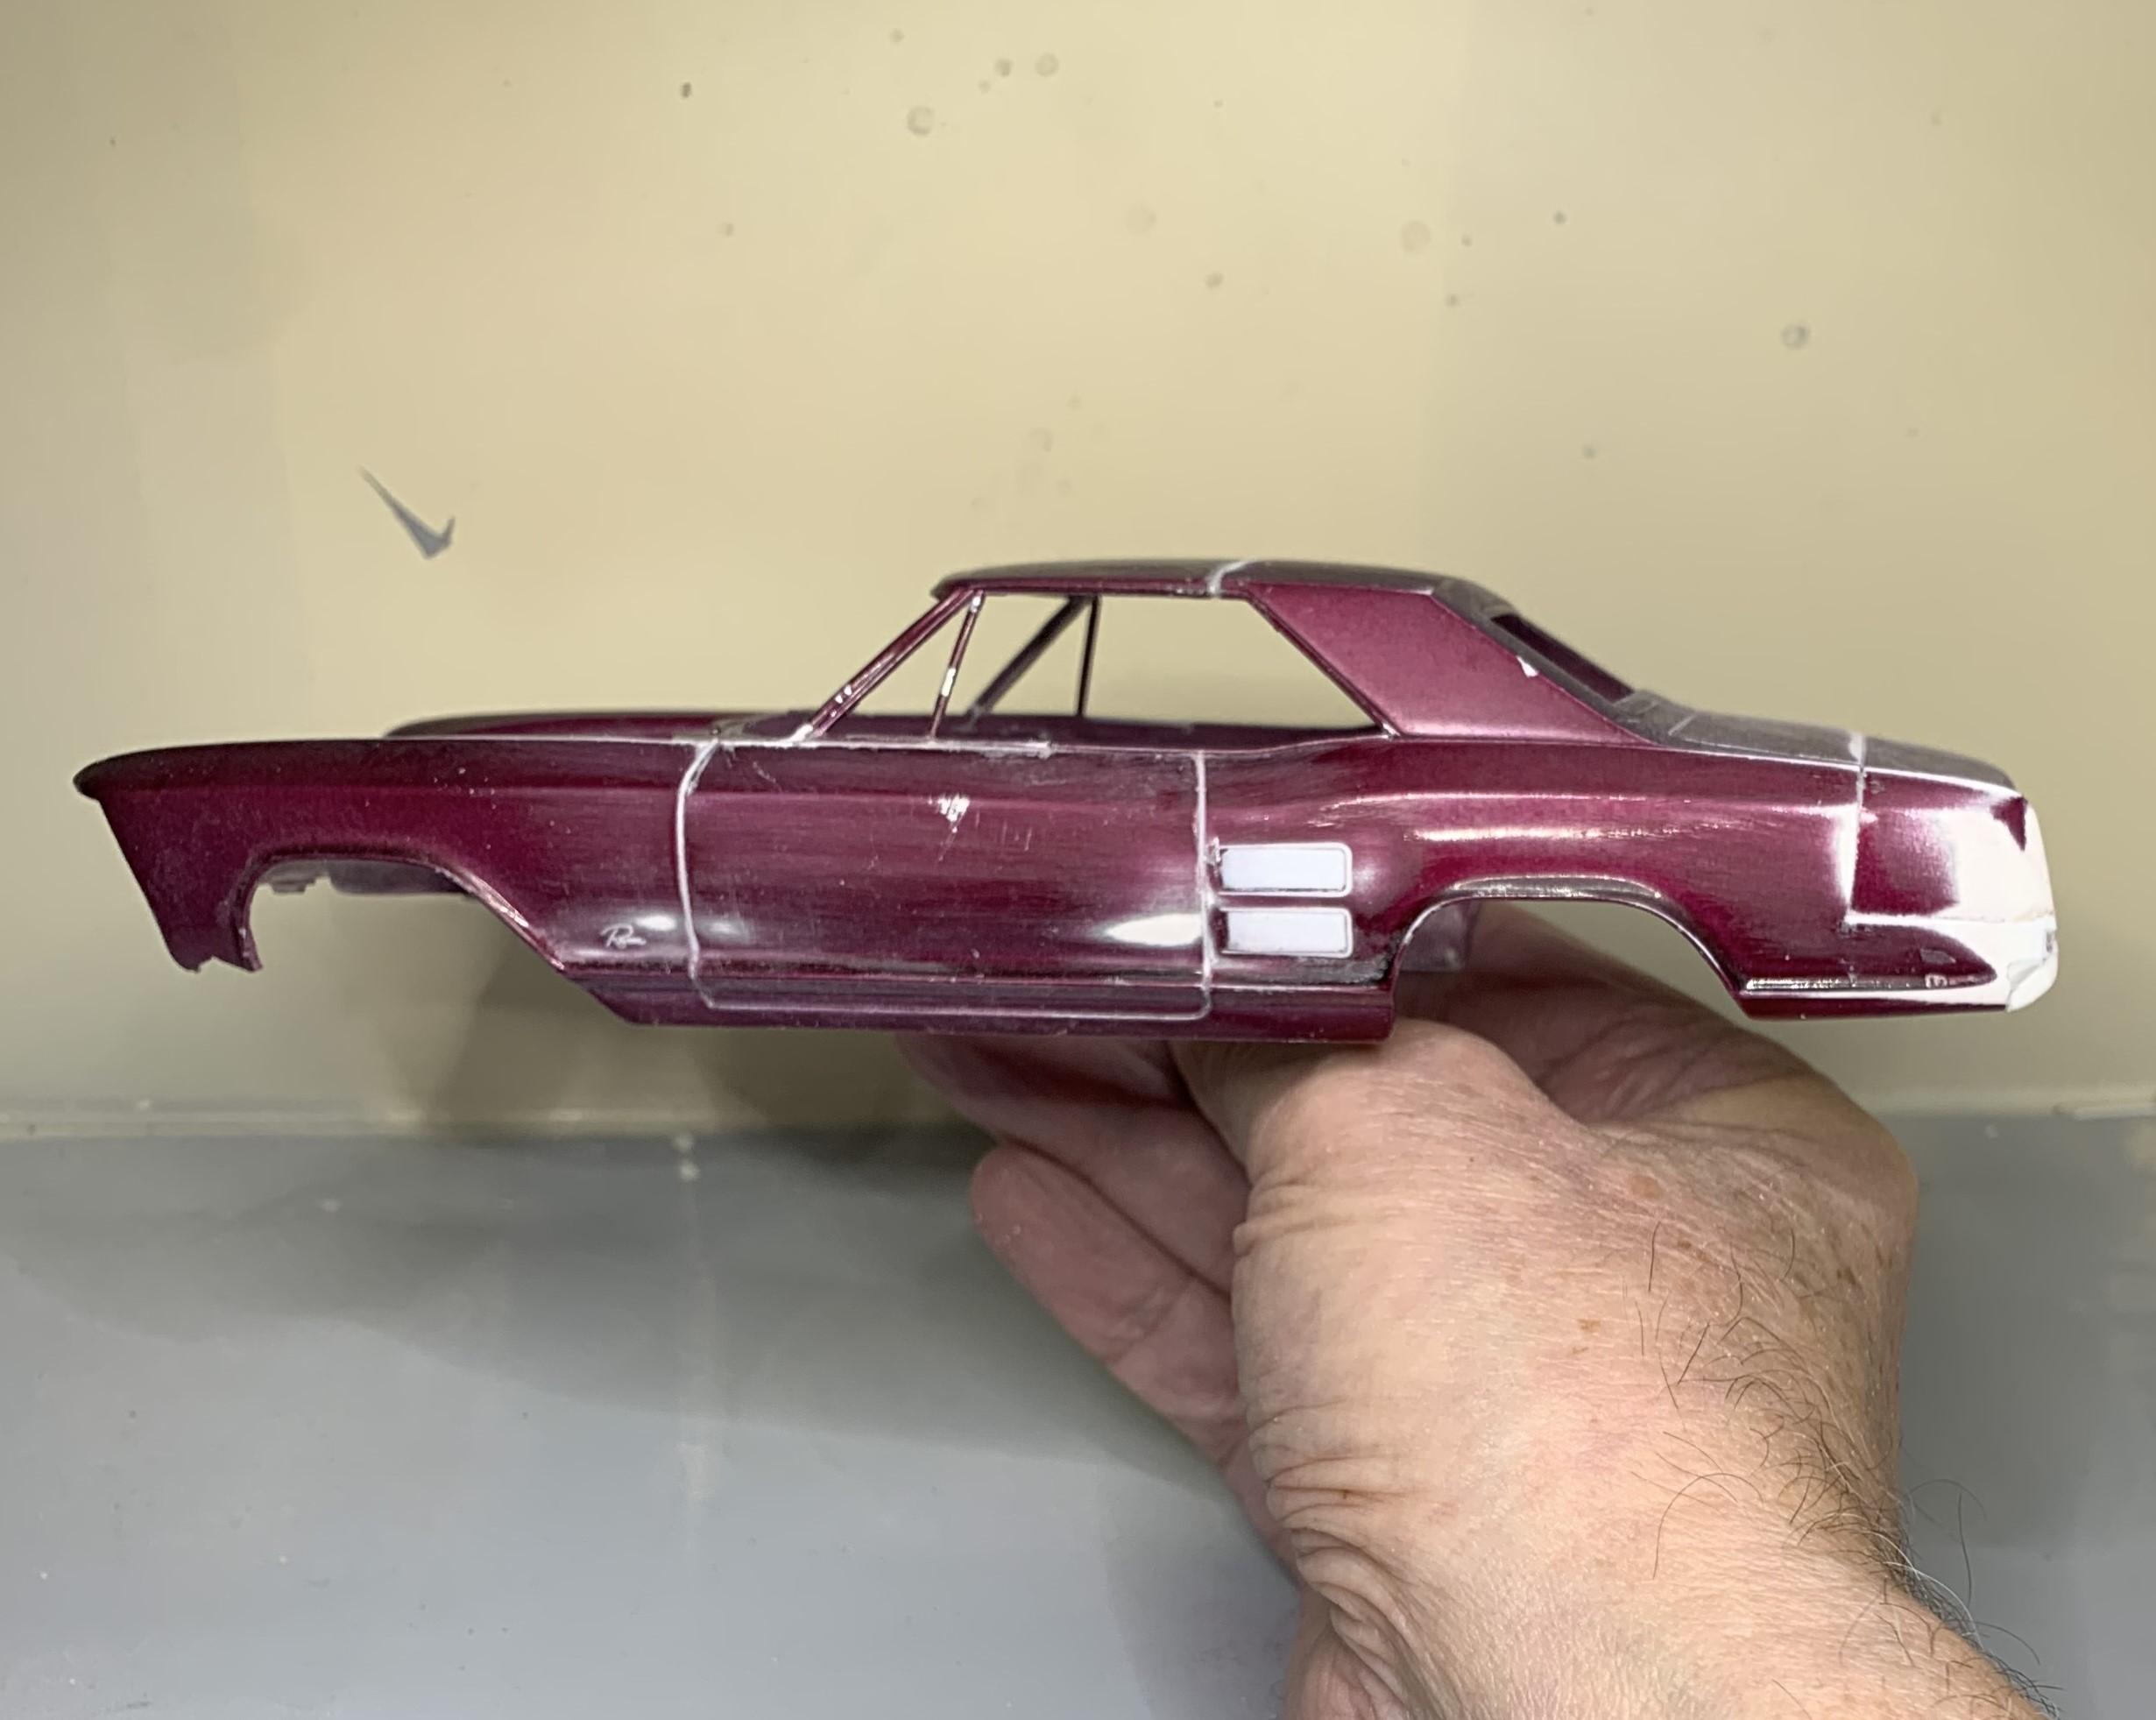
When shortening a large panel, such as a roof or deck lid, you have to take into account that the front piece is relatively flat compared to the rear piece that is already sloping down. The piece that was removed was the transition from flat to sloping, so I've had to start the slope sooner on the front or flatter piece. This is done by thinning the front part at the seam, creating the transition that was removed. It's important on this one especially because the smallest styling mistake will ruin the whole design mods. As we all agree, MODIFYING WHAT IS A GORGEOUS DESIGN TO BEGIN WITH IS RISKY!
-
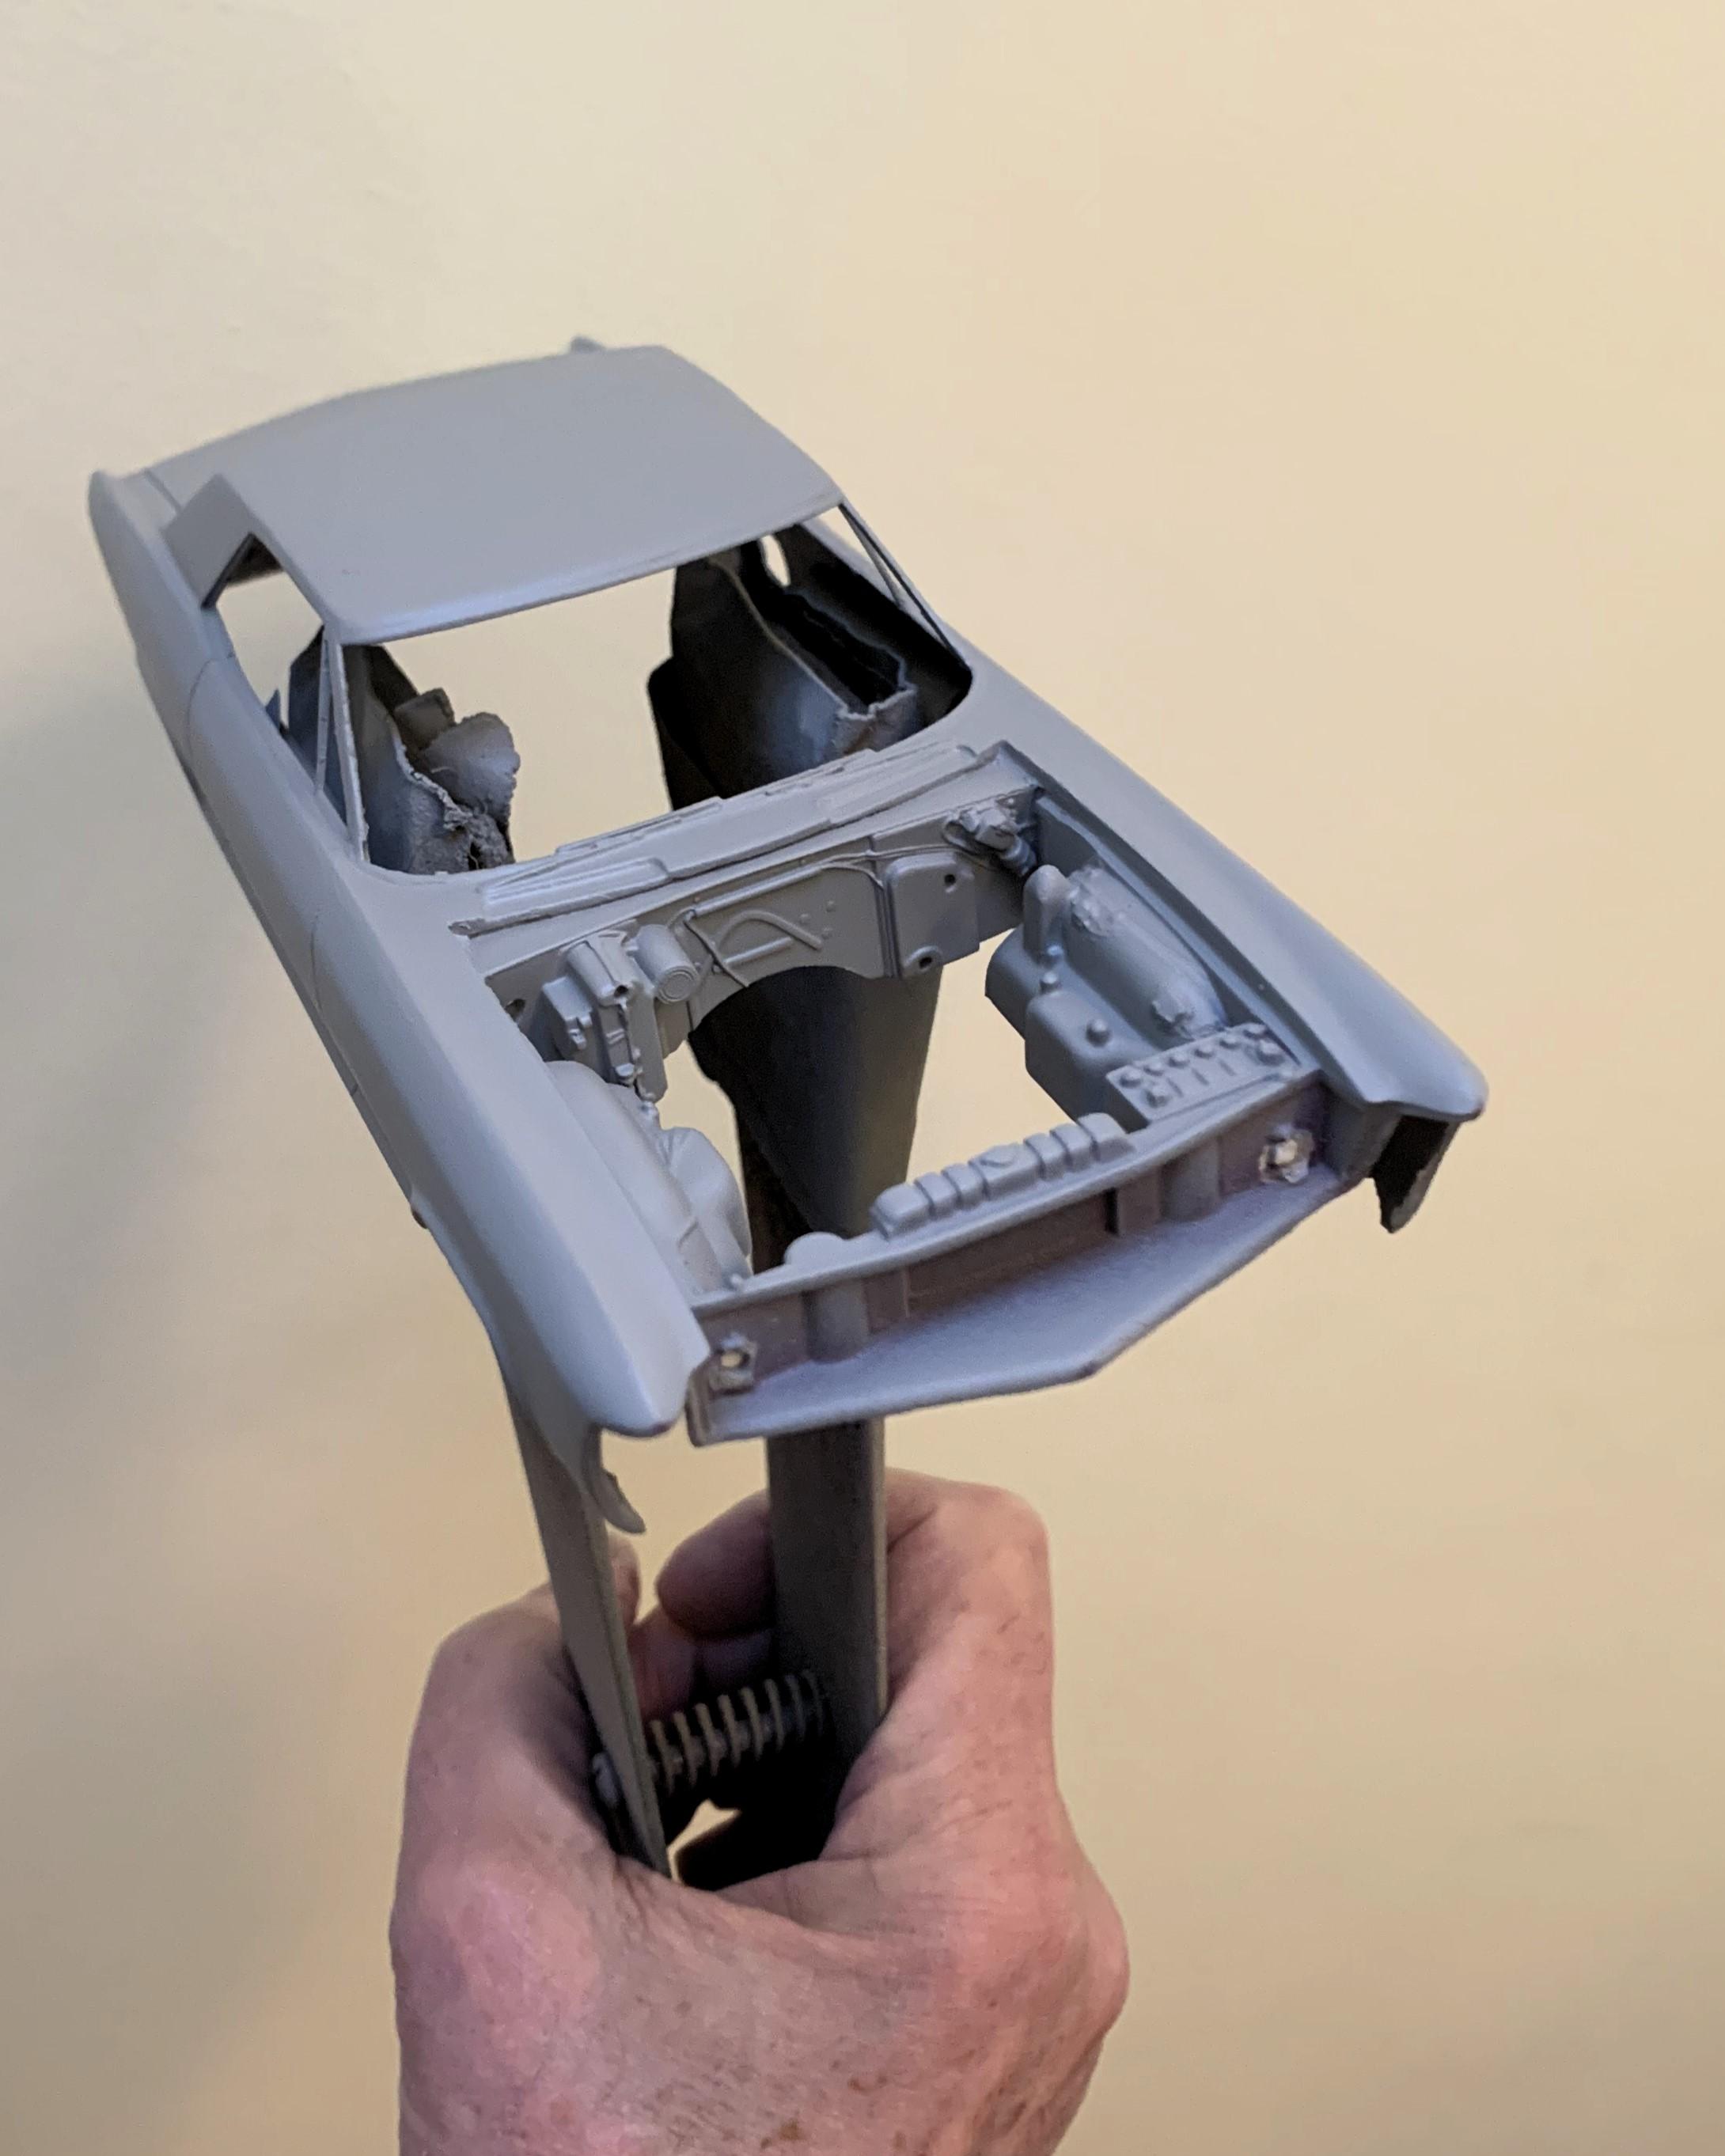
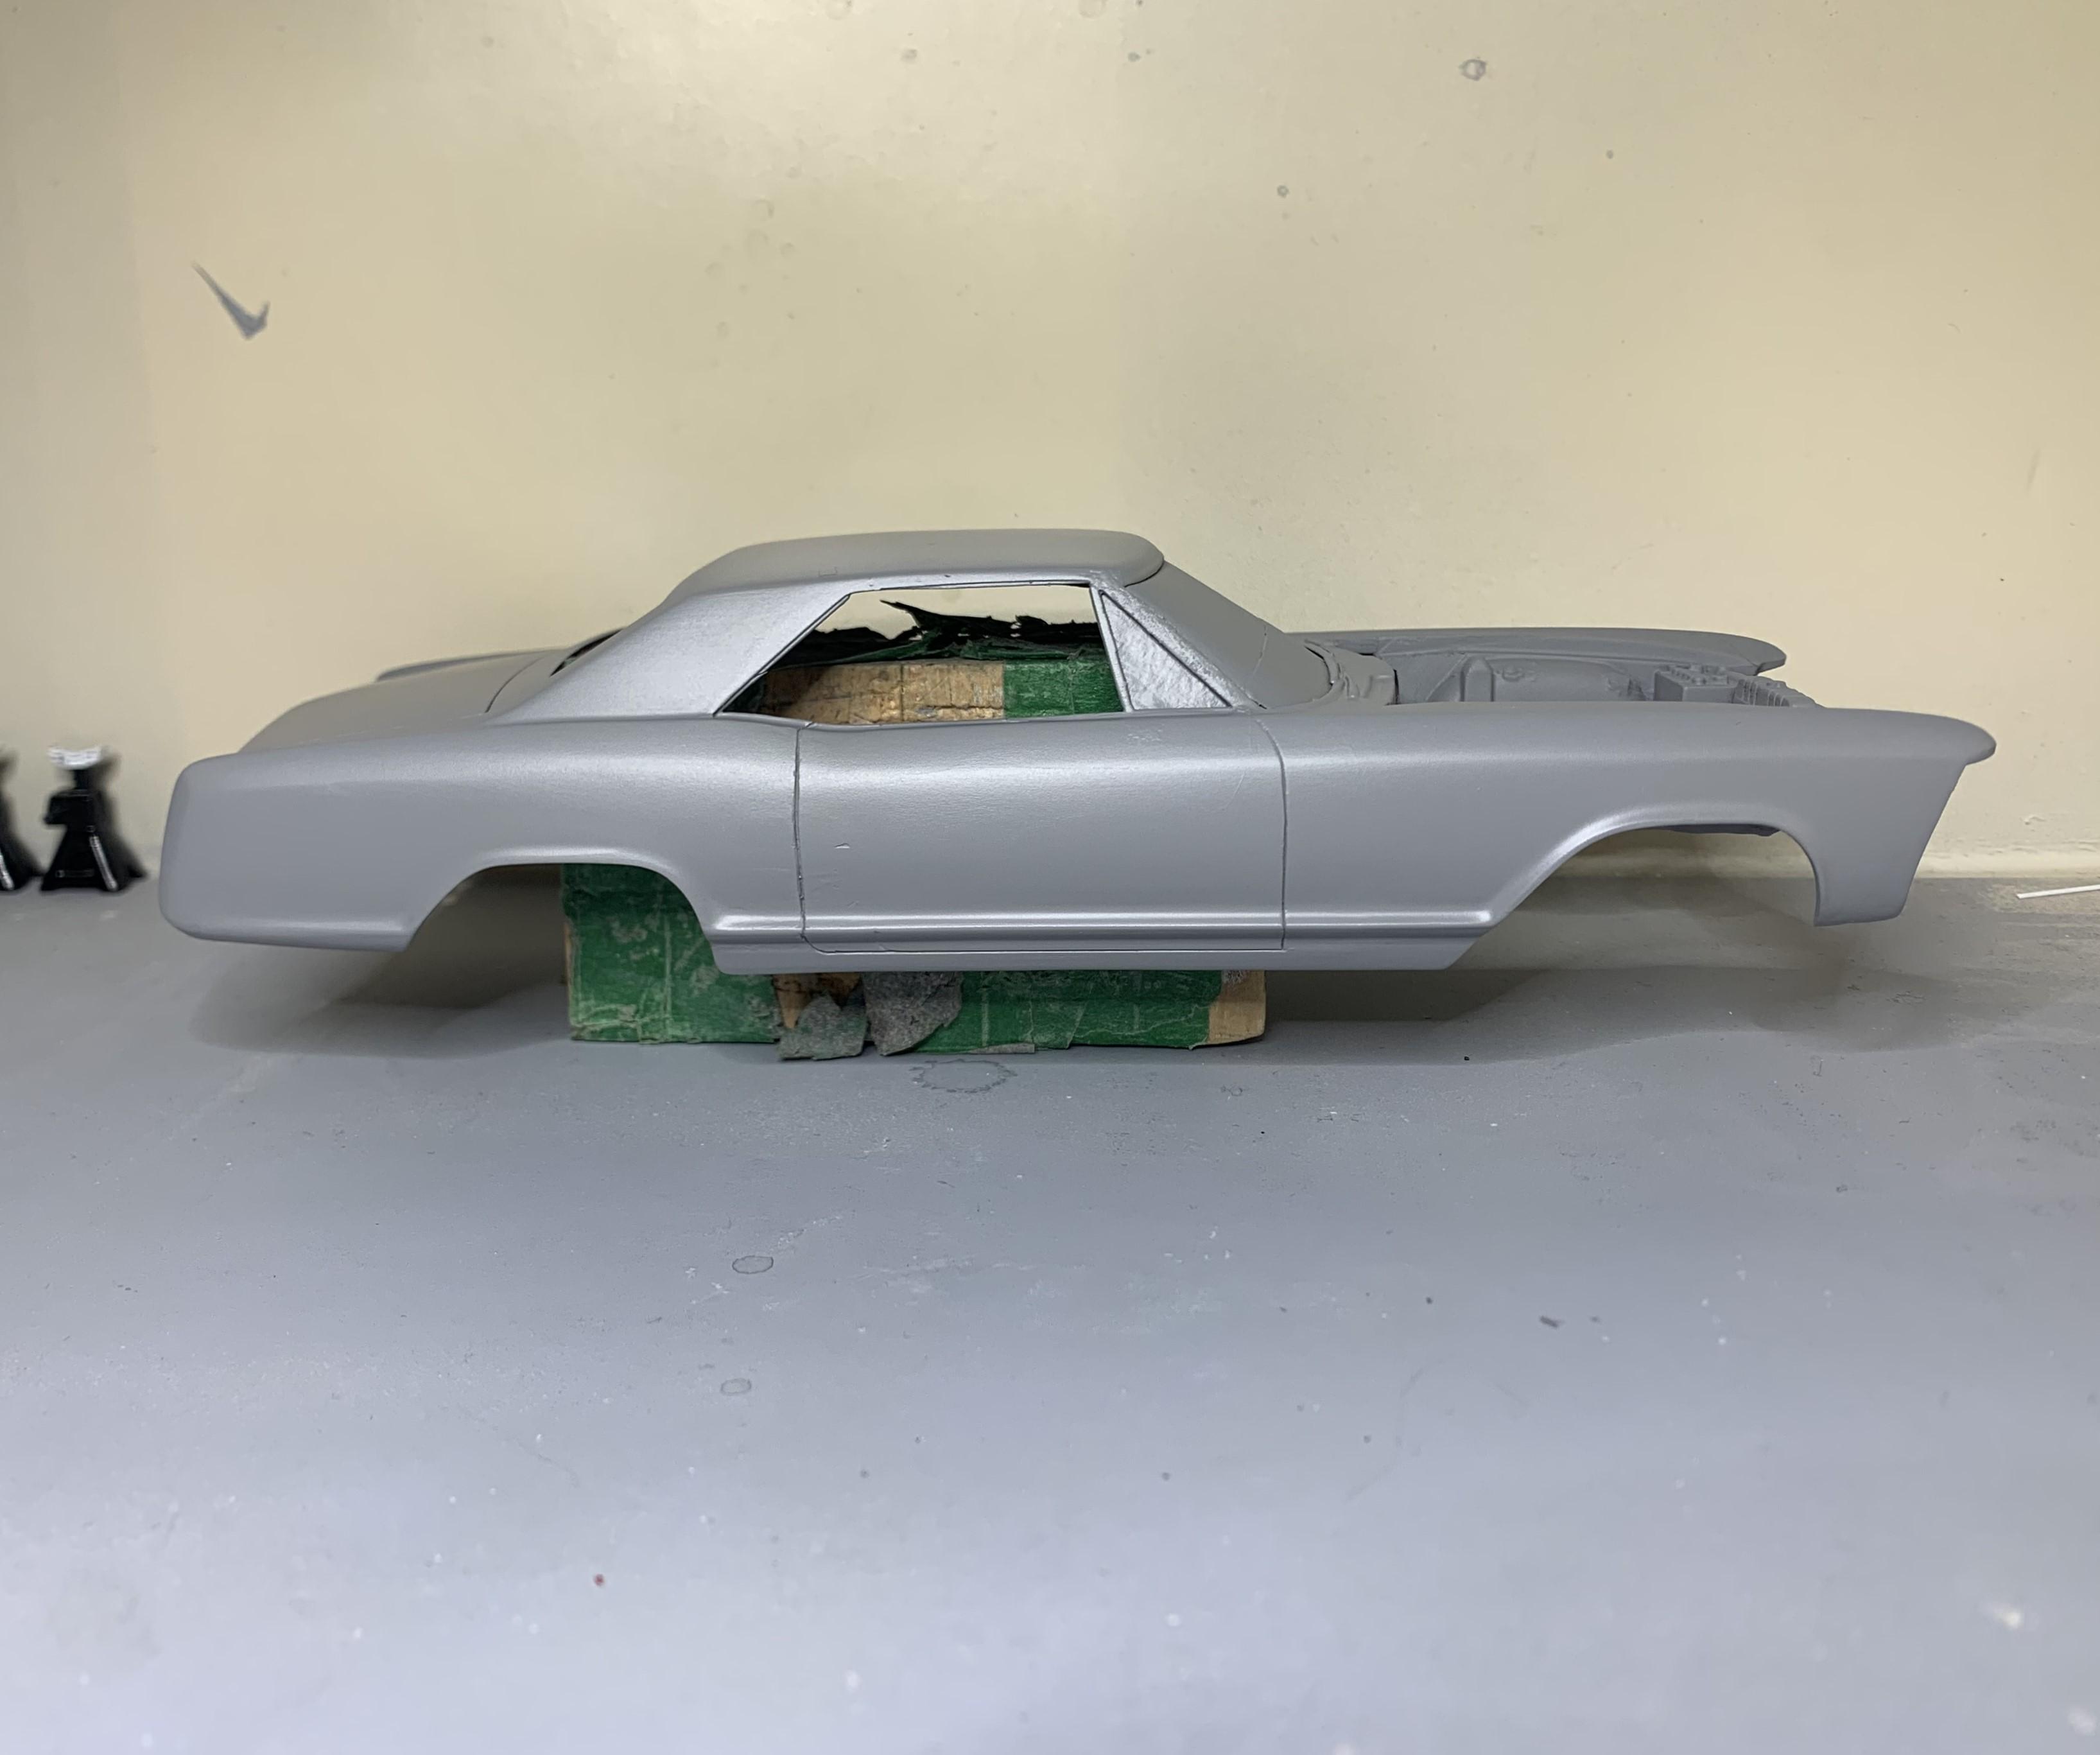
I've removed the firewall and filled the space up to the cowl. Original door lines are filled with .010 styrene rod, so NEW door lines will be added and vent windows will probably go. I'll have to lengthen the hood and there will be some front end re-designs as well.
-
I've always wanted to customize a '63 Riviera but they're so beautiful as is that I've been hesitant. I got a bad body with broken A pillars and started cutting! I moved the windshield back to eliminate the rear seats. I shortened the rear also but kept the wheelbase factory. I cut out the rear bumpers and molded in the lower part. I made the license plate holder much less prominent. I removed the side fake scoops because my new door cut lines will be there! I haven't thought about what to do ahead of the cowl, but it'll come to me eventually! Cheers!
-
There's still a few things to add, but it's basically finished! Cheers!
-
I made this little thing to hide the electric fan, 3 layers of .010.
-
It's this week, the 21st! See you then!!
-
First I glued .010 styrene rod to the floor, as the edging. Then I painted the area including the edging flat red. Then after that paint was dry, I flocked it, leaving the edging exposed. If the .010 styrene breaks while trying to bend it, you can glue it together in place, it's so small that glue and paint hides the seam.
-
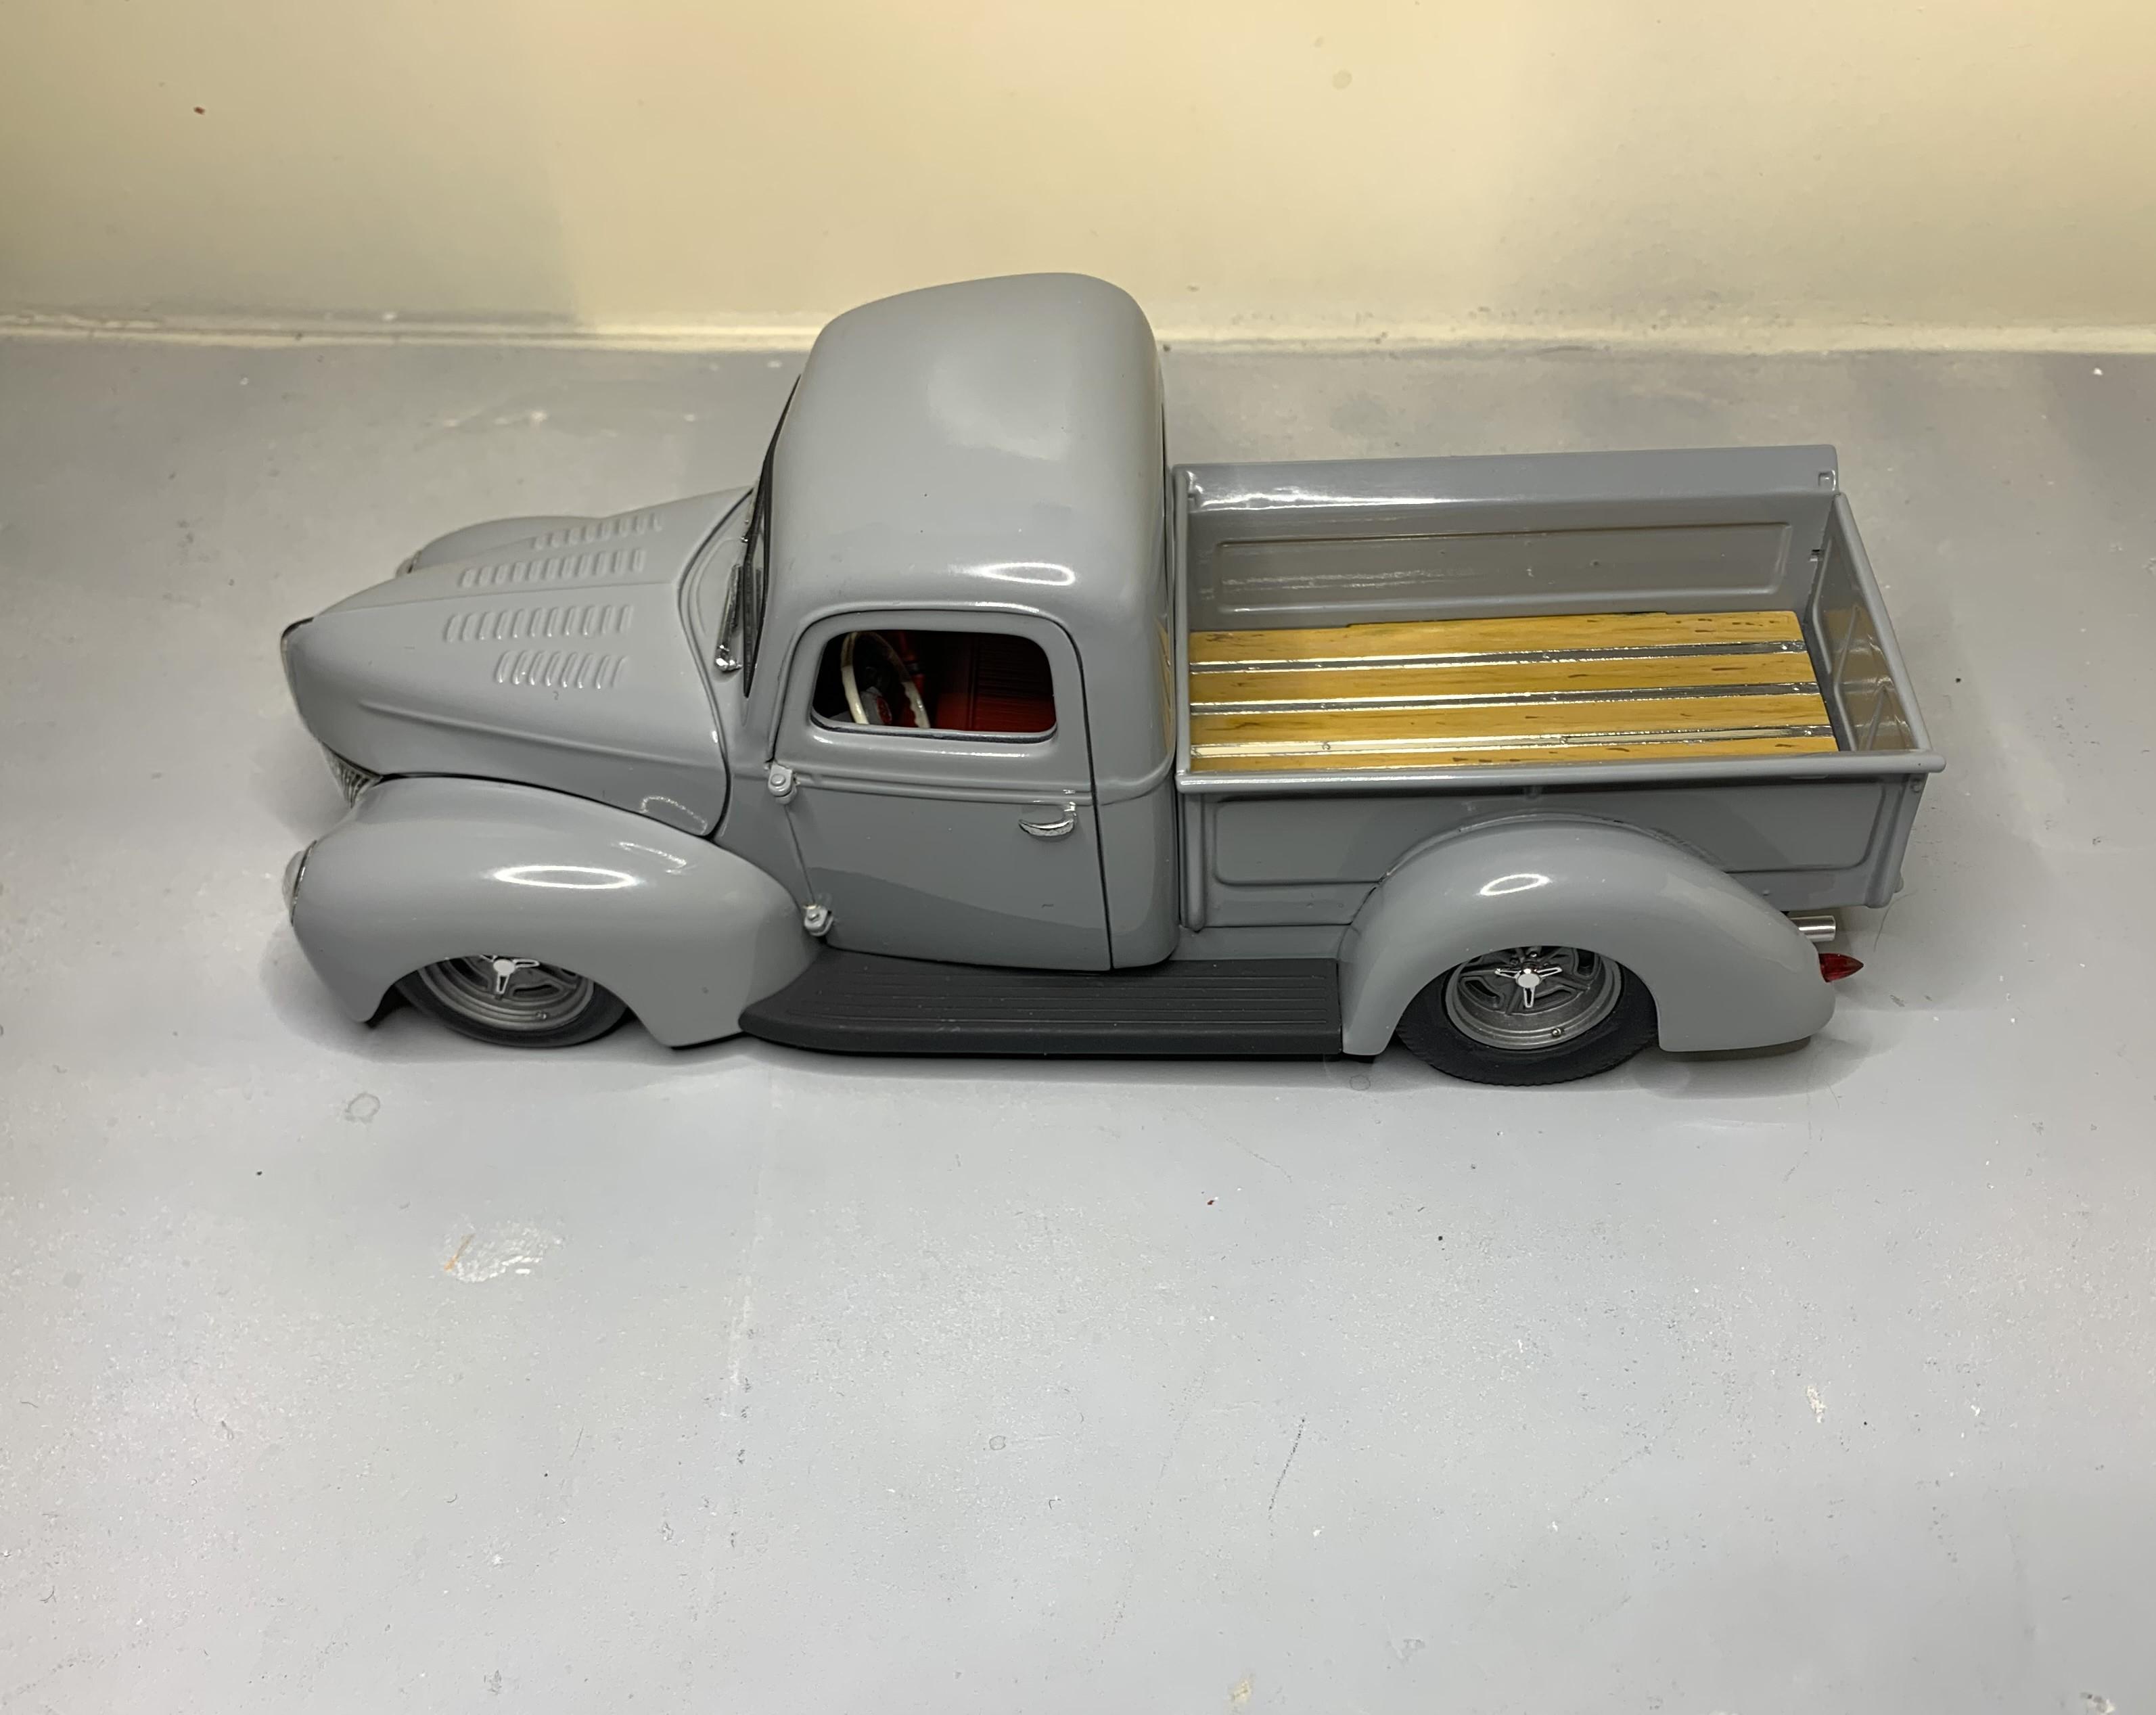
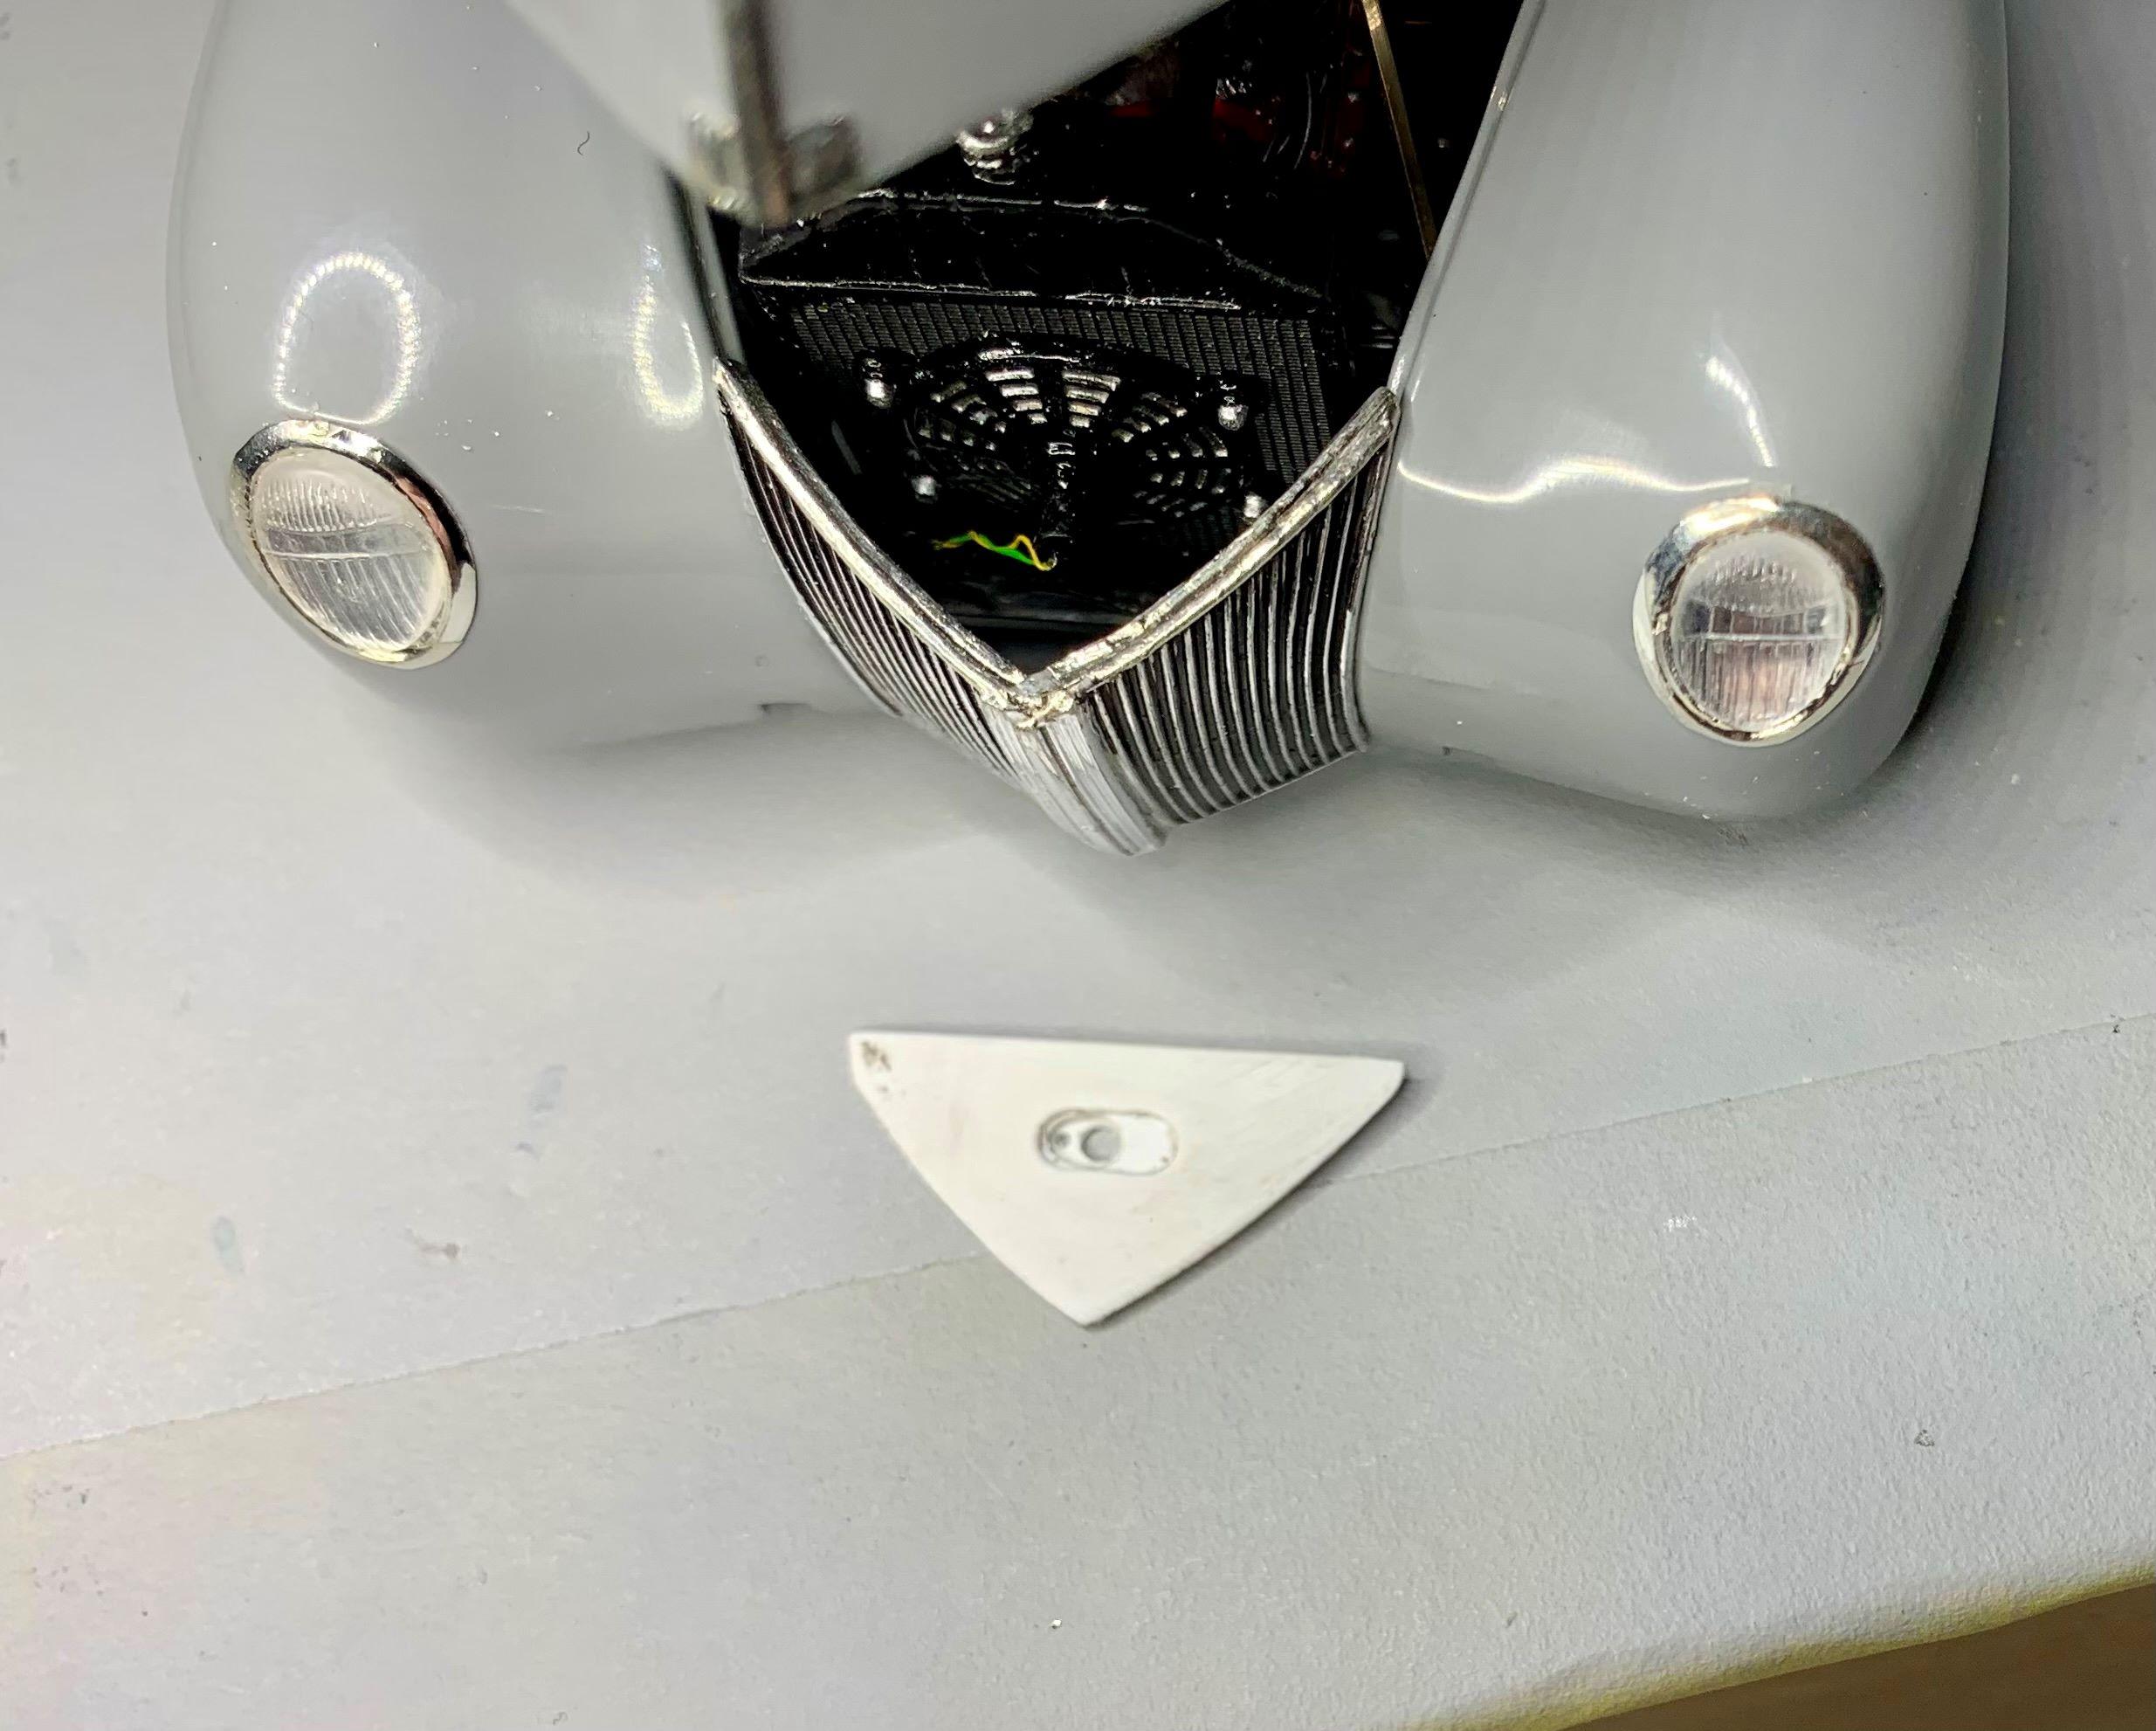
Progress on the Hot Rod pickup: Glued the cab to the fenders. Glued the seat in, after the cab was on, otherwise the cab wouldn't fit over it! Glued the windshield on. Glued the hood on, these are notorious for ill-fitting, so I tweaked it for an acceptable fit. Glued the grille and headlights on, had to foil both! Foiled the hood front. I had previously sanded the chrome strip off the top leaving only the front. I made up some linkages, now I need to finish all the underhood wiring, but the hood only opens that far! She's getting close! Should be finished by this weekend so I can display it at our club meeting Sunday. Cheers!
-
Looks excellent so far!
-
I was hooked on orange accents but no idea what colour to use, ended up adding much more orange accents than called for and a very unusual, for me, body colour! It's difficult trying to imagine a colour for exotics, I'm struggling with that for my Pagani Huayra! I started building this kit, with the engine but became "addicted" to it because the kit itself is such a pleasure to build, such great quality and so many parts, I just love it!
-
Got body panels put together and primed, and painted! I used Alclad "Exhaust manifold" for the body color for something different, no clear. After painted the sub structure semi-gloss black, I masked and sprayed gloss black. Here it is with all glass installed, well there are still glass panels over the engine to do. Cheers!
-
Some of my work
dino246gt replied to Thedirtybiker's topic in All The Rest: Motorcycles, Aviation, Military, Sci-Fi, Figures
Nice work, thanks for sharing! I love it when a modeller does more than just the same kind of car every time! Variety! The spice of life! Cheers -
All my models look worse in photos this large, but look fine on the table, I'm sure your LaFerrari looks fantastic on your table!
-
Nice concept! Can't wait to it become a reality! Cool!
-
I love it! I'll be building that kit in the future, first I'll see what you do with it! Looks like you've got a ton done already and it looks fantastic! These newer Tamiya kits are such a pleasure to build!
-
With two of the major components ready, they get "married" and the rear suspension can be assembled. Again, everything fits together amazingly well, even after primer and paint, so far!
-
The pedals have decals for the intricate pattern, interesting! I painted up the interior components, using orange for the accent, as on the cam overs and brake calipers. Here's the dash and door cards assembled with video screens for side cameras instead of mirrors. And just placed onto the floor as the dash and door cards will be glued to the upper body later.
-
I made some rear seat inserts, and opened up holes for shoulder harnesses. The console and hand brake are so cool, easily detailed. Here's my "rear" seats with harnesses installed. Got the front suspension together.