dino246gt
-
Posts
2,244 -
Joined
-
Last visited
Content Type
Profiles
Forums
Events
Gallery
Everything posted by dino246gt
-
Back to this concept car, I made a rear license plate and backup light piece from 6 pieces of .015 X .030 on end, then filed it down and foiled it and filled the lights with canopy cement.

-

1:16 Gunze Sangyo 1937 Rolls-Royce Phantom III Sports Saloon
dino246gt replied to Anglia105E's topic in WIP: Model Cars
I started working on mine, but it looks like it's been abandoned in a field for 50 years!
-
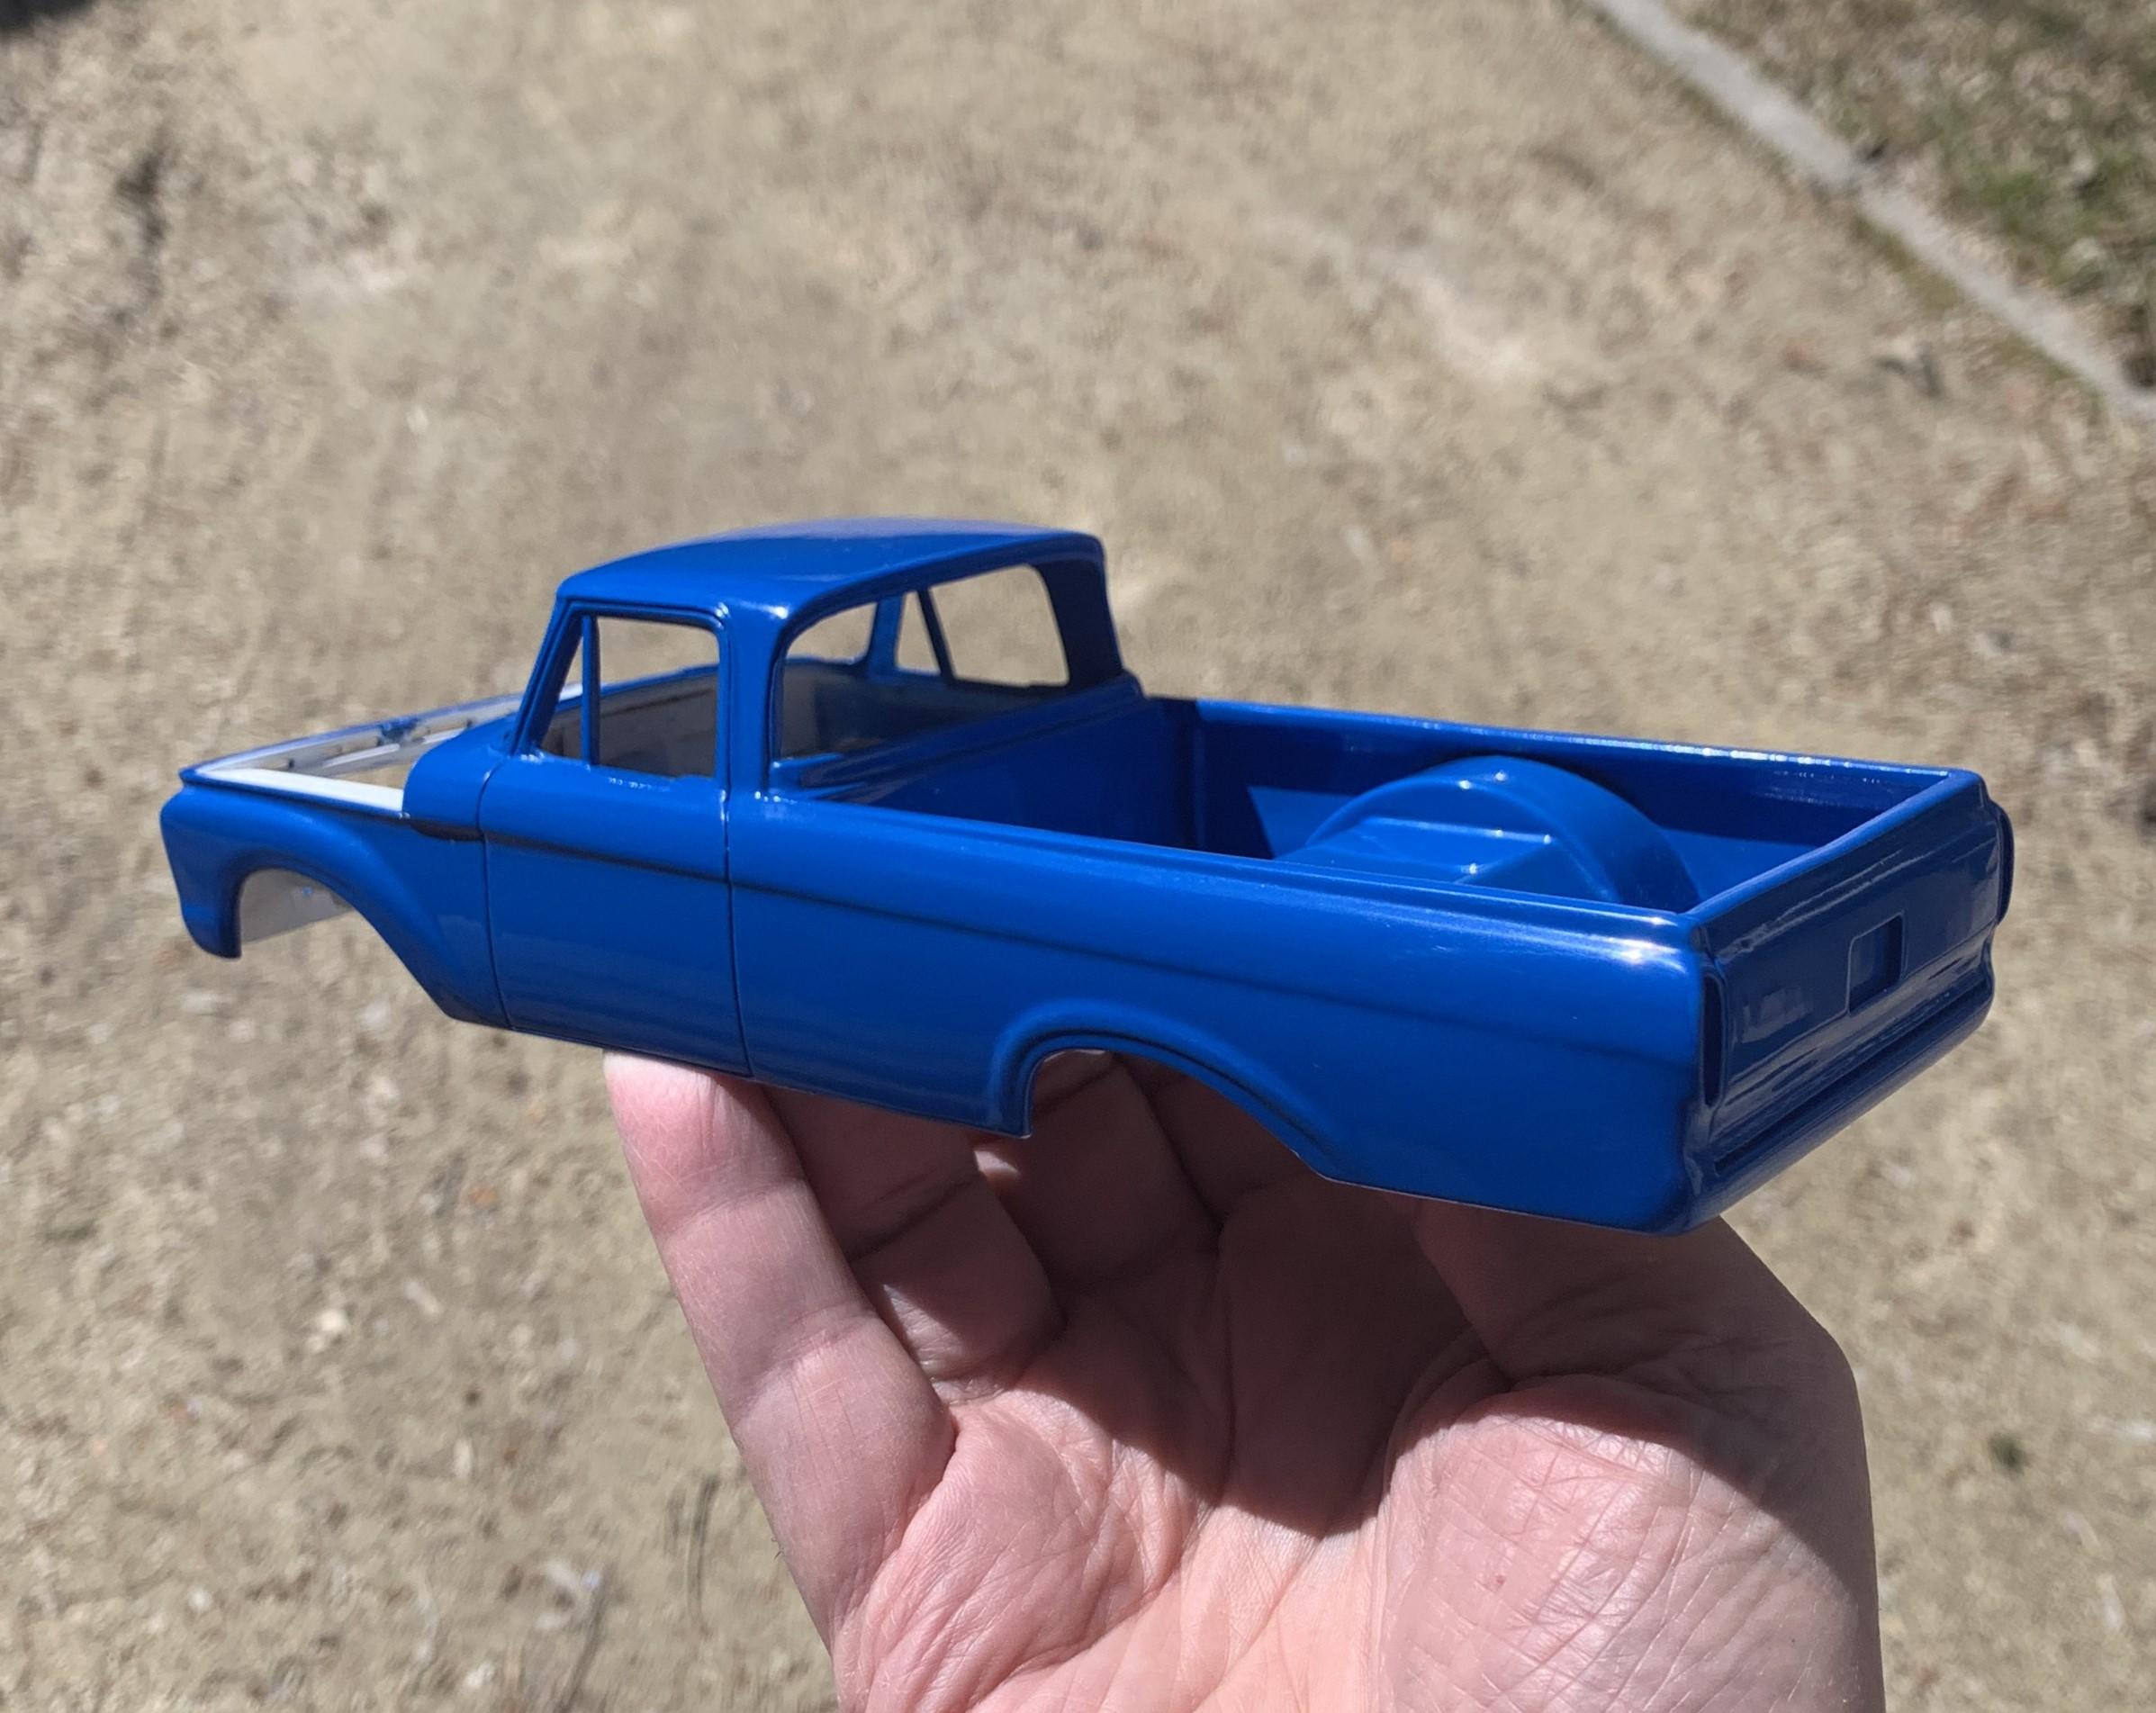
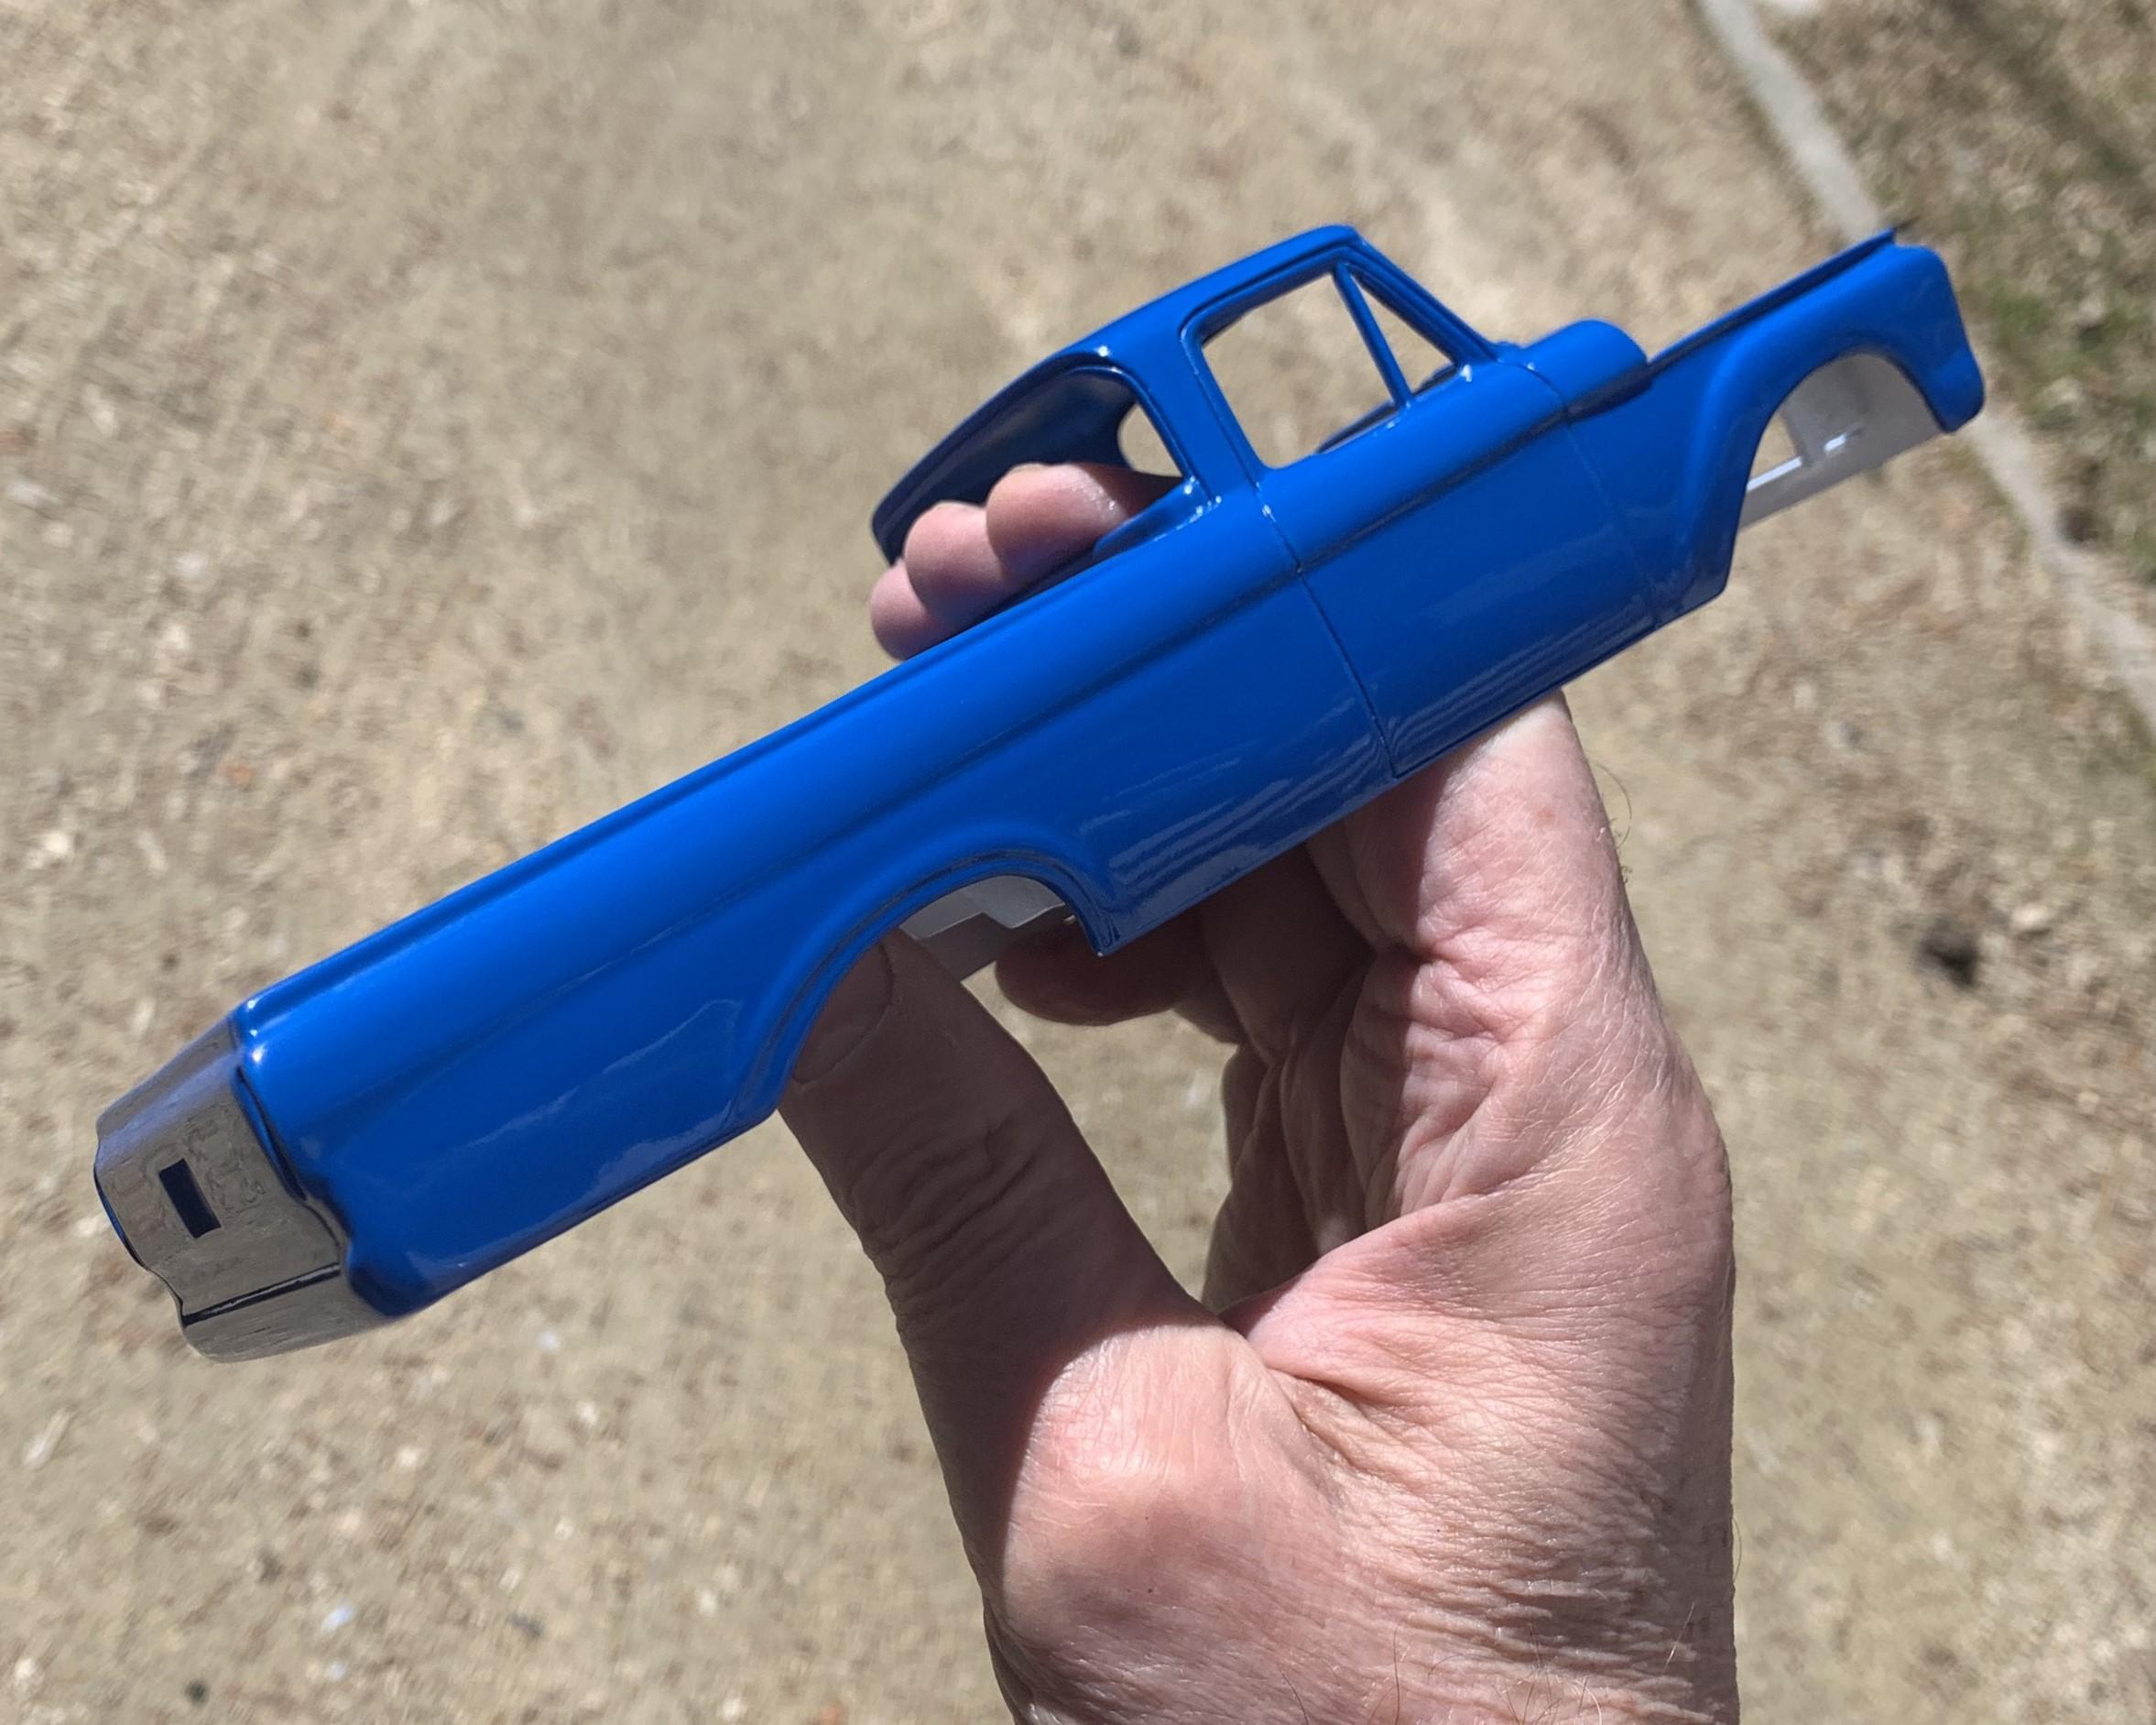
I got the pickup painted, Tamiya TS-44 over Tamiya white primer cleared, not airbrushed, all spray cans.
-
1996 Chevrolet C-3500
dino246gt replied to av405's topic in WIP: Model Trucks: Pickups, Vans, SUVs, Light Commercial
Fantastic build, looks about perfect to me! -
1:16 Gunze Sangyo 1937 Rolls-Royce Phantom III Sports Saloon
dino246gt replied to Anglia105E's topic in WIP: Model Cars
David, thanks to your amazing build, I DID start trying to restore mine! I found a few interesting facts, first I build it in 1977! But, I was a terrible builder back then, LOL. I twisted parts off the trees and didn't sand off the nubs, or mold seams. I used WAY too much tube glue. I painted it with enamels, and extremely poorly. It's not on the top of my "to-do" list but it sure was a blast watching your build and so far, just between 1/24th builds, I'll be playing around and start my own thread. Thank you again for the inspiration!
-
WOW! You had me at "I started cutting".........LOL! Looks fantastic already, I know you'll end up with a fabulous model!
-
Moebius Ford Highboy 8ft Flareside
dino246gt replied to Jim H.'s topic in Model Trucks: Pickups, Vans, SUVs, Light Commercial
Fantastic build! -
Great work so far on this "difficult" kit! I also cut the bottom out but I used the Foose Caddy underneath.
-
1:16 Gunze Sangyo 1937 Rolls-Royce Phantom III Sports Saloon
dino246gt replied to Anglia105E's topic in WIP: Model Cars
Man your work on this has been inspirational! Makes me want to pull that old built junker I have and re-do it! Isn't THAT what us modelers looking at the internet is all about? Inspiration!!
-
As much as I liked the open pore wood I felt that it was just too modern for this build, so I brushed some clear orange over it and now it looks more period correct.
-
Interior looks fabulous! I love the engine colours too.
-
That turned out great! Excellent photos as well!
-
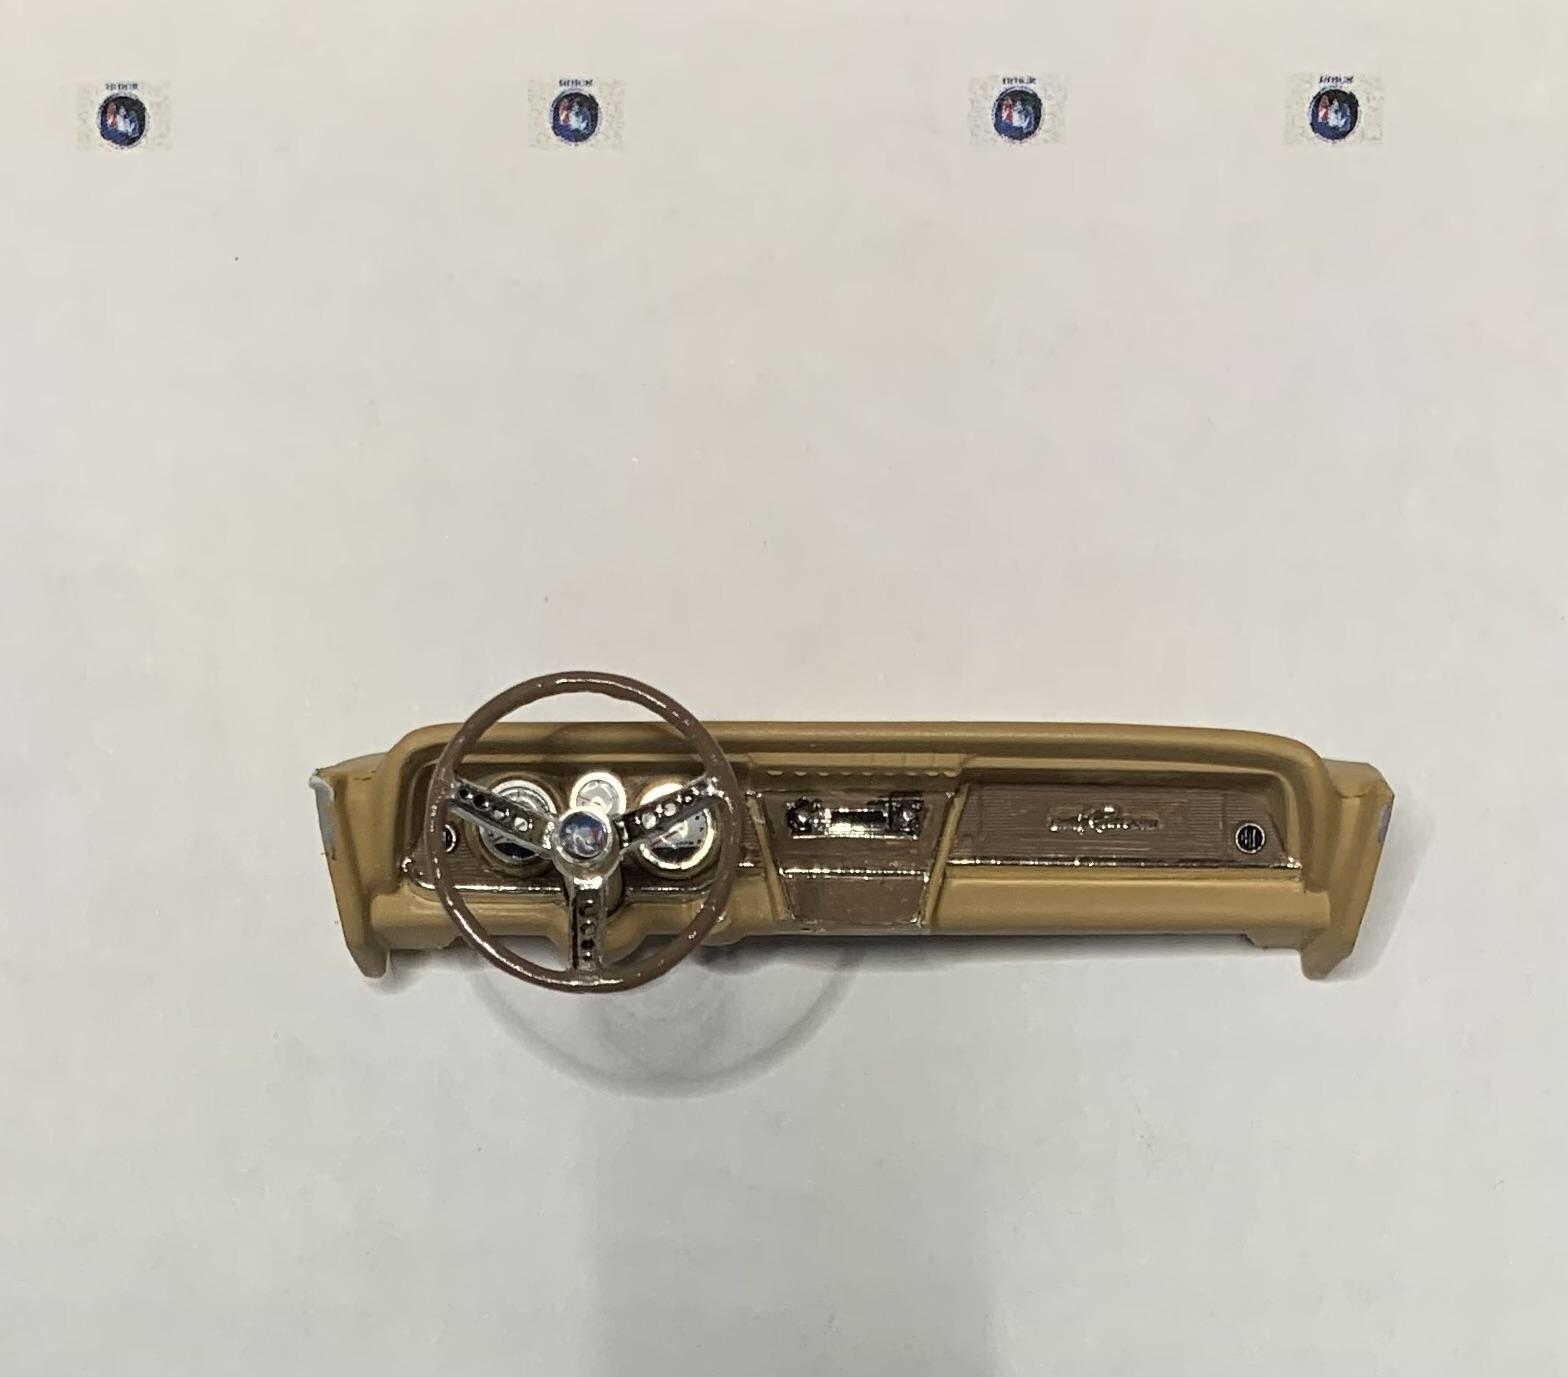
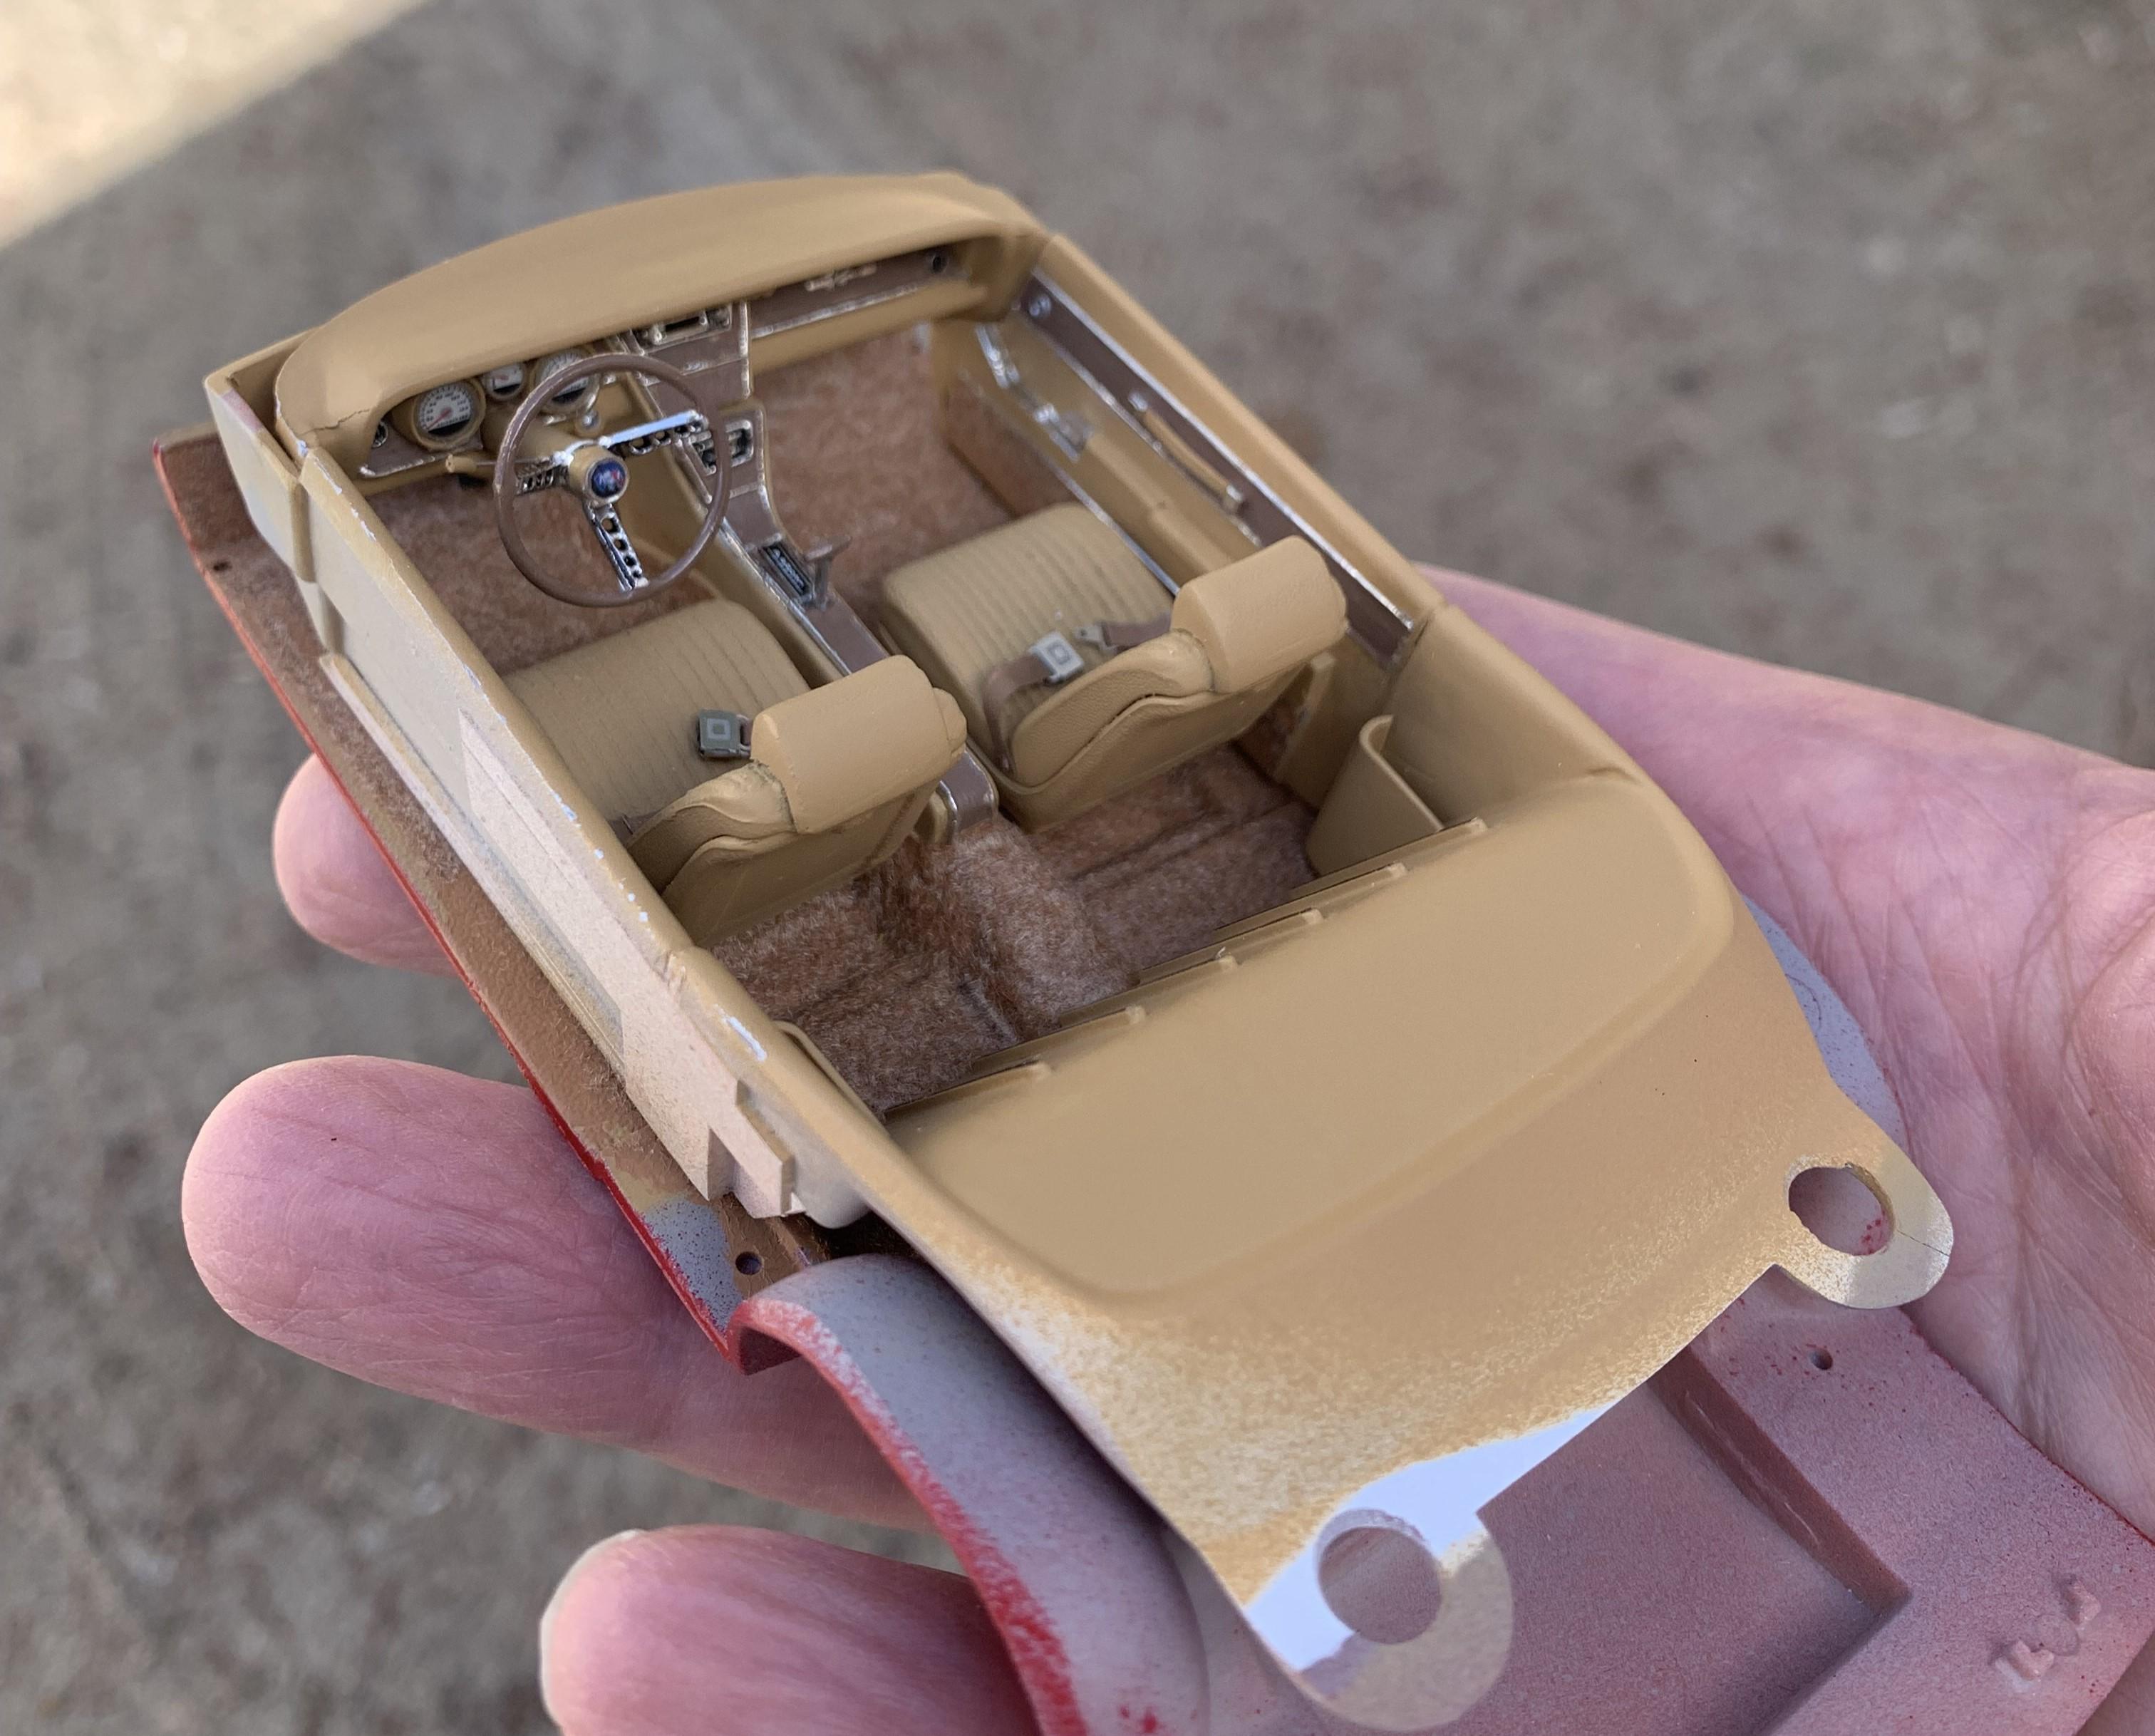
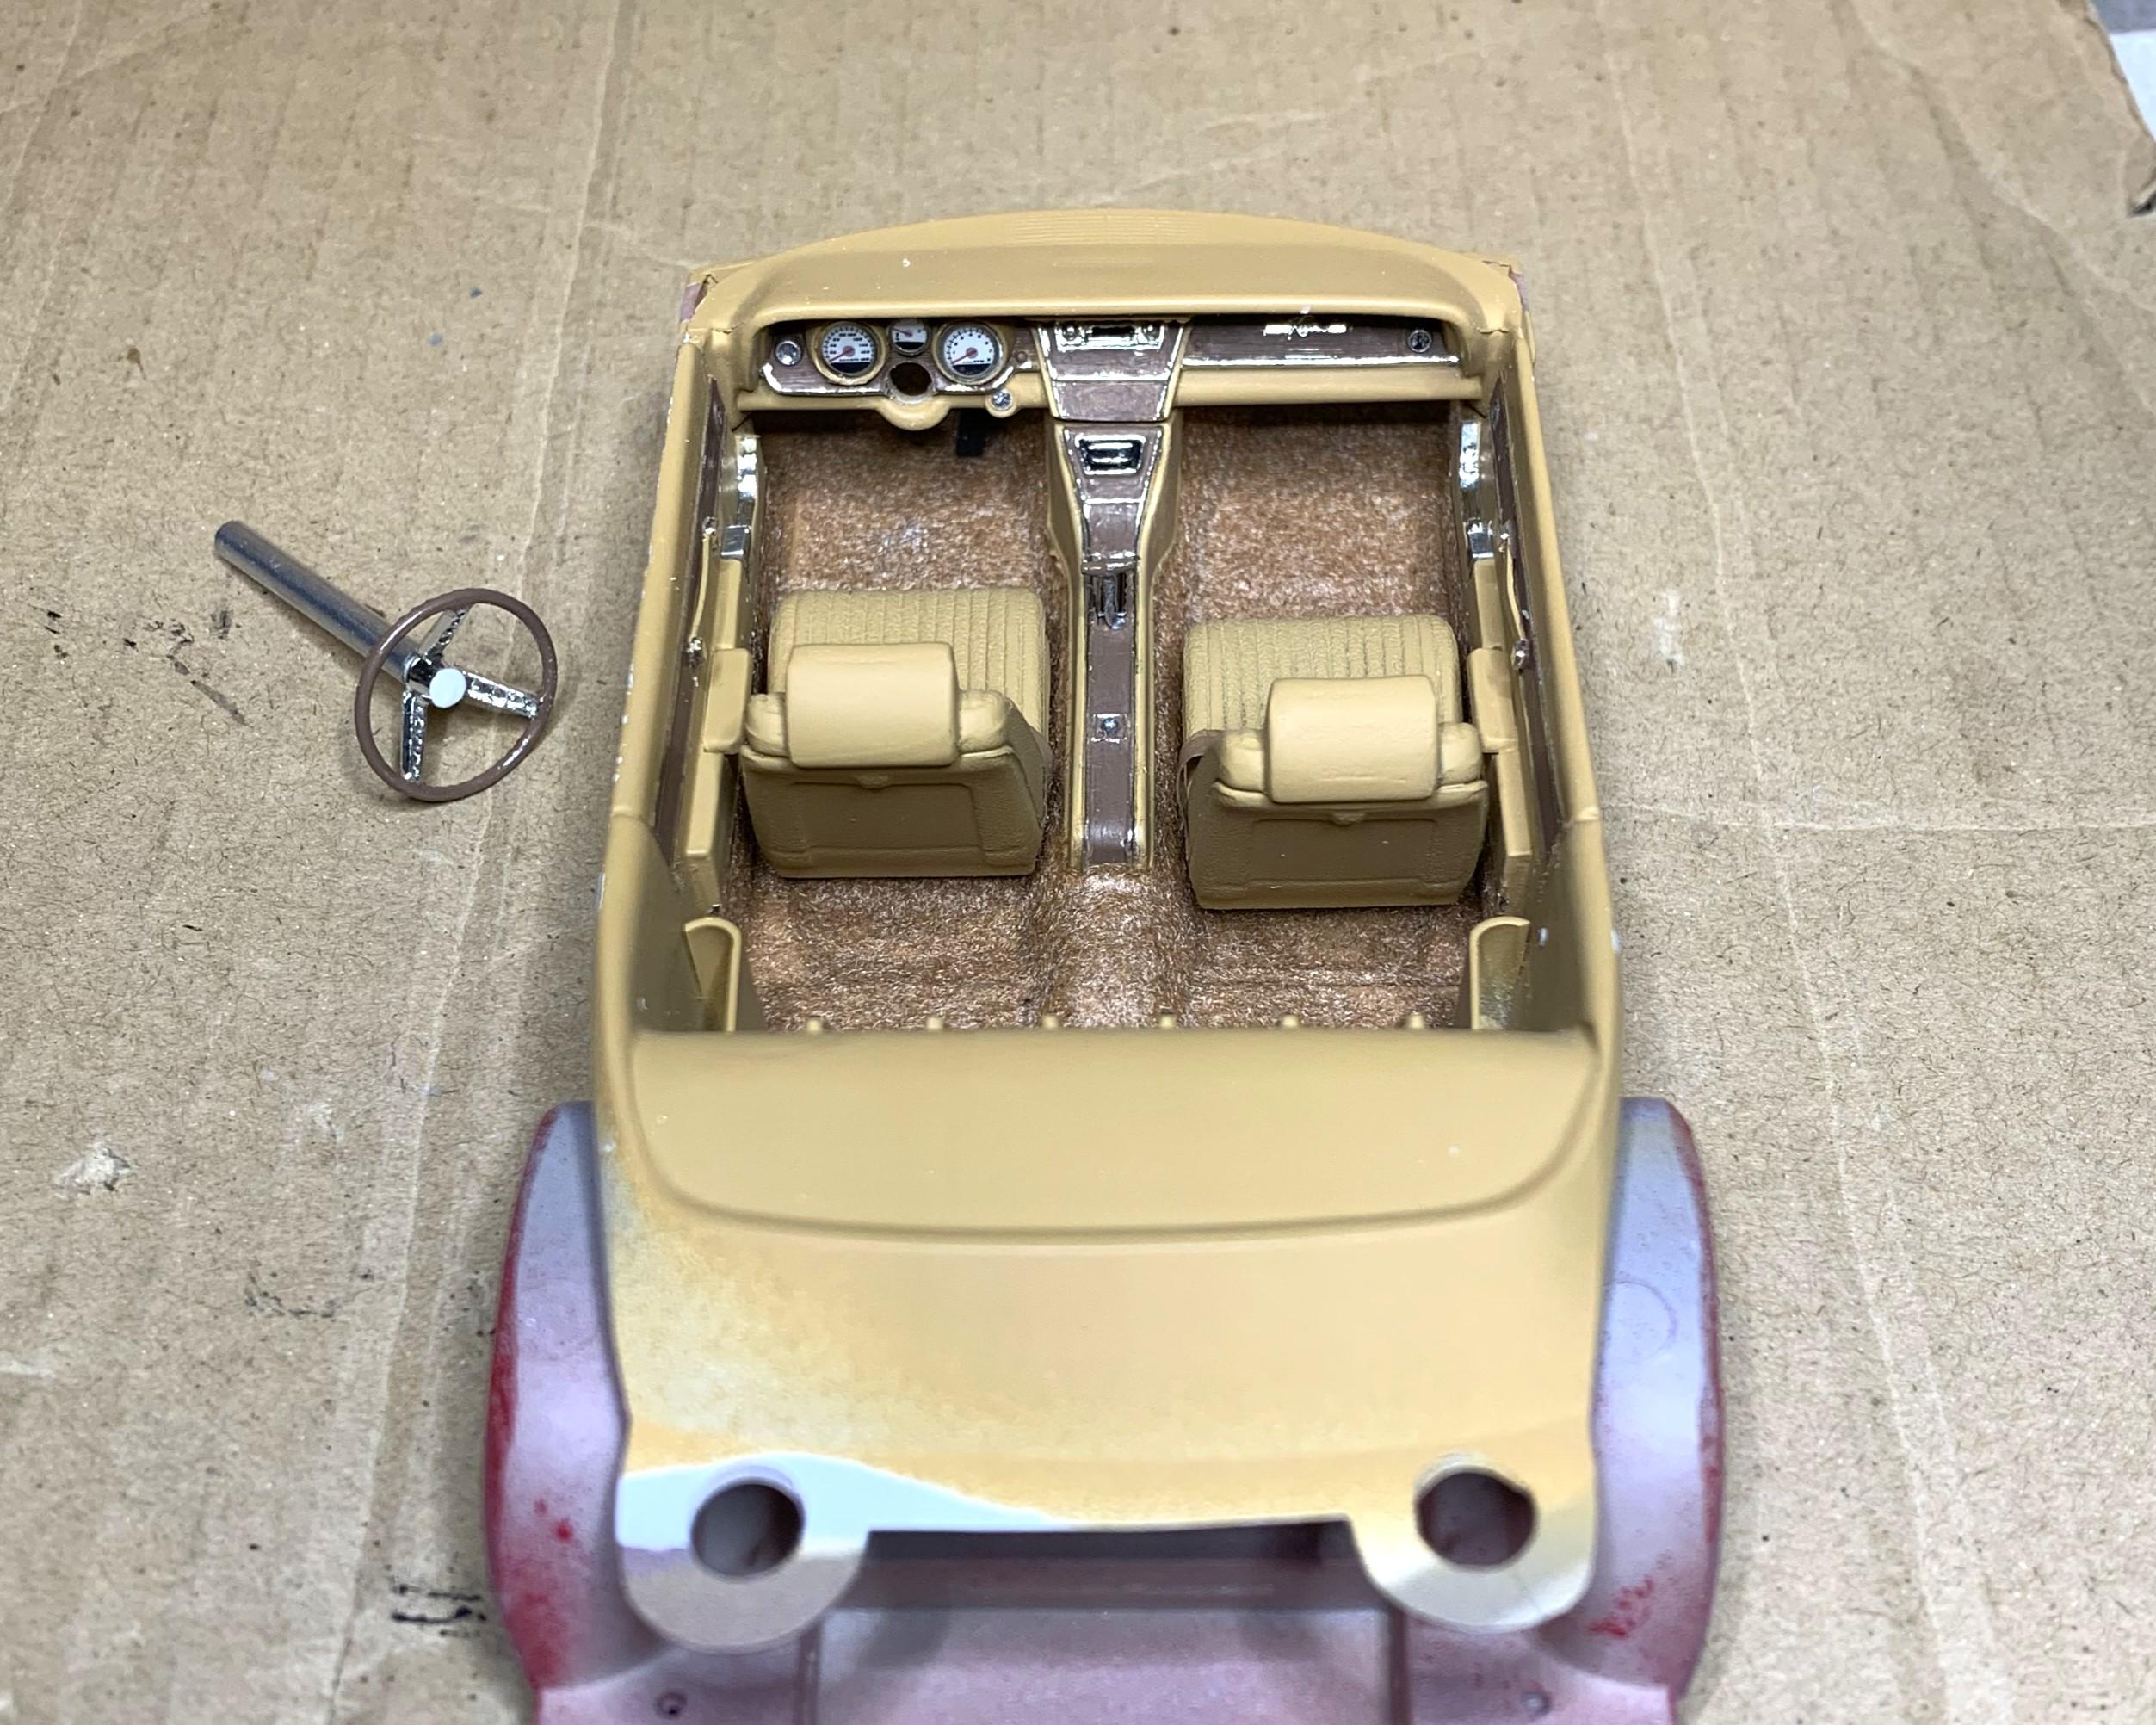
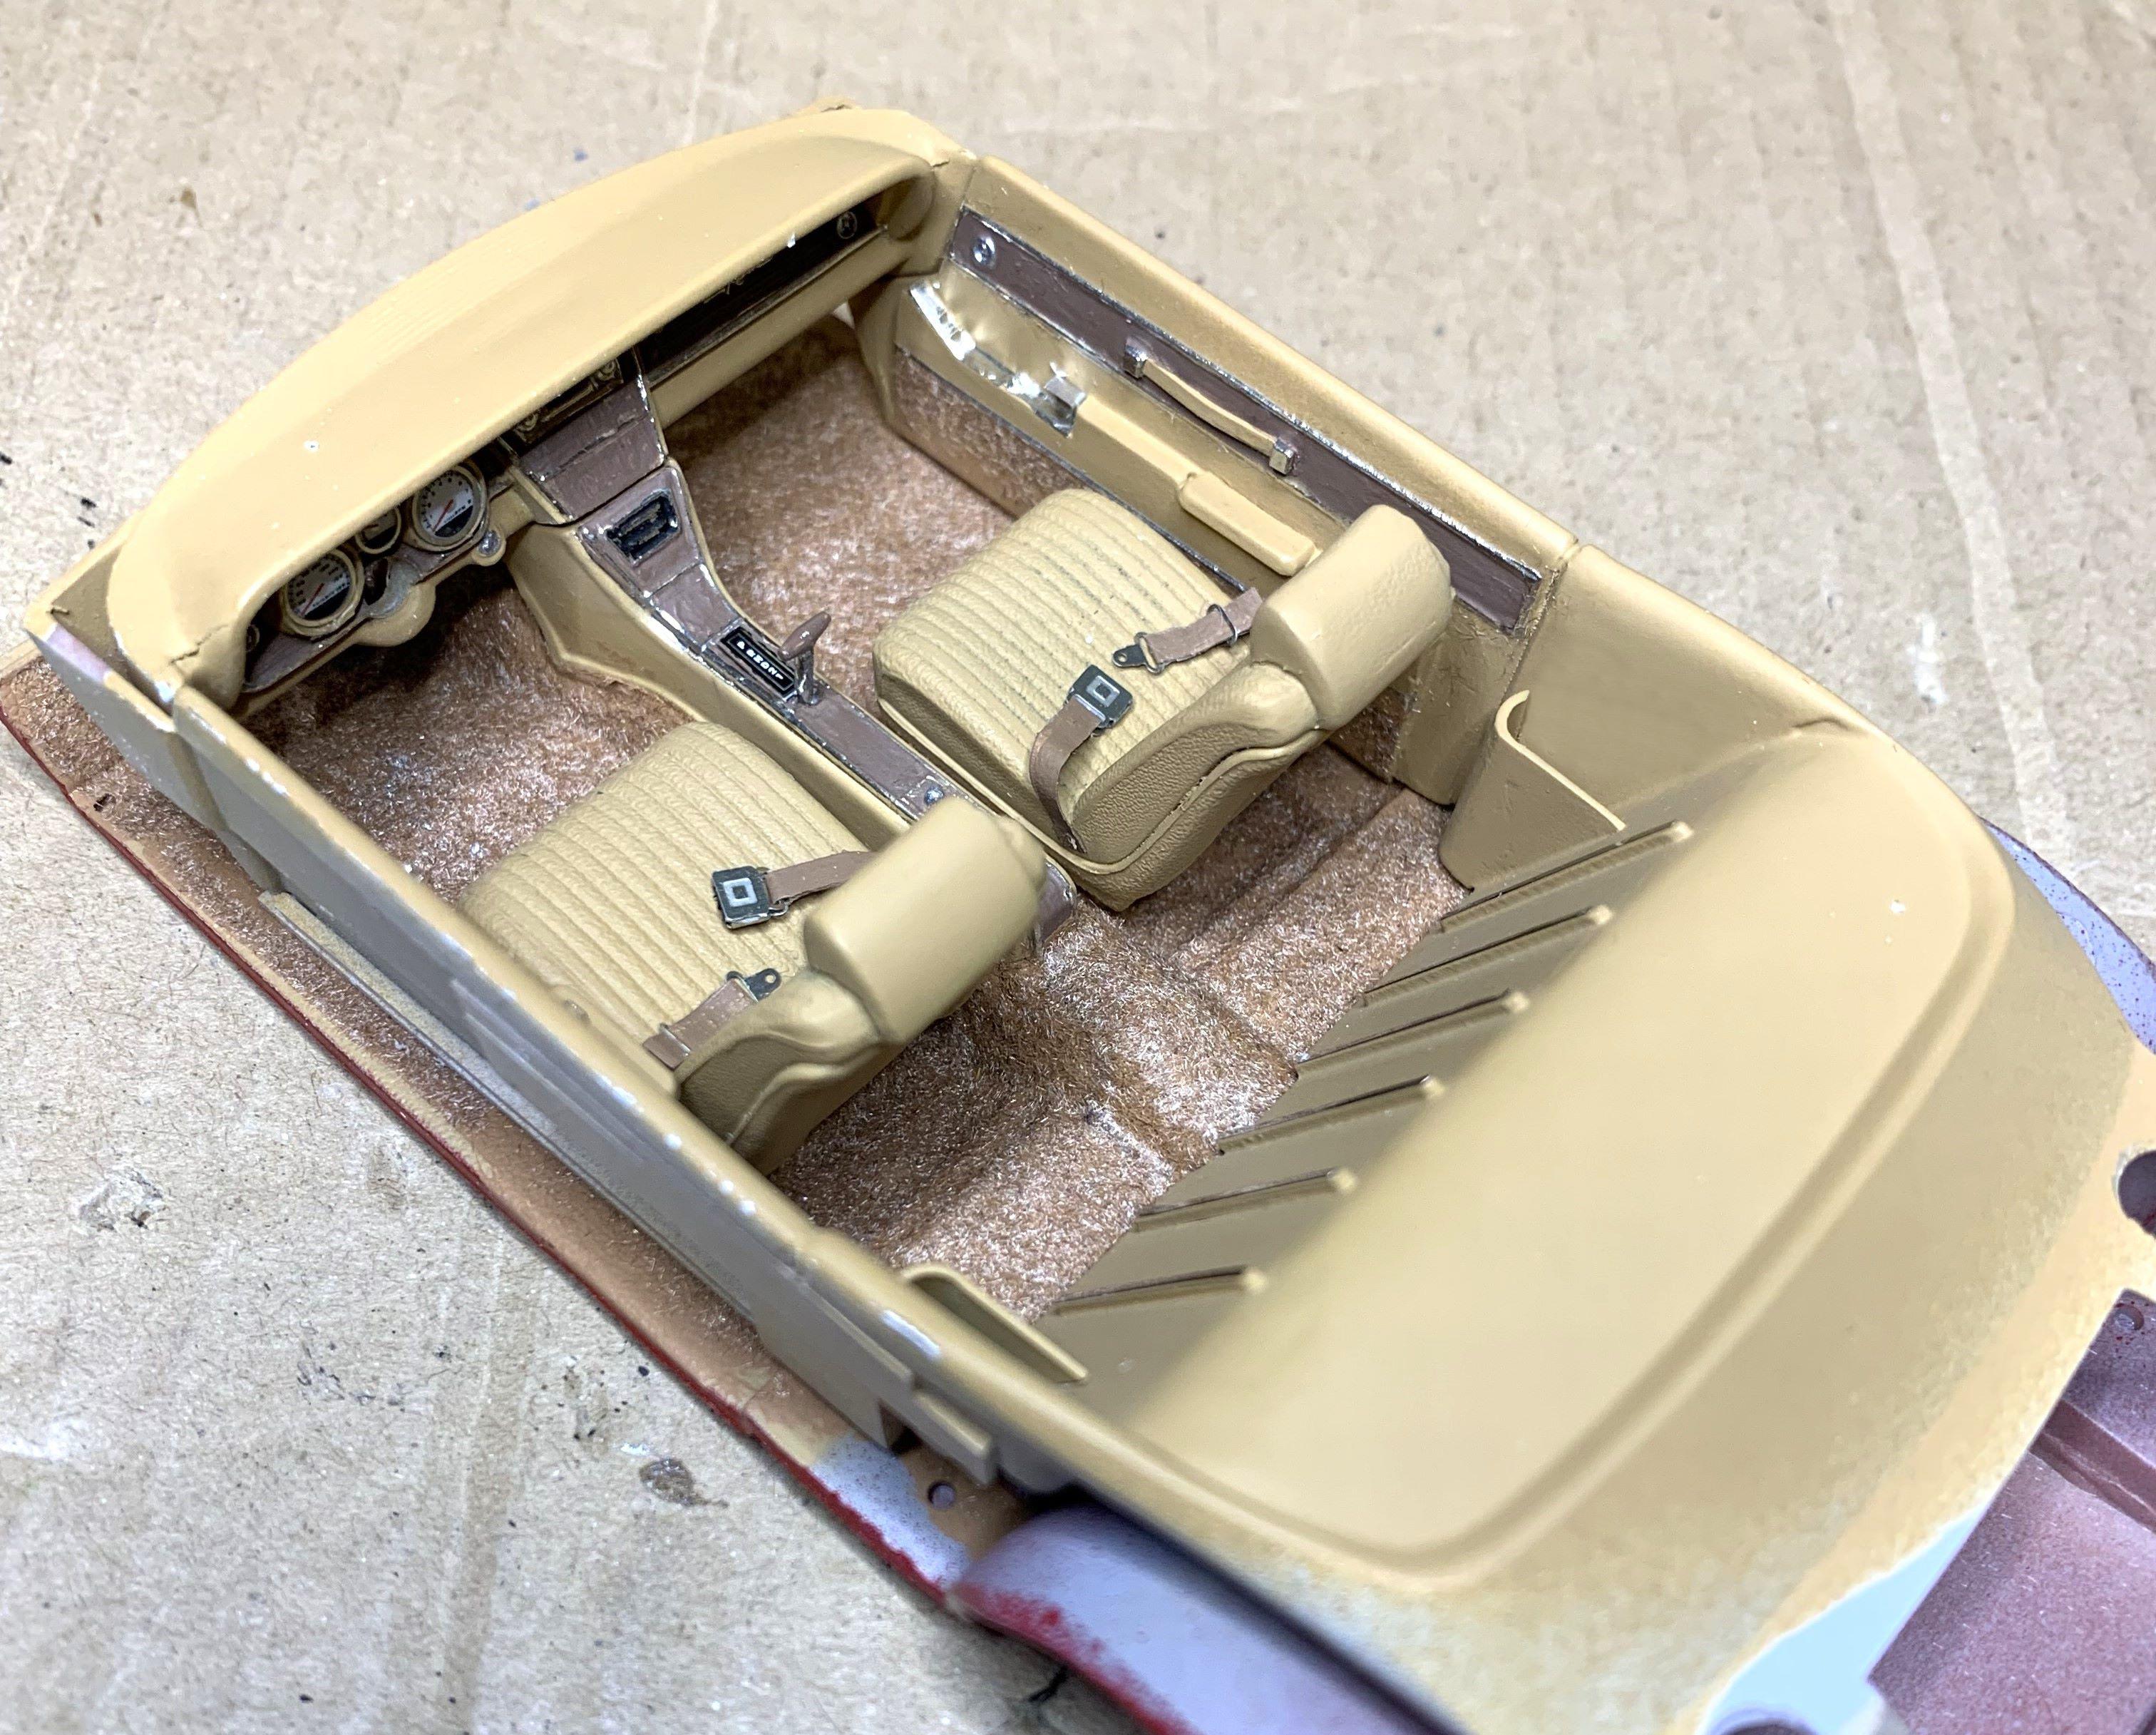
Okay, I was rushed yesterday posting pictures with flocking dust everywhere, but today, I'm more relaxed. I cut the pedals from the '66 Riv kit because I already stole the engine from it, so pedals no longer required in that one. I printed some Buick logos and just glued one onto the steering wheel and put a small photo etch ring over it and some canopy glue. Outdoor lighting shows the interior better, now it's just glass, headliner, dome lights, sun visors and rear view mirror, THEN I can glue this into the body. I'm sure it'll look good enough once it's inside the hardtop body, that's why I wasn't too concerned about the smallest details. Cheers!
-
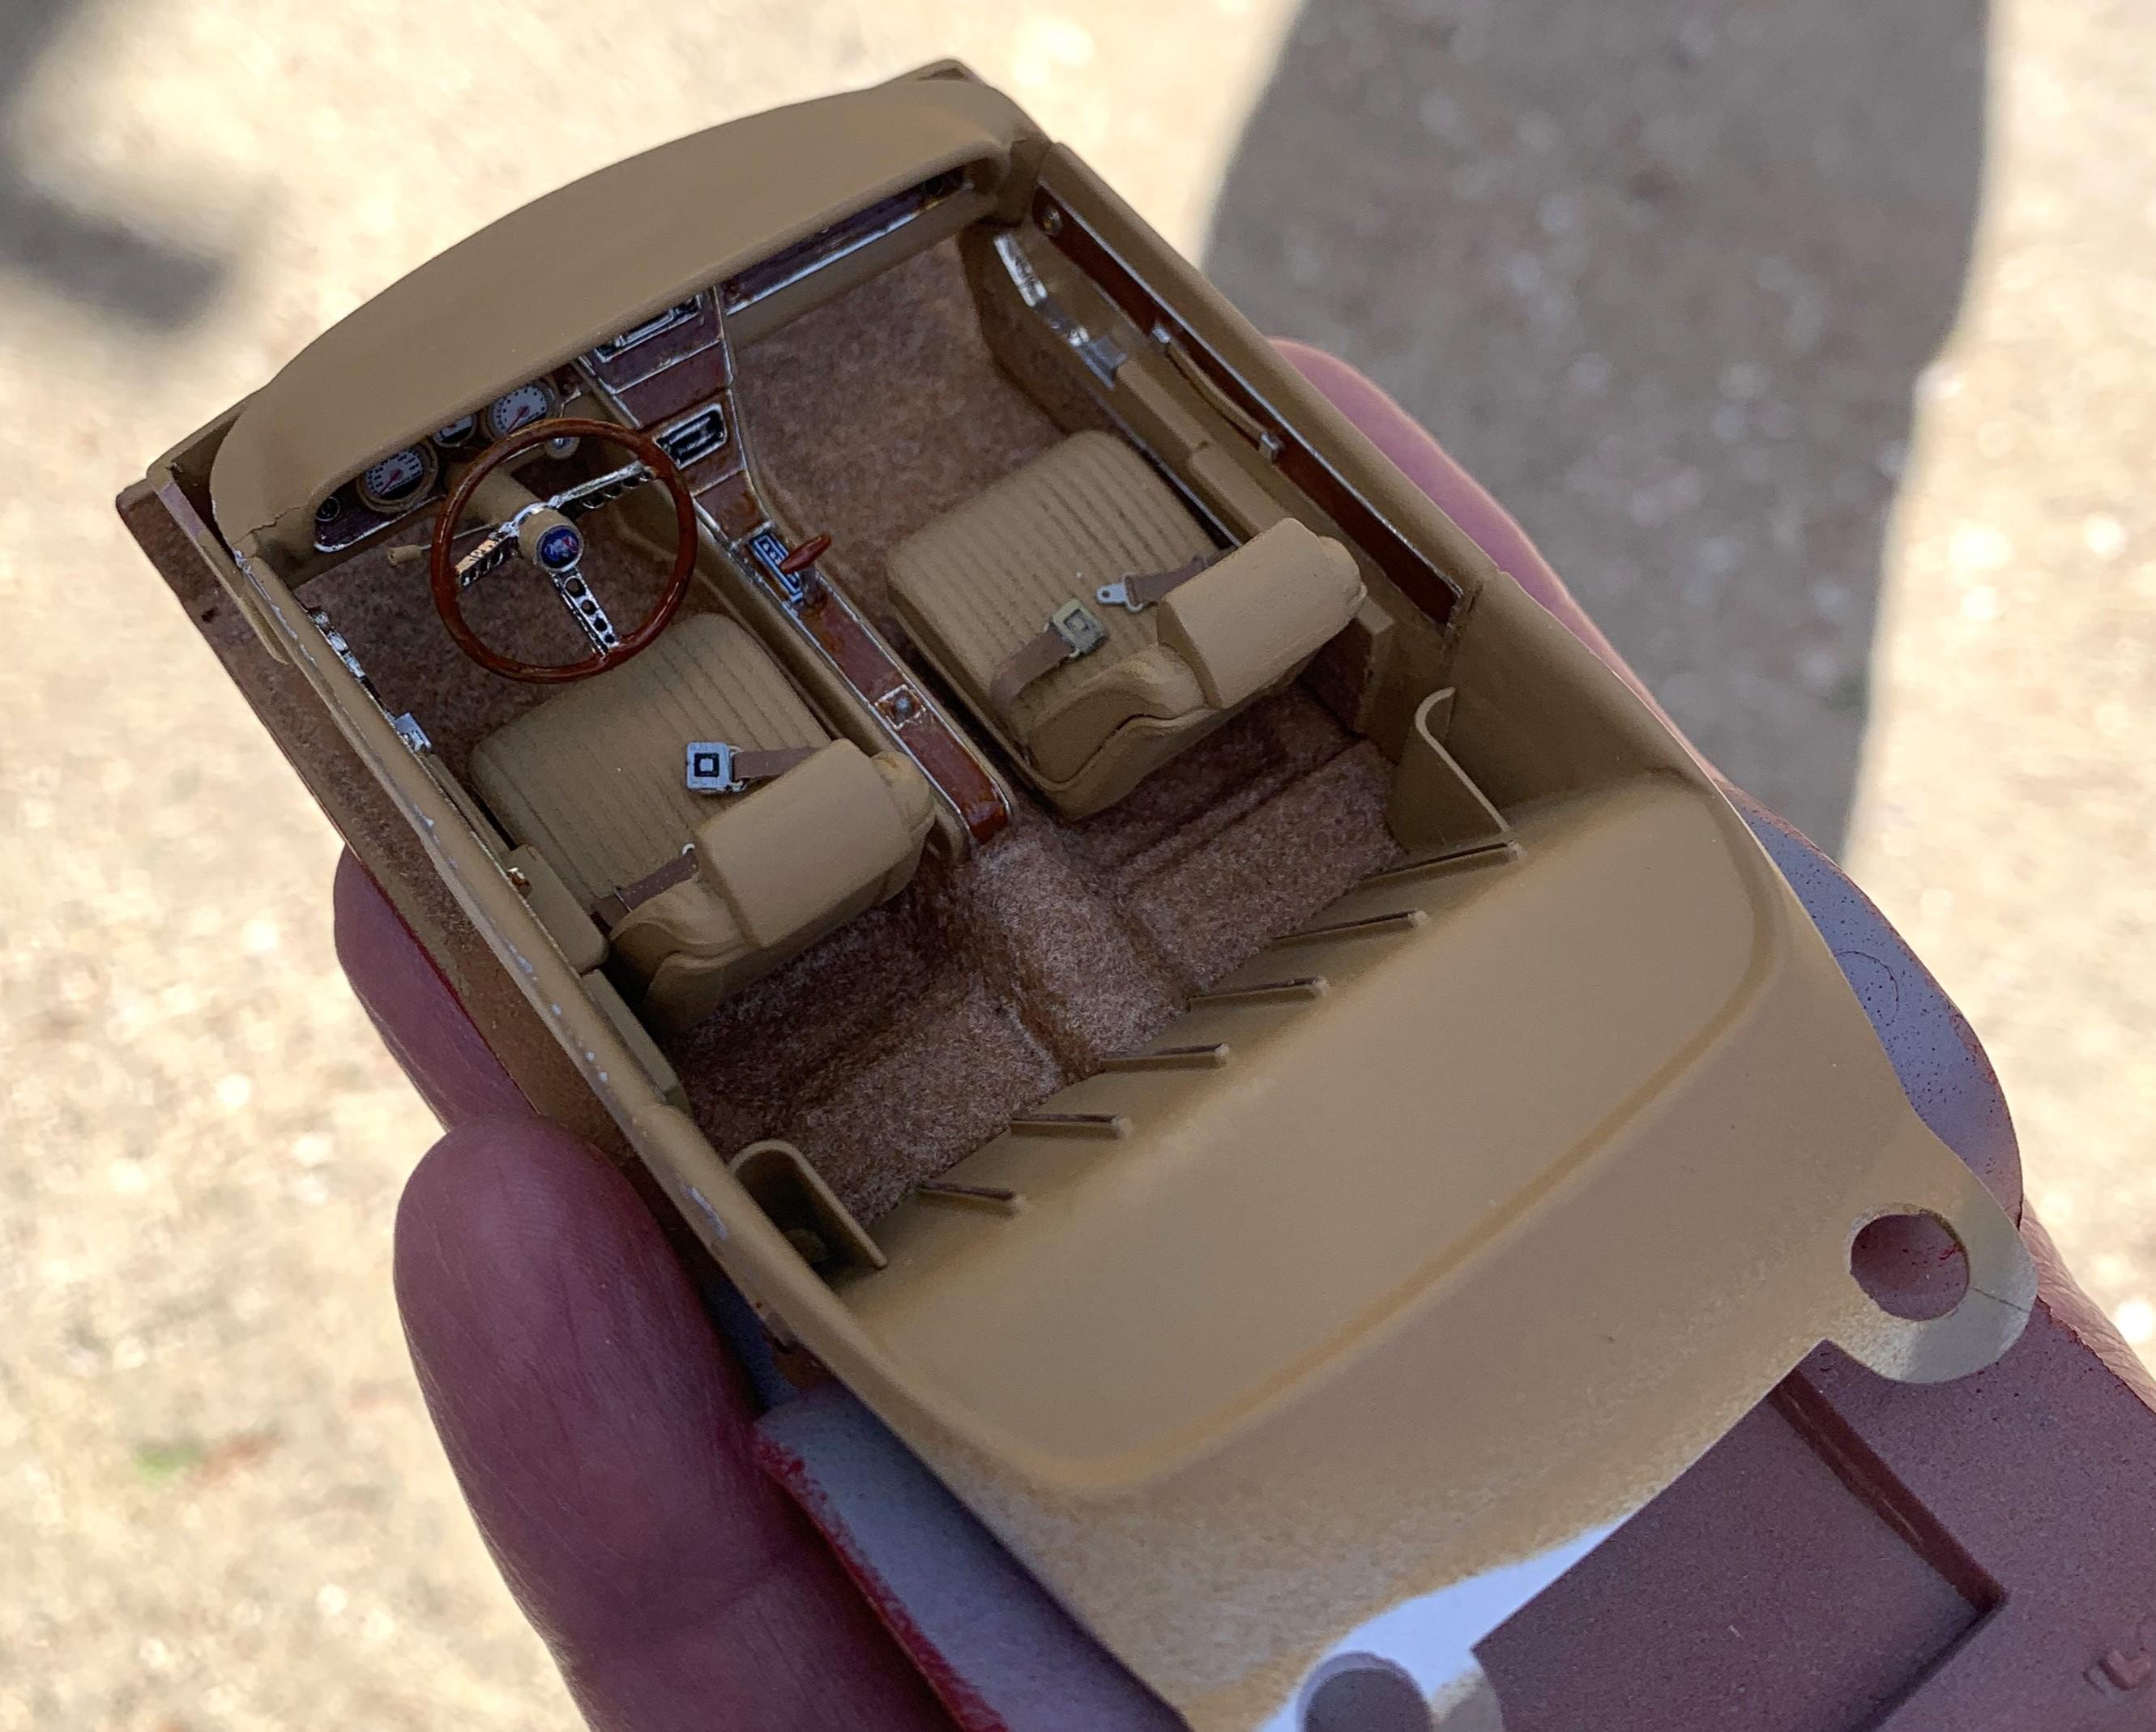
Hey, I finally put some more time into the Riv, been busy with "stuff" and working on that slammed '62 pickup re-build. So here is where I'm at so far, carpets actually match better than the pics look, but I'm pleased with the colors. I'll elaborate on what I did later, now it's time for dinner, just didn't want this concept to be left out for too long. Ciao!
-
Oh man that is so beautiful!
-
I like both sets of wheels, but maybe it's just me, I don't want to build a model using the stuff that came with it, LOL.
-
I did a 6 cylinder one years ago, you're off to a great start..
-
Good plan
-
Amazing attention to detail, such a great conversion, love it!
-
This is why I buy cheap kits with missing parts, they are good for something! After the handles were removed and slightly cleaned up, I drilled them and super glued beading wire then sprayed Revell chrome. Here's how this interior is coming together, so much fun! Remember these pictures are huge, and it'll all be inside a cab, so the rough edges won't really show, cheers!
-
Fantastic work on this and it IS where the fun is, it looks SO much better, I wish AMT would've done all this. Great job Greg!
-
Man that looks fantastic, beautiful paint and foil, perfect stance, sweet!
-
Nice engine detail! I'm sure you'll make a beautiful Morgan with the rest of it. Have fun!
-
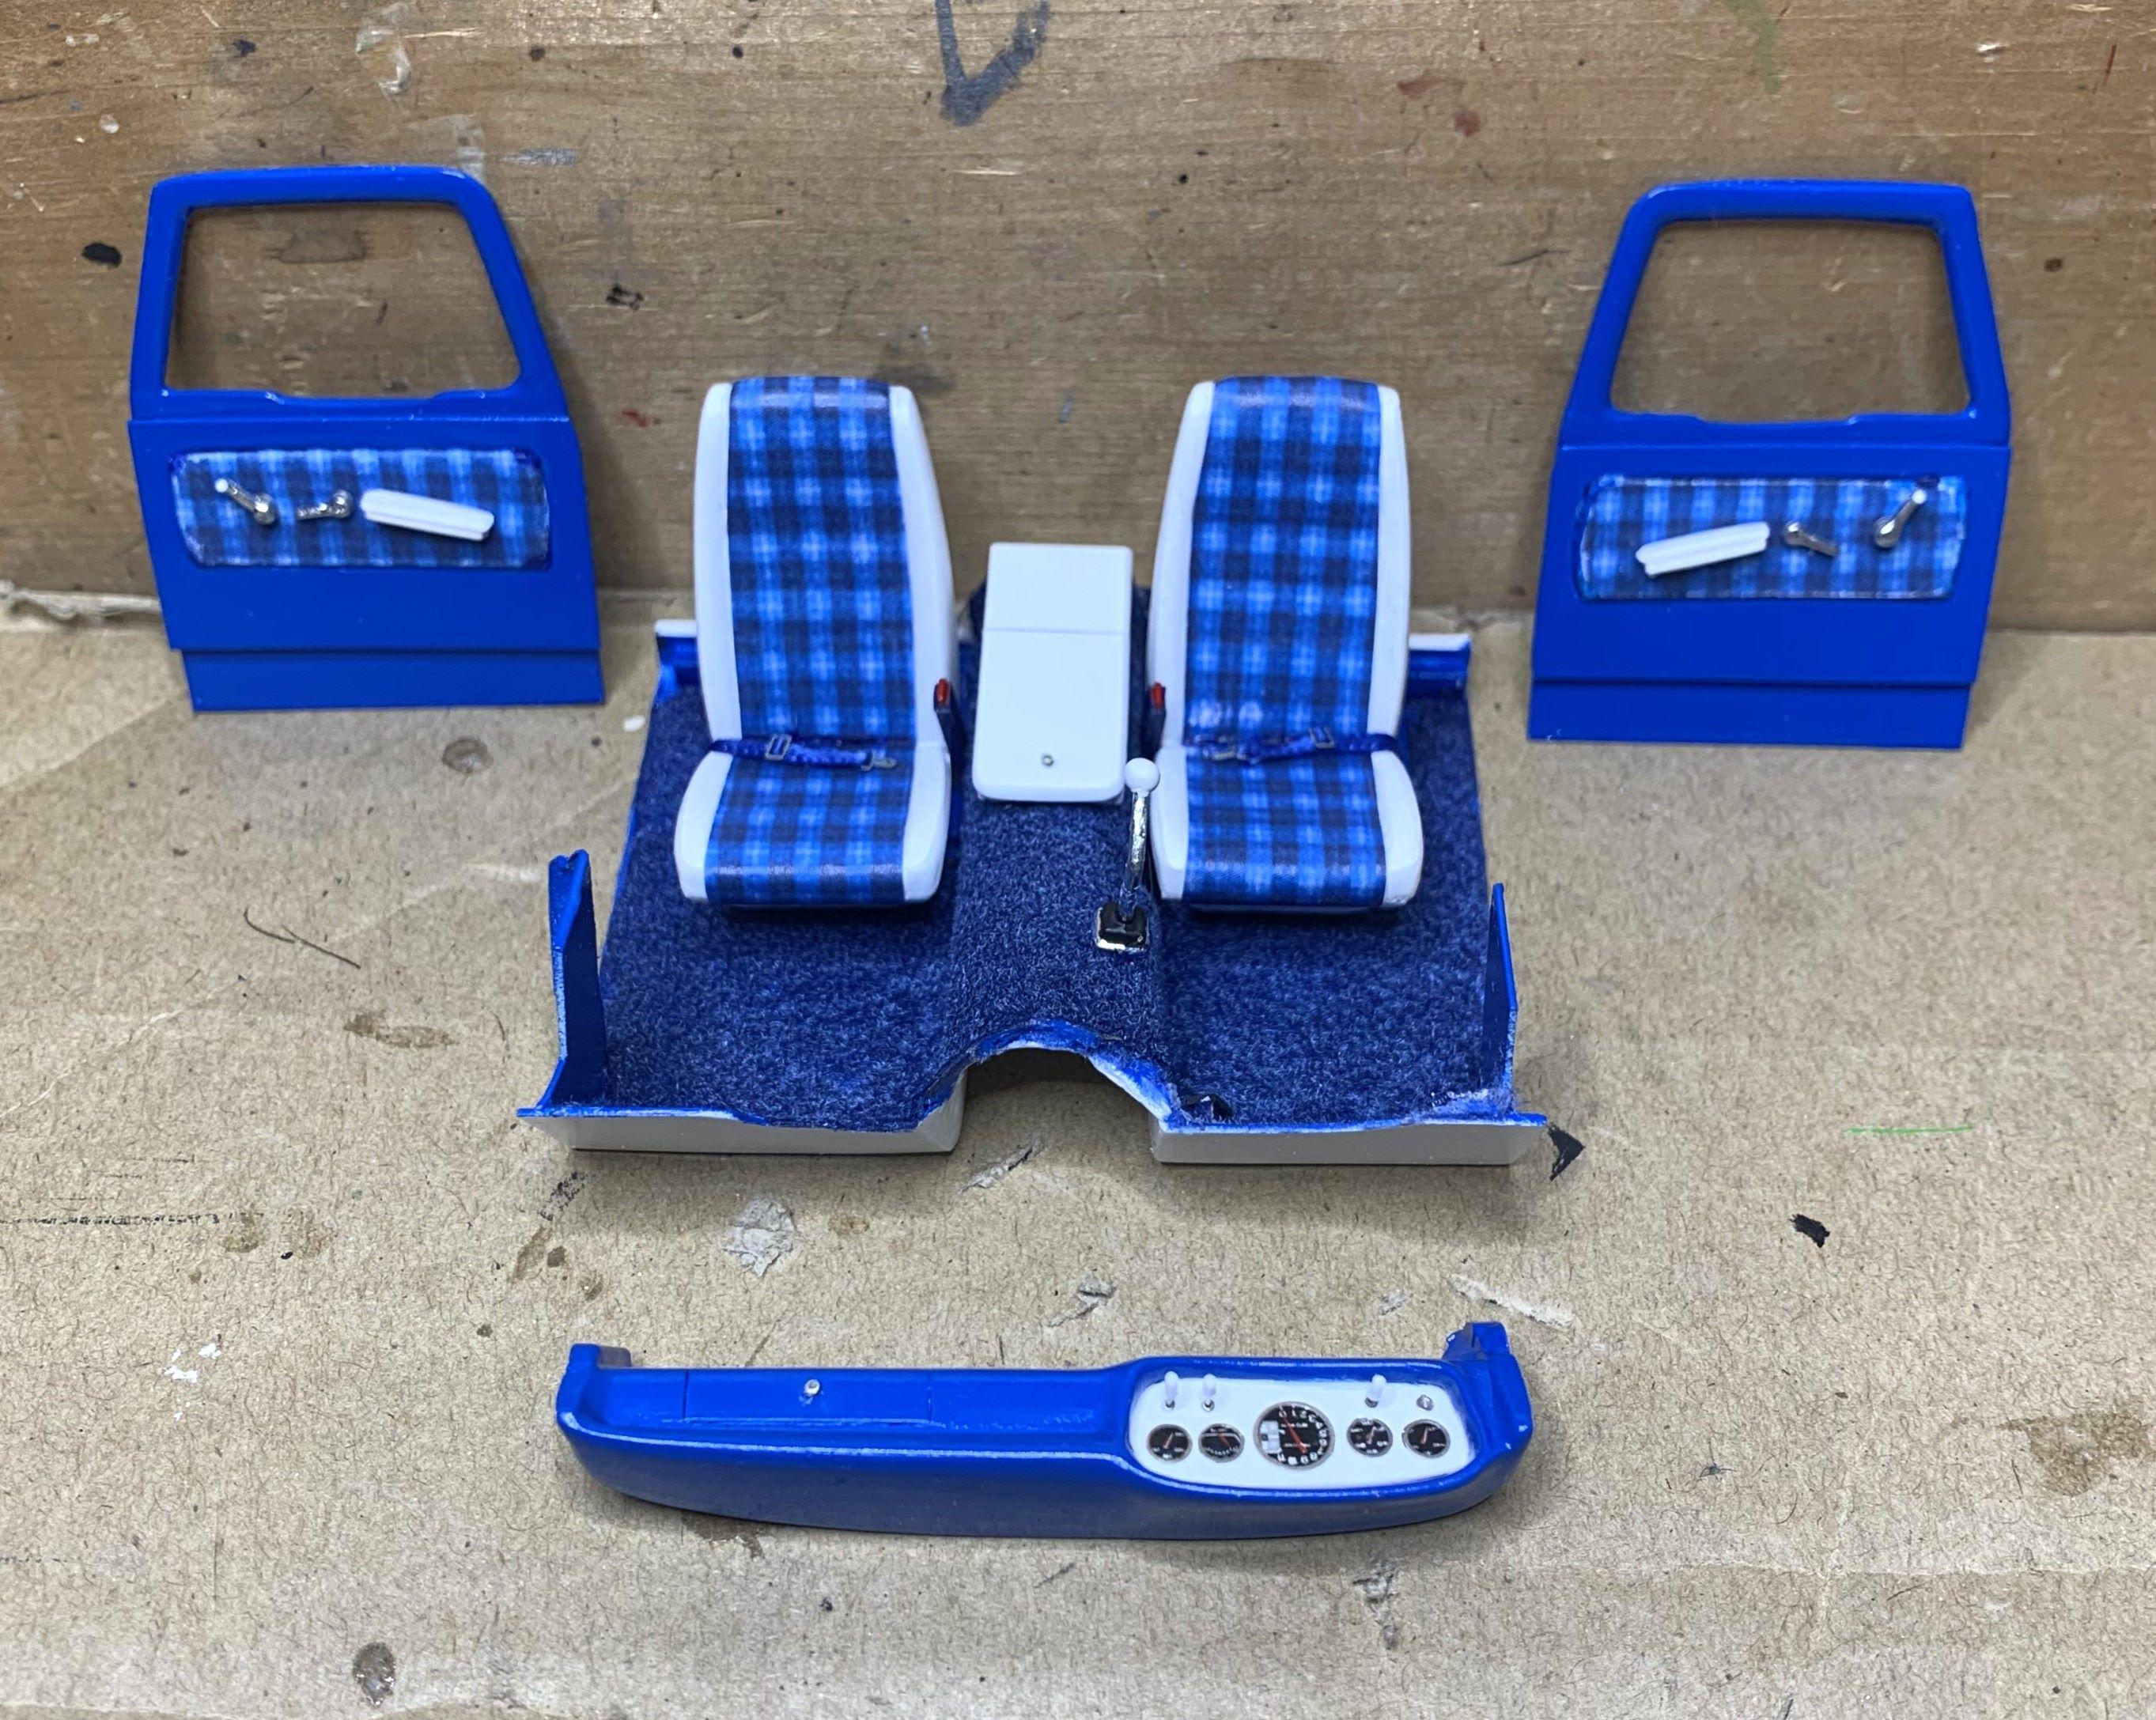
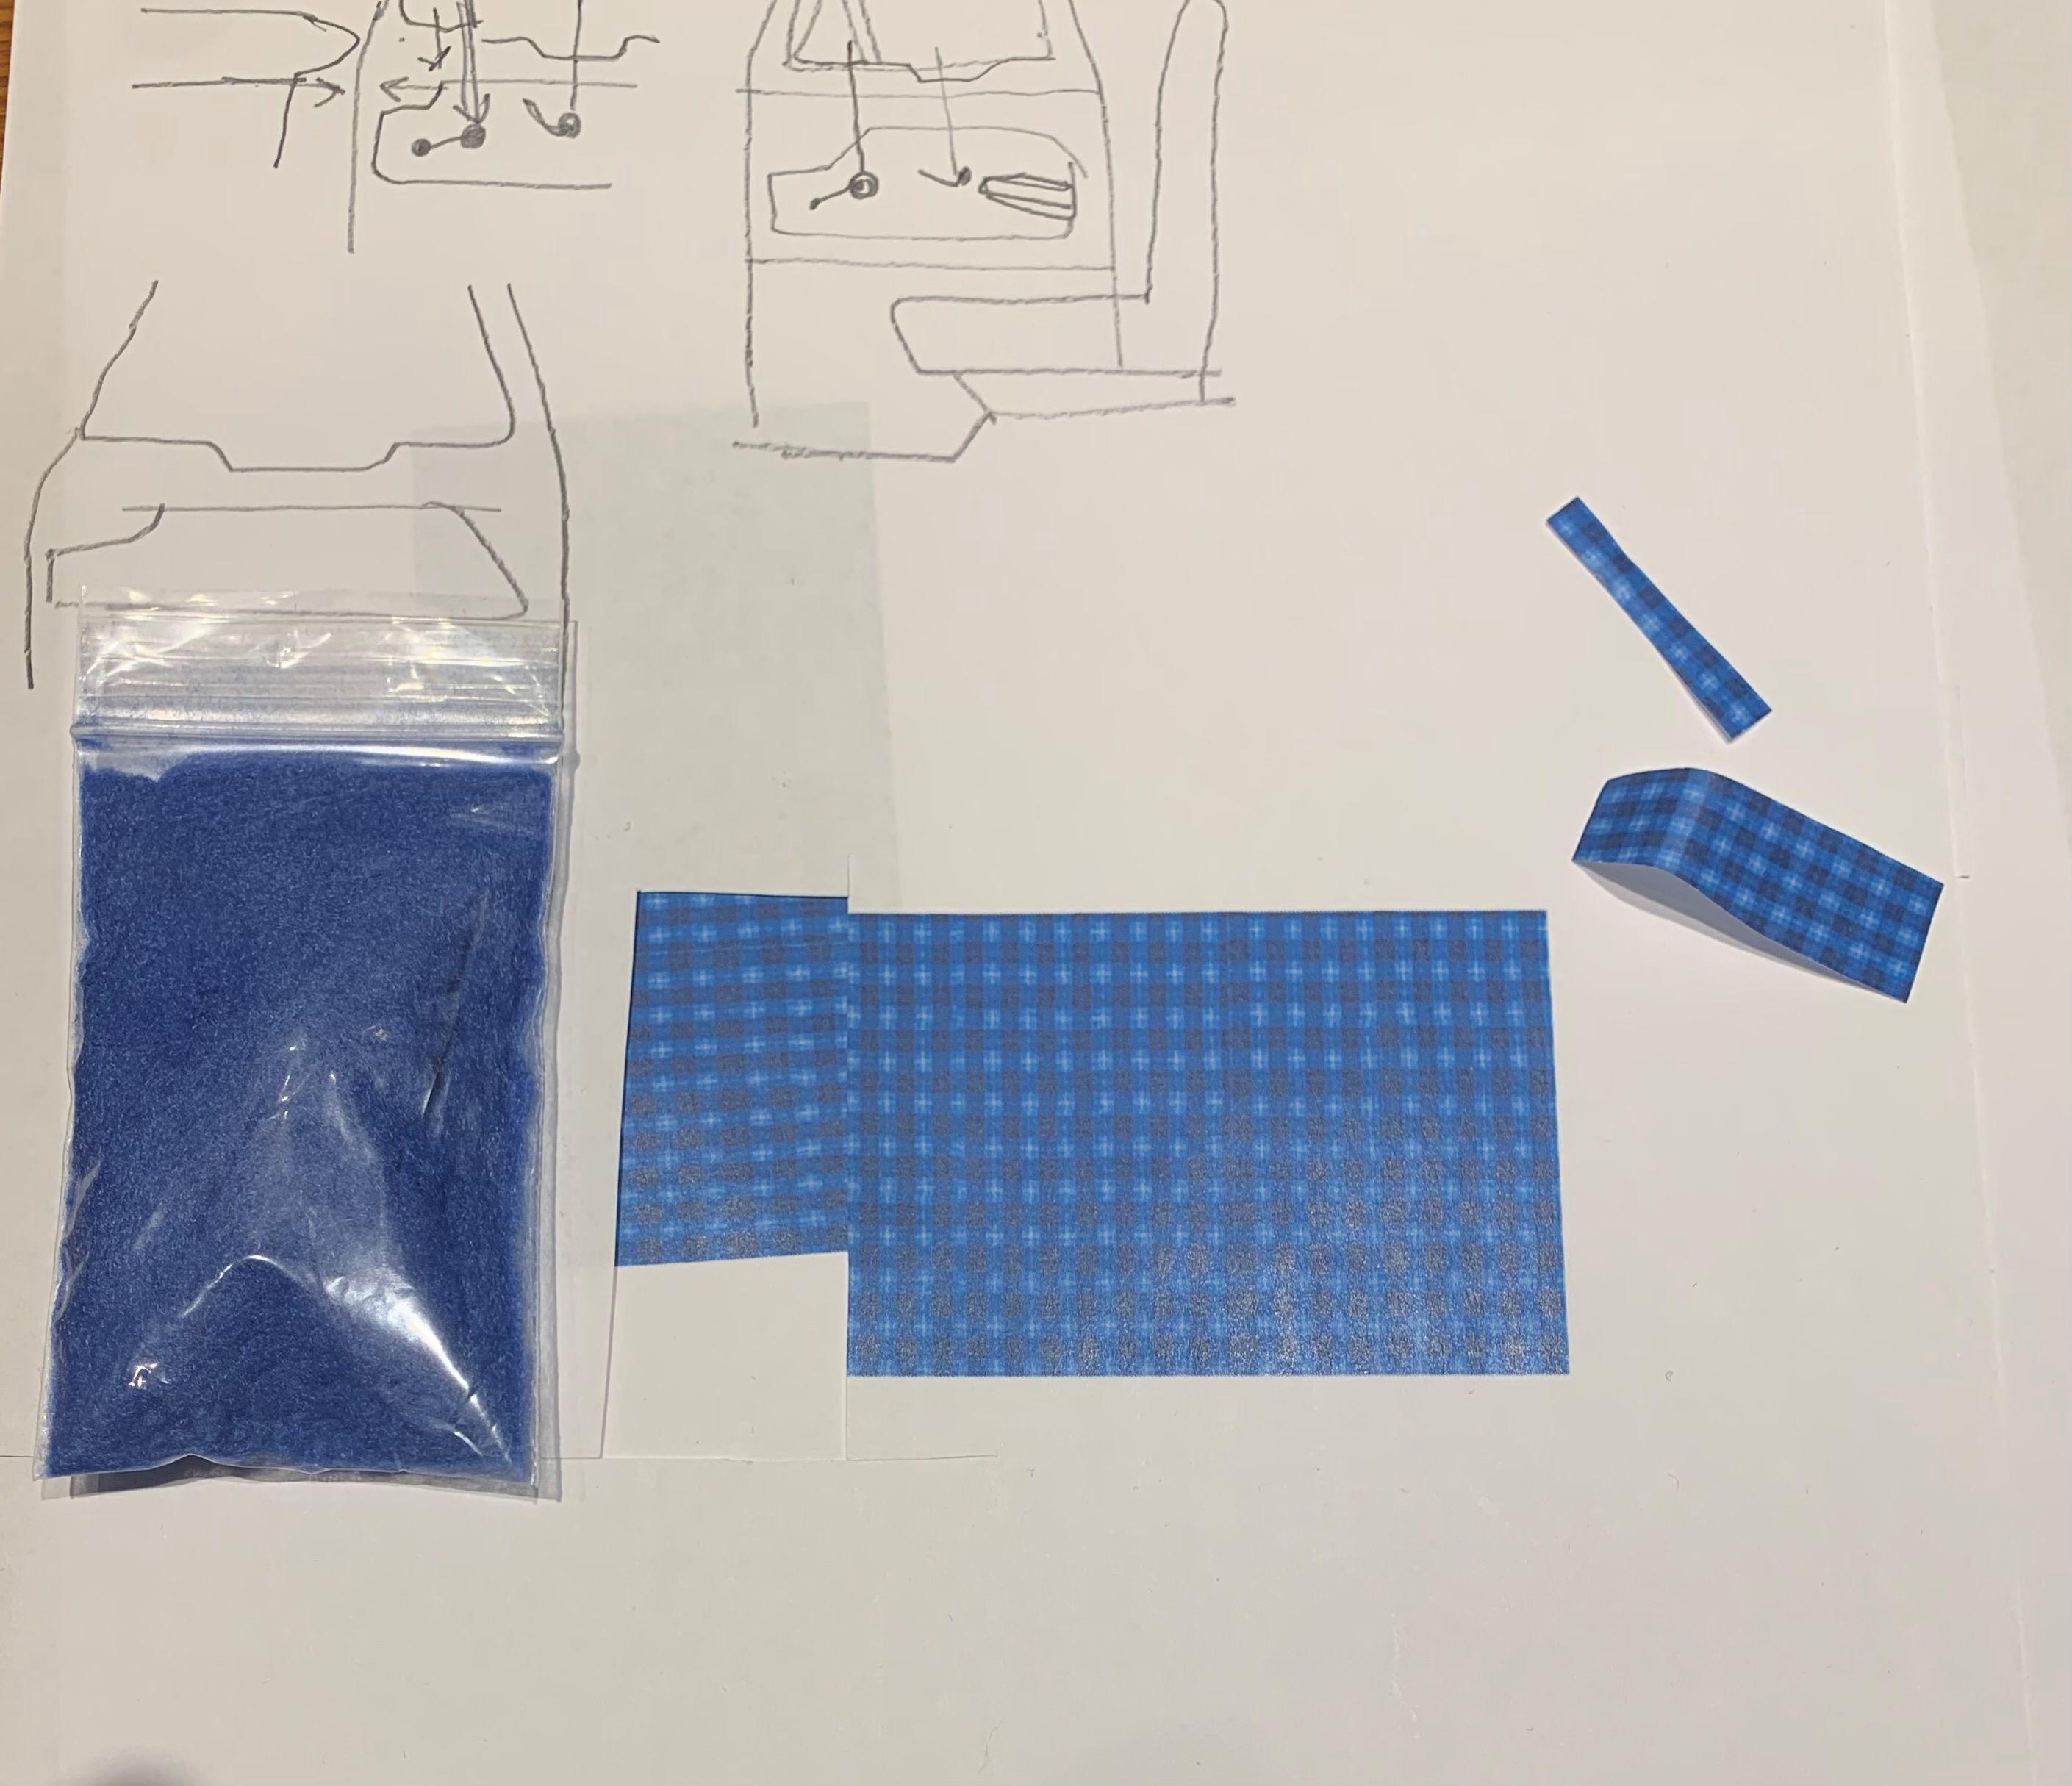
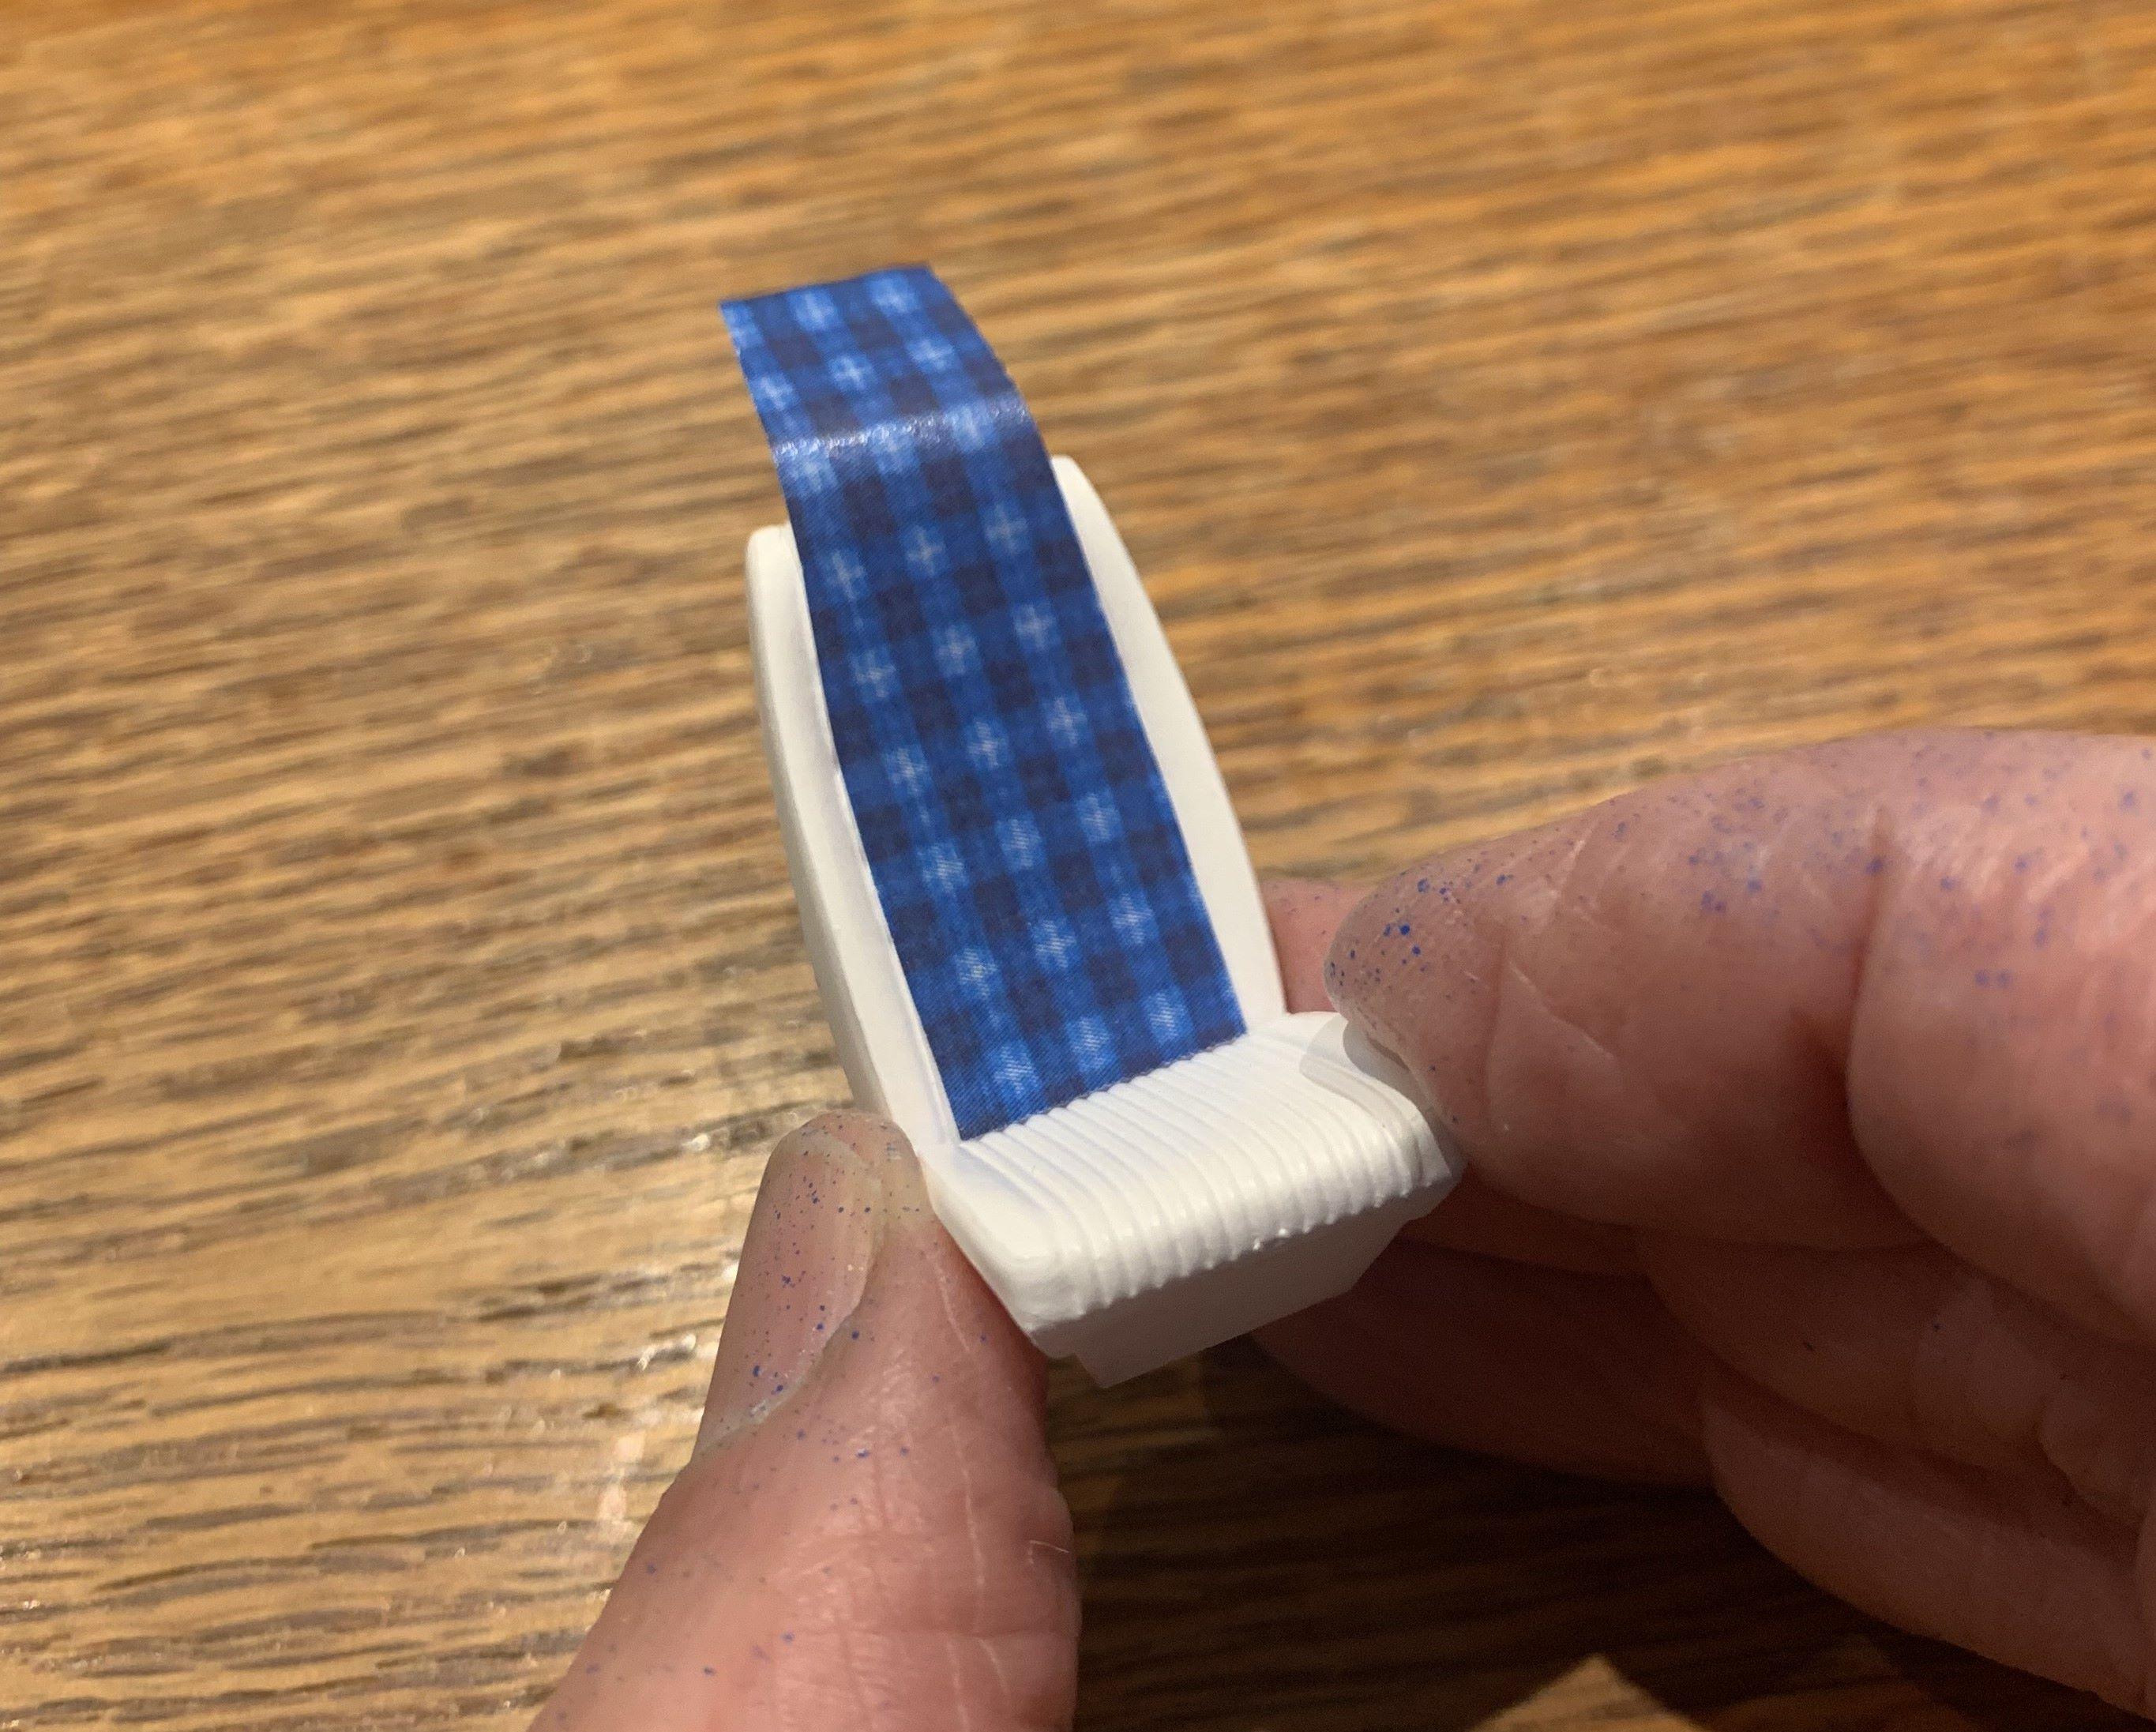
I'm always wanting to try something different, so I made up some plaid pattern and printed it on regular paper. I glued the paper with white glue right onto the Mustang seats which are Tamiya white primer with flat clear. I think it'll look okay, the whole truck will be one colour, Tamiya TS-44 so a bit of contrast might be nice, and with white wheels and underside, it keeps it all blue and white.
-
Here's the bottom of that scratch built interior tub. And, how it'll look once it all goes together. Of course there's a lot more to add and detail, but because it's such a "Frankenstein" I'm happy that everything fits, test fit, test fit, and test fit again and again, LOL