dino246gt
-
Posts
2,244 -
Joined
-
Last visited
Content Type
Profiles
Forums
Events
Gallery
Everything posted by dino246gt
-
 It's from CANADA, LOL
 -
I'm sorry but I can't remember, I kit bash a lot of my kits. I have piles of diffs and driveshafts and headers and stuff, like most of us! It does look pretty small though doesn't it, but I'm sure it's MoPar.

-
Yeah I had a minty kit, but they're really not worth much, managed to sell the leftovers, no body, no dash, no front bumper/grill and no tail lights, for $10. Still had good stuff to complete someone's vintage JoHan kit that was missing anything. Metal axles, original screws, mint decal sheet, instructions, all the custom parts, chassis, interior, original tires, engine, was a good deal for someone.
-
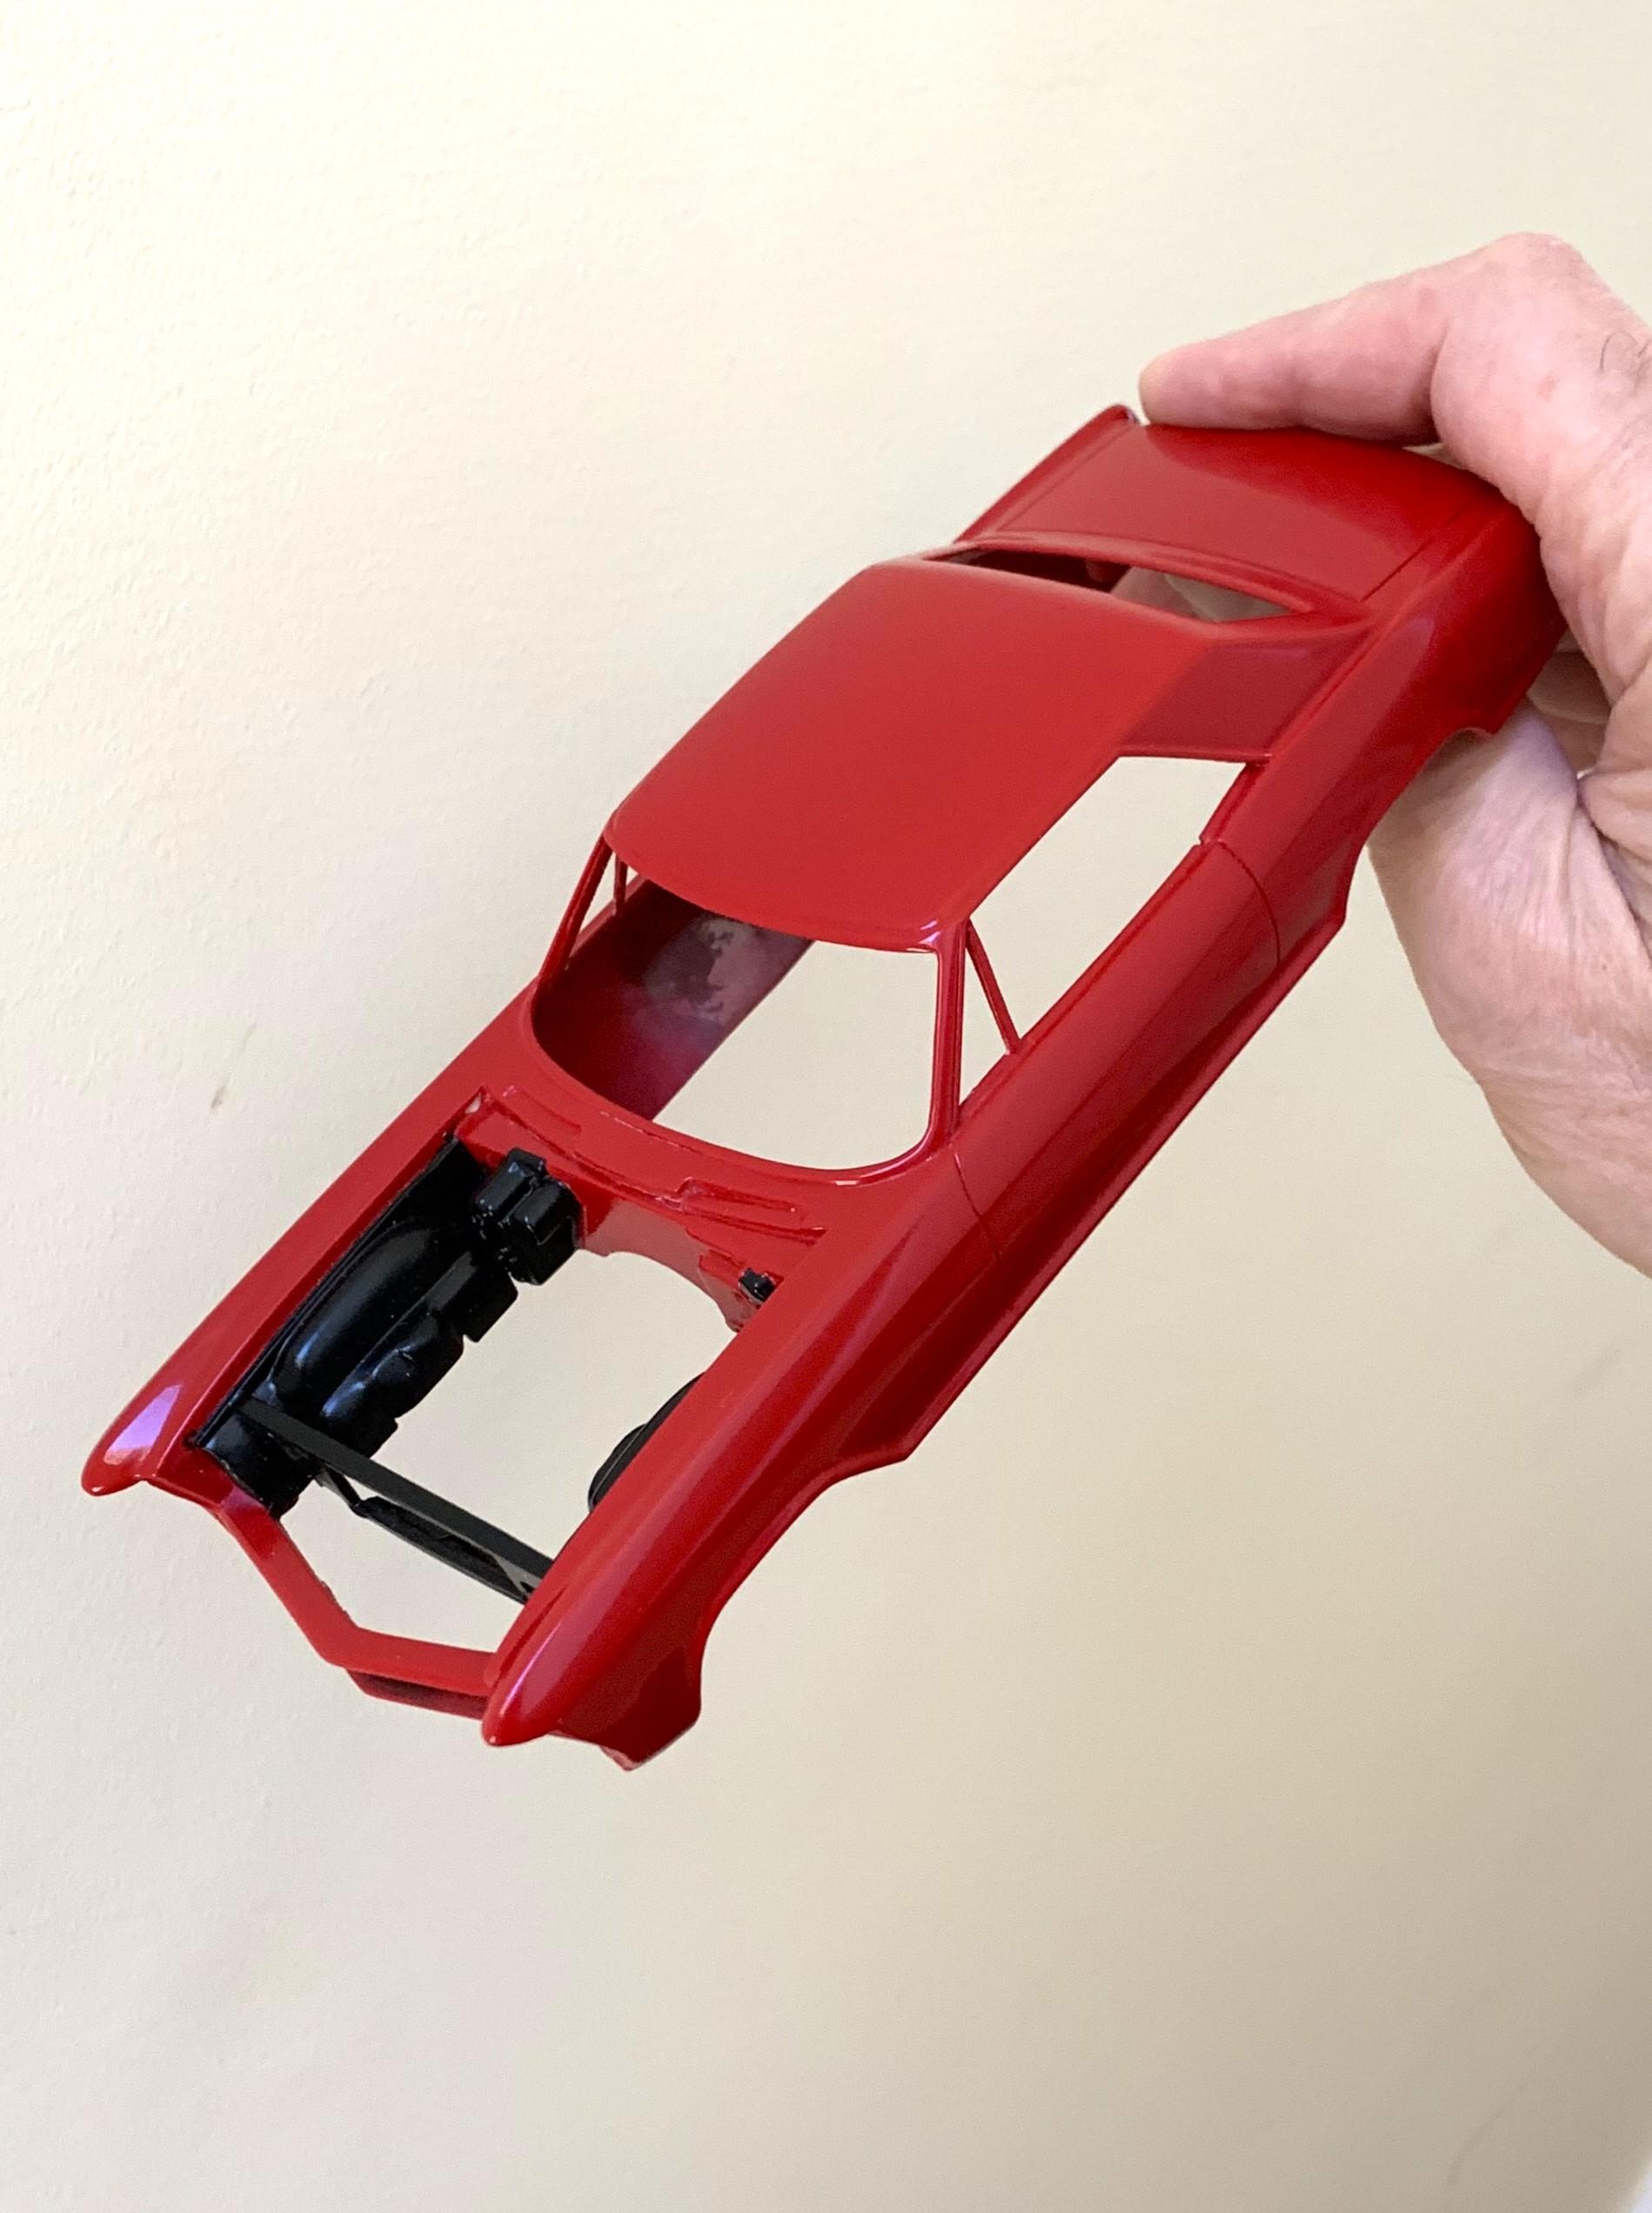
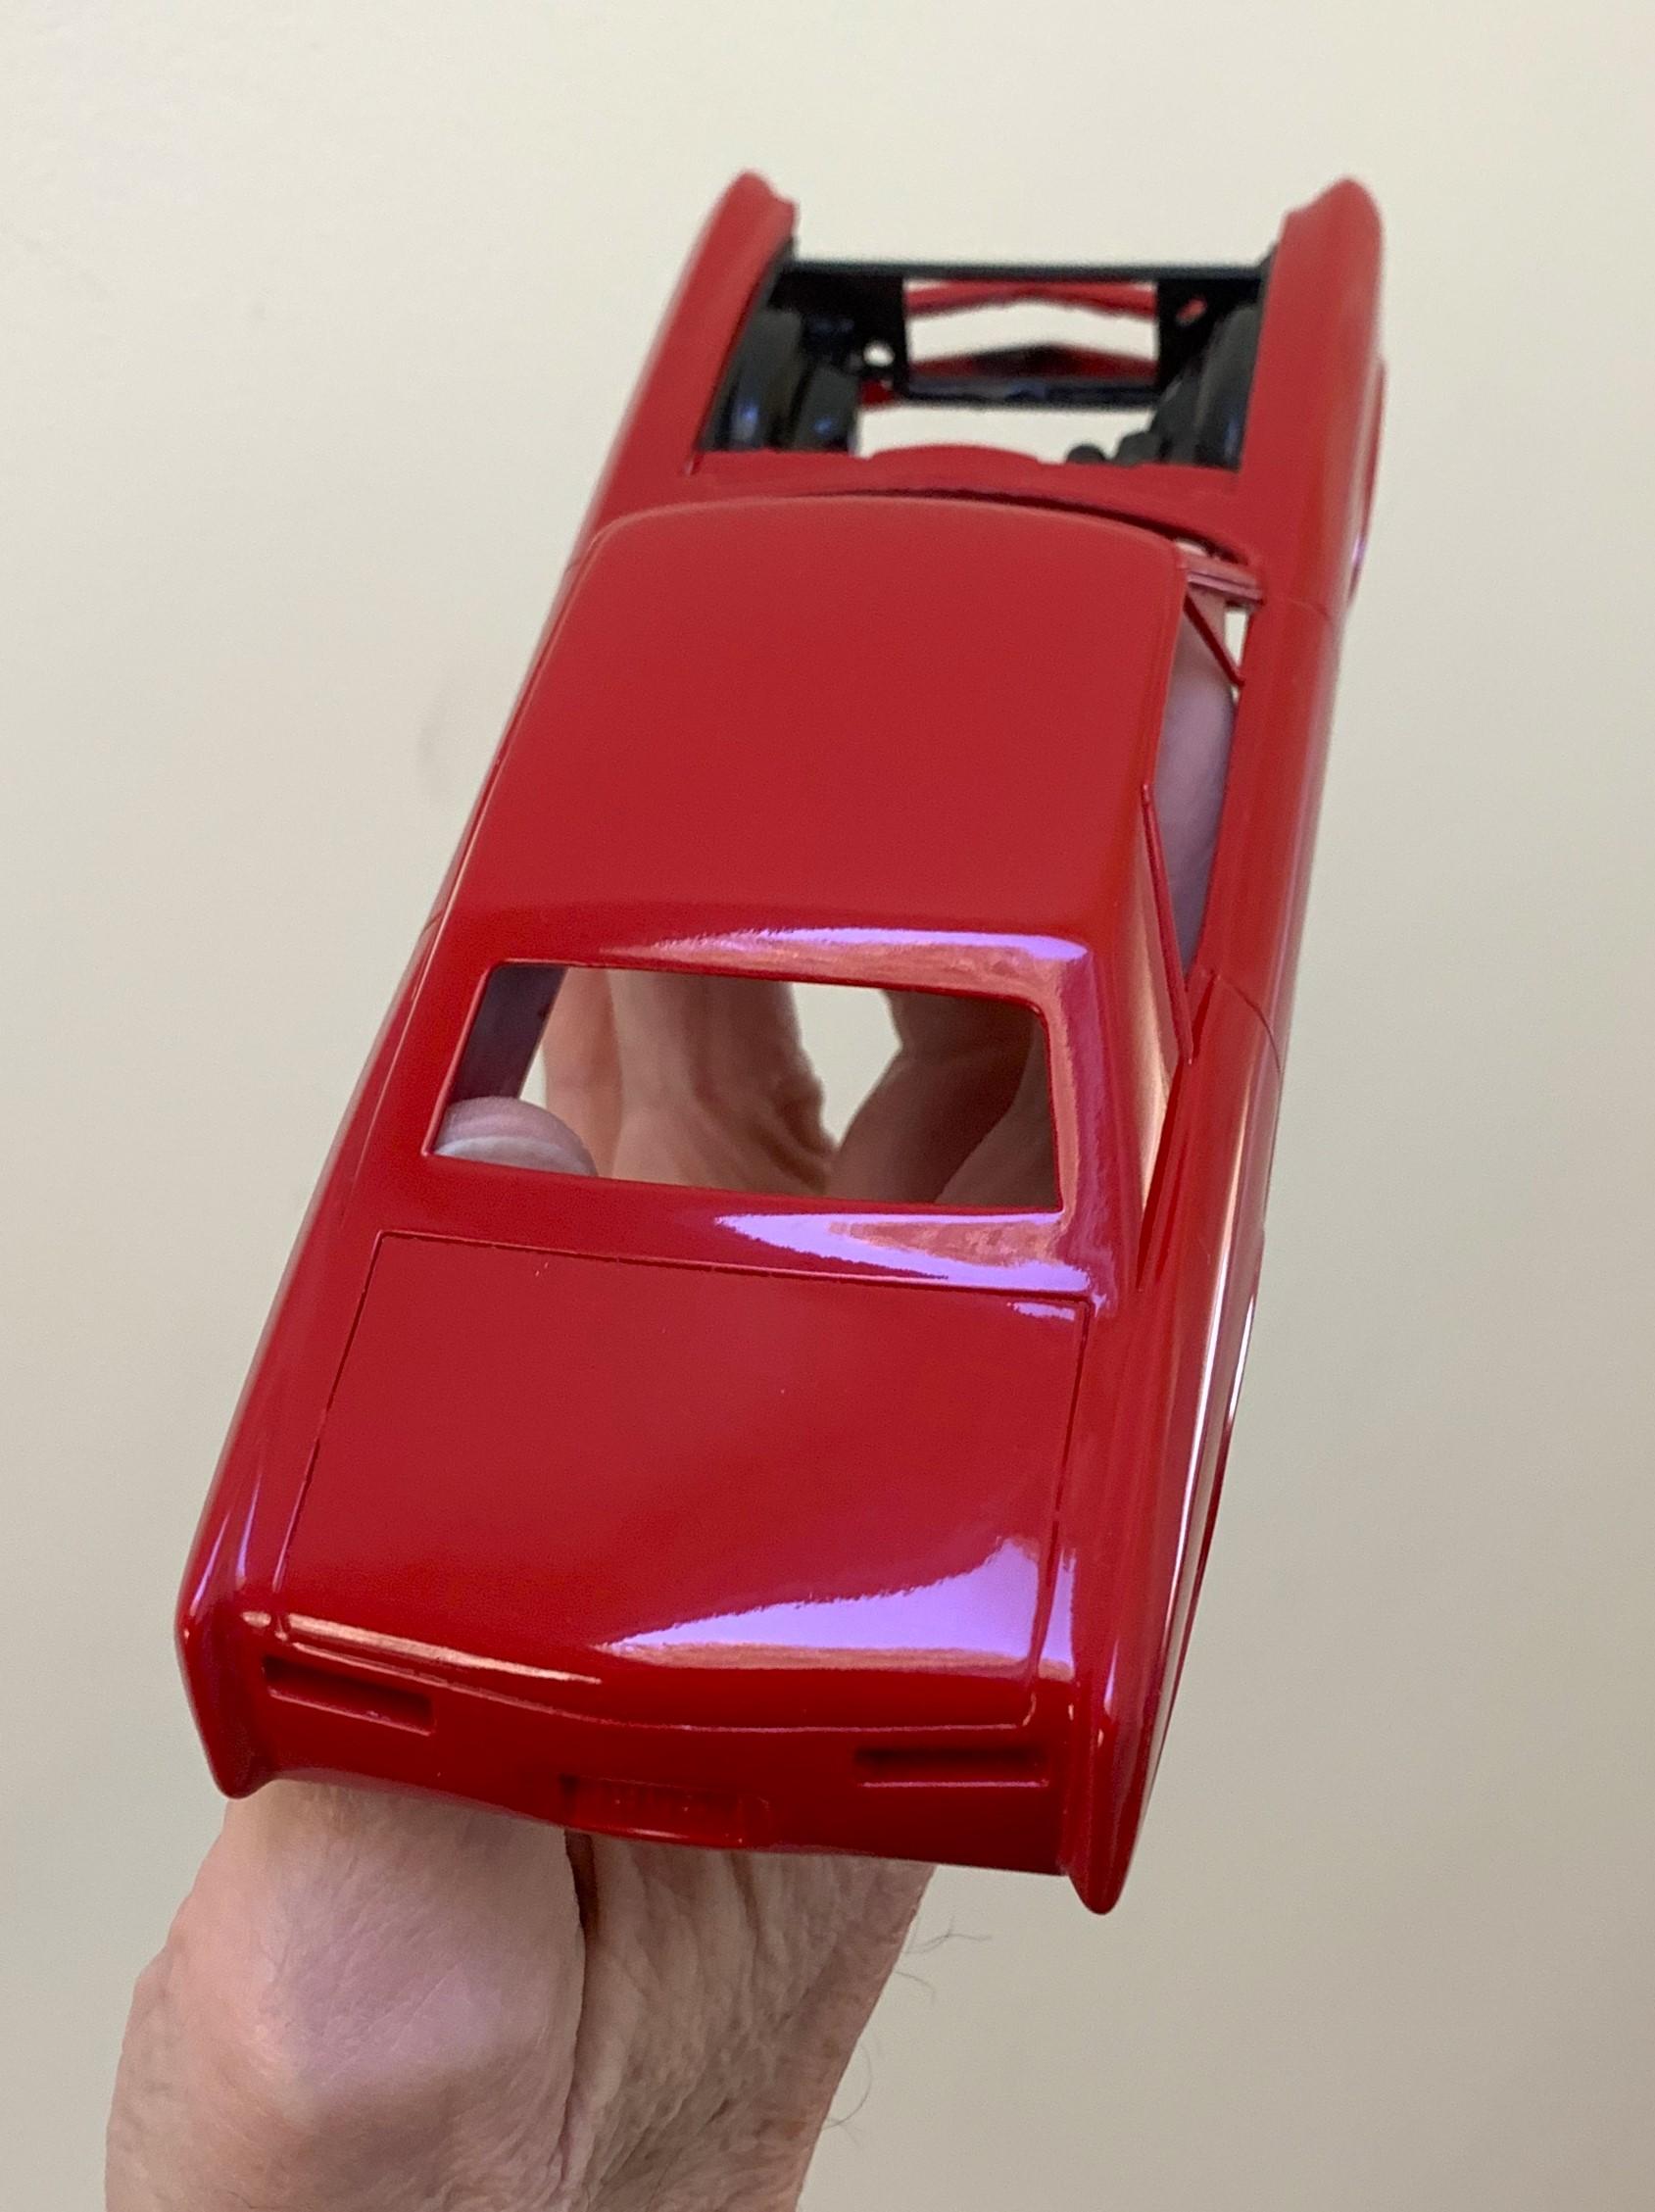
Sorry for the delays, but it's been a lot of primer, sand, fill, sand, primer, sand, etc. BUT............ I've finally got the Riviera in red and mostly polished, still needs a bit more in certain areas. You can see that while I wanted a radical custom, I still wanted to preserve the Riviera look. Although mine is a 2 seater, I think the proportions are good because I also shortened behind the rear wheels, wheelbase is stock '63, windshield and cowl moved back a scale foot! Nail head will sit back accordingly.
-
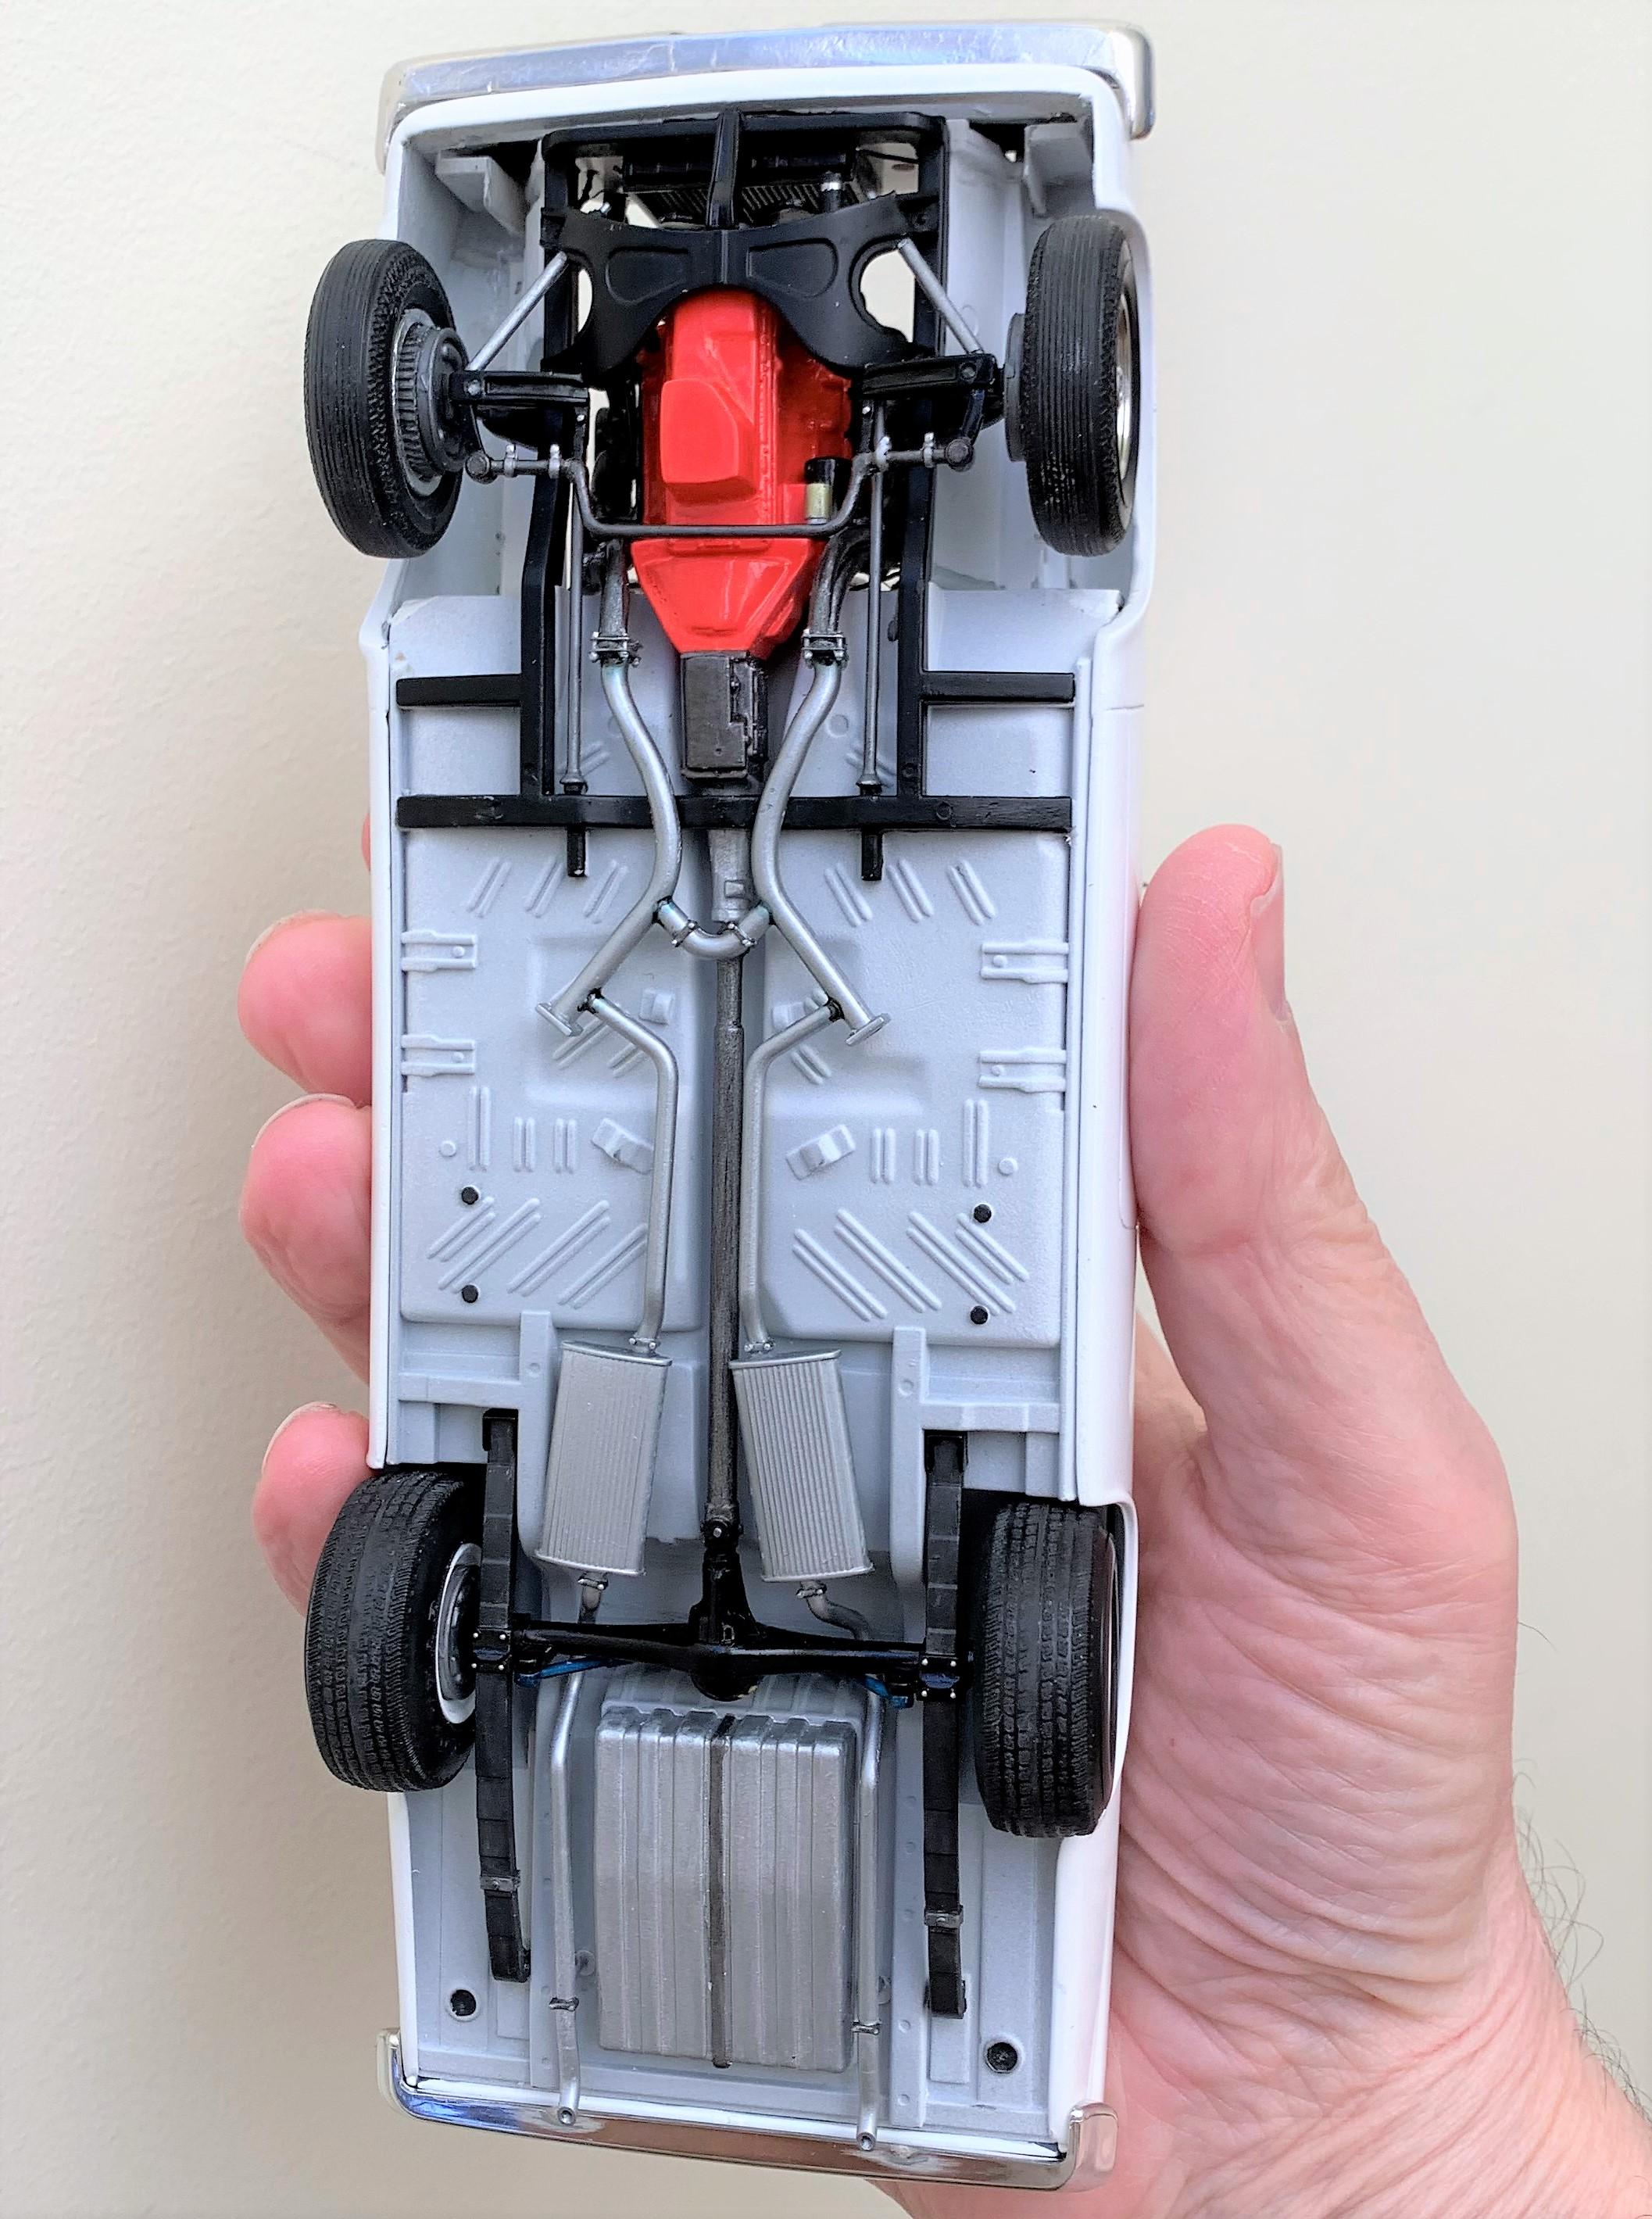
Now with the engine fitted and the rear wheels made, I can start final assembly. Some small pads on the spring mounting points gives me the desired ride height.
-
This is something I do a lot of: I find the wheels I want, and the tires I want, but the wheels don't always fit the tires. So I take the wheels that DO fit the tires and combine them with the wheels I've chosen. Cut the centers out and discard those, de-chrome the rings that I'll use in Easy Off, and sand them down to the proper depth. I've always liked the look of wide steelies on the rear of a muscle car, a base model muscle car that is.
-
I more or less finished up the interior. For the door cards, I just masked and painted it to look more like the '63. I'm not going for a show winning replica, just a cool model. Notice the "radio delete" LOL
-
Took it to the club meeting Sunday, basically finished. Cheers!
-
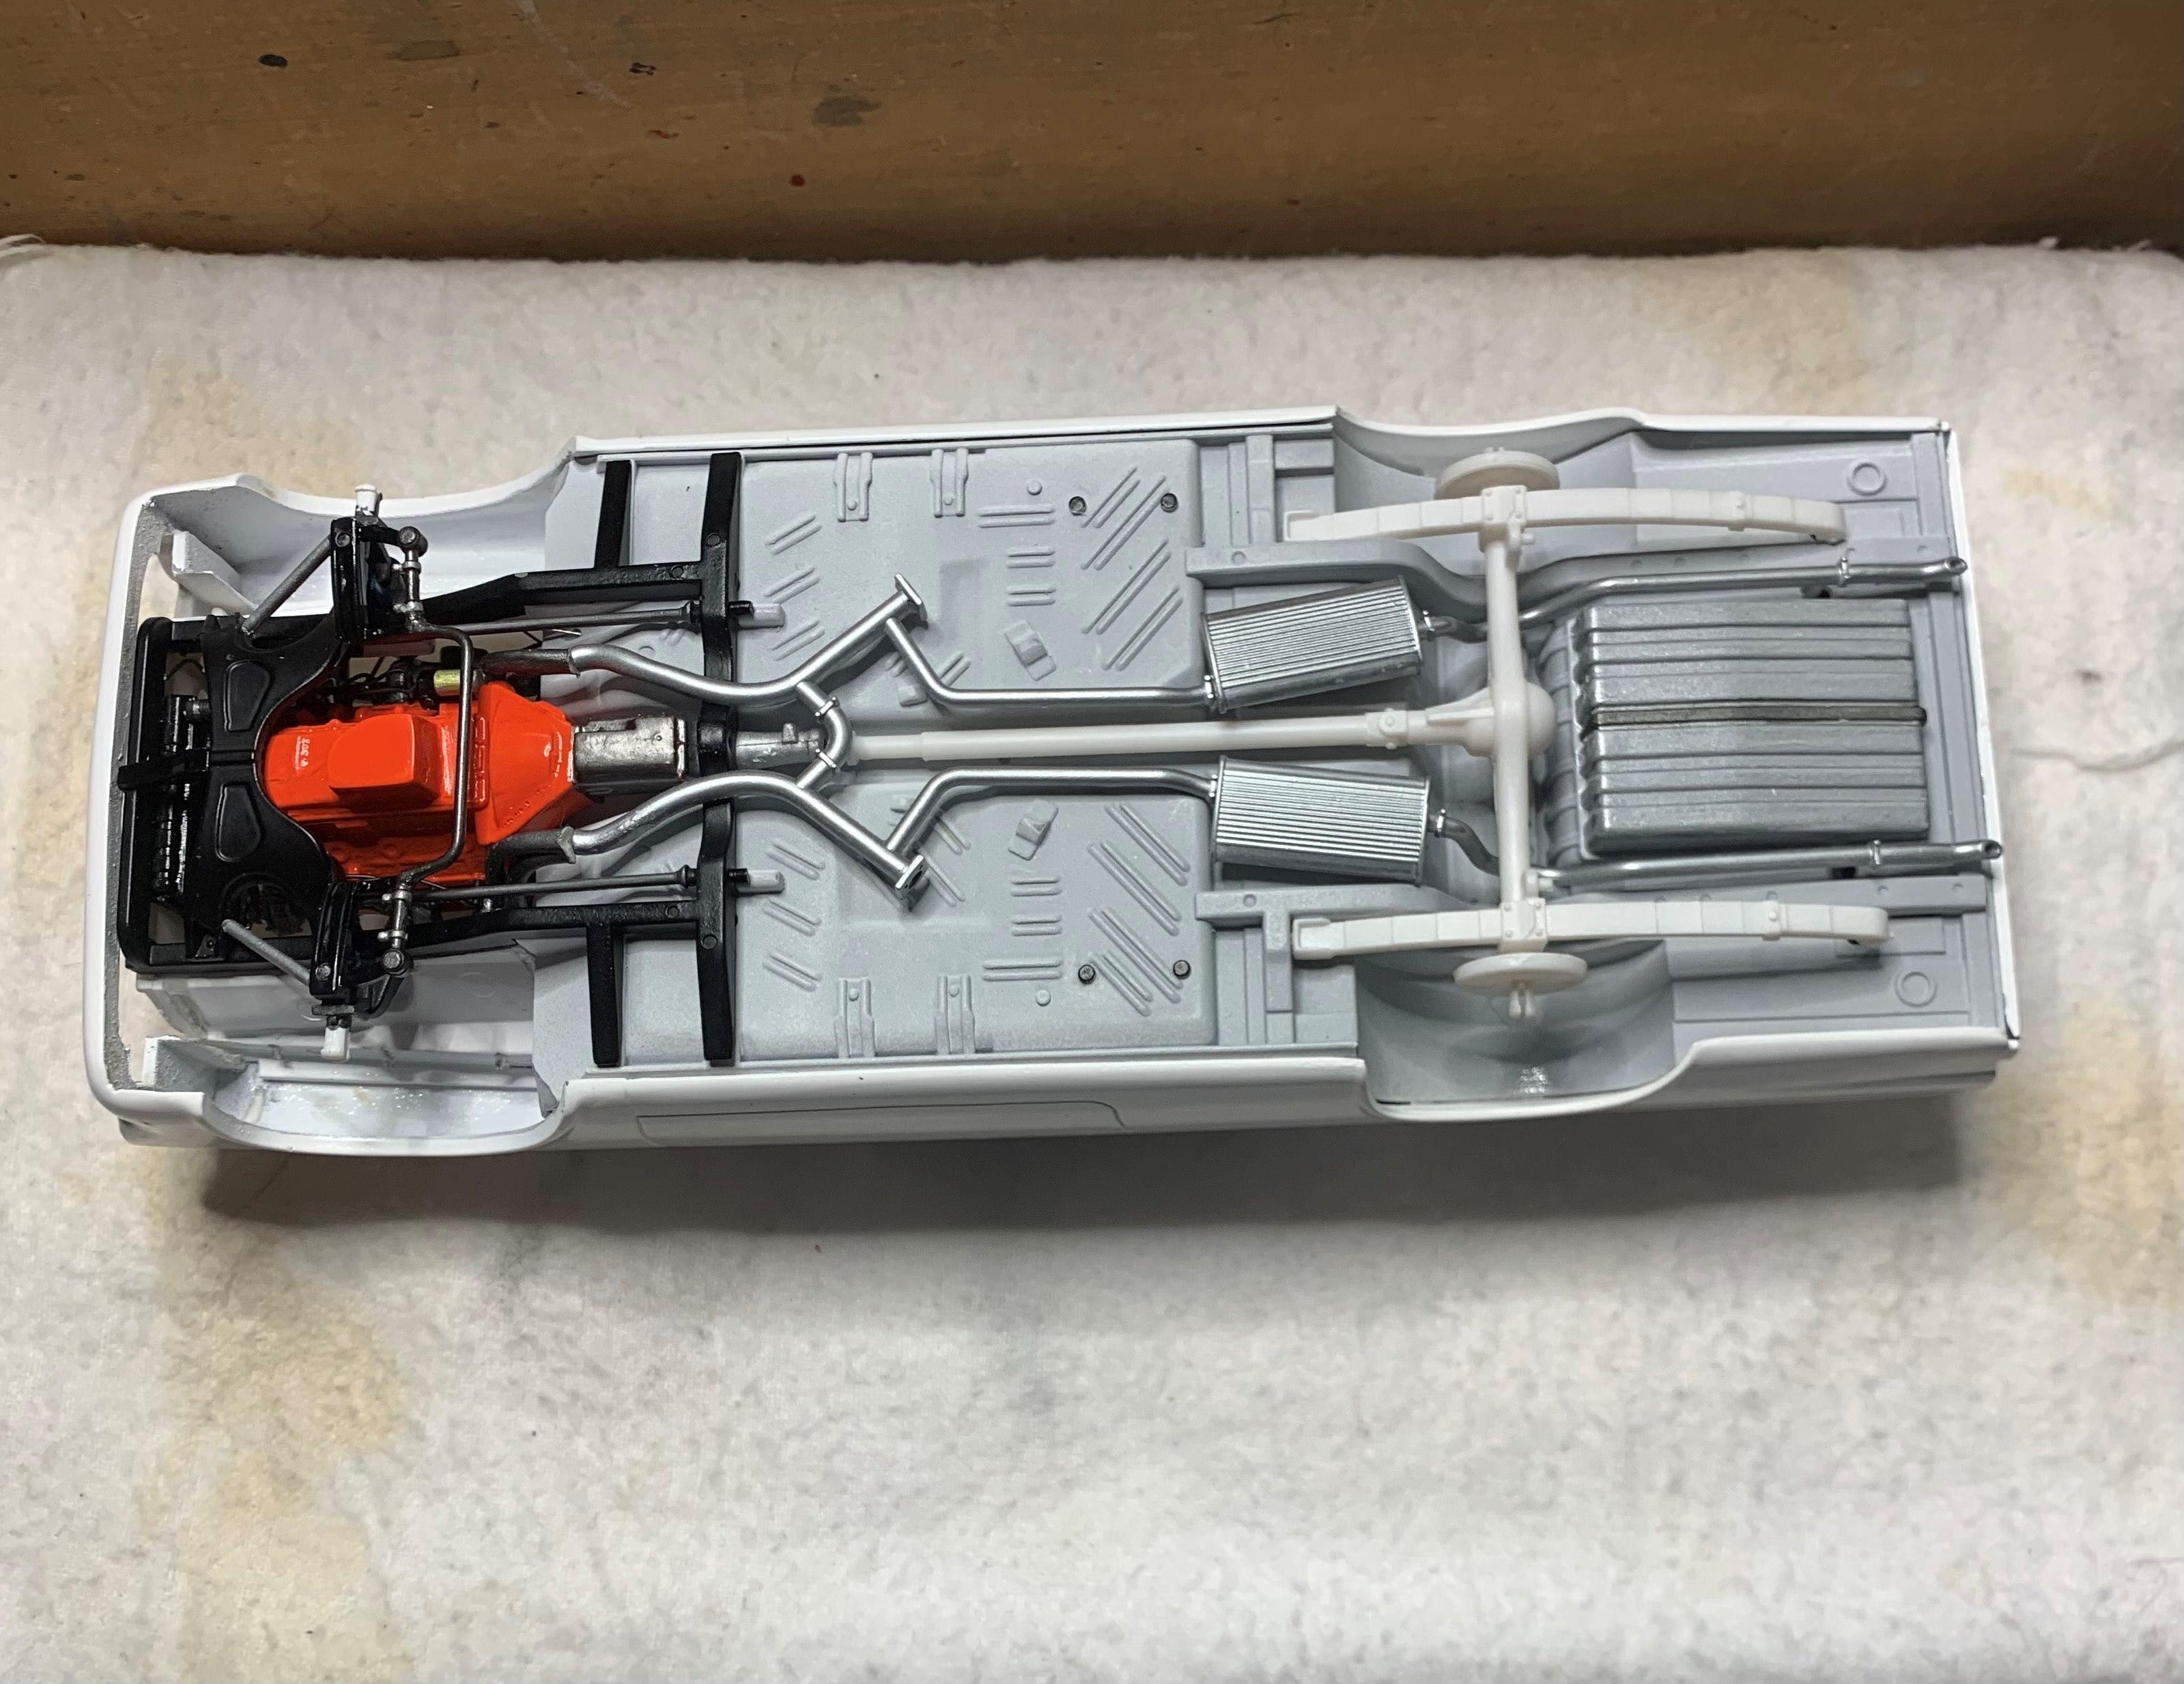
This one's nearing completion. What a great kit to build, so enjoyable, thank you Tamiya! I did make aluminum exhaust tips to replace the plastic ones. (you could've given us these Tamiya) LOL
-
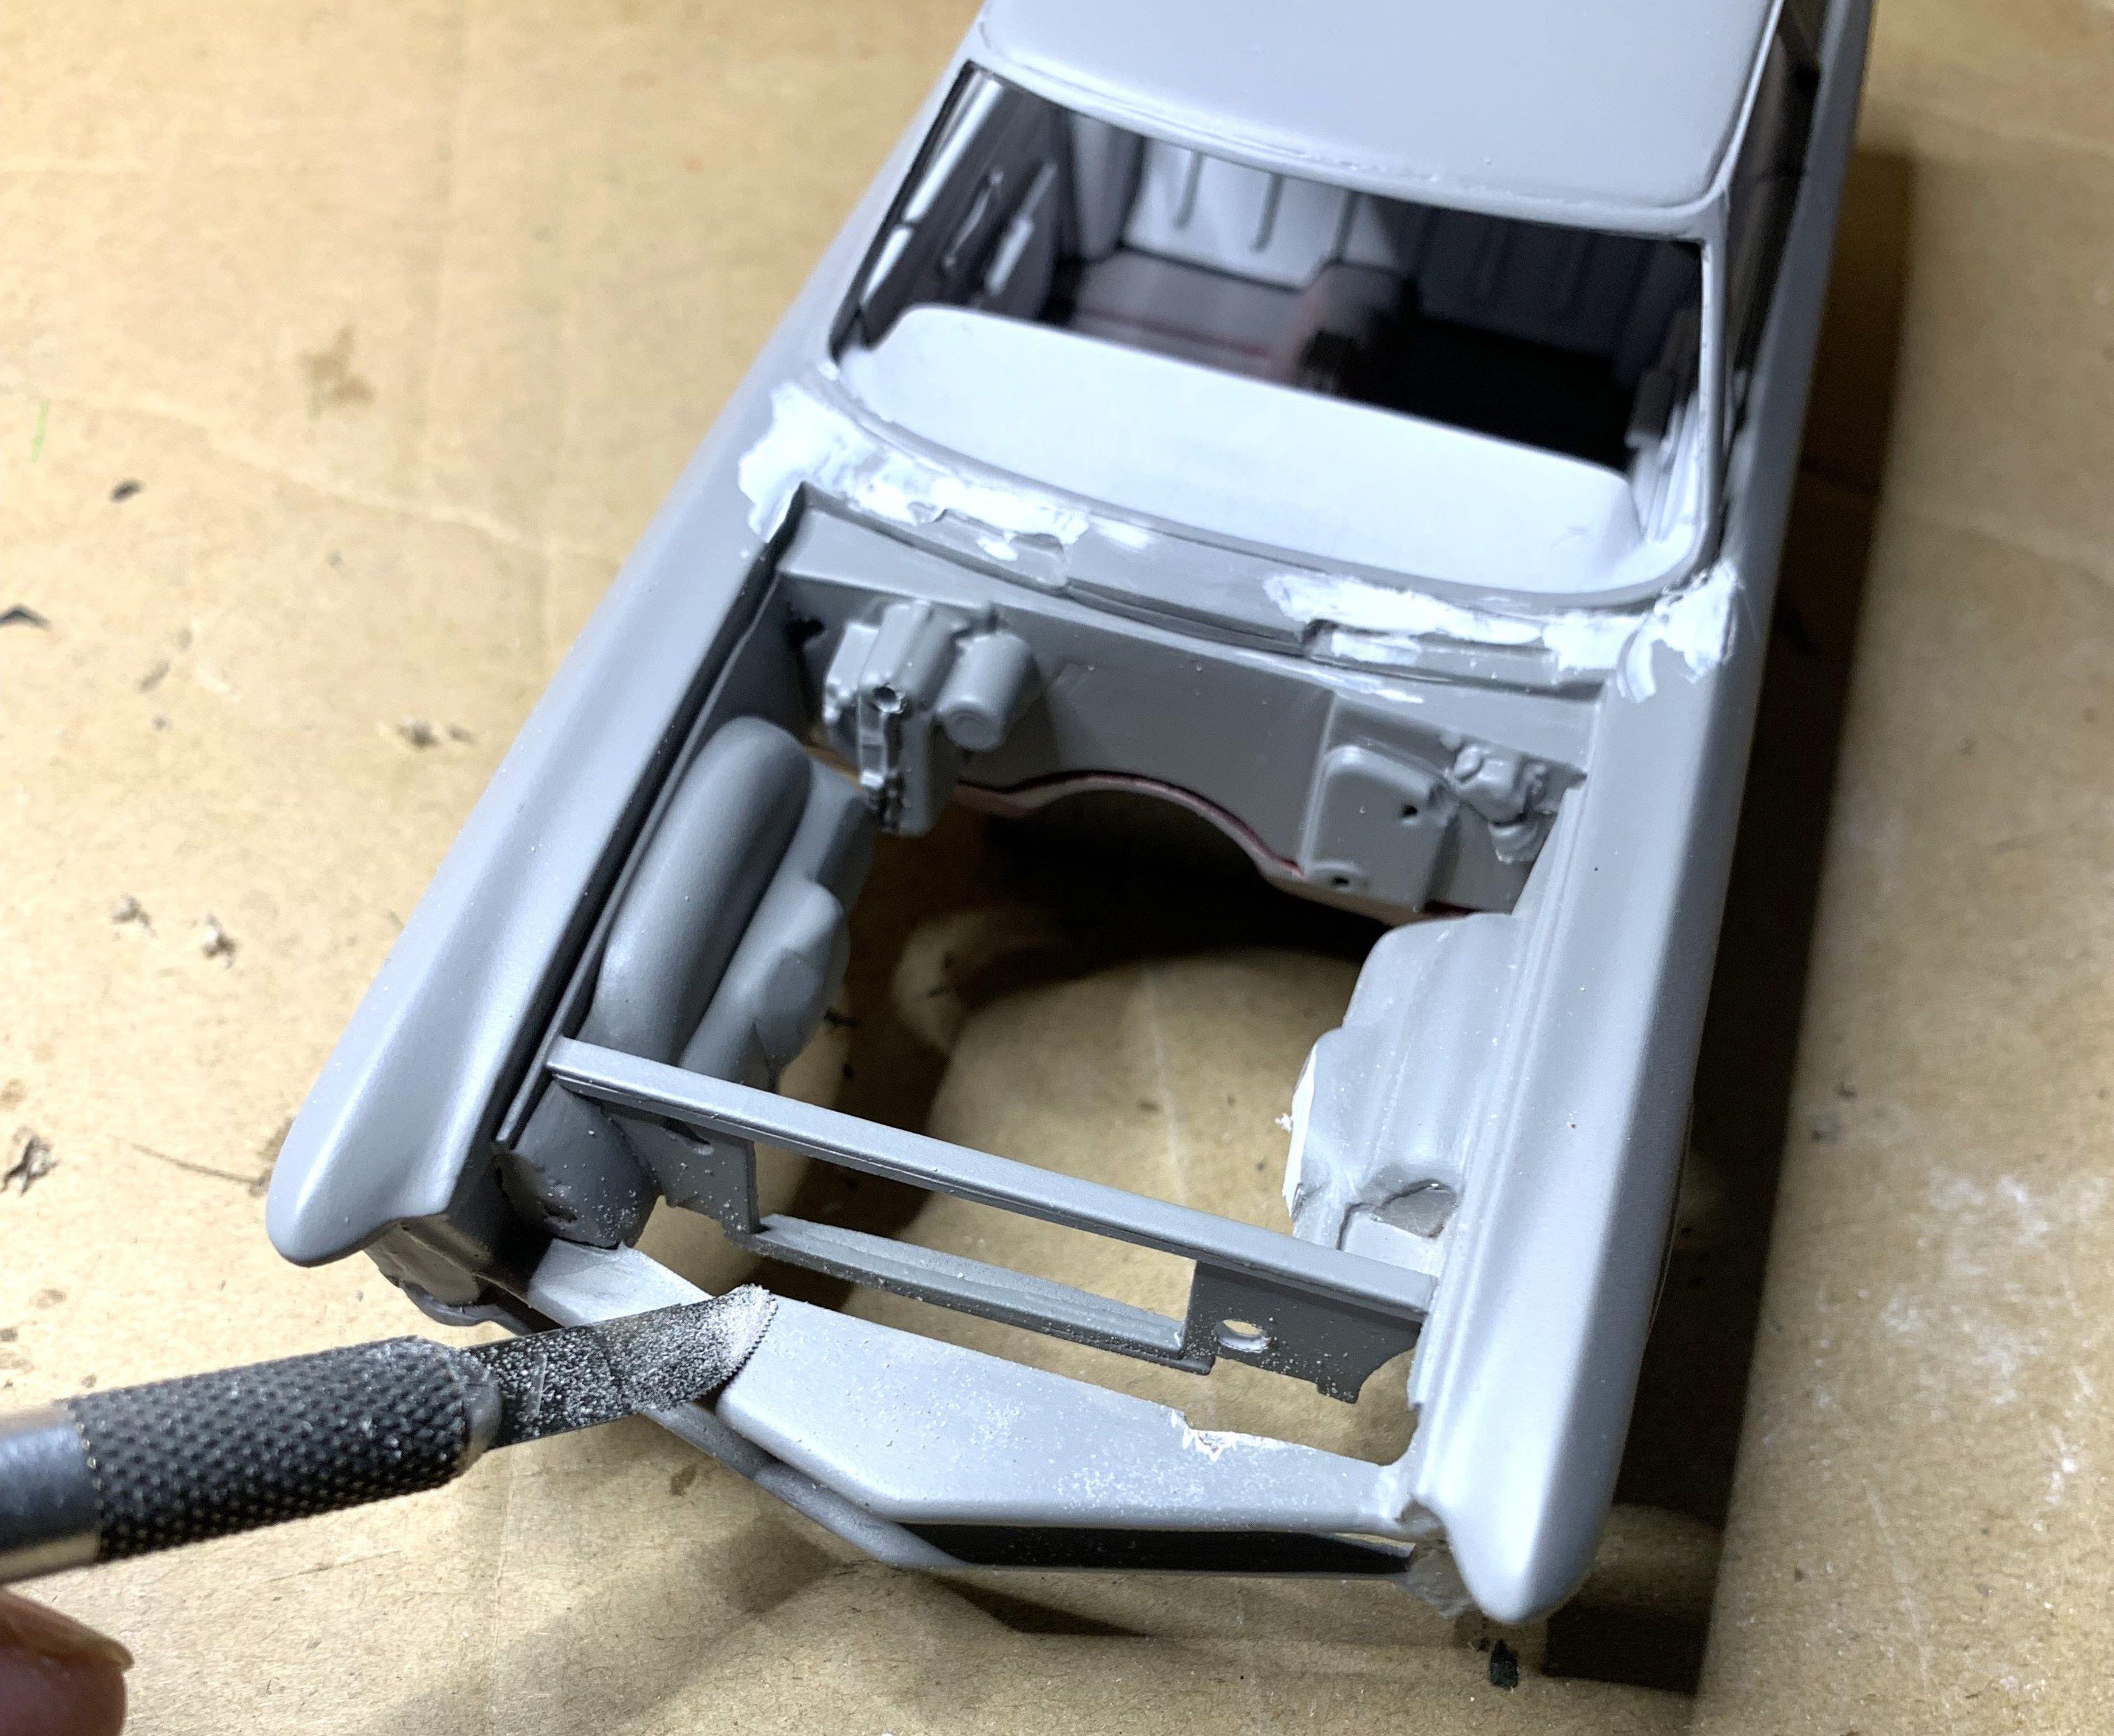
Okay, now I'm having fun. After removing the molded on detail on the firewall and inner fenders, I added it back with separate stuff, much better. Test fit the engine, yeah it fits.
-
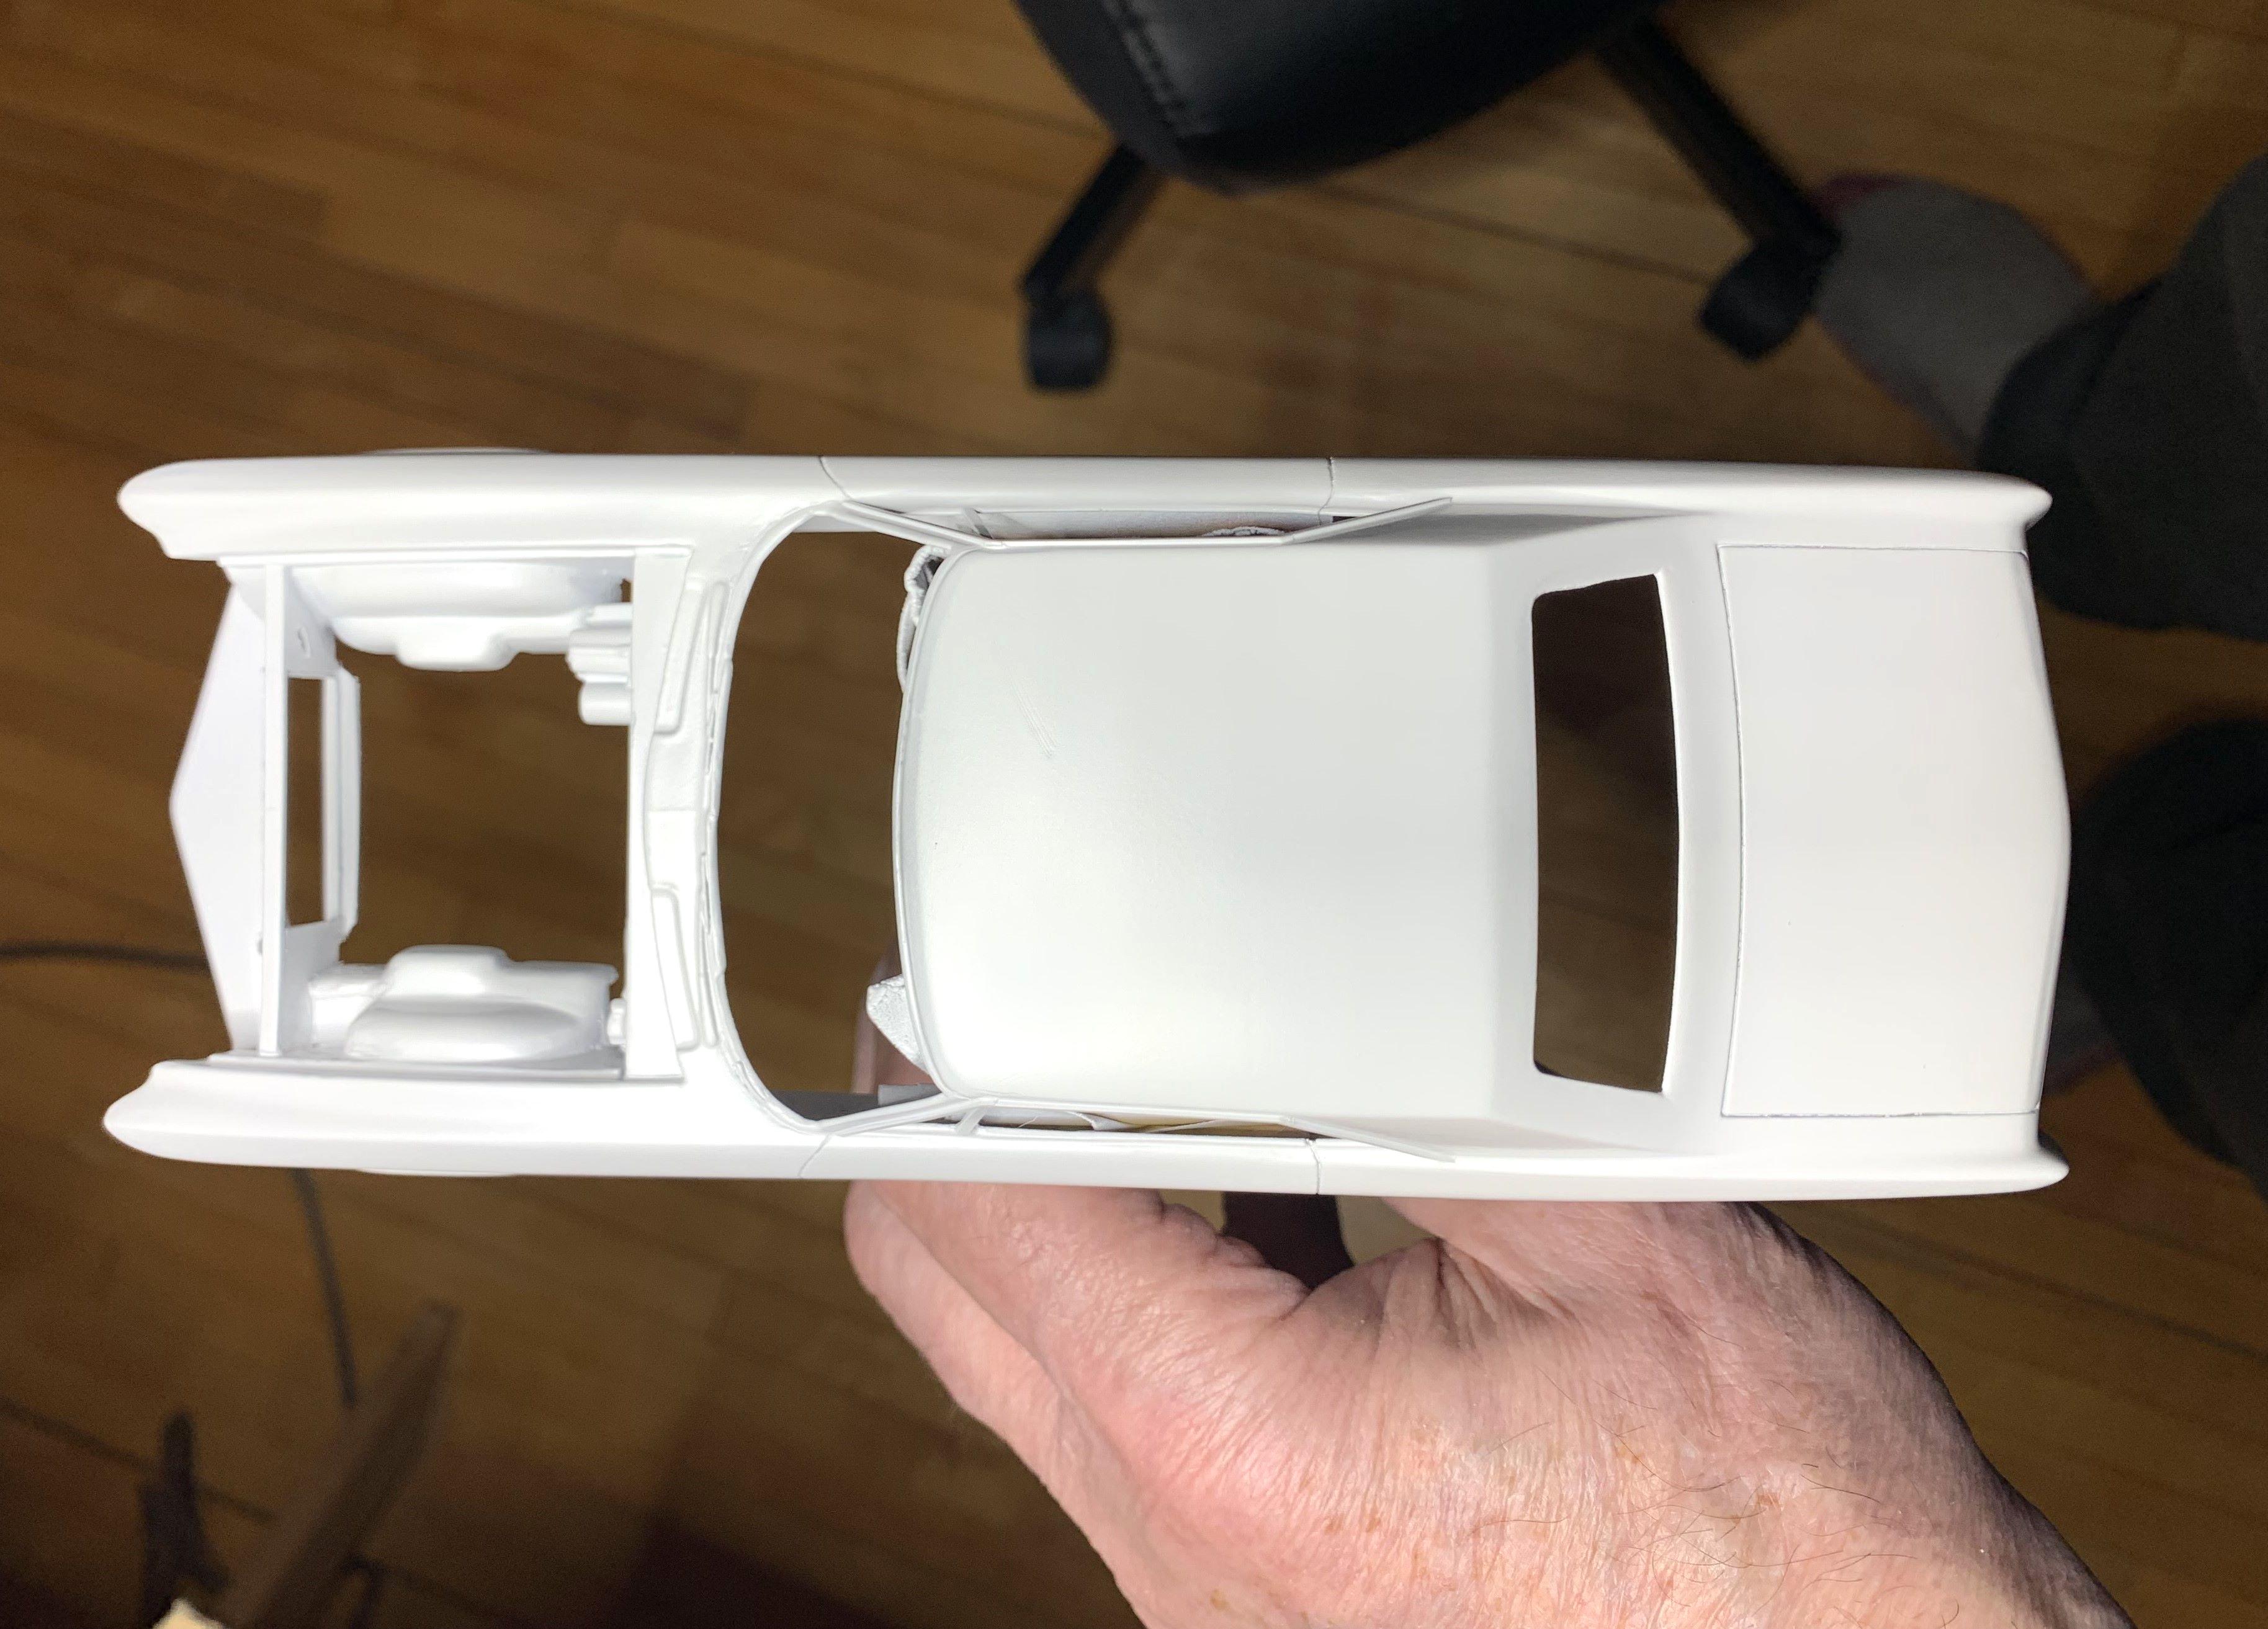
Since I'm using the Mobius tub, I had to make the JoHan dash fit. It's starting to resemble the '63 dash, still needs a lot of tweaking. I lined up the firewall, but I'll remove all the molded on detail.
-
I had a resin bench seat for a Thunderbolt Fairlane kit in the stash. I smoothed both seats. I added styrene to make the front seat the same depth as the Mobius rear seat. Then I added some thin strips to create the base model look.
-
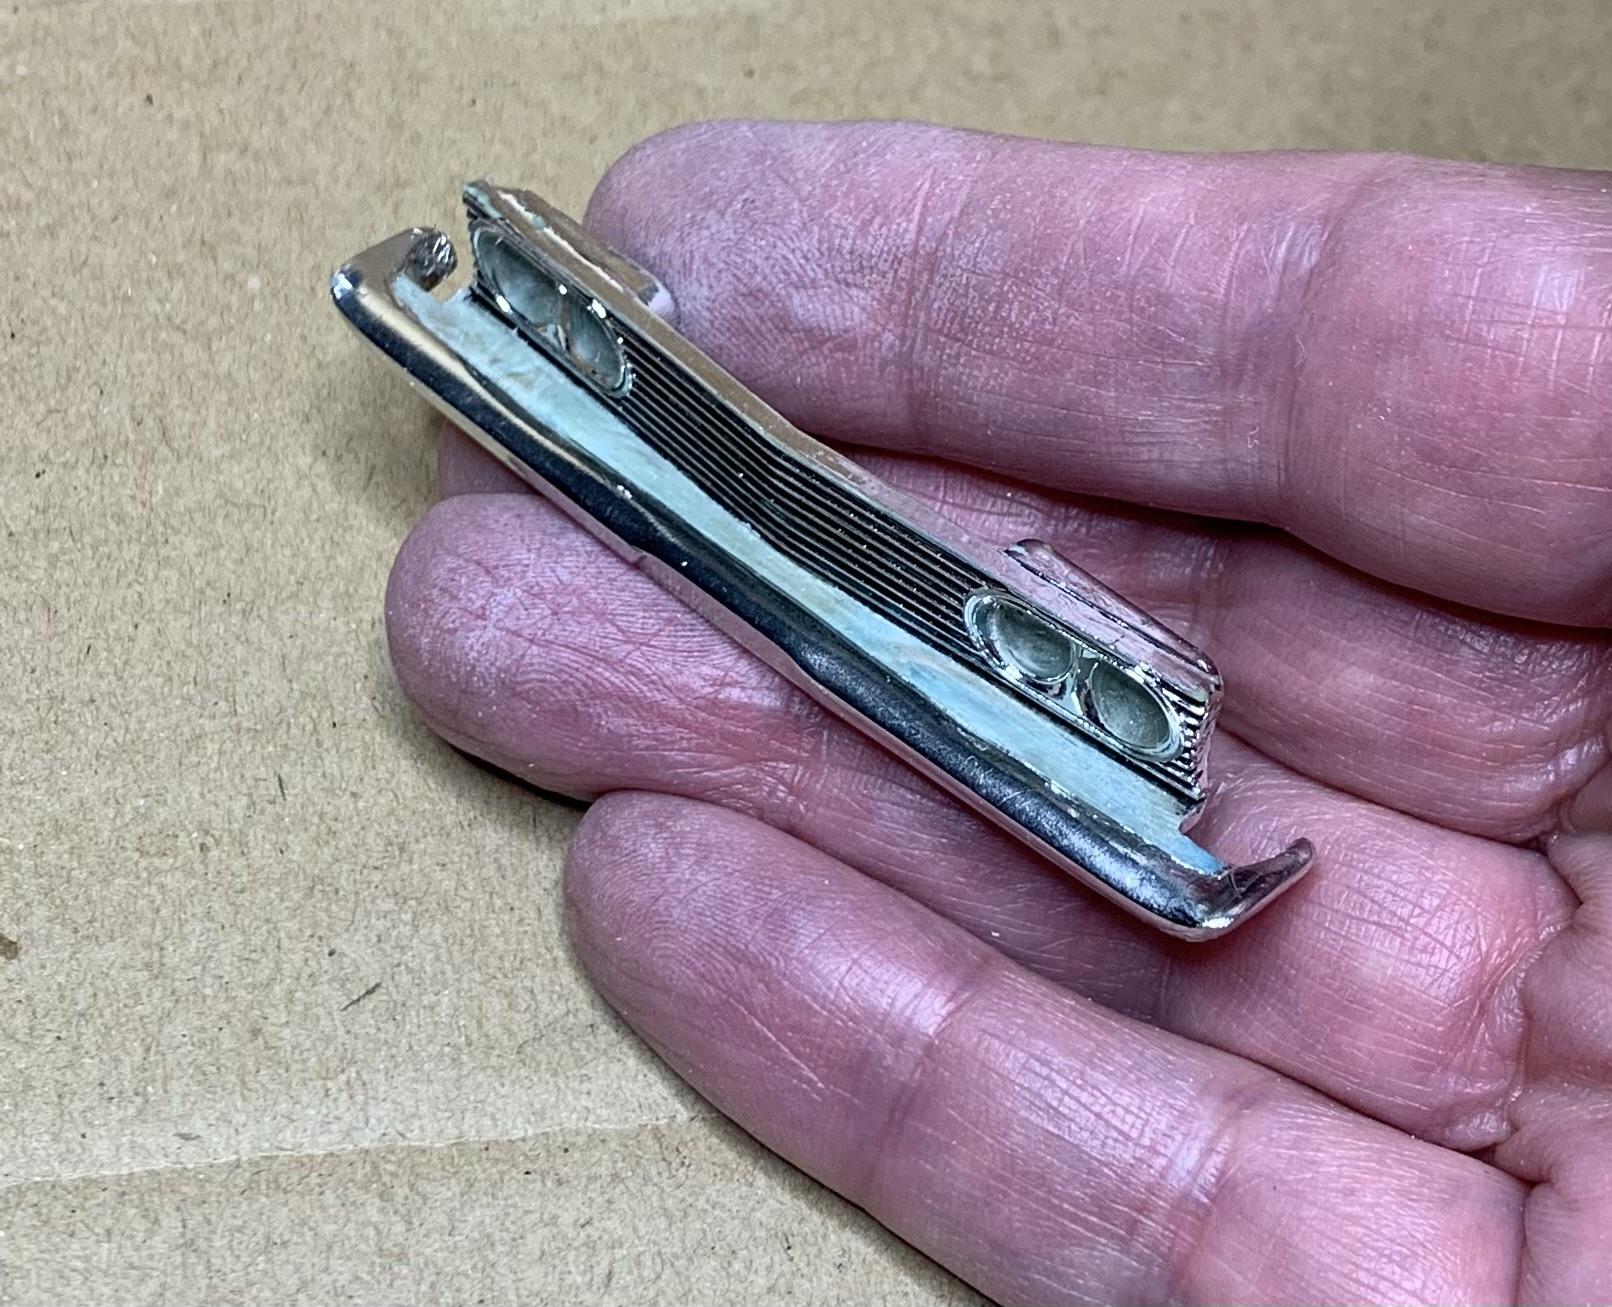
Inner fenders got "SIMPLIFIED" I removed the molded on wires. Under the front bumper, I opened that up. I drilled out the chrome headlights and scraped some plastic away to create the separation between the bumper and grille.
-
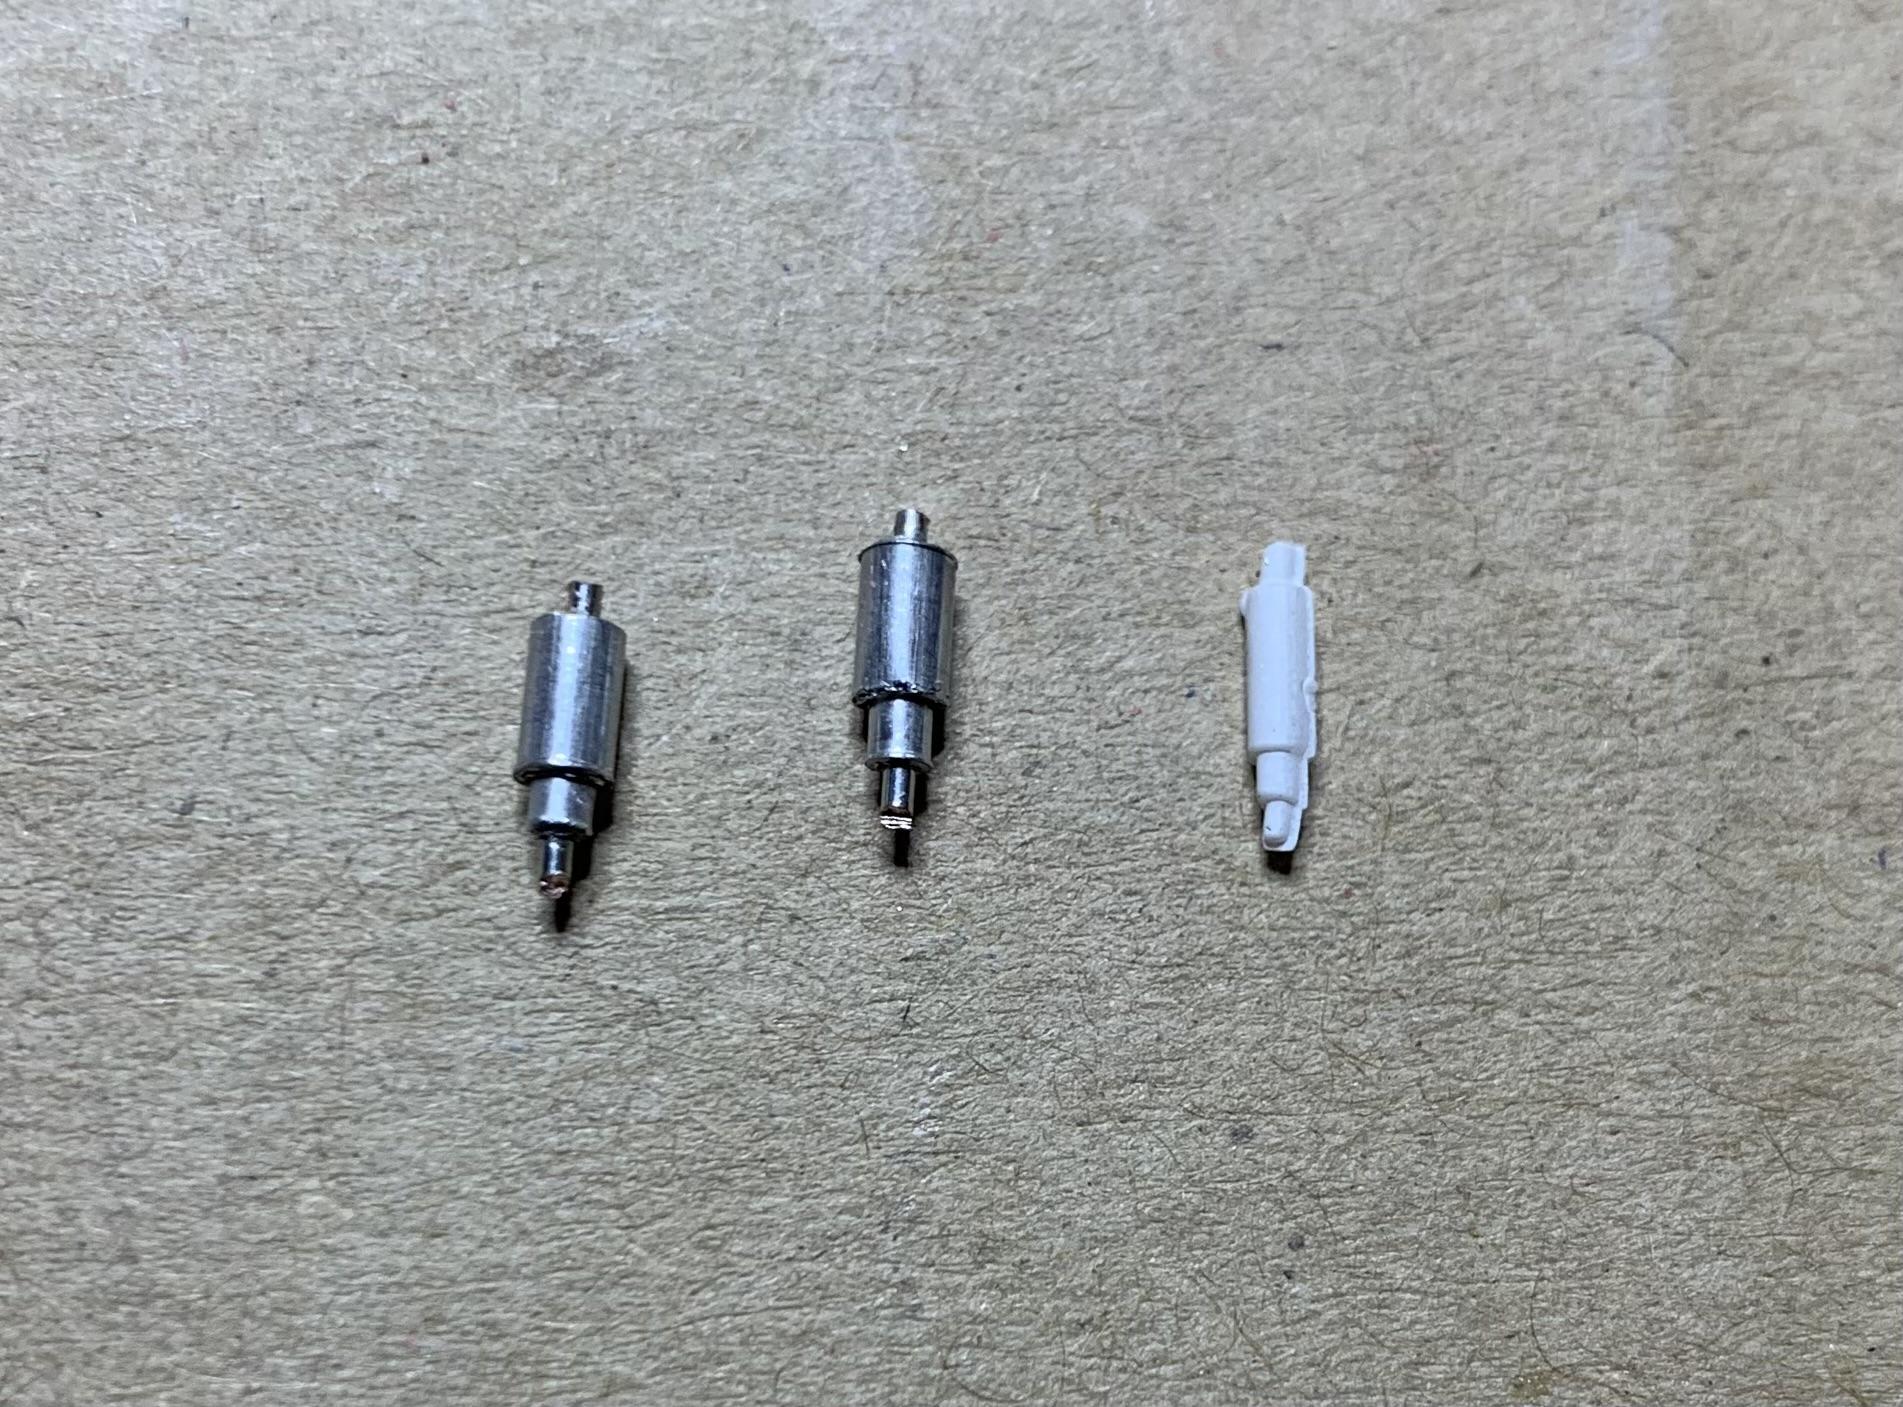
Mobius kit front shocks, hmmmm..... It only took about 3 minutes to make aluminum copies, that seem to look much better. I'm using mostly the Mobius kit.
-
Yeah a 426 max wedge, so lets get it started! Resin headers, pre-wired distributor, wired in the correct firing order. It's started!
-
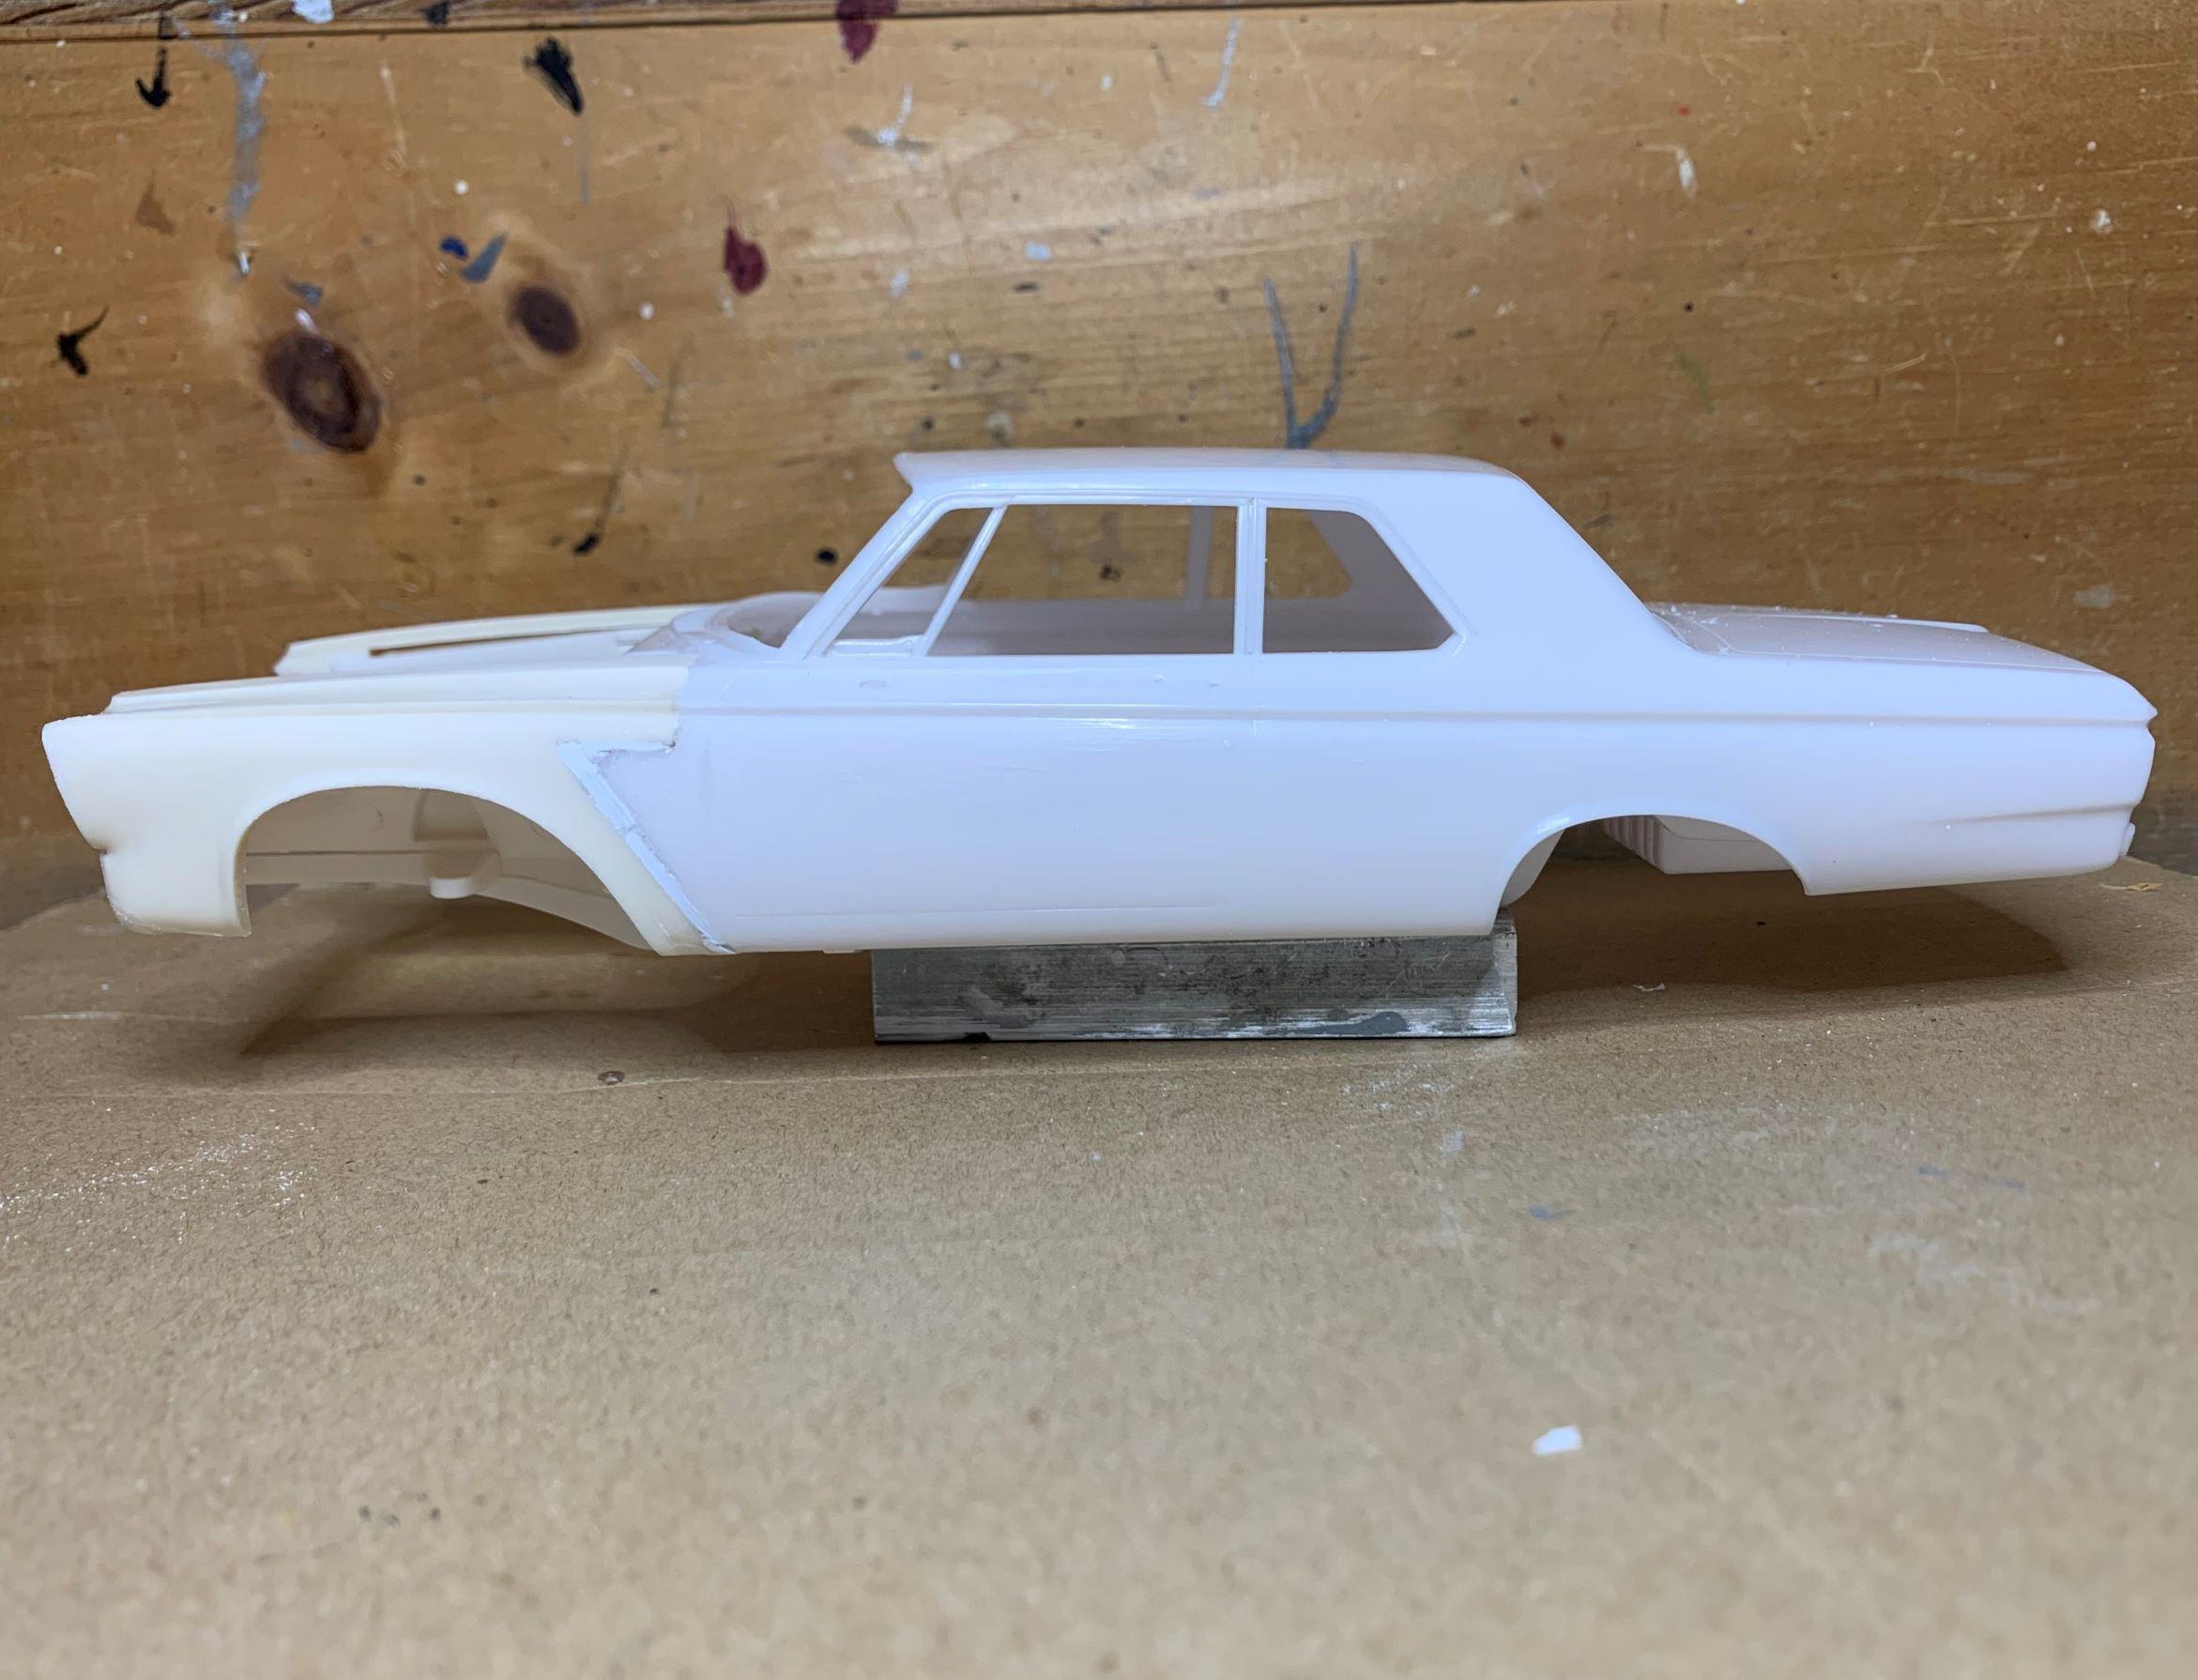
Next up was the rear of the roof, the '65 was straight across, the '63 had this distinctive curve. Had to be cut in the middle but I made it fit.
-
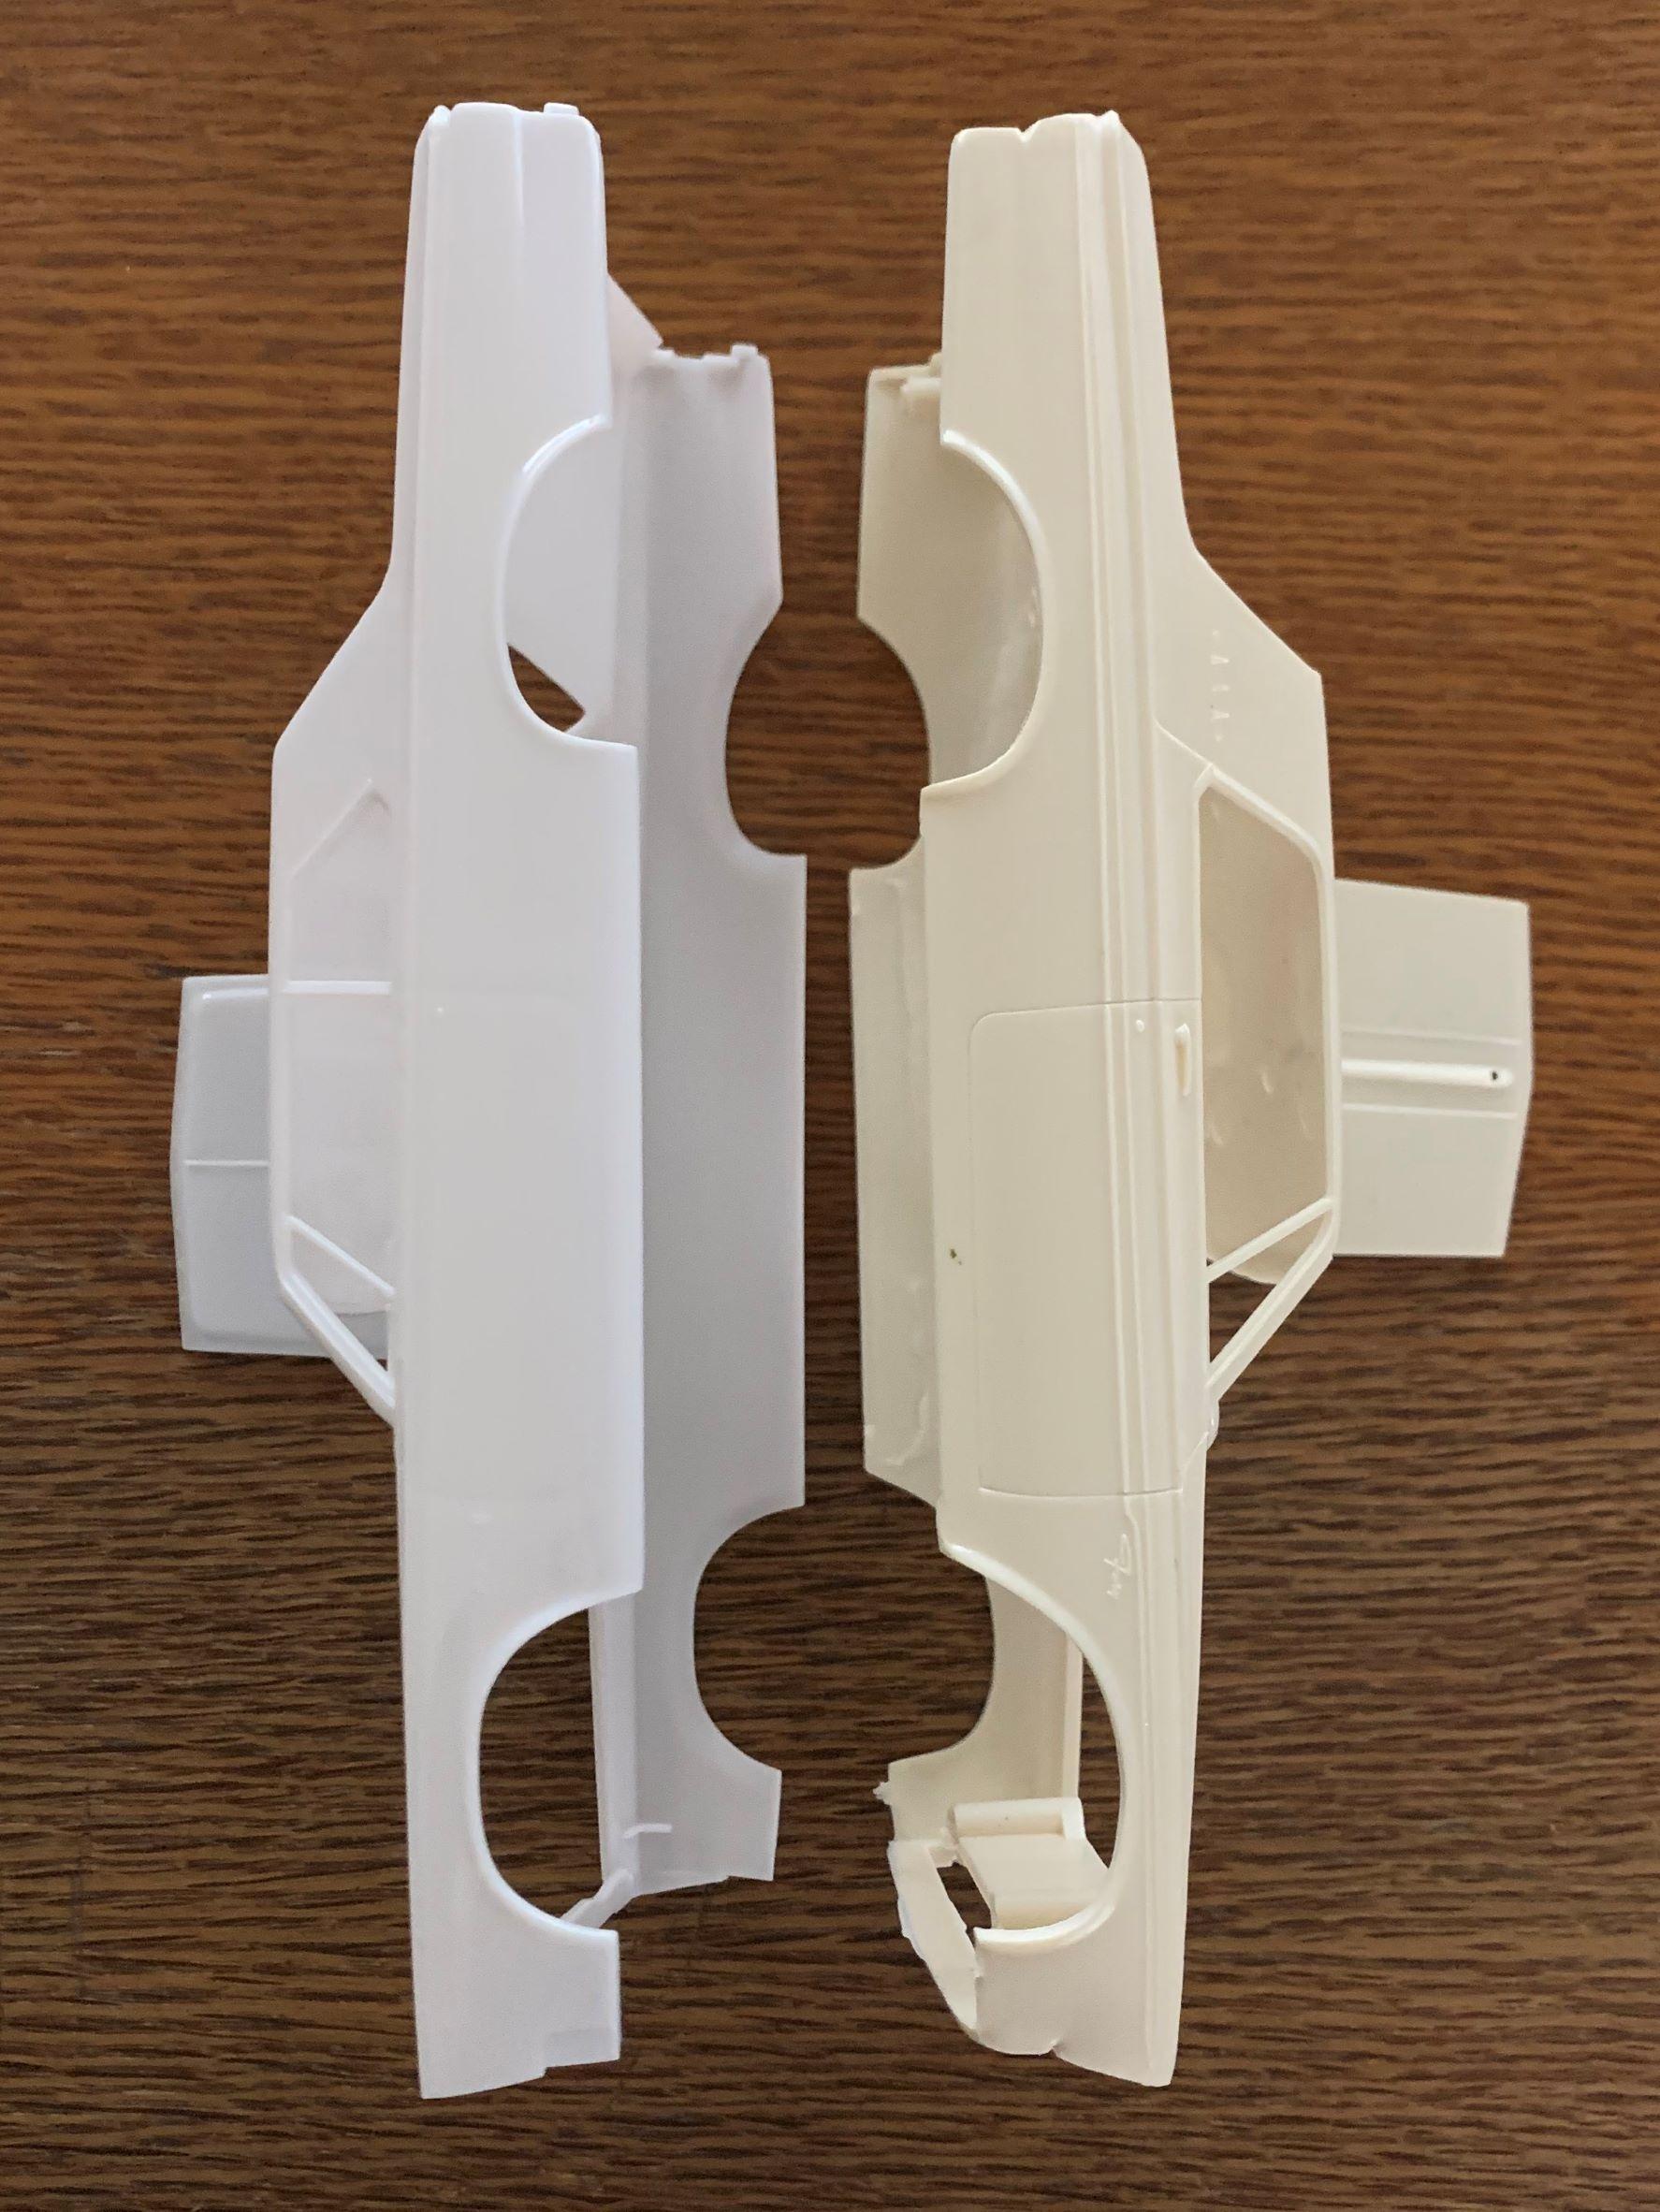
First off, the JoHan and the Mobius kits are decades apart in their engineering, so it's not a simple swap like the real car would be. But I've got the front end fitted, hopefully everything will start coming together as I'm making it up as I go.
-
I'll start a new thread under WIP, 63 Plymouth for all that.
-
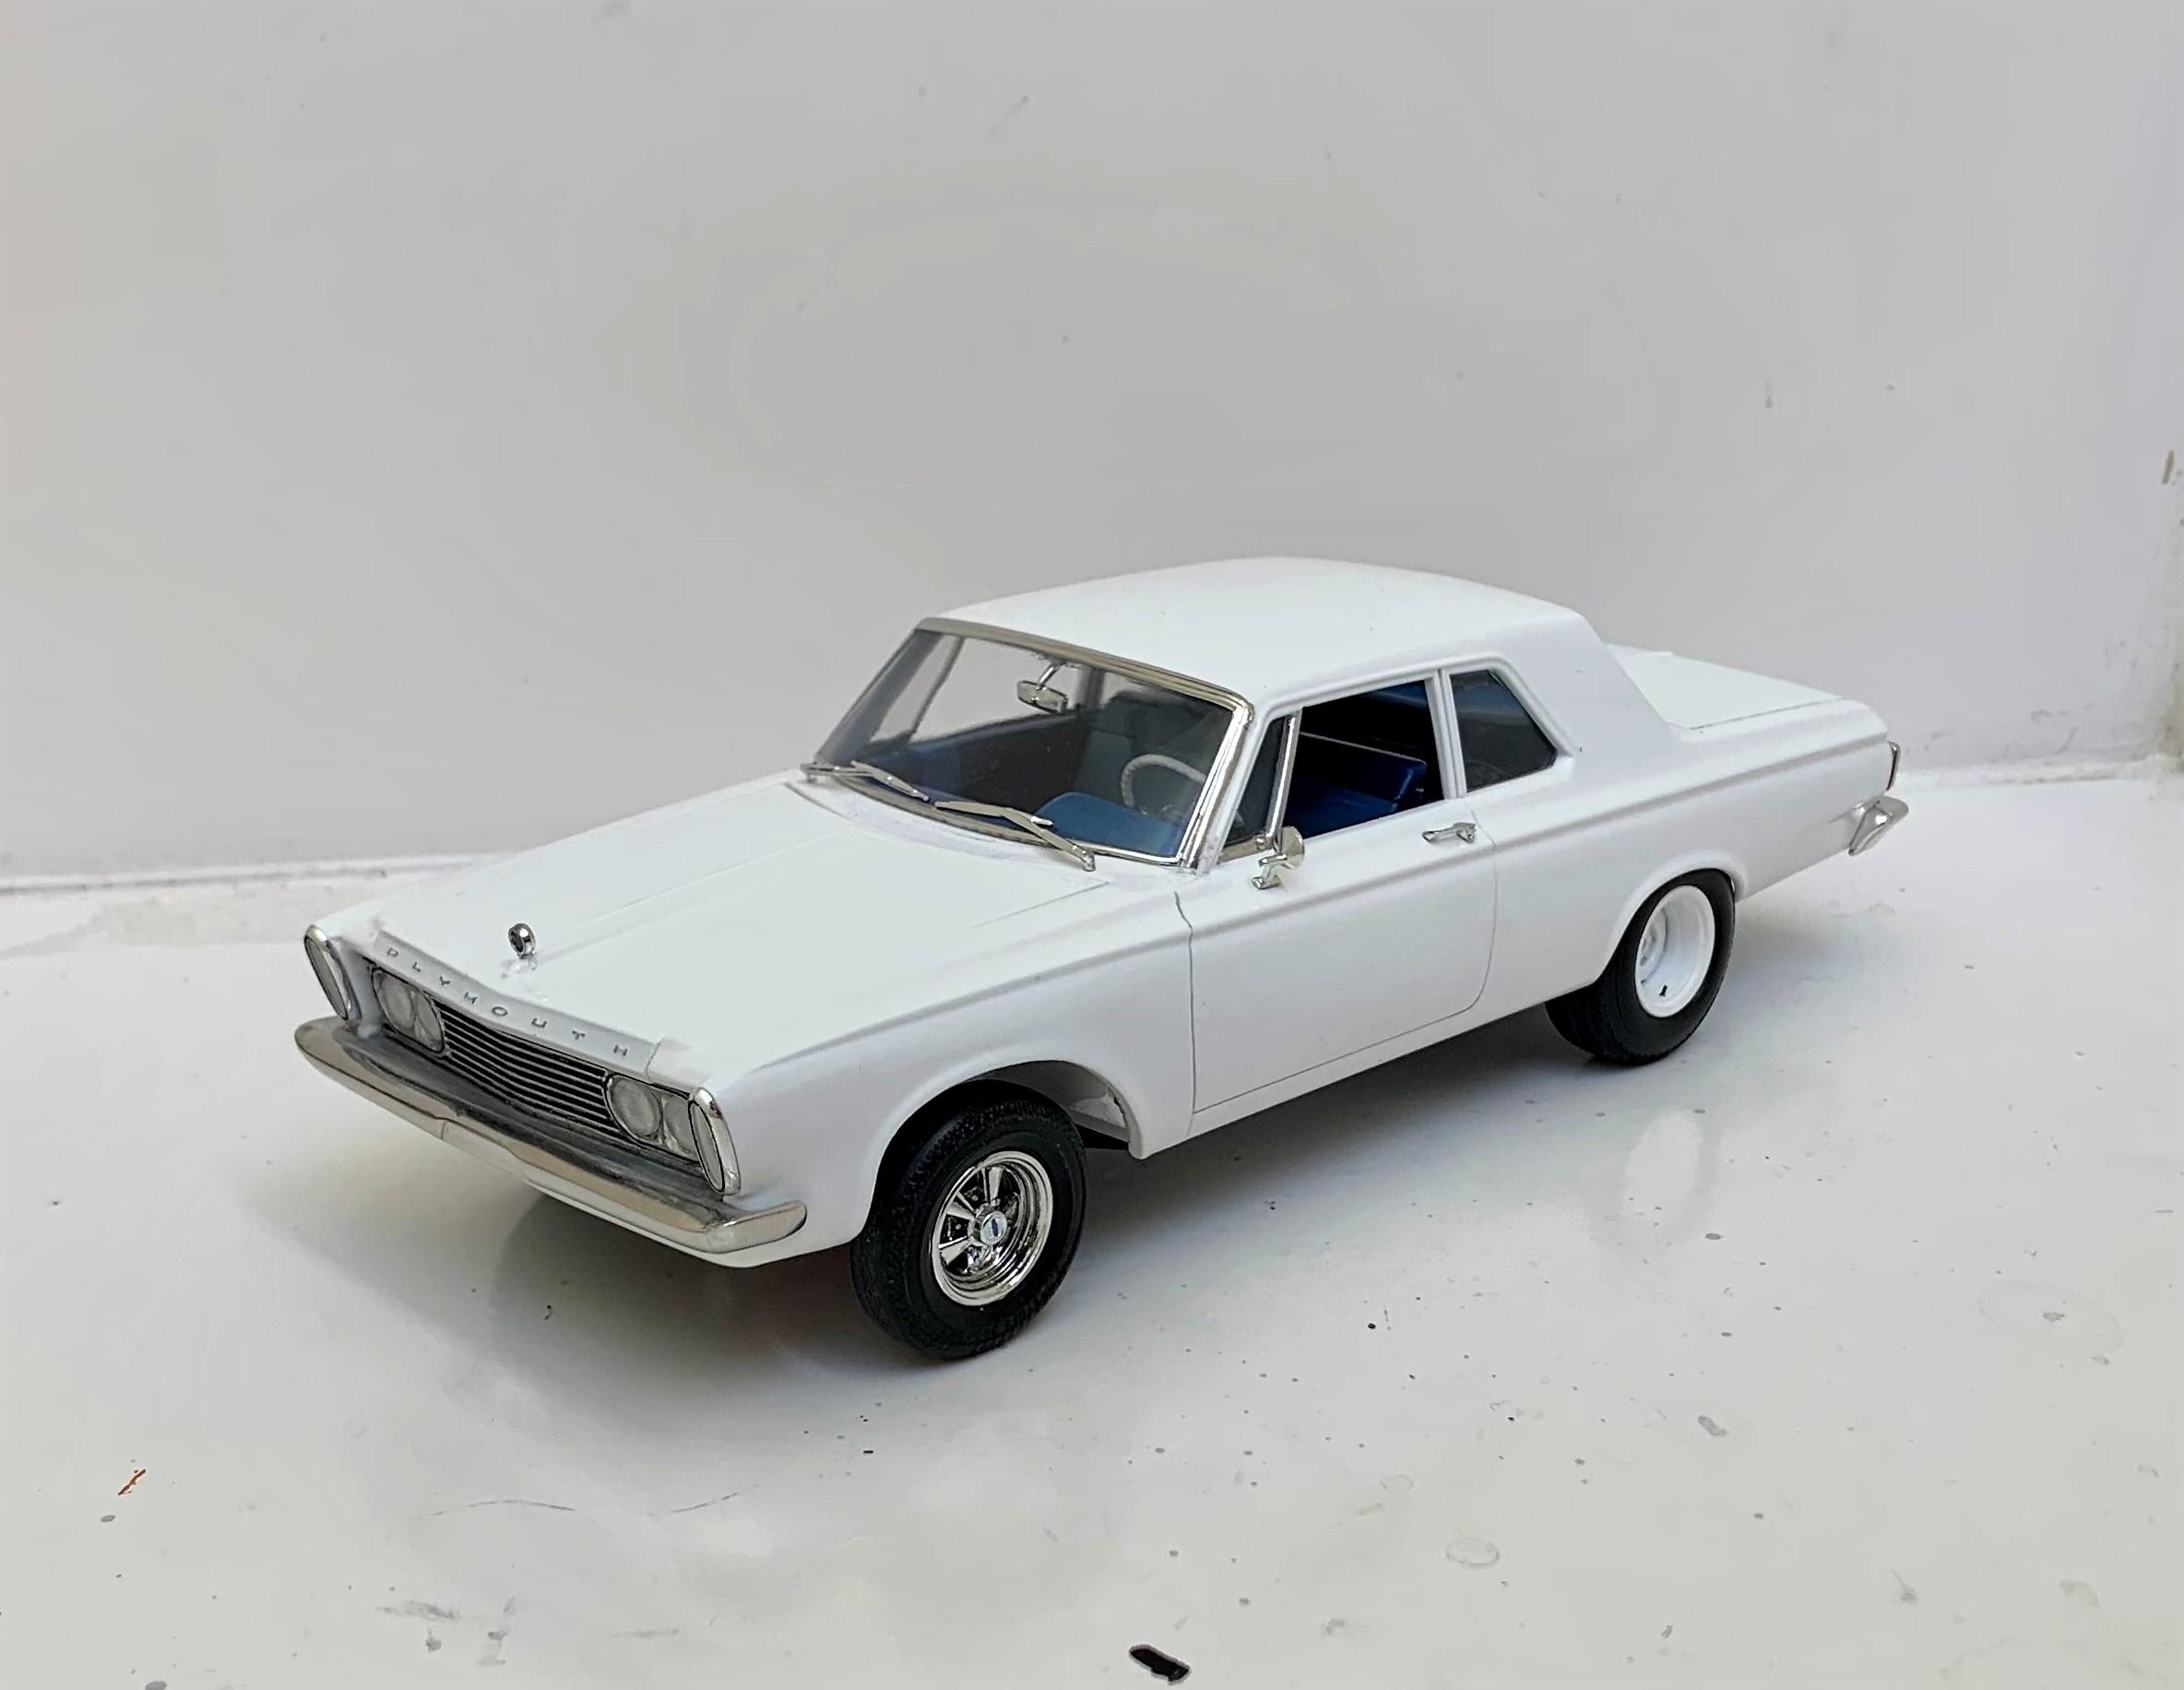
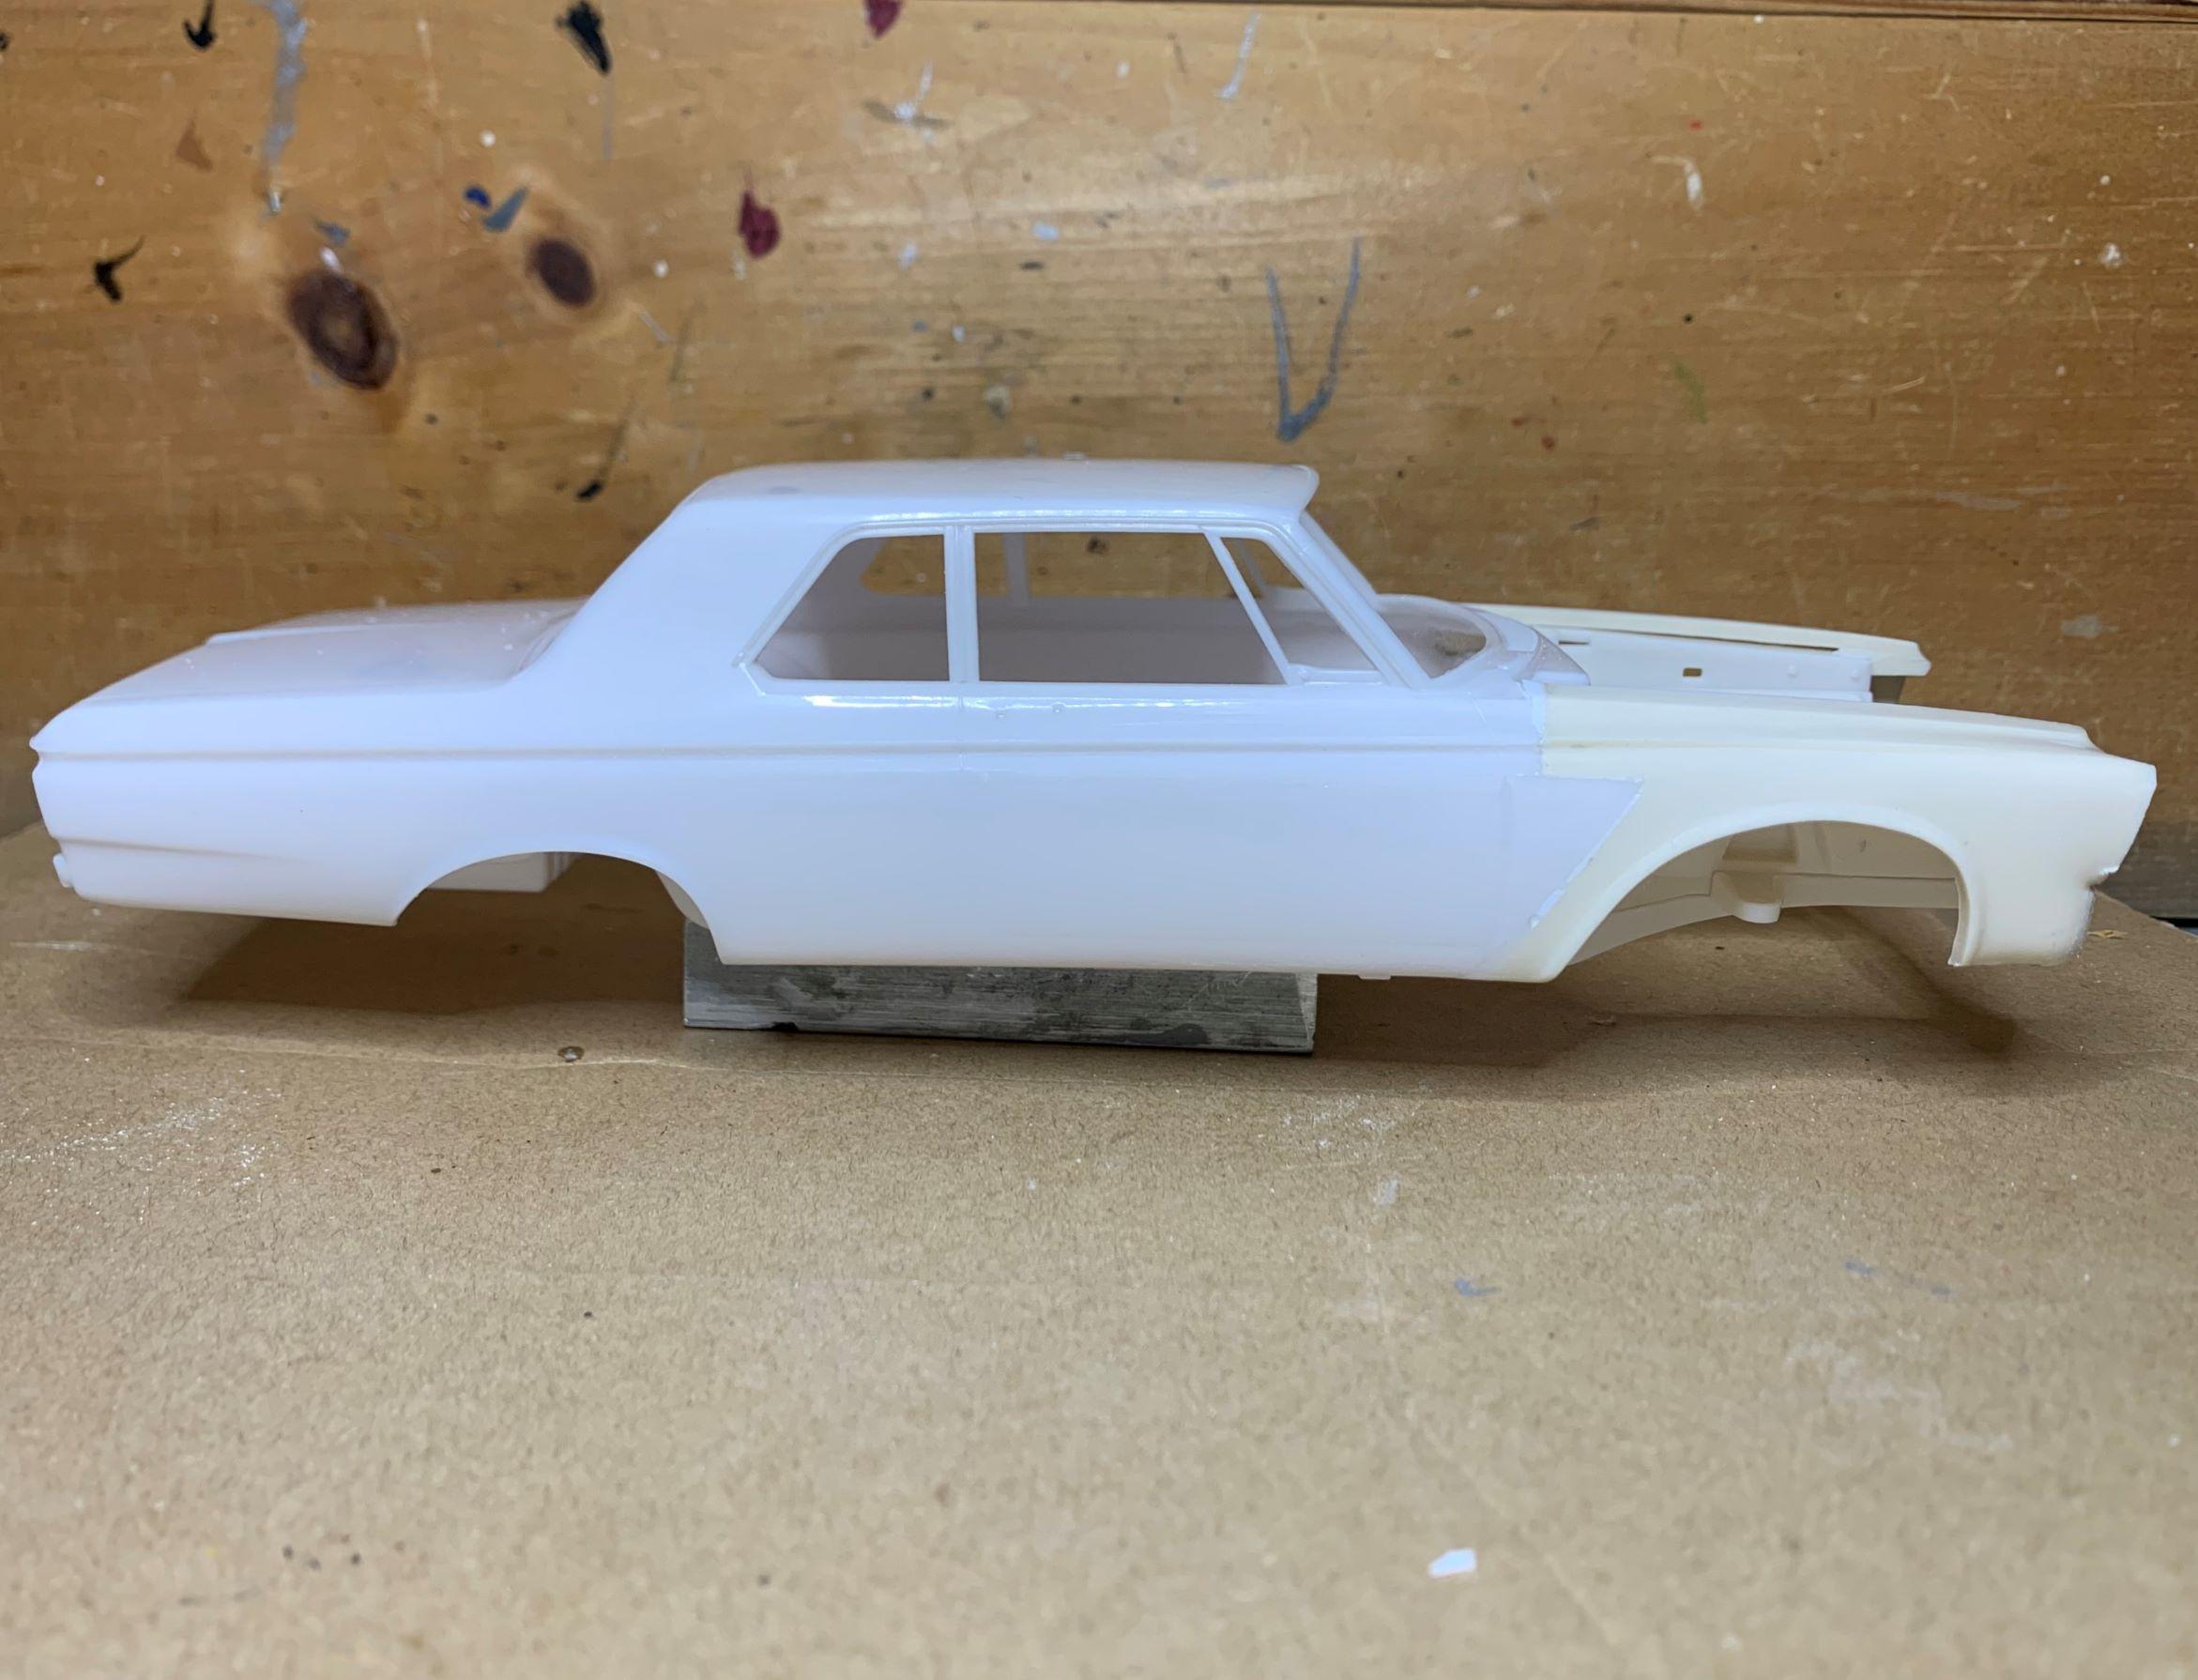
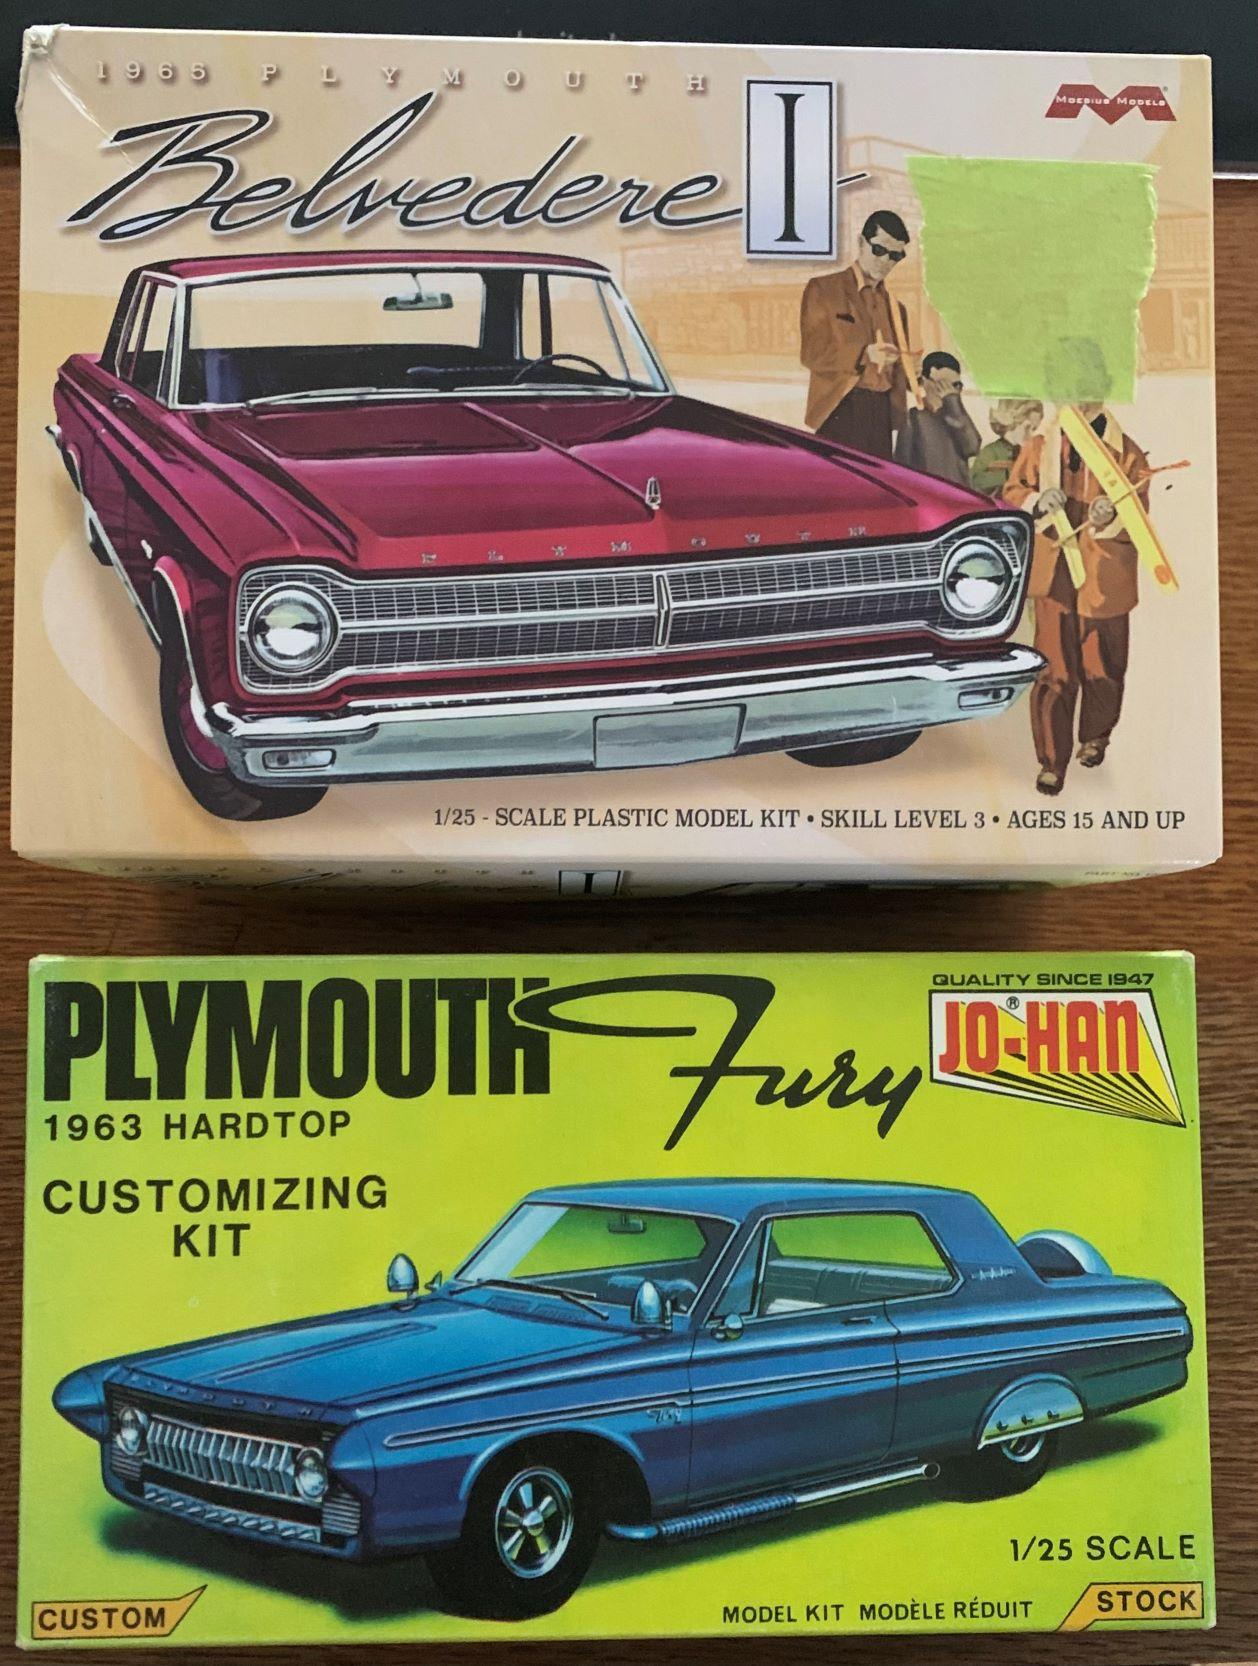
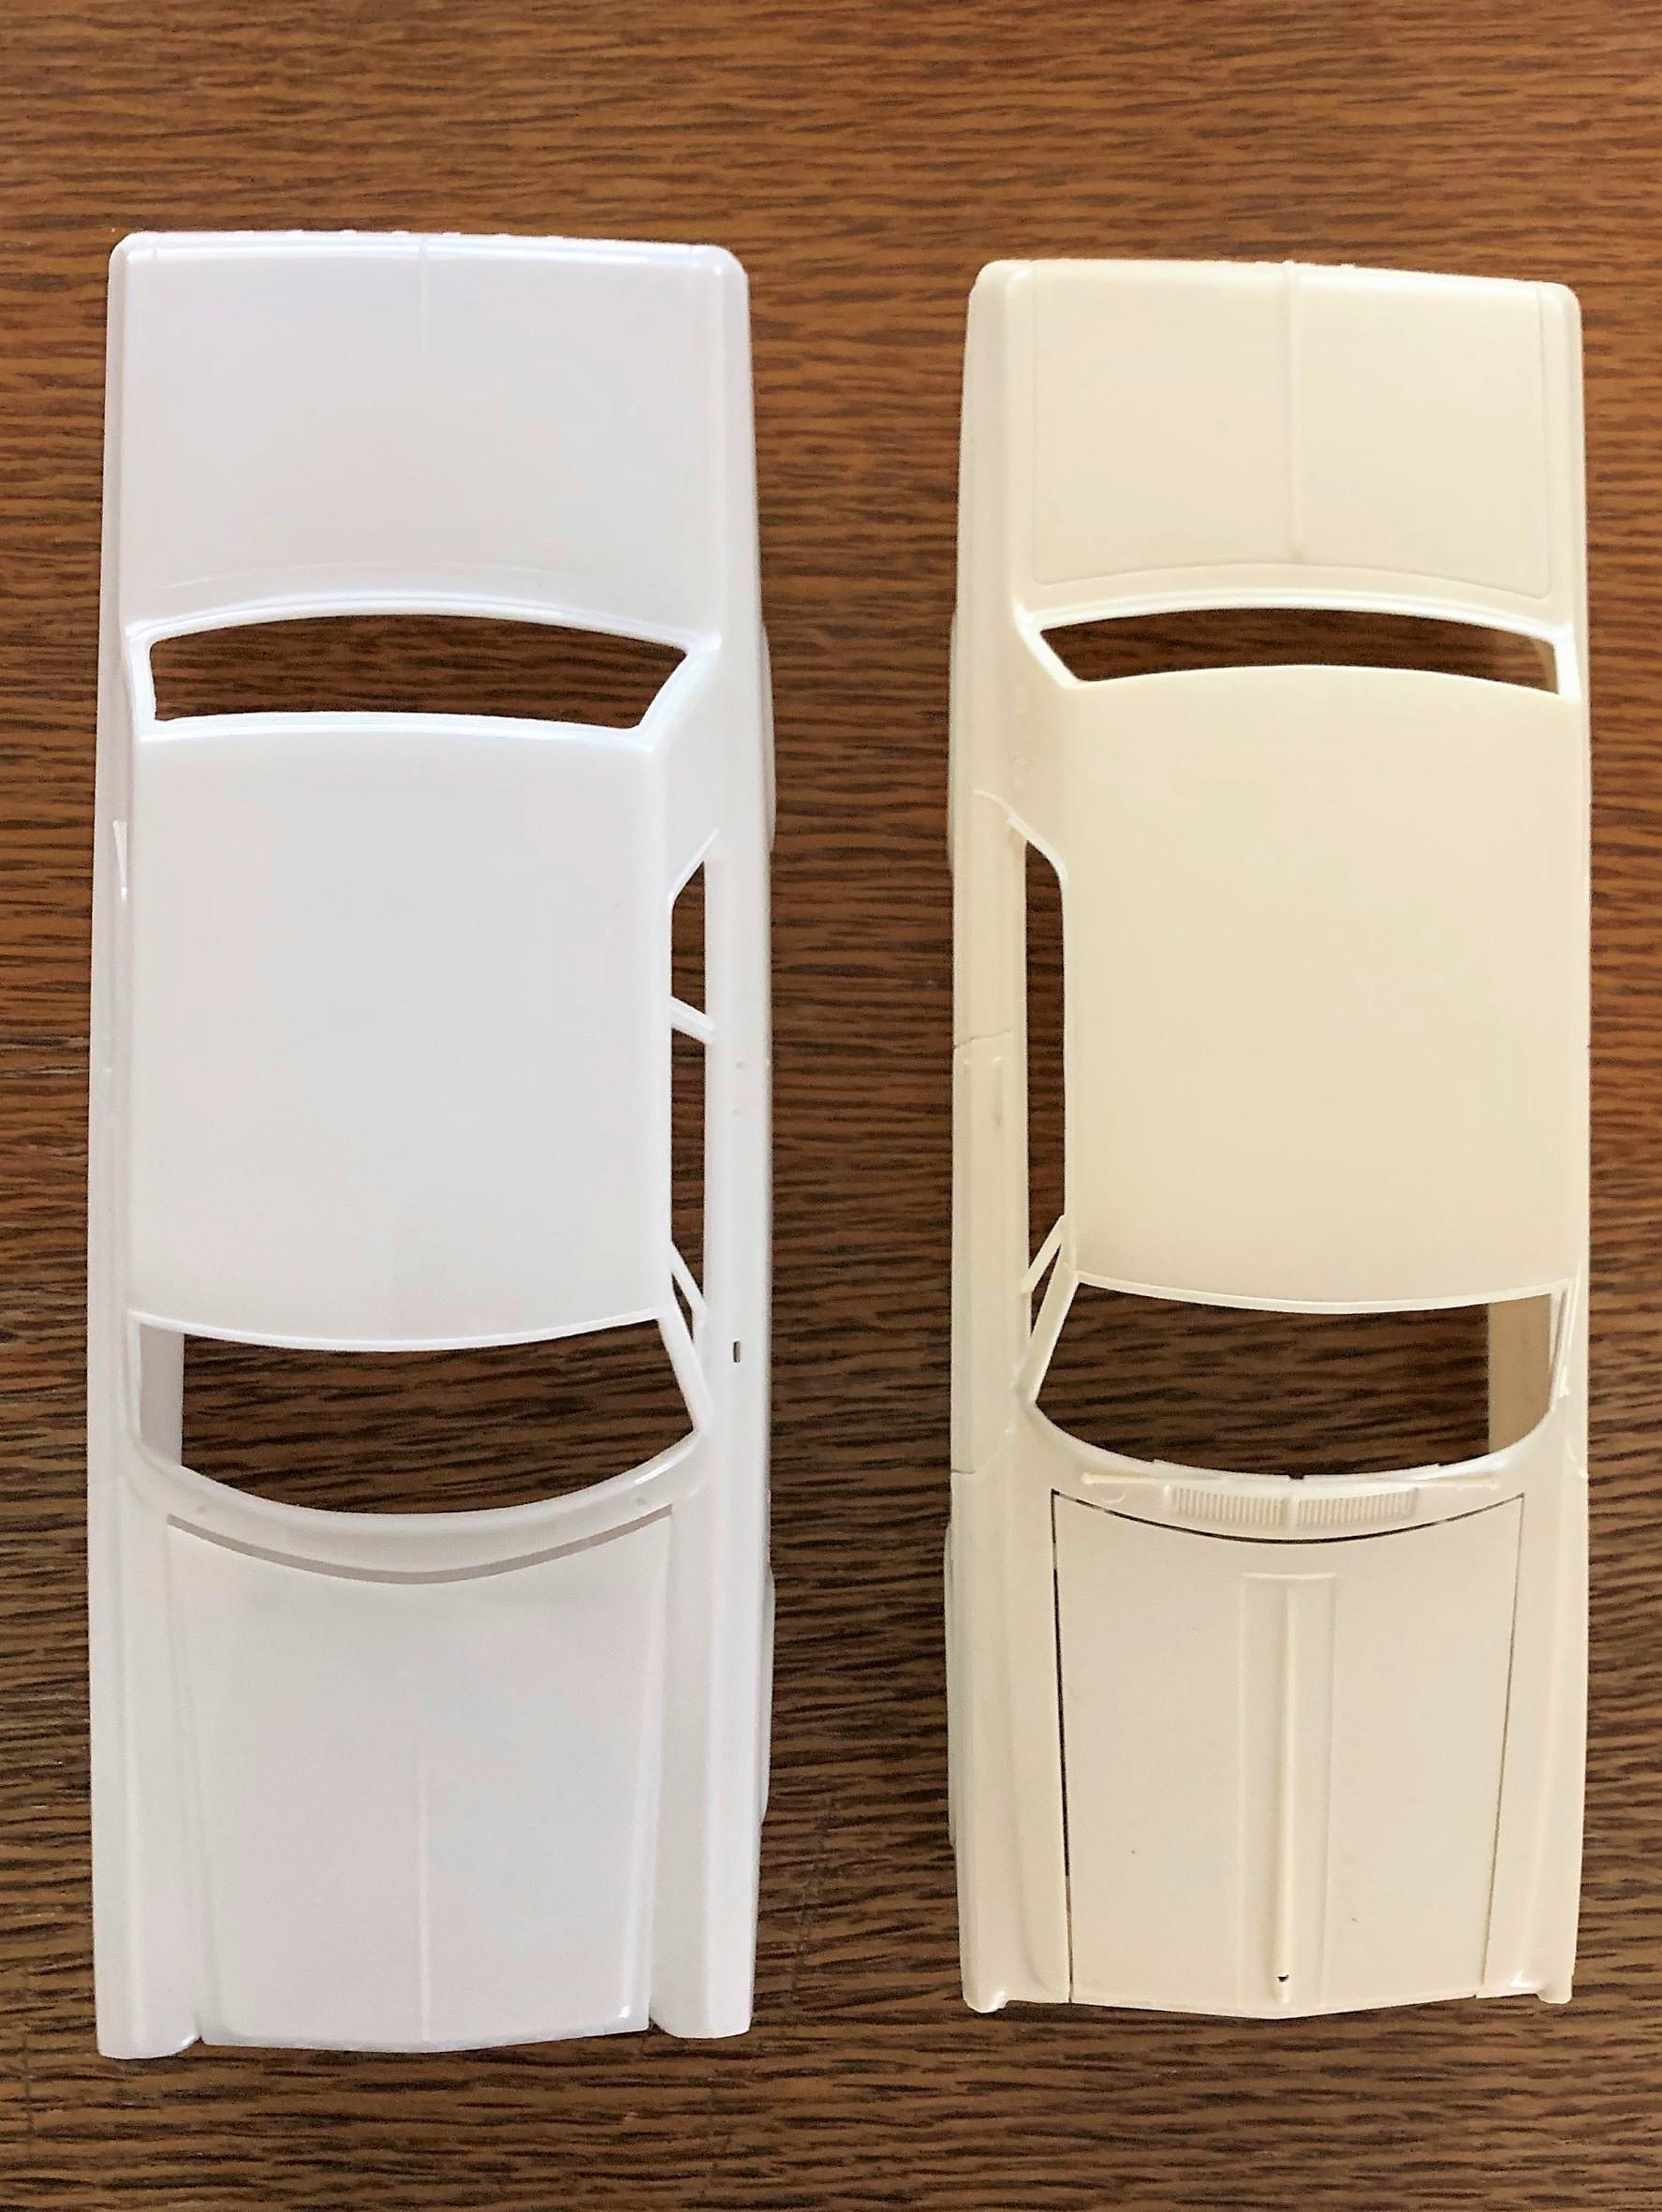
I'm going to try and make the Mobius '65 Belvedere into a '63 using some JoHan parts but mostly Mobius. Here's the kits, and the side by side bodies.
-
I love those '63 and '64 Dodges and Plymouths. I made a '63 out of the Mobius '65 Plymouth
-
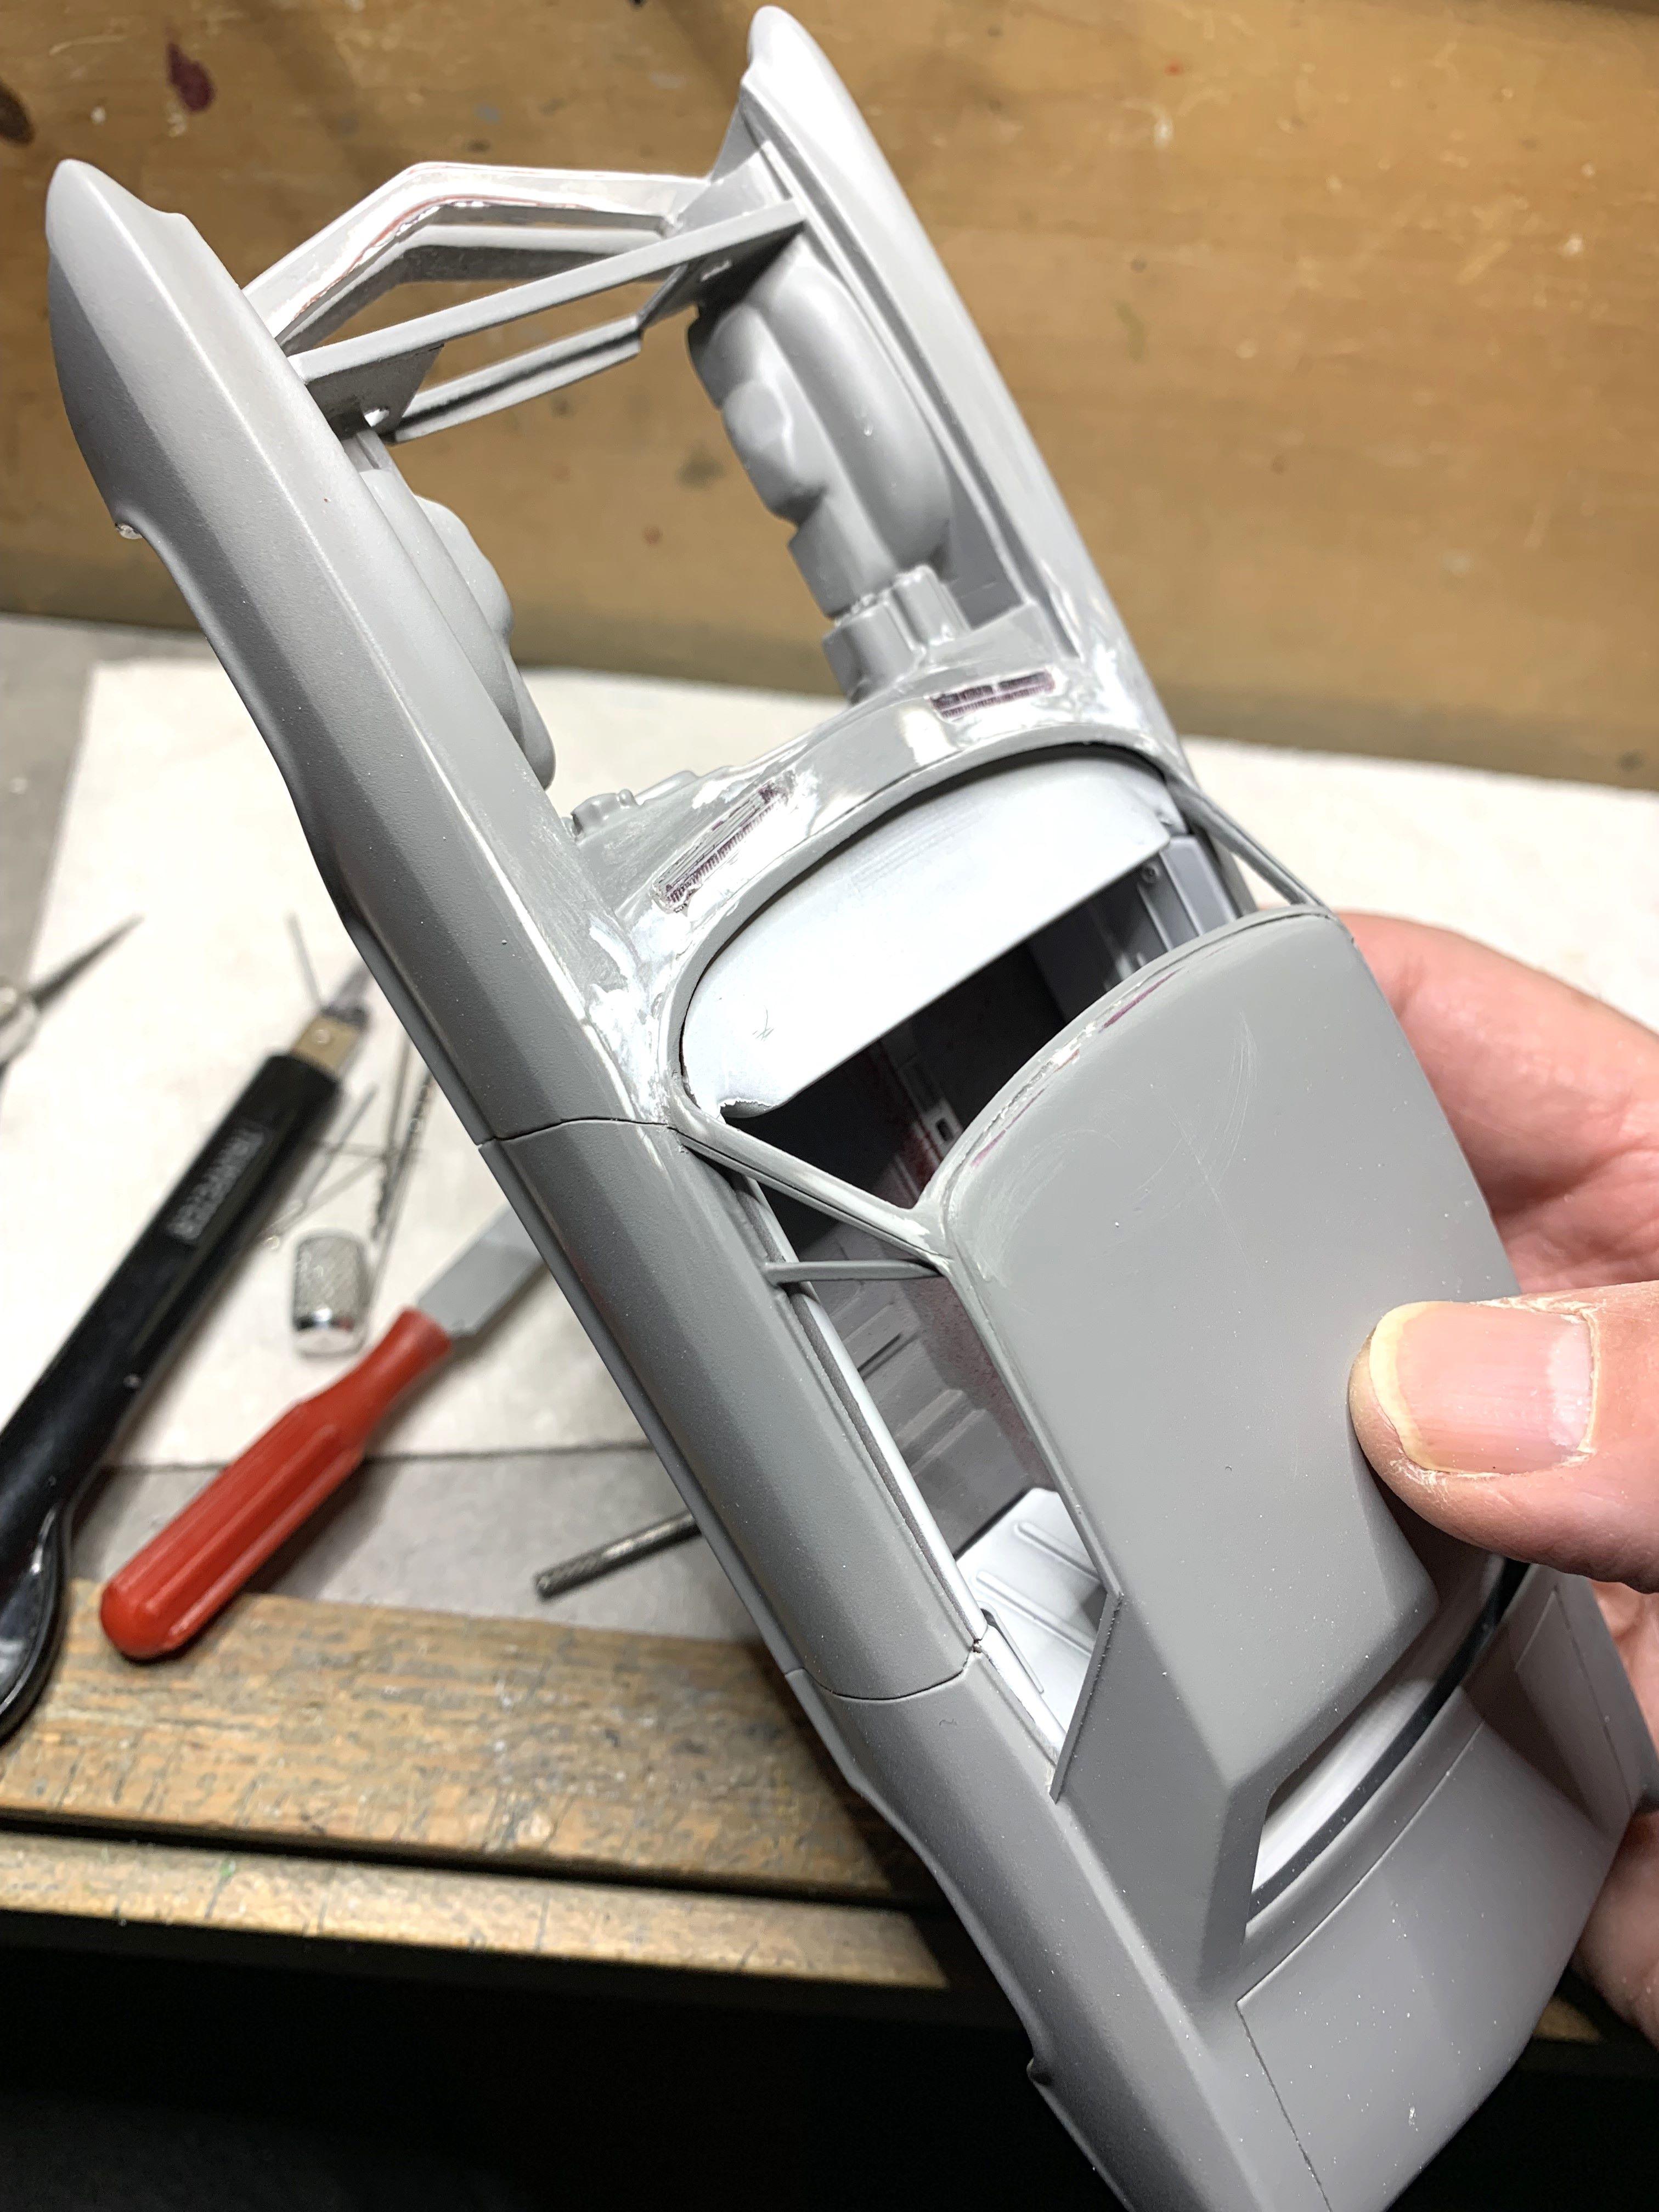
I removed the chrome trim from around the rear window and added drip rails to the sides. I made a new windshield surround and raised the middle of the cowl, this, the windshield surround, was very tricky, and I've never done it before! And that big piece where my saw is, that had to be reshaped. It's reshaped and you can see my new windshield surround better here.
-
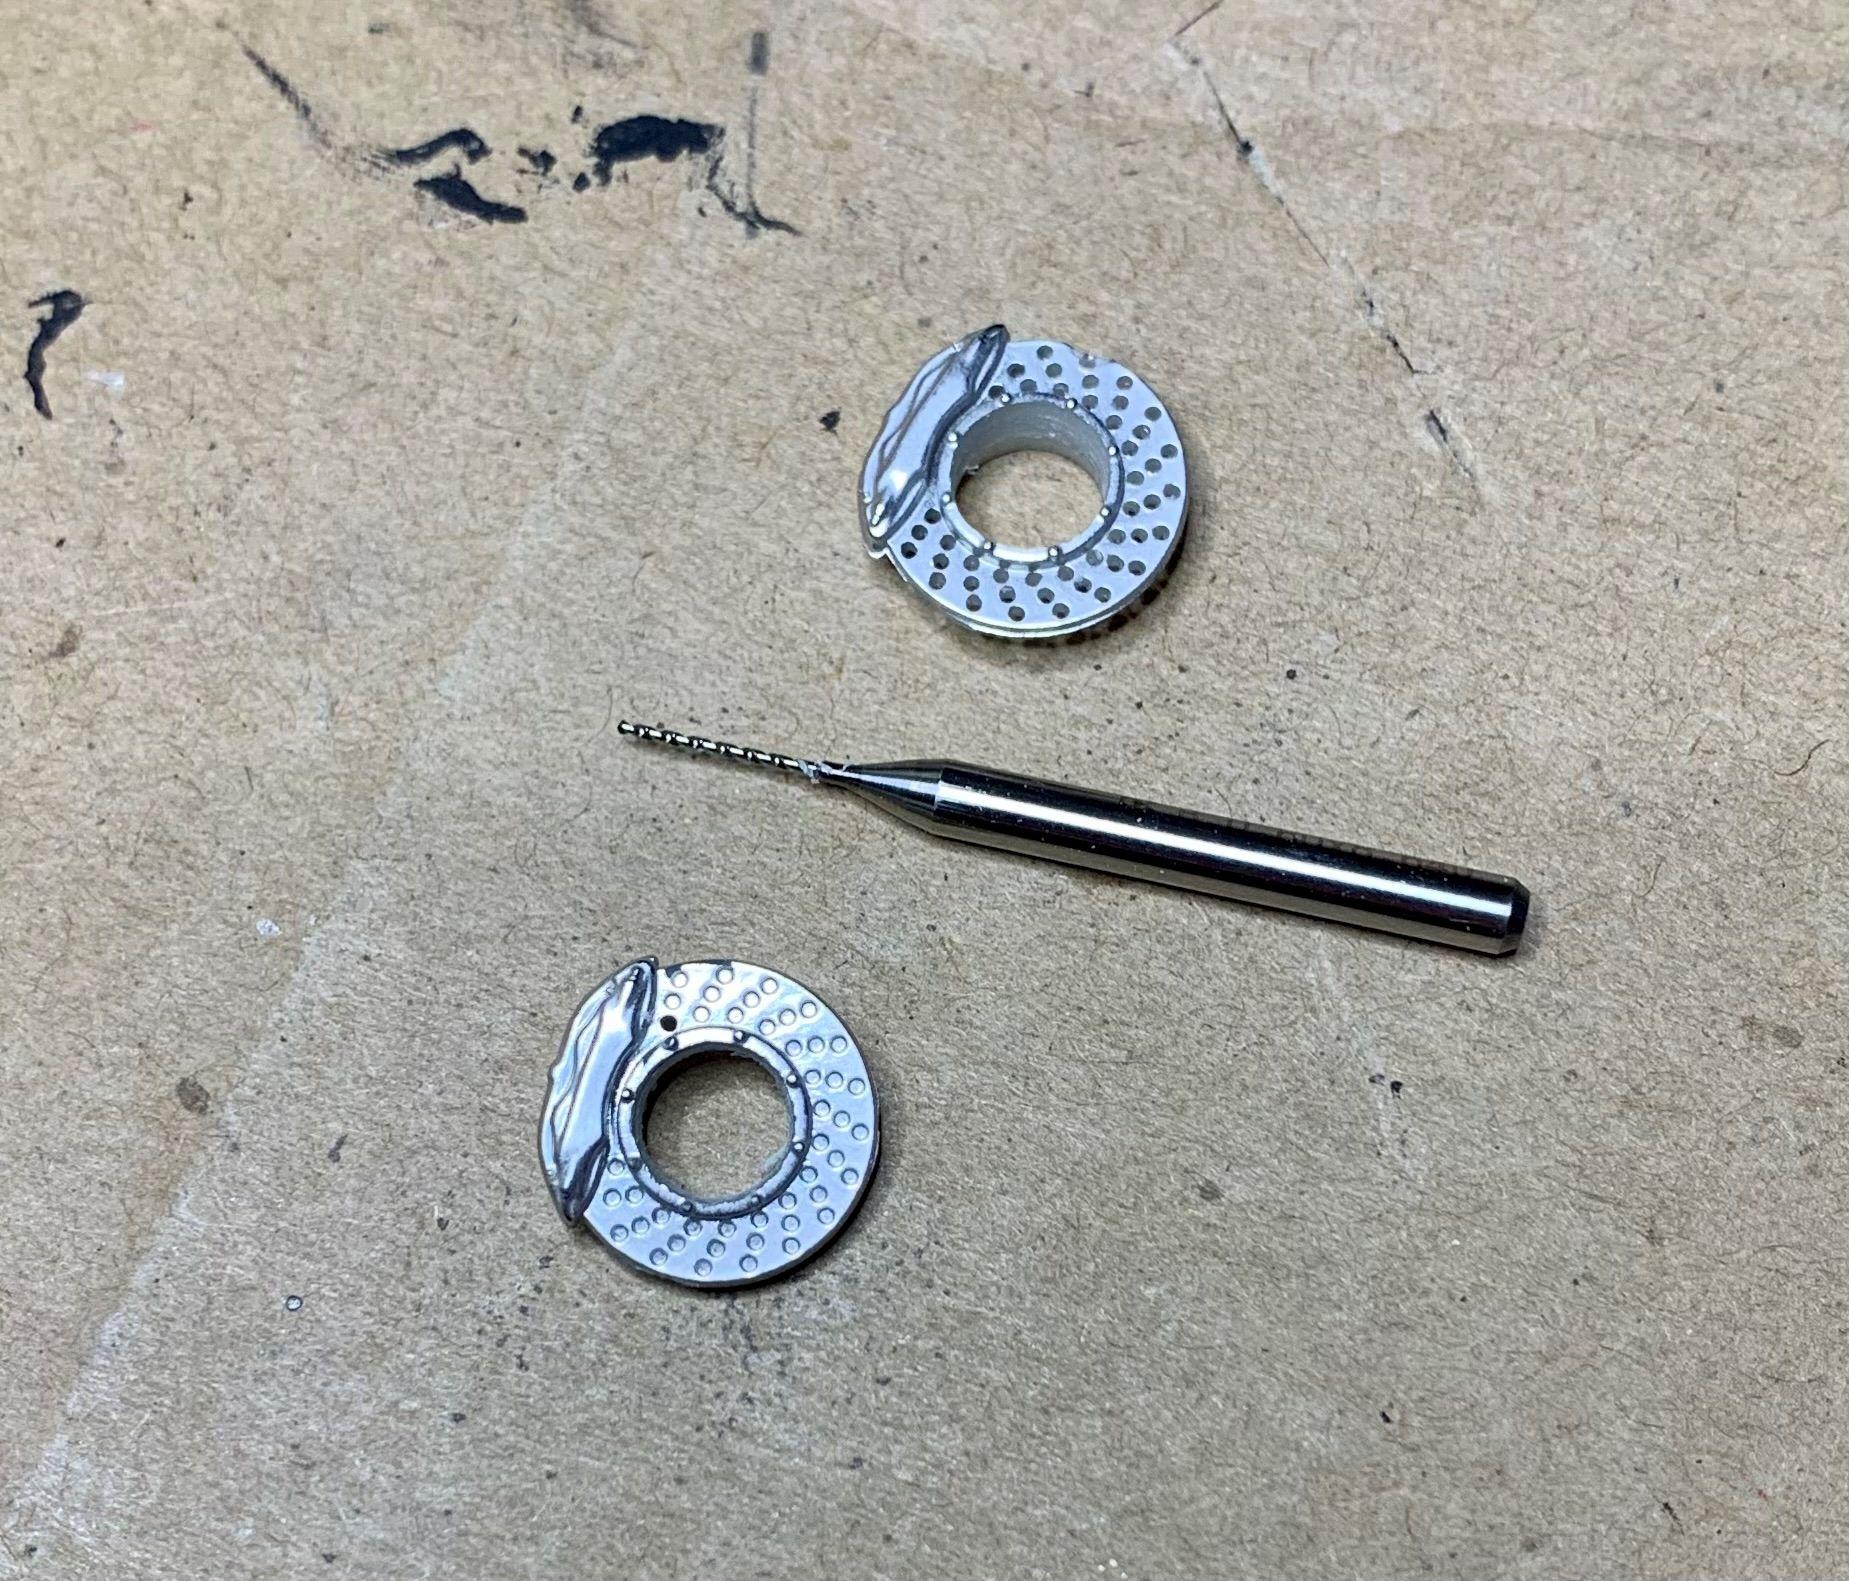
Onto some mechanical stuff, like oh, the engine! I used the excellent nail head from the '66 kit, that was the final year for the nail head and it's a nice styrene representation. I mixed my own color. I drilled out every single hole on these rotors before I realized that there were no disc brakes like that in 1962, which this car will try to be a concept from. So I used these much smaller disc brakes from the junk box with some small washers. At the rear I used a pair of drums left over from a Galaxie '48 Chev kit that I built. And I smoothed the middle of the Monte Carlo firewall.
-
As everyone else has said, that paint looks awesome. And I concur.
-
Looks great! Isn't modelling fun these days. Welcome back.
-
You can even brush a bit of med grey, or German grey, on some bits, just for some variation, otherwise I like the grey interior, even Future can be brushed on small bits for some shine.
- 40 replies
-
- 1
-

-
- ferrari
- 360 modena
- (and 1 more)


.JPG.e0af8c5b1ca78116d676d2406aef1a49.JPG)
.JPG.1548c7d02f10c3dfe1eae1e32b90d6ea.JPG)


.JPG.46fe1d9641d281354d3d36495121781c.JPG)


.JPG.846c9ce9d77d1a2beab487792a618b80.JPG)