dino246gt
-
Posts
2,244 -
Joined
-
Last visited
Content Type
Profiles
Forums
Events
Gallery
Everything posted by dino246gt
-
I'm sure diggin' it, cool details and I'm sure it'll be a show stopper!
-
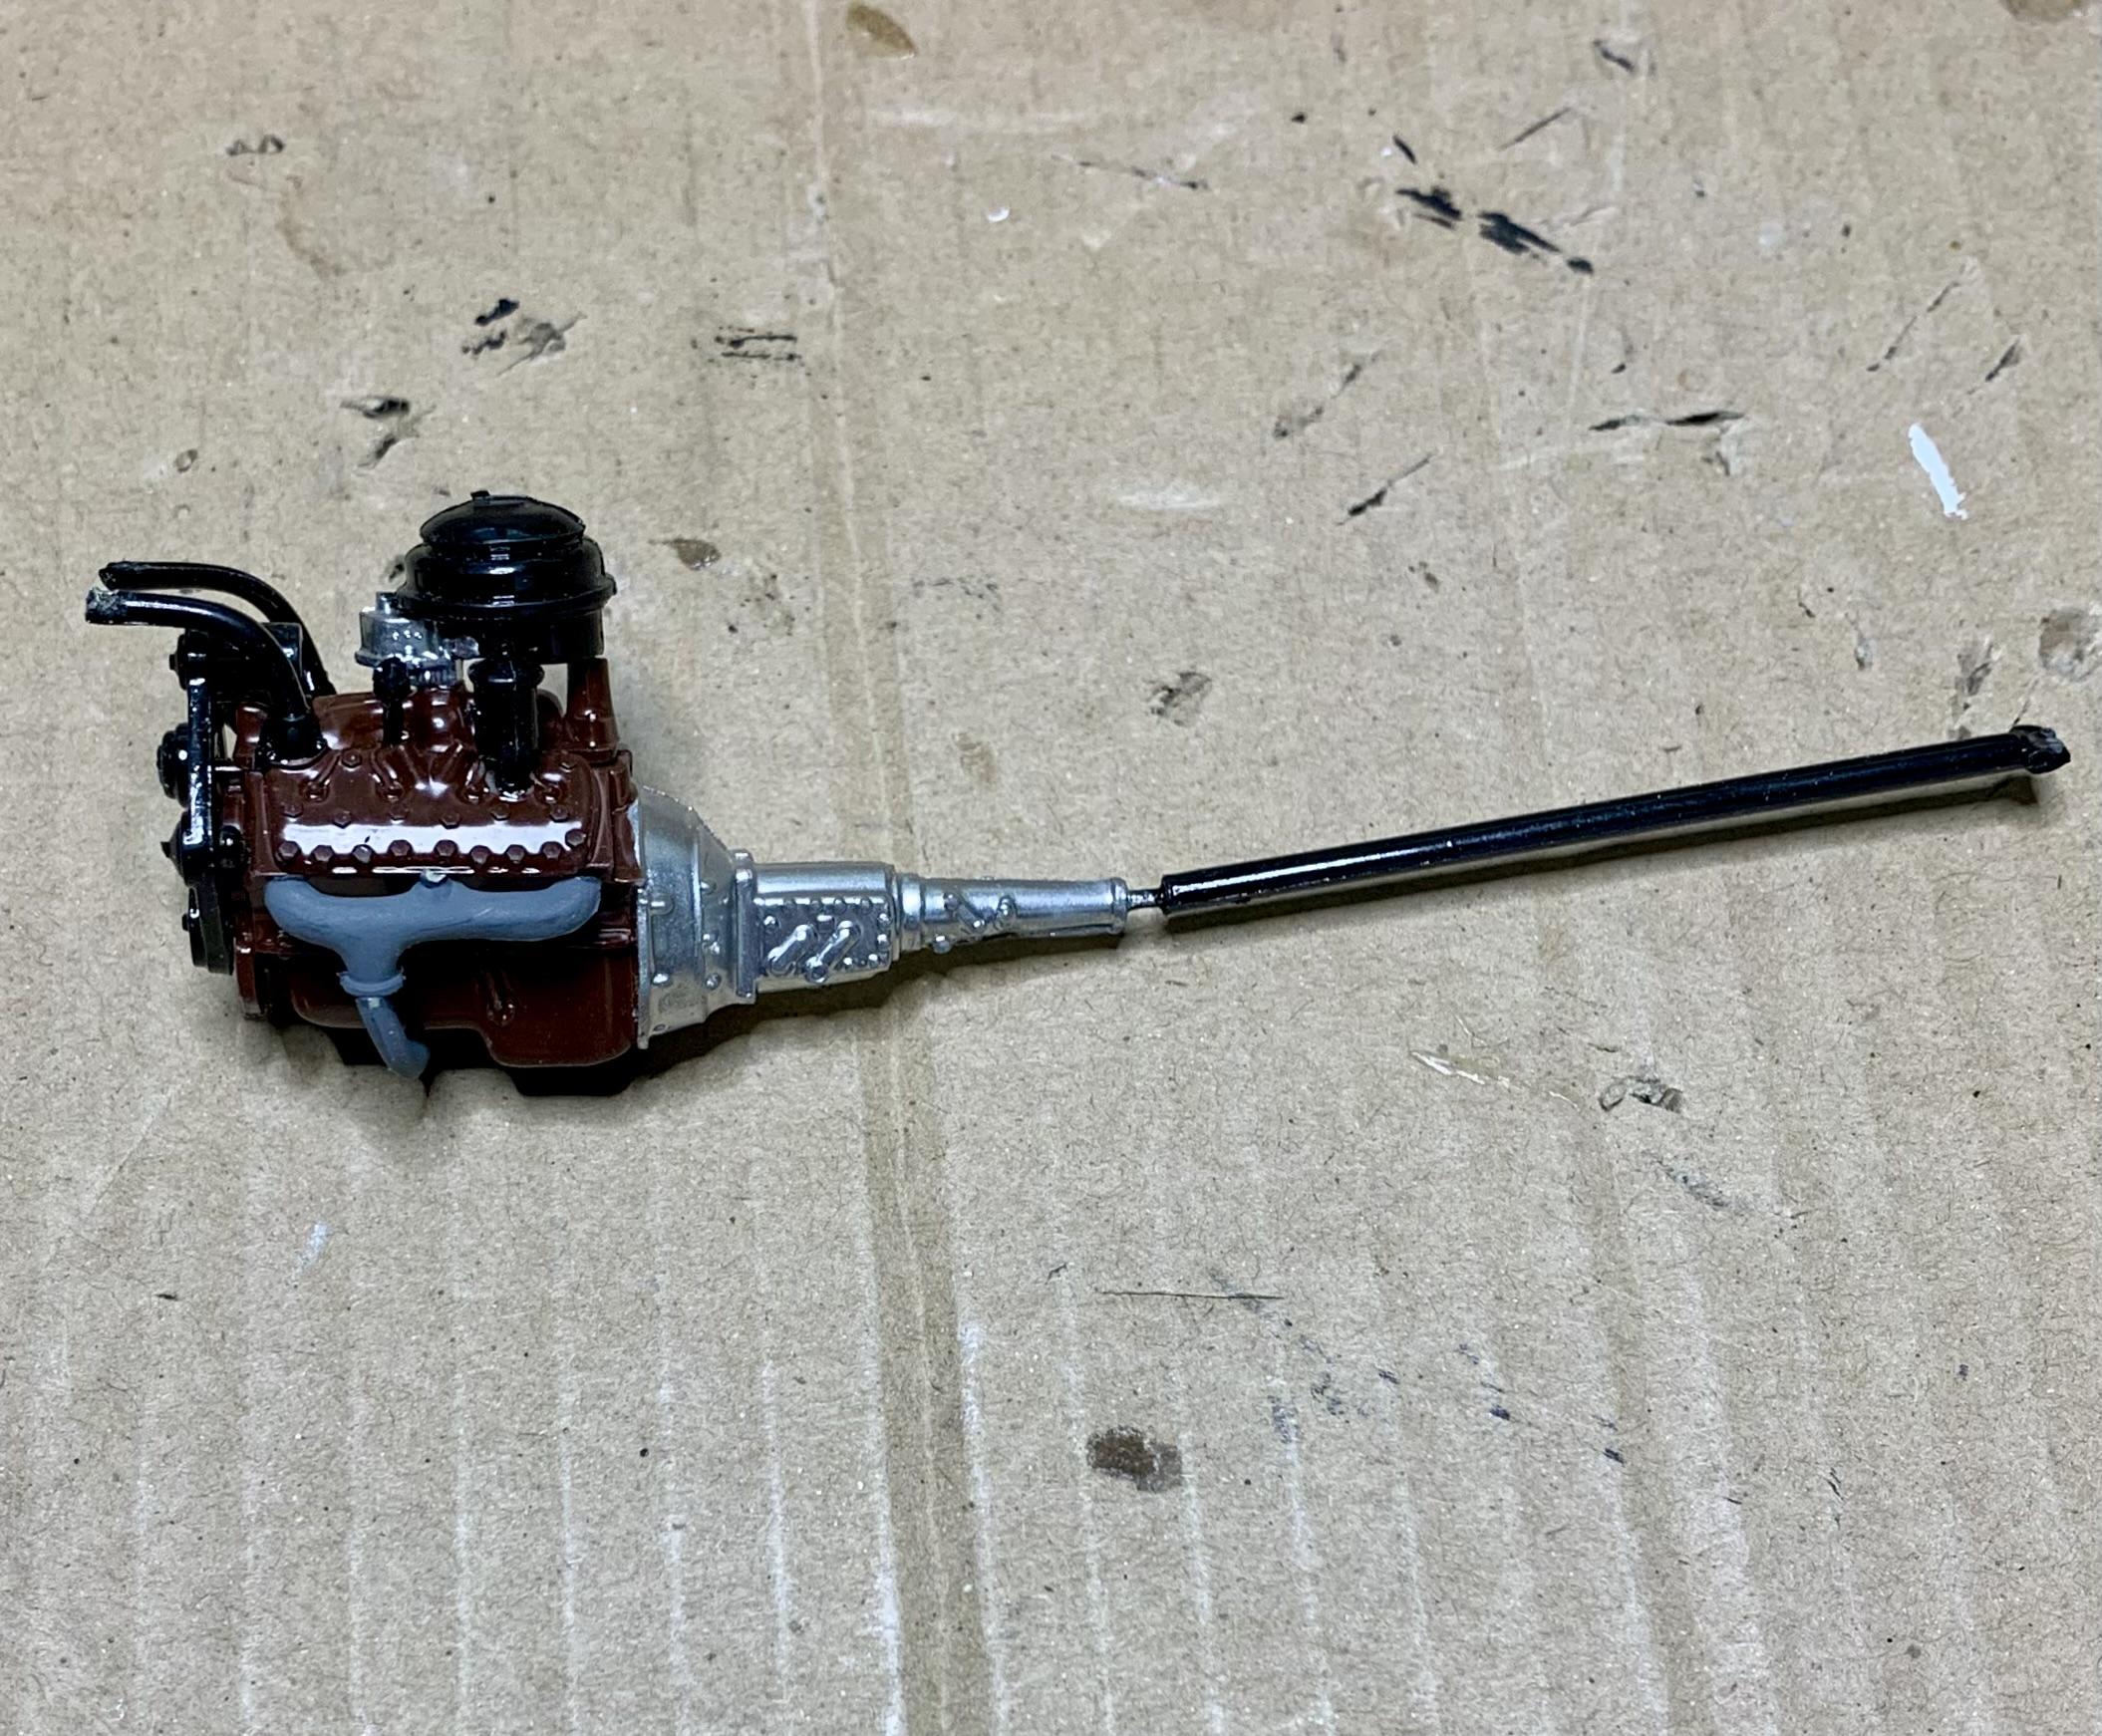
I kept it simple but added 2 carbs, it'll look okay down in the big Merc bay. Going to try and make headers next!

-
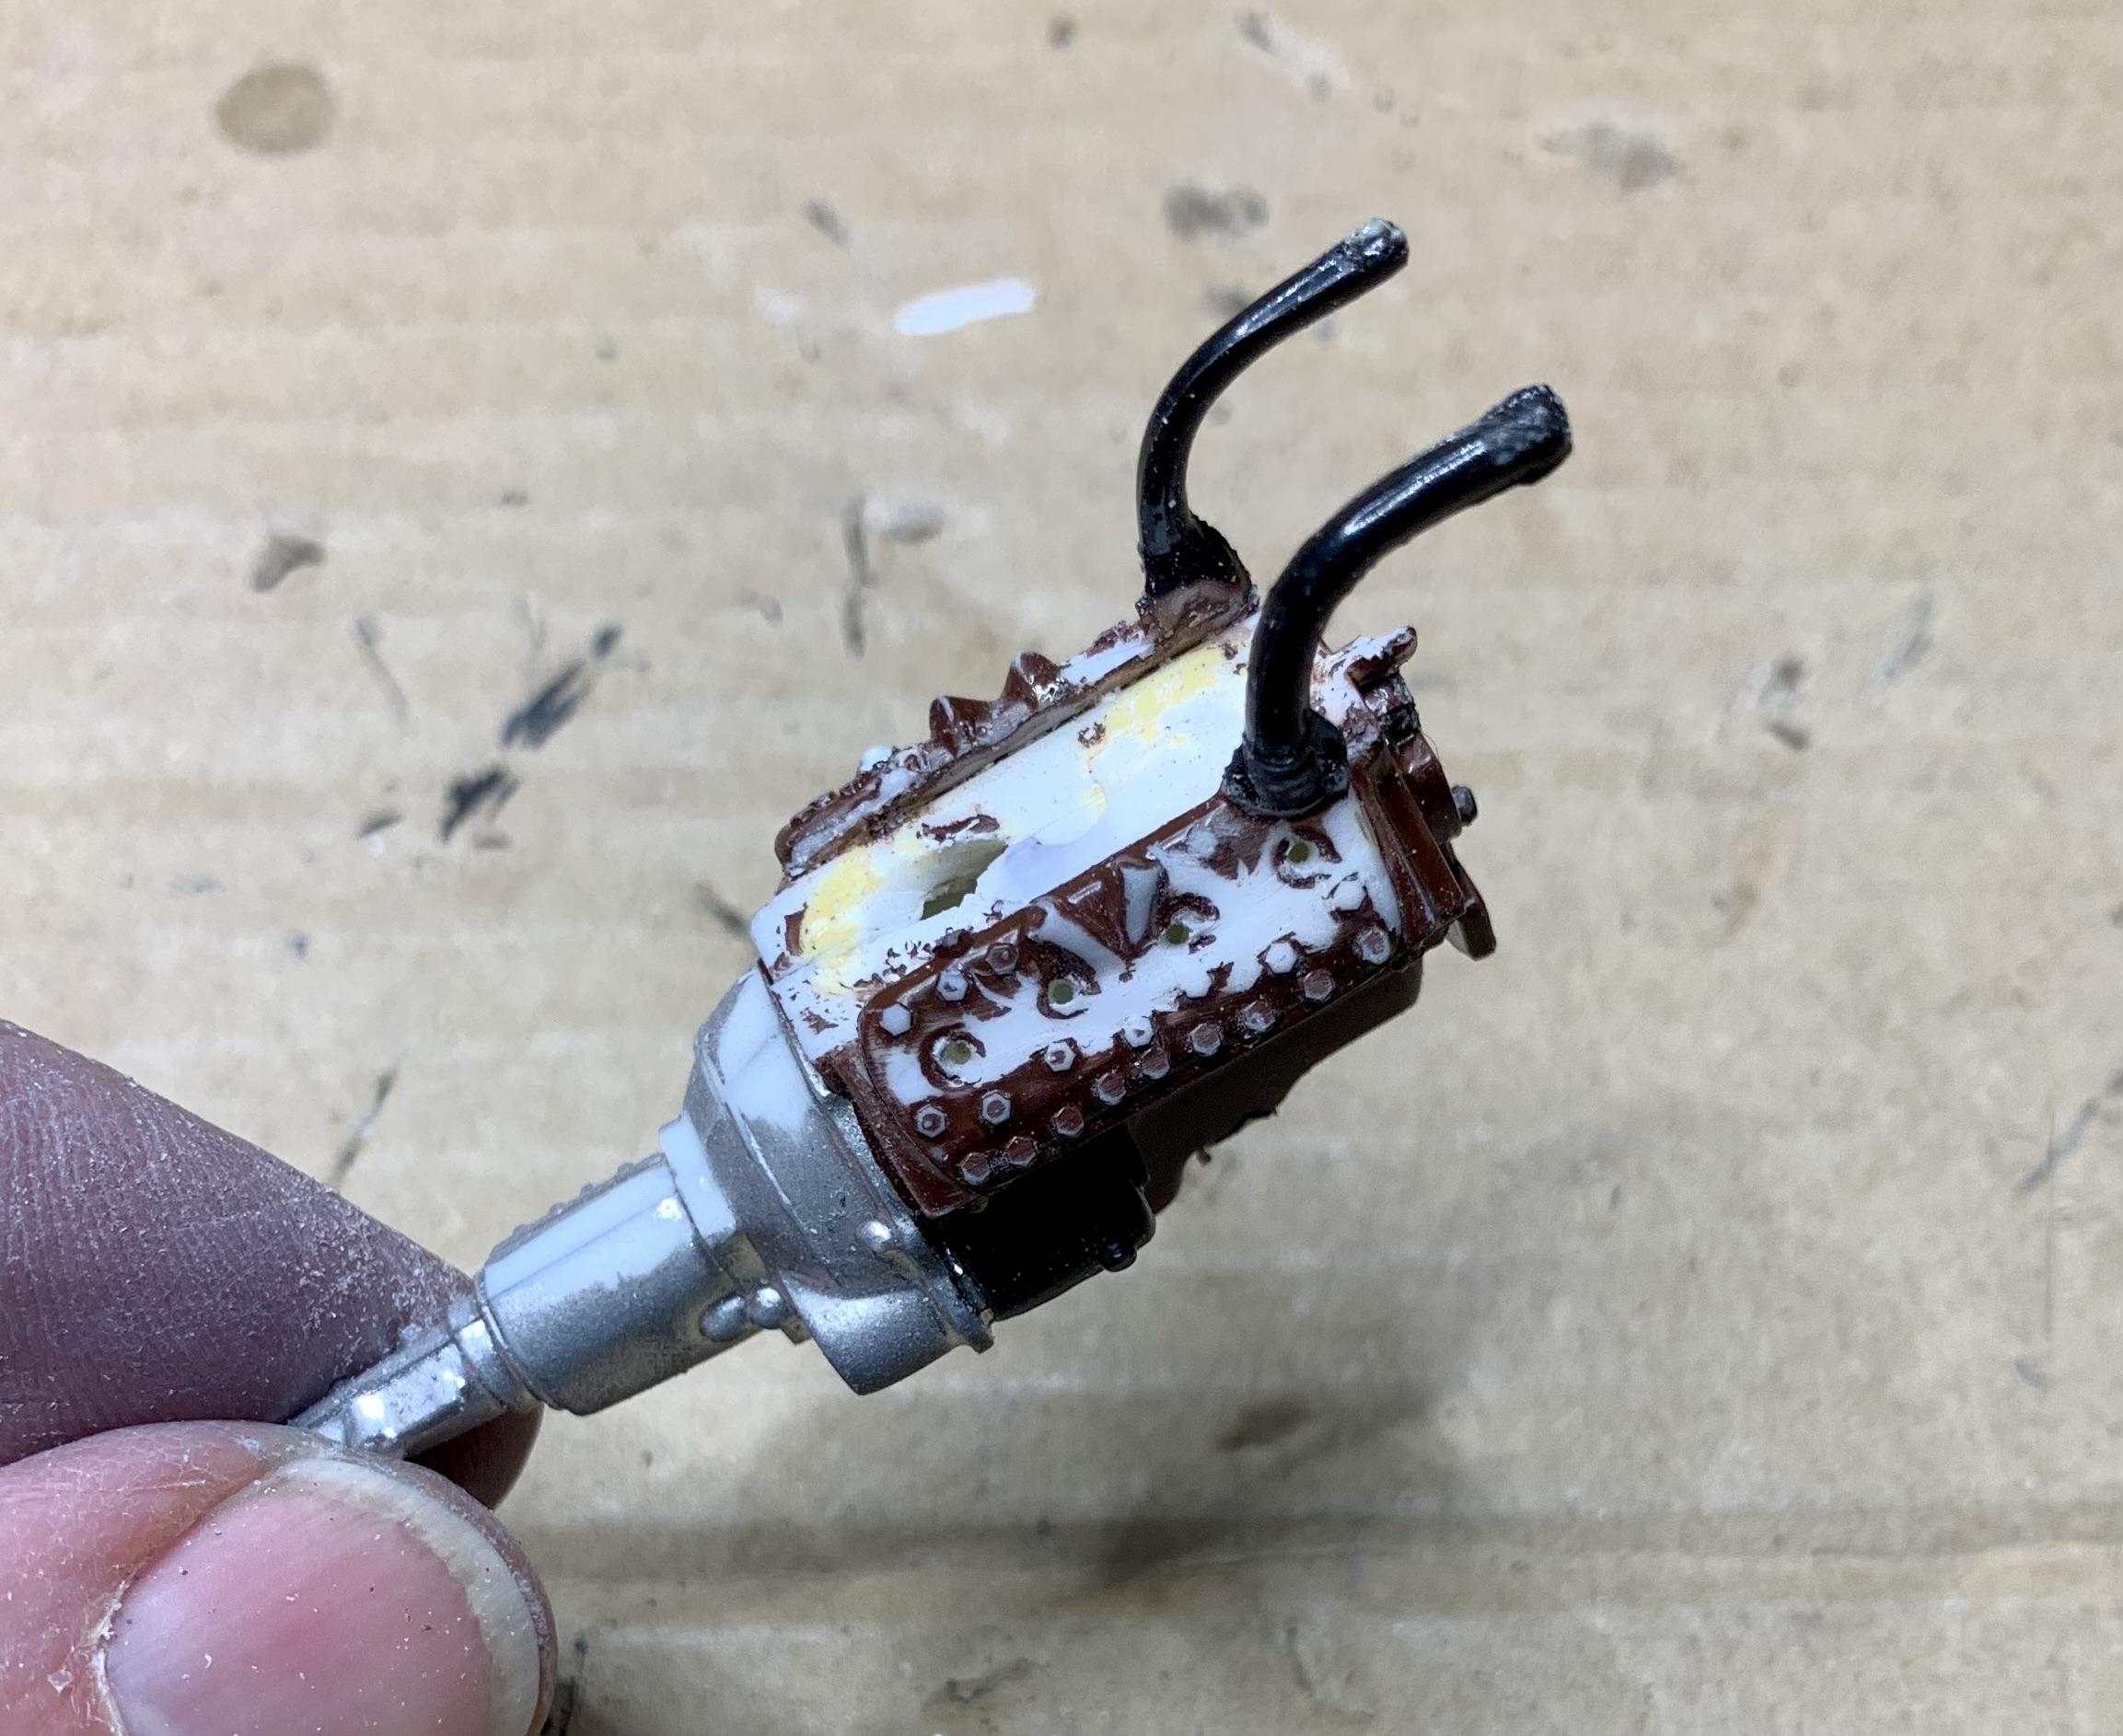
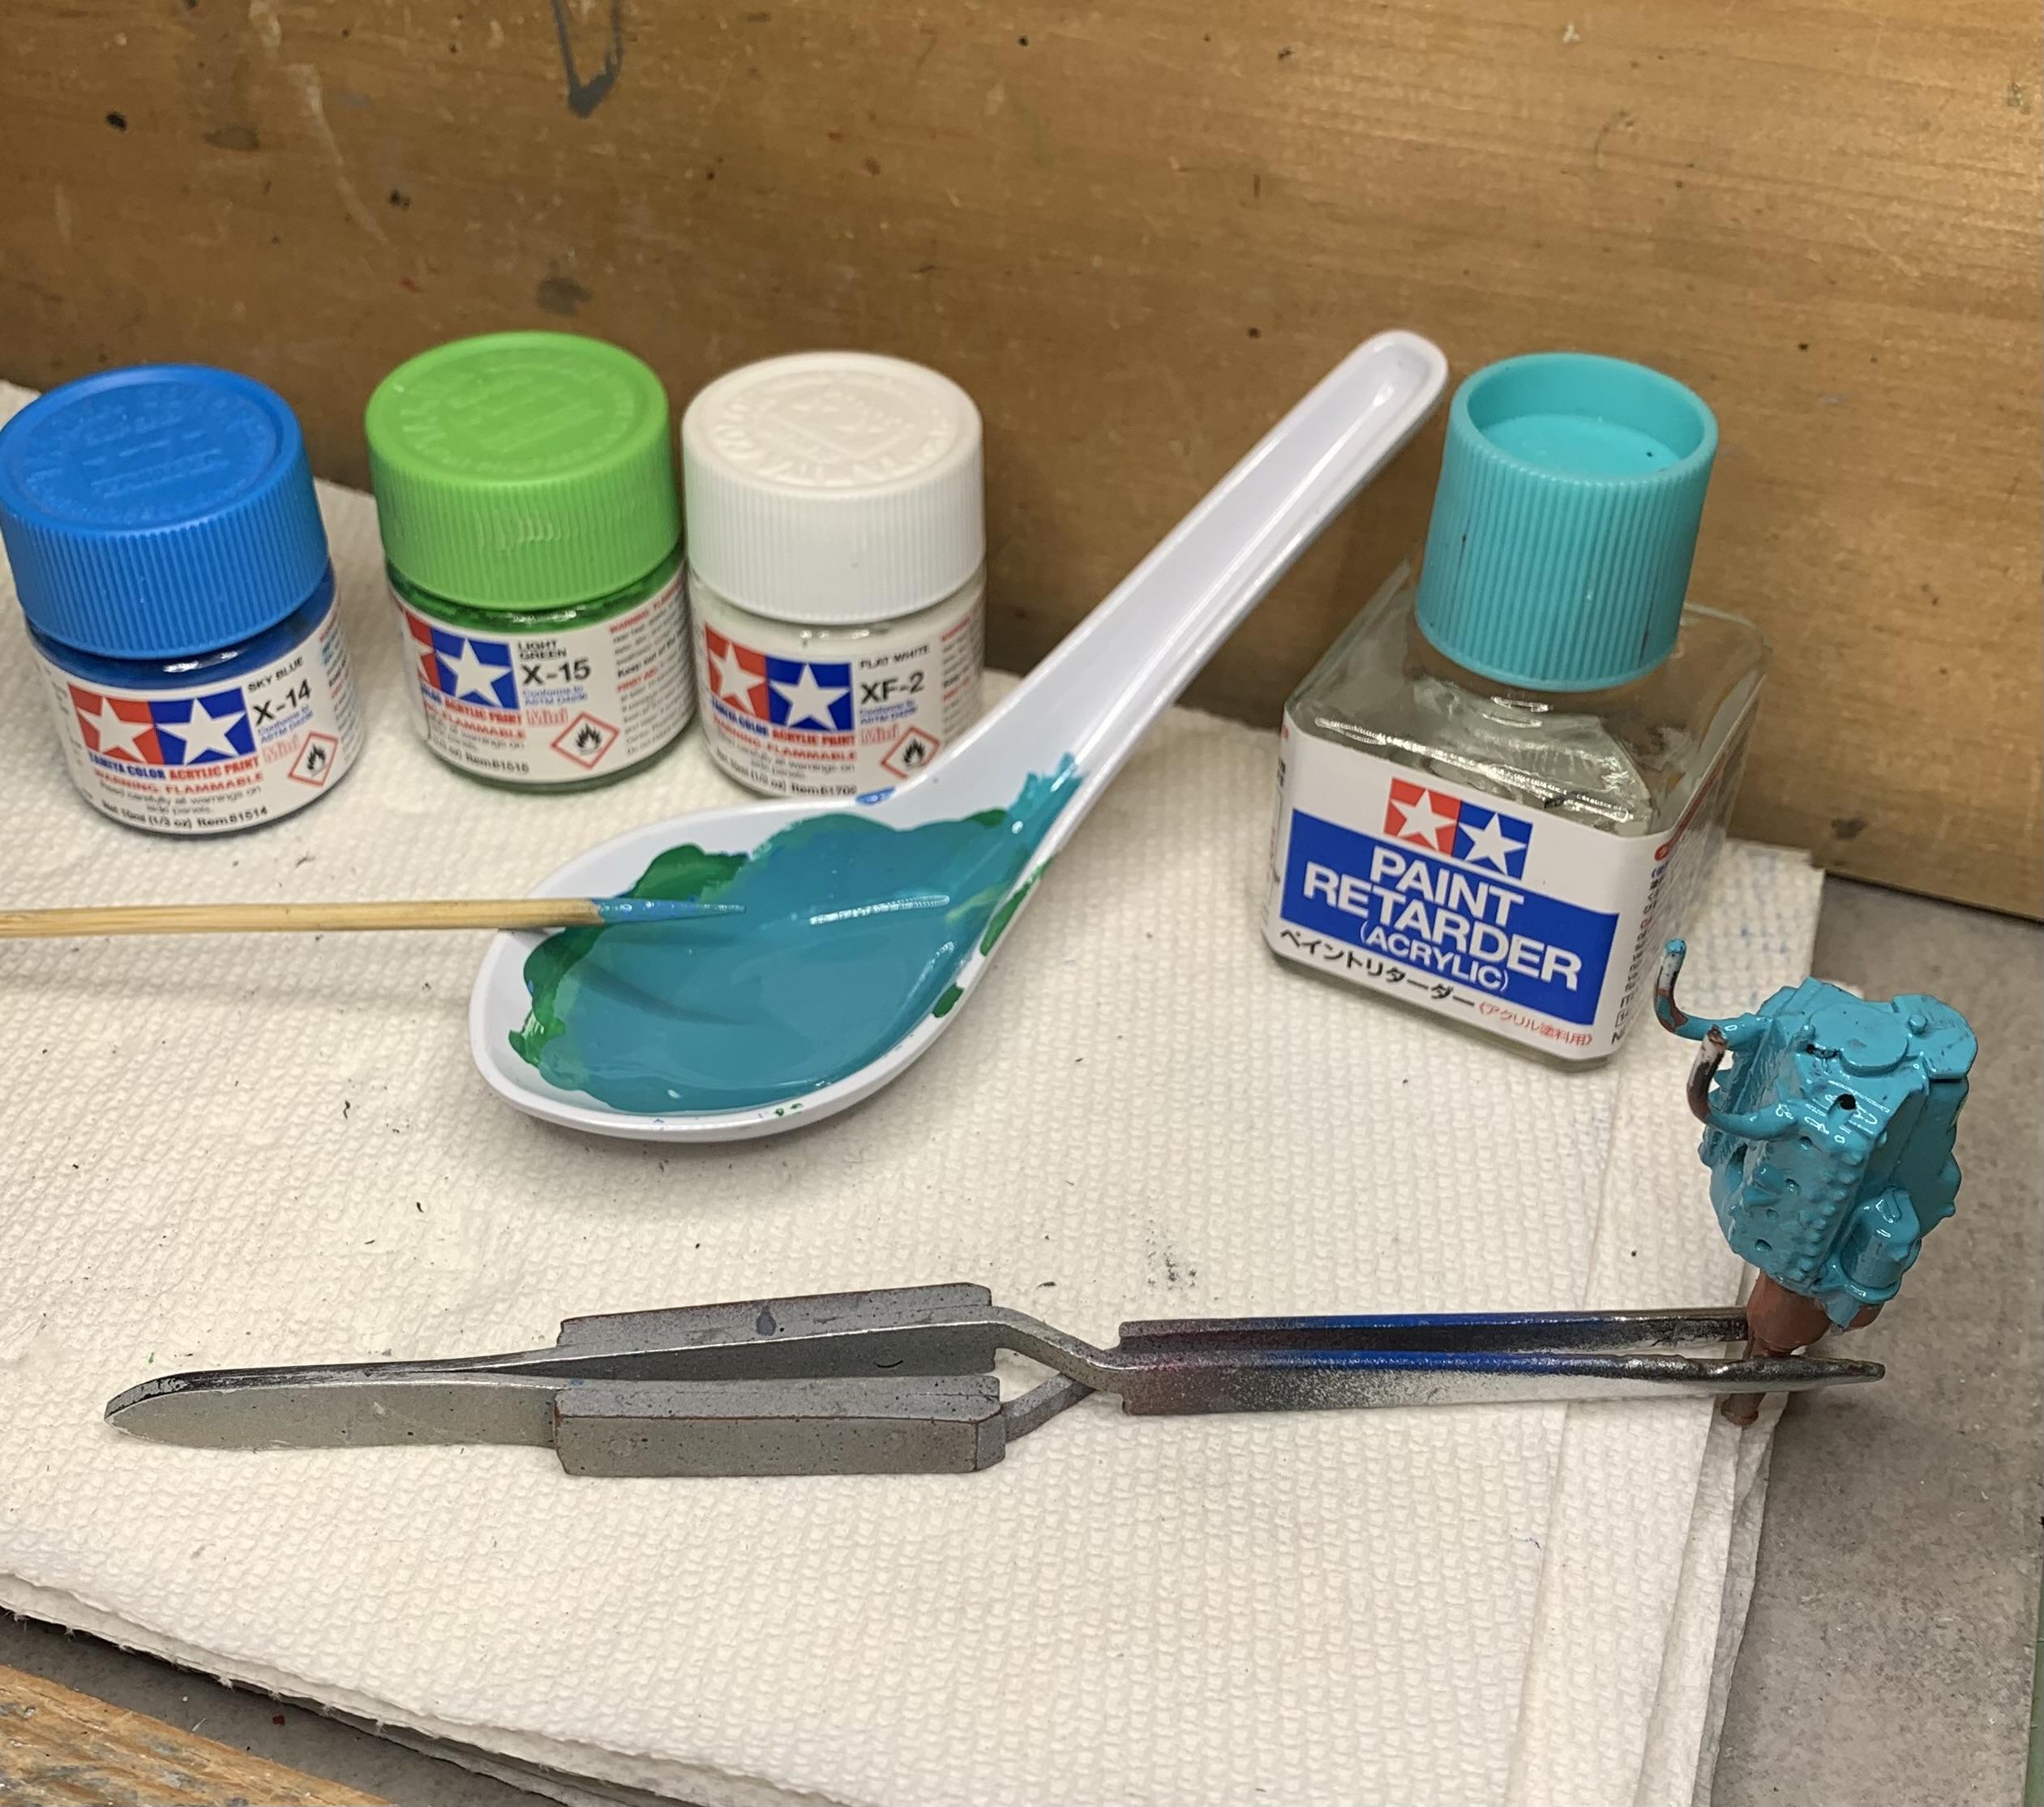
I puttied up the bottom after sanding flush. I drilled for plug wires and tried to remove the molded on wires, it's rough but I'll hide it with new wires. I mixed up some paint and brush painted it.
-

Who doesn't love a mock-up? Let's see yours!
dino246gt replied to Belairconvertable's topic in WIP: Model Cars
Exploring options on an Explorer!
-
Who doesn't love a mock-up? Let's see yours!
dino246gt replied to Belairconvertable's topic in WIP: Model Cars
Grafting a Jeep front onto a Jeepster that had the wider front with a chrome grille that just couldn't be detailed!
-
Here's the engine I pulled out of it. How about the seam down the middle of the bottom end! Separate oil pan would've been nice, although I realize that this kit is from the early 60s, and for that, it is a very nice kit.
-
Your work on this is next level, or maybe even one more than that! Fantastic F-40!
-
I'll try to use as much of the old kit as possible, I enjoy saving these things. NO chop or major changes to the stock kit, but I'll probably change the wheels and tires. I found this paint in my stock, so I'll use it, it's not going to be a contest build, just a fun project.
-
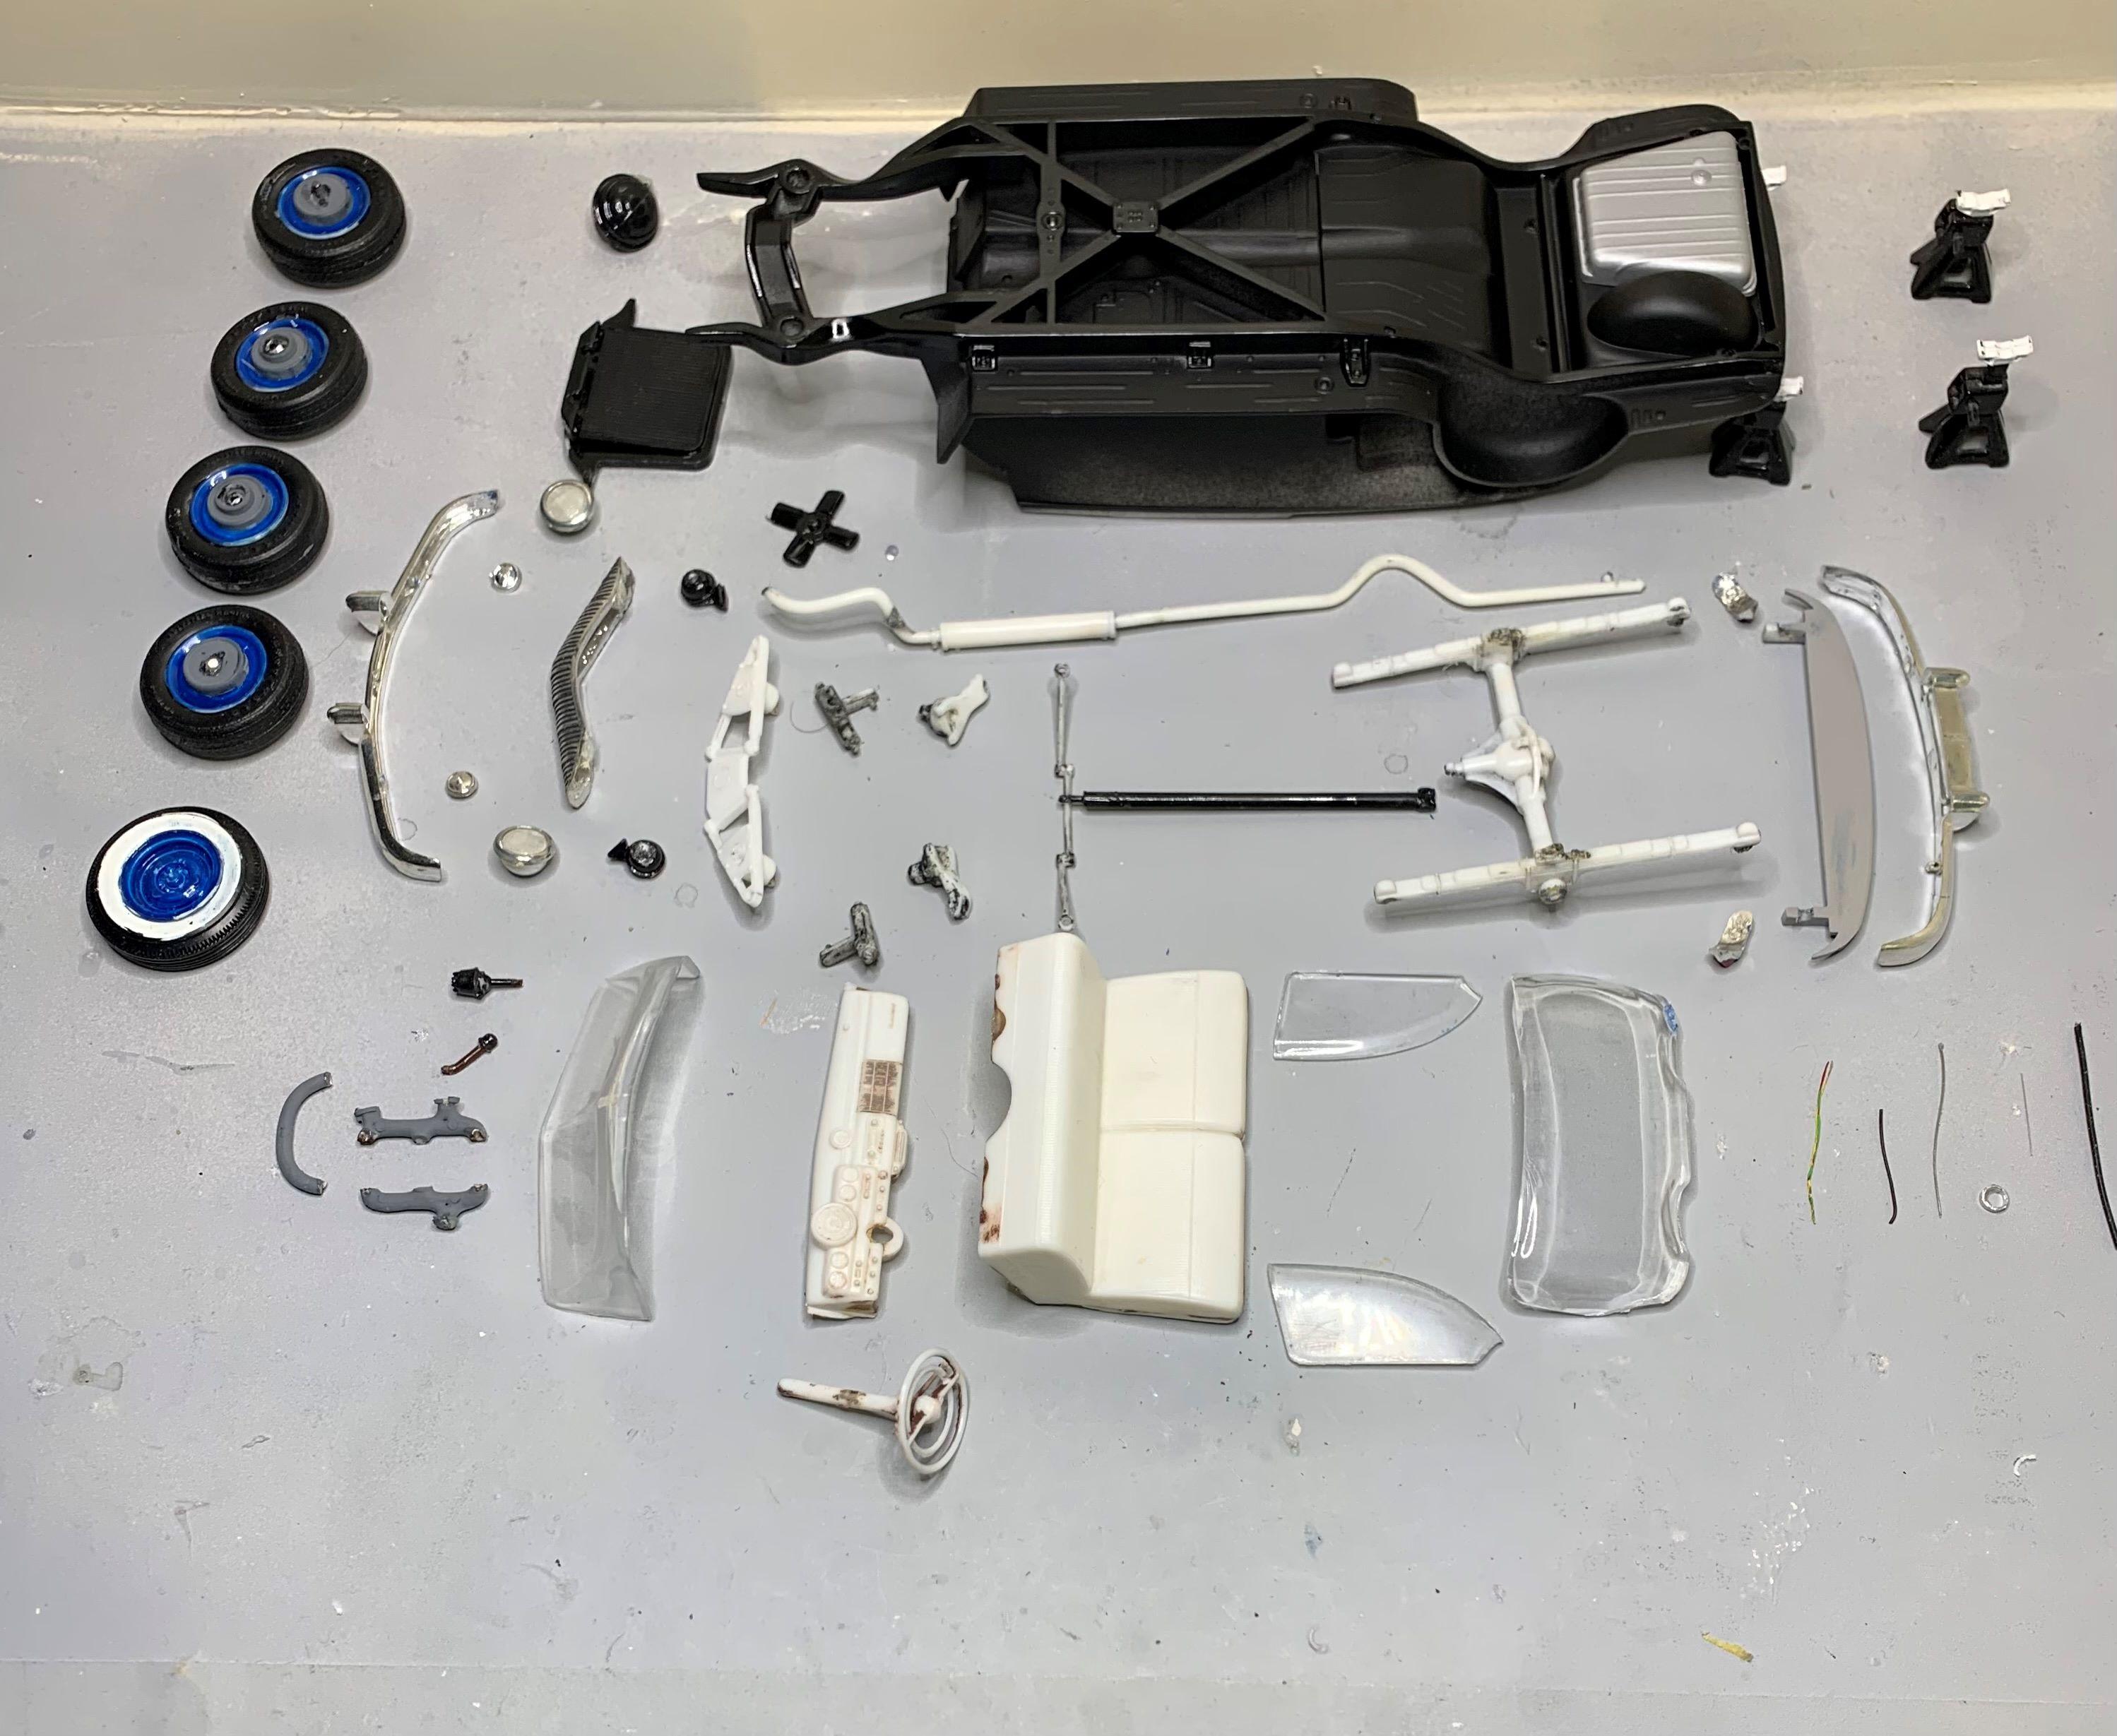
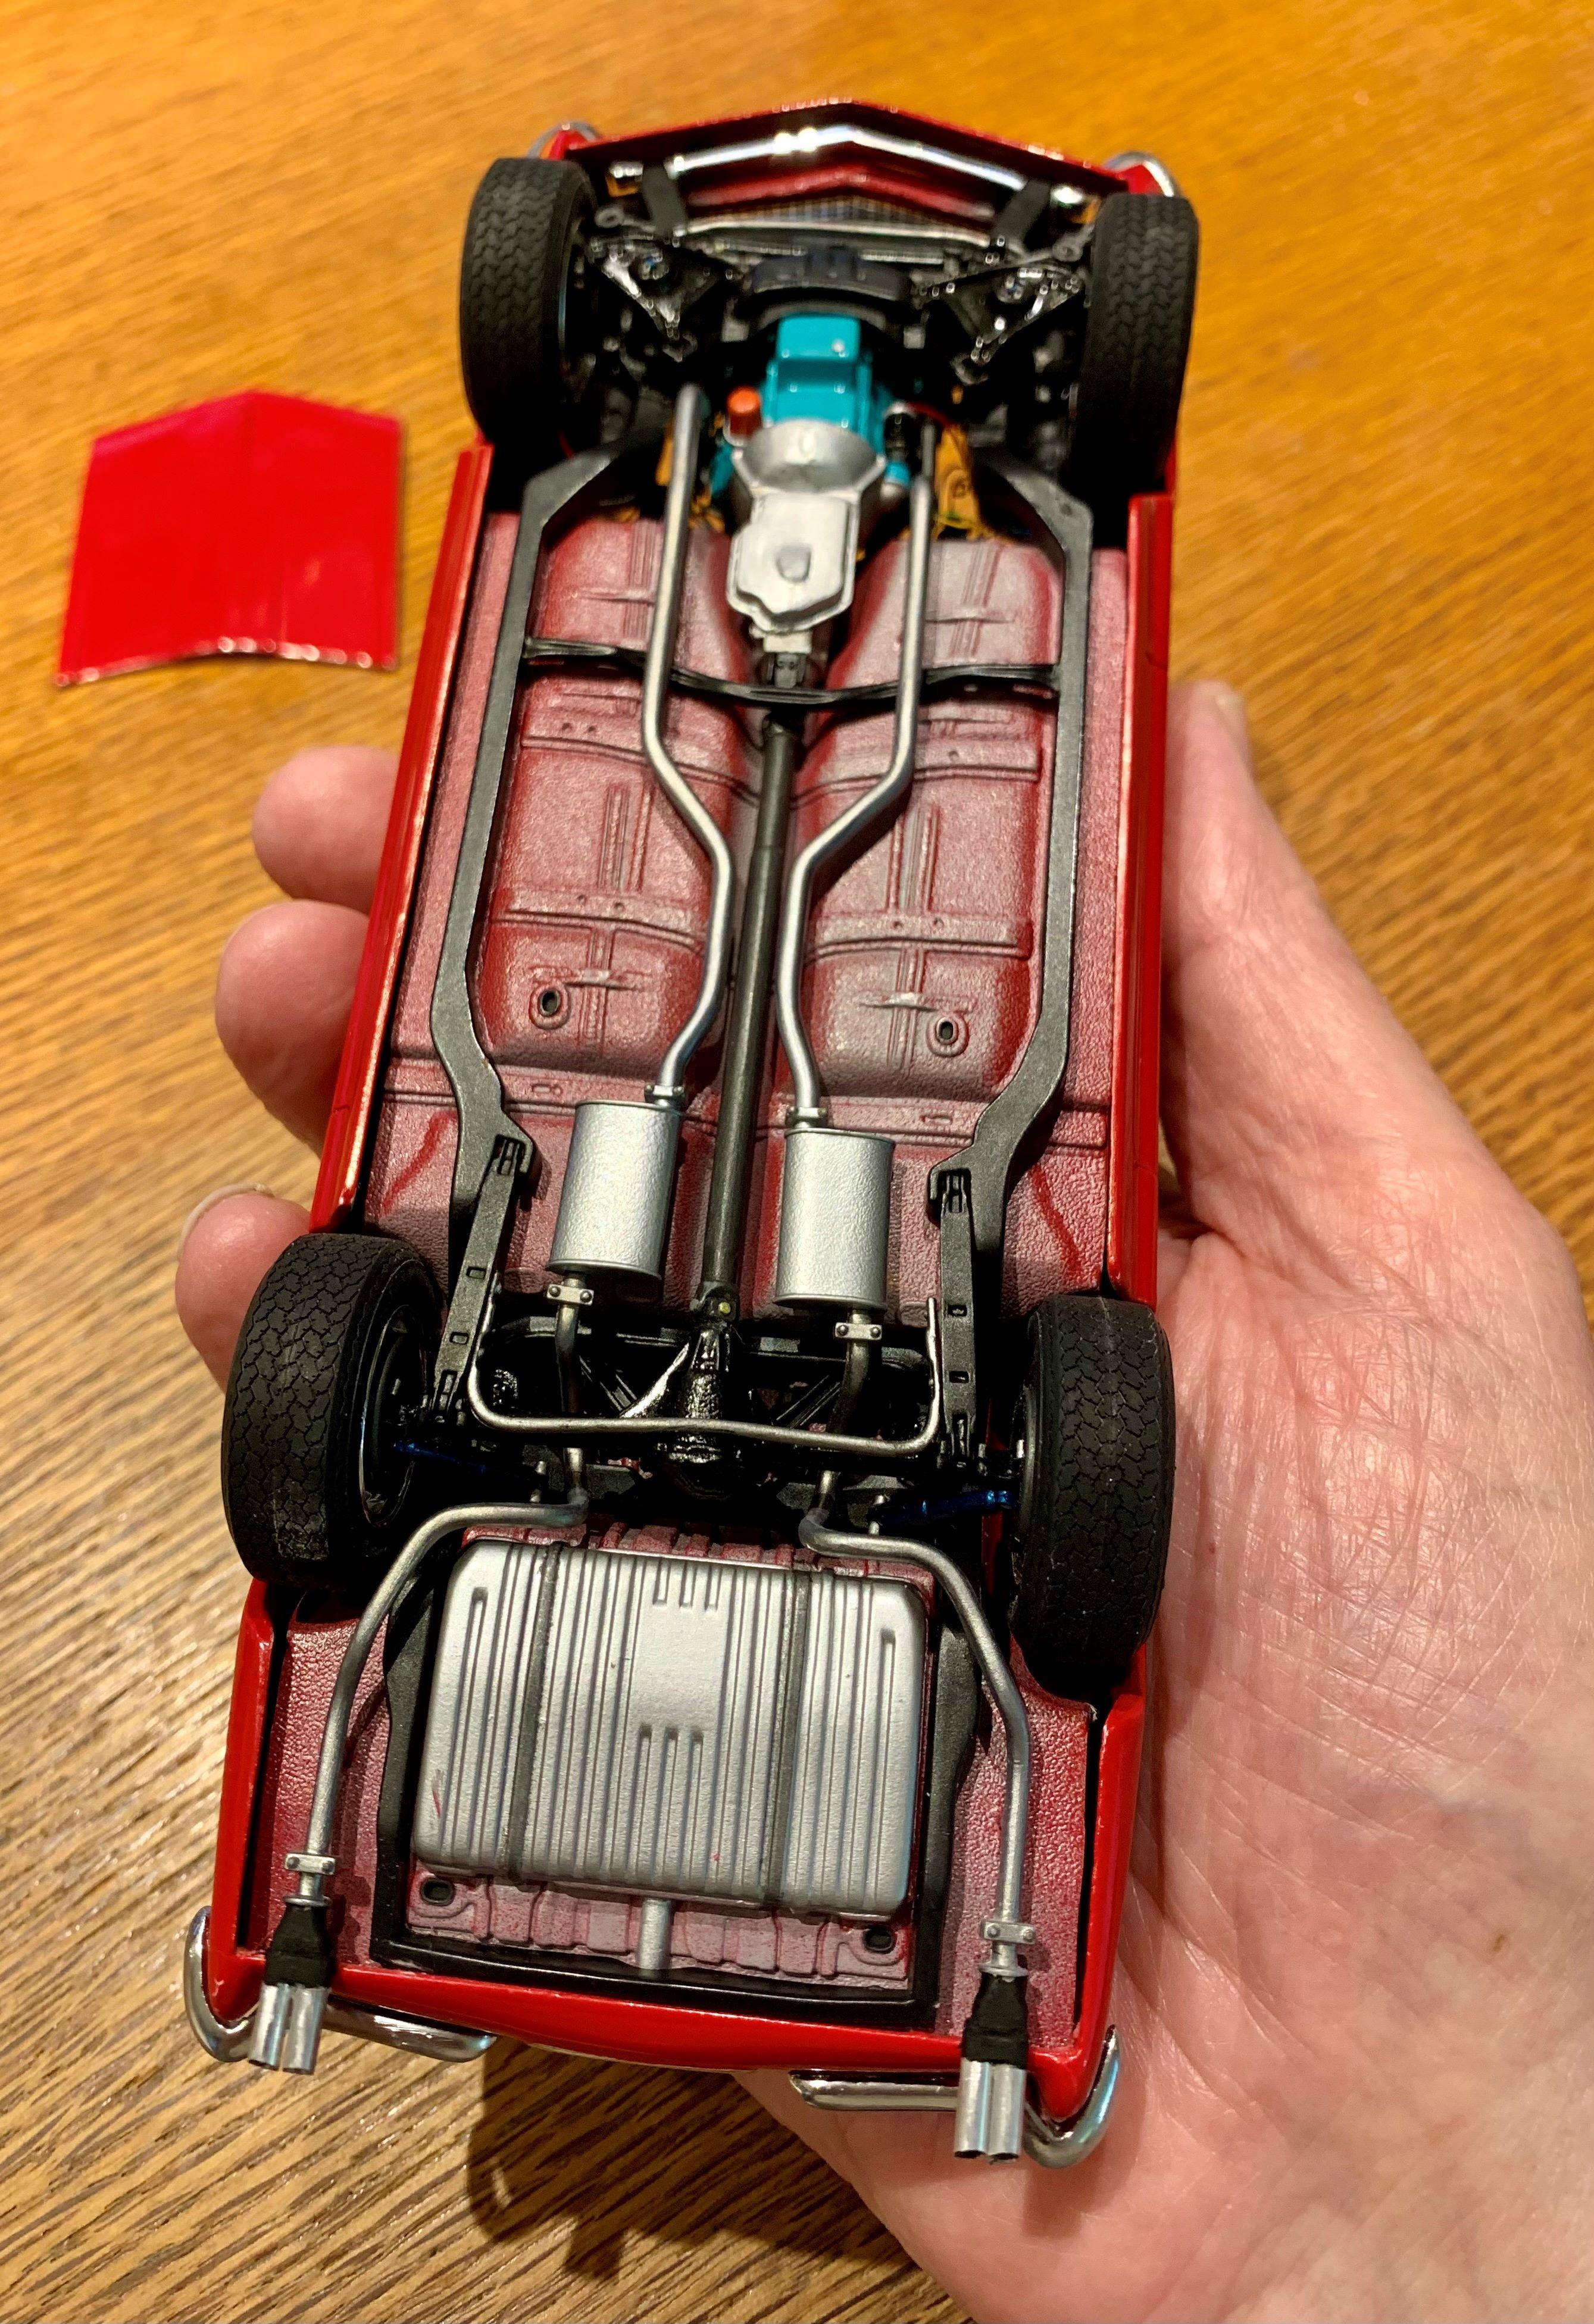
I've already cleaned up the underside and primed and painted everything flat black. I had to cut the front pan from the frame. Gas tank was separate and I did that in flat aluminum. Frame is done in semi-gloss black.
-
I got it apart and mostly stripped. There was so much glue that I had to cut some pieces up. The "glass" was the worst! I cut each piece, windshield/vents, rear, each side, THEN the runners from the headliner. Those runners had to be ground off, they were not coming out no matter what I tried, they were one with the headliner! LOL
-
I found this old glue bomb '49 Merc in my stash, so I decided to re-do it. I've been having fun saving old junkers lately so why not this one!
-
Bentley Blower 4.5 litre 1930 Les Mans Airfix 1/12 scale
dino246gt replied to louis Carabott's topic in Model Cars
Incredible realism, museum quality build, fantastic! Couldn't tell I was looking at a model, thought it was real. Cheers! -
1:16 Gunze Sangyo 1937 Rolls-Royce Phantom III Sports Saloon
dino246gt replied to Anglia105E's topic in WIP: Model Cars
I might think about cutting the column from the box, drilling both and gluing a pin into one of them, probably the column. Glue the box in, then after the glue dries, pull the column up and out, then proceed being able to push the column back through everything from the top when you're ready? -
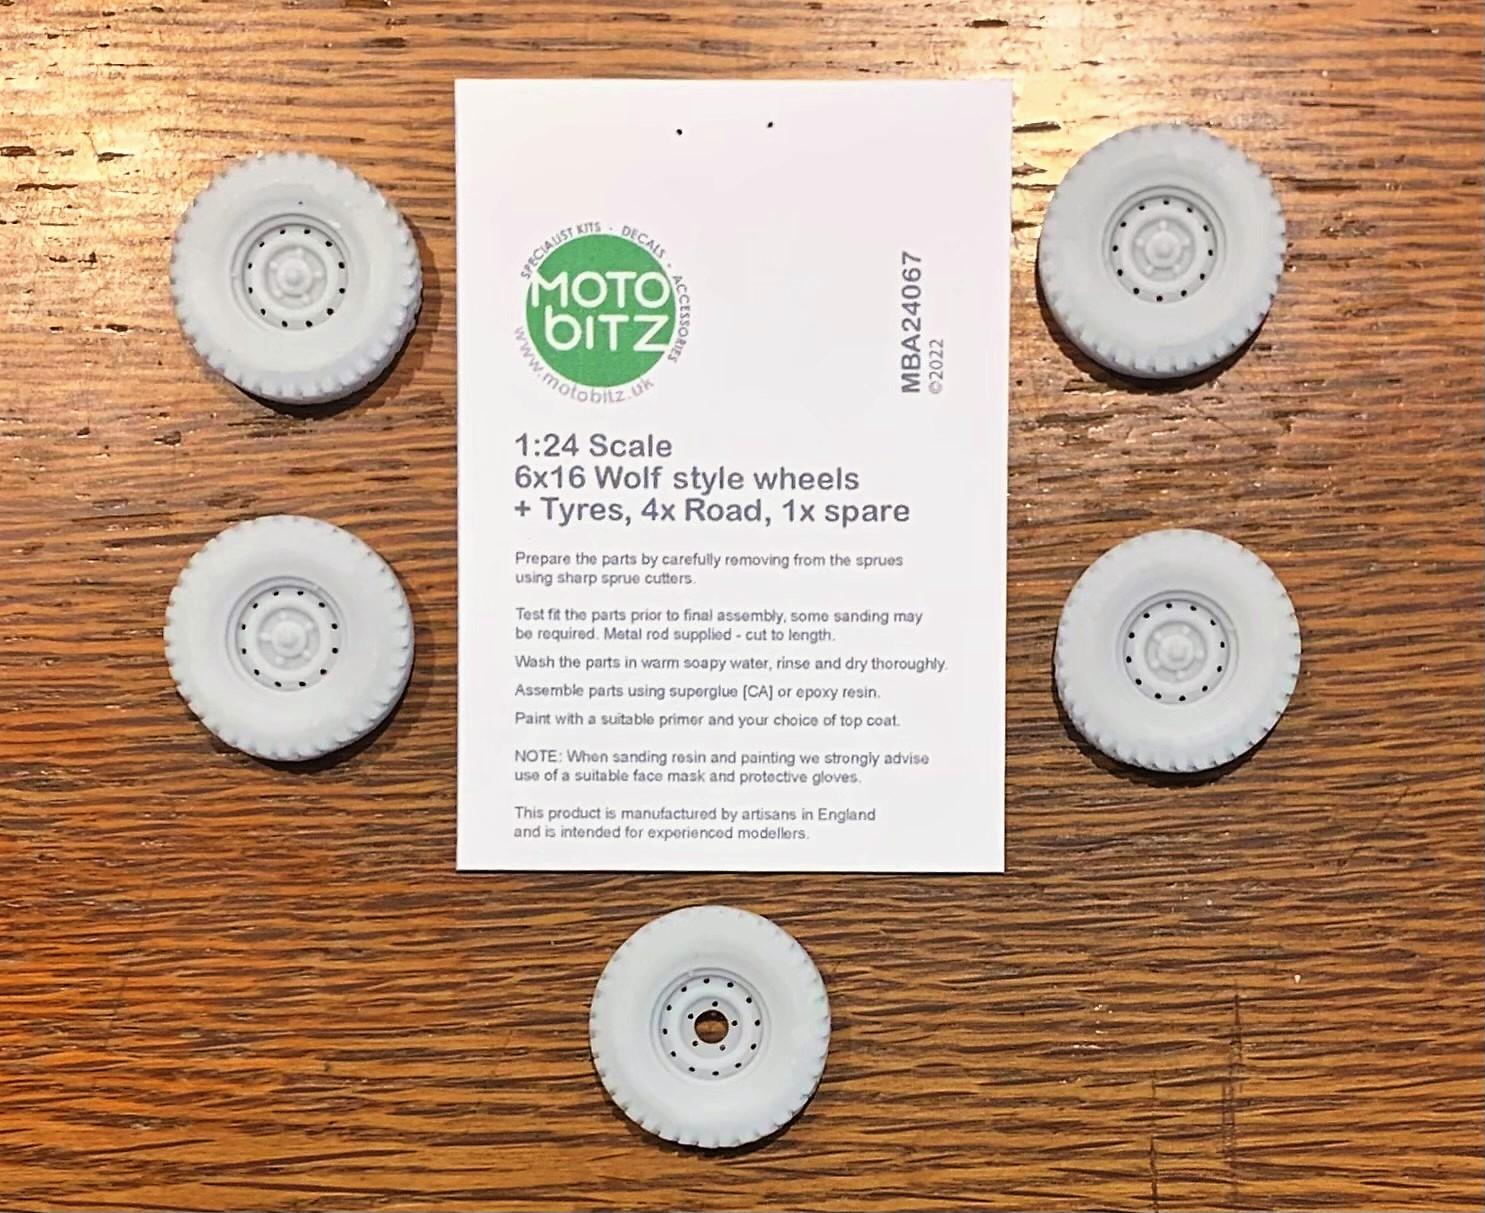
Land Rover 109
dino246gt replied to Brizio's topic in WIP: Model Trucks: Pickups, Vans, SUVs, Light Commercial
I used these fine trans kits to make mine into this:
-
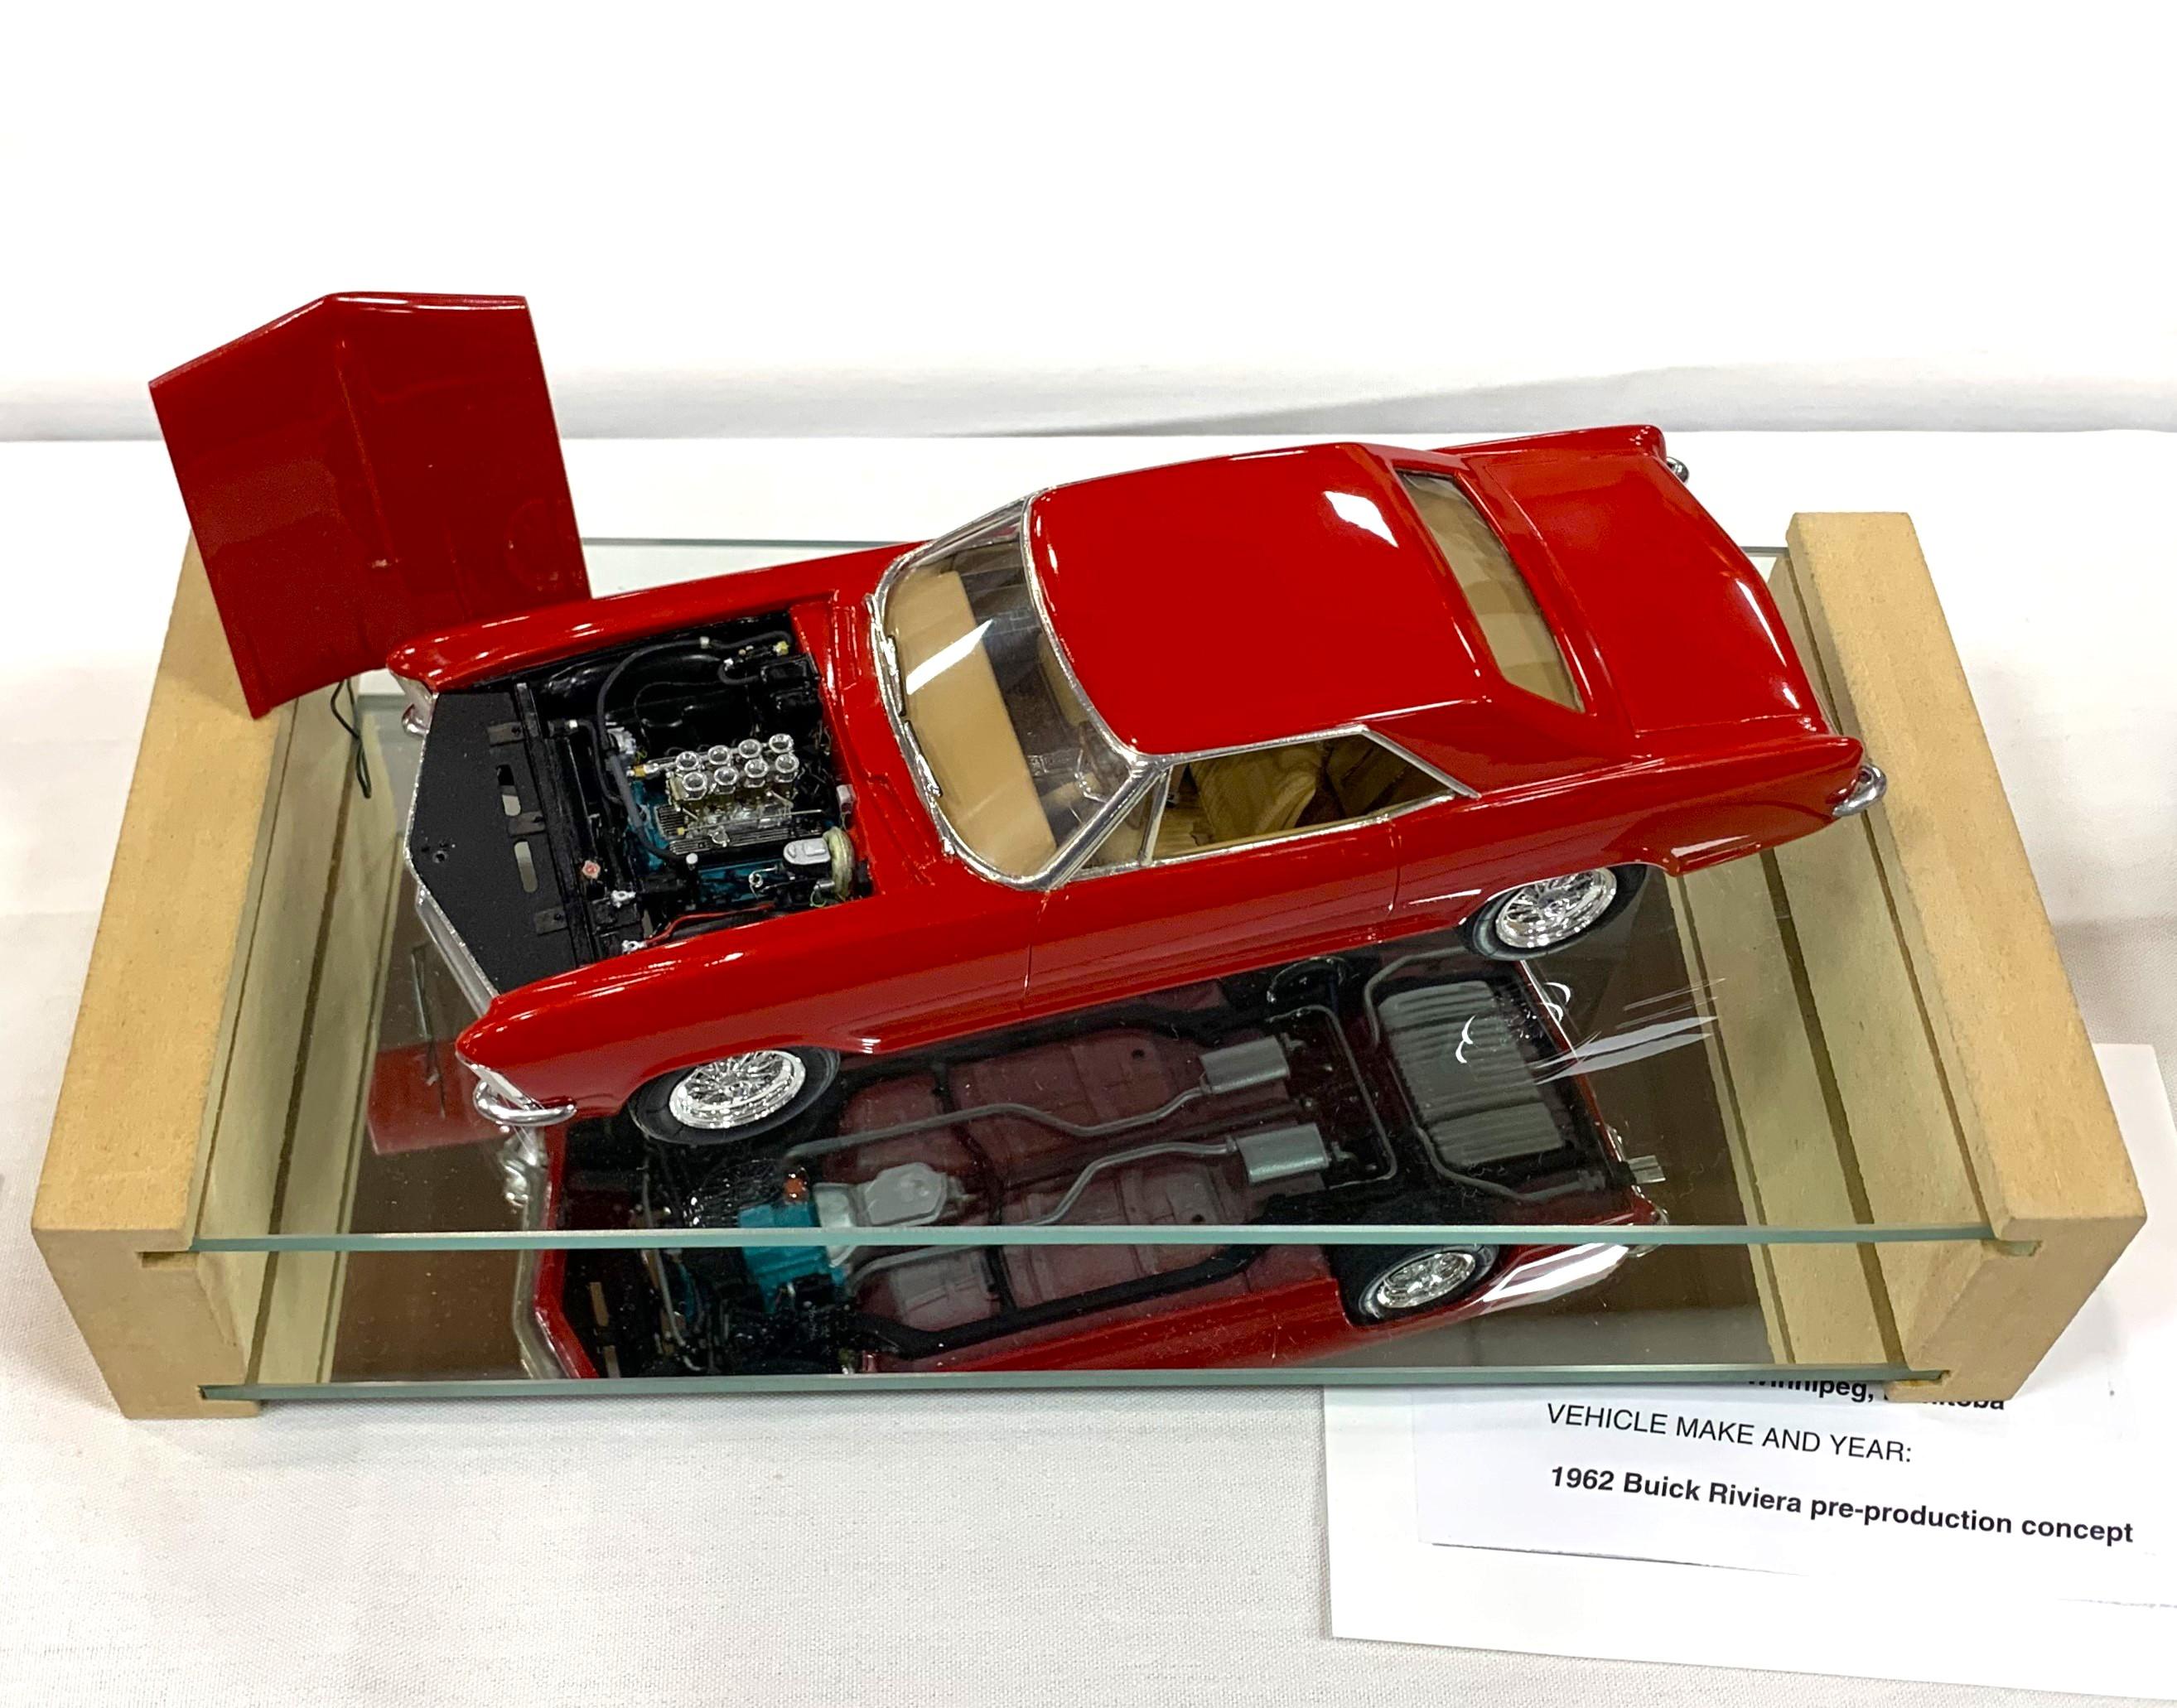
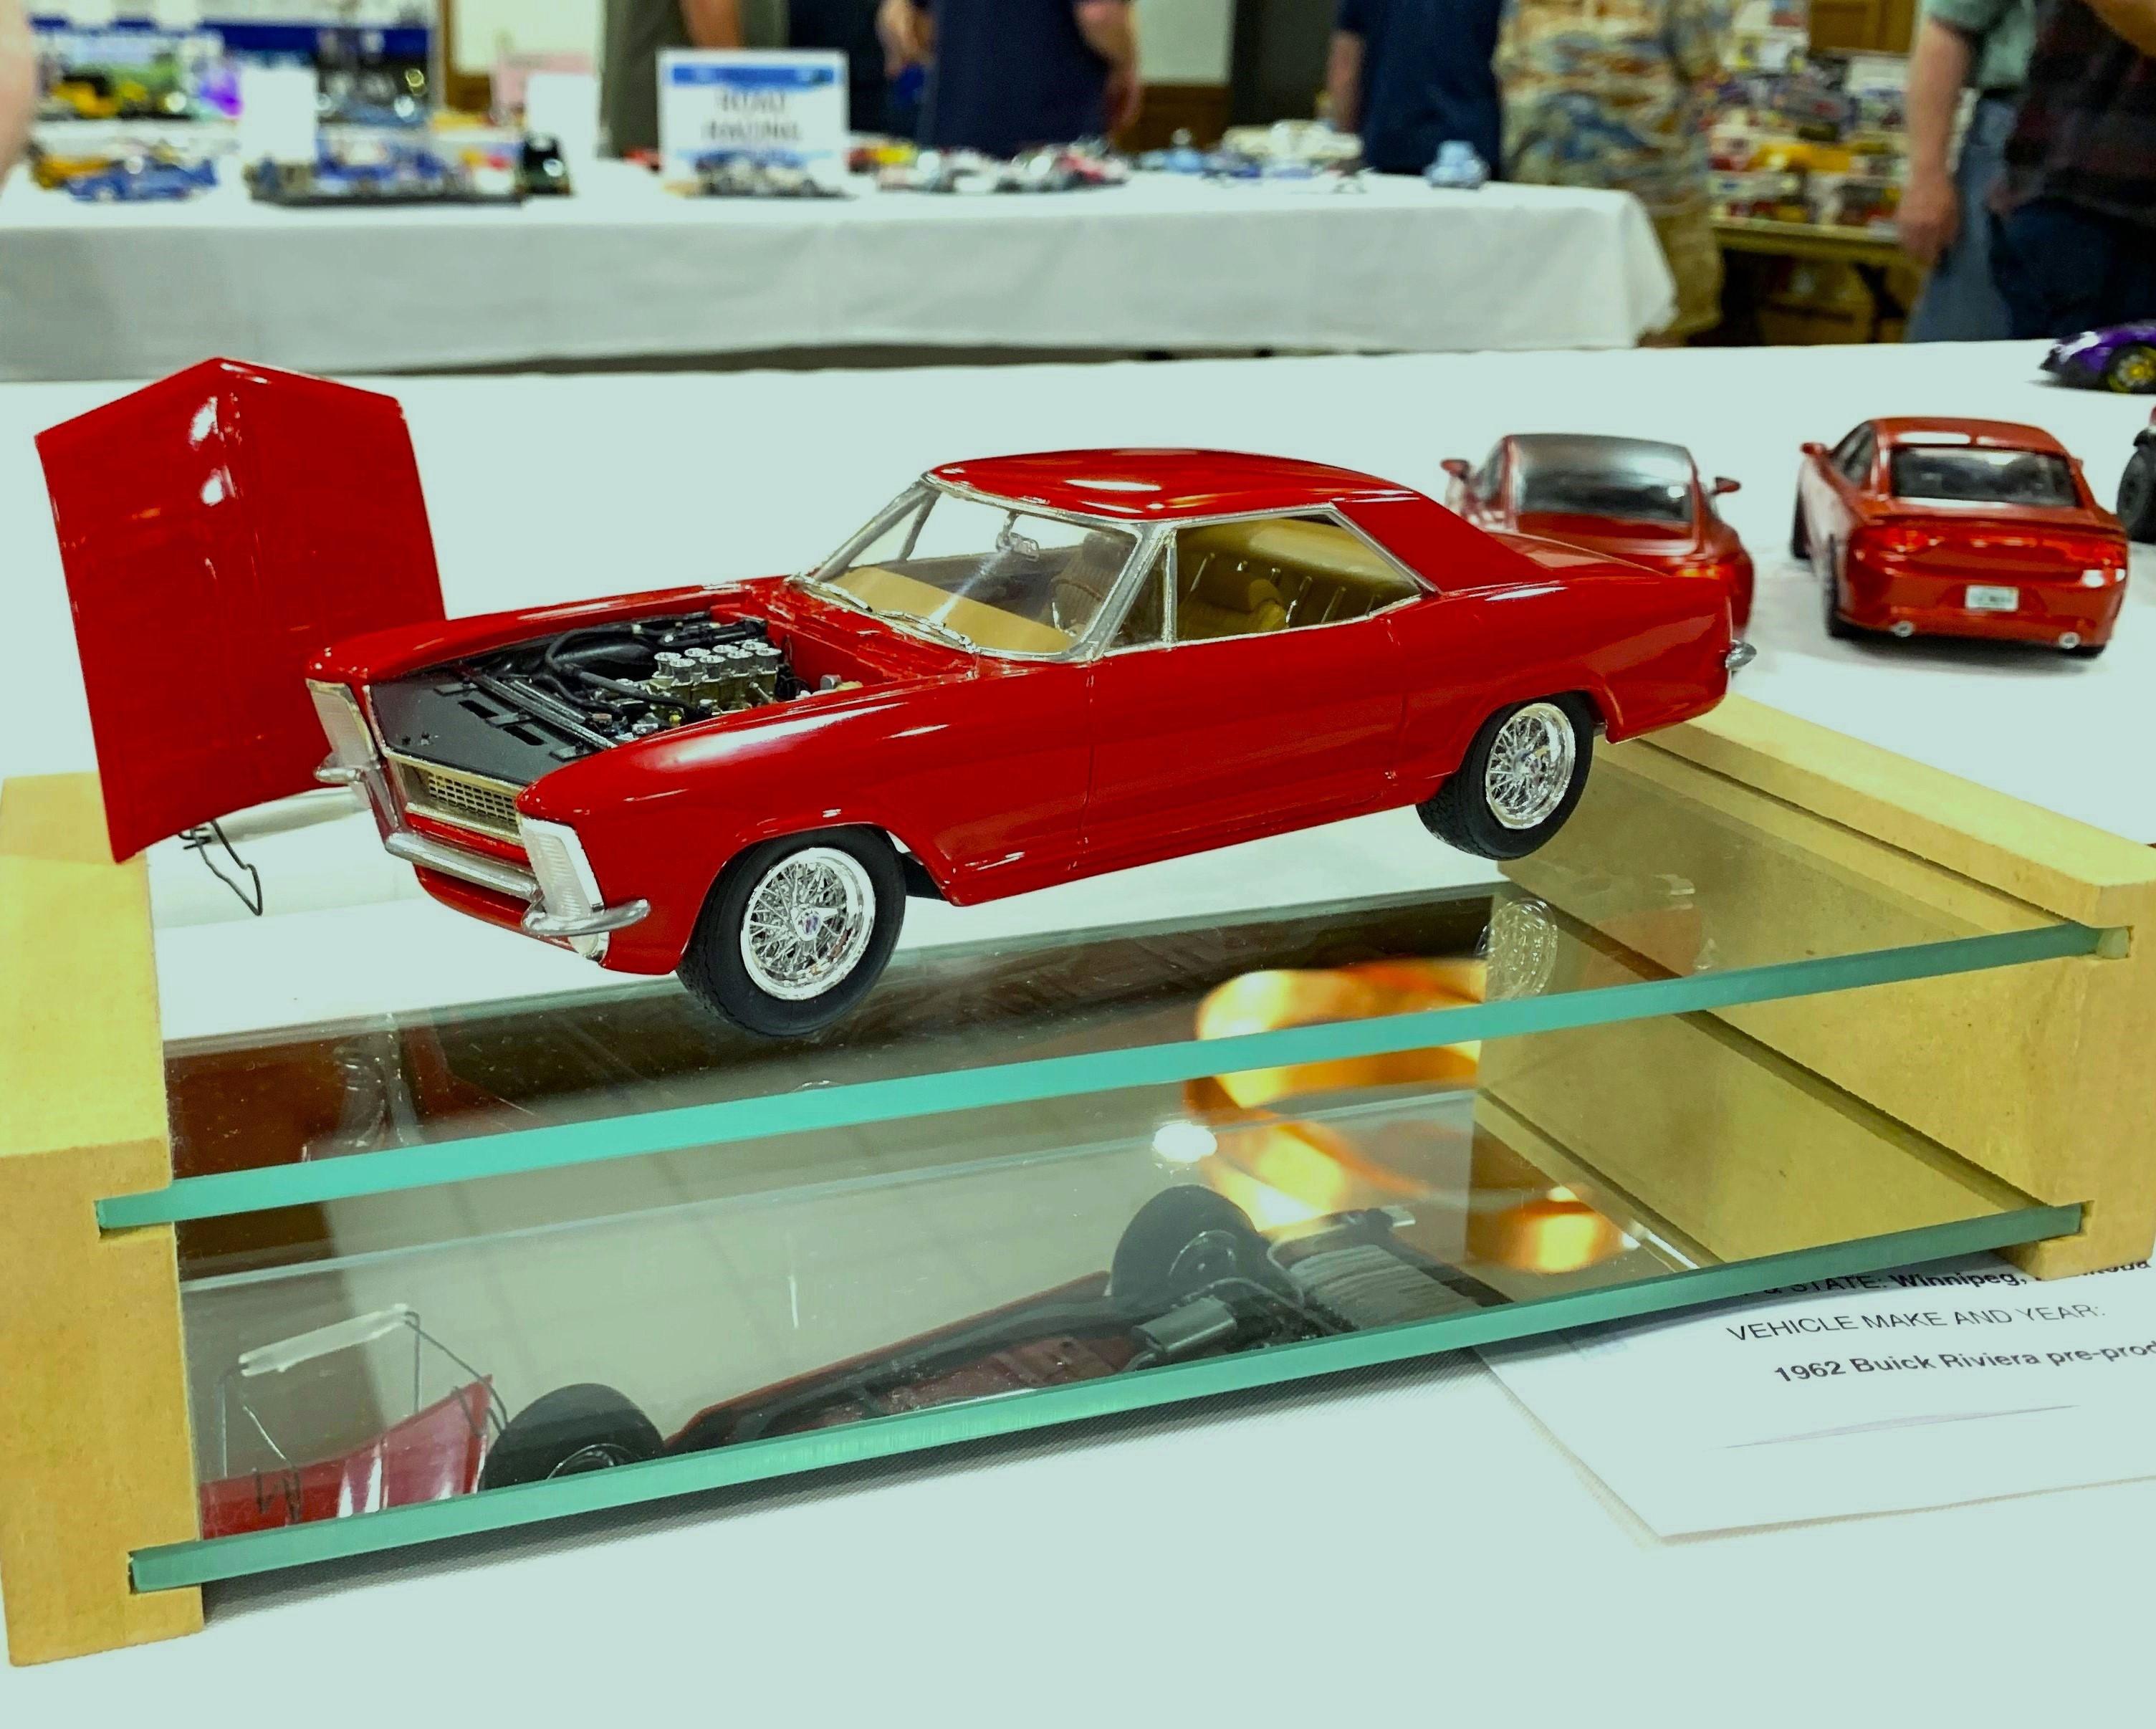
I took the Riviera to NNL North in Minneapolis this weekend. Such a great show as always. I've been going there for years and have made great friends, so it's always a good time! If you live anywhere near, you should go, maybe see you there next year!
-
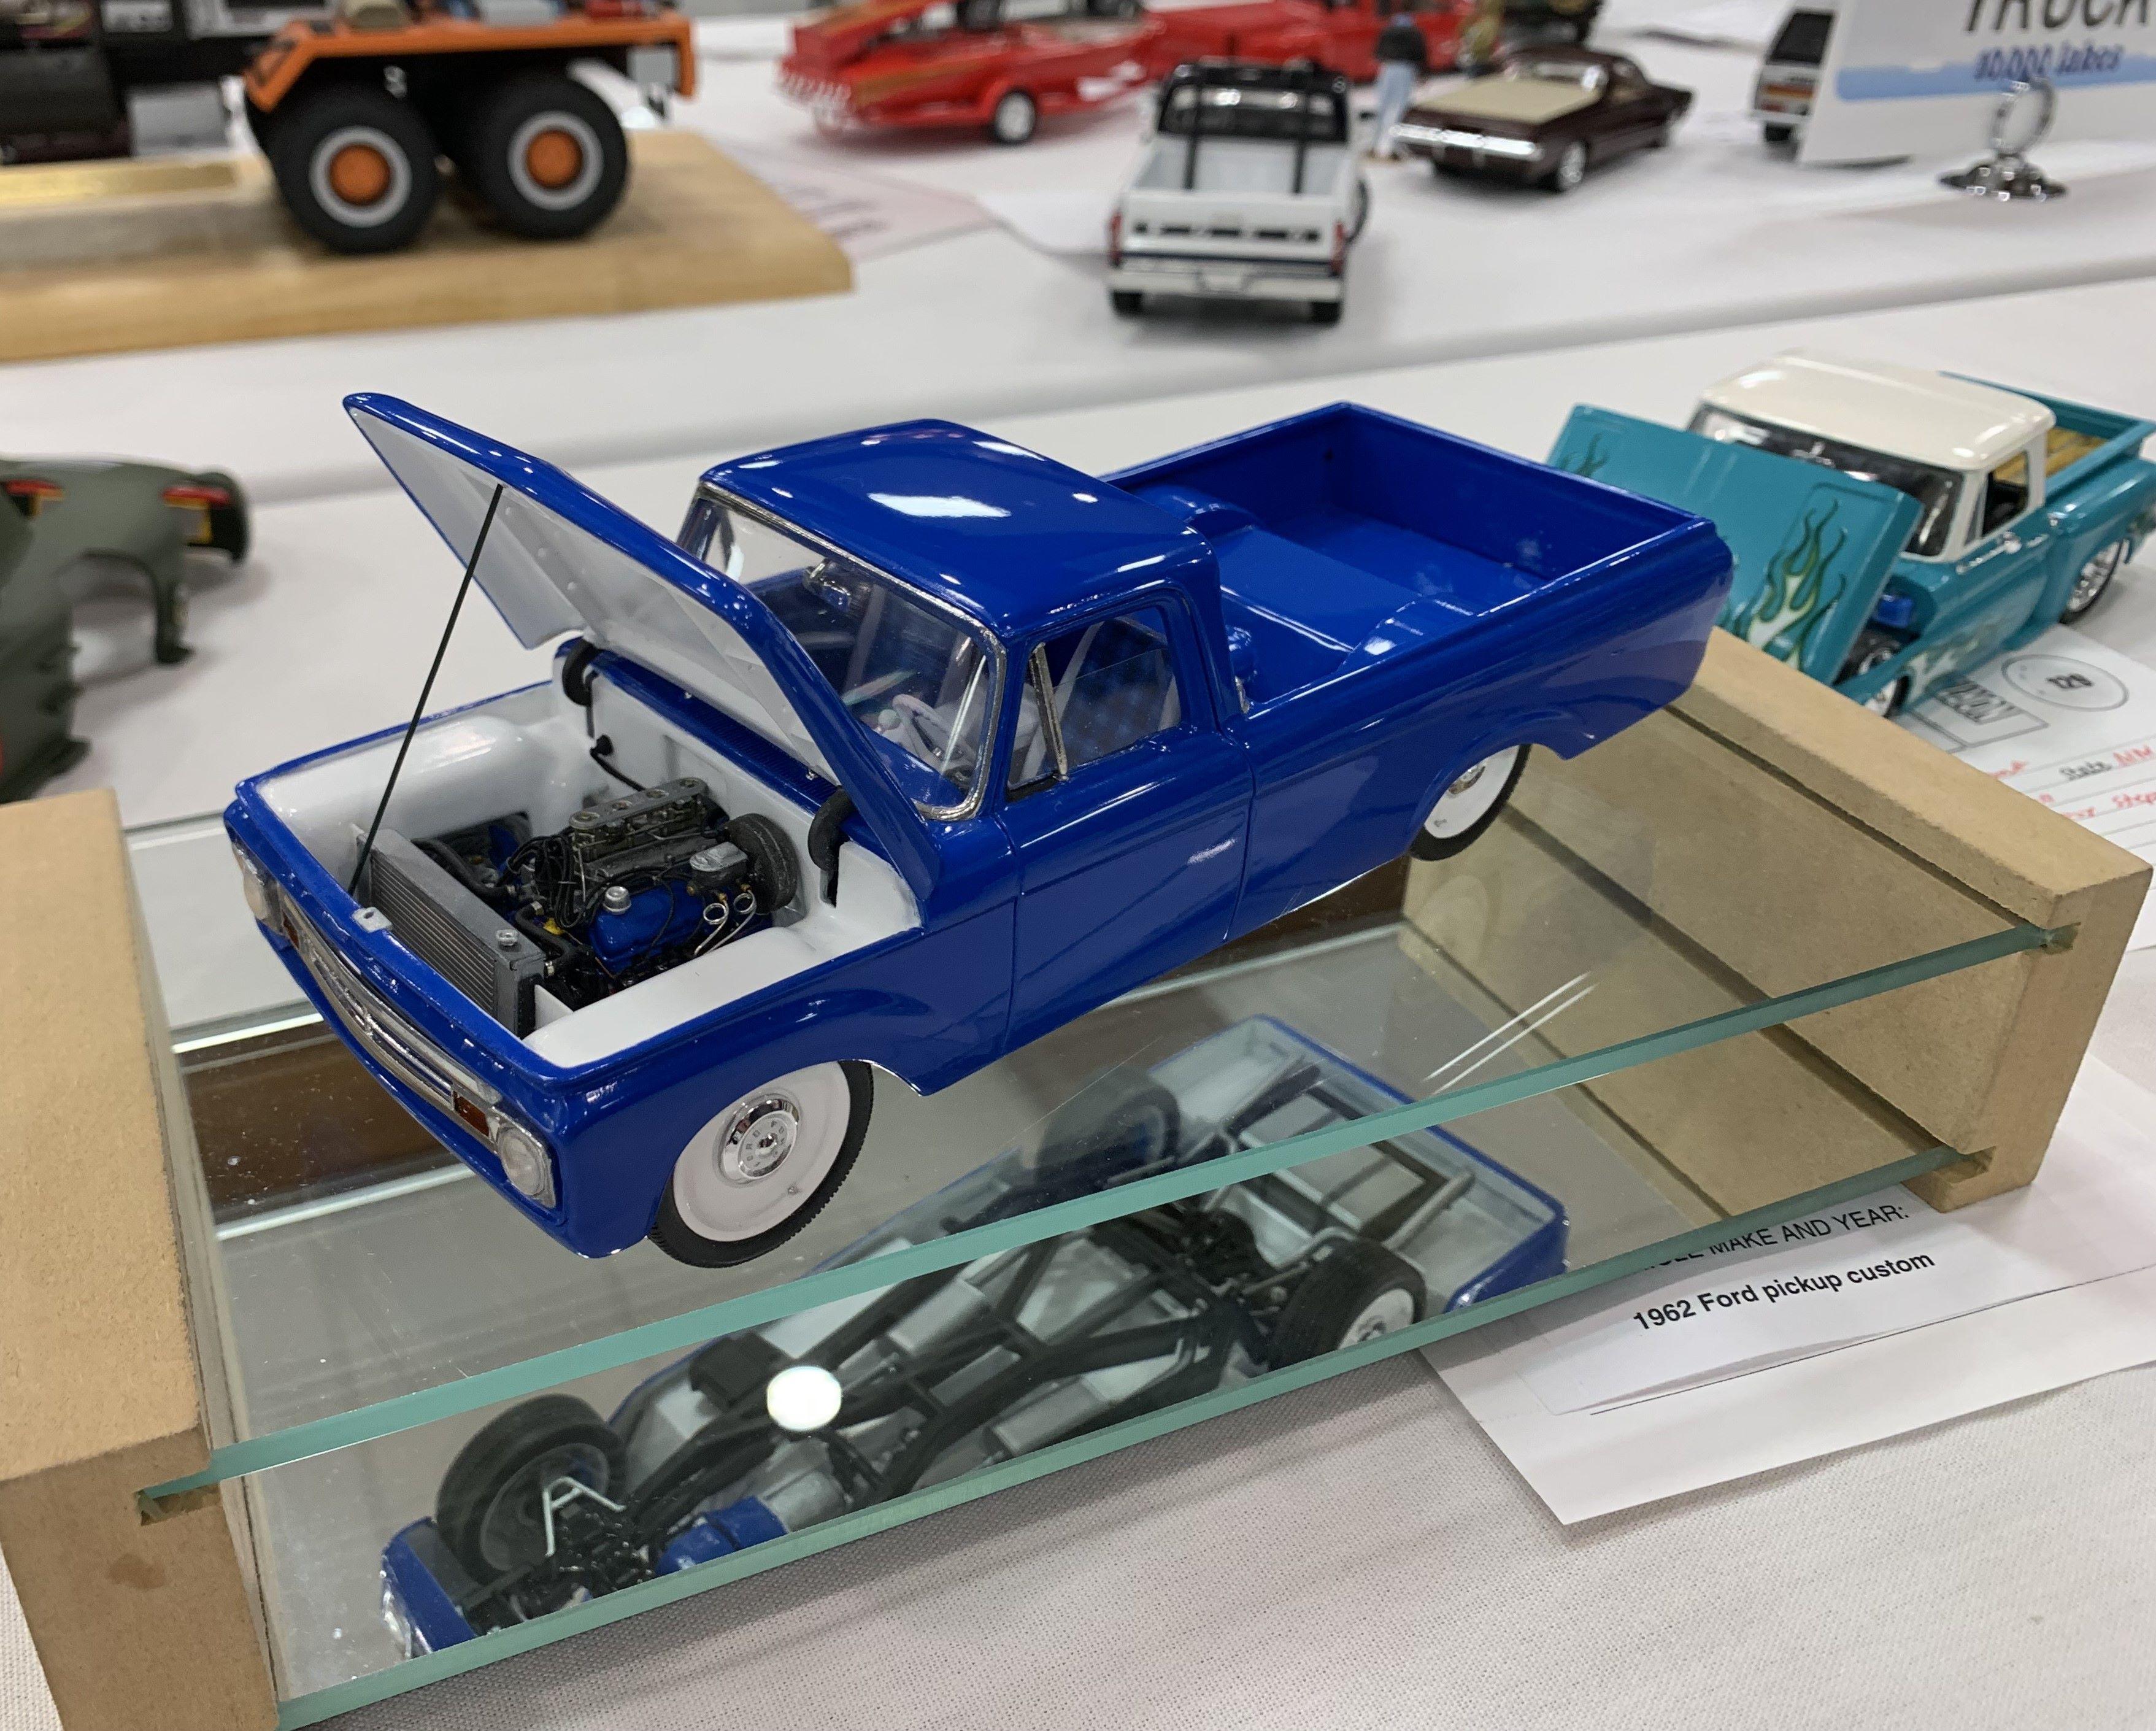
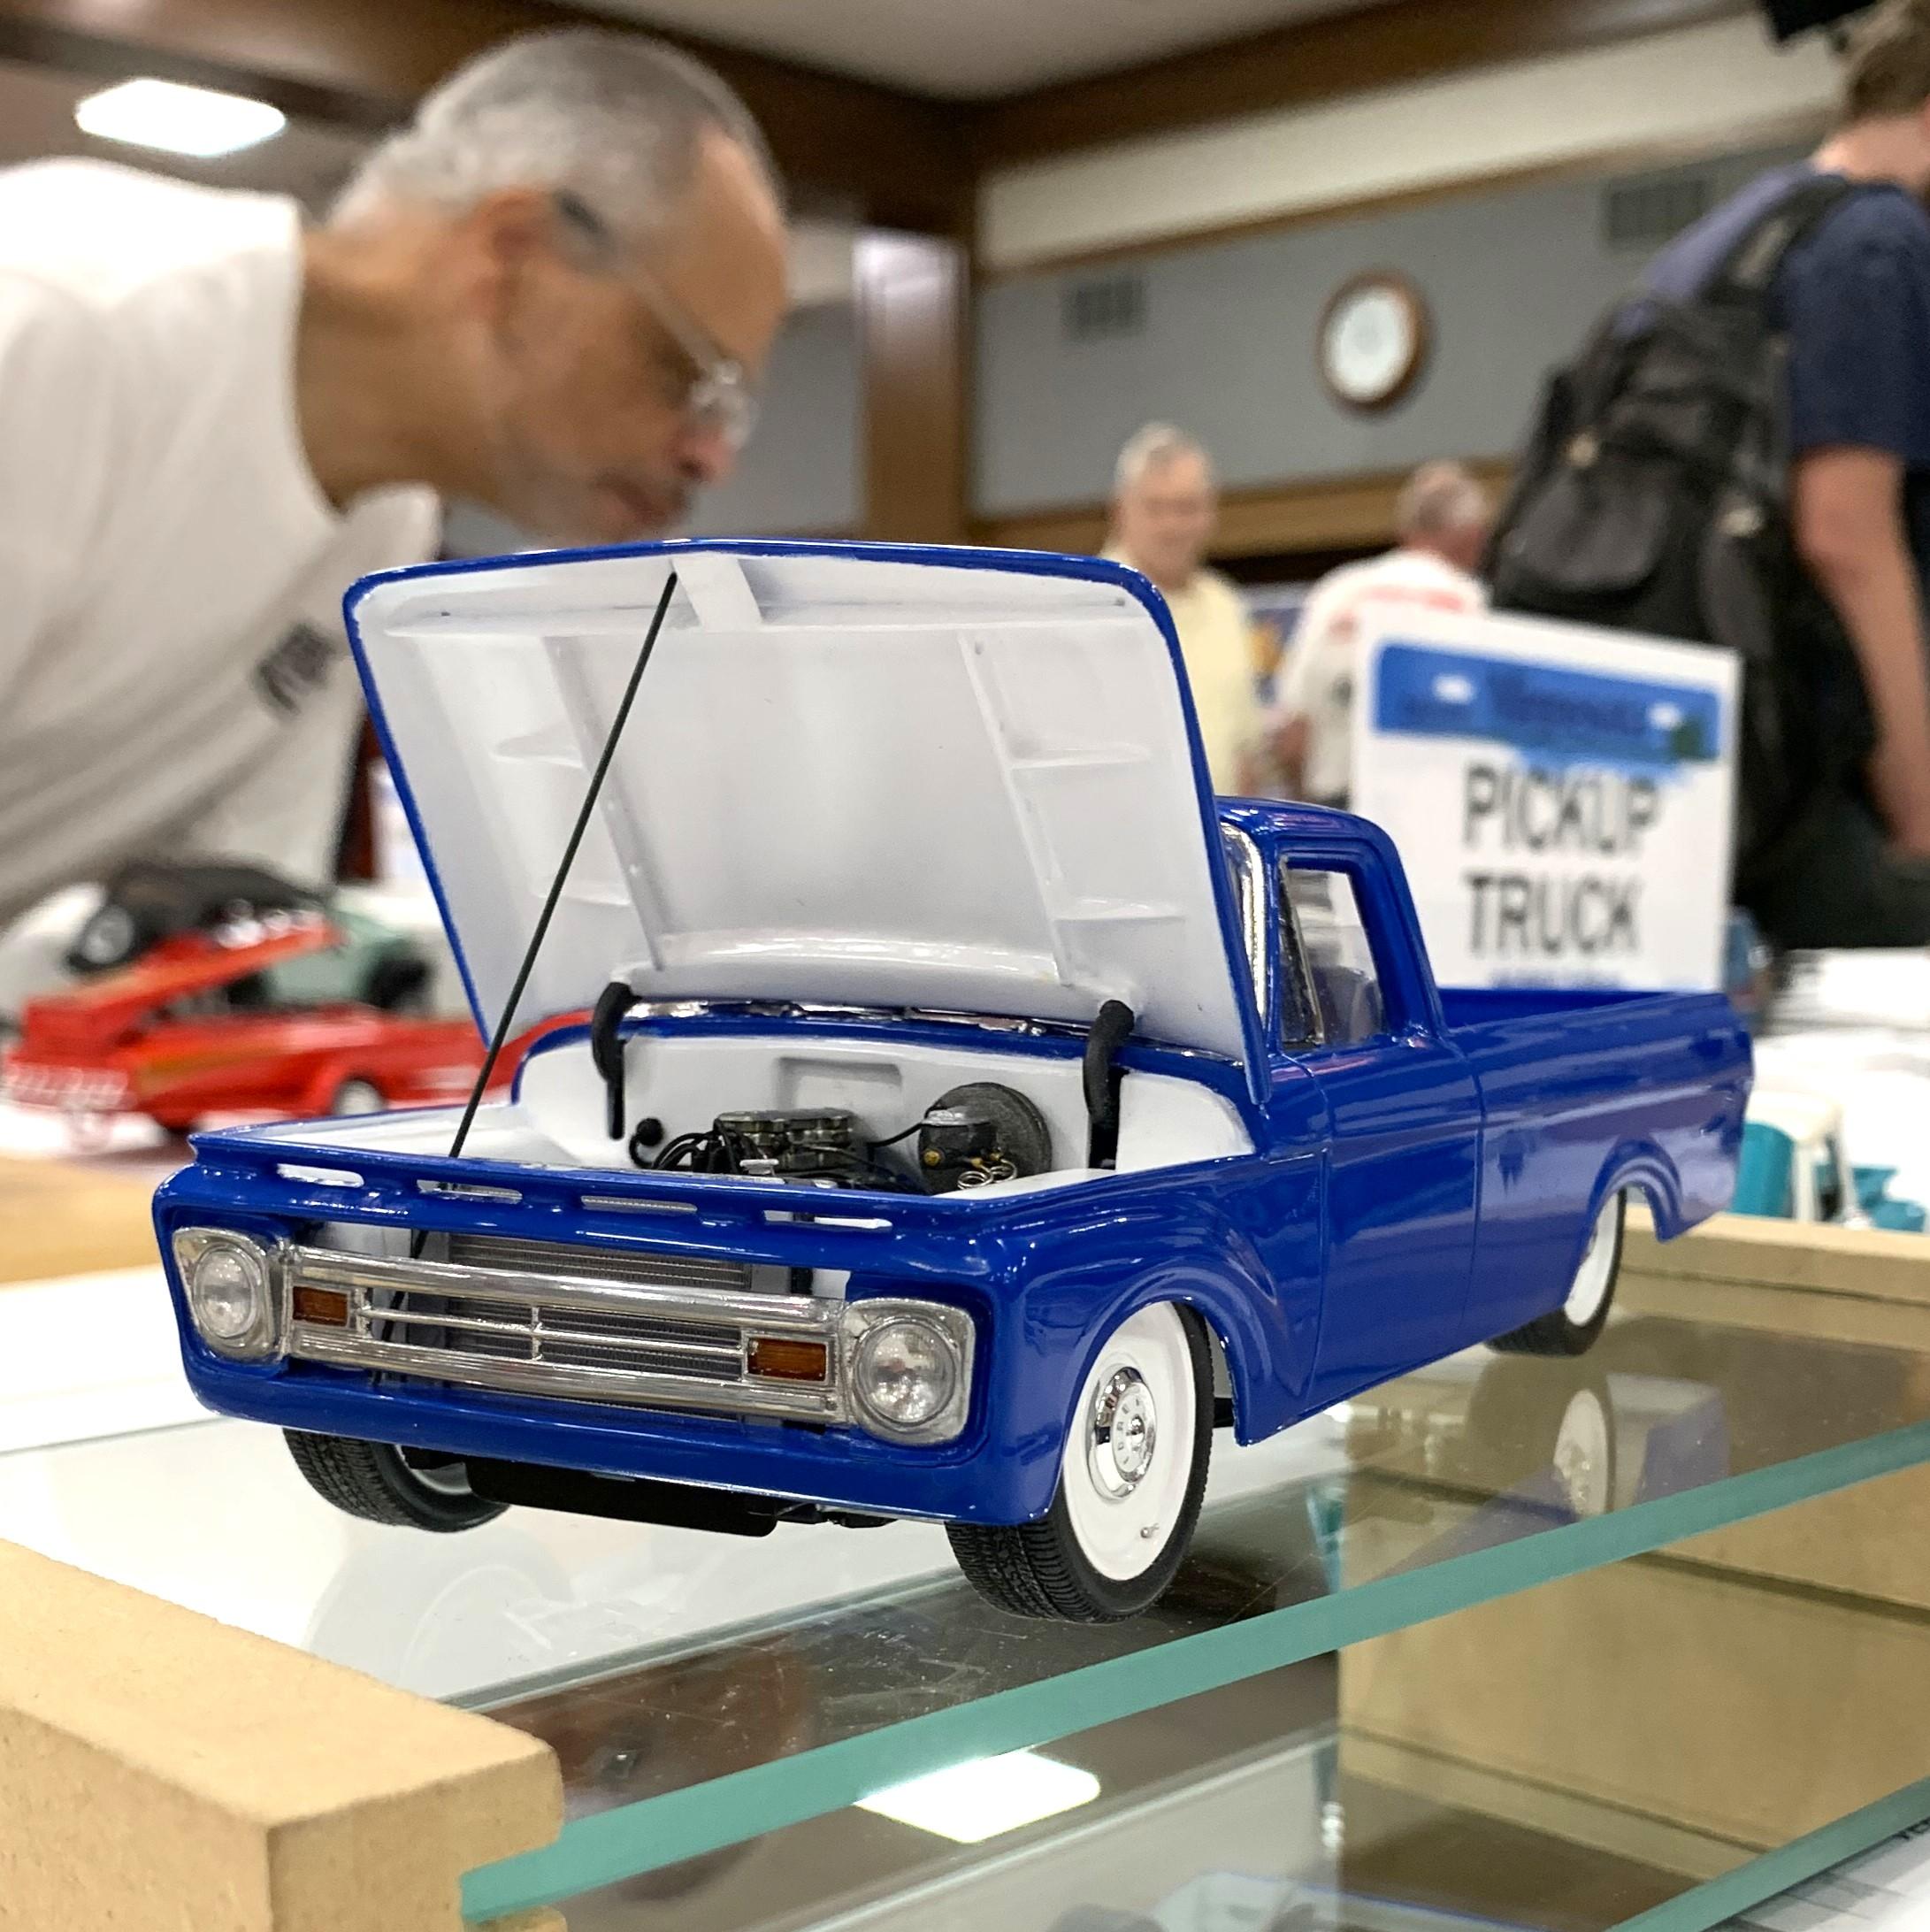
Just got back from NNL North in Minneapolis. First showing of the "Blue '62" Had a great time as usual there, have made so many great friends over the years of attending. Cheers!
-
Webers are from Norm of Reps and Mins of Maryland, just used a kit manifold modified. Valley cover is actually a custom side piece for a Chevy 6 from a Galaxie Kit. I need to make fuel lines and linkages, add wipers and she's done! Keeping it clean with no door handles or mirrors or antenna or emblems. (easier that way, LOL)
-
I've got the solenoid system! (in my imagination, that is) LOL
-
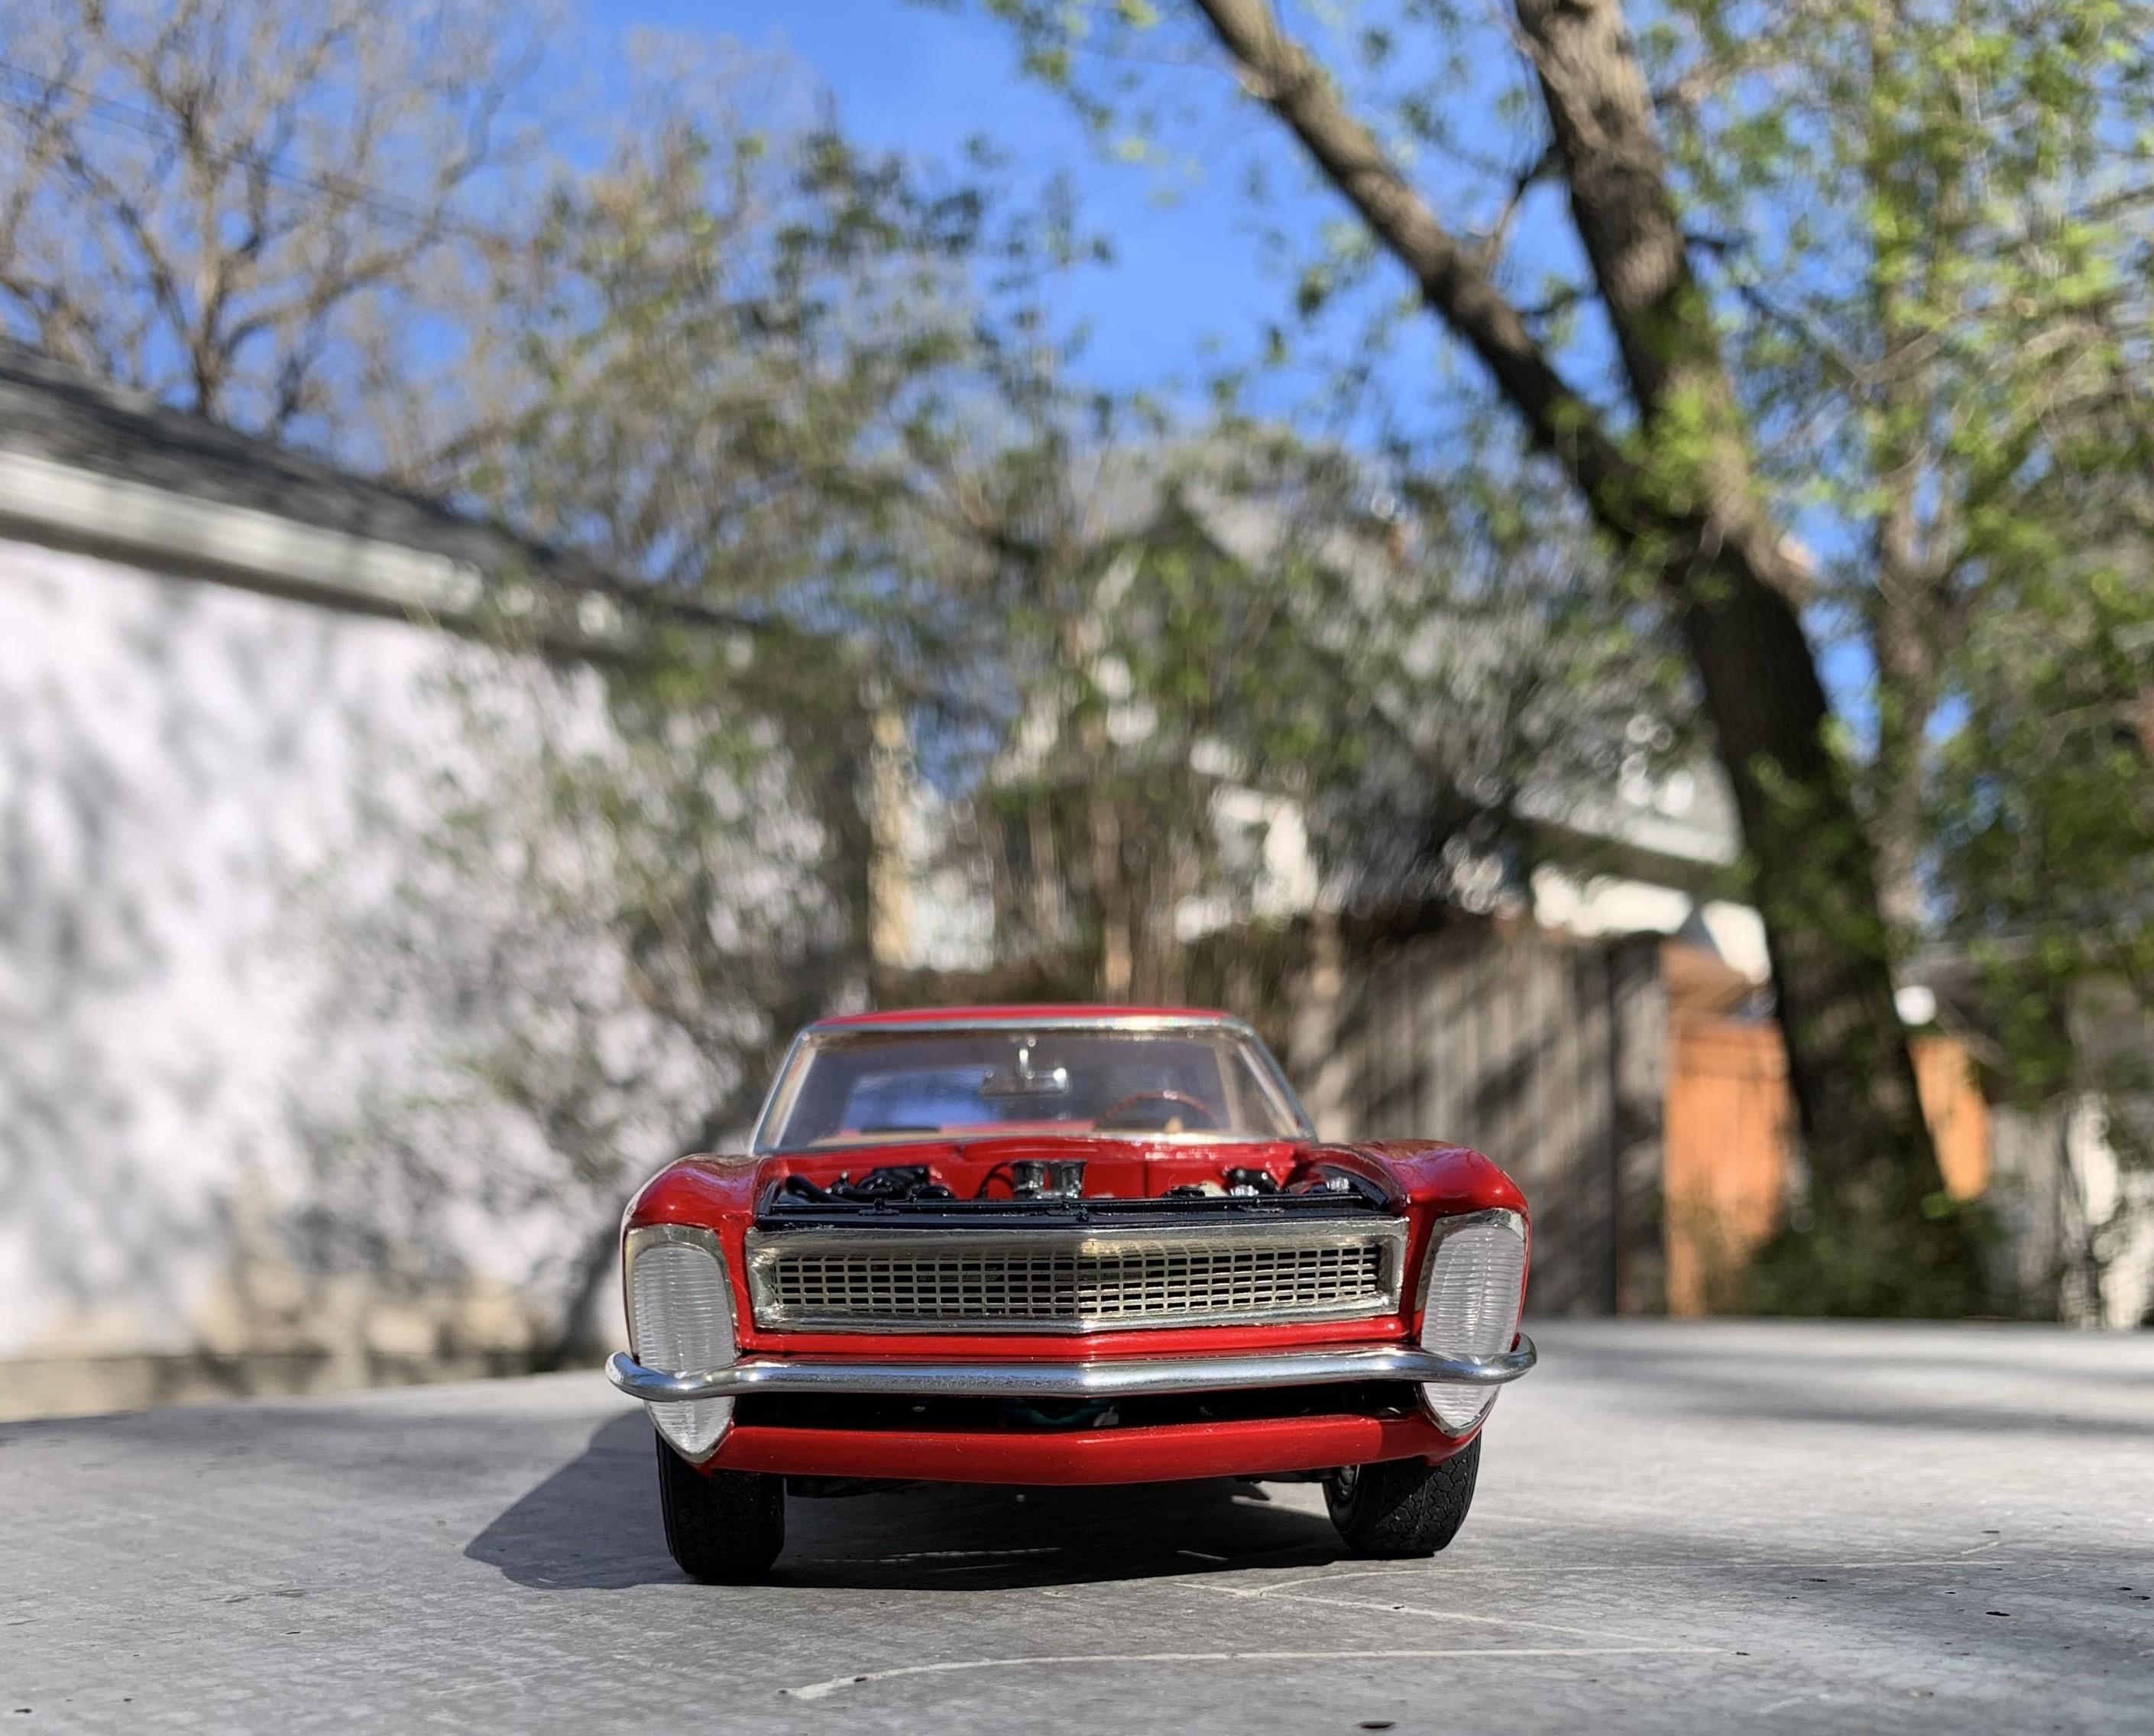
Looks better in outdoor light. Still need Weber linkage and fuel lines. I'm now thinking no door handles, OPINIONS?
-
The Revell '57 Ford is better for the chassis and parts than the AMT, I believe.
-
Those look great! Here's mine:
-
Getting the ride height right, like a factory prototype, not a cool, lowered custom.
-
Okay, I see that this will be another super amazing, ultra realistic, unbelievable replica of the fantastic F-40! In fact, it already is! WOW.
-
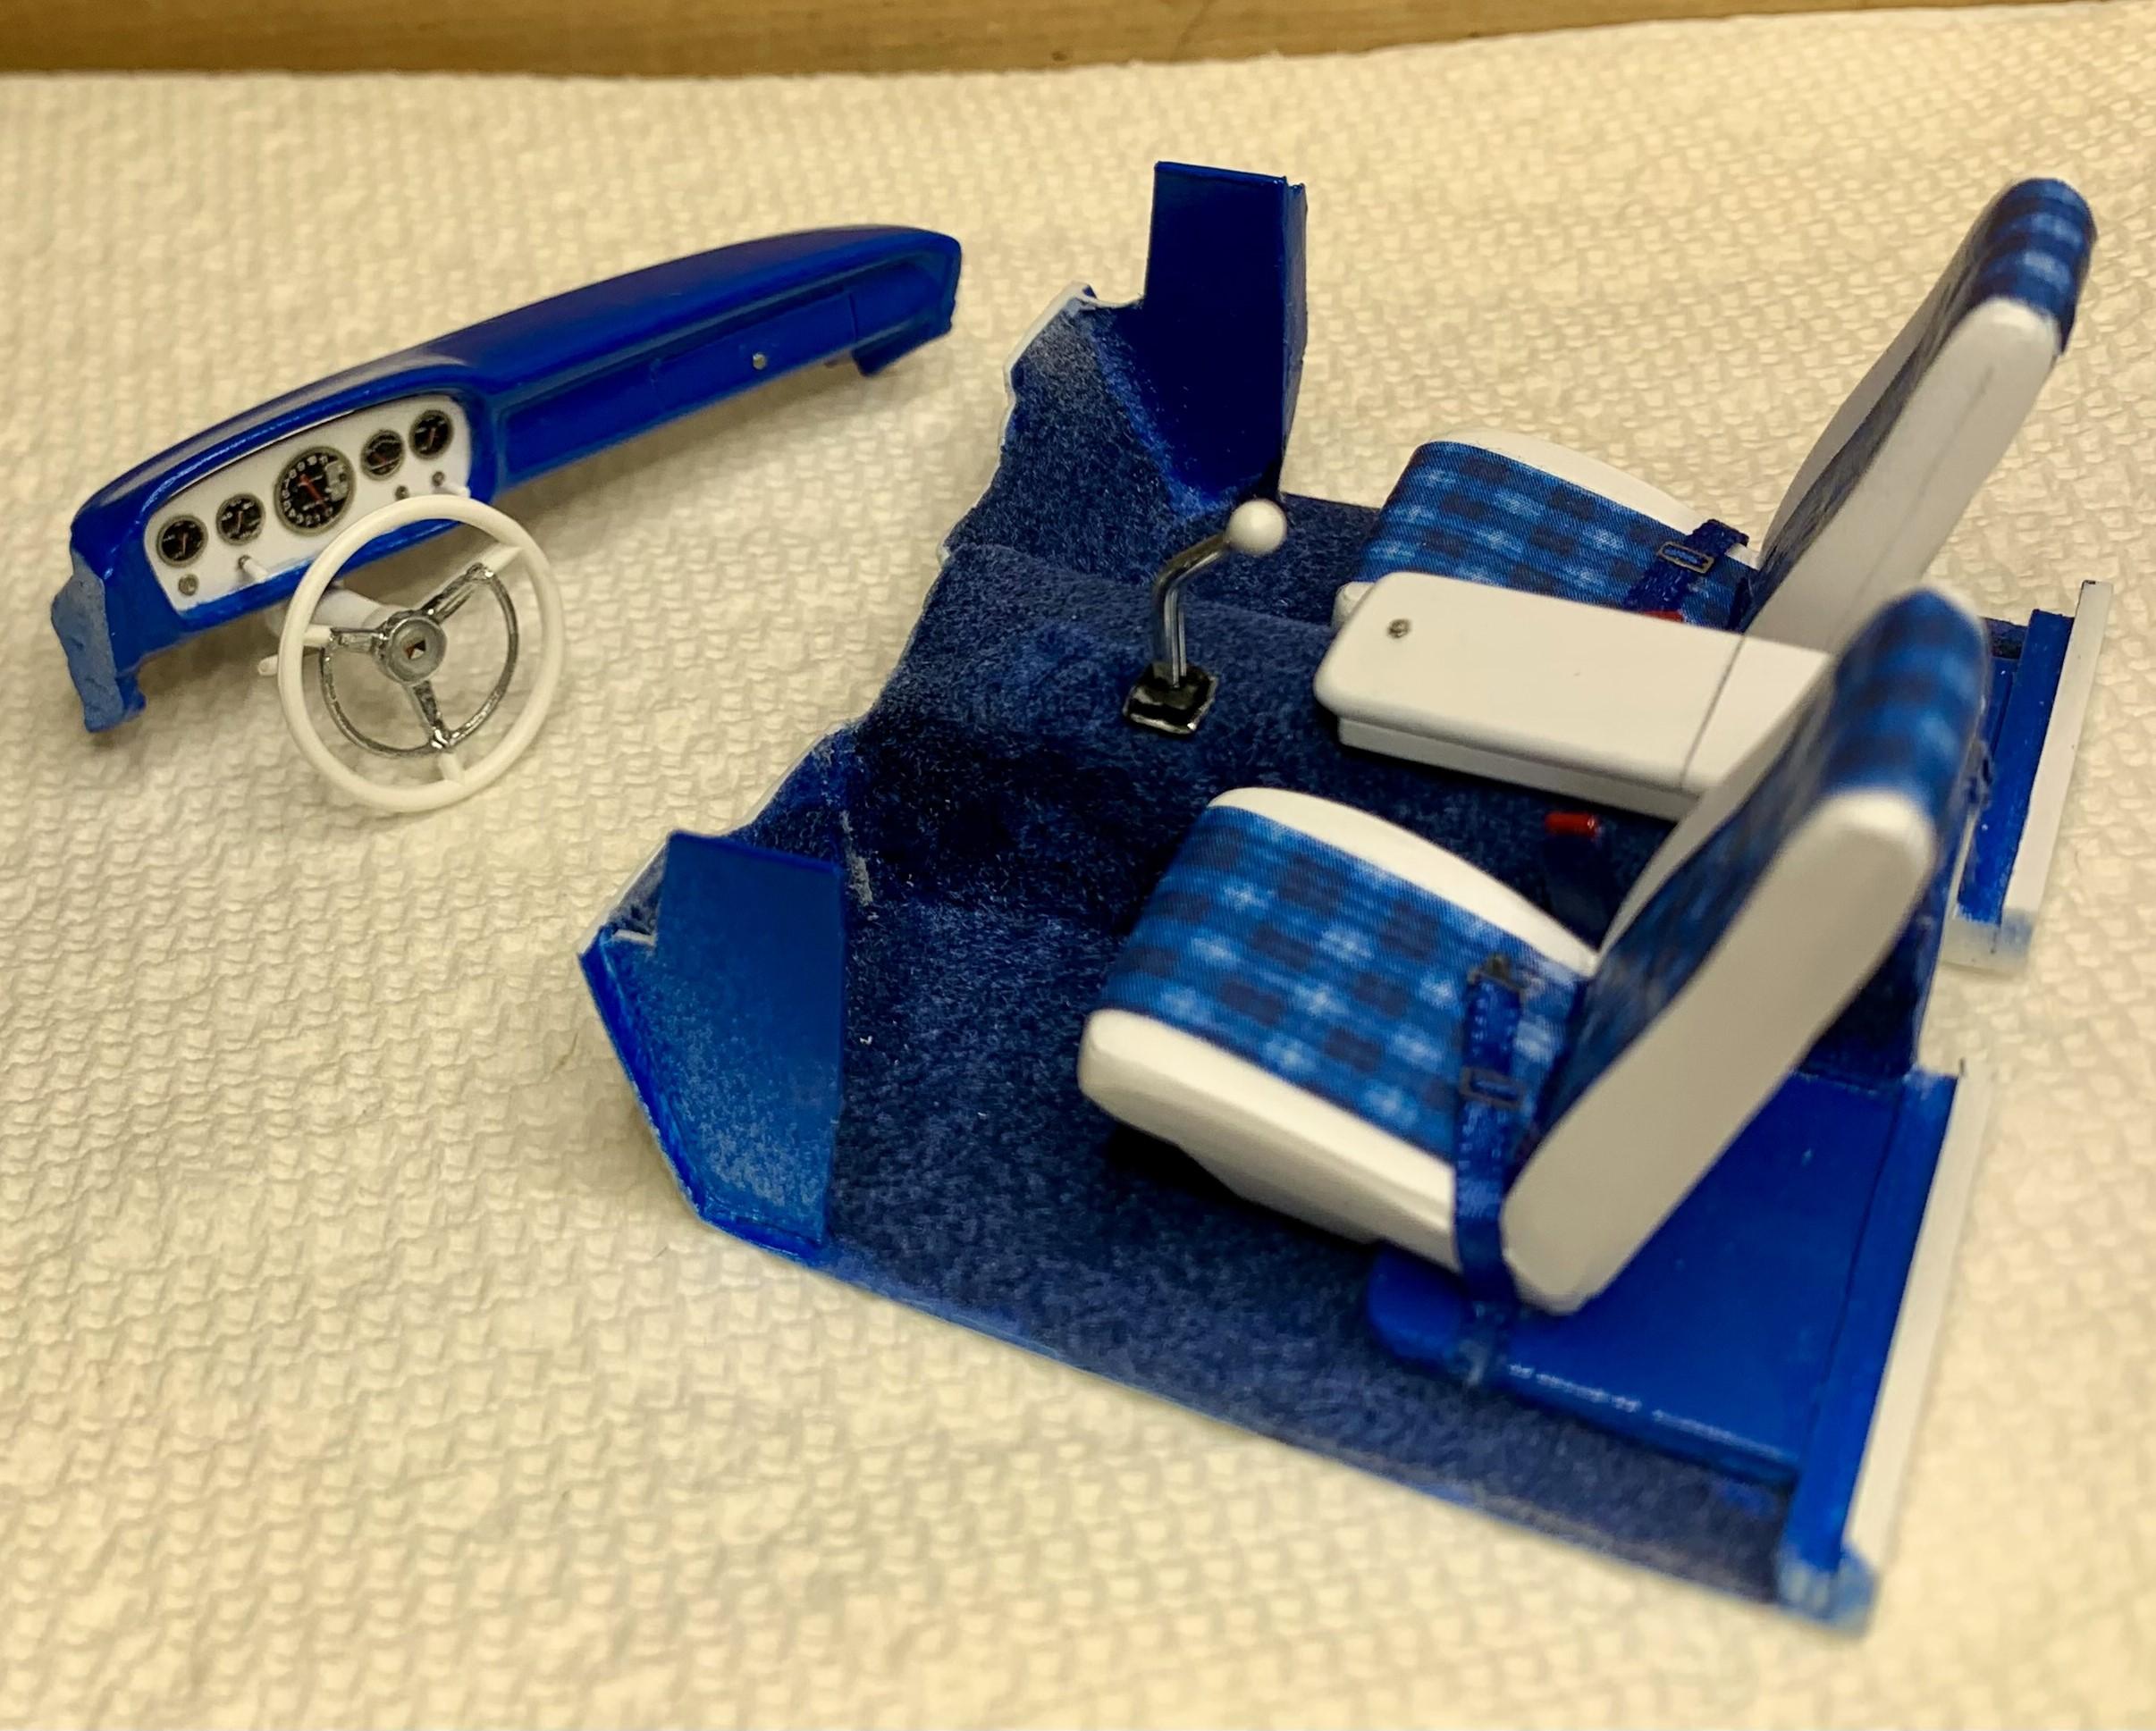
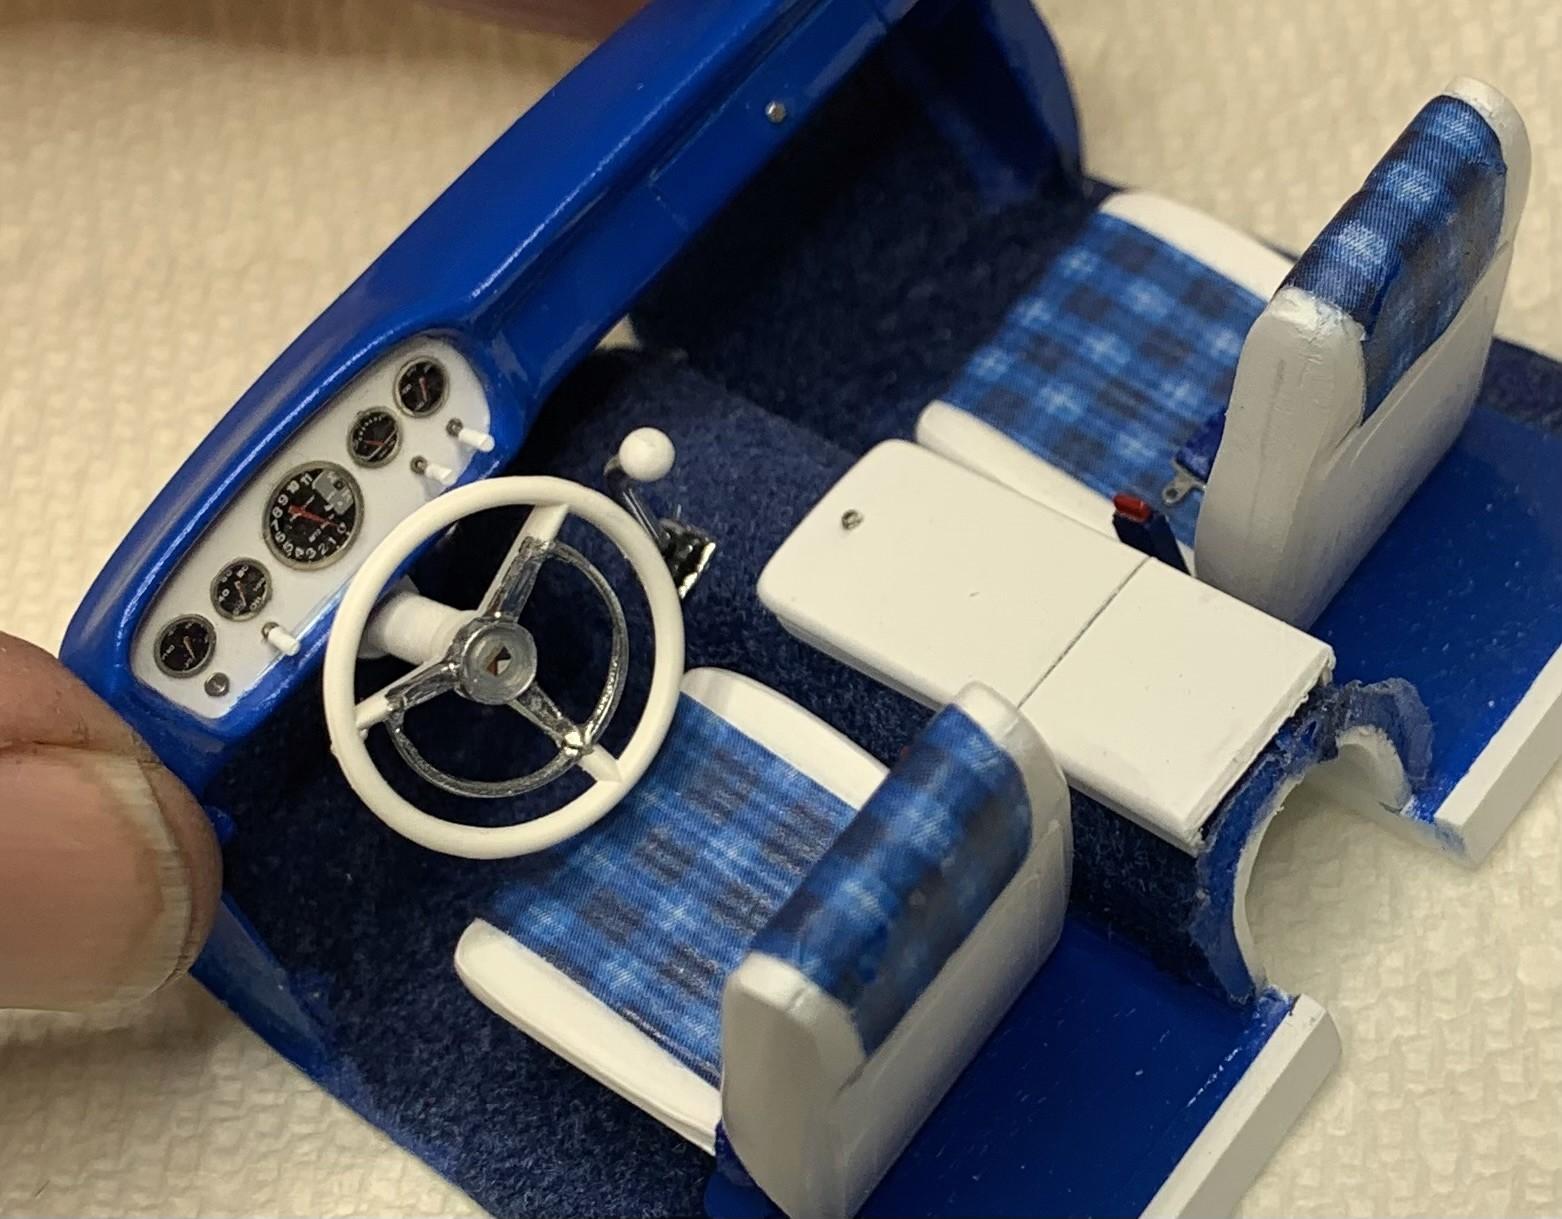
I got more done on the interior, even a little FORD emblem in the steering wheel!
-
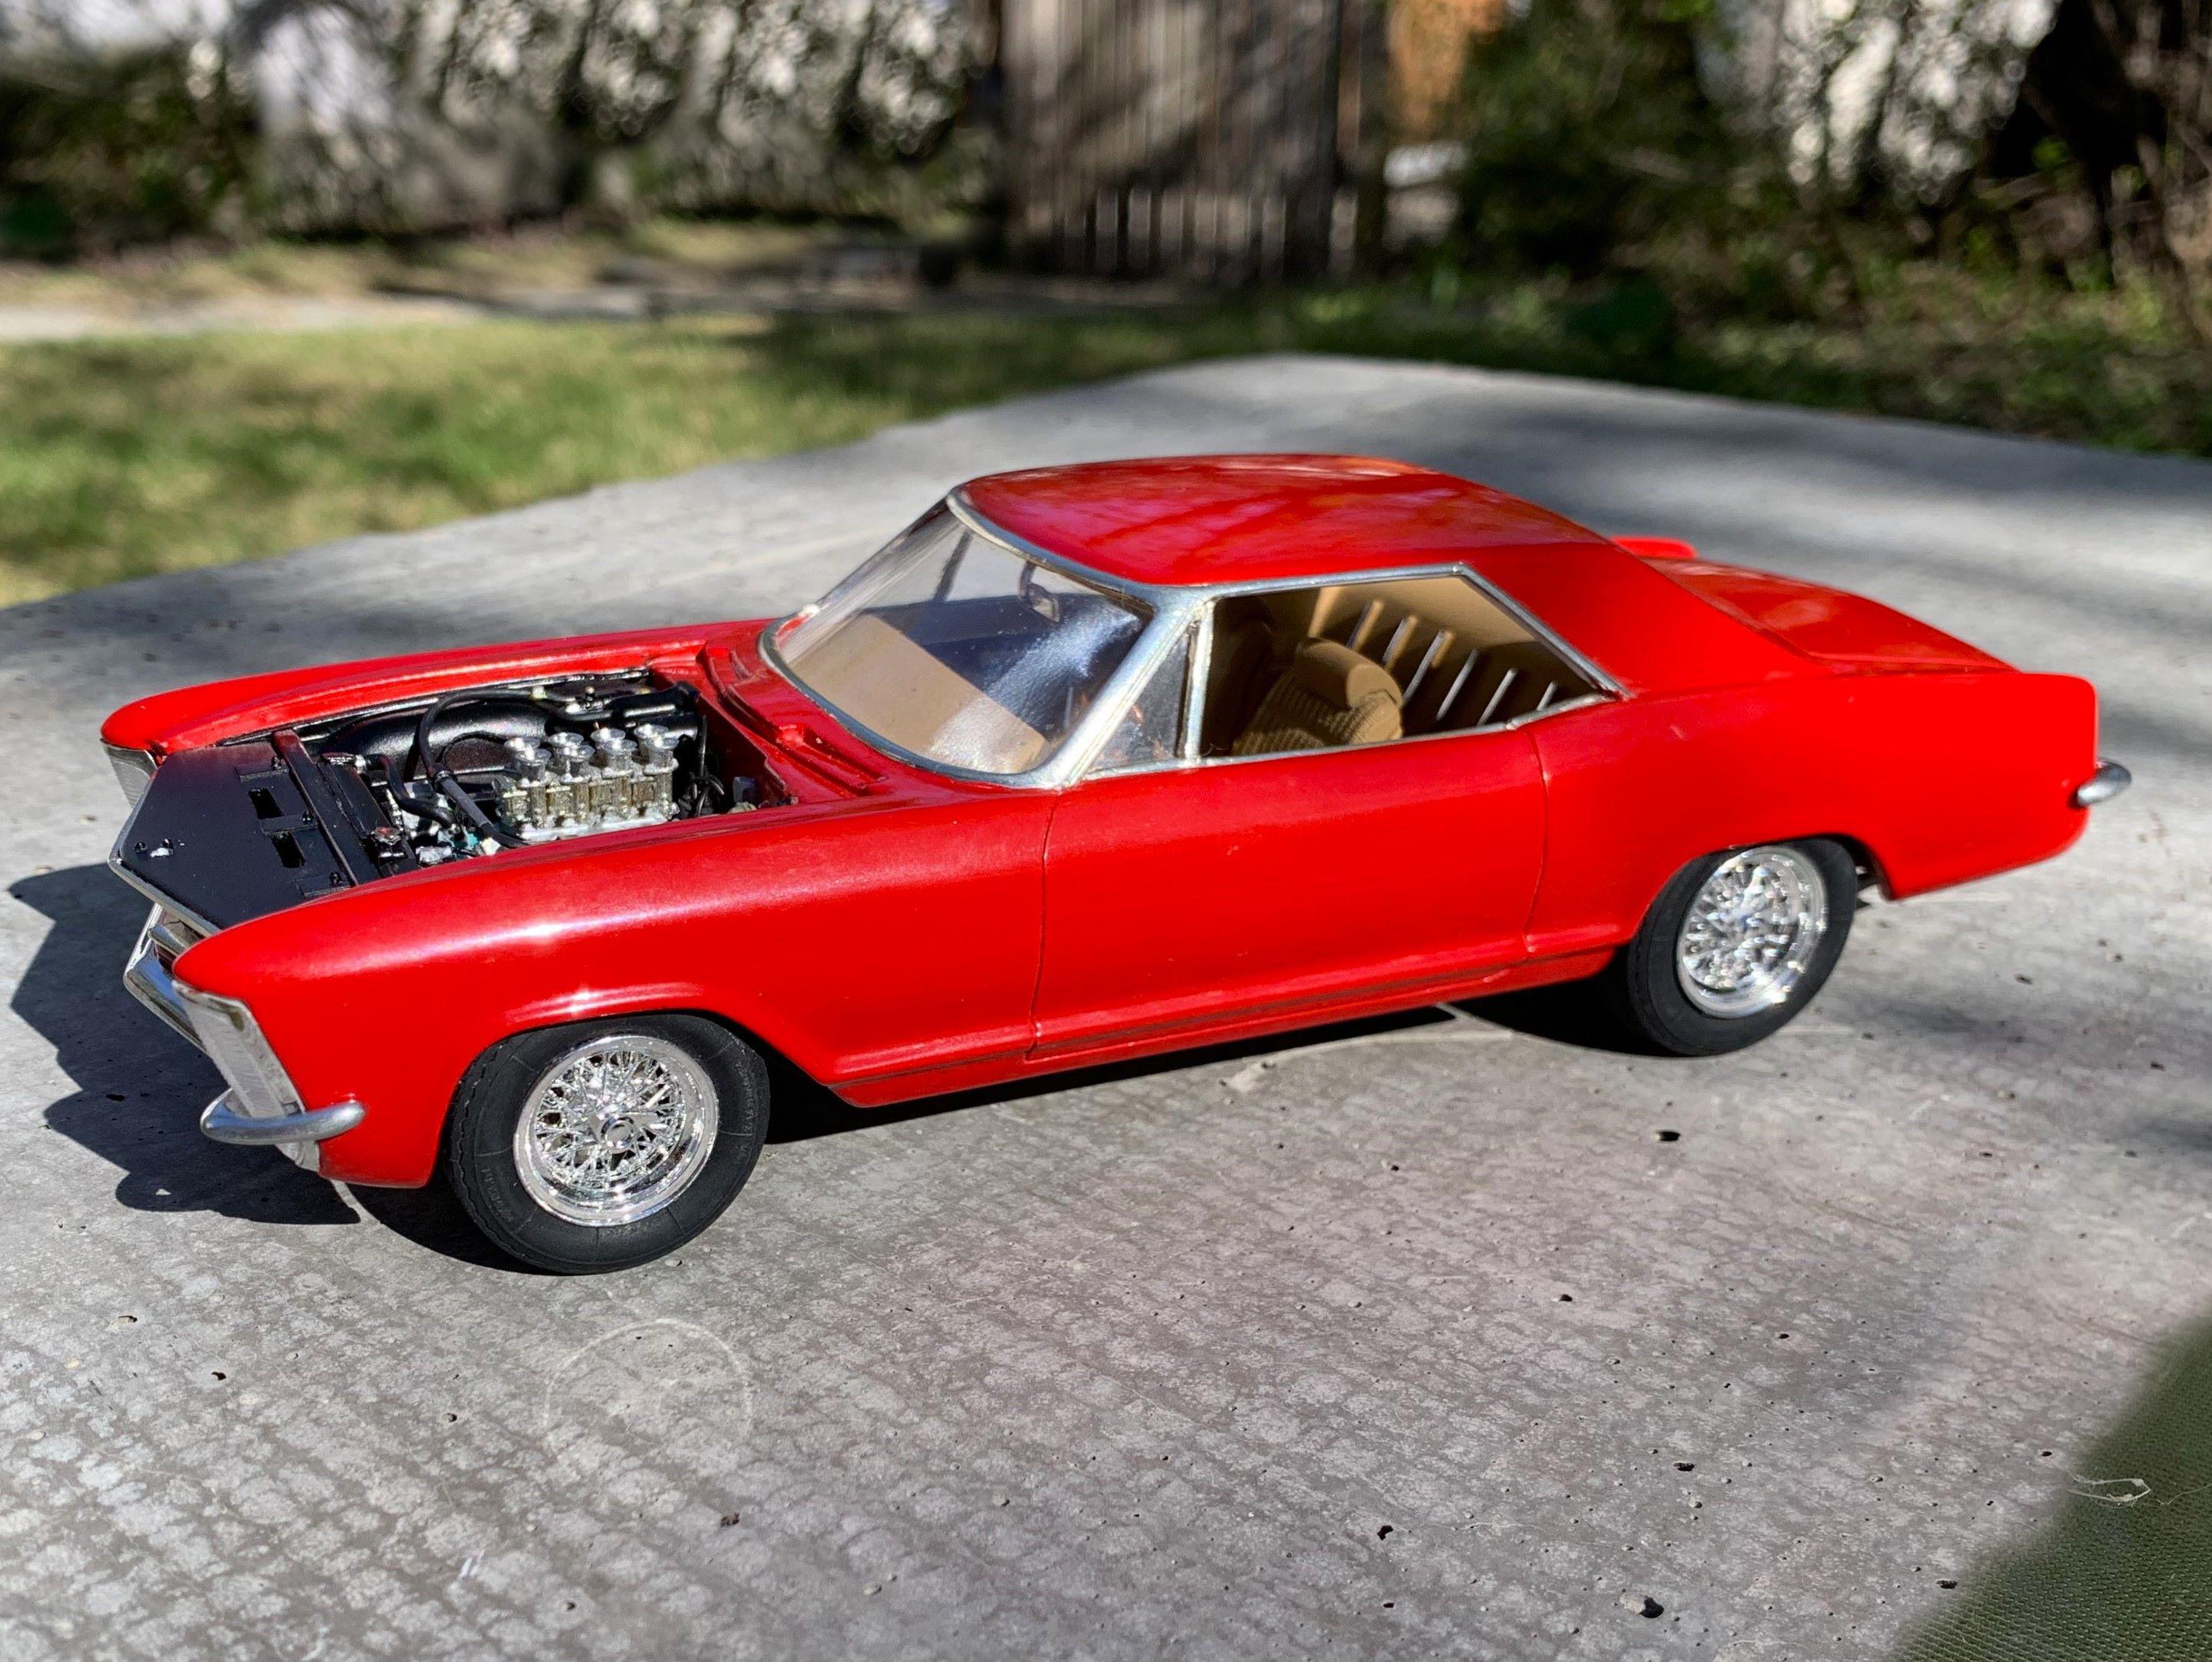
I made a pair of sun visors, stole a rear view mirror from a '69 Riviera kit, cut a piece of rear glass and mounted it with no trim, then I glued the upper interior and floor pan on! Tail lights are similar shape to the rear glass and also have no trim. I made front and rear bumpers from the stock ones, sprayed Revell chrome on and mounted them. Here the front and rear styling is seen looking very much like a stock Riv, but nothing like the AMT kit! As they say, "It's starting to look like a car"