dino246gt
-
Posts
2,244 -
Joined
-
Last visited
Content Type
Profiles
Forums
Events
Gallery
Everything posted by dino246gt
-
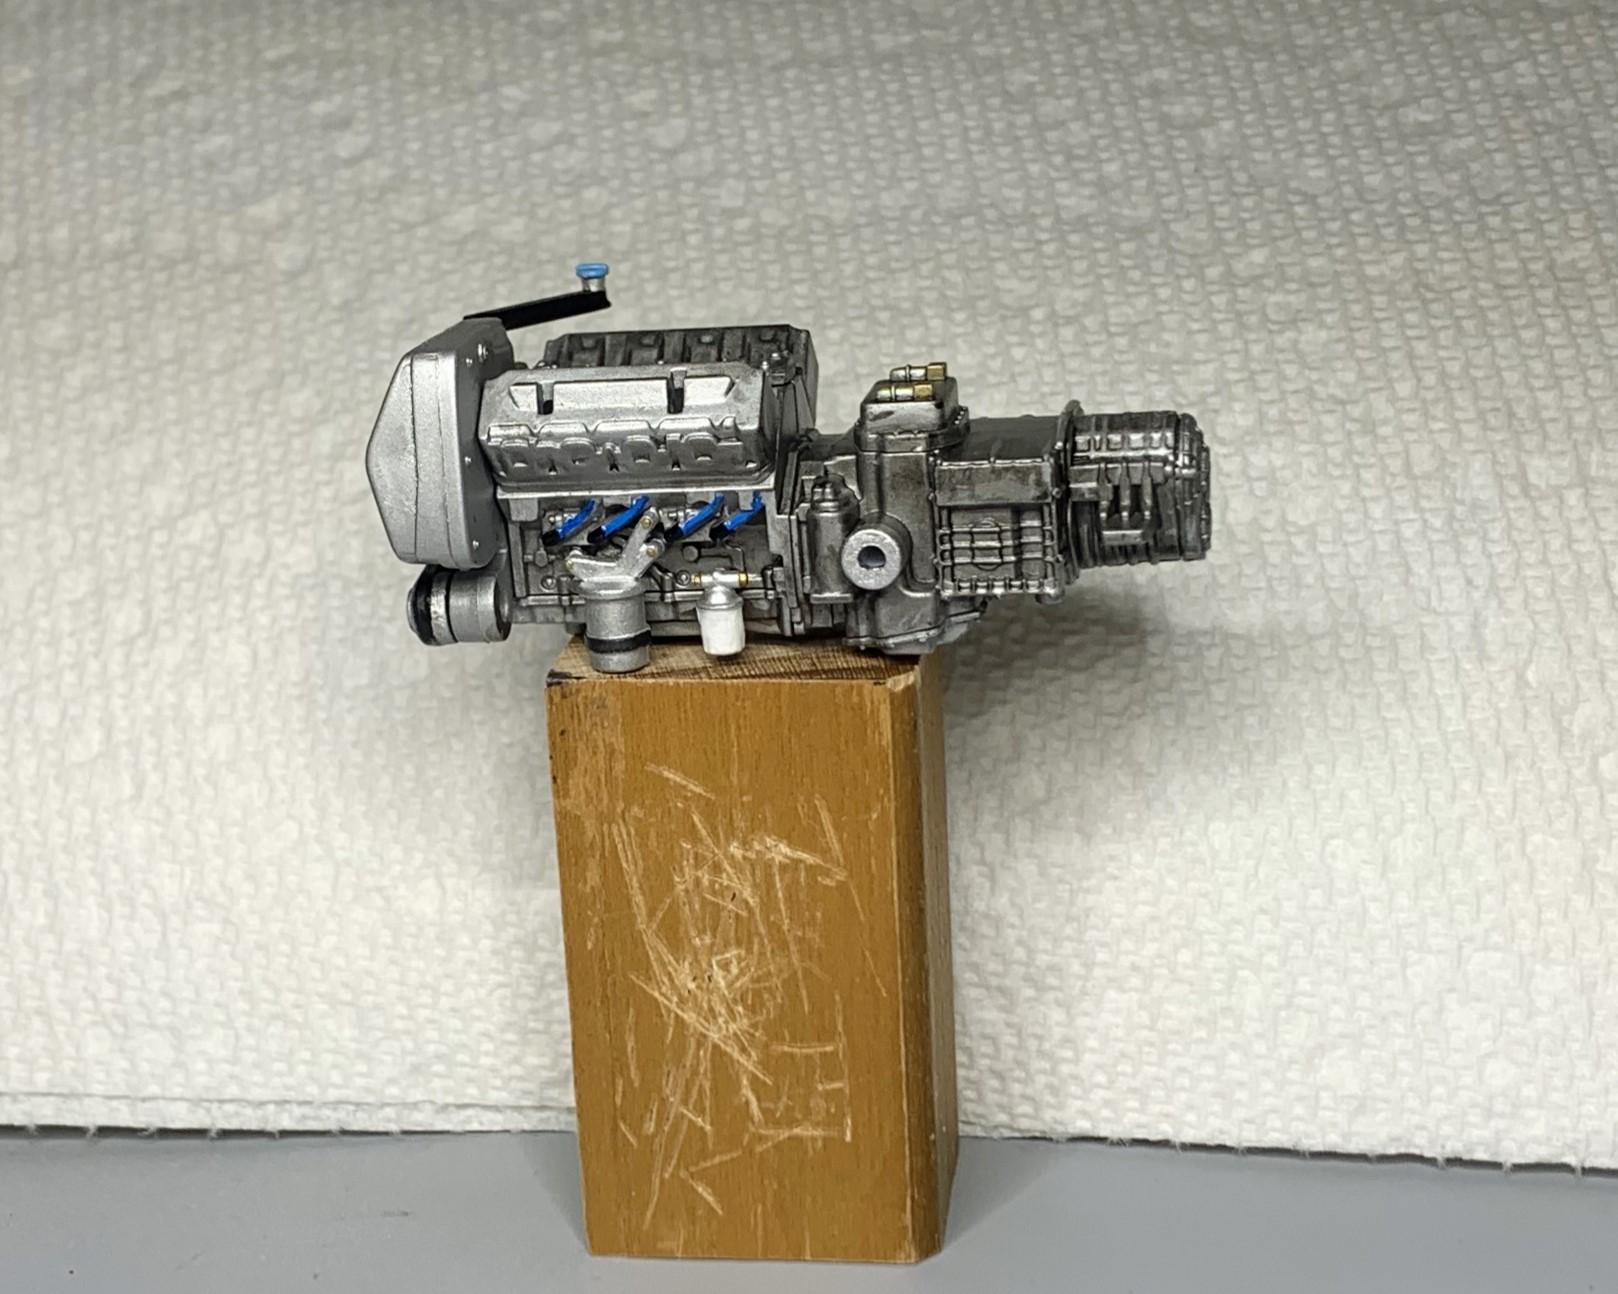
I concentrated on the engine build, making mods along the way. Made up a second set of pulleys and a belt for an alternator mounted way down out of the way. I shortened the oil filter, removed the attached coil (I'll put it on the firewall later), modified the headers to fit the FE port spacing, added fuel lines to the injectors, etc. In that picture above, I see my alternator bracket isn't painted black yet, I forgot. I painted the inside black before I glued it on because I couldn't get a paint brush in there without touching the blue. Now I can easily reach the front with a tiny brush..........wait a minute..........okay, done! LOL

-
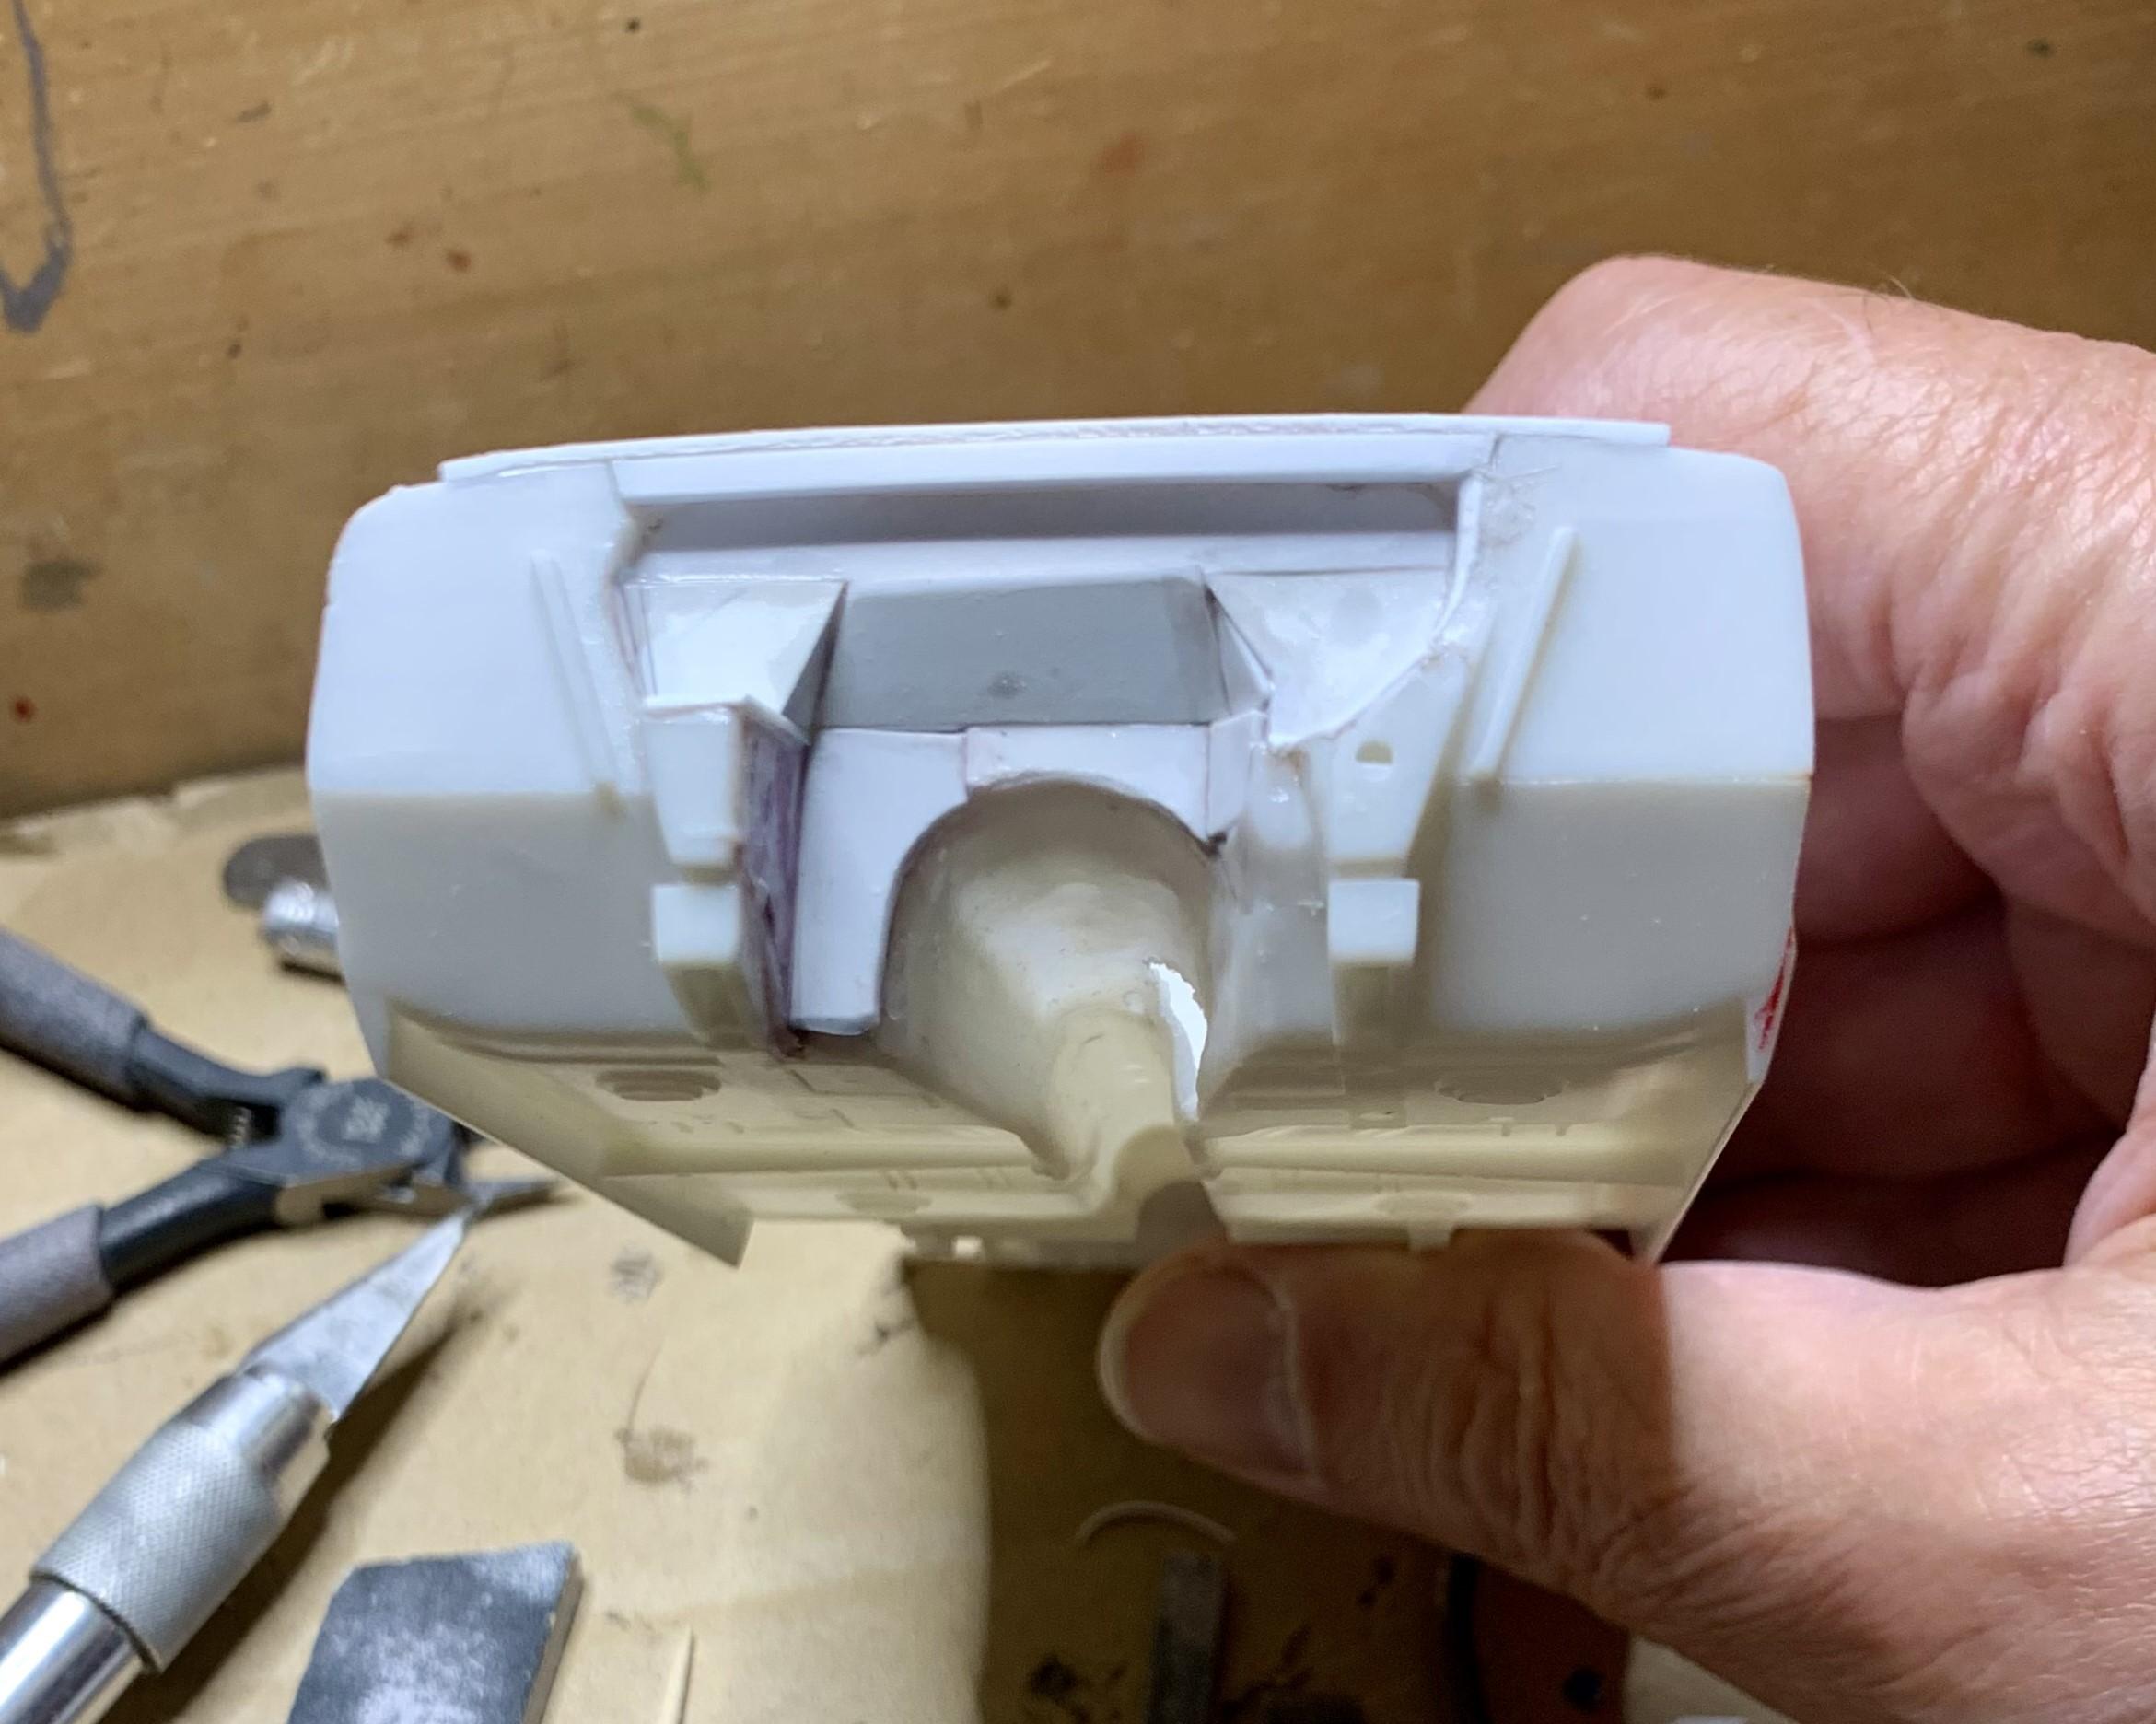
Now I had to make up firewall mods to accommodate that big supercharged 427. Transmission tunnel also had to be enlarged and I had to make room for the 4-speed floor shift mechanism.
-
I mocked up the front suspension, but I'll need a rear sump oil pan, so..........out came one of my favorite tools! With the oil pan modified and intake manifold sanded way down, I tried to fit the supercharger. Ford FE engine's distributor location just isn't good for the blower belt, at least in scale! Even the all chrome parts pack 427 moves the distributor to the rear, opposite side, when supercharging. So I added a blank off plate at the front and proceeded to relocate my dizzy to the rear, and wired it.
-
I modified the Chevy rad wall to fit. I decided to use the 427 FE from the Thunderbolt kit, but it just won't fit......................yet!
-
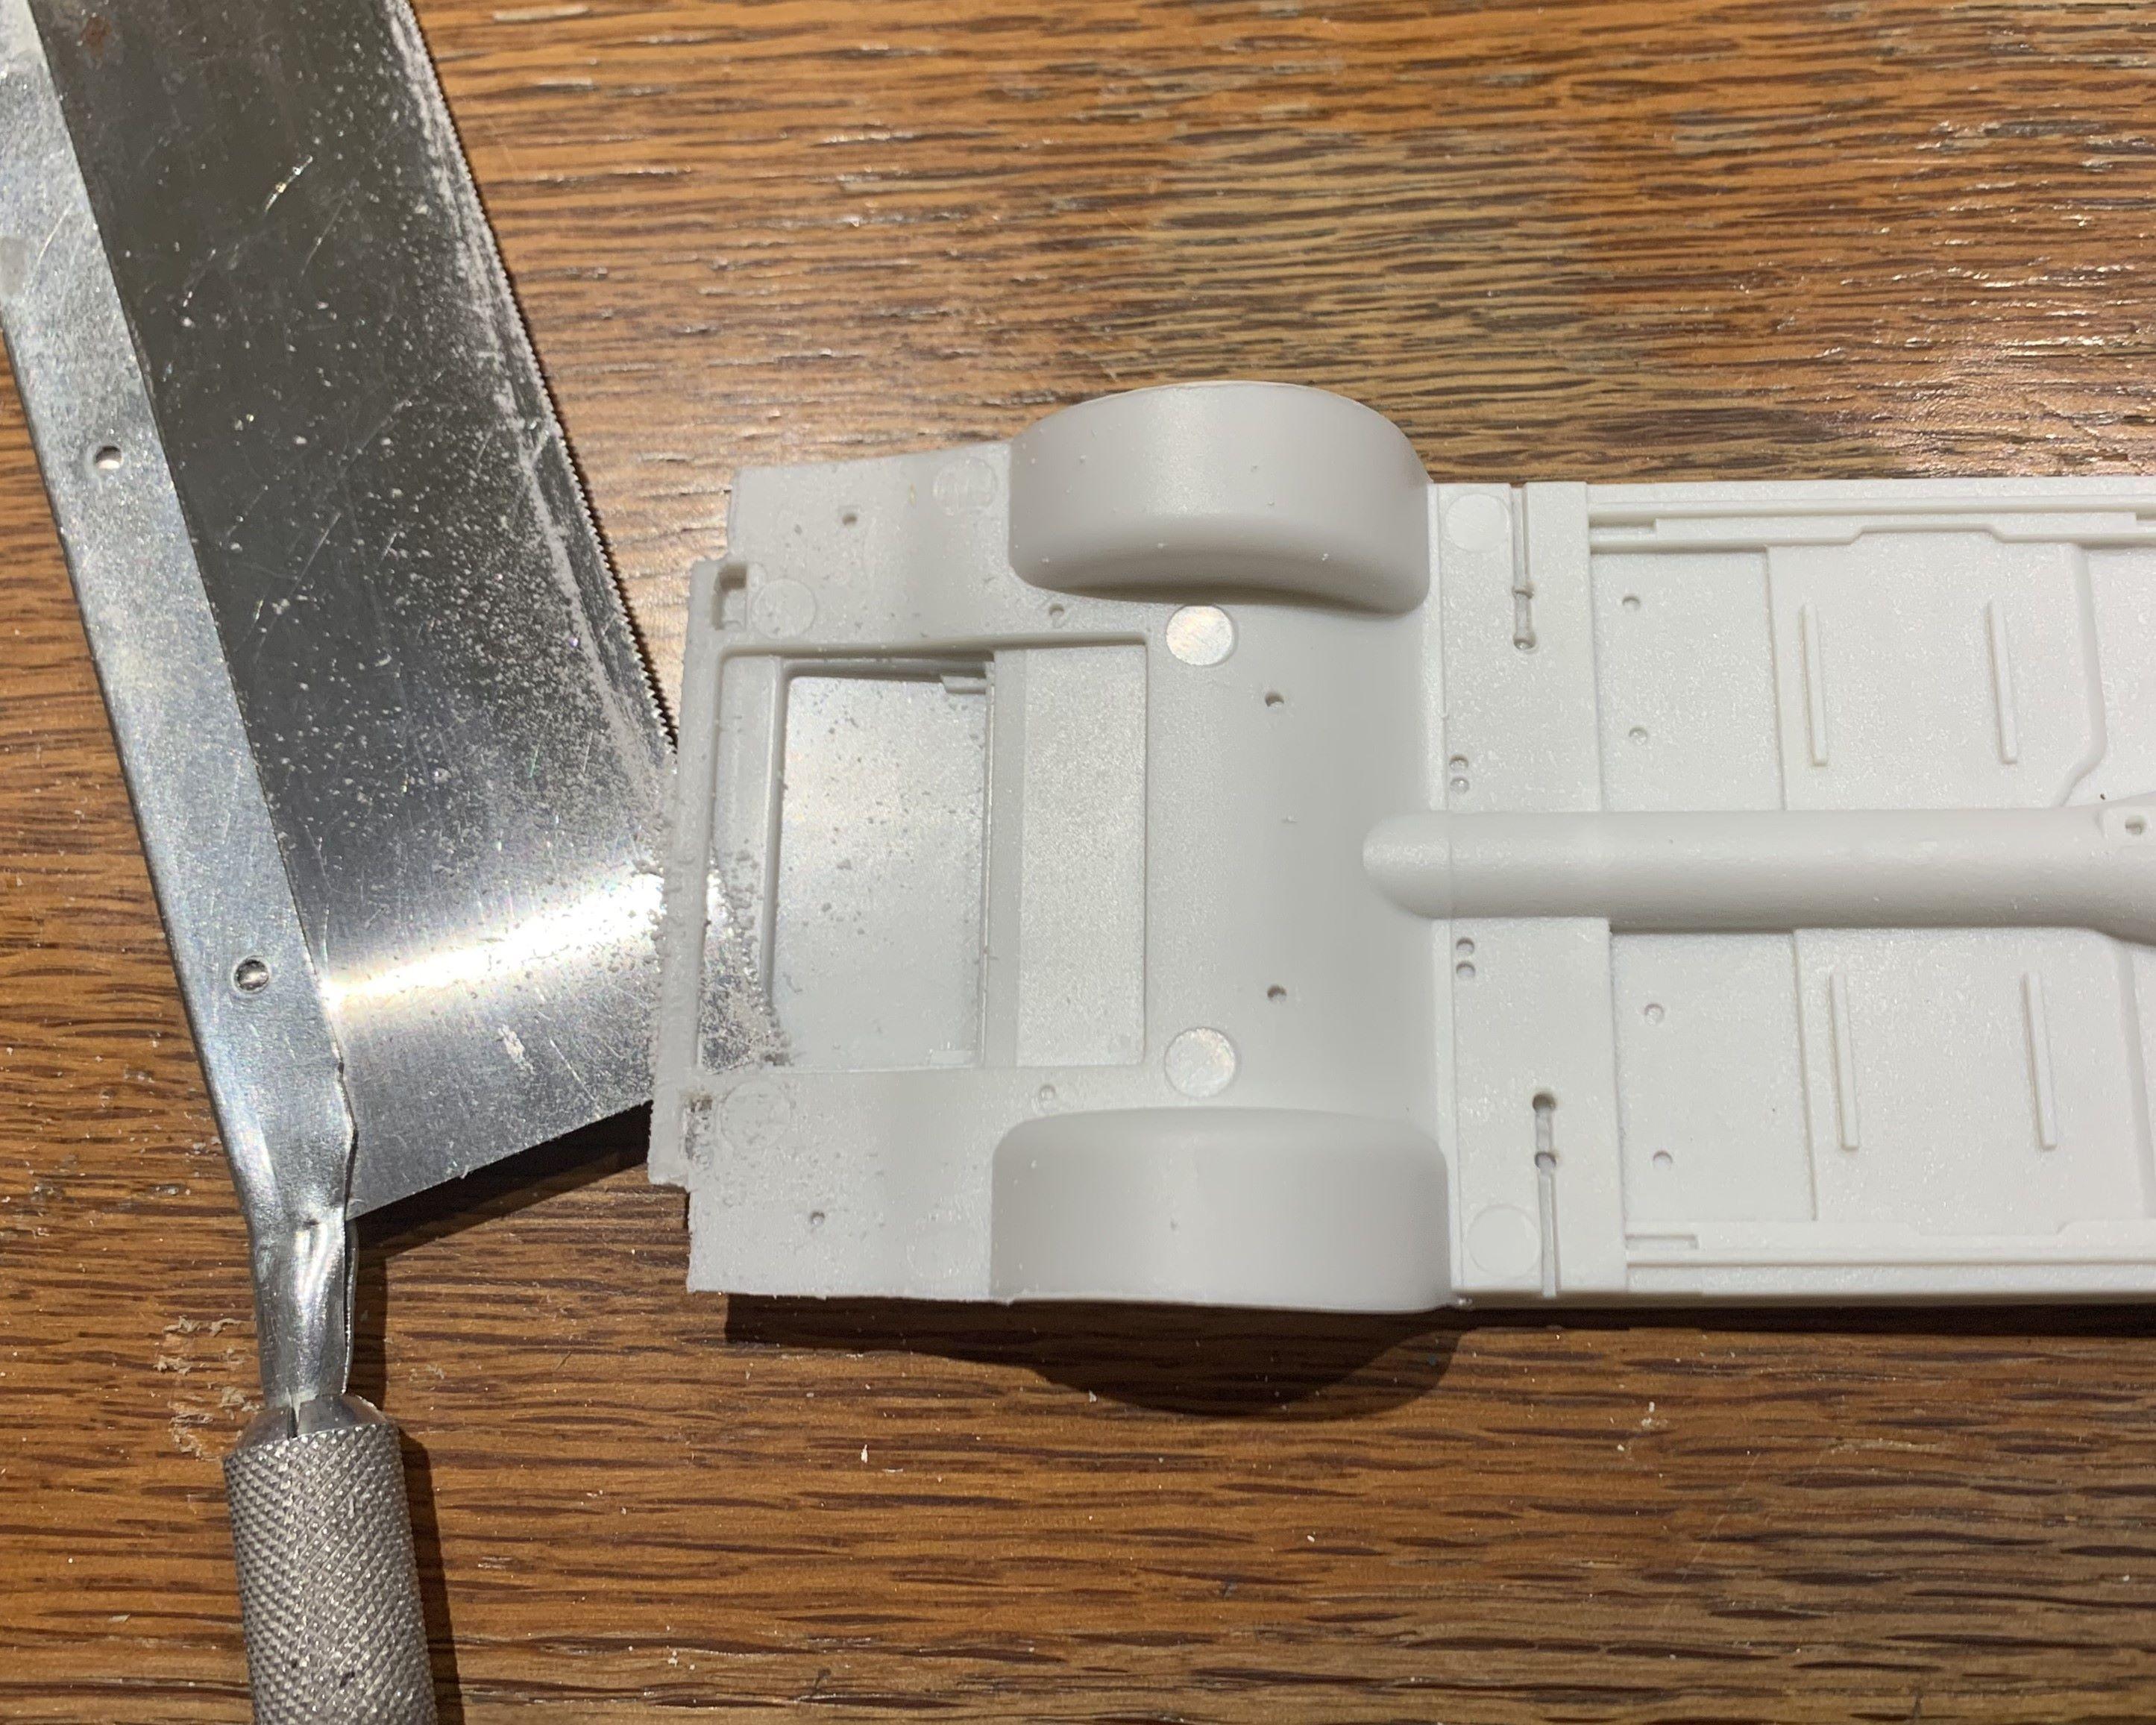
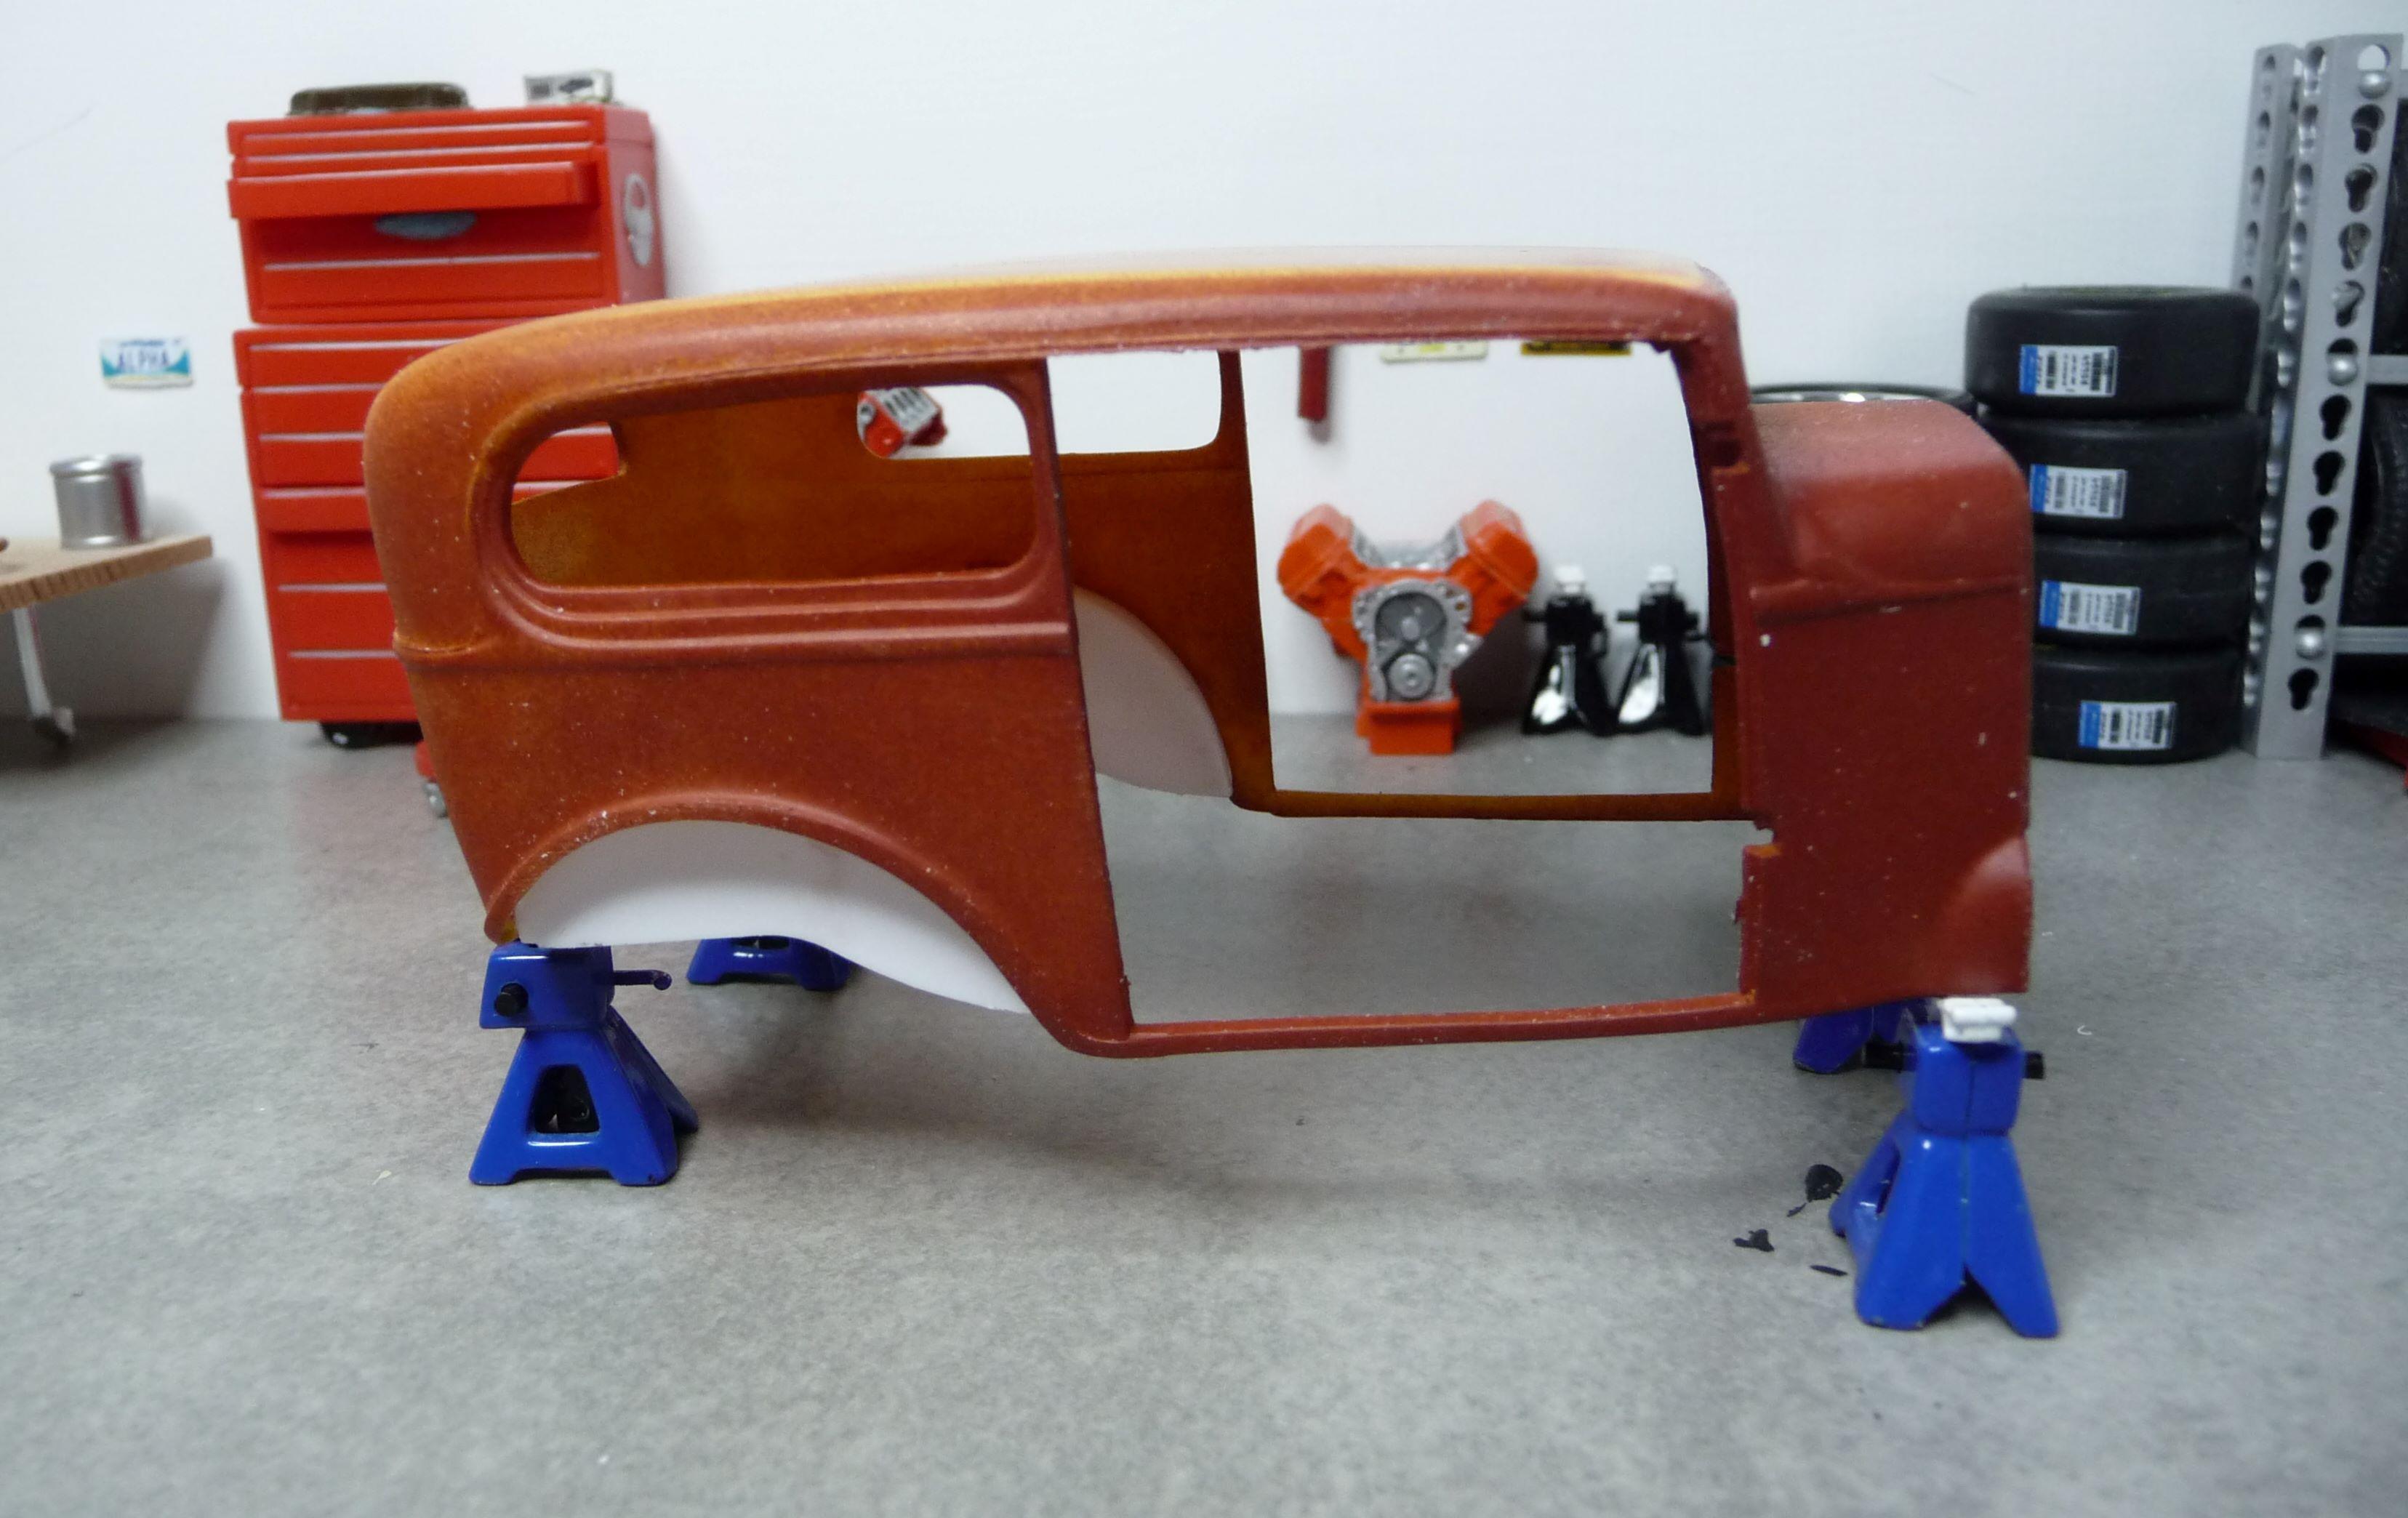
I modified the Mobius Chevy ll floor pan and interior (I'll modify the Falcon dashboard to fit). I cut the hood out and thinned it.
-
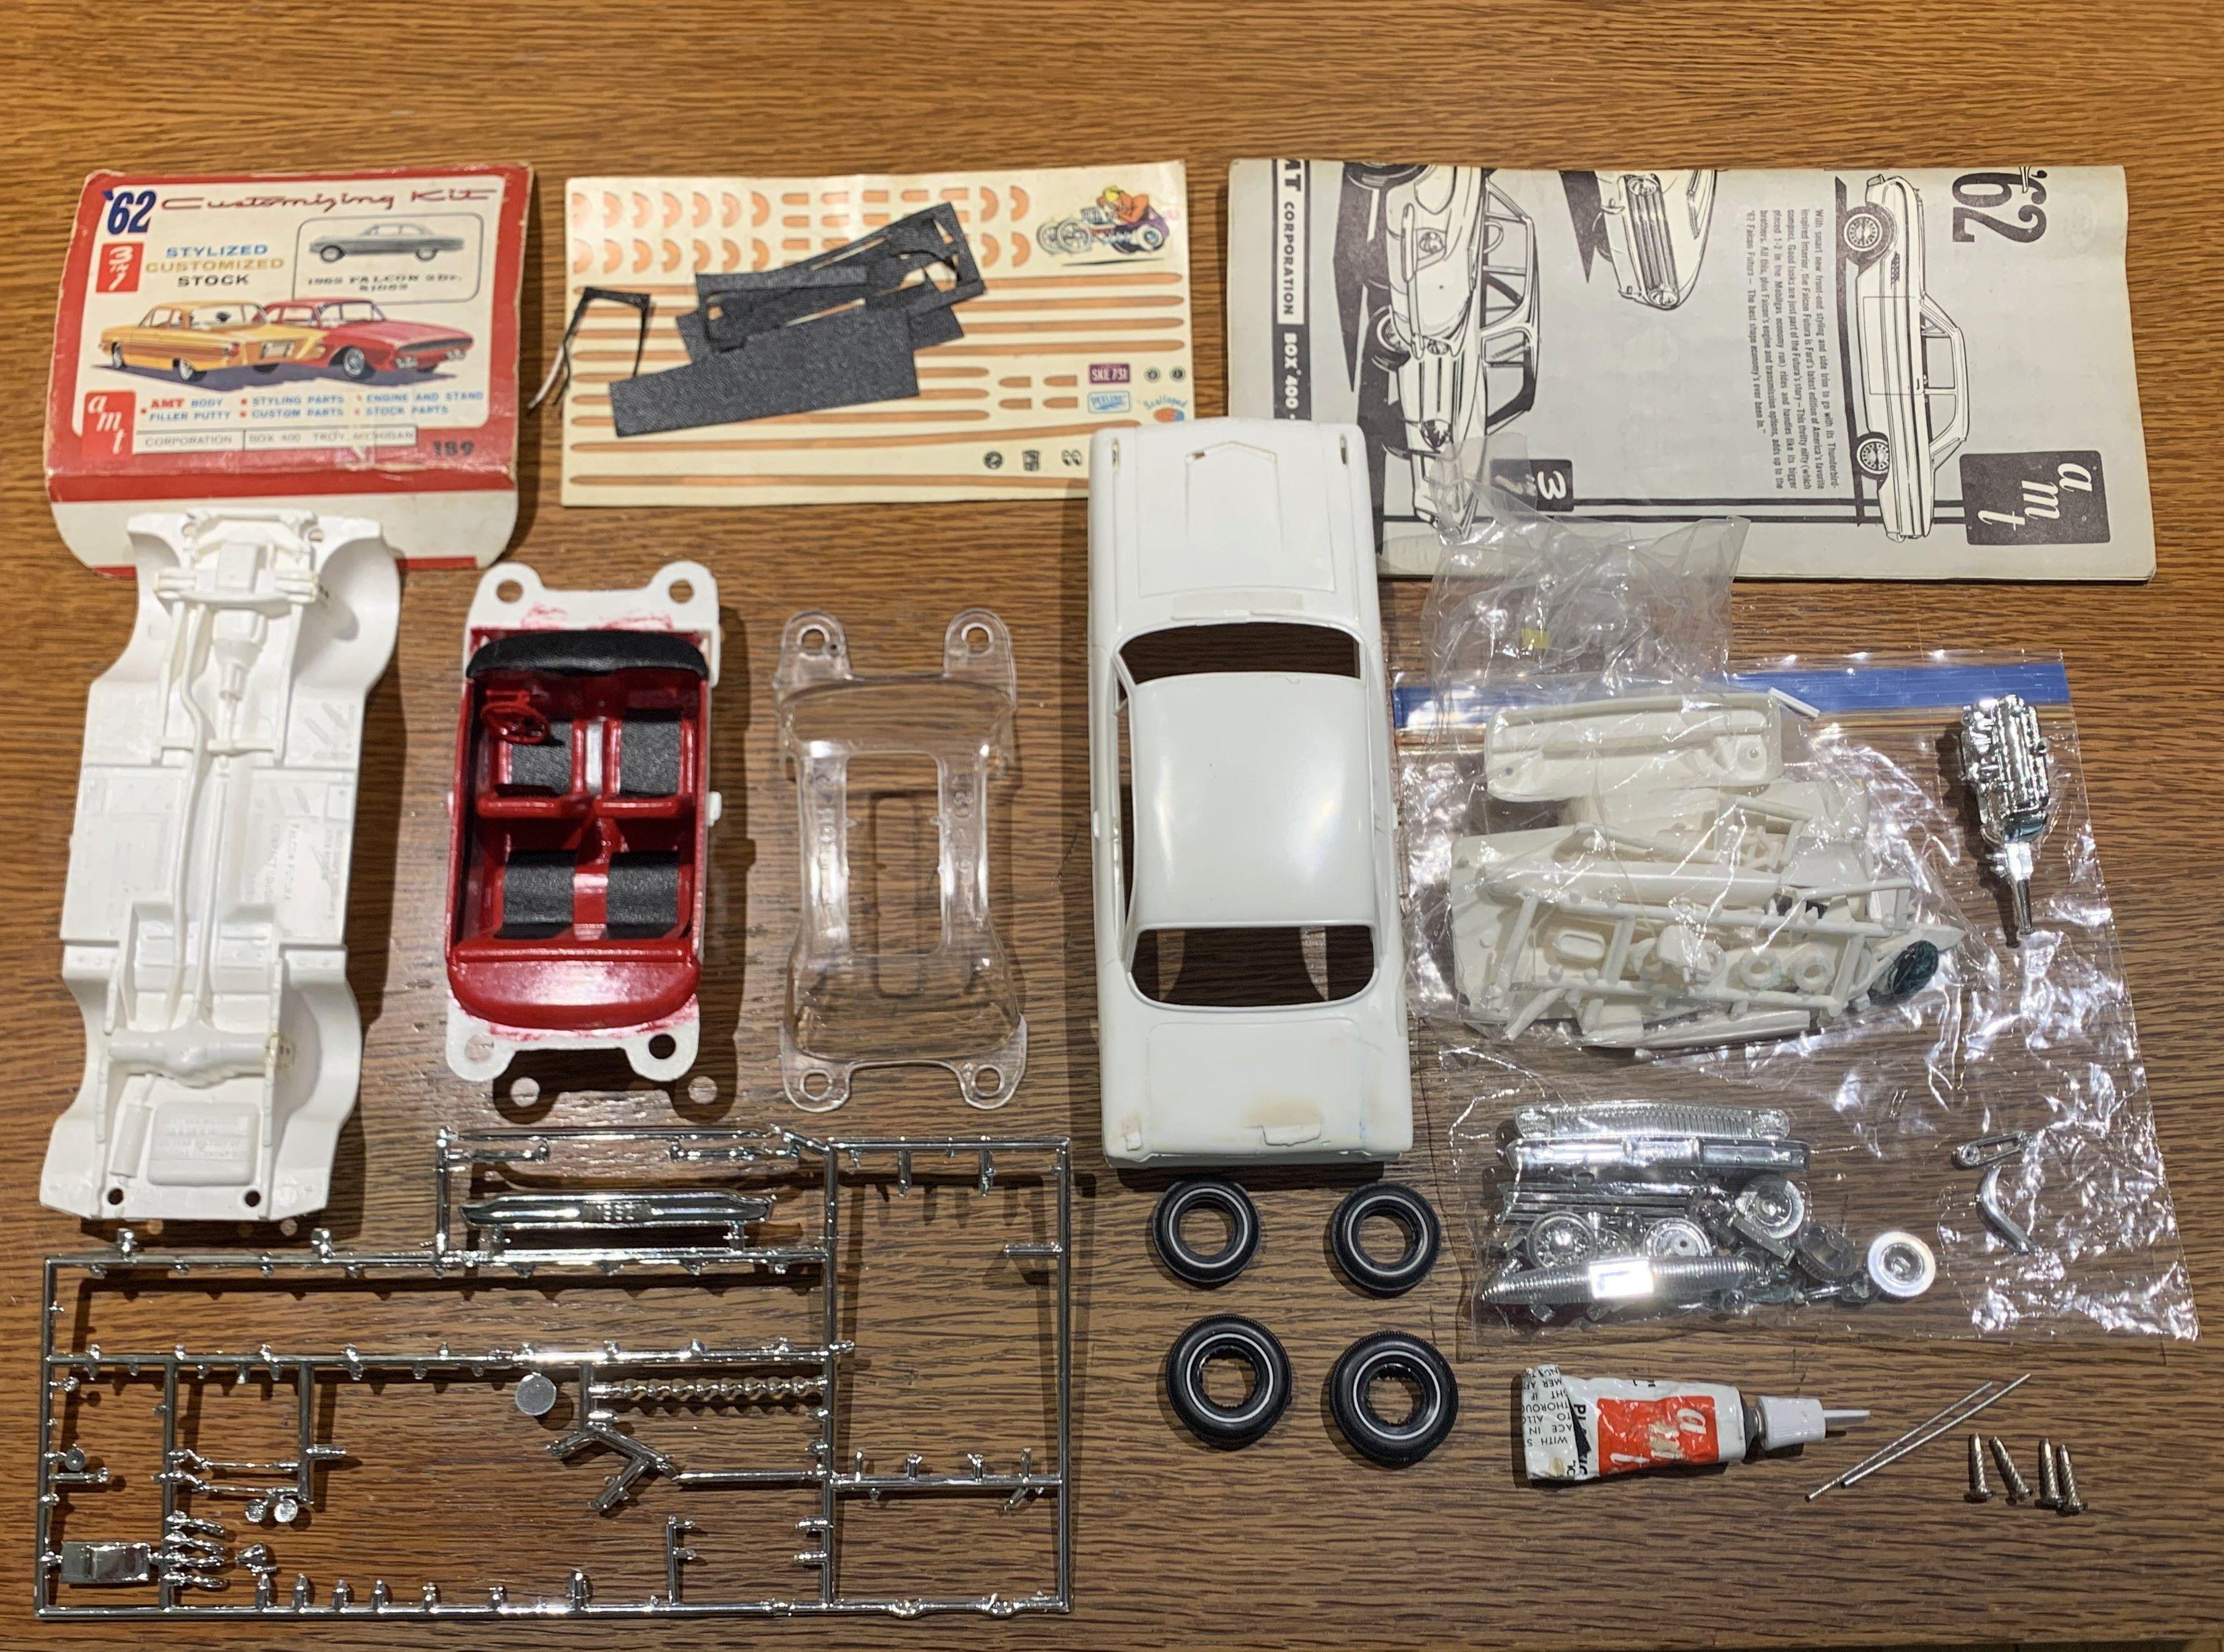
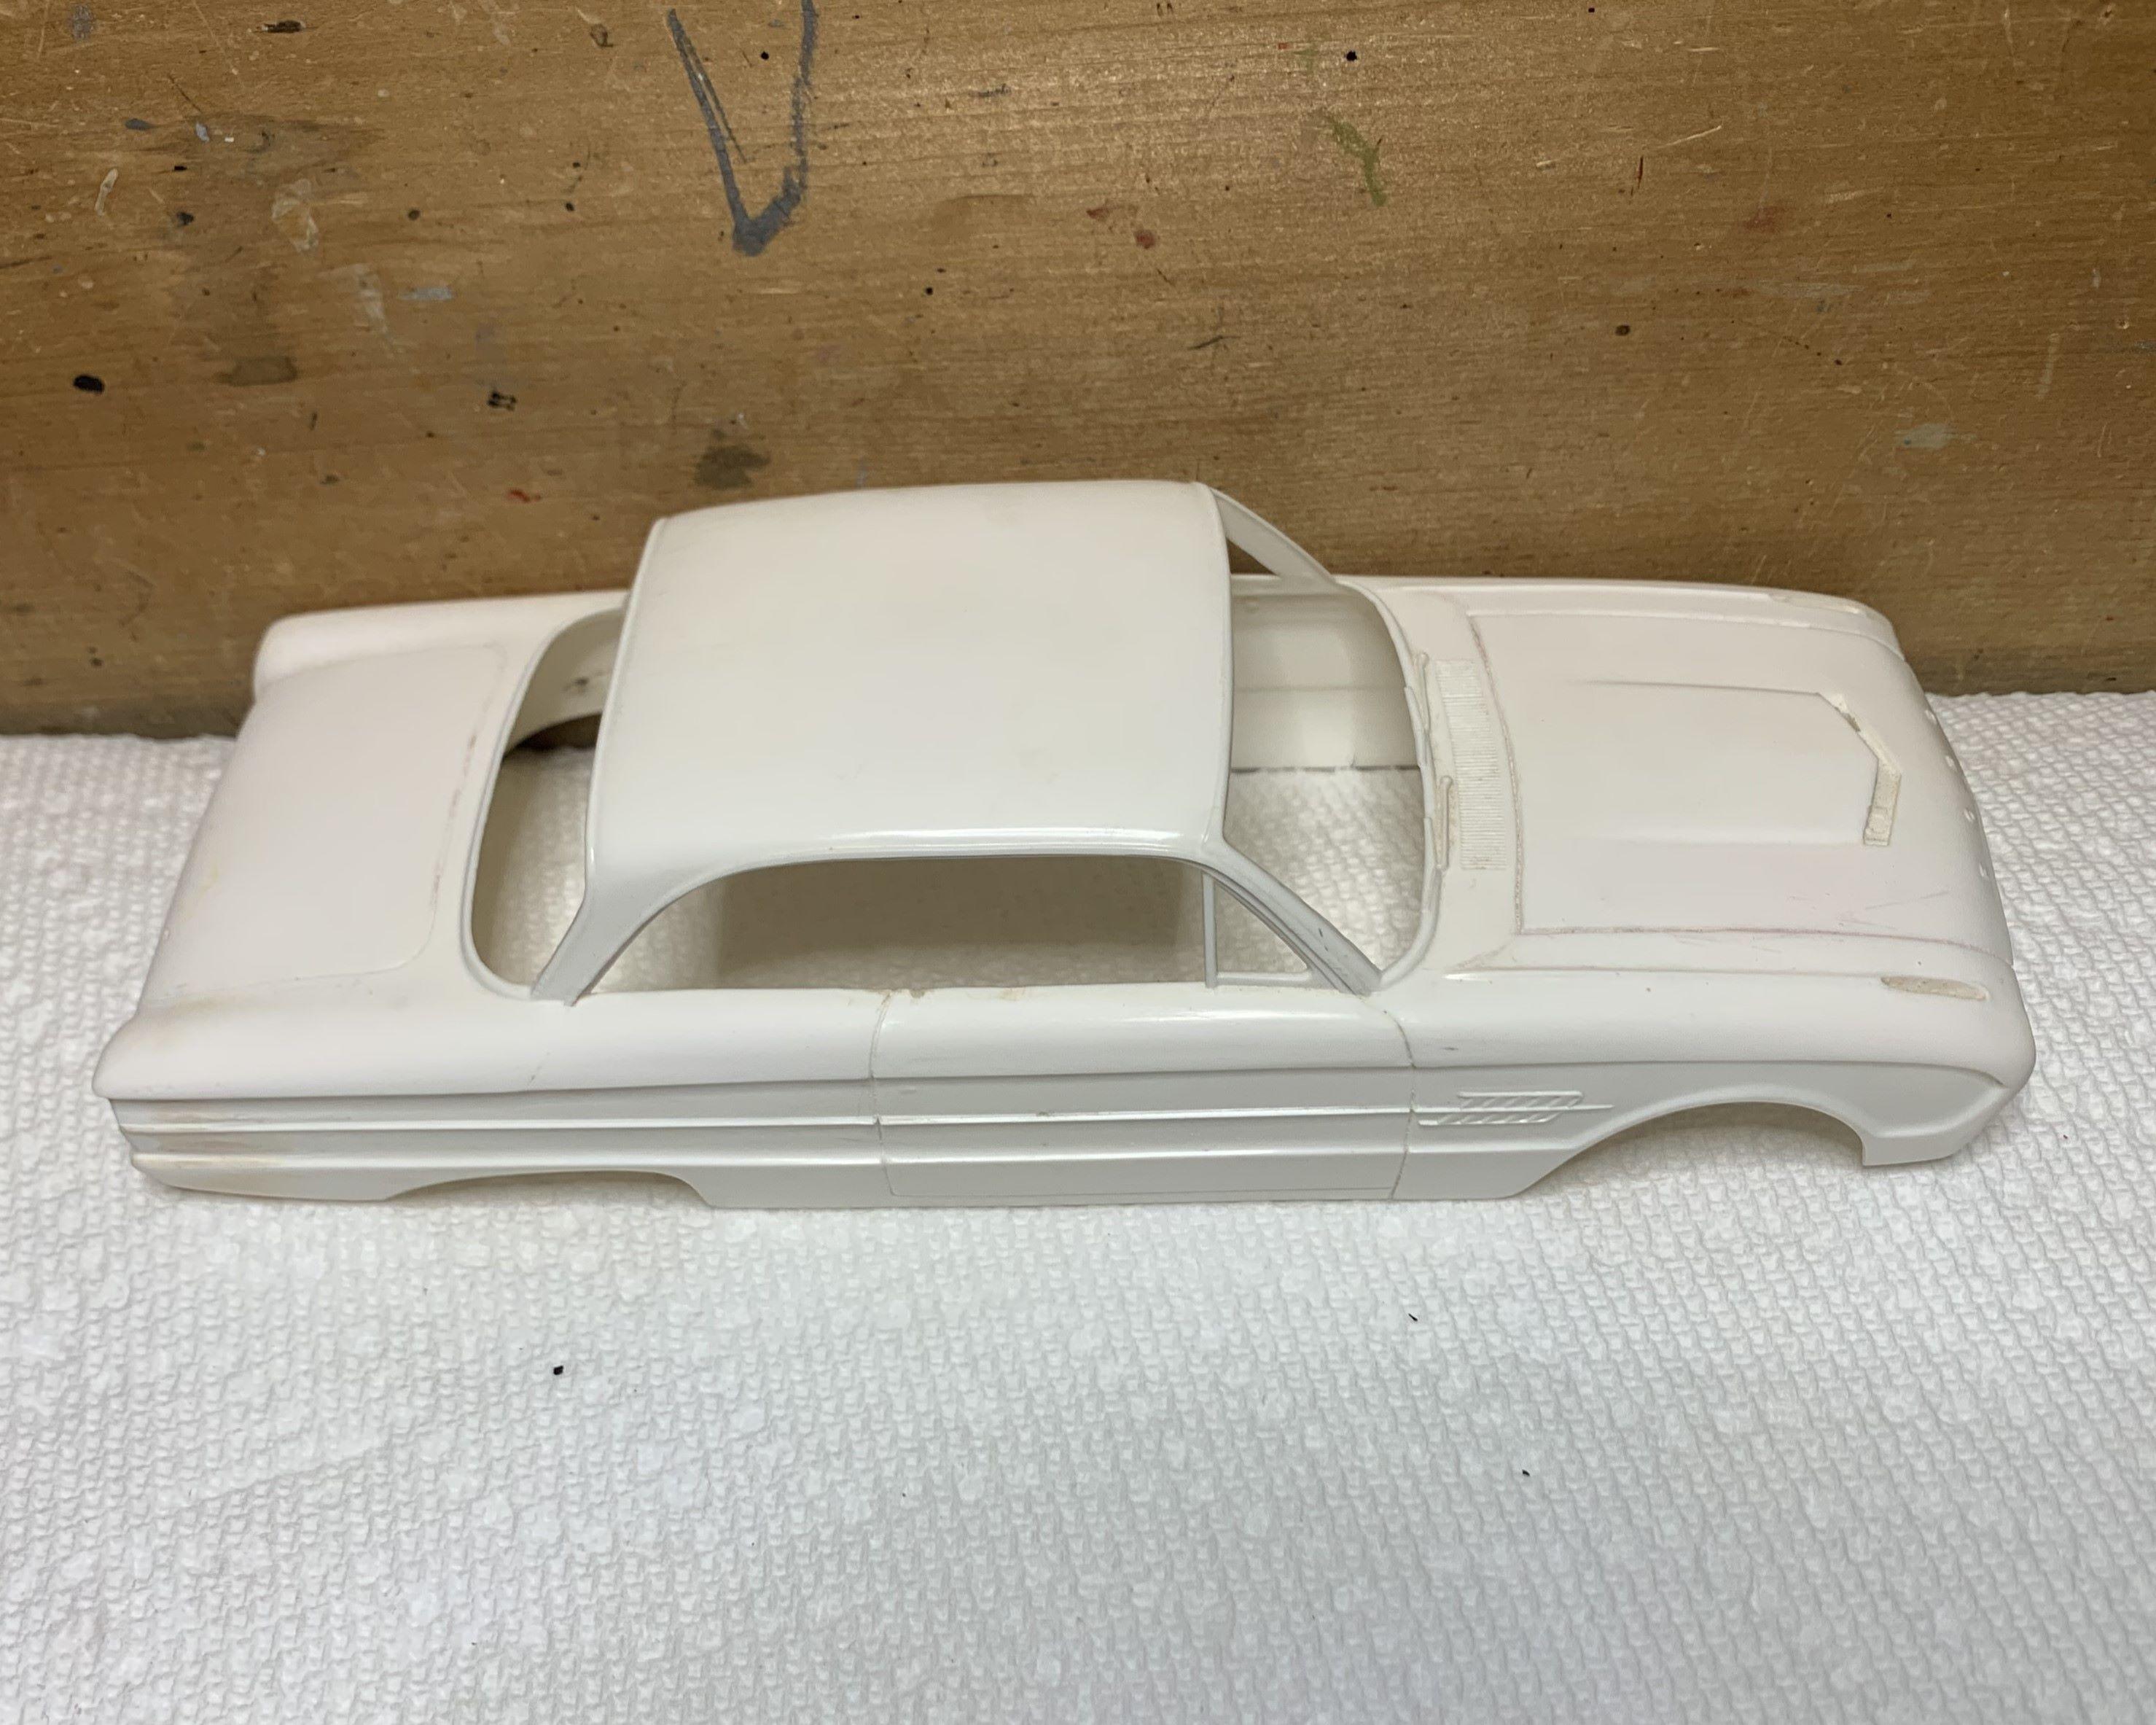
I've always loved the first gen Falcons, but no detailed kits are available. I found this old '62 and decided to give it a gasser look. It had the Styline rear puttied on, but I removed that first. Next I removed all the protrusions from under the one-piece body. Then I smoothed out some of the serious mold seams and removed the door handles.
-
Yes, that was an old picture. I have a "short" list of things to do but it's too long to list here! LOL
-
We're getting up to 30C today in Winnipeg! That's 86F. I haven't worked on my sedan for a couple of weeks, but I'll have it finished by Oct!
-
Bil Benson, that patina sedan with the black grille shell and old style hemi looks fantastic! Awesome build! Love it!!
-
Those are some intricate body mods Kit, I love it!
-

Revell 2022 Corvette Stingray C8 Z5
dino246gt replied to Luc Janssens's topic in Car Kit News & Reviews
I wish that each kit had BOTH decal sheets! -
That interior is awesome! So is the roof swap! Love this build!!
-
I should say to anyone following my build that gluing the wheel wells on first is NOT the way to go. Follow the instructions, I did not. It's difficult to get the upper pieces in properly as "Mozzi" points out. I haven't decided on a color yet, painted engine cover stuff "light gunmetal" and brake calipers black with white decals. IF I had a vision, I would've painted those 3 engine pieces and the brake calipers a color to compliment the body. I just wanted to get this all new kit started and see what it's like and it's really a good kit. Now I can get back to working on a hot rod!!! Cheers
-
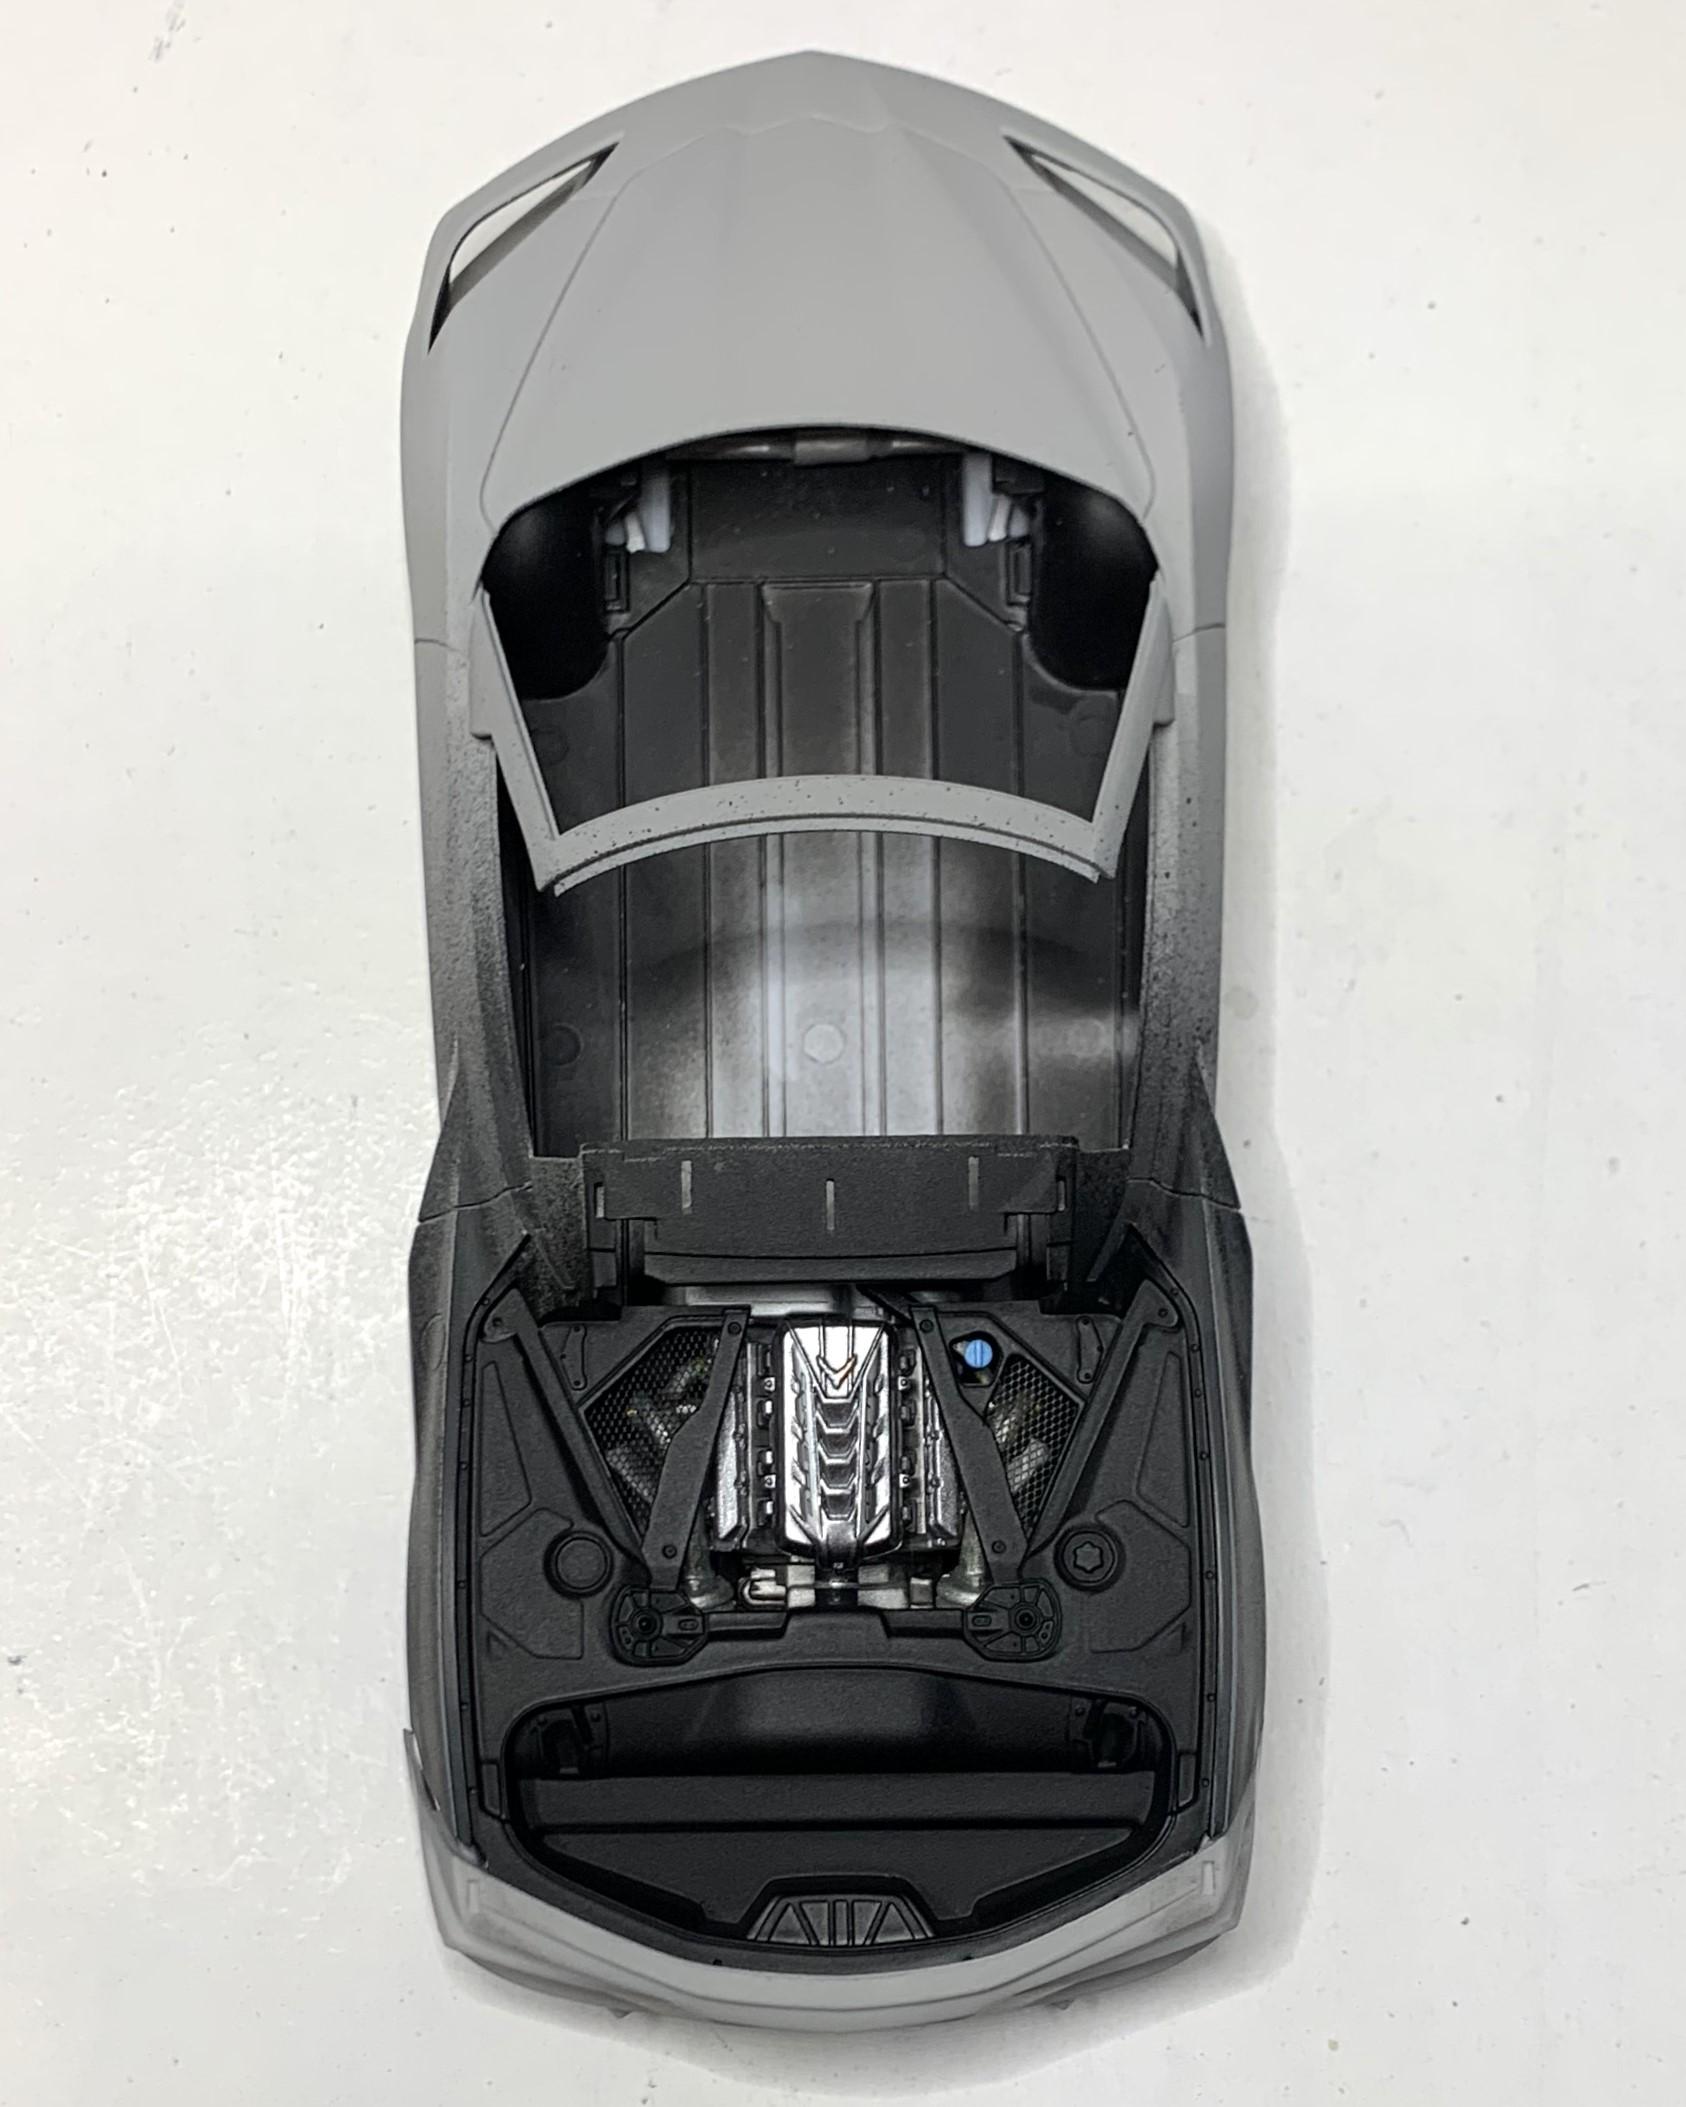
I've been commenting on how nice the engine in this kit is but it won't show under the body, so I decided to try and open up a bit of that under hood engine surround. After carefully removing the bits I did and cutting some brass mesh, I think it looks okay! Test fit shows that I'll need to scratch build some bits to add to the "illusion" under the mesh, but I like it!
-
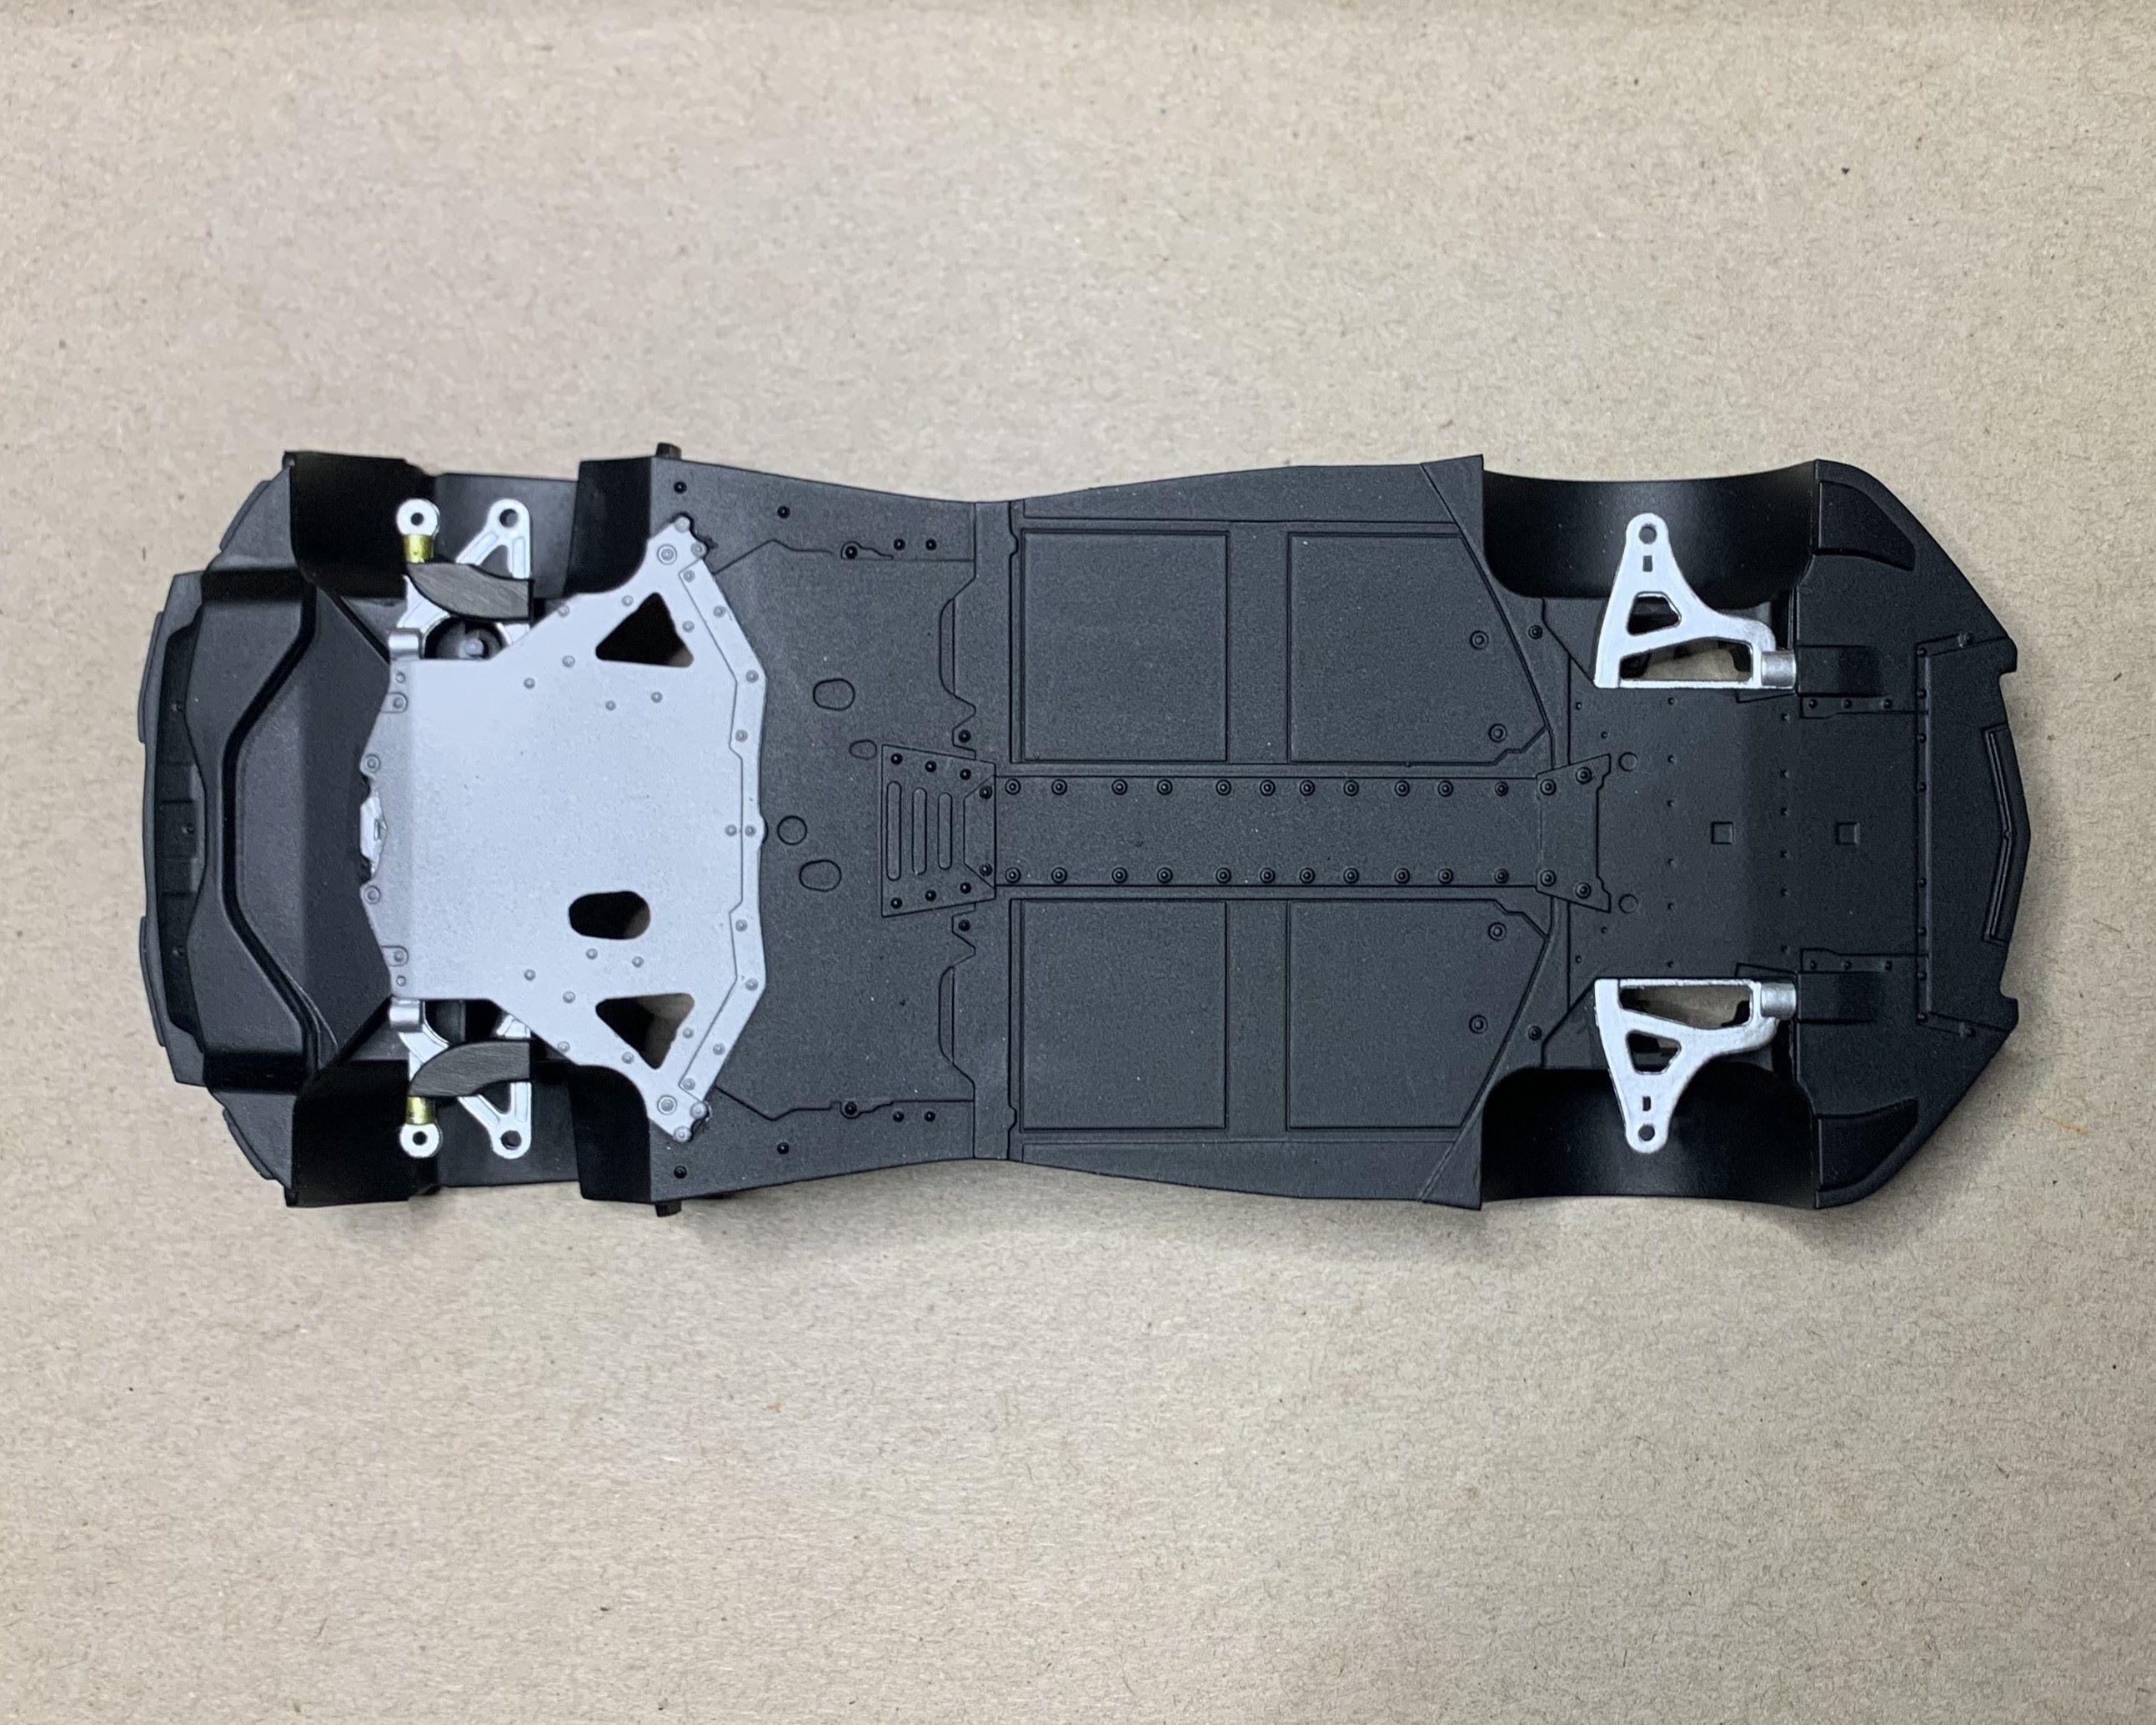
I almost forgot these 2 little front suspension covers, but they're on now!
-
Okay, so the engine is complete. I really enjoyed this, but as you can see with the body, almost none of that will show, the bottom is totally enclosed too. Cheers!
-
Did a bit more on the engine, only the top will show, and even then, only part of the top! Fun building it even though it'll never be seen again! I might still do some paint touch ups just for fun! Cheers
-
I assembled the front suspension with the fender wells already in place, (not as per instruction sheet) but had too much "toe in". So I cut the tie rod and added a short piece of scrap then slid a piece of tubing over and slathered insta-cure over it. (I slid that tubing on before I added the spacer, then slid it over the seam) Now the front suspension is straight! (camera makes it look like I went too far, but it's totally in line) I also added some small 3D printed nuts yet to be painted.
-
Looks fantastic, LOVE the color!
-
I left the axles loose in place when I glued the rear wheel wells in. I have to paint them by brush, but they'll work. I had plan B which was to cut them if I had to but it seems like they'll work as is. As far as it not showing, I'm still happy to have a full engine to build for my own fun, rather than just the top which is all that will show.
-
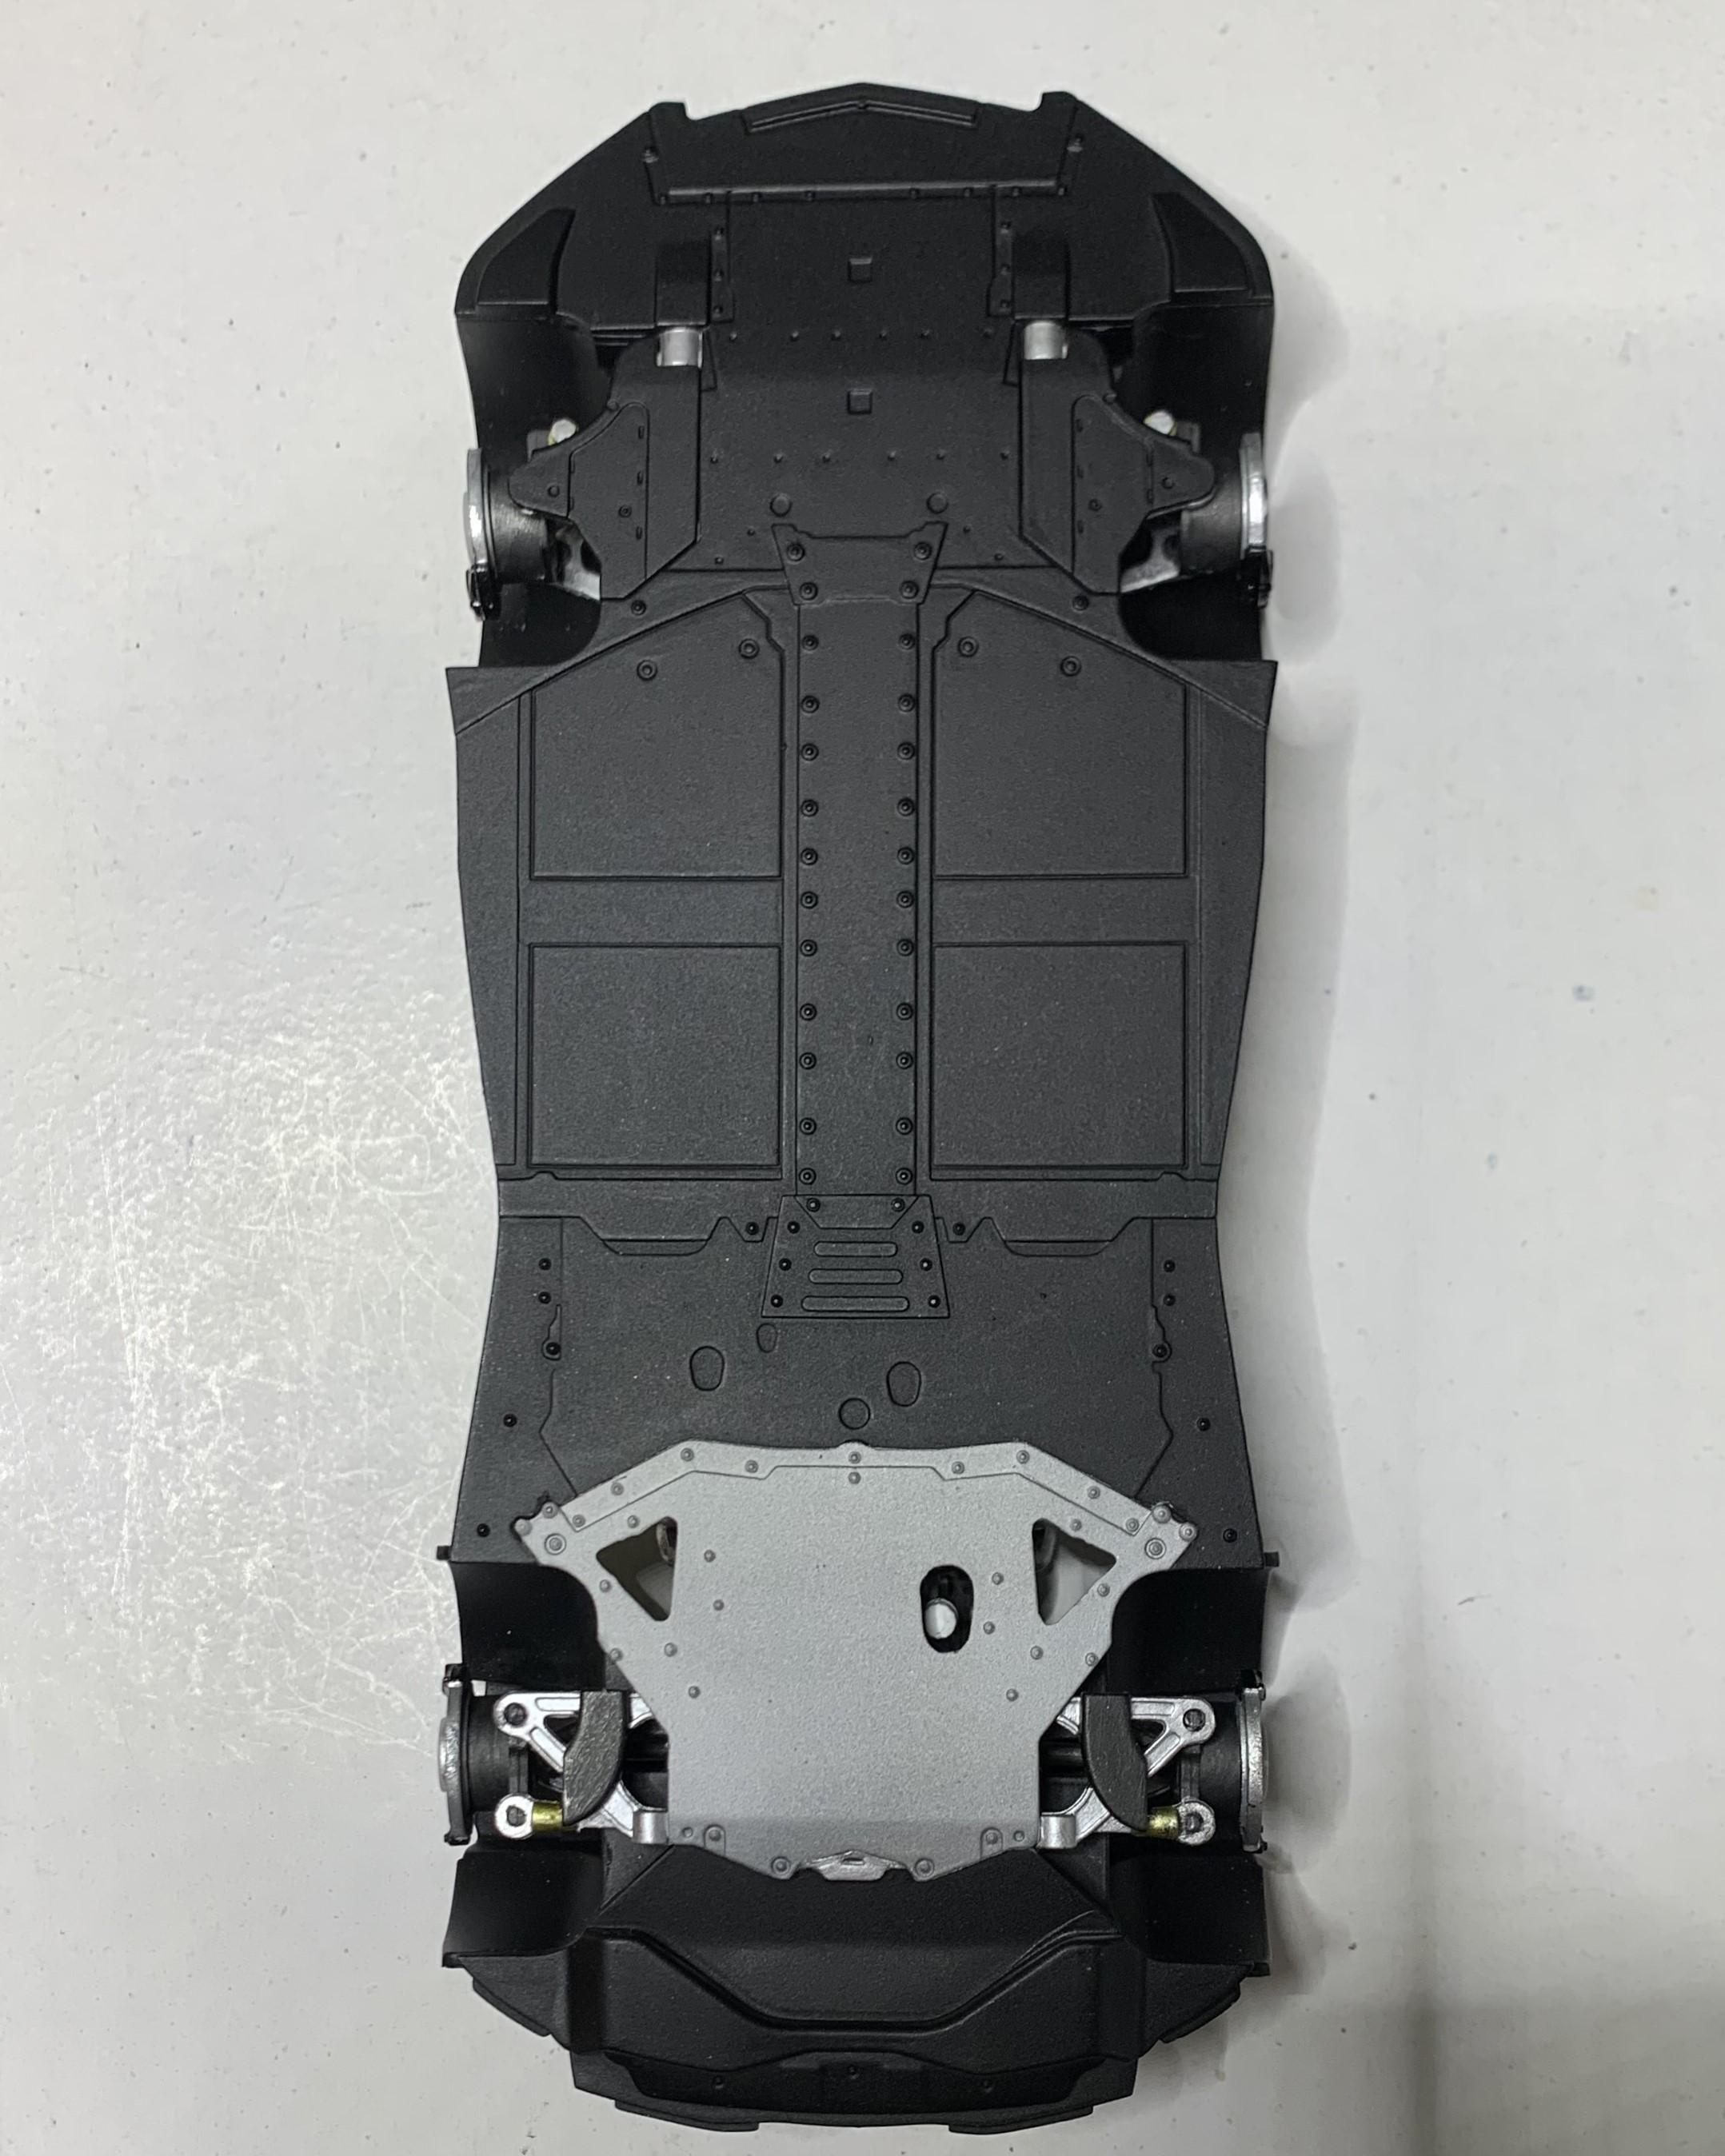
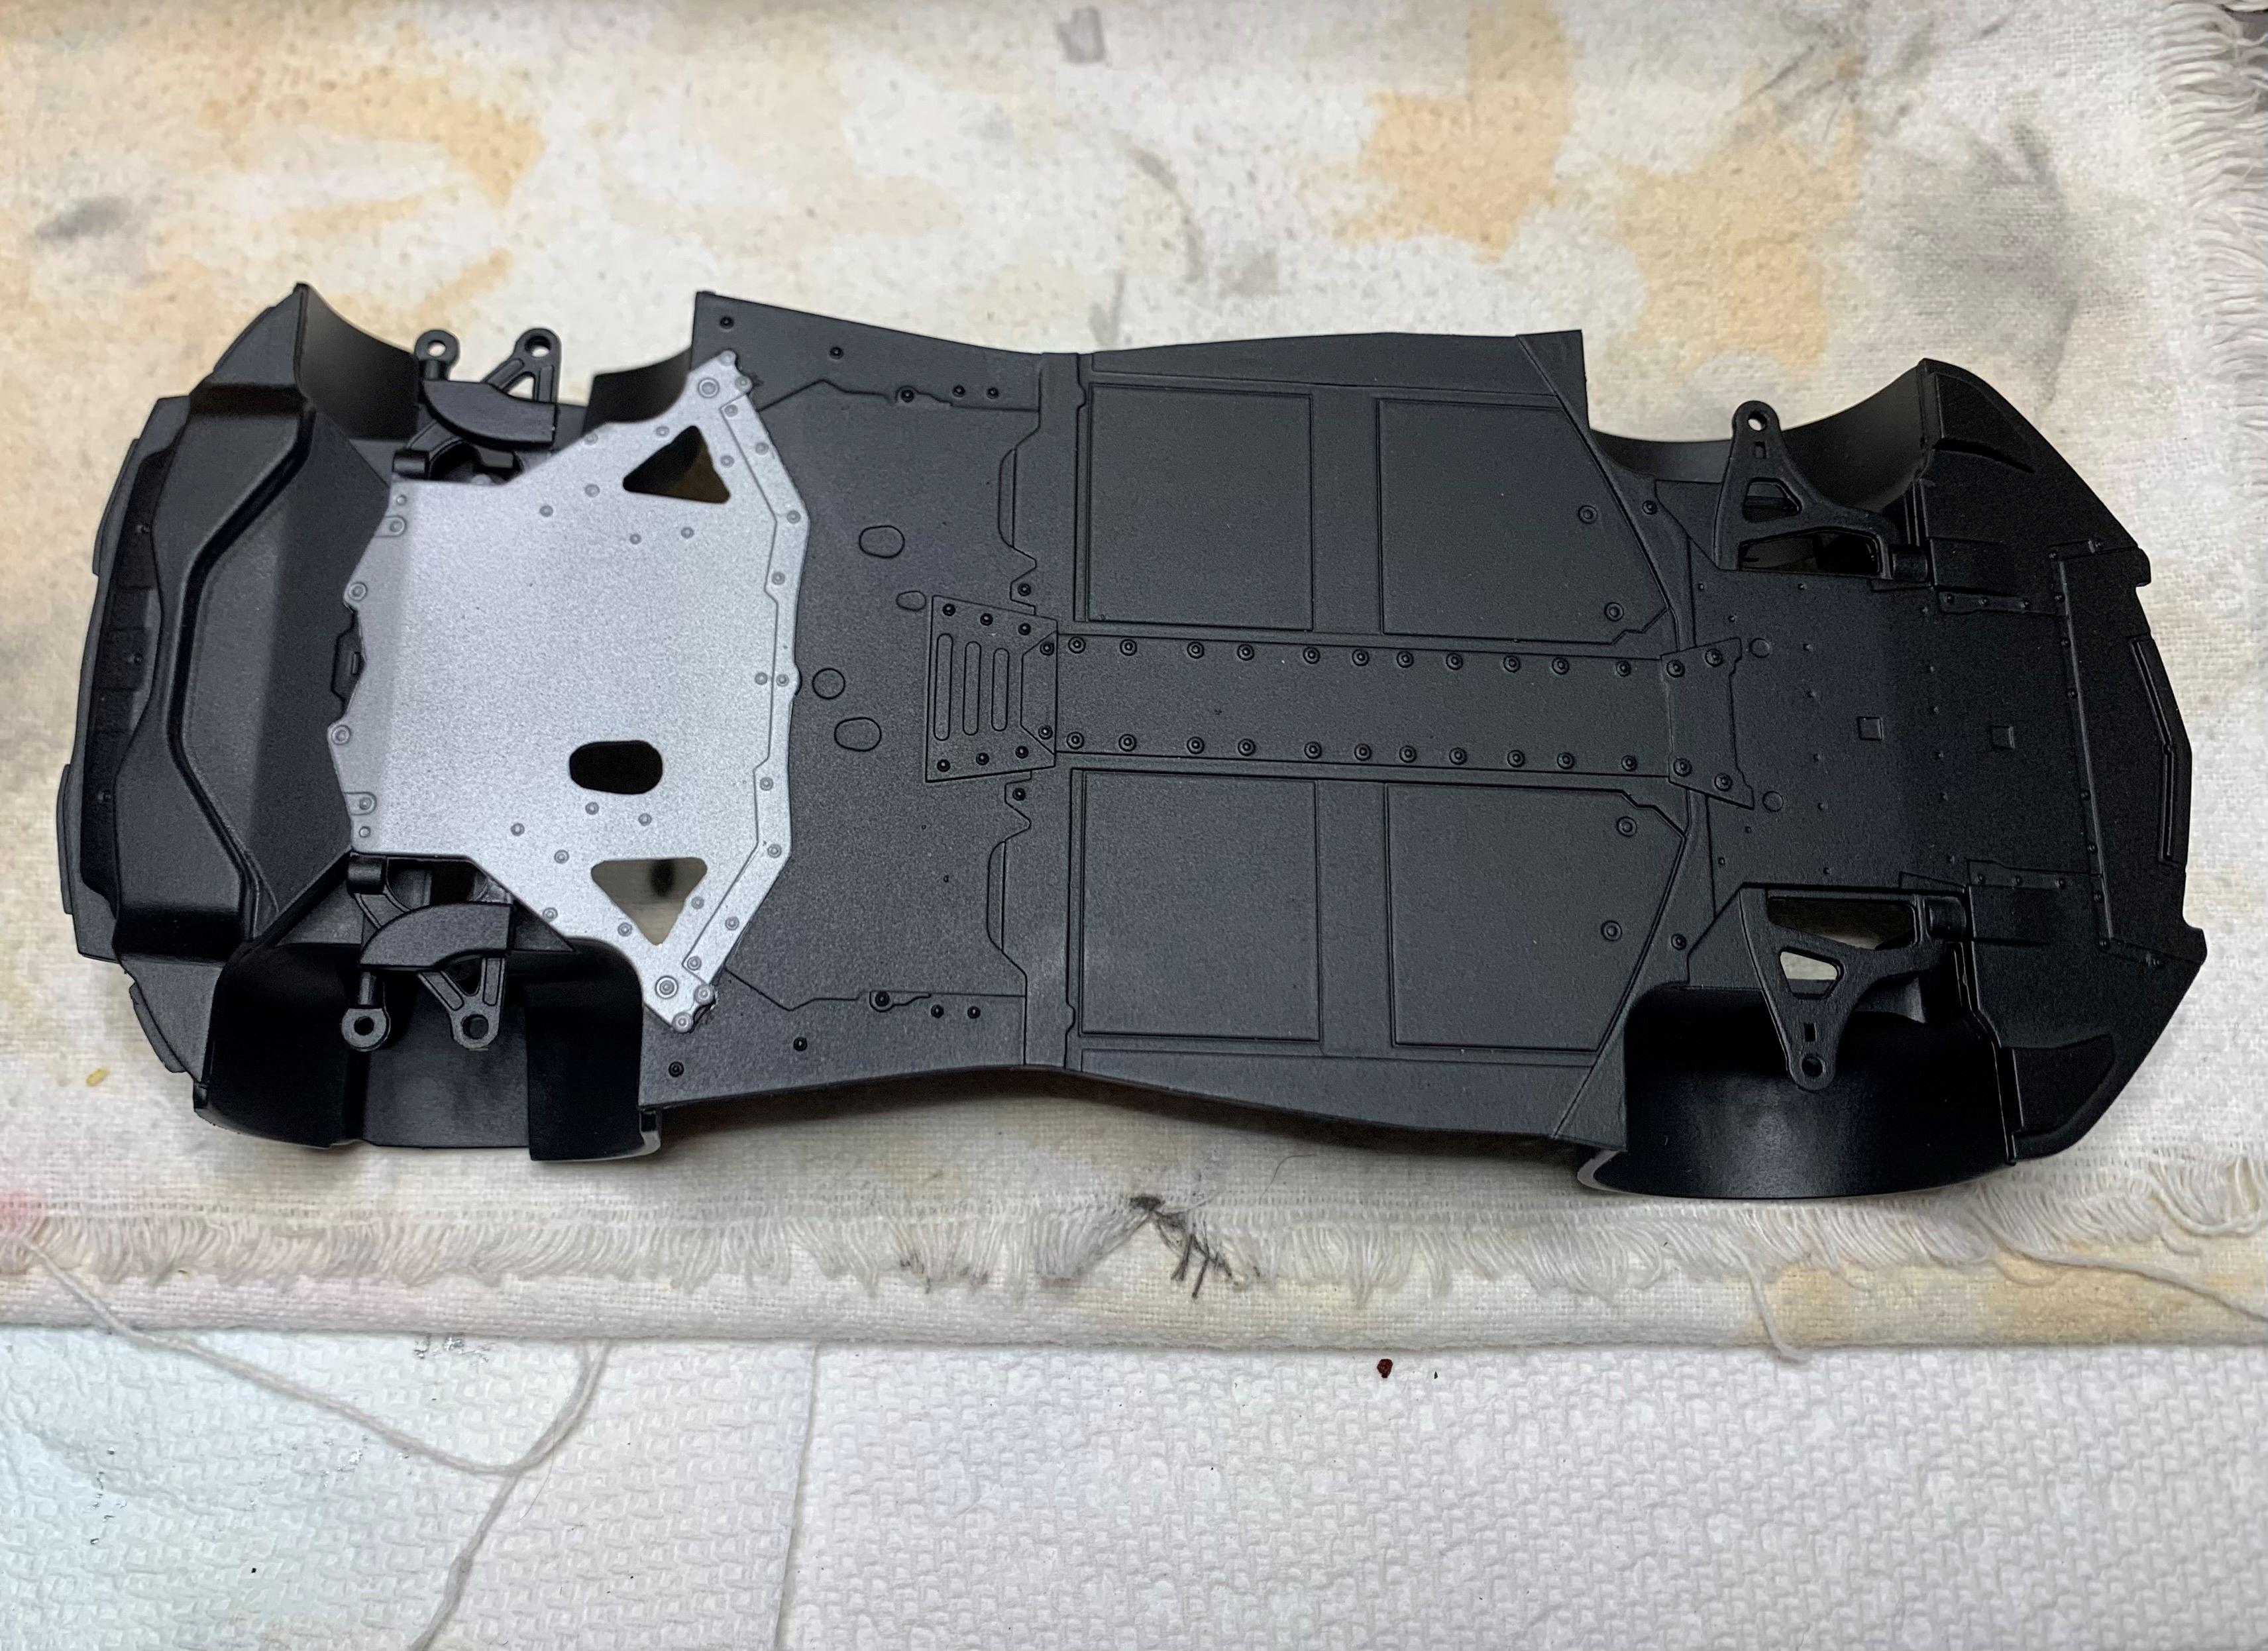
A little more paint detail on the chassis. Got the engine basics together, almost NONE of it will show, but it's fun and parts fit is very good.
-
I haven't chosen any colors for the body or interior, of brake calipers or which rims and tires I'll use, but....... I DID scribe the door and frunk lines then sprayed a light coat of primer to the body:
-
I decided to go with gluing the wheel wells to the chassis plate before adding the suspension. Instructions call for suspension to be assembled with the wheel wells before attaching, but I was able to paint first coat, then glue them and then paint it all as one. Suspension will be next, we'll see how that goes but I can't imagine being able to get the wheel wells to look this good if not painted with the chassis plate. (I used Tamiya extra thin cement where they join and it did ruin the first coat of paint, but I knew that ahead of time and planned to paint again after glue) I masked off that plate for under the engine and airbrushed Alclad "dull aluminum".
-
Fist picture of my new Corvette kit: All white sprues soak in a sink of warm water with bubble bath added. After awhile, I swish them around and empty the sink, then rinse with warm water and lean them up against the tub on a towel. I know it's basic model action, but I just thought I'd share.
-
That looks so much better and must've been a great feeling of accomplishment as a model builder, even if it won't show!