dino246gt
-
Posts
2,244 -
Joined
-
Last visited
Content Type
Profiles
Forums
Events
Gallery
Everything posted by dino246gt
-
I got my kit yesterday! Although I'm still working on my '32 Sedan, I just HAD to dive into this new Revell after seeing all the cool progress here! I like what I see!
-
I used a file to round the bottom of clear sprue, then cut it off, glued it to the fuel pump and painted it clear orange. Usually these are mostly hidden but on this one it's right out in the open, so I thought it could use a bit more detail. Simple but fun!

- 706 replies
-
- 14
-

-

-
That does look good, perfect color choice.
-
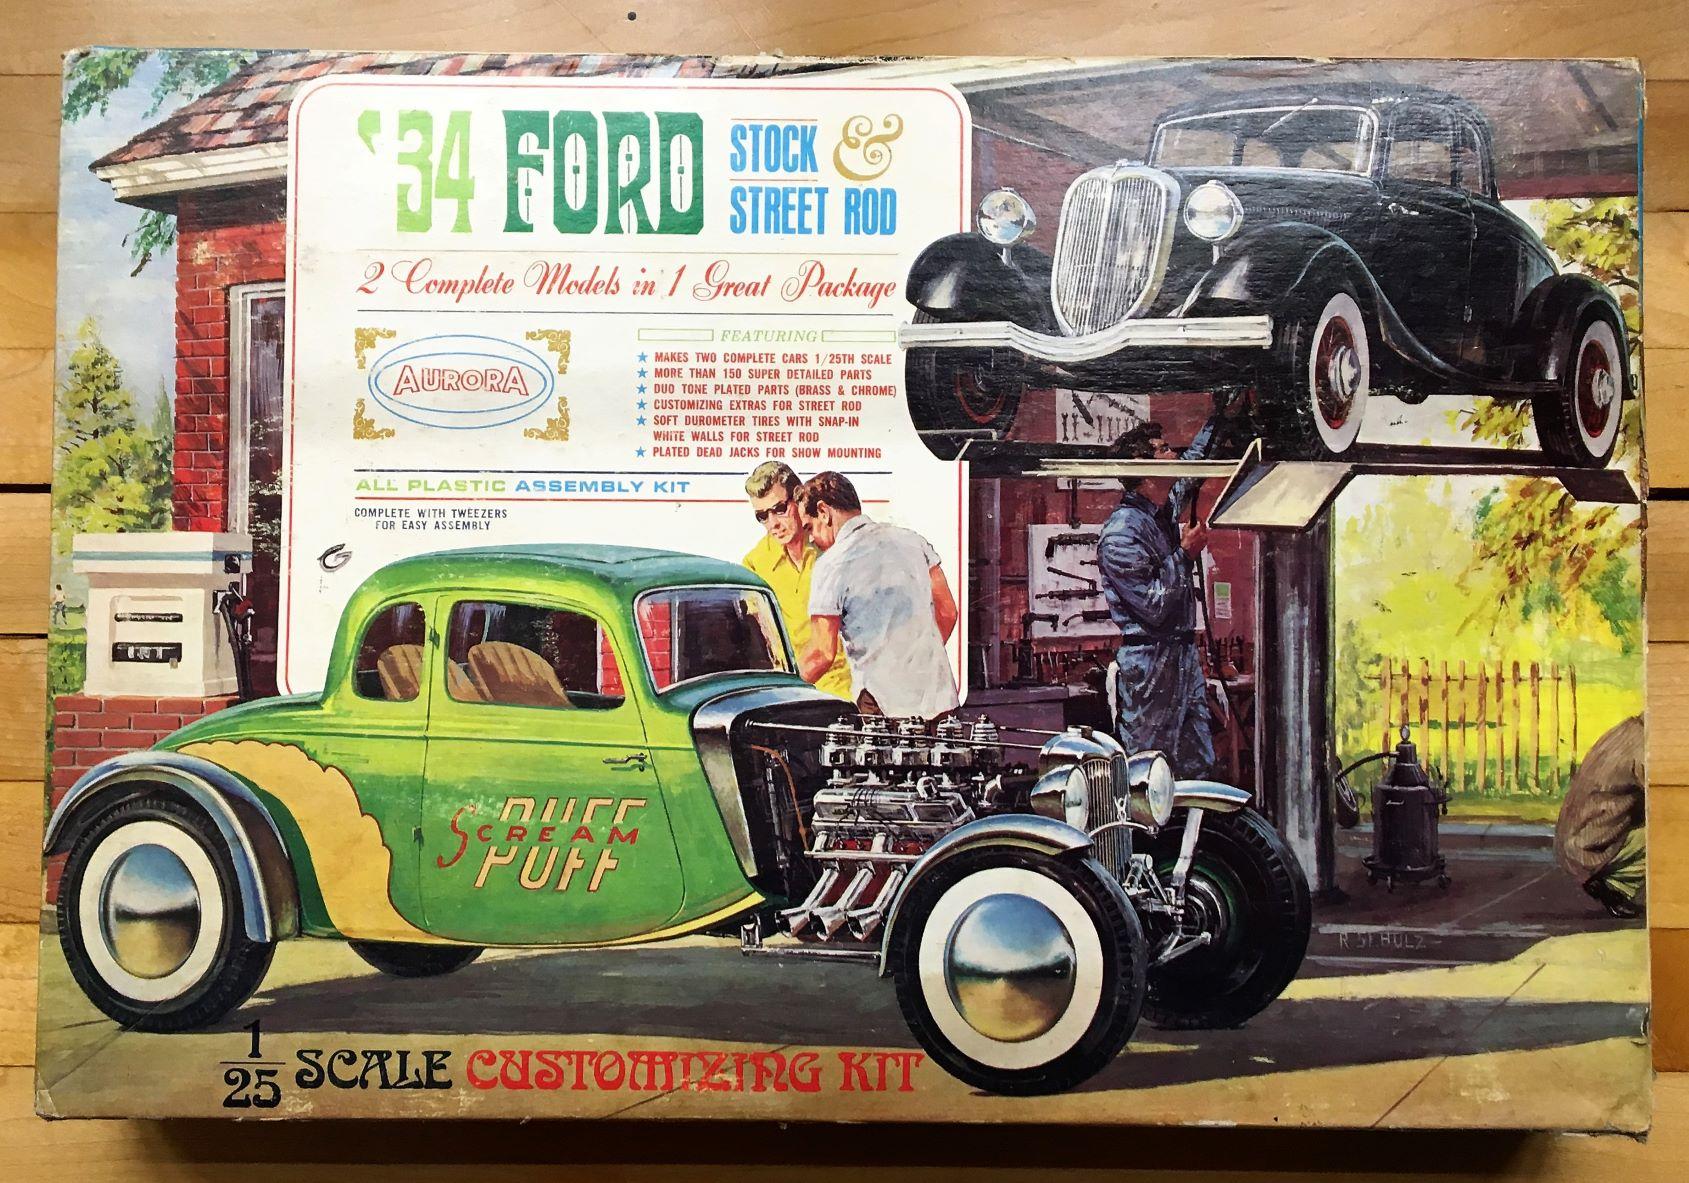
 I have one, here's all the parts, but I'll never build it, it's just cool to have. If you're like a lot of us, you should HAVE it, build it or not, it's cool!
-
1960 Ford pickup engine color?
dino246gt replied to TonyK's topic in Model Building Questions and Answers
Here's what I did with my '60, black with red valve covers, the air cleaner may have been replaced over the years, LOL
-
Roof looks terrible but that's just a reflection, roof is good!
-
These are the rims and the 2 rear tires, front tires are from the parts box as are the knock offs. I like to be different!
-
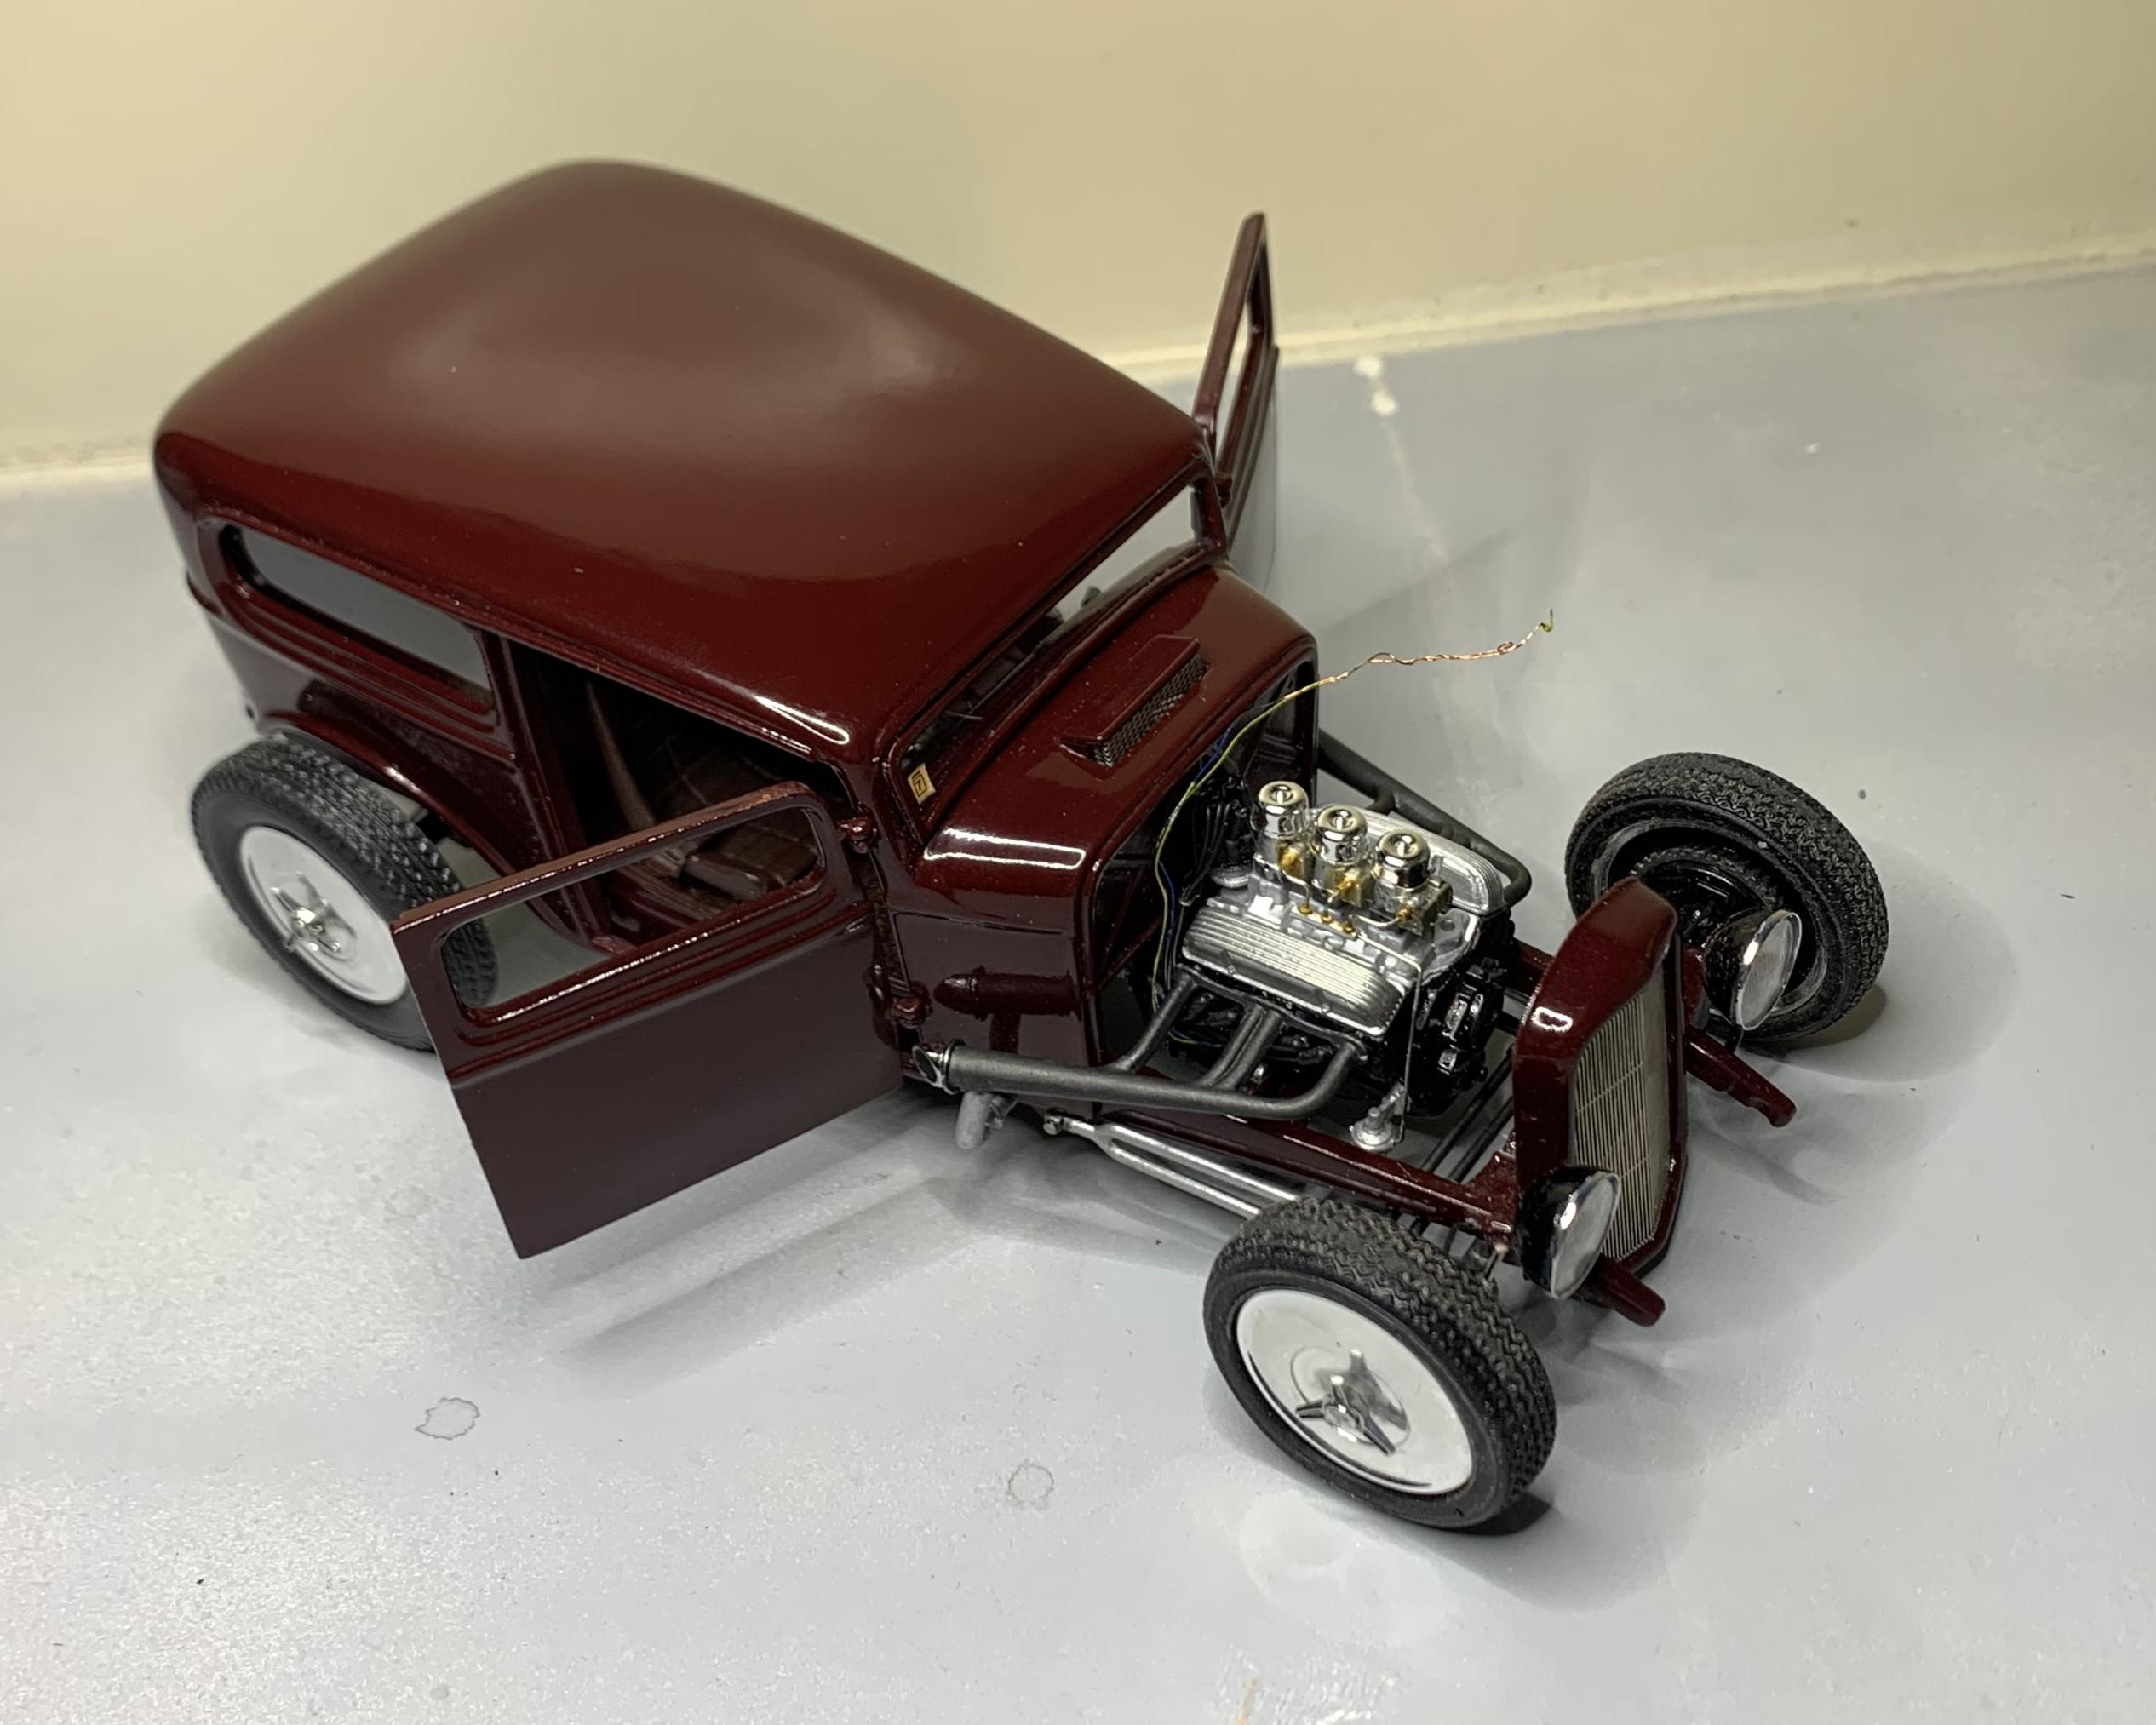
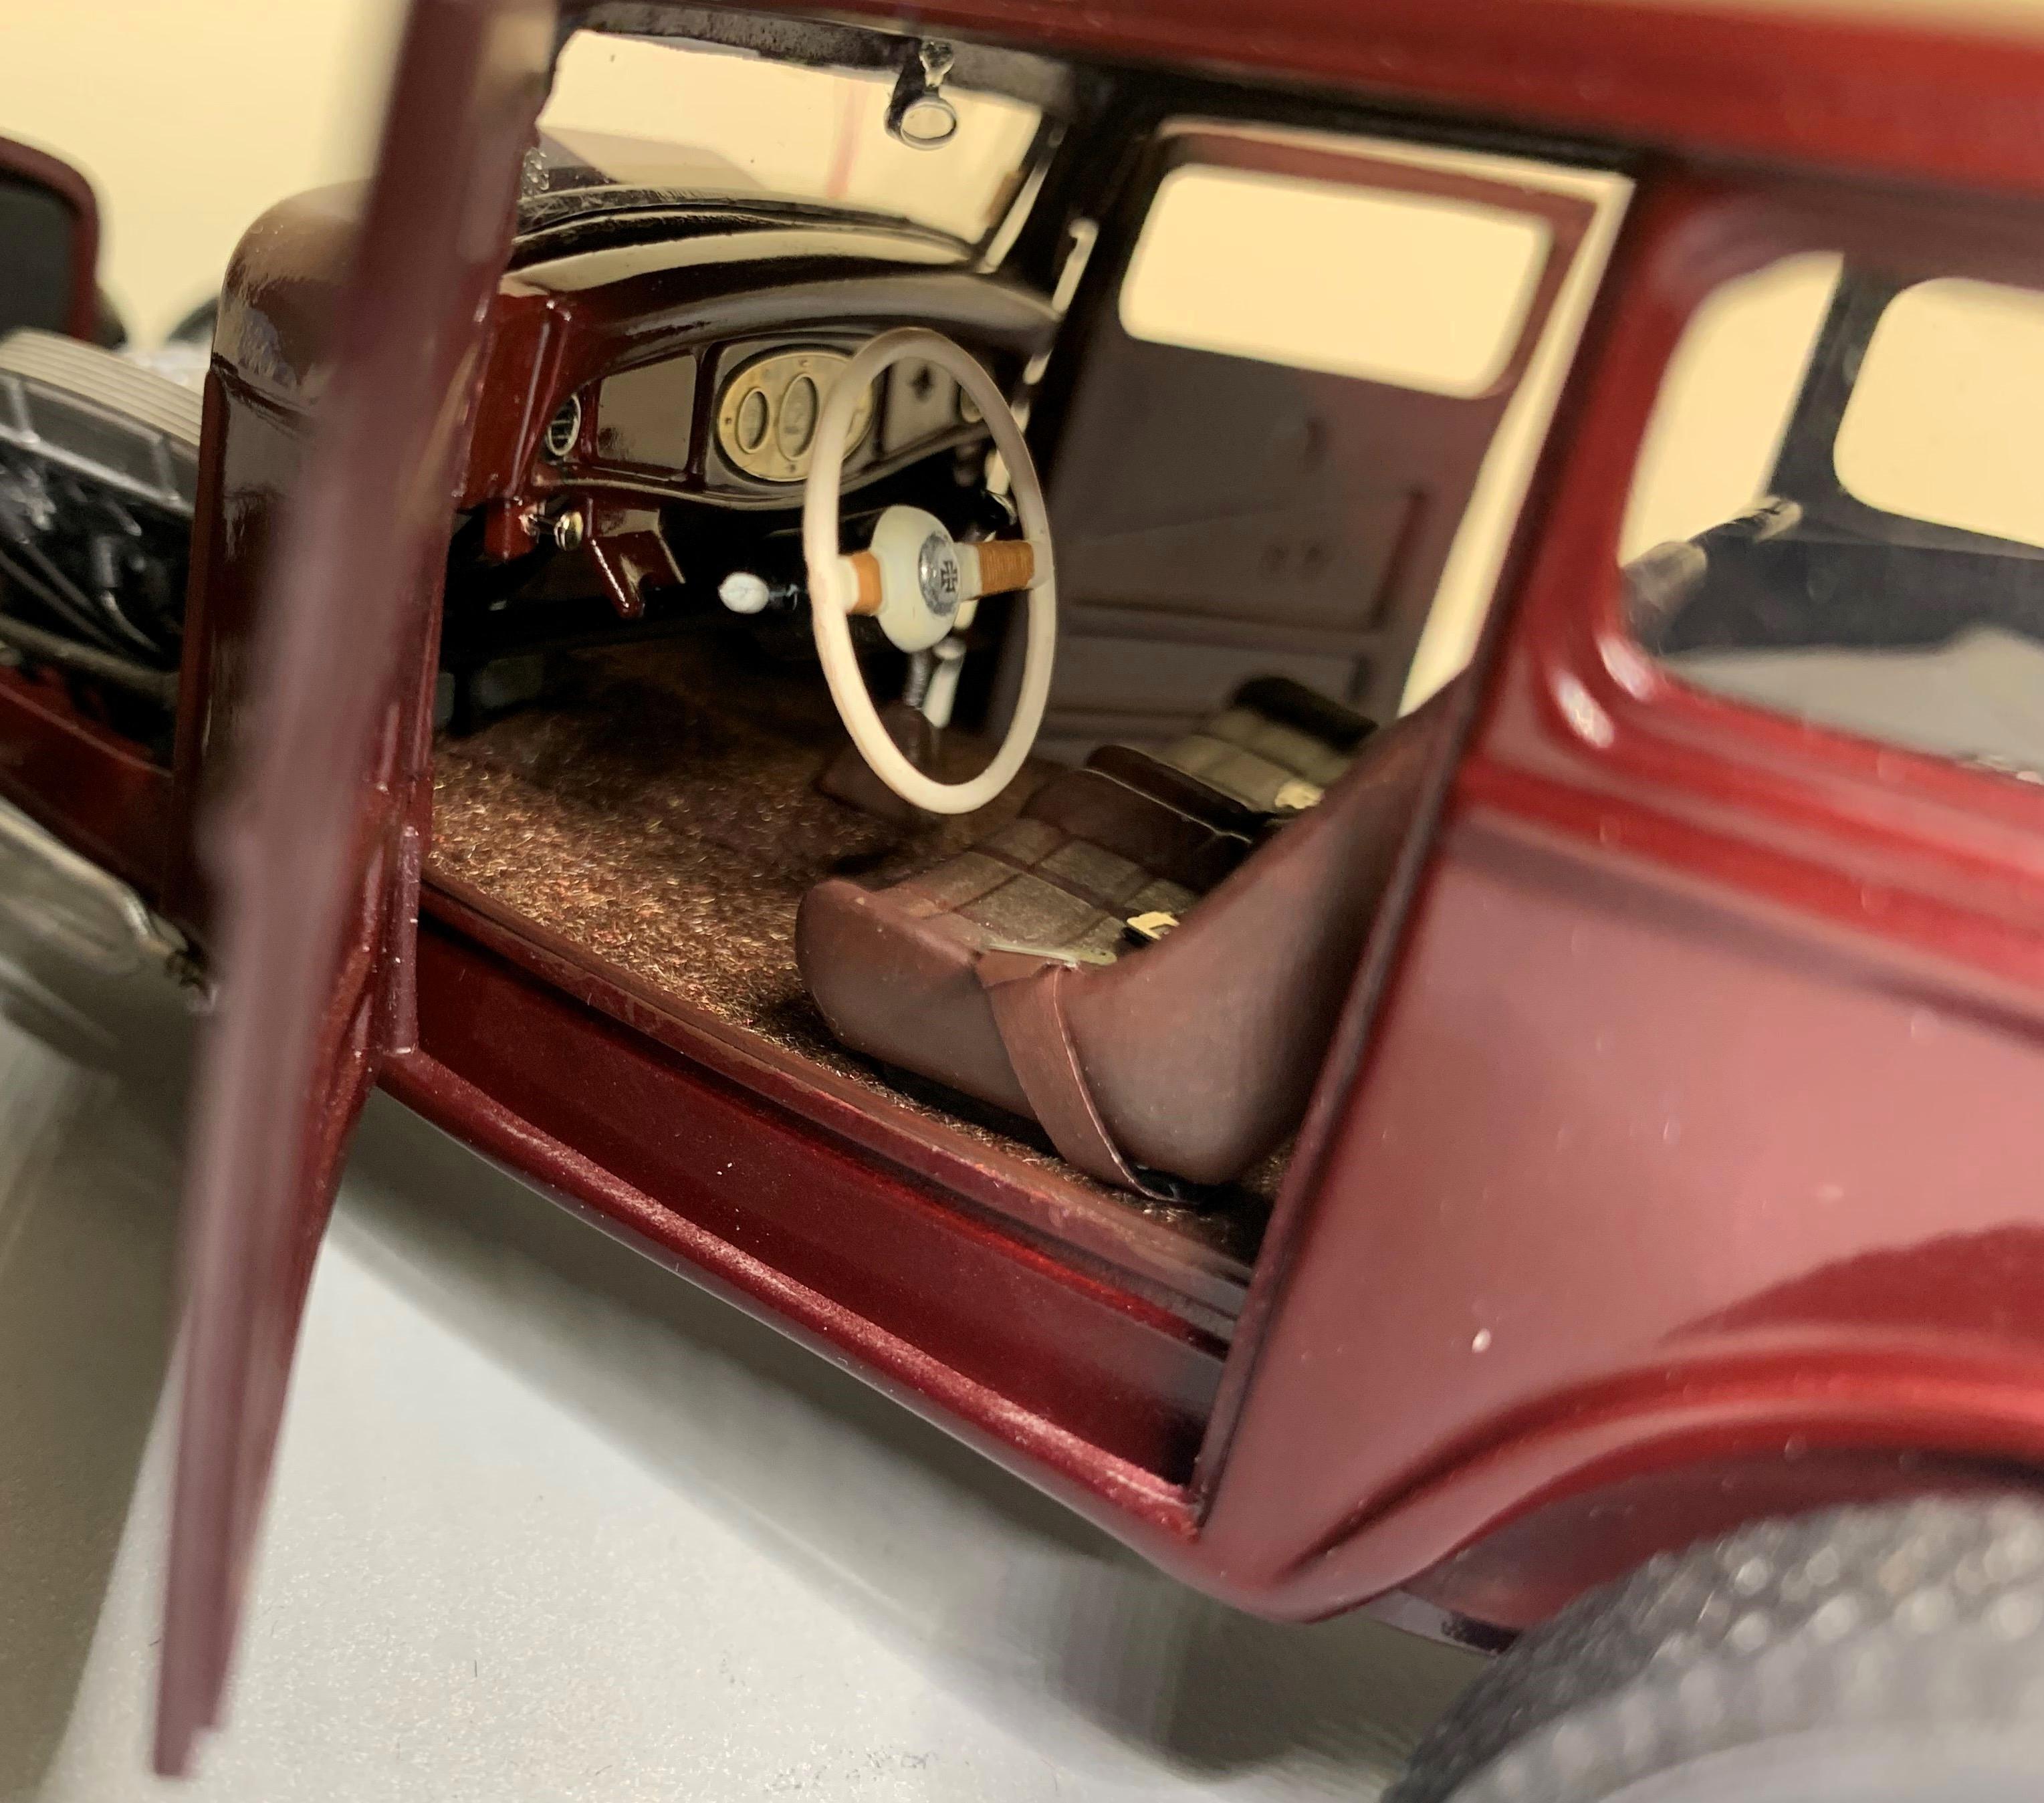
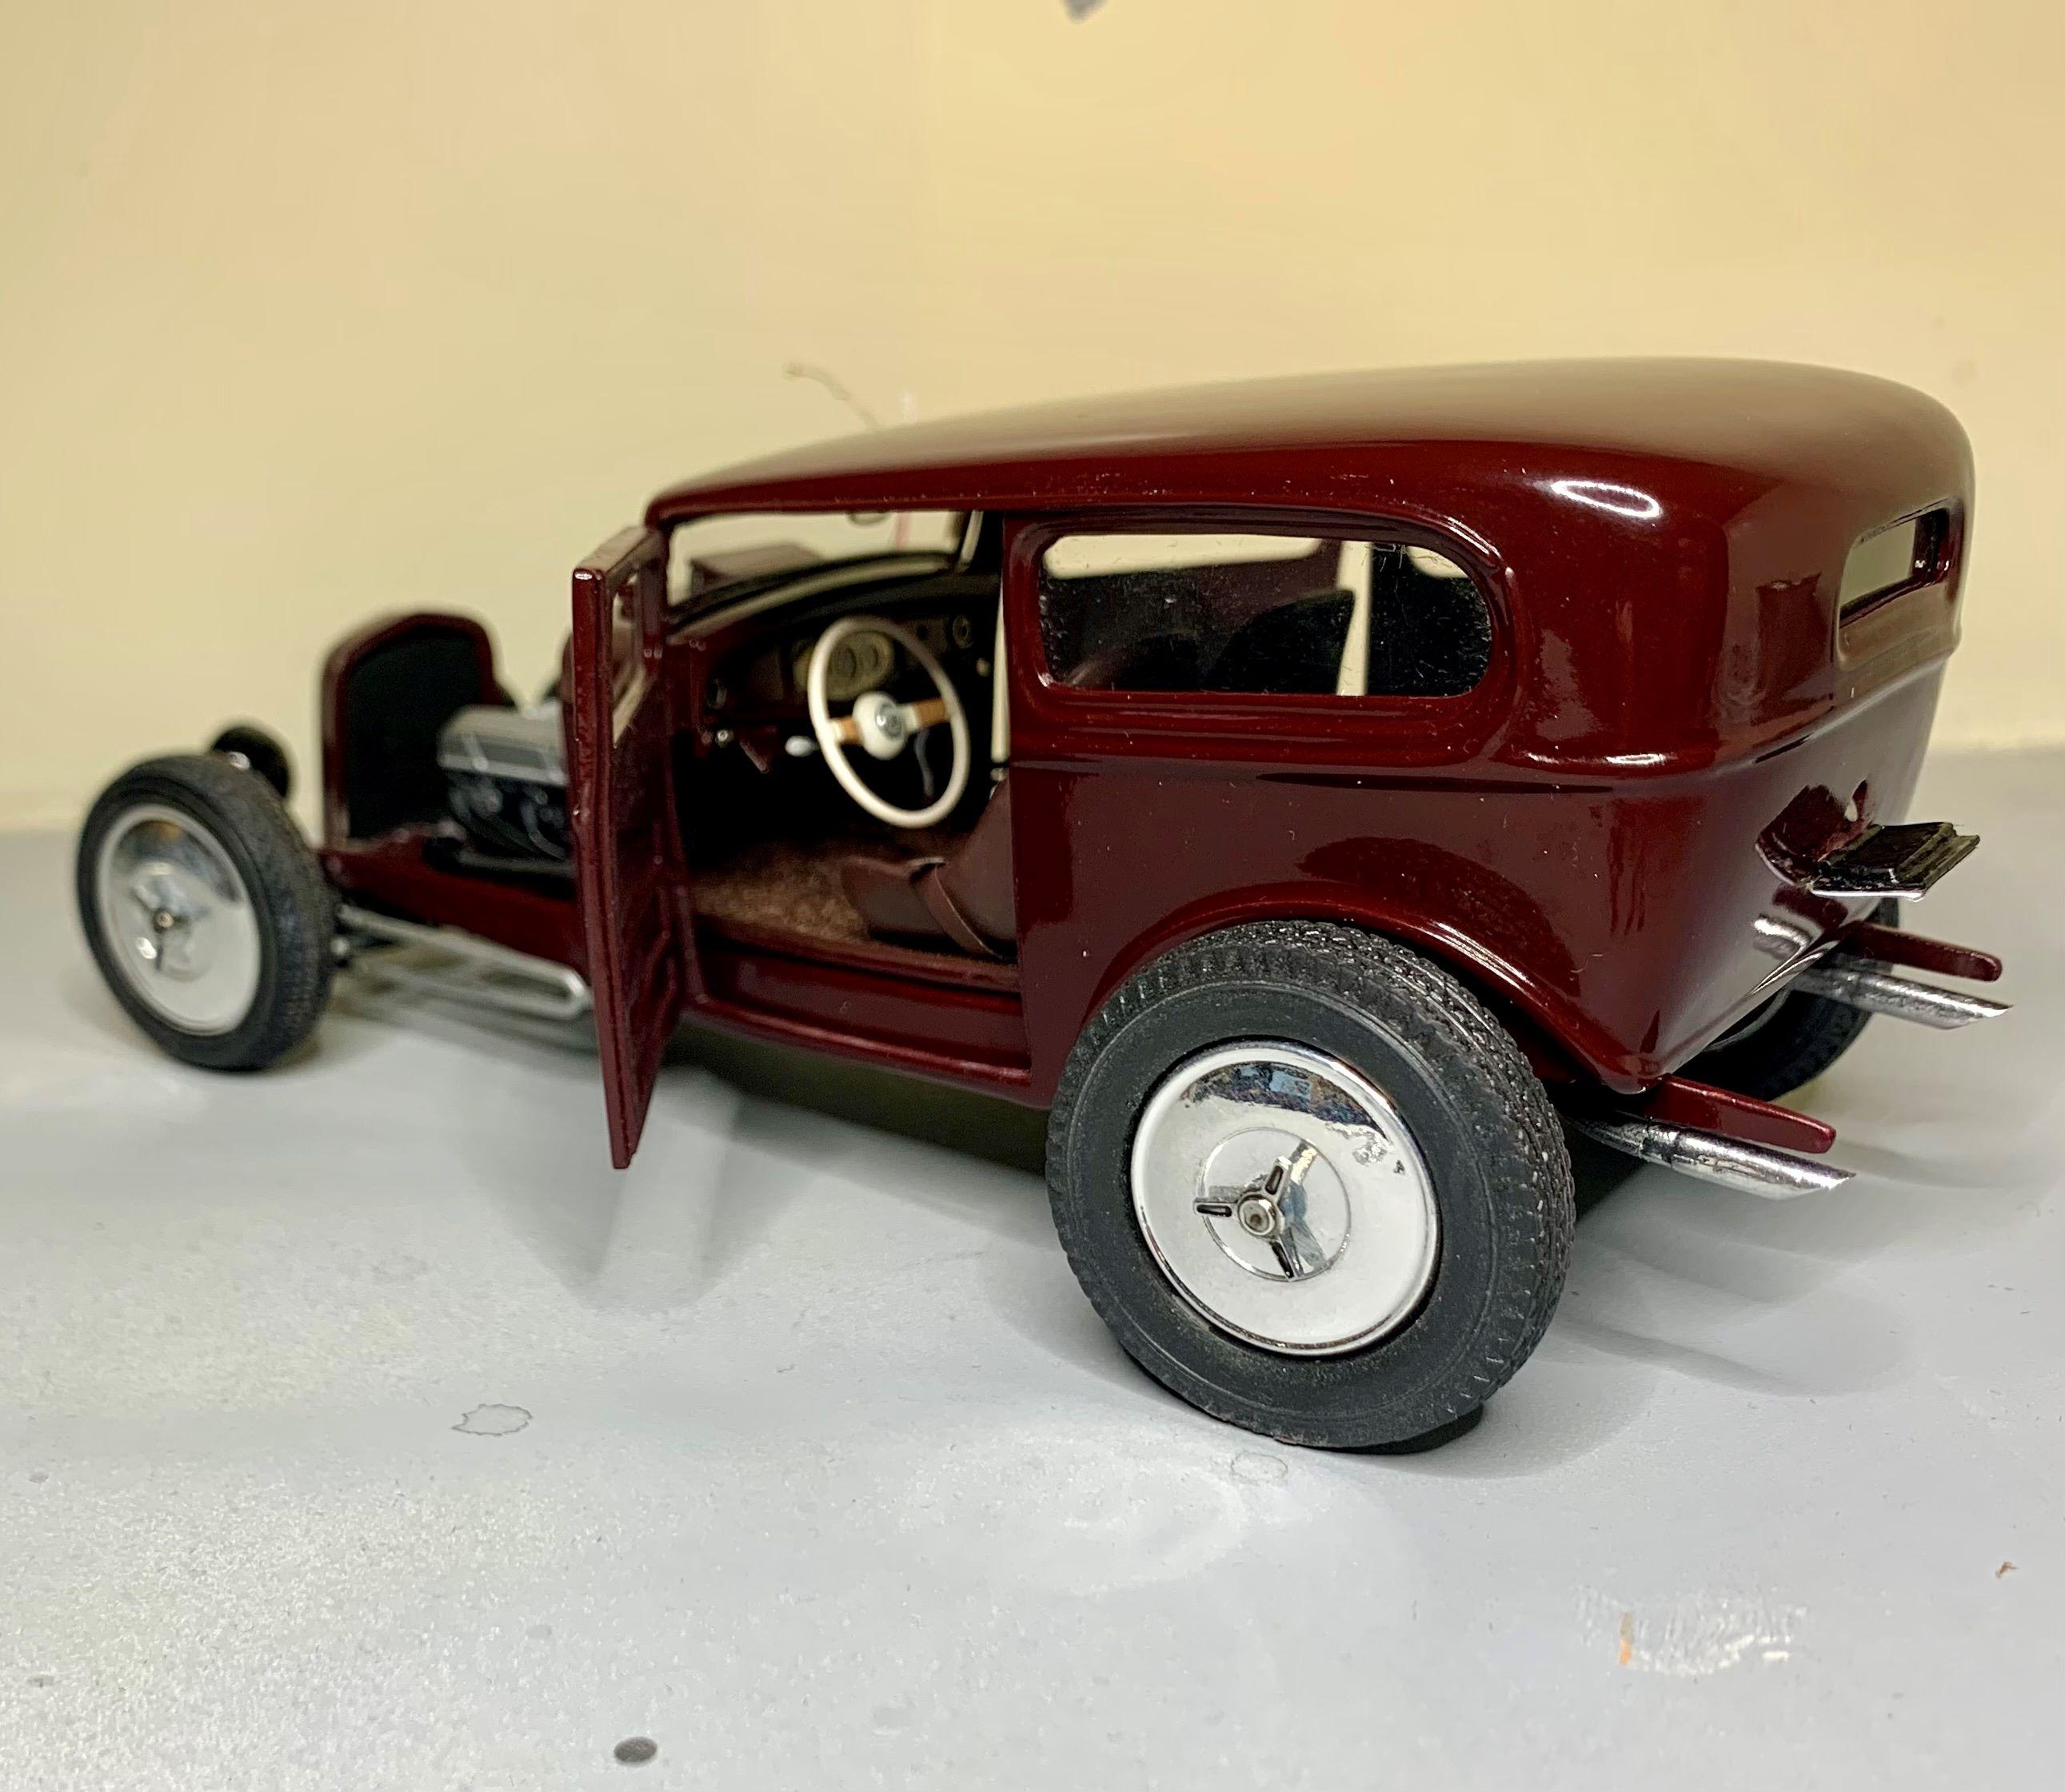
Okay, I've finally got mine up on all four wheels! Had to finished the interior so I could mount the body because I couldn't install the engine until the body (firewall) was permanently attached. Then I could locate the driveshaft and rear axle. I'm still going to make door cards. Still a long way to go, but the basics are getting done! Cheers.
-
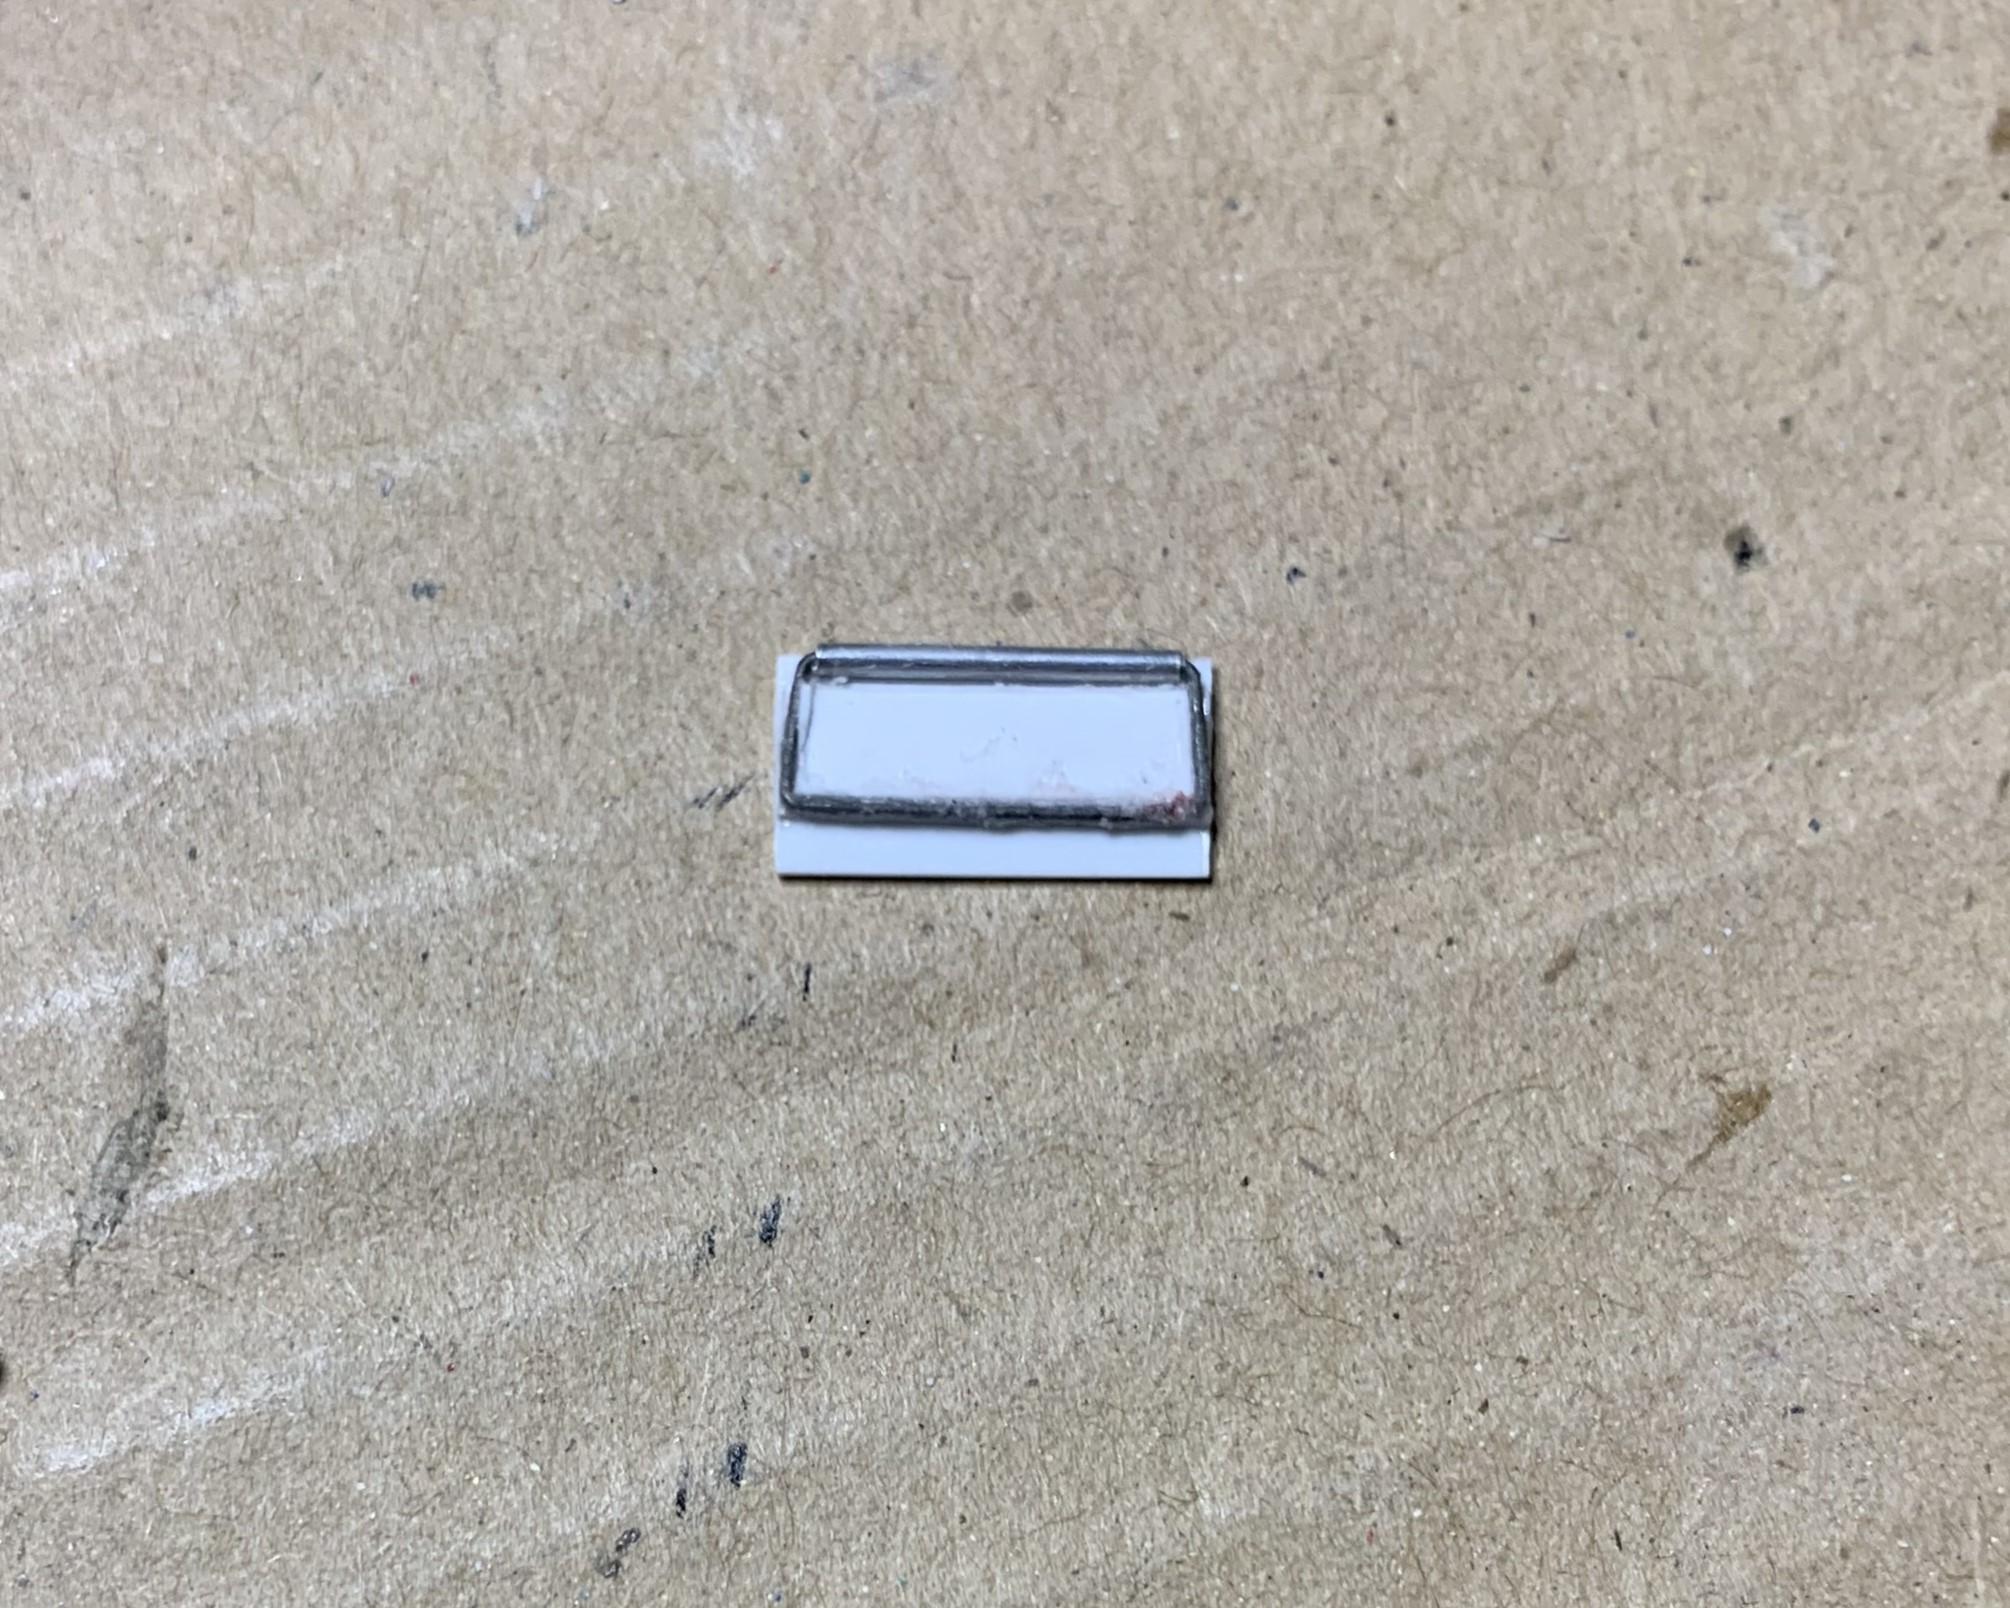
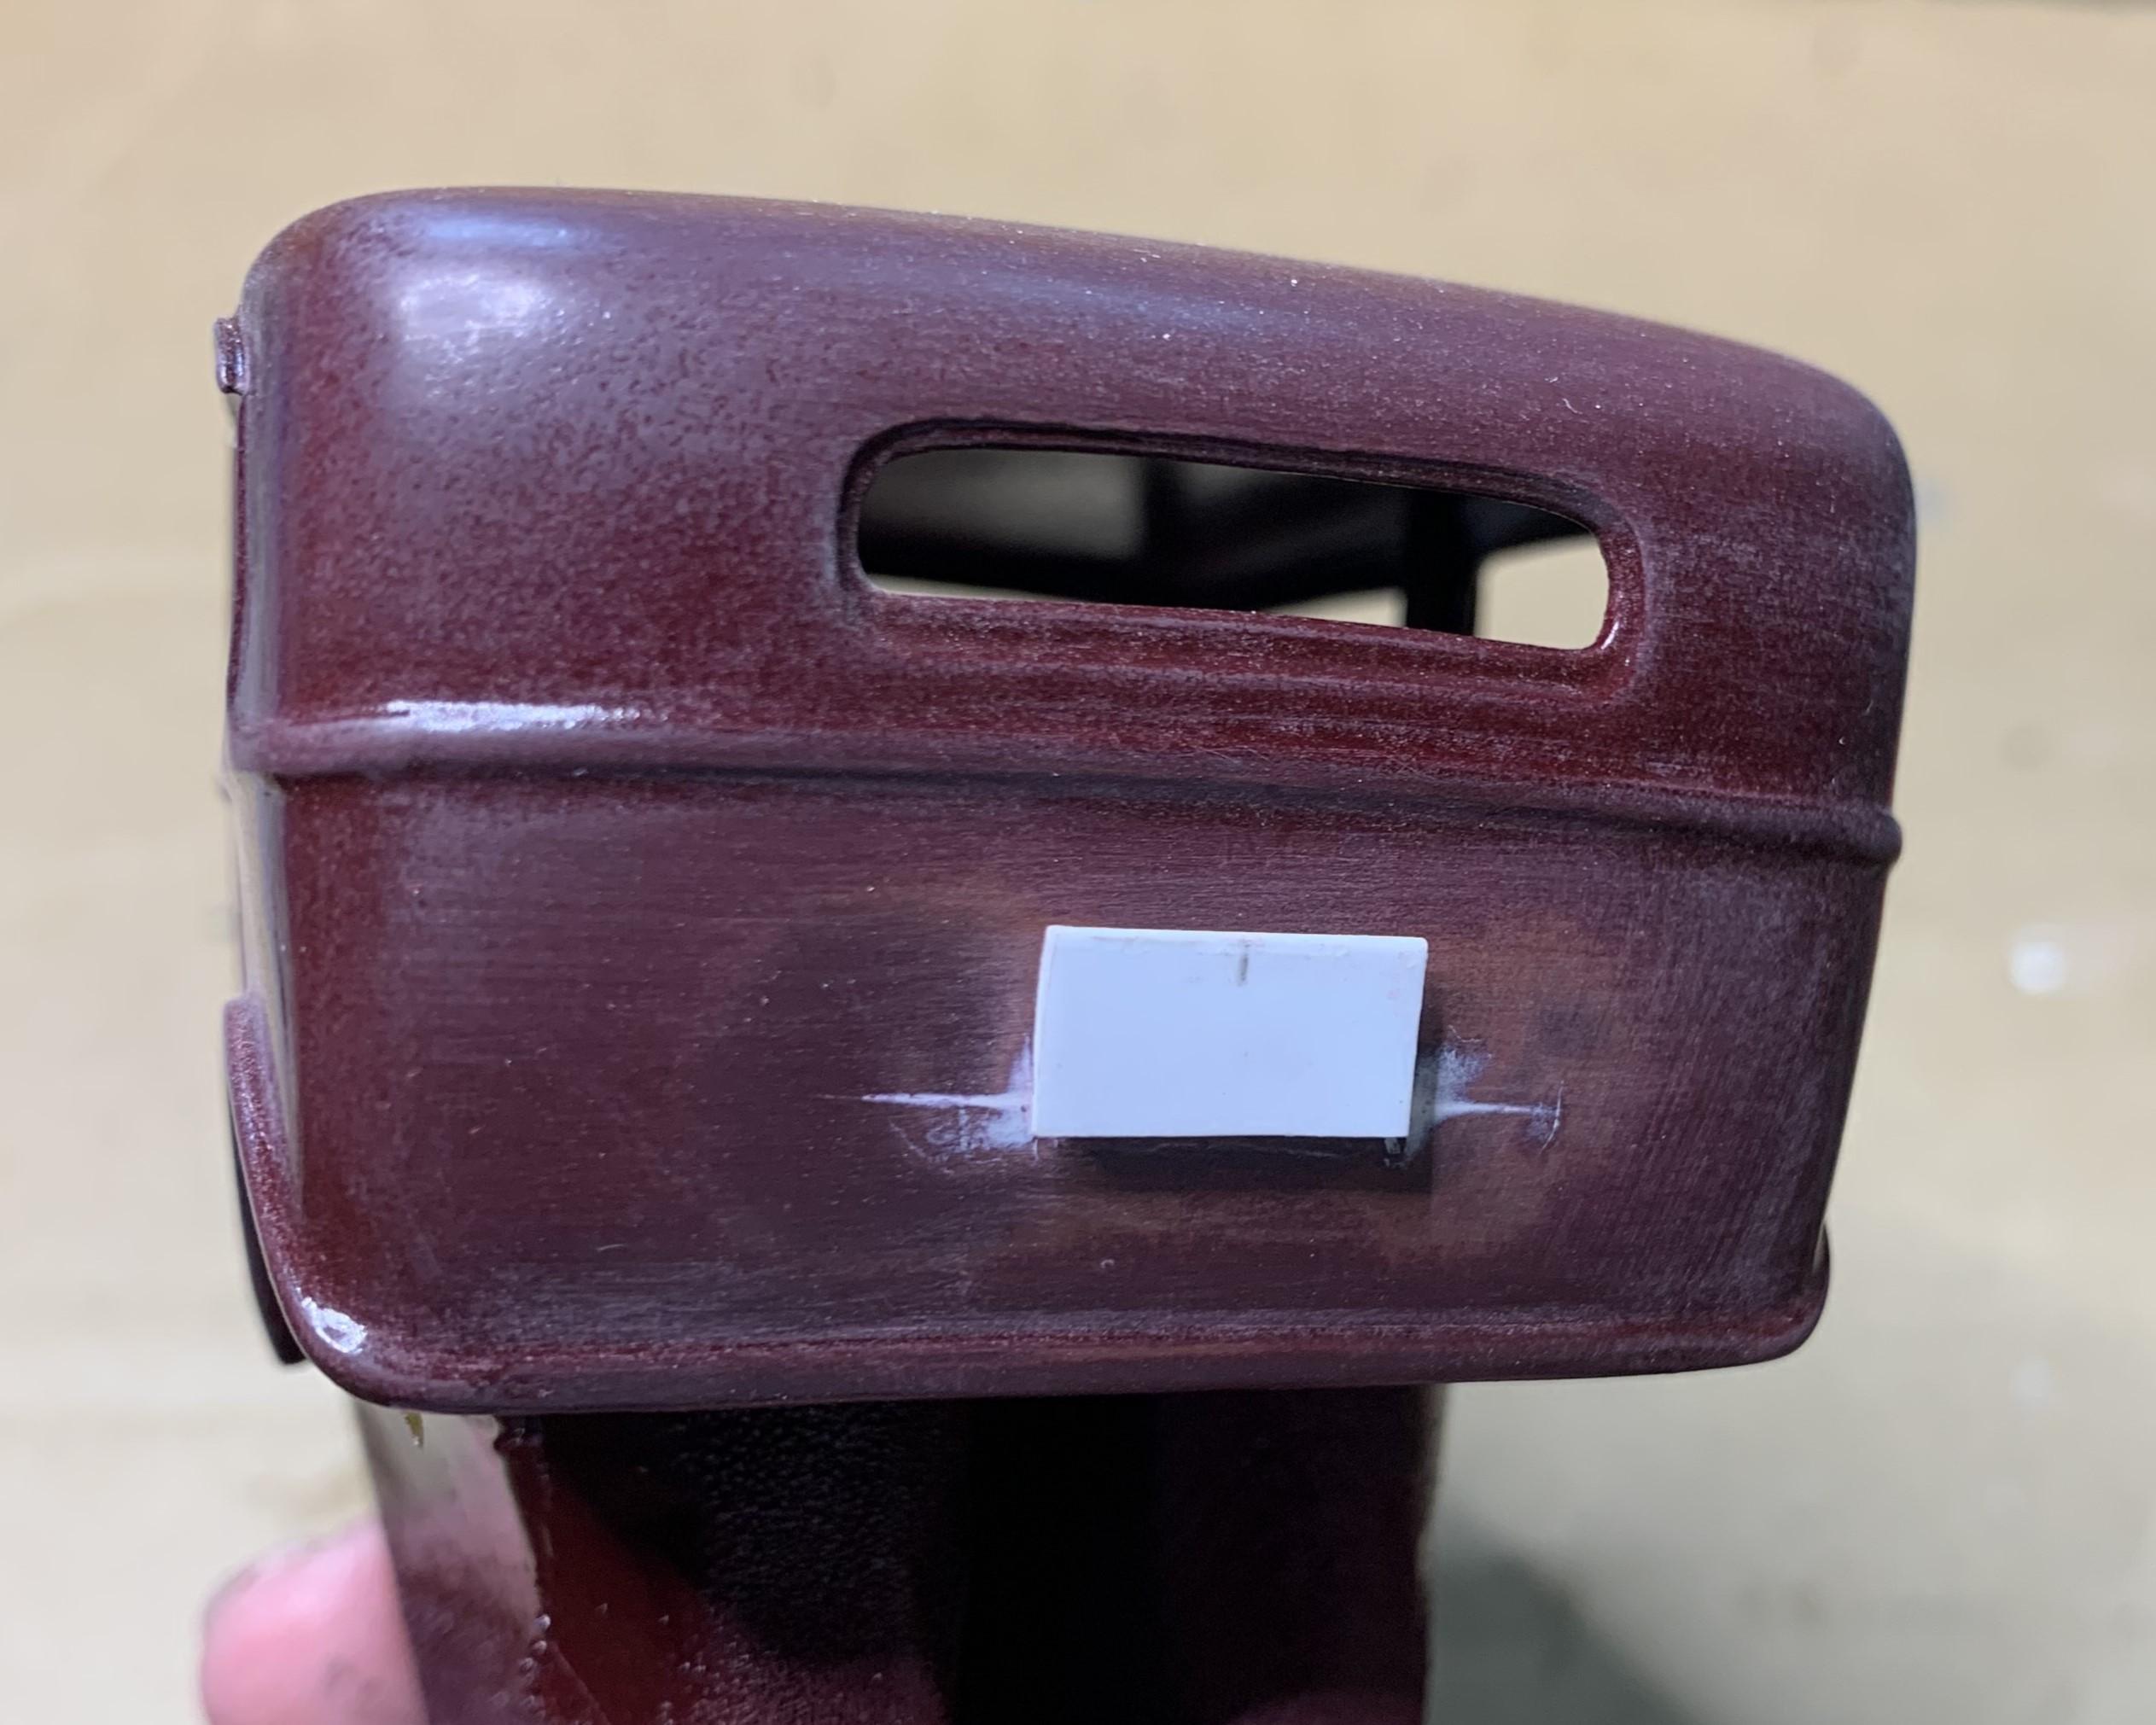
Since I was mounting the gas tank inside, not between the frame rails, I had to have a filler somewhere. I tried making a folding license plate and a recess behind that. It works! Although it IS a bit out of scale, but it's something different, and a first for me, so that's what I enjoy, always trying new things! Cheers!
-
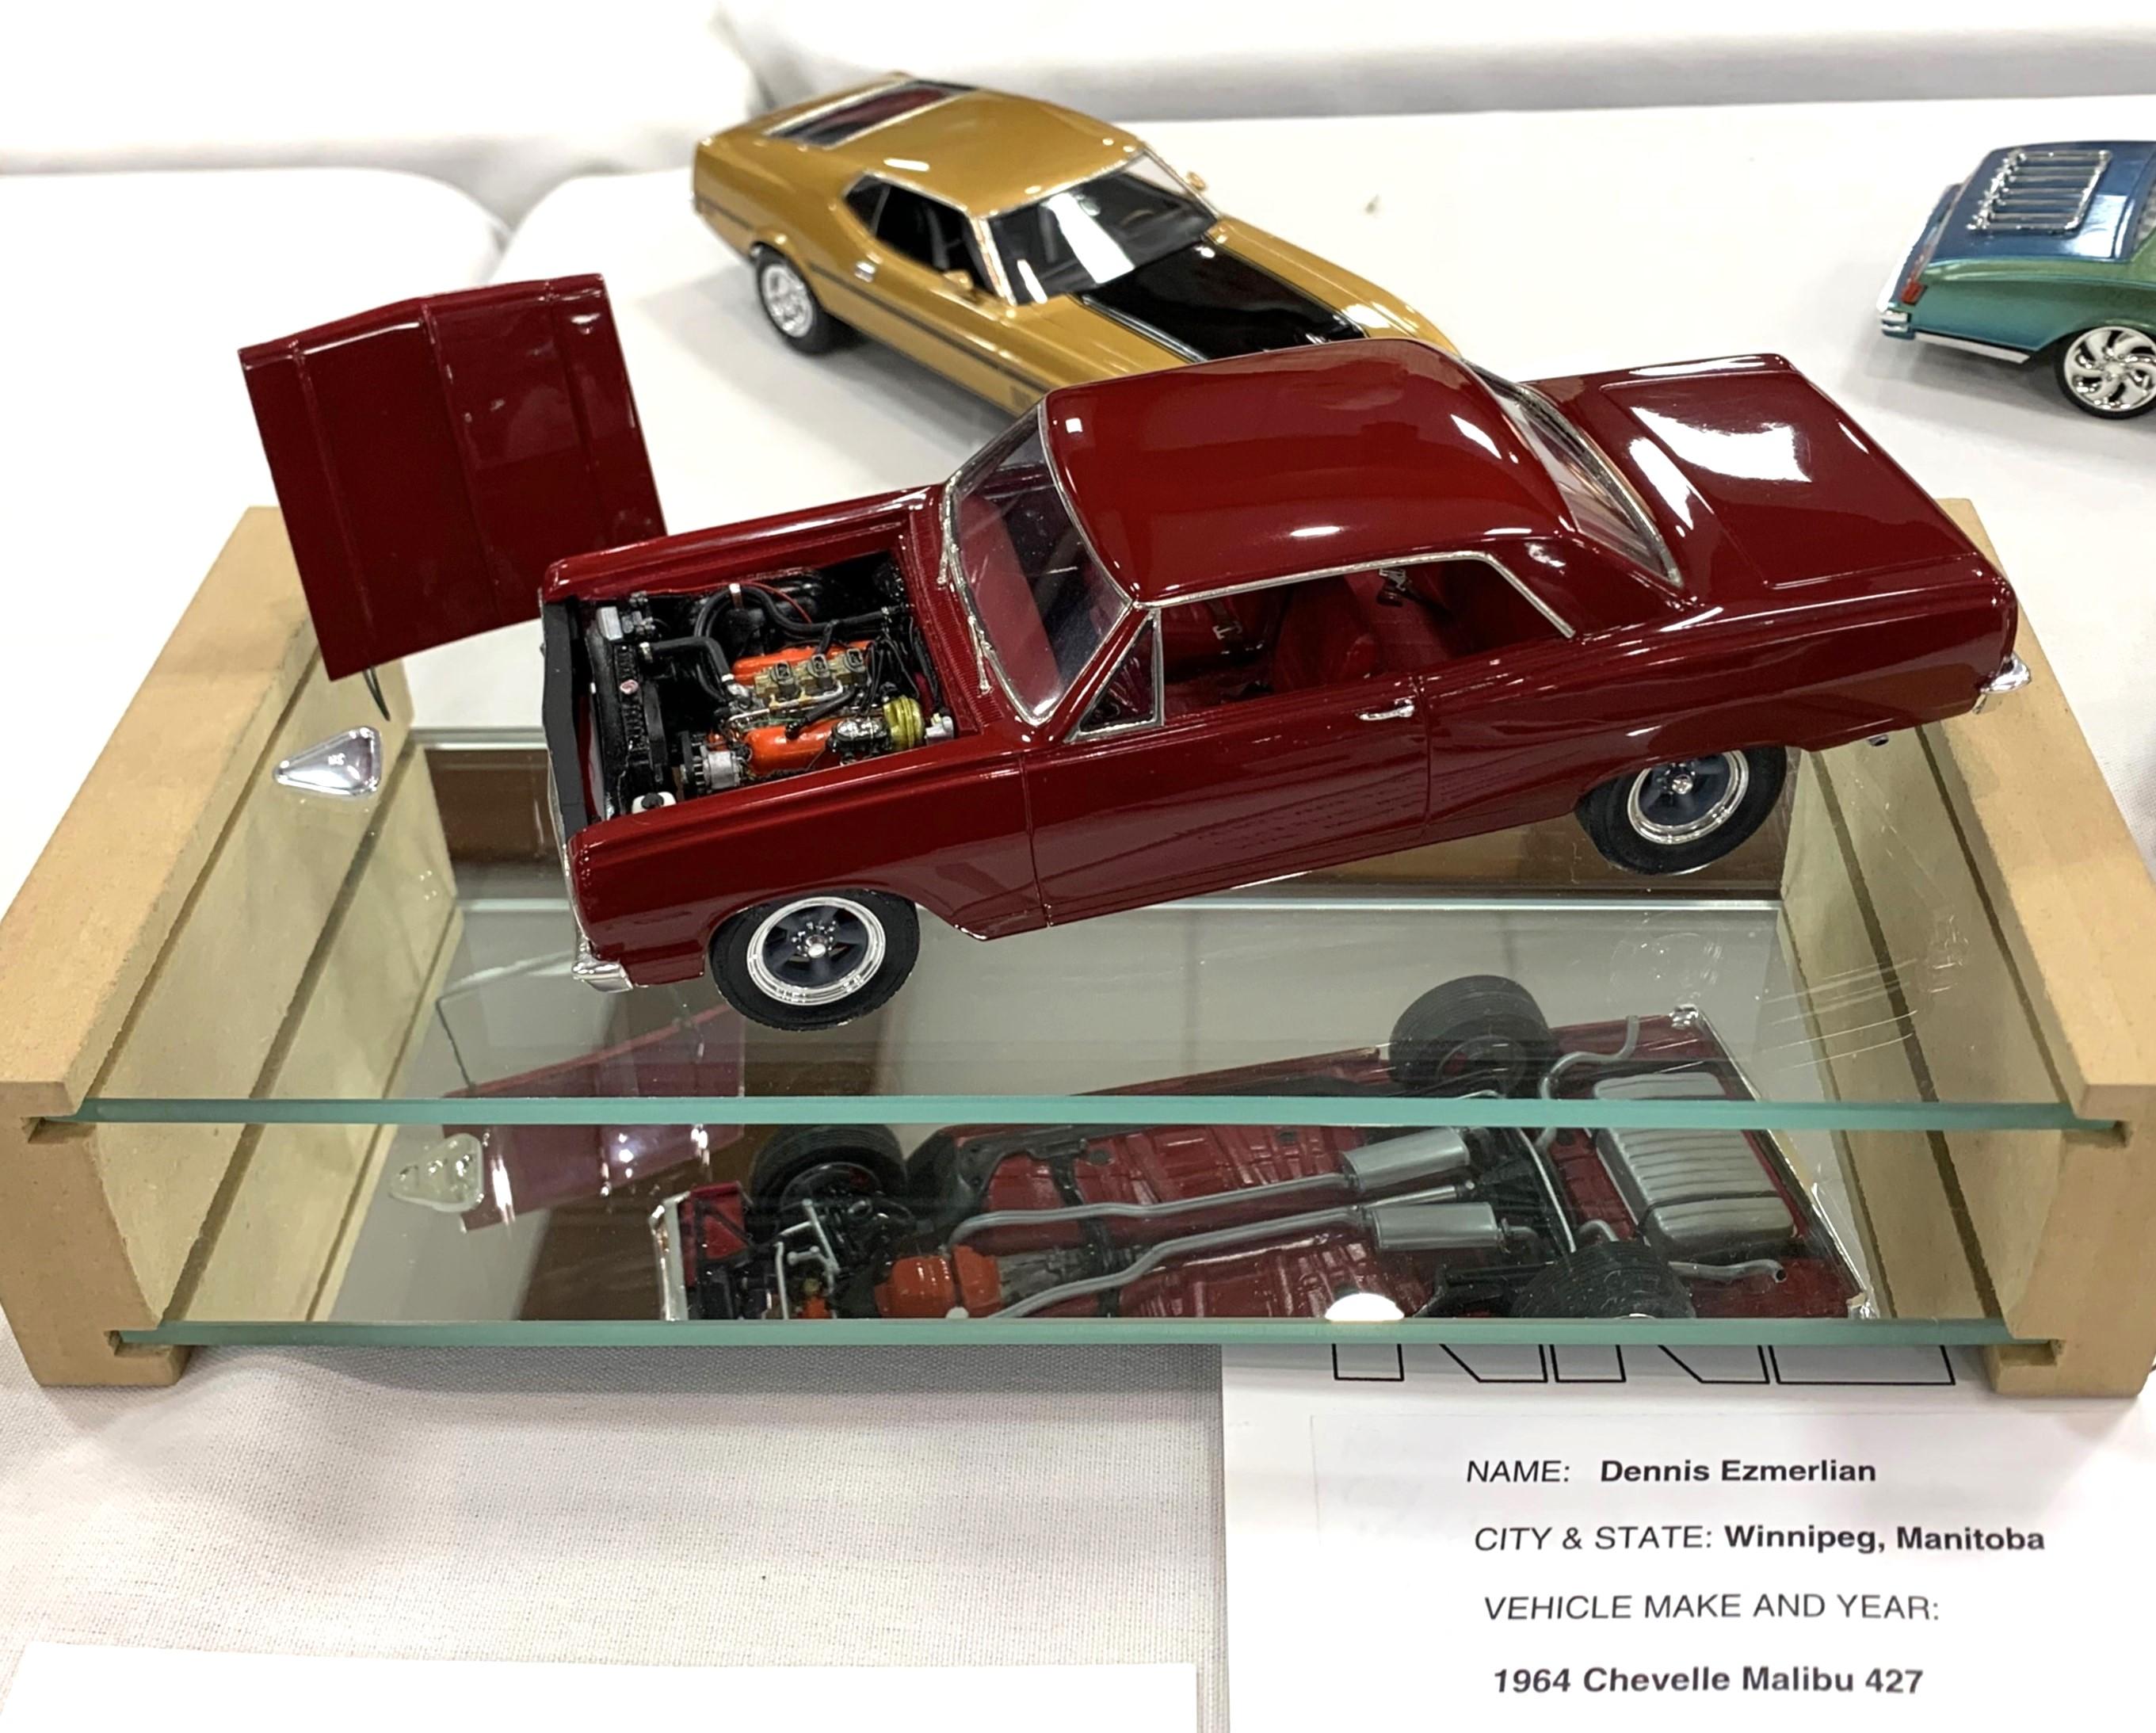
Revell 1965 Chevelle Malibu SS Convertible (Resin)
dino246gt replied to kelson's topic in WIP: Model Cars
Man does that look fantastic! Perfect color and amazing detail, love it! -
Chassis for AMT 1964 Malibu
dino246gt replied to afxawb2's topic in Model Building Questions and Answers
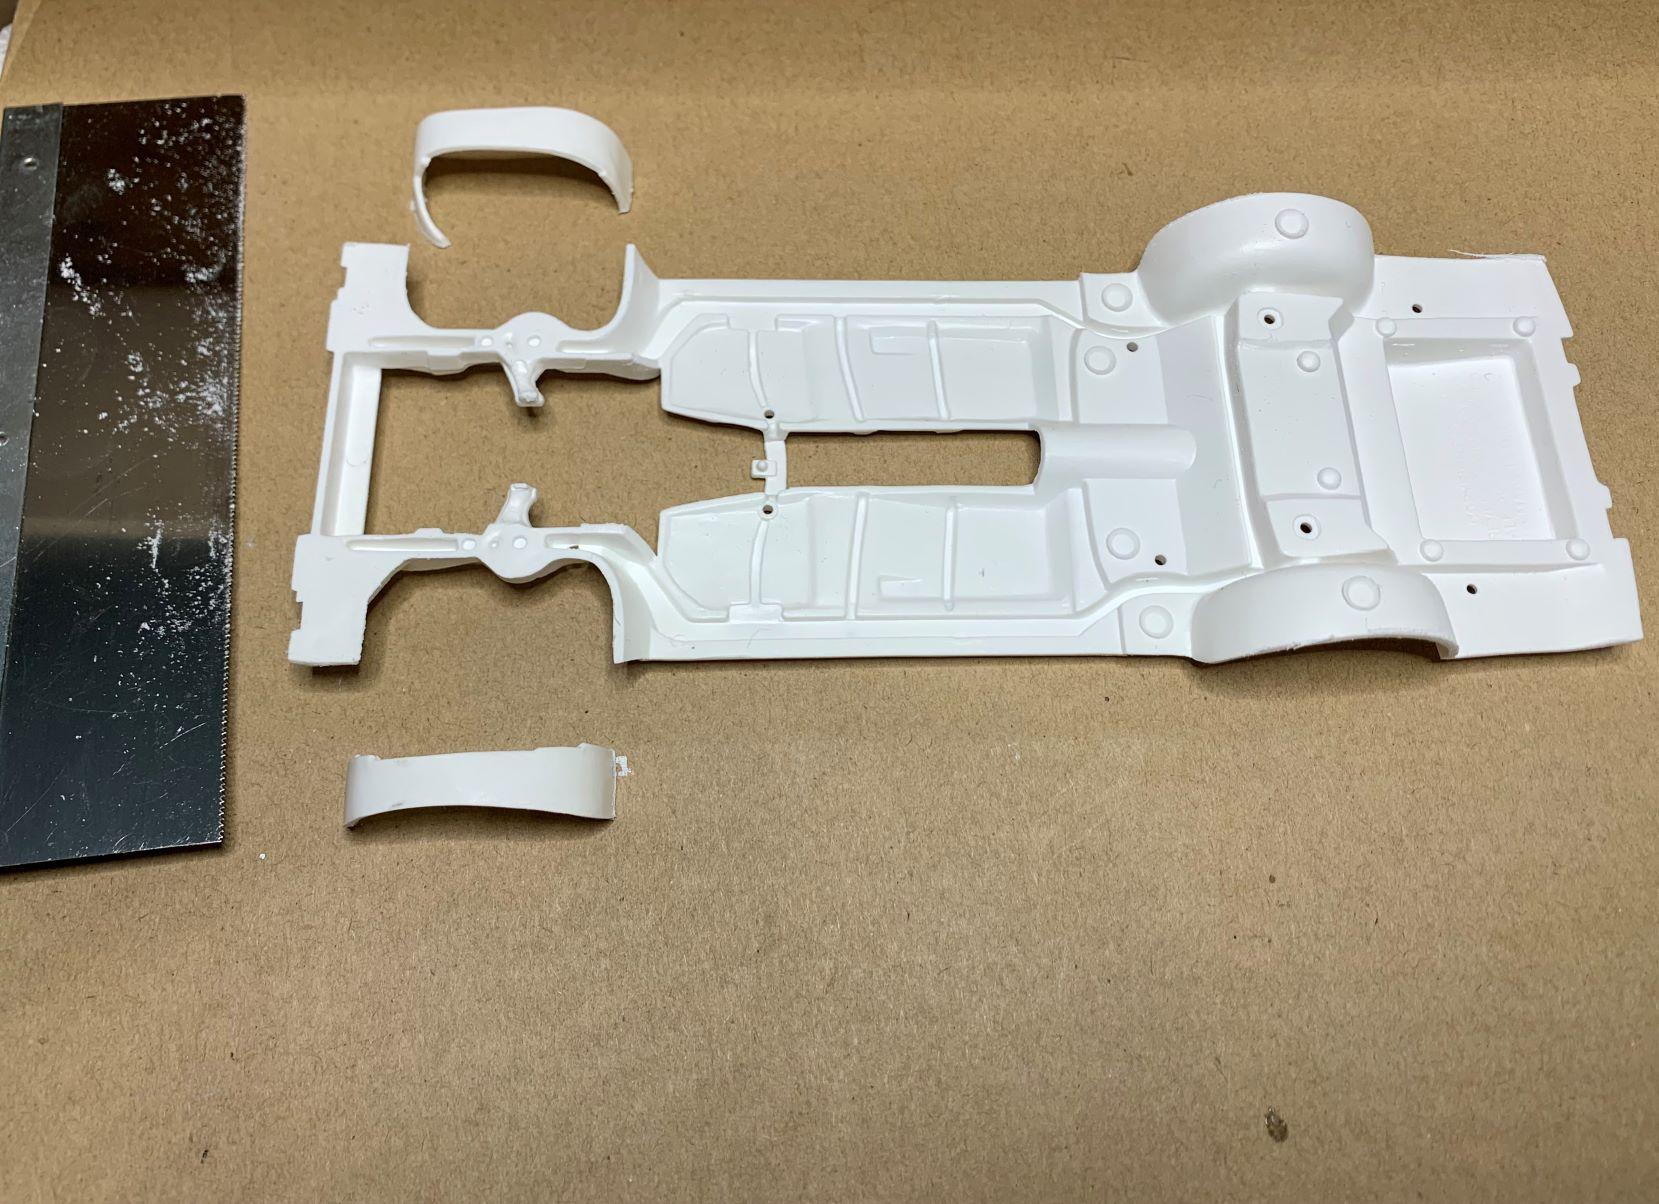
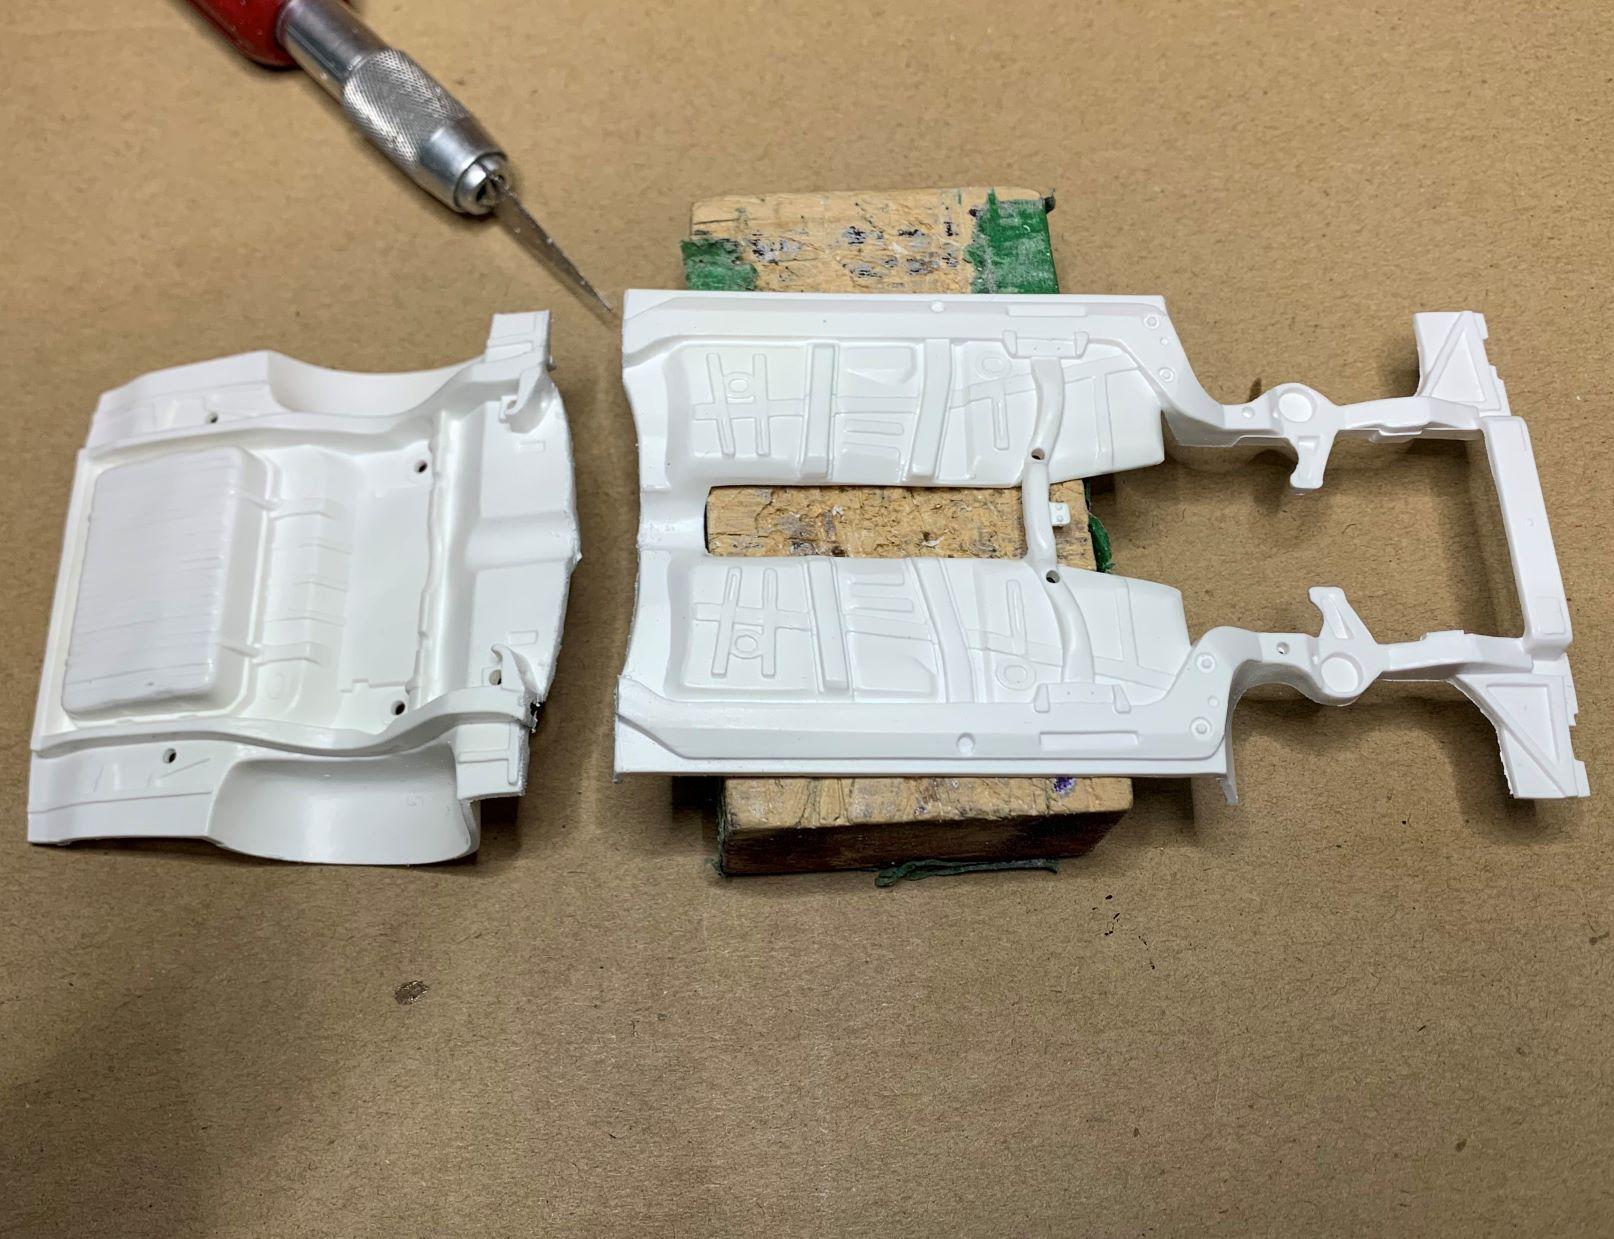
For the excellent Revell '65 chassis to fit, first remove the upper front wheel well tops, then make a cut to shorten the pan, only by a fraction of an inch, the cut is almost enough itself, just some light sanding before the parts are re-joined. Mine is not a drag car, but here's how it turned out.
-
Very cool idea to electrify a '32! Can't wait to see more!
-
Up front, I've already separated the shocks from their frame mounts, de-chromed them, "welded" the mounts to the frame and painted them, then made the shocks and installed them. For the rad, I filled a hole and the bottom portion with scraps, painted it flat black, then cut a piece of photo-etched rad material and painted it semi-gloss black. I made a vintage '32 plate and mounted it behind the photo-etched stock grill, I always do that on my '32s for some reason, I just like it for old school hot rods. I made headlight brackets and mounted them where I wanted them to be, turned out pretty good, it was iffy!
-
Wow Paul (Speedpro) that's some excellent body modifications you're doing! All very well proportioned, looks so great!
-
STITCHES
dino246gt replied to TopherMcGinnis's topic in WIP: Model Trucks: Pickups, Vans, SUVs, Light Commercial
We each have our own opinions. I like the custom grille, except for the 2 lights in the center. I would rather it have tubes all the way across. That's what makes this hobby so great, we all have ideas in our heads, someone else may not think of it unless we share them. And I love the fact that we can express our opinions and not have it seen as a "nasty" remark. Yeah I think a stock grill would suit my personal taste better, but it's not my build, I love it for Topher! It IS a beautiful build, Topher! -
Baja bronco
dino246gt replied to TNT's topic in WIP: Model Trucks: Pickups, Vans, SUVs, Light Commercial
Not really liking the black but it is done n not changing it. It looks good, only the glove box door outline is a bit too heavy, that can be reduced easily, it's acrylic? Everything else looks excellent! -
Patience pays off and your 288GTO looks fantastic!
-
Yes I agree, they look so good as is, difficult to customize, but a fewcustoms are great and this is one of them!
-
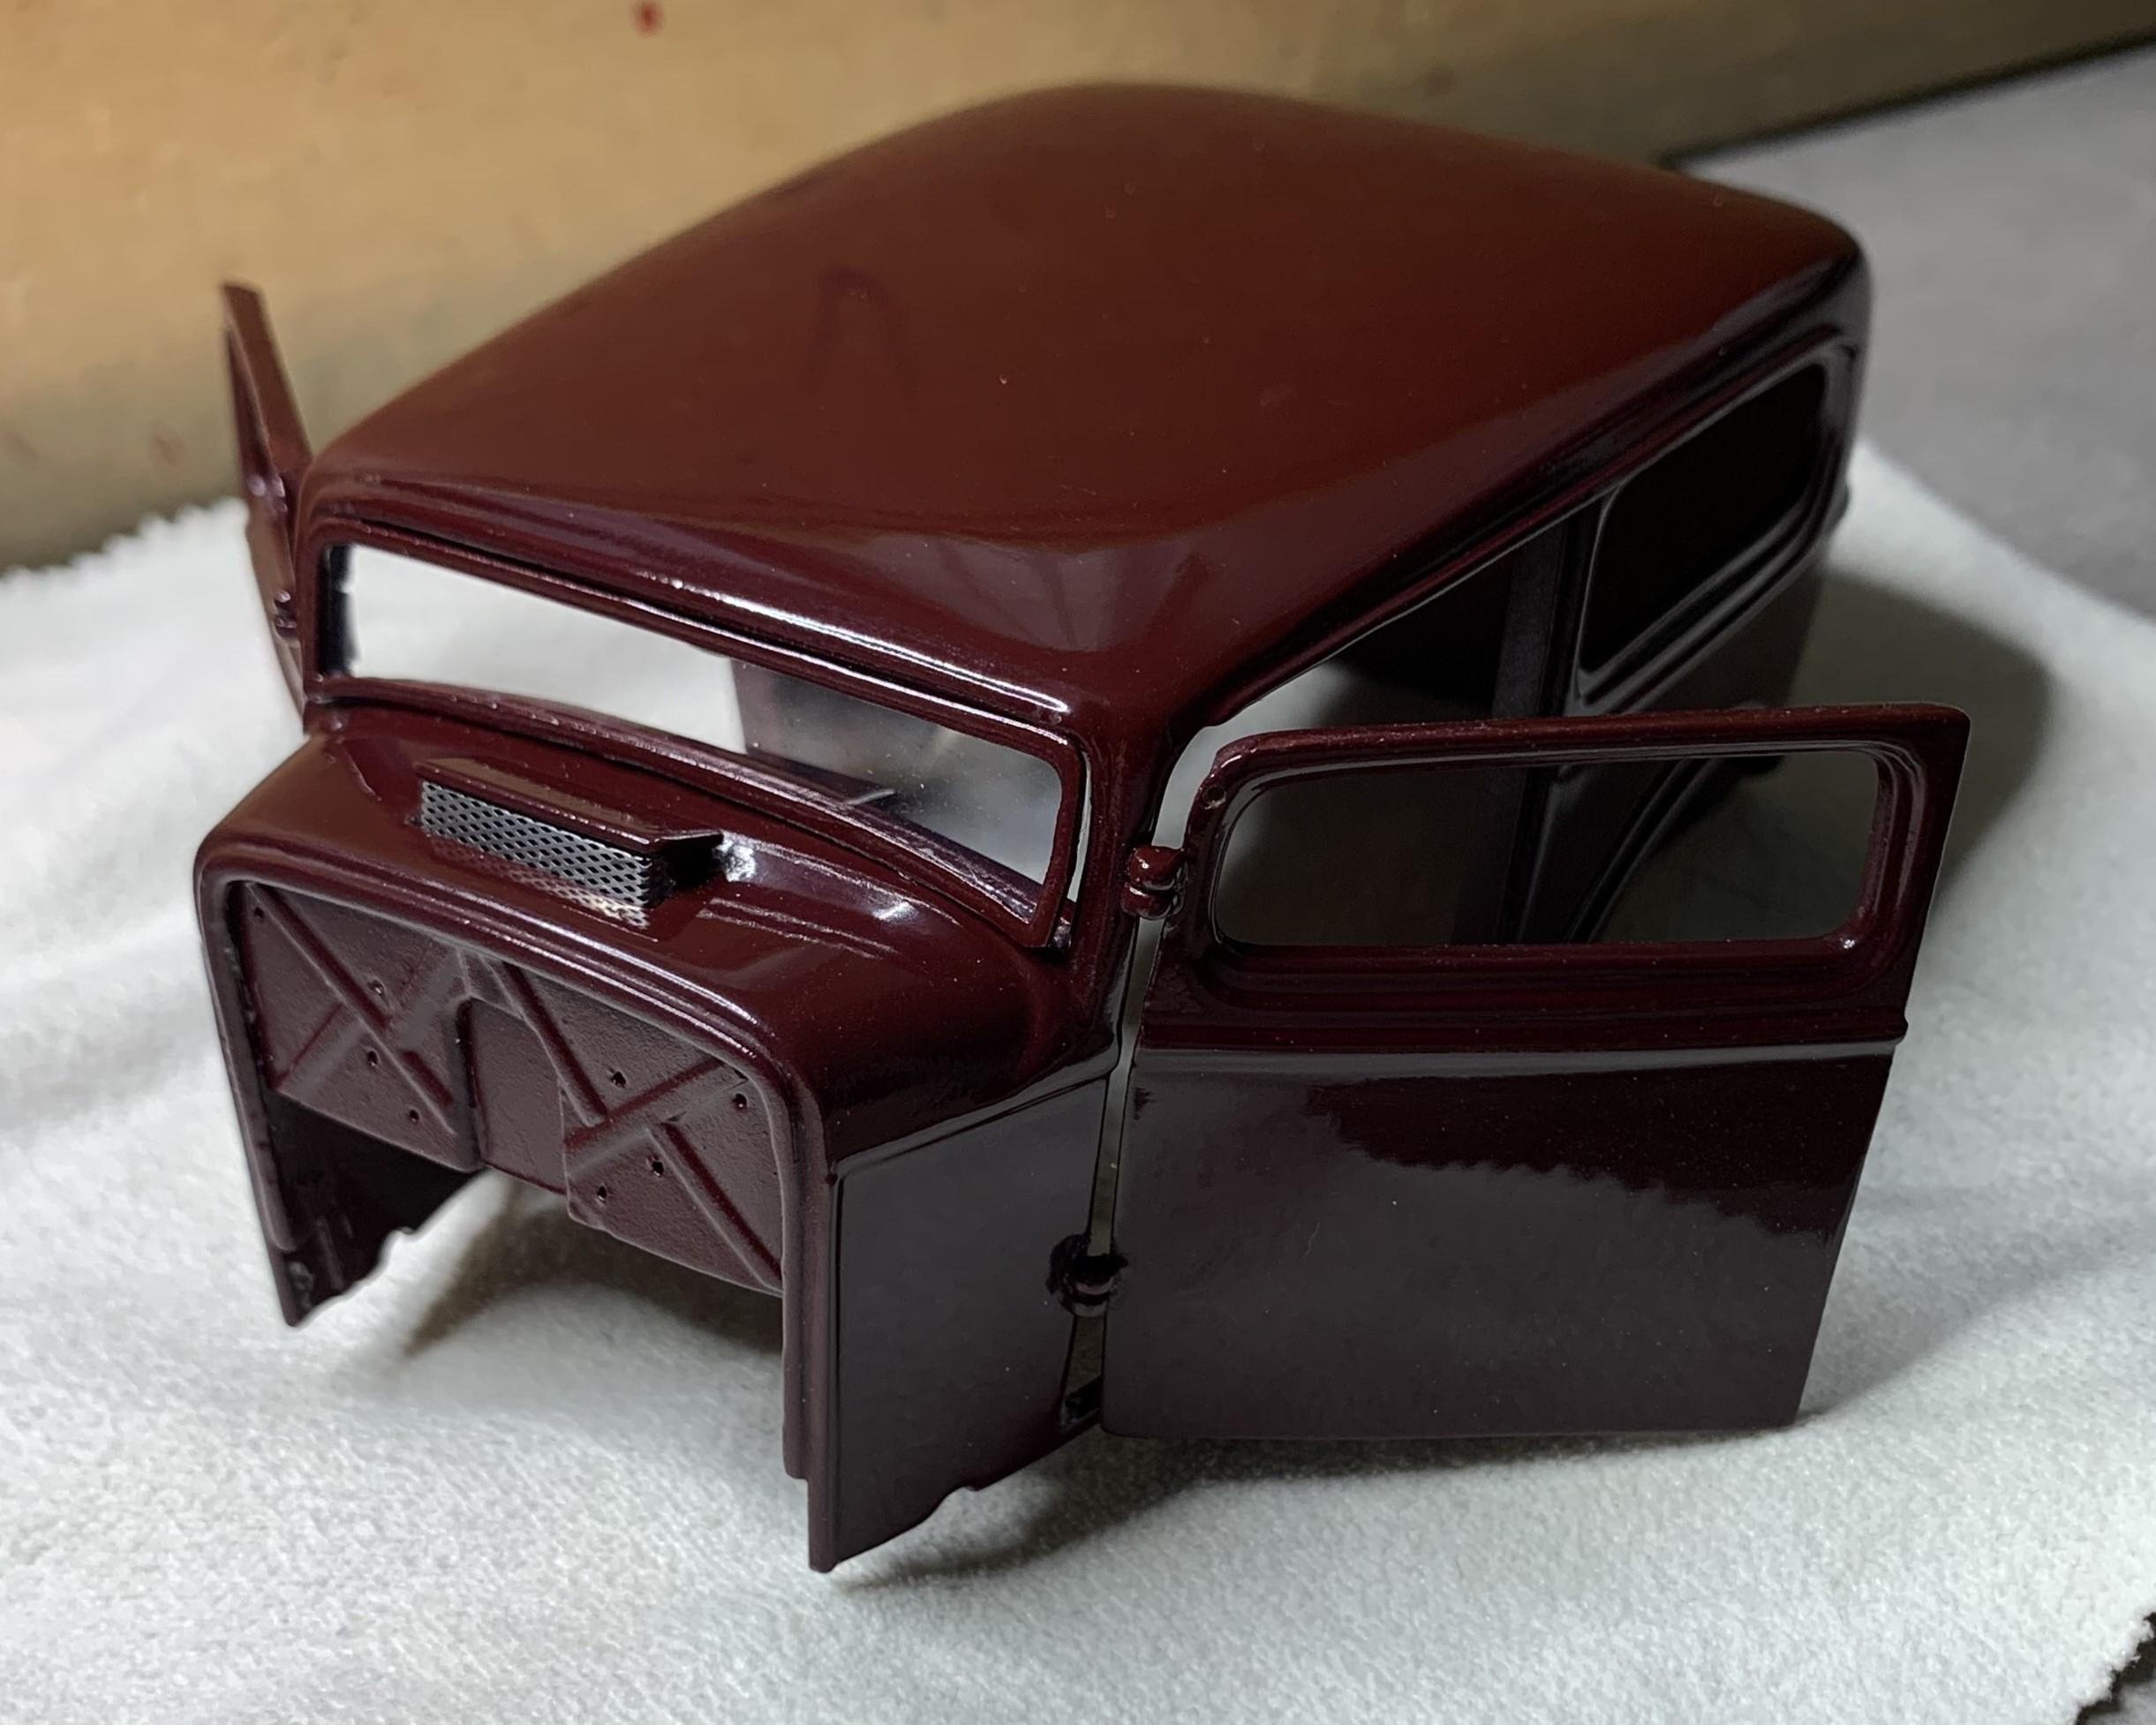
I opened up the cowl vent and did the best I could with that windshield frame! I de-chromed it and sanded and filed it, painted it body color (Tamiya TS-11), then glued thin clear plastic and attached it only at the top, leaving it open at the bottom. No A/C so we need all the fresh air we can get into that chopped sedan!
-
Is There Room For Another 41 Plymouth or Two?
dino246gt replied to LennyB's topic in WIP: Model Cars
Yeah that woody looks fantastic, great modelling! -
Thanks guys, now I'm working on the windshield and I have to use the one from the Orange Crate kit, but it "needs work" Cheers!
-
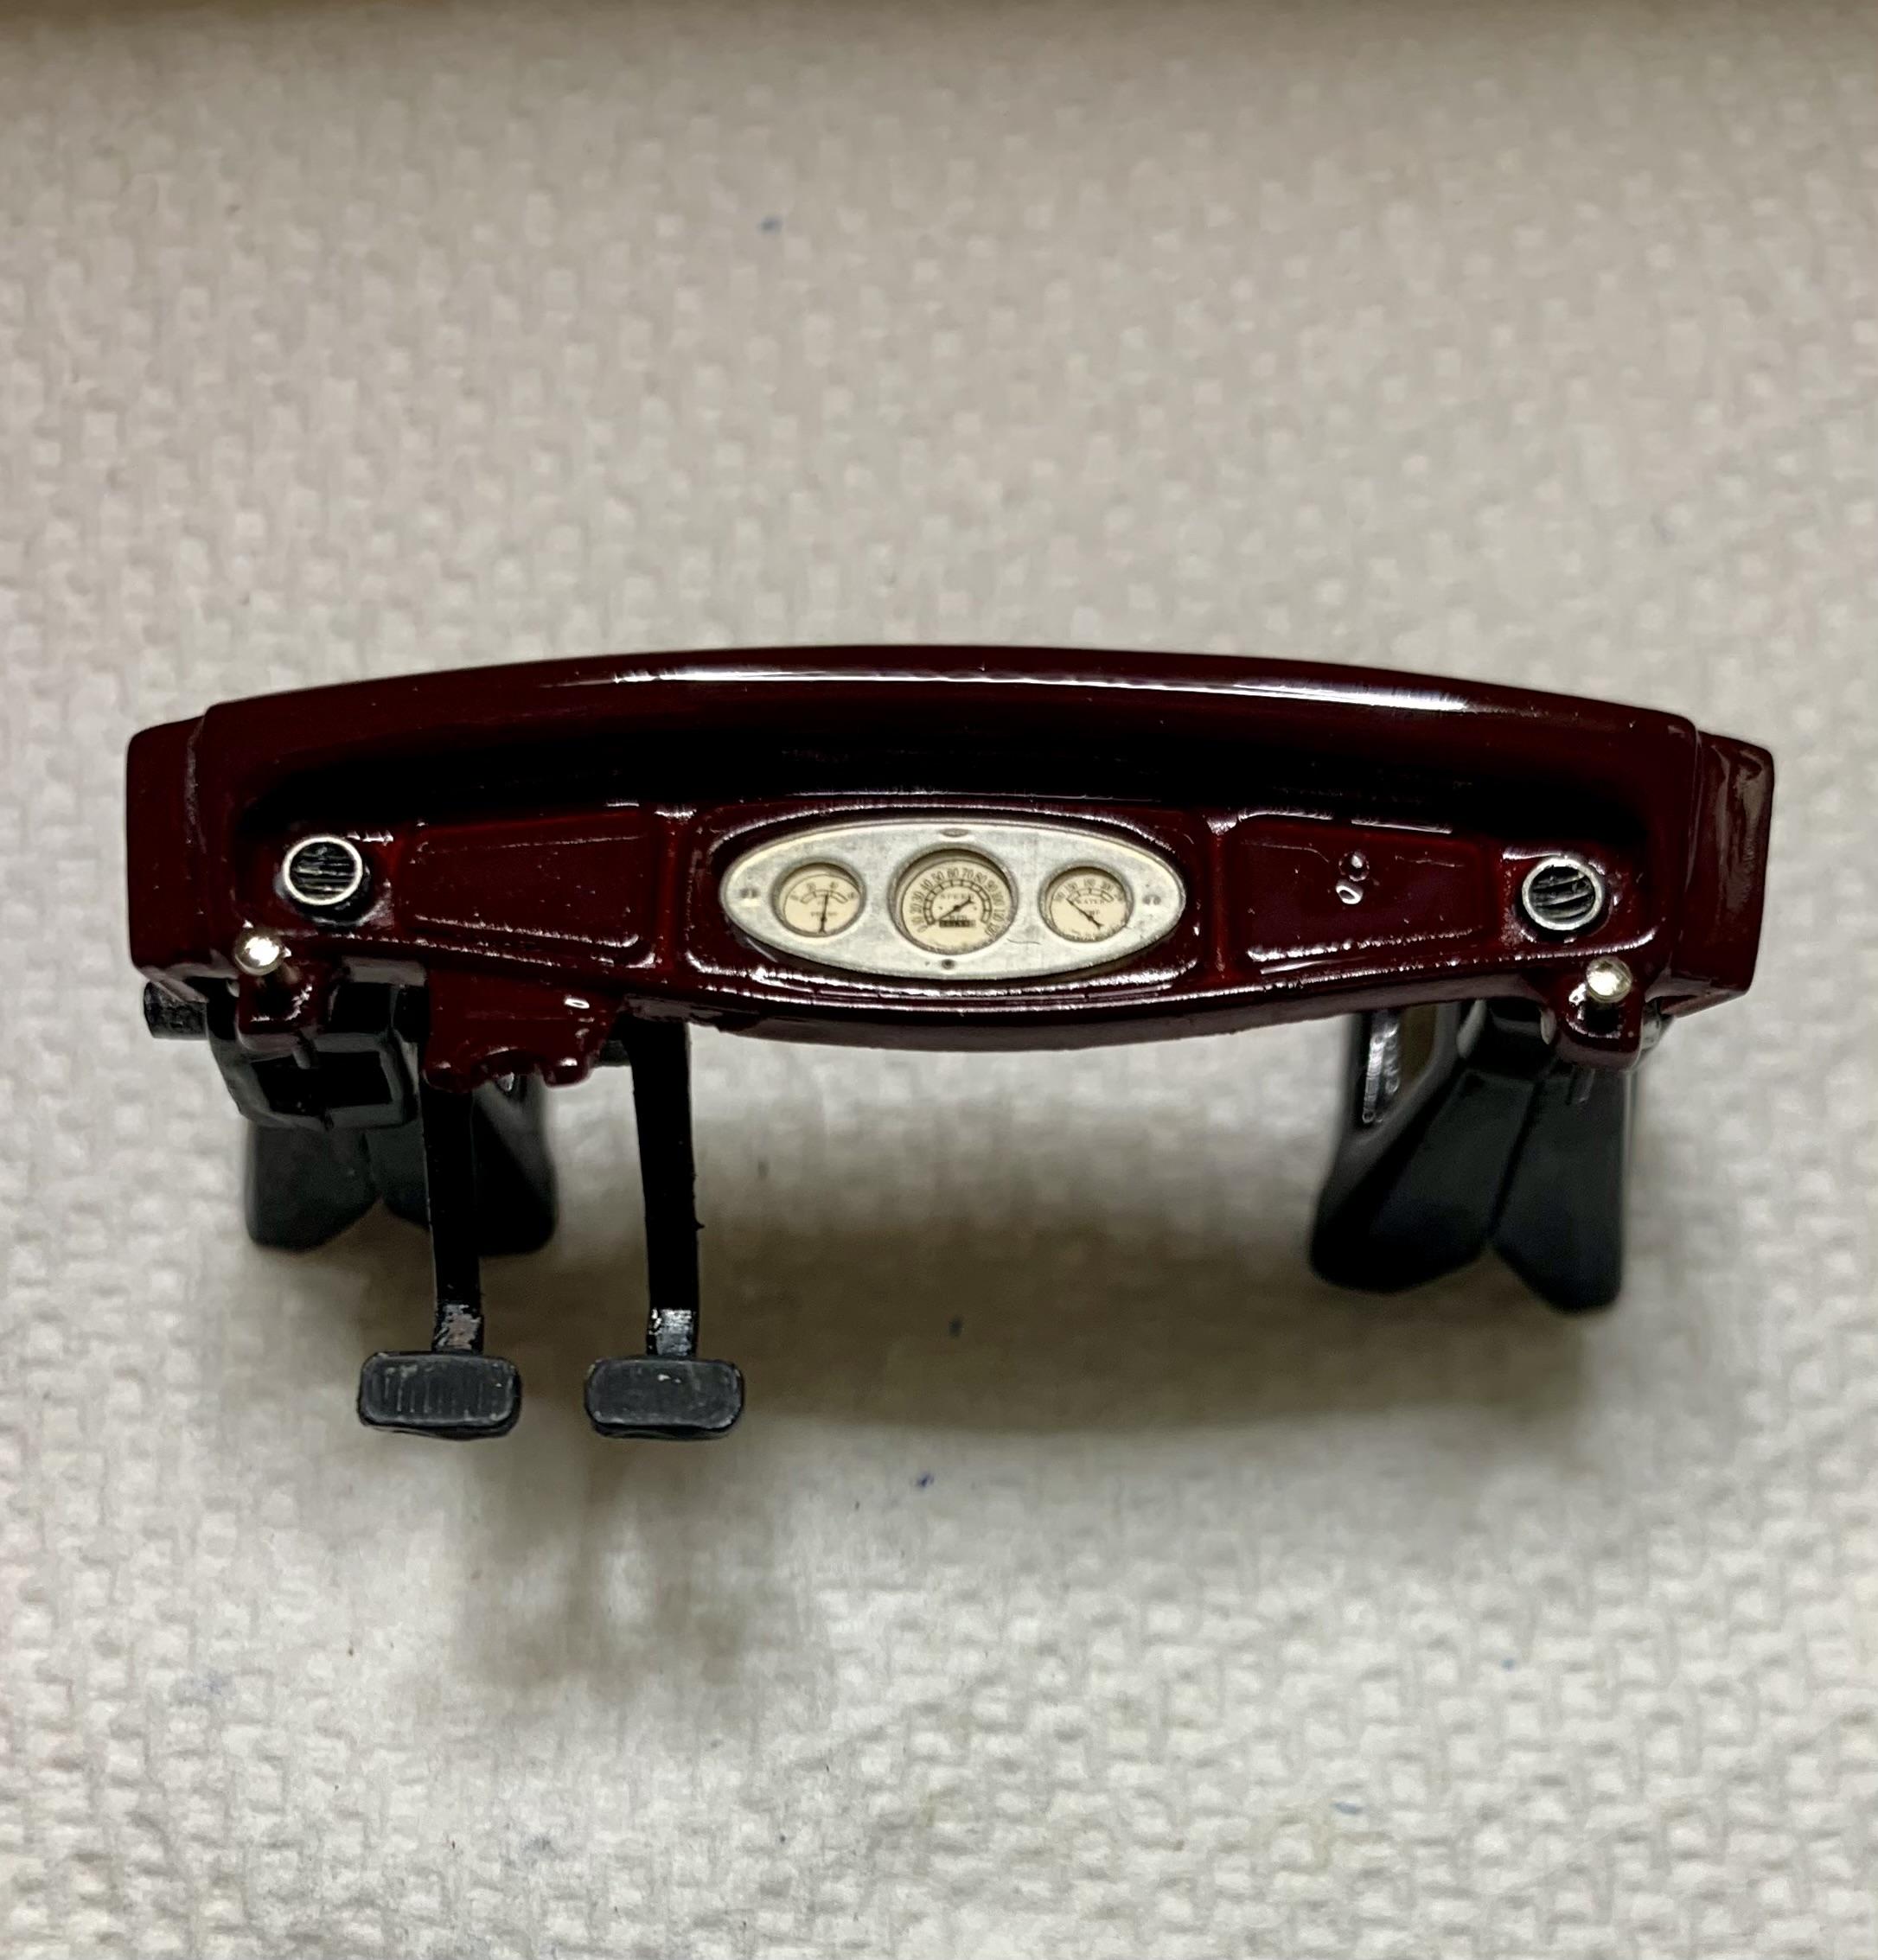
I managed to get a dashboard to fit, a Revell from their recent series, in the old Orange Crate body. I had to add to each side and sanded the top so it doesn't look like a padded top. I drilled the vent pulls and put small shirt pins in, added photo etch piece for the glove box knob. I used the clear gauges with a piece of a file folder for the background color, which I like more than white for a vintage style build. Pedals are junk box items modified with scrap styrene, made to fit. Progress is slow but it's patio and BBQ season!
-
Who doesn't love a mock-up? Let's see yours!
dino246gt replied to Belairconvertable's topic in WIP: Model Cars
Man that looks great, much better than I thought it would, but of course you've "massaged" it and it was totally worth it, sweet! -
Ooooh, that looks very cool, very cool indeed!
-
Lookin' cooler already, nice mods so far!