dino246gt
-
Posts
2,244 -
Joined
-
Last visited
Content Type
Profiles
Forums
Events
Gallery
Everything posted by dino246gt
-

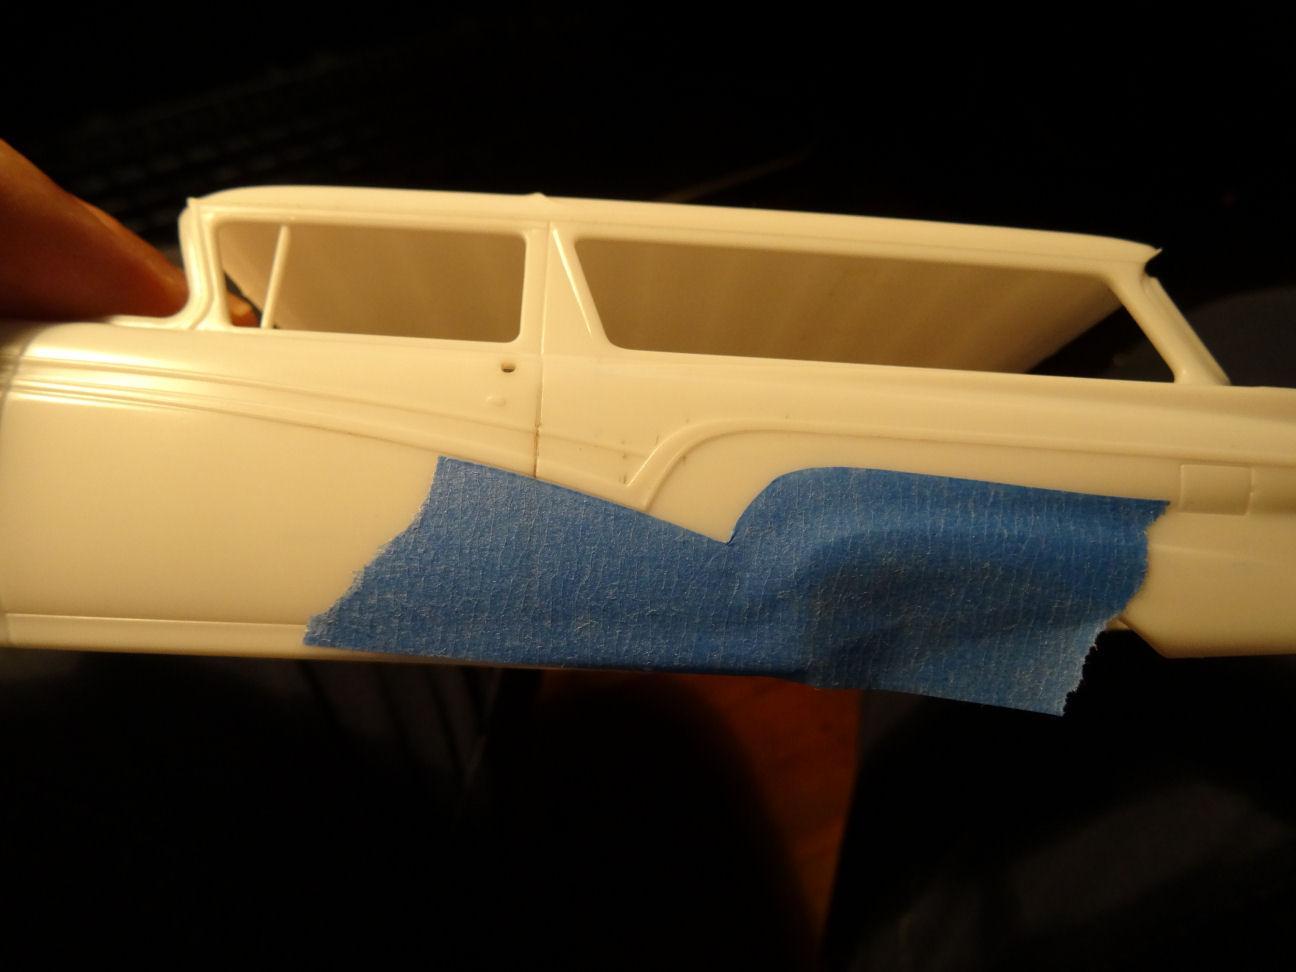
1957 Ford Del Rio "Shooting Brake" Ranch Wagon
dino246gt replied to LennyB's topic in WIP: Model Cars
Here's a thought, just a thought, maybe continue the front trim along the trajectory you have taped, but instead of it following your tape to the rear, bring it back to the existing chrome, then open up the rear wheel cut out, to match the fronts? Like I said, "just a thought"
-
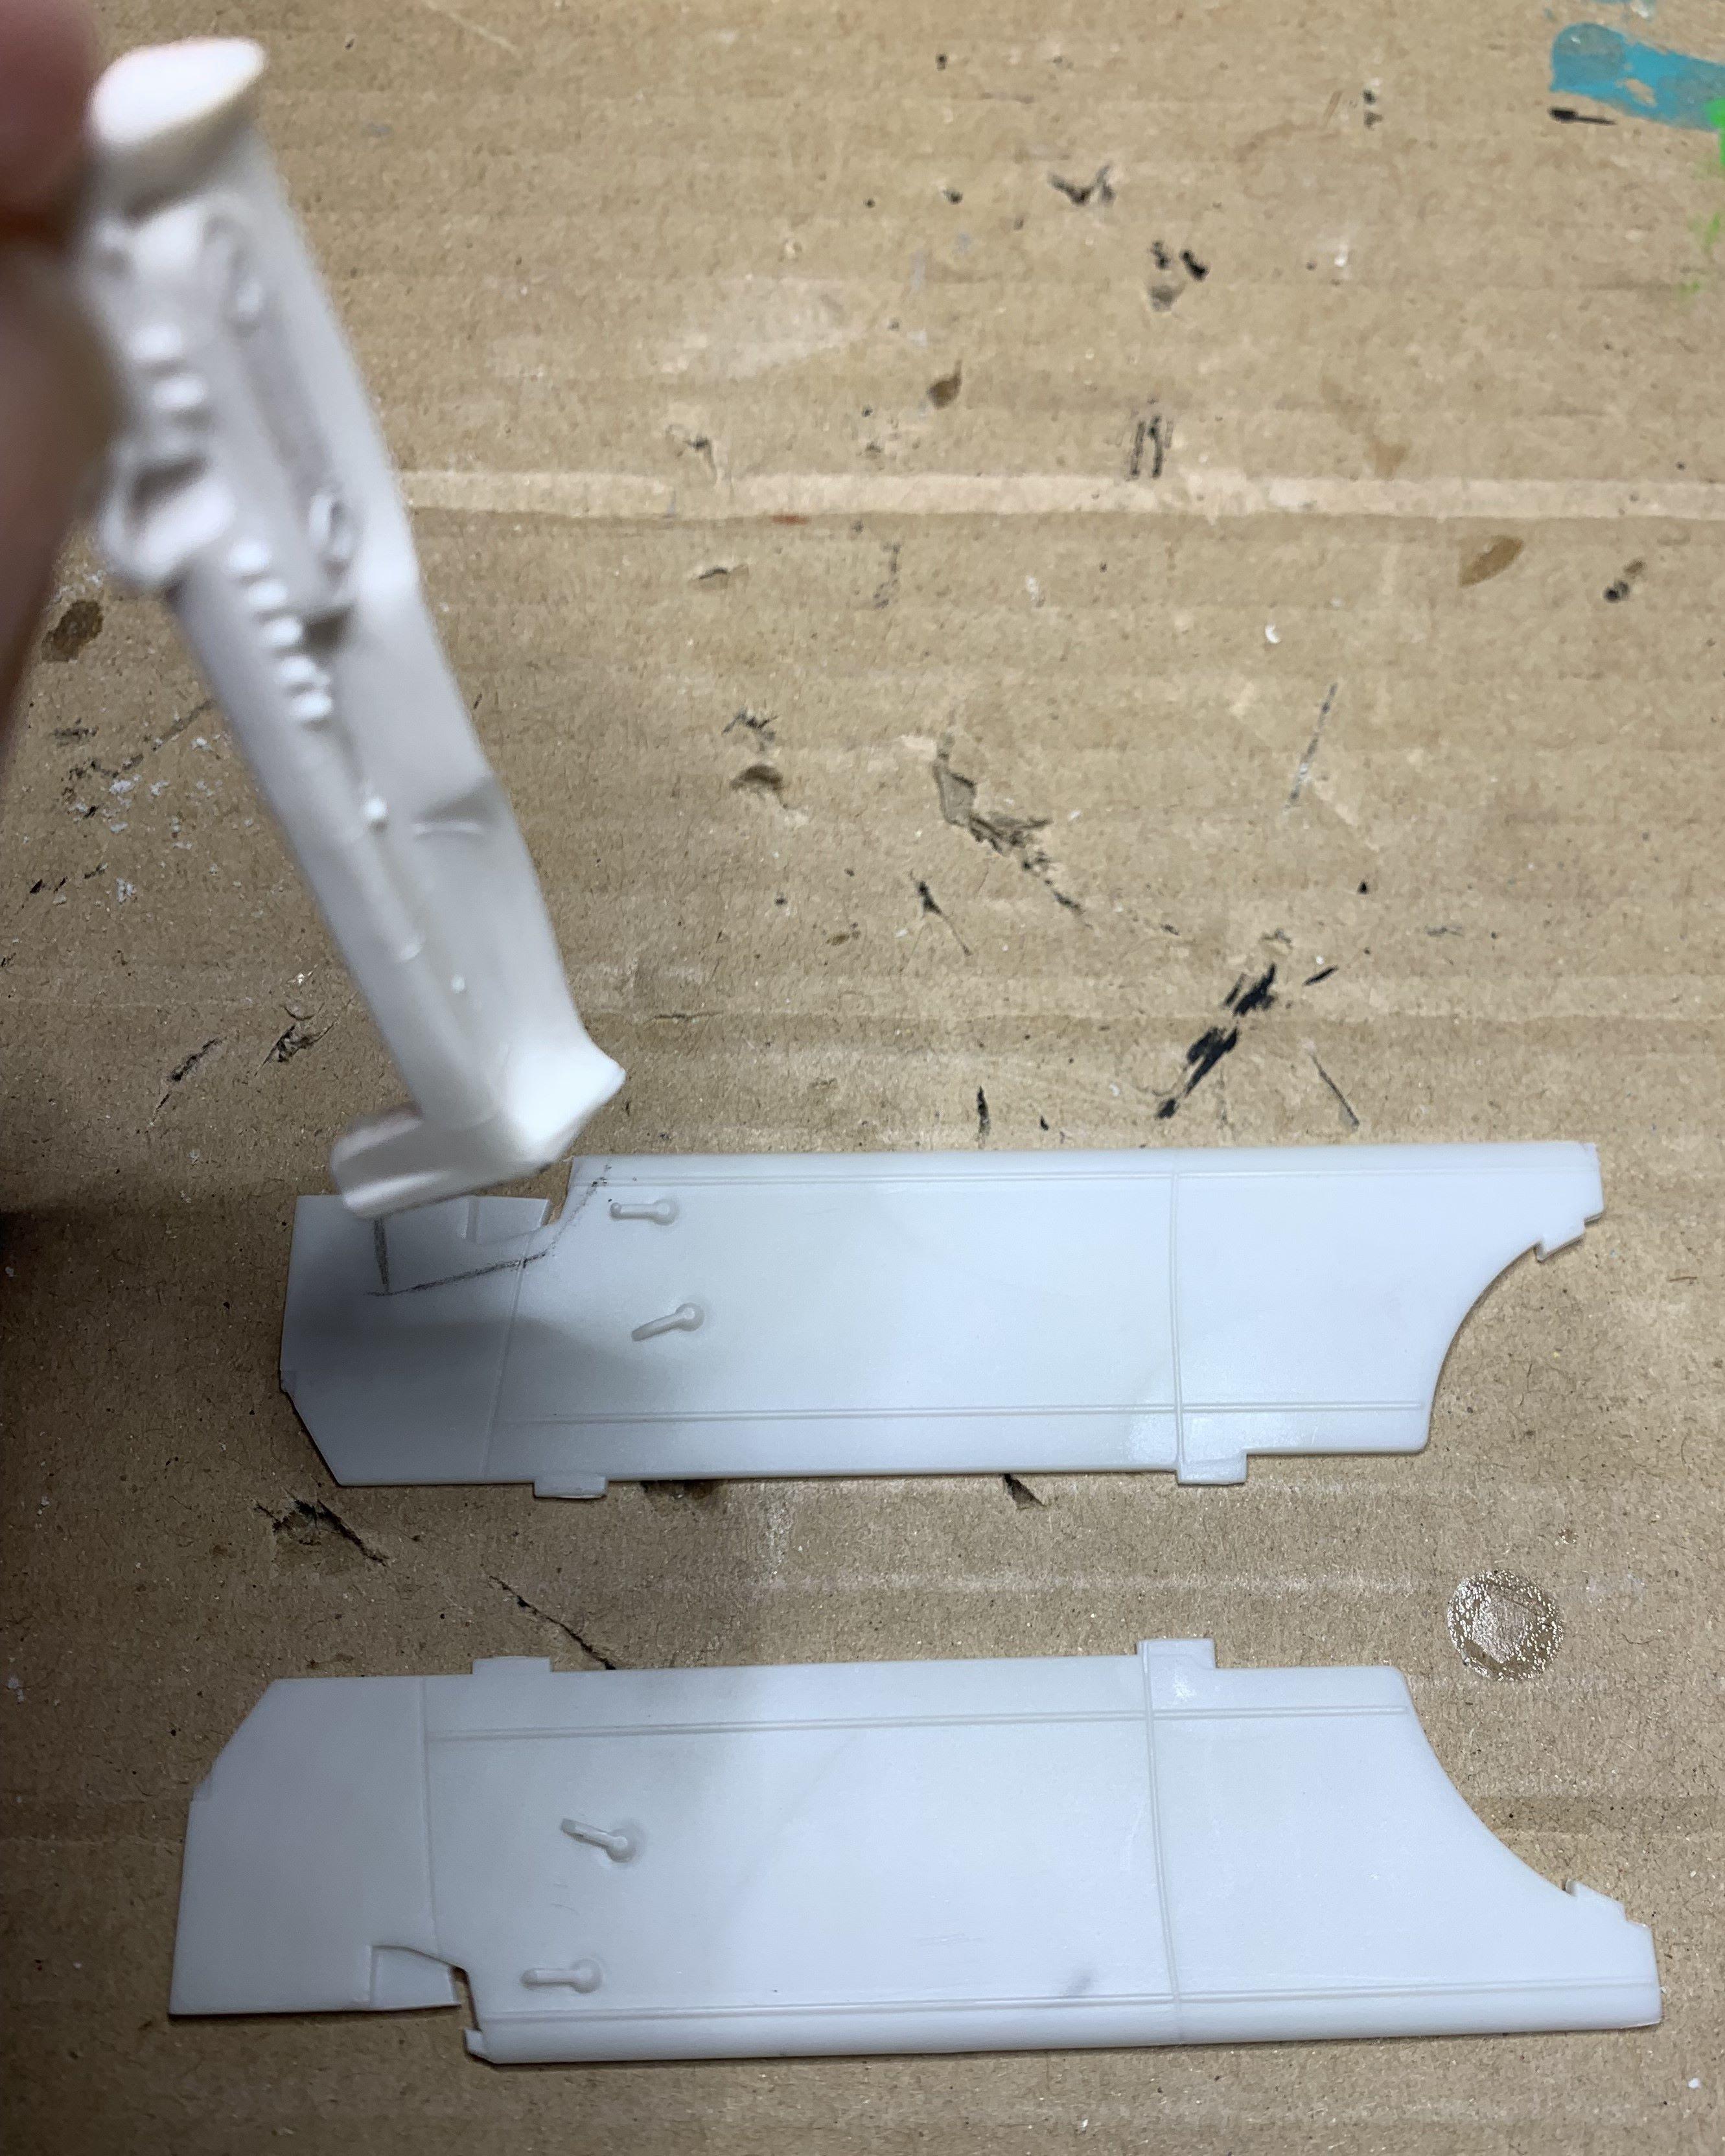
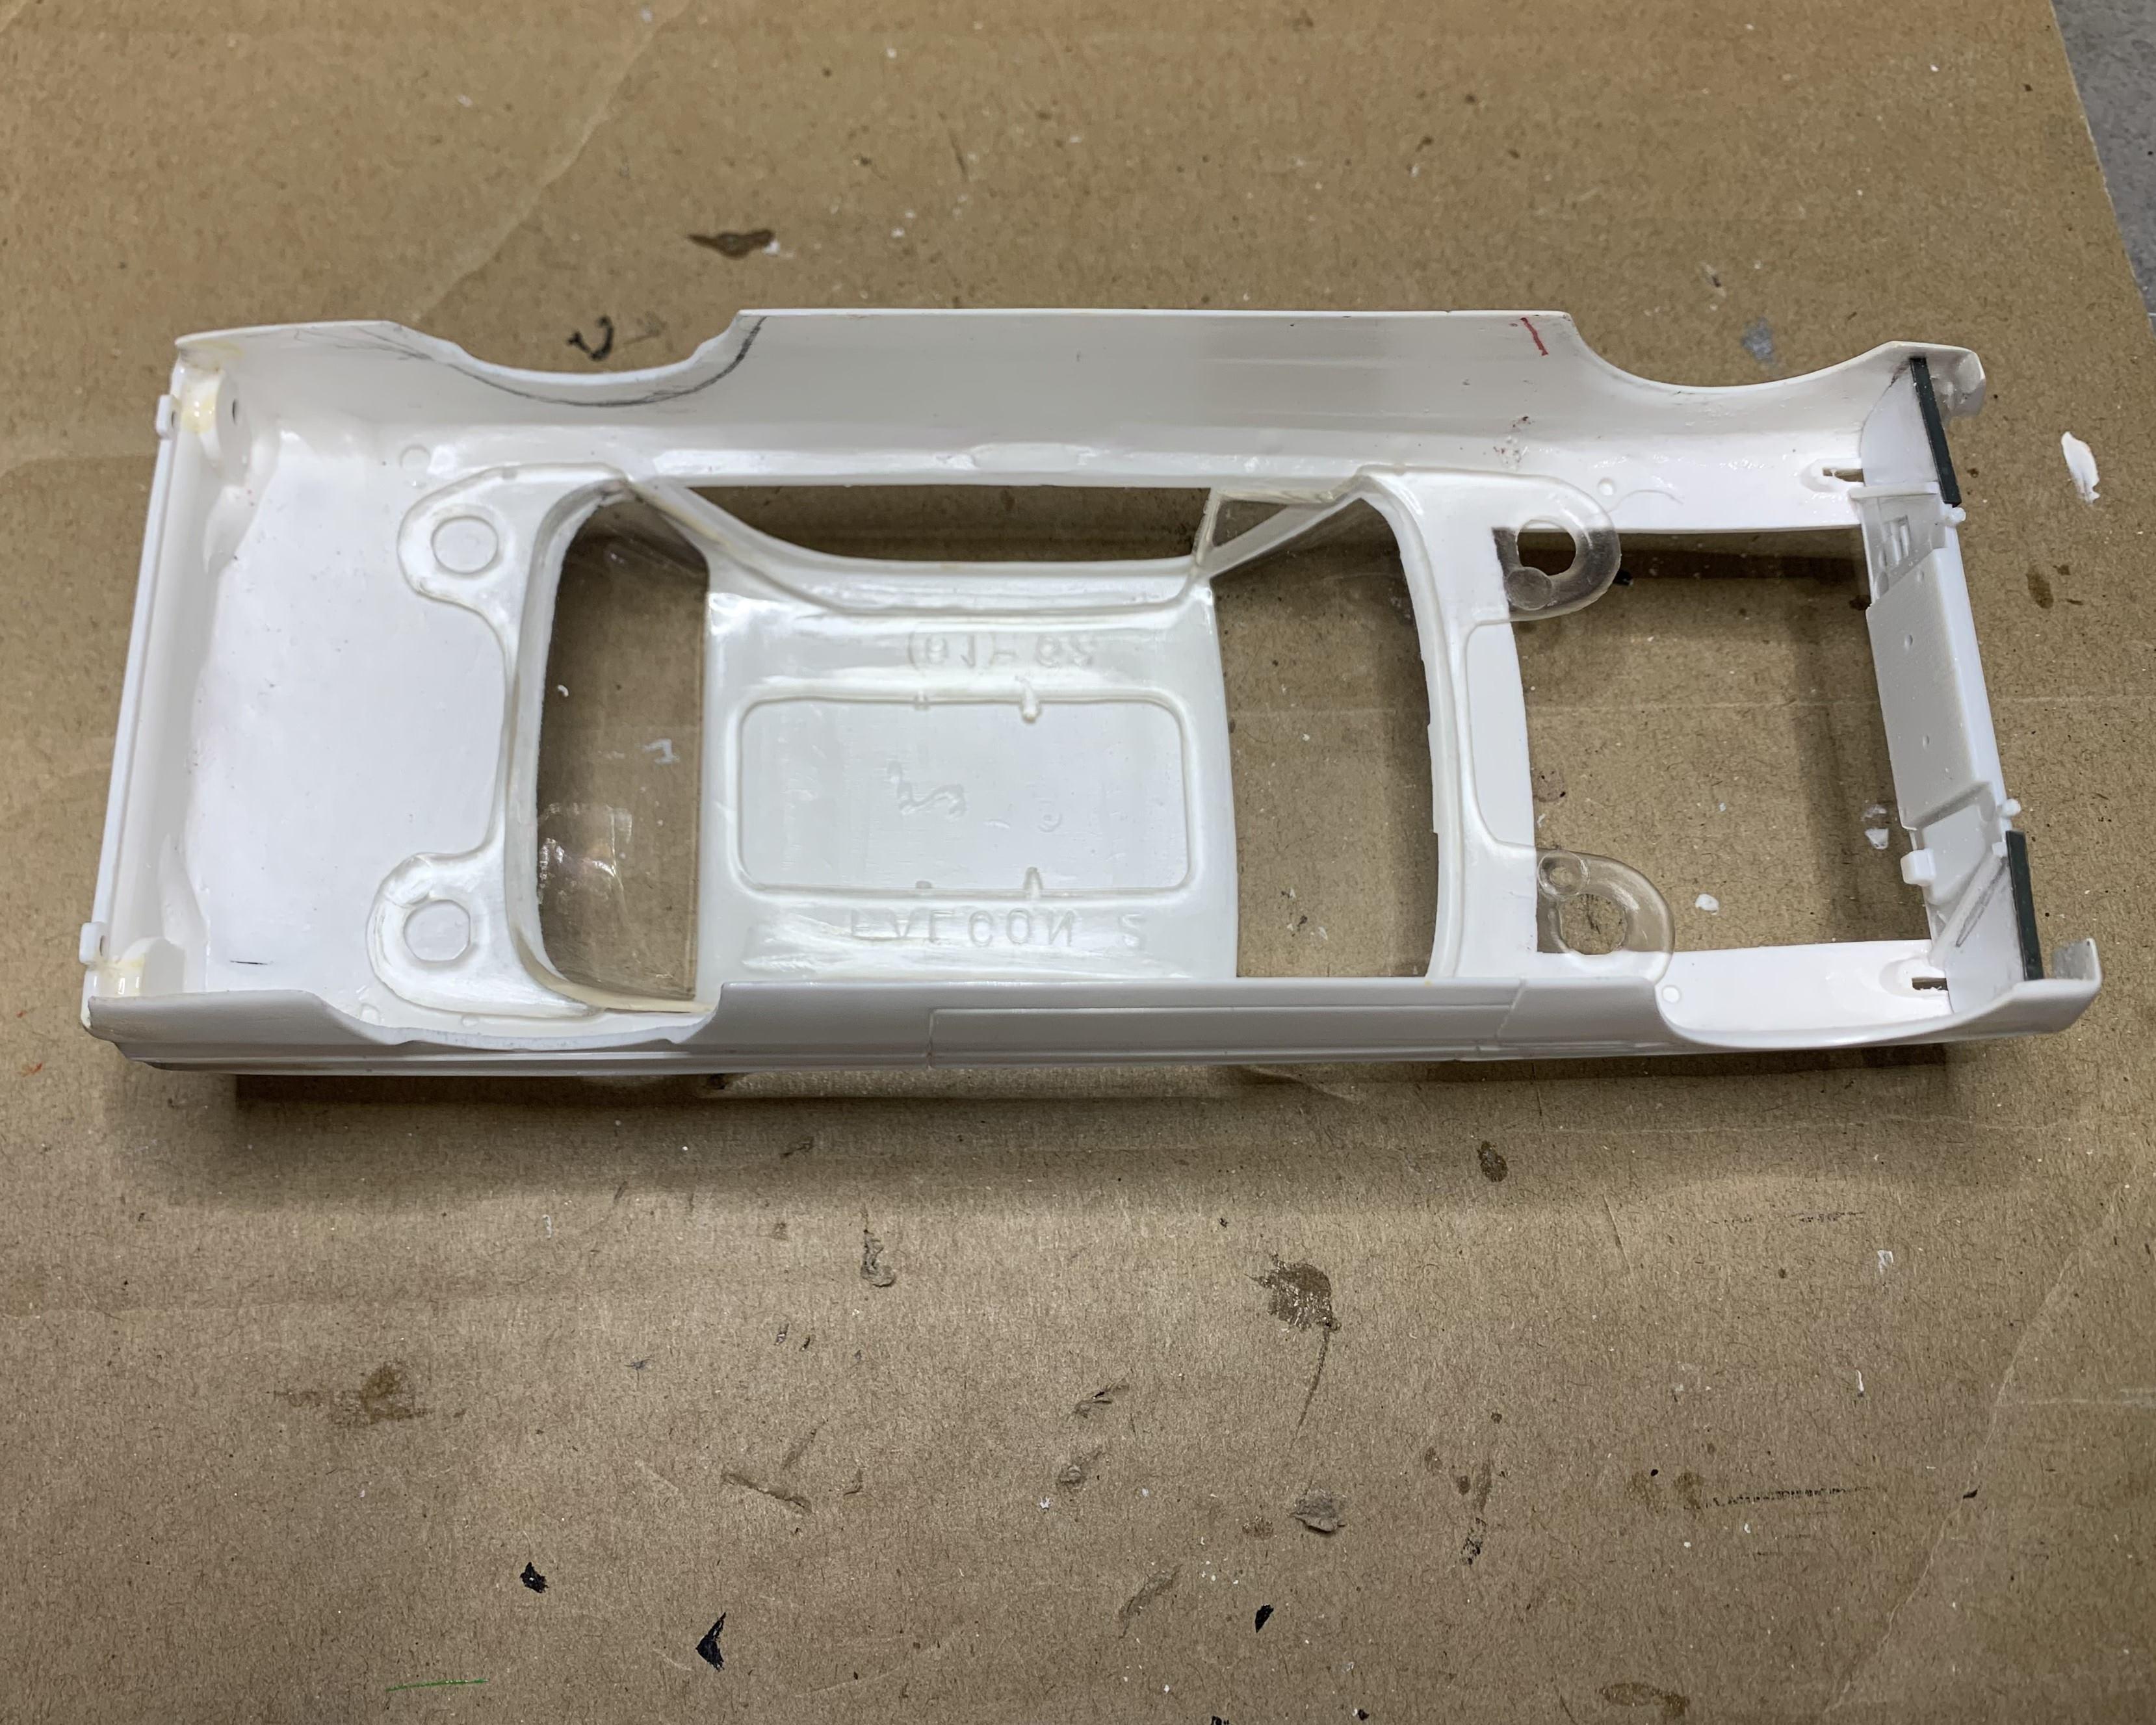
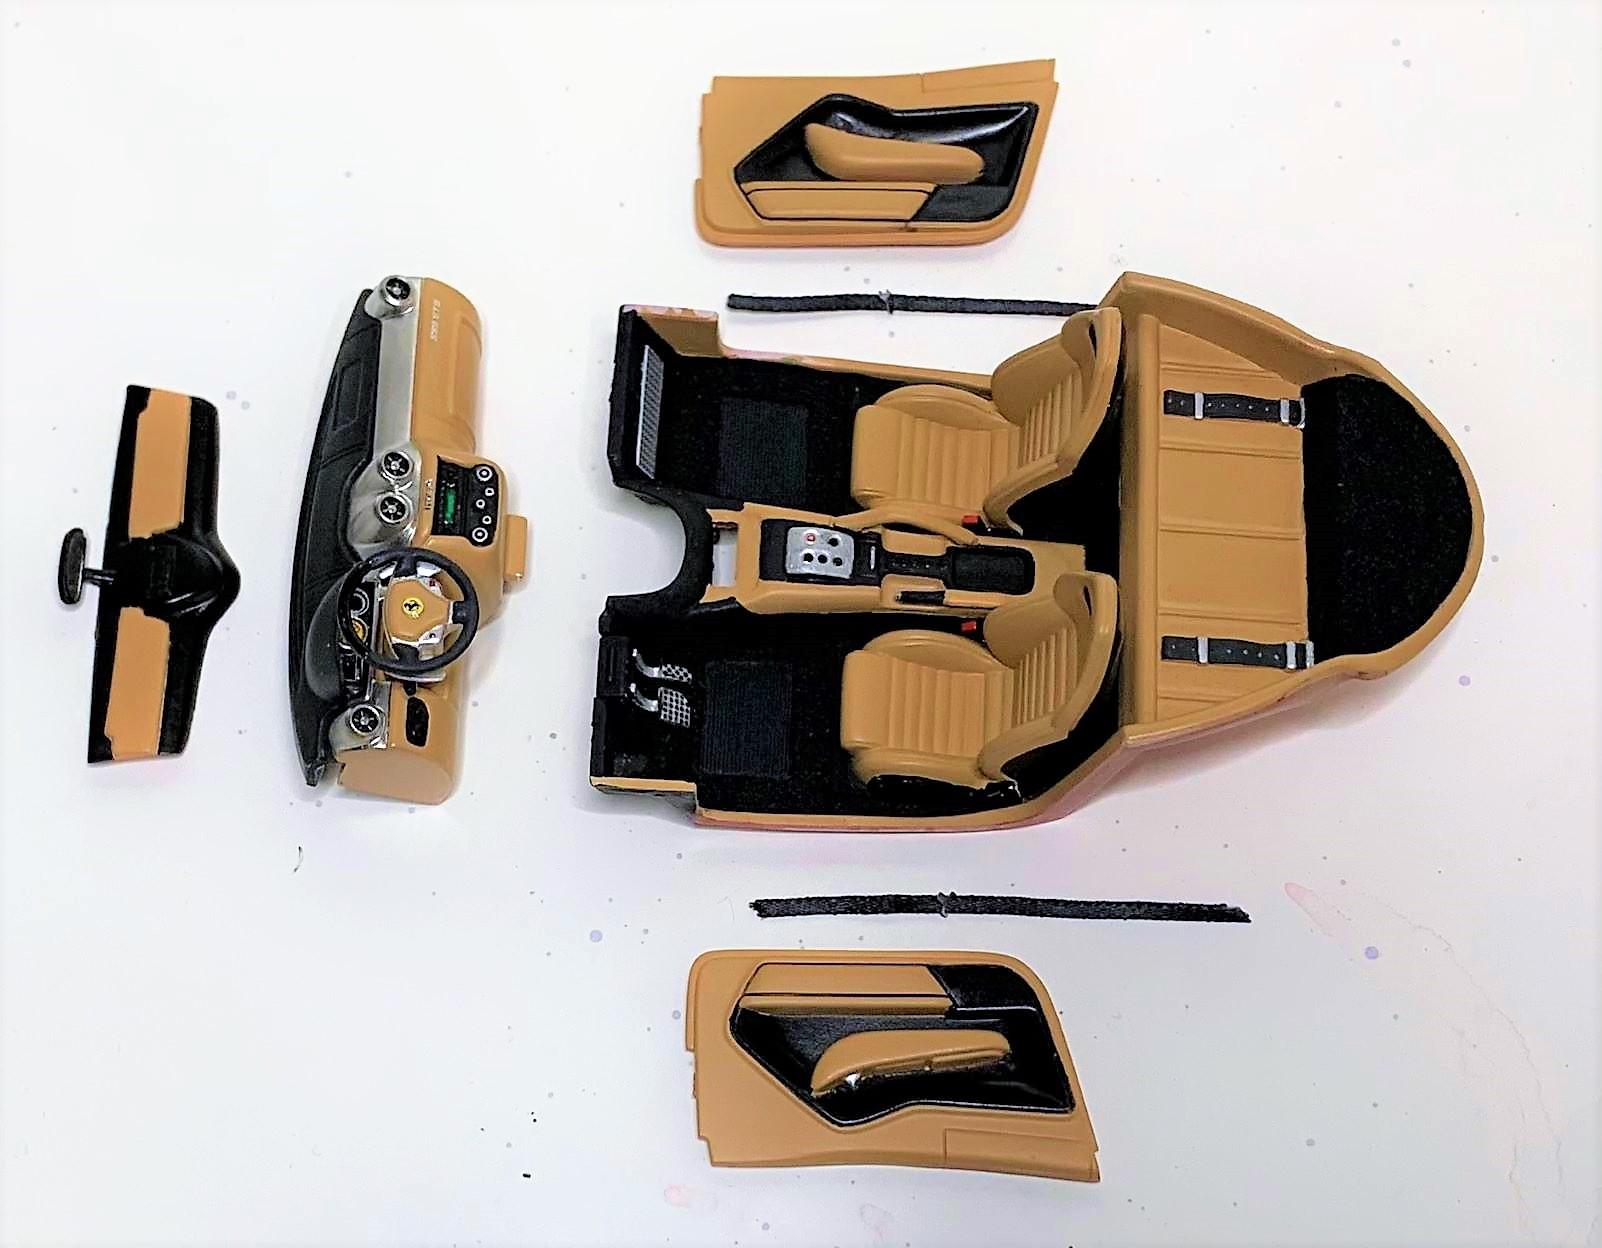
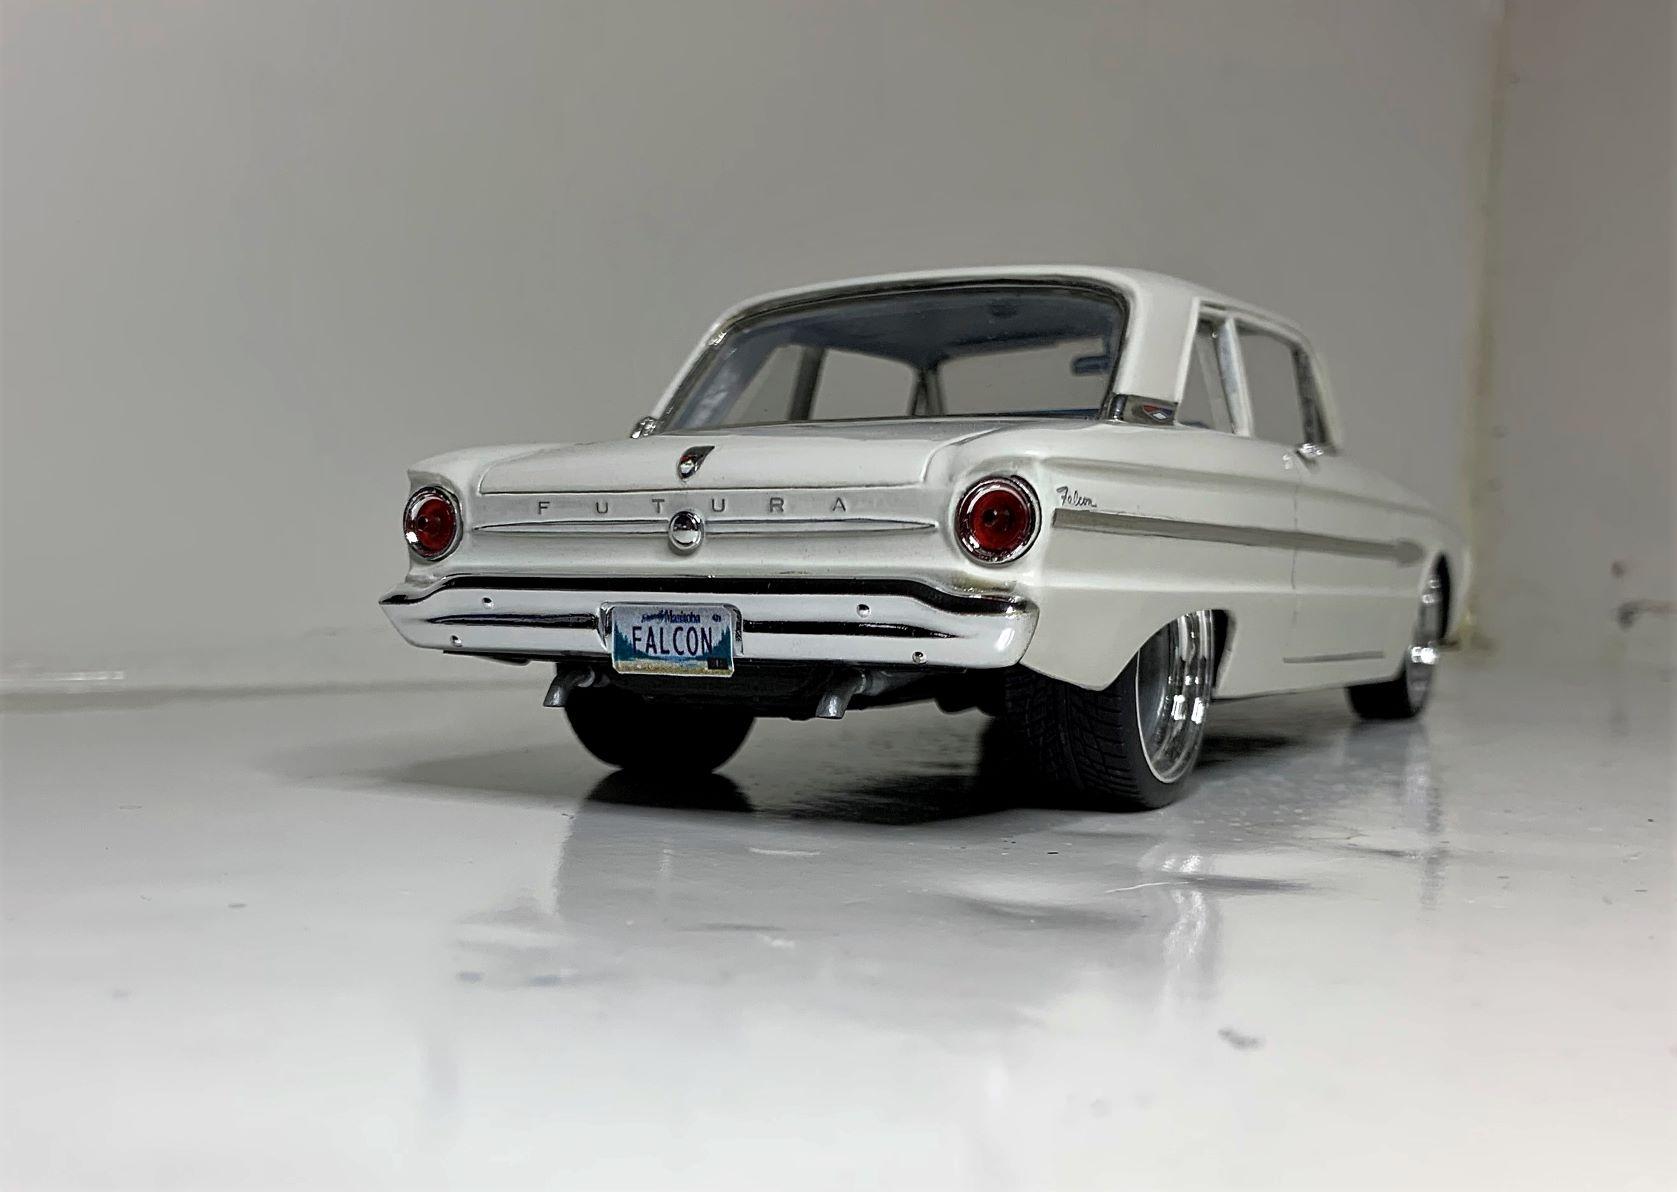
I soaked the Falcon dashboard in the purple pond overnight and it came out perfectly clean! I see that the original builder just twisted parts off the sprues, in true "survivor" fashion! I've made it fit the Nova side panels, so I AM making progress but there's still a long way to go, still enjoying it though. The line around the glove box door is raised, wow!
-
LHD dash for sure..................... I hope!
-
I hoping to make it street "legal" as a Street Freak! To go with my Nova, and someday an early Valiant!
-
Tamiya Aston Martin DBS... One from the Top Shelf!
dino246gt replied to jaymcminn's topic in WIP: Model Cars
Such a lovely colour for your interior, very luxurious! -
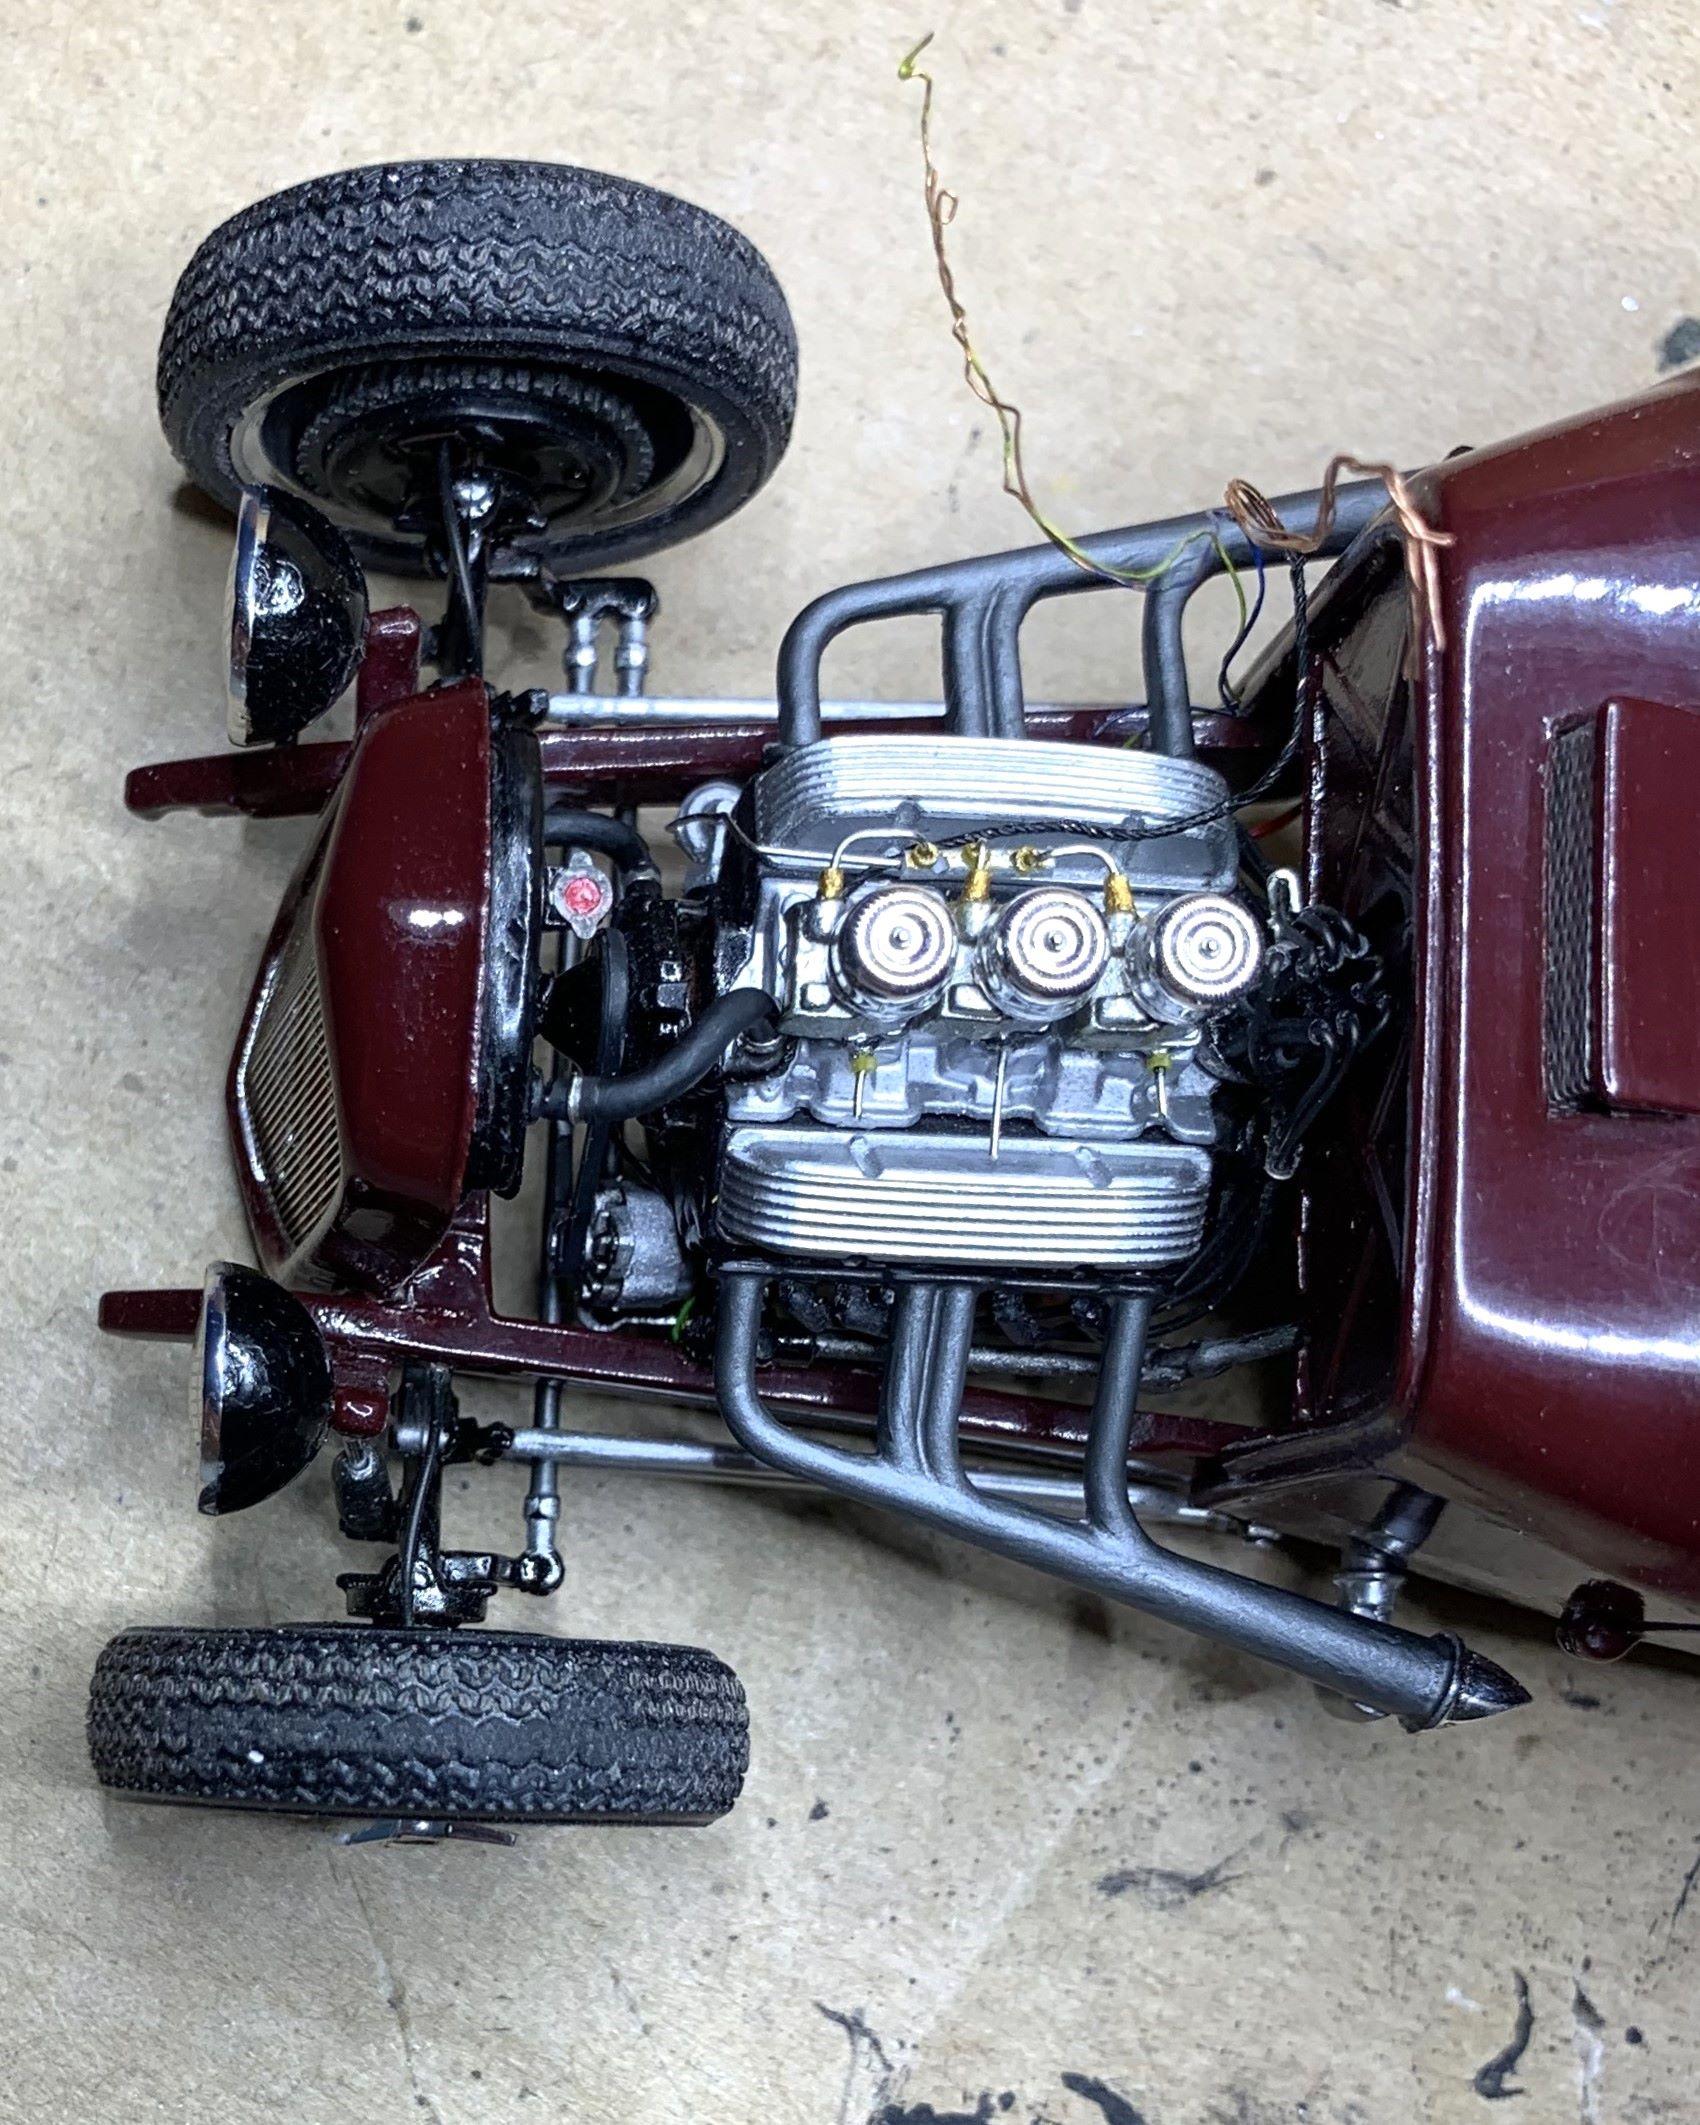
Well now that I've removed the front bumper I'll need some sheet metal where it used to be! LOL That was pretty easy to make although it is bowed out toward the center to line up with the grille. I cut out the hood too but look how THICK it is where I cut it out for the supercharger! I thinned that, quite a lot actually! Here's how it'll look with the grille and no bumper. Of course everything still looks sloppy but I haven't even primered it yet, it'll all get "tweaked", cheers!
-
I'm still looking for parts! LOL
-
1957 Ford Del Rio "Shooting Brake" Ranch Wagon
dino246gt replied to LennyB's topic in WIP: Model Cars
In that latest picture, it has the proportions of an SUV, Bronco-ish. What I was dreaming about is the '56 Crown Vic chrome halo with the glass roof added. I love your thought process on customization though, all very cool! -
Tamiya Aston Martin DBS... One from the Top Shelf!
dino246gt replied to jaymcminn's topic in WIP: Model Cars
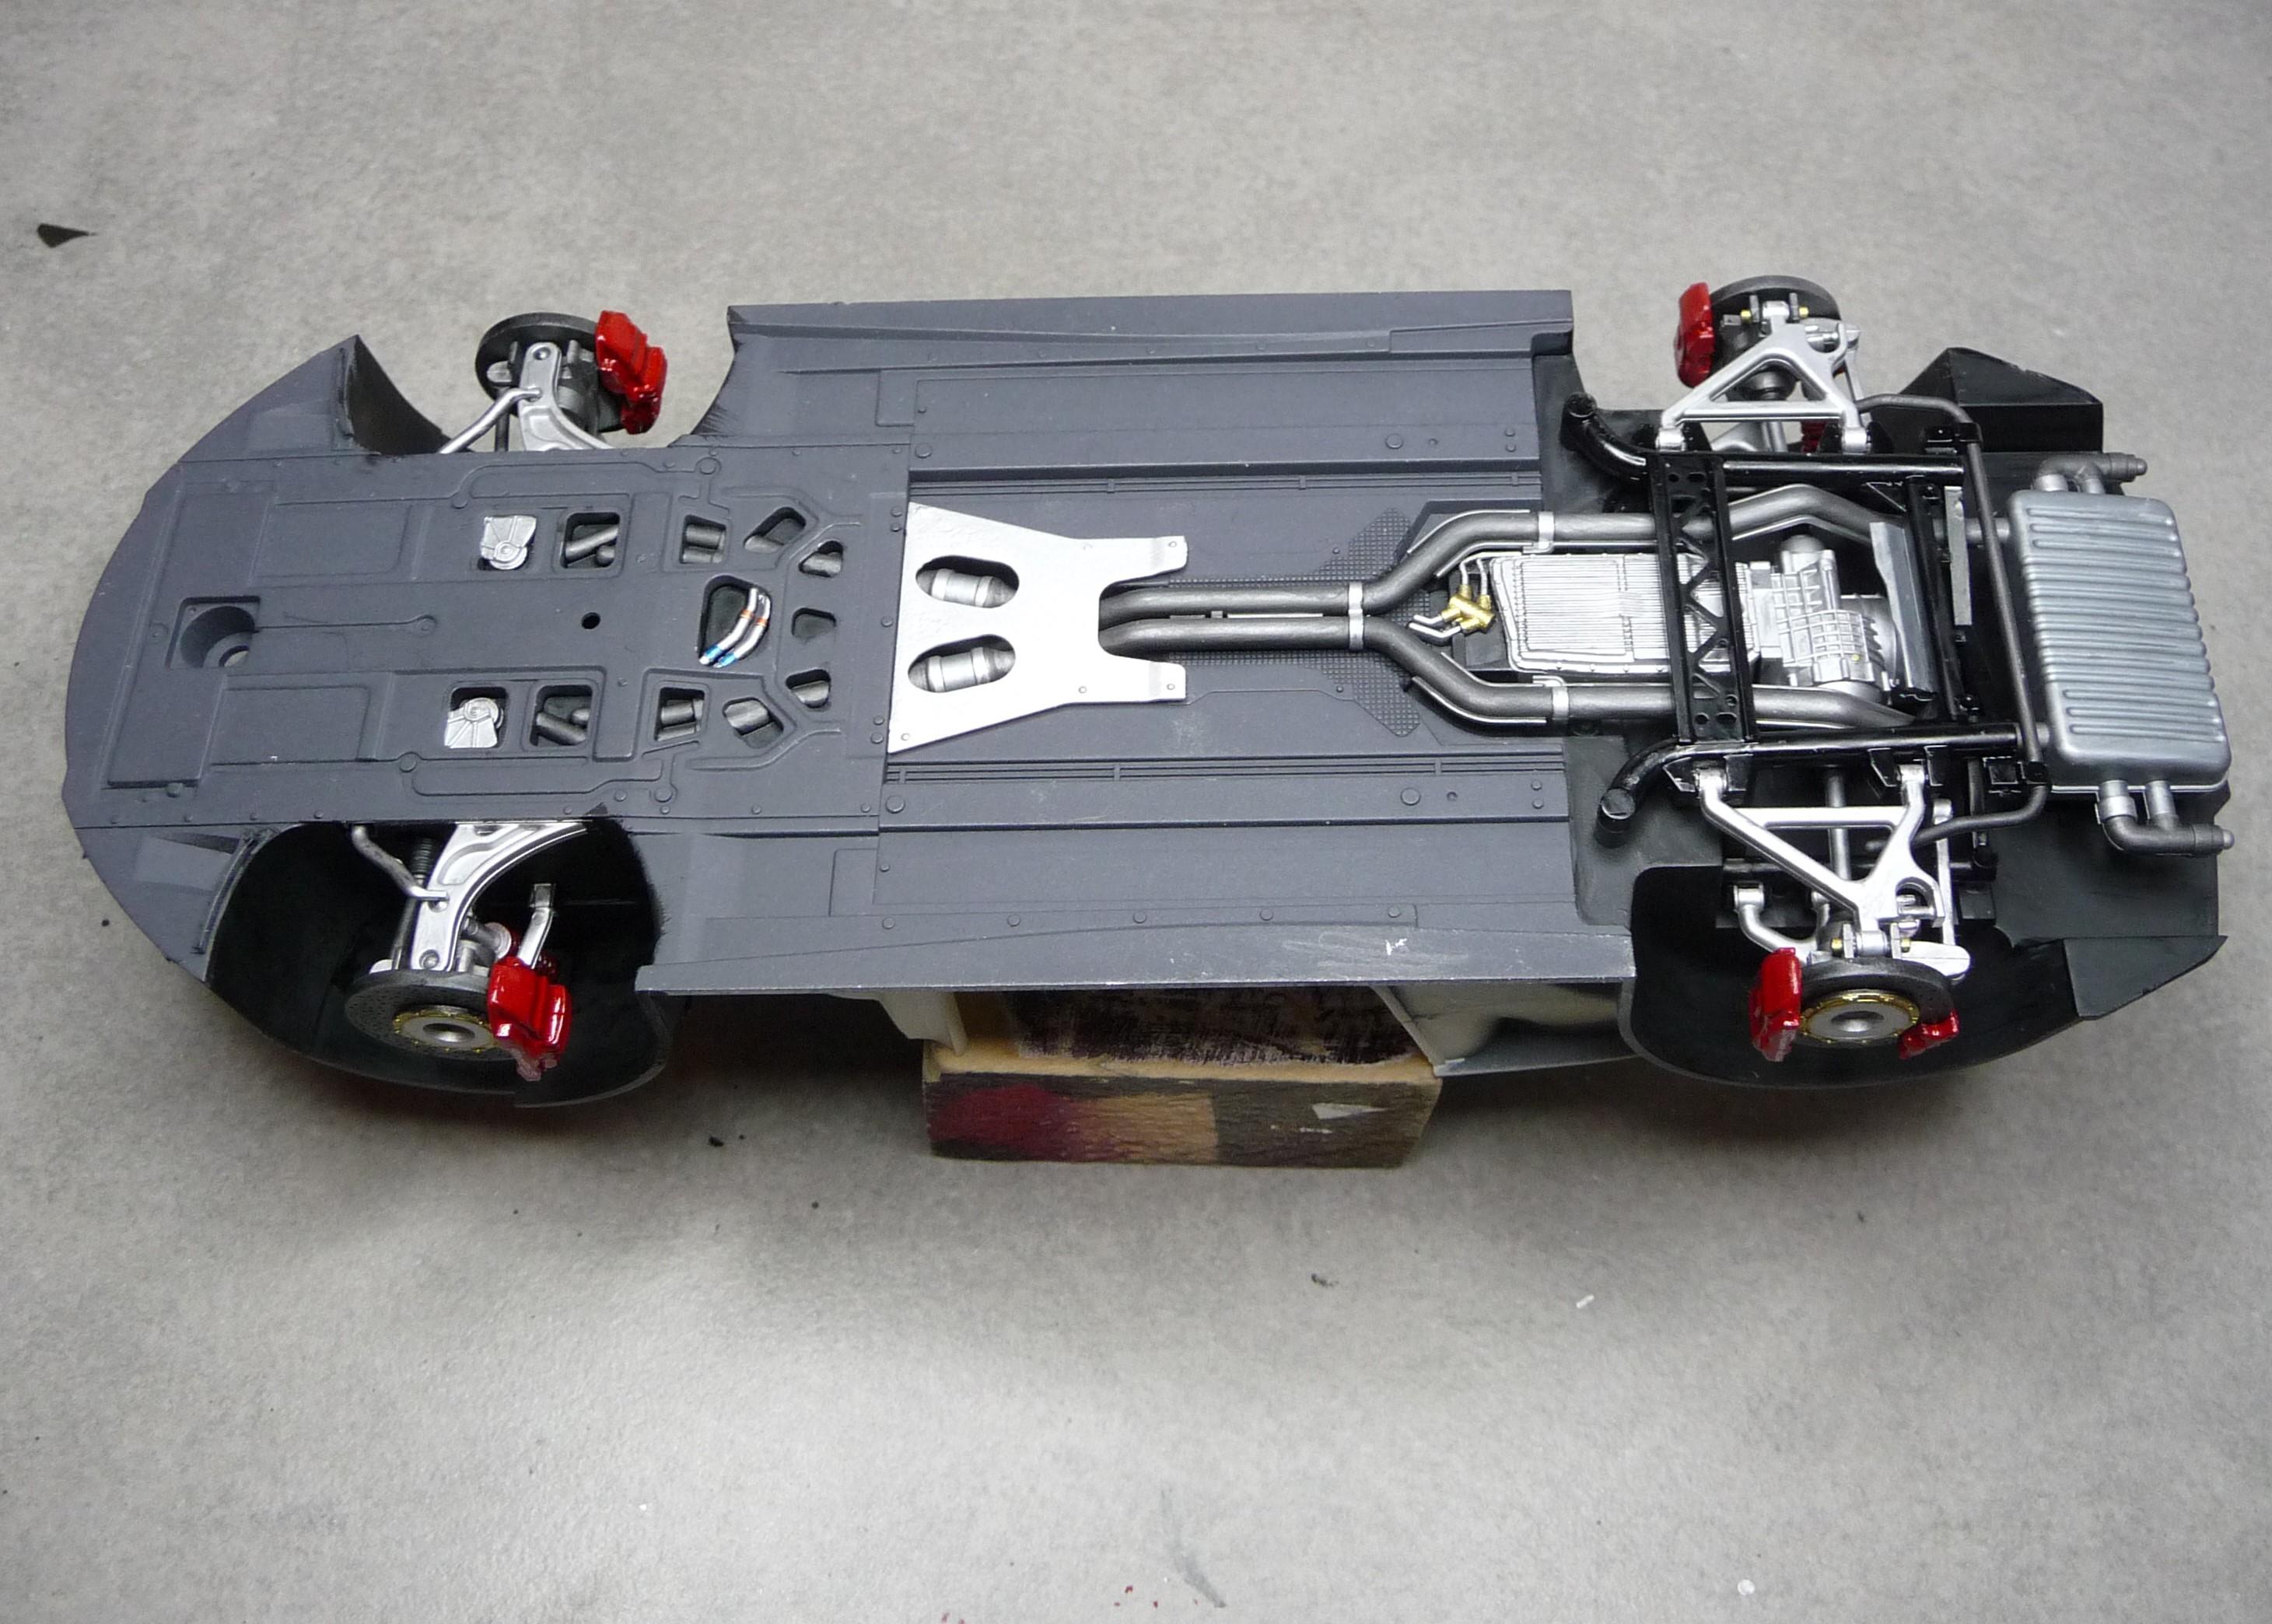
Looking good and as noted it is a fine kit! Here's the bottom of my build, most of that detail is just detail painted on the one piece plate! Cheers!
-
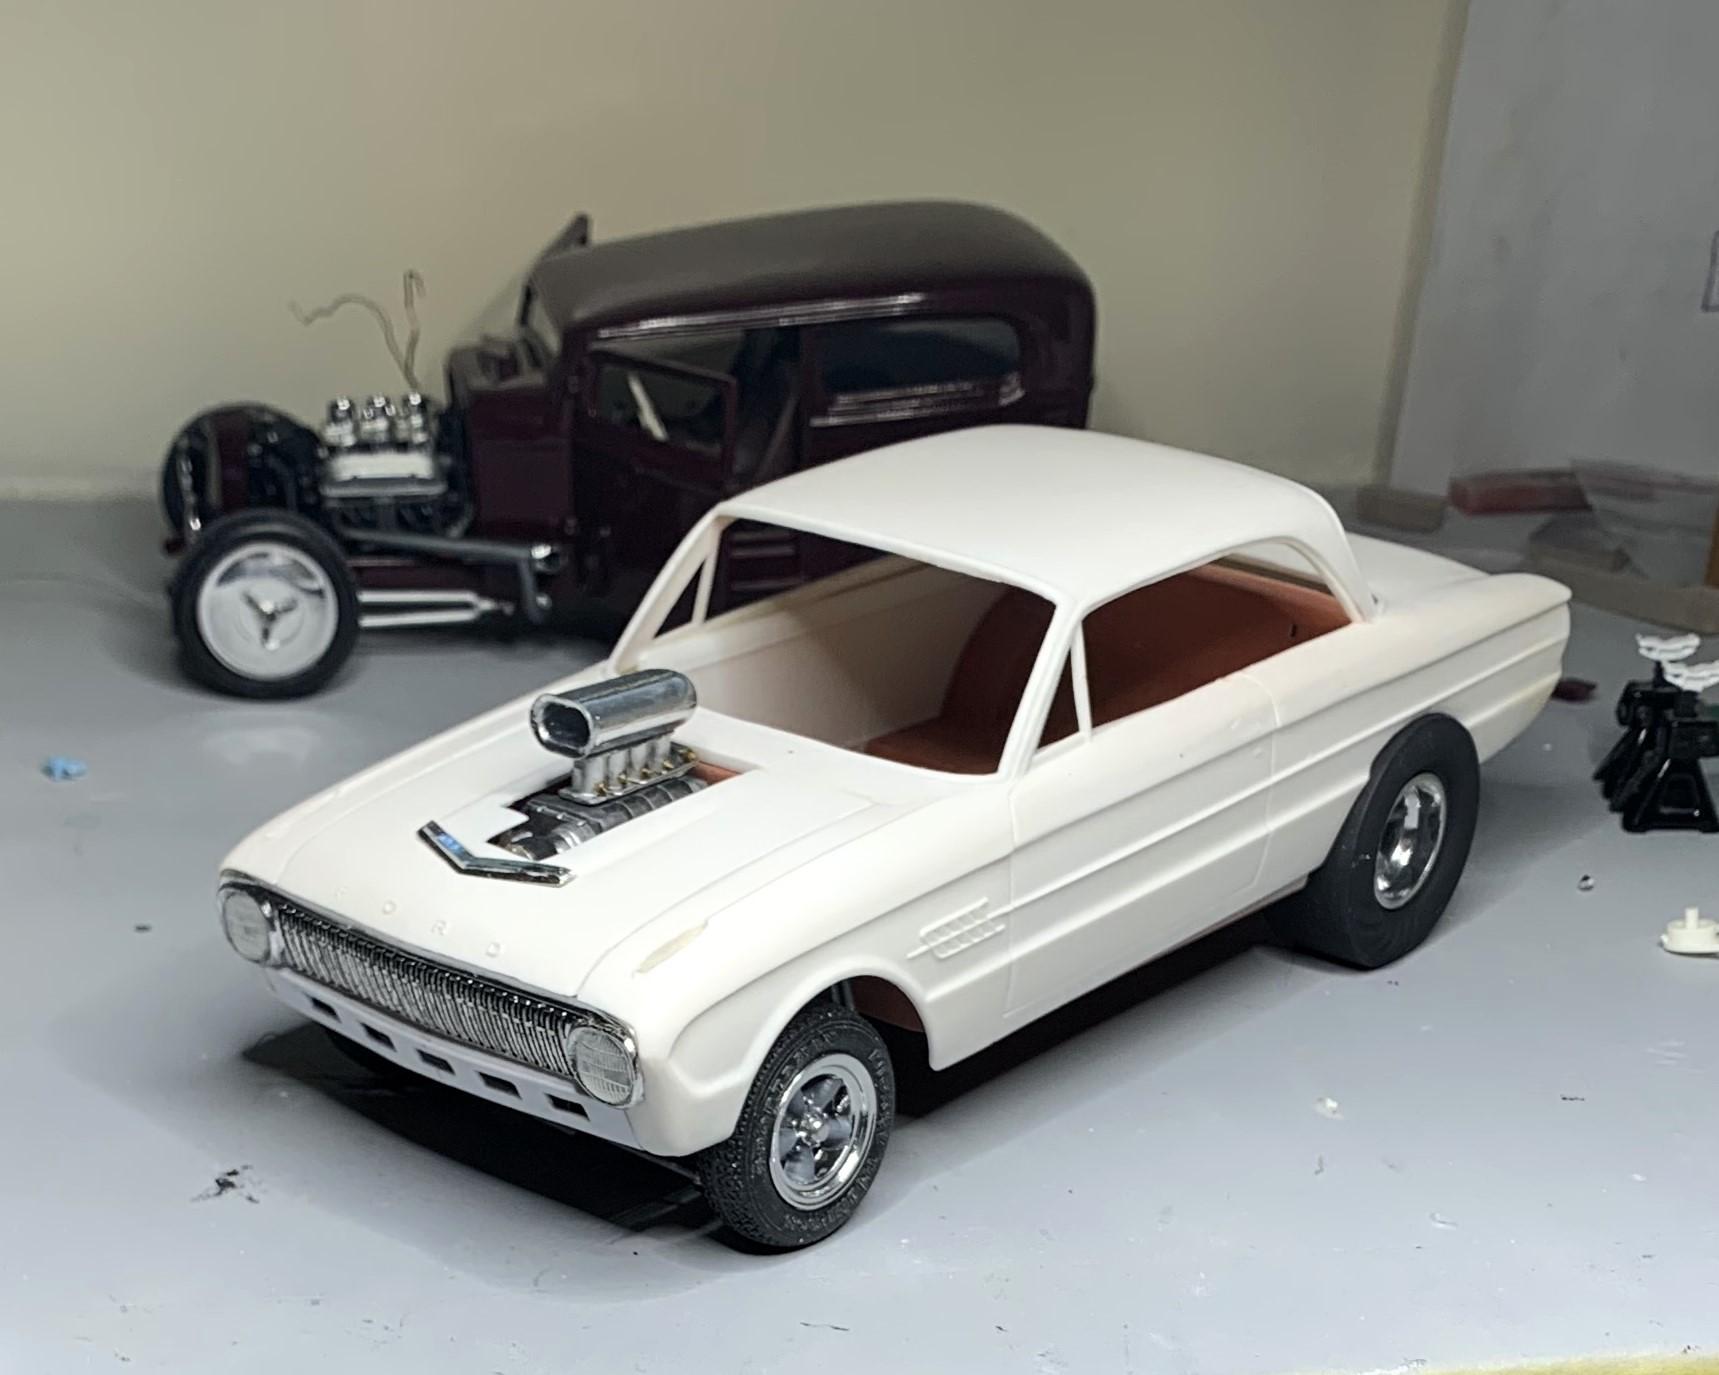
I wanted to try and find a 3D printed grille that was see through, but so far I haven't. So, I did this to the kit grille. I drilled out those horrible chrome headlights, chromed the buckets with Revell spray, then added clear lenses. I tried some black panel wash, not sure I like it, but it's way better than the one piece unit AMT provided. I won't have a front bumper, but I'll have to scratch build the sheet metal behind it.
-
I took the kit glass which doesn't include rear side windows, I'll make those, and cut it apart! I am going to put B pillars in but after I have the interior and glass fitted, those new B pillars will be fragile.
-
Love it already! Interior looks great and I love the silver roof! I did one also maroon, but with tan interior, nice kit!
-
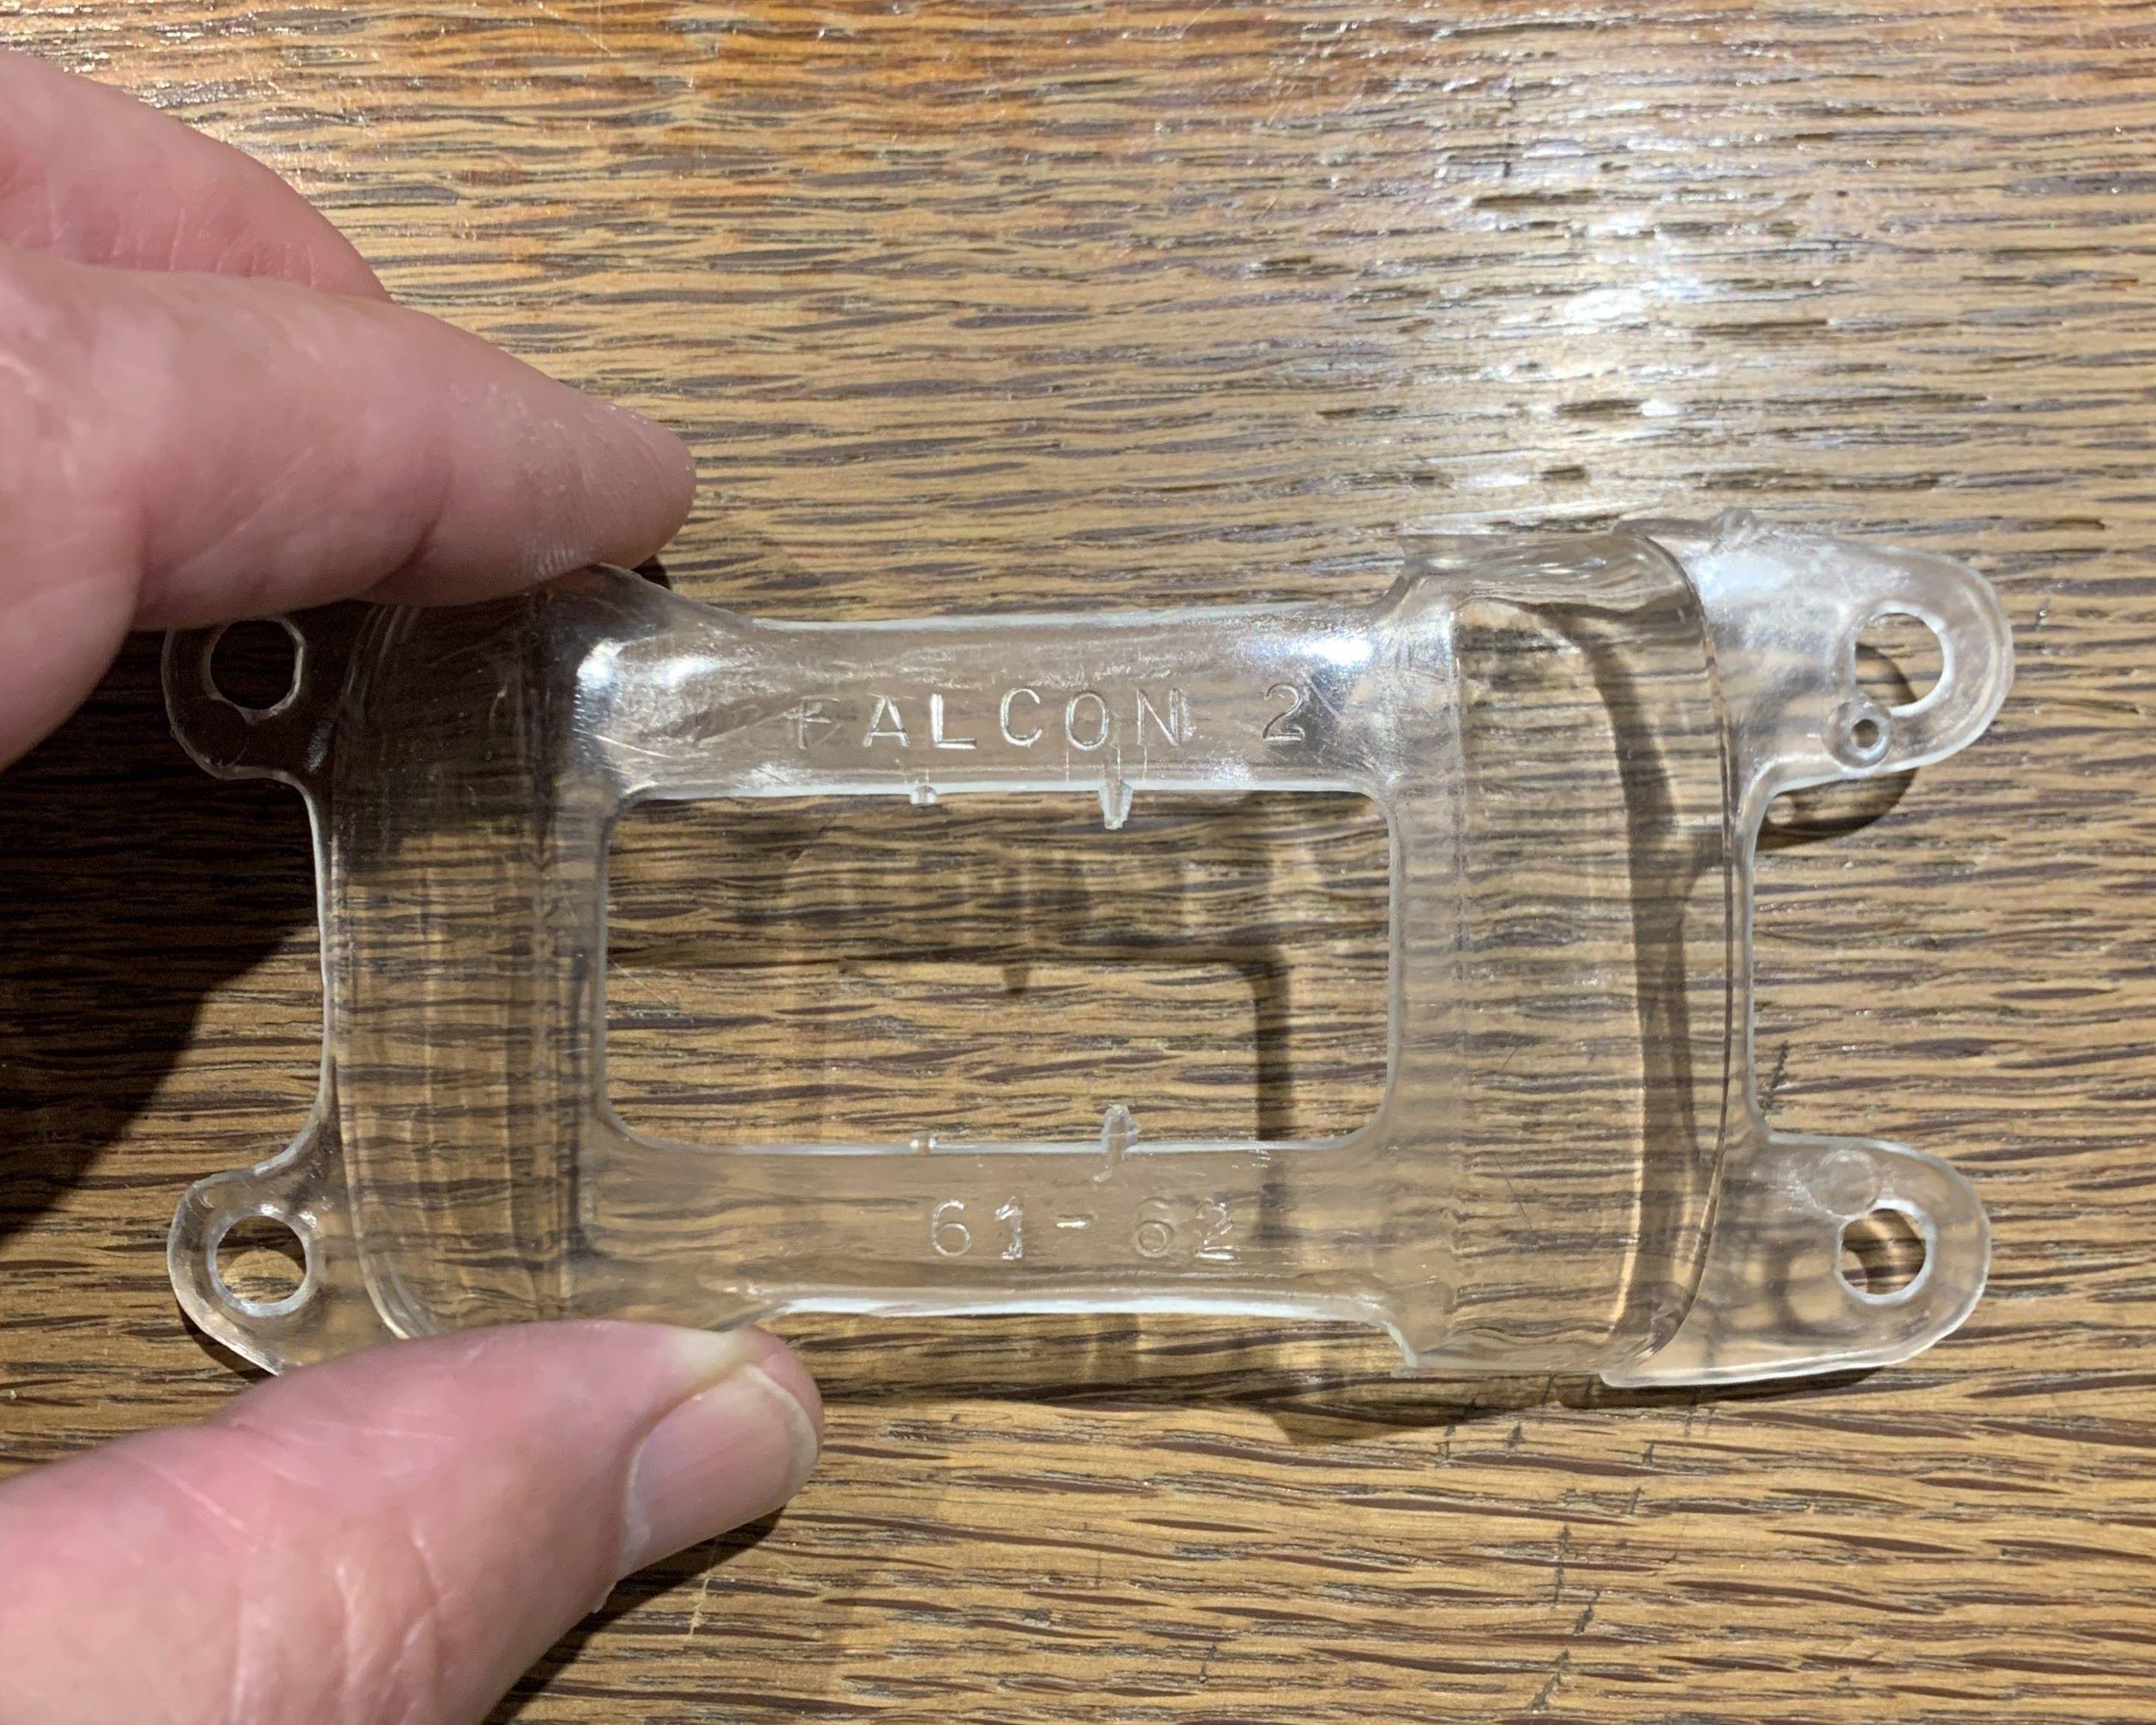
Does anyone 3D print Falcon grilles, see through? I do have one for a '61, can't remember who sold it, but I'd love to get them for other years, please? Don't need bumpers, just see through grilles without molded on headlights.
-
To be honest, I don't see a viable way to swap the Moebius Grille into the PL body and have it look right. Ah, now you've done, I accept that challenge! The chrome headlights were the biggest let down on this when it first came out. LOL
-
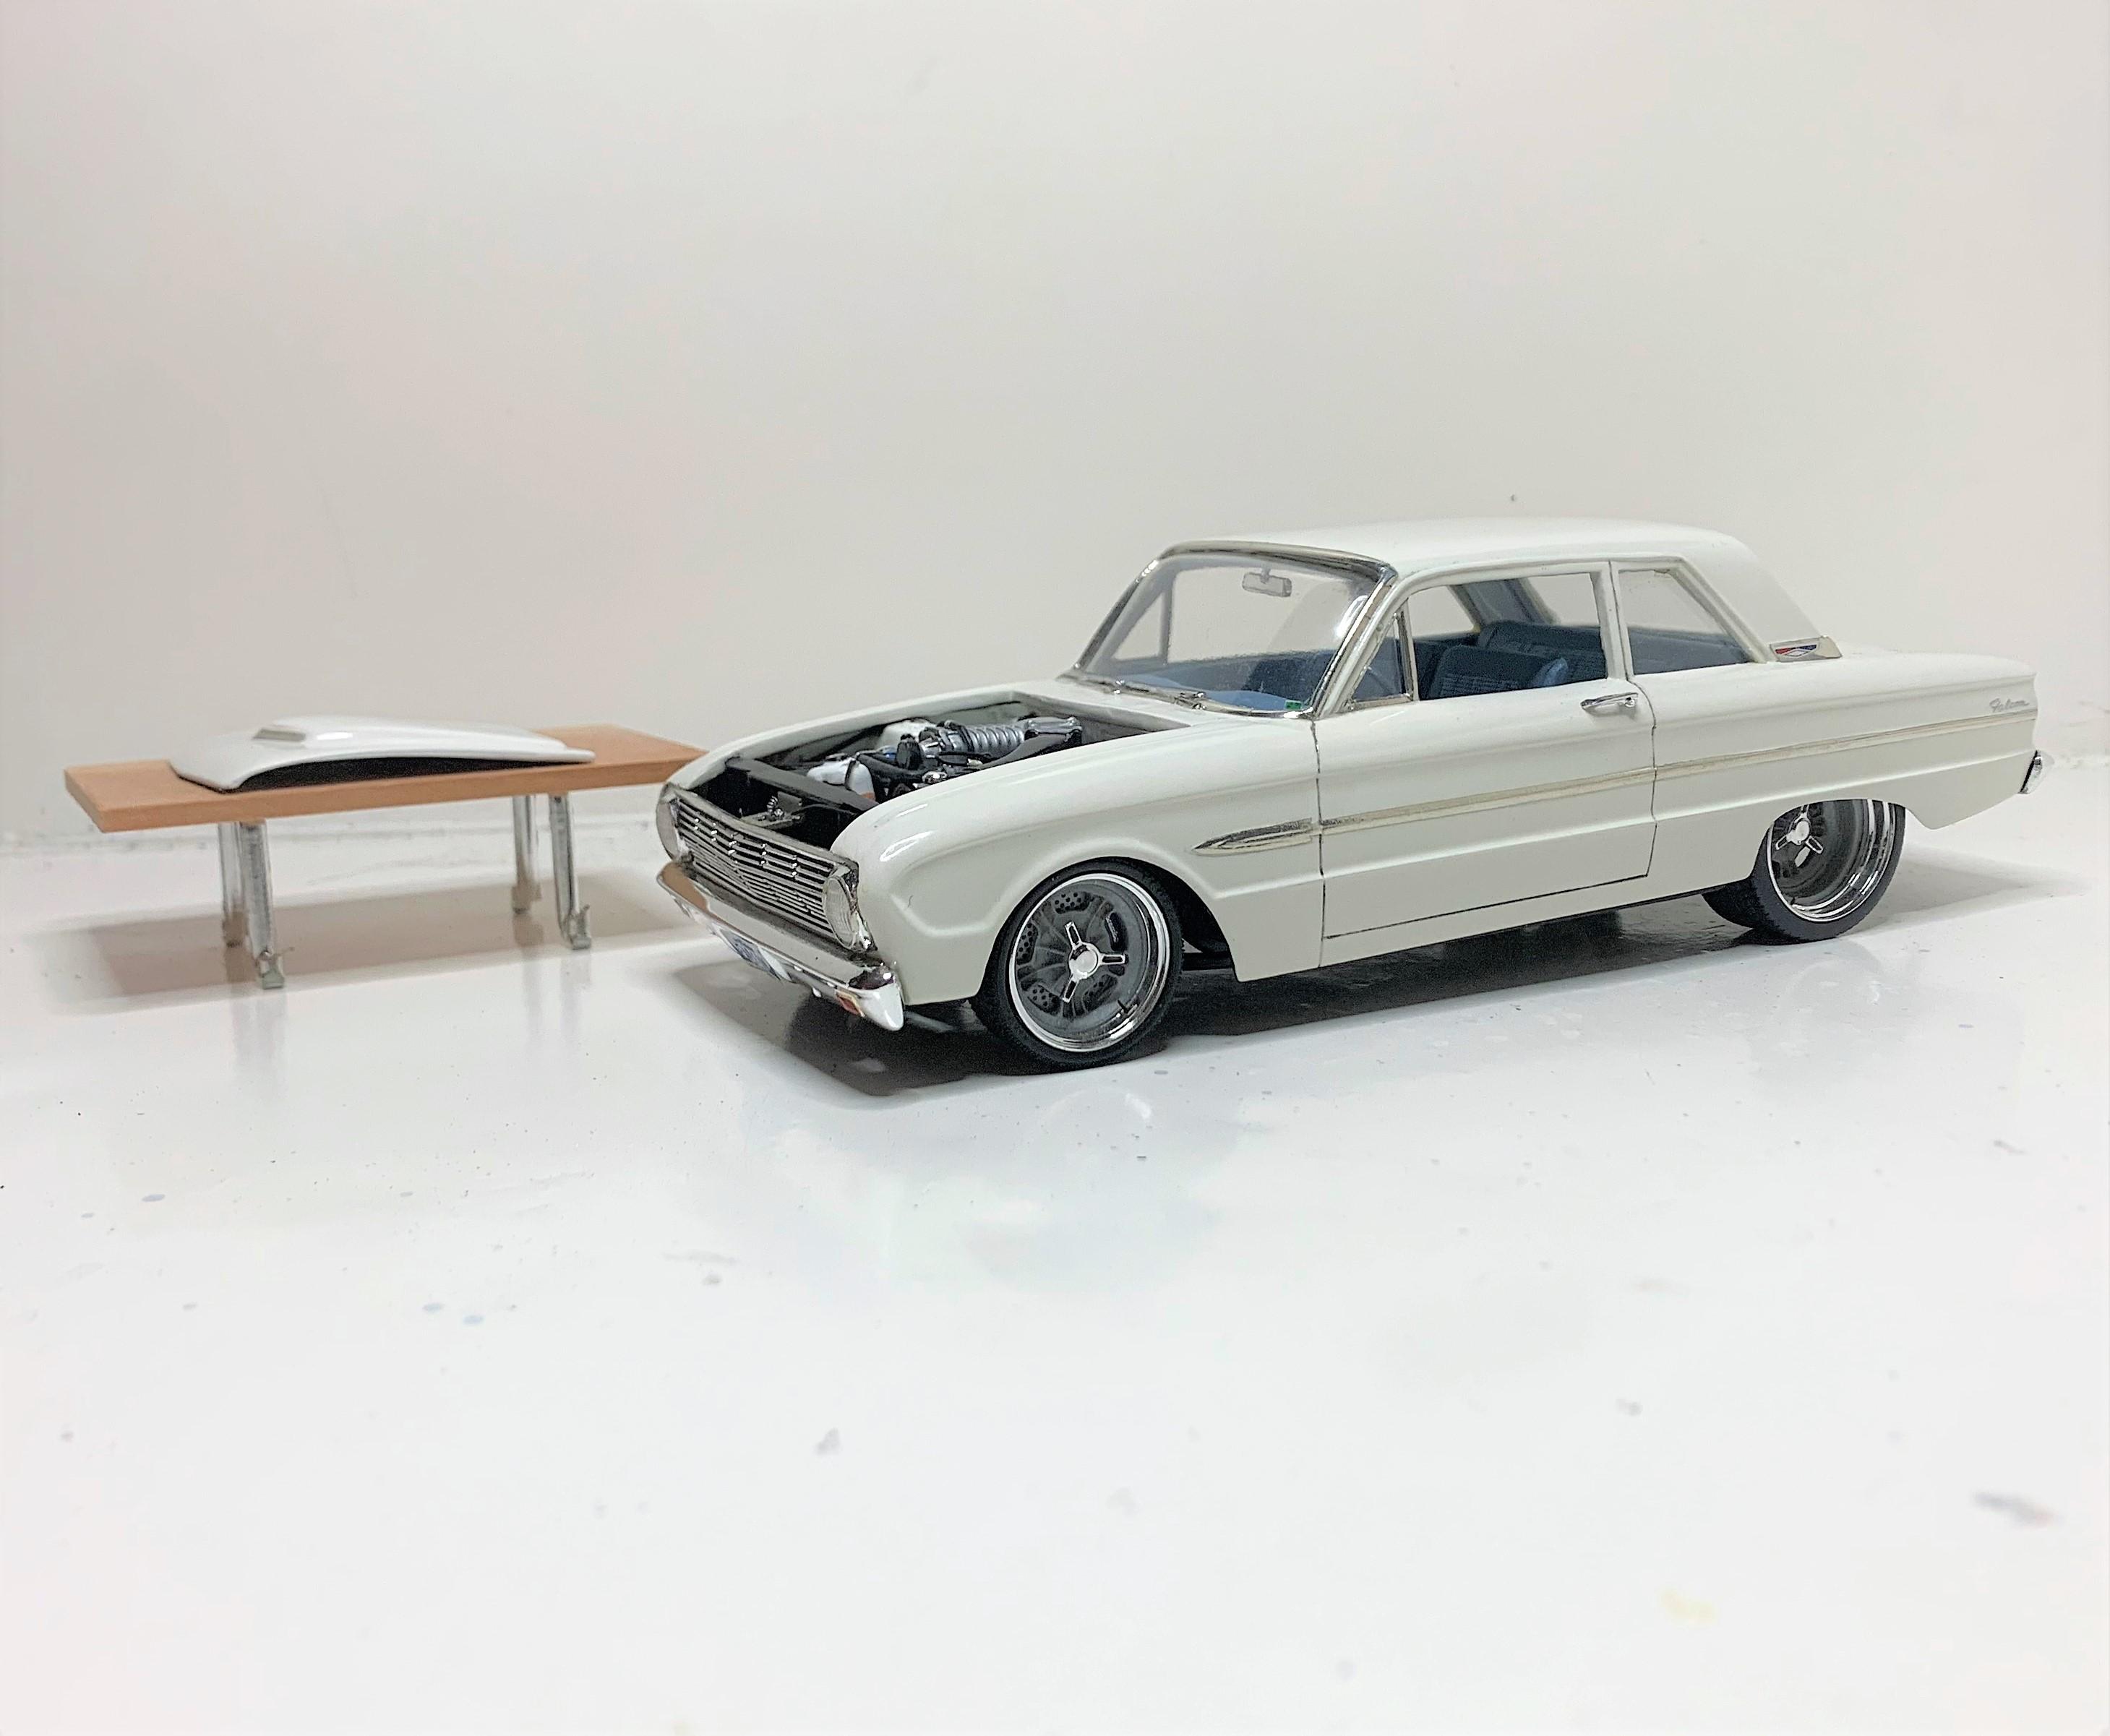
Finally got some bench time for the sedan build off, been busy with "stuff"..............AND.................I started an early Falcon gasser! But I made up 3 pulleys, added an alternator, fan and styrene belt, plus a rad and upper and lower rad hoses. Still need linkages, tail lights, interior door panels and finishing touch-ups, all doable! Cheers to ALL the entrants in this fun build off, there's some fantastic '32s on here!
-
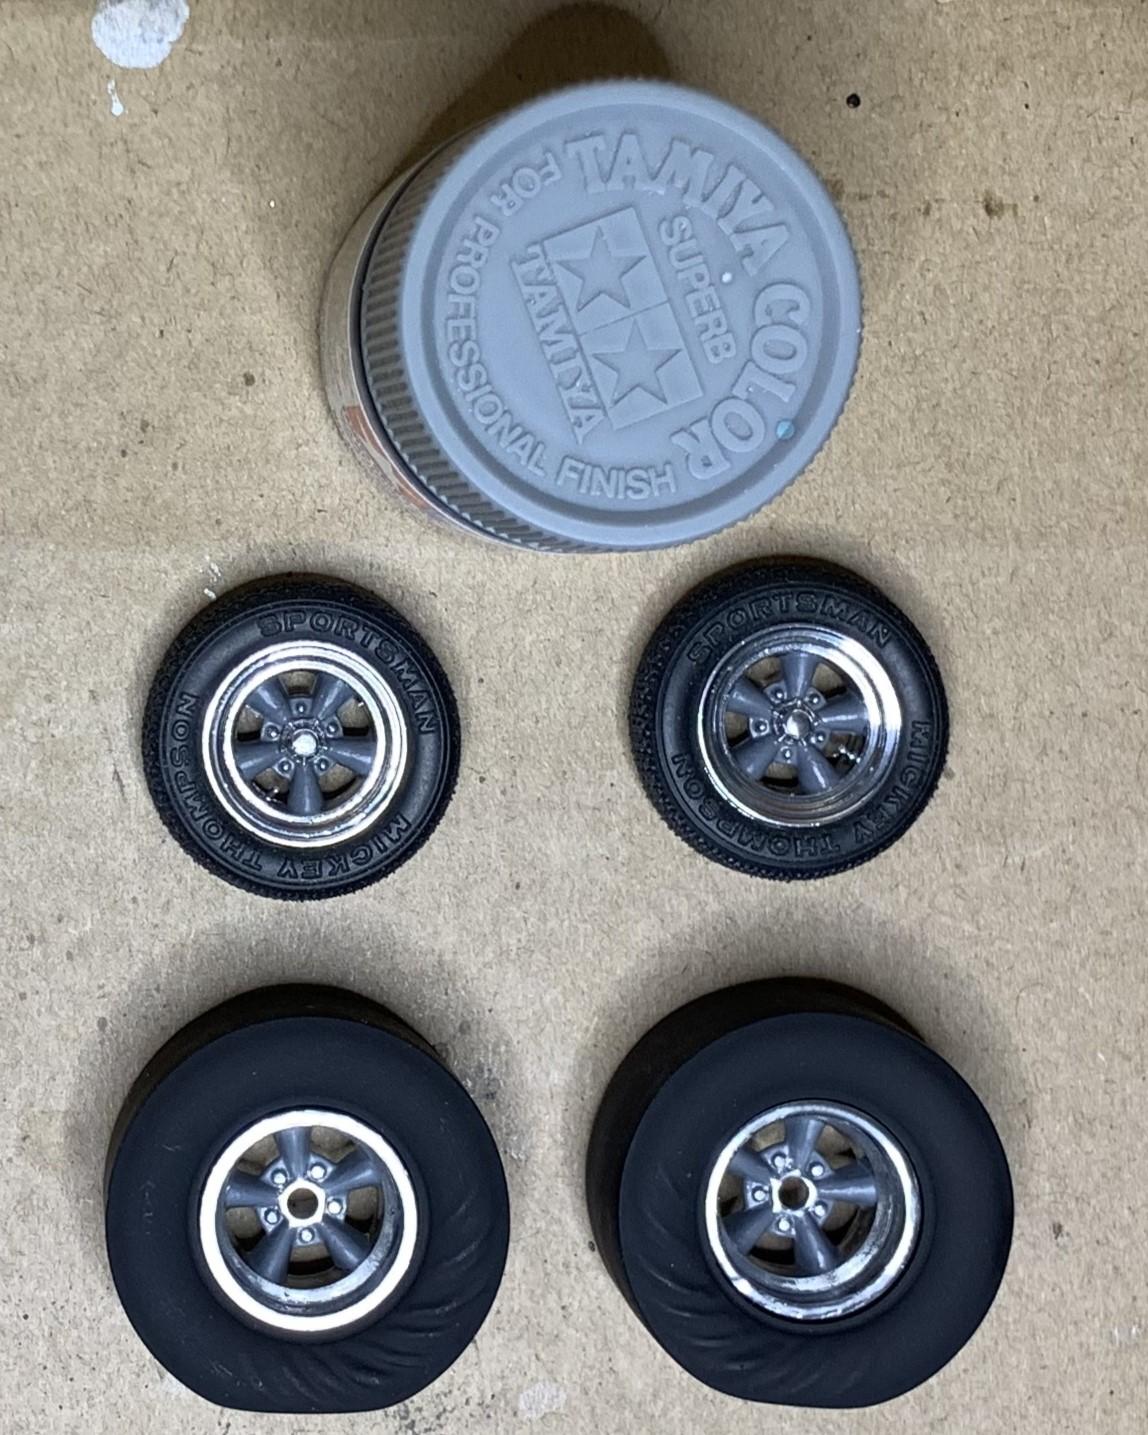
I brush painted the spokes with Tamiya XF-53 Nuetral Grey, I like this look.
-
Man that is so cool and so well done, gotta love it! Awesome scratch building talent!
-
Those wheels and tires look perfect!
-
Looking very good already, cool car and some cool mods!
-
I've been trying to decide on rolling stock and I've finally arrived at a decision! I found these cool front tires and these mags, but I had to cut away some rubber to get the wheel fronts to sink in, then I had to make shims and wheel backs. I had 3D printed wrinkled slicks with deep mags, but I had to sand the slicks and fill imperfections. Then I sprayed all 4 mags with Revell chrome, and the slicks with Tamiya rubber black. Thinking about painting the spokes light gunmetal, then spraying semi-gloss clear over them, not sure yet on that though, trying to figure out a rear suspension set up.
-
That is a very cool start and I'm sure it'll turn out great! Now that I see Texas 3D's supercharged FE engine, I wish I'd have bought one, it looks fantastic and that's what I'd use in a vintage Ford build, but whatever you choose will be great!
-
Those stacked headlights look better than the original design to me, cool!
-
Looks fantastic, great color combos and excellent customization!
-
Nicely done and clearly explained, thank you! I'm working on an old Falcon now, but it's a vintage gasser, so no chrome required, LOL
-
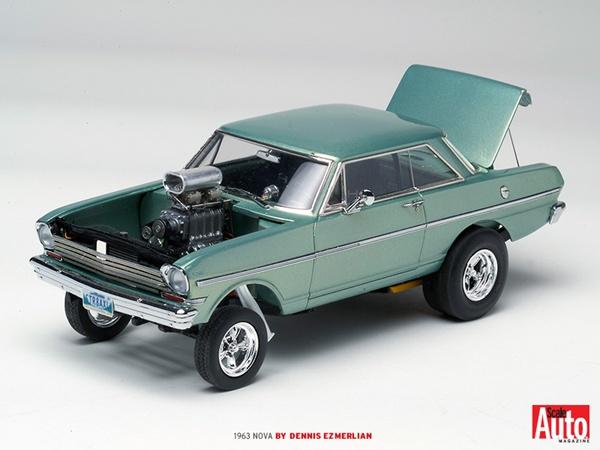
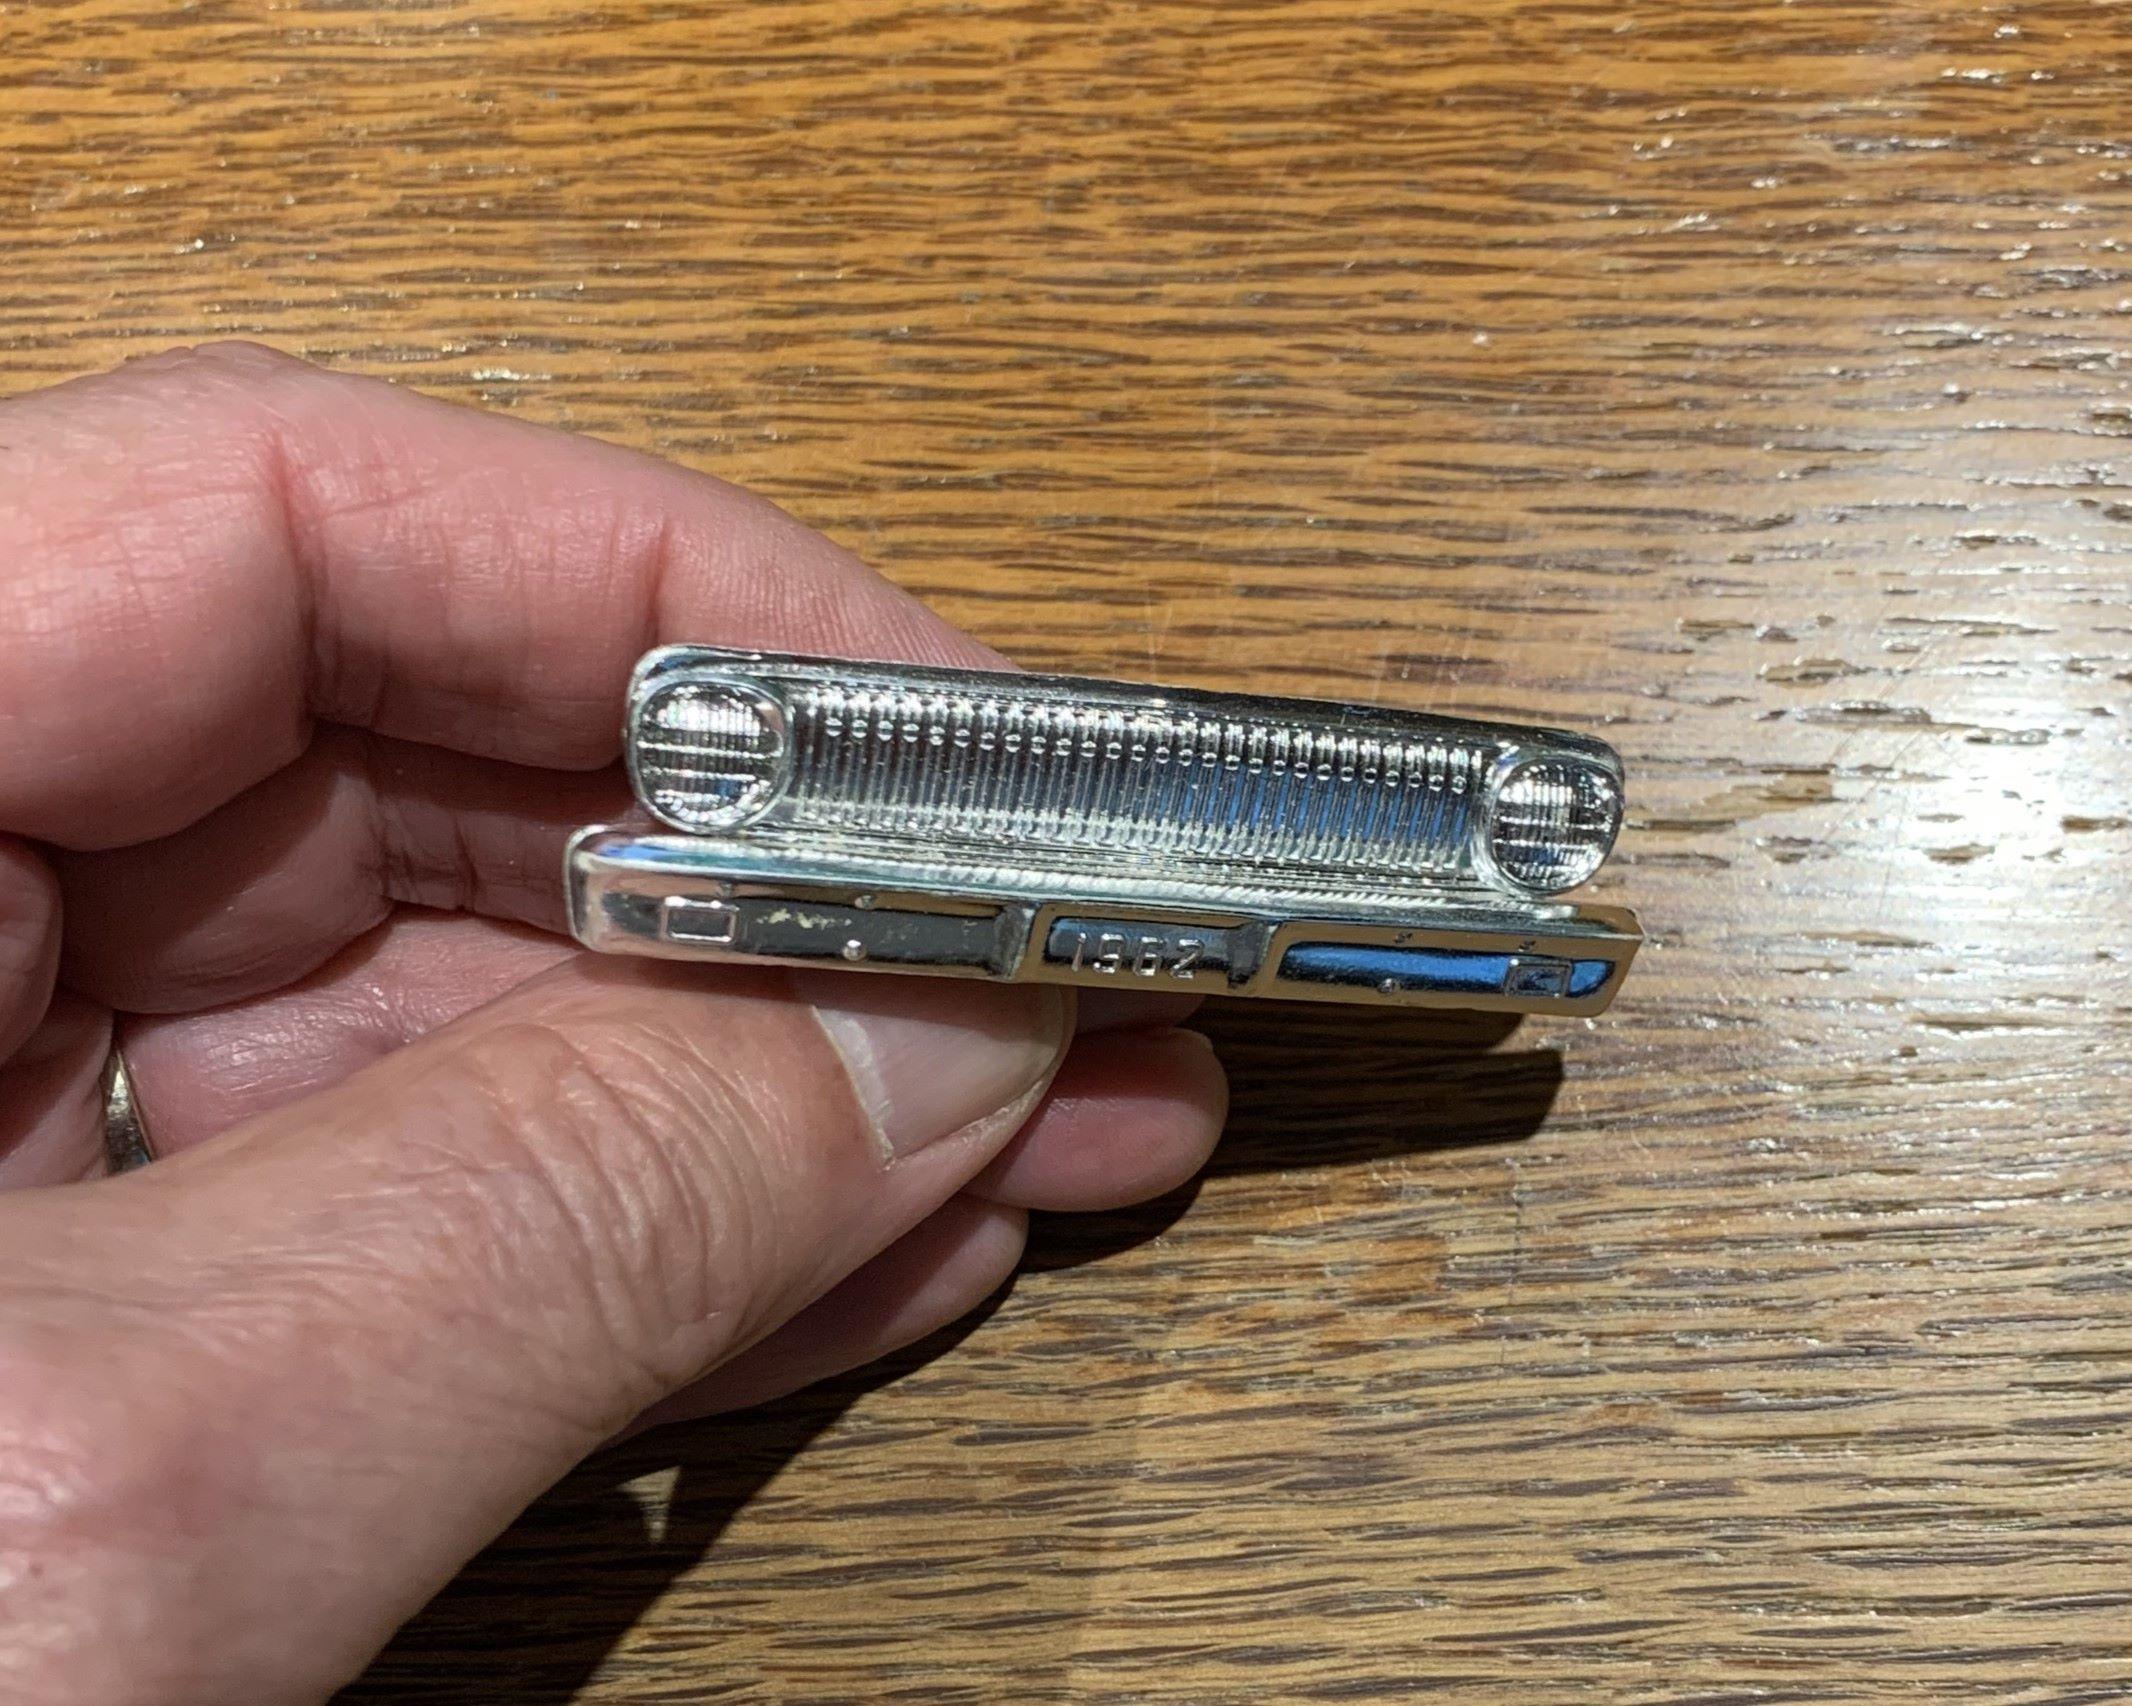
Thanks Zippi, I already did a '63, post car, but in a way more modern take, supercharged coyote and all modern suspension. Almost bought a real 63 and a half hardtop! I love those! This one though will be more old school, and although it's a '62, I have a 3D printed, see-through, '61 grille that I'll use. I'll also be making it back into a post car, previous customizer removed the B pillars!