dino246gt
-
Posts
2,244 -
Joined
-
Last visited
Content Type
Profiles
Forums
Events
Gallery
Everything posted by dino246gt
-

‘55 El Camino
dino246gt replied to NOBLNG's topic in WIP: Model Trucks: Pickups, Vans, SUVs, Light Commercial
It's looking great already, that roof is way better integrated after you worked on it! Love the attention to detail on the side chrome spear, these little things really pay off on the finished model. If your spare parts boxes are a little short, I have a ton of stuff, just ask, I'm only a cappuccino away from you! -
Kit Karson, I'm really diggin' the ambitious project that you've taken on! You seem to have the main proportions together, I just LOVE such projects, nice job so far!
-
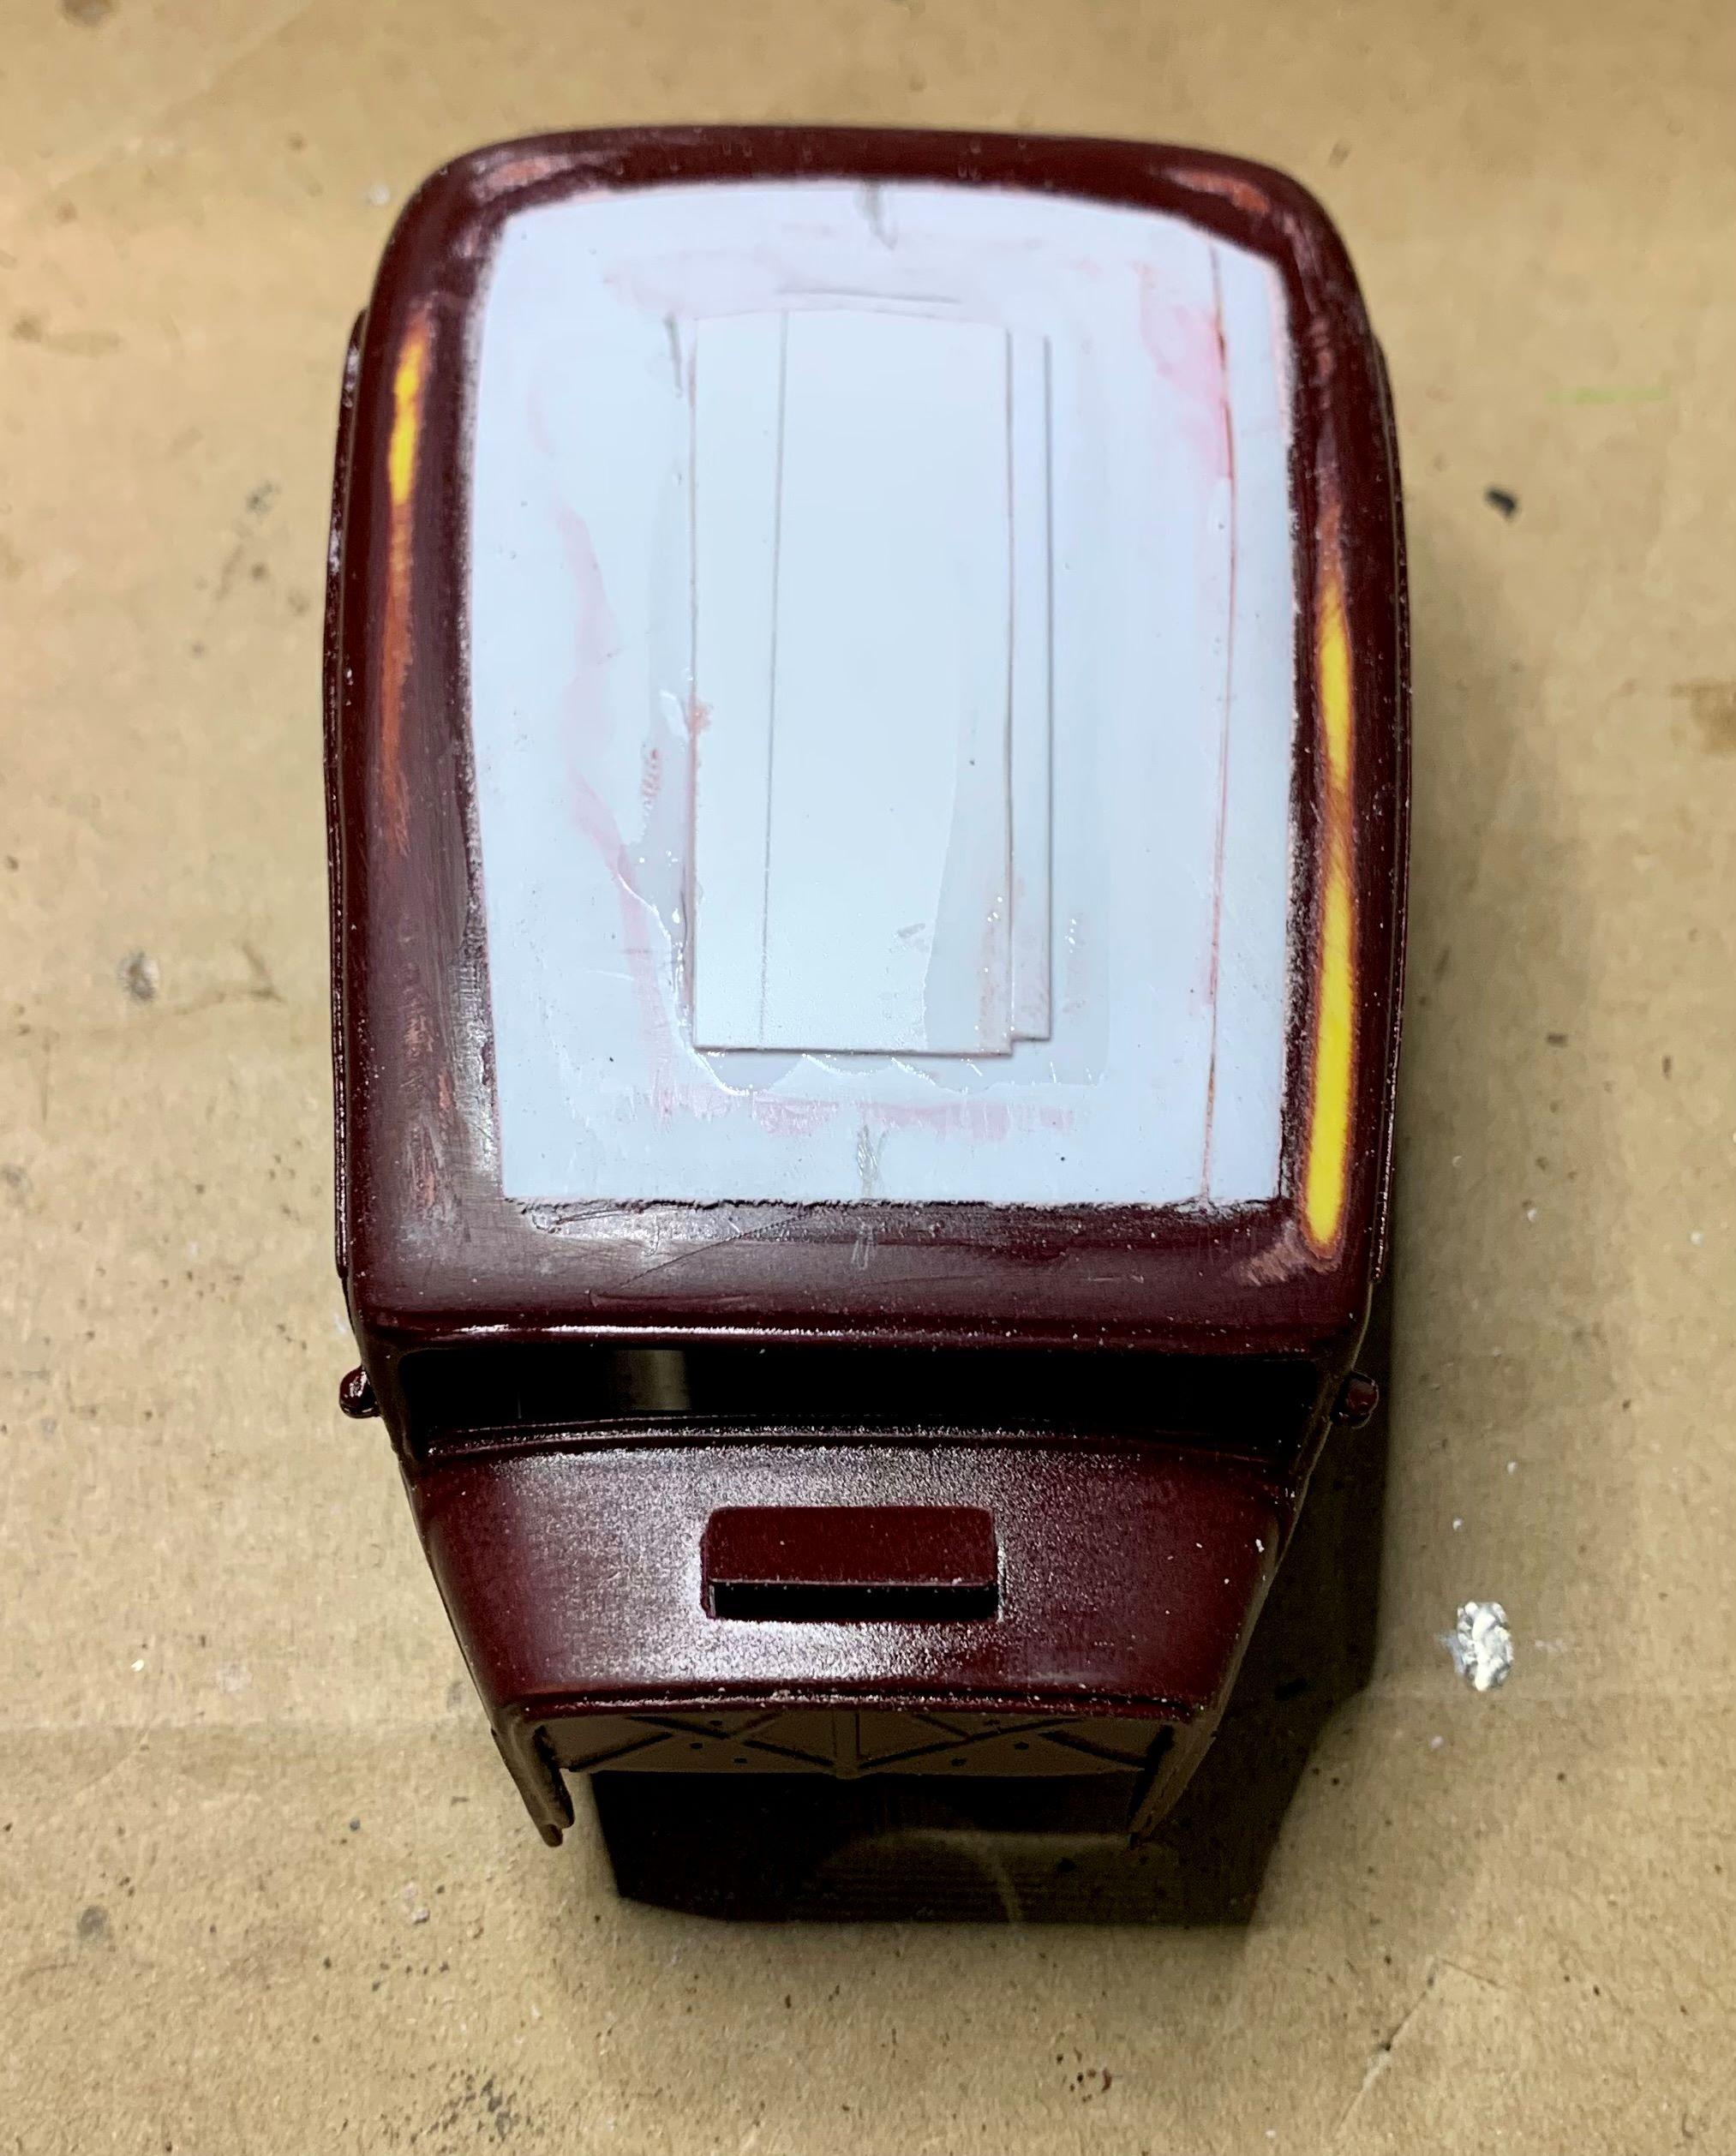
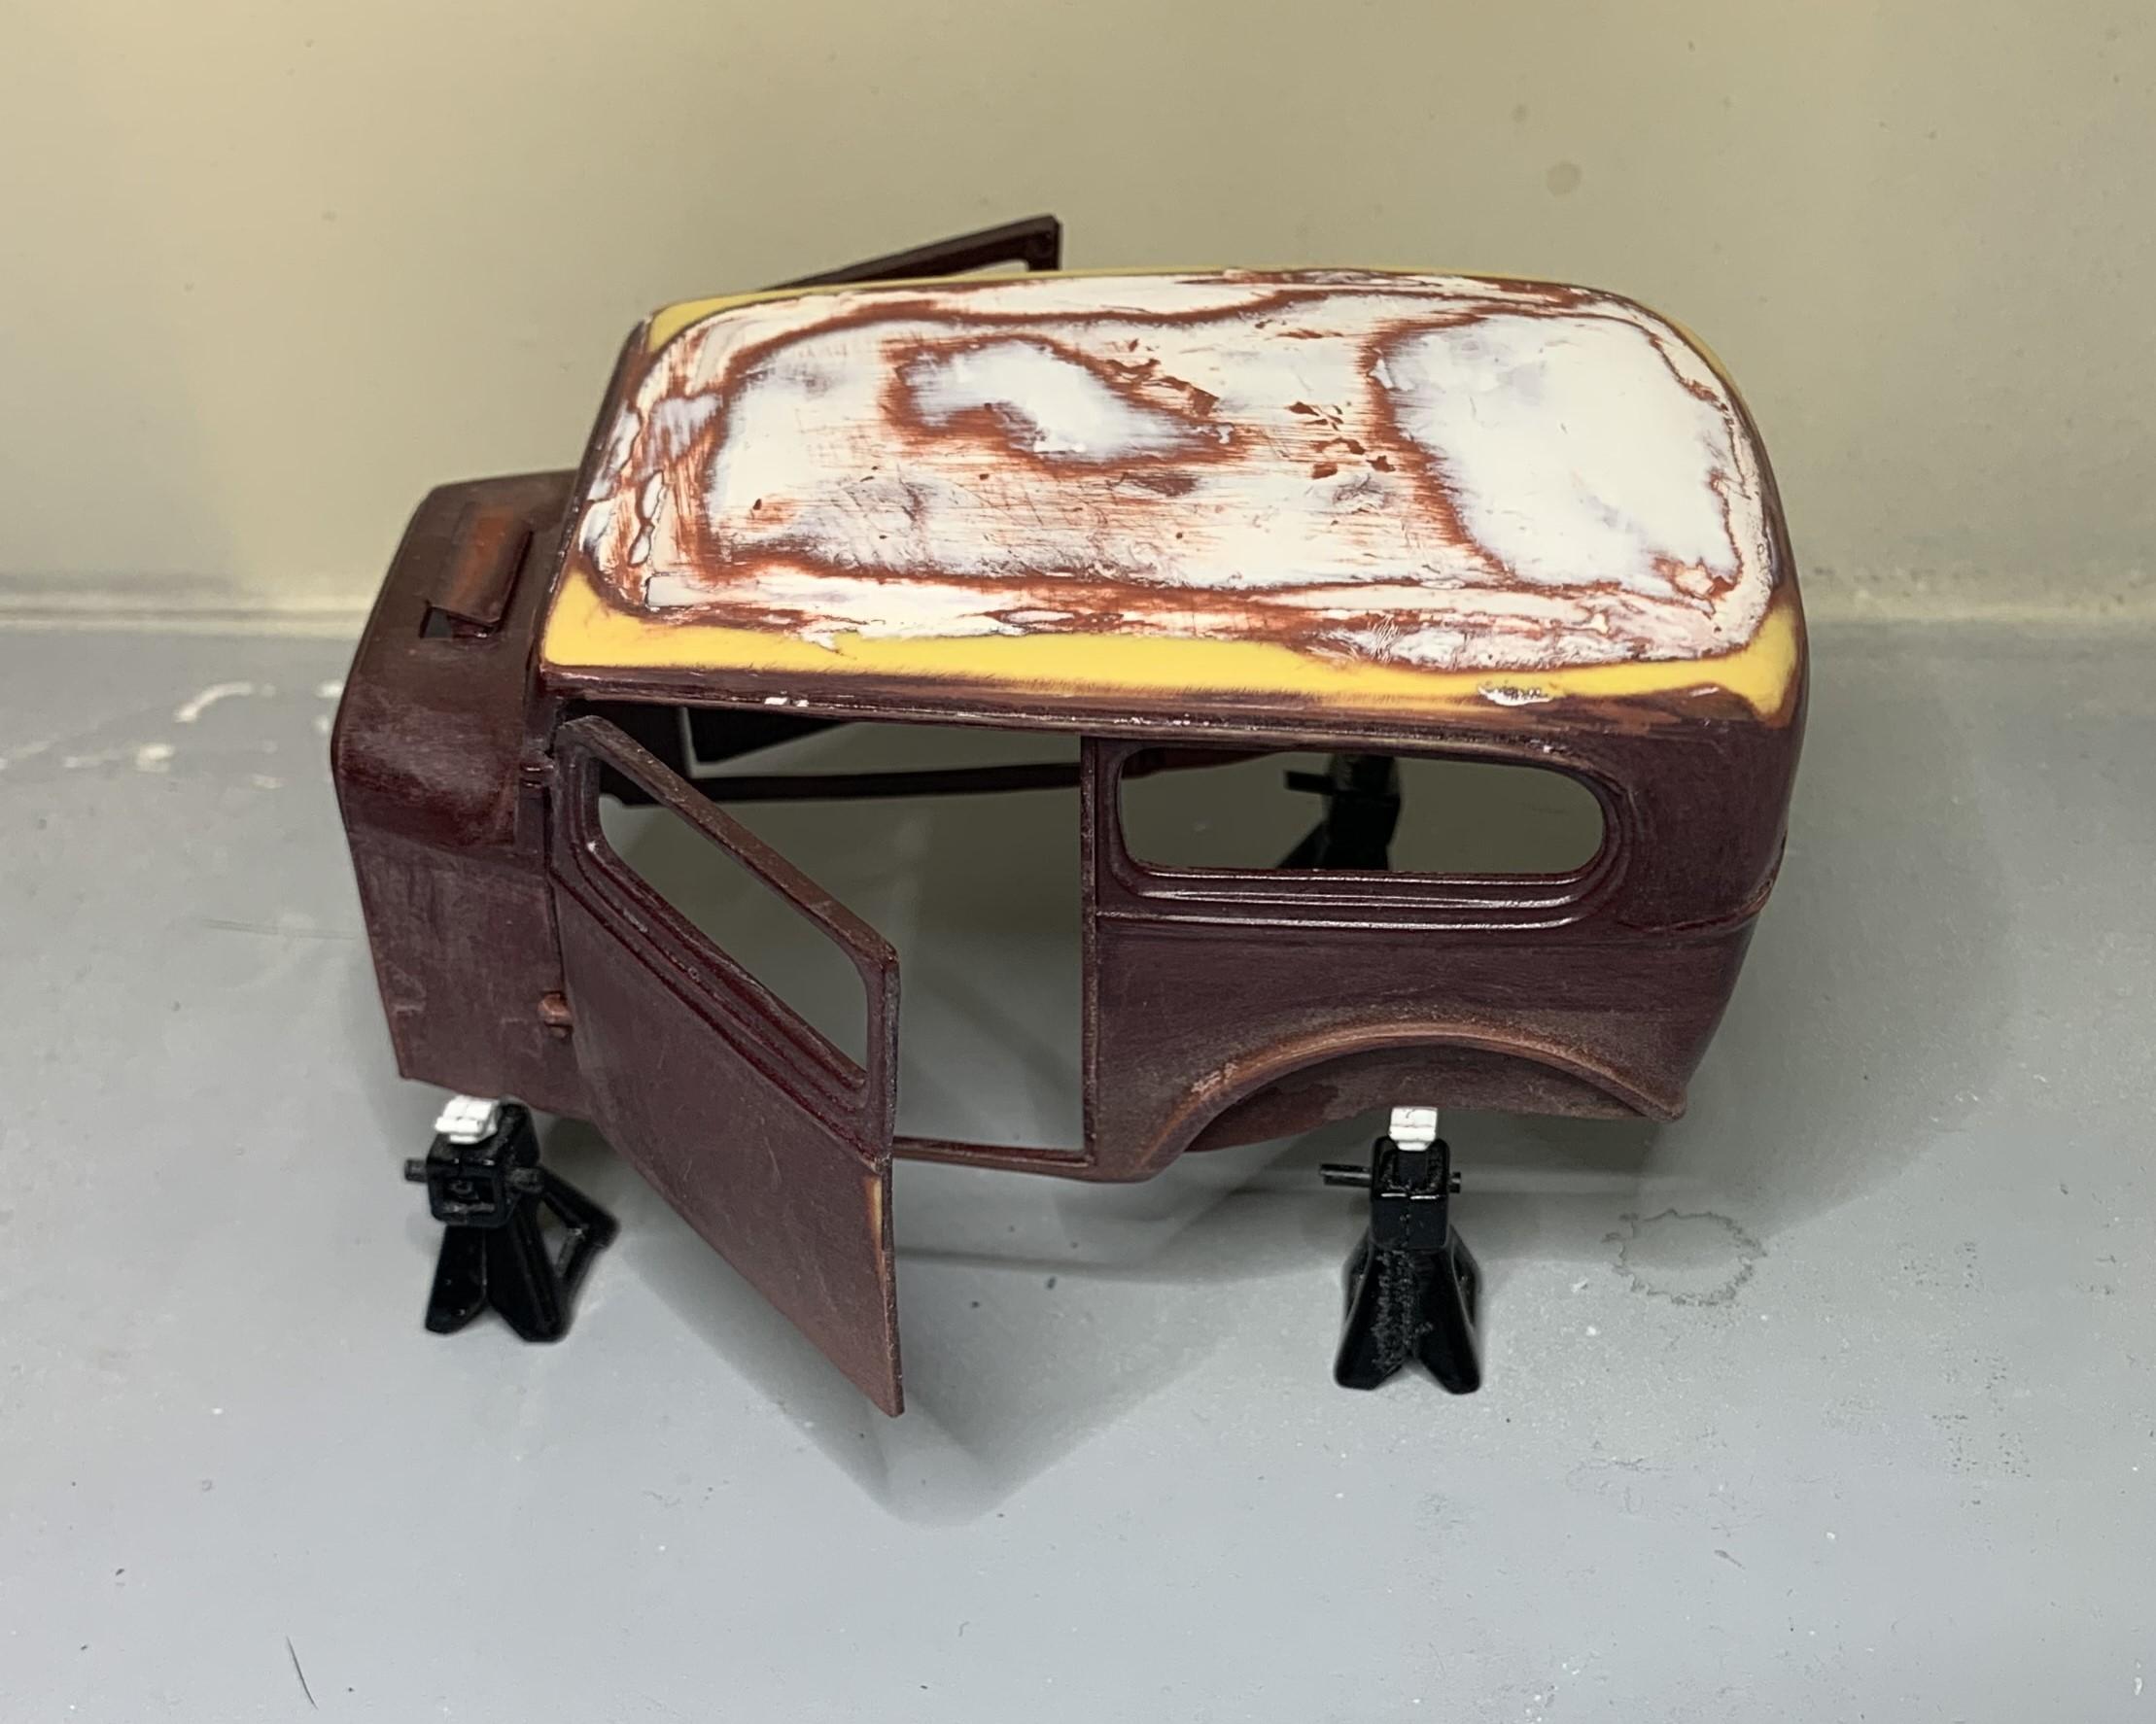
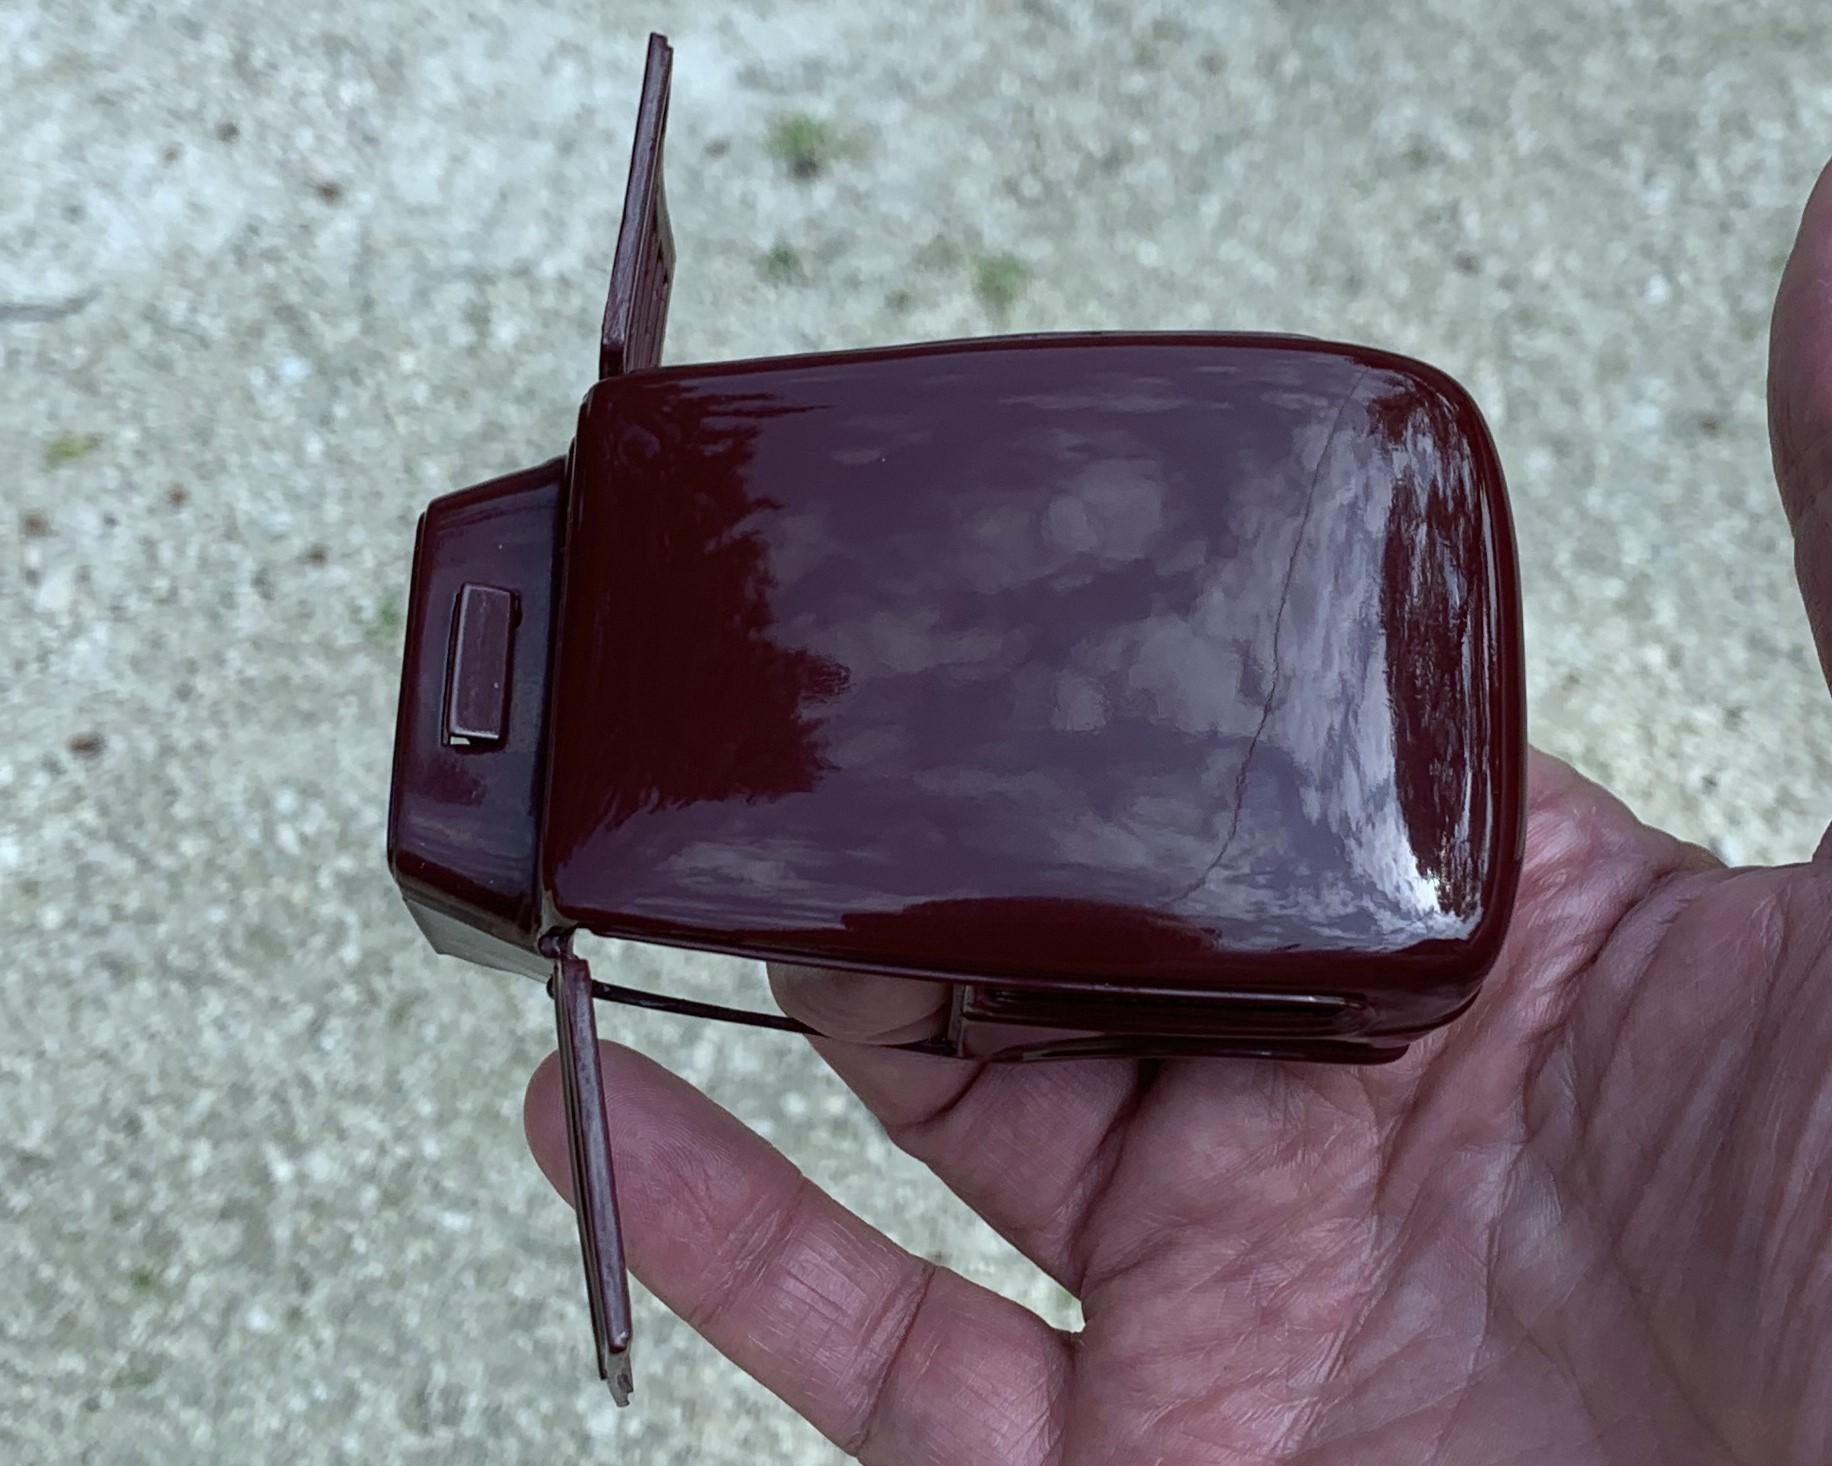
Well, after struggling a bit with the roof because I built up a bit of a crown, I think I've finally got it! Definitely not perfect but good enough for a hot rod! Color is more maroon than it looks in direct sun with green for a background, more like the last picture over gravel.

- 706 replies
-
- 12
-

-
AMT 1953 Ford F100
dino246gt replied to Radretireddad's topic in WIP: Model Trucks: Pickups, Vans, SUVs, Light Commercial
Lookin' good! It's such a great old kit! -
I thought you wanted to remove that "thing" from the top of the hood. Otherwise I'd do what Mike Grover said. I think it's a very nice kit, other than some mold lines etc. nothing you can't rather easily fix! I opened up the doors and trunk on mine, never finished it due to broken A pillars, should get back to it! Cheers!
-
I'm sure you can get rid of that extra "bulge" on that hood, make it more like a '49 Merc hood. Just needs a little plastic surgery!
-
I know, I should've said, "They don't HAVE to be red" LOL
-
STITCHES
dino246gt replied to TopherMcGinnis's topic in WIP: Model Trucks: Pickups, Vans, SUVs, Light Commercial
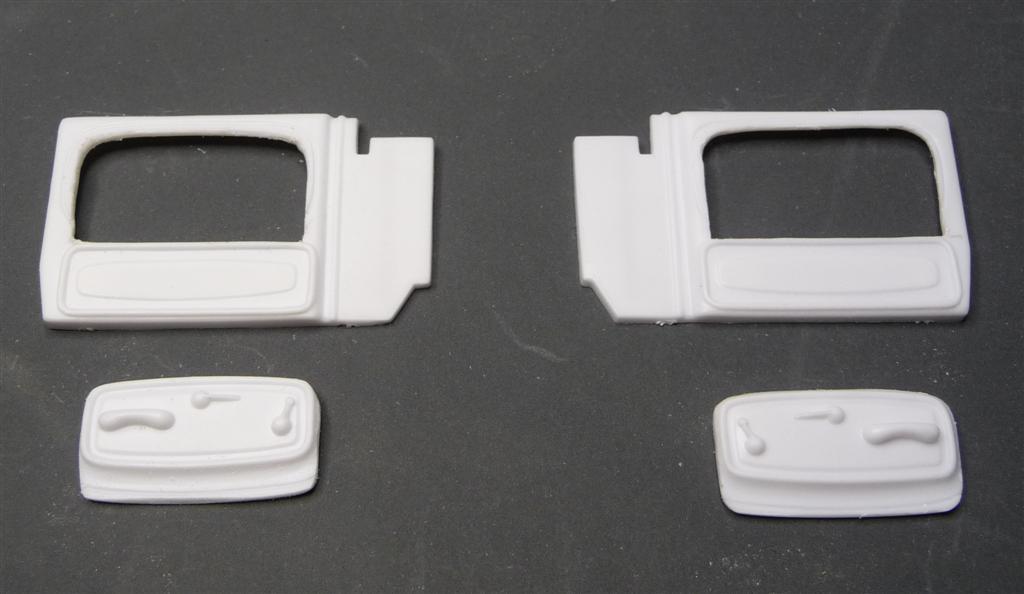
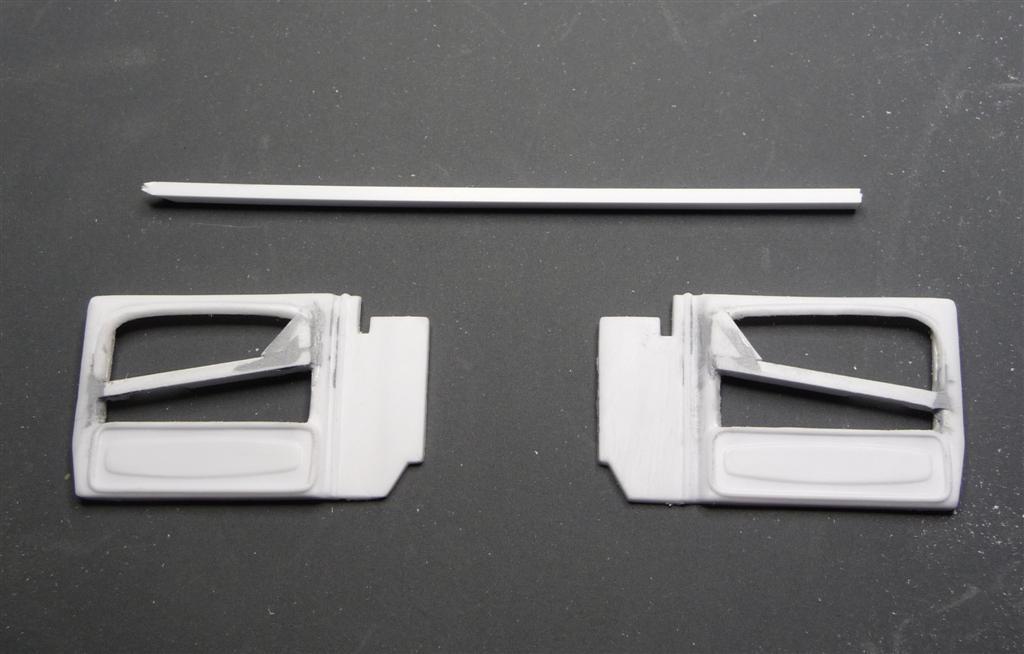
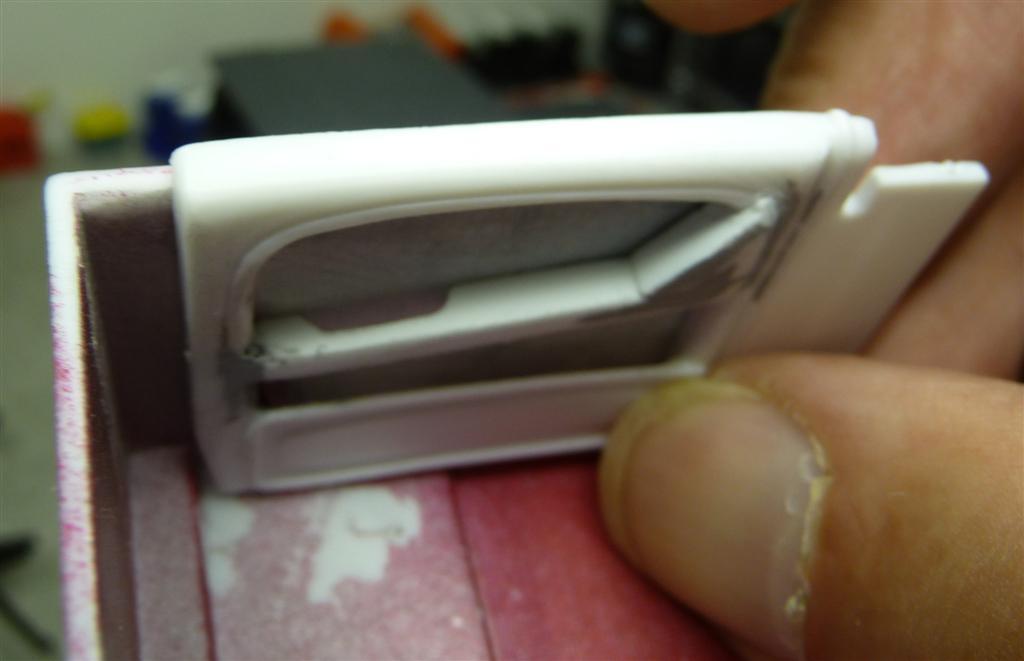
This is what I did to a '64, scratched console, Mercedes buckets and modified kit door cards.
-
International Scout II
dino246gt replied to mrmike's topic in WIP: Model Trucks: Pickups, Vans, SUVs, Light Commercial
I just made a simple flat piece of scrap styrene fit. One tip: IF you're jacking the Scout way up, you can mount the transfer case at an angle to reduce the angle of the front driveshaft.
-
I'm lovin' this custom, very cool and nicely integrated DeSoto bumper, I love it! Rear design is very smooth also. It's not easy making a radical custom look good, you've done it though, nice!
-
As a true Ferraristi, I LOVE the 288GTO! It IS one of the best looking cars ever, really. Go for it, I'll be watching with interest. They weren't ALL red! Ciao!
-
I sure do and those are what I'm using, 600, 1000, 1500 and 2500. I love those things!
-
Sand putty, sand, prime, sand, putty, sand, prime, sand, putty, sand, prime! Did I mention, wait in between, sand, putty, sand, prime, sand, putty....... LOL, still trying to get that roof right!
-
This is a very unlikely source of wheels but here I am, using 4 of the Hispano Suiza kit rims with 2 parts box tires on the front and the Heller tires on the rear! Just a mock up to verify the stance, I like it! Plan is for knock offs.
-
WOW! You are a great modeler! I love how you make kit parts into better parts, that's awesome. This will be a fine AMT built, better than AMT could've imagined! (there's no such person as AMT, but I hope you know what I mean)
-
1950 Chevy 3100 Pickup WIP
dino246gt replied to Duddly01's topic in WIP: Model Trucks: Pickups, Vans, SUVs, Light Commercial
Looks like a great project! I have an old rust-free door out in the barn if you need one? LOL
-
It bugged me that the roof was so flat, so I scored the paint and built up a slight bow with scrap styrene and putty. This was the most difficult part of the build so far and it isn't quite there yet but will be worth the extra effort. I hope!
-
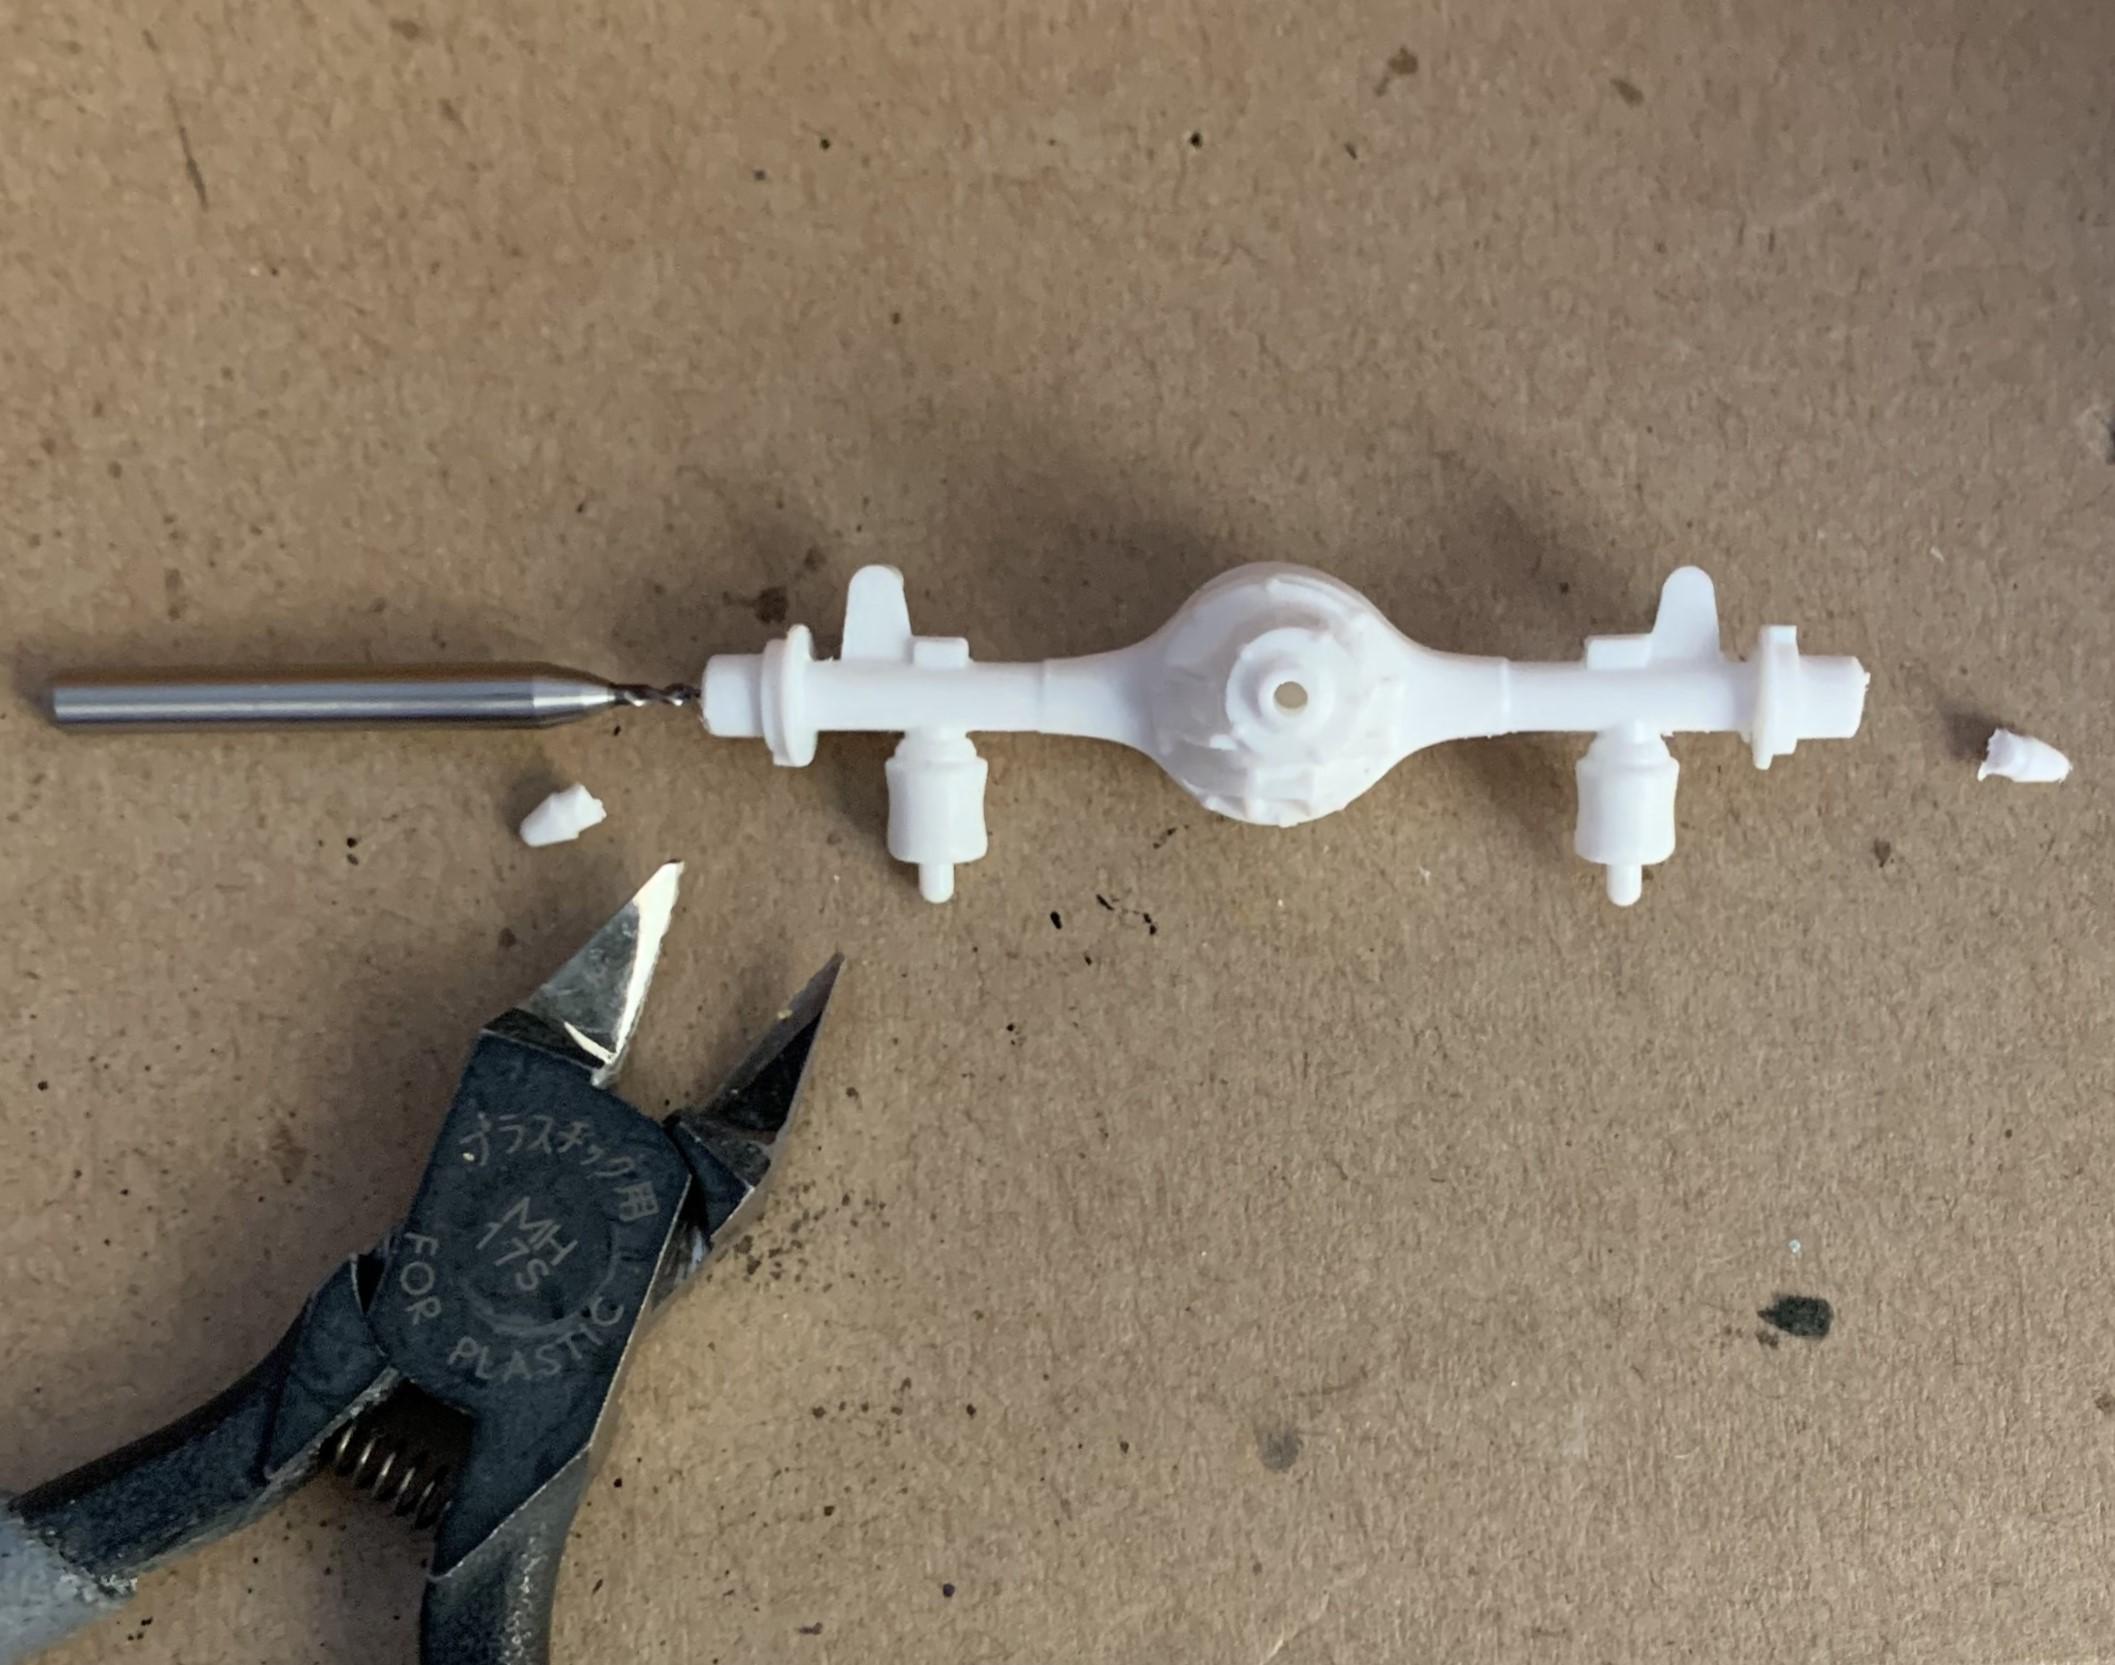
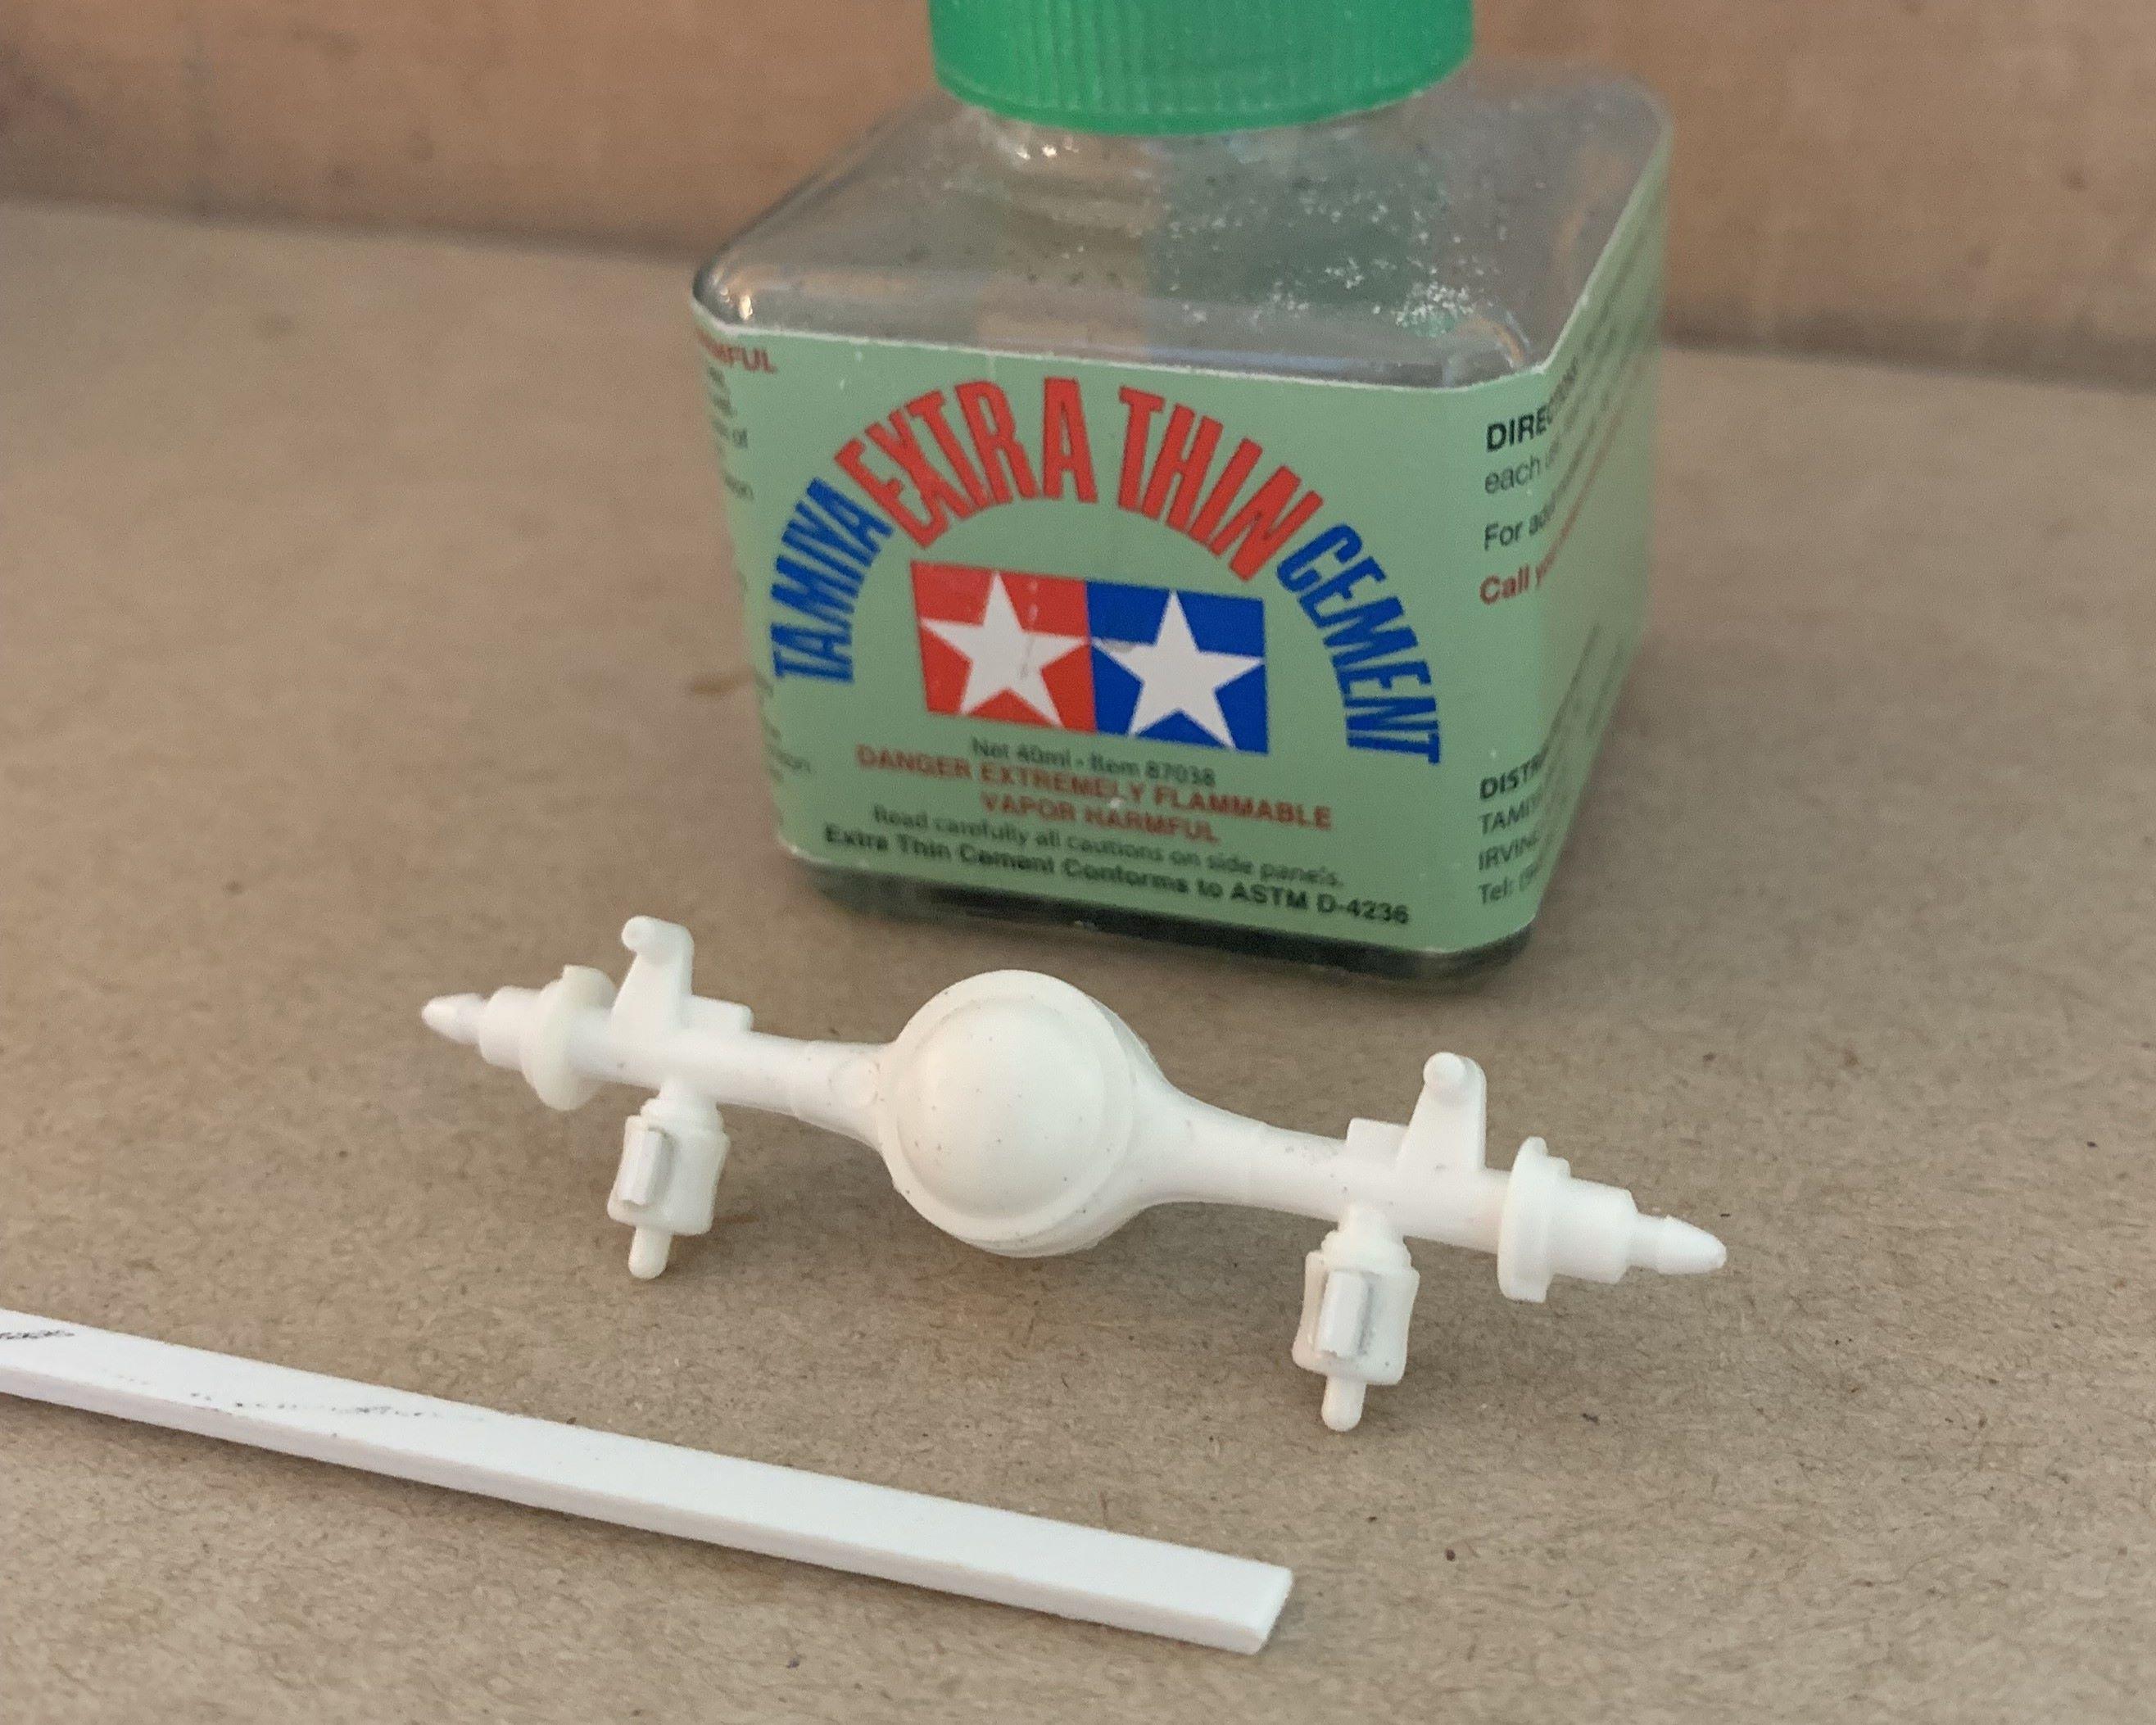
Unfortunately that Revell rear end was not wide enough to clear the Orange Crate body. I cut off those ends and drilled for some metal rod. I used Plastruct tube over the metal rod, loaded with super glue and got the correct width. Started adding brake lines and finned Buick drums.
-
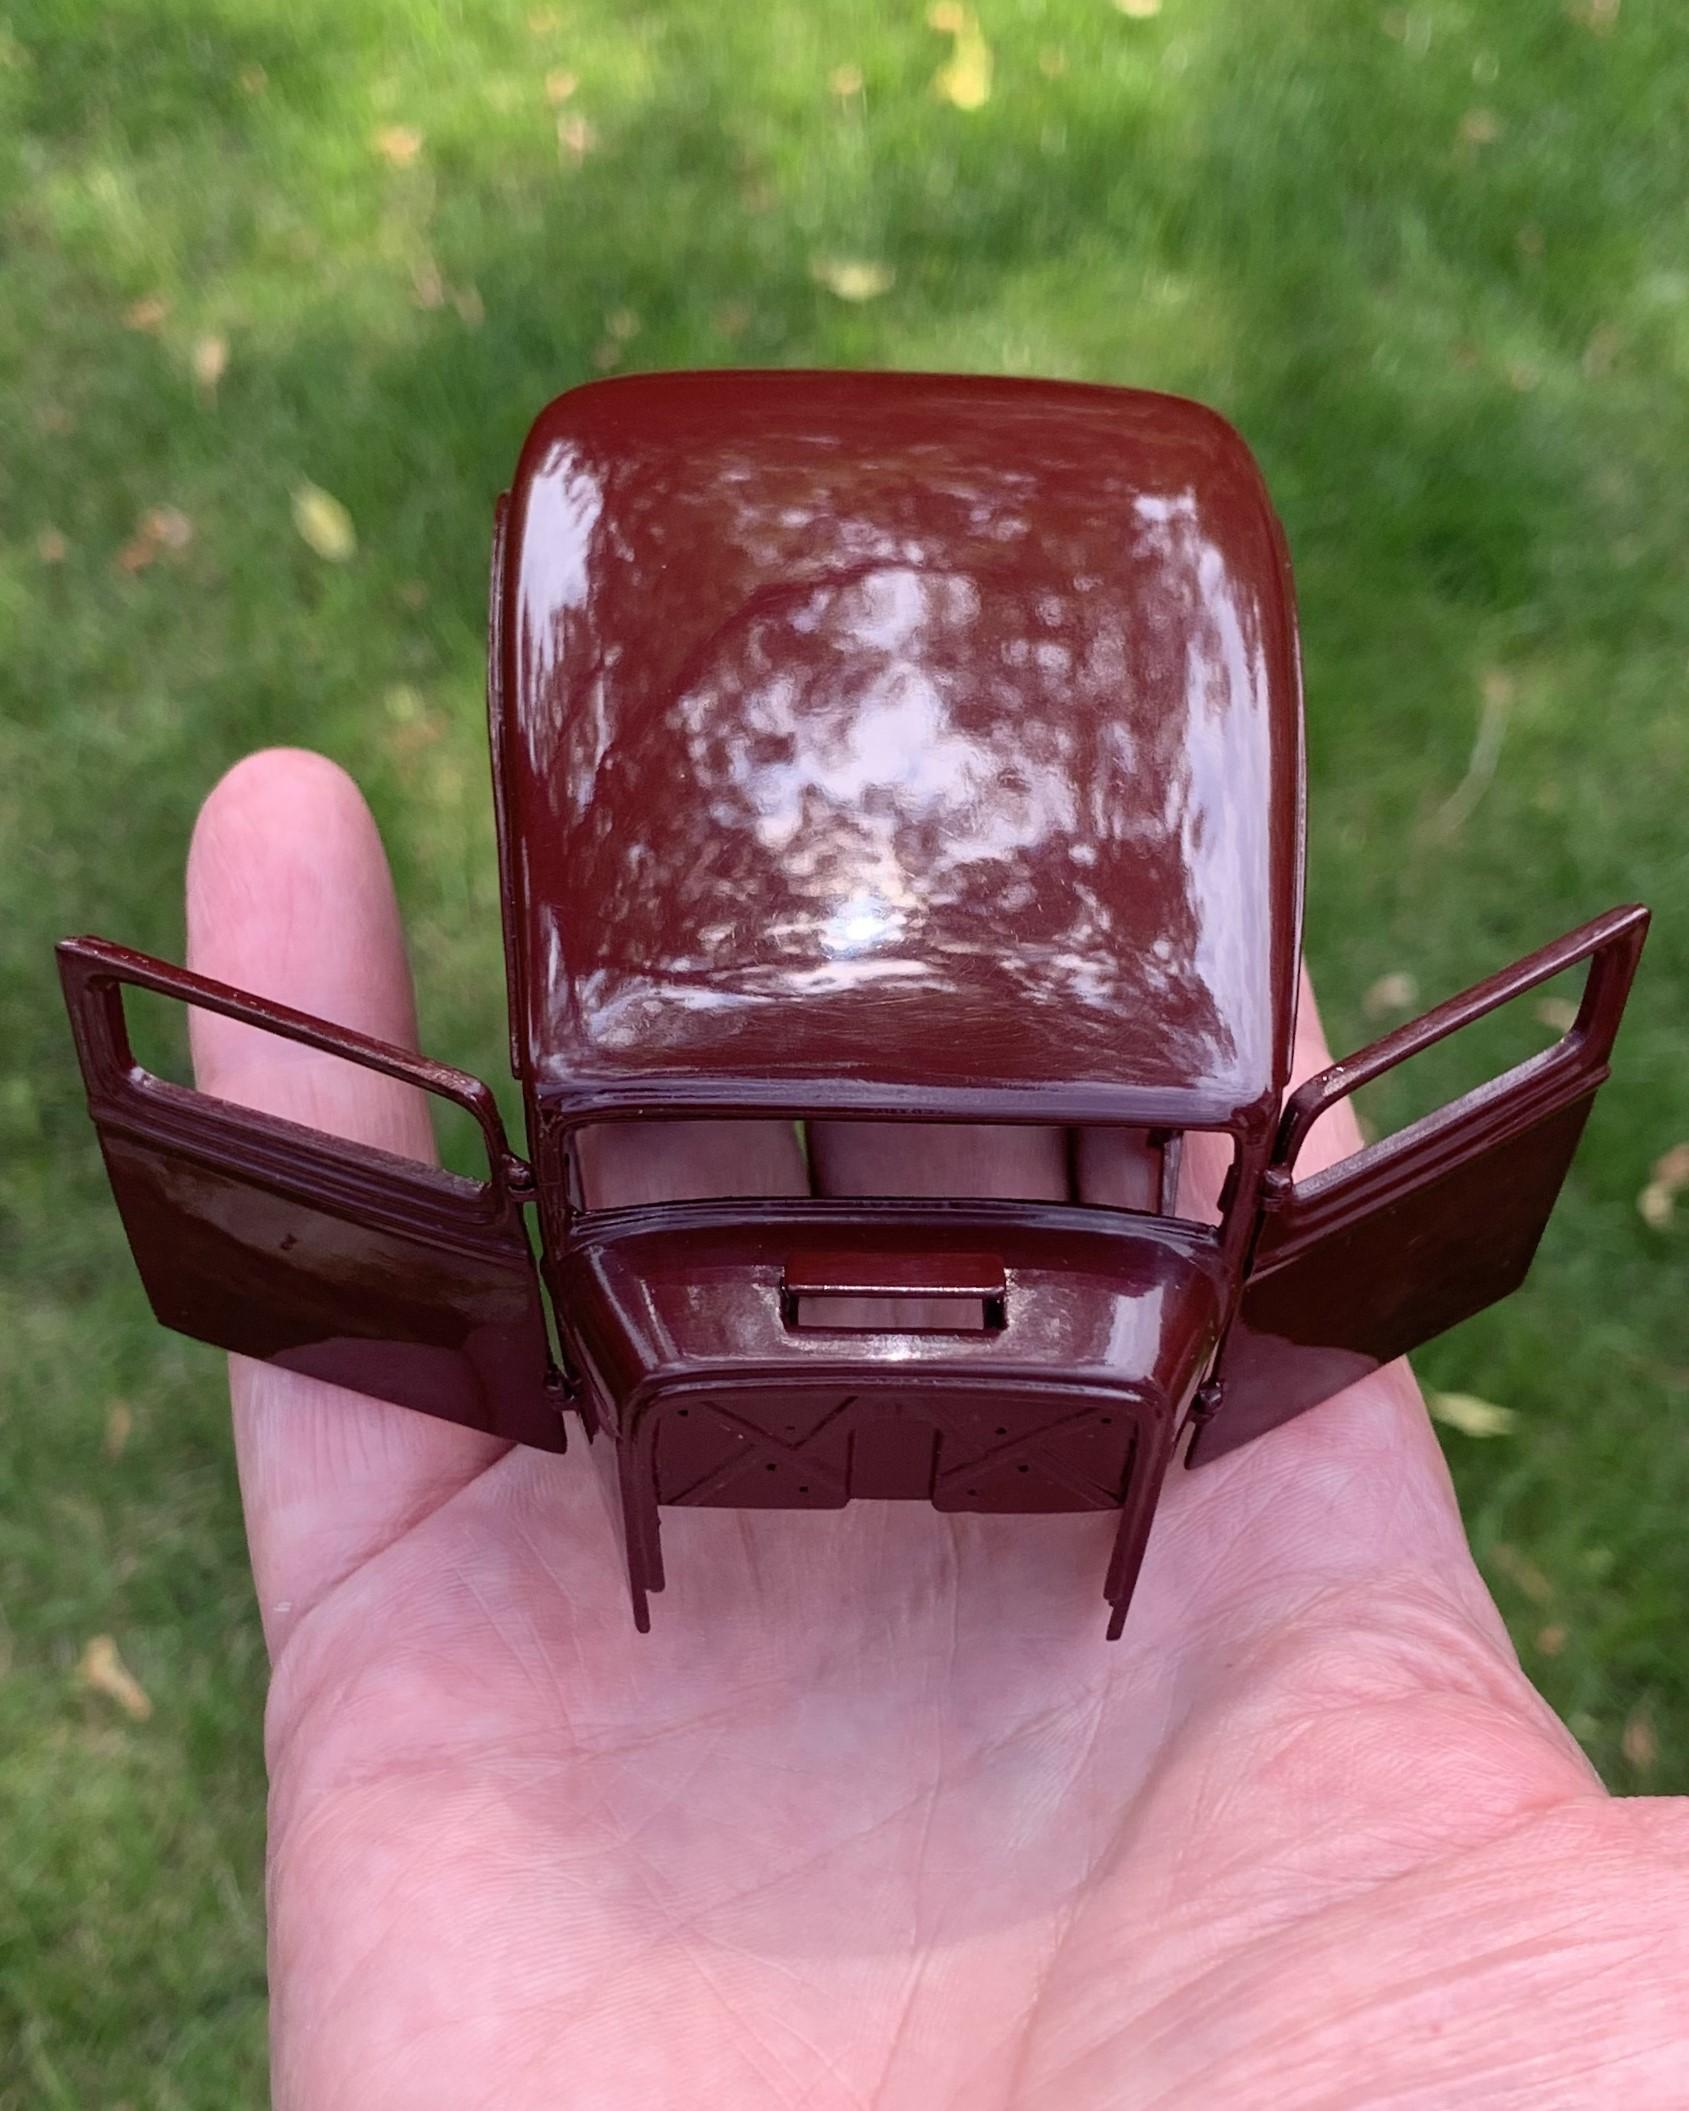
This is just a little "how to" or "must do" that I'm sure most of you already know. Hollow backs are filled with styrene filed to fit and drenched in extra thin glue then pushed hard in. After dried, cut off and sanded to shape. So easy and so much better.
-
Who doesn't love a mock-up? Let's see yours!
dino246gt replied to Belairconvertable's topic in WIP: Model Cars
Just checking the stance:
-
Almost all kits, 1/25th included suffer from this! Cheers!
-
Welcome to the madness Robert! The more the merrier! (that's a weird old saying, probably from around 1932))
-
I was skeptical at first but you made it work out beautifully! Well done!
-
Great tires and wheels, in both scales, 1/12th and 1/16th! Ya gotta get those wheel covers set deeper into the rims though, agree?
-
Man that engine is fantastic! Can't wait to see the rest of this beauty come together, you da man!


.JPG.bbbf9de3358f5a810bbdddeb5b54a3d7.JPG)

.JPG.62b00d7cbcecc9d2e2bee2ef8012f276.JPG)