dino246gt
-
Posts
2,244 -
Joined
-
Last visited
Content Type
Profiles
Forums
Events
Gallery
Everything posted by dino246gt
-
Nice work! That dash looks fantastic! Nice to see these old kits built nicely.
-
Looking great! Time to change your paint booth filter! (someone had to say it, LOL)
-

-
Today's the annual contest at the Winnipeg Model Car Club, and I'm taking my Early Falcon Gasser, so won't have time to work on the Merc. But it's there on the bench! Cheers! Happy Sunday Dec. 15th.
-
Man that's some fantastic work on this one! Love all the mods, so much like building a real one. It's a show stopper, I love it! Thanks for sharing all the progress with explanations, VERY informative!!
-
Welcome aboard Allen! Great start on a great kit! Keep posting and asking questions, if you want, we're all here to help each other. Cheers!
-
Thanks Johnyrotten! Now I've decided that the 289 4-speed just isn't enough! I'm working on a 351 Windsor with a Tremac 6-speed manual, that ought to be better! It'll have 4 Webers on it also, cross ram style!
-
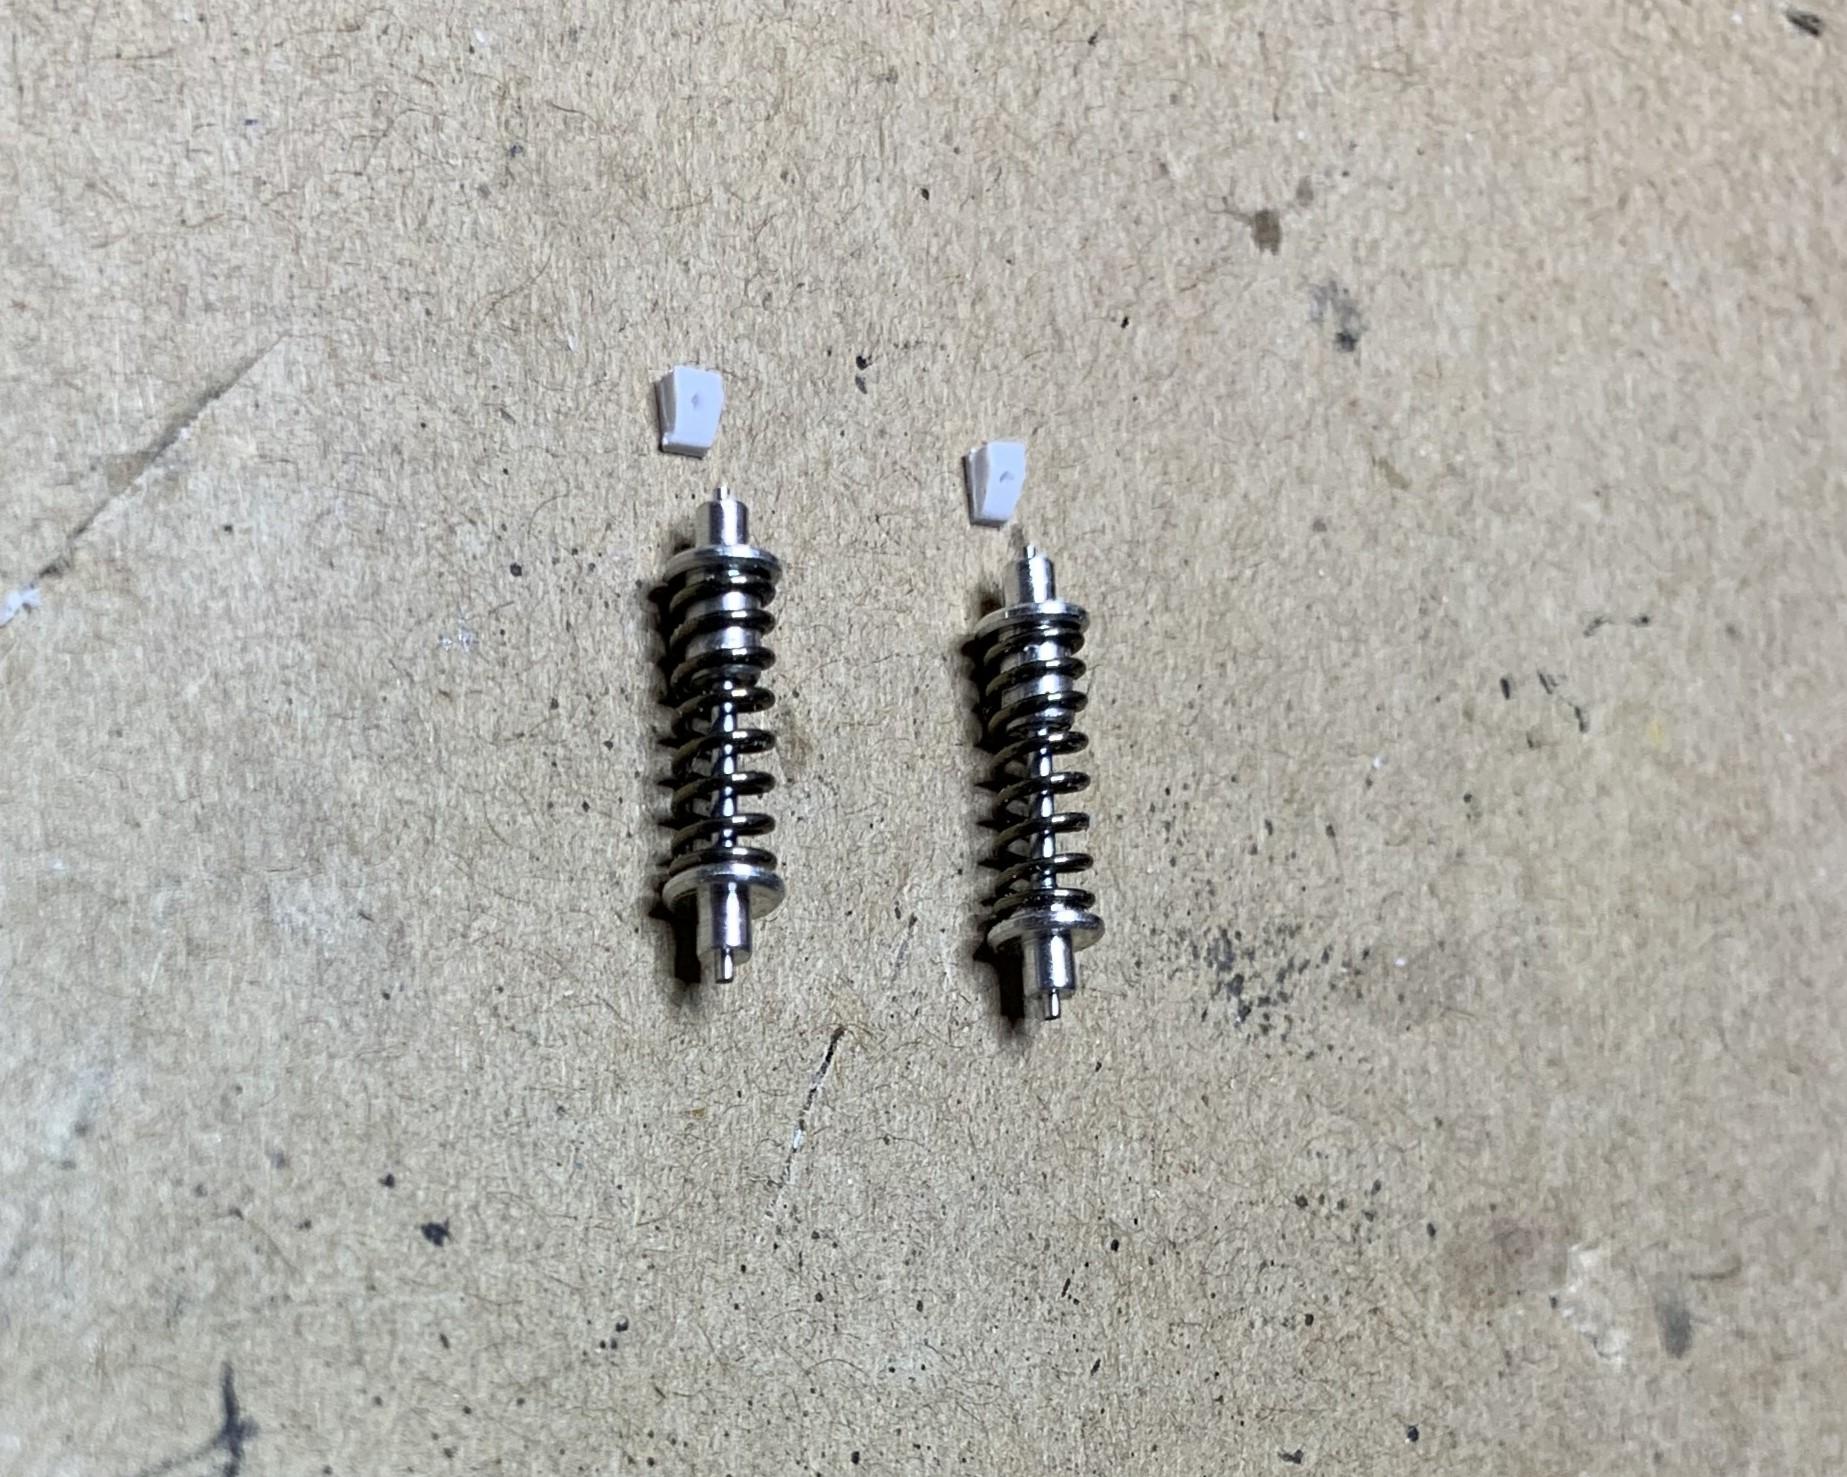
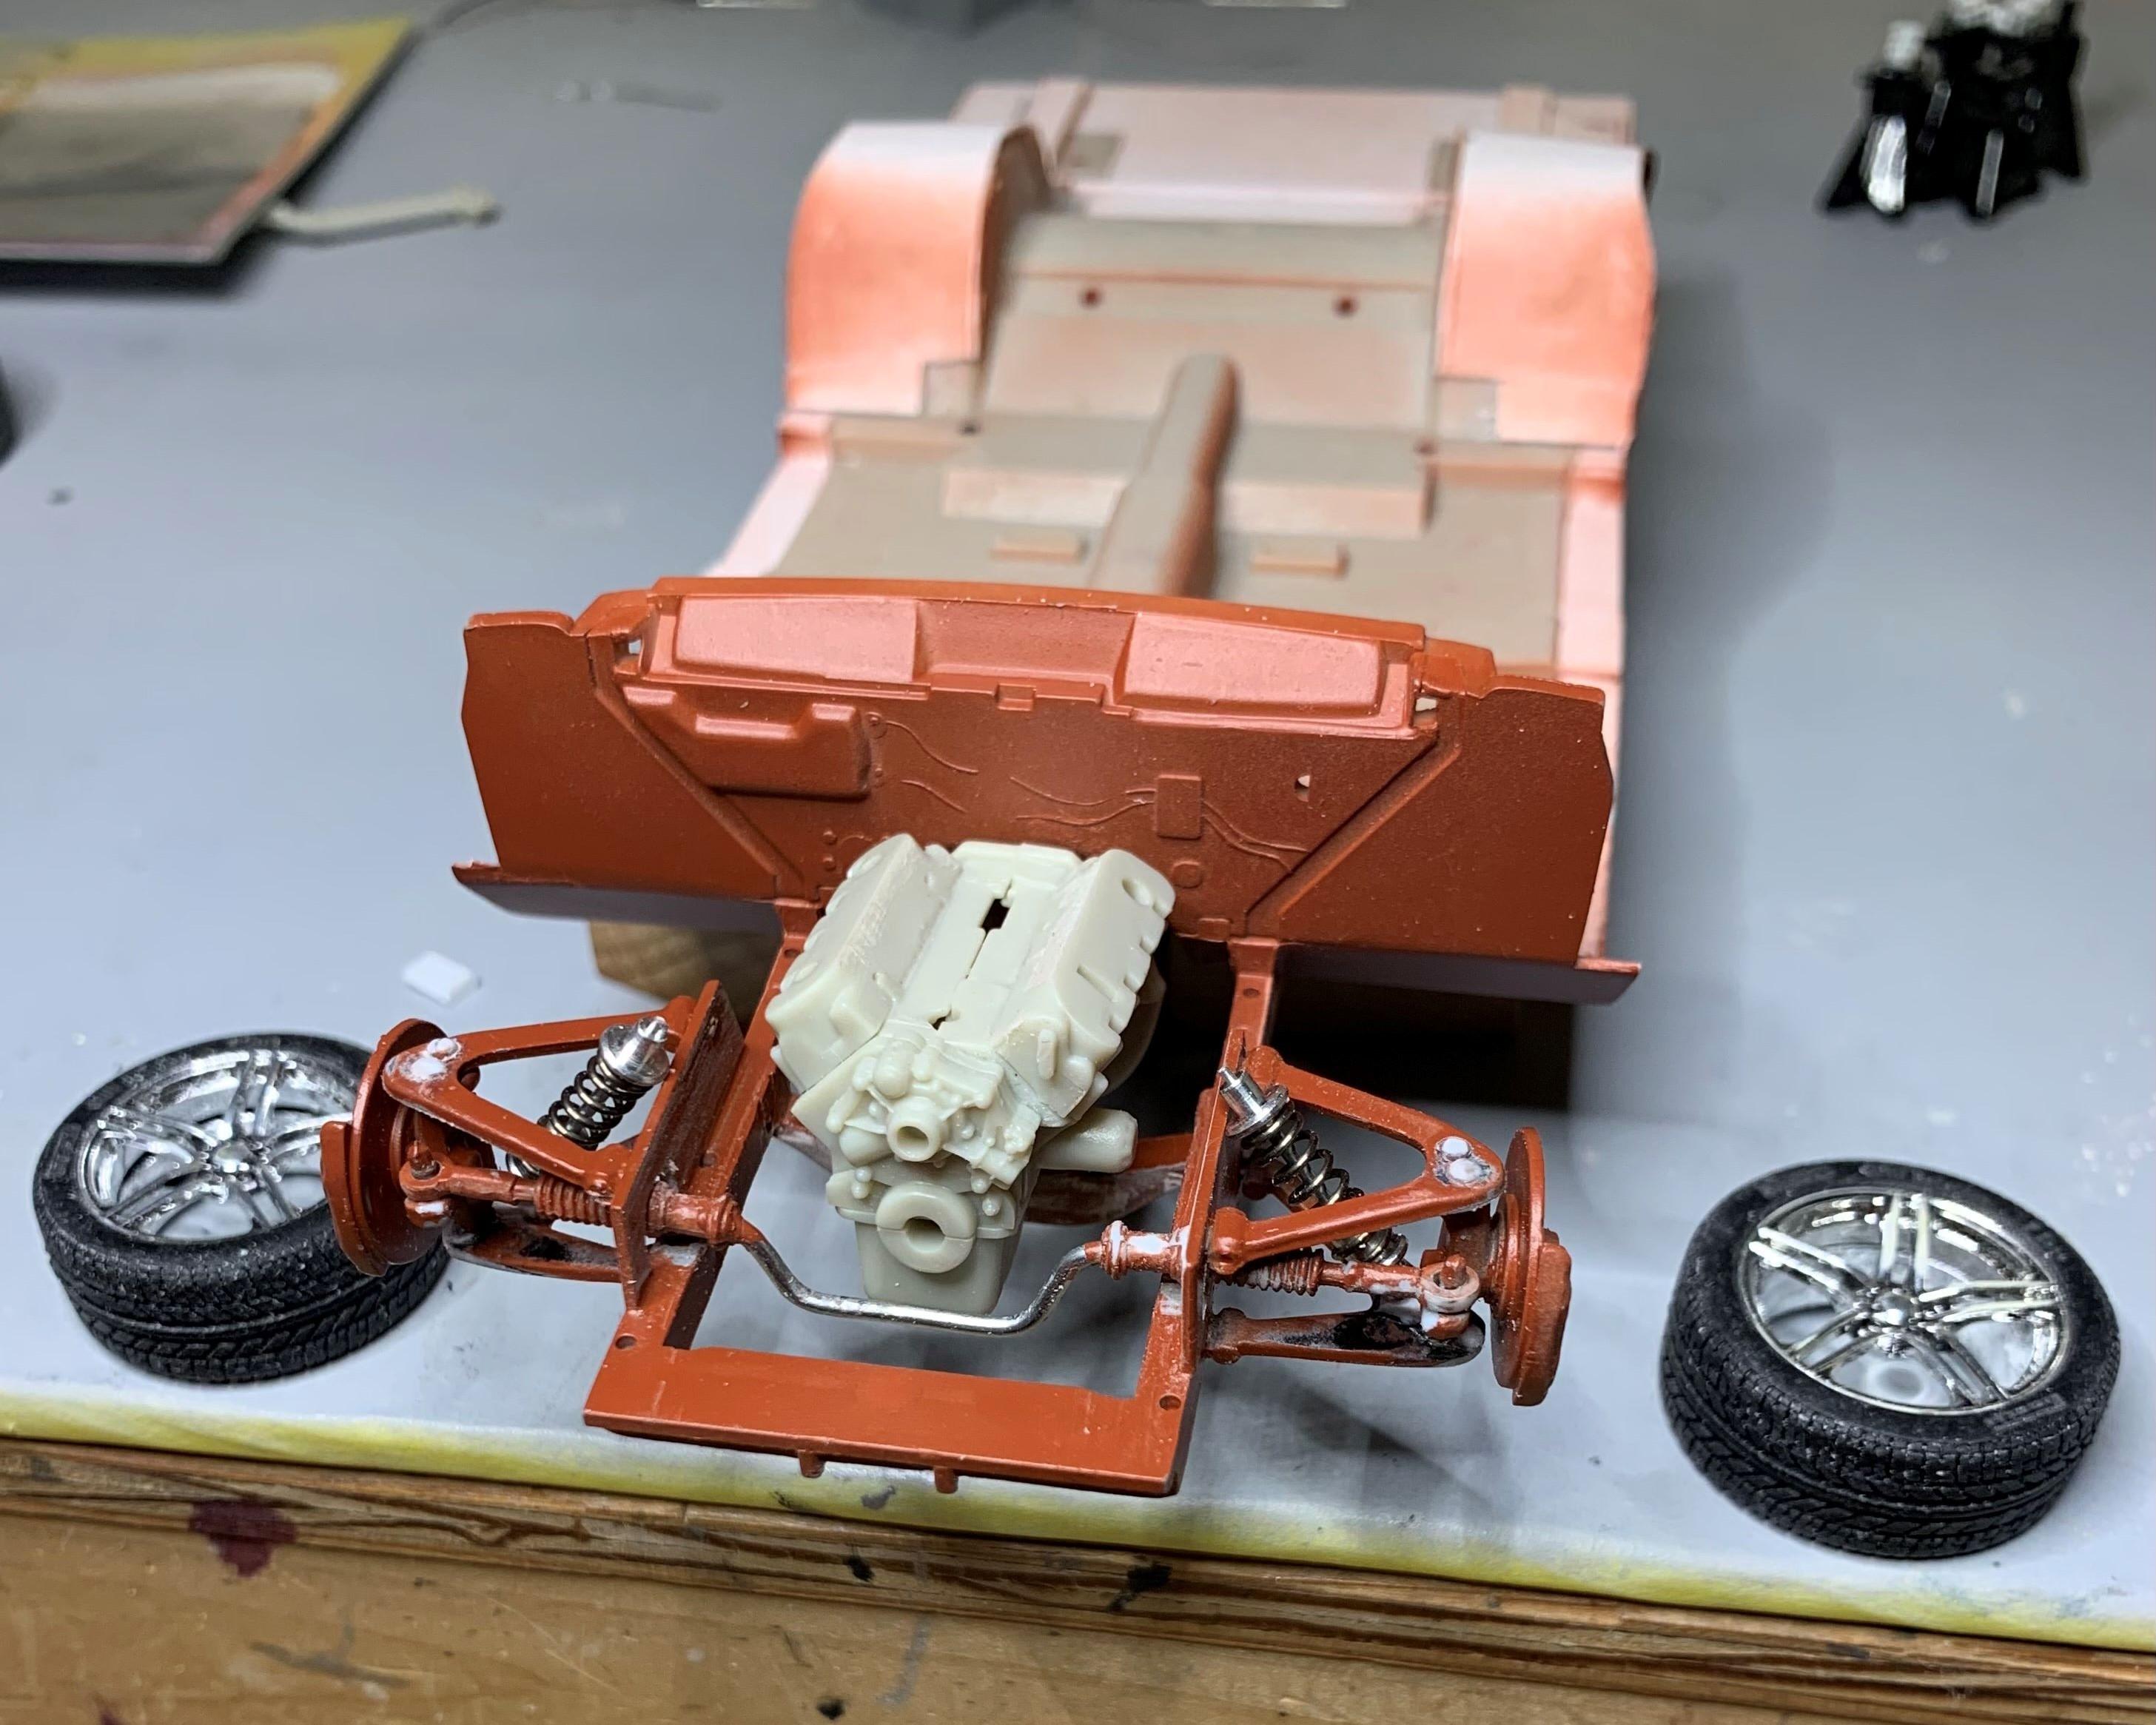
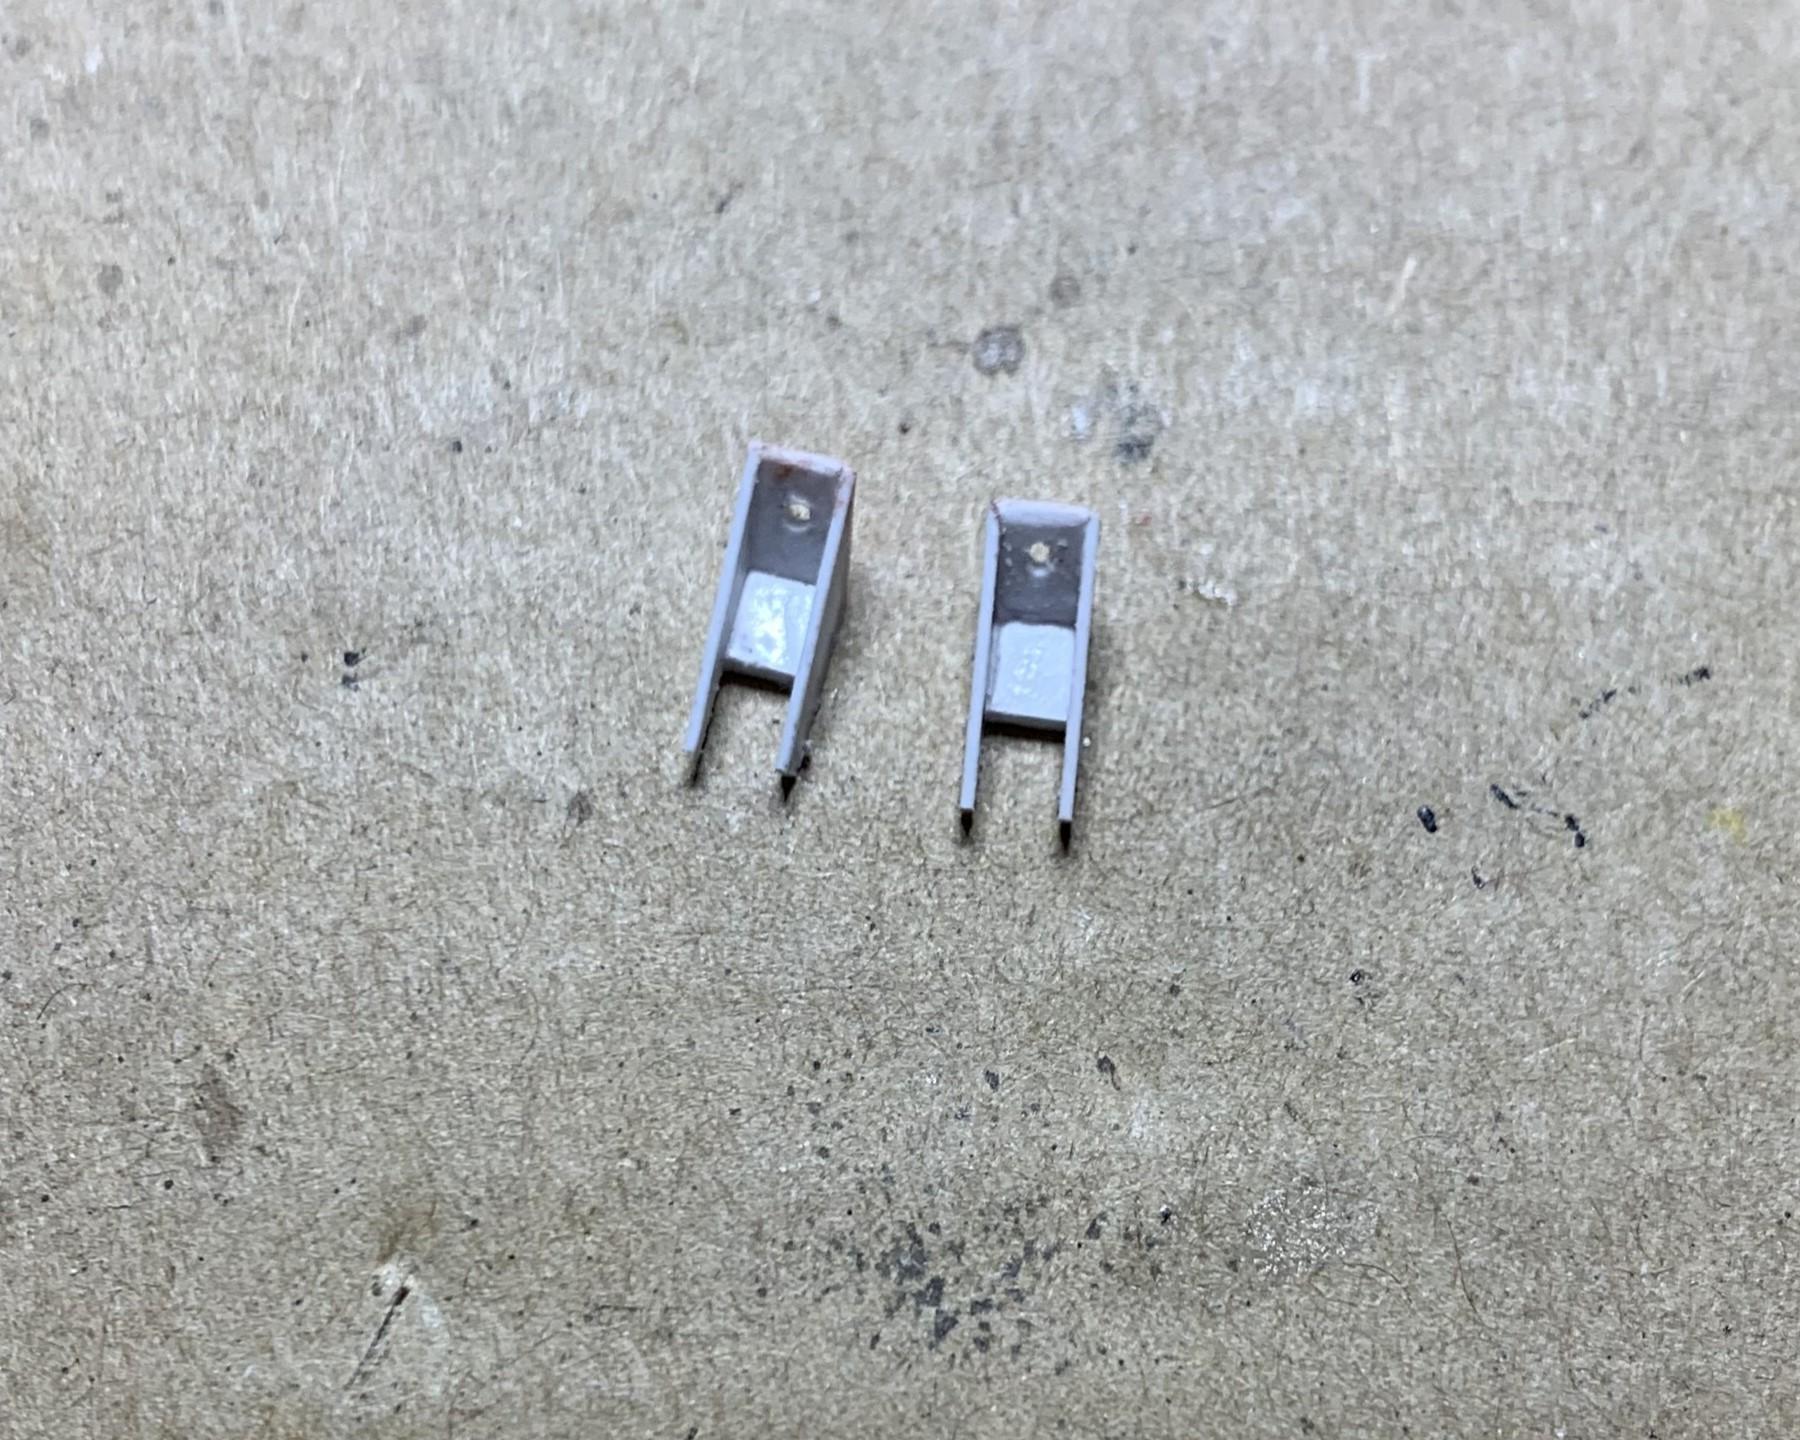
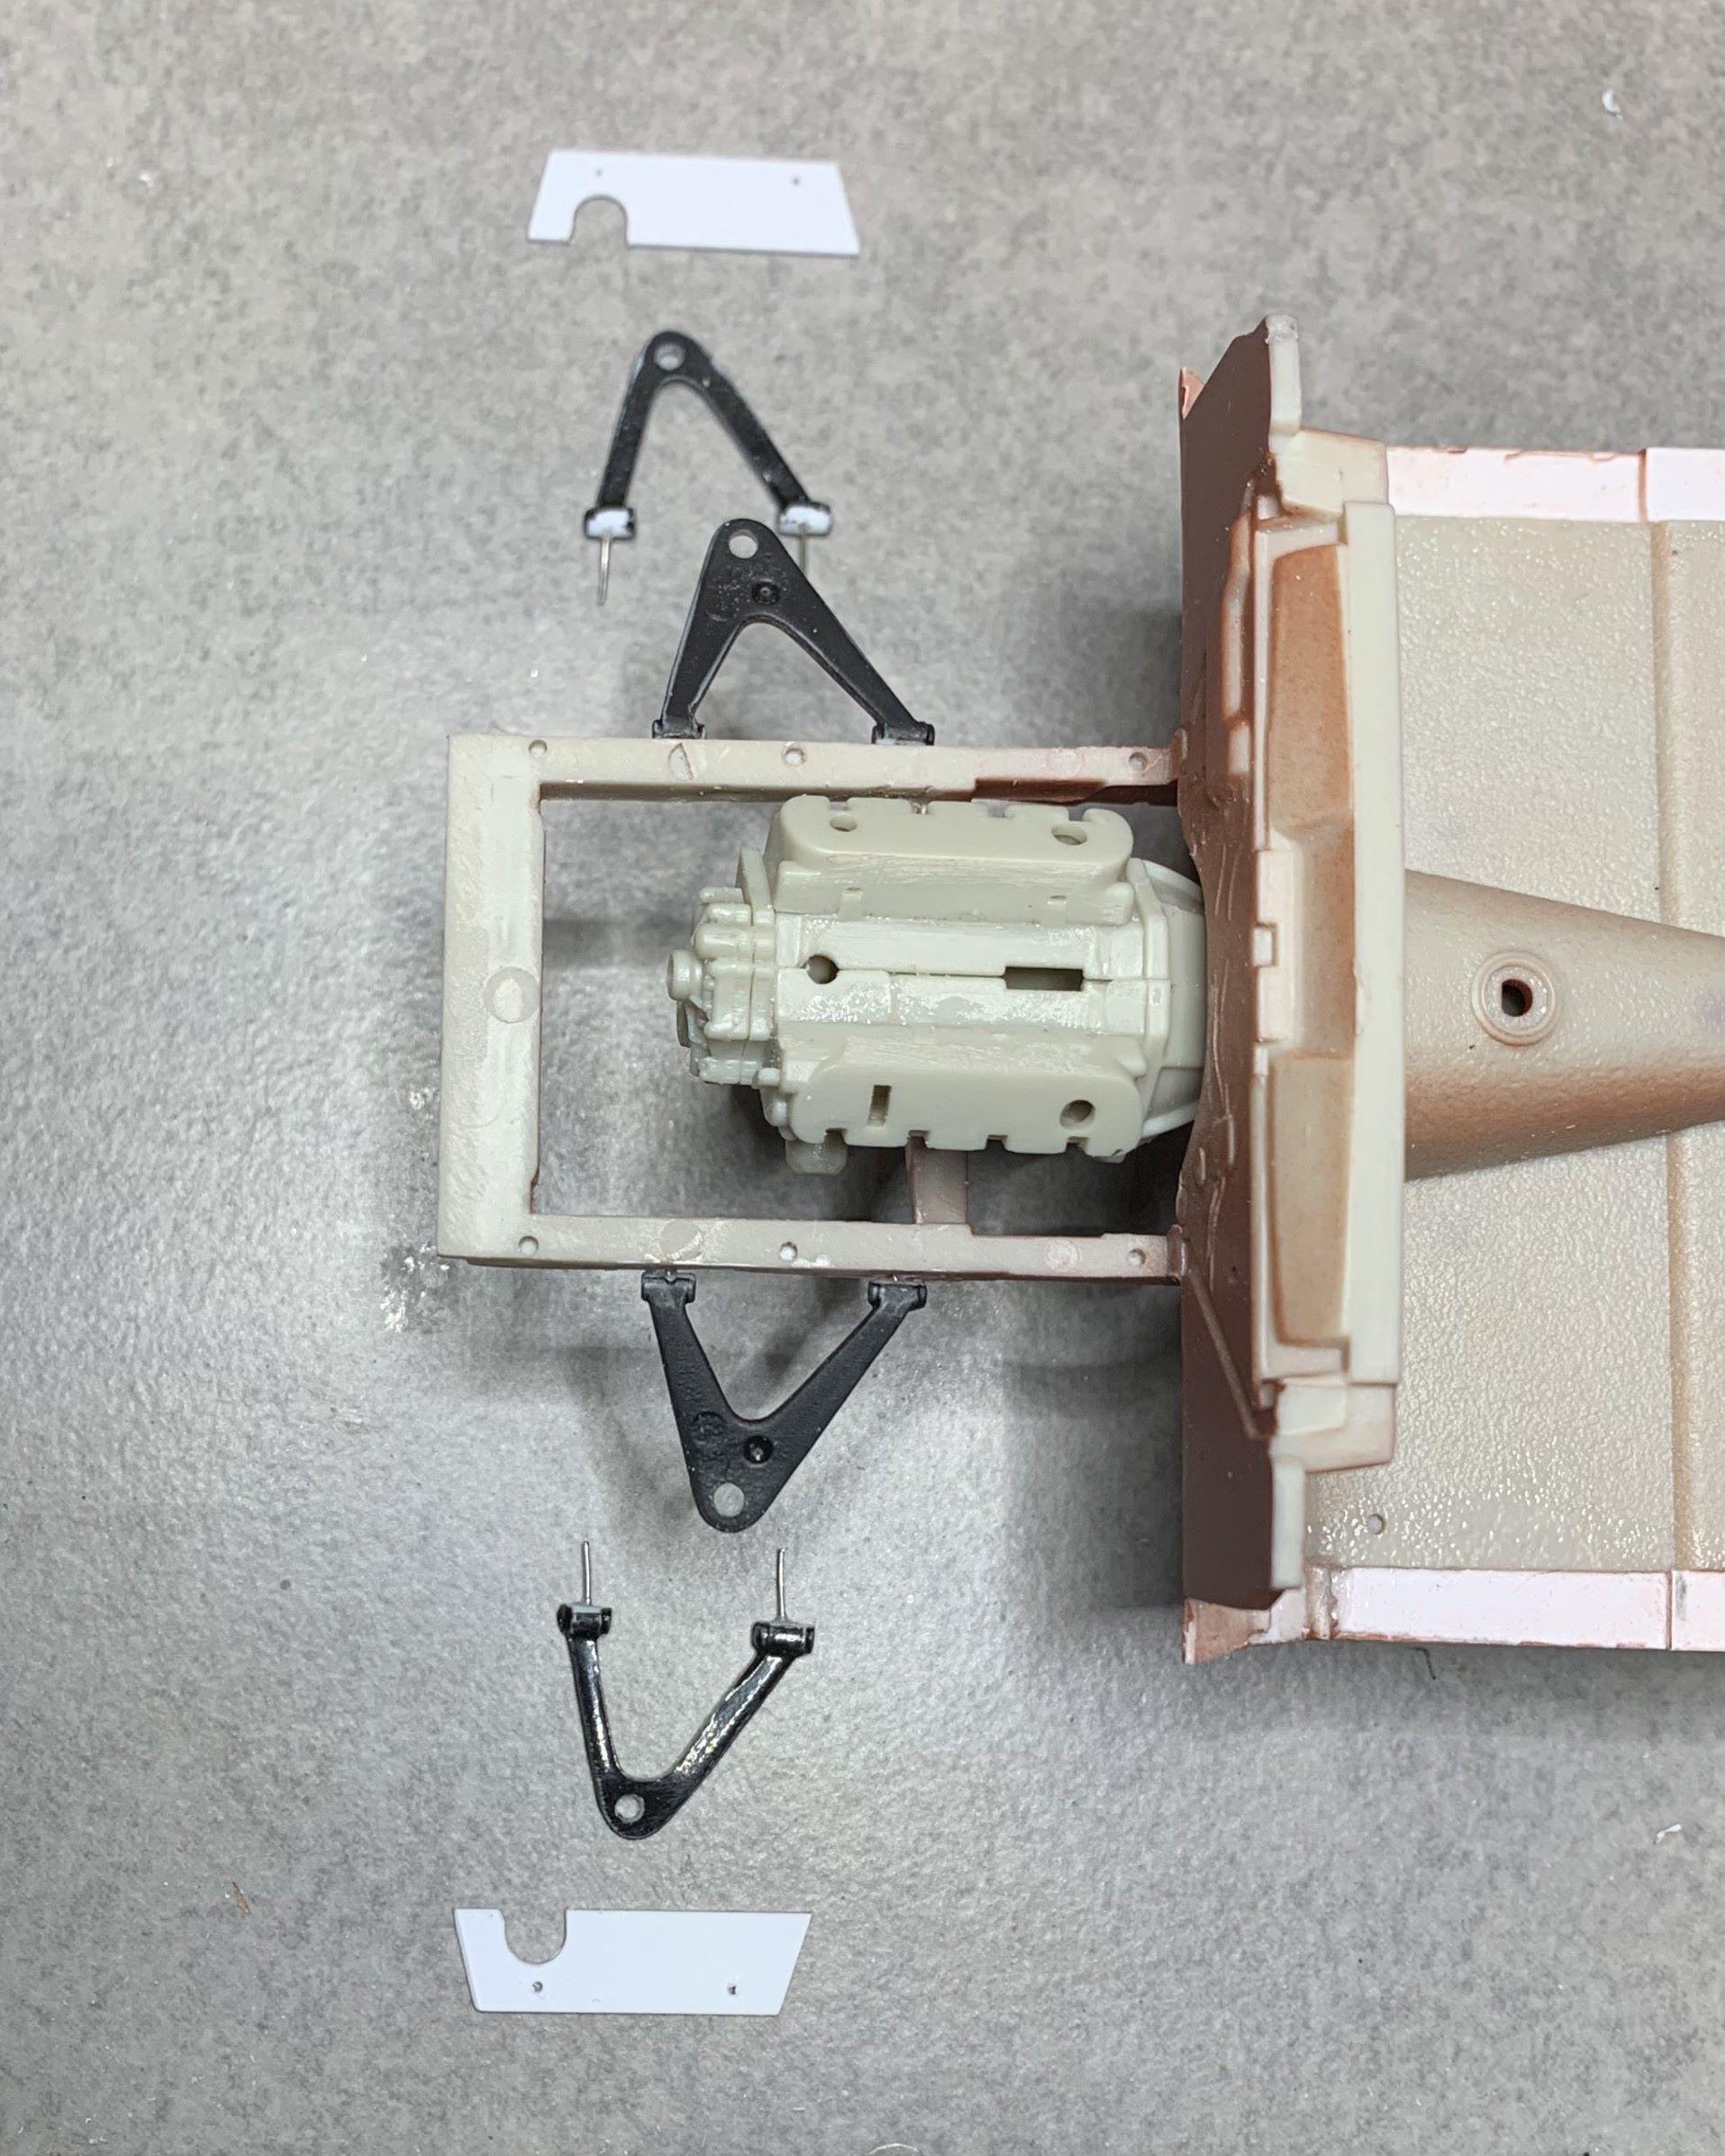
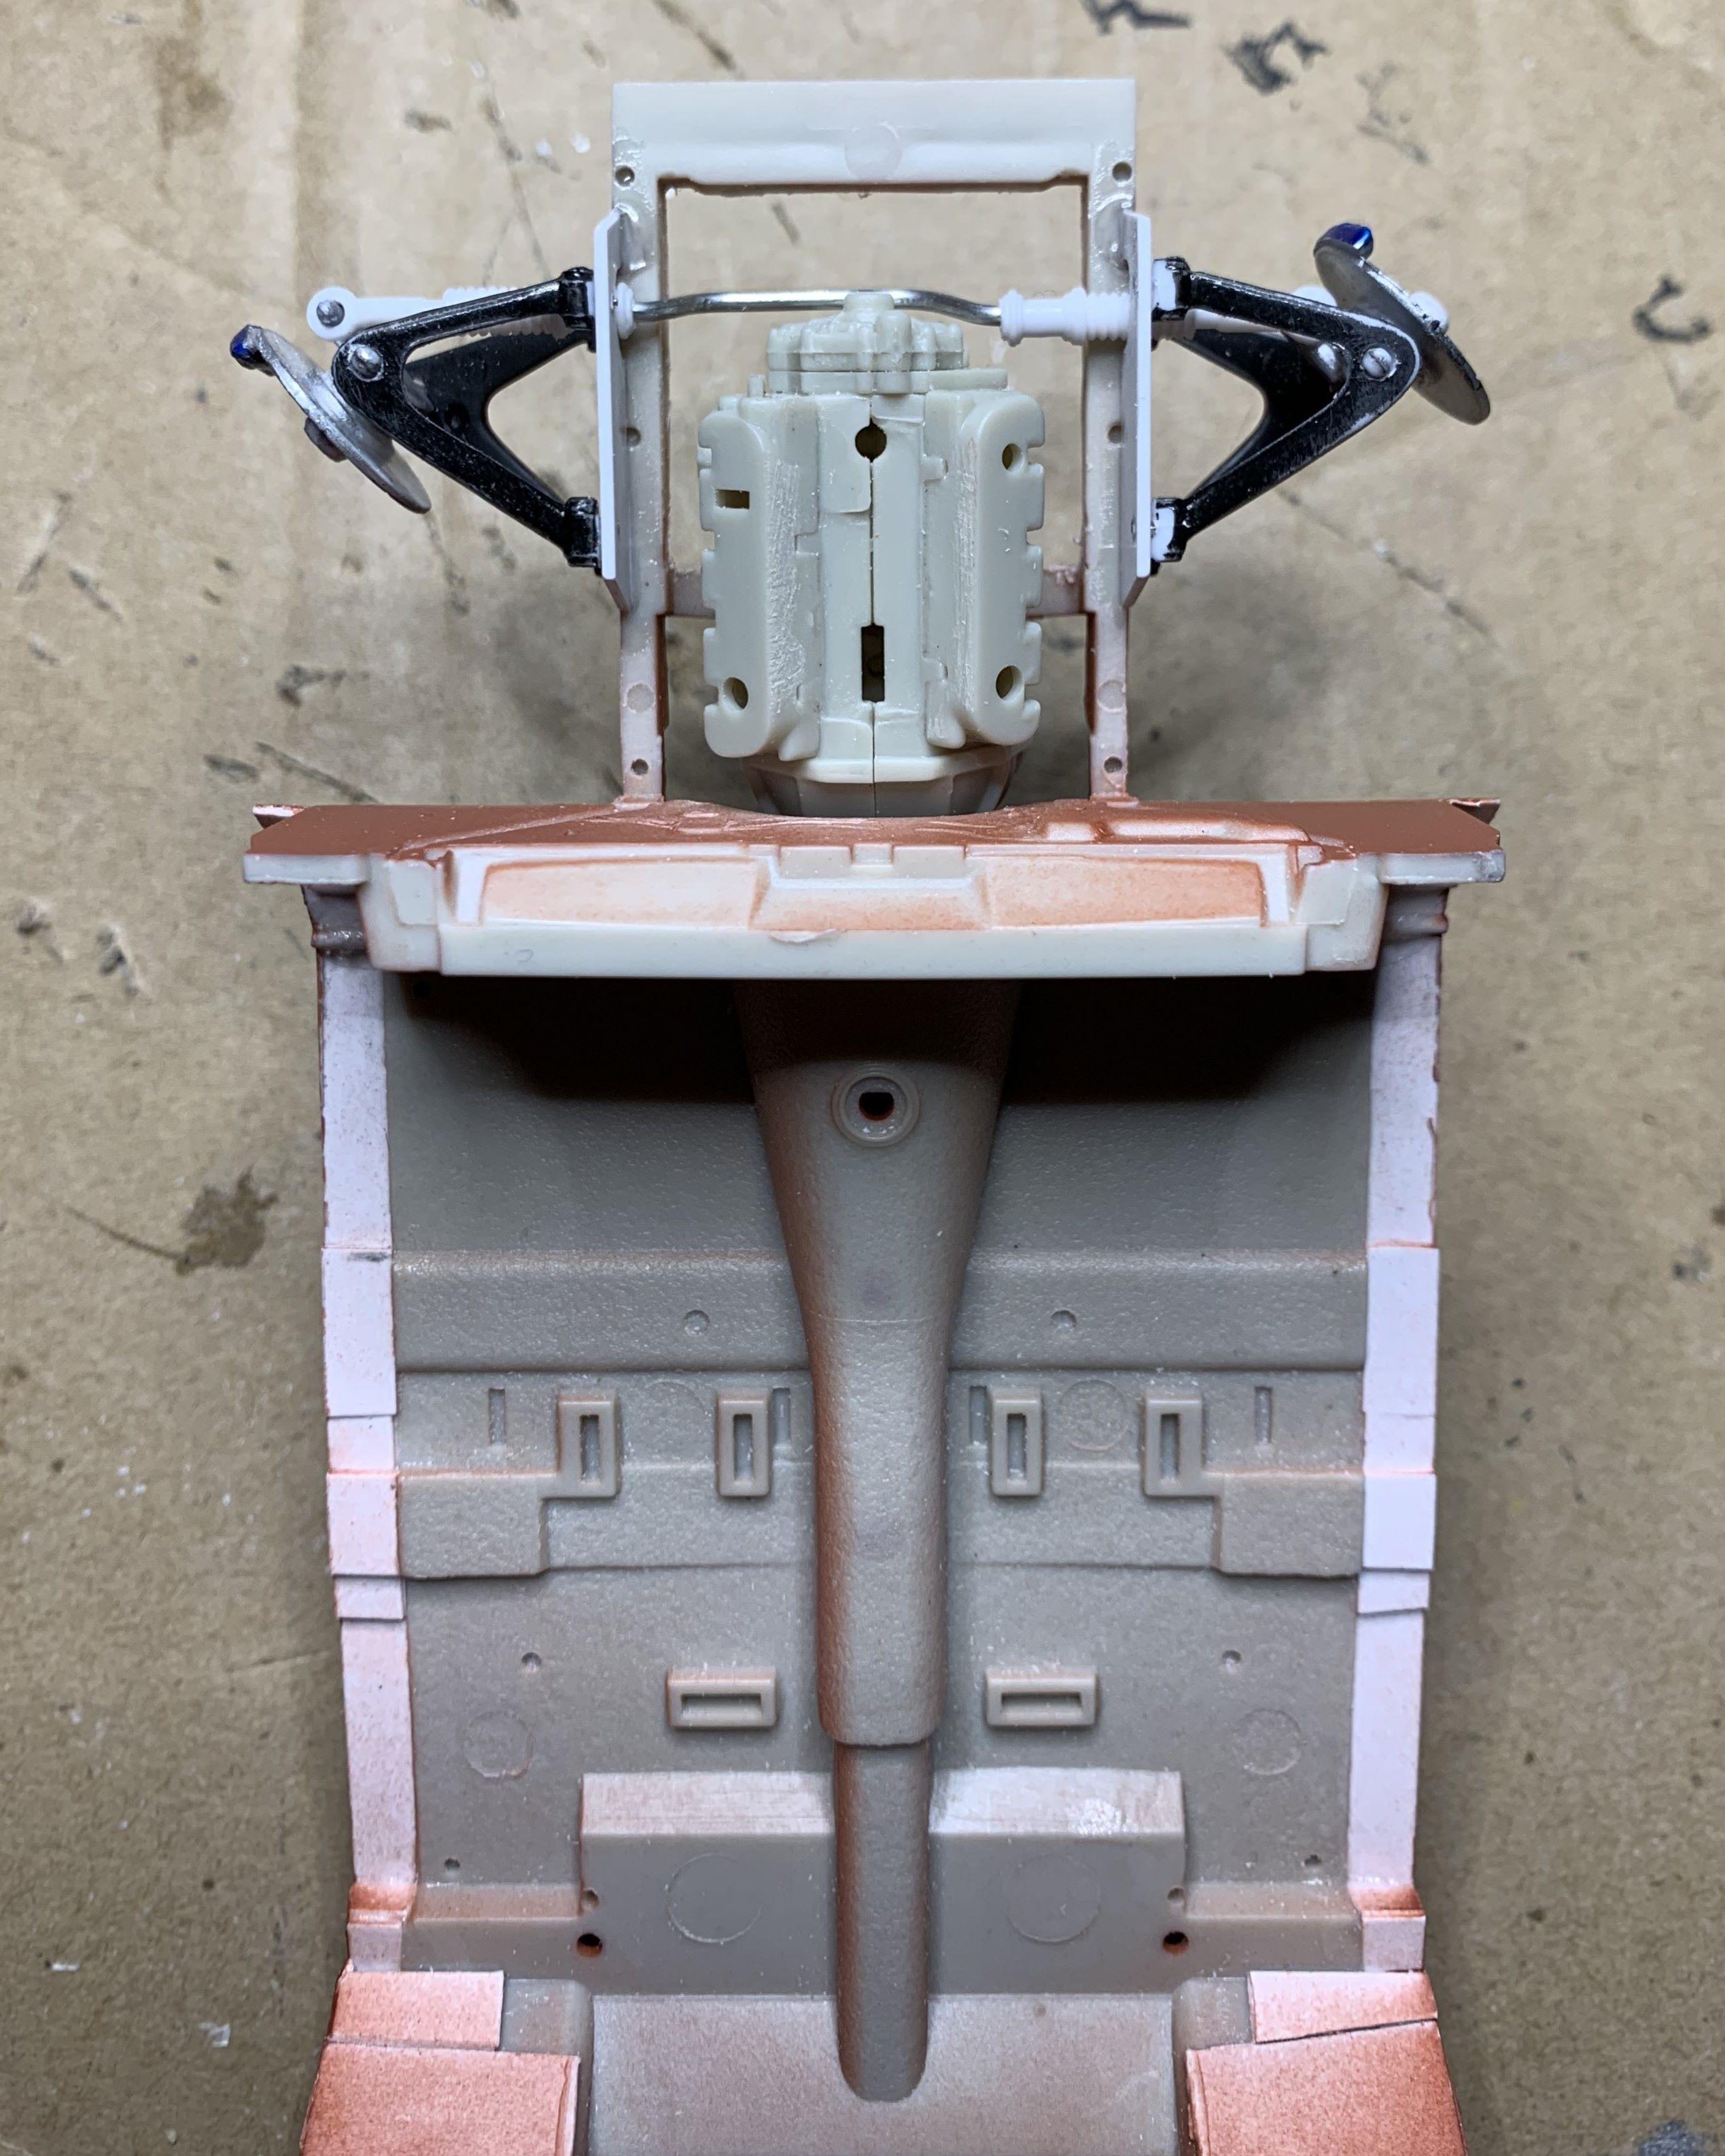
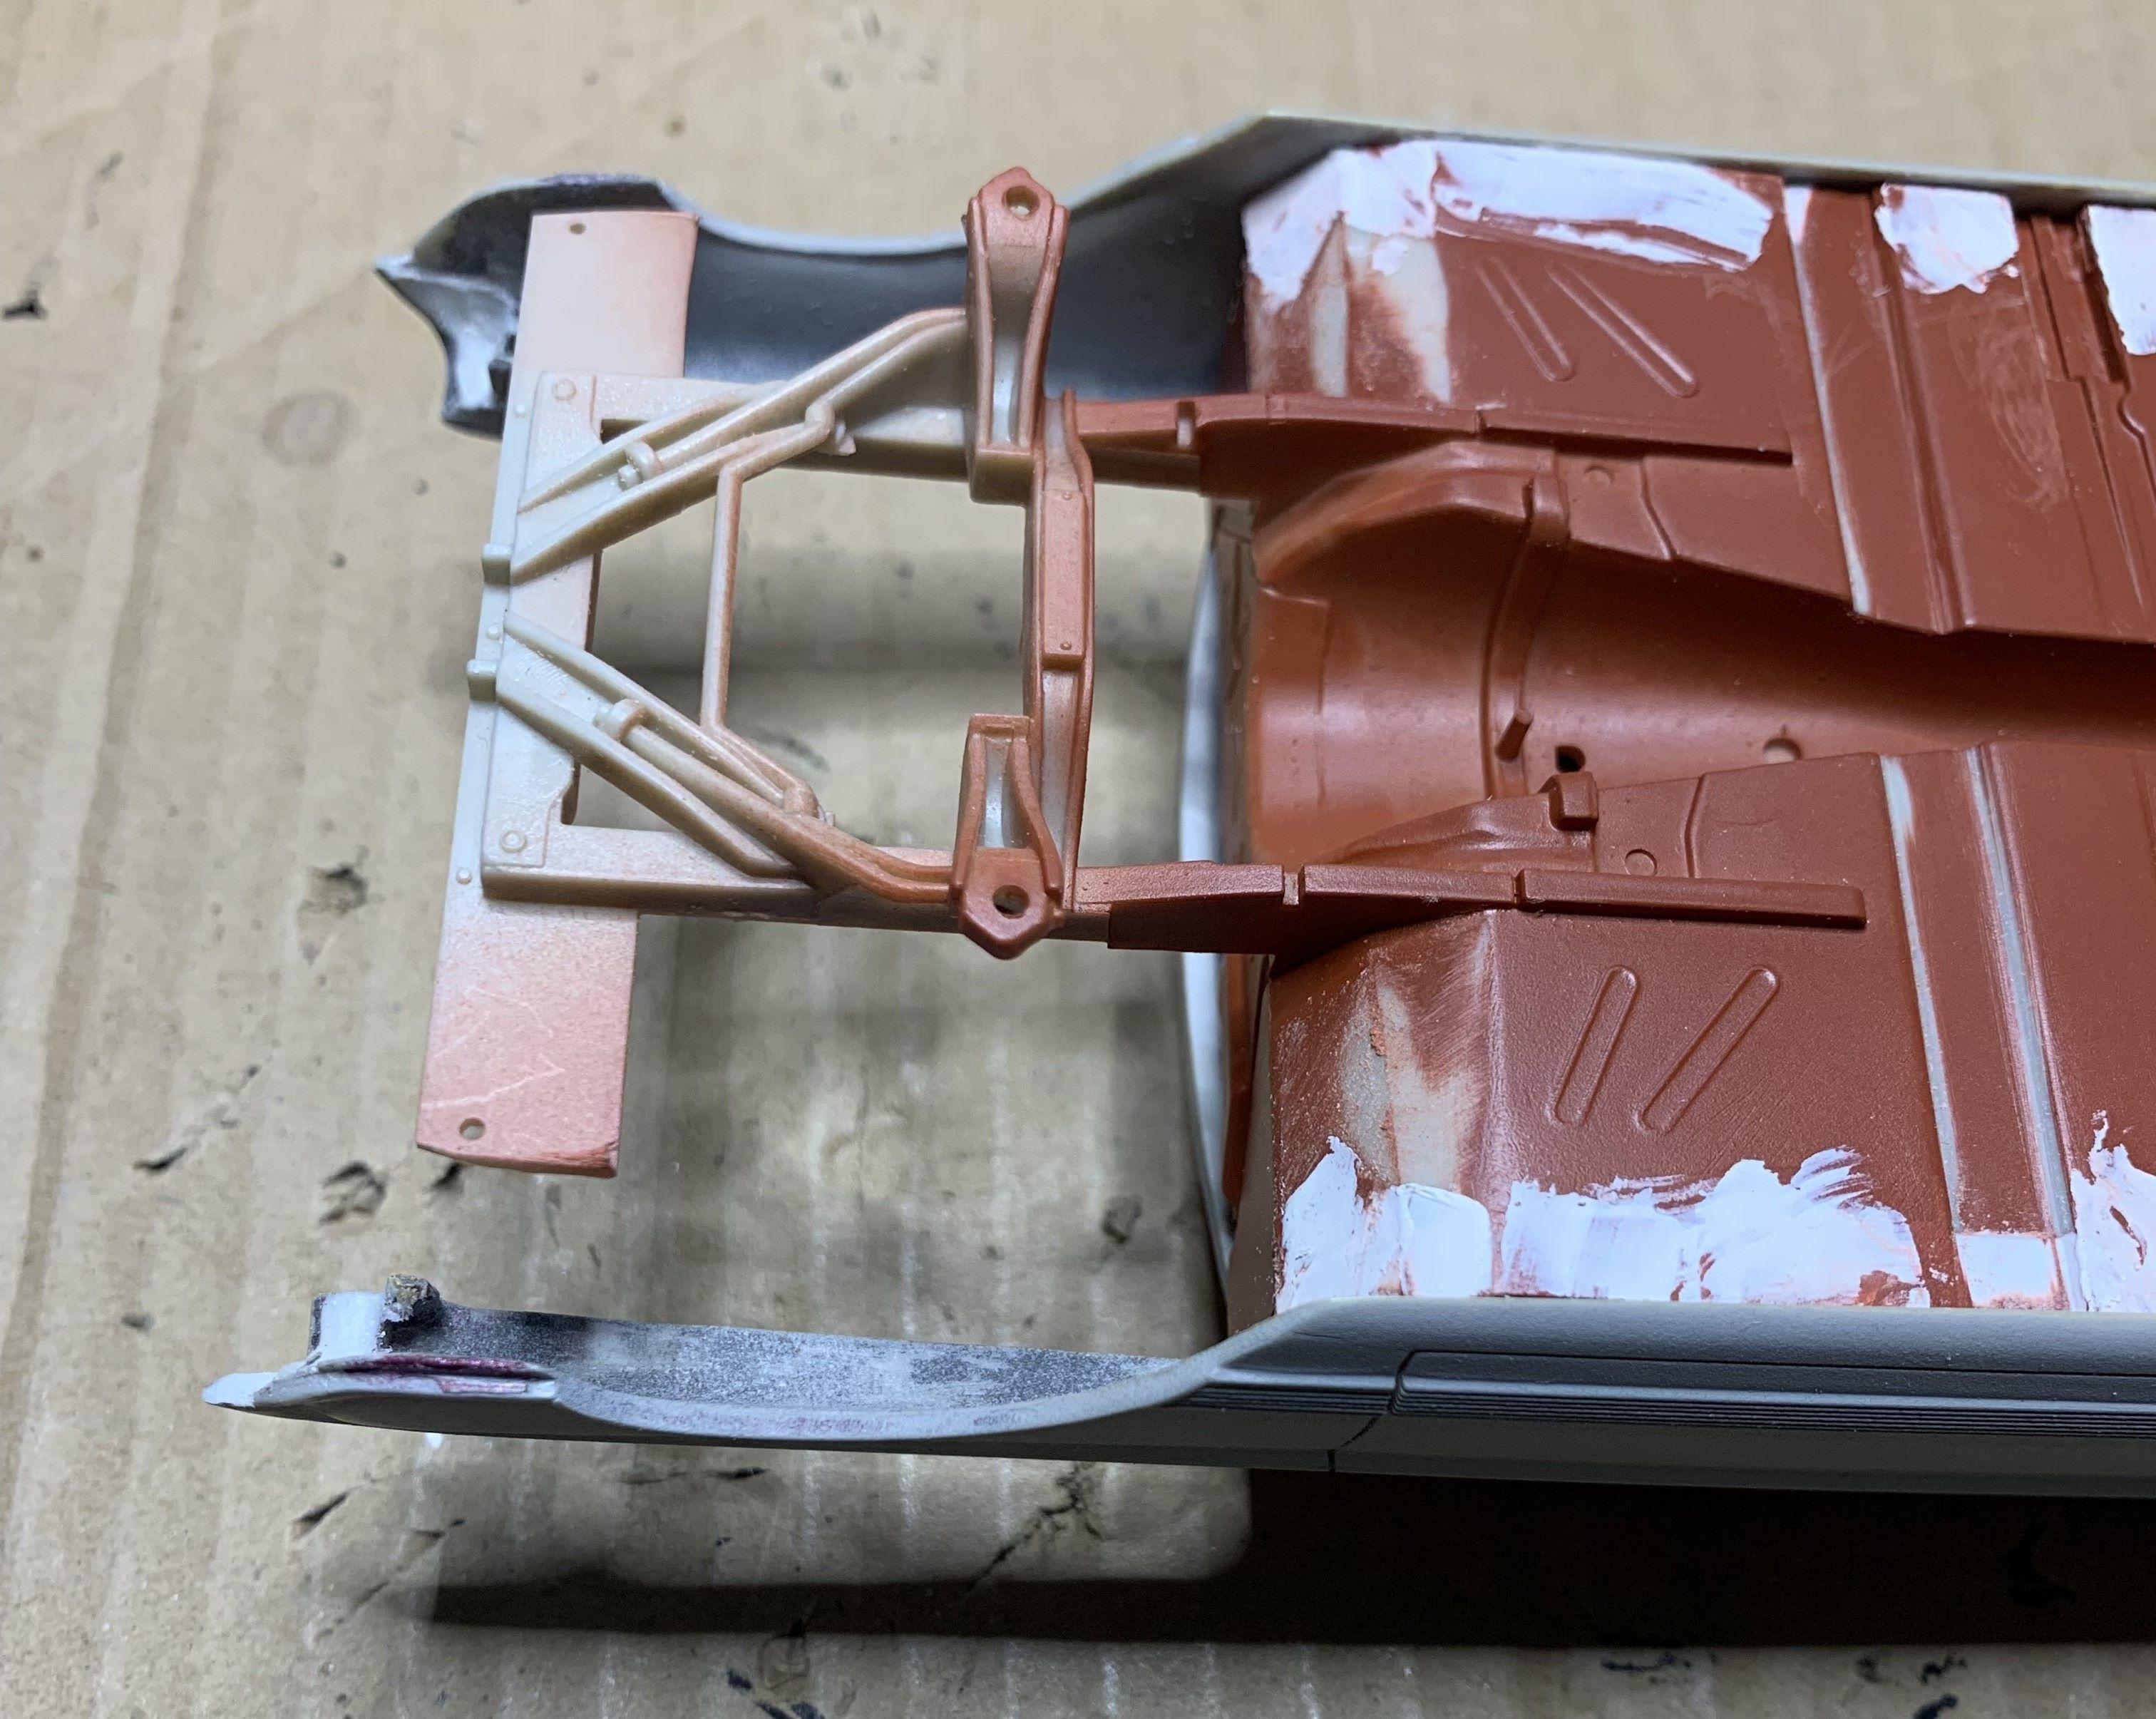
I got these cool coil overs, 2 pair, so I'll use them up front and out back. First I made some tiny angled lower mounts to go on the lower A arms. This is approximately how it'll look. I made upper mounts but they'll need to be painted before I can install them. I need to pick a color!
-
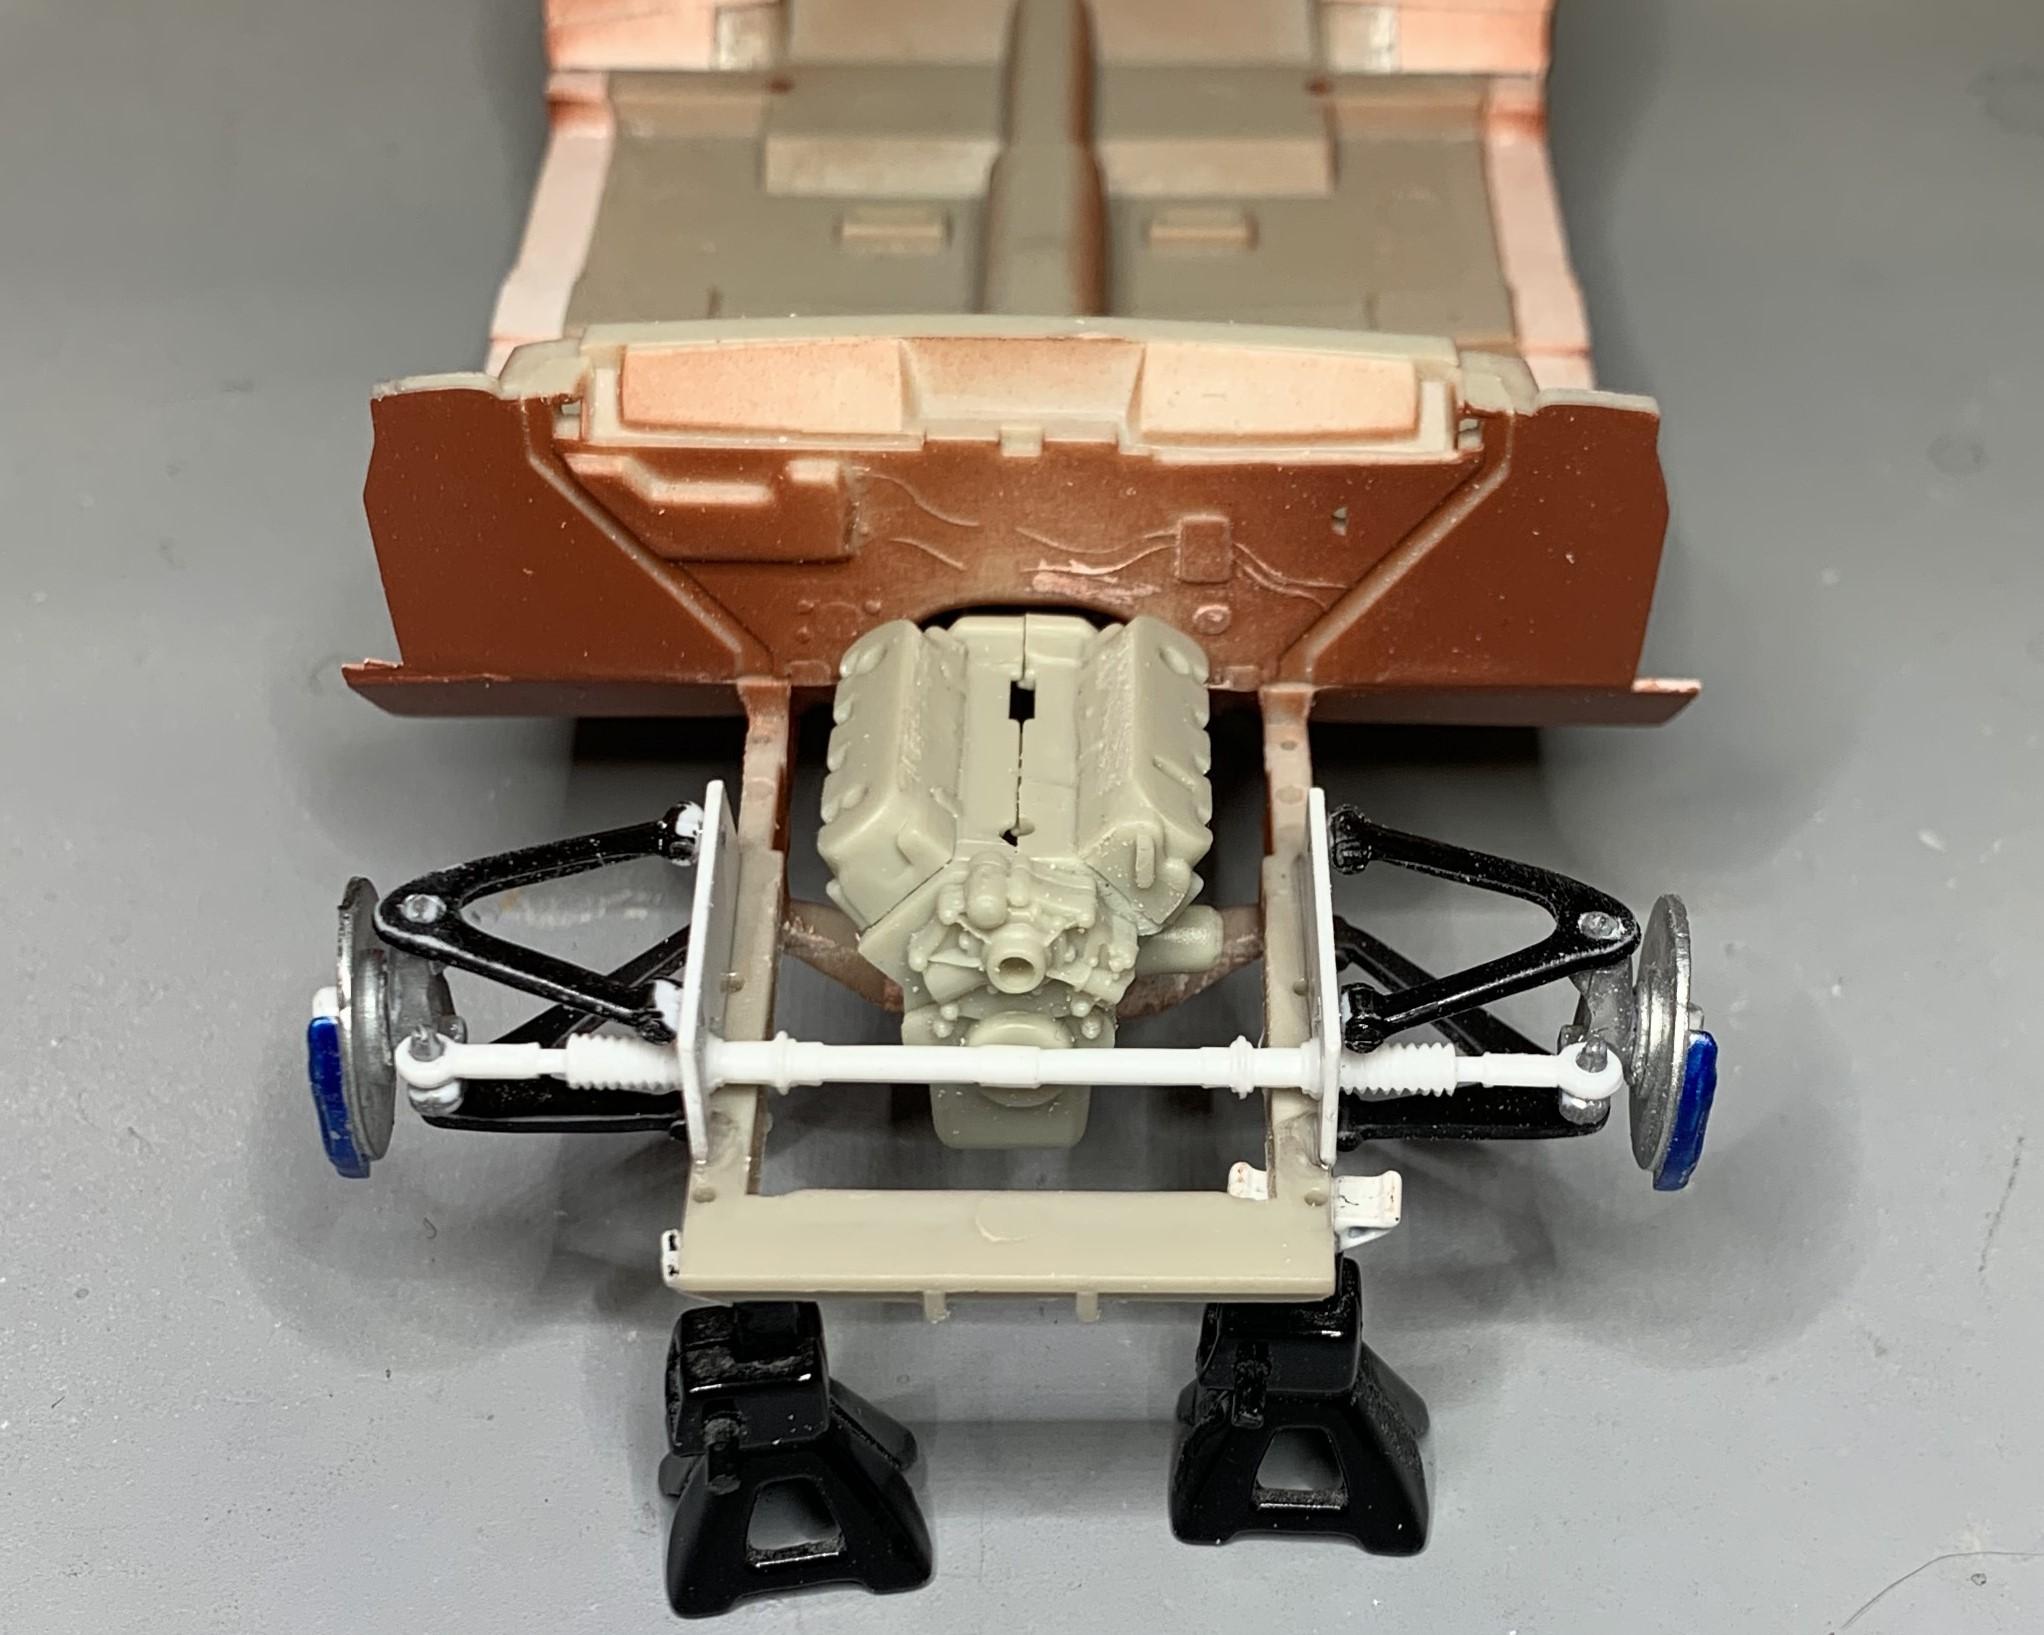
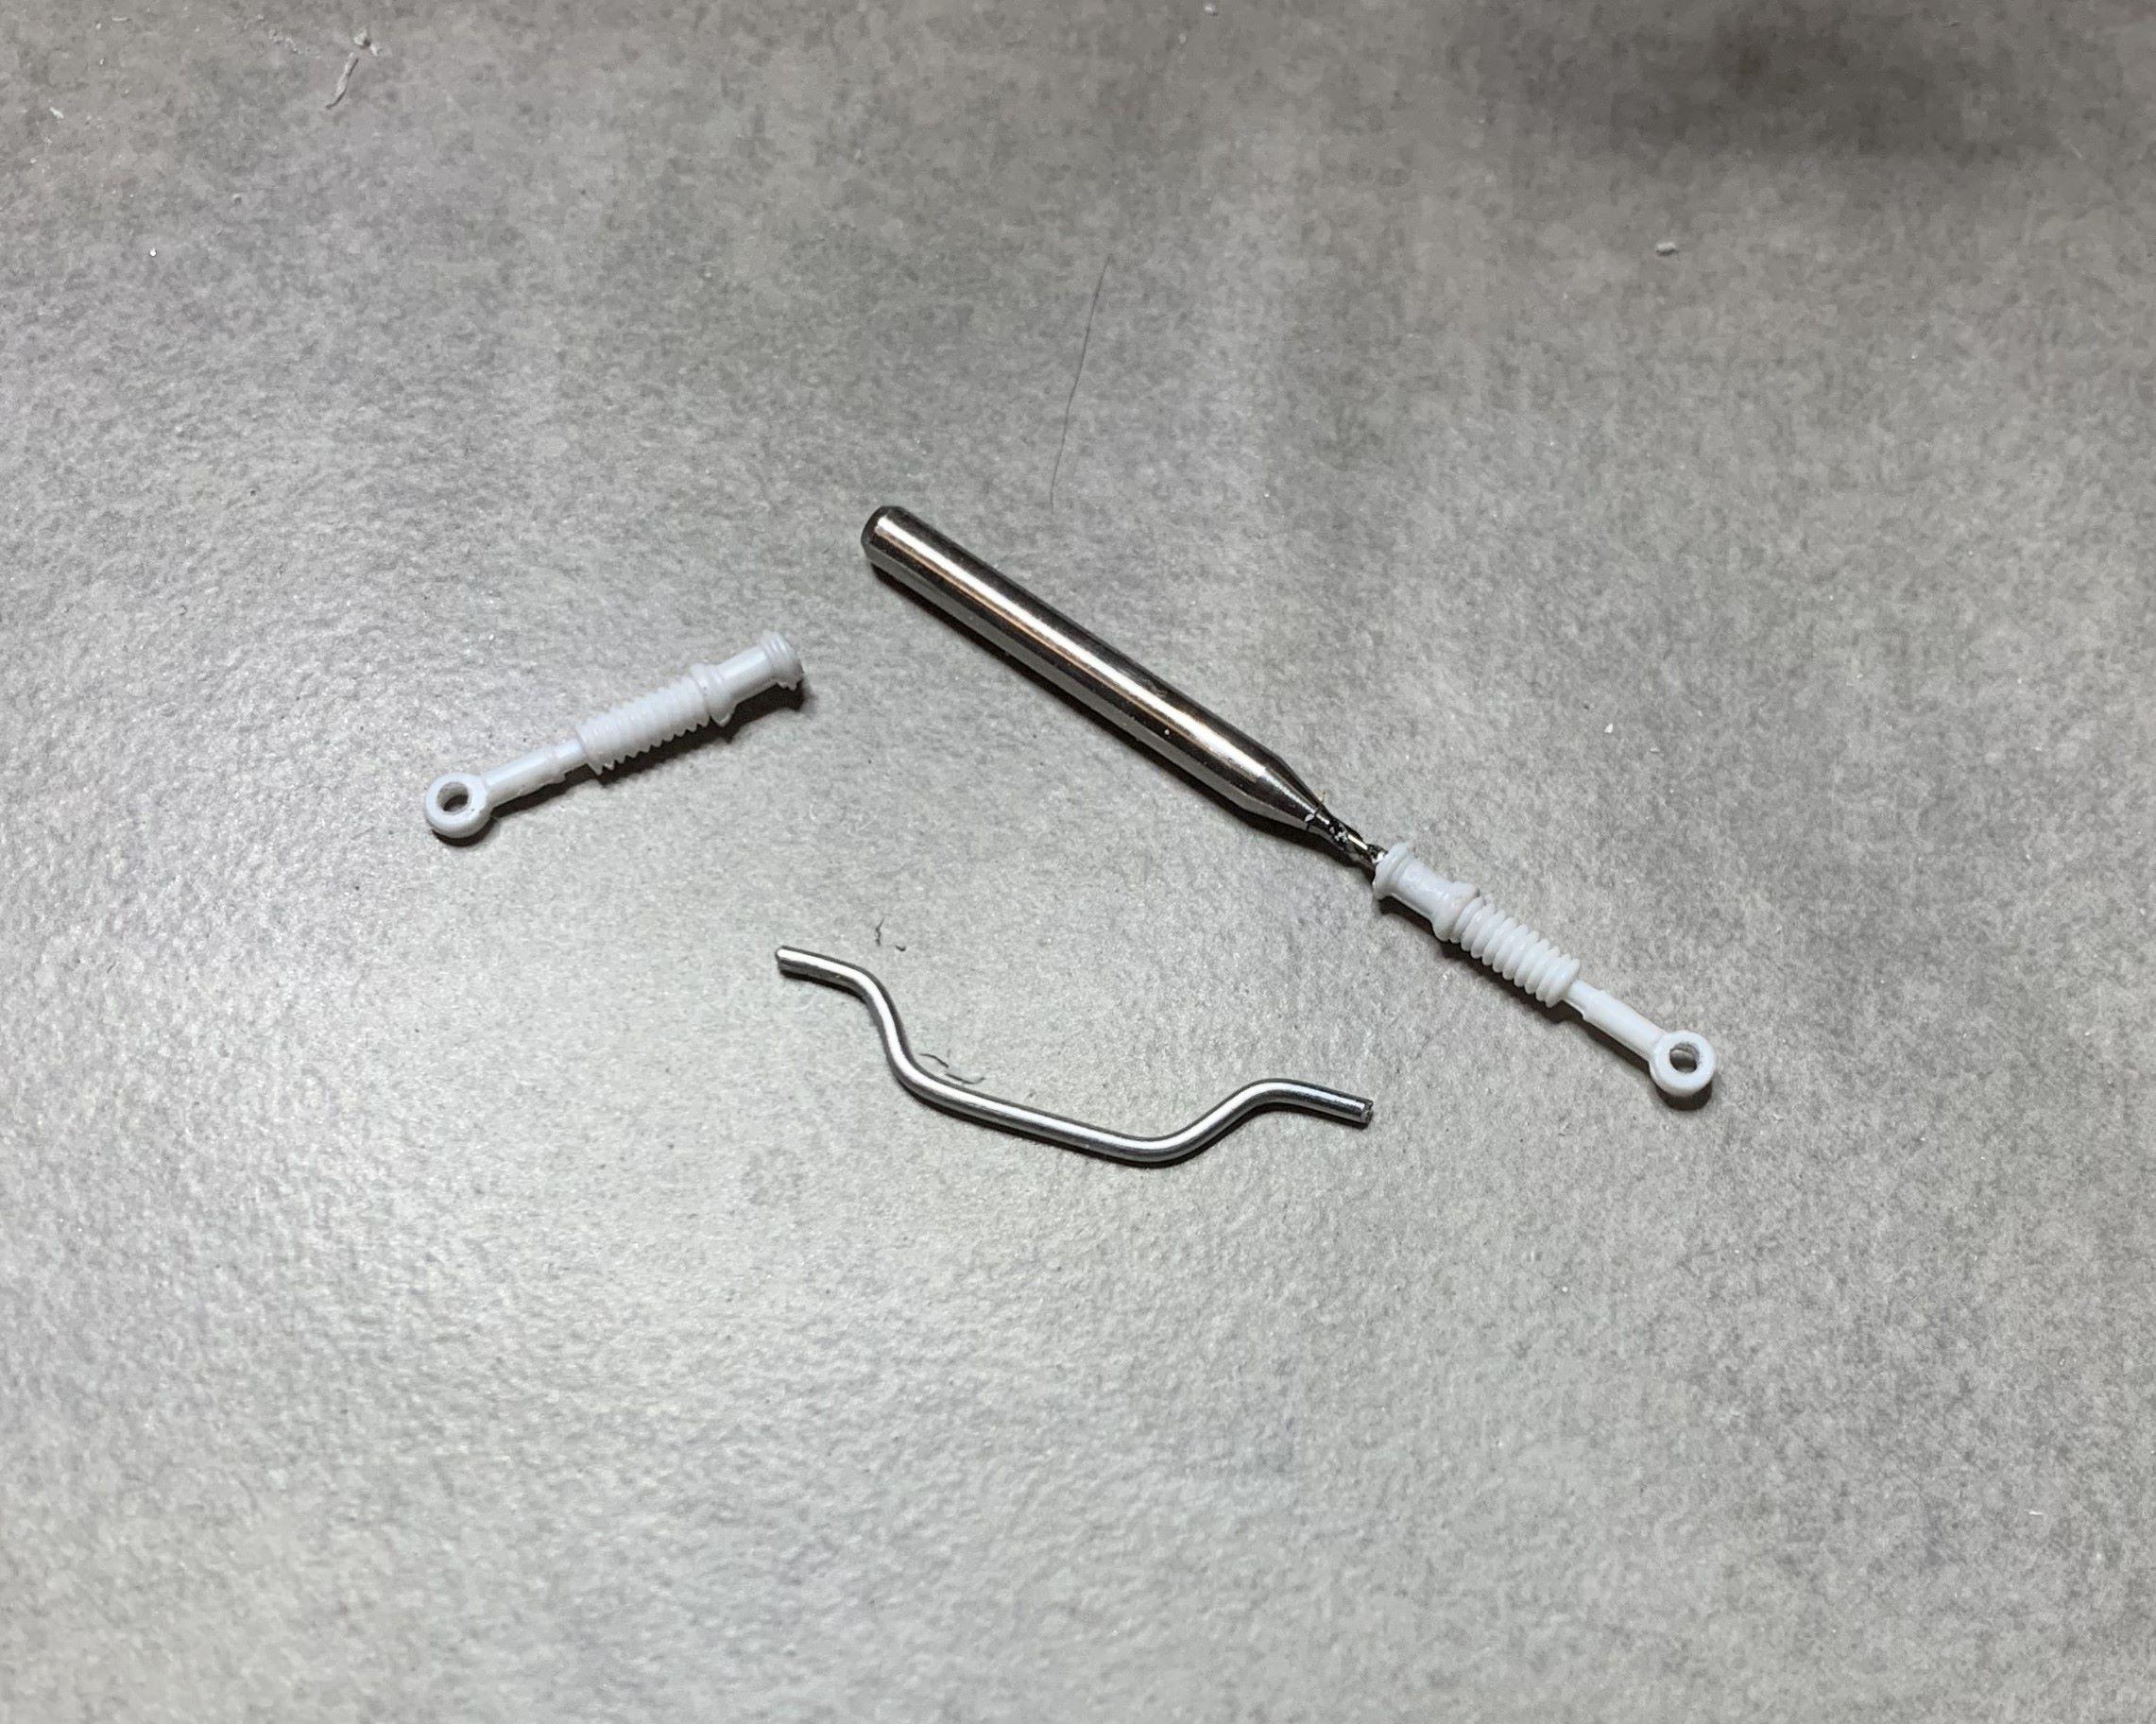
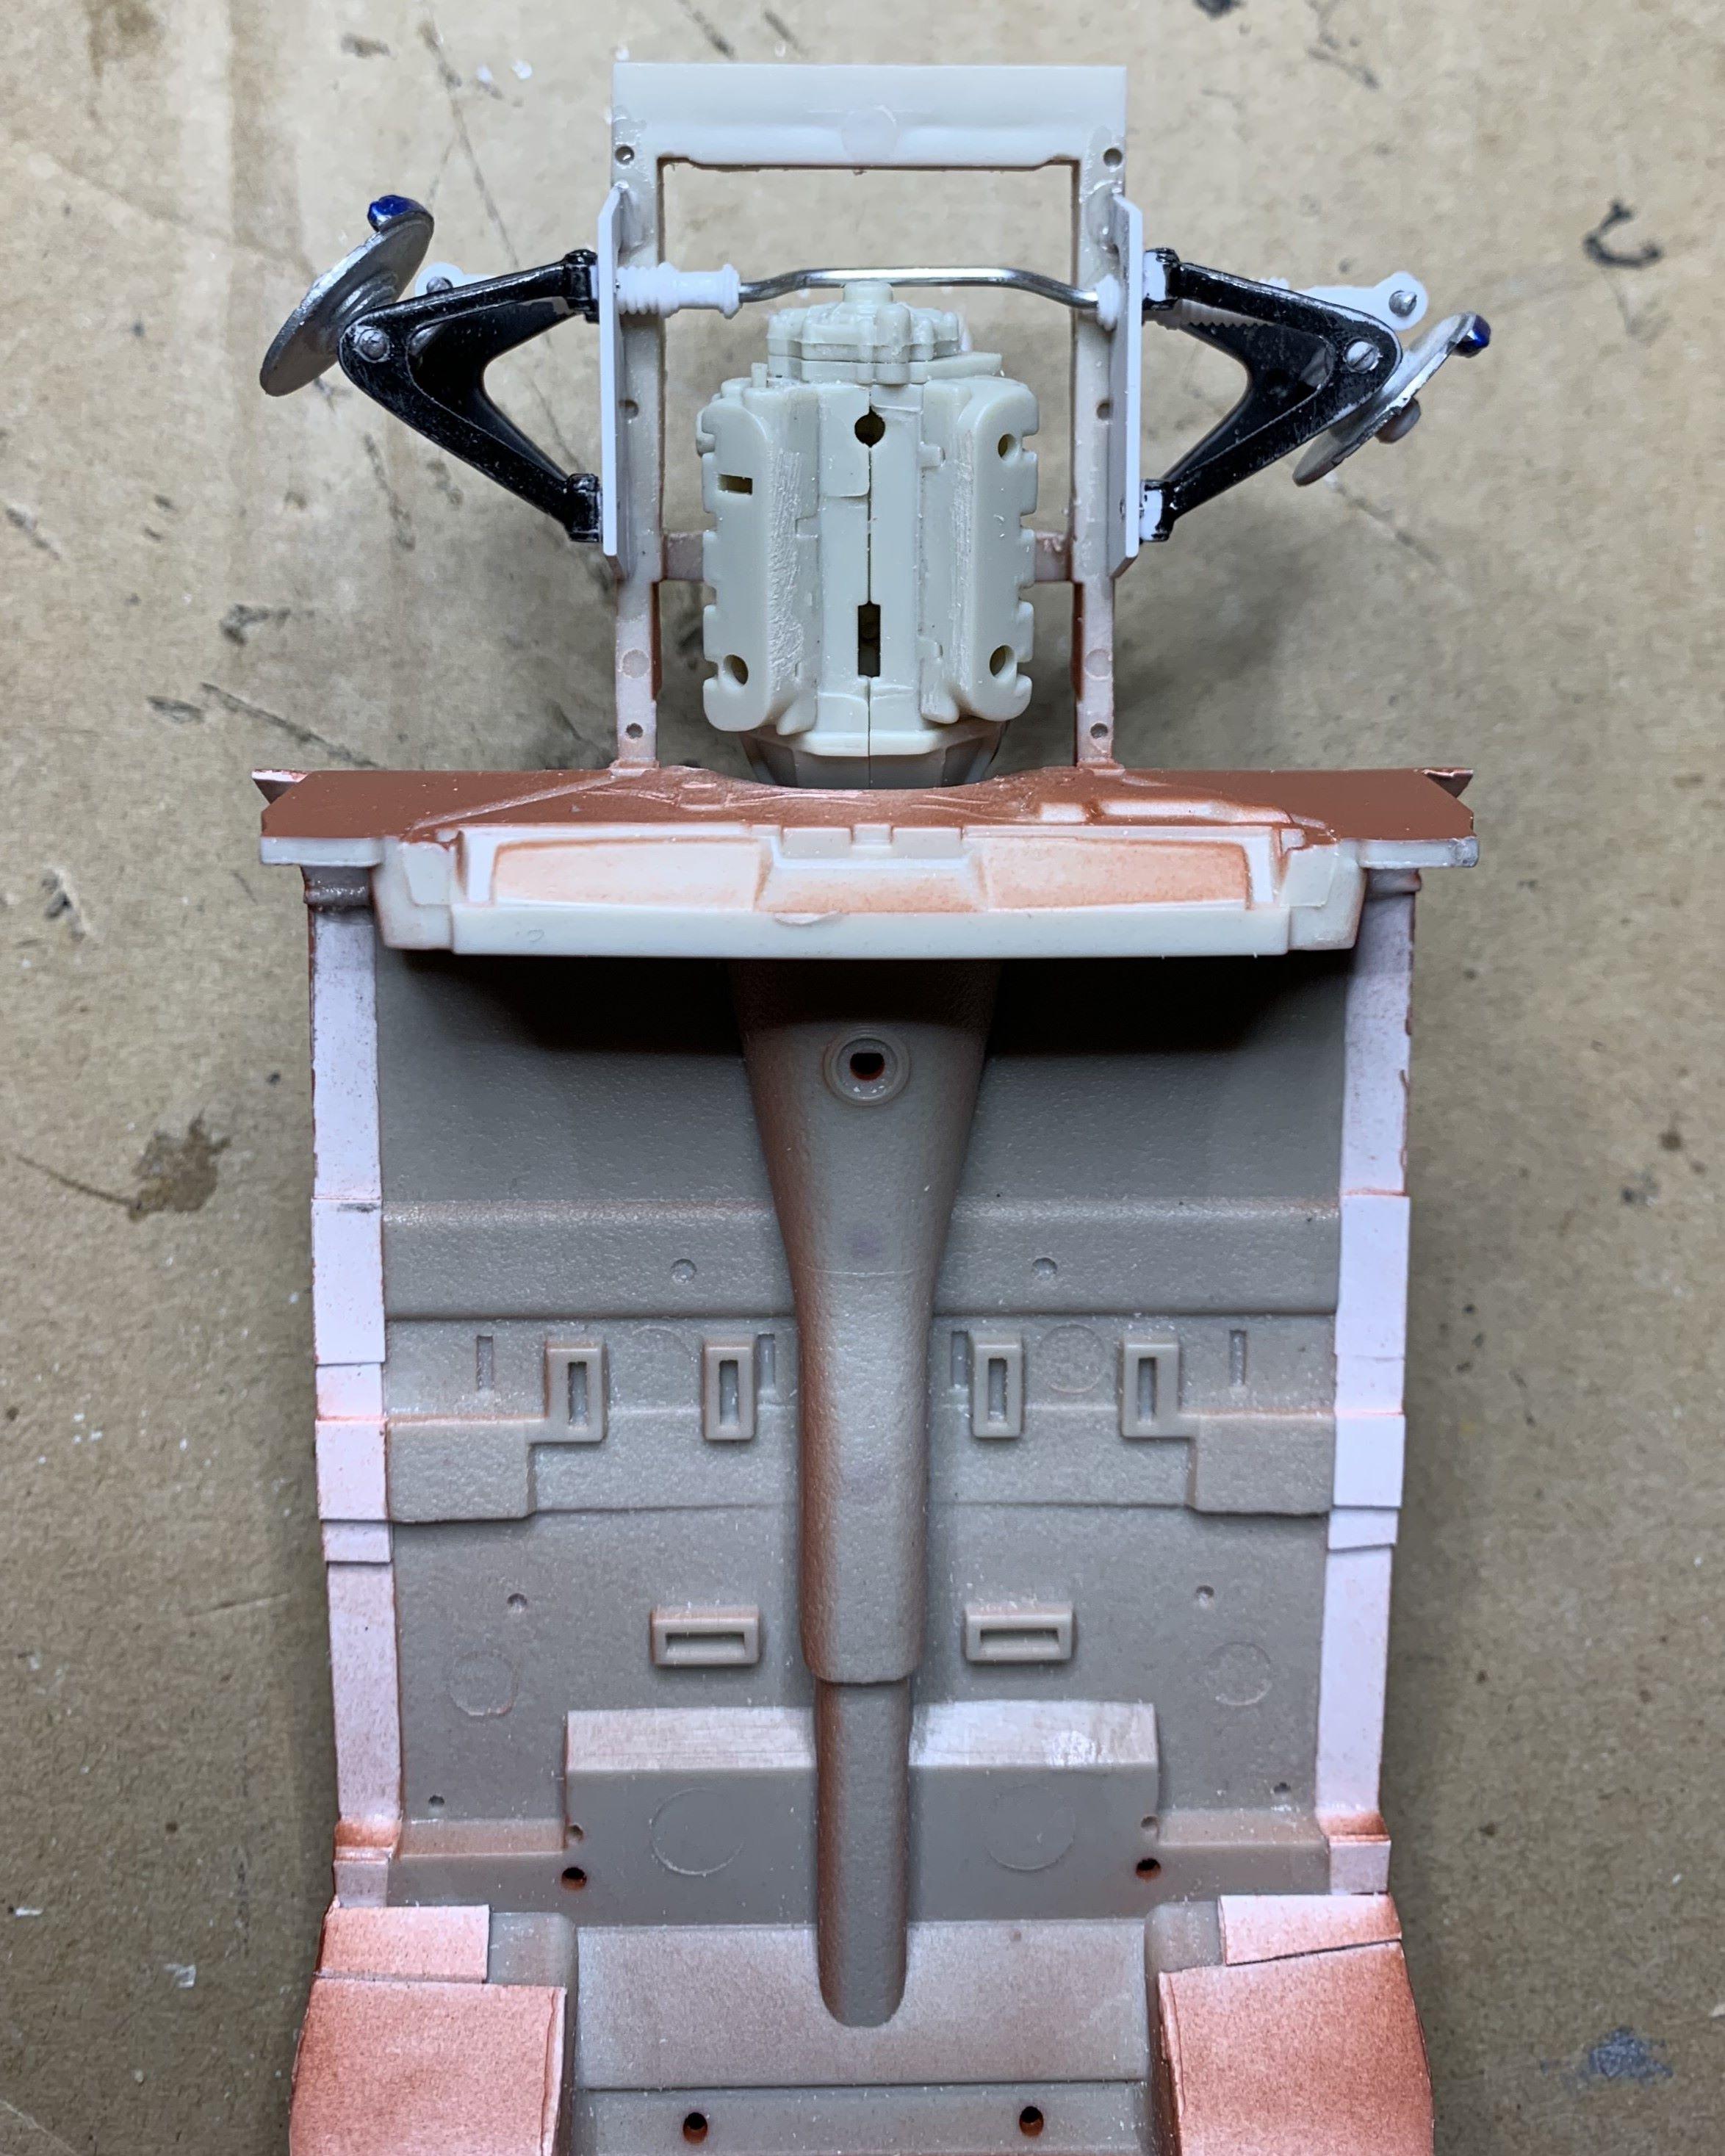
After figuring out where I wanted the front wheels to sit, I drilled and pinned those A arms. I mounted the lower ones then made pieces to mount the upper ones, leaving a space for the tie rod to pass through. Now that tie rod isn't going to work as is, from the kit, so I cut and drilled, then added bent steel rod to clear the engine's lower pulley. The width, although not very realistic, is what I want, and it's still poseable!
-
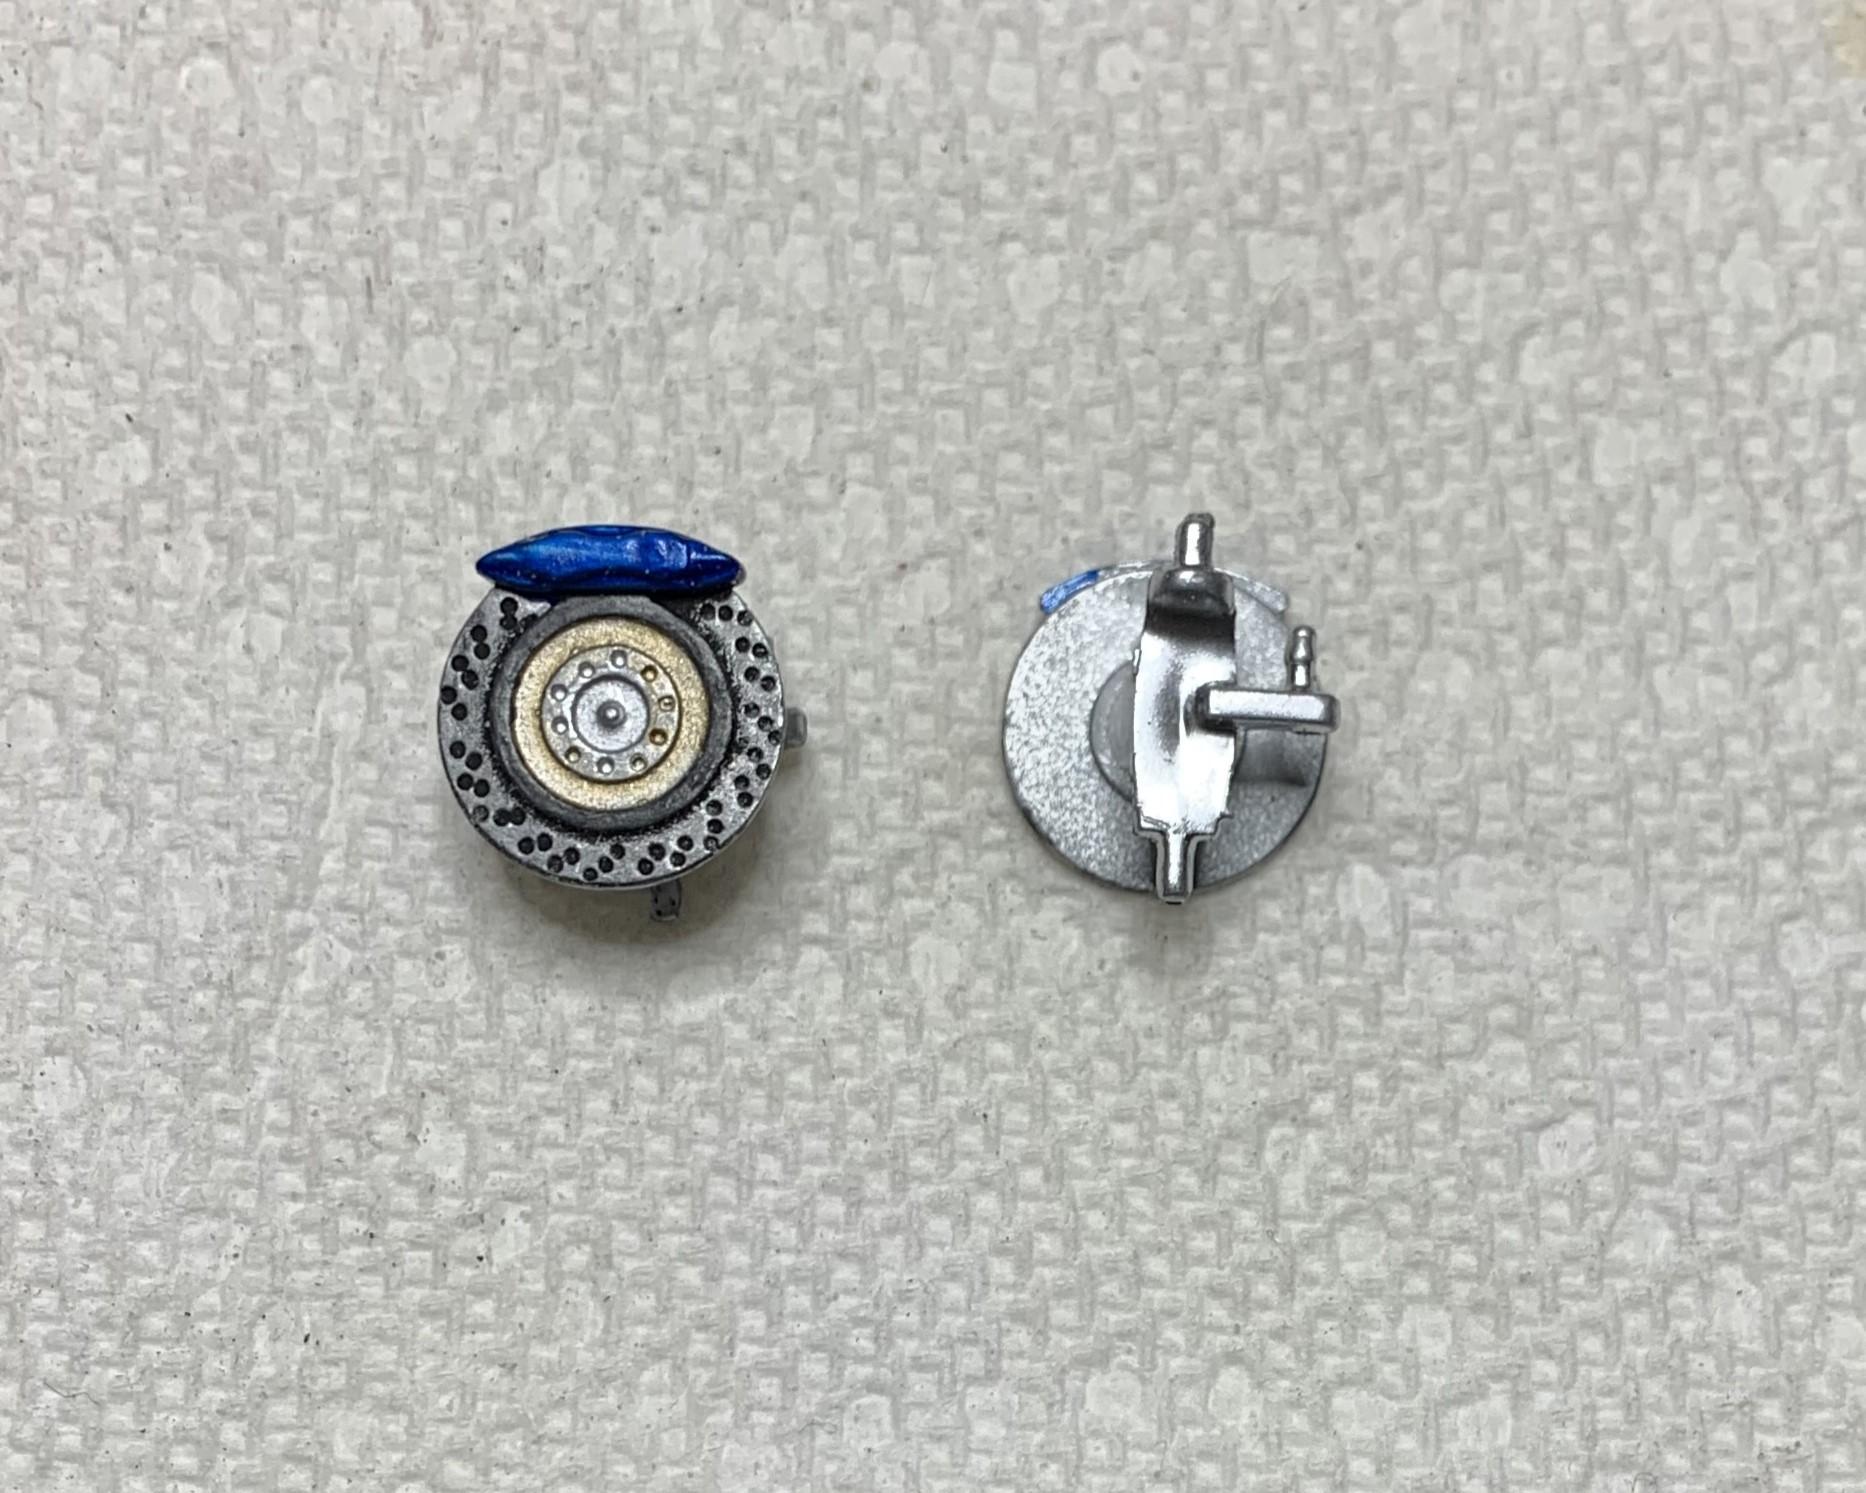
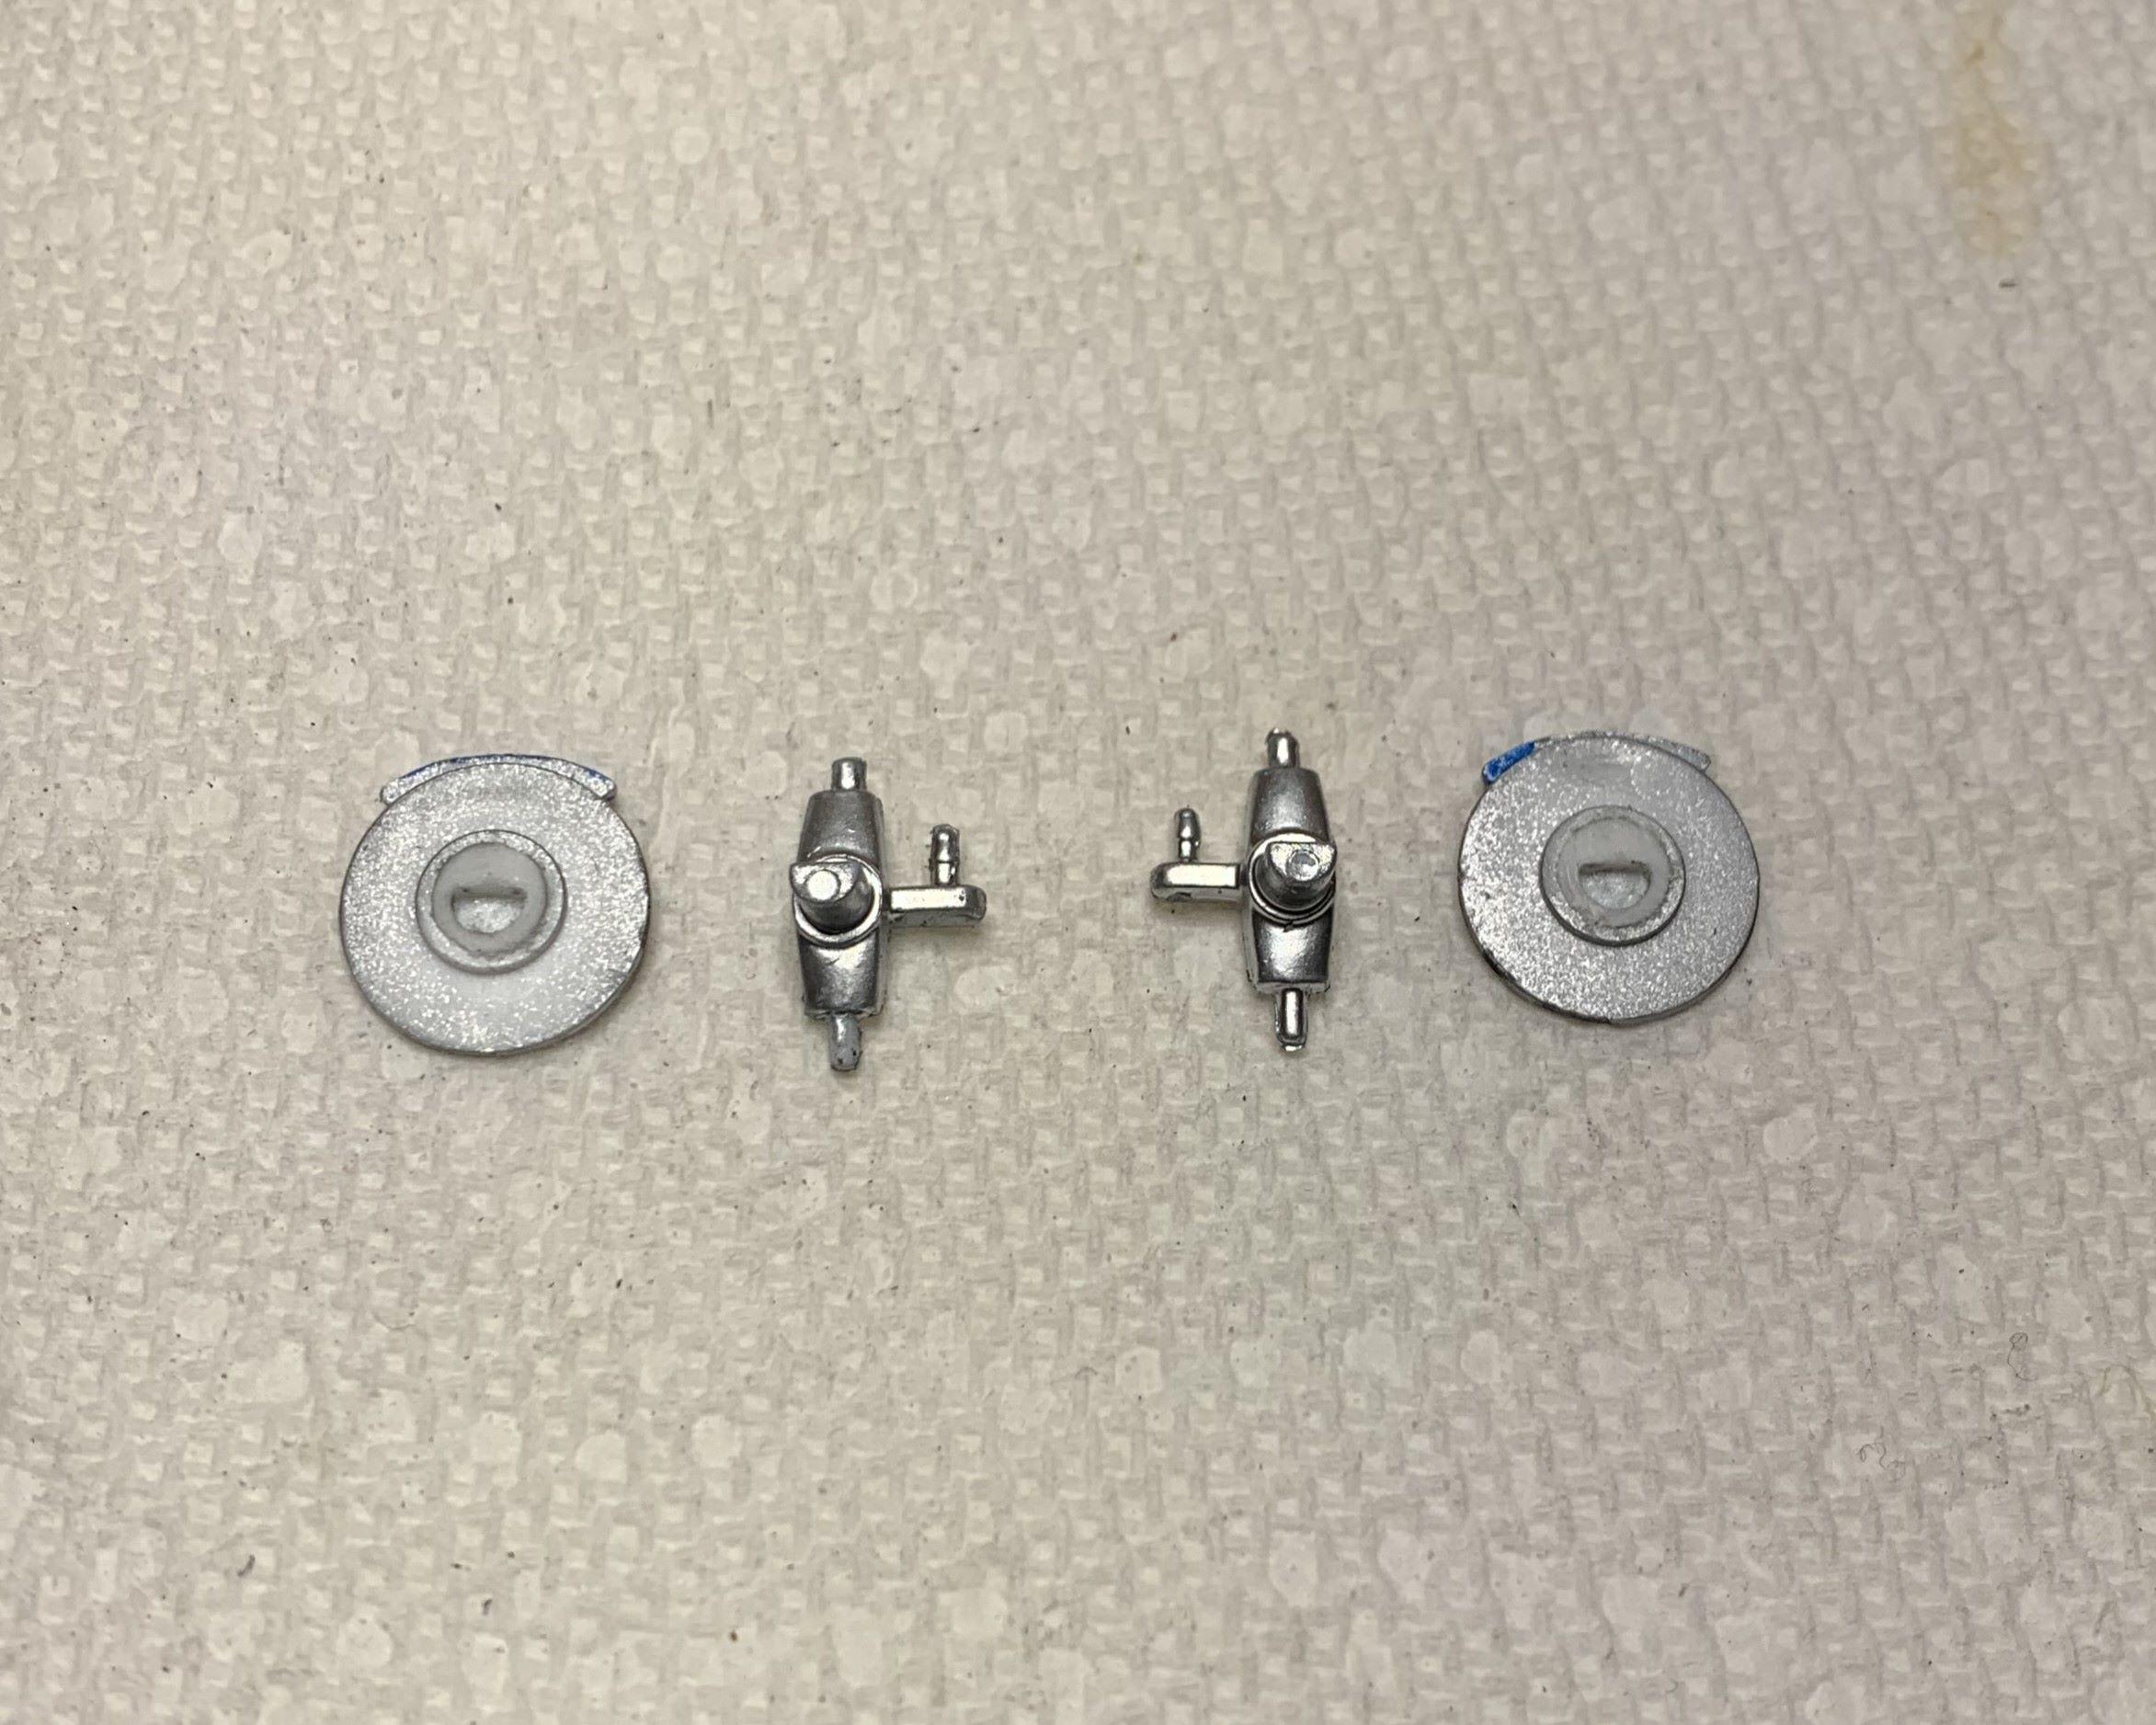
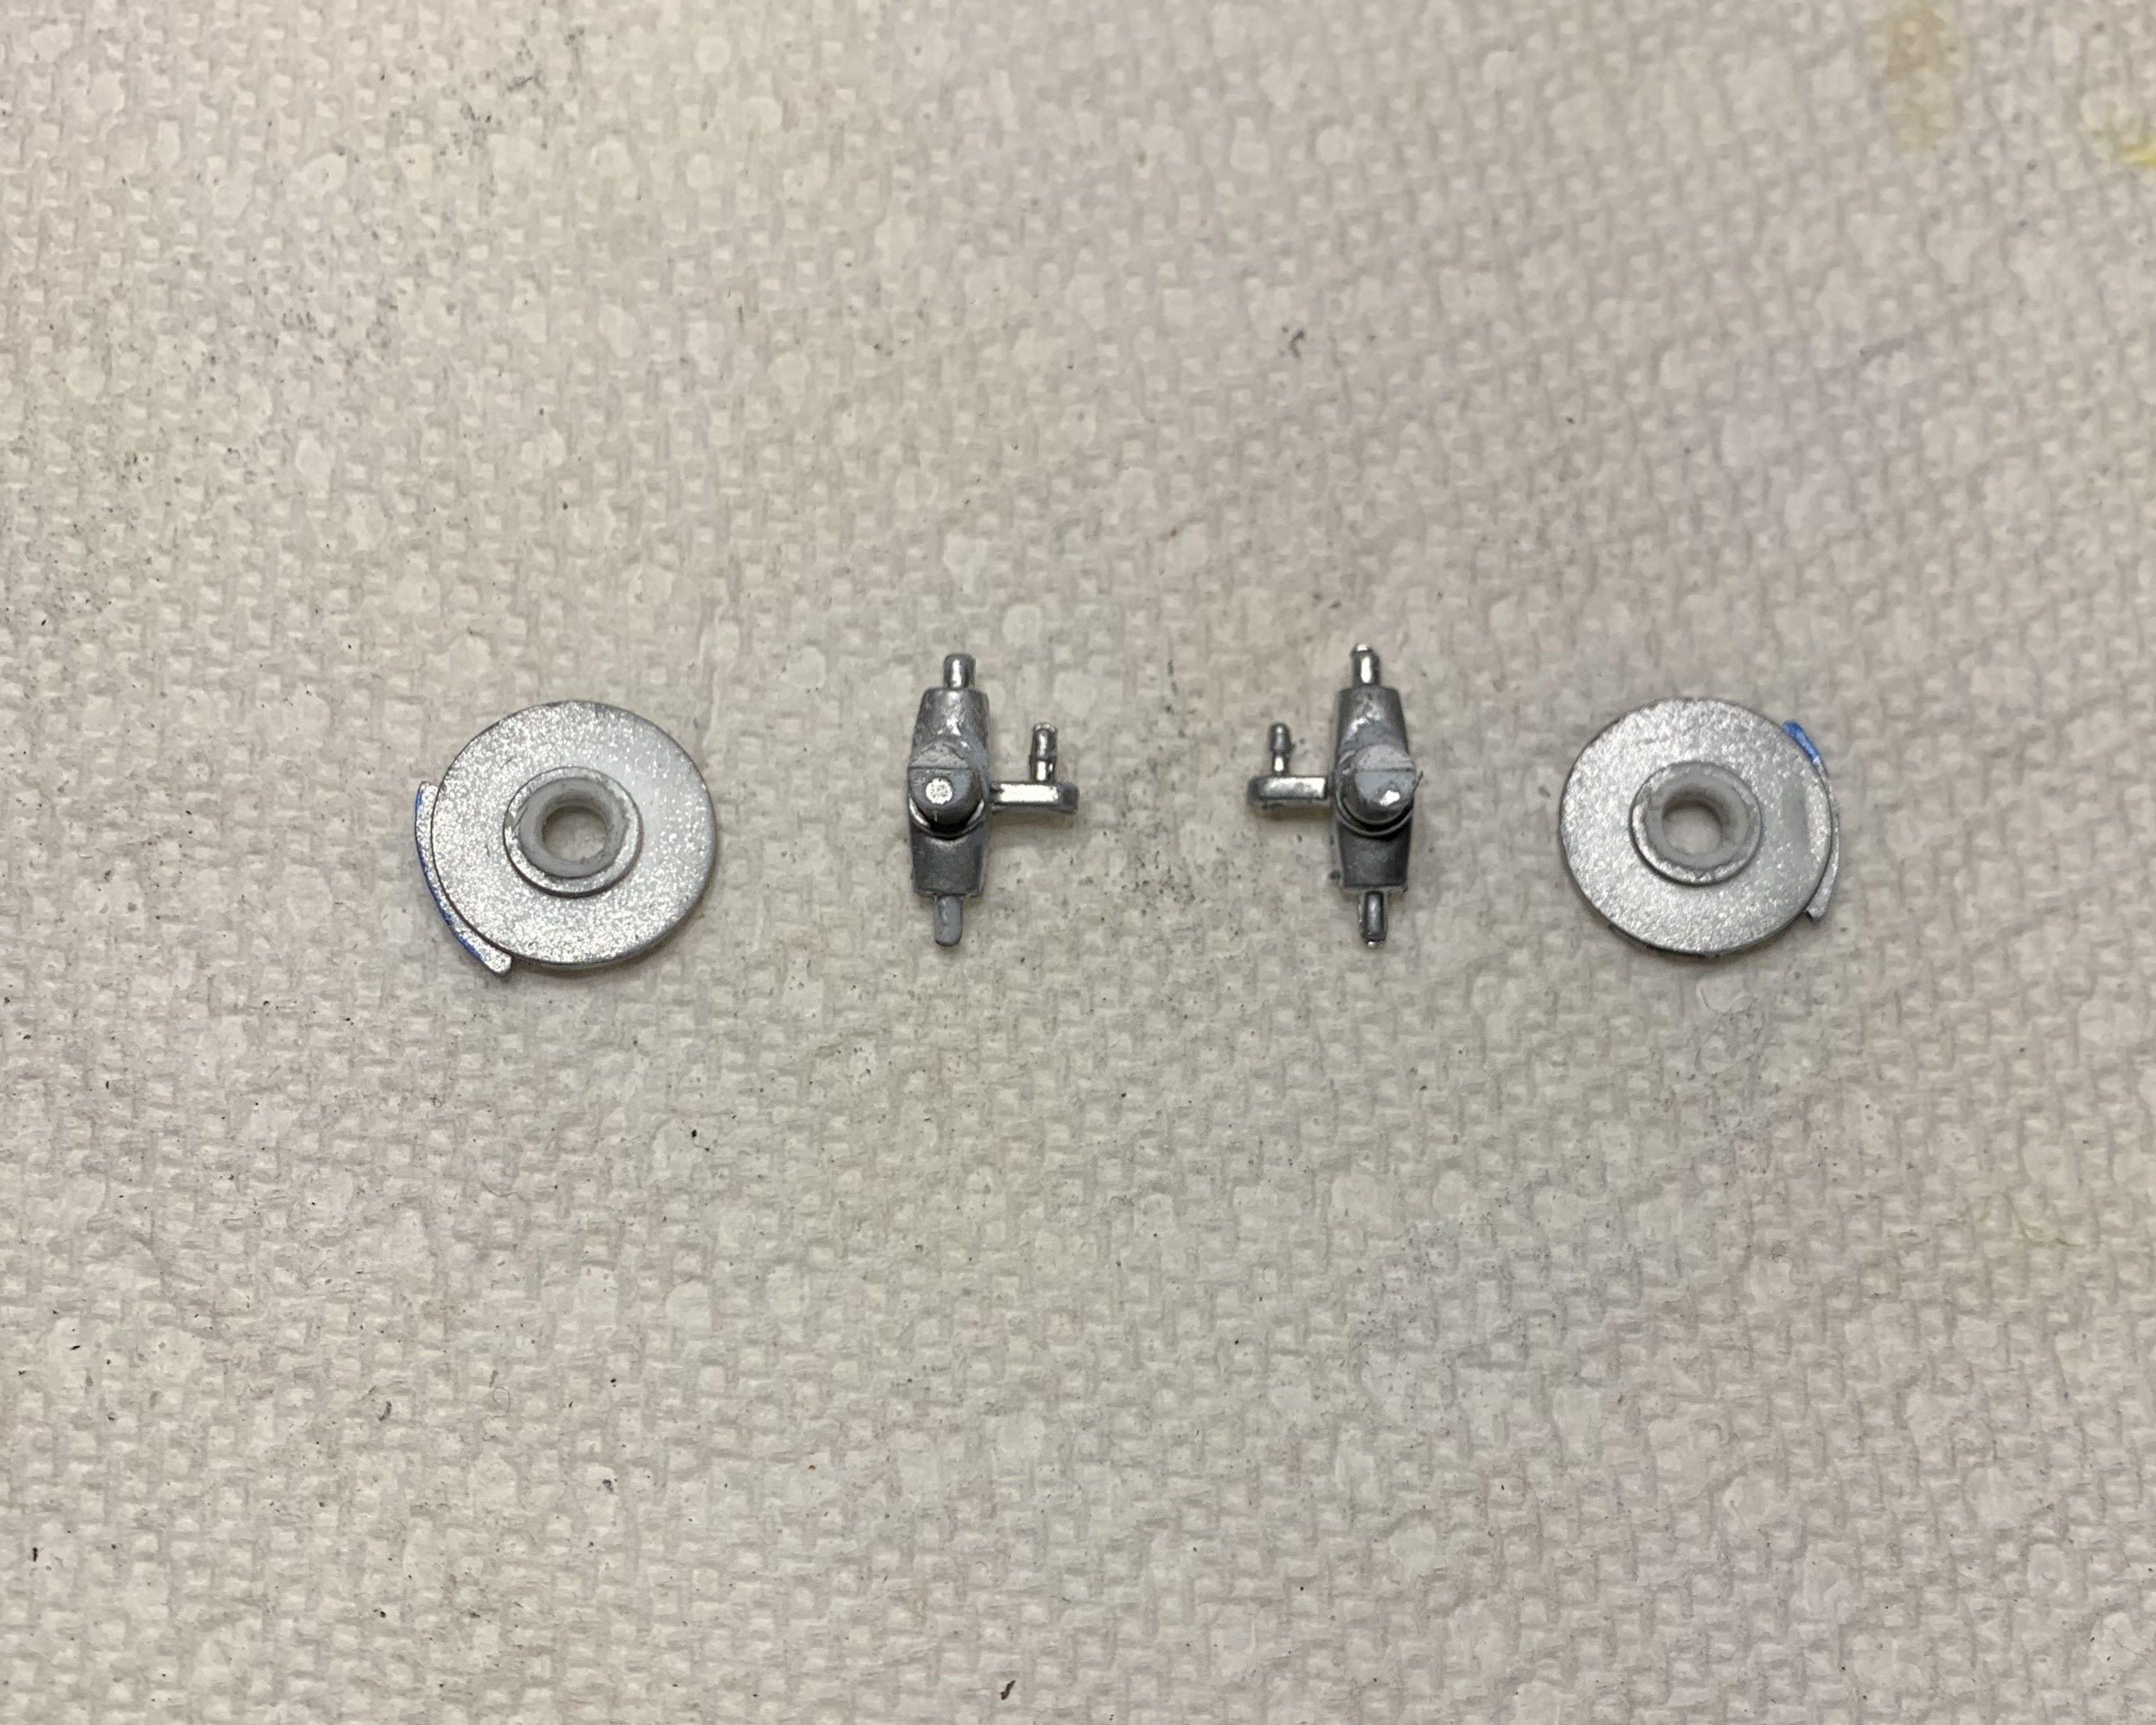
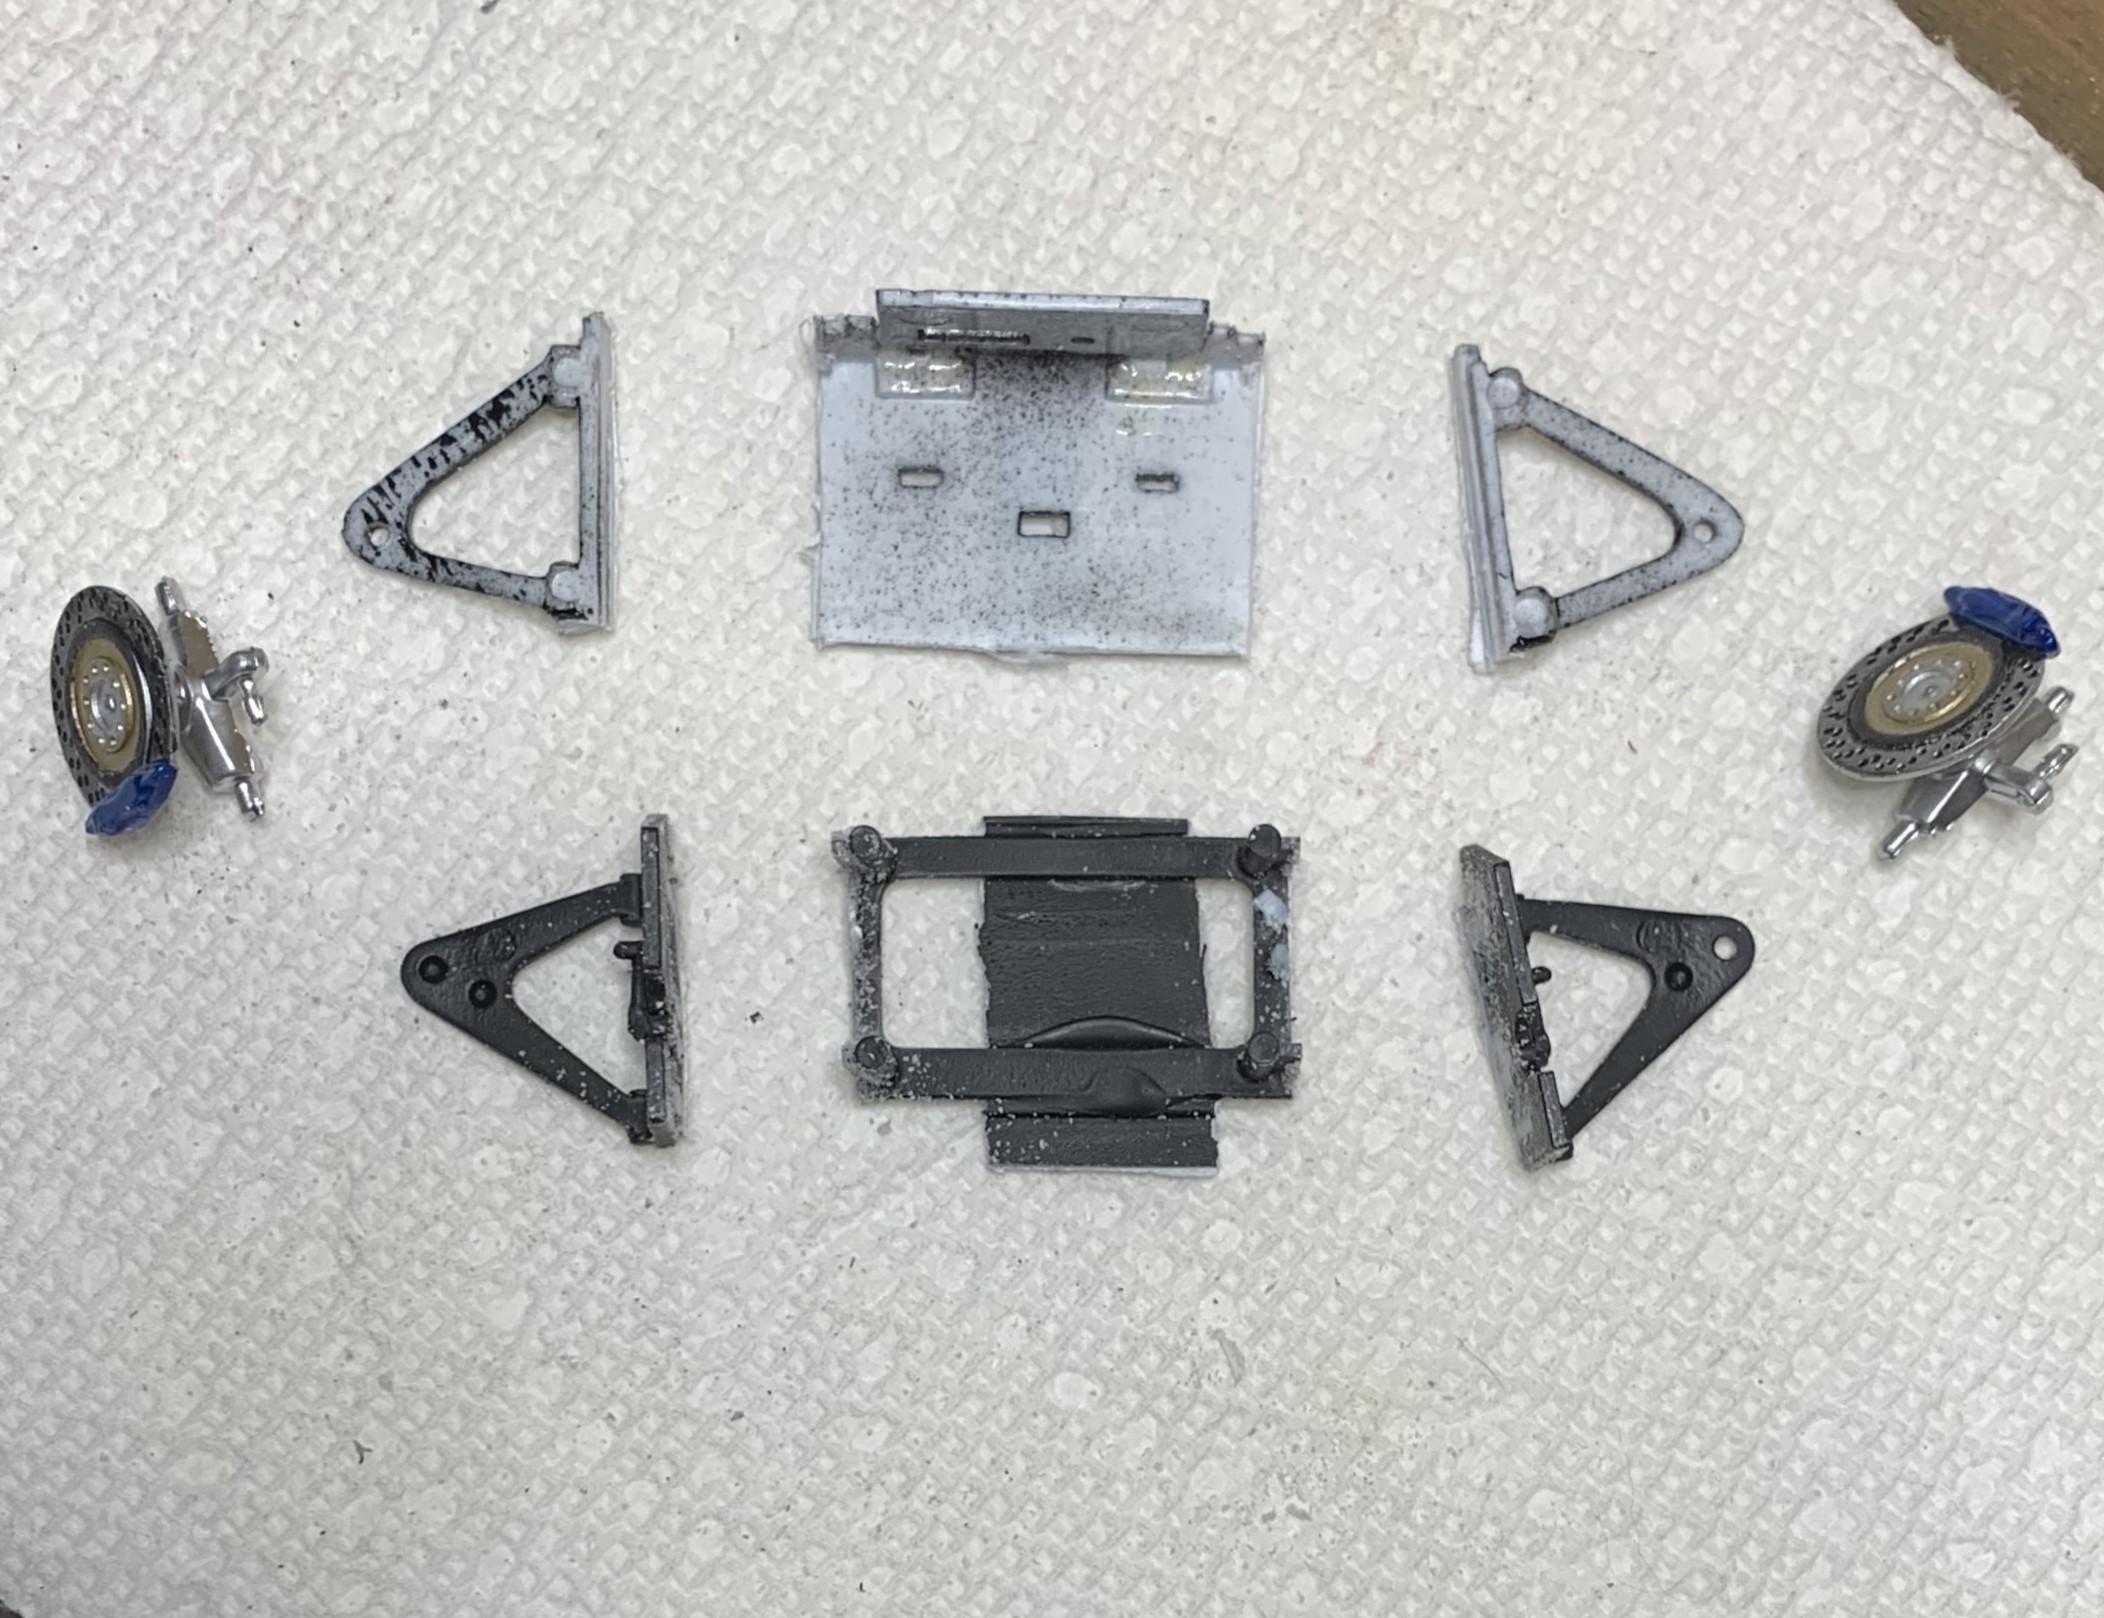
The disc brakes had the caliper facing up??? After I separated them, I saw why. Half round mounting points only allowed one position for them. I added half round styrene to the spindles and drilled out the rotor centers so that I could position the caliper facing forward.
-
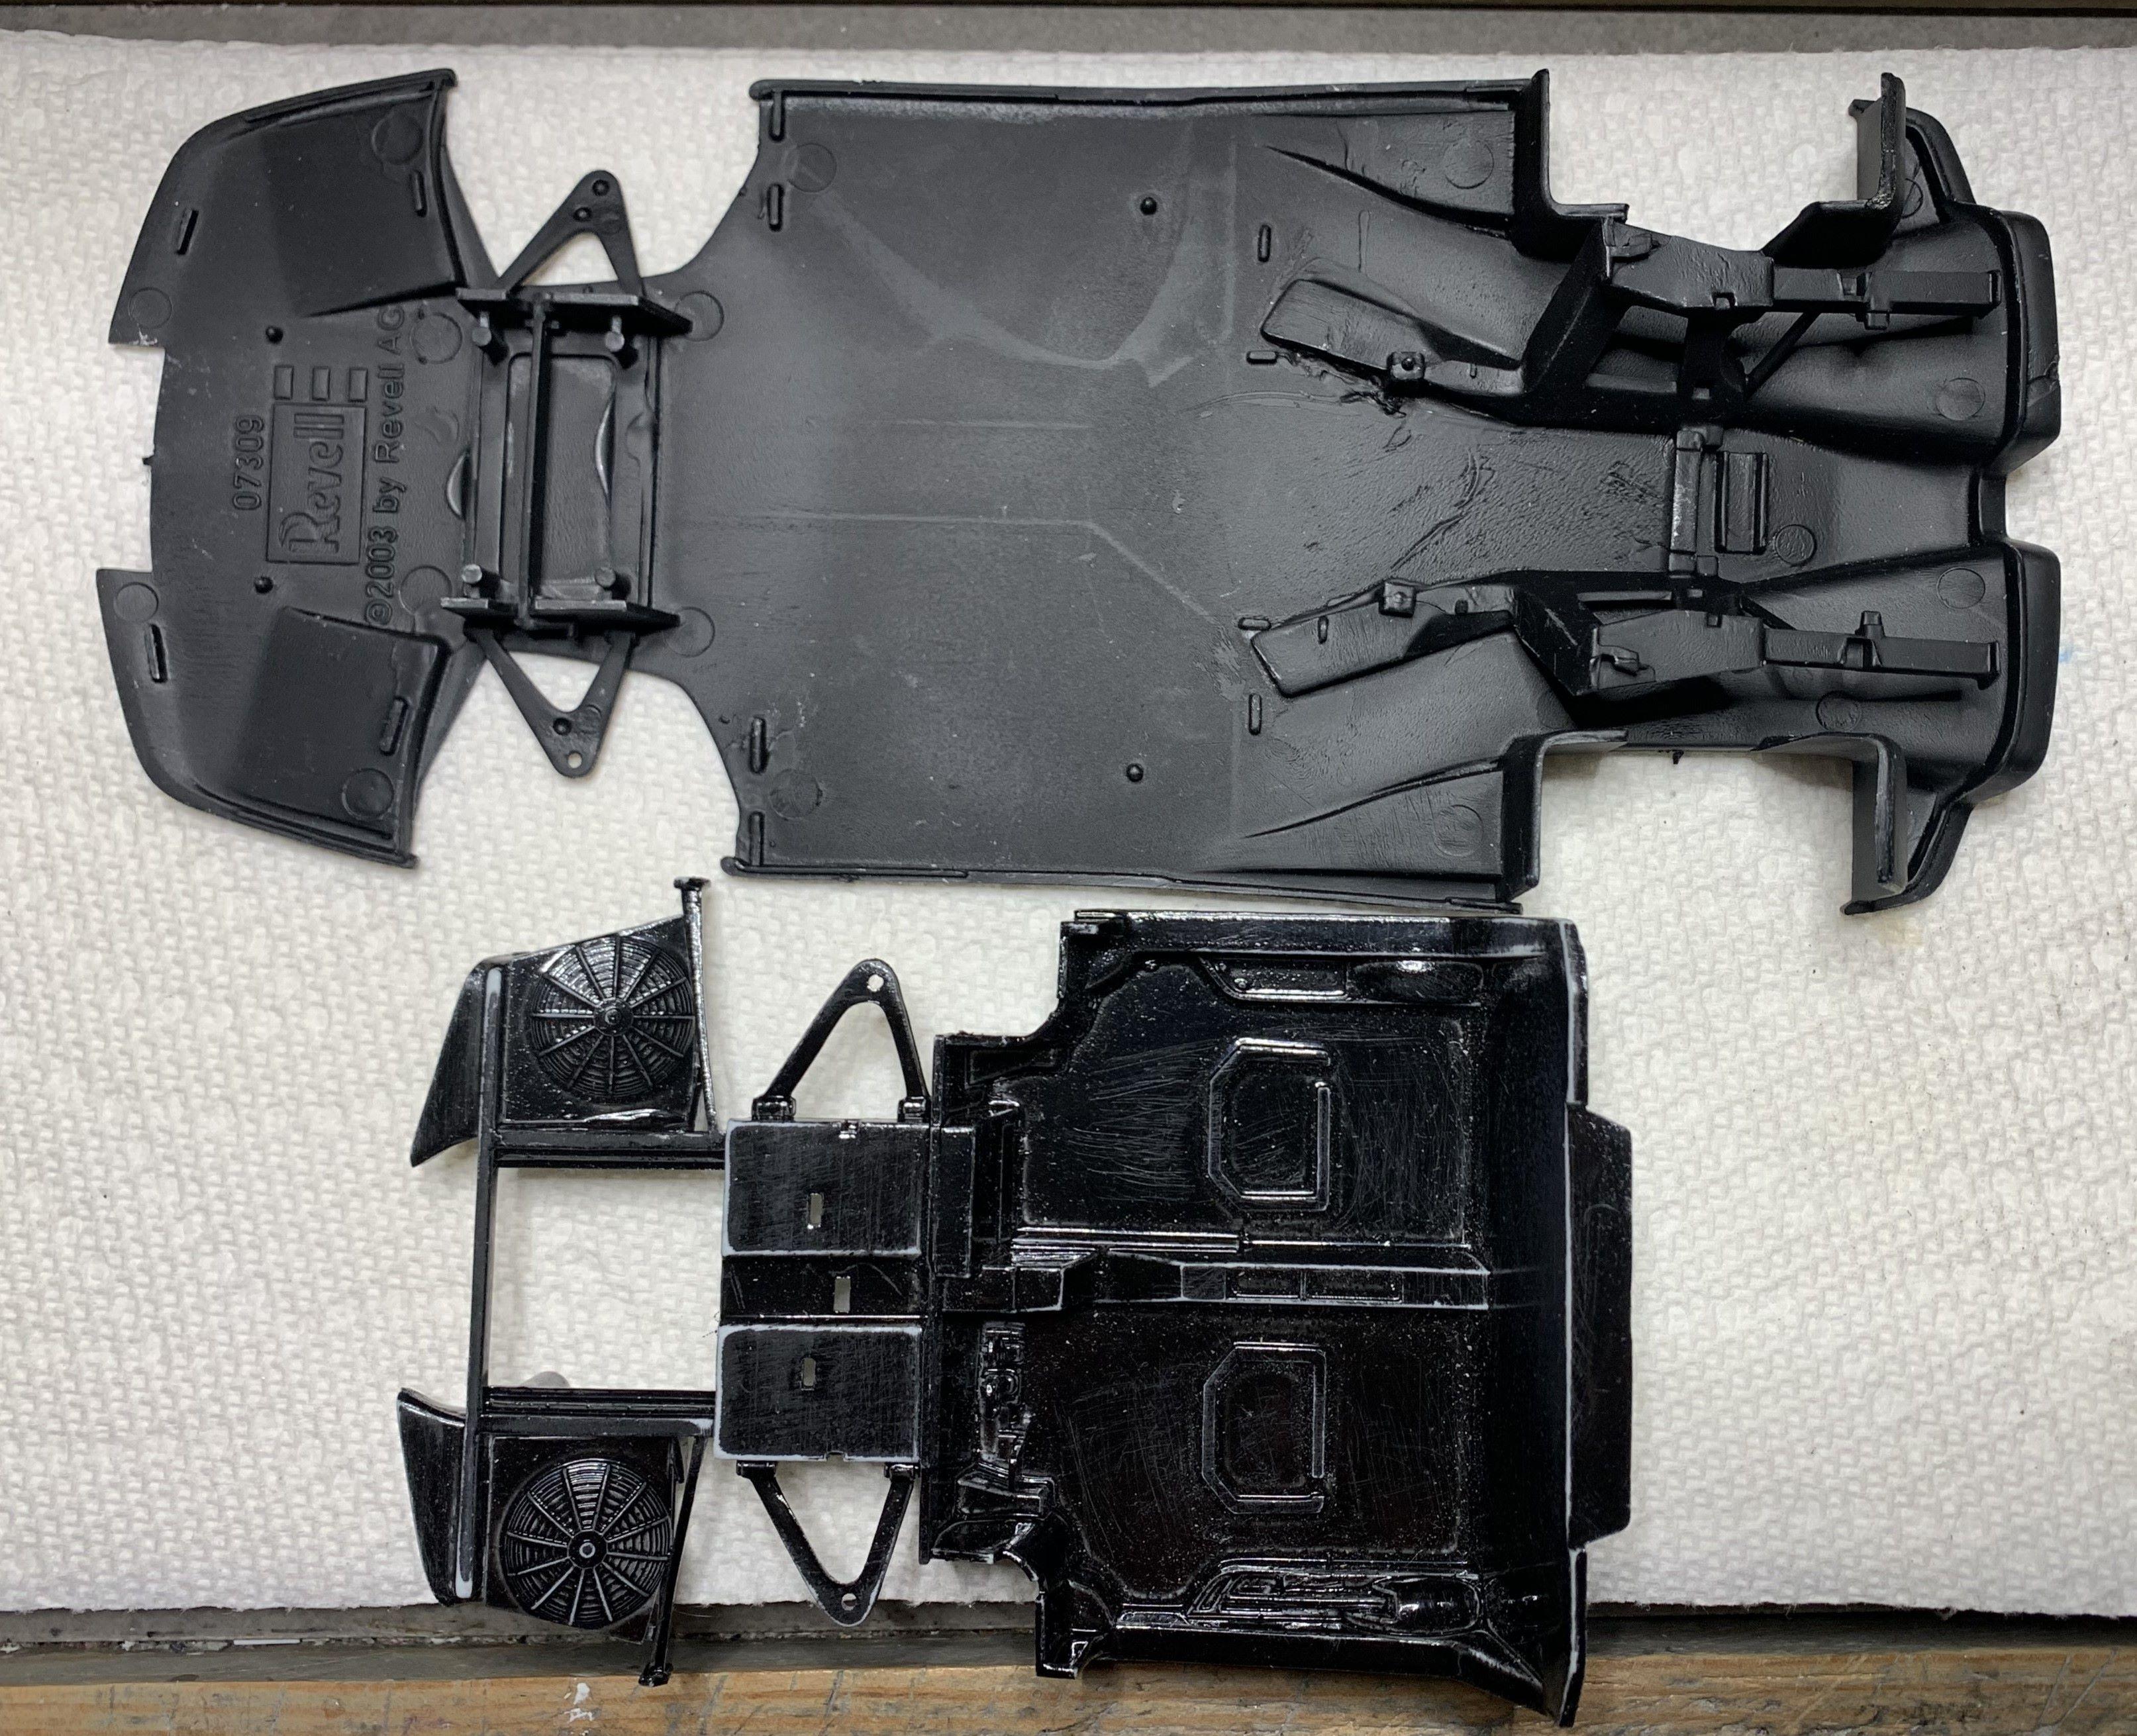
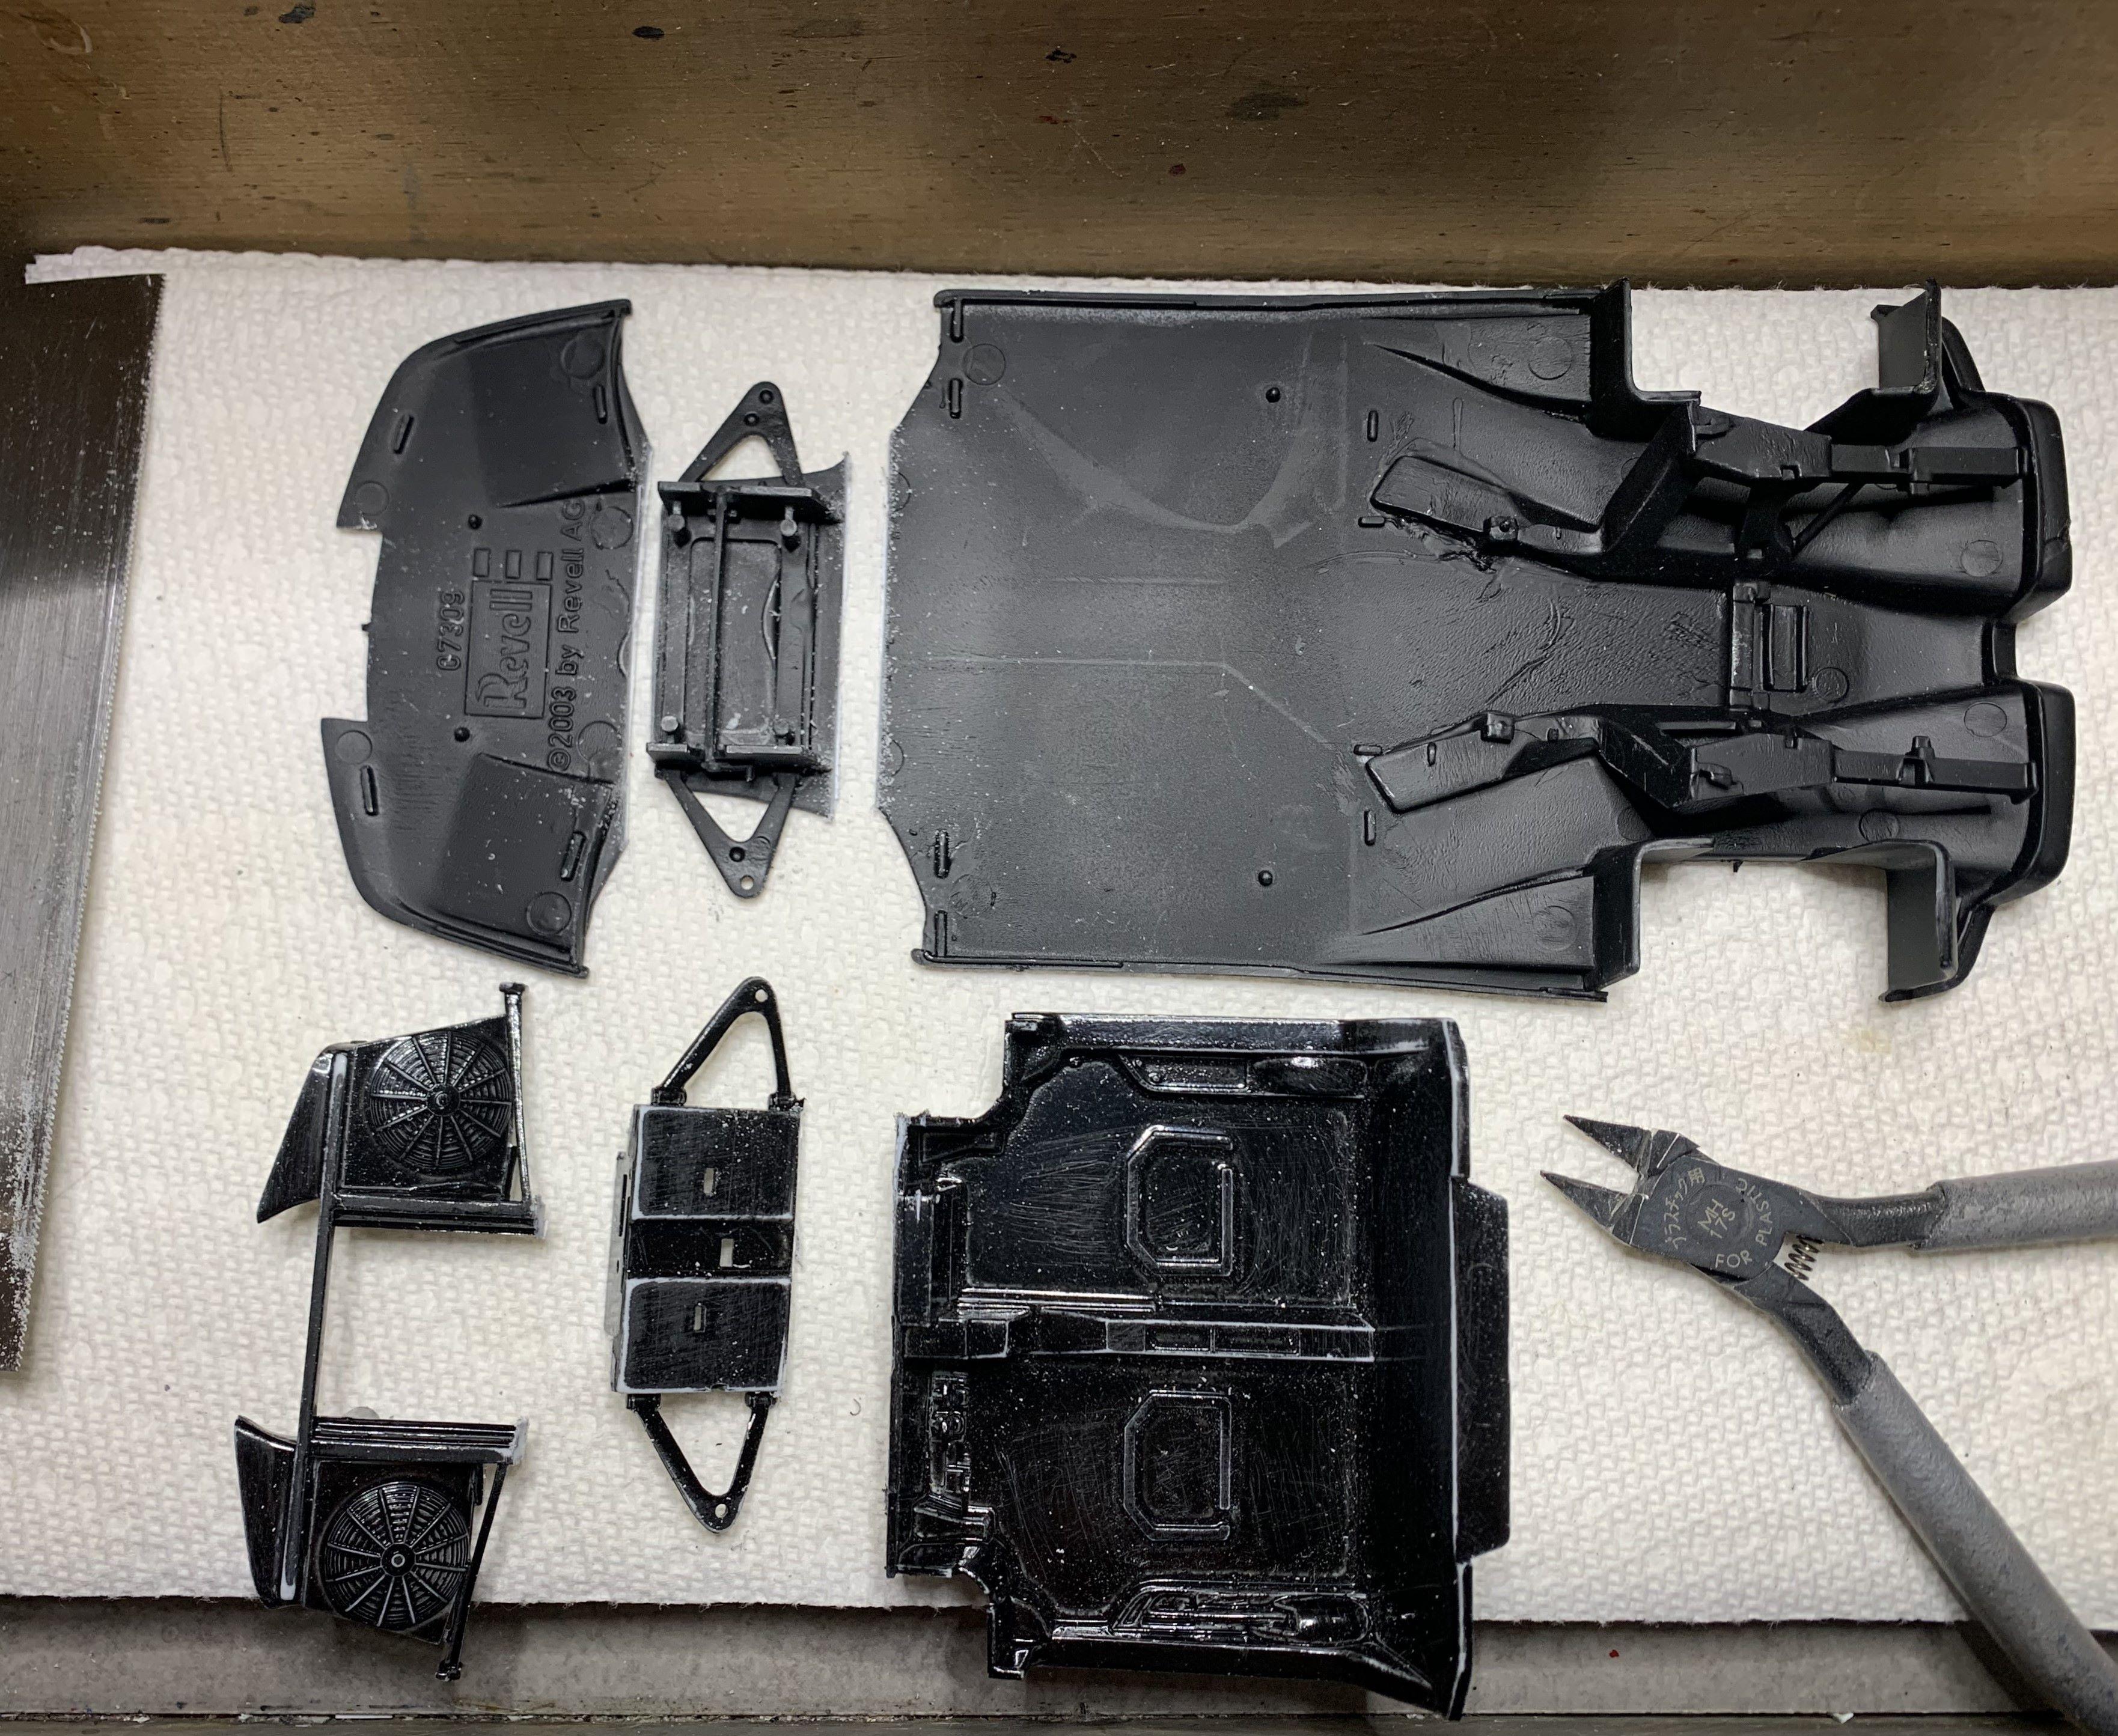
I bought a Revell Enzo kit for parts, mostly built up but plenty of usable stuff, $2! It was molded in large pieces but I cut and separated the upper and lower A-arms.
-
Here's how the Mobius front looked before I started hacking away at it! I've removed everything except the basic rails, and I filled those in.... and smoothed them out. I'm thinking of keeping the 289 4-speed, but with my own exhaust and intake.
-
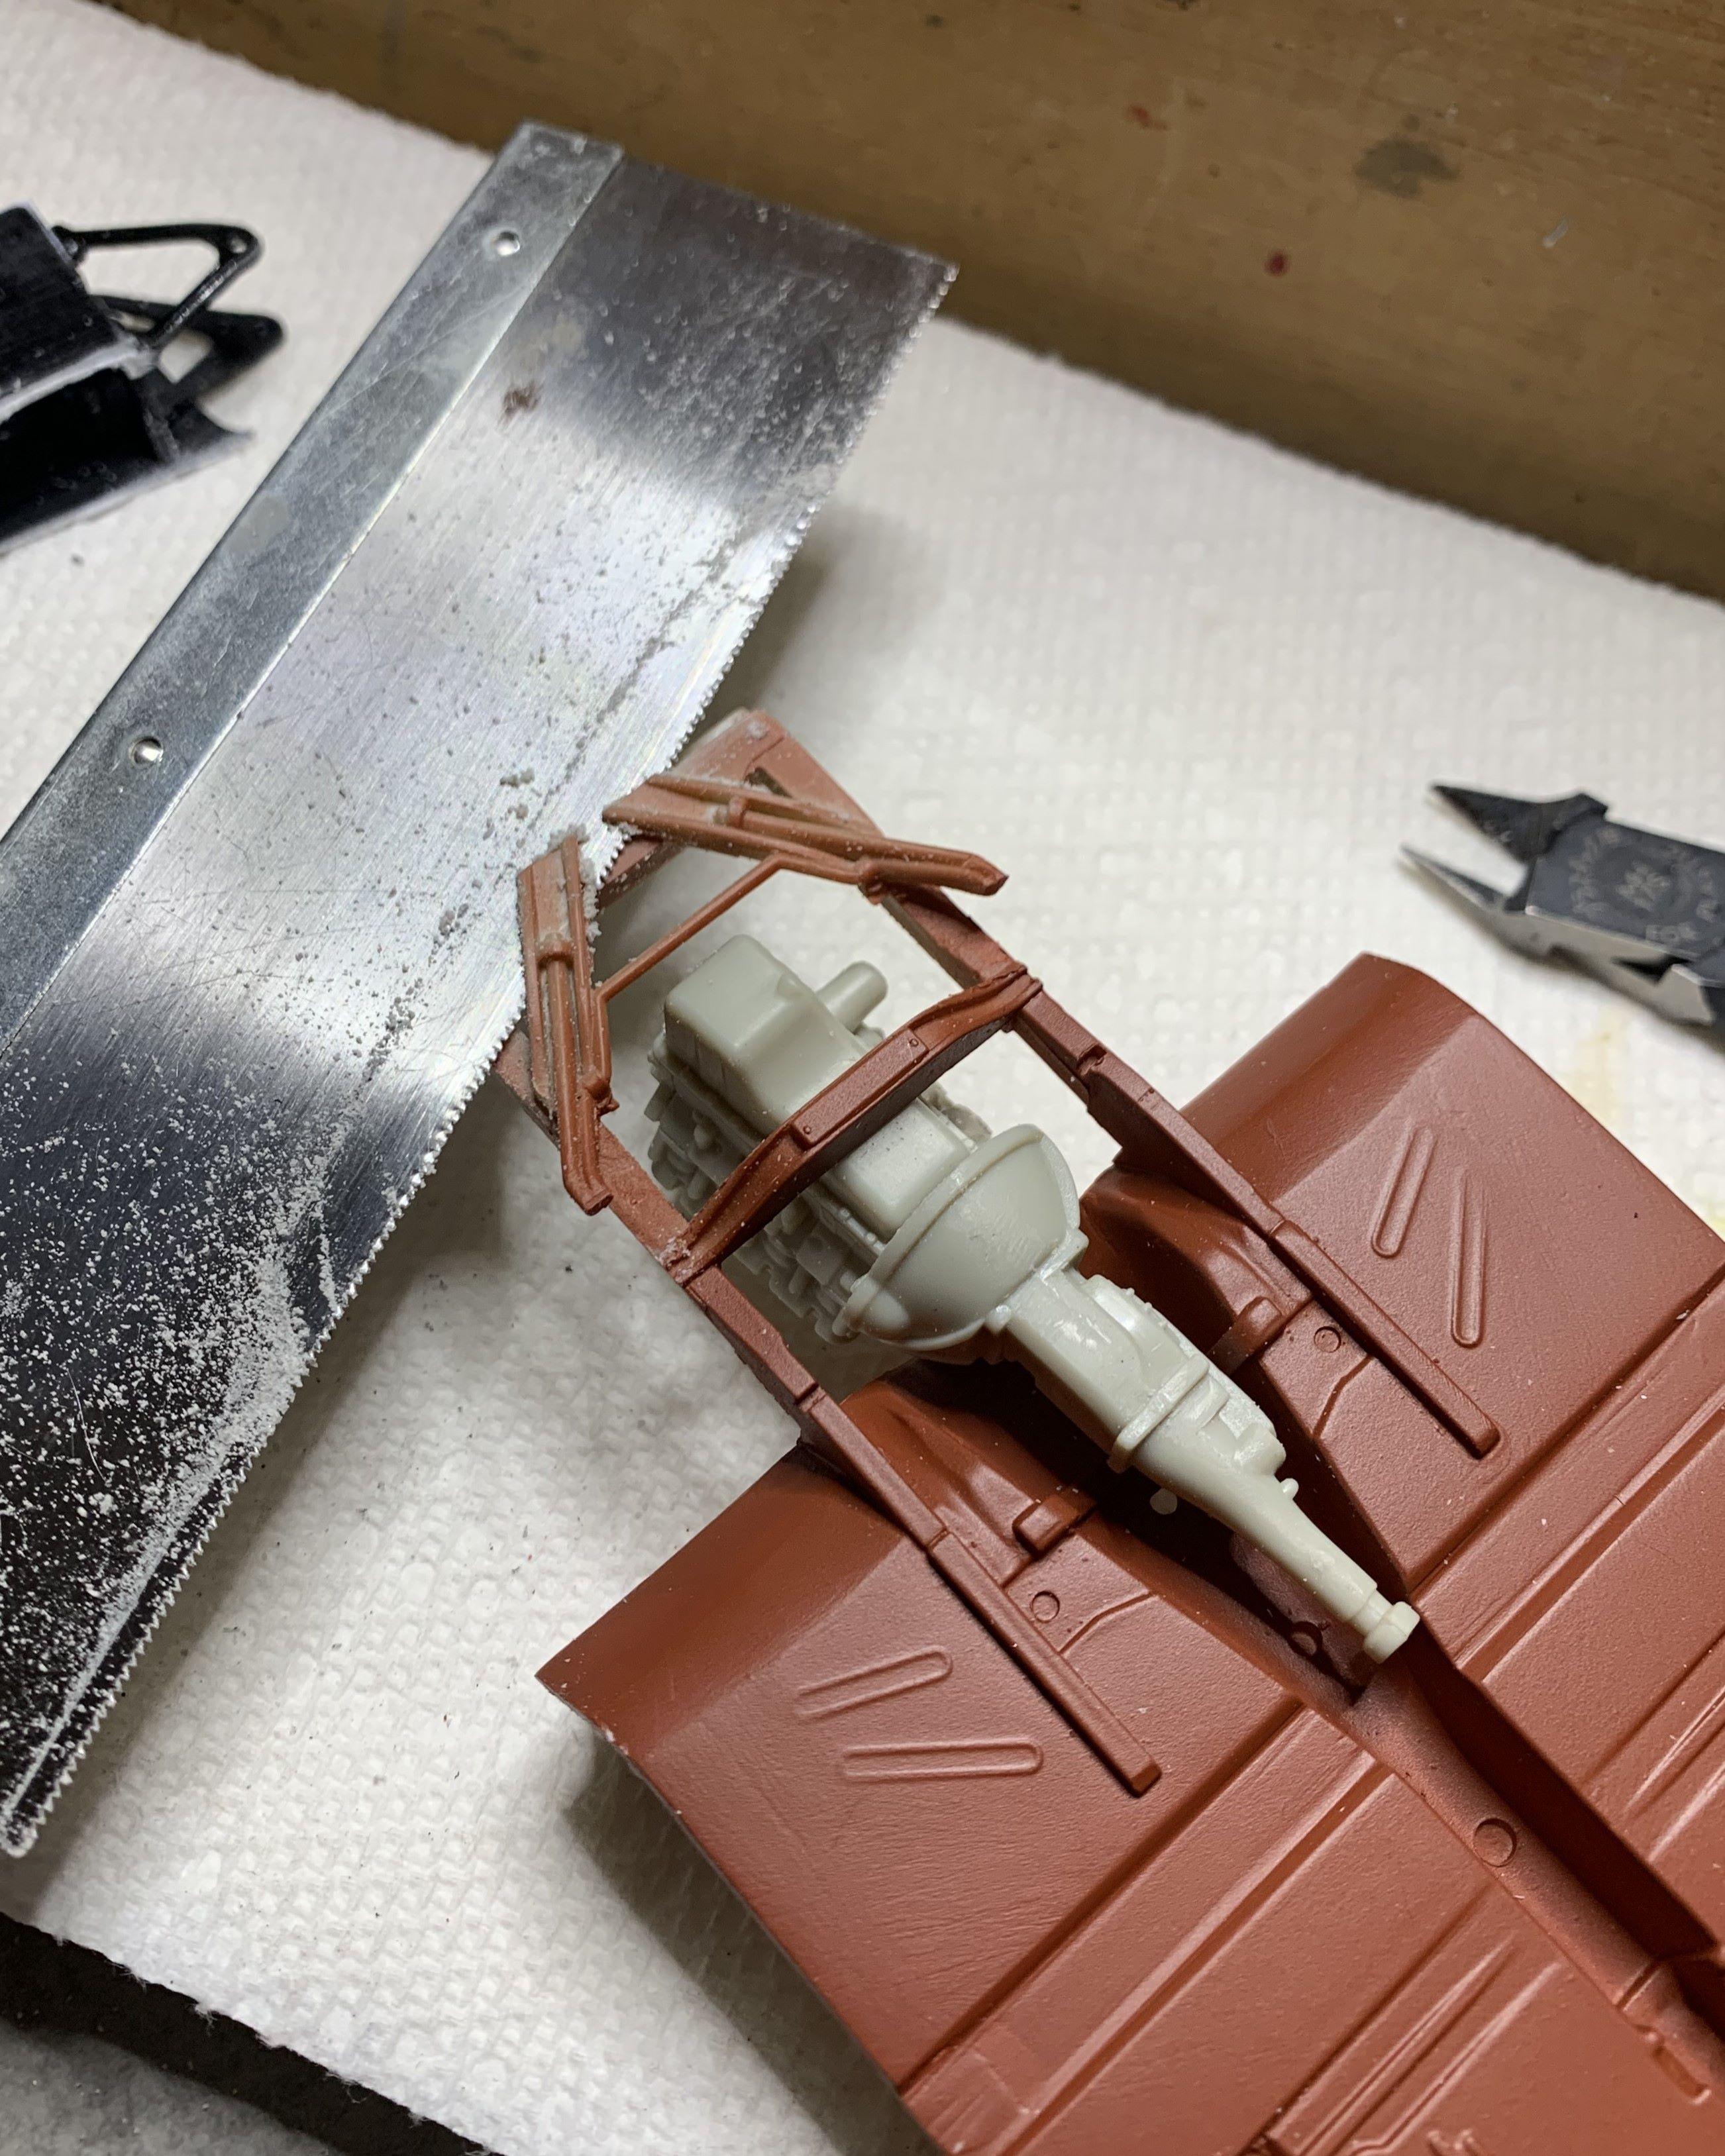
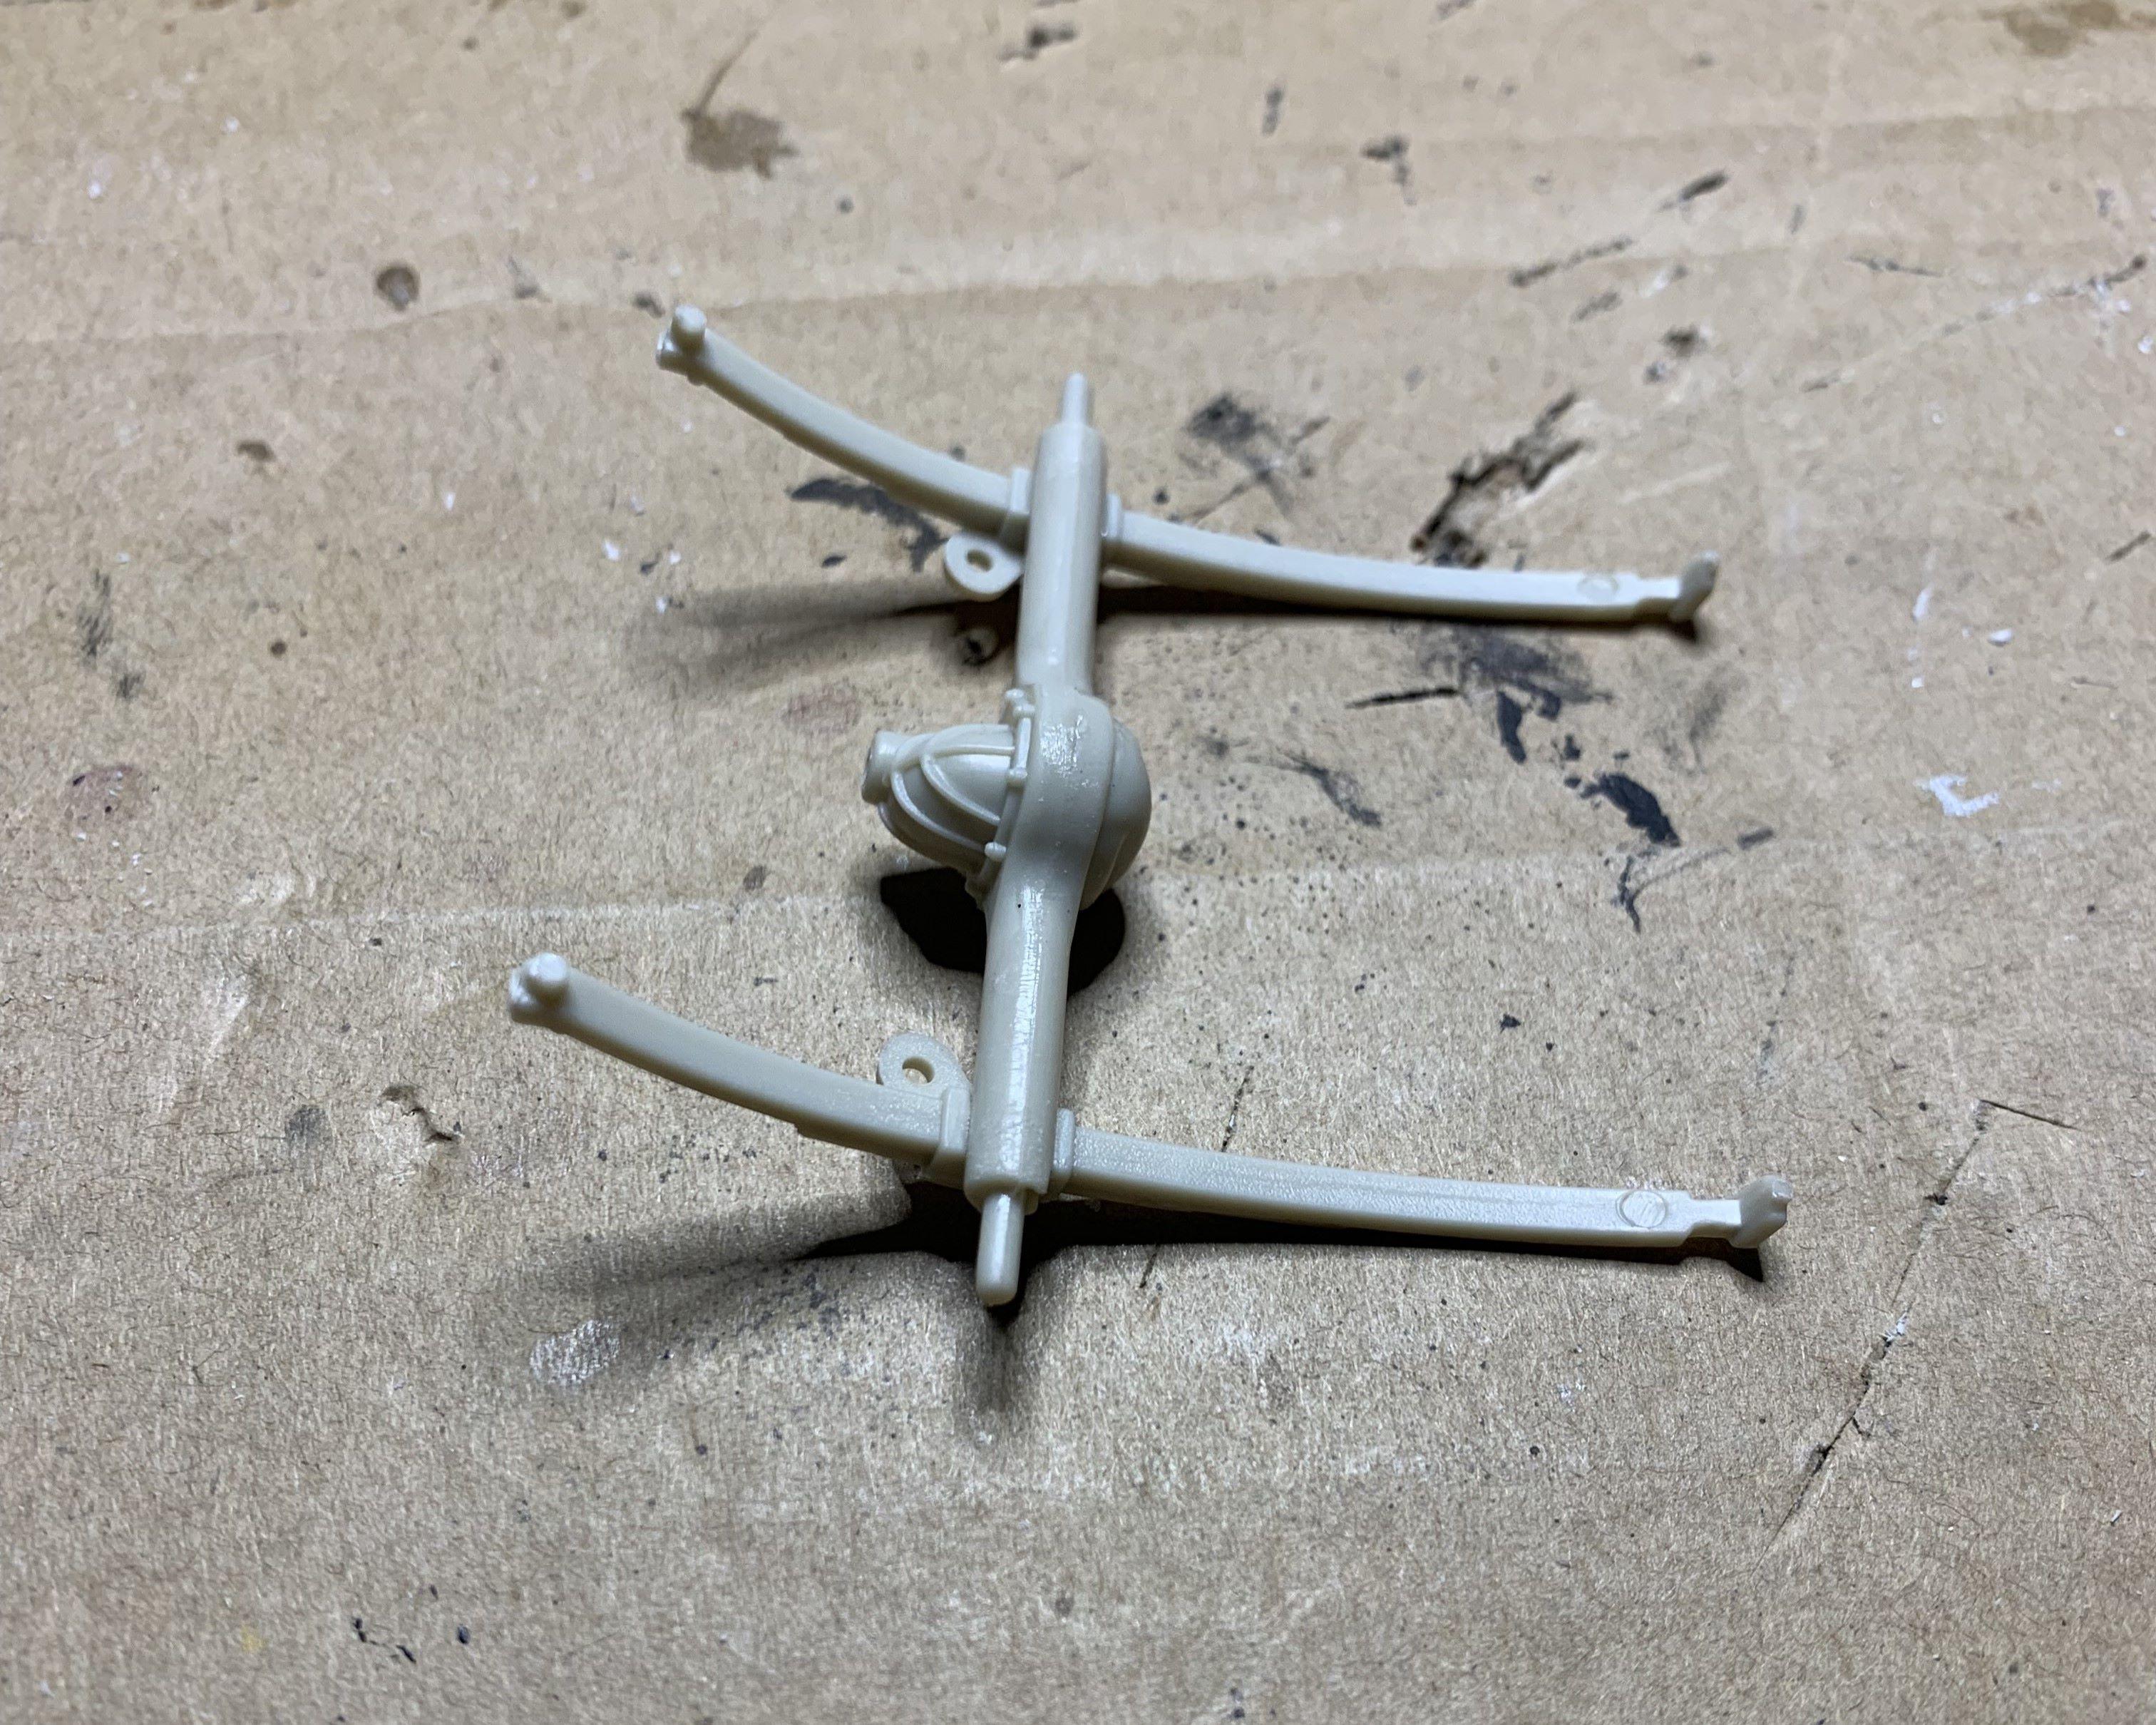
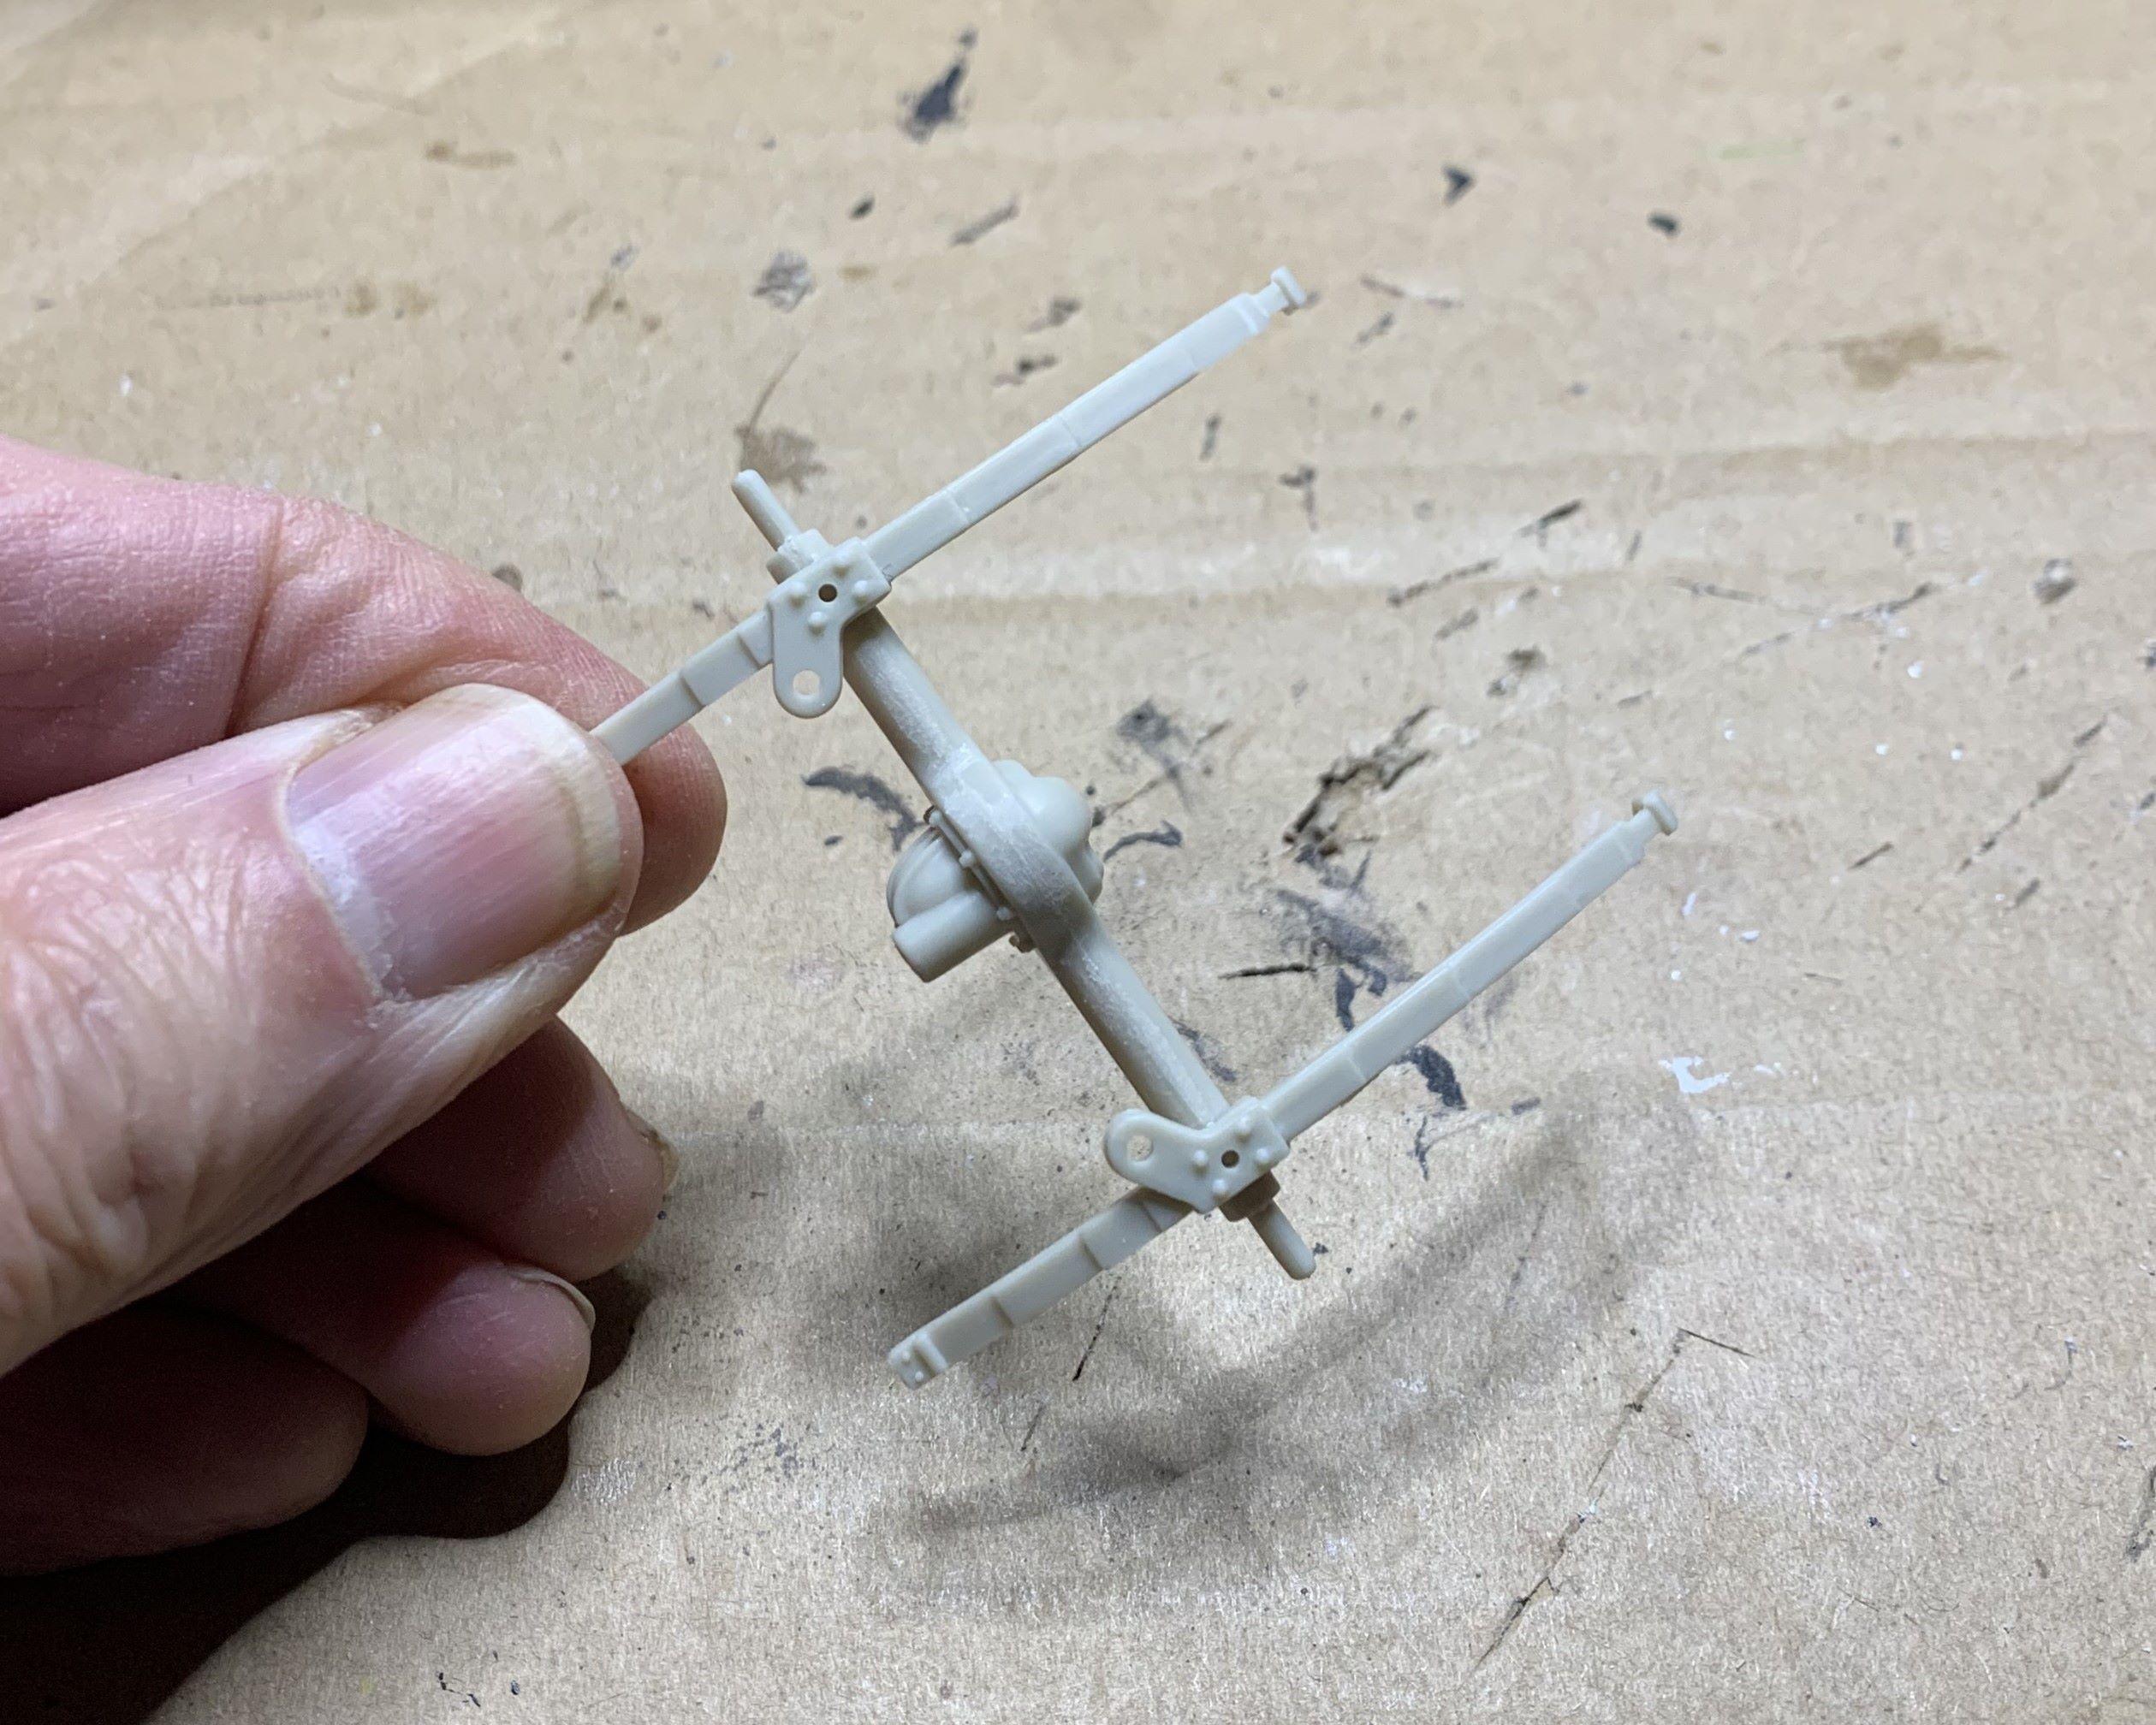
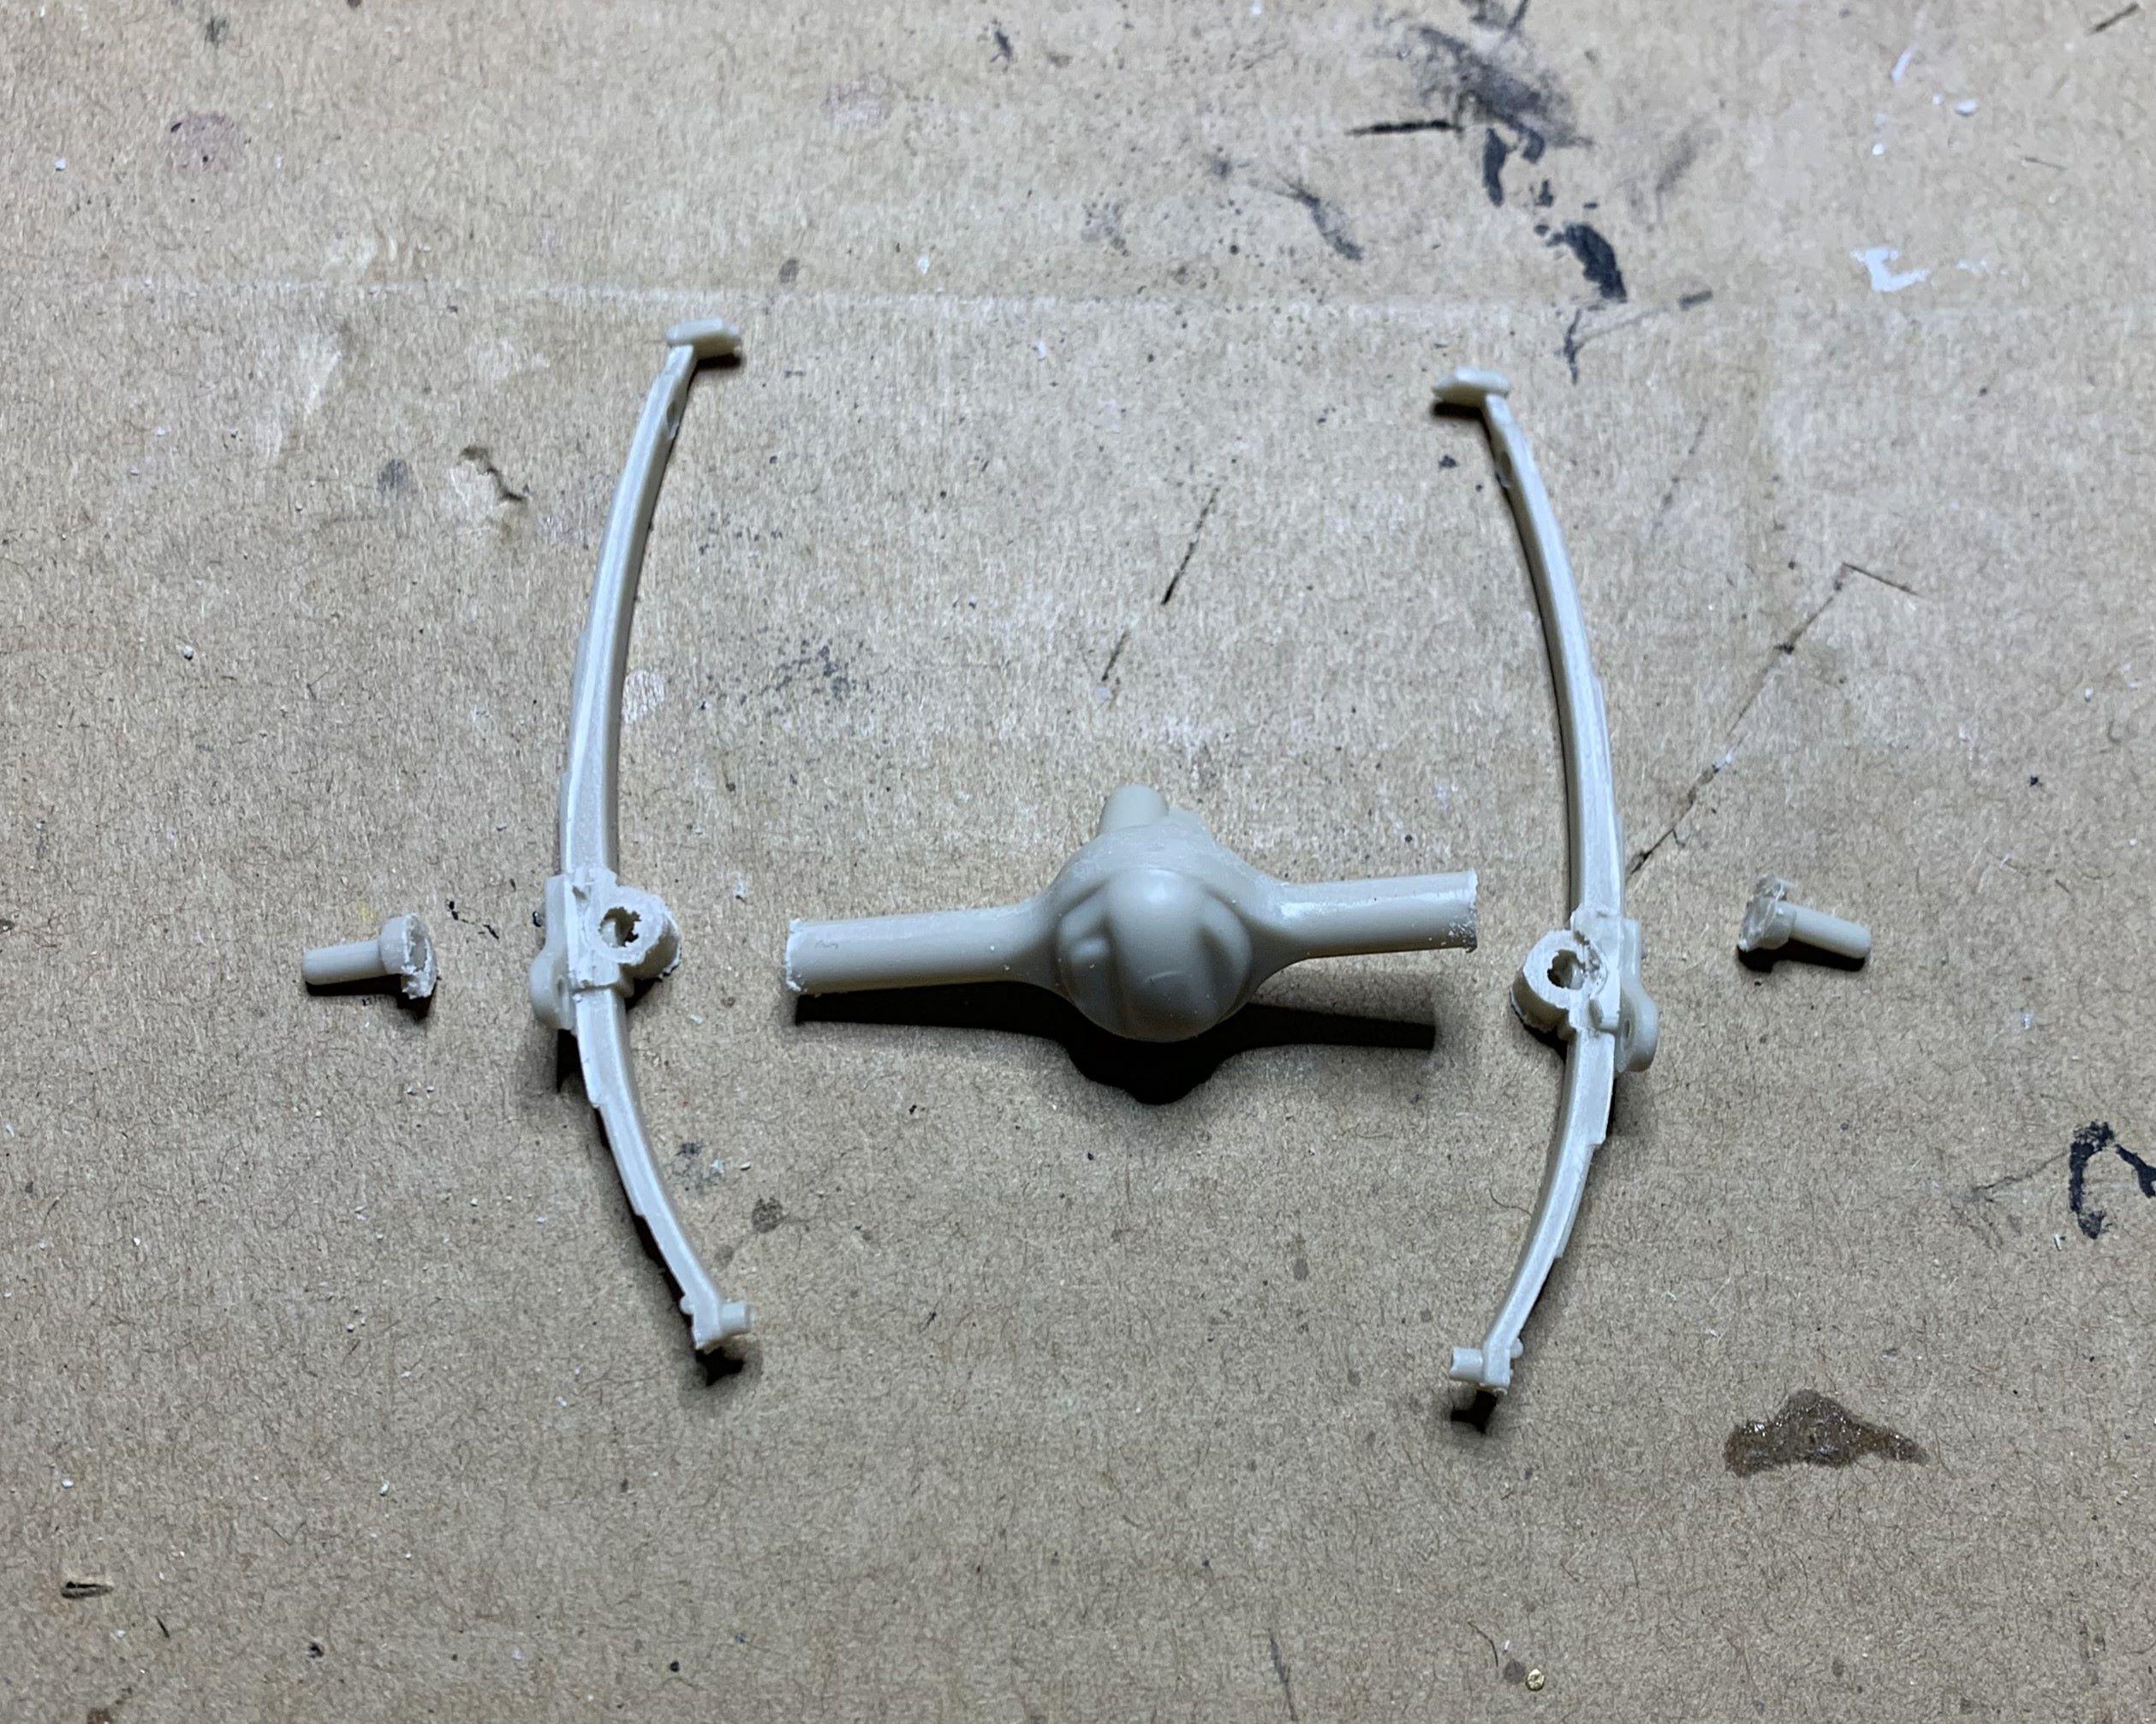
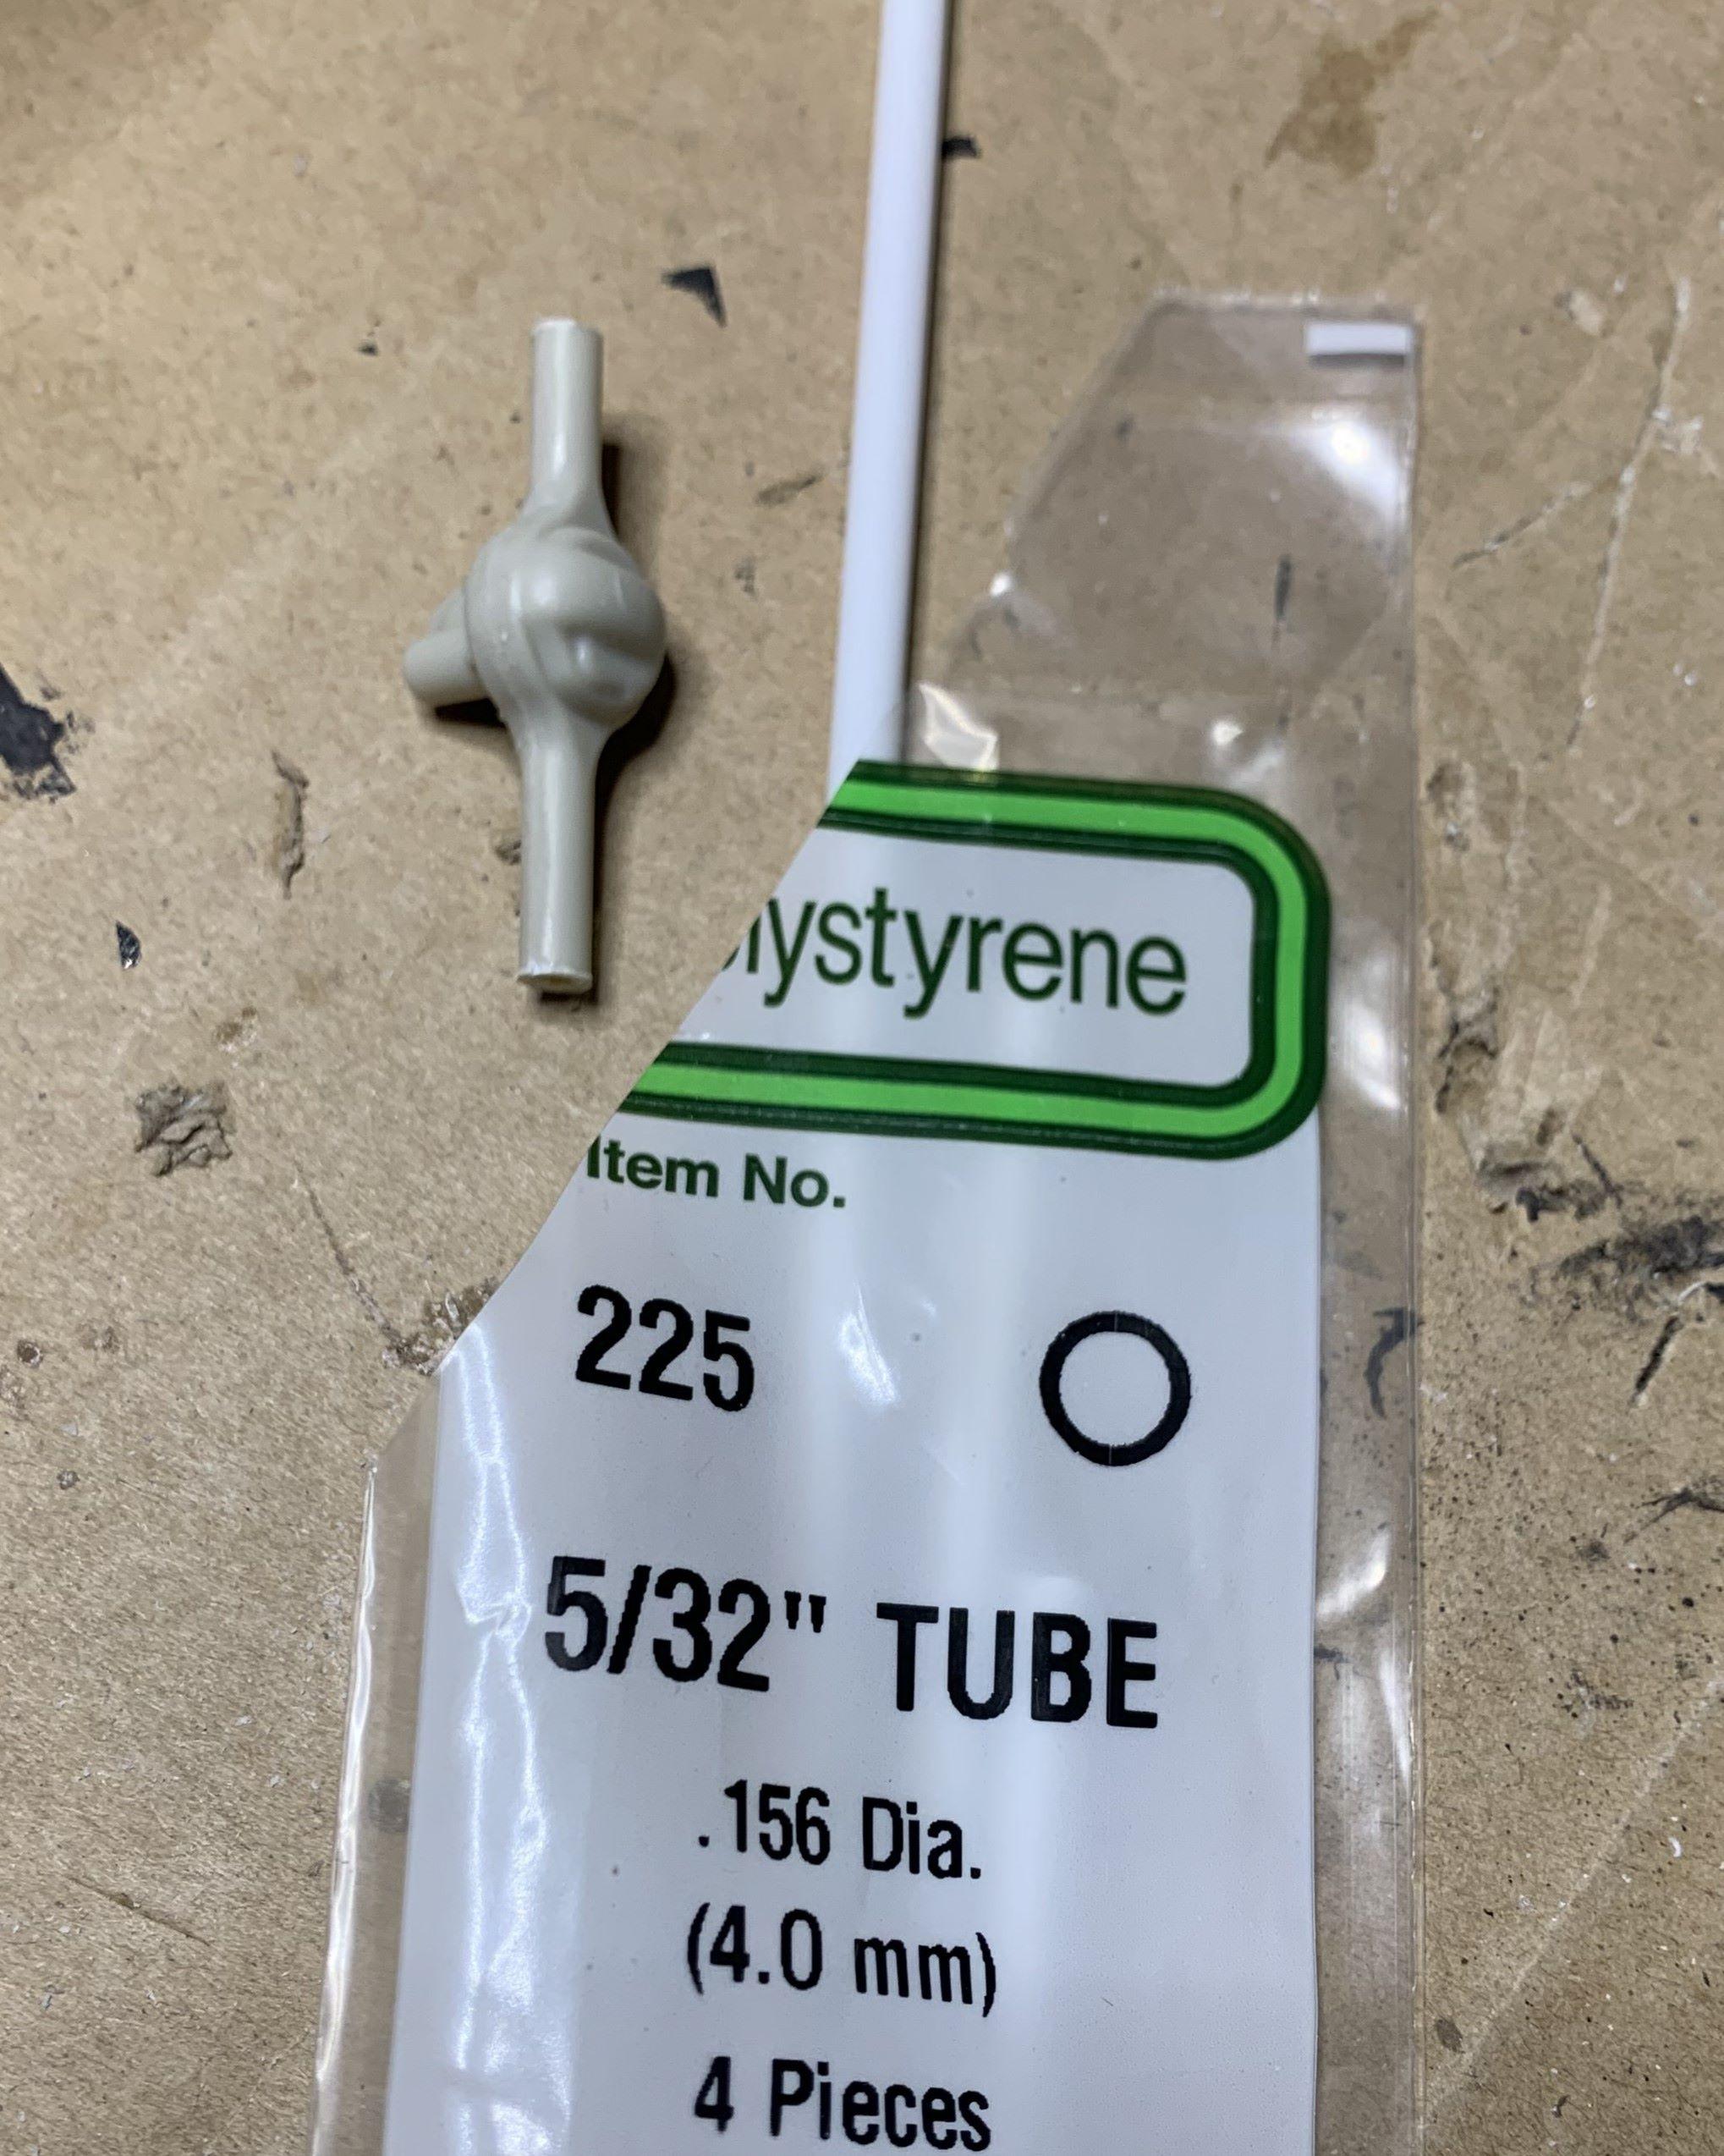
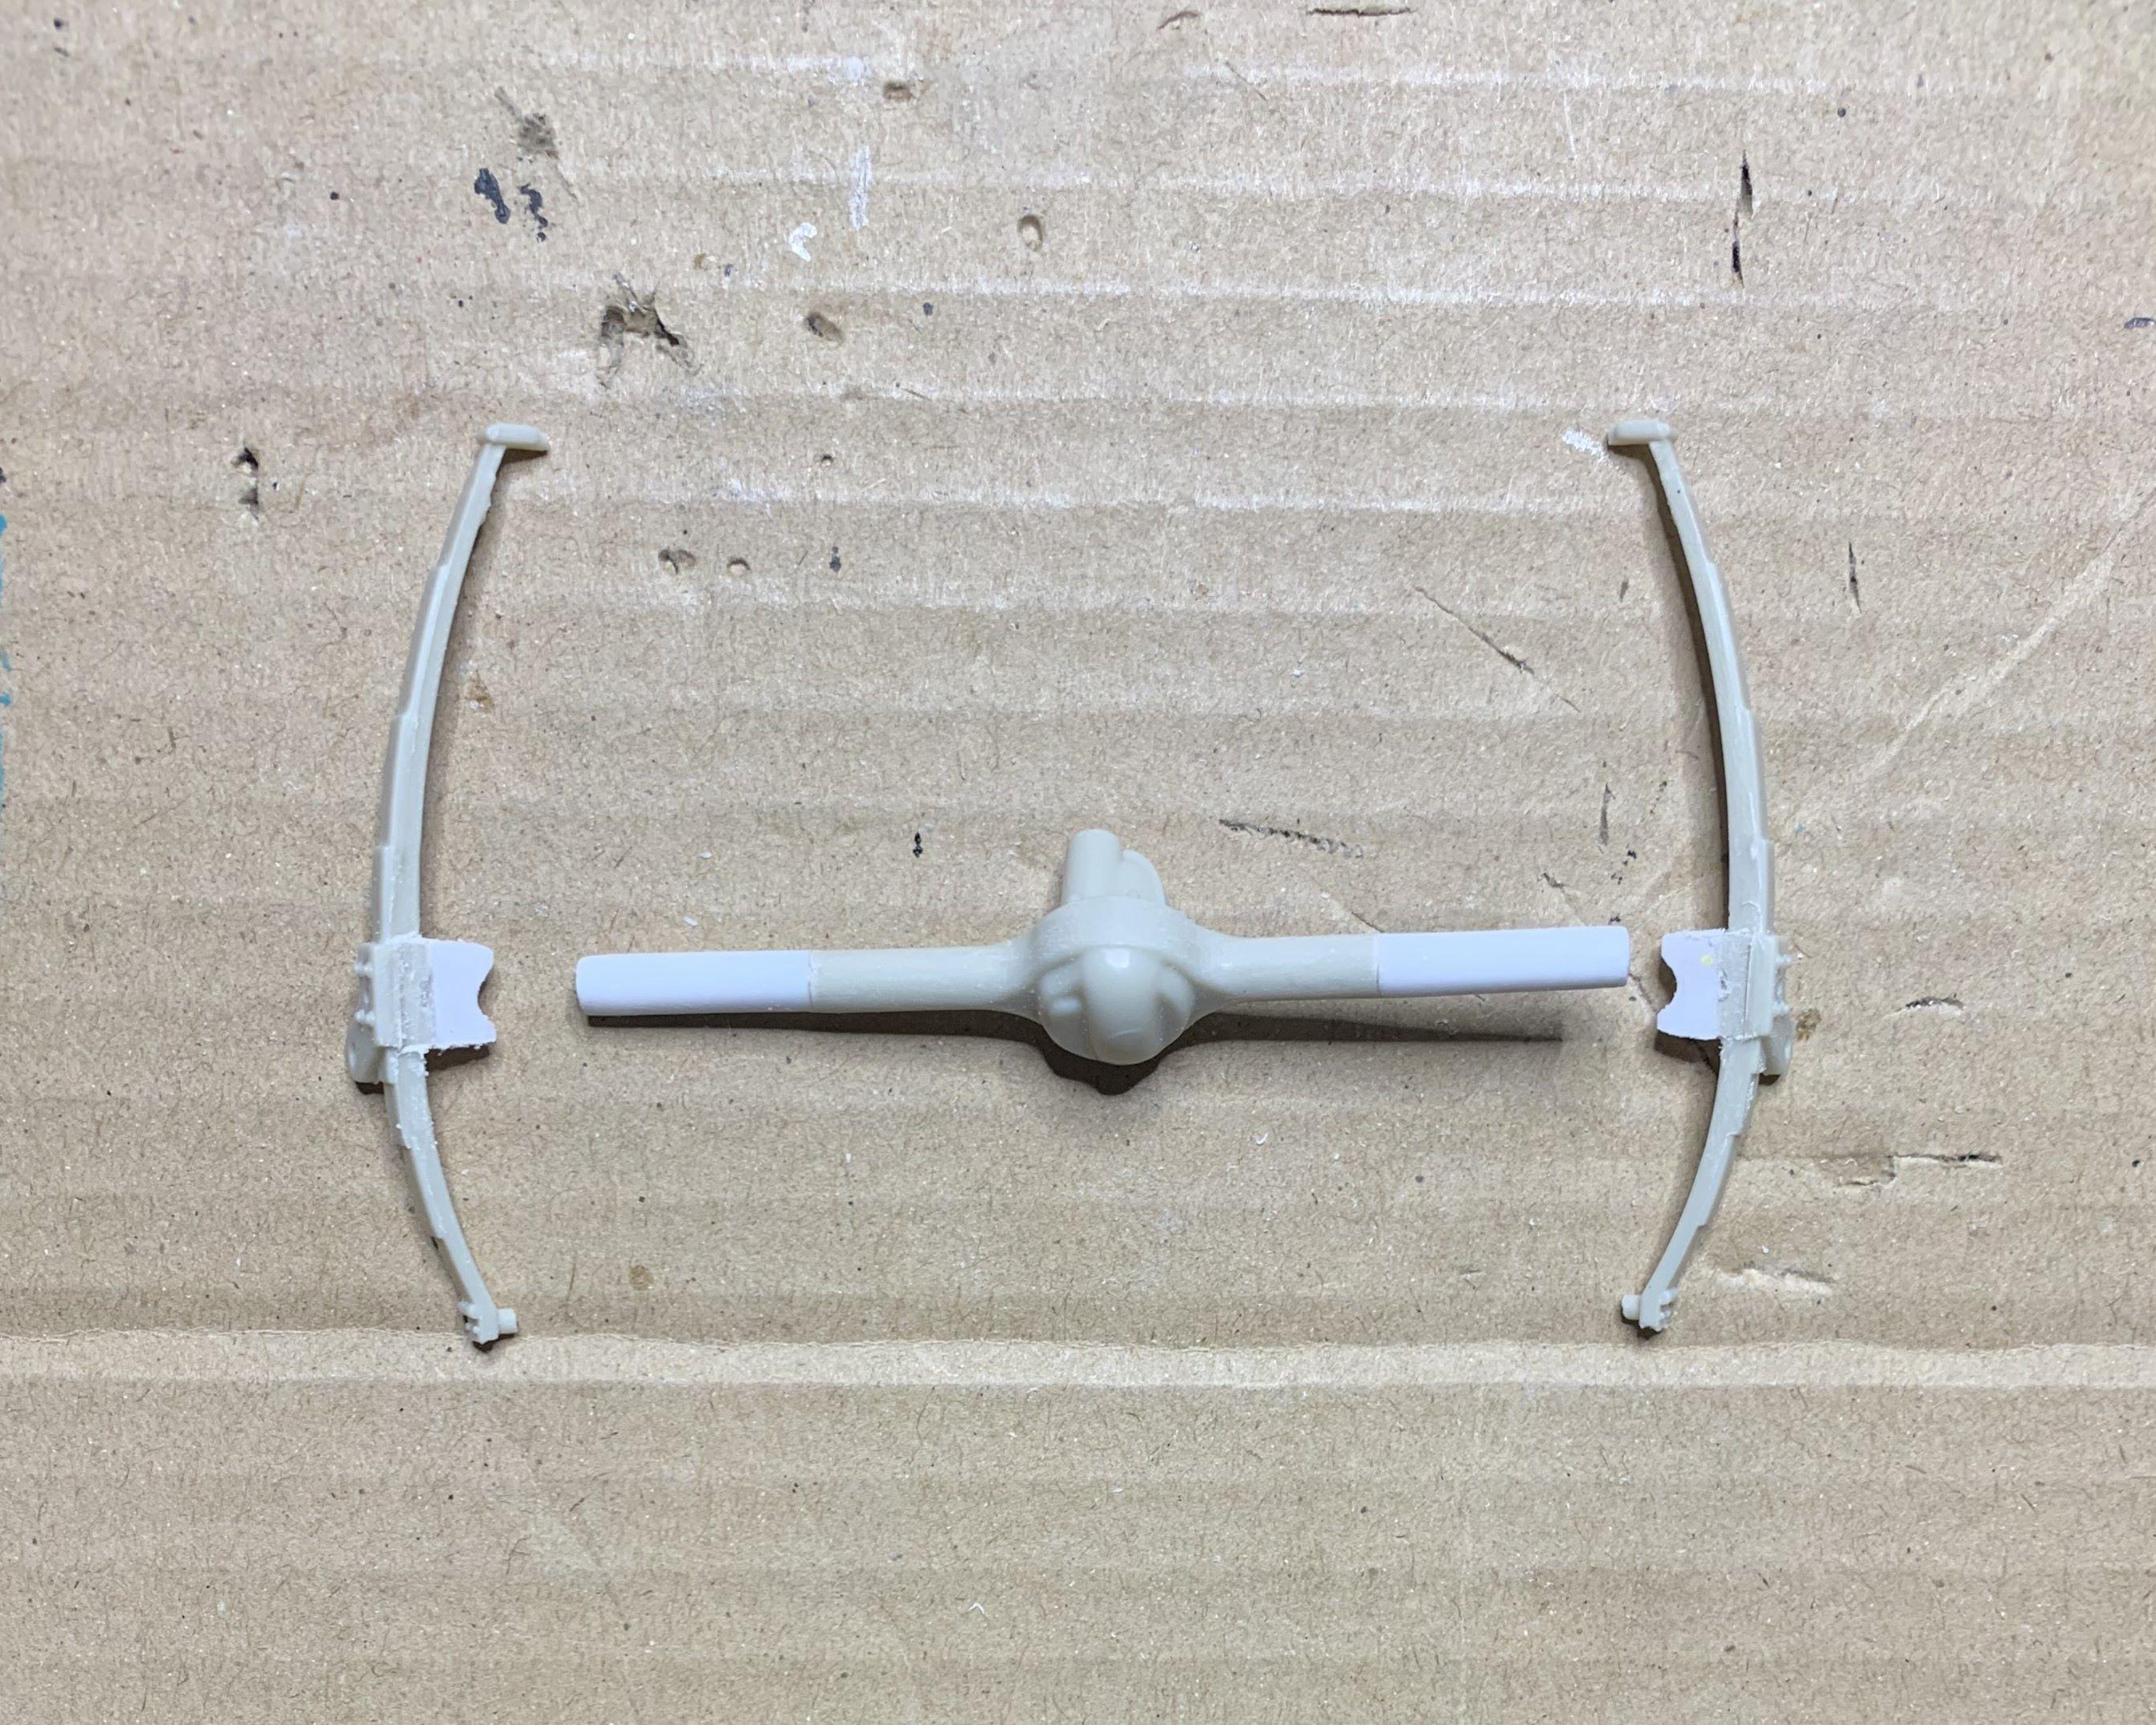
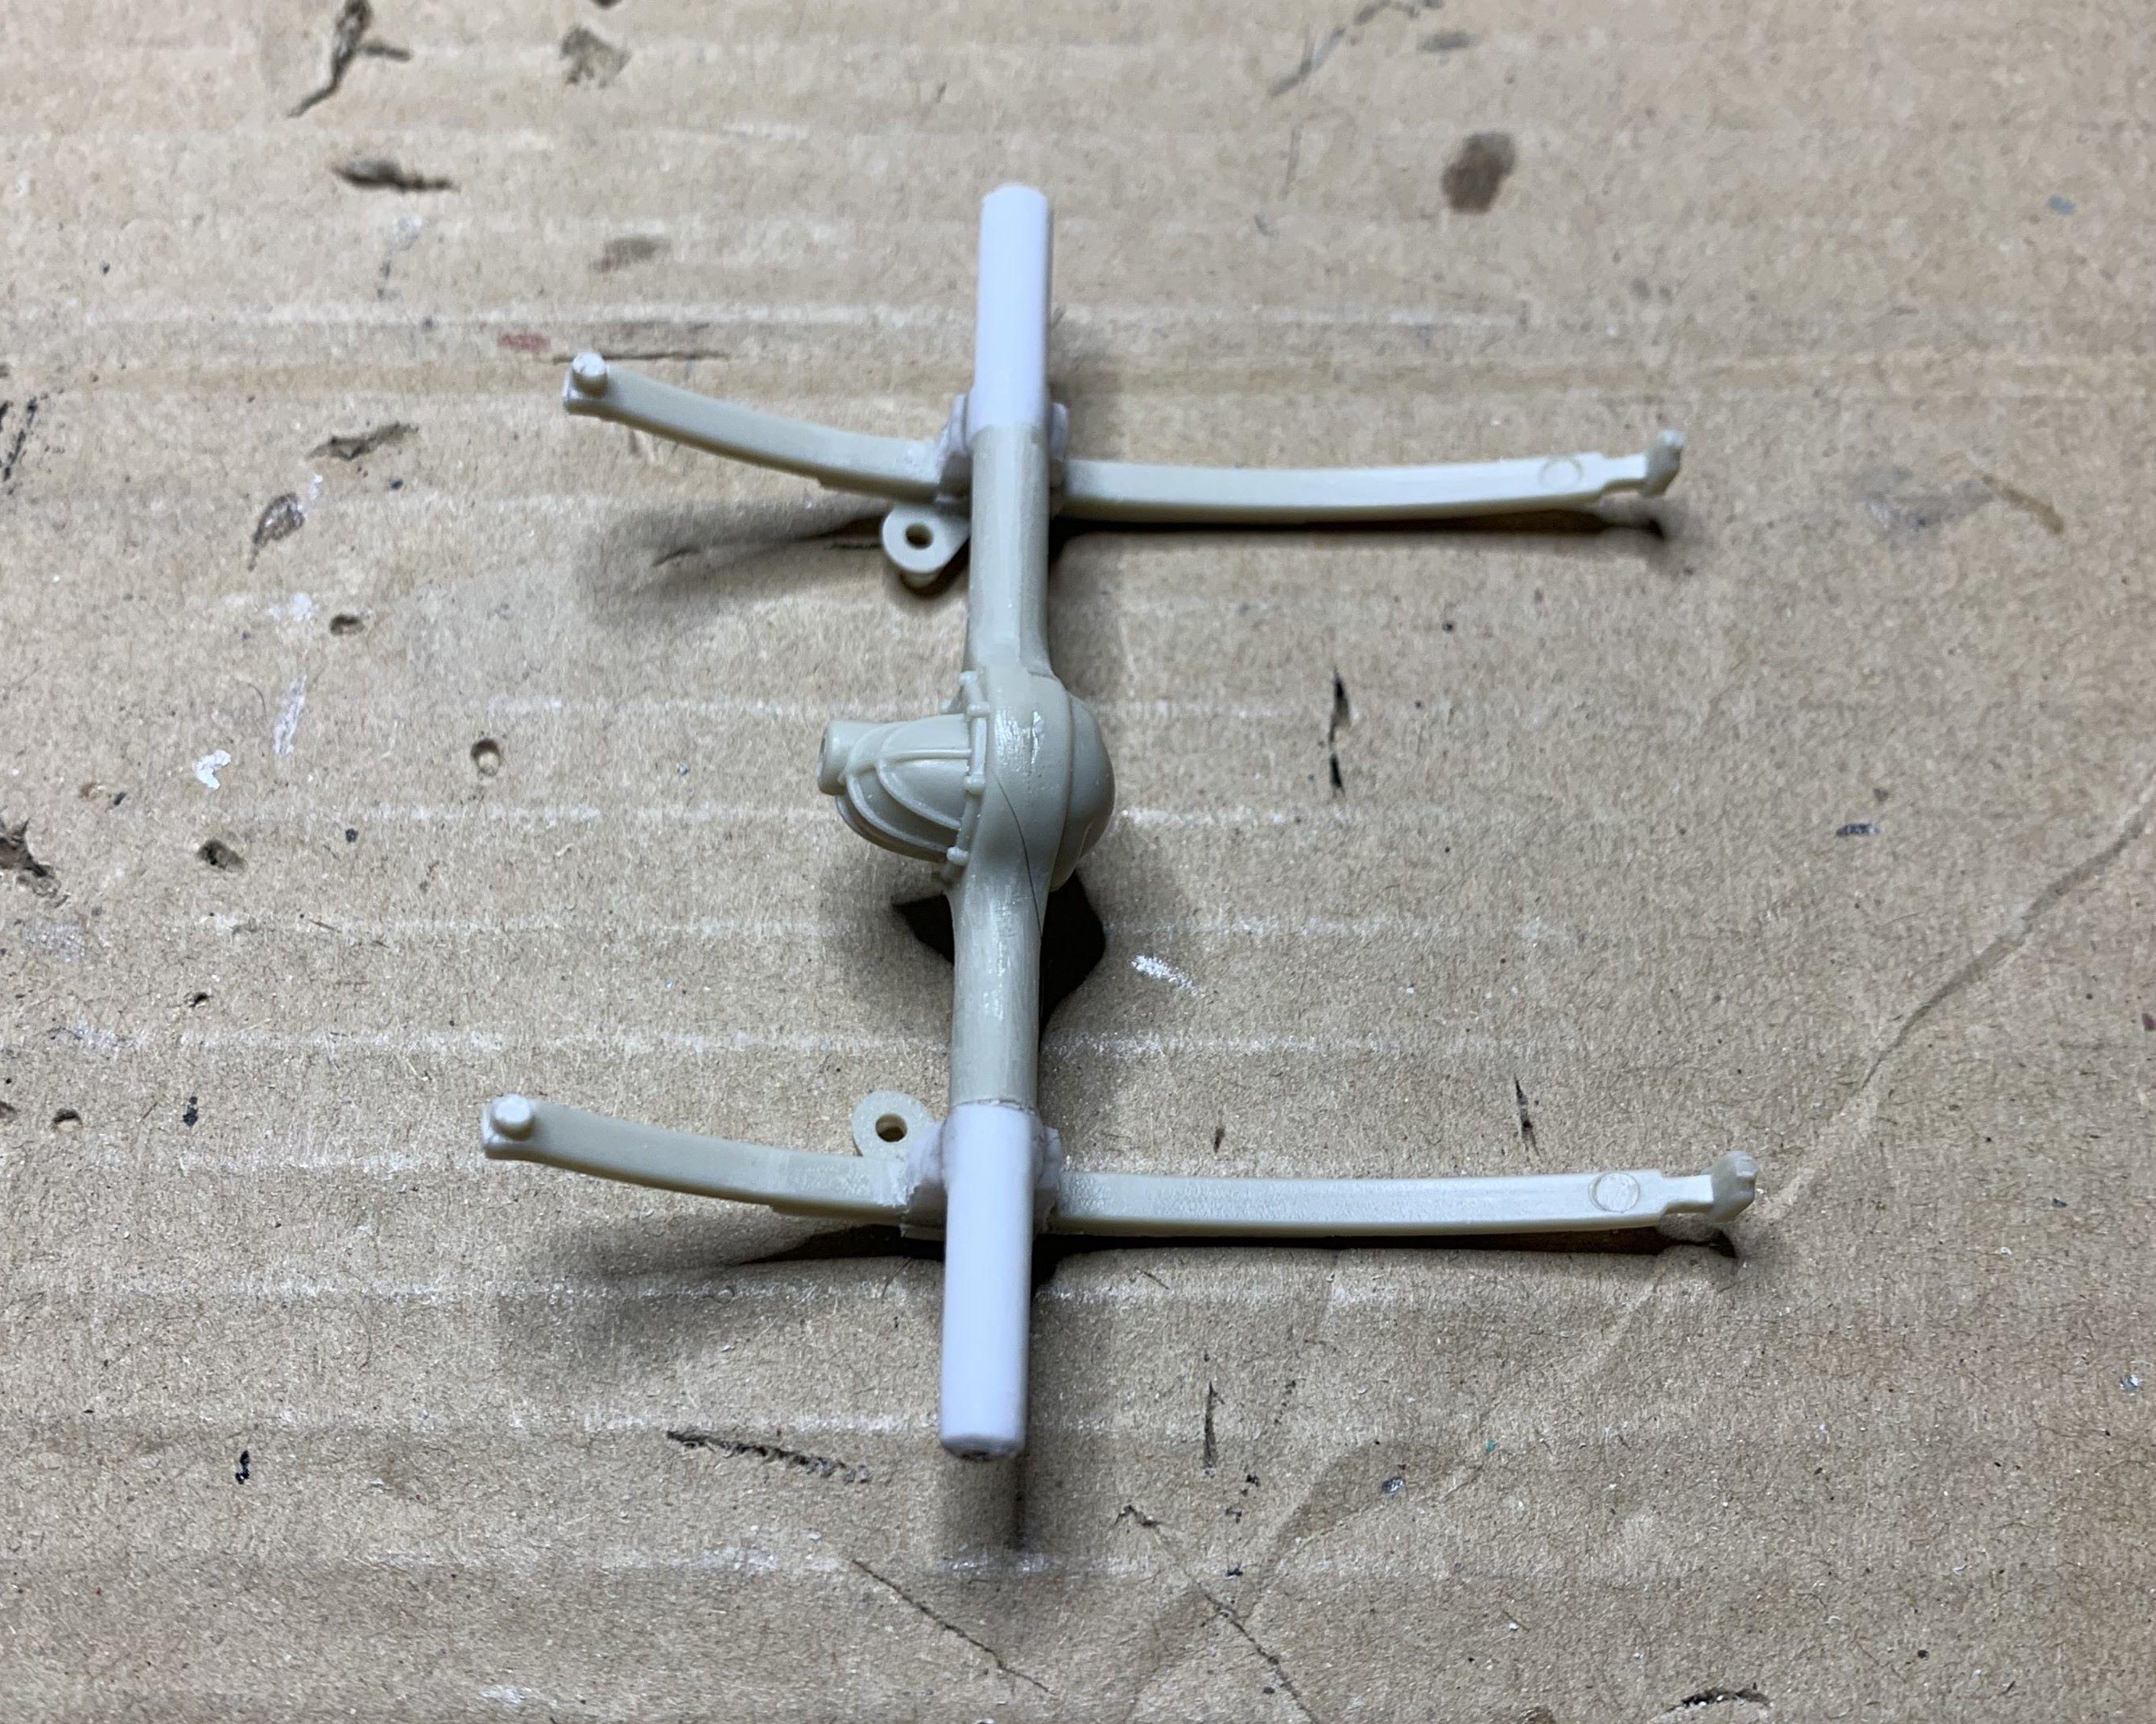
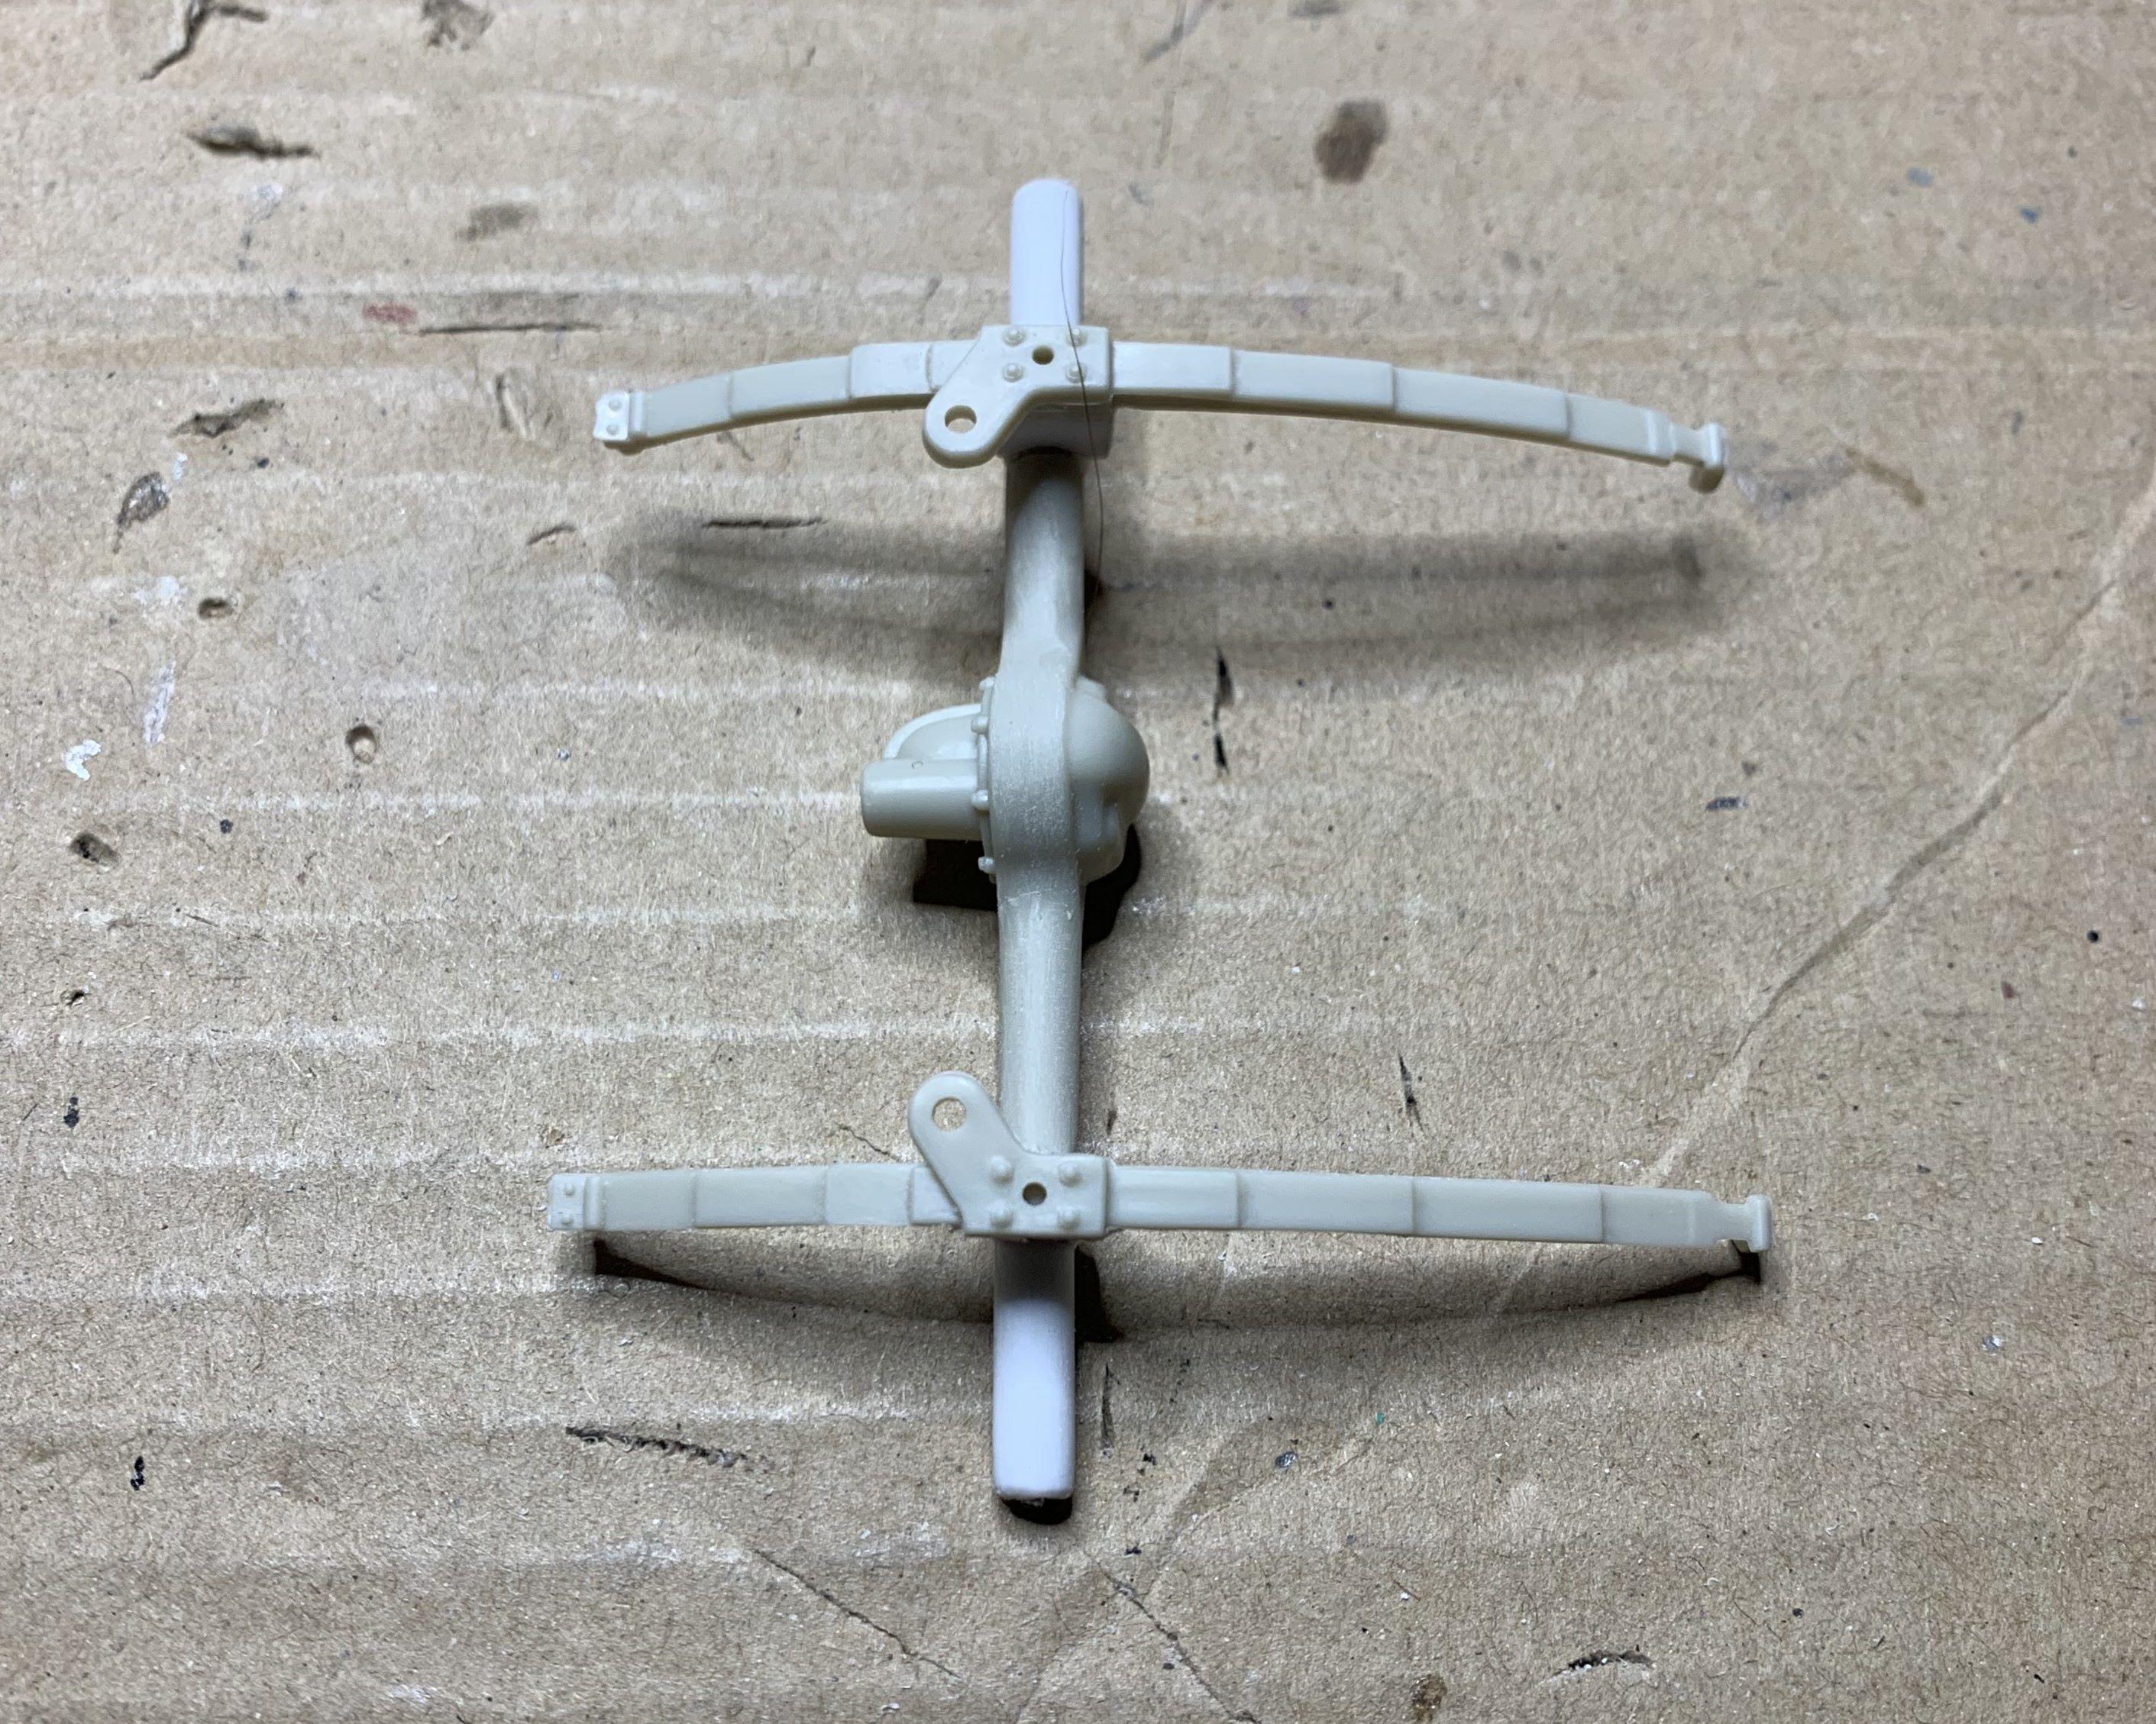
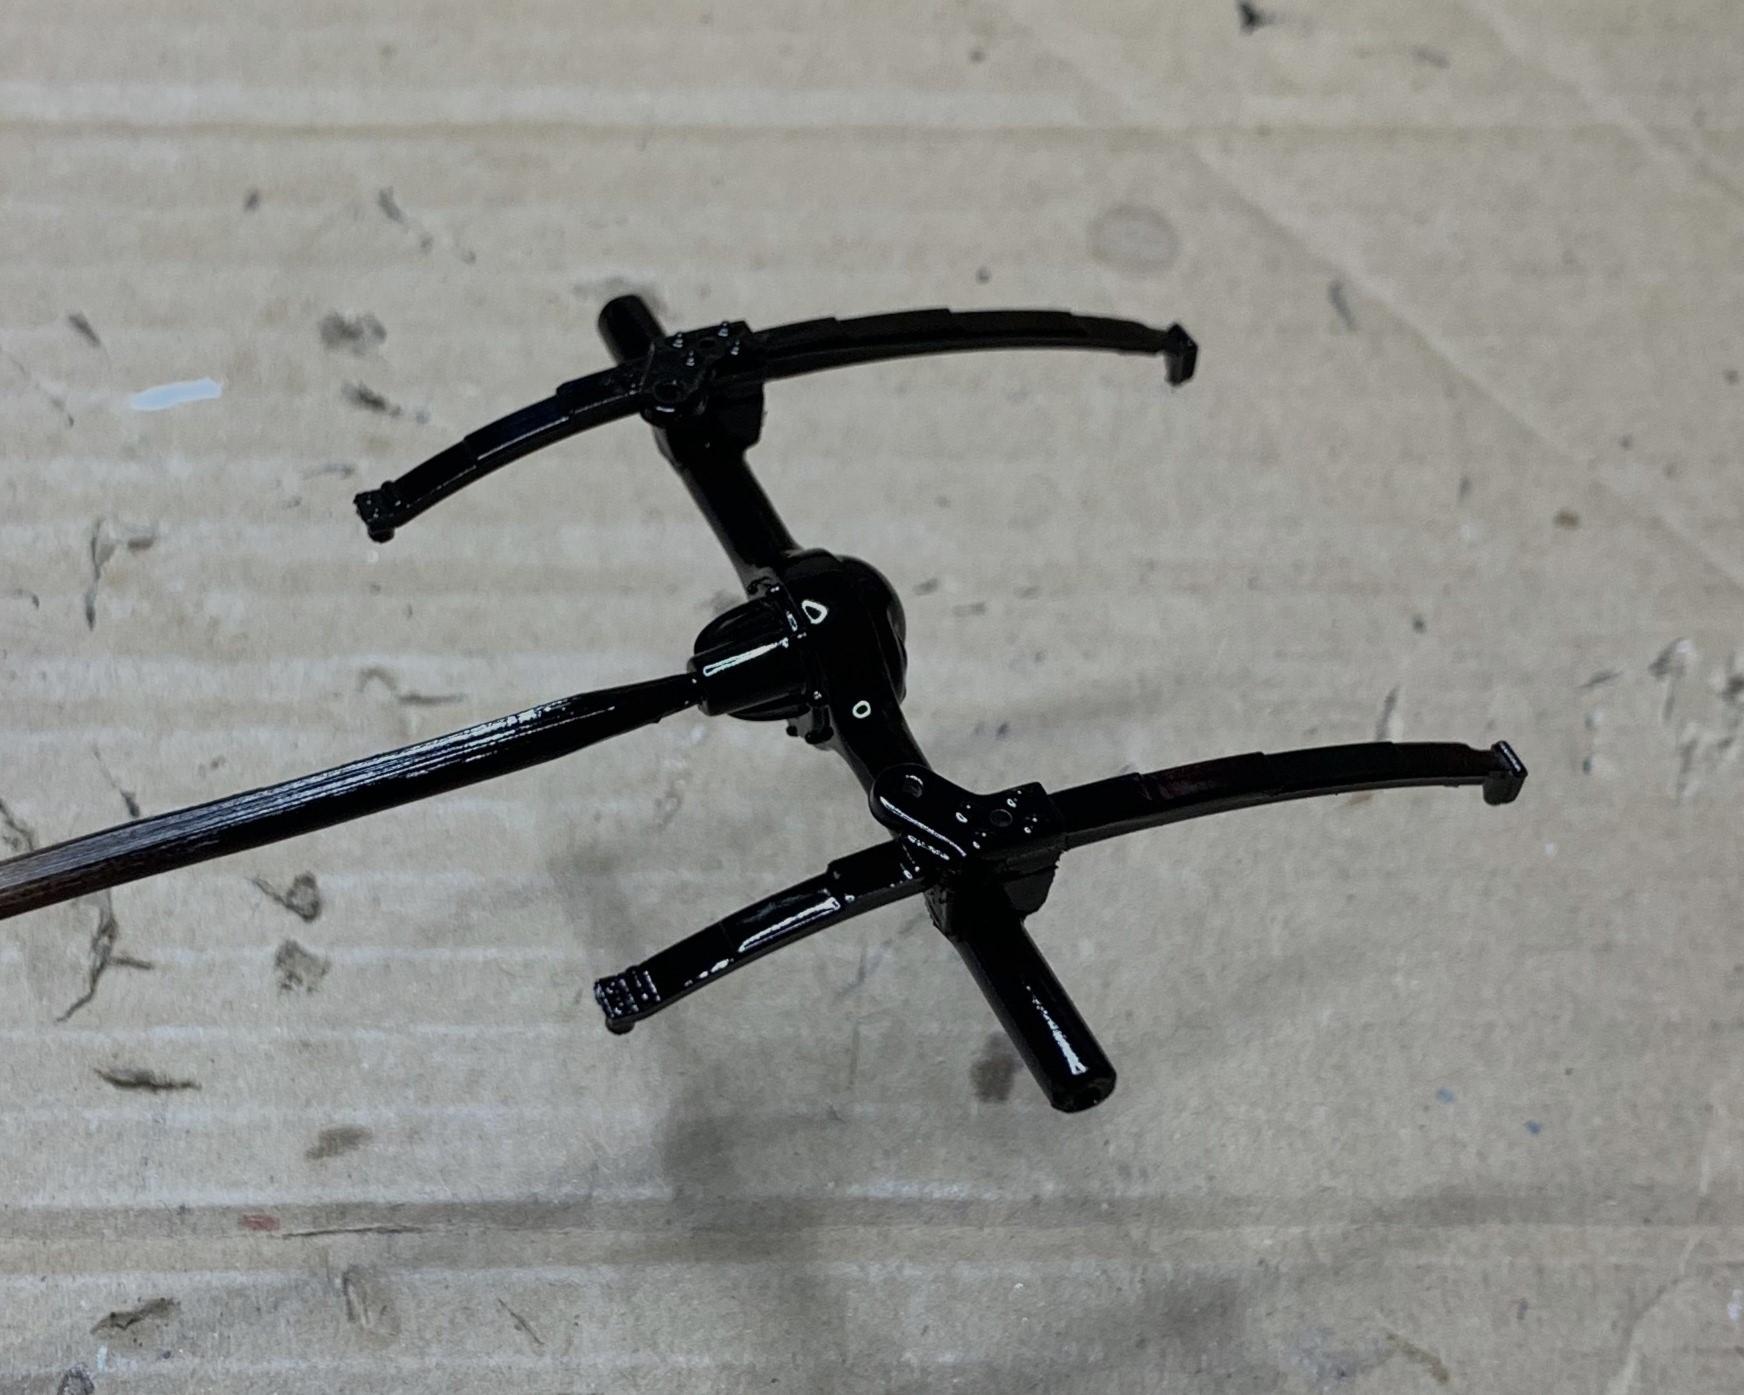
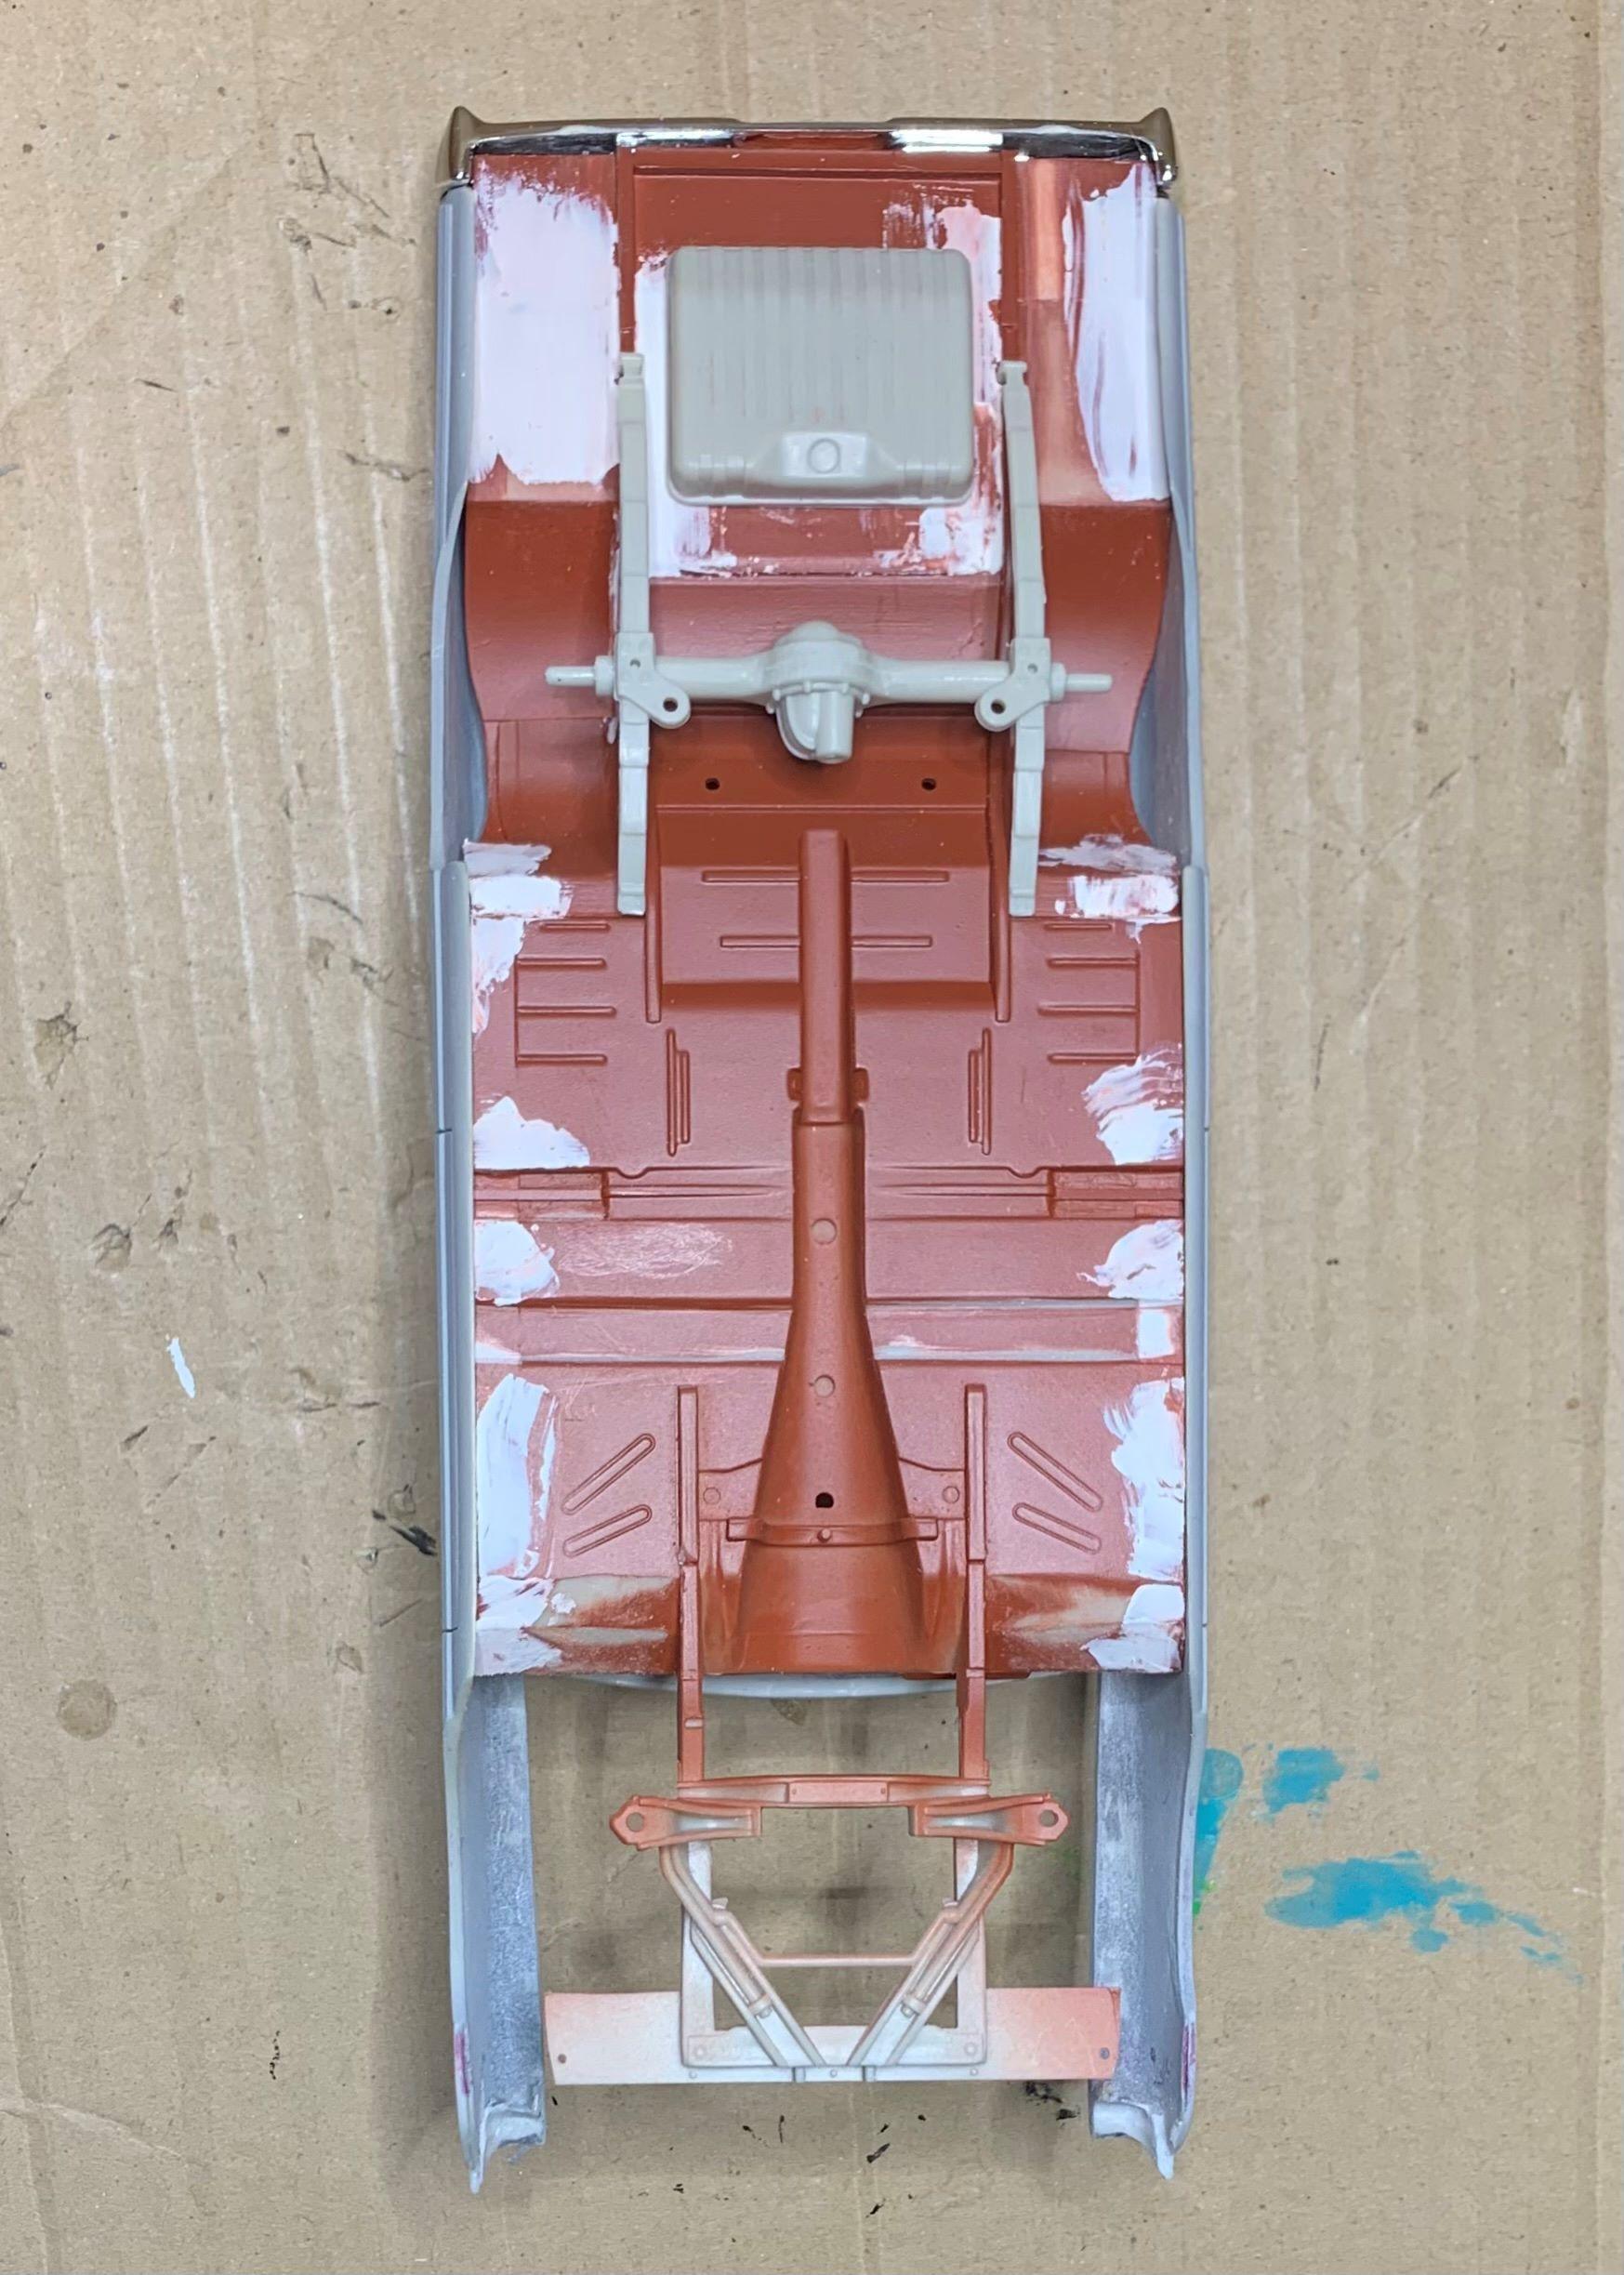
Now that rear end, well the leaf springs still fit the modified chassis pan, but it's too narrow, and sits way too high! So............ I cut the rear end from the springs, slicing on each side of each leaf. That way is easier to remove the left over axle bits from the springs. I added 5/32 styrene tube, but I fitted aluminum tubing with a solid metal rod through for added strength, none of that is showing. I made spacers from styrene stock on it's side so that both were the same height. Once it was all glued back together and primed and sprayed black, it gave me the ride height and width that I wanted for the big cruiser!
-
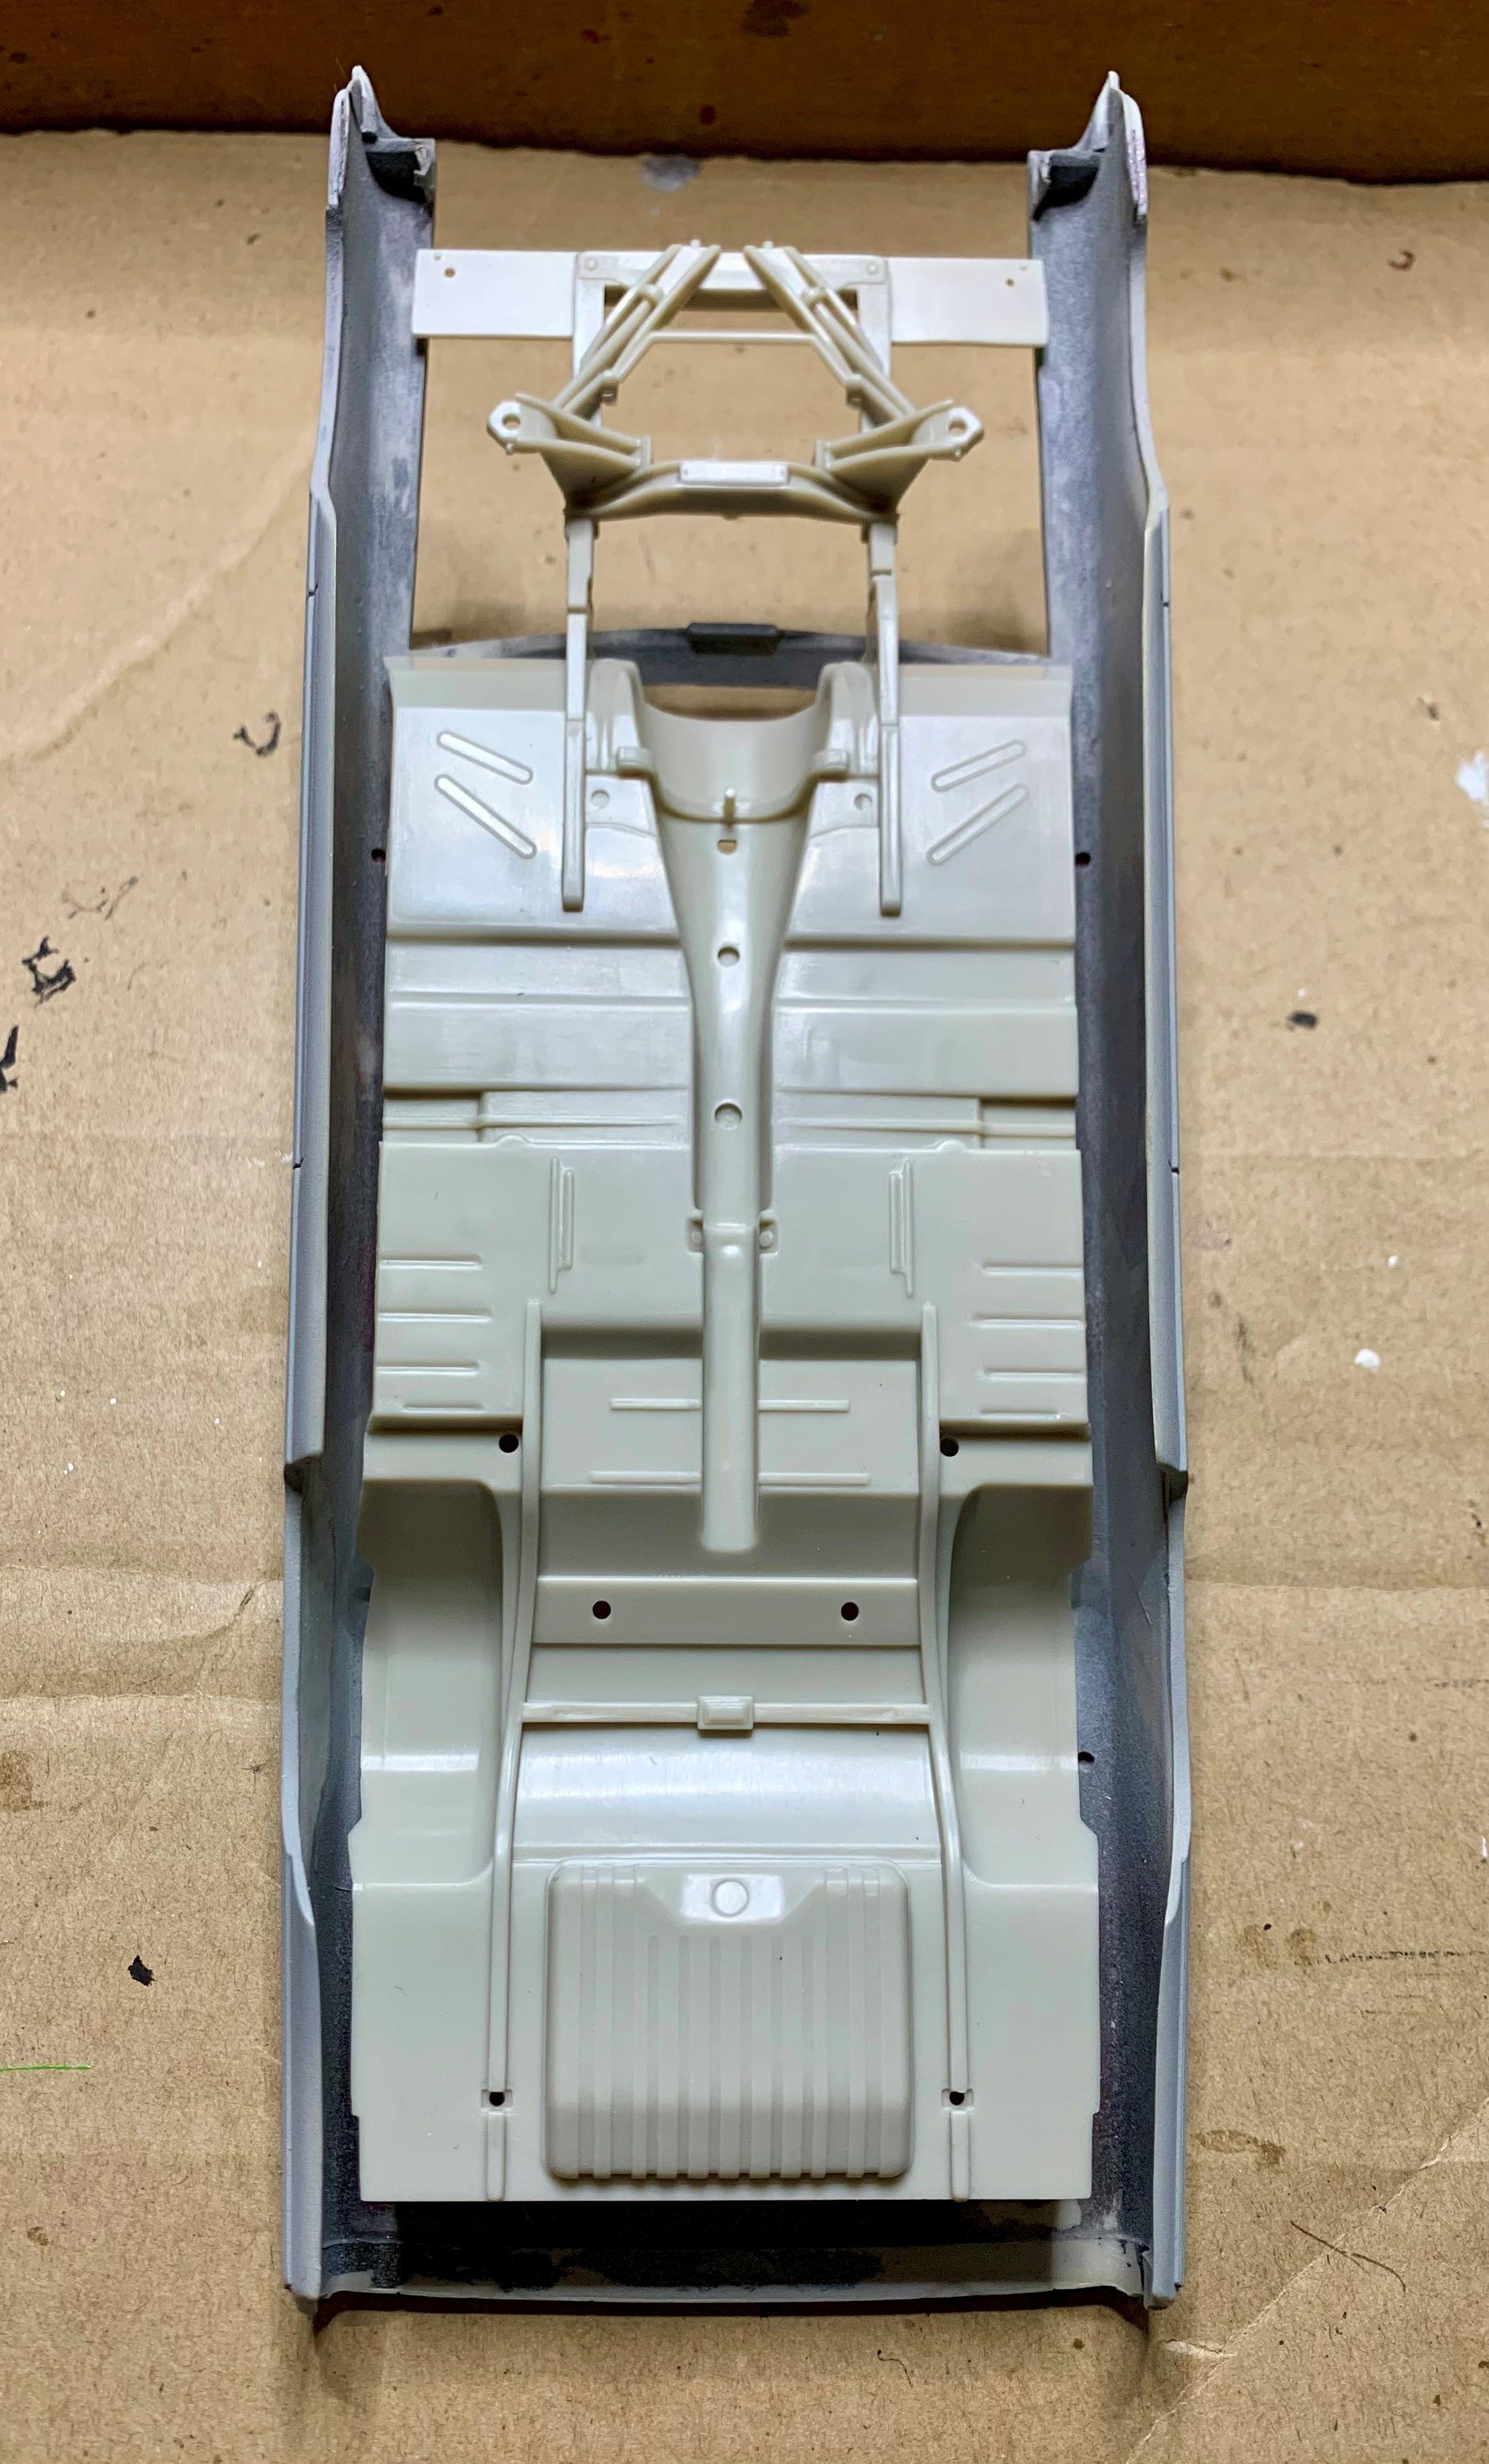
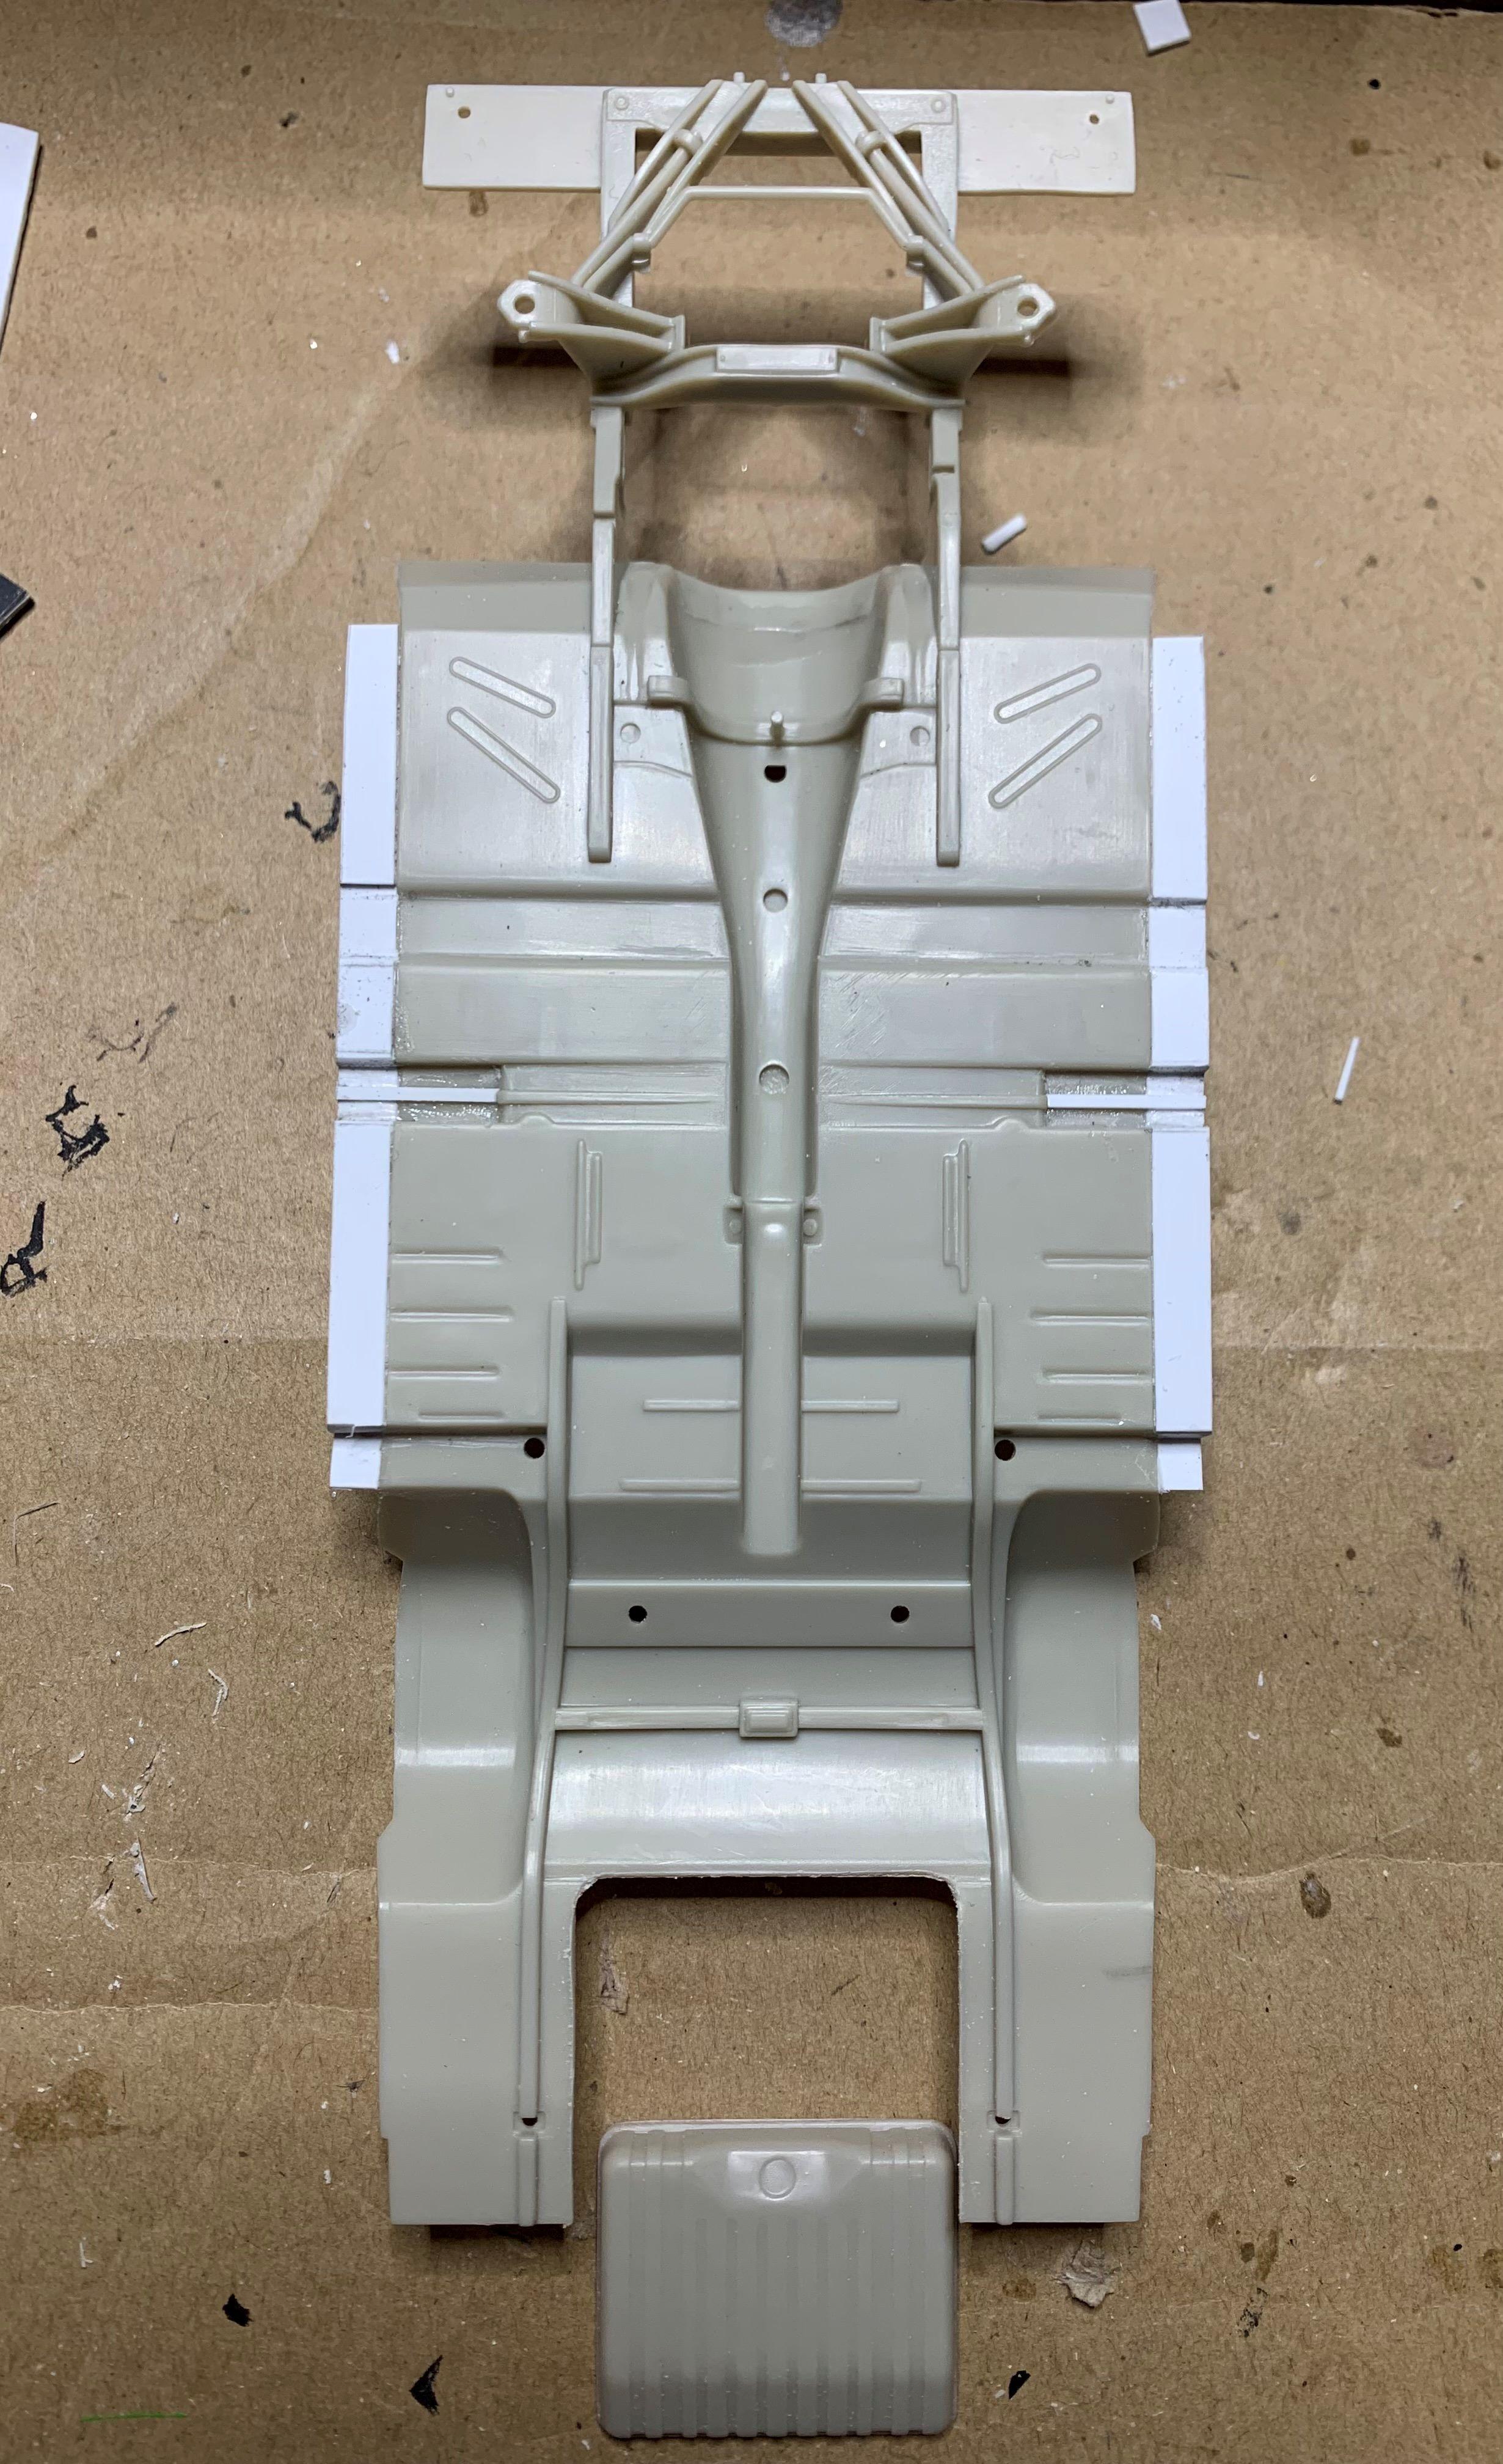
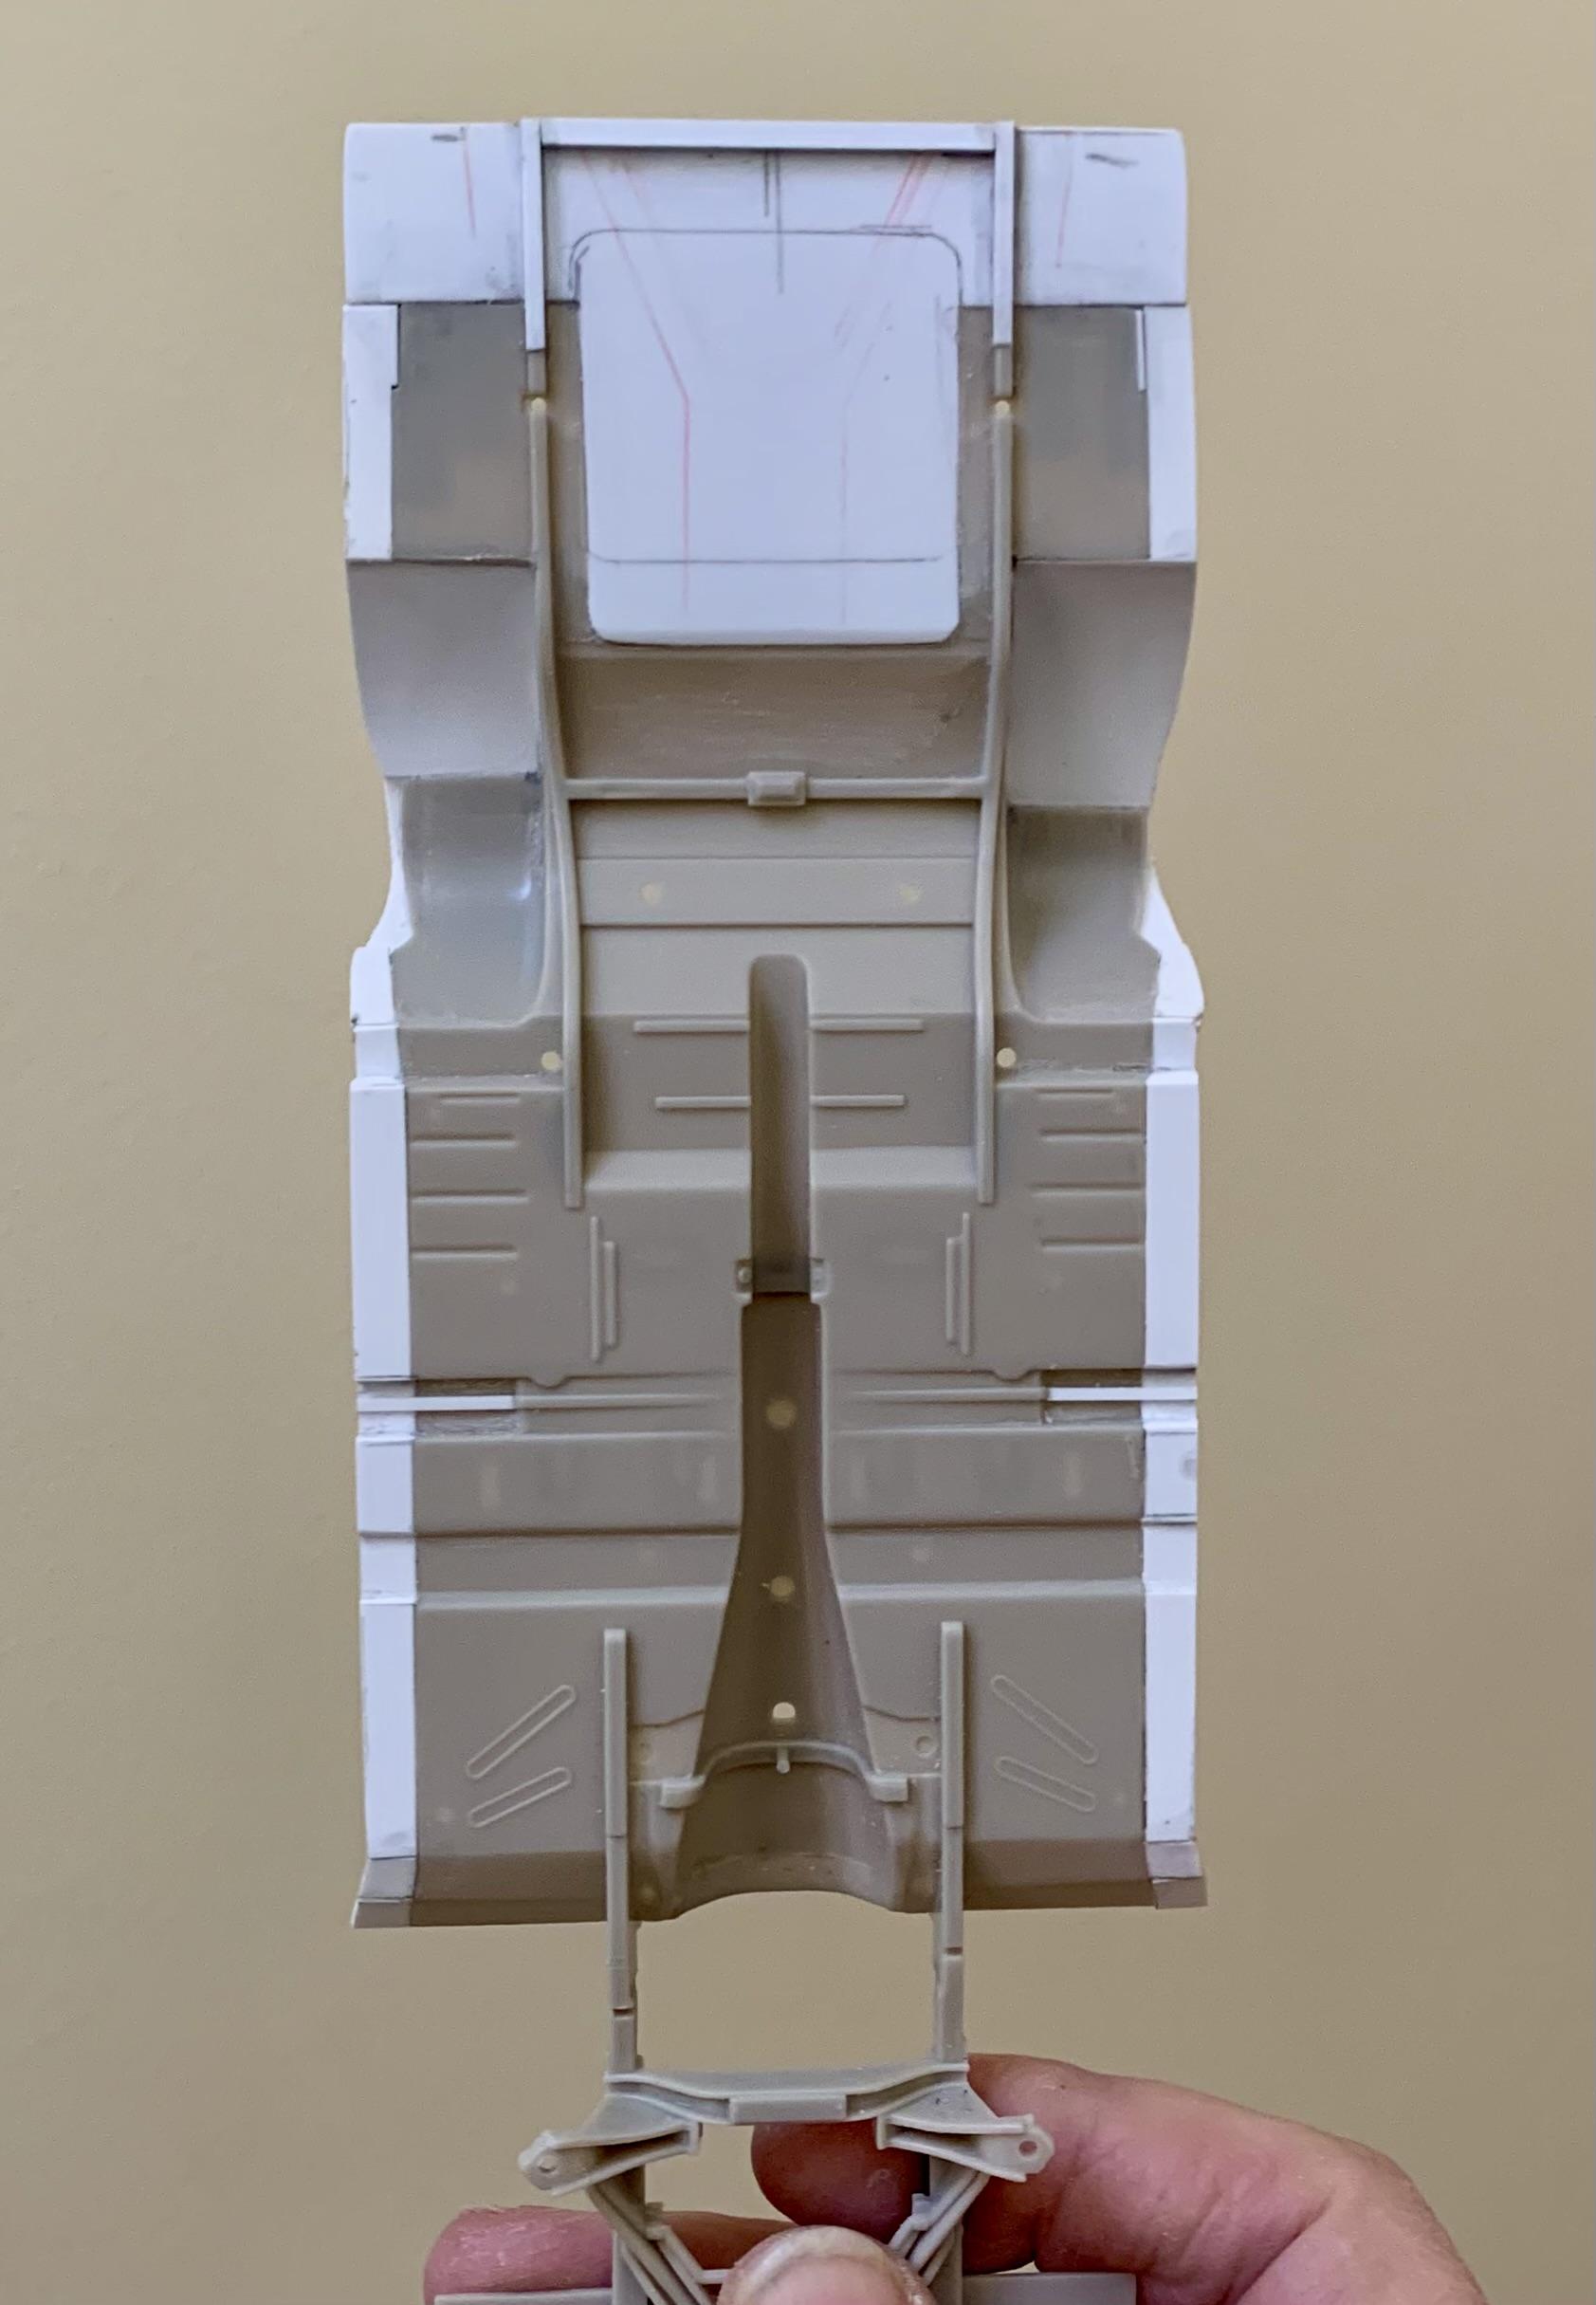
Okay, so I could've used the AMT Starliner floor pan and frame, but I've done that, and it's perfect or those old AMT early 60s Fords and Mercs, but I like to try new things! SO............ I pulled out the Mobius '65 Comet and I know it's nowhere near correct for a big '64 Merc, but hey, it's a custom, so why not! First I had to line up the rear wheel openings and start adding styrene from there. I cut the Mobius gas tank out so I could move it further back, otherwise it just looks like I added length, which I did but also extended the rear of the subframe. With some carefull fitting, and putty, I think I've got it to fit right!
-
Not sure, BUT I did start making a Mobius Comet chassis fit, that's not a body on frame, but a unibody!
-
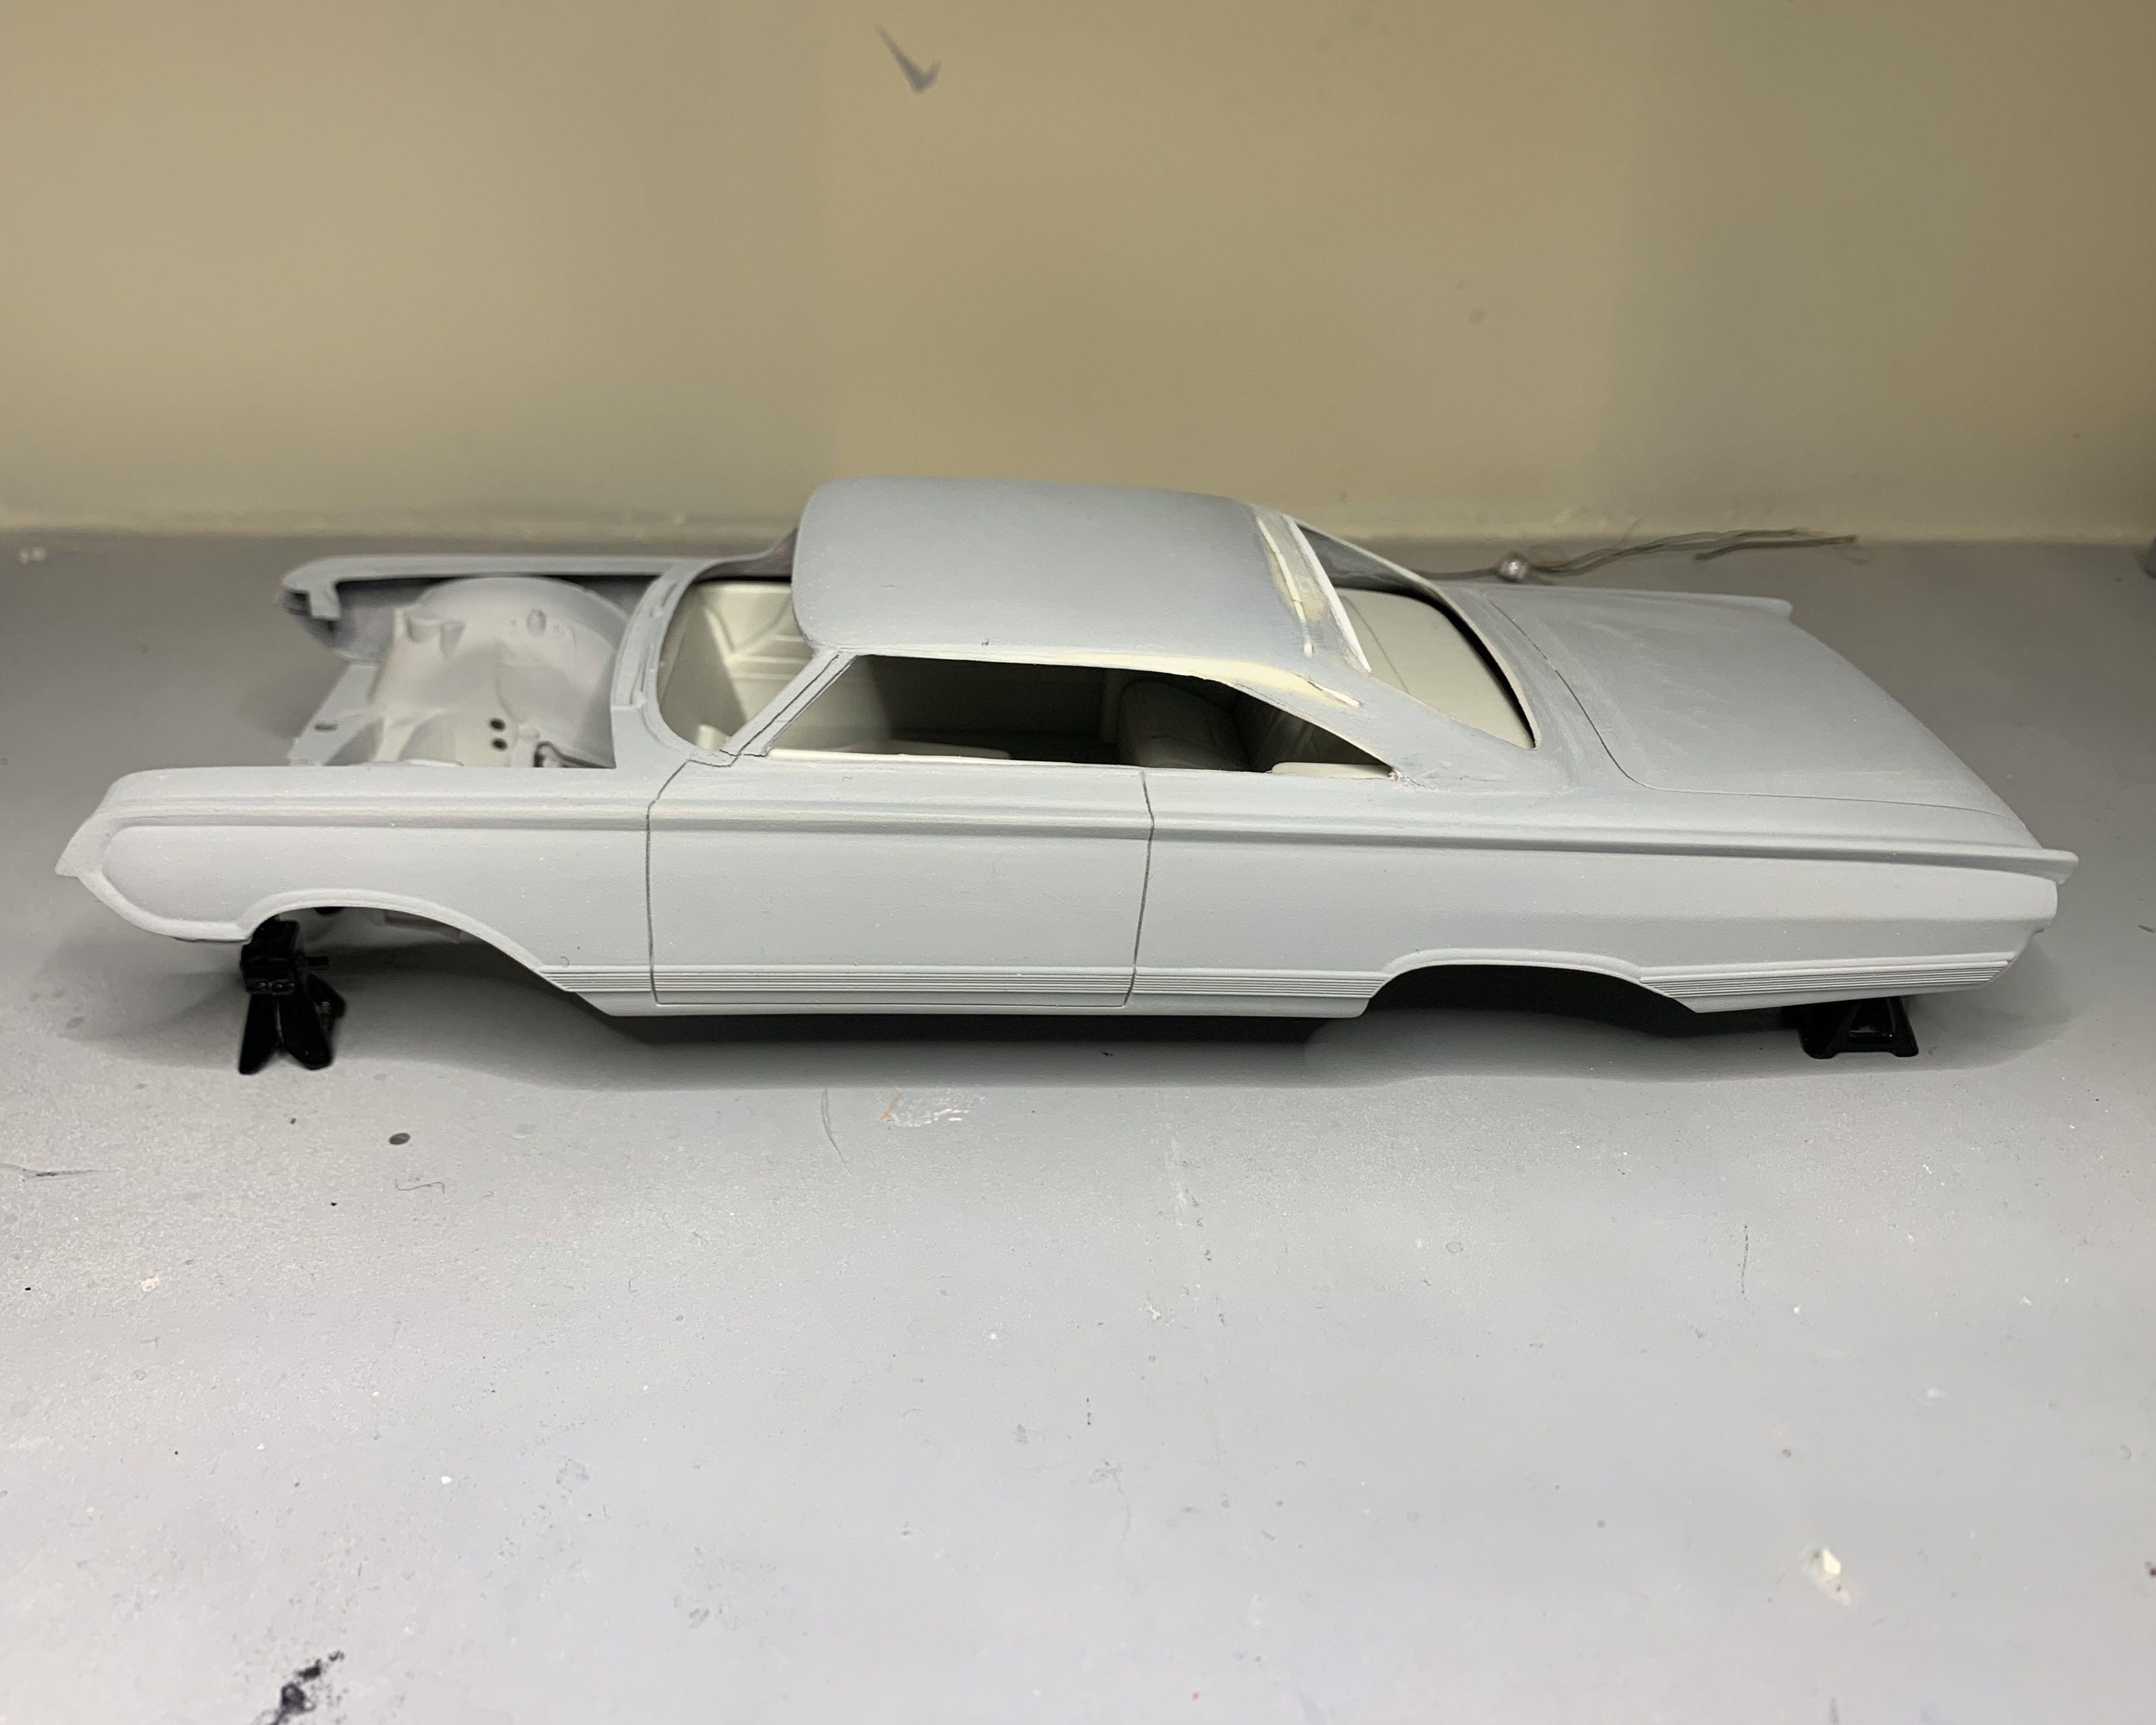
Going through my junk boxes I found this chopped '64 Merc body. I've bought a few junk boxes over the years, can't remember who did this one, but it's at least 15 years ago. I thought the C pillar looked too "fat" so I enlarged the rear quarter windows to thin it out. Then I added styrene strip to the top of the rear window as it seemed to be too high, and opened it up a bit lower. So this is all I've done so far, still deciding what to do with it. I'll make it up as I go and keep you posted!
-
Looks cool and it's so much fun saving old kits!
-
Beautiful conversion to a 2 door, the proportions look SO much better to me than the 4 door! I like the hot rod version that you've decided to go with, but you can still chase UFOs with it, only faster!
-
WOW! Cool!
-

Almost finished with my chopped Revell '32
dino246gt replied to the60falcon's topic in WIP: Model Cars
Sweet lookin' kitty cat! -
Man that's looking so cool! That 6 is a thing of beauty, so far! I'm sure you'll have an outstanding hot rod by year end!
-
Almost finished with my chopped Revell '32
dino246gt replied to the60falcon's topic in WIP: Model Cars
Cats! Beautiful hot rod build there Cody, any pictures of the feline culprit? -
I love making it up as I go, but I do run into problems, but like David G. said, we are problem solvers, even if we create our own problems! LOL I'm sure you'll end up with a cool model, problem solved!
-
I love this kind of project, so I'm watching with interest! For a period build, a flattie is my choice, but we don't know what style or era you want to depict. SO............... choosing an engine will likely send you in a certain direction? Cheers! Keep posting!
-
Very close to finished now!