dino246gt
-
Posts
2,244 -
Joined
-
Last visited
Content Type
Profiles
Forums
Events
Gallery
Everything posted by dino246gt
-
Wow, that black really pops! That black is making for a badass Buick, a Wild Cat!
-
 I love the smoothed bumpers for the '49/'50 Fords! I've made a few myself for other projects, but they were "one-offs" no copies.
 -
Man that's quite a fantastic project! I just LOVE the 296!
-
You know that I love Prugna, but you made the right color choice and did a fantastic paint job, looks great!
-
Here's the flattie I pulled out of an old '49 Merc that I rebuilt. And here it is after I warmed it over:

-
What did you see on the road today?
dino246gt replied to Harry P.'s topic in General Automotive Talk (Trucks and Cars)
I saw this rare and beautiful Merc: Of course it wasn't today, I have a whole folder of cars I see out and about. I hope it's okay to post them a few days apart?
-
I built one when that kit was first issued, probably more than 25 years ago. I didn't do a great job of it, but it sure is a fine kit! I have it as my avitar! Headlight lenses upside down. I did use a flathead though! Yours sounds like it'll be very cool indeed, cheers!
-
The stylists were trippin' in those days!
-
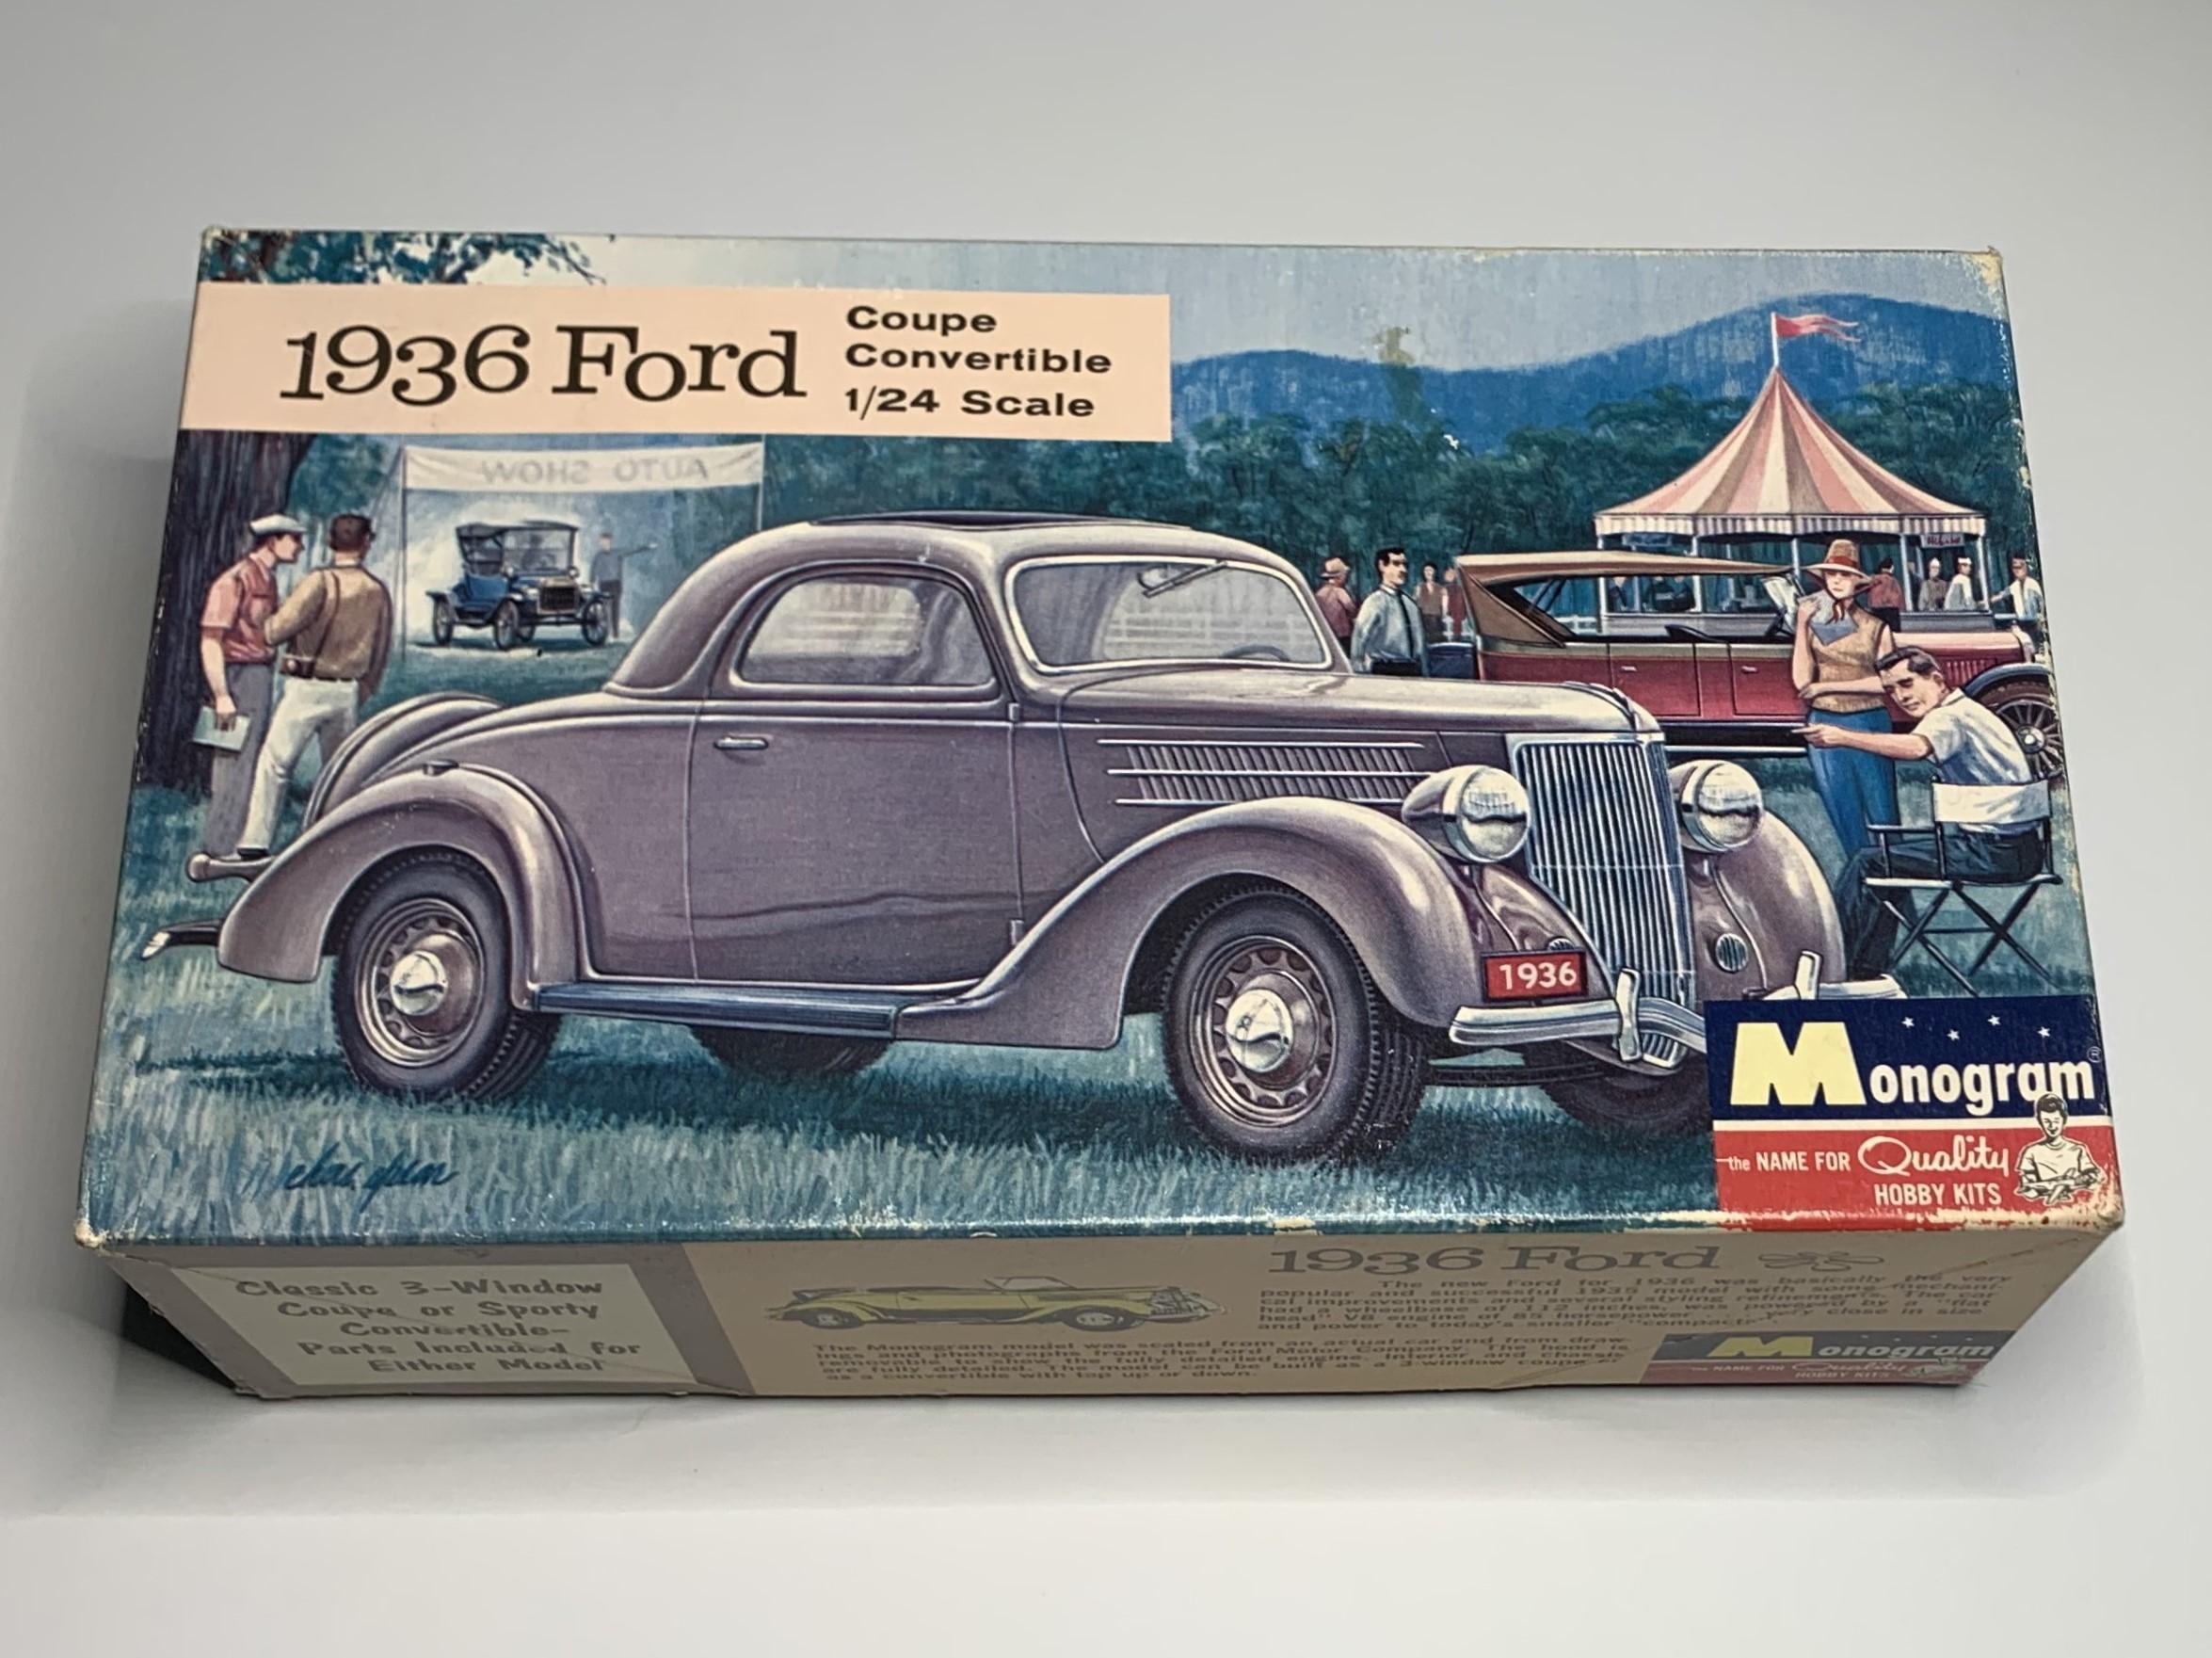
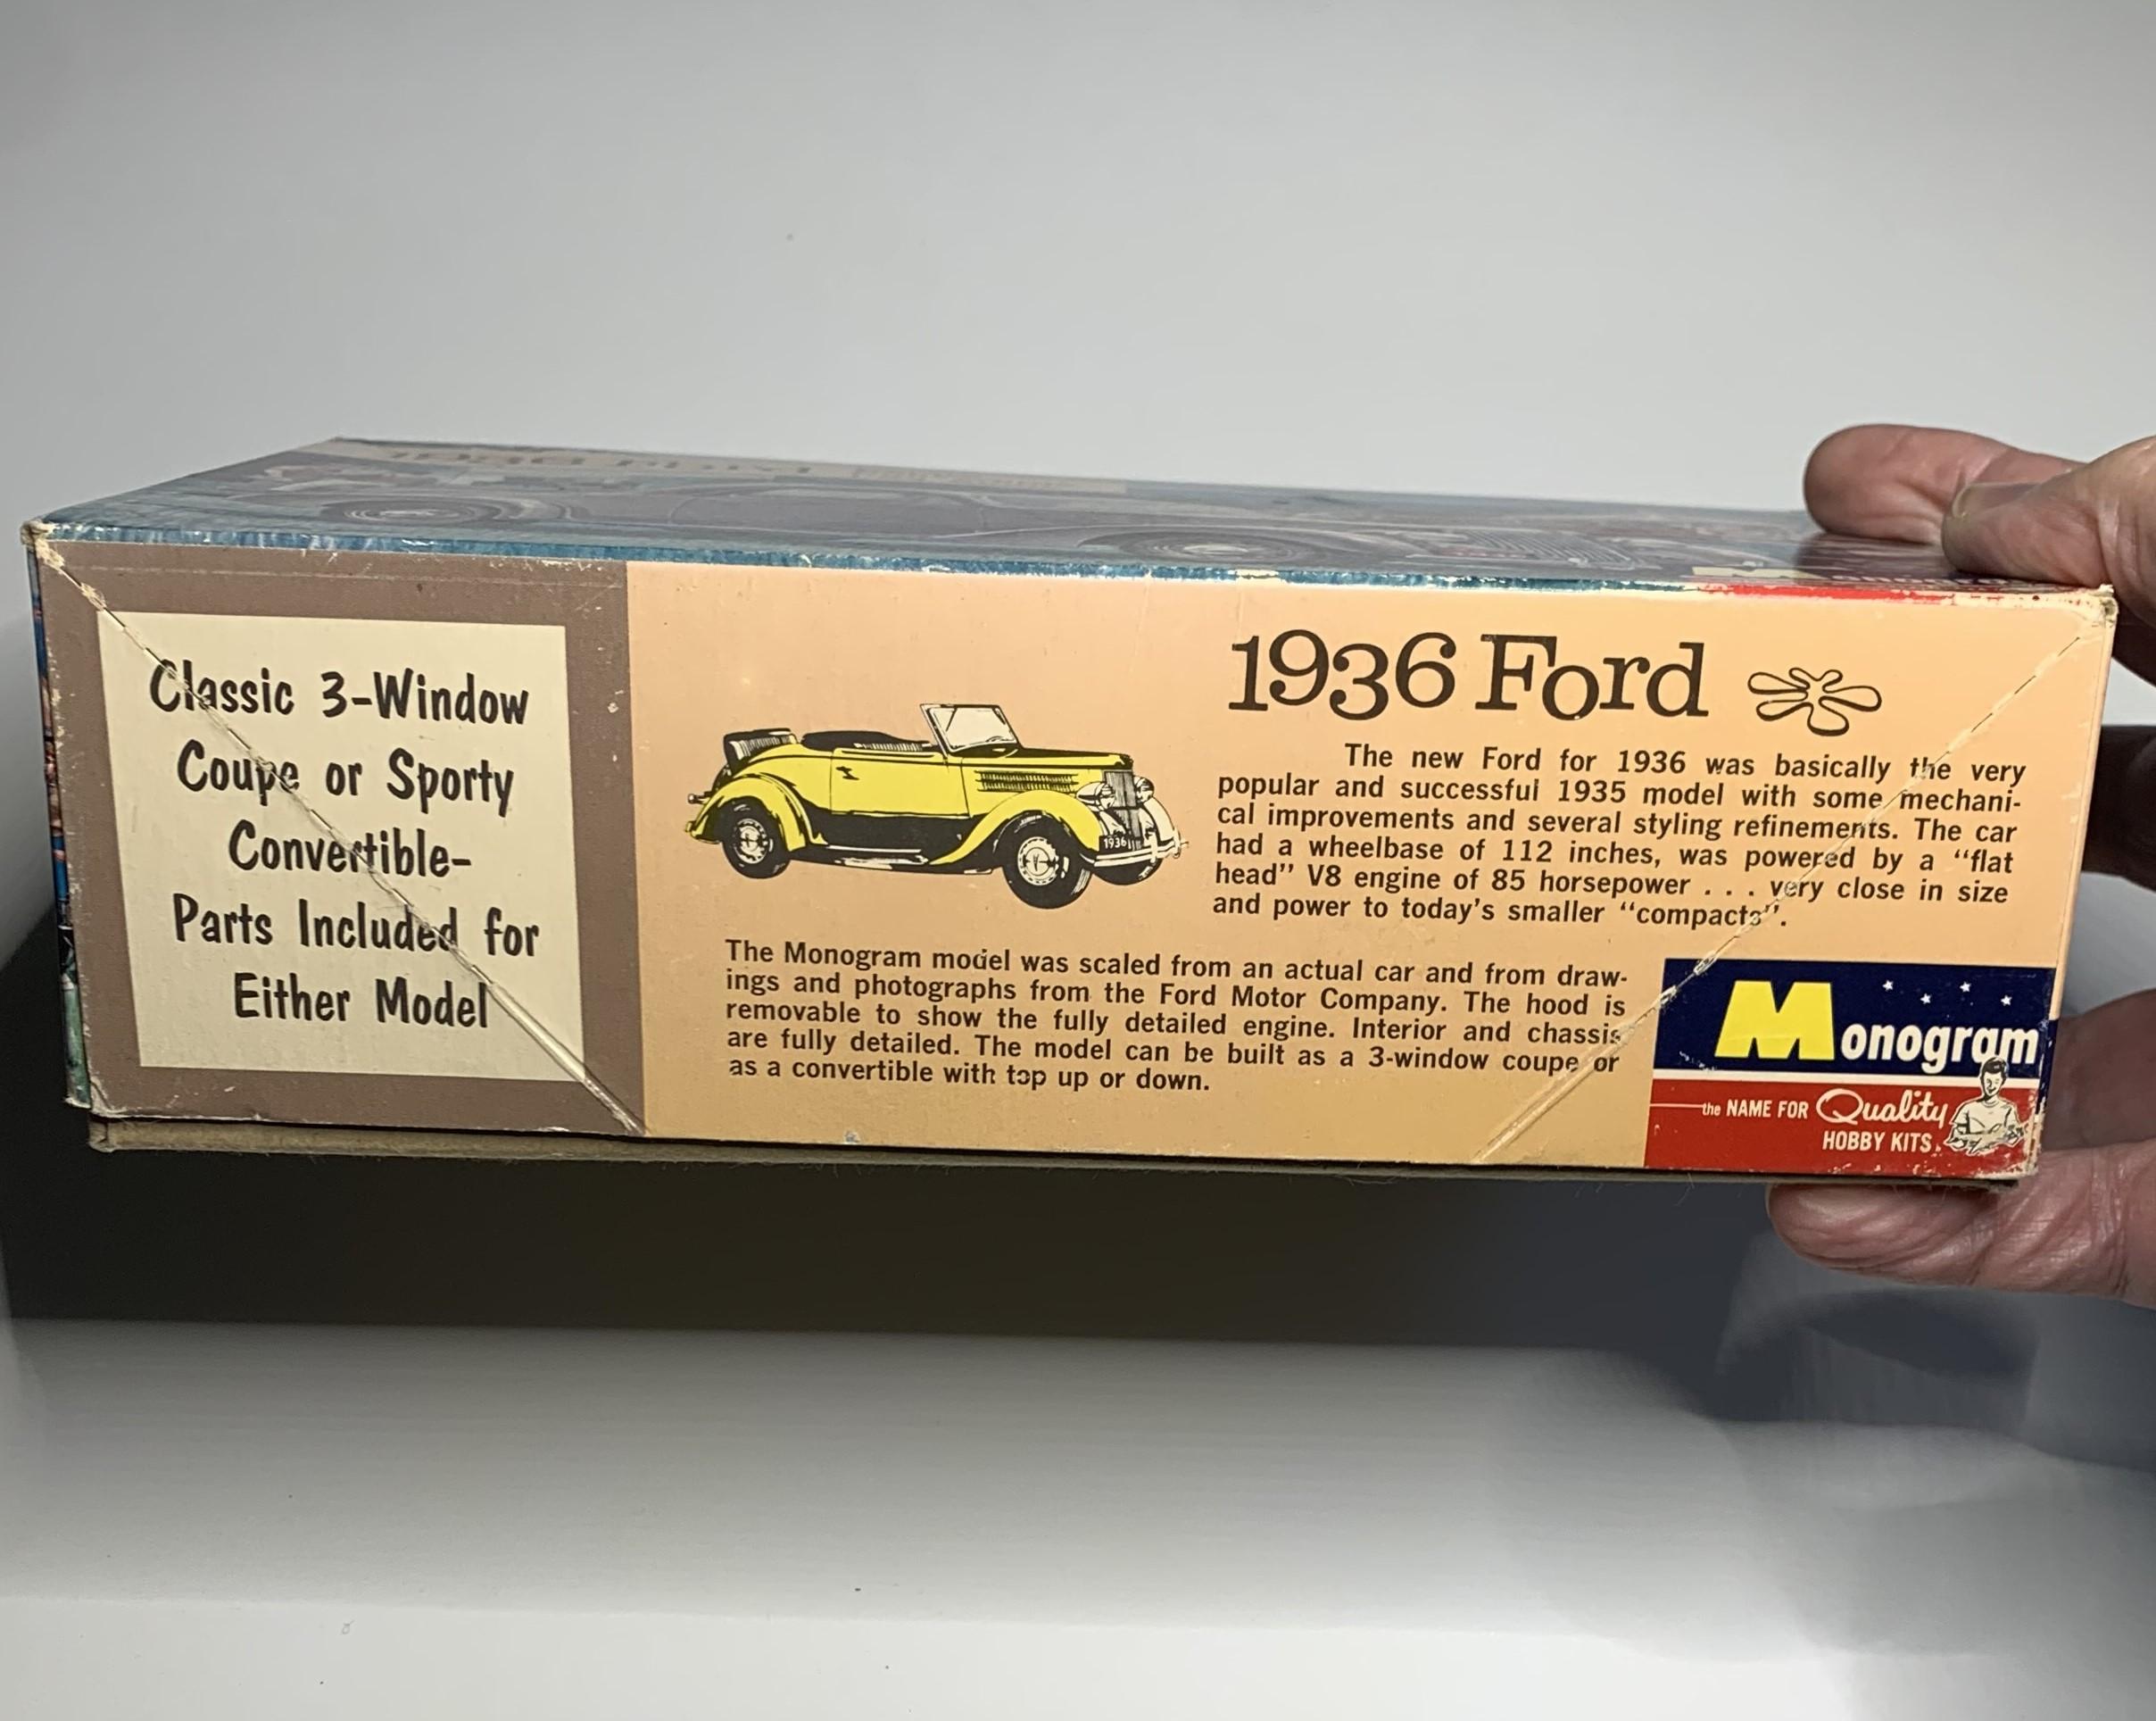
Here's my '36:
-
I have this gorgeous stock only '34 and the matching stock only '36 (can't find pictures right now) both mint everything still on sprues.
-
moebius ford truck kitbashing question
dino246gt replied to michelle's topic in General Automotive Talk (Trucks and Cars)
I did it with an original AMT'60, but I do like to make lots of modifications. The full build. step by step is under WIP light trucks, 1960 F-100 or F-250 4X4 maybe.
-
What did you see on the road today?
dino246gt replied to Harry P.'s topic in General Automotive Talk (Trucks and Cars)
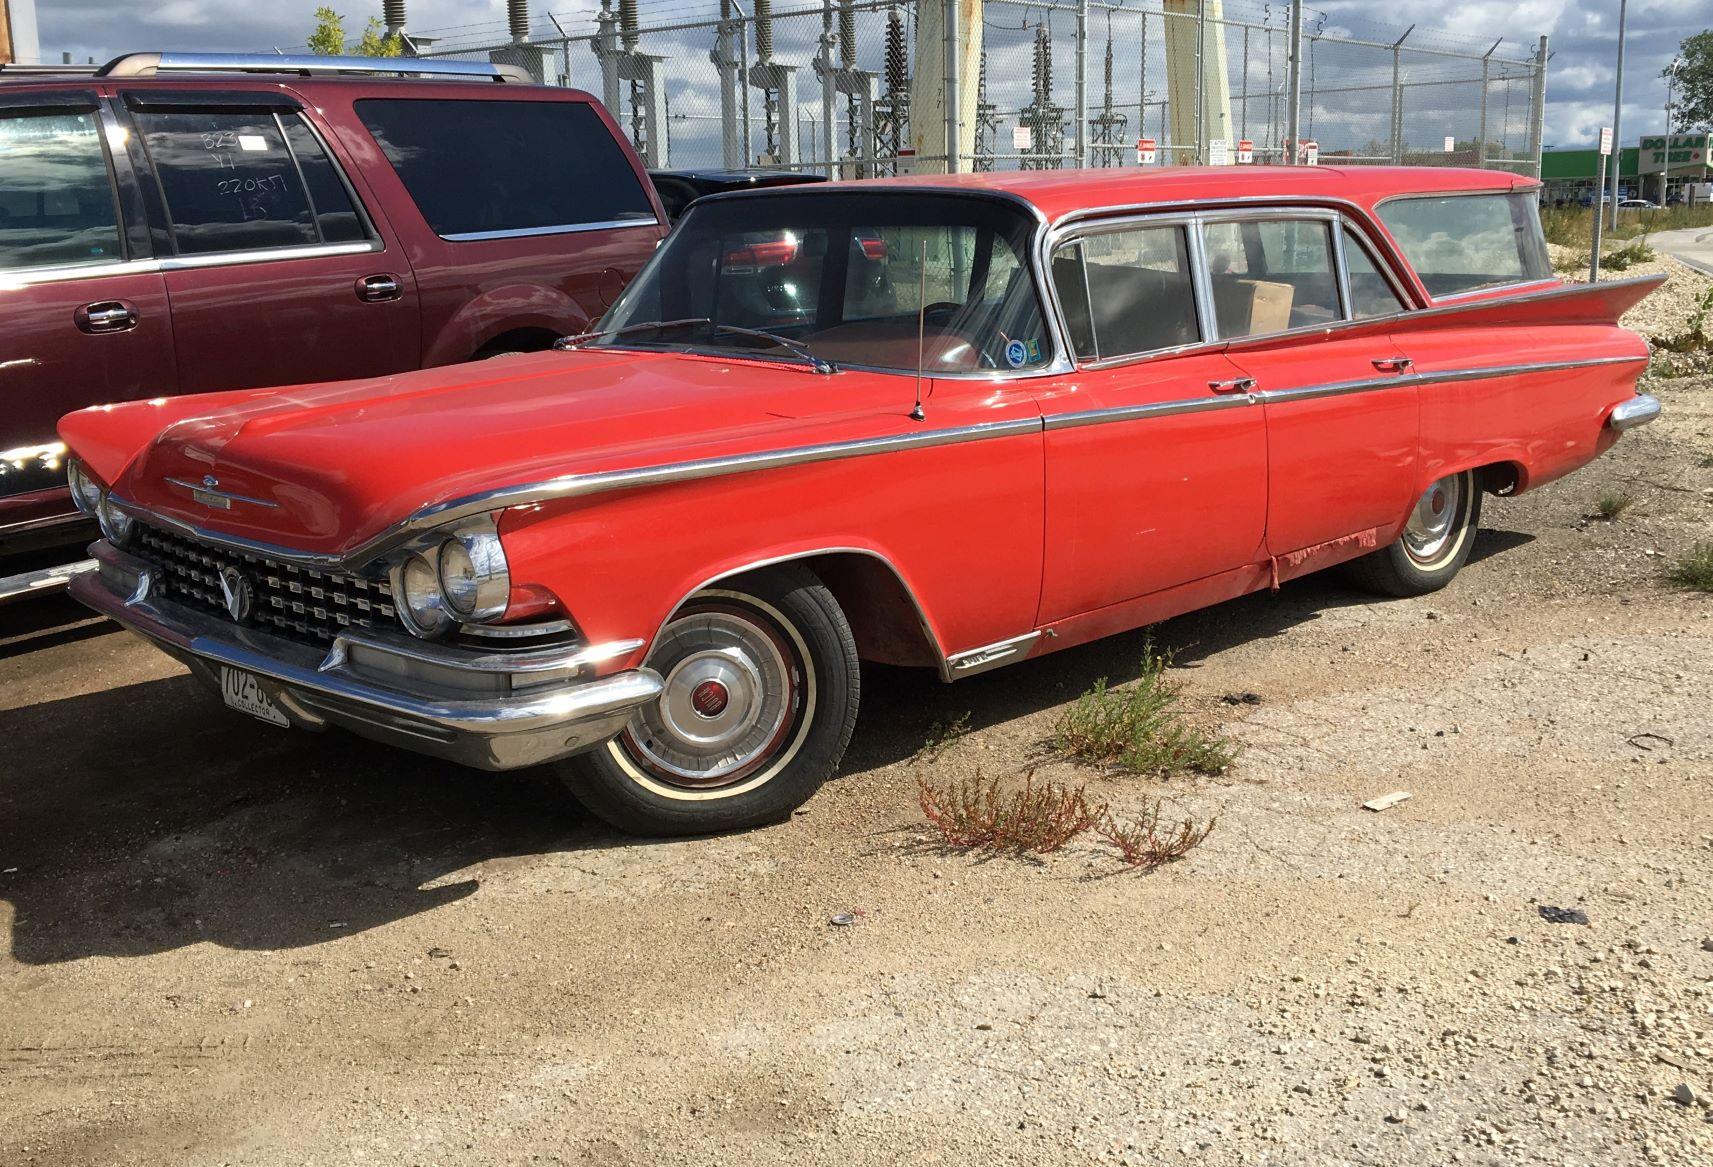
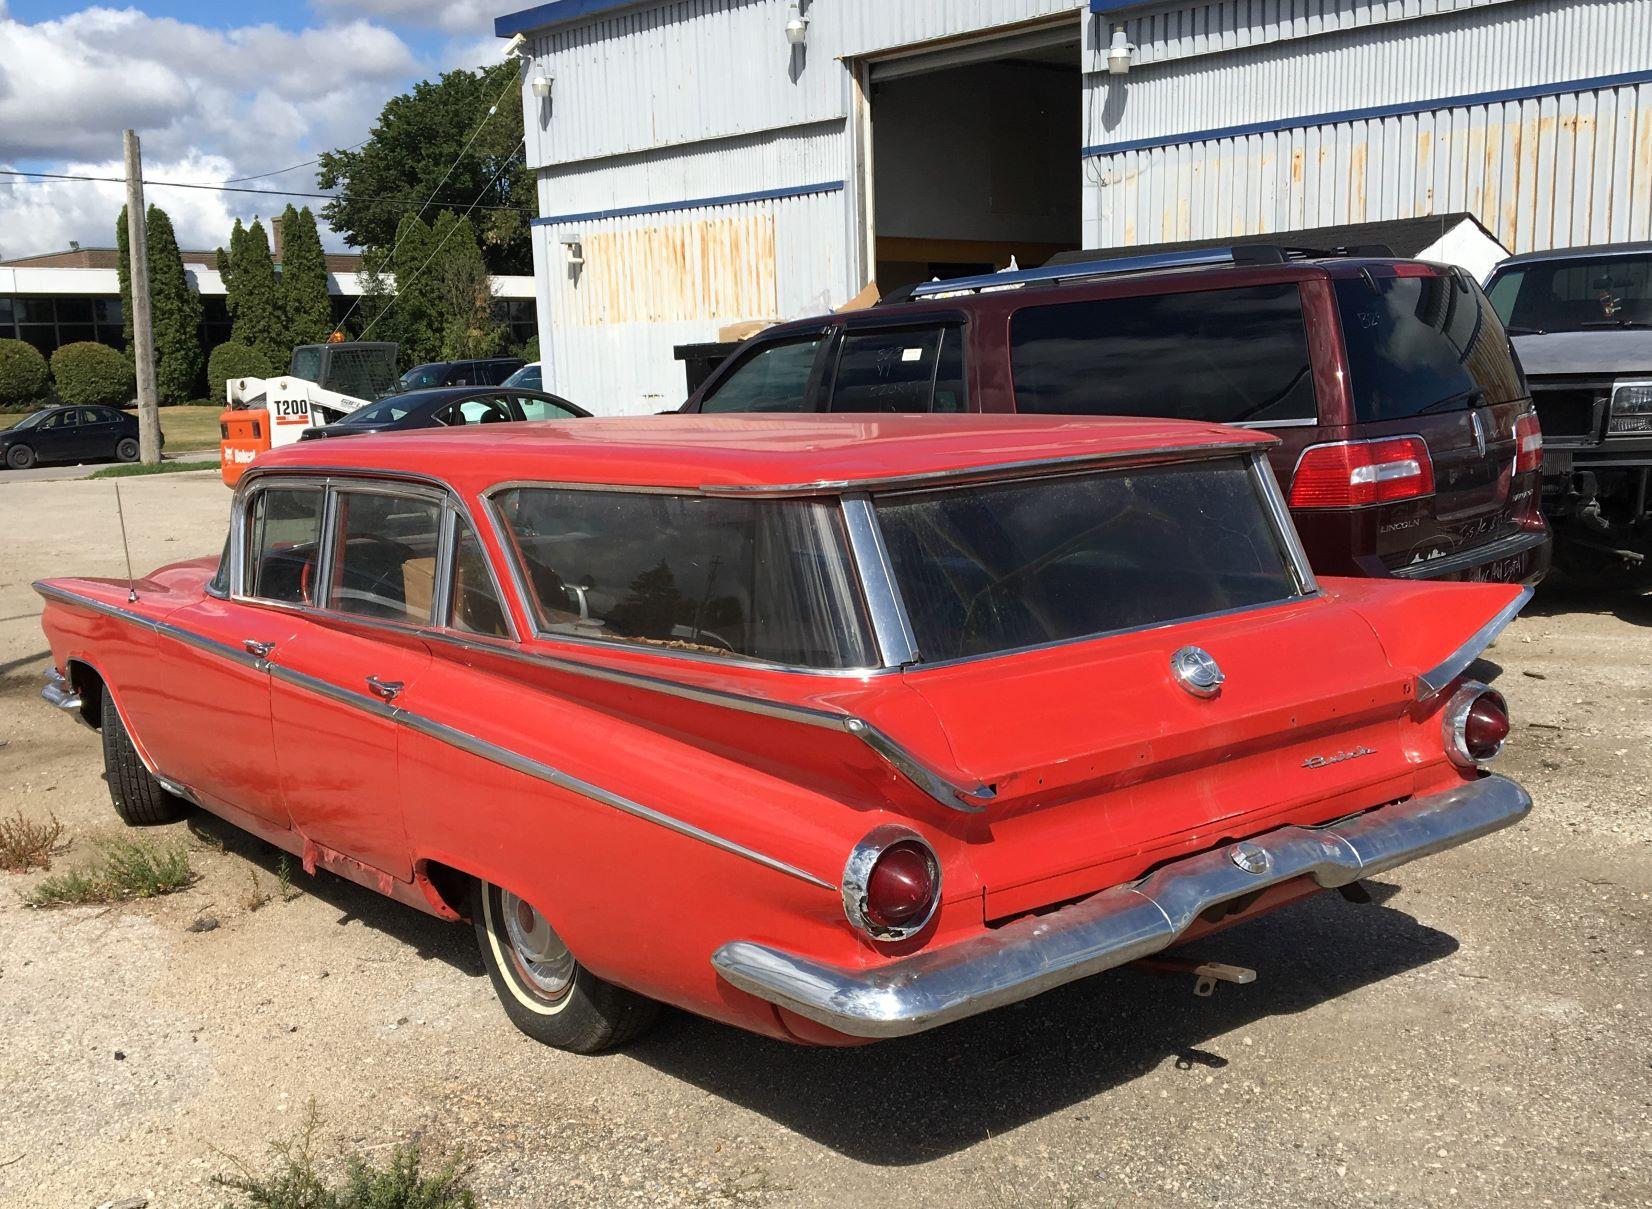
Really cool '59 Buick wagon, would make the coolest surf buggy!
-
Revell Orange Crate on another chassis
dino246gt replied to junkyardjeff's topic in General Automotive Talk (Trucks and Cars)
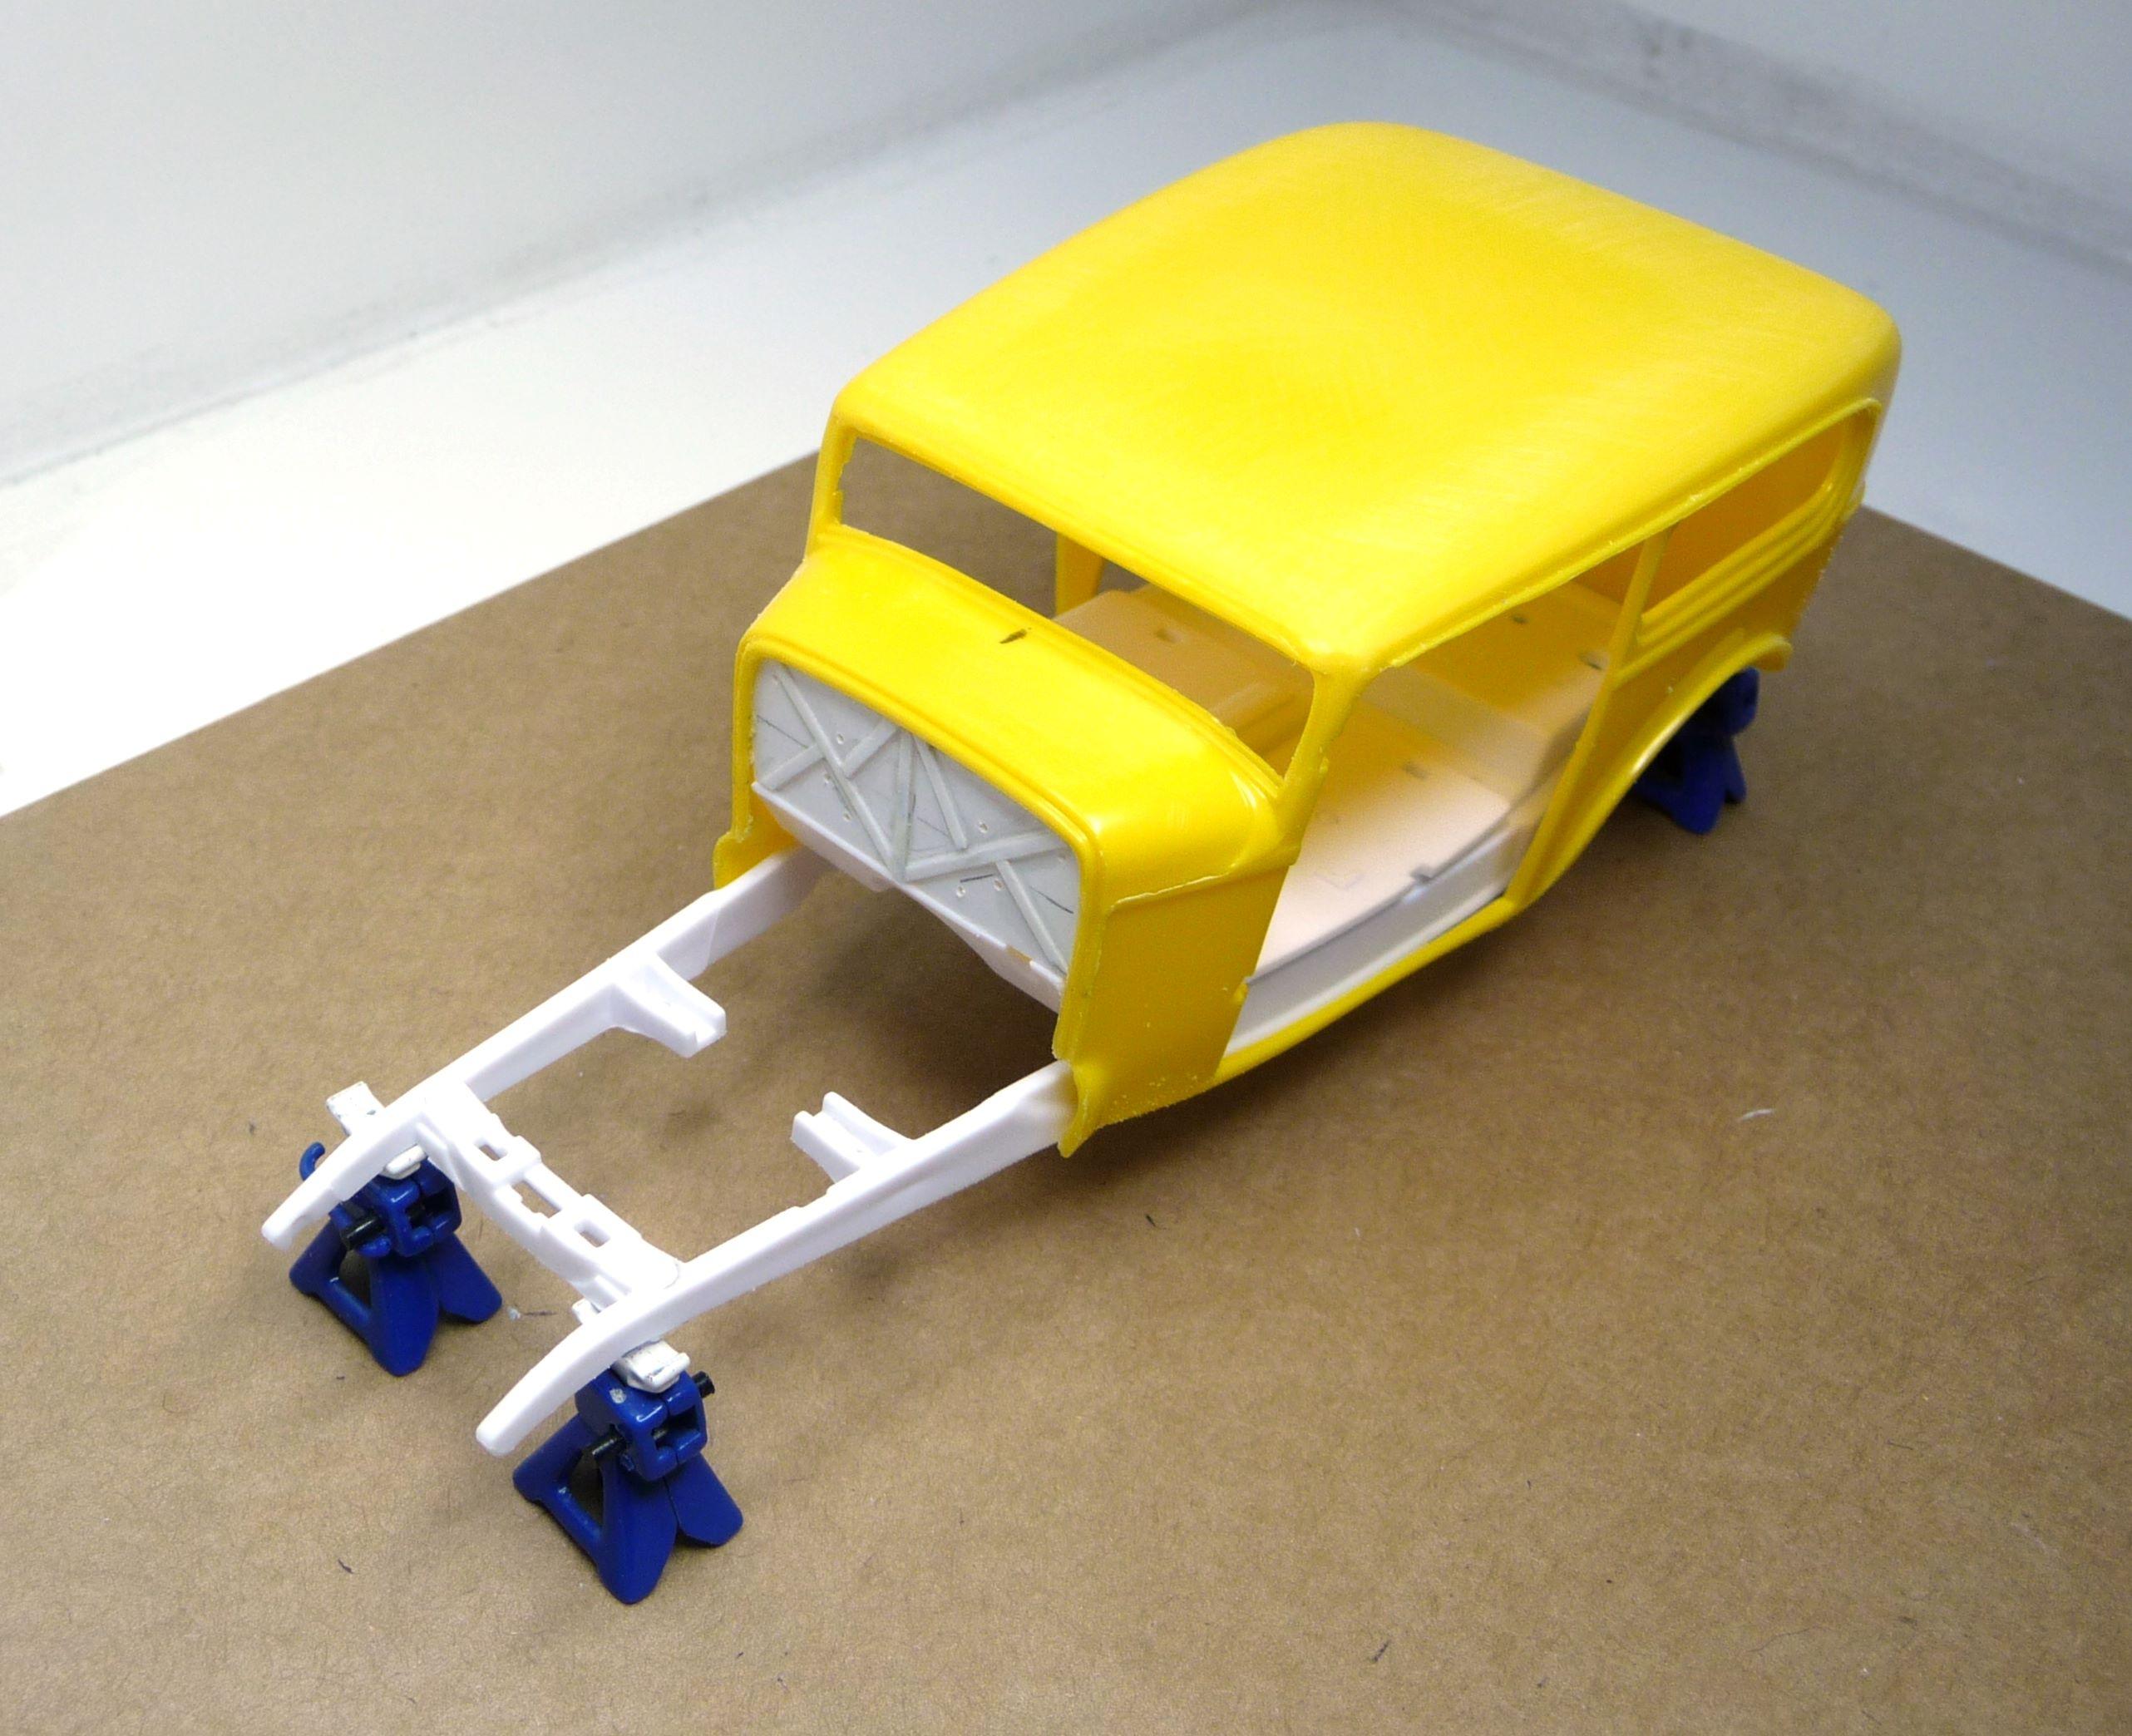
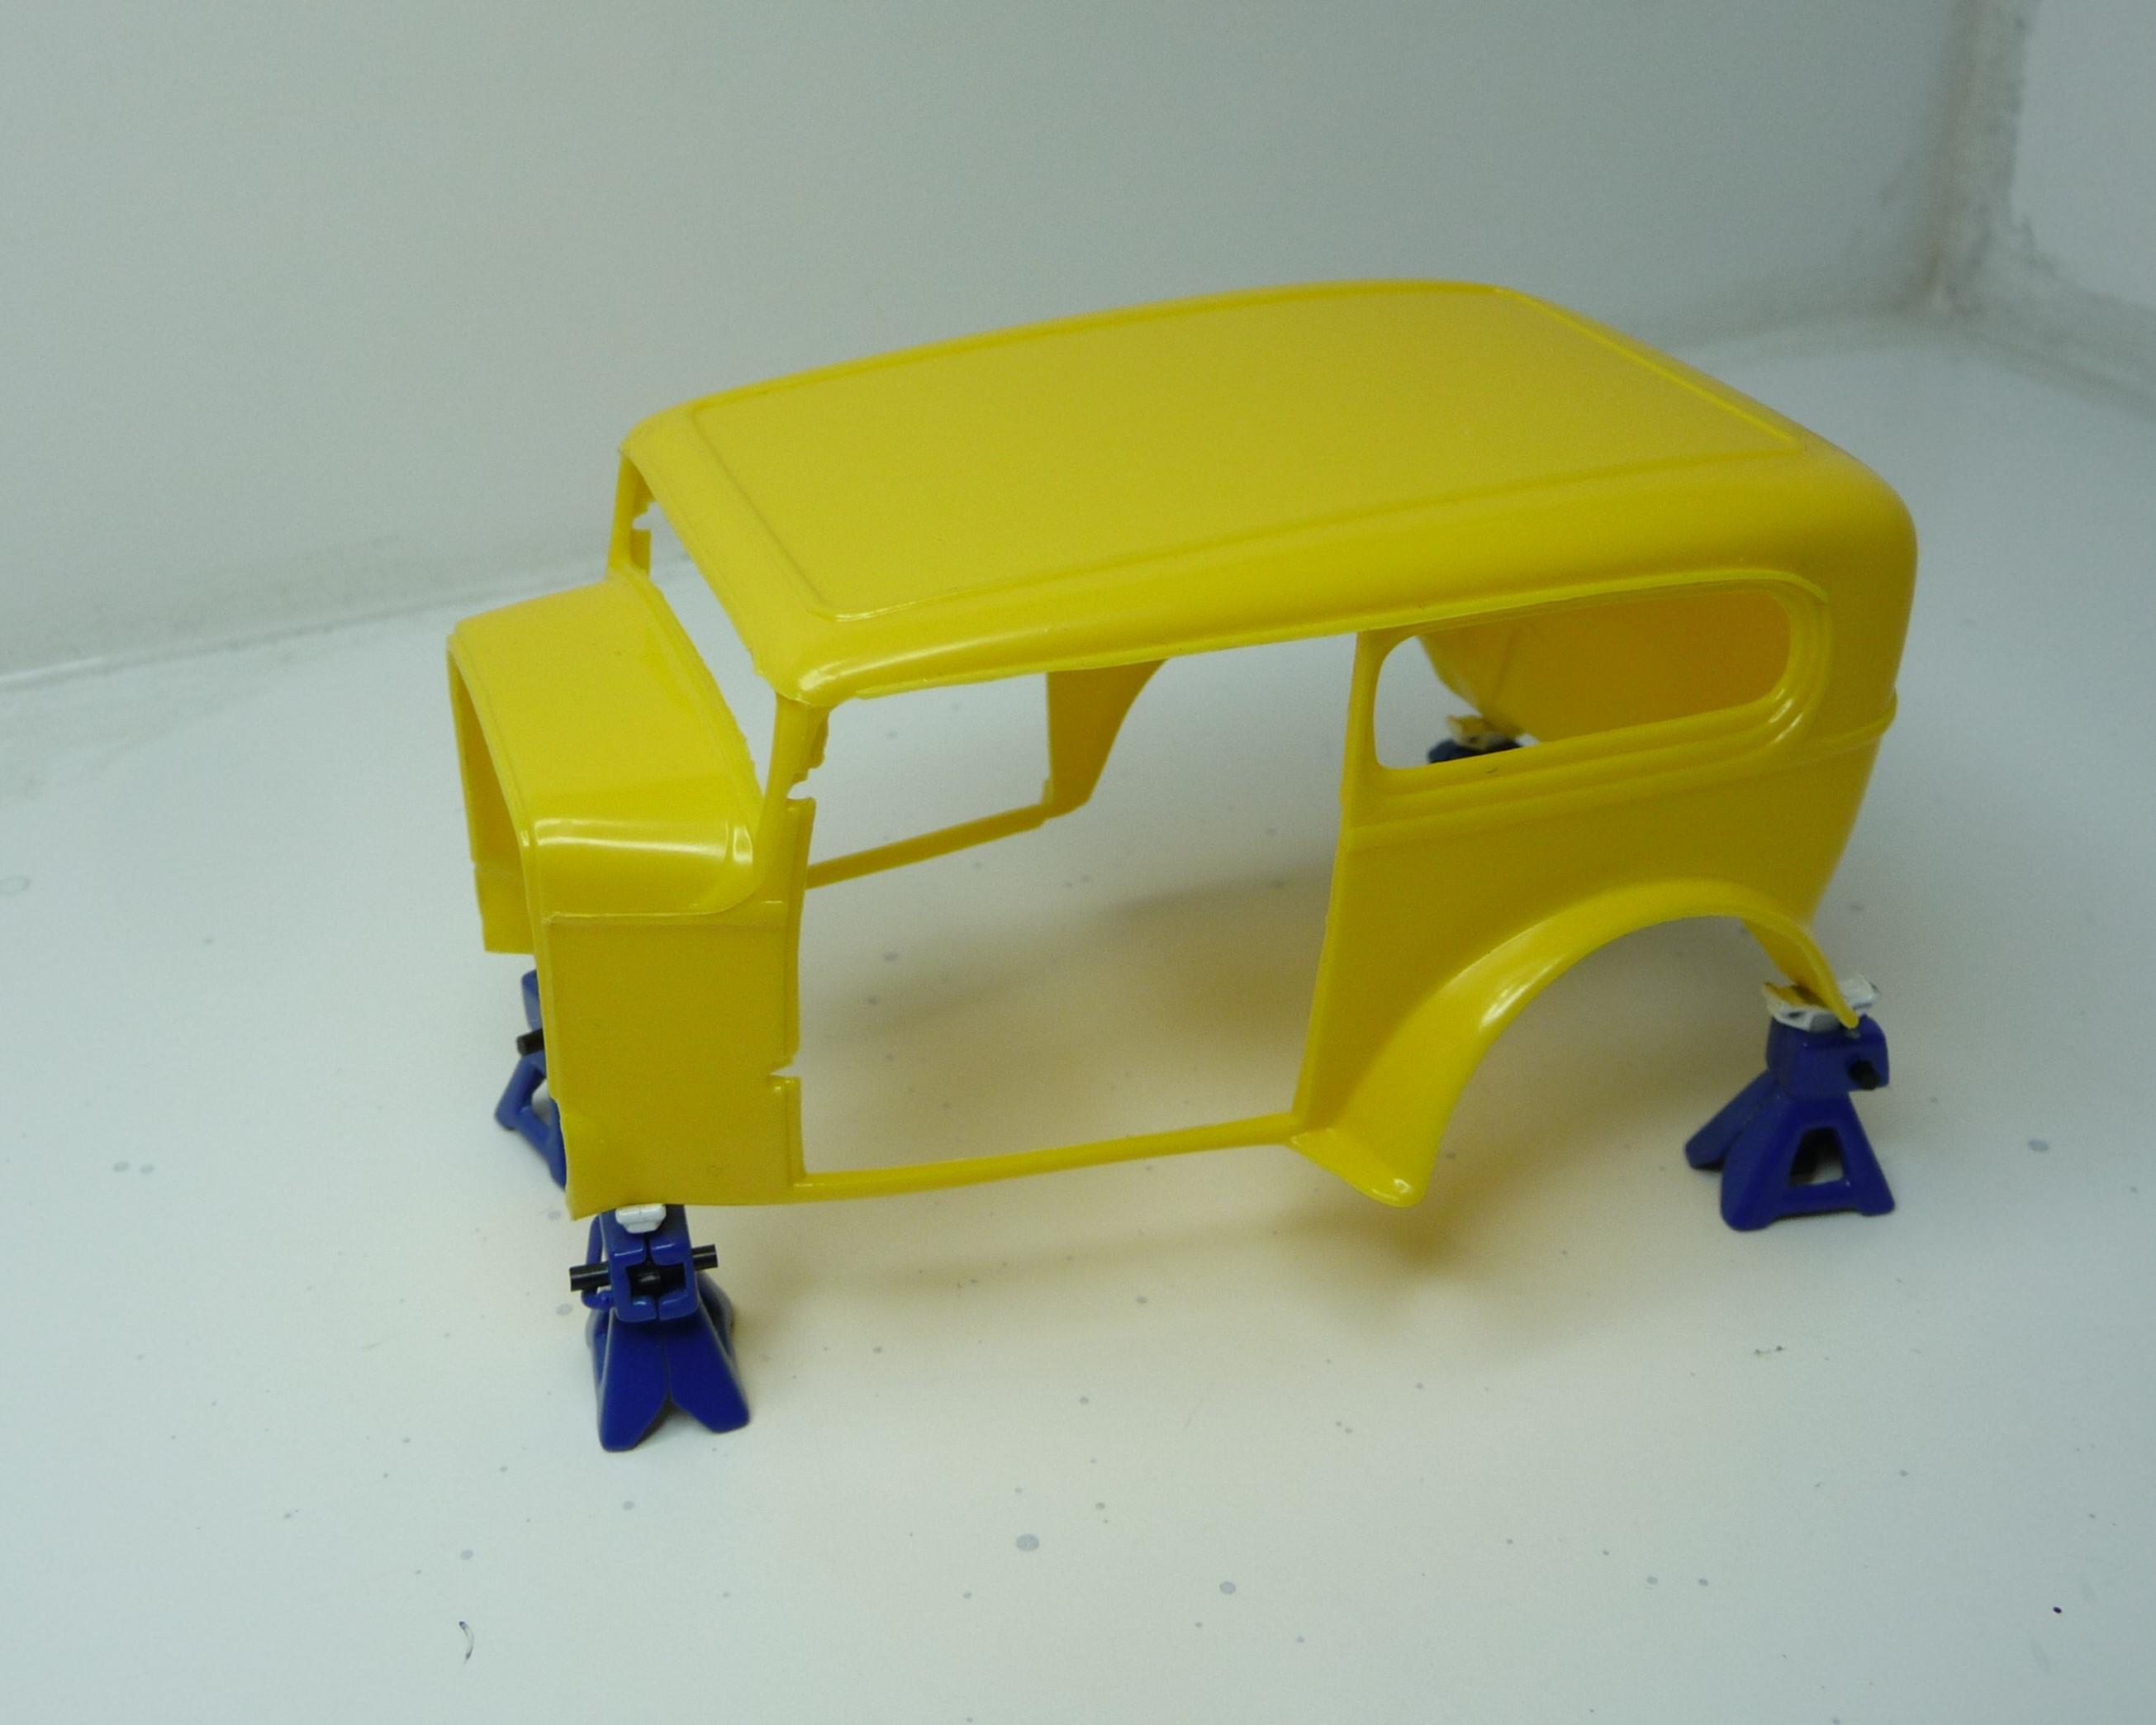
I also had just the body, the yellow version, so I fitted a Revell frame, I do like to do a lot of modifications, so I can't say it's easy, but for me it was fun. You wouldn't have to go as far as I did, but you will end up with a better looking frame with many glue-on options from all the Revell '32 kit variations. The entire build is in the WIP '32 sedan build, step by step.
-
Tail lights are parts box clear, painted Tamiya clear red, glued over foil. Letters on talgate are bare plastic, red paint lightly sanded off. Rear bumper is a Mobius unit.
-
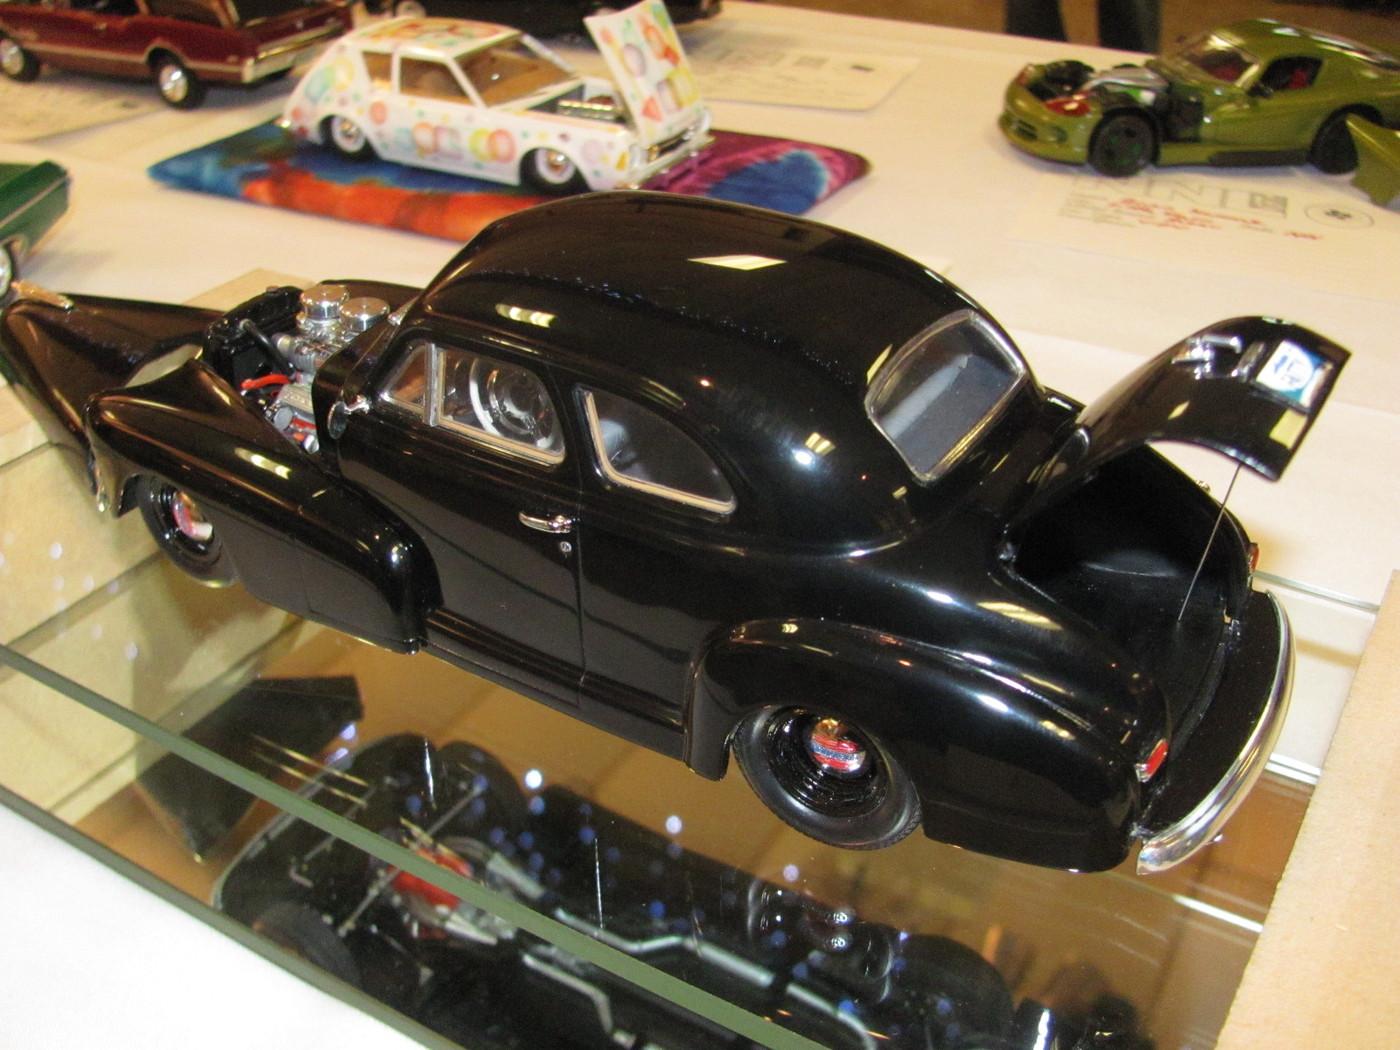
Thanks for all the comments, here's how it looked on display at NNL:
- 68 replies
-
- 3
-

-
- vintage amt
- pickup
- (and 1 more)
-
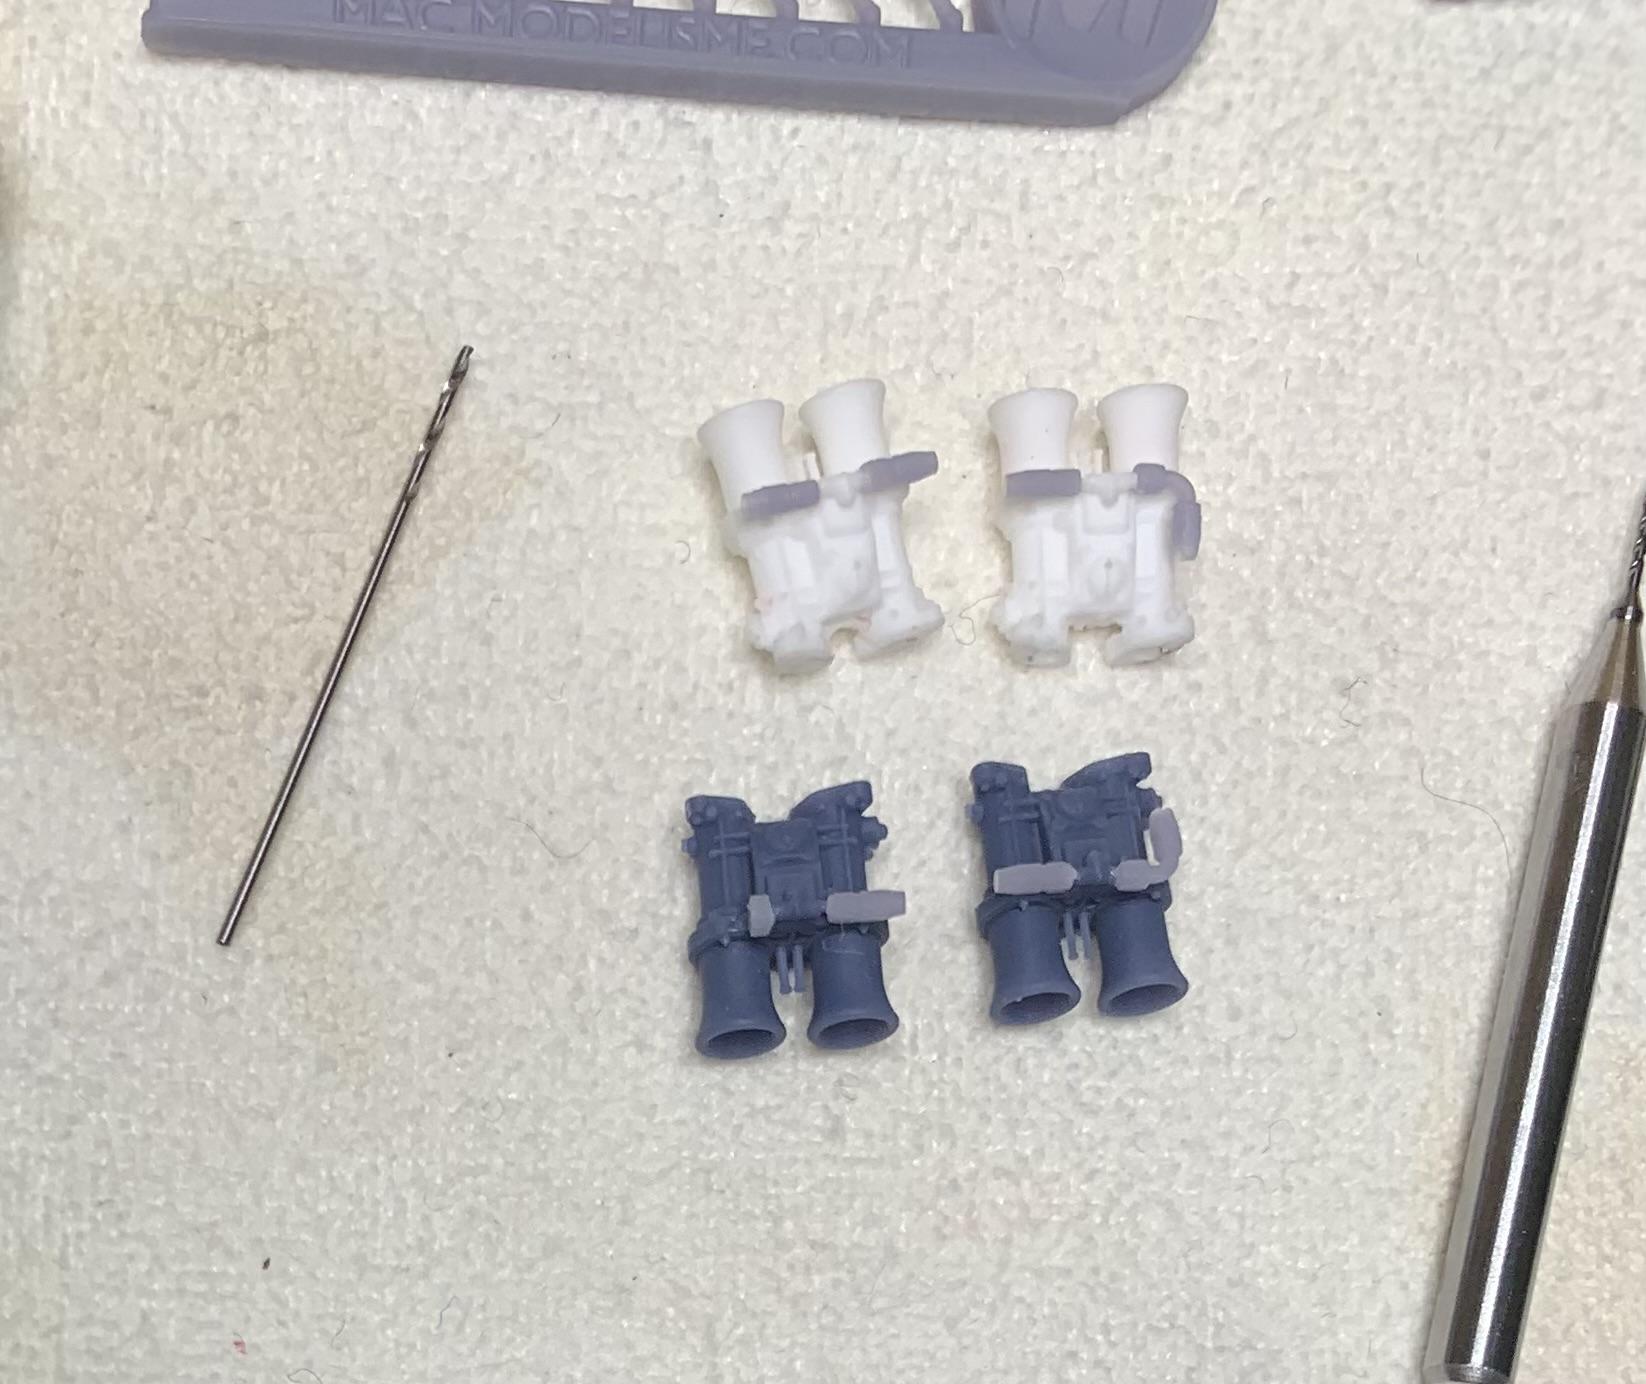
I have 2 of the 3D printed Webers and 2 that Greg resin cast for me, so now I'm working on fuel lines and linkages. Well only fuel lines so far, tiny pieces and tiny drill bits! I've sprayed them with Revell chrome but no pictures yet as I'm letting them dry and my eyes heal! LOL
-
I did like those weird instructions as art though! Maybe not all that helpful as instructions, but they sure look cool, to me at least. Although I haven't looked at them in over 10 years.
-
Simply amazing and I was lucky enough to see it in person, stunning, but what can you do now Steve? Seems impossible to top that one. I've been stunned by your builds for years and they just keep getting better, but this, I don't know what could be better. Congratulations!
-
Fantastic tip!
-
Prugna is such a gorgeous Ferrari colour!
-
That engine surround is really awesome, nice design and scratch building!
-
Fantastic work on that 4 link! And you've absolutely nailed the stance, with the perfect wheel/tire combo, oh man that is looking so sweet!
-
Wonderful kits but I just can't build anything without modifying it! LOL And these kits are fun to modify!
- 70 replies
-
- 14
-
-

-
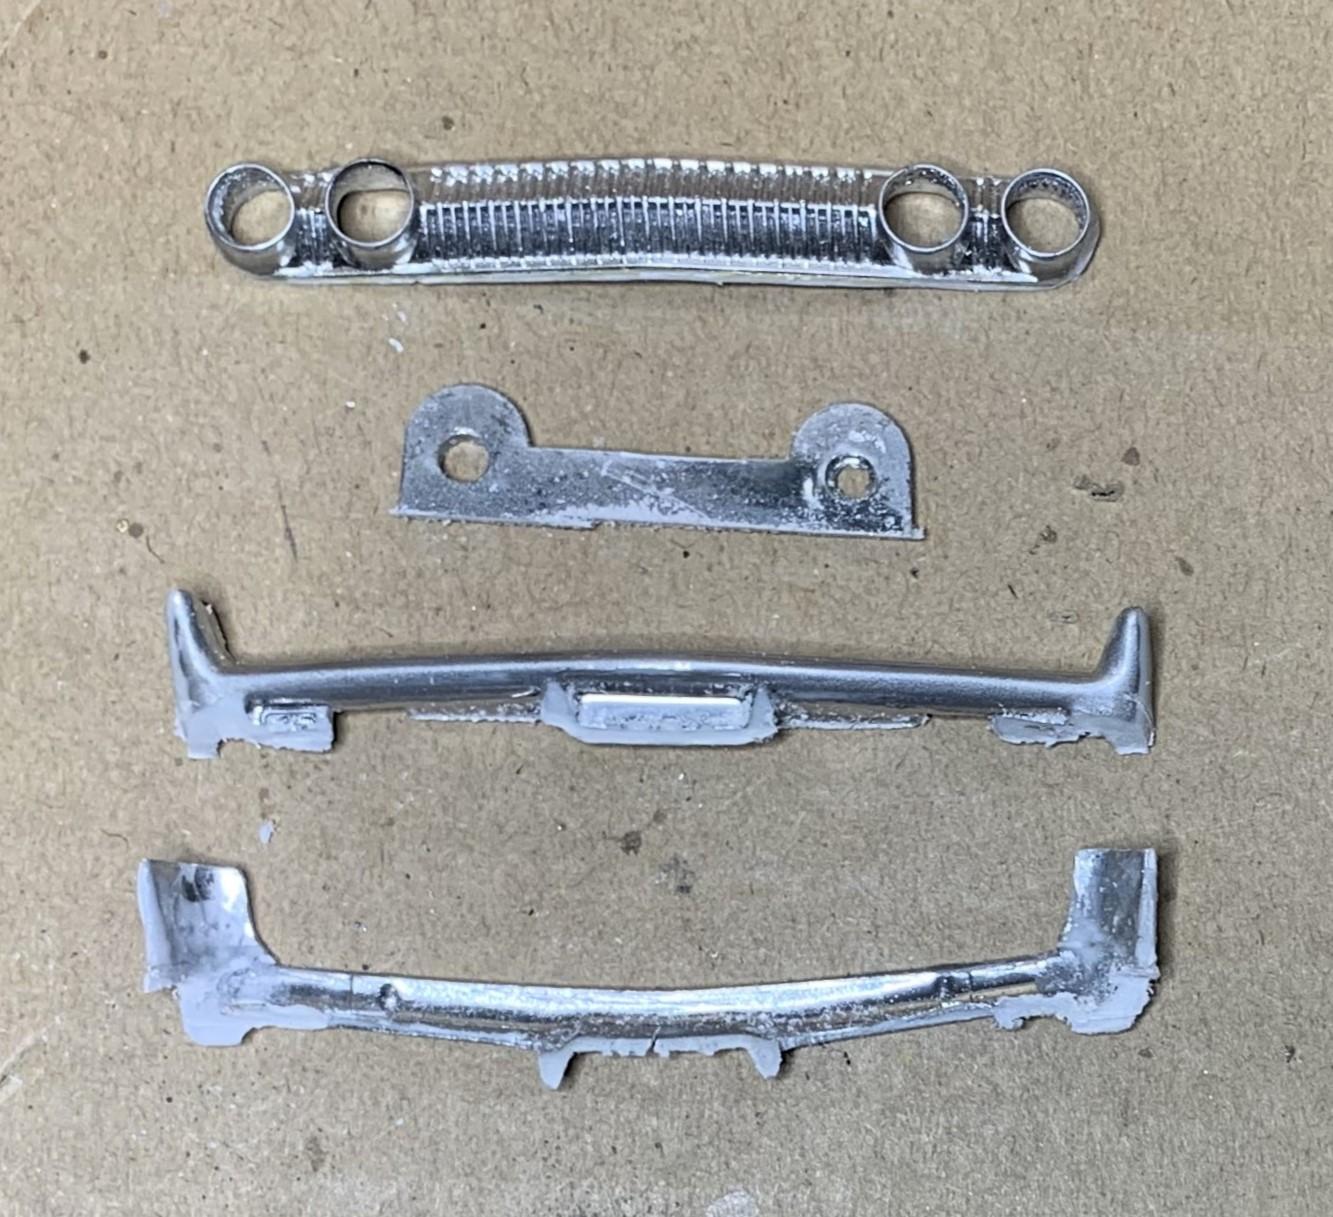
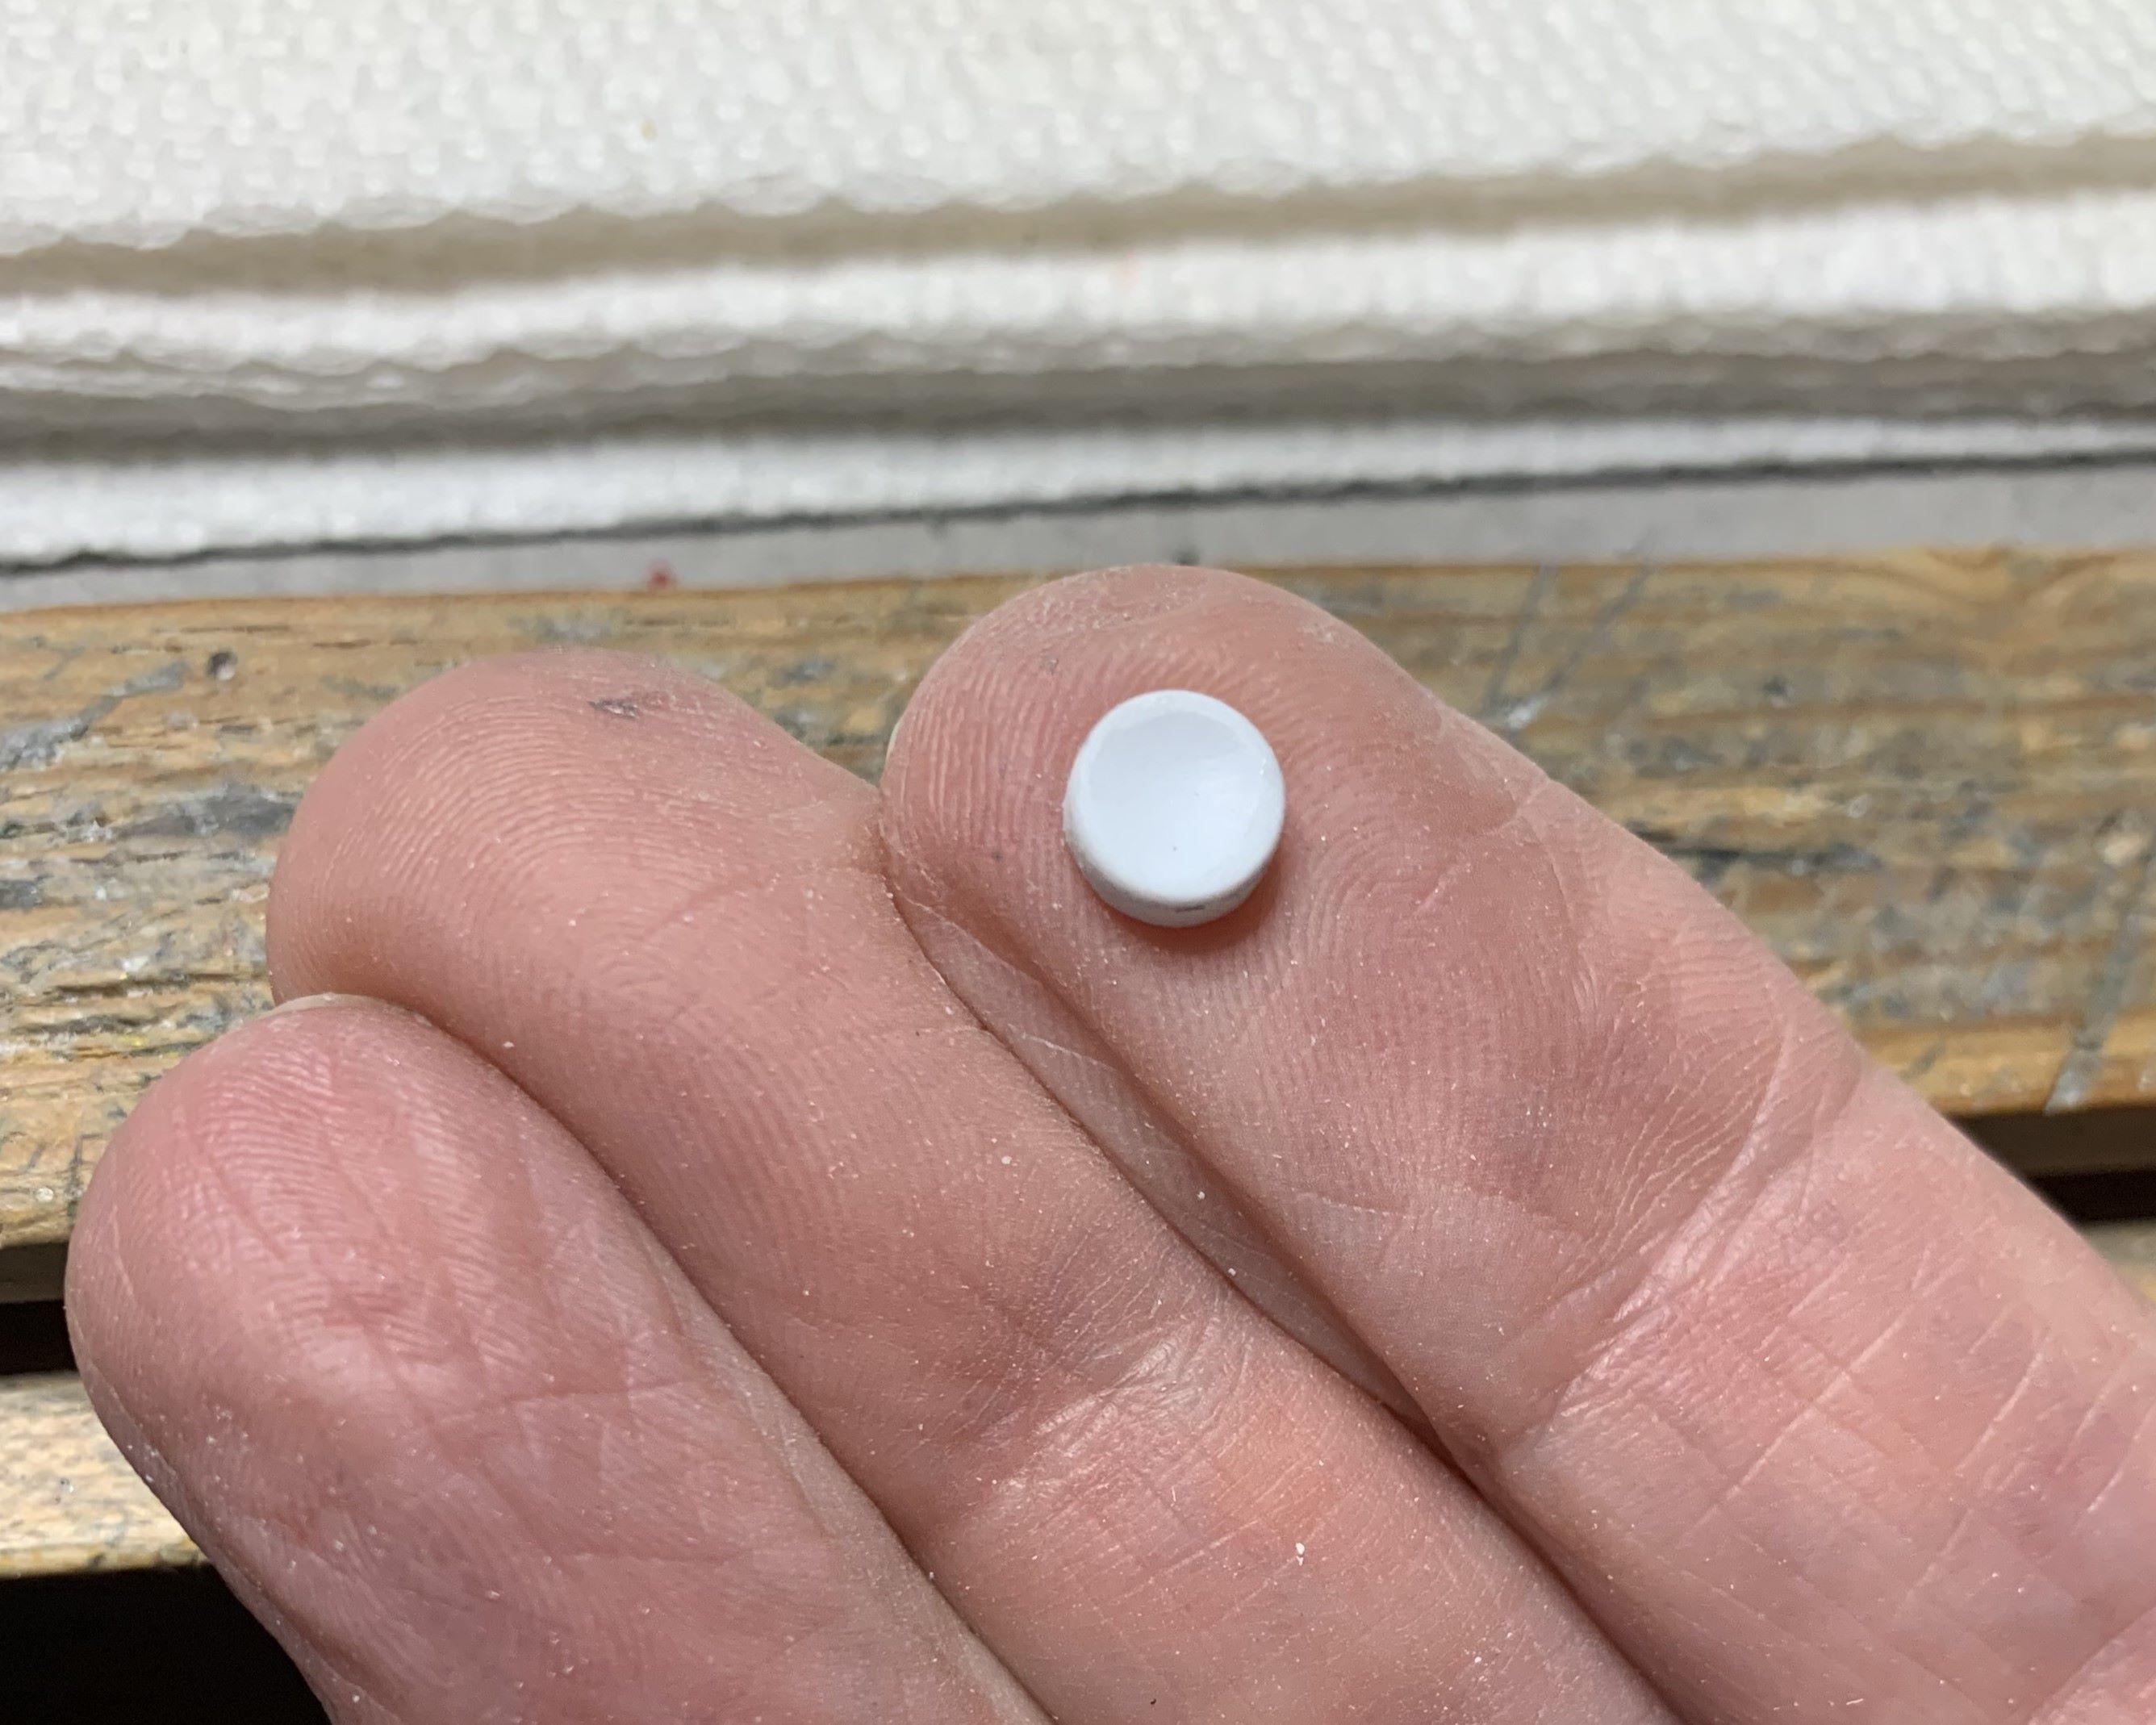
Having opened up the headlights and cut off the bumper to make a "blade" style, I needed backing for clear lenses and those openings are too deep to just cover the backs. So I took some styrene rod and "machined" it down with a cordless drill and a 220 grit sanding stick until it fit into the headlight openings. Then I created a bit of a concave end to the rod, before slicing one, then crating another concave end, then slices, and so on until I had 4. I sprayed Revell chrome on and once that dries I'll add clear lenses, do a wash on the grille and It should look pretty cool! I've got my "blade" bumper attached too.
-
Excellent solution to those doors! I'm going to be gluing the panels closed on the Pagani Huayra, gorgeous car, terrible fitting opening panels. Your McLaren is looking spectacular so far! I had to use a hair dryer for the roof decal, if you're using that, look out!


.JPG.5fe8c9b6f5257b20a81099e700e1d712.JPG)


.JPG.1bd1d1956d7e1c523d8d06dd1c68c8eb.JPG)
.JPG.aa28b64a9ee1d7f652f5cb1eec483522.JPG)
.JPG.119d10c2c6cbecfd5eee91f65a74e076.JPG)


.JPG.80a9d5797617cfba0e462b4d66d6c53f.JPG)