dino246gt
-
Posts
2,244 -
Joined
-
Last visited
Content Type
Profiles
Forums
Events
Gallery
Everything posted by dino246gt
-

AMT 1960 3-in-1 Ford F-100 Pickup Truck
dino246gt replied to rekcirb13's topic in Truck Kit News & Reviews
Looks like the new kit will have the bumper separate from the grille AND clear headlights, YES!!! Here's the original, must be better, must be better, LOL
-
AMT 1960 3-in-1 Ford F-100 Pickup Truck
dino246gt replied to rekcirb13's topic in Truck Kit News & Reviews
I did use that on my original issue:
-
Interesting!
-
Italeri 1/24 Ferrari 250GT California Spyder
dino246gt replied to Justin Porter's topic in WIP: Model Cars
I'm excited to see what you do with this gorgeous car! -
Fantastic!
-
1962 Rolls Royce Silver Cloud II by Minicraft Models: WIP
dino246gt replied to David G.'s topic in WIP: Model Cars
Those door to fender to cowl seams looks SO much better now! Nice work! -
I have the same dehydrator and I've never turned it up higher than that, so I wouldn't chance it. If anyone has though, I'd like to hear about it!
-
Thank you fellow model car builders! Yeah, I've always dreamed of a resto-mod 308GTB in real, but now that I'm retired, my income has disappeared! LOL Building dreams in scale is much more affordable and a lot safer financially, instead of hundreds of dollars, it'd be hundreds of thousands of dollars! Cheers!
-
Greg, this is the frame from the '55 kit I built, is that '53 kit frame the same? The front sits too high and all wheels are too far outward. I changed all that, but this is from the box:
-
99% finished! I decided to glue the passenger door shut, and pushed it in a bit too far! And so it's staying like that. If it wasn't a resto-mod, I'd say that's factory correct! LOL
-
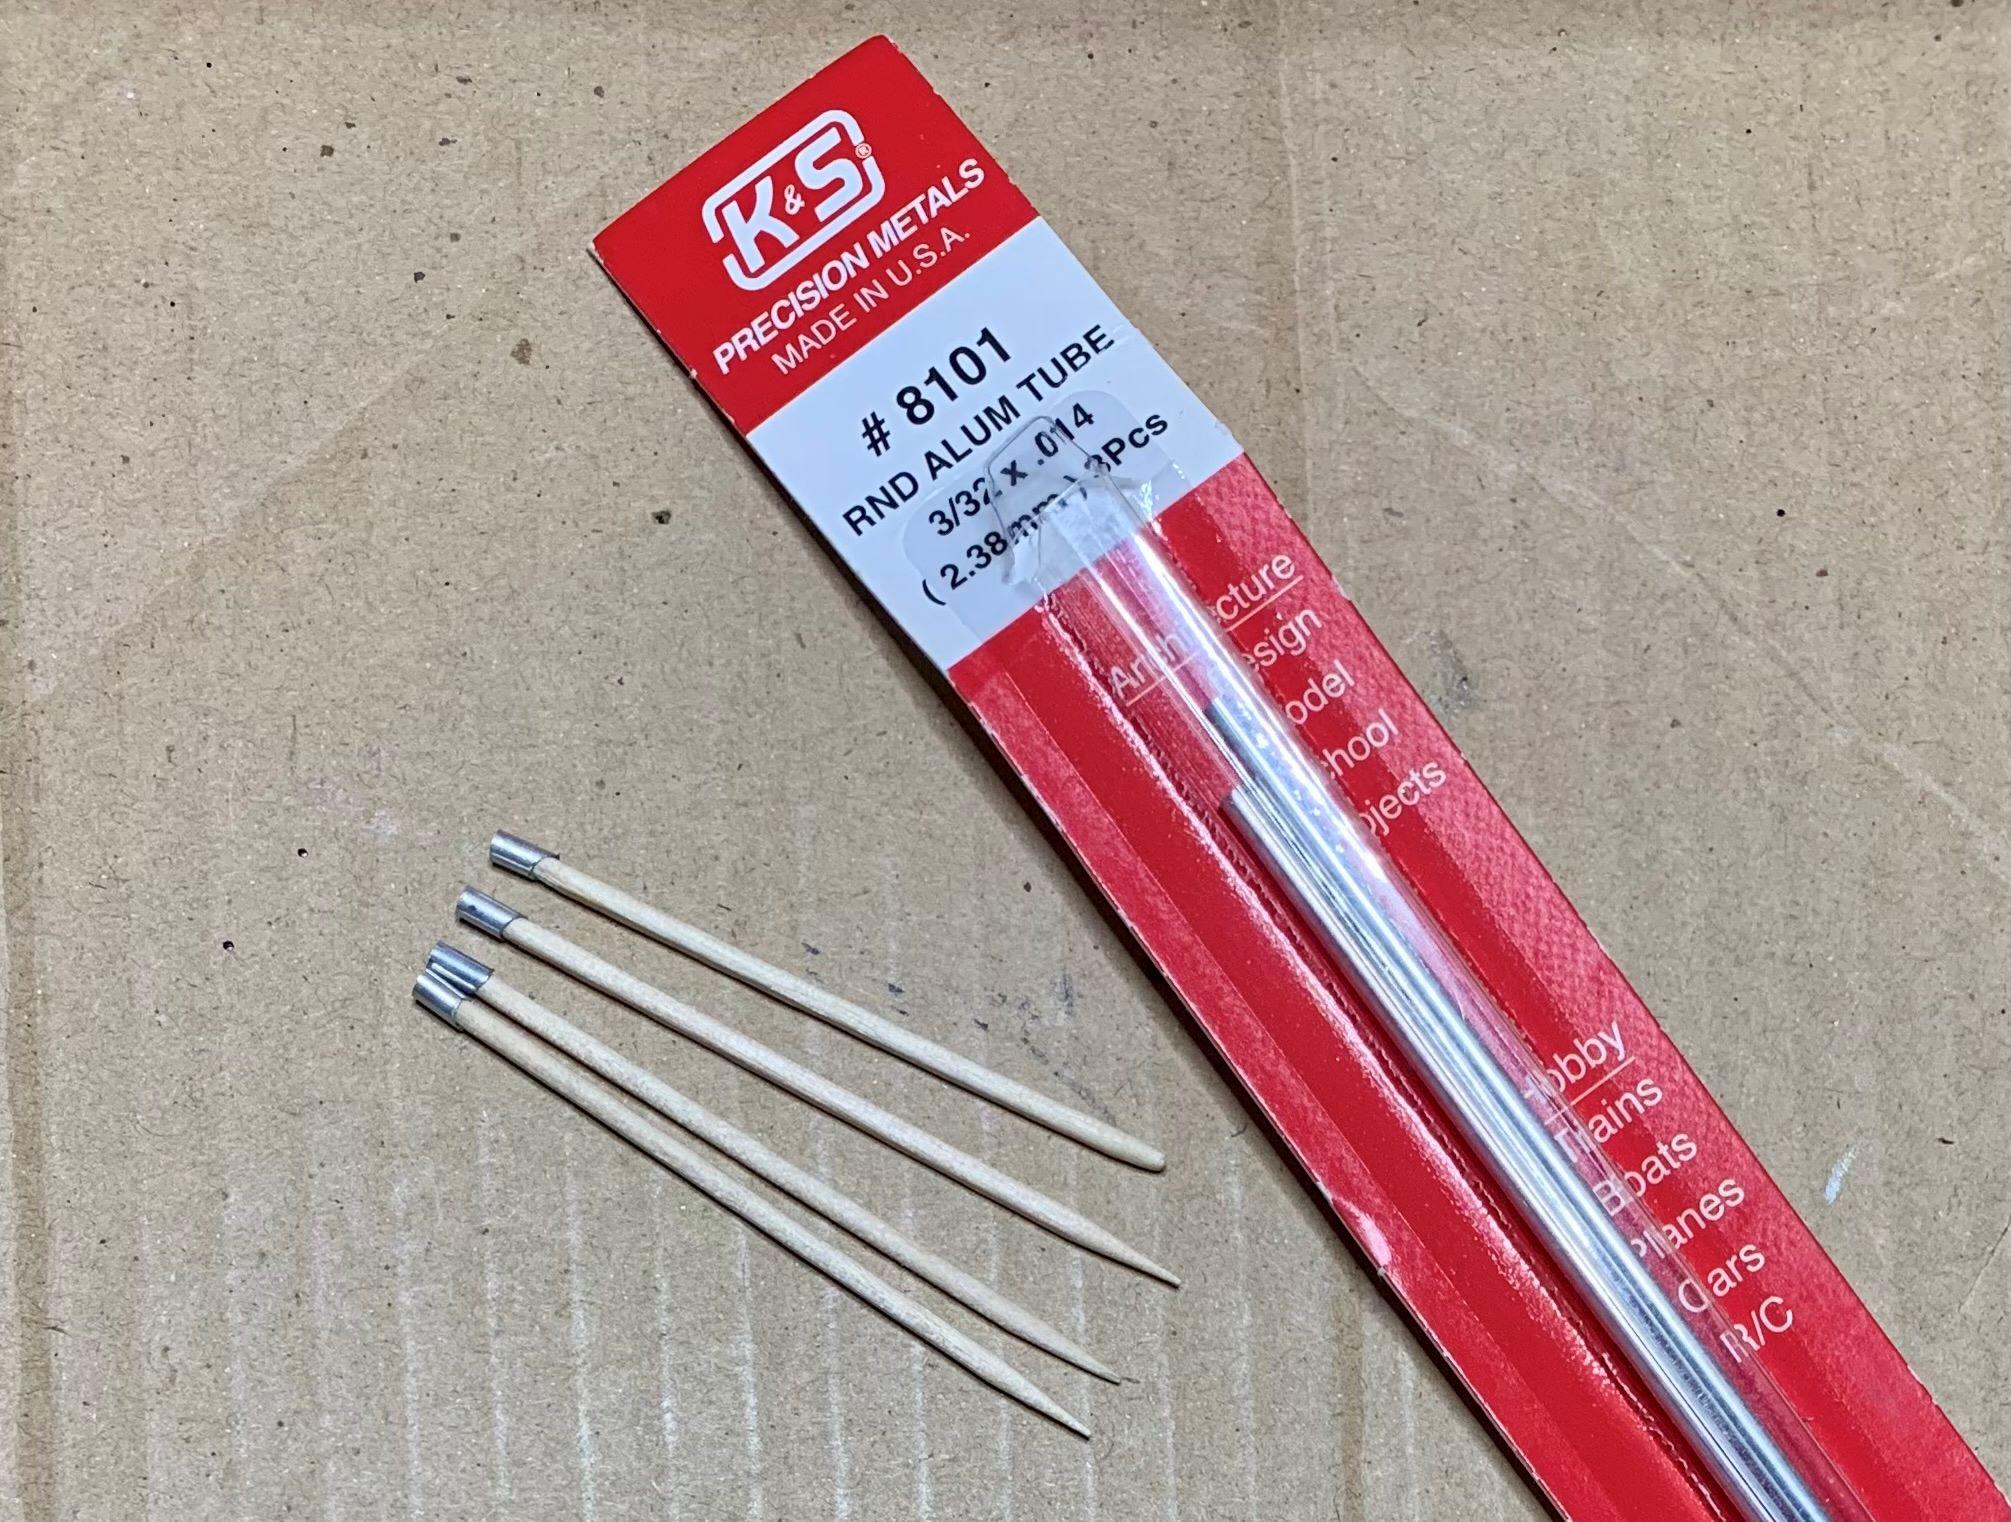
So back to the 308, to make all 4 exhaust tips identical, I cut round toothpicks short and after angling the aluminum tubing tips, placed them on the toothpicks so I could file them down, all to the same length. The mirrors got drilled and new faces made to be foiled. The pins of course make mounting them better but also provide a place to hold them for airbrushing. I tried to bend one of the wipers, but no luck so I cut it off and made a new one to match the curved windshield, from 3 tiny pieces, I mean really small, then sanded and painted them. Then I made the door latch, exterior door handles, weather stripping and door edge red light. So here are all those, mirrors, wipers, exhaust tips and door end details in the last picture, cheers!
-
I'm not building this BUT I really appreciate this kind of info from a fellow modeller! I sure if Peter doesn't already know all this, he appreciates it too! I encourage this kind of info from our great builders here and I thank you Sonny!
-
You foiled that in an afternoon? Wow, I thought it'd take a week! LOL Looks great and I love that engine!
-
Wow, you're doing all the right stuff to this old kit! I think the one I built was the AMT '55, looks mostly the same, I highly modified mine anyway. Wish I'd have done some of the things you've already done to this. Cheers!
-
Looks great now! That panel between the seats looks SO much better fitted by you. It's a real beautiful car man, I love it!
-
Your build looks way better than the 1/8th scale one I did, about 45 years ago!
-
That engine does look very cool indeed!
-
I'm not just another "echo", but I think the new color is much better too!!
-
I think if you slice the tread out of the tire, just a small part, then you can fold the remaining sides and fill with something to keep them looking like a deflated tire might be the way to go. Of course try it on spare tires from other cheap kits first to get the right look. I can't believe how cool this project is! I love it!!
-
The Newly Tooled Revell 1971 Boss 351 Mustang
dino246gt replied to baycolony's topic in WIP: Model Cars
WOW! That looks amazing, Revell? Man they've really stepped it up, or is it just YOU! It does look fantastic though, thanks to your skills, very cool! -
Cool idea to save another builders custom, but to have it ready to show in less than 2 weeks! Sounds like a TV show, LOL Better get it ready for paint, in a period correct color, of course! Could be a real show stopper!
-
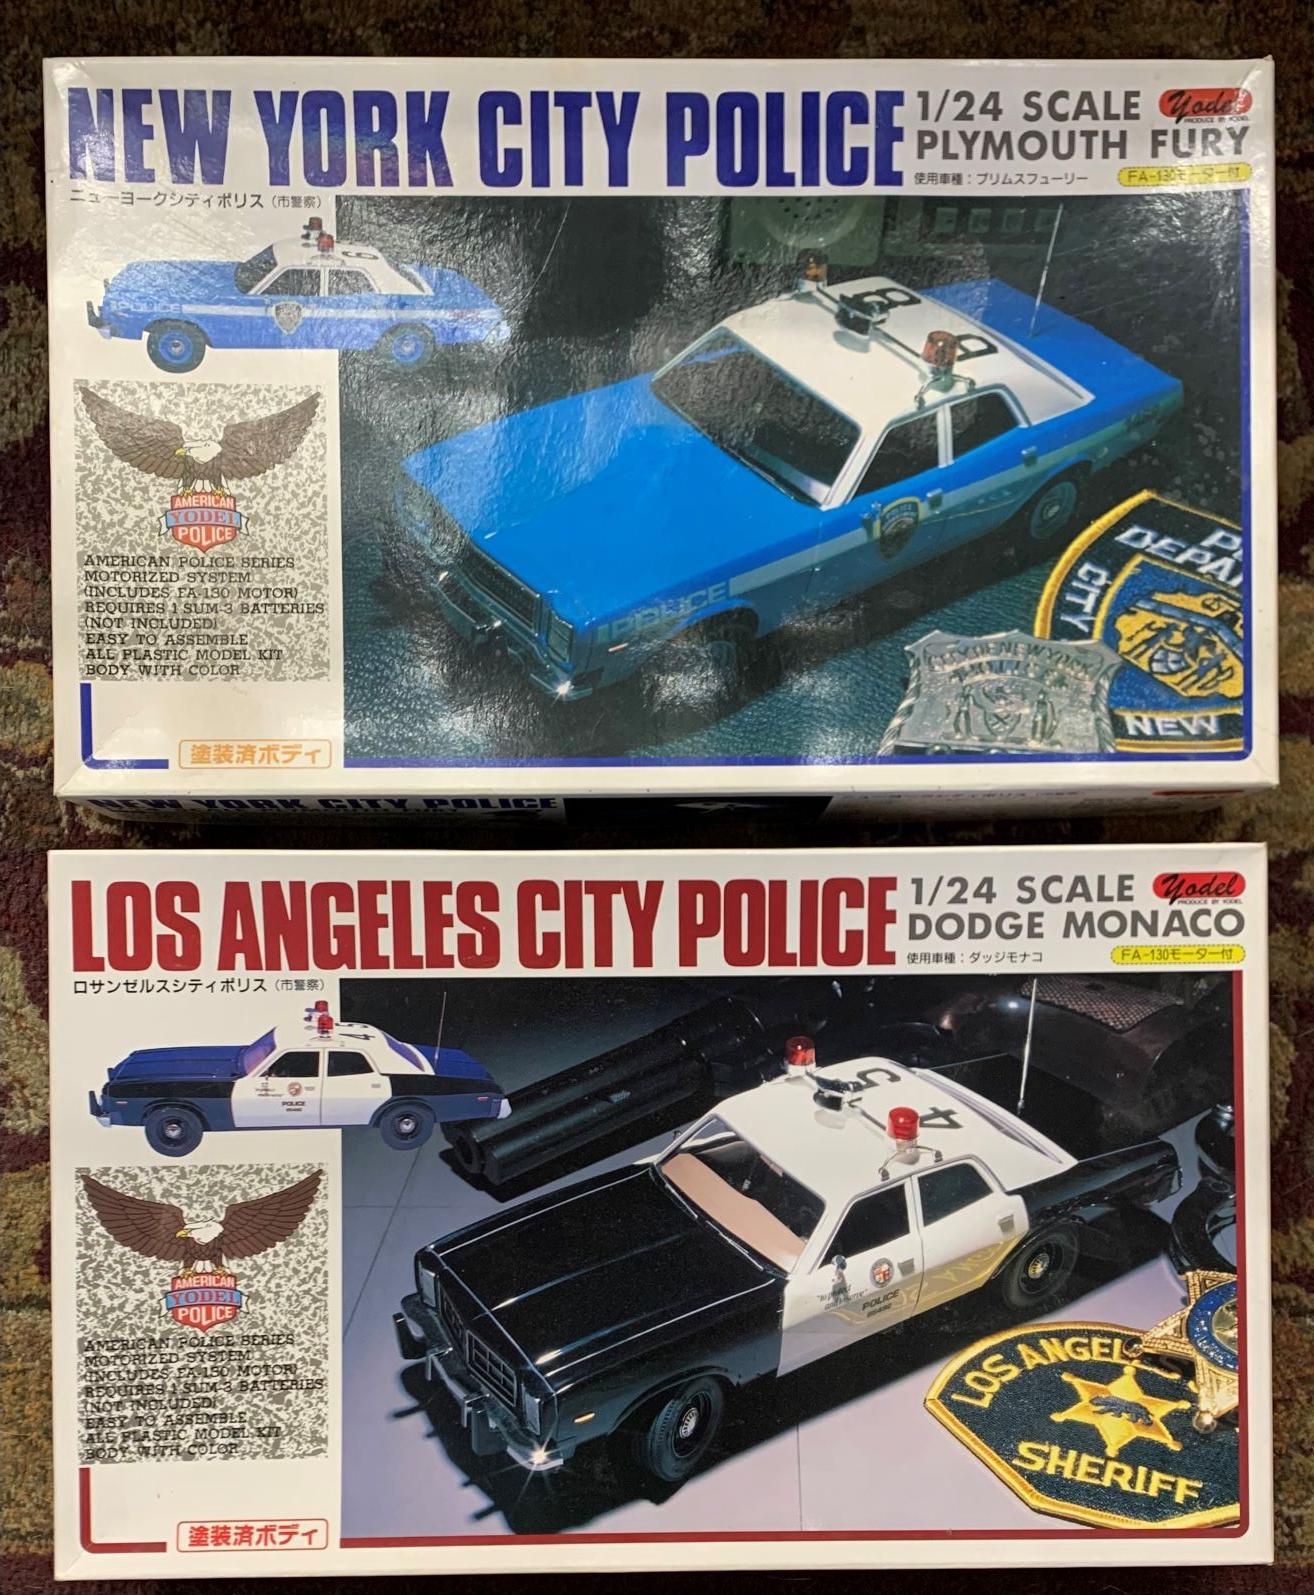
American 1:25 scale four door sedan and wagon promos and kits
dino246gt replied to Junkman's topic in Car Kit News & Reviews
I have these 2 that can be built stock, curbsides:
-
WOW! It already looks fantastic, well at least those parts do! Great weathering skills!
-
Can't wait to see what you do with this one!
-
You didn't make a mess of the interior. Once it's back together, it'll look way better than seats molded to the floor. I do that anytime I have seats molded in. You did good!
.JPG.ec2e2ad0f3d1b3492670372e2d85bcf8.JPG)