-
Posts
2,244 -
Joined
-
Last visited
Content Type
Profiles
Forums
Events
Gallery
Everything posted by dino246gt
-
Greg that houndstooth pattern looks great in that Jeep pickup! Also in your Ford pickup, a very good tip but where can I find Washi tape in Winnipeg?
-
I hope you plan to drill out those and use clear lenses? It's just a pet peeve of mine. Of course you don't have to, it's your build! I'm liking it!
-
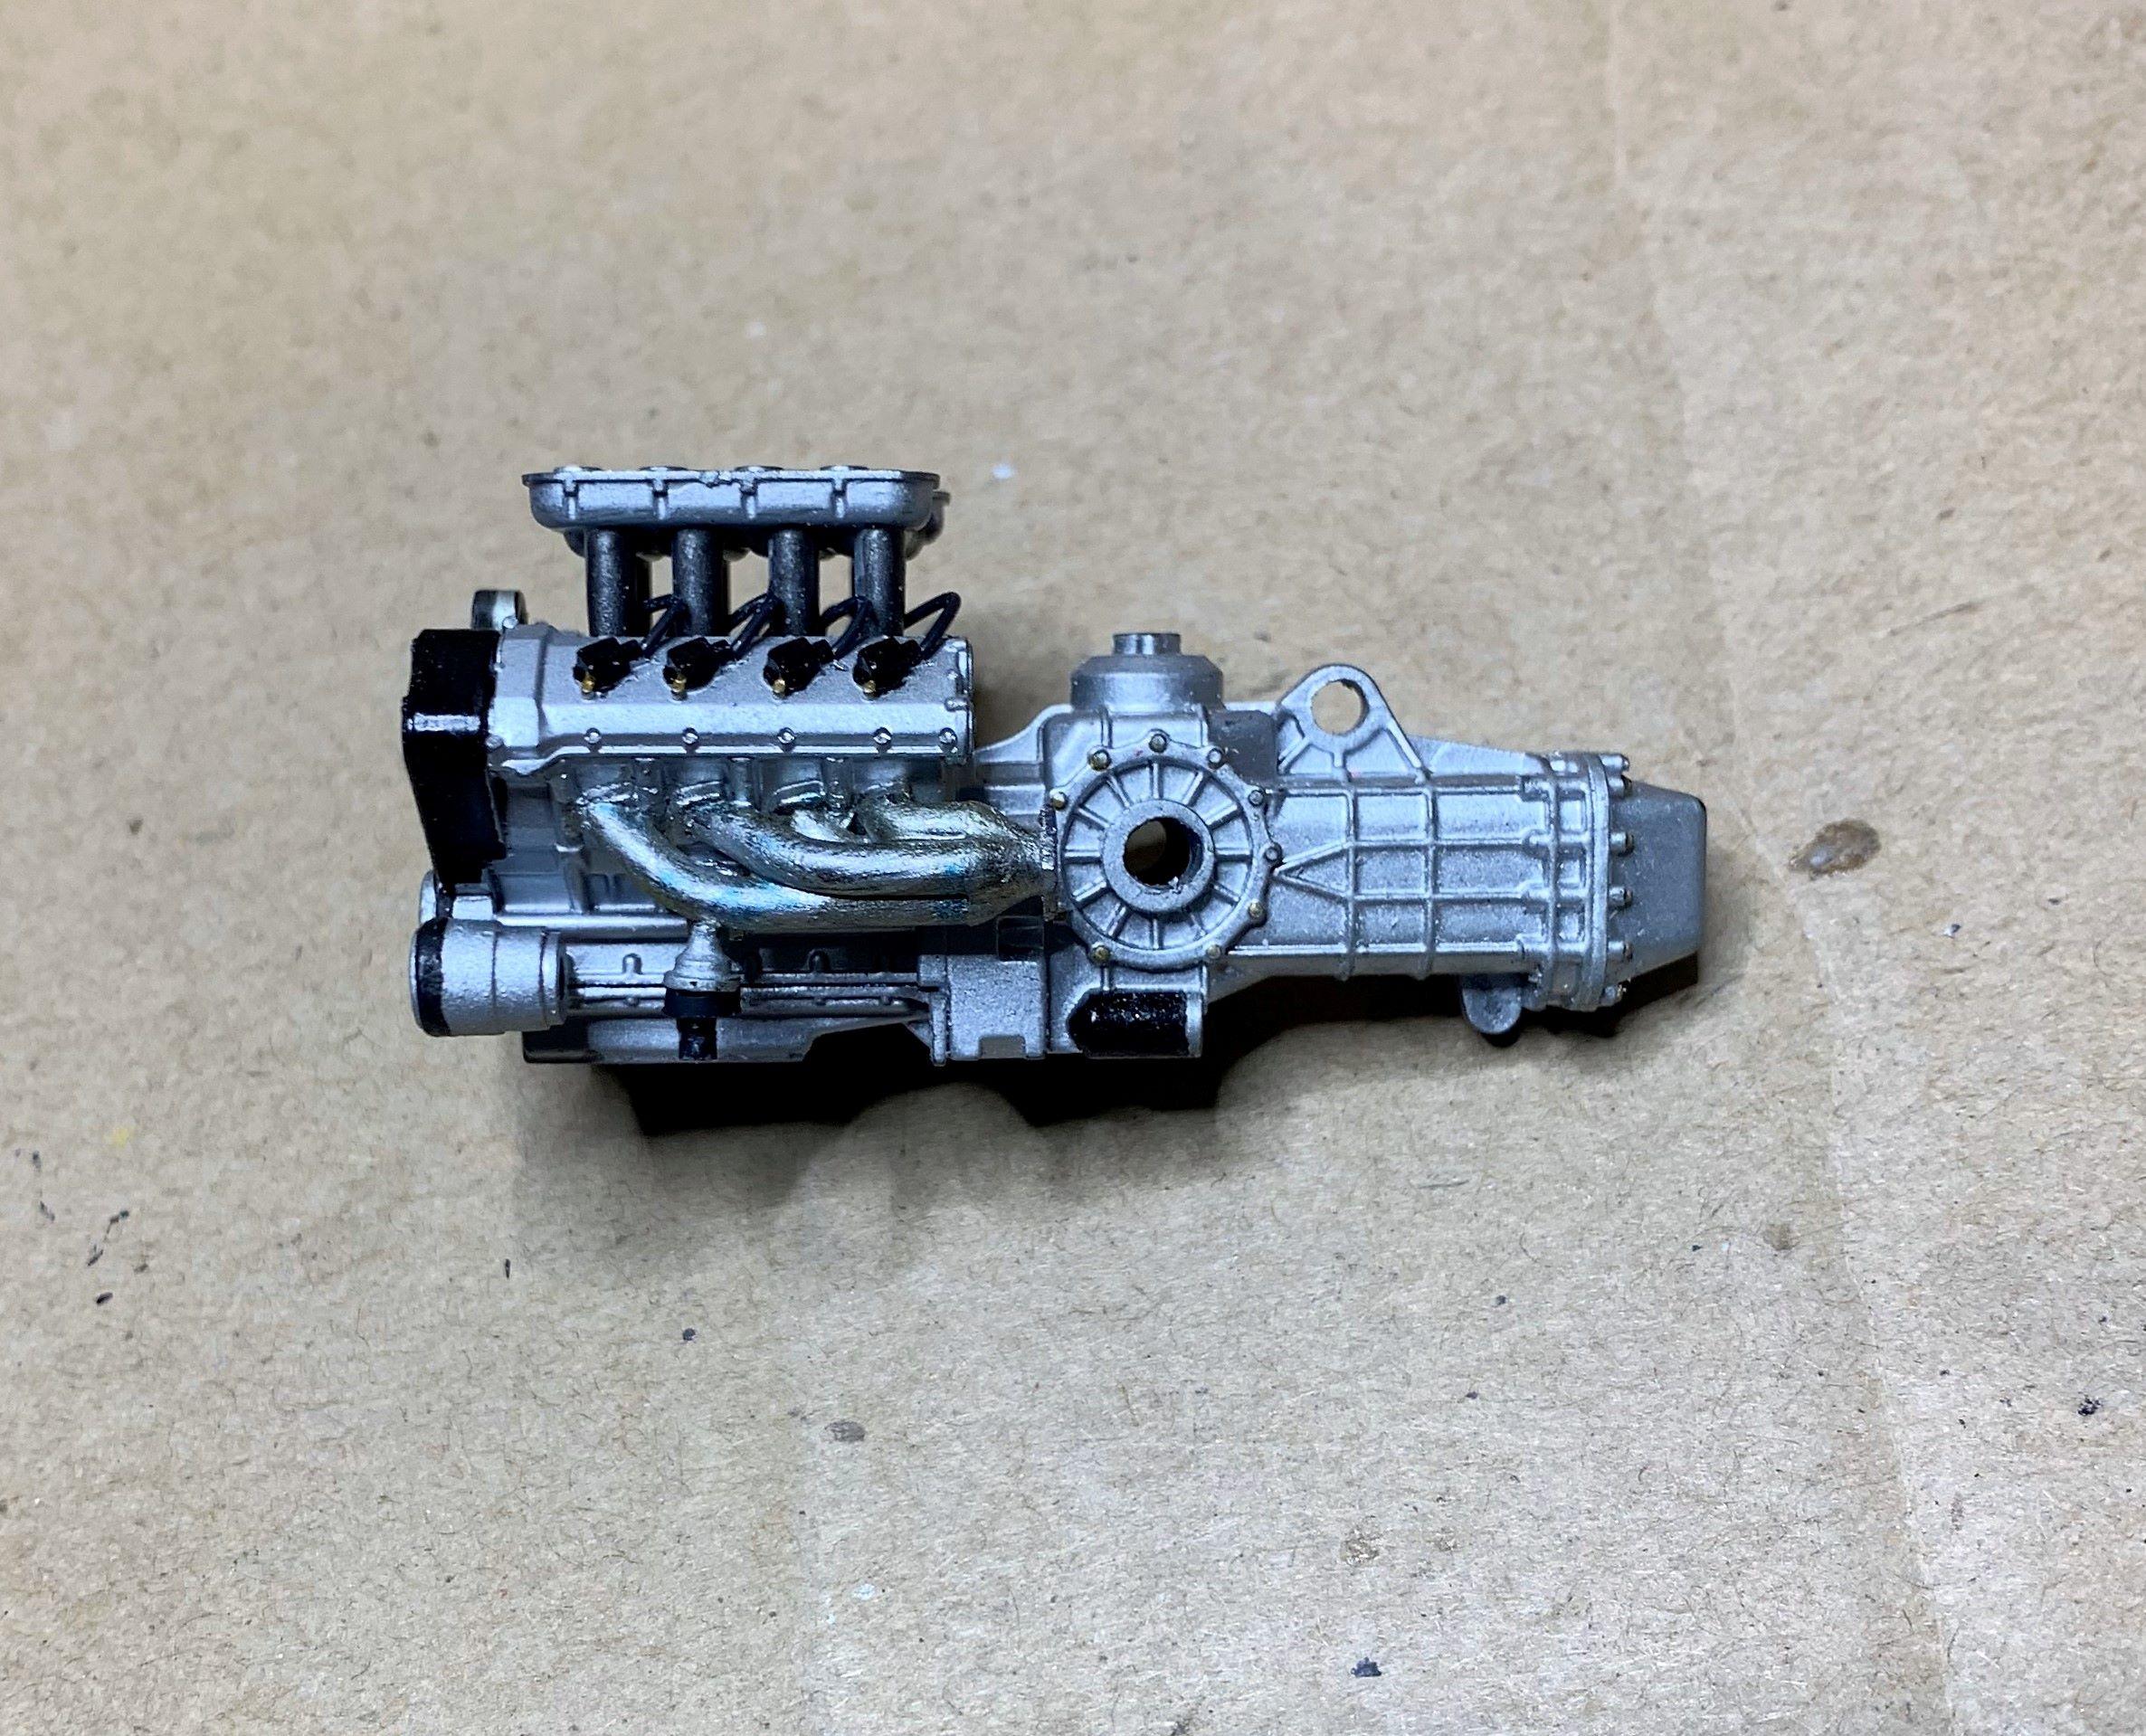
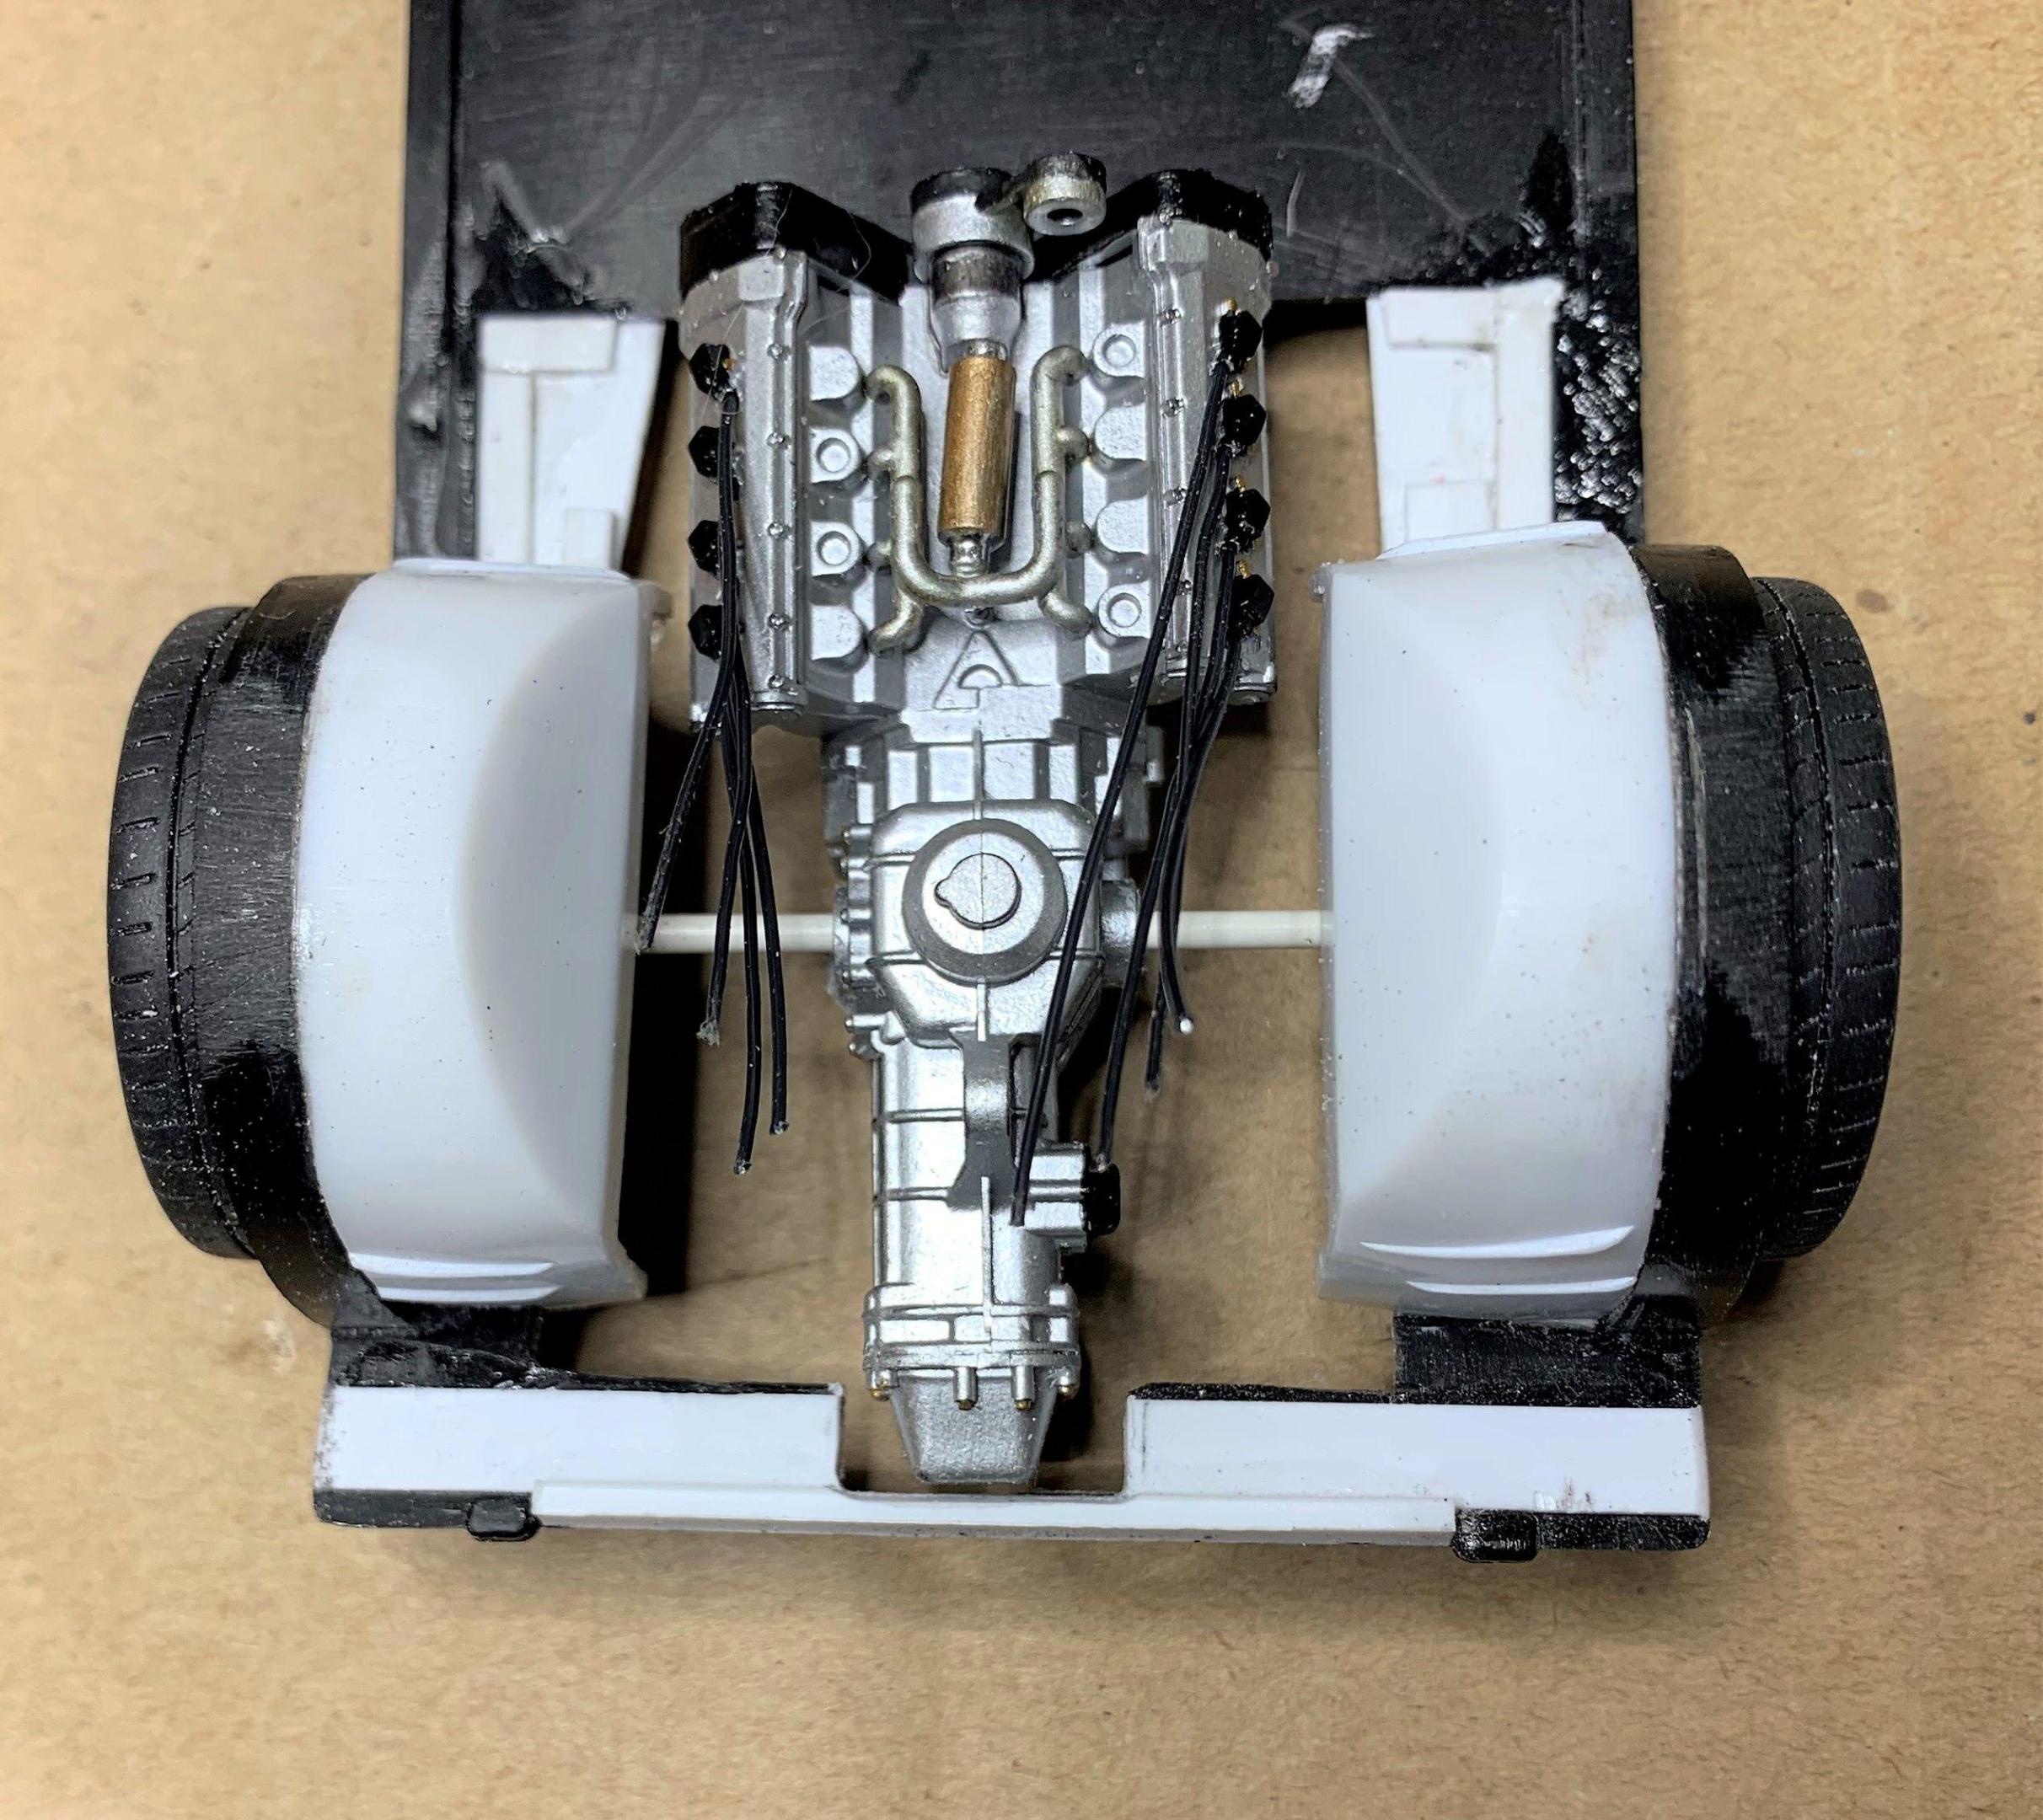
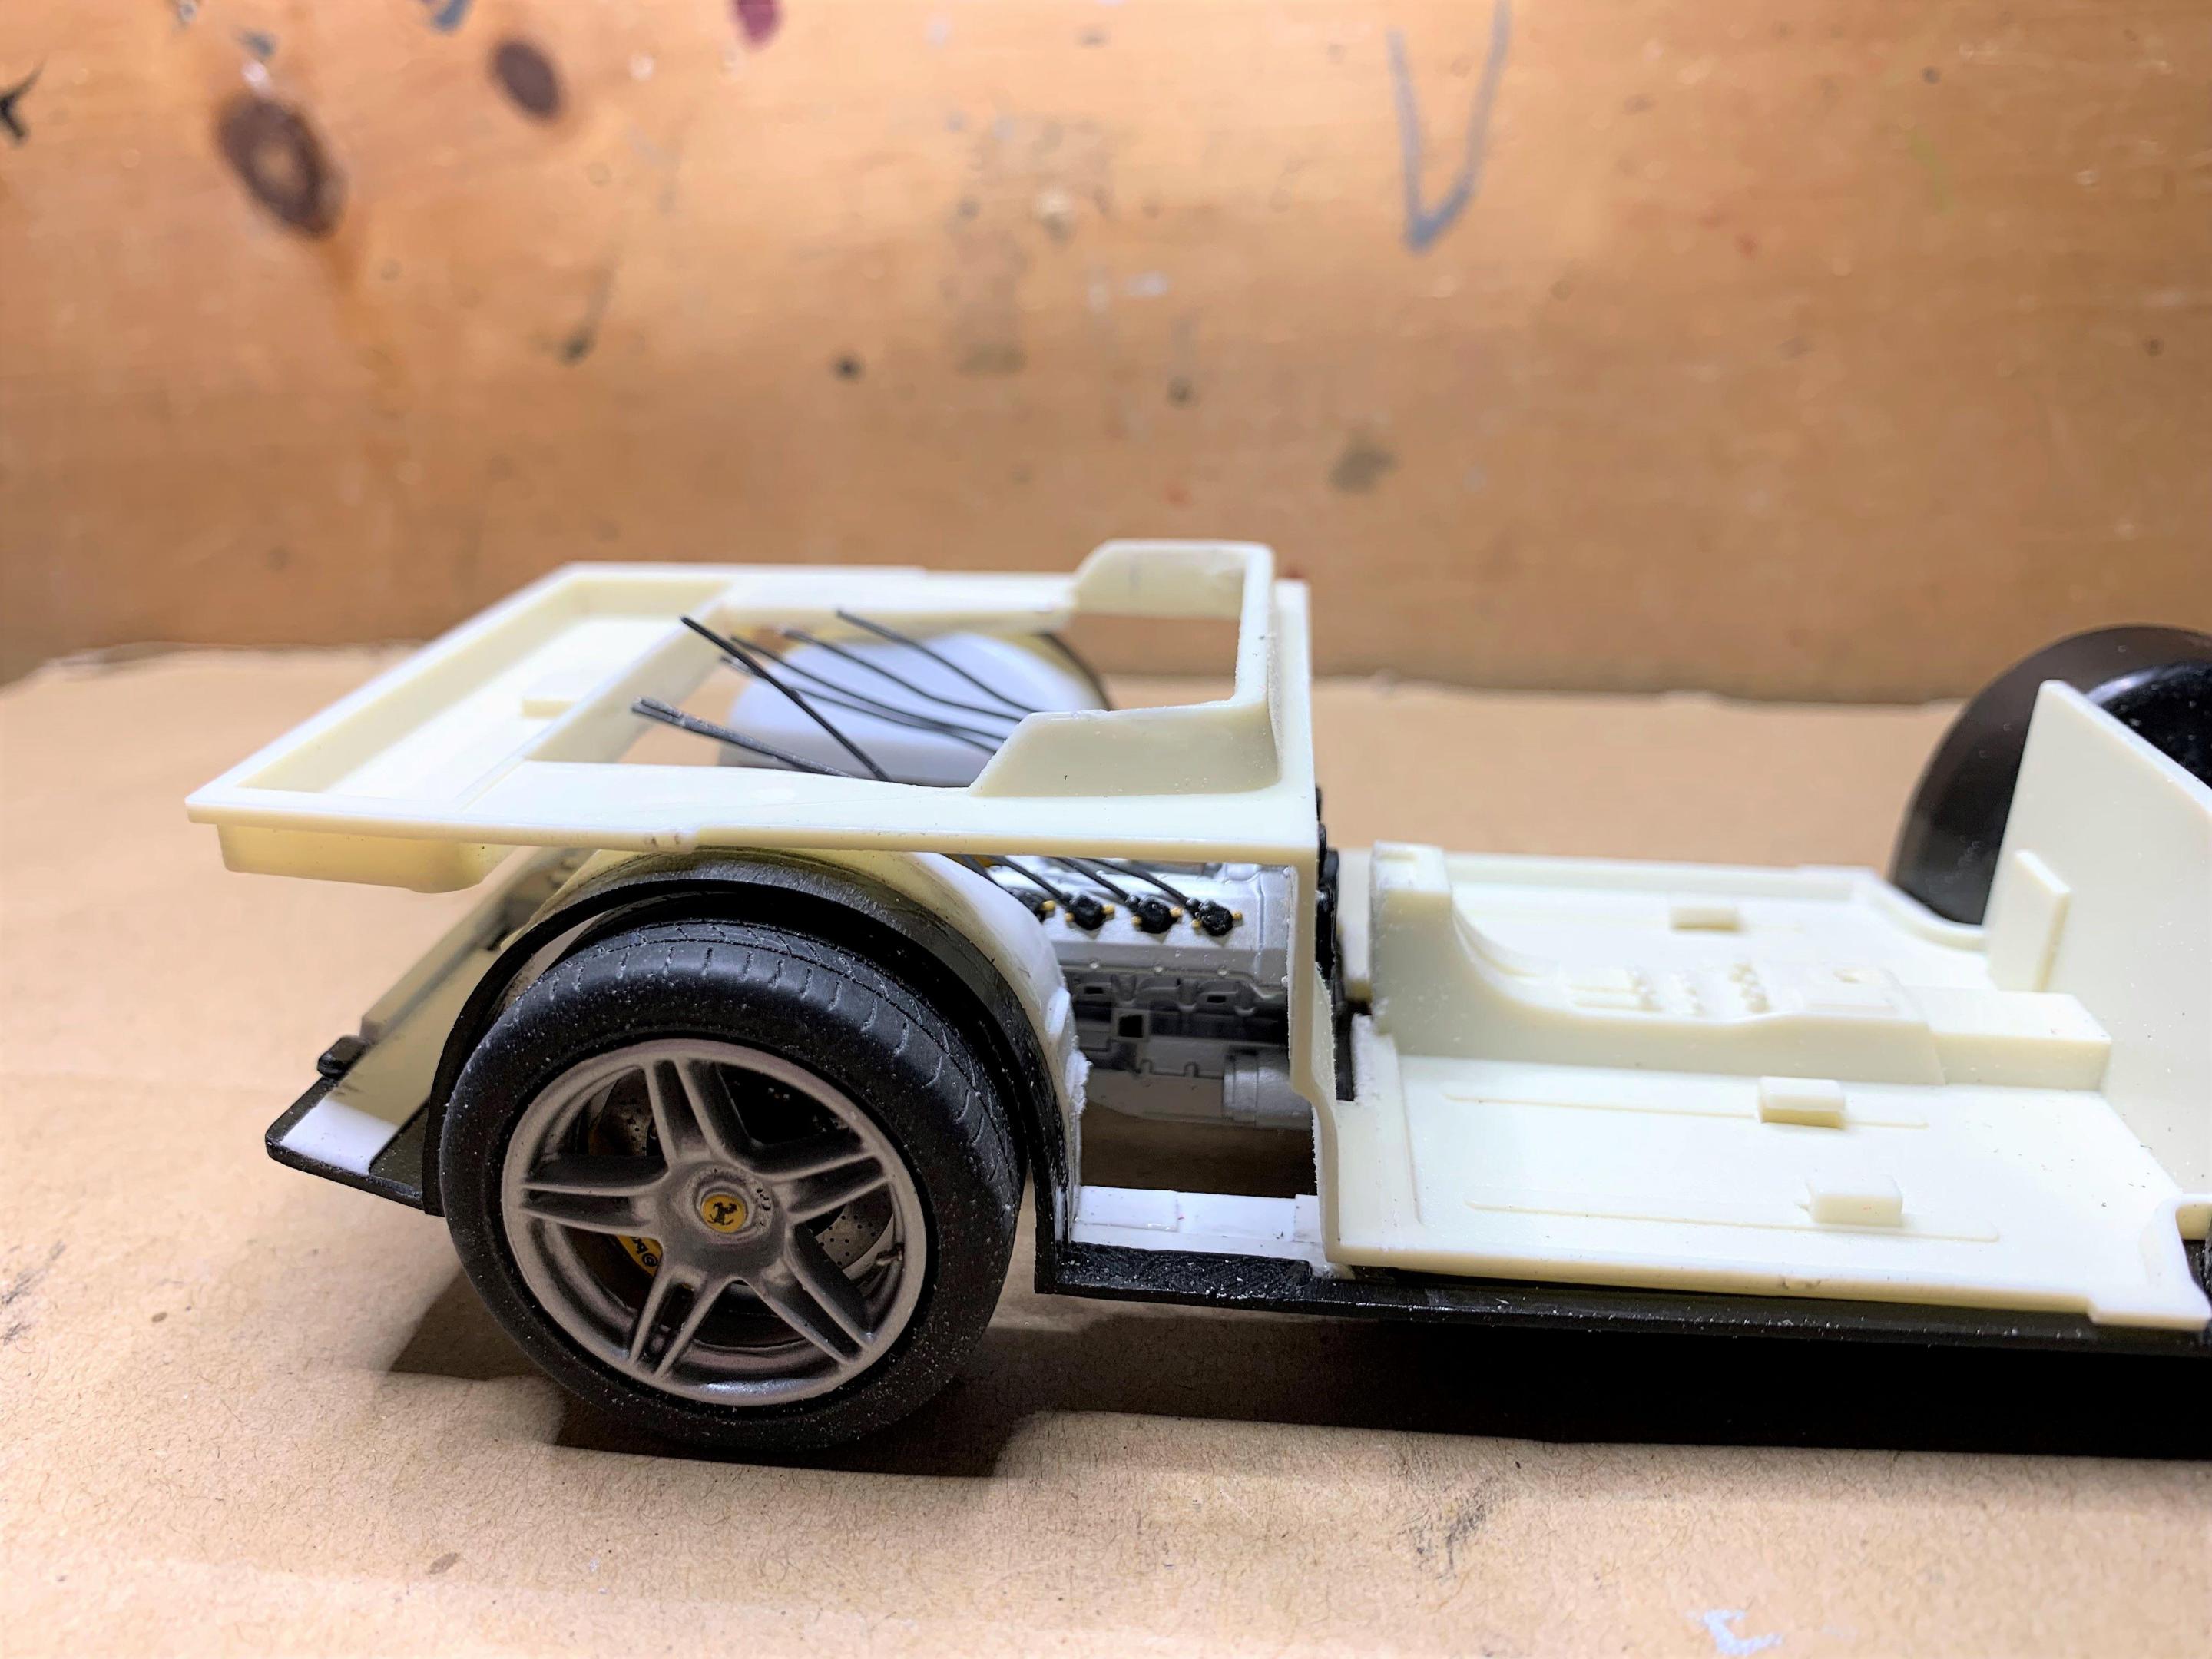
The Tamiya 360 kit exhaust headers are just too wide to fit the narrower 308 so I found some 3D big block headers that needed cutting to fit. I'll need to find headers for that big block Chevy motor when I decide to use it on another project. So for this project block huggers were made to fit, and now I can think about extending pipes up and over the half shafts to the pair of cats! You can see how tight the fit will be. Ahead of the wheel tubs there will be twin fuel tanks as the 308 comes with, but the kit doesn't so I'll scratch build those, eventually!
-
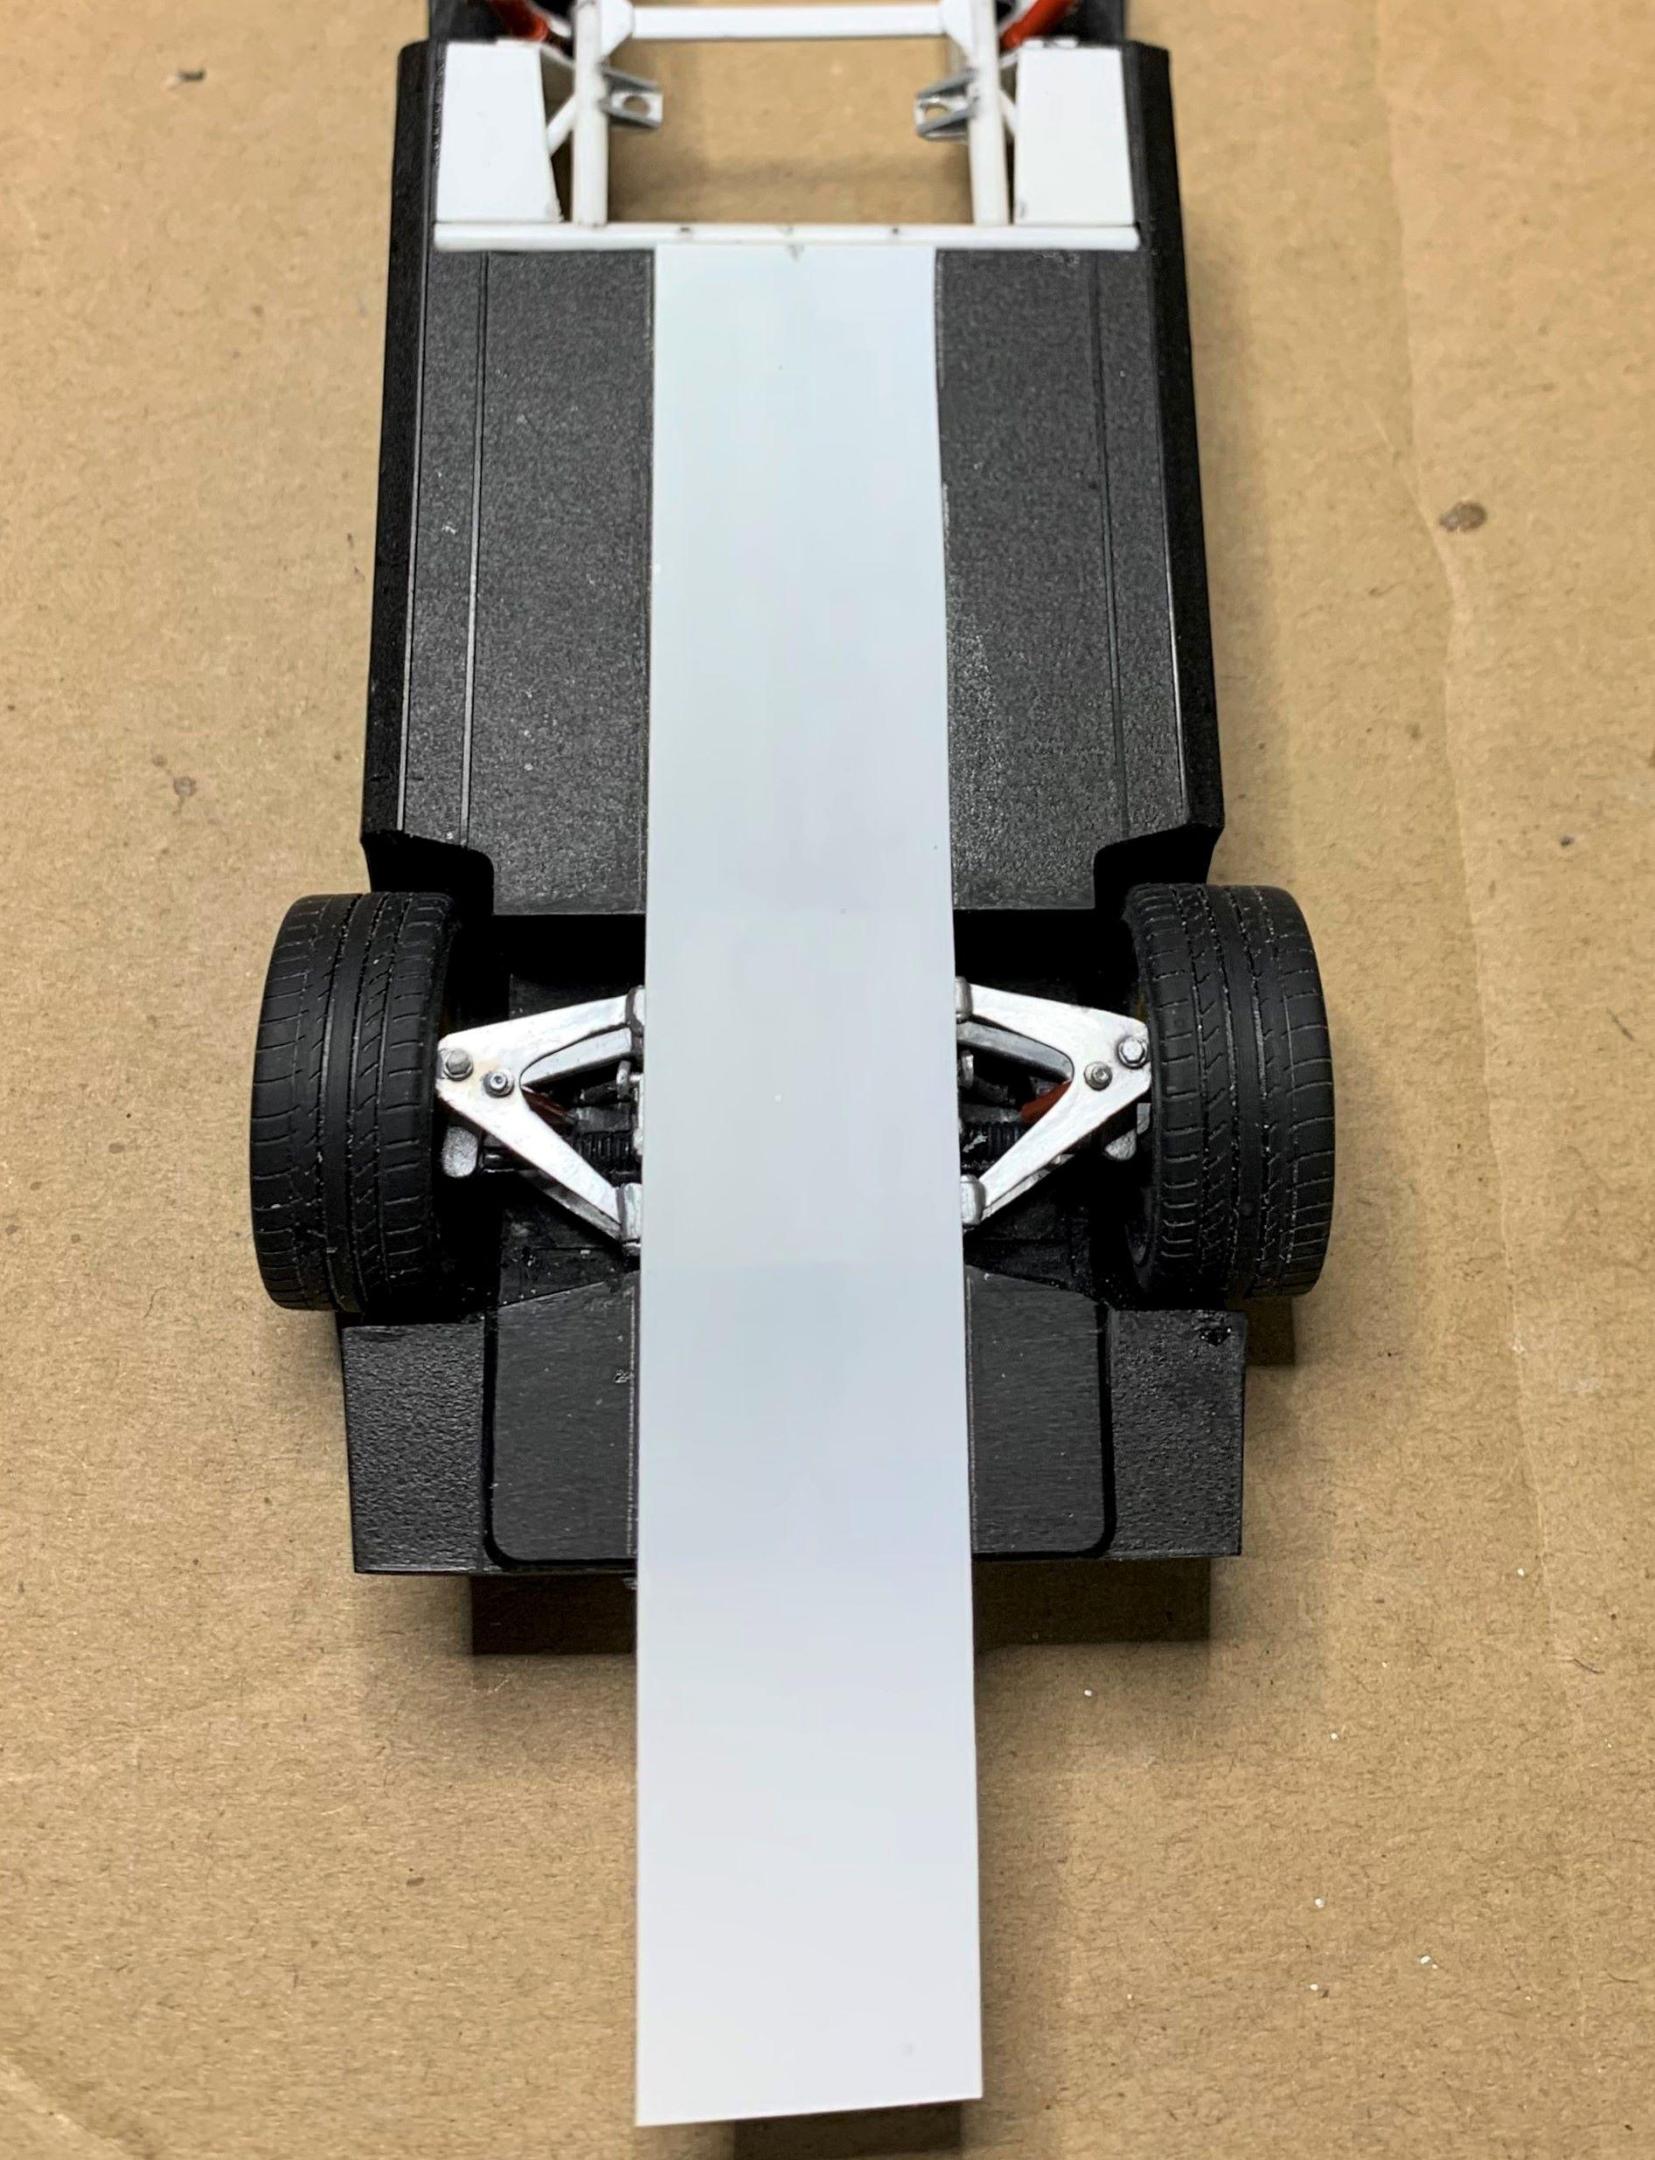
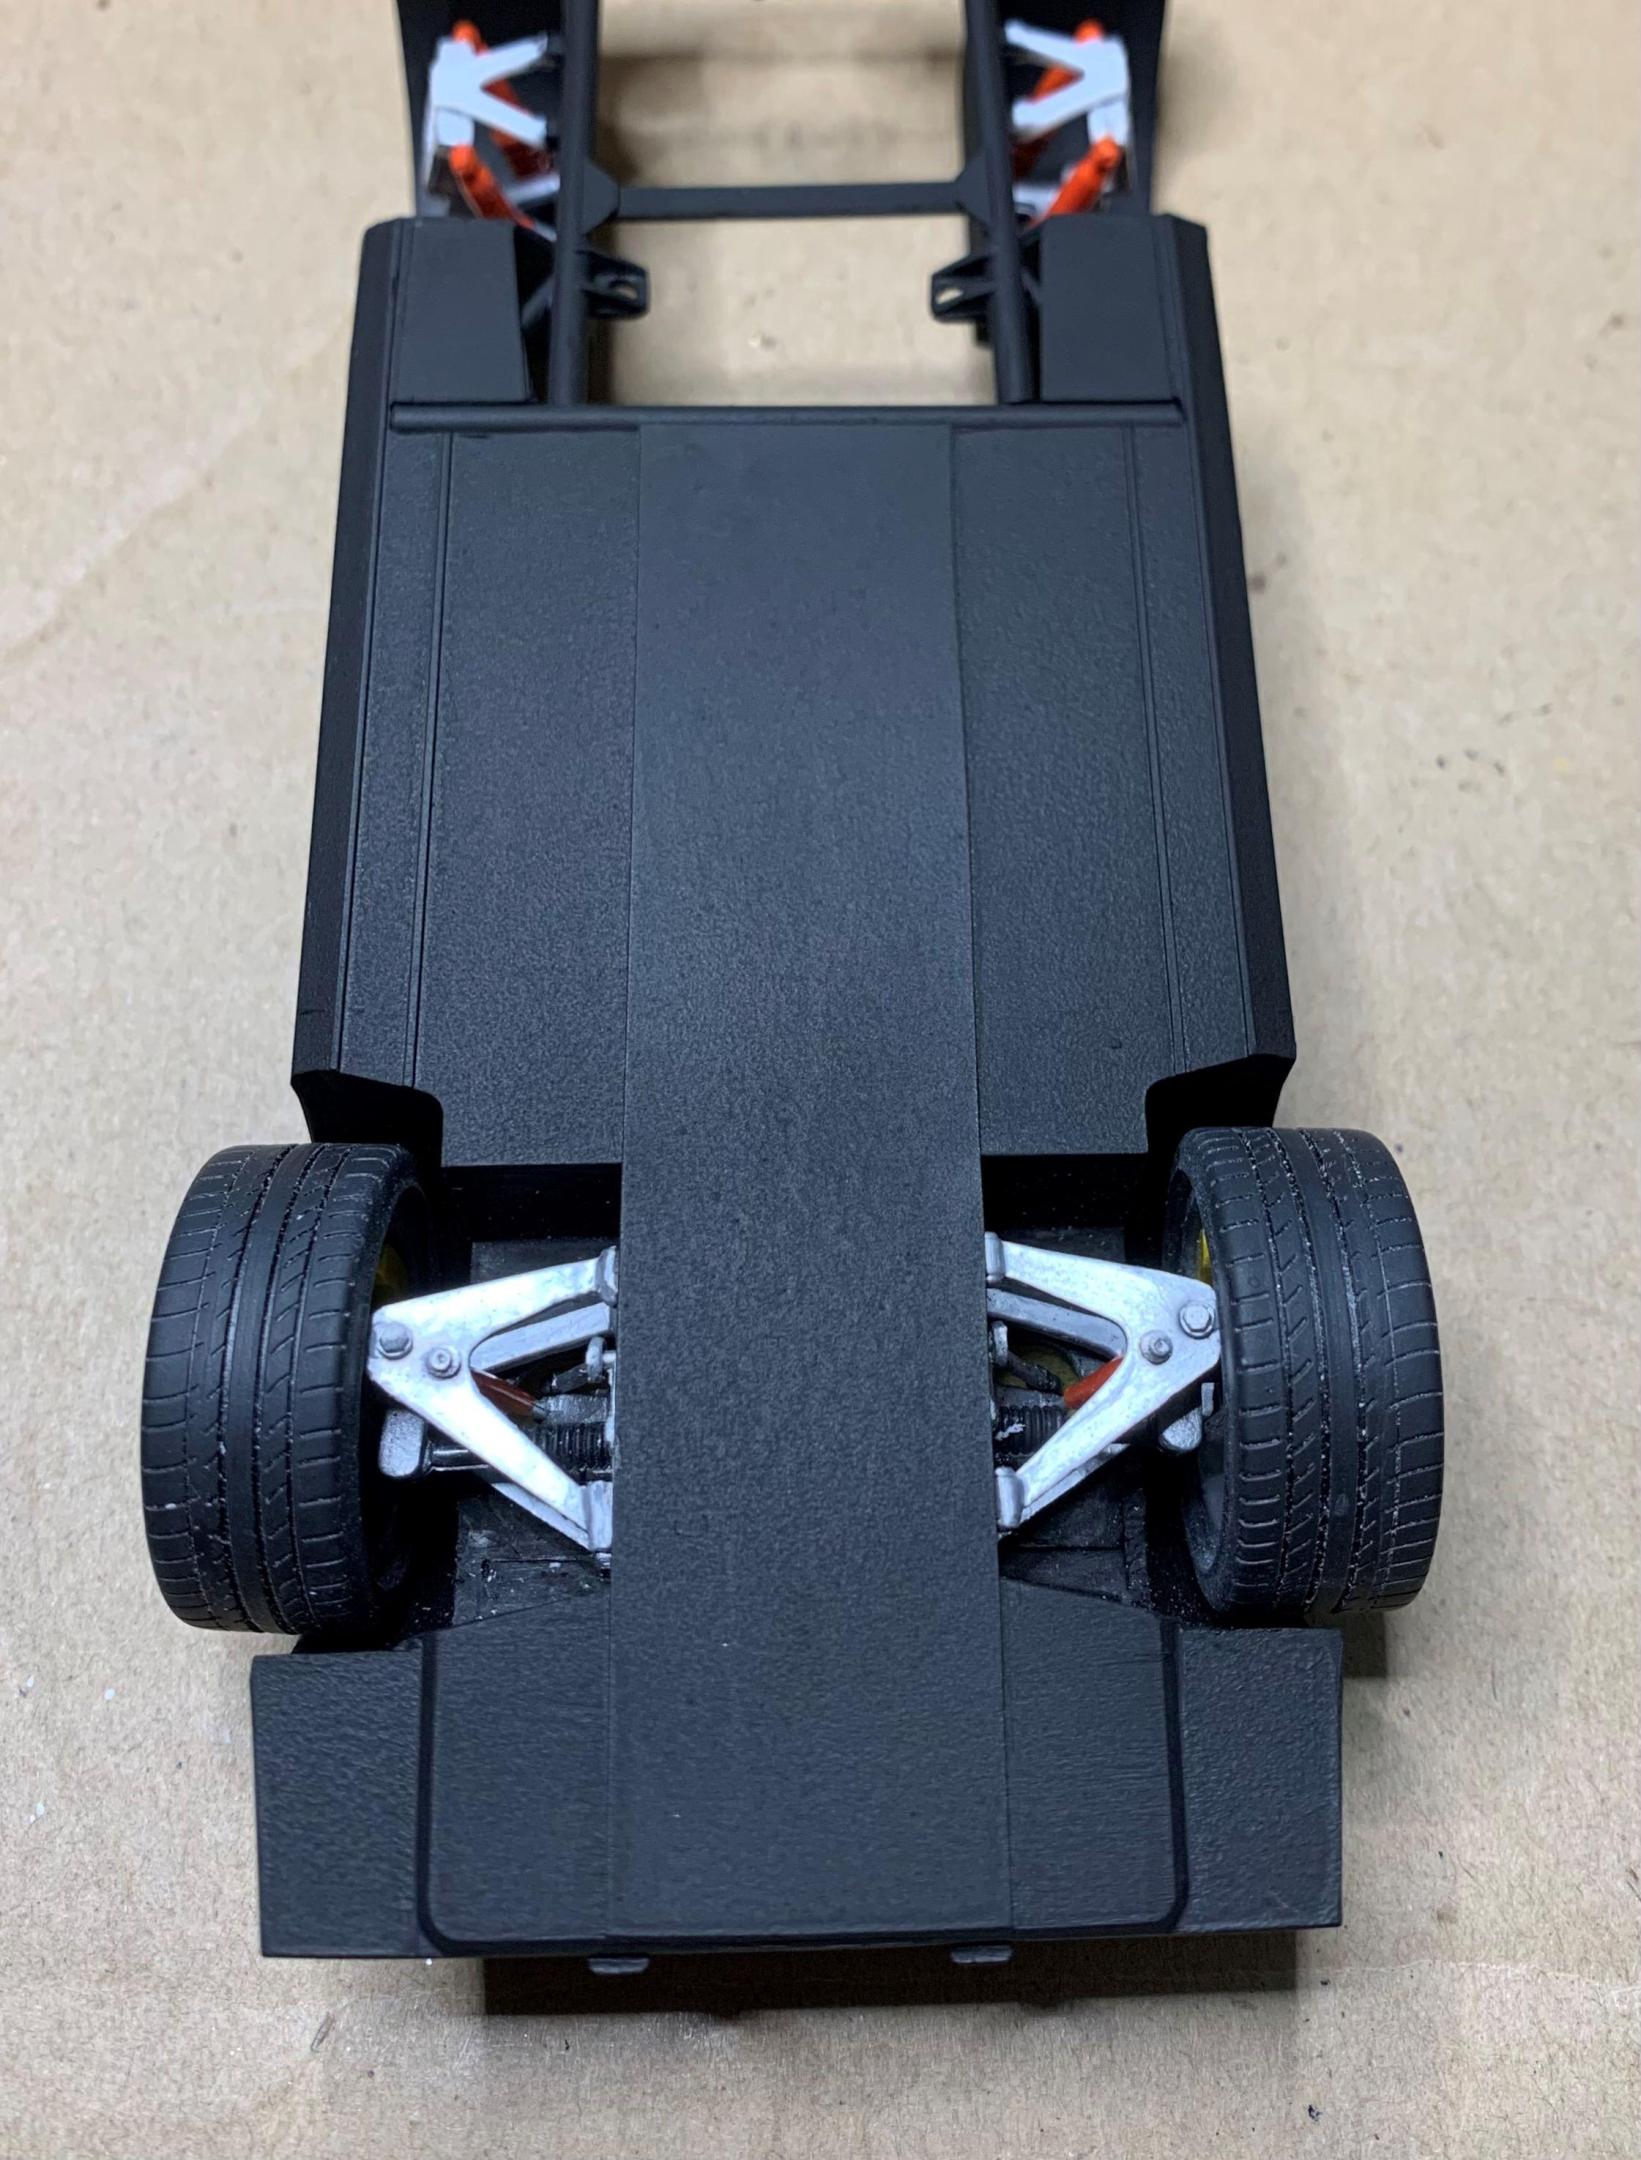
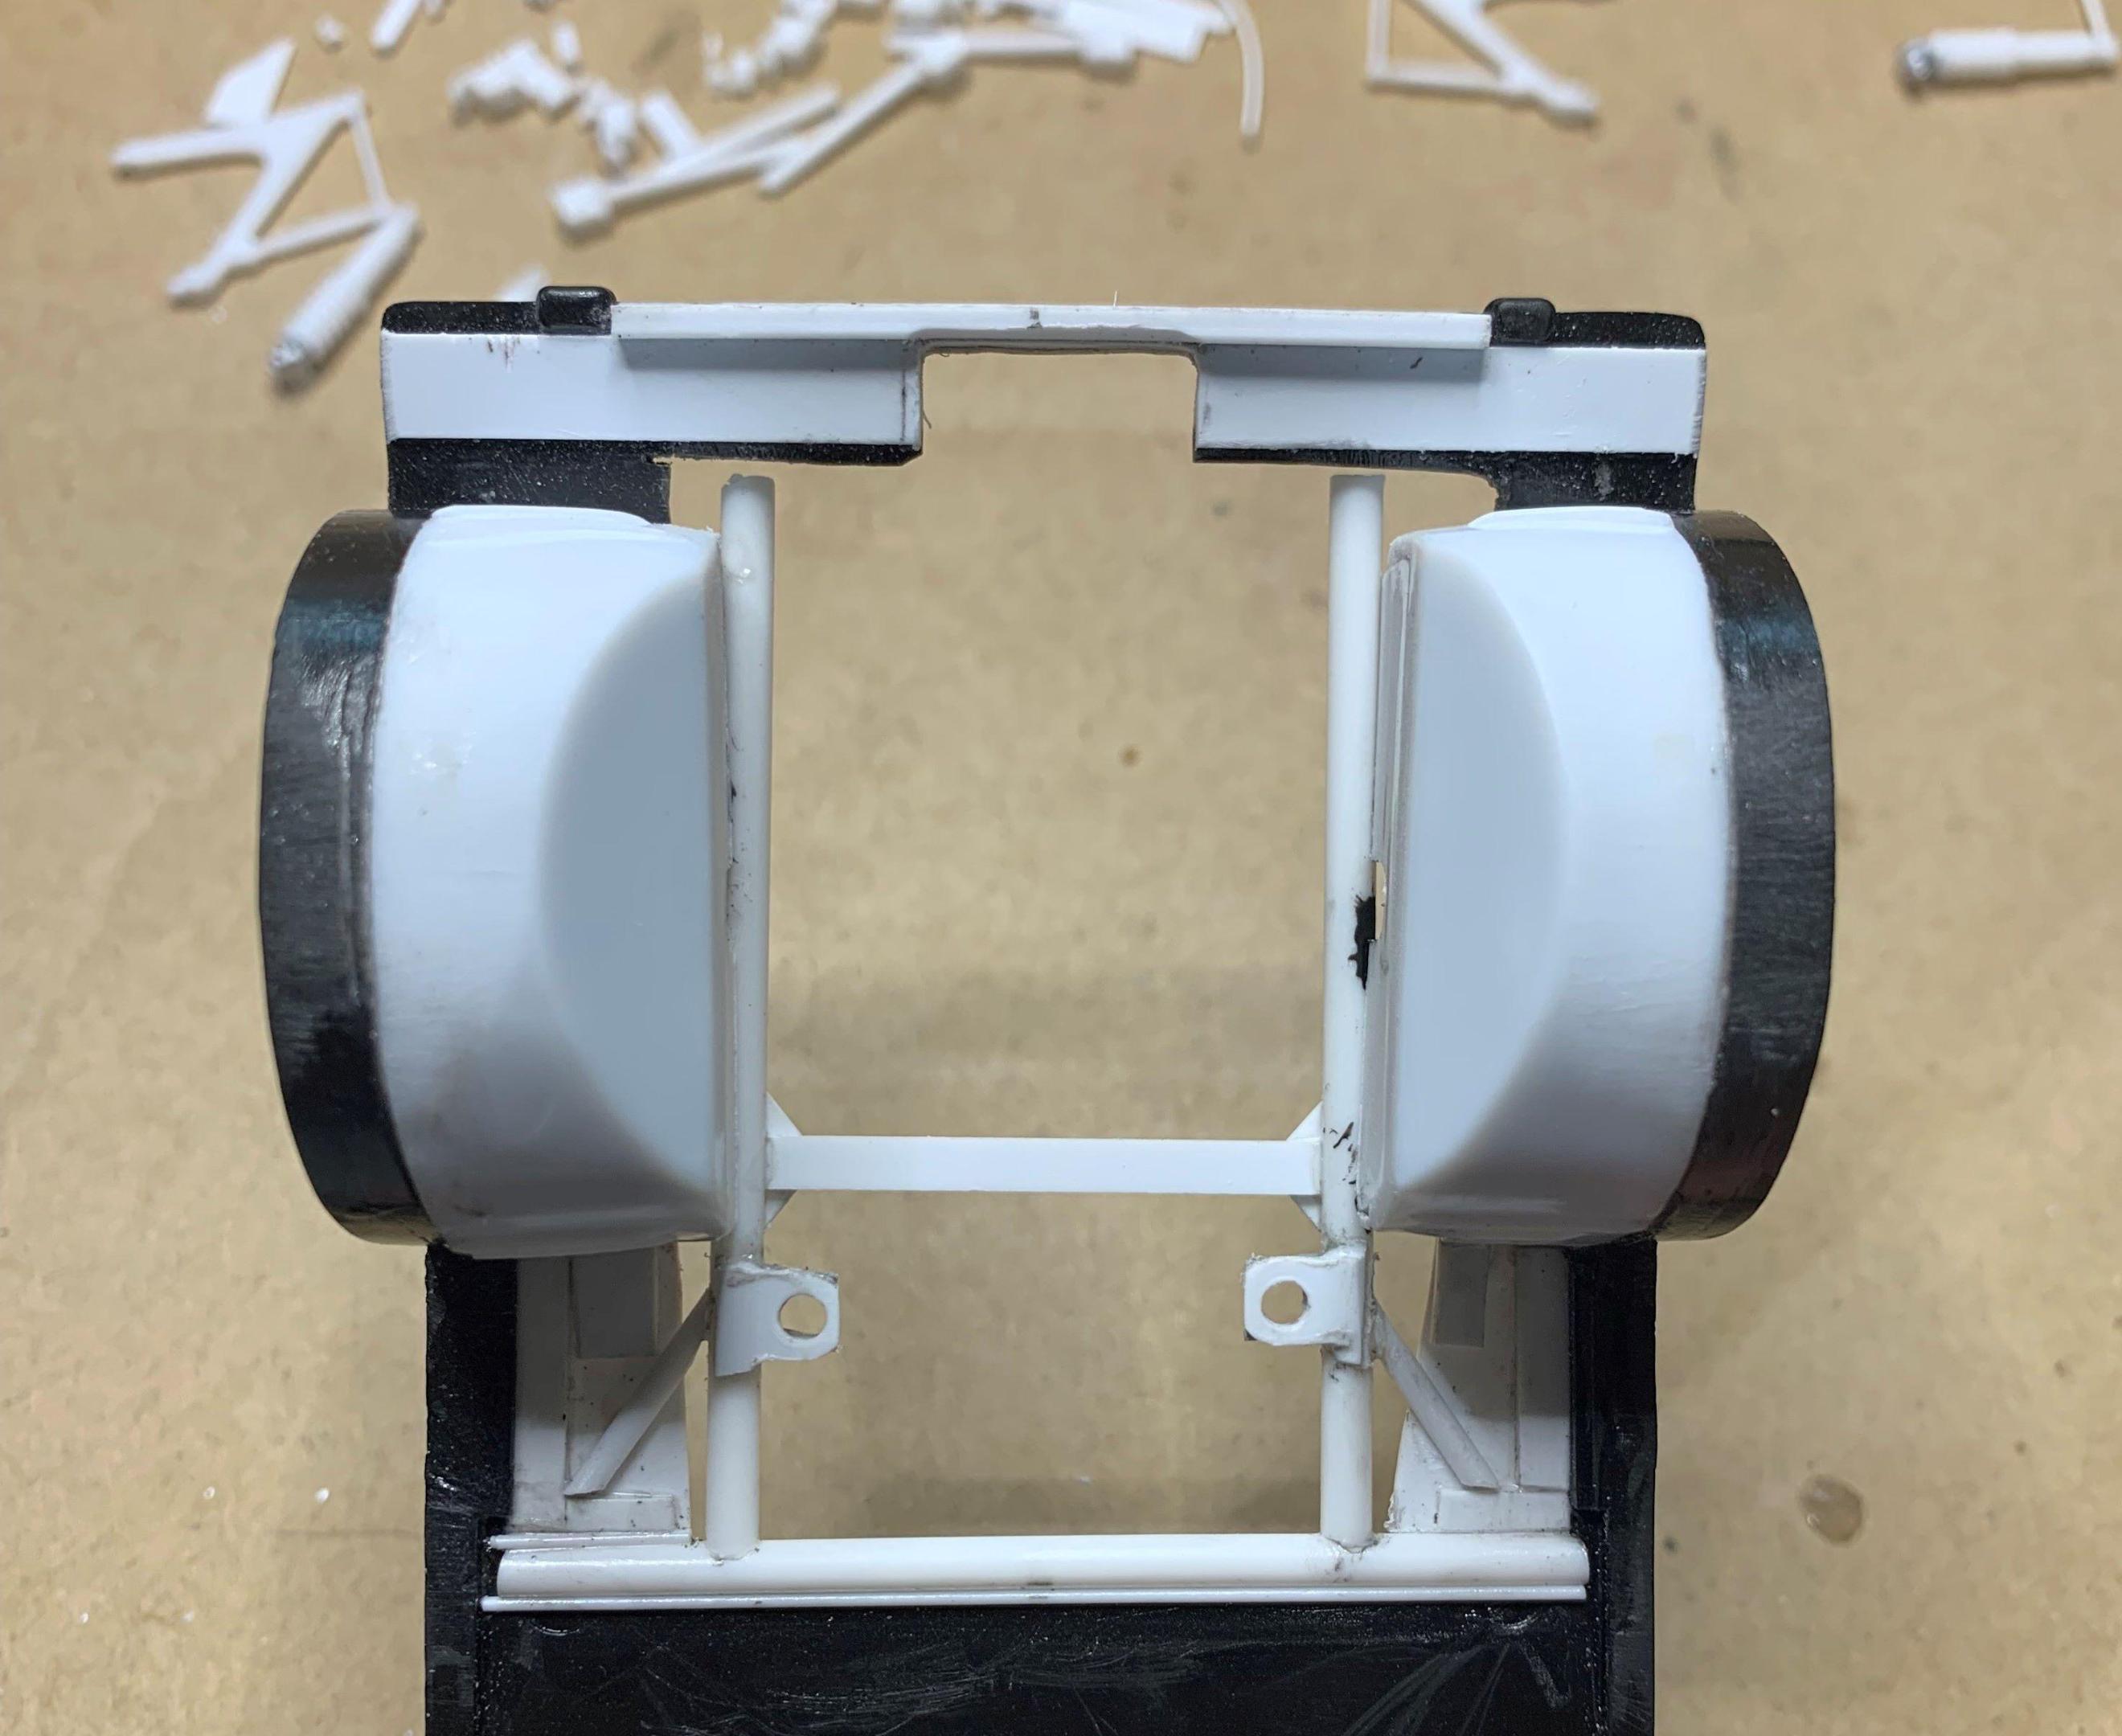
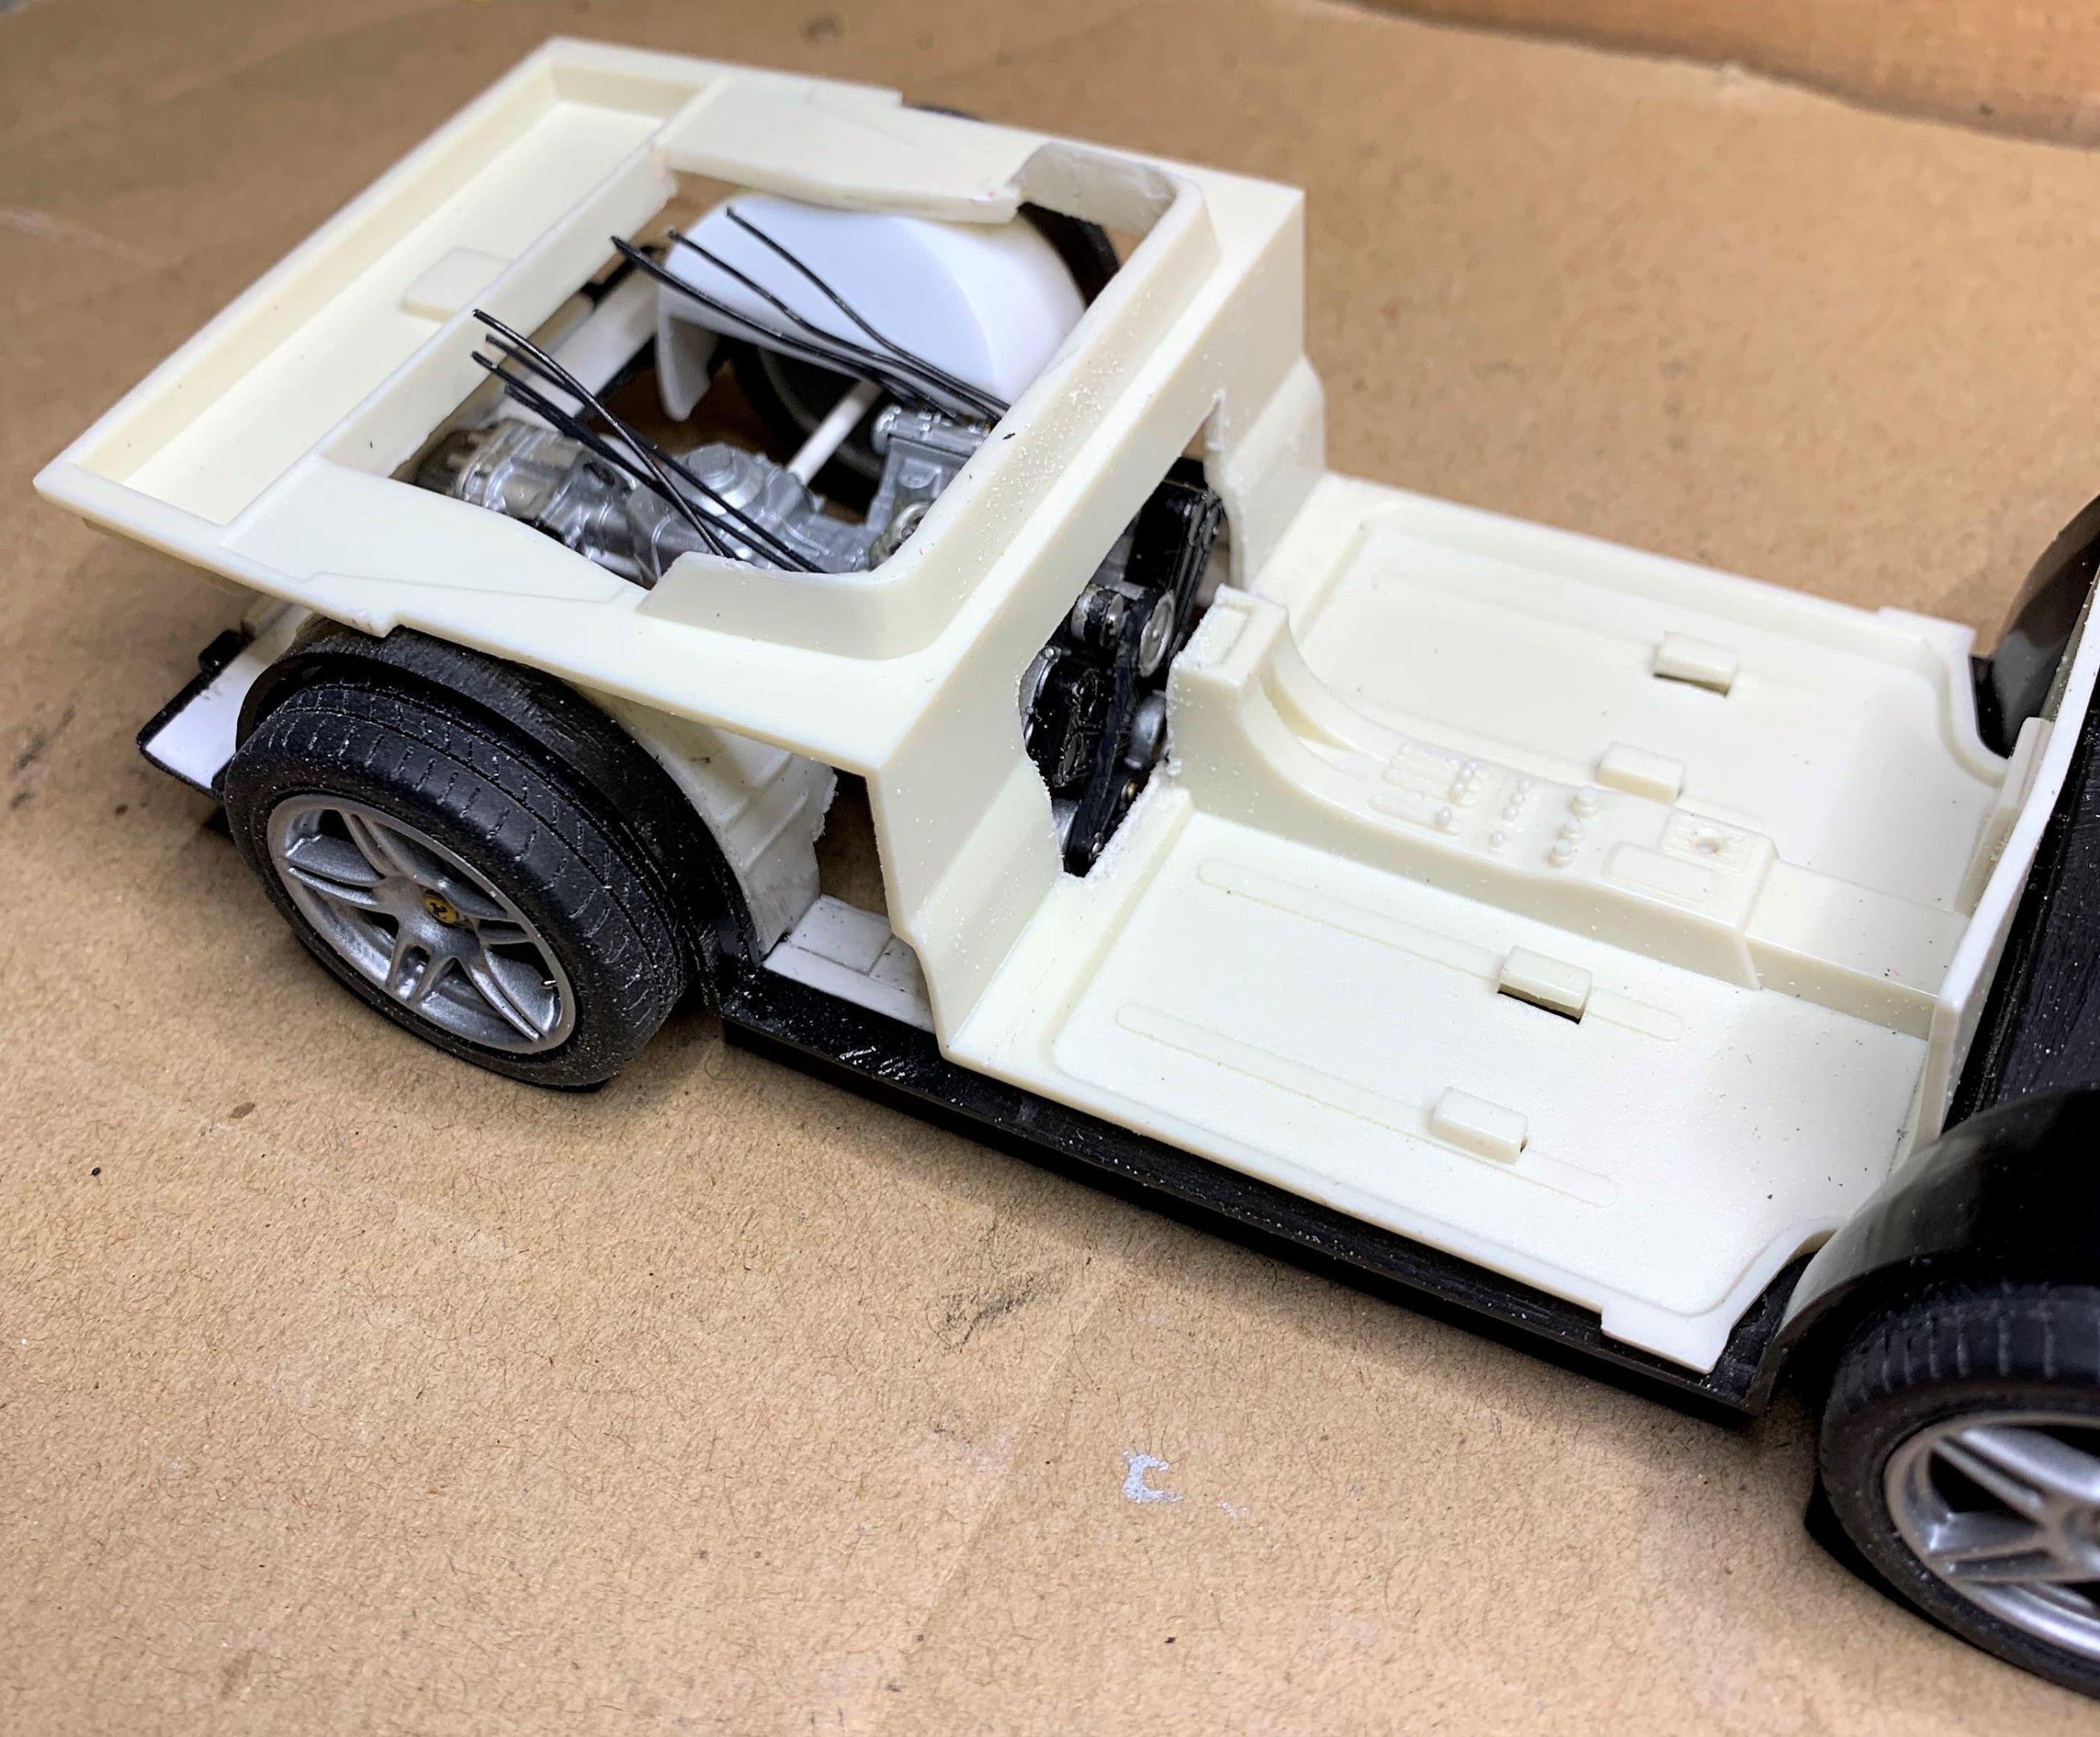
I want a removable panel along the bottom to access the coolant lines and clutch and throttle cables, so a sheet of .010 Evergreen was glued on, primed and painted. Then I made the rear crossmember and started making mounts for the transaxle.
-
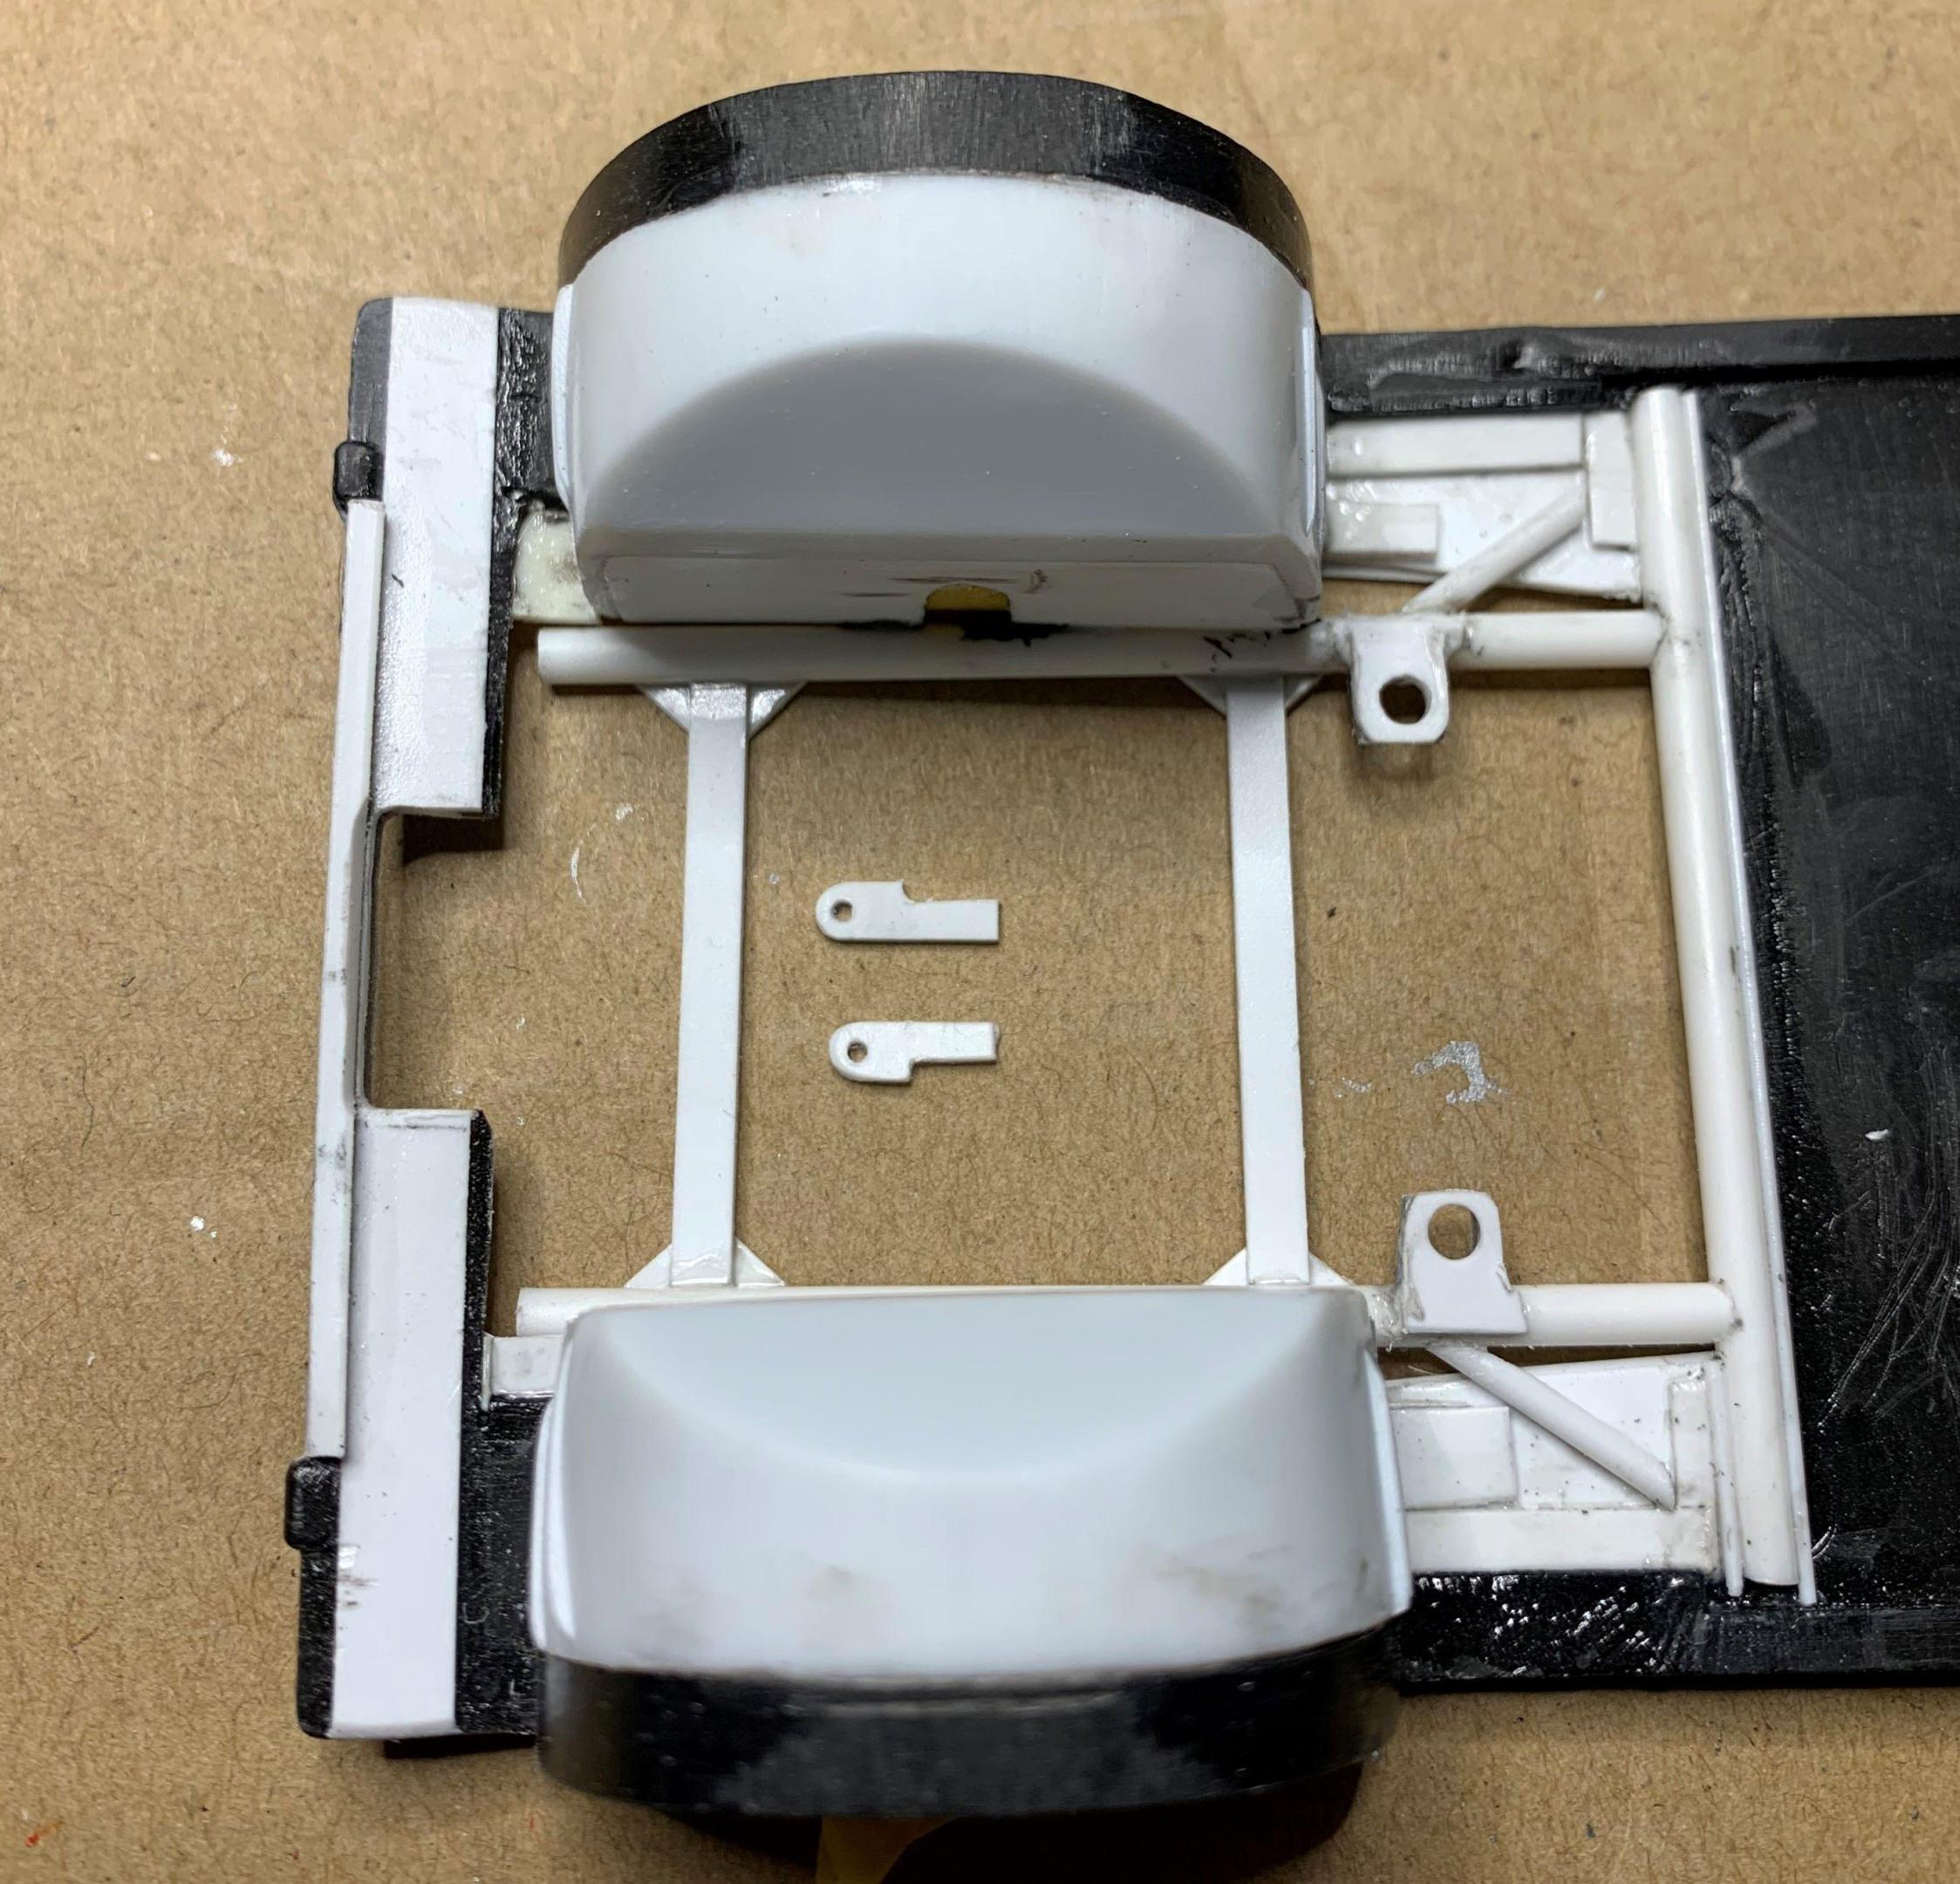
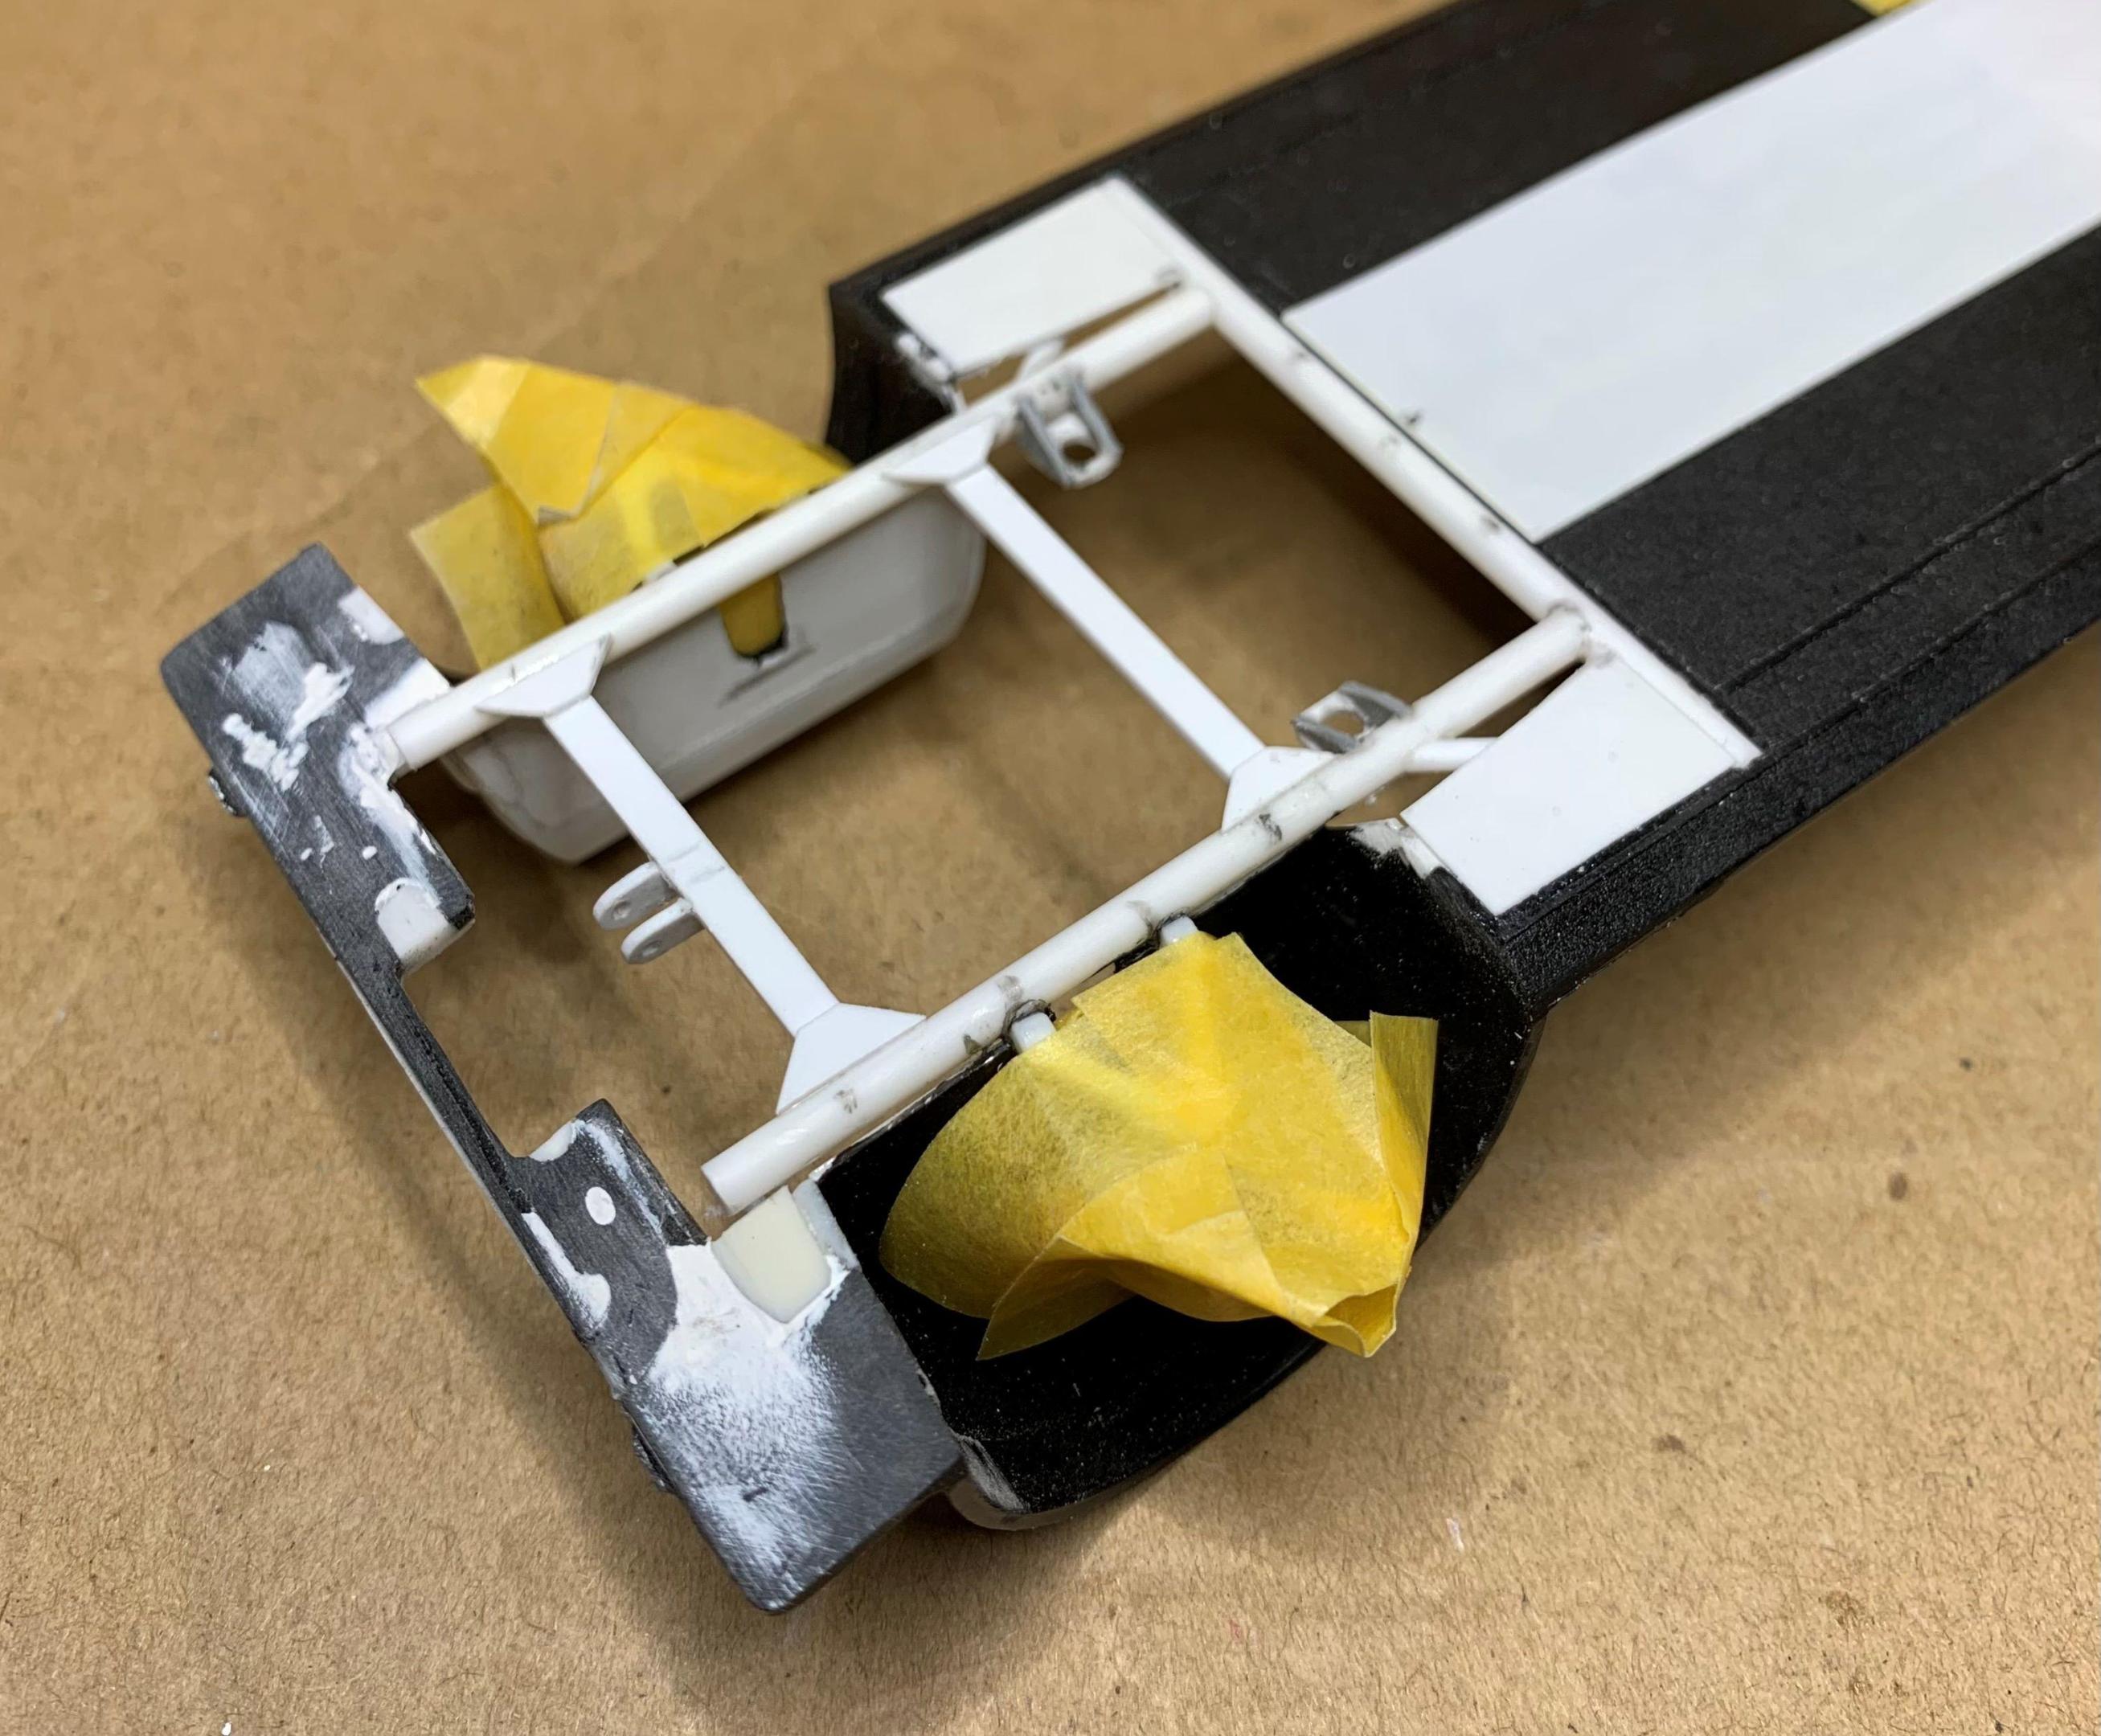
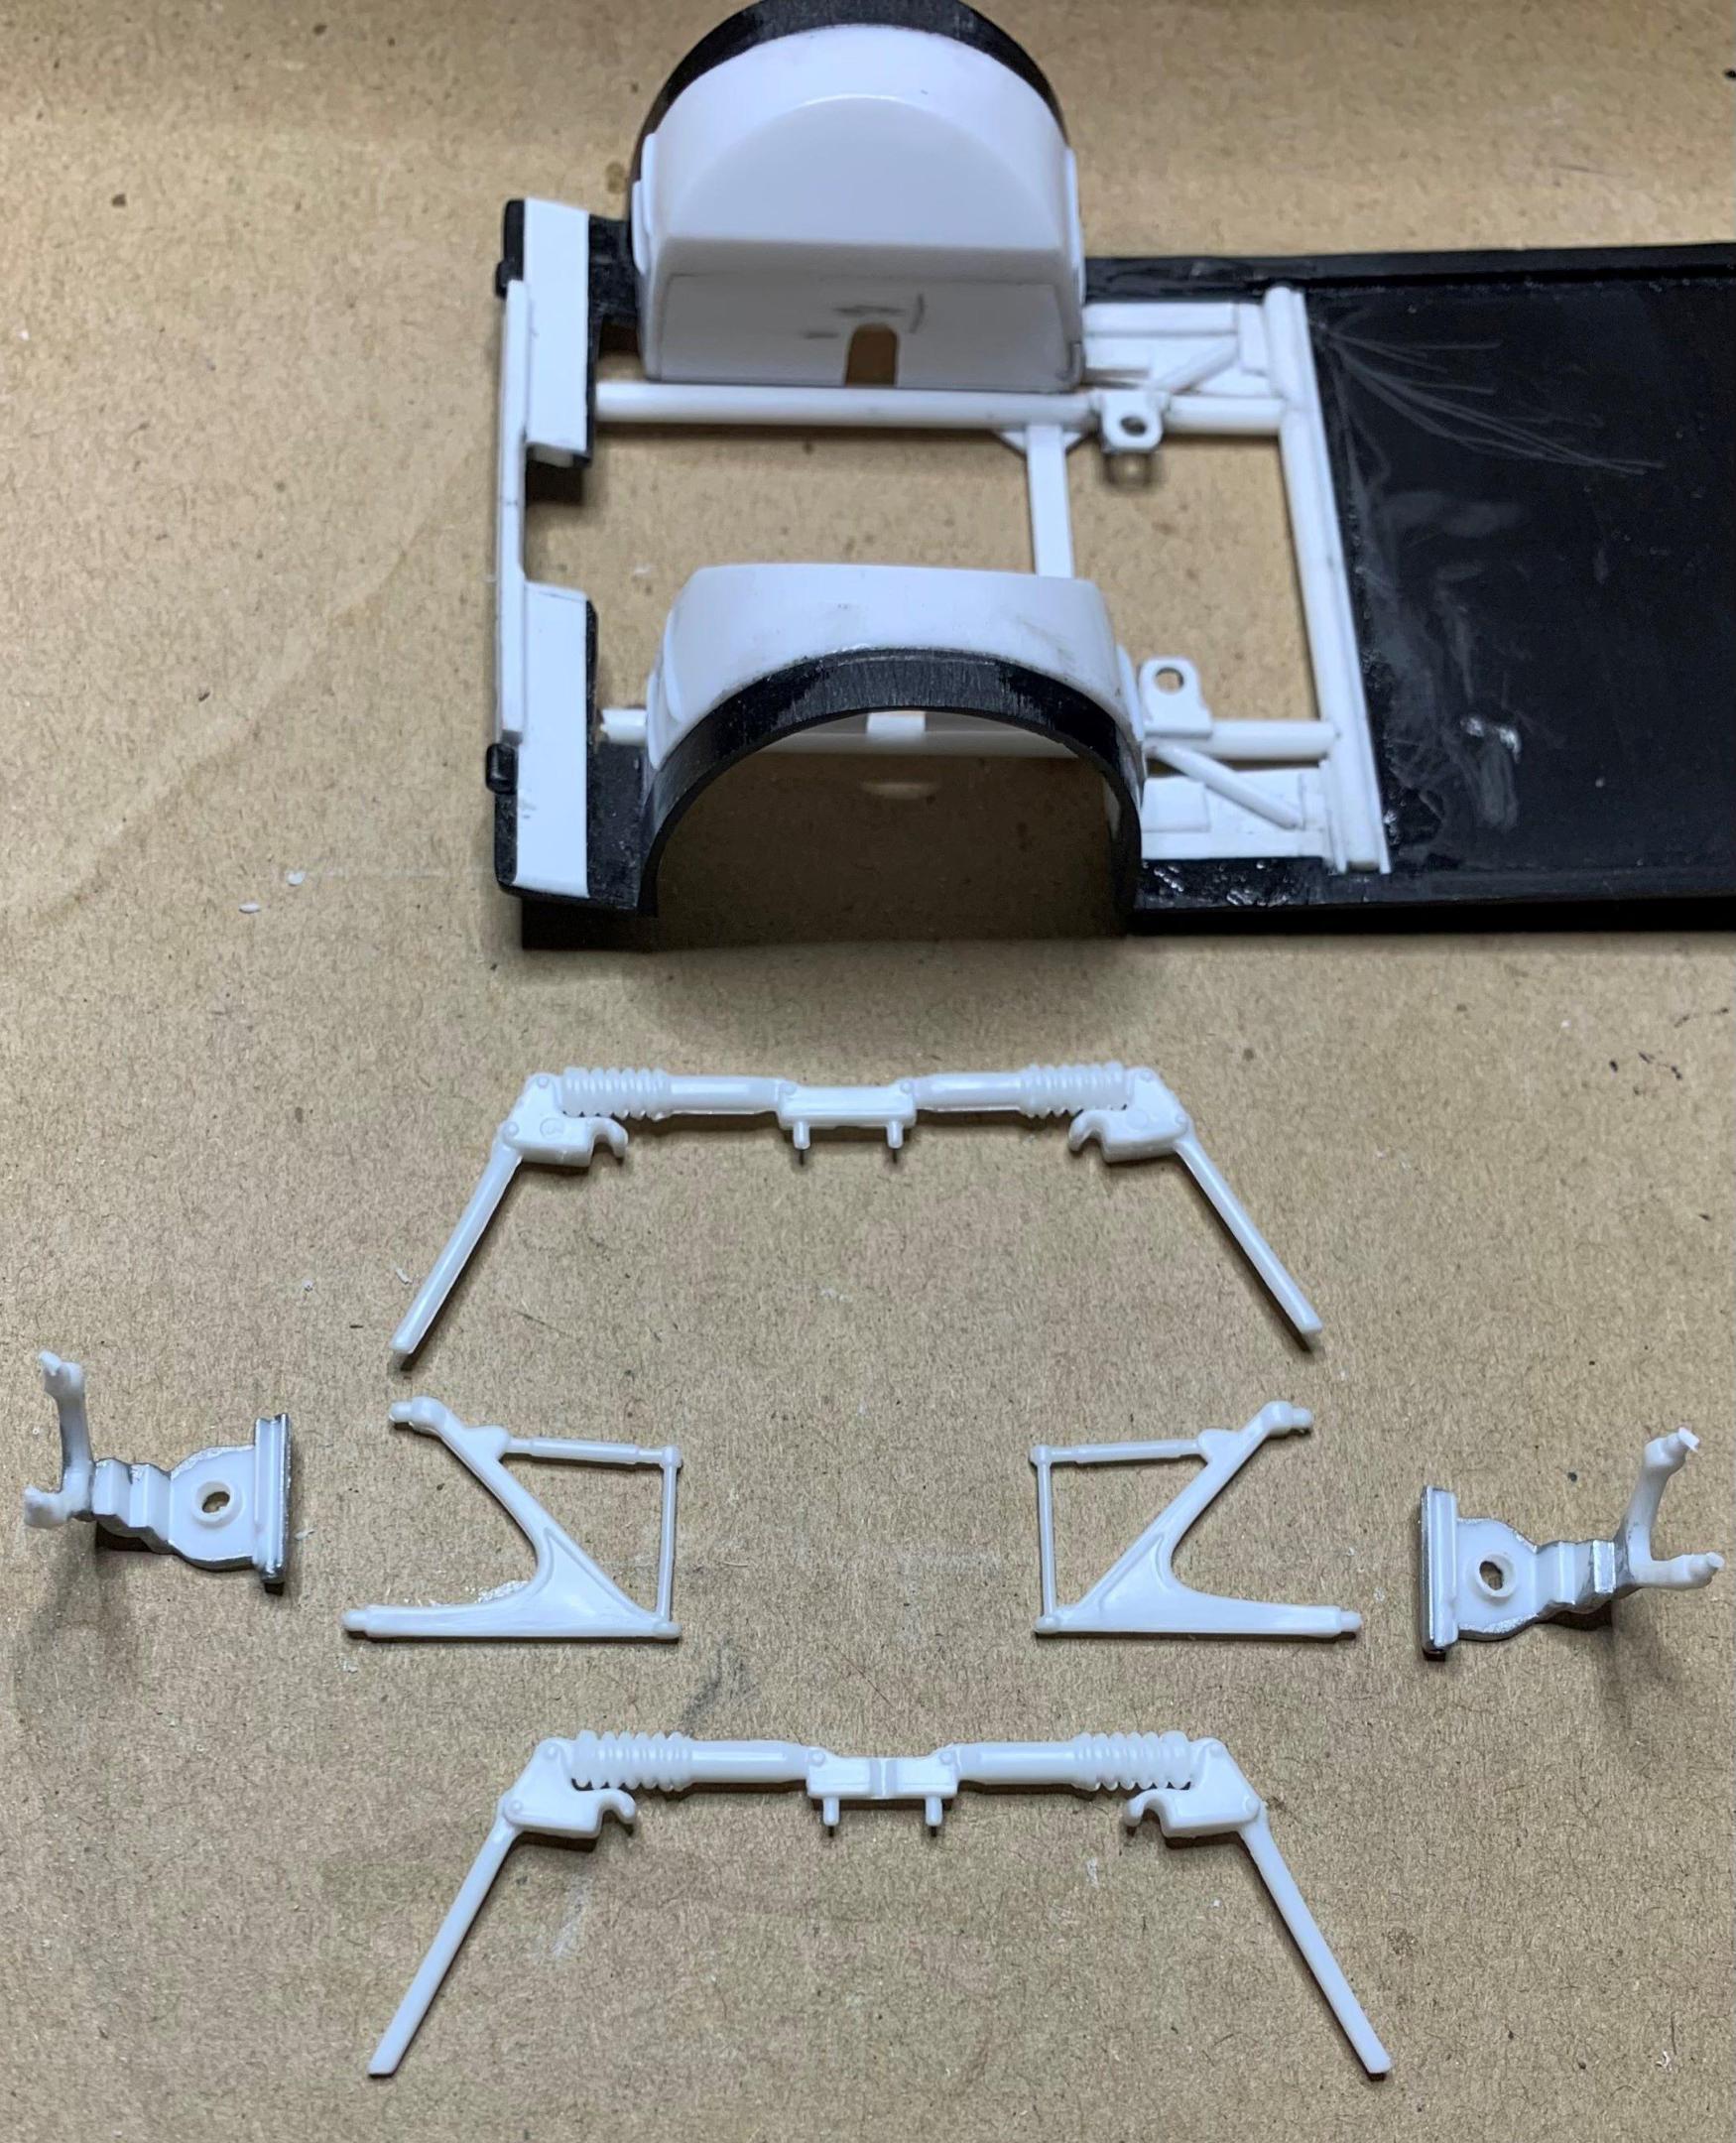
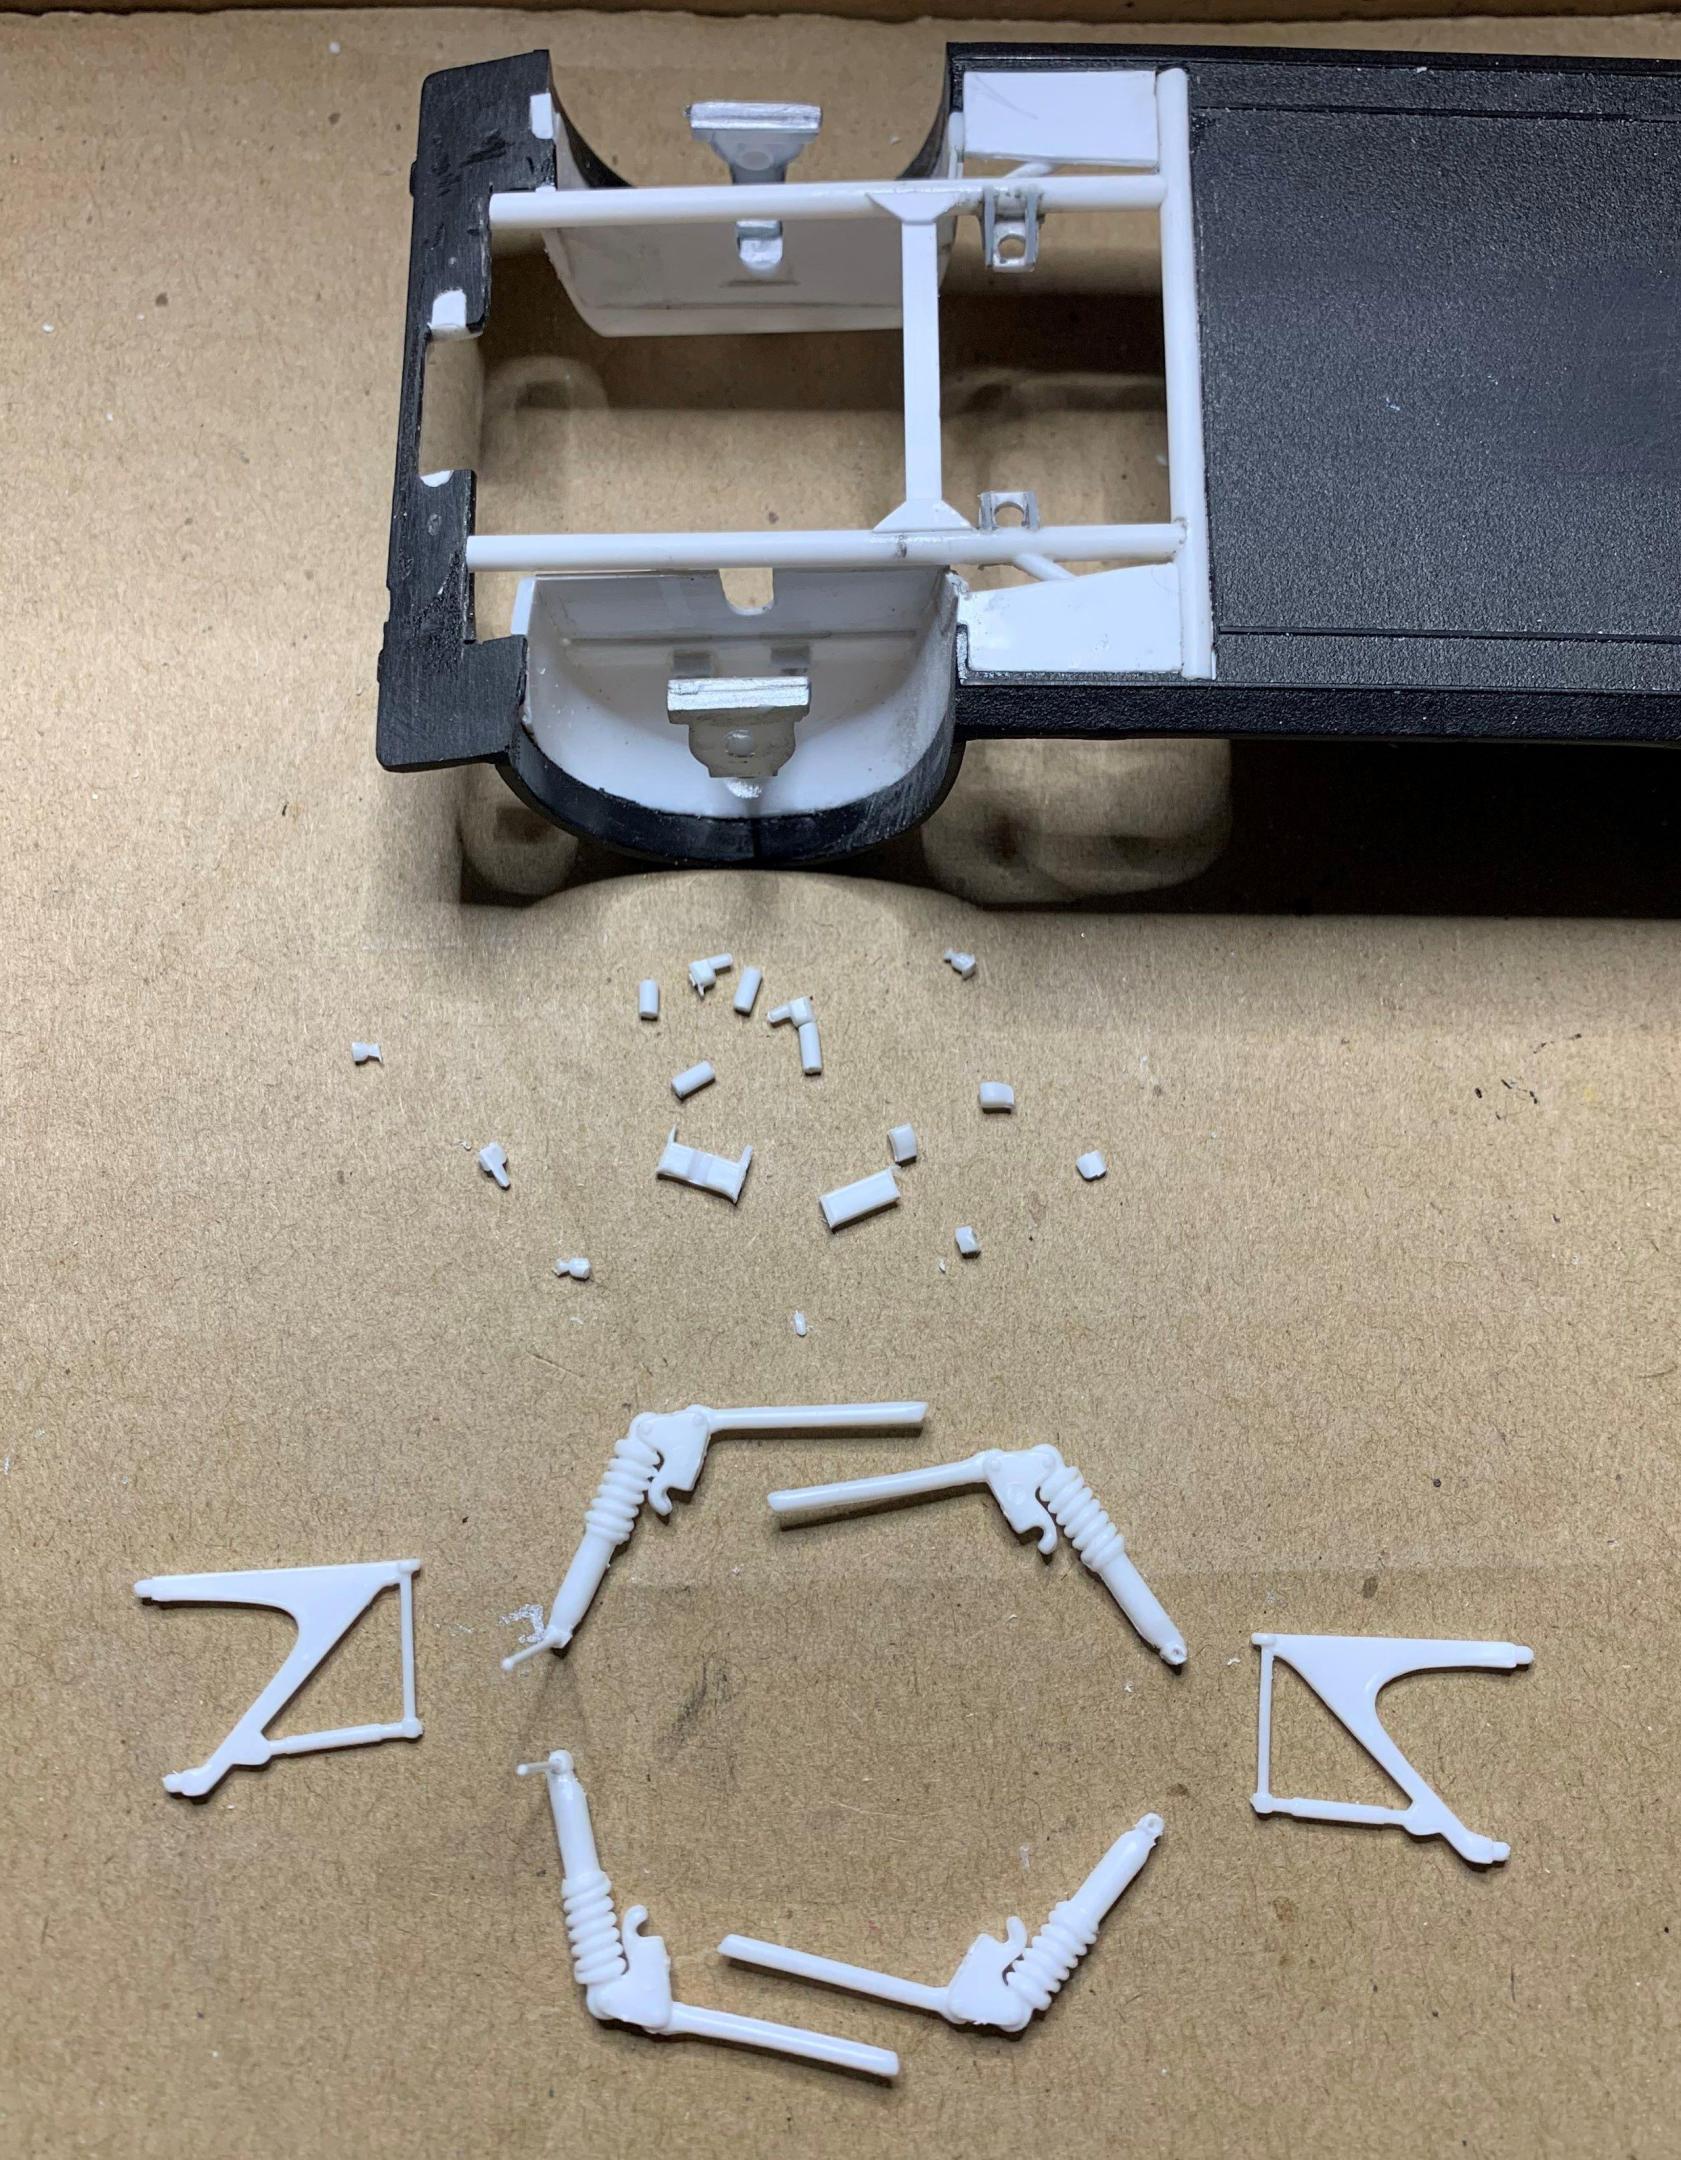
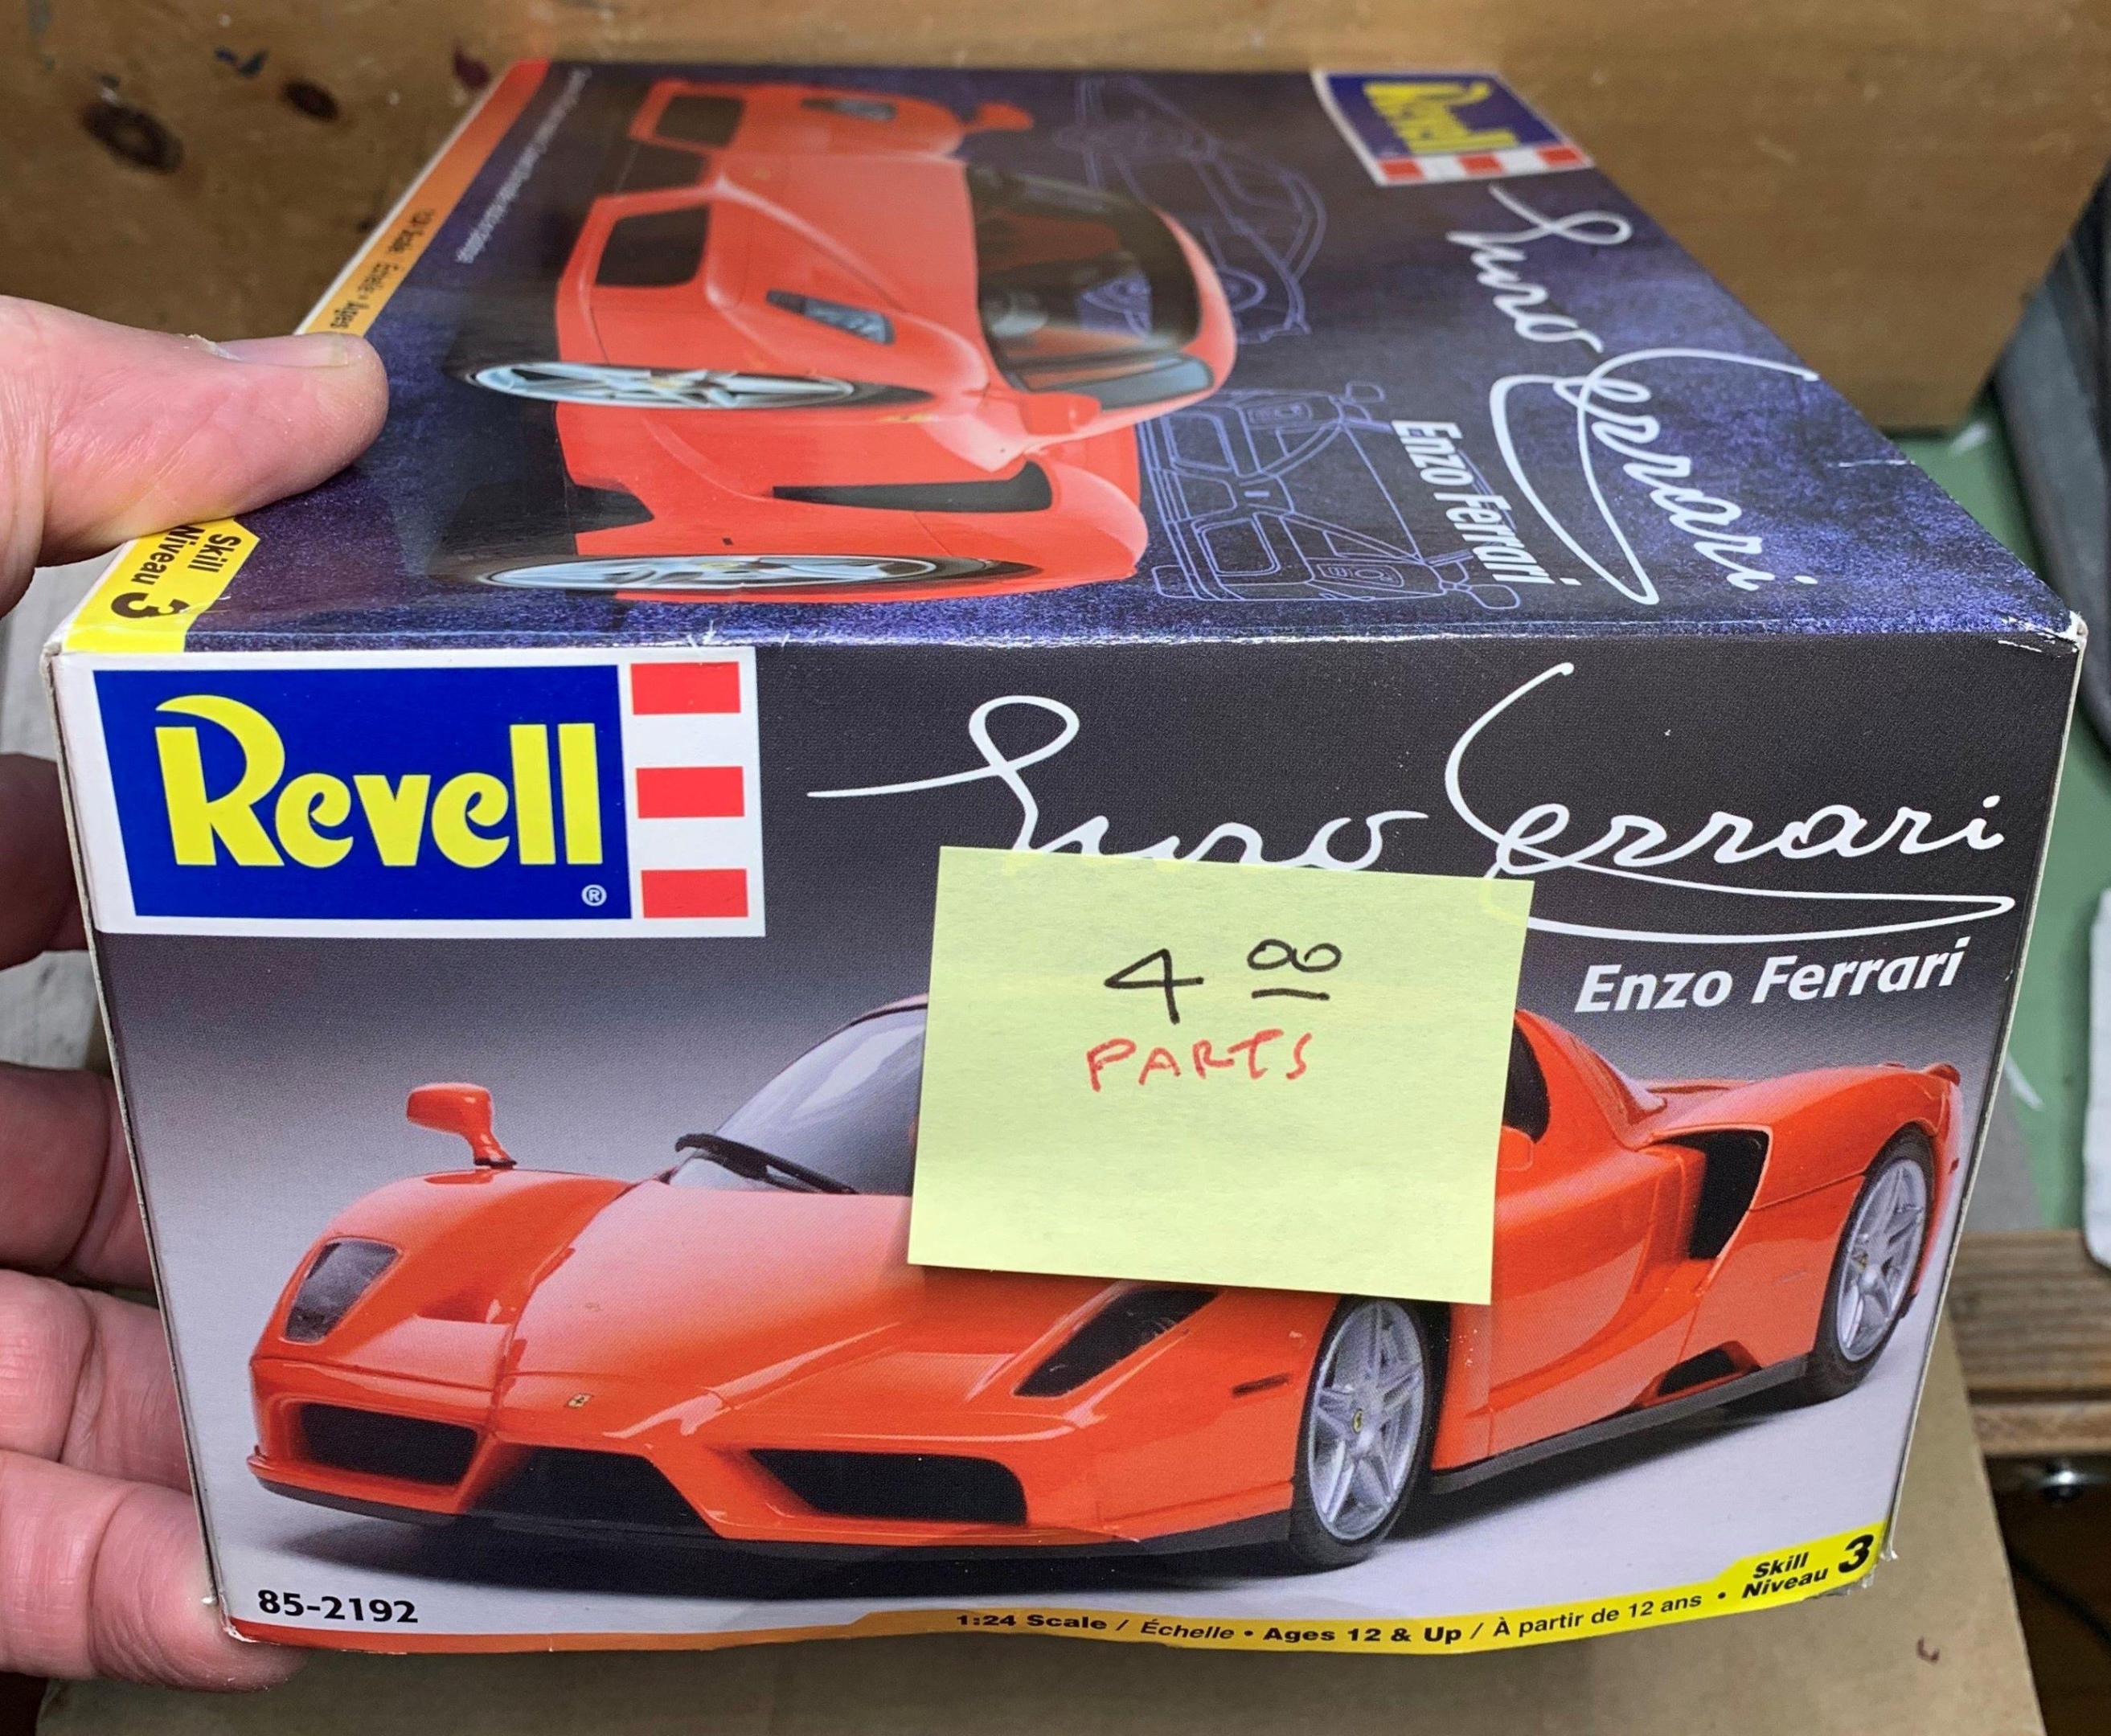
Now I can start the difficult stuff! I started the rear lower frame with Evergreen Styrene, tubing and sheets. Each motor mount is 3 pieces, 3 tiny pieces, LOL After filling in the wheel tubs, I cut out enough for axle half shafts, yet to be sourced! I cut up some Revell Enzo shocks ($4 parts kit had two sets) and decided to do a "Countach-ish" set up with 2 shocks per rear wheel. It's slow going now though, however I hope to have the rear suspension finished soon so I can airbrush the chassis , mount the engine and start the upper rear frame.
-
Monogram Corvette C4 Roadster (Geiger Widebody style)
dino246gt replied to camaro69's topic in WIP: Model Cars
WOW! -

Who doesn't love a mock-up? Let's see yours!
dino246gt replied to Belairconvertable's topic in WIP: Model Cars
I'm really diggin' that old Dodge 4X4 pickup! -
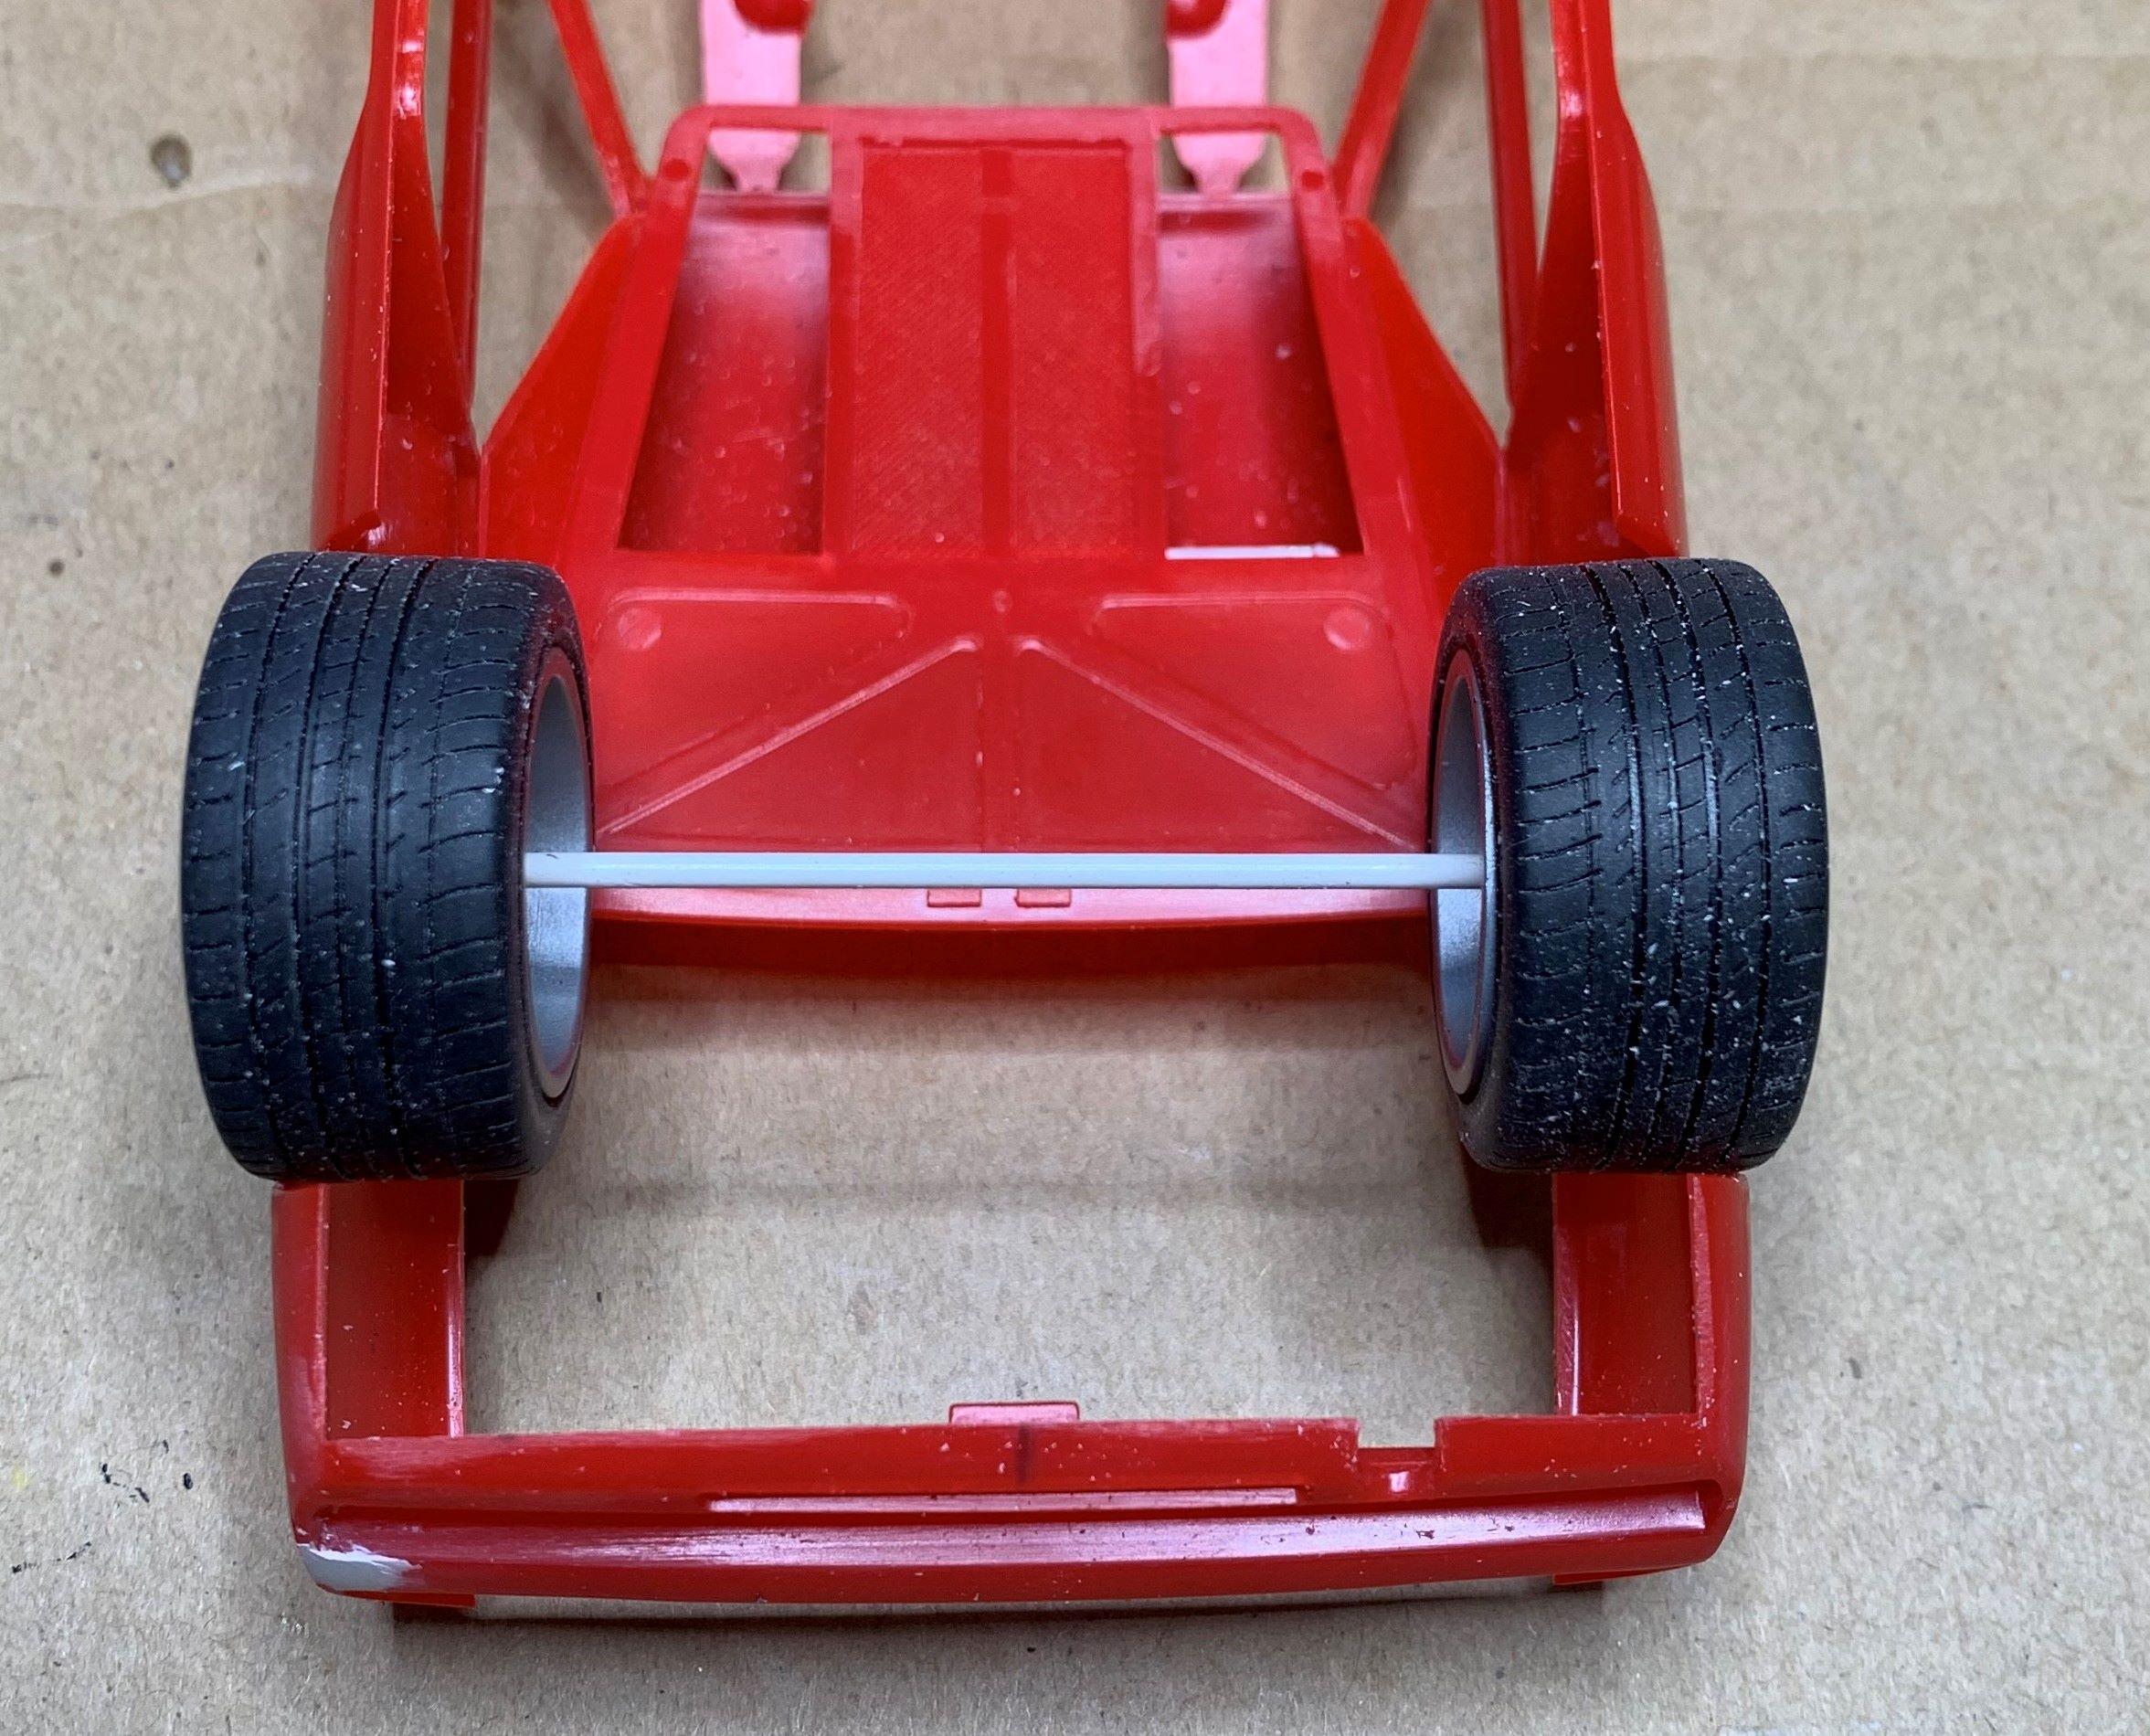
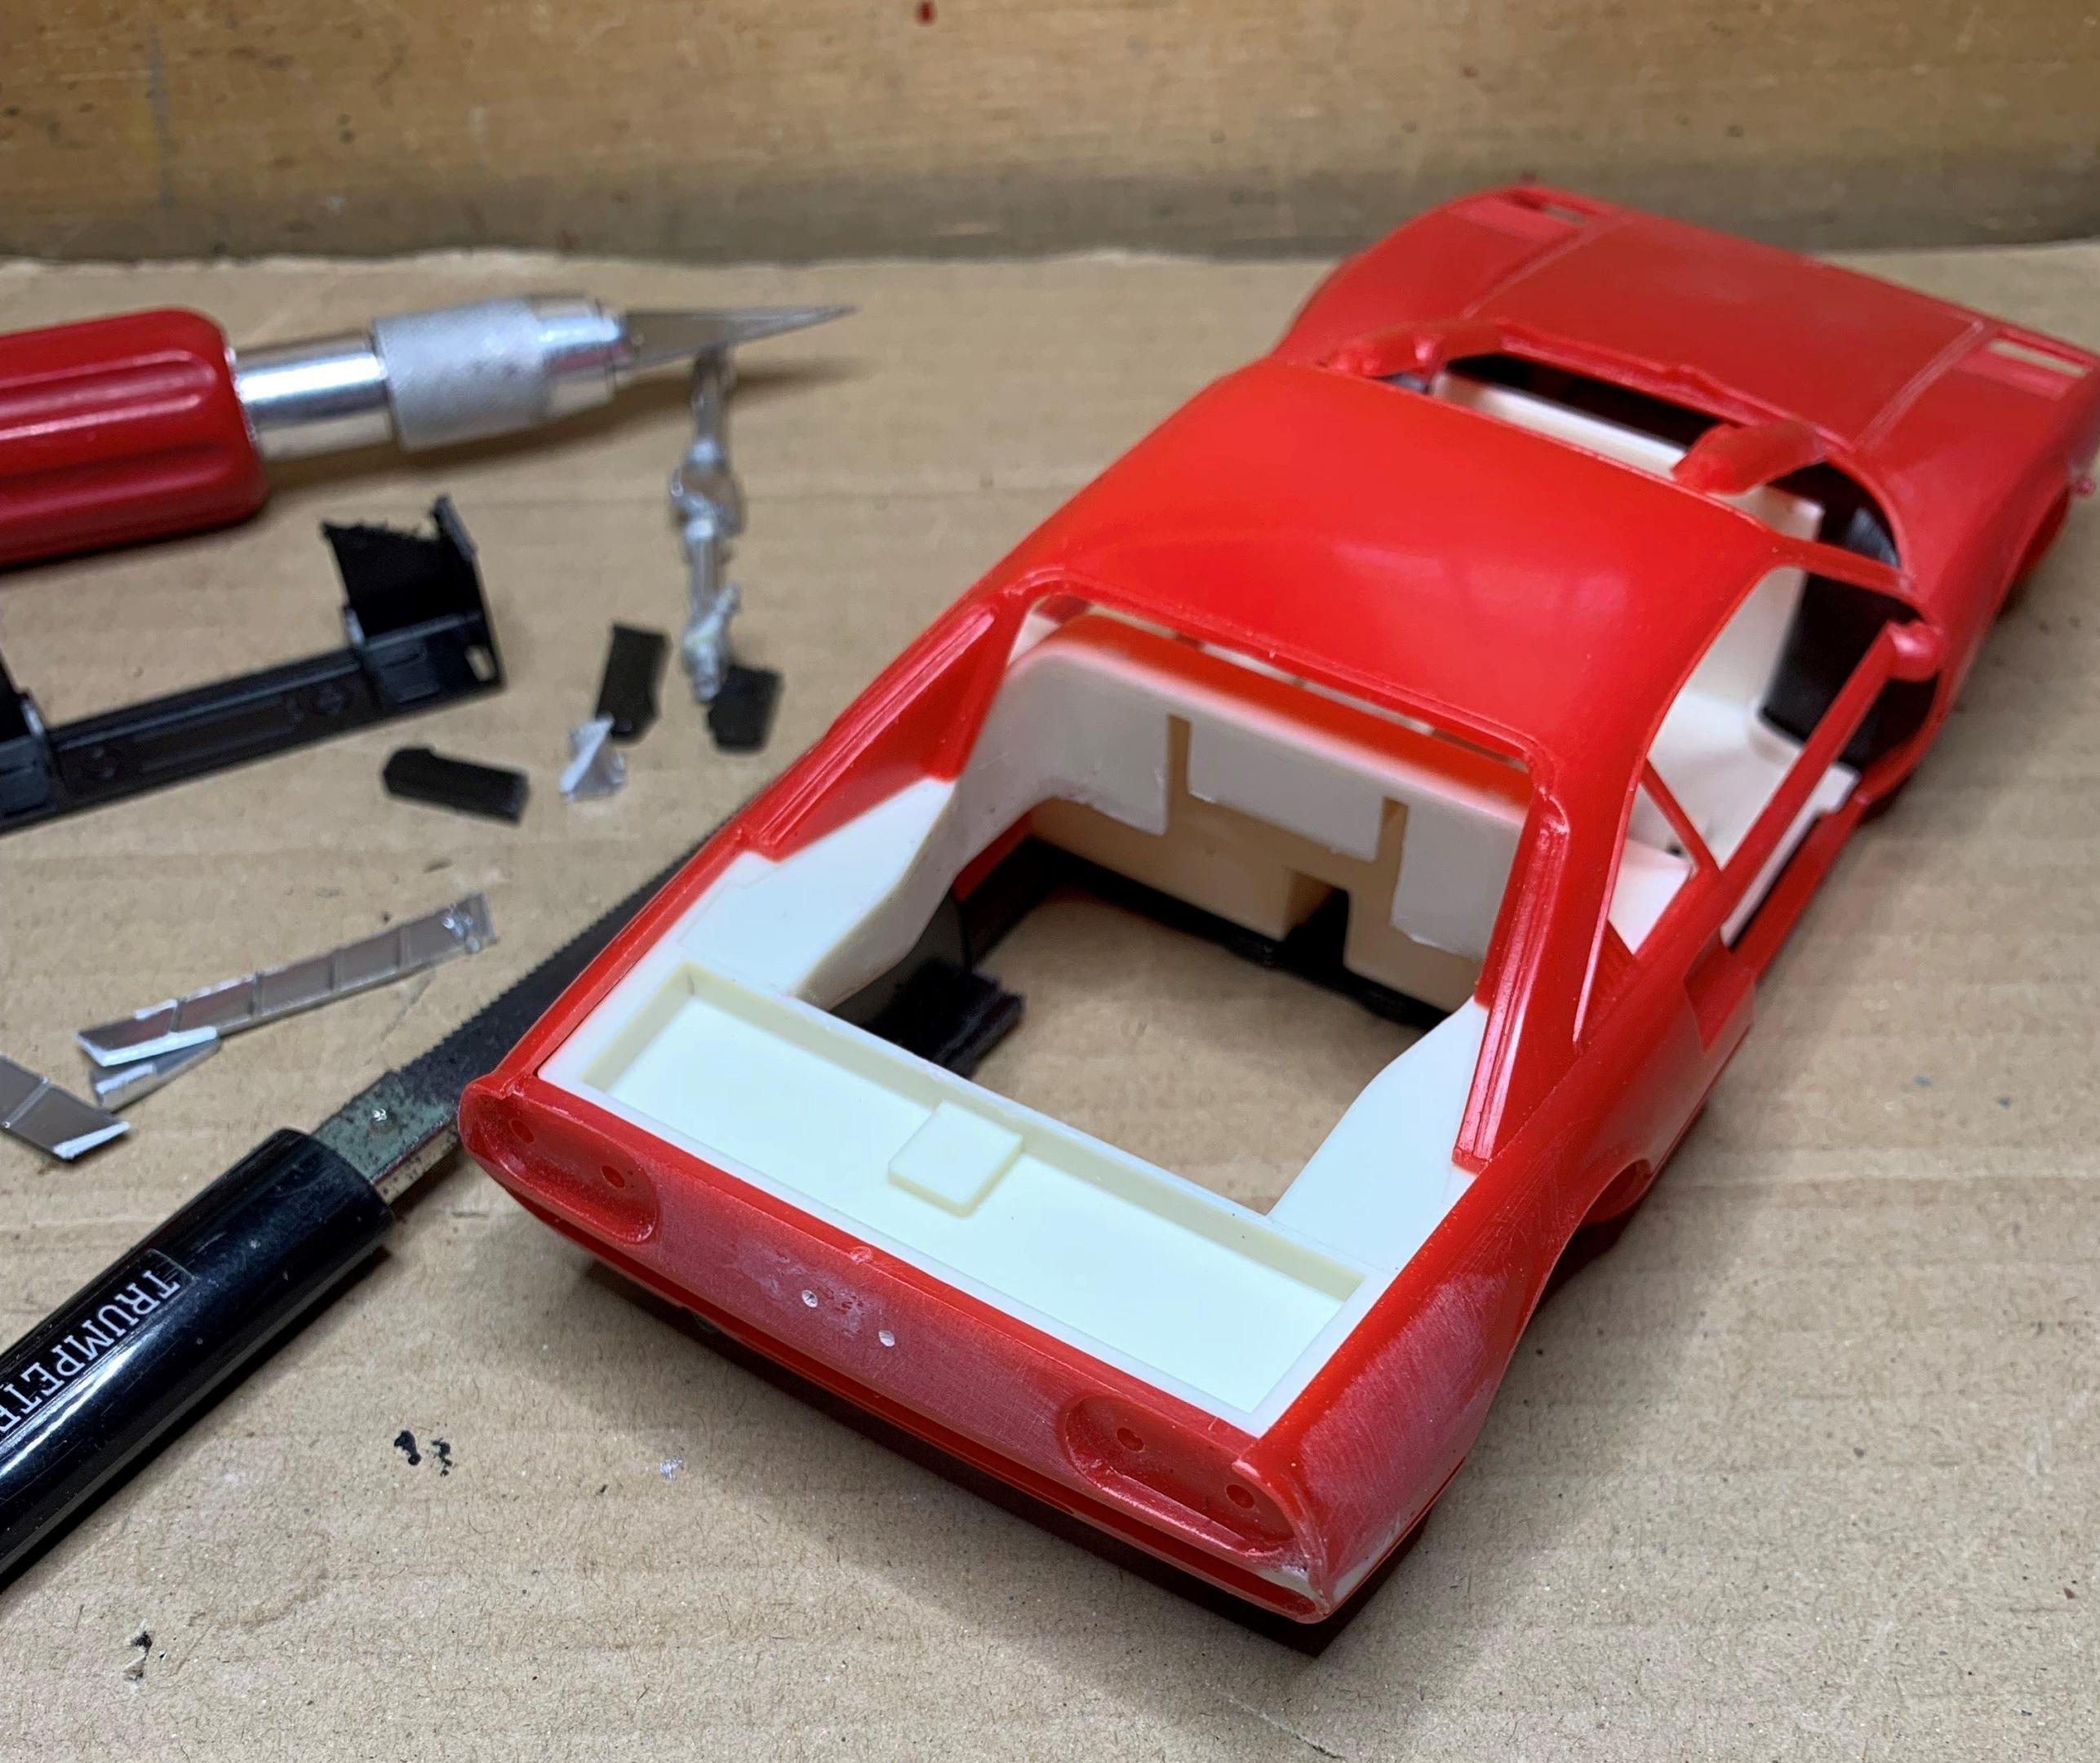
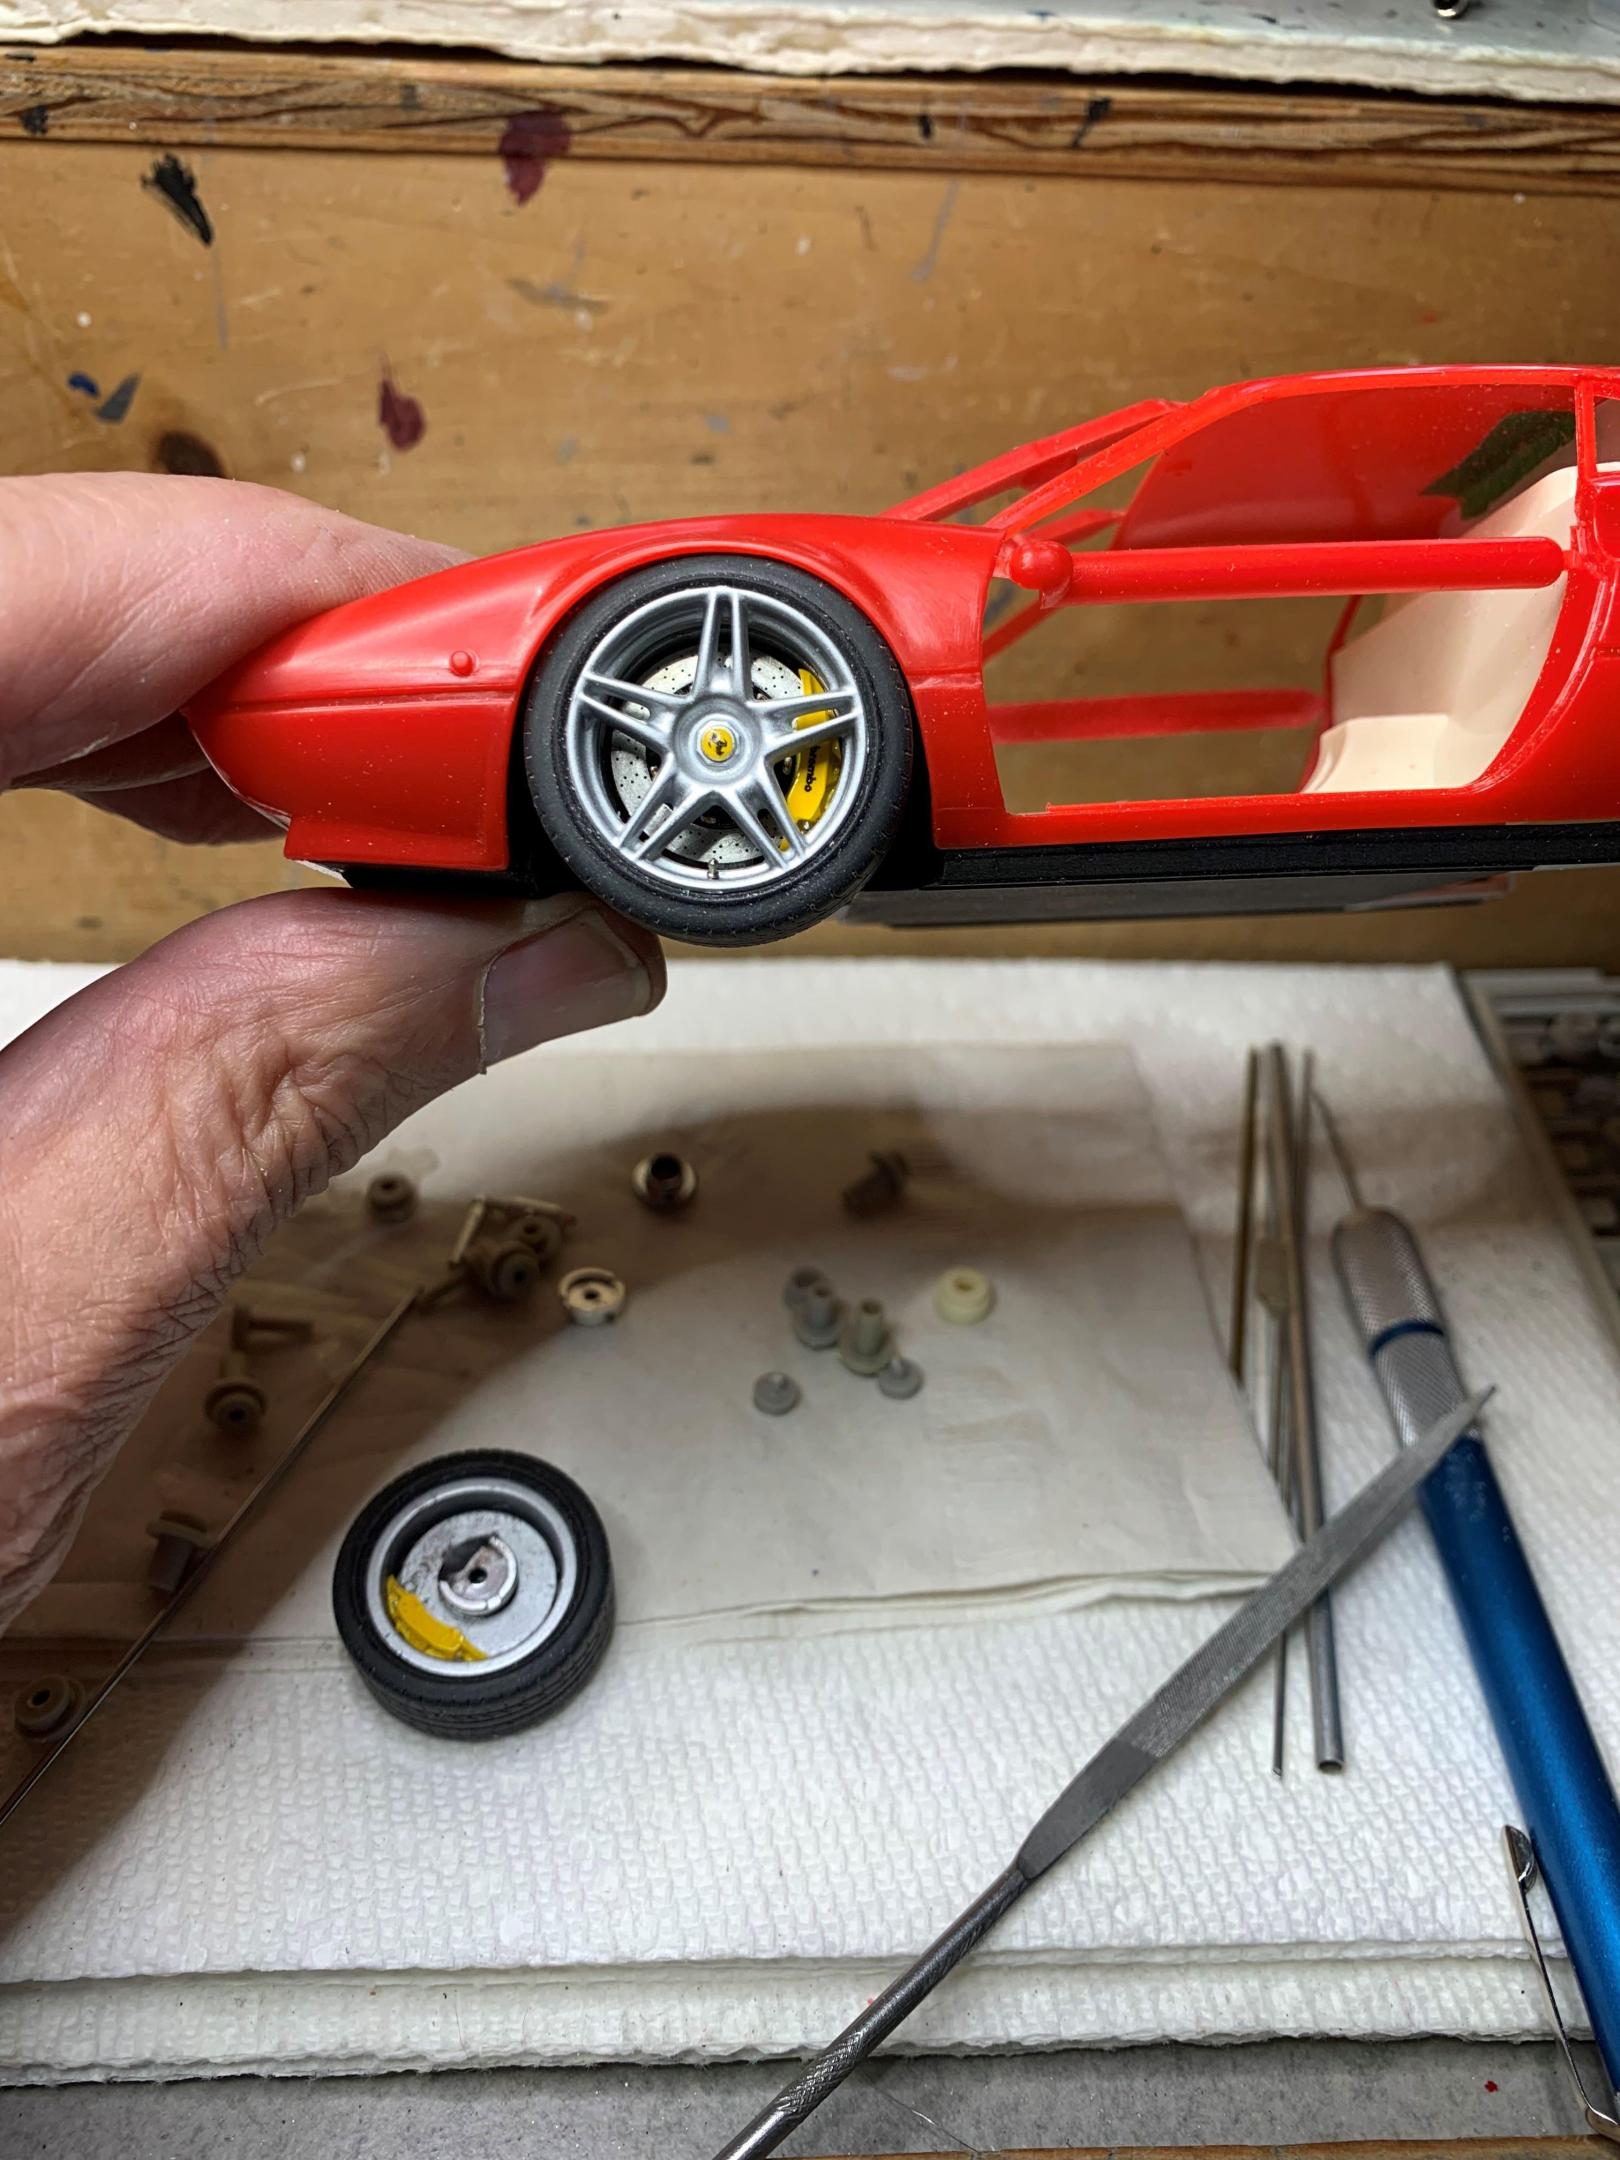
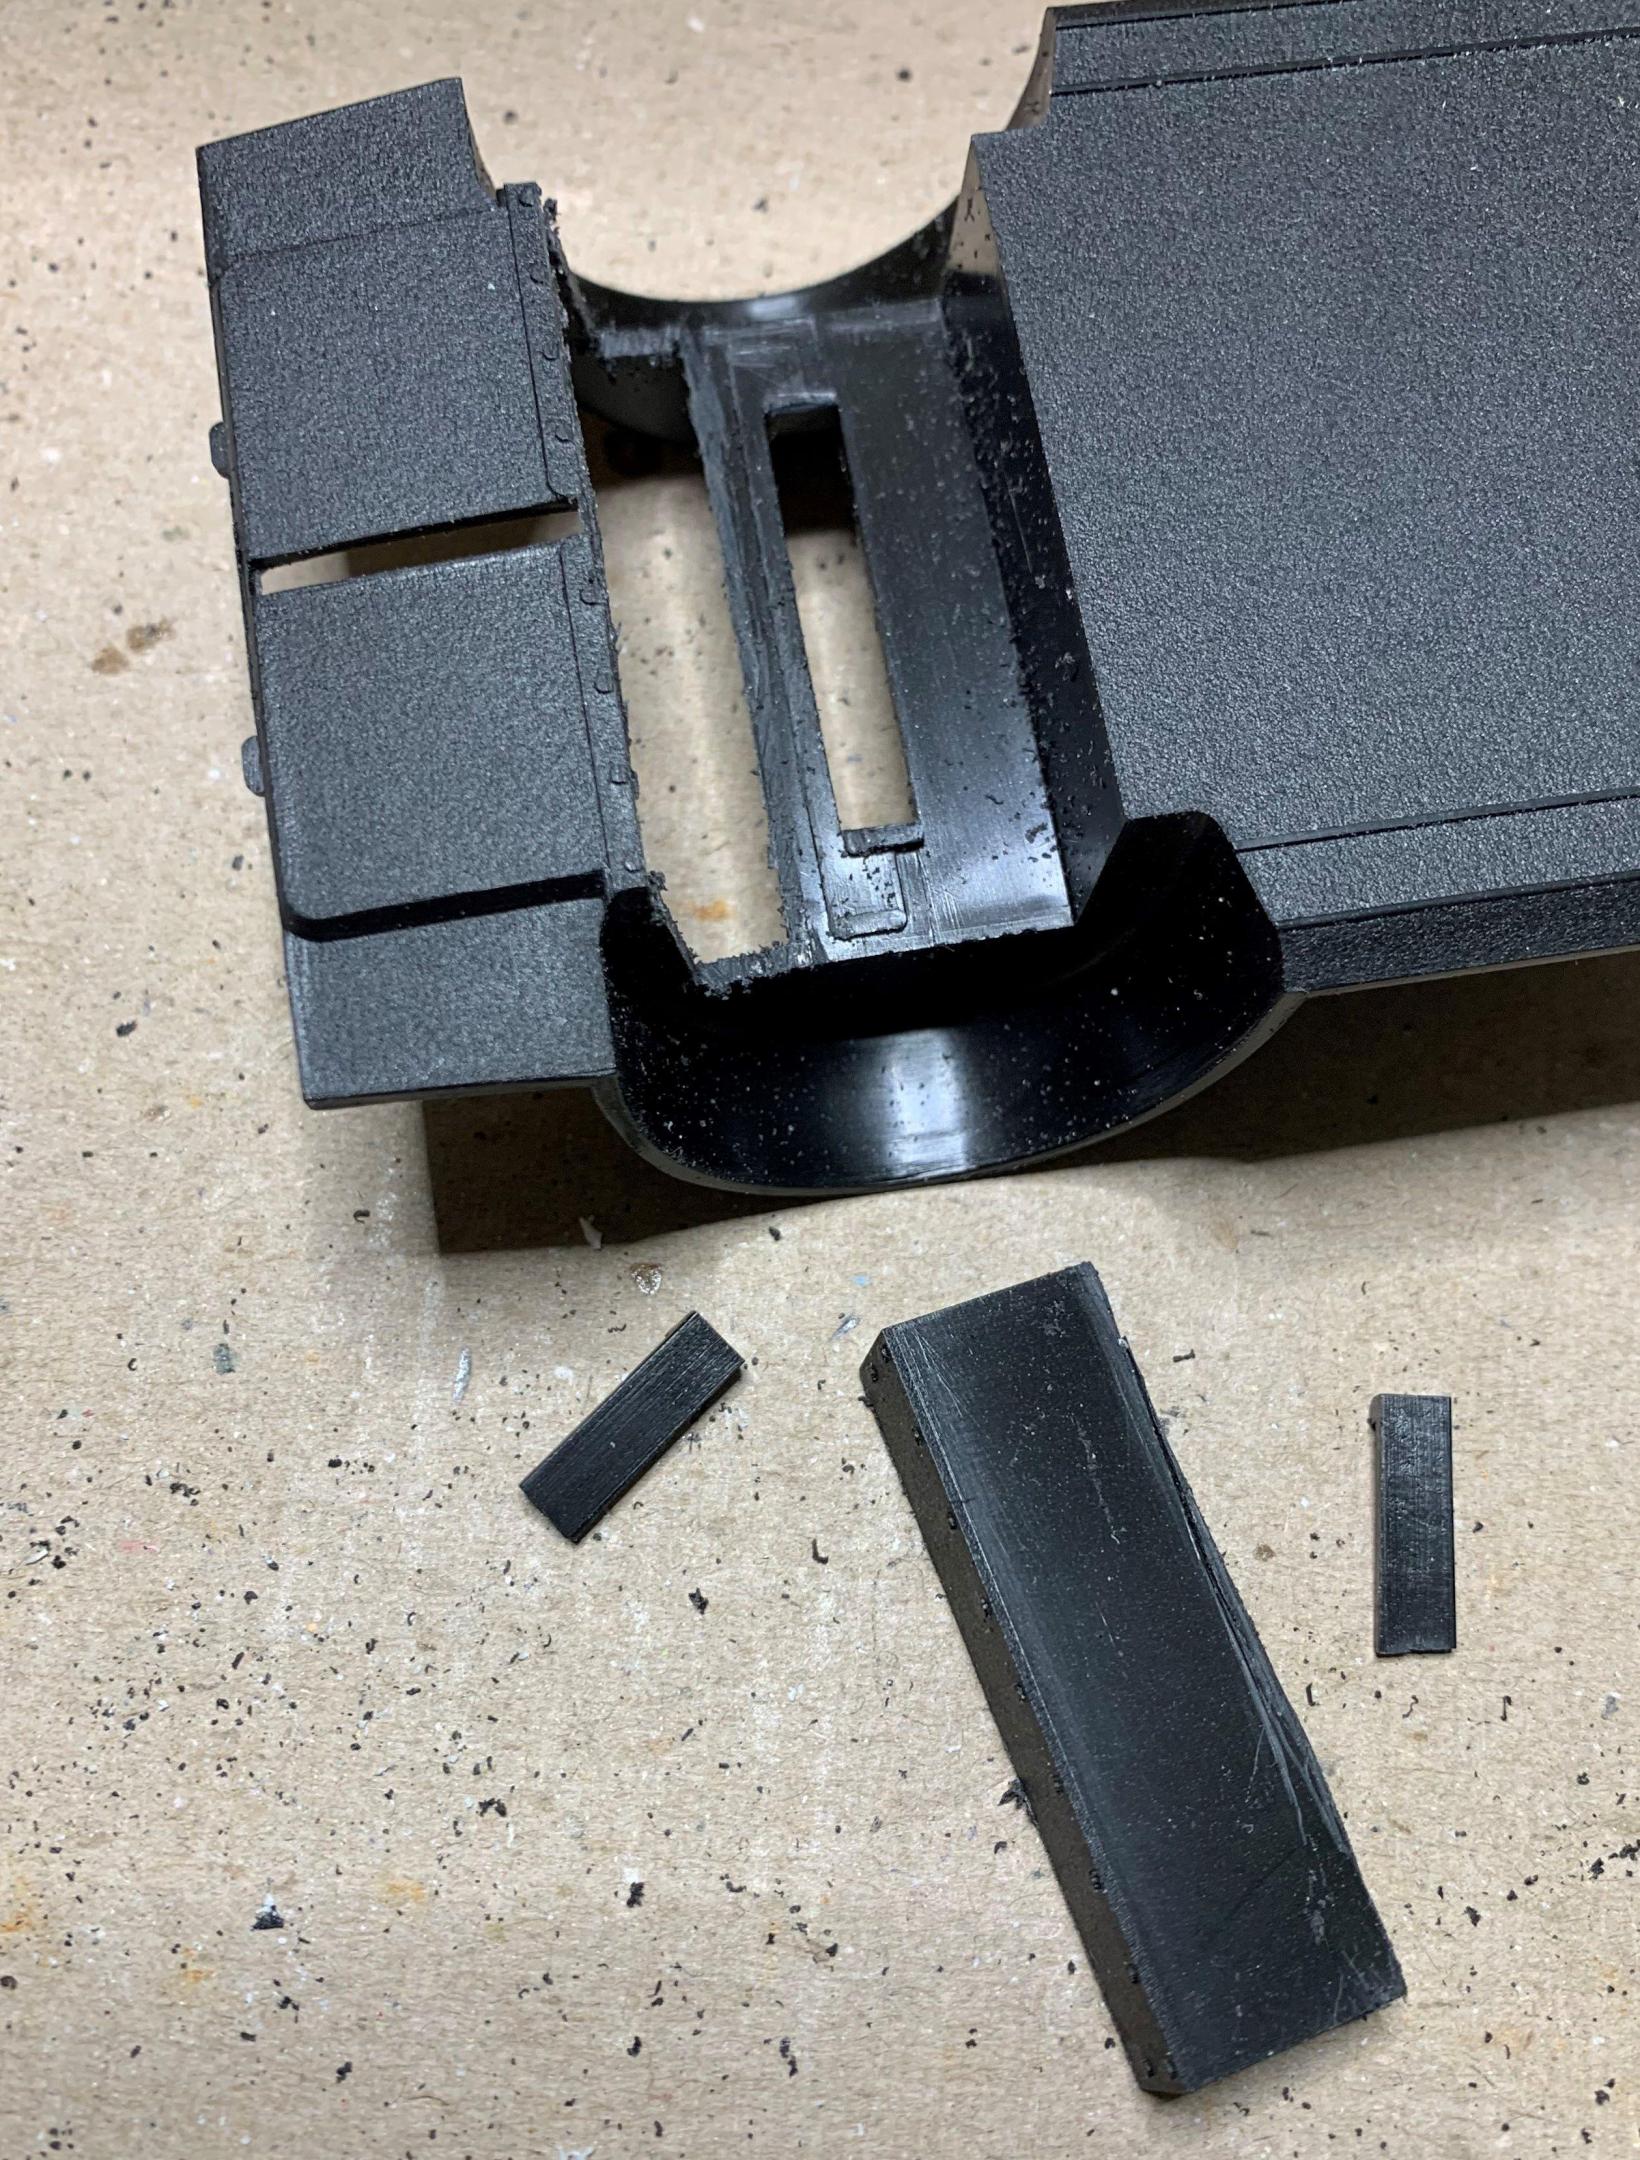
Remember when I said I have to finish the wheel/tire/brake combo before I can do anything with the engine/rear suspension/sub-frame? So I placed the rear wheel/tire/brakes in the body and cut a temporary axle the right width so I can start figuring out what to do next! I drilled through the transaxle and test fitted. I found that I needed more room at the rear. For the front of the engine, I also needed more room, and 308s access the engine from the passenger side rear wheel opening, but the 360 needs access behind the seats. I removed the required amount of plastic for that access panel. So now I have the engine where I want it but it's just floating in mid-air! Stay tuned for some sub-frame fabrication!
-
I ground the inside of the front wheel lips to get the plastic as thin as possible to get the front wheels to sit like this. I started to build the Tamiya 360 engine by airbrushing Alclad Aluminum and drilled for coil pack wires. TIP: Whenever possible, drill all the way through, then you can thread ONE wire through from behind to look like TWO wires. They won't come loose when you pull on them AND....... no glue showing from the top.
-
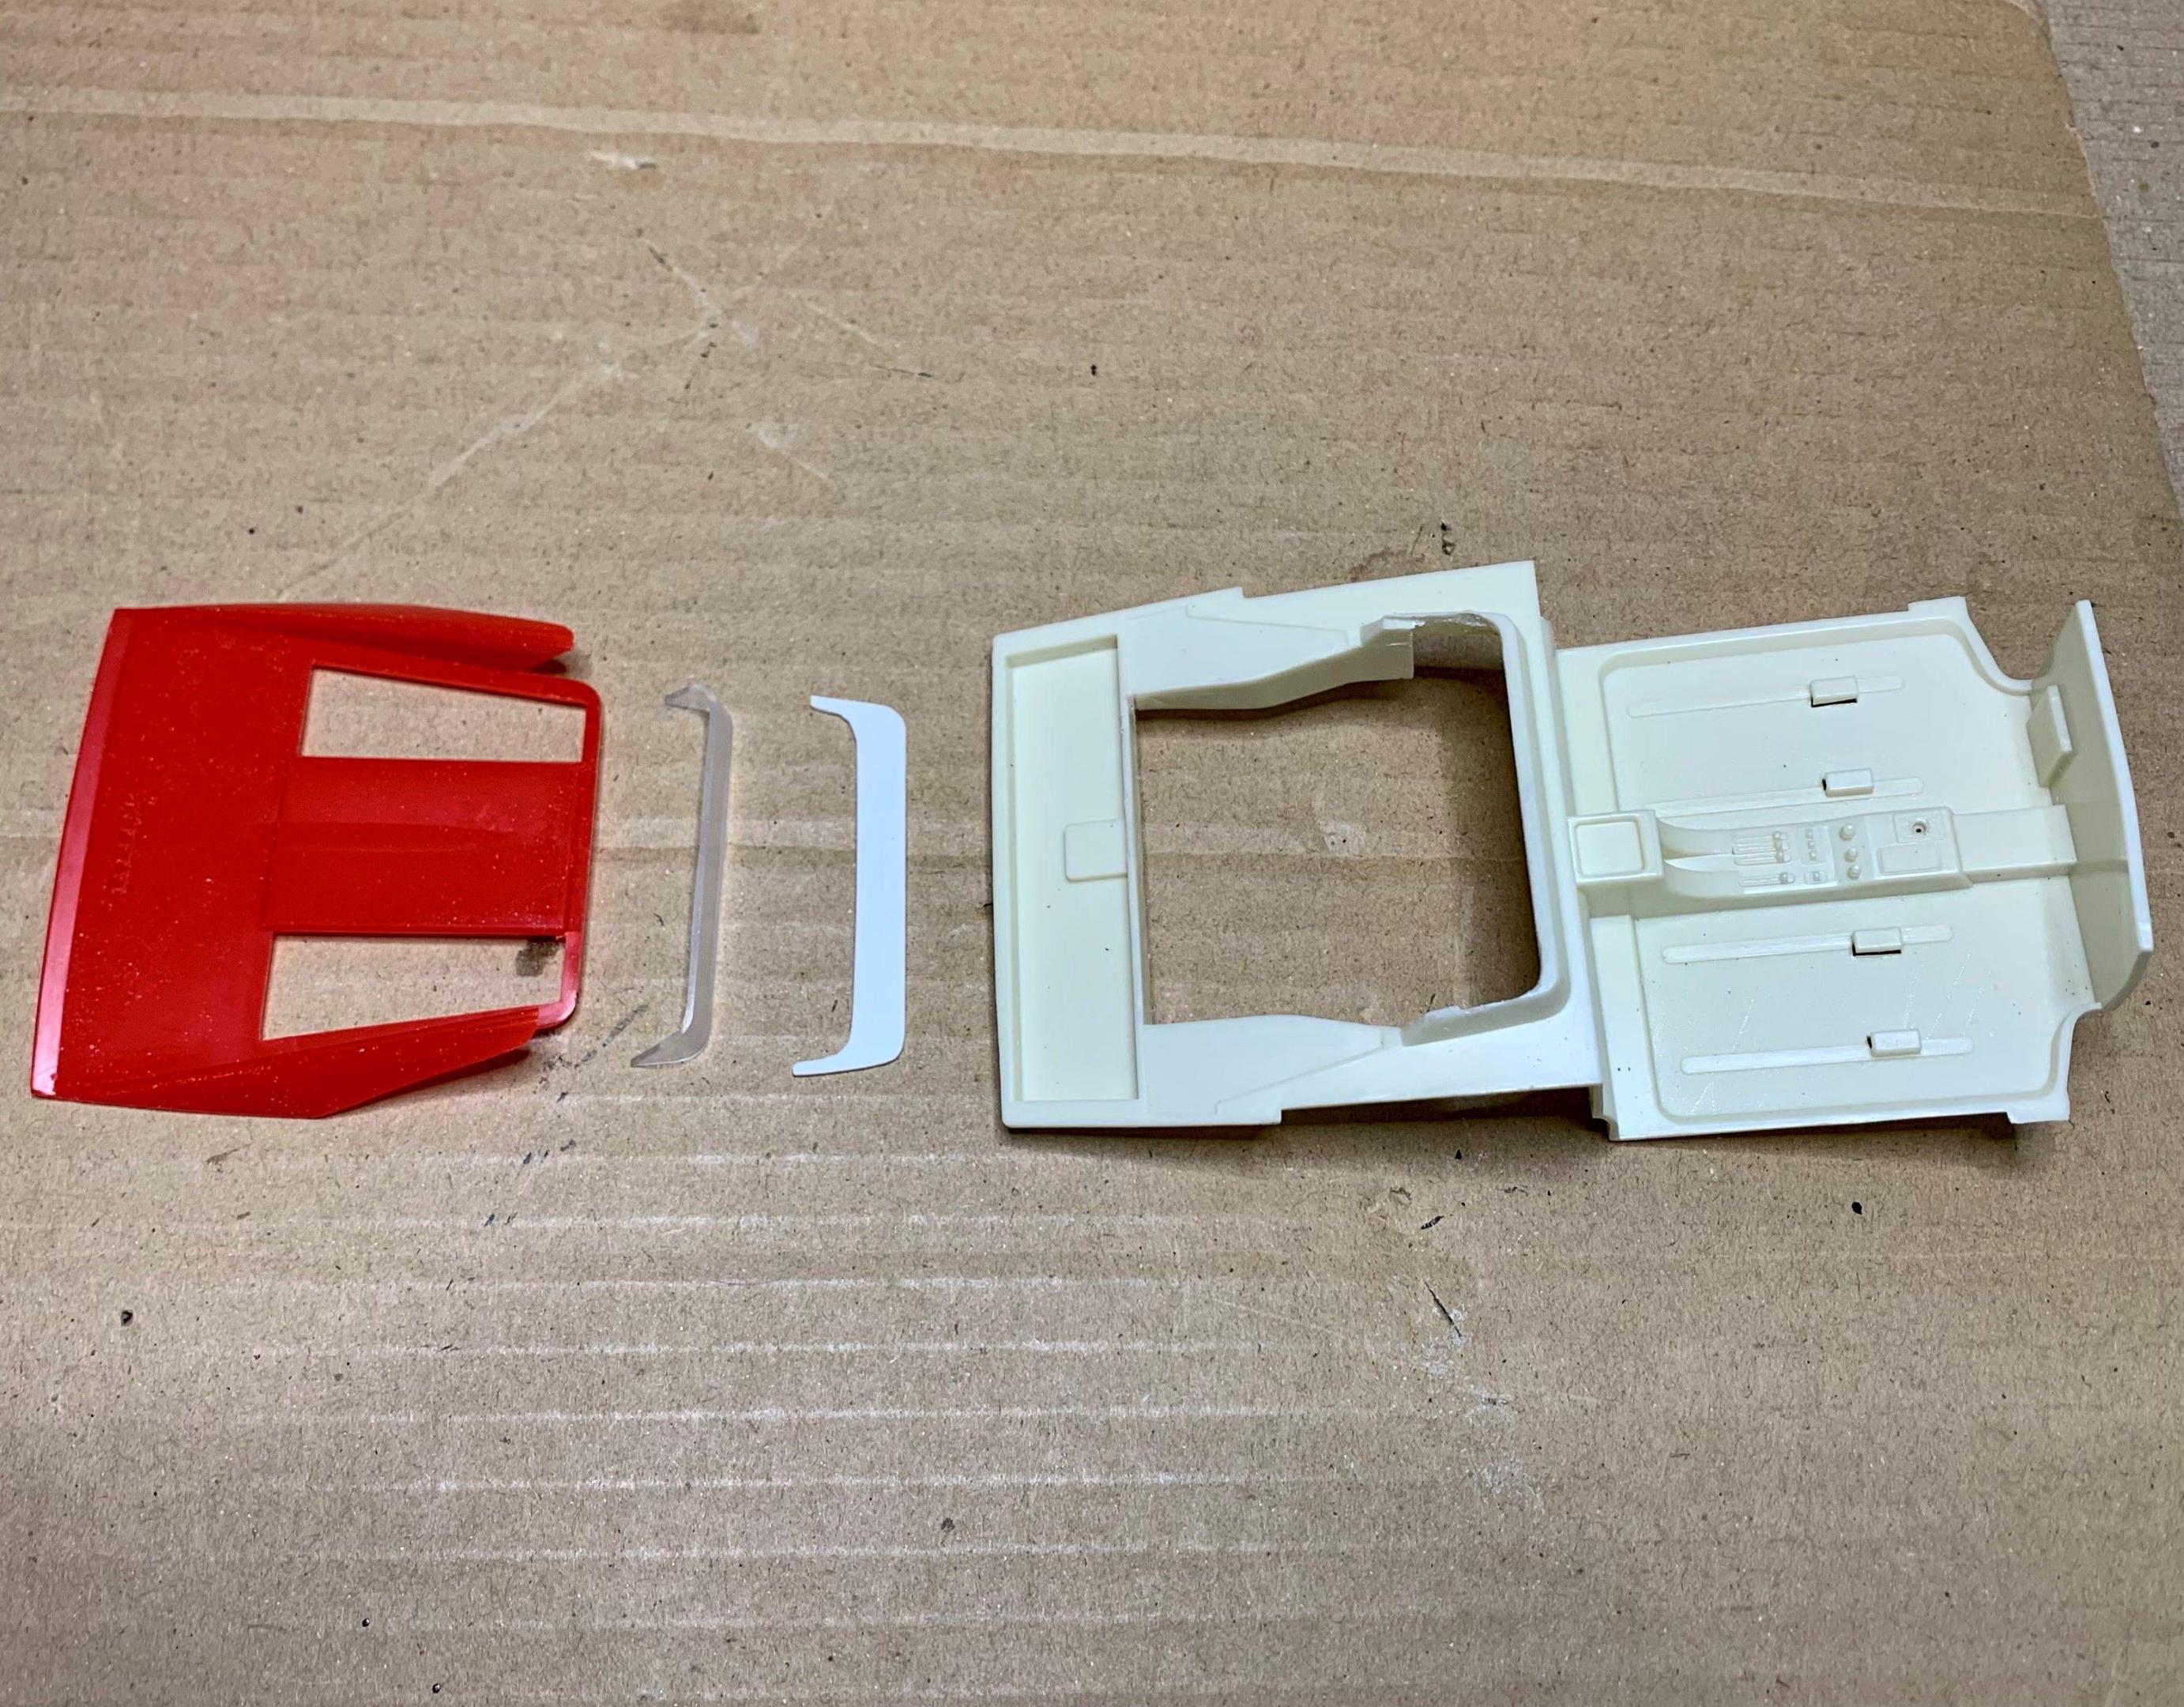
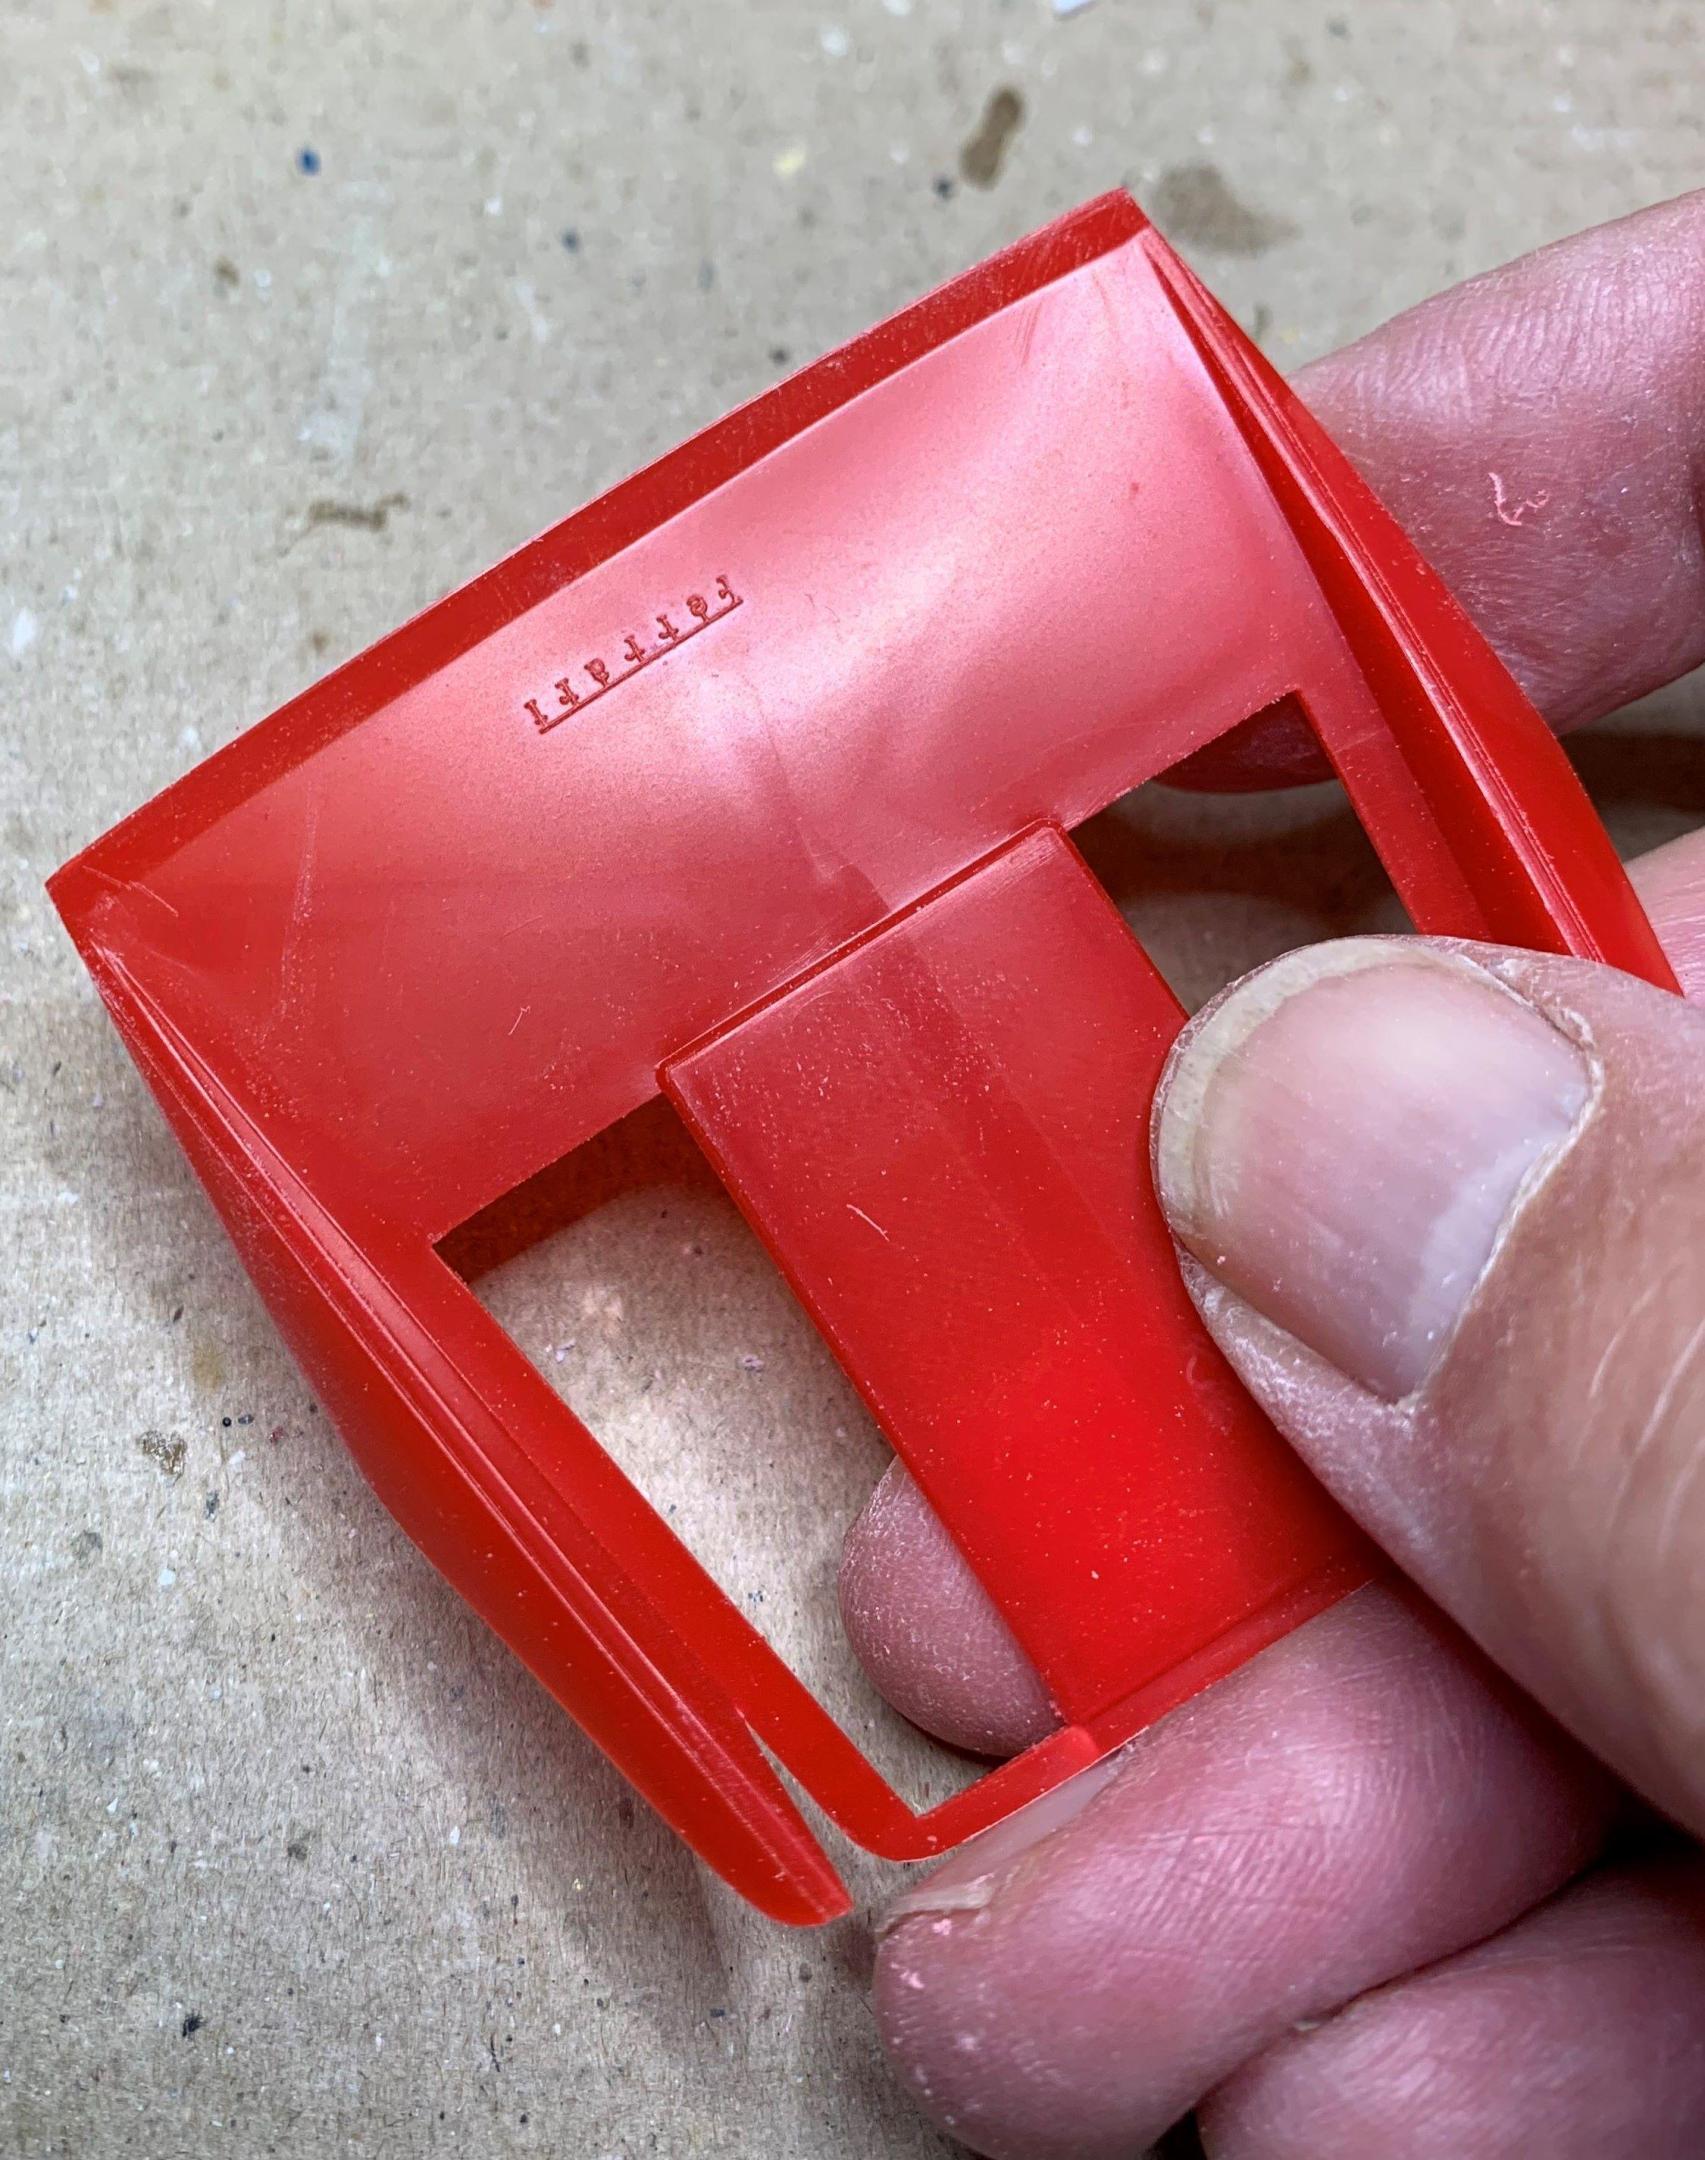
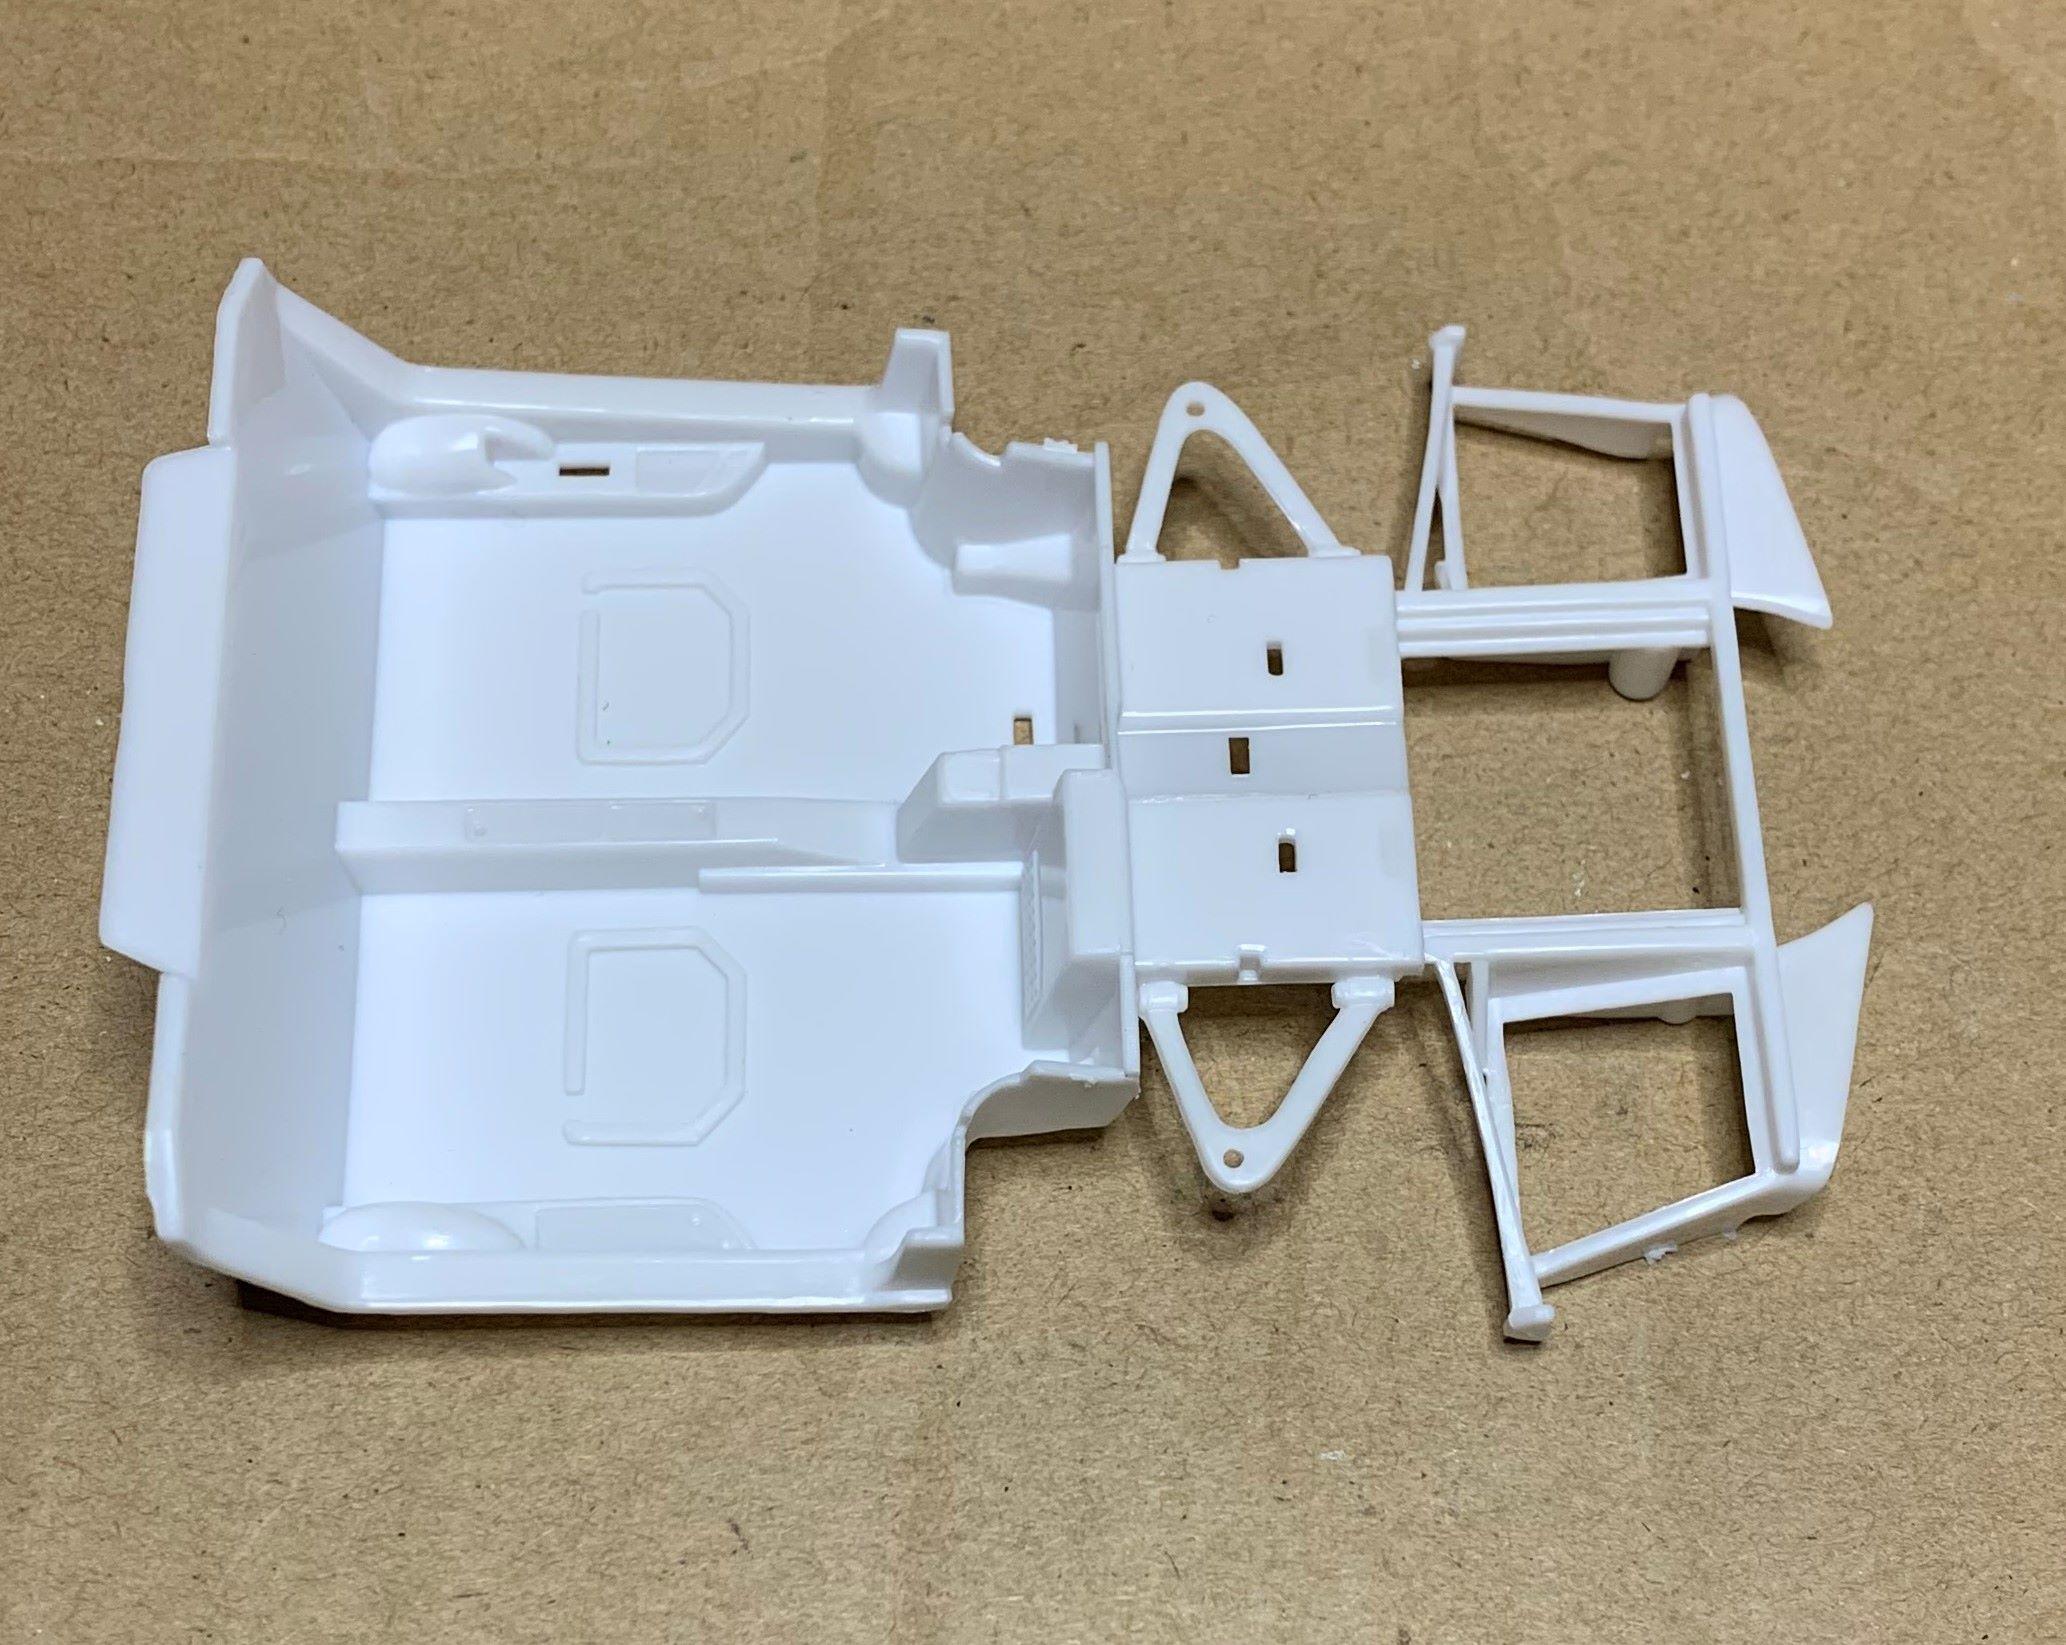
The kit has the rear window sitting on the interior package shelf, but behind the glass should be part of the body. So I cut away part of that interior tub and made a styrene replacement to be attached to the body. Then I made some little headliner ends in the rear butresses, as the kit was just empty. I removed the molded on emblems as I have these dry transfers to use instead, Ciao!
-
I know there's one with a Honda 4 cylinder engine that really rocks! I'm keeping my real one factory correct though, I've had it for 16 years.
-
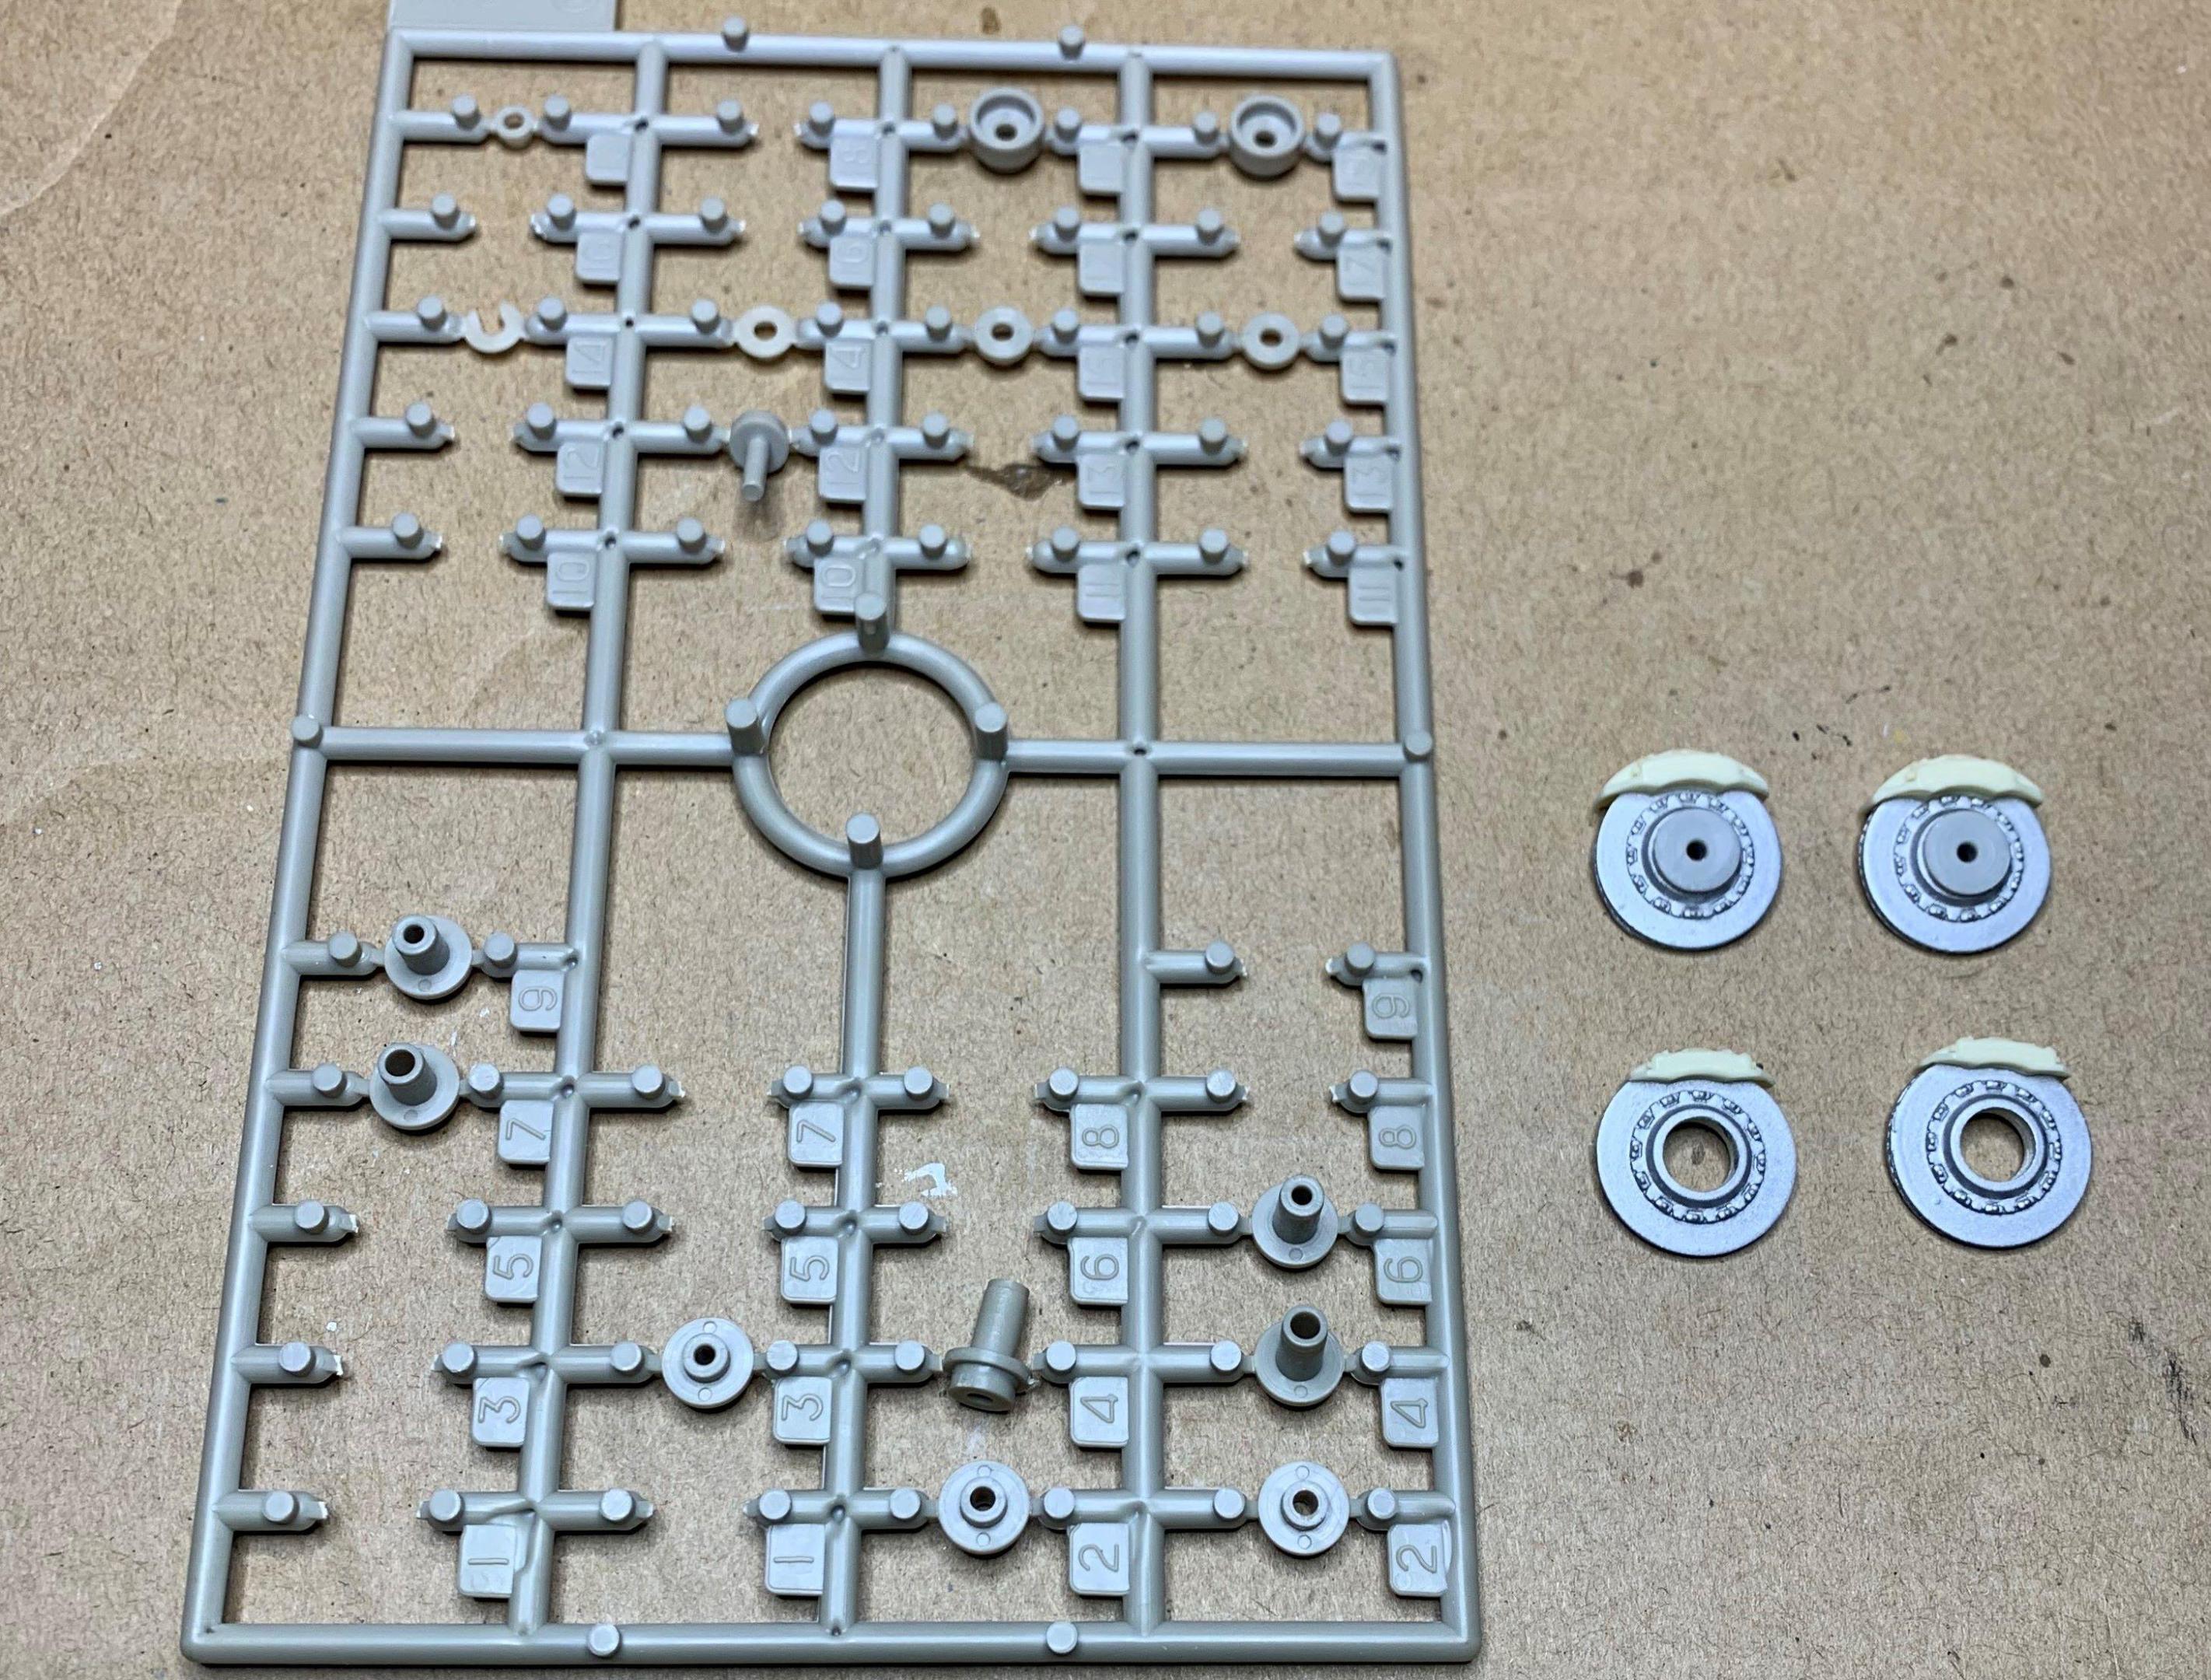
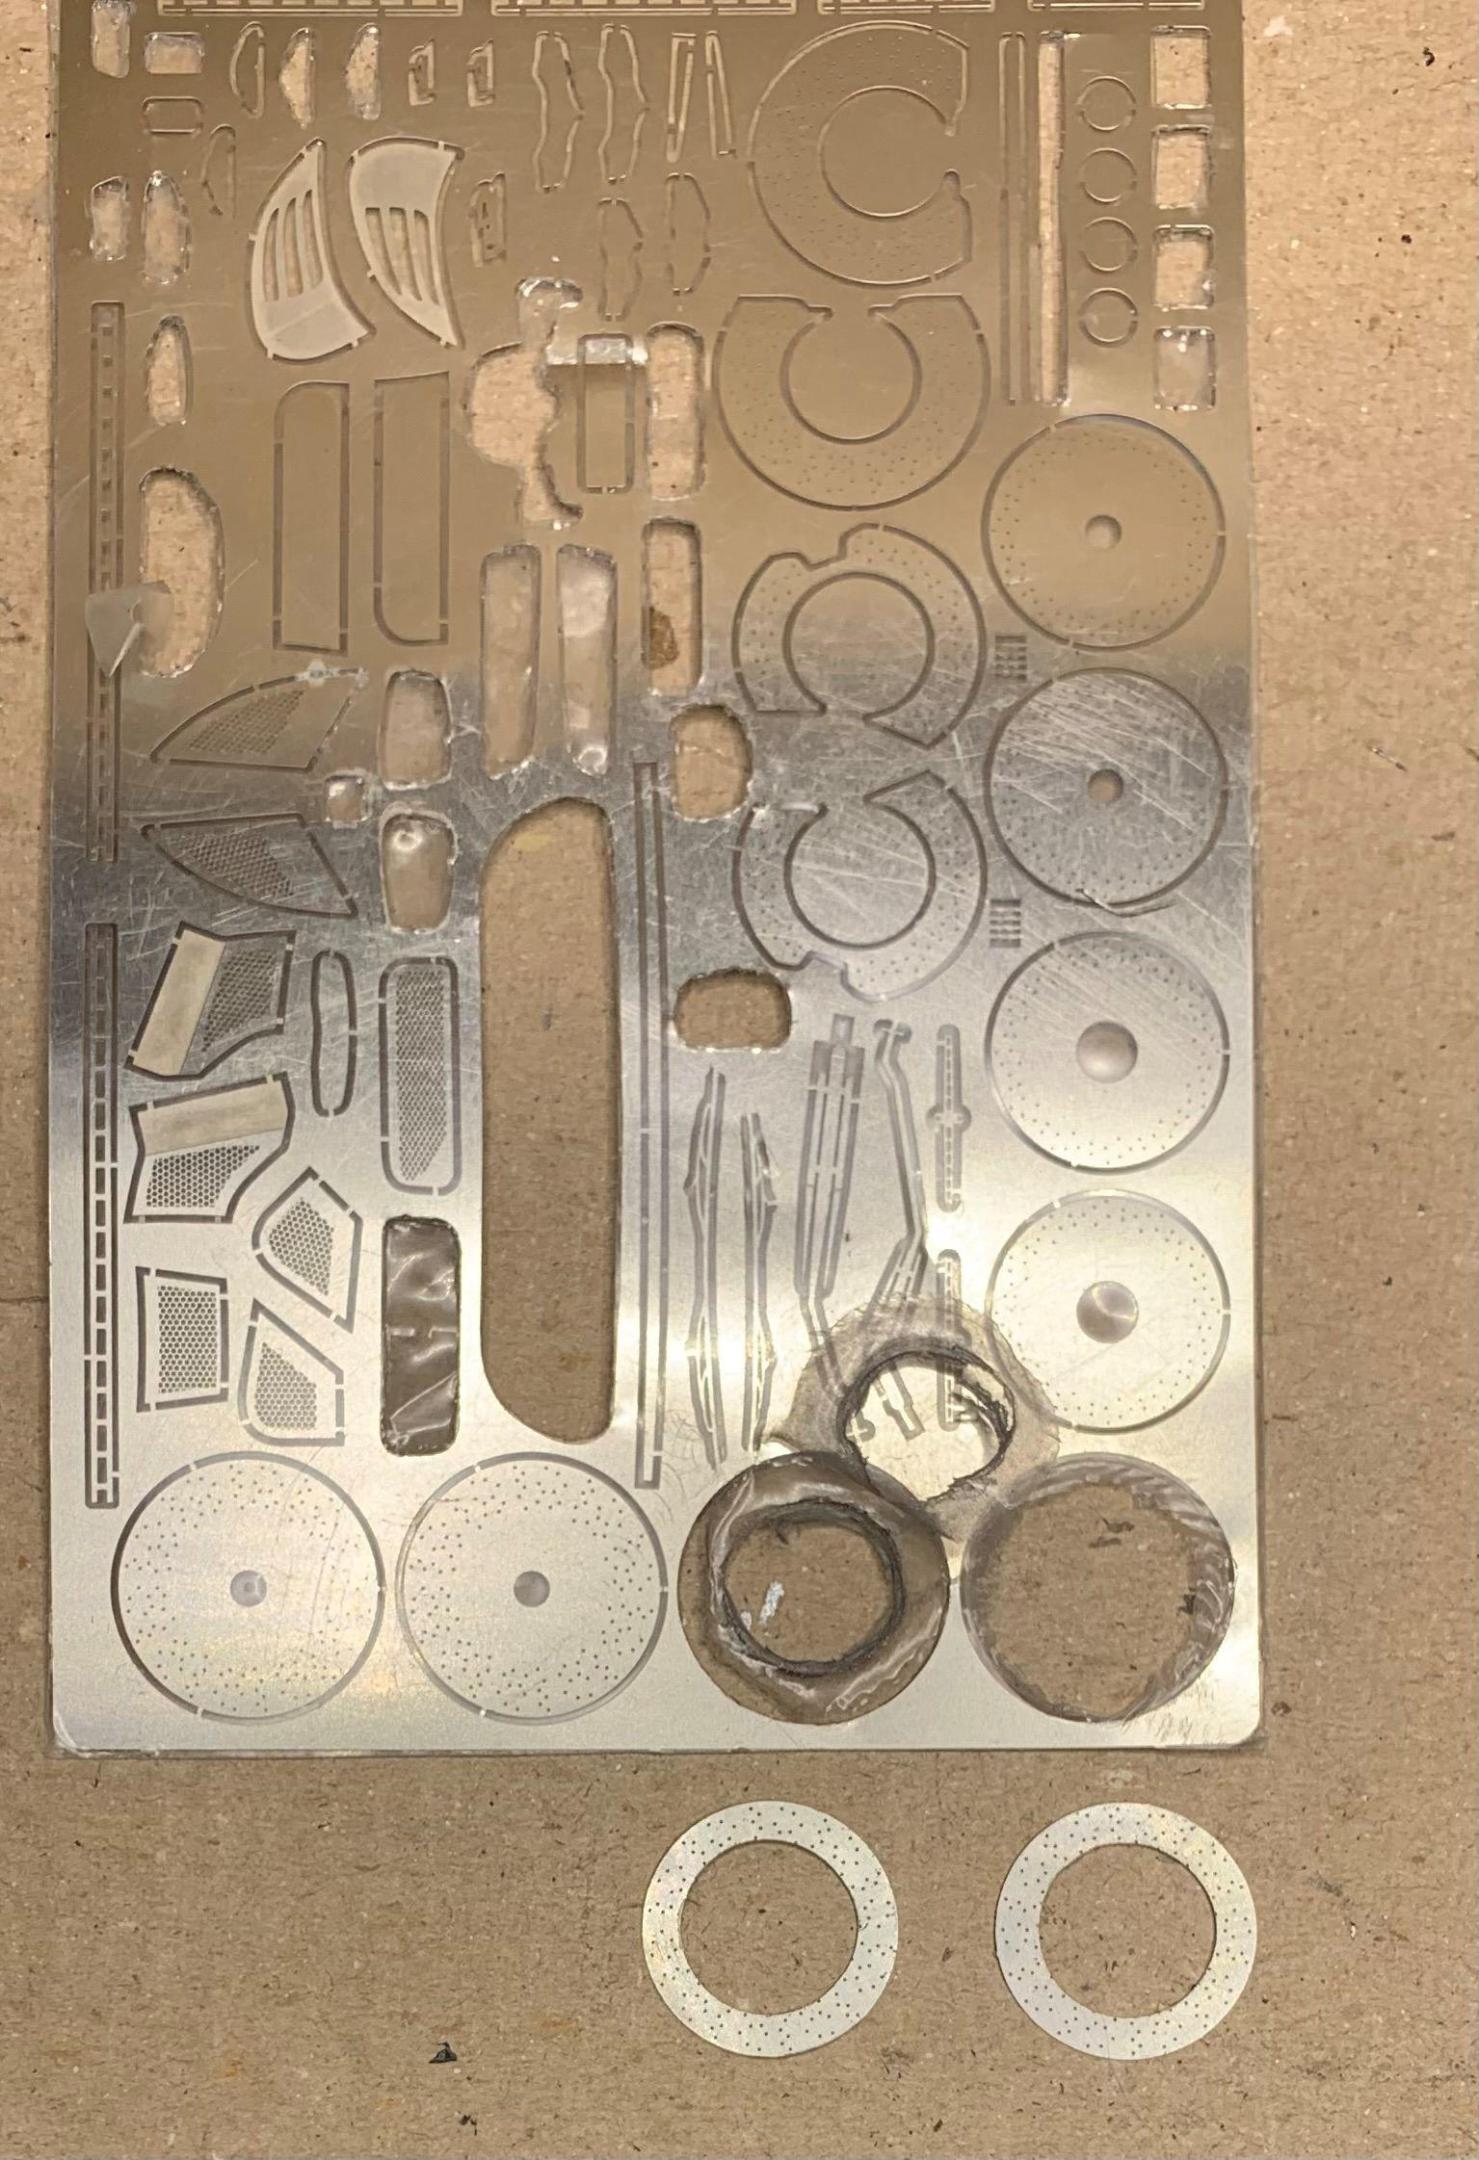
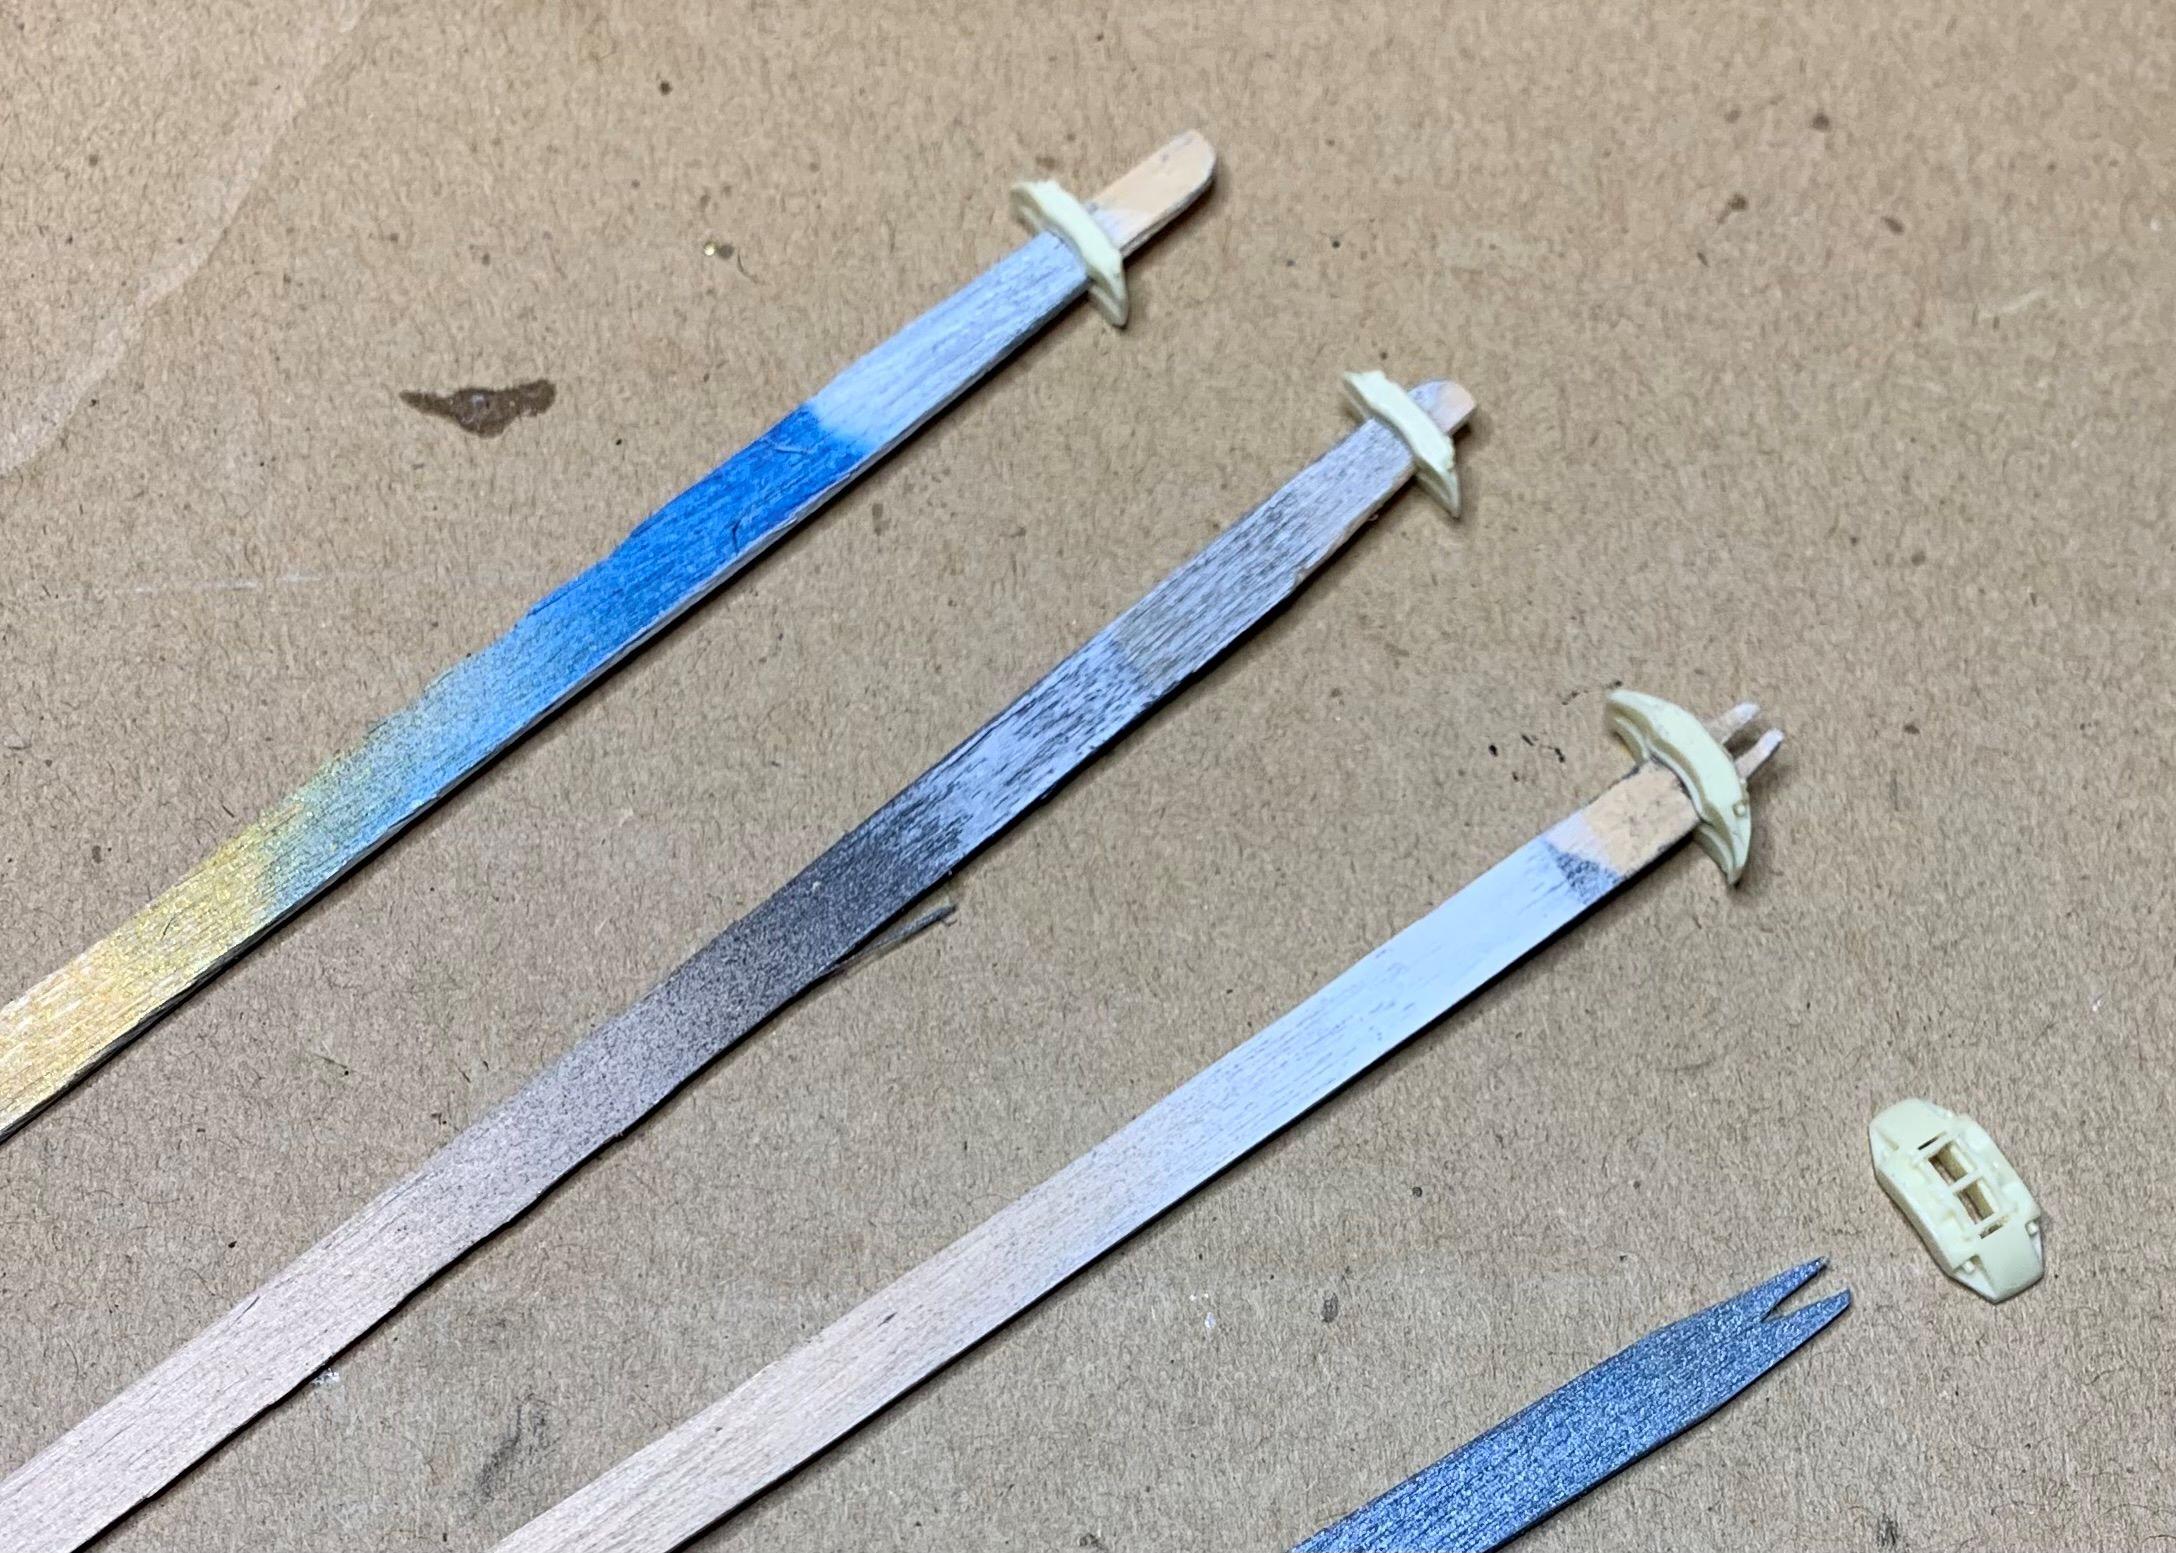
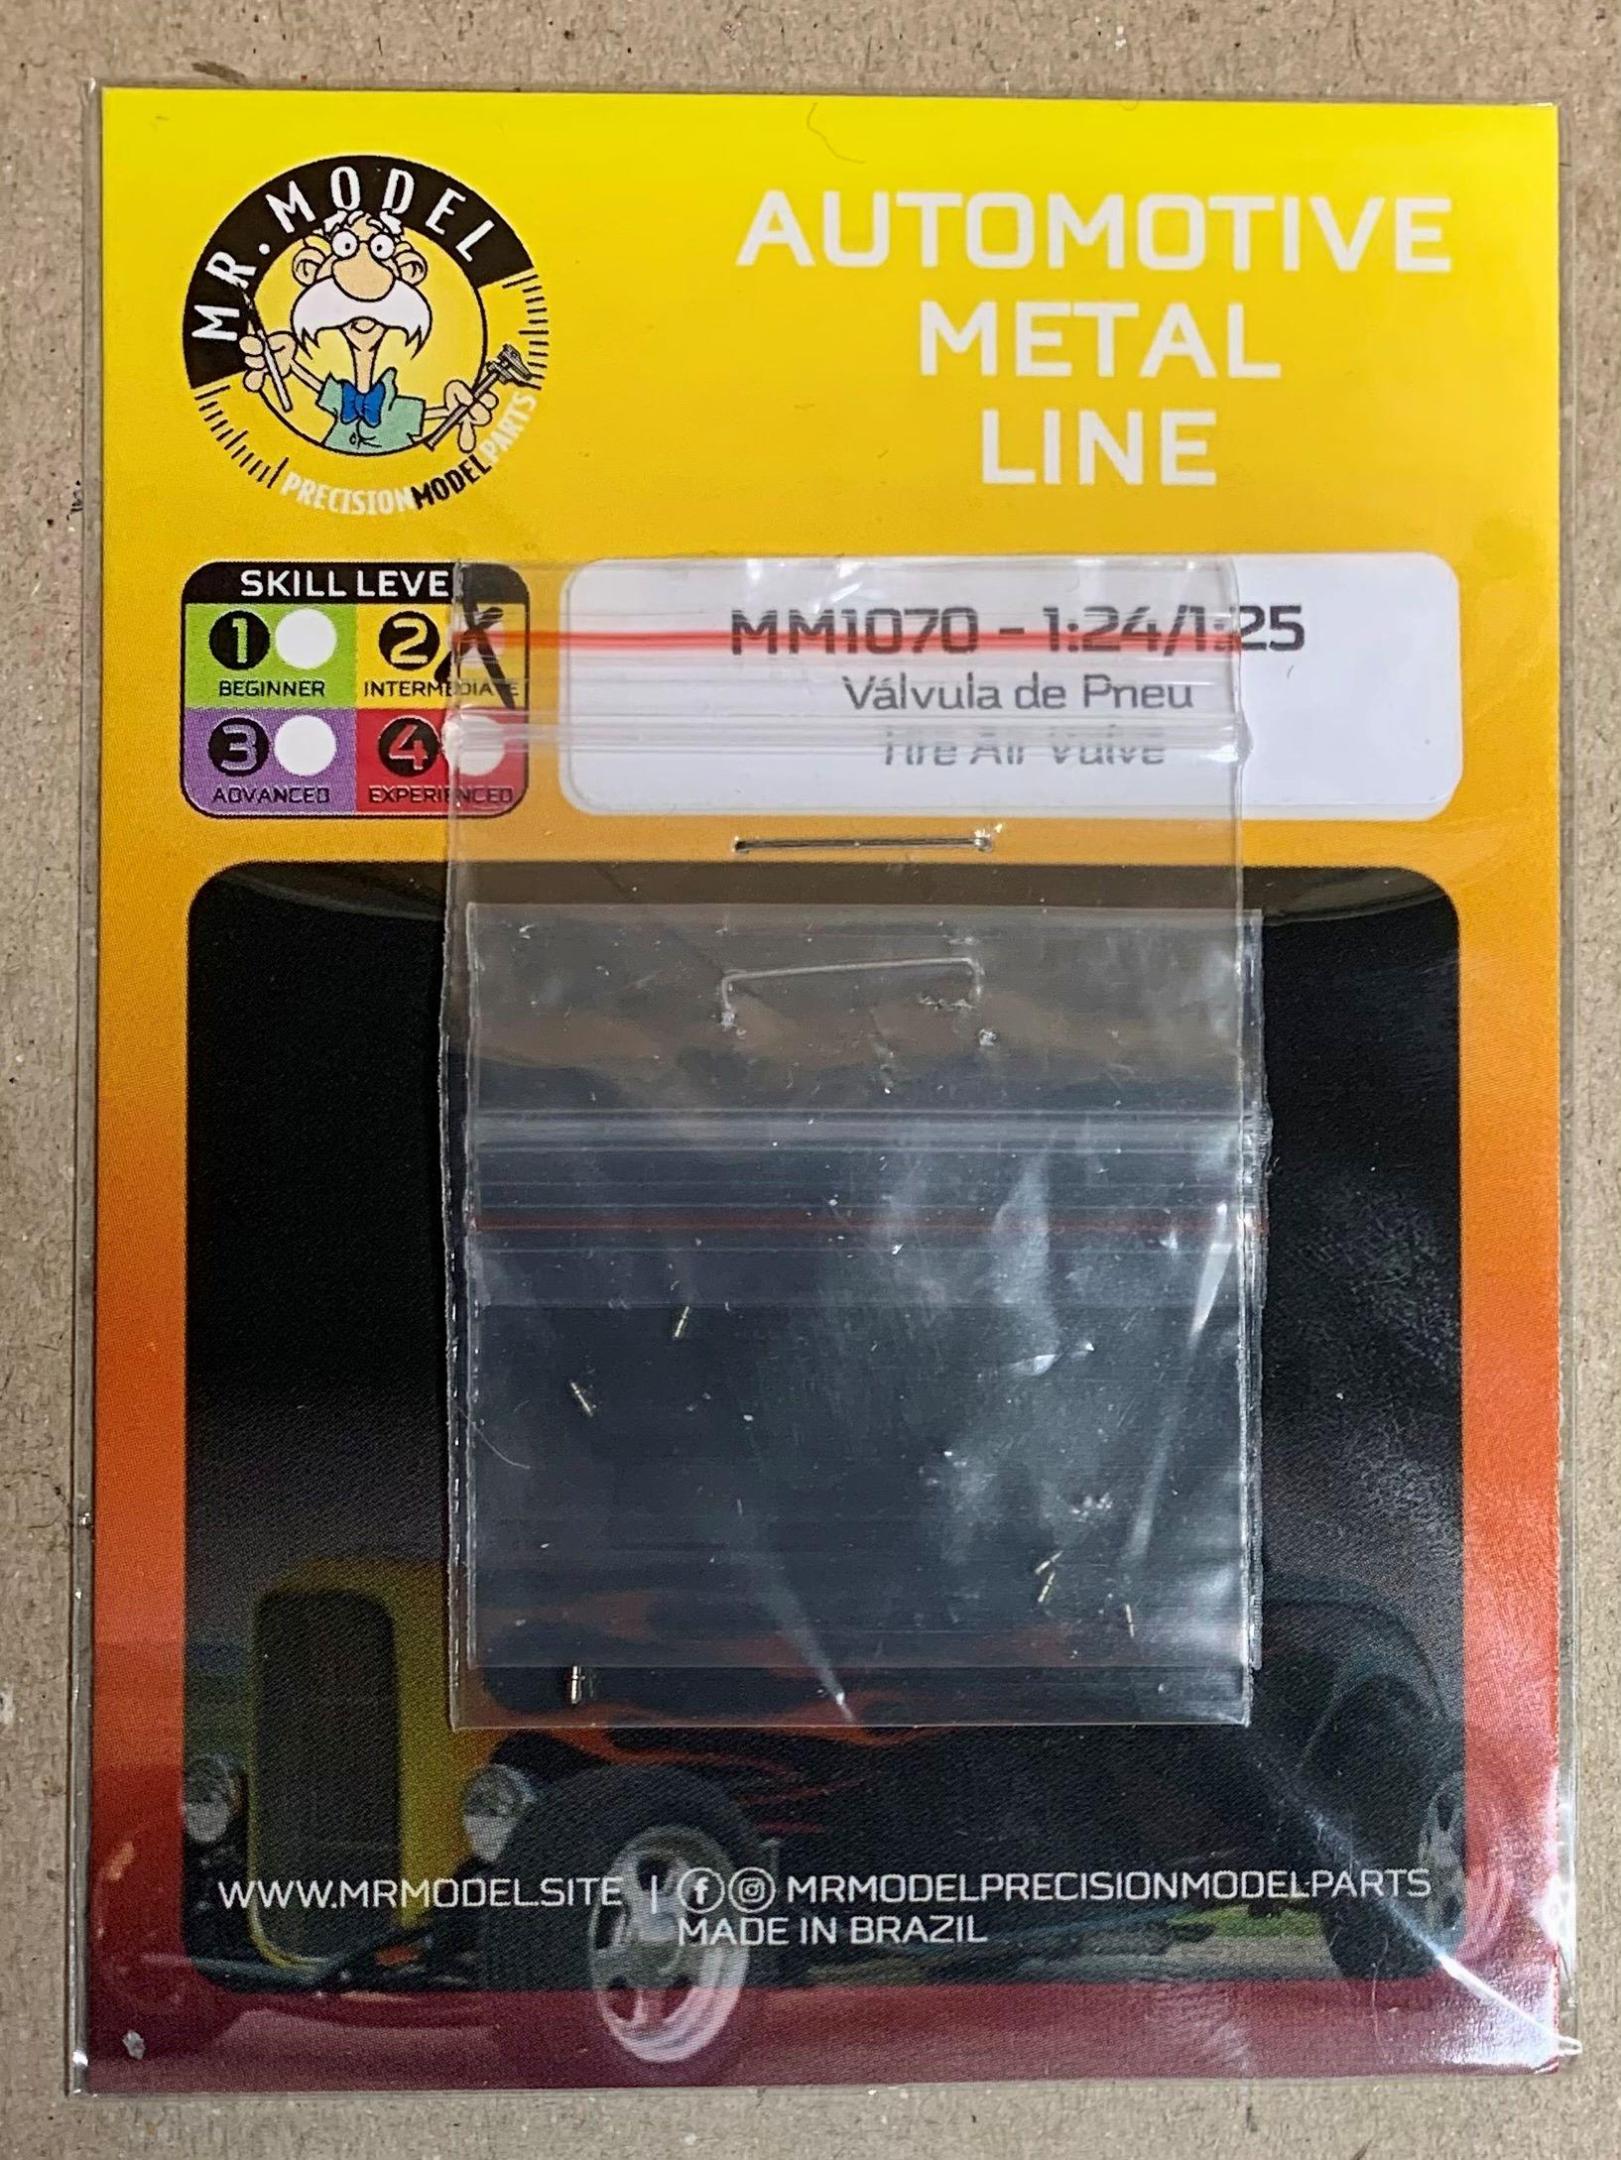
I got these tires, and I had these large resin brakes, but I needed to adapt them to my kit bashed spindles, so some old MRC bits came to the rescue. I modified stir sticks to hold the calipers for airbrushing. I have these photo-etched rotor faces left over from my Aston Martin build but the centers need to be opened up, and that was difficult, took about an hour each! I use these metal valve stems, they're cheap and I bought 10 sets so shipping was also reasonable. I'll have to make some parking brakes for the rears, nothing fancy, just something, LOL. I'll glue the brakes to the rims because I have to figure out where to mount the new transaxle (Tamiya 360 Modena) and how to mount it! Ciao for now.
-

Who doesn't love a mock-up? Let's see yours!
dino246gt replied to Belairconvertable's topic in WIP: Model Cars
-

Fujimi/Testors 1/24 Dino 246GTS Spyder
dino246gt replied to Justin Porter's topic in WIP: Model Cars
I was lucky enough to own a real 246GT for 9 years, hence my screen name, and now I have a 308GTB, and modifications are really frowned on by the Ferrarista, but these are only plastic models so modify away as I am doing to a plastic model 308 right now! Ciao! -
What fun would that be!!
-

Fujimi/Testors 1/24 Dino 246GTS Spyder
dino246gt replied to Justin Porter's topic in WIP: Model Cars
I love that color, but are you not doing the belly pan in flat black? Your Dino does look excellent so far! -
Of course the Enzo is way wider than a 308, so I had to narrow things, but still maintained the poseable steering! Then I had to fill in all the spaces with styrene scraps. And here's where it is now! I will be making new belly pans, eventually, cheers!
-
I cut the Revell Enzo front suspension apart but I'll need way more room in the 308 for that to fit! No problem, I love cutting models apart! LOL
-
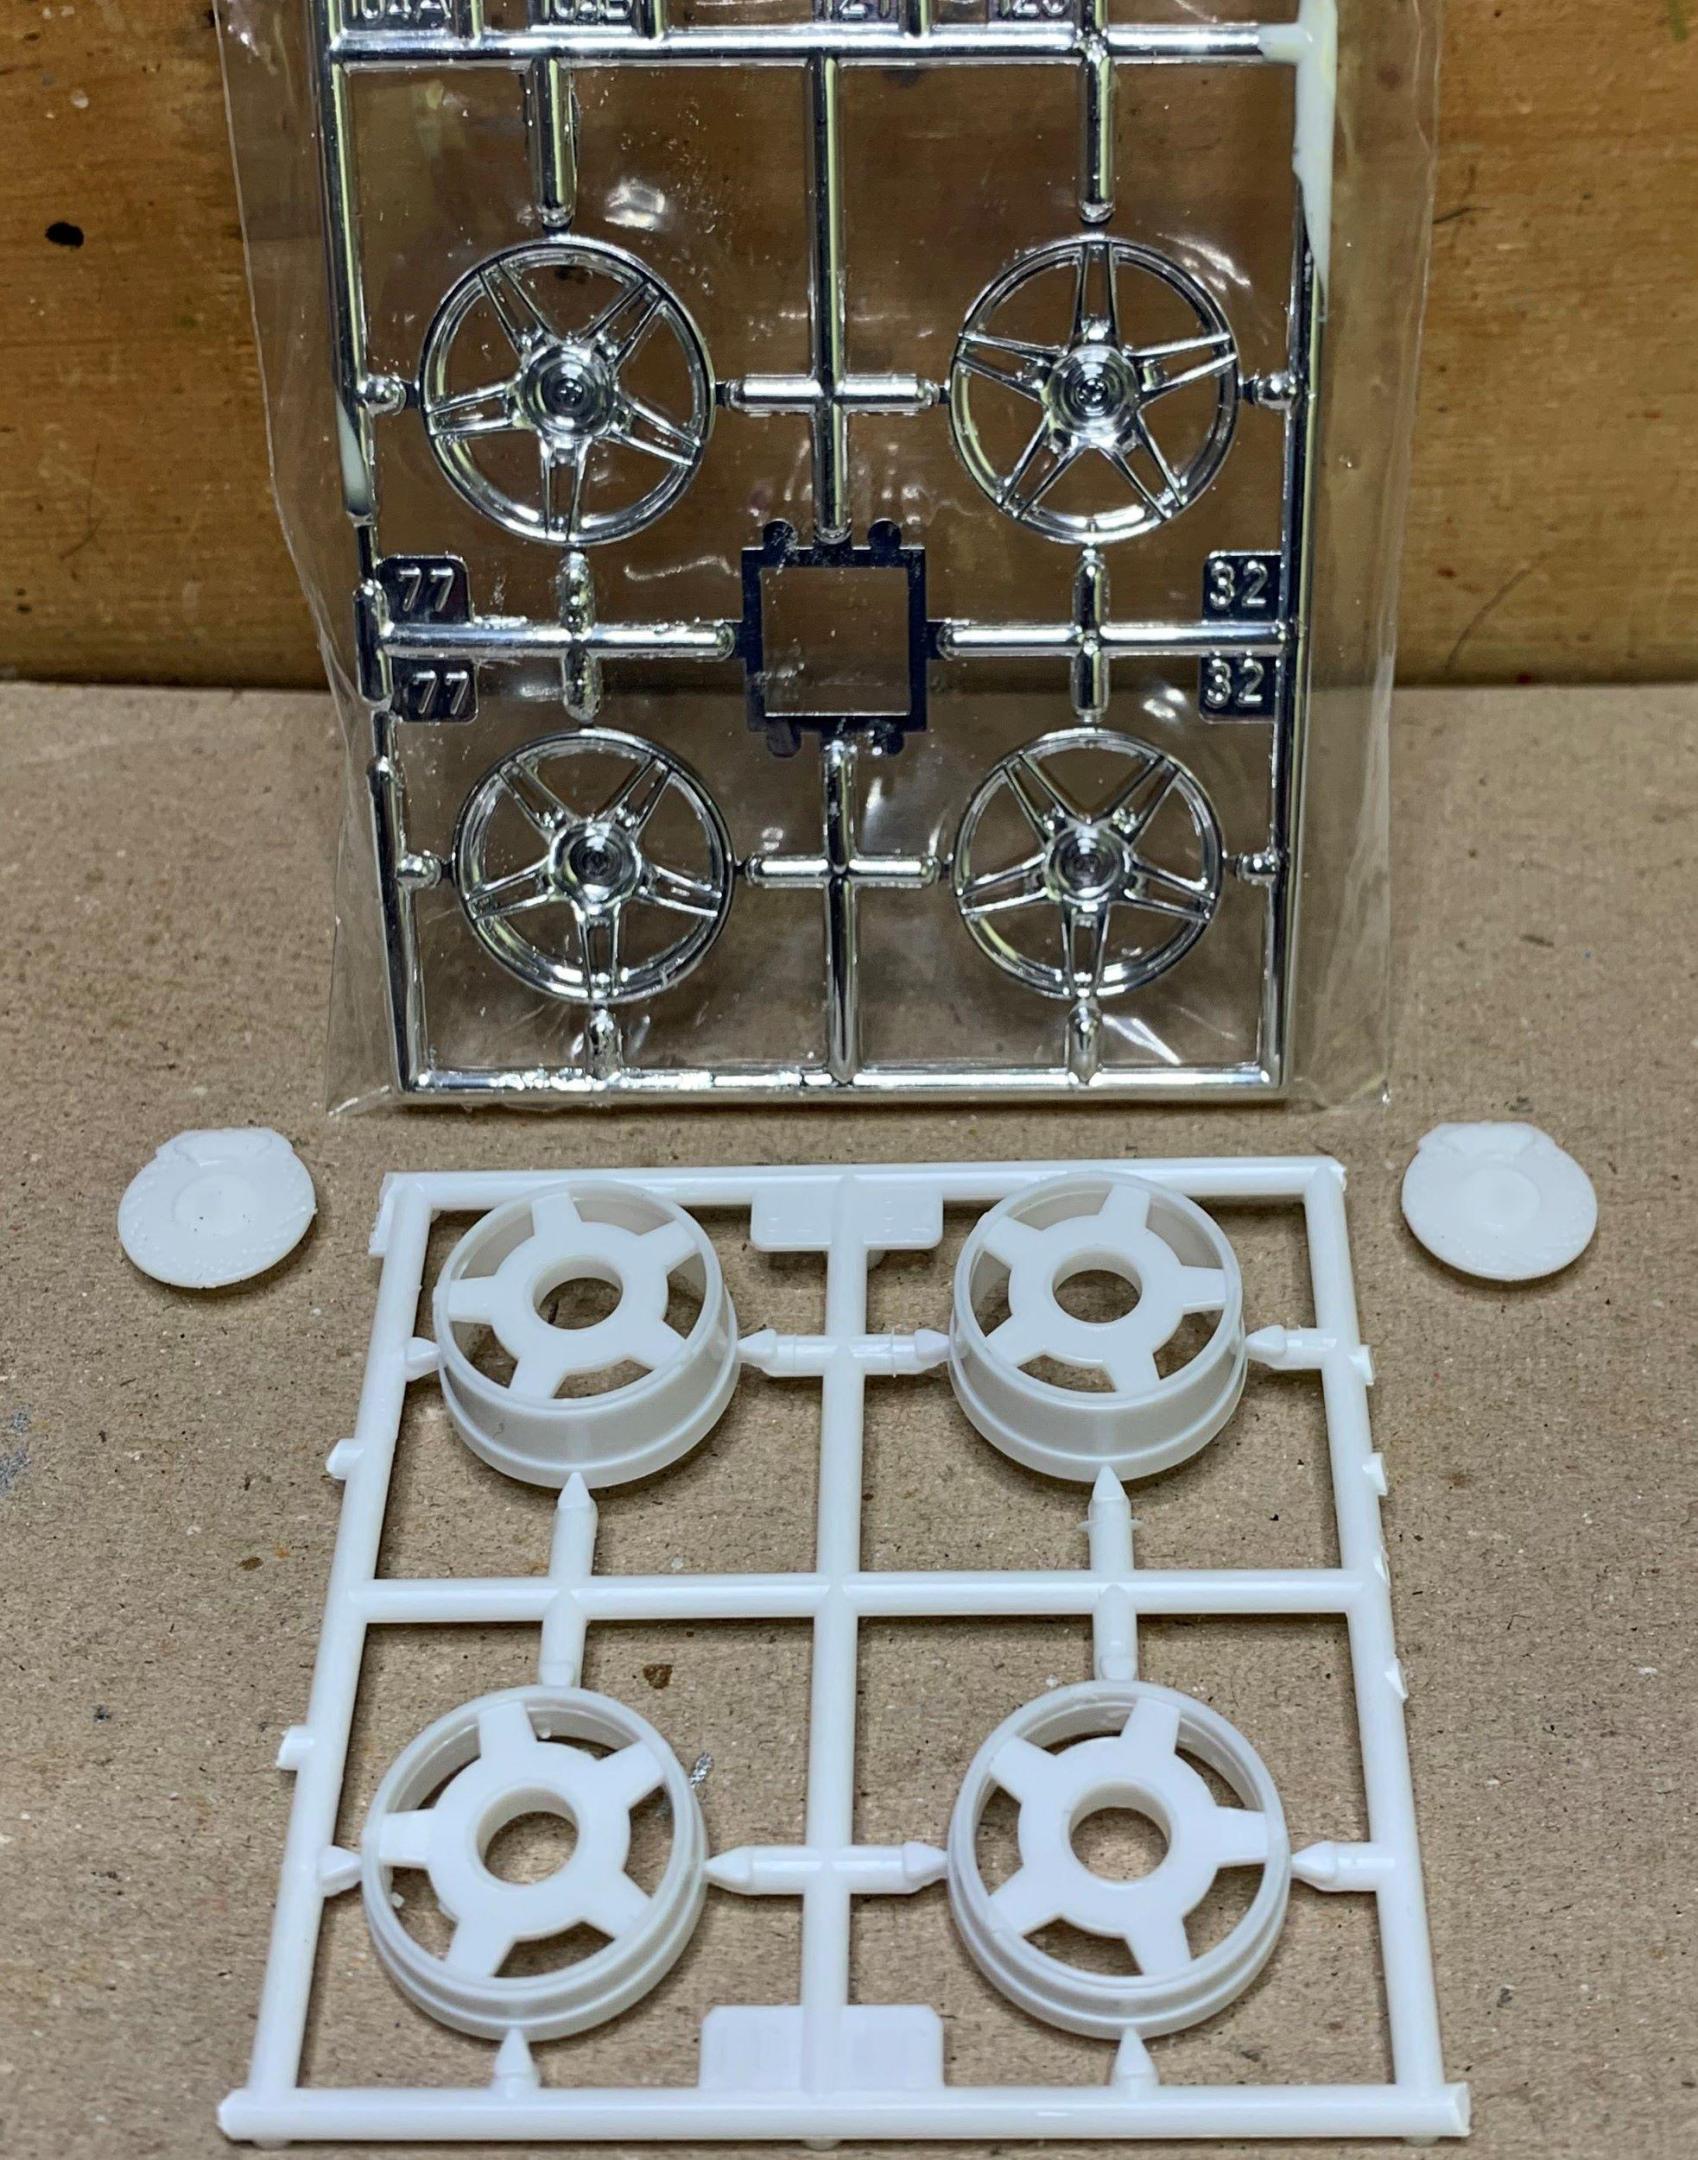
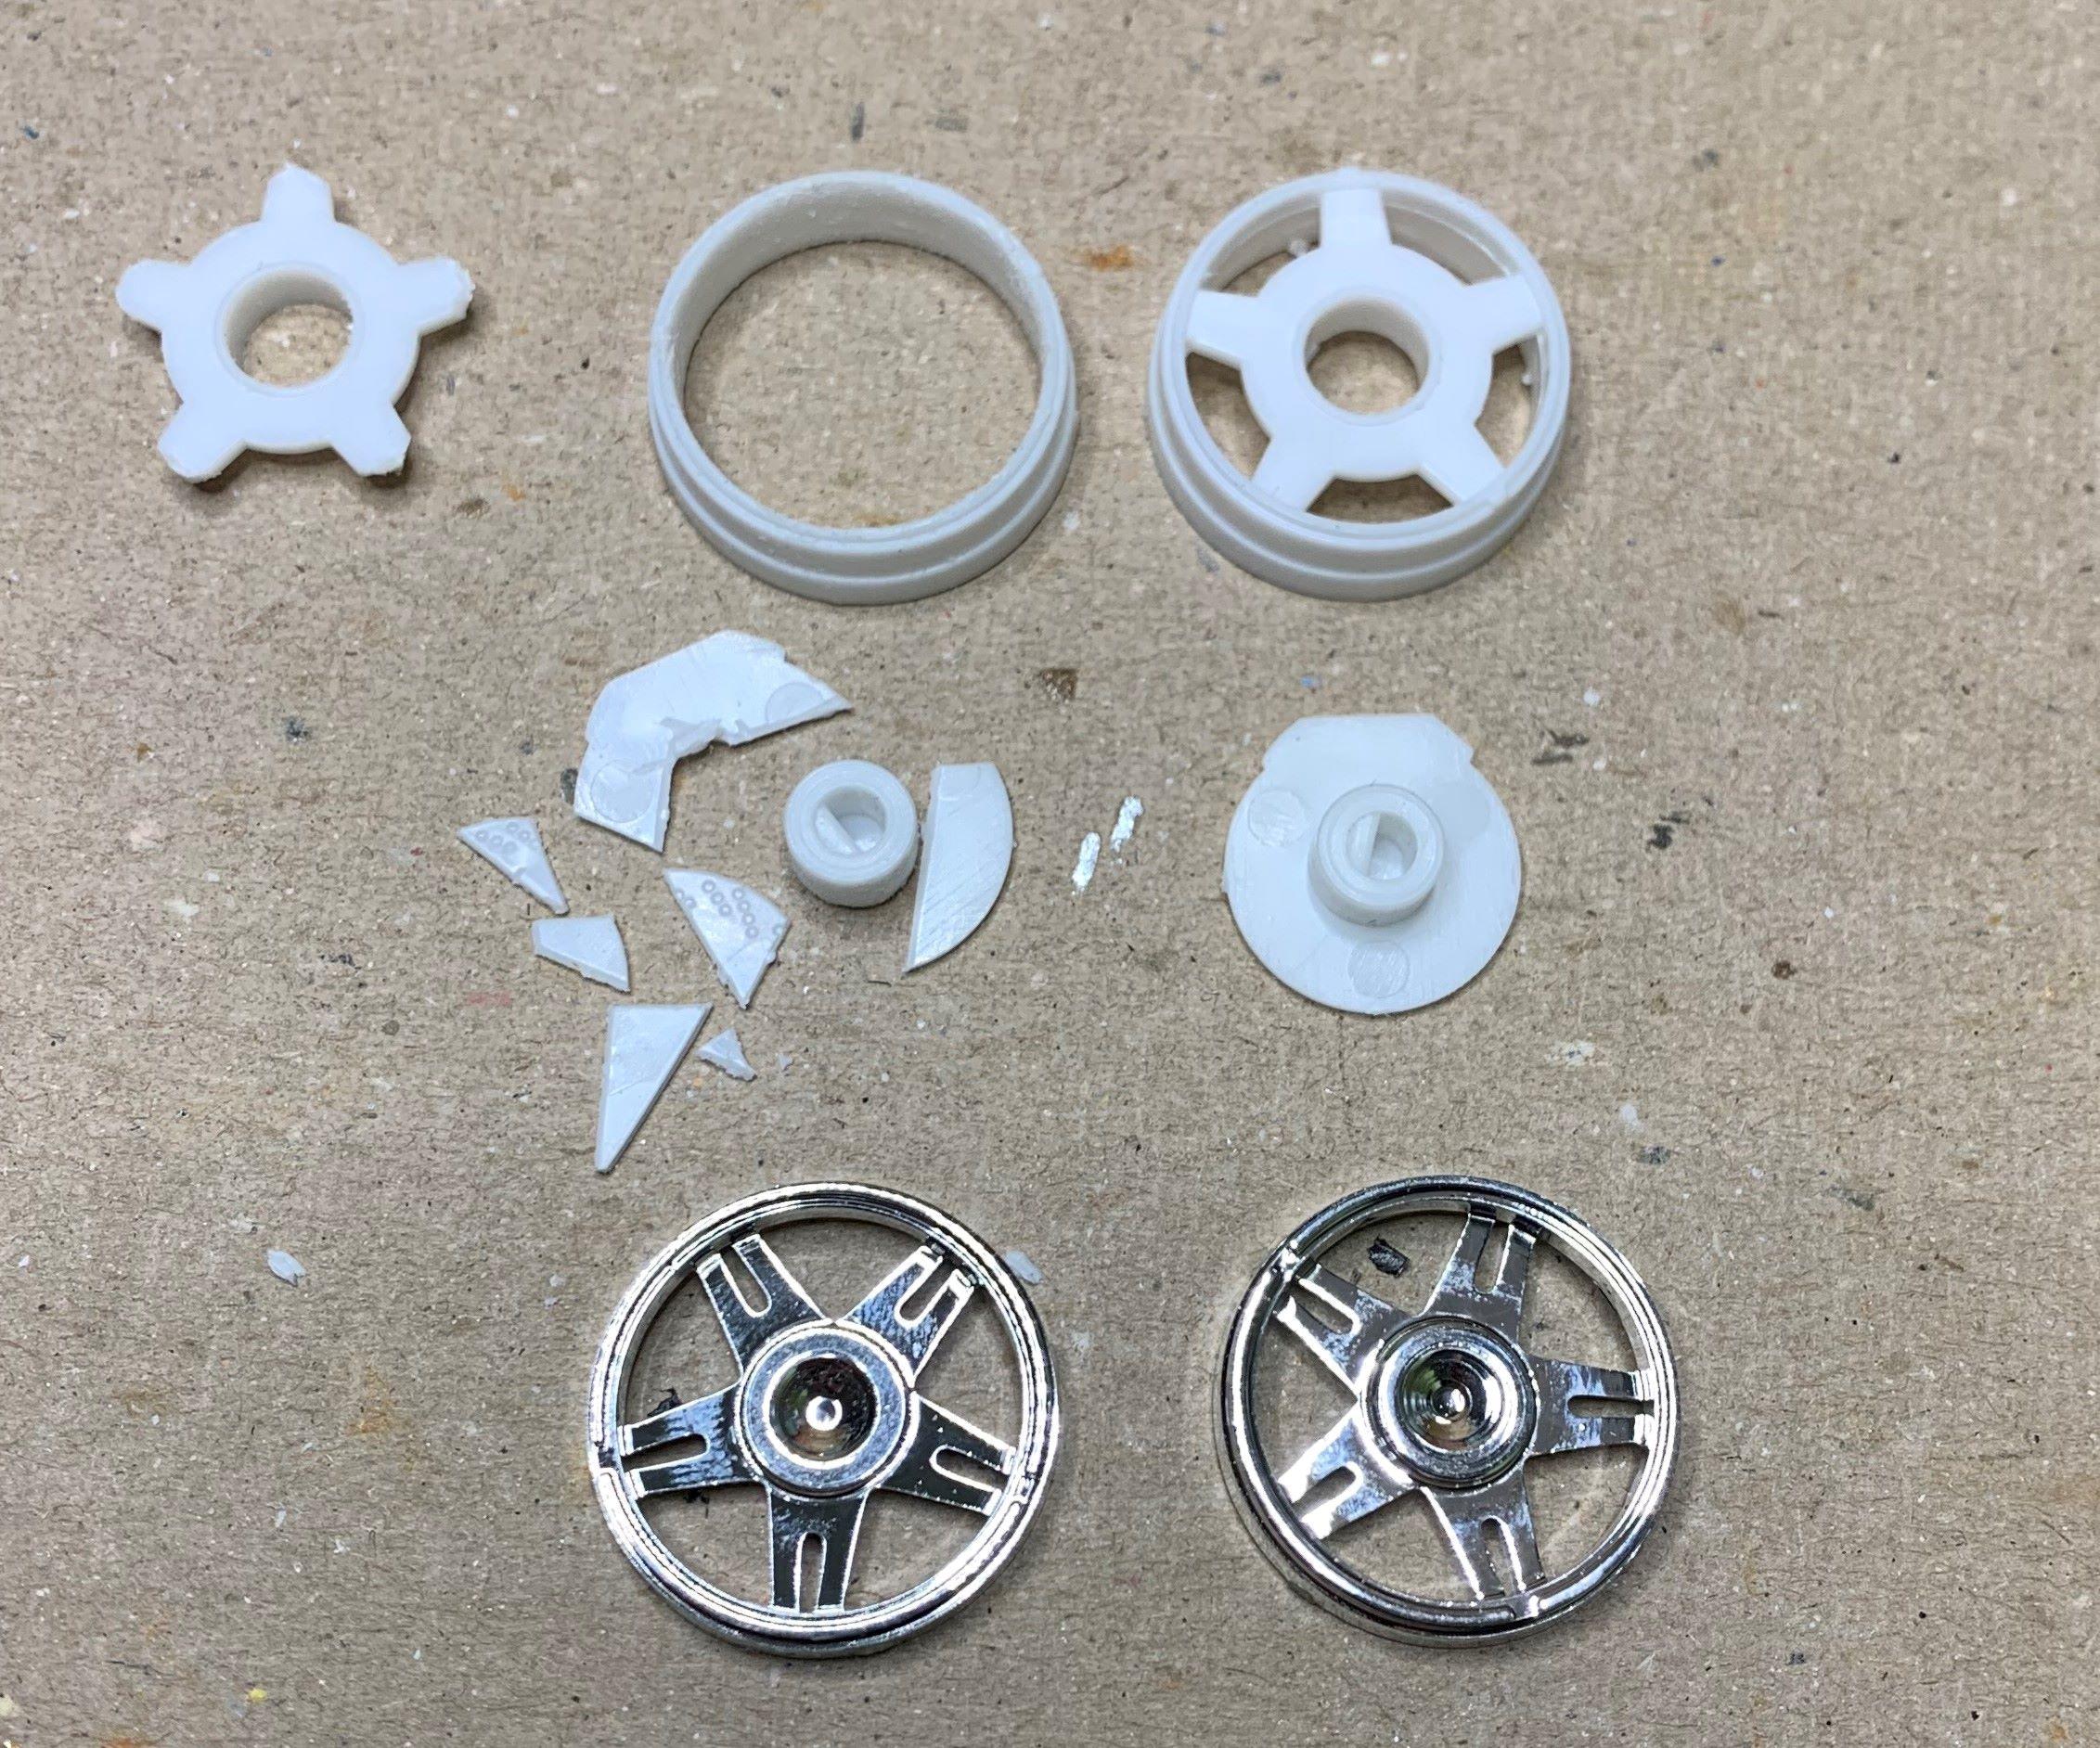
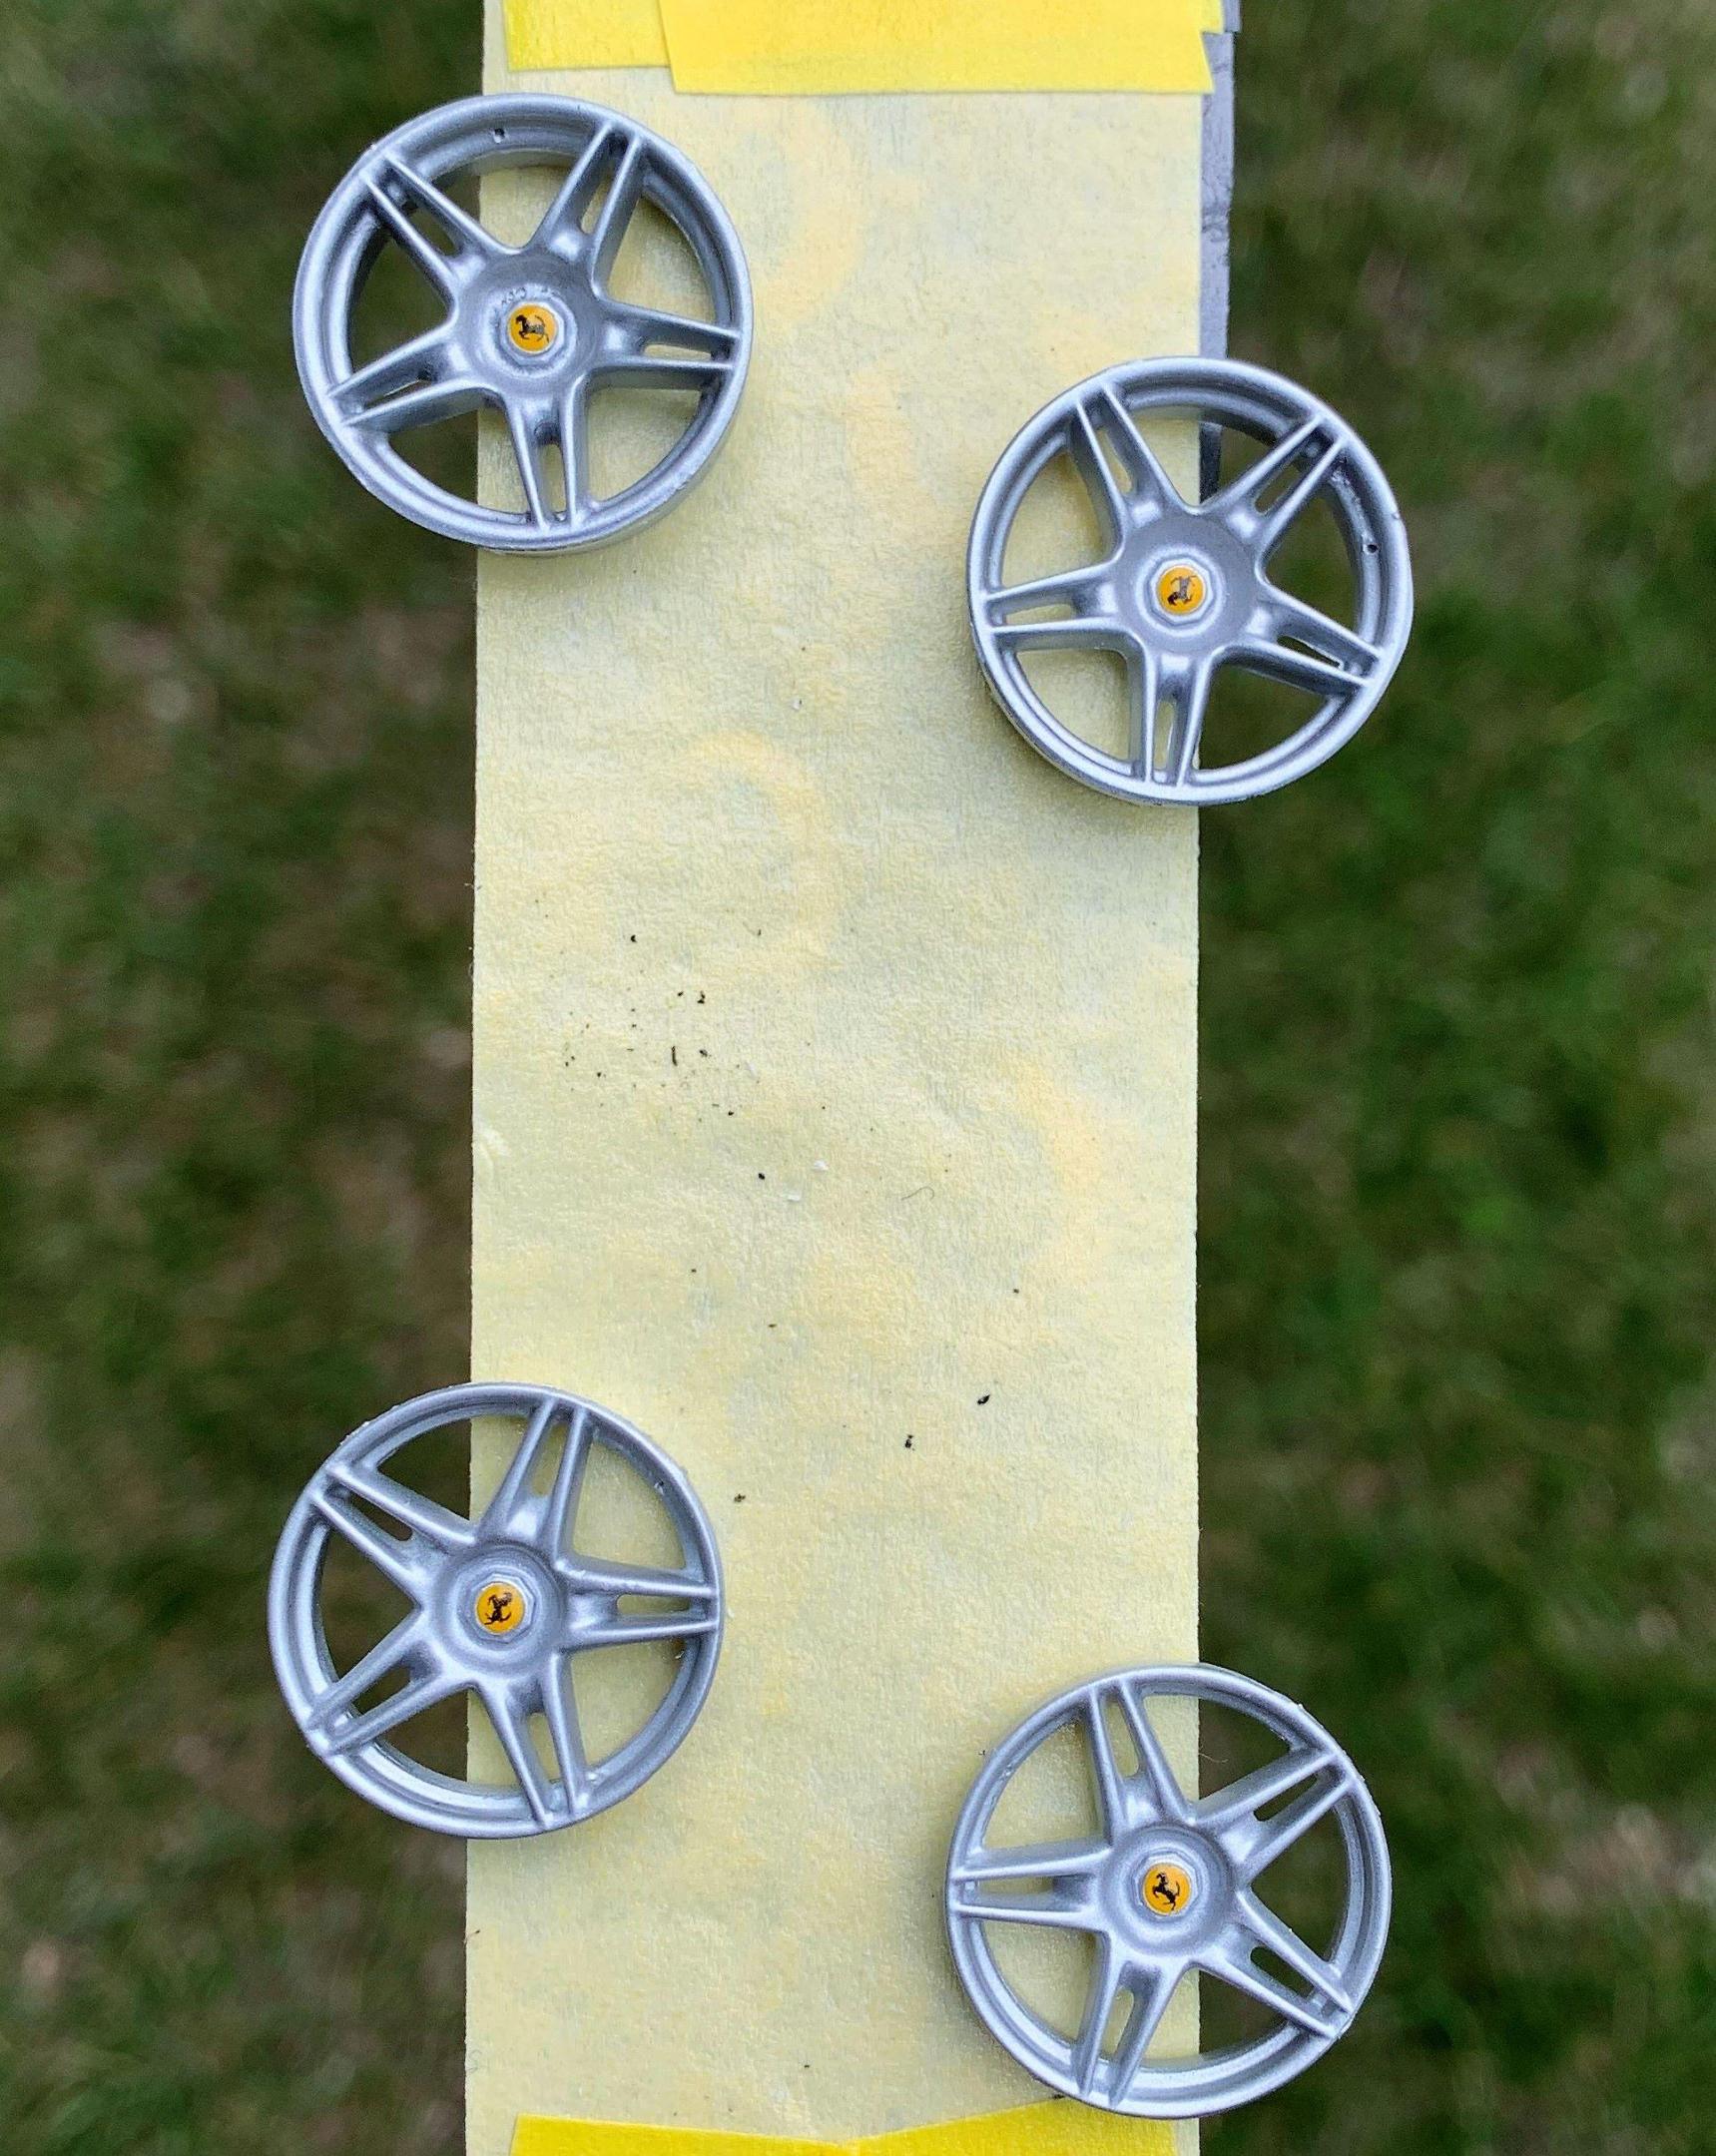
Revell Ferrari kits are good but the way the brakes, (and they are low-detail brakes), mount between the wheel halves is not to my liking. I'll cut the centers out of the wheel backs and remove most of the brakes,(I need the centers to fit the Revell kit suspension), then de-chrome the wheel fronts. After Tamiya fine white primer and Alclad Aluminum, some "e-Jan" wheel center caps and drilling for valve stems, the wheels look better, to me.
-
Now I'll fit the Revell Enzo rear tubs and make some support for twin fuel tanks. Now we have a "tubbed" Ferrari!
-
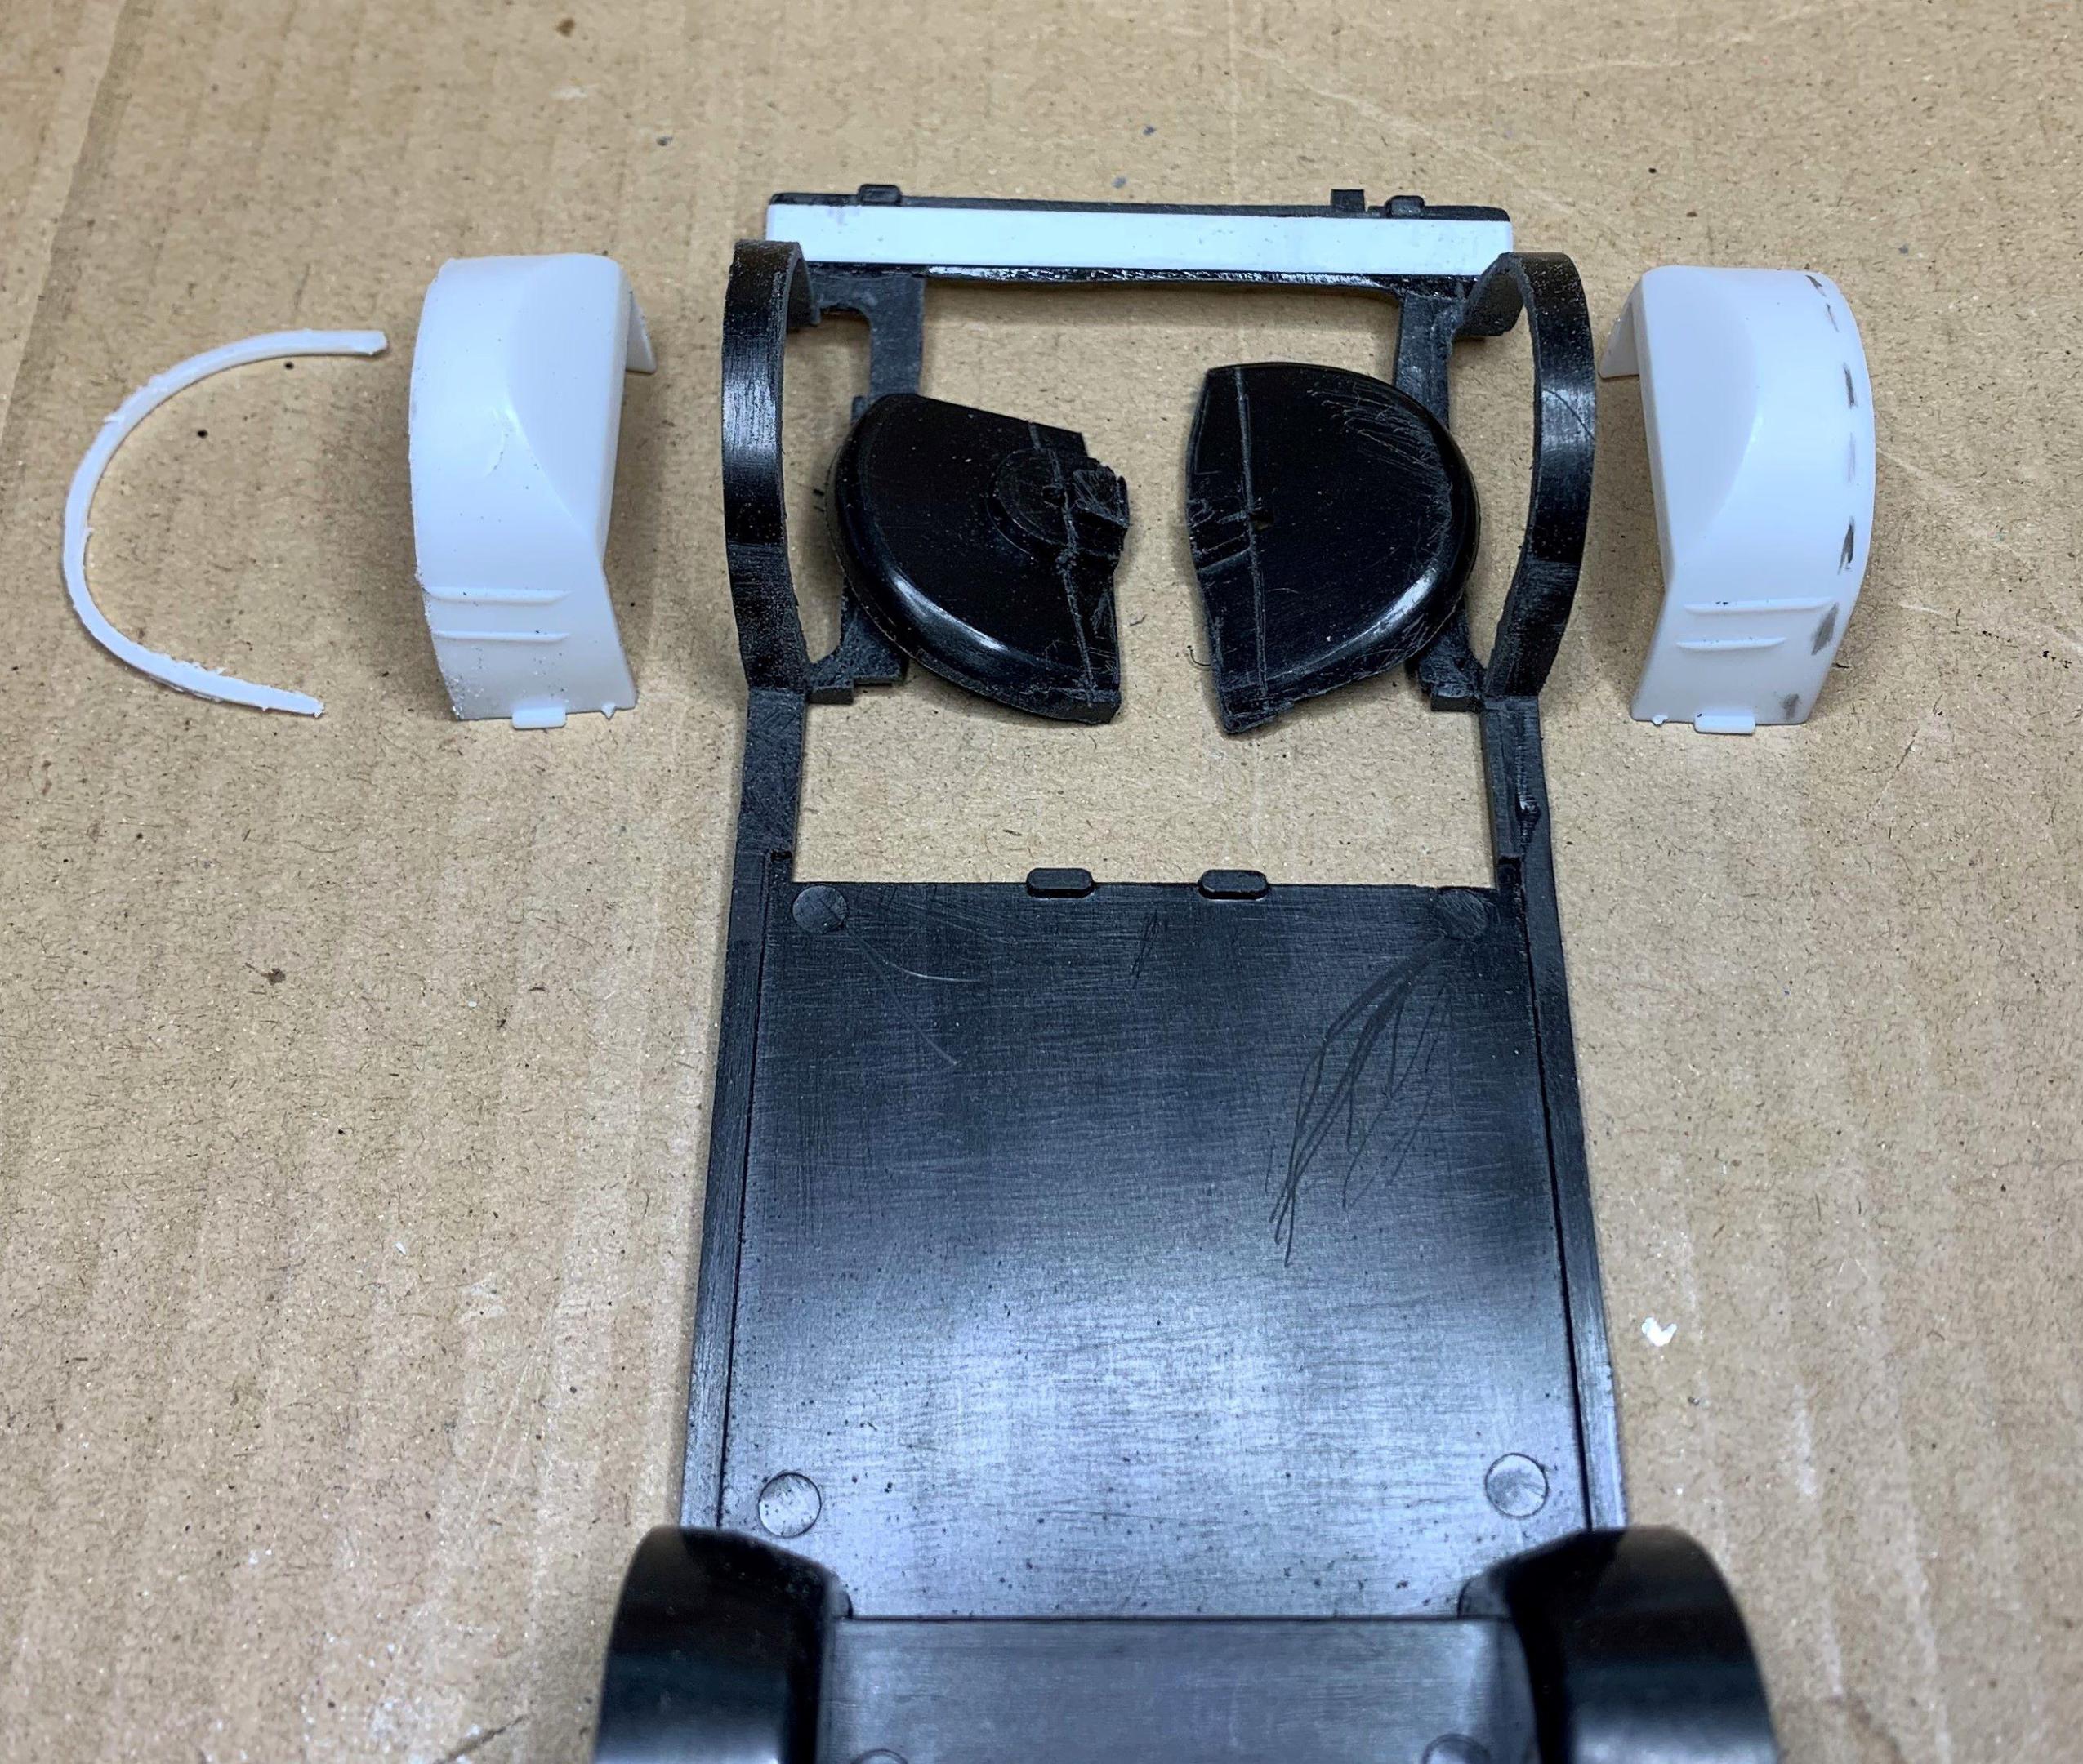
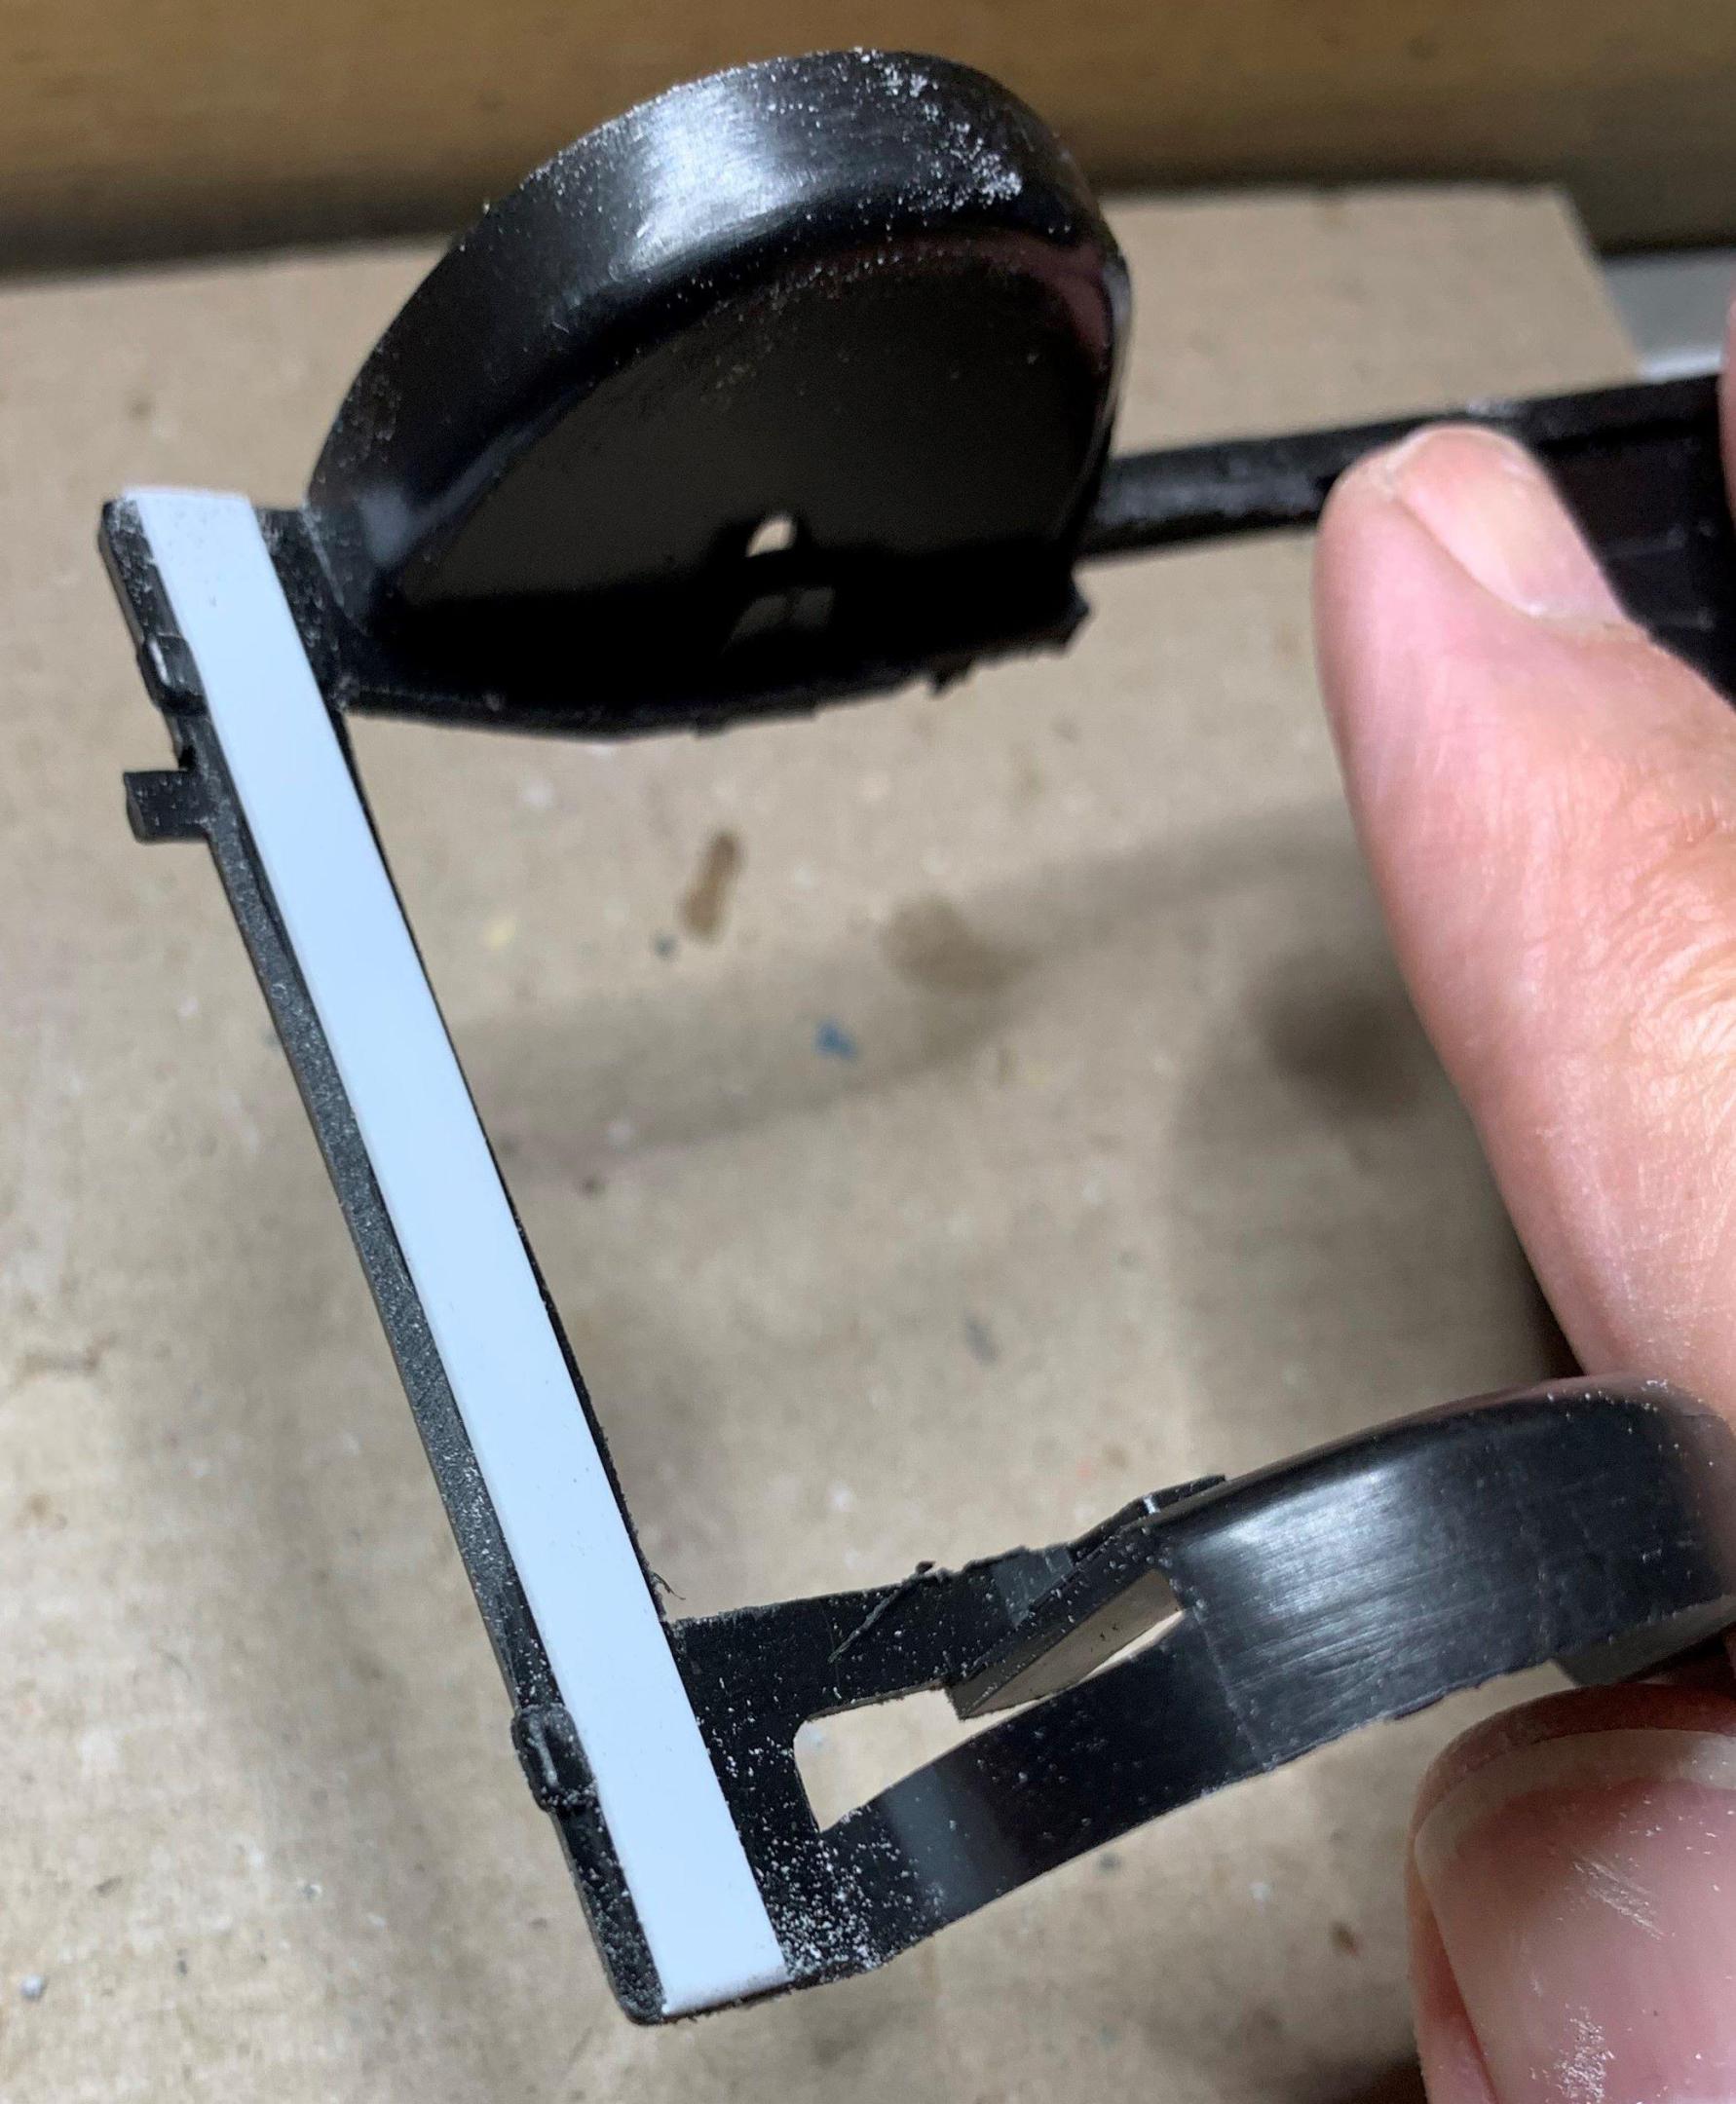
Before I can sand that muffler off, I'll need to re-enforce the rear bit. Some sprue into the recess and a flat piece of styrene across the top should do the trick.
-
-
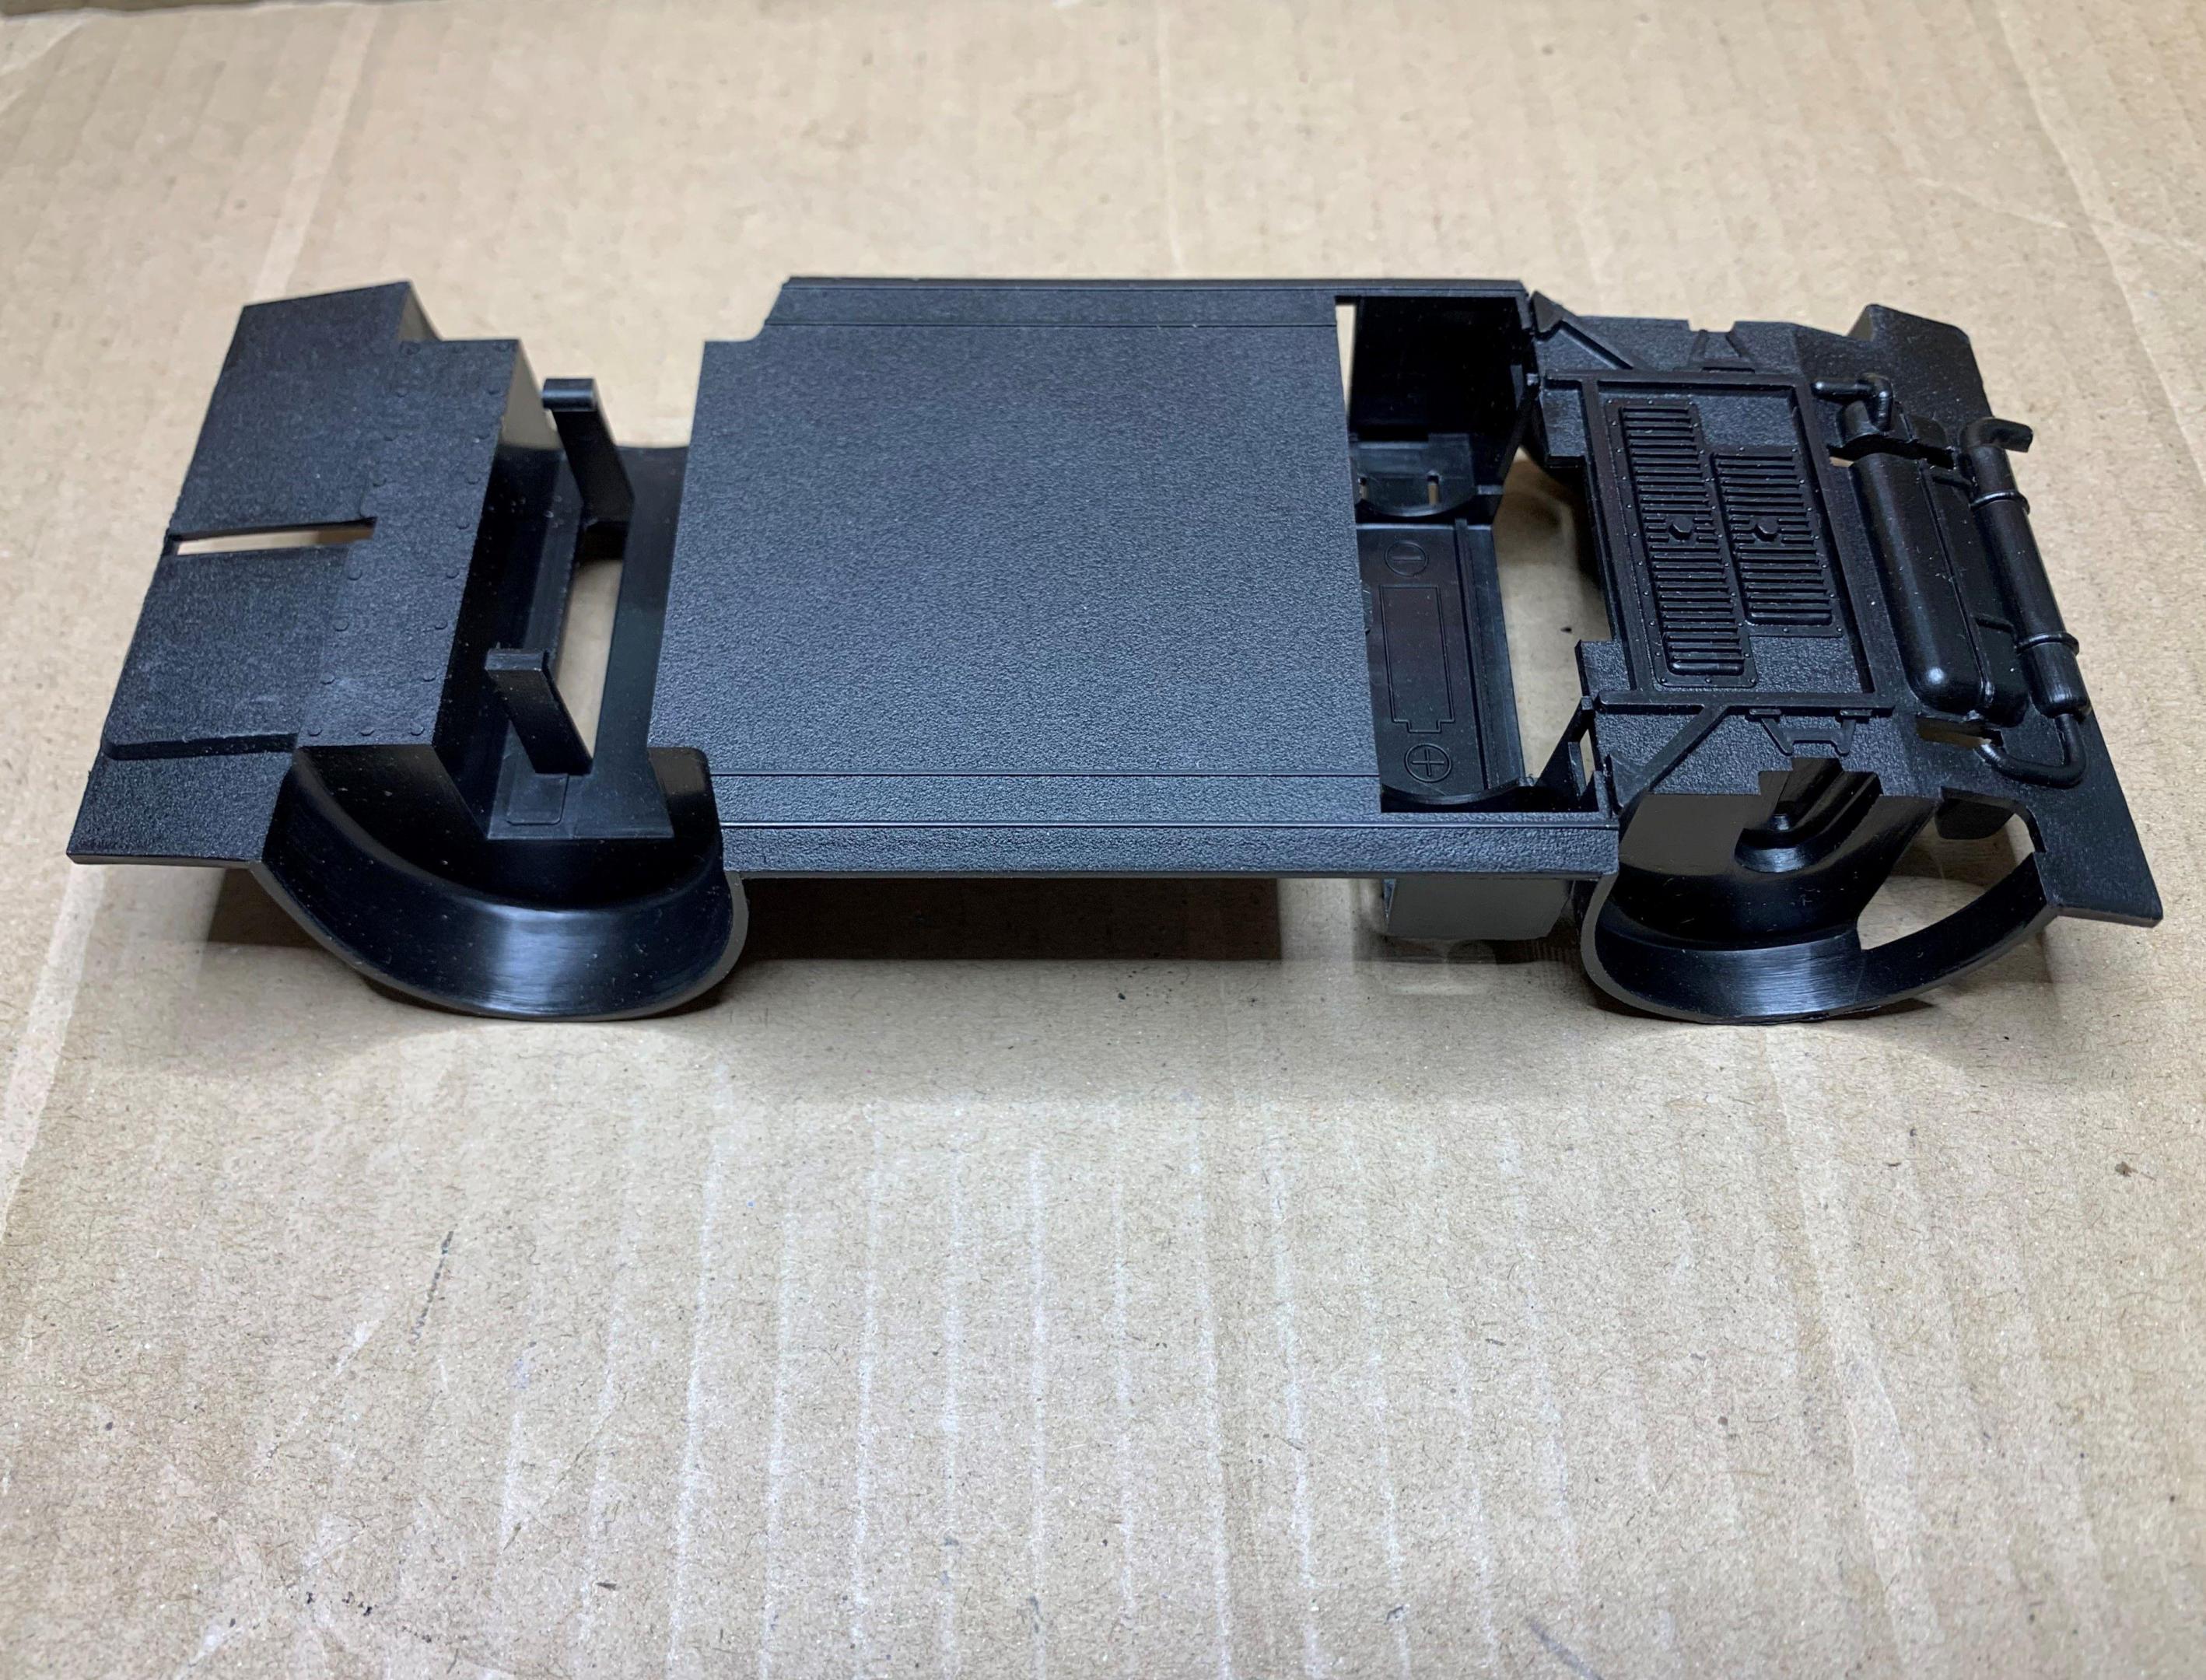
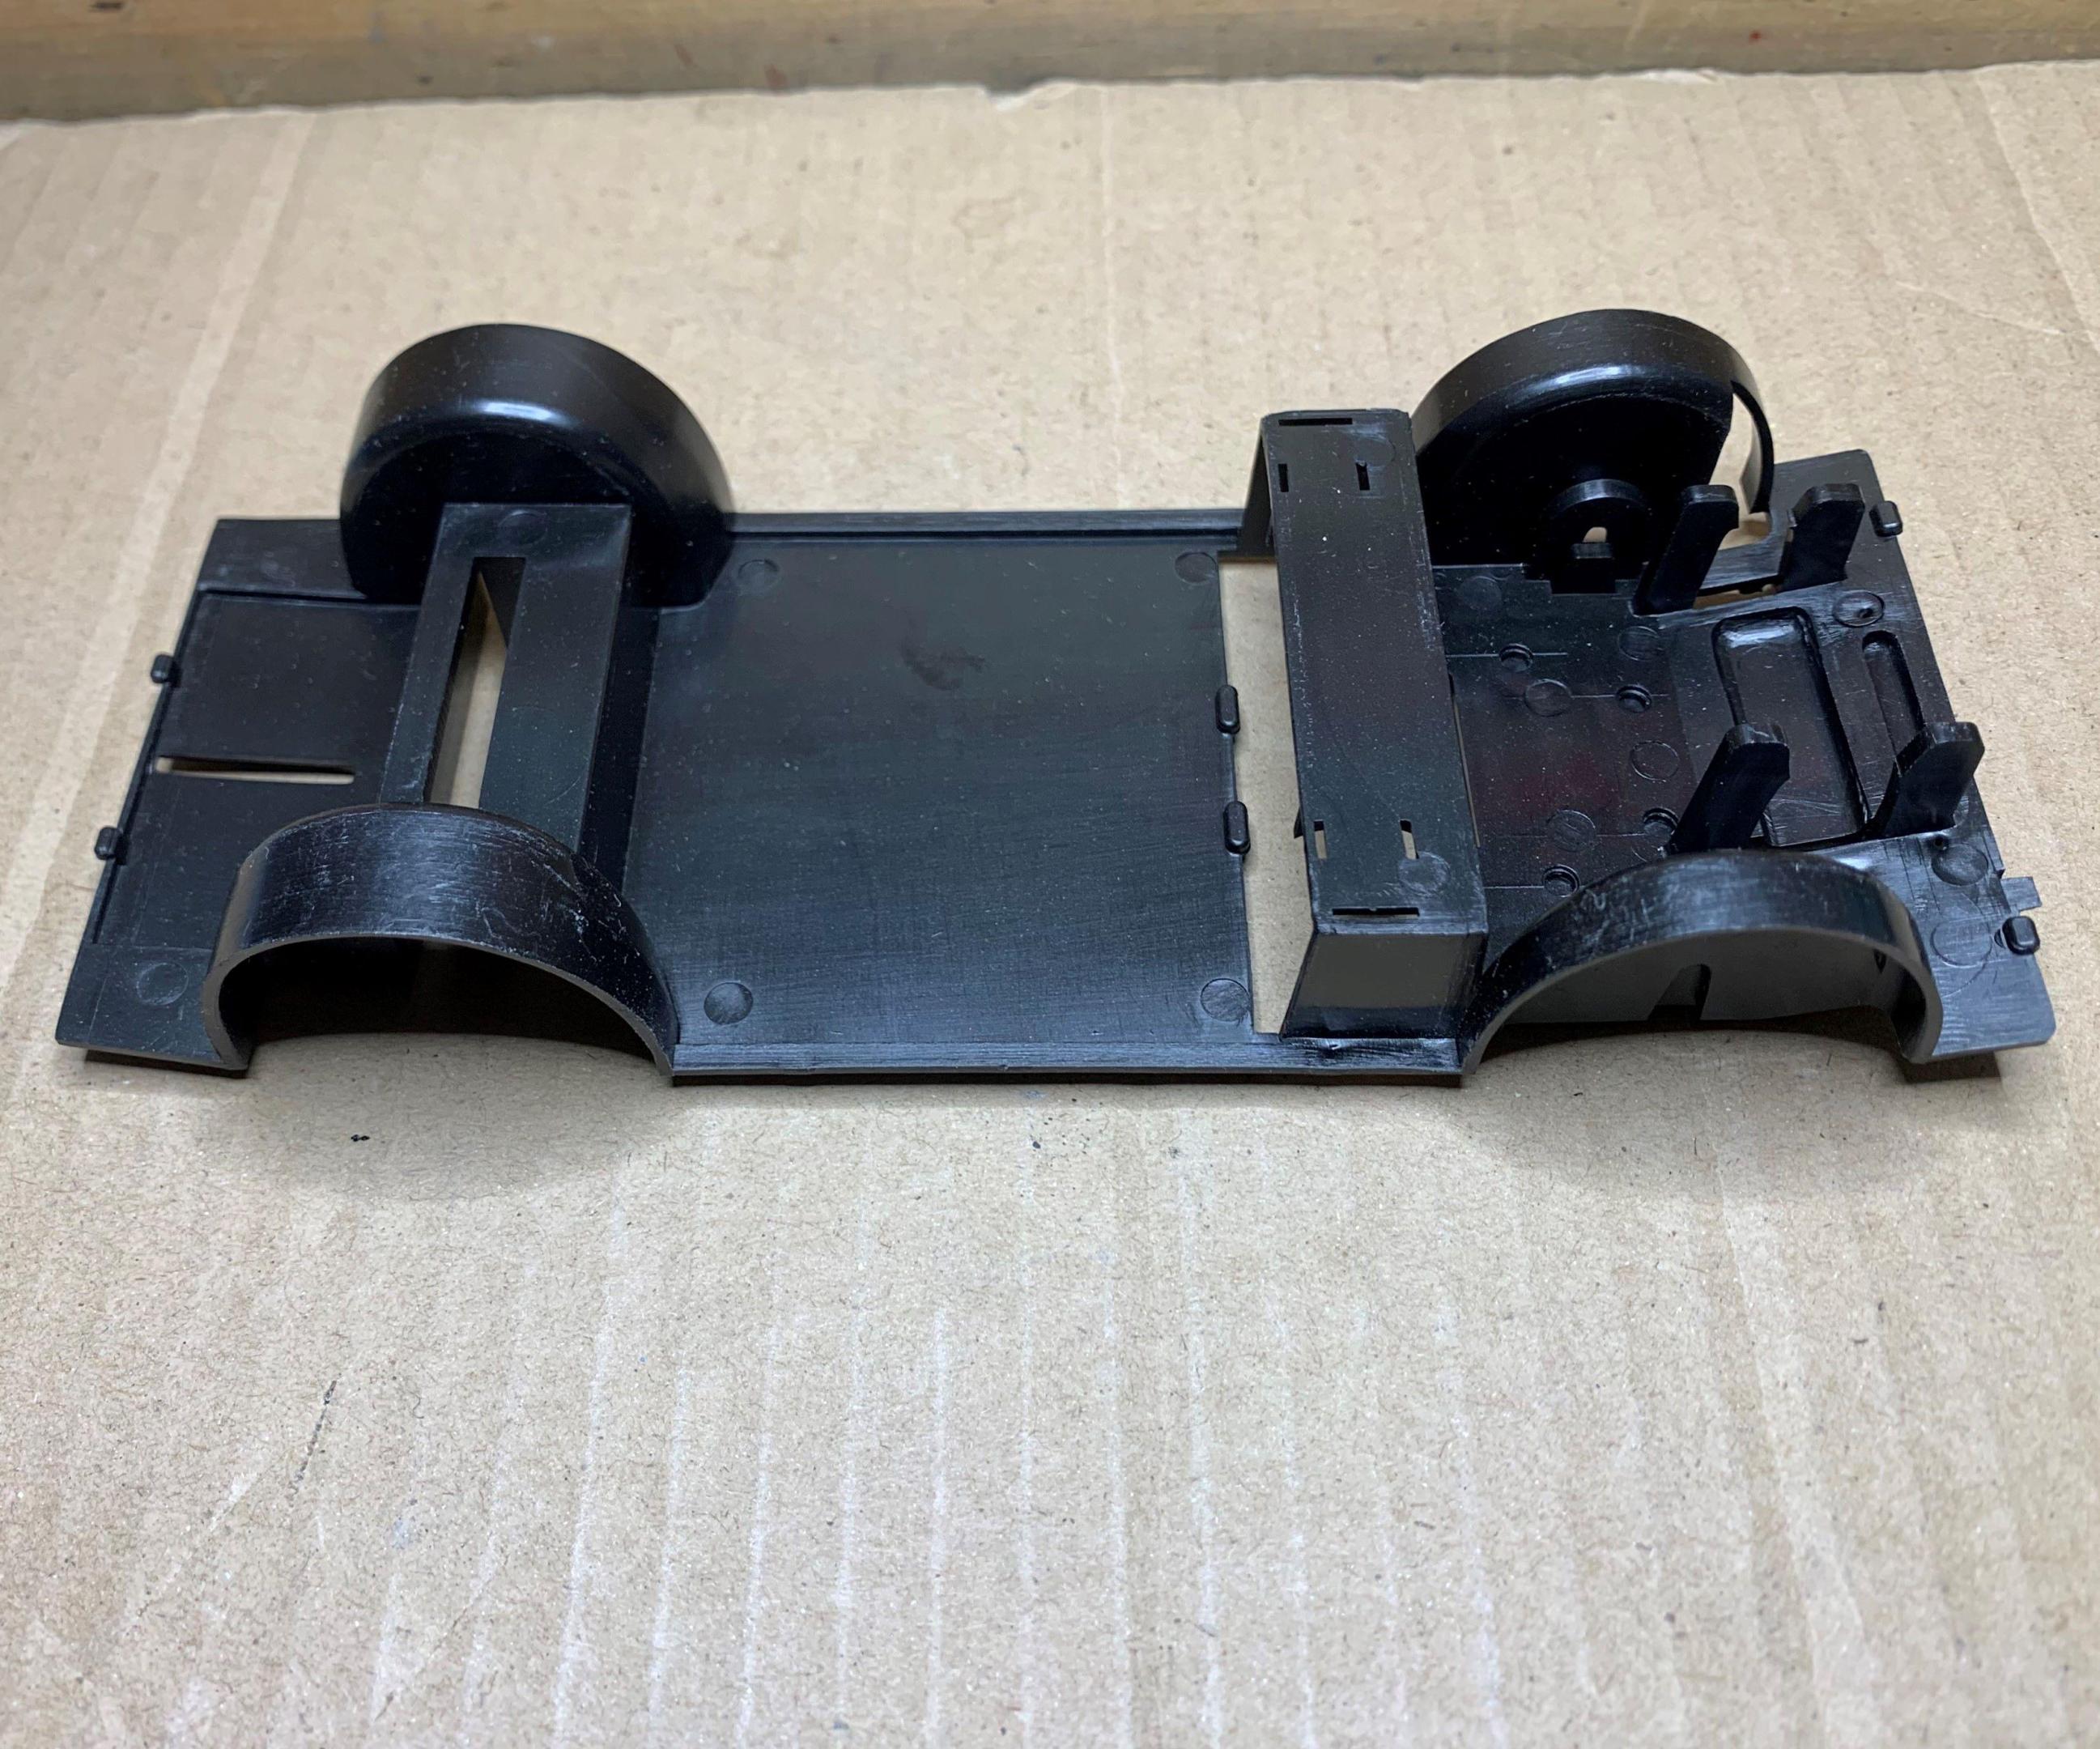
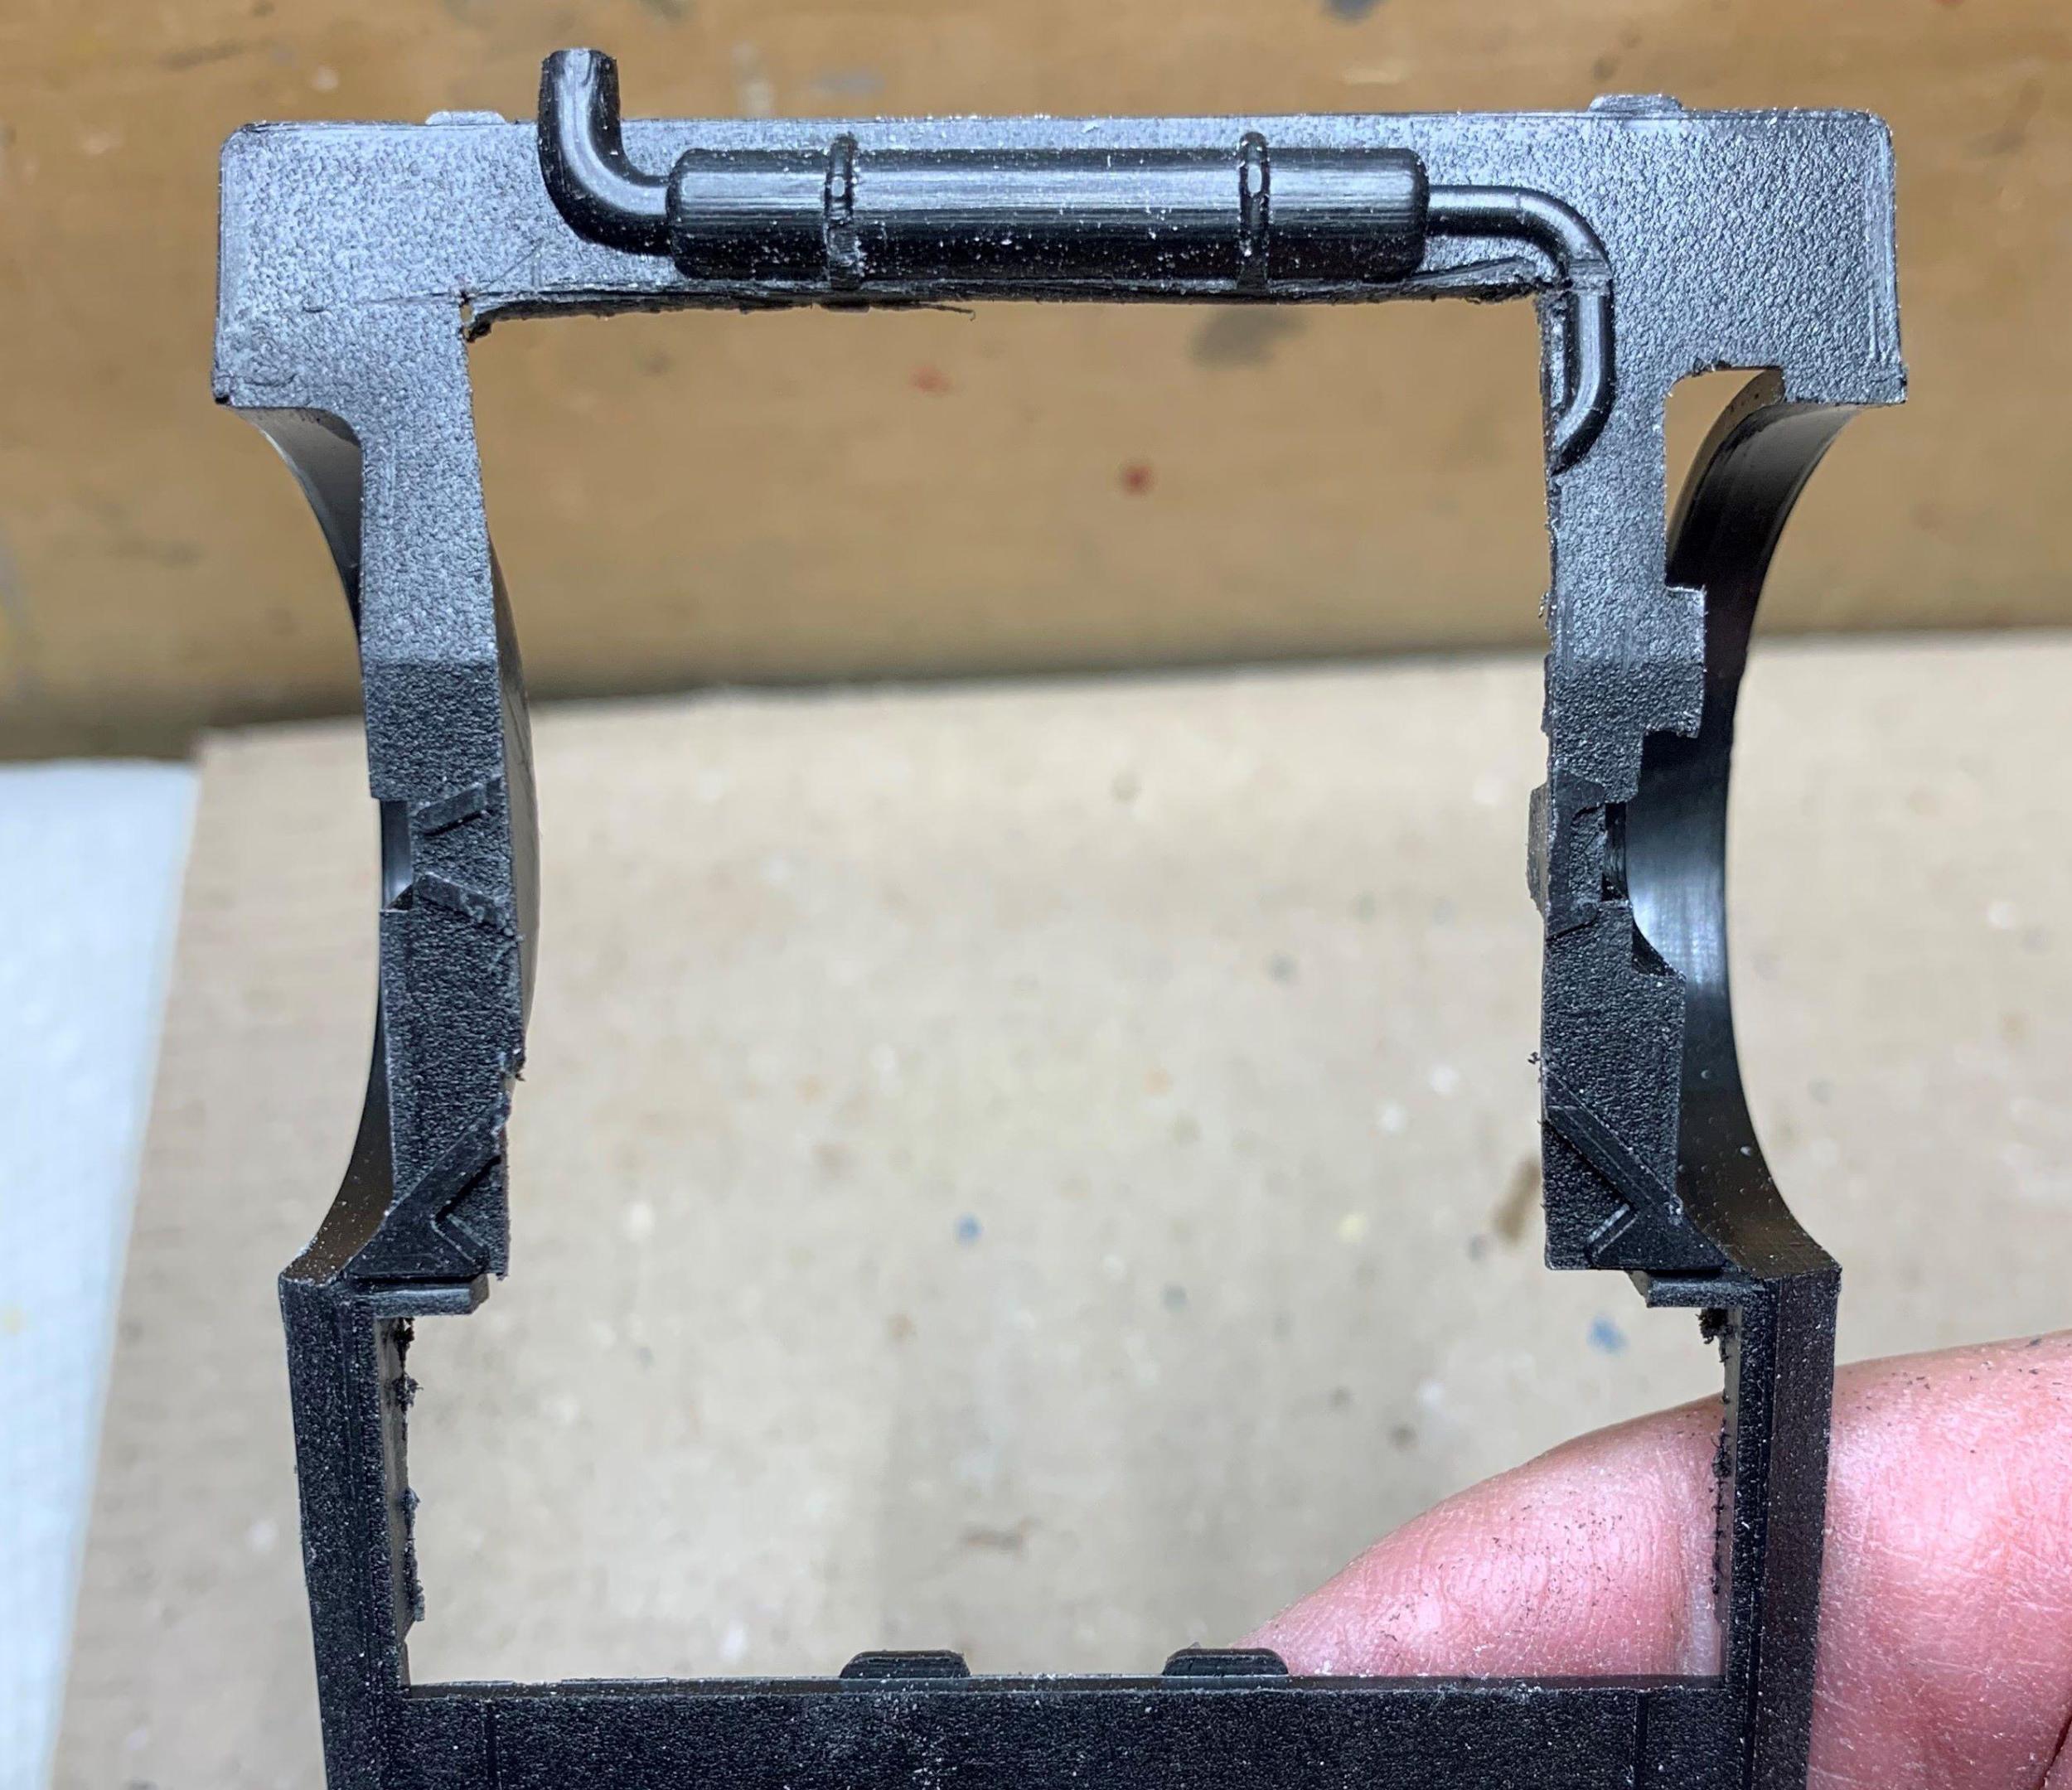
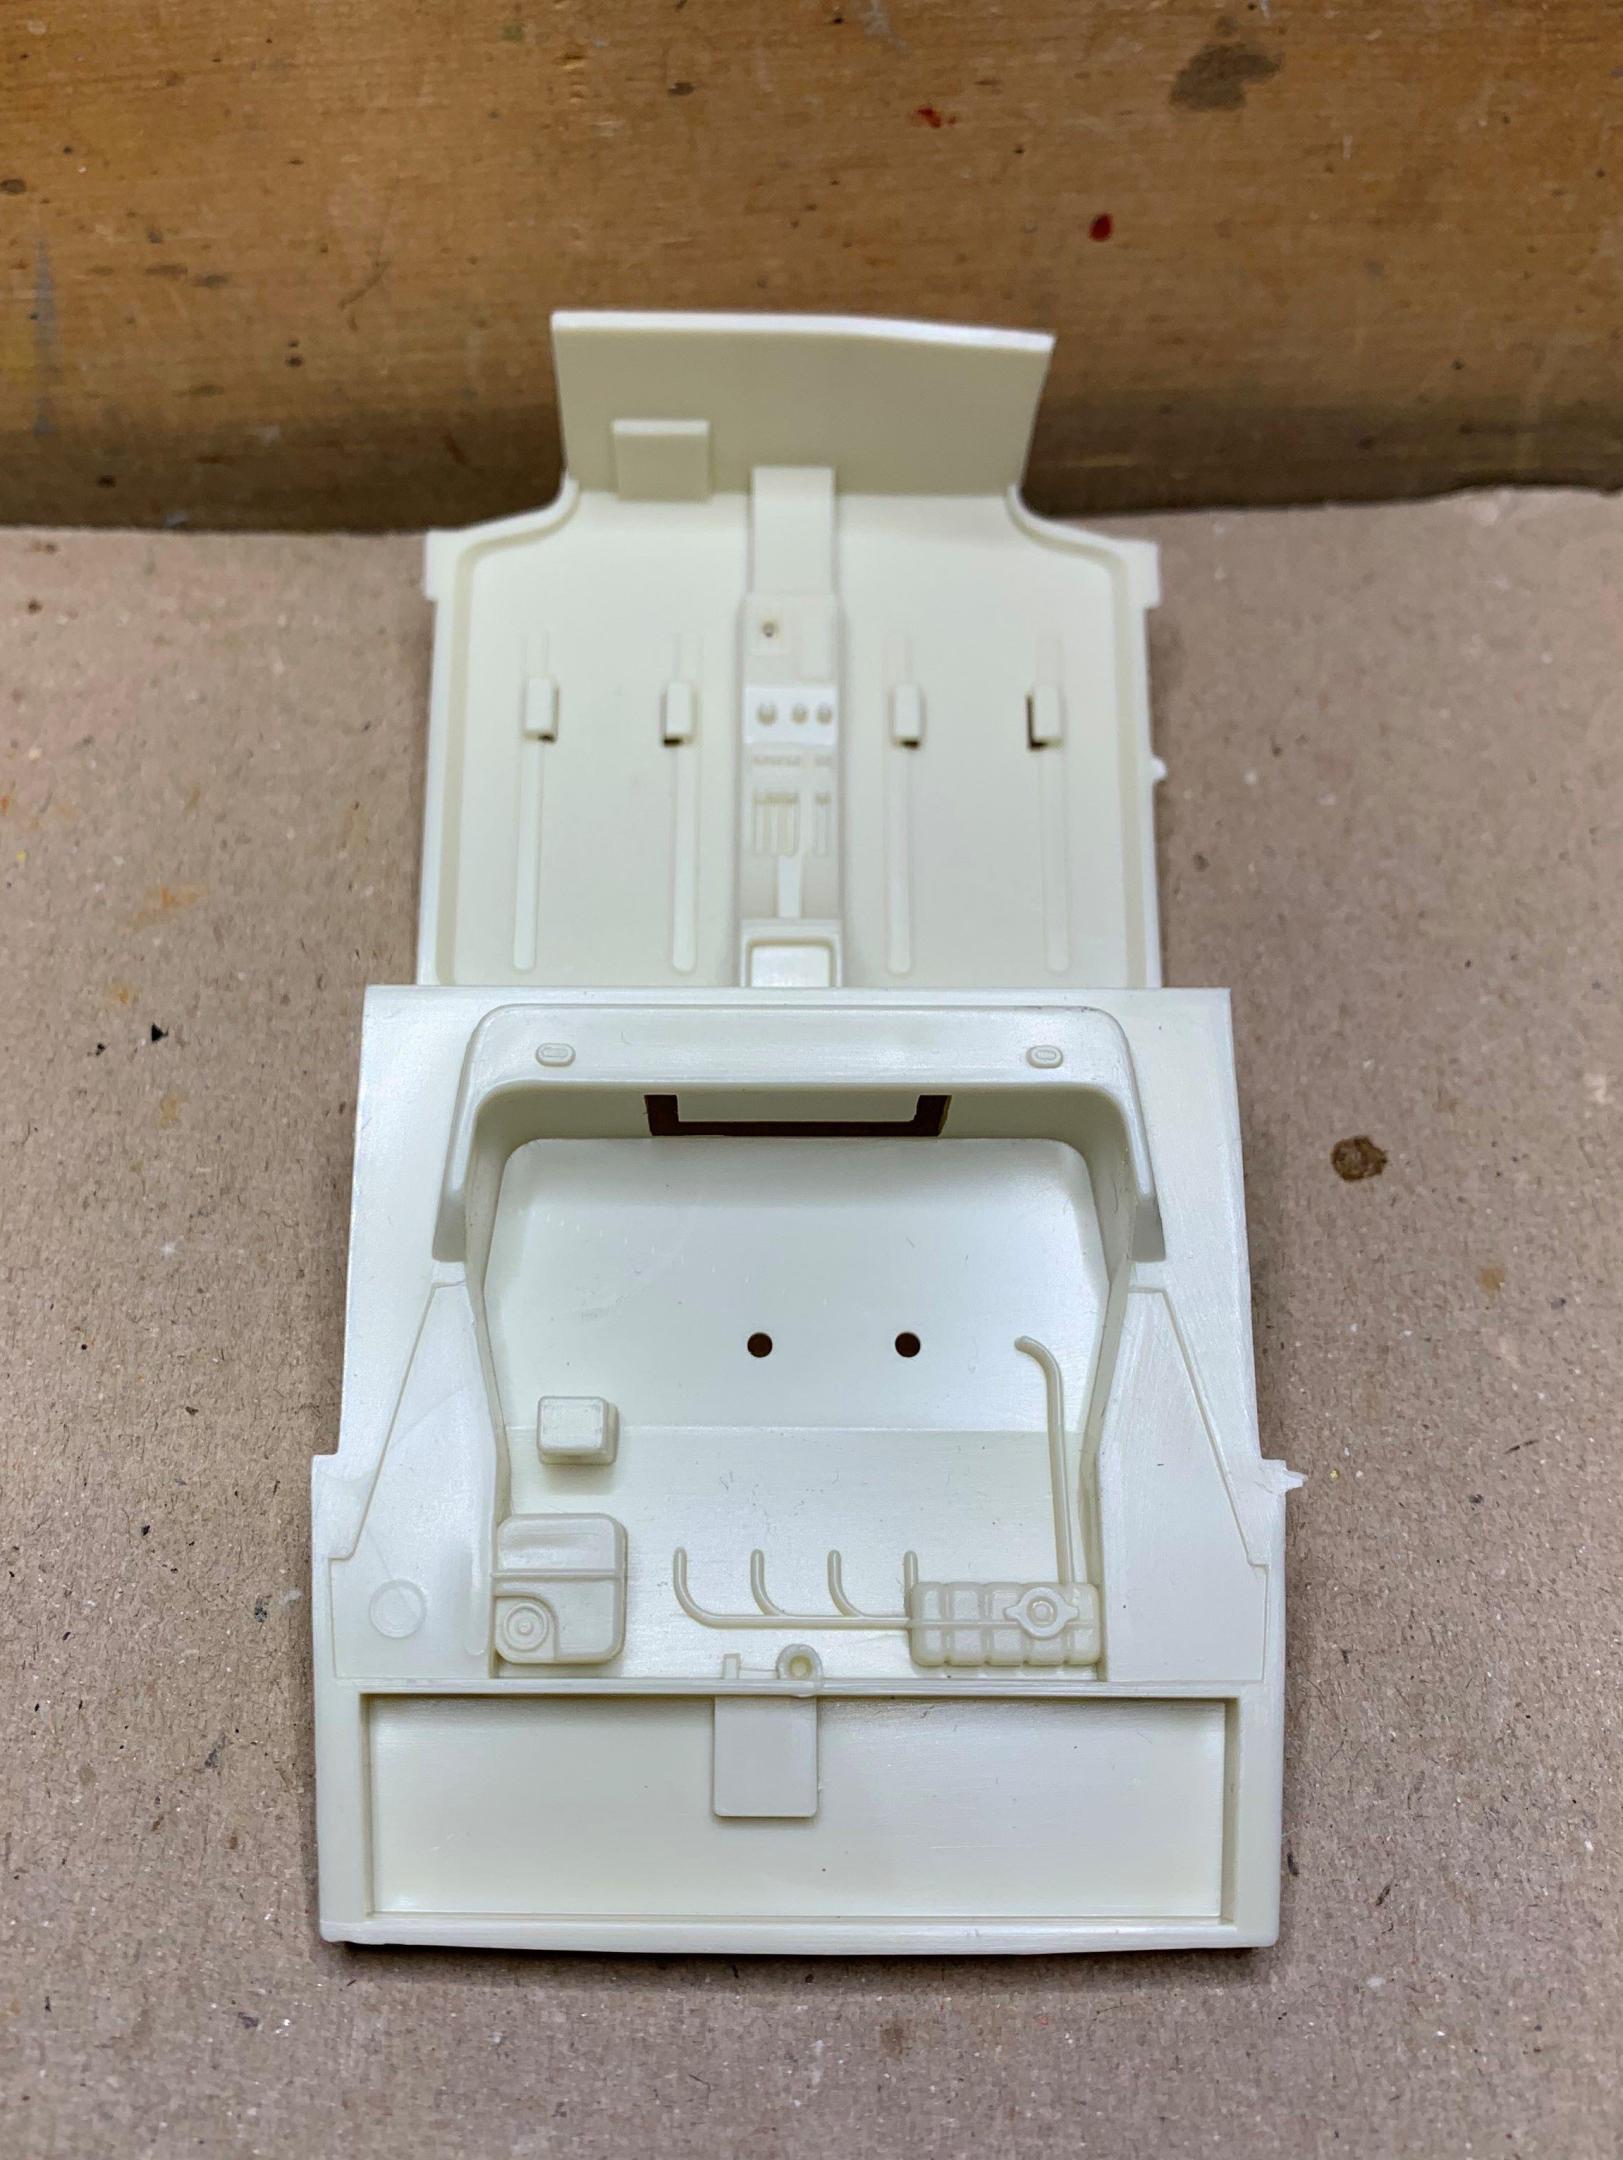
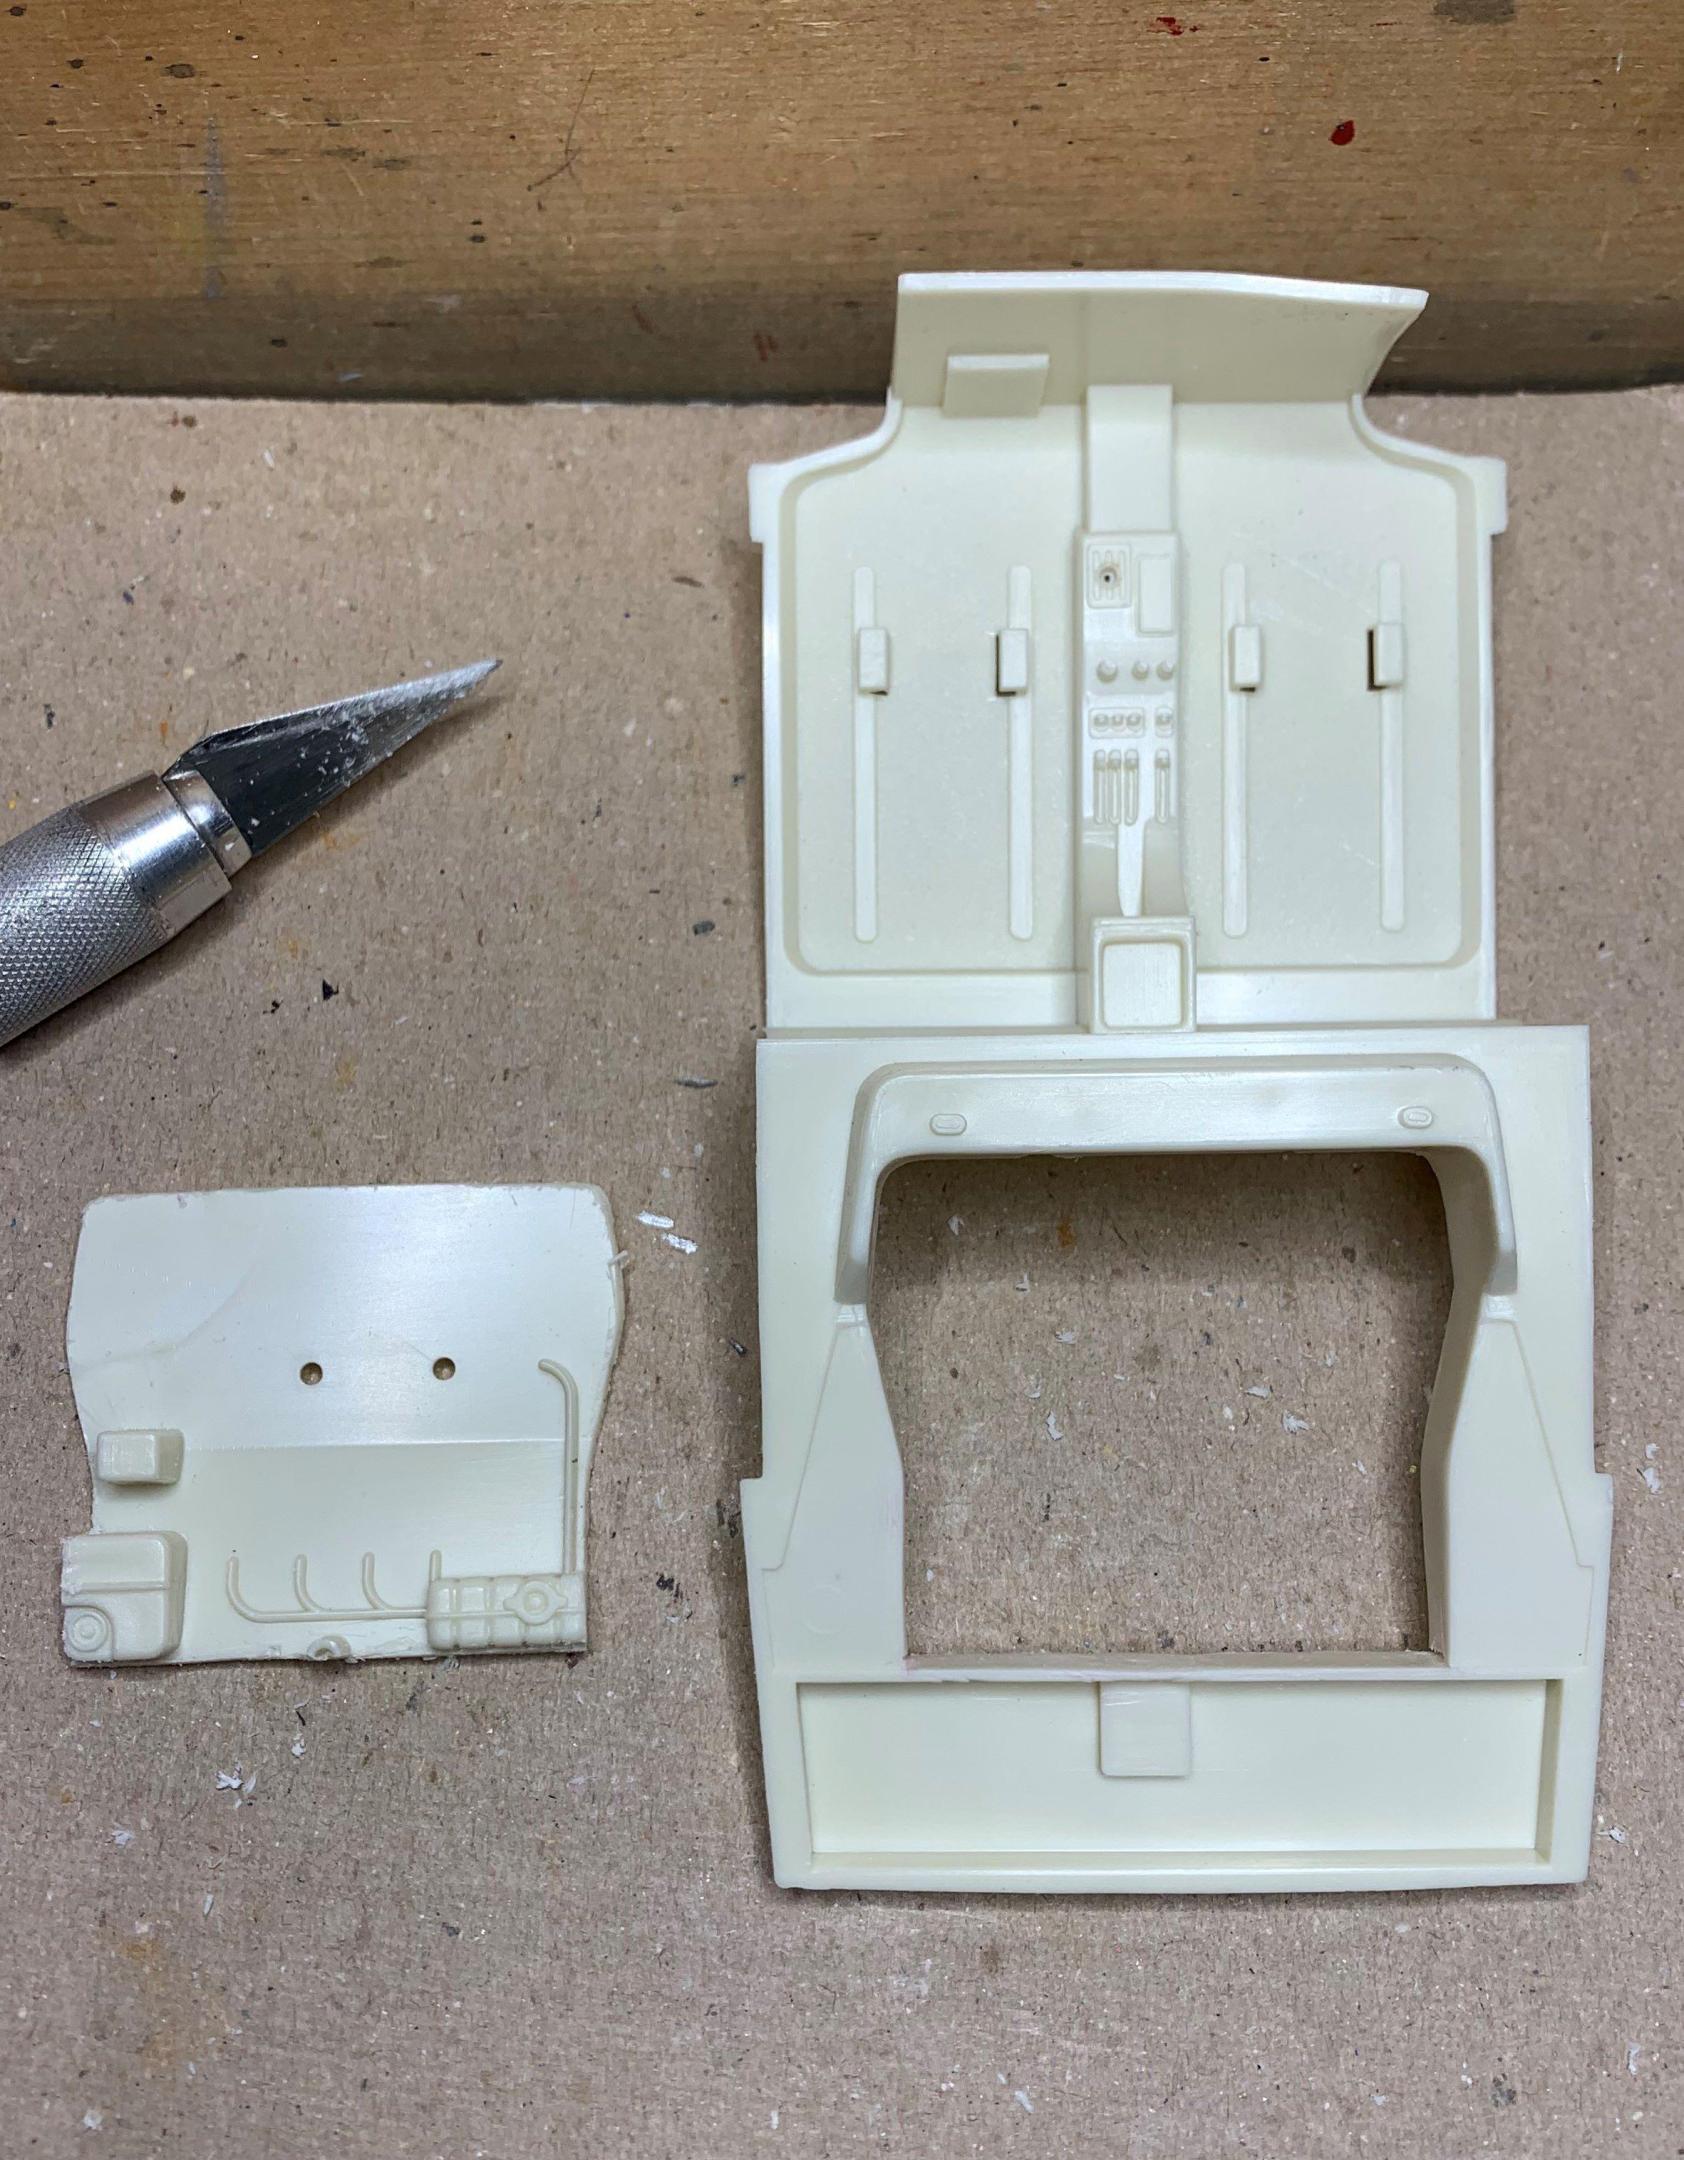
This kit is for an electric motor and batteries, so here's the engine bay, meant to cover that! And here's my first cut!
-
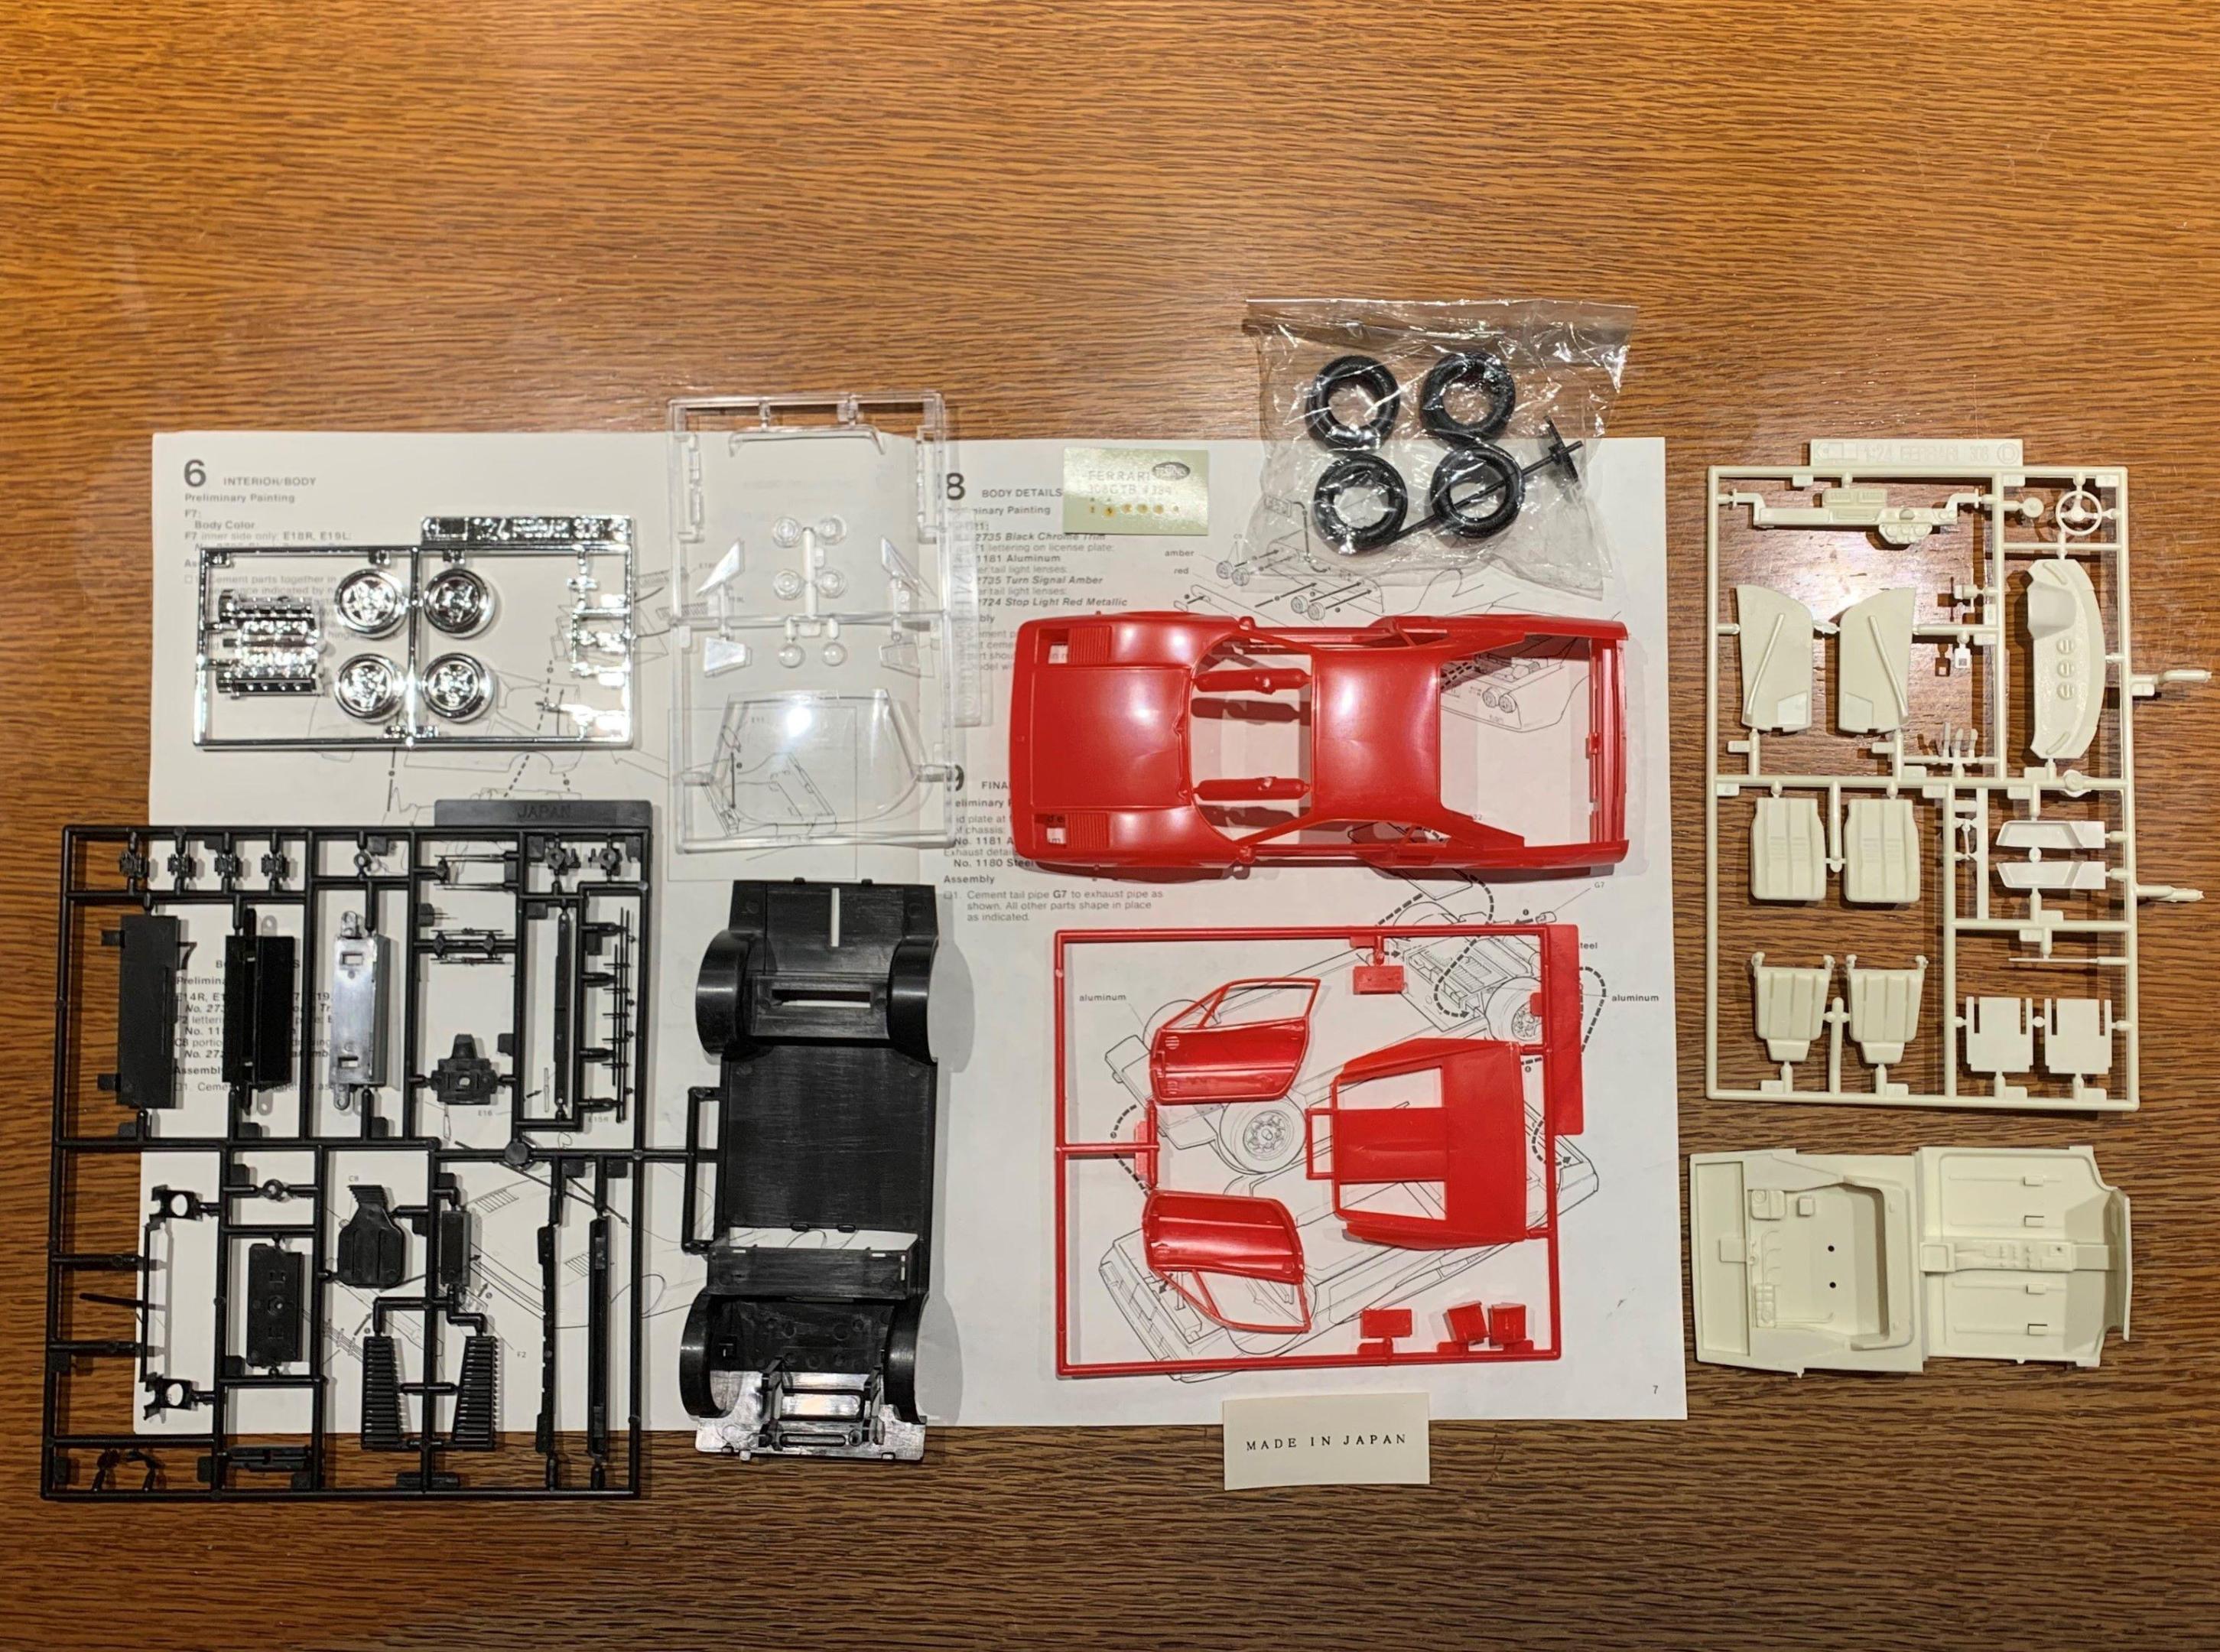
Found this 308GTB kit in my stash and I don't remember ever buying it! But I'm a Ferrari lover, so I thought I'd chop it up and see what happens! I also bought this Revell Enzo parts kit, so I have a few ideas!
-

Who doesn't love a mock-up? Let's see yours!
dino246gt replied to Belairconvertable's topic in WIP: Model Cars
That's a great opening line! I love changing things up from time to time, trying something different, it keeps the modeling bug happy! Building the same type of models over and over causes builder burnout and lack of interest. Try a Tamiya kit, of build a 4X4 or an exotic, '32 old school, factory correct muscle car, SEMA build, or................ Everyone should try "Something you don't normally build" Cheers!


