dino246gt
-
Posts
2,244 -
Joined
-
Last visited
Content Type
Profiles
Forums
Events
Gallery
Everything posted by dino246gt
-
1: I've done this several times before, parts box wheel backs cut down to represent drum brake backing plates. 2: from the other side, after mods. 3: Kit wheel backs thinned to fit narrower tires. 4: Front suspension is pretty simple, de-chromed and top of spring sanded down. Pins for locating as it's on and off so many times because of all the frame modifications.

-
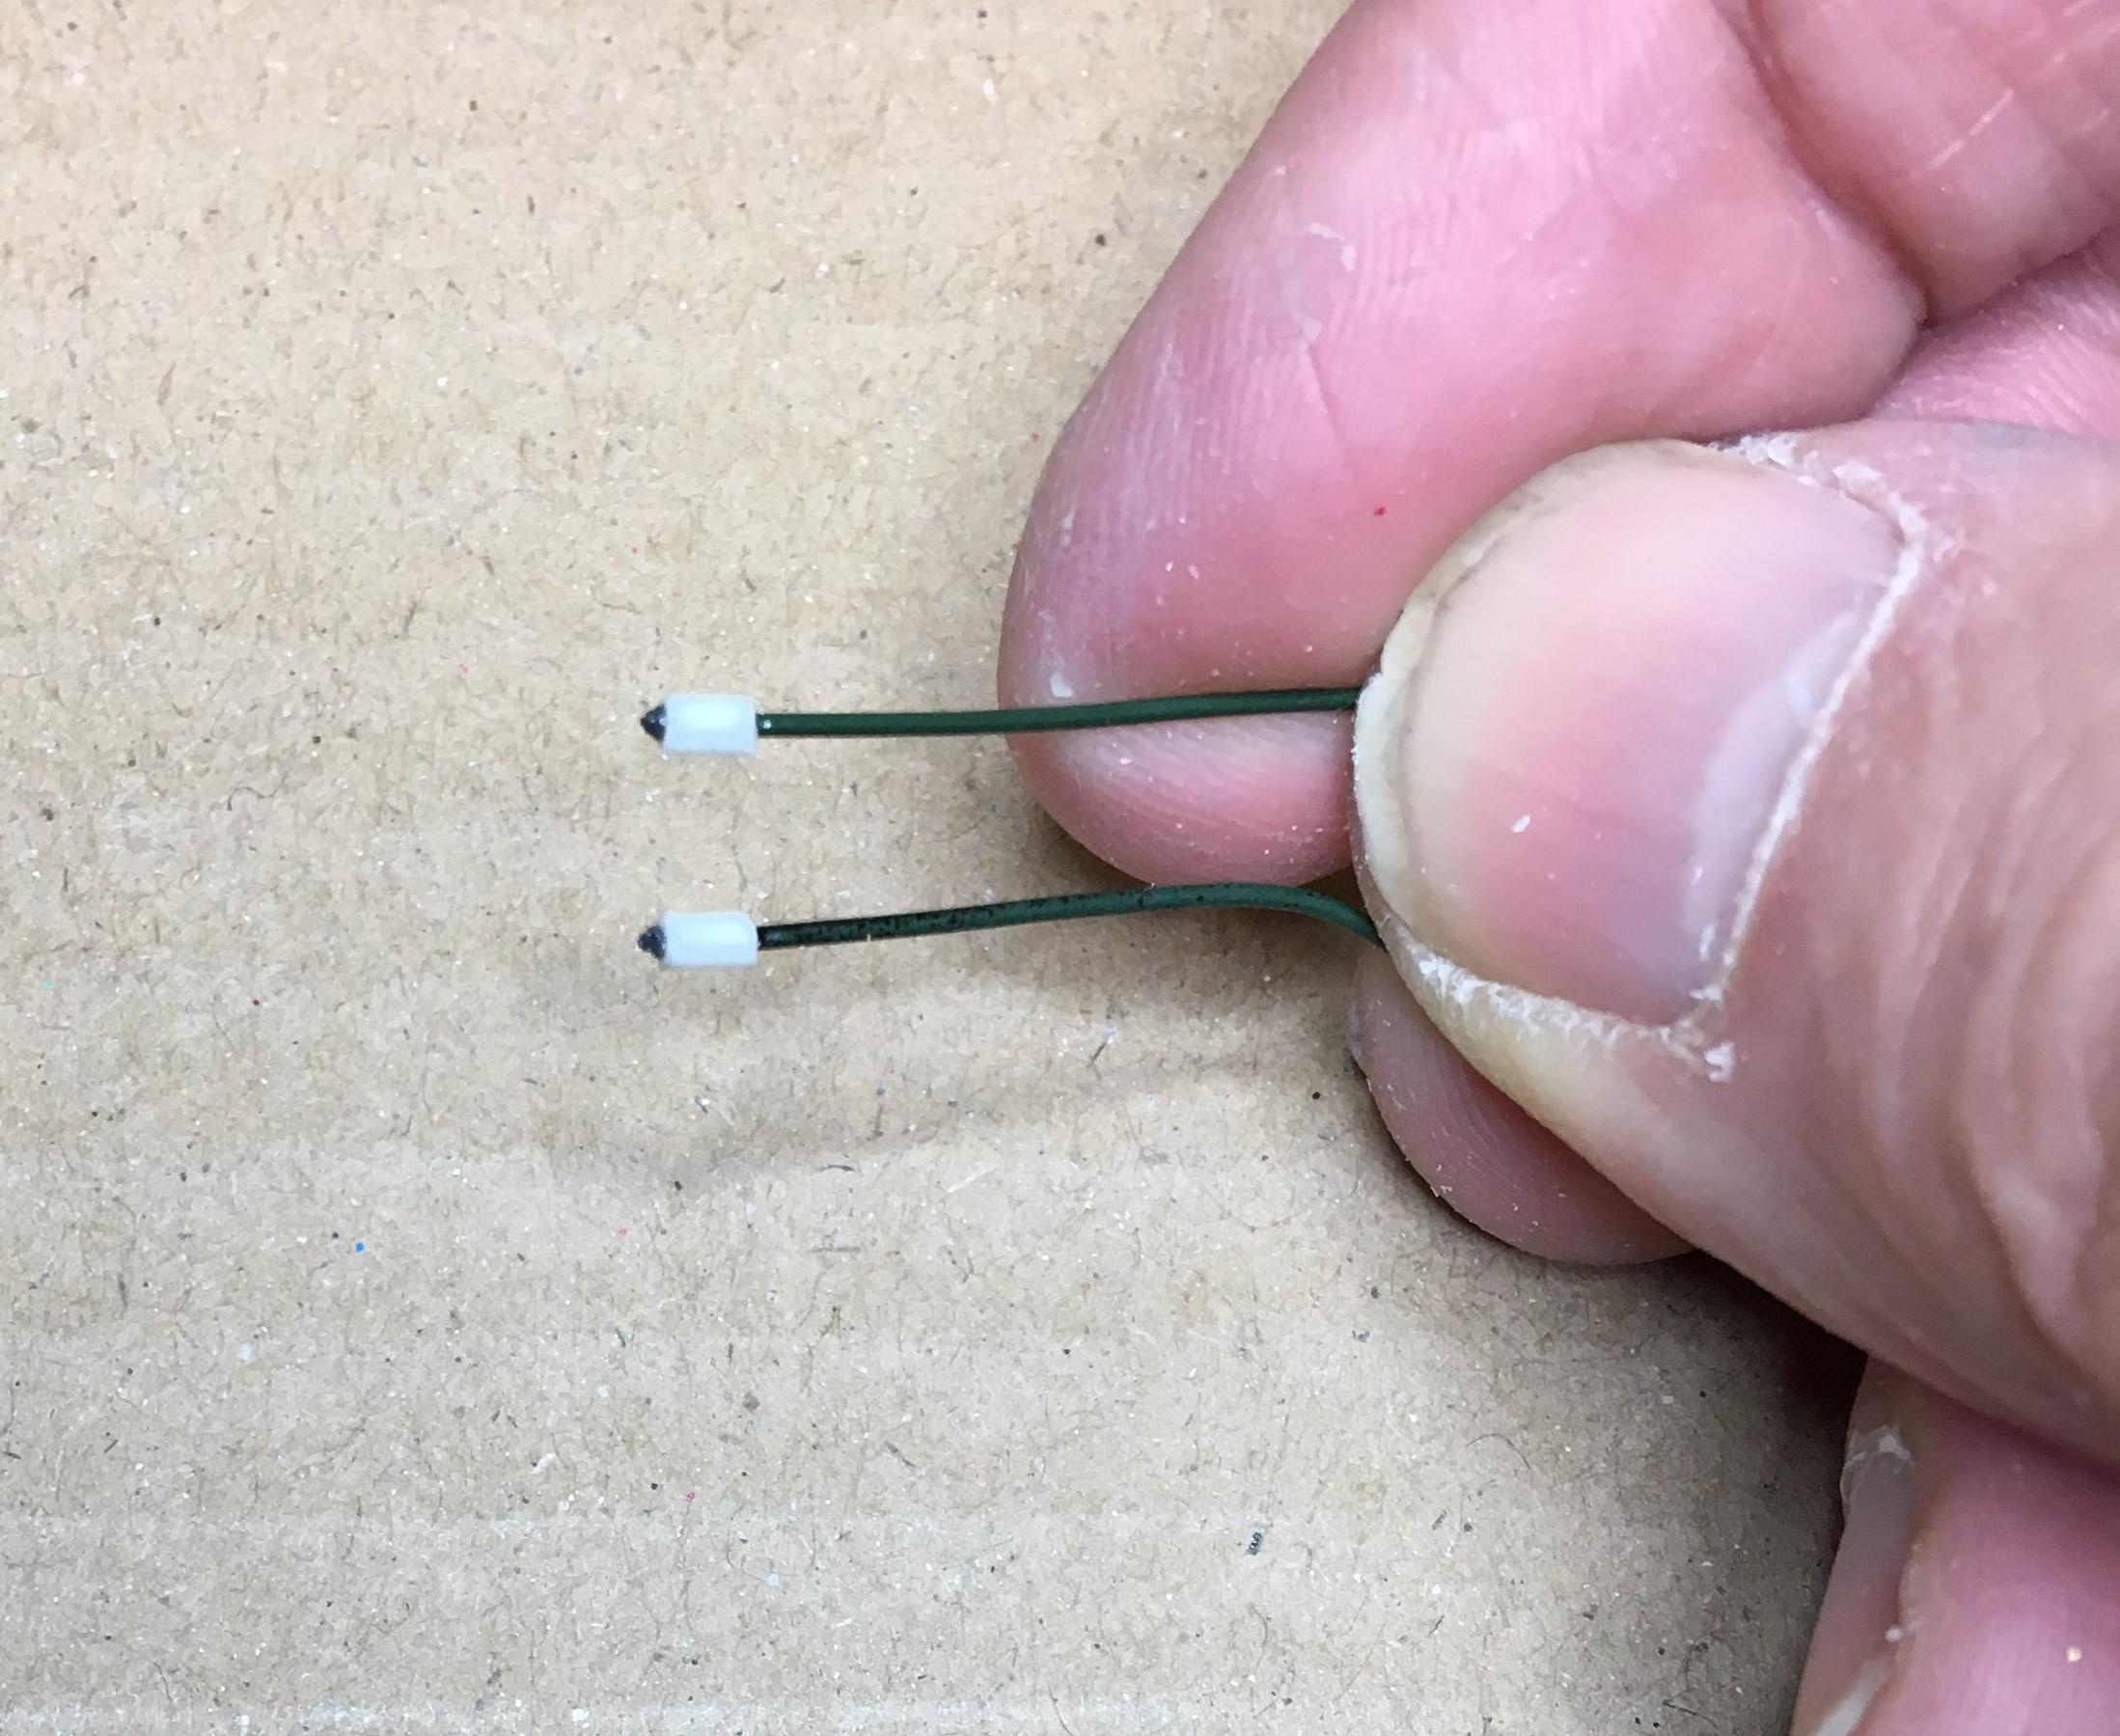
1: For the rear I used a parts box diff and leafs, but to lower it I filled the axle indents and added to the spring perches. 2: I drilled out the driveshaft ends a bit. 3: Not really much, but it does add a little and only took 5 minutes. 4: This is a piece of florist wire and some styrene tube that is the size of shock ends. I'll glue shocks to these and paint them to match the shock body, except the wire. 5: You can see the blue shocks with no mounting points, so I made a new crossmember and drilled for the florist wire. 6: Wire glued in, so when I tilt the diff the blue shocks will attach to the styrene tube and become part of the shock, the wire more or less represents the bolt.
-
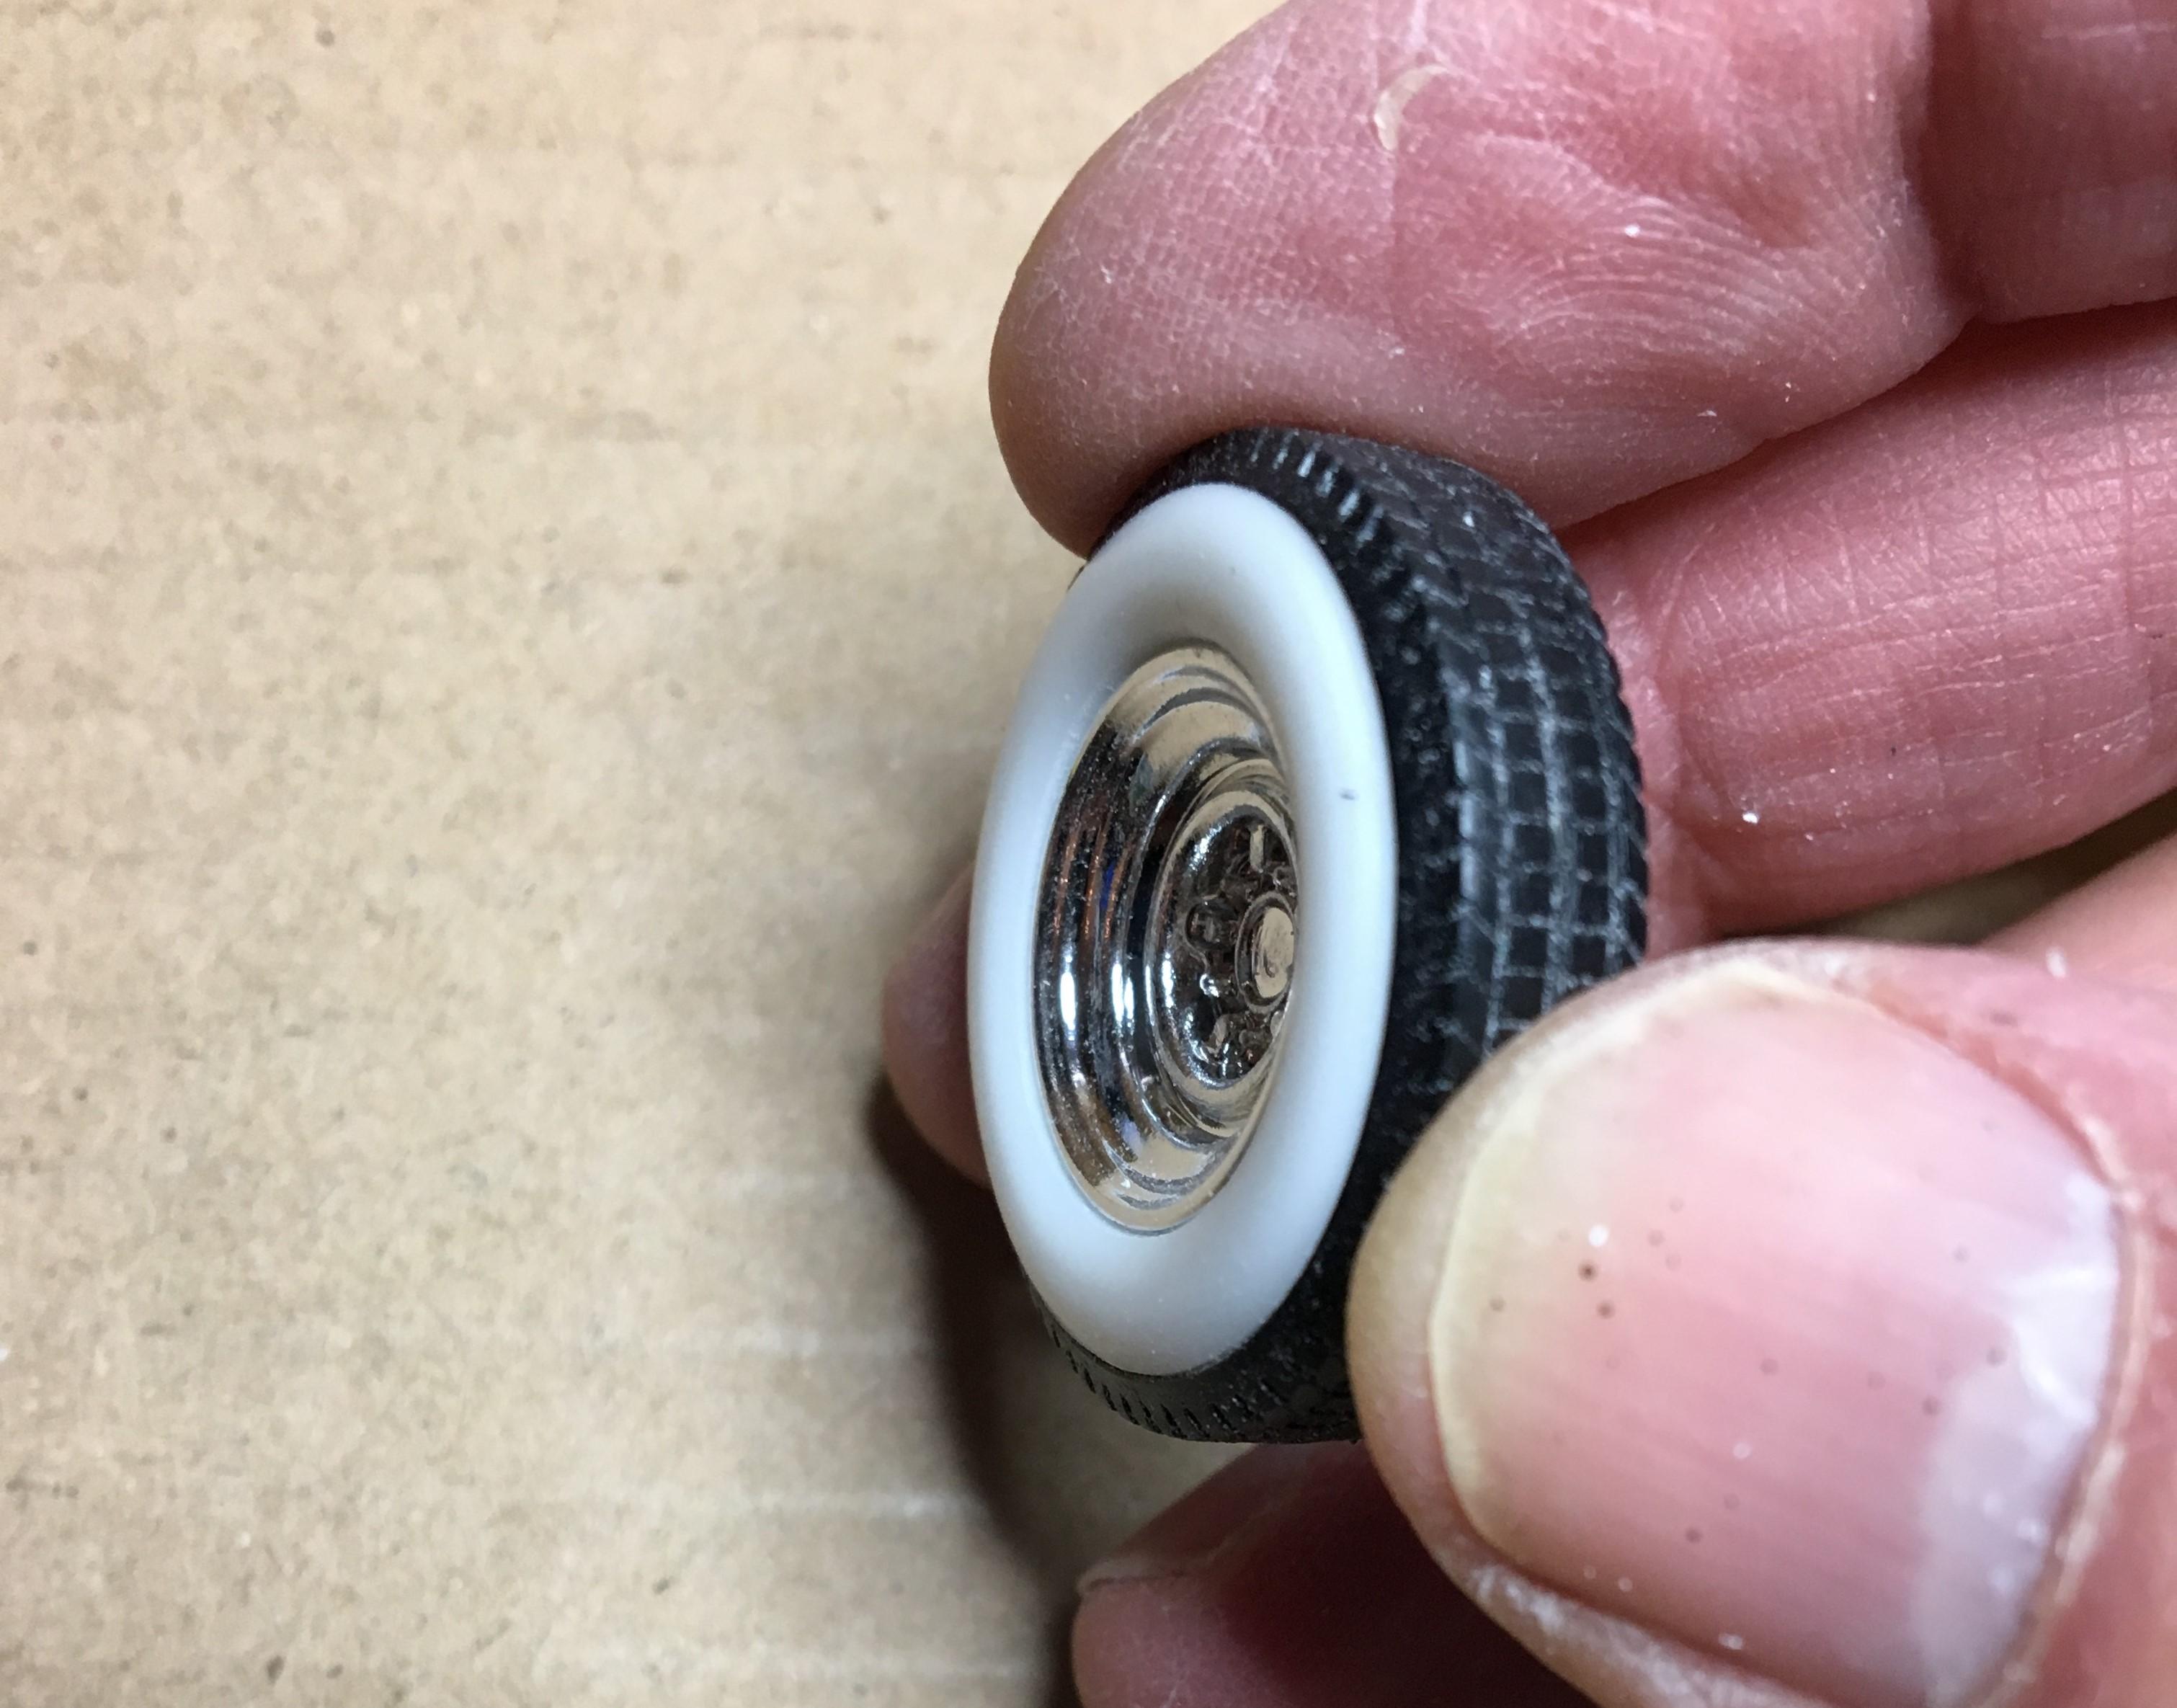
1: Here's the tires I'll use, hard resin. 2: But the chrome rims I like from Revell's '49 Merc Woody kit are just too big! 3: Can't really make the rims smaller, so I'll open up the white walls to allow the wheels to fit. 4: Much better! This time it was pretty extreme and easy to see, but on almost every model I open up the tire a bit to fit the rims deeper in, like this! 5: I won't need those metal axle tabs on the backside of the wheels. 6: Gone!
-
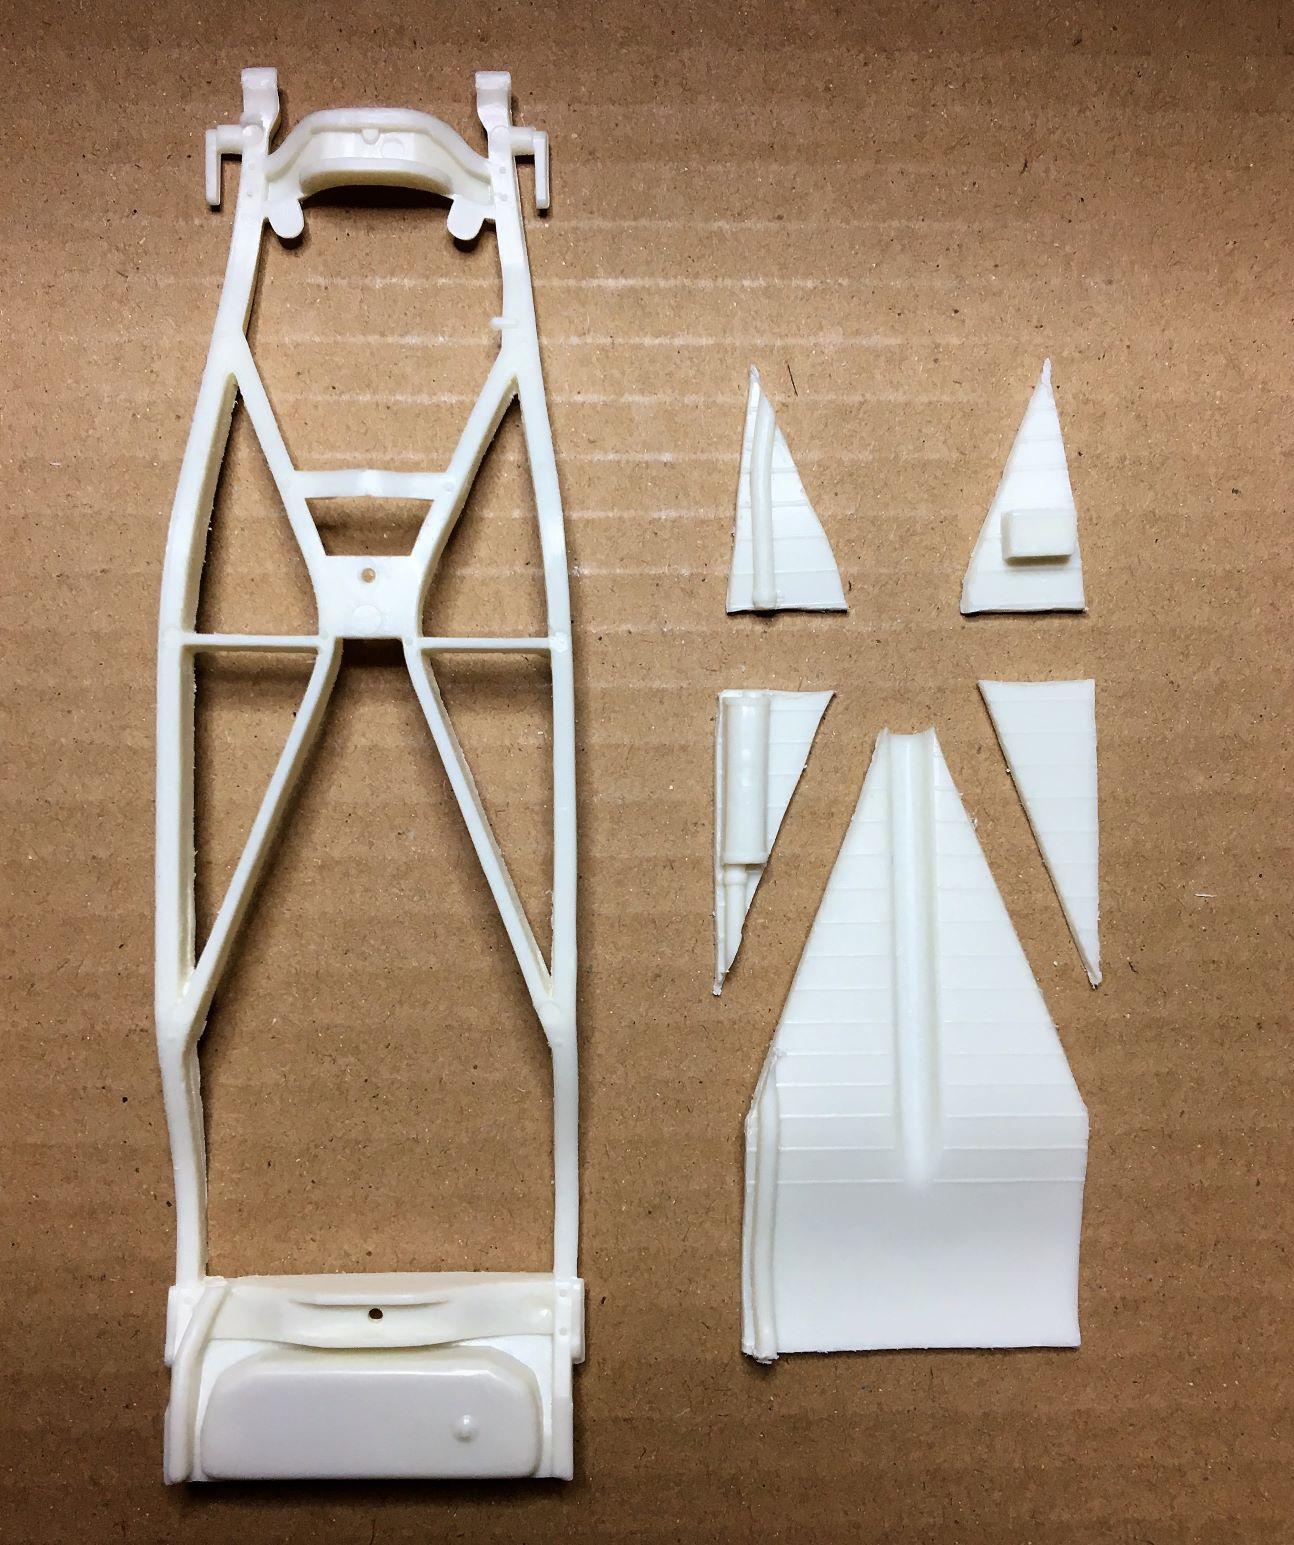
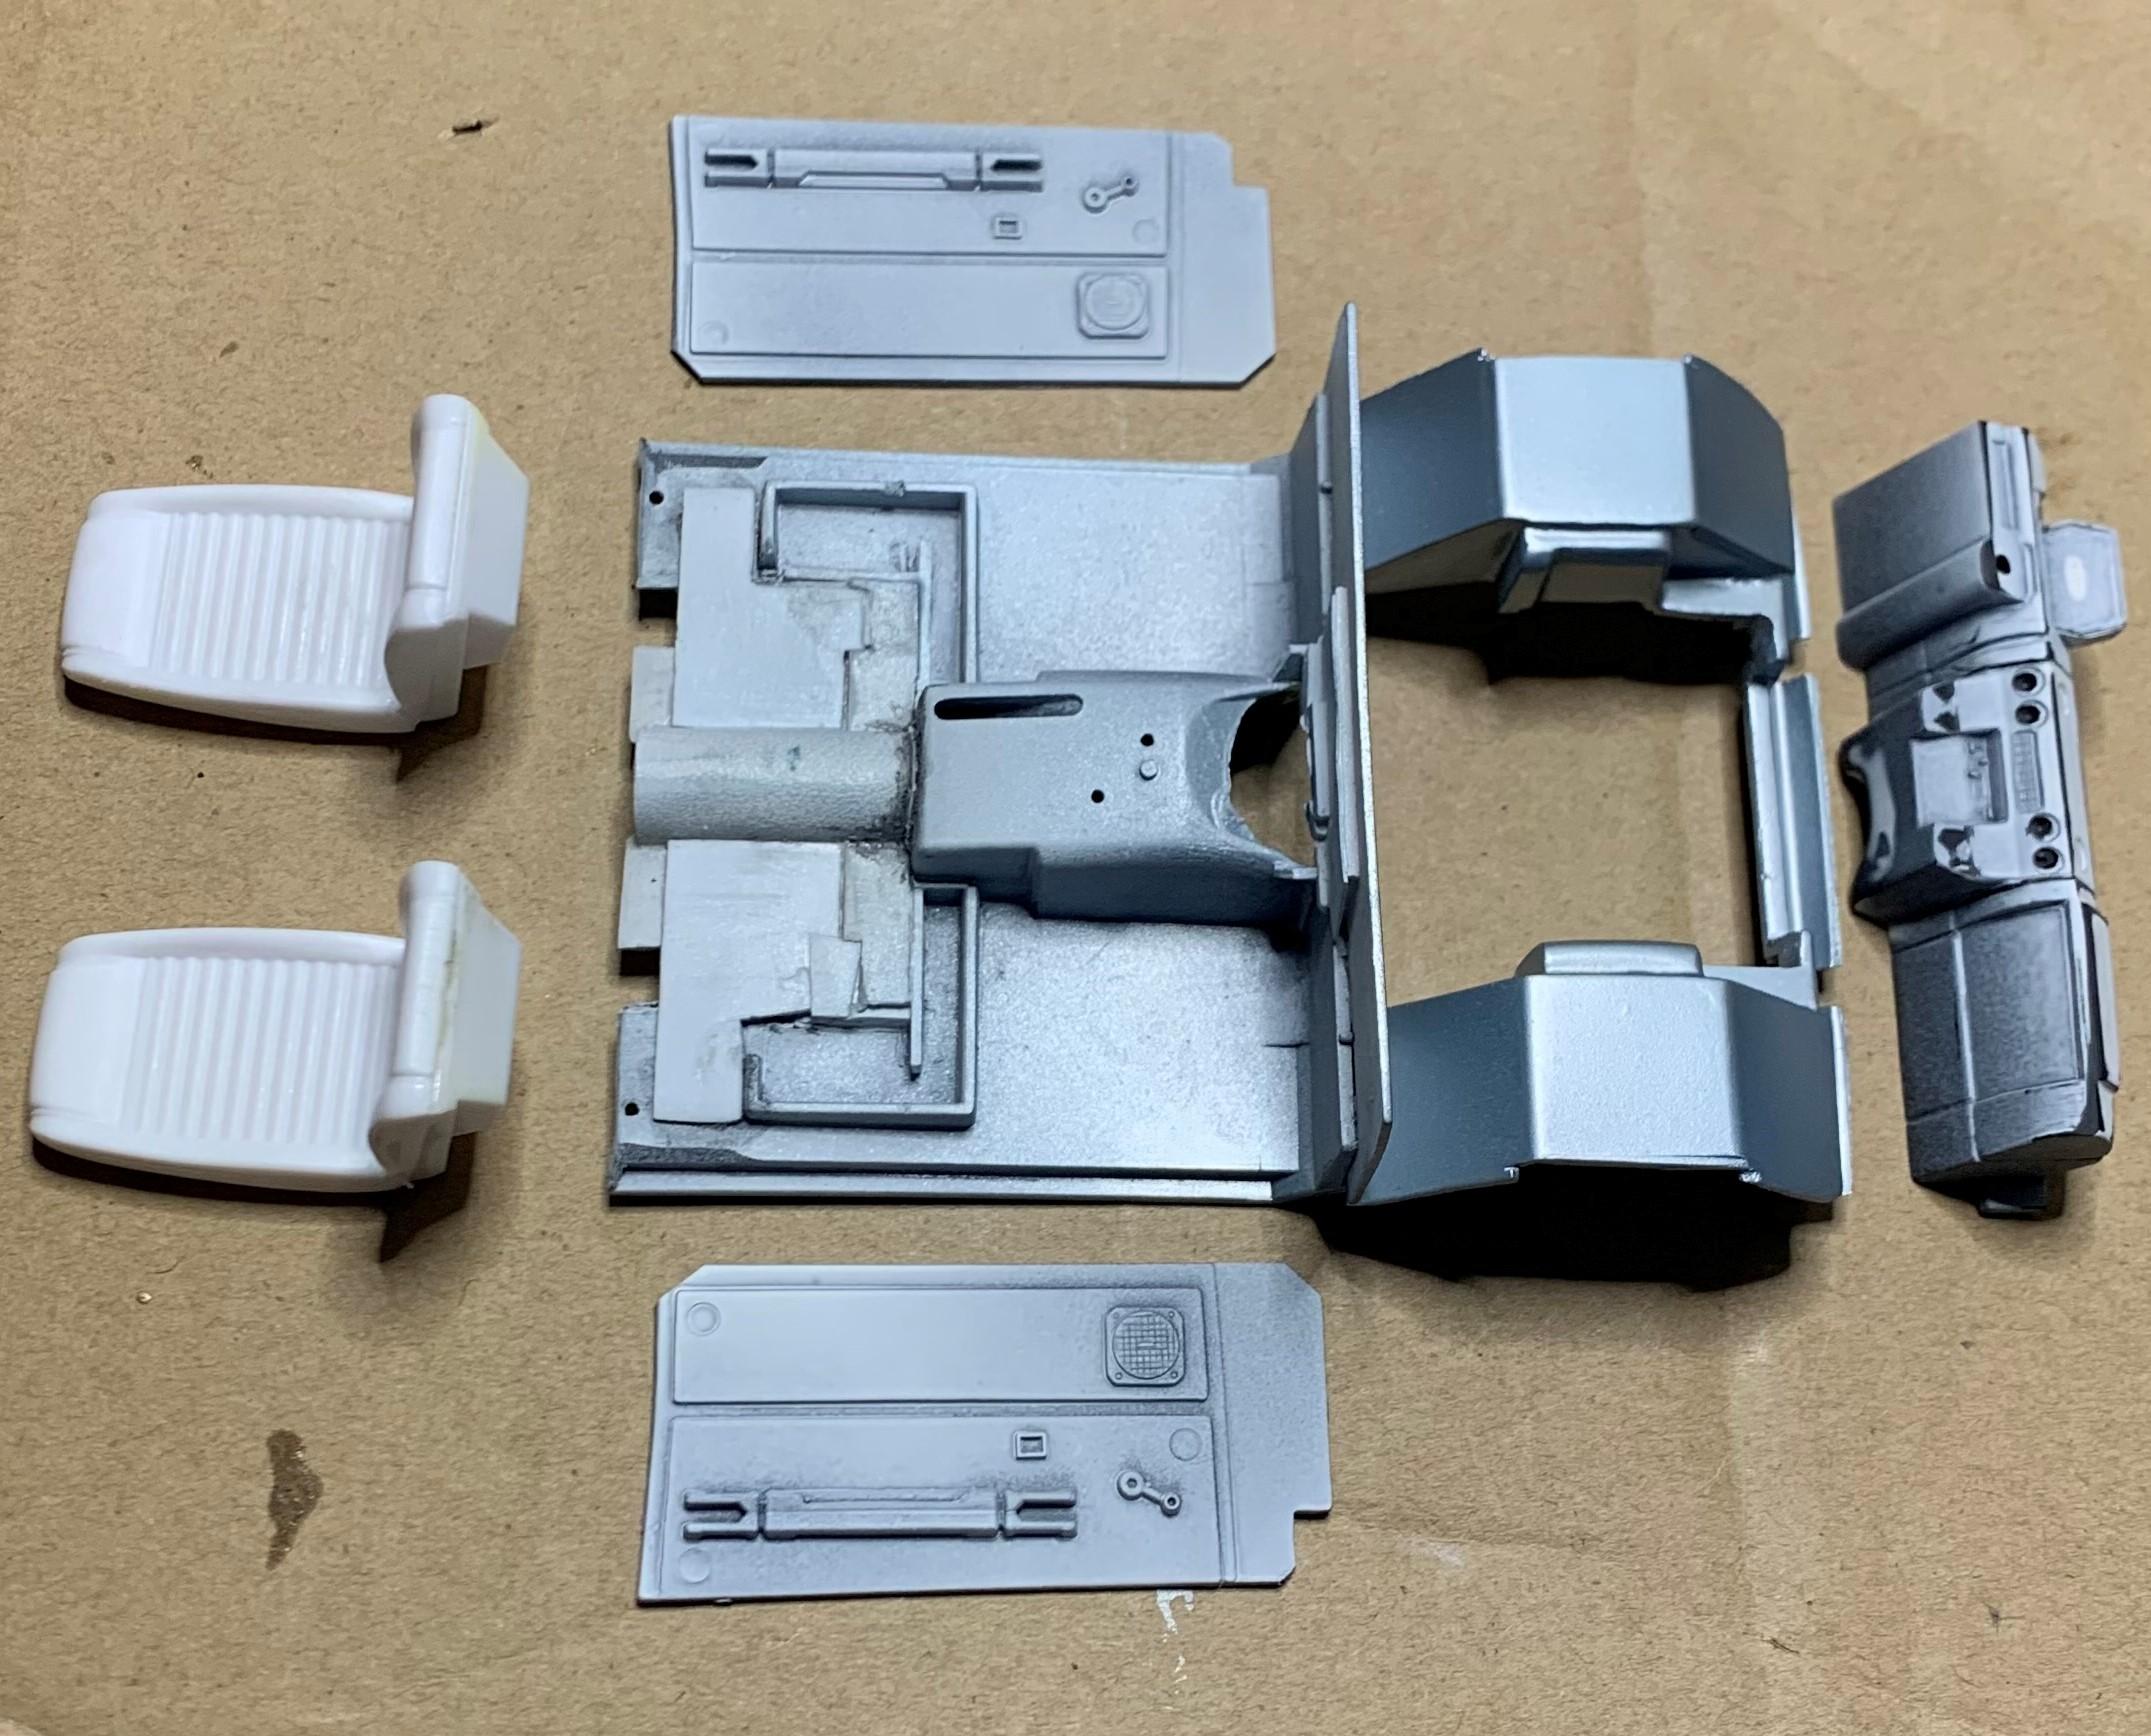
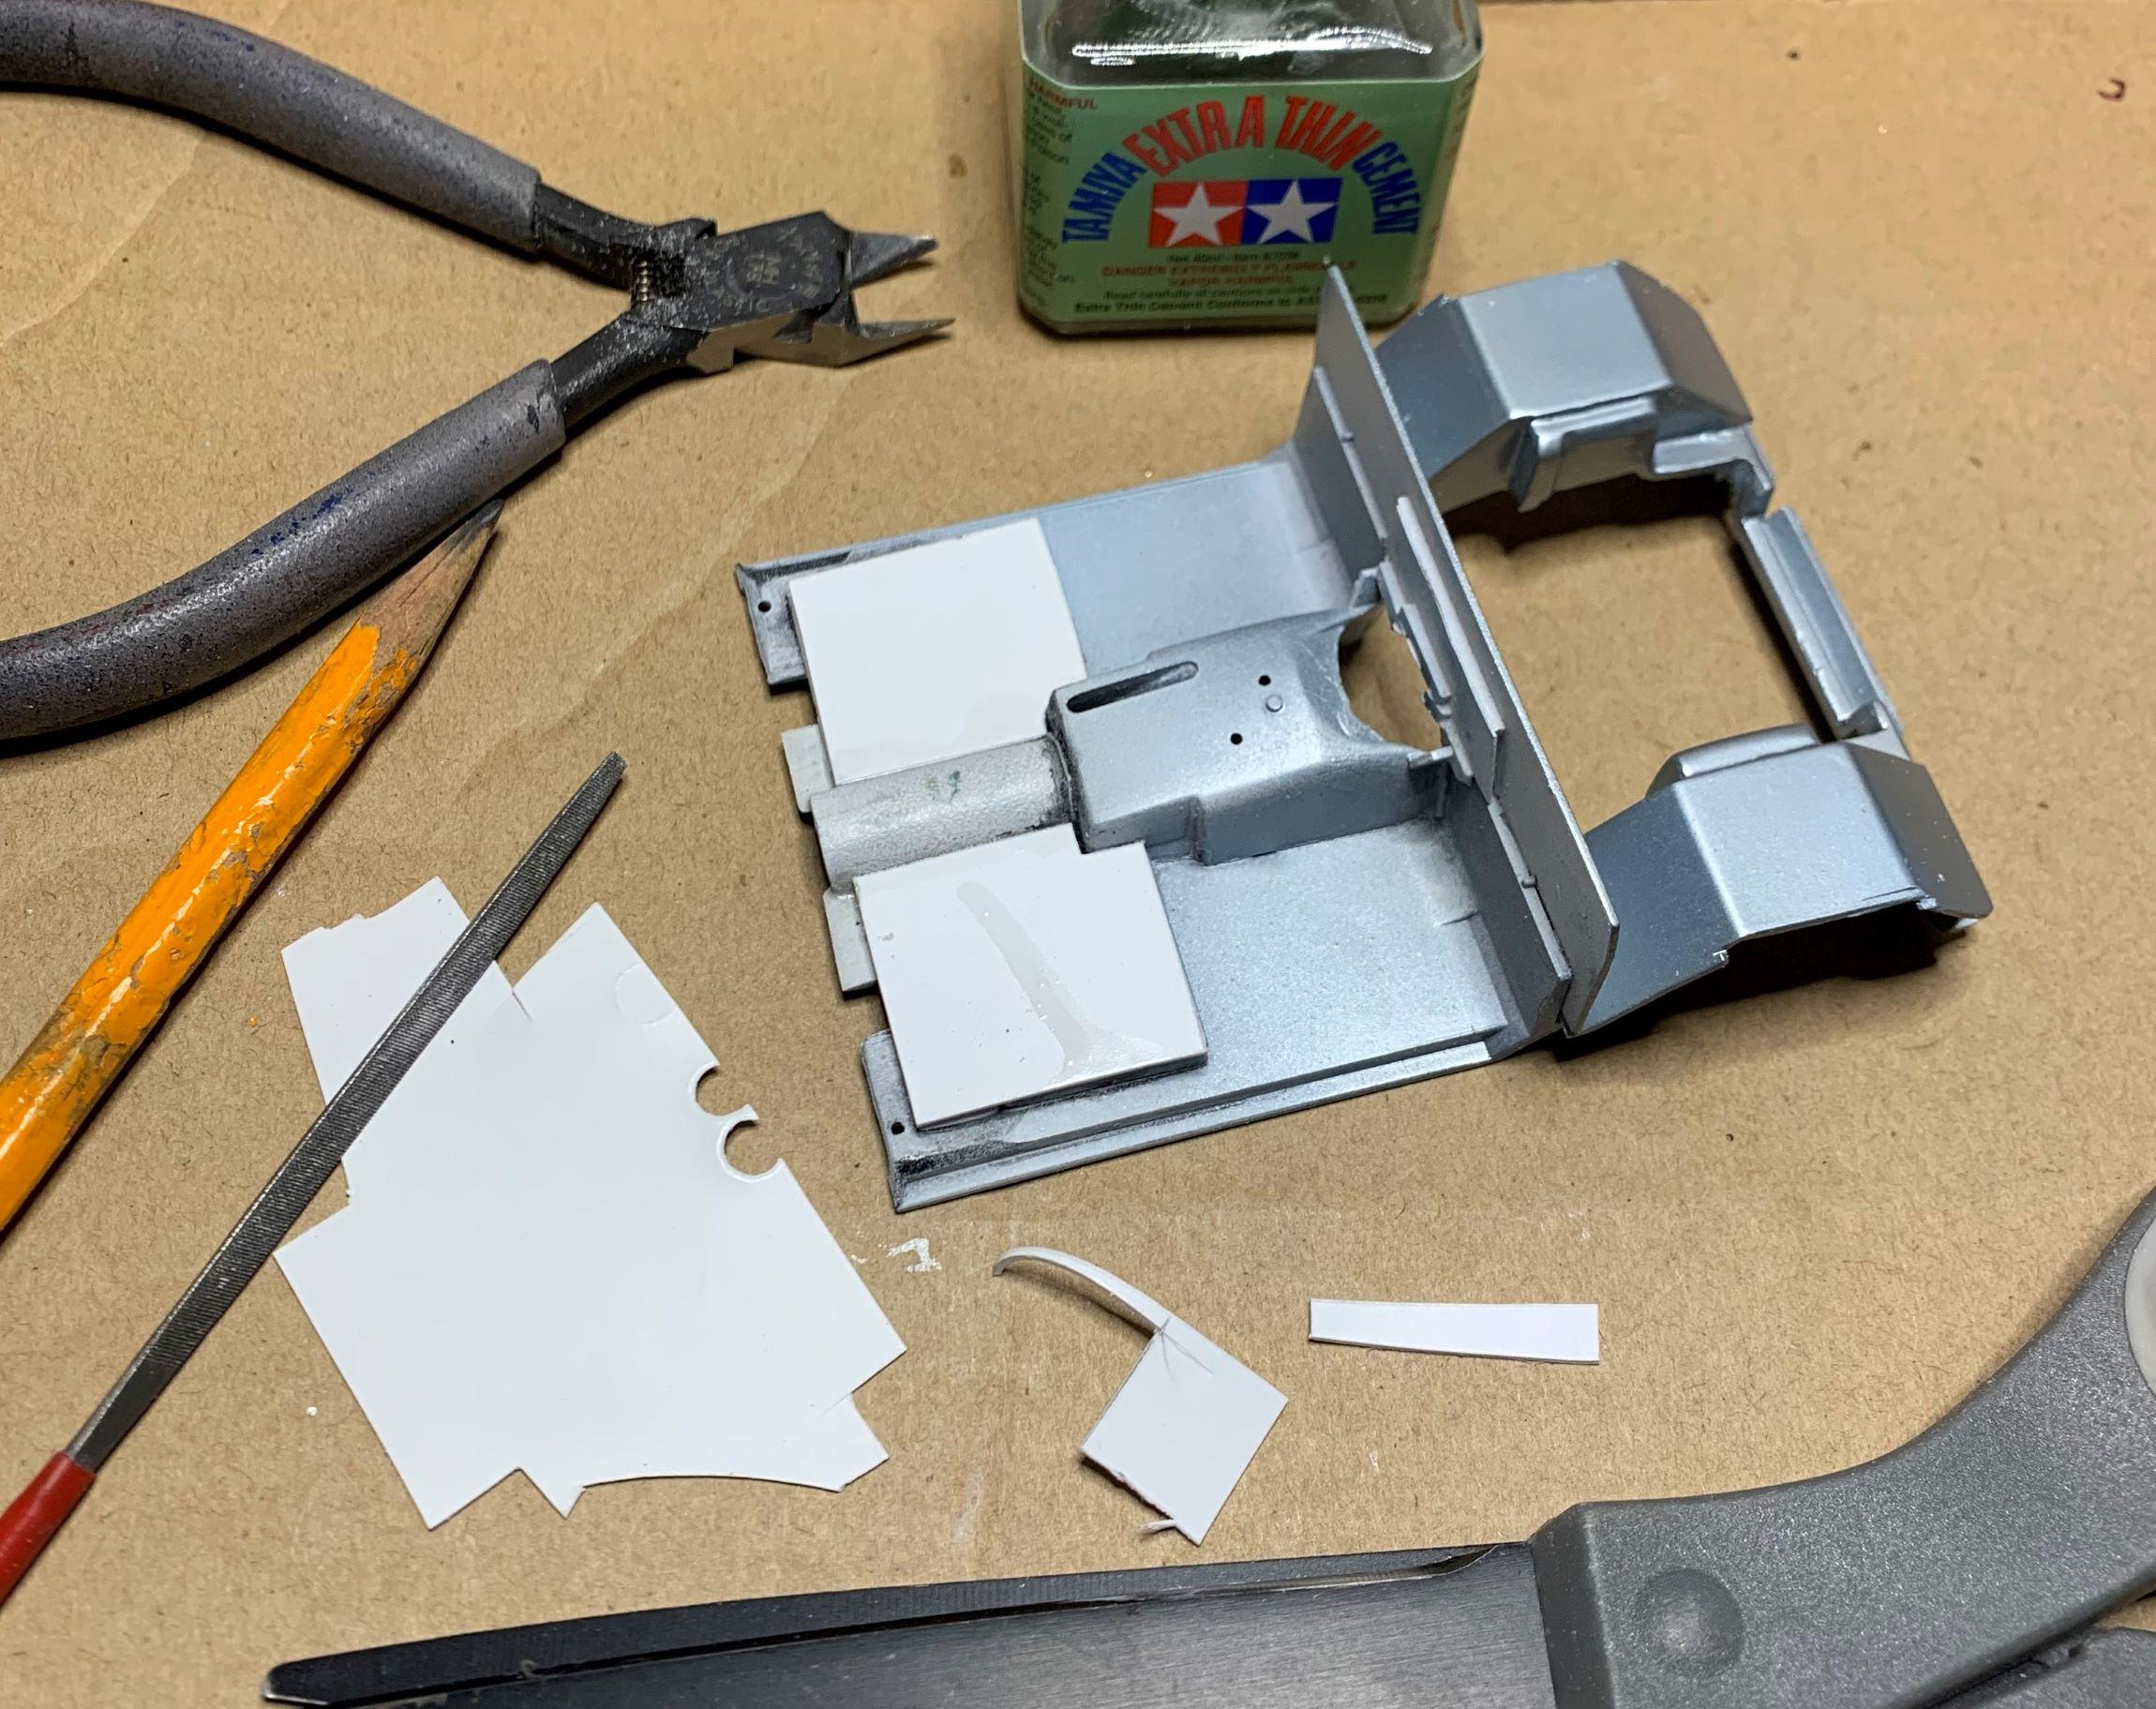
I want to make a cool late 50s or early 60s hot rod/show car from the venerable AMT '36 Ford kit. 1: First thing I did was to remove everything from the frame, this was easy, drag the backside of the blade until through, we all do this opening doors and trunks. 2: Then I needed to replace what I removed but add it to the fender unit. I used styrene as thick as the kit floor. 3: To make the bend in my new floor panels, I filed a groove into it where it will bend. 4: Here's how it bends, I held it at the angle I needed then ran some Tamiya thin glue into the groove and held it for a minute or two. 5: Now it's part of the fender unit. 6: Here's how the interior tub will fit over it.
-
What do you fine people think of door handles for this one? Should I or not?? Ciao
-
Aw Brudda, you have great taste! Can't forget the 288GTO though as well. I sold my Dino some time ago, have a 308GTB now, still love it too, and it's NOT red! Ciao!
-
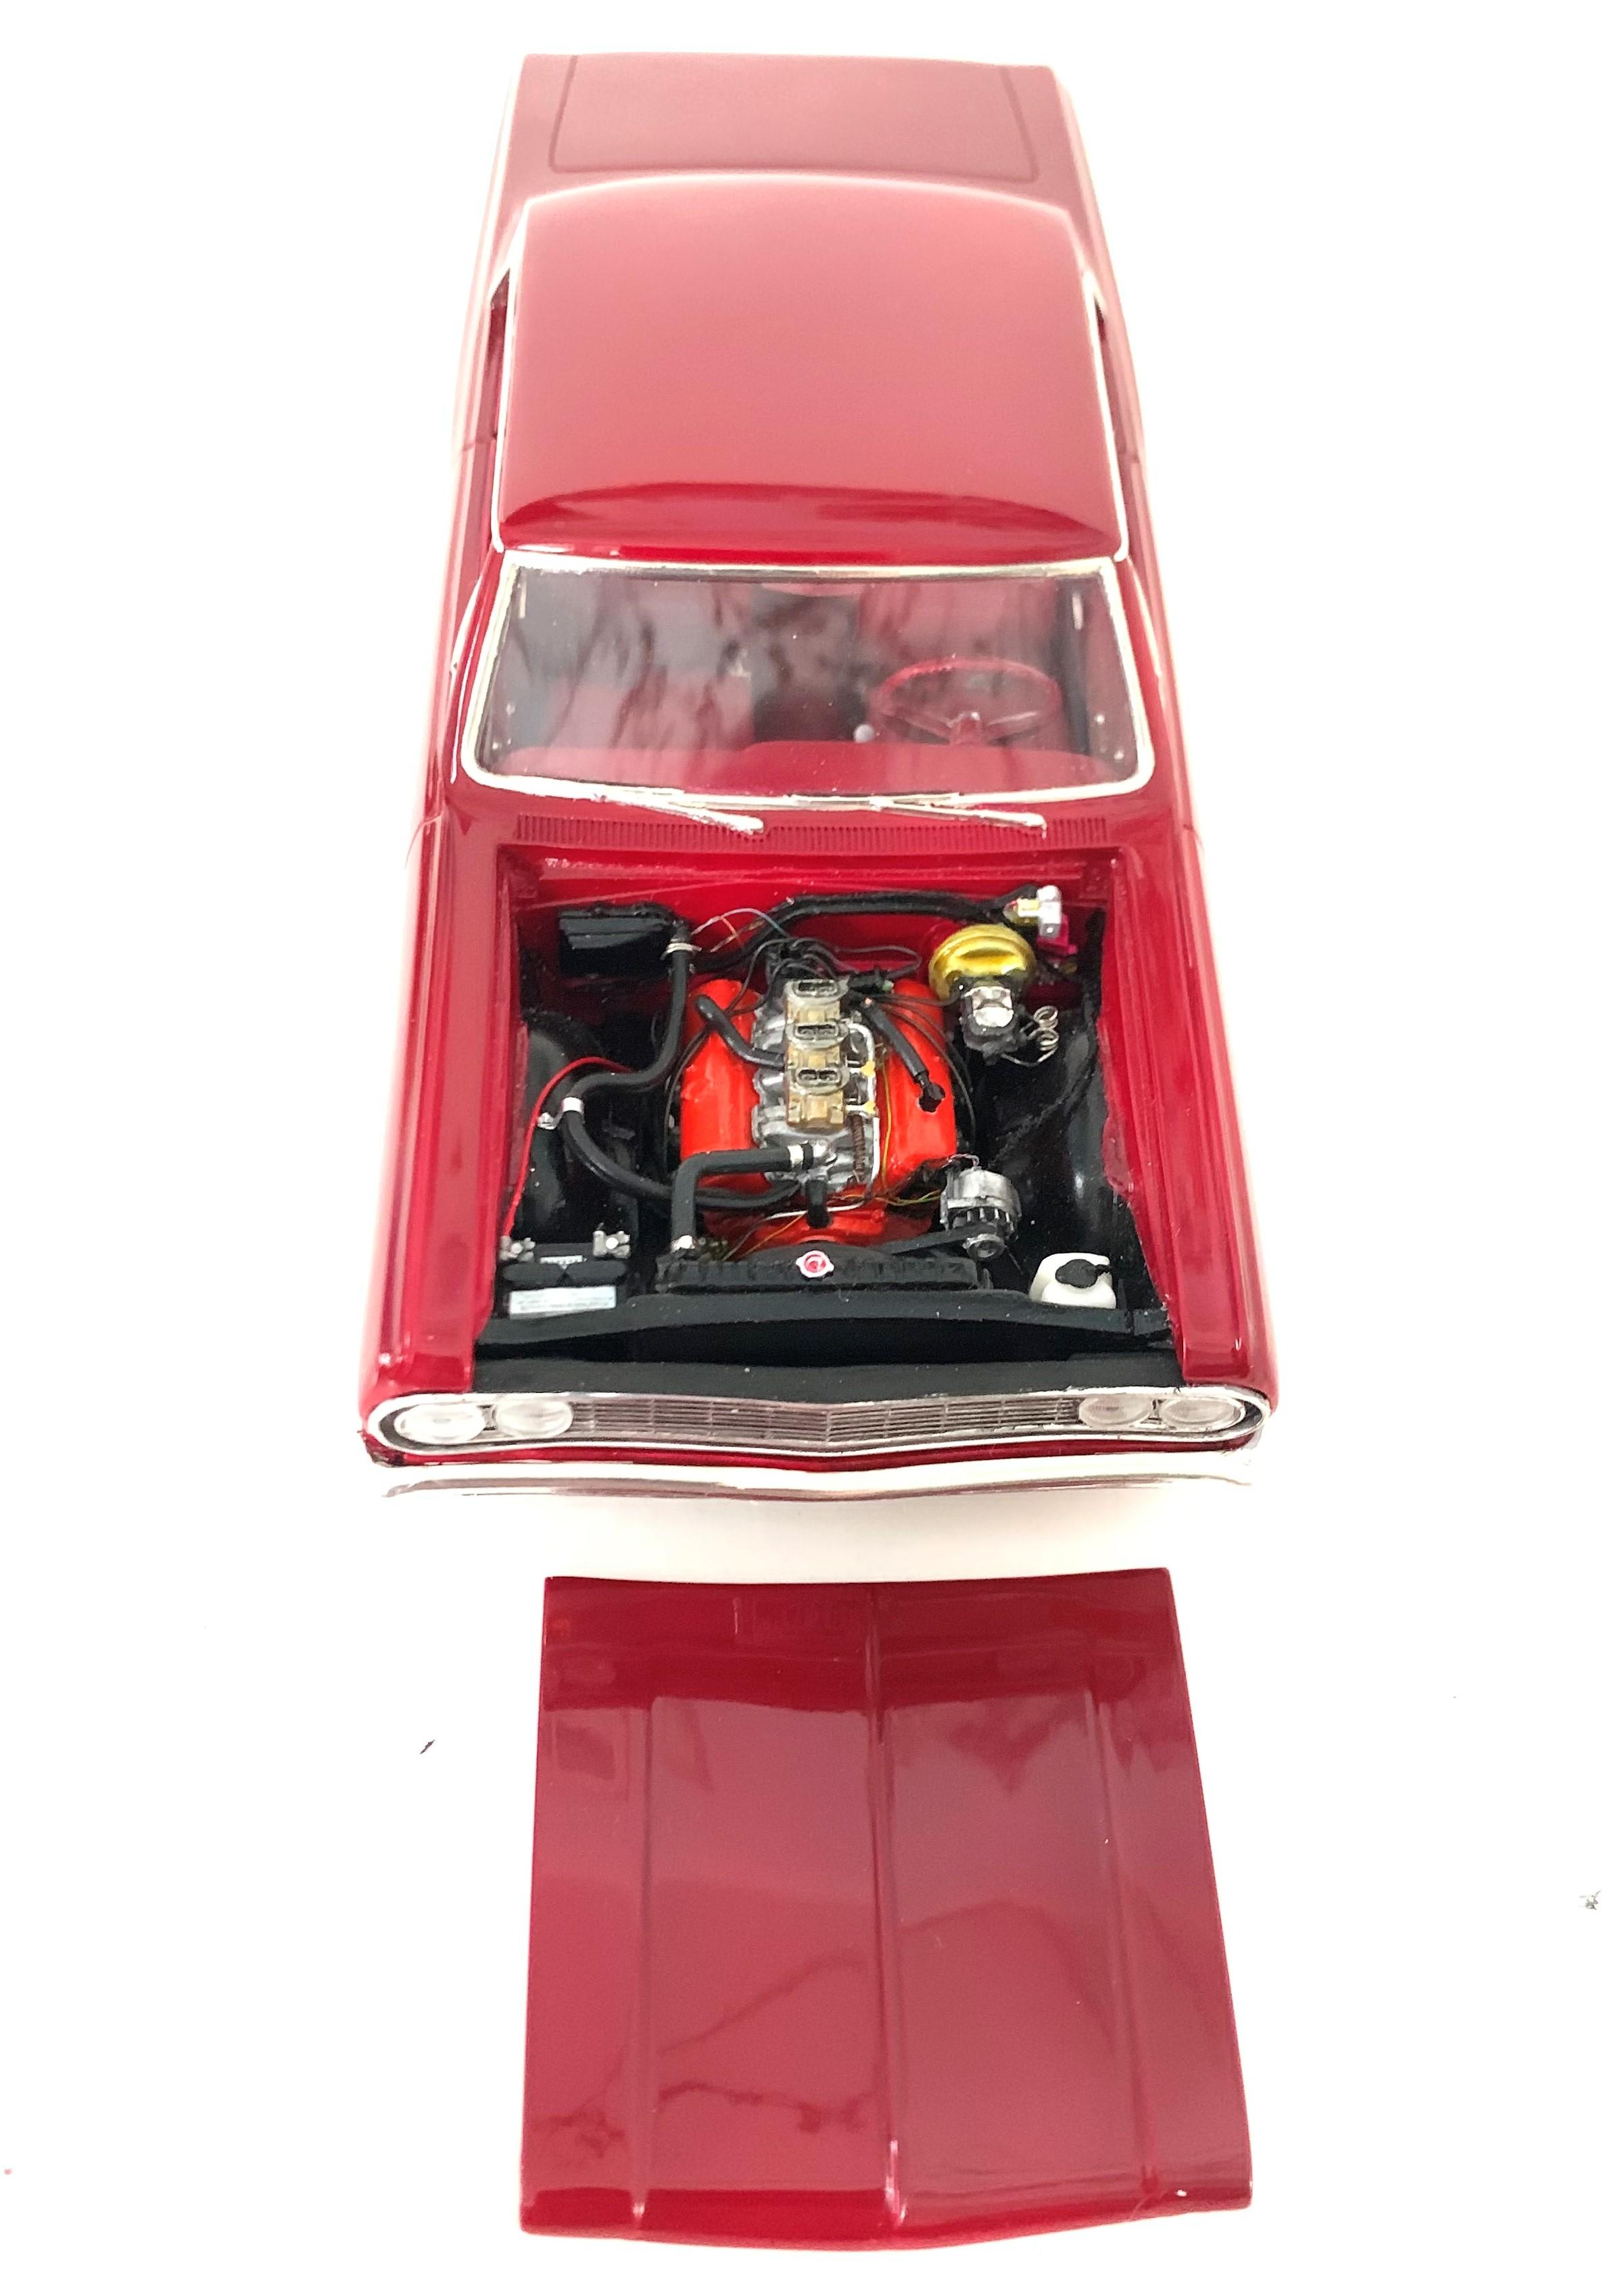
Here's how that Malibu turned out:
-

AMT Wild Hoss Bronco WIP
dino246gt replied to catpack68's topic in WIP: Model Trucks: Pickups, Vans, SUVs, Light Commercial
Wow, what a beauty! Looks so good, I love it! -
WOW! Man that is looking so cool already, sweet build going on here, nice!
-
I saw your picture of that chassis, this is what I did to an AMT '36 Ford. You can do the same thing on your '34 if you'd like. It was fairly easy and totally worth it:
-
It certainly is one of the most beautiful Ferraris or any car, of that era, still looks gorgeous today, and I'm sure the Roma is the new version of THAT car, 250 GT Lusso, love it!
-
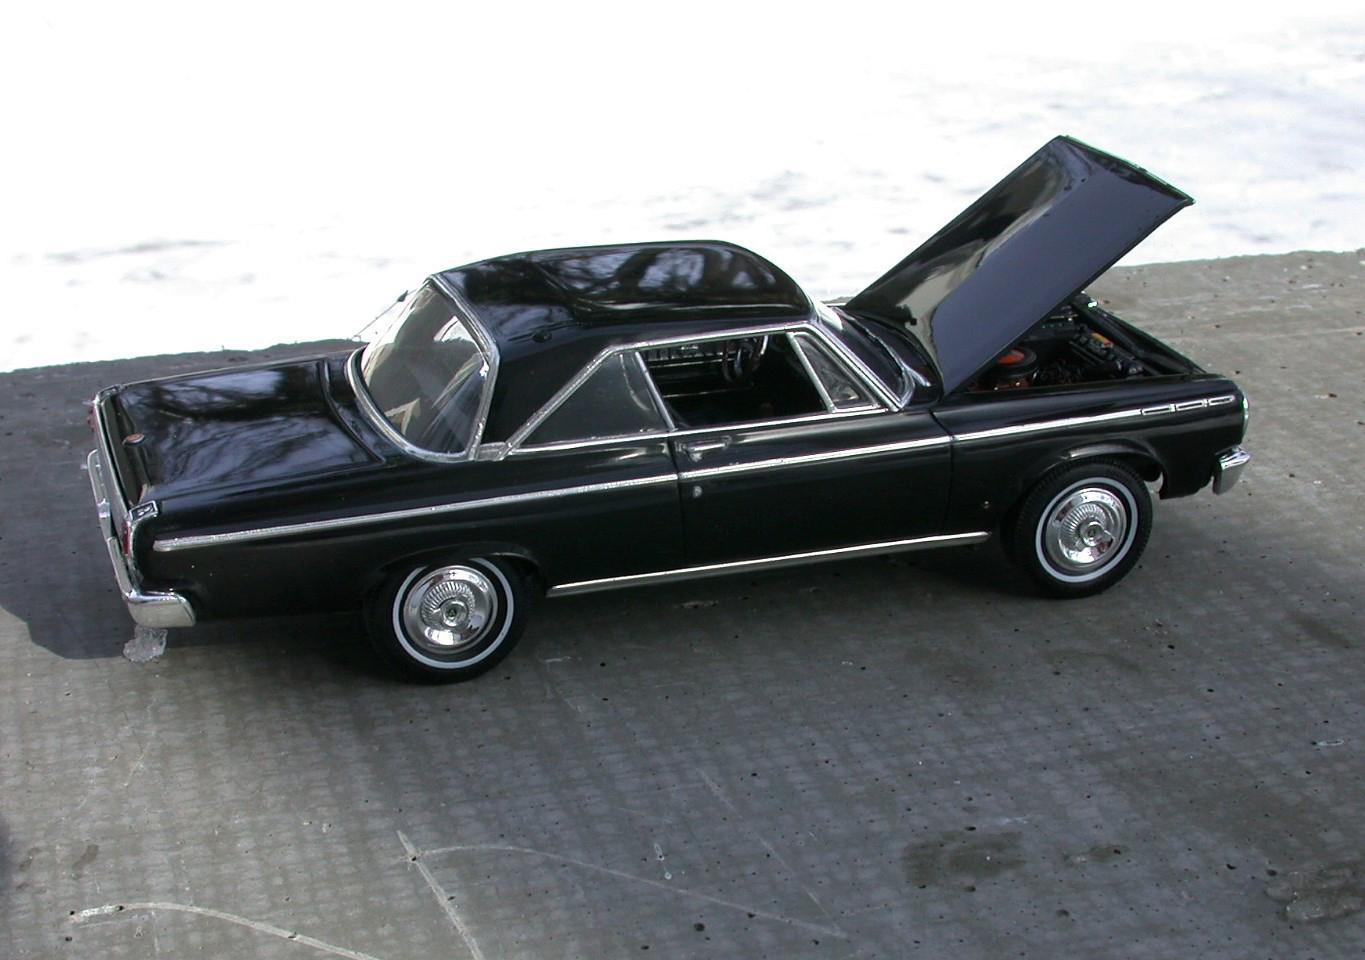
On my black Coronet build, I think those are the kit tires, it was years ago and I can barely remember where I put my coffee mug this morning, LOL
-
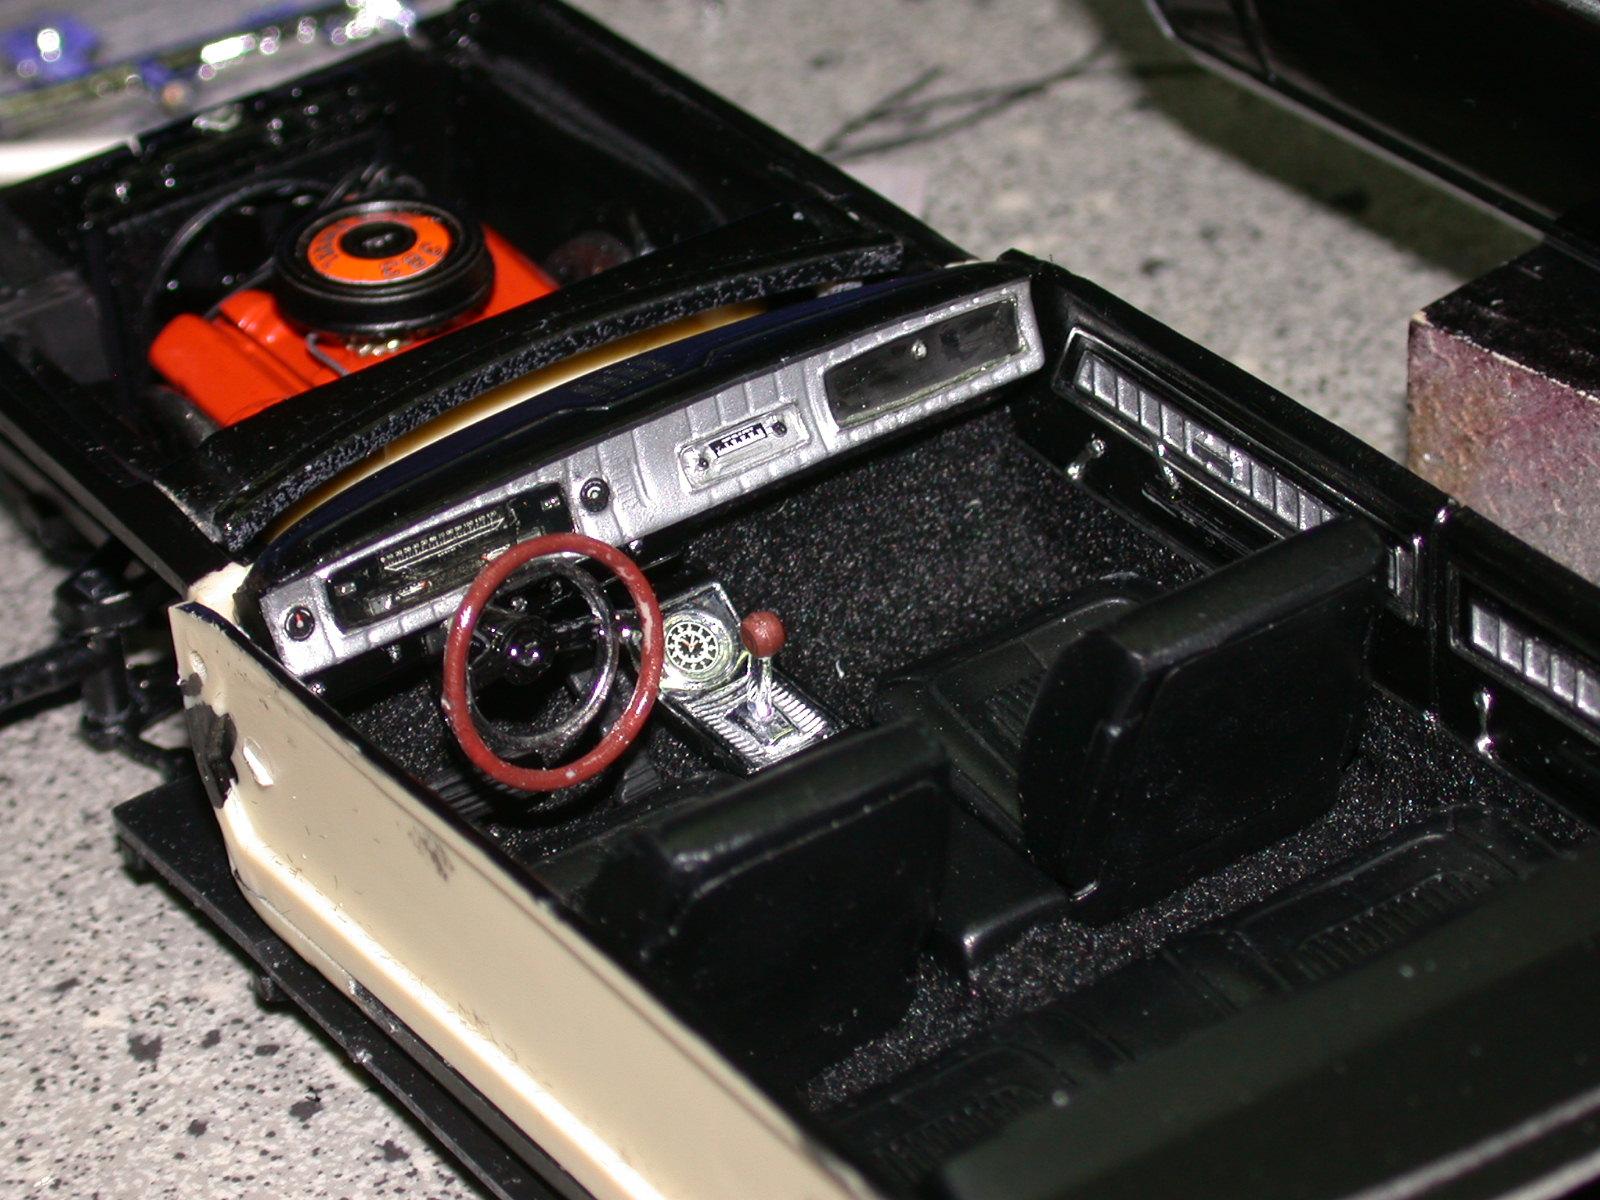
Nice kit, except for the chrome headlights, here's my interior and the car: Enjoy your build!
-
Nicely done! Cool project!
-
The Hinman roadster, a study in rust update 1/18/23
dino246gt replied to Bullybeef's topic in WIP: Model Cars
Wow! This is a fantastic build of a really cool real car! Nice work, looks great! -
'62 Ford Galaxie 500 Update! 12/23/22 Finally Done! Pic pg. 7
dino246gt replied to Plowboy's topic in WIP: Model Cars
What a cool '62! Looks great and was a blast to follow you on the build, thanks for sharing now what's next??? -
Nice project and great work! Keep going and keep posting, I love seeing this one come together!
-
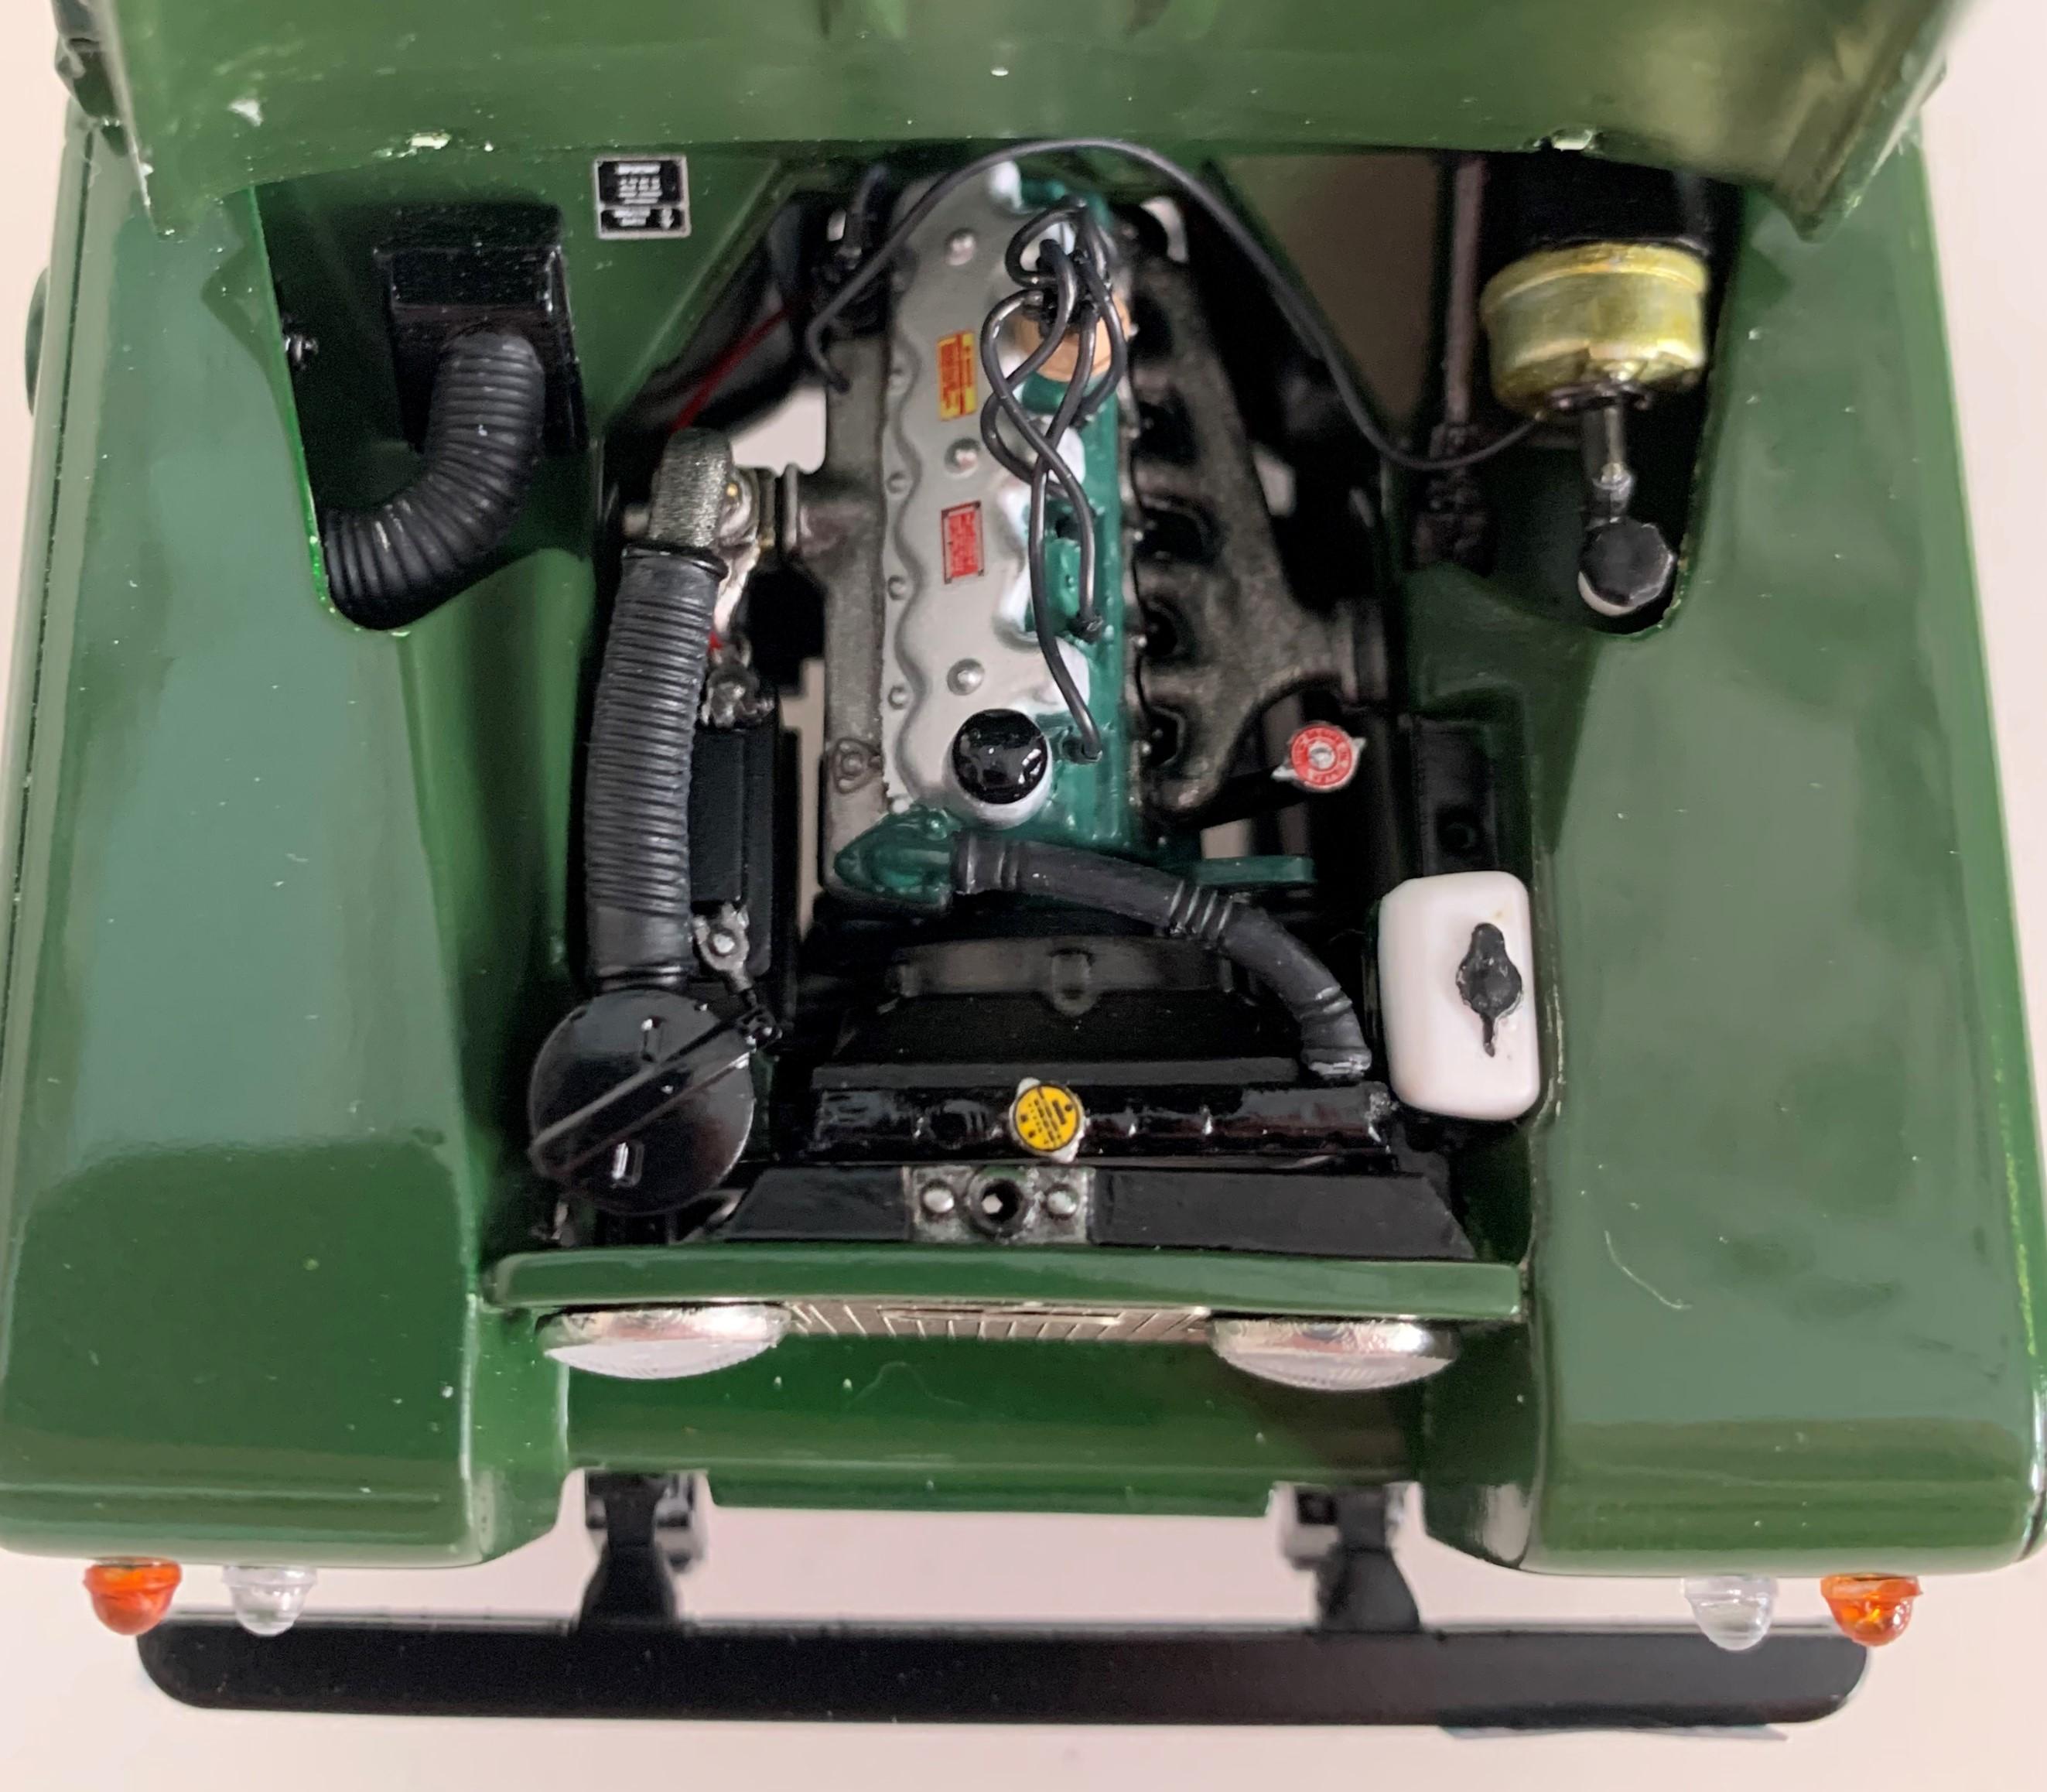
Great looking garage! Yes this kit is a pleasure to build, here's my finished engine: Cheers and keep posting pictures of your progress! (I made mine into a Series 2 body, but kept the modern engine because it IS such a pleasure of a kit)
-
I'm really diggin' all these Eldos being built on here right now! Makes me want to do one now! Have fun and keep posting progress pictures for us all to enjoy along with you! Cheers!
-
Yeah, organized chaos! LOL
-
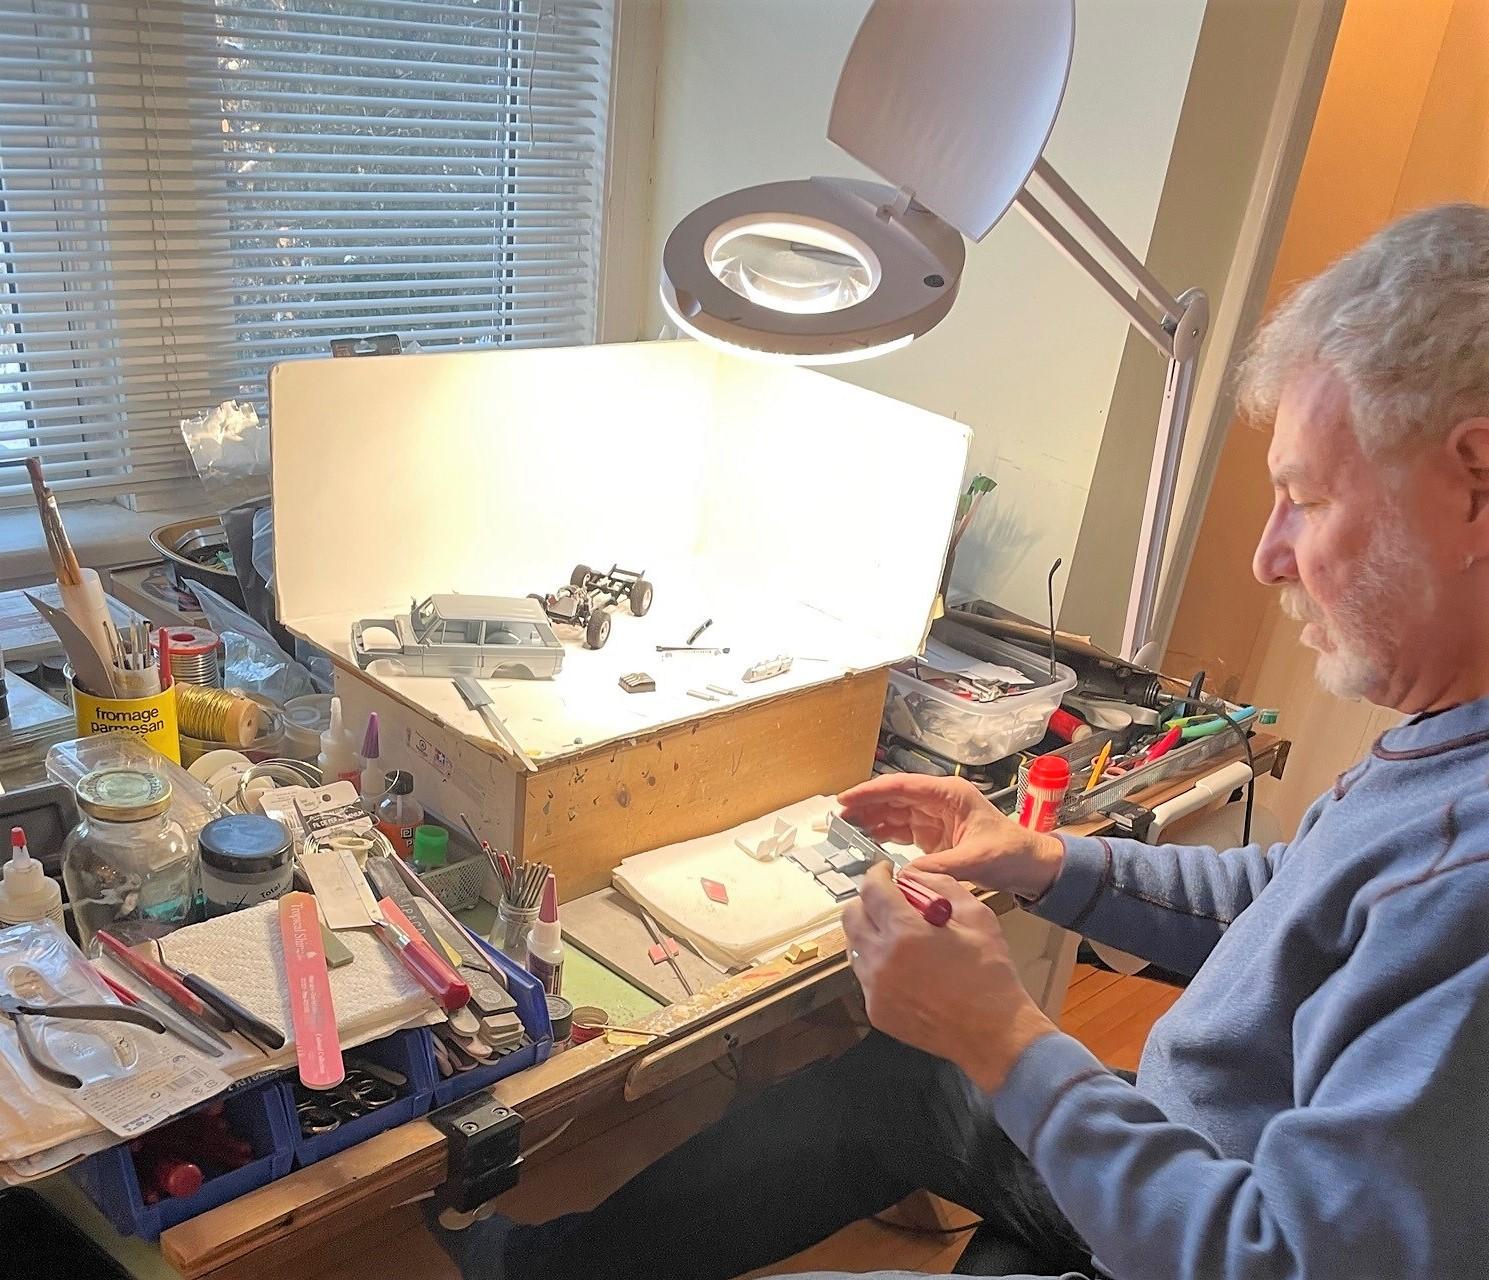
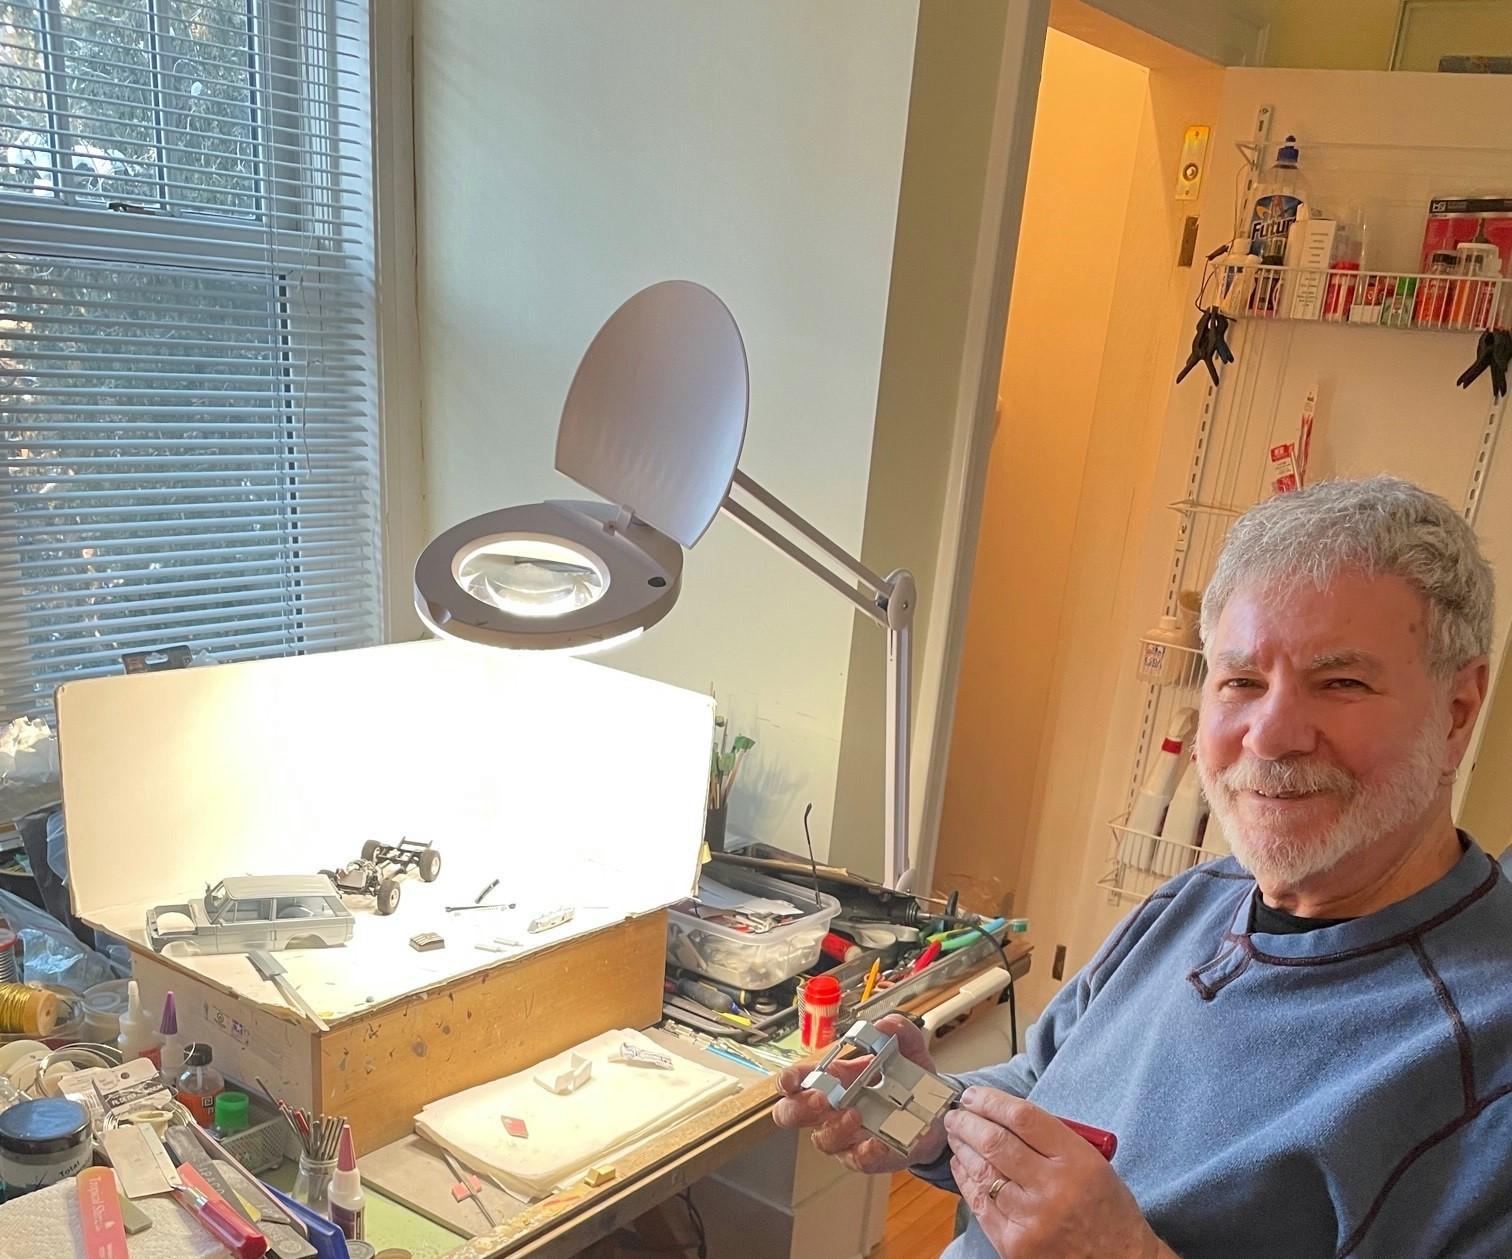
Here's my interior colour scheme, Tamiya "Racing White" which is really an off-white, with black flocking and Tamiya "Nato Black" accents. A friend of my wife took a few pictures of me at work on it! Cheers.
-
Blazer Crew Chief
dino246gt replied to NOBLNG's topic in WIP: Model Trucks: Pickups, Vans, SUVs, Light Commercial
Looks fantastic! Mobius pickups have multiple sets of mirrors, I have extras if you want some? Also Revell Land Rover 109 kit has extra sets. Let me know and I'll bring some or we can meet up anytime?? Dennis -
I'm sure it'll be awesome! Love it in black and burgundy is a great compliment for the interior! Nice little 312 in there too!
-
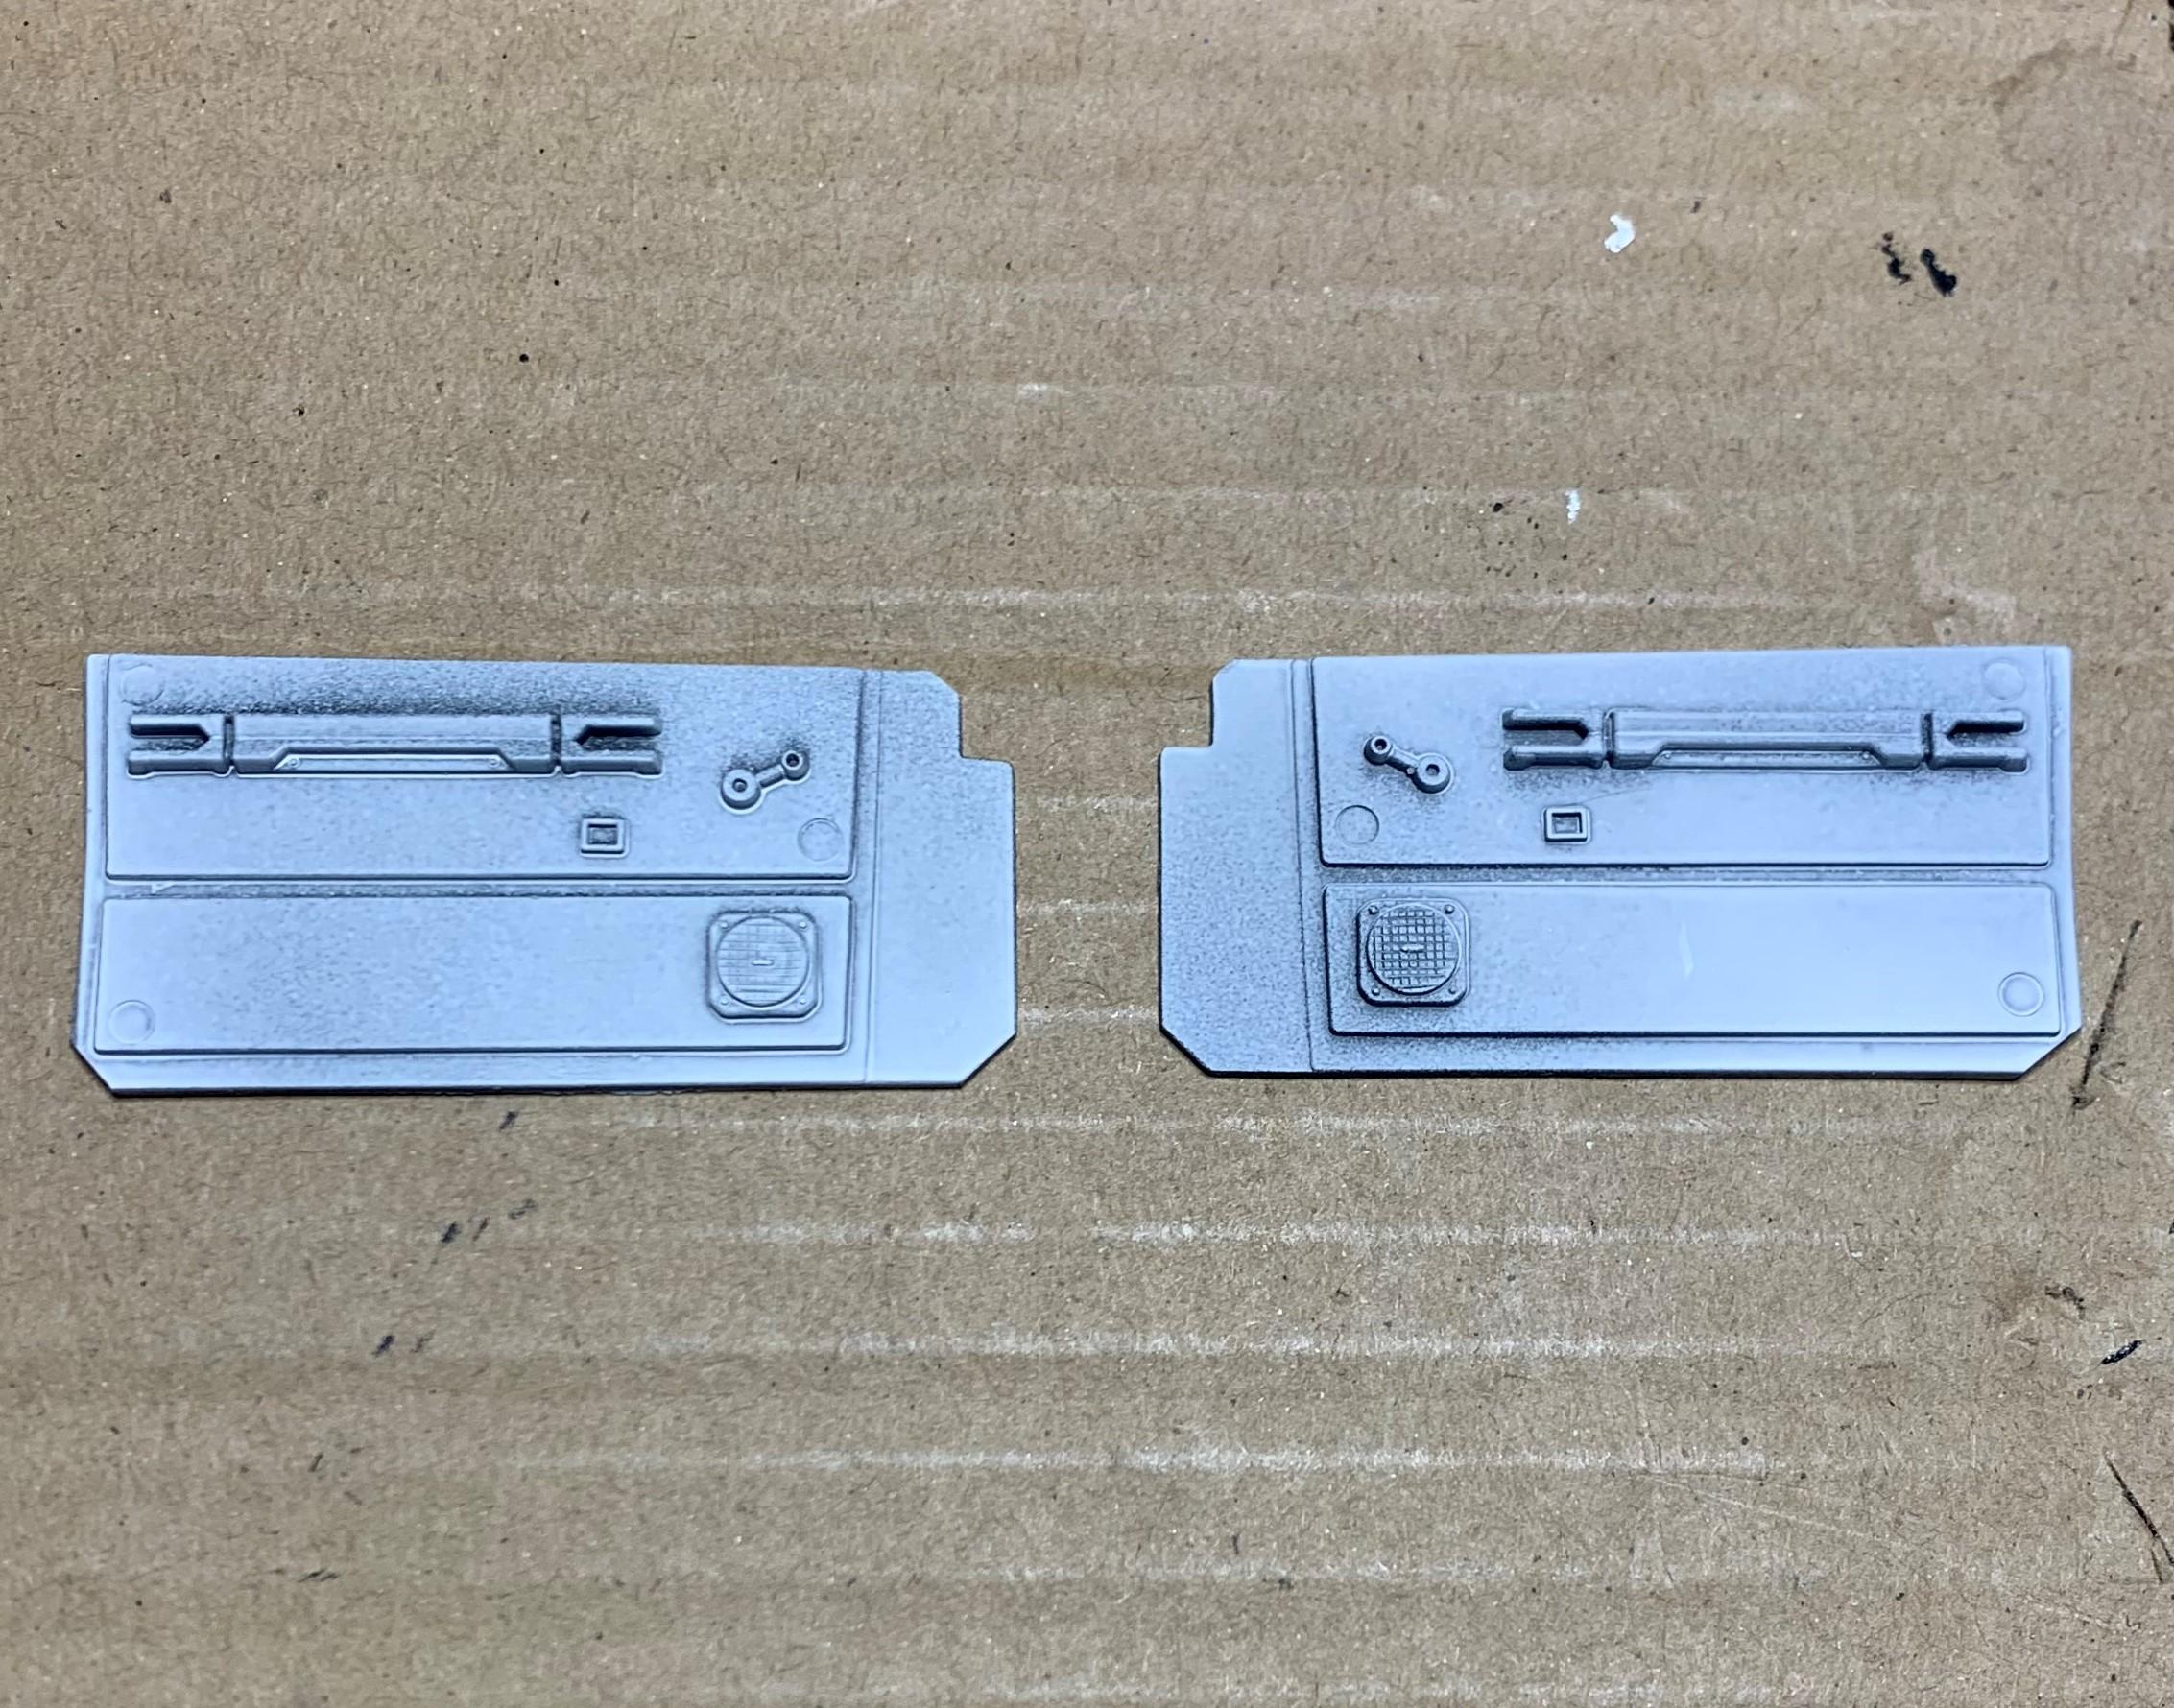
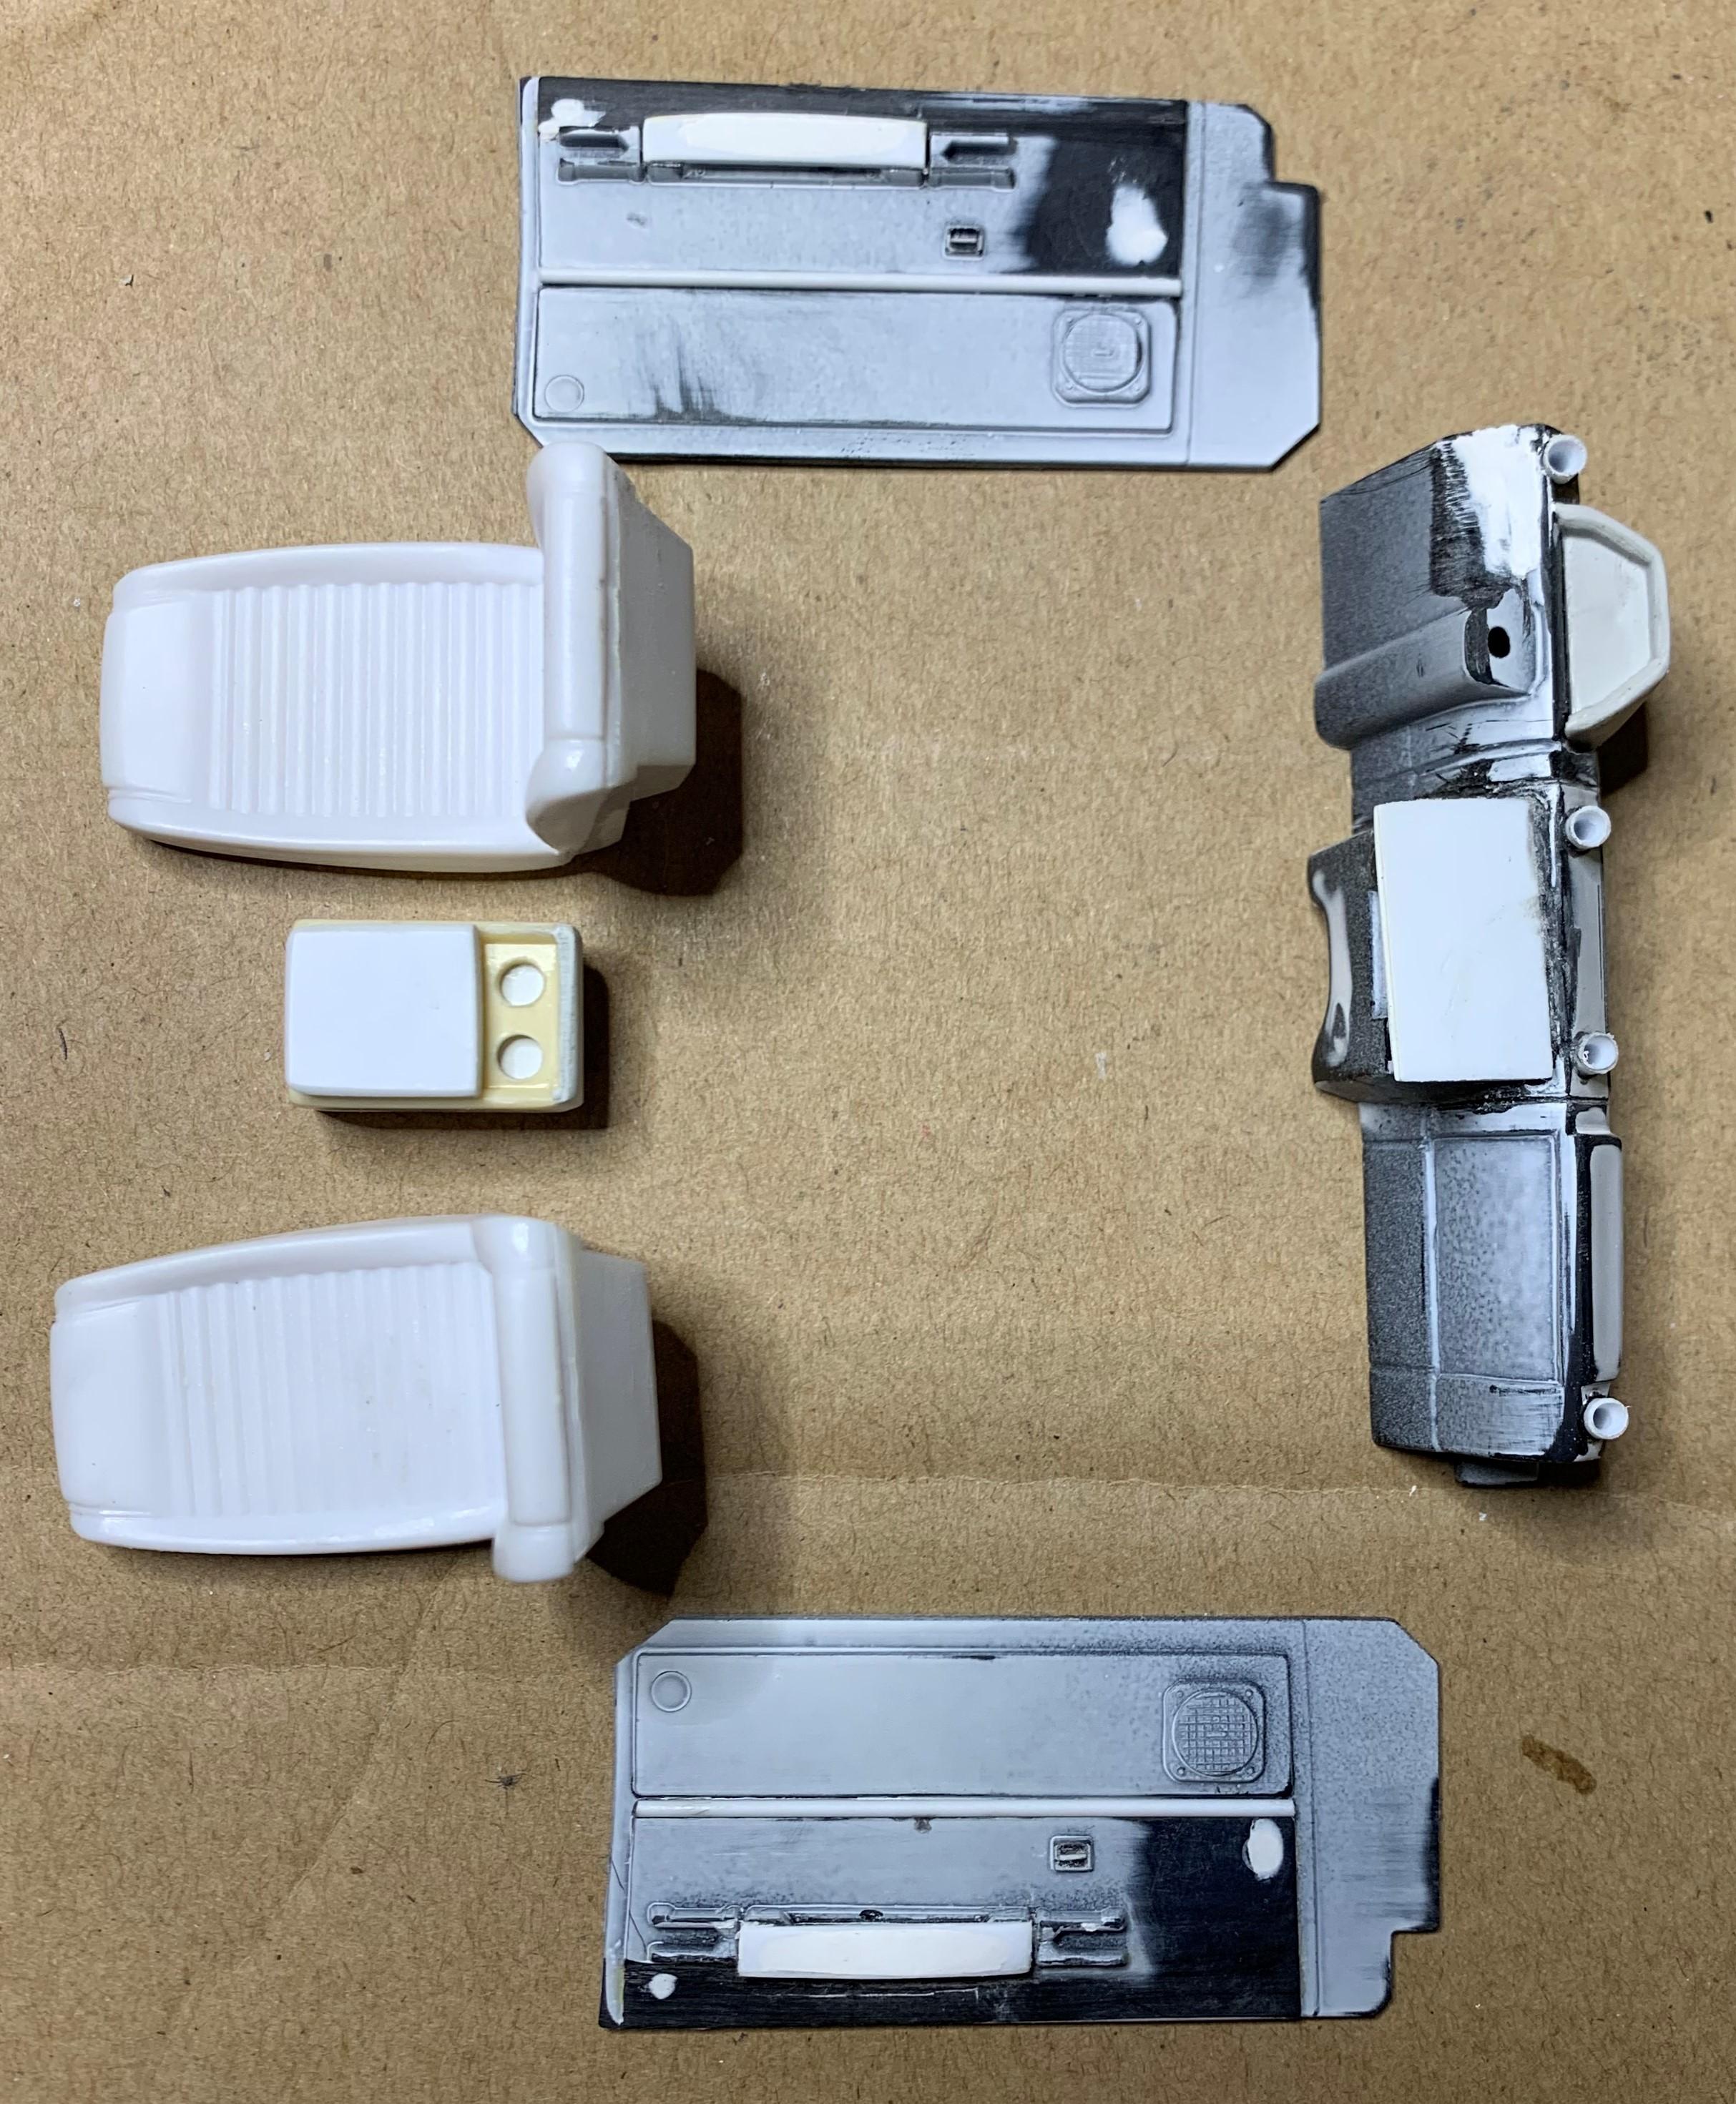
1: Kit door cards, I've already cut the long side parts to leave the rear portion separate from these. 2: Stock dashboard. 3: I cut off the binnacle, added one from "spare parts" and drilled for some more modern HVAC vents. 4: Made up a little console, with cup holders, added a touch screen and modified the door cars with arm rests, removed window cranks and made little power window switches from little squares and added a styrene strip to connect the upper and lower door card raised areas.
-
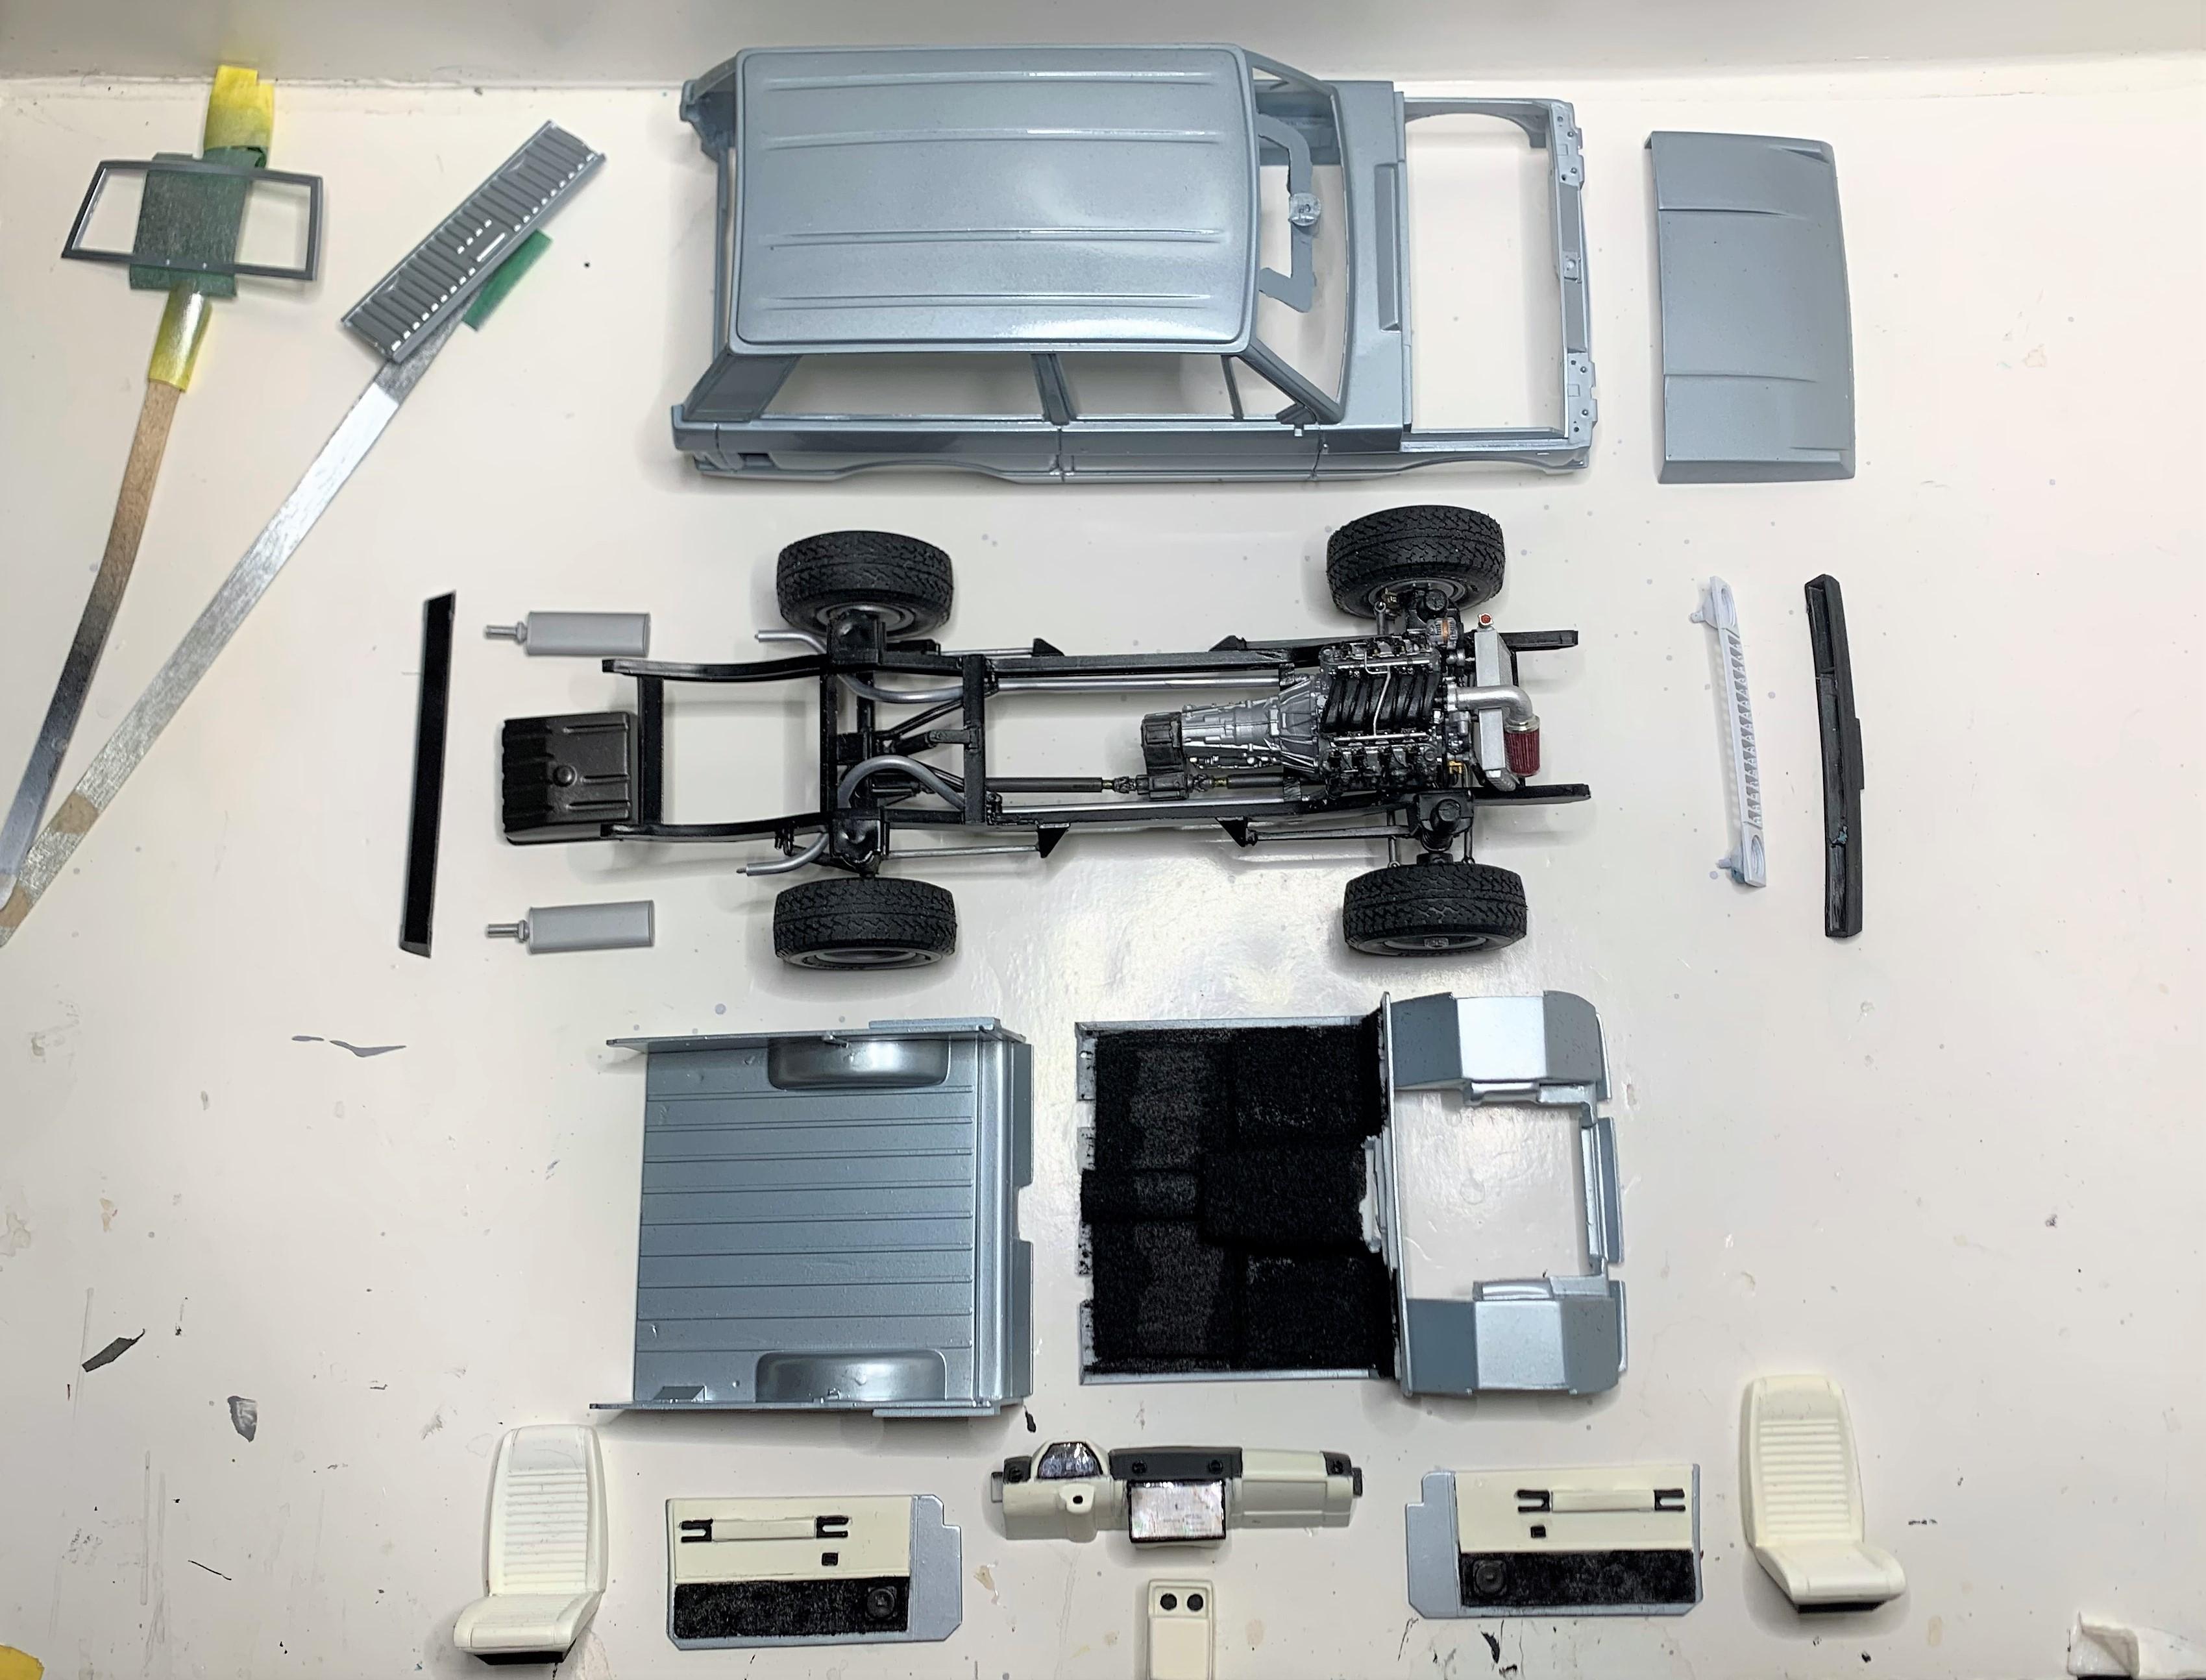
1: I decided to use these seats, from this kit! LOL 2: Here's the basic interior as it is, I'll need a level floor for the Mustang seats. 3: Level floor accomplished.