dino246gt
-
Posts
2,244 -
Joined
-
Last visited
Content Type
Profiles
Forums
Events
Gallery
Everything posted by dino246gt
-
Wow, that looks so cool, great job, lots of "modelling" involved, that's great!
-
I'm not sure we can deal here on this site, can we? You can message me? Mine is an old built up with broken body parts, I haven't looked at it in over a decade!
-
Great start, awesome paint job!
-
I have a junker if you or anyone else needs a part. I also can't wait to see you build this and make it right, which I know you will! Cheers!
-

Johan ‘70 Cadillac ElDorado pro touring (low and aggressive)
dino246gt replied to Steve H's topic in WIP: Model Cars
I love the look so far, i have a suggestion, bring those hood bulges down, sand them a bit so they sit a bit lower. It's a classy car, make those more discreet, maybe? I wish I had one to follow your lead though, I just love all the mods you've done, beautiful style! Only ones I have are the newer ones, with skis, mid 70s, still pretty cool, but not as gorgeous as this style! Cheers! -
Nice! I love those '51s and that chop is nice! Love your plans for it, period correct!
-
Looking great and nice explanations are so inspiring and helpful, as always. You do great work, thank you for sharing!
-
Wow! Awesome work, that looks so clean, gorgeous!
-
Very nice low hot rod build!
-
Wow, that's going to be impressive, well it already is! 1/12th Lambo, so cool!
-
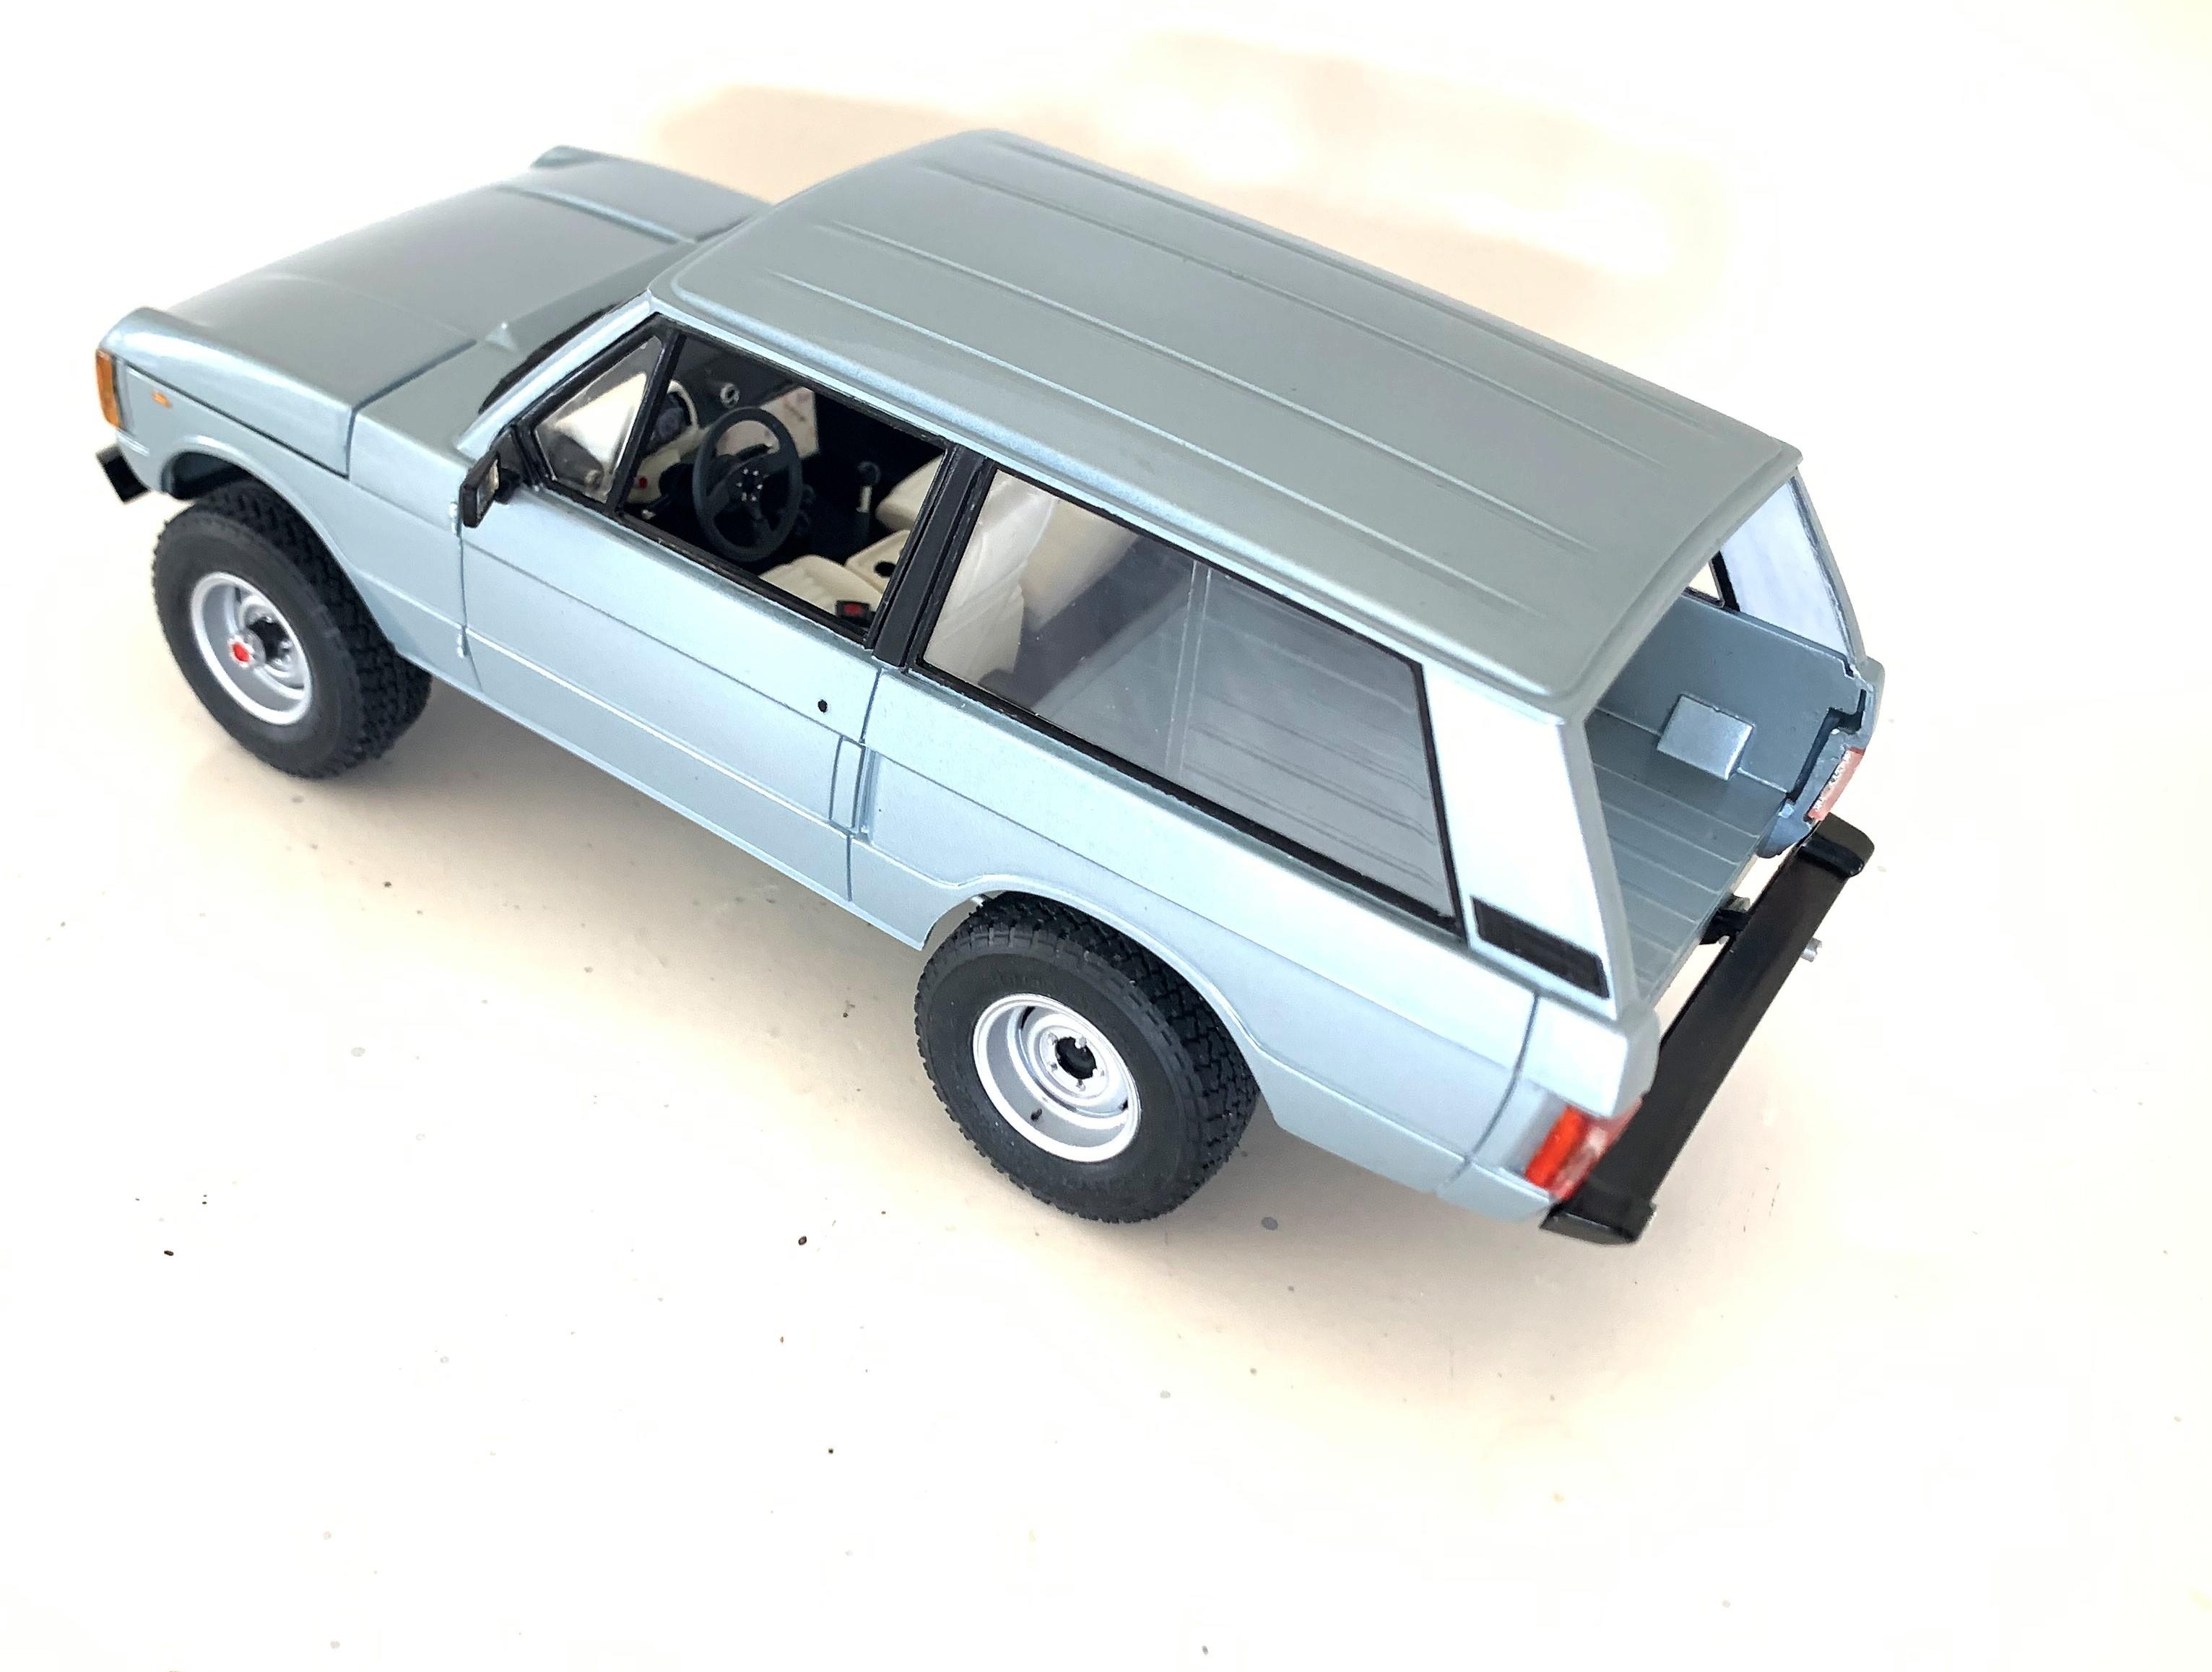
I made up a few things for the tailgate, not the 3D printed suitcases, bought those online. Upper and lower parts glued open, added side bits, rubber weatherstrip, upper struts, lower folding arms and (straight pins) latches! Haven't finished up under the hood yet, otherwise it's almost ready for a road trip!

-
Jo-Han '70 Oldsmobile Toronado
dino246gt replied to Csaba aka felhasznaaloo's topic in WIP: Model Cars
Very nice detailing you're doing, keep it up, it looks great! -
Wow that Charger is beautiful! The interior is spectacular. I saw the car but missed looking inside as much as I should have. All I can say, besides gorgeous, is WOW!
-
It's going to look great in light gunmetal! I agree on the who wants a Ferrari in red, seriously! I have one, black!! (not a Mythos) LOL
-
Johan ‘70 Cadillac ElDorado pro touring (low and aggressive)
dino246gt replied to Steve H's topic in WIP: Model Cars
I'm sure which ever wheels you choose it will look so cool. Love the interior customization as well! Cheers! -
The Goat Wagon Update 12/30/22 Body In Paint!
dino246gt replied to Plowboy's topic in WIP: Model Cars
That GOAT is looking cool and those three maroon ones, WOW, fantastic trio! Awesome modelling, can't wait to see the wagon finished, and happy that Covid didn't set you back TOO much. Cheers! -
‘65 Ford Gas Utility Truck
dino246gt replied to zaina's topic in Model Trucks: Pickups, Vans, SUVs, Light Commercial
Very nicely built and weathered, looks so real, great job! -
1966 Ford F350
dino246gt replied to Chuck Most's topic in Model Trucks: Pickups, Vans, SUVs, Light Commercial
Man that looks cool, great build! -
65 Ford F100
dino246gt replied to raisin27's topic in Model Trucks: Pickups, Vans, SUVs, Light Commercial
That is very nicely done! -
Wow, great colour! That will look great when finished!
-
There's still a lot to do but just adding mirrors, lights, grille and bumpers does help a lot!
-
Nice work! I love these kinds of projects!
-
Great colour choice! I love it on that Eldo!
-
Here's how those front bumpers turned out.
-
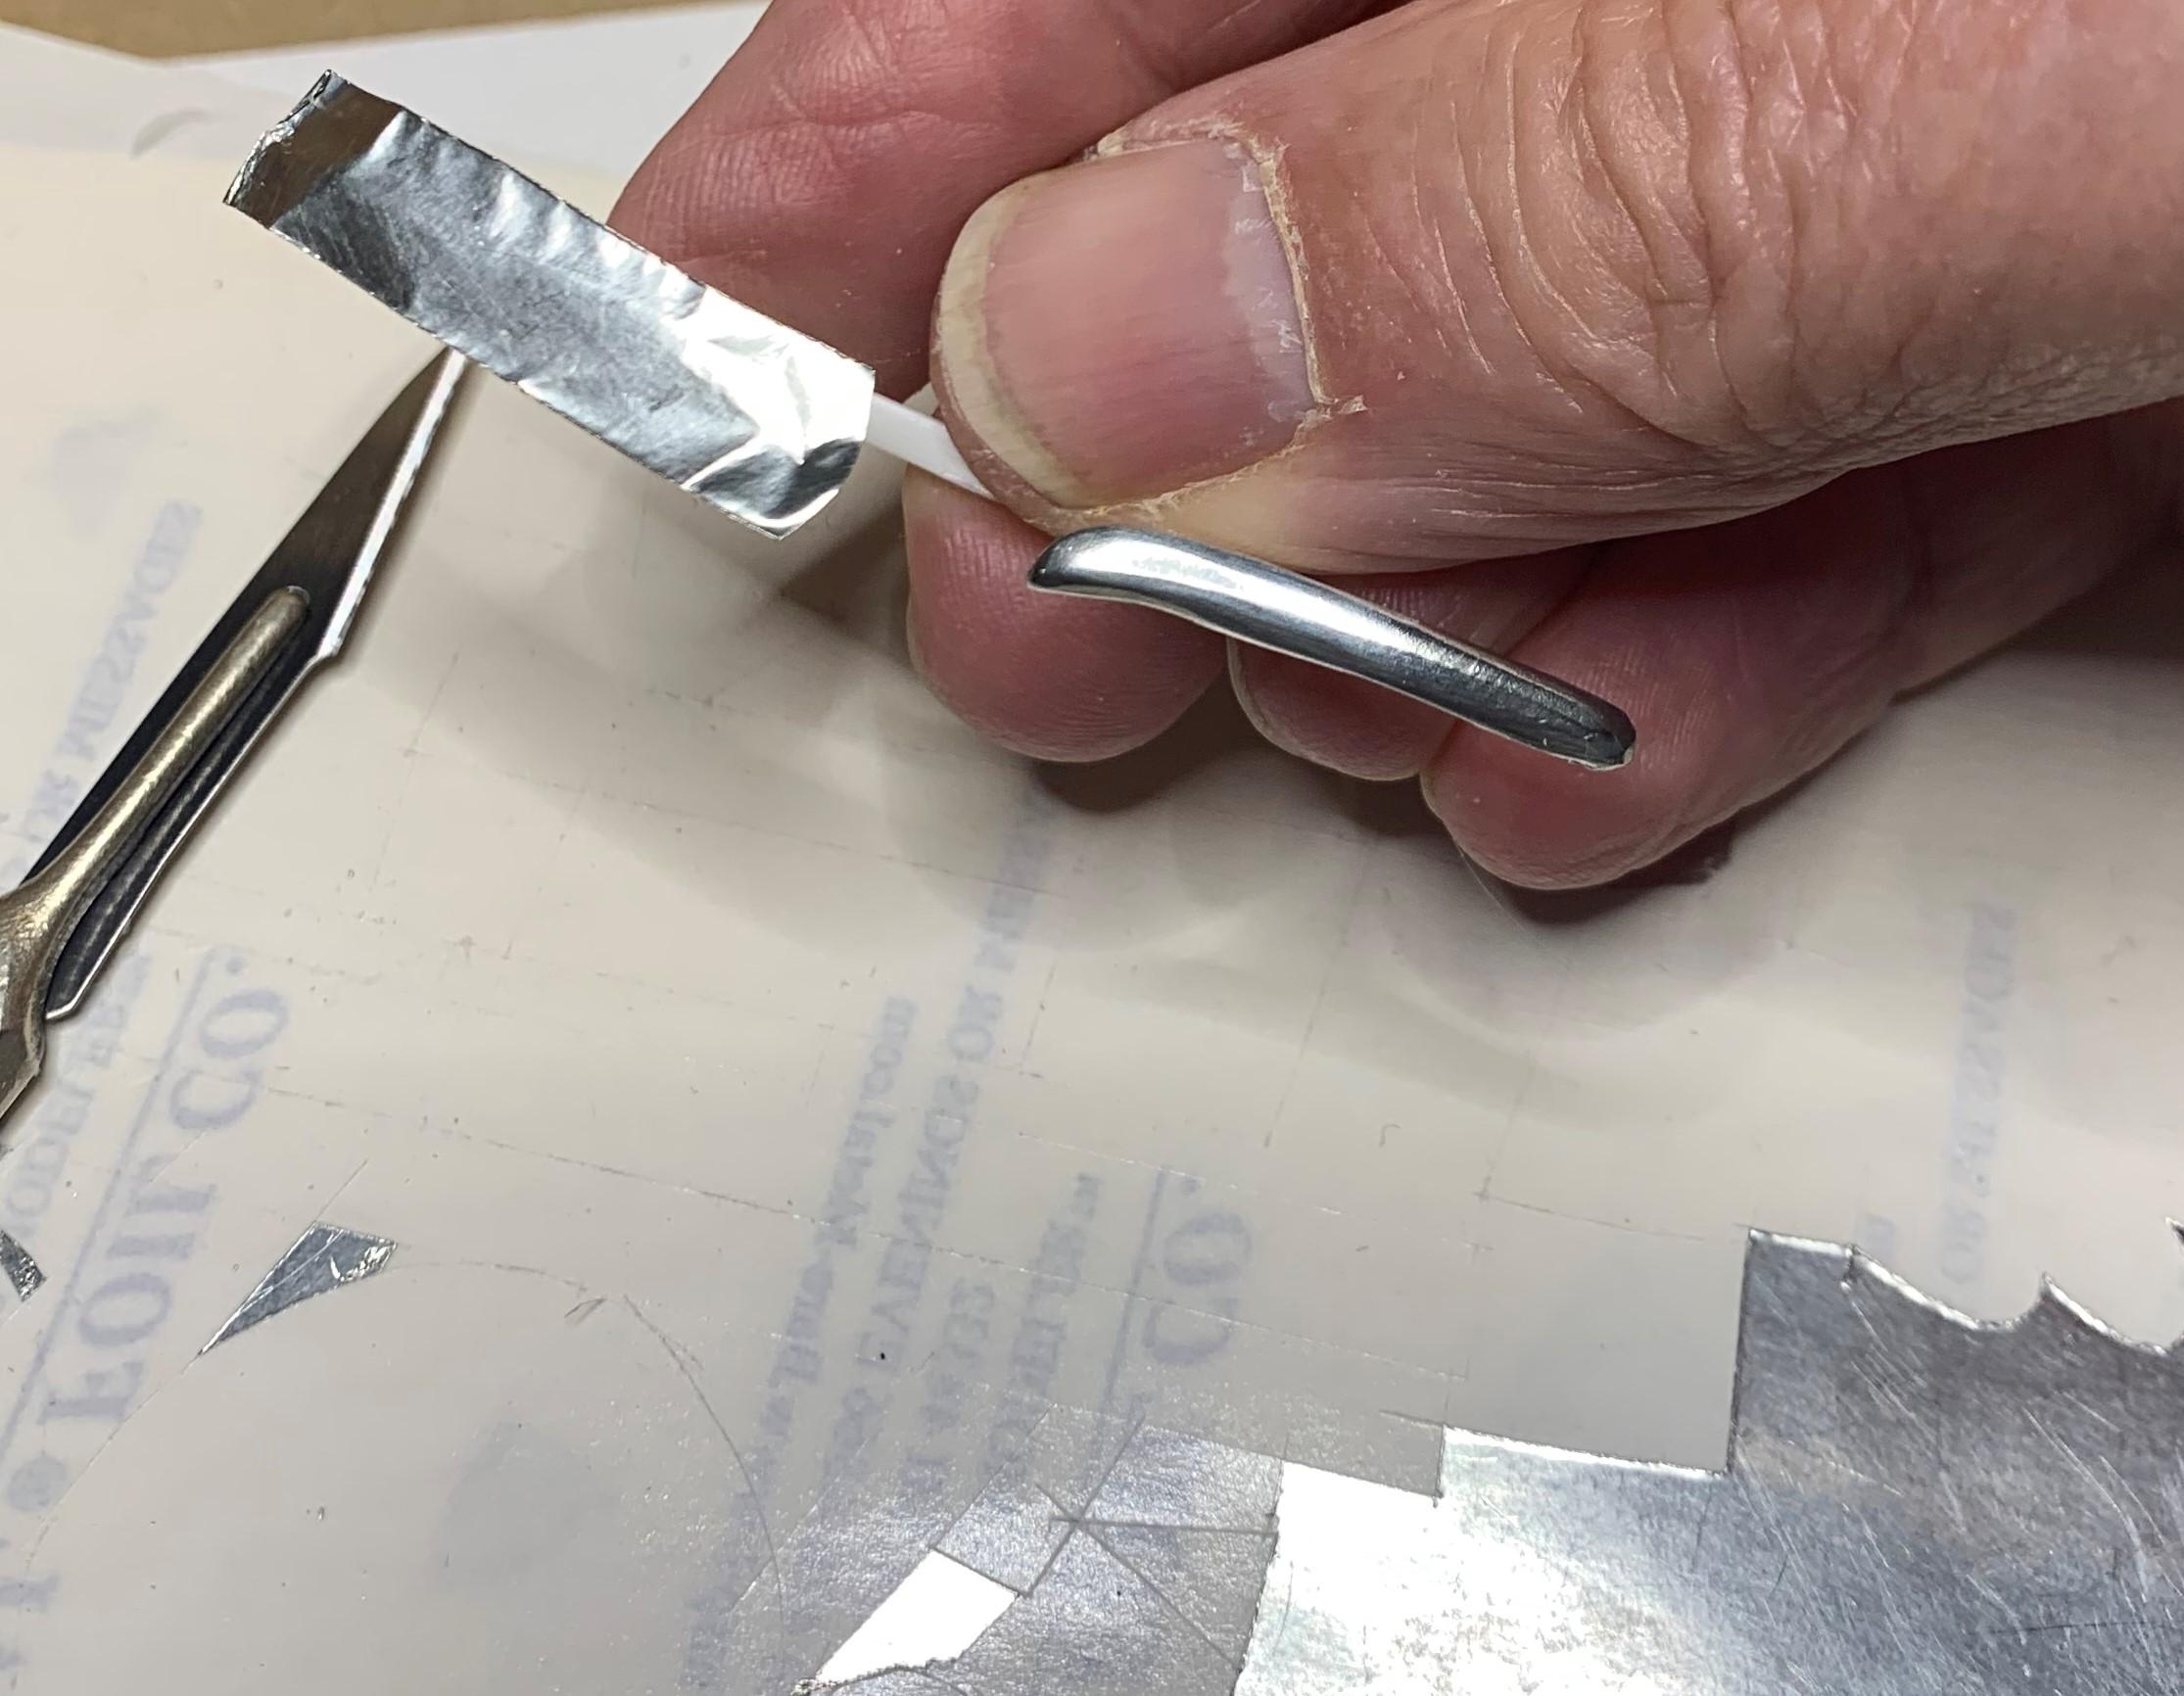
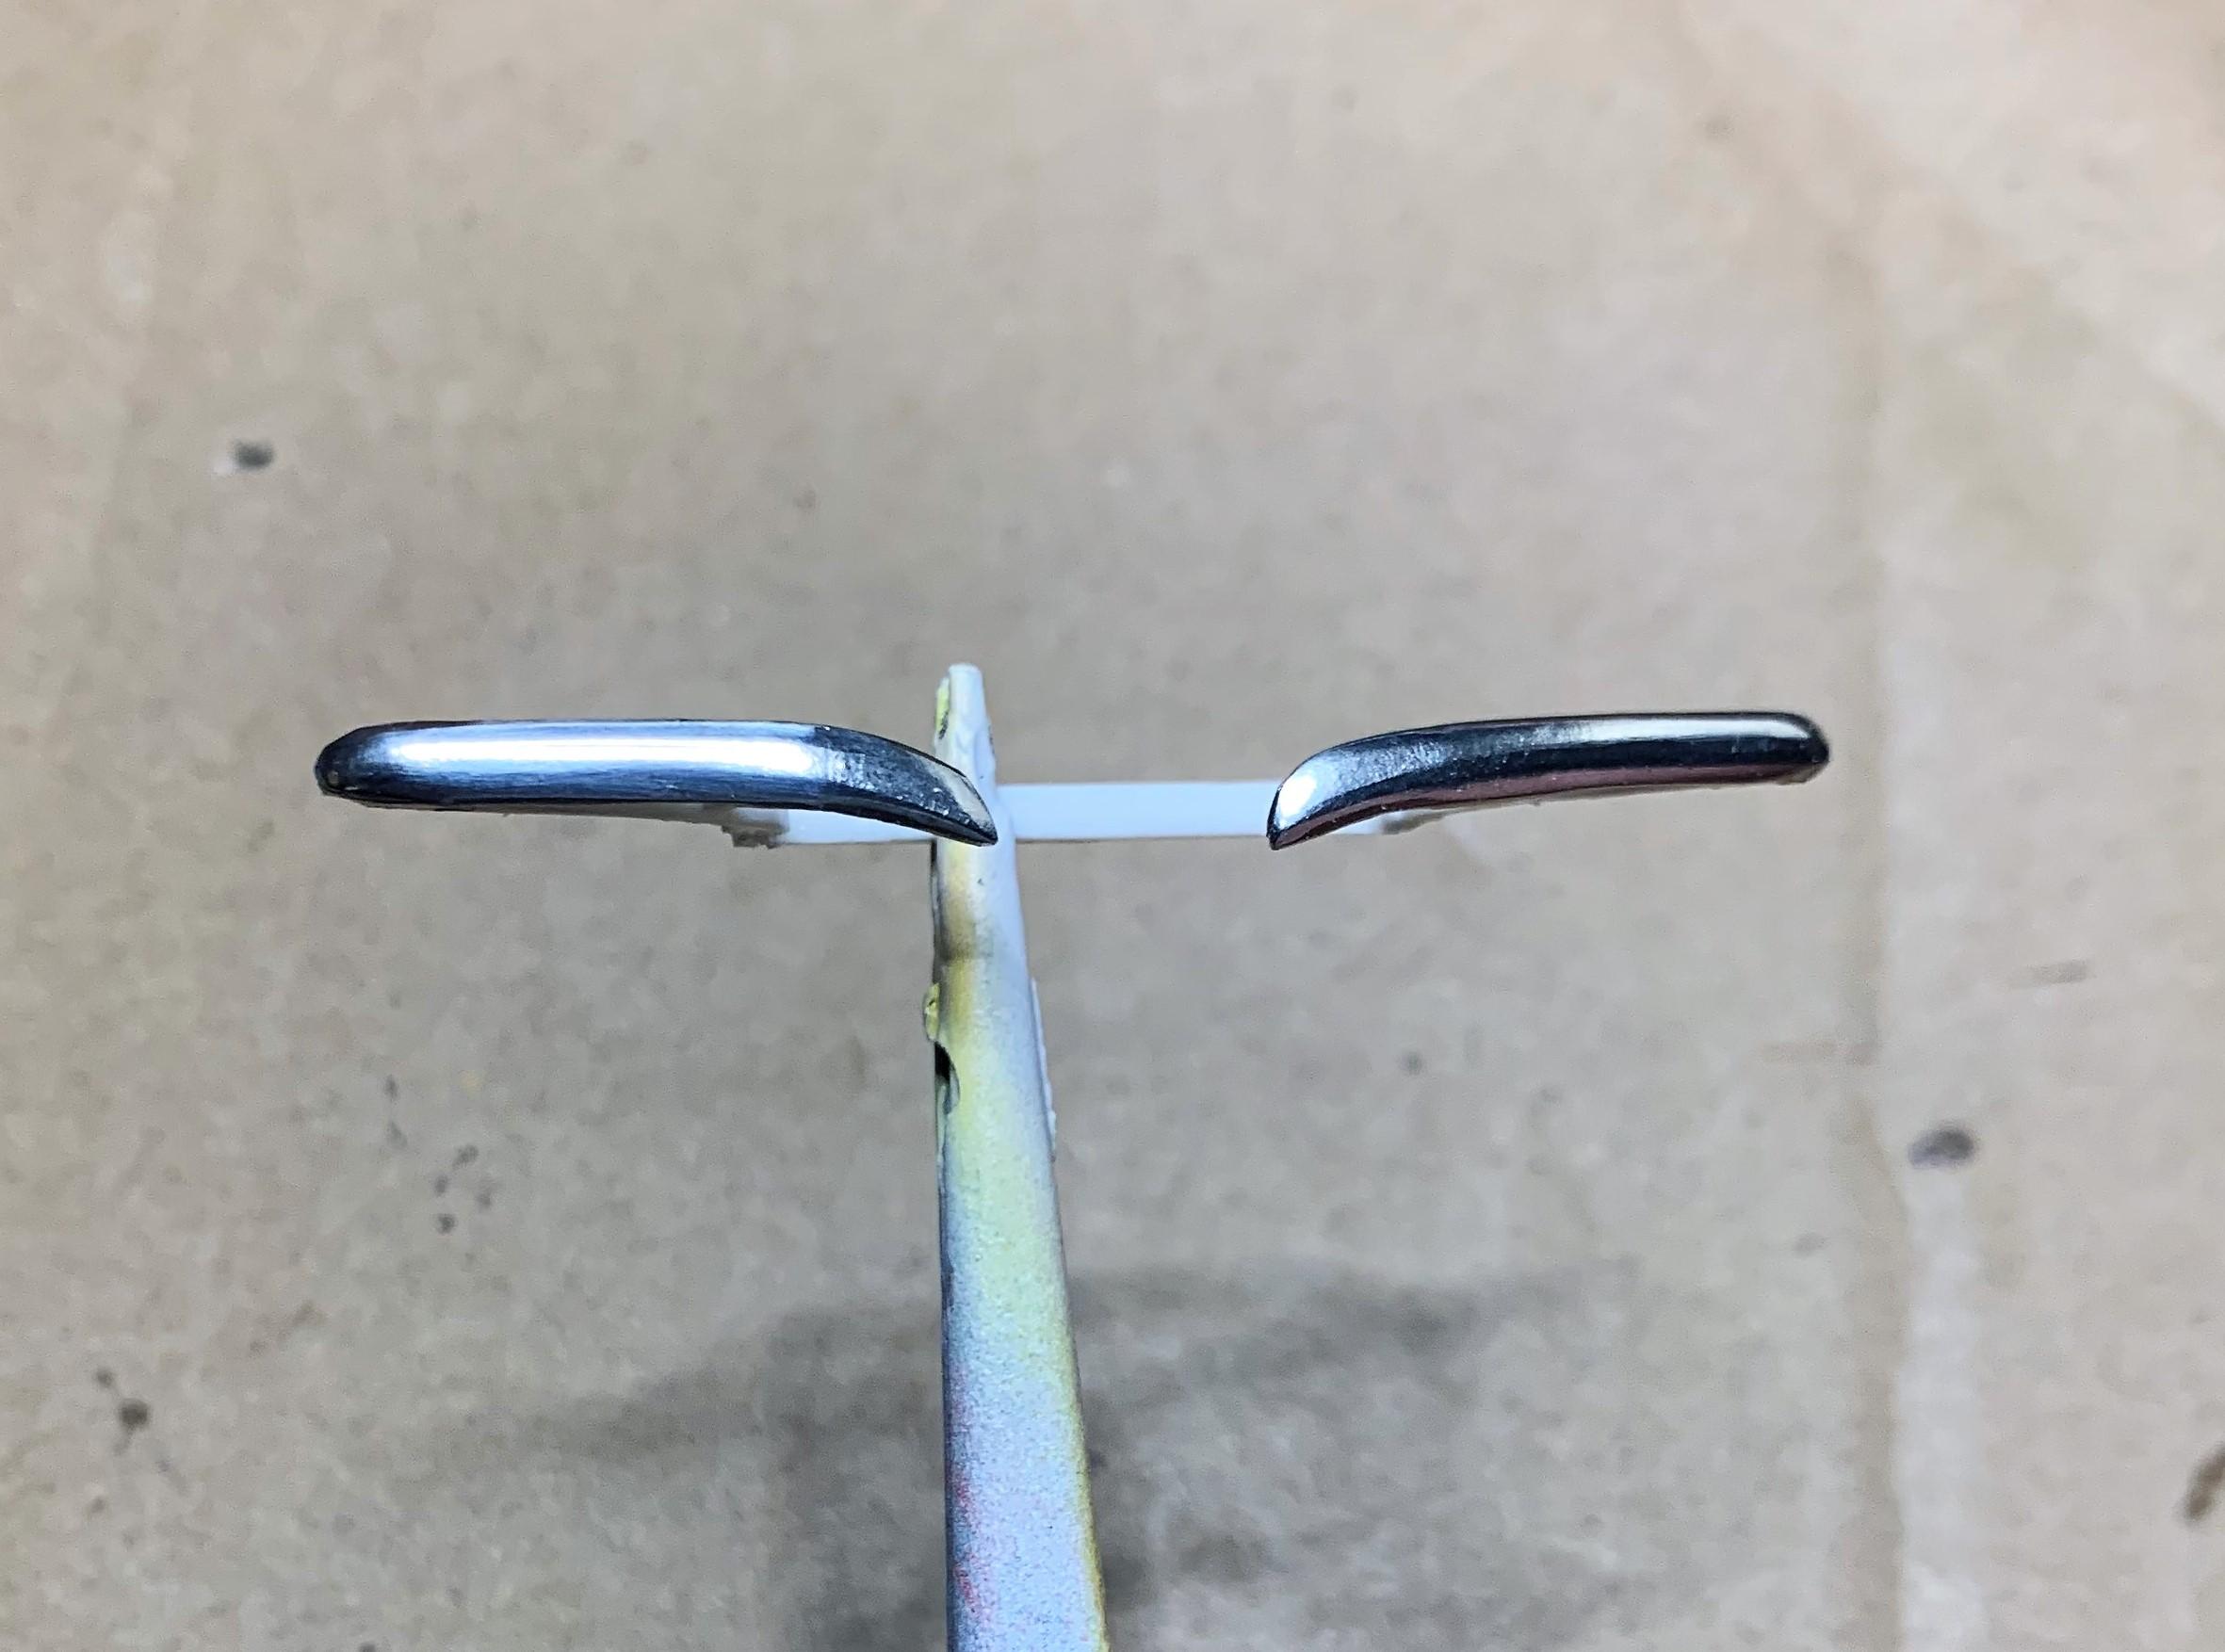
1: I found this cool rear bumper in my parts box, and wanted to put it in close to the body. 2: I got it tucked in and added aluminum exhaust tips, and those tail lights from Norm. They're tiny and foiling them was "trying" but like all Norm's stuff, well worth it! 3: The front bumper posed another problem, it doesn't have any design elements that are compatible with the custom rear bumper! 4: So I totally re-designed it into split bumpers, thinner and more like the rear in profile. 5 and 6: Then I foiled it (them) and thinned the mounting brackets.


.JPG.d975c70560afb4288adc9049983be395.JPG)
.JPG.98d1c0c8ea258400e6c1ebb0b0c52f52.JPG)