dino246gt
-
Posts
2,244 -
Joined
-
Last visited
Content Type
Profiles
Forums
Events
Gallery
Everything posted by dino246gt
-
I just Googled "nav screen" images and printed out on paper then glued on, then brushed some flat clear acrylic, here's the image I used:

-

Otaki 1/12 Lamborghini Countach Twin Turbo...Mission Statement
dino246gt replied to Dann Tier's topic in WIP: Model Cars
Wow that some extremely fine work on the Countach, which is an all time favorite for so many of us, and your's will be the finest model ever built of it! -
I love the look of Halibrands on these, here's what I used on my Vicky:
-
Fujimi/Testors 1/24 Dino 246GTS Spyder
dino246gt replied to Justin Porter's topic in WIP: Model Cars
It's looking fantastic! Engine bay does look great too! -
Restoration of two Monogram 1932 Ford Sport Coupes
dino246gt replied to alan barton's topic in WIP: Model Cars
Yeah that's exactly where I'm at too, still buying more kits though, it's an addiction! Fun trying to do stuff with the old "junk" though, very satisfying! -
Johan ‘70 Cadillac ElDorado pro touring (low and aggressive)
dino246gt replied to Steve H's topic in WIP: Model Cars
Wow, that interior is stunning! What a bold colour choice and it really works, I love it! -
Restoration of two Monogram 1932 Ford Sport Coupes
dino246gt replied to alan barton's topic in WIP: Model Cars
Nice work! Looks like great fun with a high satisfaction value! I love saving these old things and you are really doing it right, nice! -
I have this kit in the waaaay-off to-do pile, interested in seeing how it builds up by you. So far it looks very good!
-
Who doesn't love a mock-up? Let's see yours!
dino246gt replied to Belairconvertable's topic in WIP: Model Cars
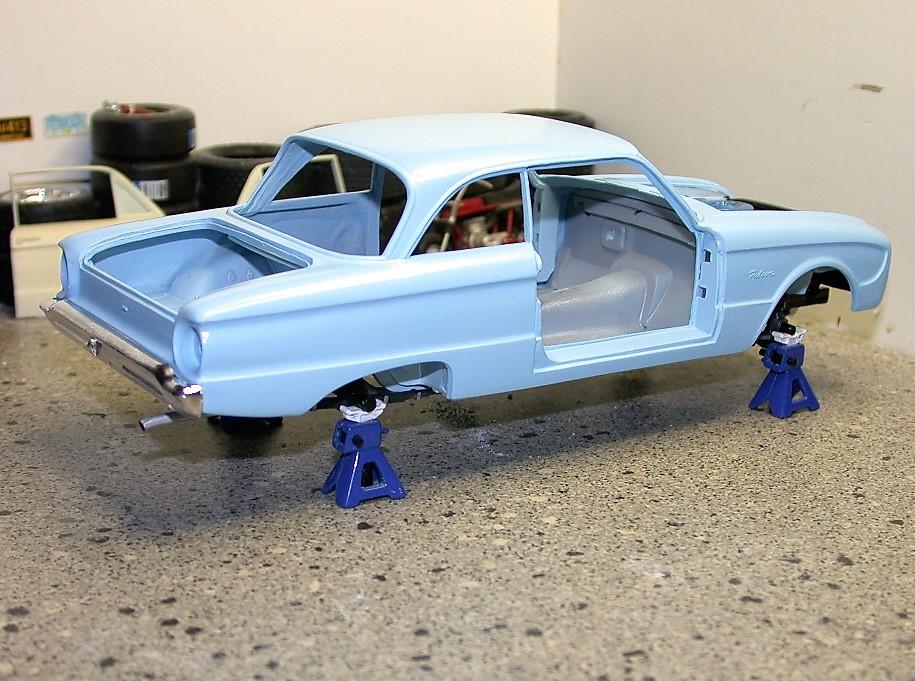
Trying to make a full detail, factory stock 1961 Falcon:
-
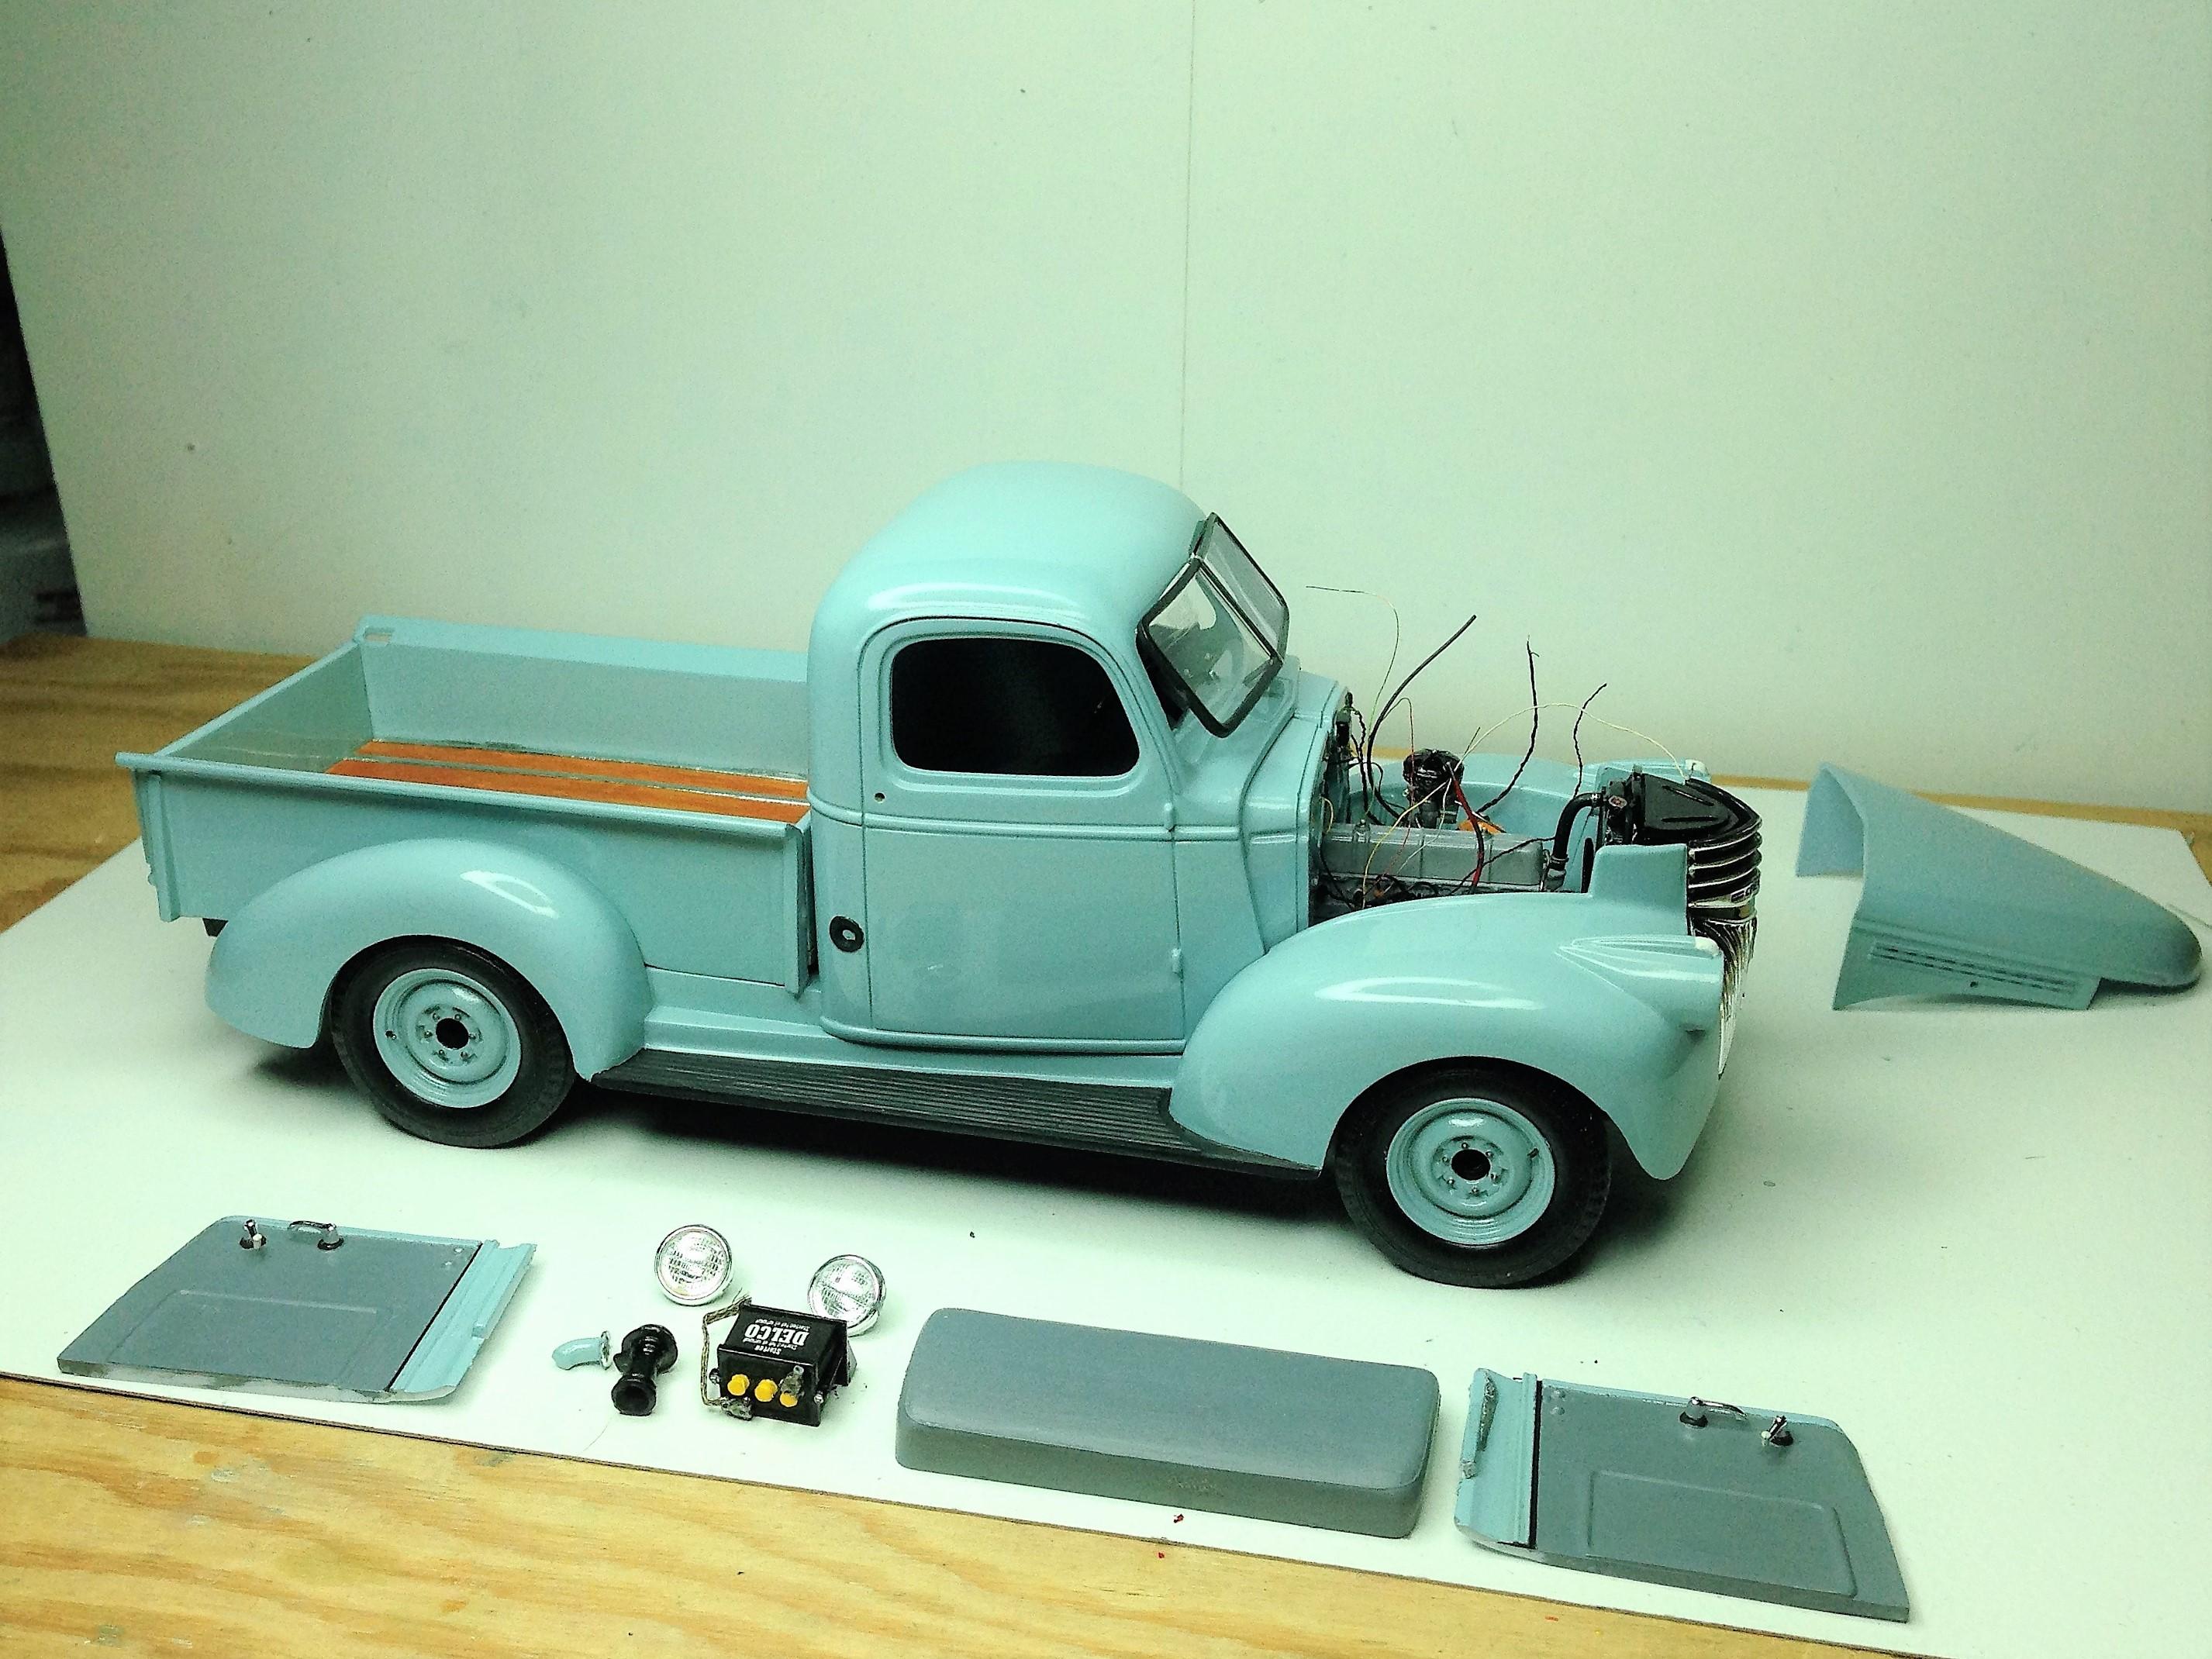
Post your truck mockups.
dino246gt replied to Mike C.'s topic in WIP: Model Trucks: Pickups, Vans, SUVs, Light Commercial
Factory stock
-
'93 Chevy S-10
dino246gt replied to Slotto's topic in WIP: Model Trucks: Pickups, Vans, SUVs, Light Commercial
It's looking very good! I like black carpets with any colour interior, good choice! -
I drilled some .050 styrene sheet for pedals, and basically I've shifted my focus to the bodywork, so that could take some time! Hope to be posting on this project again soon.
-
Love the stance!
-
Otaki 1/12 Lamborghini Countach Twin Turbo...Mission Statement
dino246gt replied to Dann Tier's topic in WIP: Model Cars
WOW! As much as I am in awe of this work, I just might leave mine in the box! I do appreciate all the details and explanations, for when I get back to mine, I'll try to do half of what you've done, maybe a third!- 363 replies
-
- 1
-

-
- otaki
- lamborghini
- (and 2 more)
-
Otaki 1/12 Lamborghini Countach Twin Turbo...Mission Statement
dino246gt replied to Dann Tier's topic in WIP: Model Cars
Yeah that blue glass is weird. I'll also only use the "glass" in blue, no lenses. I've done my interior in cream and black and it looks good through blue windshield, but I think the bright blue body will help disguise the blue glass. I was in a silent auction for a mint unbuilt one with clear glass in perfect box and I was high bid but a young guy really wanted it so I let him outbid me by one dollar. It was almost still sealed! Which is a thrill, but I would've started working on it immediately, at least a tiny bit. It's such a beautiful kit isn't it. Of course making improvements as we go is all part of the fun too, so I overlook kit shortcomings . Okay, I'm running late for dinner! Ciao. -
Oh, and I downsized a UFI oil filter image as small as I could and printed it on paper, then just glued it onto the oil filter. It's mounted way down in the engine bay so it won't be noticed, but again, it was fun!
-
I added heat shield from Model Factory Hero behind seats and on the removable panel in the middle. I started making fuel tanks. I made fuel gauge sending unit, electric fuel pump, canister type fuel filter, crossover pipes and installed it all, with lines and fittings. You can't see much of it, but it was just fun doing it. The red lines point to the pump and filter from the bottom.
-
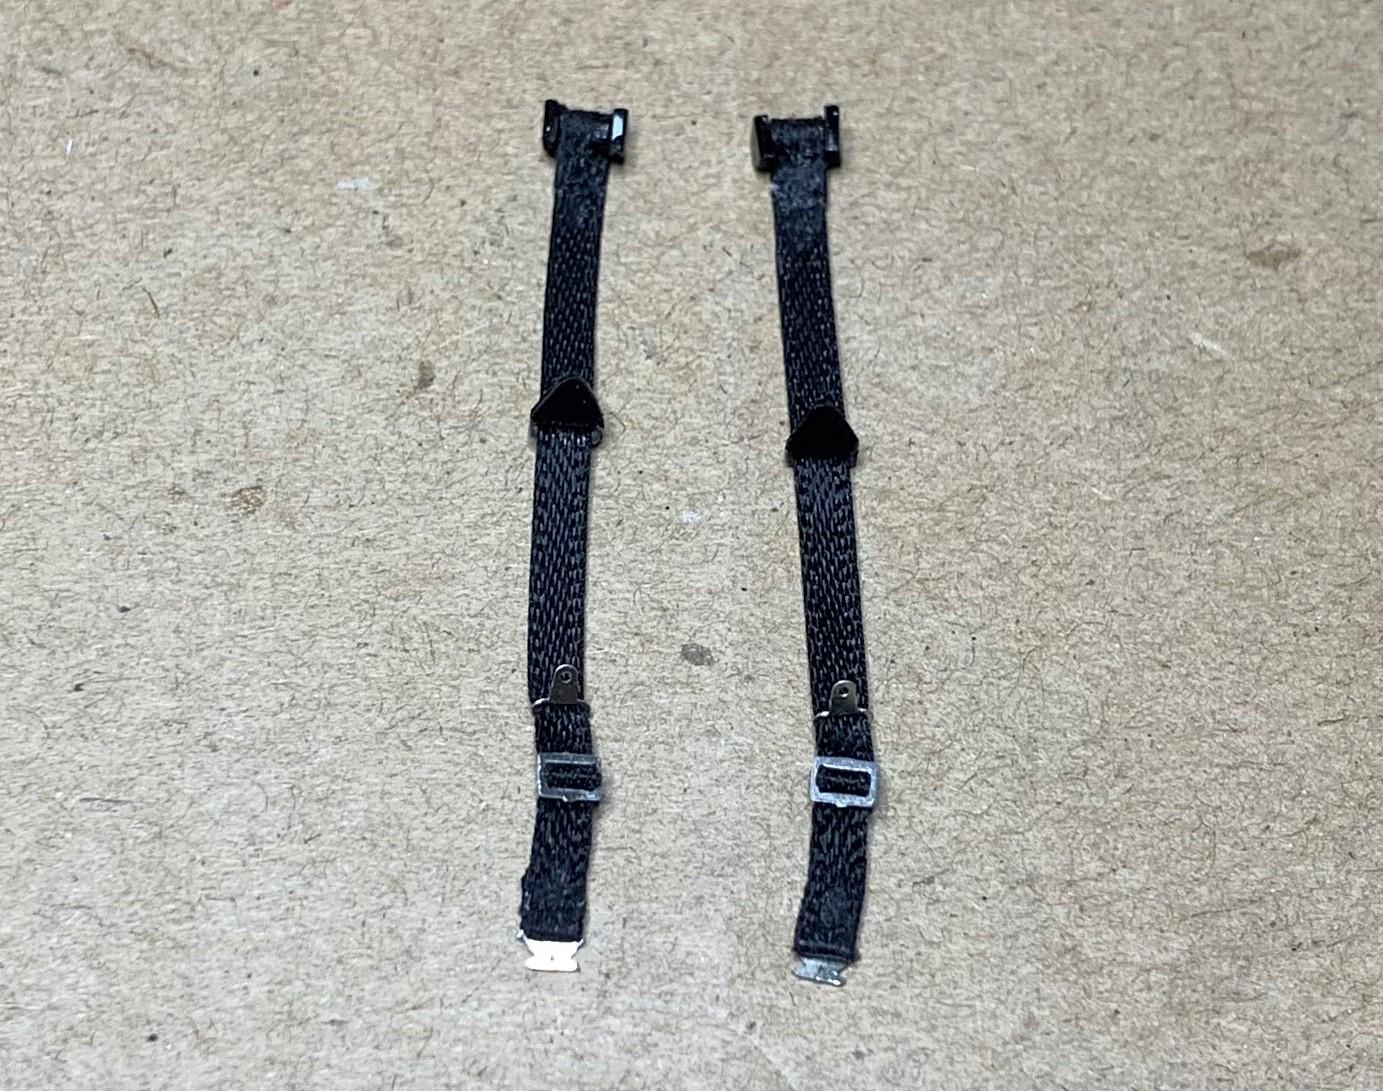
I started making seat belt receptacles, AND................seat belts. Installed them and detail painted the console.
-
Otaki 1/12 Lamborghini Countach Twin Turbo...Mission Statement
dino246gt replied to Dann Tier's topic in WIP: Model Cars
WOW! It looks fantastic, oh man I should get back to mine, stalled on making the doors work properly. Hey did you thin any body panels? Yours looks so excellent now, what colour will it be? I'm planning a blue, like Ford engine blue for mine, partly because the kit glass is blue tinted from new, old Otaki LP400. Tamiya TS-44 I love what you've done, Ciao! -
That paint on the exhaust does look good!
-
Fujimi/Testors 1/24 Dino 246GTS Spyder
dino246gt replied to Justin Porter's topic in WIP: Model Cars
Man that grille looks fantastic as does the Dino!!! -
Lookin' good! I love the '36 coupes as show cars, what colour have you picked for the body? And what engine??
-
I love what you're doing with the wheels and brakes, way cool!
-
The wheels are part of why I wanted to build this kit. I'm not a fan of these iconic hubcaps, but they looked to be engineered so well I just had to build them. I agree, they're so excellently engineered, even if I don't actually like them, it's a model builder's joy to assemble them!
-
Steve, your Camaro looks great, slightly off tail lights and all! Great tip though for all to remember. Make a note and put it in the box if you don't plan to build it for some time.


.JPG.c8f1a4c5ed26d11ab7a522da523ff14f.JPG)


.jpg.91ee5ae5cb156193b31941a80ecd4a39.jpg)