dino246gt
-
Posts
2,244 -
Joined
-
Last visited
Content Type
Profiles
Forums
Events
Gallery
Everything posted by dino246gt
-
Here is Tamiya's GREY panel line wash on a white car, slightly more subtle than the black:

-
 I would do as you suggested, change the rear fender opening to match your tires, it looks so good and that won't be noticed, it'll look like it's supposed to be like that! I'm loving this thing!!
- 108 replies
-
- 1
-

-
- 1953
- studebaker
- (and 2 more)
-
Volvo 242 drag car, my first build ever
dino246gt replied to Blueberry_no1's topic in WIP: Drag Racing Models
Wow that is fantastic! Love how different it is, and how detailed! You can't be a novice, that looks professional! -
Nostalgia Fuel Dragster--Blower Manifold (01/28/23)
dino246gt replied to Straightliner59's topic in WIP: Drag Racing Models
Amazing skills! Great build! -
I like the way you figure everything out as you go, cool! Can't wait to see those headers bent into shape!
-
Traditional 1929 Ford Woody Wagon Hot Rod
dino246gt replied to Dennis Lacy's topic in WIP: Model Cars
Very nice work, I love all the mods in pictures with explanations, sweet! -
Same here! This is a great place to learn from others, thank you Pat for sharing!
-
Looking good, cool concept, salt flats car for the street. Nice work so far!
-
I made up a battery and tray, and power brakes and took it to the club meeting today:
-
Re-engineering Monograms Lotus Esprit...new update!
dino246gt replied to Dann Tier's topic in WIP: Model Cars
Man that's some fantastic modeling! I love it, I have the kit, now I can see how it should be built, someday! Thanks for showing us all the mods, I love this stuff! -
Good stuff, most importantly, your dog is okay, that's great!
-
These are from Shapeways.
-
60 Apache mock up
dino246gt replied to Fantom's topic in WIP: Model Trucks: Pickups, Vans, SUVs, Light Commercial
I like the idea of using another hood for the rear, but needs more planning, could use those vertical, one on each side for tail lights, maybe, or as you show, but better integrated into the tail gate? -
I'm diggin' the tail light treatment on that Nomad!
-
These 3D printed "fake" nuts and bolts are a must for 1/8th scale details! I've gone through 3 orders already!
-
They're in little packs on a counter top rotating rack, I USED to see them at most hobby shops, not so much any more, but of course you can always find them online. These were Hob-bits, sizes 1-72 and 00-80, 00-90. Online they give you sizes. There are plenty of others, not just Hob-bits.
-
I used the flathead six from the '41 Plymouth for my scratchbuilt Willys Wagon, and it does look somewhat similar to that picture above. I wouldn't use so many different colors though, as I did on this one, would look better with more black wires, I might paint mine.
- 108 replies
-
- 2
-
-
- 1953
- studebaker
- (and 2 more)
-
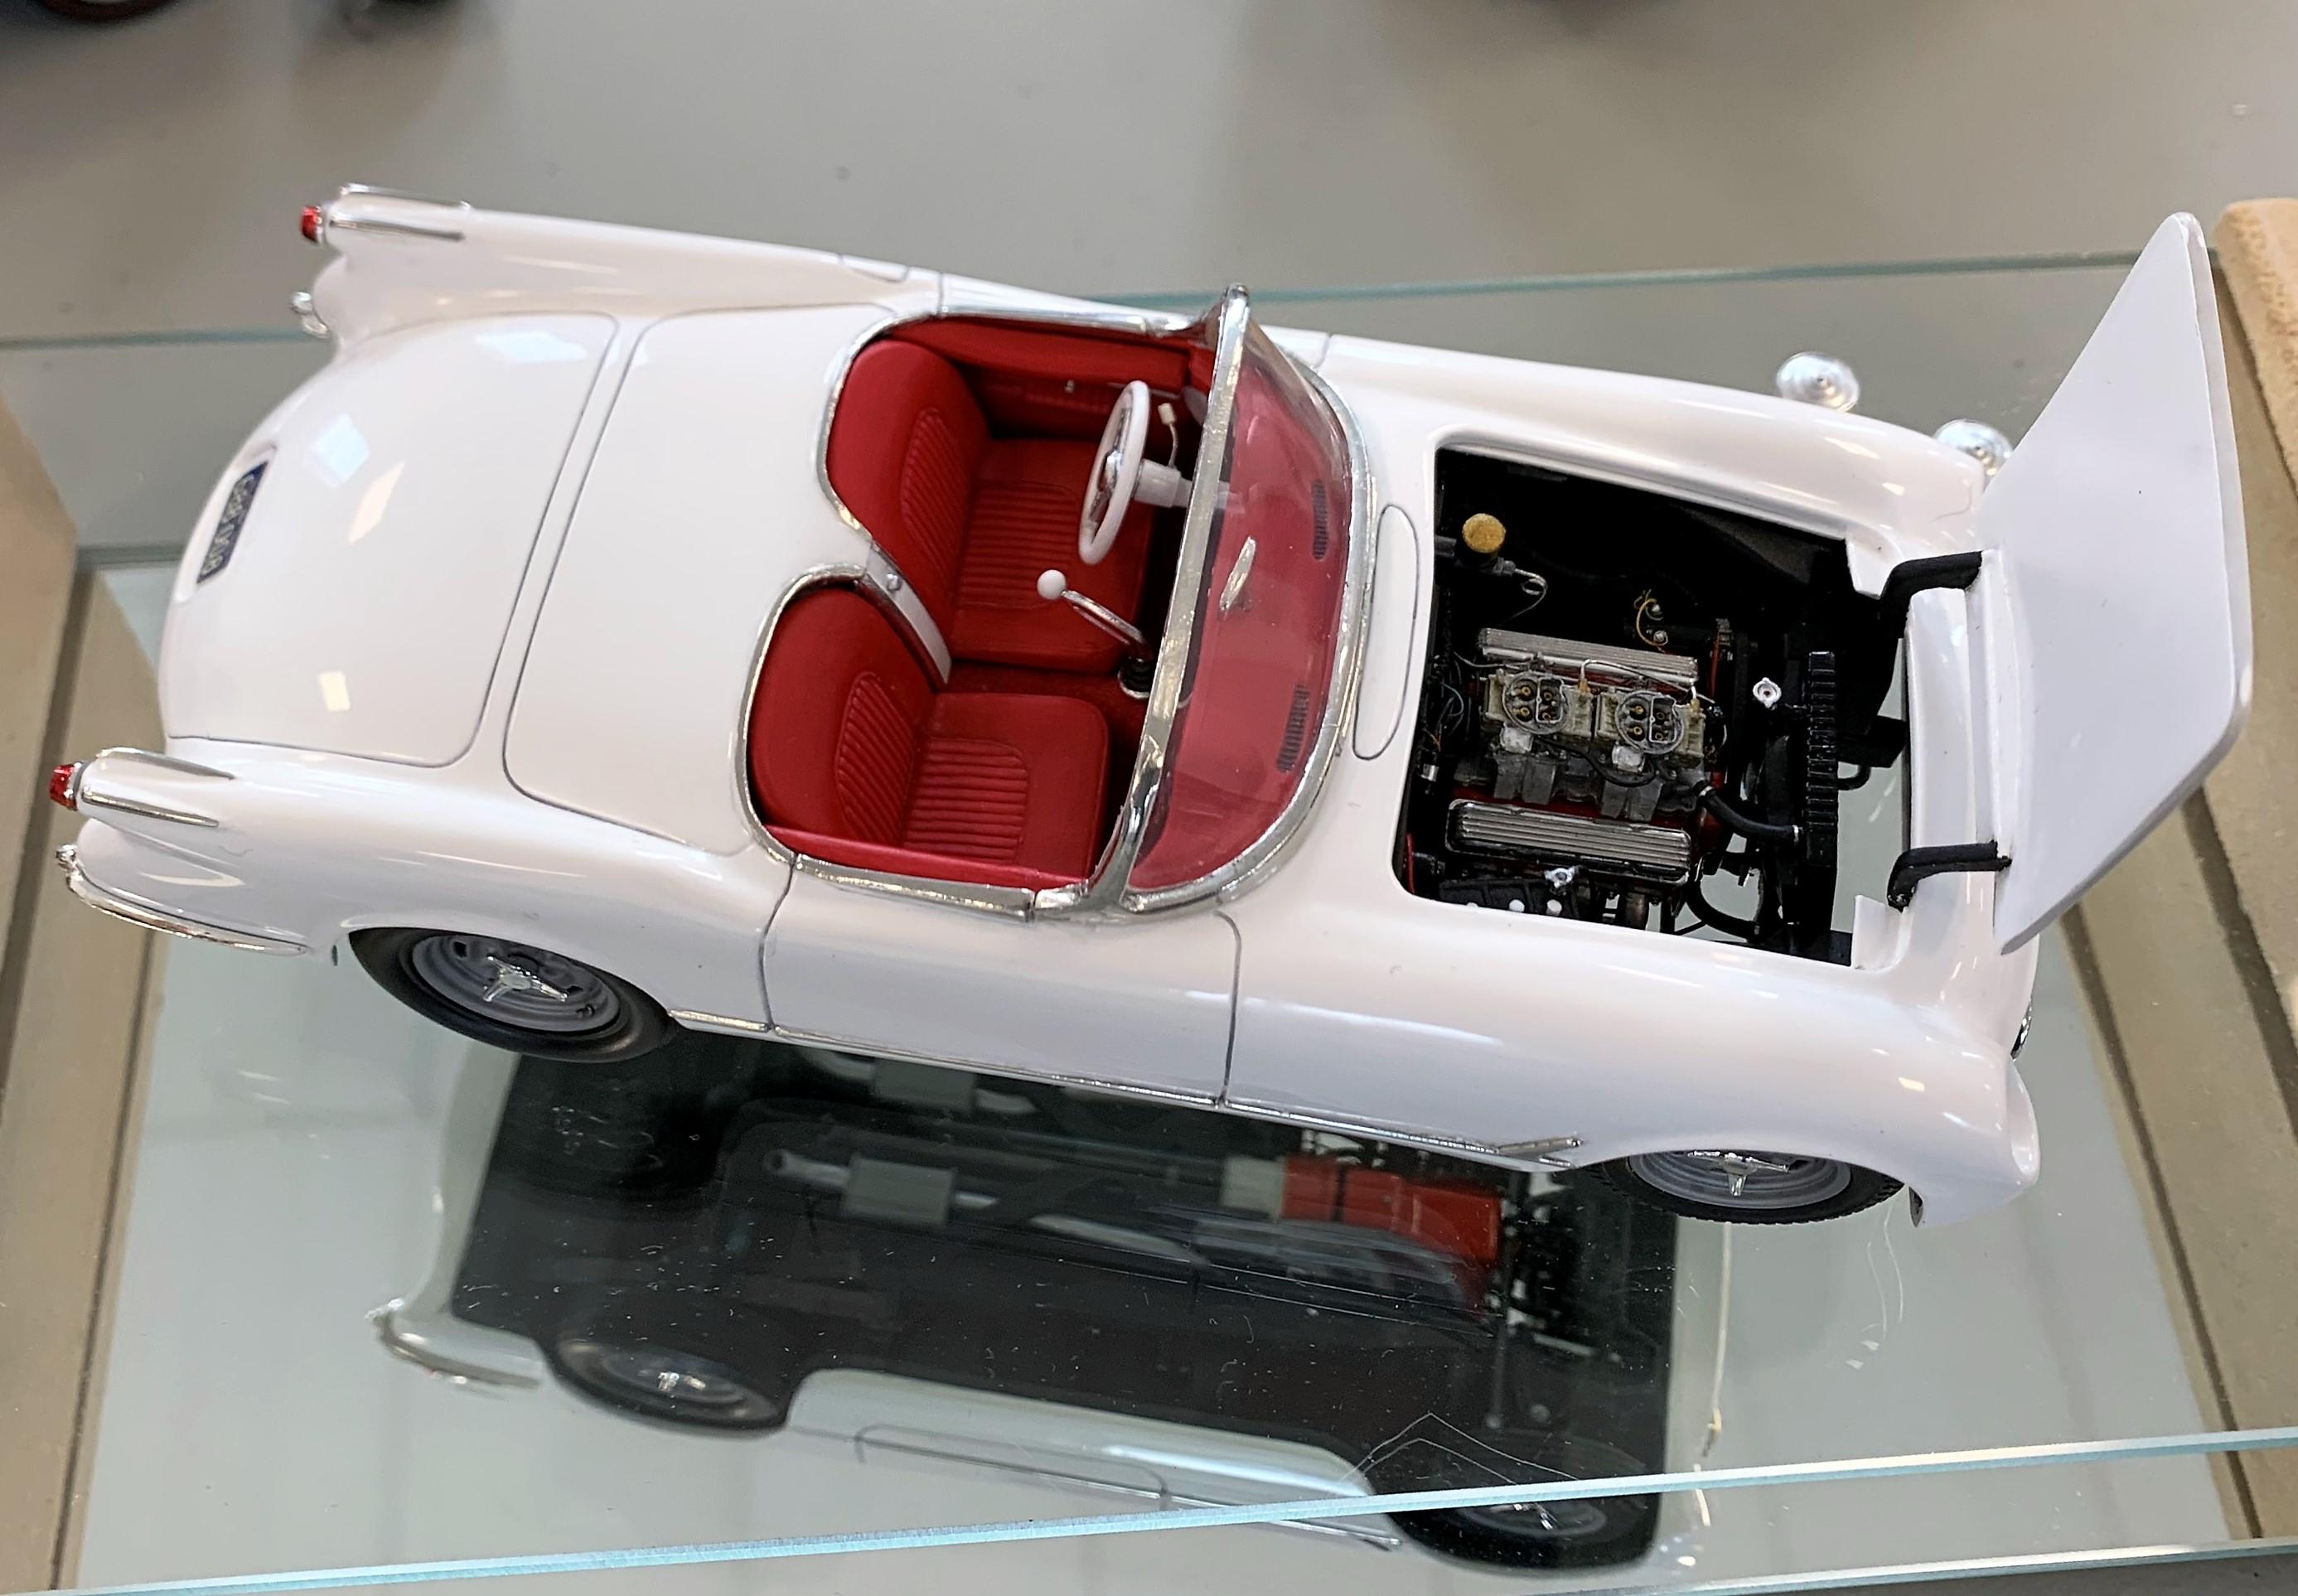
1/8th scale is so much fun to work with, scratch building is much easier. Here's what I did with the blob of a 4 speed in the '65 Vette kit: I cut it apart, made an adapter to fit a flathead, then with some hobby shop little bolts and sheet styrene, a bit of florist wire, it looks so much better: I'm sure you'll have a blast once you start adding details, cheers!
-
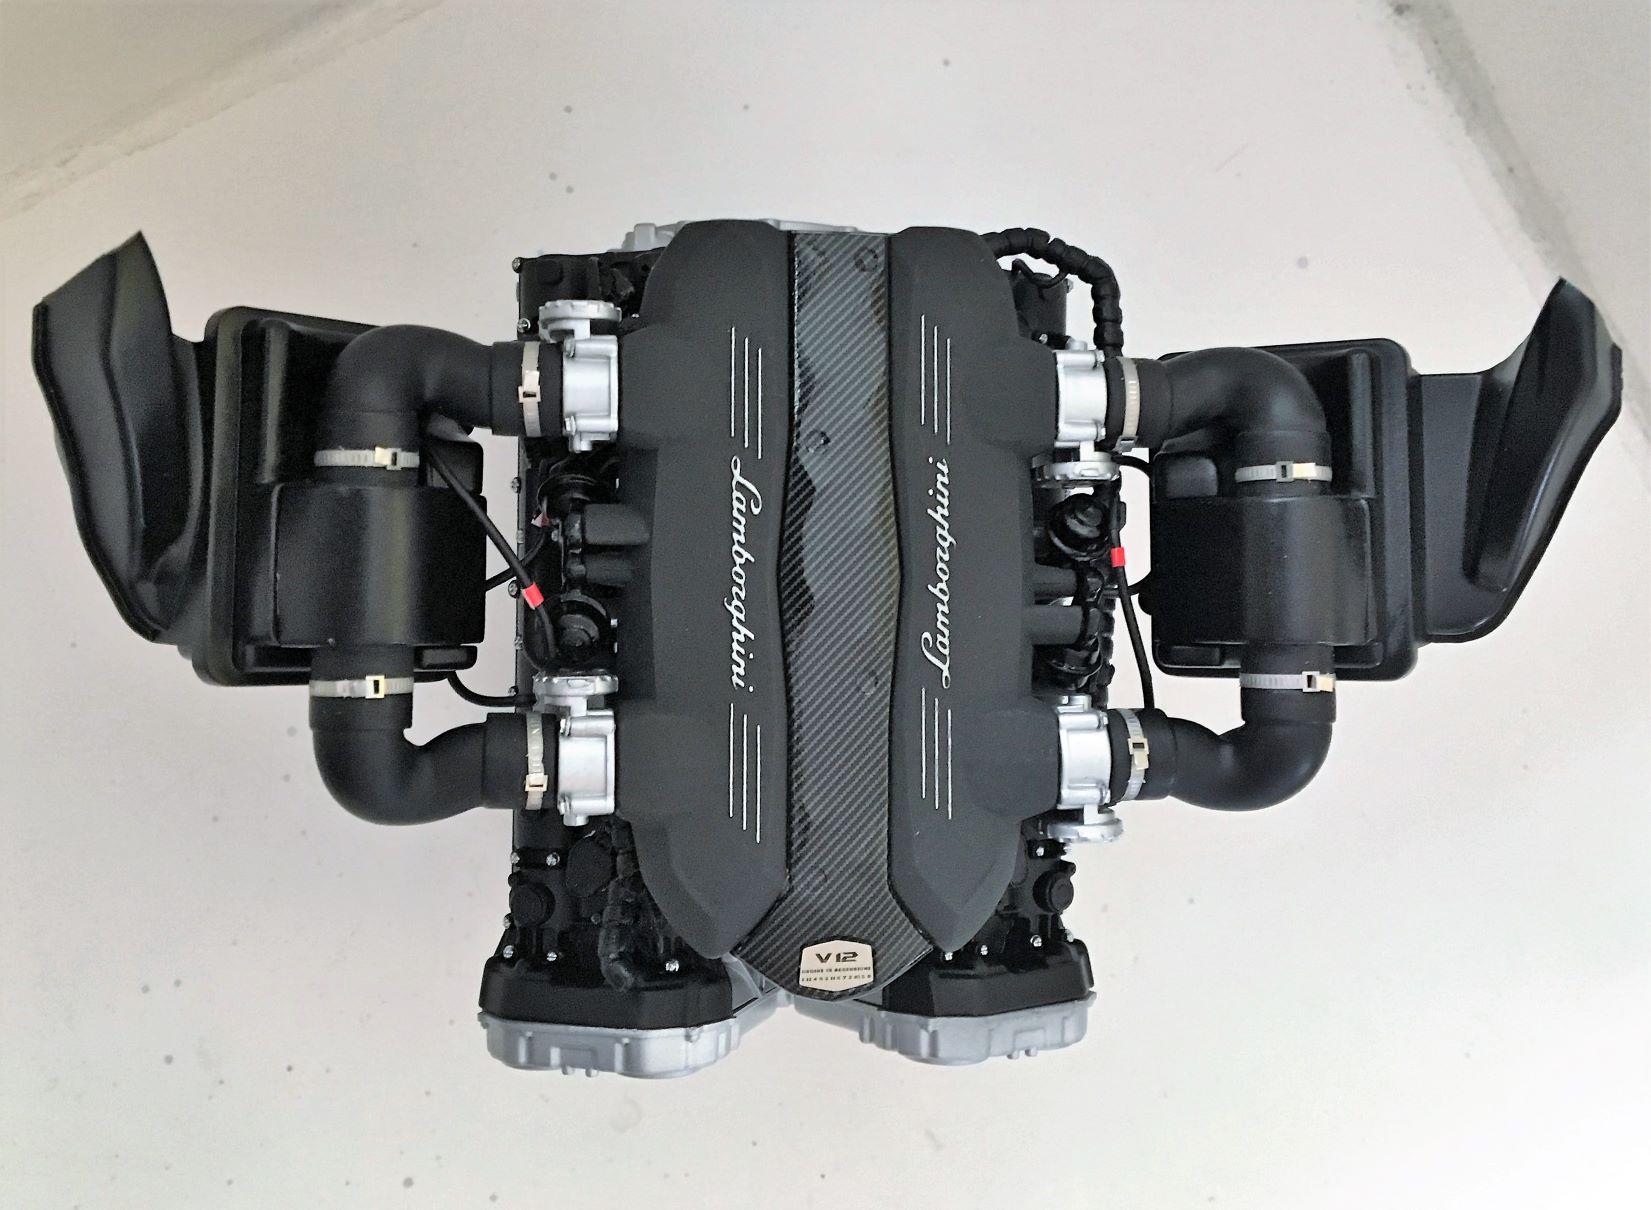
Just for reference, here's my 1/8th scale Aventador engine:
-
Aren't there some dry transfers available, mostly for 1/24th, but they often include "other scales" as well.
-
Wow, what you've done already looks very cool! Do those kits come with the rear bucket seats like in your pictures? Your engines and interiors are well done!
-
Nice work opening that up! I'm watching, I like what I'm seeing!
- 108 replies
-
- 1
-
-
- 1953
- studebaker
- (and 2 more)
-
48 Ford Ranchero
dino246gt replied to Butter 1's topic in WIP: Model Trucks: Pickups, Vans, SUVs, Light Commercial
I'm still stunned by how cool that rack and pinion looks, fantastic scratch building! -
I like this project, something different and it's very cool! Nicely done! So far!
- 108 replies
-
- 2
-
-
- 1953
- studebaker
- (and 2 more)