dino246gt
-
Posts
2,244 -
Joined
-
Last visited
Content Type
Profiles
Forums
Events
Gallery
Everything posted by dino246gt
-
Looks really good and it'll be a crowd pleaser as there's not many 6 cylinder Camaros built and displayed. Very cool!
-
Wow, that looks great! Never built an Ebbro kit, looks like it's well made? Love your paint scheme, looks nice!
-
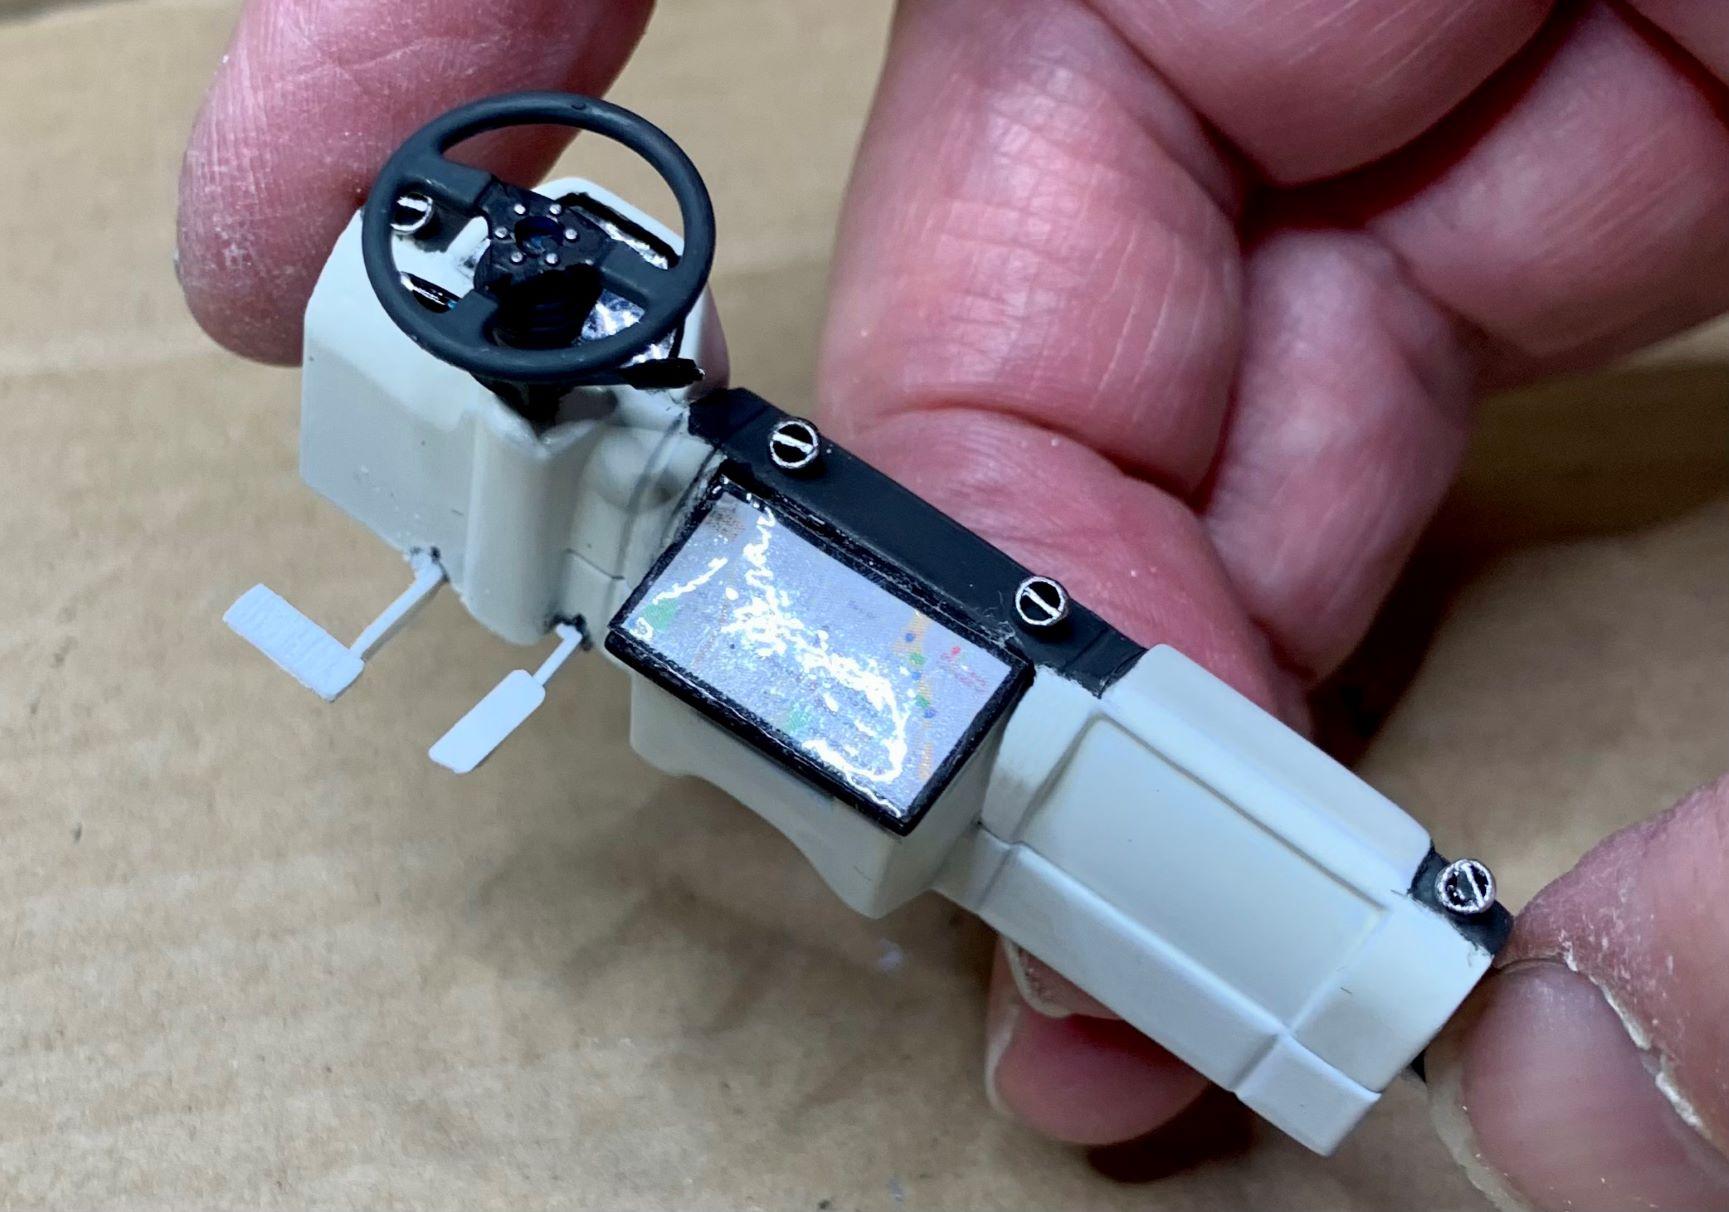
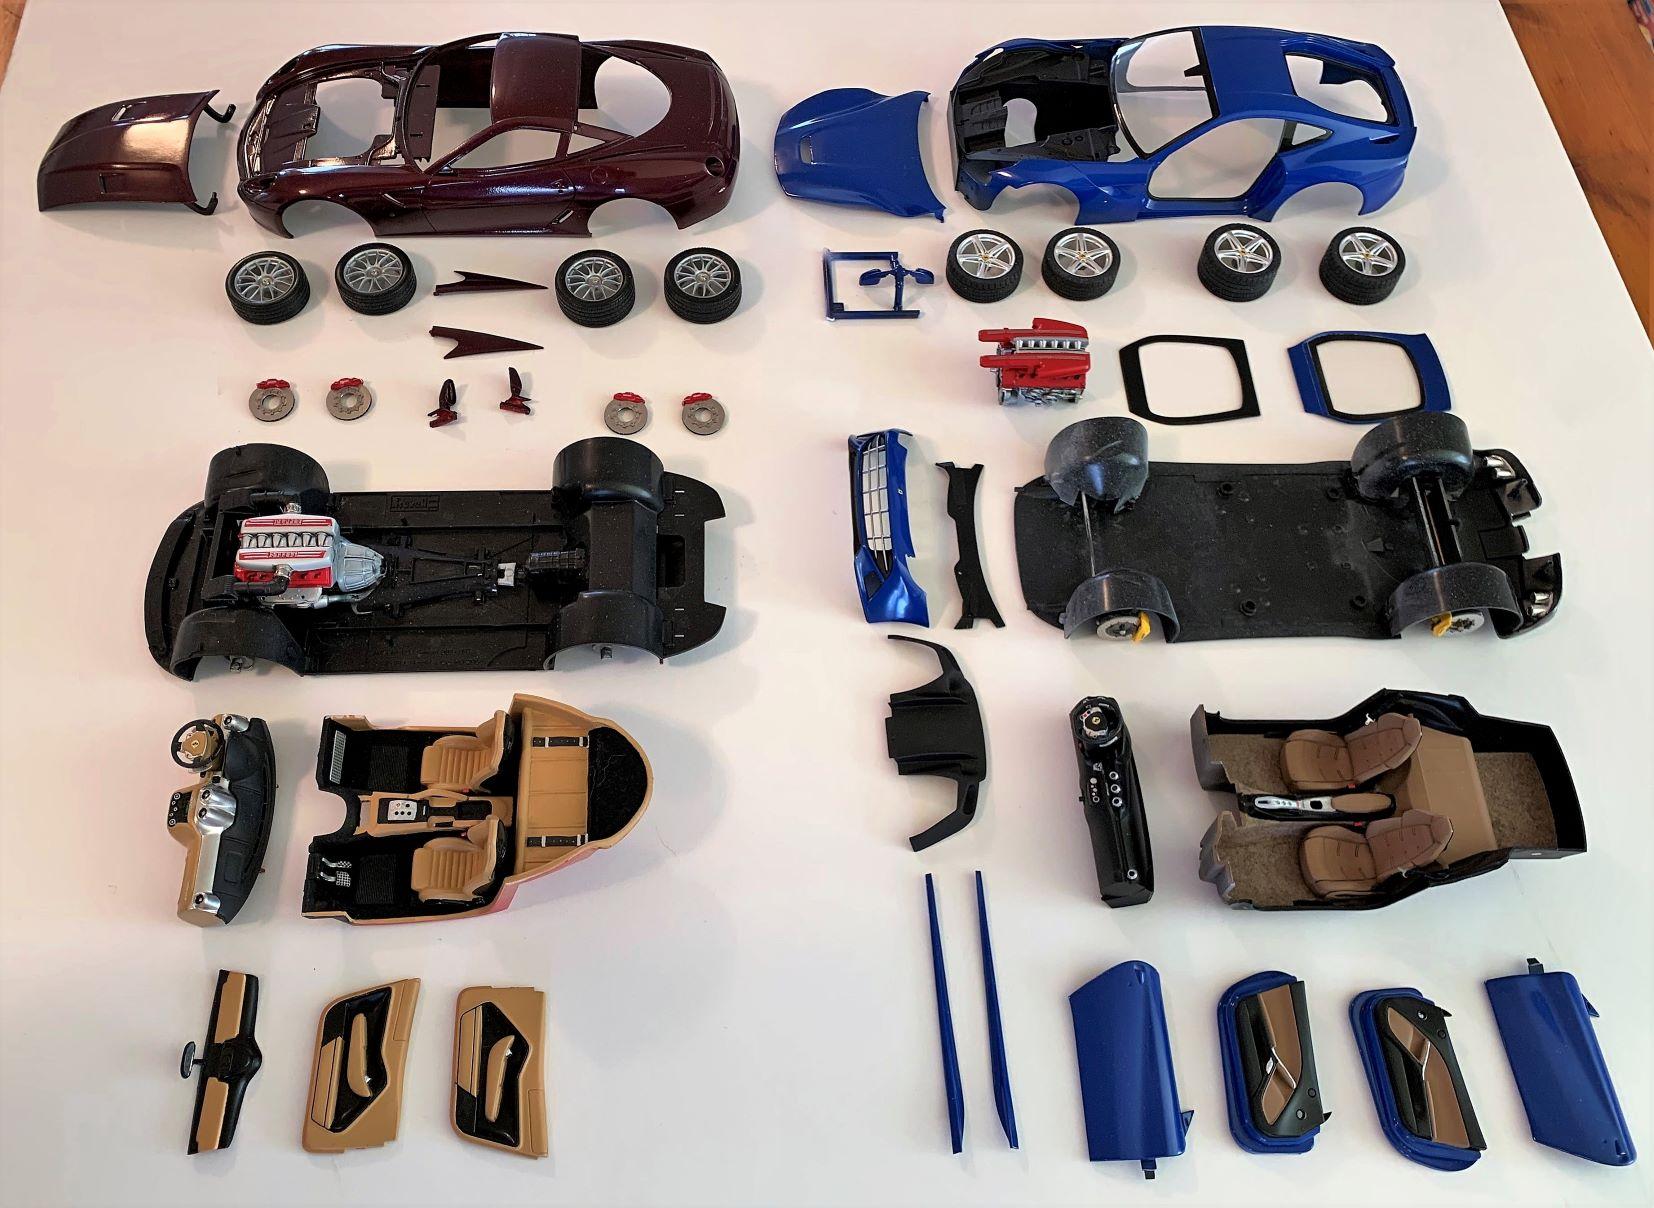
 The kit windshield was a perfect fit for the opening, too bad there was no place to glue it! 1: I made my own windshield, slightly larger than the opening, and made A pillar covers and a top header to hold it in place. 2: I foiled the mirror face and painted the rest flat black, you can see my sun visors and A pillar covers. Interior is pretty complete, test fitted and now to glue it all together!
-
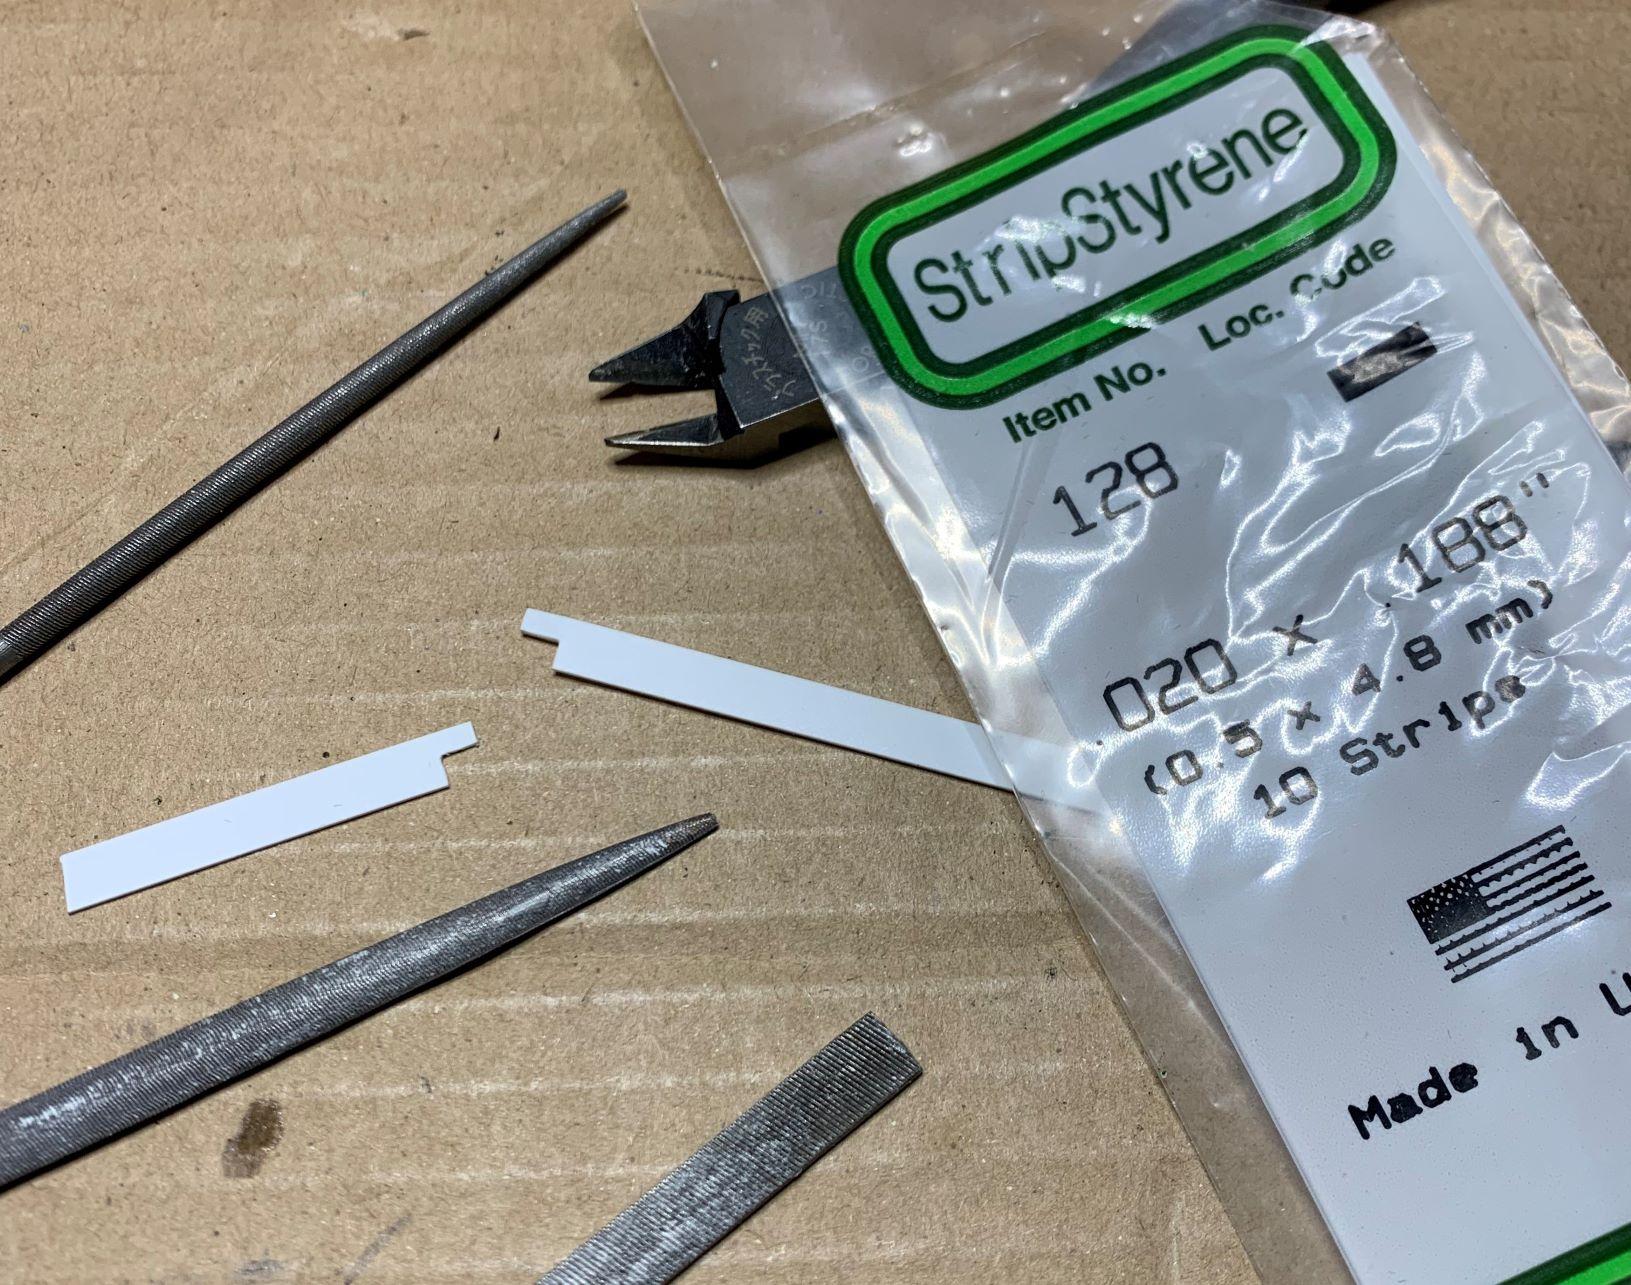
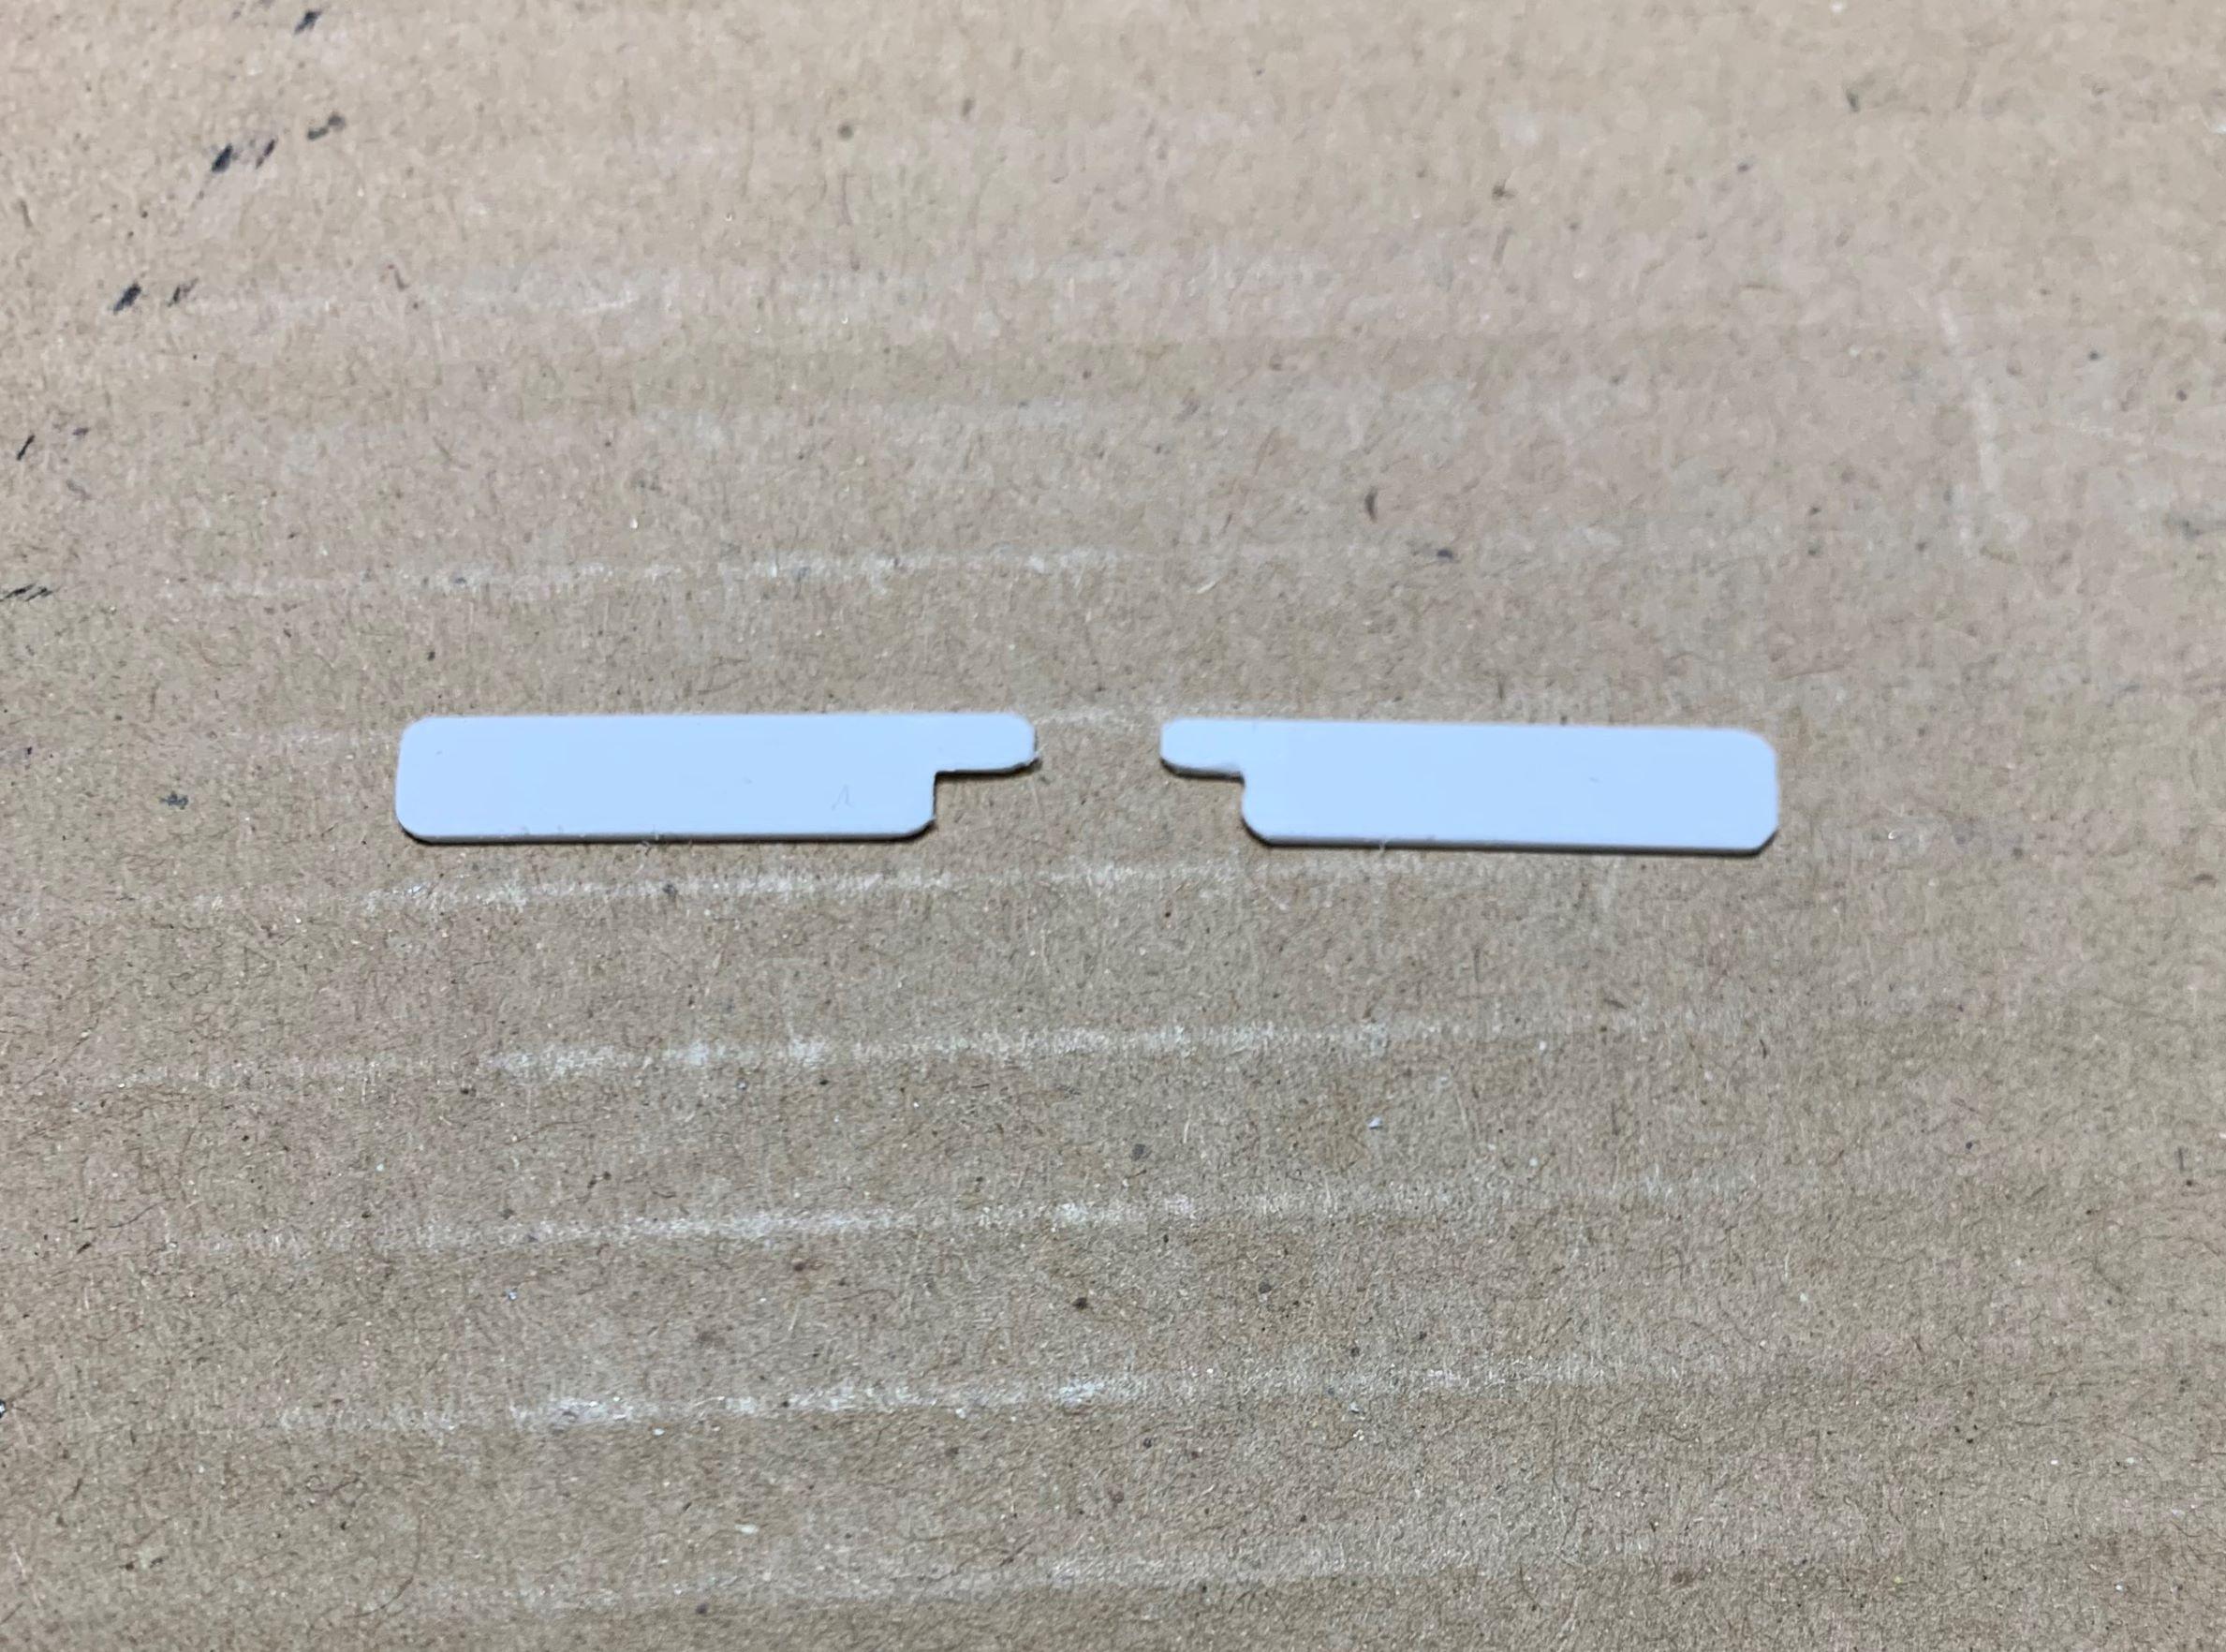
1: I've got the dashboard together and made some pedals, it's an automatic trans on the LS engine. 2: I made a floor shifter for that automatic. 3: Some simple sun visors from strip styrene. 4: Nothing special, not detail, just flat pieces, but still better than nothing.
-
AMT kit grille, looks okay with a wash.
-
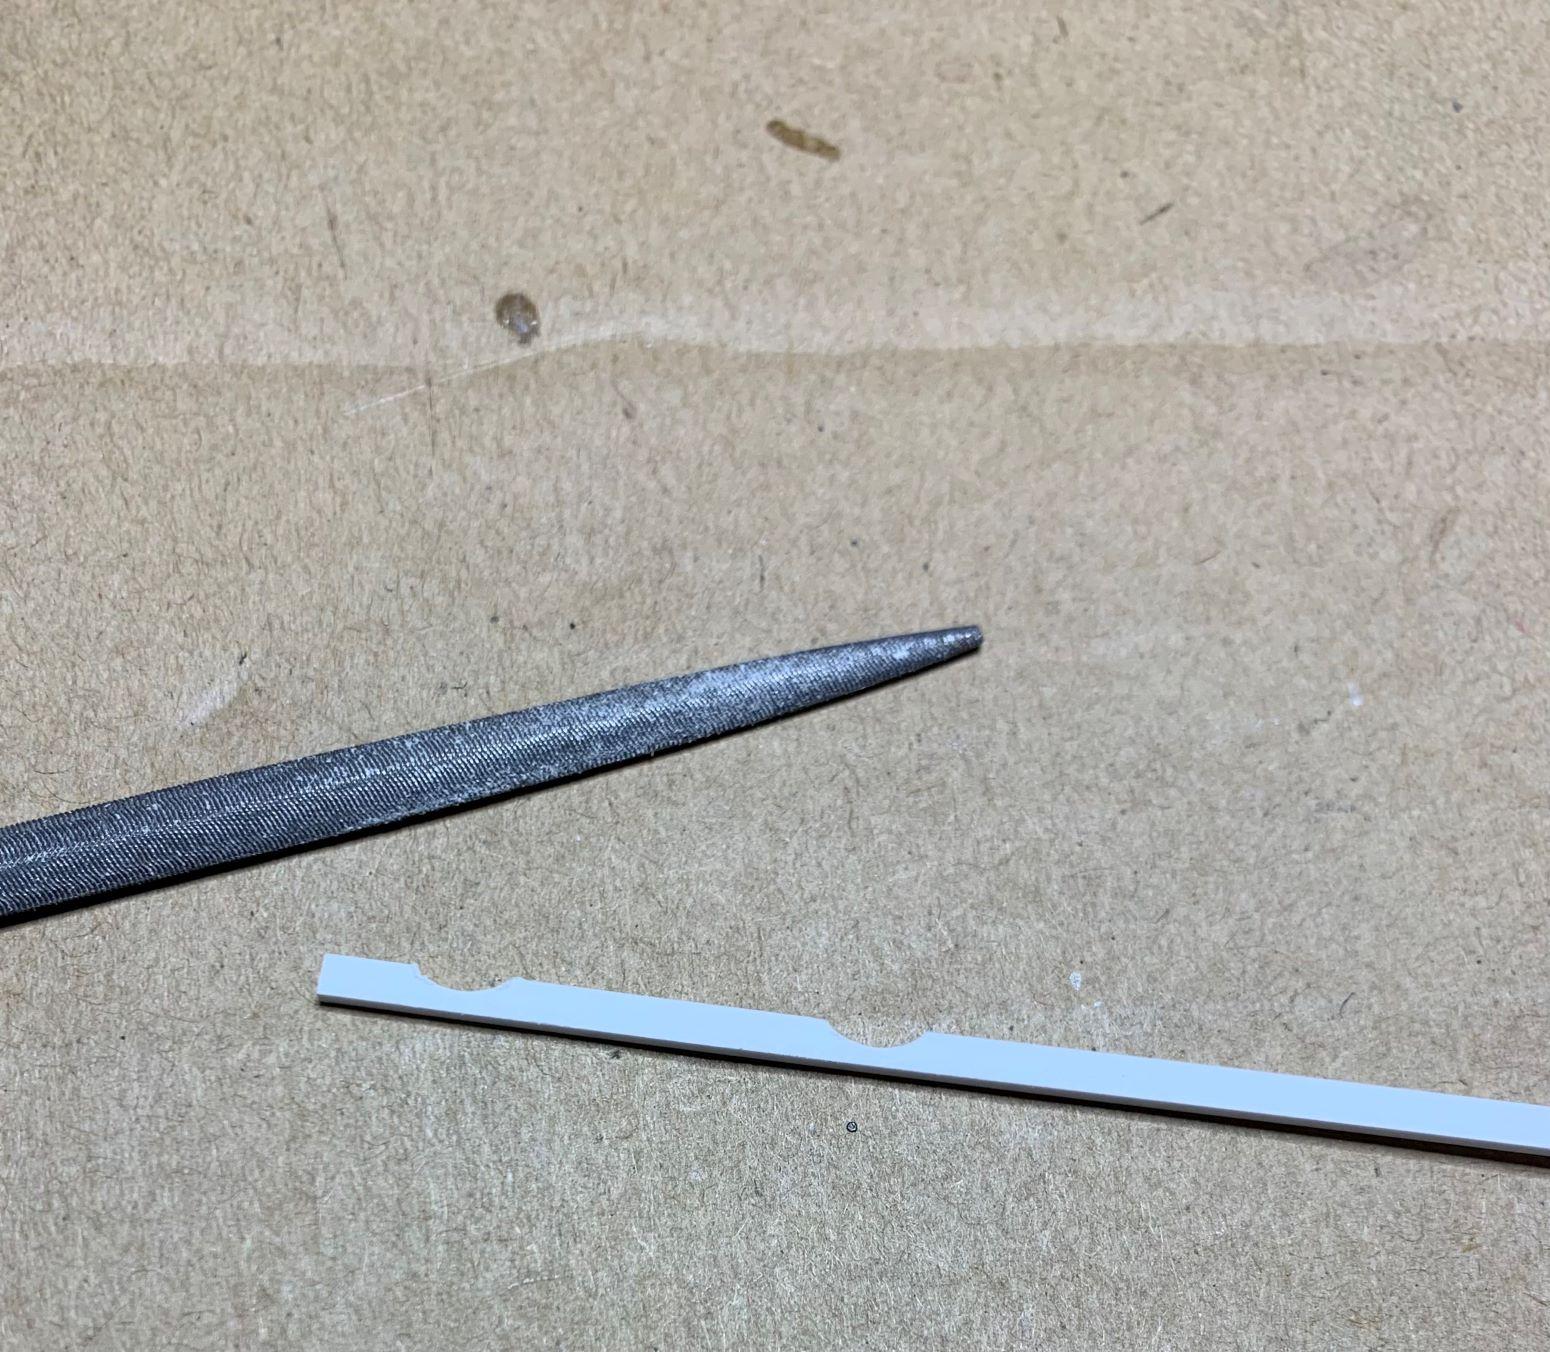
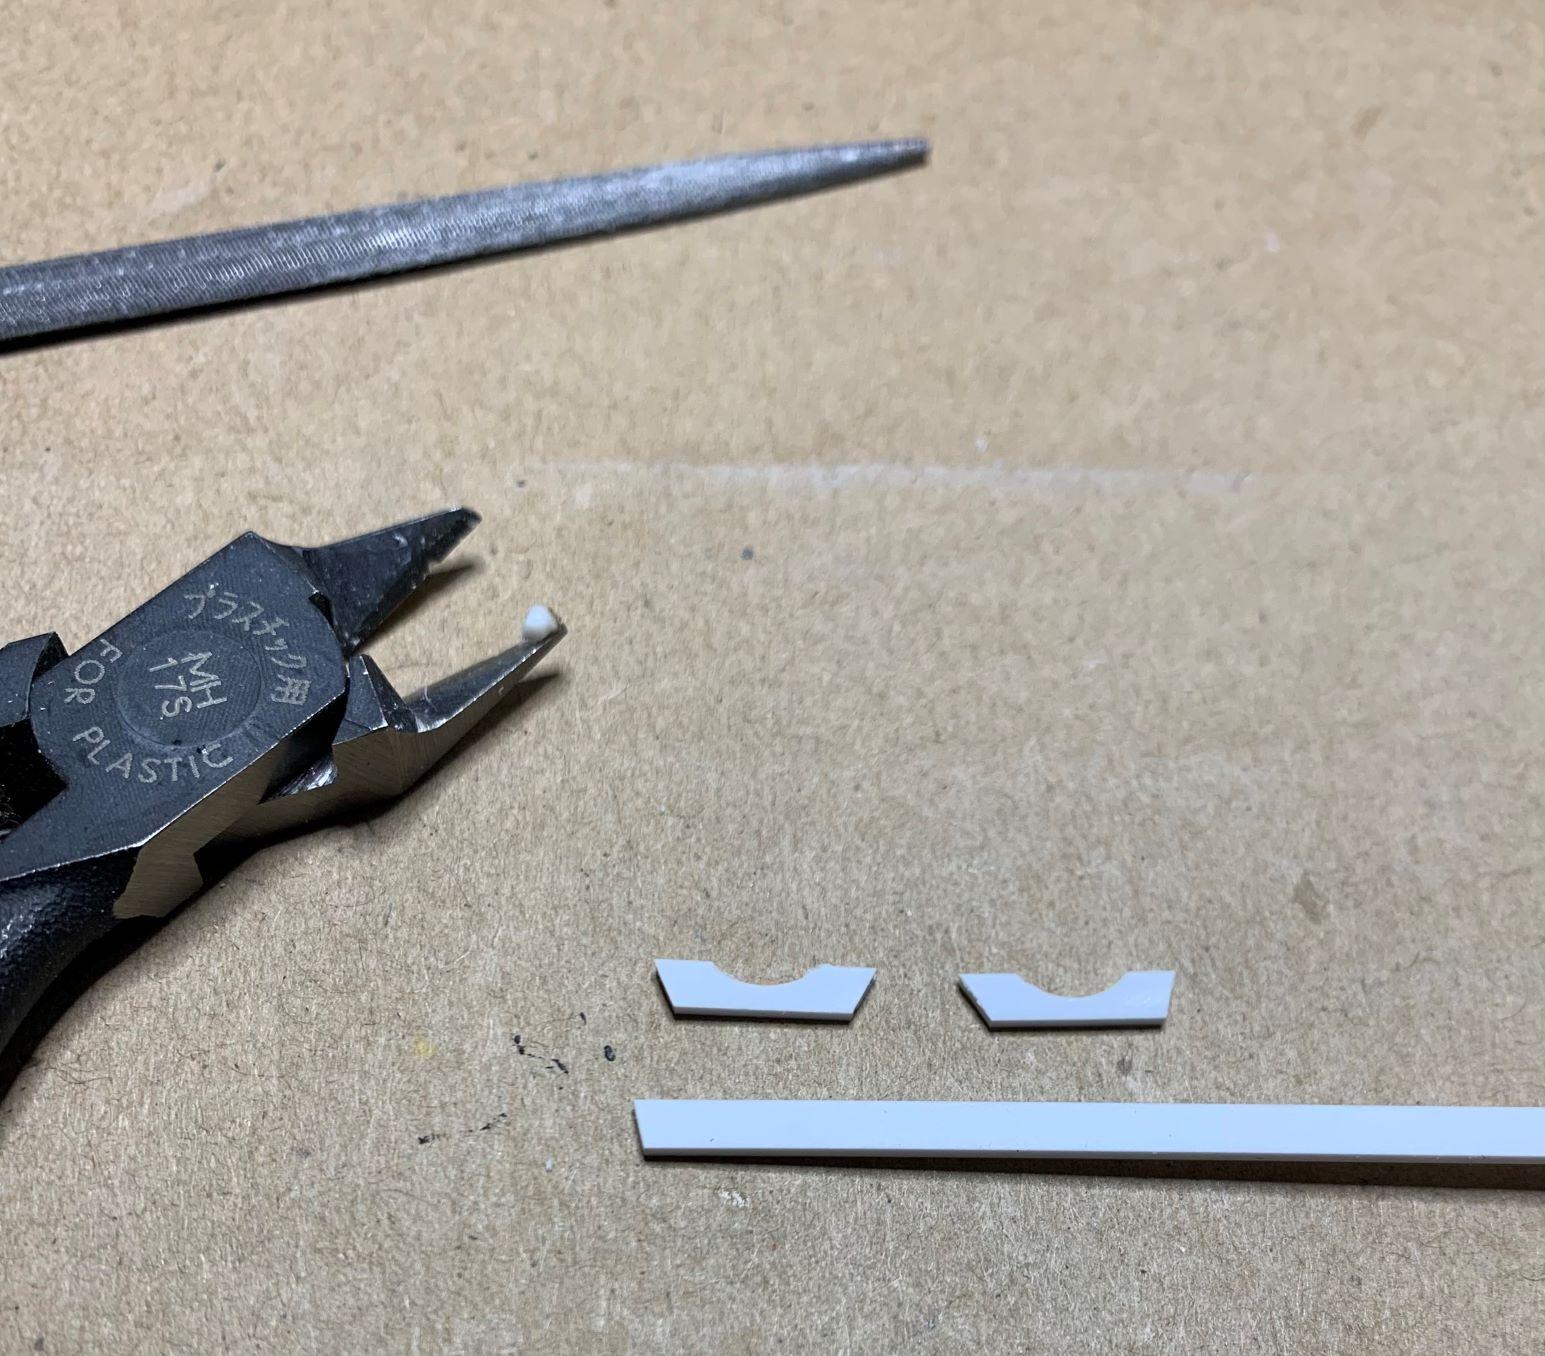
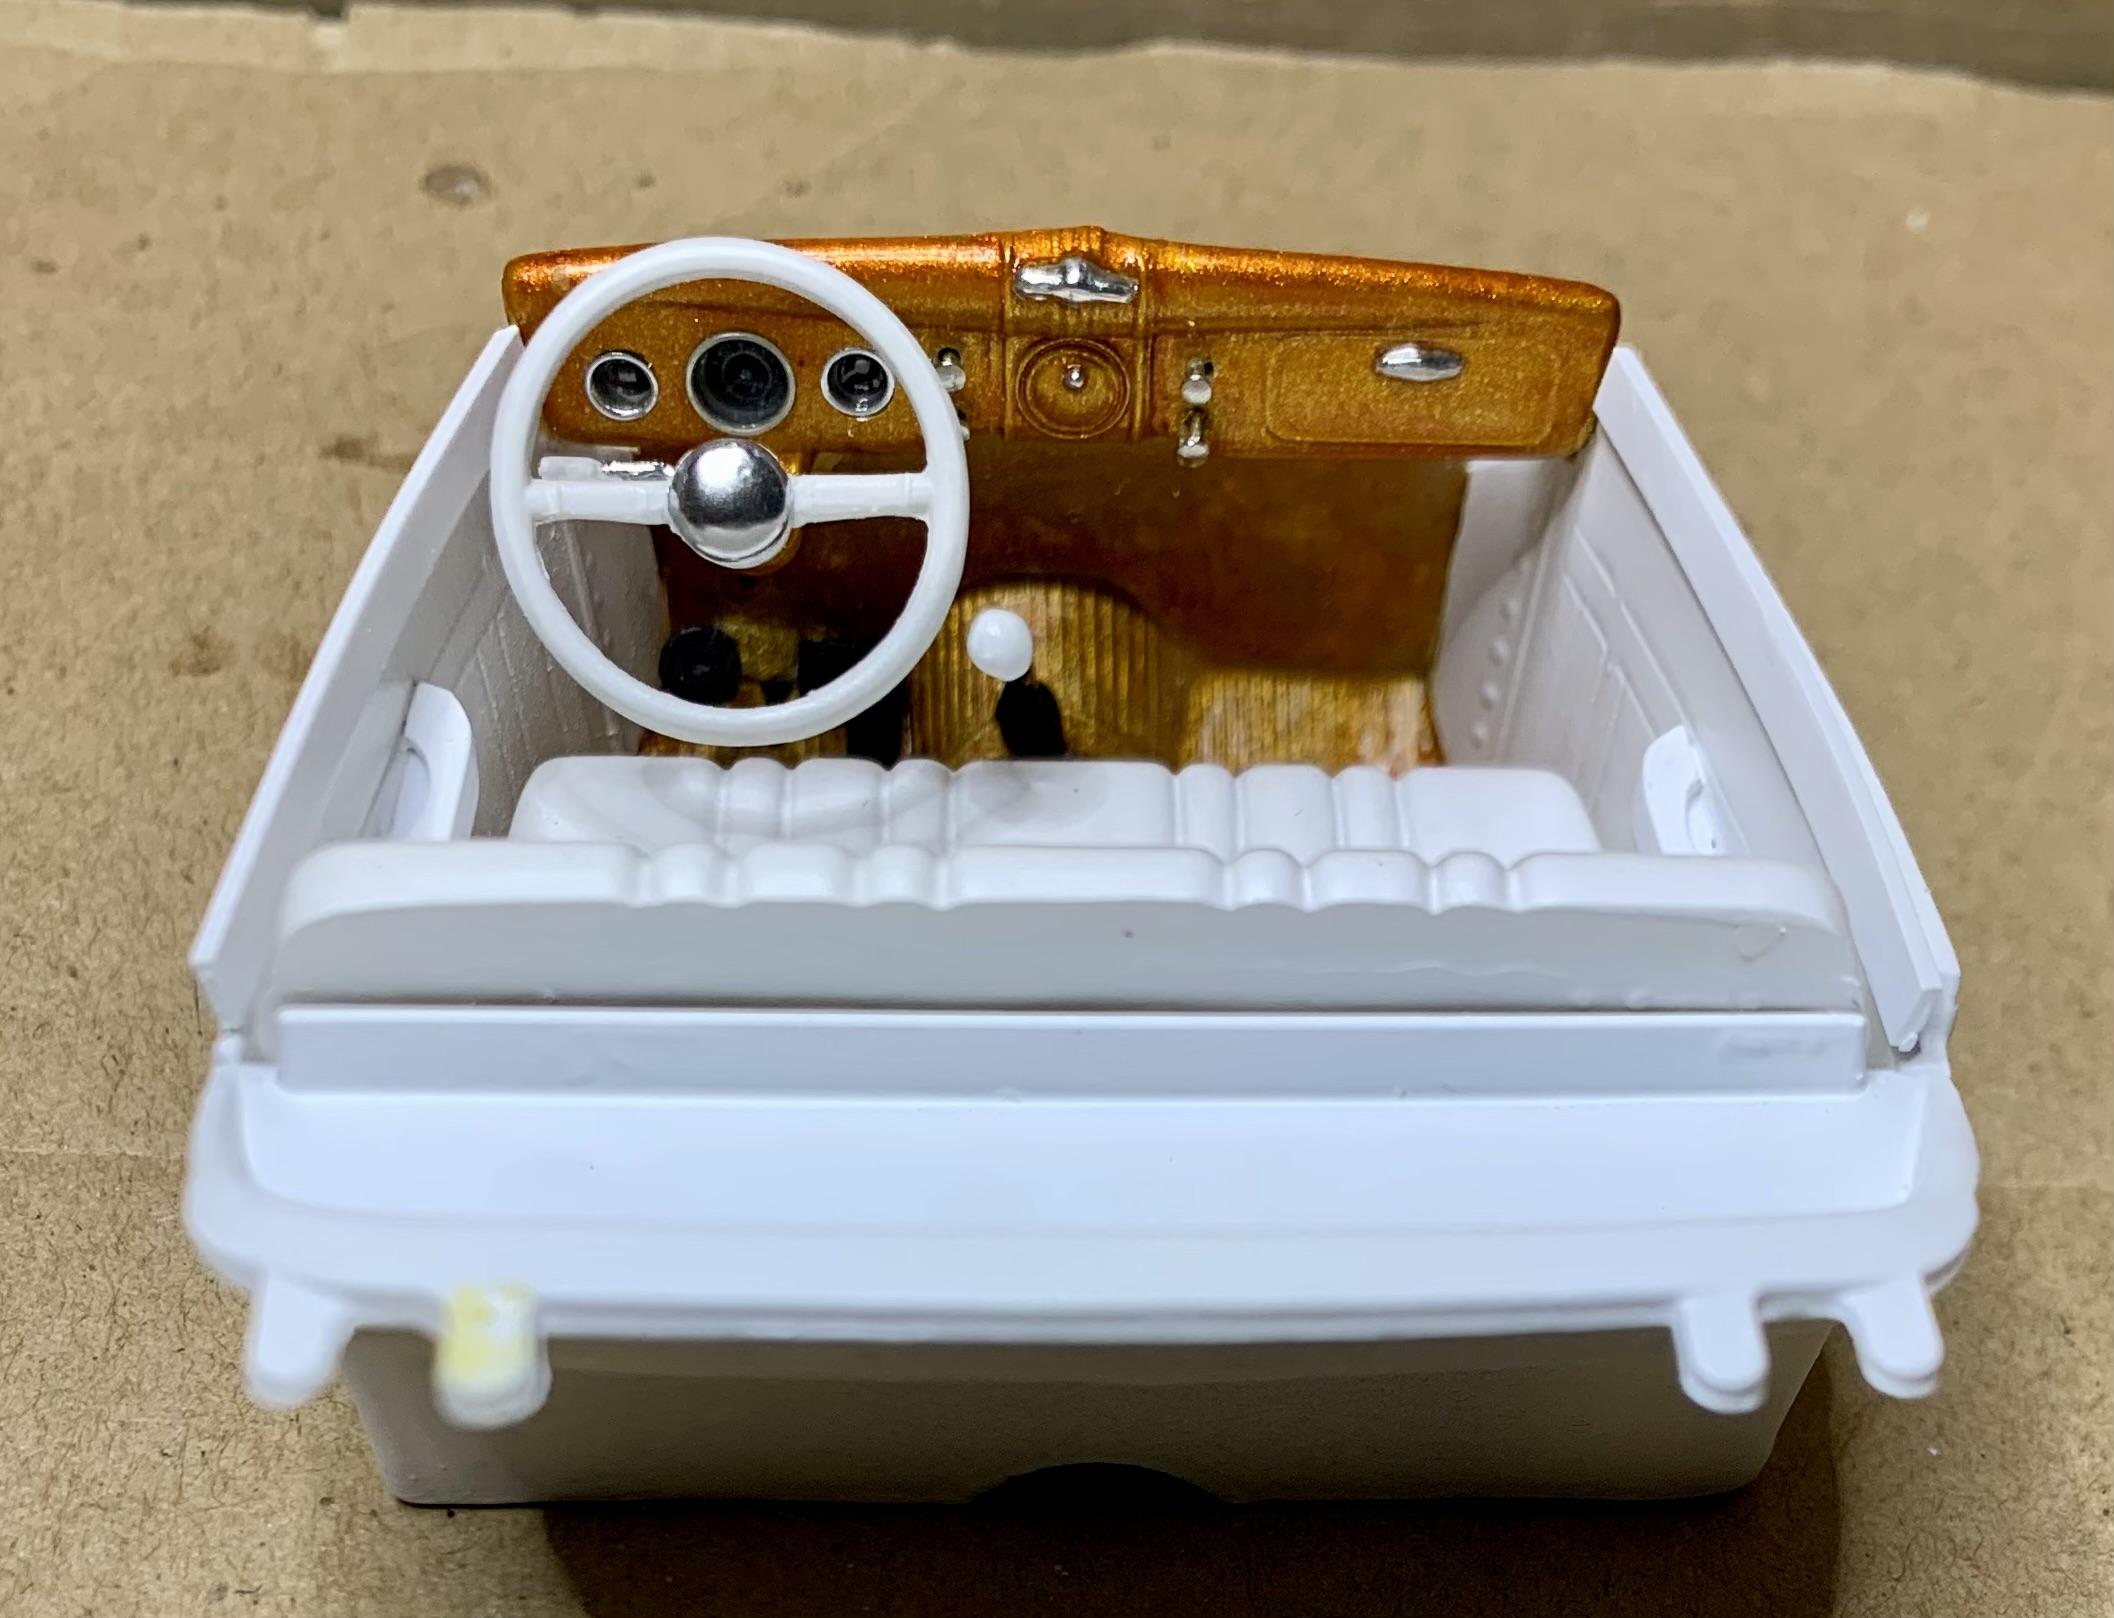
The whole interior, except the dash and the door tops are Tamiya fine white primer. Oh and the floor is flat mix of golds because I couldn't find proper flocking, but it's barely visible. I made some old school arm rests to add a bit more depth to the kit panels. 1: I start by making the indents on a piece of styrene leaving enough room for mistakes, here I didn't make any! 2: I cut them to the approximate size. 3: I glue them to another pice of the same styrene strip. 4: I file them to shape, they of course are not perfect, they do the job though. 5: Here's what they look like glued on. 40 Ford steering wheel, '53 pickup column, knobs drilled out and replaced with dress pins, parts box shifter and parts box pedals.
-
On to the interior: 1: I made some door tops for the interior, .015 styrene sheet. 2: I marked each one on the side to be glued. 3: I painted them to match the body and dashboard. 4: Here's how they'll look installed.
-
Your Torino is looking great, that engine detail is fabulous! Surely you can fine new whitewalls. Keep on it man, it'll be a beauty!
-
Great colour choice and I LOVE the wheel/tire combo, model on brother!
-
I love the Vallejo "model air" paints and they come in many nice shades of tan and they have a great finish for interiors as is! These are two different shades of Vallejo, airbrush ready (pre-thinned)
-
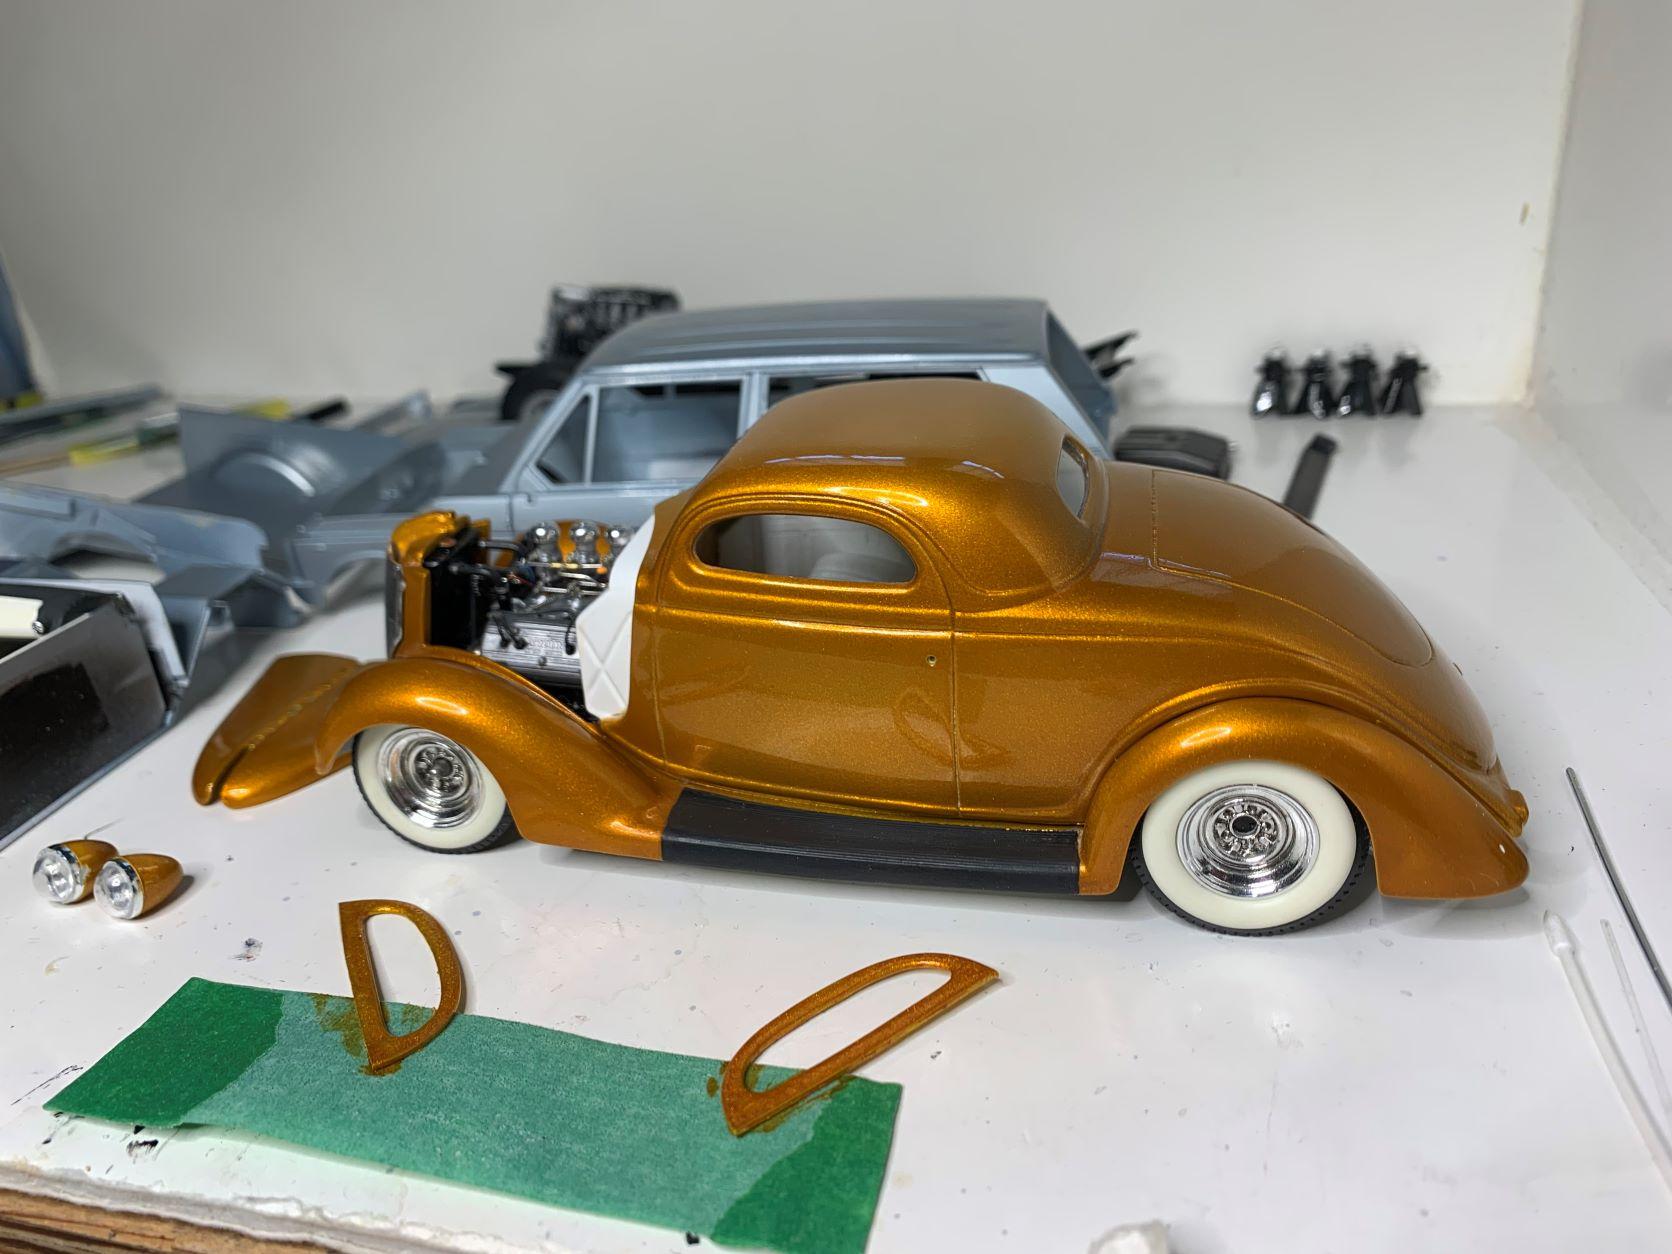
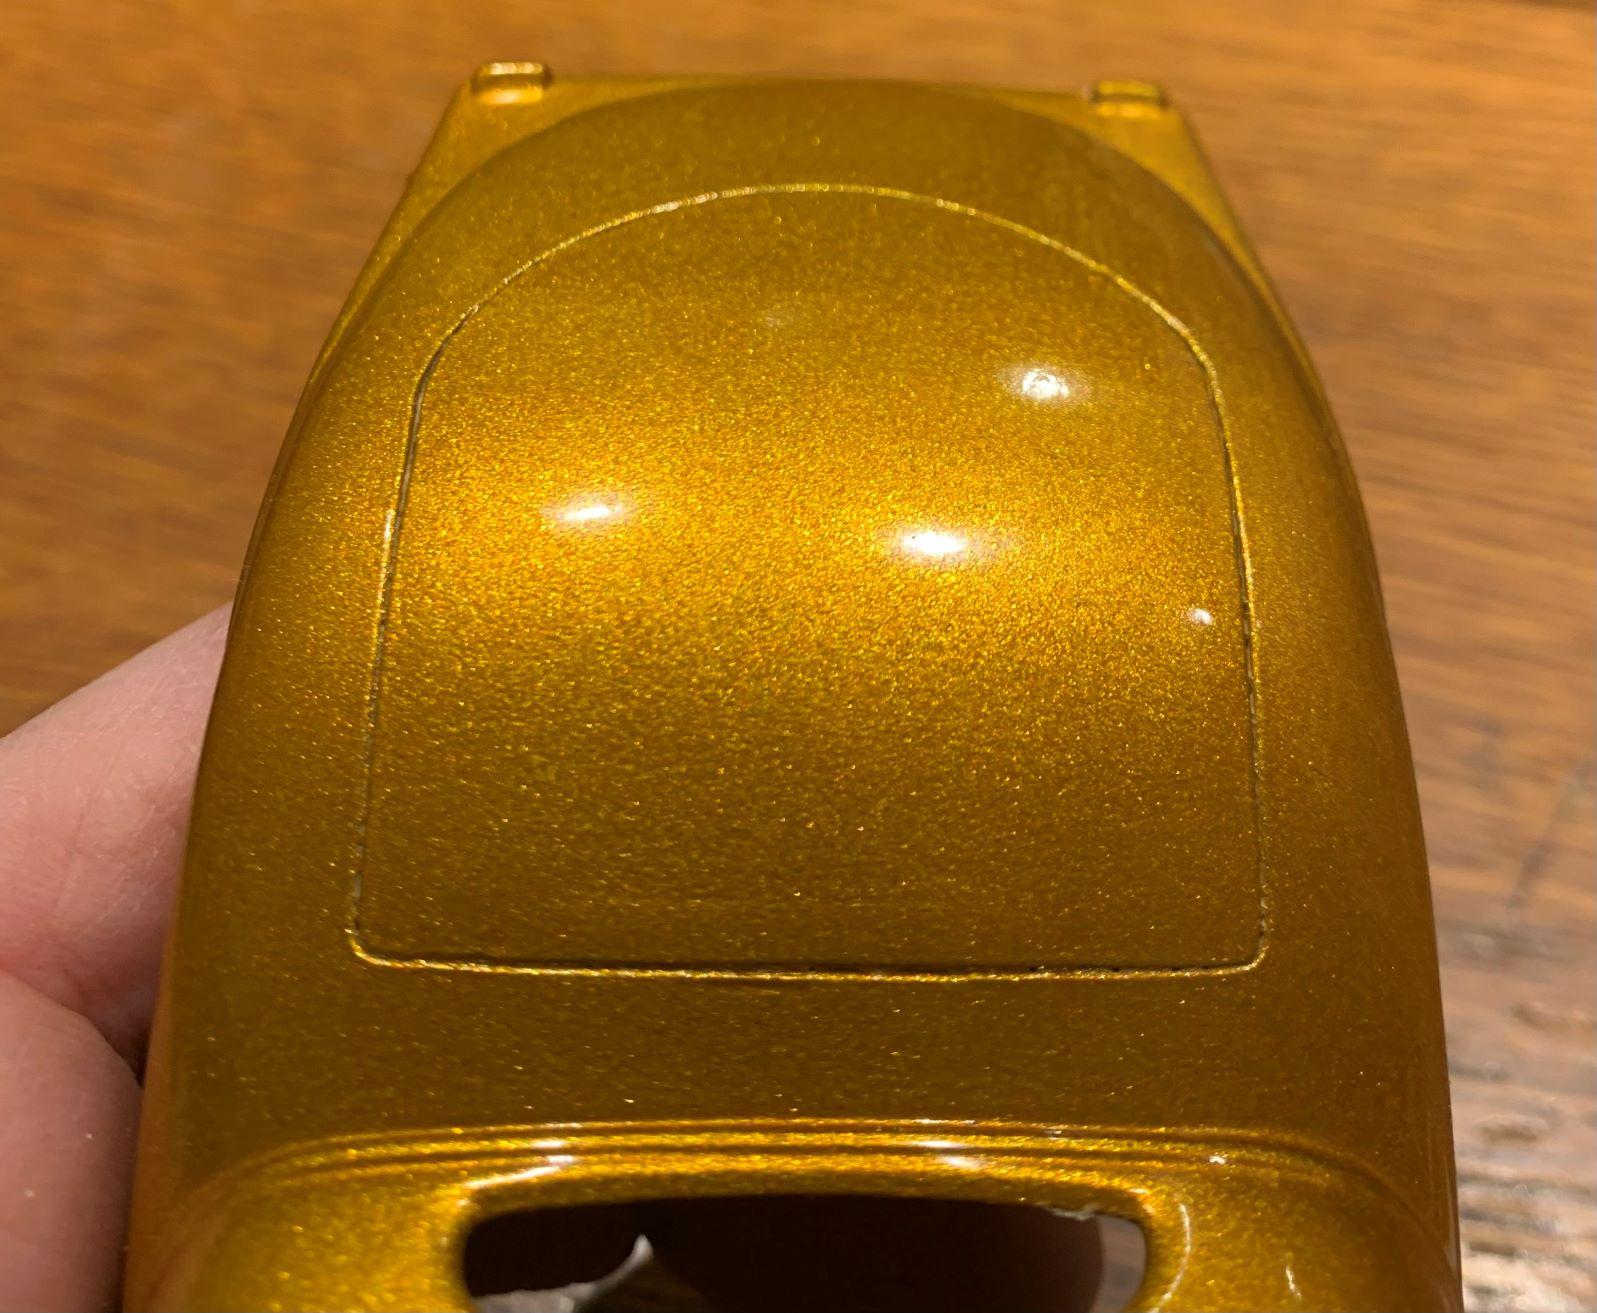
Can't remember where I got this paint, I THINK it's from Bob, BOB'S PAINT. Mixed 4 to one, shot over a gold base, over Tamiya white primer, then cleared with Mr. Hobby UV cut.
-
I decided to reshape the trunk lid, and I have the body in paint, candy gold, here's that trunk lid, non opening.
-
1960 Ford F-100
dino246gt replied to Plowboy's topic in WIP: Model Trucks: Pickups, Vans, SUVs, Light Commercial
Fantastic job on that interior too! I hope you keep the grille and steelies white, looks awesome! -
2021 GMC 2500
dino246gt replied to zaina's topic in WIP: Model Trucks: Pickups, Vans, SUVs, Light Commercial
WOW! This looks great! I think the glass can be made from thin flat clear plastic, only the windshield is slightly curved but even that shouldn't be too difficult to fit. Printing clear will be a challenge I think, or maybe not? I have some that isn't all that crystal clear. Your real truck looks excellent too! -
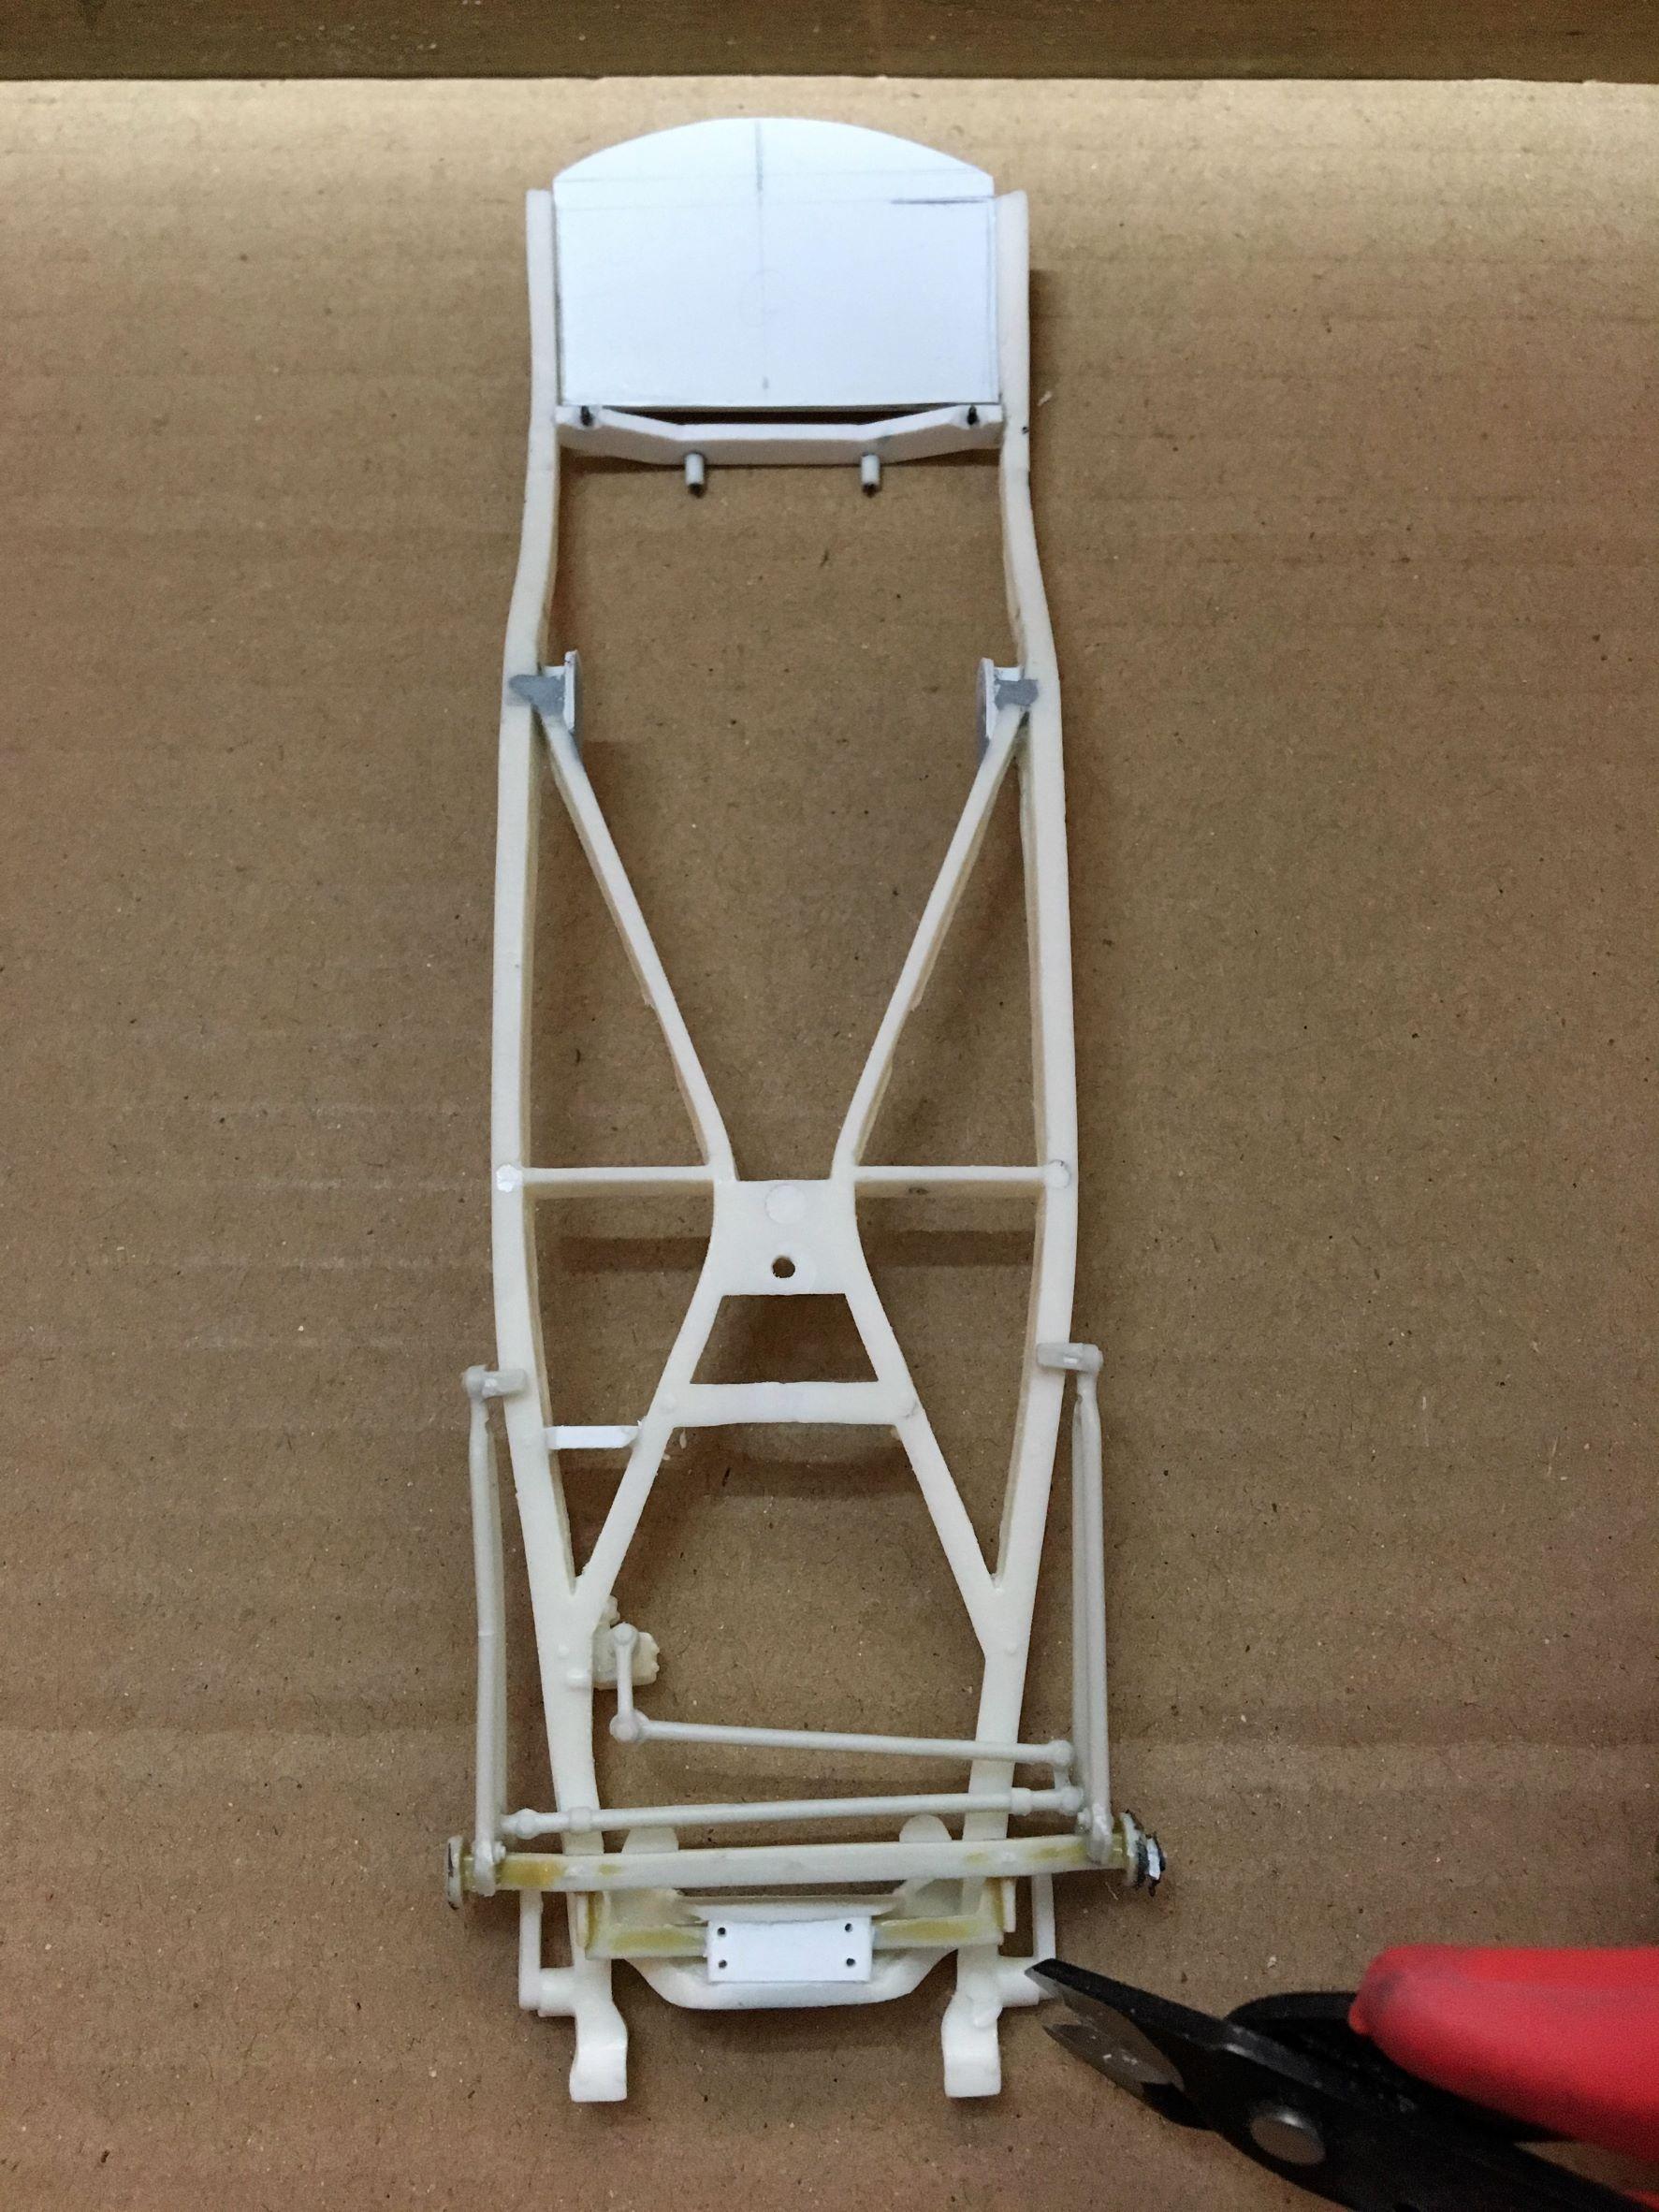
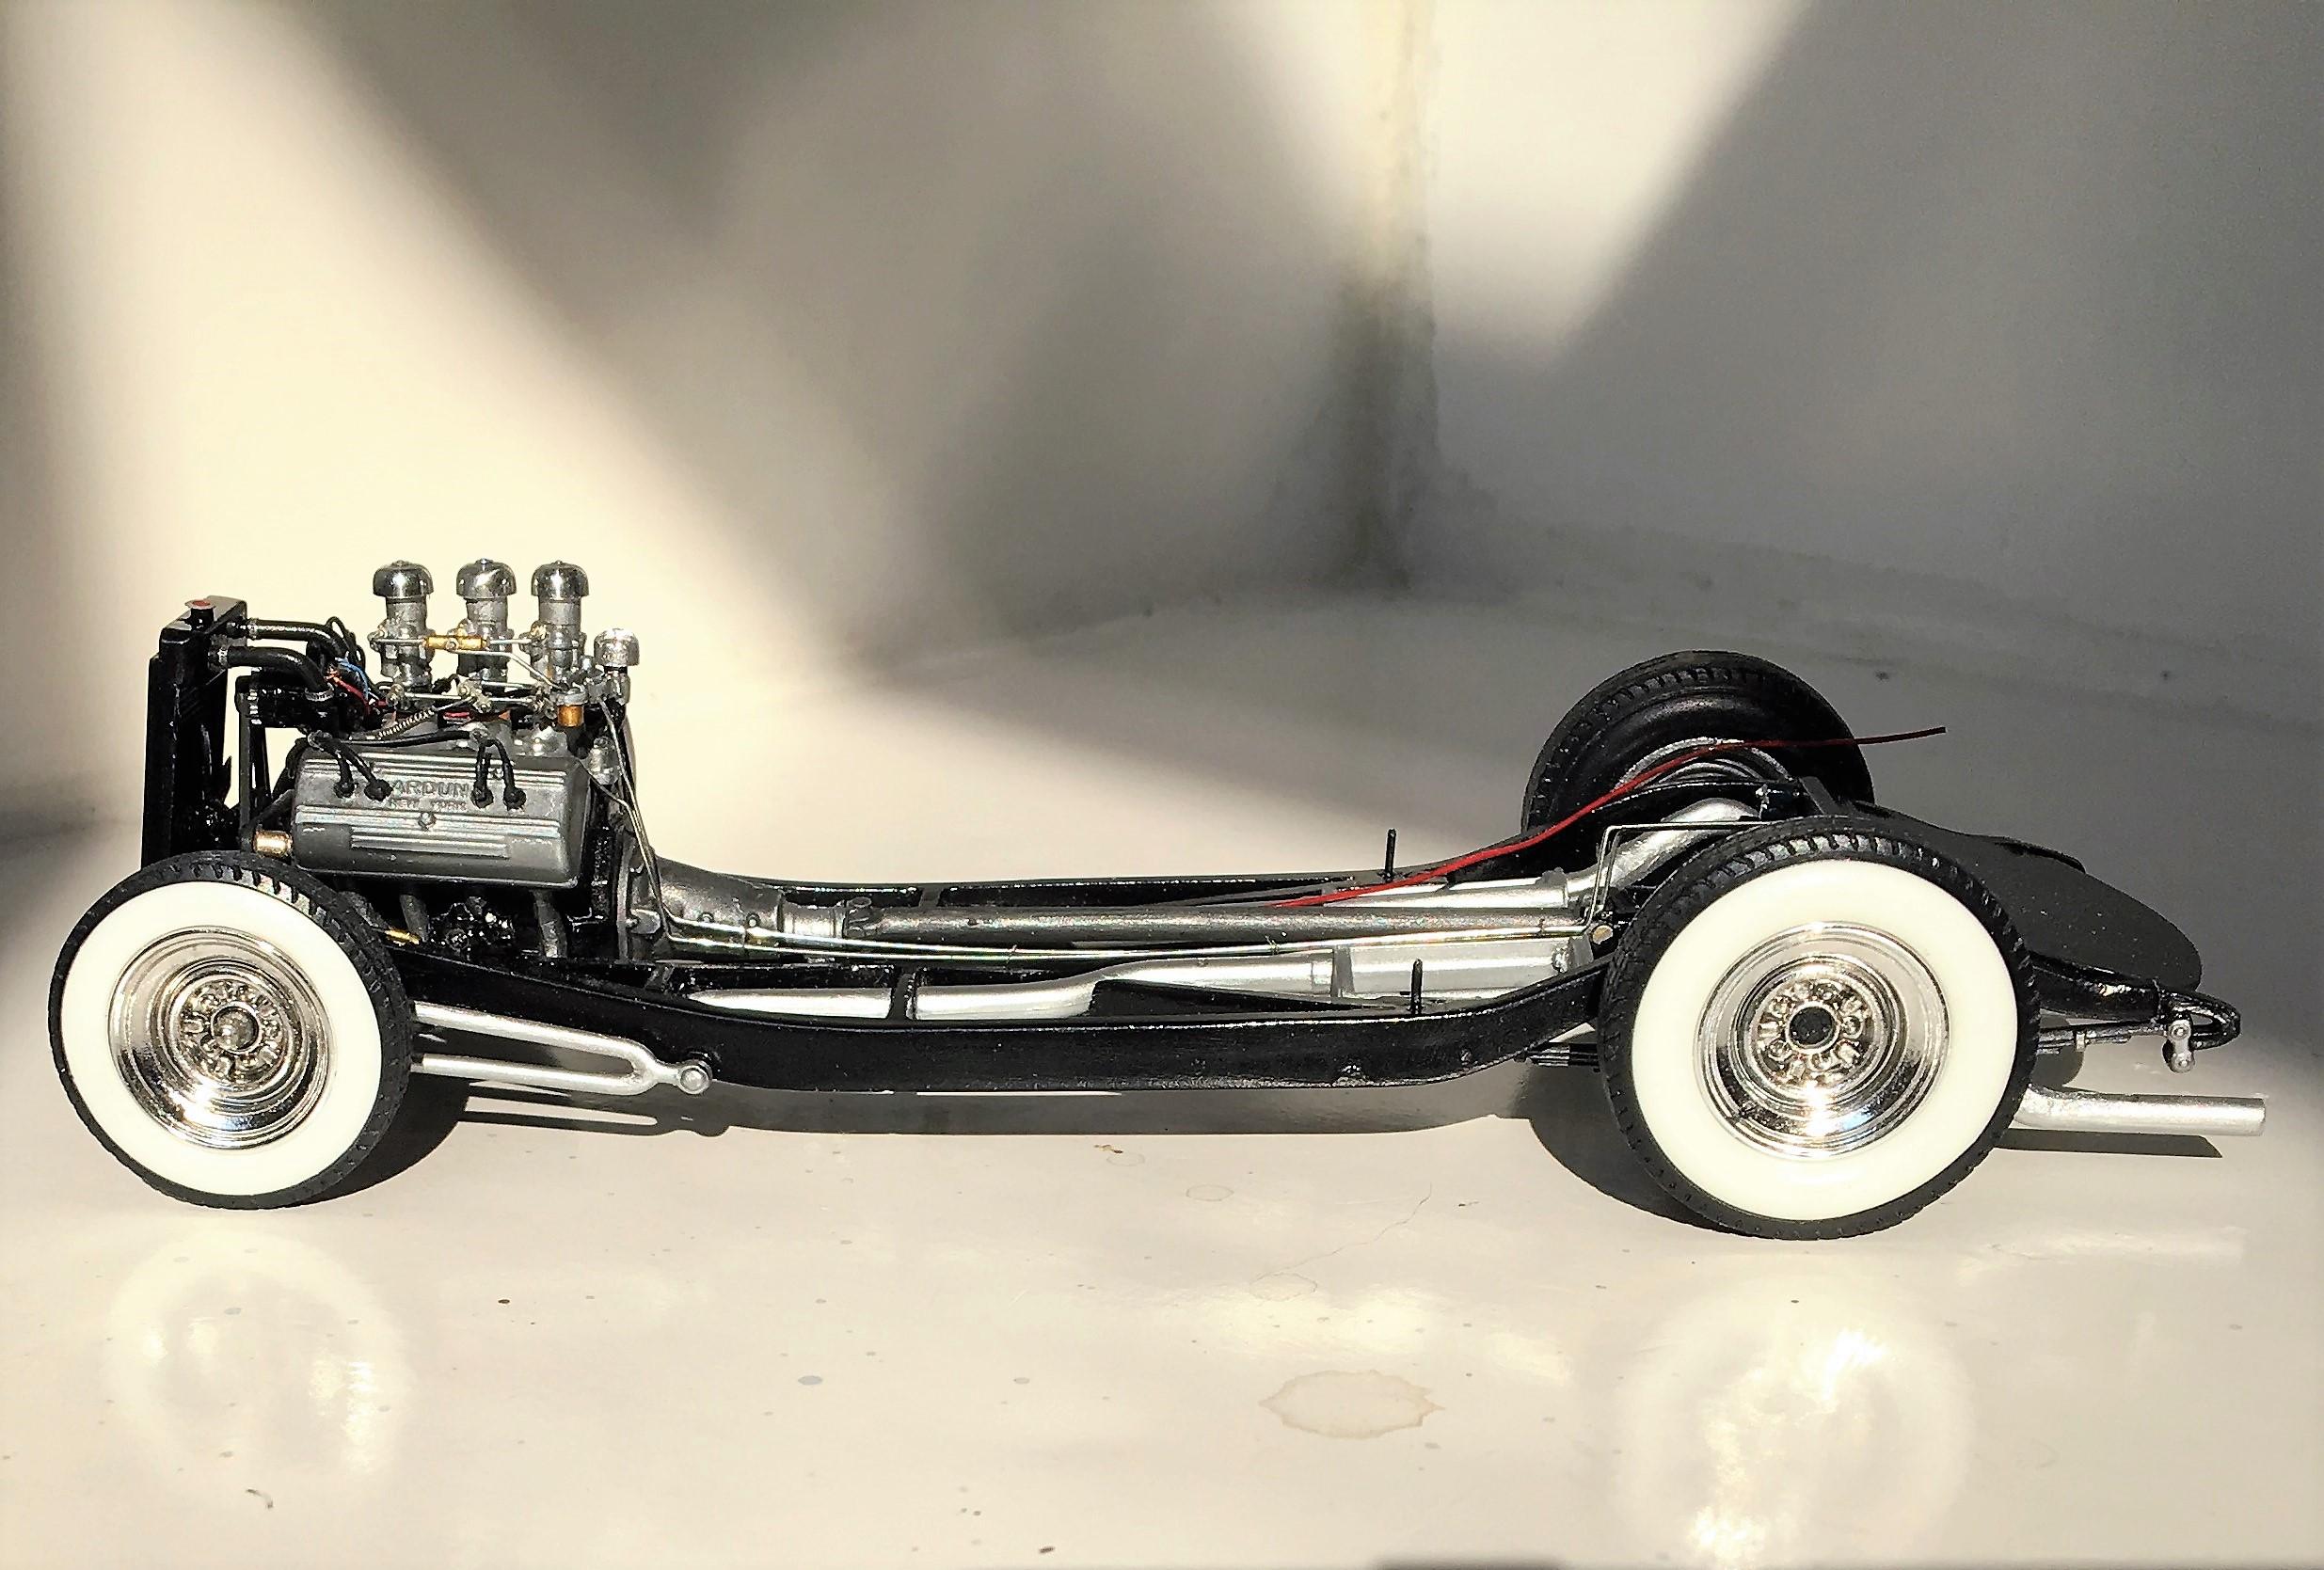
So here's the chassis pretty much finished! Back to bodywork and interior! Cheers.
-
1: I cut up the rad to make a smaller top, just because. 2: New rad top is just styrene strip that looked the right size. 3: I drilled a couple of holes for hoses and an offset filler. 4: Painted and installed, I like it more than the kit rad top.
-
1: So I got the carbs on and made some fuel lines, and started on the linkages. 2: But I'll need to modify the oil fill and fuel feed. 3: Firewall needed to be "scooped" to fit new oil fill cap! 4: I used Molotow on the new finned oil fill cap and finished the linkages and fuel feeds. Now the rad top looks too big to me.
-
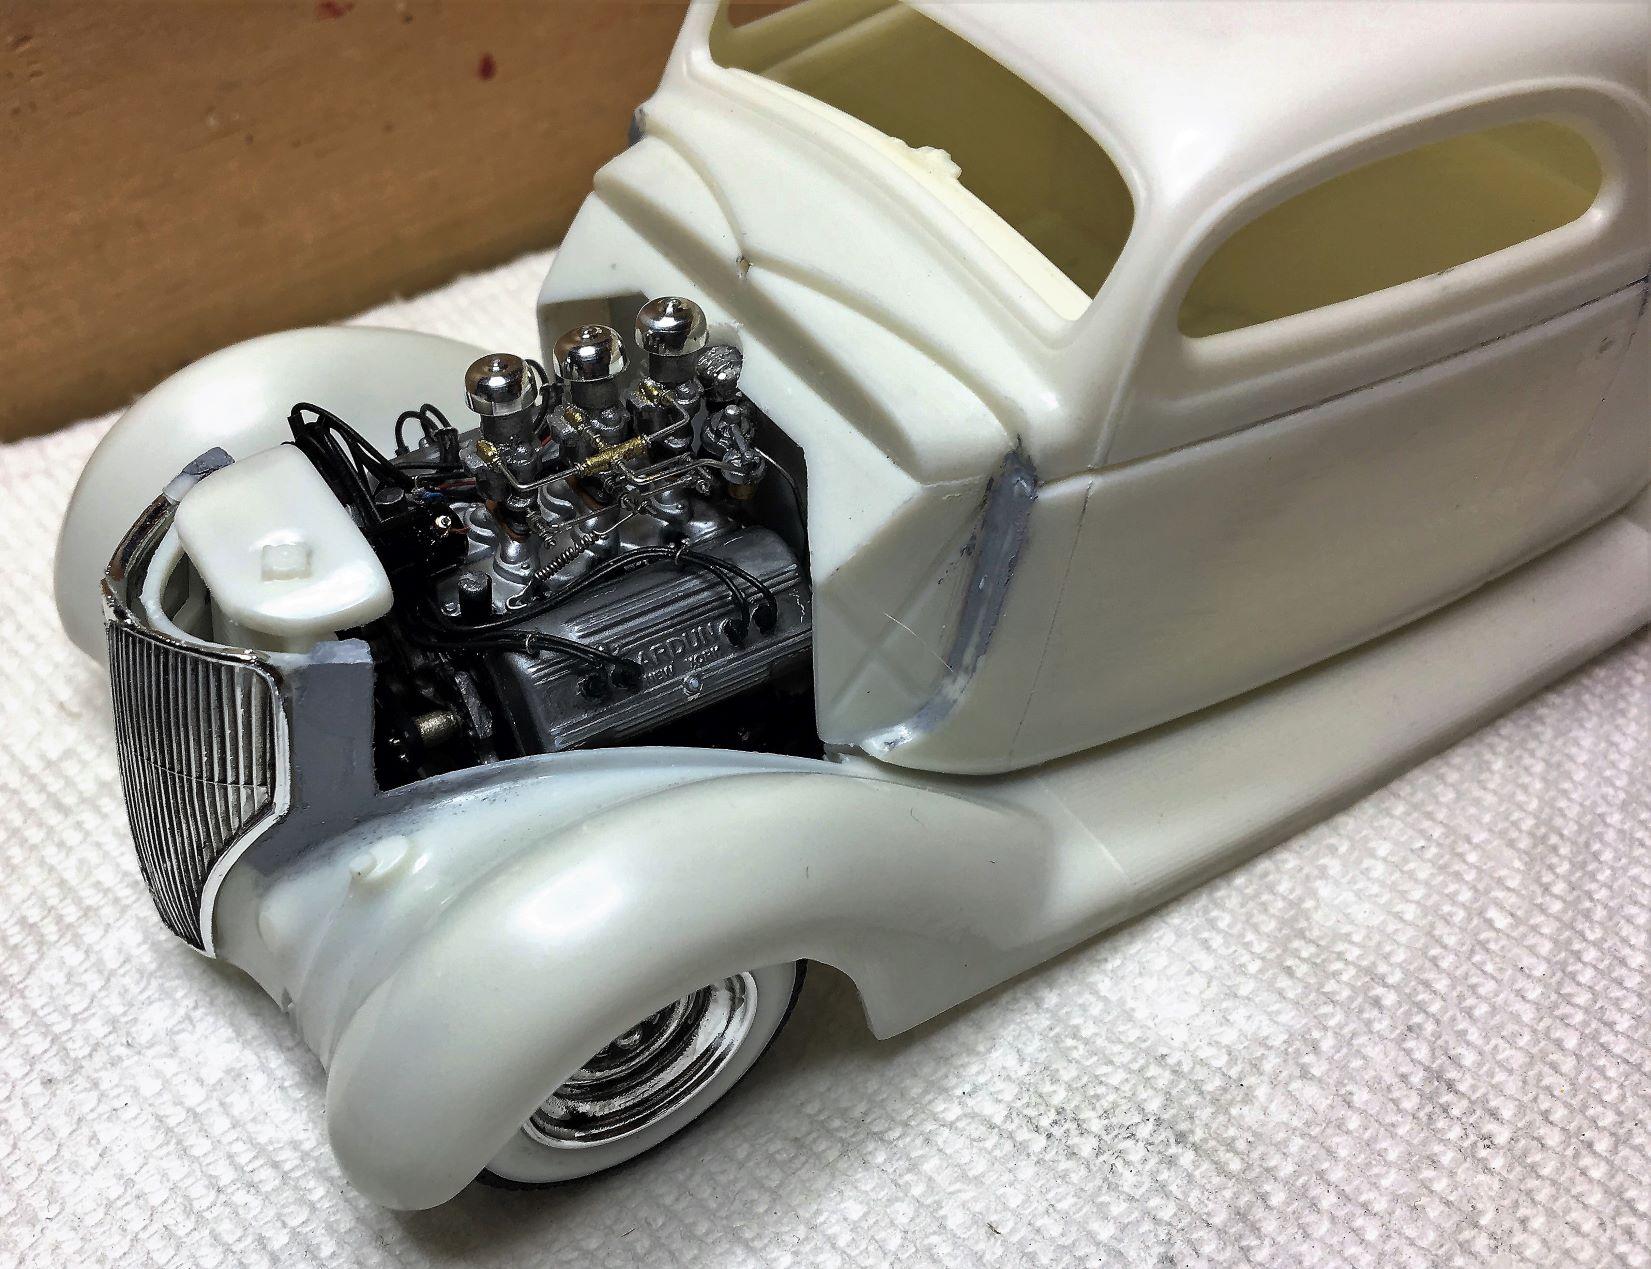
1: I made a cut along the side of the firewall and spread the upper portion of the body sides out with thin styrene "shims" so that it lines up better with the separate top. 2: Before that though, I had to fit that Ardun head flattie in, so the firewall was radically modified, just a flat piece for starters. 3: I'm not using hood side, because, well, Ardun! LOL So I got some R/C airplane hinges and tried to make the hood open half way. 4: I puttied over them and sanded them down. Of course I KNOW that they're way too large to look in scale, but we'll see how it turns out, it's an experiment!
-
Looking good! That blue looks fantastic!! Rubber black makes those tires look better than if they were actually vinyl or whatever kit tires are, nice!
-
Yes 3 window chopped top on this one. It doesn't fit very well, but I'm going to fix that.
-
Jon Davis, WOW! Your detail on that chassis is fantastic! Paul, I love the suicide door treatment! Can't really see much in that picture but I'm sure it's fabulous! I love old school hot rods! My dad used to take me to the auto shows in Detroit in the 50s and early 60s
-
Thank you all! I DO have the triangle air cleaner from the Corvette kit but leave it off for display! Here it is on. Didn't add decals because it's sort of a custom, not factory stock for sure! I WILL add door handles.
-
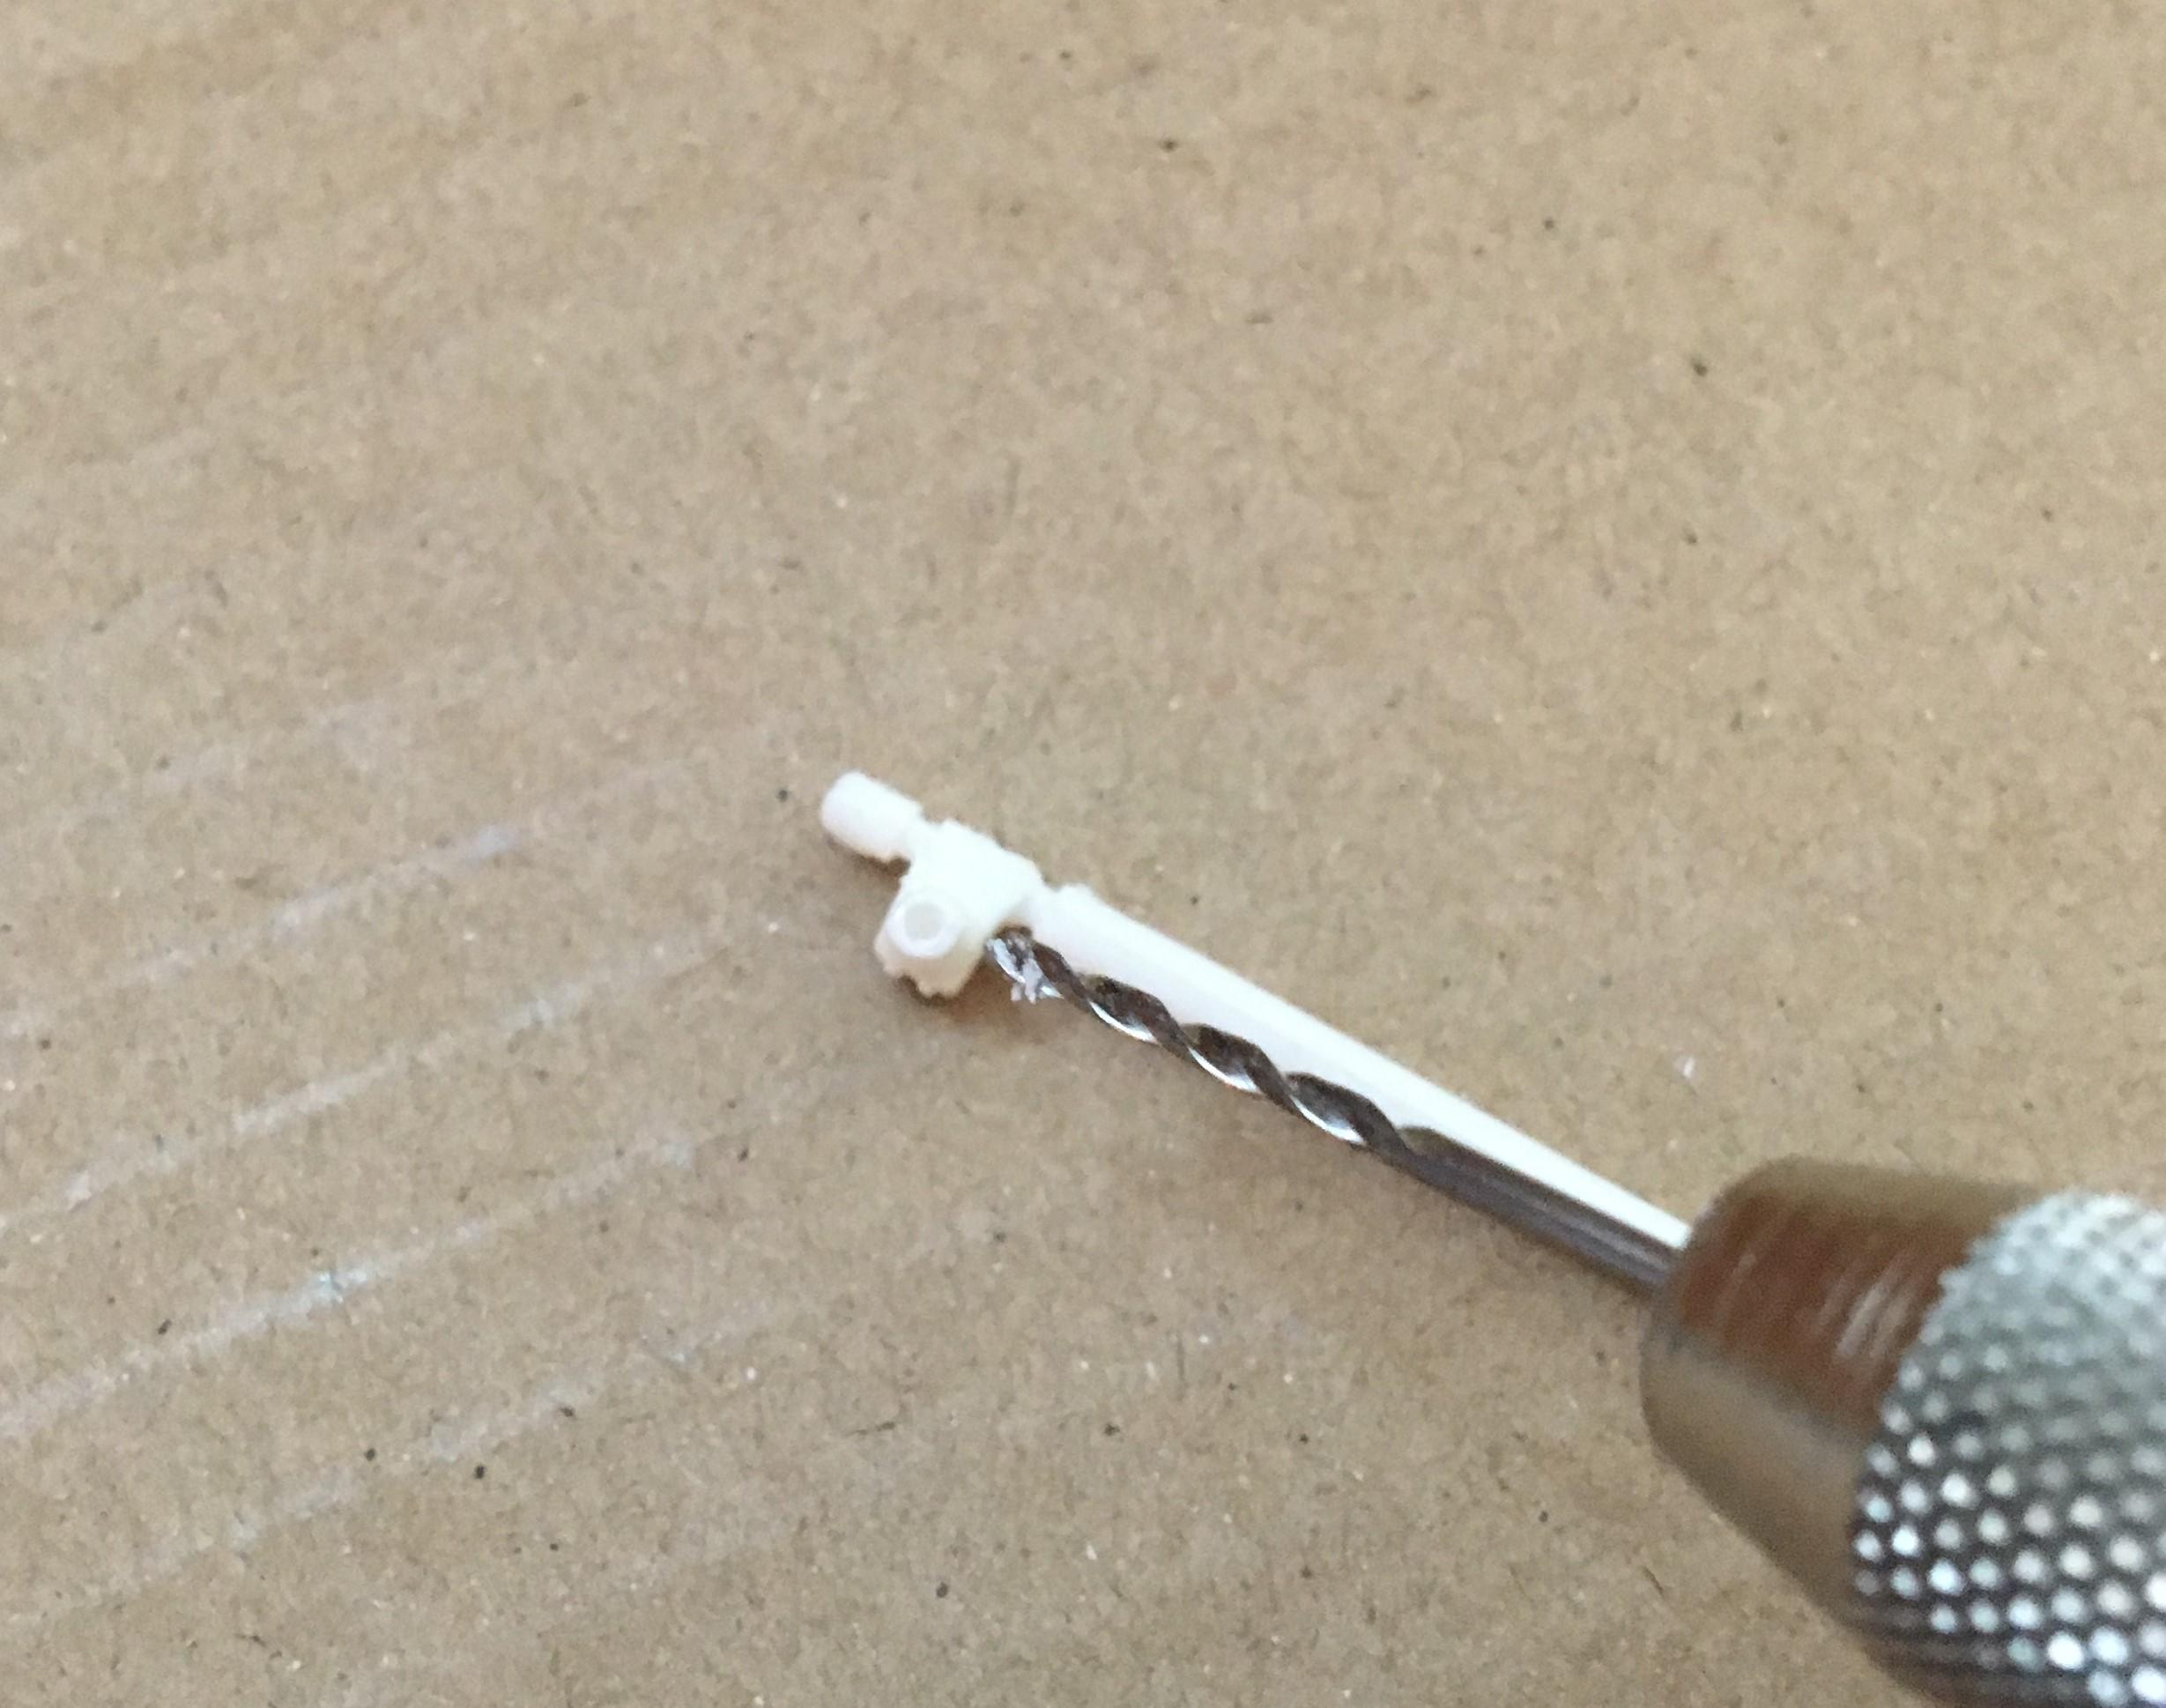
I had to cut the steering gear and arm apart, drill it and reposition it because I lowered the car so much. This is all just figuring things out as I go, if if doesn't fit, make it fit! LOL
-
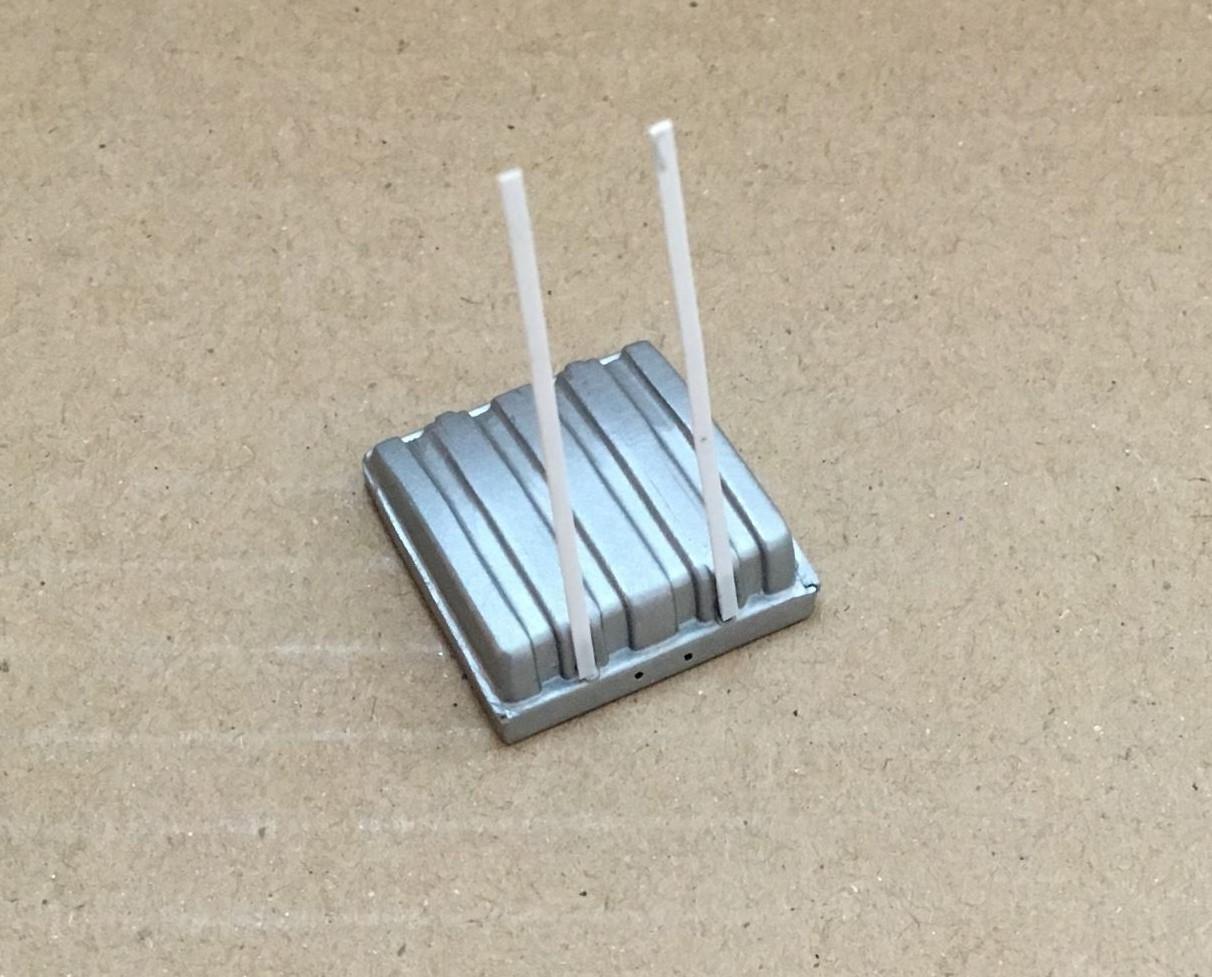
1: I wasn't satisfied with the kit gas tank. 2: So I made this piece and went to look through the parts box for a new tank. 3: Most tanks were too wide, this one isn't but it's too long! 4: Let's make that gas tank a bit shorter! 5: Now at least it fits! I'll add some straps from .010 styrene strip. 6: I' have these old railroad nuts and bolts, a couple of these should look fairly cool. 7: Some guitar string and the tank is ready to install.
-
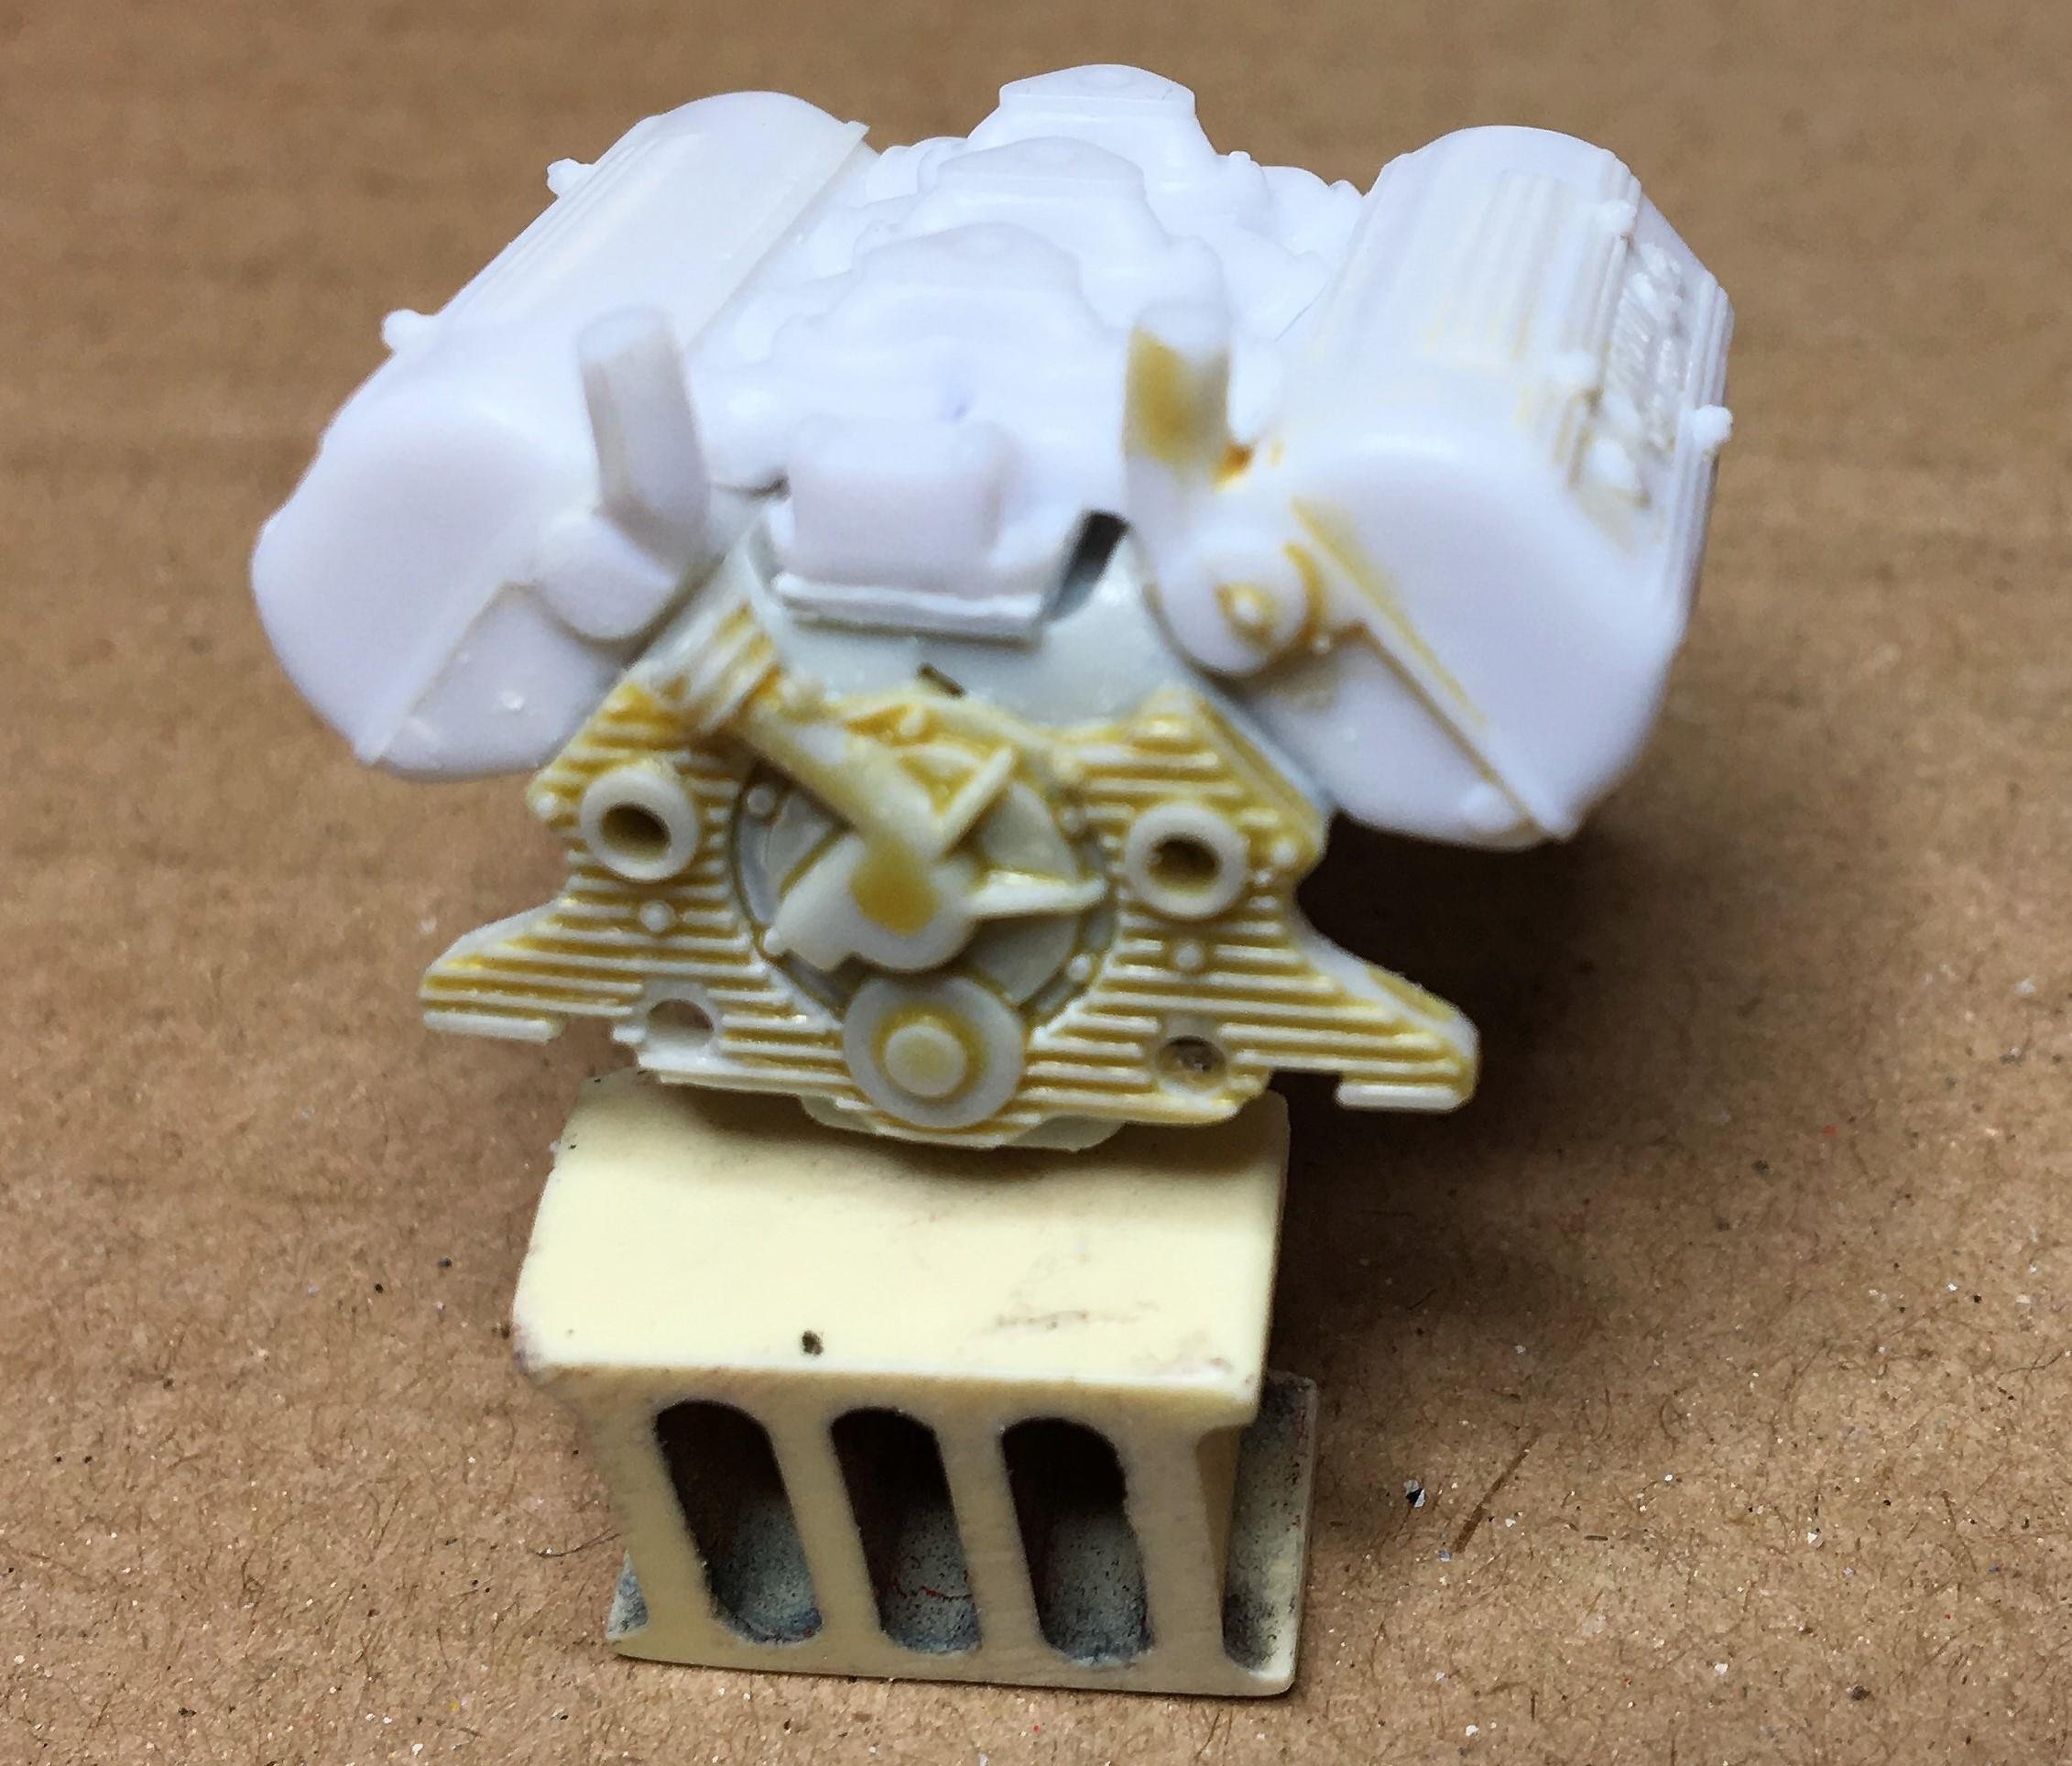
1: Since I'm using Ardun heads, ('50 pickup kit) I have to fill the flathead exhaust ports on the block. 2: And I want a modern type of distributor, I de-chromed the front from an AMT '41 Woody kit. 3: Short pieces of aluminum tubing for water pumps and a triple carb intake! 4: I added another pulley to run the generator.


.JPG.464bc439956a1b029da0ad5fac3c311e.JPG)