

dino246gt
-
Posts
2,244 -
Joined
-
Last visited
Content Type
Profiles
Forums
Events
Gallery
Everything posted by dino246gt
-
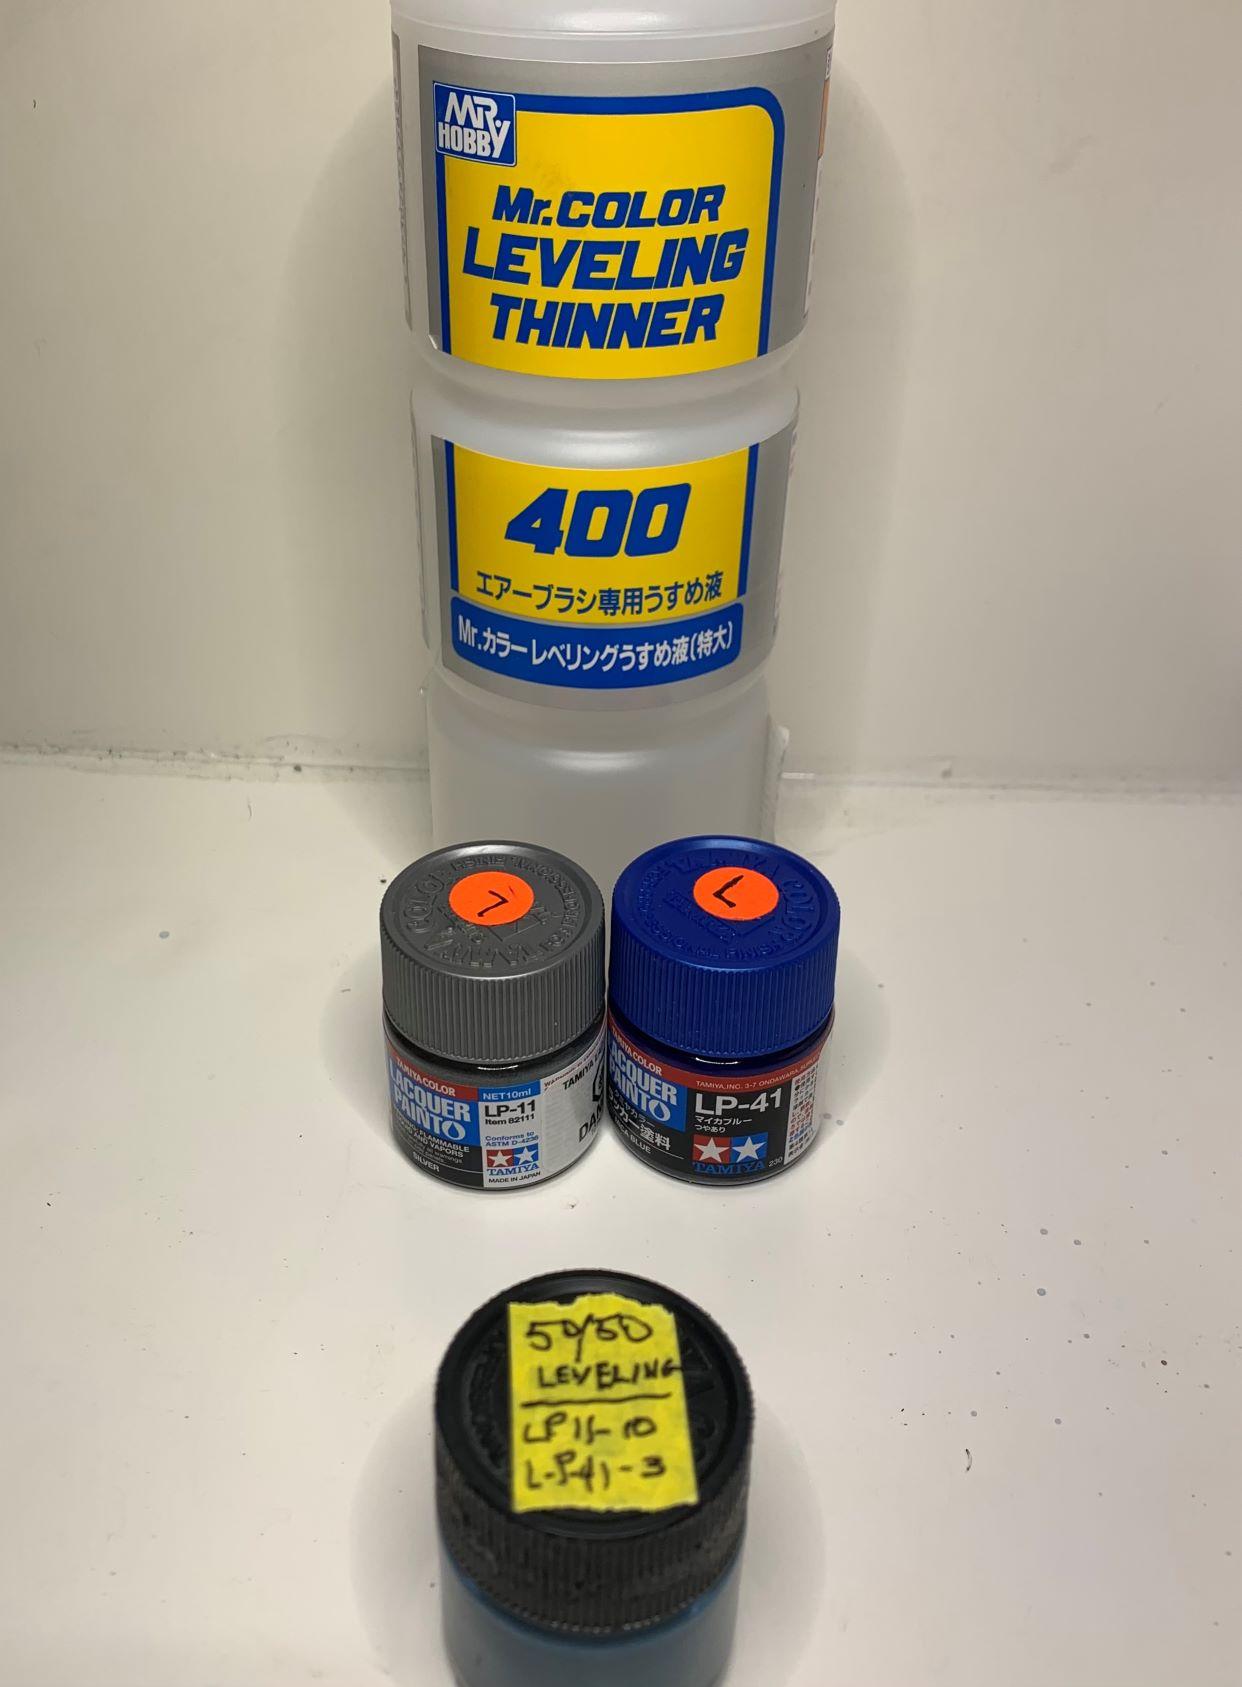
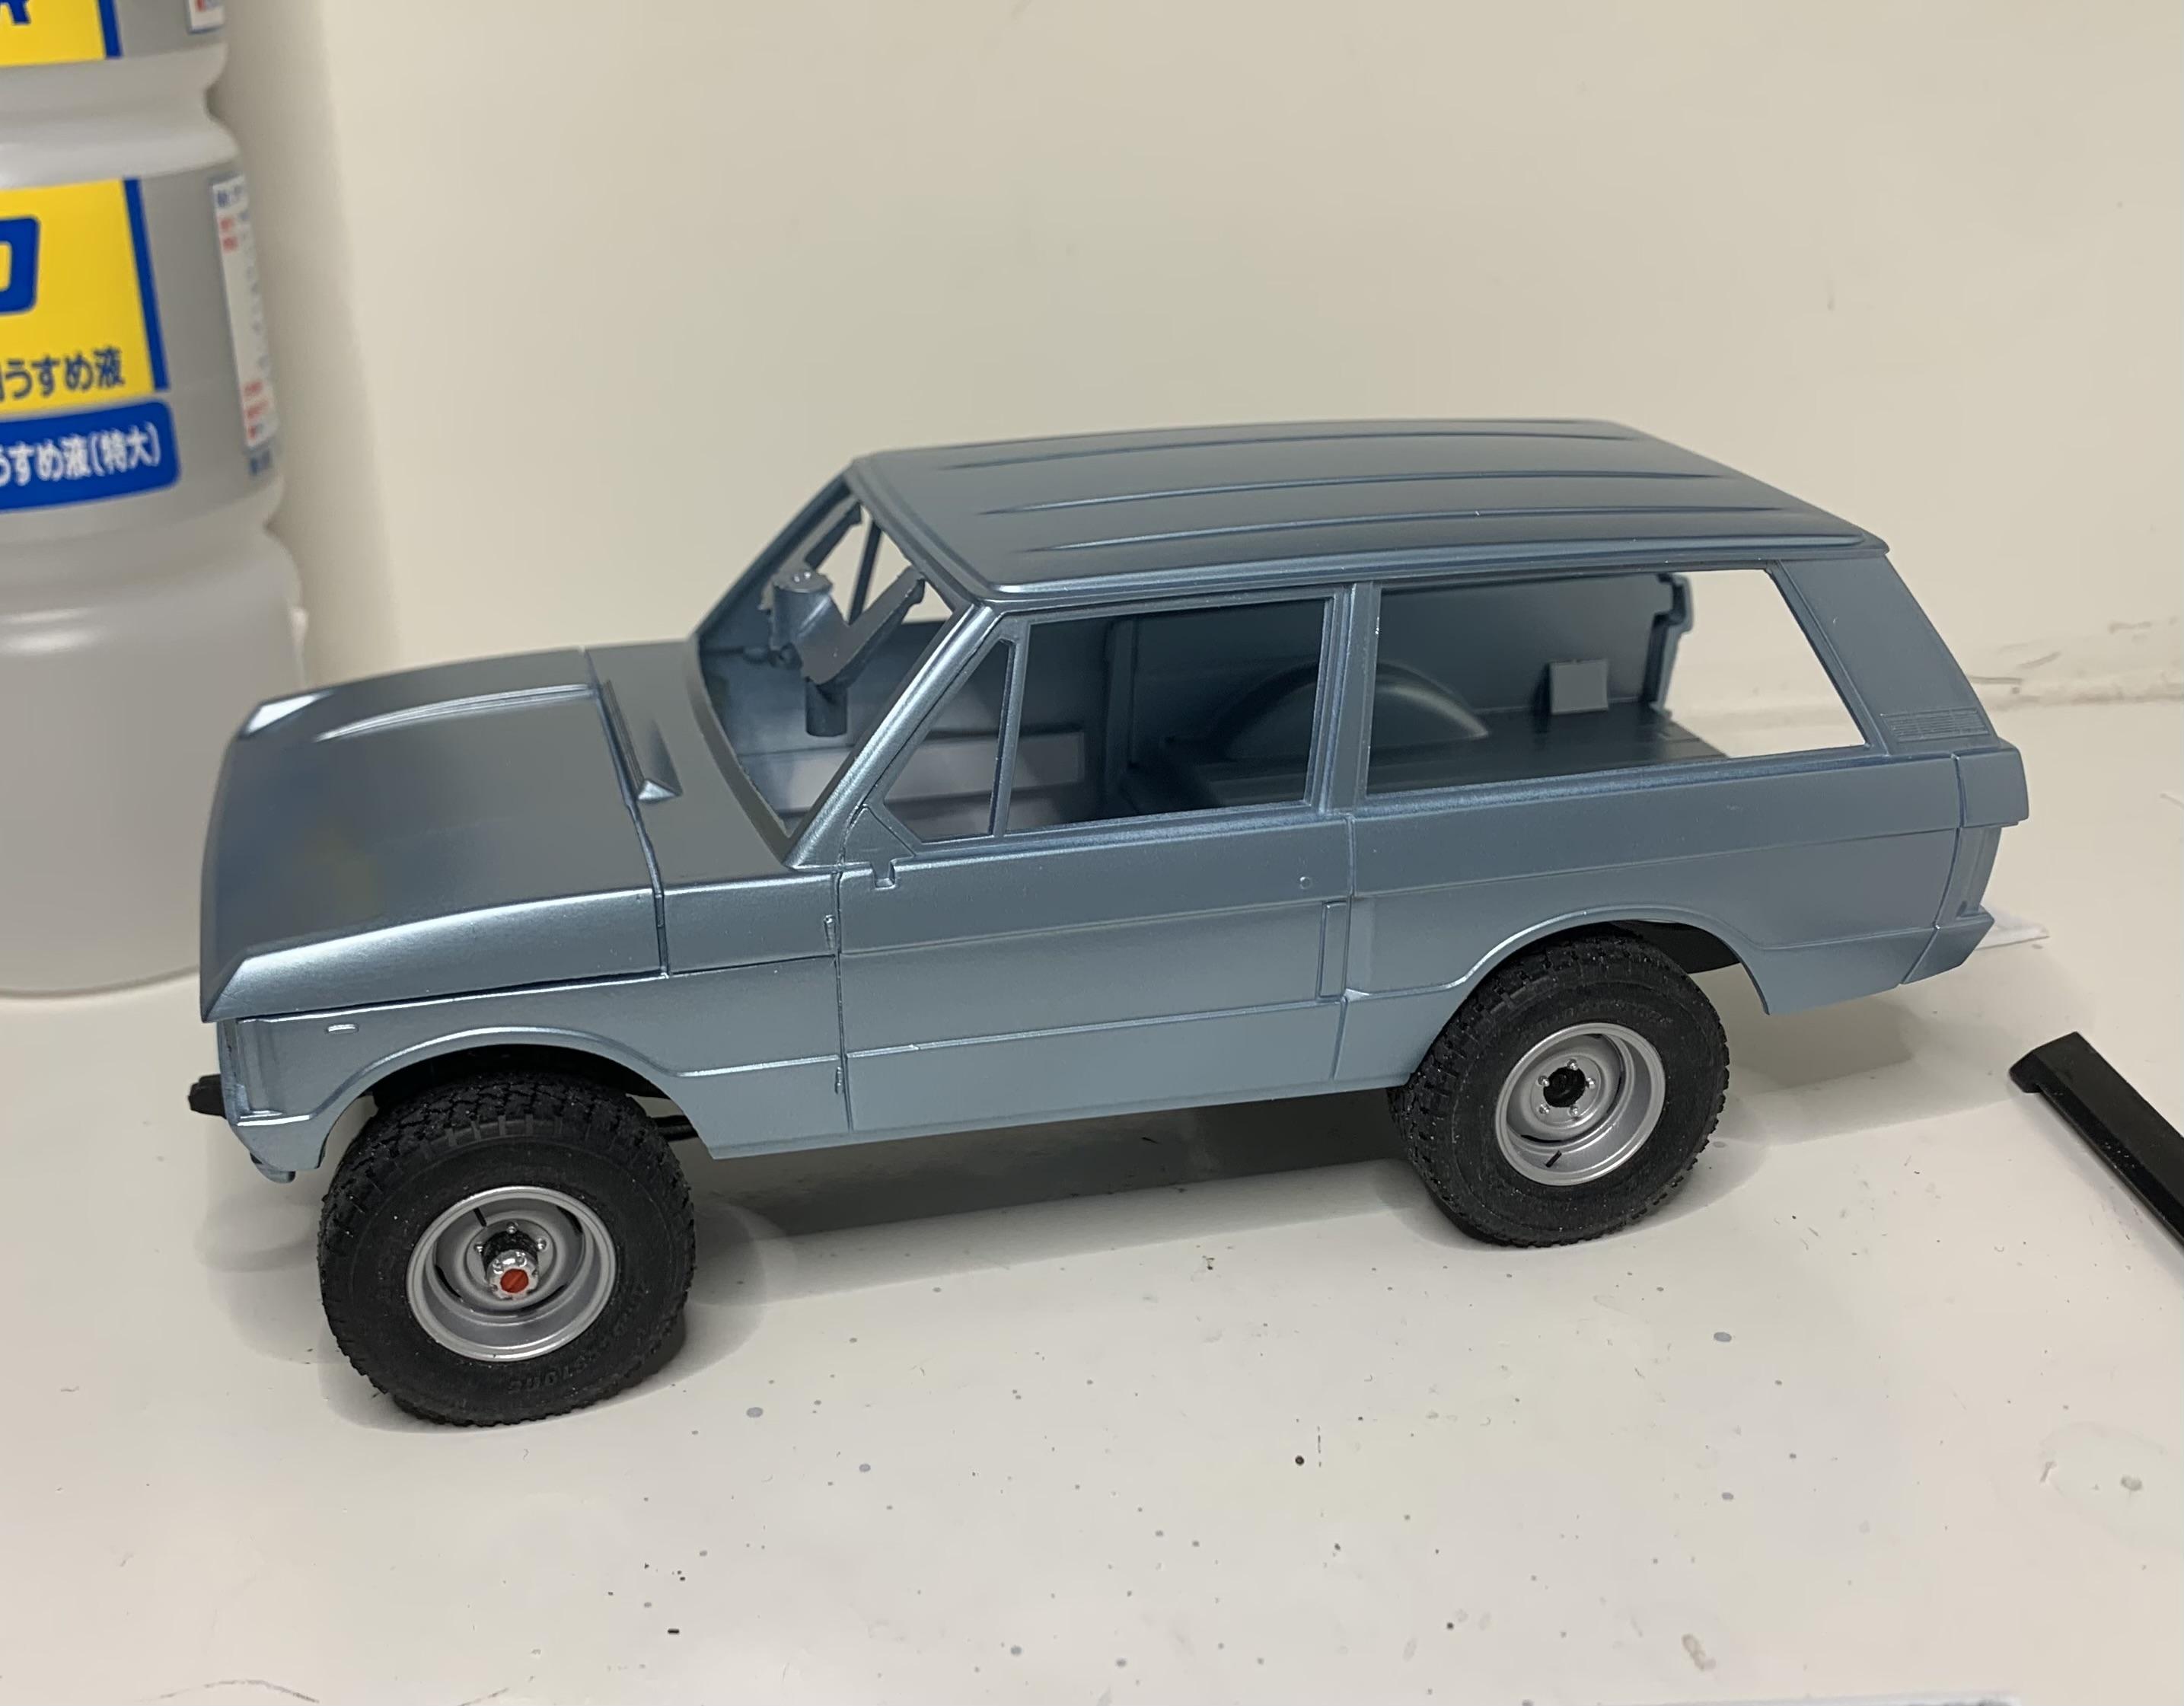
 I mixed up a color, I wanted a silvery-blue, so here's the first shot:
-
Johan ‘70 Cadillac ElDorado pro touring (low and aggressive)
dino246gt replied to Steve H's topic in WIP: Model Cars
WOW! I love it! Can't wait to see more of this exciting project! -
I'm diggin' it! It's looking great!
-
Great looking '55! Nice colours and great build!
-
Coming together nicely! I like what you're doing!
-
Great start! Can't wait to see more, I love those '40s!
-
Since that lower panel I made was curved out in the center, it seemed to sag, so: 1: I made a tiny piece of styrene to build it up, NO putty. 2: Here is that piece glued on. 3: Now it looks much better, more level across. (grille not glued, will be perfectly spaced one painted and glued, and I use the word "perfectly" loosely!) LOL
-
1966 FORD F-100 4x4
dino246gt replied to yura1961's topic in Model Trucks: Pickups, Vans, SUVs, Light Commercial
WOW! Truly amazing, really thought that was a real pickup, WOW! -
1970 Ford F250
dino246gt replied to Chuck Most's topic in Model Trucks: Pickups, Vans, SUVs, Light Commercial
That does look very realistic! -
1968 Ford F-250
dino246gt replied to Chuck Most's topic in Model Trucks: Pickups, Vans, SUVs, Light Commercial
Looks great, very realistic! -
2020 Ram Tow Truck
dino246gt replied to Stevens19's topic in Model Trucks: Pickups, Vans, SUVs, Light Commercial
Cool! -
Revell Land Rover
dino246gt replied to Michael F's topic in Model Trucks: Pickups, Vans, SUVs, Light Commercial
Very cool! Love all the accessories and weathering, nice build! -
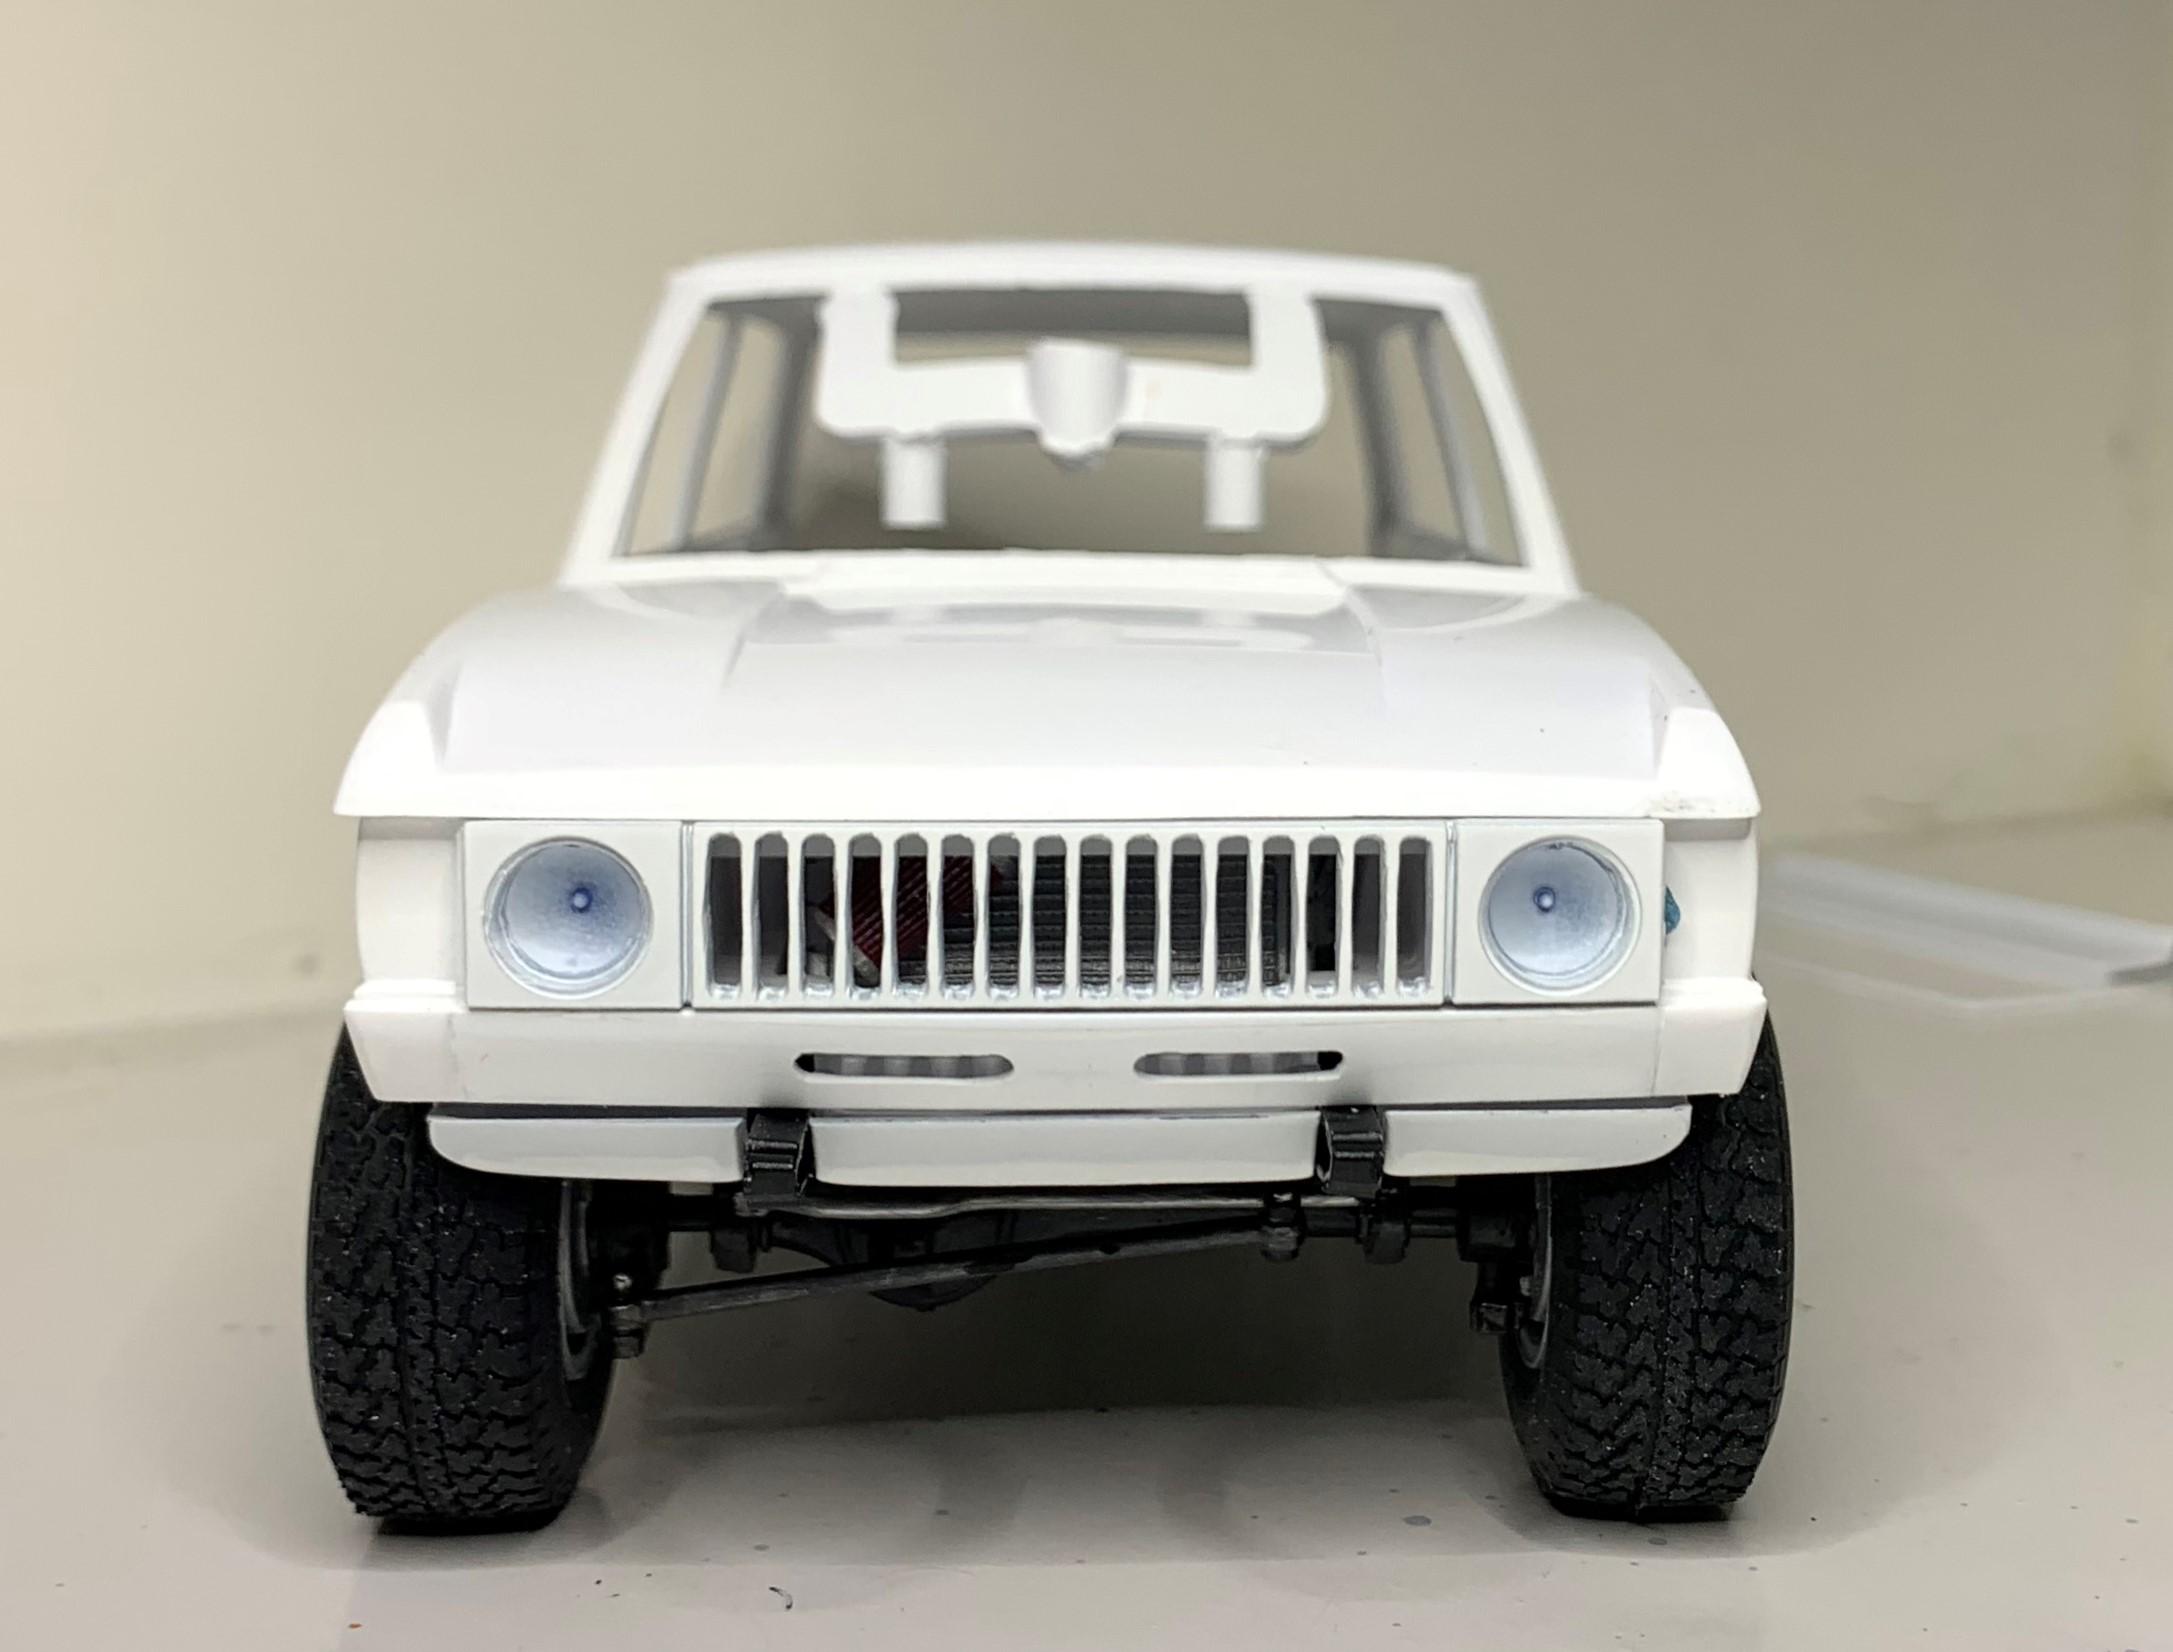
1: I test fitted the front bumper and realized that there's nothing below the grille as far as bodywork goes, looks like something is missing. 2: So.......... I decided to make something, but it can't be flat, needs a slight curve, that's what the top piece is for. 3: I added some slots for added cooling, didn't look up what a real one looks like, just thought I'd add it. 4: Much better, that lower part will be painted flat black as it's part of the chassis, not a body panel.
-
Thanks Greg, I know it's not accurate for Range Rover but nothing I do is actually "accurate", LOL I'm just in it for the fun! Cheers, and Happy New Year!
-
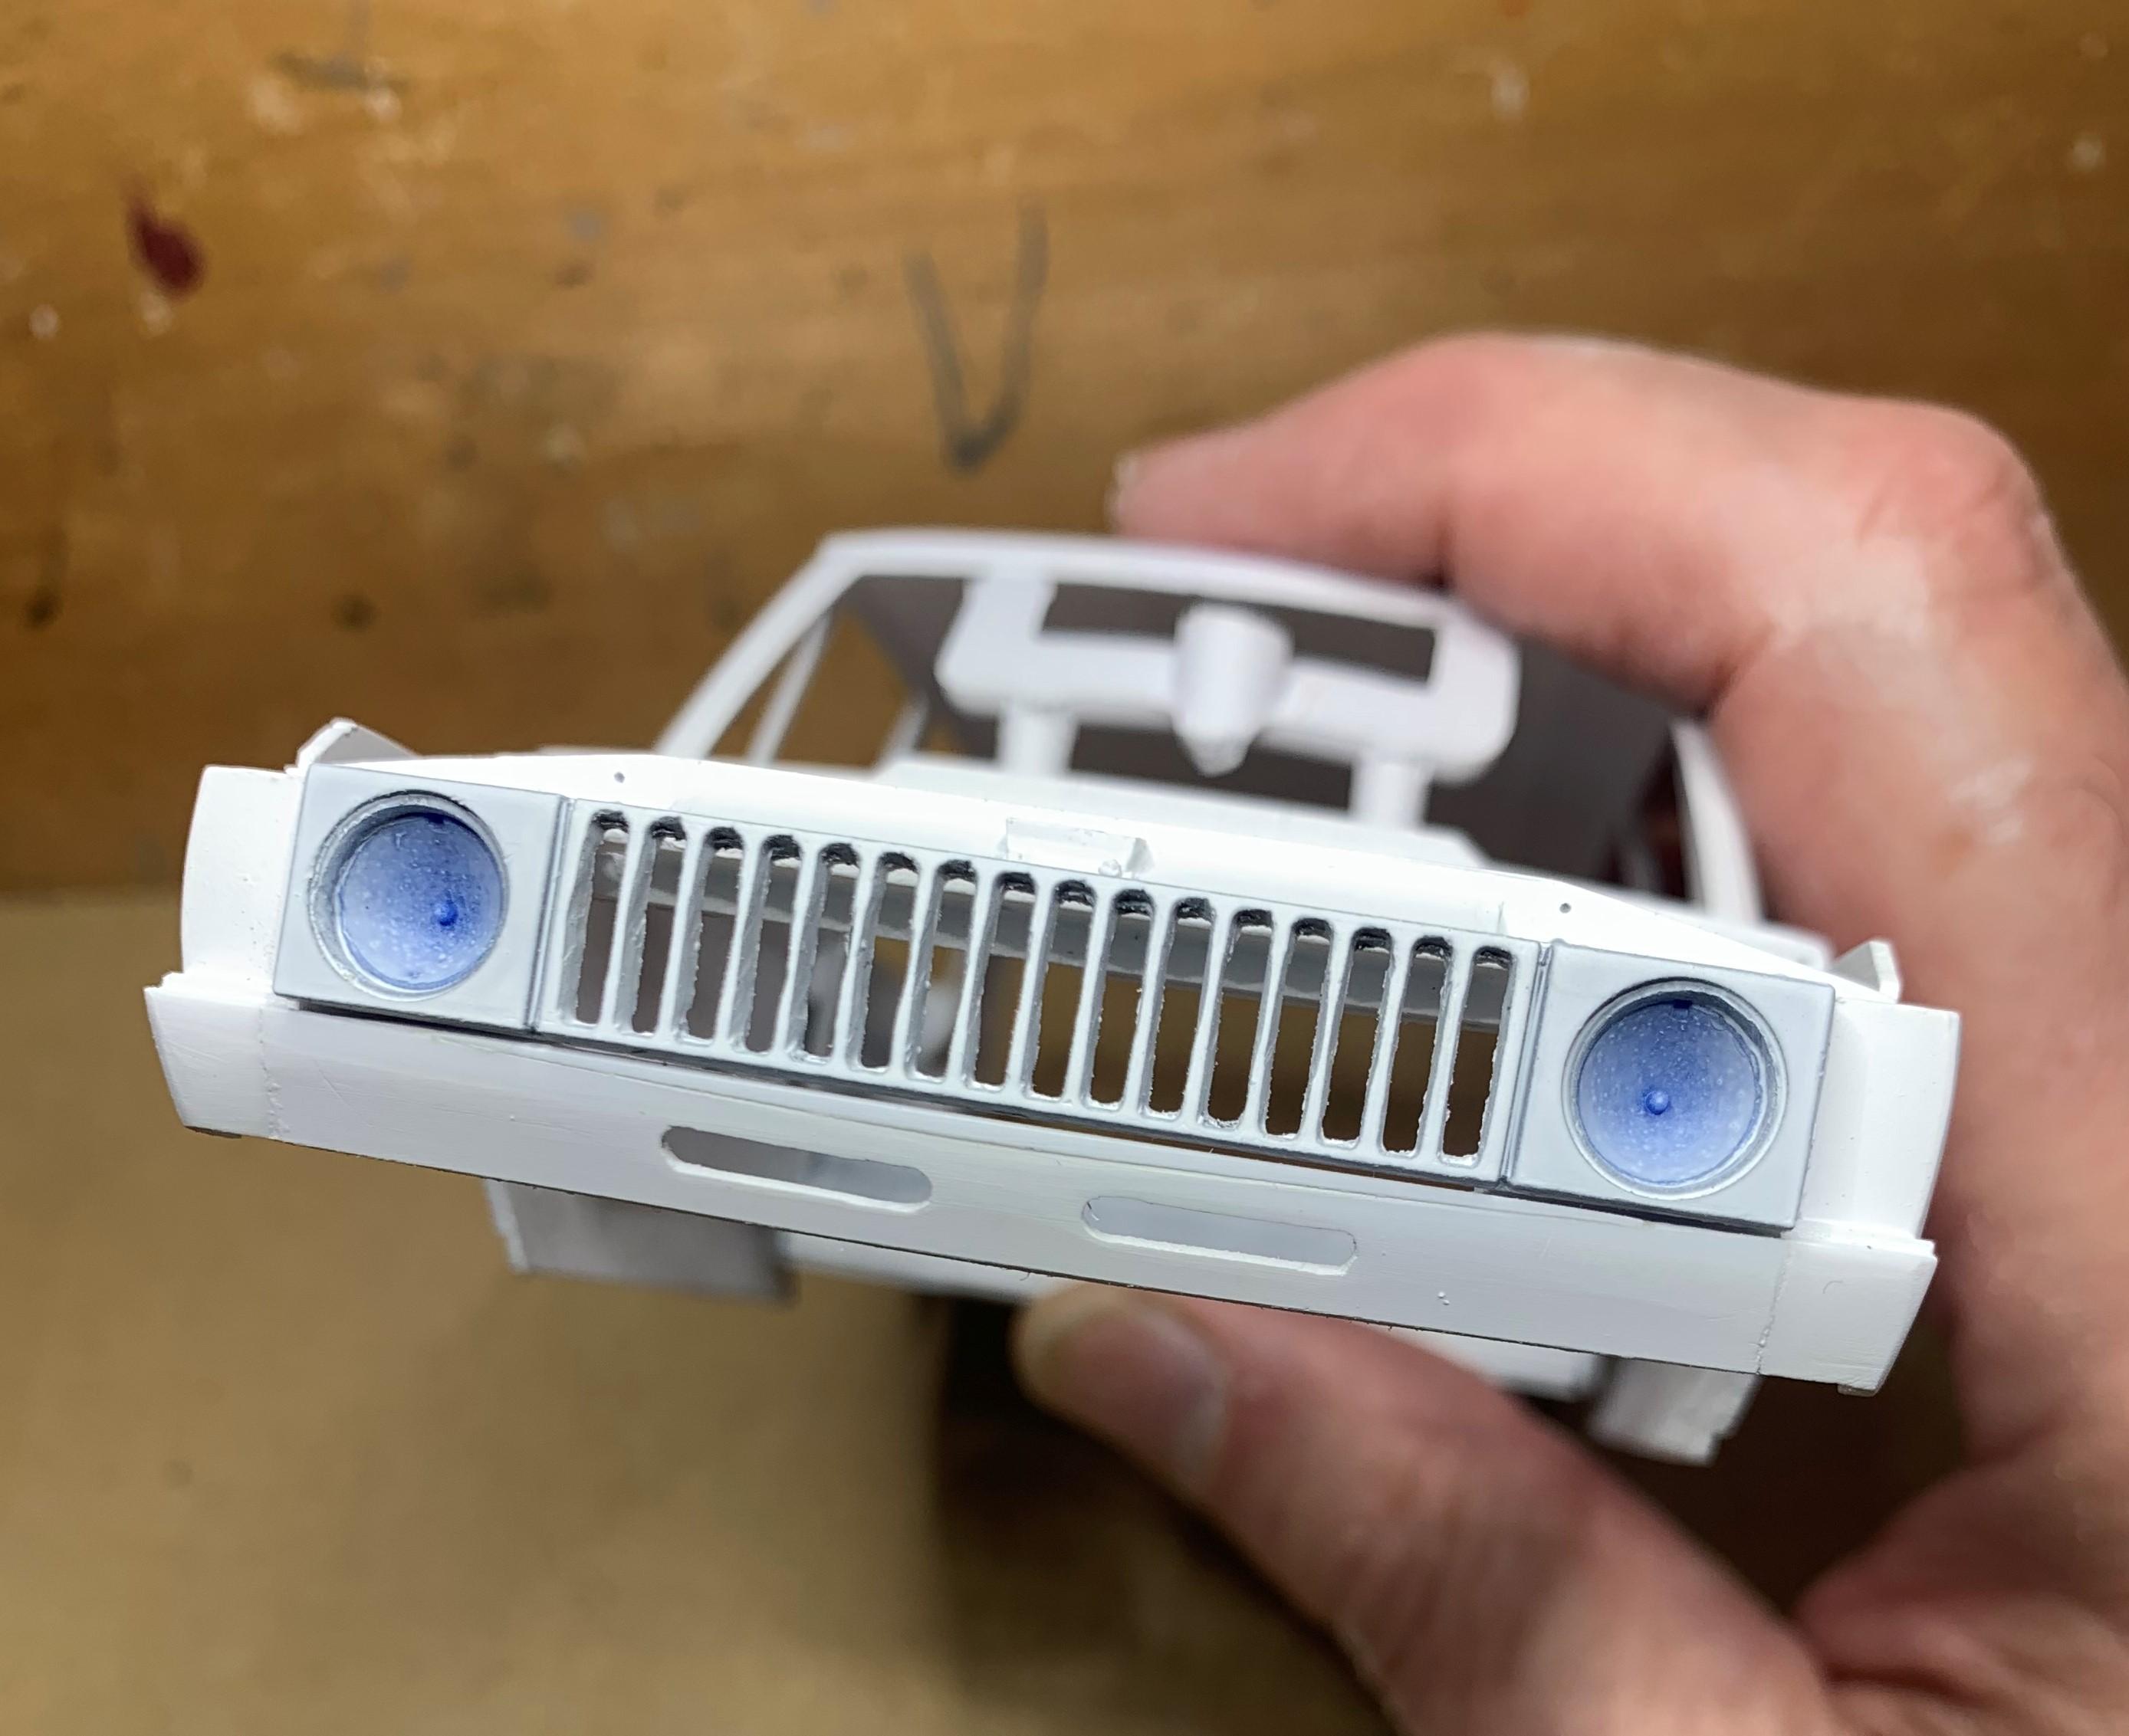
1: I had opened up the grille before, but the flat headlights bugged me. 2: I cut out the flat part and modified these Subaru headlight buckets, had to remove the outer lips. 3: Glued to the back of the grille they look way better than the flat kit ones, to me anyway. 4: Just a light spray of Tamiya fine white primer, I like how it's looking, of course those buckets will be foiled and kit lenses installed.
-
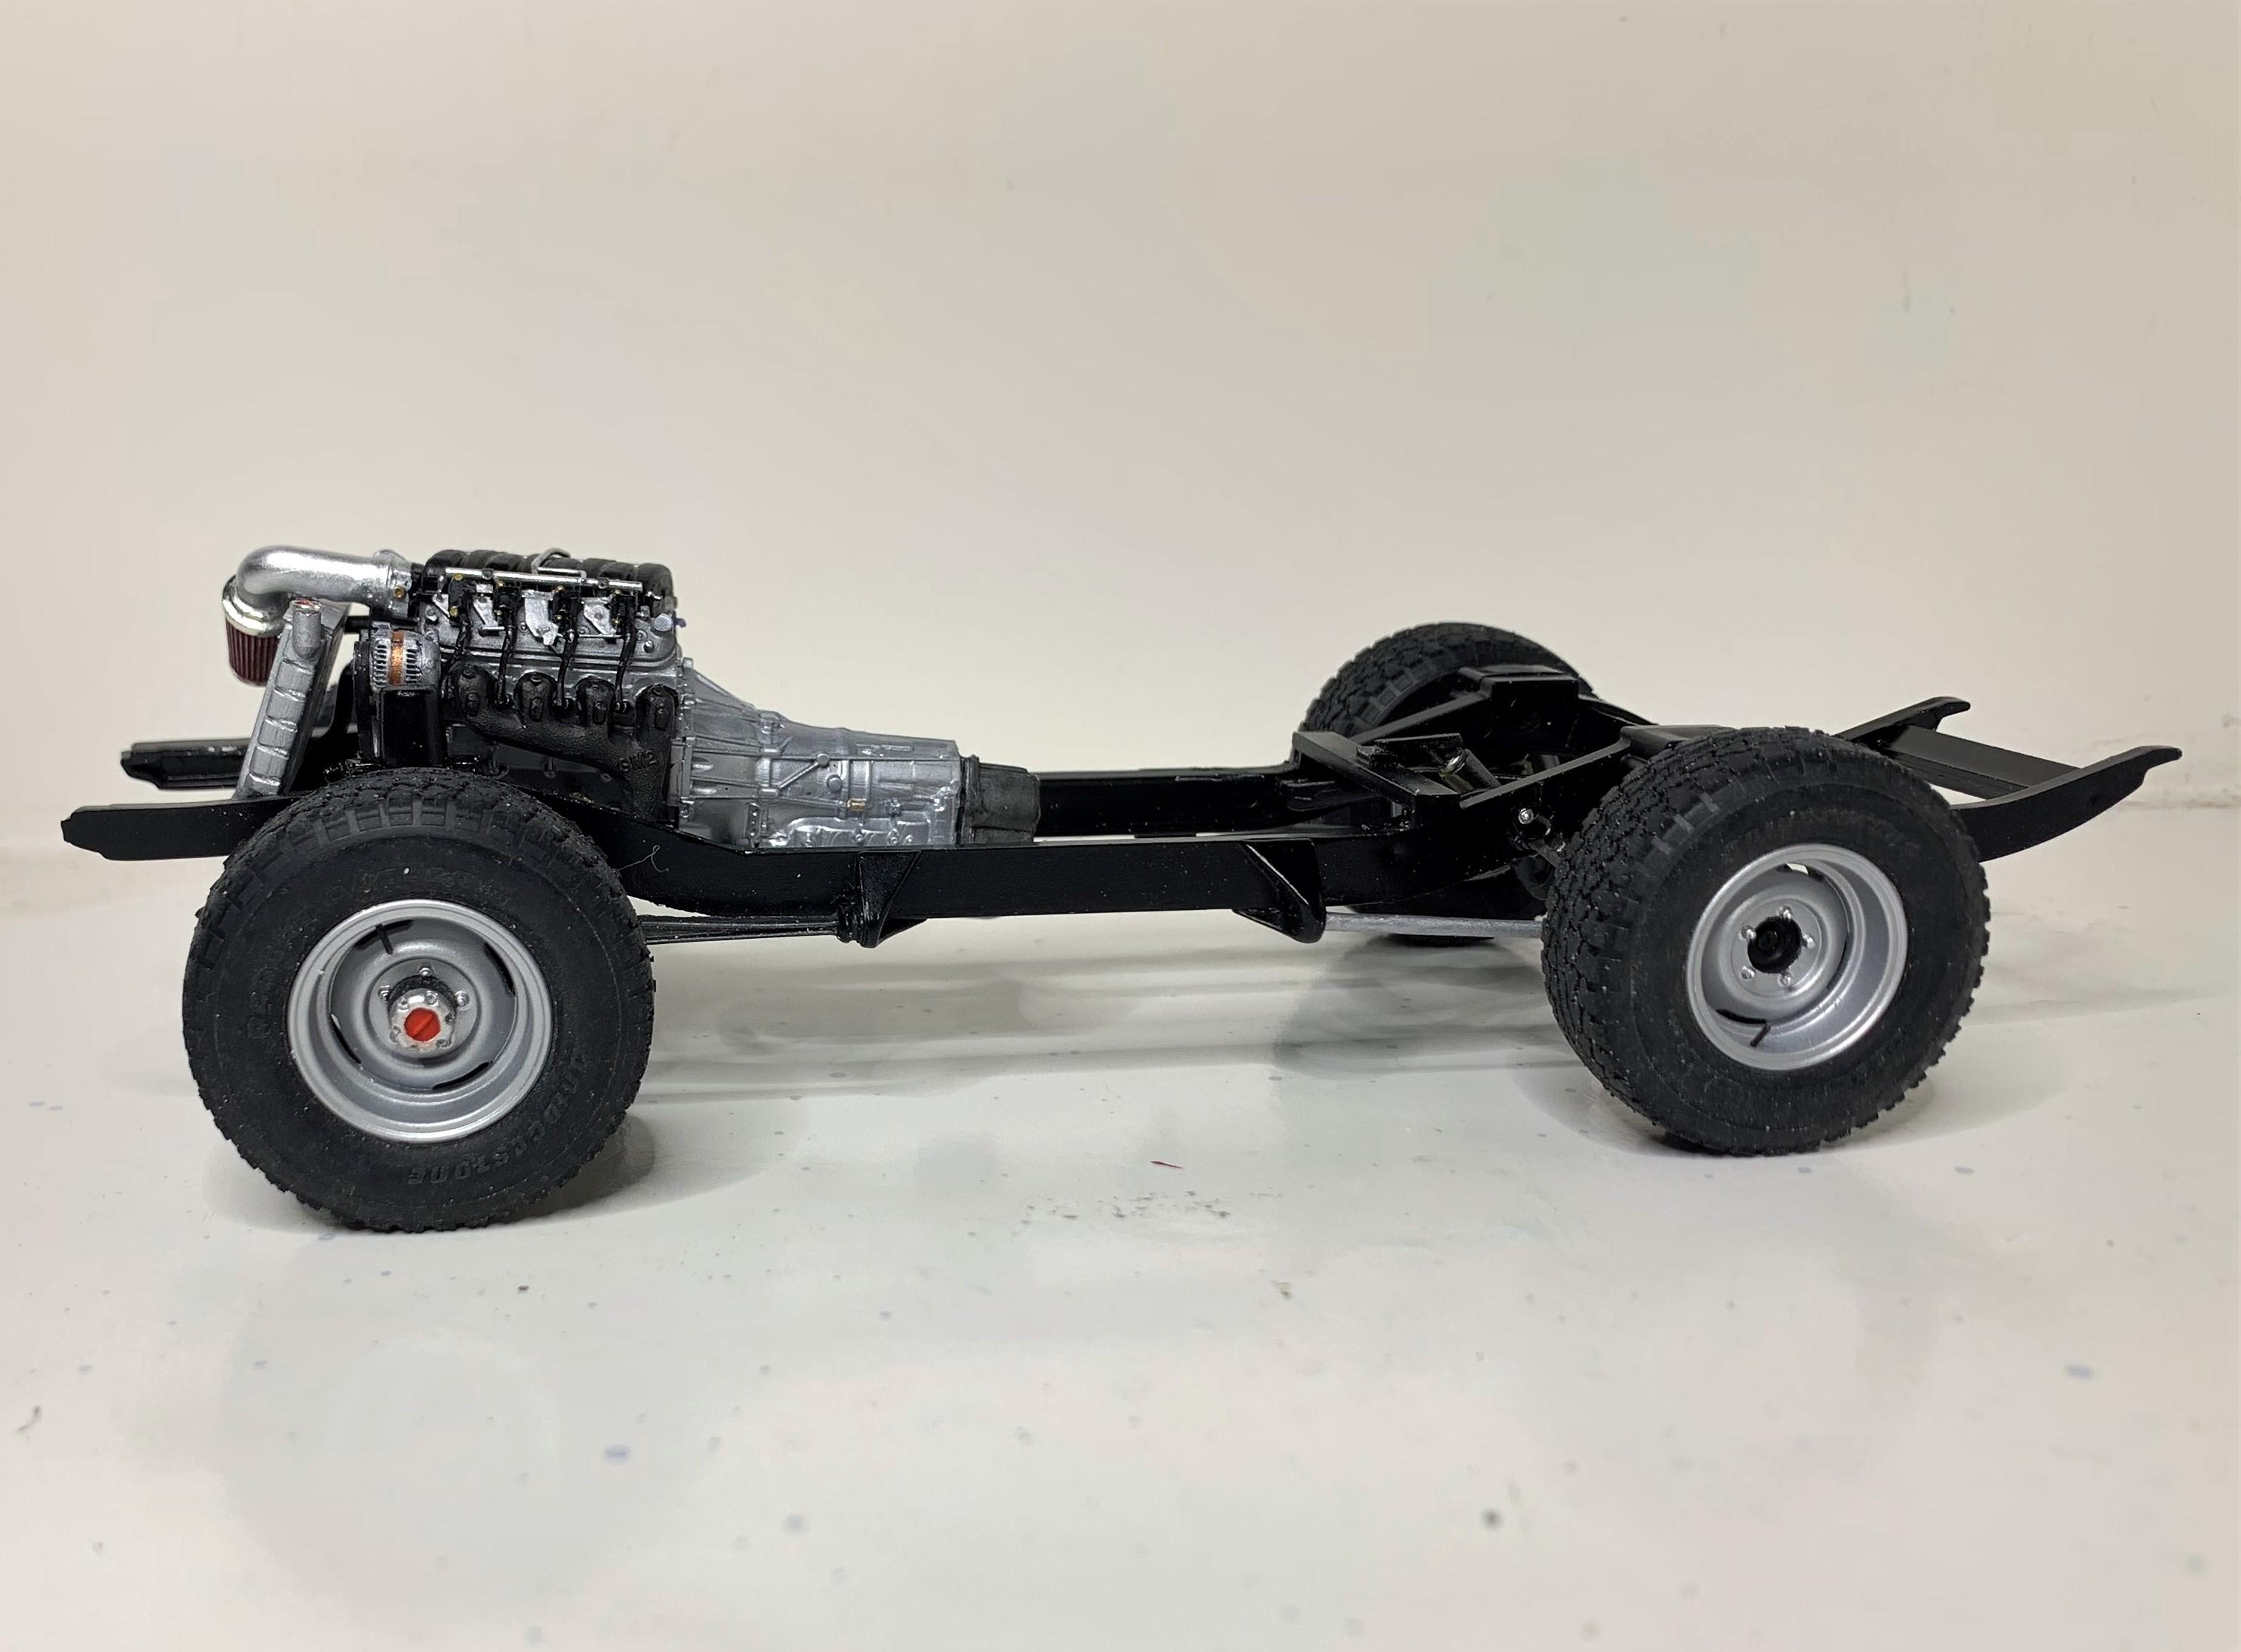
1: I had to thin the wheelback edges so they set into the tires how I wanted. (before and after) 2: After primer and Alclad "dull aluminum", and Tamiya "sparkling silver" for the nuts and around the hub rings, flat red and flat black finished hubs and wheels! 3: I made up wheel mounts from styrene tubing, 3 sizes on each wheel, but now I have them spaced where I want.
-
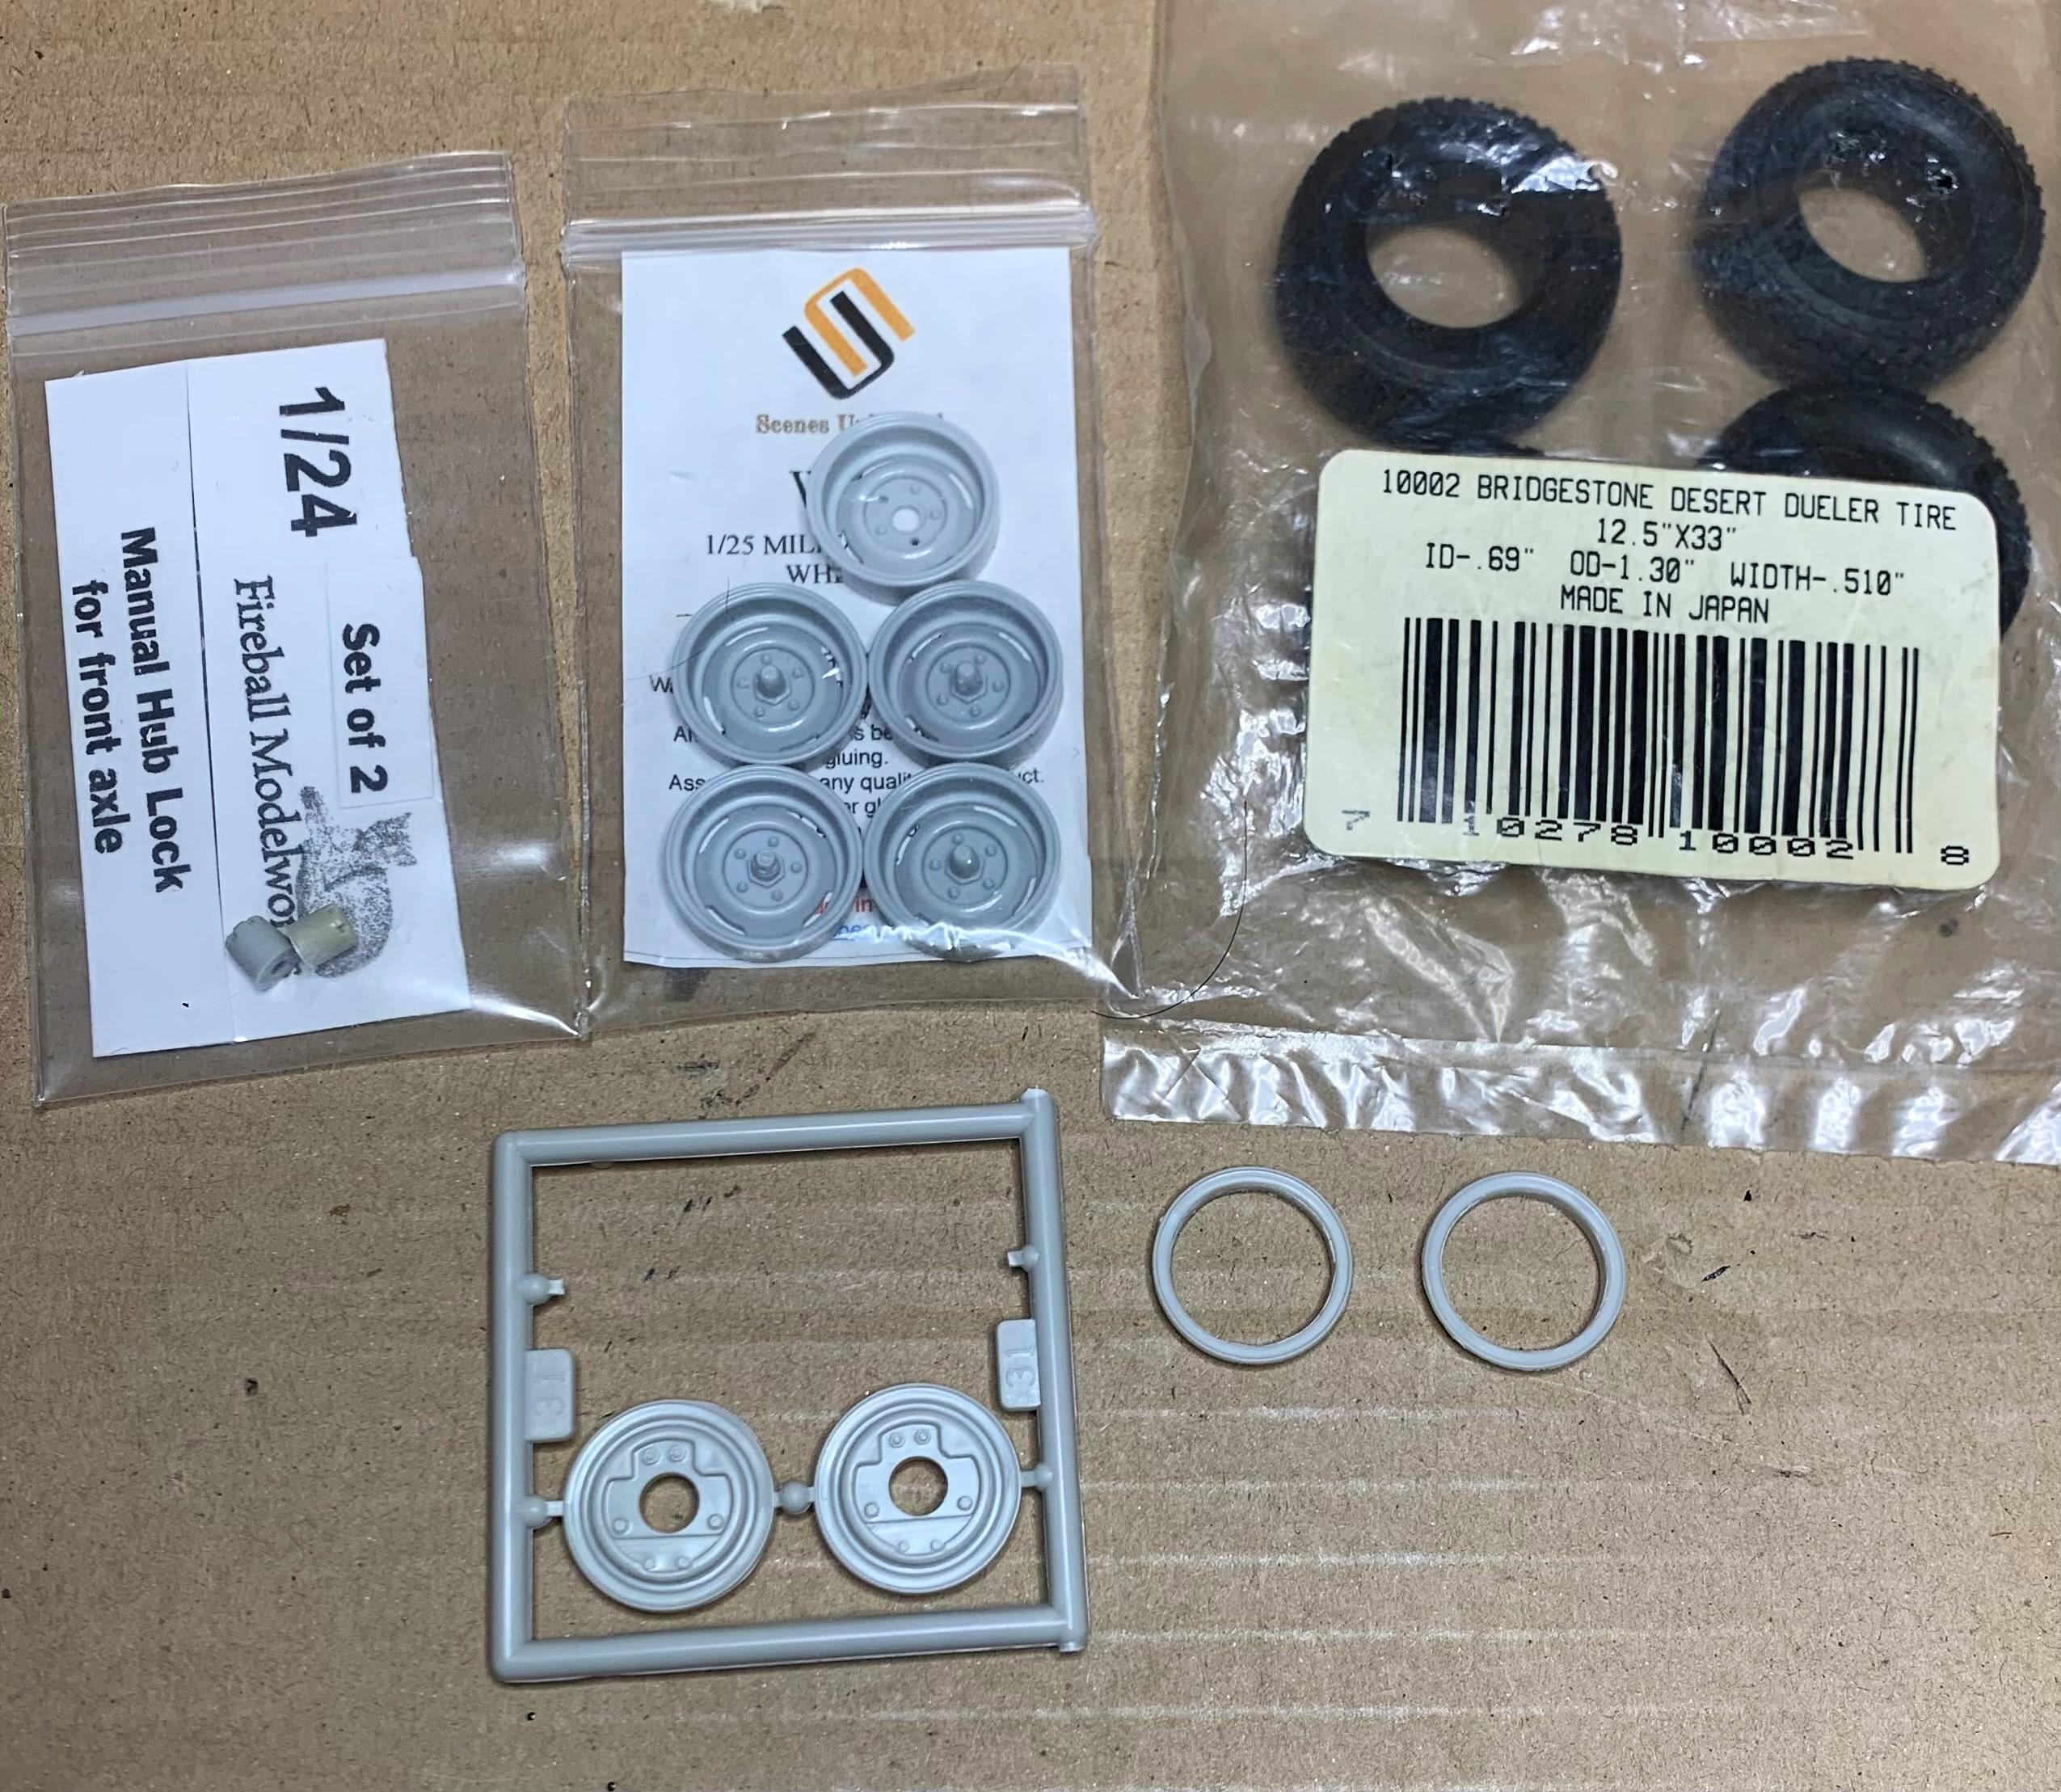
Getting back to my Range Rover build. 1: Here's my wheel/tire choice, for the inside of the rims I carved the brake detail out of '41 Woody kit wheelbacks and just used the outer rings. 2: I cut the centers off and drilled out larger holes in the resin wheels. 3: Here's the wheels, drilled for valve stems and the wheelbacks and free wheeling front hubs.
-
Off to a great start!
-
That foil looks great, the tinted windshield and your vent window treatment, very nicely done!
-
Those headlights are a huge improvement, nice work!
-
I do have that kit, missing a few things, but it might have what you need? Shoot me an e-mail! Dennis Ezmerlian
-
Love the colour! What wheel choice have you made?
-
Just another shot in the early morning sunrise!
-
Tamiya Ferrari Testarossa 1:24 90s Magic!
dino246gt replied to Funkychiken's topic in WIP: Model Cars
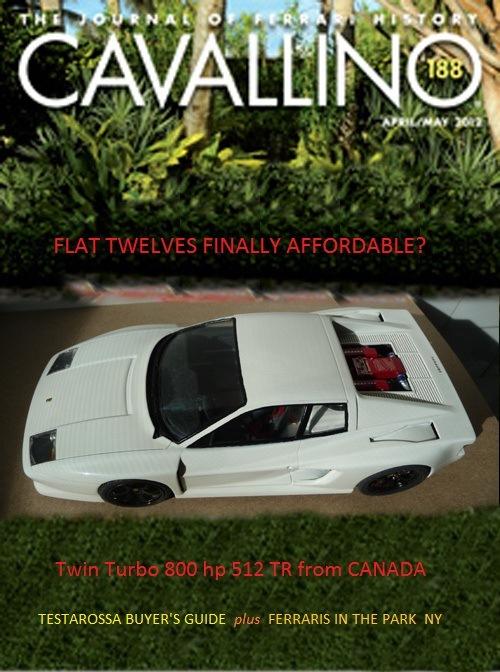
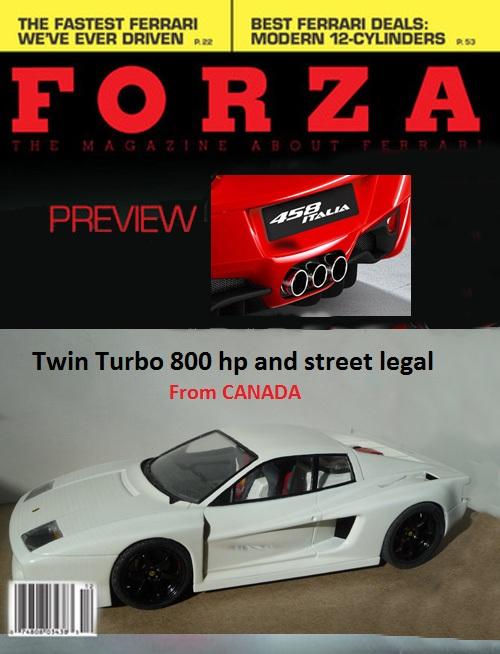
I did one in white, highly modified and made up some fake magazine covers to display with it!
-
Great colour choice!


.JPG.f6f6bdd7defae04180698a969ab8a29e.JPG)