jjsipes
-
Posts
1,671 -
Joined
-
Last visited
Content Type
Profiles
Forums
Events
Gallery
Everything posted by jjsipes
-
Wow that is one beautiful Fury
-
Looking great
-
Love the box art. No pre-paints please. I can take molded plastic as long as it's not in the Red Family. Gonna have to get a few of these.
-
Looks great. Love these kits. I seen Carolina Thunder and I thought it might be a Ronnie Sox car but his had Thunder in Carolina on it. Looks real good great job
-
Love it. Great job. I have one to build a Ronnie Sox Colt out of but, haven't done anything with it yet.
-
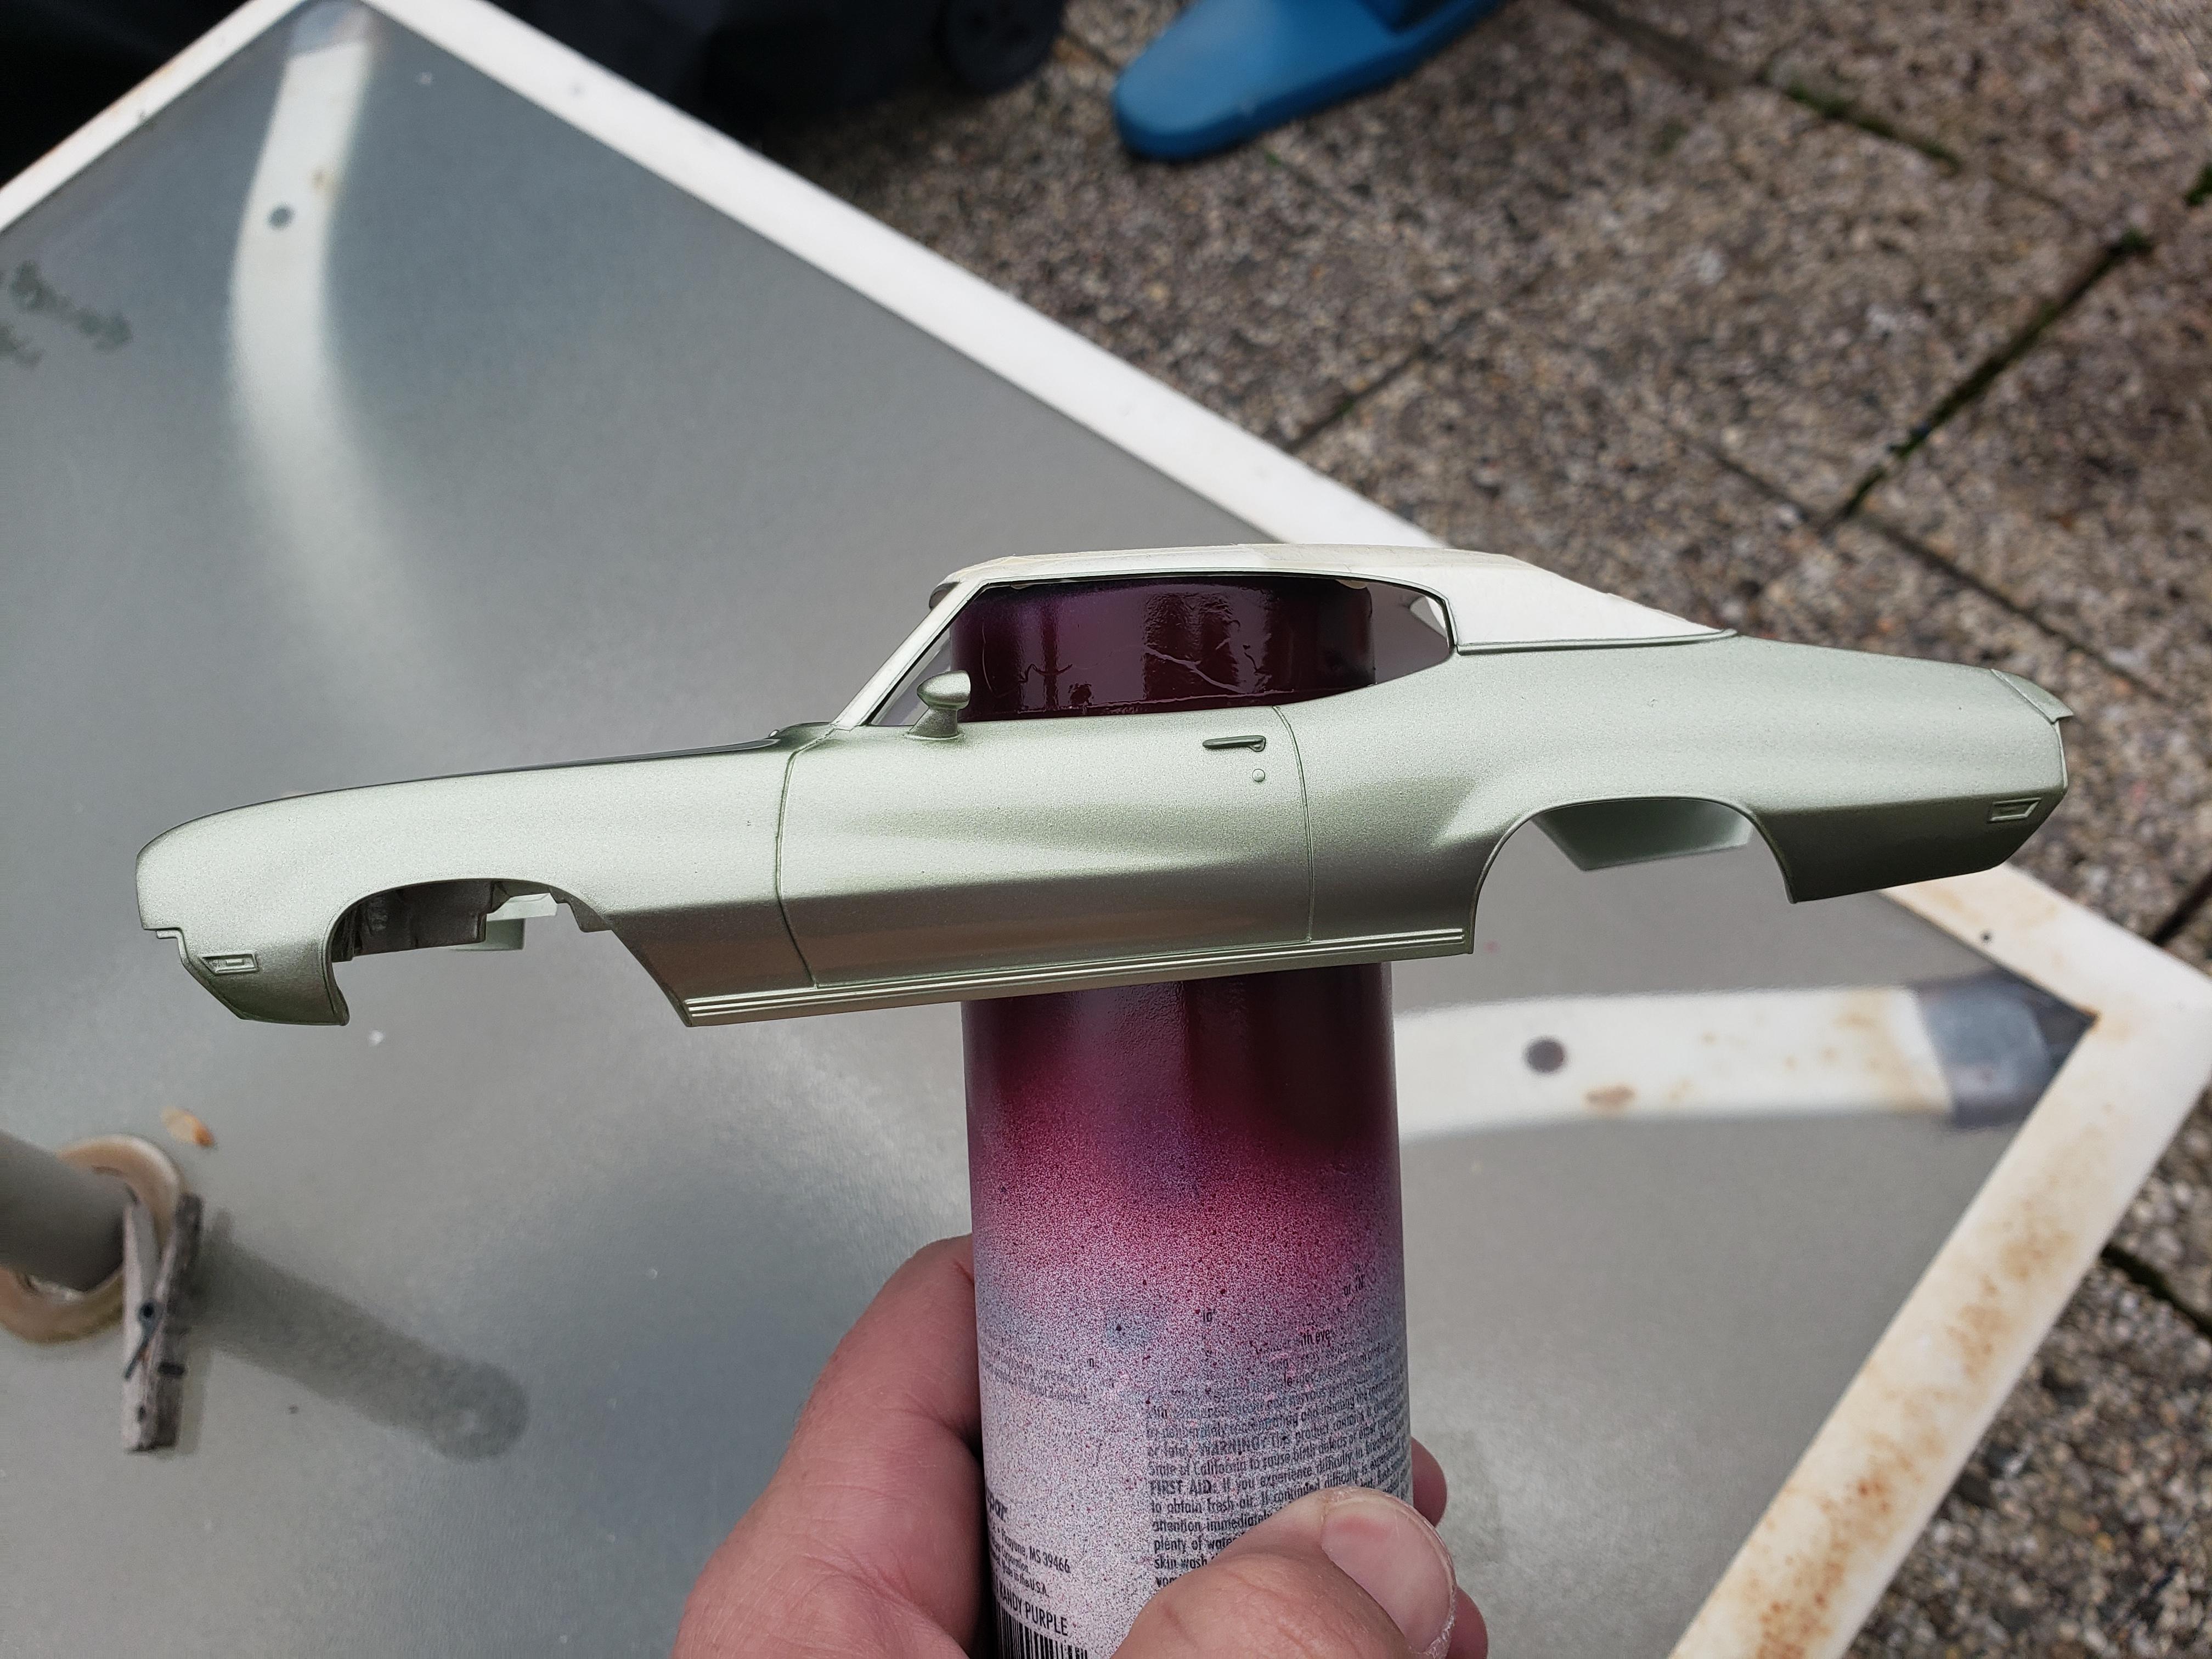
Been back and forth on this project but, finally got the body ready. Primed and painted. Everytime I went looking locally for Tamiya Silver Leaf, no one had it. Thought I would try Tamiya Gloss Aluminum. It's very bright out in the sunlight.

-
It's some work but can be done. I need to try and get some better pictures of it.
-
This is what I did with the only one I built. I cut the body and altered the wheelbase.
-
Dark Tan Poly
-
After seeing this one on Graveyard Carz, I've falling in love with the colors. By the way, great work so far adding more details. I have one of these in the stash but haven't gotten to it yet. I will be watching.
-
Beautiful build. Love it
-
Decals - 1964 Hayden Proffitt Yeakel Plymouth
jjsipes replied to jjsipes's topic in Car Aftermarket / Resin / 3D Printed
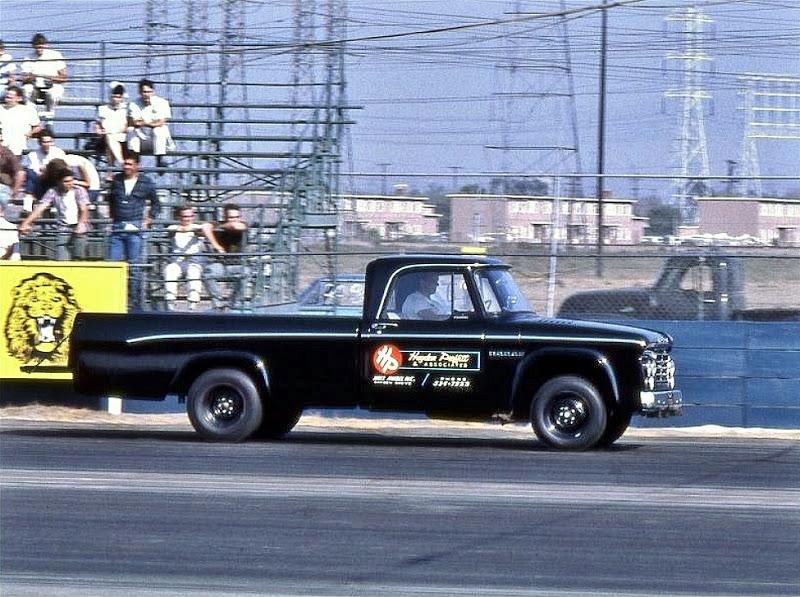
This would make an interesting build as well to go with the car.
-
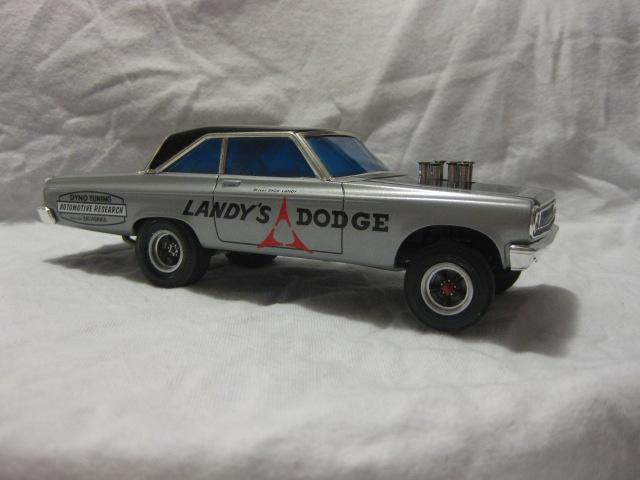
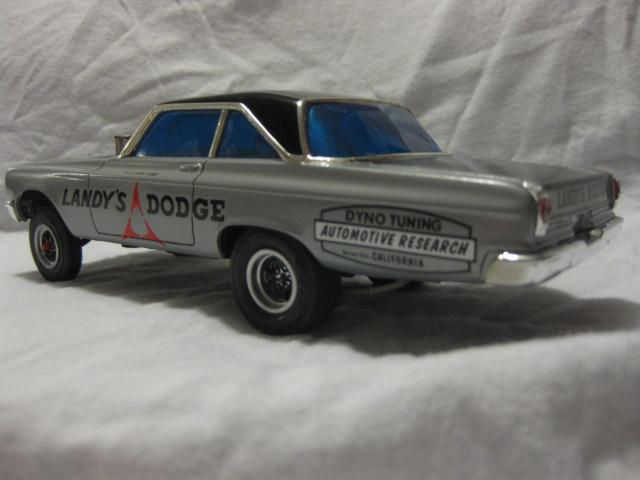
Was wondering if anybody knows if a more accurate set of decals is out for the 1964 Hayden Proffitt Yeakel Plymouth? I have a set in front of me from Decals By Lucas but the lettering is all white. As you can see the car had what appears to be yellow and white lettering. Also the HP dot has white lettering where the decals is black.
-
67/68 C10 Grille for 72 C10 kit - Anyone try one
jjsipes replied to Carmak's topic in Car Aftermarket / Resin / 3D Printed
I haven't tried one but that is one generation truck that needs to be tooled up. Revell has a chassis they could from their 65 C-10. Moebius would be a great manufacturer for this to go along with their Ford lineup -
Thanks. Decals still have me s little trouble. I was worried about getting the hood scoop one to lay down but it actually went pretty good. You can see some bleed thru though but not bad
-
Thanks guys
-
Thanks for the comments. Love these old Mopars
-
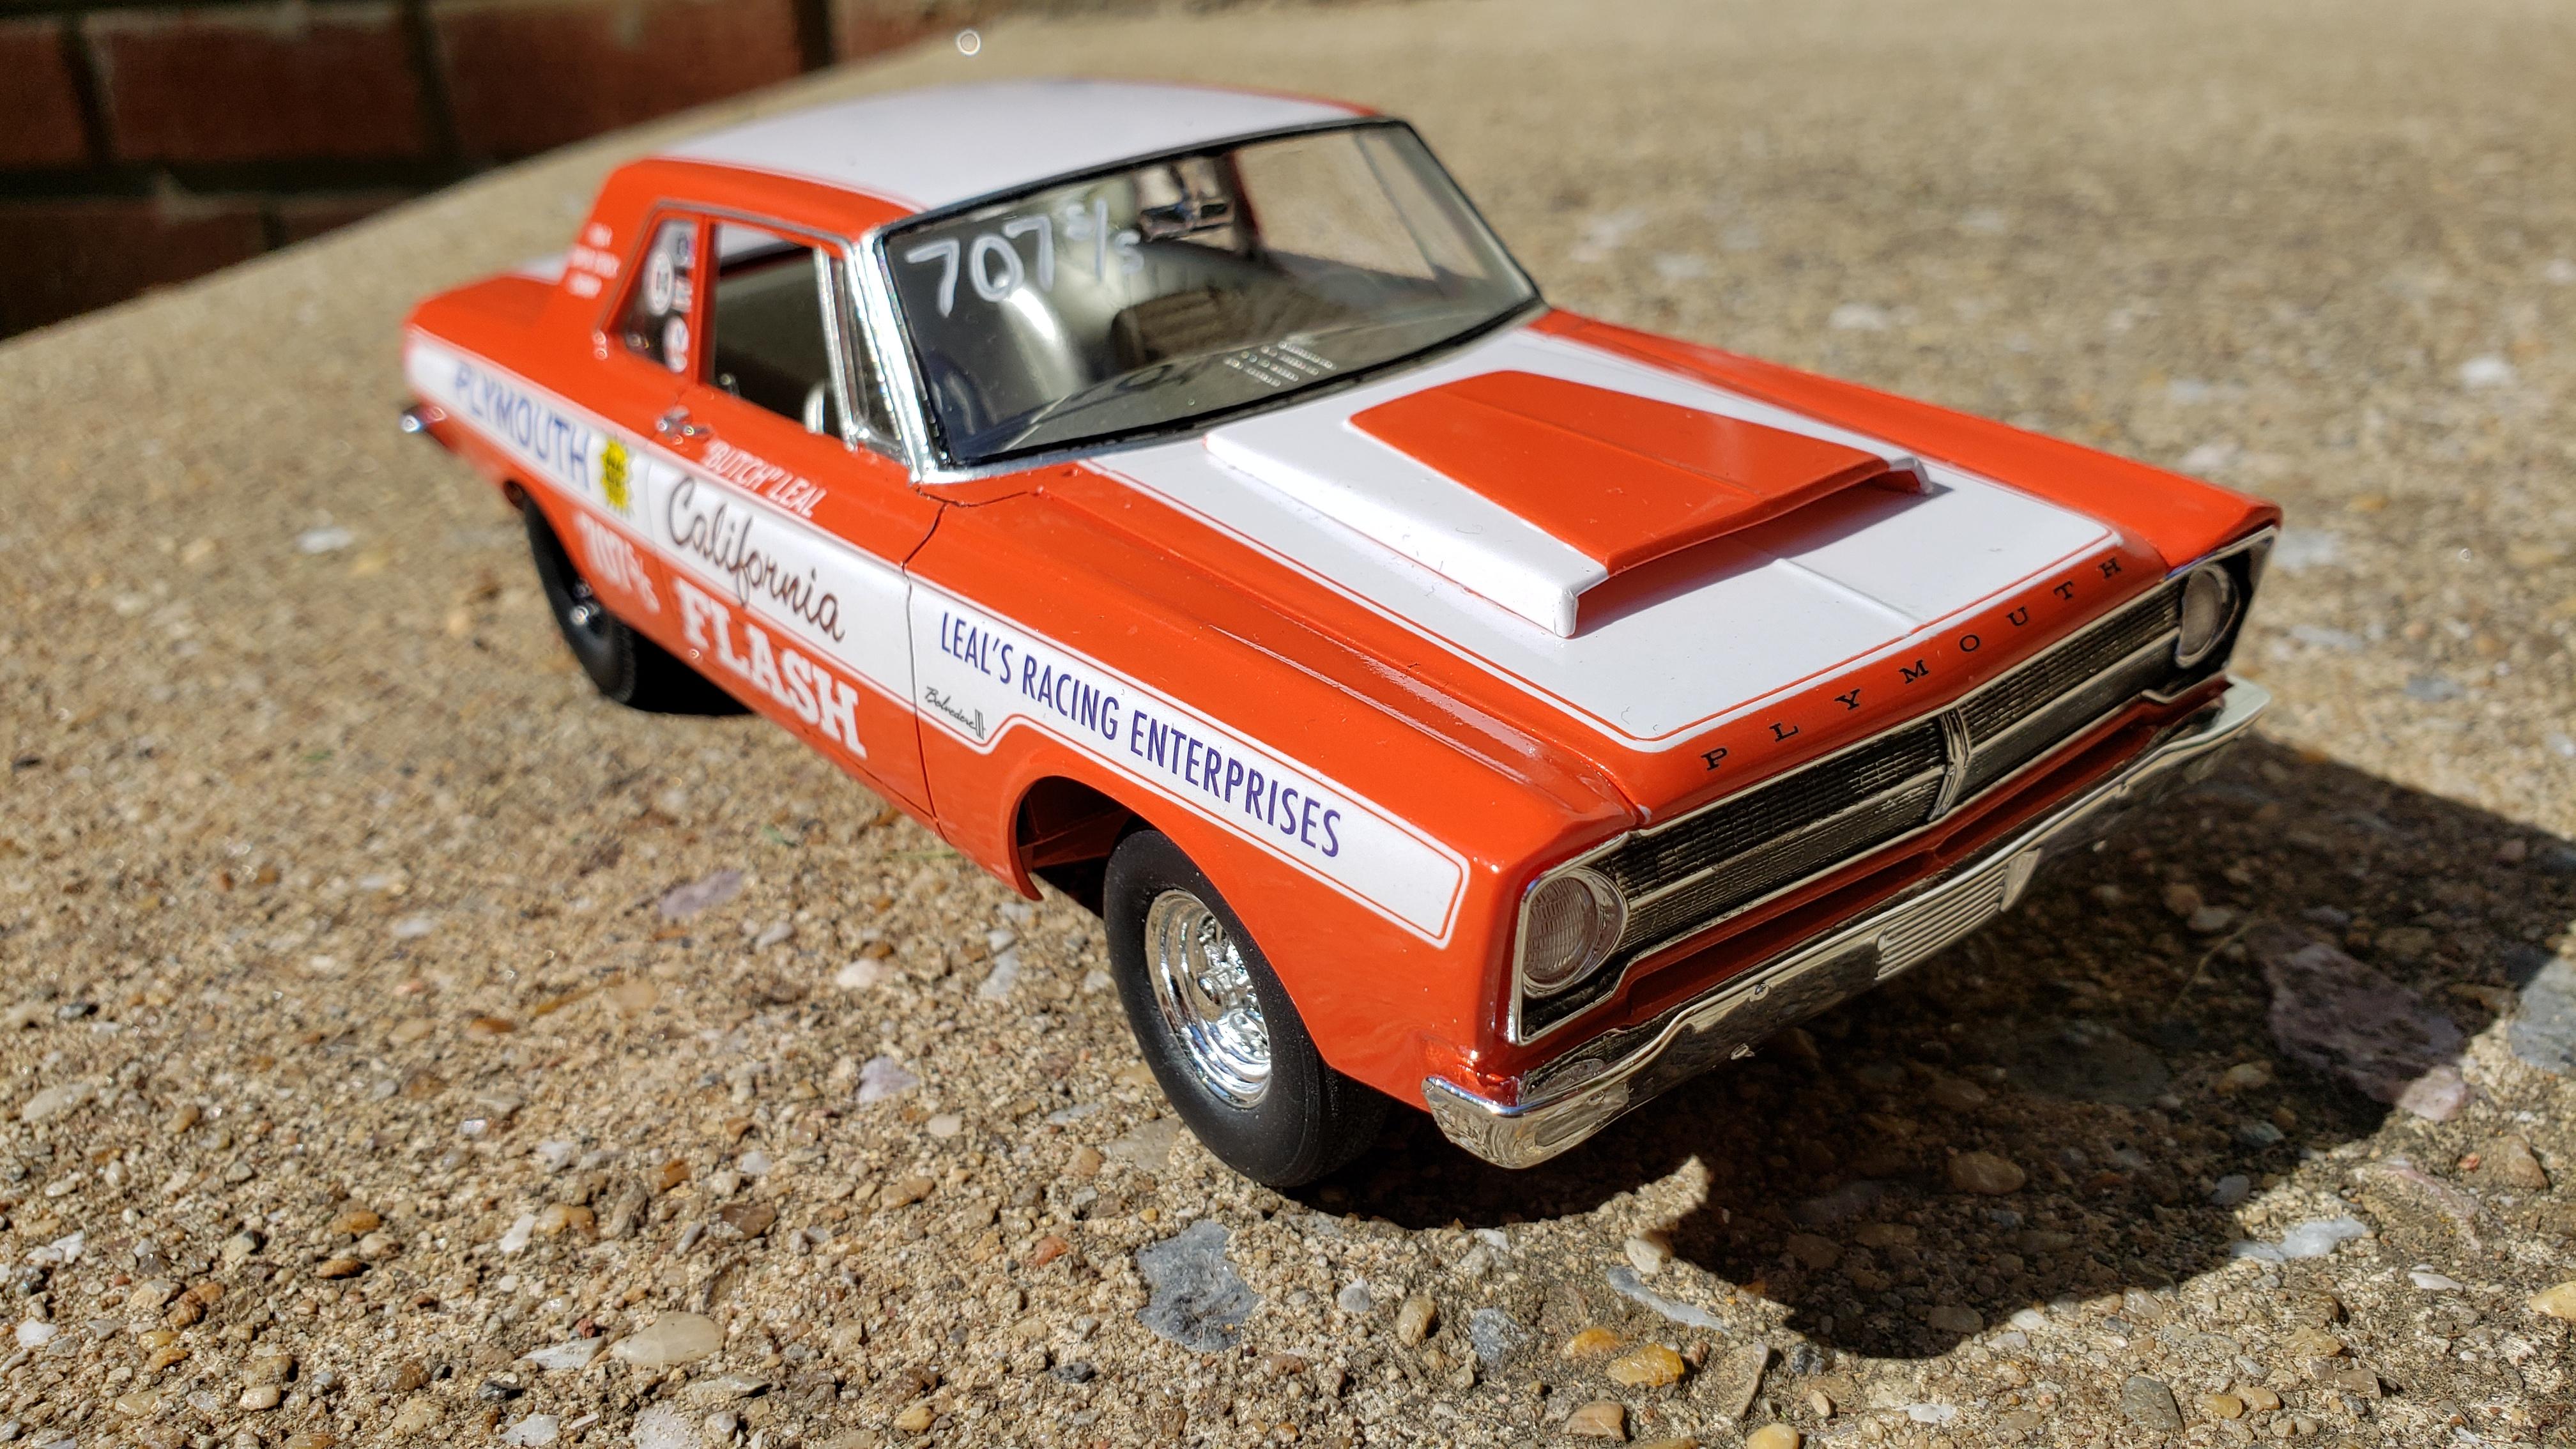
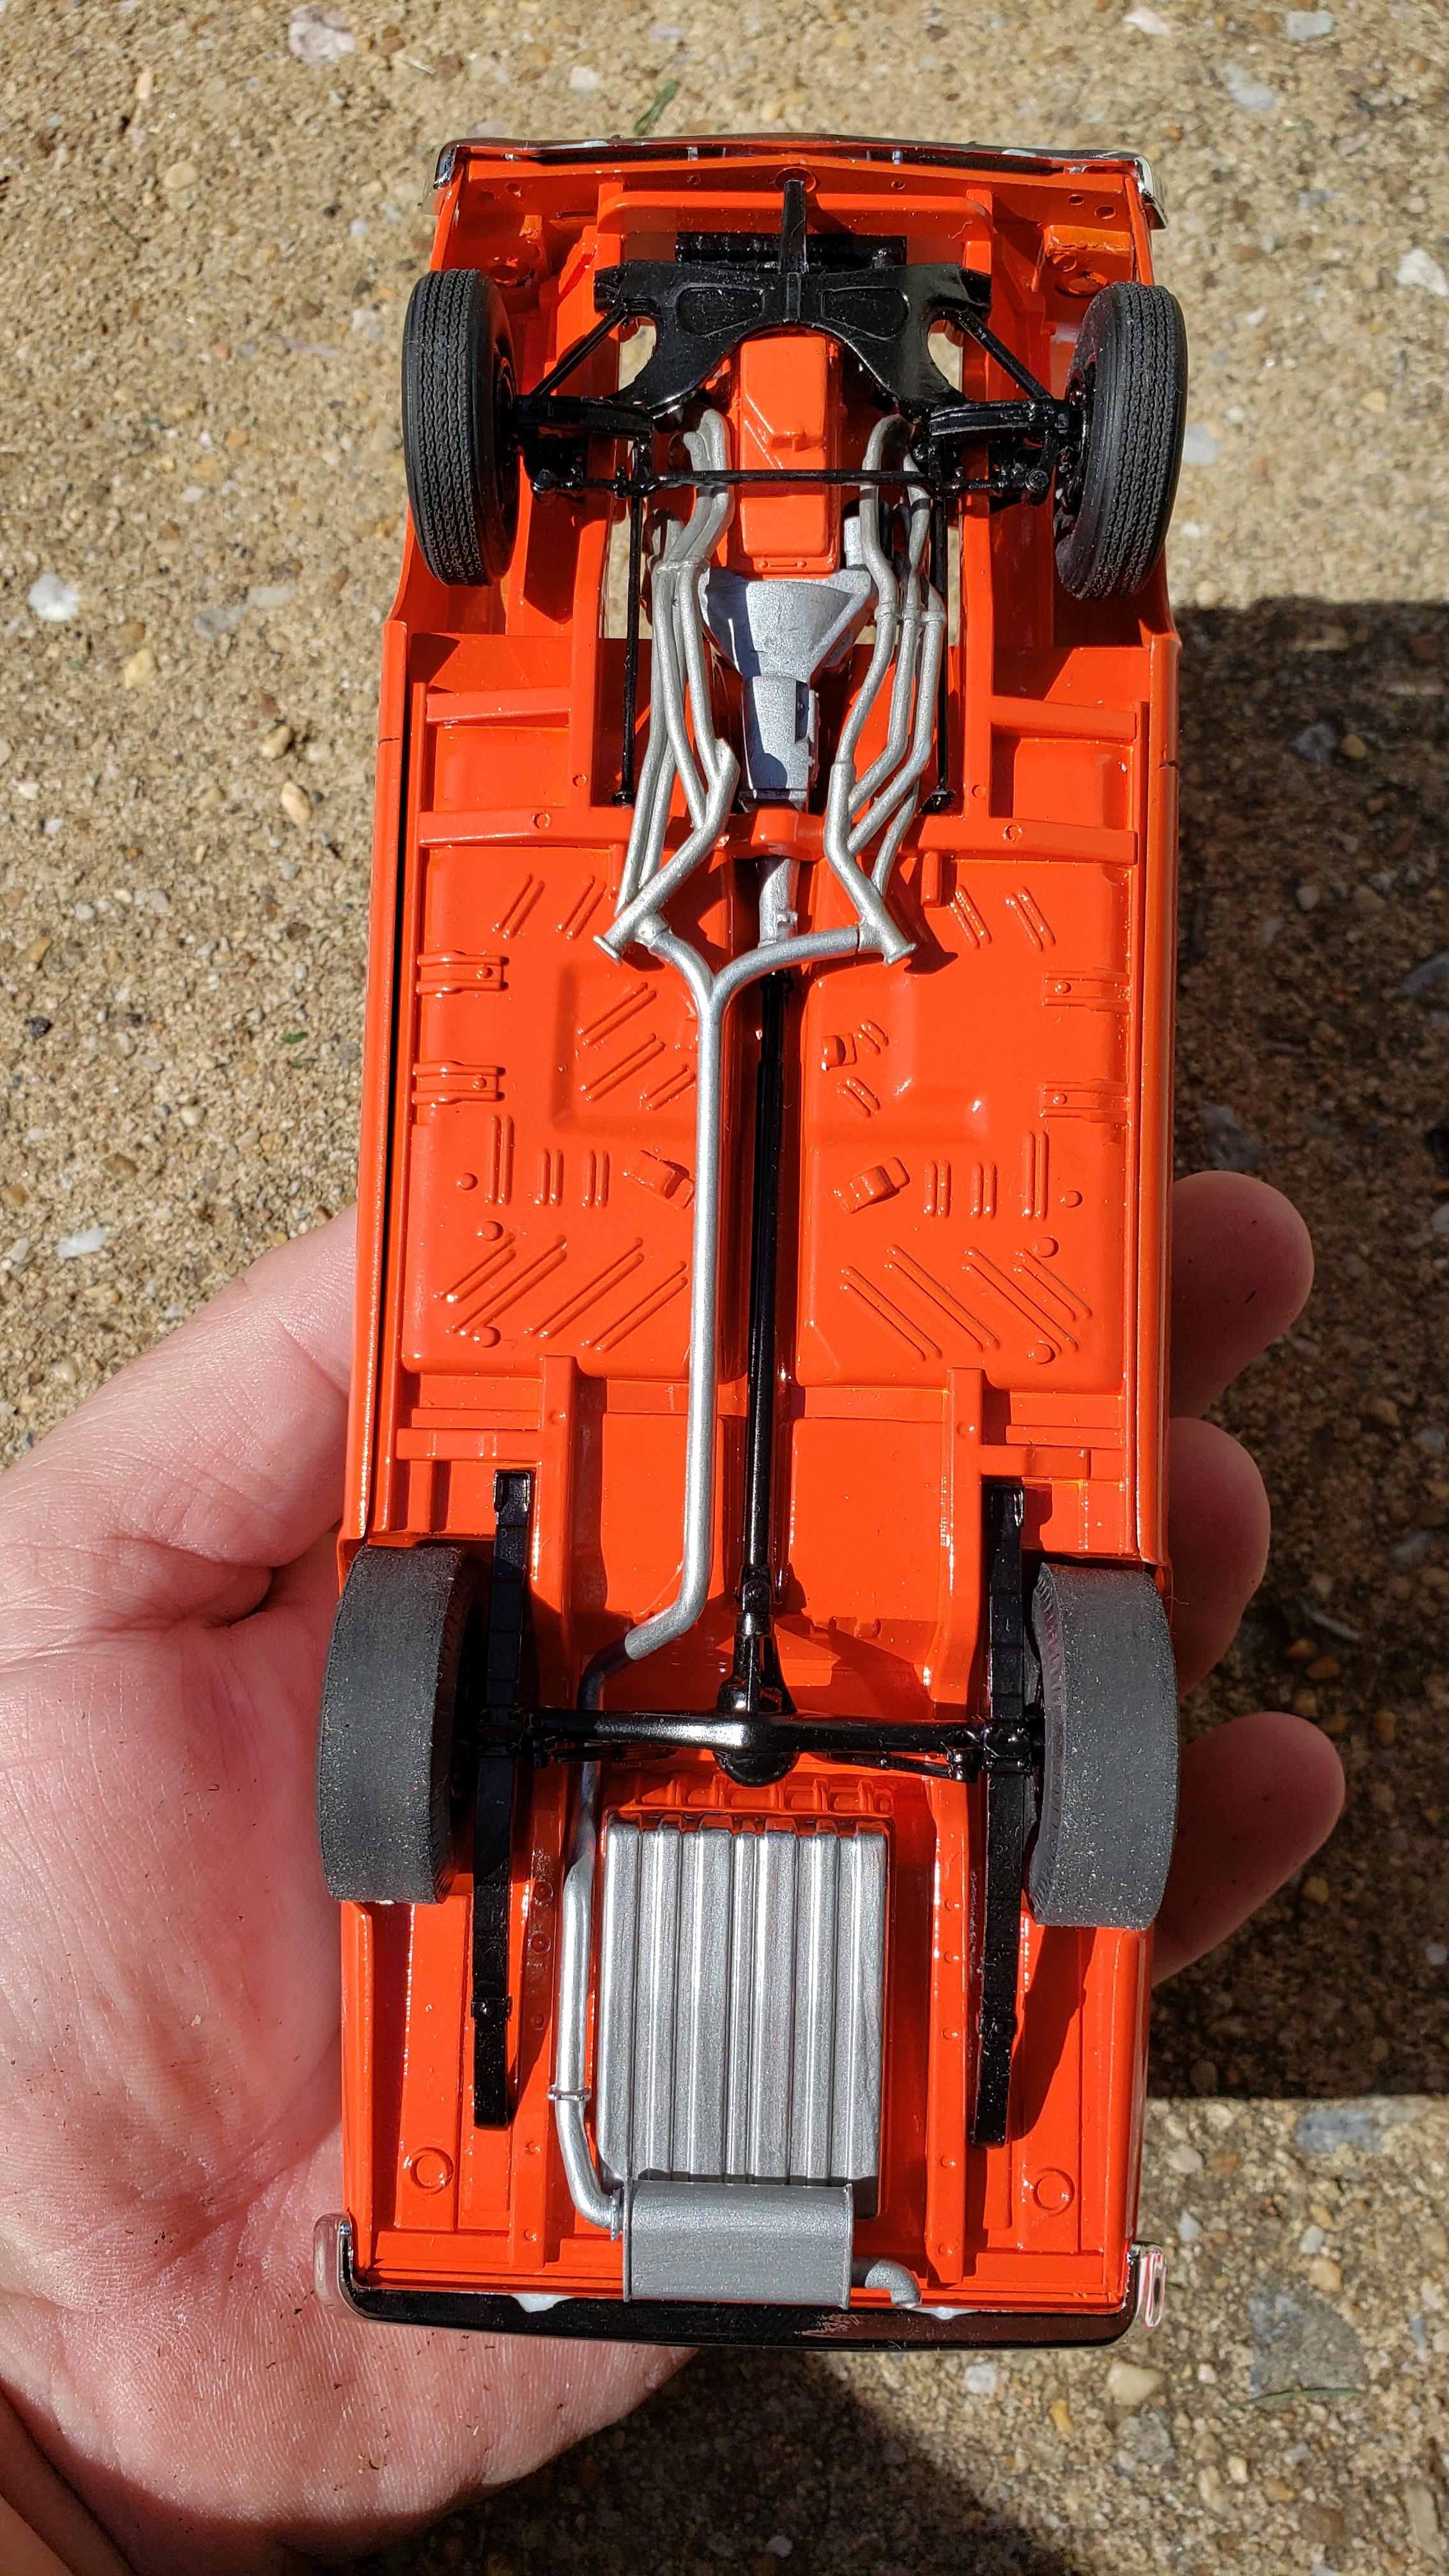
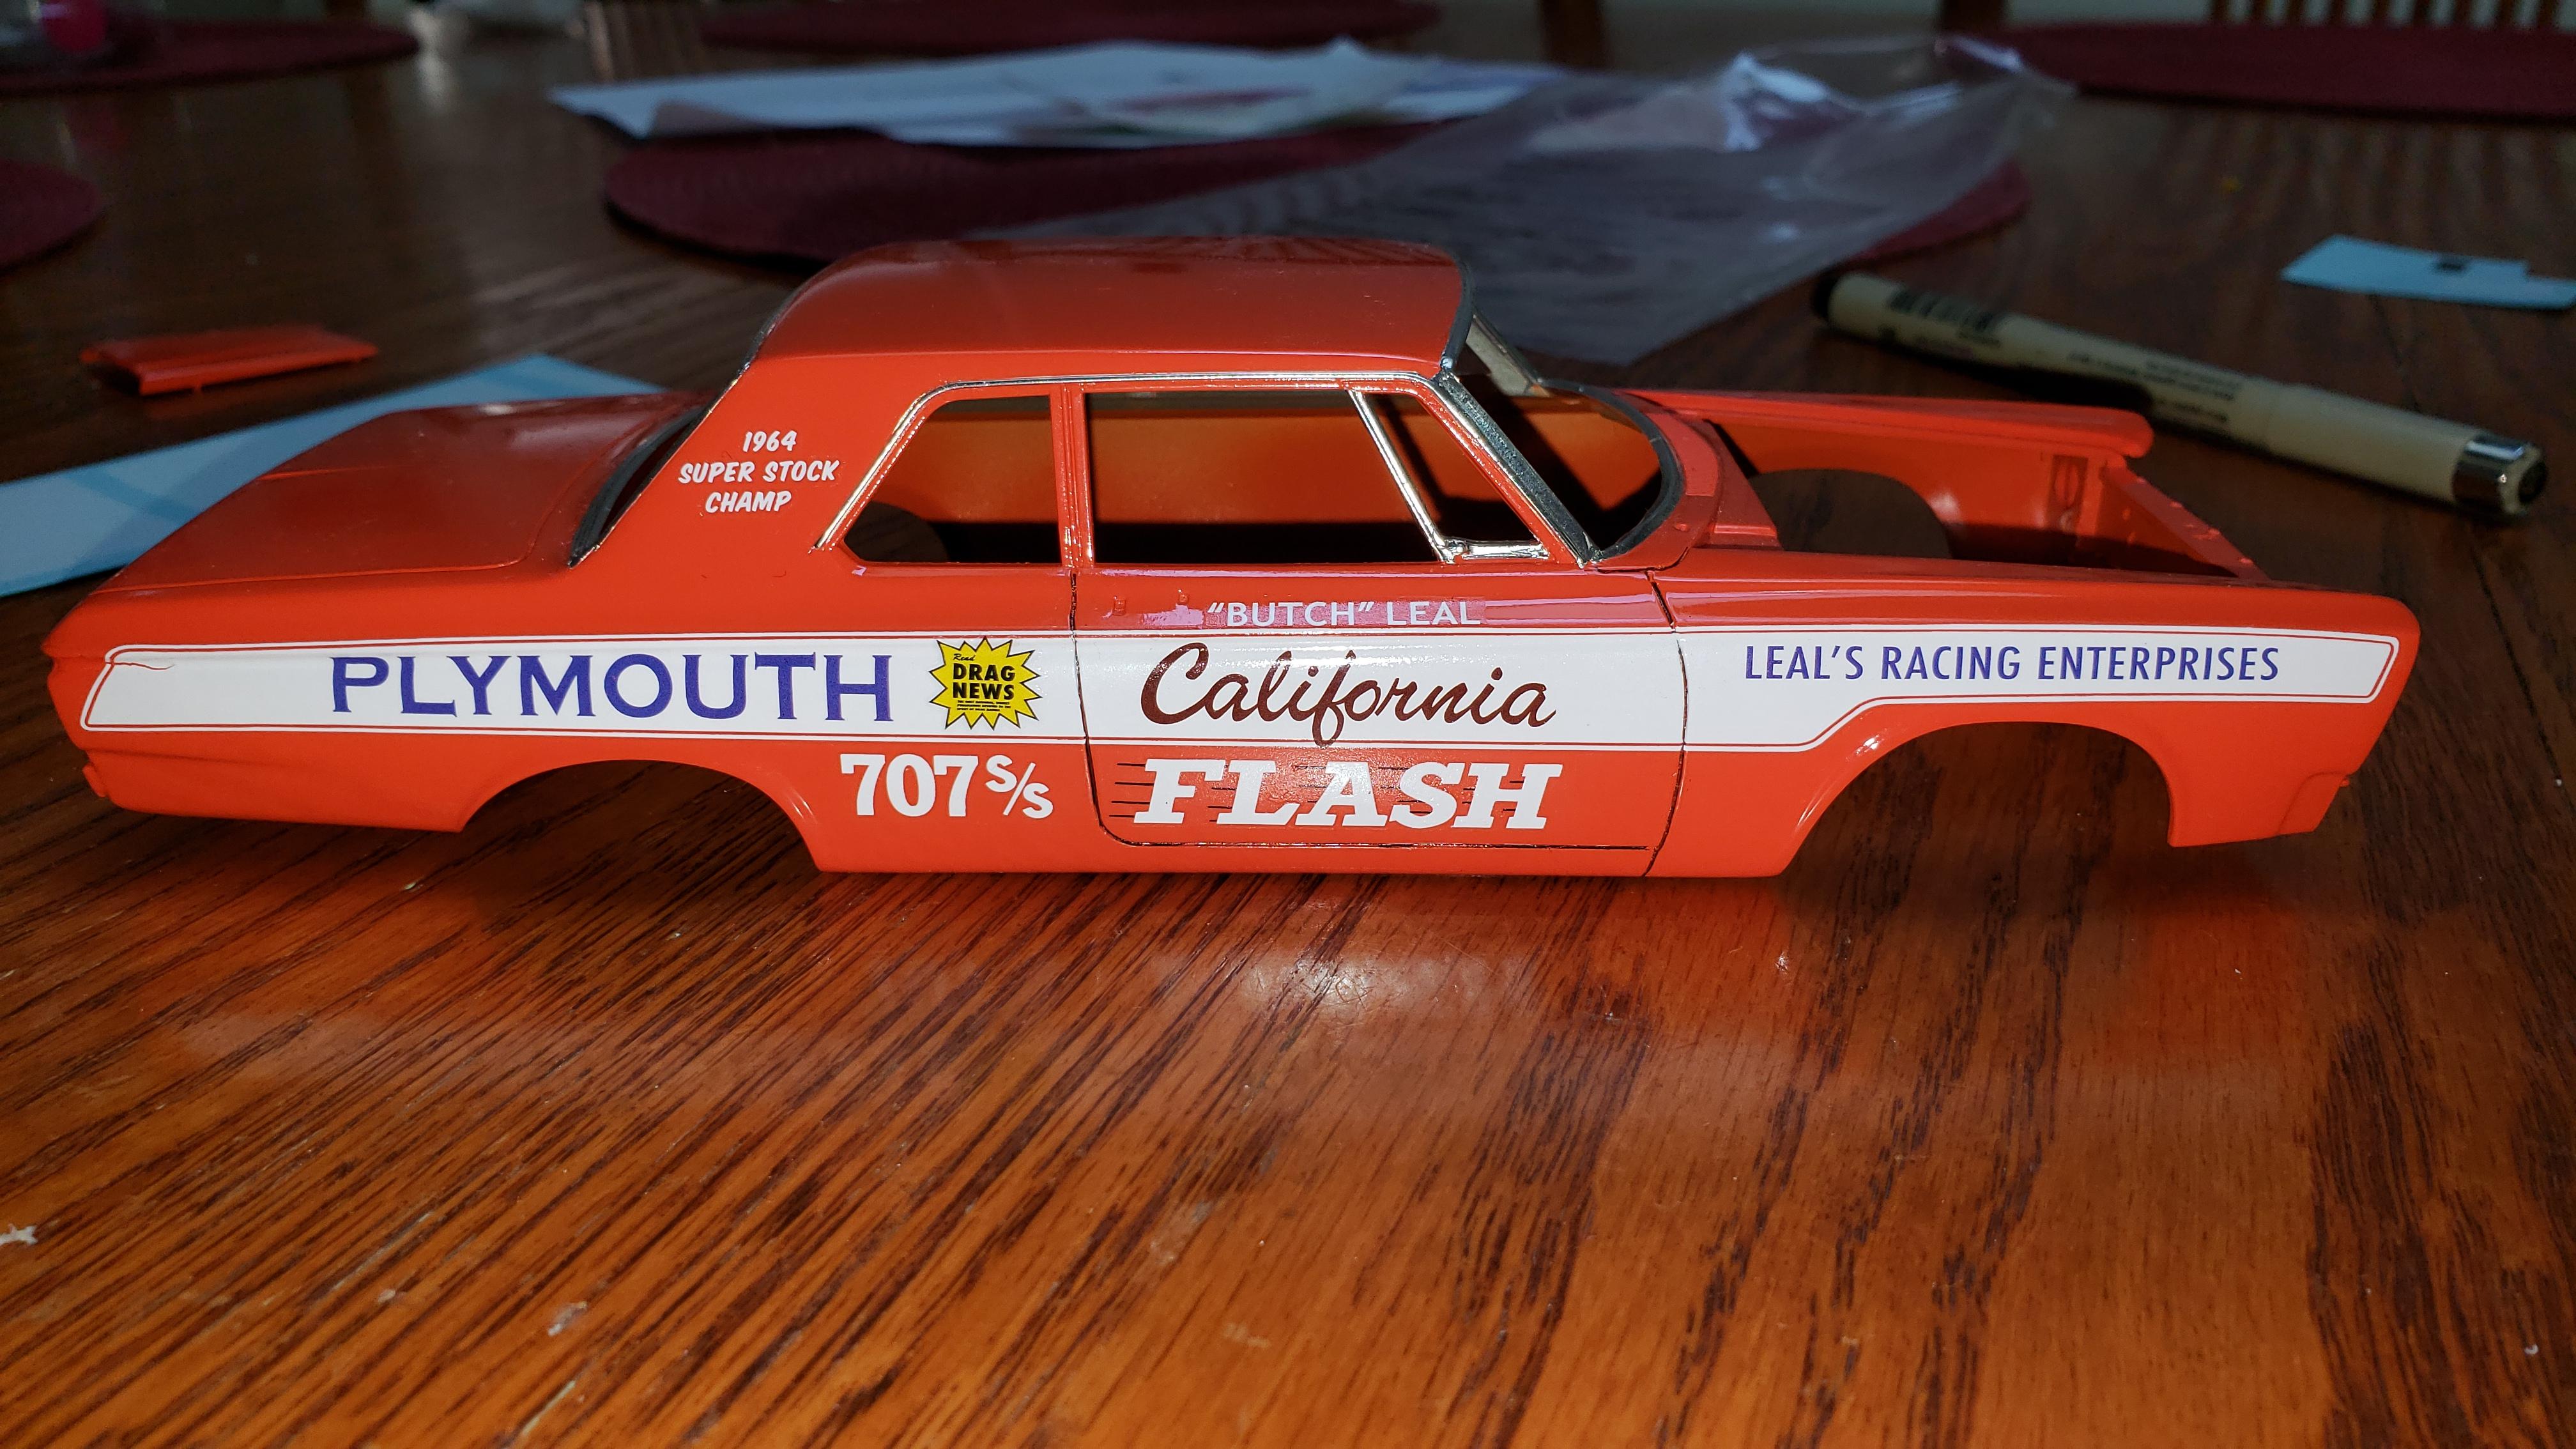
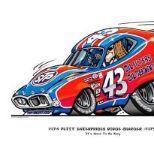
Completed another one. Haven't seen too many of these built yet. Have a few more kits to as other super stockers. Paint was Scale Finishes Calypso Coral. White is all decals from kit. Front Cragars are from Beswick Comet Moebius kit.
-
Got it completed. Pics in Under Glass
-
Awesome I could a couple more. Hopefully it's the hardtop and not convertible
-
I'm using the latest release of the AMT Color Me Gine with some parts from the AMT Little Red Wagon
-
Decals completed. Not perfect but gonna do
-
Thought I would trydefaling again this afternoon. Going better. Not perfect though
-
Who's used Scale Finishes paint?
jjsipes replied to Dave Toups's topic in Model Building Questions and Answers
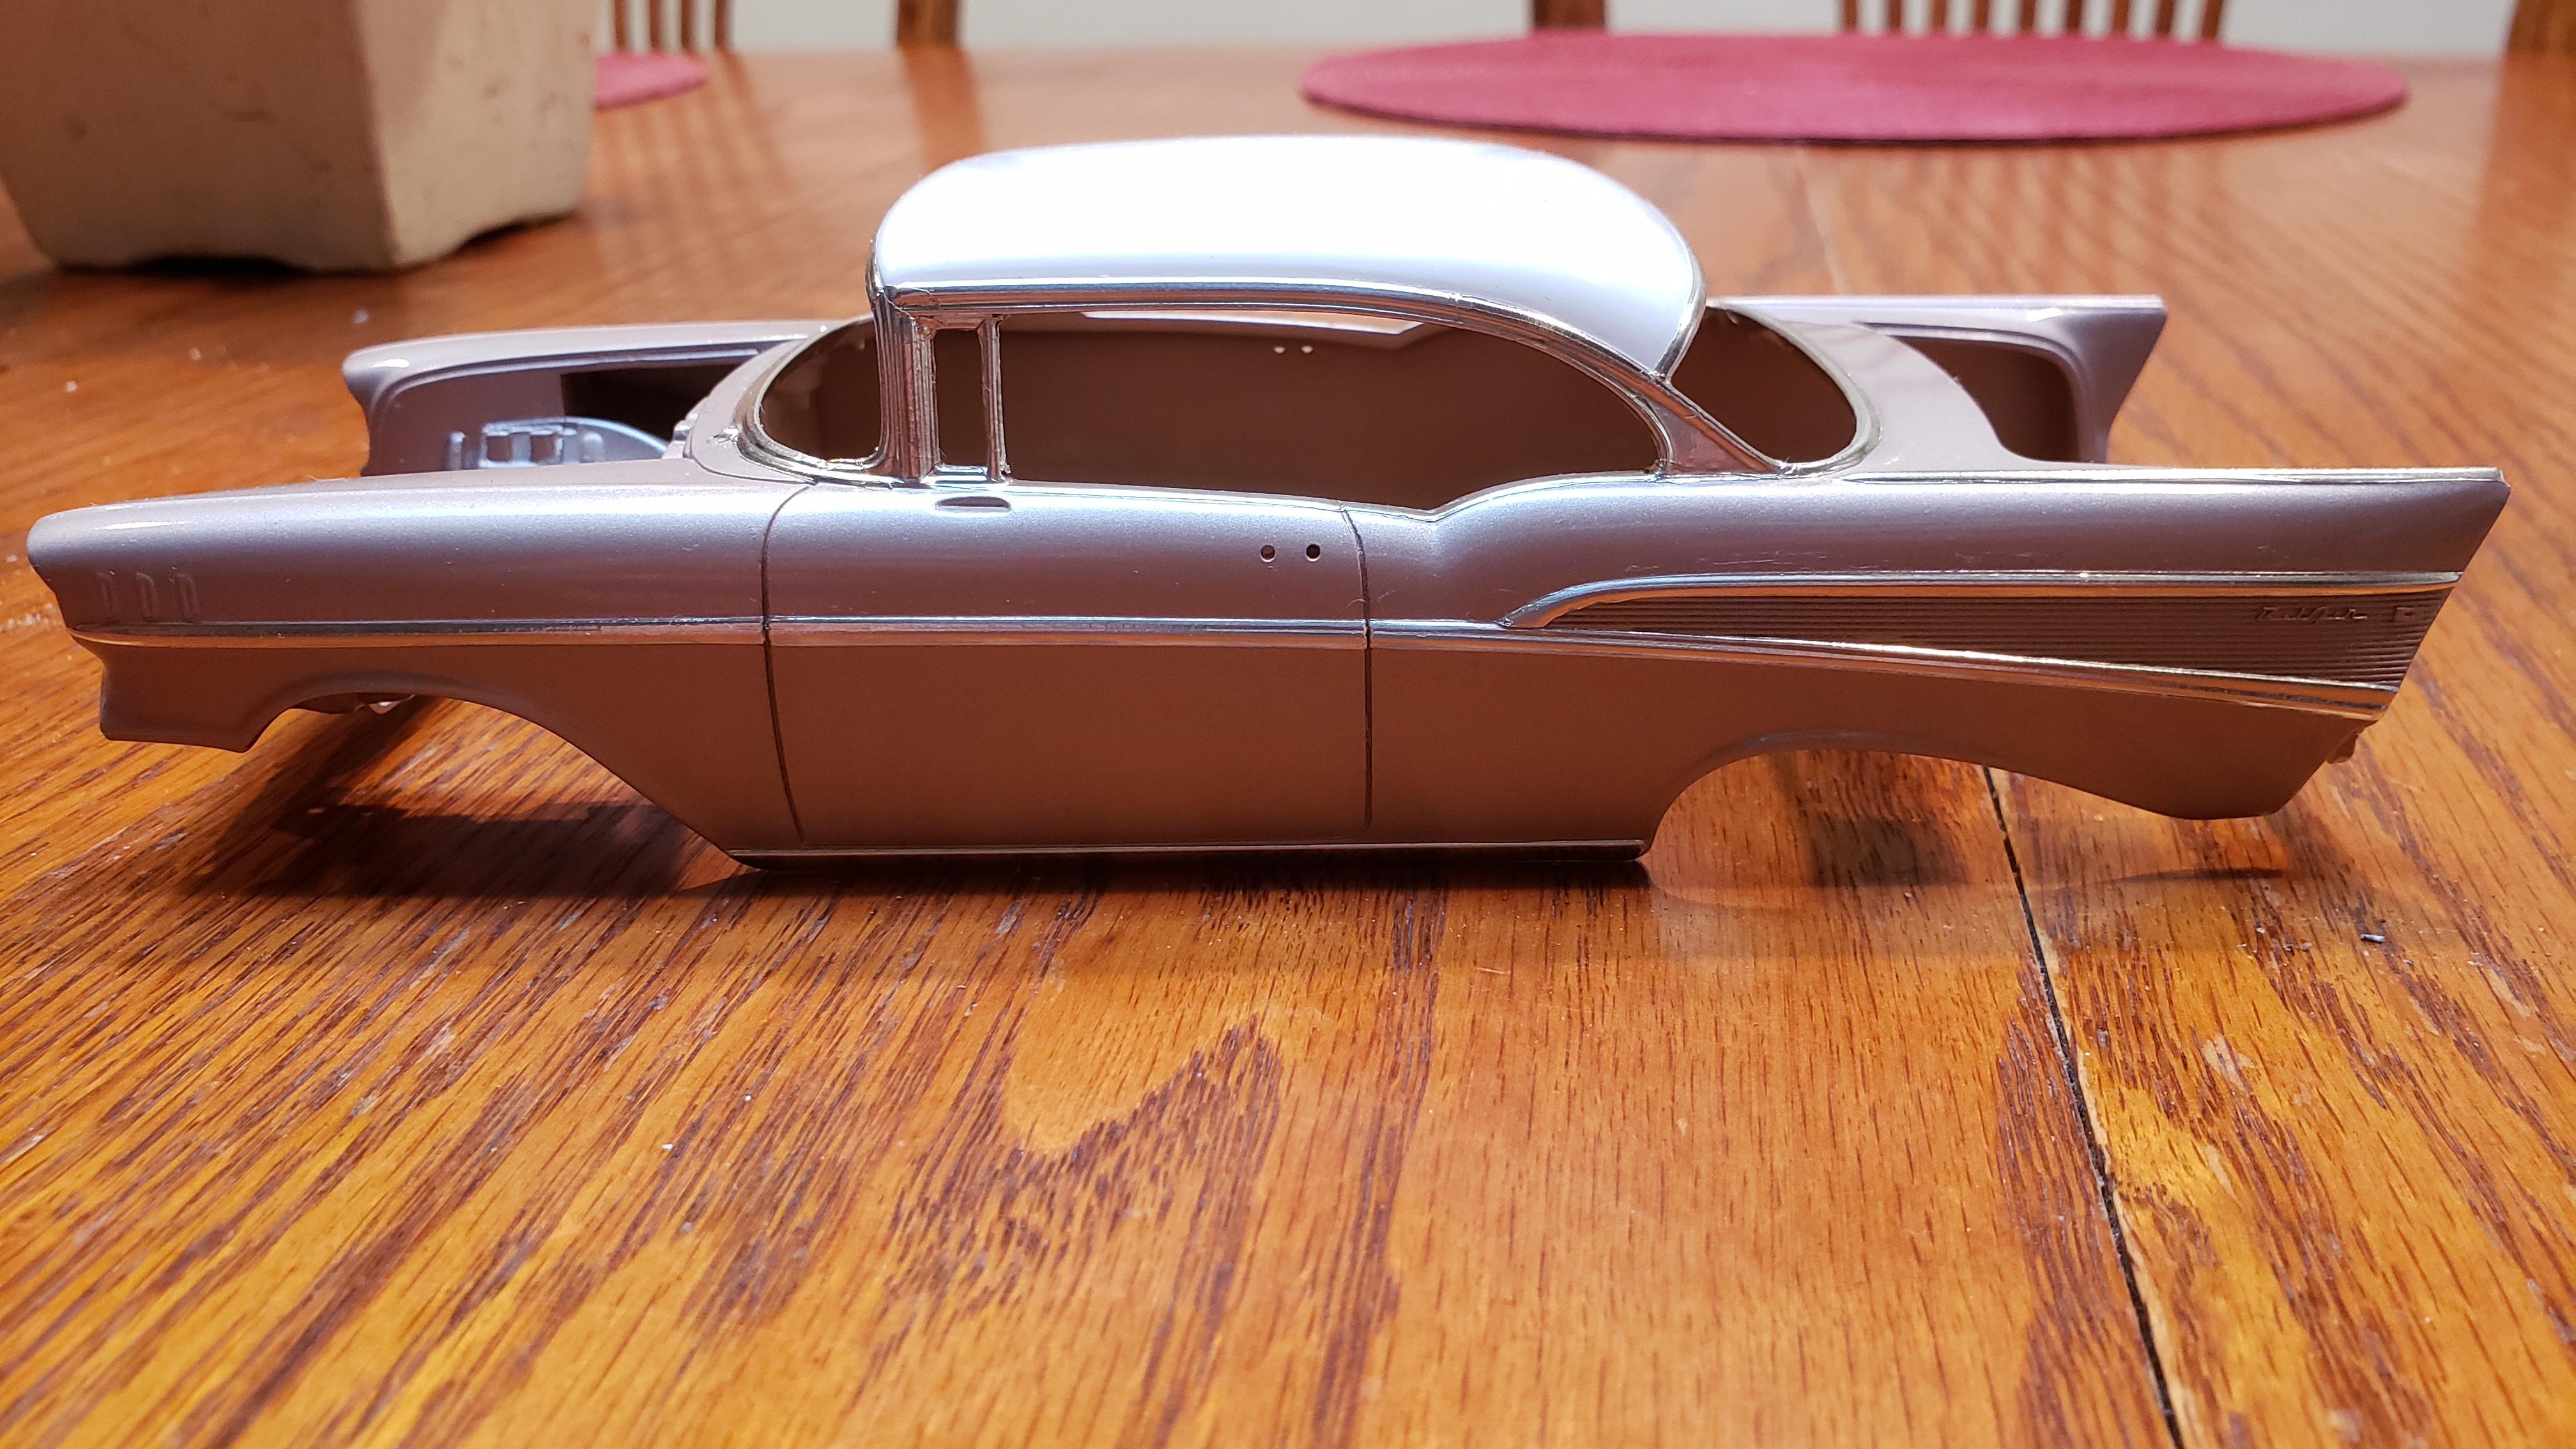
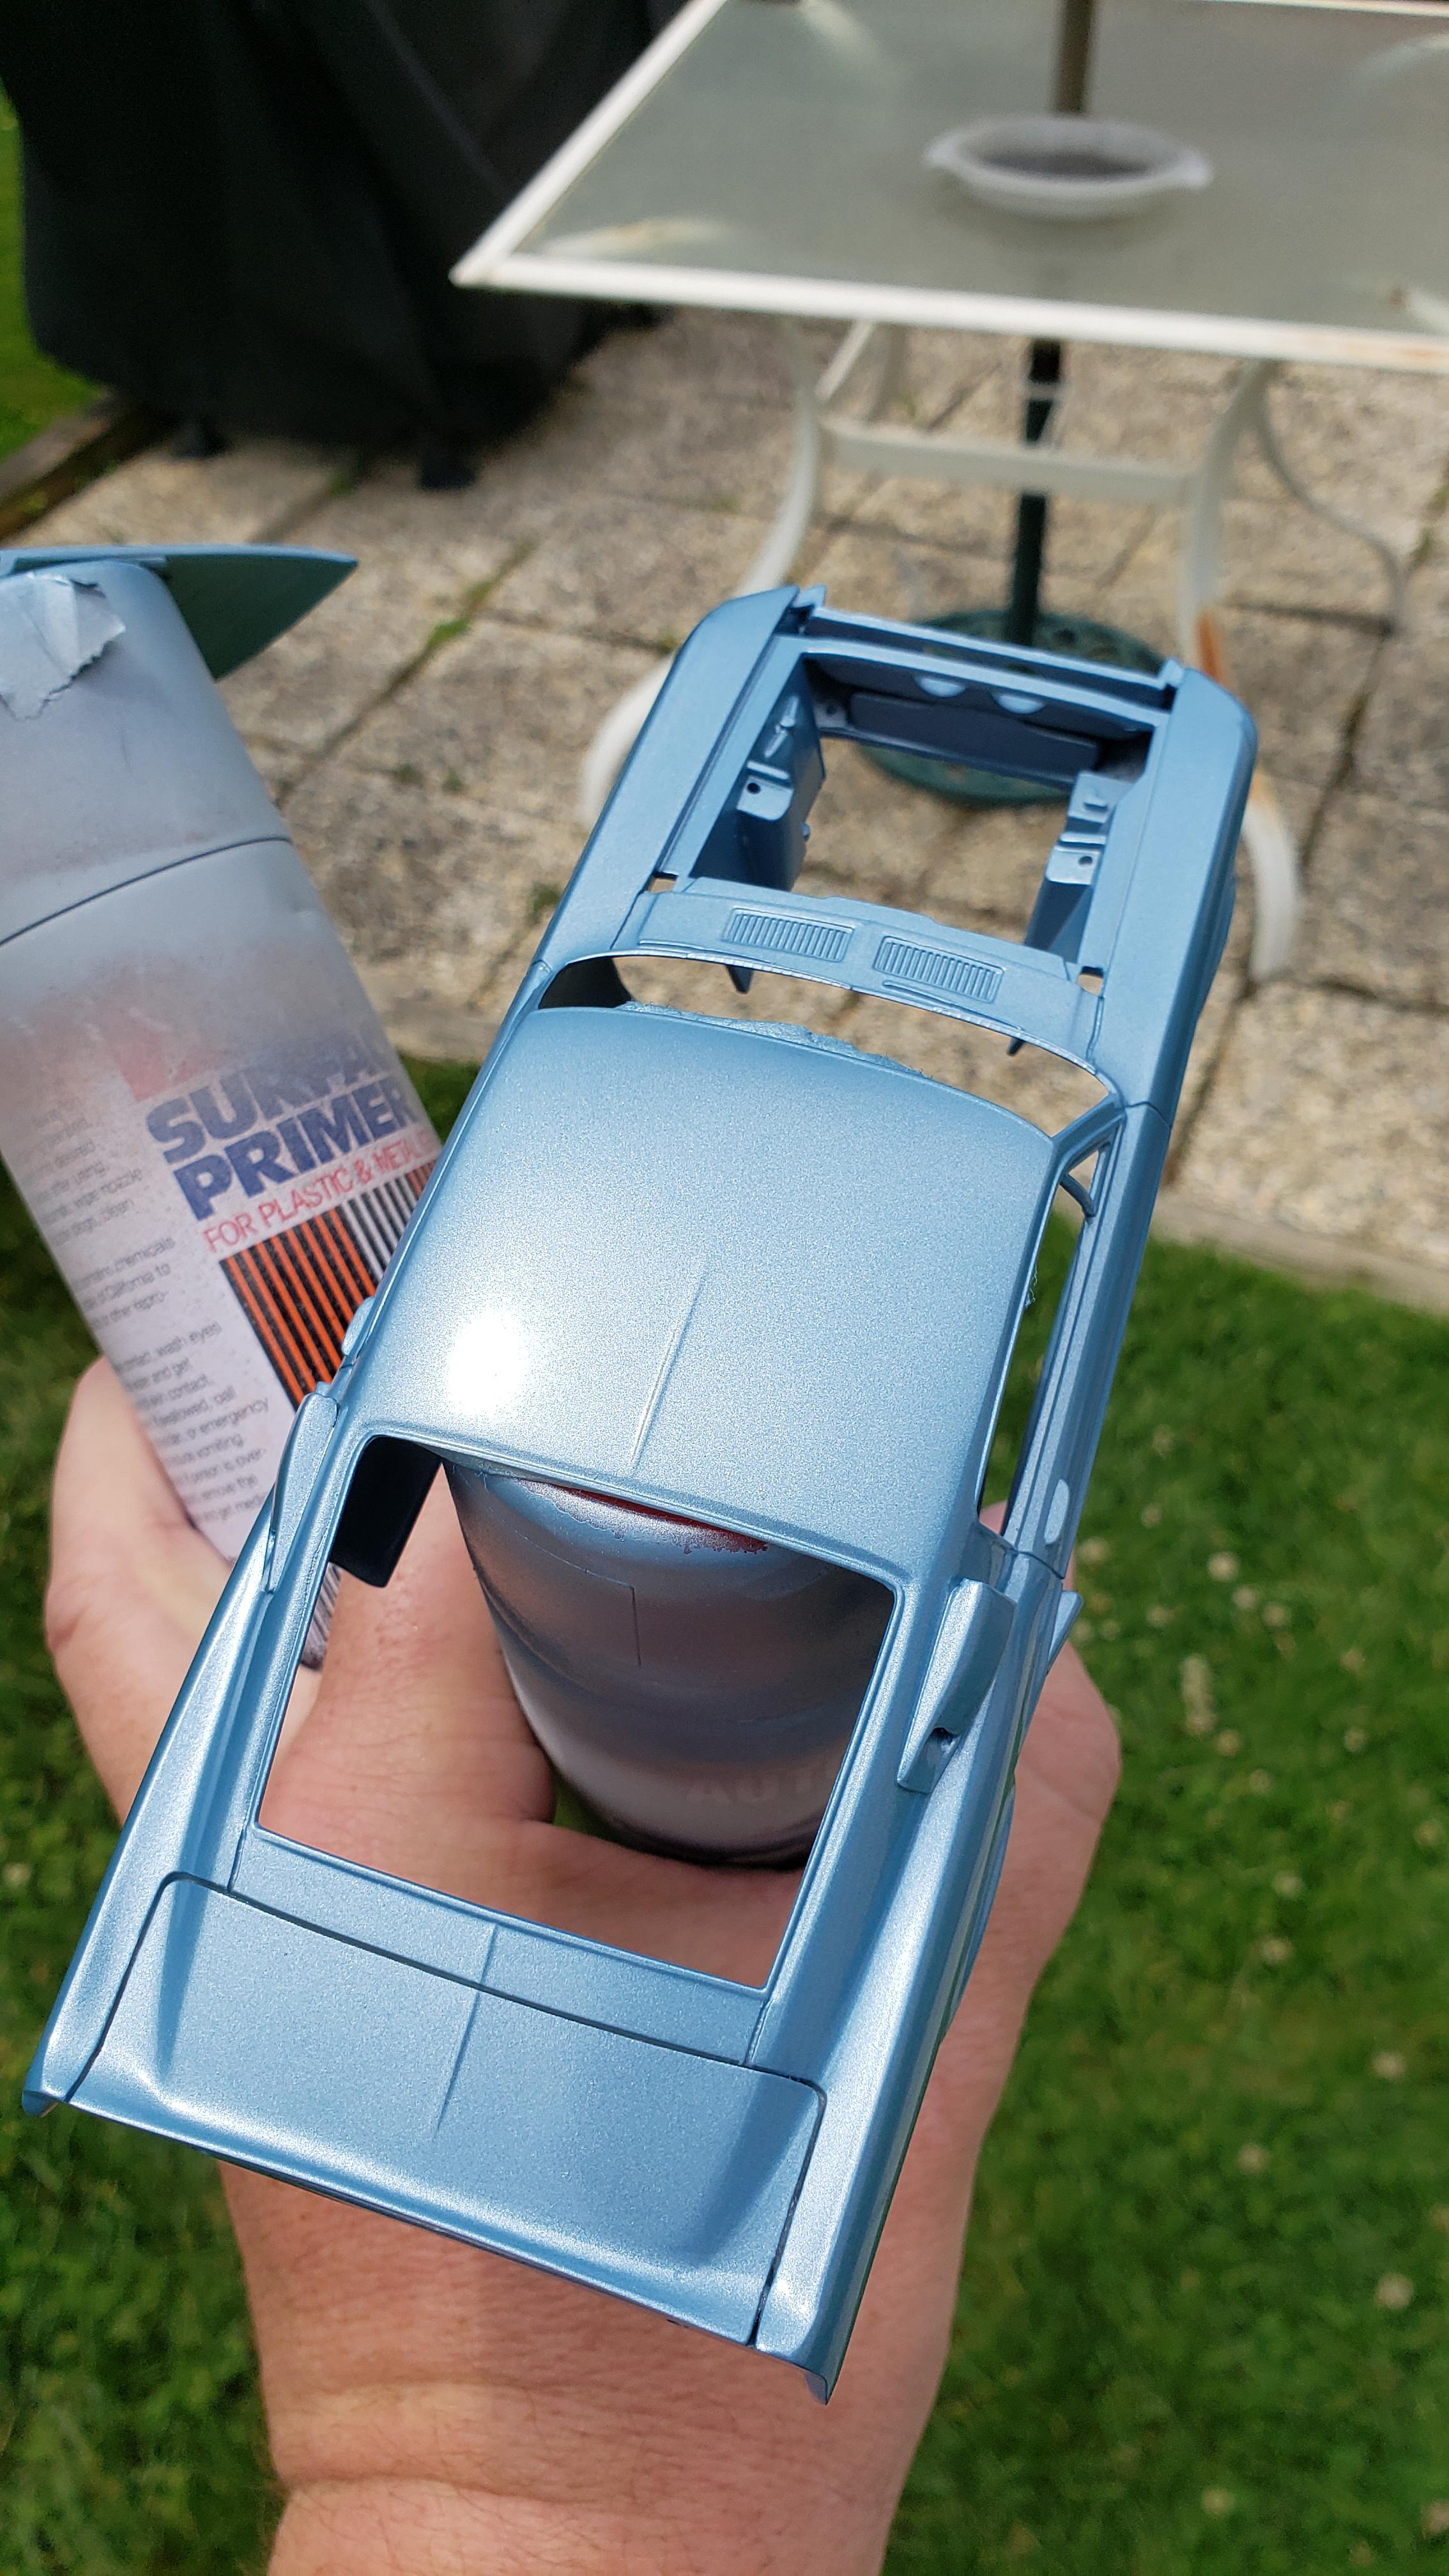
Yes. The 57 Chevy was the Scale Finishes Enamel but I used Tamiya Clear over it the first time and had issues. Then I stripped and airbrushed again but used Scale Finishes Clear the second time and it turned out great. I used their Lacquer on this 69 Camaro and have what looks like etch marks all over it. It didn't lay down like their enamels for me. Like I said not sure if it was me or the weather, could have been to humid.
-
Who's used Scale Finishes paint?
jjsipes replied to Dave Toups's topic in Model Building Questions and Answers
I will also say that I have found that the metallic enamels need clear on them which i have done with these. The one time I used the Lacquer I was not happy with results. Not sure if it was the weather or me.