Dragline
-
Posts
4,315 -
Joined
-
Last visited
Content Type
Profiles
Forums
Events
Gallery
Everything posted by Dragline
-
Looking very good. Continue please.
-
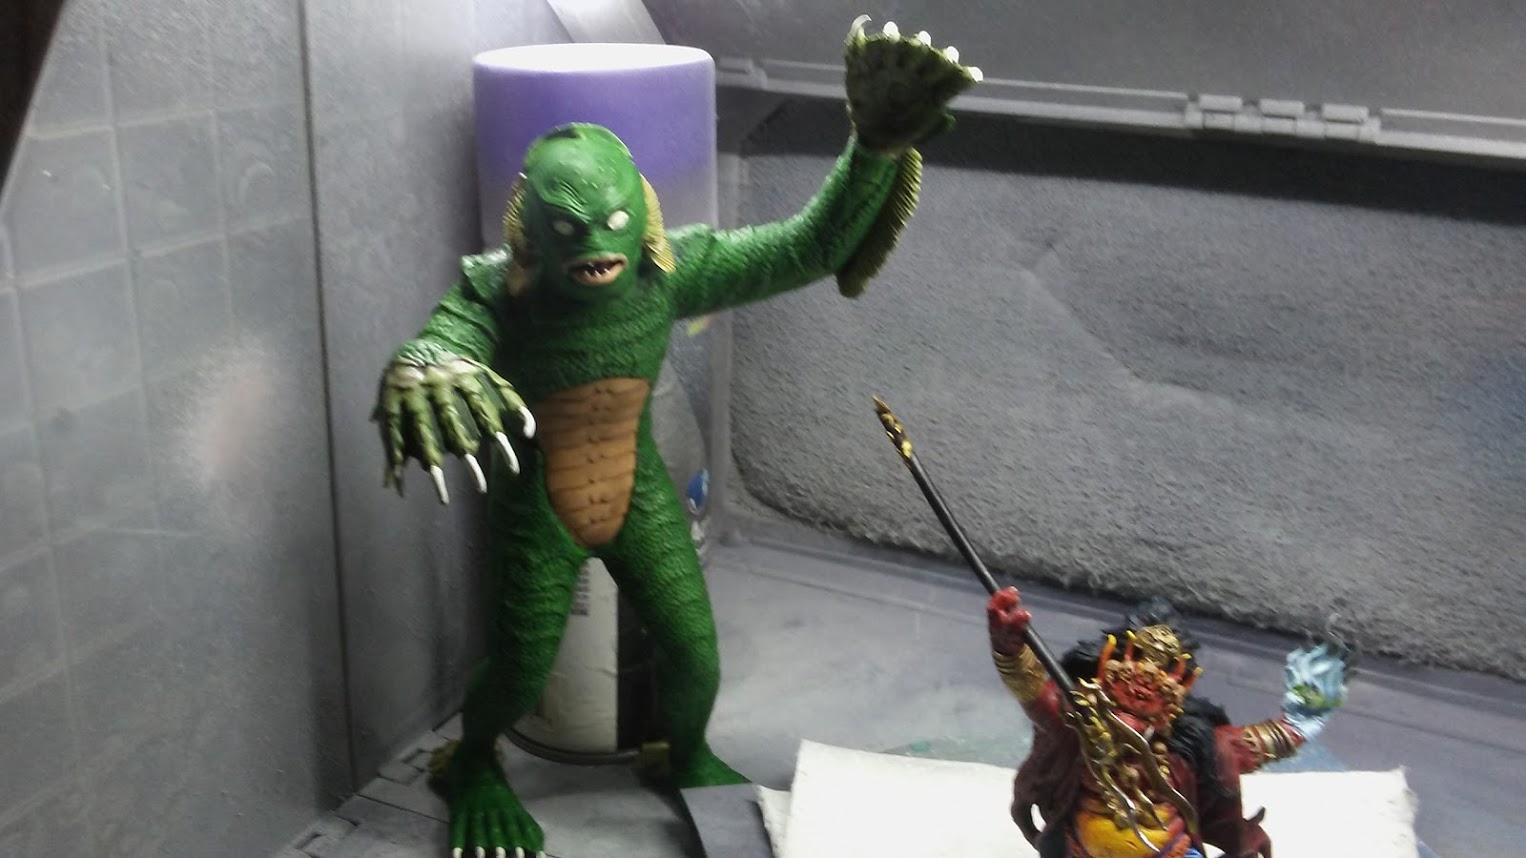
 Thanks Joe. Great looking build Rex. So there are frills going down the legs. And a plant with a snake and a tongue for the lizard. Geez, I guess the box was not as full as it should have been. Oh well, that's all he gave me to work with.
 -
Thanks. Do you guys see the two indented strips down the back of his legs? Were there supposed to be more gill like frills running down the back there? It seems like there should be but they were not in the pile-o-parts I got. Curious.
-
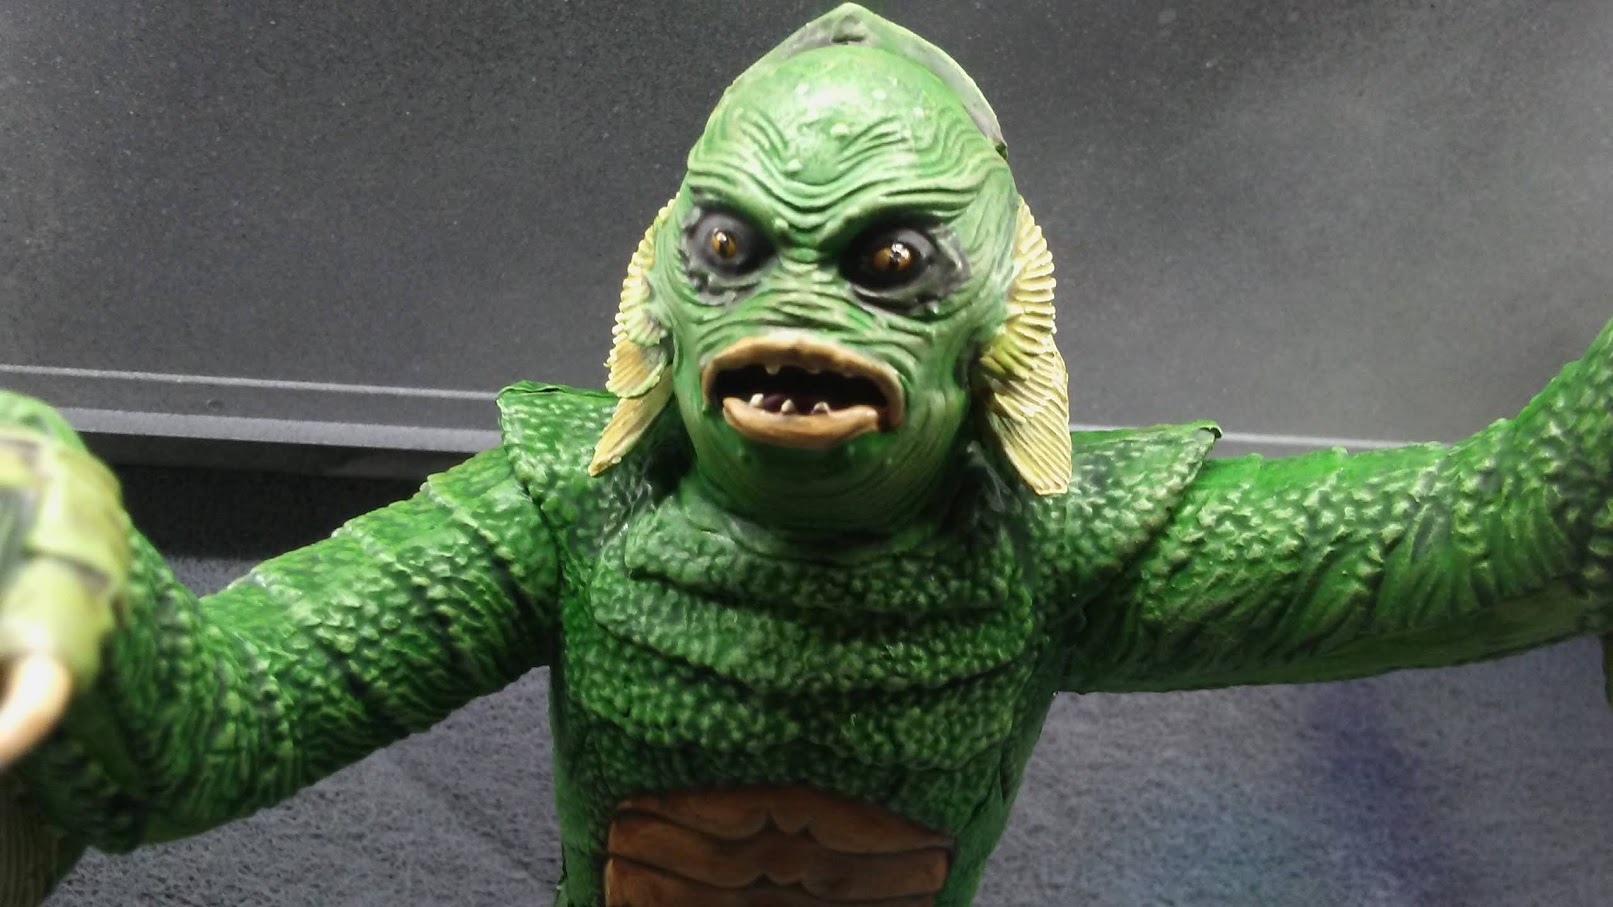
I was asked many months ago by a friend to do something with a box of parts. He handed me a box with a glow in the dark [mostly] CFTBL Aurora kit. It was an original kit from a yard sale that he scored for 5.00. It sat for quite a few months until last week when I got it in primer. Over the last week I brought it into the state you see here. It was a blast to do and wouldn't hesitate to recommend something like this to any competent model builder. It's the usual acrylic paints with washes and dry brushing. Looked at a few photos on the old interweb. He should be pleased. I sure hope he is.

-
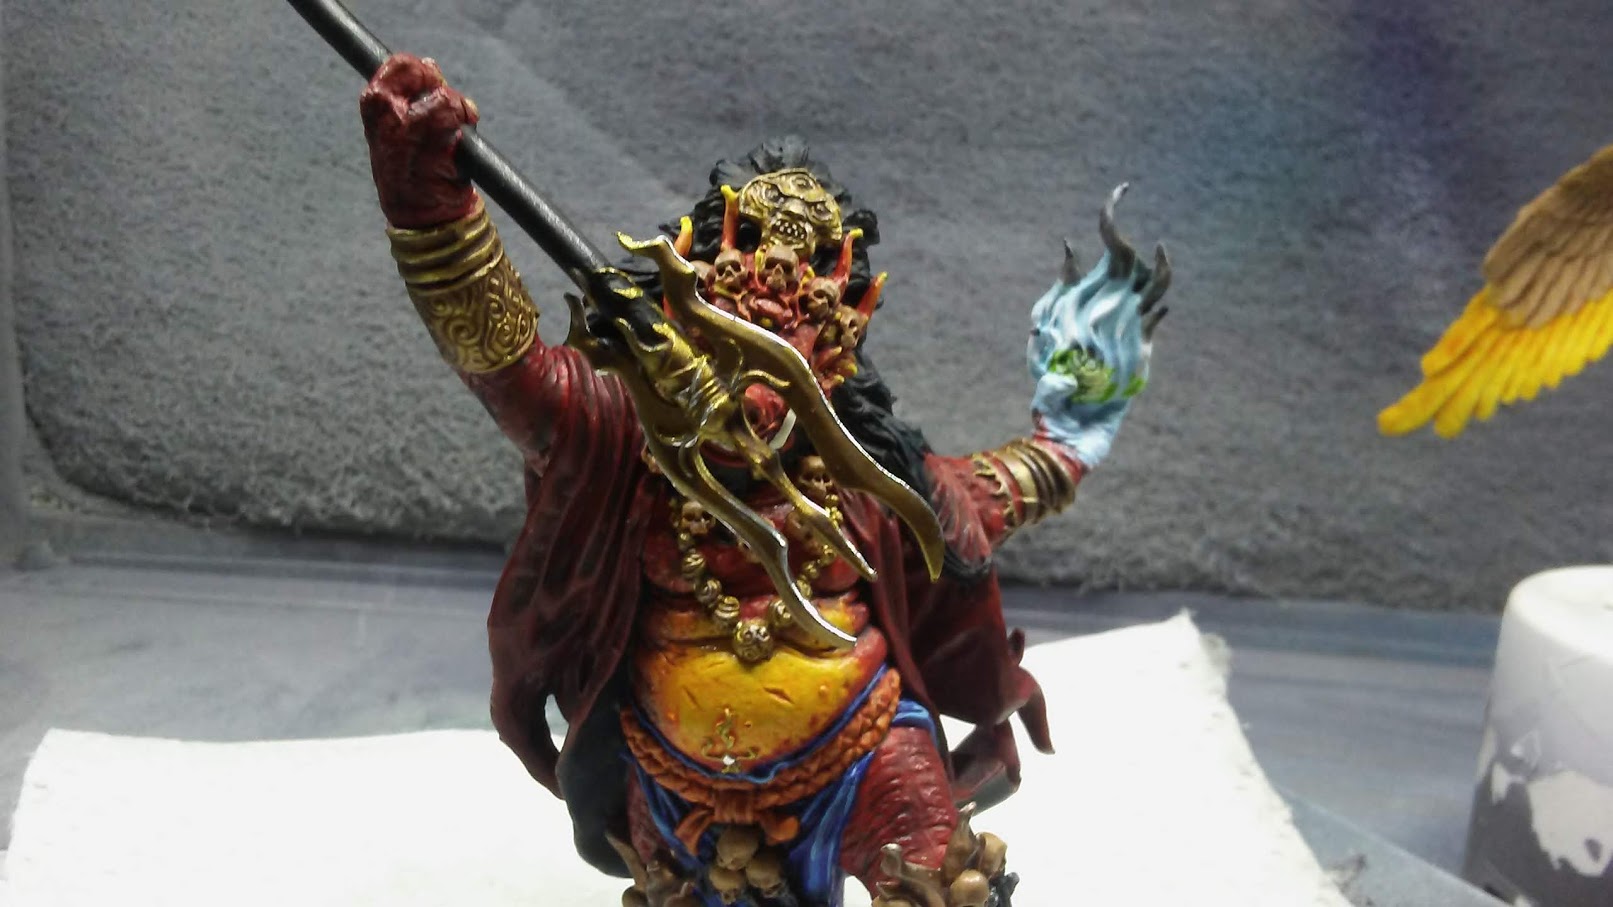
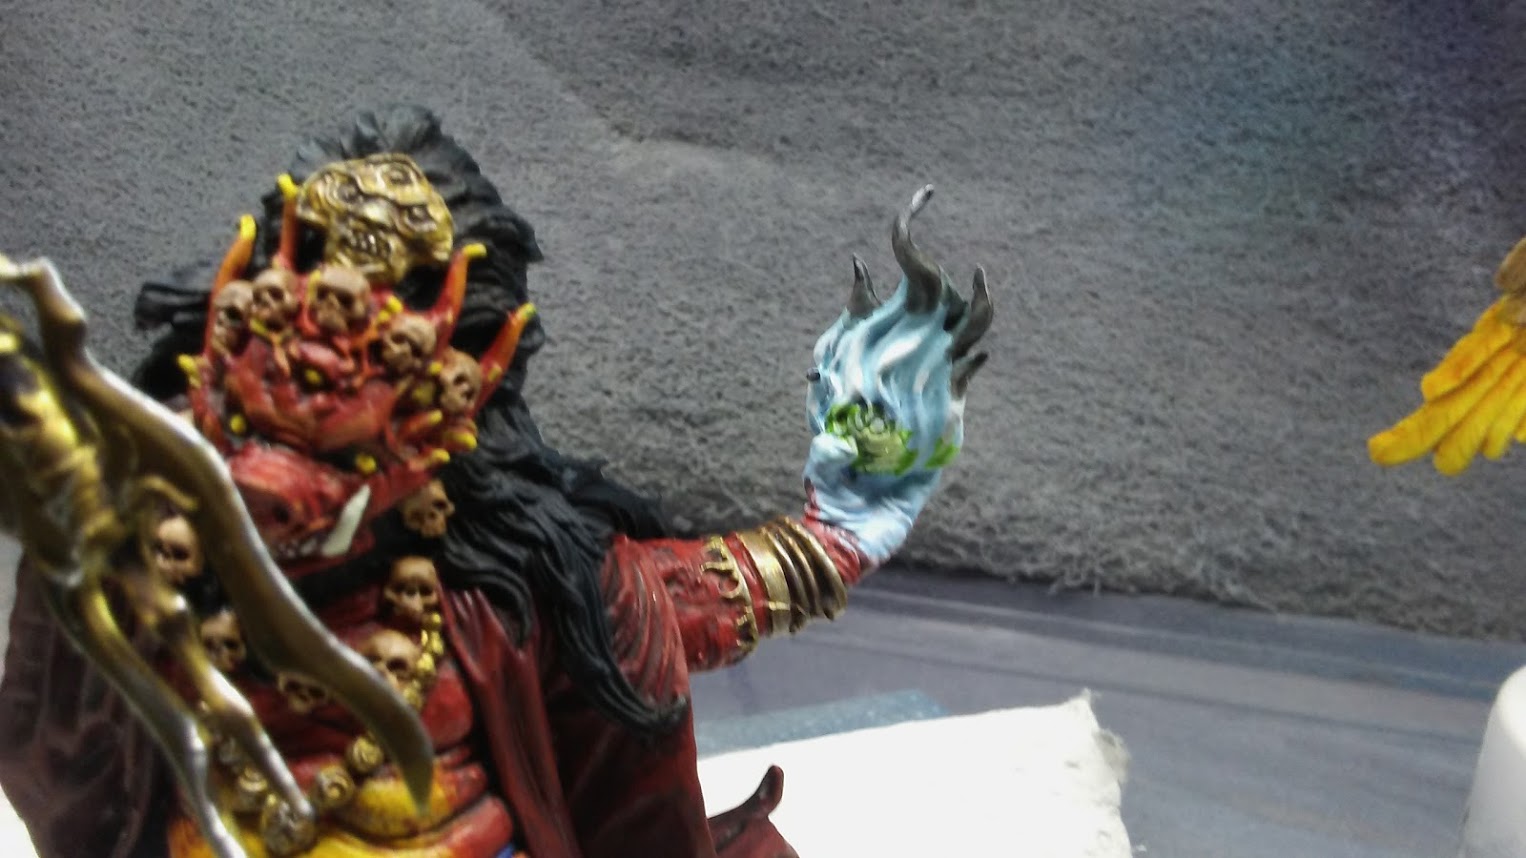
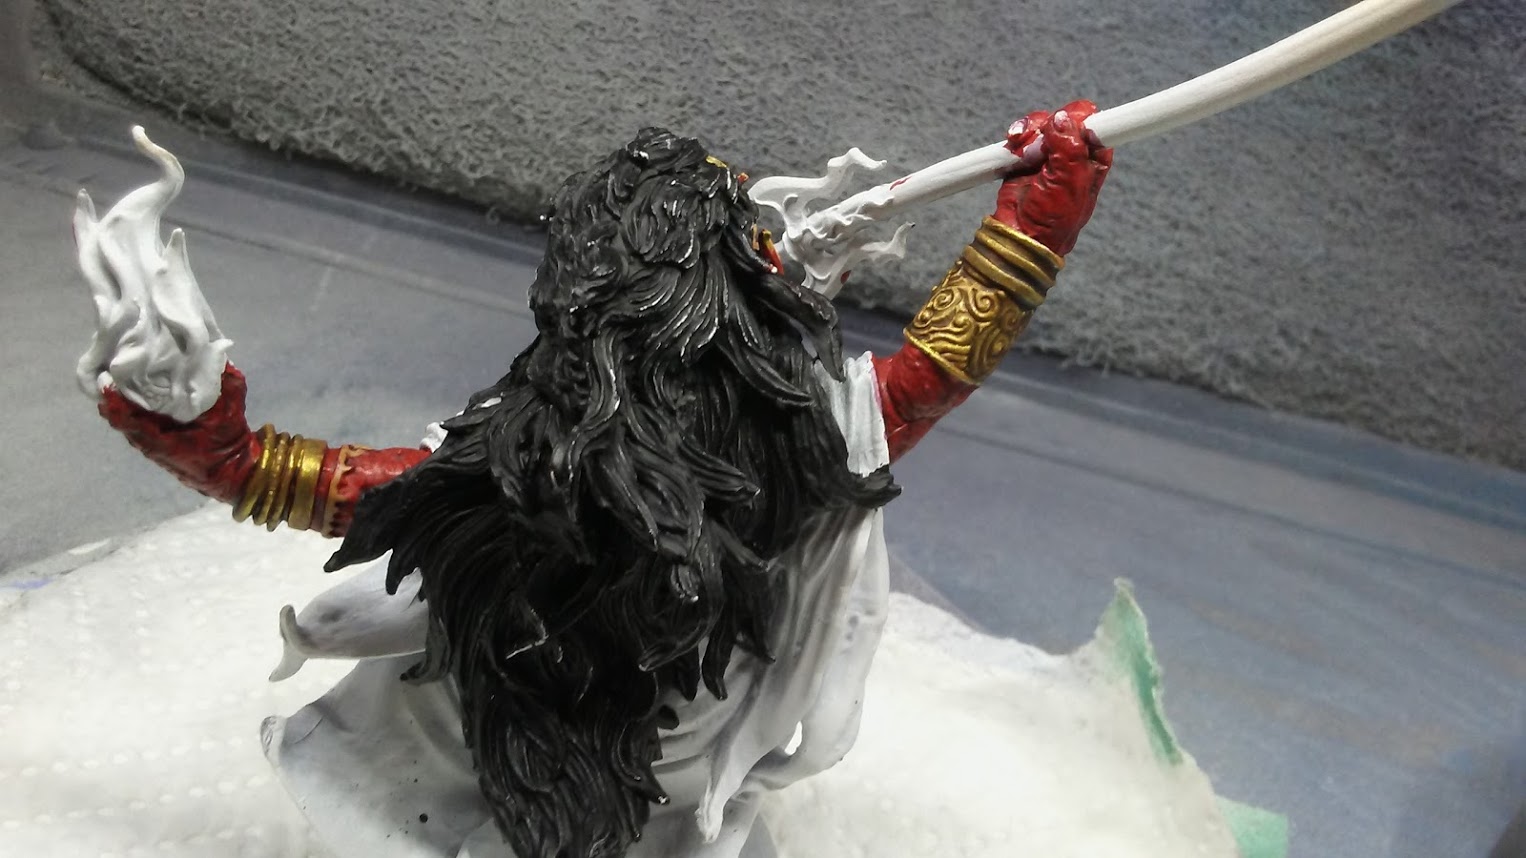
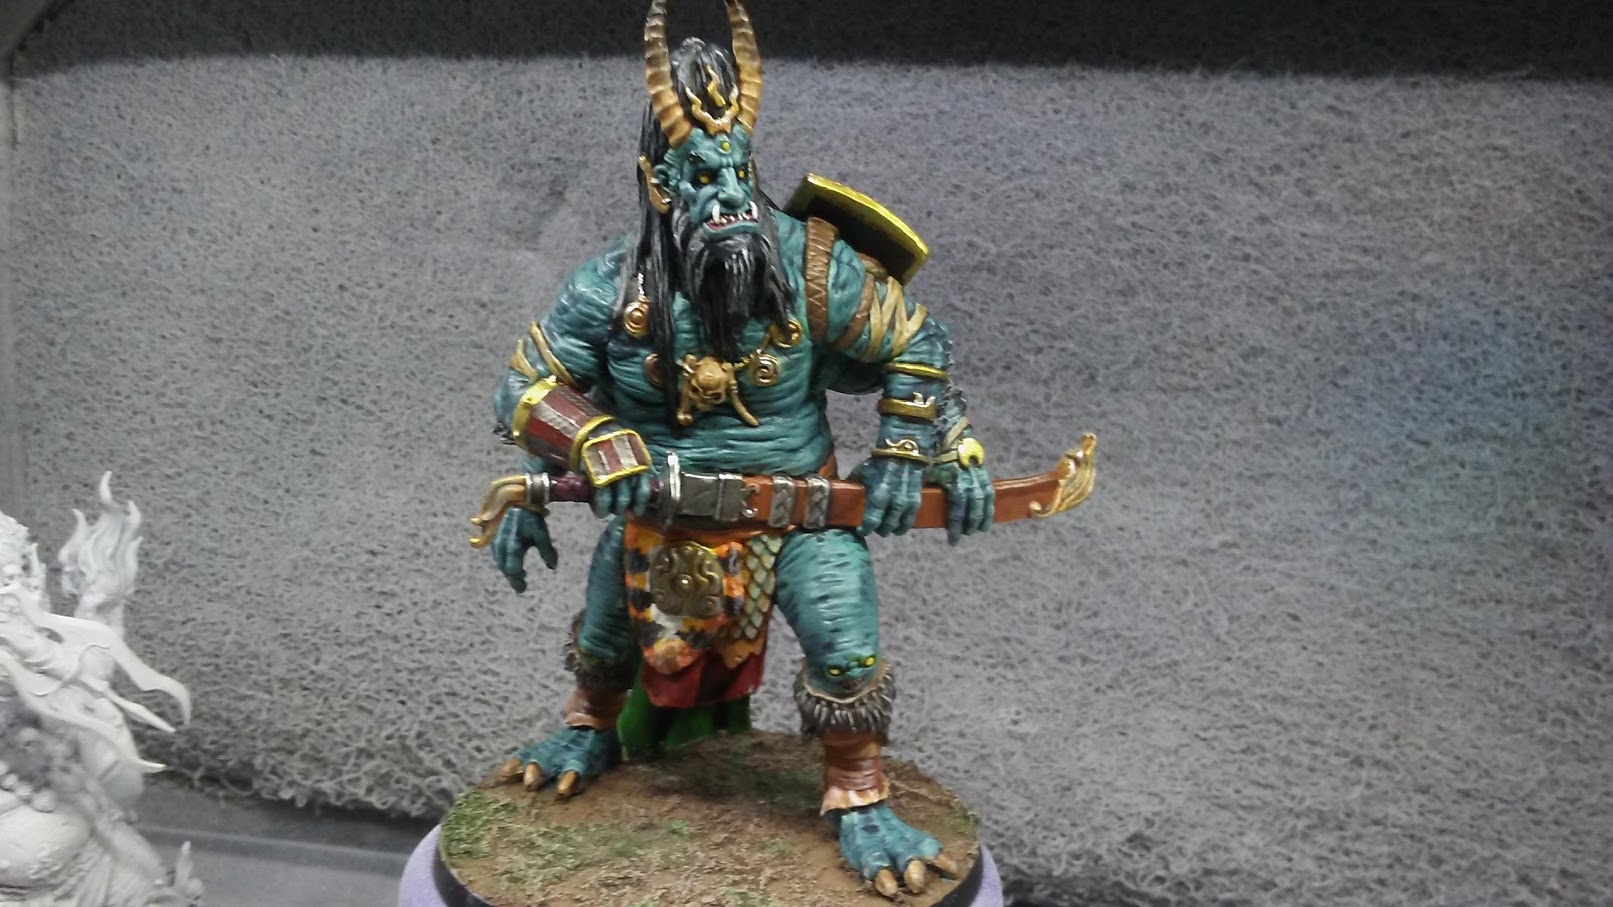
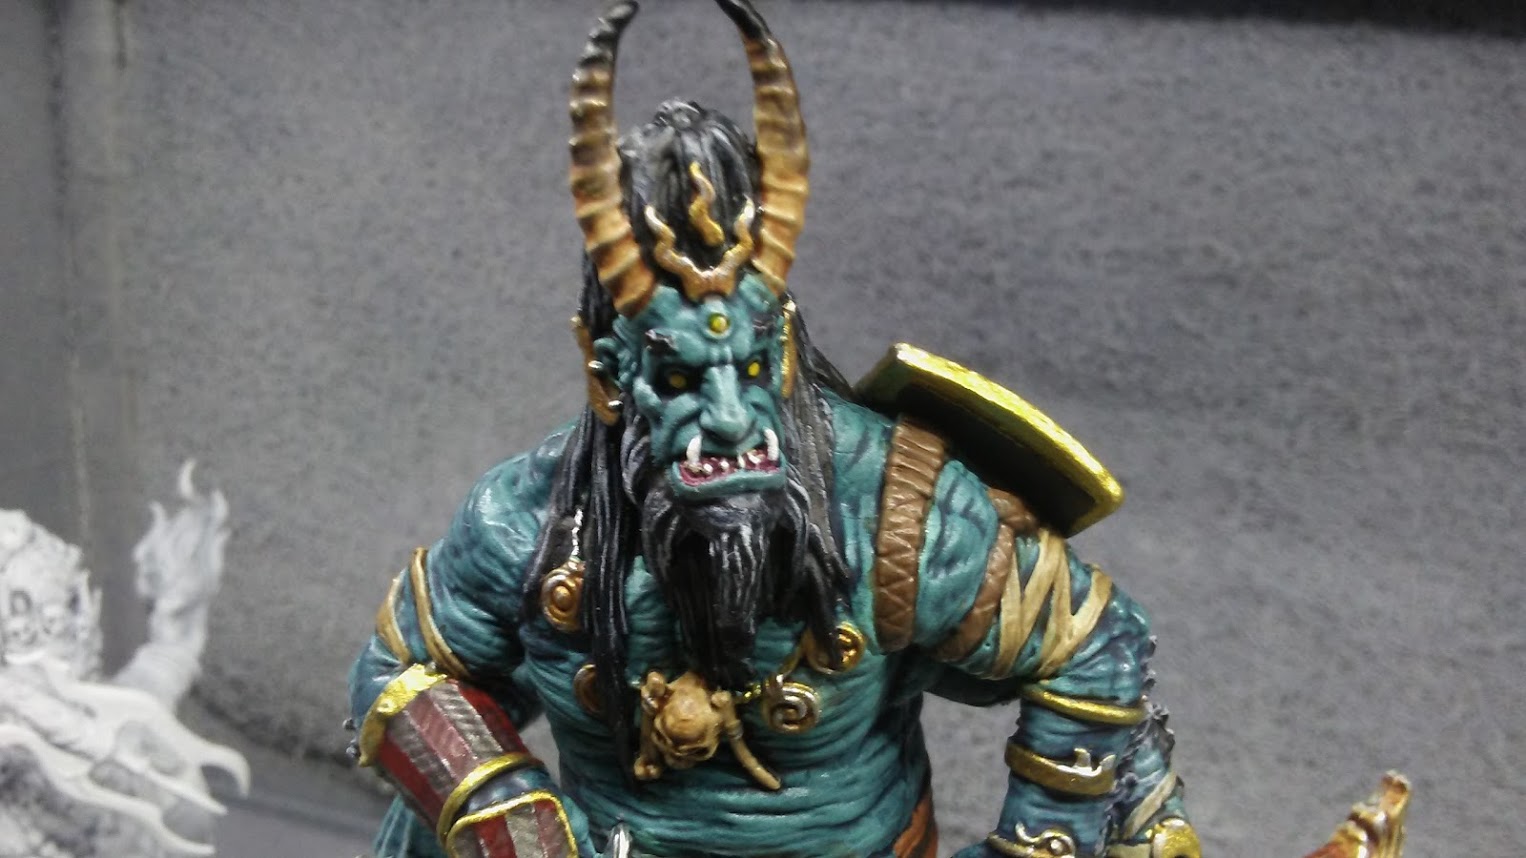
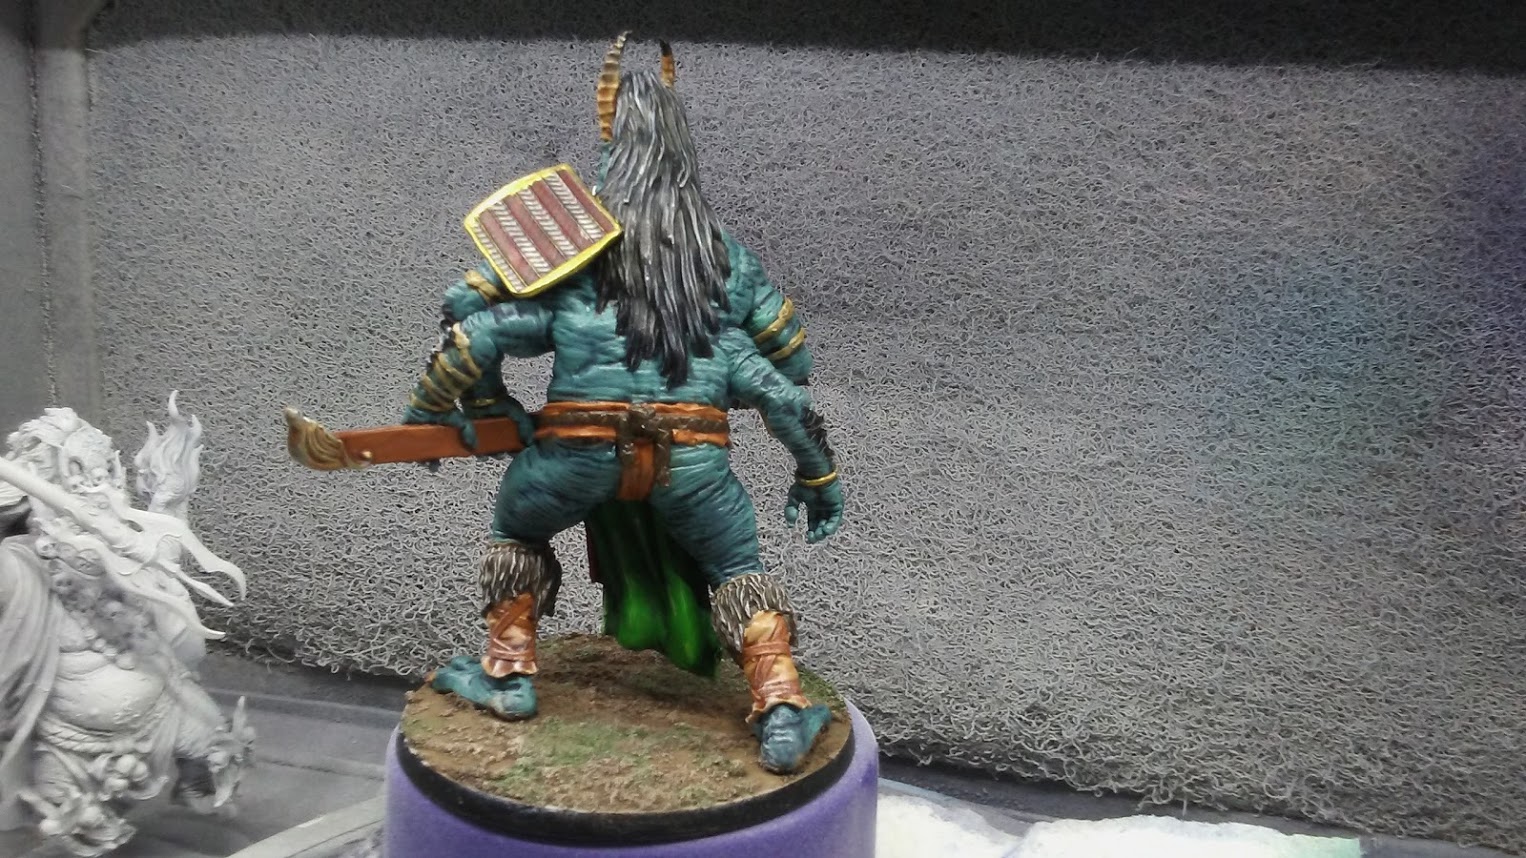
Did some work on the Oni today. I started the glowing orb process. There is quite a bit of blending yet to go but I've established the main colors. The staff is finished as is the rest of the figure. I did add a blue wash and light grey highlights to the mane after these were taken. The other two were just hanging out in the booth so I shot em.
-
This is just begging for some rust and dust I think. Almost too pretty Ray. Well played though.
-
Most beautiful cars of all time
Dragline replied to El Roberto's topic in General Automotive Talk (Trucks and Cars)
The Scorp is really killer but the Fiat is over the top. I saw a few videos of it at some show and they fired and moved it down the street. It caused some kind of stir that's for certain. And talk of impractical... -
Most beautiful cars of all time
Dragline replied to El Roberto's topic in General Automotive Talk (Trucks and Cars)
For my money there is only ONE design that conjures so many emotions in so many people. It is the future but it comes from a galaxy far away. It is the past but is ahead of its time. My favorite story is about some fellows going for a ride in southern Cali with their Lamborghini's. A Diablo, a Diablo roadster, a Muira and a Countach. When they got into town after a spin on the PCH they were in a line with the Countach bringing up the rear. As they went past people all looked but there was a slight gasp as the Countach came into view. Then a collective cheer as it went past. After all these years it continues to capture the imaginations of all walks of life. it is my favorite automobile design of all time. It asks nothing of you except to gasp at its outrageousness, its impracticality and it's style. Whether you like it with or without it's performance robbing wing there is no denying the total exercise in style over function. Style for styles sake. It's also pretty darned quick to boot.
-
All that work paid off brilliantly Mark. Looking very smooth indeed.
-
You and the model makers of ILM have my undying respect. A masterpiece.
-
Thanks guys. I said the same thing as well Ray. When I first saw some really great Warhammer 40K pieces I thought to myself I could try but I'm not sure I could get there. The jury is still out on that score but I've learned so much about paint and color theory. Of course drive is a big part of it. Wanting to paint something very well is everything. And finding inspirational figures goes with that. There are so many on eBay to choose from that you can look for hours and spend as much as you like. I'm restoring an old Aurora Creature From The Black Lagoon for a friend. A couple of years ago I wouldn't even have tackled it. Now it's a walk in the park and it's coming out pretty cool. Having the right paints is key. It's an investment I don't regret as it's given me hours of joy and rewards me with great little conversation starters.
-
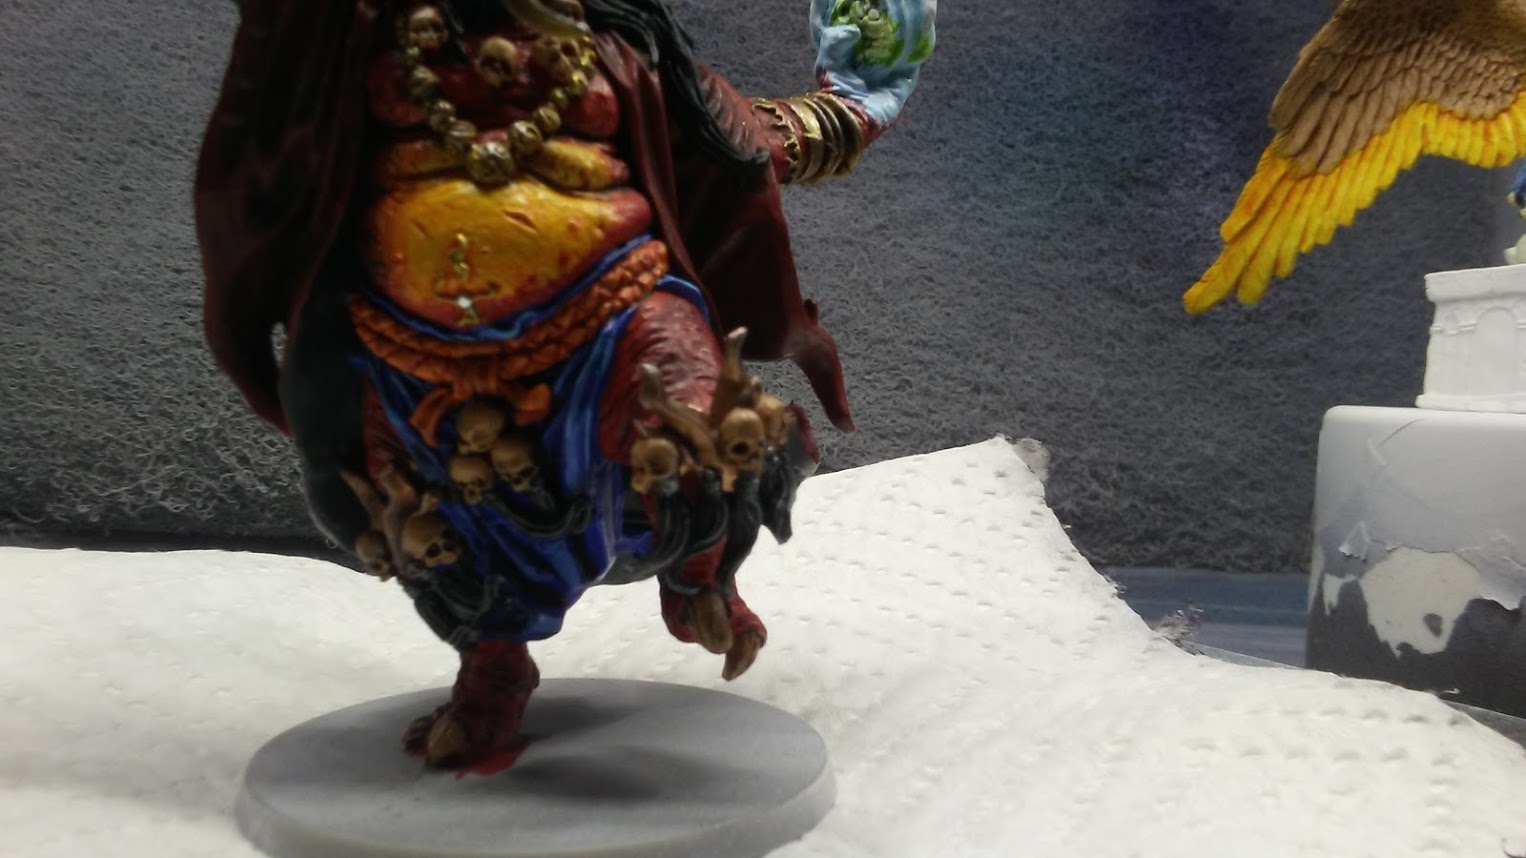
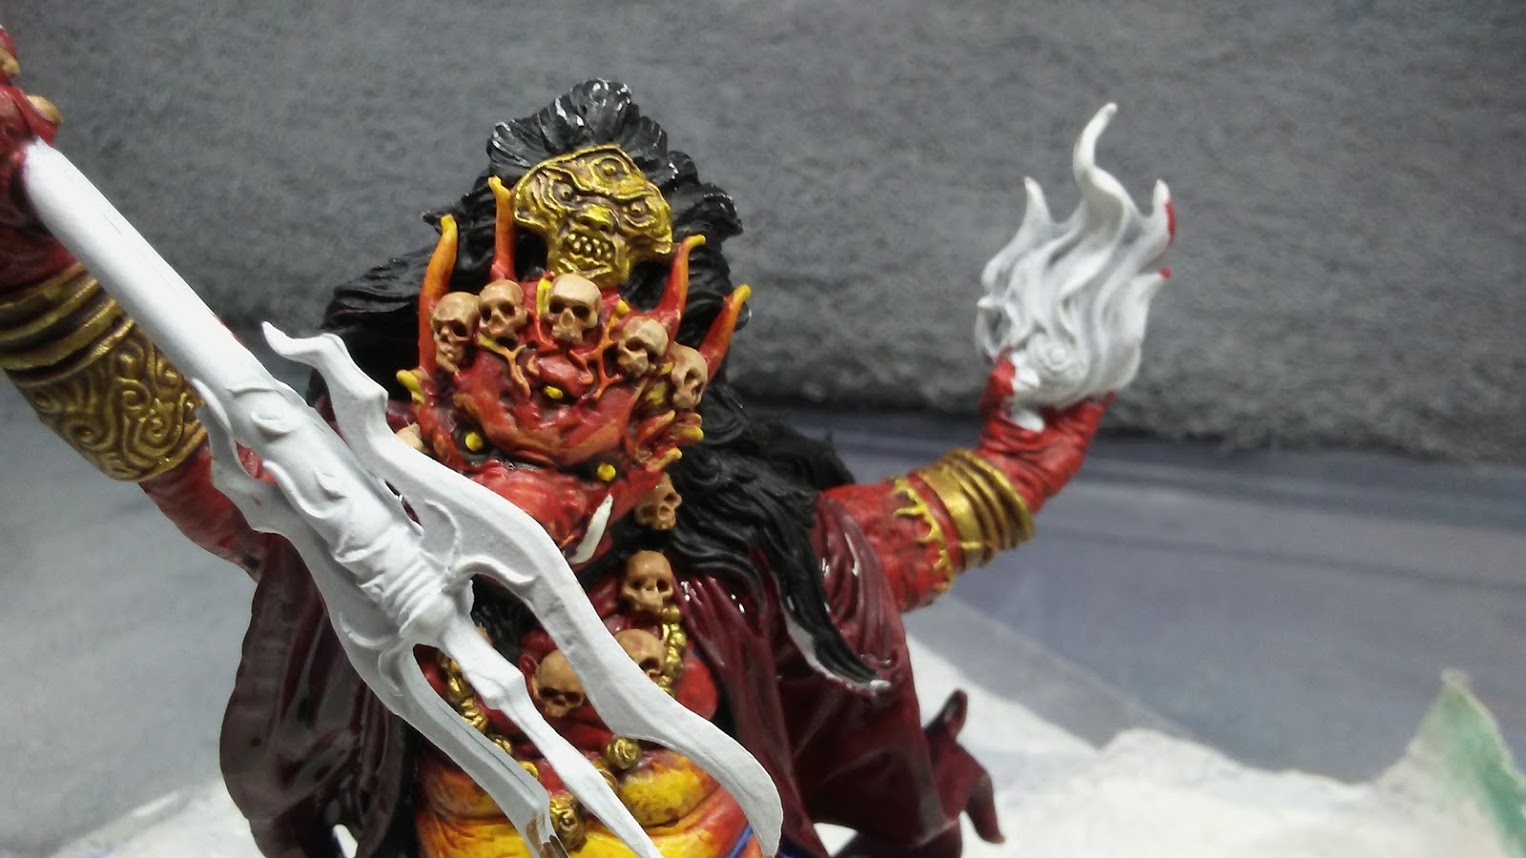
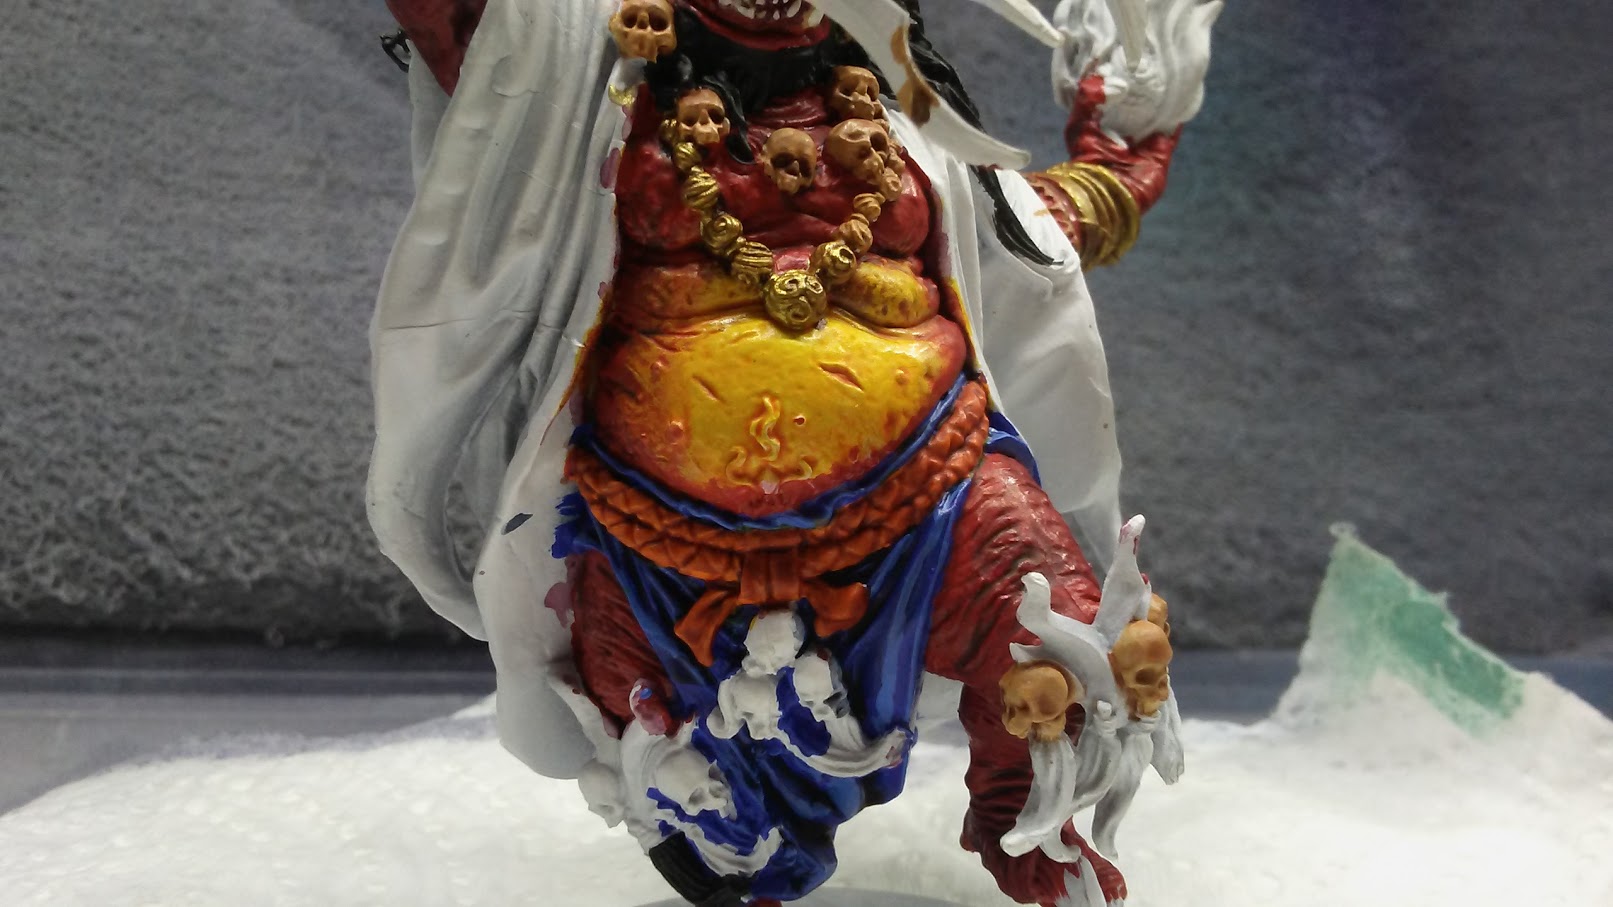
A bit more progress on the Oni tonight. I highlighted the sash belt and picked a color for the cloak. It's a color called Khorne red which is lighter than burgundy enough to still be called red. I painted the back side of the cloak with Incubi darkness which is a dark blue. Got the nails painted and added a wash to them. I finished up the gold but have yet to highlight any of it. I added a crimson wash to the cloak and you can see it wet in the pix. I need to highlight the cloak but I'll push that back until the flame and weapon are completely painted. It can be tricky to handle as you can imagine so thinking ahead is a must. I think the hair will be the last thing to do aside from the base as this project crosses the finish line. That should be a week away.
-
Now THAT is seriously cool. Well painted Matt.
-
On YouTube I subscribe to Scale-A-Ton and Plasmo because they are outstanding military modelers. I think I just found another. Really excellent work on the resin cockpit. Overall fit and finish is also quite fine. Watching you watching me.
-
Yes Sir.
-
Once again the armor modelers come to the rescue. This technique is scale perfect and as realistic as it can be.
-
le couronne
Dragline replied to Ken Gilkeson's topic in WIP: All The Rest: Motorcycles, Aviation, Military, Sci-Fi, Figures
Holy Moley! I have an Artisania ship kit and I eyeball it all the time. But I don't have the temerity to start it. Well done Sir. -
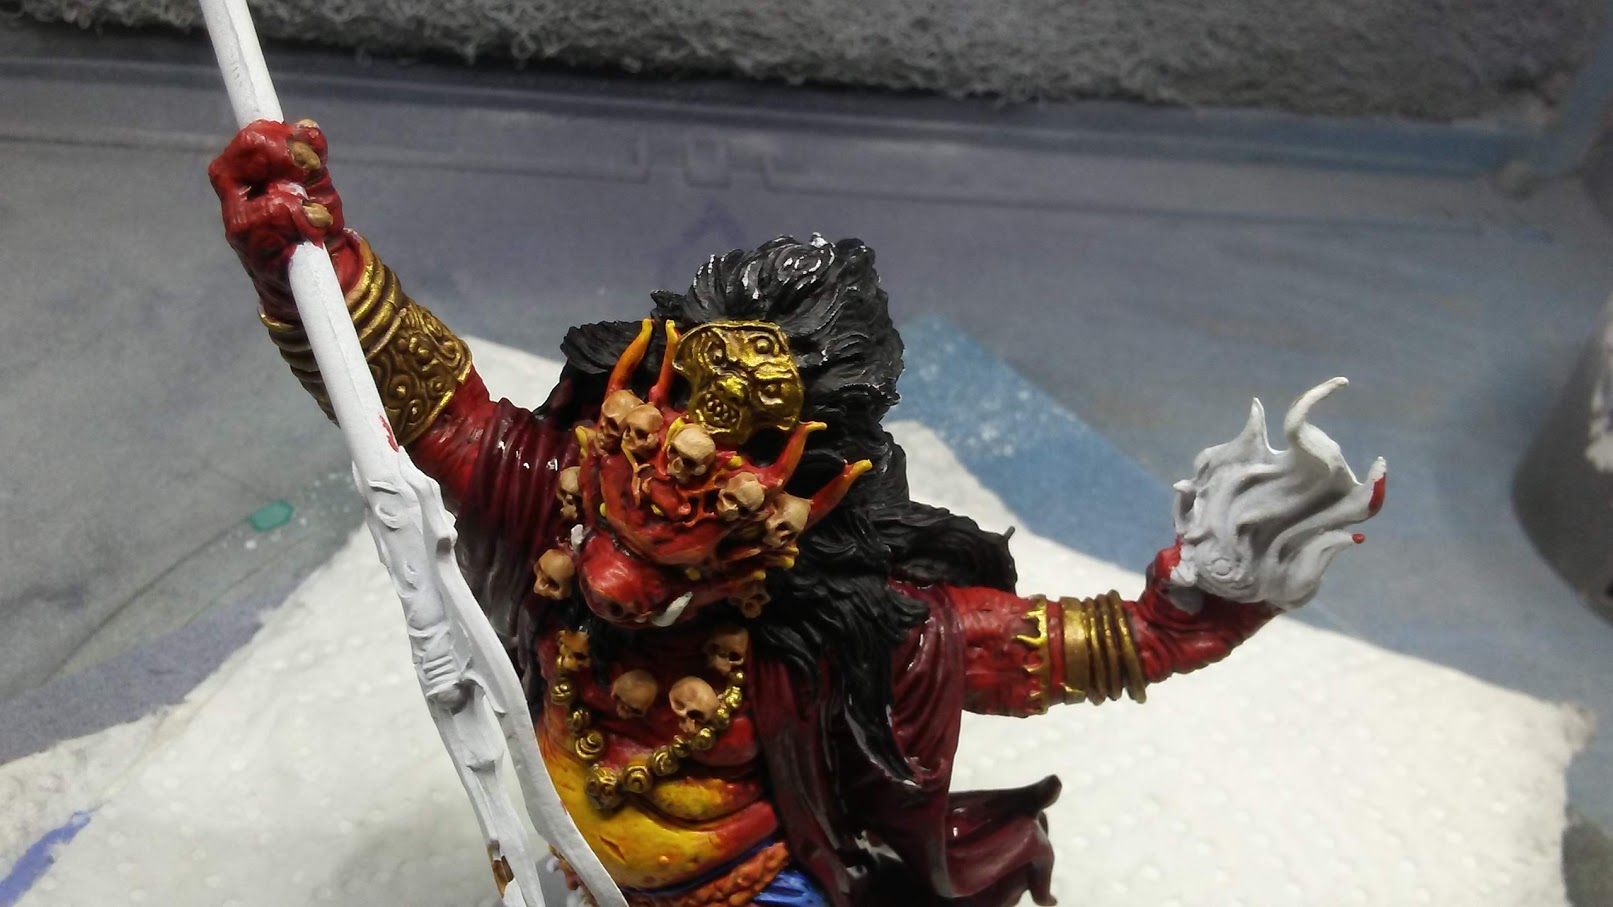
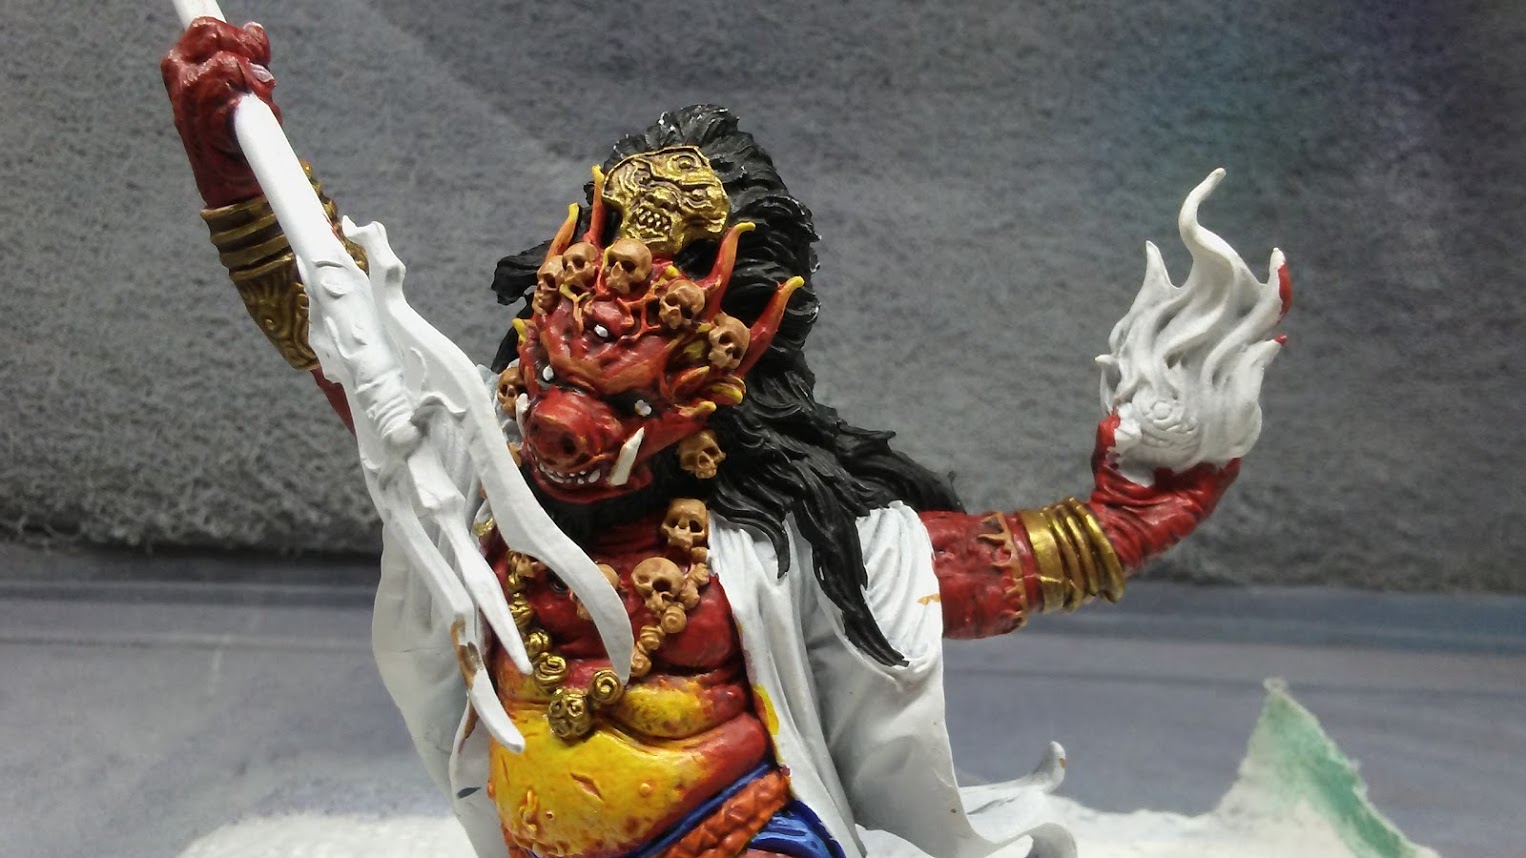
There is progress. I was working the other night but I had a few beers later and try though I did I messed up the posts so I just ran em aground. I've finished the transitions and started on the headgear a bit with some orange and yellow. I repainted the eyes white for a lighter wash. I got the belt and loin cloth done as well as most of the gold. I added a wash to the gold but still need to highlight it in the right spots. I got the mouth finished. It starts with a dark pink for the fleshy parts followed by a khaki for the teeth. I then highlight the teeth with ivory for their final color. I also did some red highlights that are very subtle but without them it just doesn't look great. It looks good but as soon as I ran the highlights it was clear the color was more vibrant. I use the base color with a medium to thin it without changing the paints properties. Like a wash in a way but with stronger tint. It's easier to make subtle transitions with. I have to finish the gold parts and nails and then I'll tackle the glowing sphere. It will be green in the center with blue flames and the palm and bracelet will be awash in the light it casts. It's not hard to do but it takes many layers to build up. I'll show that process as well. I'm still on the fence as to his cape color. I'm leaning towards orange with yellow airbrushed highlights but I'm not certain yet. I follow the basic color scheme of the box art but usually deviate somewhere that I think I like better. I still have to highlight the sash belt but that was is still tacky. That's all for now.
-
Edit
-
Edit
-
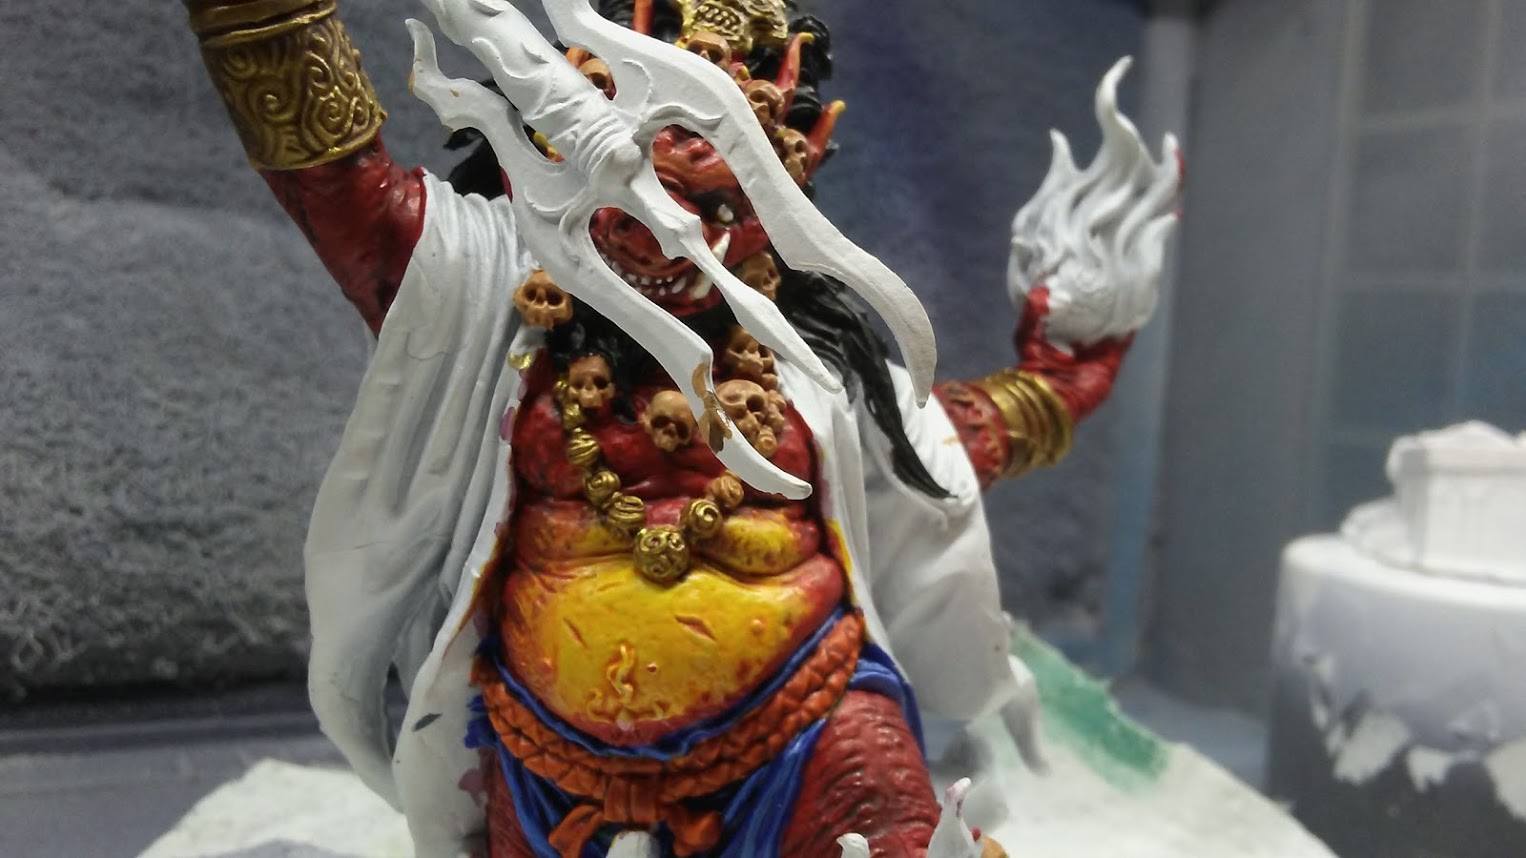
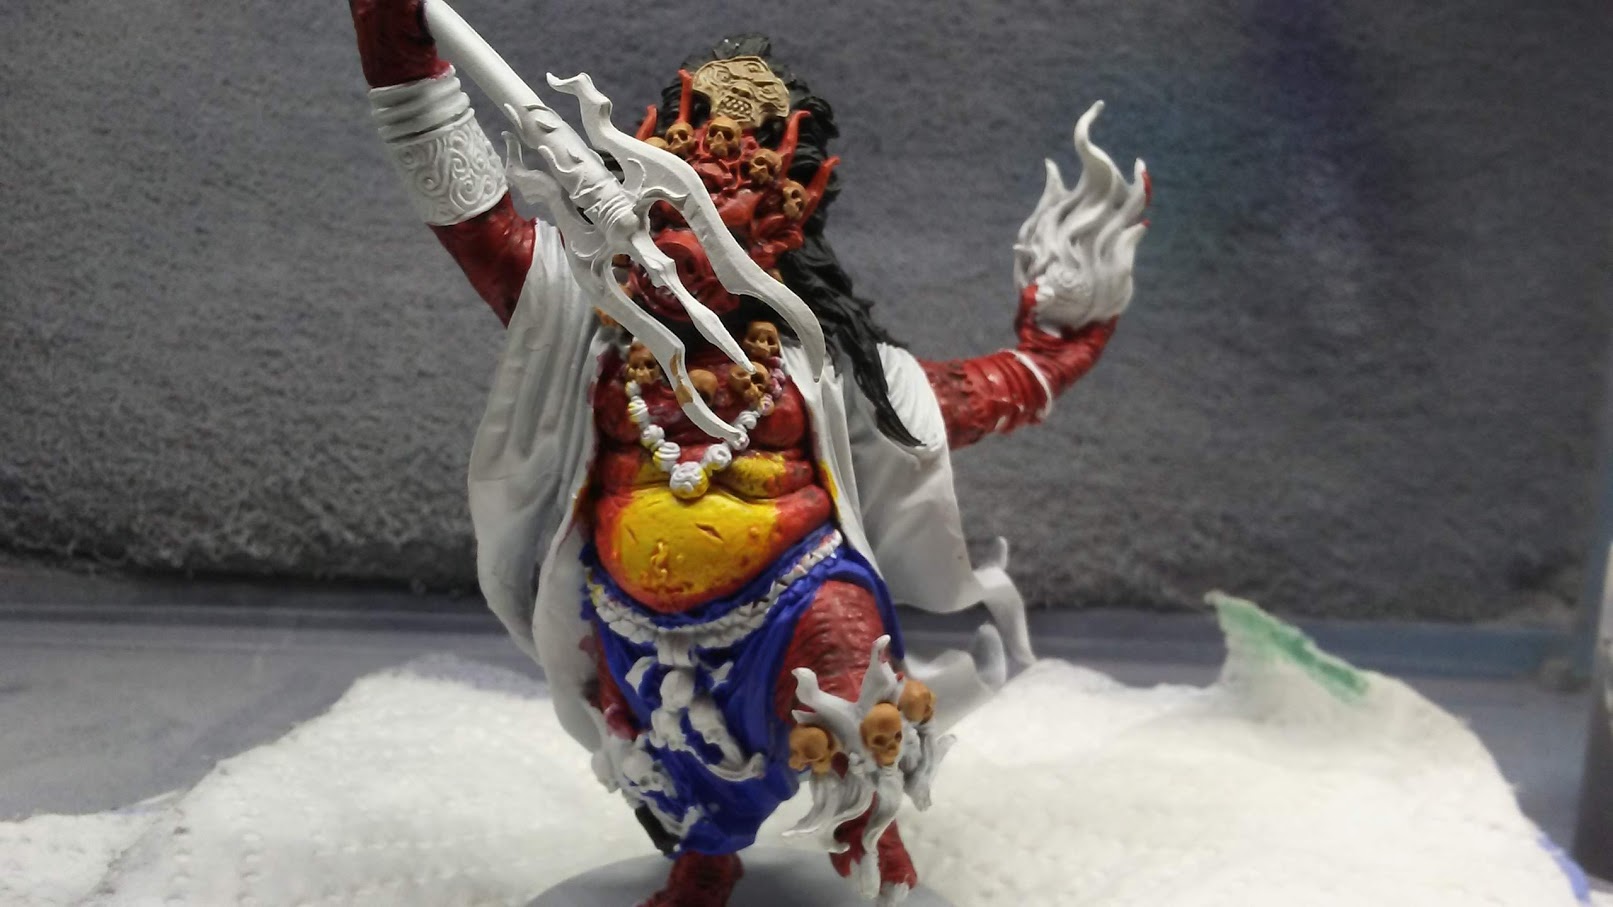
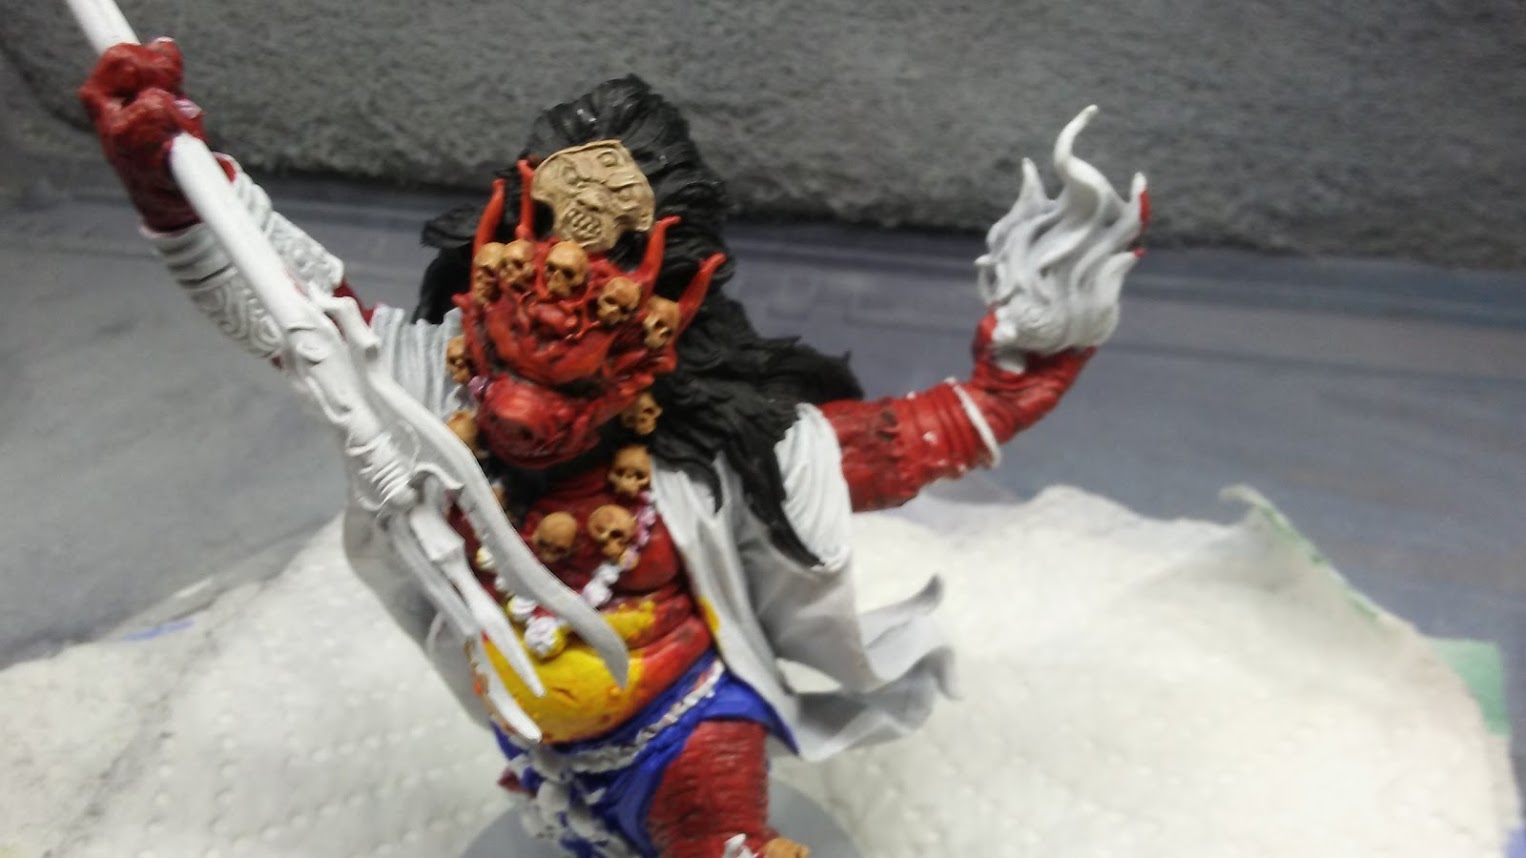
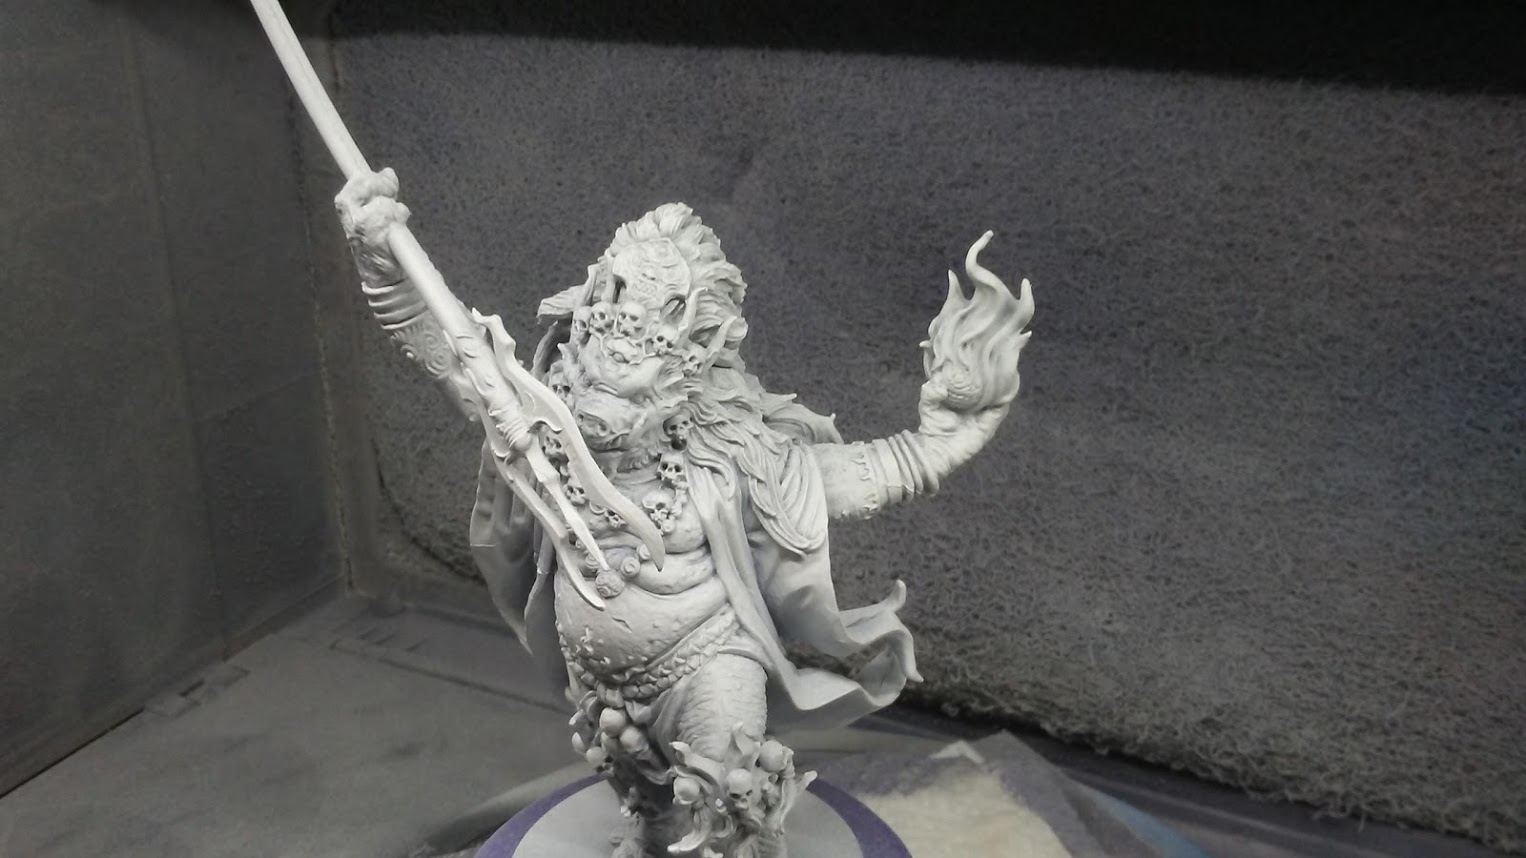
I started this figure a couple of days ago and since there is a bit of interest in mini painting here I thought I'd show how I get there. I wish I'd taken pics of progress up to this point but as you see here it's been about 5 sessions at the bench, It started primered a light grey almost white since there was red to be painted and it is mostly lighter colors. I used a wash of Carroburg Crimson from Citadel to get the skin recesses filled. Hair and the skulls were then painted. The skulls got a wash from Citadel. Vallejo dark blue was used on the loin cloth which will be washed with a blue and then highlighted and glazed using various shades of blue. I'll post as I go from here on out. The belly still needs more transition which I will accomplish using dry brush and wash/glaze techniques. I also highlighted some of the red on top using an orange red. I'll amp that up later on as I get closer to the end. Also, base coating areas that will be gold are best coated light or mid tone brown. Gold just likes going over it without having to fight with layers.
-
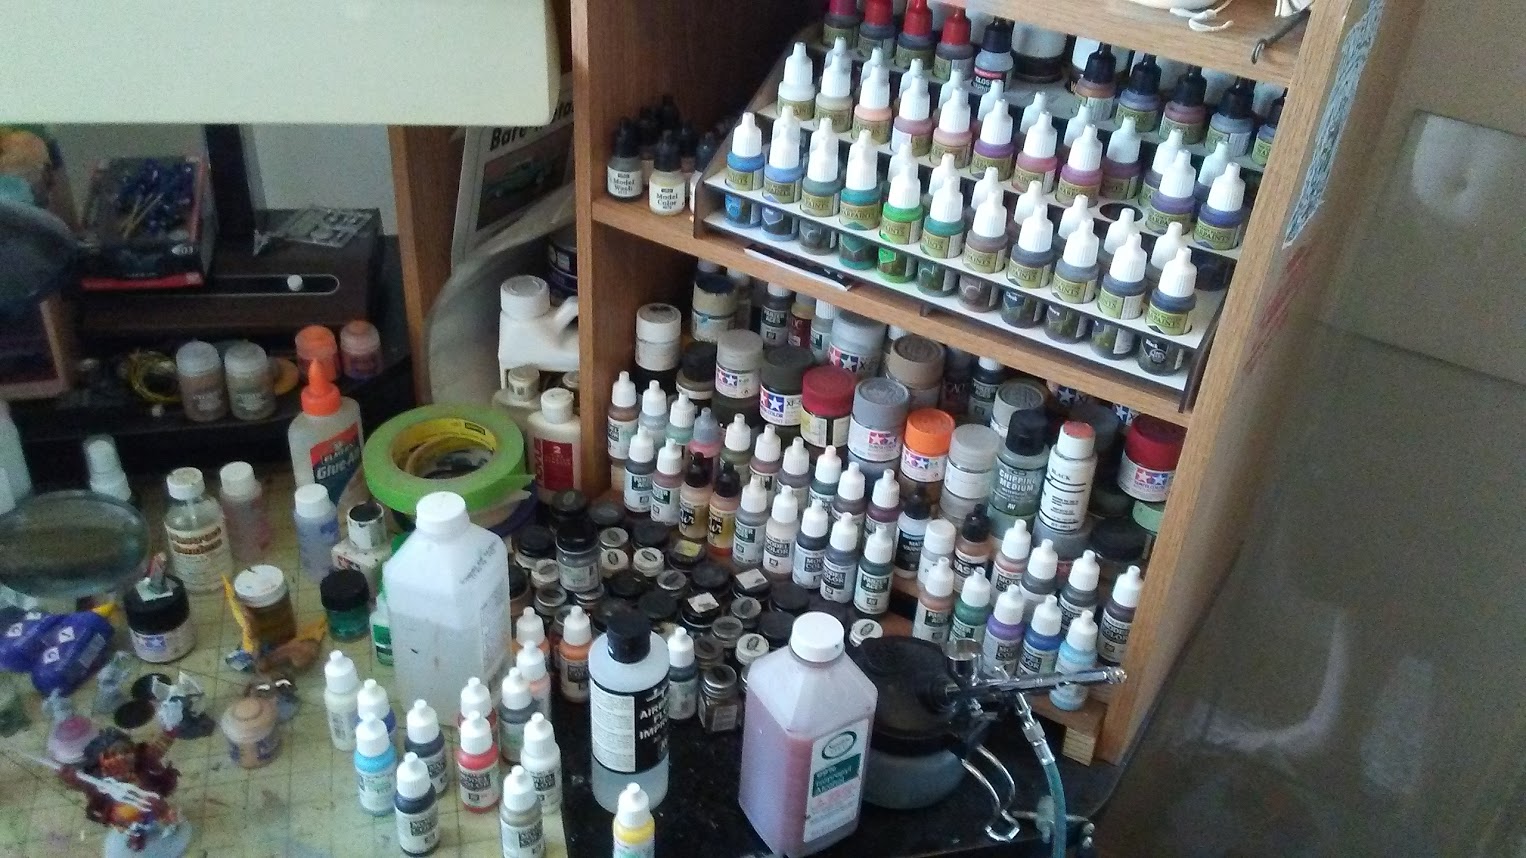
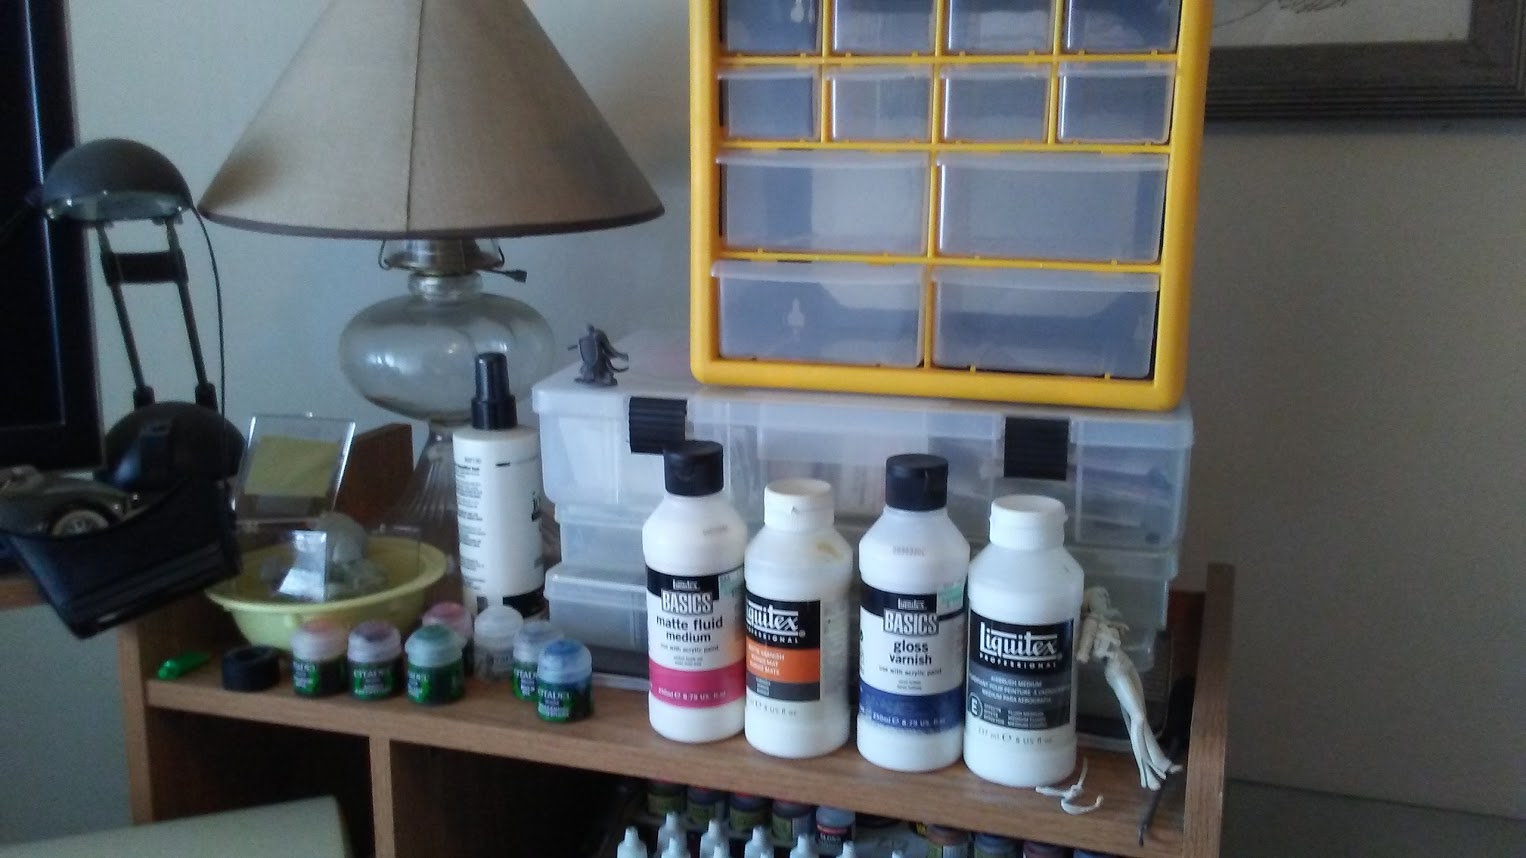
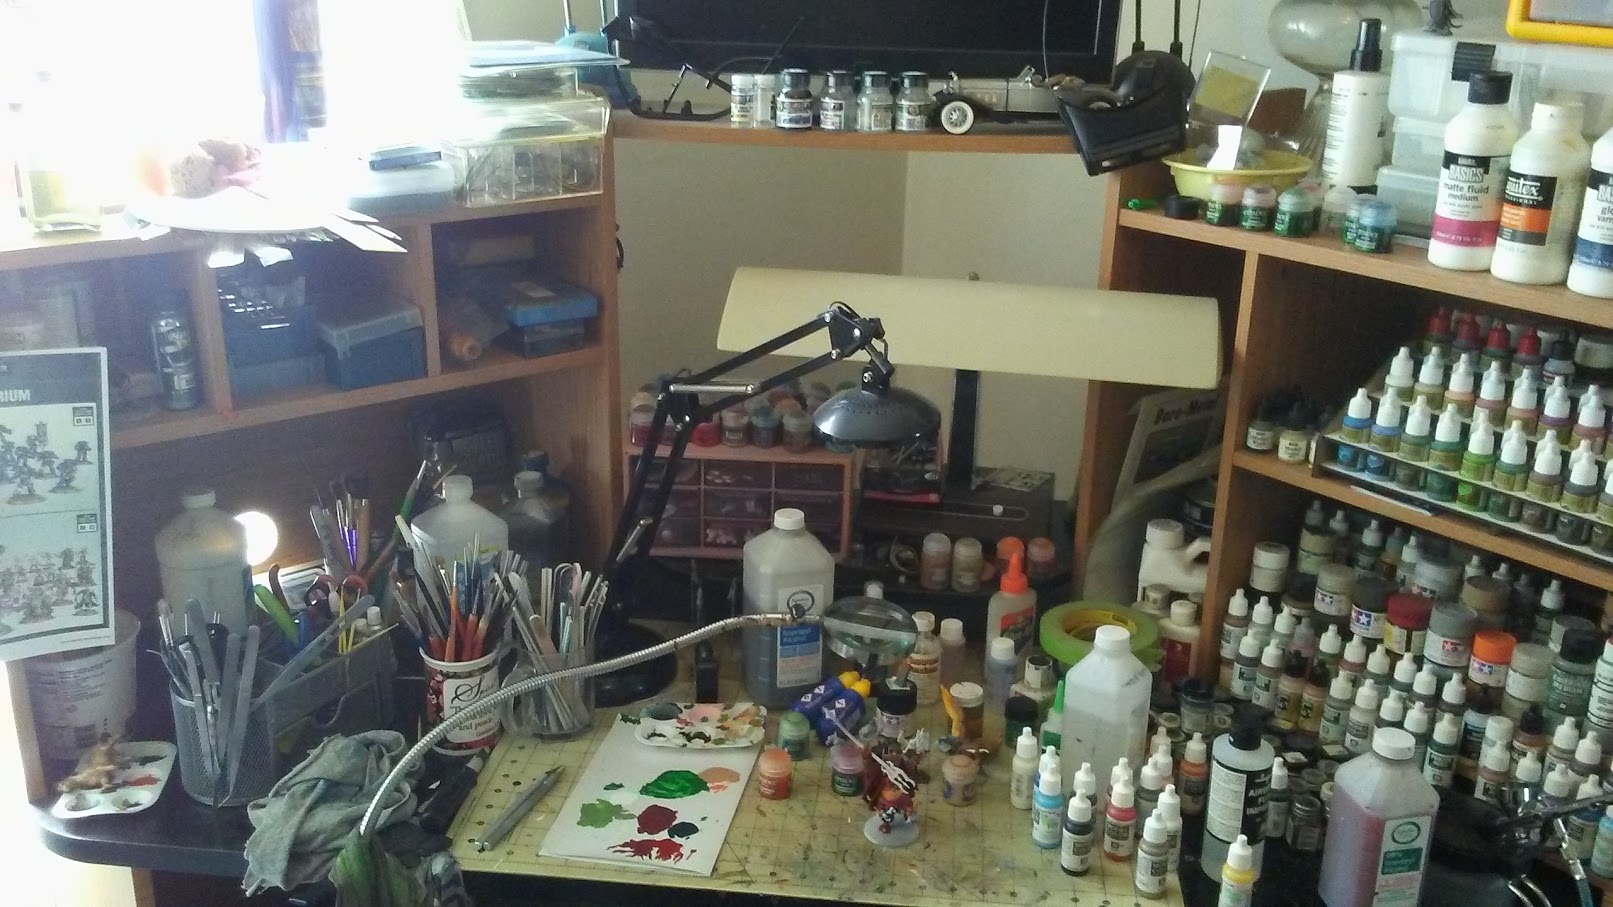
Thank You Joe and all of you. I watch TONS of YouTube videos on miniature painting. I invested because it spoke to me. Pinterest was a launching pad as there are tons of pages of mini's painted by people who clearly know what they're doing. I just absorbed it all. And that's the shortcut, there really isn't one. I'll snap a pic of my hobby room when I post my Space marine chaplain. You'll see how much paint and support products i have. I committed and it's paid off in the quality of my minis.
-
Neither was I Ray. But the bug hit me on Pinterest and I started with Warhammer 40K. As I looked for figures in resin an entire world was opened to me. It's like most things I imagine. You start out at the bottom and work your way up. My advantage if it can be called that was I bought in hard. I have paint sets that cost quite a bit and the brushes and support products that go along with them. A few hundred dollars later and I am hip deep in figural and miniature painting. But if that's where I was meant to go I am clearly following. I have already garnered approval from the community as well as a newcomer award for a figure i'll be showing here soon. I am having a ball and if that is hobby bliss then I have chosen well. Drag cars are still my passion, as time allows i'll persue that.
-
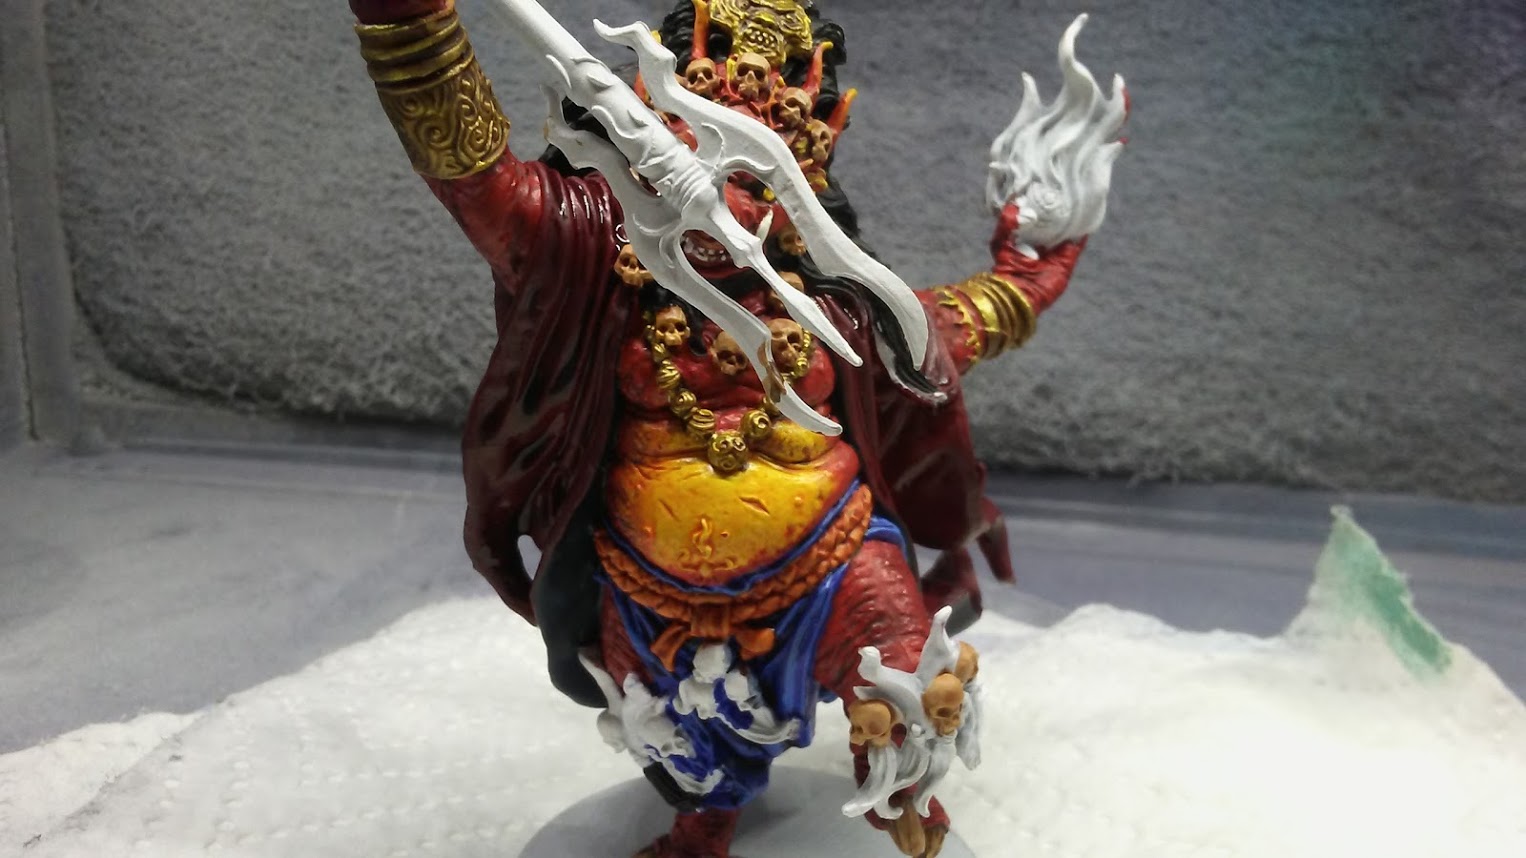
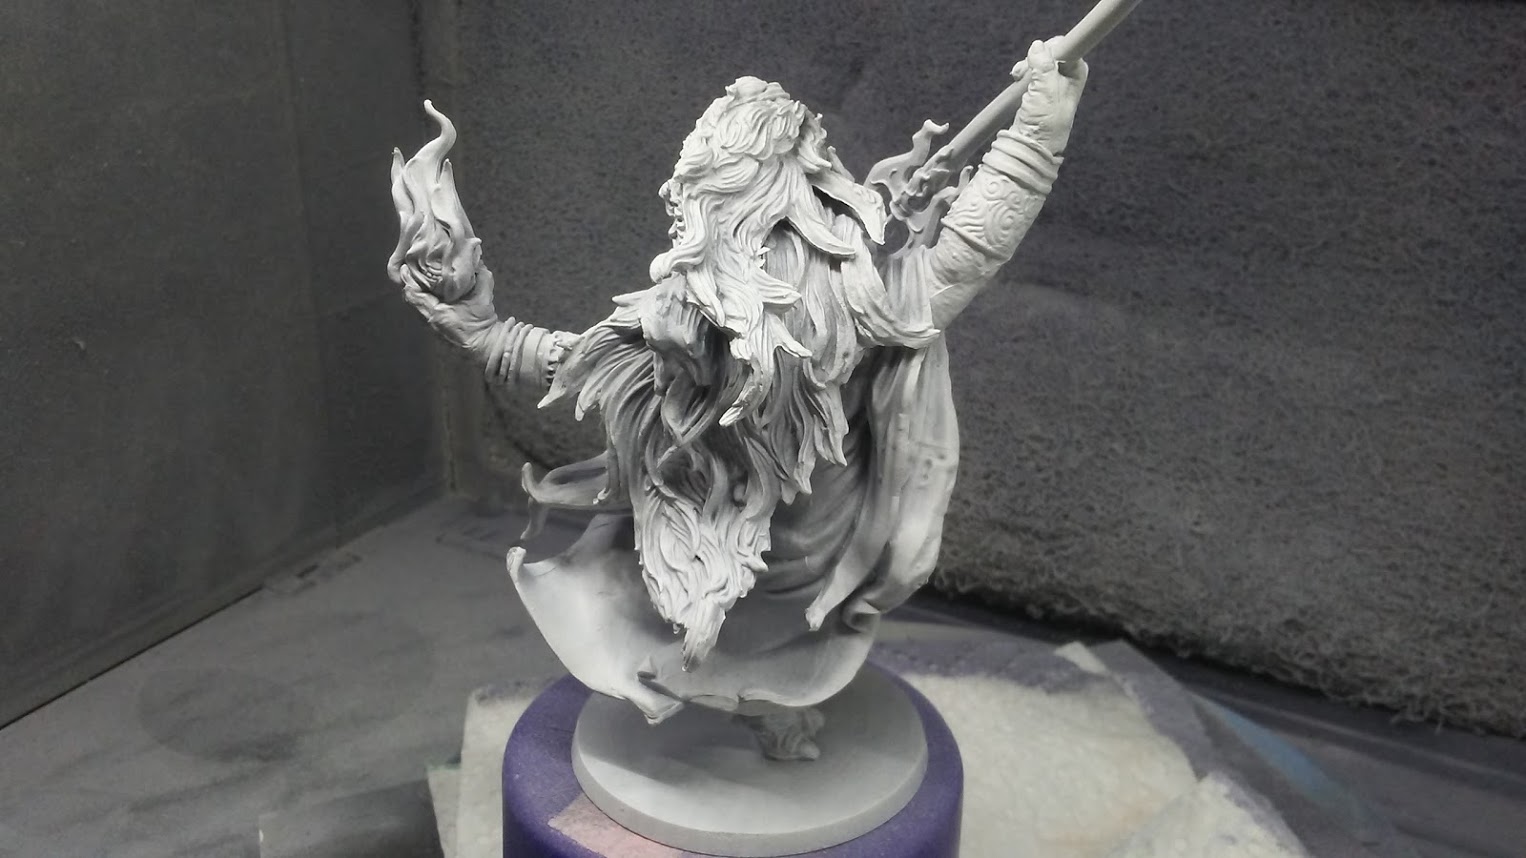
This is a Kickstarter game piece from the new game Rising sun. Based on feudal Japan, it's a pretty expansive and involved game. I was smitten with the monsters in the game as they are almost 3 times up normal mini size and very detailed. They are available seperately so I picked up two of the Oni monsters I dug the most. Their size makes them more detailed and a bit easier to paint. This is the Oni of Skulls and he just looked so menacing I had to get him. Lots of layering and washes later and here we are. The pig like one is the Oni of Hate and he is on the bench now receiving his initial coat of red for his skin. That one will take quite a while but once I get going I focus and truth be told acrylic paints dry quickly so quite a bit can be accomplished every time I sit down to work on it. I usually airbrush at least the main color and primer and take advantage at that time to add darker shading by first priming the recesses and then adding lighter primer top down to create natural shadows. I hope you dig the Oni of Skulls.
-
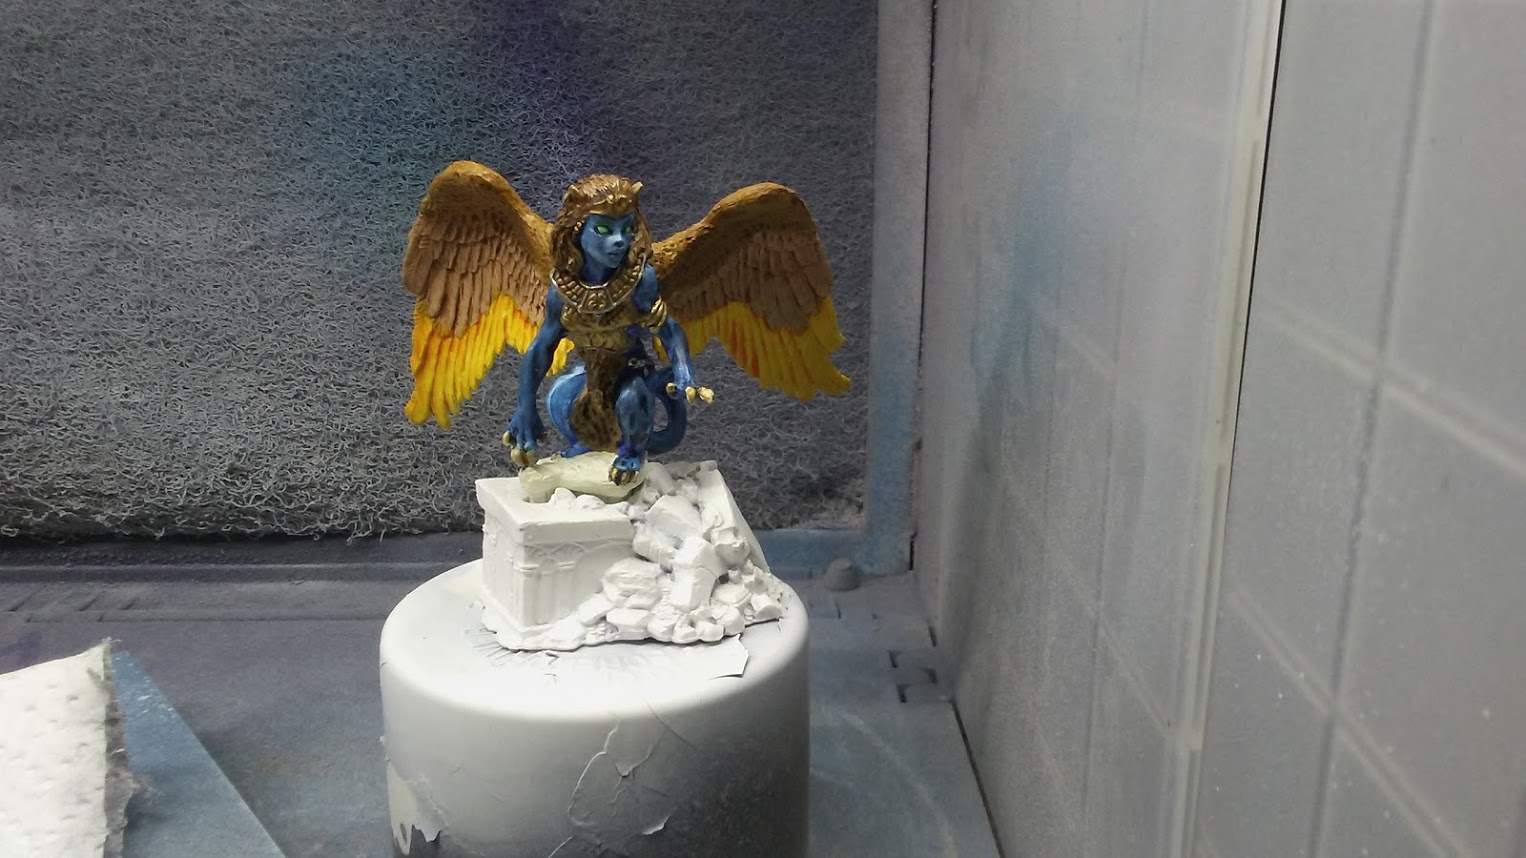
I appreciate the kind words from everyone. I have another piece I'll be putting up. Cooler than this IMO.