Dragline
-
Posts
4,315 -
Joined
-
Last visited
Content Type
Profiles
Forums
Events
Gallery
Everything posted by Dragline
-

?? Guitars in tune good and firm?... ?
Dragline replied to disconovaman's topic in The Off-Topic Lounge
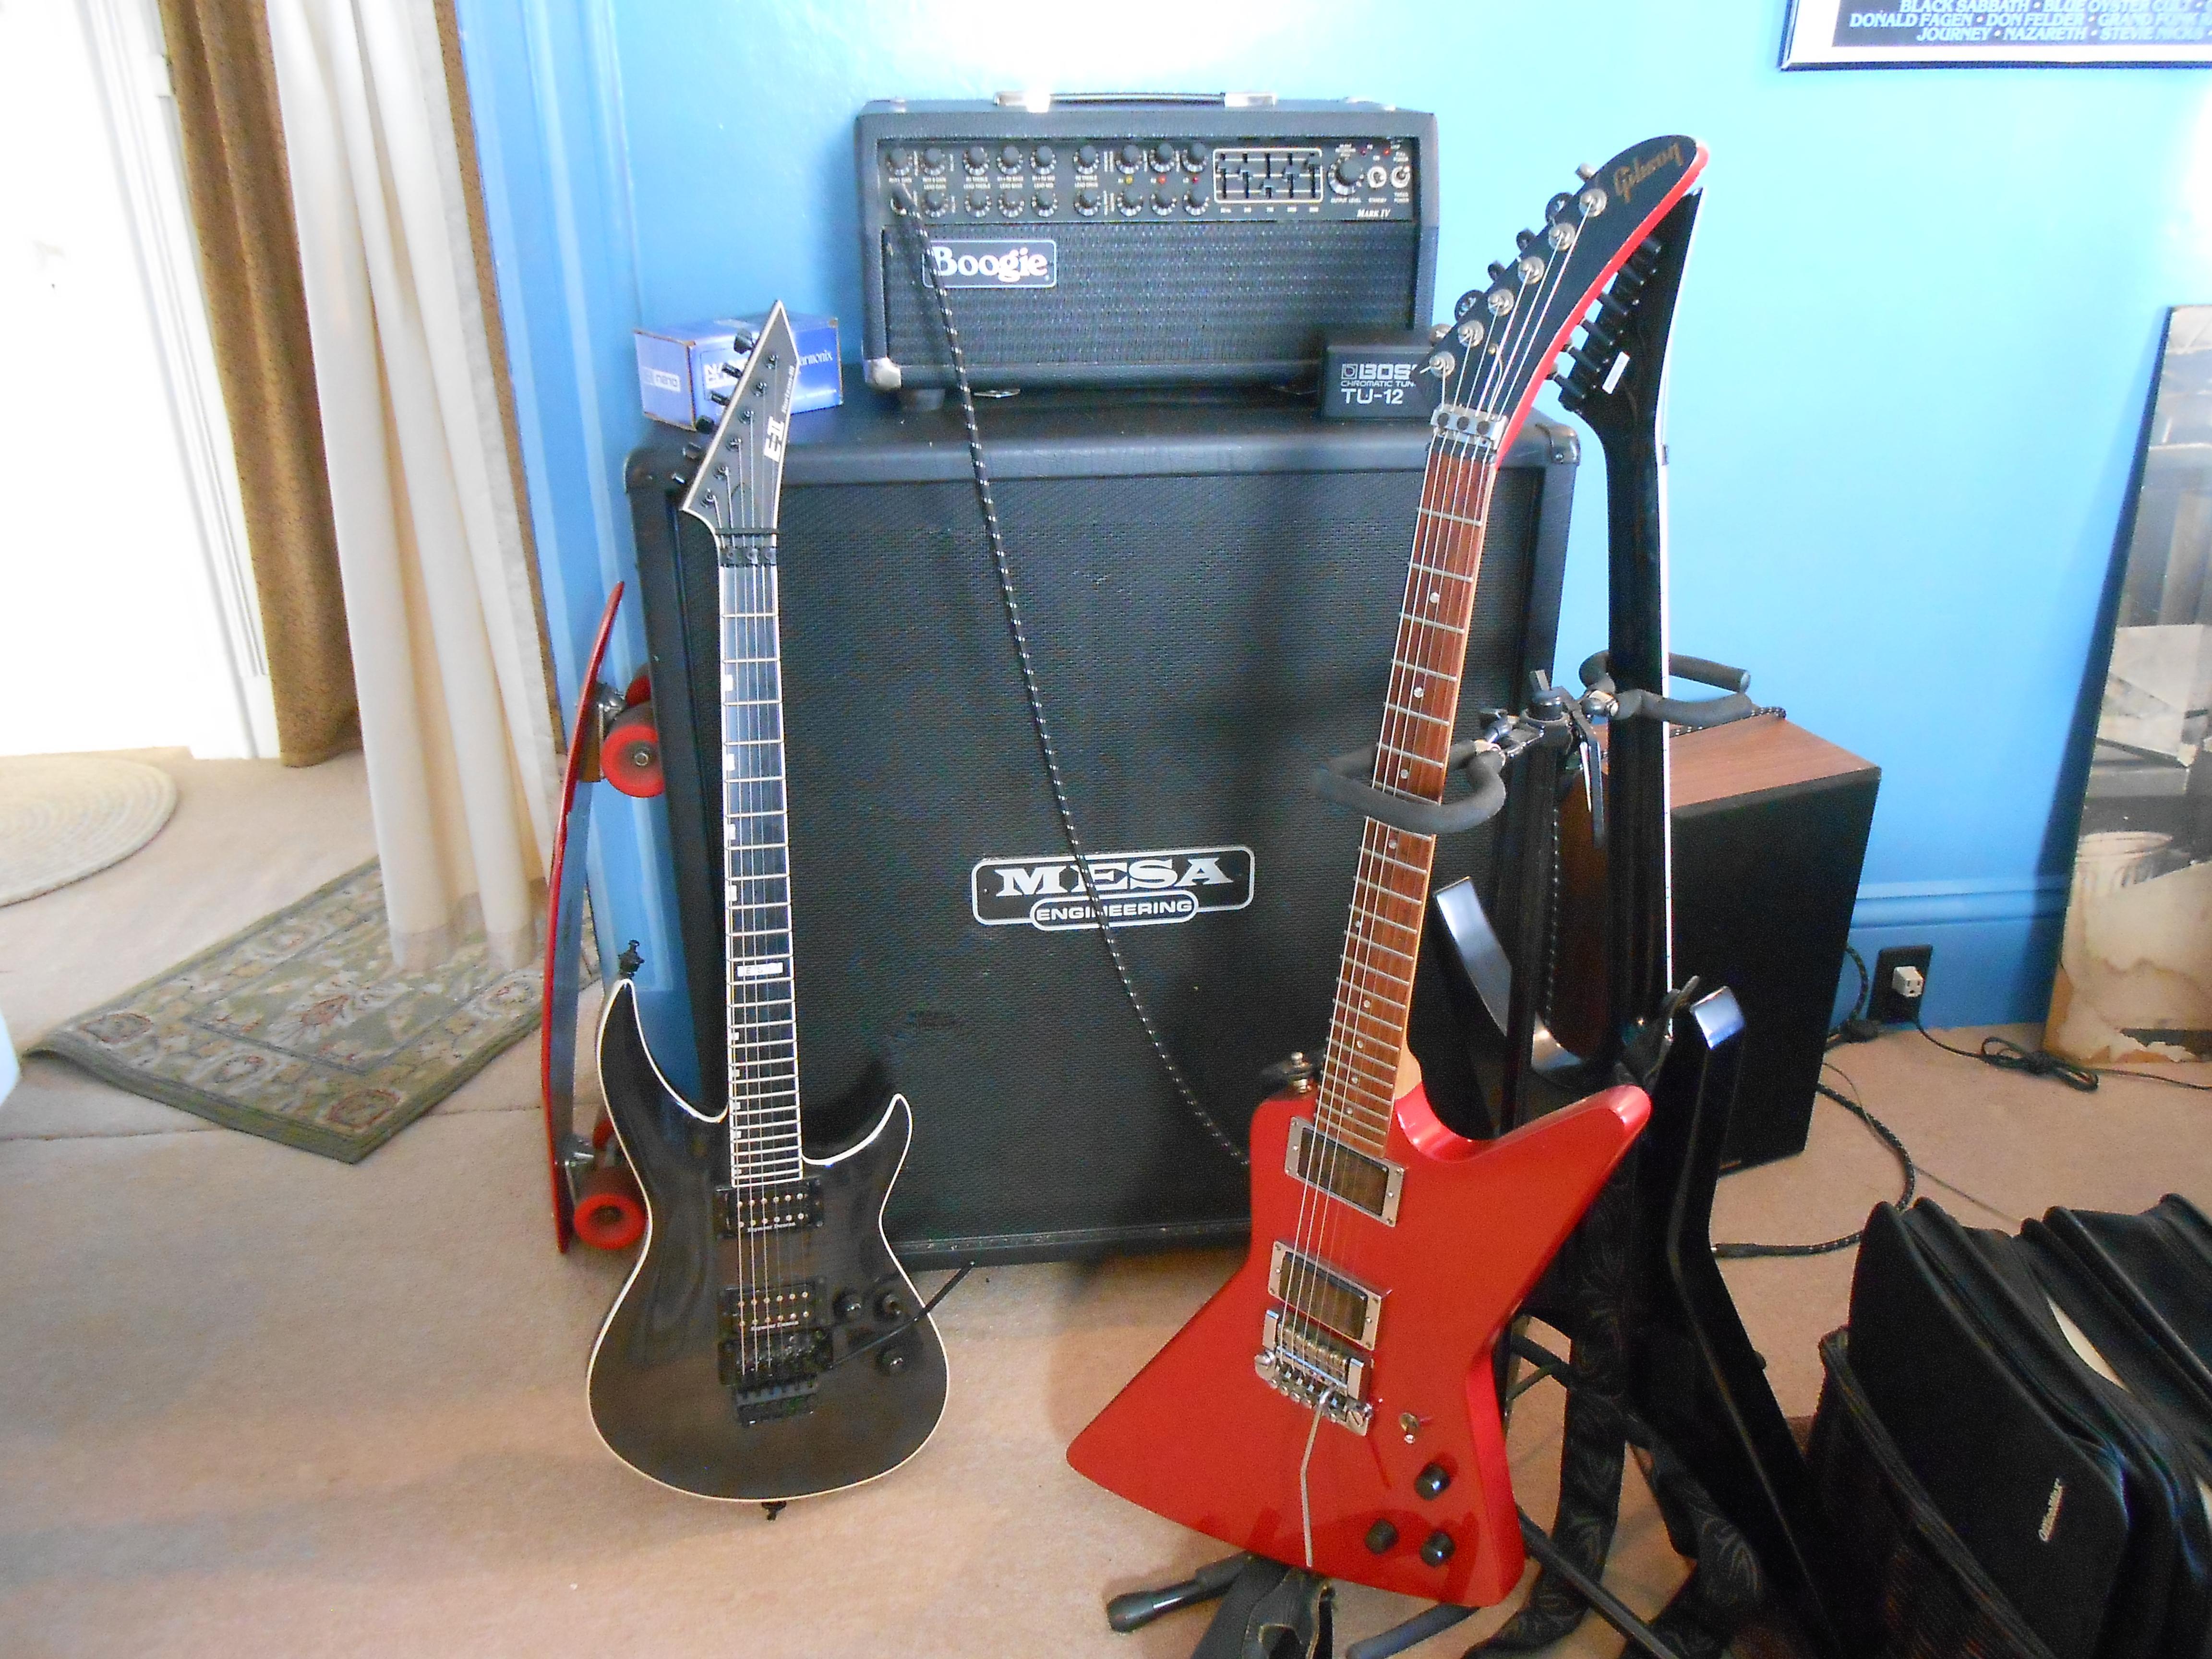
That certainly made a difference. I'll bet it plays better as well. Here is my current state of gear. My Martin D18 is not in the pic since I posted this to a Metal guitar player forum. But you get the idea. Some of this stuff I've owned for 3 decades or more.
-
Ford Shelby Mustang GT500 Eleanor - 1965 and 1966
Dragline replied to afx's topic in Car Aftermarket / Resin / 3D Printed
Interesting that. Good to know. Thanks -
Ford Shelby Mustang GT500 Eleanor - 1965 and 1966
Dragline replied to afx's topic in Car Aftermarket / Resin / 3D Printed
I'm on the e-mail list to get one. I buy from Spot often. I had one and sold it a year ago since they were going for so much money at the time. Time to get two. Ant the reference is incorrect, it's a 67 not 65/66. They even reference Revell 65/66 kits which is wrong. You use the AMT 67 Shelby kit as a base. -
I am very excited, but after seeing your review I wonder why would they make a one piece [suspension included] chassis when the opportunity to make one with separate and accurate pieces was in front of them. And then include pieces that will [for me] go in the recycling bin. Did i miss something? Or is the chassis they are using old as well? Just seems a no brainer. I'll get a couple of course.
-
Sorry for this pass my friend. My Mums had a stroke 2 years ago and it was so bad she nearly went to the Lord. She cannot speak well and her right side is no longer functioning. So I get where you are. i call her almost every day and see her once a week since this whole mess happened. I used to go a few times a week but now it's a half hour once a week till further notice. Every day is a gift bro.
-
The coolest thing I've seen this week and I've been around. Very creative indeed.
-
Great build of a vehicle that ran up here in the NE a lot. Back in the early 70's my dad would bring me to NE Dragway in Epping NH and it was such a thrill to see this run. Great effort.
-
Alexis is a great trader. Will happily trade with again.
-
Taarna on her bird
Dragline replied to Nazz's topic in All The Rest: Motorcycles, Aviation, Military, Sci-Fi, Figures
I've been looking for this kit forever. Do you mind telling me where you got it? I'm a foremost collector of all things Heavy Metal magazine and by virtue of being a modeler I've always hungered for this very kit. Taarna is a personal fave of mine, and this kit is near and dear to me. You did a very nice job on it also. TIA Bob -
I bought a handful of motorcycle kits off Gregg about 5 years ago. All behind the scenes. There, I said it. I was asked to not mention it but I have.
-
Which is why I am less here all the time Bobby. One day I'll be done altogether. I was a serious contributor some time ago, and for years. We, all of us all not immortal. THIS is the only site I am a member of that does not allow selling between members. Backwards? Heck yeah... Seriously weak...
-
What needs to happen here on this site is the allowing of sales between veteran members. E-model cars is a joke [No Offense, but it is]. I trust a great many here to send things and Paypal is always an option. The buying and selling must be allowed if many of us older guys are to thin to people who care about what we have and have plans to build our treasures. Moratorium on "No Selling here"
-
Your patience and hard work are clearly on display here. What a lovely build.
-
Los Angeles Fun Stuff October 12-13
Dragline replied to mikemodeler's topic in General Automotive Talk (Trucks and Cars)
I'd stay away from downtown LA that's a certainty. -
Stunning.
-
Uncanny likeness. Watching.
-
Yessir it was on eBay. Got me one coming.
-
Excellent display. Kids today need to put down the phone and get involved with creating things. I know it's a tall order but efforts like this can change hearts and minds. Even one kid and it was worth it. Well done.
-
'74 Vega Bruce Larson USA-1_FYI Reissue Update
Dragline replied to 69NovaYenko's topic in Car Kit News & Reviews
Oh Lordy MaMa!!!!!! -
Porsche Junior
Dragline replied to zaina's topic in WIP: All The Rest: Motorcycles, Aviation, Military, Sci-Fi, Figures
Stunning weathering my friend. Just really fine. -
Model Roundup Coupon Codes?
Dragline replied to JollySipper's topic in General Automotive Talk (Trucks and Cars)
Rotsa Ruck. I've been looking for a couple of years for a coupon code for MR. Have not found one yet. -
That snake kit looks awesome. Now to go see if one is on eBay.
-
Now THAT'S a scary ride. Well played.
-
CRAZY and cool. I had no idea those were kits. The head swap is brilliant. "Oh dear boy"...