Kit Karson
-
Posts
1,542 -
Joined
-
Last visited
Content Type
Profiles
Forums
Events
Gallery
Everything posted by Kit Karson
-
 @bill-e-boyWOW! This is coming along swimmingly, Brother! -KK
 -
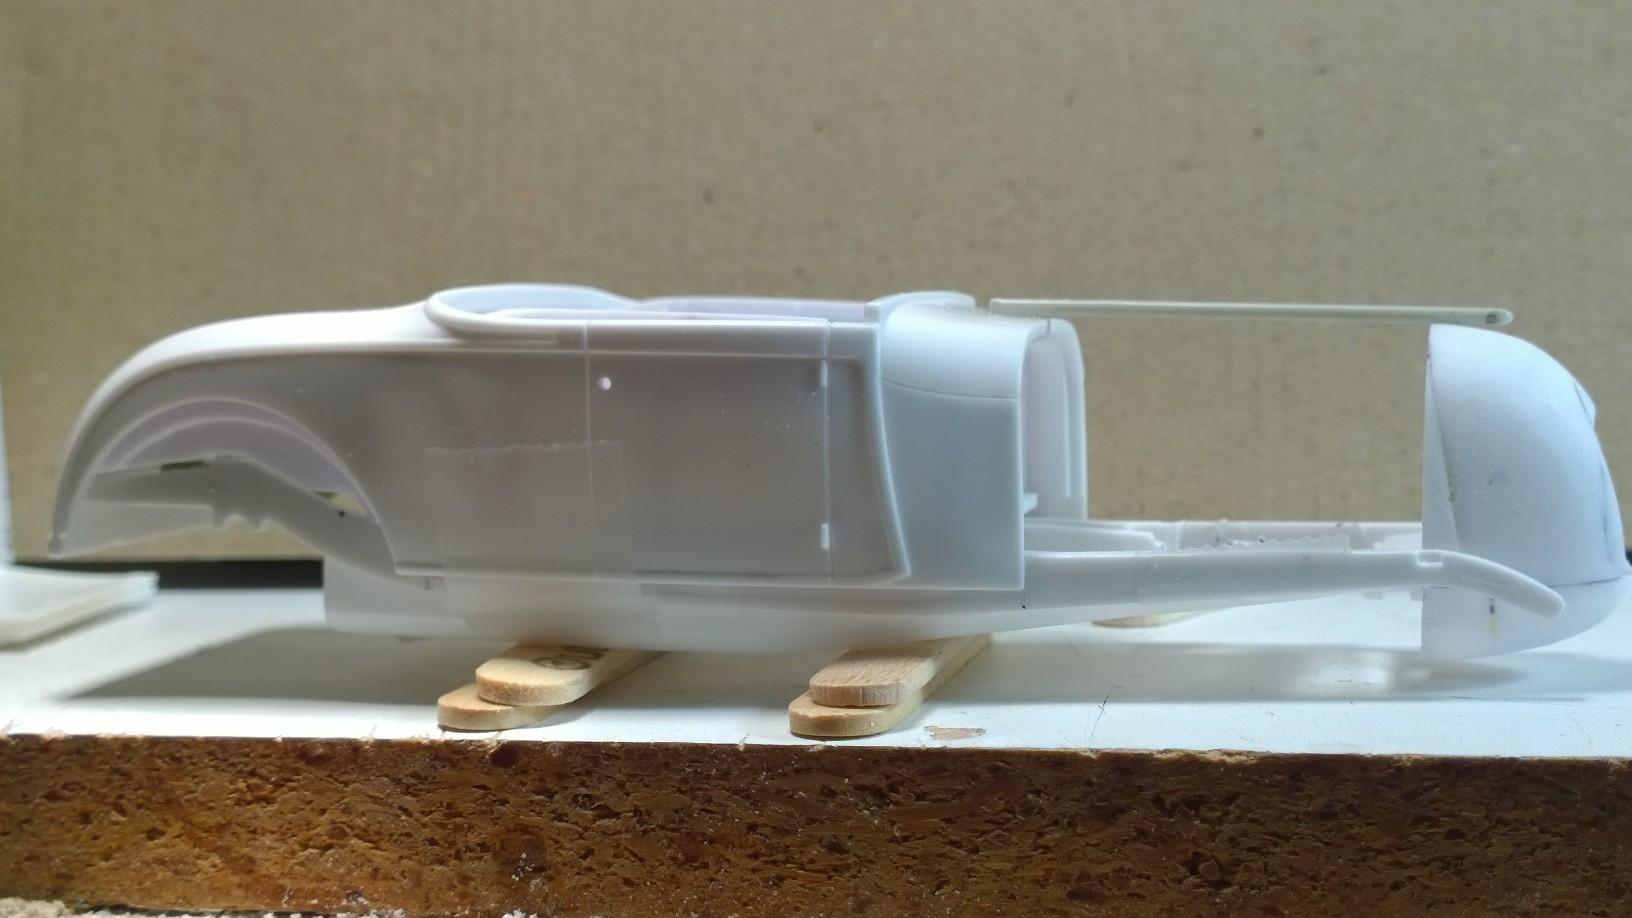
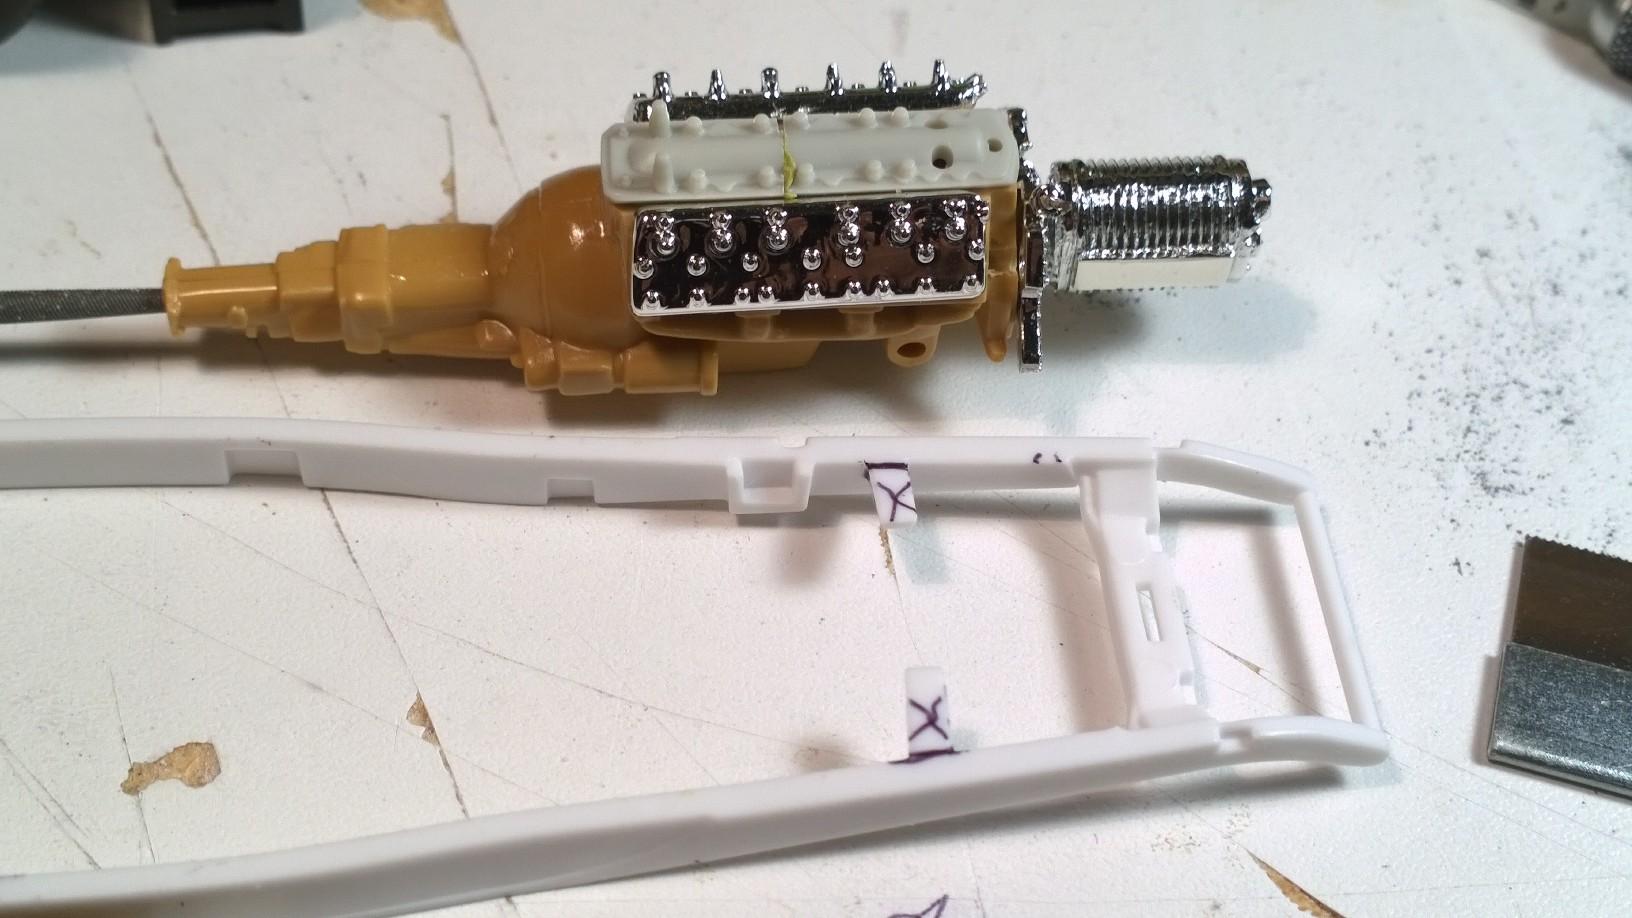
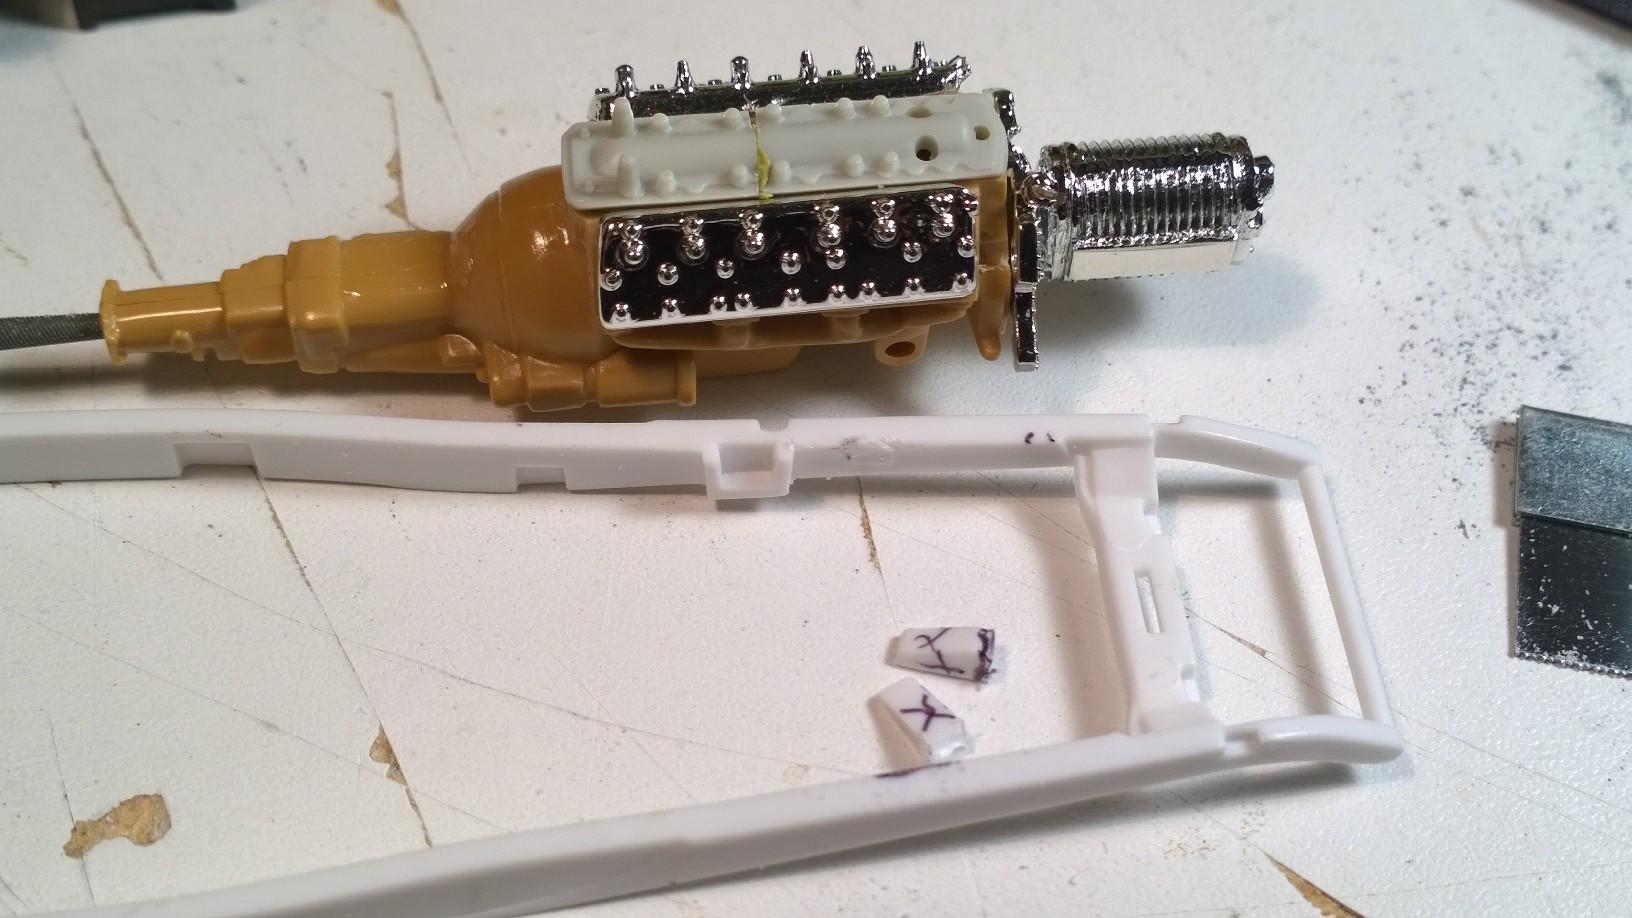
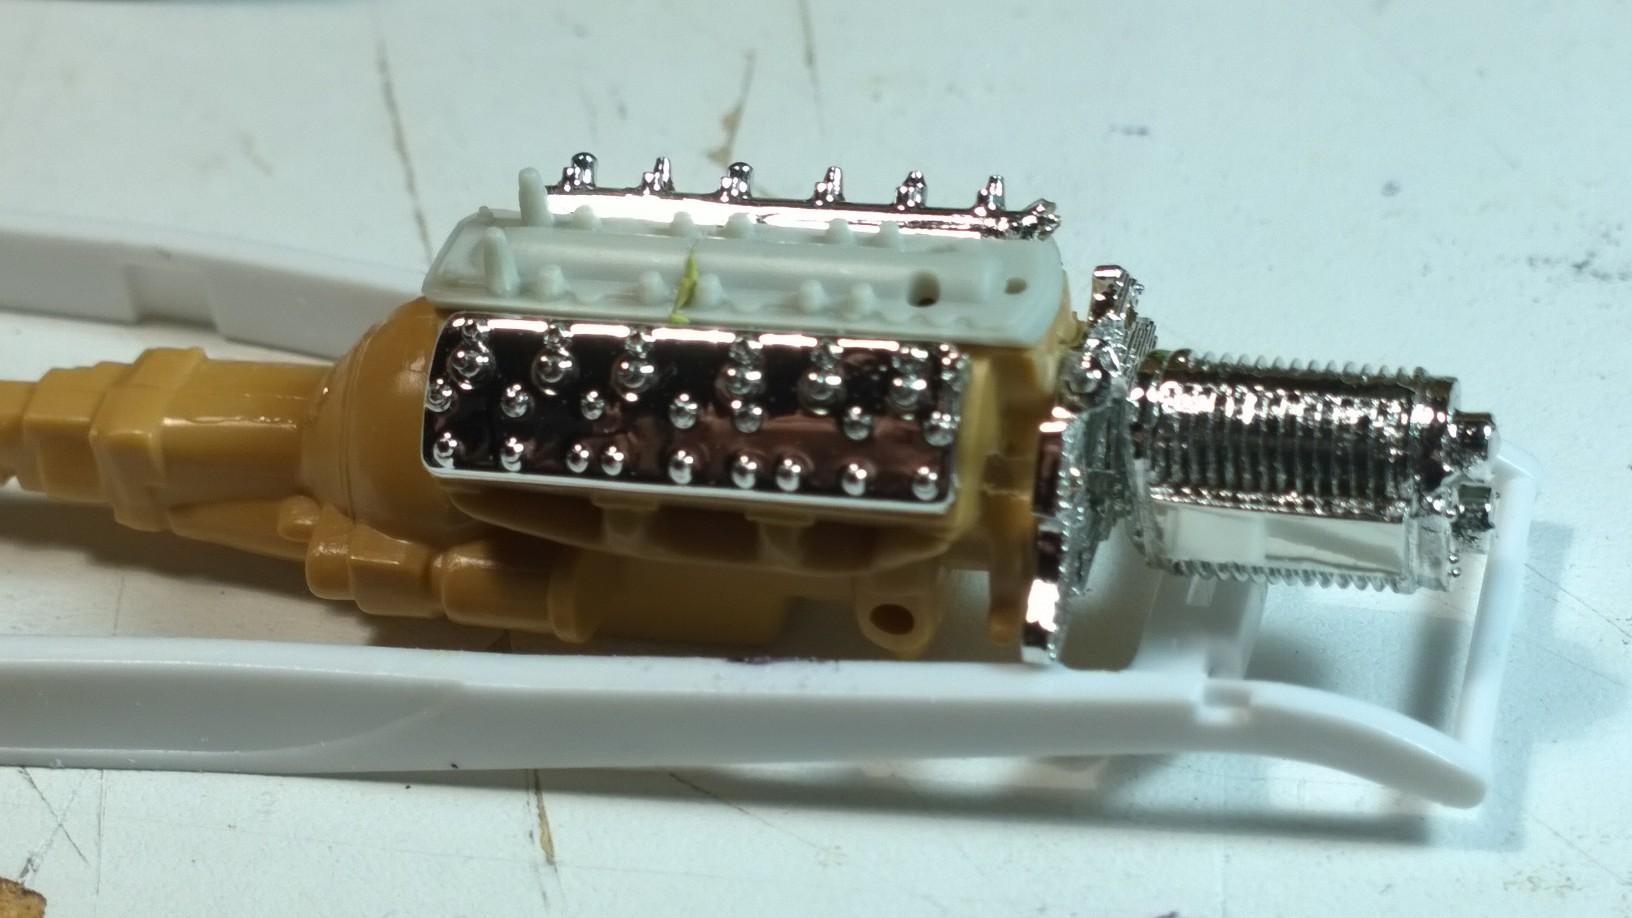
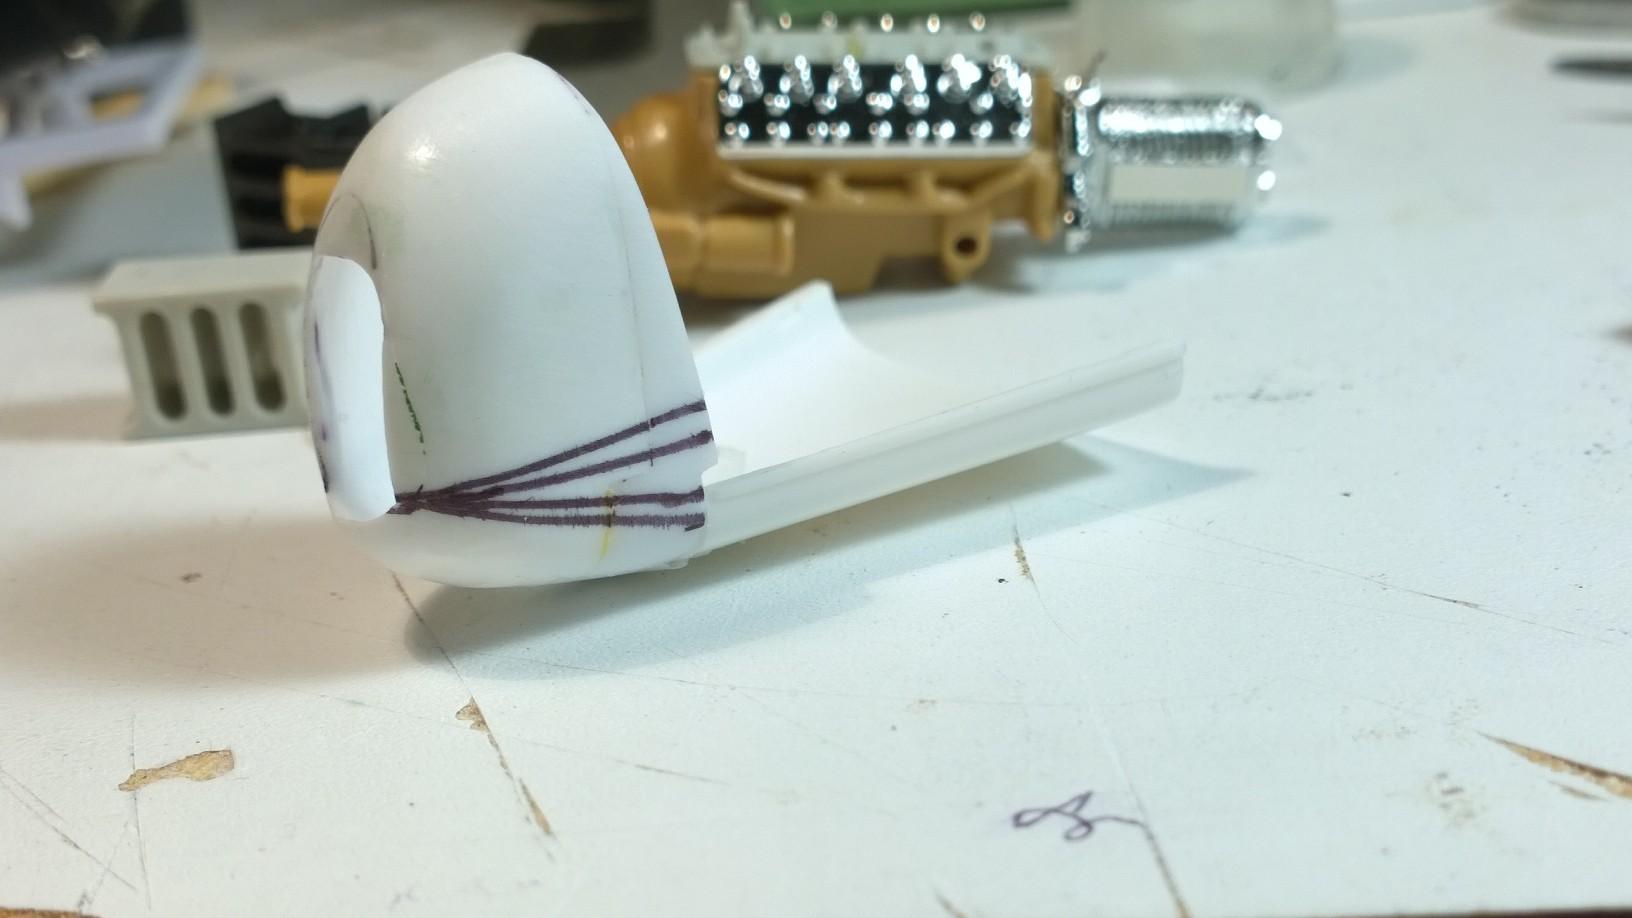
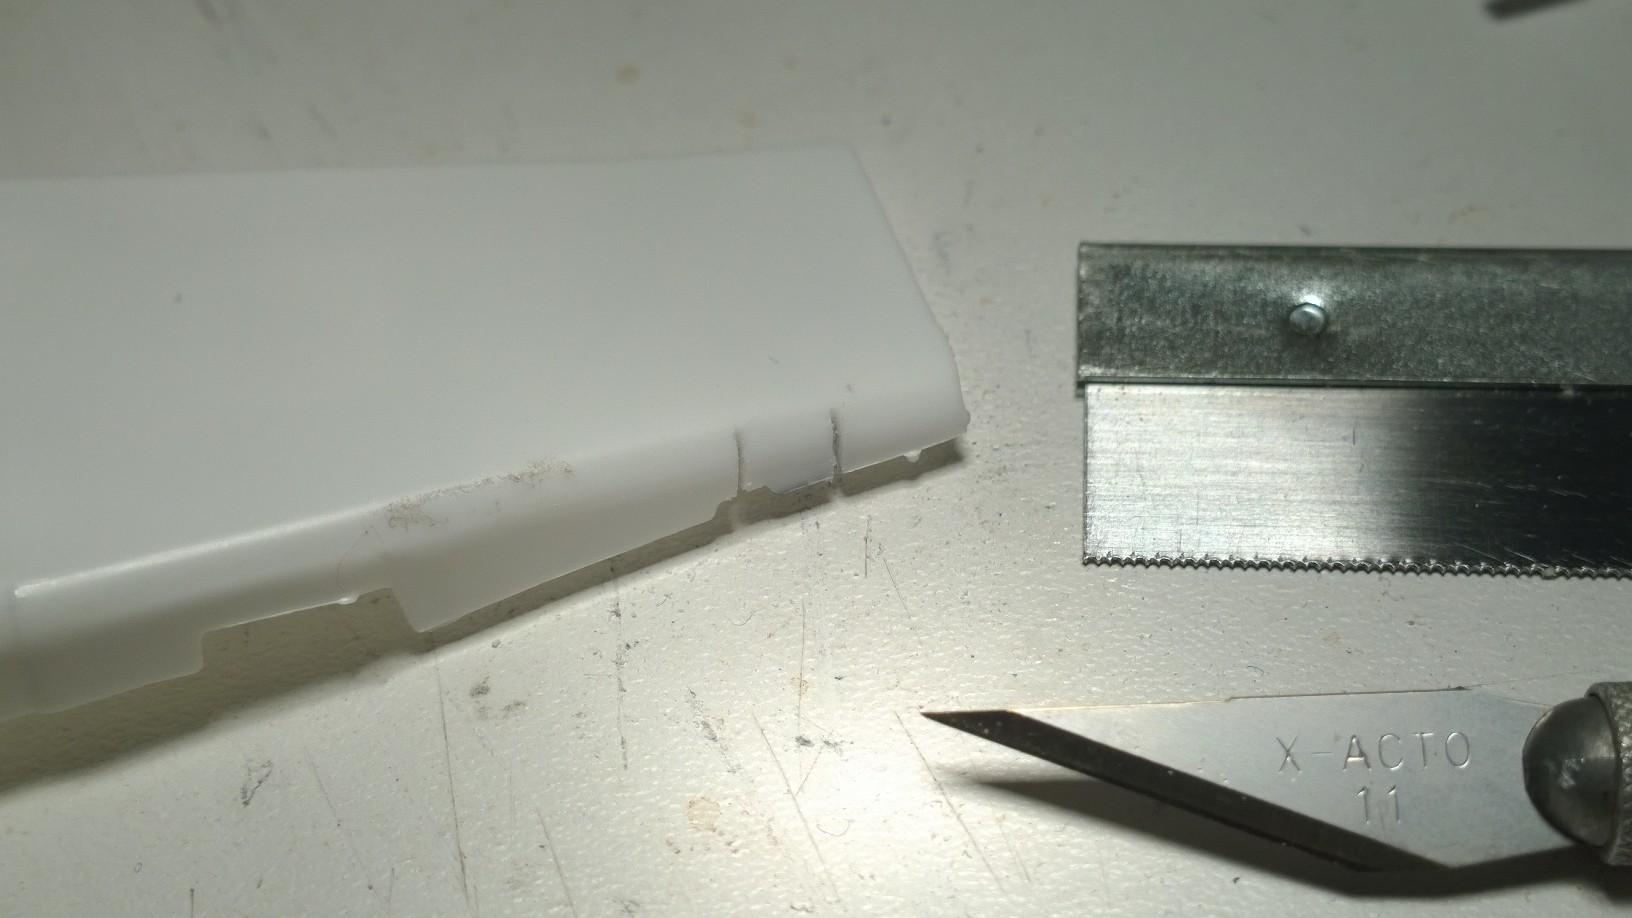
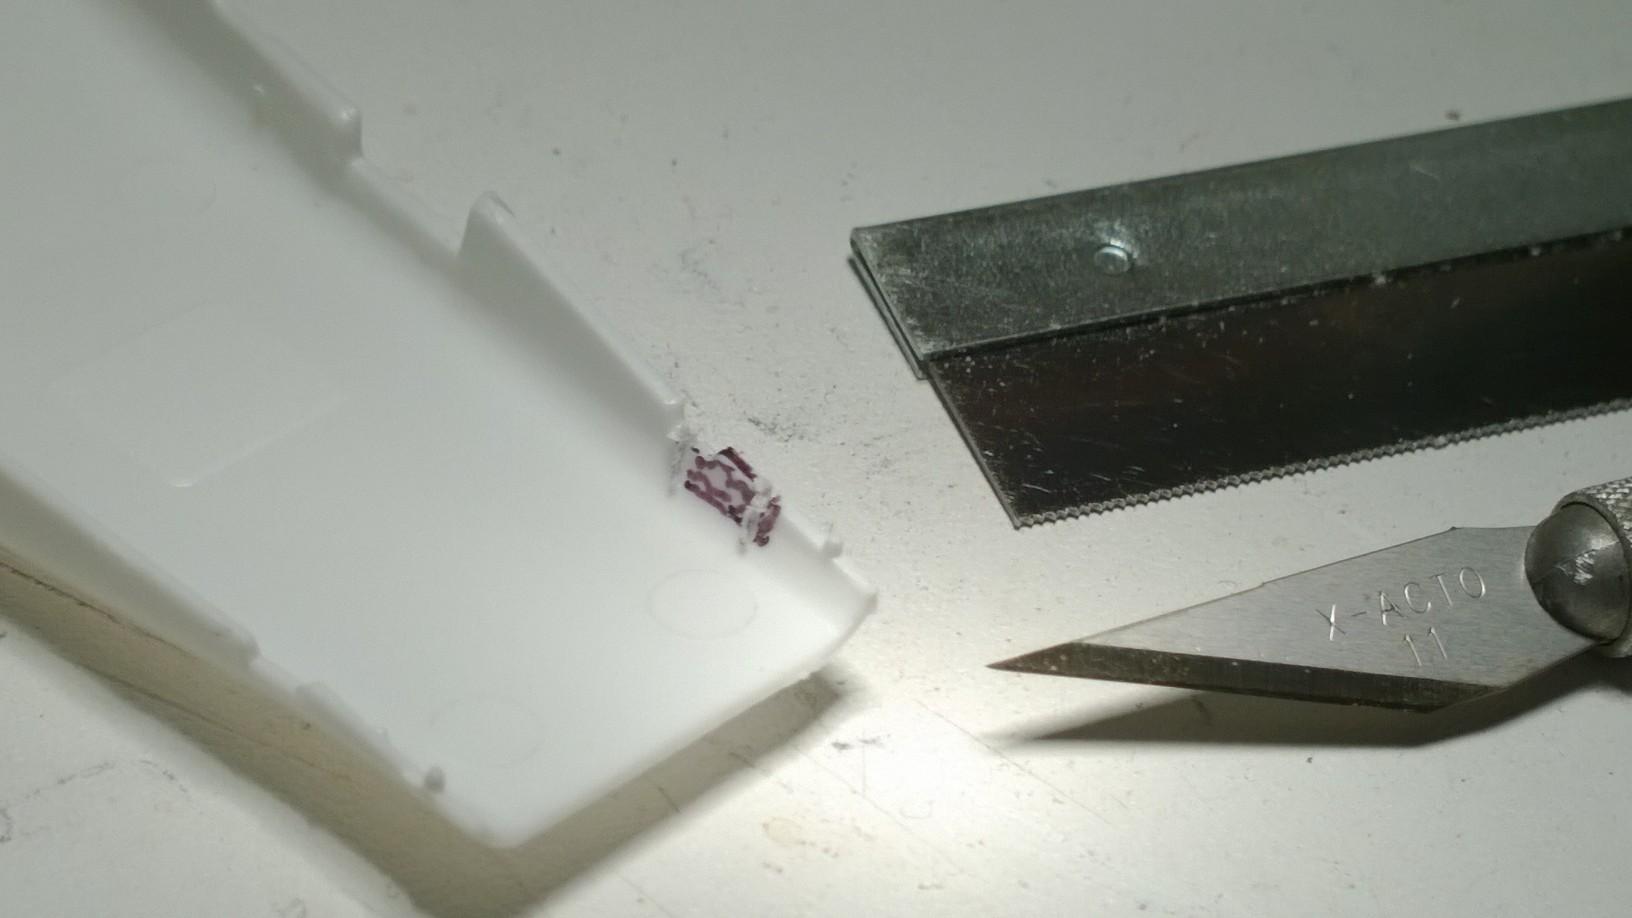
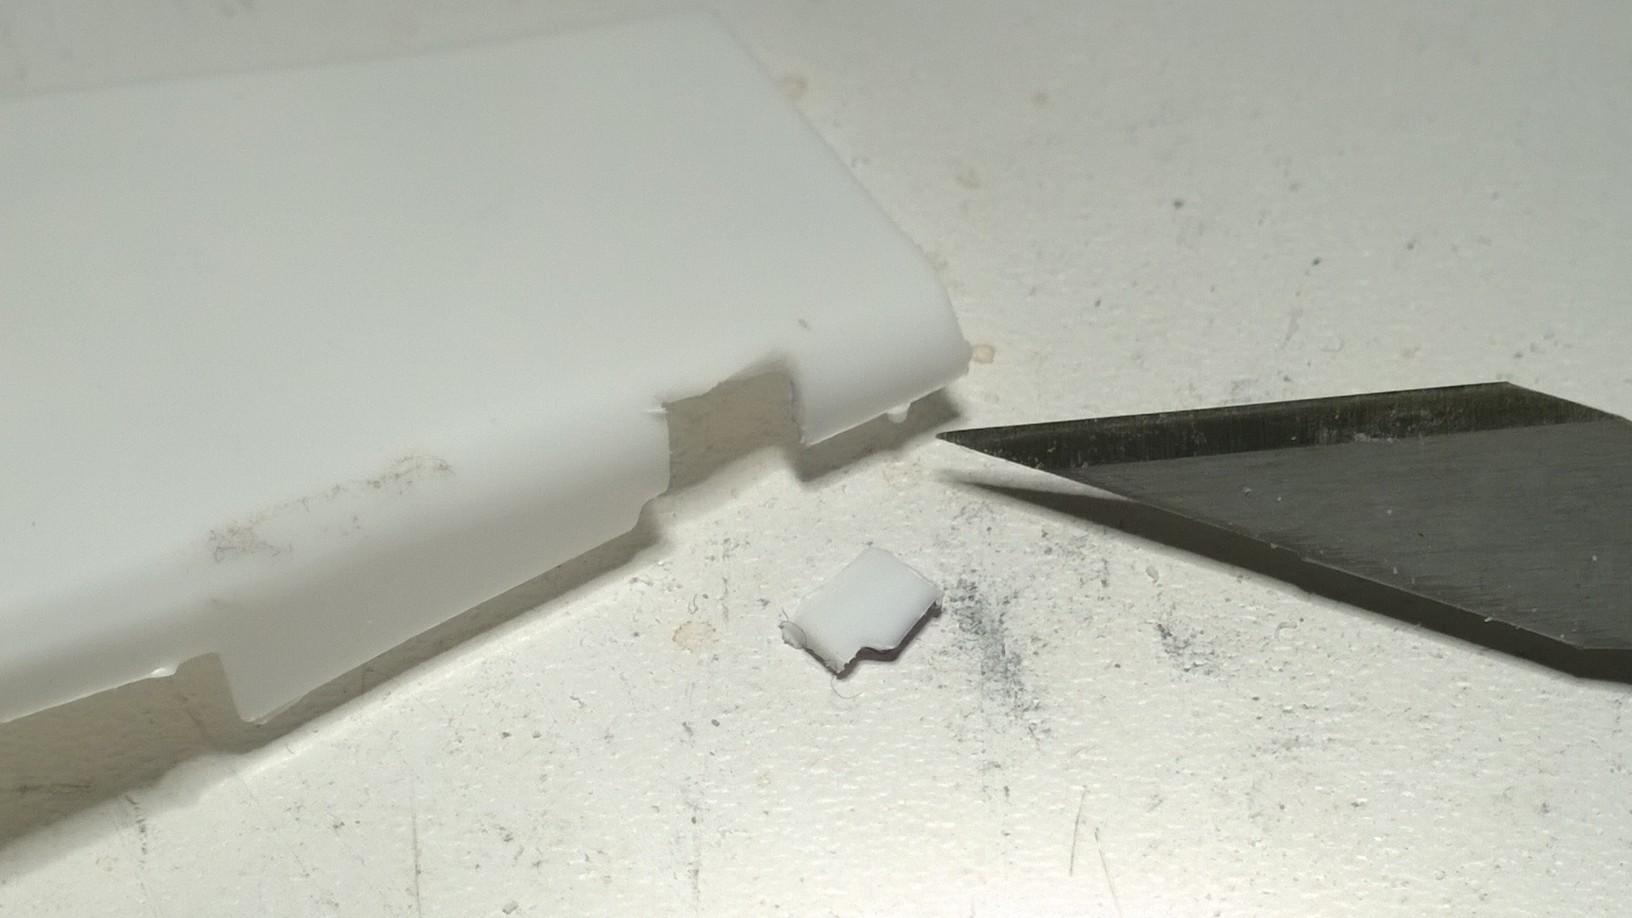
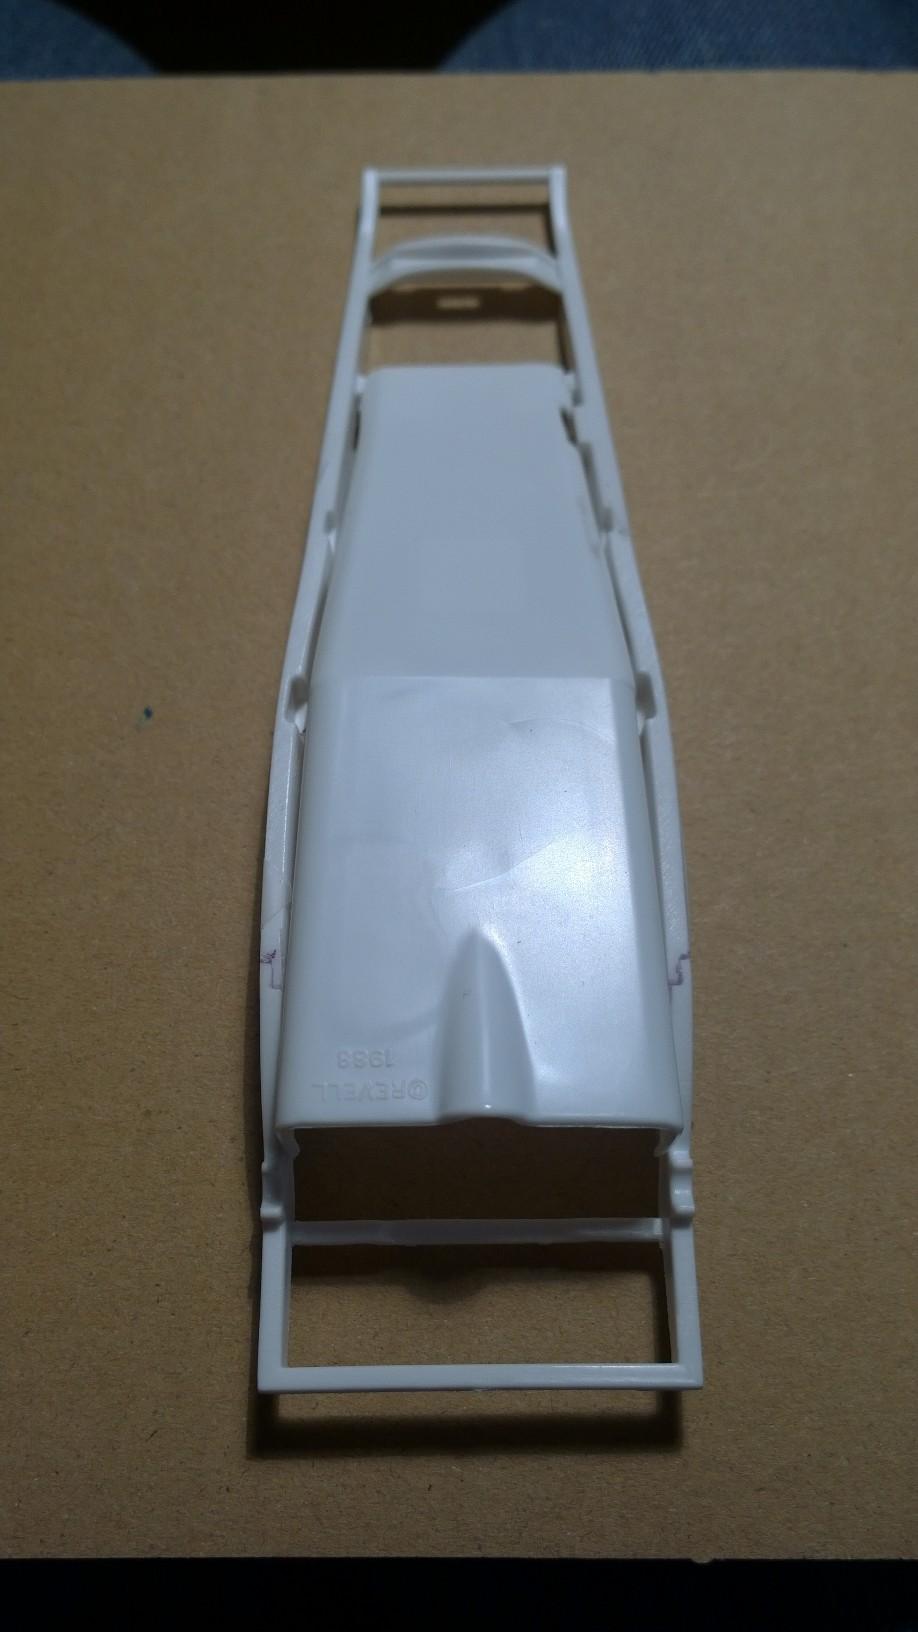
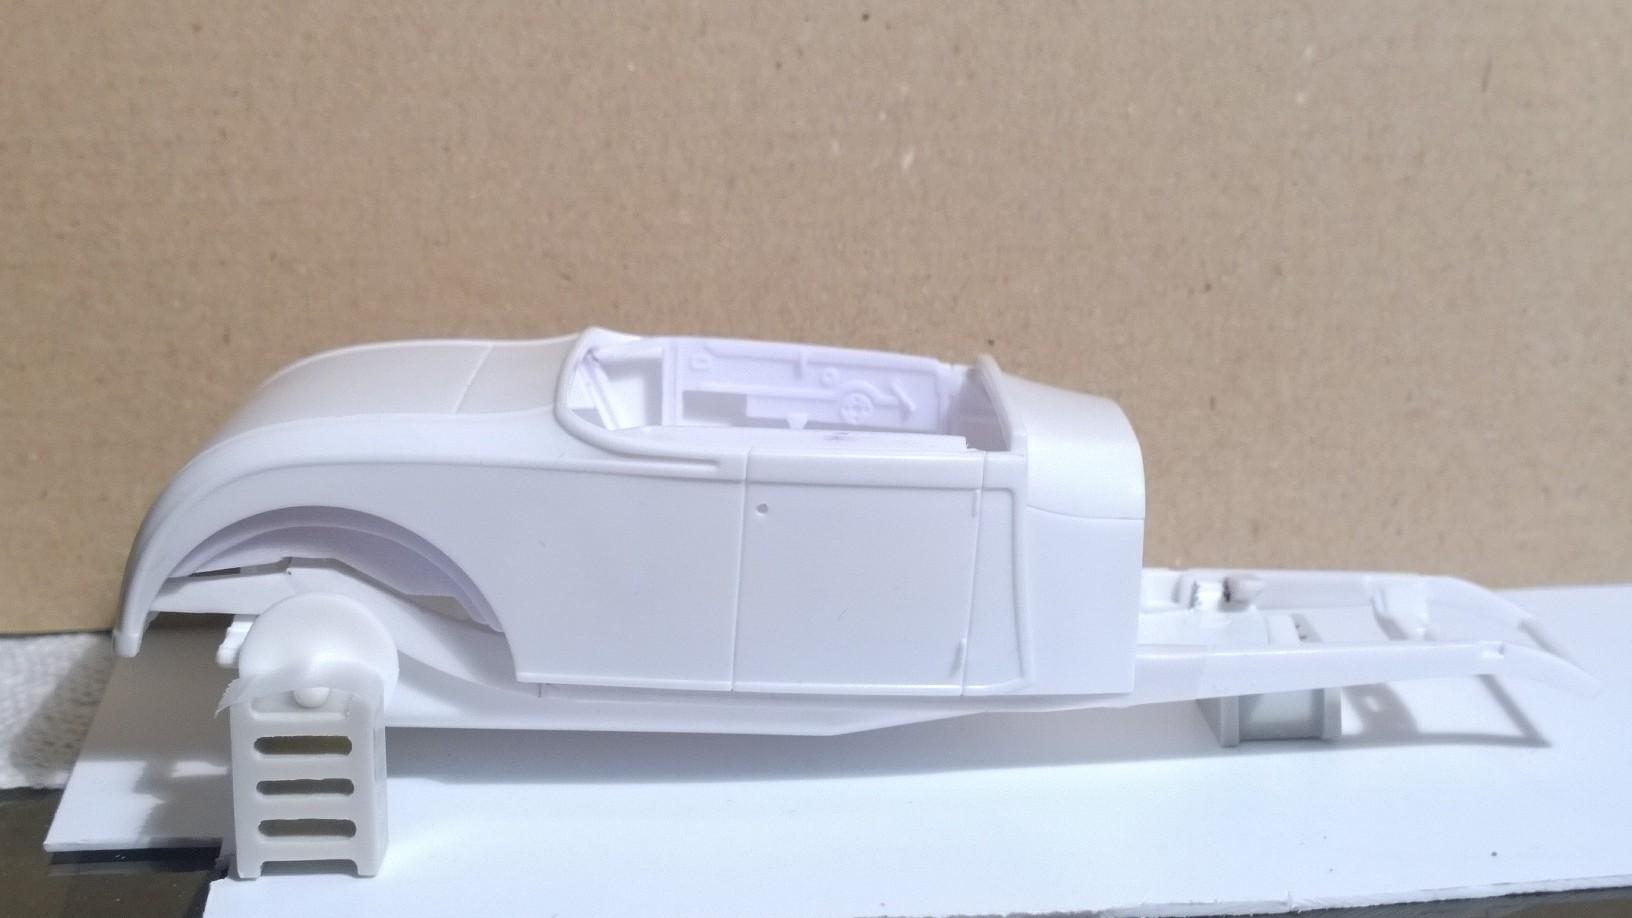
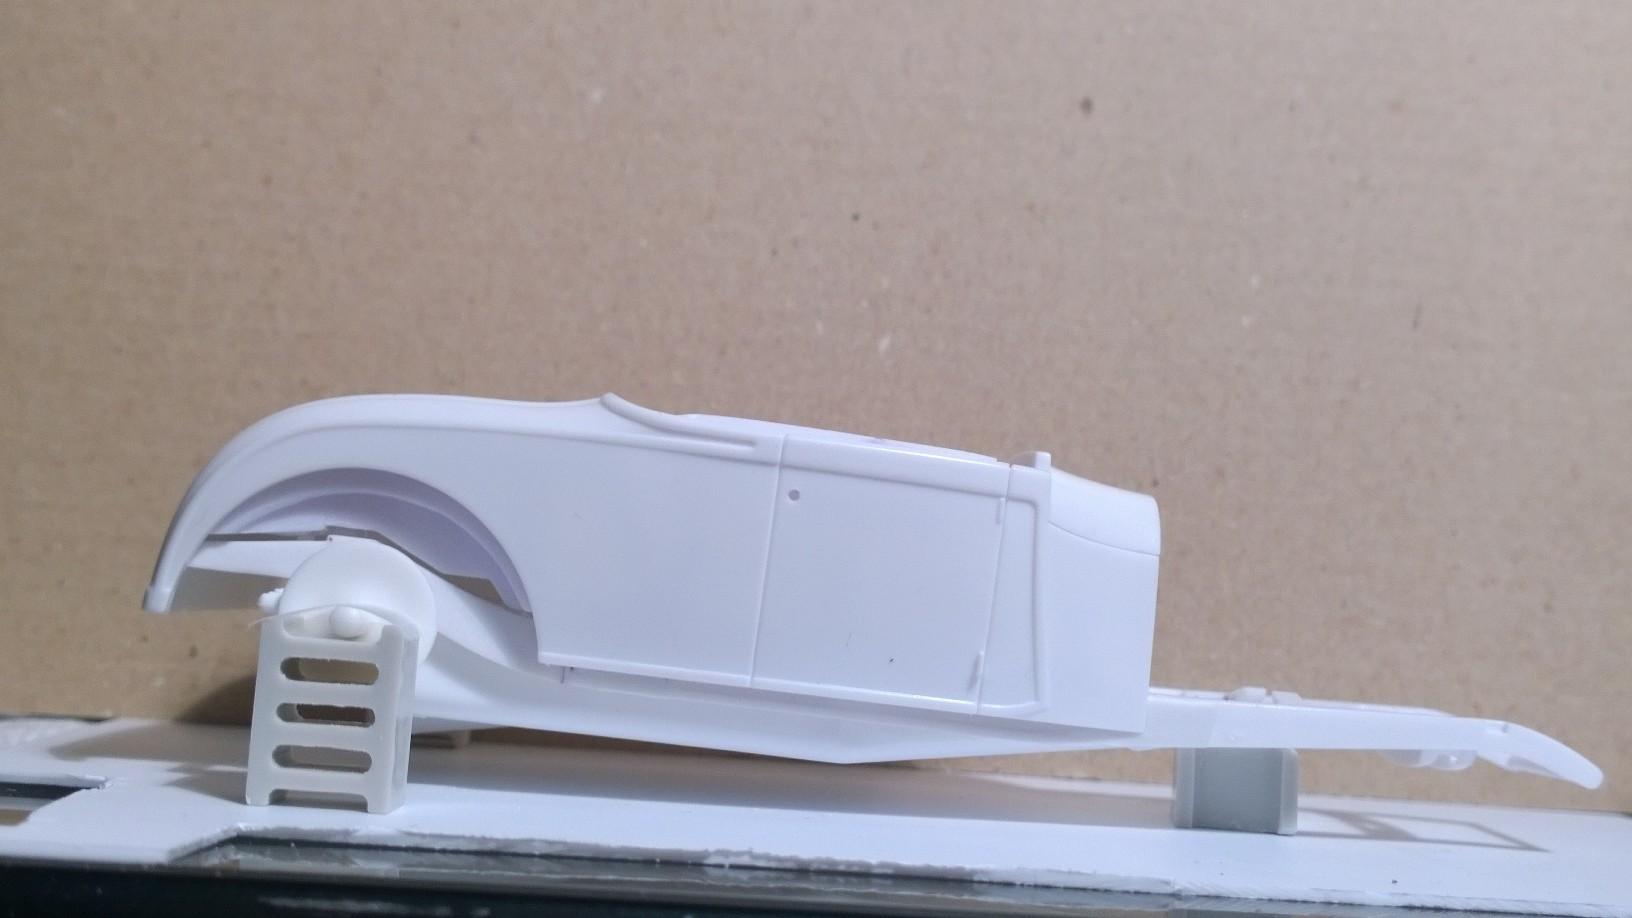
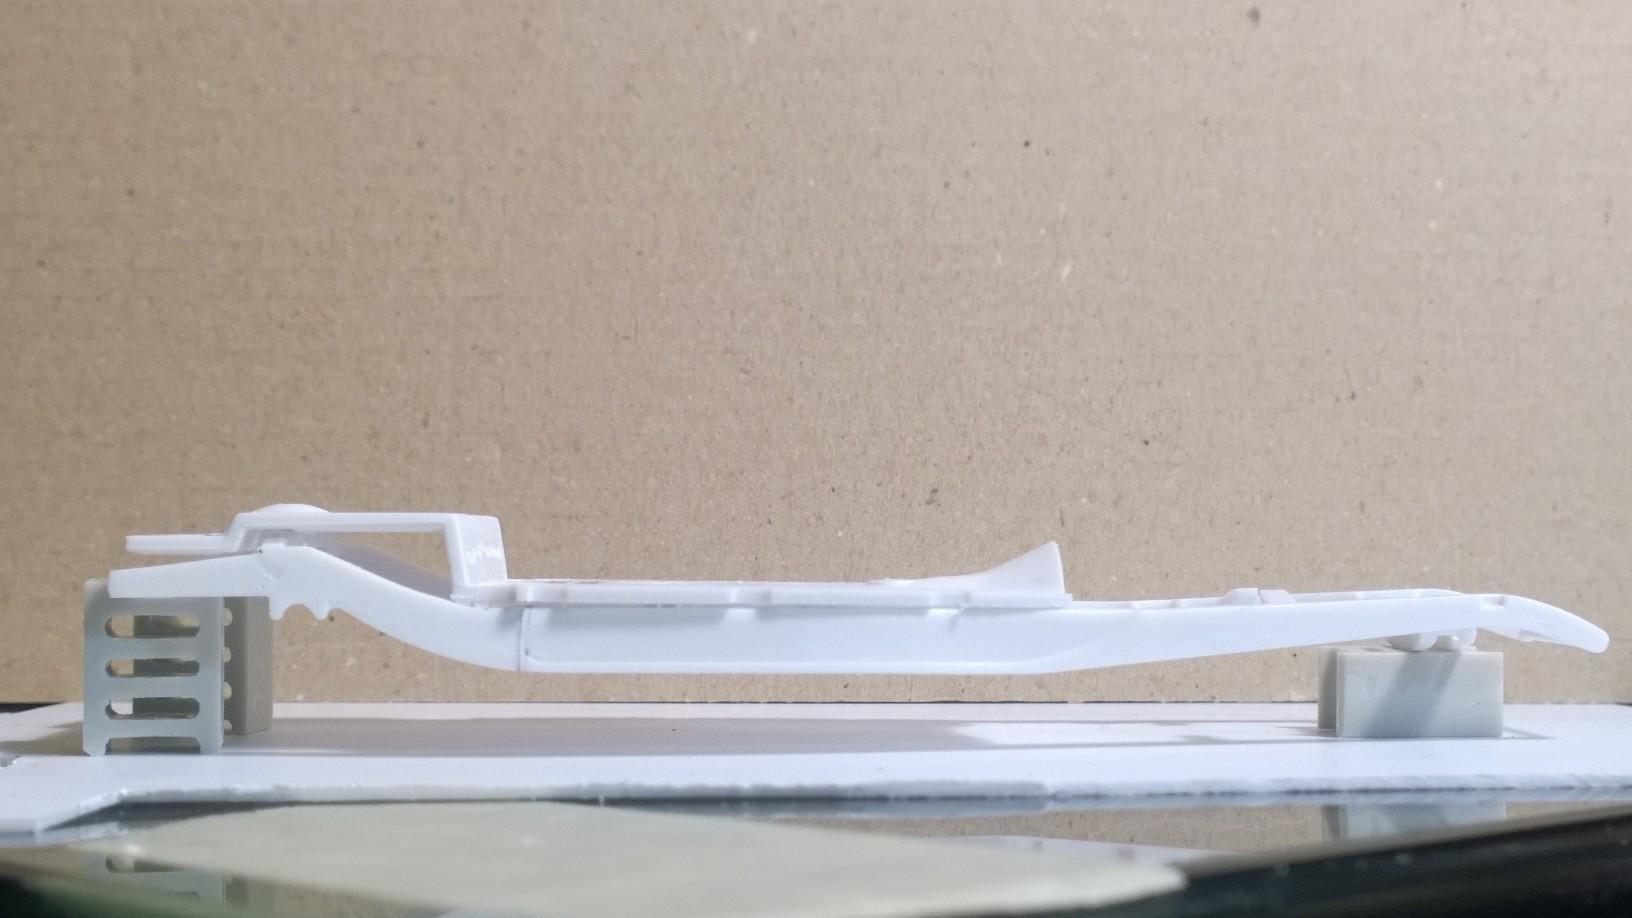
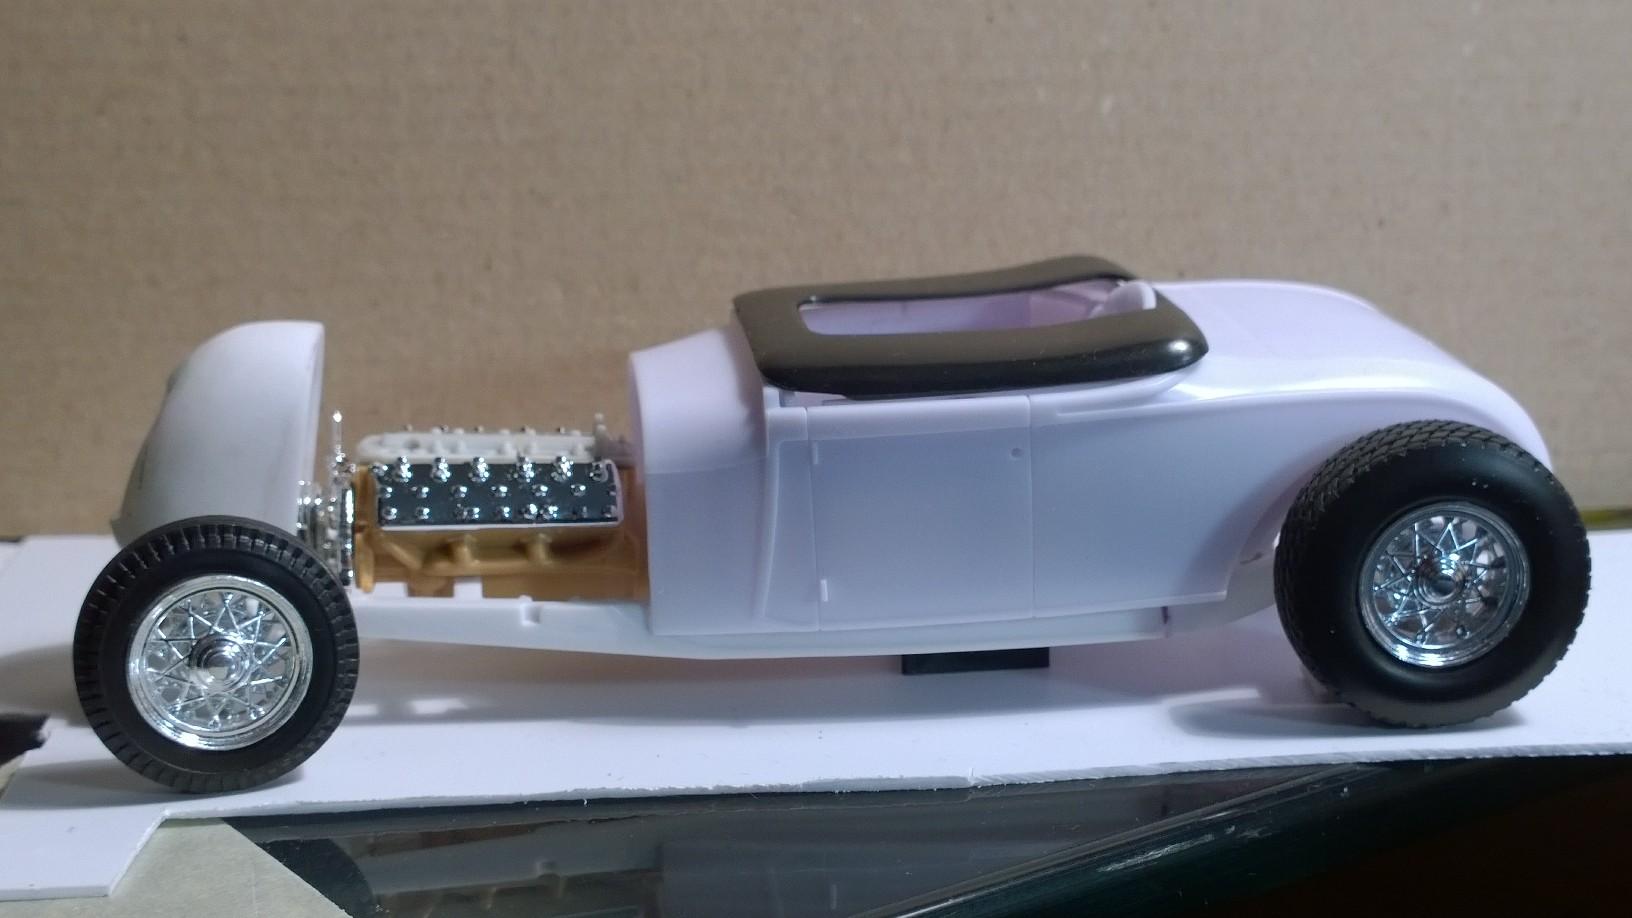
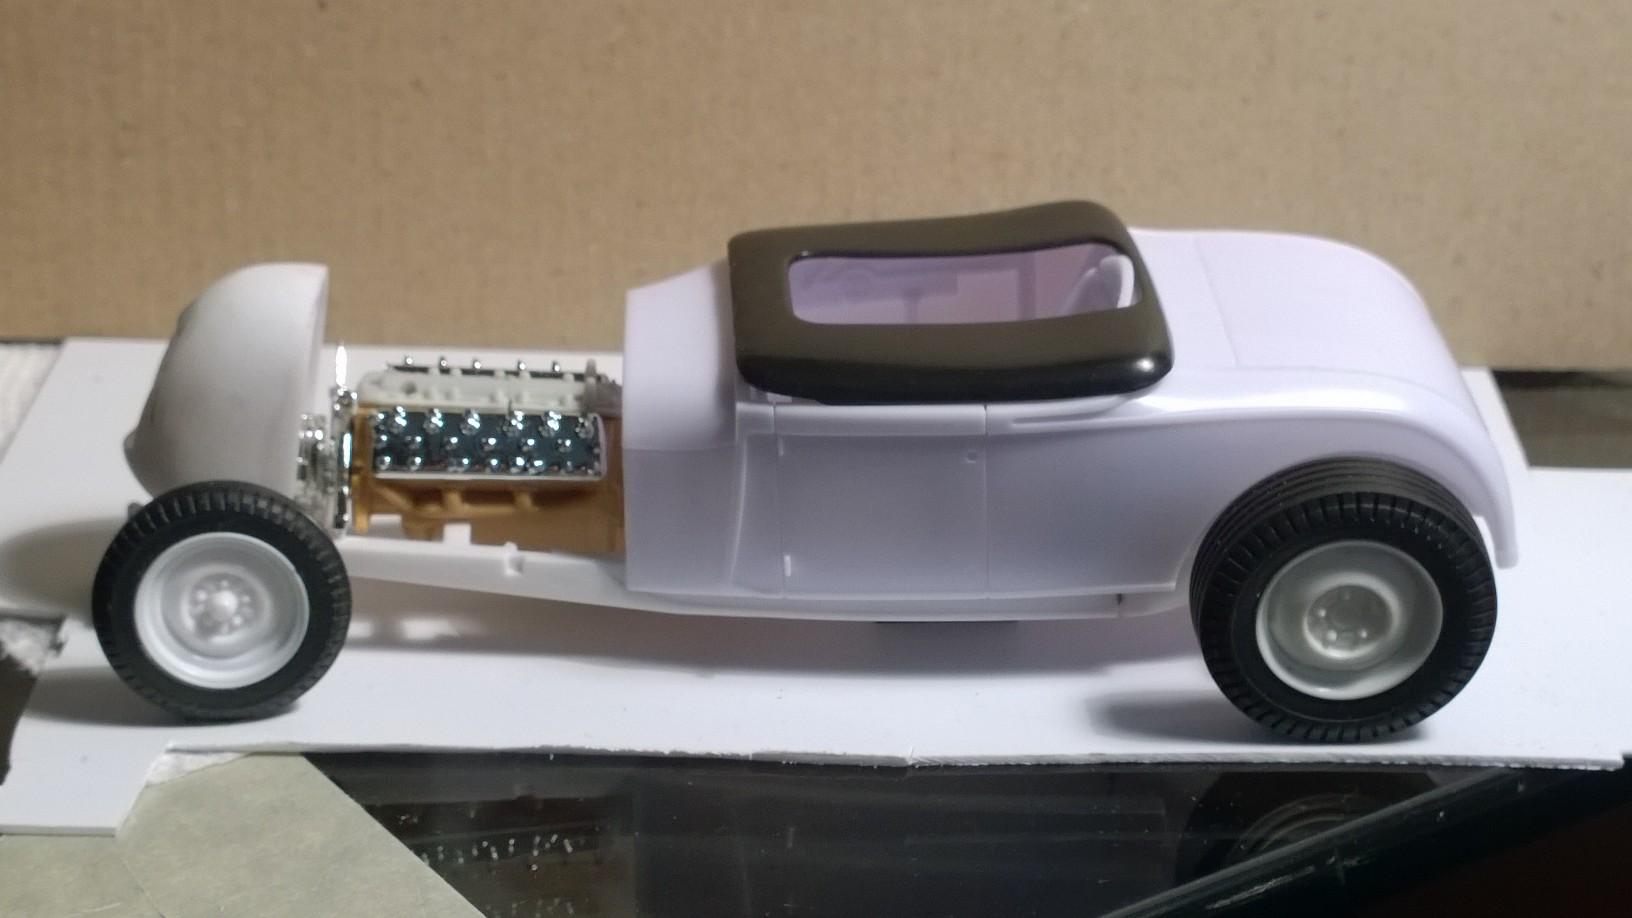
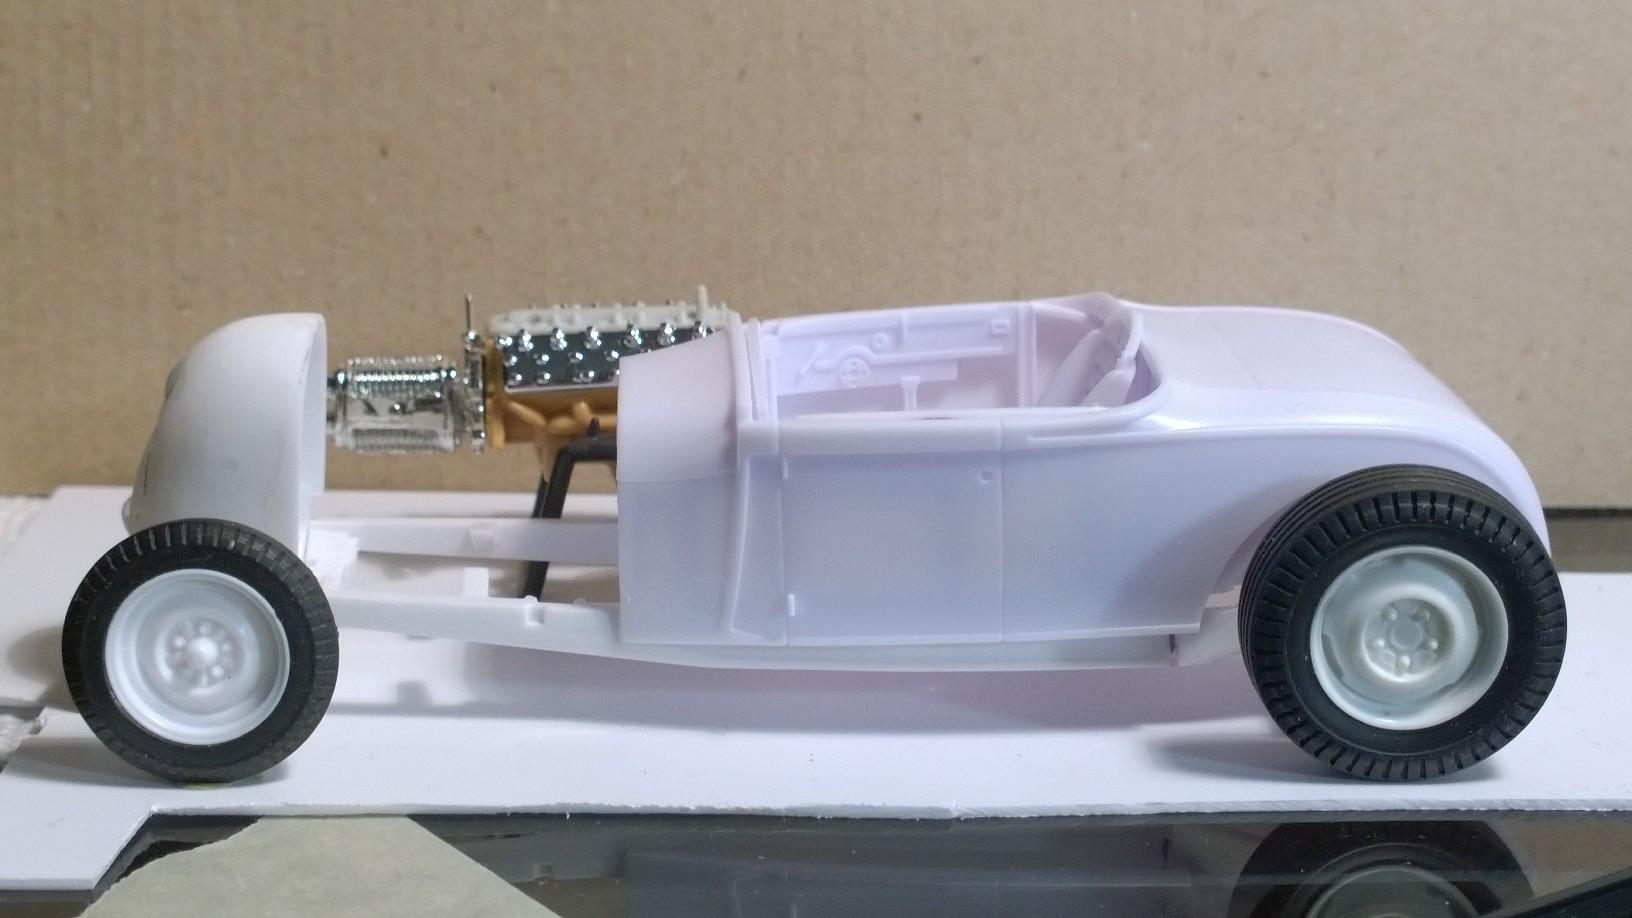
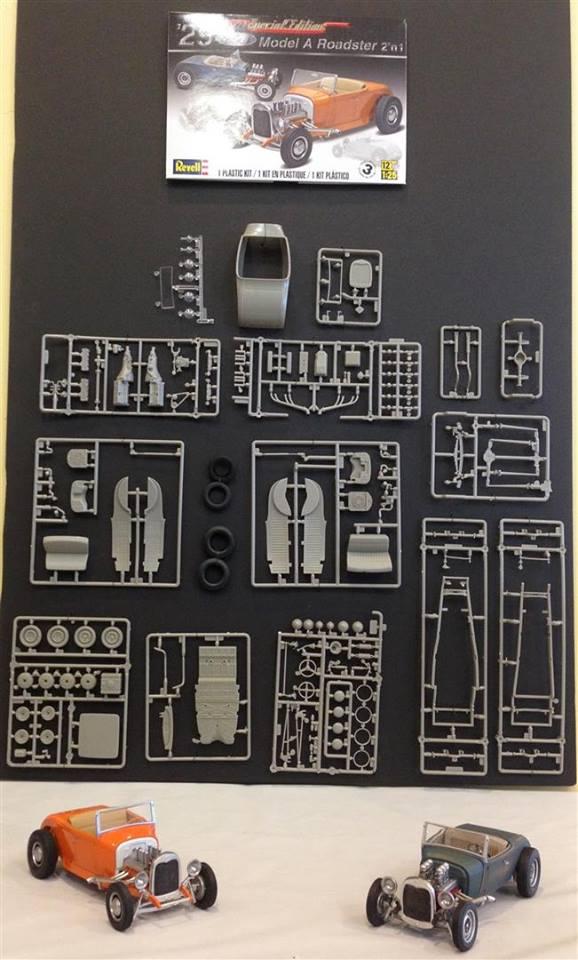
OK, it's down to brass tacks... gotta set the V-12 between the rails: The Front Cover Assembly from the AMT 1941 Ford Woody Street Rod is now providing the front motor mounts resting atop the deuce frame. Due to the current overall height of the track nose, originally from the Revell '29 Ford Roadster/ PU kit, the nose needed to be further modified. Following a couple of different setups, each with a number of scale inches requiring excess material to be removed. A wedge cut will again bring the face of the nose back a few more degrees, that being a good thing! And, by slicing from the back edge of the nose to a single point on either side at the lower forward edge of the grille opening, the second cut would remove enough material to shorten the overall height without affecting the height of the grille opening. Here I intend to leave the line and remove the smaller v-cut area. The wider angle would have taken out too much height, following the old adage: measure twice and cut once! Big difference in attitude and profile! I have to share this, RRR came through with a vintage trailer and I'll keep the rest of the parts on the down low for now! Thanks, Brother! Oh! And ADL for chipping in and shipping a brand-new Rat Roaster TKO500 Transmissions all the way from the left coast for the '29 Track Nose build! Thanks, Bro! I'll leave you with this: the '28 XPU pulling the '29 Track Nose on the old-style single axle trailer all with open wheels?!. -KK

-
Outstanding, Brother! As with others following your expert hand at work... I too will be anxiously waiting for the next episode in the wonderful tail of the ol' '66 SS of days long gone and patently waiting its renewed debut from the bench of a hands down great model car builder! Thank you for being my friend for the past three decades! -KK
-
I honestly wonder sometimes, that if you had your own 1:1 Rod Shop RRR, would this be your signature style Model A Coupe "Show & Go" Hot Rod build?! . -KK
-
1990 Mustang LX - SVT Cobra DOHC Powered! UPDATE! 1/22/23
Kit Karson replied to Dennis Lacy's topic in WIP: Model Cars
Big Tach - Little Tach - Factory Tach - Hooray! In a model car even the least notable detail is not left untouched. To the model viewer the size of the tach(s) is only caught by the corner of their eye and seeing any amount of model detail, even to the untrained eye, is the difference between a model built absolutely box stock and one with modified points of interest throughout! Not every kit comes with a big tach... think about it. Notwithstanding the amount of knowledge and reference material being drawn on in the construction of this pony car, but also the flavor of having your own 1:1 pony car is outstanding! Having owned a number of Mustangs from a '66 Six w/3spd Coupe with sequential T-Bird taillights to a '68 Shelby KR500 Convertible. Wait, a '69 351 Windsor coming in last. Got to drive @Rocking Rodney RatMustang shortly before he rolled it;-( Can you imagine how much fun it would be to drive ADL's SVT Cobra DOHC Pony Car?!. Keep watching because with what we've been left preview to thus far... the future of this pony car build is in excellent hands! -KK -
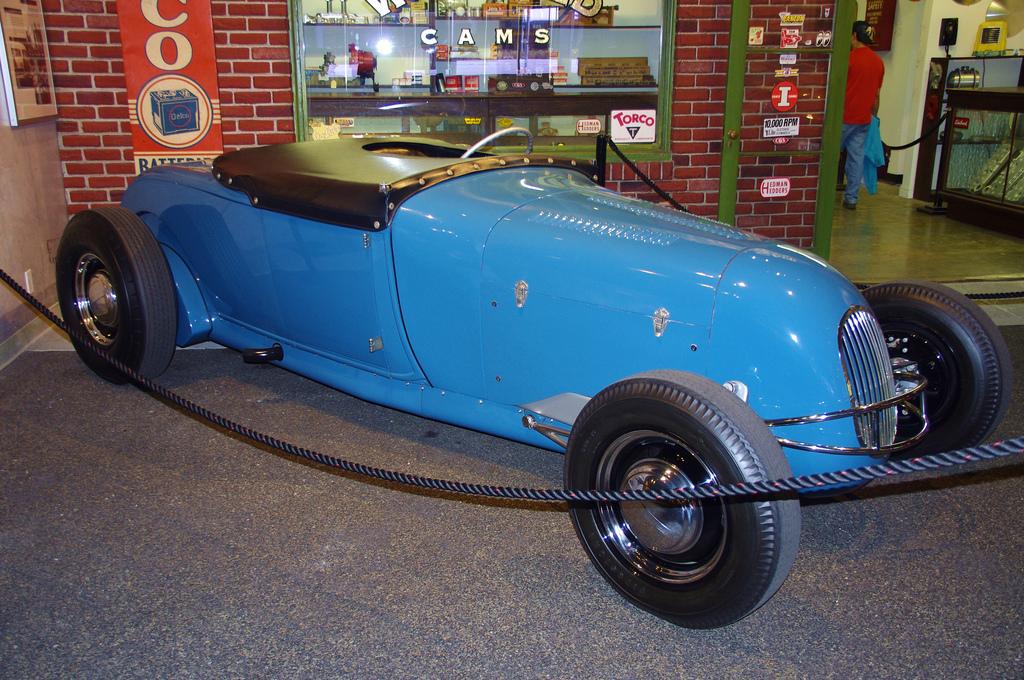
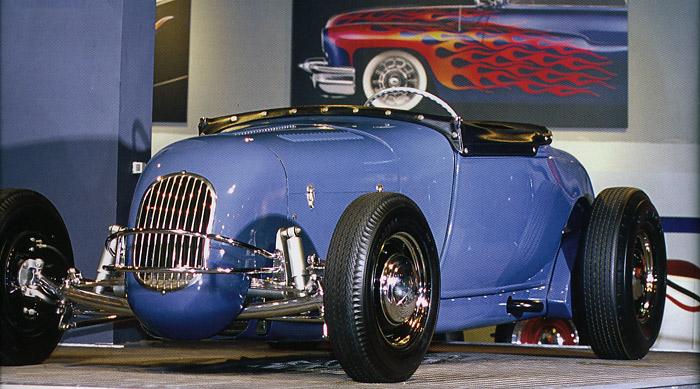
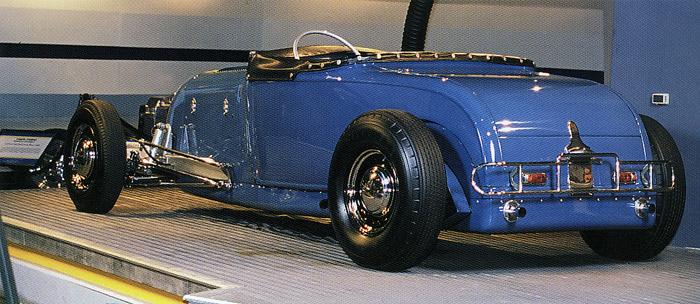
I will defer to the Niekamp '29 Roadster: Need I say more? -KK
-
1963 Chevy Nova Wagon Street Rod FINISHED 3/20/22
Kit Karson replied to Dennis Lacy's topic in WIP: Model Cars
Cup Holder! Where's the Cup Holders? Otherwise, what the... so impressive and right on the edge of being "OVER THE TOP"! -KK -
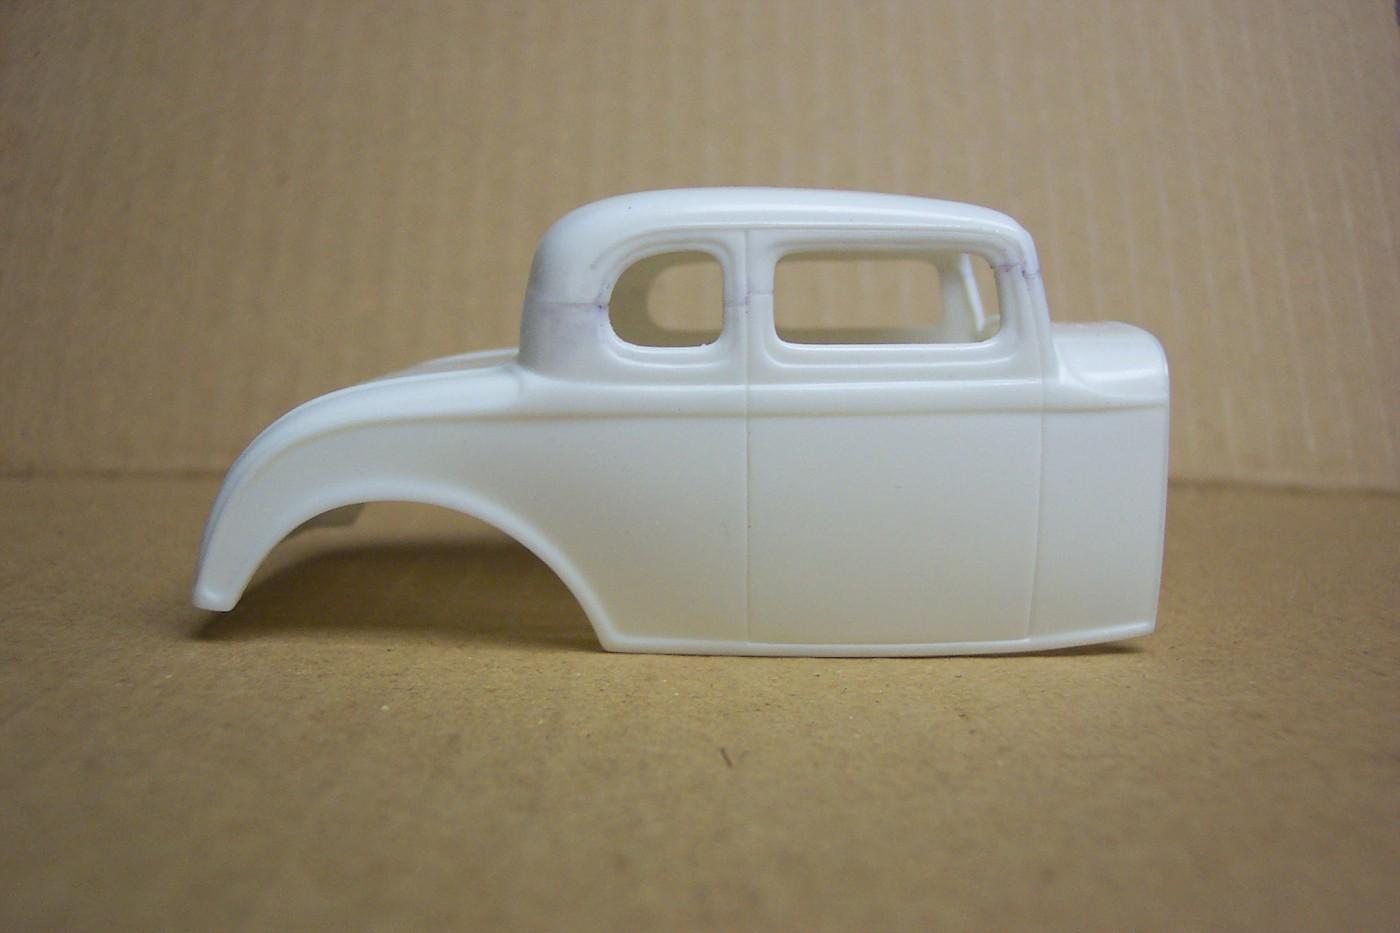
Steve, RRR & I Have chopped a number of tops and kinda documented each of them, here's the Revell '32 Ford 5 Window Coupe: K&R Kustom+Rods '32 5ive Window Rolling Bones Chopped Coupe Third Cut the C Pillar to the Back Lite but not all the way through untilthe otherside has been cut to the same point Blacken the C Pillar Cuts for Sanding to Create a Flat Even Surface Check your progress to make sure you do not remove too much material Sand the Surfaces to Make Them Flat Even Test Fitting again took out one more inch... '32 5W Chop Job - Step Cut the A Pillars Right & Left '32 5W Chop Job - Step Cut the A Pillars '32 5W Chop Job - Step Seven Set Alignment Blocks to the inside of the Pillars '32 5W Chop Job - Step Seven Back Lite Opening '32 5W Chop Job - Step Seven Left Inside '32 5W Chop Job - Step Seven Right Side '32 5W Chop Job - Step Seven Left Side https://public.fotki.com/jferren/rolling-bones-style/ Here the AMT '34 Ford 5 Window Coupe: https://public.fotki.com/jferren/34-5ive-window-heav/
-
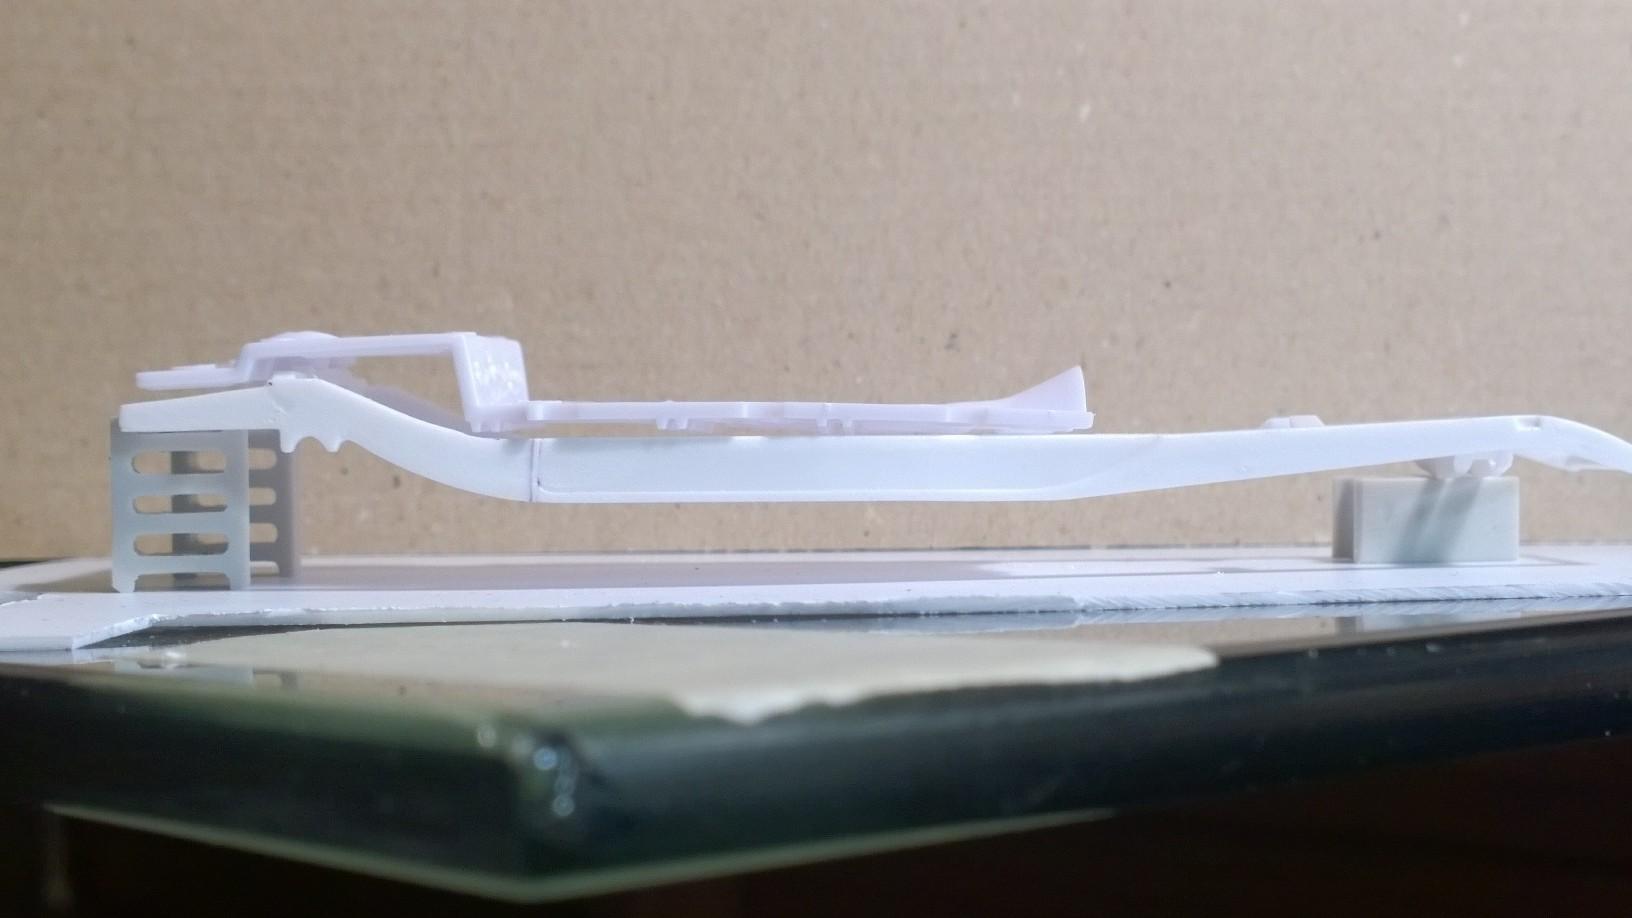
'28 XPU Frame Mods being considered... This is intended to lengthen the frame... then the Z height will have to be determined... -KK
-
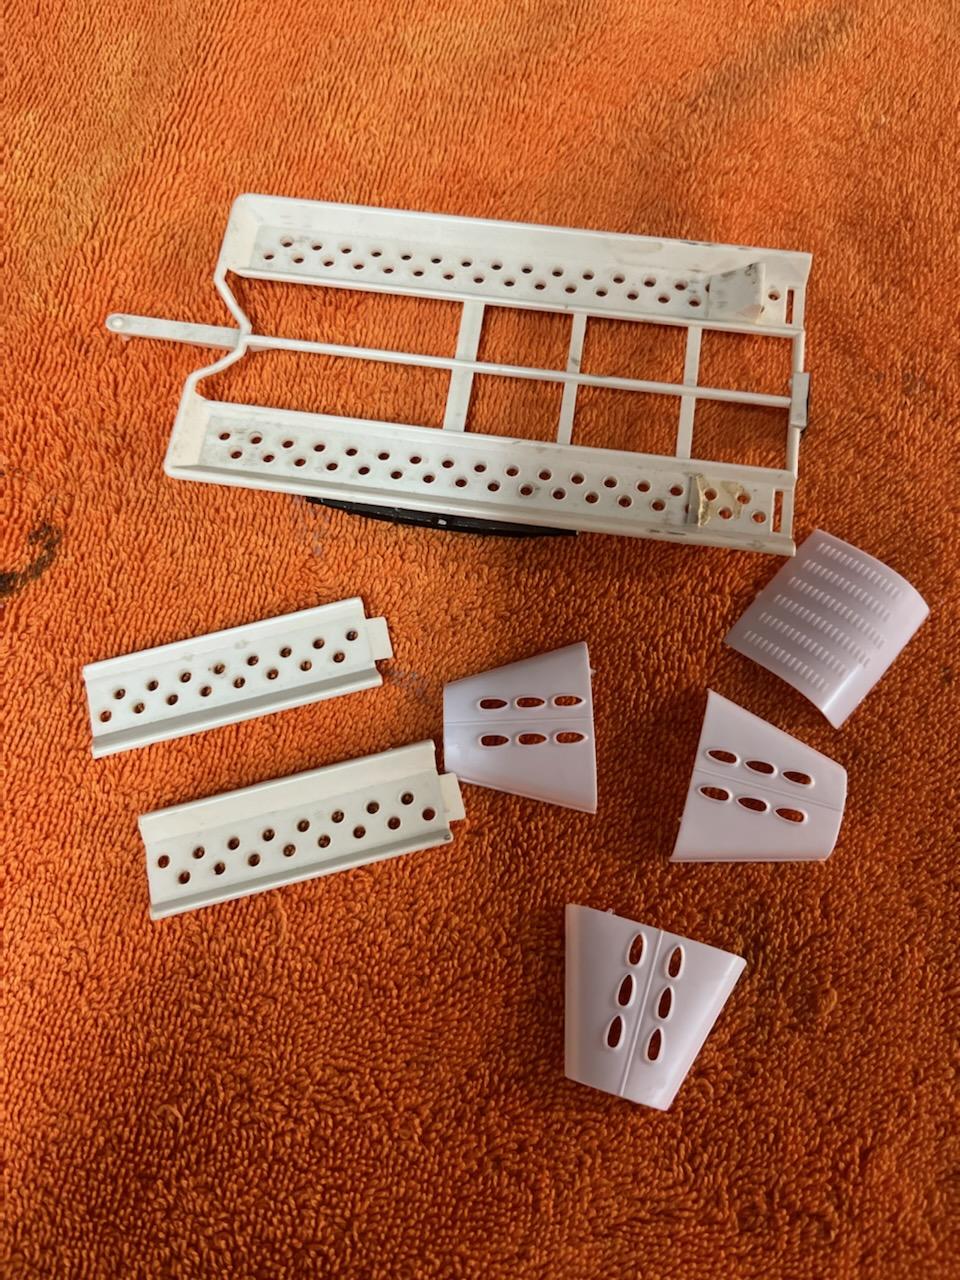
Had a thought about the easy belly pan method: Thought I'd toss the '41 Lincoln rear end under the rear end... Slipped the Revell Orange Crate Belly Pan between the narrowed Deuce Rails: Almost fits! Need to cut out around the steering box mount: Couple of cuts later... Nice simple way to add a belly pan under the Roadster! Either way you look at it... it fits (even with a little room for movement): From the side... and a little tilted: but you get the idea. -KK ps Or should the pan be located on the outside of the frame?
-
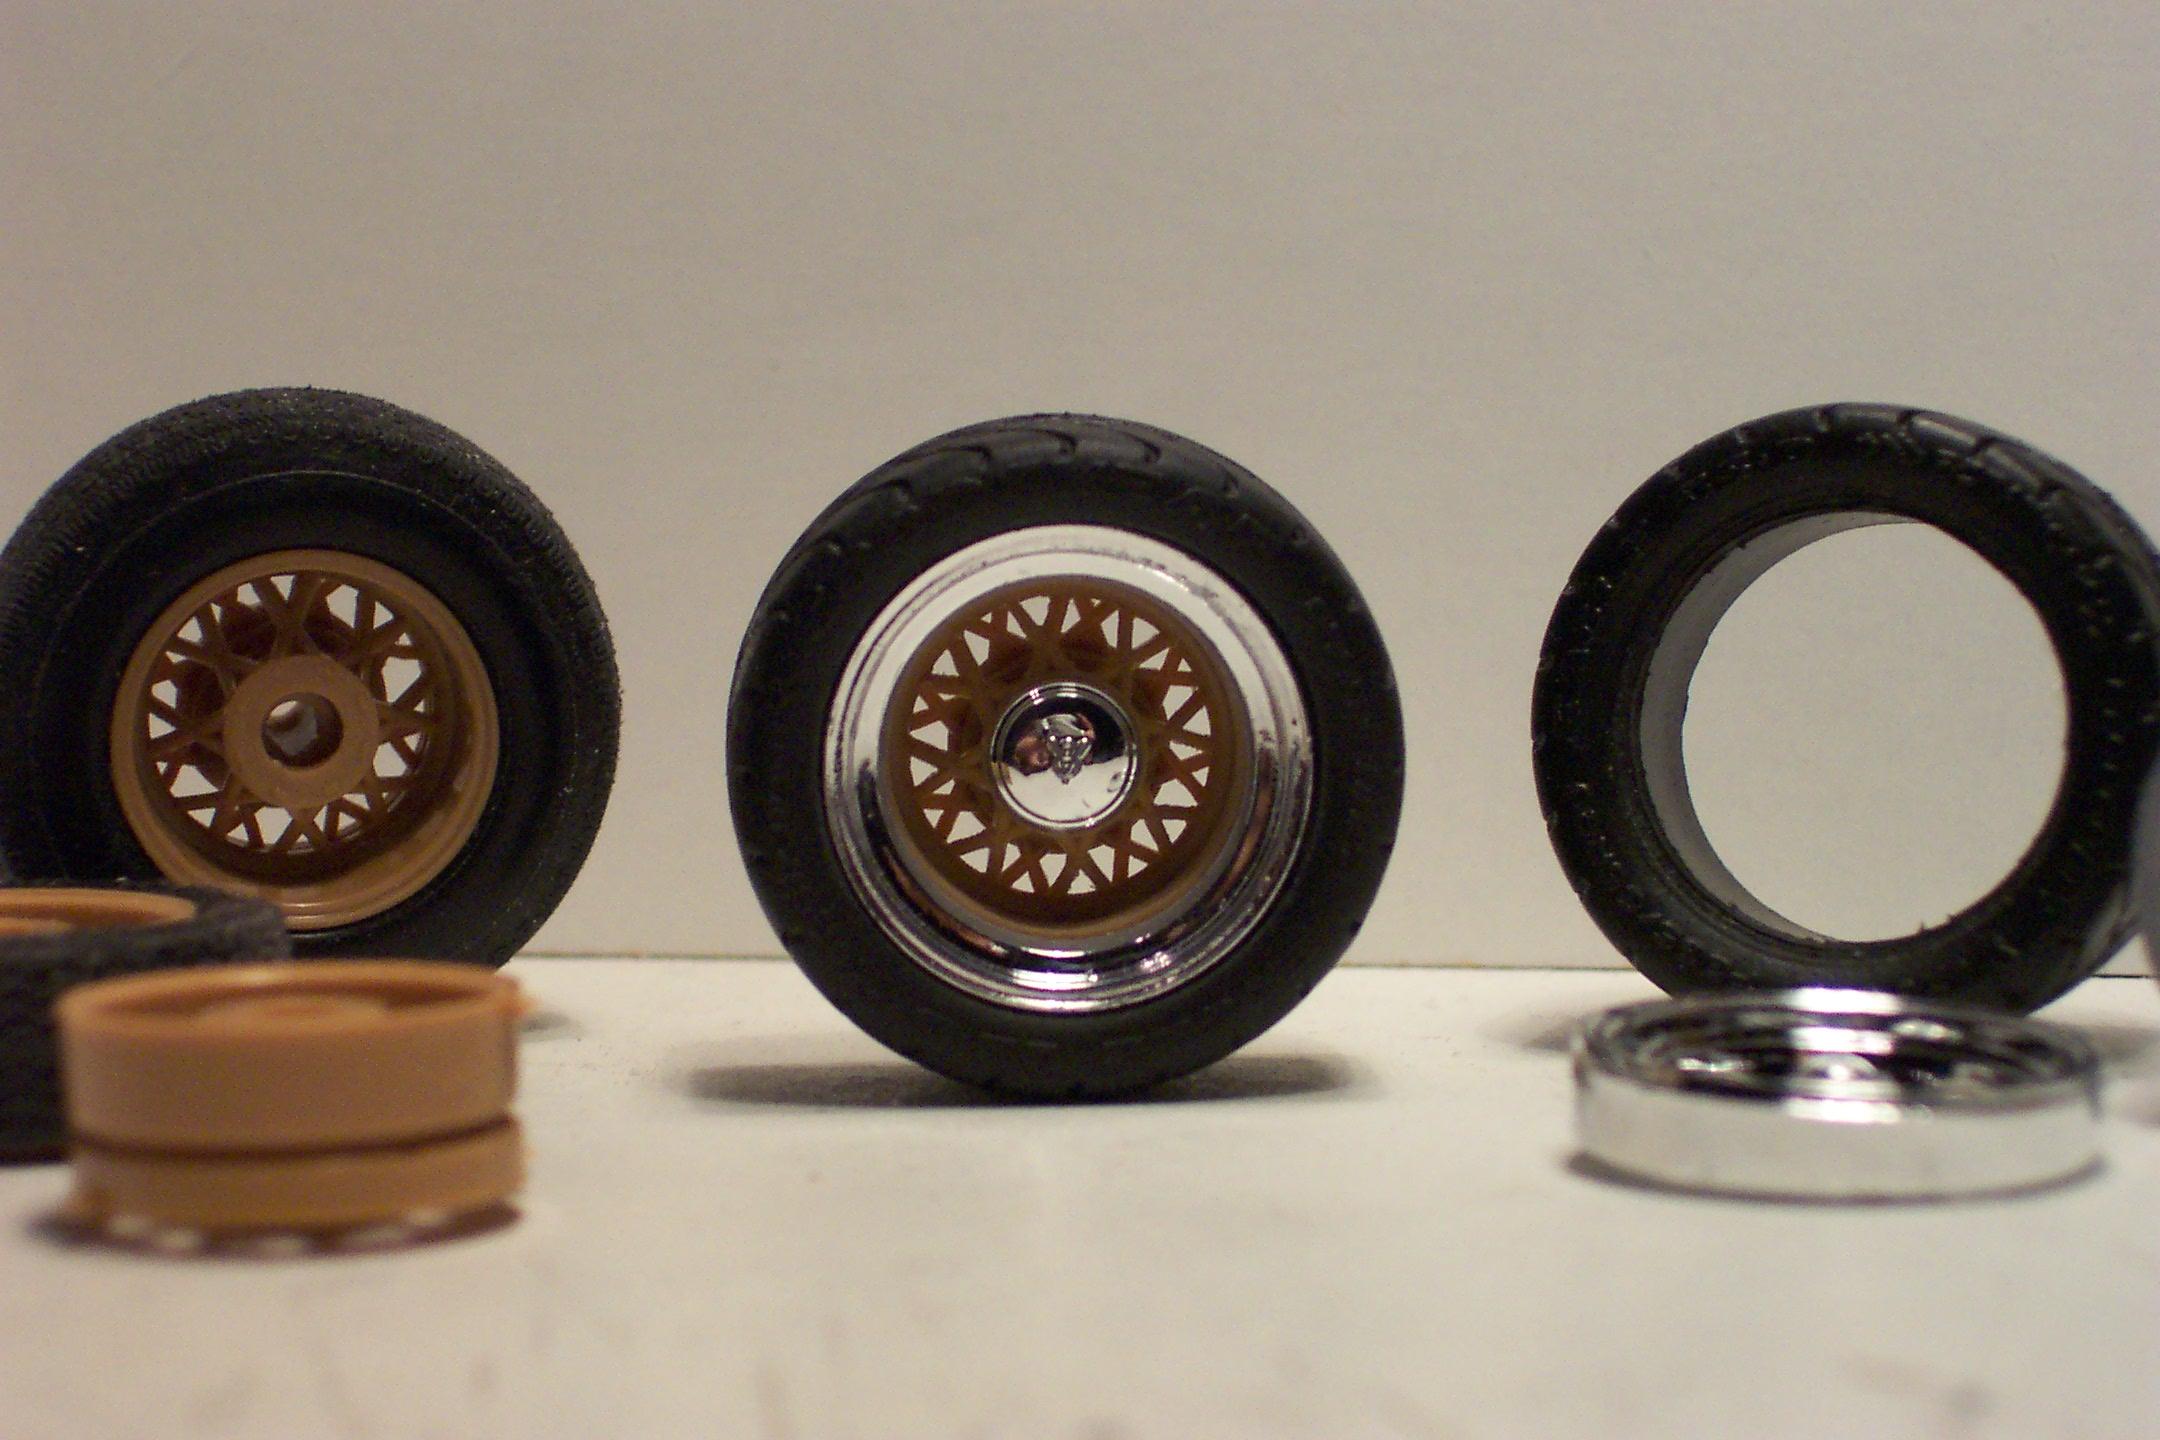
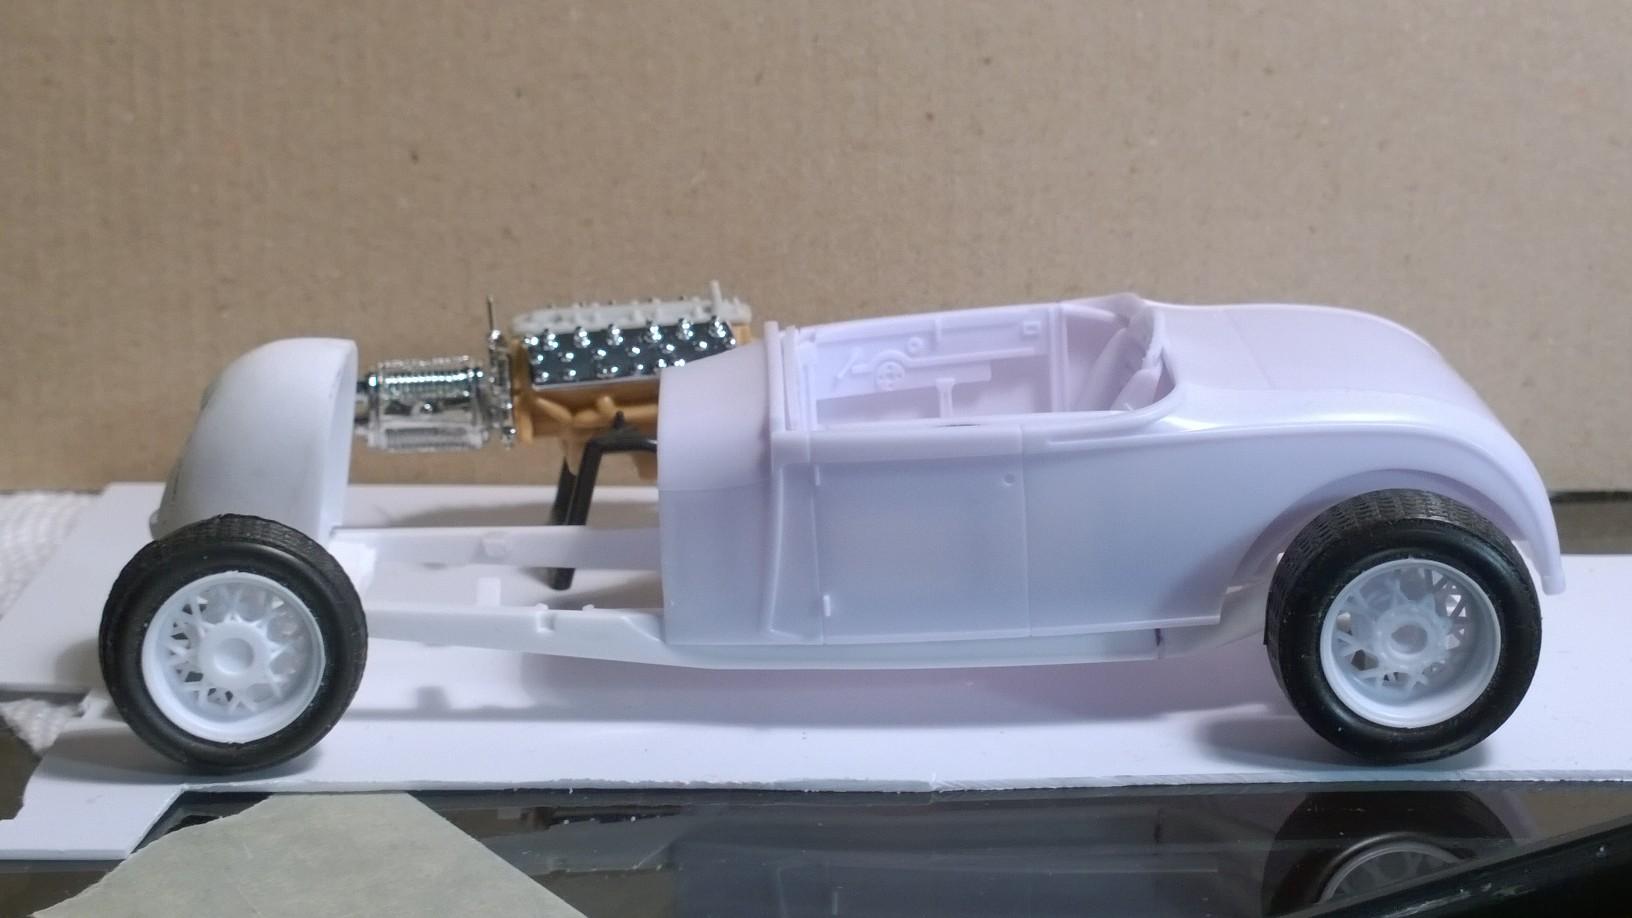
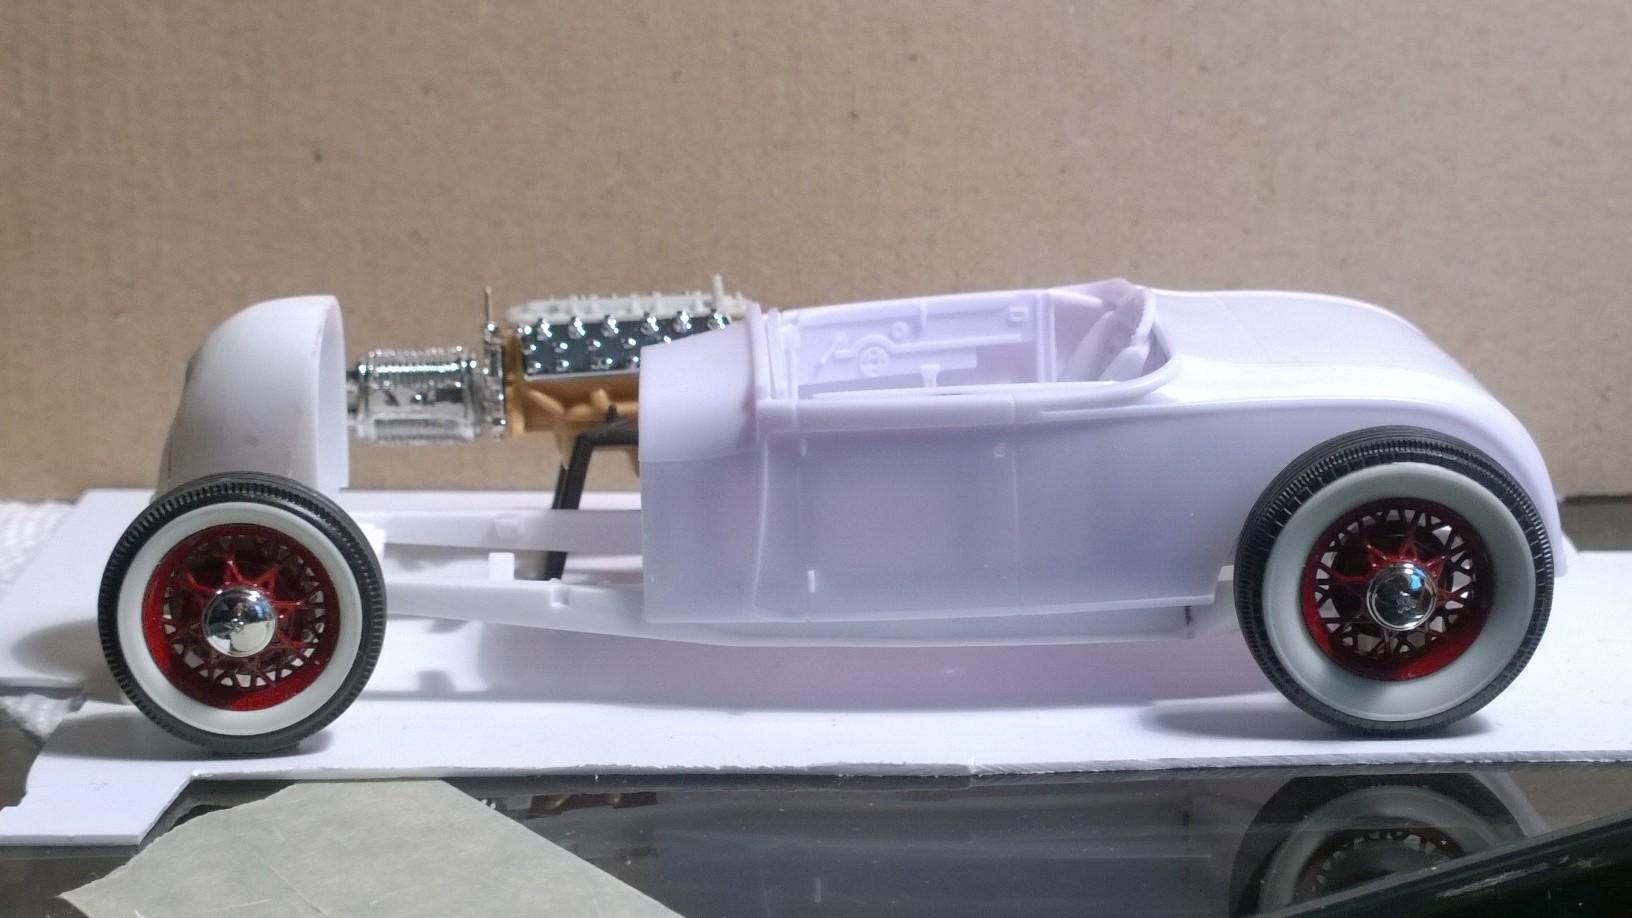
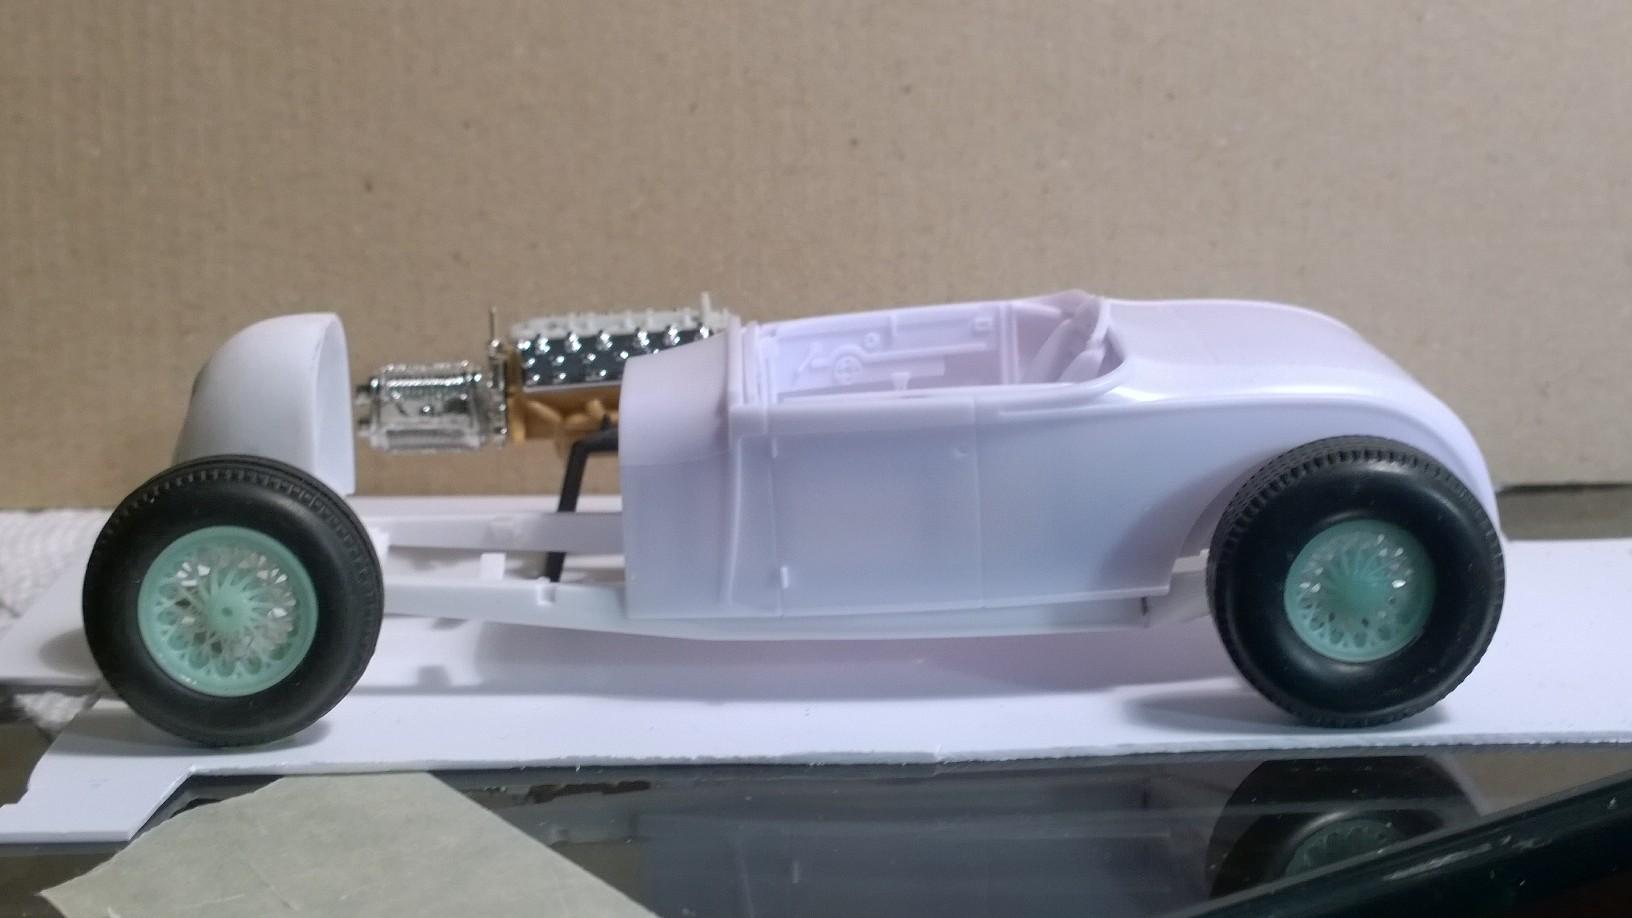
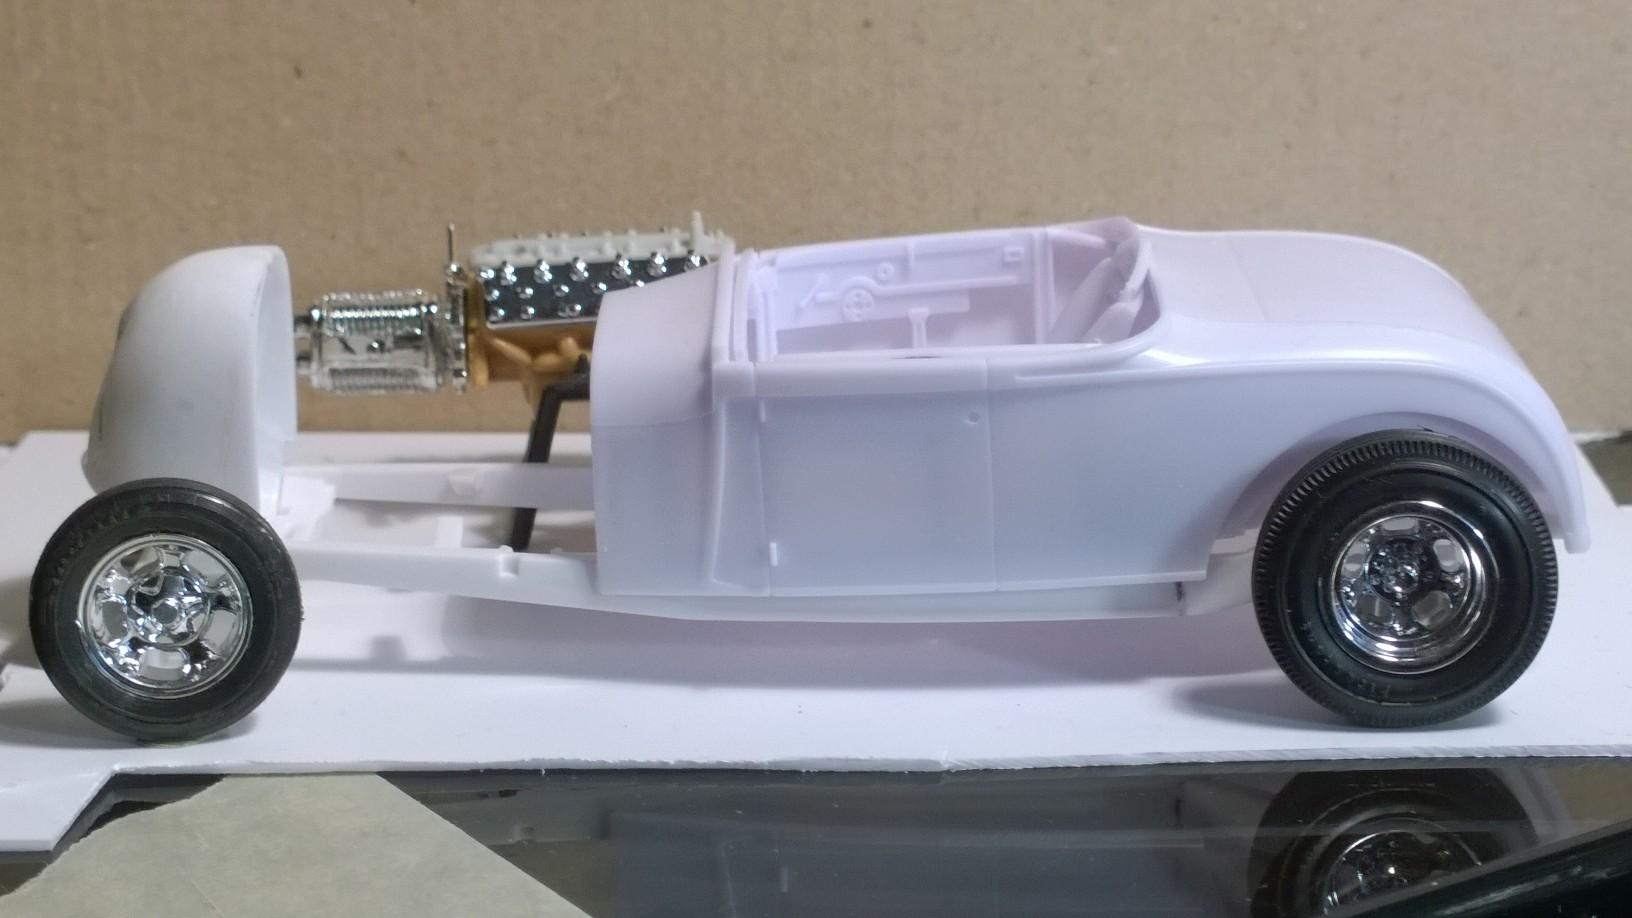
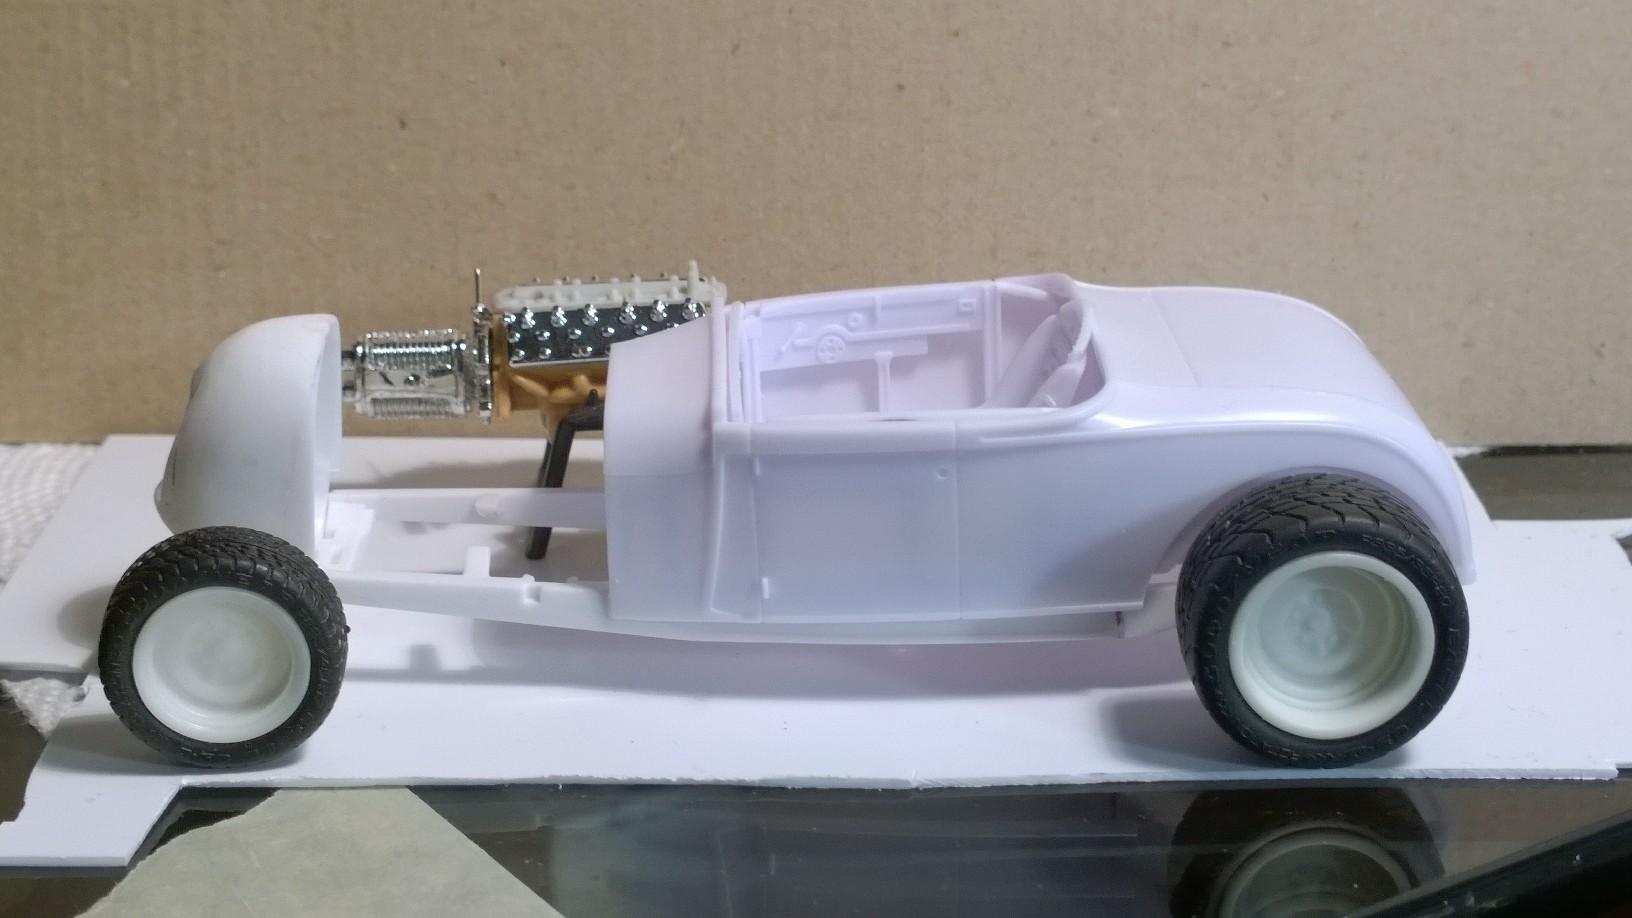
Craig, I hear ya, Brother! Actually, I seriously considering this set for the TROG version... might have to have an alternate set of wheels & tires to exchange & change the look, too! A close second would be one of these three: We'll just have to see how this all comes together... -KK
-
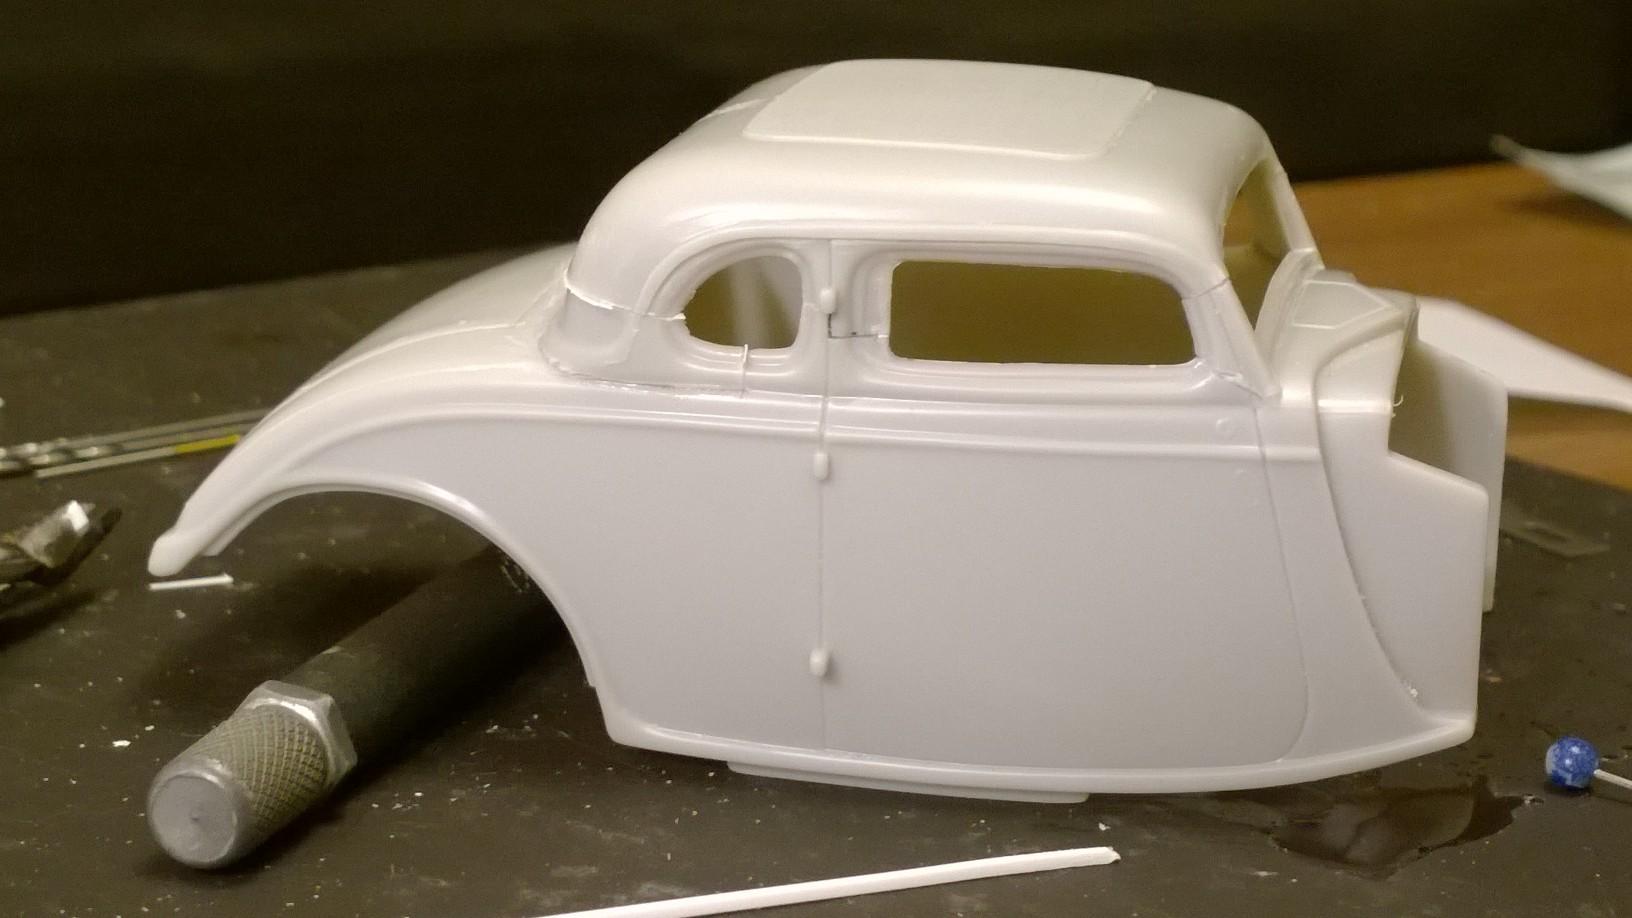
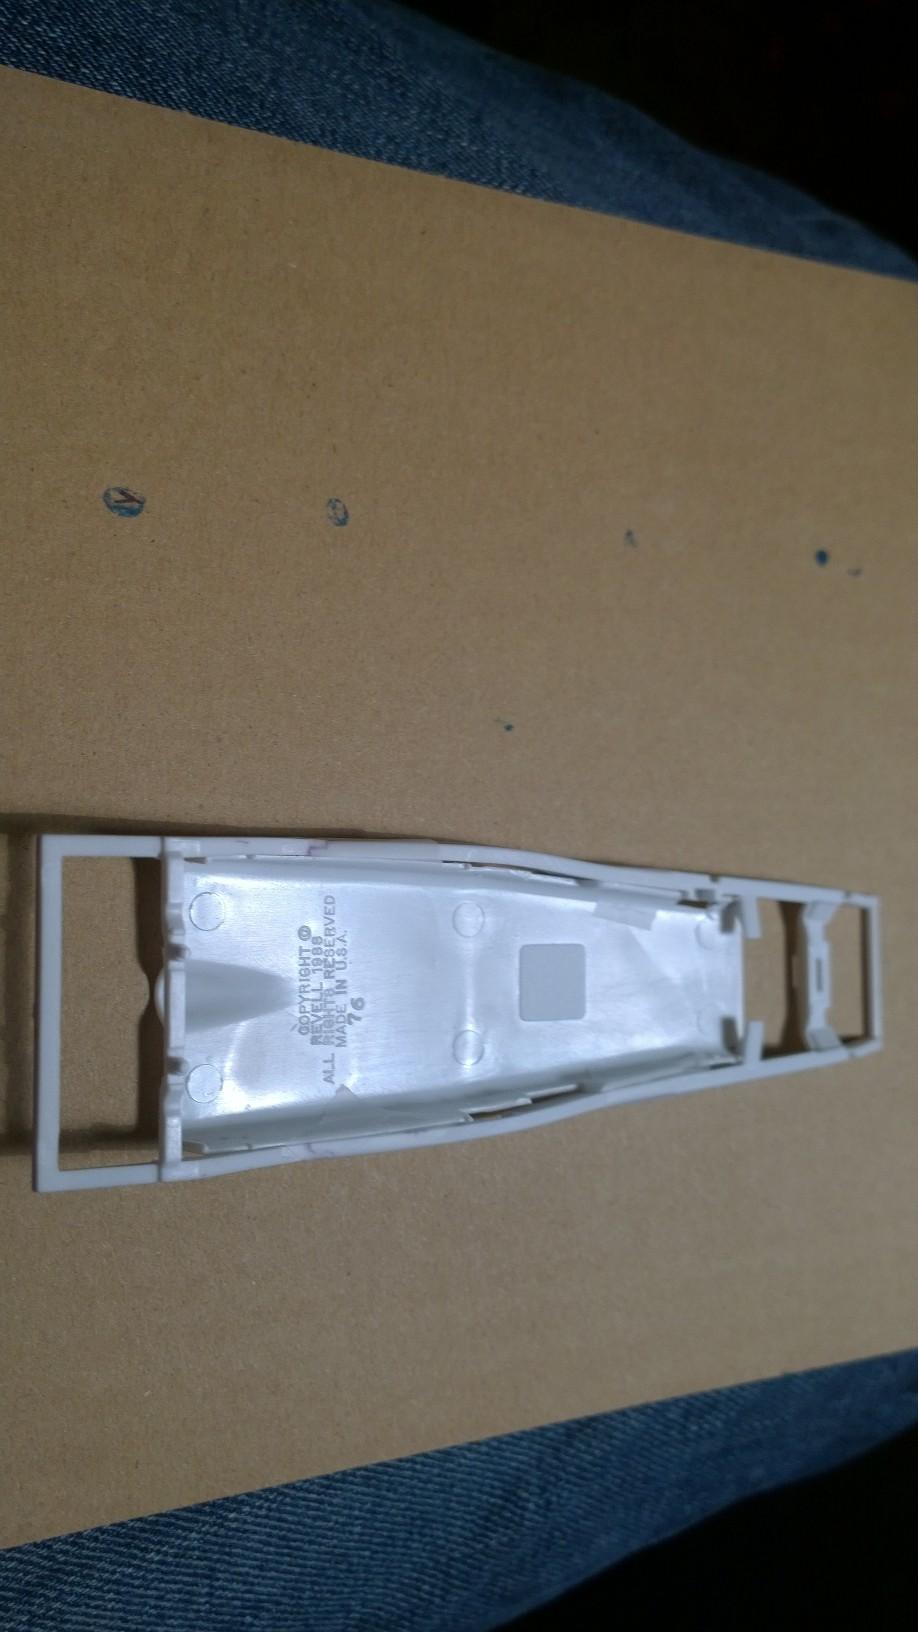
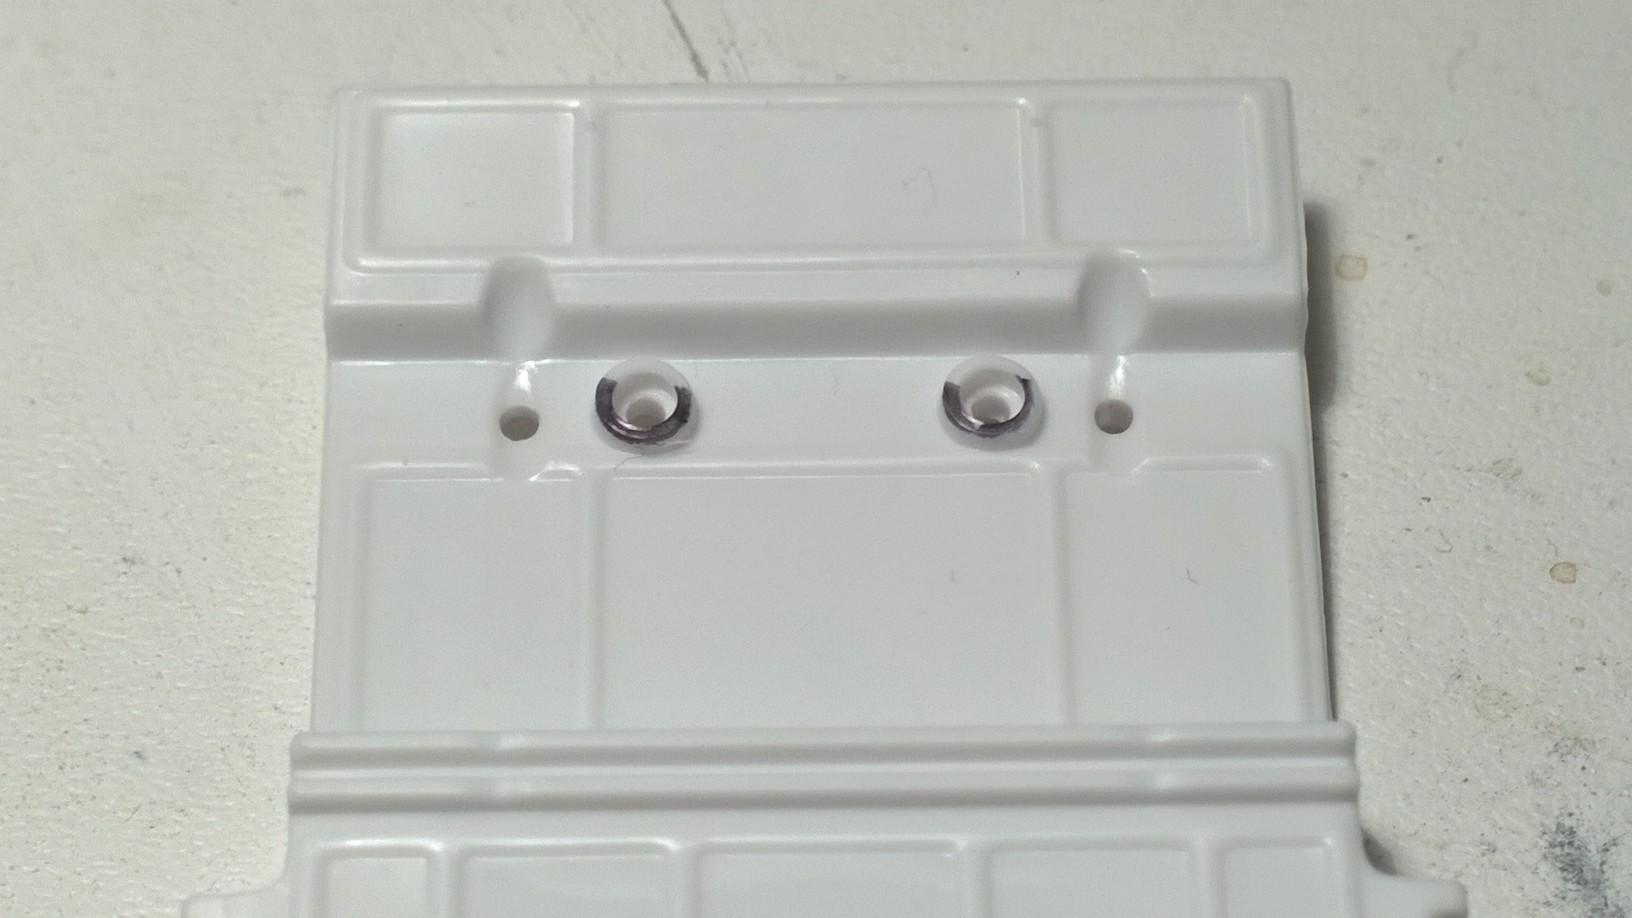
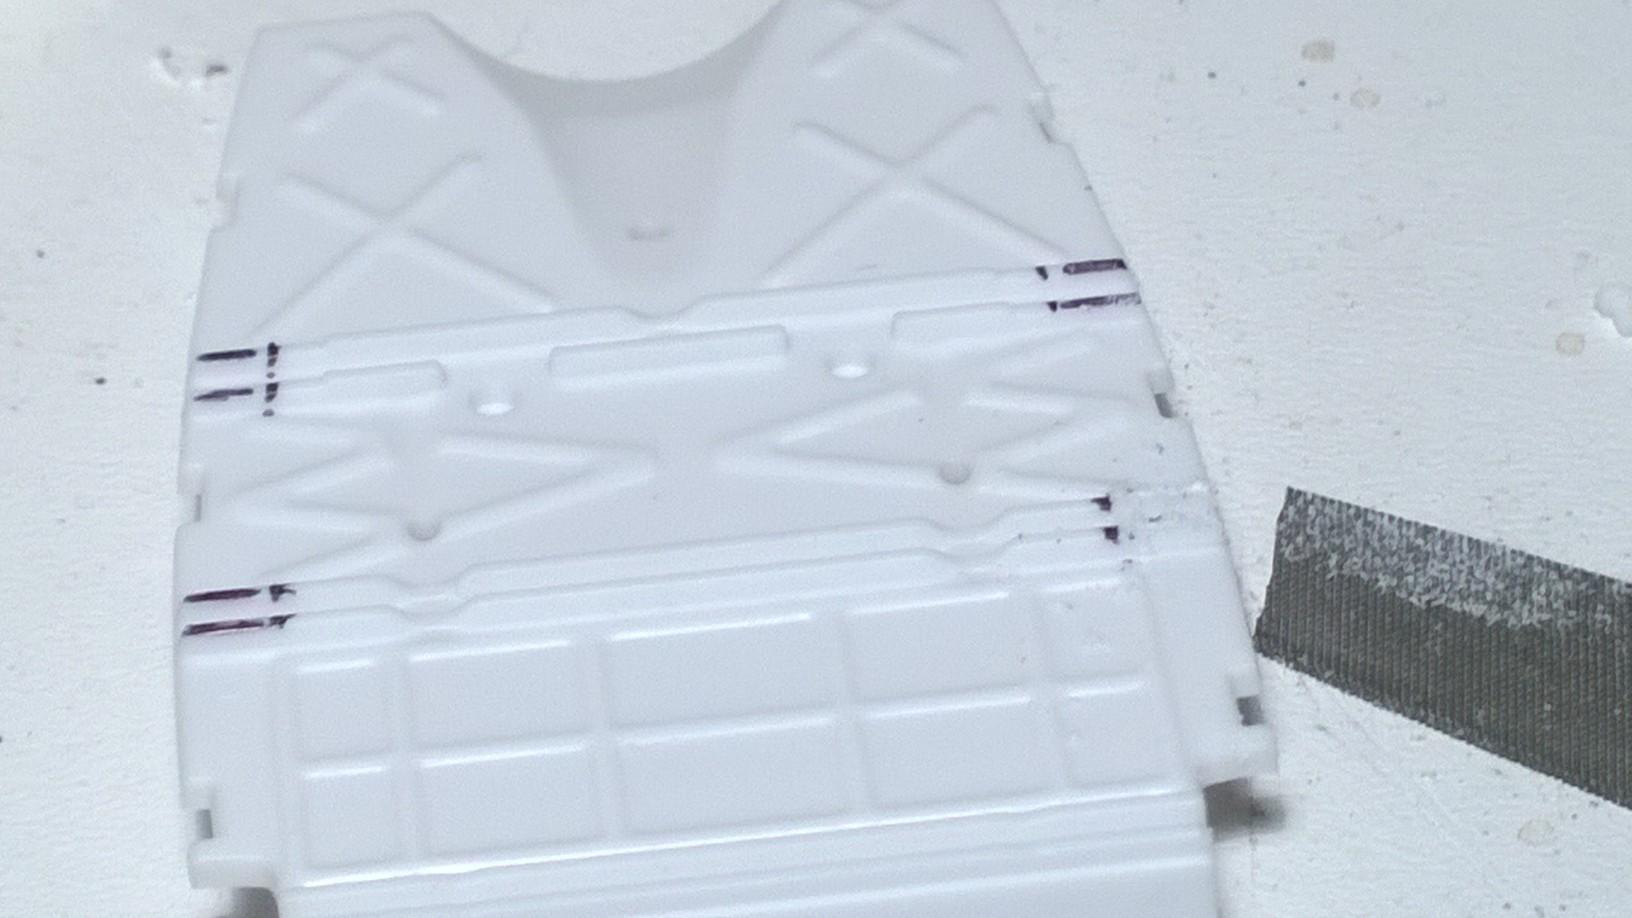
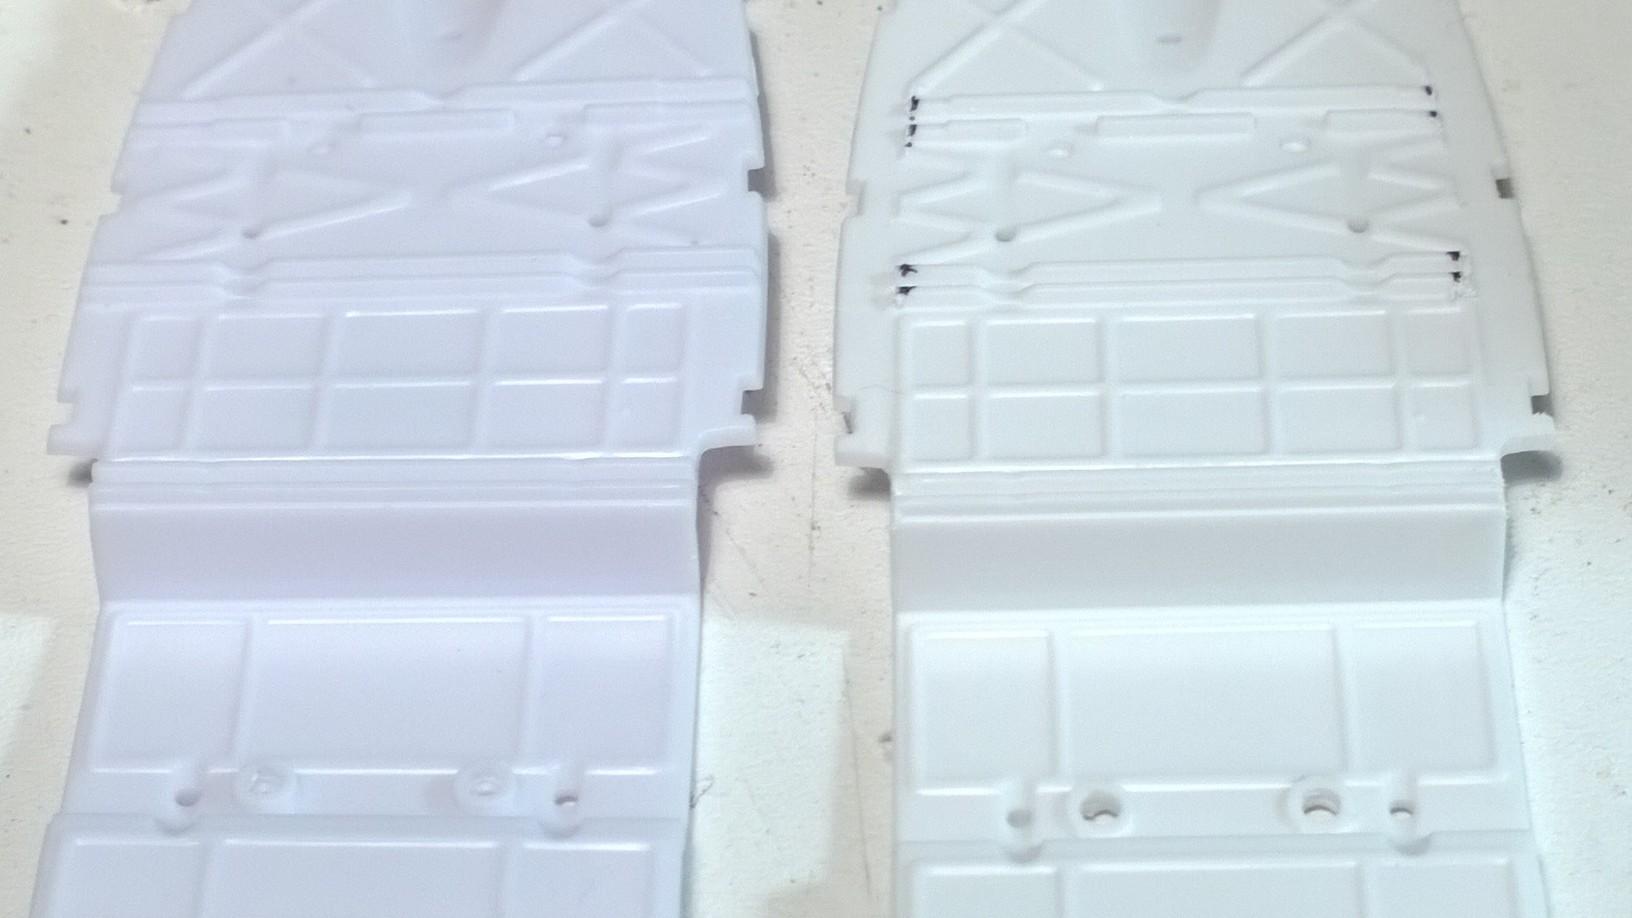
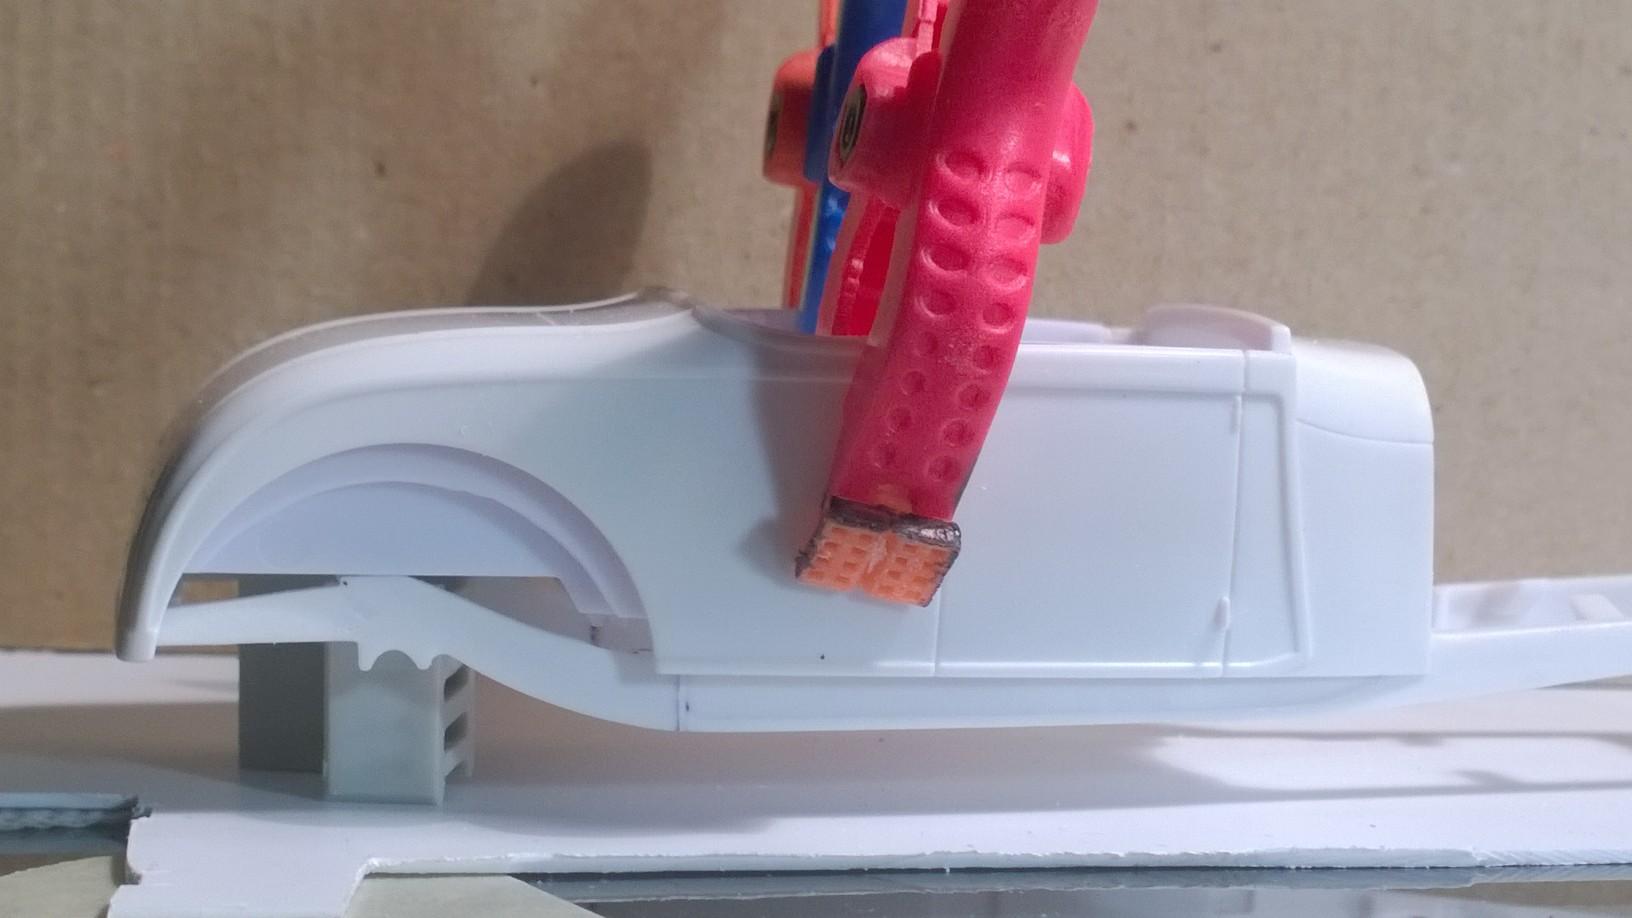
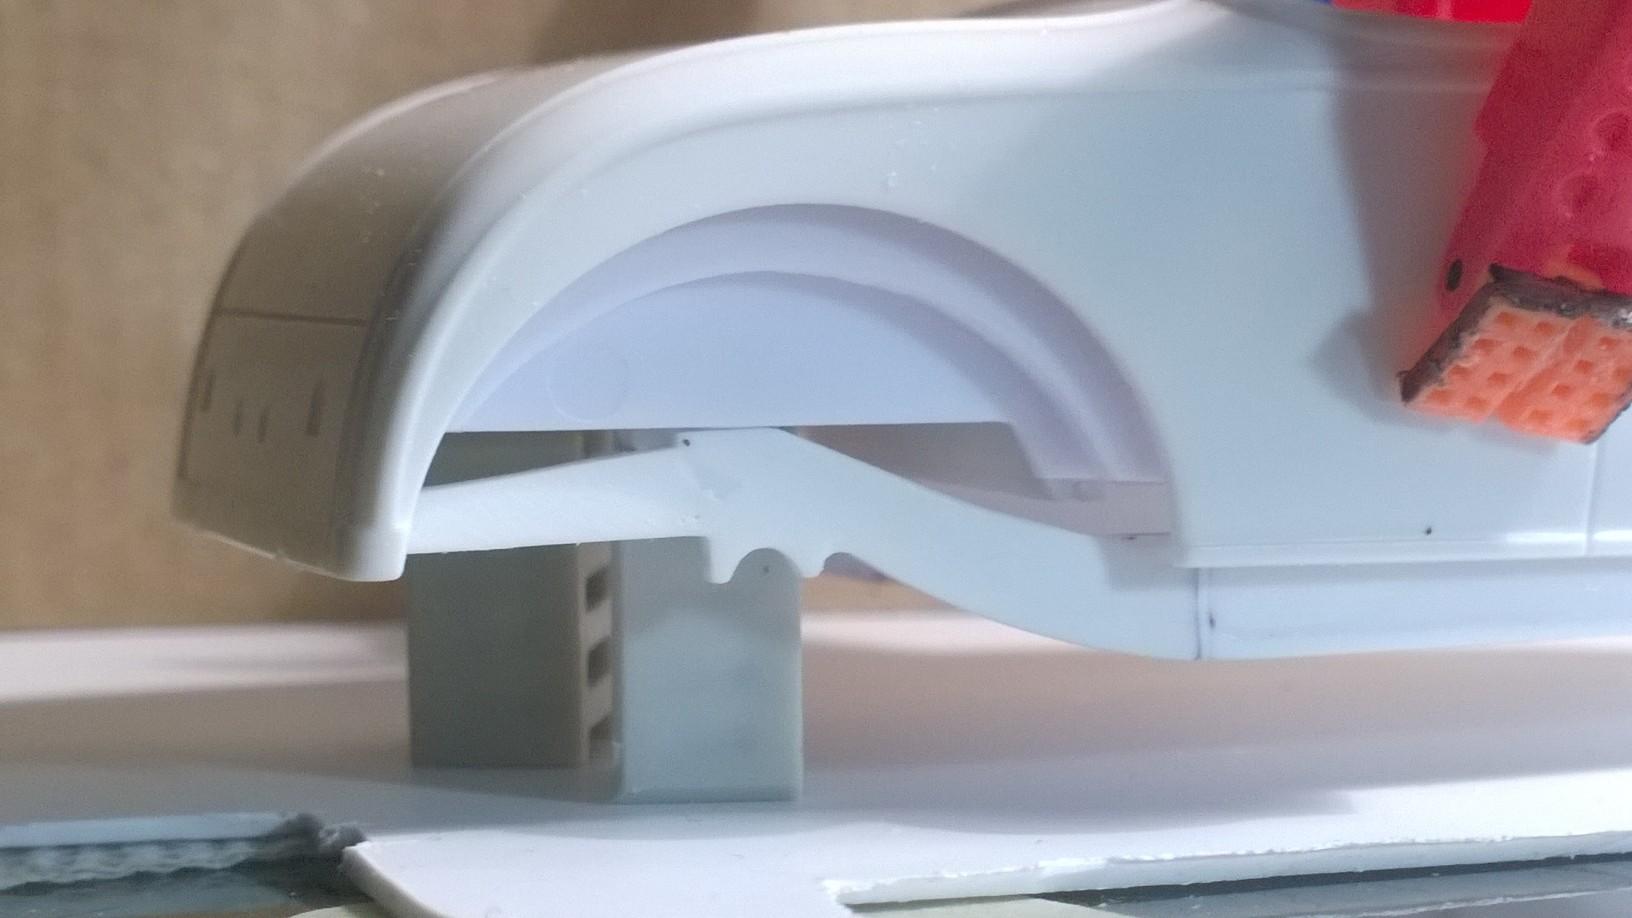
First things first... gotta get the height issue addressed: Knock down the rear frame mounting holes: Lay out the frame inner lines on the floorboard (remove the ridges) so the floorboard sits flush on top of the frame: File off the ridges: Here's the before & after: Ready for the body: Not bad for step one in channeling the roadster body over the narrowed deuce frame: Next, the inner fender panel needs to be notched over the frame:
-
My continually updated thread with fresh HOT ROD mock ups.
Kit Karson replied to chris chabre's topic in WIP: Model Cars
I might have the perfect rims for your Tubbed Vickie:
-
My continually updated thread with fresh HOT ROD mock ups.
Kit Karson replied to chris chabre's topic in WIP: Model Cars
@chris chabreYou only shared a few of your mockups with me over on fb, Brother! Watching you share your mix of parts & pieces makes me feel right at home looking over your shoulder. As others have commented, fulfilling what you see in your mind's eye and following the mod's made so far on each & every one of your mockups shows a survive case of HotRoditis! I see a Hot Rod Gathering Diorama in your future... a work in progress as a whole-life's art achievement. Much like a model train landscape, remember the corner hobby shop would have a small one on display. -KK -
What a great start, RRR! You're one of the most prolific builders I know!! Will the never-ending waterfall of hot rod ideas ever dry up with you? The mix of parts that you draw from is most often so period perfect at times that it gives me chills!!! The slight modifications really define you as a hot rod builder!V -KK
-
Who doesn't love a mock-up? Let's see yours!
Kit Karson replied to Belairconvertable's topic in WIP: Model Cars
What a Great Thread! It should go without saying, this forum has the world's greatest modelers sharing their talents for everyone to see!!
-
Looking a potential belly pan materials: Revell Orande Crate Belly Pan (2) -KK Some of you will remember when I pulled these together: '29 roadster tires & deuce wires -KK
-
Listen! I've heard that before and I want you and everyone here to know, I'm a HACK! -KK
-
1963 Chevy Nova Wagon Street Rod FINISHED 3/20/22
Kit Karson replied to Dennis Lacy's topic in WIP: Model Cars
Headed to Under Glass, Brother?
-
Next up the Belly Pan:
-
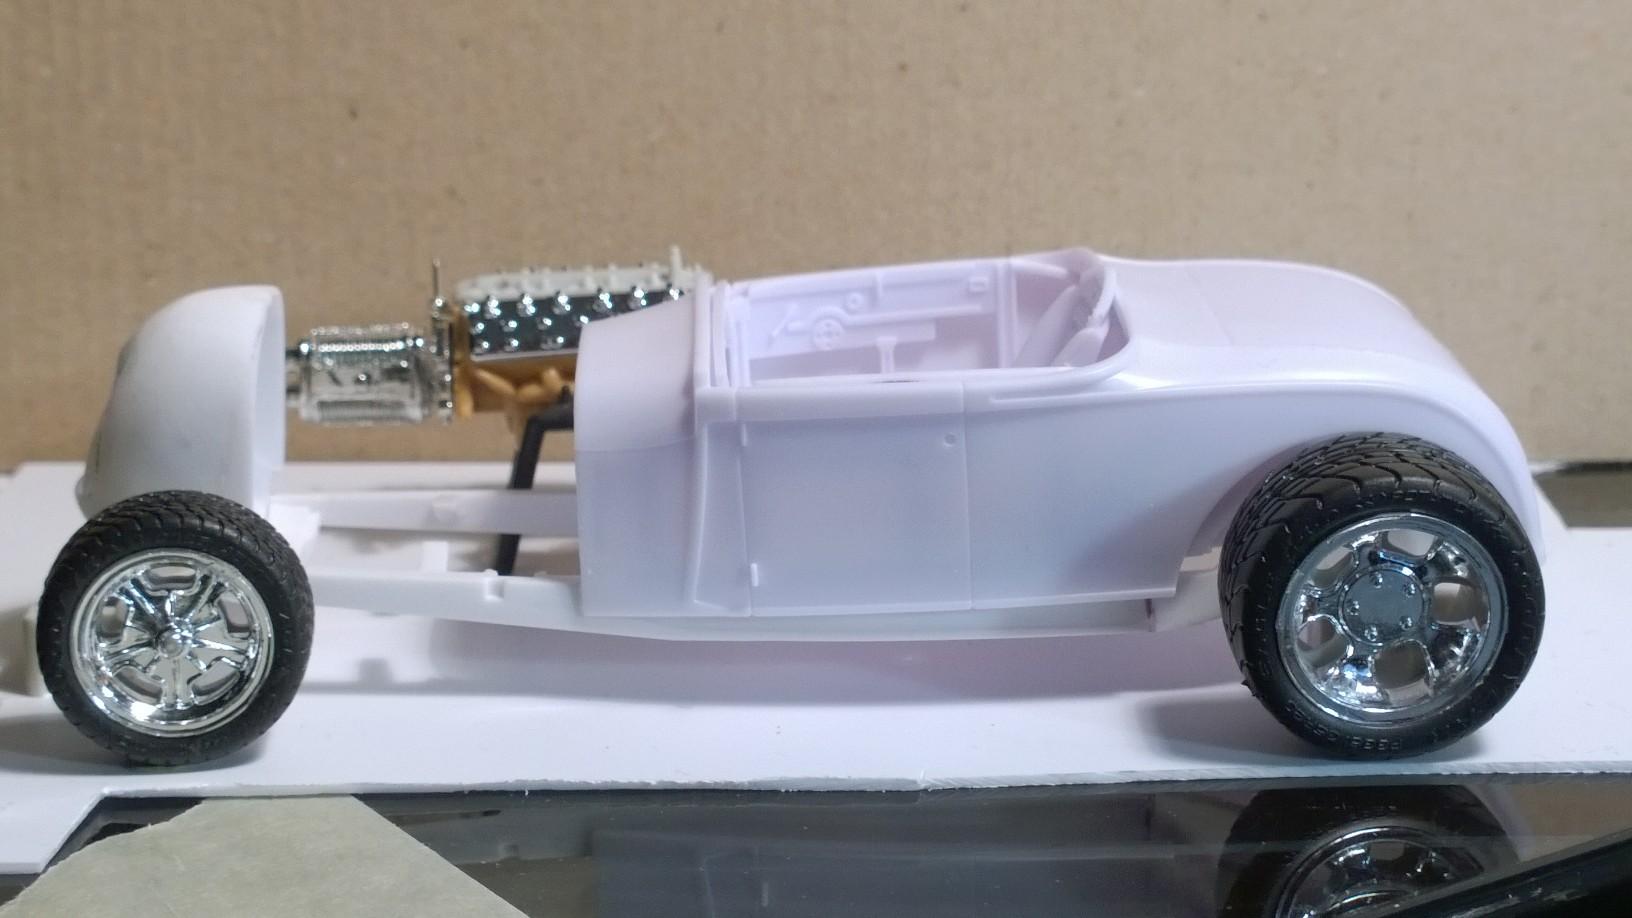
How 'bout a little fun!?. Monogram '30 Woodie Wires & Tires AMT '29 Roadster Wires & Stock Tire Front & AMT '28 Lincoln Tires Rear Revell '29 Roadster Steelies & Revell Orange Crate Front & Revell Dirt Track Tire Rear K&R KUSTOM BIG & LITTLES Revell '40 front Rim & AMT '34 Stock Tire & Hollowed-Out Monogram '41 Lincoln Rim with Revell '40 Read Center - Tall rear tire with steel wheel album | K&R Kustoms + Rods | Fotki.com, photo and video sharing made easy. Replica & Miniatures of MD Big & Little Wires & Tires 3D Wires and antique Monogram Racing Tires Revell '40 Ford Street Rod Mag Wheels & Tires Revell Steelies with the Revell '29 Roadster Front Tire & the Monogram Black Widow Front Tire on the Rear Z-Man Steelies with AMT Phantom Vickie/Wagon Rod/Prowler Tires AMT Phantom Vickie Mags & Tires Best of my memory... let me know your thoughts. -KK
-
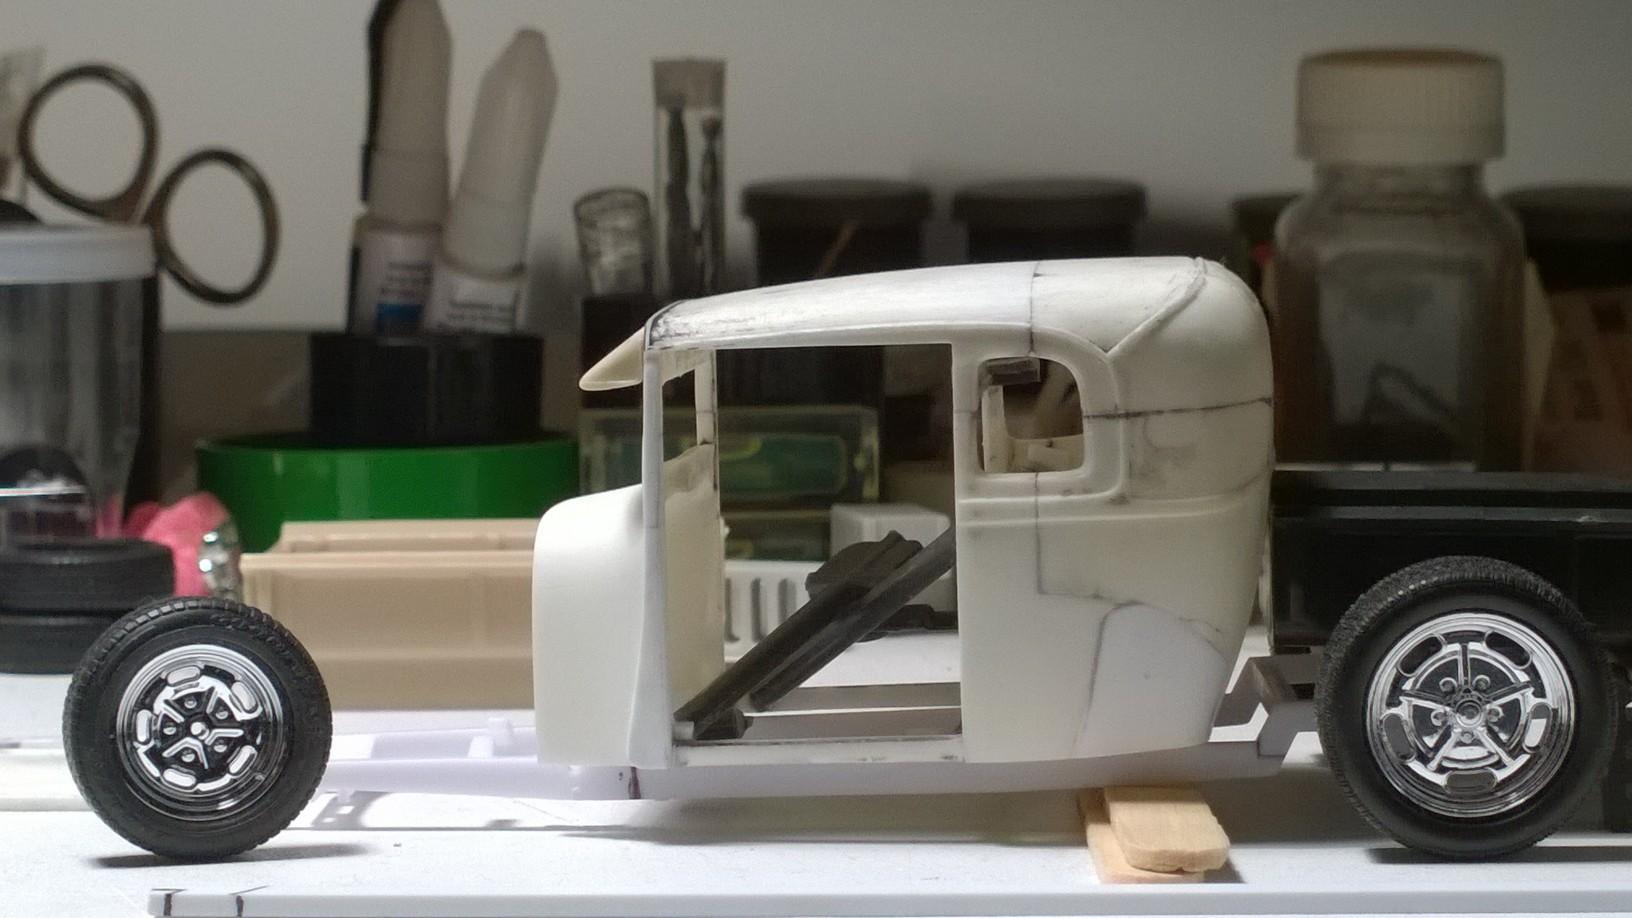
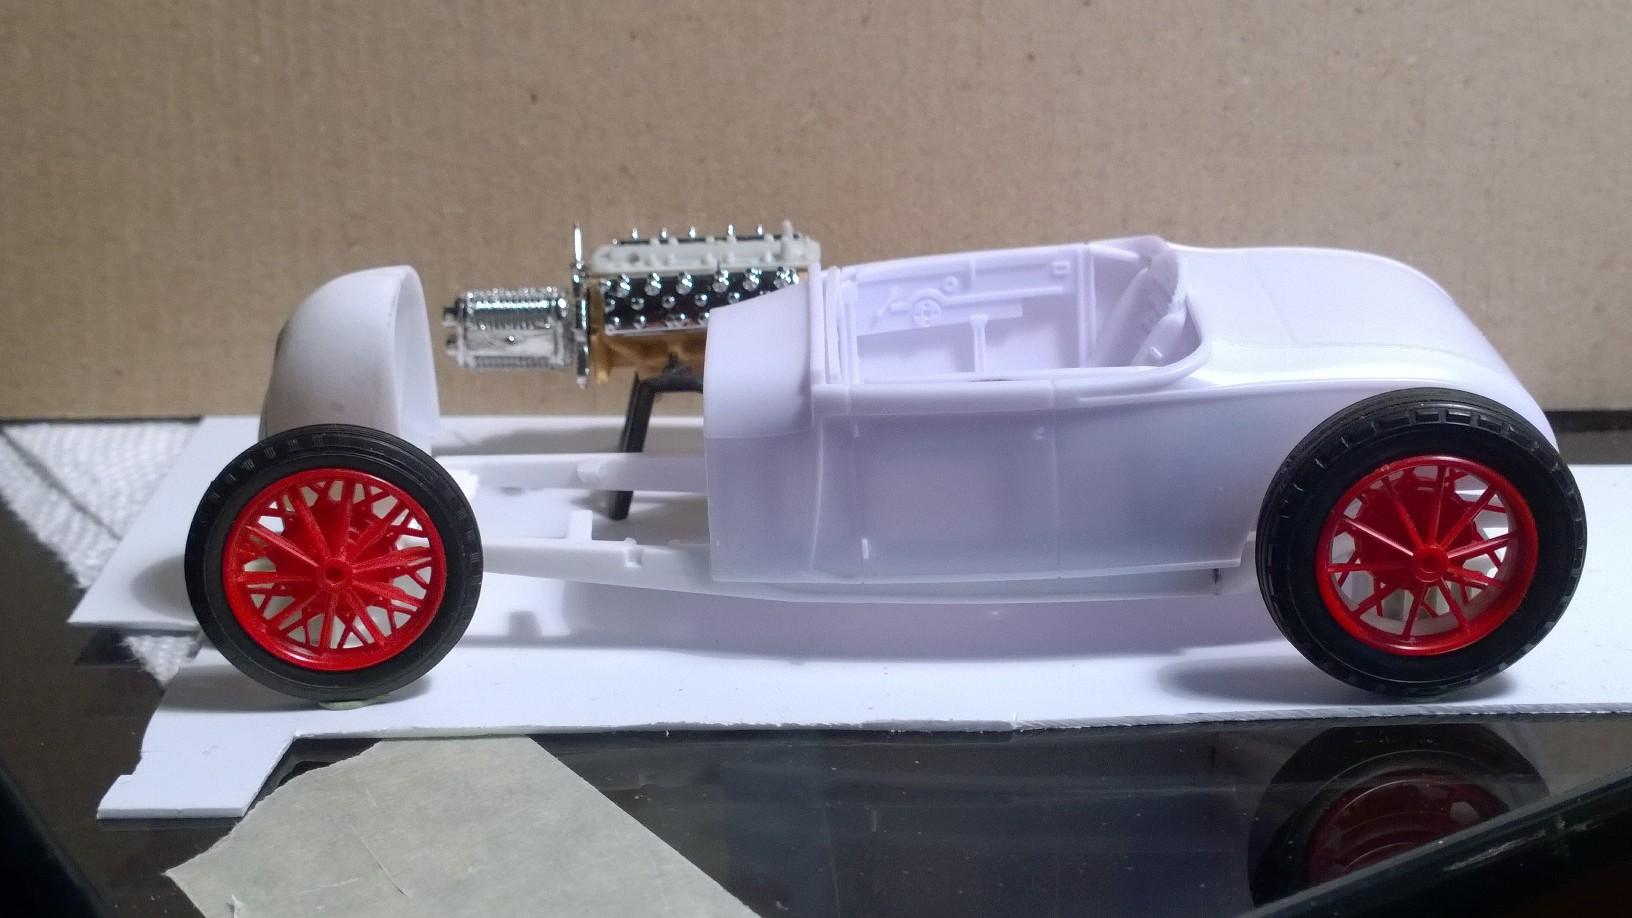
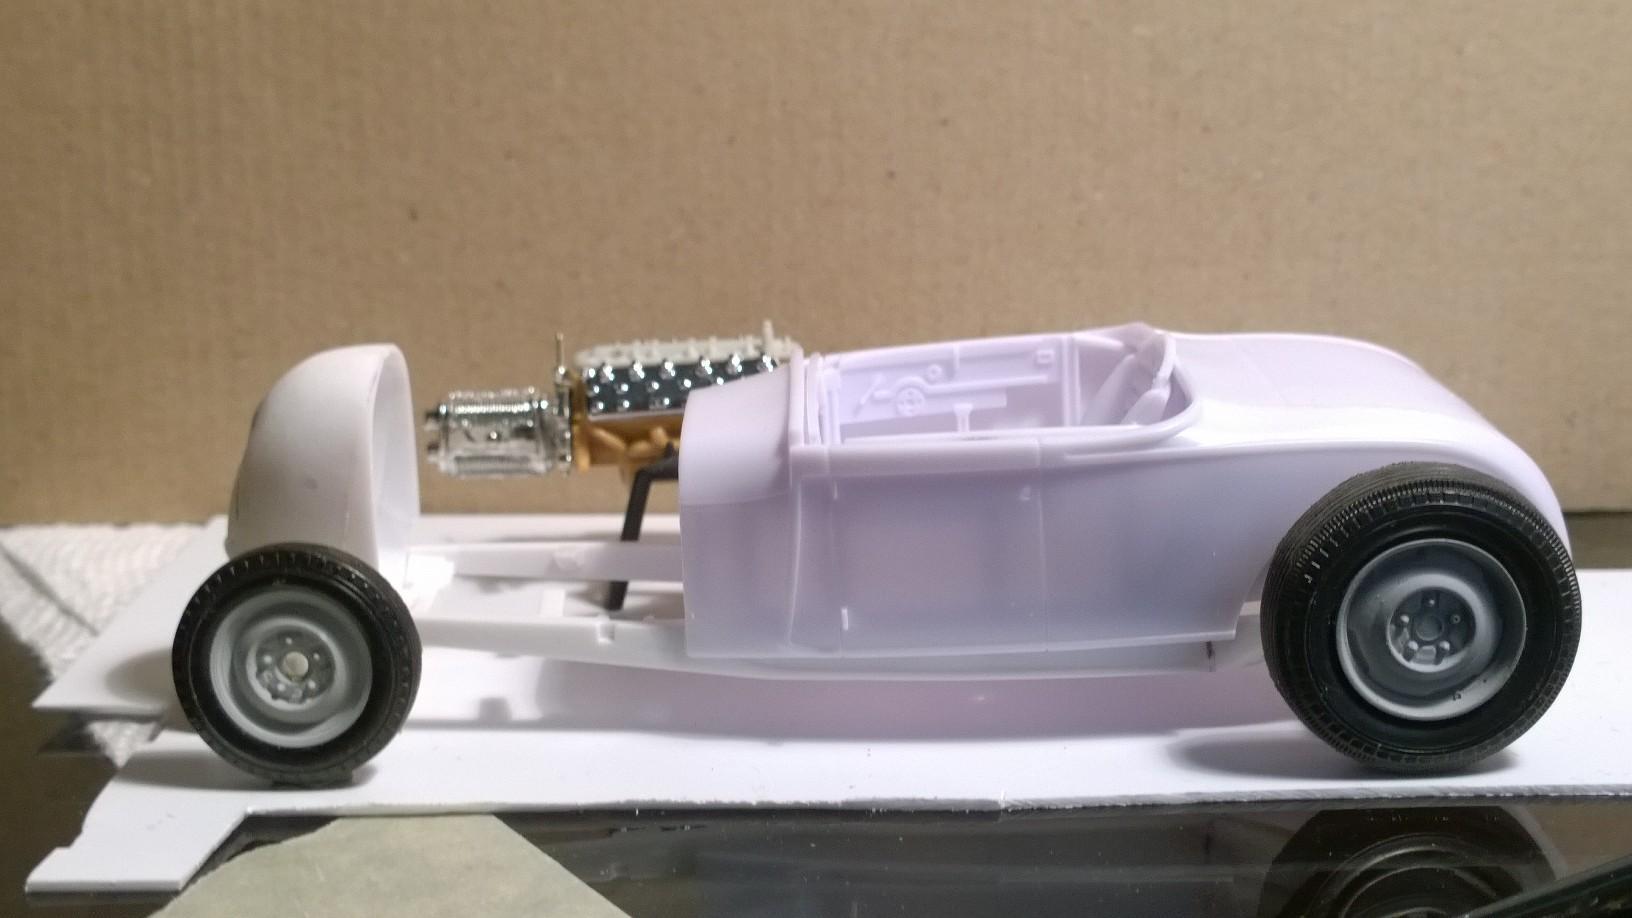
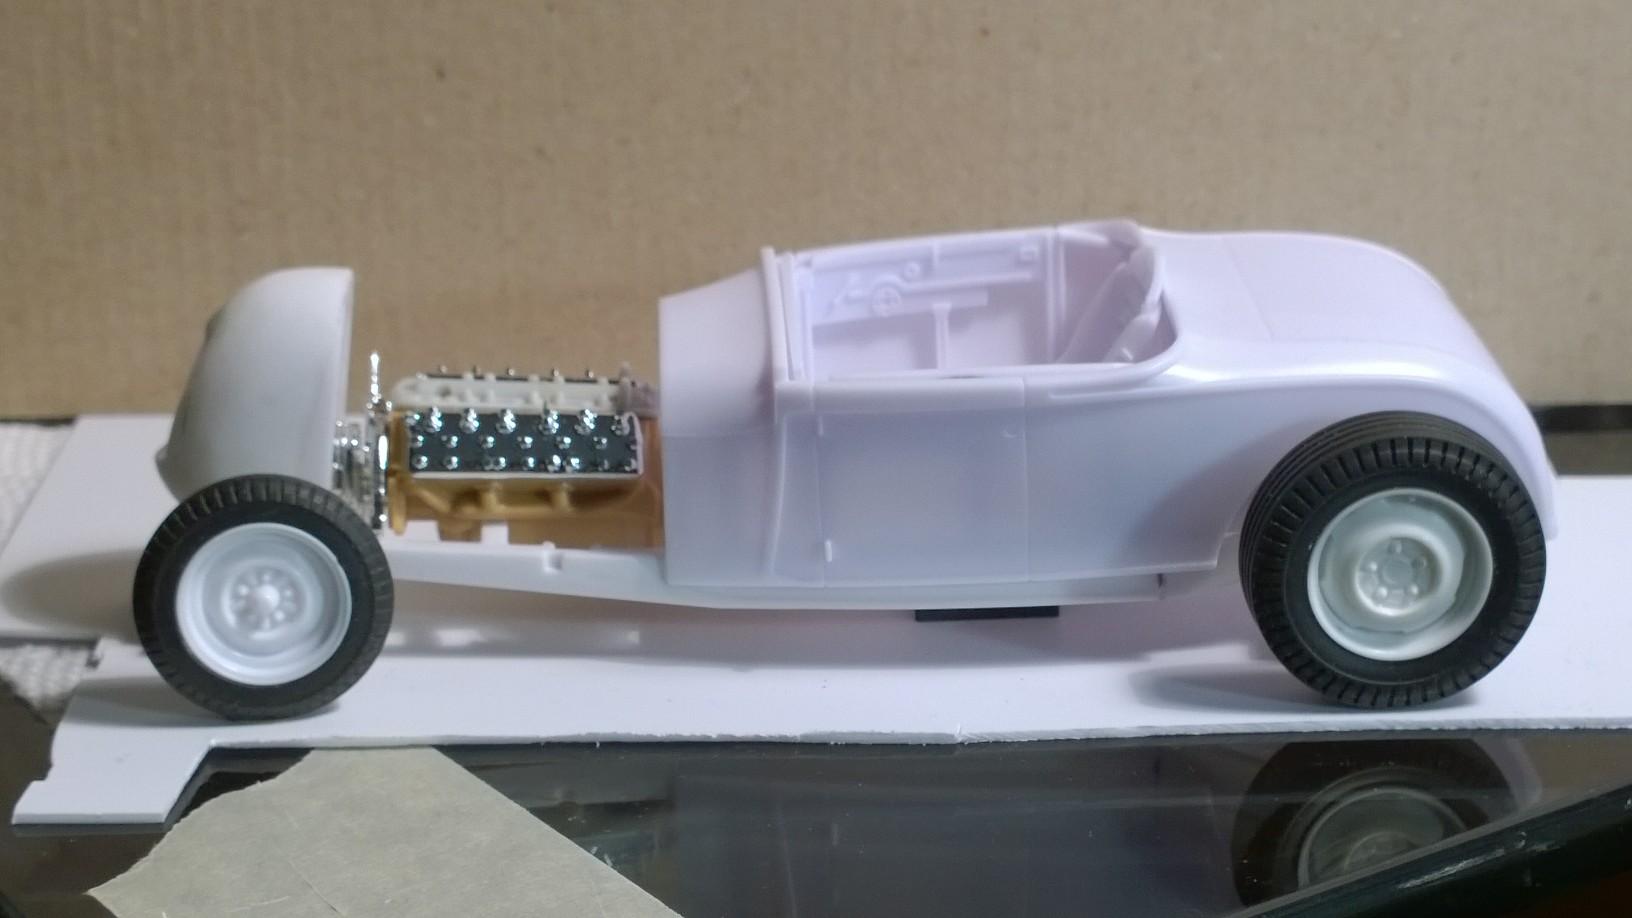
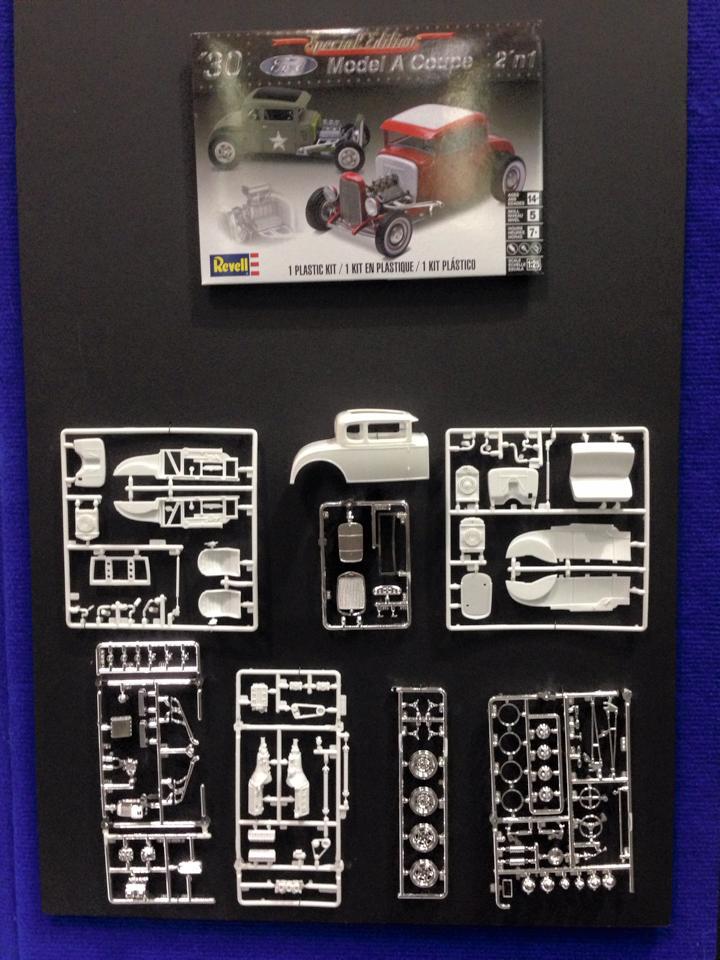
Hardly my intent! Actually, there's a story about that very cross-over. When the first issue ended, @Rocking Rodney Ratand I scooped up about every coupe kit with in a fifty-mile radius of Atlanta. A number of sealed kits passed through my hands and the only one I got to open and peak at soon disappeared just as fast as all the rest. Having that opportunity stuck with me thinking how alike the roadster and coupe really are and share many of the same parts. Takes me back to the many variations of the Deuce. Shortly after the latest release of the 2nd version of the coupe I picked up a case and ended up with a couple here in my care. Picking back up the '29 Track Nose Roadster and RRR reminding me that the Bare Bones parts were still in the coupe kit. Grabbed one of the two still in the house and here we are. Couldn't place in my mind having seen it having been done... Glad we gave it a go! I'm going to skip forward to earlier today... With the direction of my design team this is where the roadster sits this afternoon. Not having shared this picture, until now,,, Notice anything? Did I mention a full belly pan is going under the '29 Track Nose V-12 Potvin Blown Flathead! -KK
-
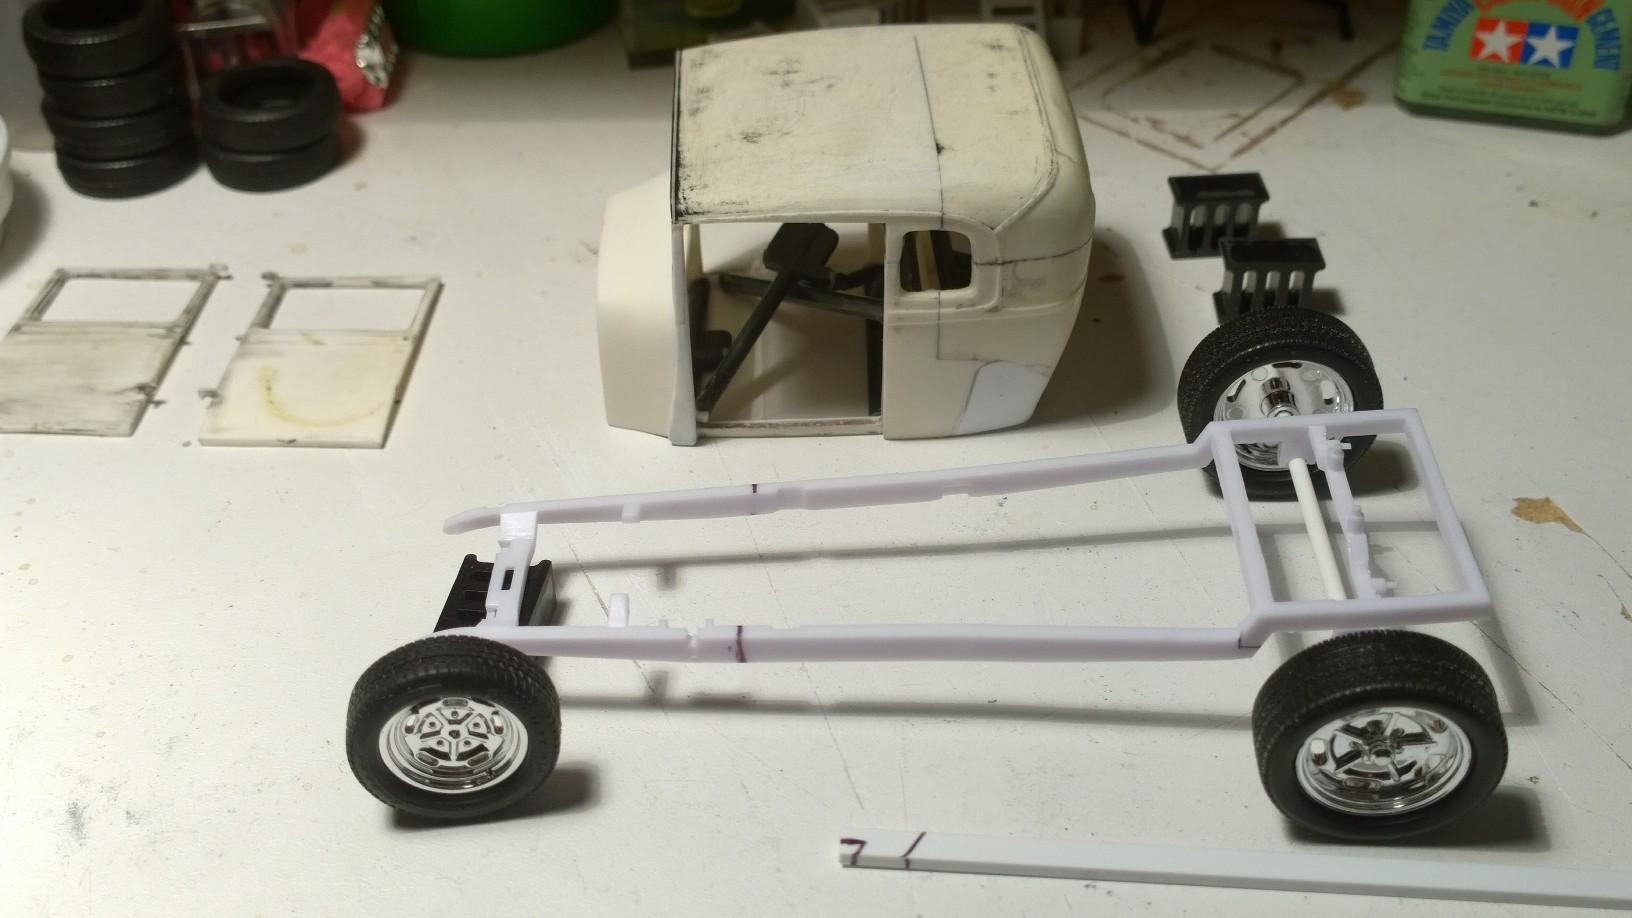
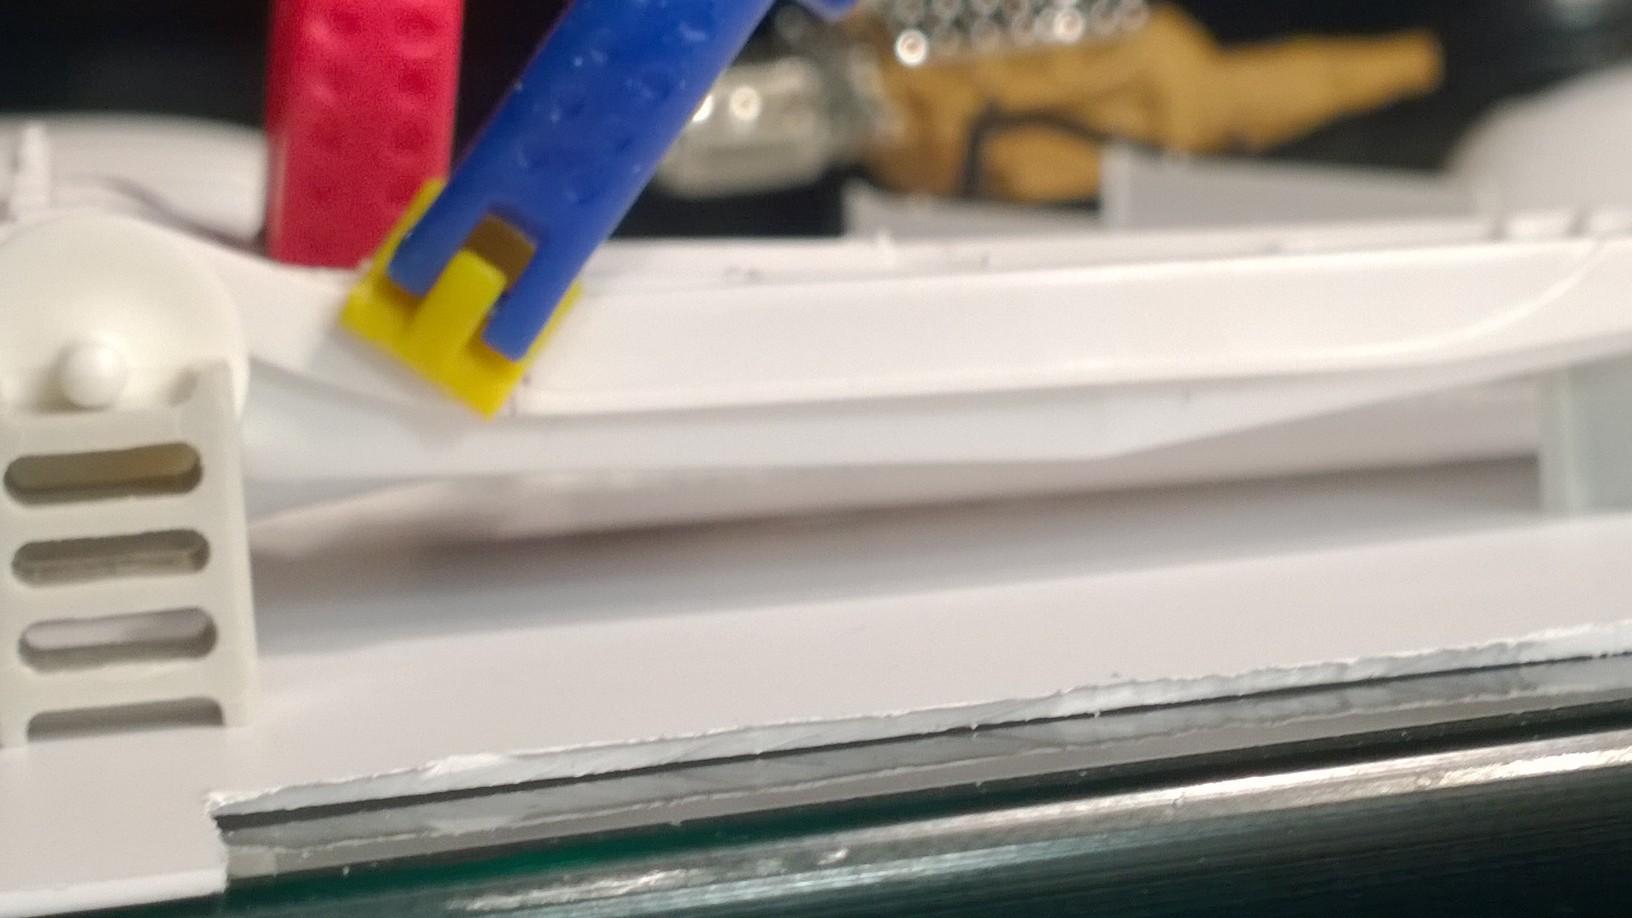
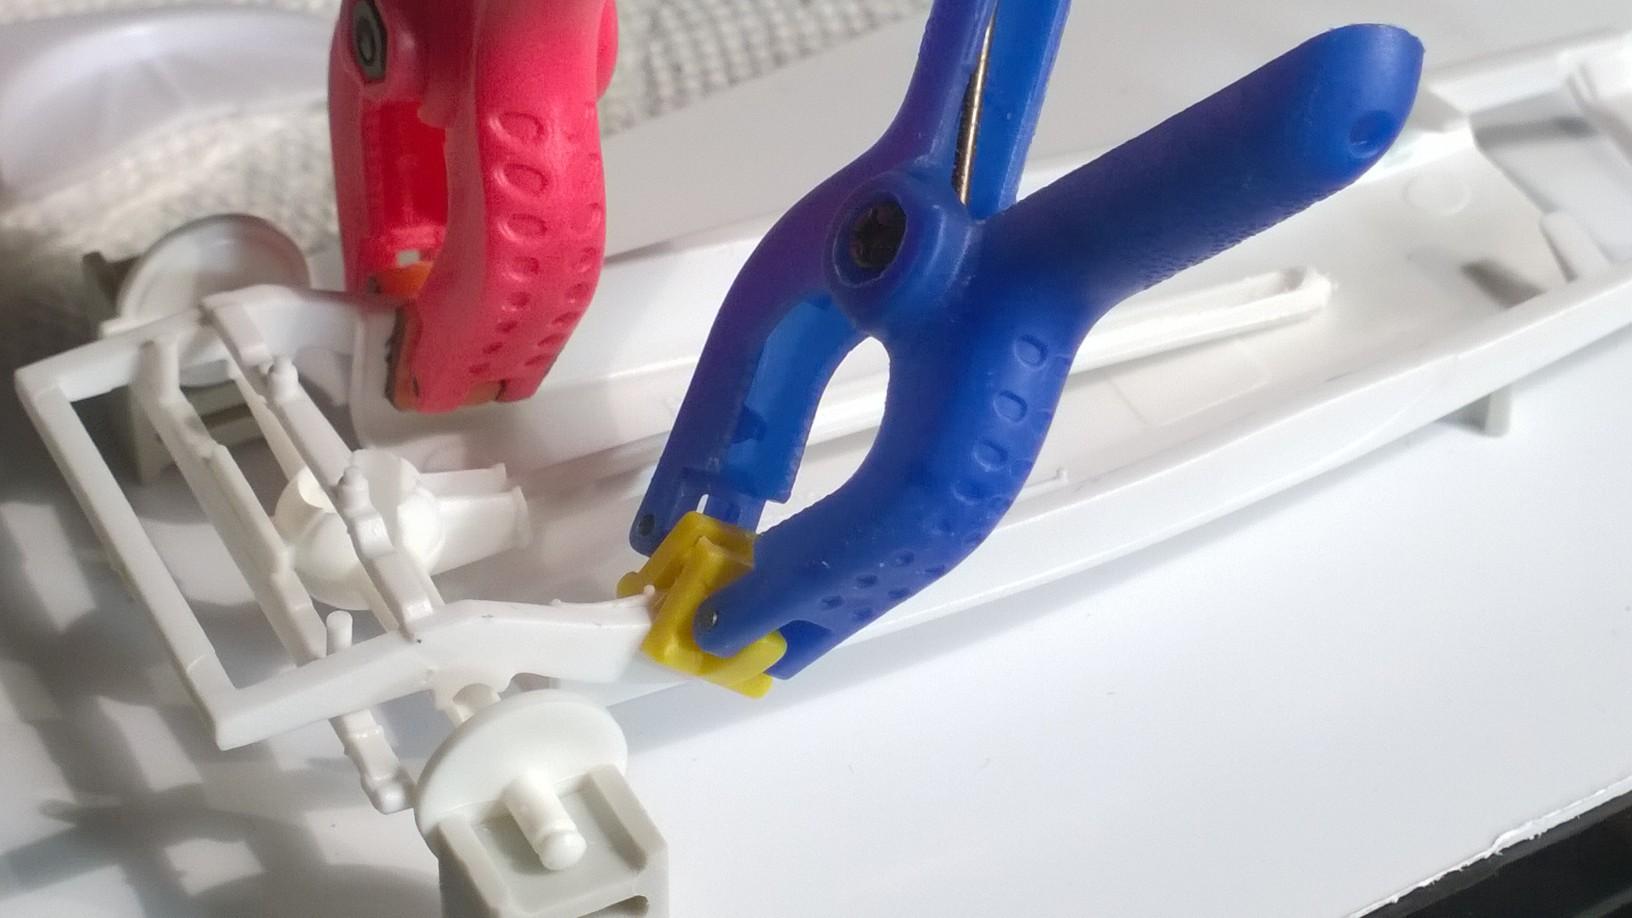
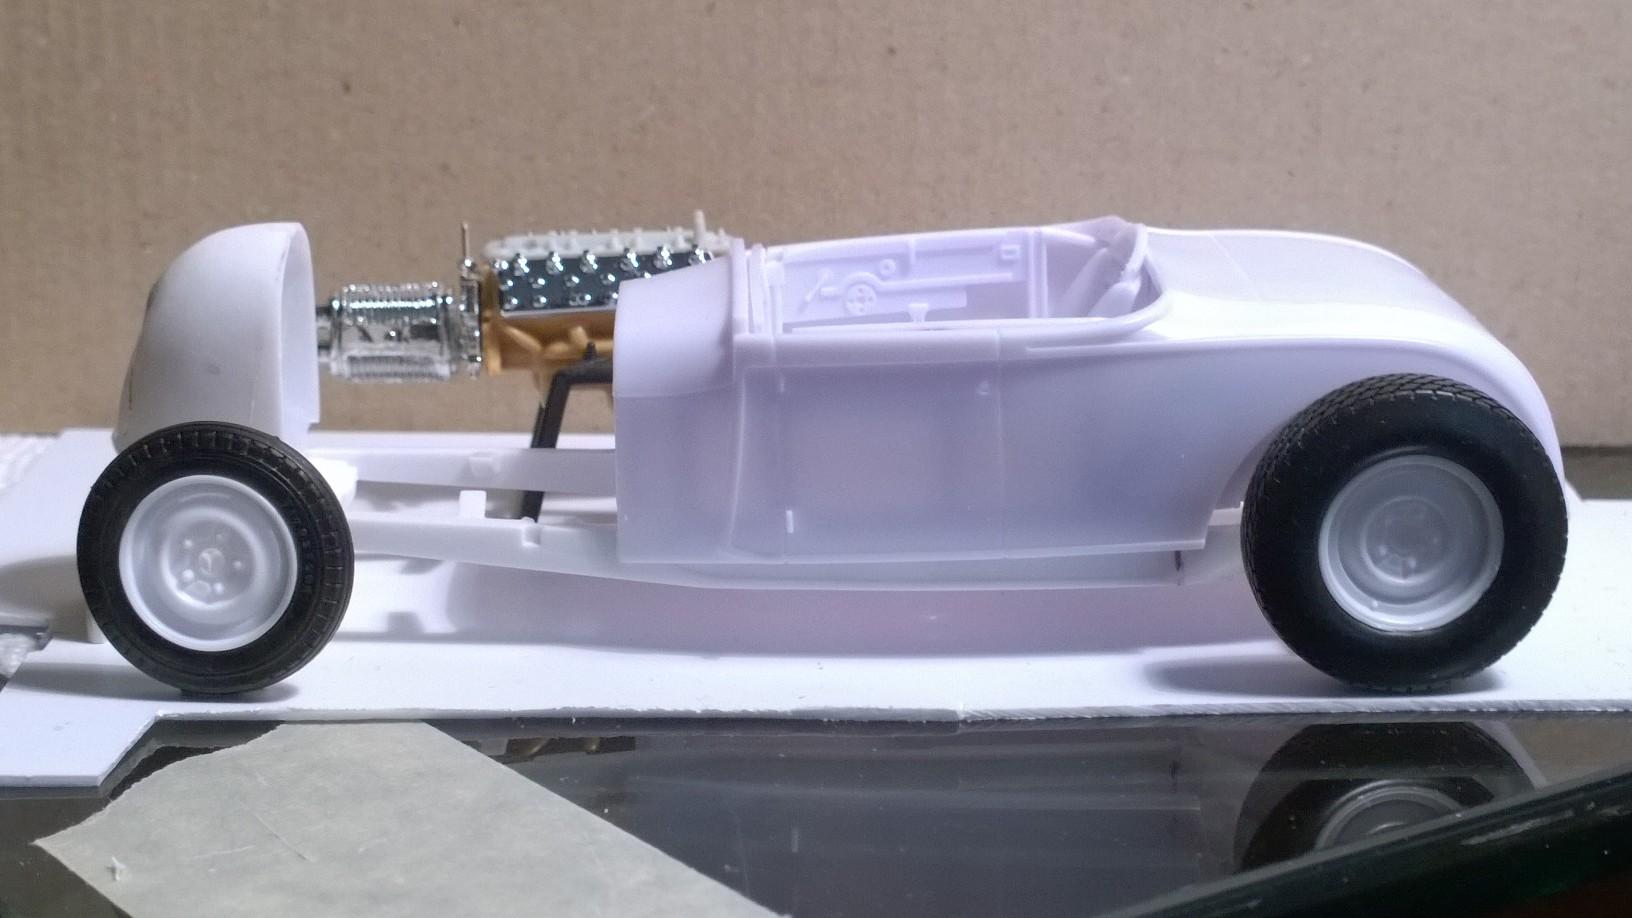
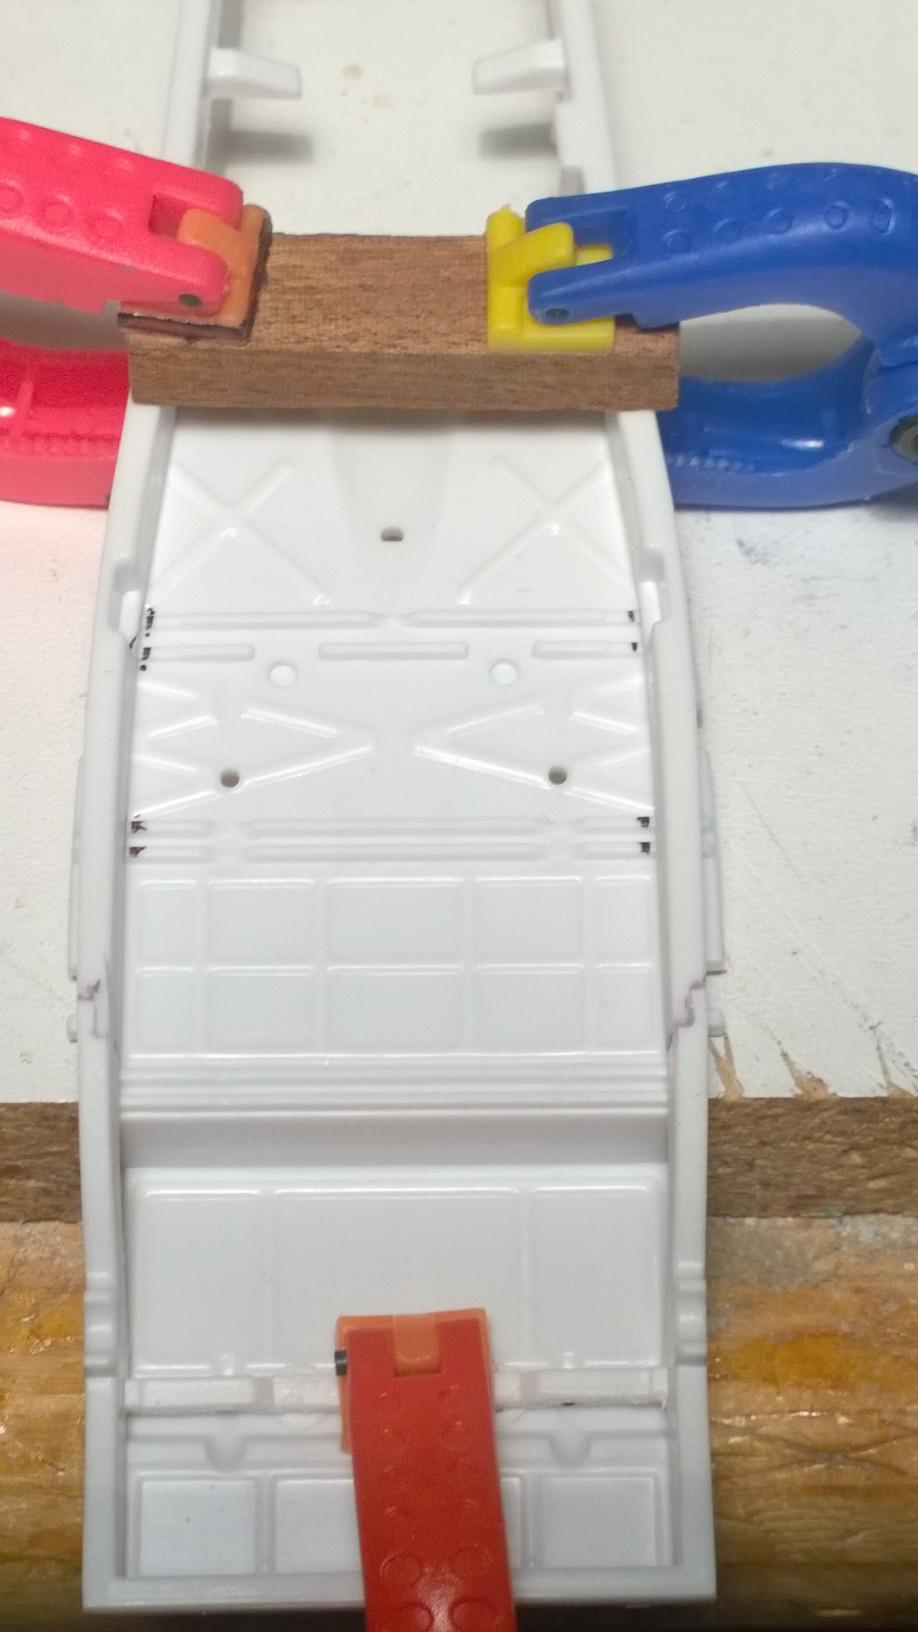
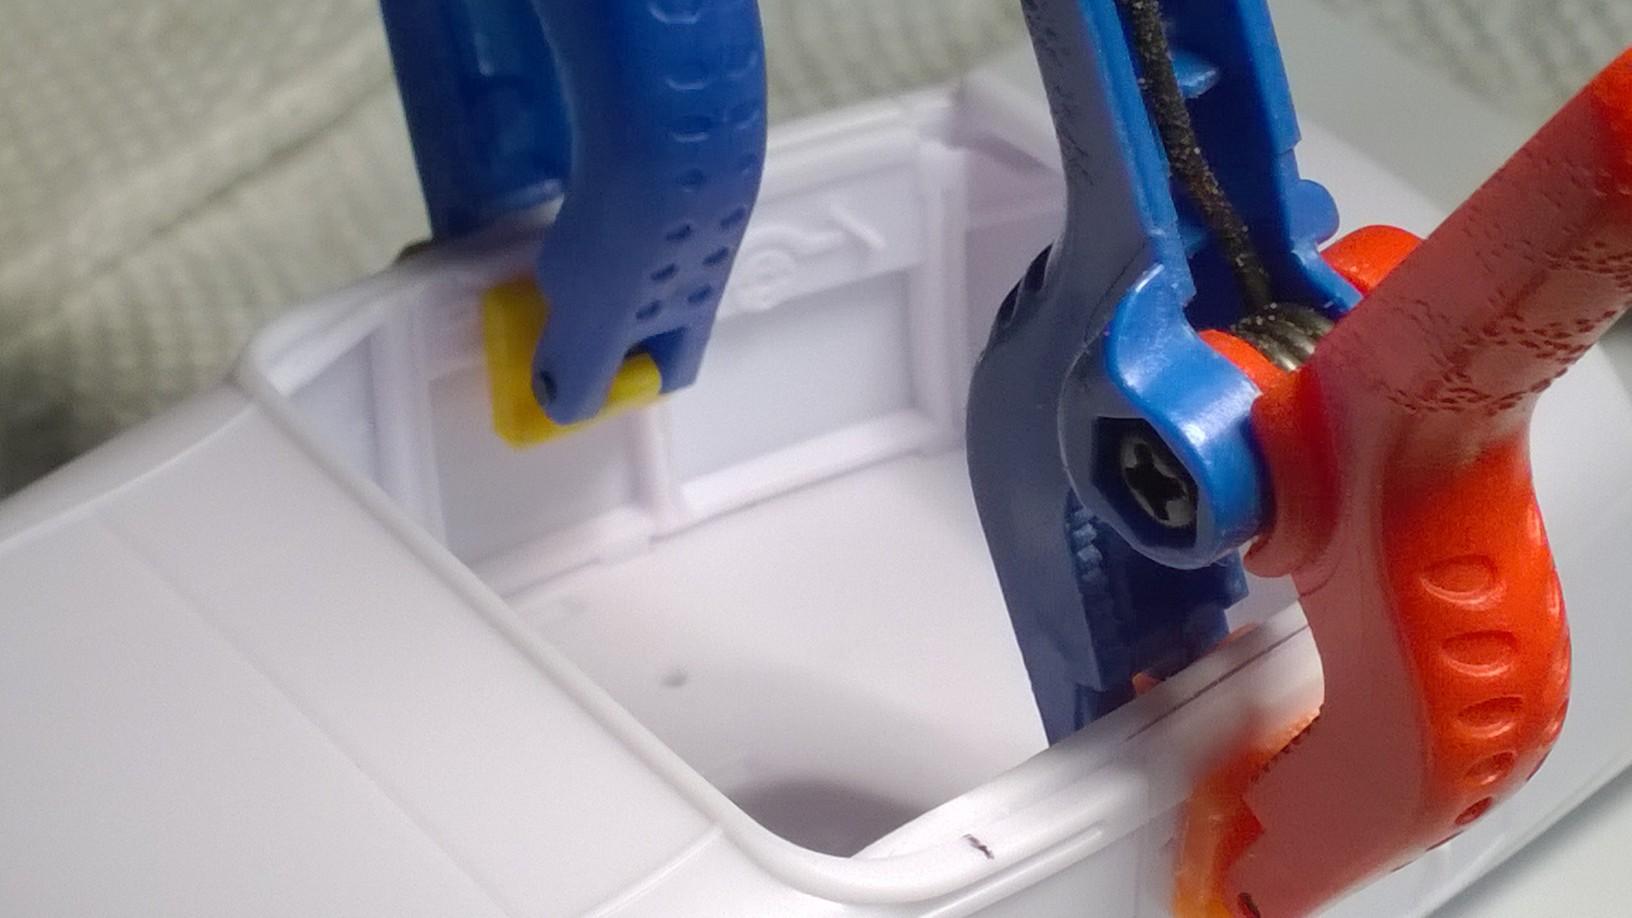
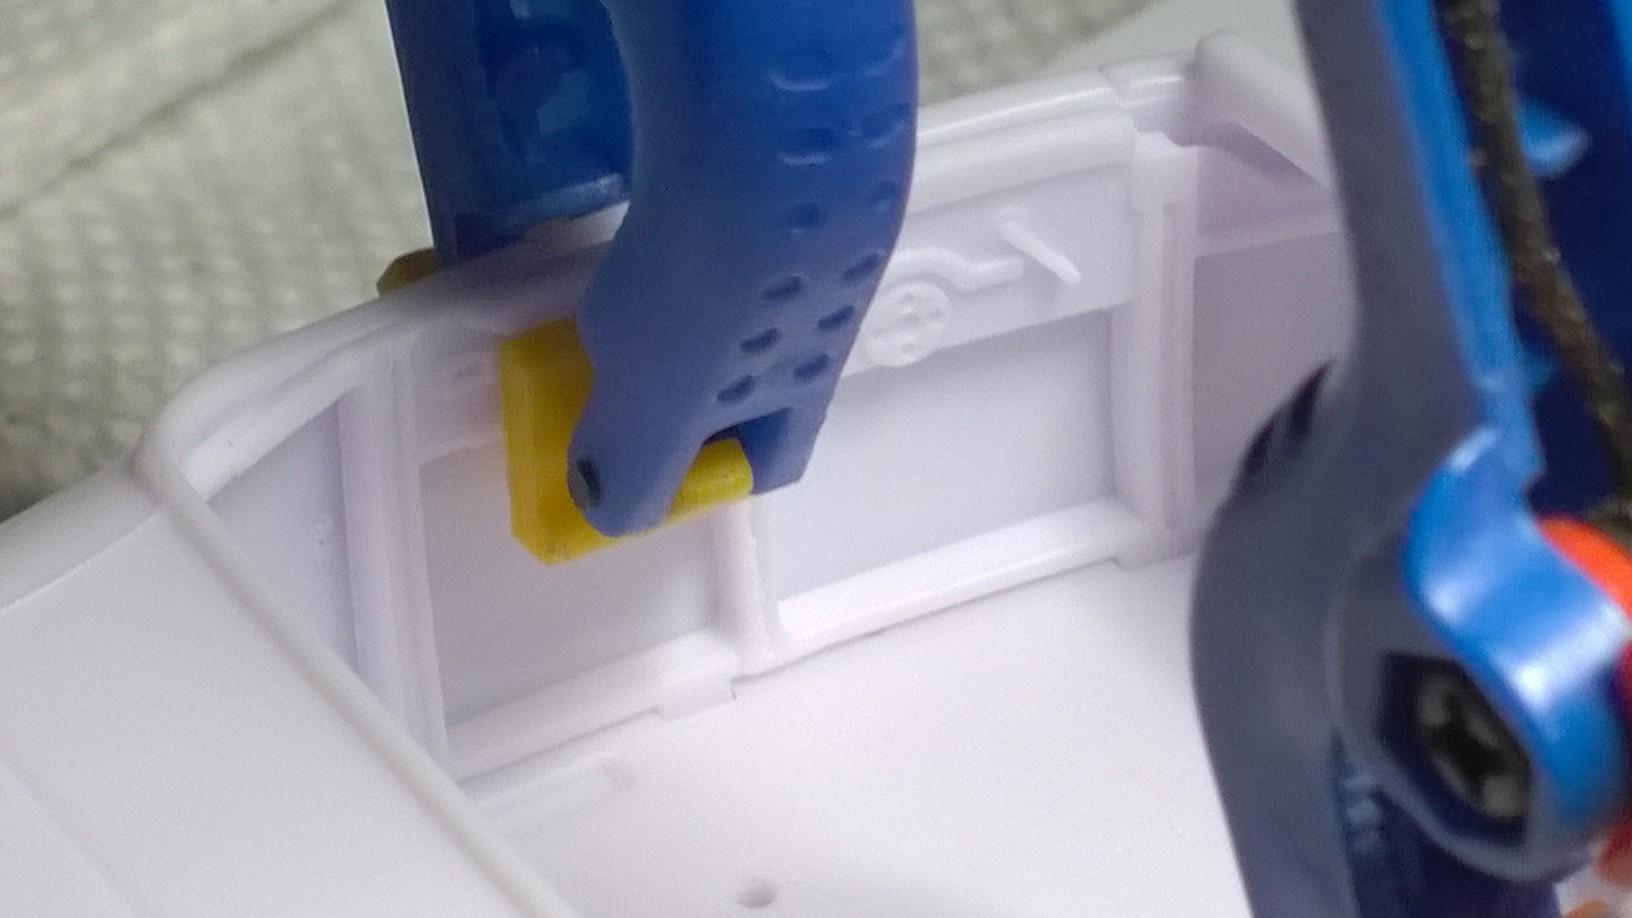
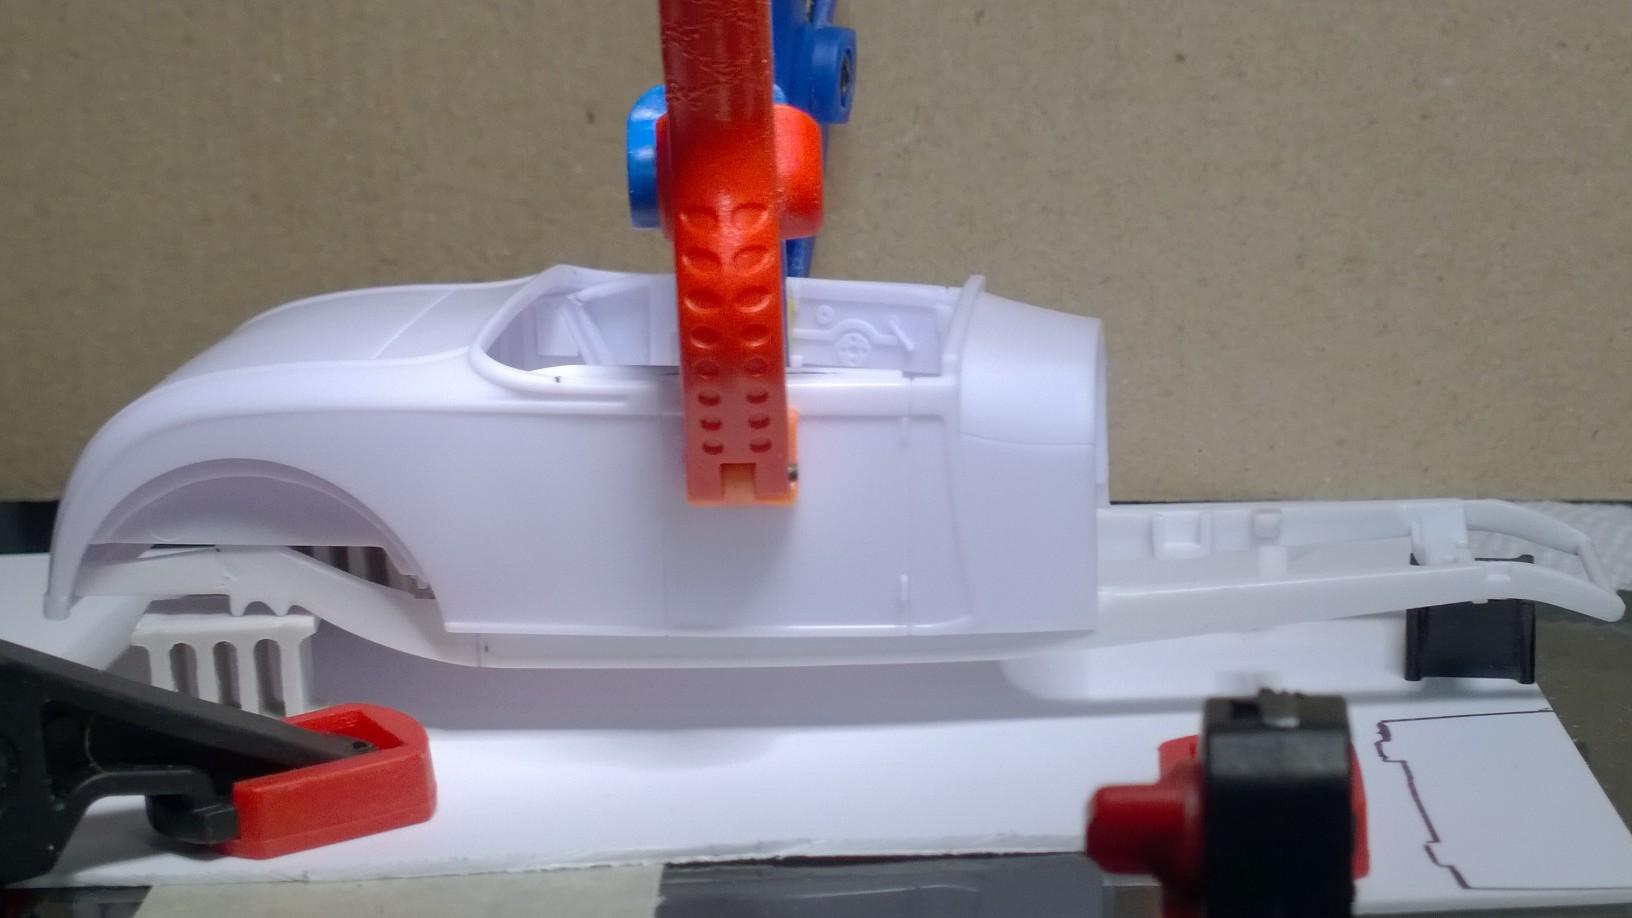
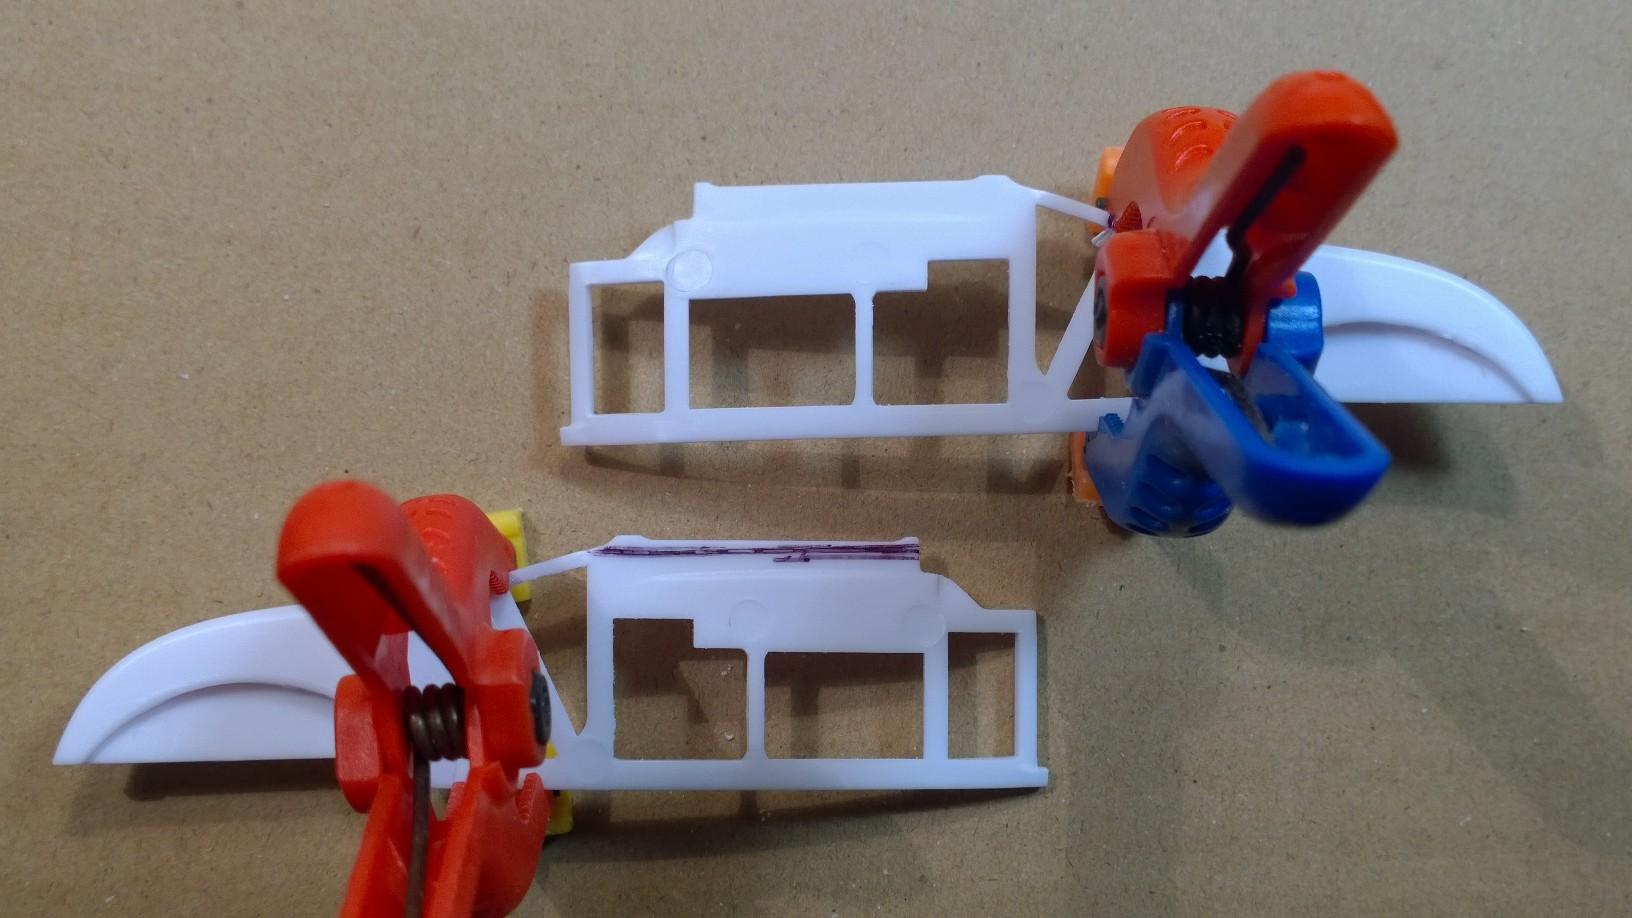
After a bit of fiddling (with all the parts moving around), decided a couple of clamps might help give us a mockup look at how this is going to come together. Here's the "Bare Bones" roadster channeled over the narrowed Deuce frame. Using basically unmodified kit parts, that fit together, the '30 Coupe Deuce Floorboard slides right inside the '29 Roadster Body like they were made for each other. The floorboard attaches to the narrowed '30 Coupe Deuce Frame that was spliced up earlier. -KK
-
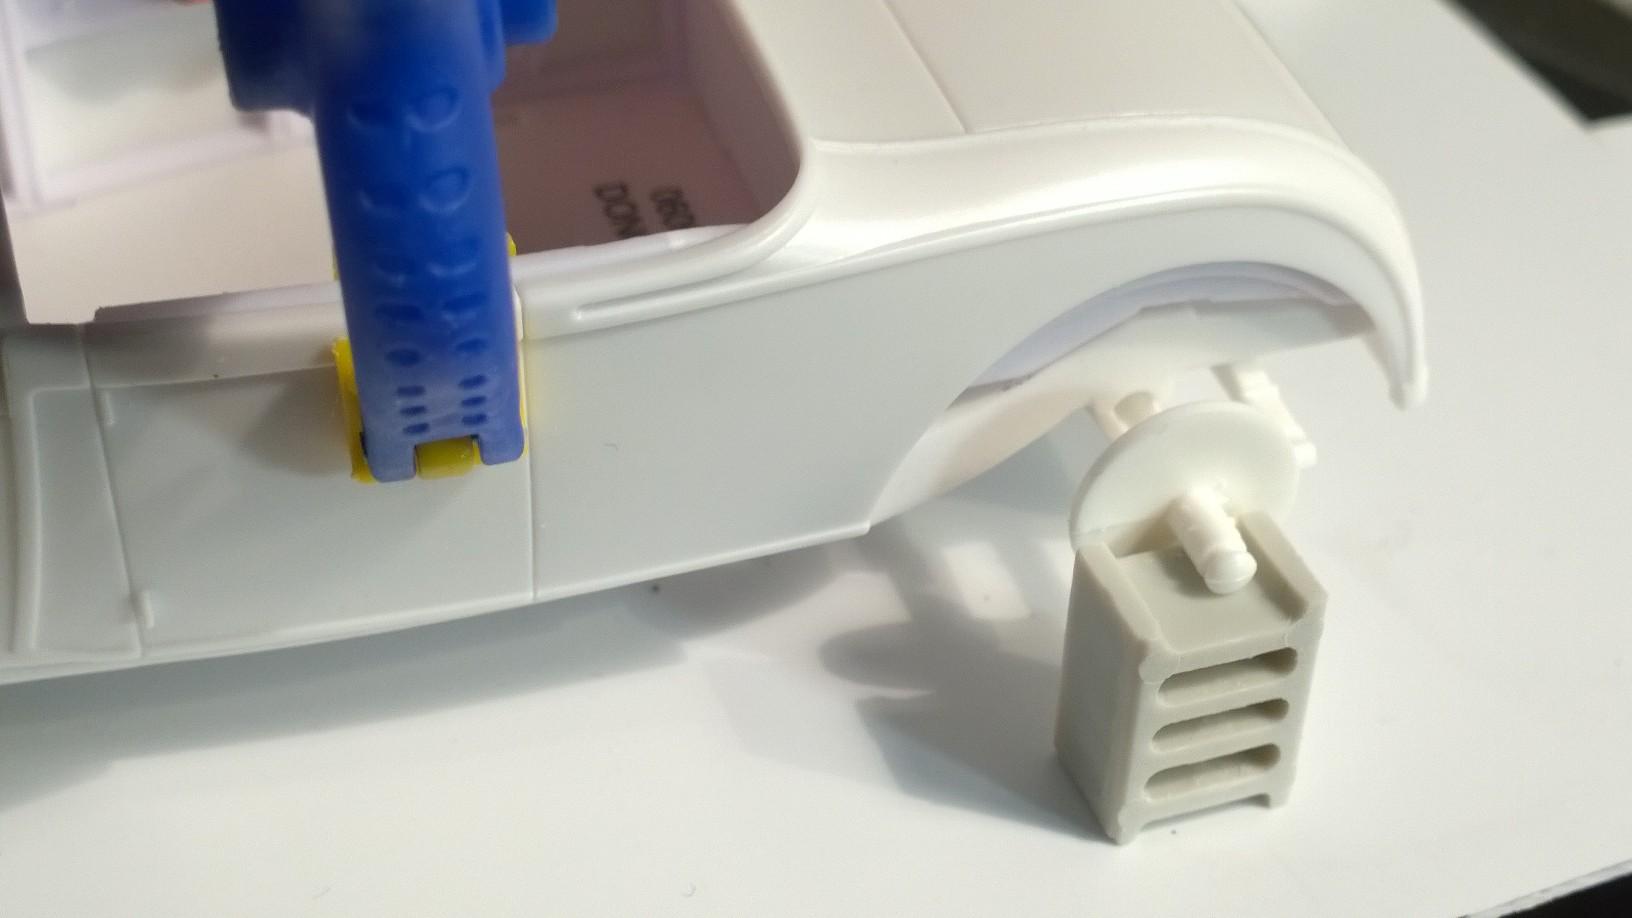
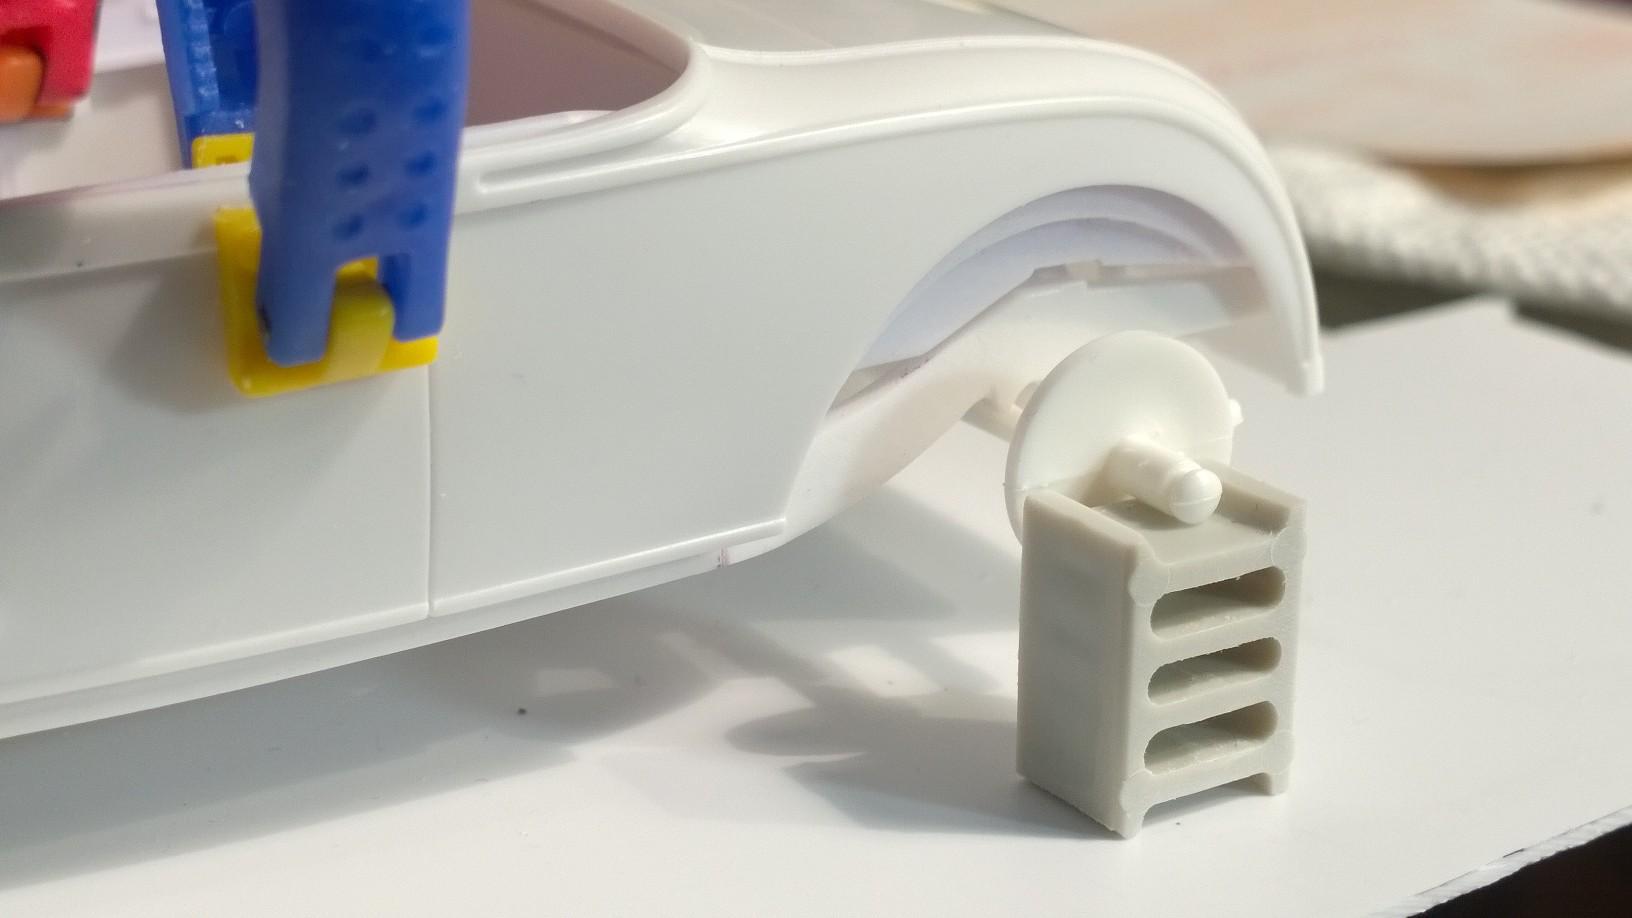
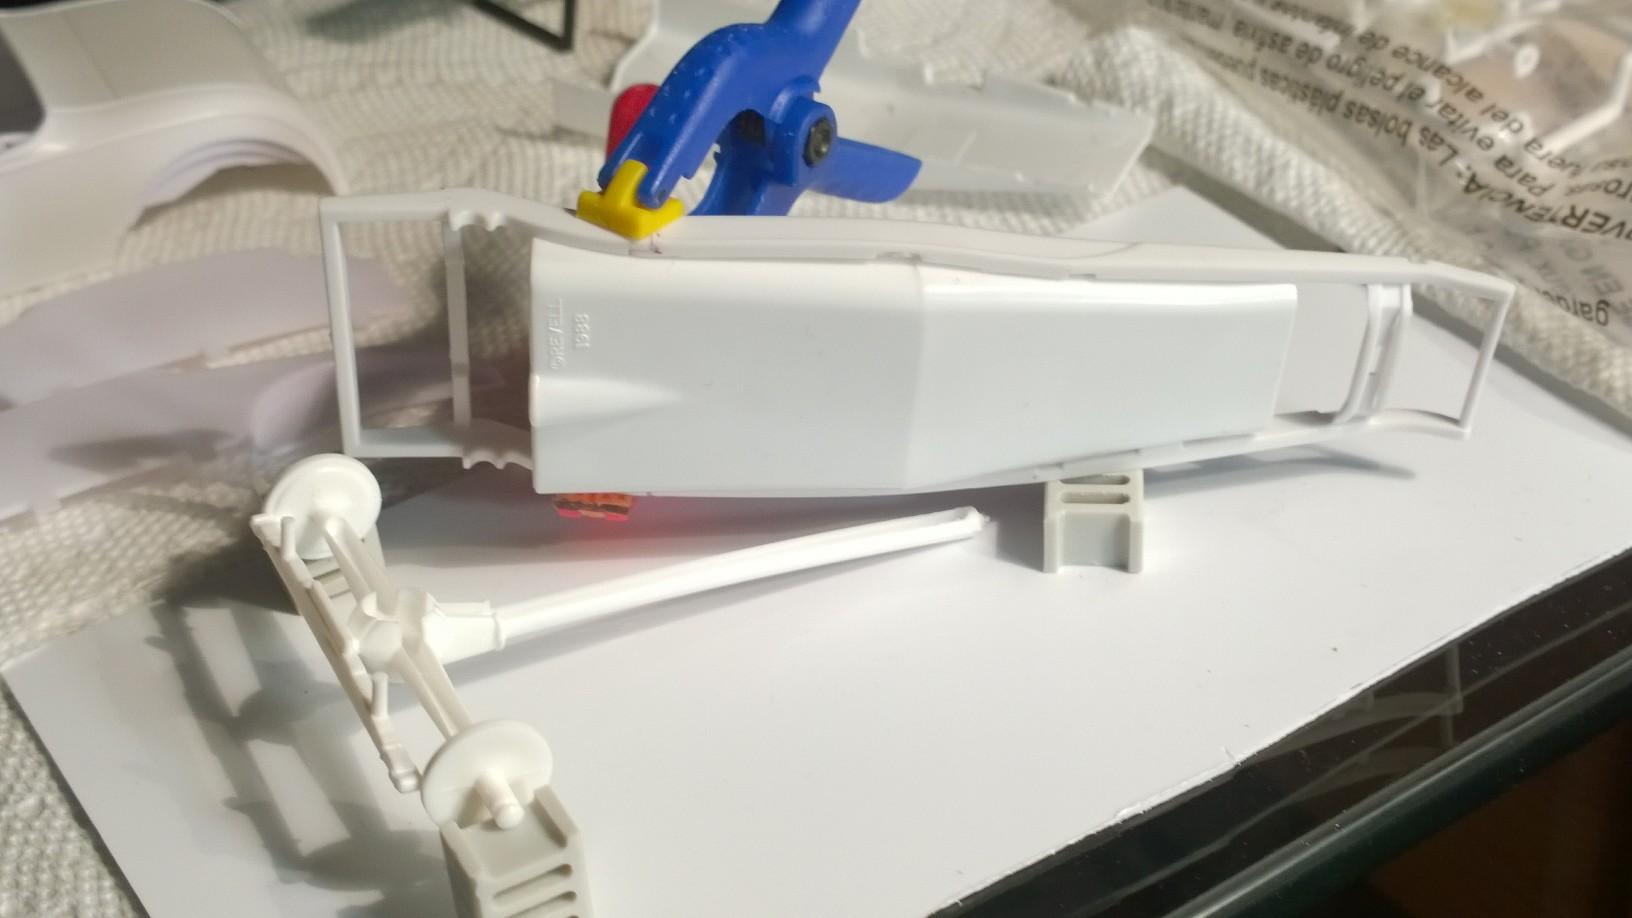
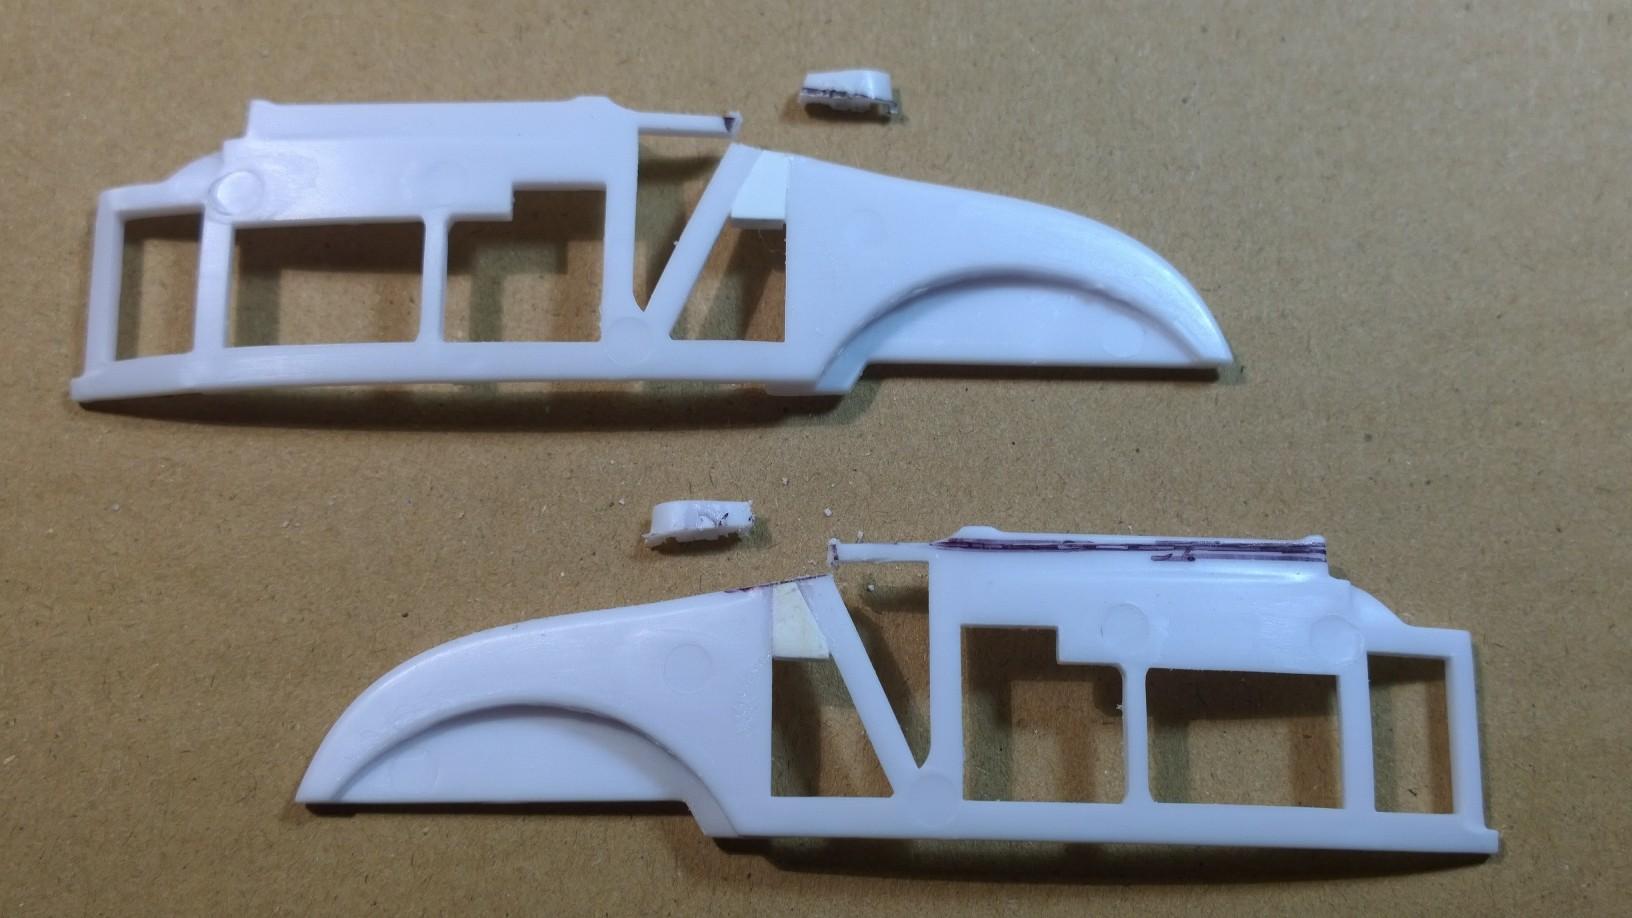
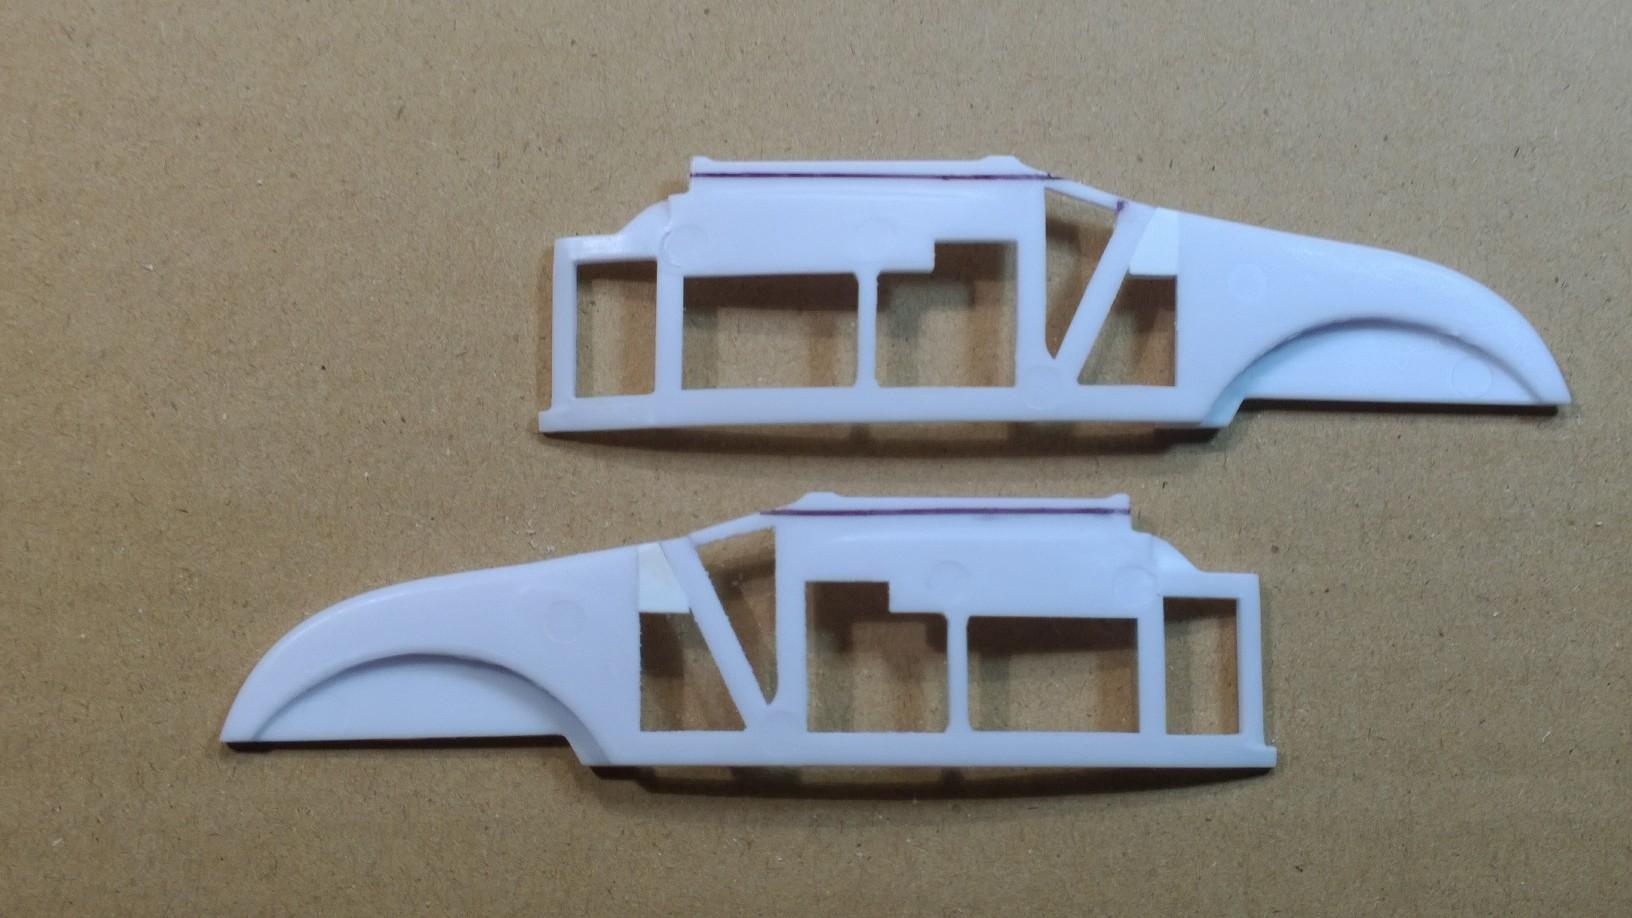
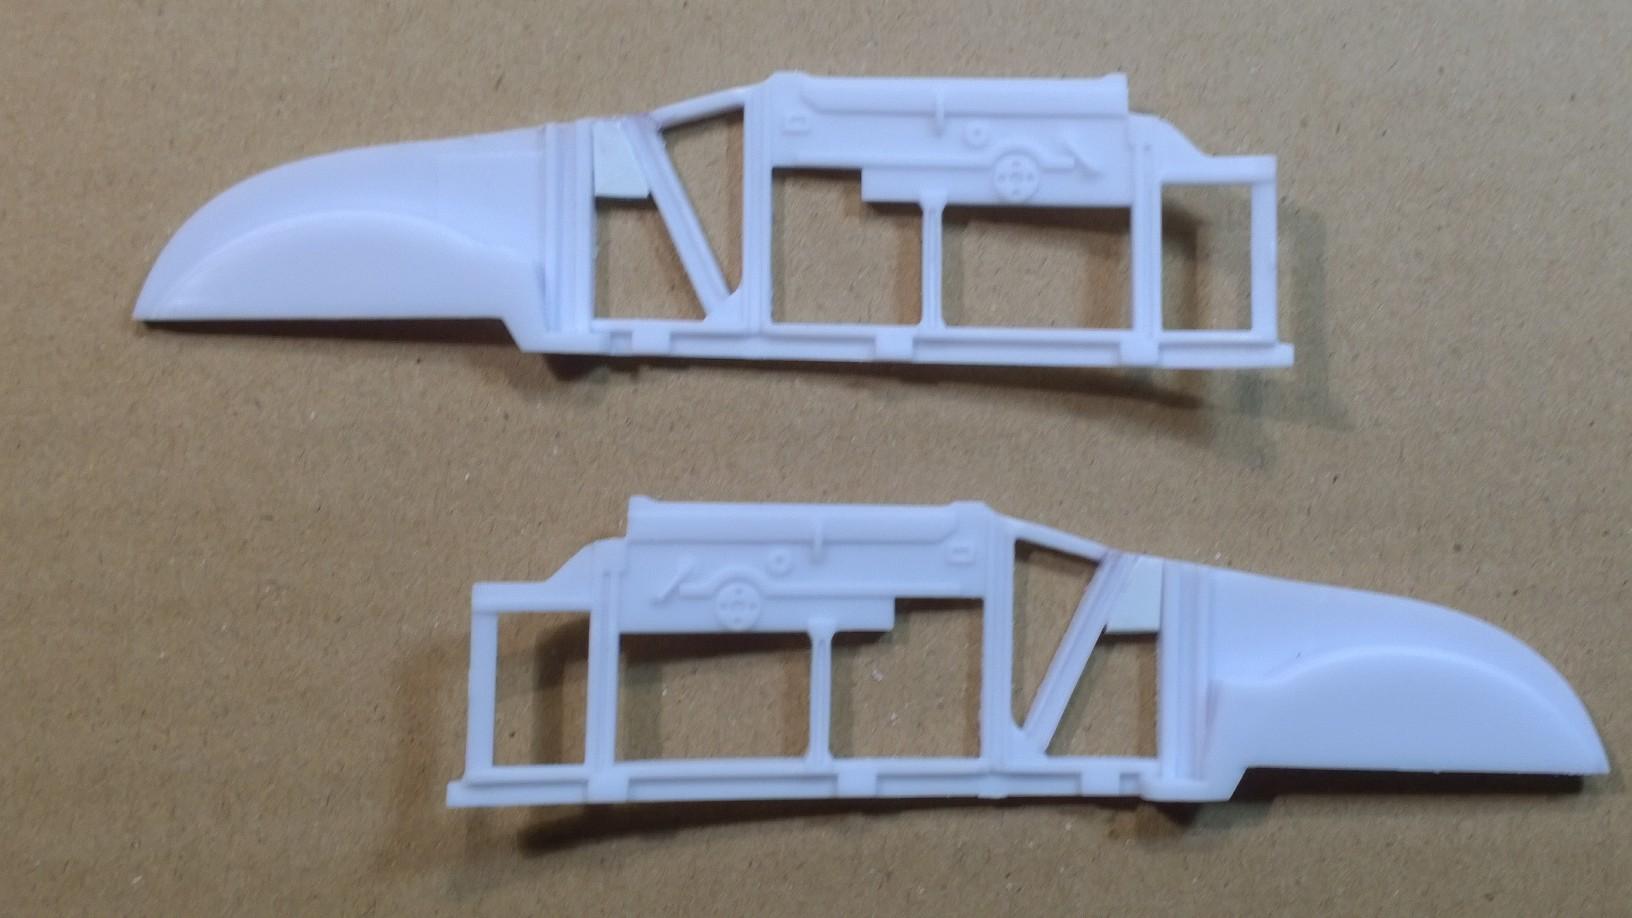
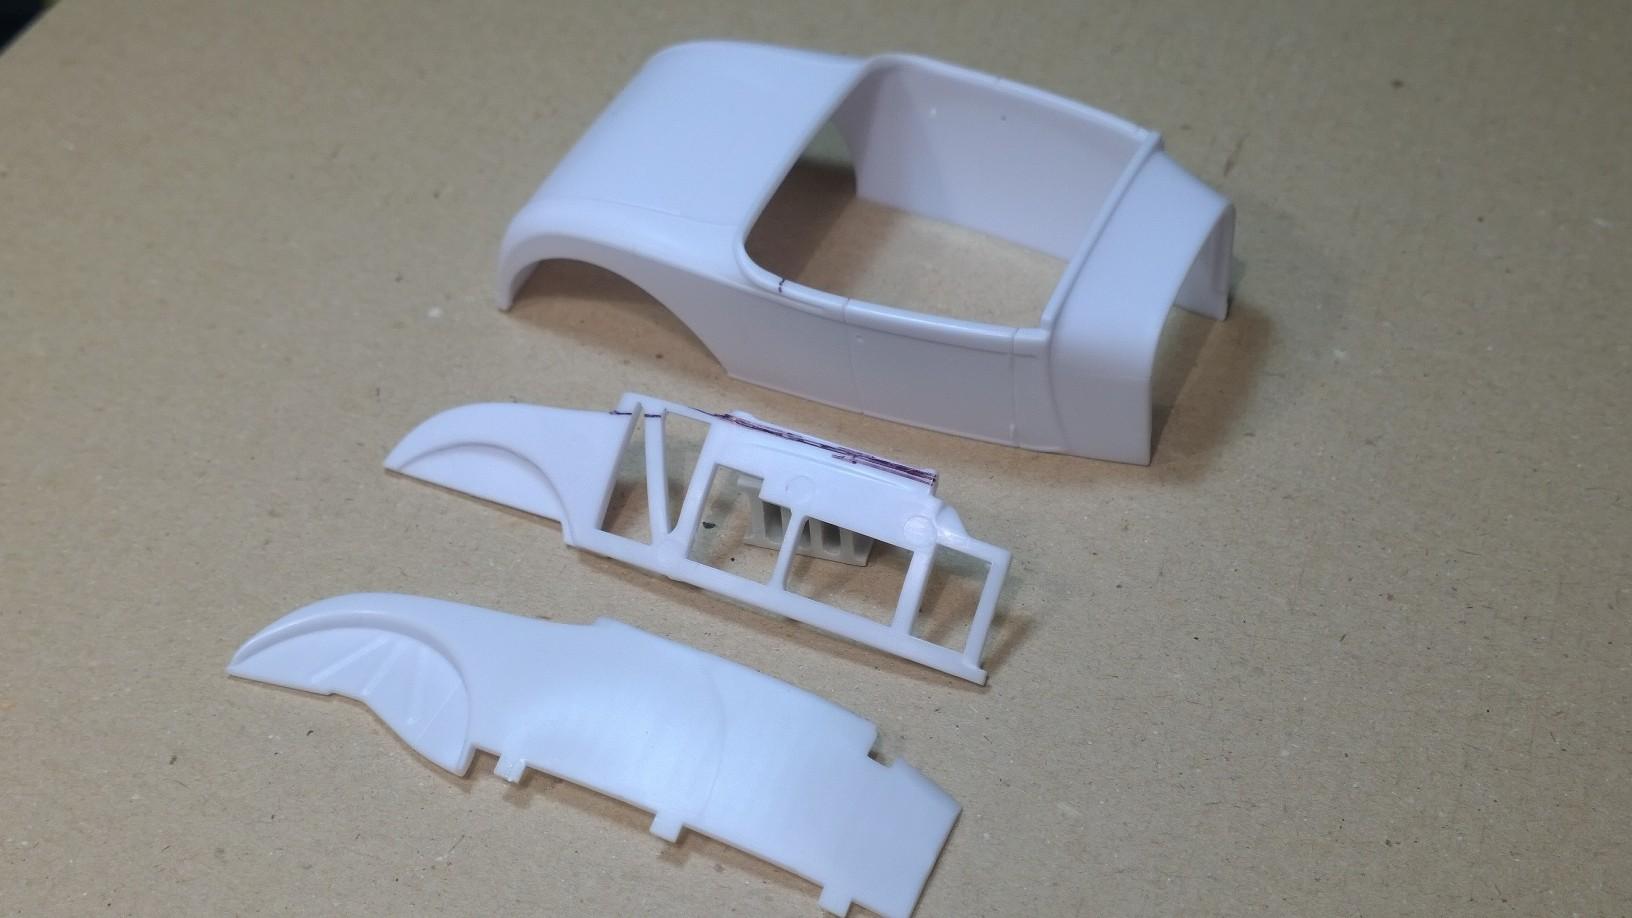
With just a very little actual work the '30 Coupe Interior Sides have been recontoured to fit inside the '29 Roadster body... This is going swimmingly! -KK
-
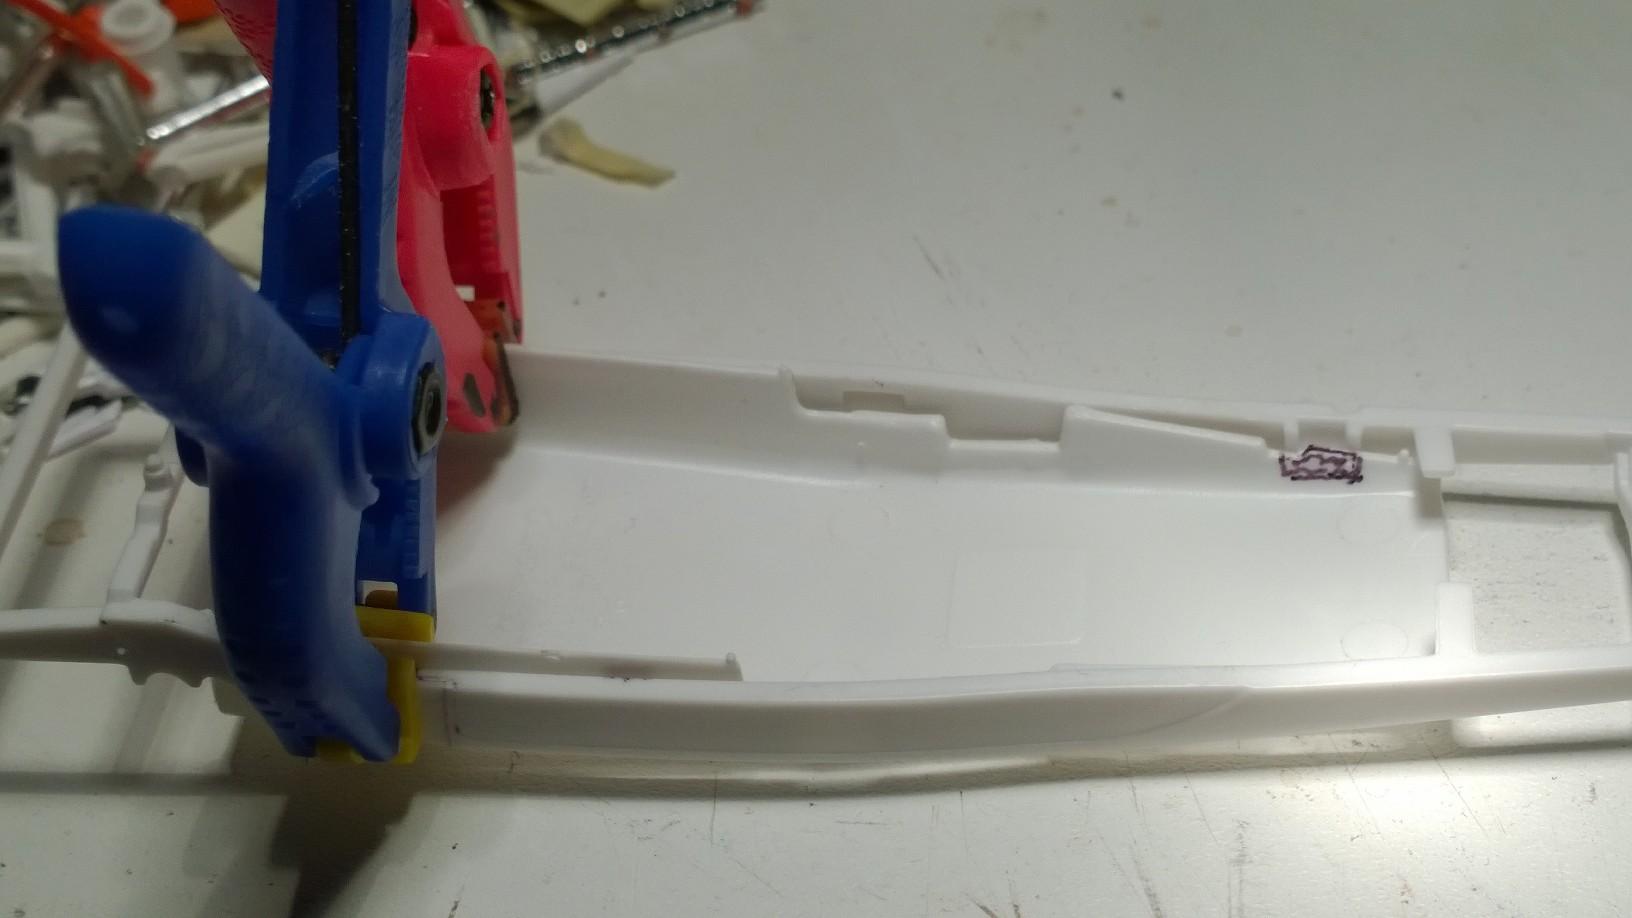
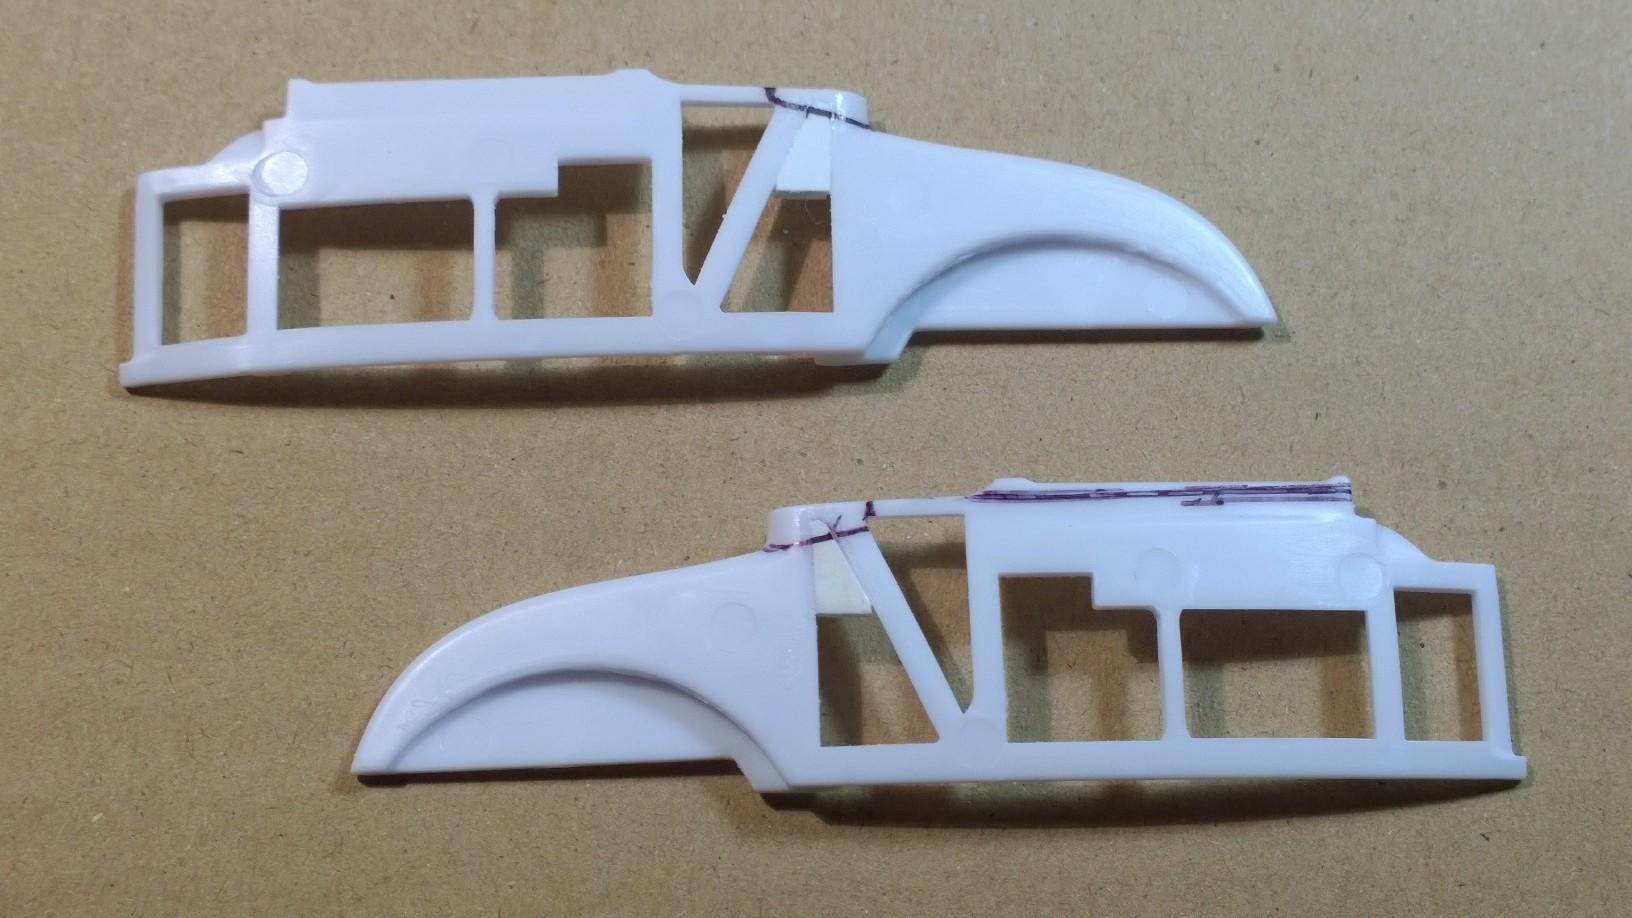
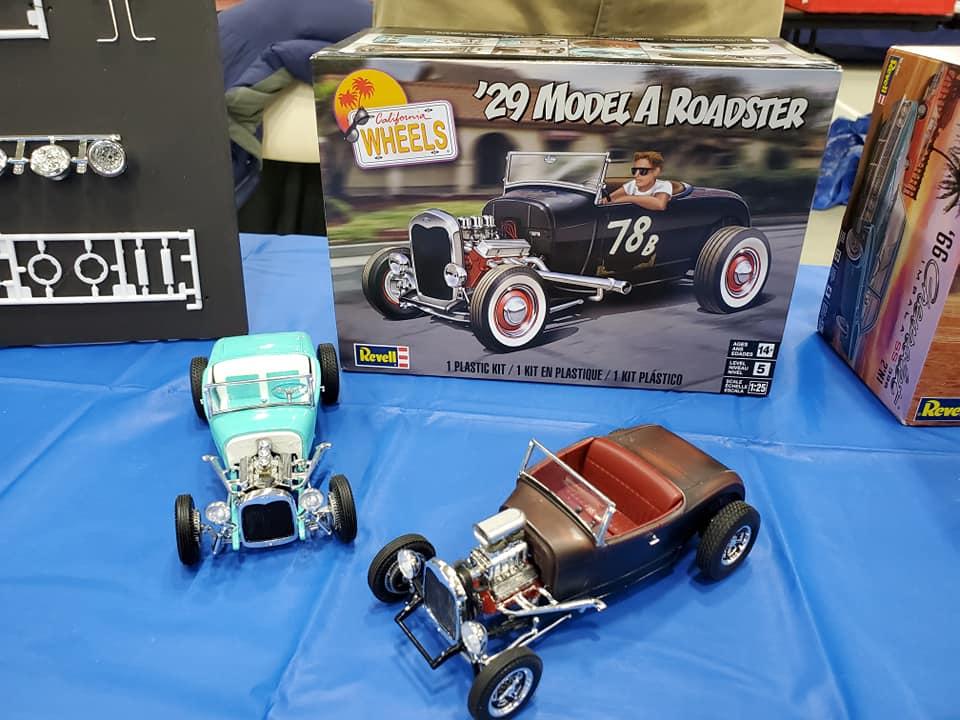
So, I get a call this afternoon from Paul @Speedpro to talk about the '29 Track Nose Roadster. It's clear where like minds collide great ideas harden into actual meeting of the minds on design concepts and how the lines are begging for a change in rear door lines. @Dennis Lacy& I exchanged ideas regarding engine placement relative to the cowl and the firewall. @Rocking Rodney Rat collaborating on the '30 Coupe Interior Sides (Skelton Frame Structure L&R) conversion to the '29 Roadster Body. And all the individual comments as I've trickled out information have flushed out some awesome support and inspiration! The Revell '29 Model A Roadster Kit is the 2nd iteration on the original Revell '29 Hot Rod Kit and it may be pretty straight forward the similarity of the two kits. Then you compare the original '30 Coupe from Revell (same as the new one except for an engine change) '30 Coupe from Revell is the latest addition to the base line of early and late Model A Hot Rod parts! Check out the screen in the background... Great design work just laying the groundwork for so many variations and combination of parts! Back to the reason I wanted to follow up on where the '29 Track Nose Roadster is headed at this juncture. The Roadster Interior Side below the '30 Coupe Interior Side and the '29 Roadster Body at the top... By adding a bit of structure where the Roadster bodyline cuts into the Coupes upper sill and the contour and slope of the rear deck and a trim off the top should allow the interior swap to work seamlessly. Take note of how and where the bead lines come together... and form the door beltline. The black line represents the location of the '30 Coupe Interior Side rear door line. The trim will find its new location about six scale inches aft and the rear door line will be pulled a couple three scale inches forward. Wait 'til it all comes together. Oh, there's a new twist to the nose coming, too! -KK